Archives for October 2013

Halloween Applique Art

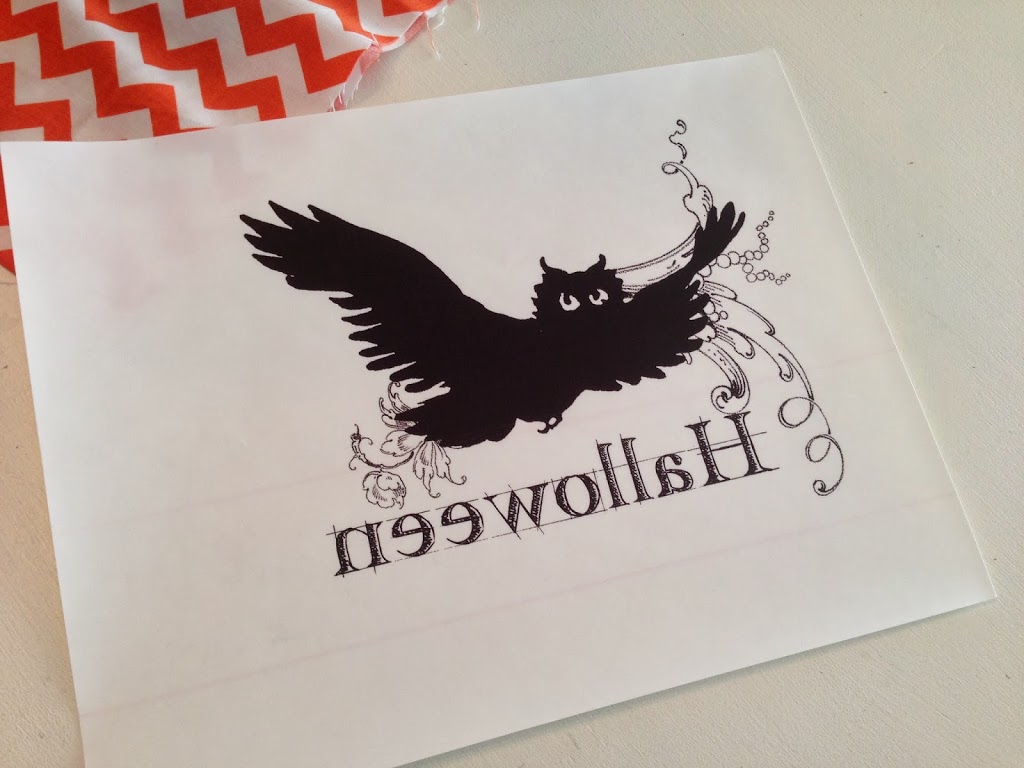
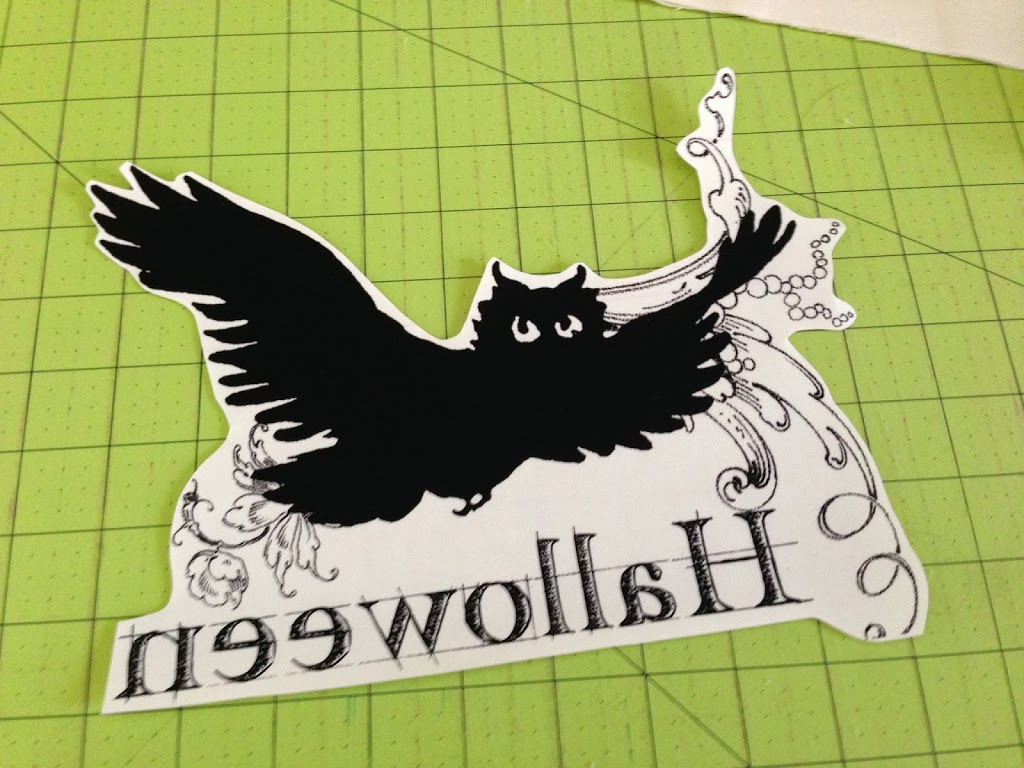
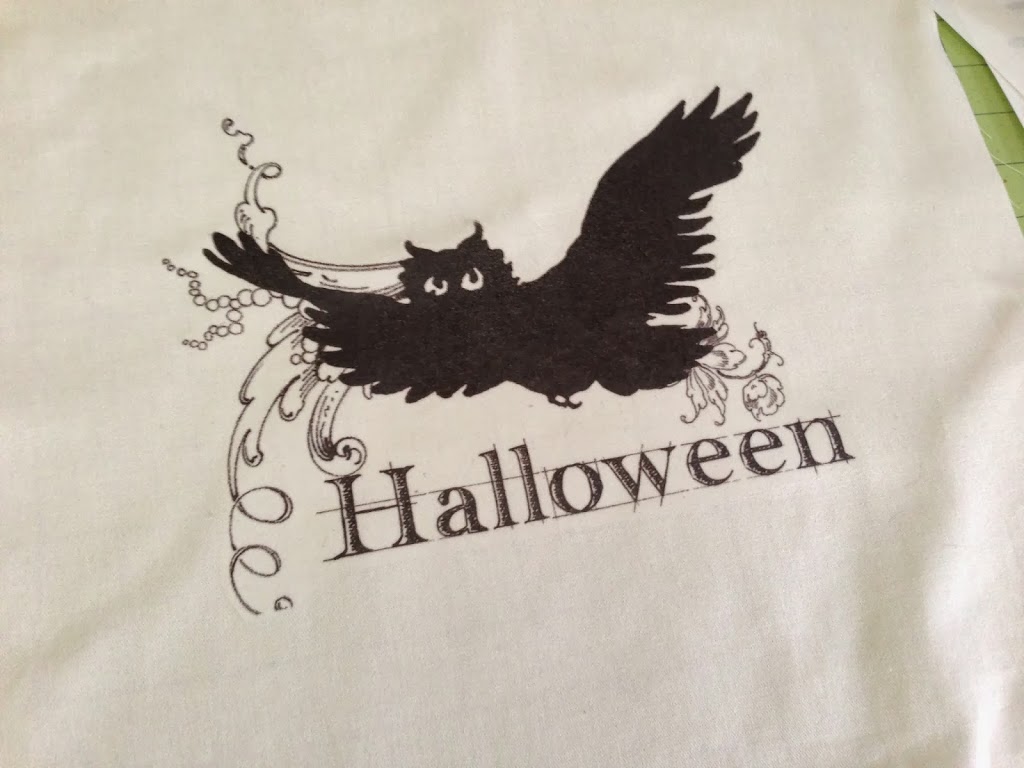
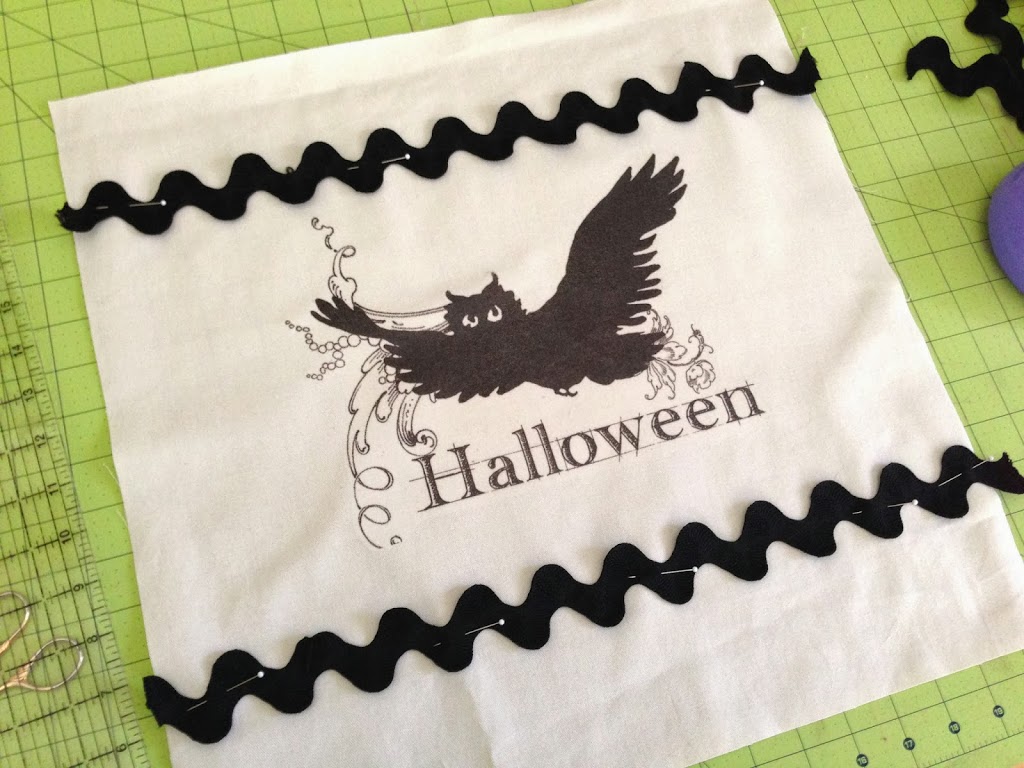
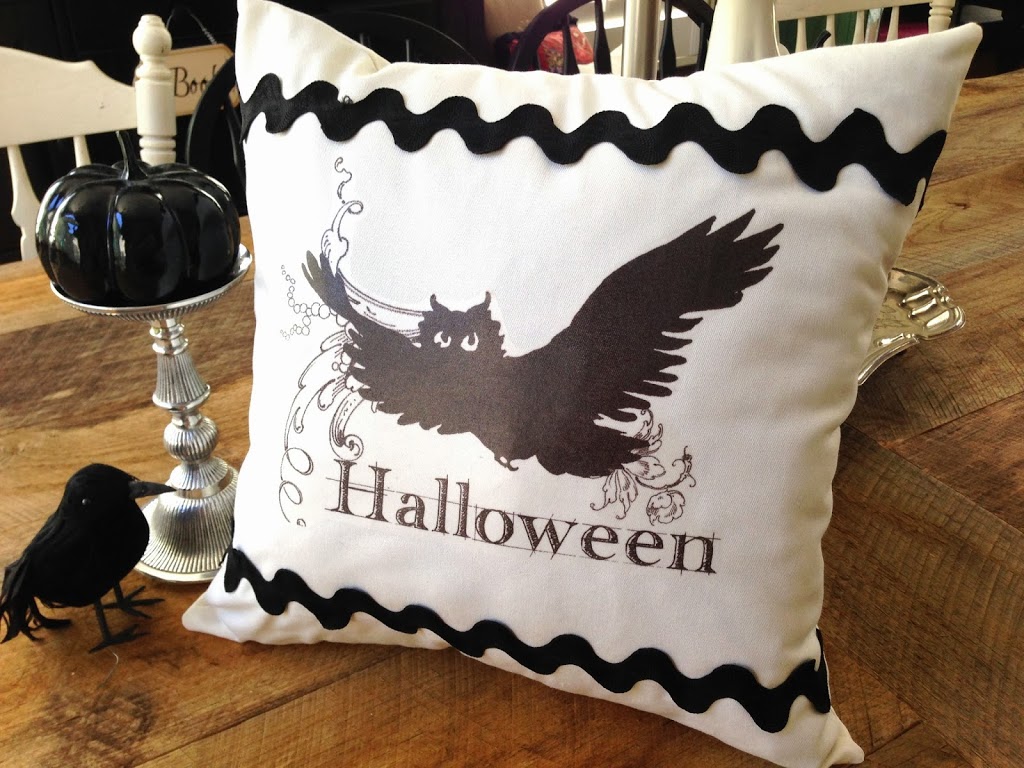
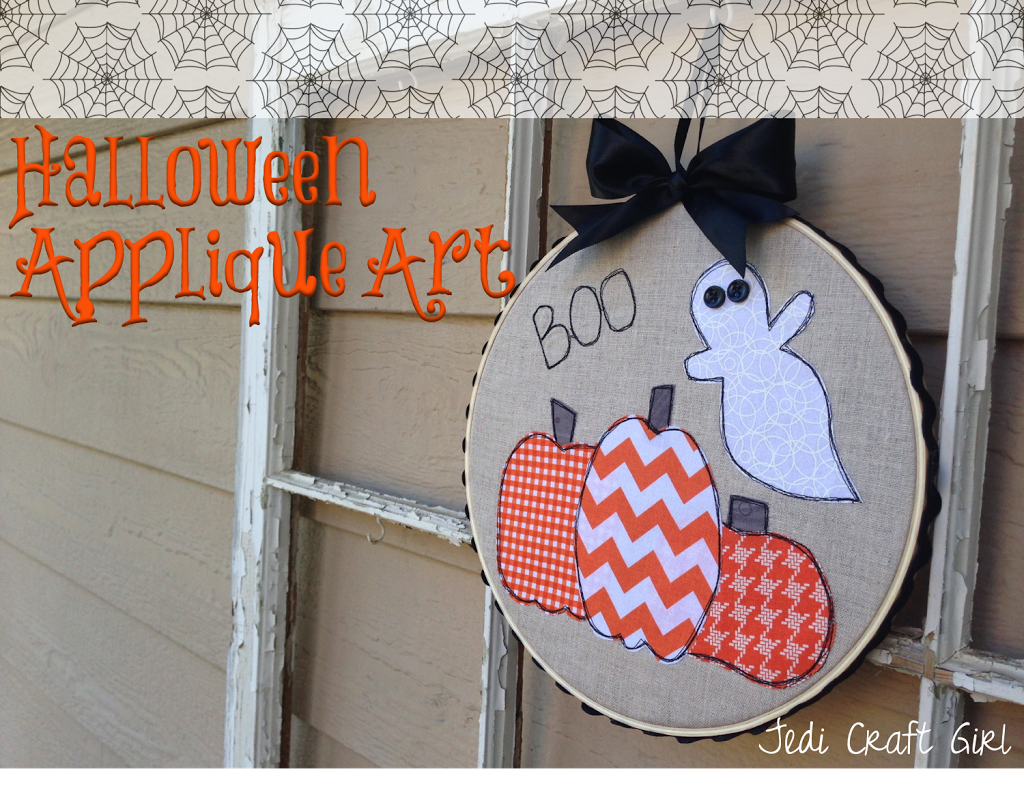
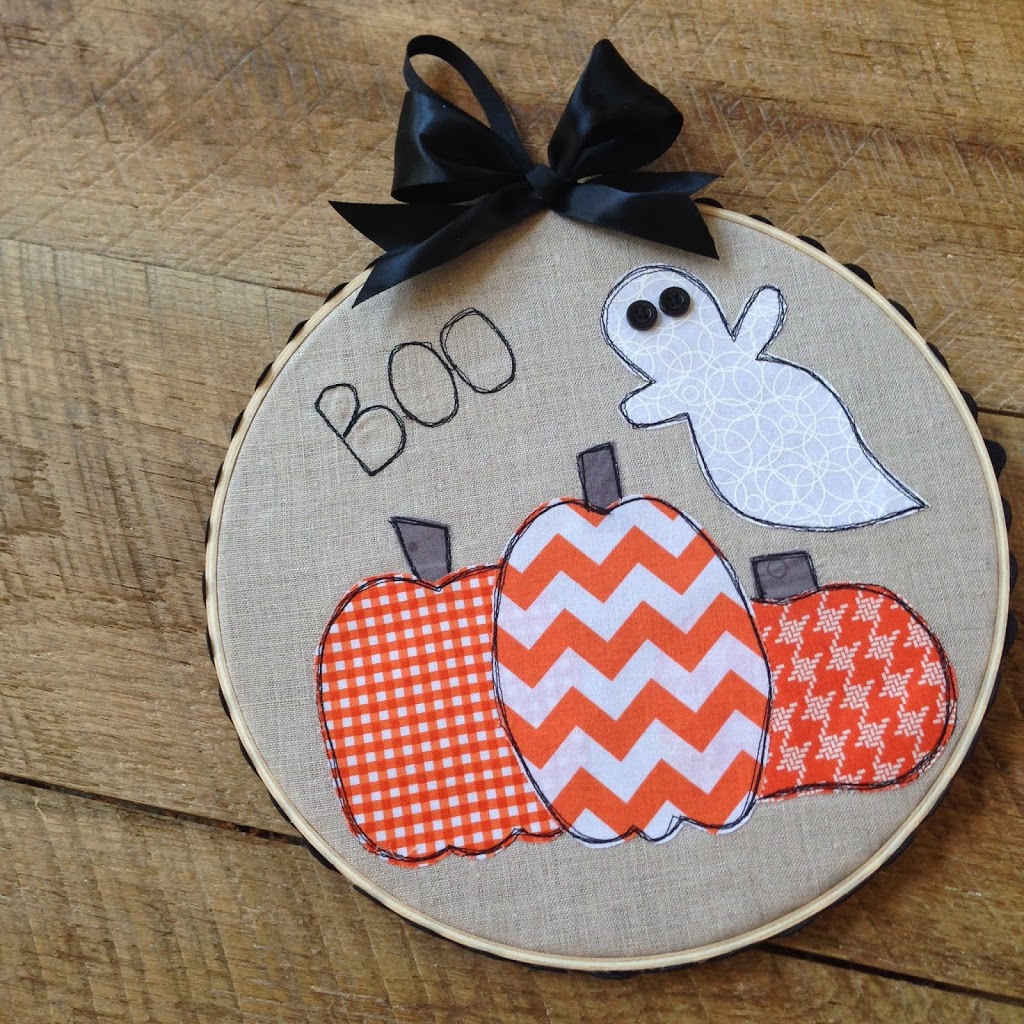
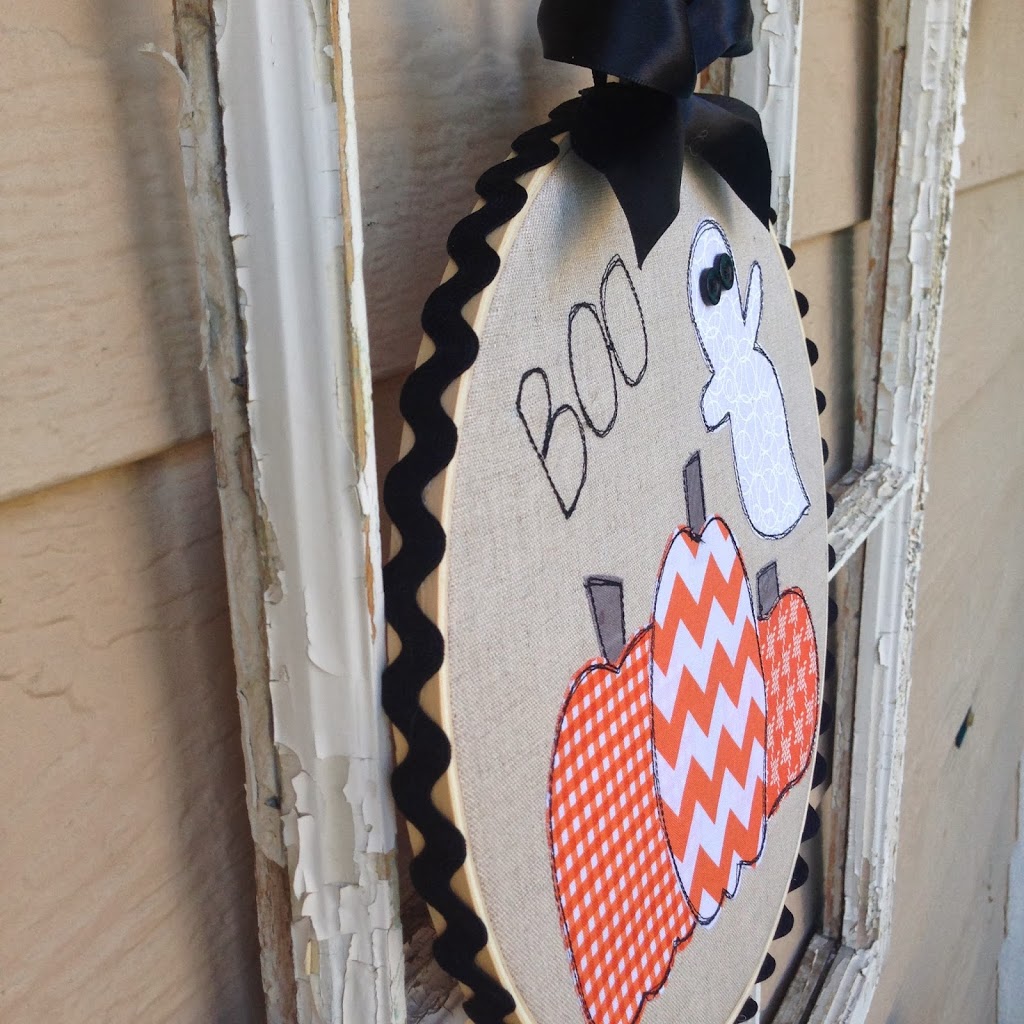
Today my Halloween Appliqué Art Tutorial is over on the Therm O Web Blog!  This project was super fast and super easy!  This would also be a fun project to let your children design!
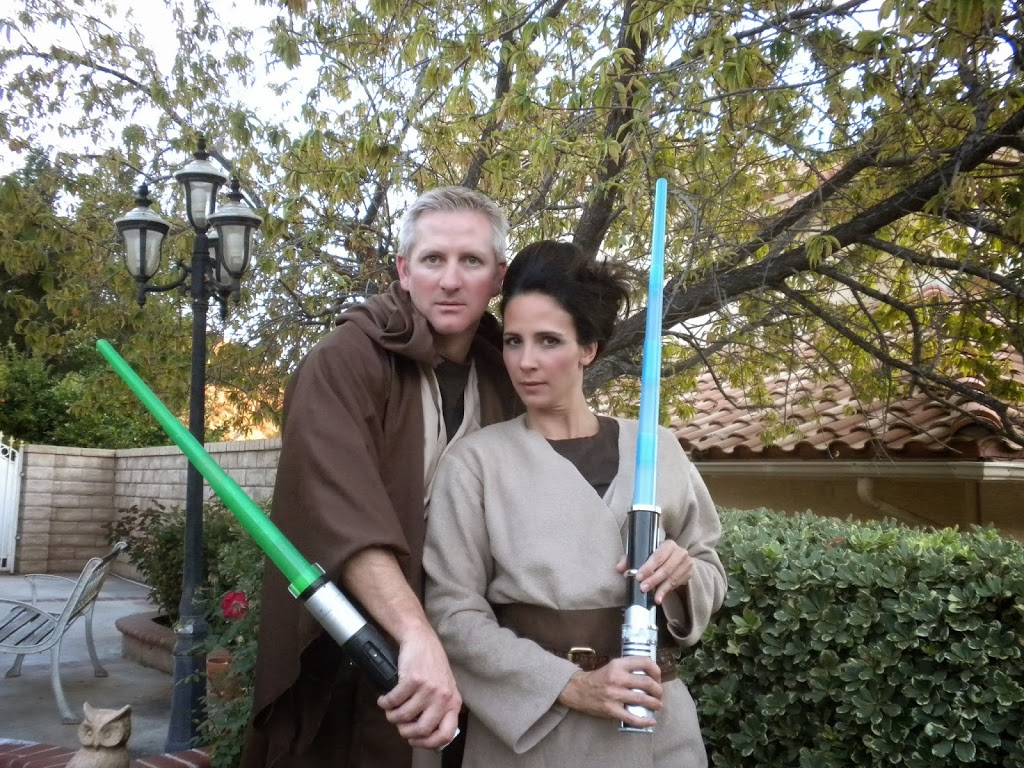
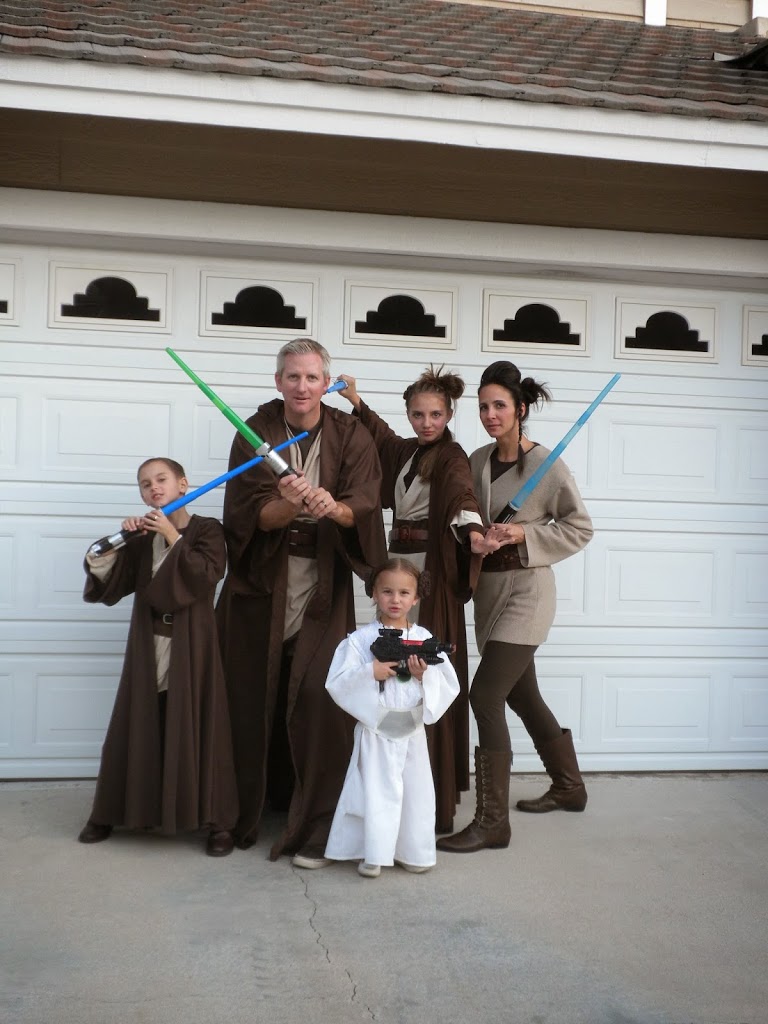
Amanda

Totally 80’s Costume Party

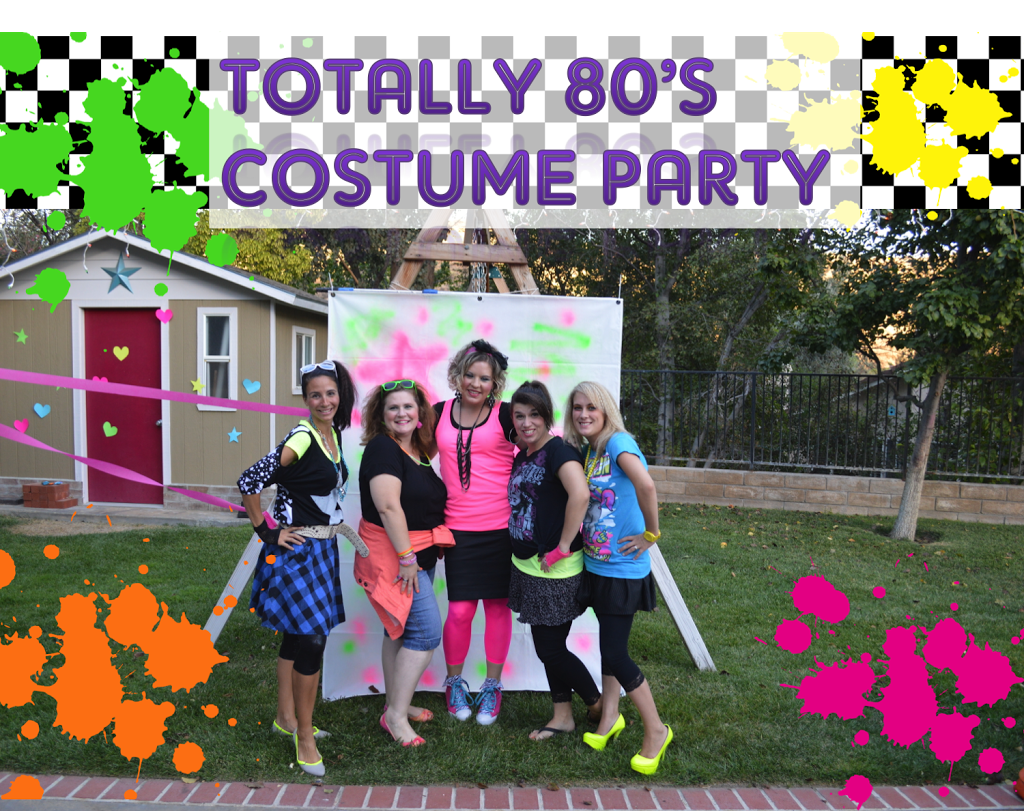
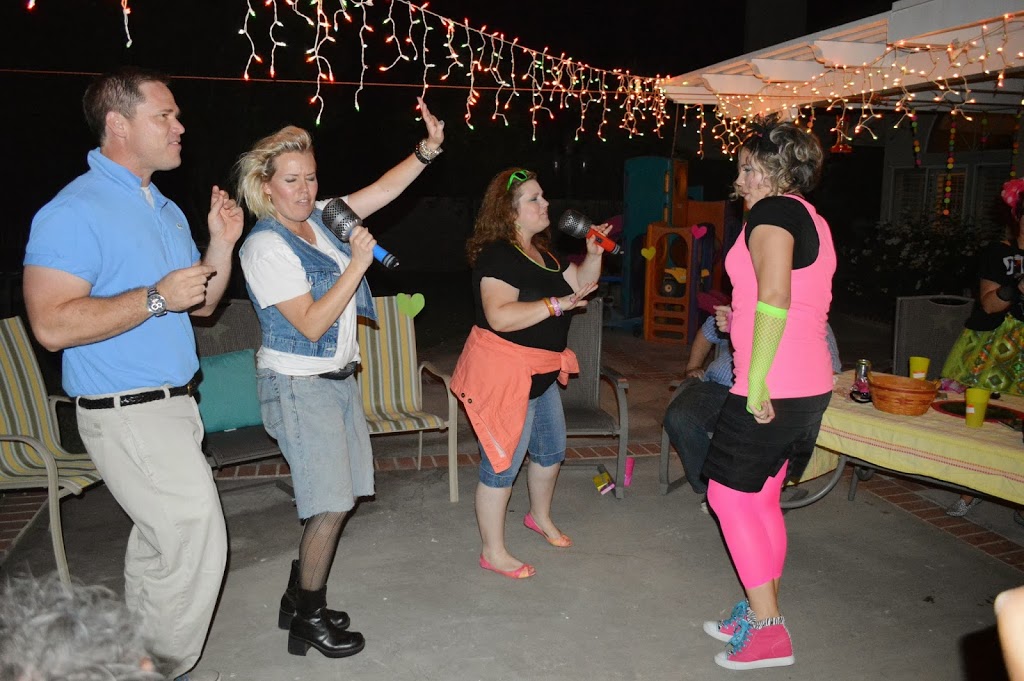
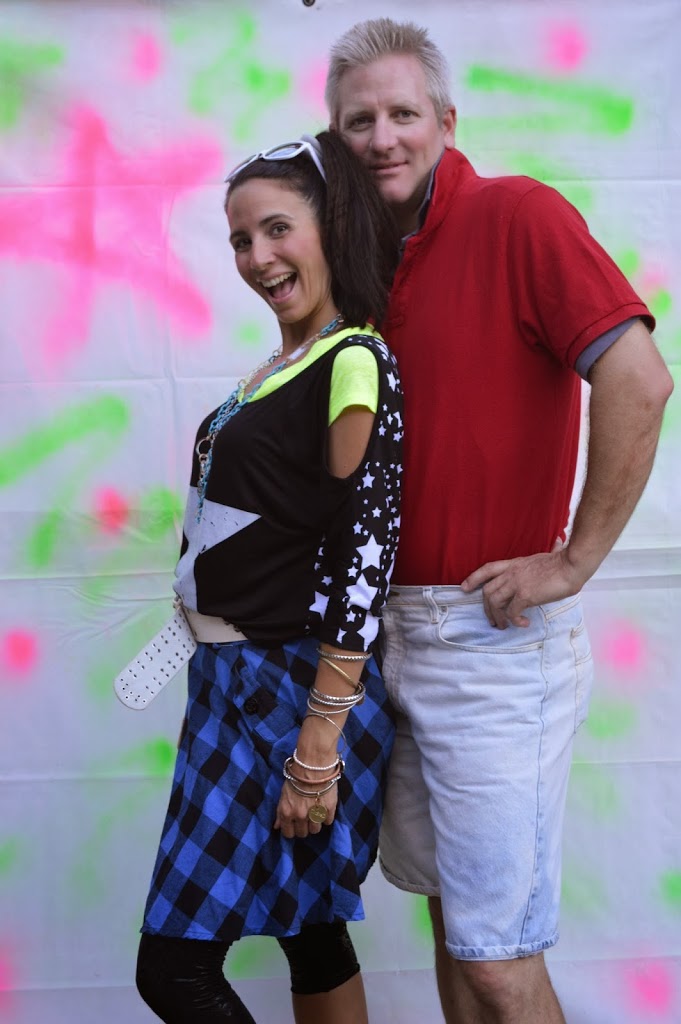
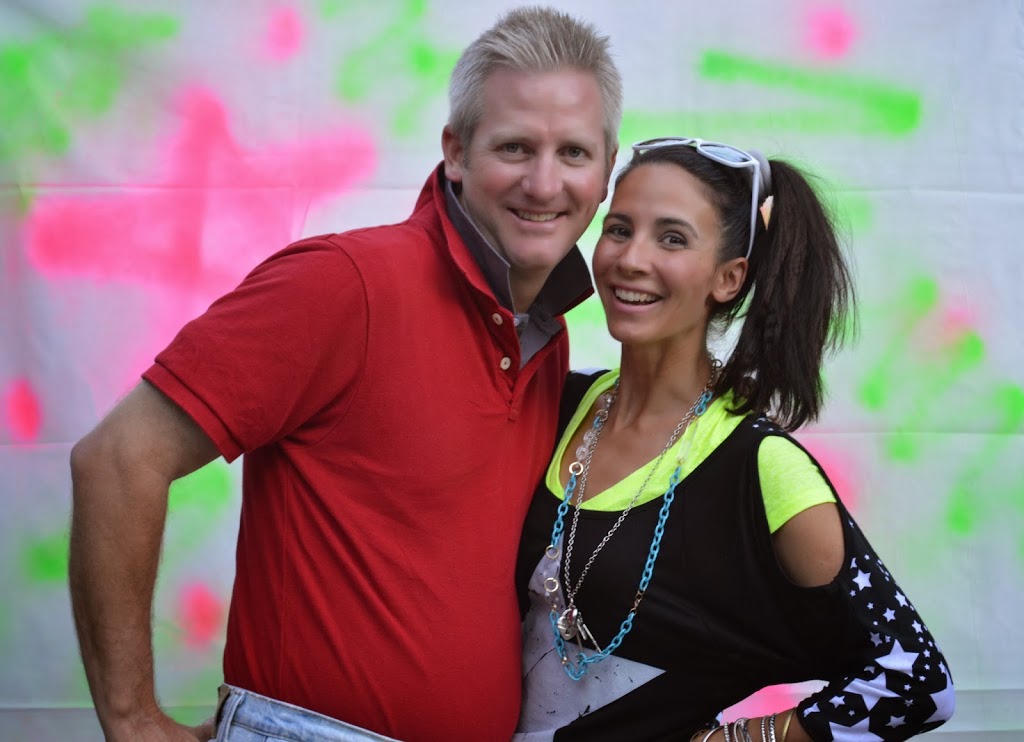
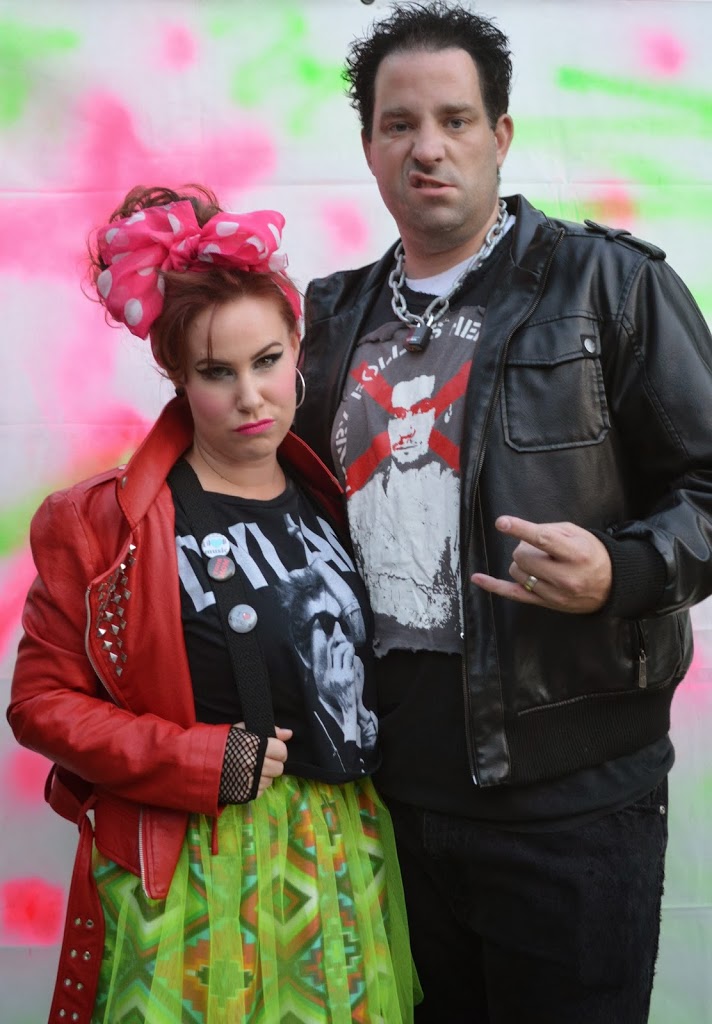
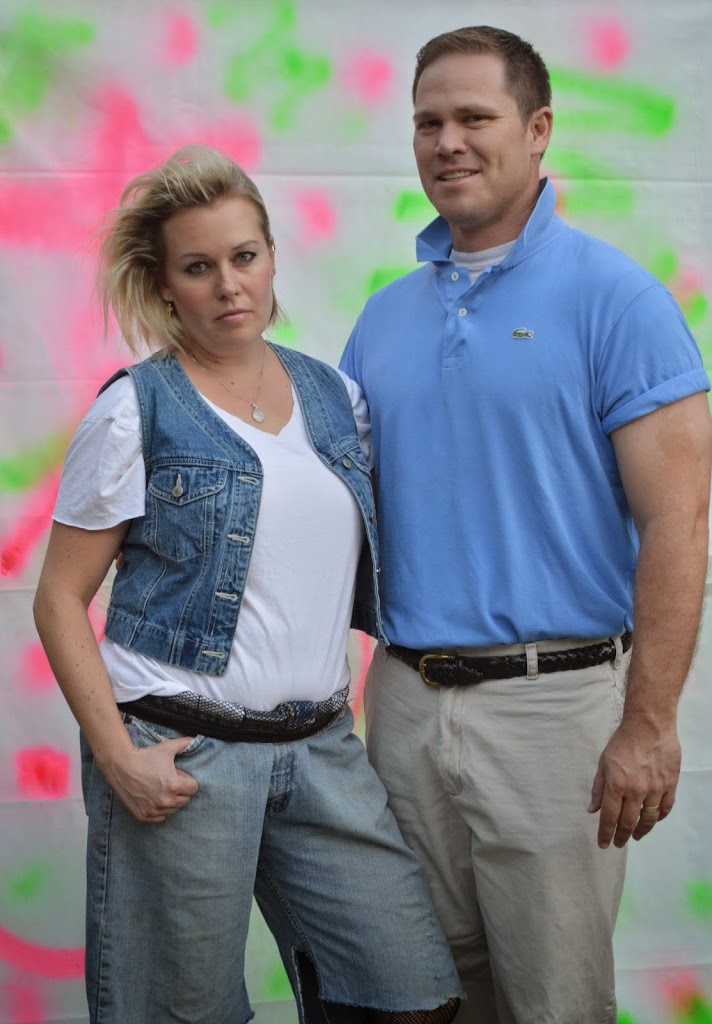
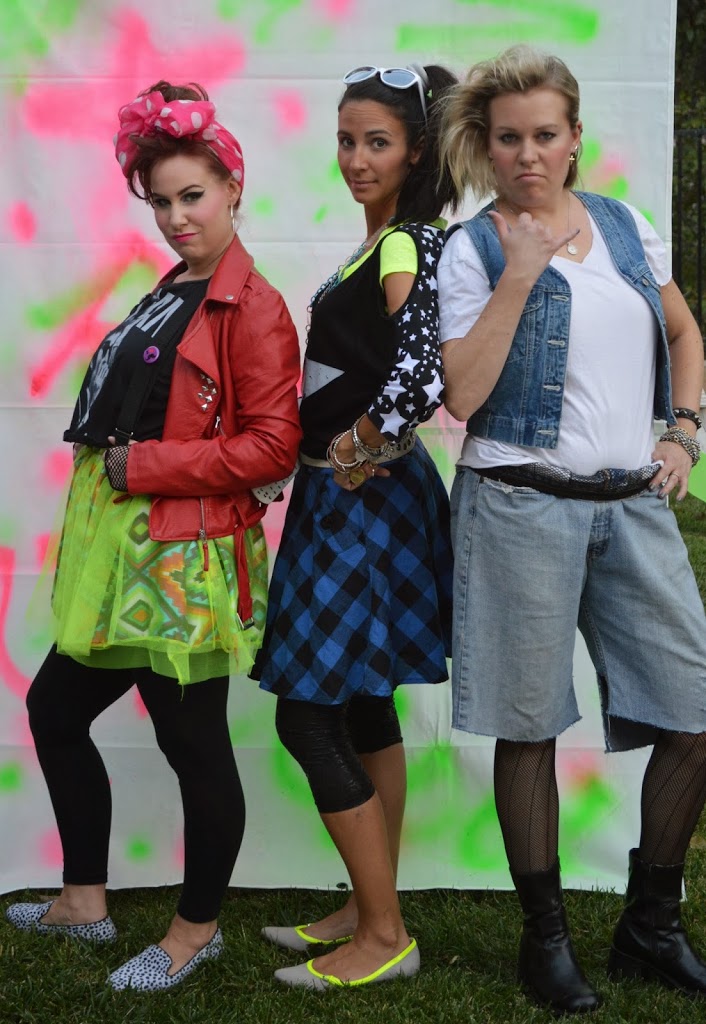
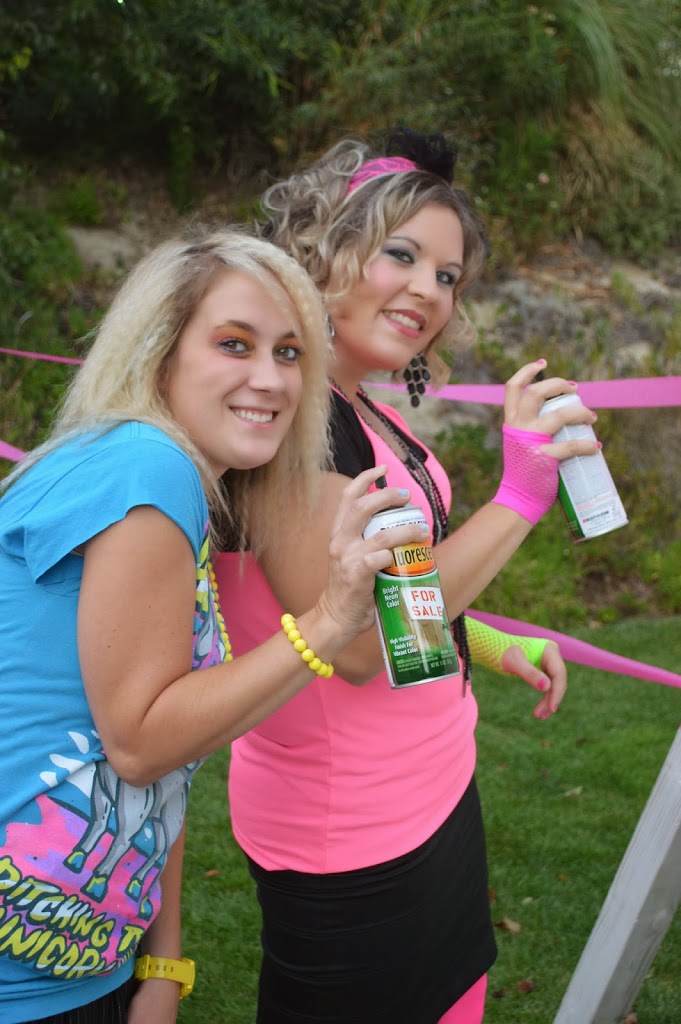
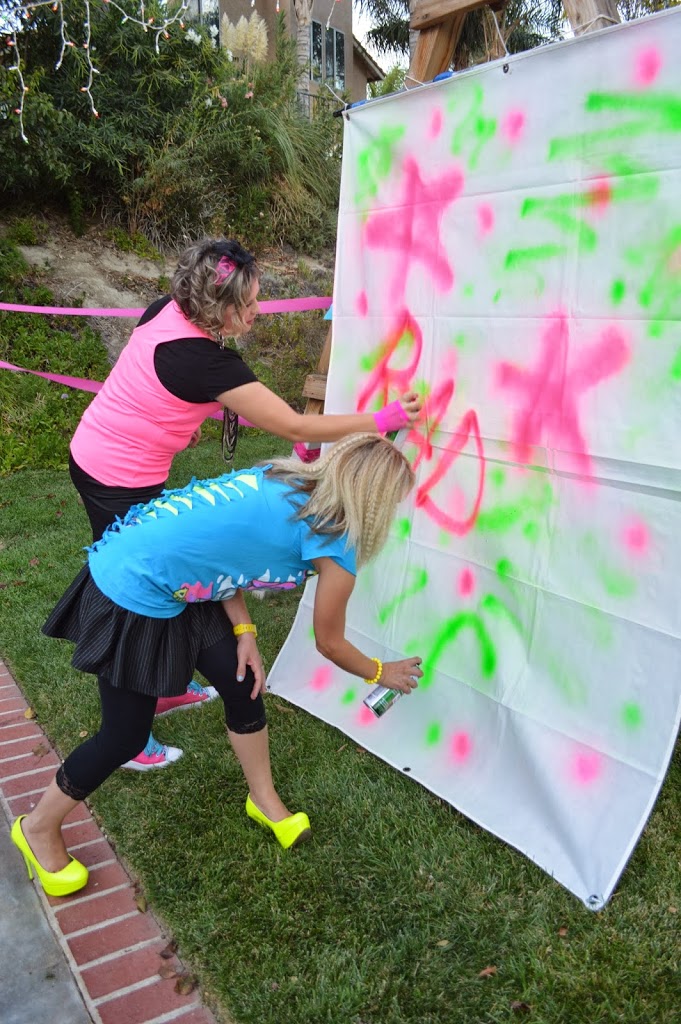
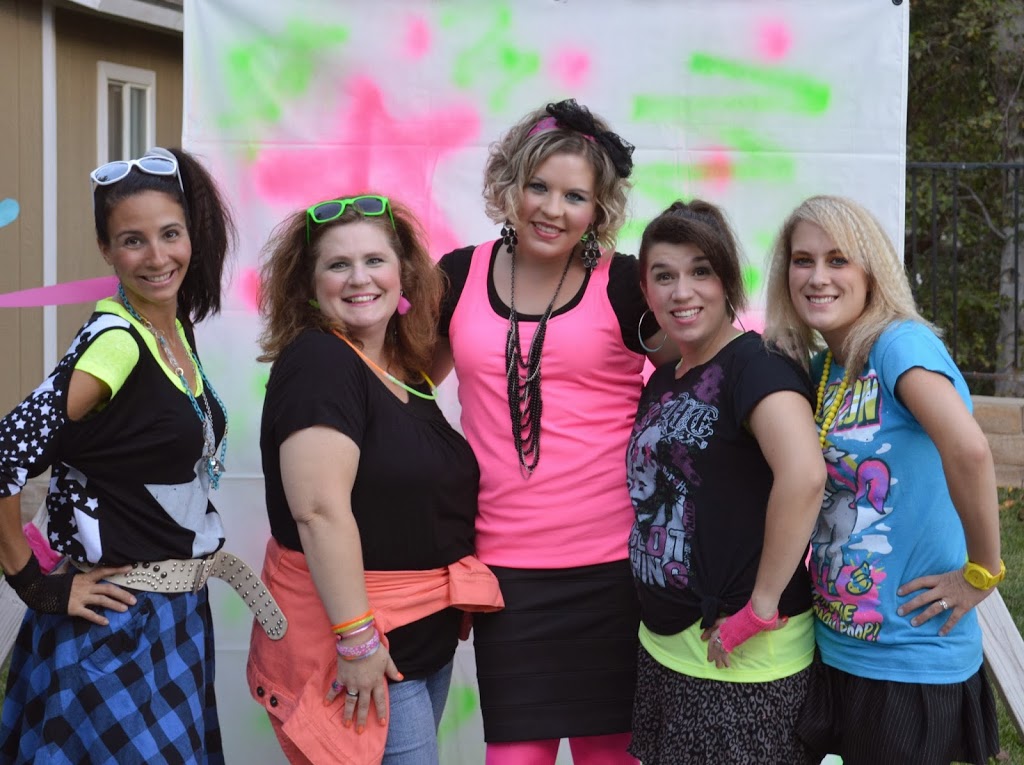
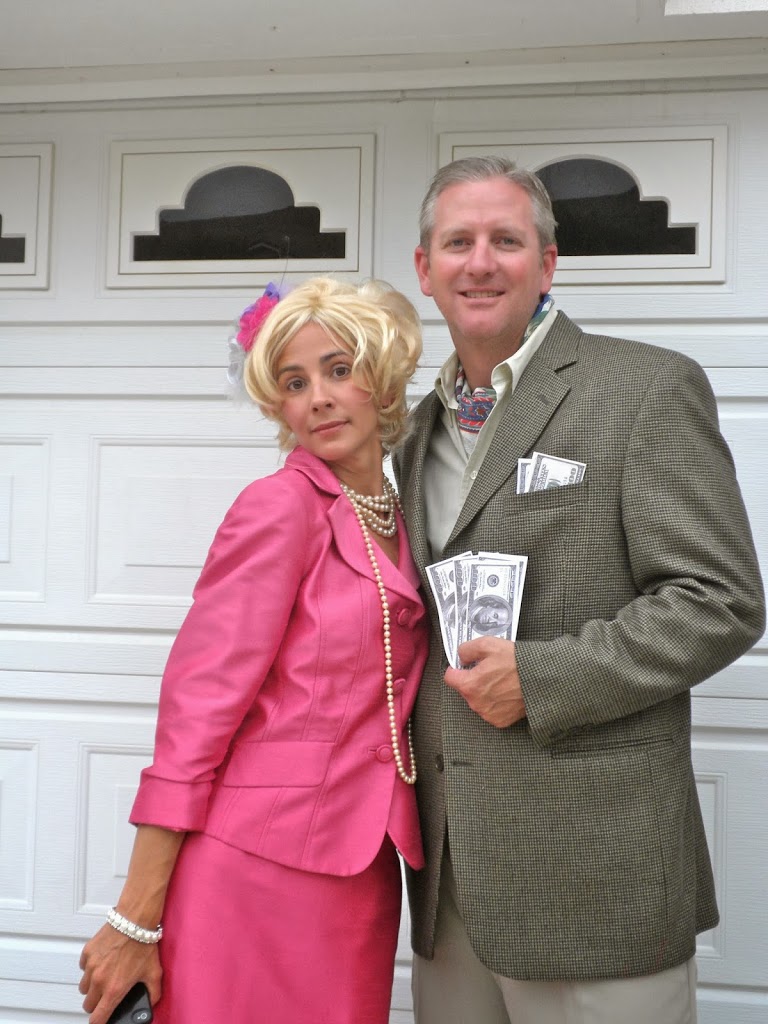
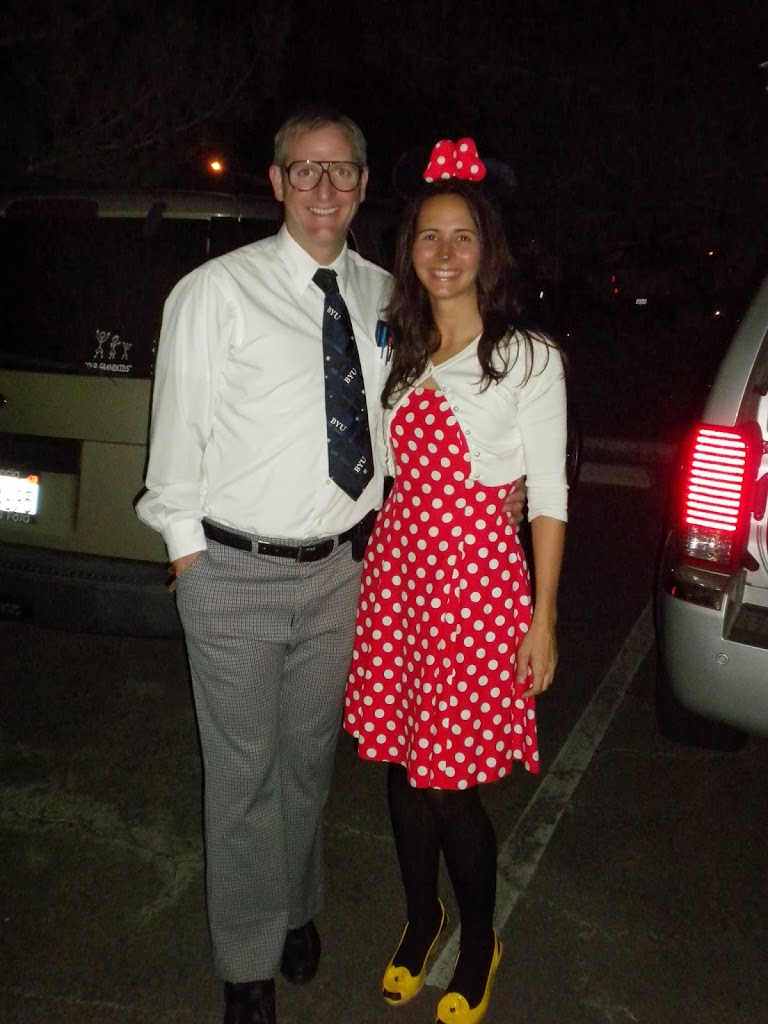
 I totally miss the 80’s!!!  This was so much fun!  We had a totally awesome time reminiscing and talking about all those totally rad styles! 


 Love this intense “mod” look!
 Tough girl & preppy guy!
 Oh yea 🙂
 We had to break out the neon spray paint!

  
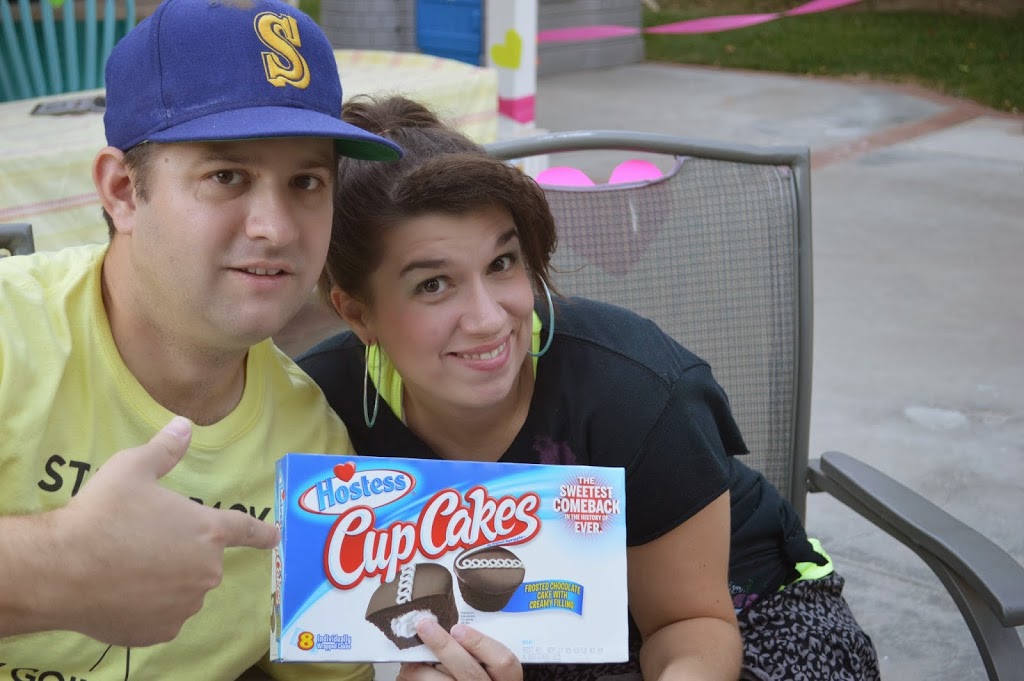
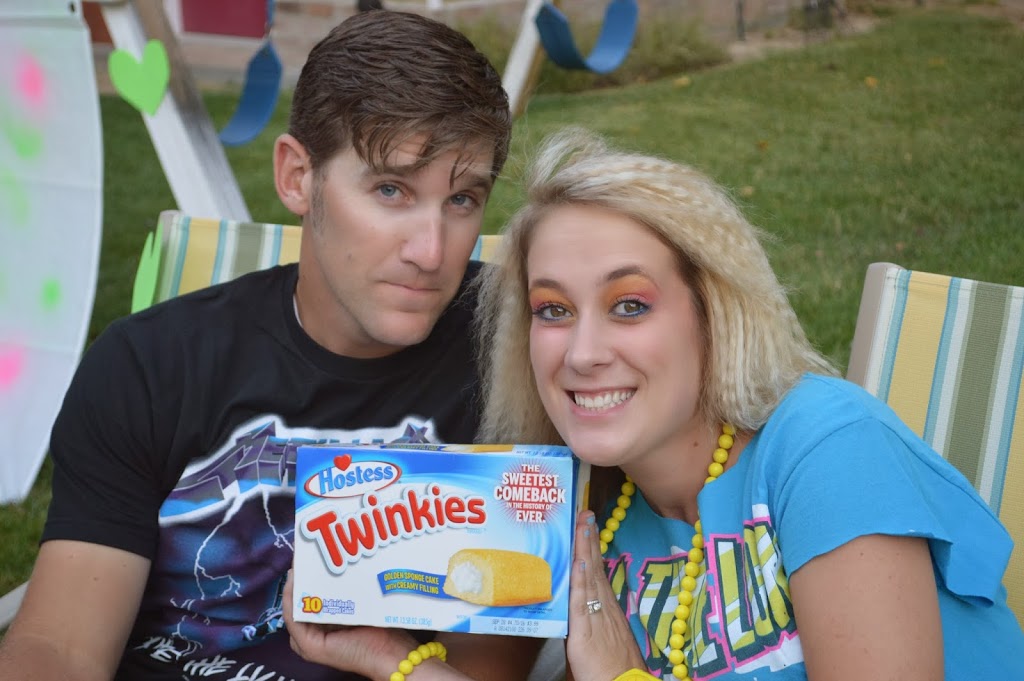
 The dinner was 80’s food – which is code for junk food: pizza, nachos, chips, onion dip, Kool Aid, Tang, and boy am I glad they brought back the Hostess Twinkies & Cup Cakes!!

  
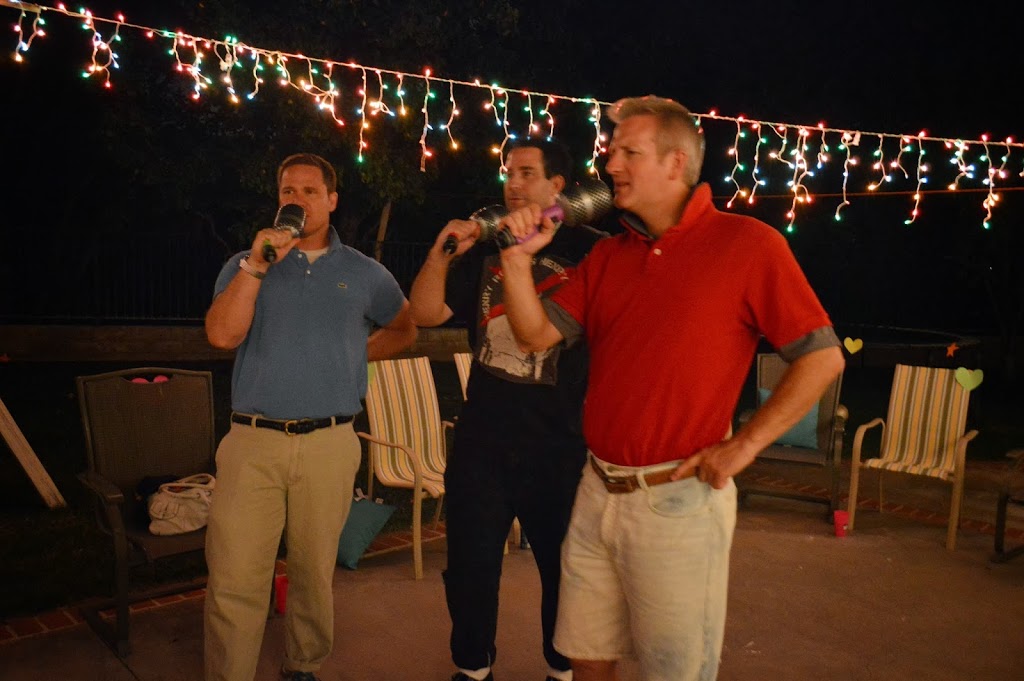
 If you know me at all, you know that I can’t have a party without dancing!  I love this picture of the guys – they are singing Depeche Mode’s “Somebody”.  Ahhhhhhhh

We had a little “name that tune” throw down
 Then just lots and lots of dancing and singing!!


Amanda

Halloween Table Square Tutorial

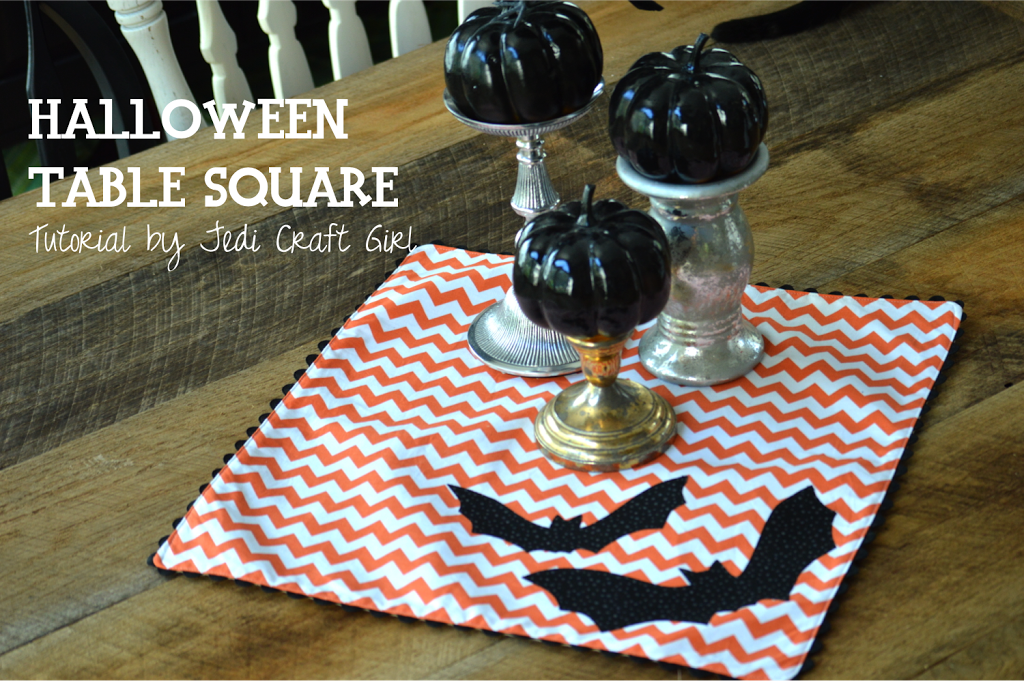
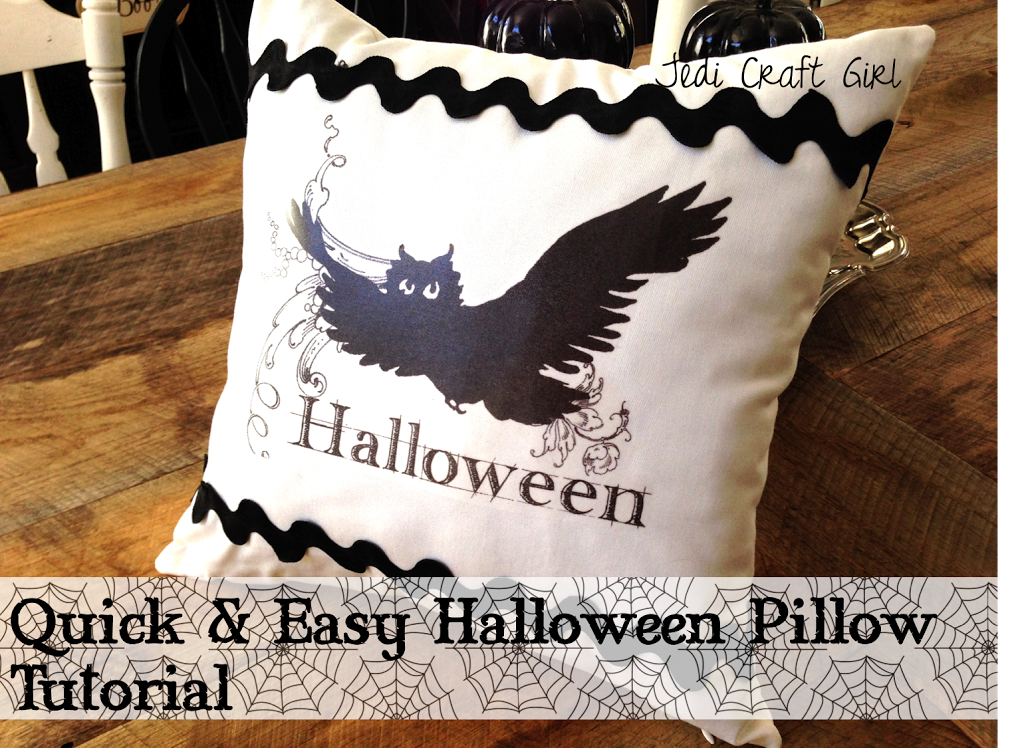
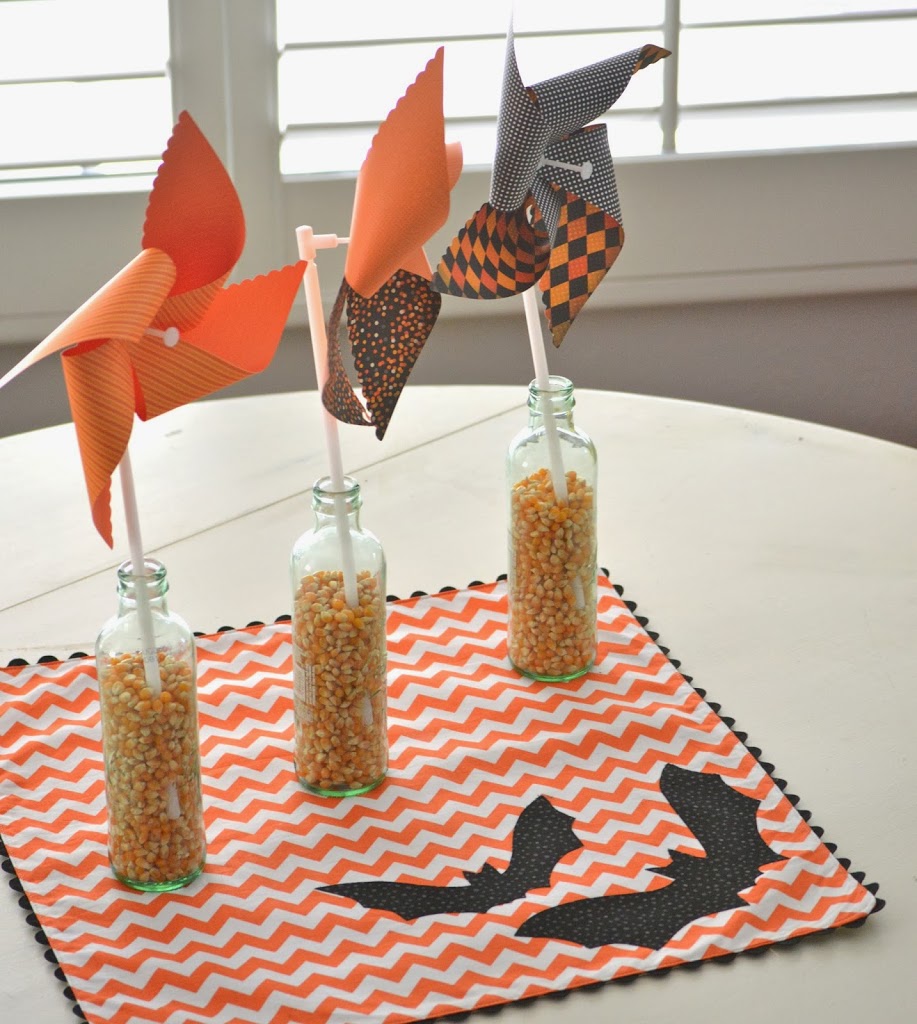
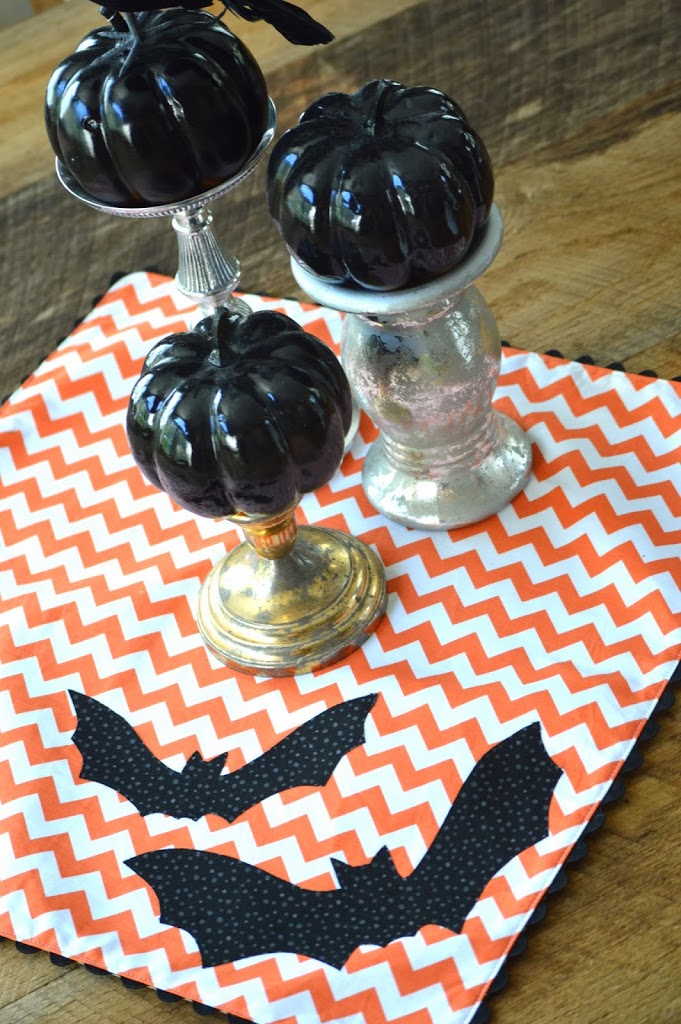
 Today I am a guest blogger over at Ginger Snap Crafts.  I am sharing this quick and easy tutorial for a cute Halloween table accent.  I can’t get enough of orange chevron!!!

Amanda

Halloween Costumes

Some years Halloween costumes are intense and other years it’s what ever we can find!  I still don’t know what we are going to be this year – usually I have it planned in the Summer!!!  Our favorite costumes were the Star Wars costumes!!  We really went all out!
The cat even got a Jedi robe!
Last year we were the cast of Gilligan’s Island.  My poor kids – no one knew who they were!  Such a shame!  We LOVE old TV shows!!!

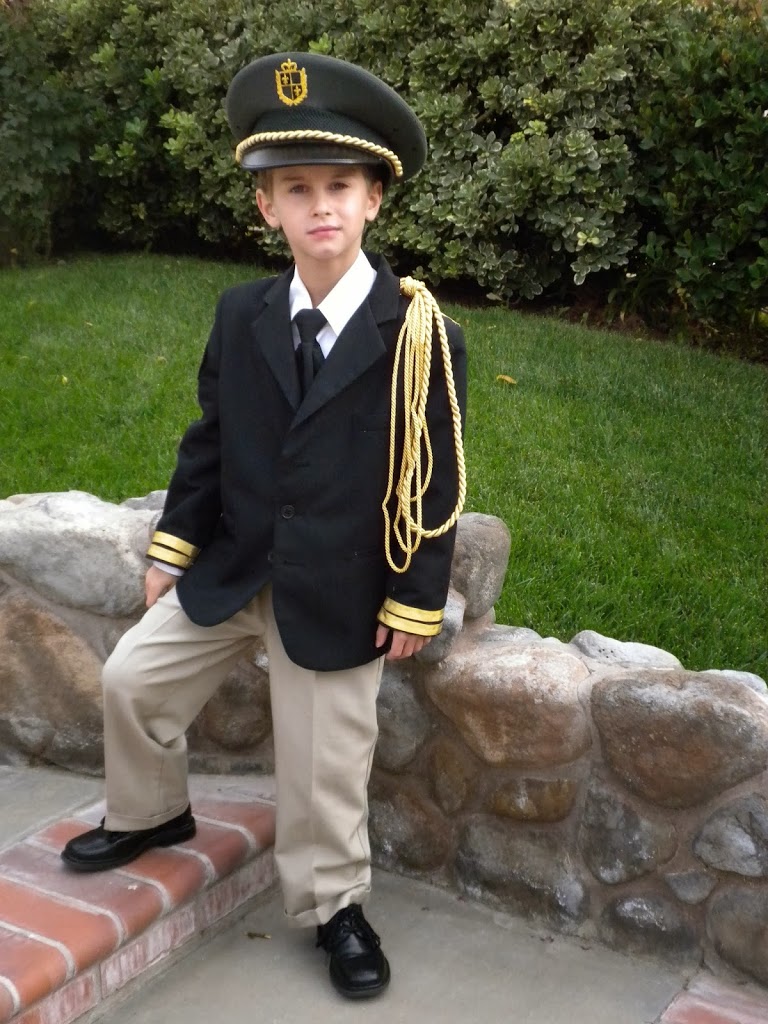
One year the kids were military people – we got the costumes at a military surplus store!

 
David was a nerd and I was Minnie Mouse – totally unrelated – one of those last minute things!!

Amanda

Spooky Halloween Art

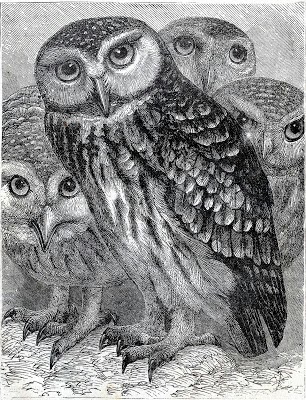
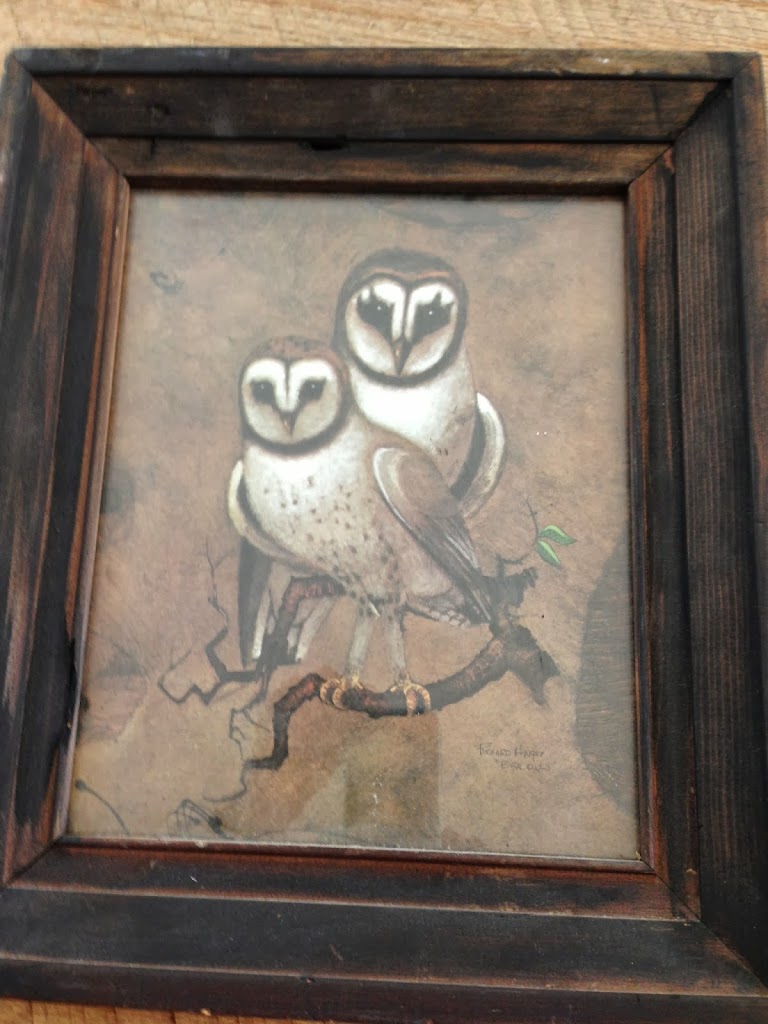
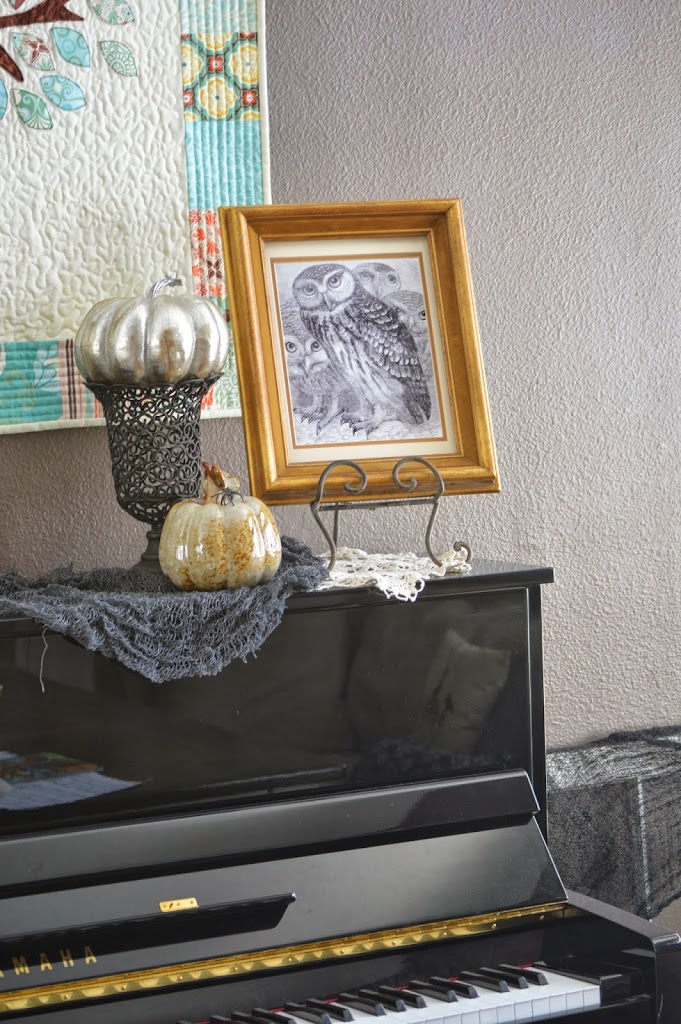
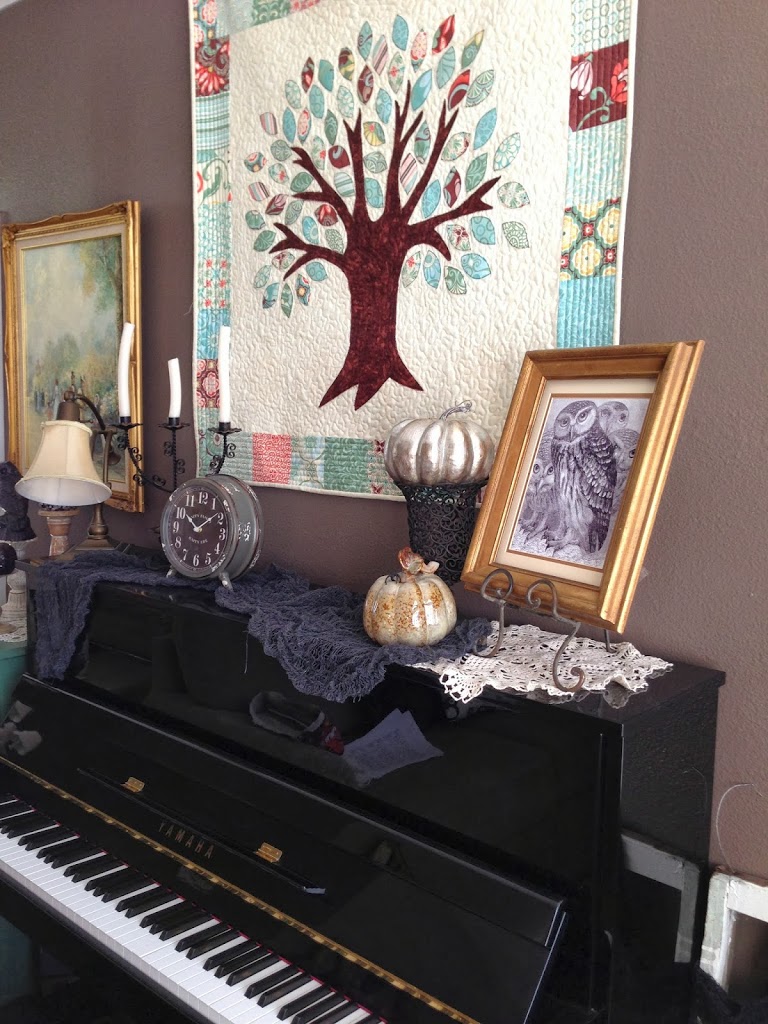
 I LOVE the The Graphics Fairy website!  She has amazing Vintage style images to download for free!  I found this owl family there.  I LOVE it!  It is perfect on my piano!

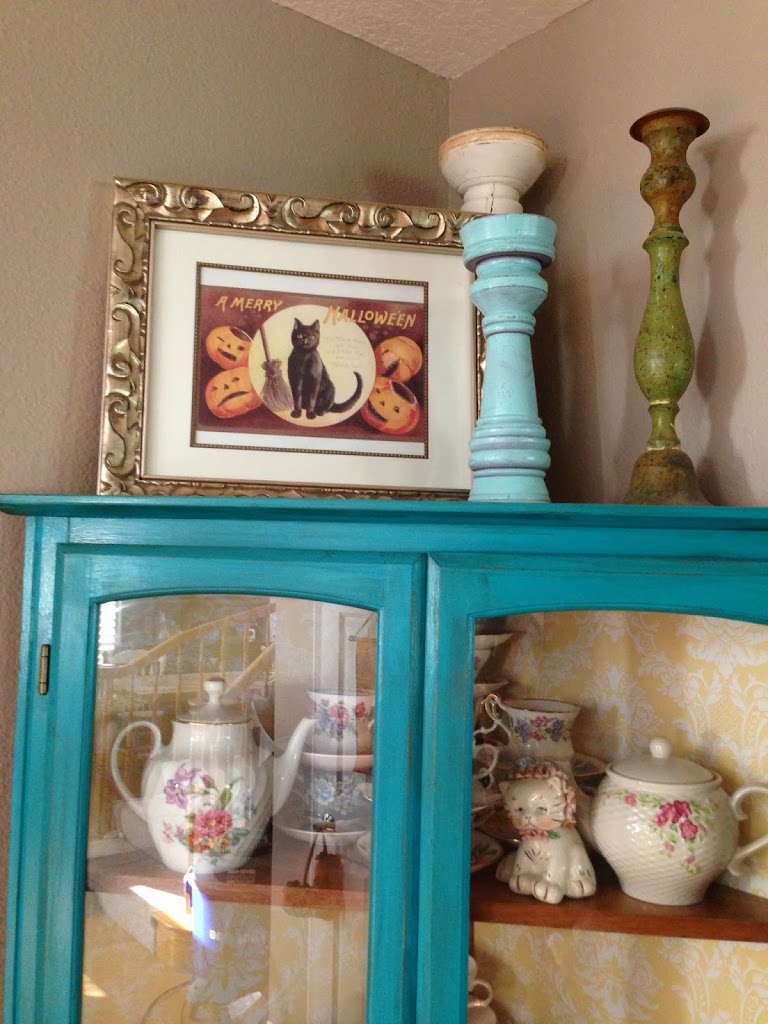
I also found this vintage cat print from the Graphics Fairy.  I can’t get enough of black cats!!

 I also have another spooky owl print I found at the Goodwill.  I have it in my front entryway.

I love decorating for Halloween!

Amanda

Halloween Pillow Tutorial

When the calendar turned September, I was wishing so badly that it was still July.  How I love the summer!  Today is October 1st and I have decided to deal with the fact that time is moving super fast!  Bring on the Halloween!  Pumpkins, owls, candy, costumes, bats, black cats and everything else!
My summertime throw pillows were not matching my Halloween decor.  I decided to make Halloween covers for my current pillows.  This one only took about 30 minutes start to finish.  Here’s how you can make one:
Supplies:
Iron- on transfer paper (purchase at Michaels, Wal Mart, etc. in the computer paper section)
Graphic to print
(2) 17″ squares of light colored canvas, duck cloth or other heavy fabric
1 yard of super jumbo ric rac
16″ pillow form
To begin, you need a graphic to print on the iron-on transfer paper.  If you are artsy you can make your own.  I went to Etsy and searched “Halloween pillow iron-on” and 19 pages of vintage style Halloween graphics came up.  Most of them are only $1.00 and download instantly.  Super fast & cheep – yea!
Size the graphic to take up as much of the 8.5″ x 11″ paper.  Make sure to tell the printer to “Flip” the image or “Mirror”.  It needs to print out backwards 🙂

Trim about 1/8″ around the graphic

Follow the manufactures instructions.  Essentially use a dry, hot iron and press into place.  It takes a few minutes.  Then when it’s cooled, peel off the paper backing.  I love it already!!

I thought a little trim would be fun and still keep the pillow somewhat simple.  Pin the super jumbo ric rac into place.

When sewing normal ric rac, you just sew a straight line down the center.  I did this with the super jumbo ric rac and the points were still floppy.  With matching thread, follow the zig zag of the ric rac and sew into place like this:
You can finish the pillow using your favorite method.  I put an invisible zipper in the bottom.  Click HERE for the tutorial.  You could easily sew, turn and stuff the pillow or sew an envelope back.  I love how it turned out!!  It’s super spooky!!!

Amanda