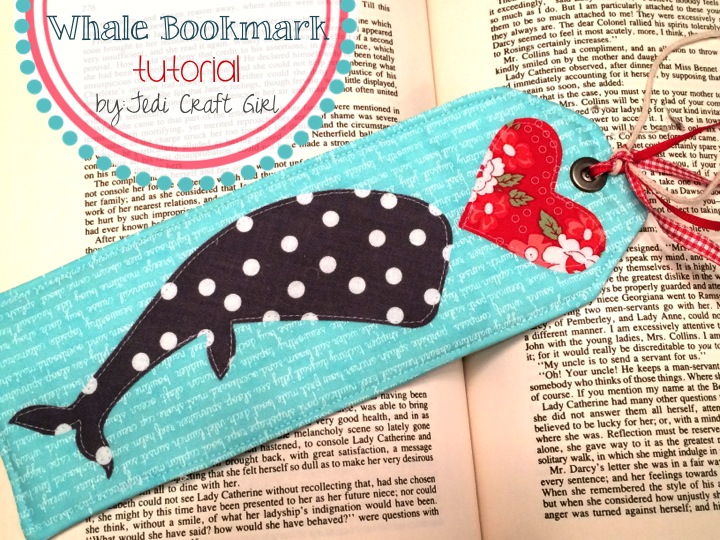
In celebration of Earth Day, today, I thought I would share this fast and fun tutorial for a whale bookmark using the Sizzix Whale Die. I have loved whales my whole life. I remember as a little girl saving up my money to buy a $5 gold colored whale necklace; I was so excited because a portion of the money would go to the “Save the Whales” fund.

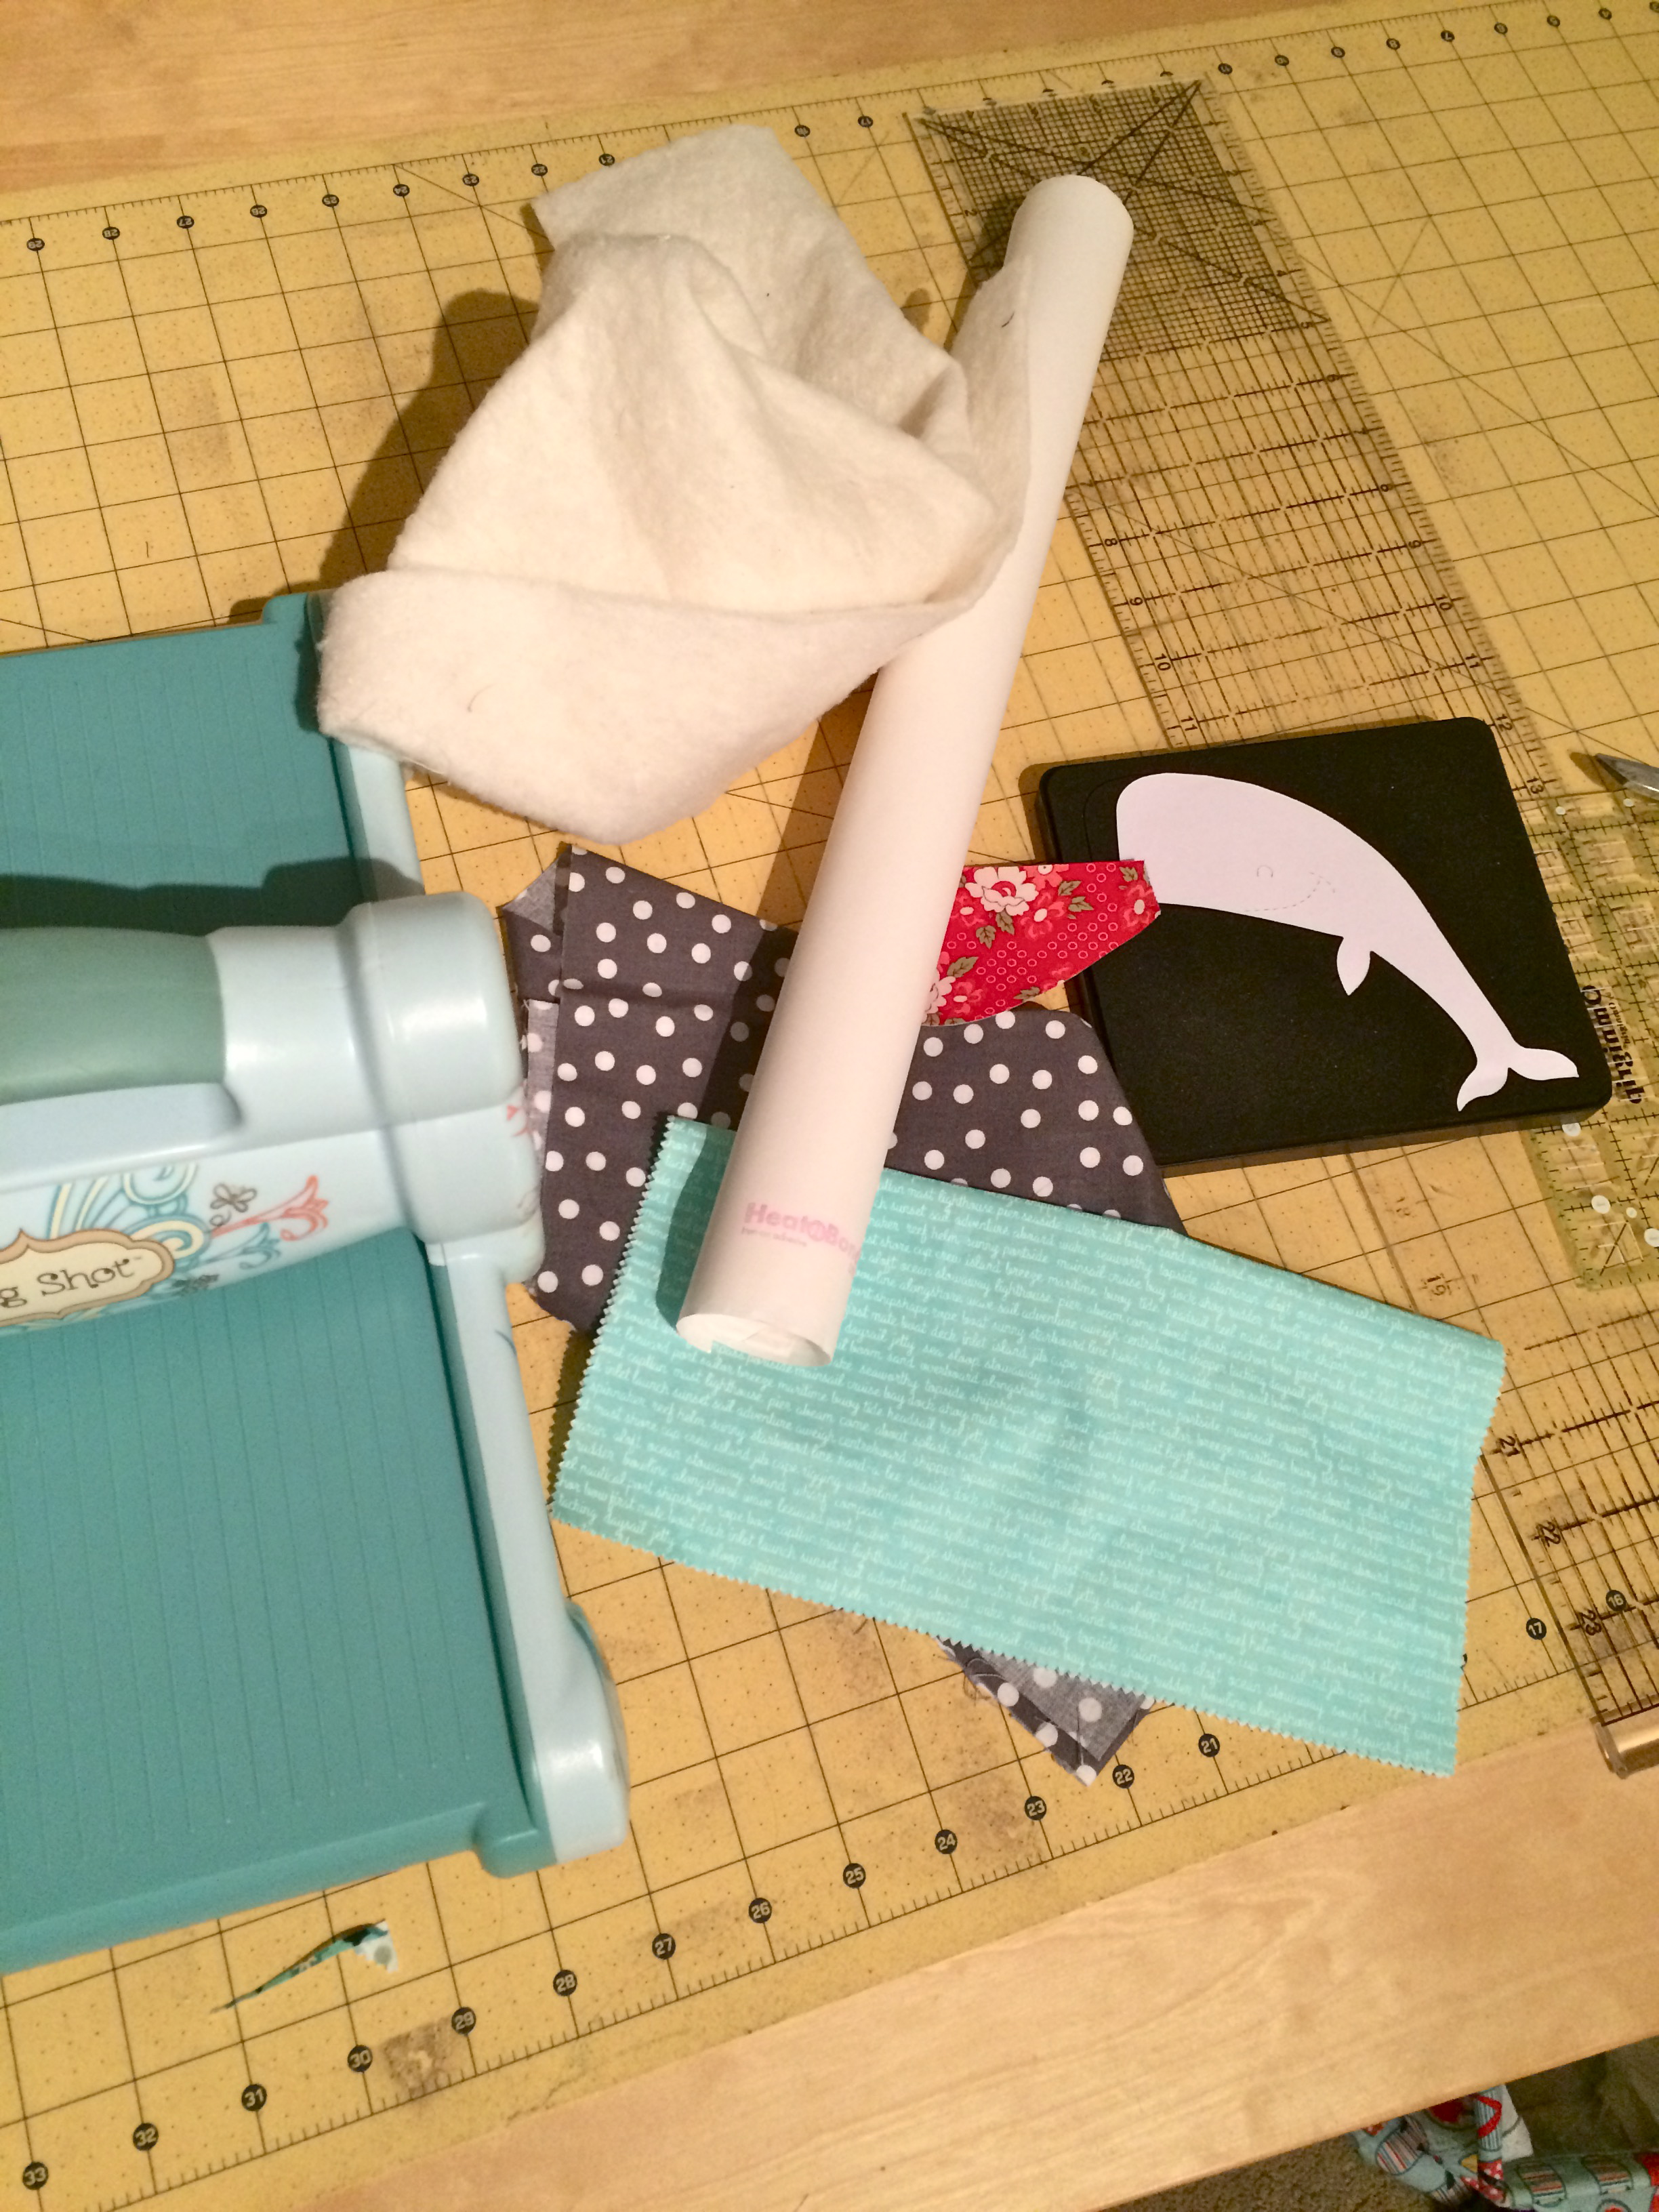
Here’s what you need to make the bookmark:
scrap of aqua, gray dots, and red fabrics
Heat n Bond Fusible Fleece
Heat n Bond Lite fusible applique
Grommet or large eyelet
scraps of ribbon/trim
Instructions
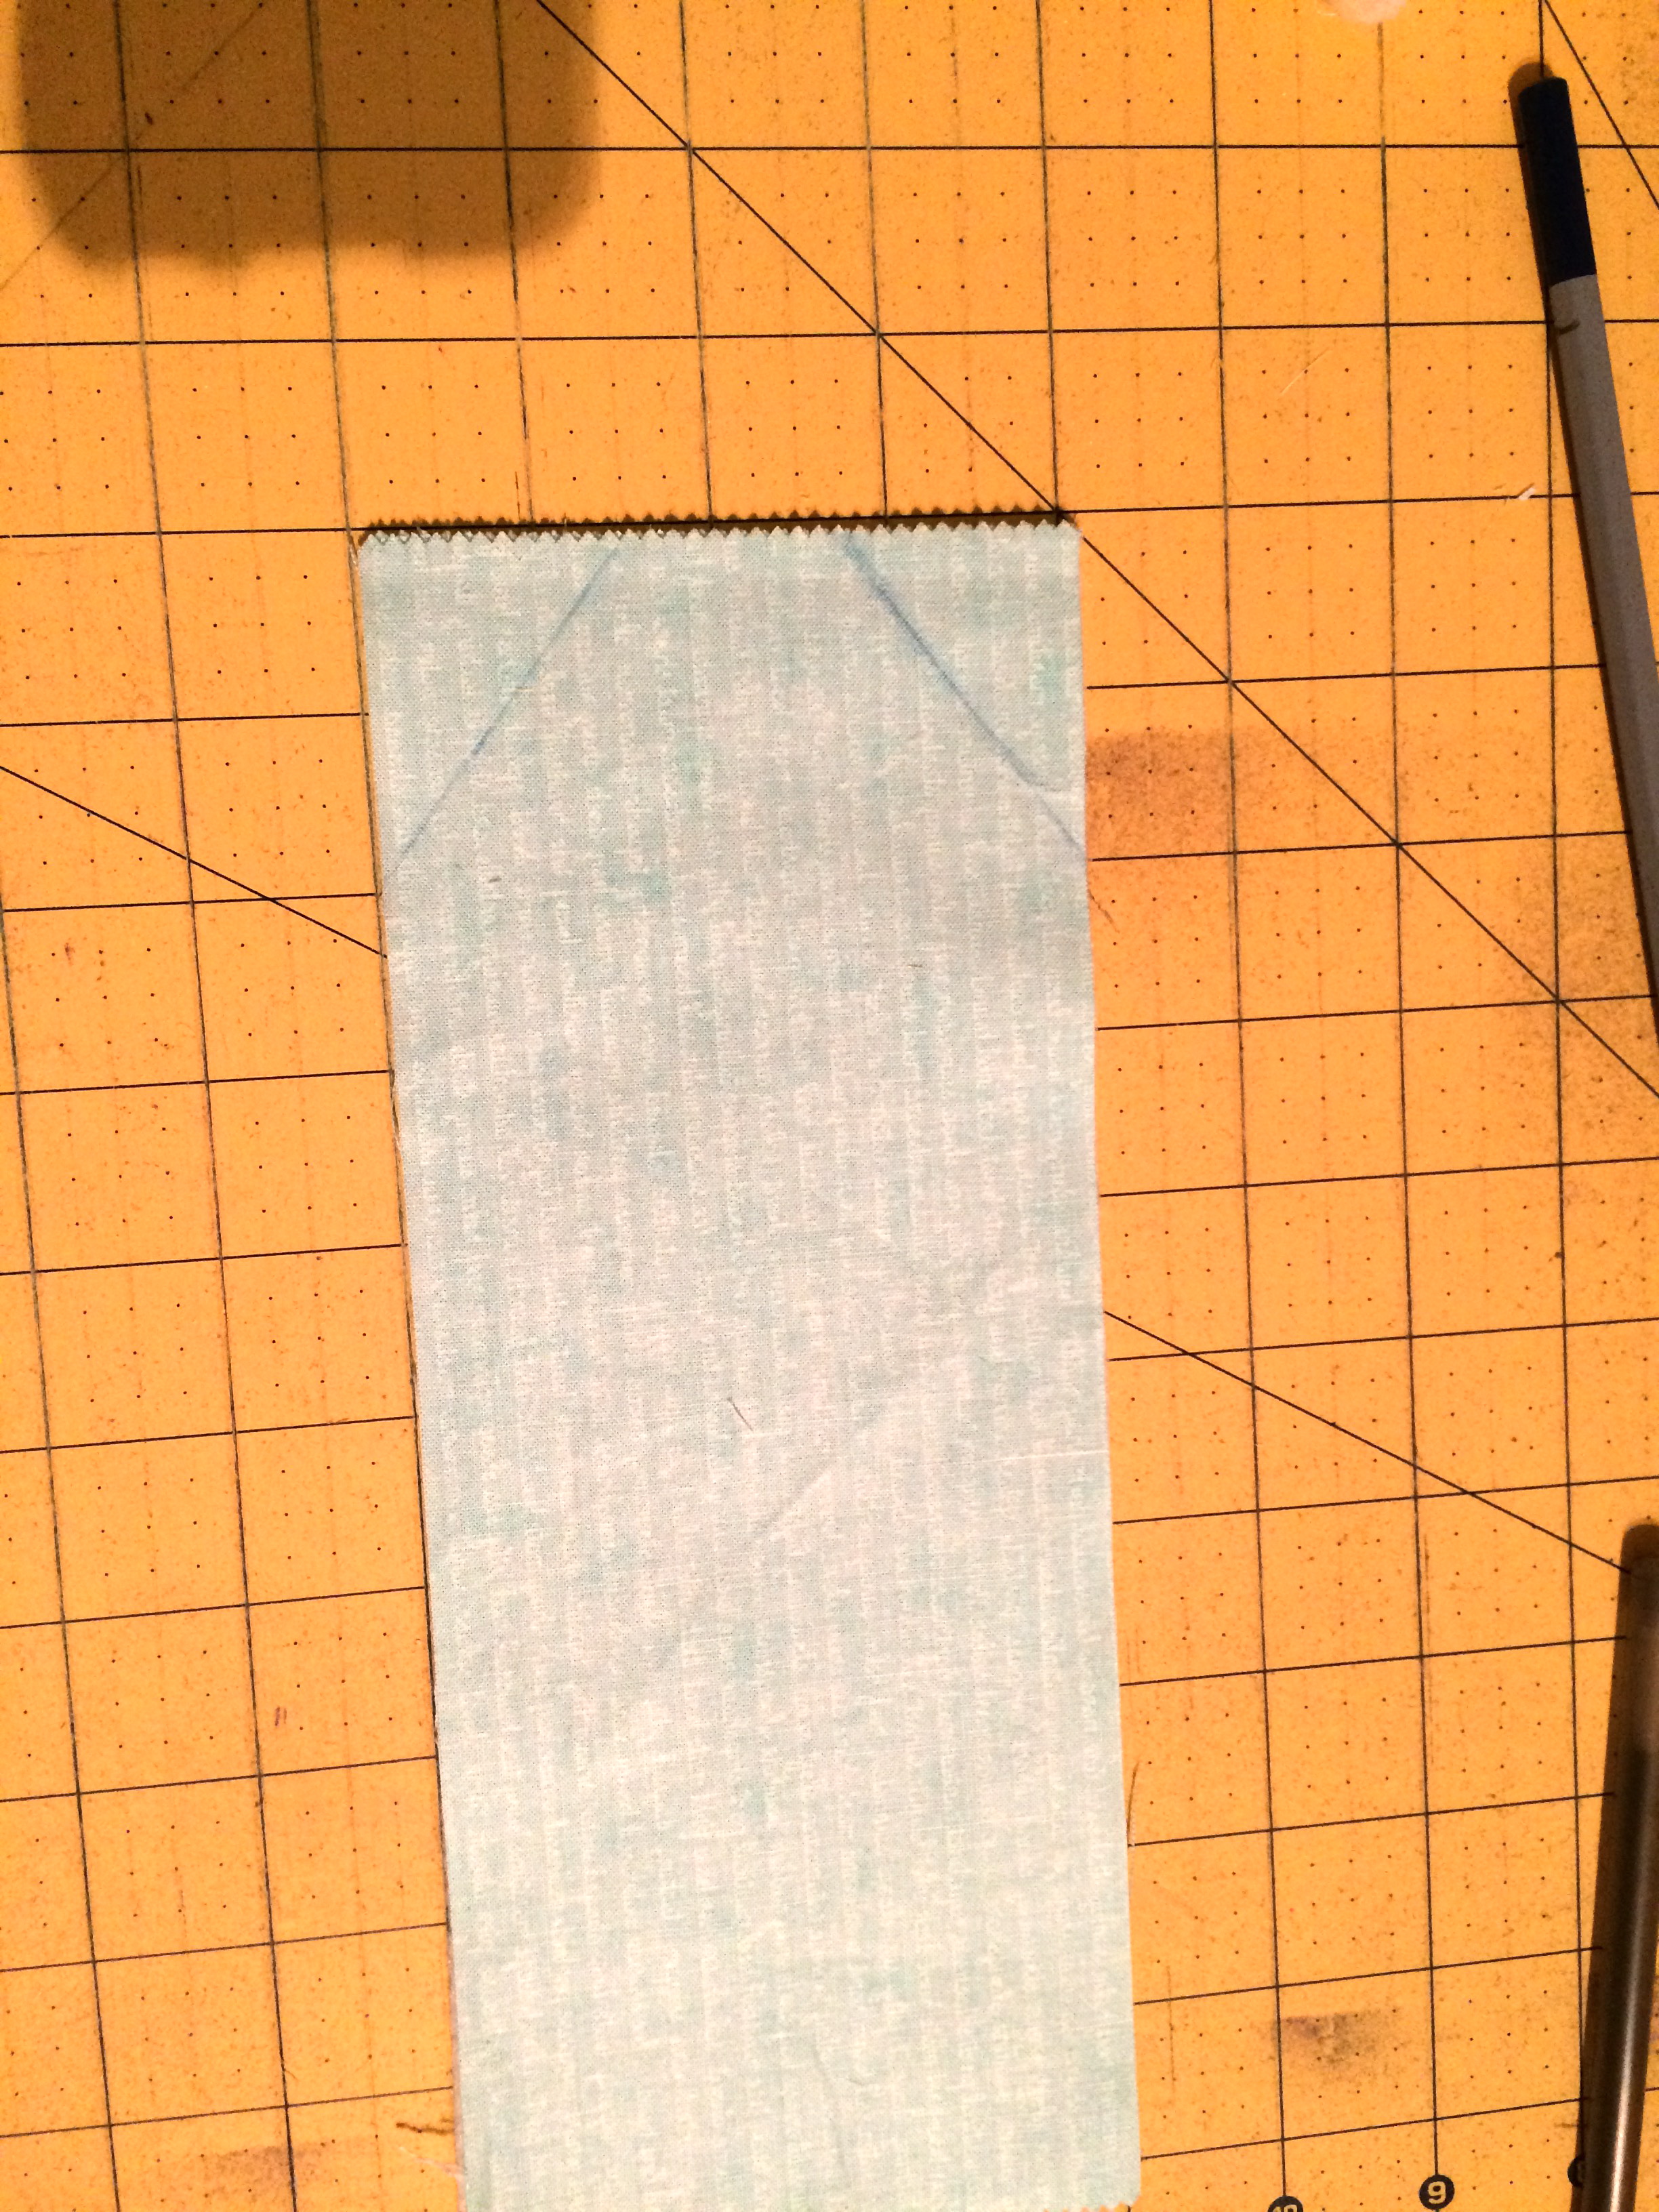
Begin by cutting the aqua fabric (2) 4″ x 10″
Cut the Fusible Fleece the same size, 4″ x 10″
(sorry for the photo quality, I do my best work late at night!!!!)
Draw an angle in the upper corners to form the shape of a tag. Notice where I positioned my lines in comparison to the grid:

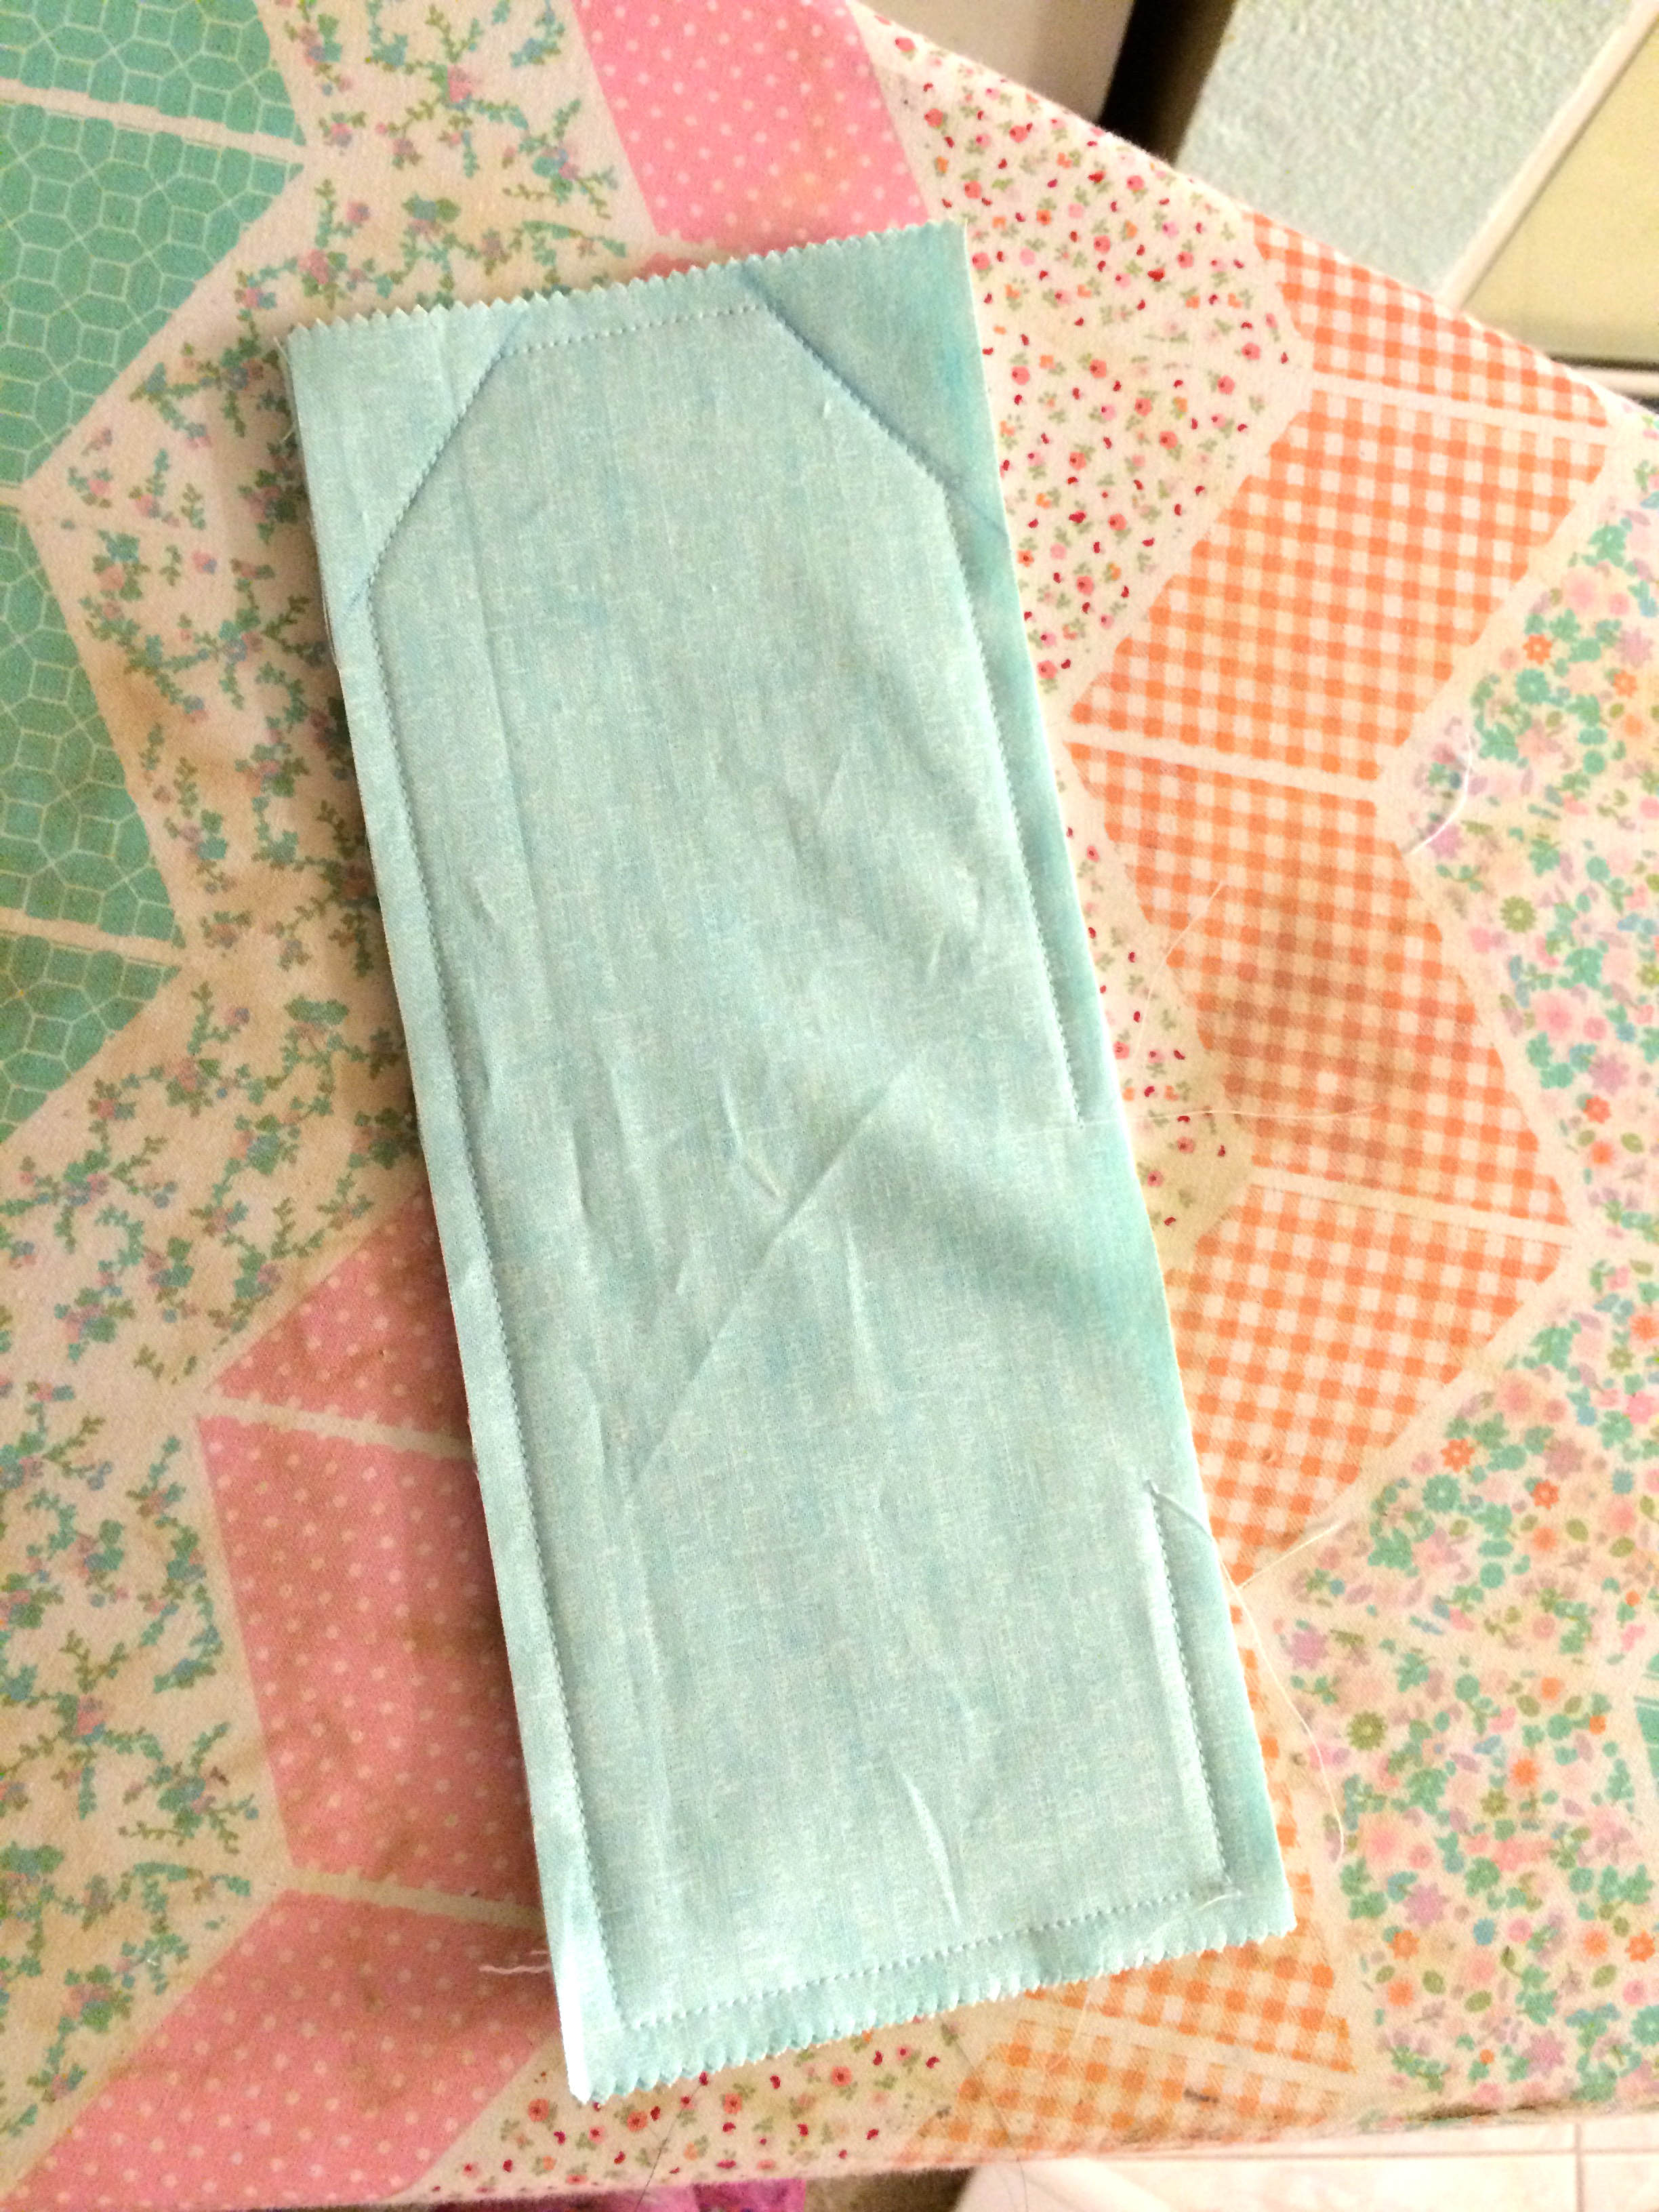
Iron the fusible fleece to one of the aqua pieces on the wrong side. Plaace right sides of the bookmark pieces together. Sew around the bookmark,using a generous 1/4″ seam. Leave an opening along the side for turning. Trim the edges close to the seam and clip corners. Turn right side out, press. Top stitch.

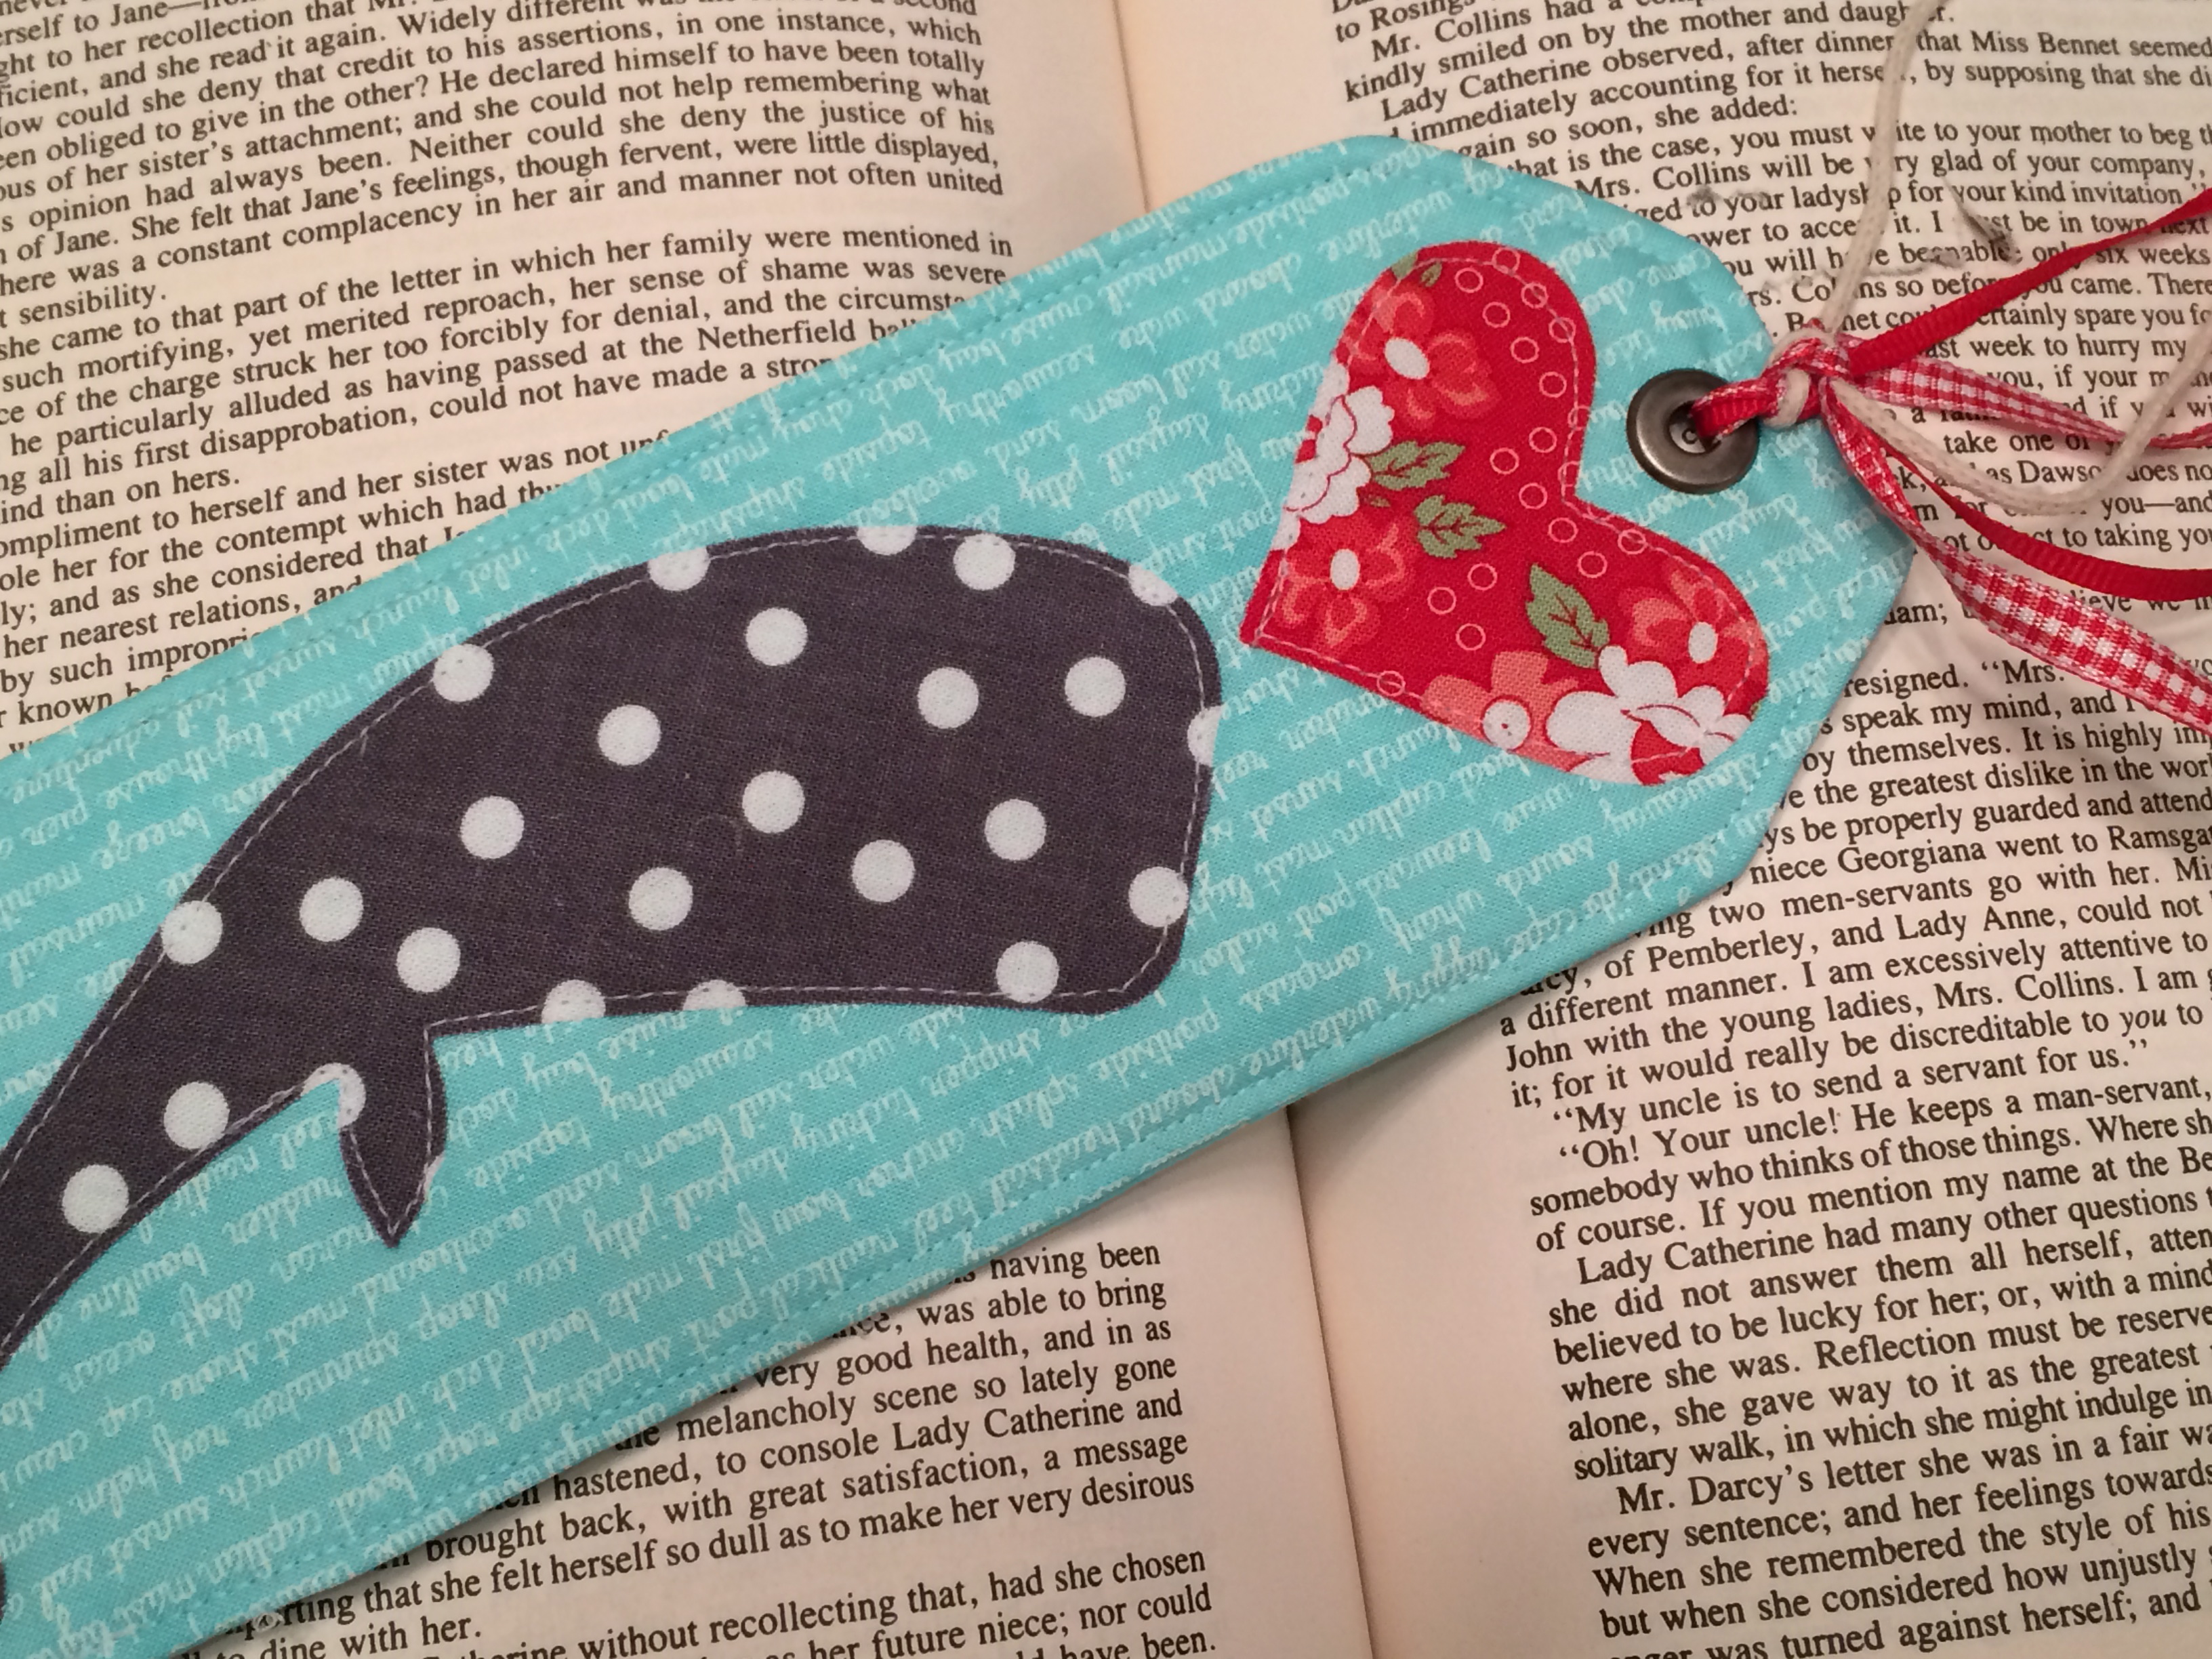
For the whale and heart appliqué pieces, iron the Heat n Bond Lite to the wrong side of the gray fabric. Cut out a rectangle roughly the size of the Sizzix Whale Die. Run it through the Big Shot or Fabi Machine. For the heart, I cut it freehand. Peel the backing paper off.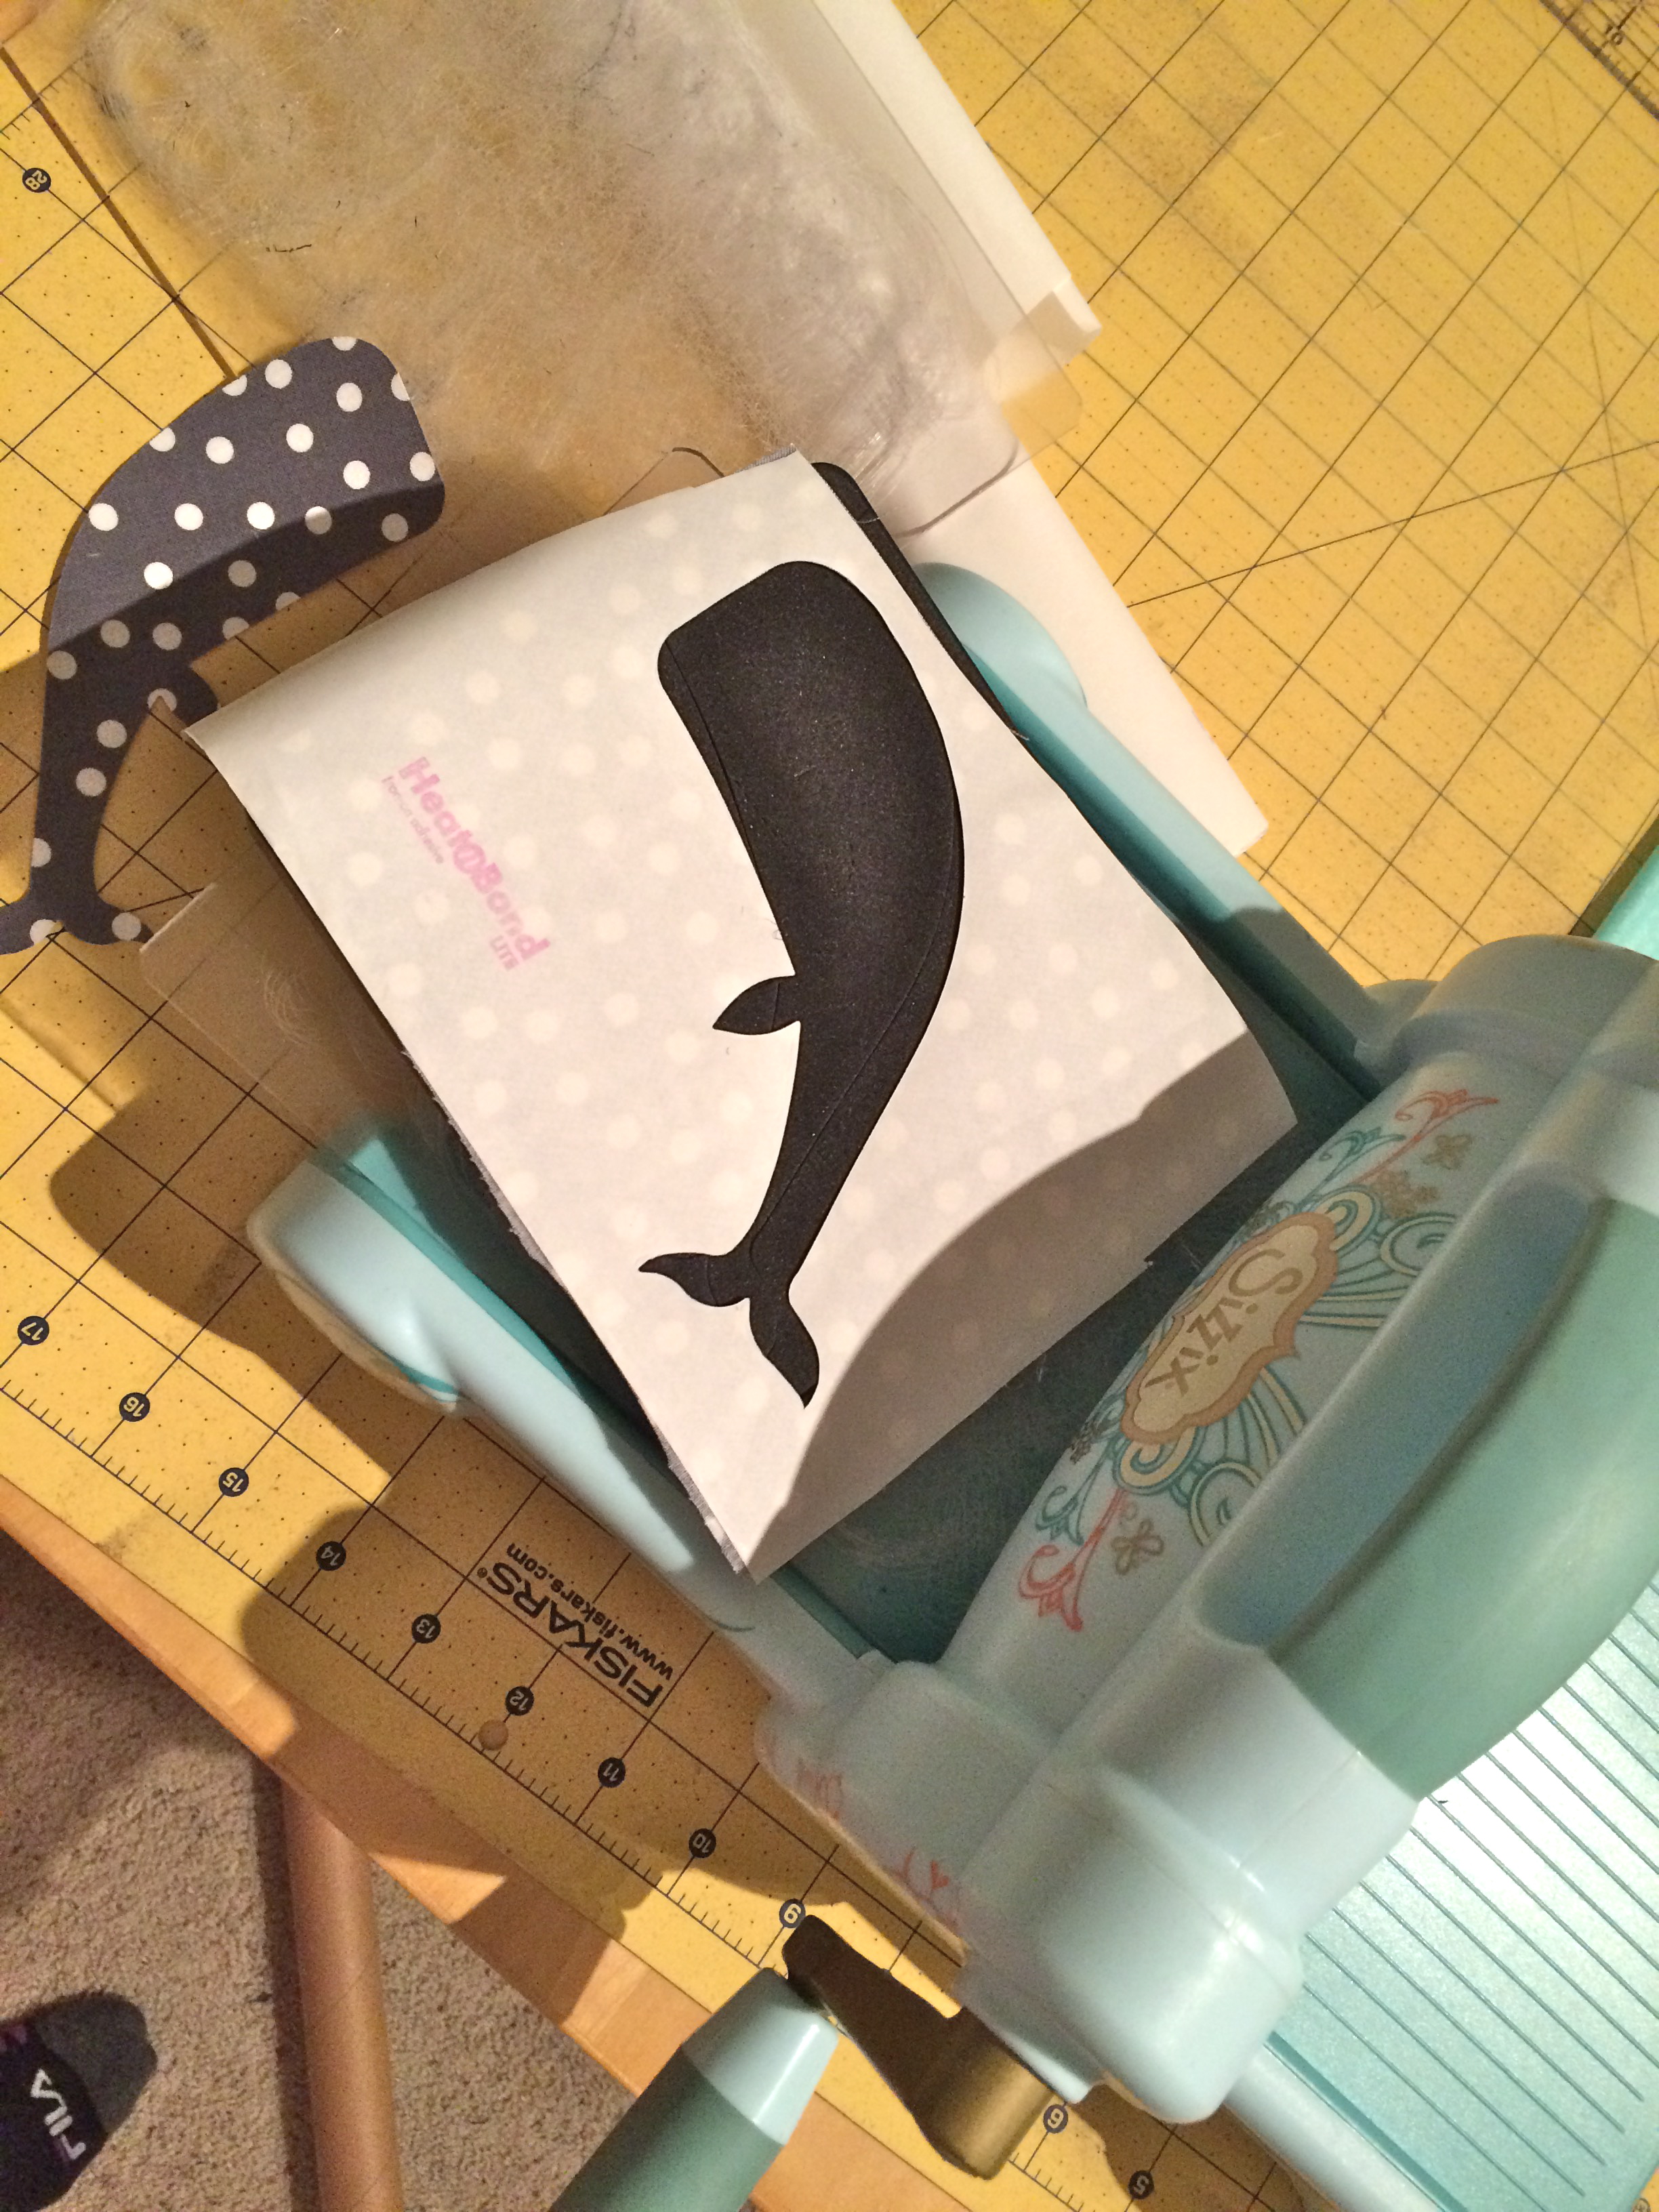
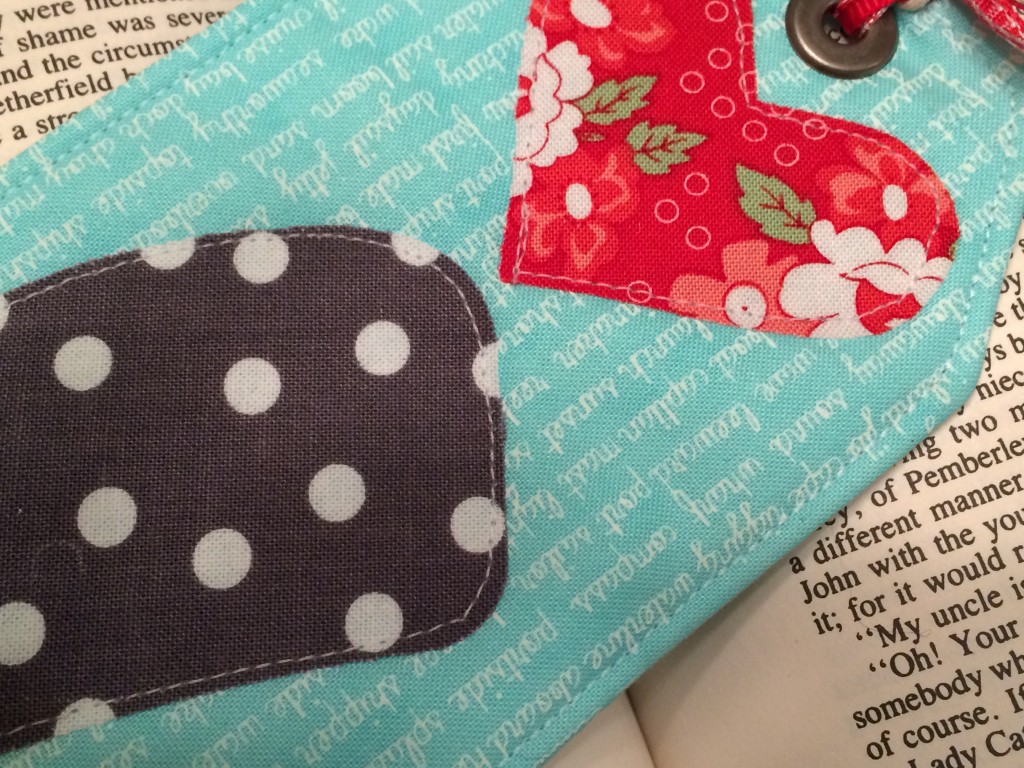
Position the appliqué pieces as desired. Iron in place. Top stitch around the whale and the hart.

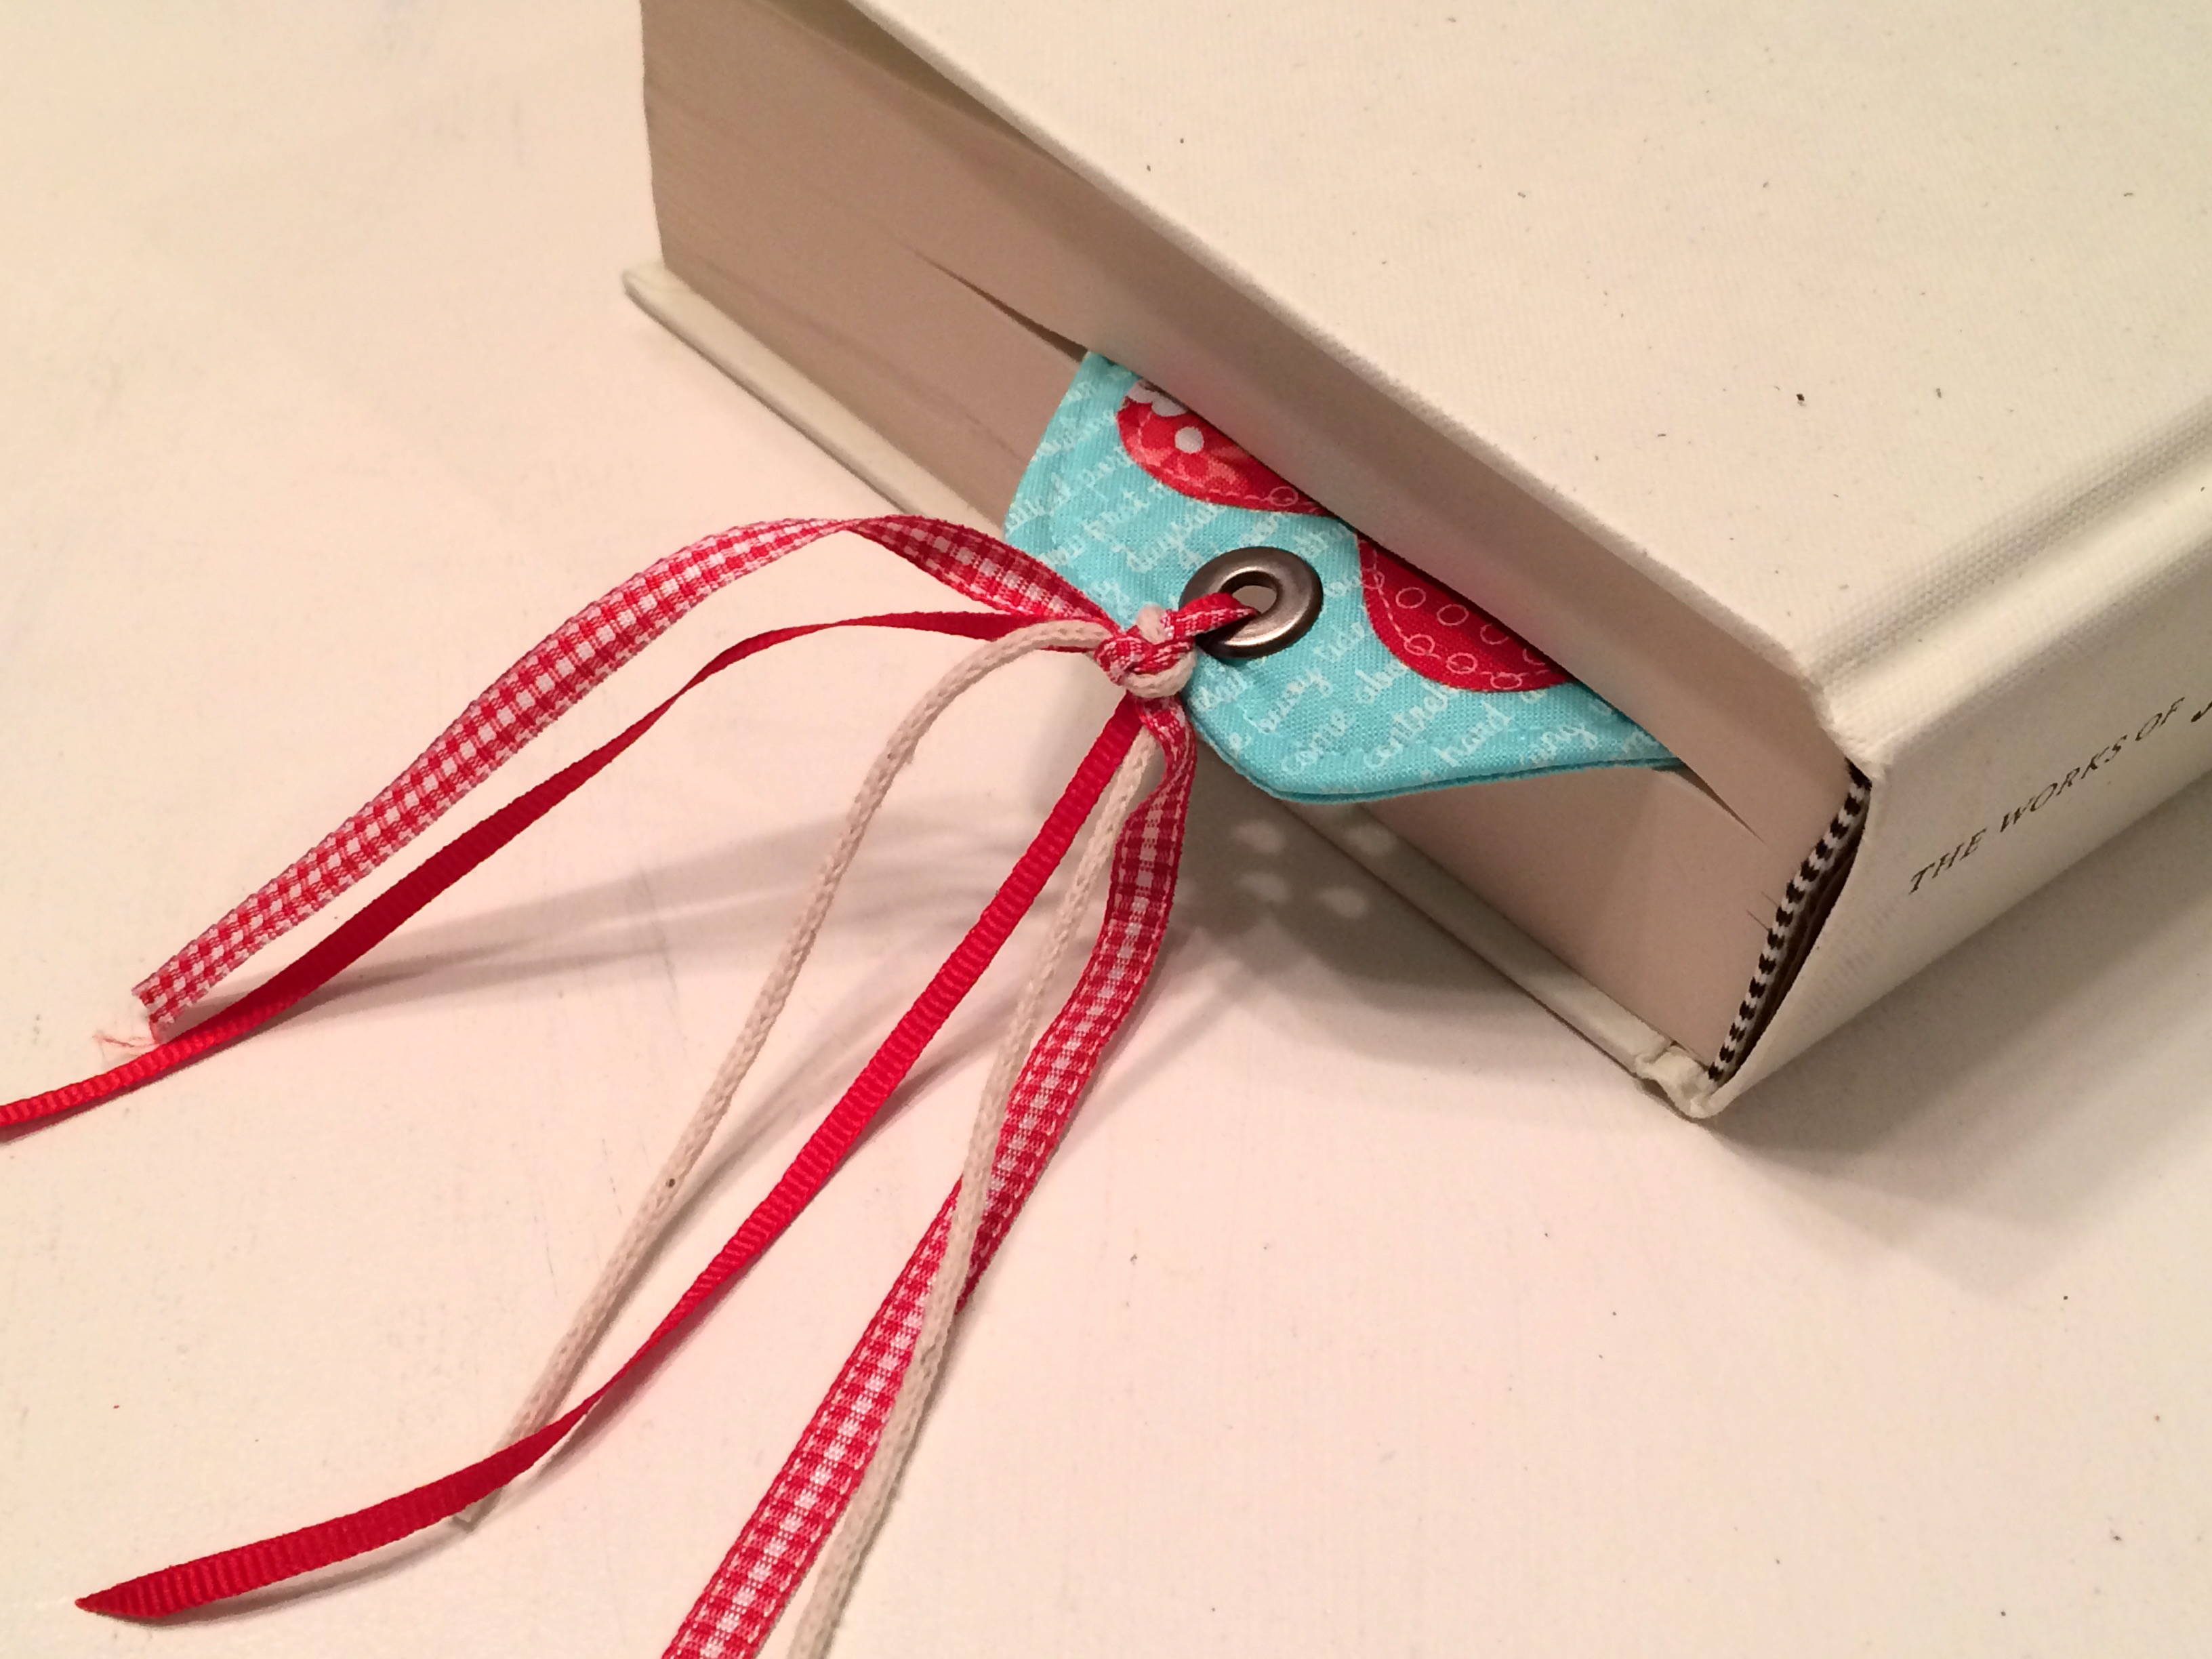
When you are finished, add a grommet or eyelet and tie ribbons through it.
It also doubles as a cat toy!!!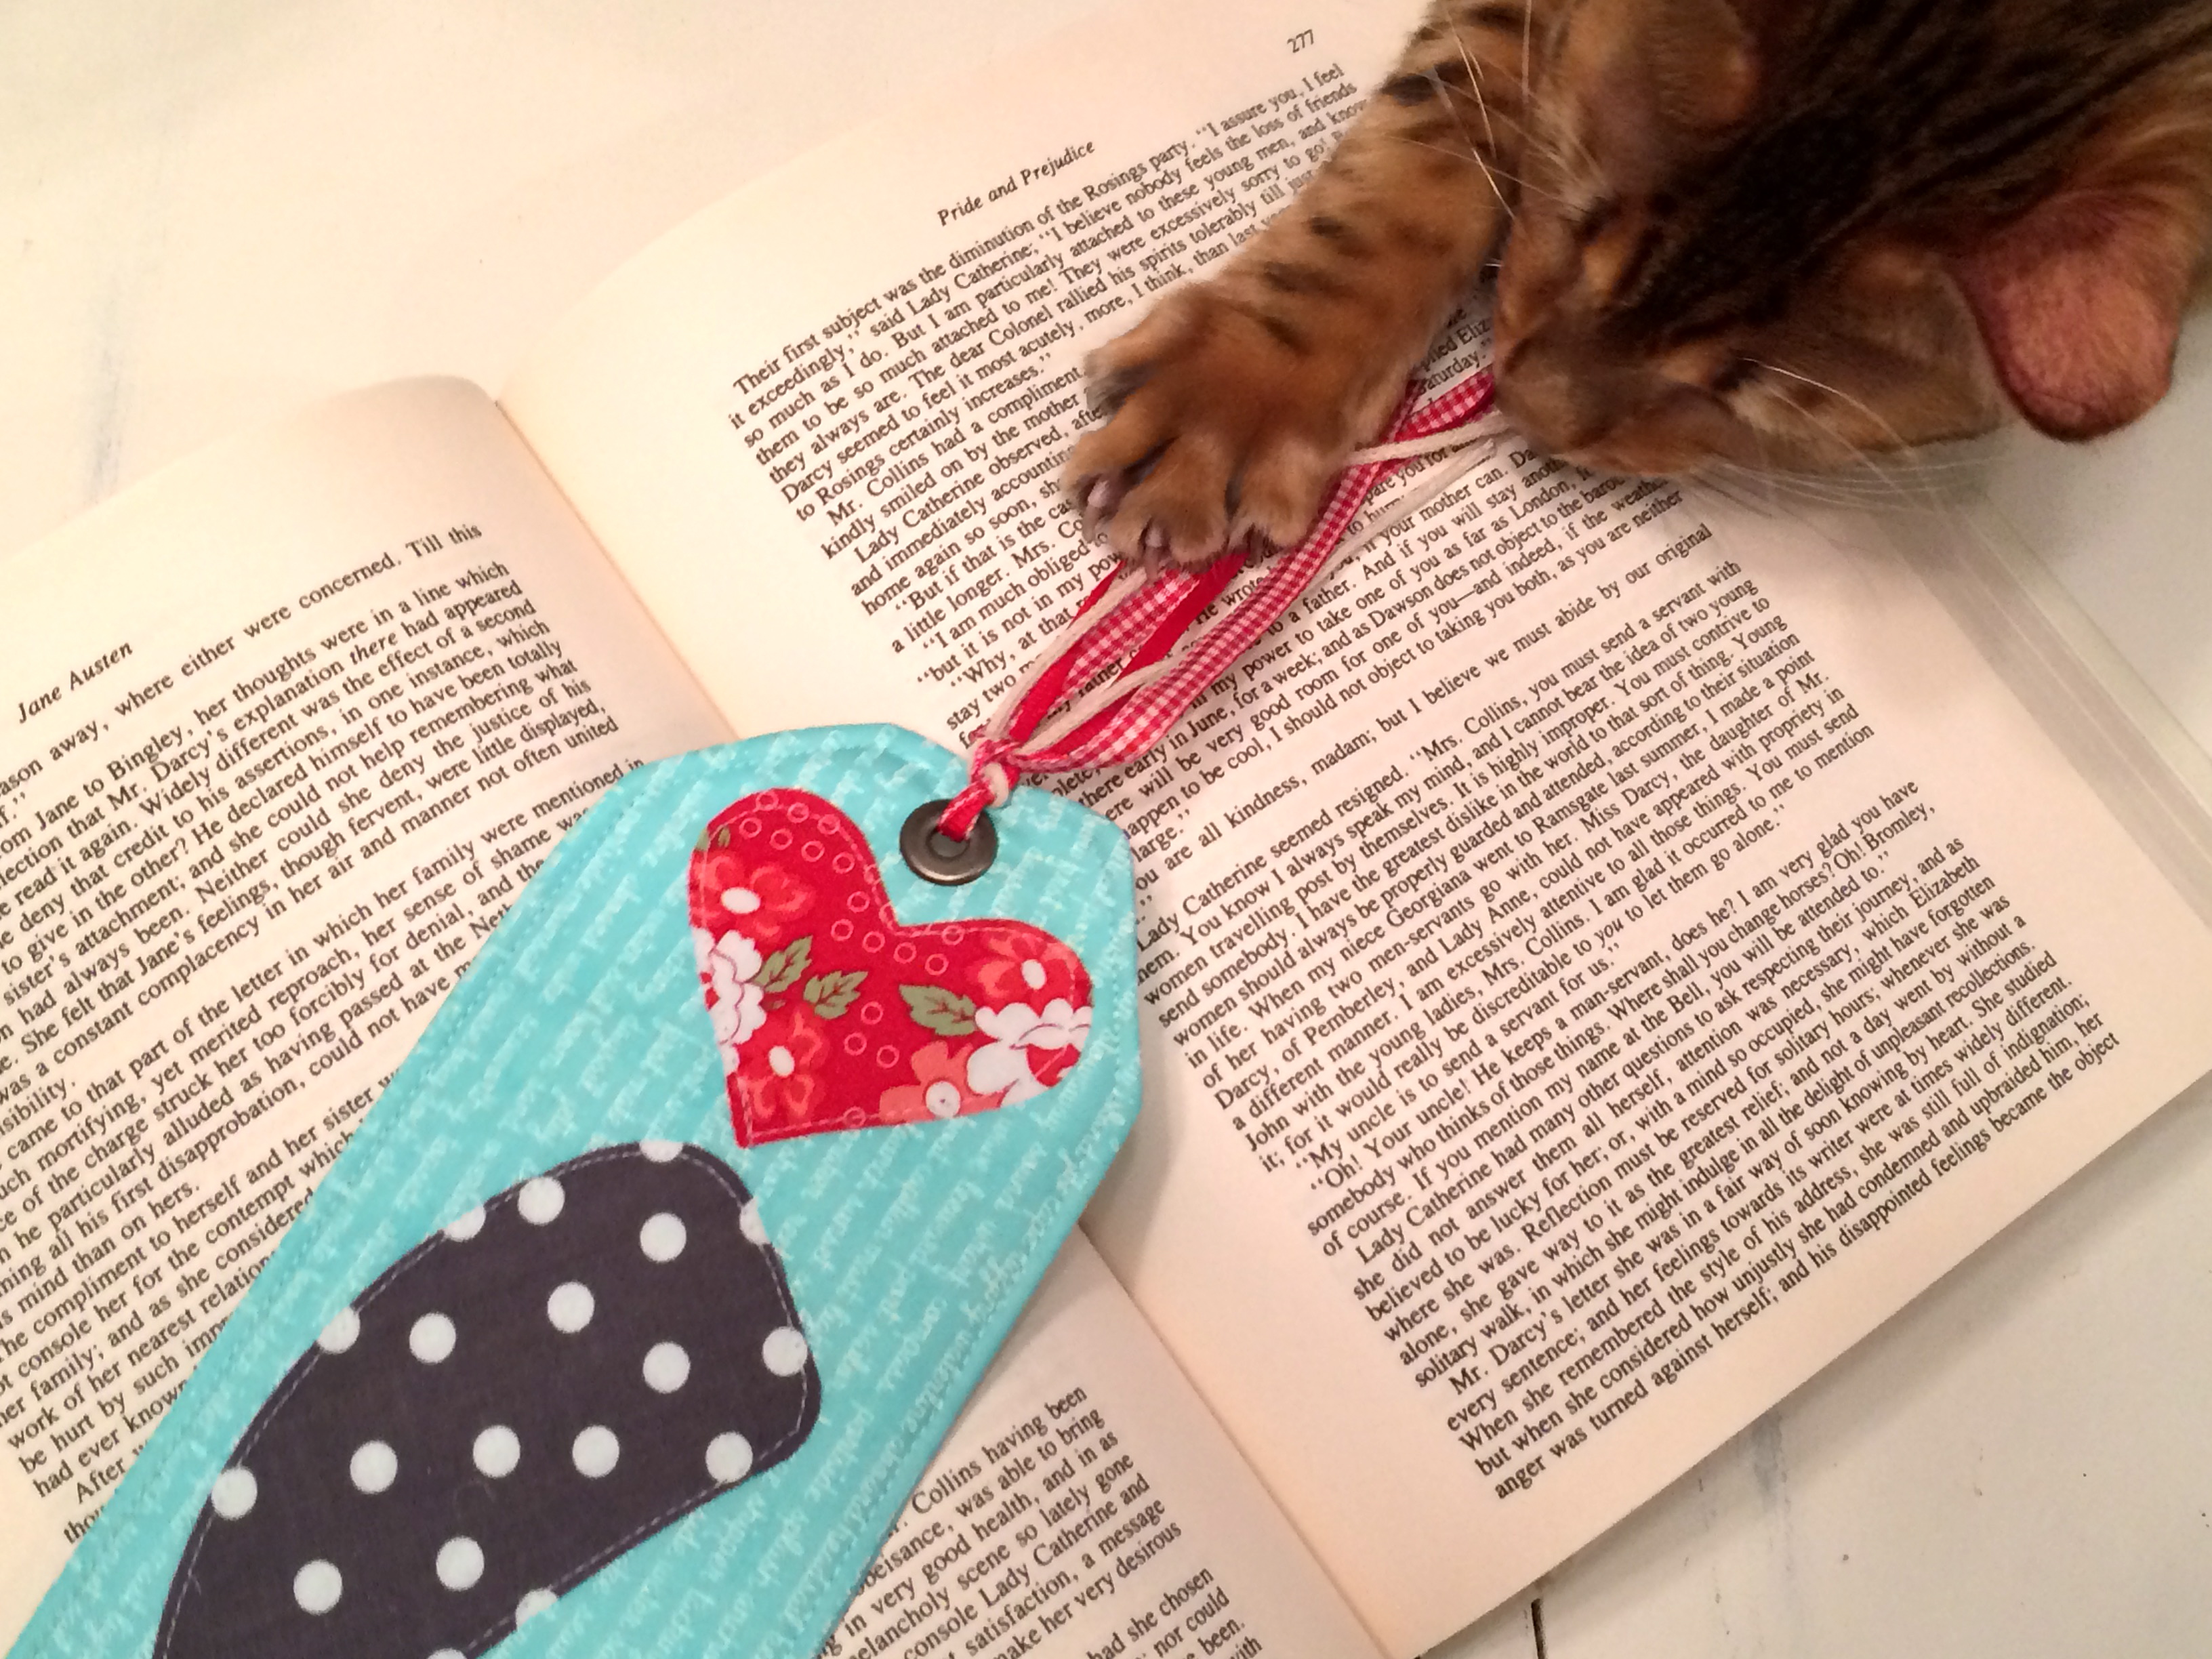
I think it’s the cutest and I totally needed an new bookmark!!!


yAY i’M making one.