Search Results for: pinwheel

RBD Block Challenge Pinwheel Block

Have you been following Riley Blakes Block Challenge? A new tutorial for a quilt block each week!

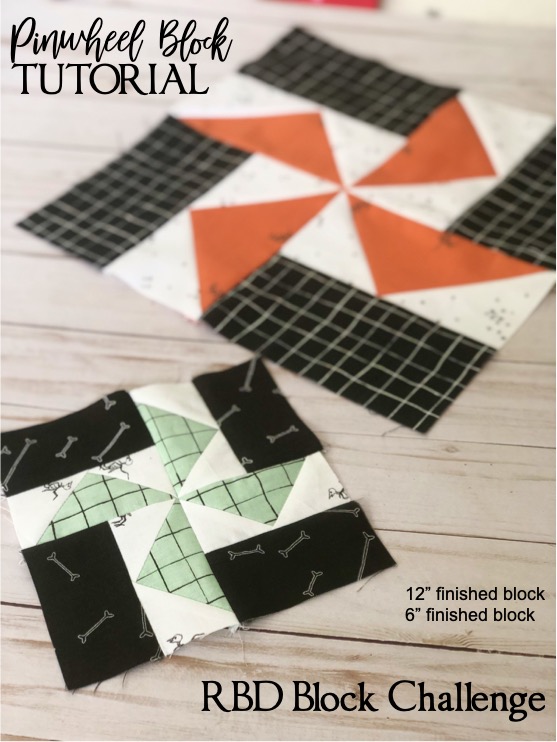
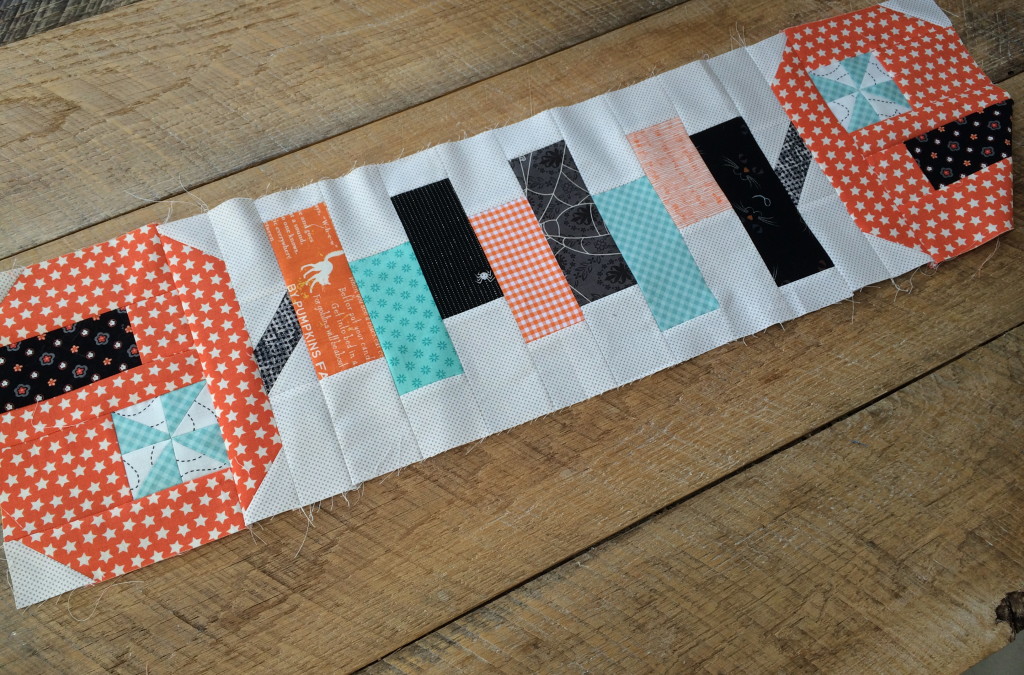
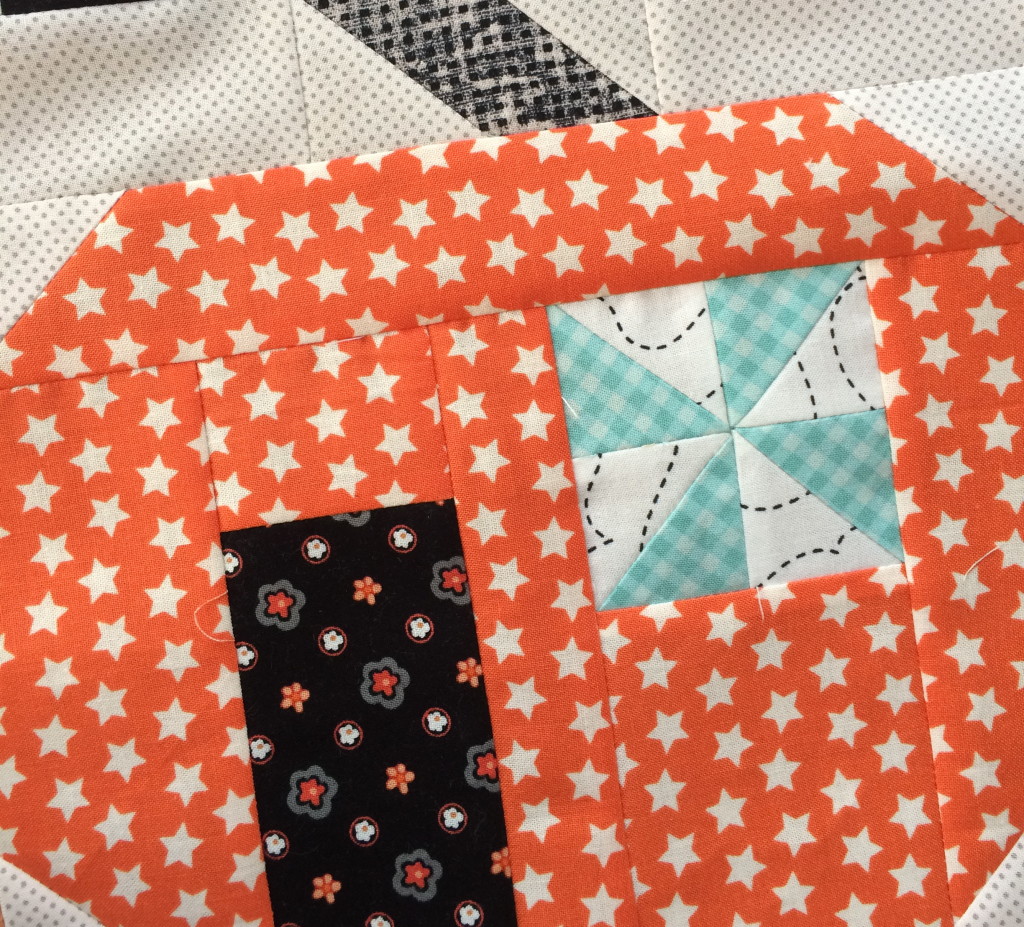
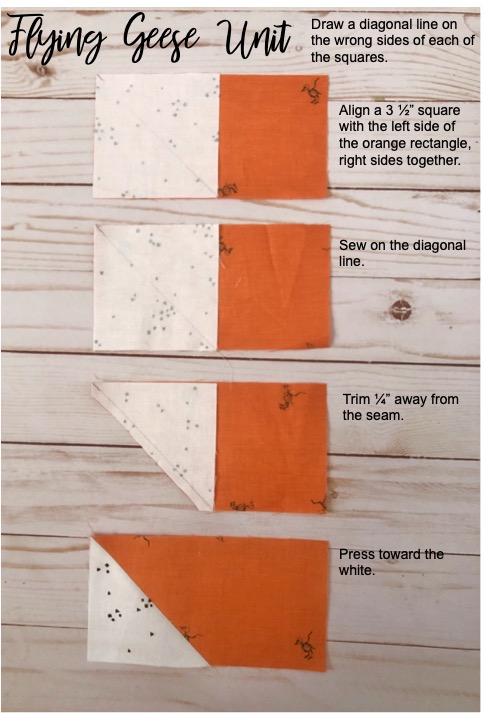
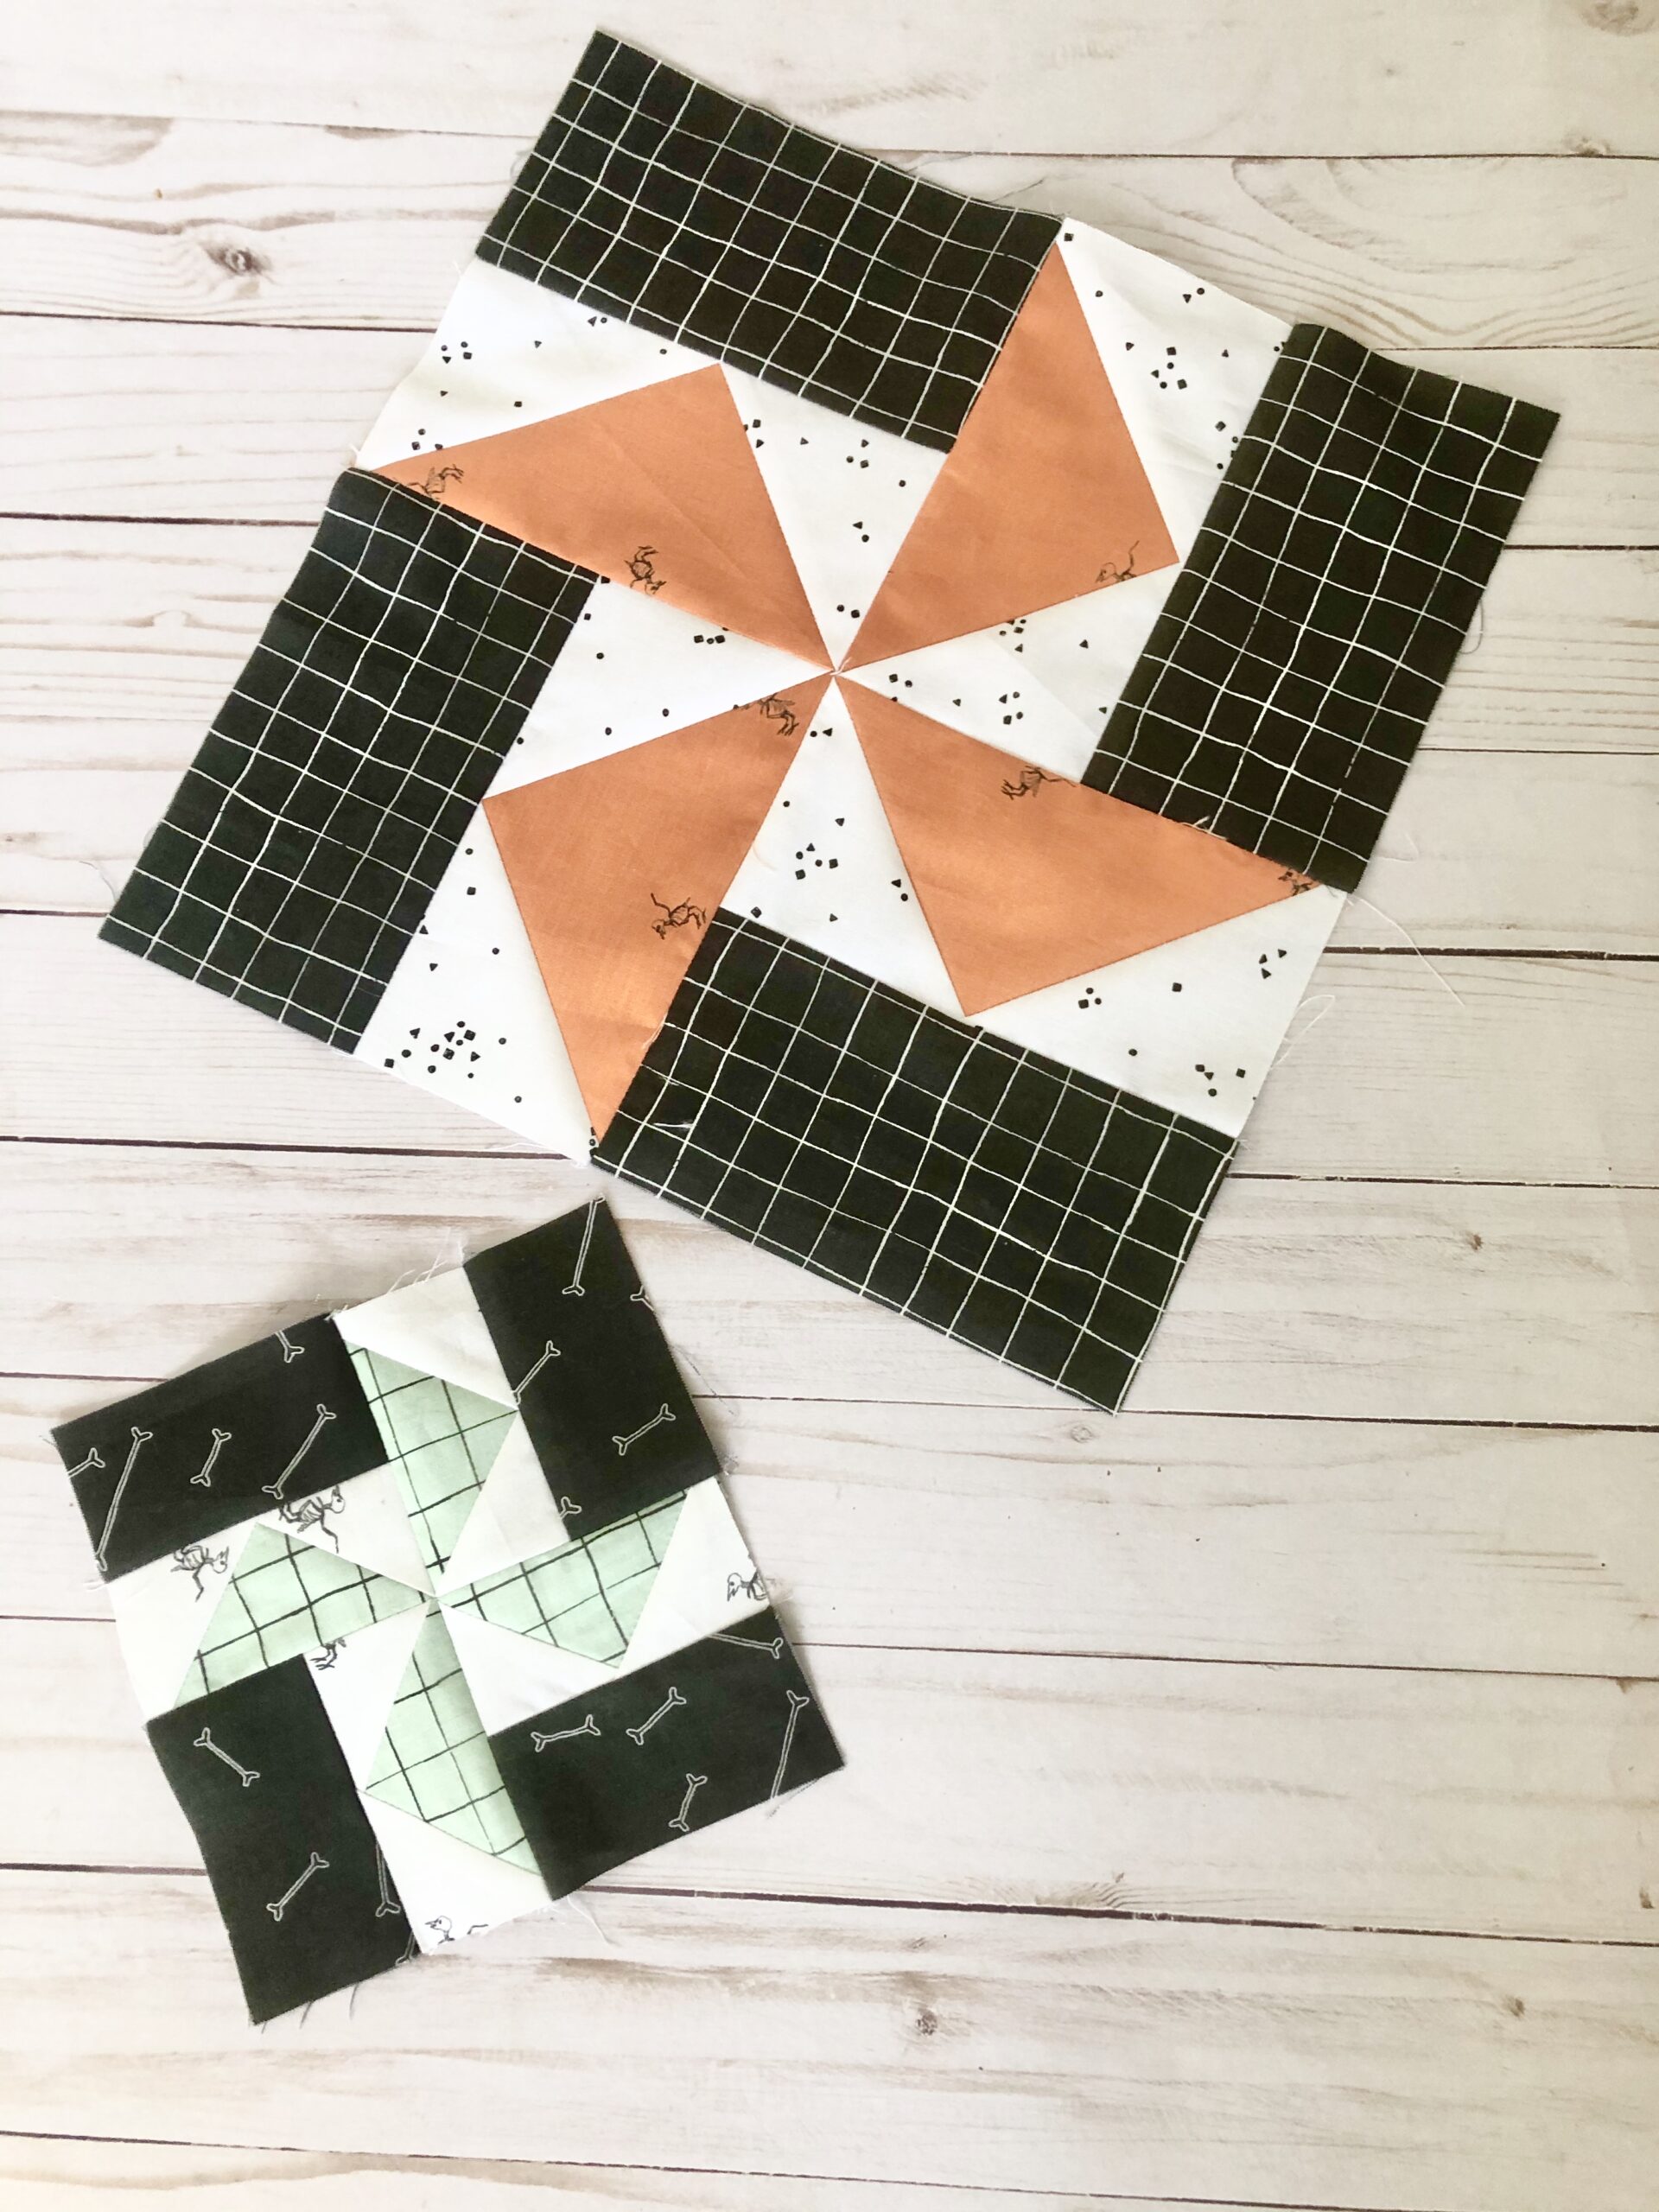
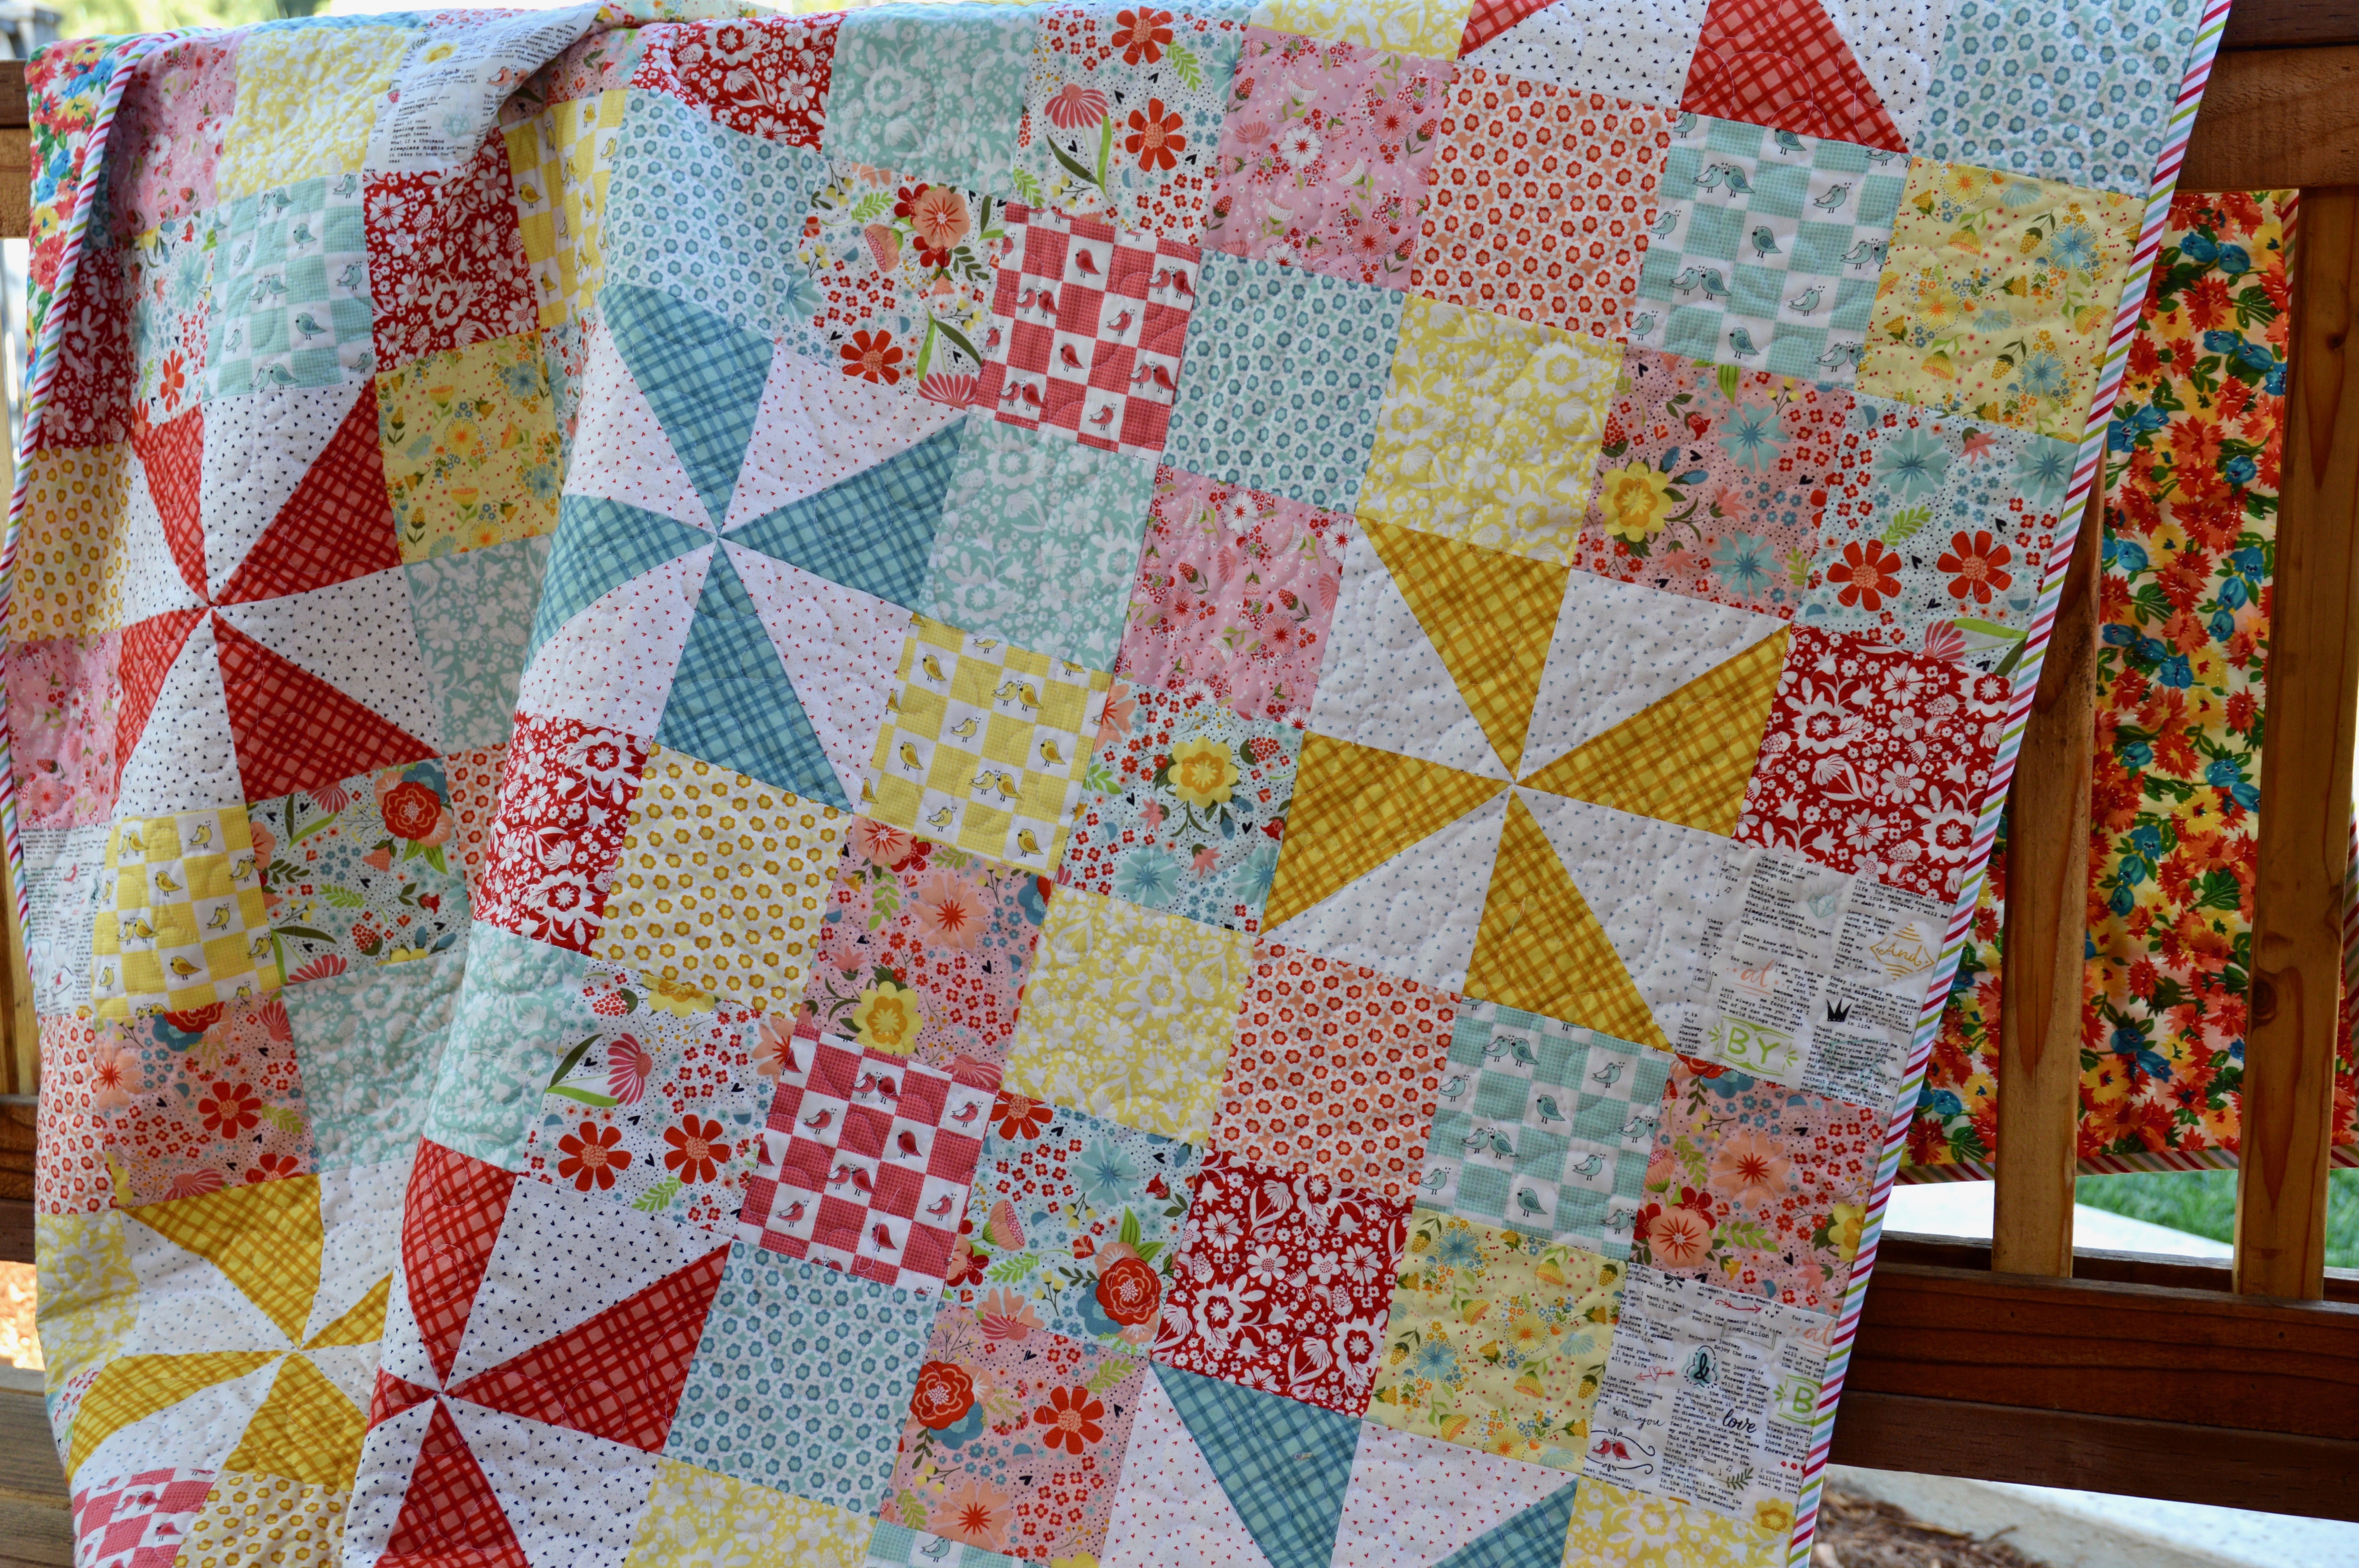
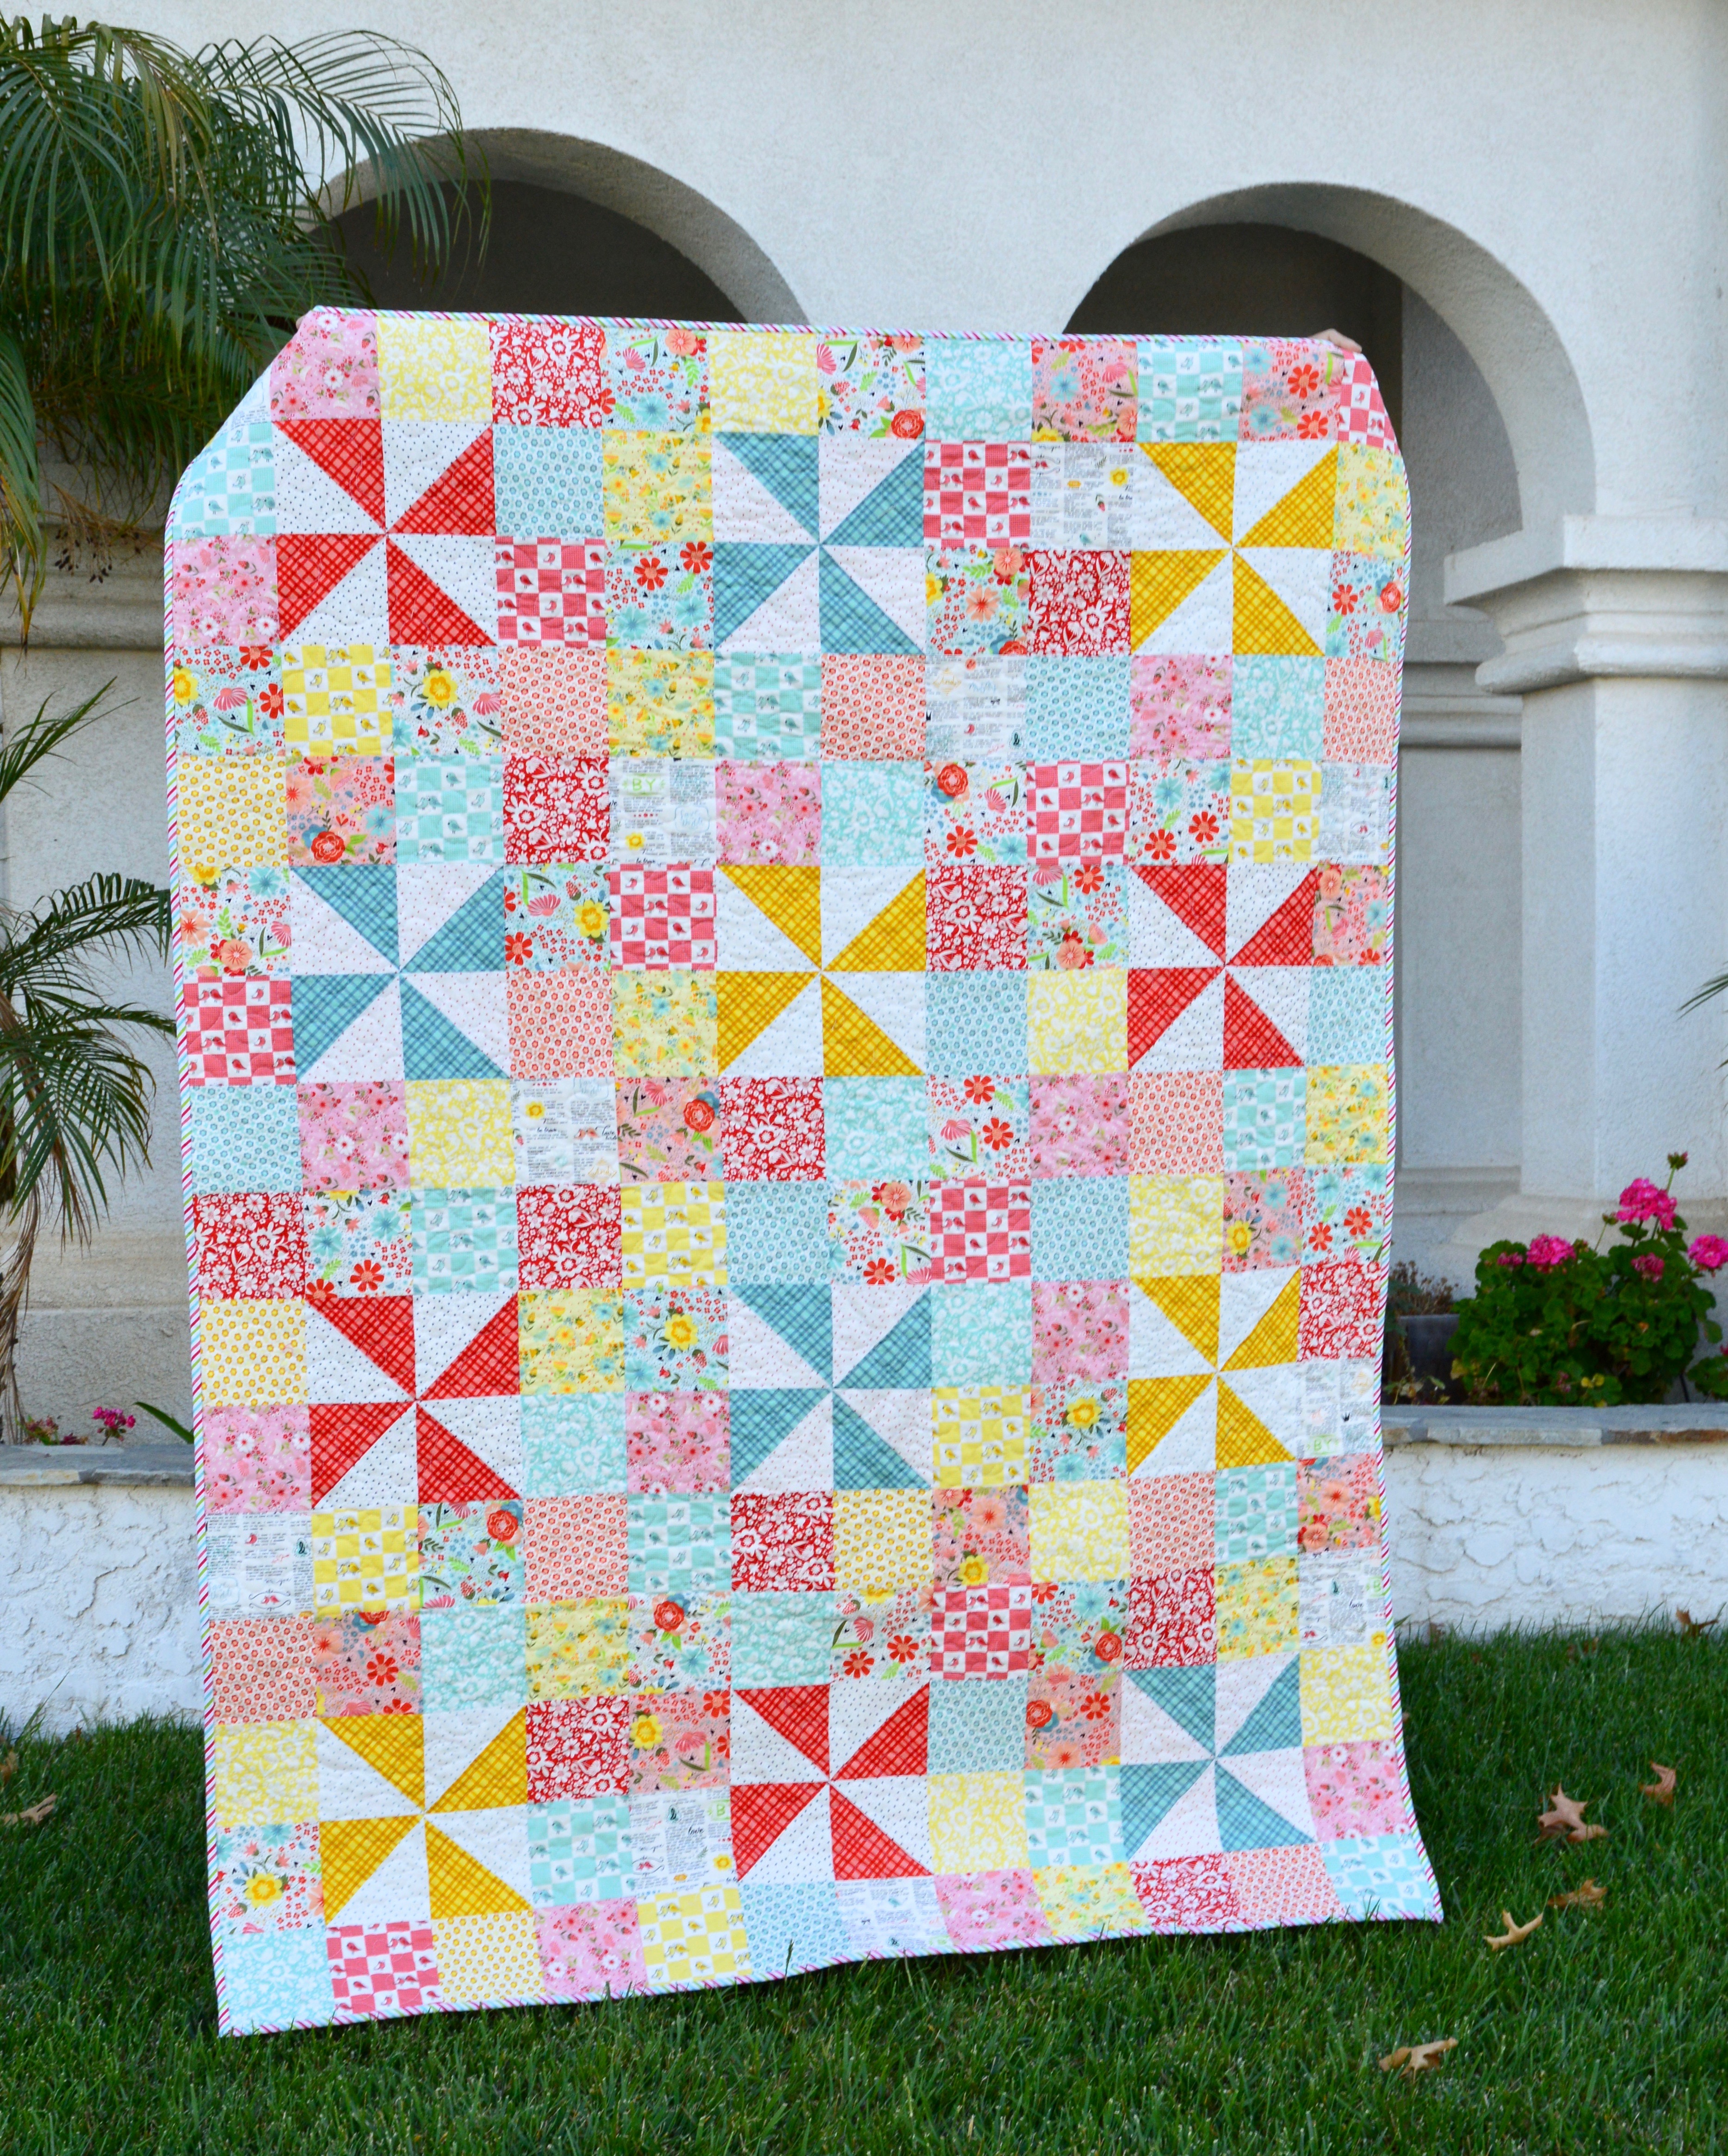
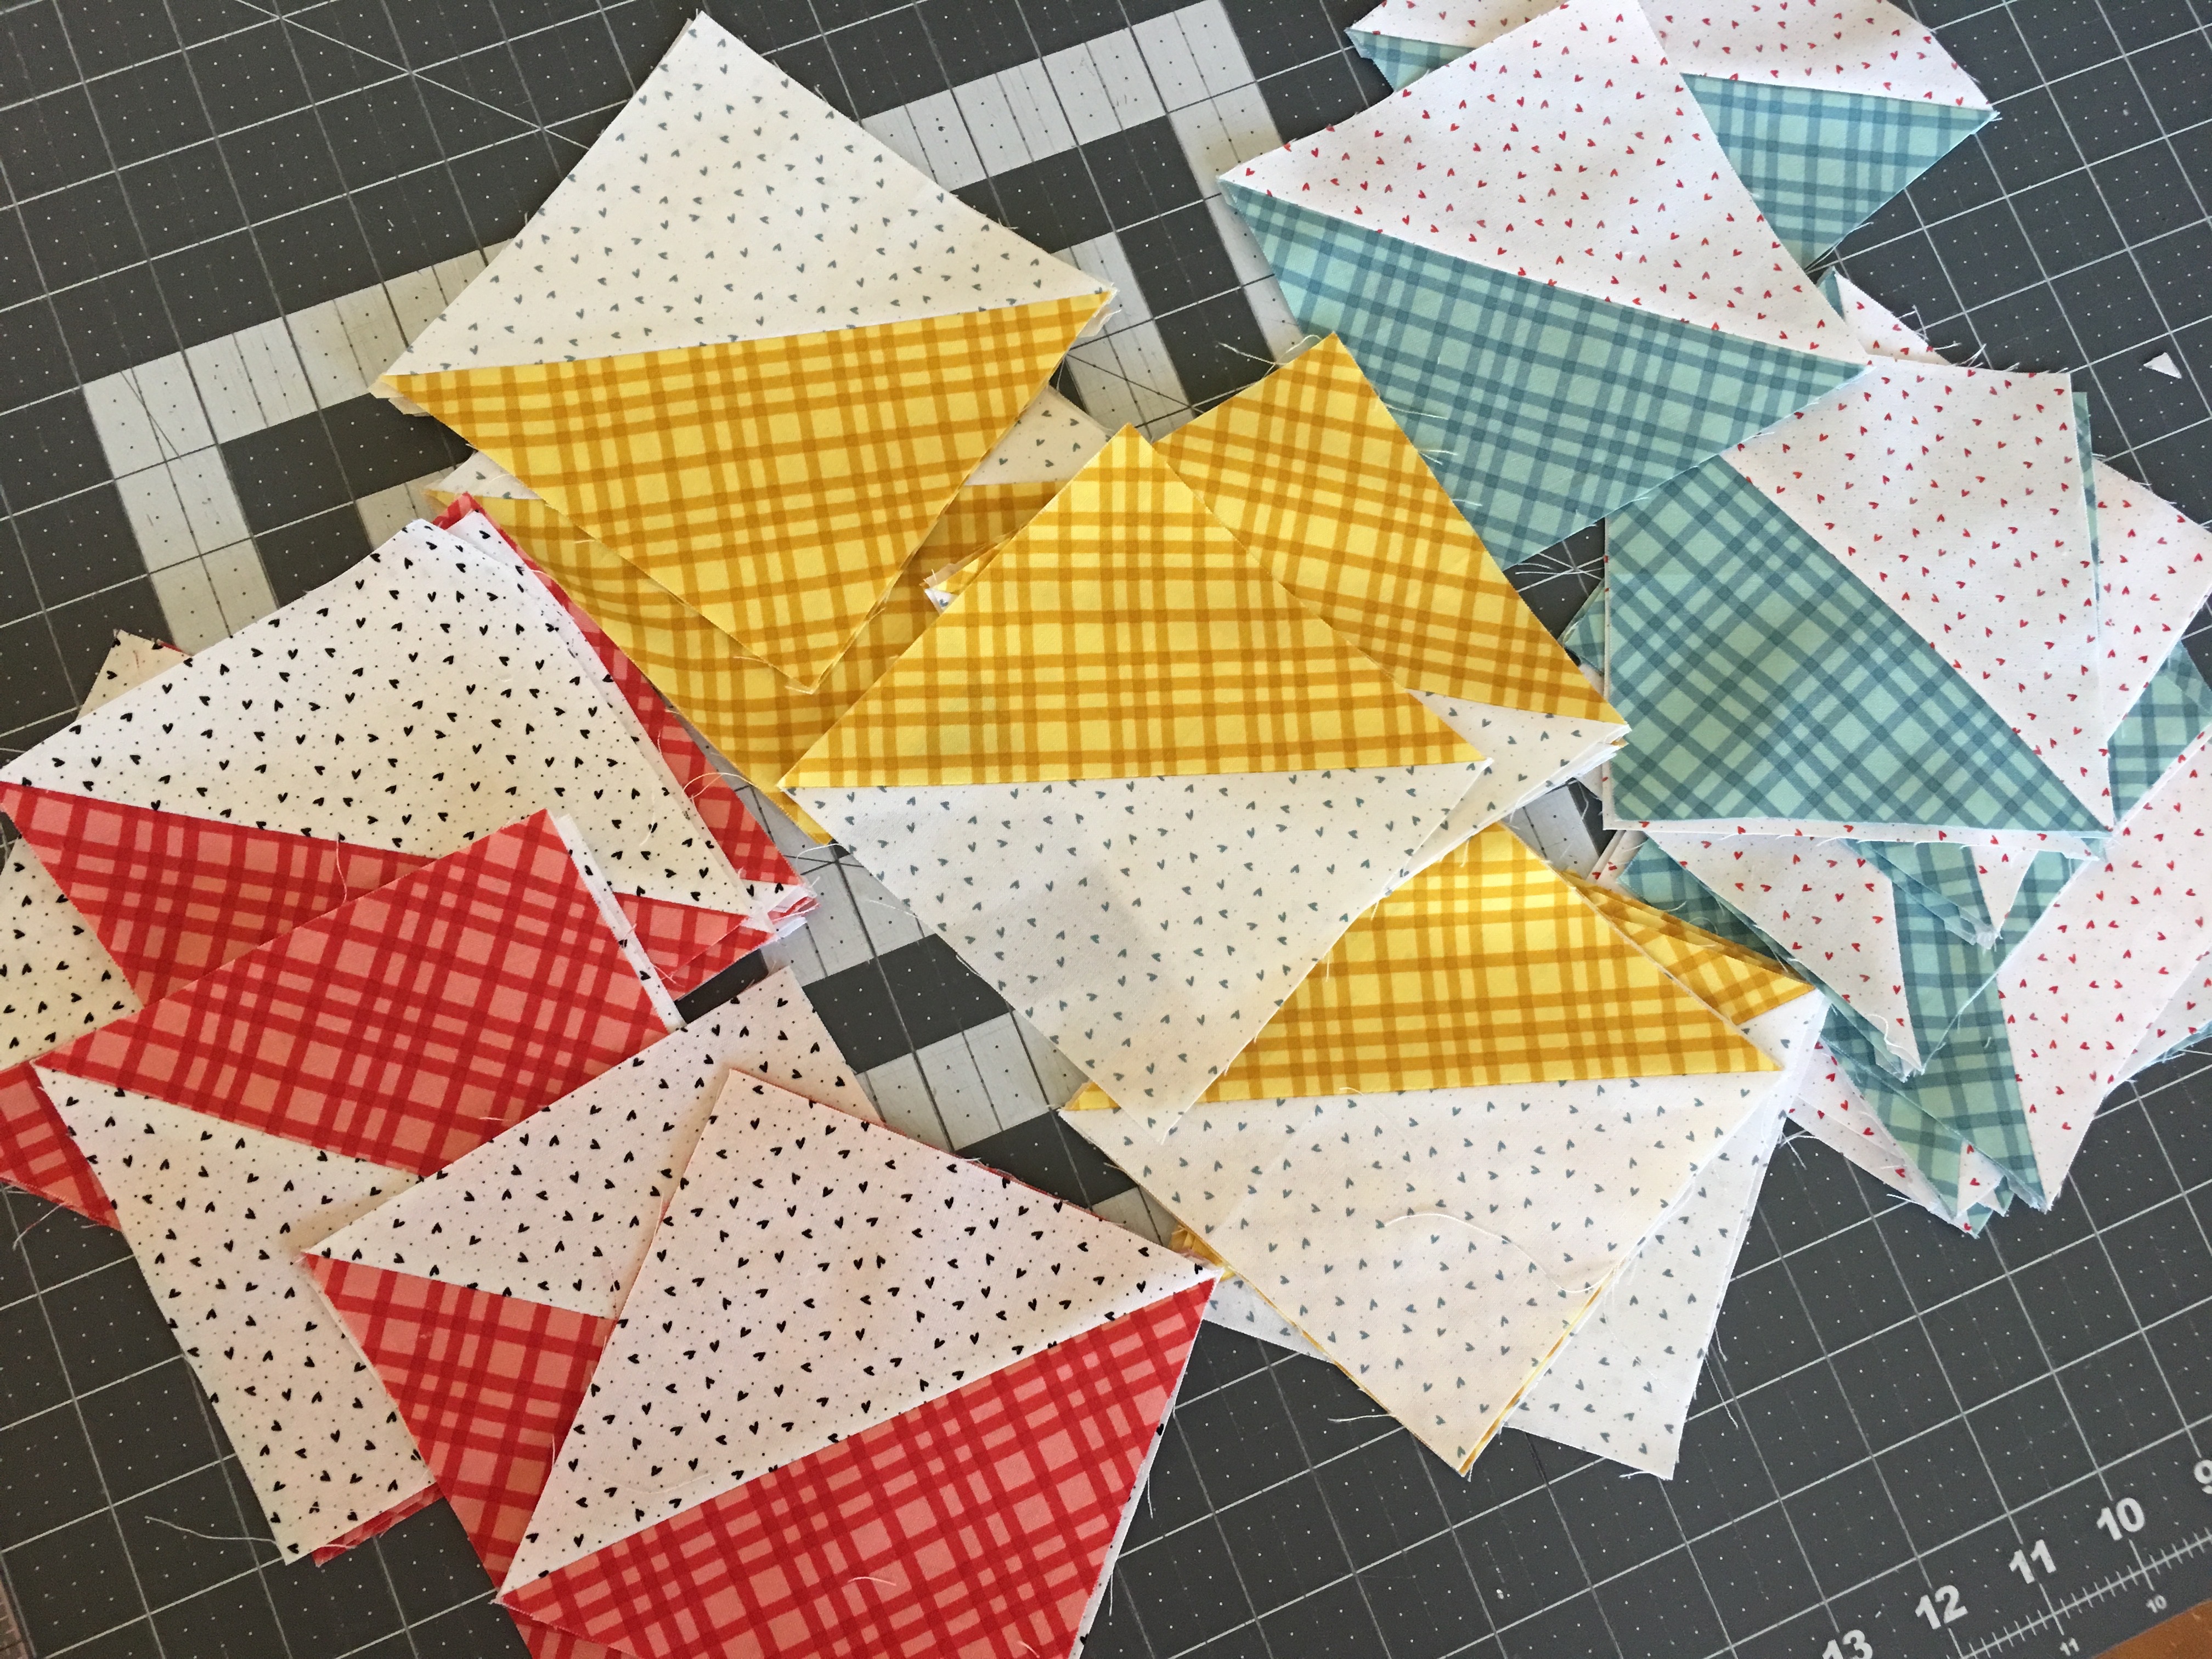
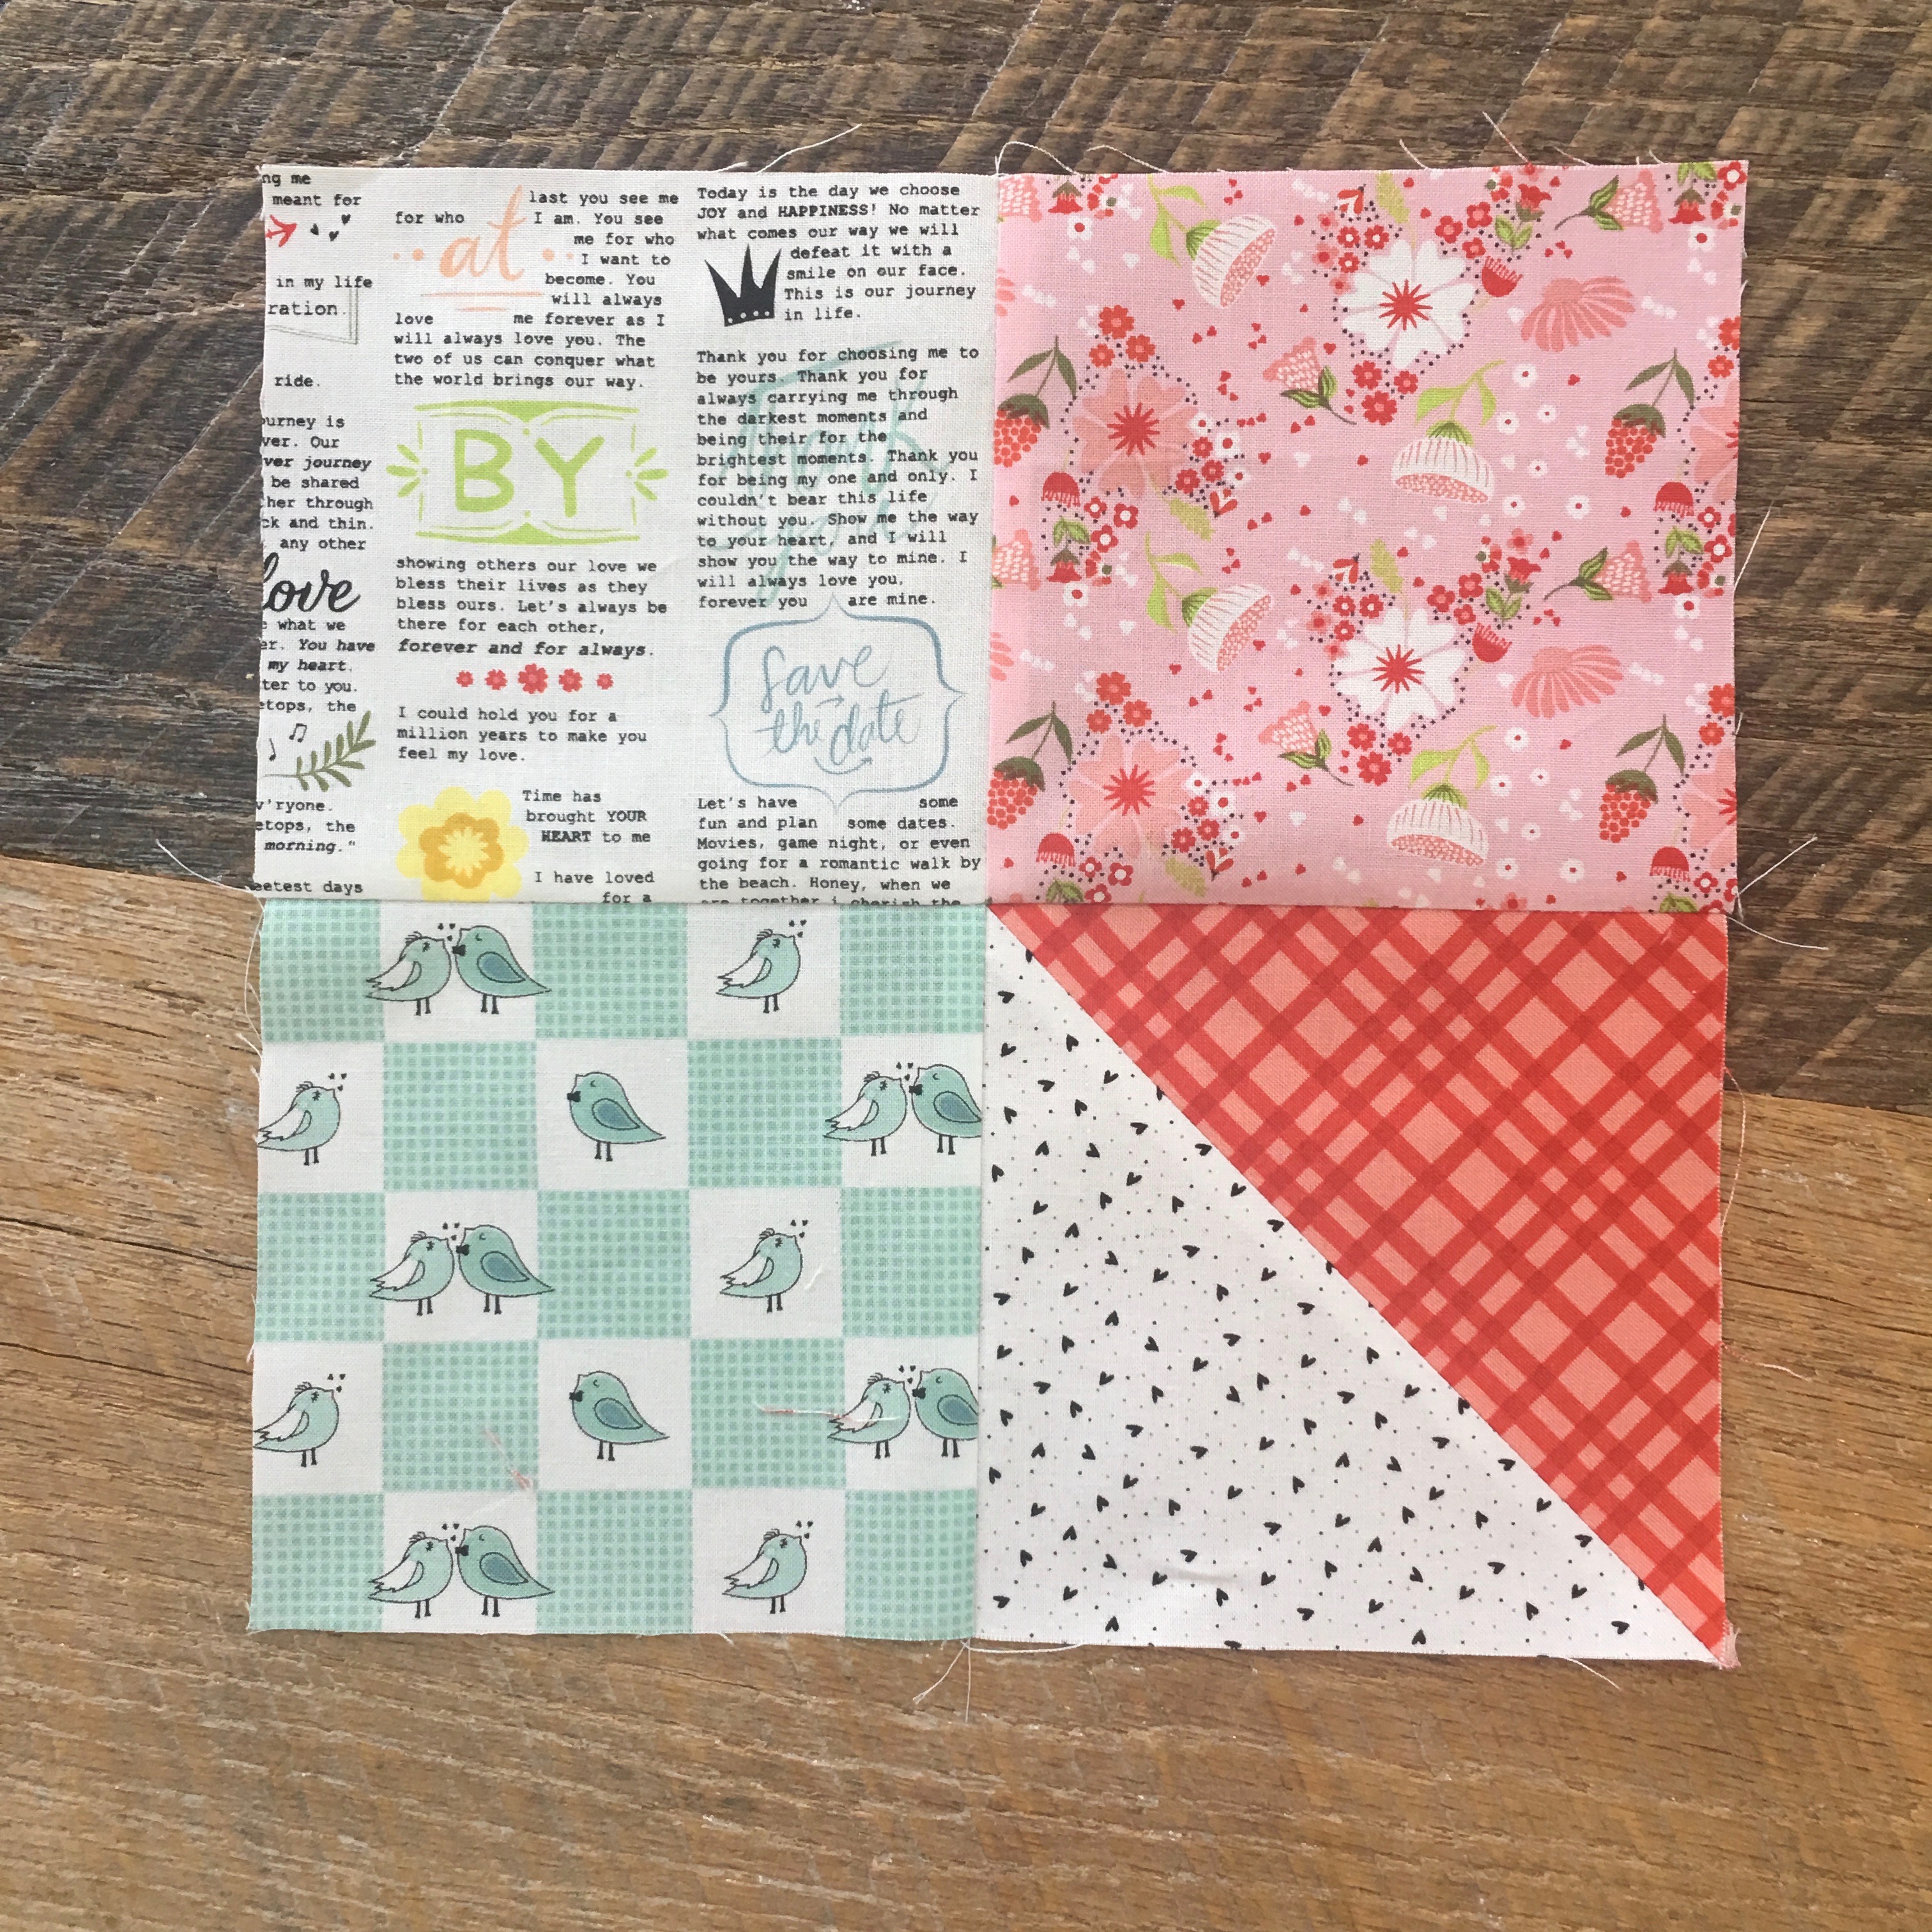
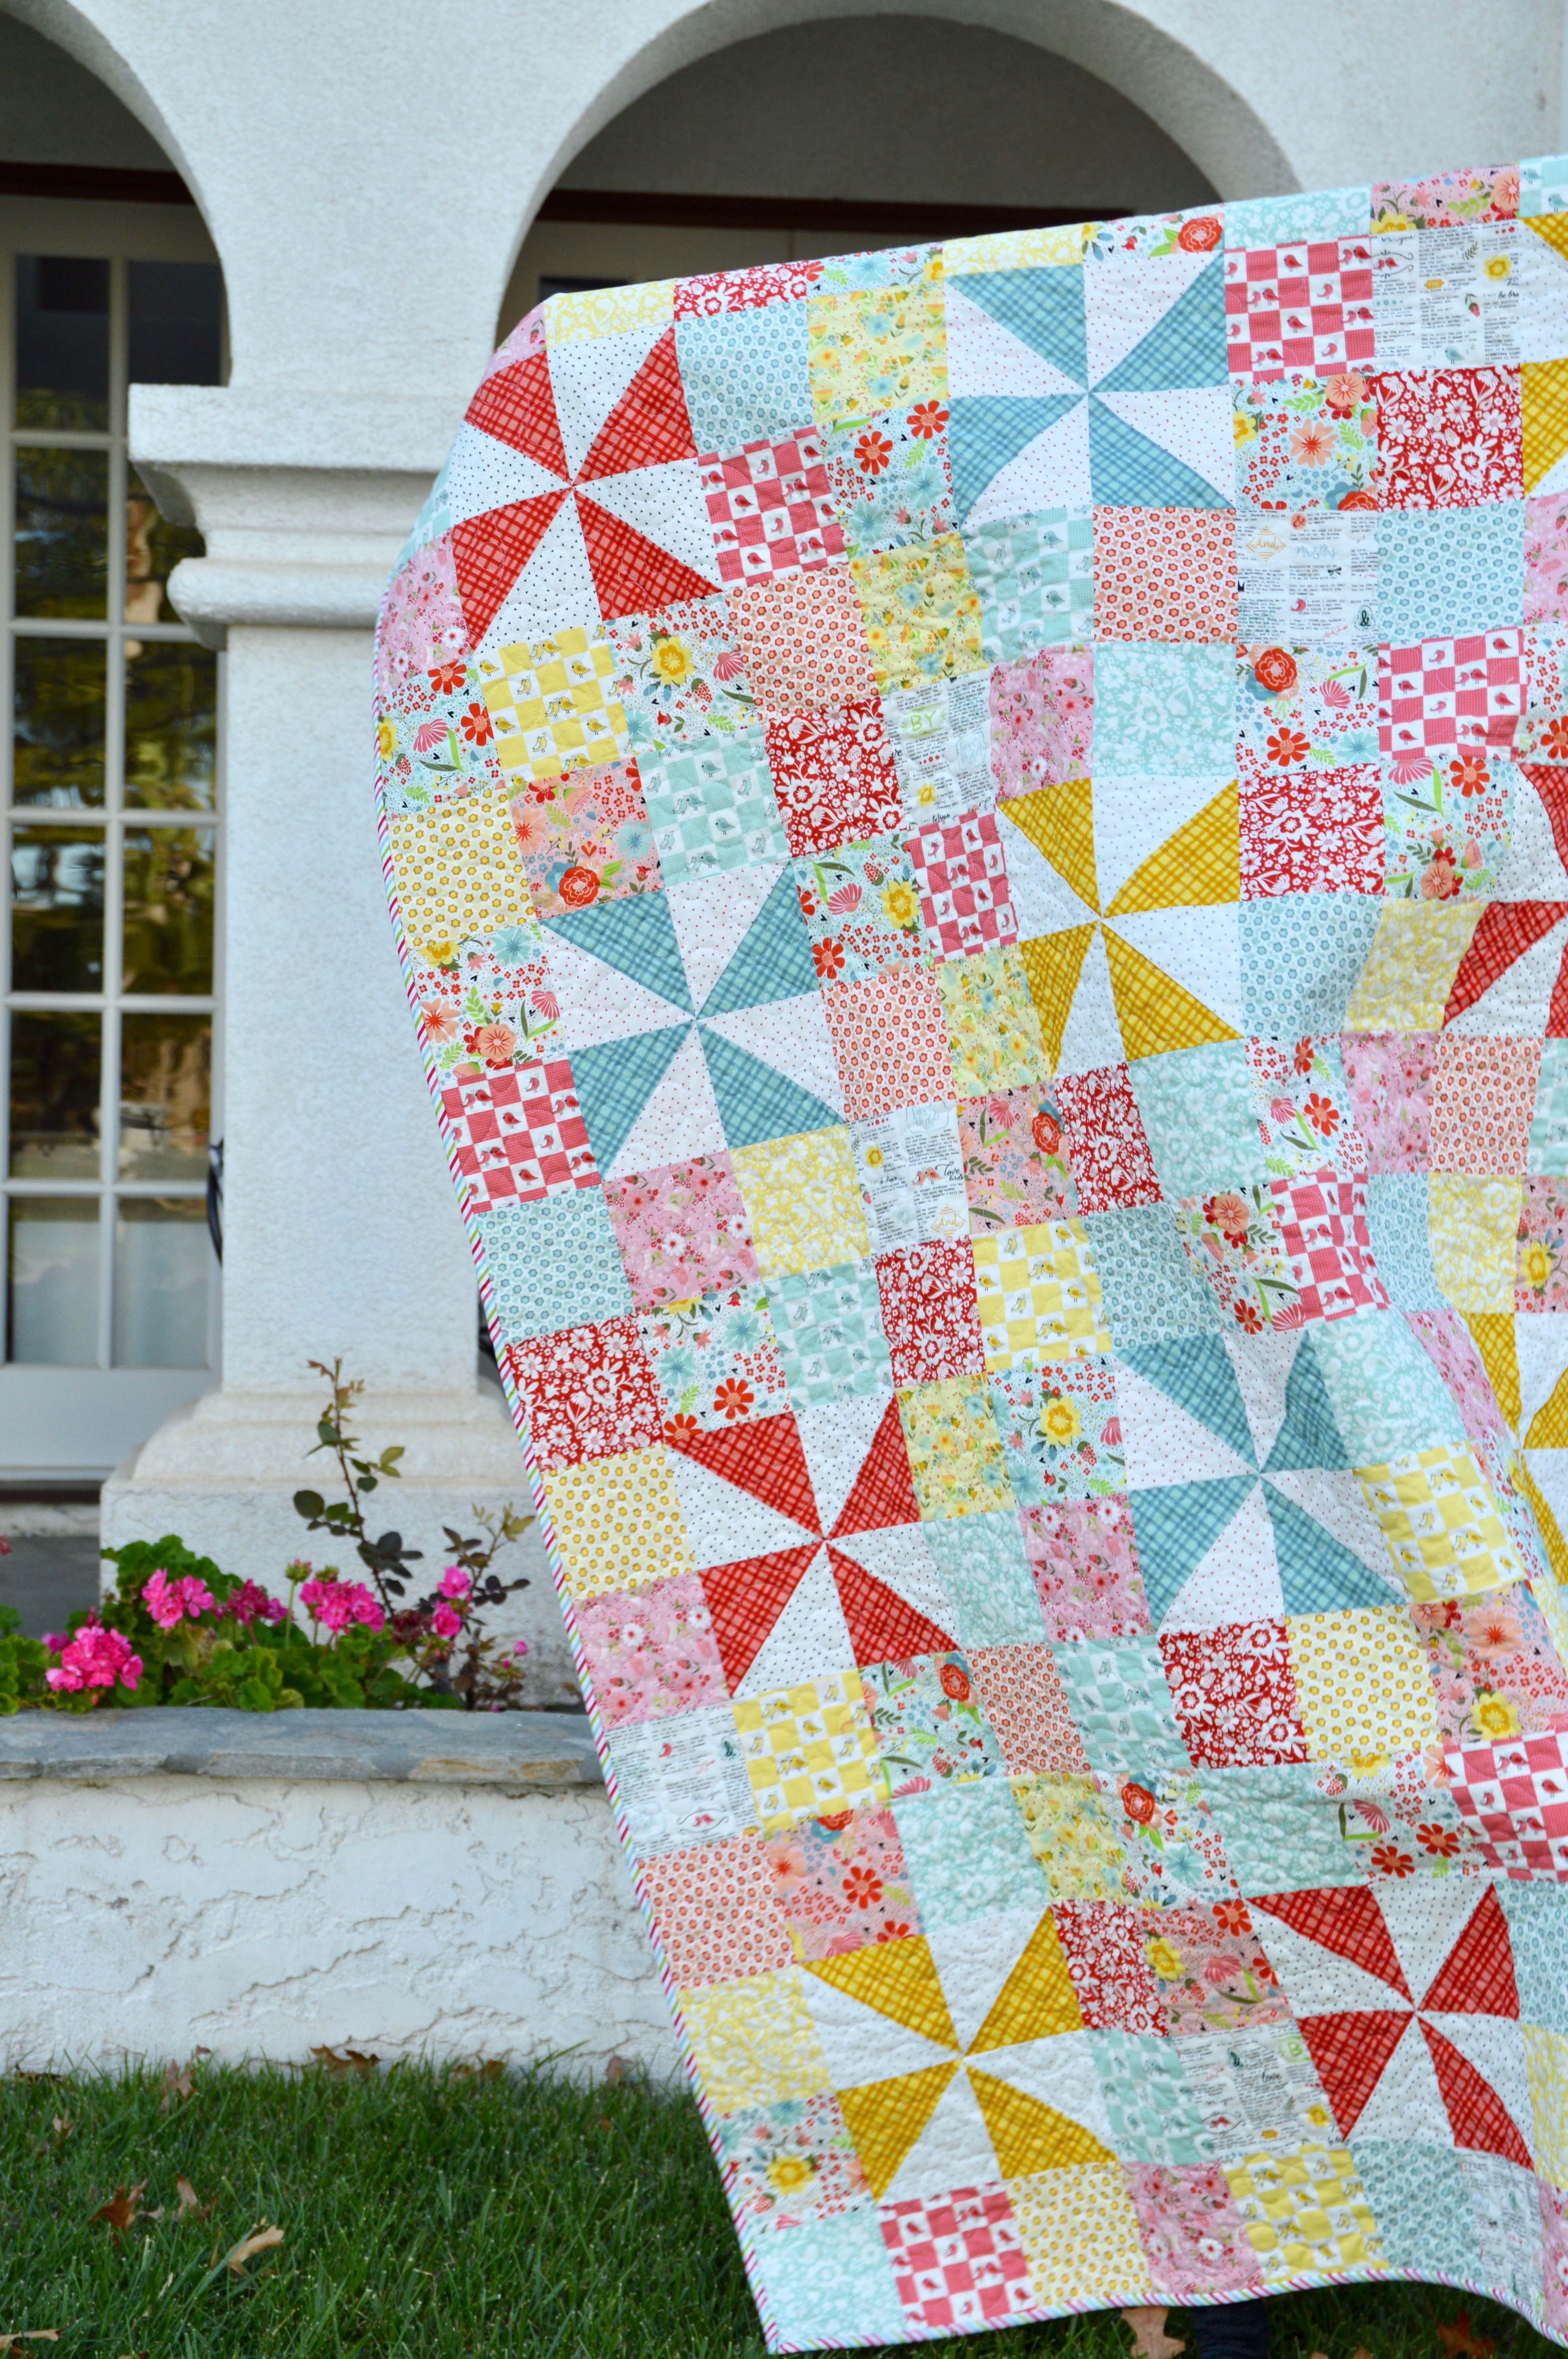
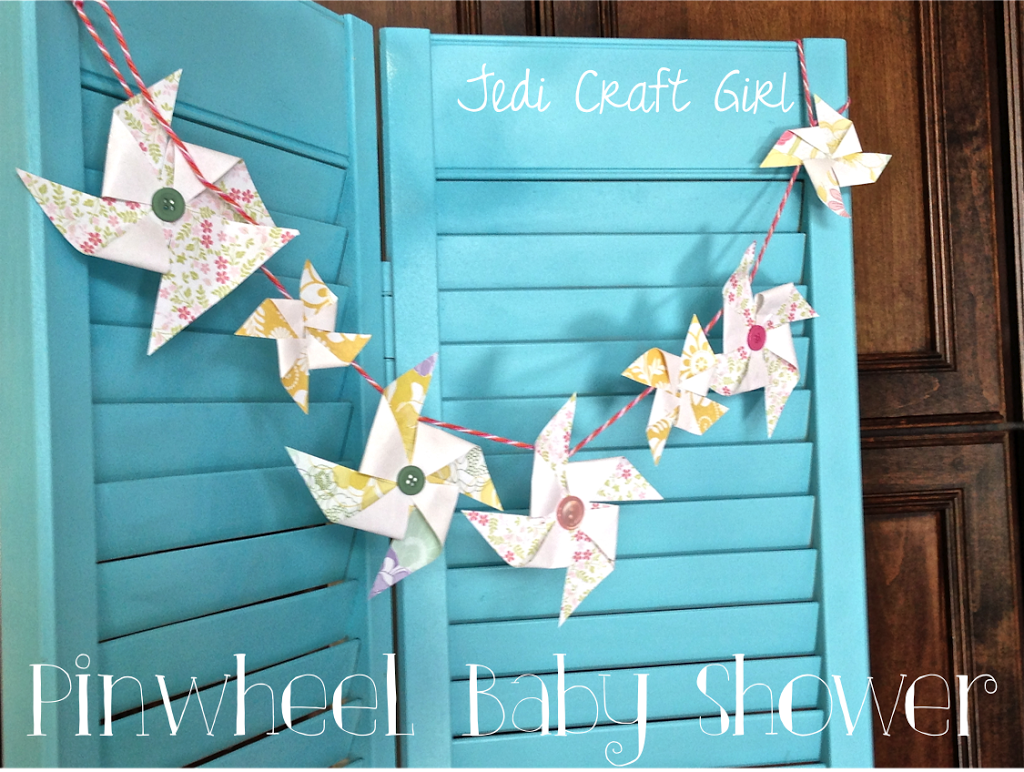
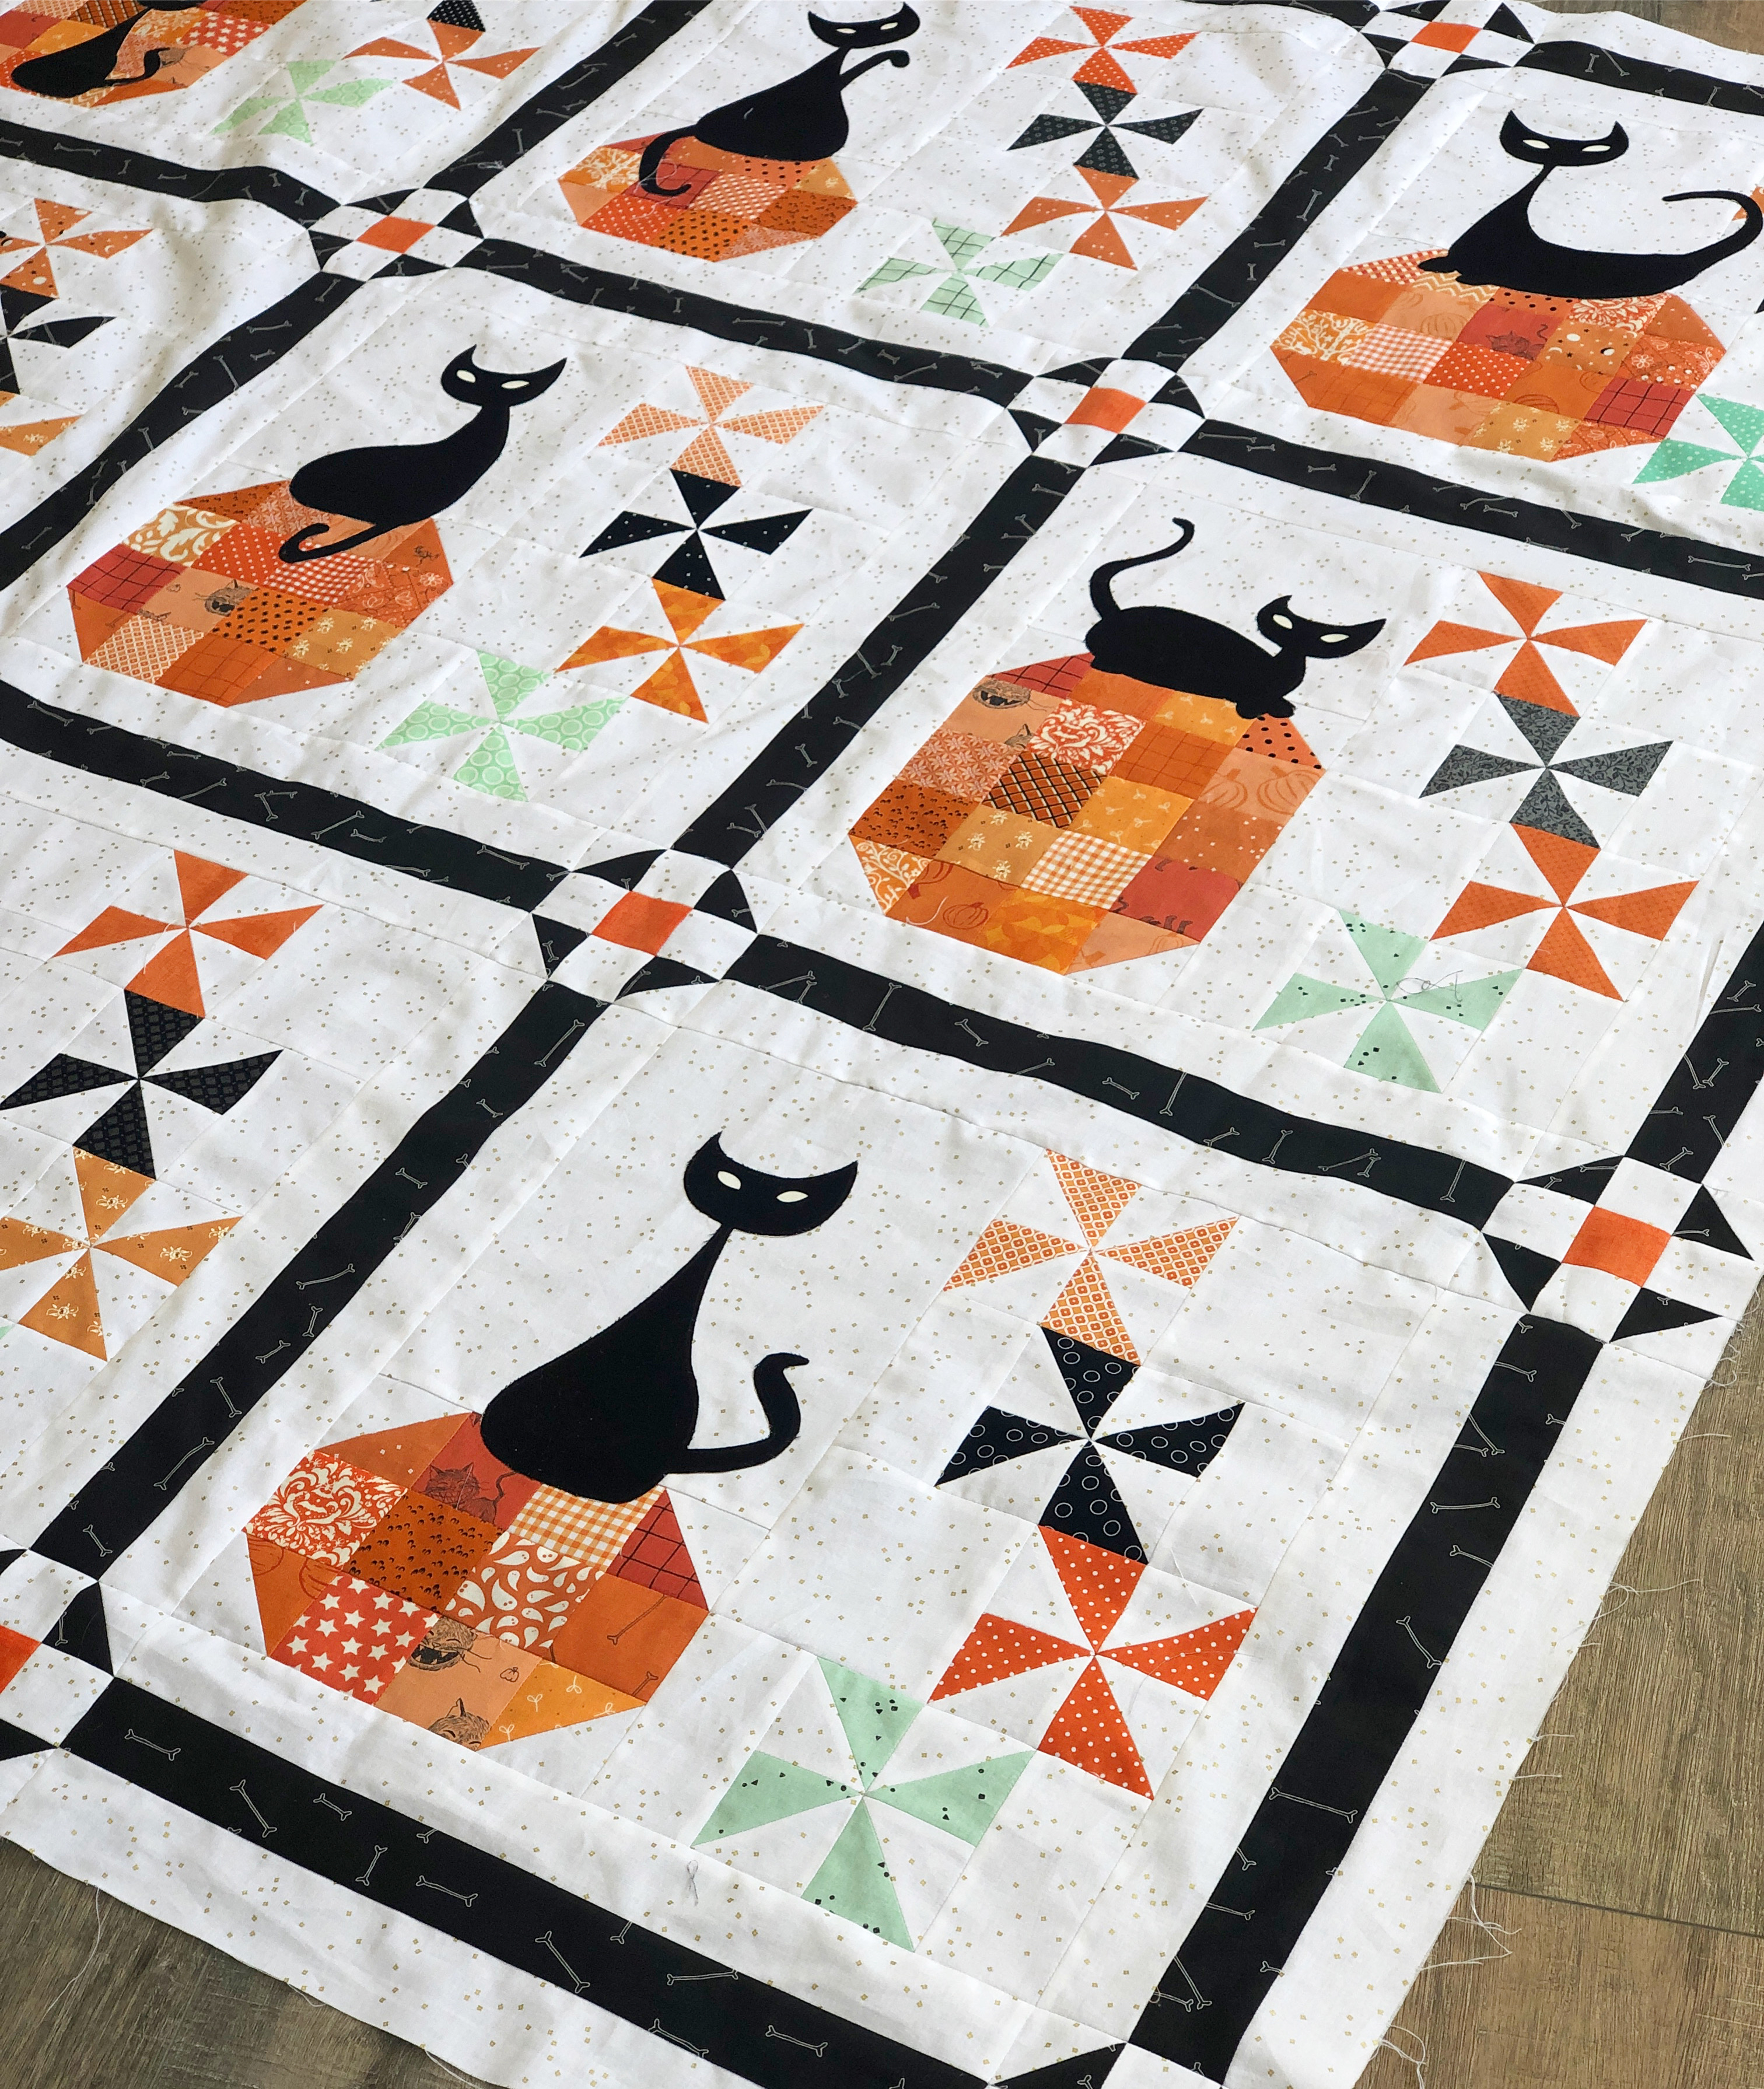
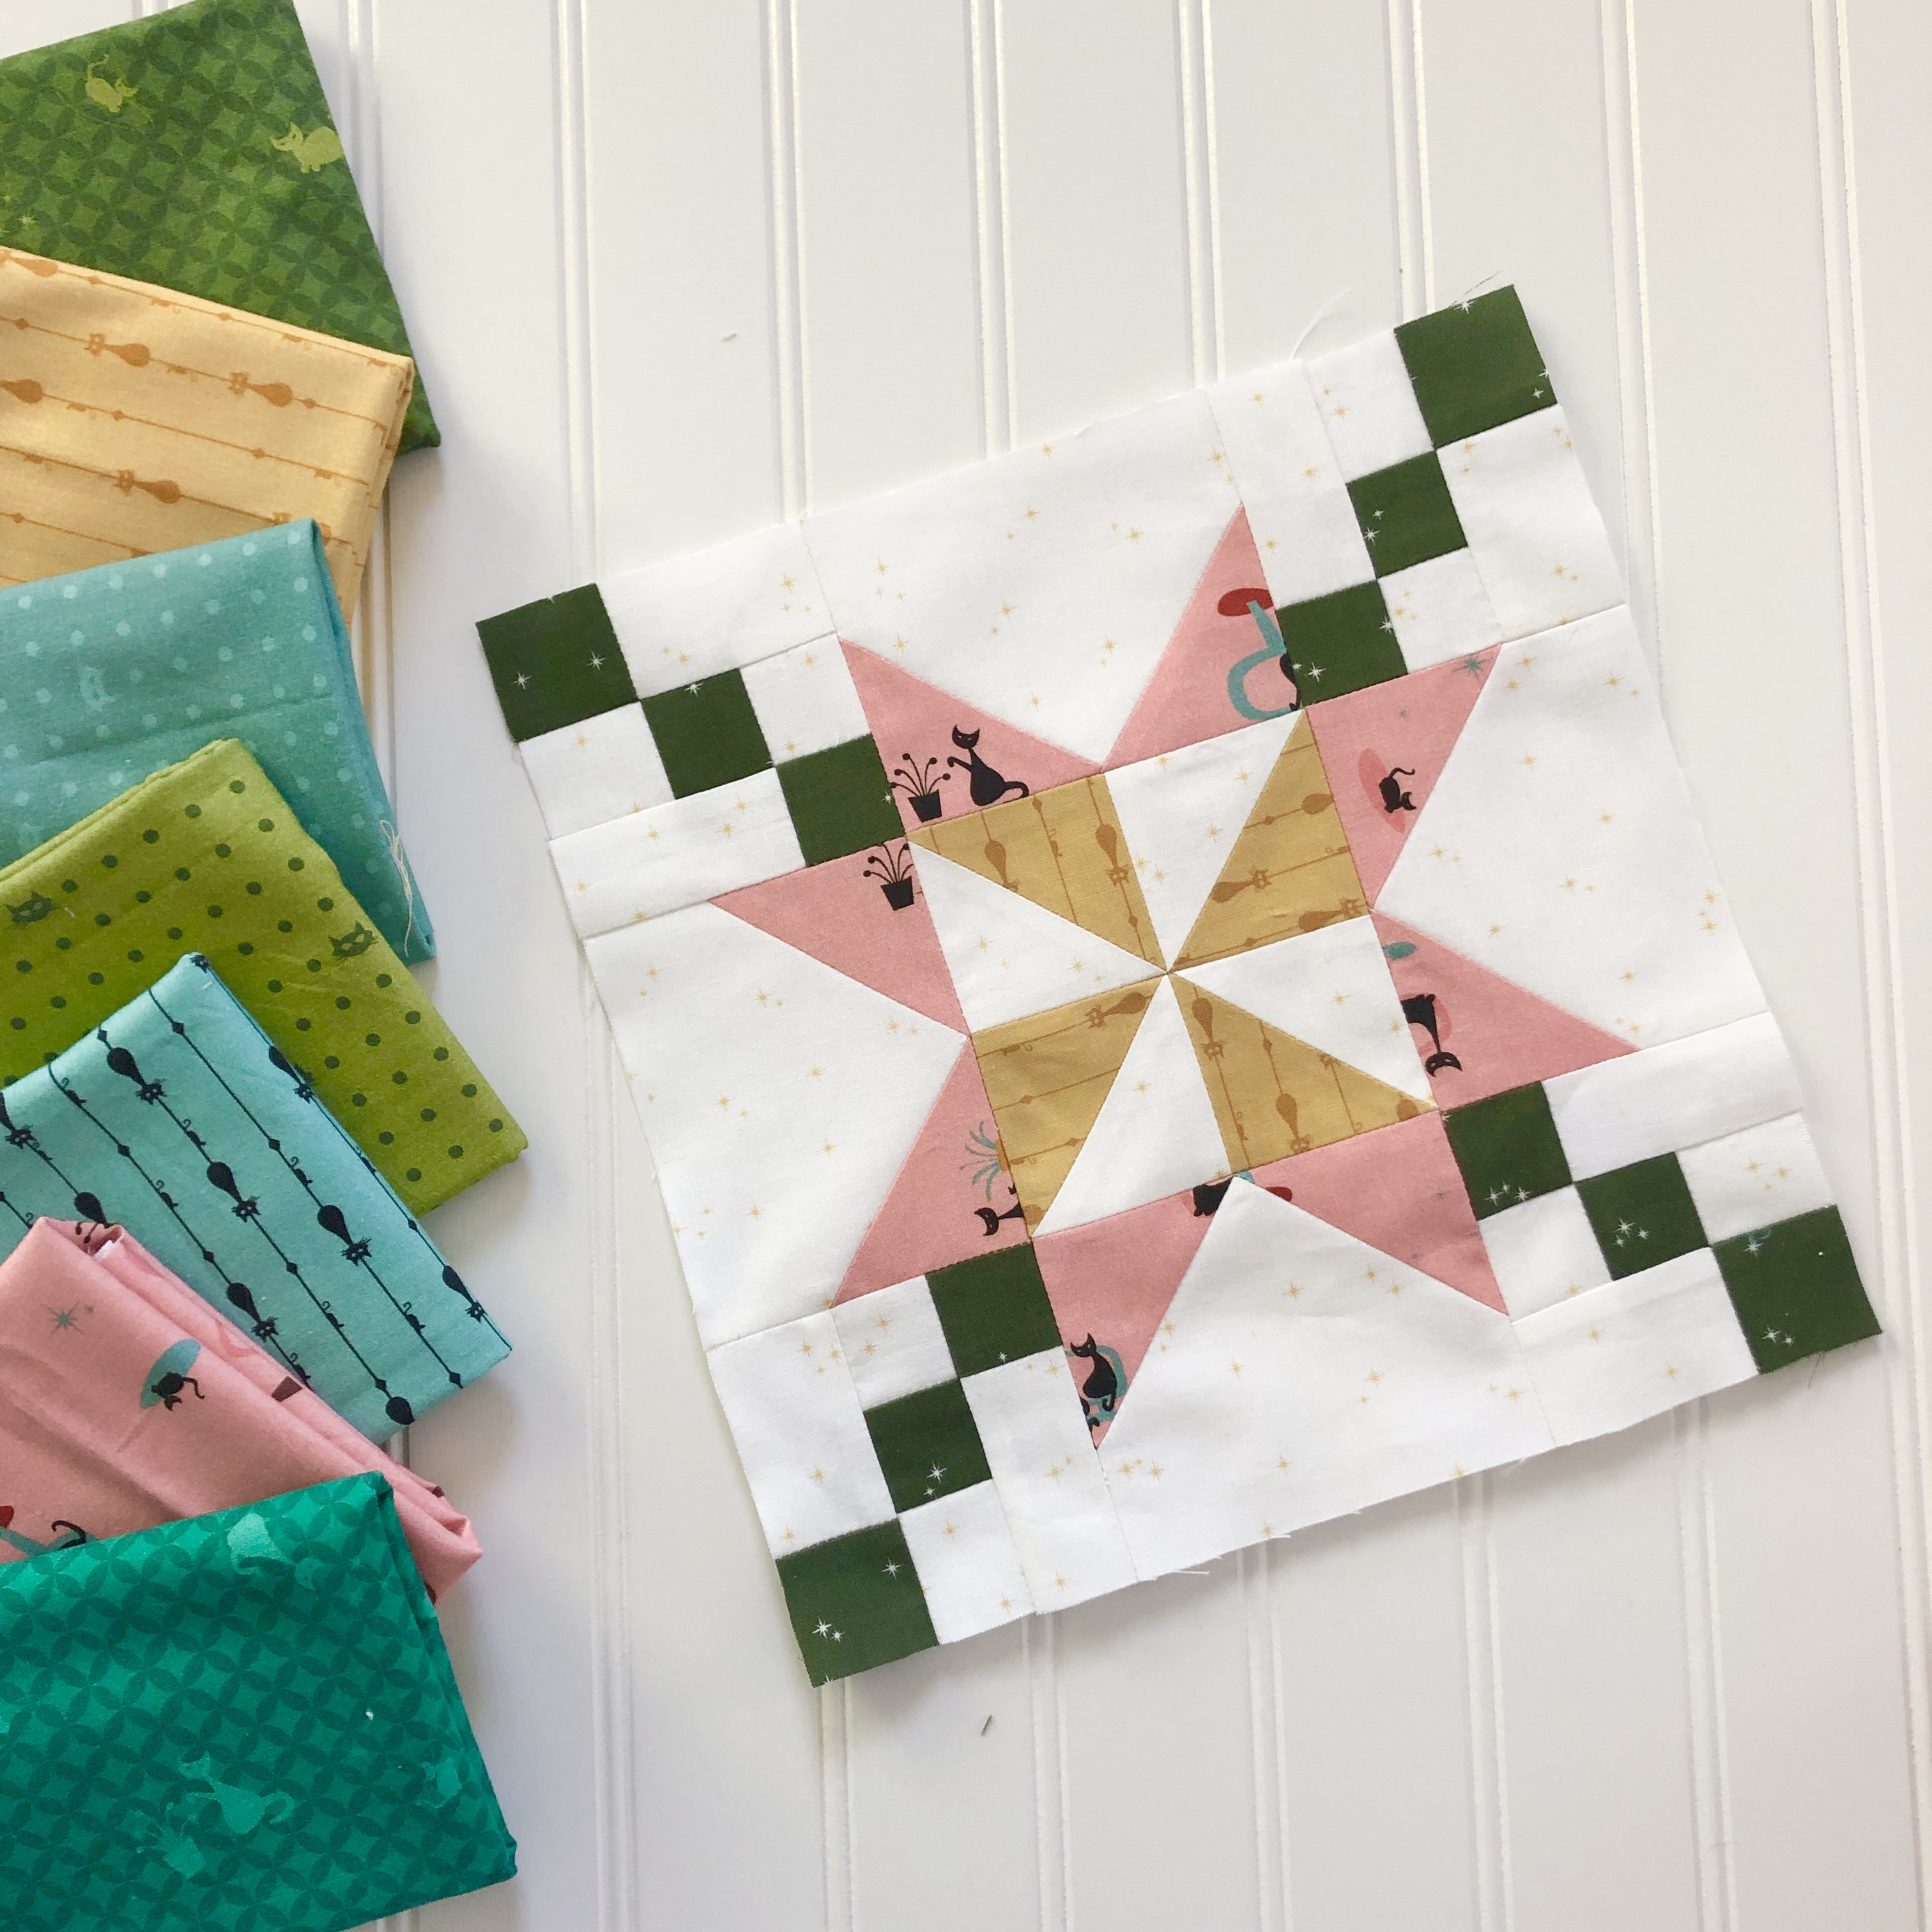
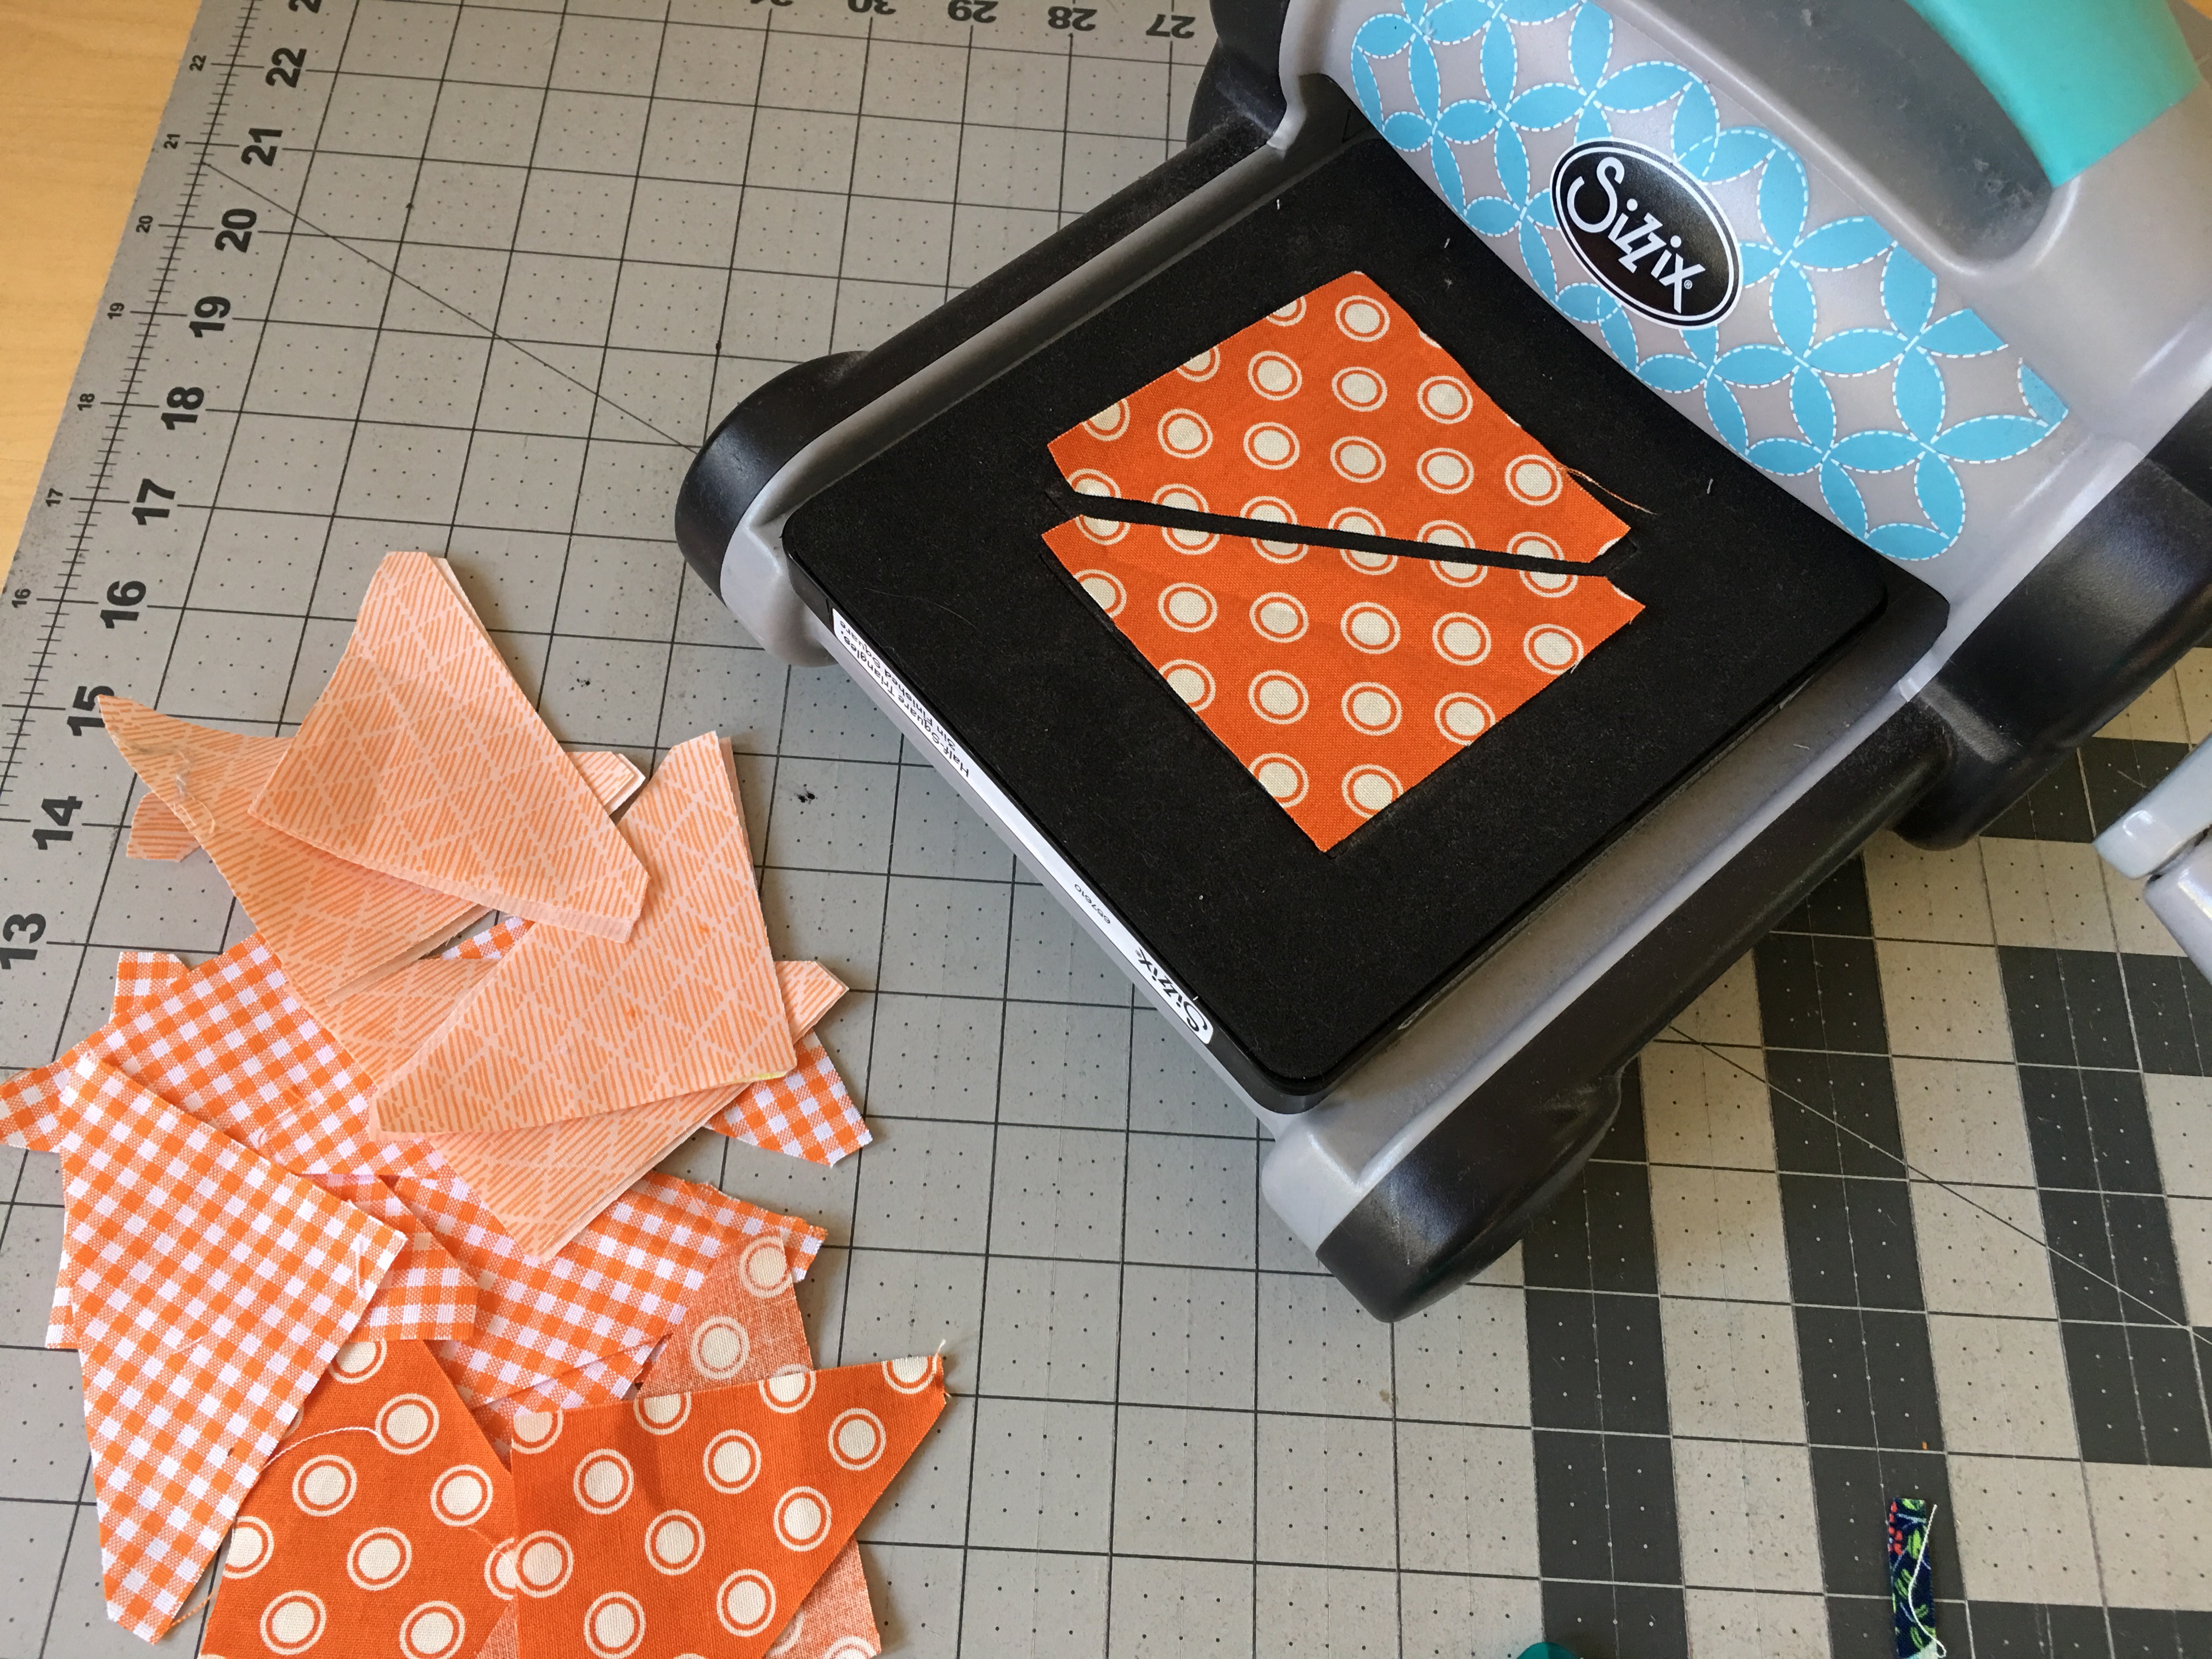
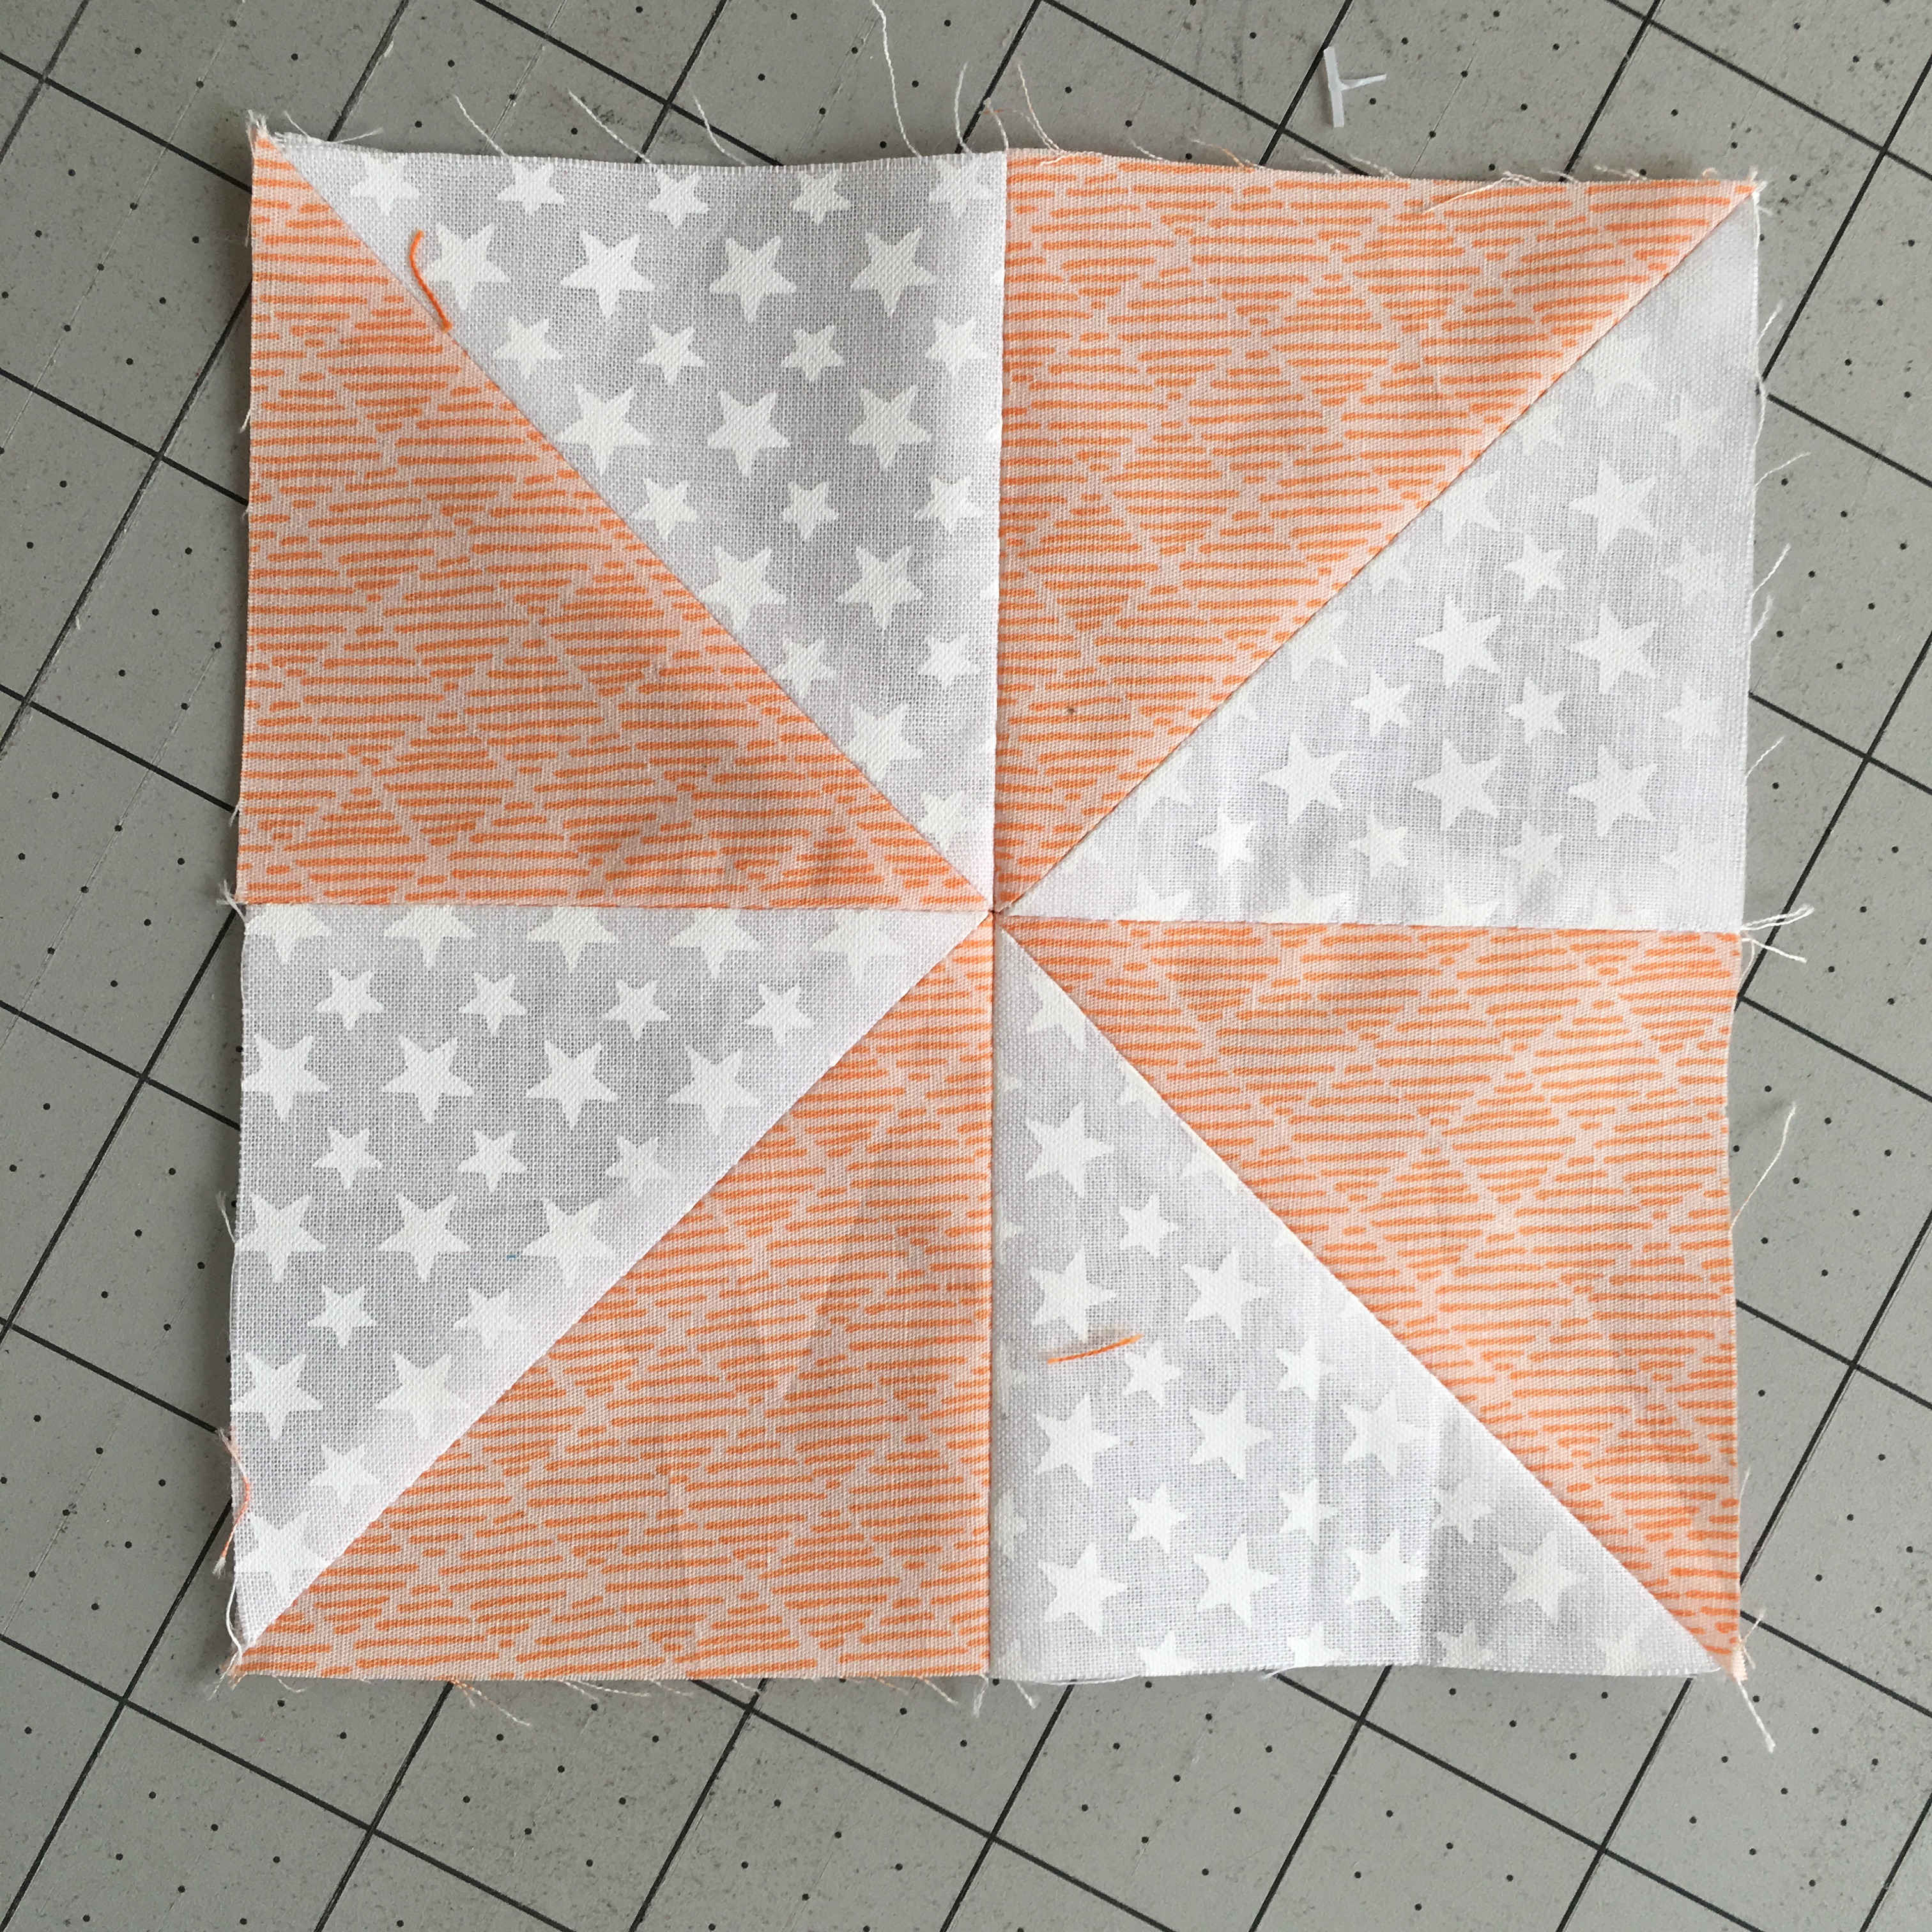
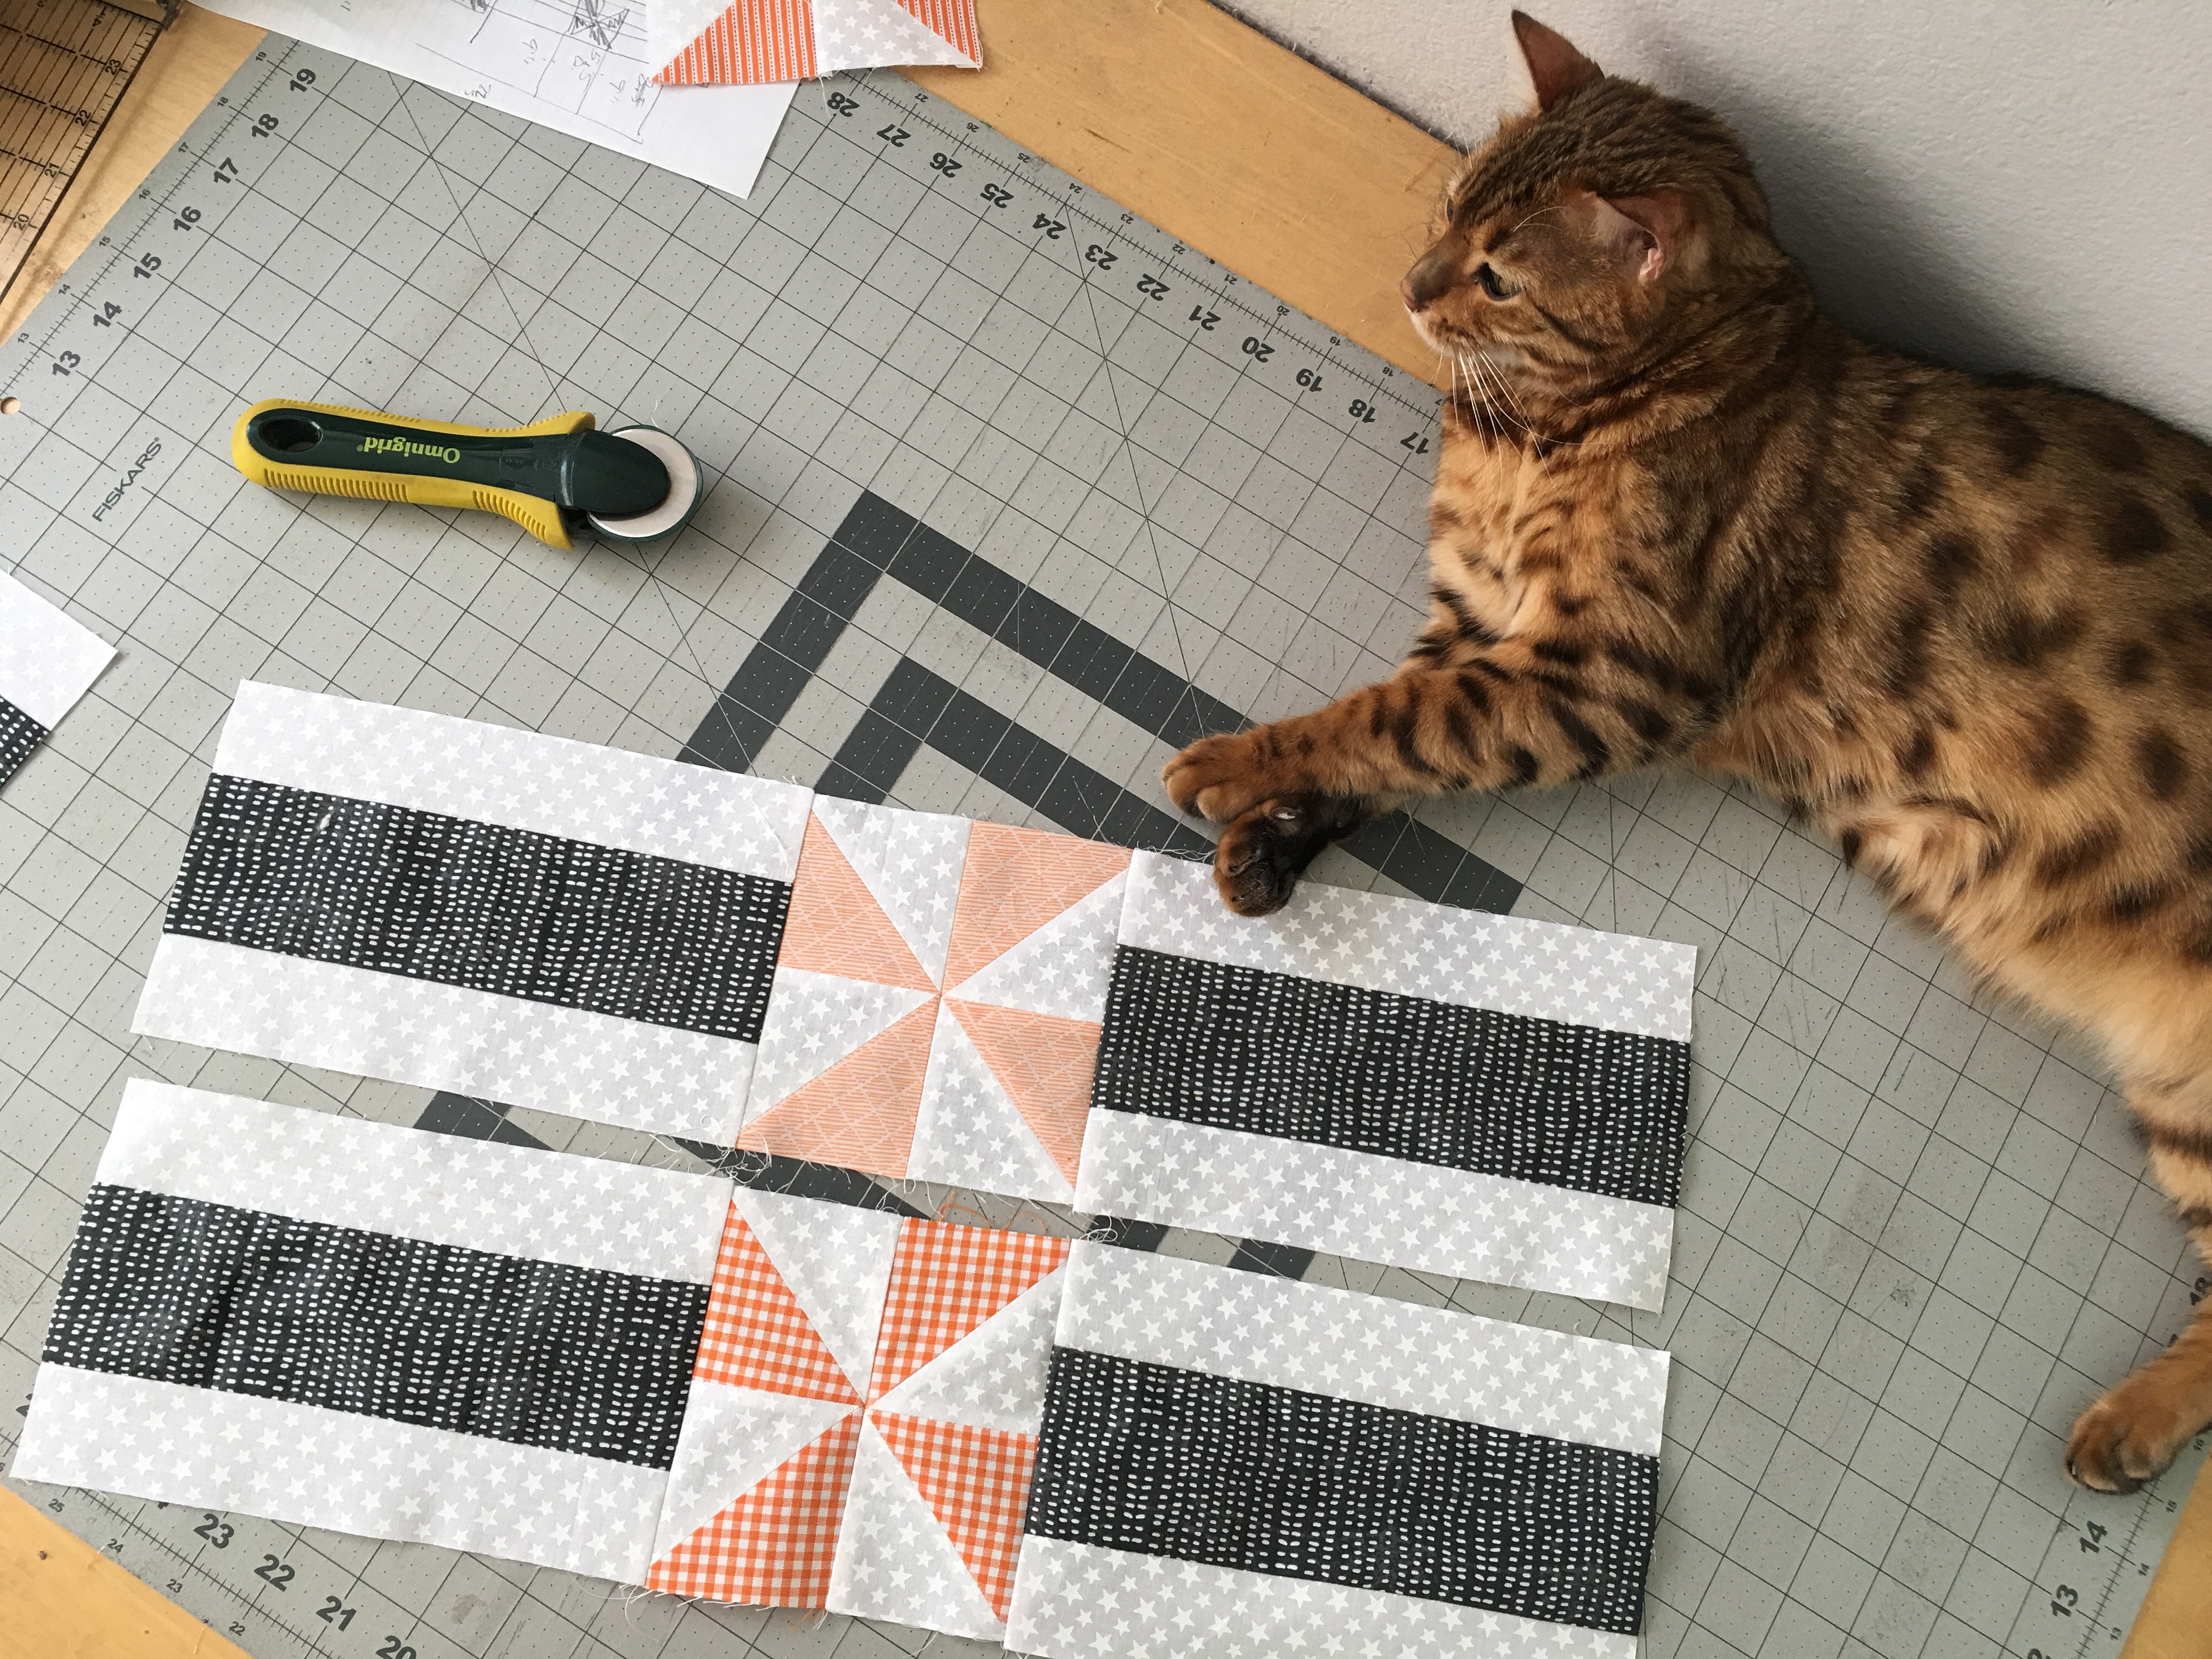
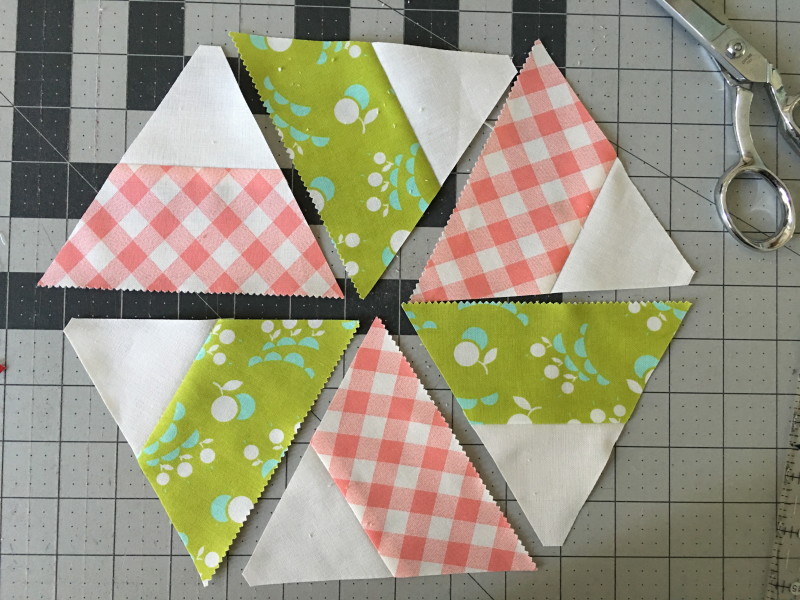
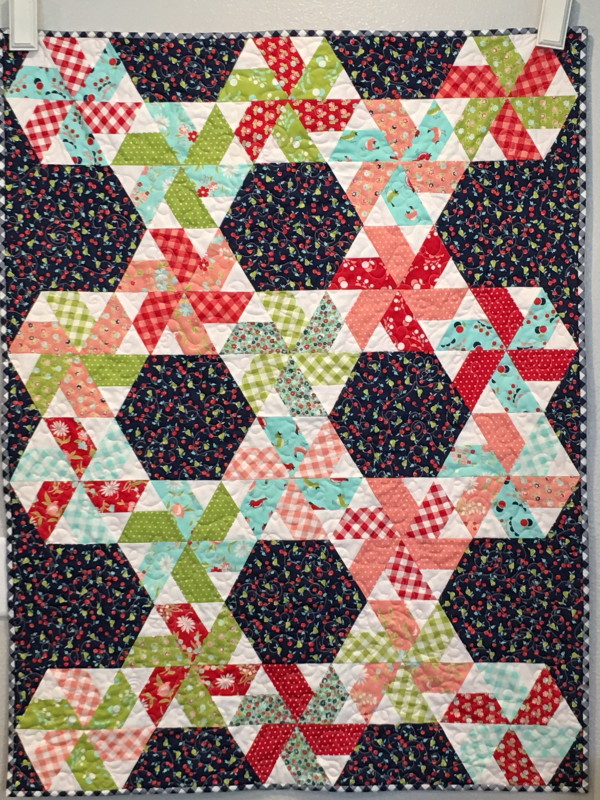
Today is my turn and I’m showing you how to make a fun Pinwheel Block! You can make either a 12″ finished block or a 6″ finished block.

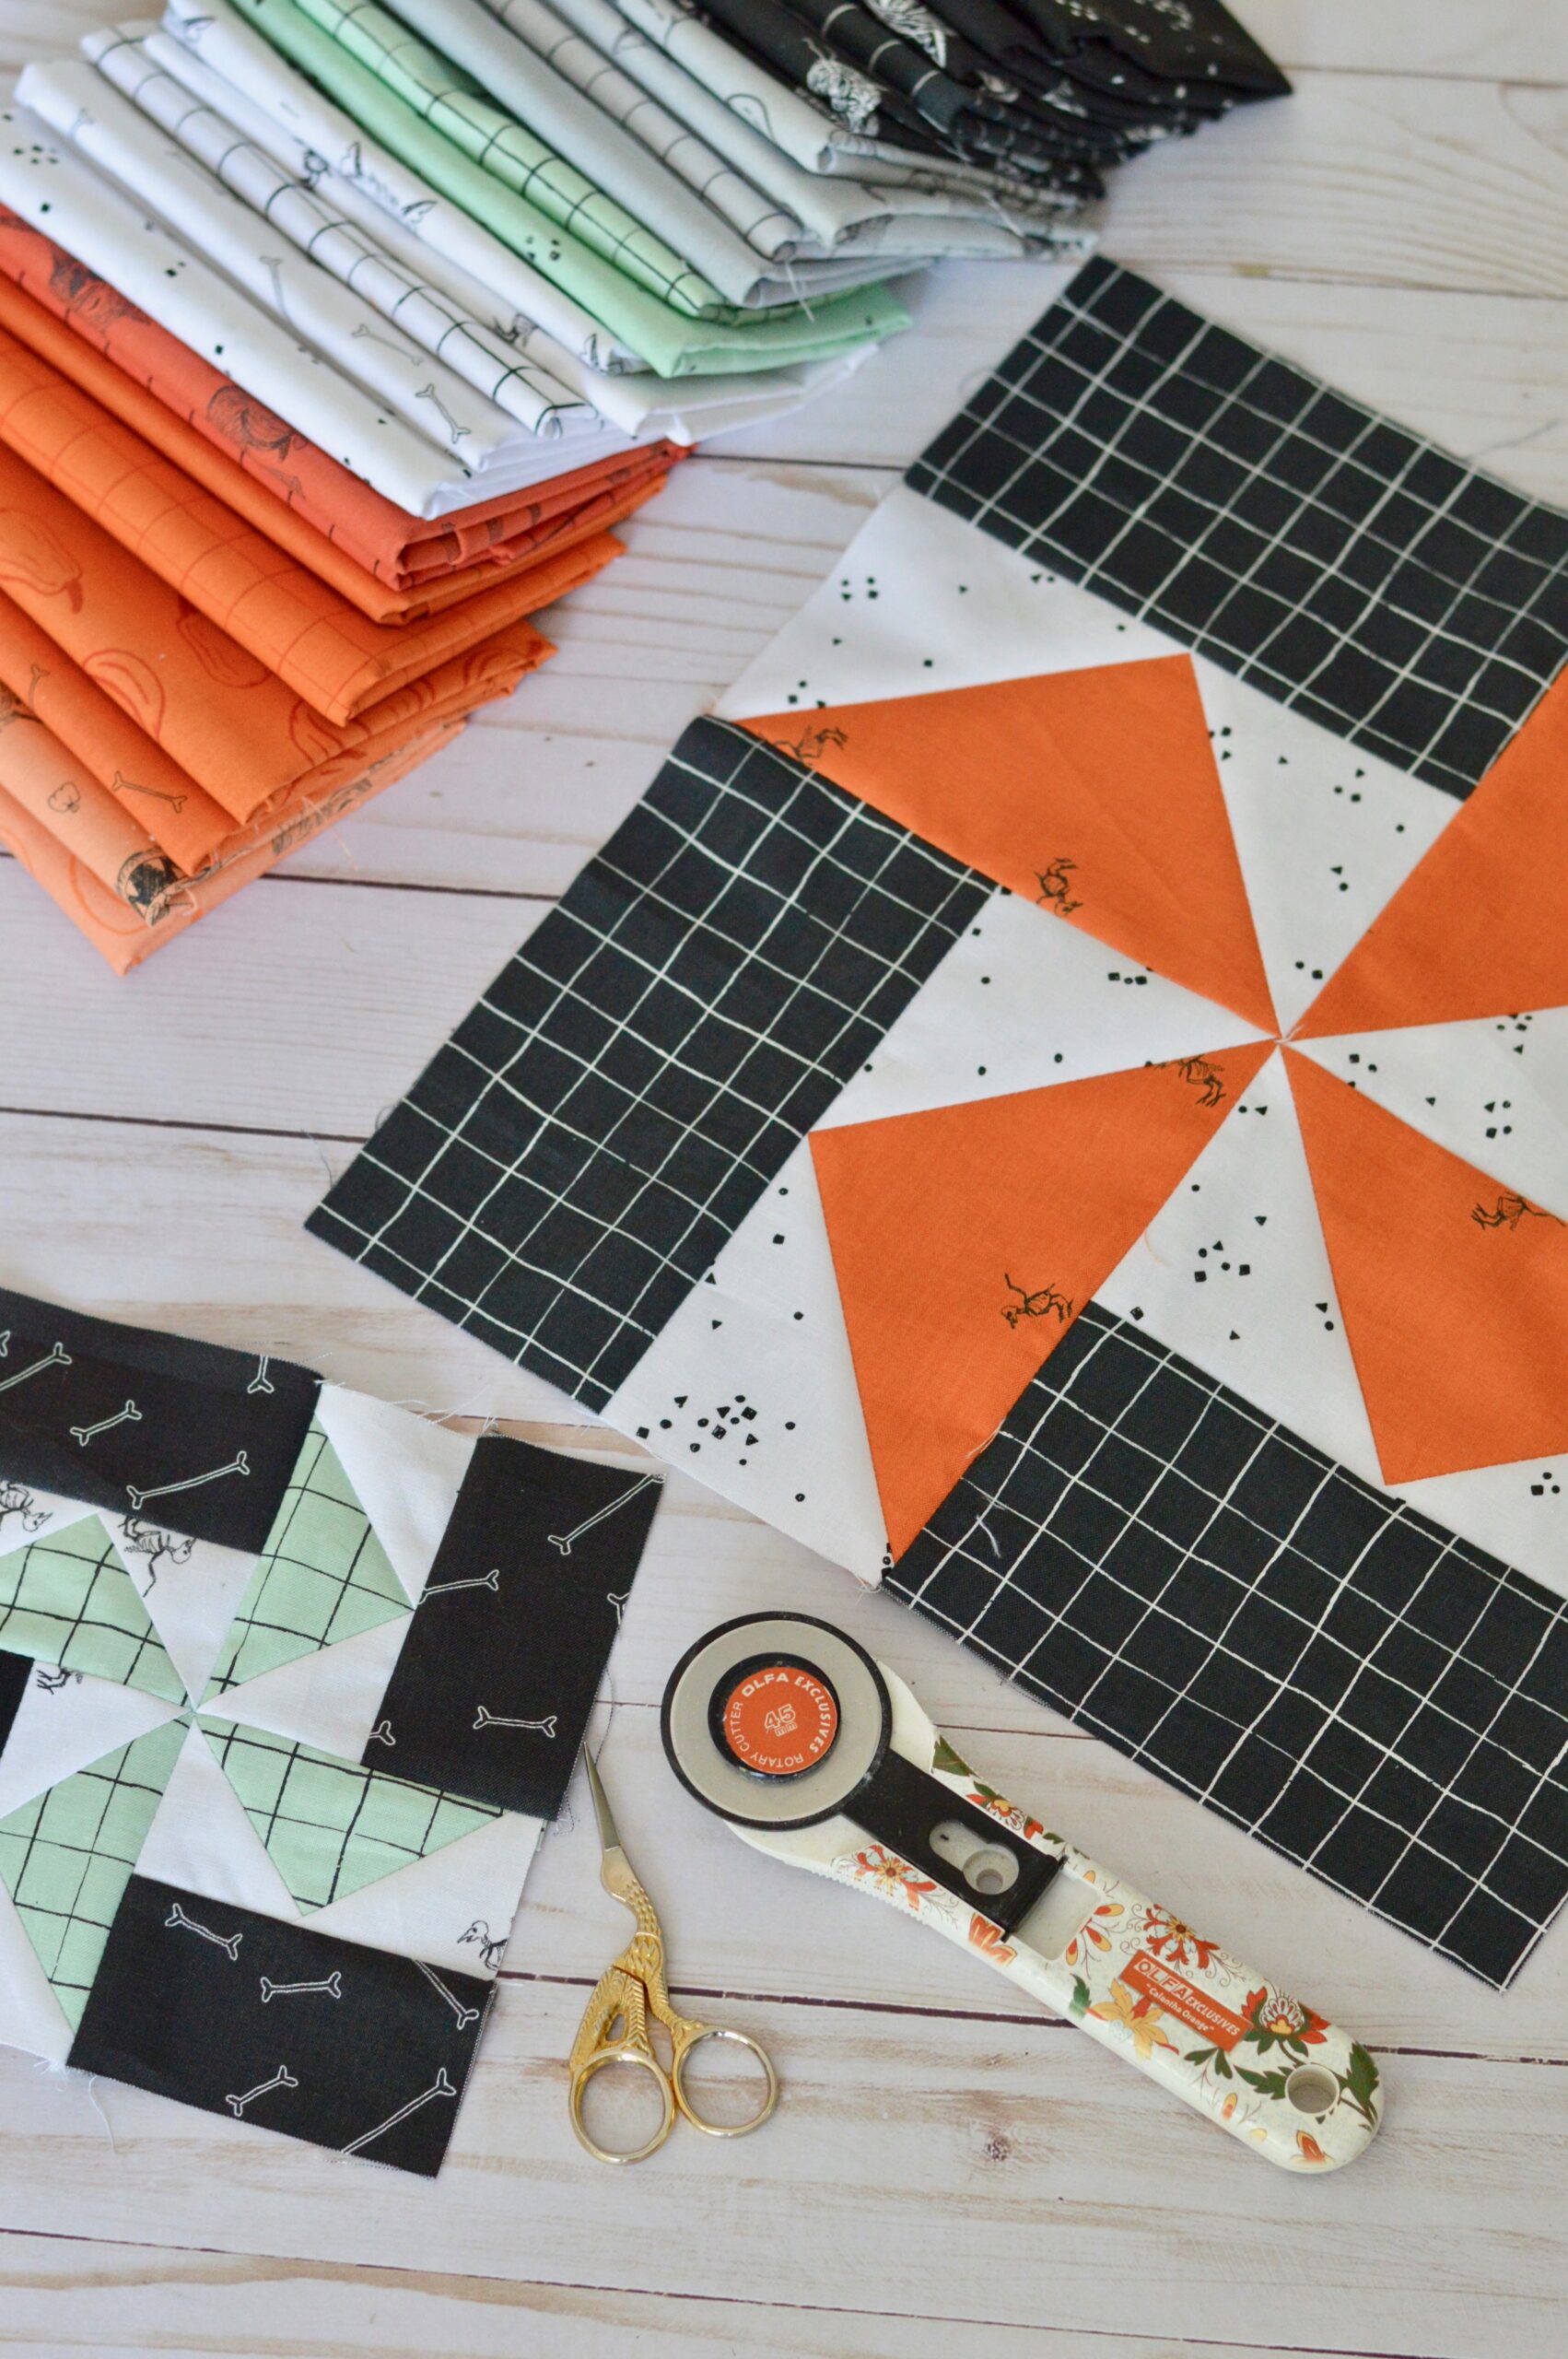
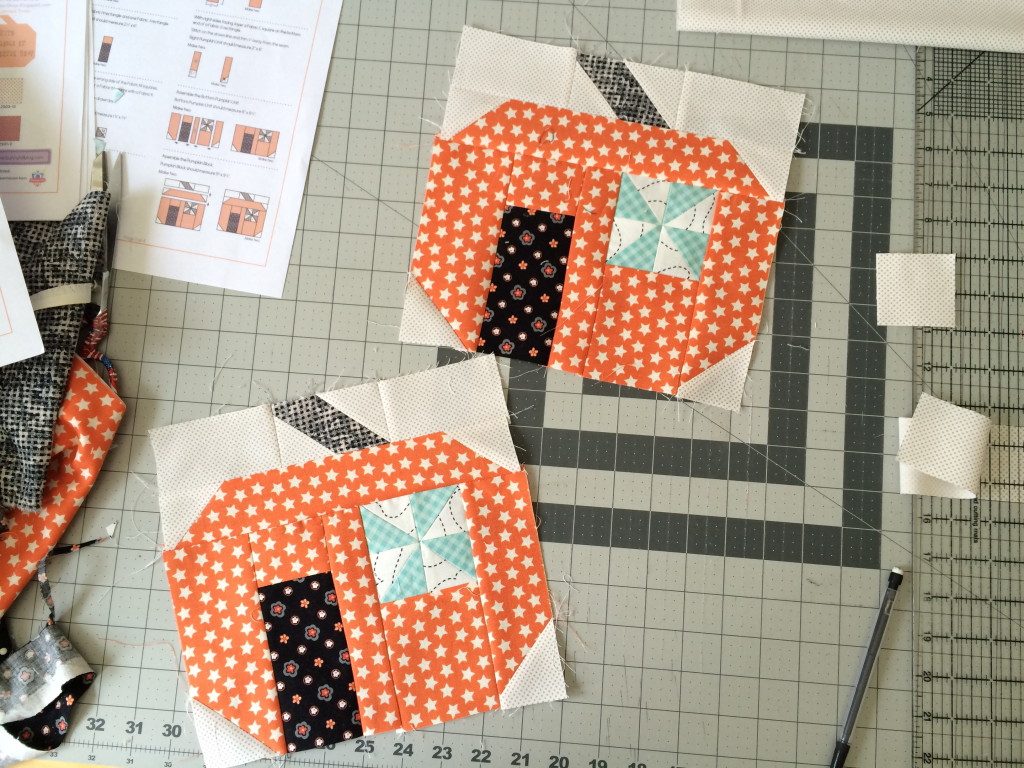
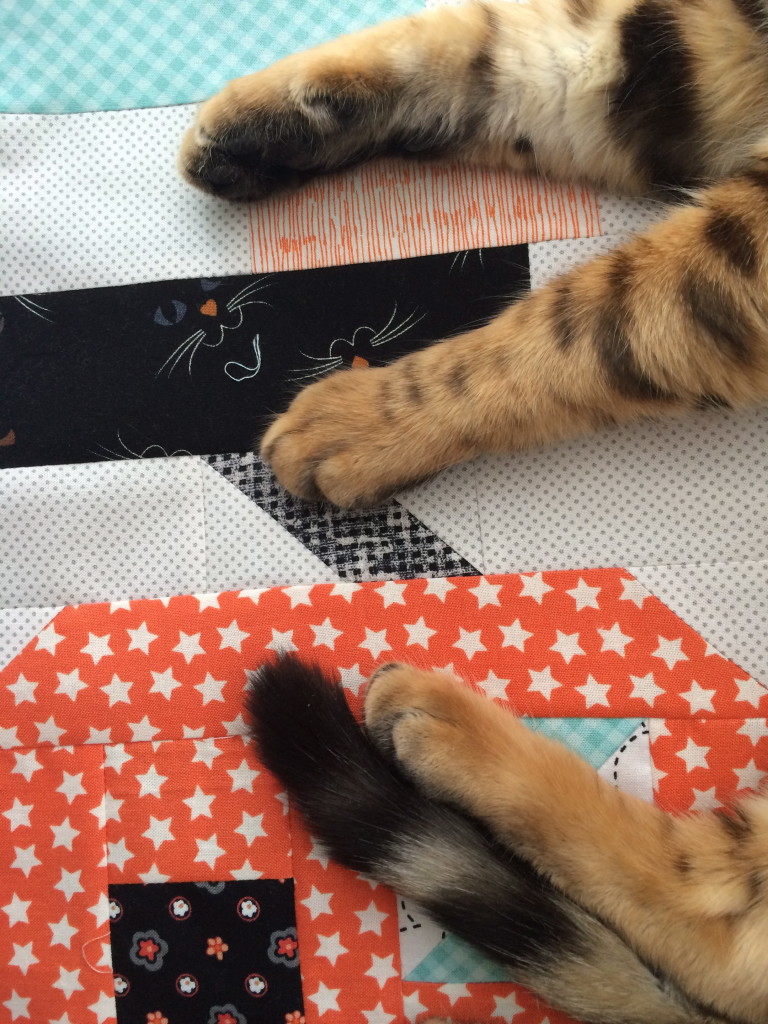
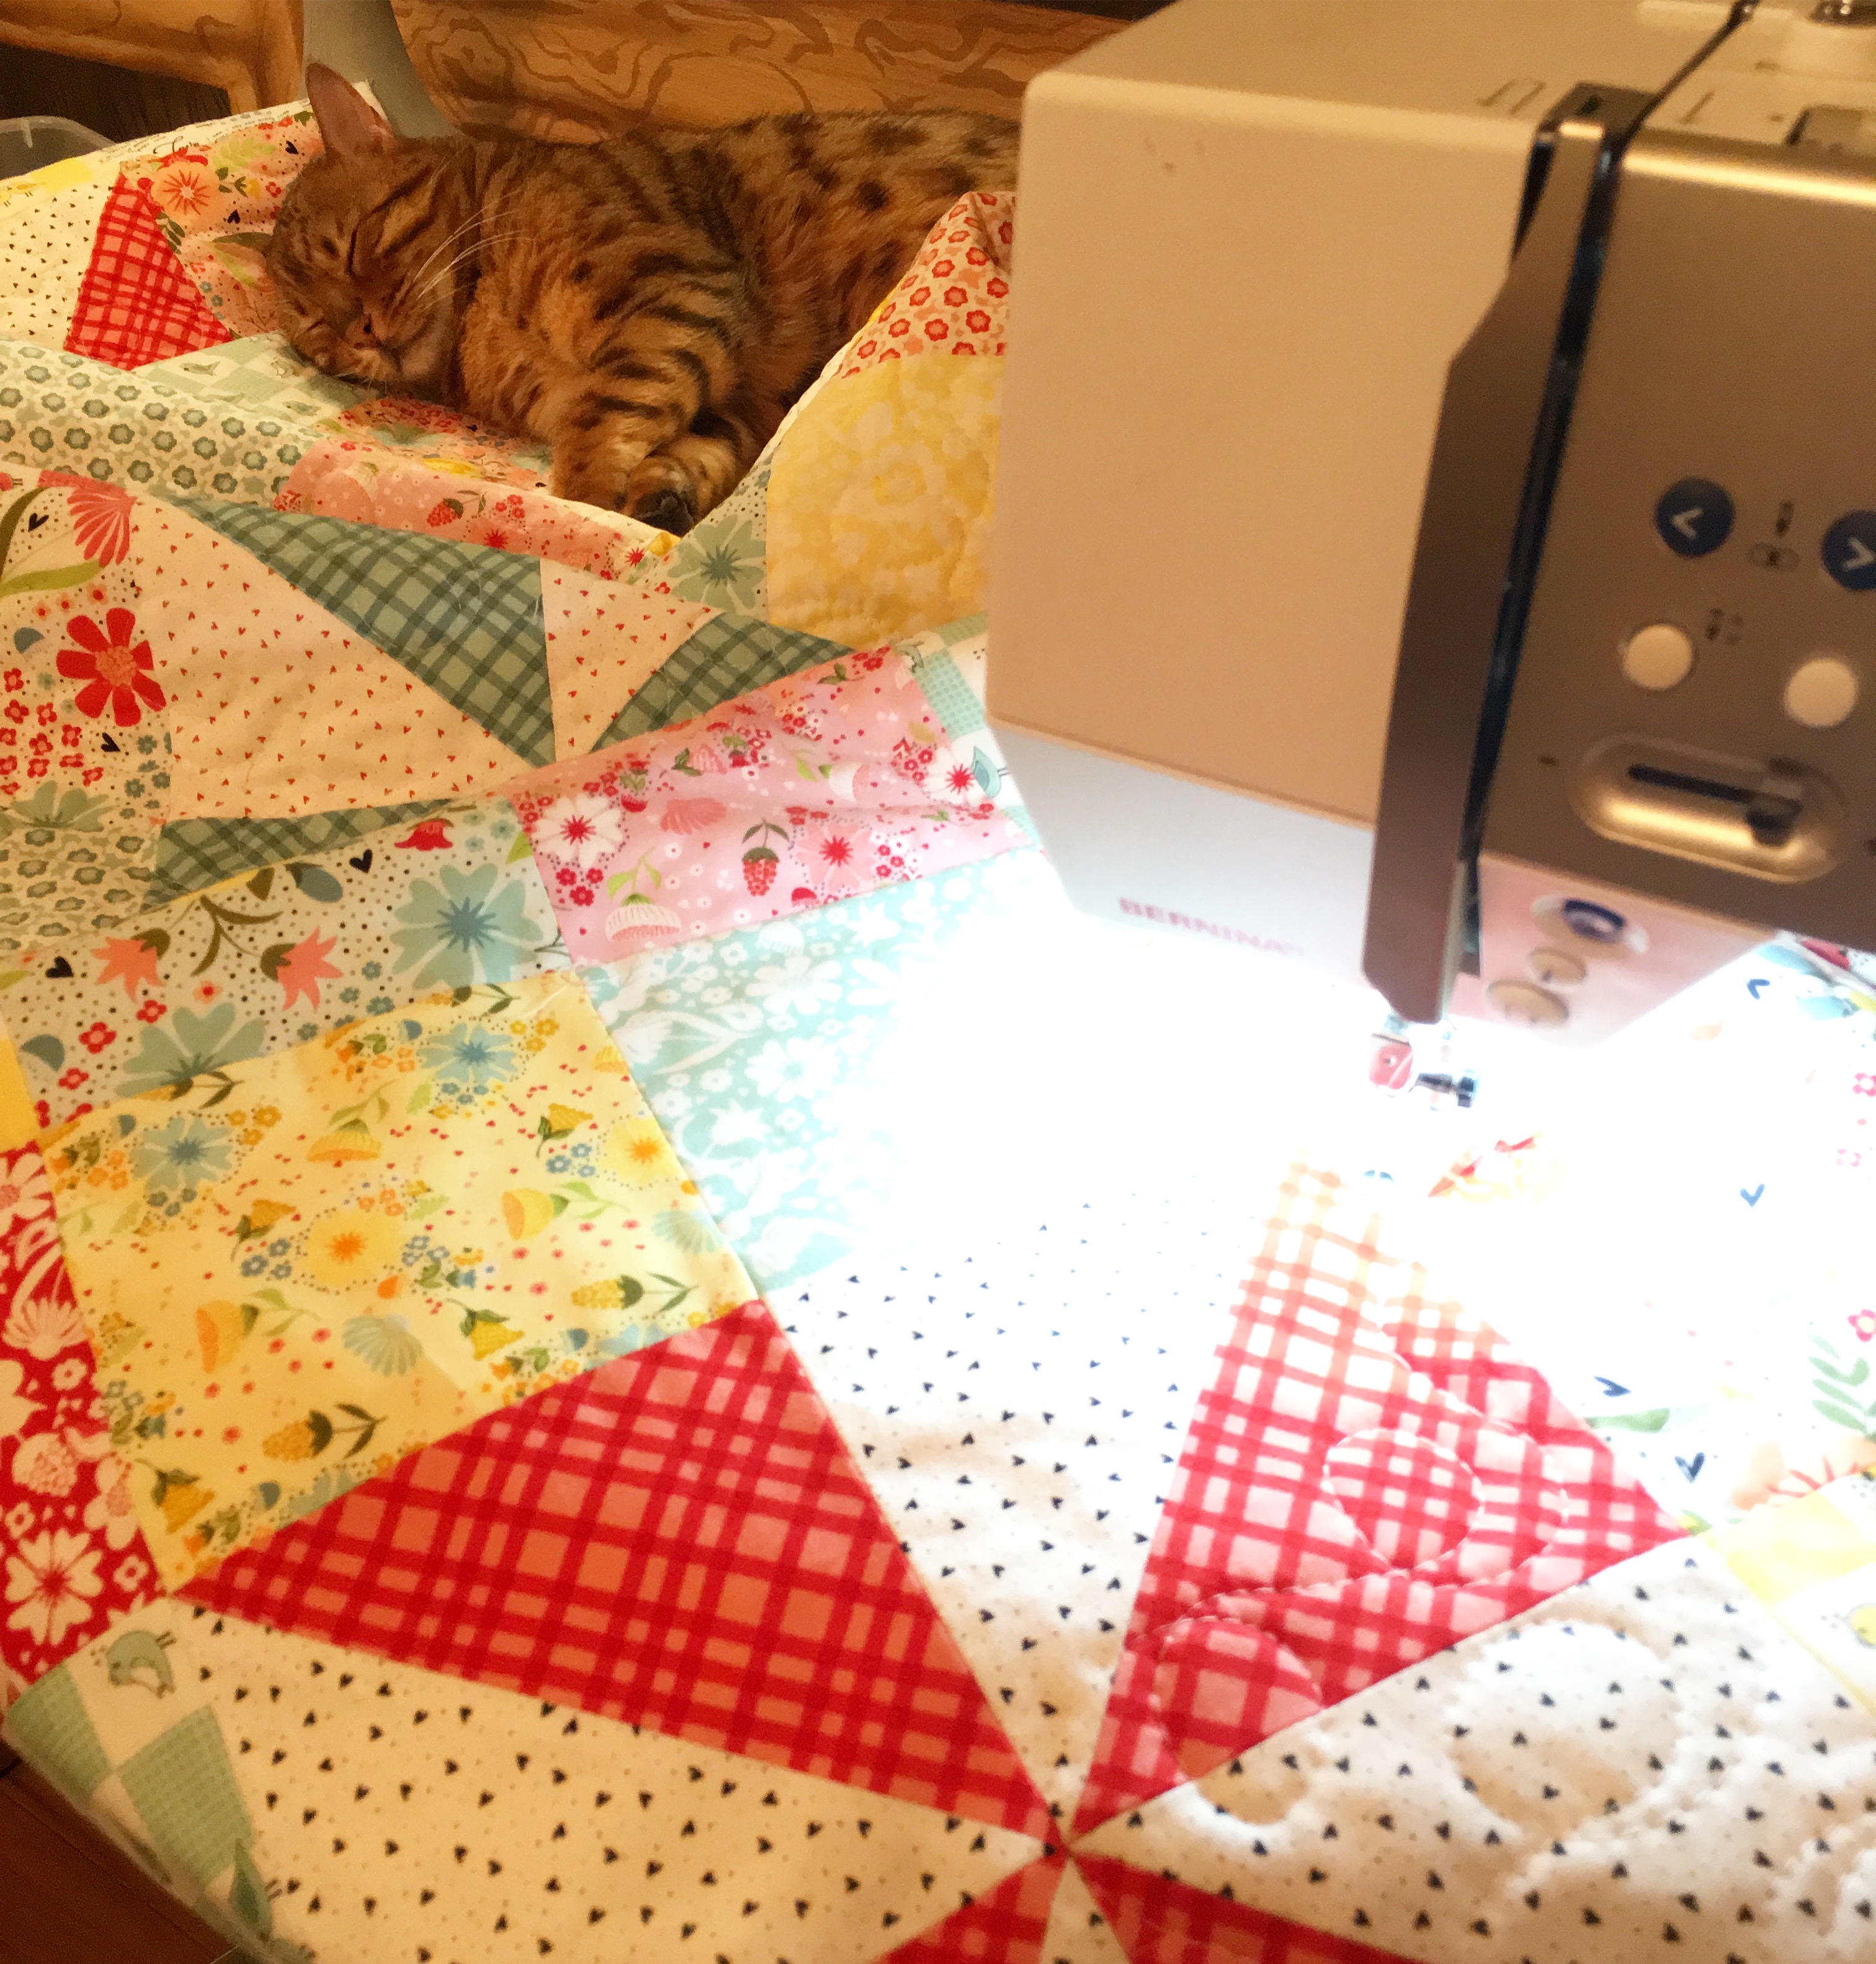
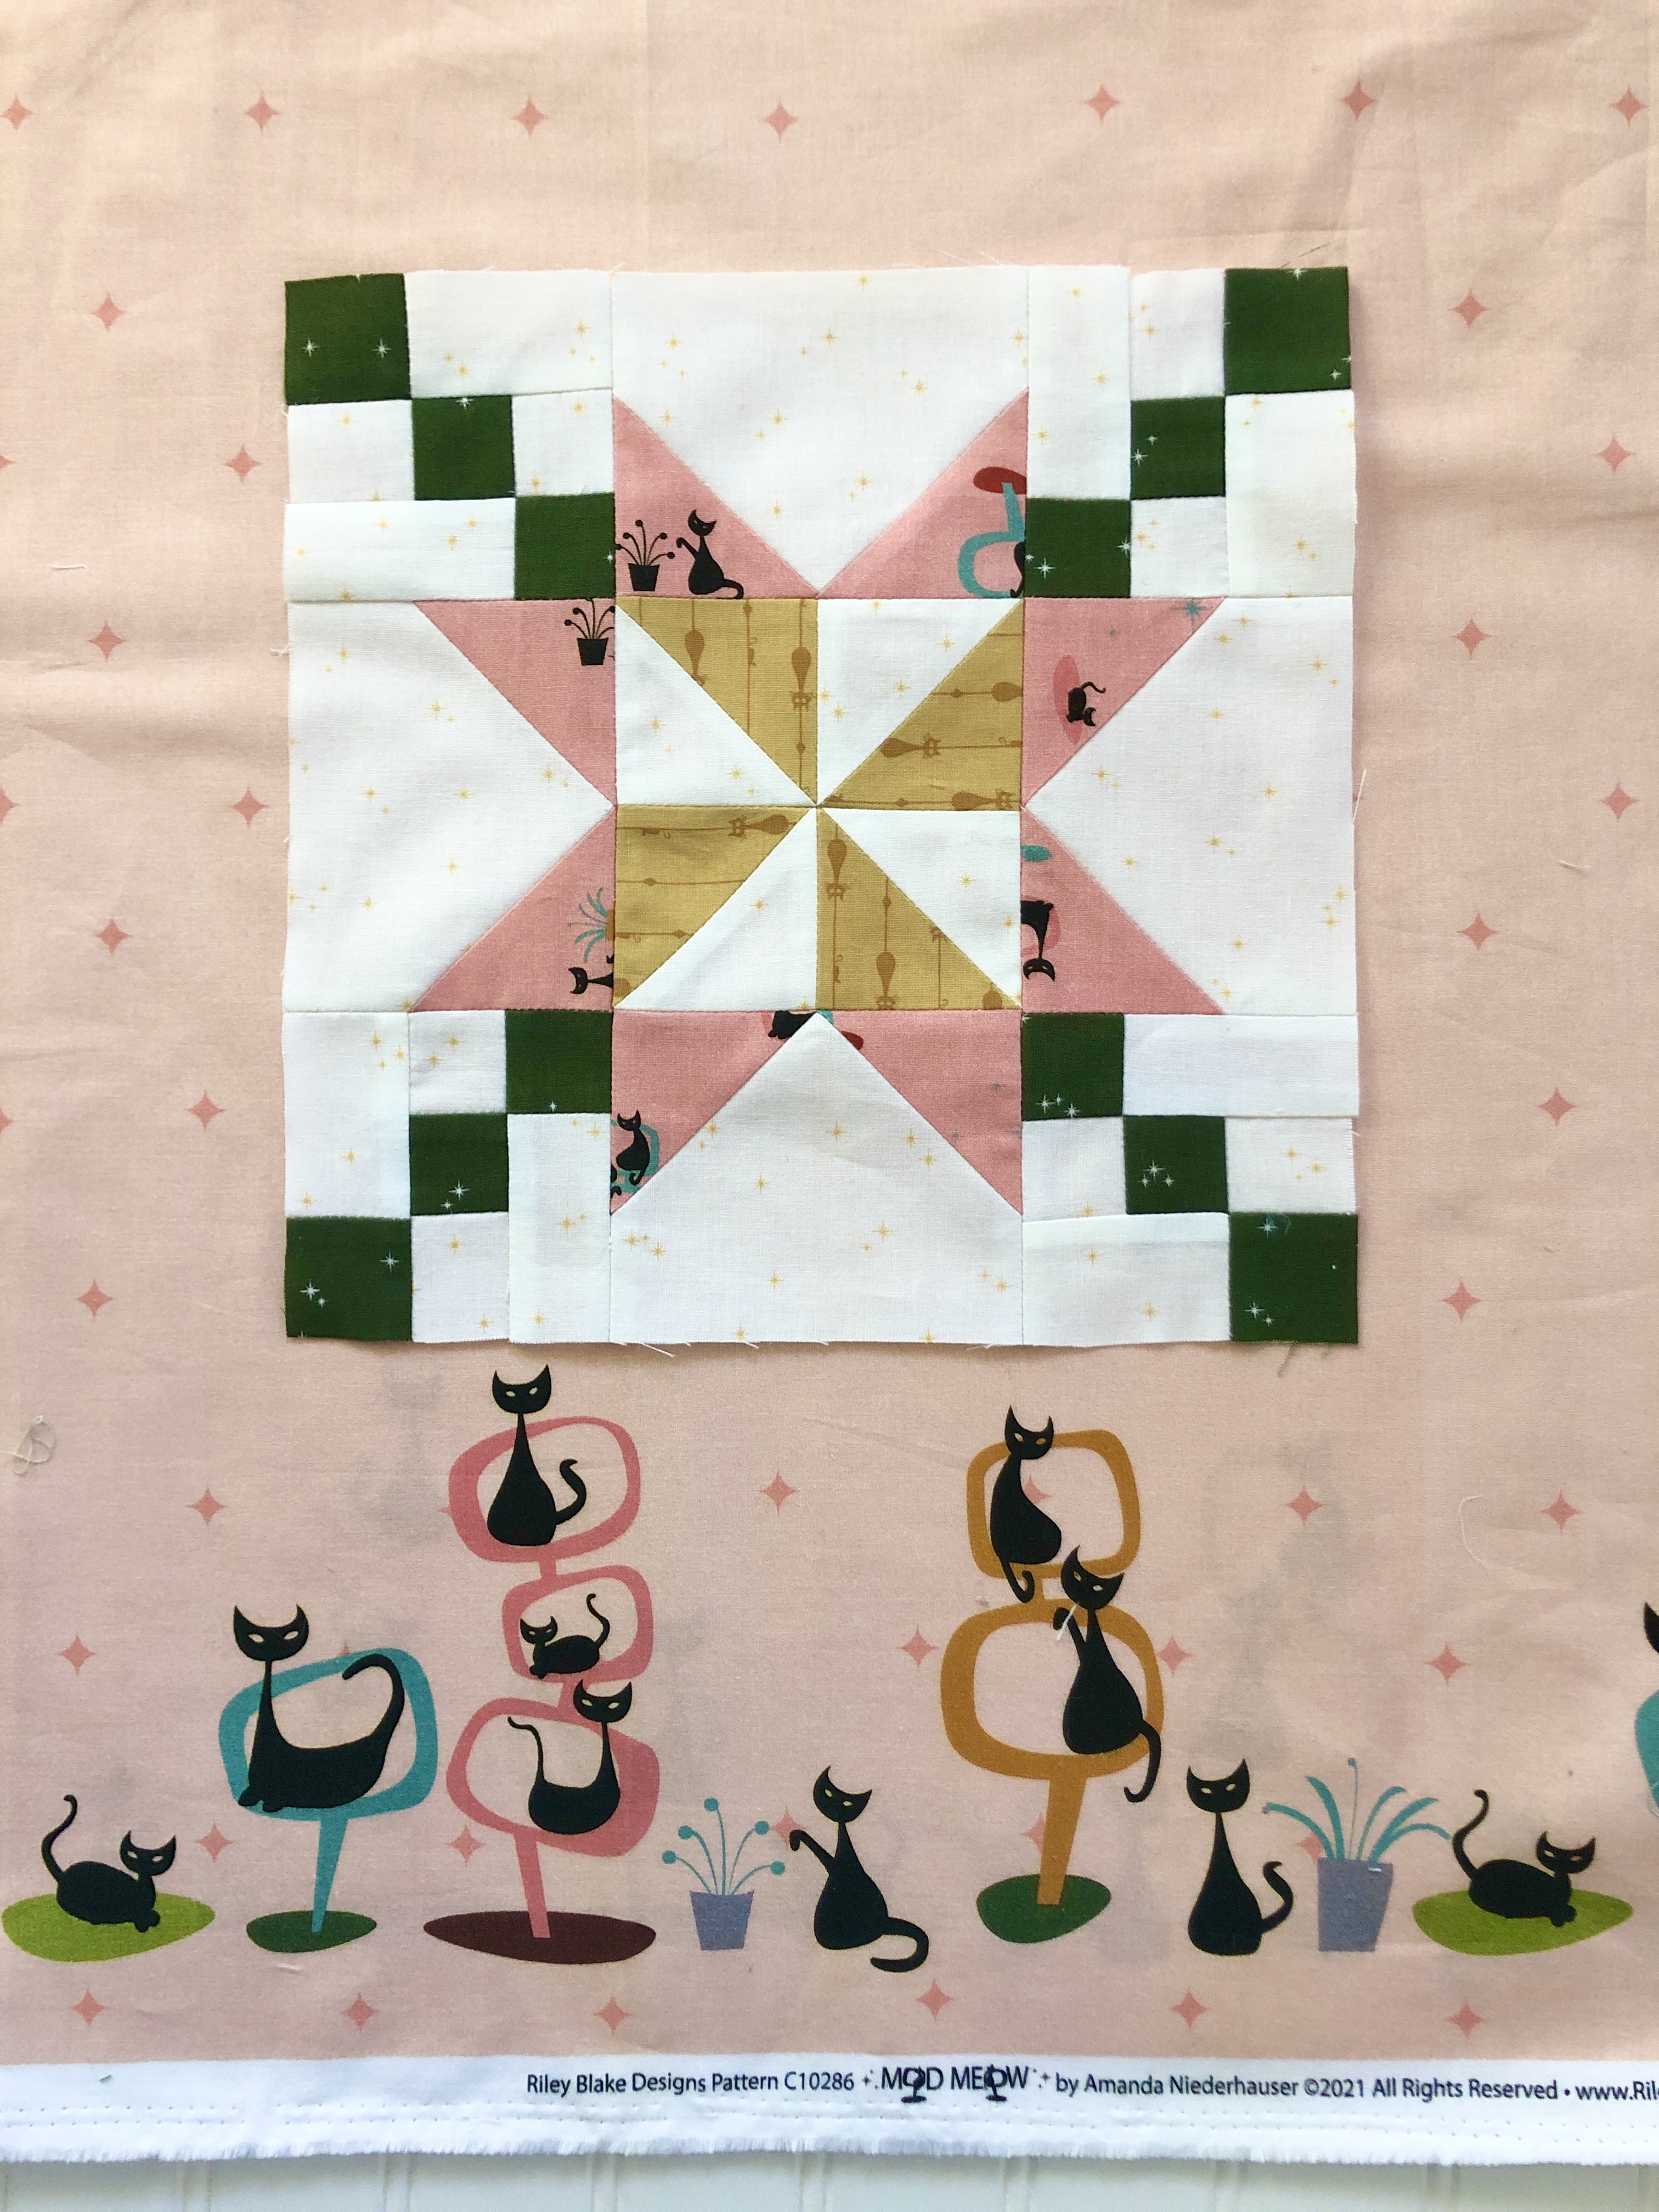
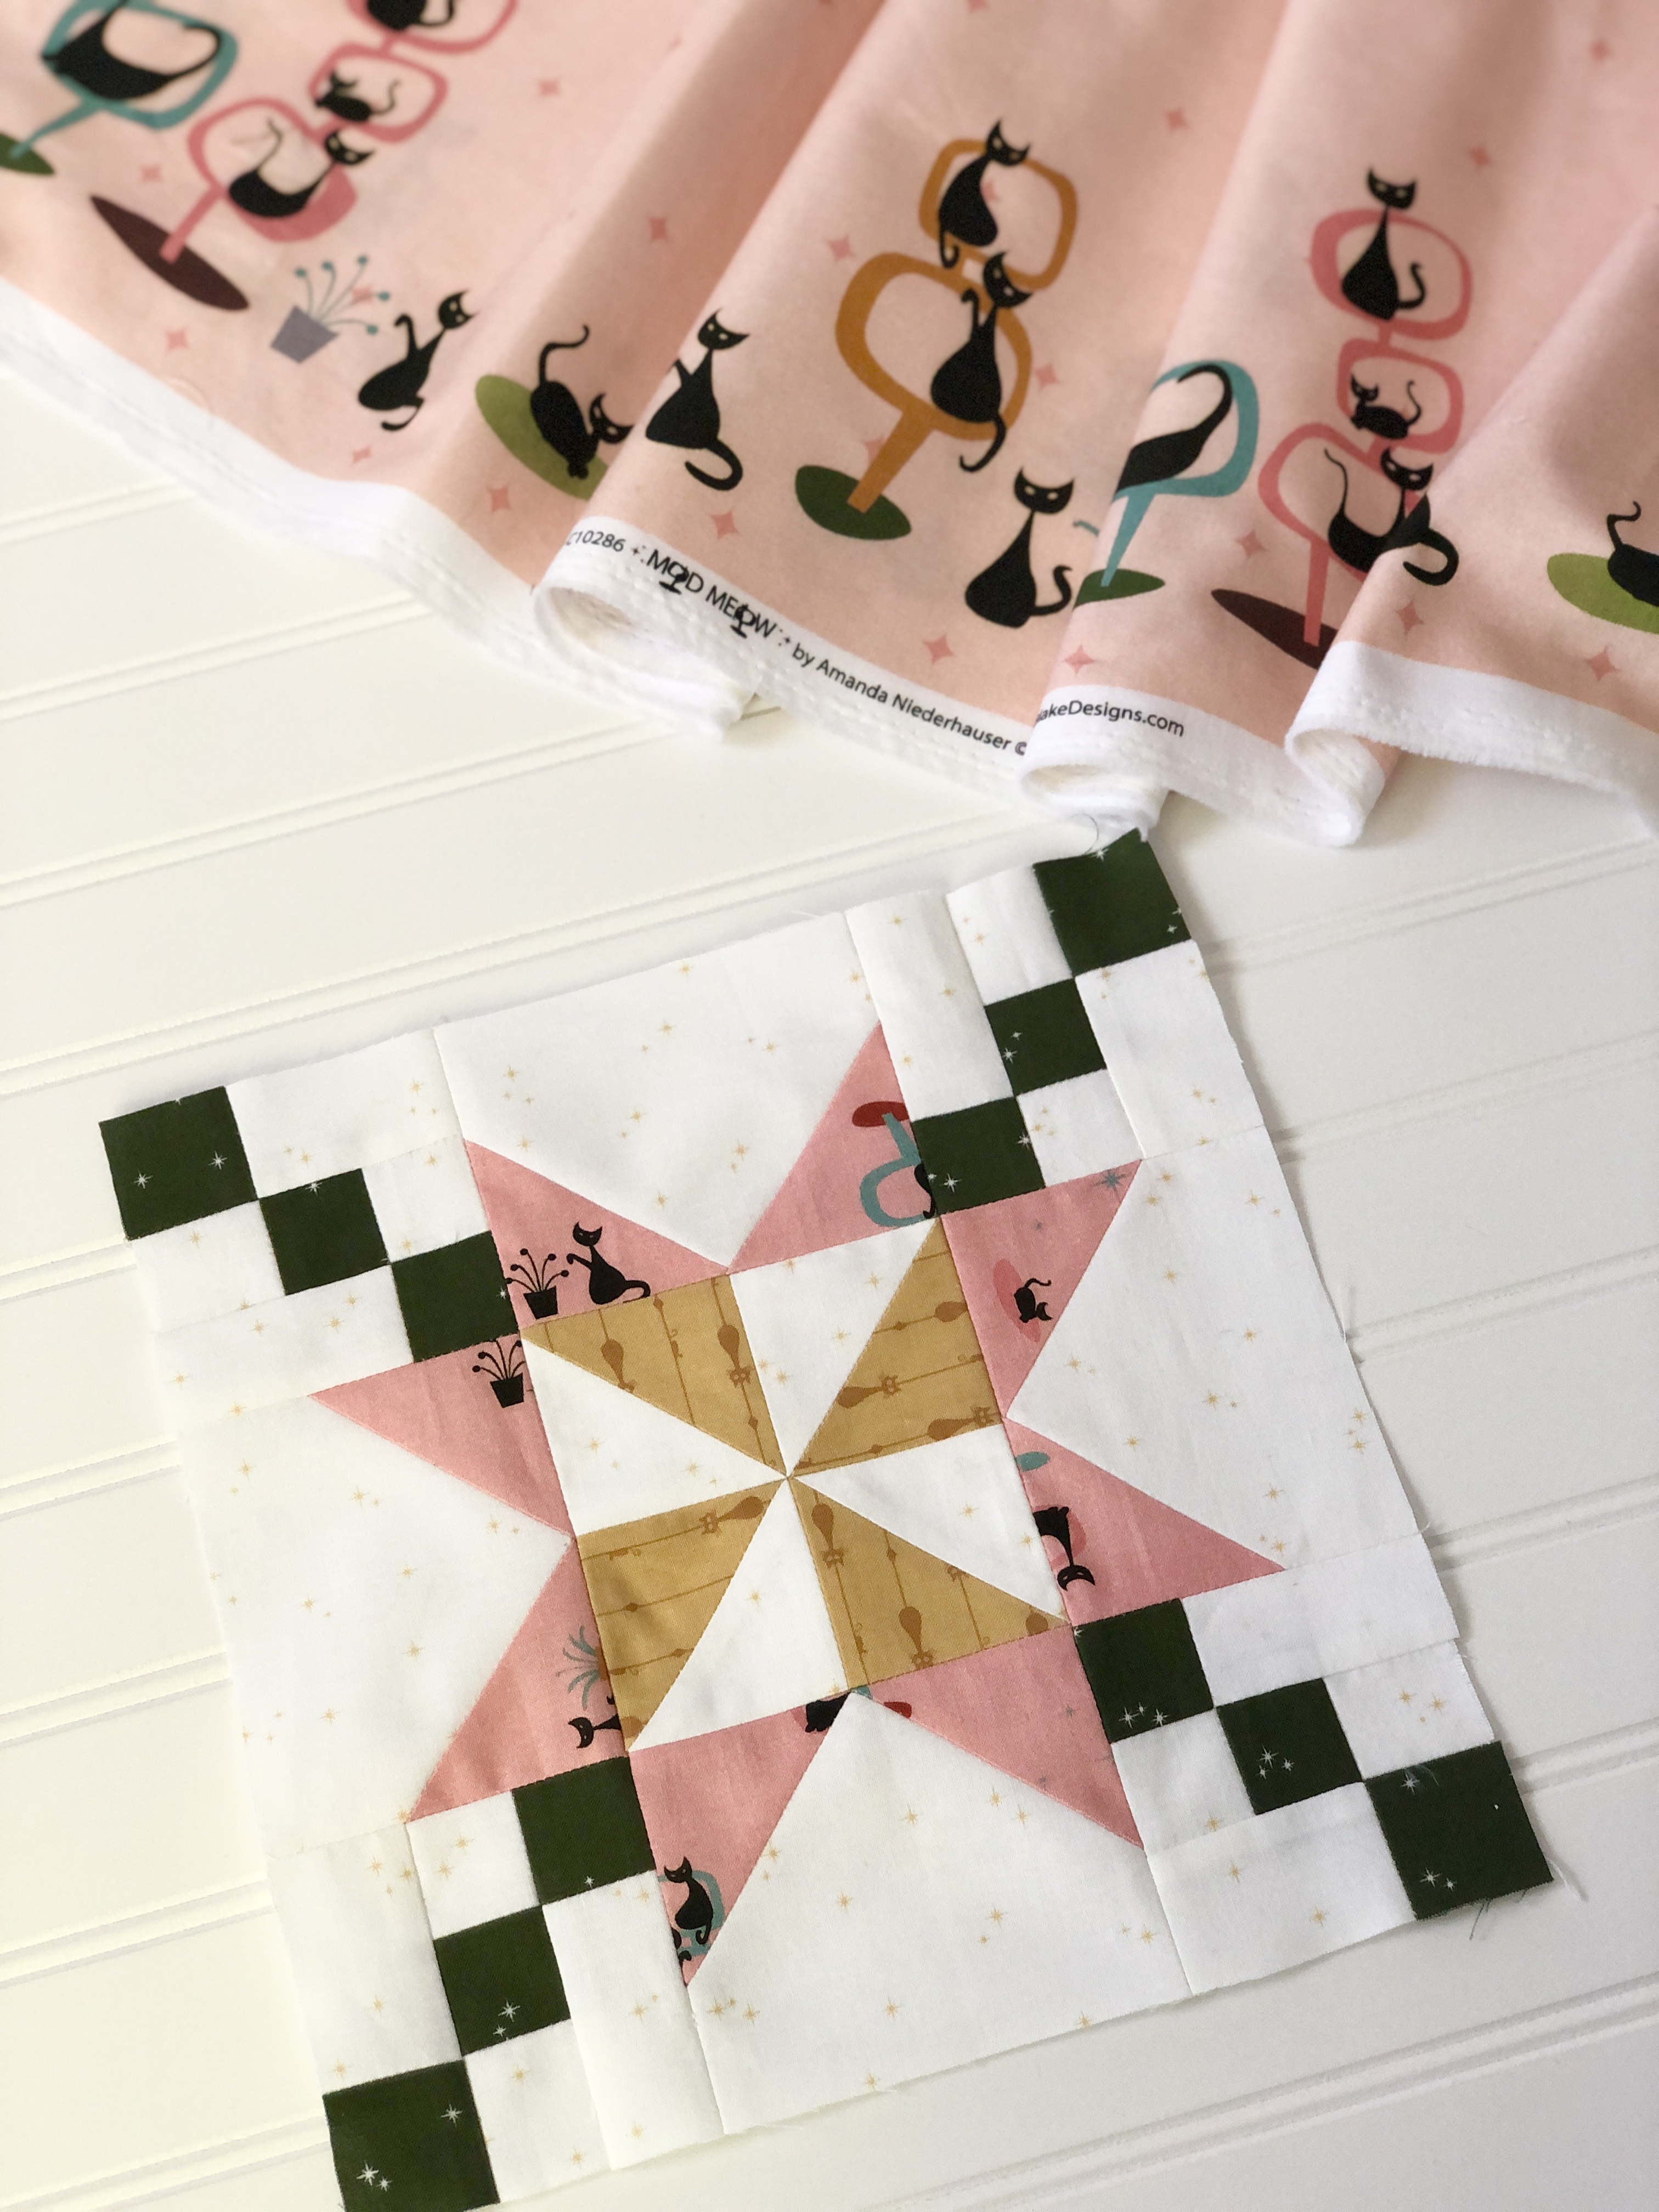
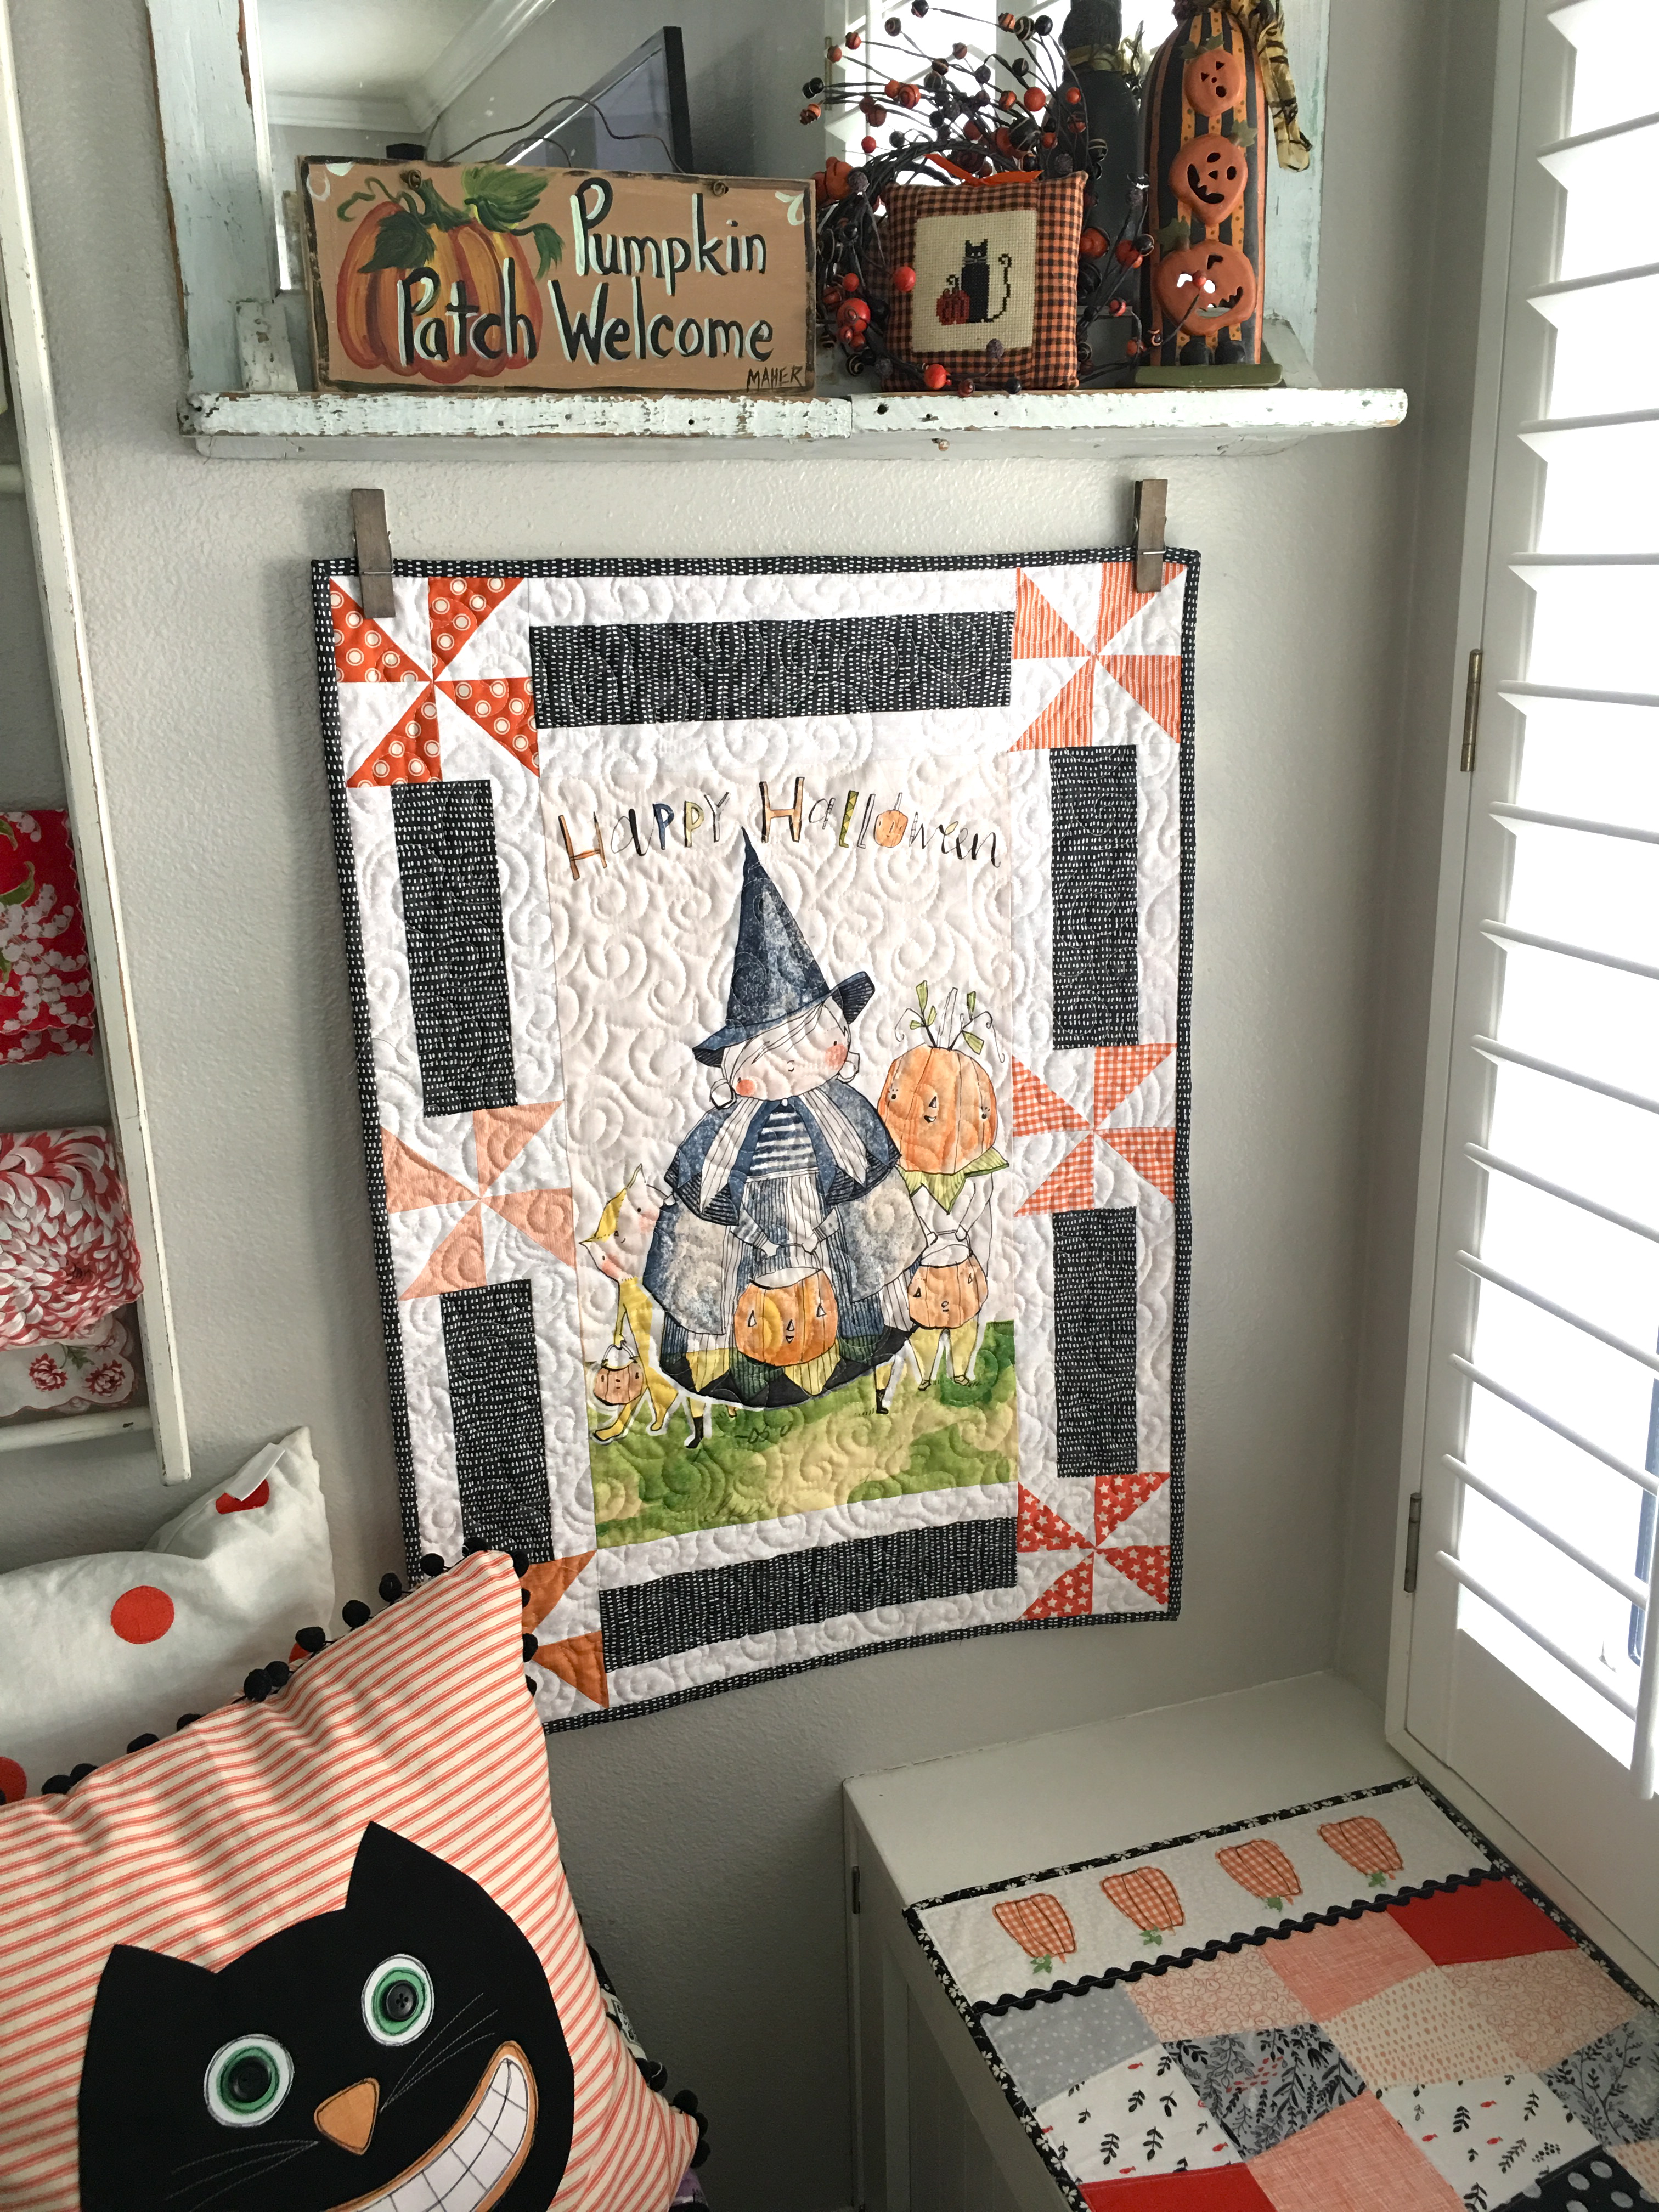
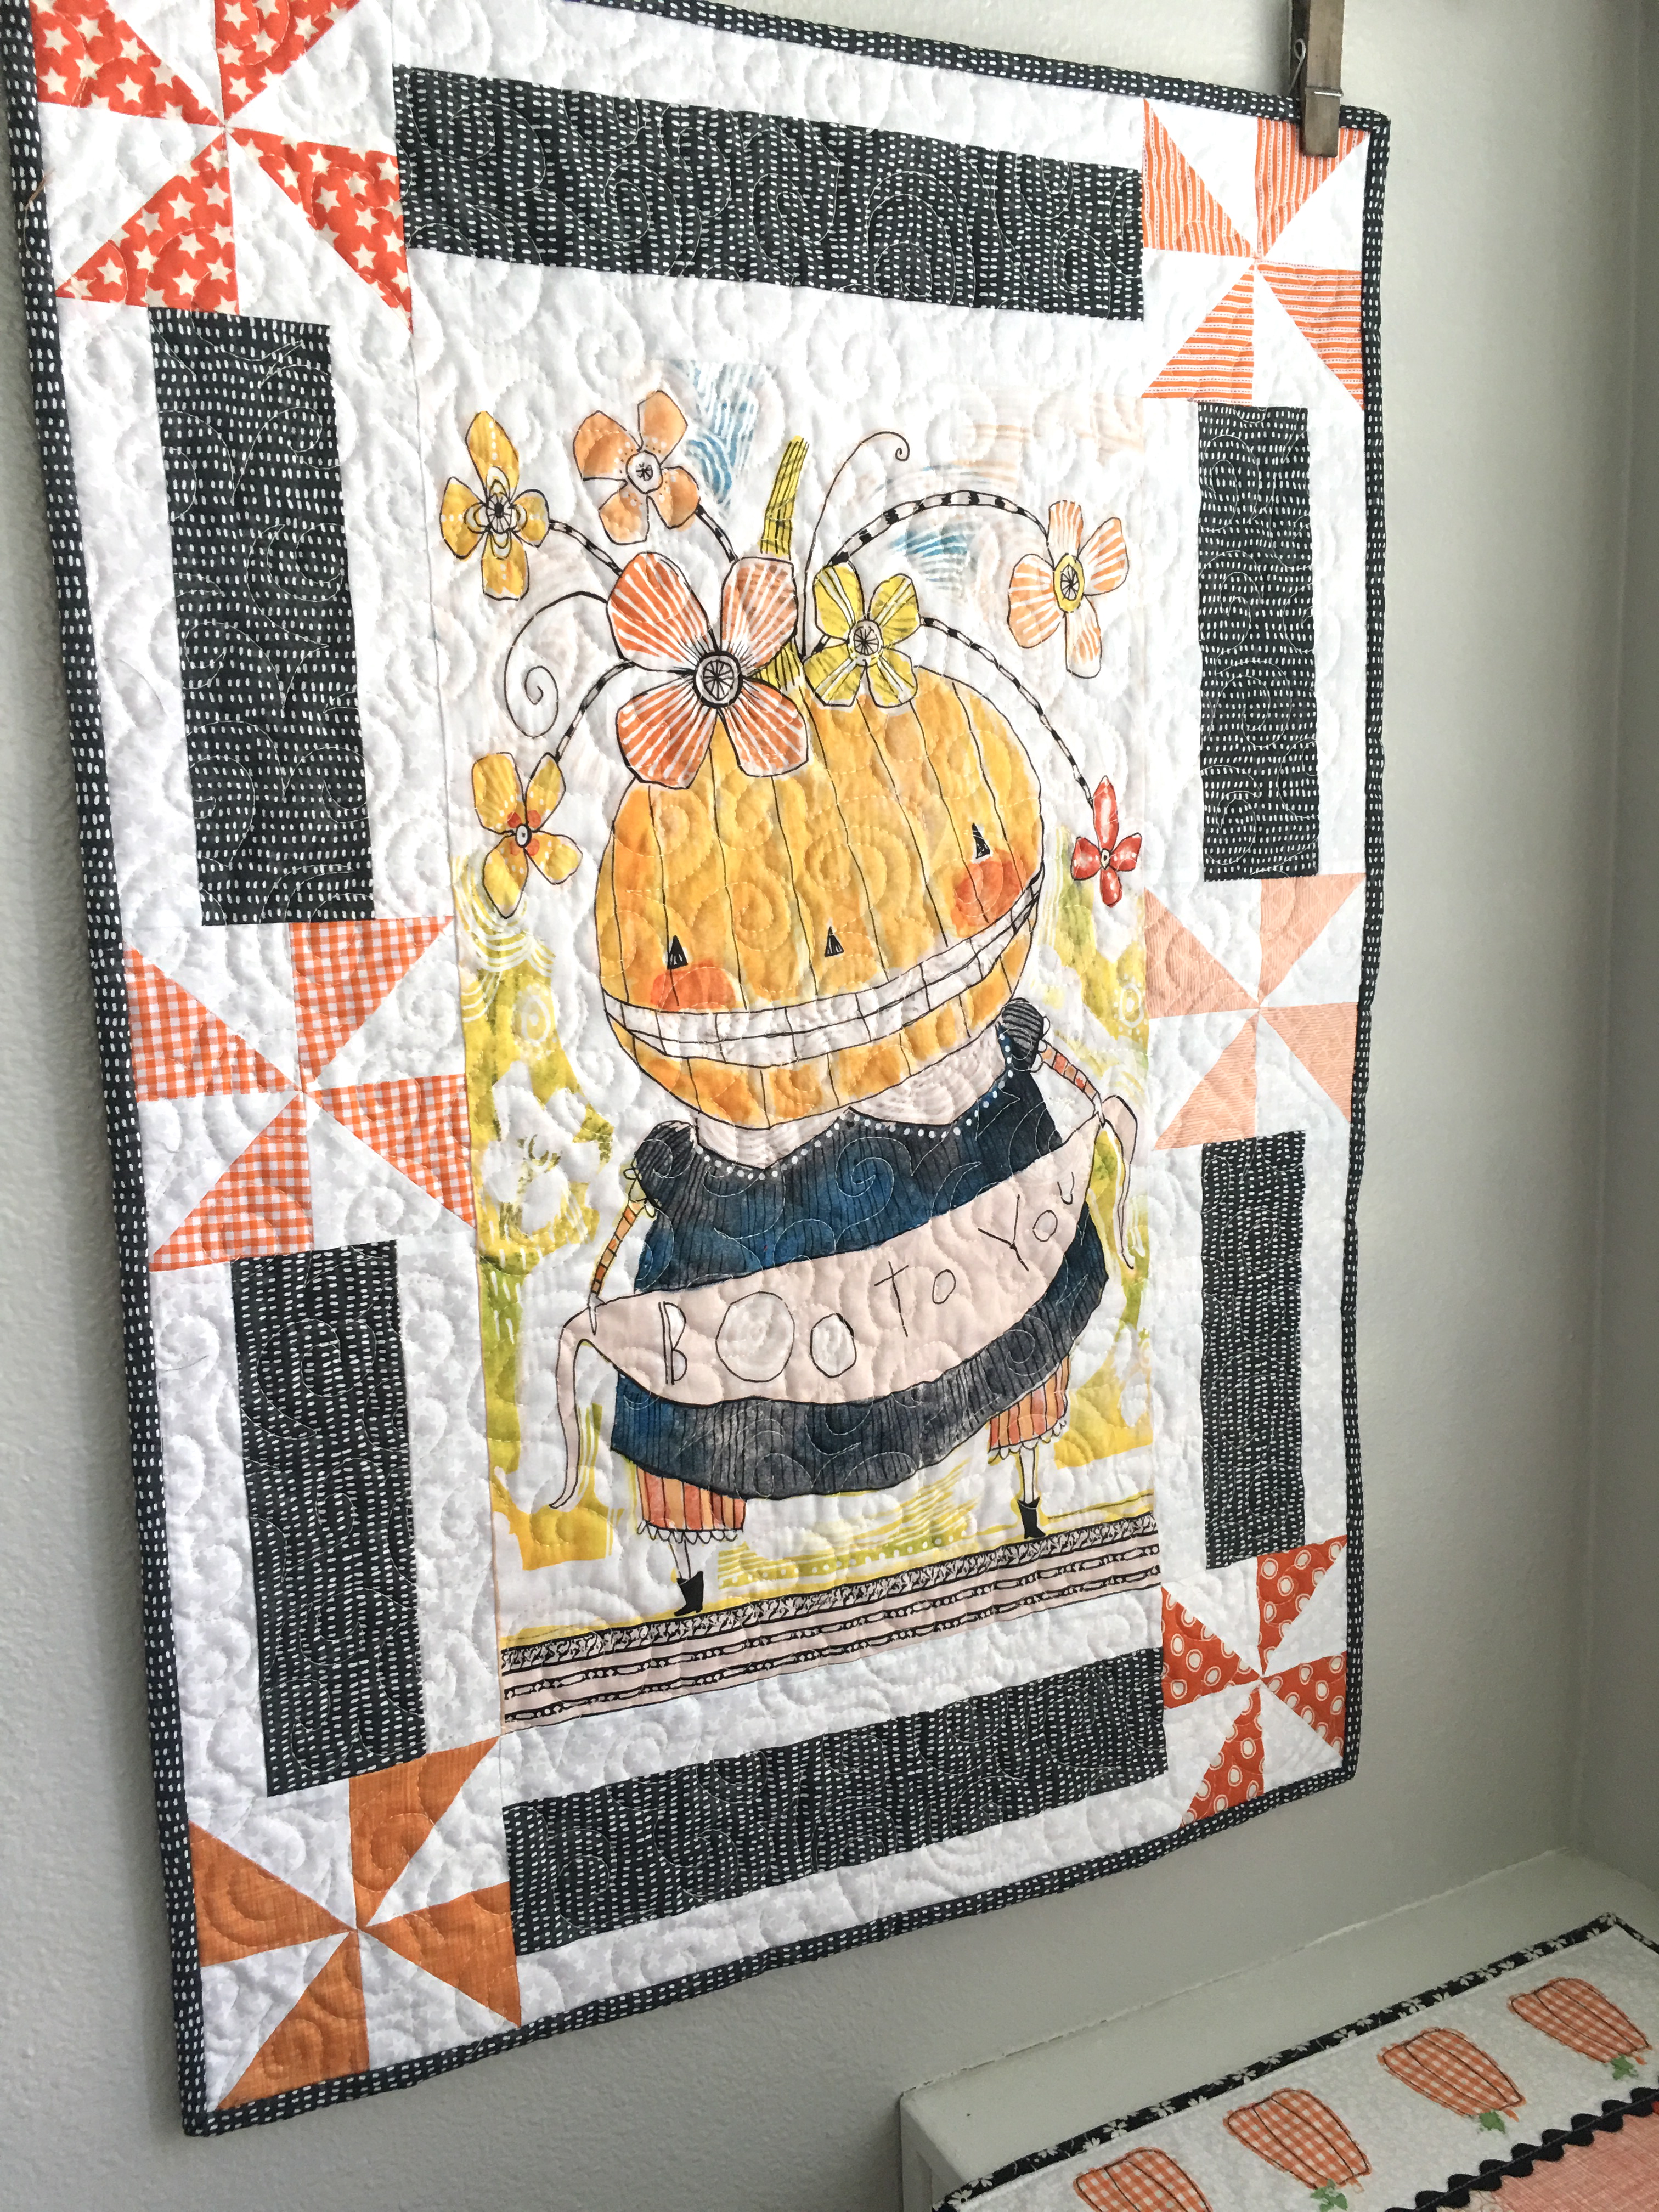
I used my new Scaredy Cat fabric!

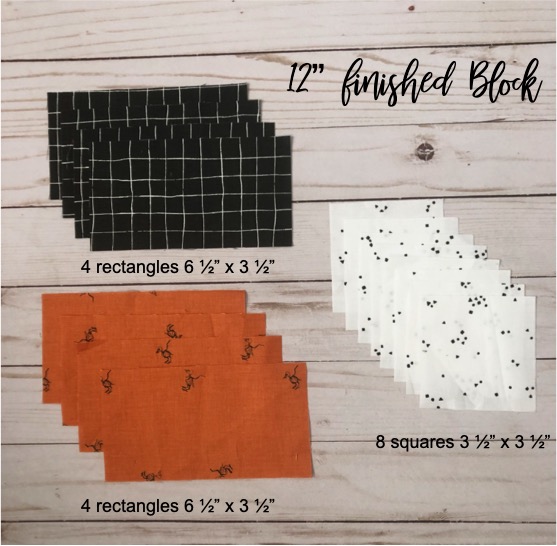
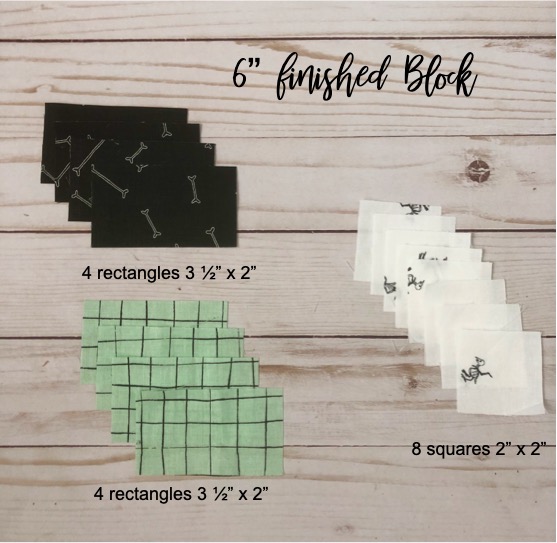
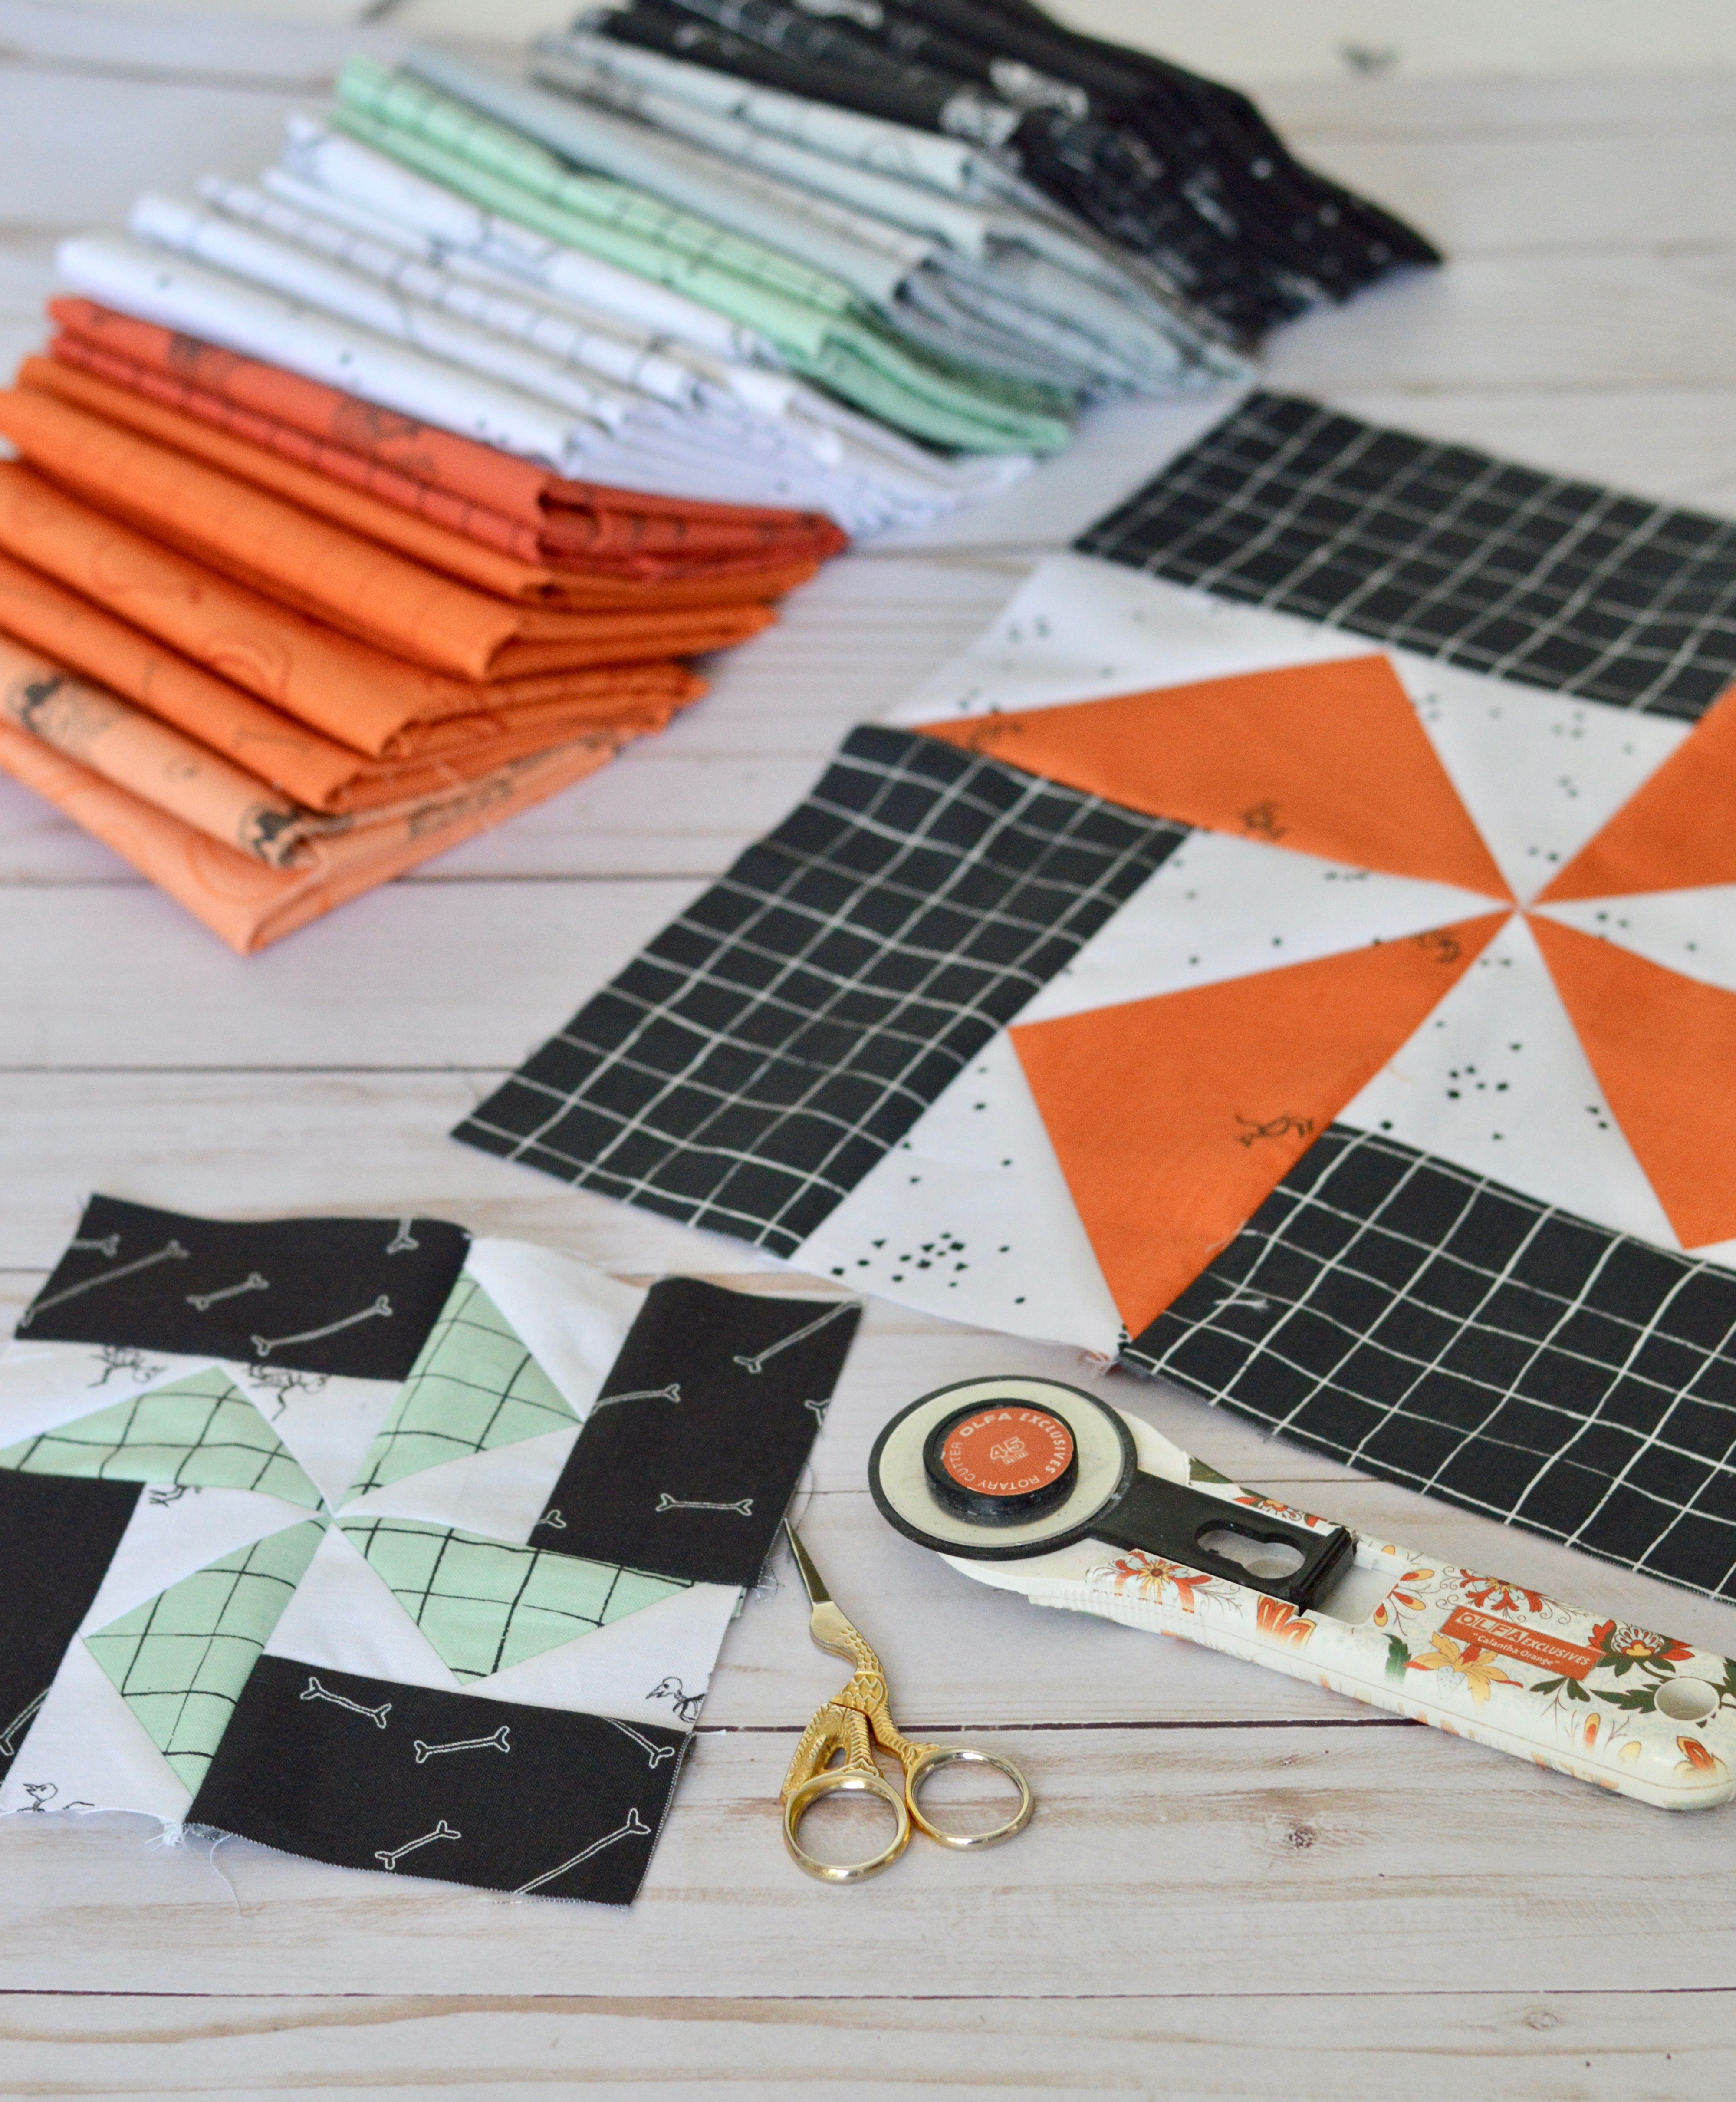
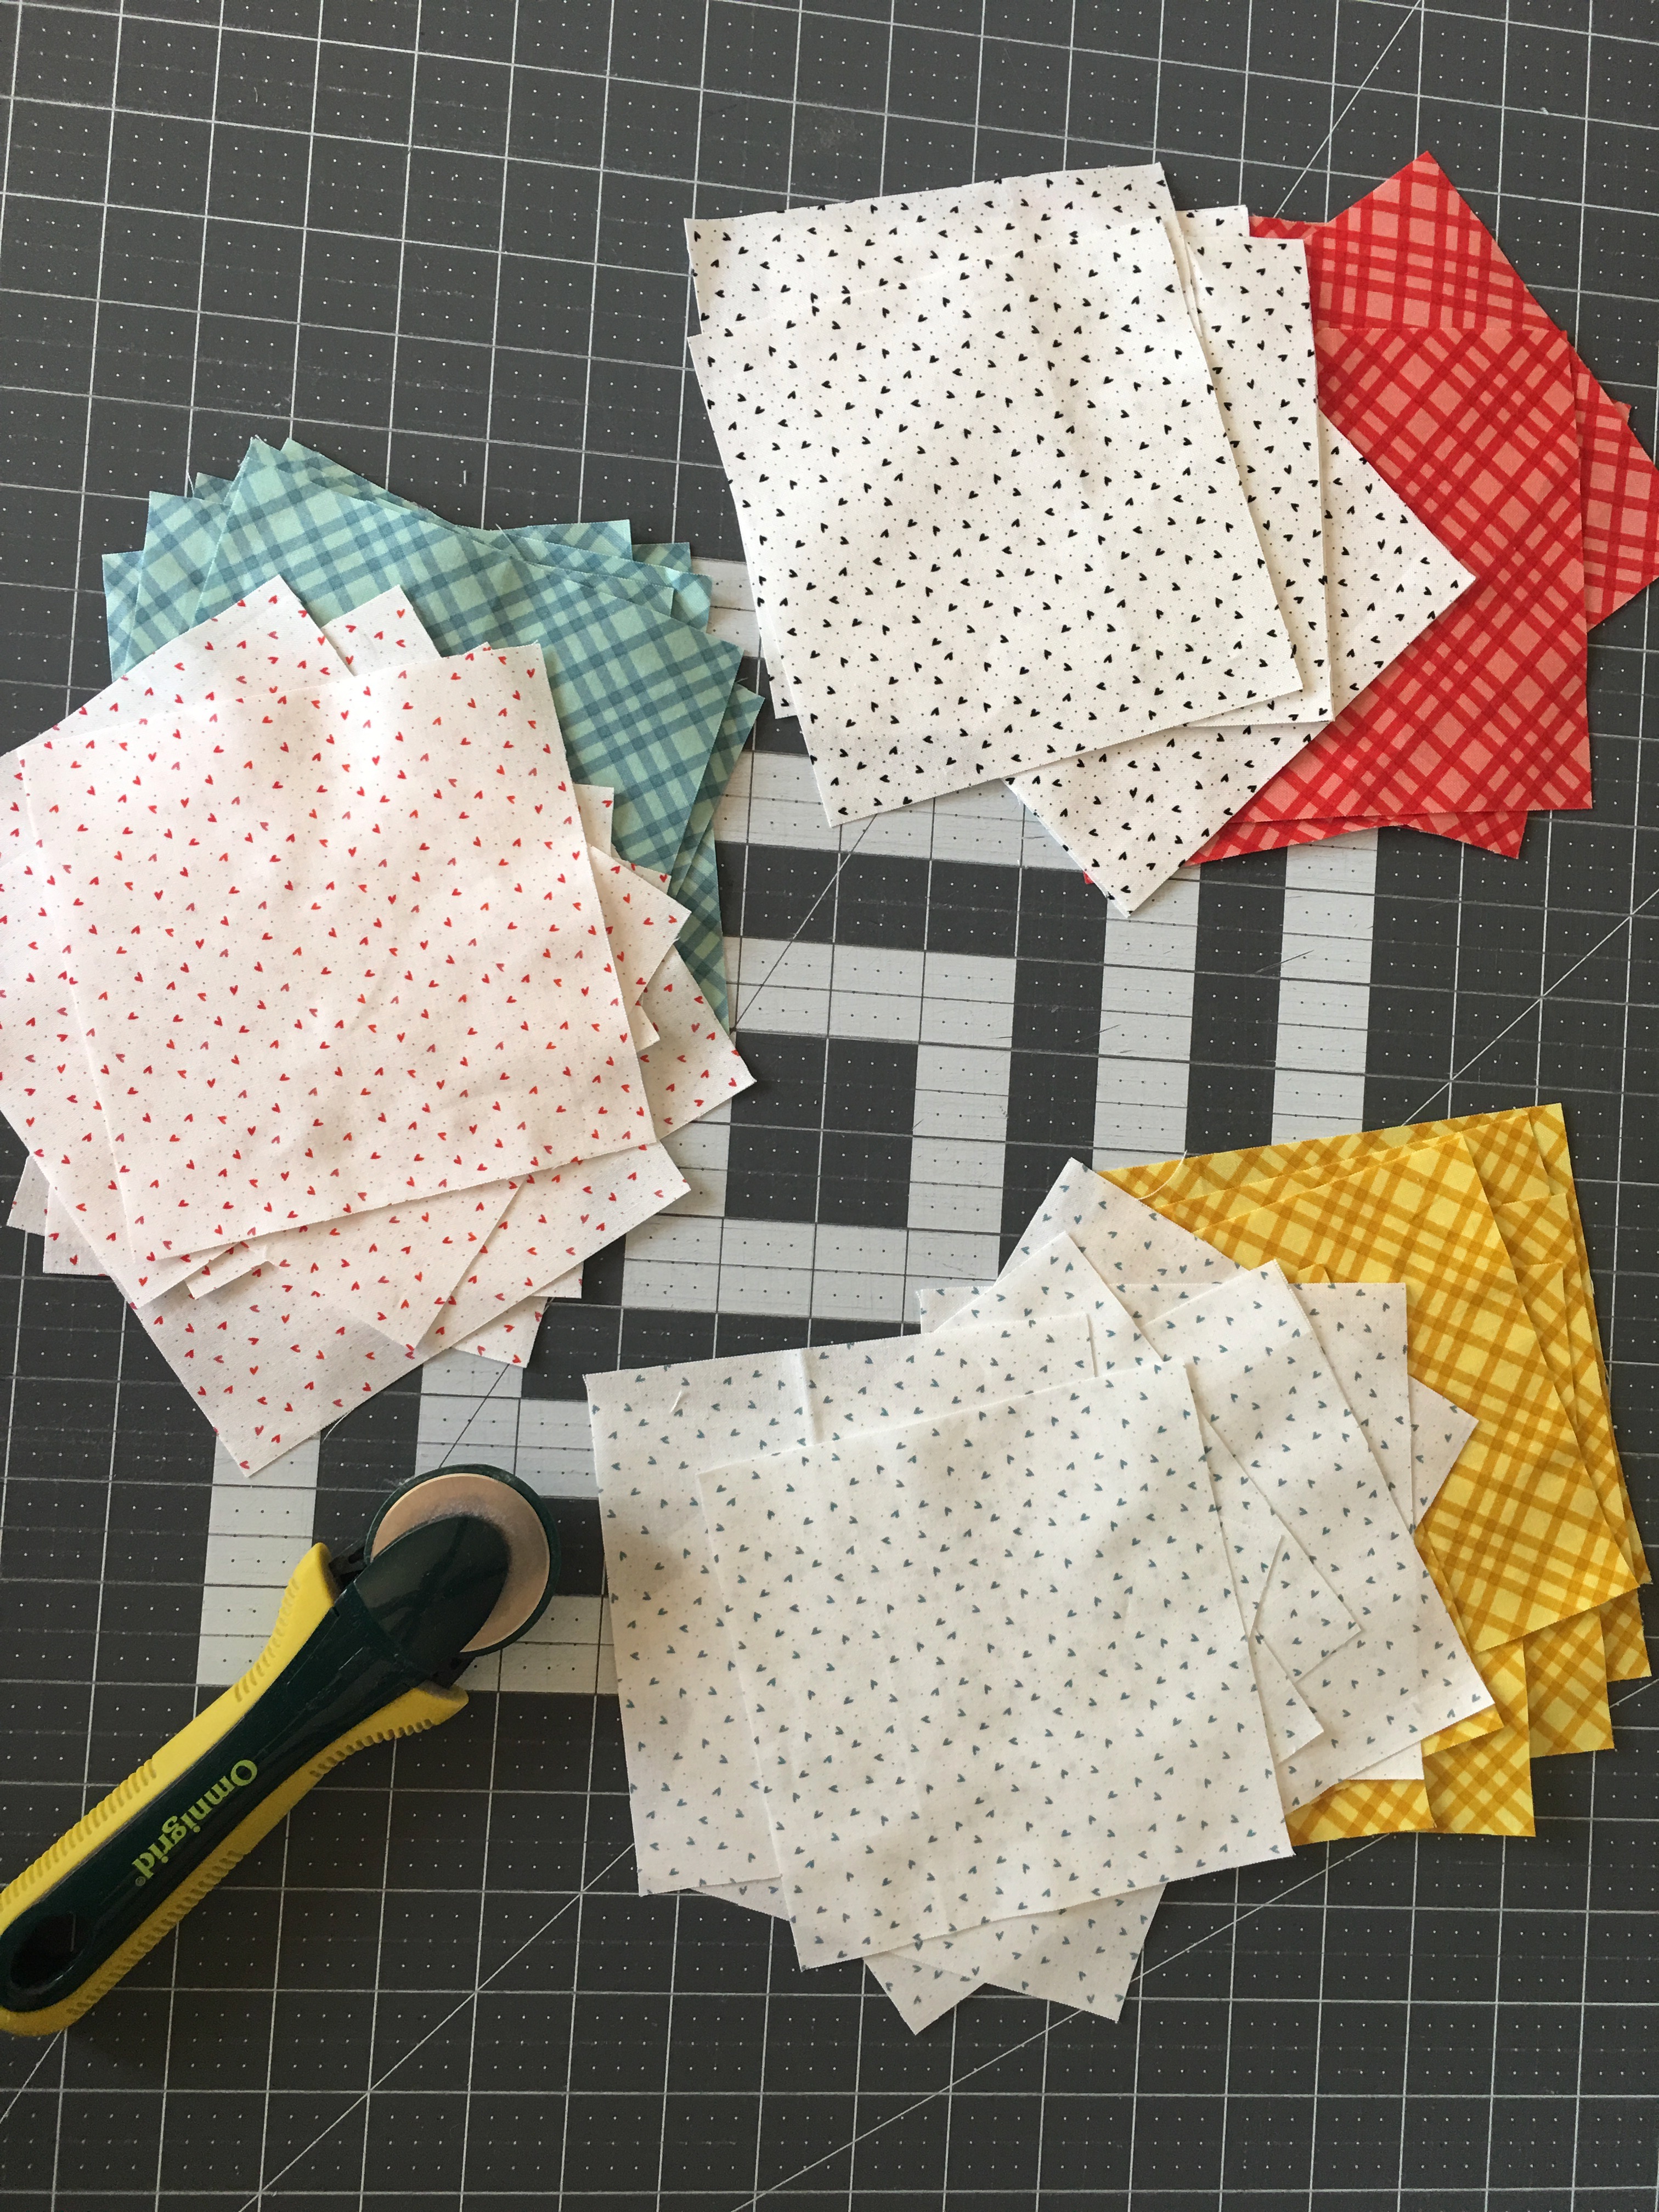
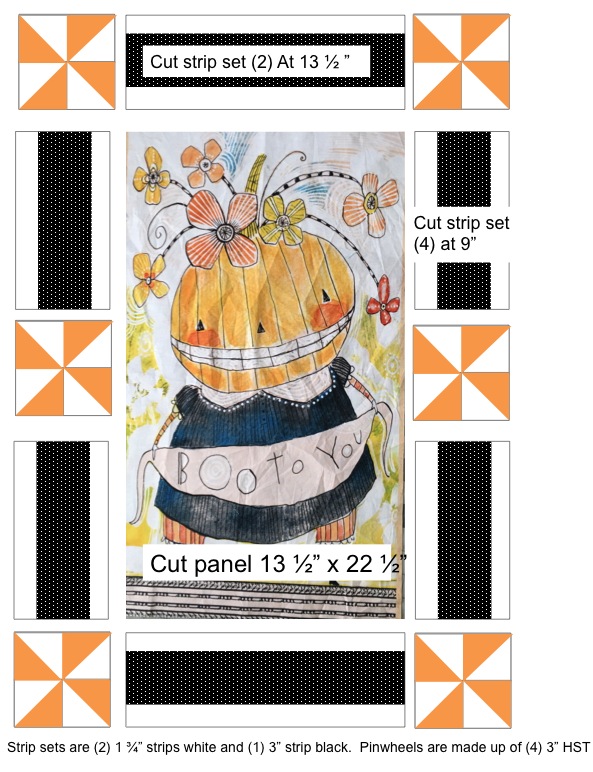
Here is what you need to make either size block:

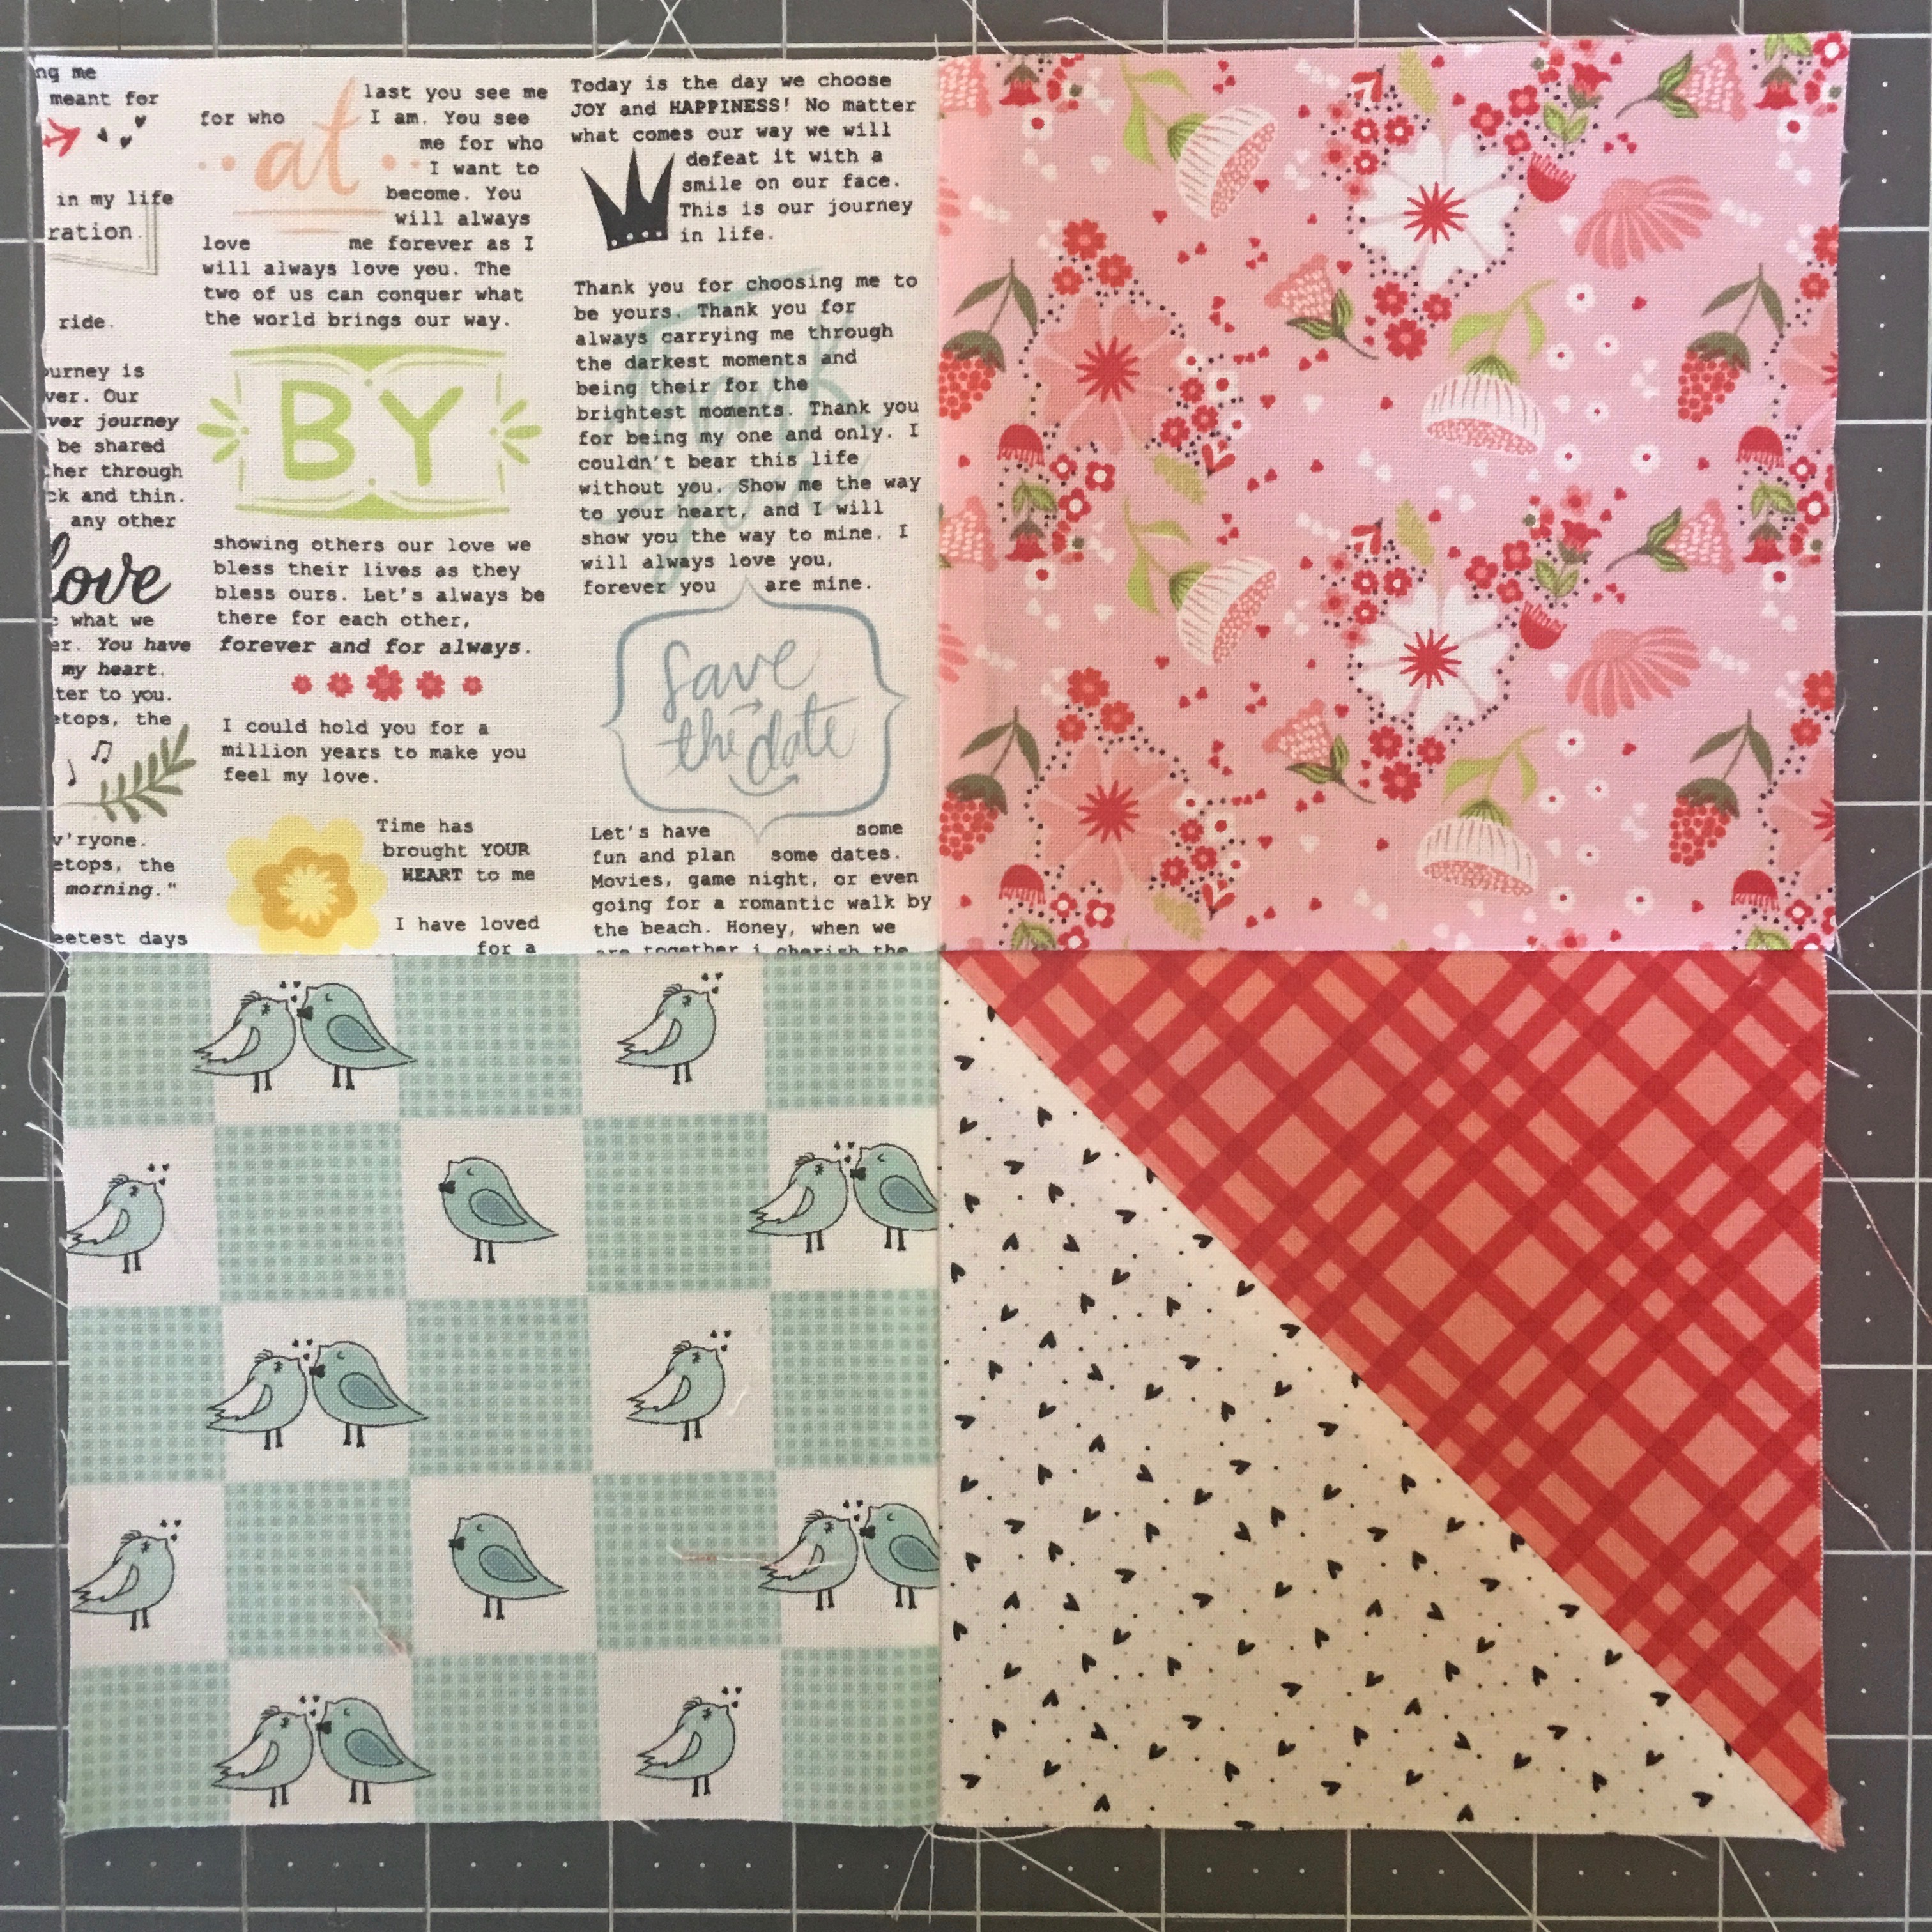
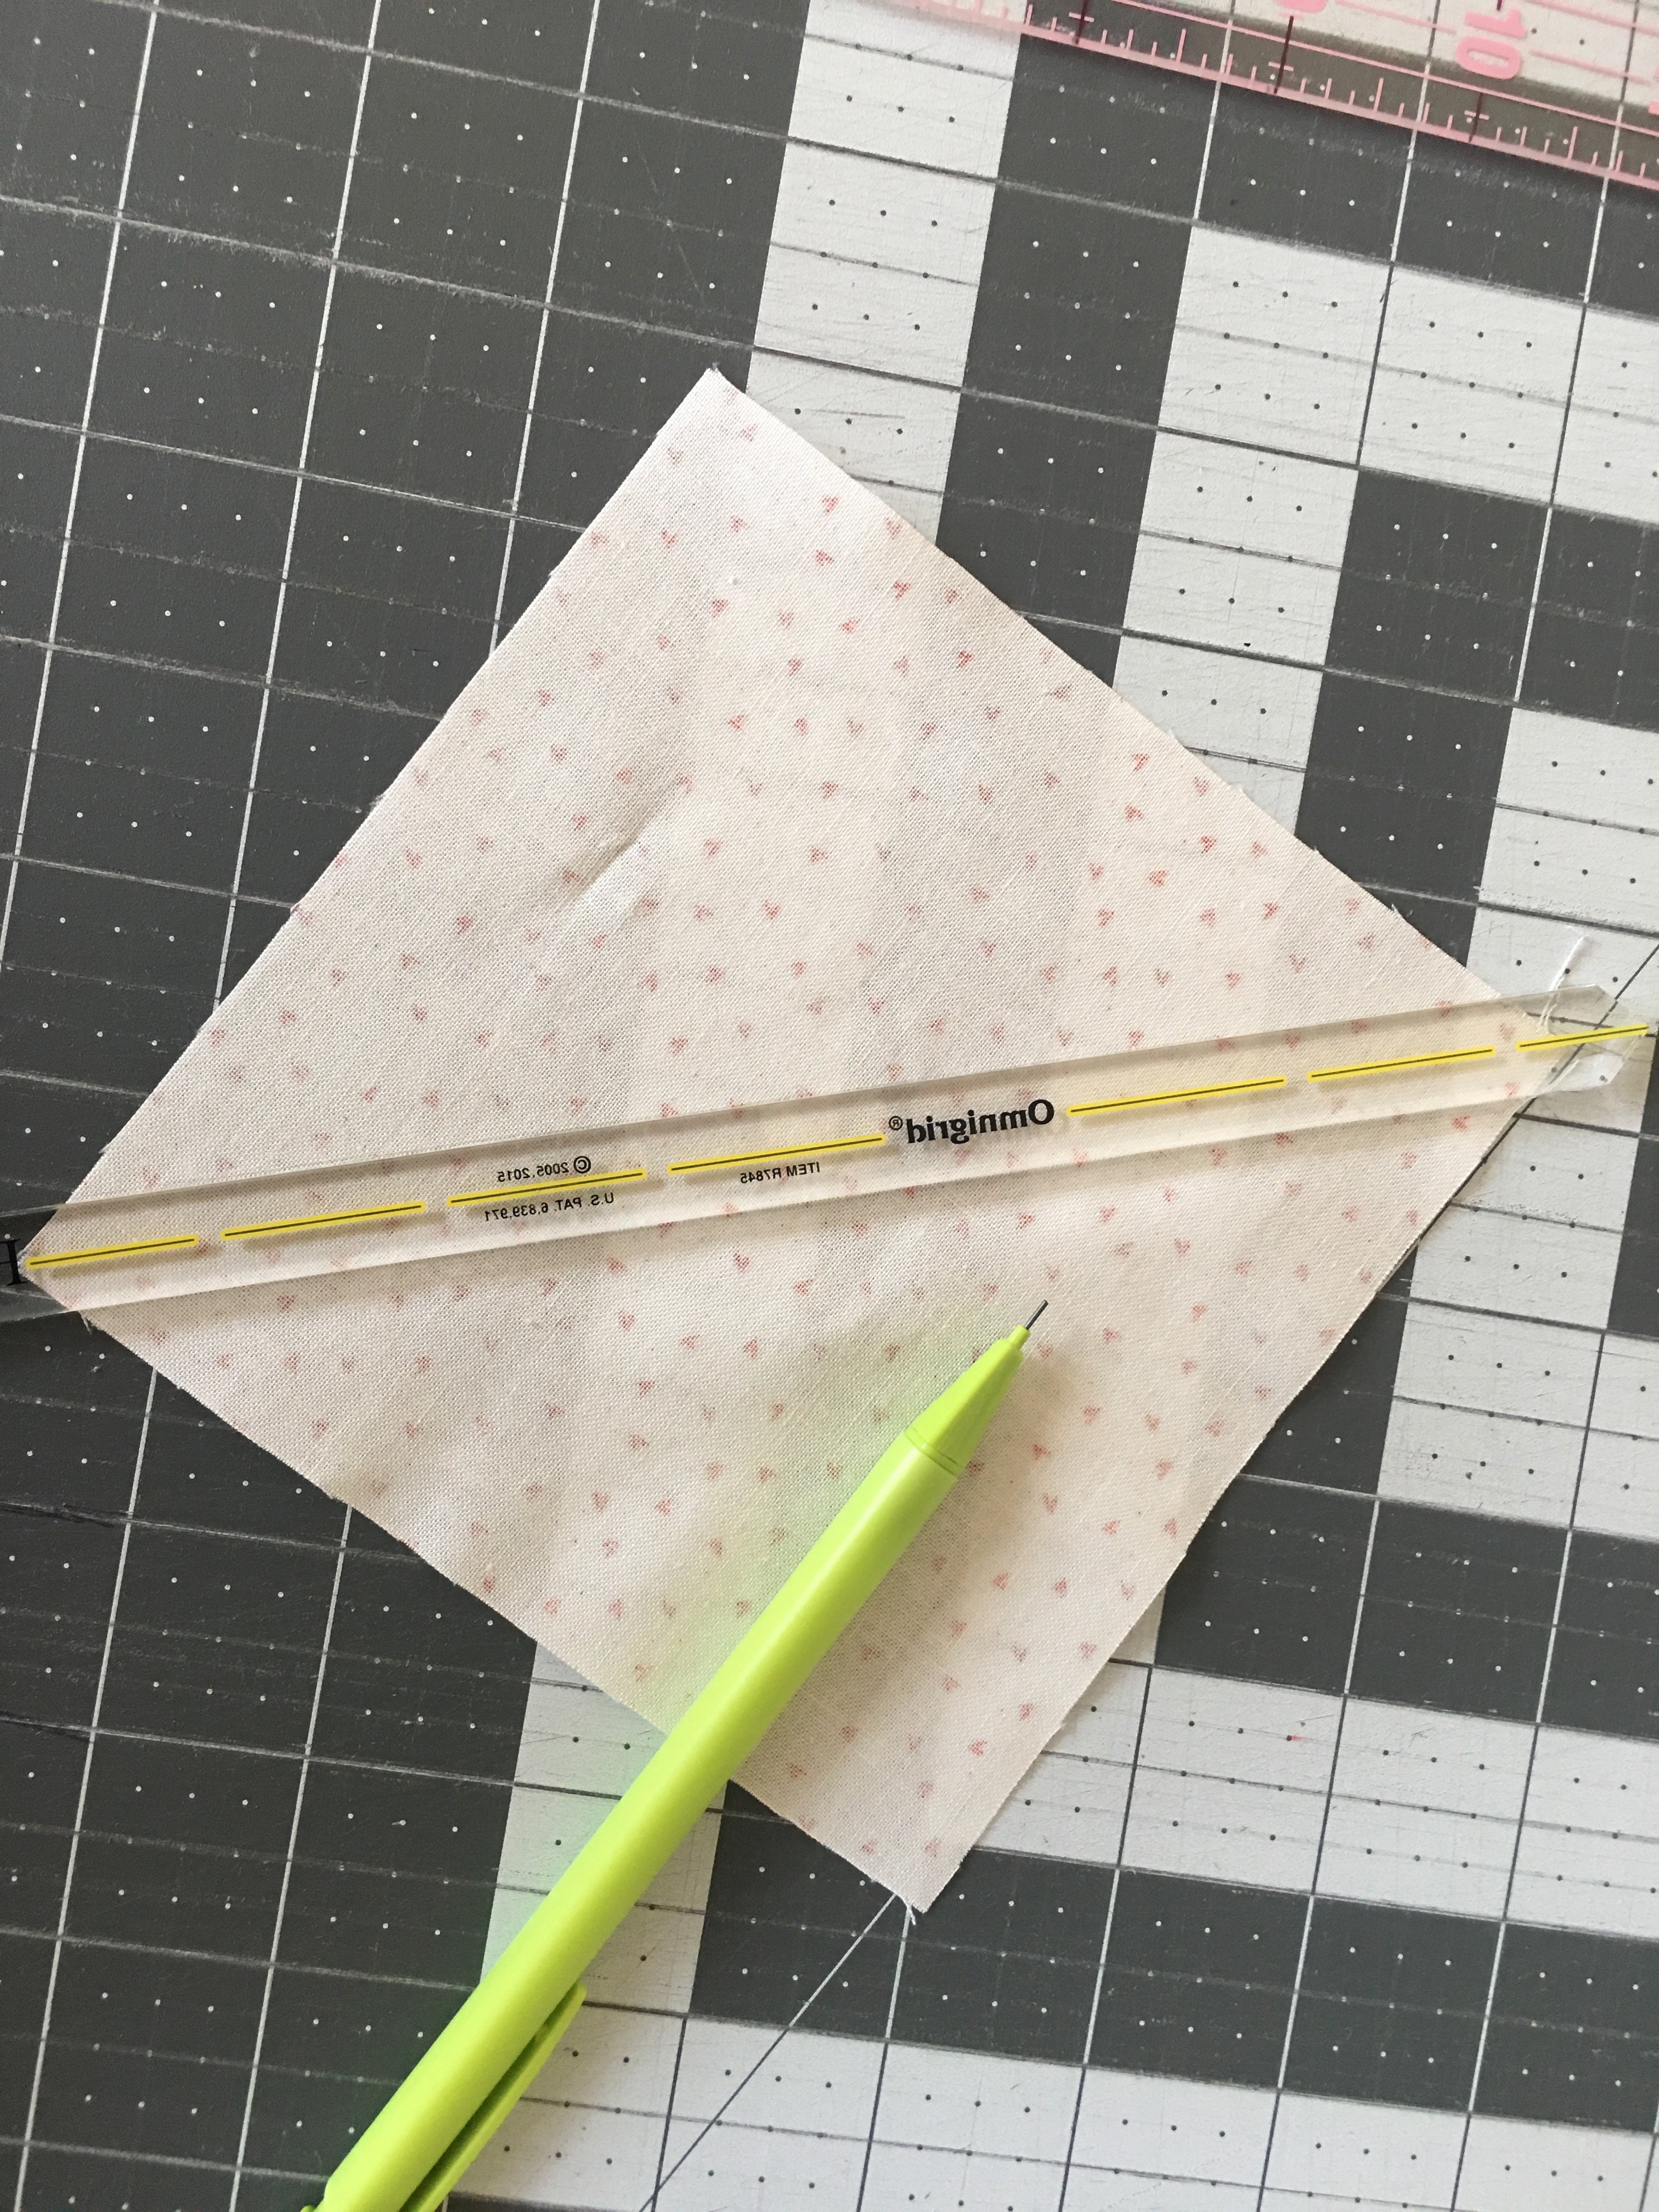
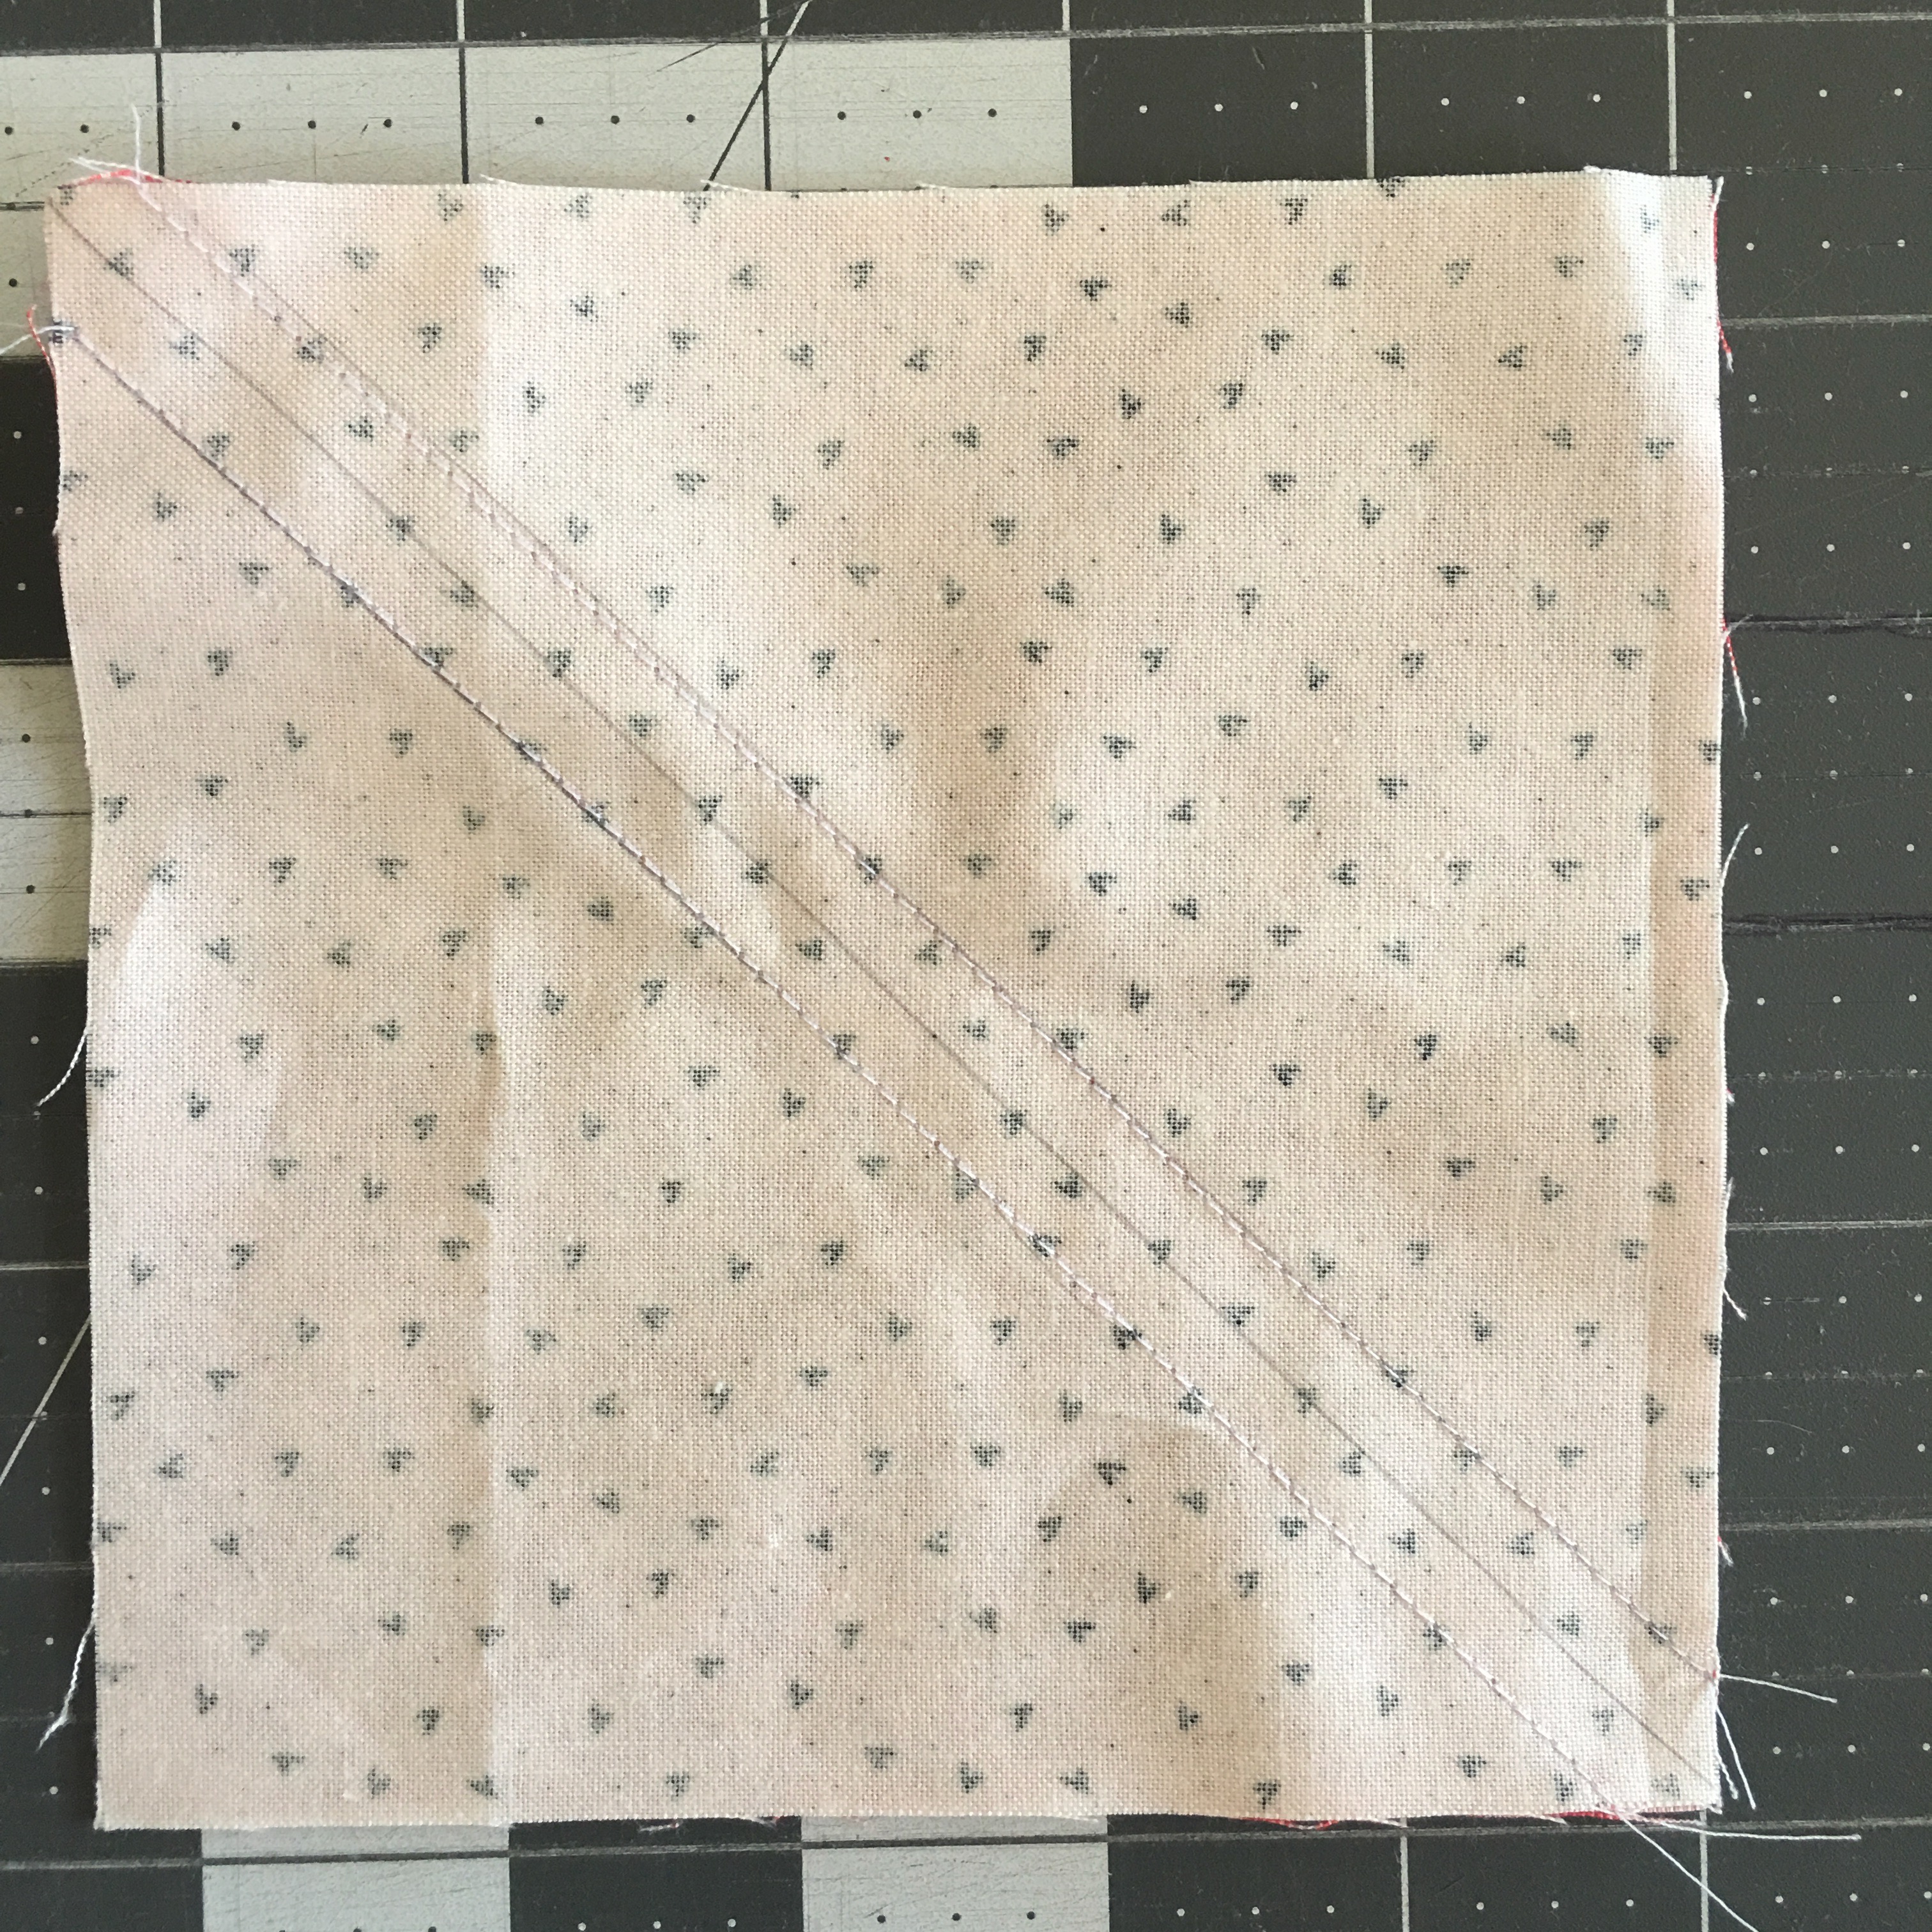
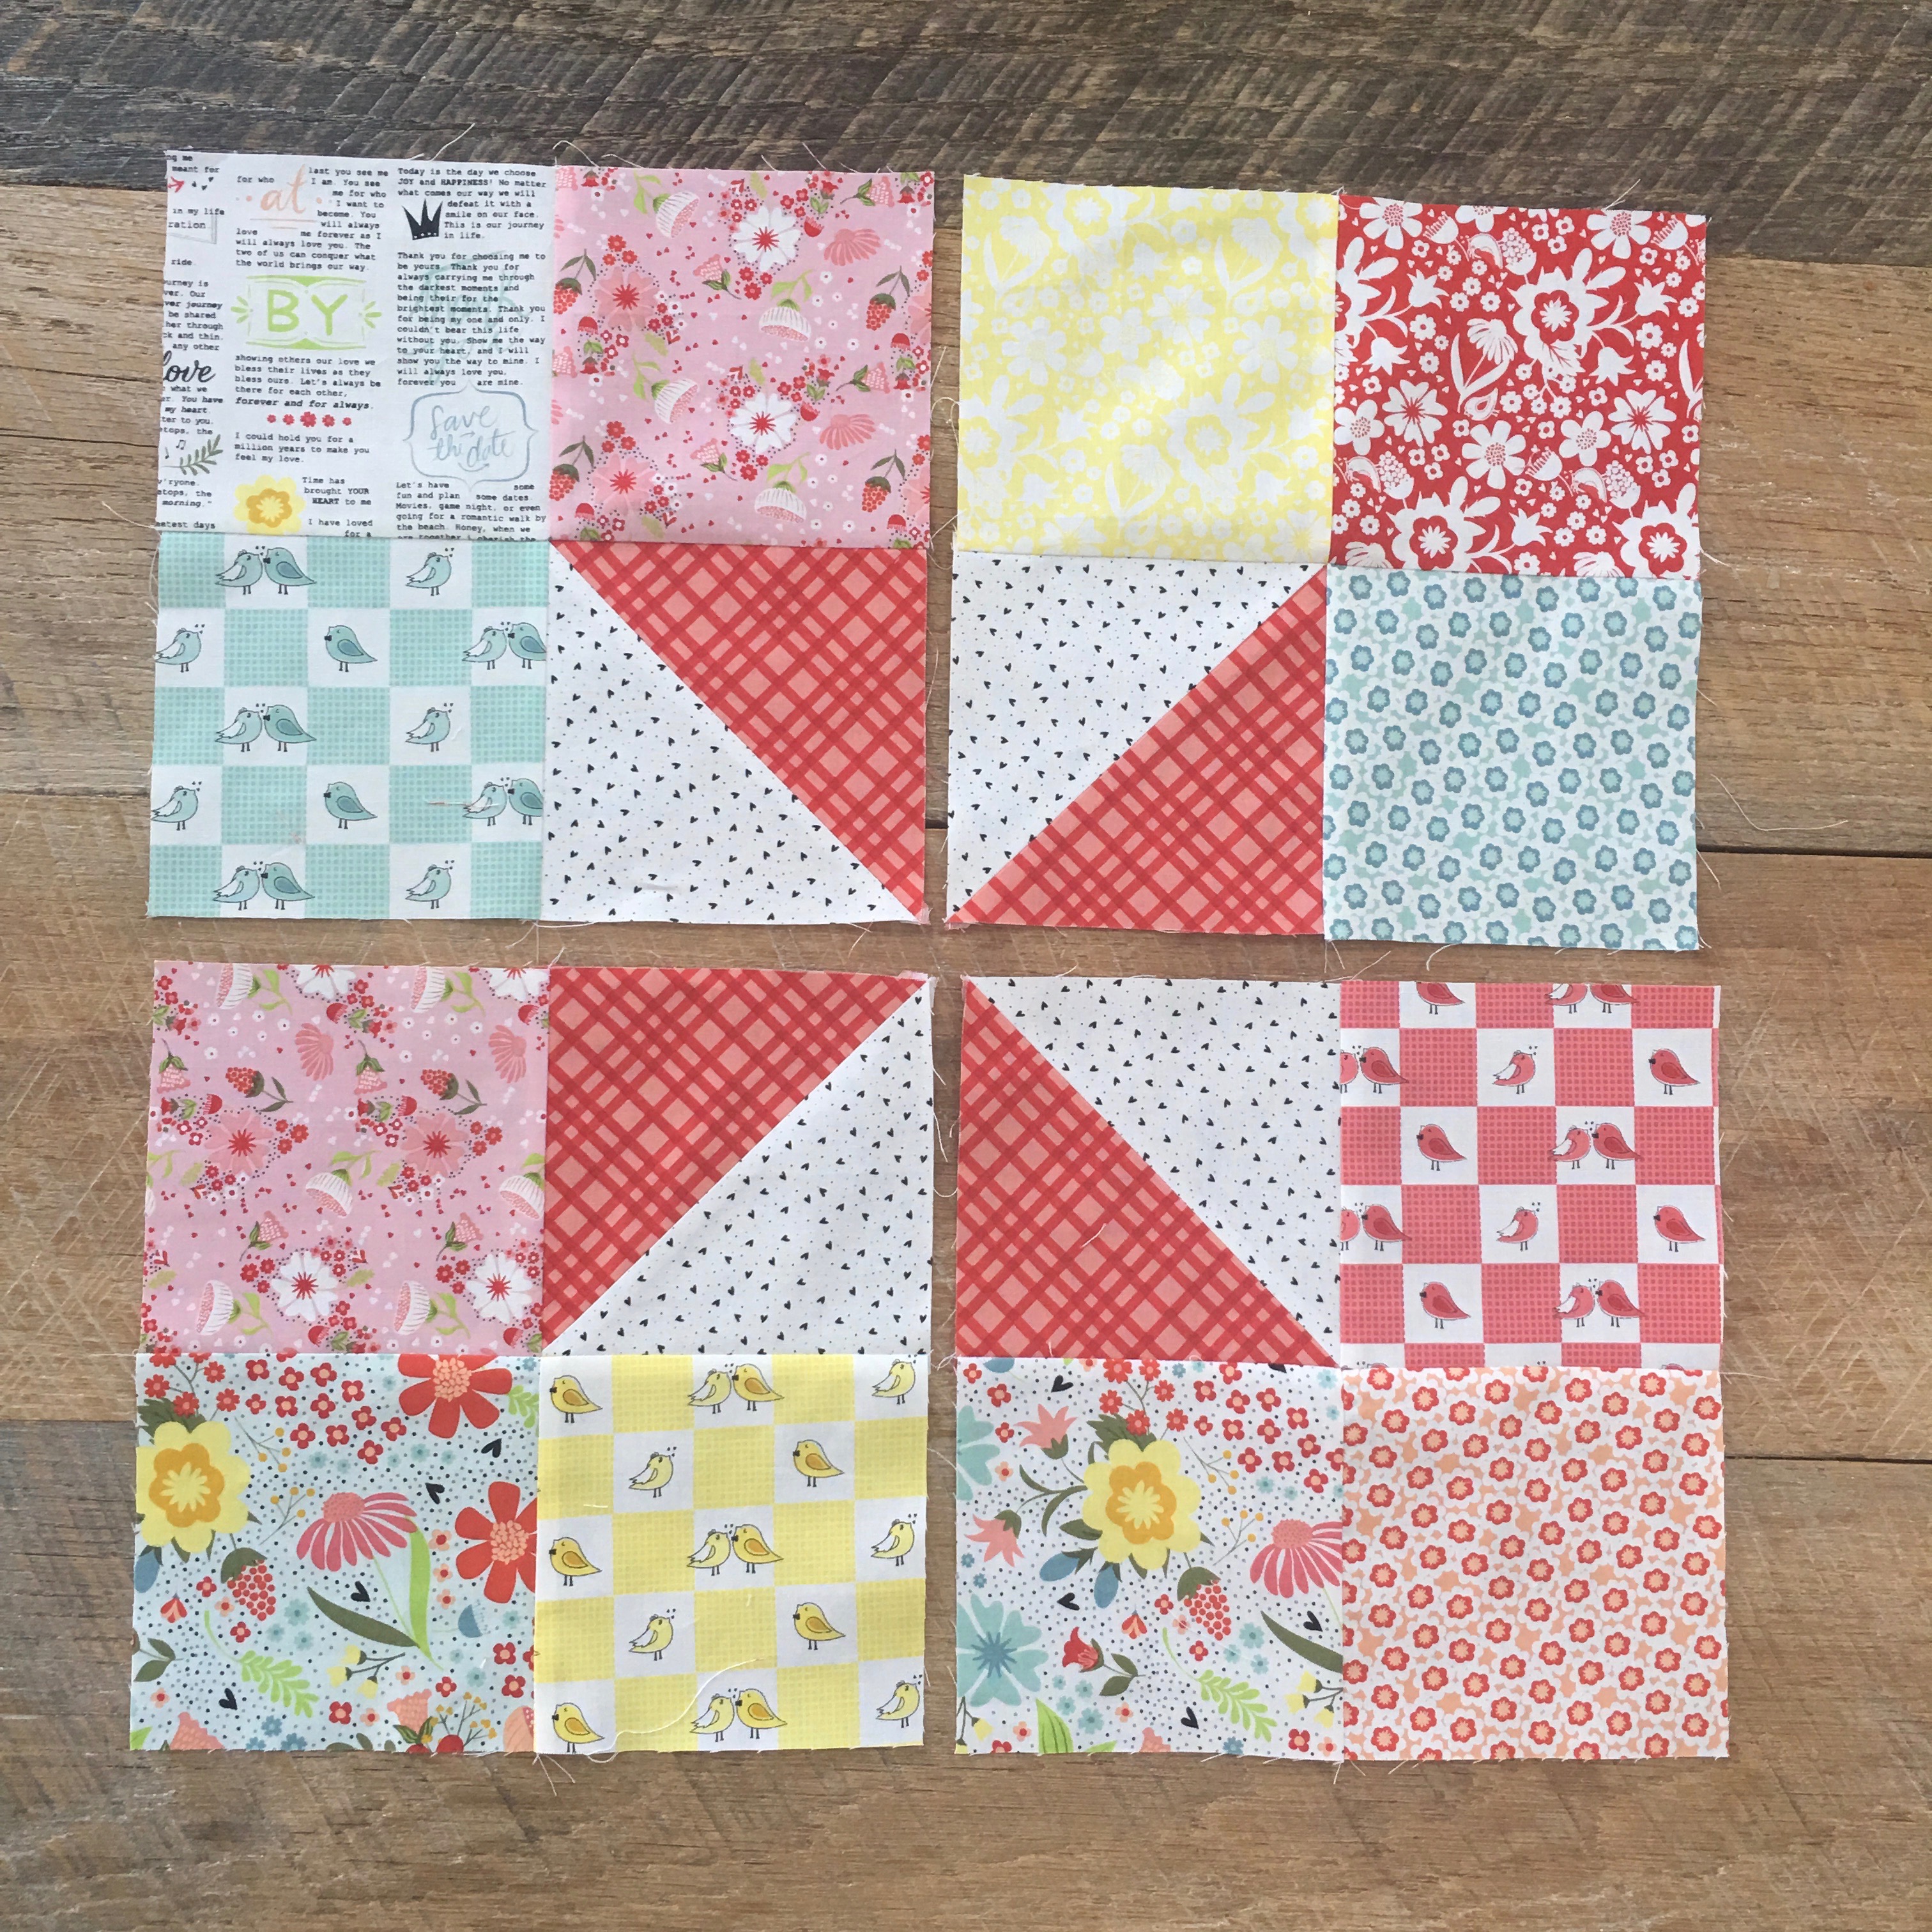
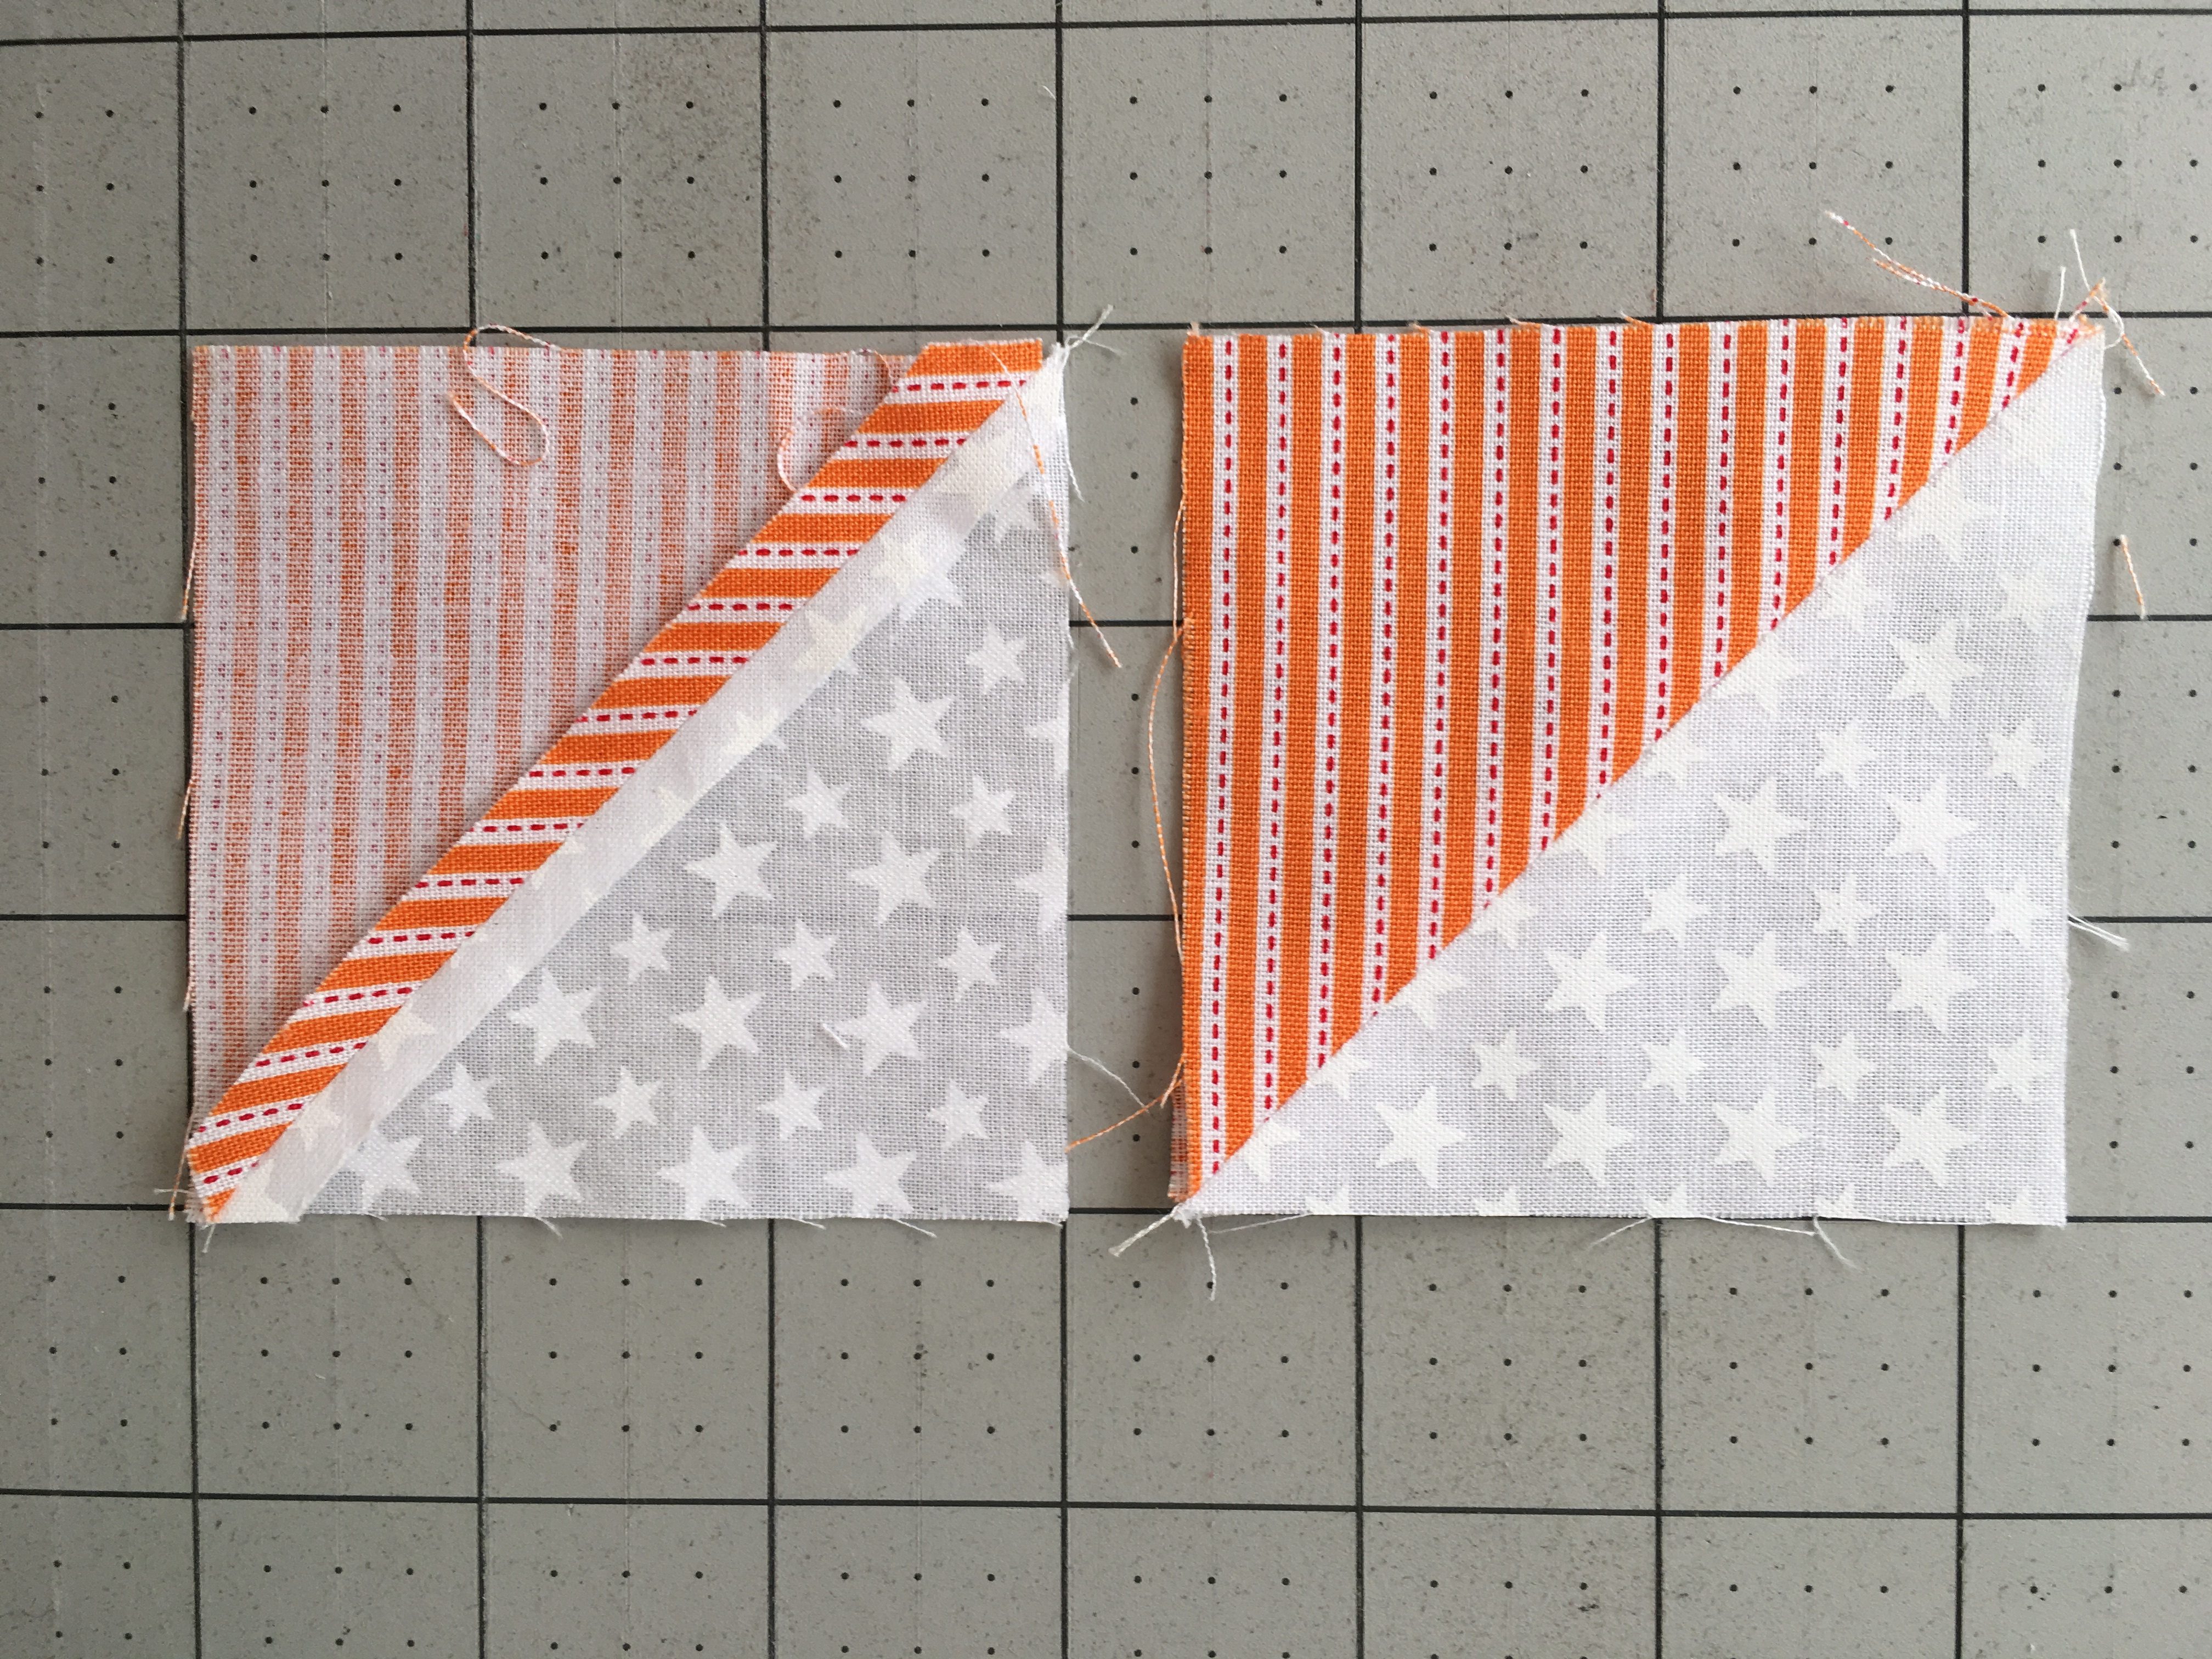
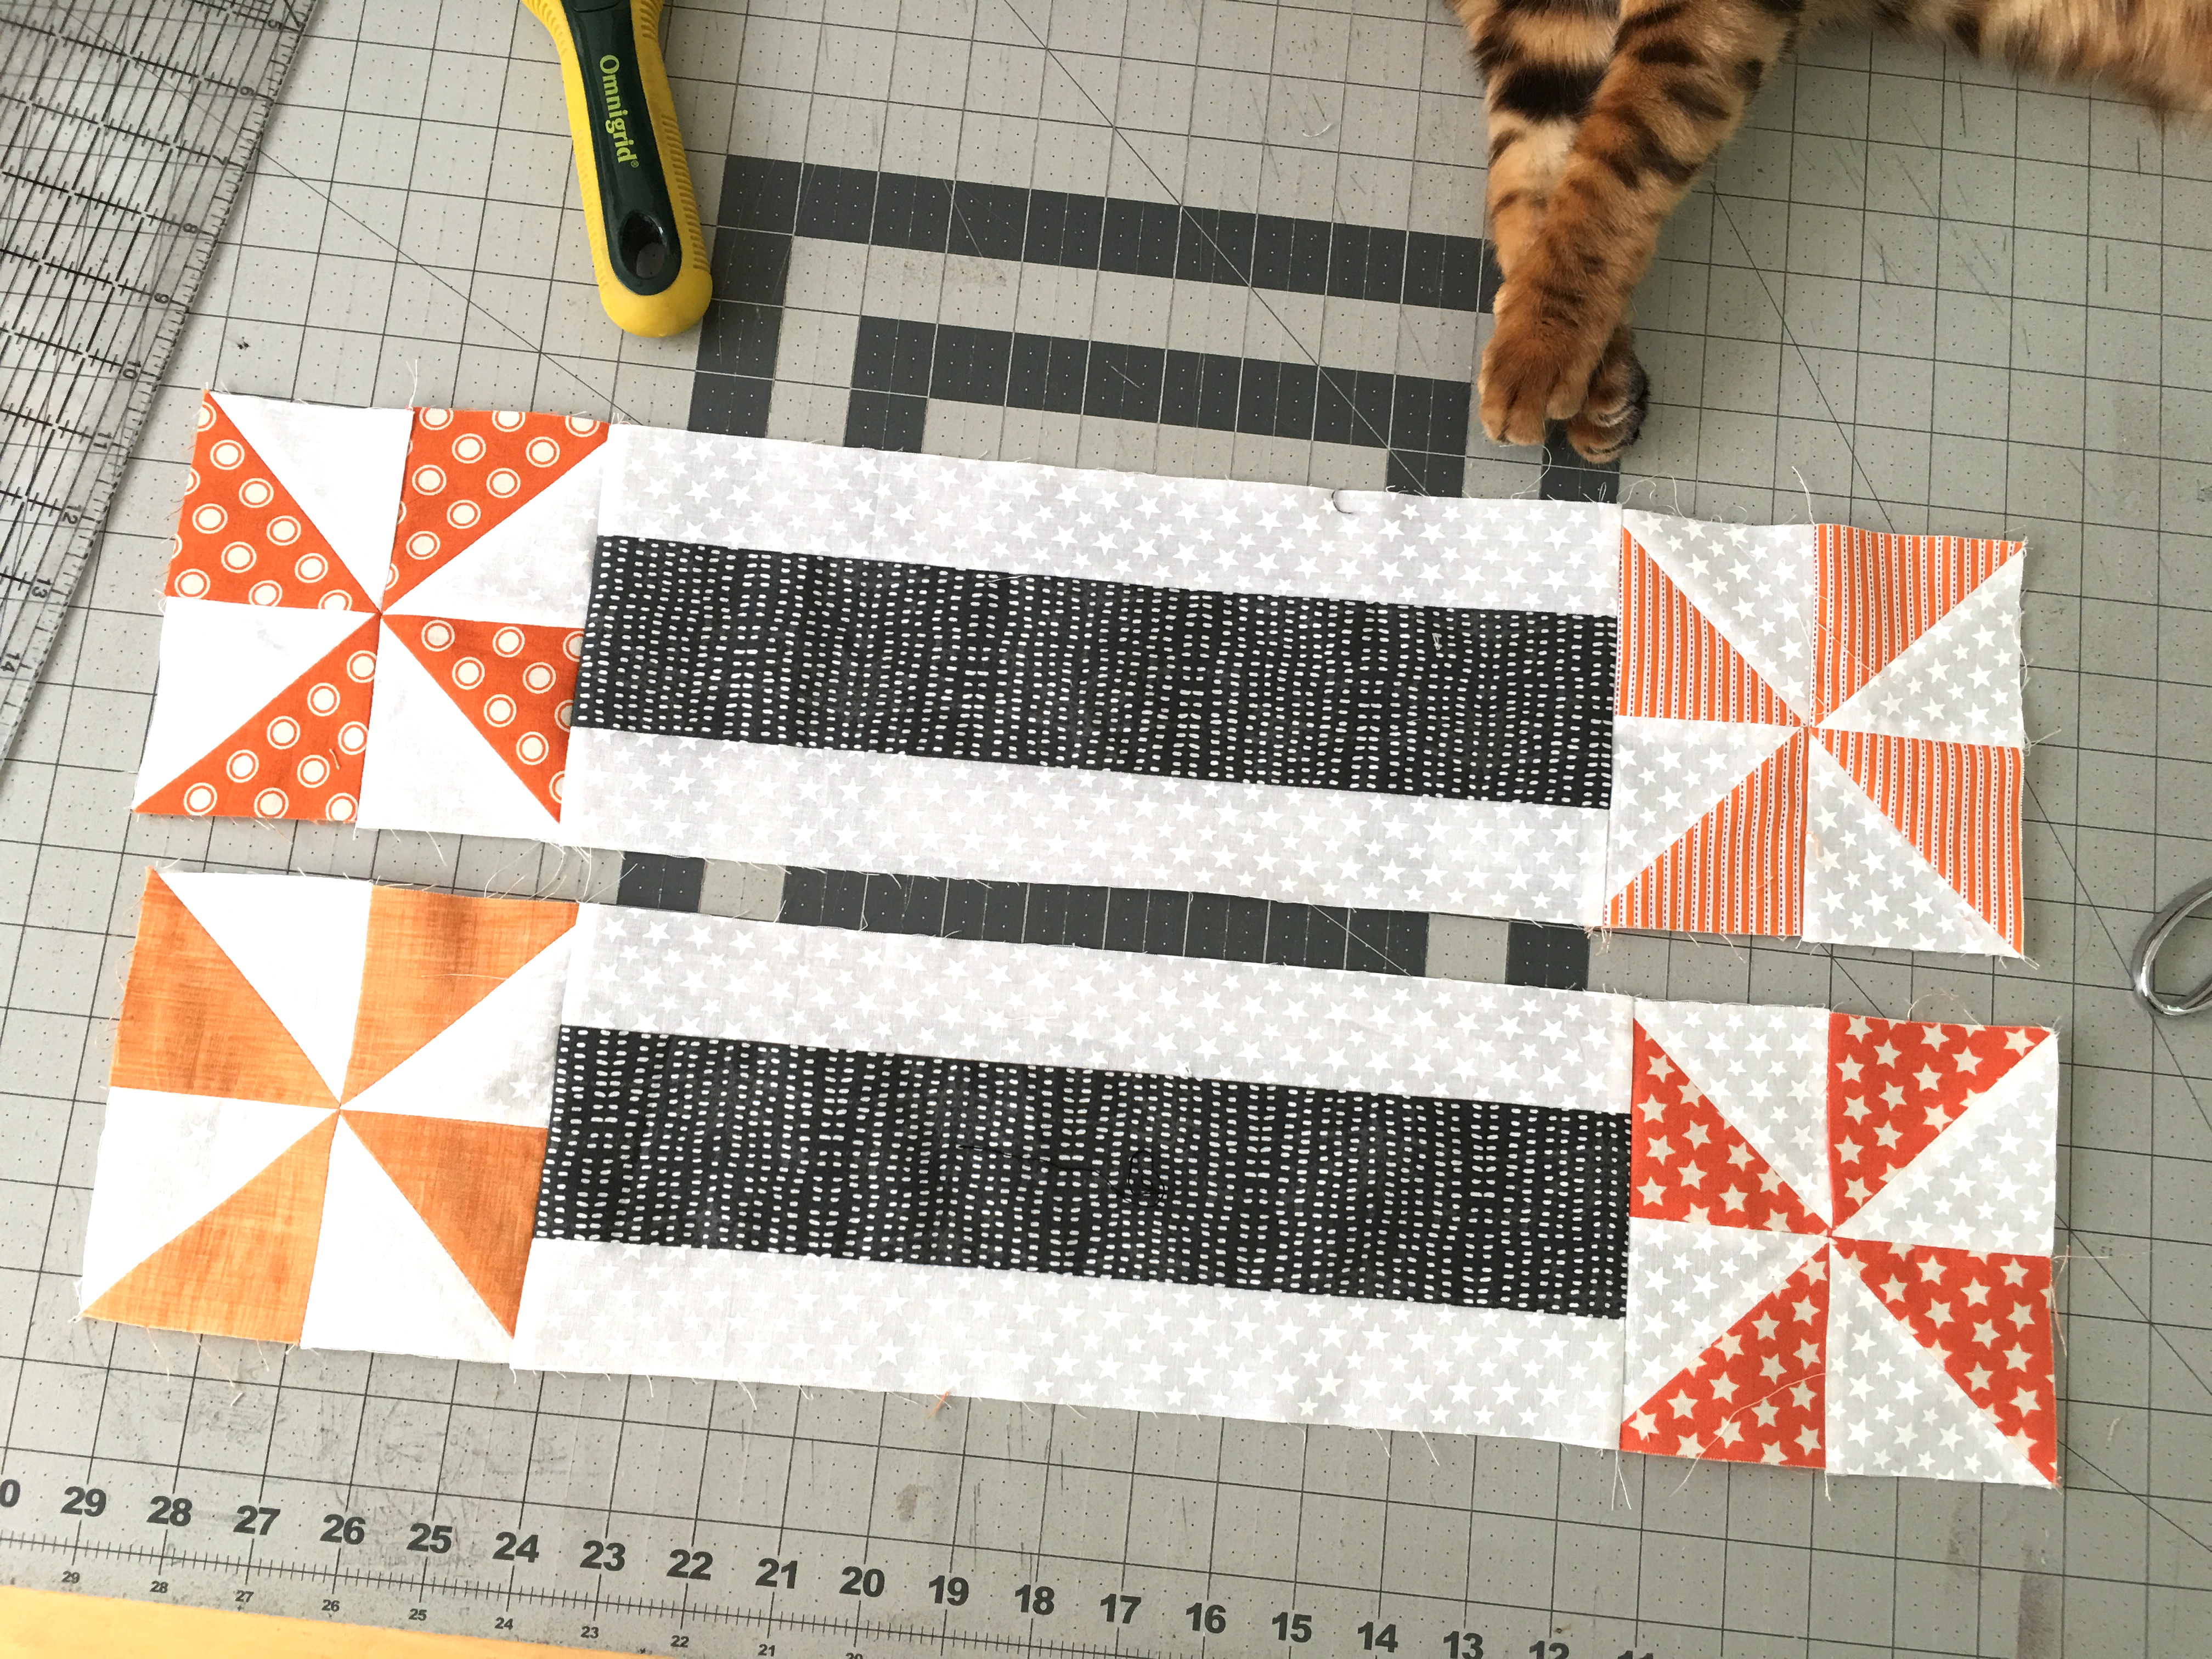
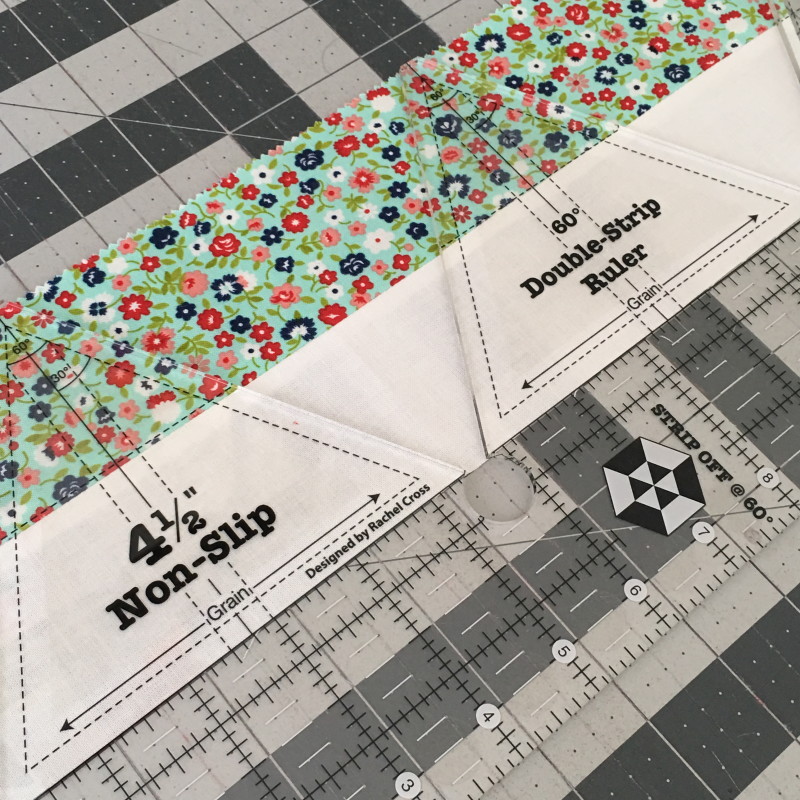
Below are the instructions demonstrated with the 12″ block. Follow the same construction method for making the 6″ block.

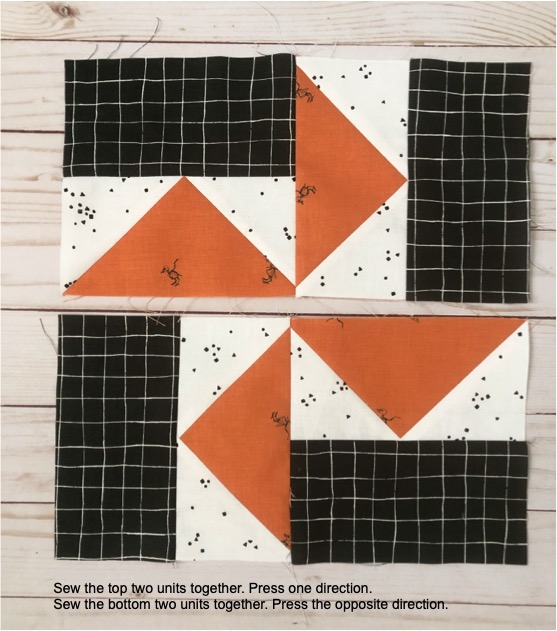
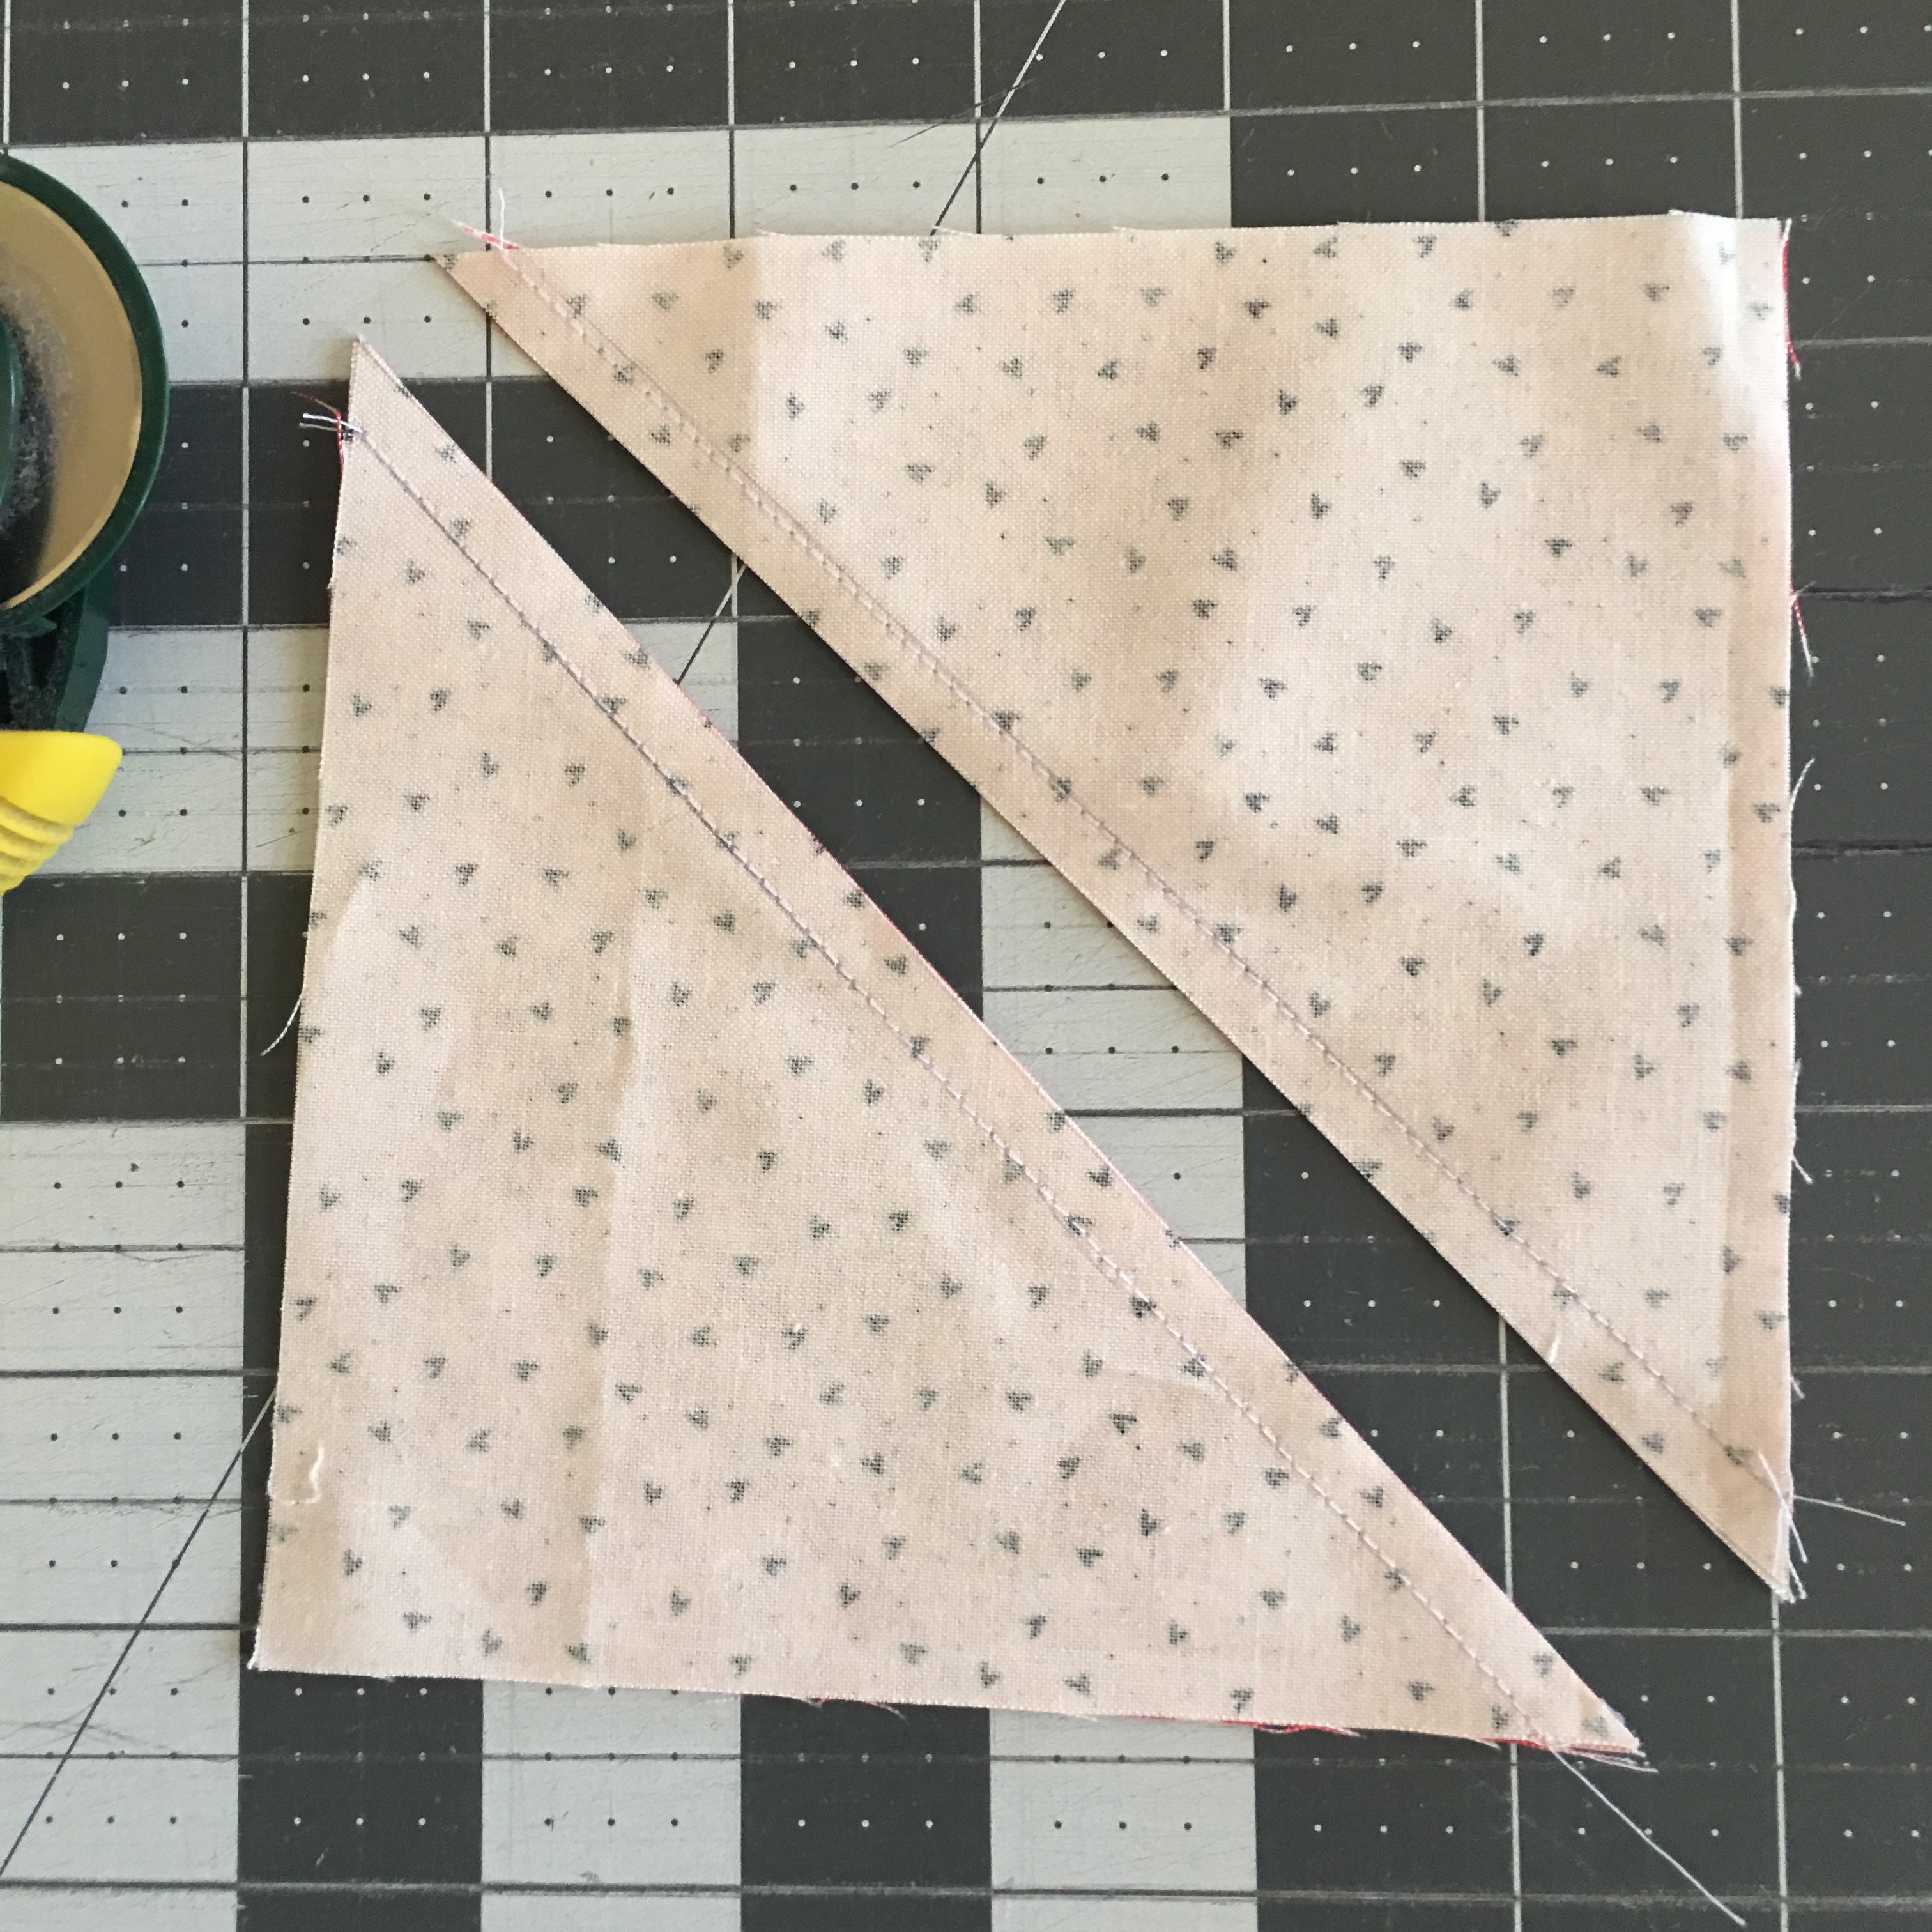
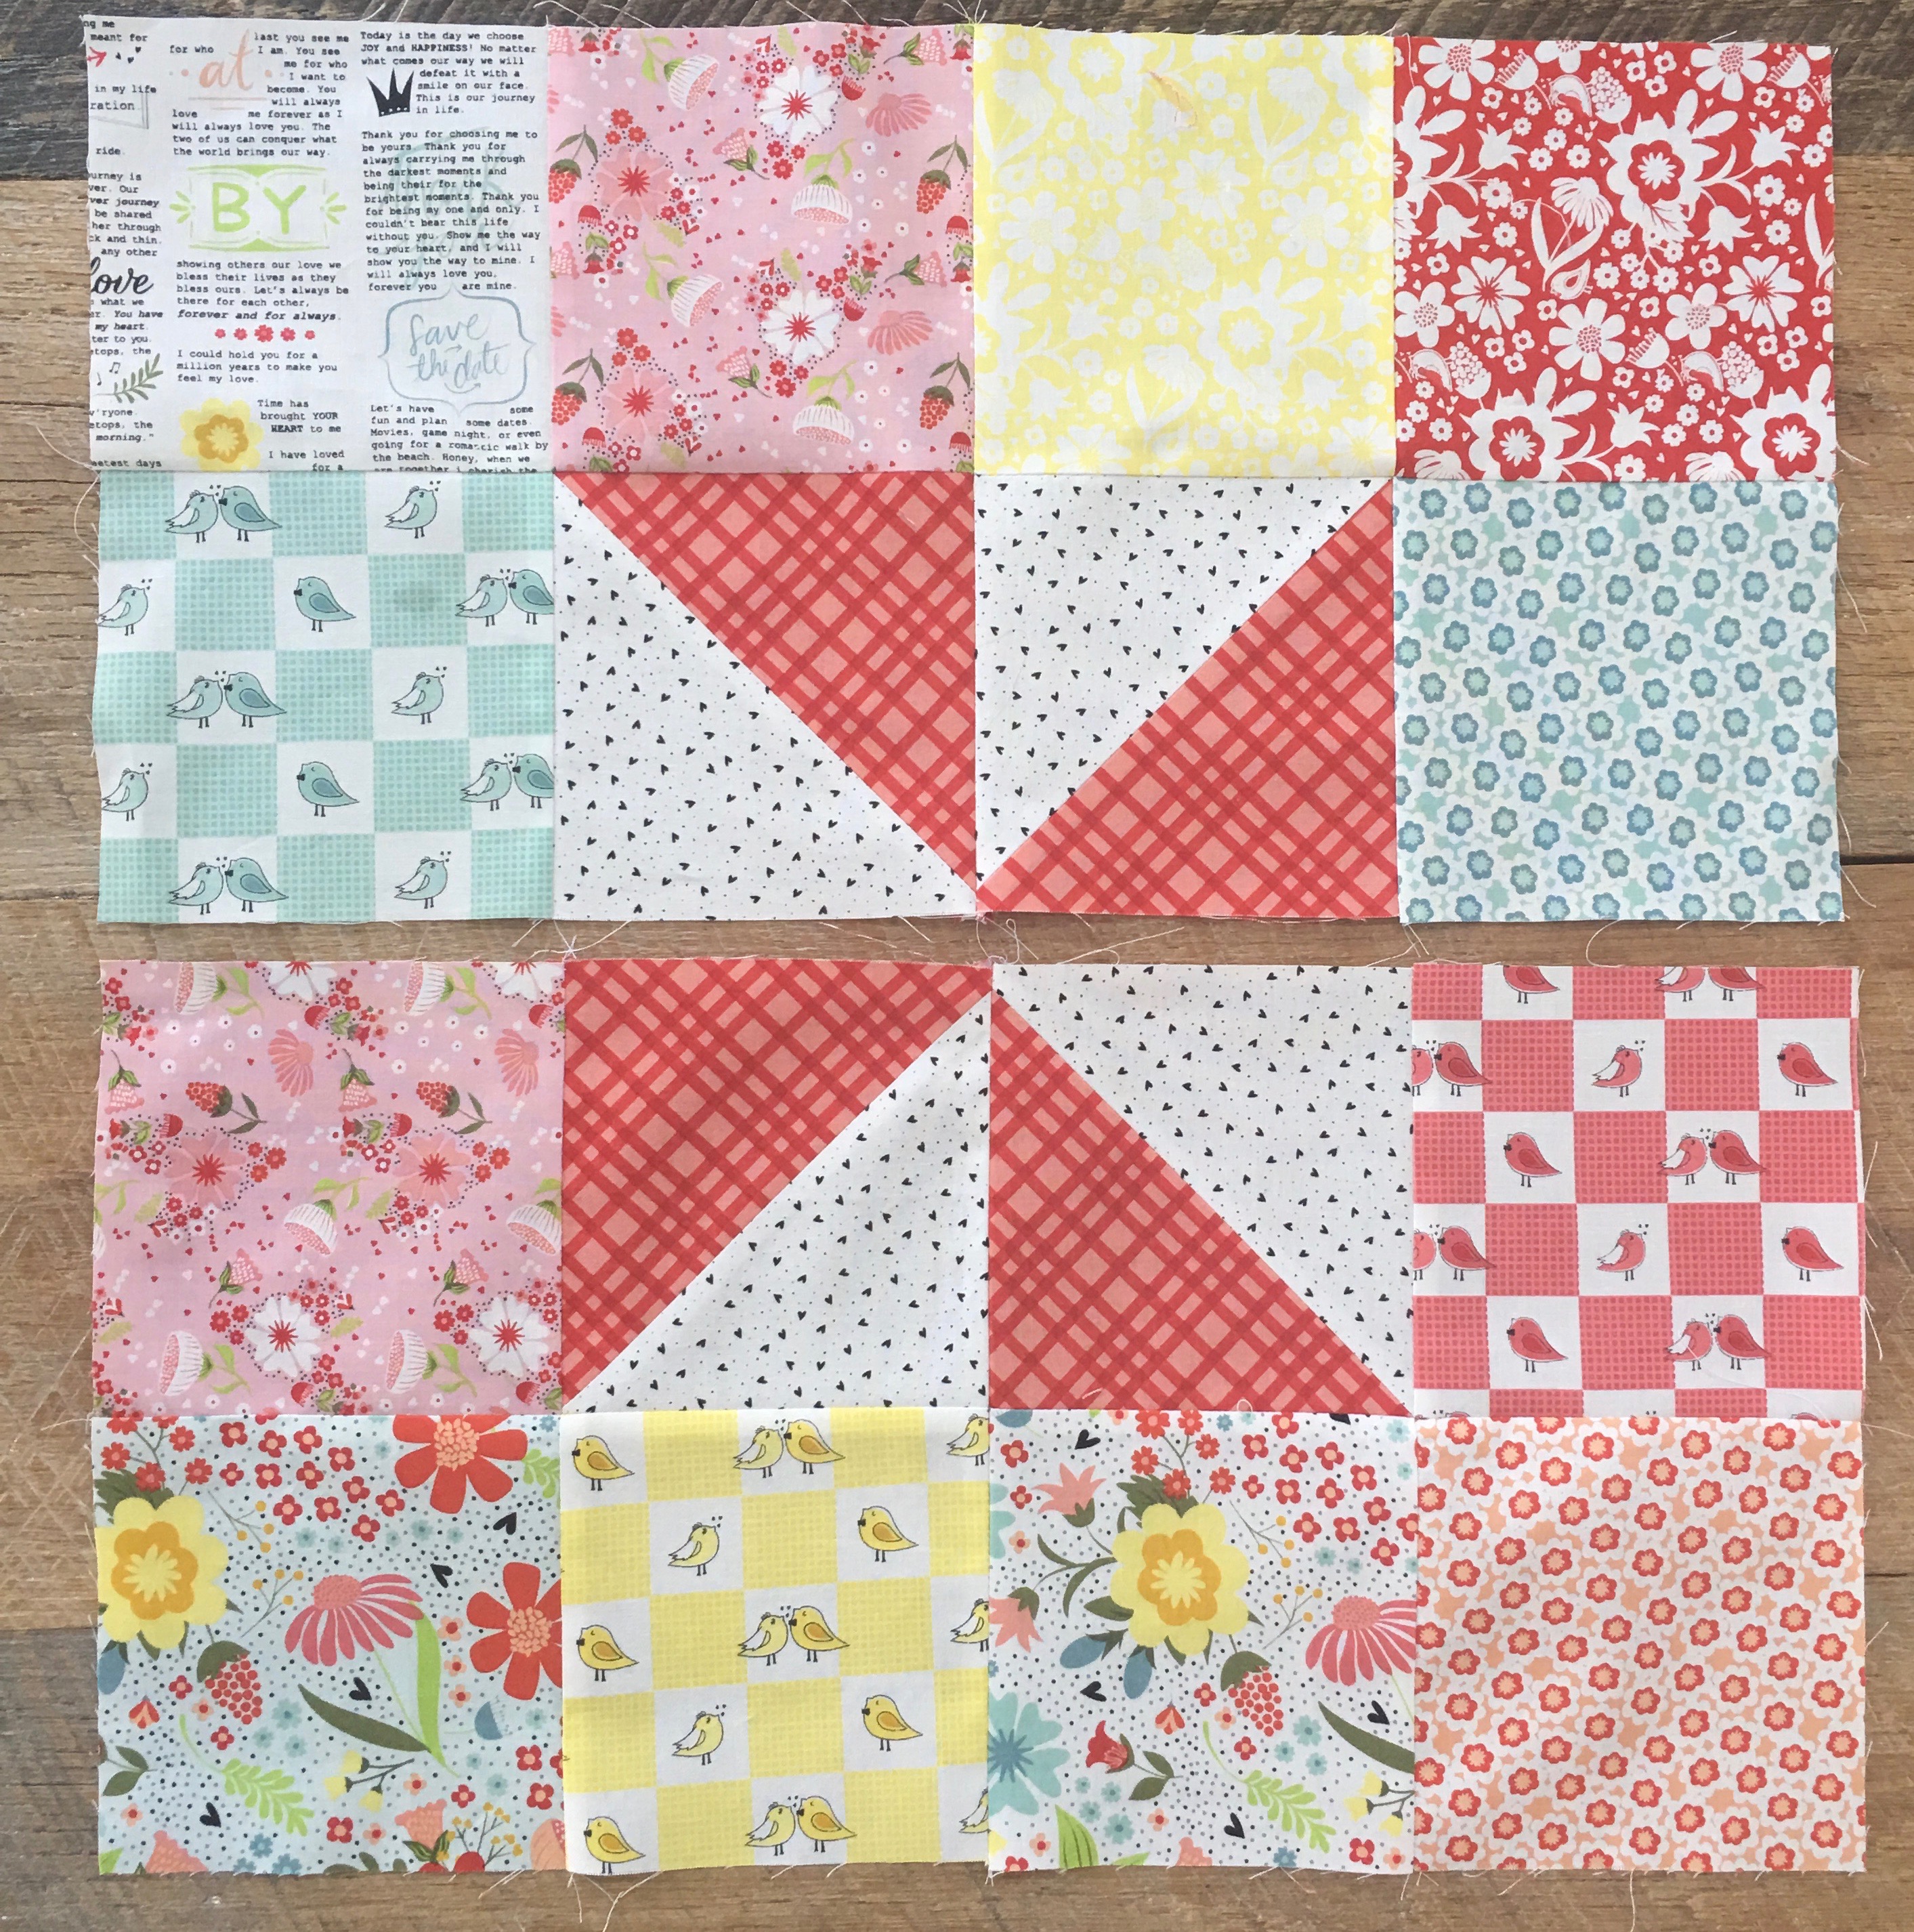
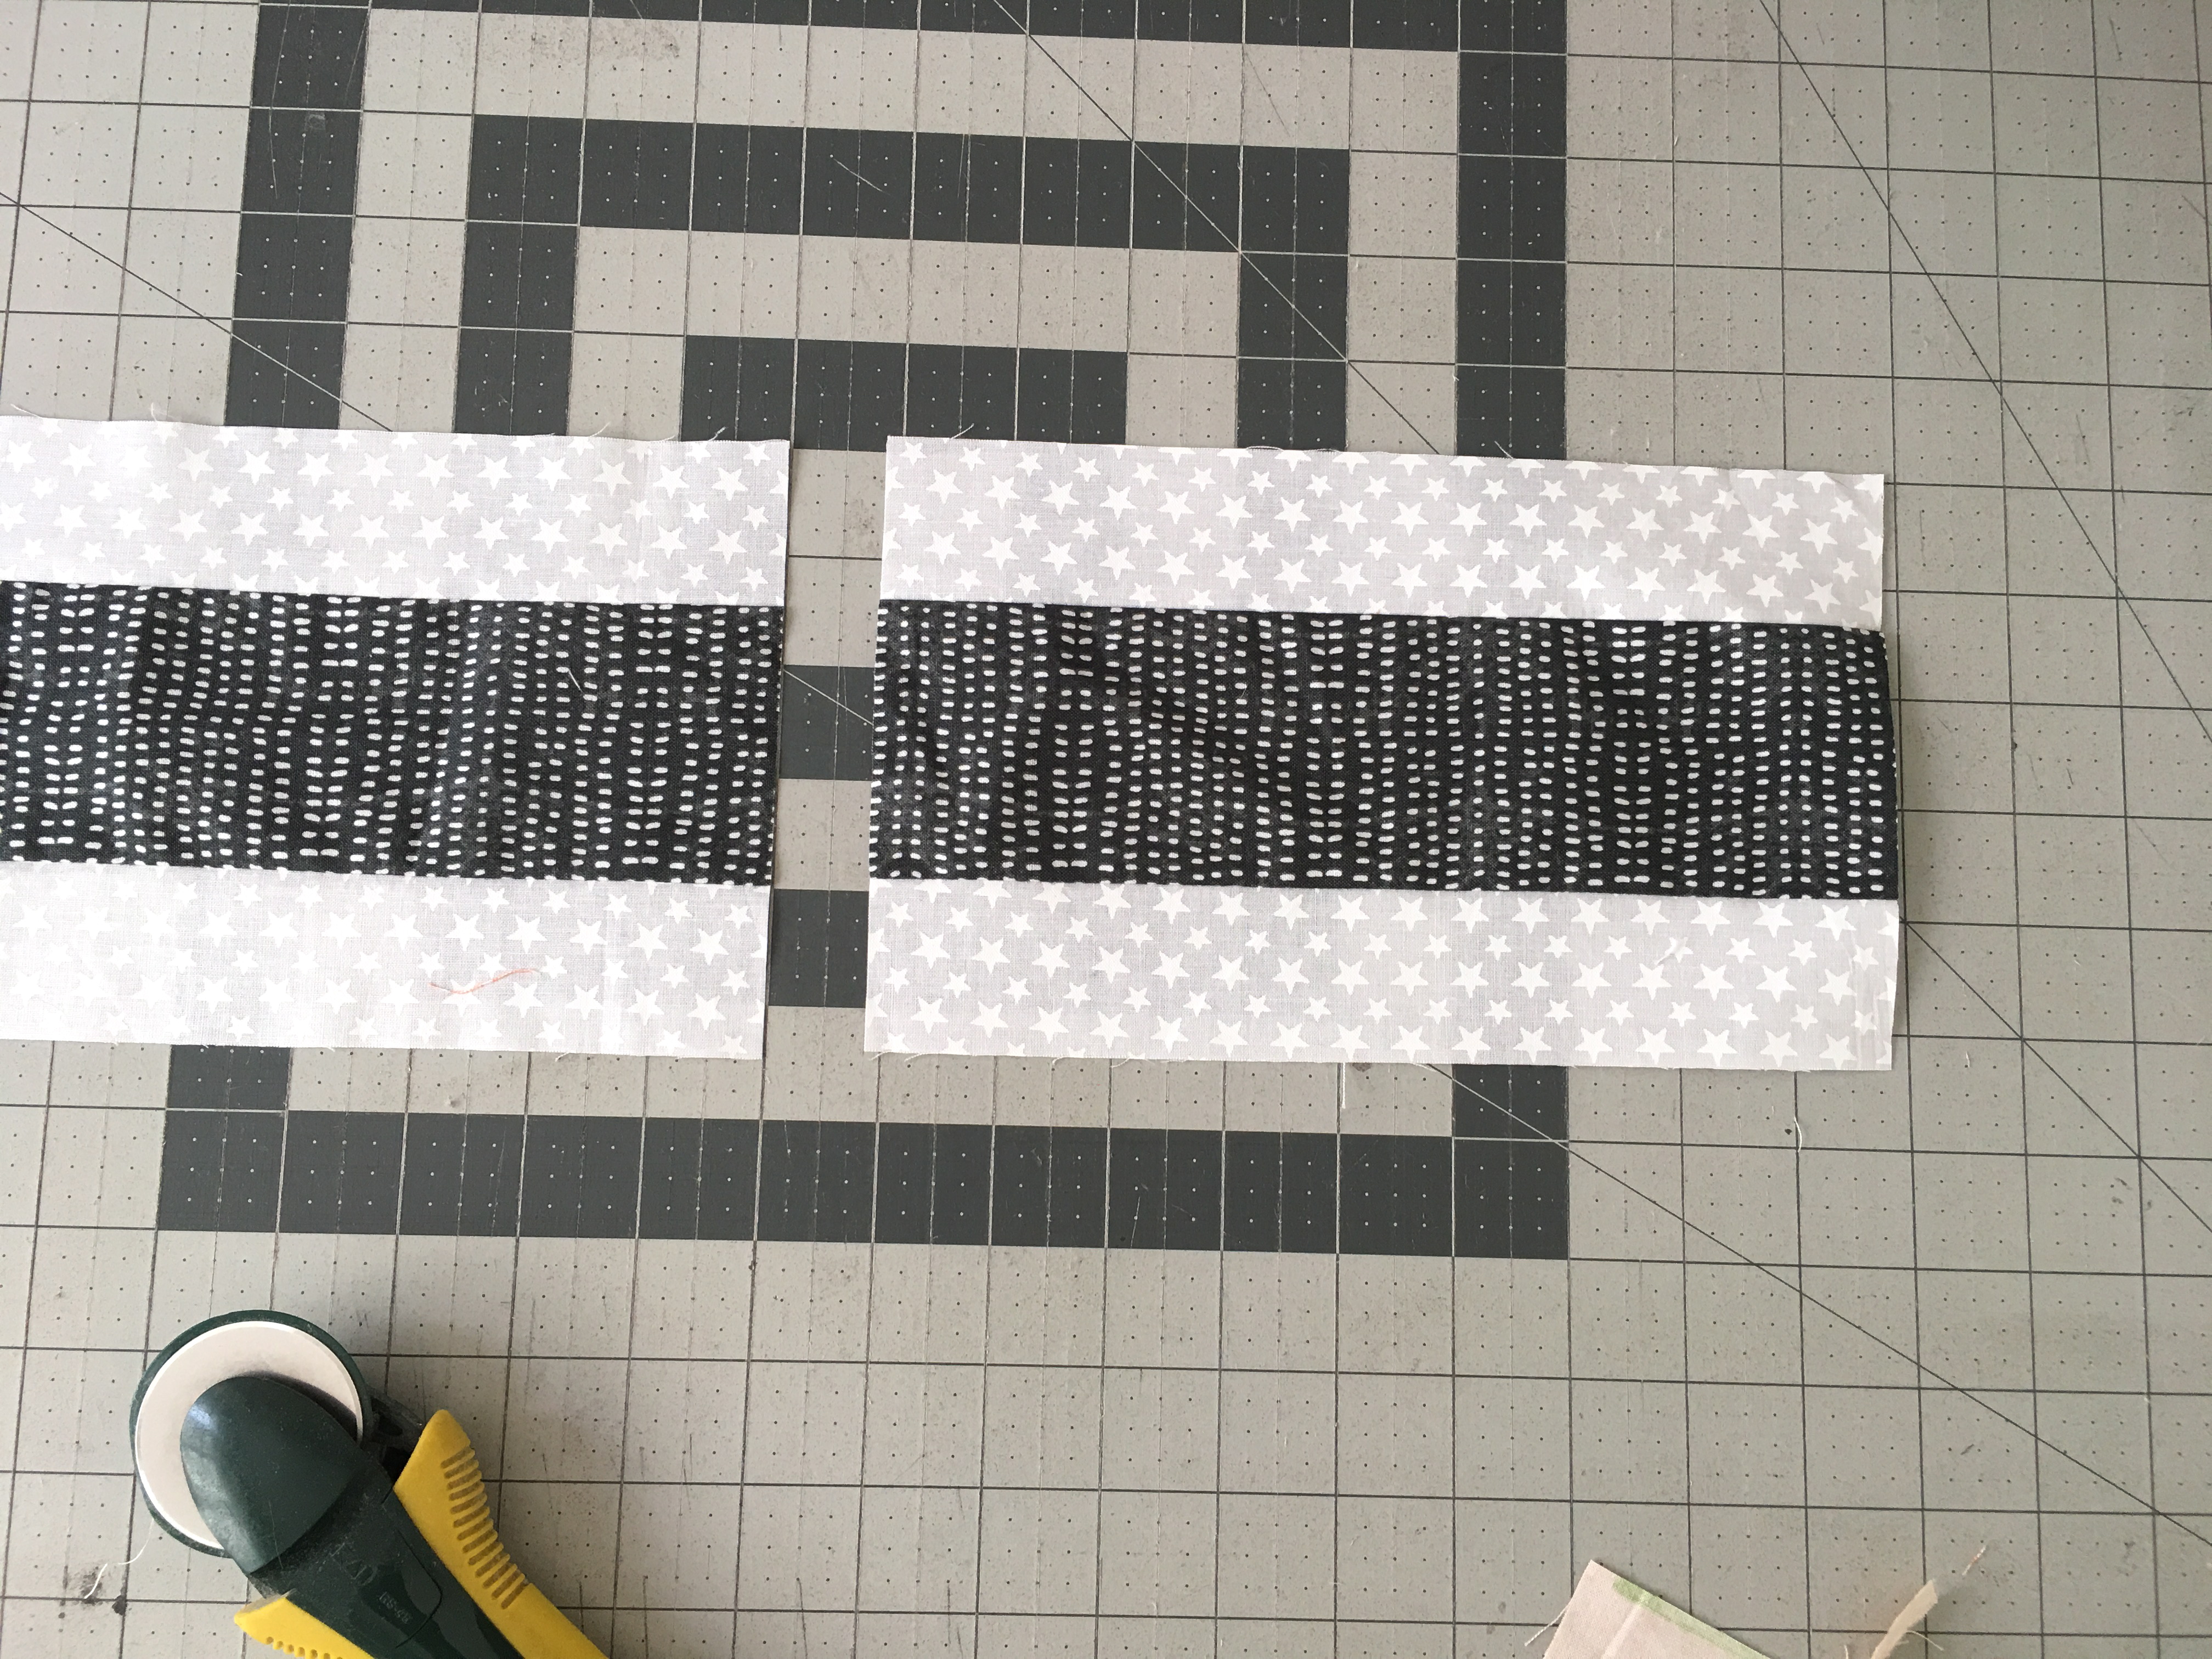
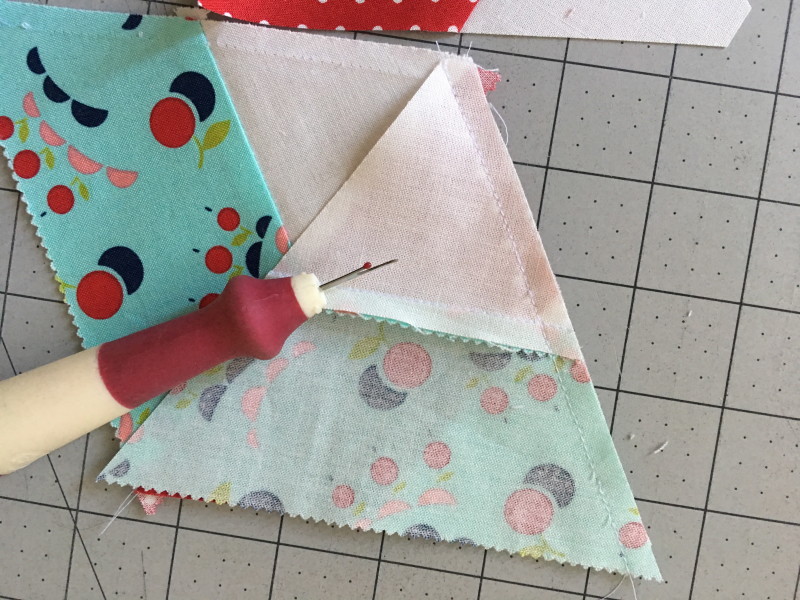
Sew the top unit to the bottom unit and press the seam open.

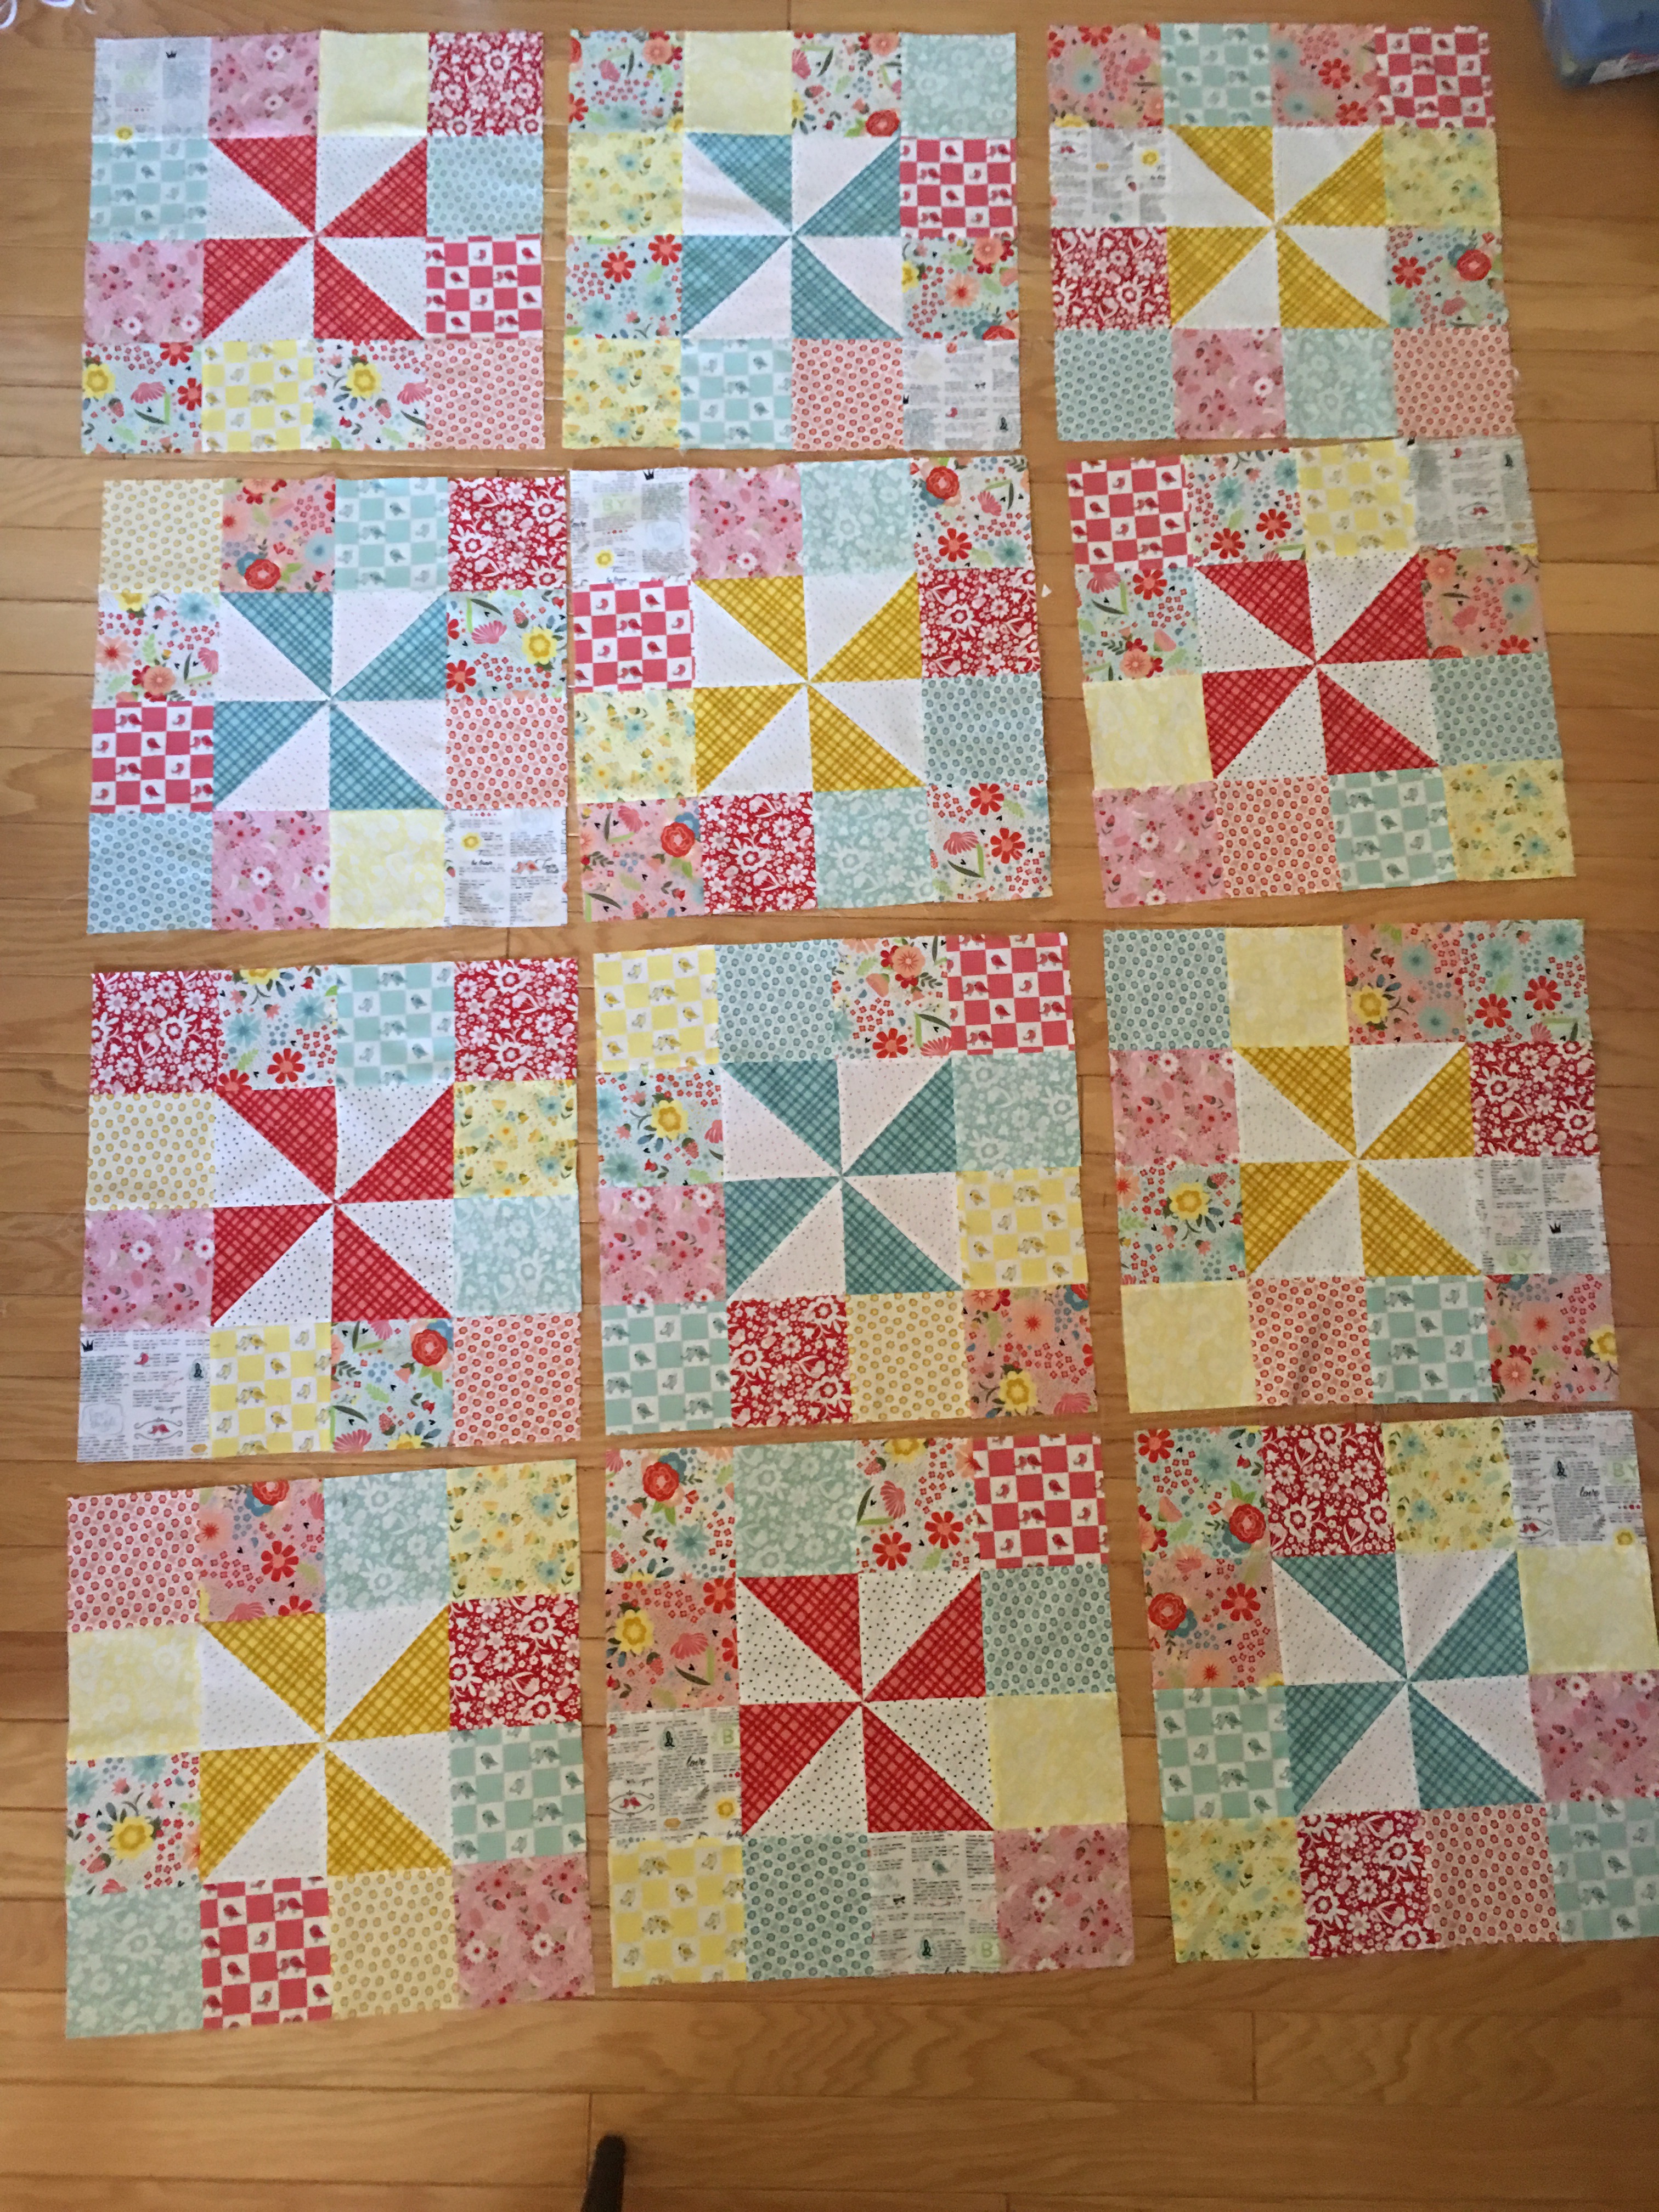
Make sure to post your quilt blocks and use the tag #RBDblockchallenge

Below is a link to the past quilt blocks:

Week 1 – Churn Dash 

Week 2 – Log Cabin

Week 3 – Friendship Star

Week 4 – Economy Block

Week 5 – Nine Patch

Week 6 – Shoo Fly Block

Week 7 – Sawtooth Star

Week 8 – Bear Paw 

Pinwheels & Patches Quilt Tutorial

pinwheelsandpatches

I’m so excited to be a part of Shari Butler’s blog tour for her upcoming line of fabric In The Meadow for Sweet Bee Designs!!  This fabric has such a fresh and whimsical feel – it’s perfect for spring and summer!  I originally thought to make a wall quilt or a table quilt but I kept cutting and sewing and it turns out I’ve made myself a new throw quilt!!

IMG_8767

Aren’t these fabrics so HAPPY!!!!!!  I wanted to make a quilt that felt fun and relaxed just like summer should feel!  I call it Pinwheels & Patches and I’m going to share how you can make this quilt!!

DSC_0259

The quilt measures 54″ x 72″.

DSC_0291

And a little secret, this quilt is made using only 1 quilt block repeated over and over!  Cool!!!

IMG_8780

Fabric Requirements:

1 red fat quarter (pinwheels)

1 blue fat quarter (pinwheels)

1 yellow fat quarter (pinwheels)

3 low volume fat quarters (pinwheels)

16-20 assorted fat quarters (yellow, pink, red, blue prints)

2/3 yard binding fabric

3 1/2 yard backing fabric

Instructions

all seams 1/4″

WOFQ means width of Fat Quarter (measuring 21″)

Press all seams open

Make the Half Square Triangles (HSTs)

Begin by cutting (3) 5 3/8″ x WOFQ strips of the red, blue, yellow, and three low volume fat quarters (all the pinwheel fat quarters).

Subcut them into (8) 5 3/8″ squares of each color:

IMG_8772

Draw a diagonal line on the wrong side of each low volume 5 3/8″ square.  Or you can use one of these rulers to draw the 1/4″ lines.

IMG_8773

Pair a low volume and a red, yellow or blue 5 3/8″ square, right sides together.  Sew 1/4″ along both sides of the diagonal line.

IMG_8774

Cut on the diagonal line.

IMG_8775

Press seams open.  Continue making (16) HSTs of each of the red, yellow, and blue:

IMG_8776

The HSTs should measure 5″ at this point.

Using the 16-20 assorted fat quarters, cut a total of (144) 5″ charm squares.  This is a scrappy looking quilt, so no need to plan, just cut and go!!

Once you have the (144) 5″ assorted squares cut and the (48) HSTs made, you’re ready to assemble the blocks!

There are 12 large blocks in this quilt each made up of 4 smaller blocks.

Choose (3) 5″ squares and 1 HST.  Lay them out like this:

IMG_8778

This is the basic unit of the quilt.  You will make 48 of these.  You can lay the whole thing out, or go totally random and just choose fabrics from a pile!  That’s what’s so fun about this quilt!

Sew the squares together as you would a 4-patch, pressing seams open.

IMG_8783

Continue making this block unit until you’ve made 48.  Next, select 4 block units with matching pinwheel colors, and make a larger 4-patch. Notice how the block is rotated to form a pinwheel! Press seams open.

IMG_8782

IMG_8785

Continue this process until you’ve made (12) large blocks:

IMG_8823

Of course, you can lay out the whole quilt and sew it together row by row.  I was excited to find a different method of getting this look!

Once all the blocks are completed, sew them together in rows.  Then sew the rows together, making sure to always match and pin at seam intersections.

Pressing seams open throughout the process allows you to mix up blocks and not worry about which way they are pressed!

All that’s left now is to quilt and bind!

My quilting is always done late at night with Mufasa’s help…..he looks really helpful!!!

IMG_8841

I love how it turned out!  It’s exactly how I wanted it to look and feel!  The fabrics lend themselves to a patchwork feel.  I love that there are large, medium, and small prints in the collection.  It just makes me happy to look at it!

DSC_0308

DSC_0239

And who doesn’t love a striped binding!!!

DSC_0336

It’s easy and breezy!!

DSC_0319

You will be surprised how fast you can put this together!

DSC_0236

Thanks for stopping by!!!DSC_0325

Be sure to follow along on the In The Meadow Blog Tour!  You won’t want to miss what these amazing designers have in store for you!!!!

Tuesday April 17: Jedi Craft Girl | www.jedicraftgirl.com
Thursday April 19: Jina Barney Designs | http://jinabarneydesignz.blogspot.com
Tuesday April 24: Gigi’s Thimble | www.gigisthimble.com
Thursday April 26: Debby Brown Quilts | higheredhands.blogspot.com
Tuesday May 1: Piper’s Girls | www.pipersgirls.com
Thursday May 3: Go Go Kim | http://www.gogokim.com
Tuesday May 8: Kea Bee | http://keabee.com
Thursday May 10: Doohikey Designs | www.doohikeydesigns.com/blog/

Pinwheel Baby Shower


My friend, Brittany, hosted a “Pinwheel” themed baby shower this weekend.  She is such a great hostess!  She gave me permission to snap some pictures!
I love being greeted by the baby shower theme.  I love the pinwheels on the green window.
I love the pinwheel banner and the use of the shutters on the cupcake table.

She printed out labels for each of the water bottles and attached a toy pinwheel that can be kept as a favor.

 There were pinwheel cupcake toppers which also could be taken home as a favor.

 Also note the use of double cupcake wrappers.  Bake in one wrapper and serve in an additional wrapper!

I love the smaller pinwheels scattered around and attached to the pink frame!

 She taped extra invitations to colored plates and set them in easels to continue with the theme.

She hung large pinwheels on both her mantles.

She attached pinwheels to painted bottles and placed daffodils in the bottles for centerpieces.  I forgot to take pictures of the back yard.  There were pinwheels hanging everywhere!

 Such a fun and “springy” baby shower!


Amanda

Mod Halloween Quilt

Is it ever too early for Halloween quilts? The Mod Meow cat panel is available now so I wanted to get this quilt pattern out now!

This might be my favorite Halloween quilt ever! Scrappy pumpkins, twirly pinwheels, and mischeveious felines! What’s not to love!

This quilt pattern is available in a PDF version in my Etsy shop. The cats are appliquéd using the Mod Meow cat panel by Riley Blake Designs.

The quilt uses 1 panel (18″) which includes 10 cats. The cats are machine appliquéd using Heat n Bond Feather Lite appliqué medium. (Or use your favorite method.)

The quilt measures 74″ x 74″ and the blocks measure 16″ x 16″.

It’s 100% Mufasa approved!

RBD Block Challenge

Today begins the first day of the Riley Blake Designs Block Challenge!

Every week one of your favorite RBD designers will post a 10″ block pattern. Make one block a week and then put them together in an amazing sampler quilt!

Today I am sharing my Pinwheel Star block. I used Mod Meow fabrics for this whimsical block. I love chain blocks! You can use this block in the sampler or make an entire quilt out of this block!

You can download my block pattern by clicking HERE.

Make sure to follow Riley Blake Designs so you don’t miss a block! And use the tag #rbdblockchallenge to follow along!!

Take Me To The Sea Quilt Pattern featuring Seaside by Riley Blake Designs

nautical quilt pattern

Summer is my favorite season of all!  I could live in perpetual June-August!!

take me to the sea quilt pattern
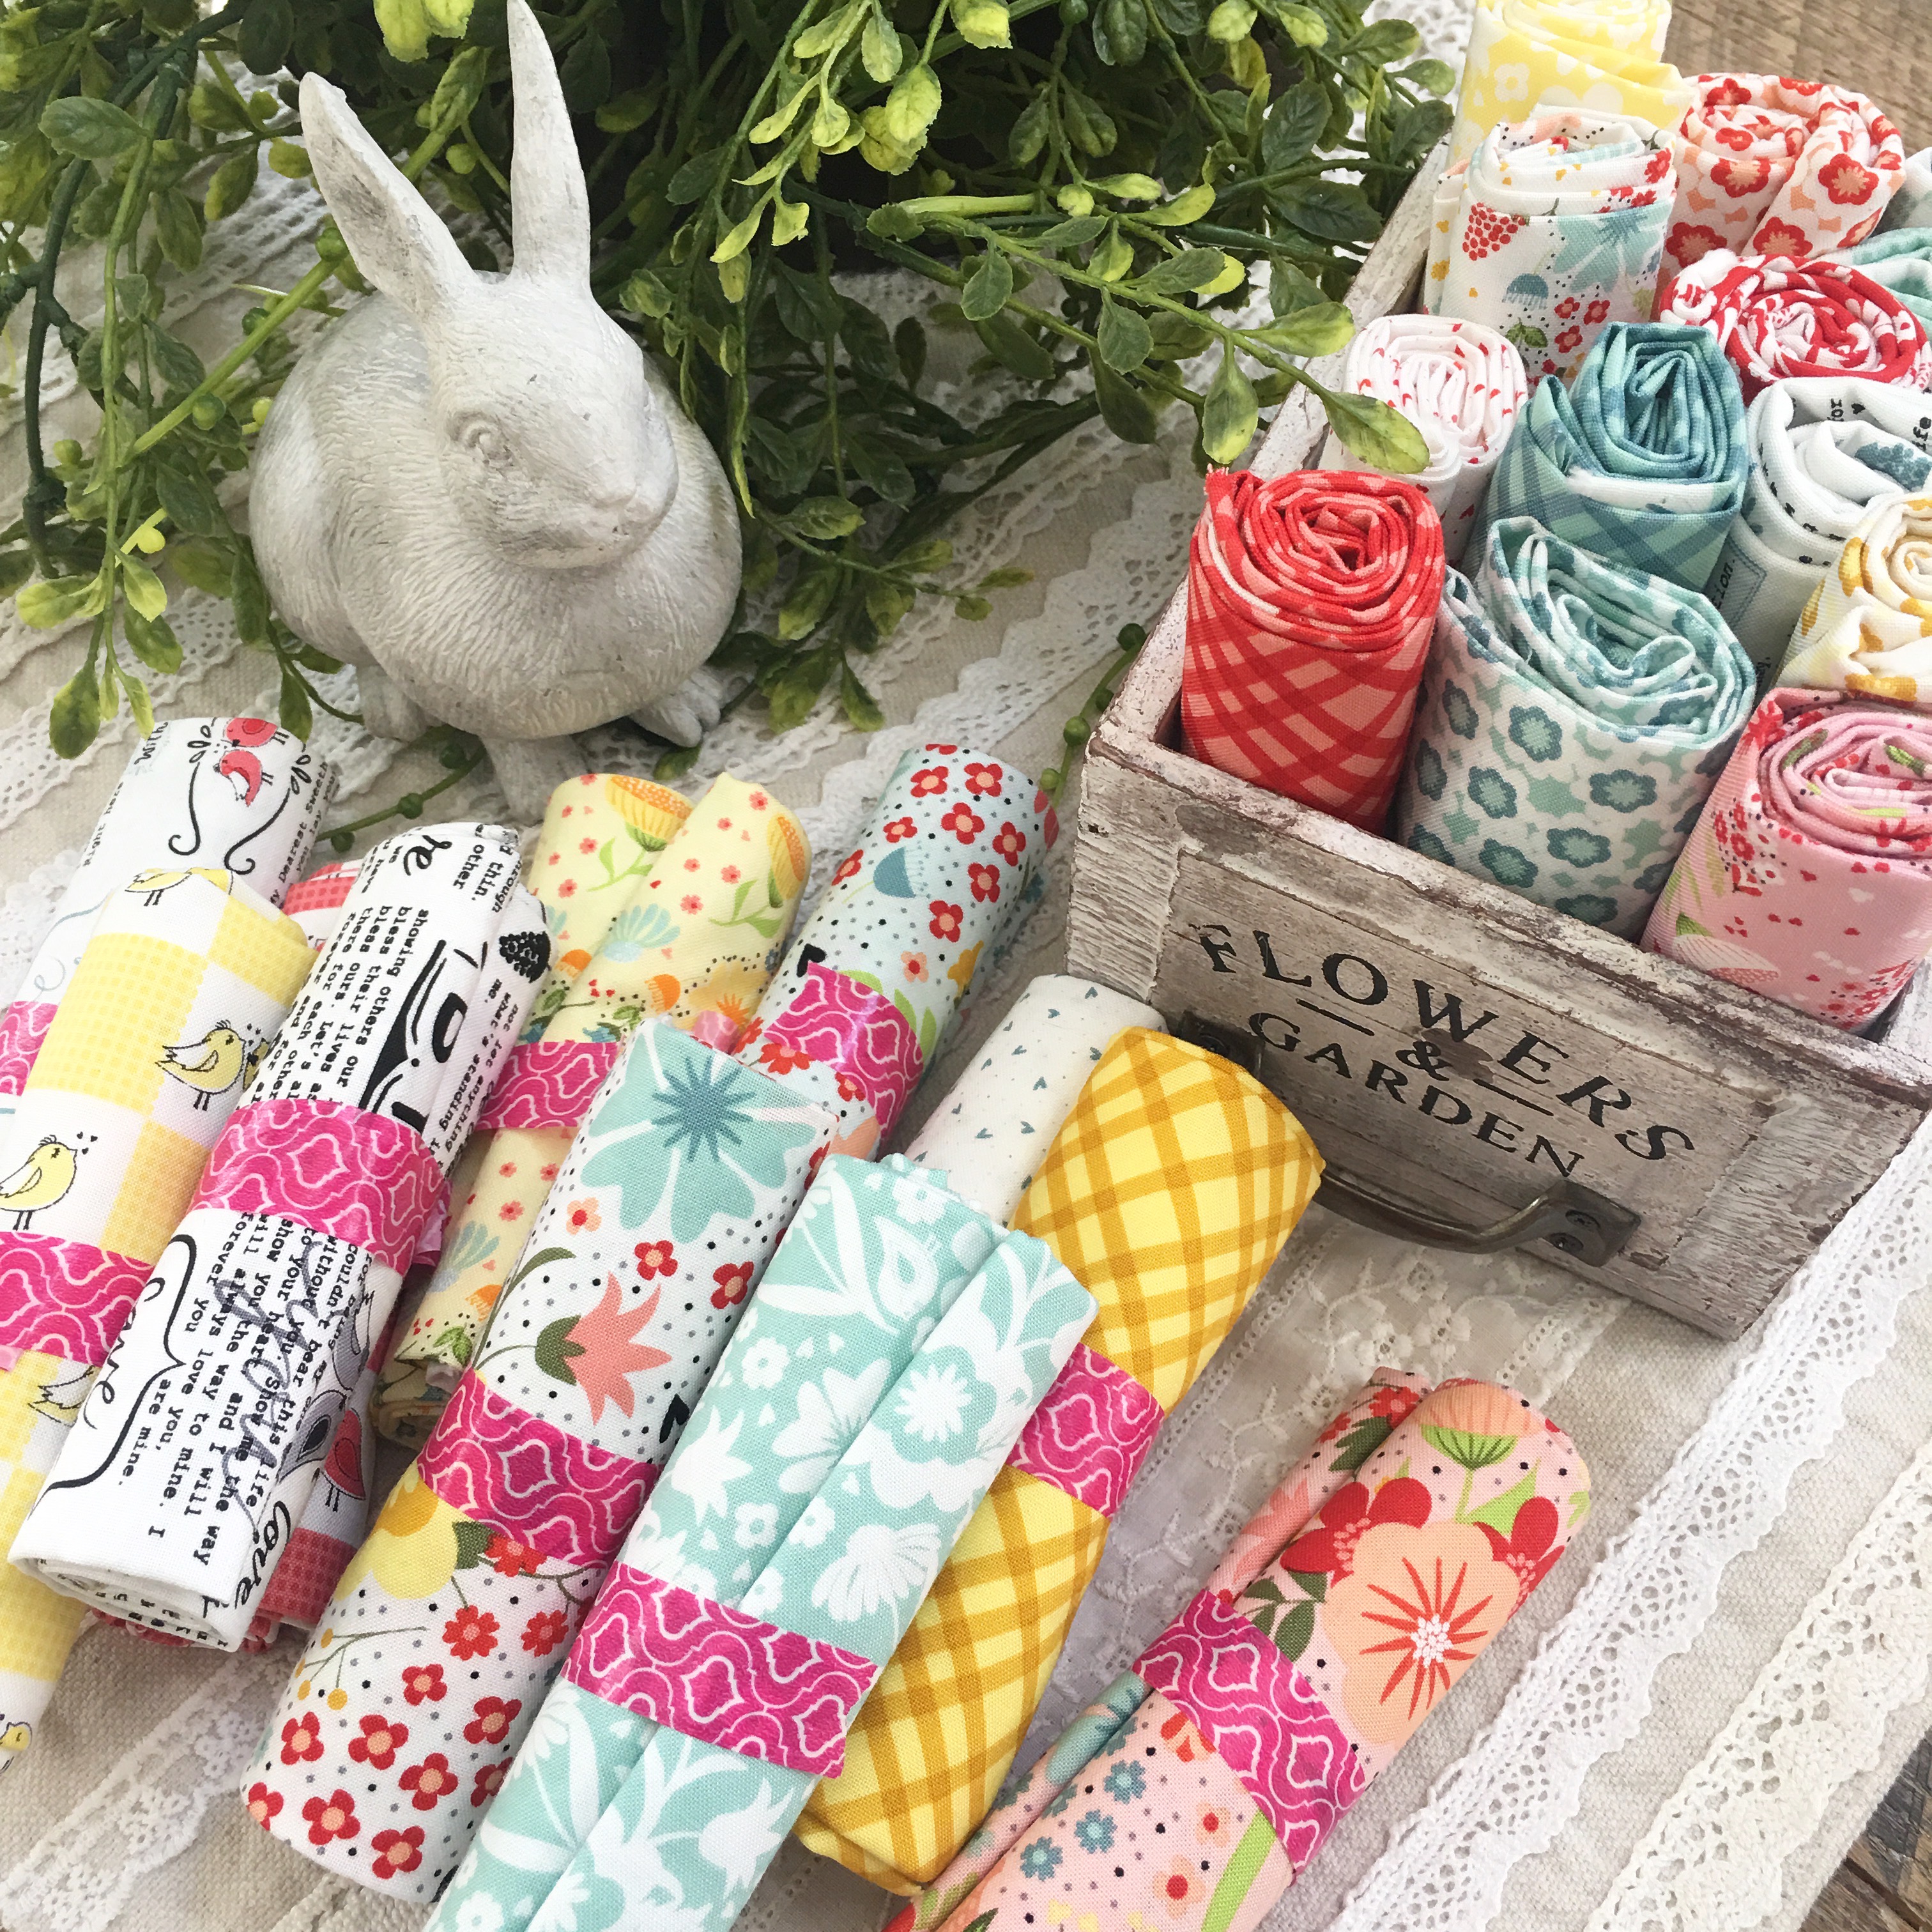
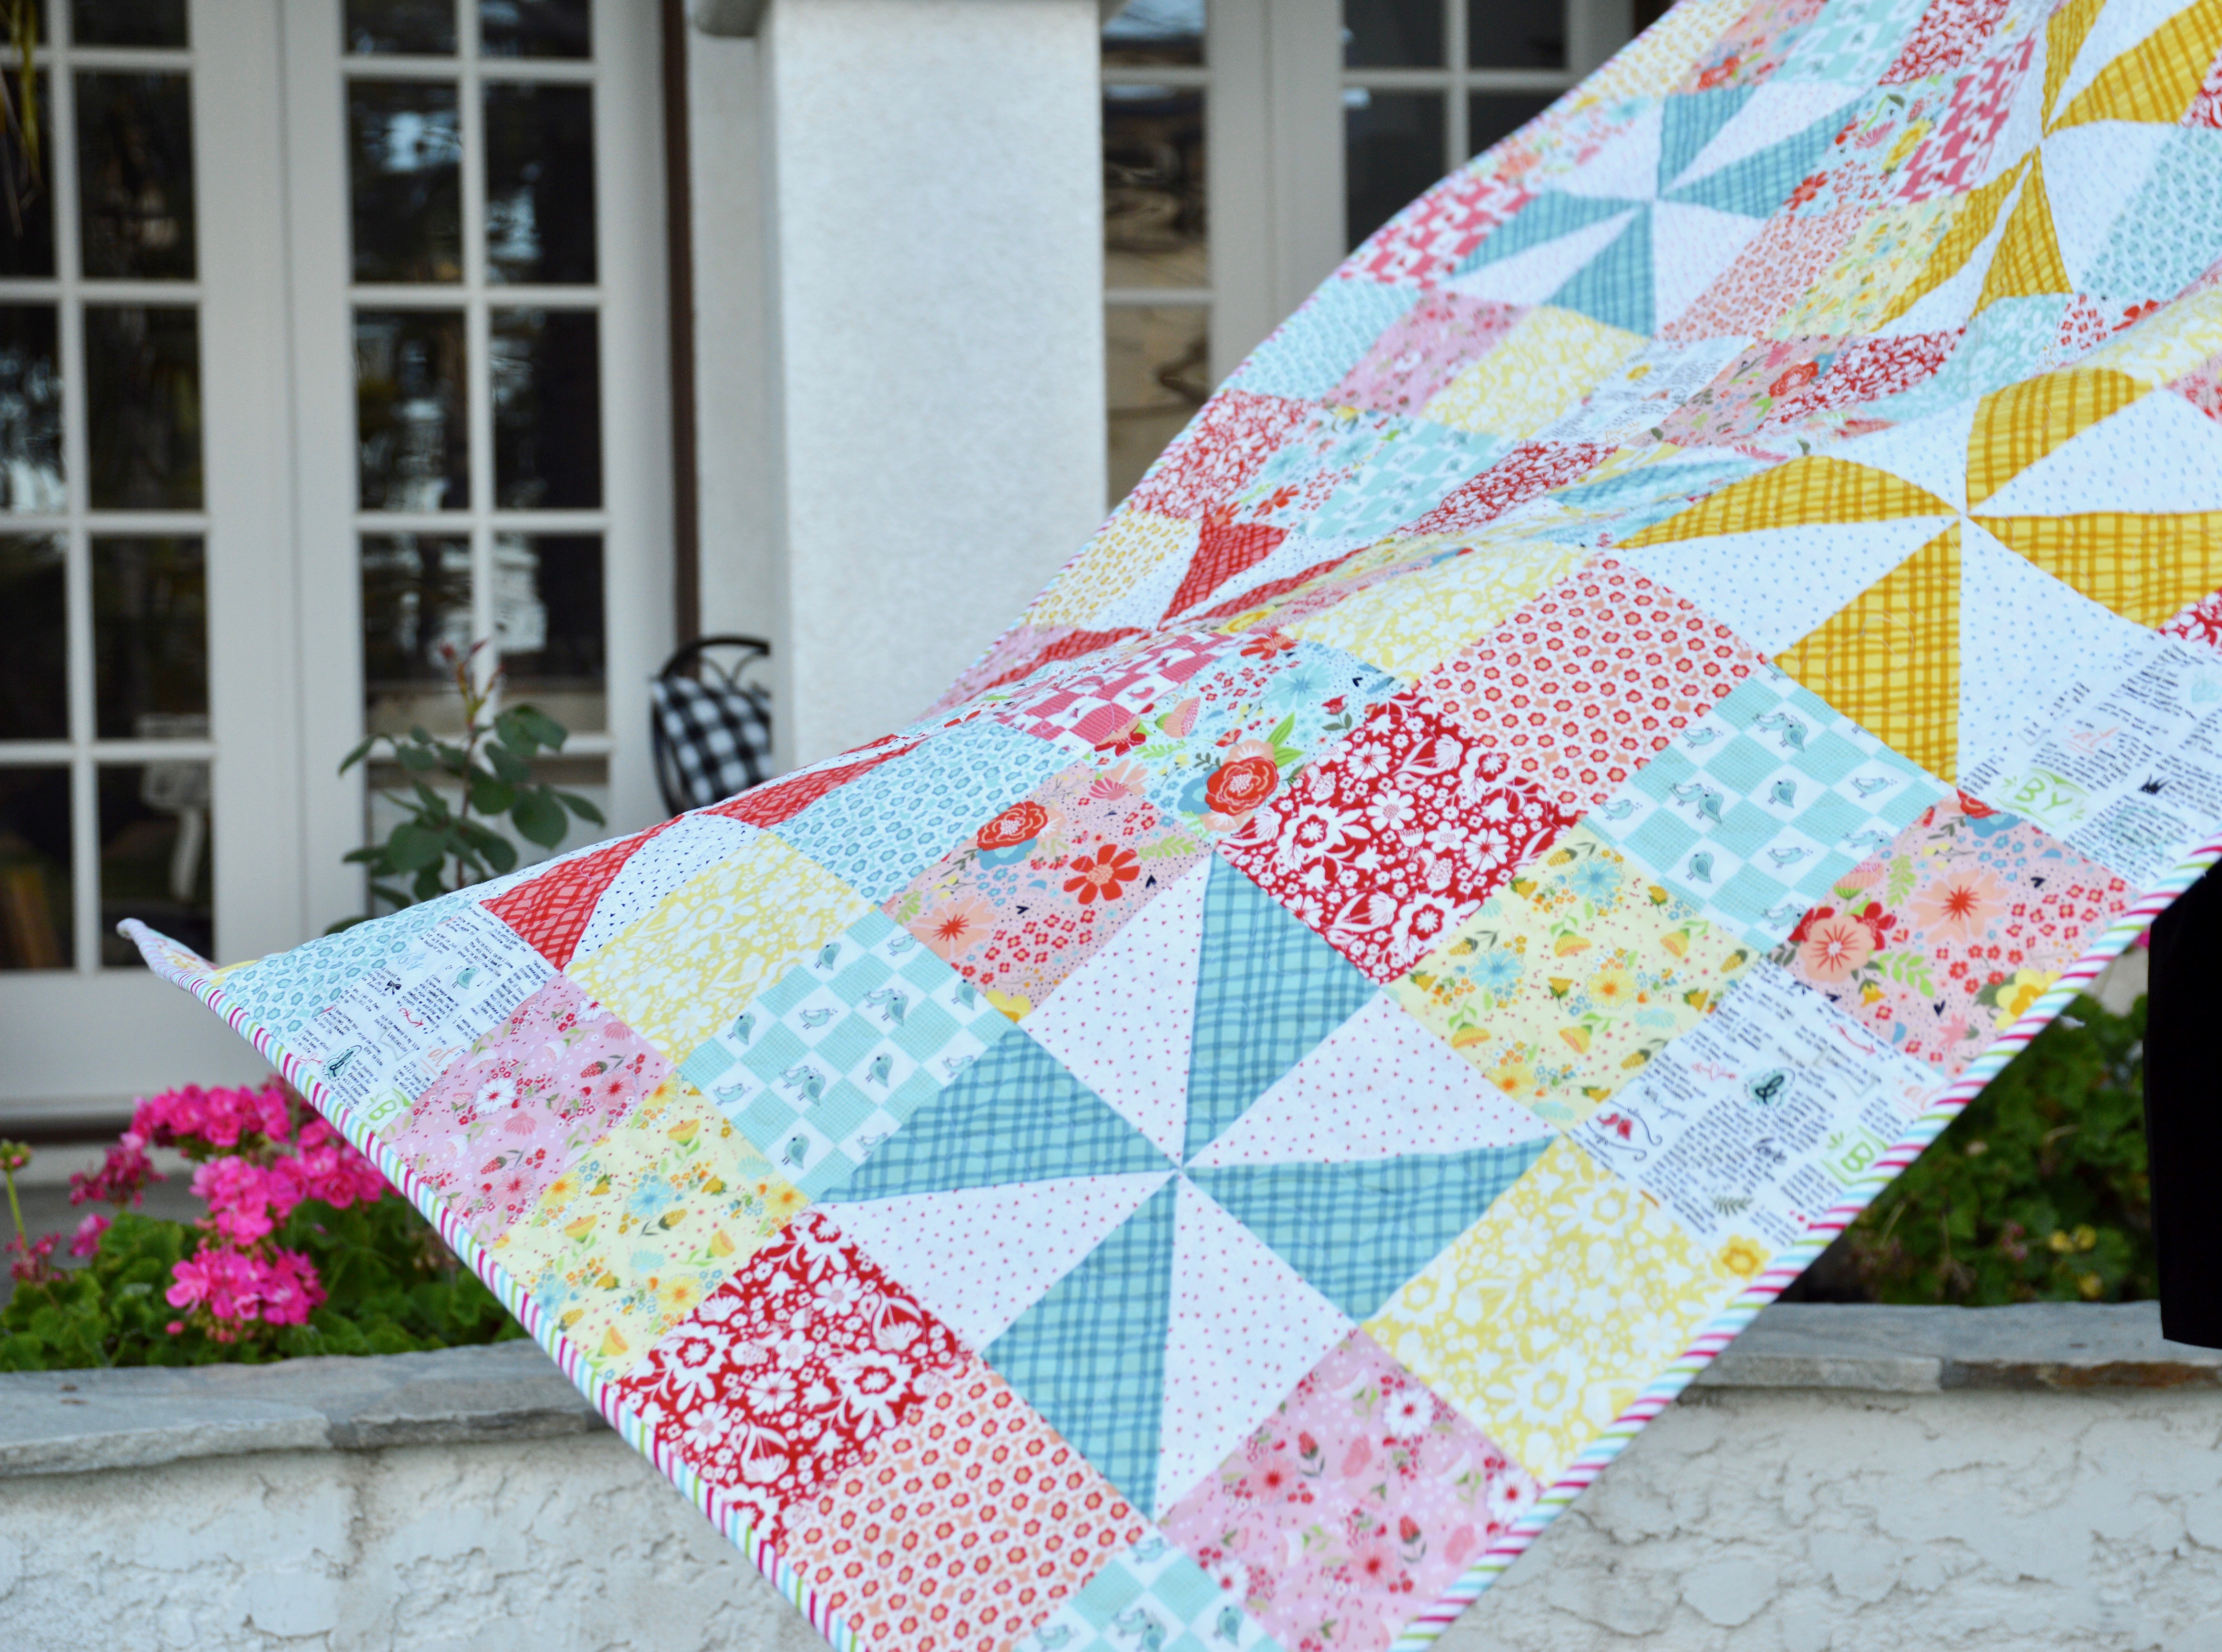
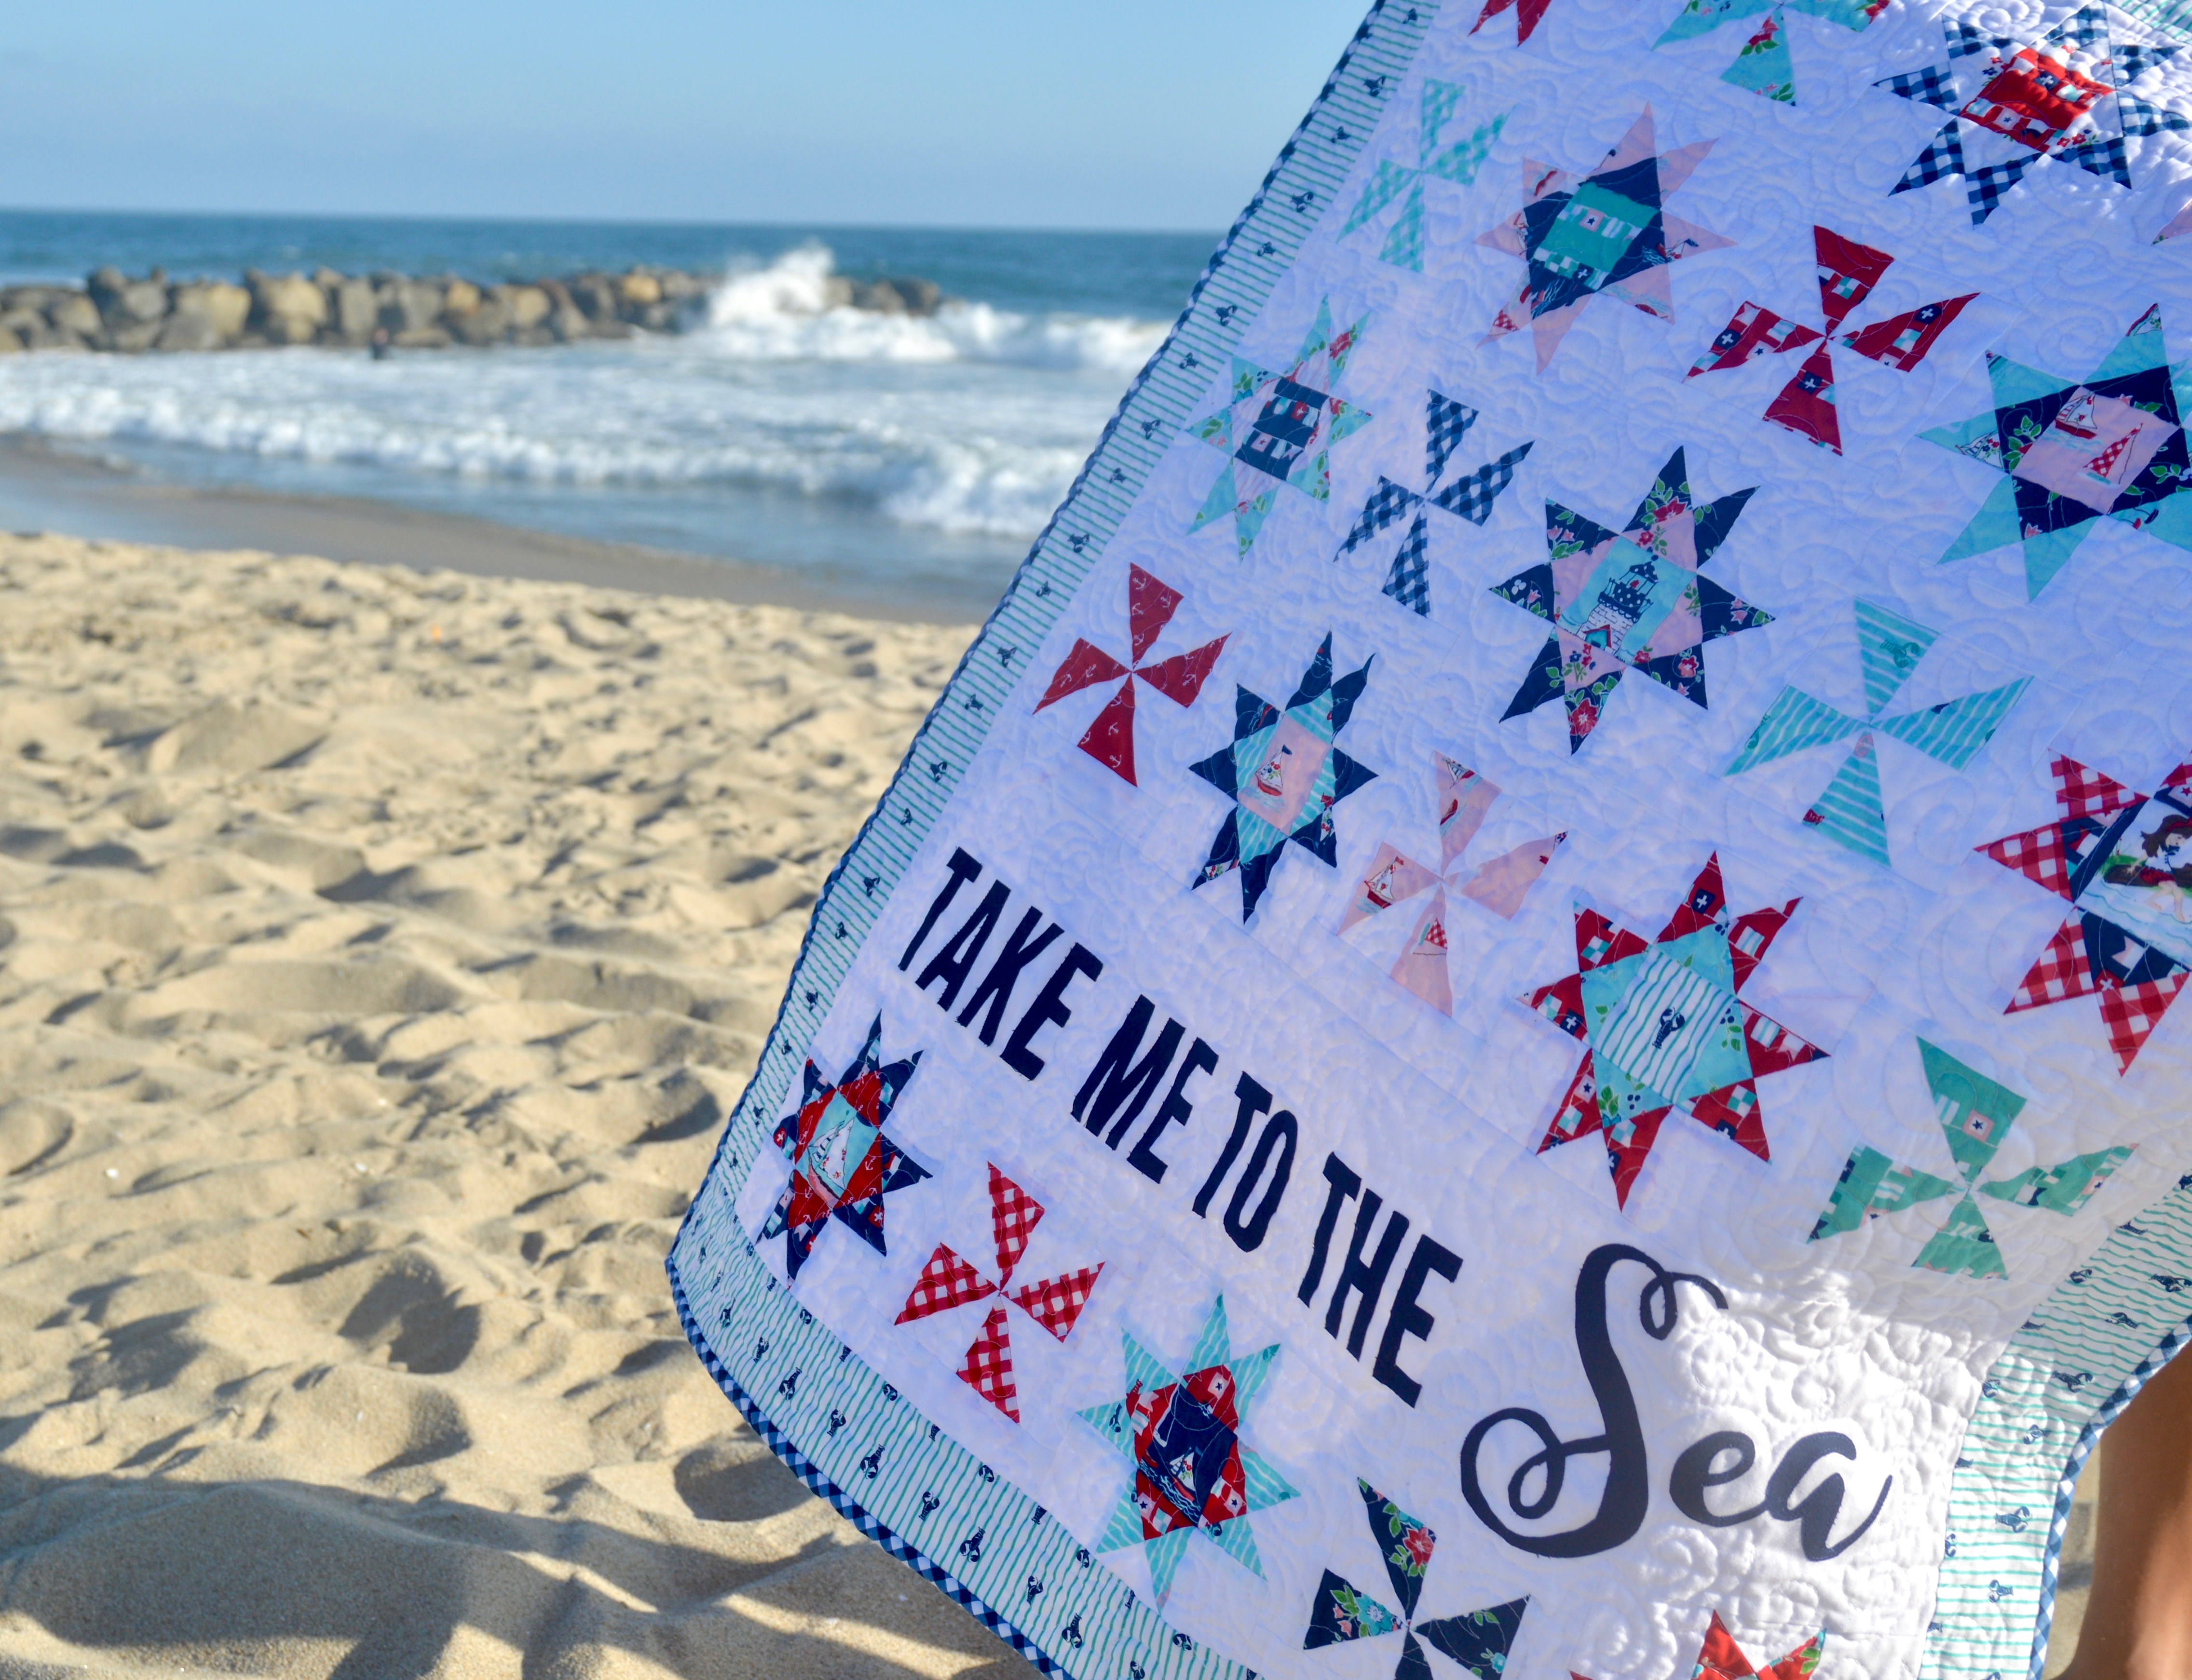
I think the reason I love summer the most is because we get to spend so much time at the beach!  We love whale watching, boogie boarding, diving through the waves, watching for dolphins and seals, getting Balboa Bars, going to Surf Shops, and relaxing!!! As soon as I saw Tasha Noel’s Seaside fabrics I knew they were for me!!  I designed this little quilt to show off all the adorable prints!!

seaside fabric by tasha noel

The quilt measures 35″ x 41″ with each block measuring 6″ square.  It’s perfect to hang on the wall of your beach house (I’m dreaming…..haha!). You can purchase it in my Etsy shop for instant PDF download!

The letters are machine appliquéd using Heat n Bond Lite.  Don’t worry, they don’t take too long to cut out by hand!!

take me to the sea quilt pattern 6

You will love that this quilt is written to accommodate layer cake (10″) squares.  In fact you only NEED 13 squares – but a few extra wouldn’t hurt to add a little variety!!

seaside quilt

I love that there is no sashing the blocks  because it’s built into the pinwheel block!

take me to the sea quilt diagram

It was hard to choose a border print because they are all so amazing!  I went with the lobsters!

seaside quilt pattern 2

You can see the quilting detail in this photos.  I quilted it myself and it always stresses me out!!  From far away it doesn’t look too bad!

take me to the sea quilt pattern 10

I love the surfer in the background of this photo!  We love to go to Newport Beach and watch them surf!!

seaside quilt pattern

I hope you have a great rest of your summer!!!

take me to the sea quilt pattern 8


Lemonade Stand Quilt

Living in California it’s all about the citrus and we love our lemons!  One of the fabrics in Happy Day has little jars of lemonade and that is where I got my inspiration for this wall quilt!

DSC_0107

The finished quilt is 33″ square, has pieced pinwheels and appliqué.
DSC_0006

DSC_0979
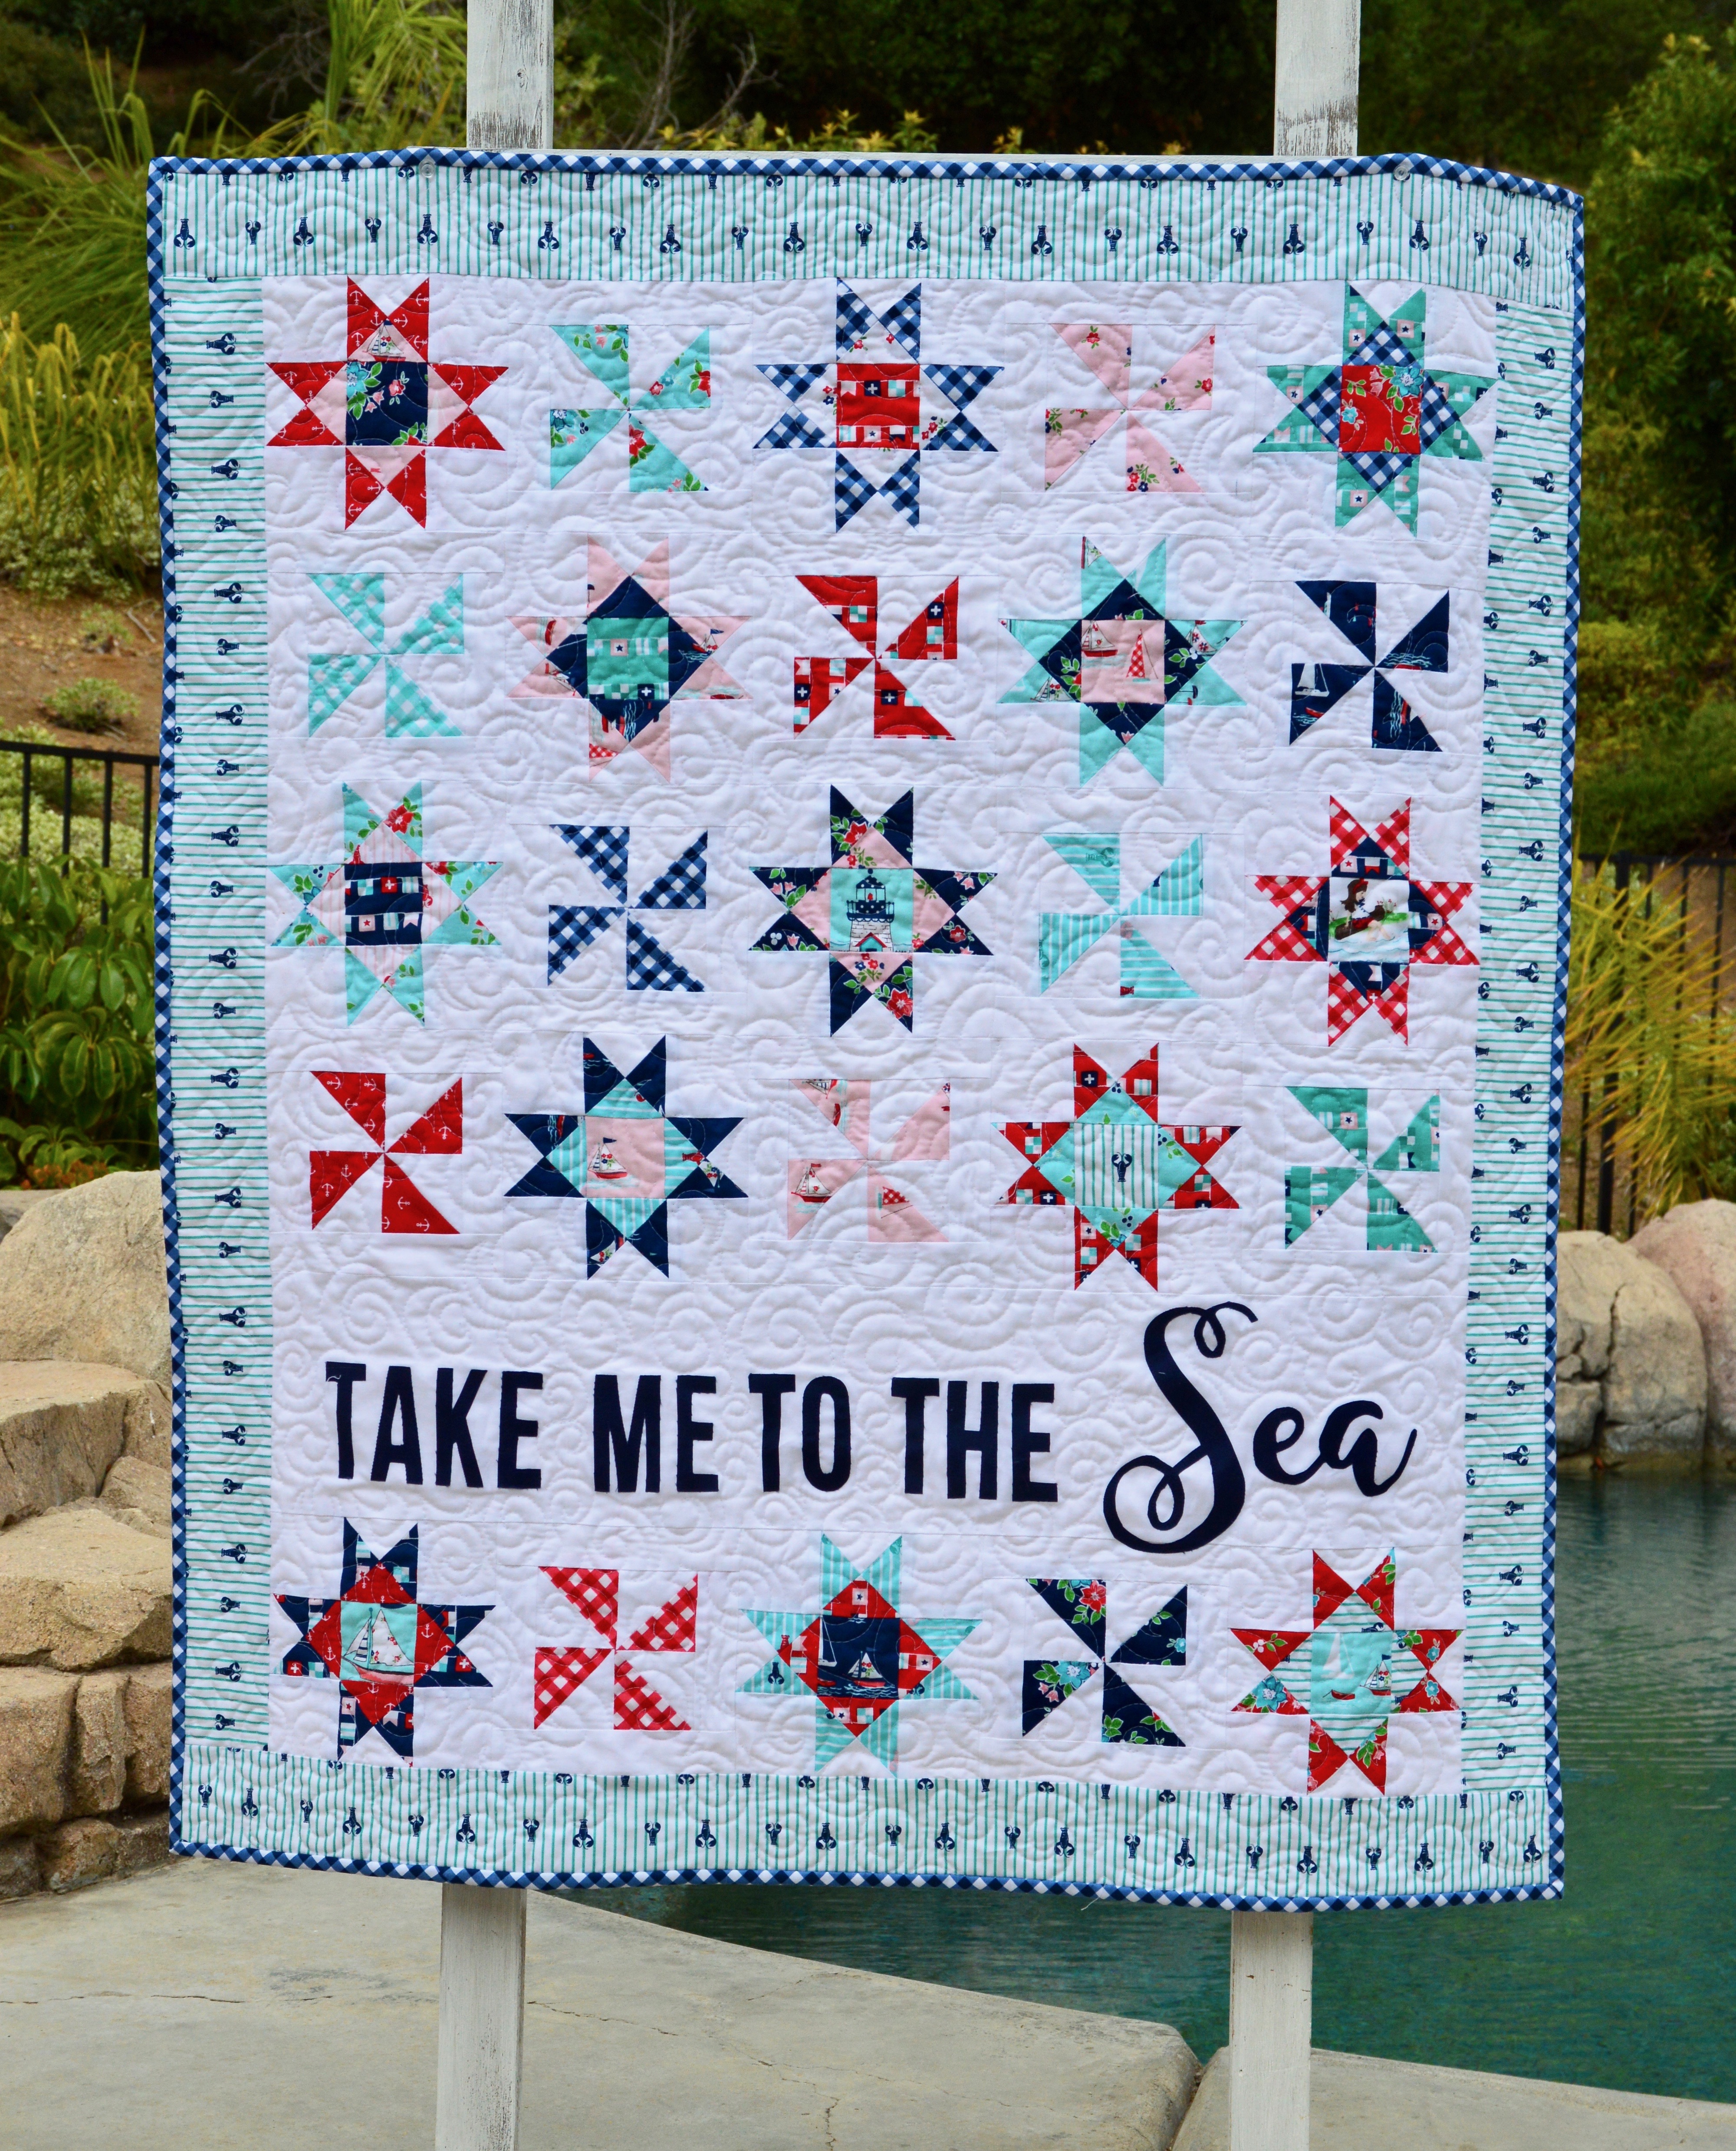
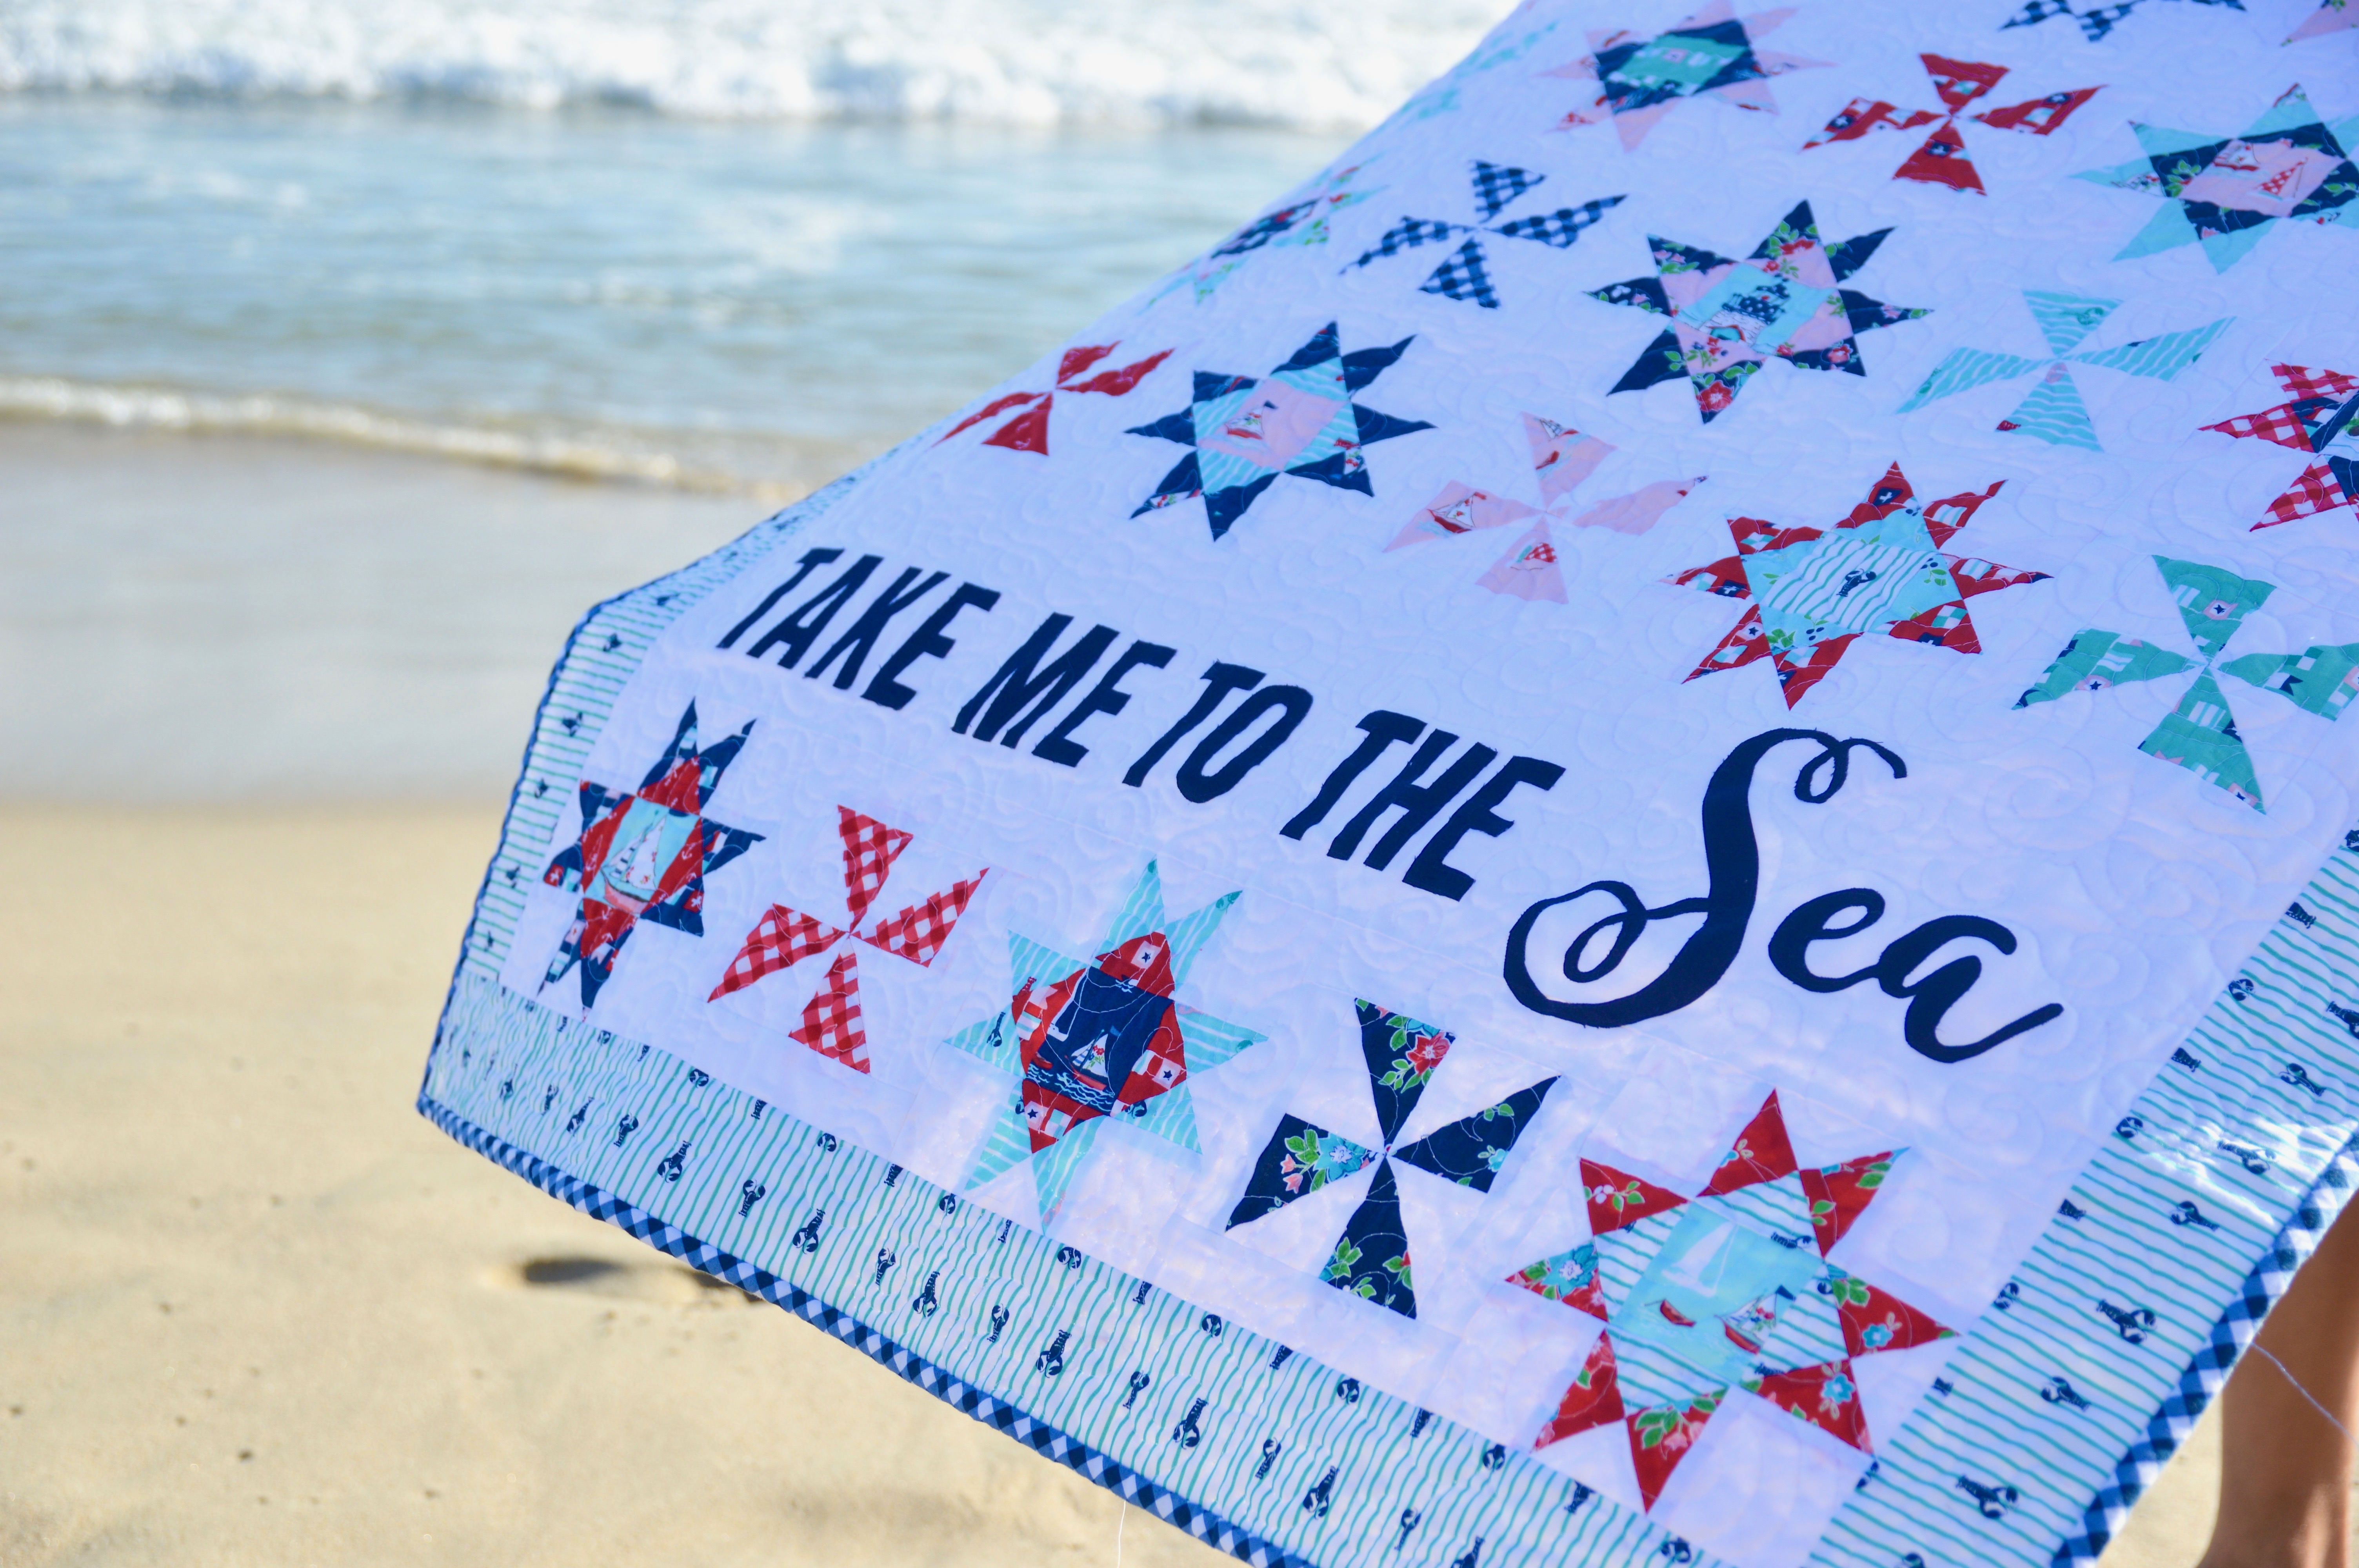
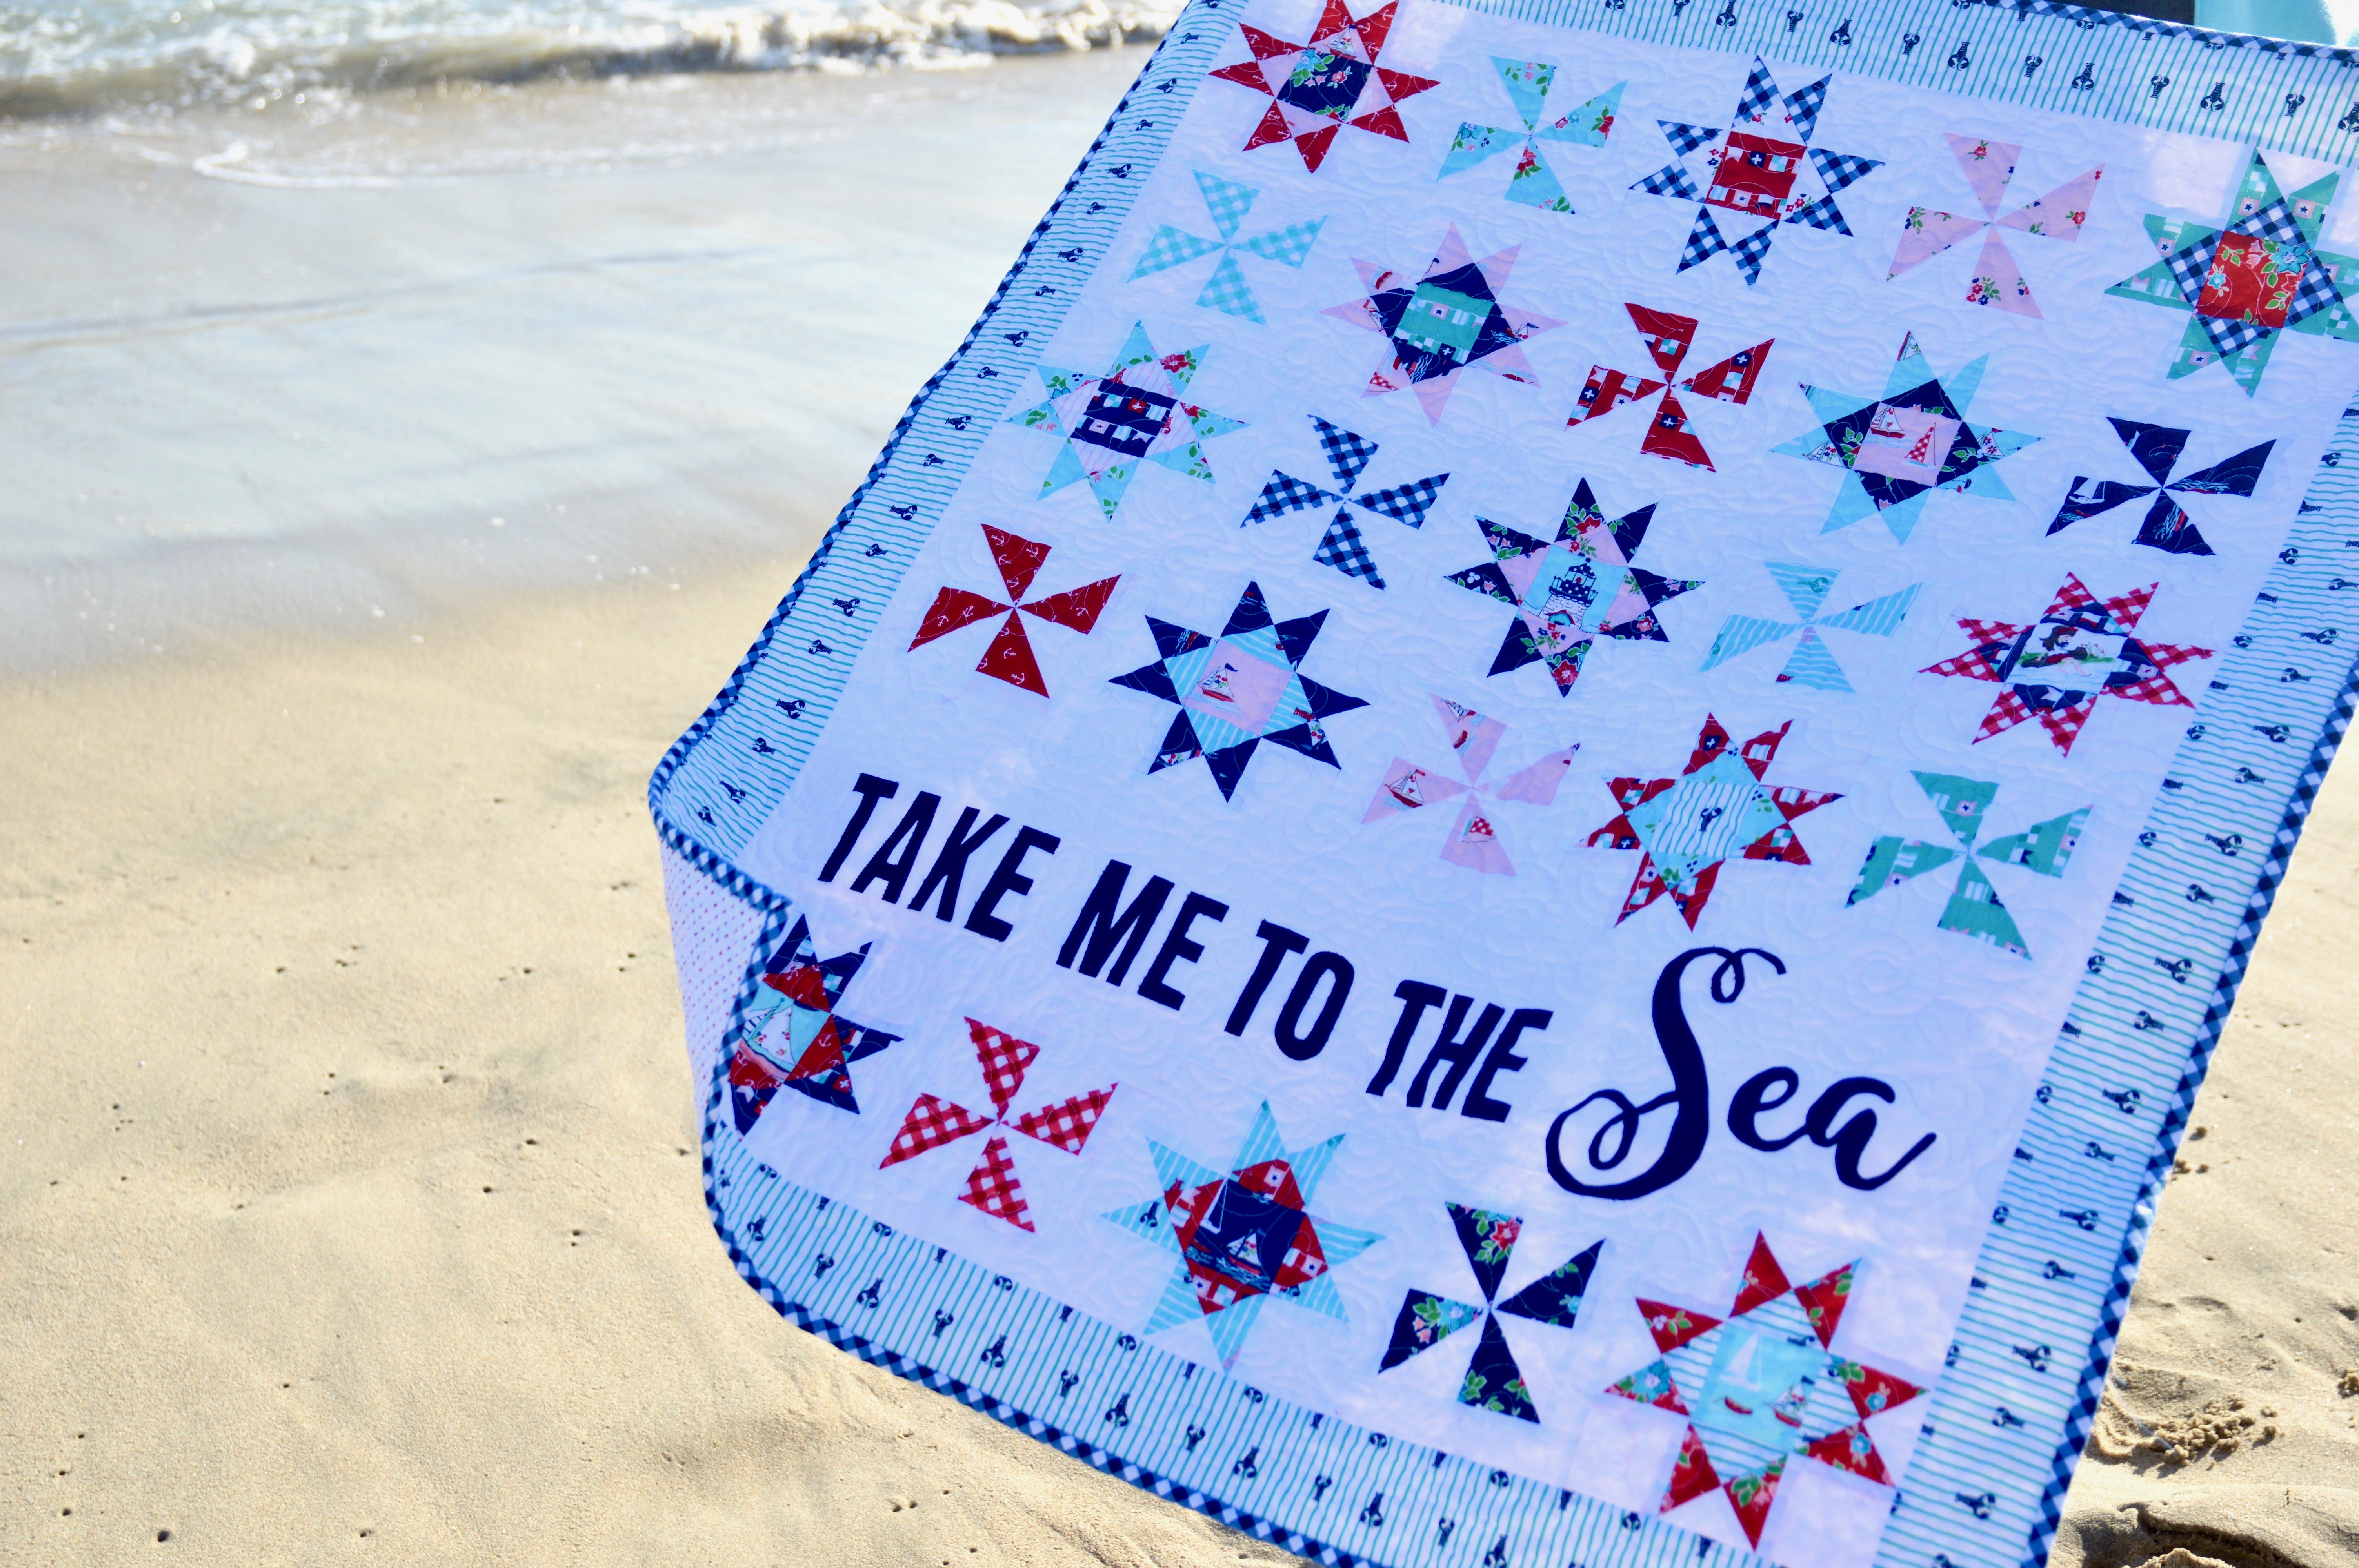
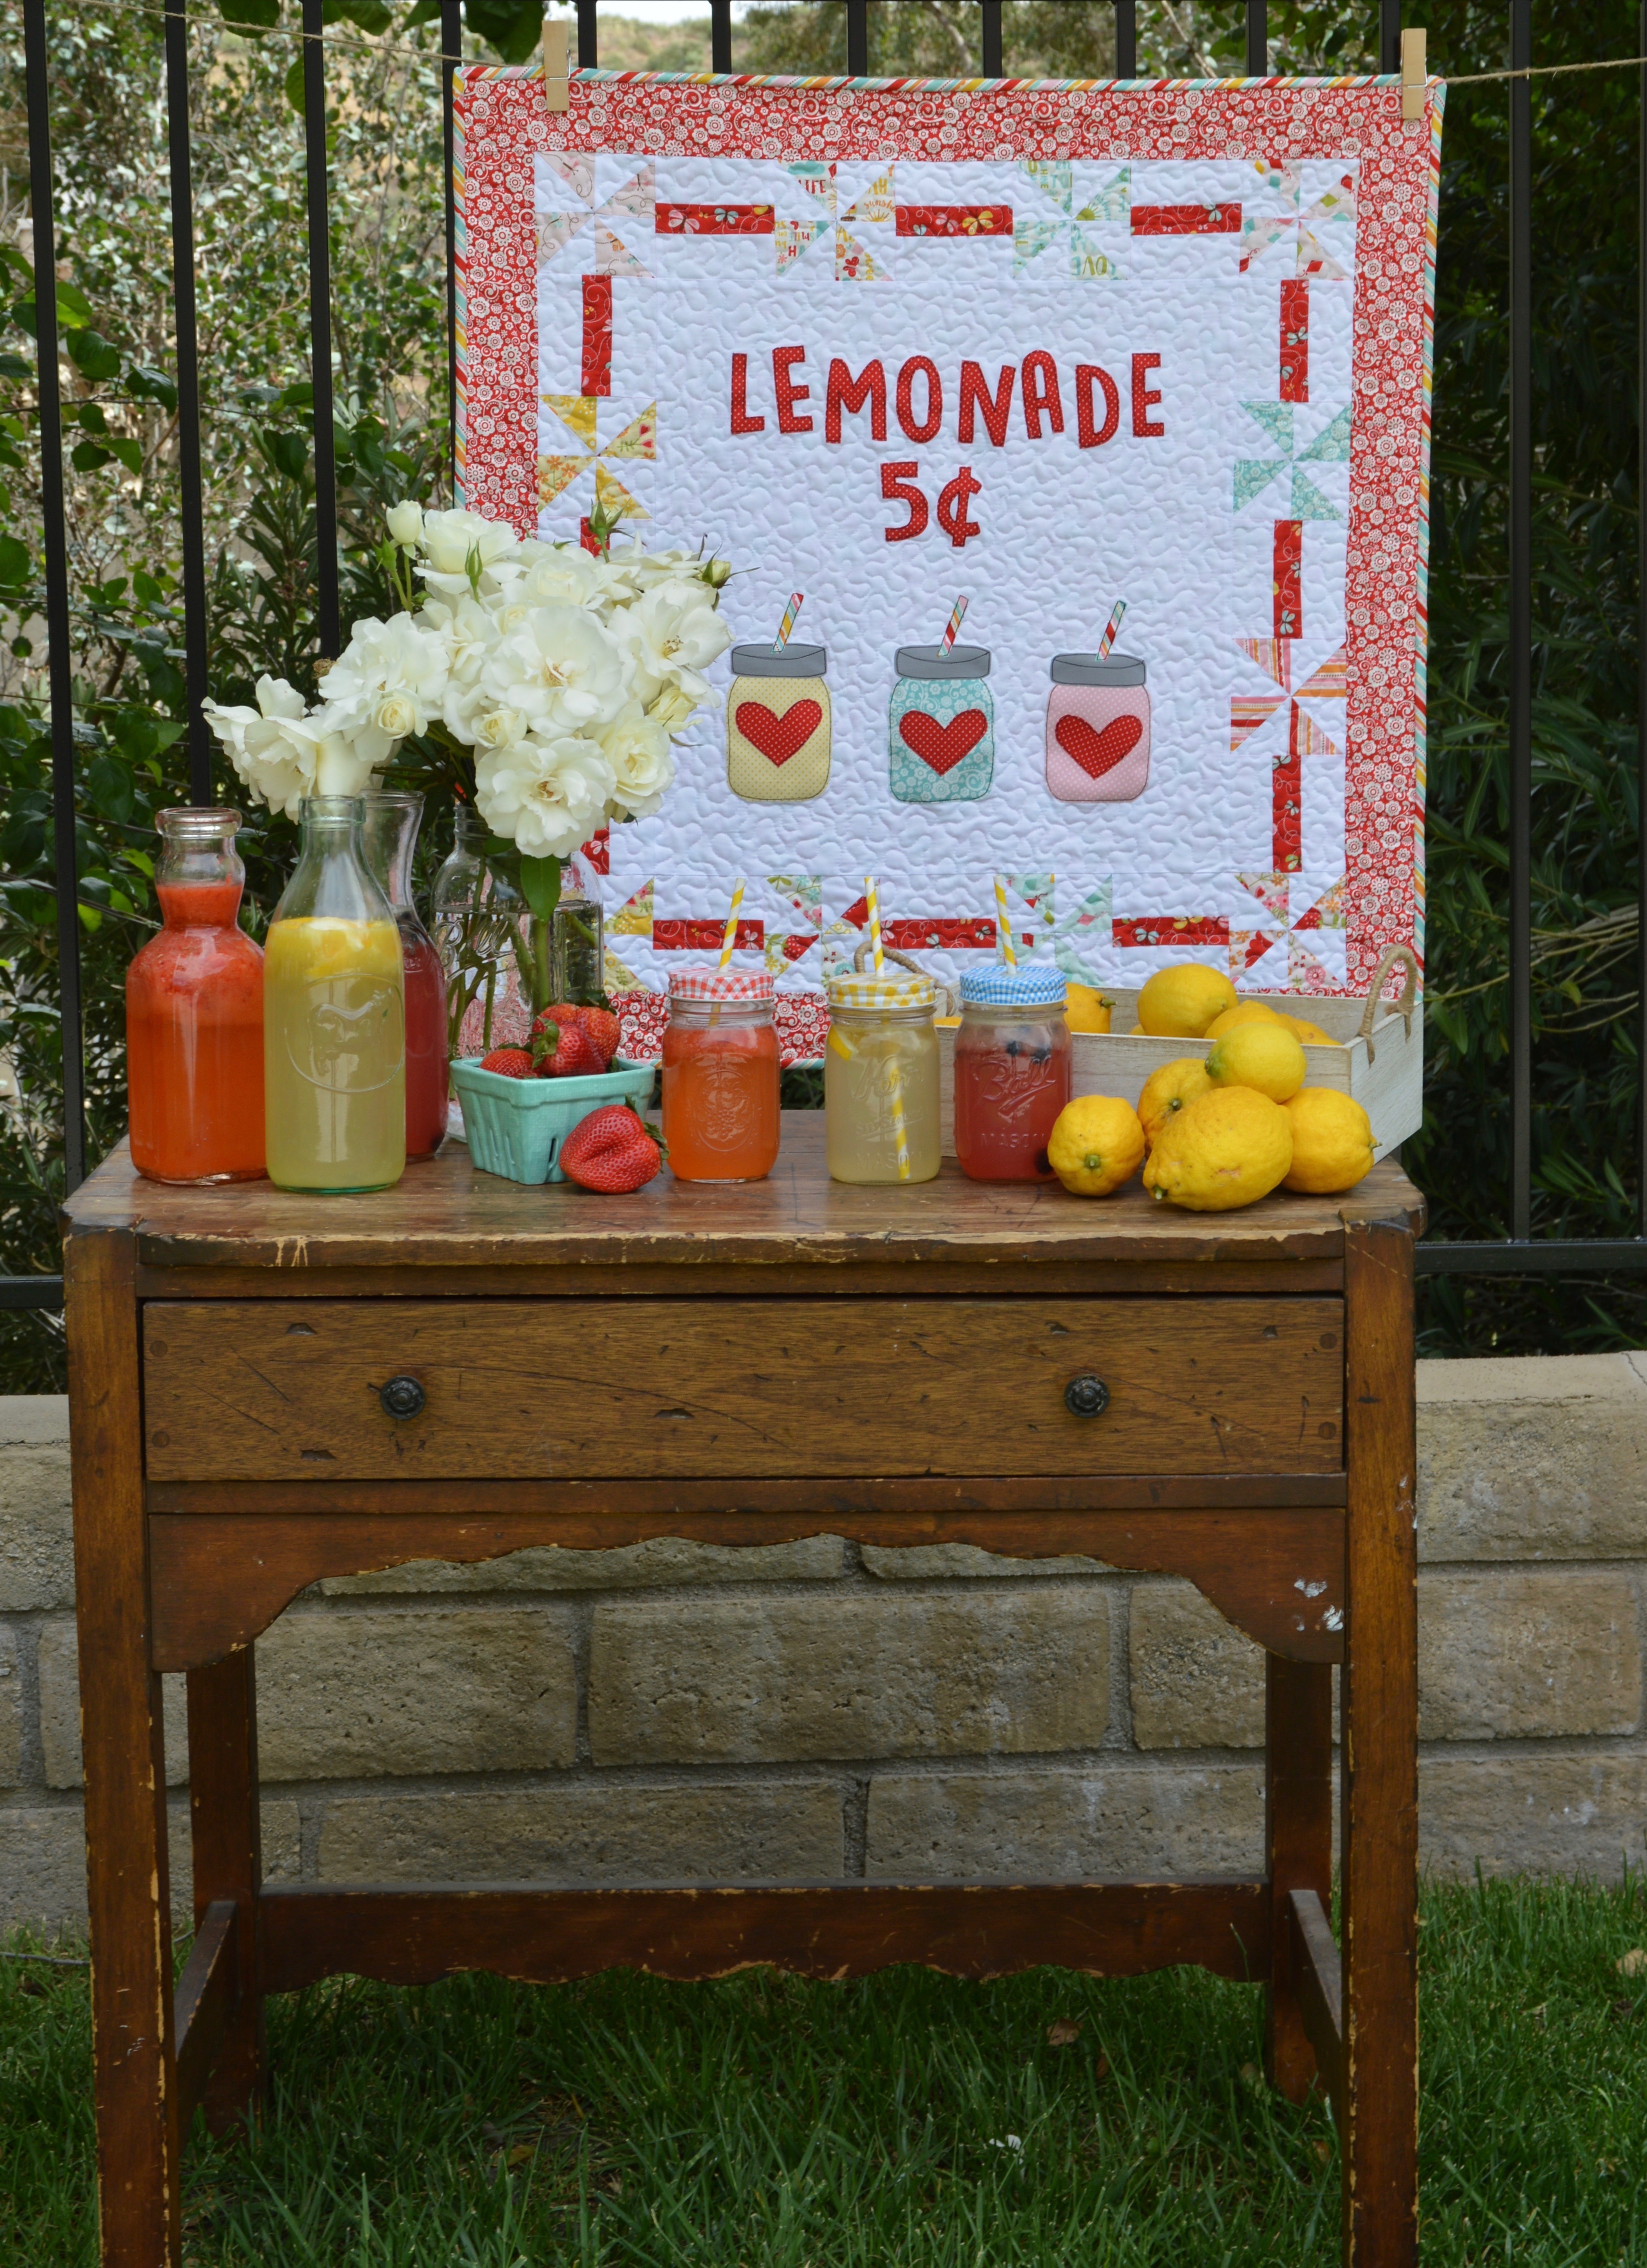
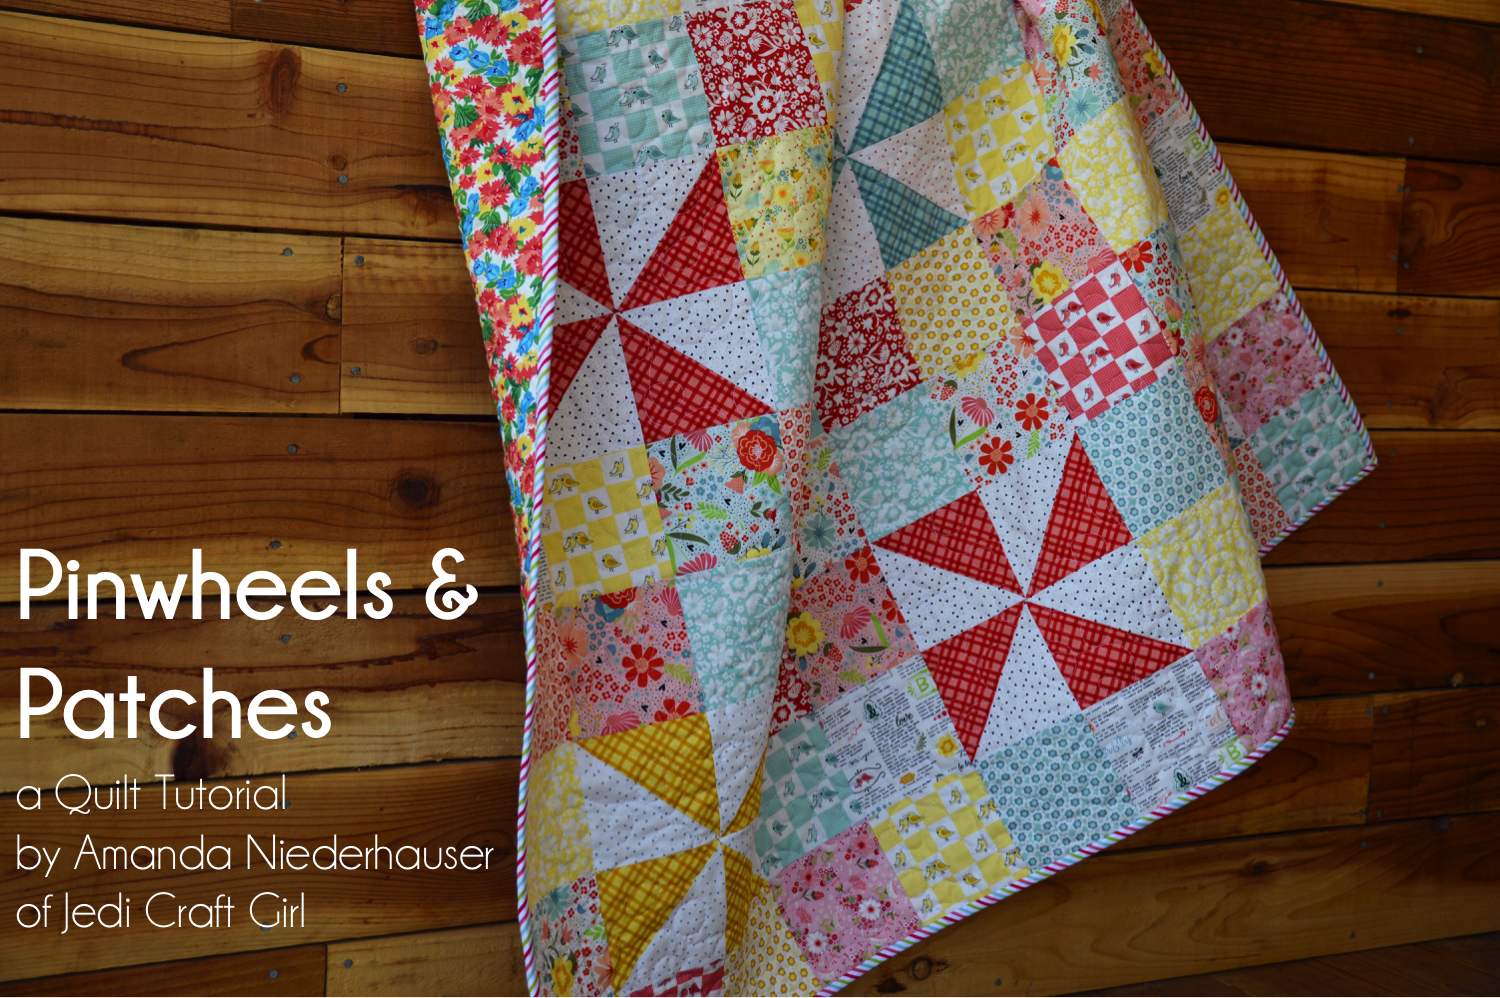
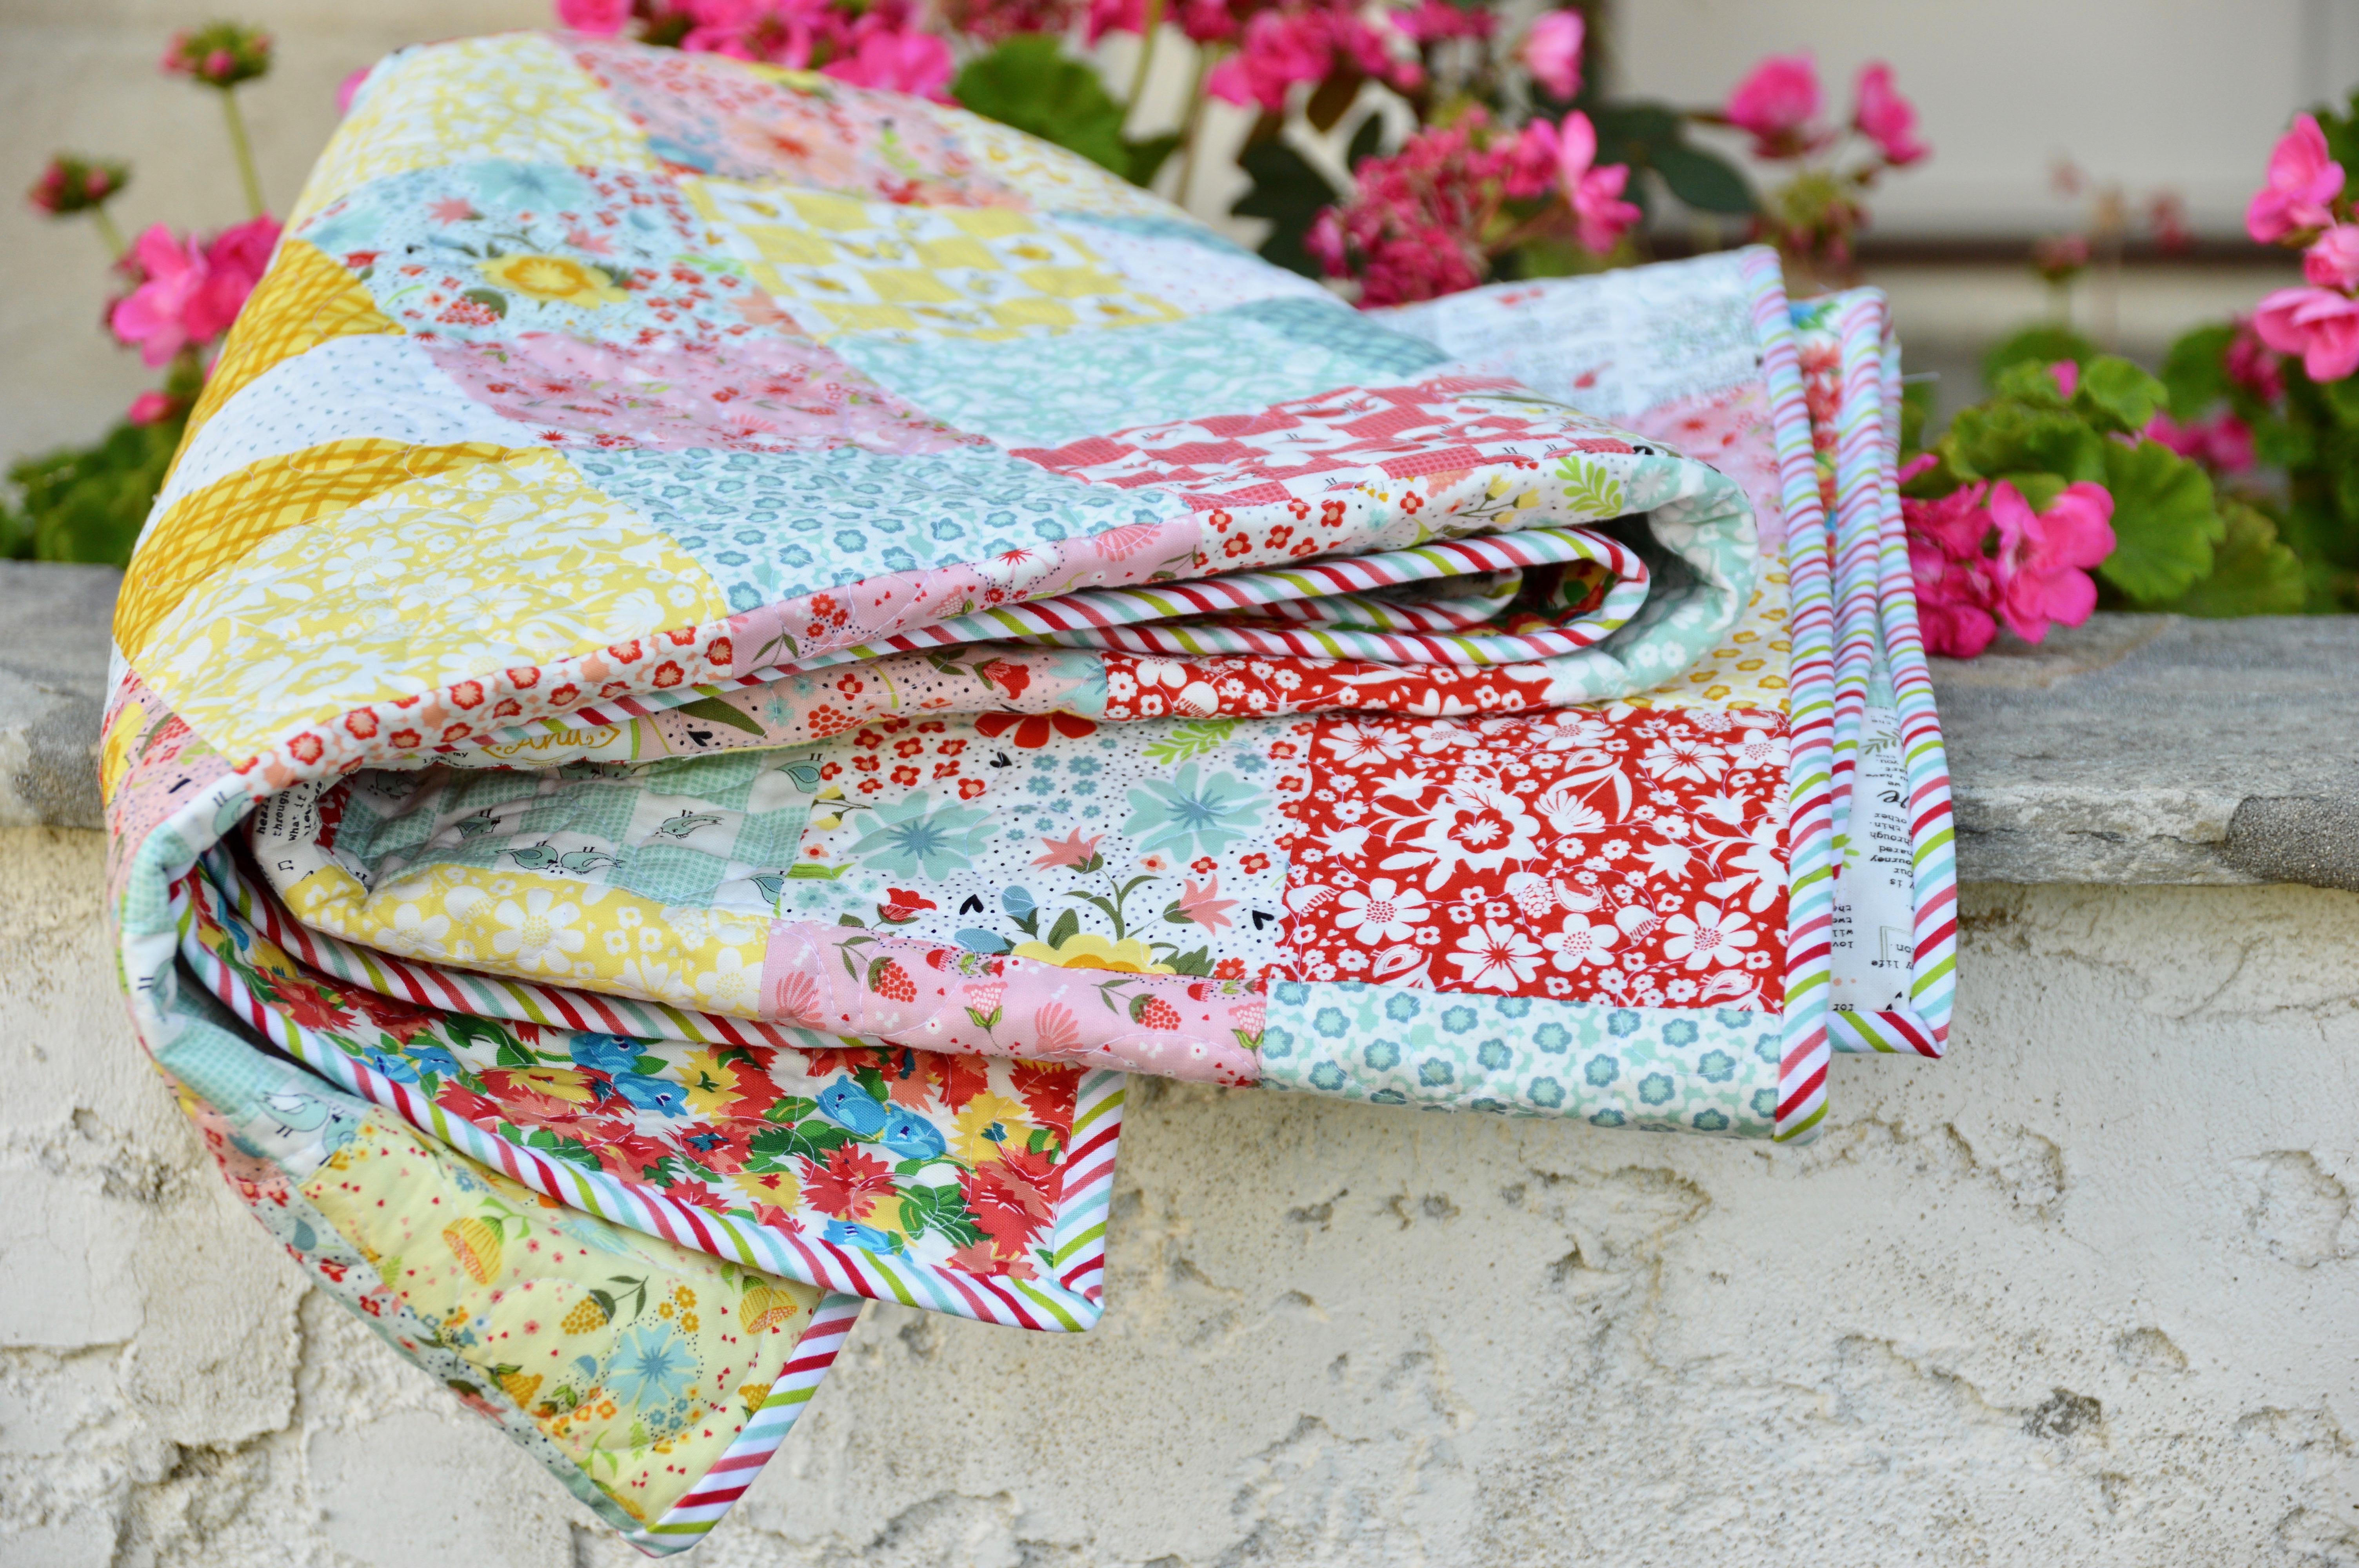
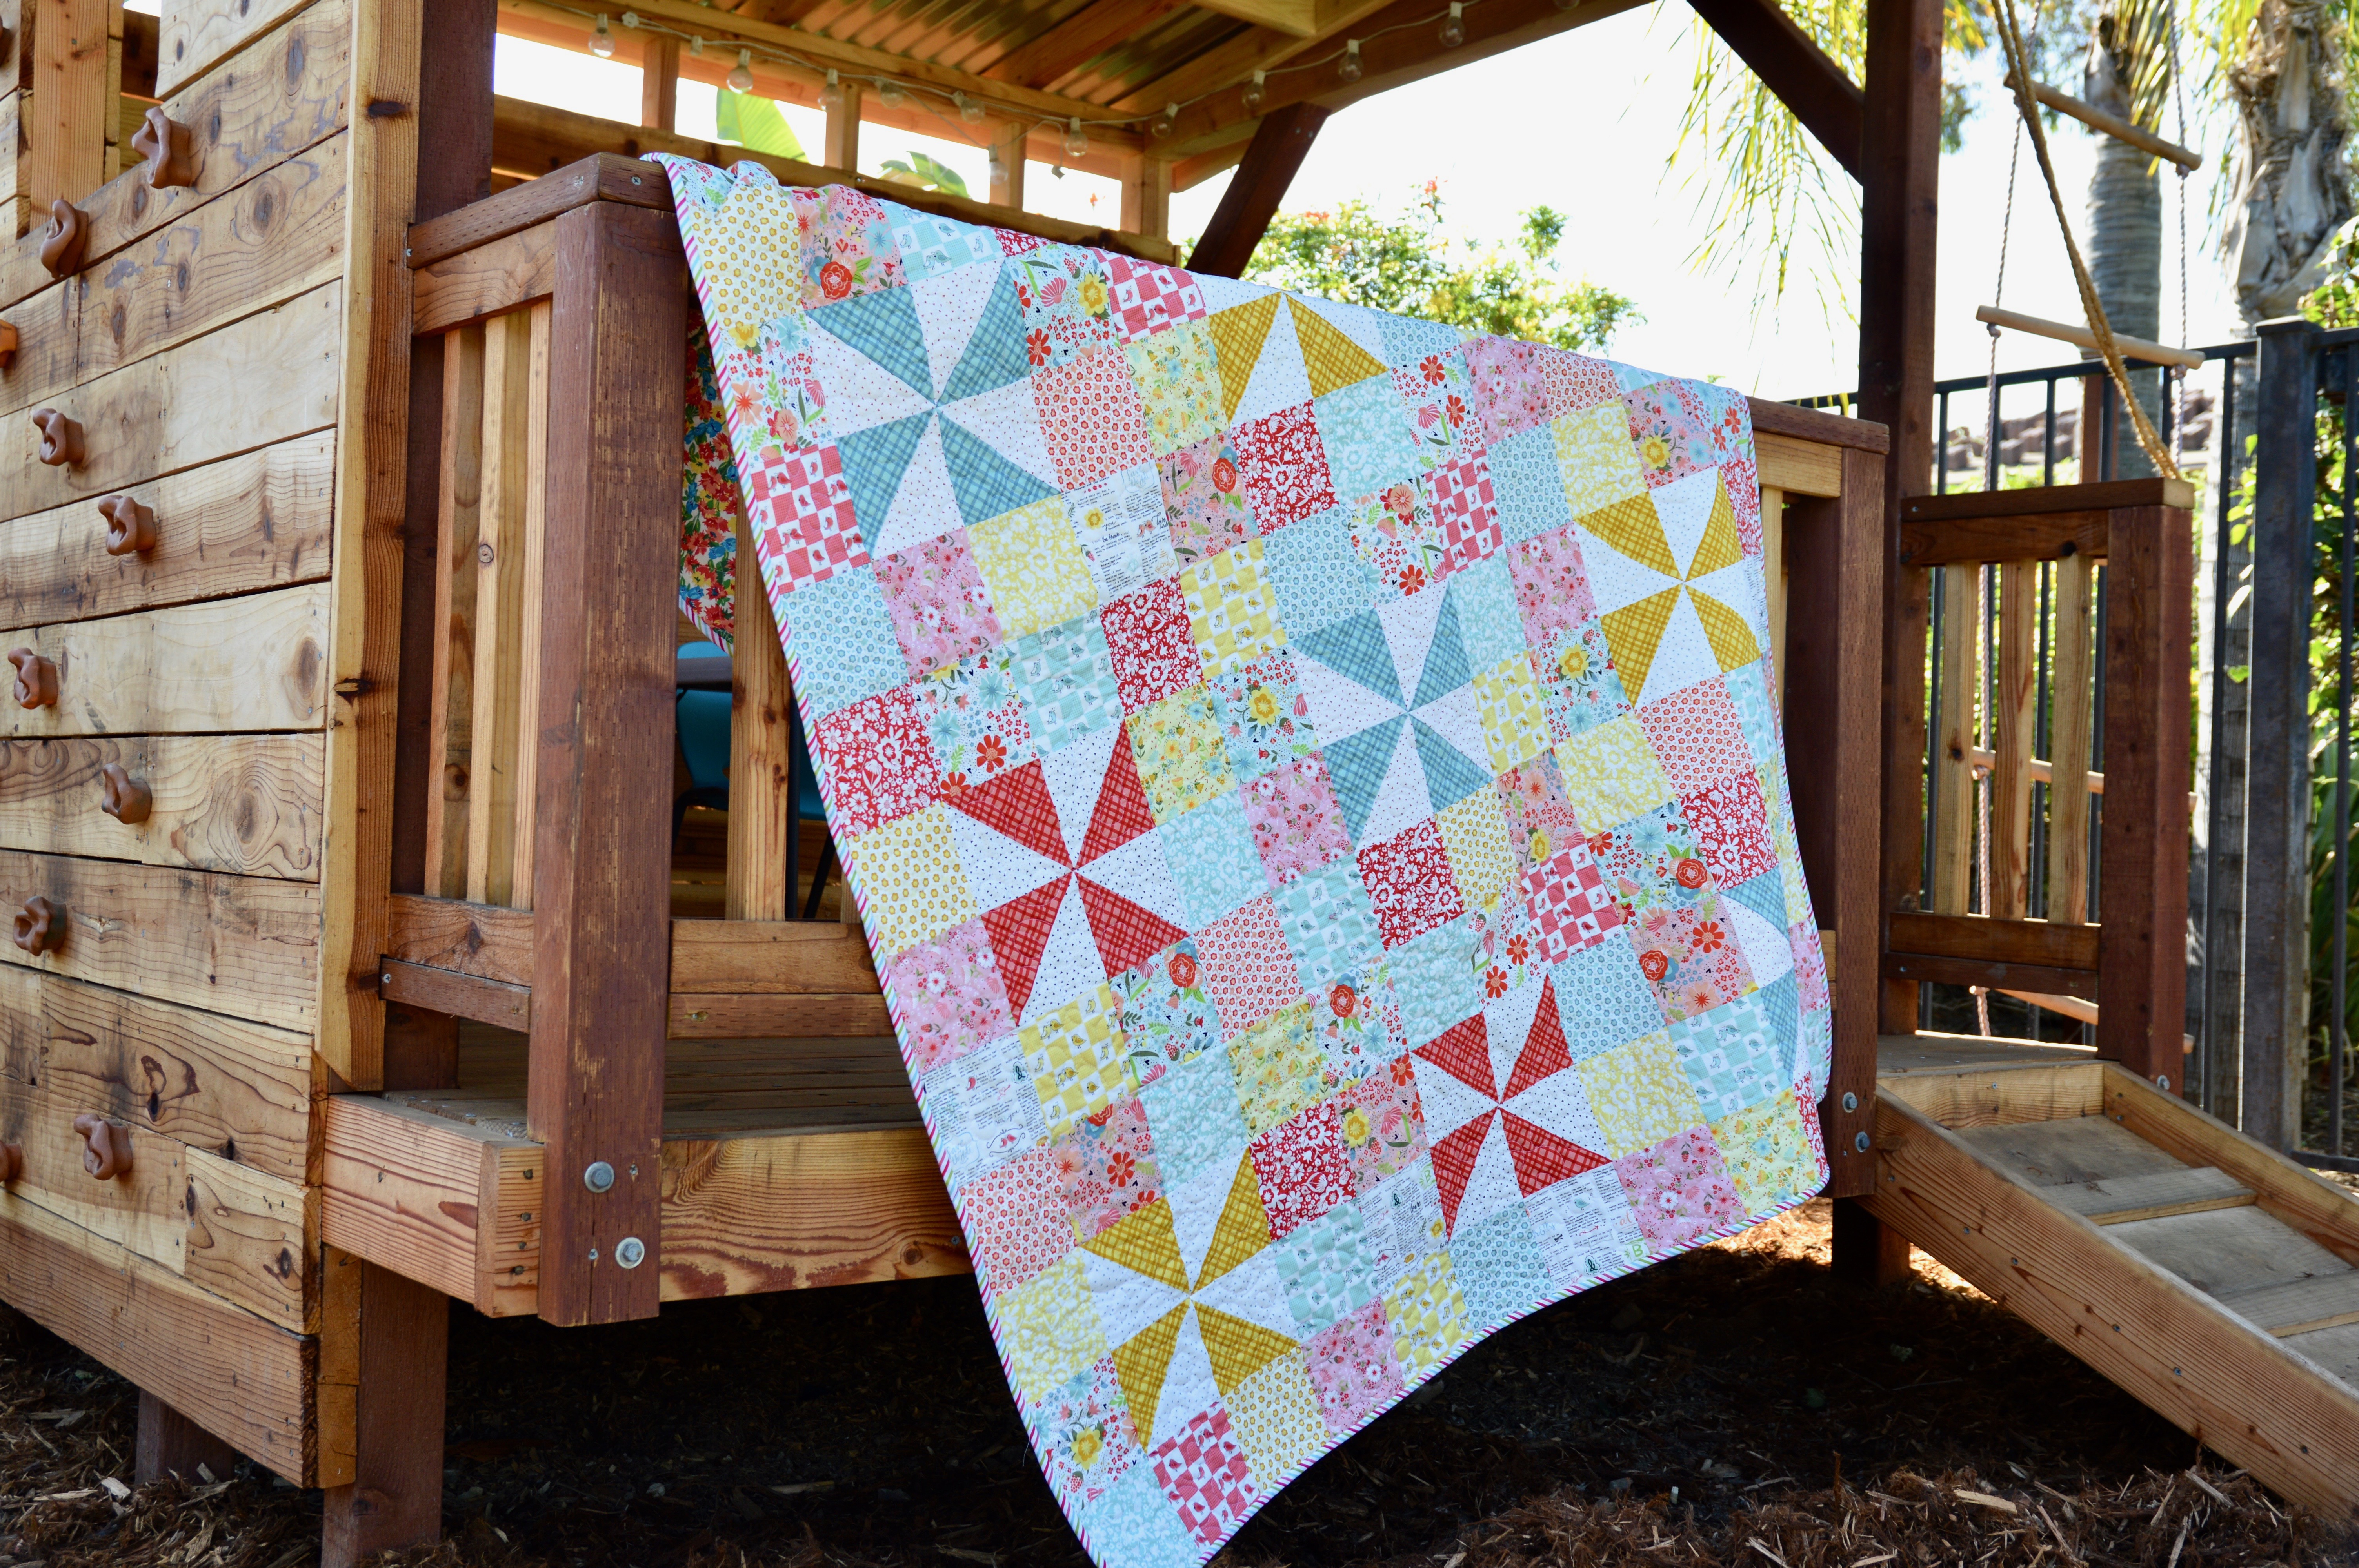
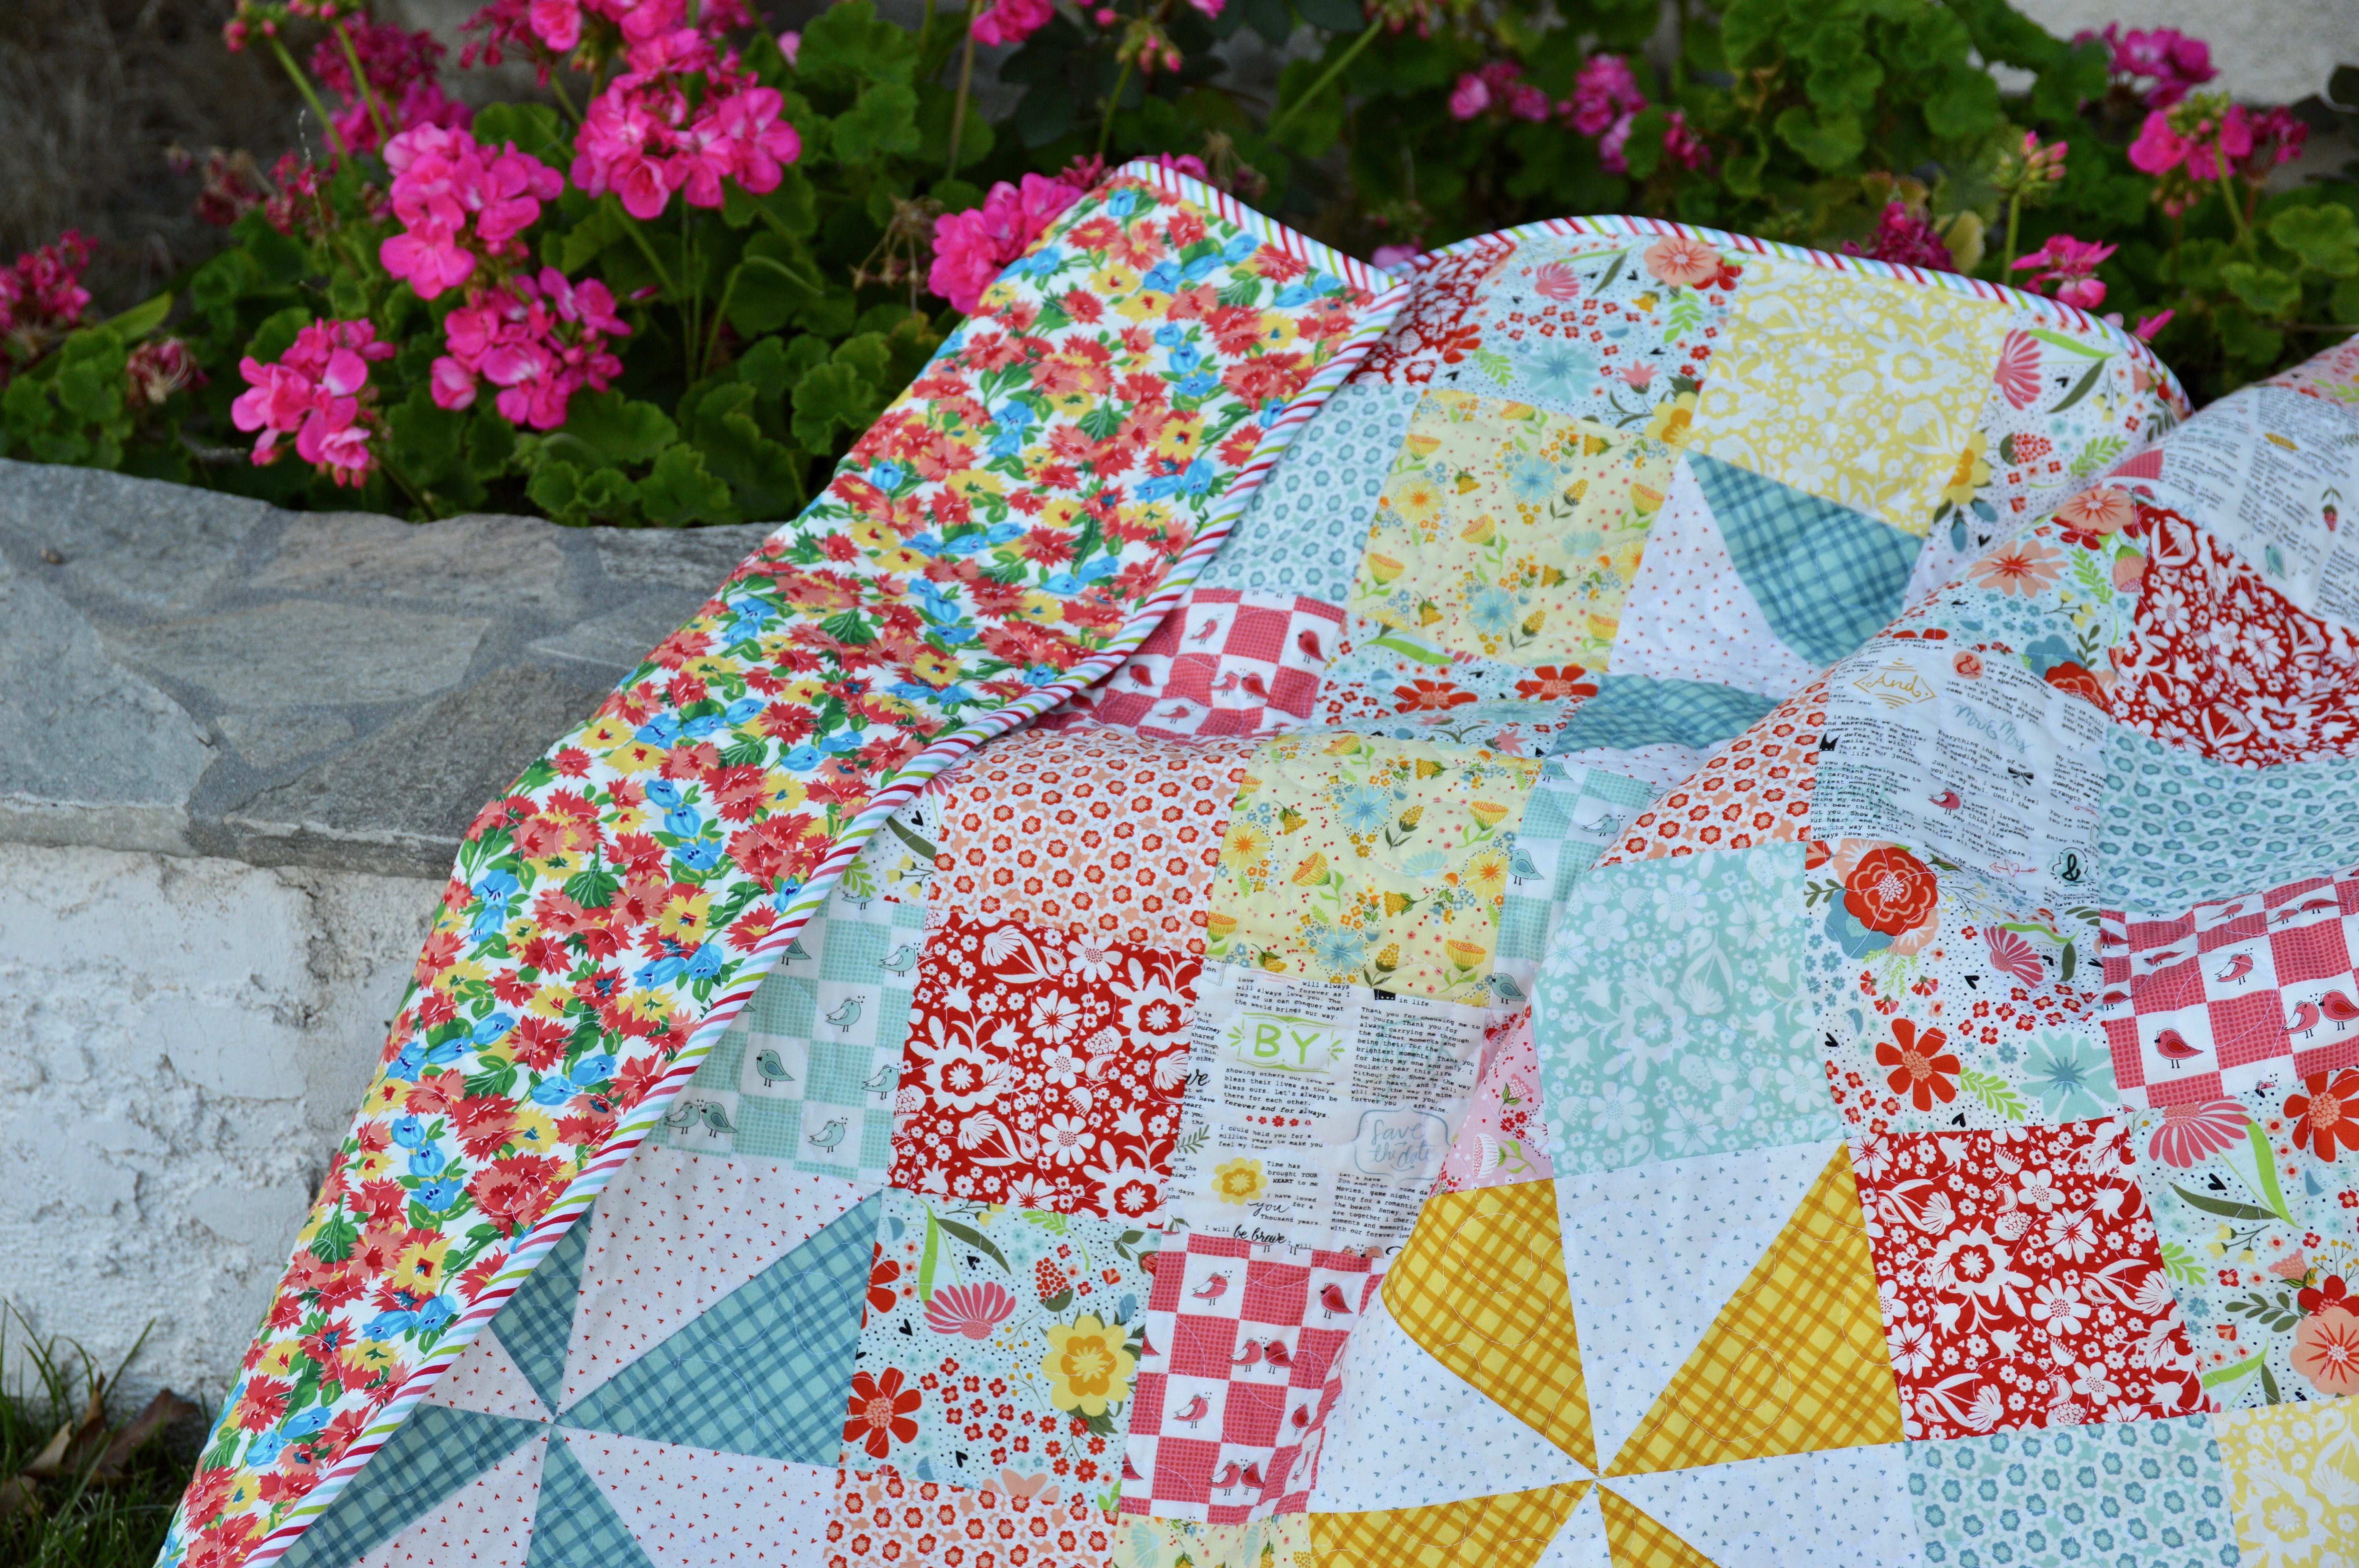
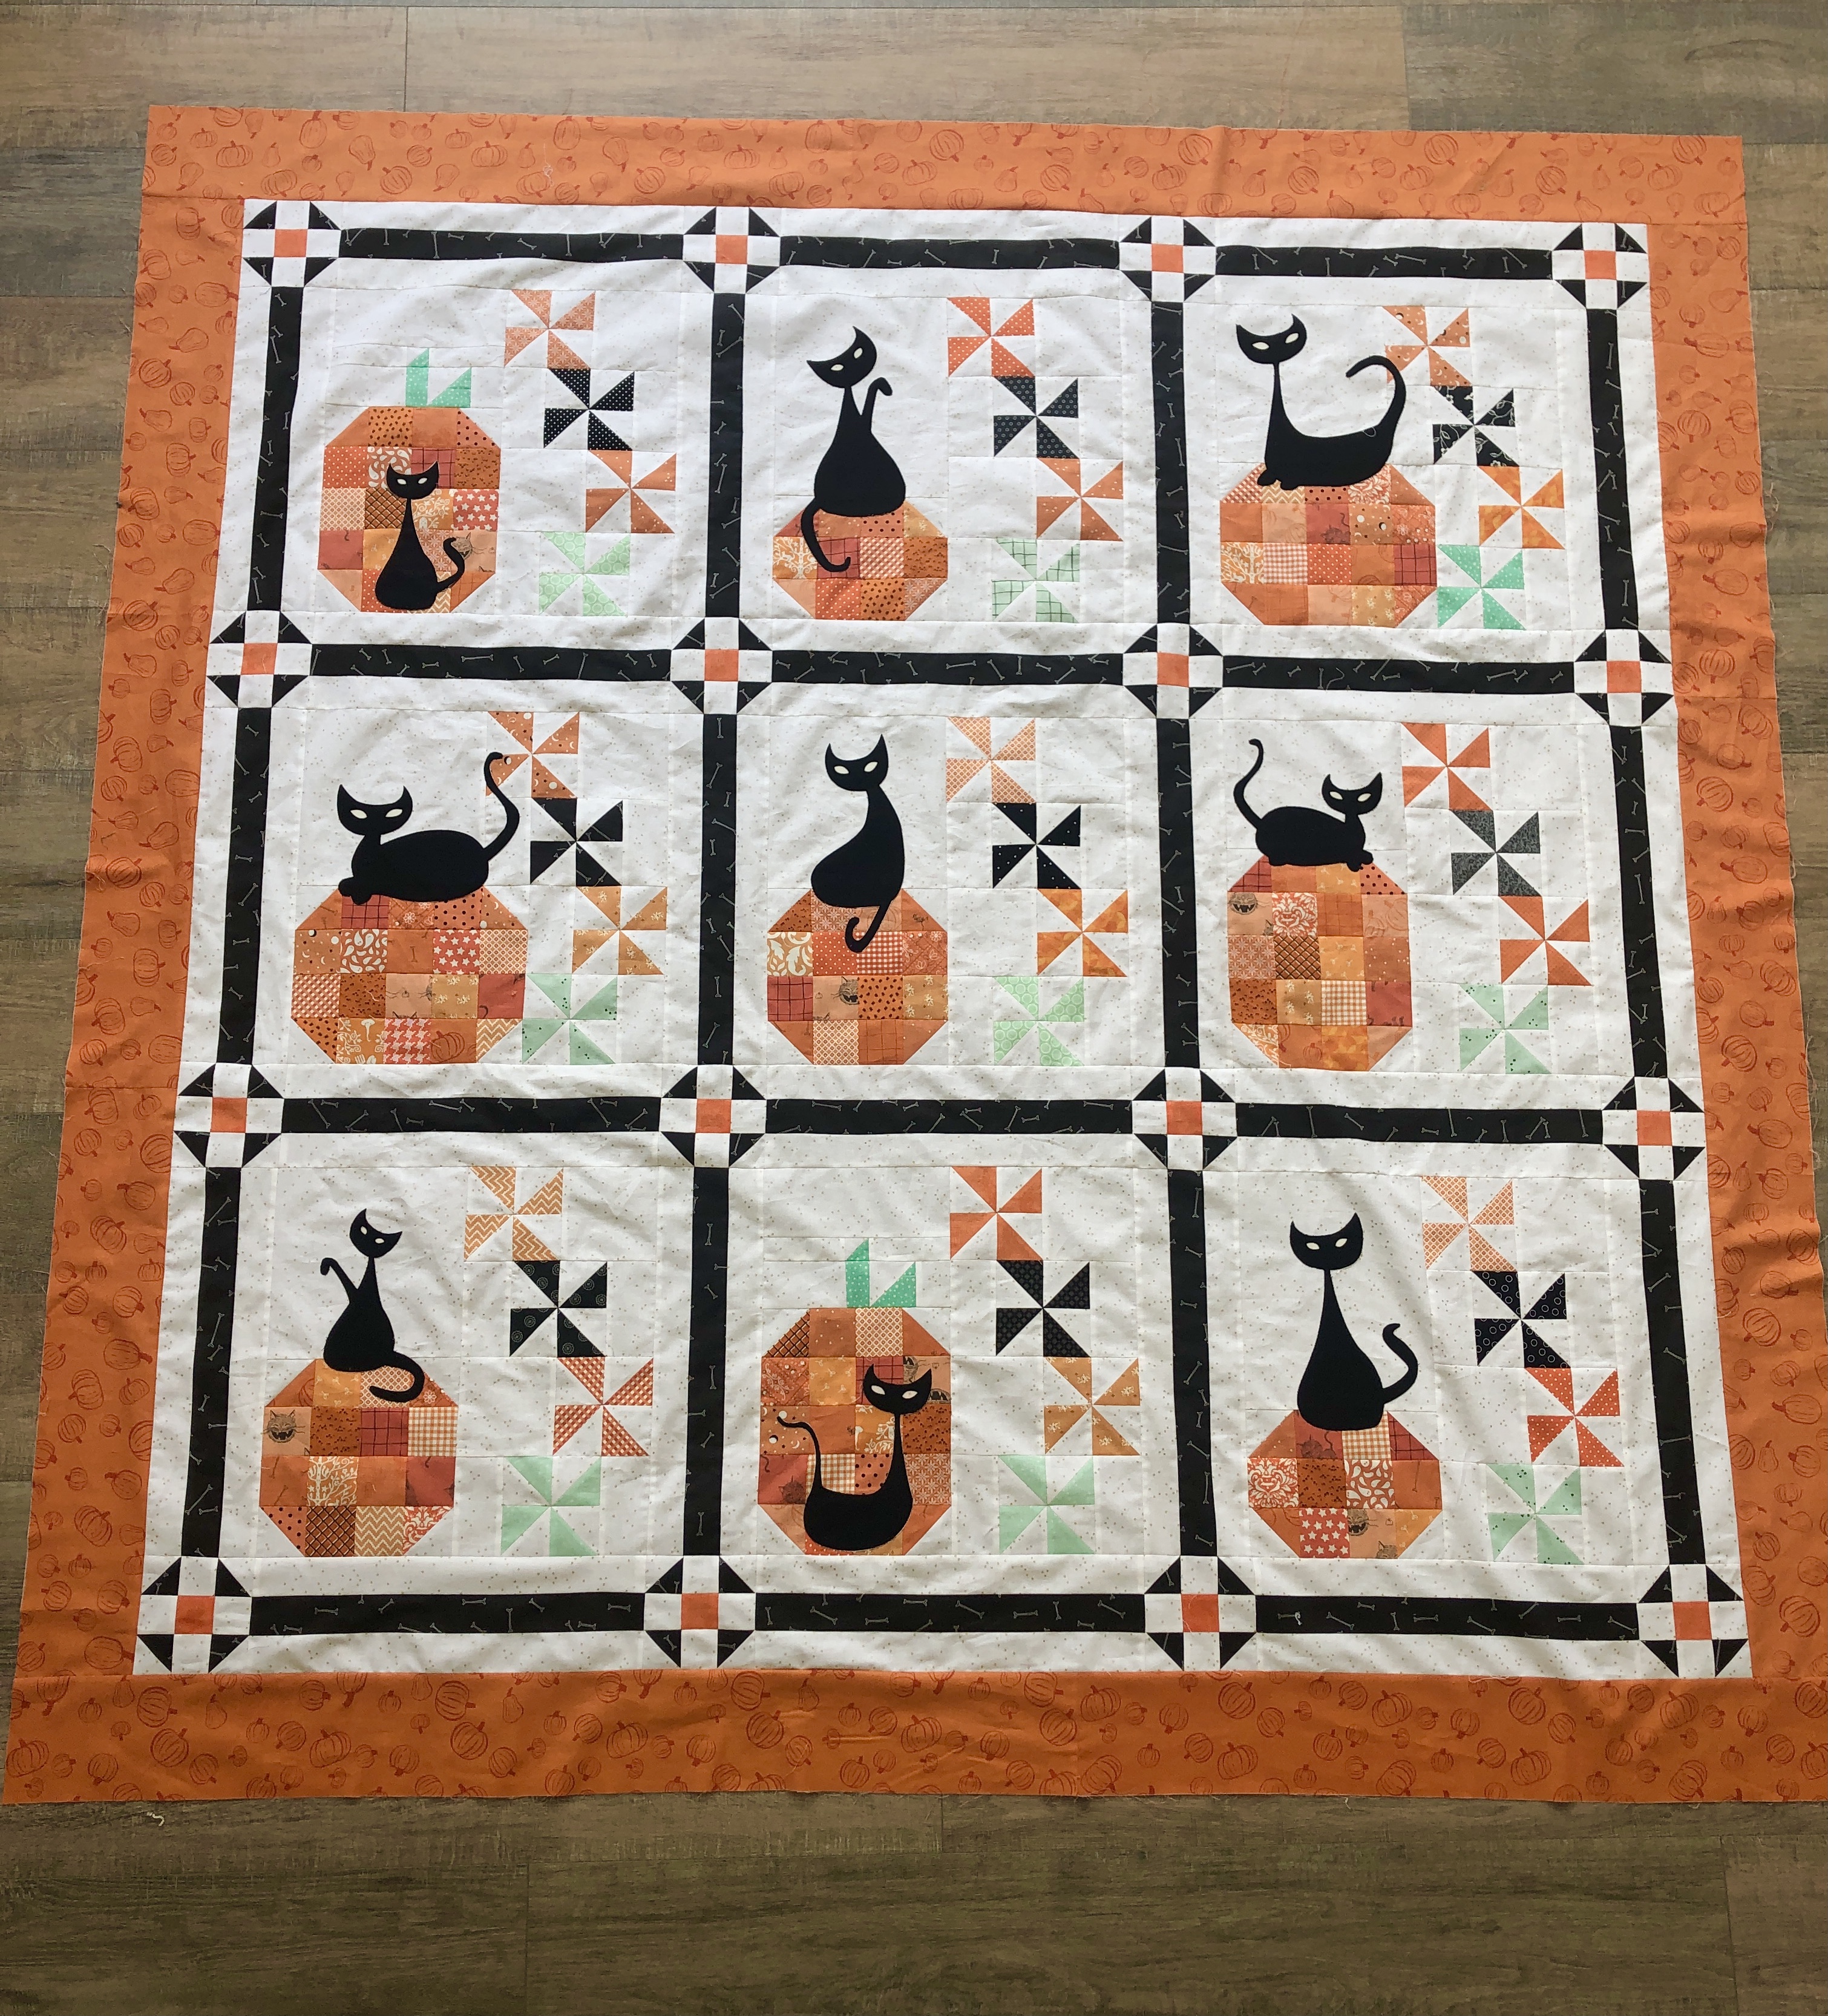
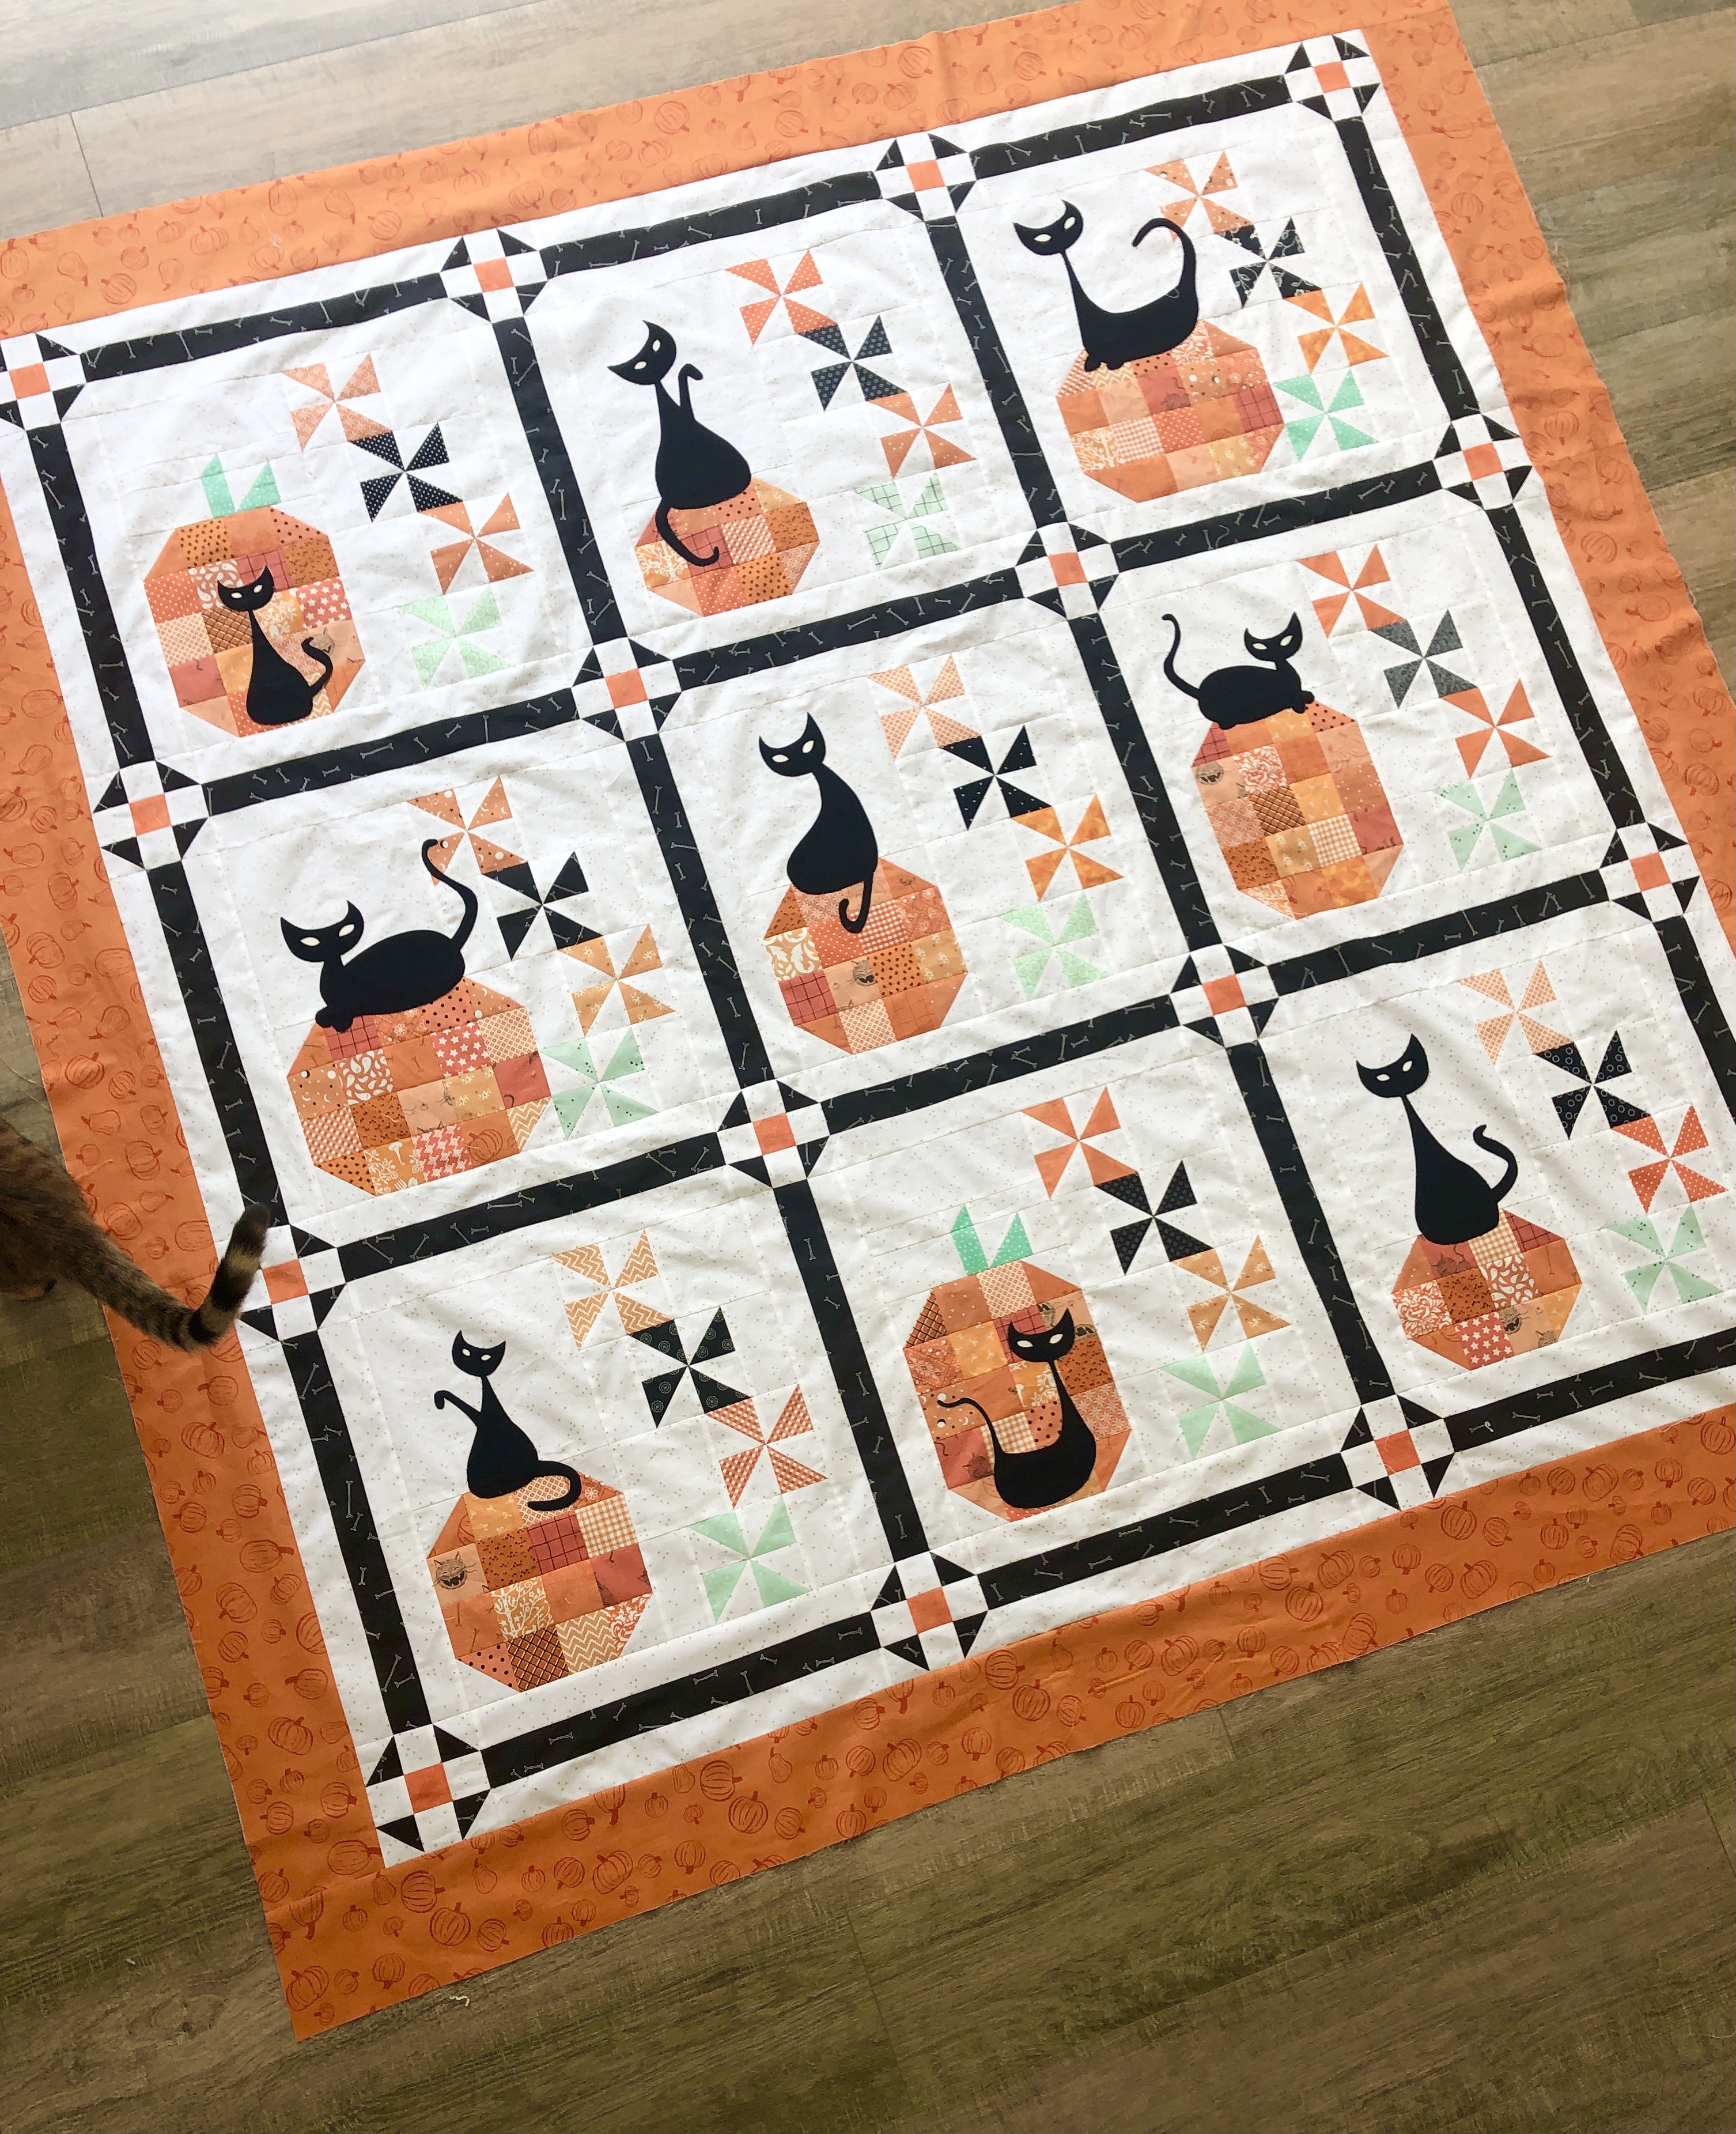
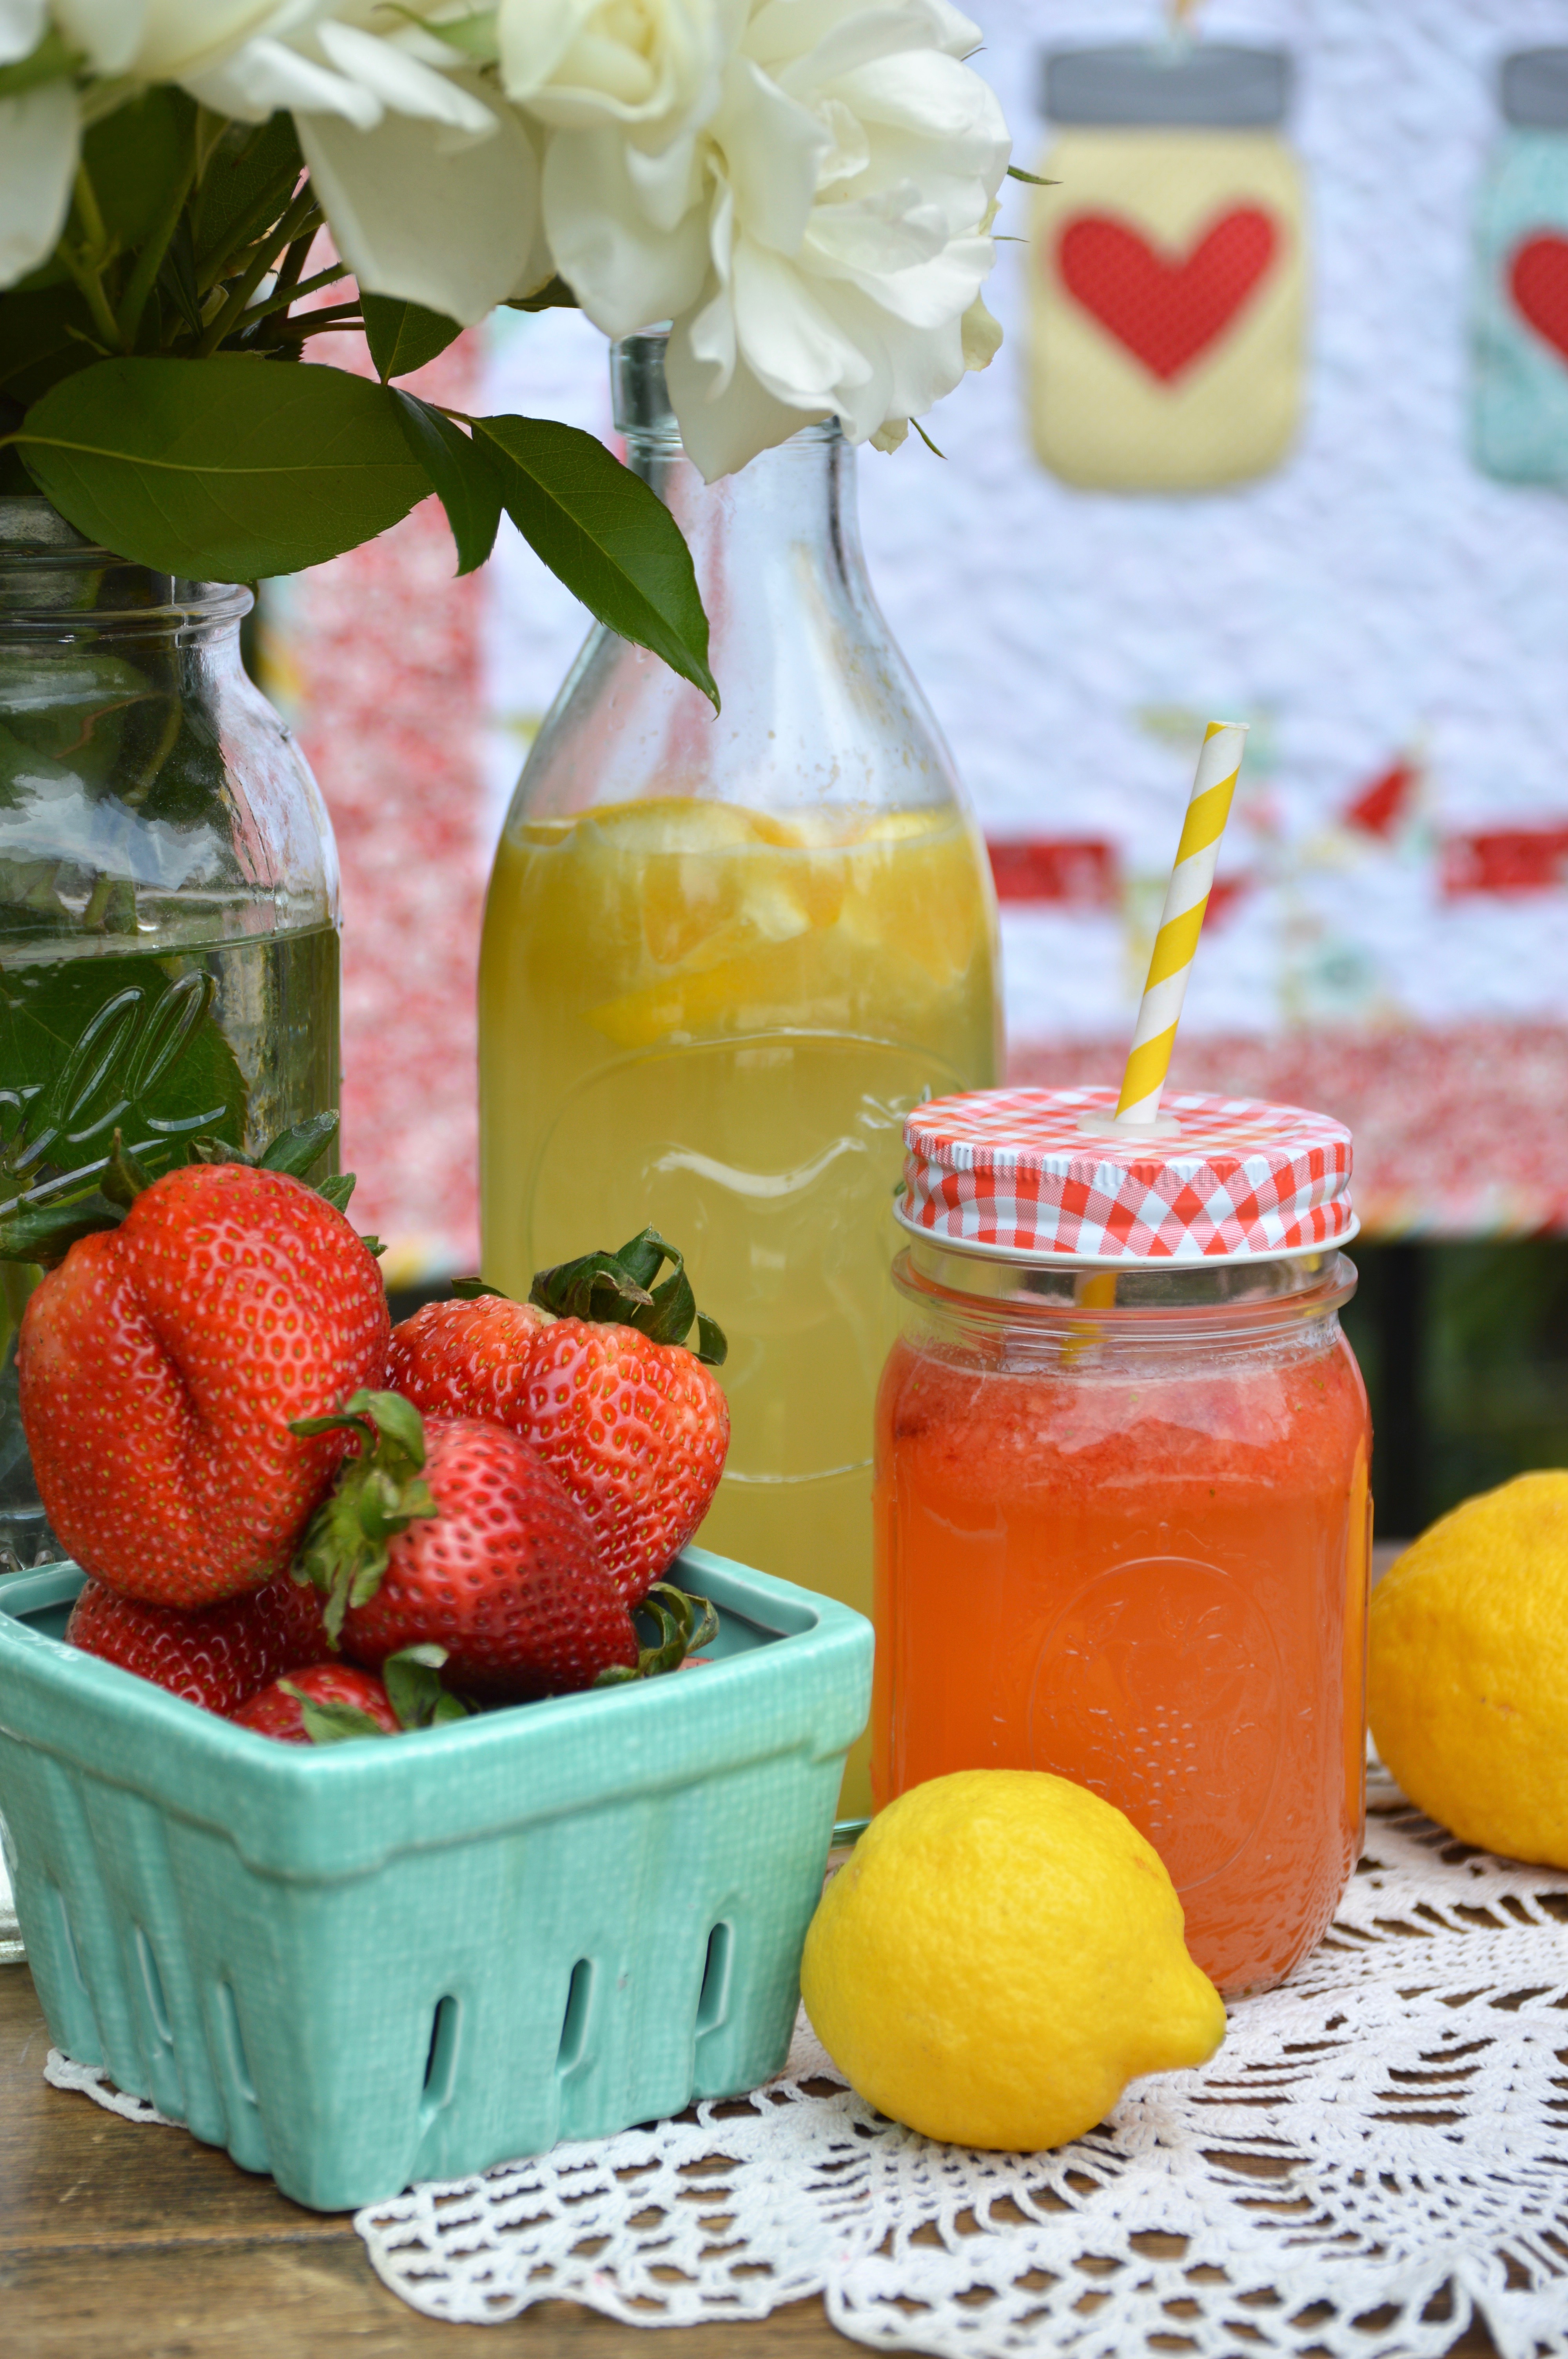
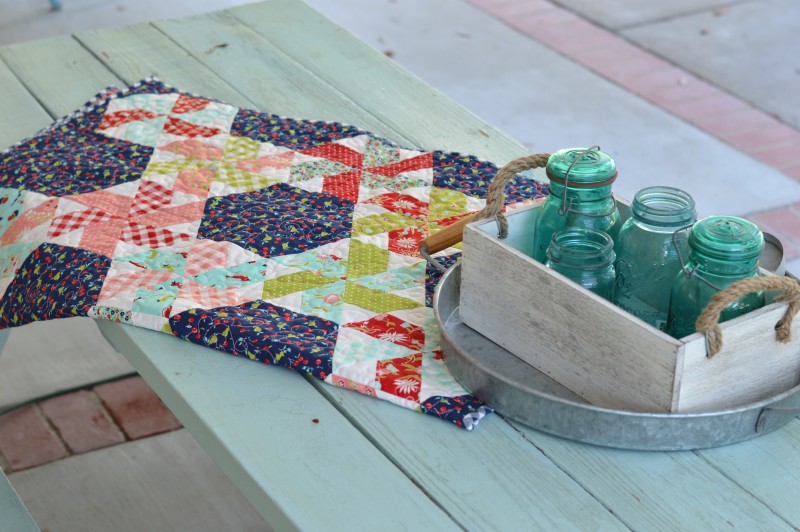
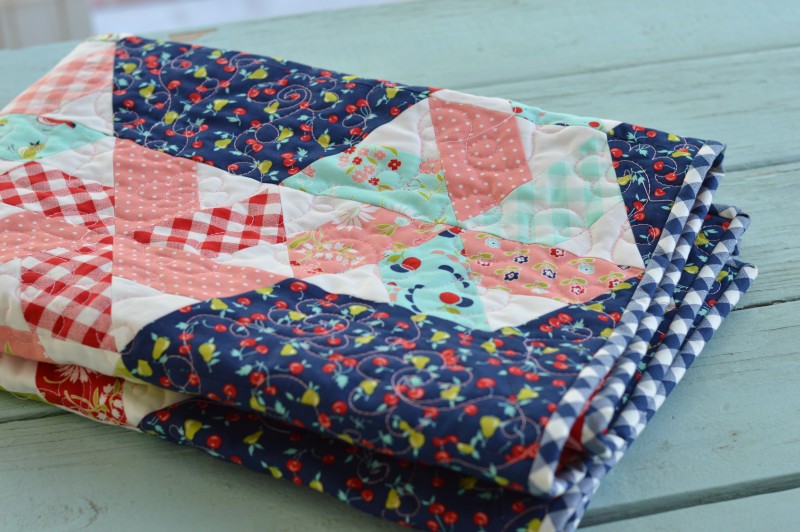
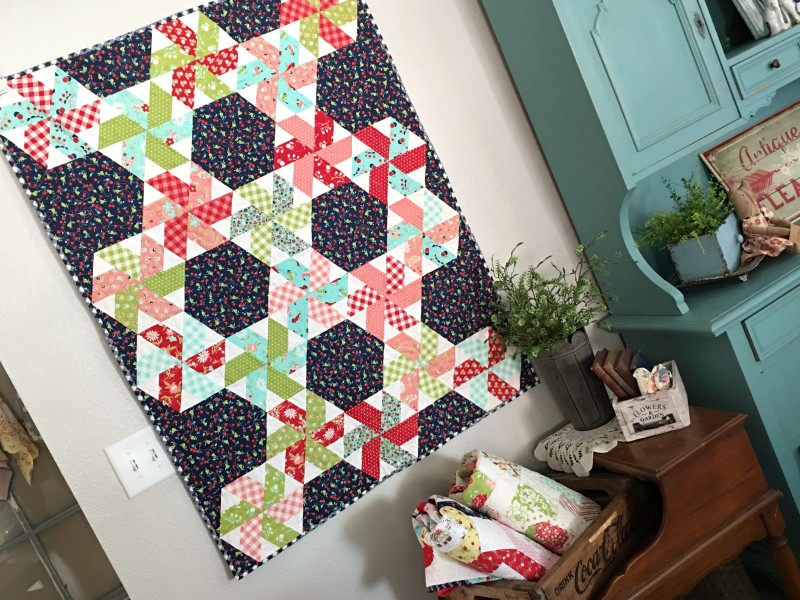
There is nothing better!  I thought this would be a fun little quilt to add to your summer decor 🙂
IMG_1258

The inspiration for this project came from Lori Whitlock’s latest fabric line Happy Day.  It’s so summery and fun!!

Here’s how you can make one!!

(All seams 1/4″,   finished quilt 33″ square, finished block 4″)

Supplies:

1 yard solid white
1 red fat quarter – Letters & hearts
12 fat quarters – pinwheels
1 red fat quarter – strip block
Scraps for jars and straws
1/3 yard red floral – outer border
1/3 yard stripe – binding
1 yard backing
Therm o Web HeatnBond® Lite
SpraynBond® Basting Spray

Pattern download, click HERE


For center applique portion:

Cut a 20.5″ x 20.5″ square from the solid white fabric.

Trace or print the letters and images (in reverse) on to HeatnBond® Lite Fusible Adhesive Sheets.

IMG_1267

Heat set them according to manufacturers instructions to the wrong side of the desired appliqué fabrics.

IMG_1265

Cut out each letter and image.

IMG_1266

Peel off the backing paper and position according to the completed project photo.  Outline stitch each piece two times (ugh) in black tread.  The two times really makes it stand out.

IMG_1387

Pinwheel Blocks:

There are 12 total pinwheel blocks in this quilt. Choose a different fabric for each pinwheel.  I used my Sizzix Fabi to cut the triangles.  Use your favorite method of constructing half square triangles (HSTs).  They need to measure 2.5″ when completed.  Make 4 HSTs of each fabric.IMG_1260

Press seams open. IMG_1263Lay out 4 HSTs like this and sew together as a 4-Patch.  Press all seams open.
IMG_1264
For the Strip Blocks:

Cut 3 strips from red fat quarter 1.5″ x the length of the fat quarter.

Cut 3 strips from white fabric 2″ x WOF.  Cut the strips in half so they equal the length of the red strips.

Sew together in strip sets as pictured below.  Press toward dark.
IMG_1269

Cut in increments of 4.5″.  You need 12 total.IMG_1270
Row Diagram

Once the top, bottom, and side rows are complete, sew the side rows to the sides of the “Lemonade” appliqué portion.  Press toward the appliqué piece.  Then sew the top and bottom rows, pressing ward the appliqué piece.

Border:

Cut (4) 3″ x WOF strips of the red floral.  Sew one to each side, pressing toward the red floral border.  Square up the edges and cut off excess.  No need to measure the length first.

Then sew a strip to the top and bottom, pressing toward the border and squaring up when finished.lemonade quilt layout

IMG_1392

Once the top is complete, use SpraynBond® Basting Spray to baste the quilt for quick pin-free basting.  

IMG_1397

I quilted meanders over the entire quilt.

IMG_1403

Now gather some lemons and have yourself a lemonicious afternoon!!  We made strawberry and blueberry lemonade too!!

DSC_0188

Sally and I had fun making strawberry lemonade and blueberry lemonade!!  Bring on summer!!!

DSC_0087


DSC_0995

Isn’t fresh lemonade just the best!!!

DSC_0131
Thanks for stopping by!!

Spooky Town Wall Quilt

img_5949

I love the adorable artwork panels by Cori Dantini for Blend Fabrics!  This line is called Spooky Town.  It seems each season Cori comes out with beautiful new designs!  I came up with this fun way to add borders and create a wall hanging!  This tutorial can also be adjusted to fit other panels of fabric .

img_5958

Let’s get started:

Fabric Requirements:

1 panel

1/3 yard white fabric

1/4 yard black print

fat quarters or scraps for each of the 6 pinwheels

1/4 yard binding

1 yard back

img_5939

Cut the panel so it measures 13.5″ x 23.5″  img_5919

Make 6 pinwheels.  Each pinwheel is made up of (4) 3″ half square triangles (HST).  You can choose any method you like – I always use my Sizzix to cut the HST – they come out so perfect!  You will need 24 triangles of orange and 24 triangles of white.img_5920

Sew the orange and white triangles together.  Press seams open.  You don’t have to square up with the Sizzix either!img_5921

Lay out four HST and sew together as a 4-patch, pressing seams open each time.  You will have 6 pinwheels measuring 5.5″ square.img_5922

To make the strip sets, cut (4) 1.75″ x WOF of the white.  Cut (2) 3″xWOF of the black.  Sew the white strips on both sides of the black strip.  Make 2 strip sets.  Press toward the dark.  Cut the strip sets in (4) units of 9″ and (2) units of 13.5″.img_5926

Sew the 9″ units onto both sides of a pinwheel.  Make 2 of these side units.img_5929

Sew a pinwheel onto the ends of both 13.5″ strip set unit.  Press.  Below is a diagram with the measurements.

panel-diagram

Sew the side units on first.  Press open.  Sew the top and bottom units on next.  Press open.img_5935

Now it’s ready to quilt and bind!  You will love having this to hang in your house!  I made one for me and one for my sister 🙂  img_5945

img_5955

Save

Little Ruby Quilt Along – Finished Quilt

LittleRuby-Quilt

This has been such a fun quilt along from Fat Quarter Shop!  You’re not too late if you want to make this quilt!  I’ve attached each of the videos below if you would like to make one.  If I’m being honest, this kind of quilt (one that requires special rulers and templates) is so NOT my style.  BUT I have to say I have TOTALLY LOVED making this quilt!

IMG_9641 
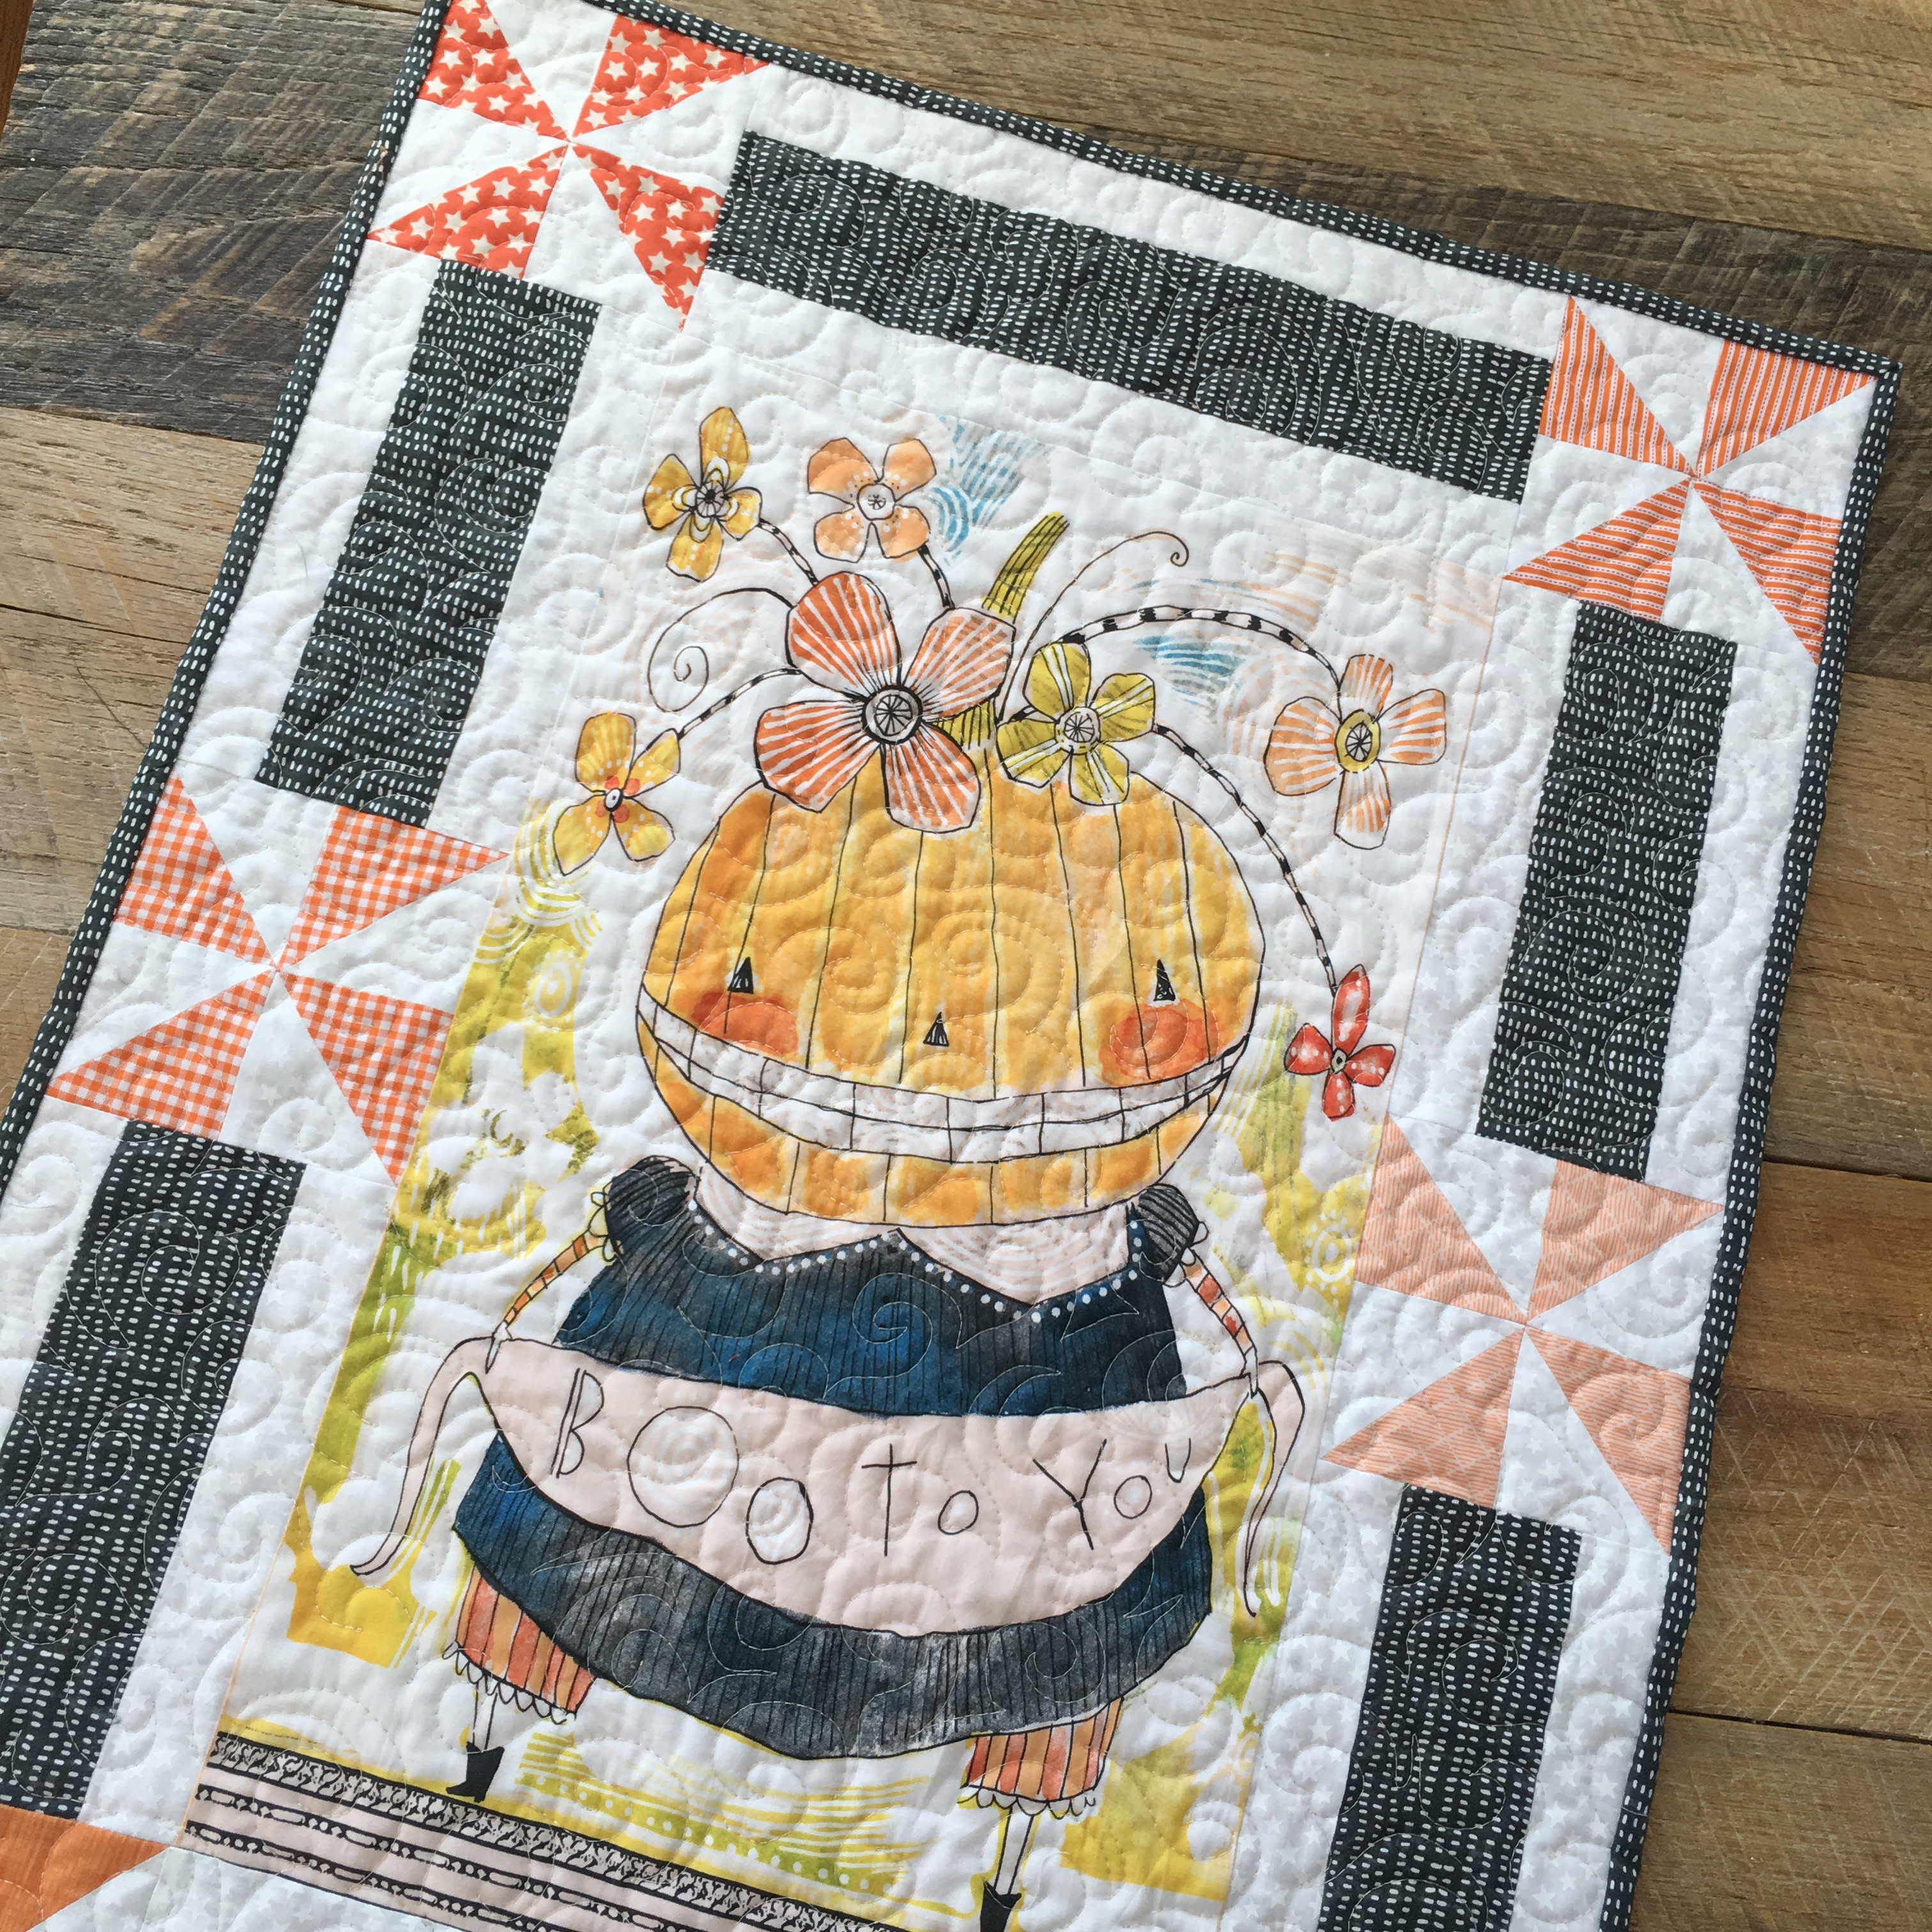
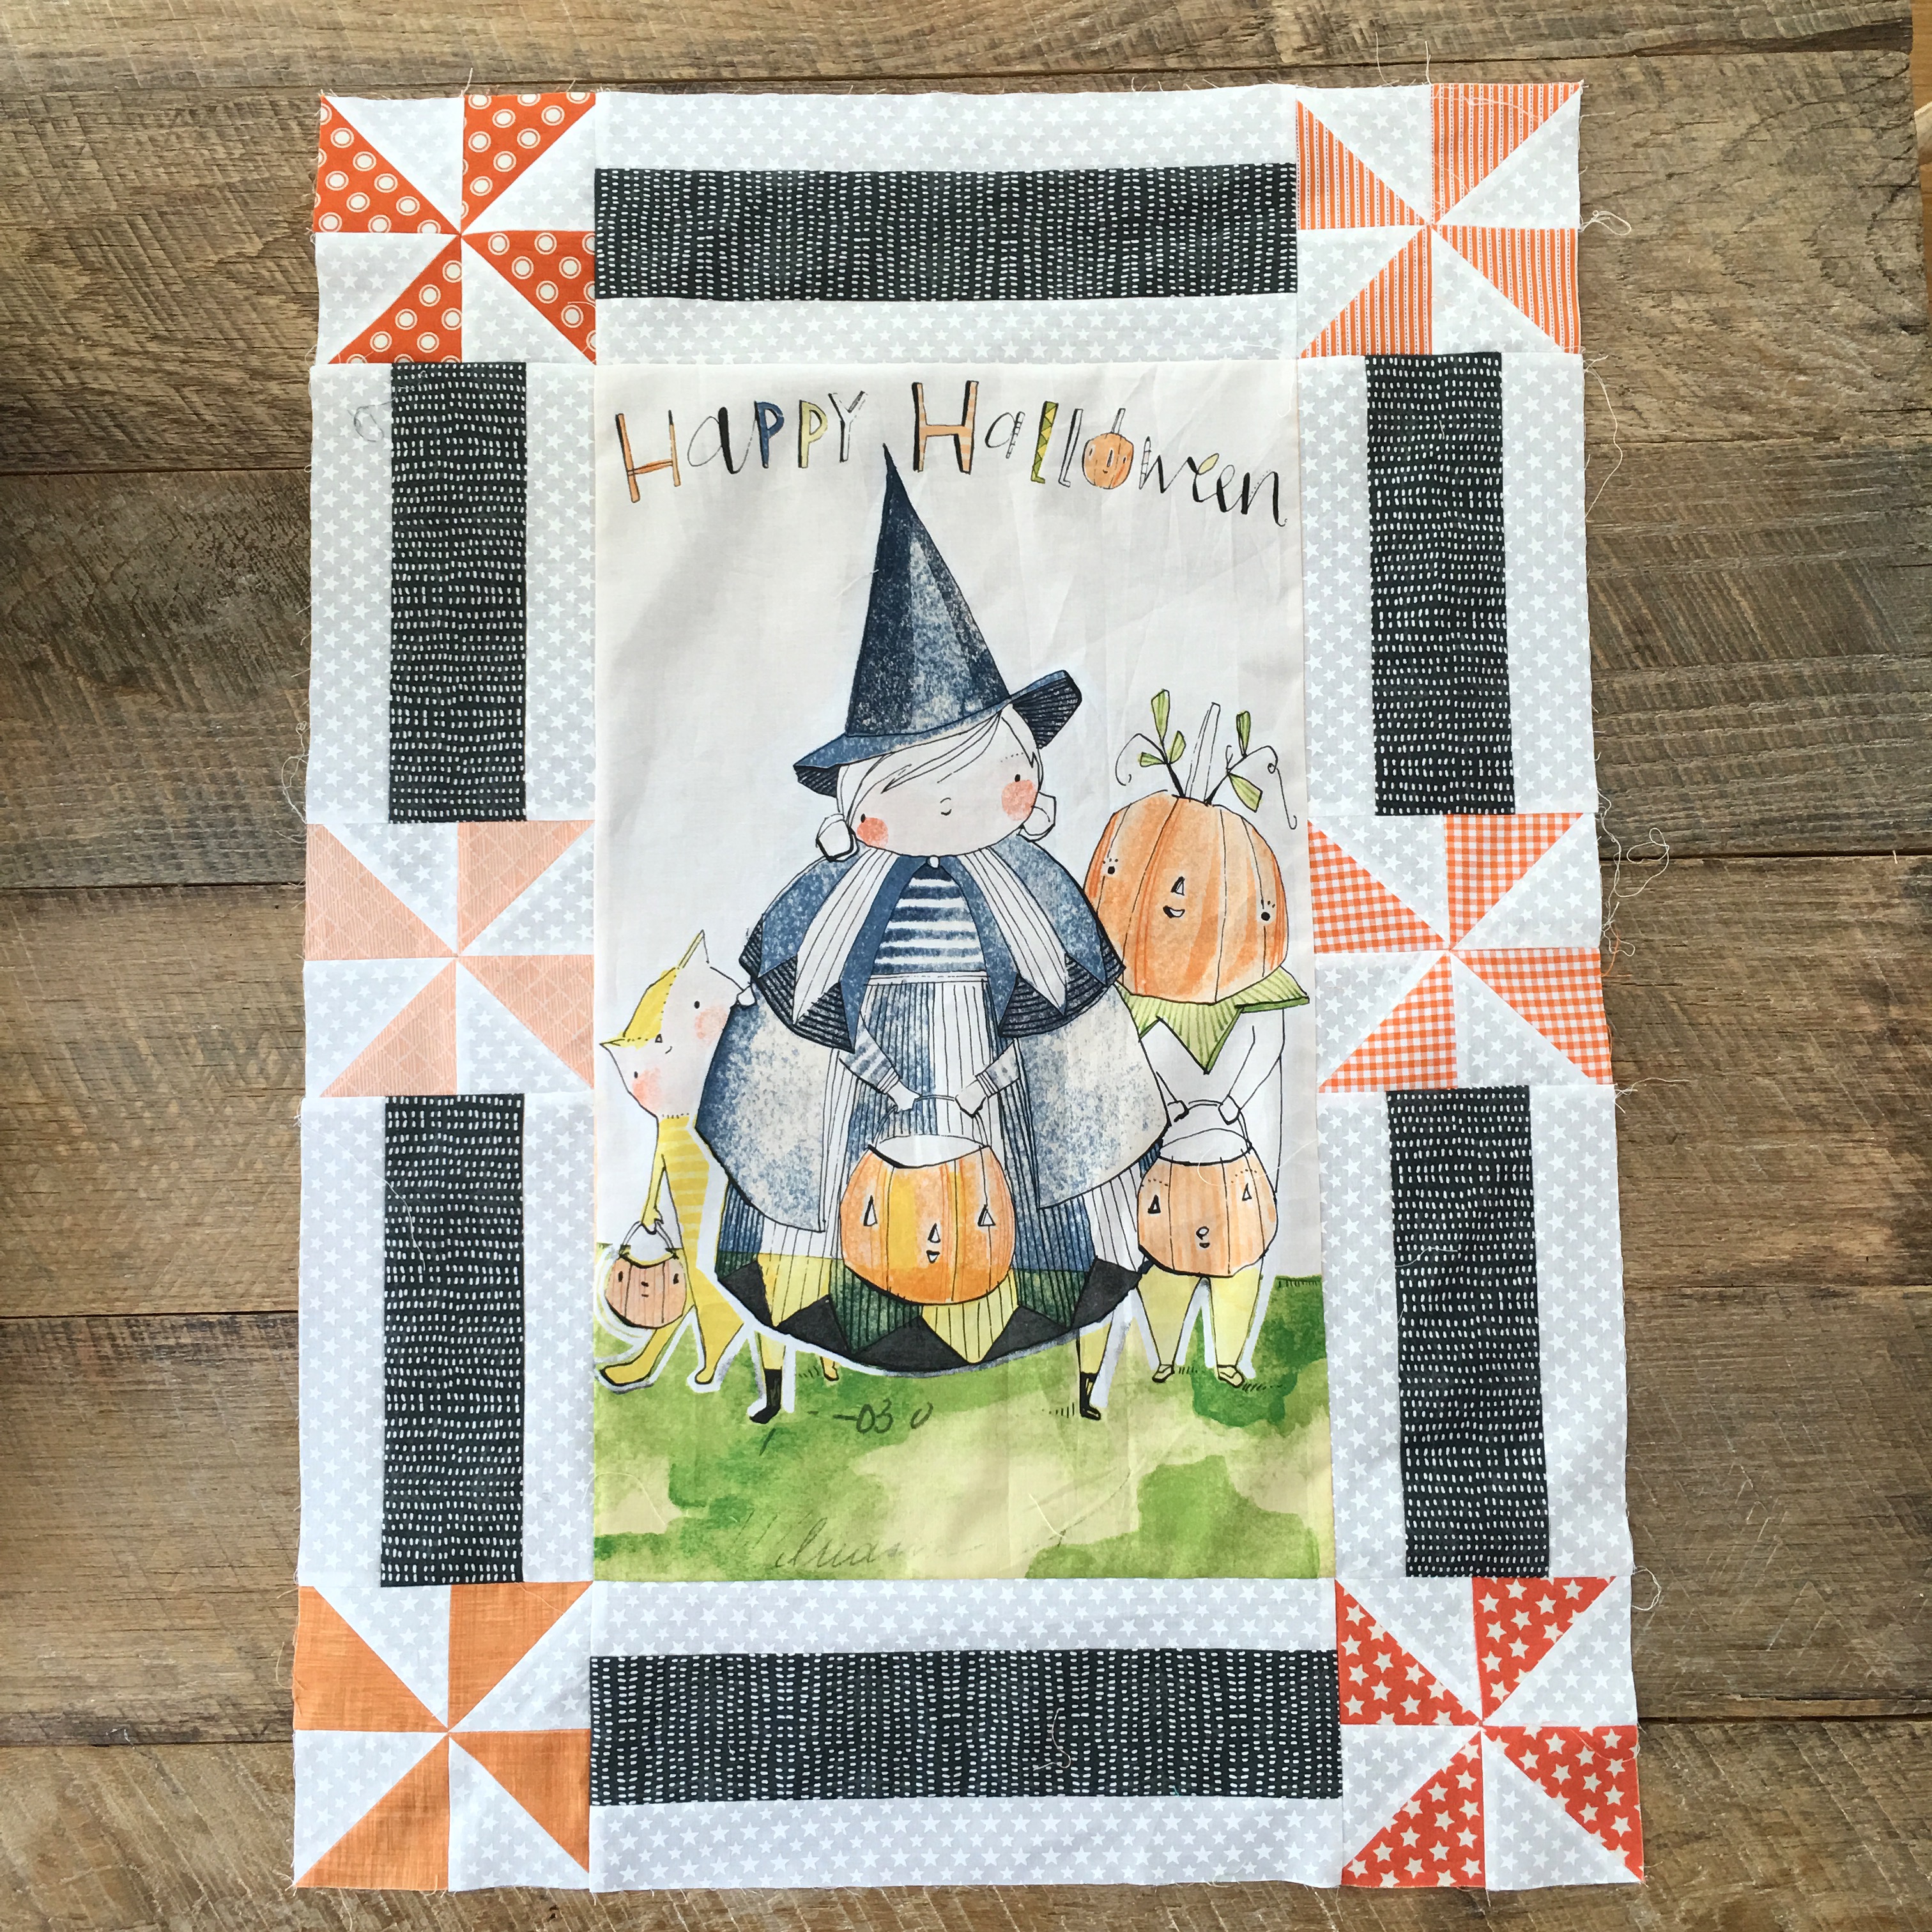
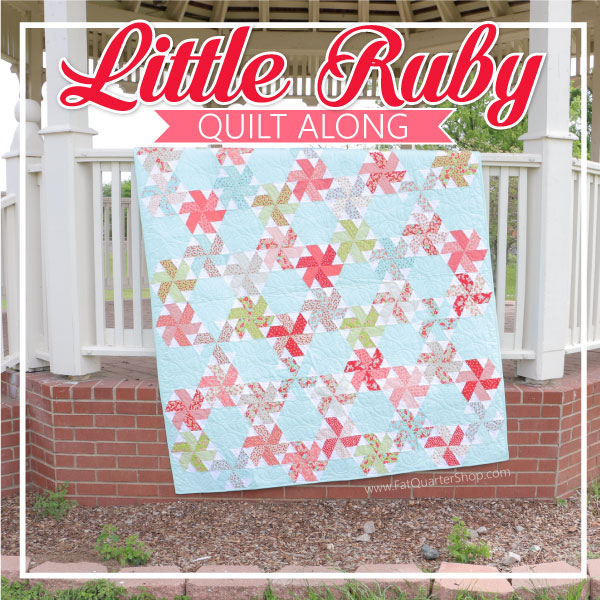
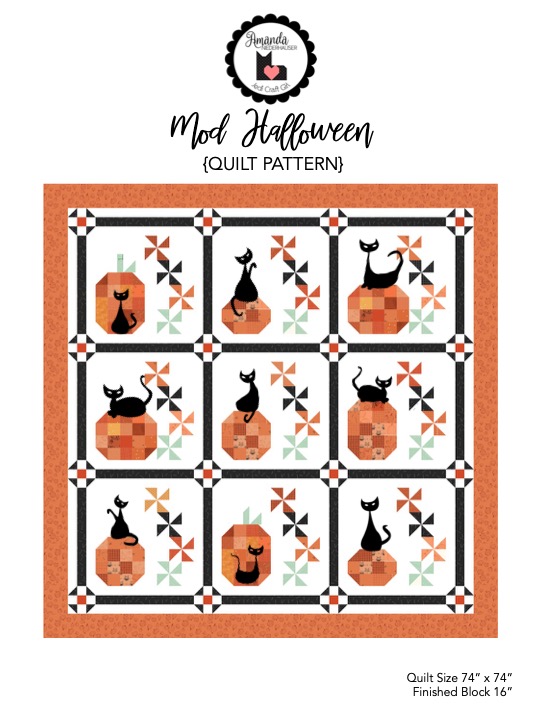
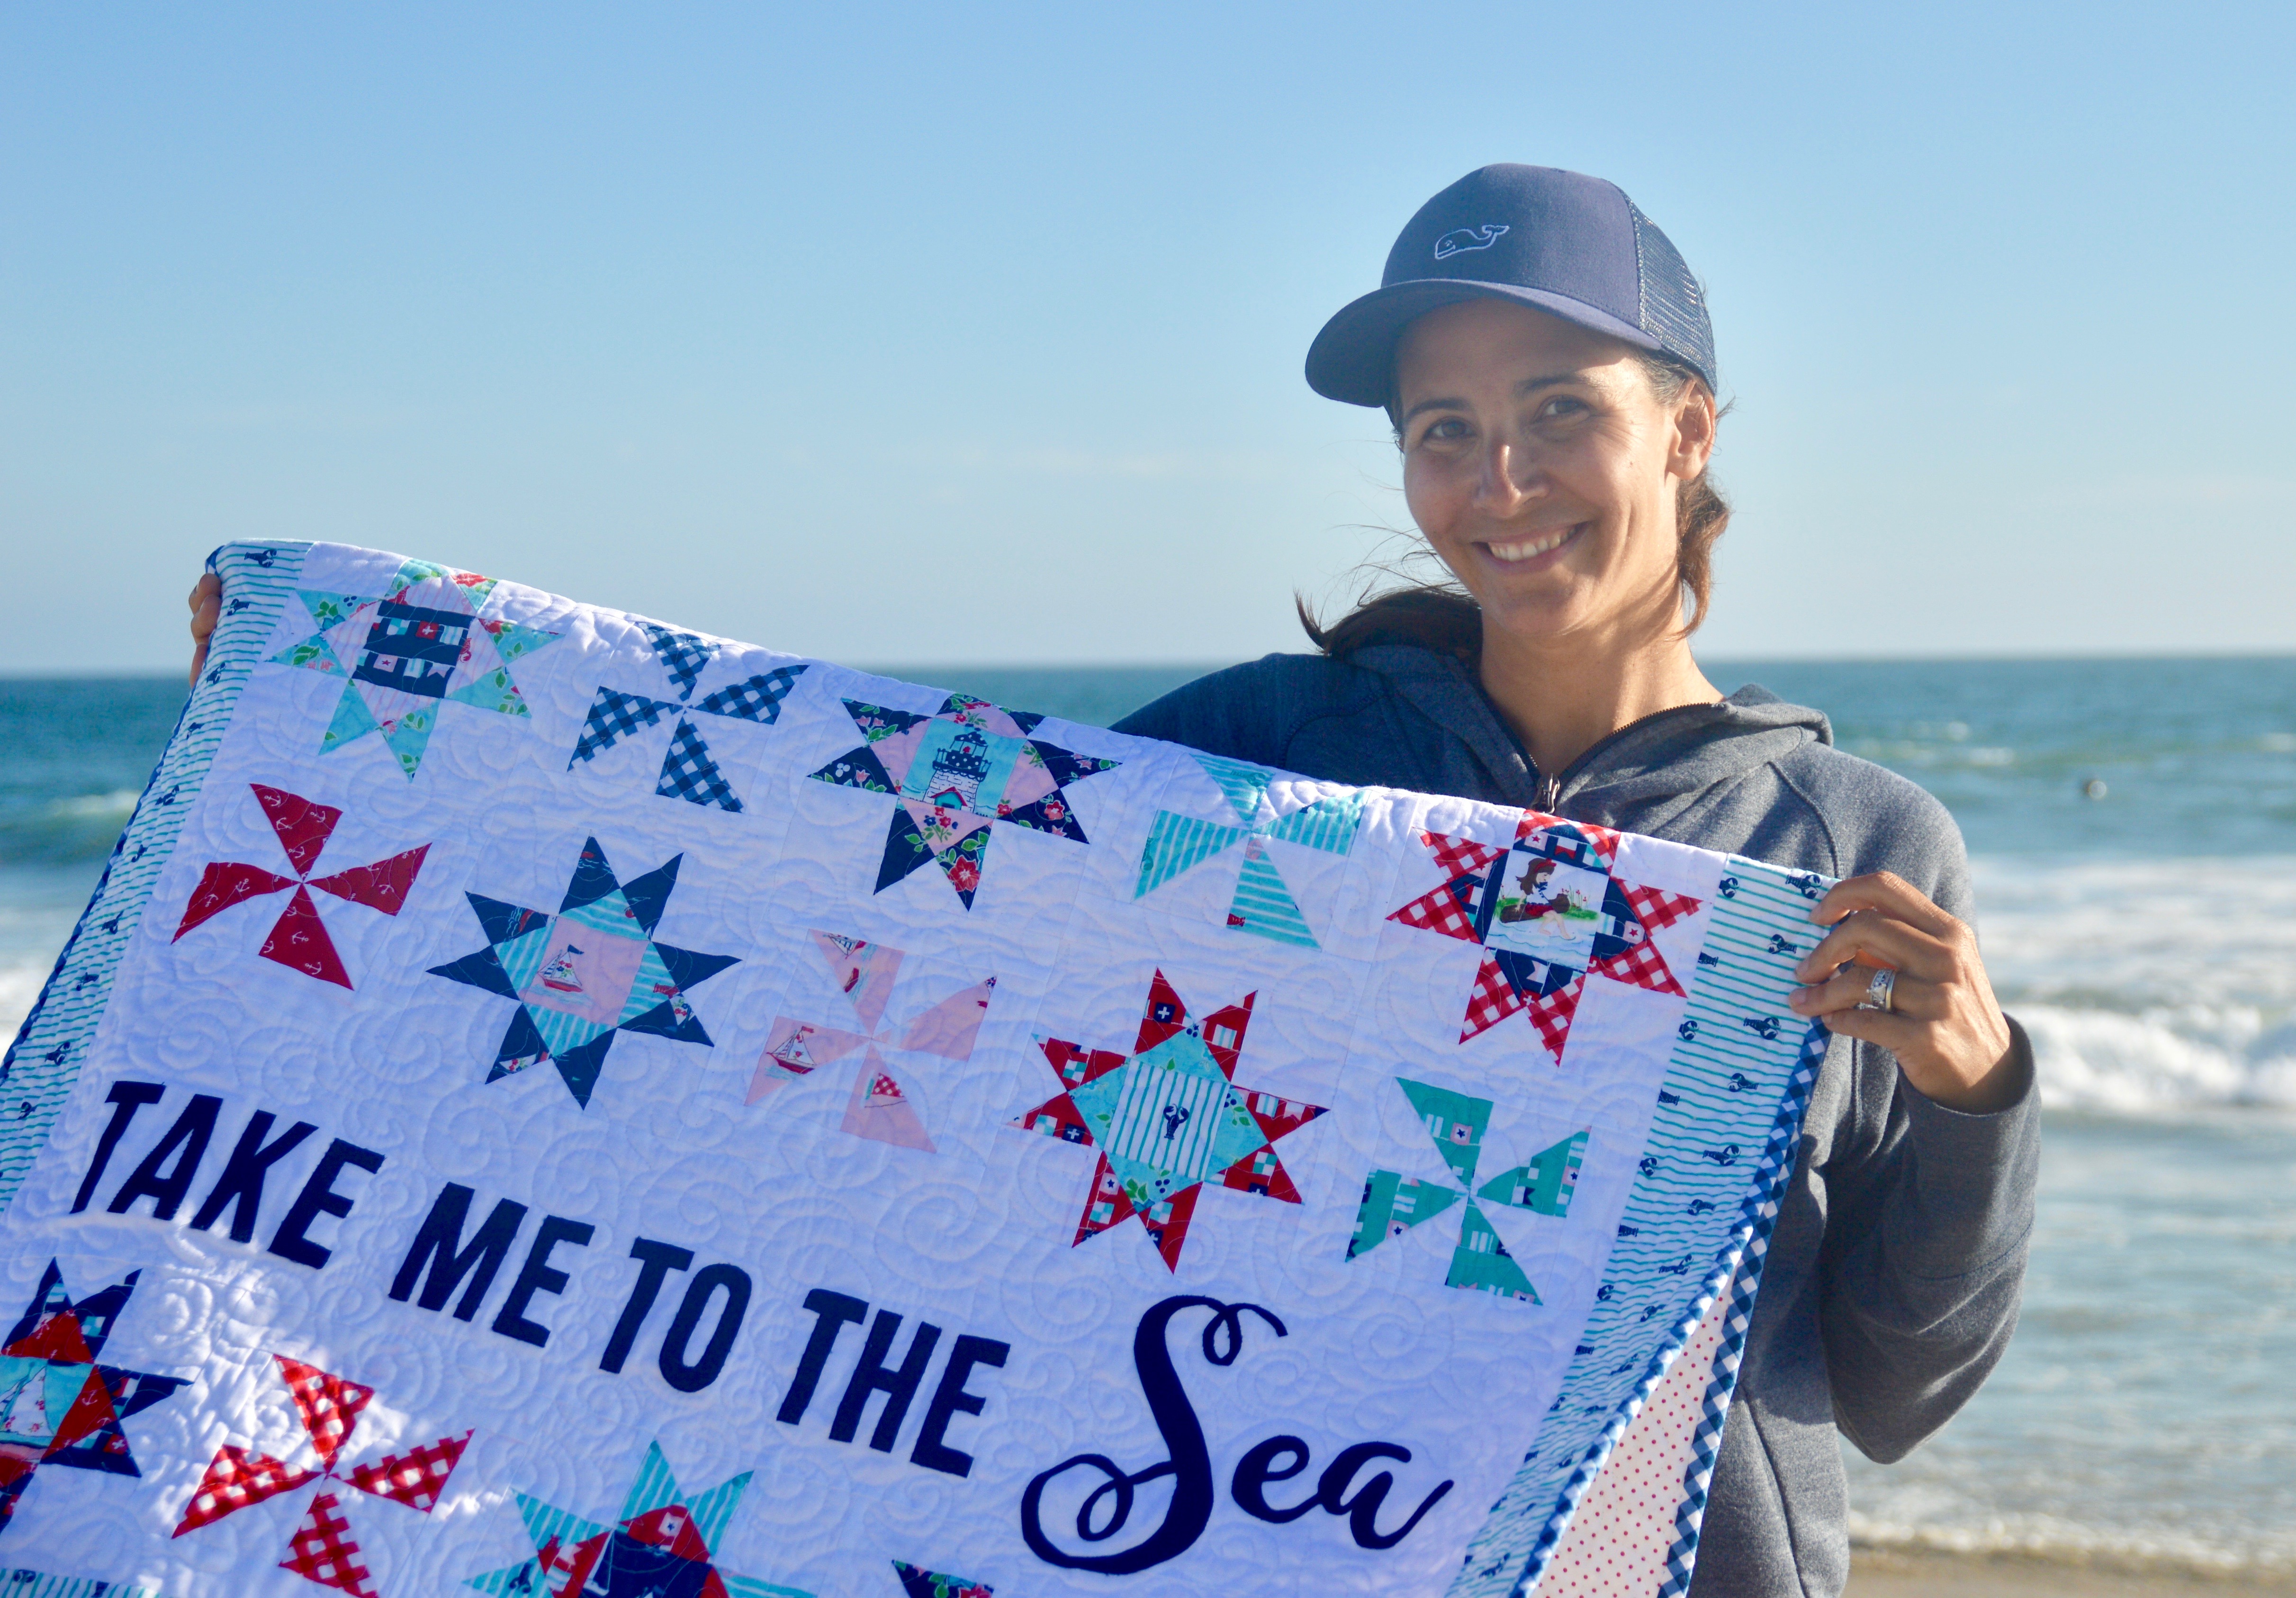
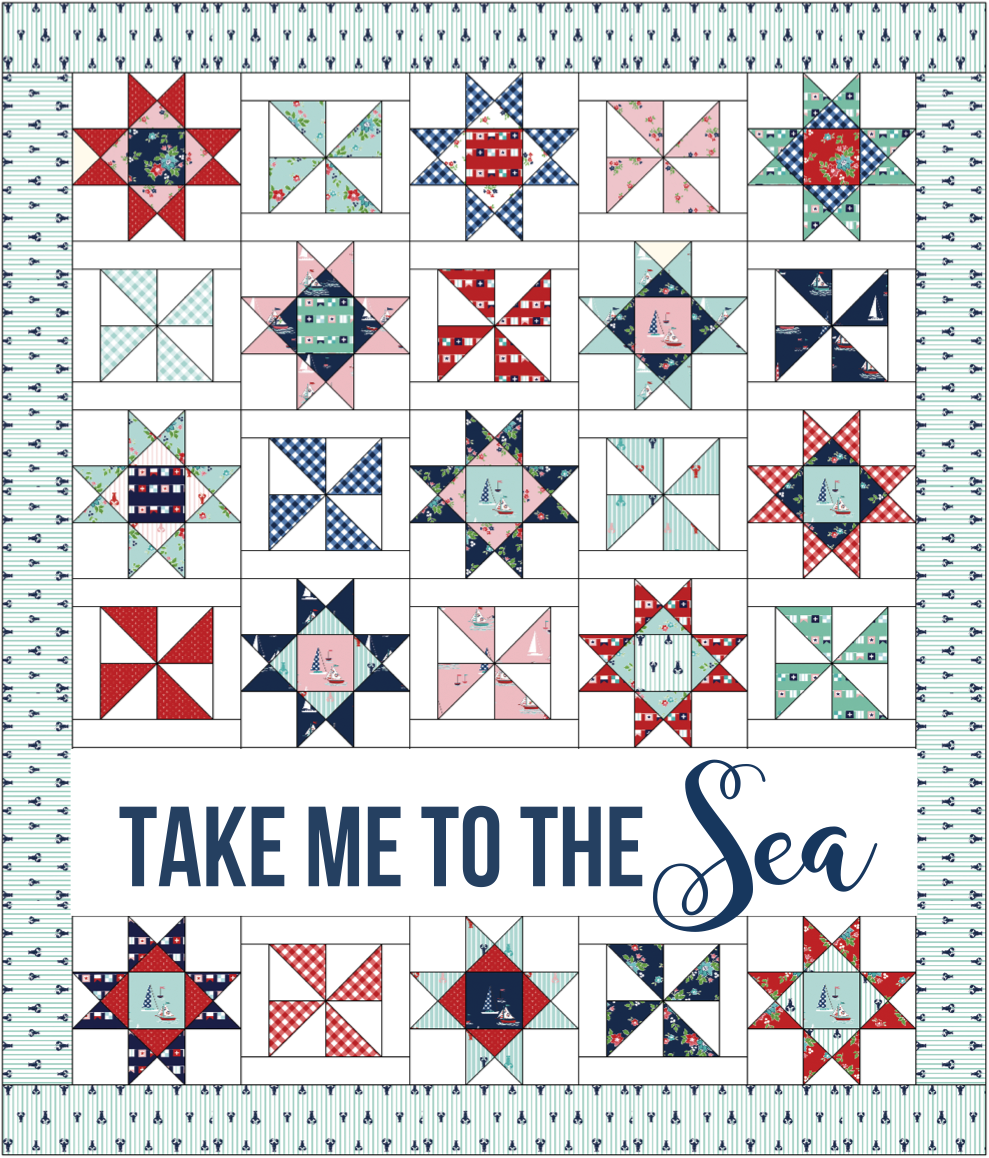
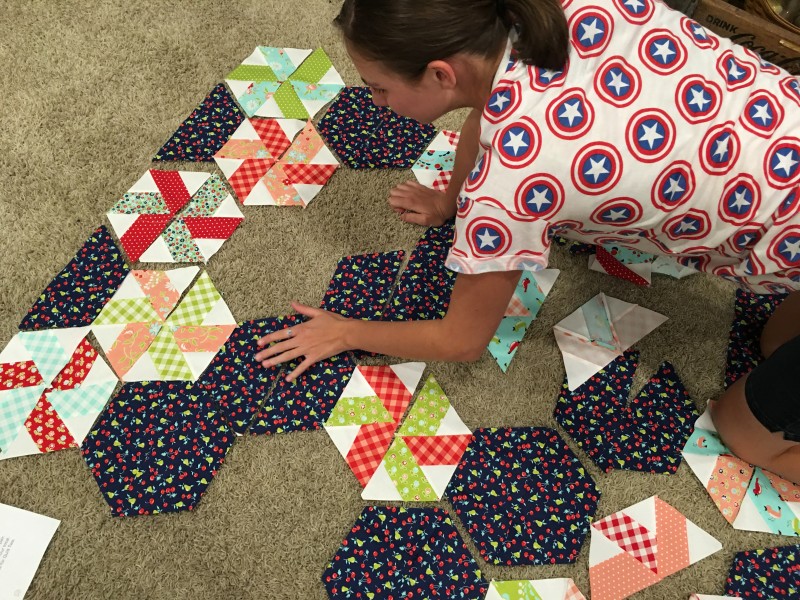
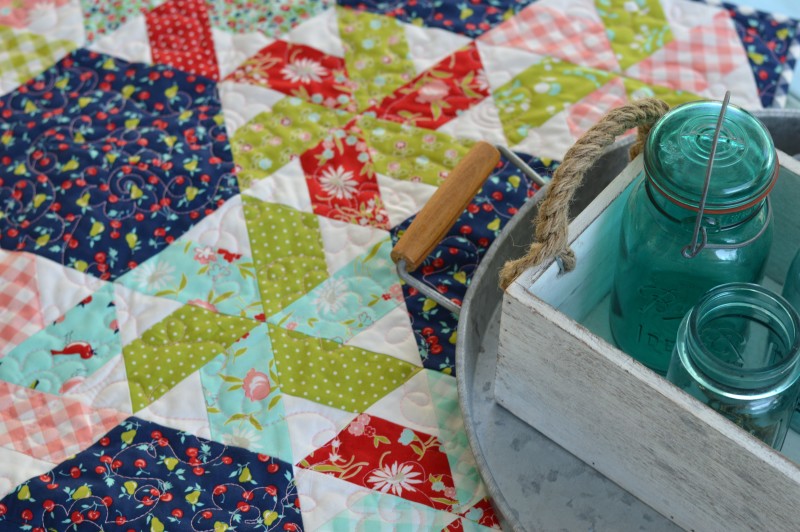
It’s so good to jump out of your comfort zone and try something totally new!  You will love how fun this quilt is – the templates make everything fit together perfectly.

little ruby quilt vintage picnic moda fabric

Click for Fabric requirements 🙂

vintage picnic little ruby quilt 4

Here’s a little overview of the pattern.IMG_8848

The pattern calls for 2 1/2″ strips.  You sew them together and use this cook ruler to cut the exact size triangle.  vintage picnic little ruby quilt 6

The triangles spin around to form a pinwheel type pattern – cool huh 🙂vintage picnic little ruby quilt 7

I read all the instructions and watched the videos and still managed to sew my first 2 triangles together the wrong way – 3 times – YIKES!  Once I got that out of my system it was smooth sailing!vintage picnic little ruby quilt 8

I love having Ella around because I hand her a stack of blocks and she puts them together for me.  We did a little experimenting with the pattern for fun.

The blocks sewed together like a dream.  I just love this fabric!vintage picnic little ruby quilt 10

I used my Spray n Bond basting spray to baste the quilt and then machine quilted myself using a loopy floral design.

vintage picnic little ruby quilt 3

I love bias gingham binding!  The great thing about Vintage Picnic is that the gingham is printed on the bias so it saves fabric and is easy to cut!

vintage picnic little ruby quilt 13

I am thrilled with my Vintage Picnic fabric choice.  I will be keeping this quilt out all summer long!  I did modify my quilt slightly in that I made it a touch smaller.

vintage picnic little ruby quilt 11

vintage picnic little ruby quilt 5 
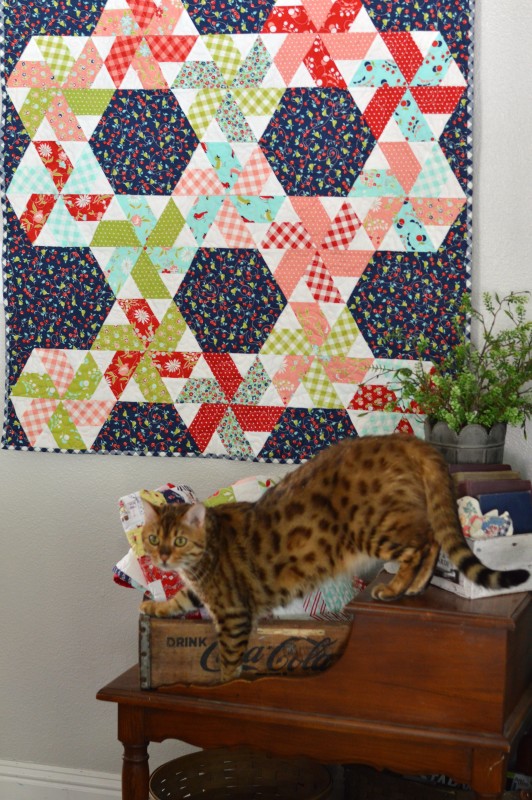
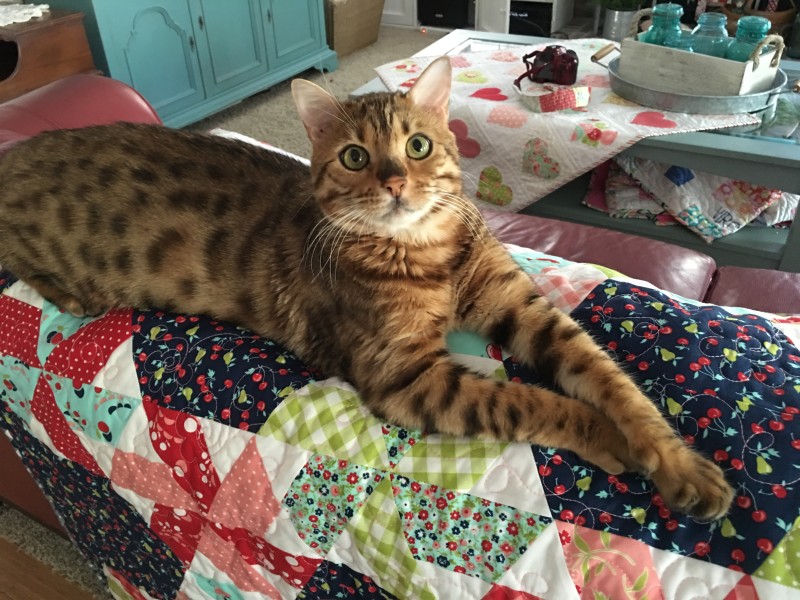
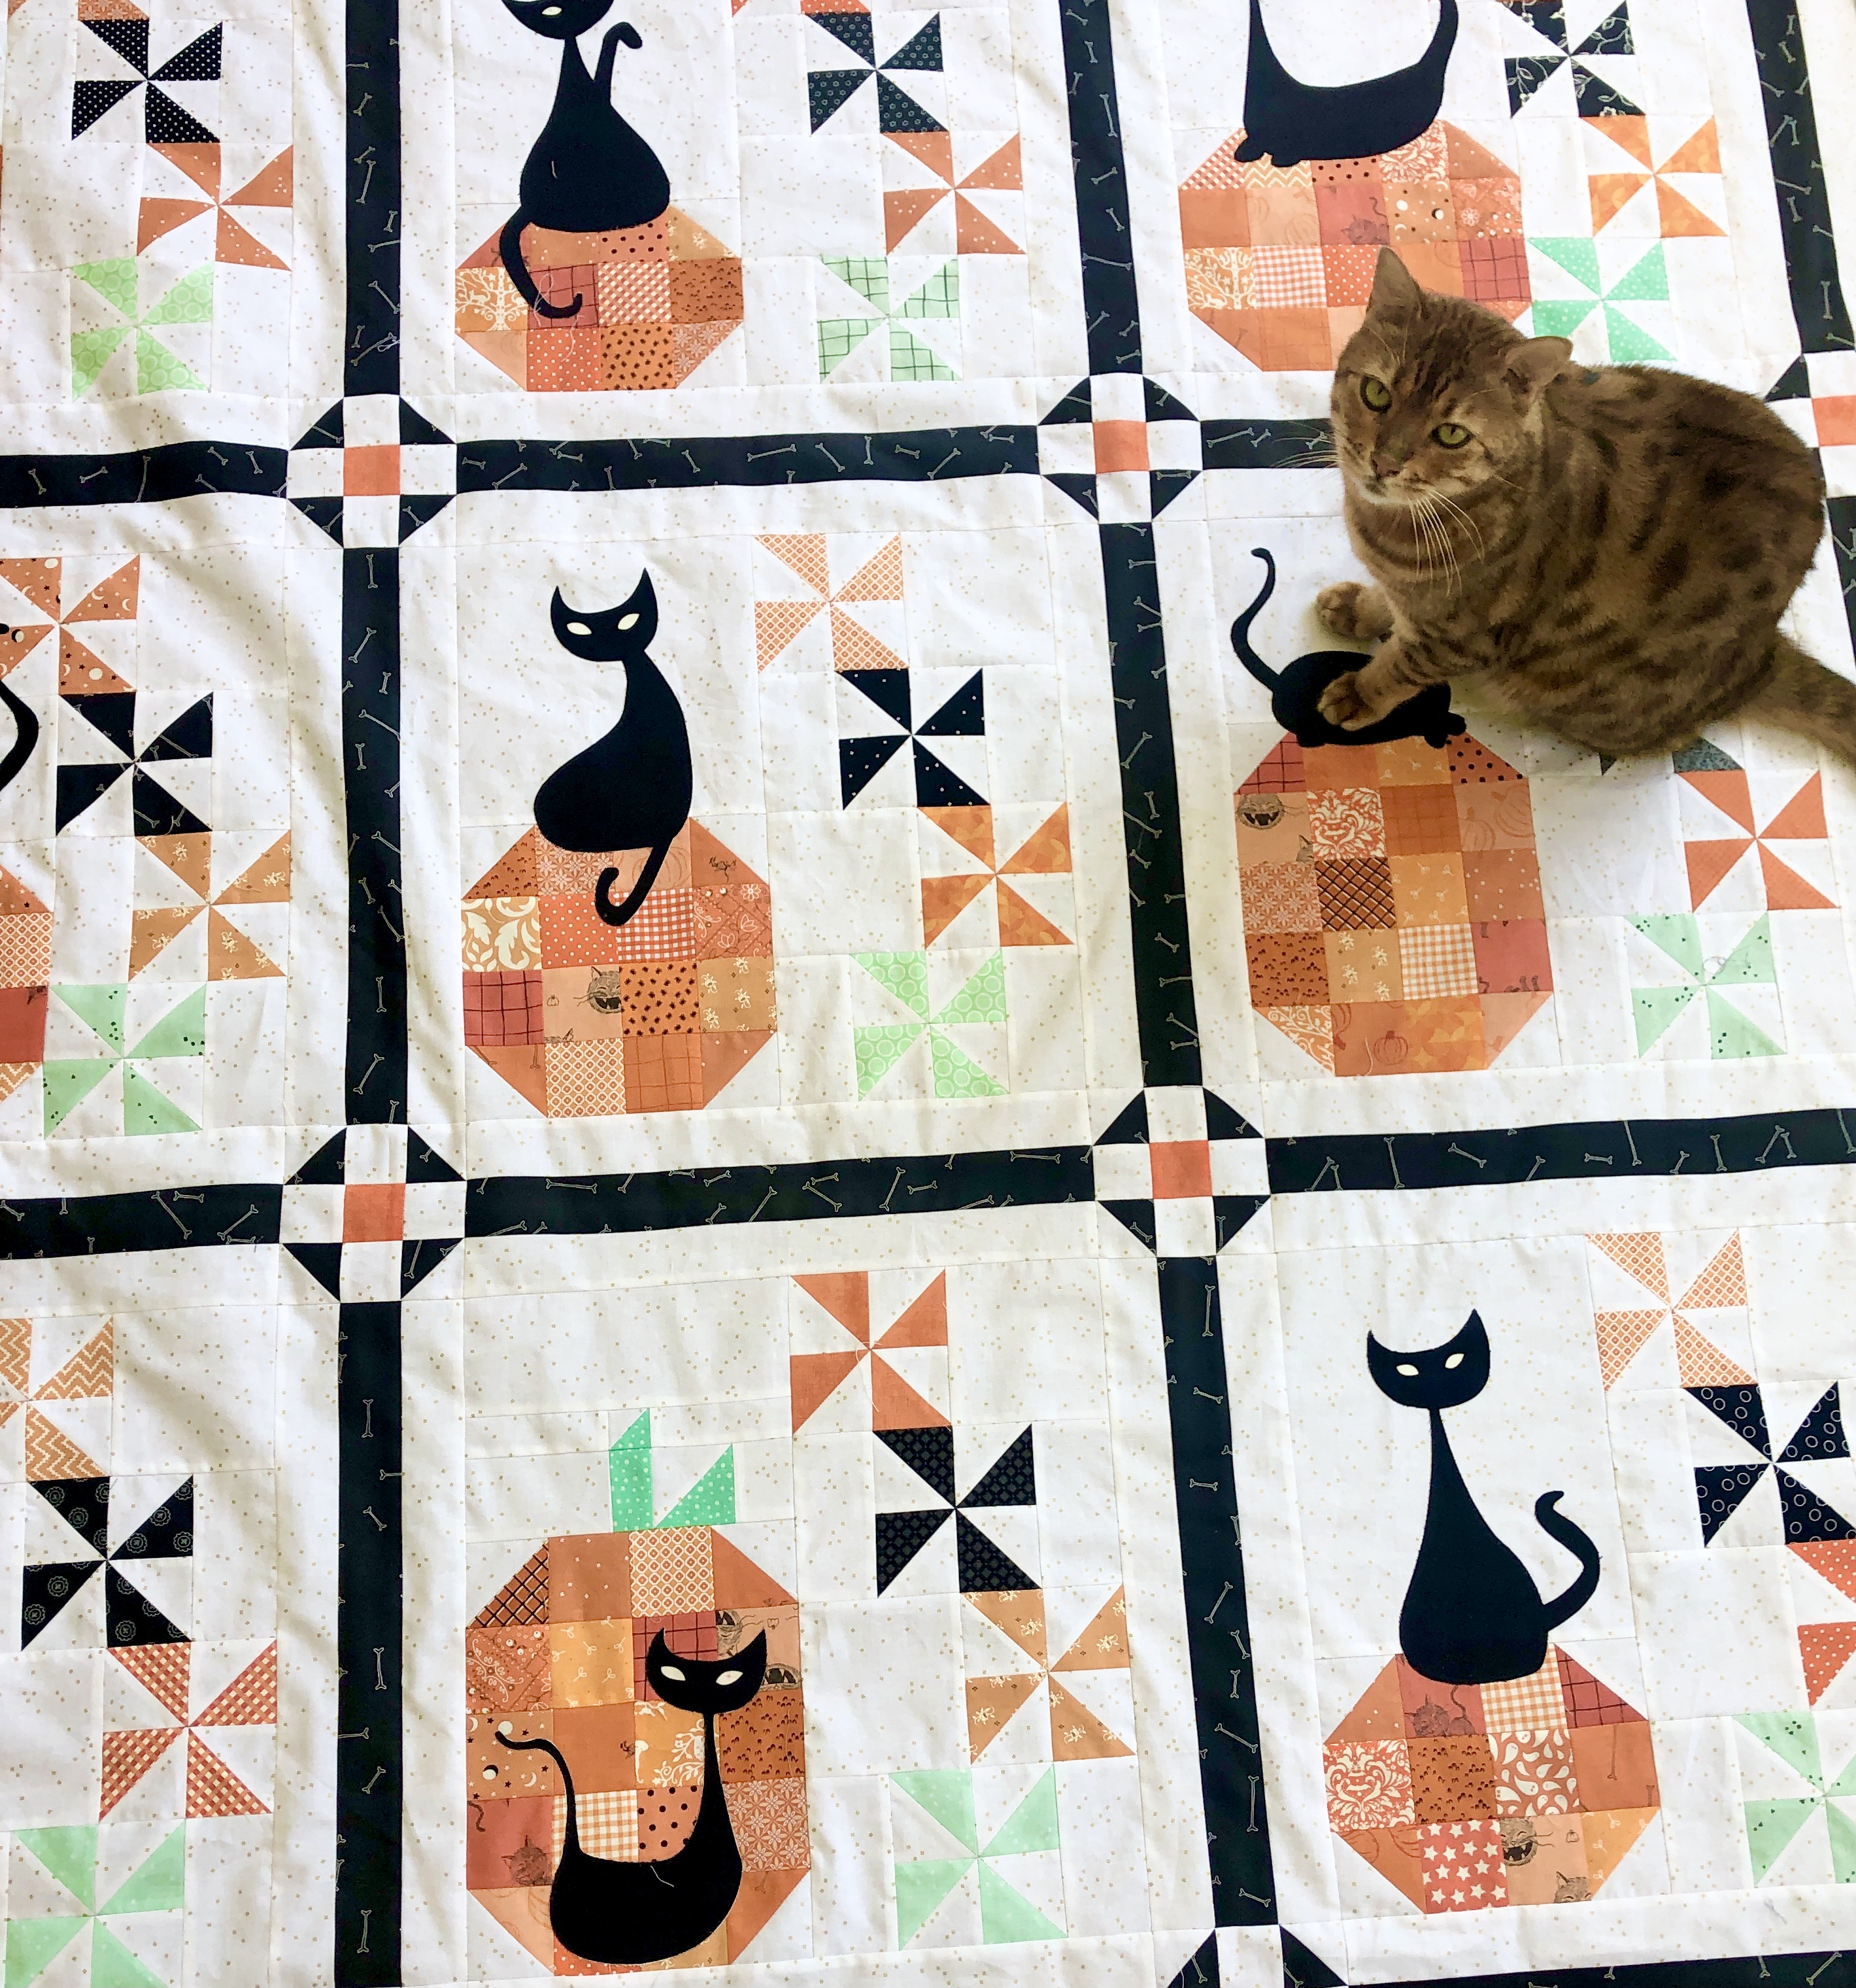
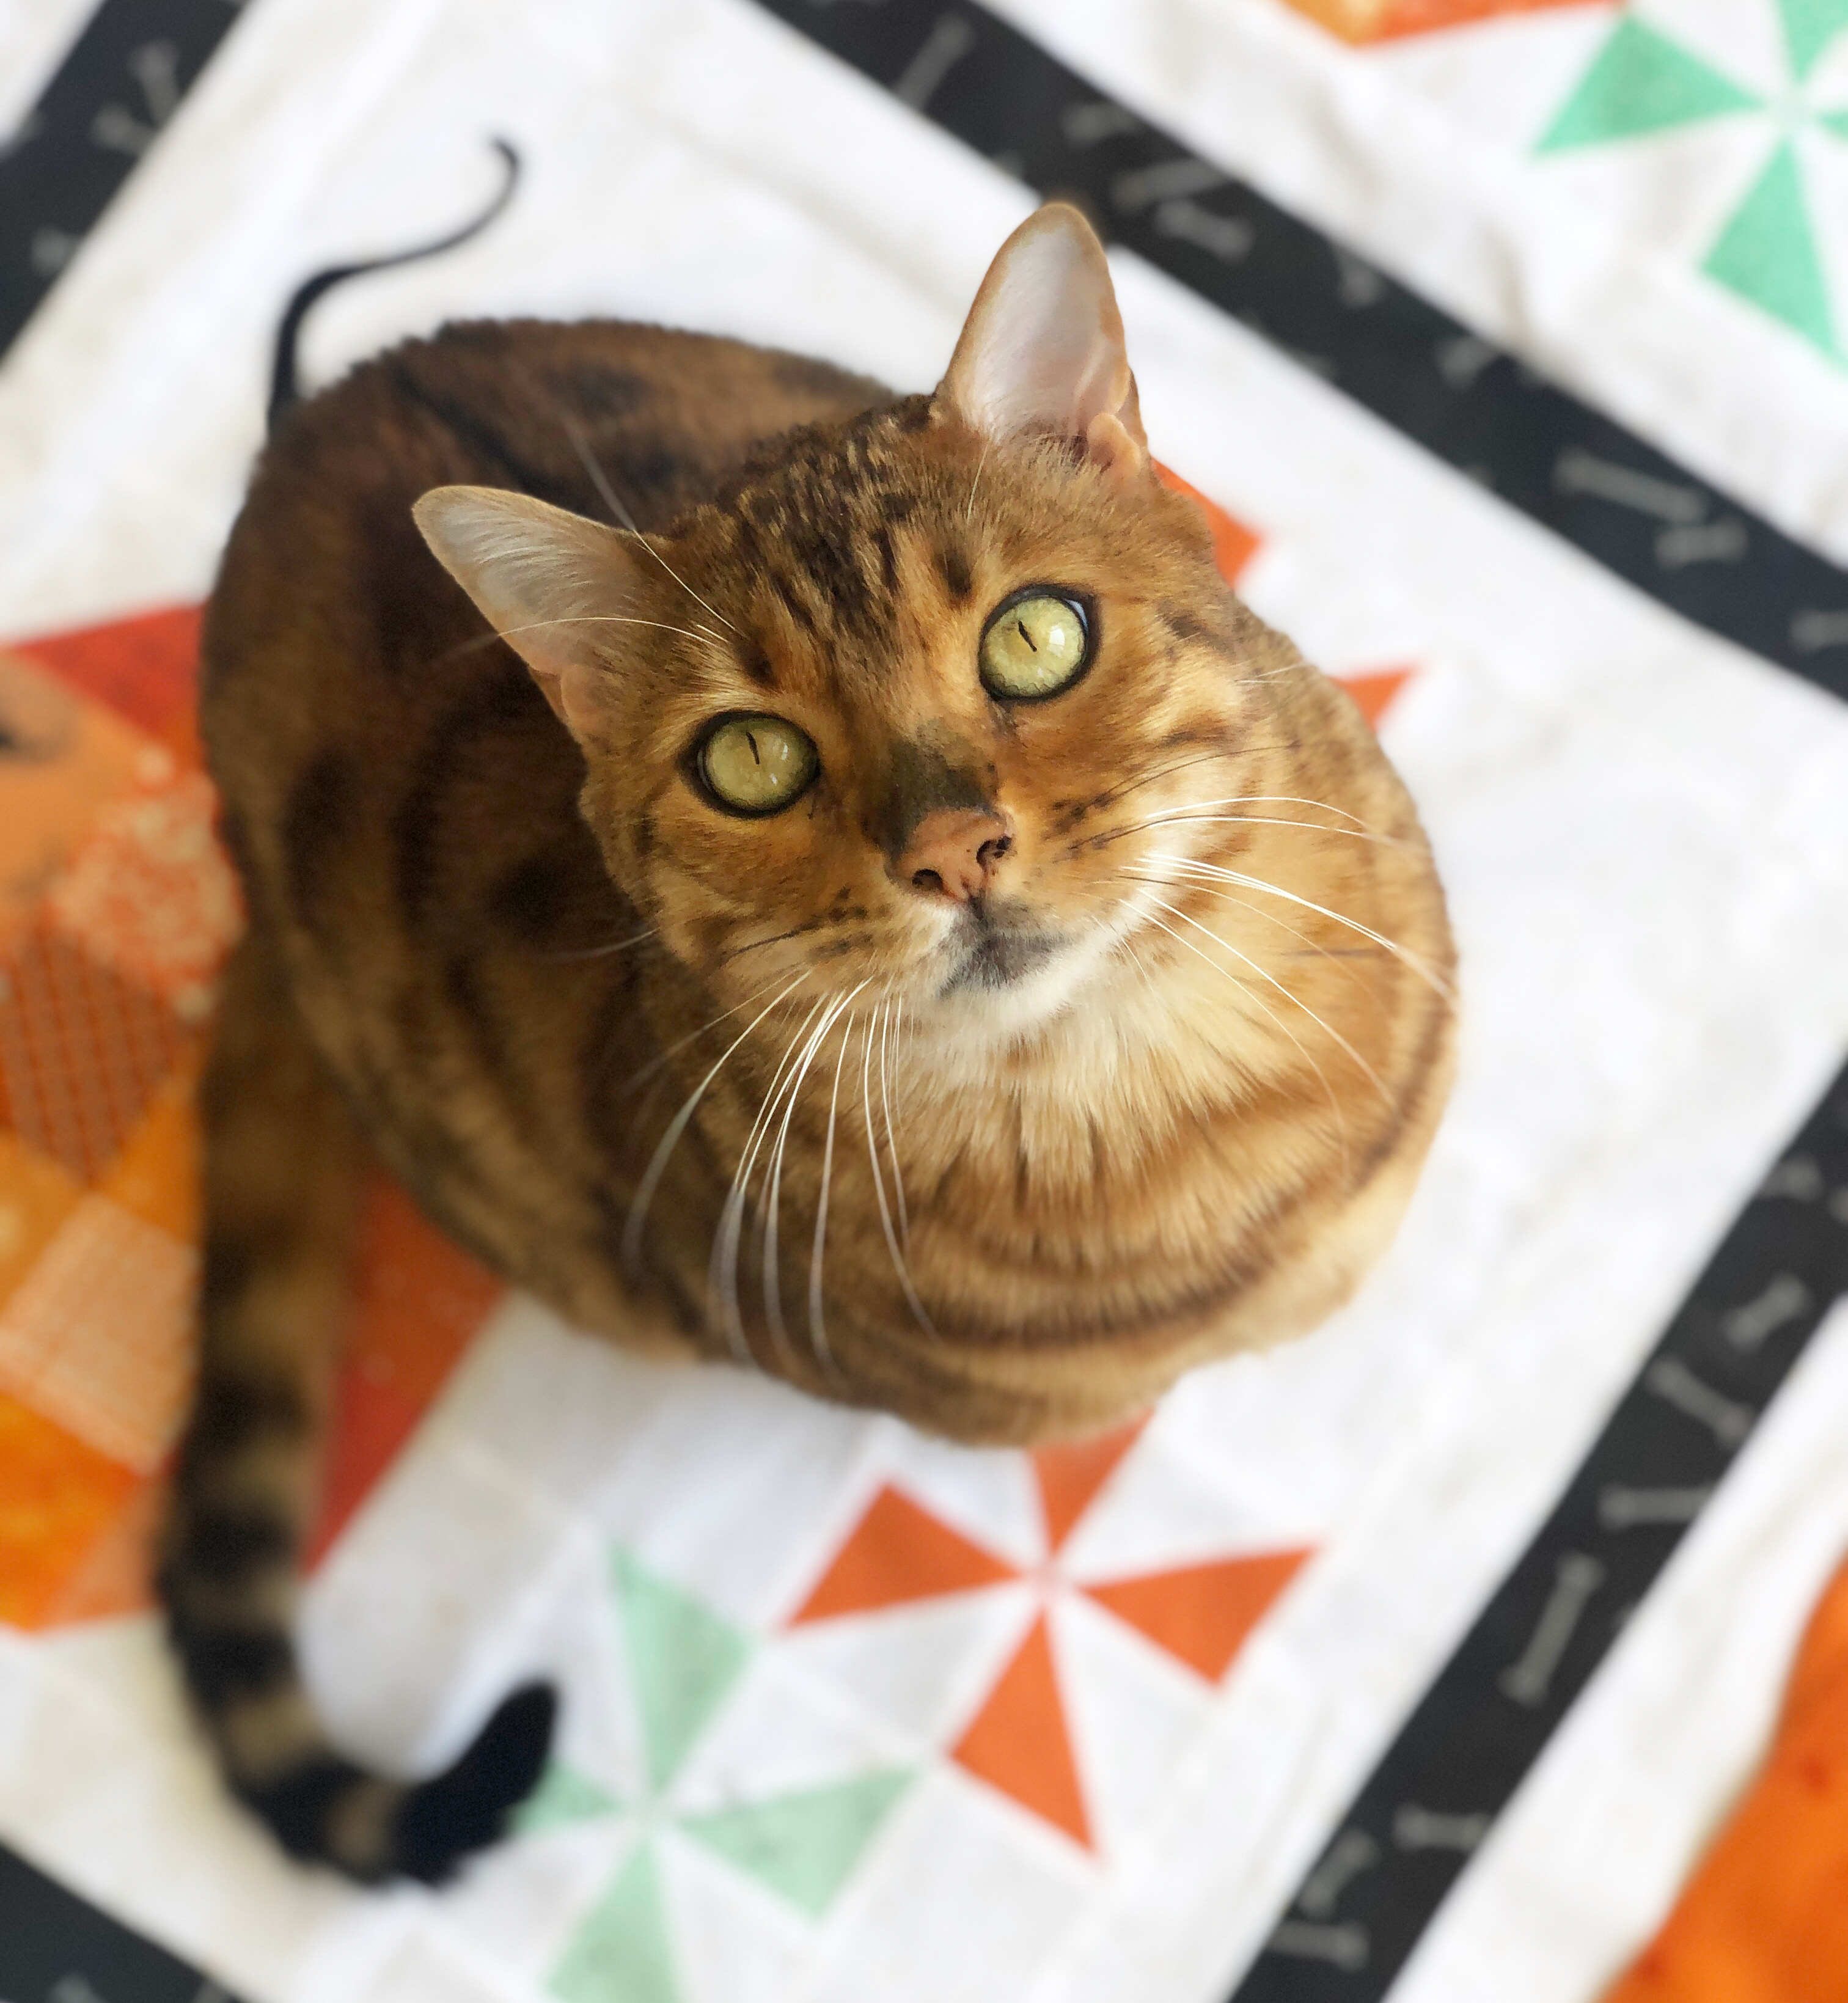
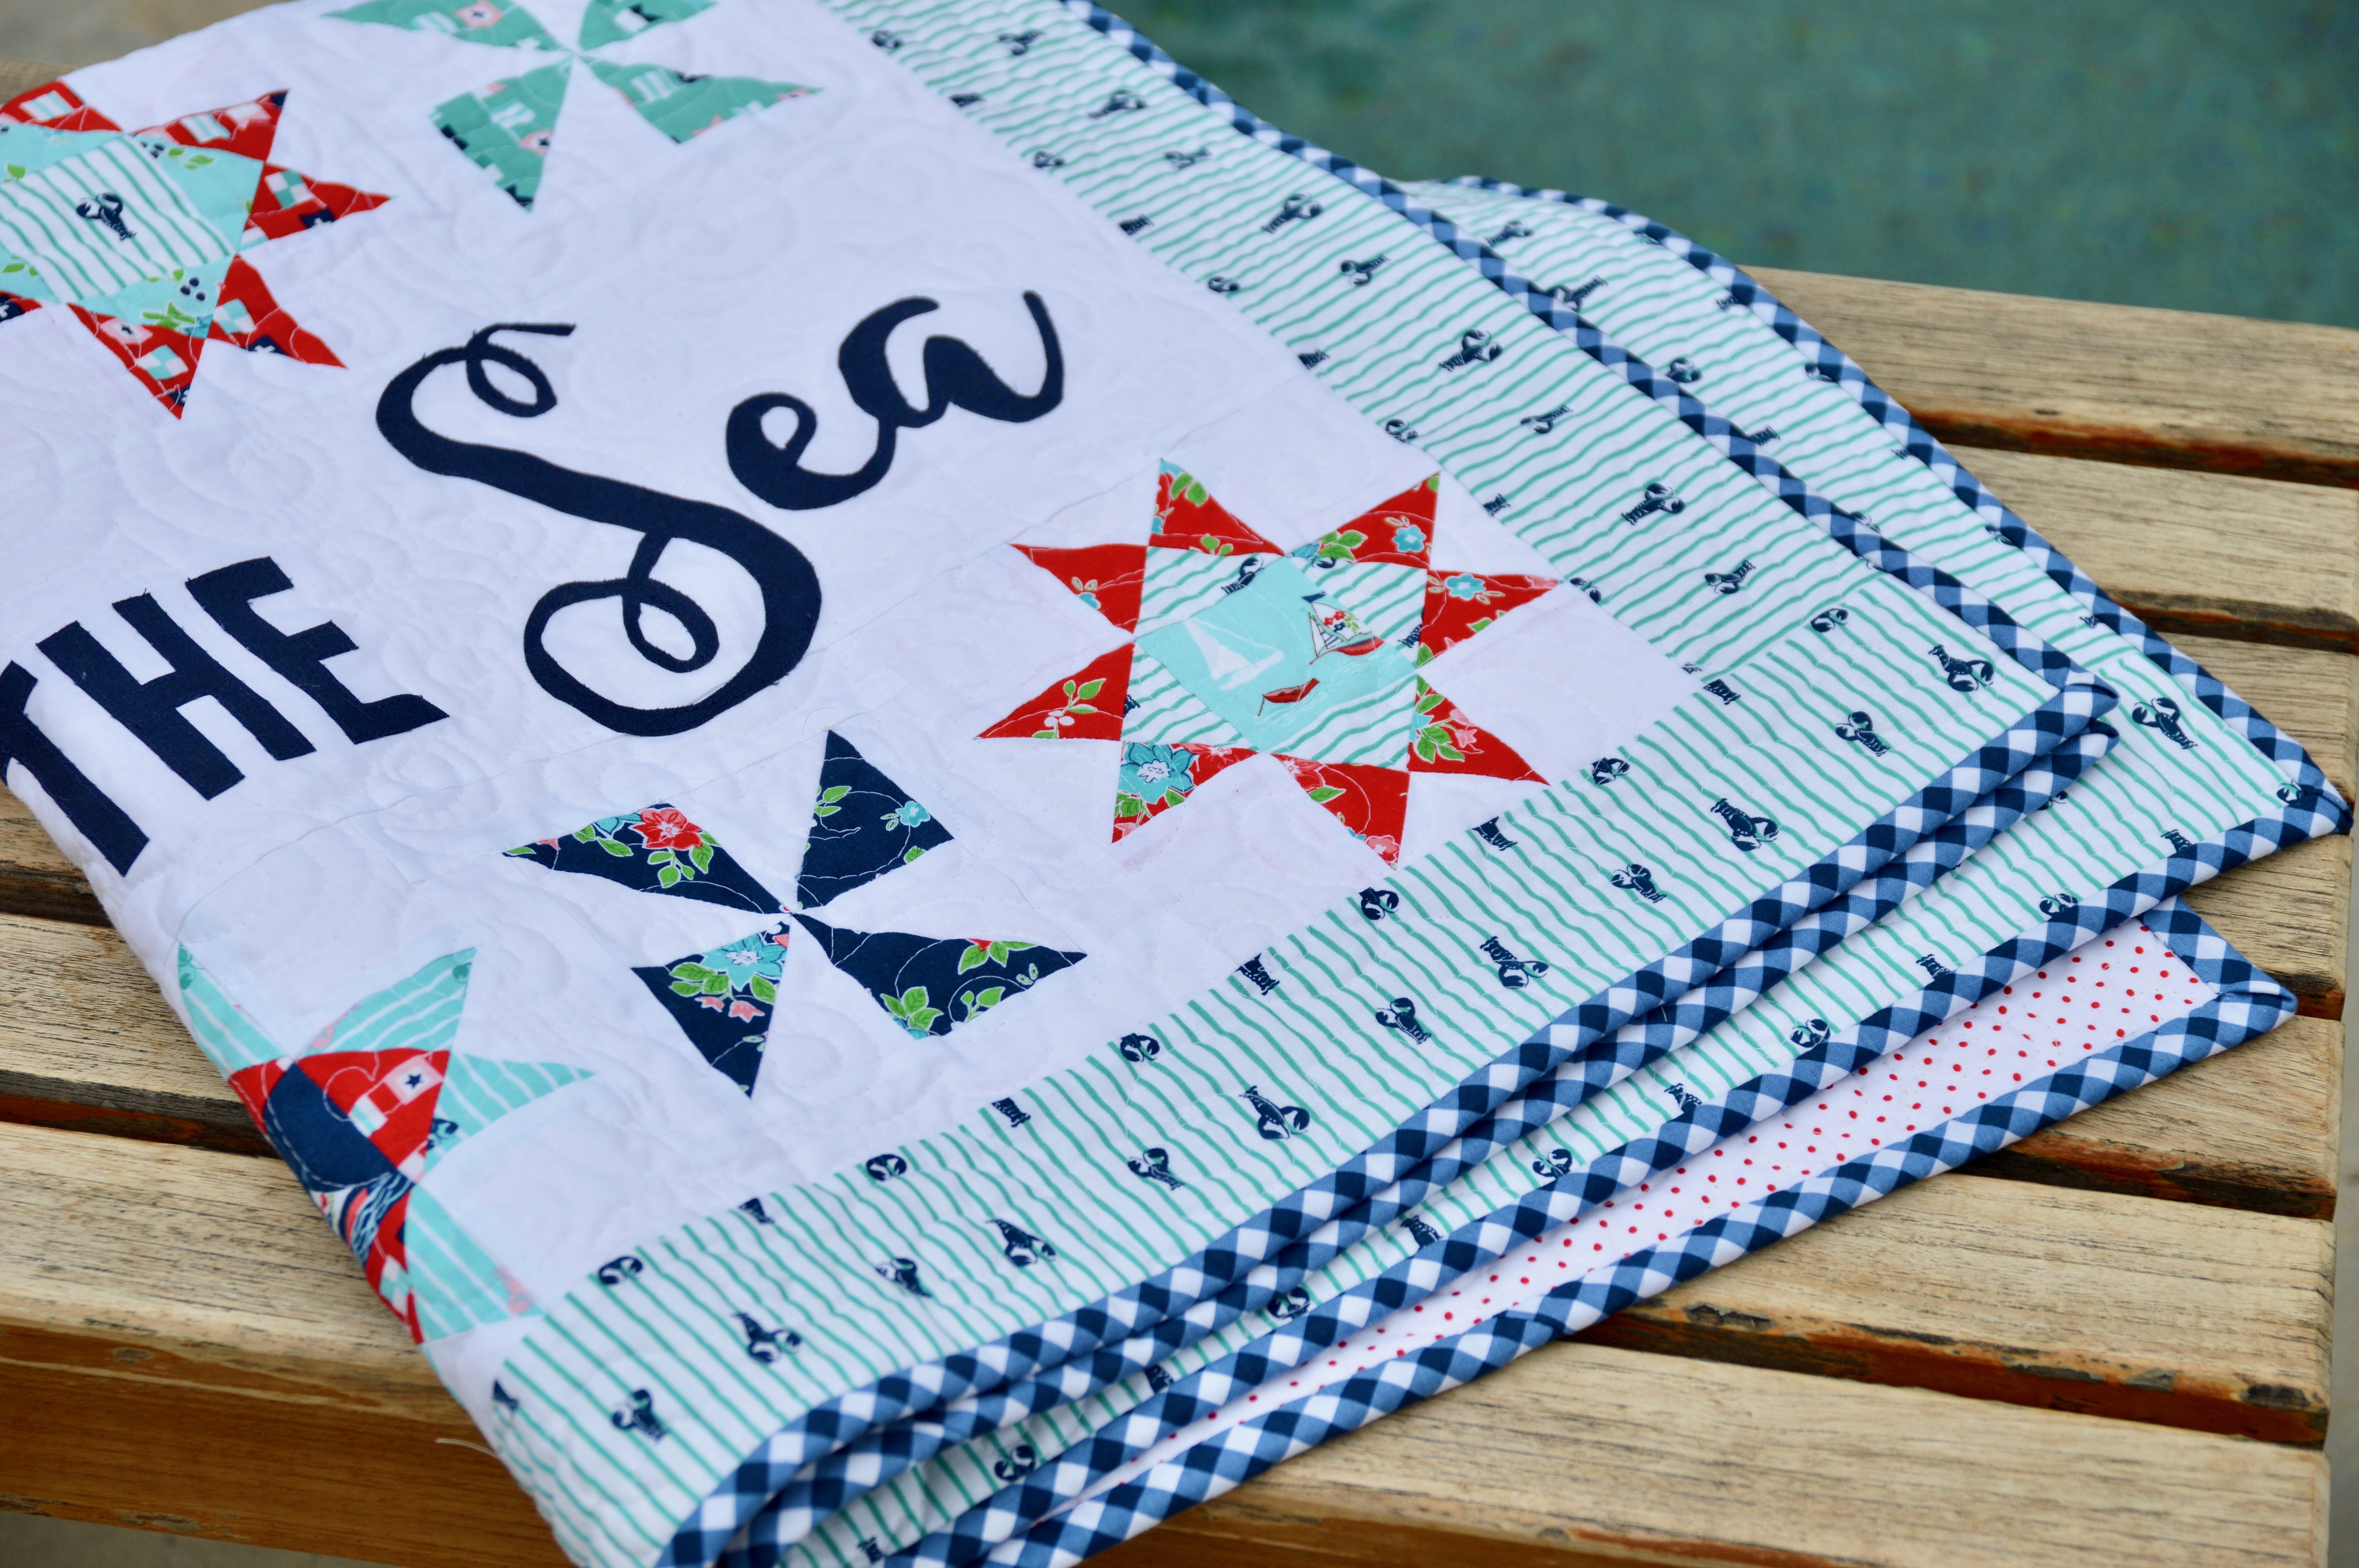
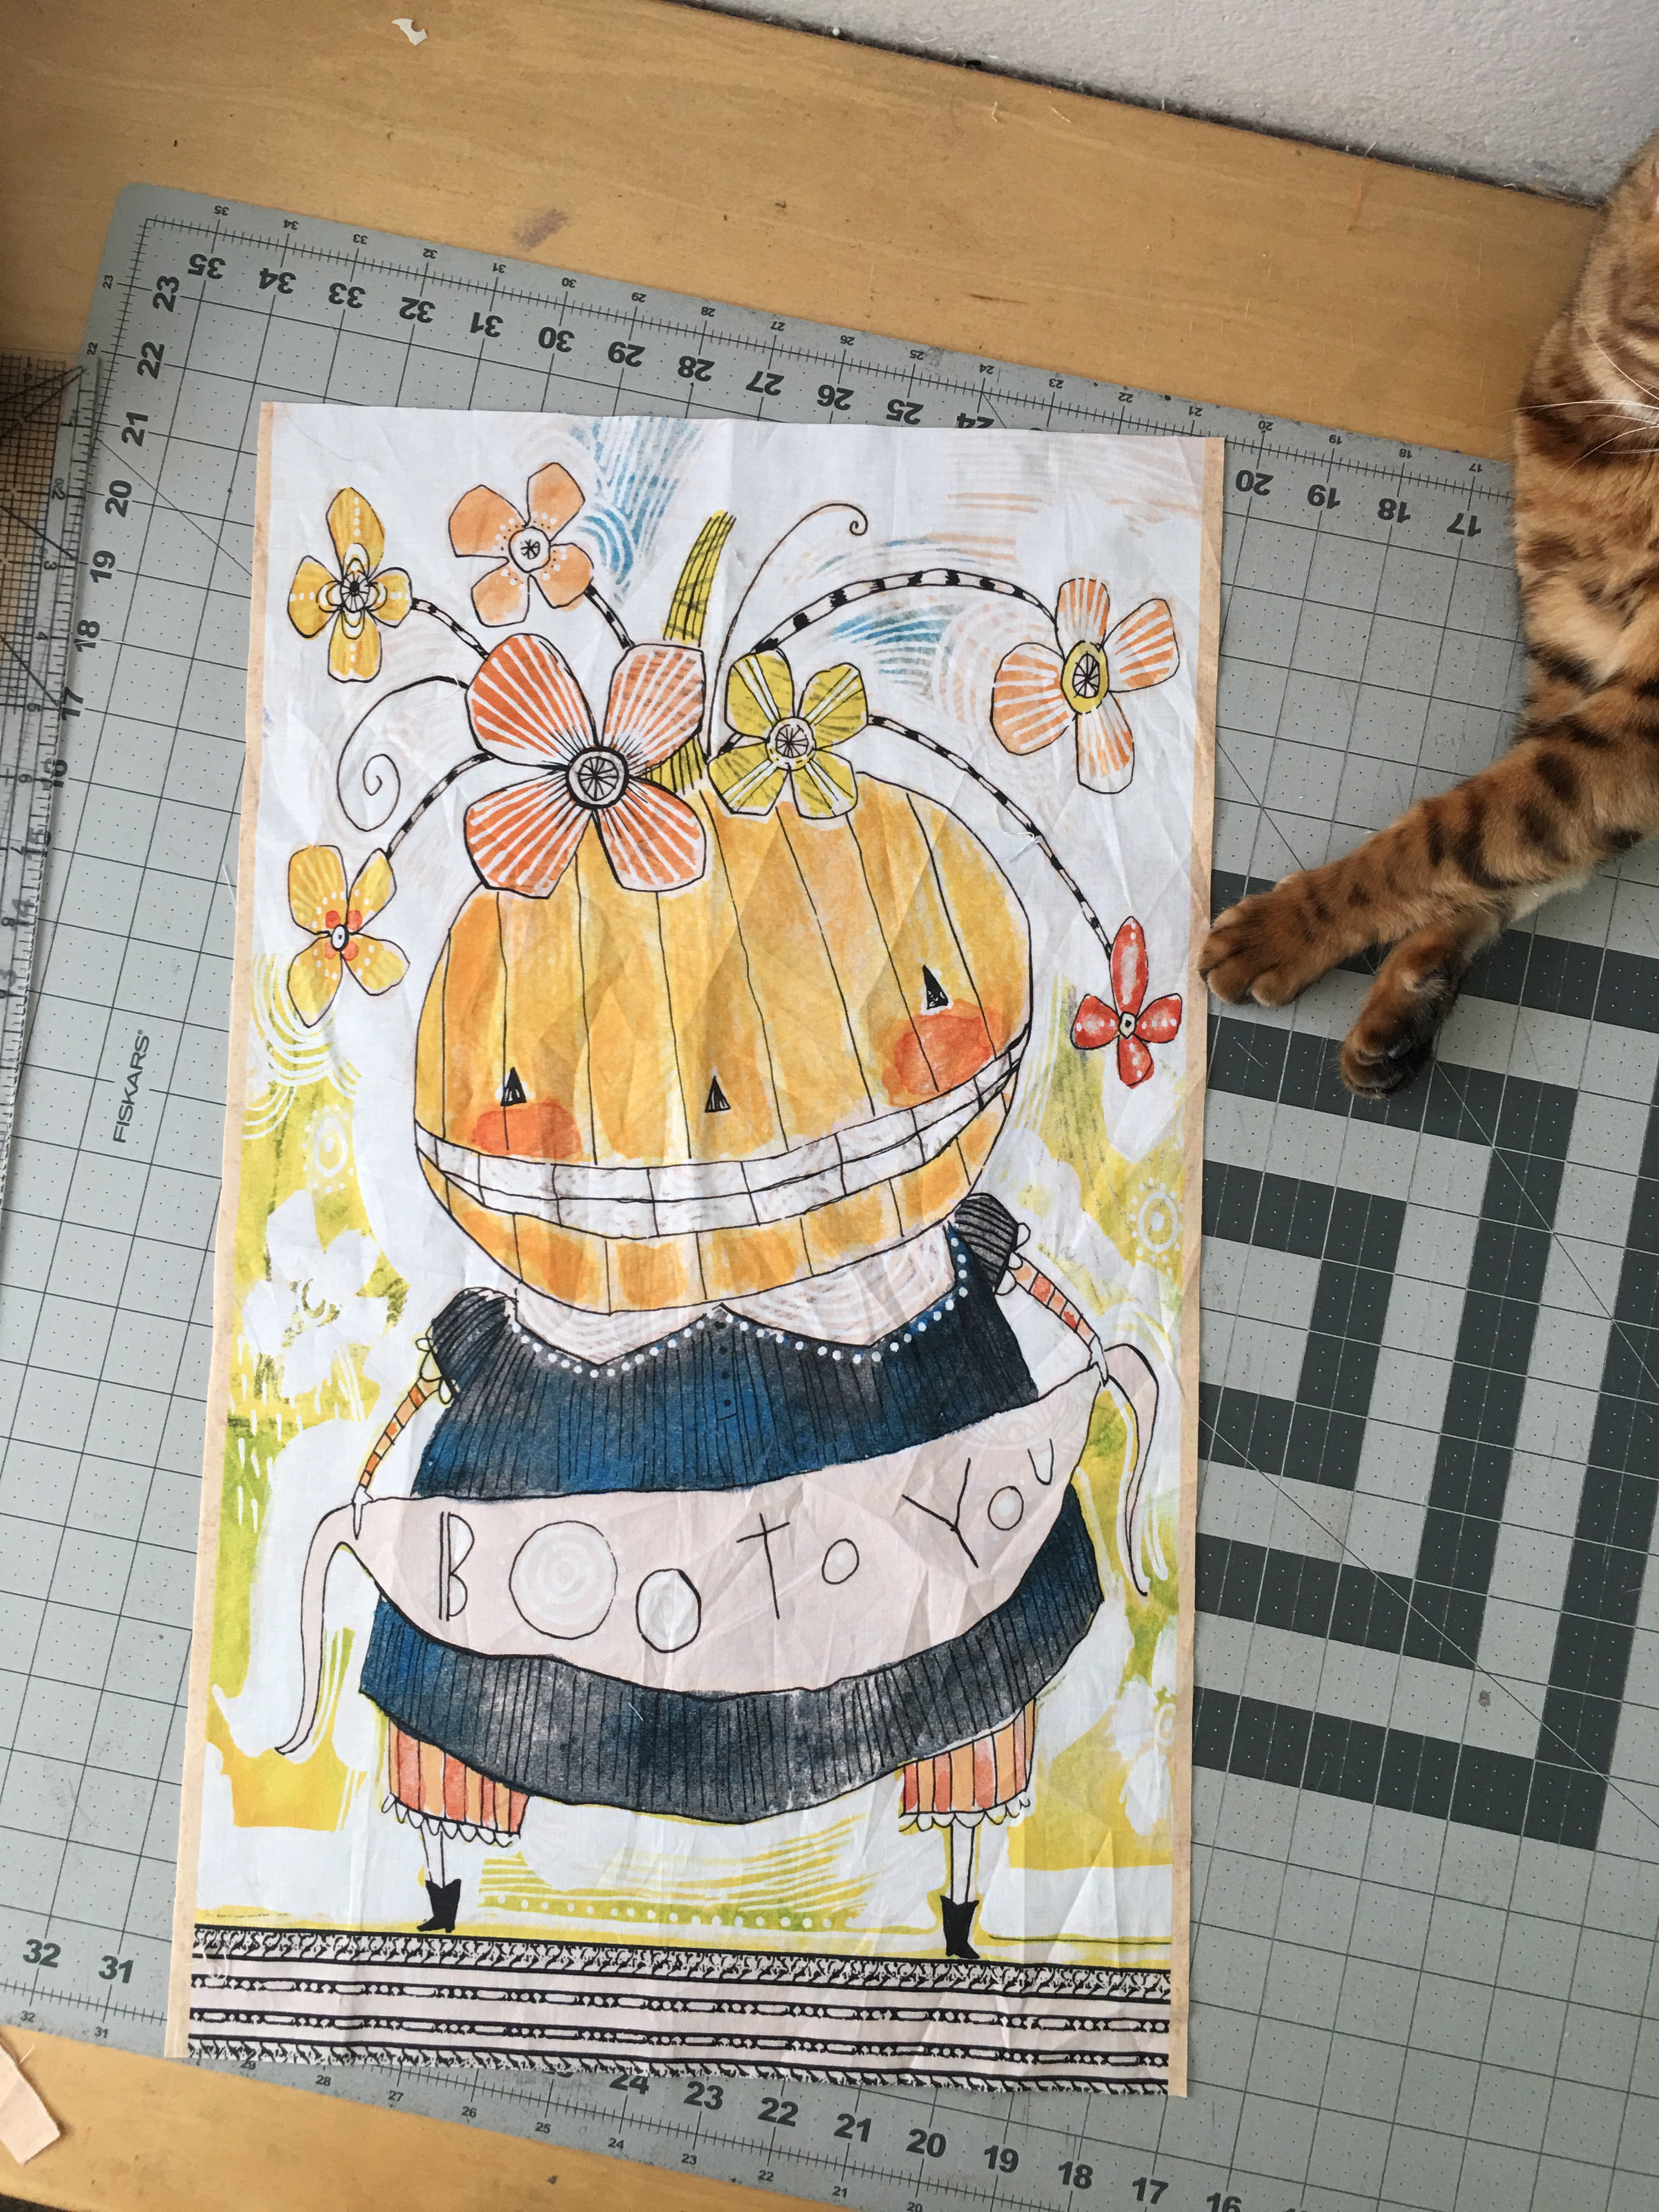
Mufasa seems pretty comfy on the new quilt!

vintage picnic little ruby quilt 14


Be sure to check out the completed quilts from these amazing bloggers!

Melissa from Happy Quilting
Angie from Gnome Angel
Erin Cox from Why Not Sew
Andy from A Bright Corner
Heidi from Buttons & Butterflies
Pat from Pat Sloan
Peta from She Quilts a Lot
Heather from Quilt Story
Megan from Quilt Story
Amanda from Jedi Craft Girl
Gerri from Planted Seed Designs
Sherri from A Quilting Life
Rebecca from Bryan House Quilts
Sherri from This & That Patterns
Jemima from Tied with a Ribbon
Alyce from Blossom Heart Quilts
Stephanie from Modern Sewciety
Brooke from Silly Mama Quilts
Carrie from Moda’s United Notions

Spooky Delights Quilt Along Part 2

SpookyDelights-Header

It’s week 2 of the Spooky Delights Quilt Along by Fat Quarter Shop!  This week it’s time to construct the center portion of the table runner!  You can find the pattern by clicking HERE.

IMG_6636

As soon as I got all my pieces cut out, Mufasa decided it was the purrrrrfect napping spot!

I love how these little pumpkins have a pinwheel and a door!

IMG_6675

And then it was time for another nap!!!

IMG_6681

Instead of appliquéing the center portion, I added 2.5″ strips that are off-set, keeping the center measurements the same so the borders will fit.

IMG_6680

This is so much fun and I love getting holiday items sewn early!!!

SpookyDelights-SM