So maybe I am the last person on earth to try a “DIY Cake Plate” – but that’s ok because they are so much fun to make. I collected plates, bowls, candle holders and other odds and ends from thrift stores, garage sales, and my own garage! Here’s how you make them:
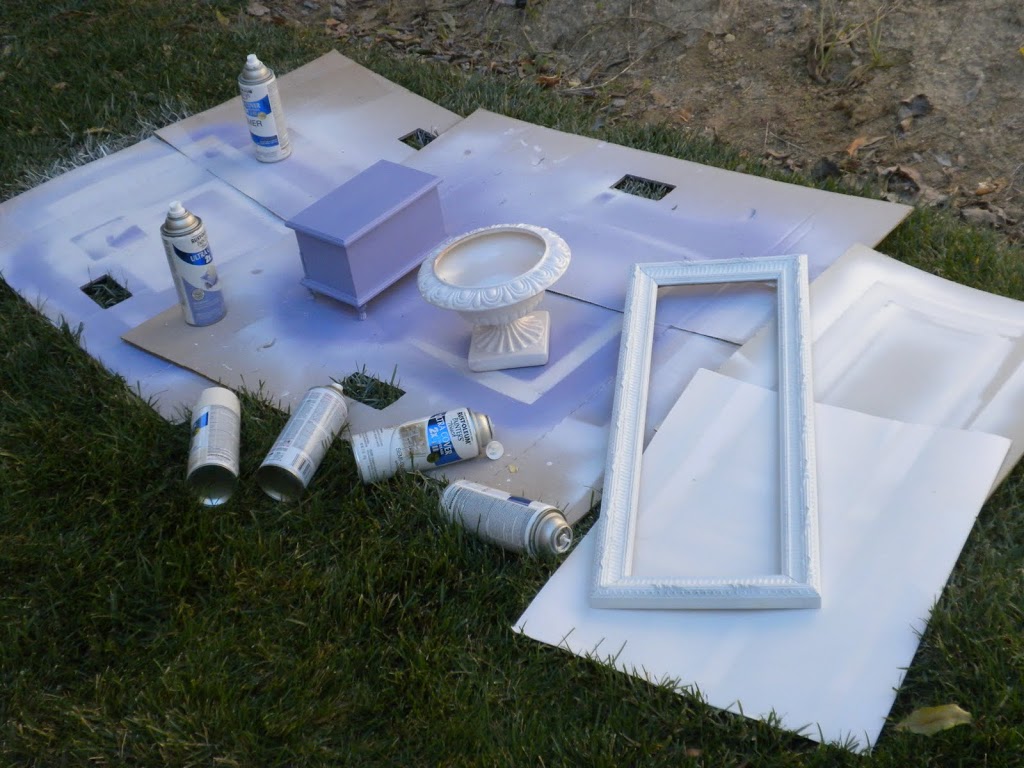
#1 – Clean all pieces (get all those impossible-to-remove labels off and any candle wax that has dripped down on candle holders). In this example I made 3 different ones.

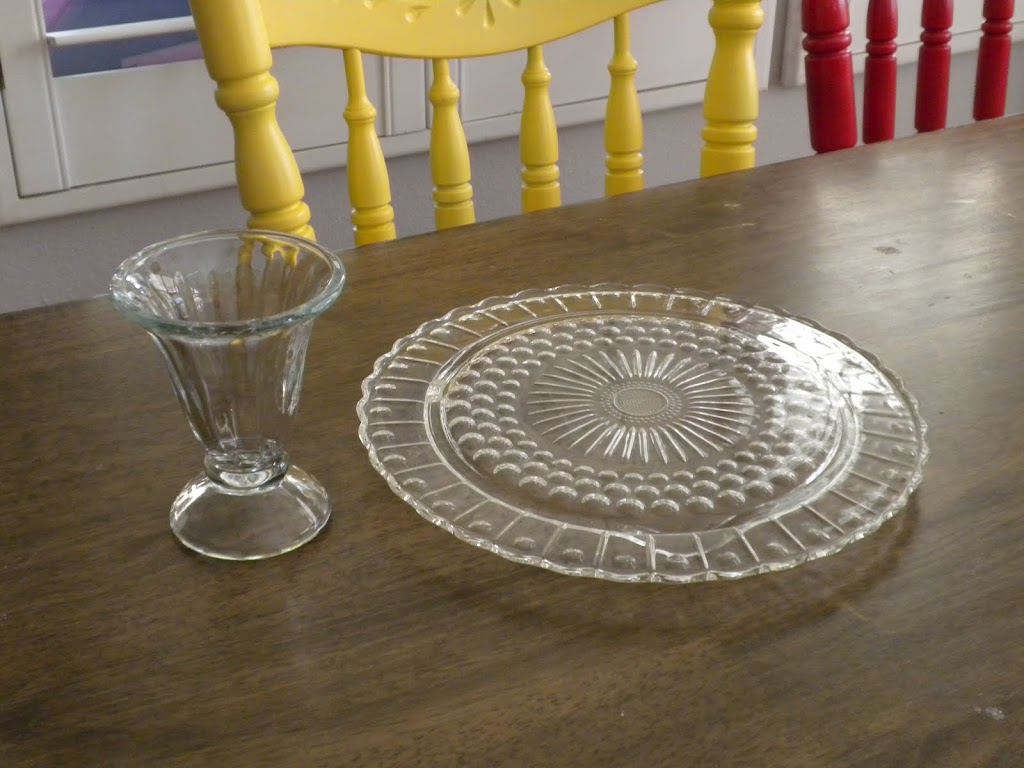
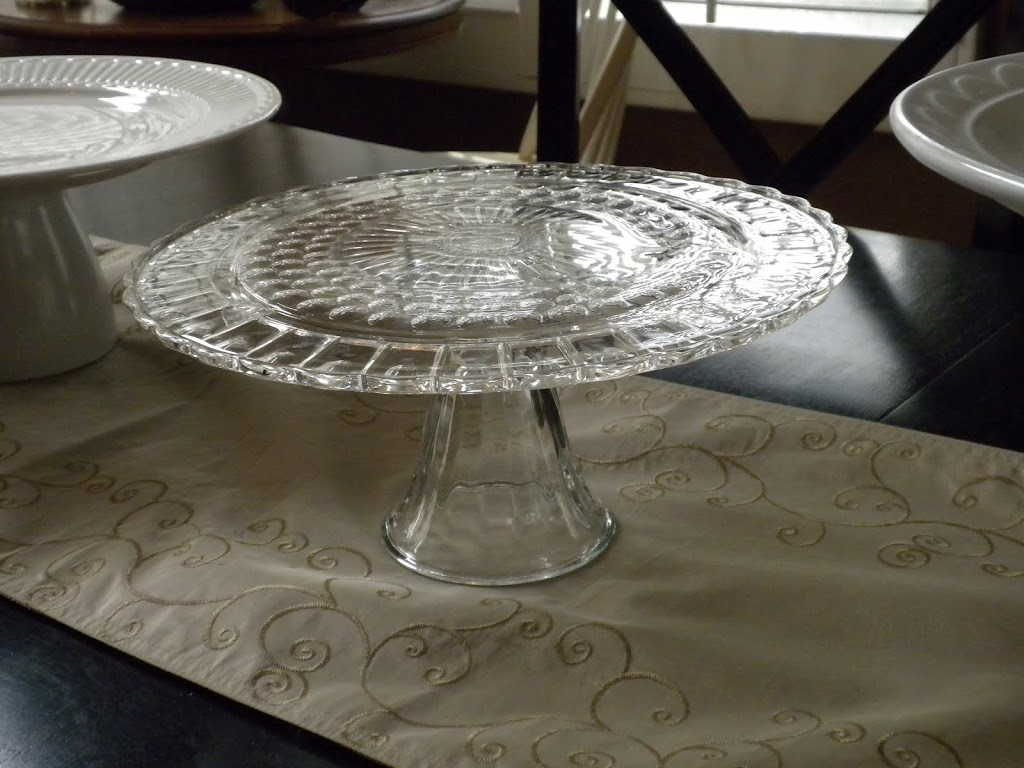
Glass plate & Ice cream sundae dish
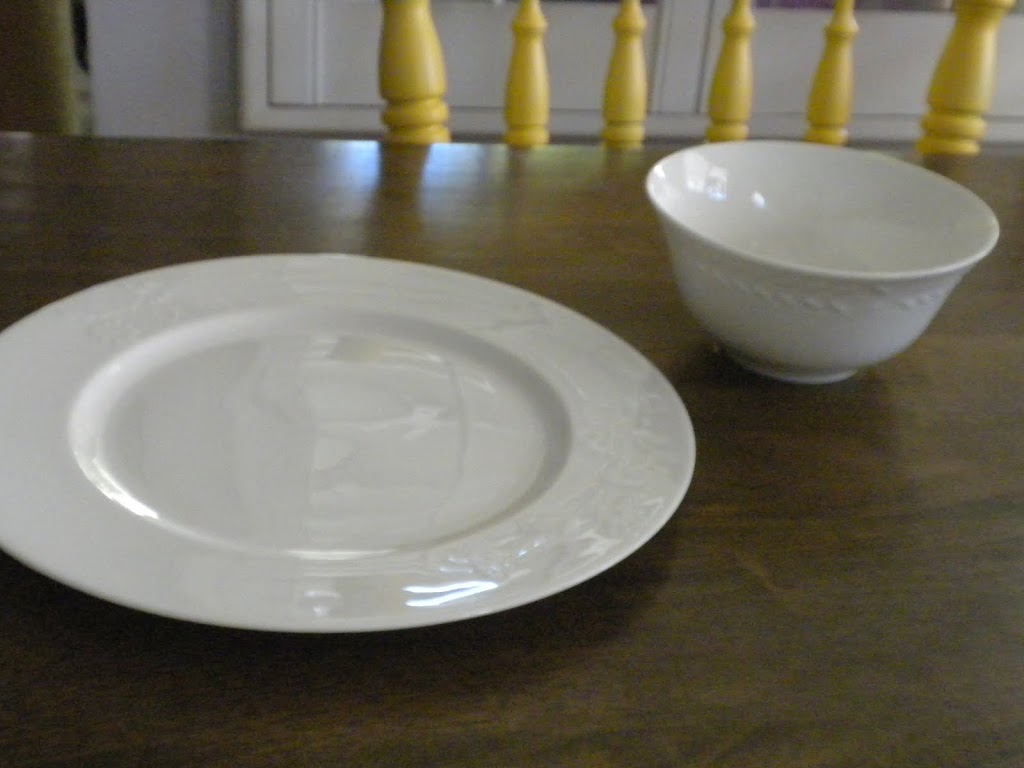
White plate & white bowl
#2 – Mix the Epoxy. I just used a small amount at a time because it dries so fast. I love working with epoxy because it makes me feel smart – like I know all about Science!!! I used a toothpick to apply the epoxy to the base of my cake plate (the part you will attach to the plate).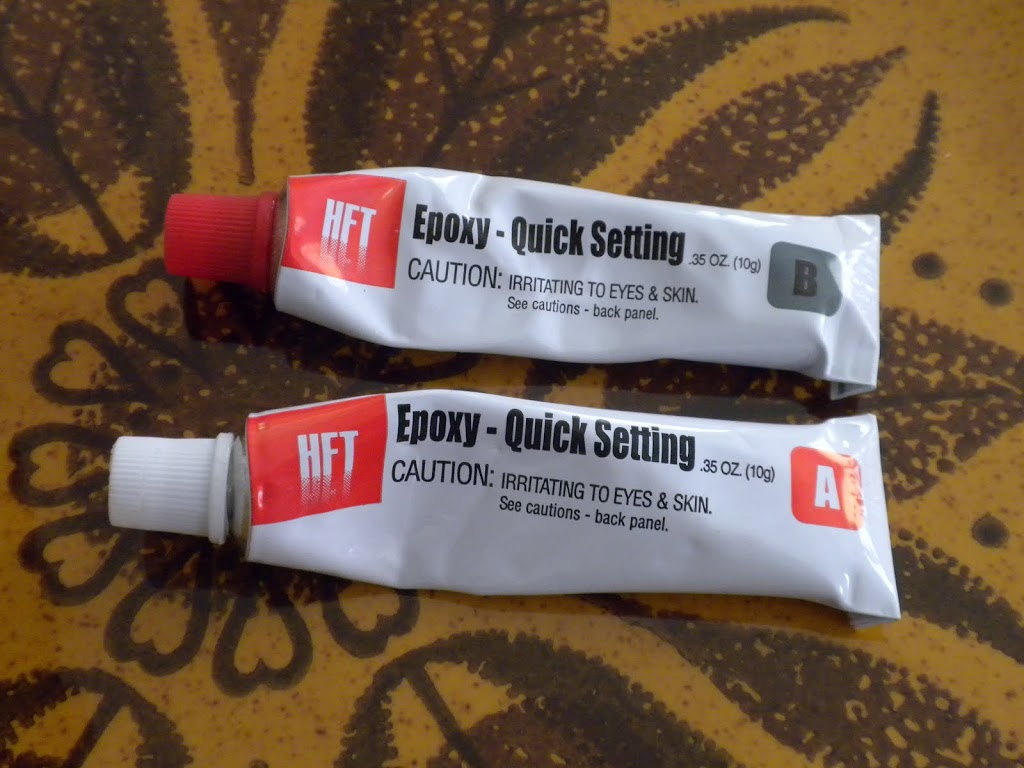
#3 Center the cake plate base onto the bottom of the plate. I placed a book to add some pressure. Let dry.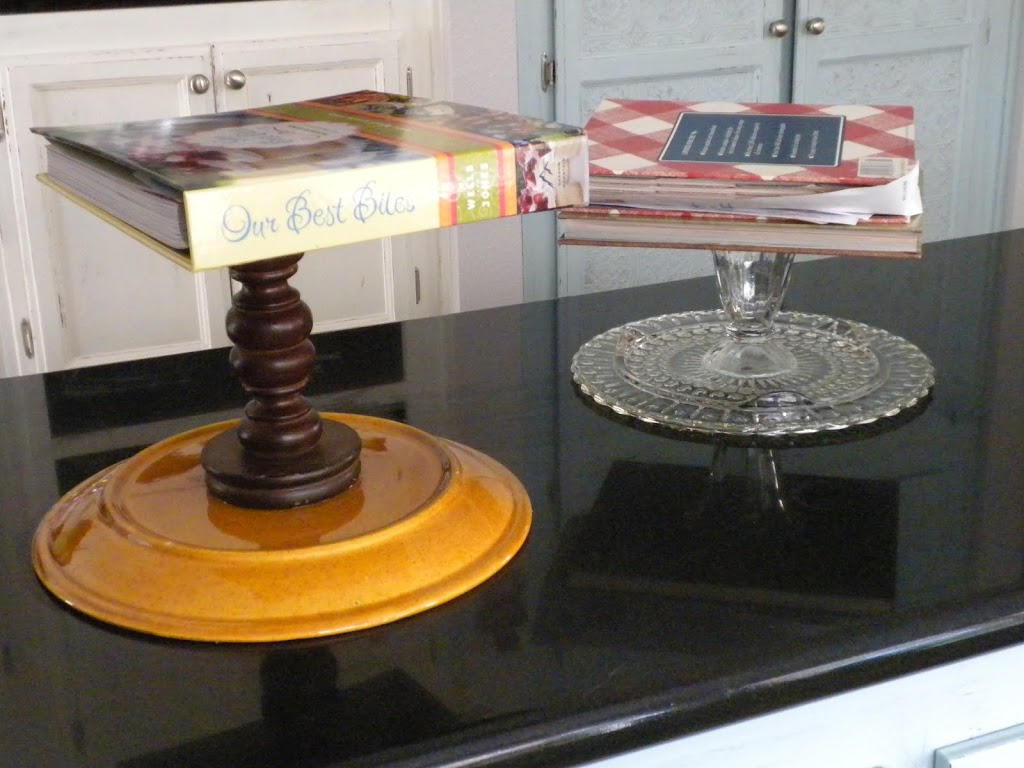
#4 Paint. If you love your plate & stand color & finish then you are done. If you don’t love them (like the gold plate above) then it’s time to spray paint. I primed the entire piece with spray primer then painted my plate gloss white. If you do paint the top of the plate, I don’t suggest placing food directly on the painted surface. Use a cardboard cake board or a doily.
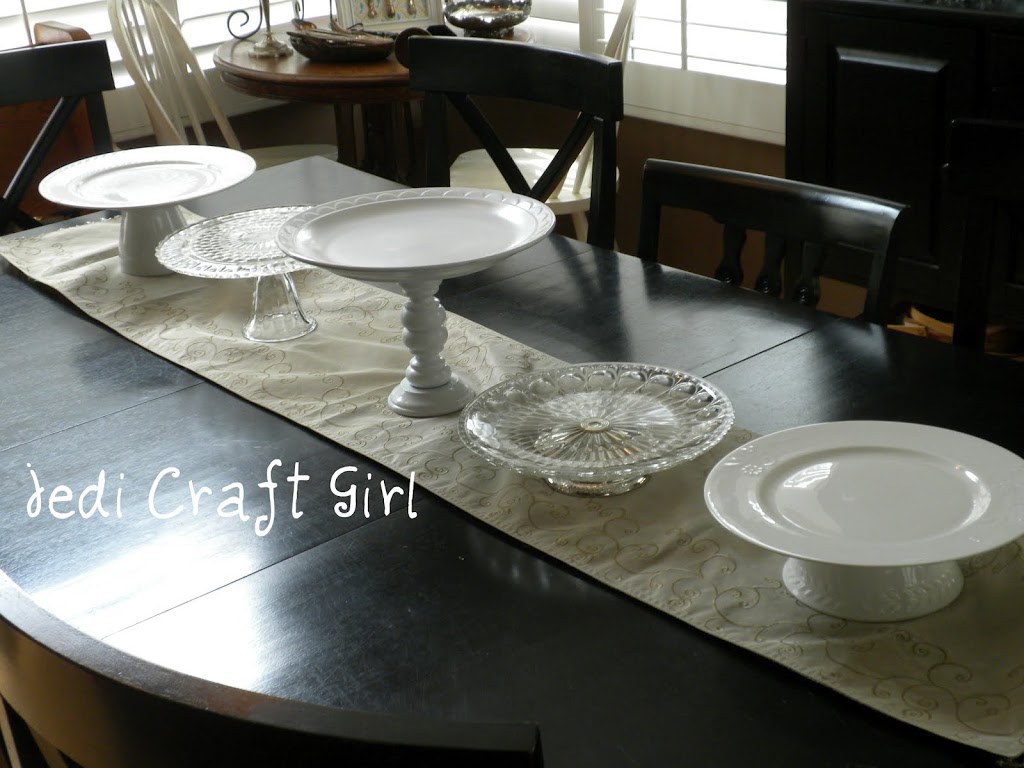
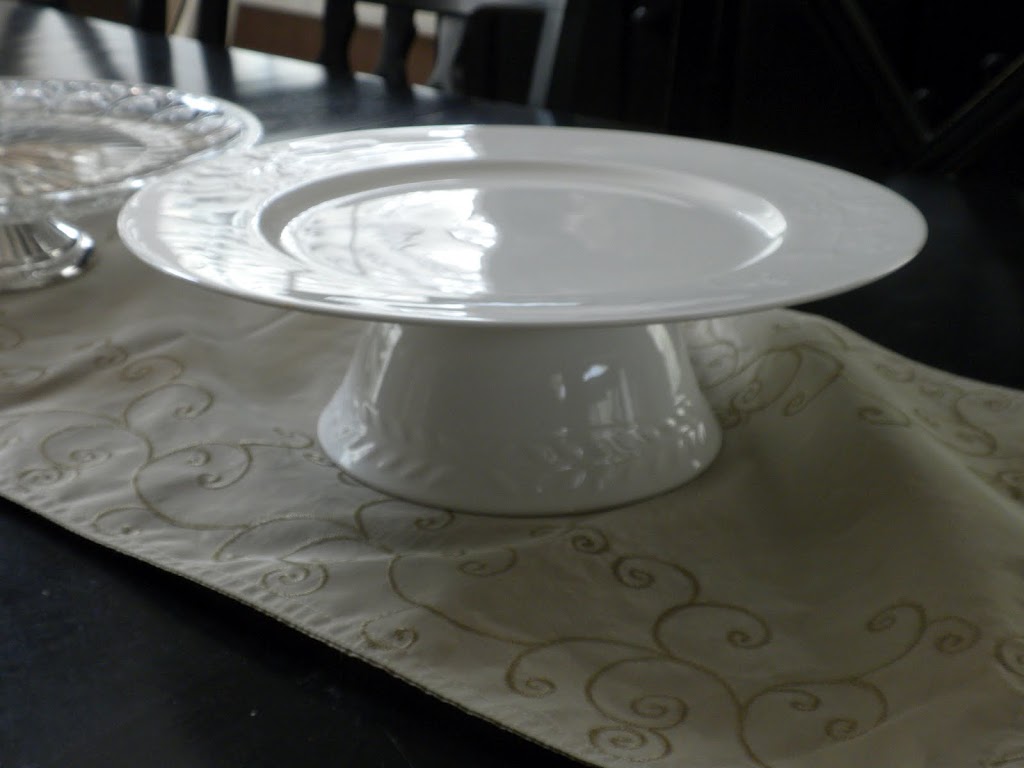
Here are the finished cake plates: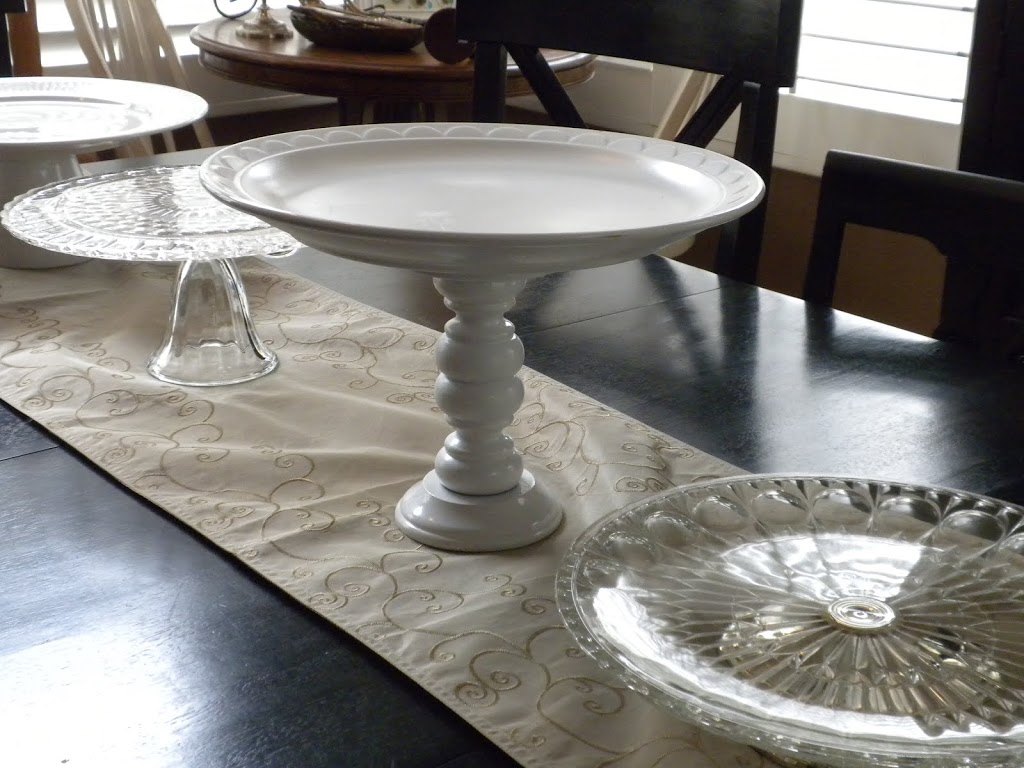
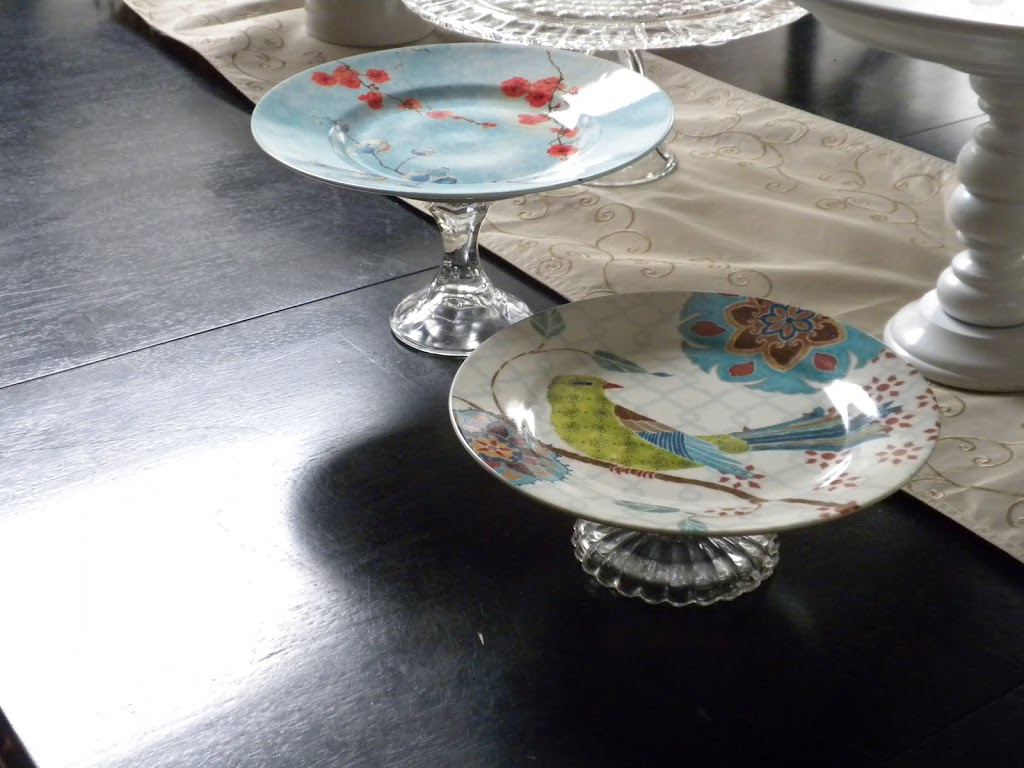
 I also found these cute dessert plates at Home Goods in the clearance section. I epoxied cut glass candle holders to the bottom. The possibilities are endless!!!