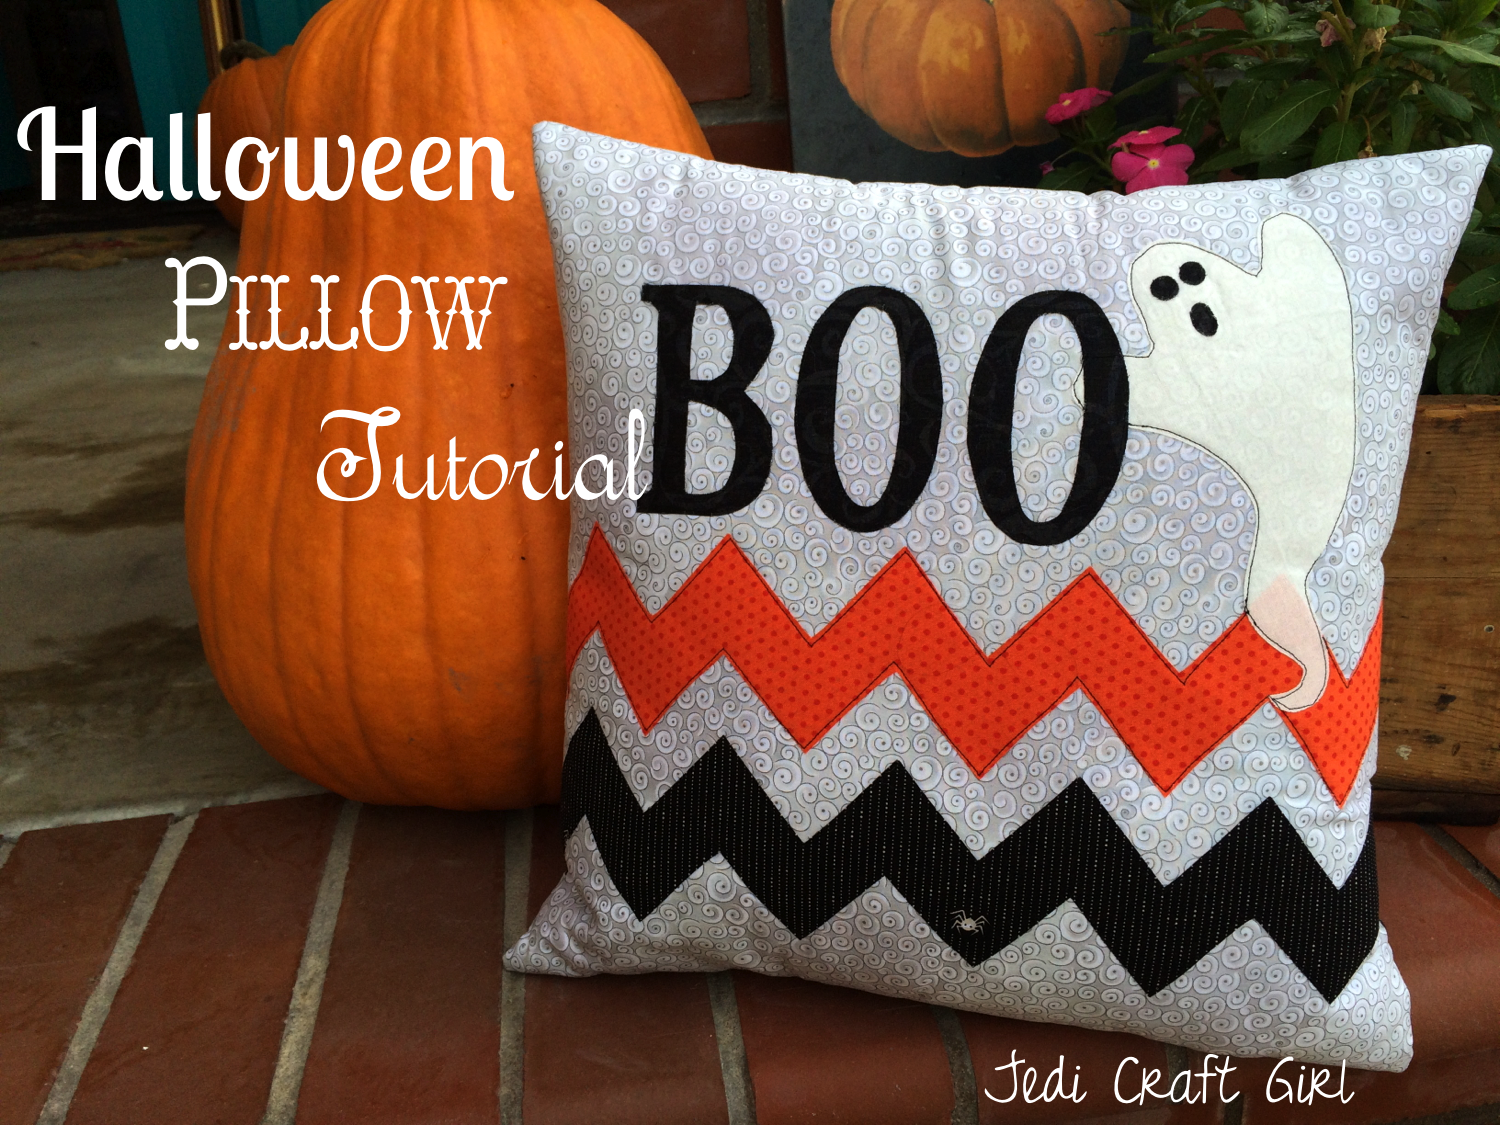
I can’t believe how fast October is flying by!! I made this festive pillow for a friend for her October pillow. Here’s how you can make one:
Supplies:
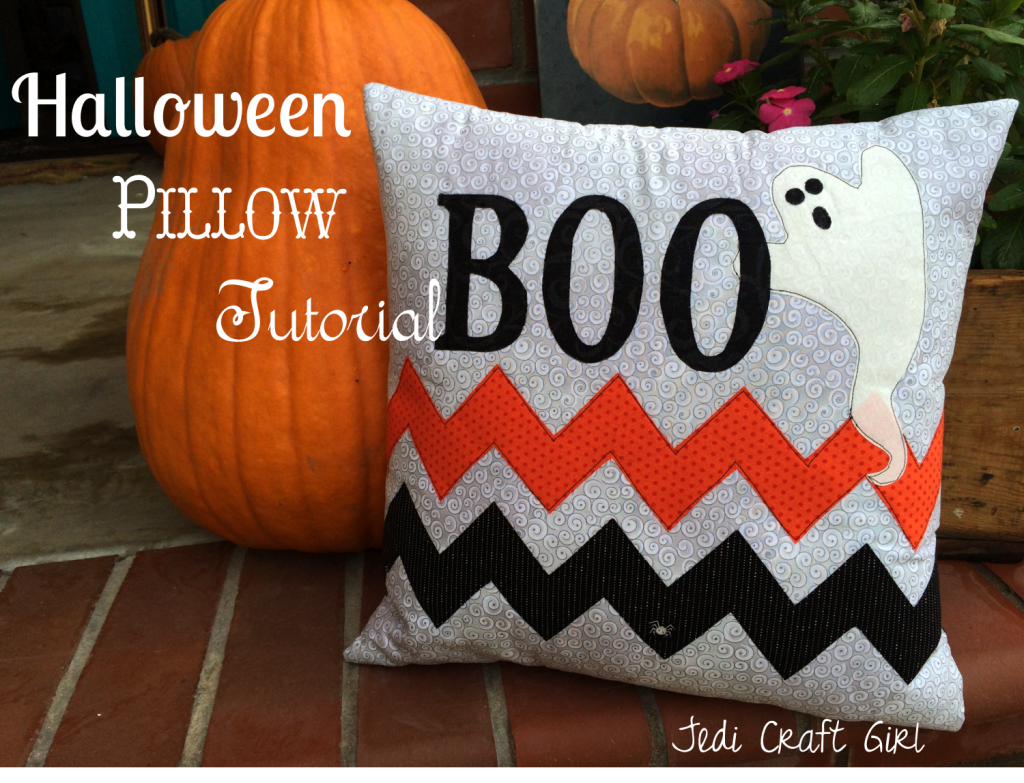
20″ x WOF background pillow fabric
1/4 yard orange fabric
1/4 yard black fabric
scrap of white fabric
Therm O Web Heat n Bond Lite
20″ pillow form
22″ or longer zipper
Pattern, Click HERE
Begin by cutting (2) 20″ squares of the background pillow fabric
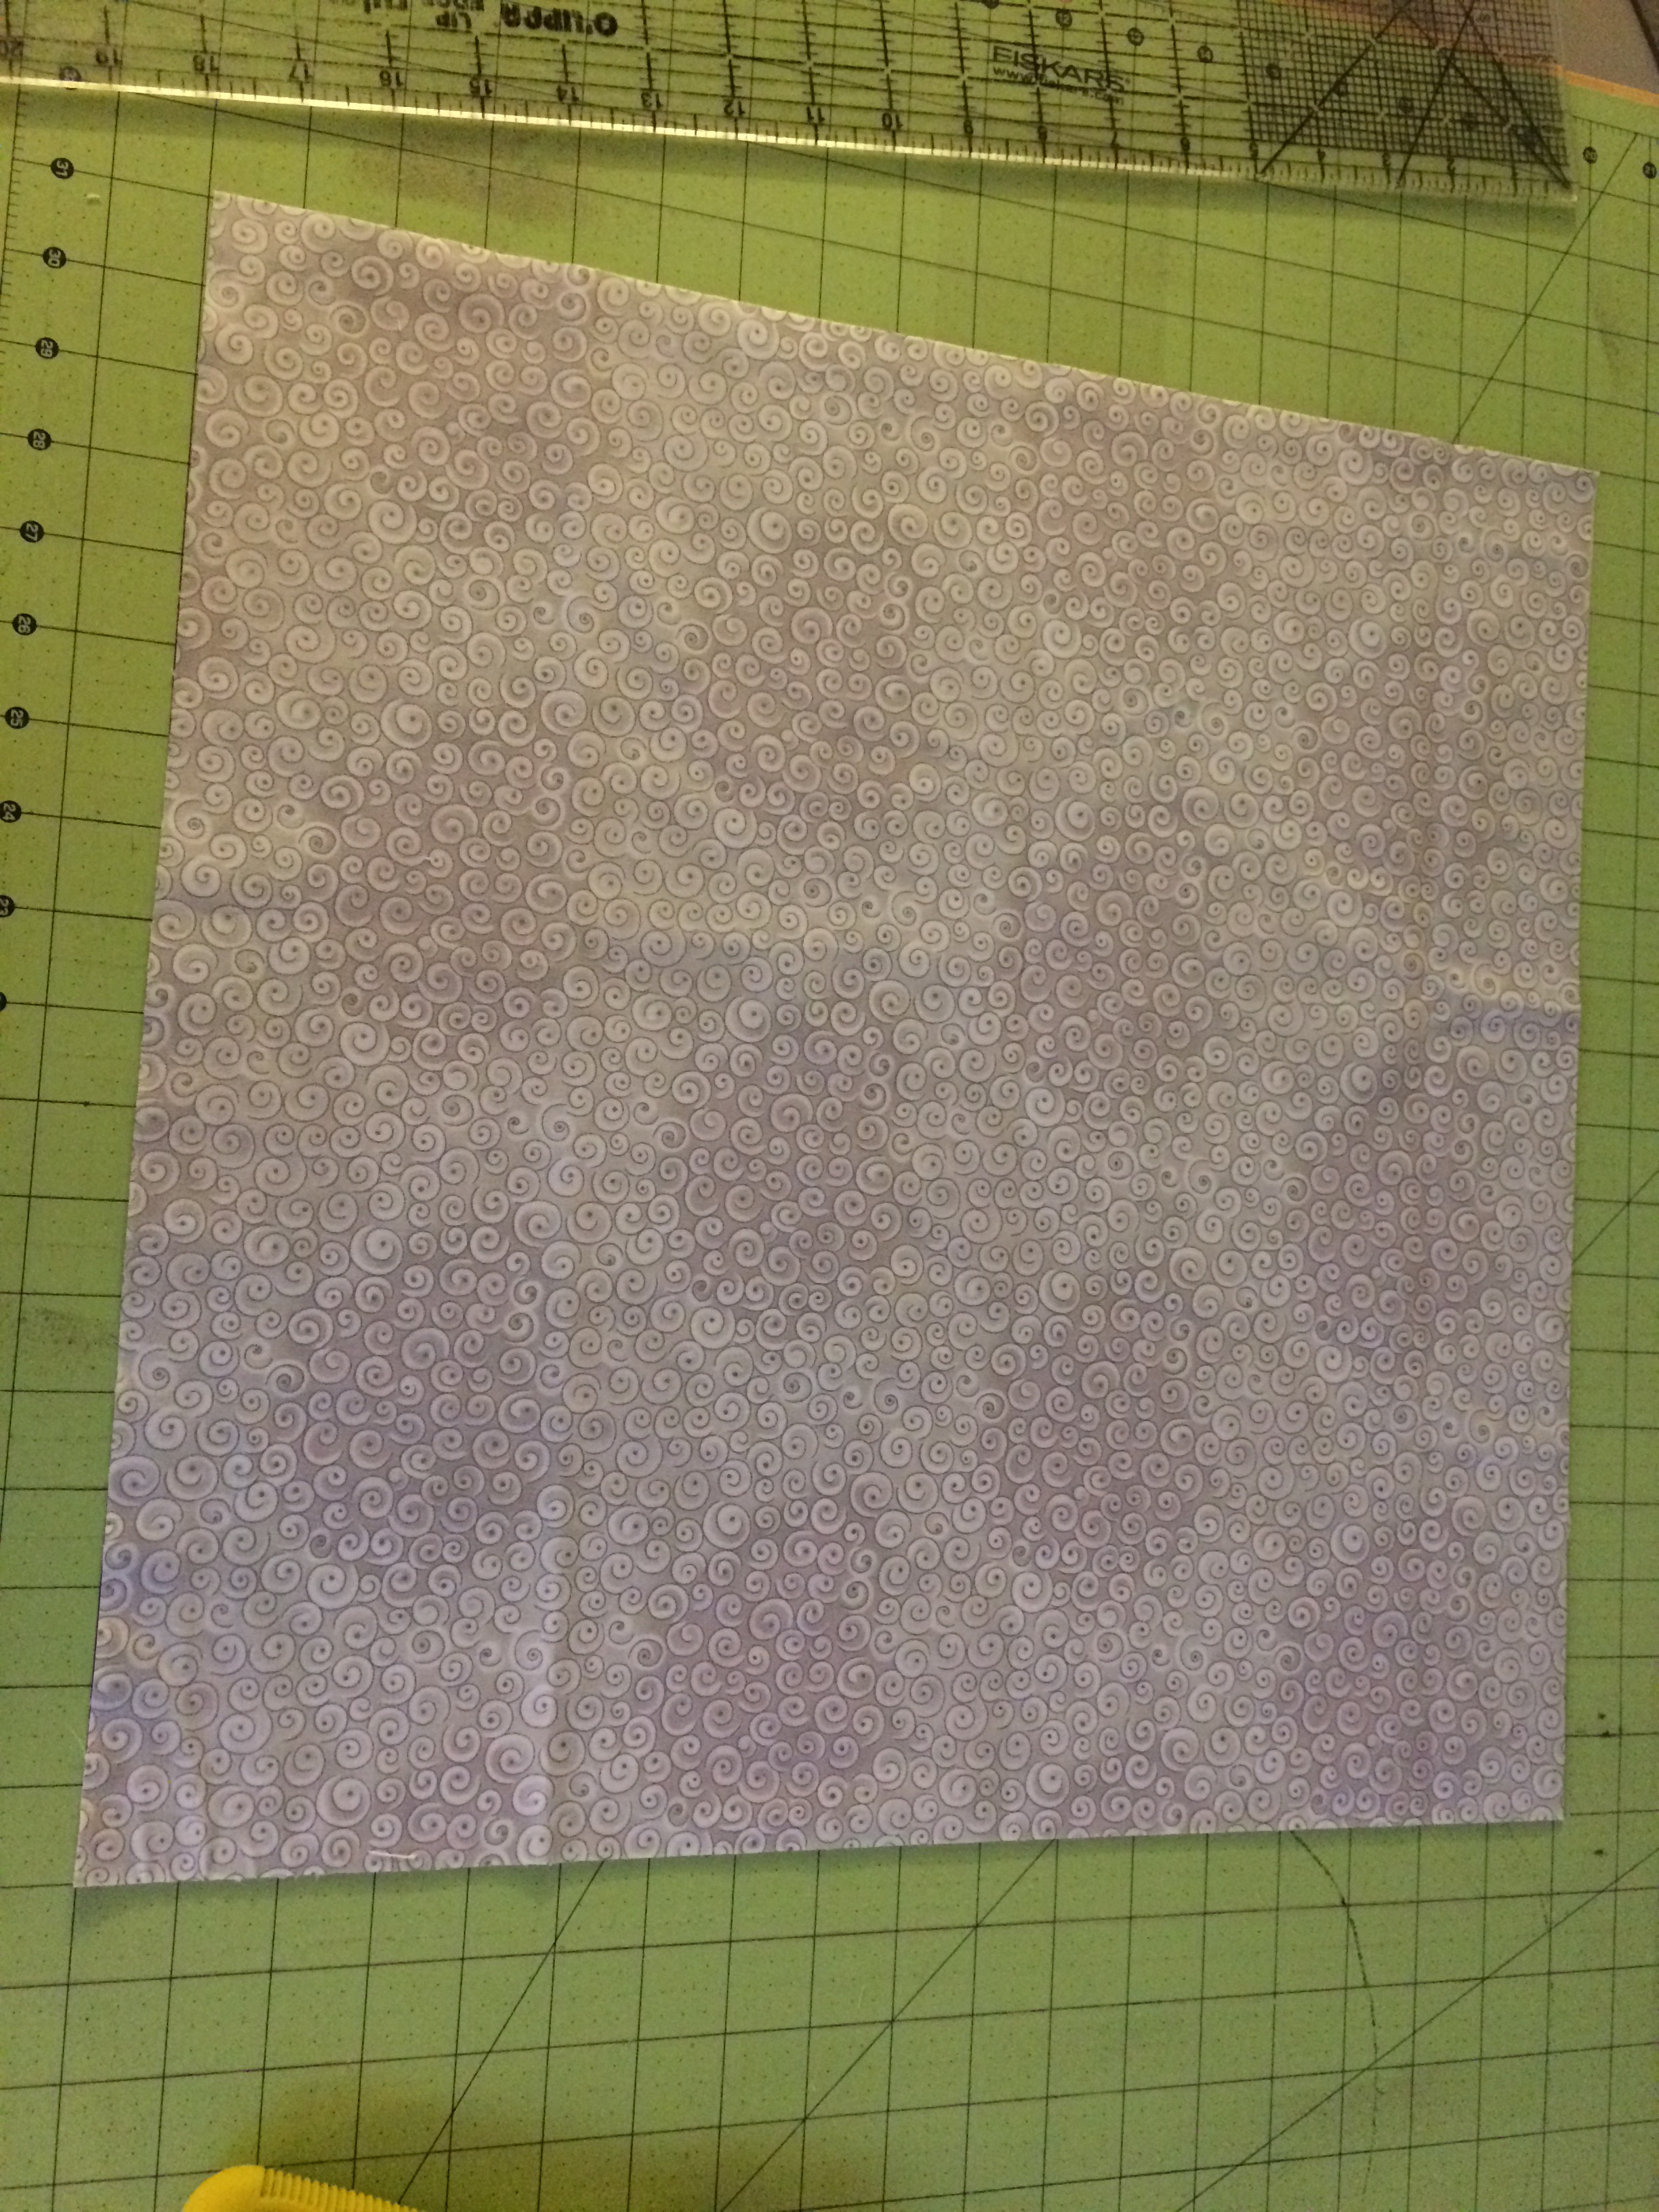
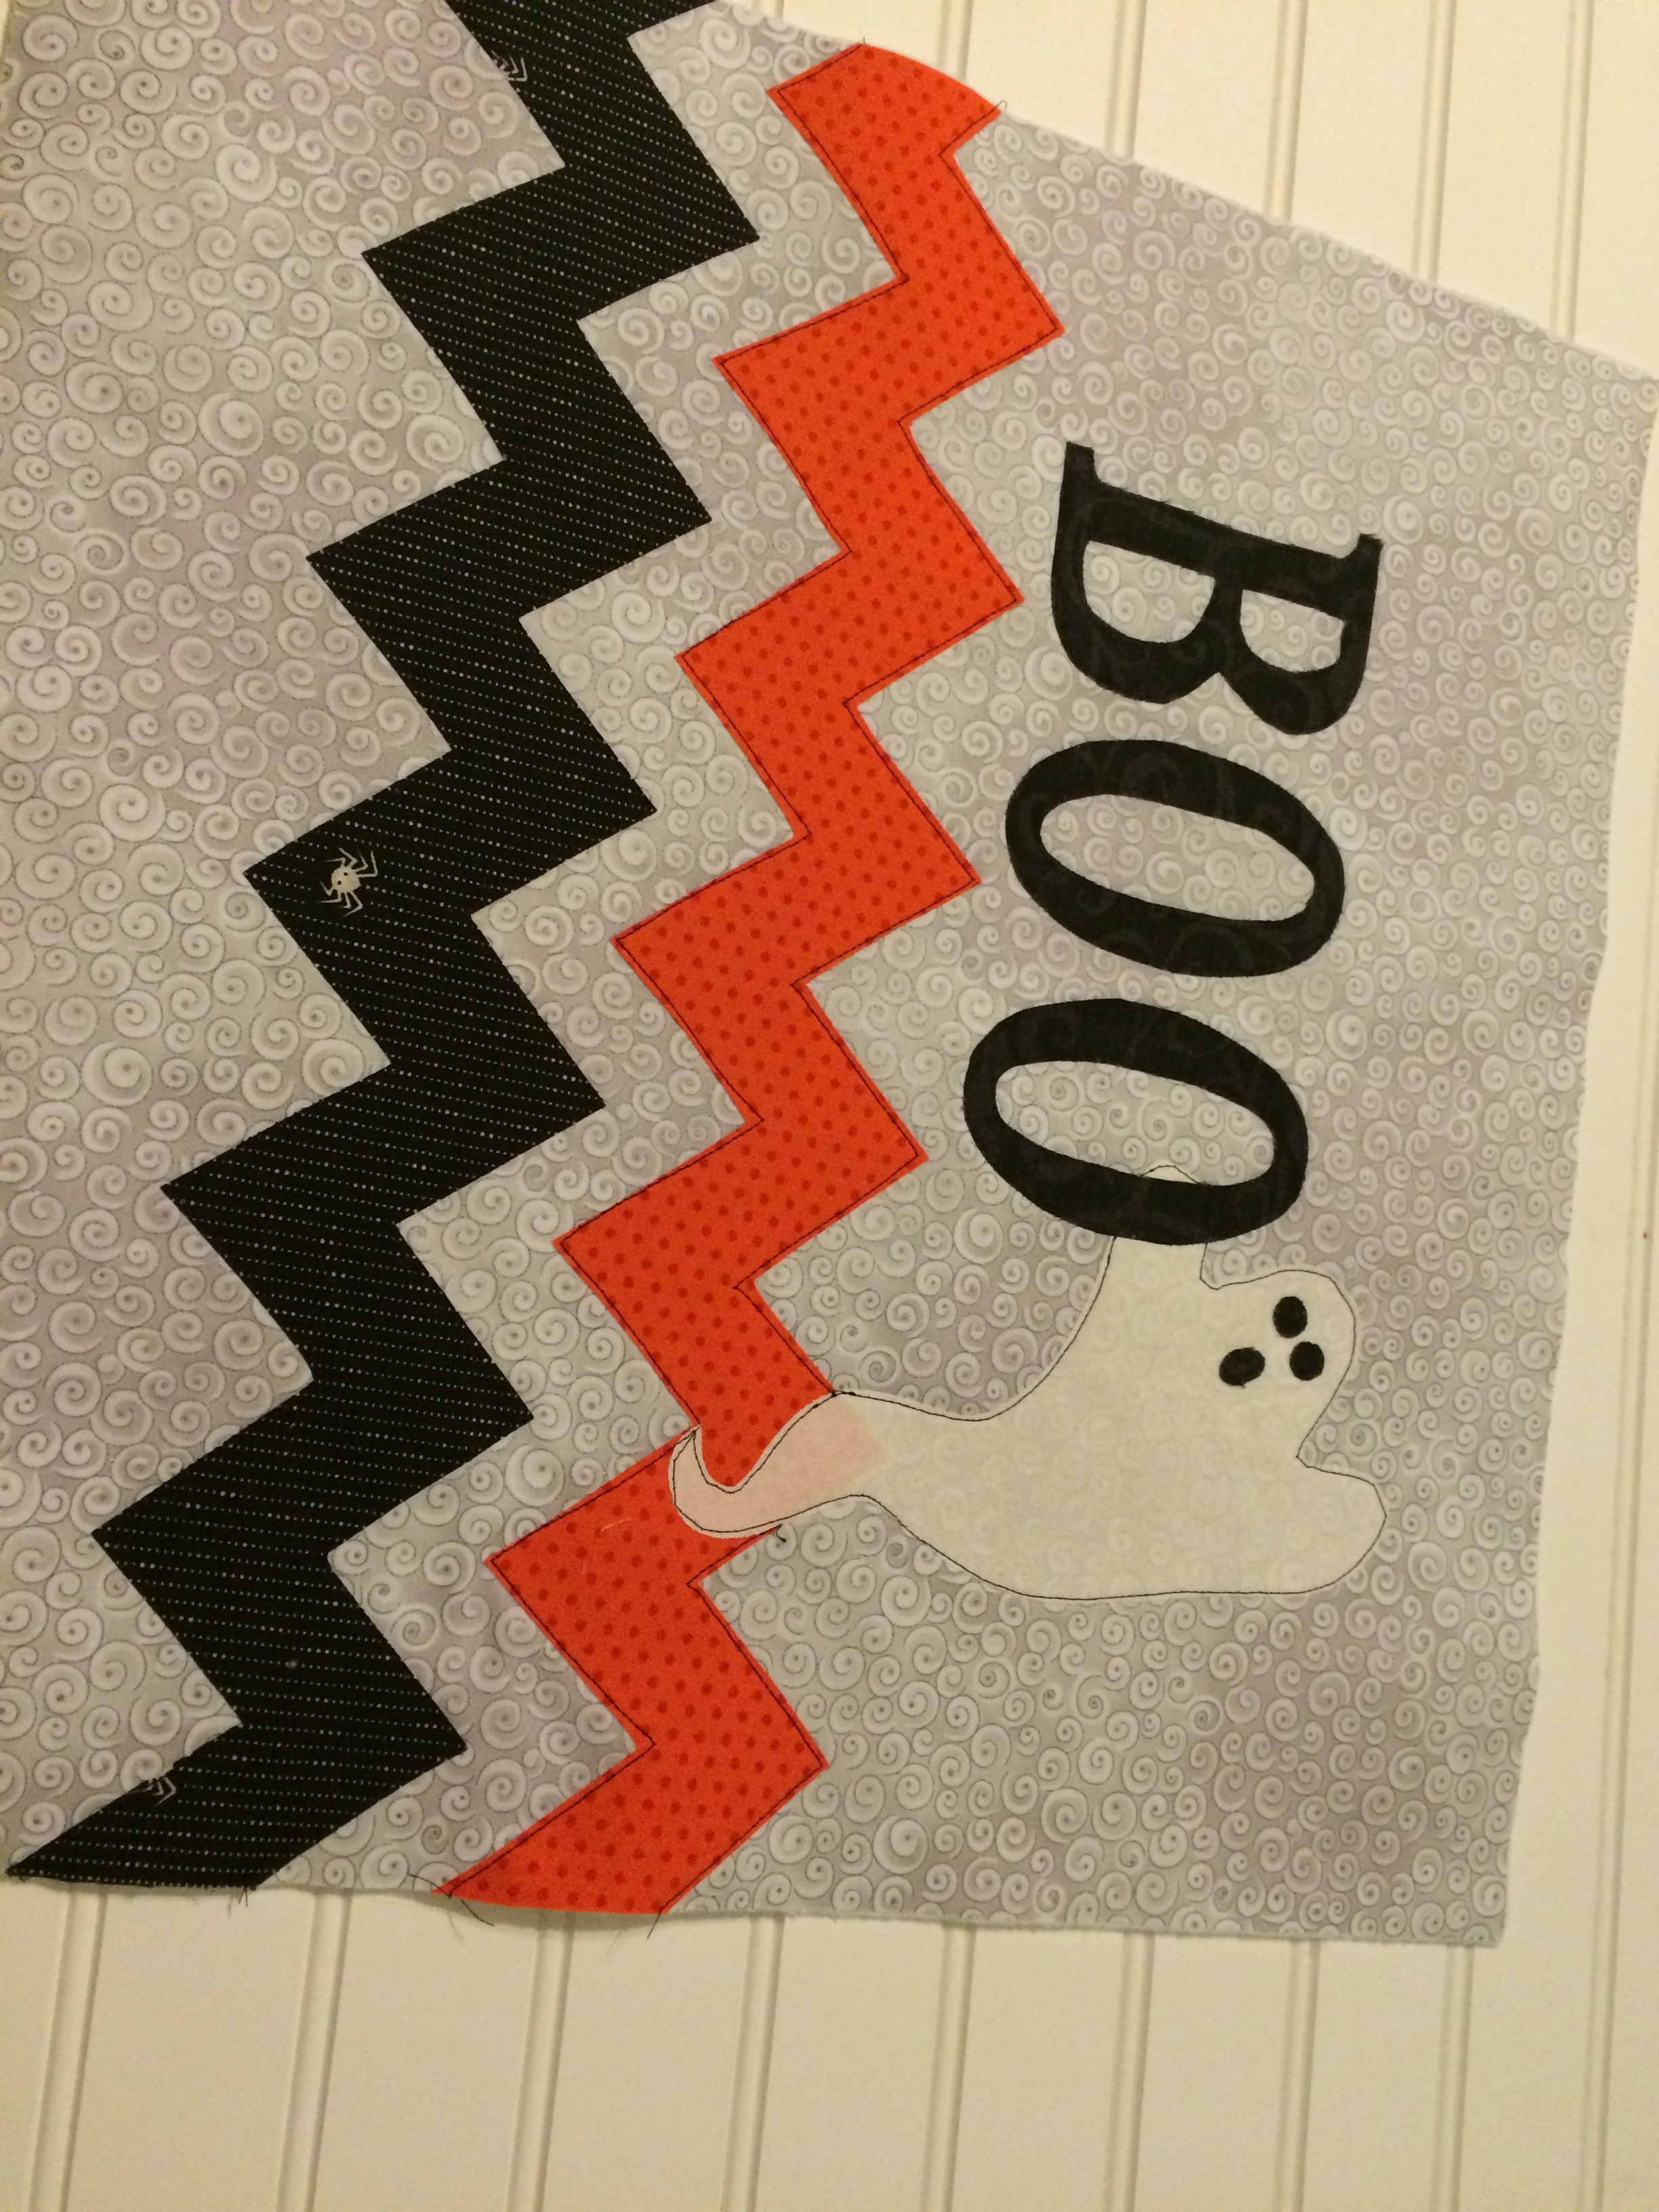
Trace the chevron print on the Heat n Bond Lite. You will need (2) 20″ sections of chevron
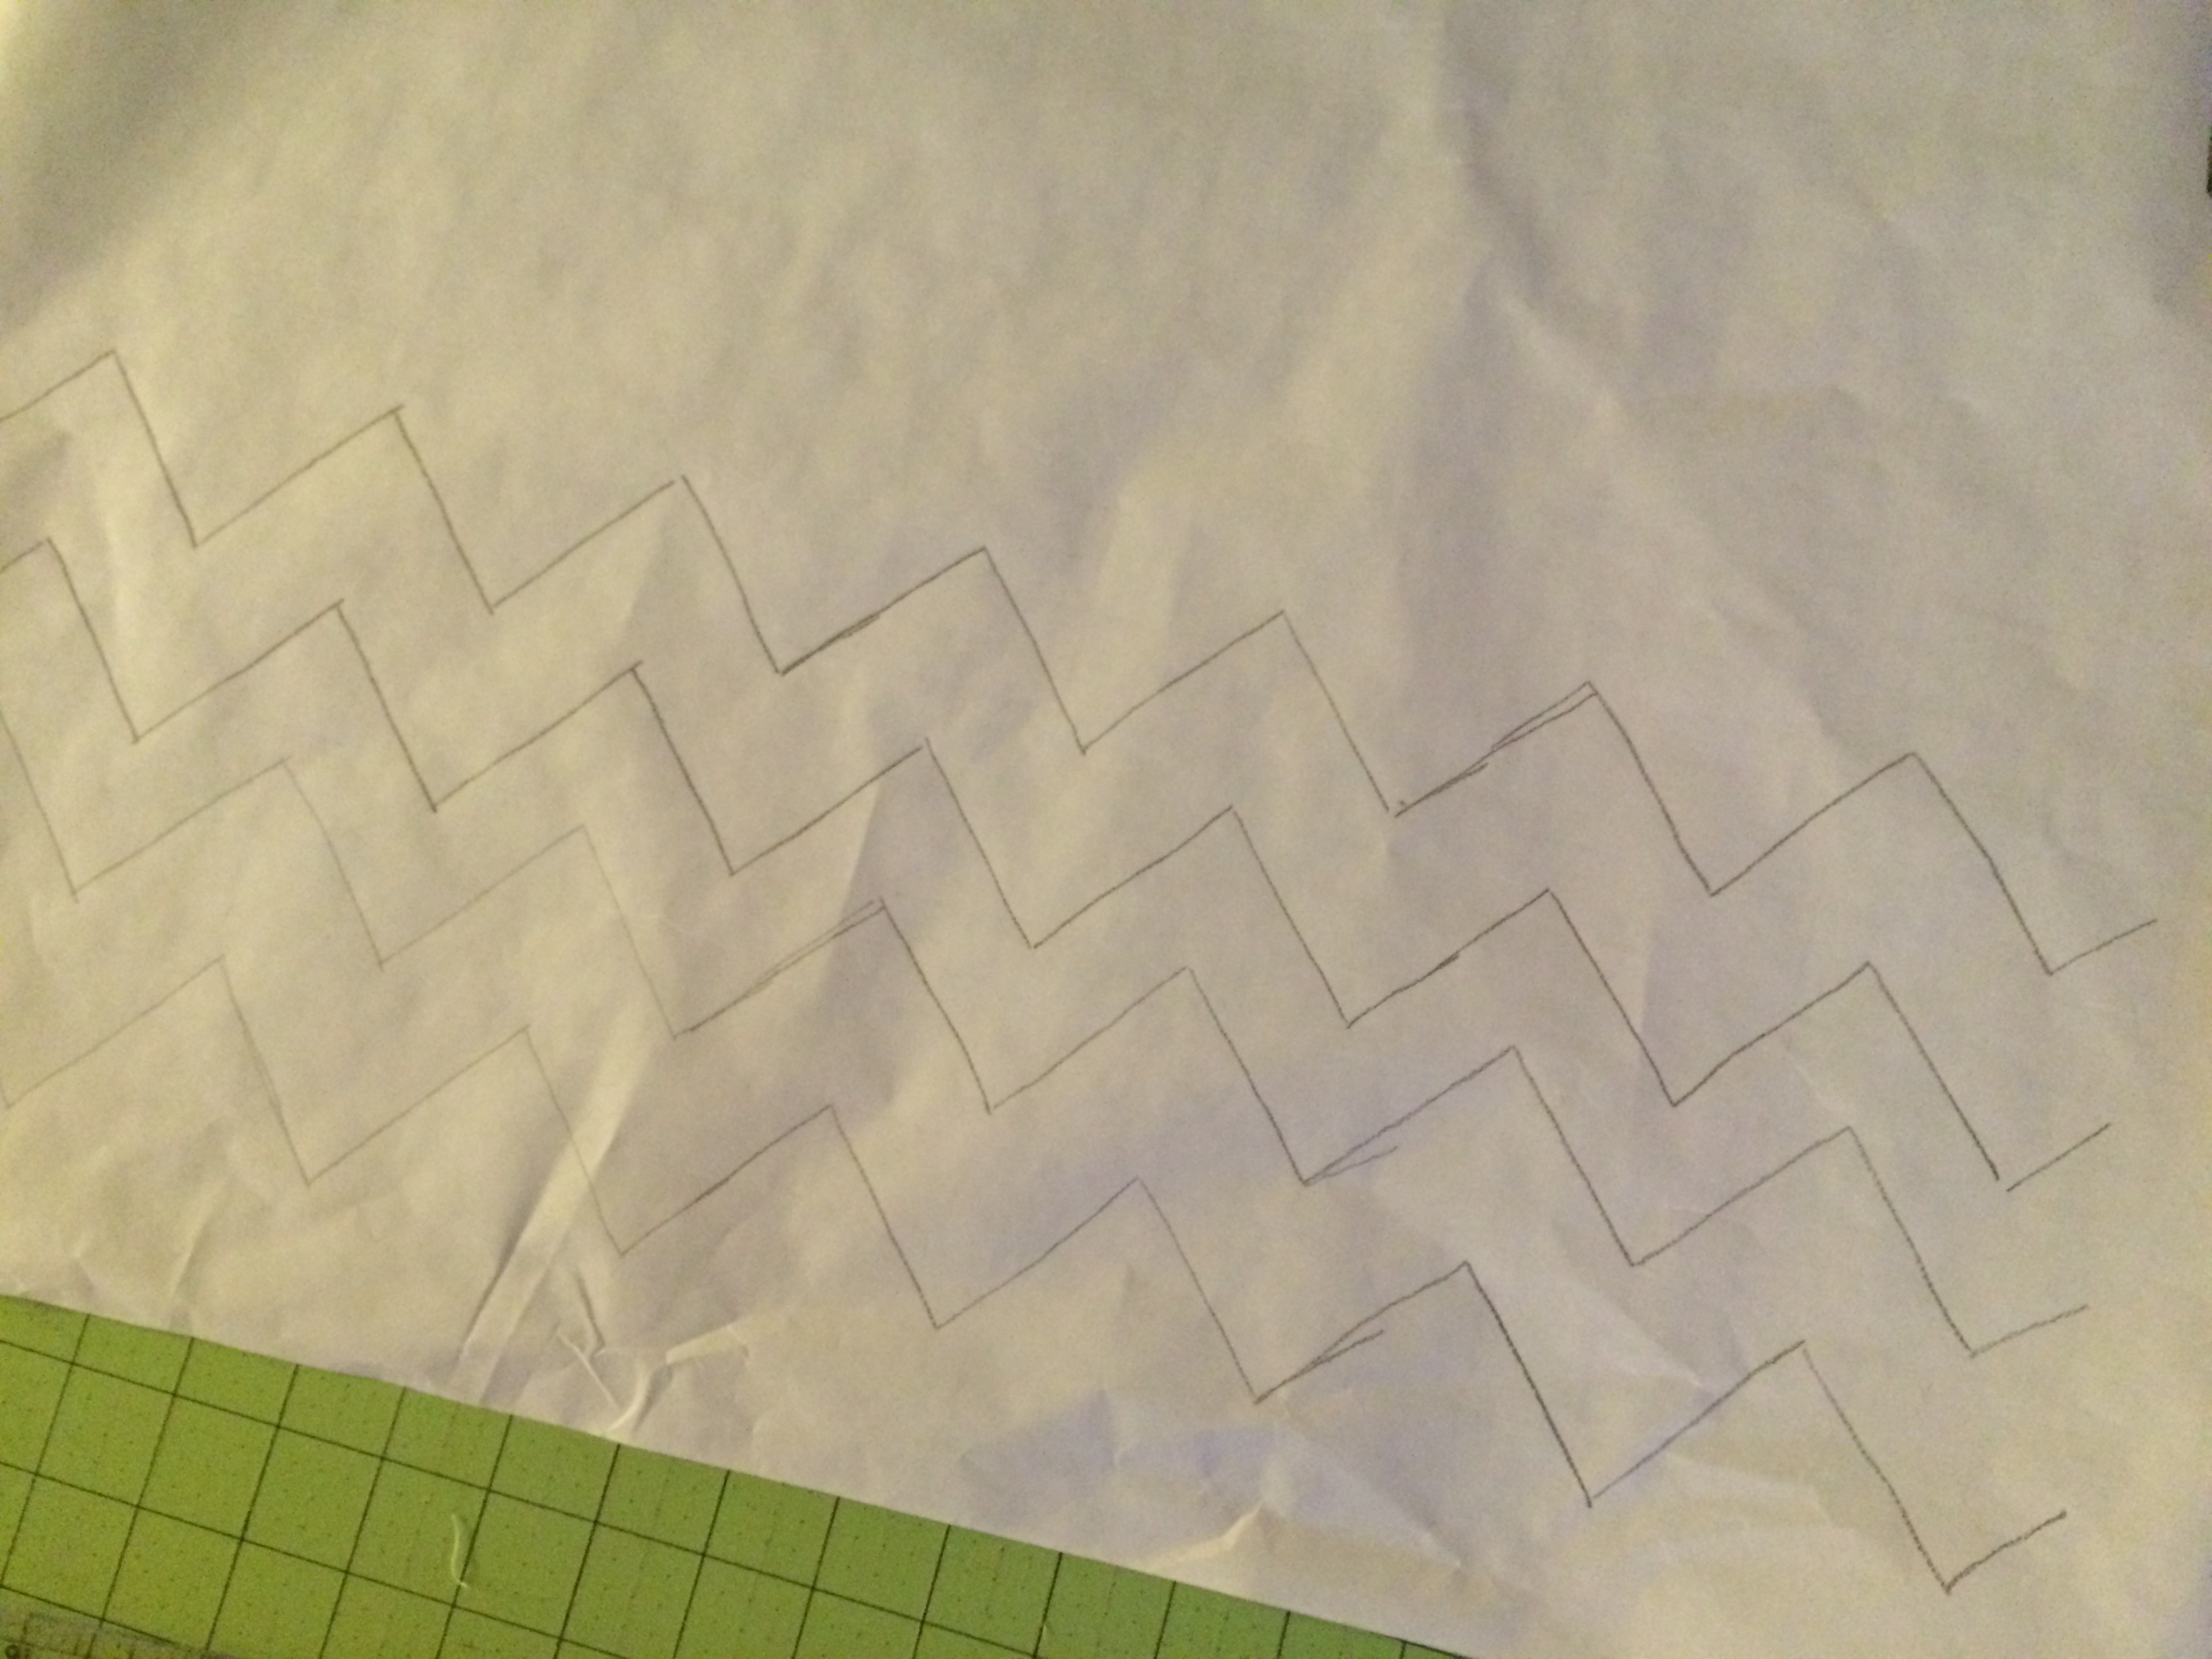
Roughly cut the chevron strips out and press them to the wrong side of the orange and the black fabric. Then cut along the chevron pattern lines.
Trace the BOO onto the Heat n Bond Lite or print on the Heat n Bond EZ Sheets. Iron it to the back of the black fabric. Do the same with the ghost pattern and iron it on the back of the white fabric. Peel the paper back off the Heat n Bond and position as pictured below. Press into place. Outline stitch with black fabric. Cut 3 small circles/ovals for the ghost eyes and nose out of the scraps of the black fabric with heat n bond on the back. Add to the ghost.

For the pillow back, cut a 3″ strip off of the 20″ pillow back. This is where the zipper will go.

Sew the zipper joining the 2 pieces of the pillow back. Press.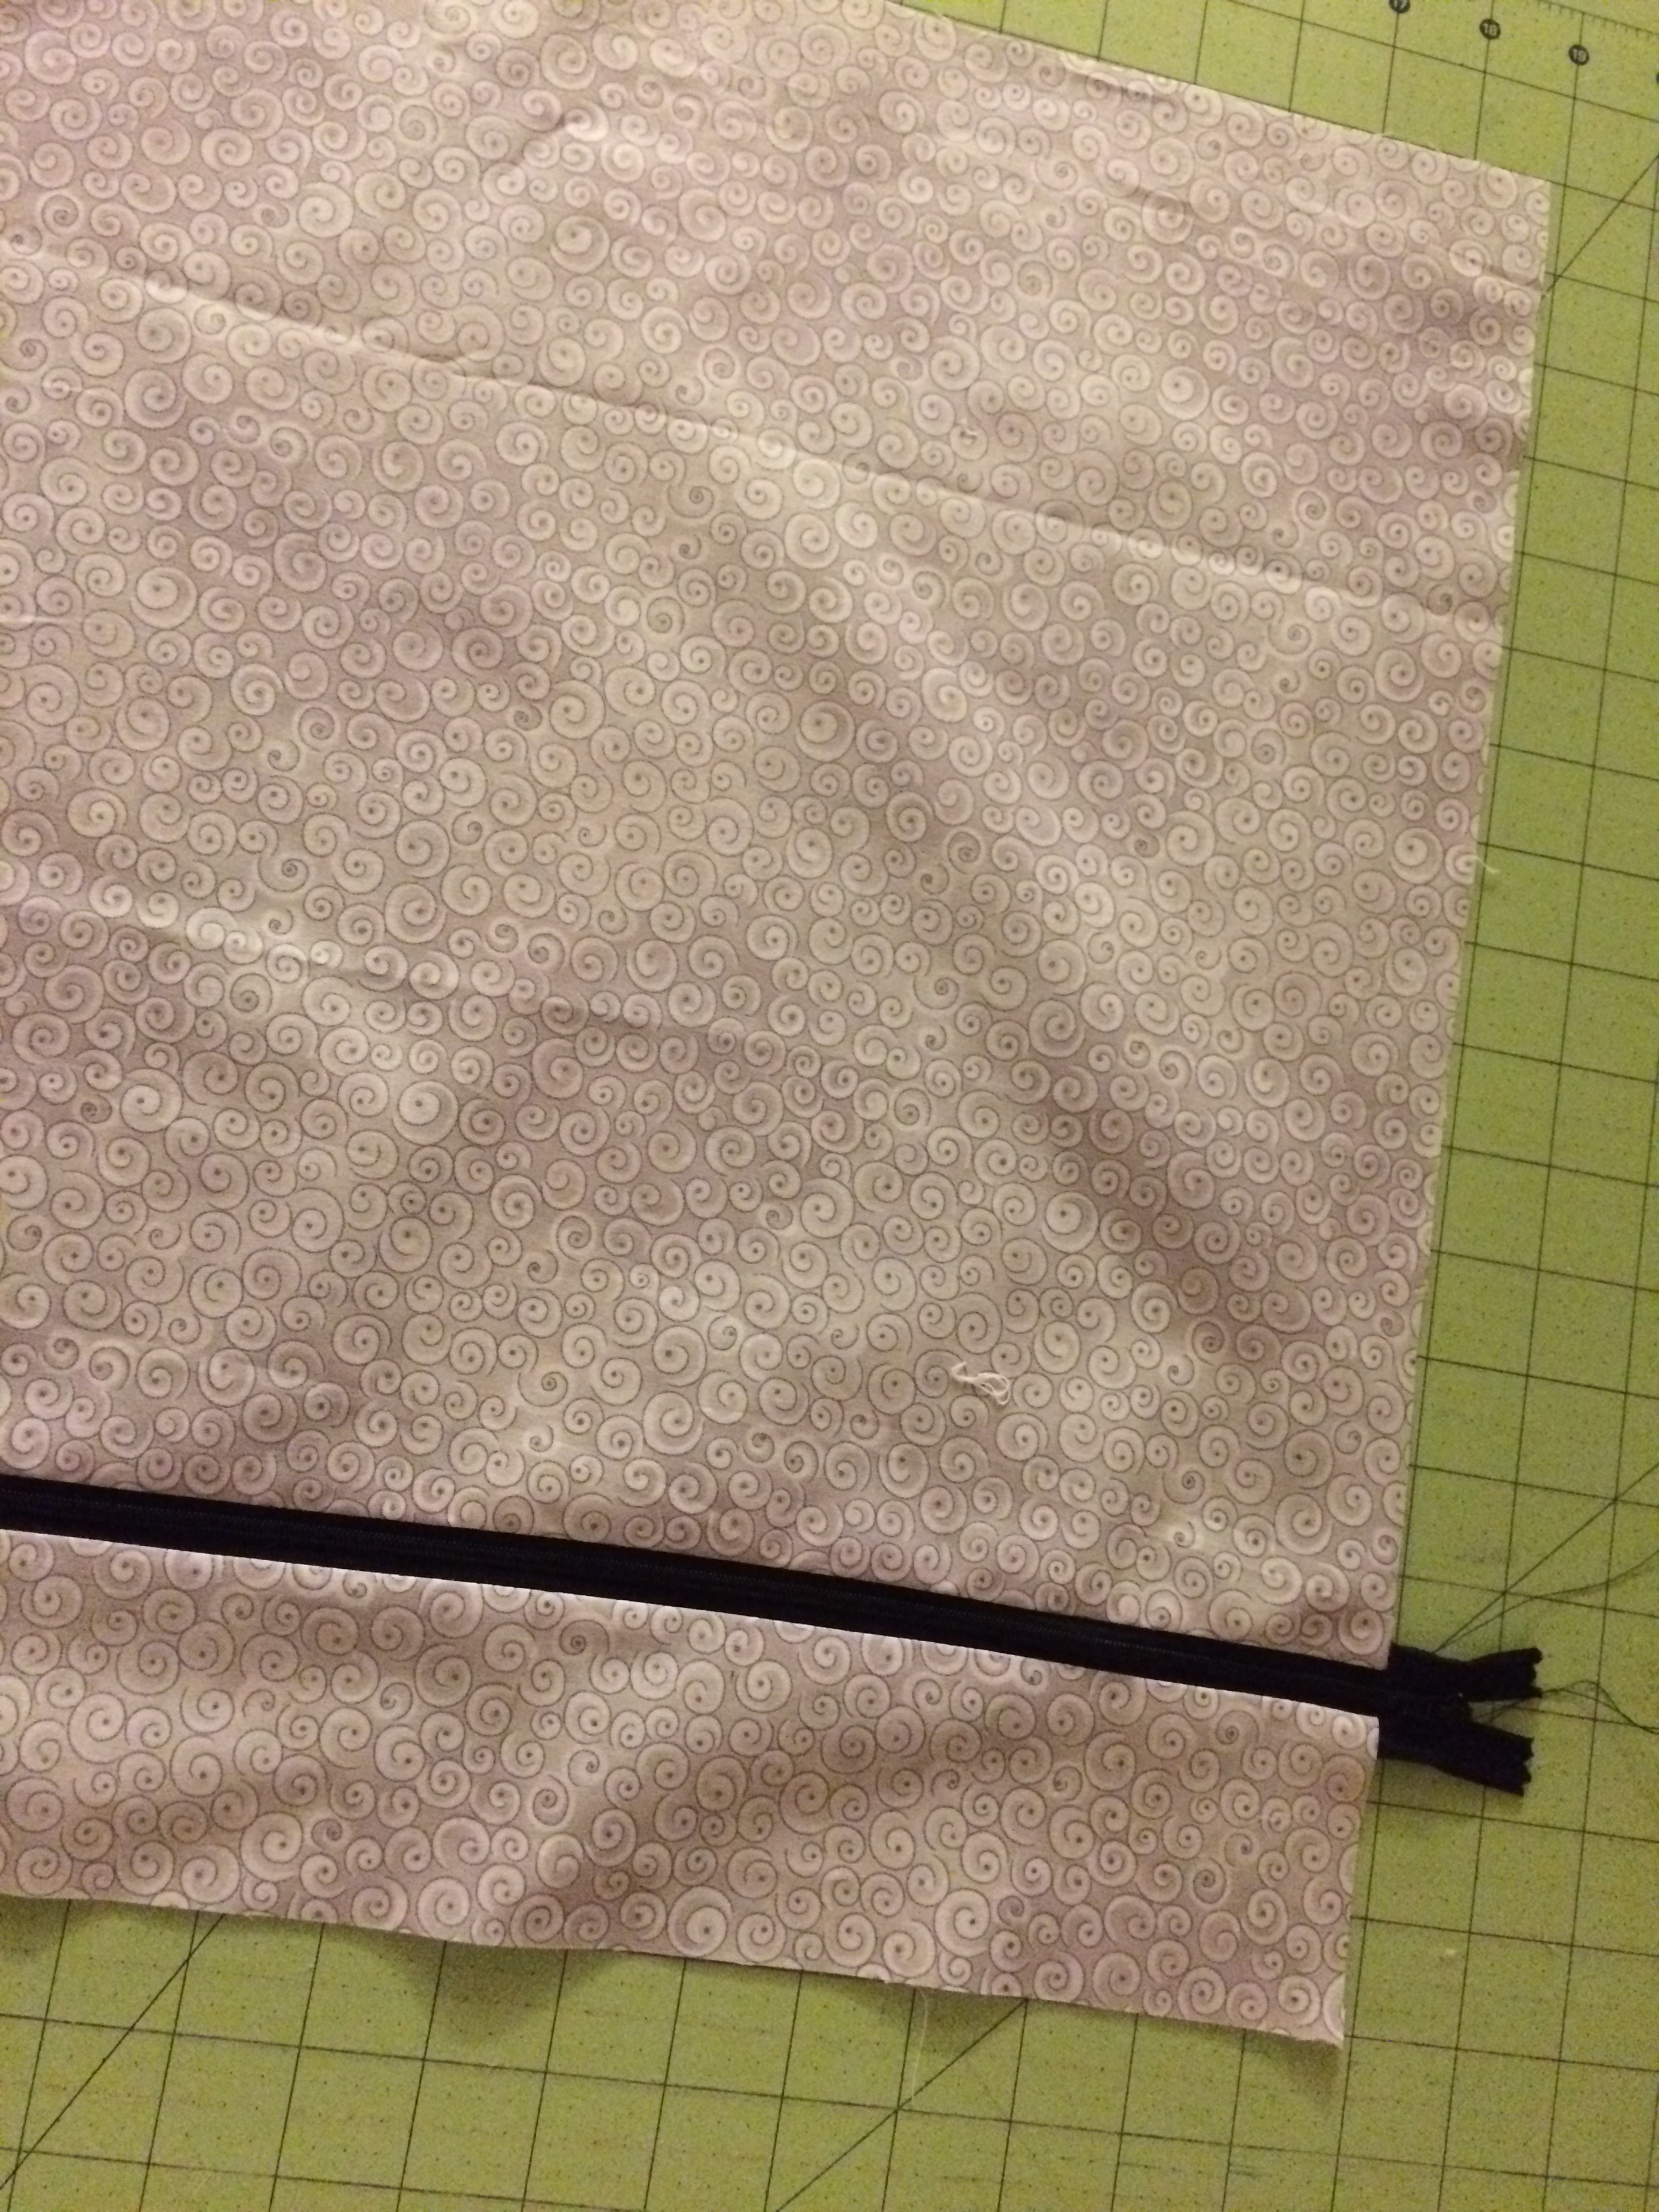
Trim the excess zipper off and position the zipper pull in the center of the pillow. Place the pillow front and the pillow back right sides together, aligning the edges. Pin. Sew, using a 1/2″ seam all the way around the pillow. Then turn right side out. Insert pillow form.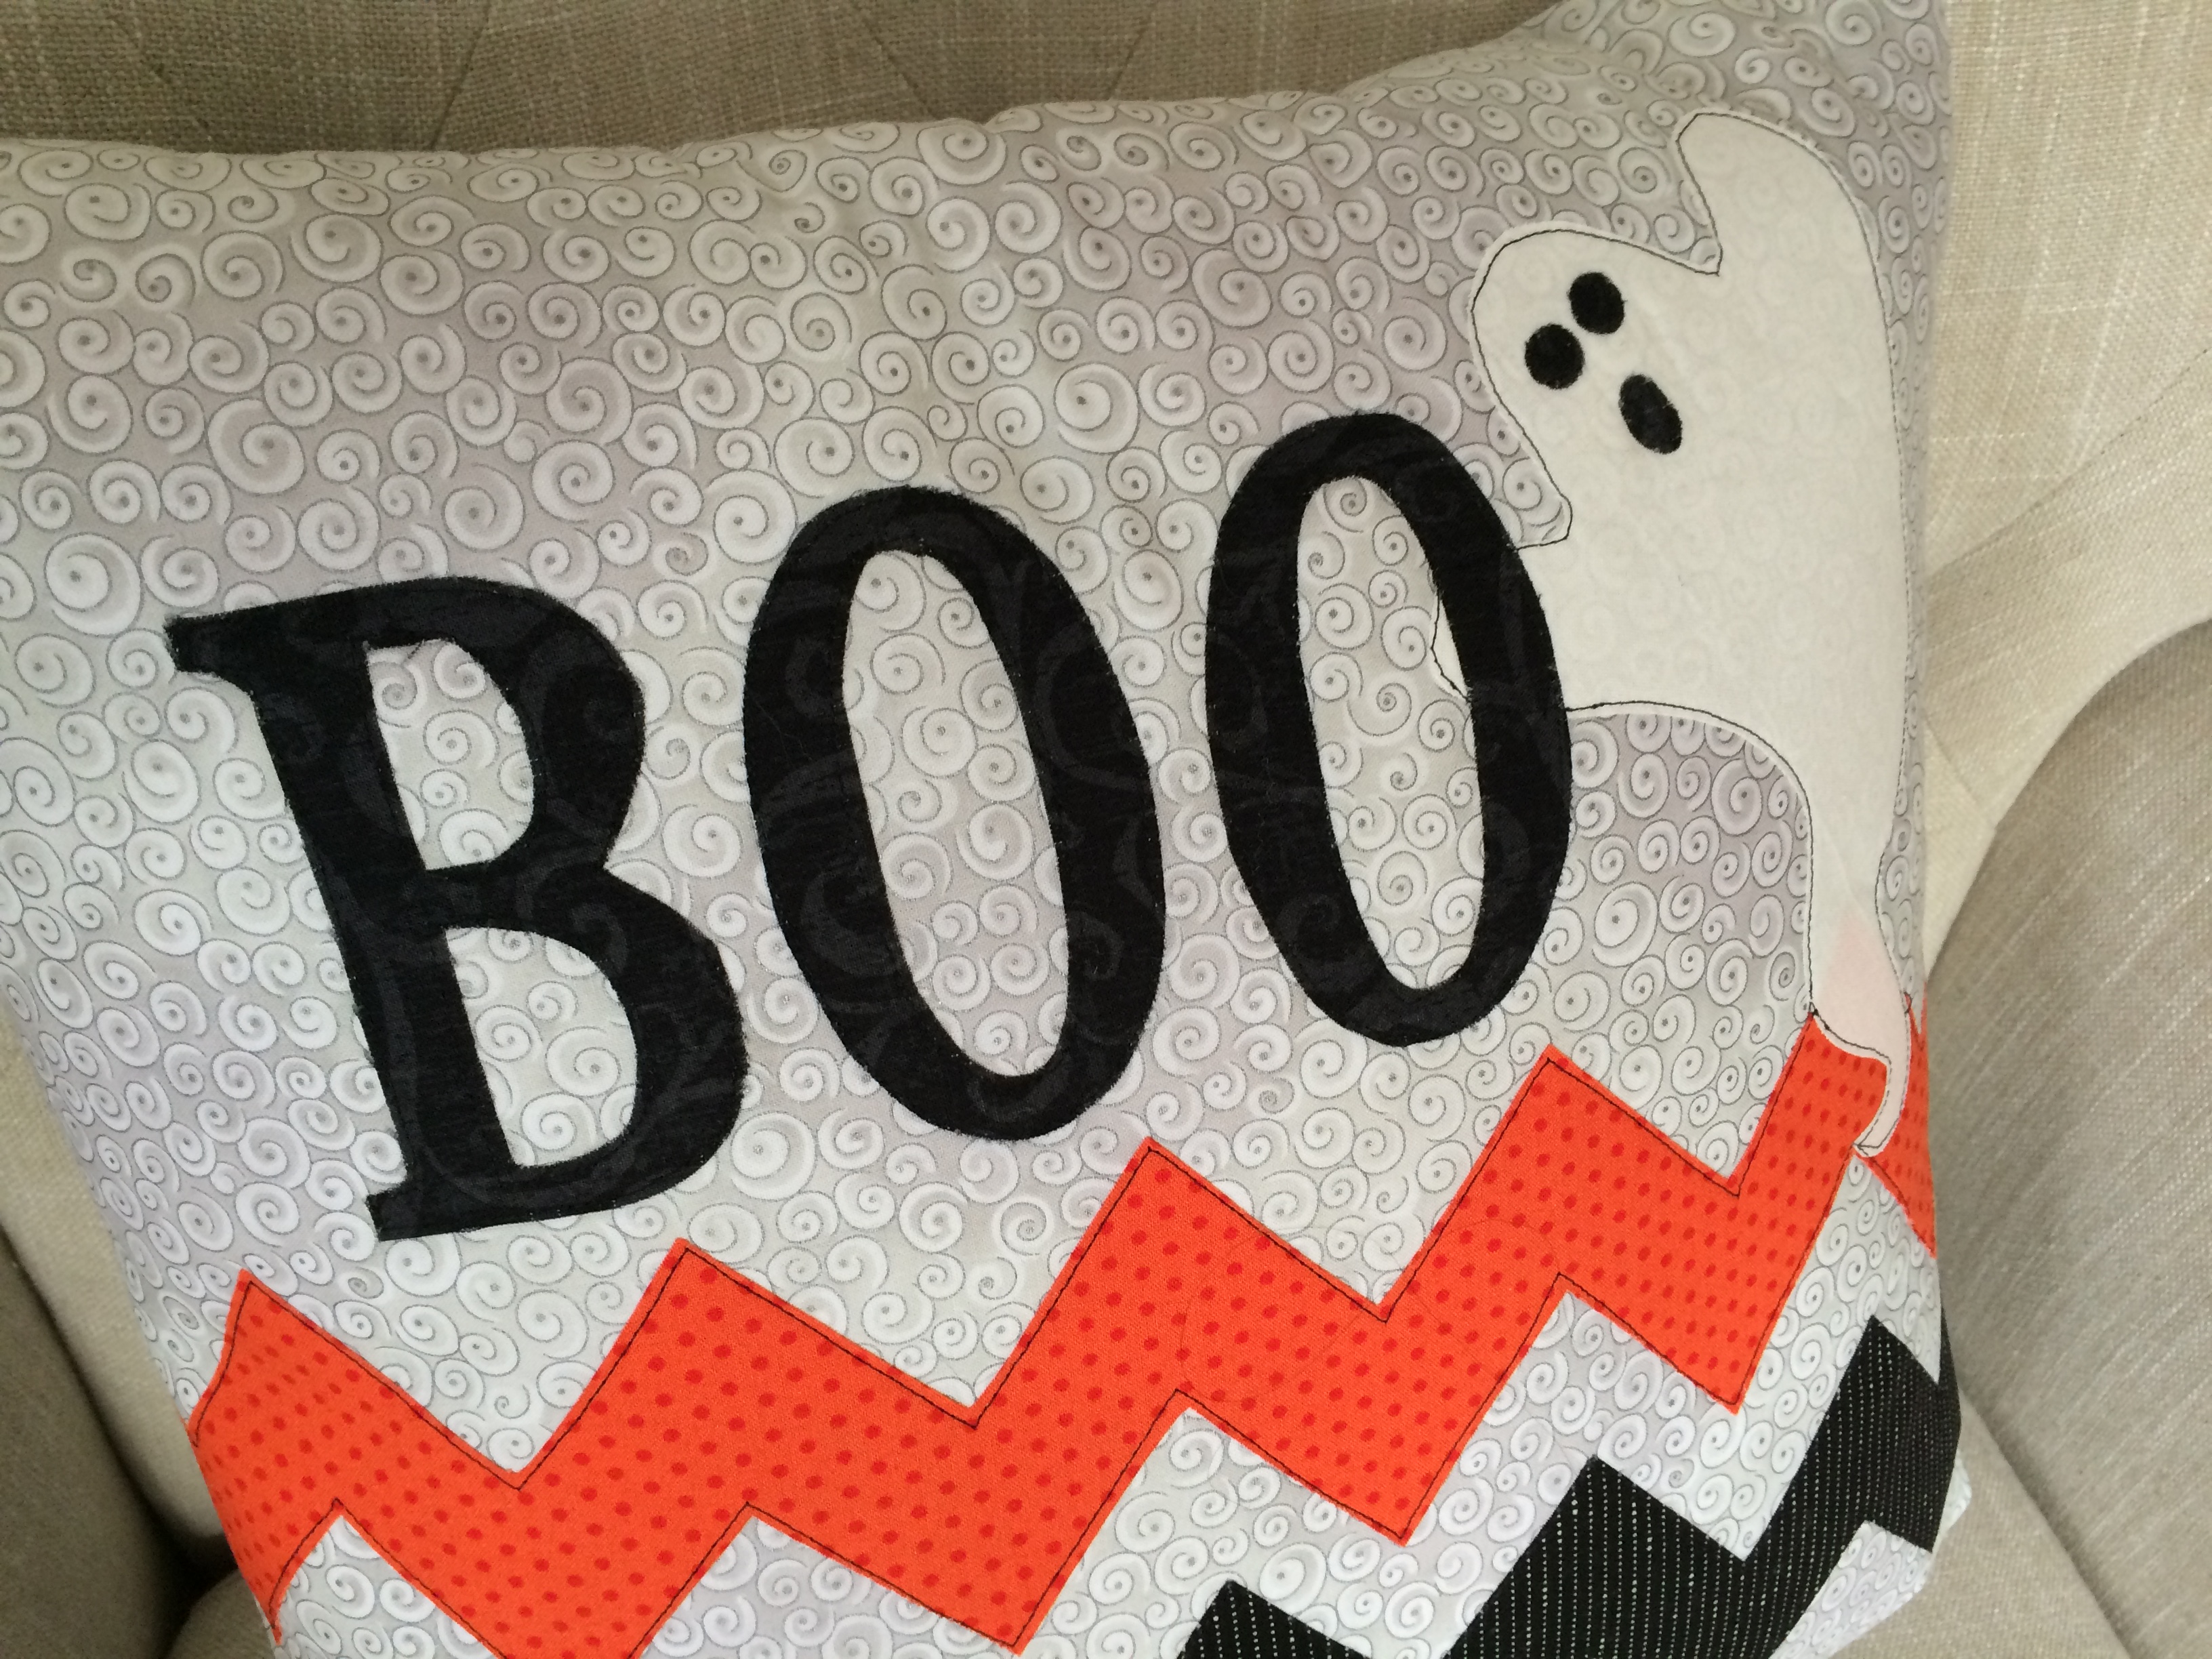
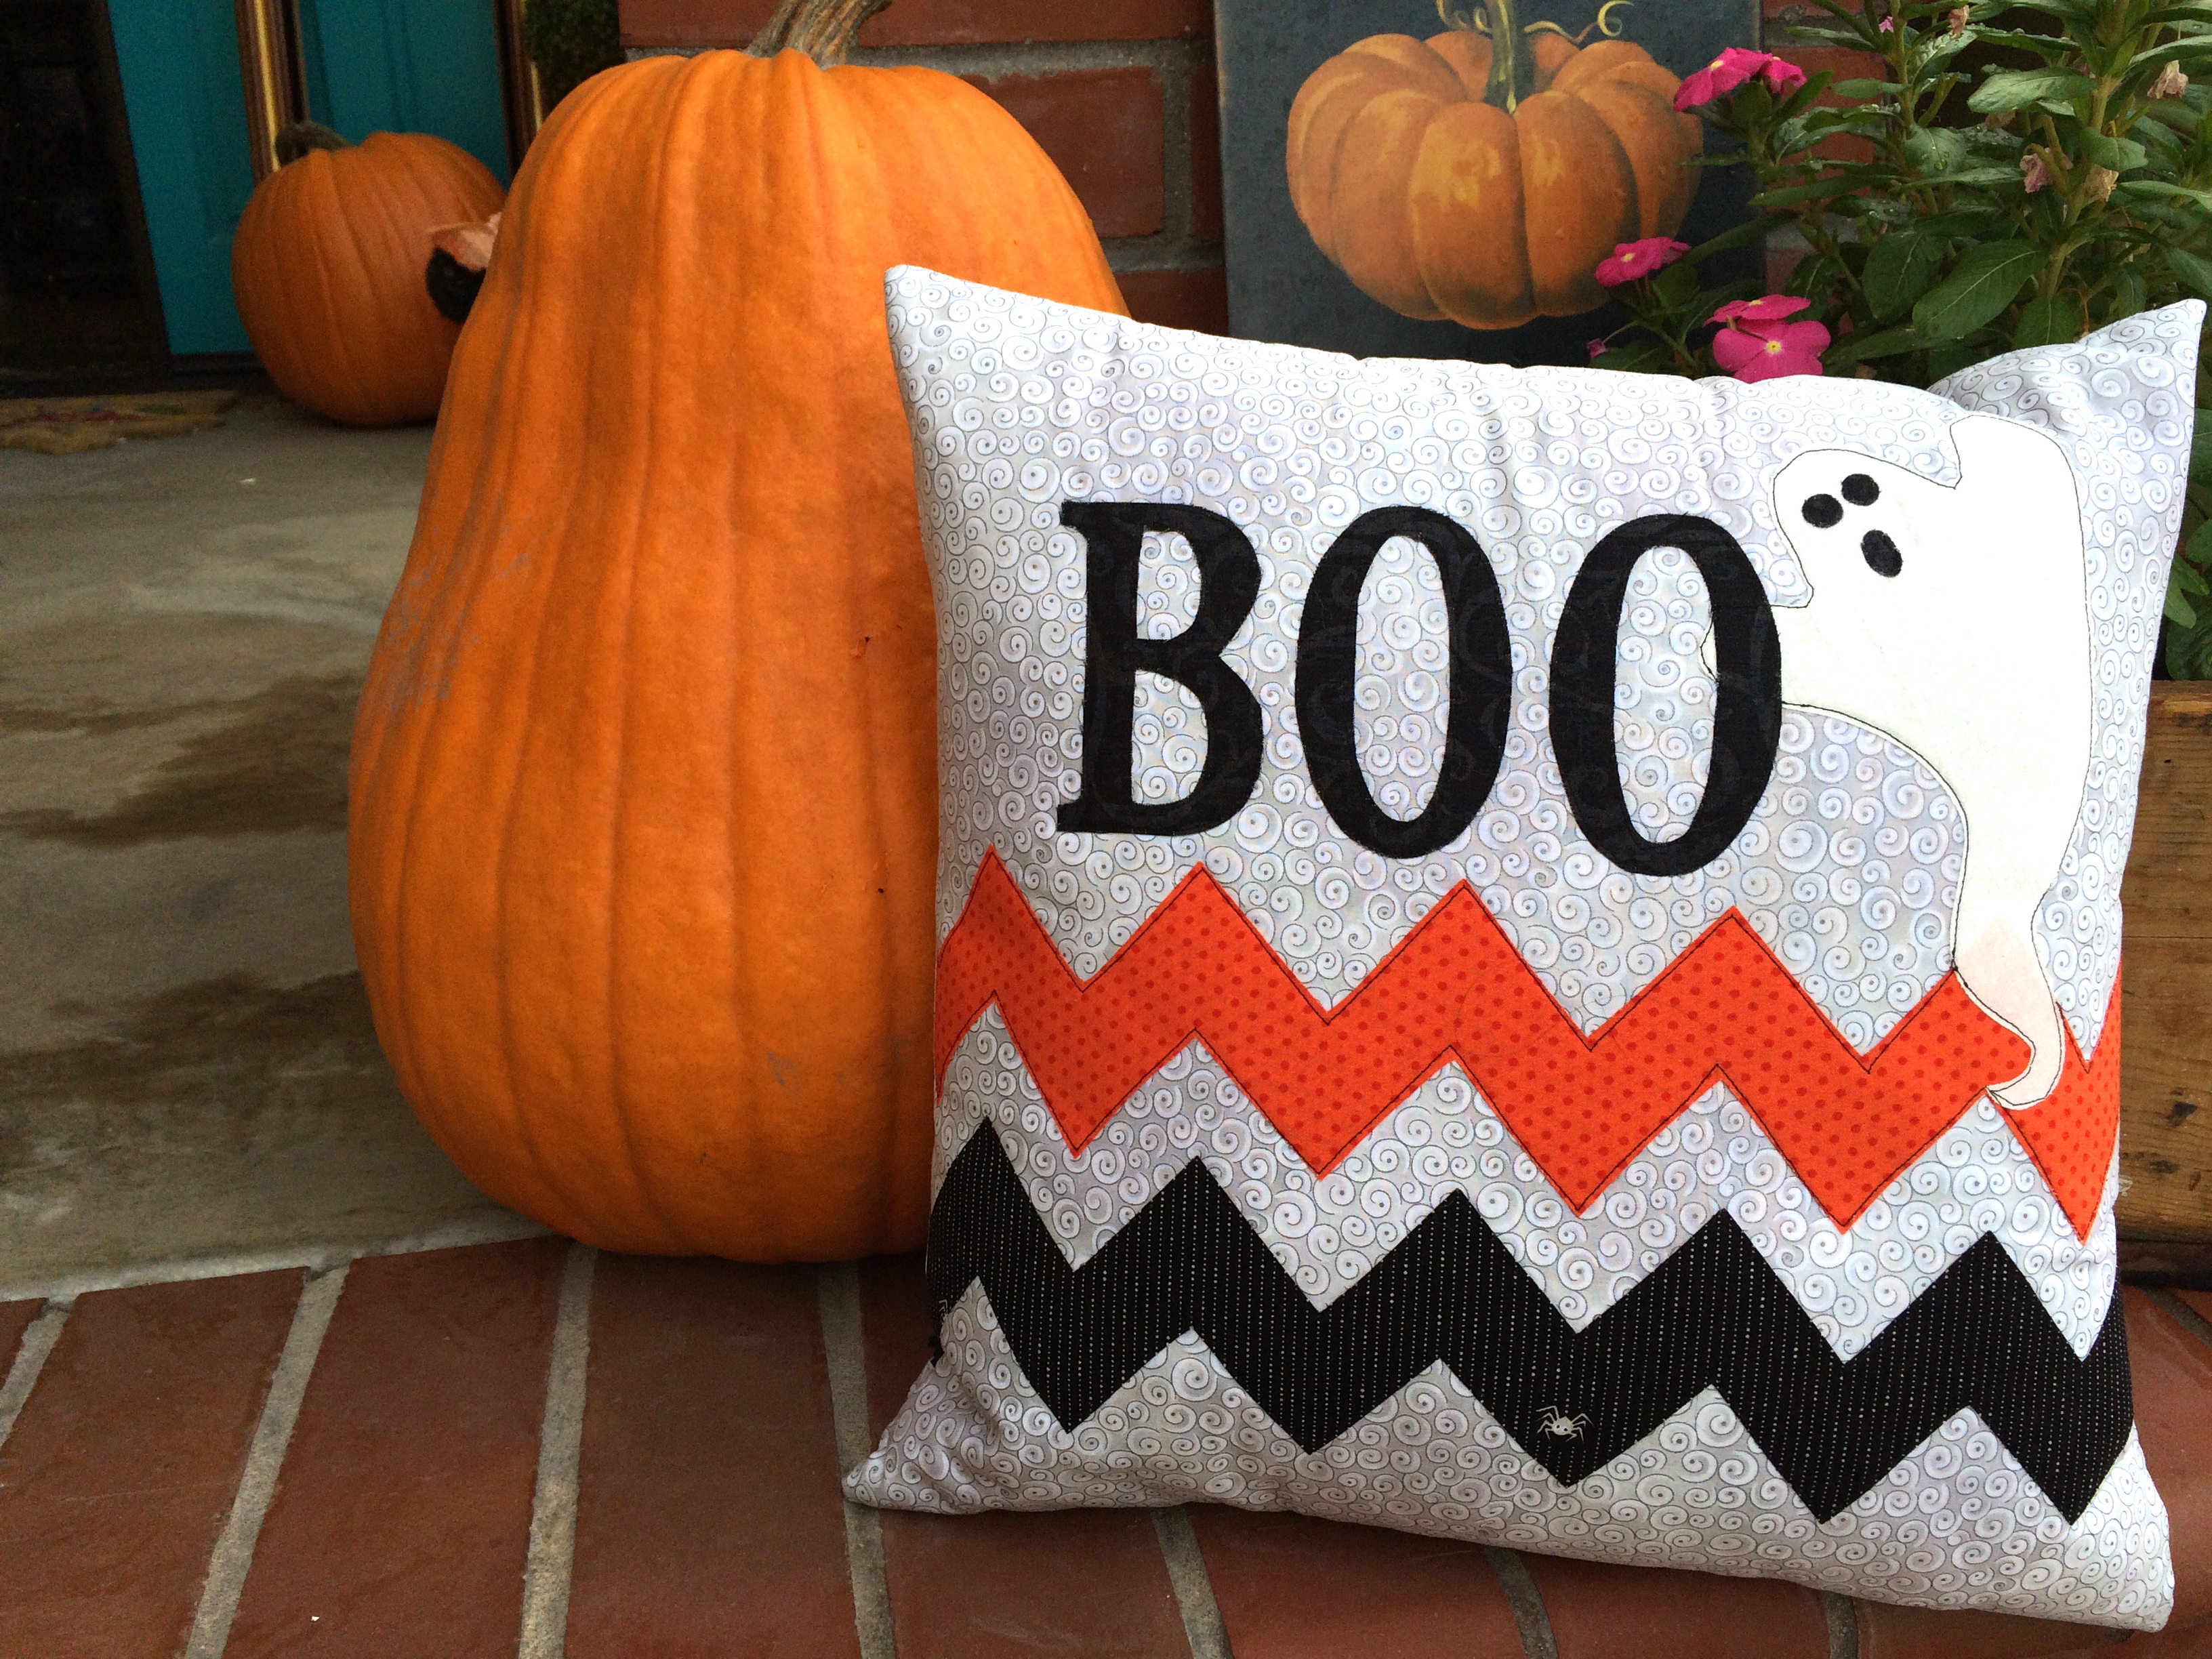
It’s so cute – I may need to keep it 🙂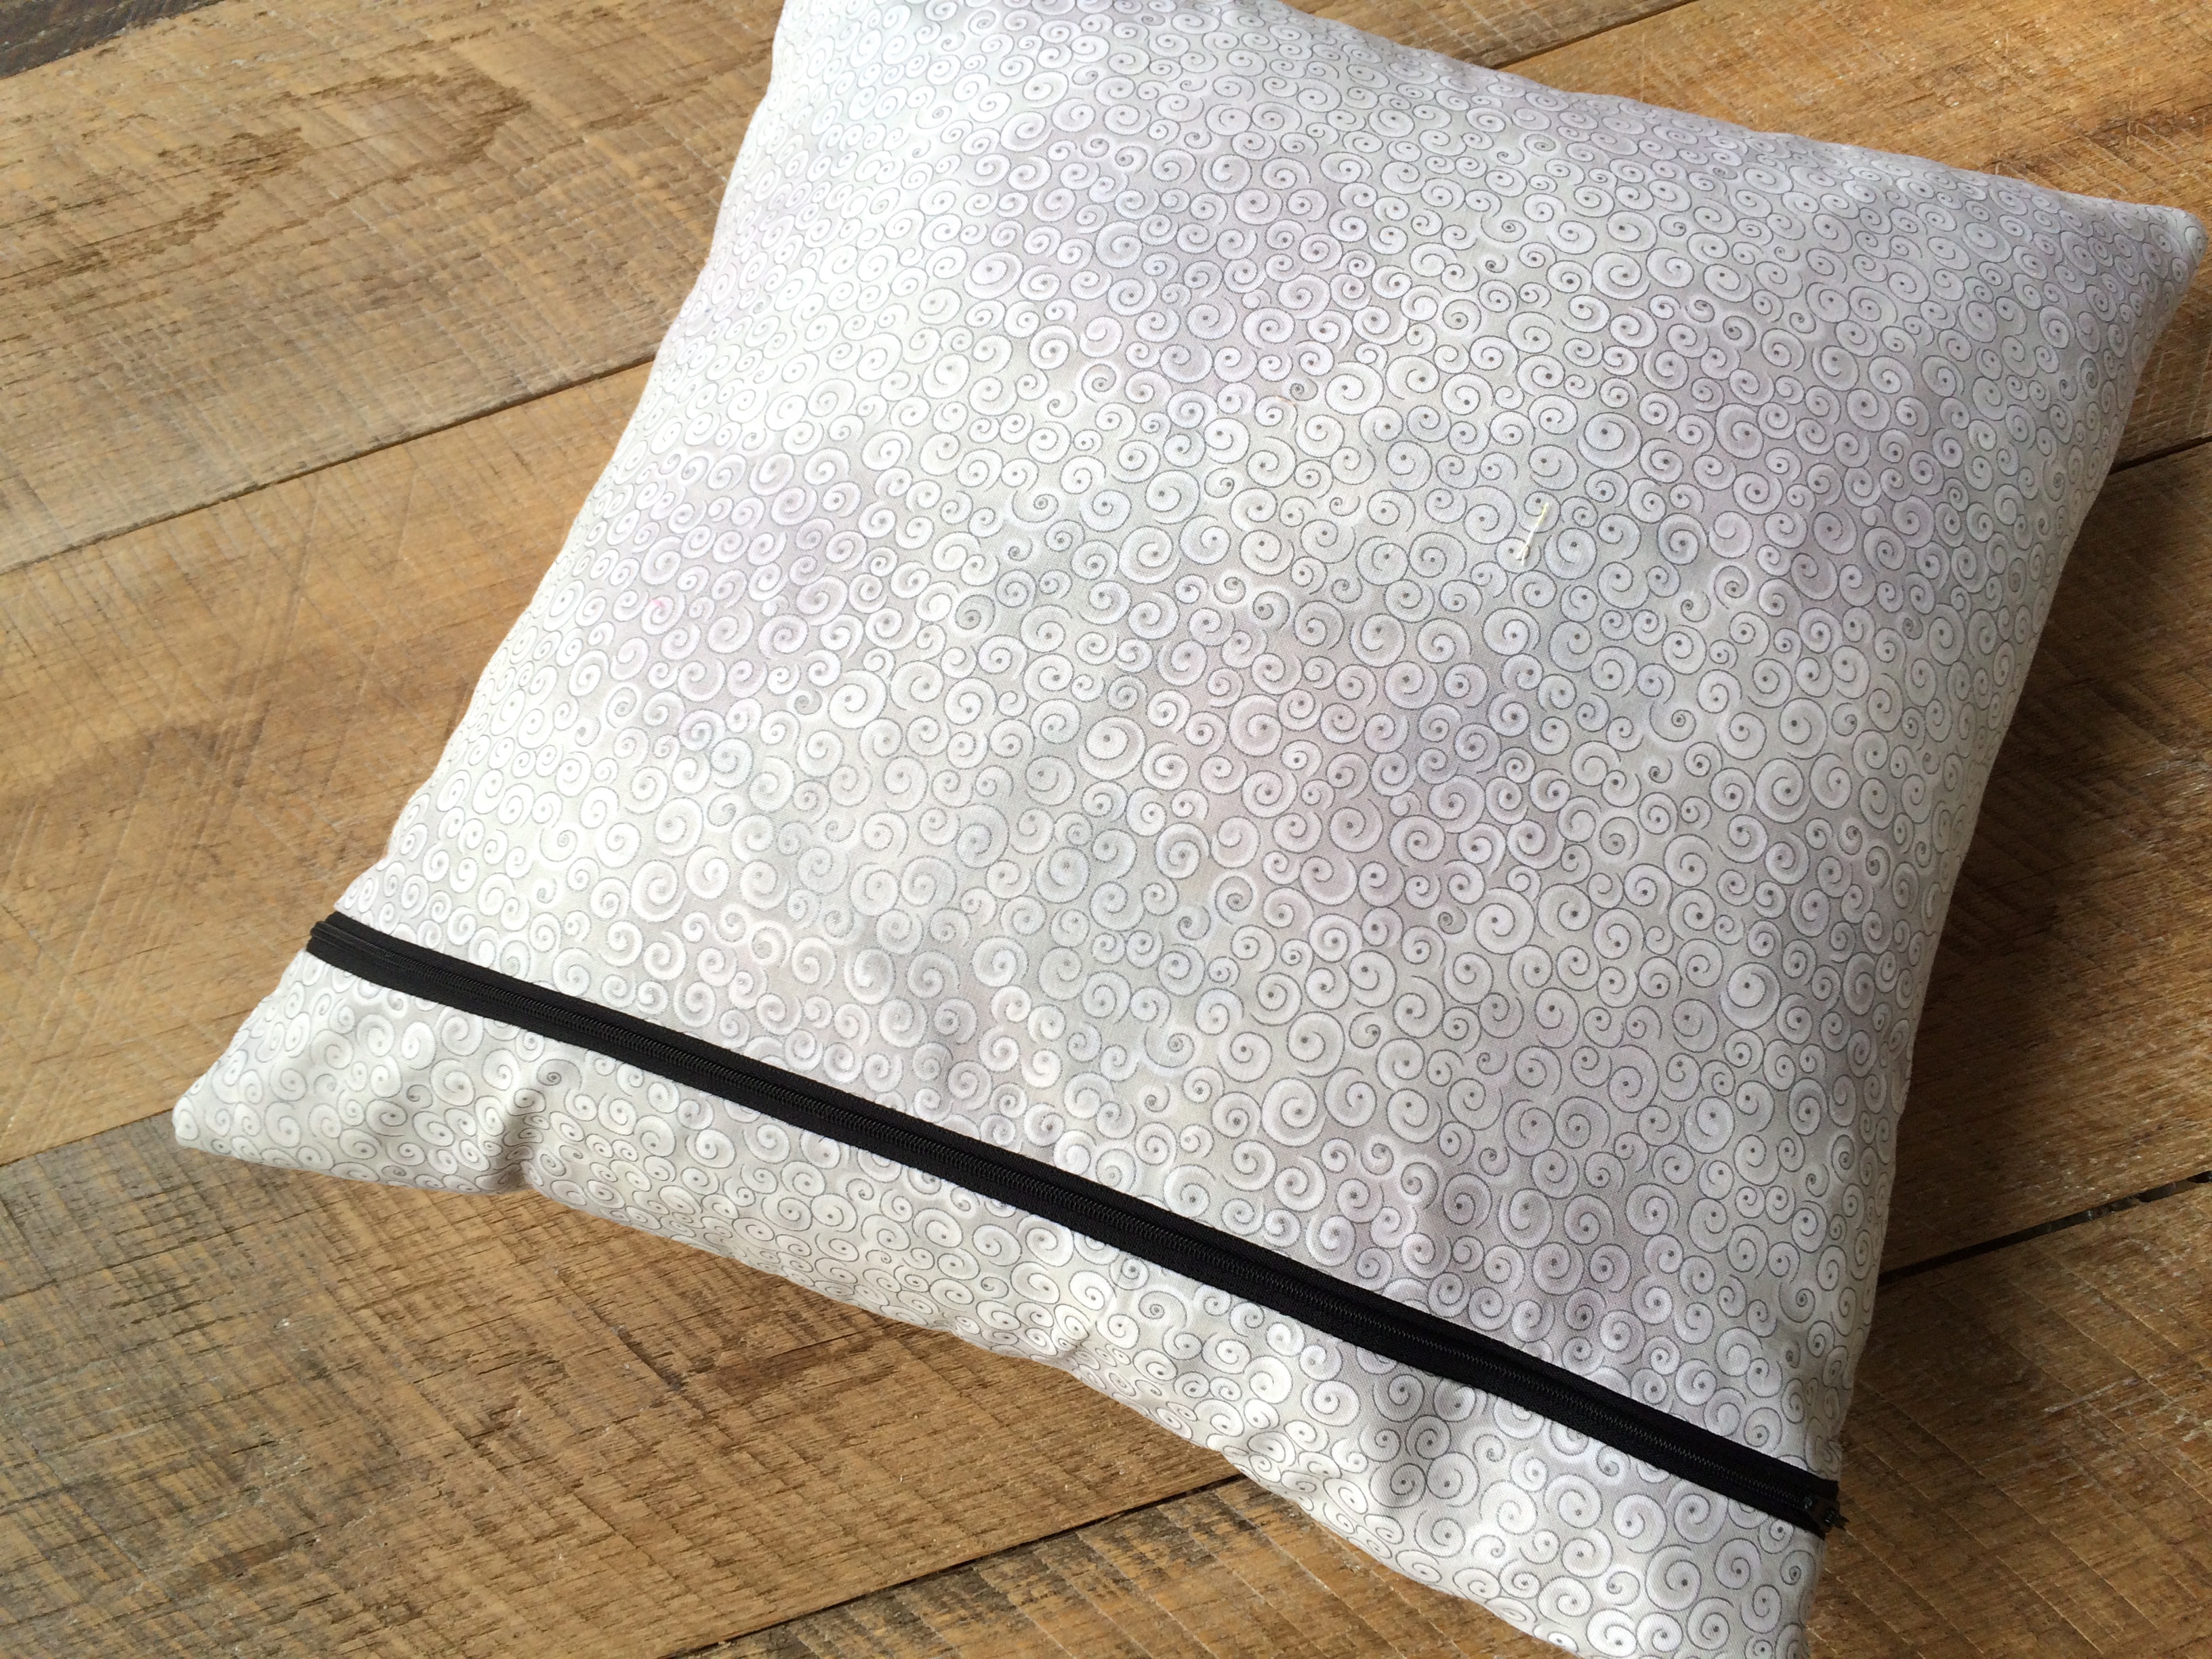
It looks so perfect with my Halloween Disappearing 9-Patch quilt!!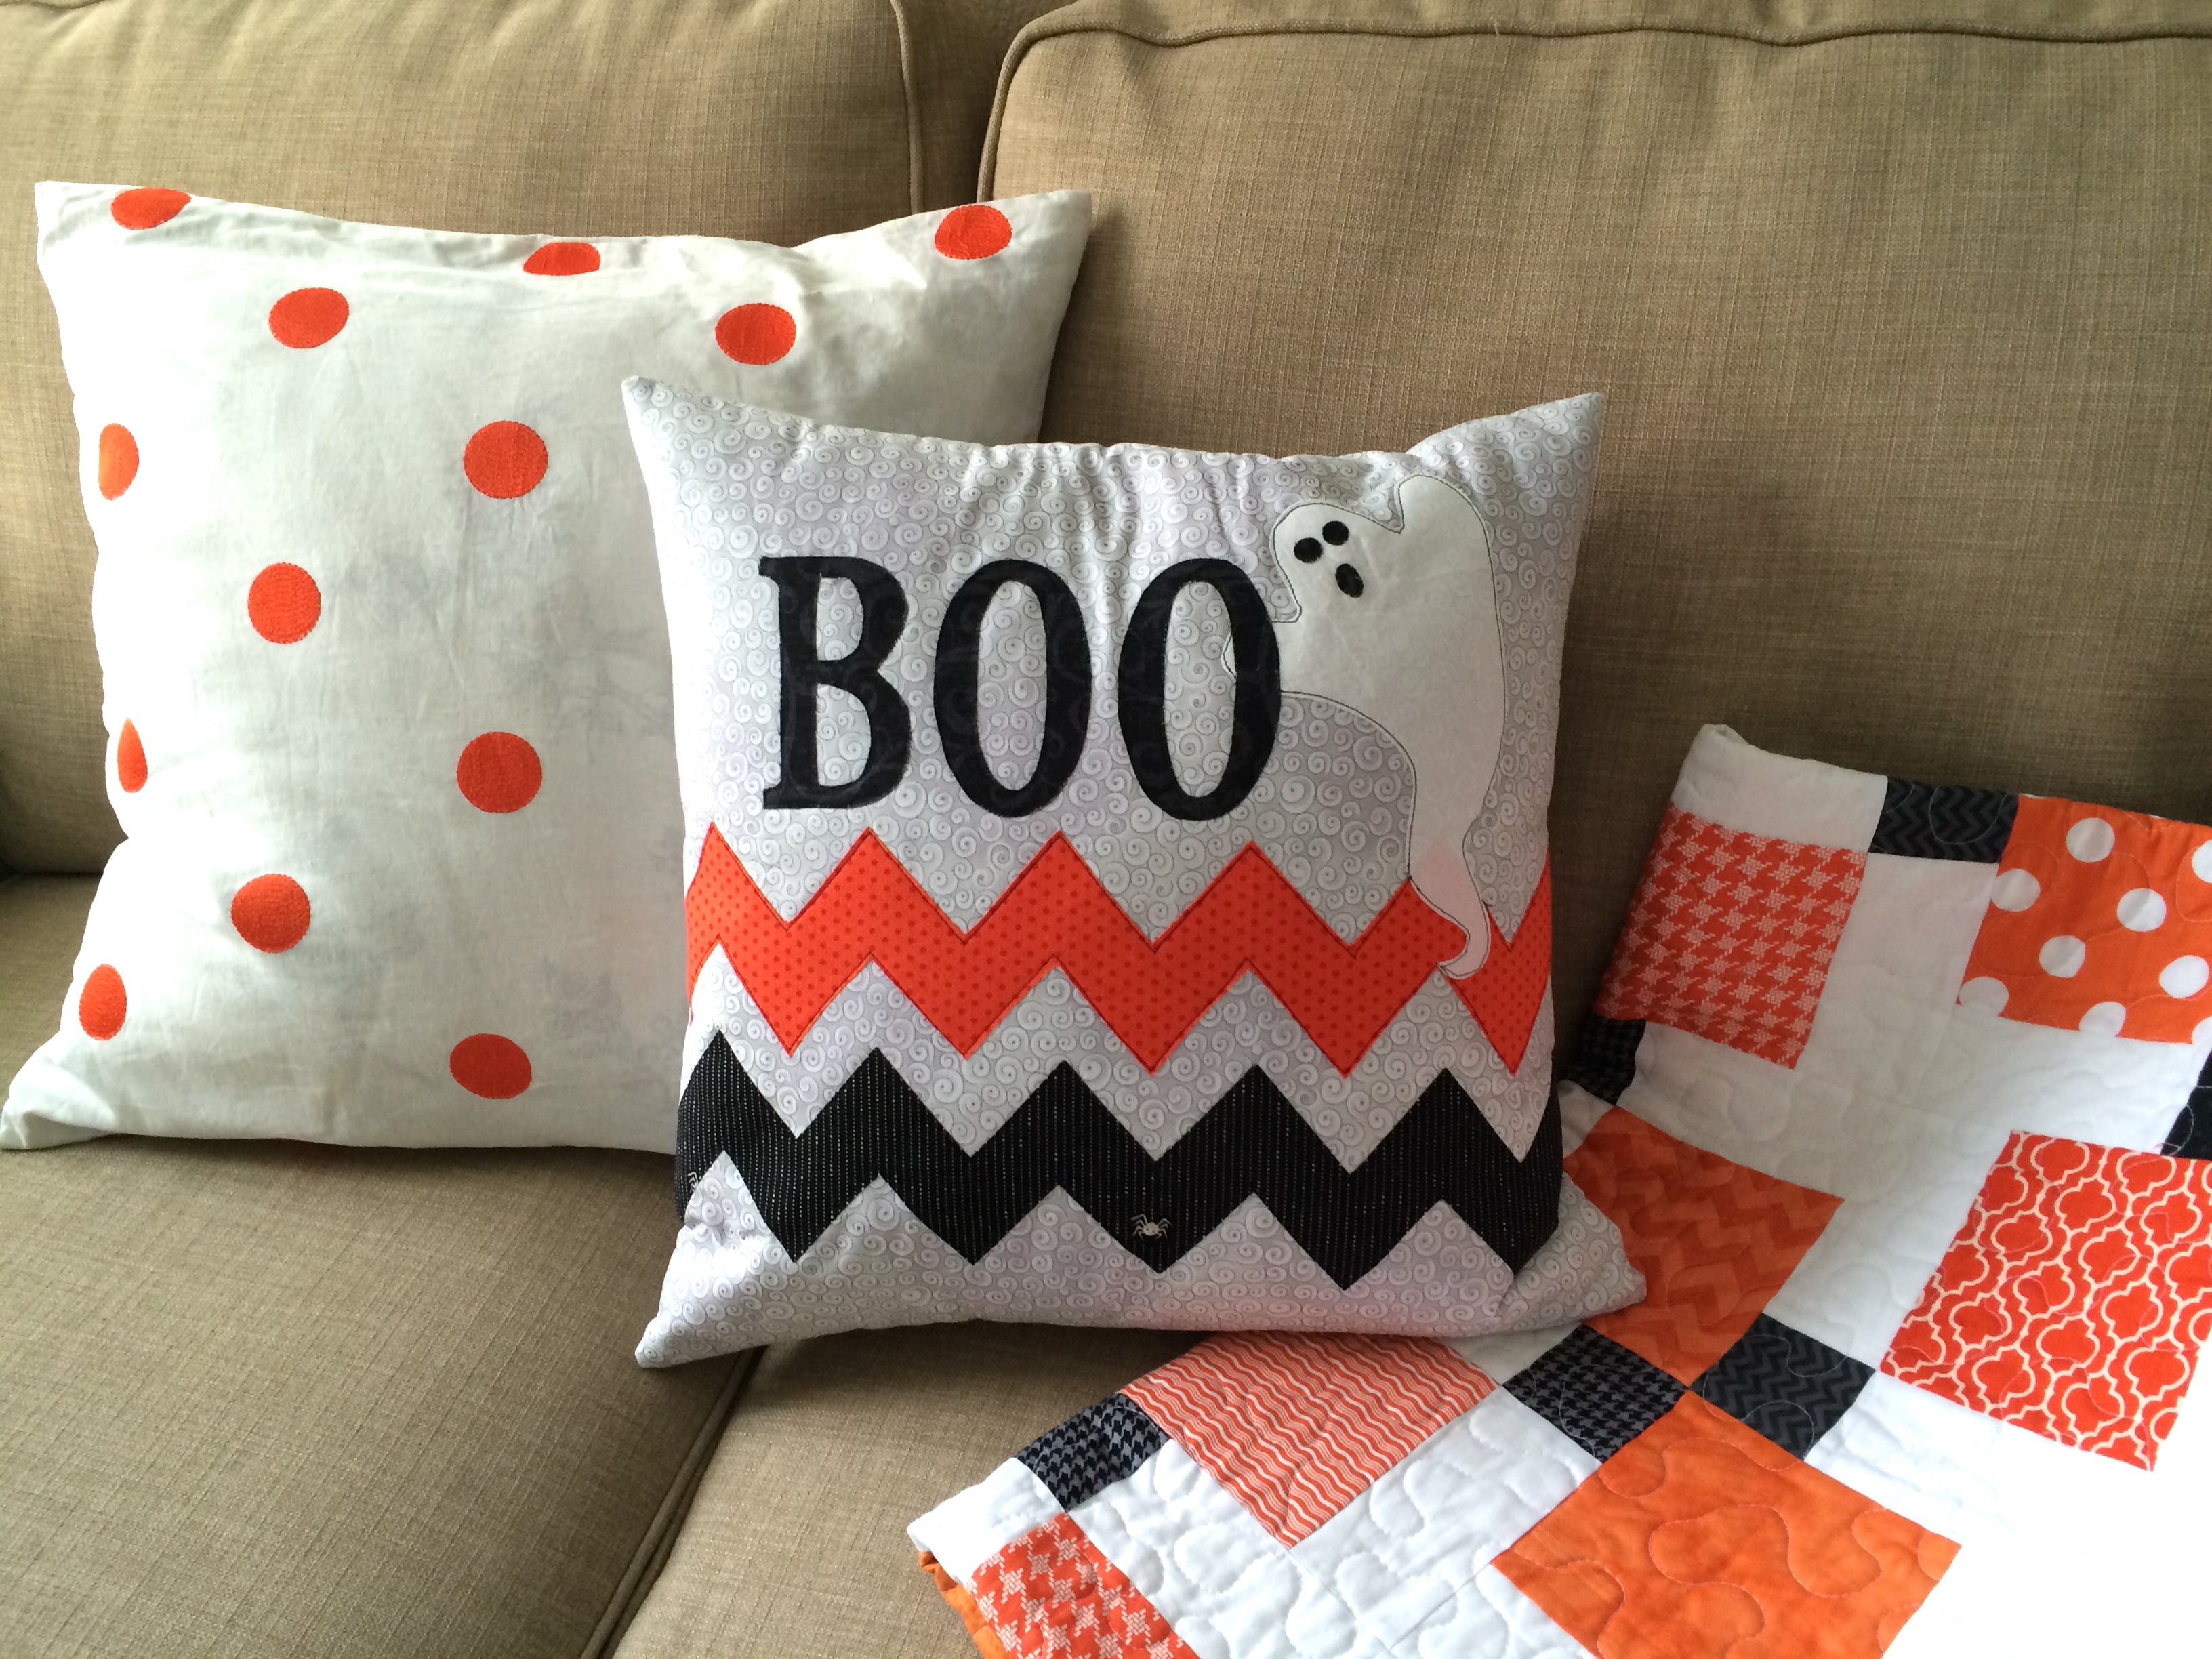
owee


best bodybuilding pills
References:
http://www.forum-joyingauto.com
References:
Blackjack 1998
References:
https://graph.org/Zoome-Casino-Expert-Review-04-20
References:
Woo Casino australia casino mirrors
References:
Niagra falls casino
References:
https://casino-online-real-money.online-spielhallen.de/
References:
Bottrop
References:
https://crowns-casino.online-spielhallen.de/
References:
Chemnitz
References:
https://casino-ohne-einzahlung-2024.online-spielhallen.de/
References:
Braunschweig
References:
https://play-mojo-casino.online-spielhallen.de/
References:
Casino bonus
References:
https://graph.org/How-Much-Do-You-Tip-On-A-2000-Jackpot-04-27
References:
Charleston wv casino merchantale.com
References:
Best slot machines to play git.csi-kjsce.org