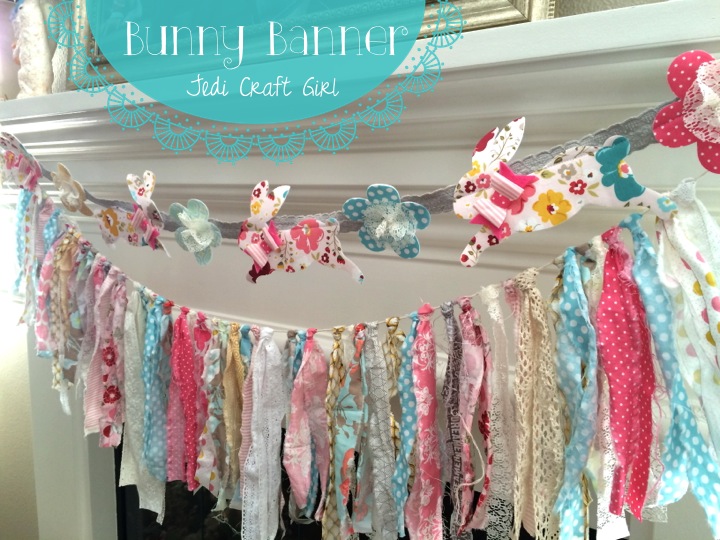
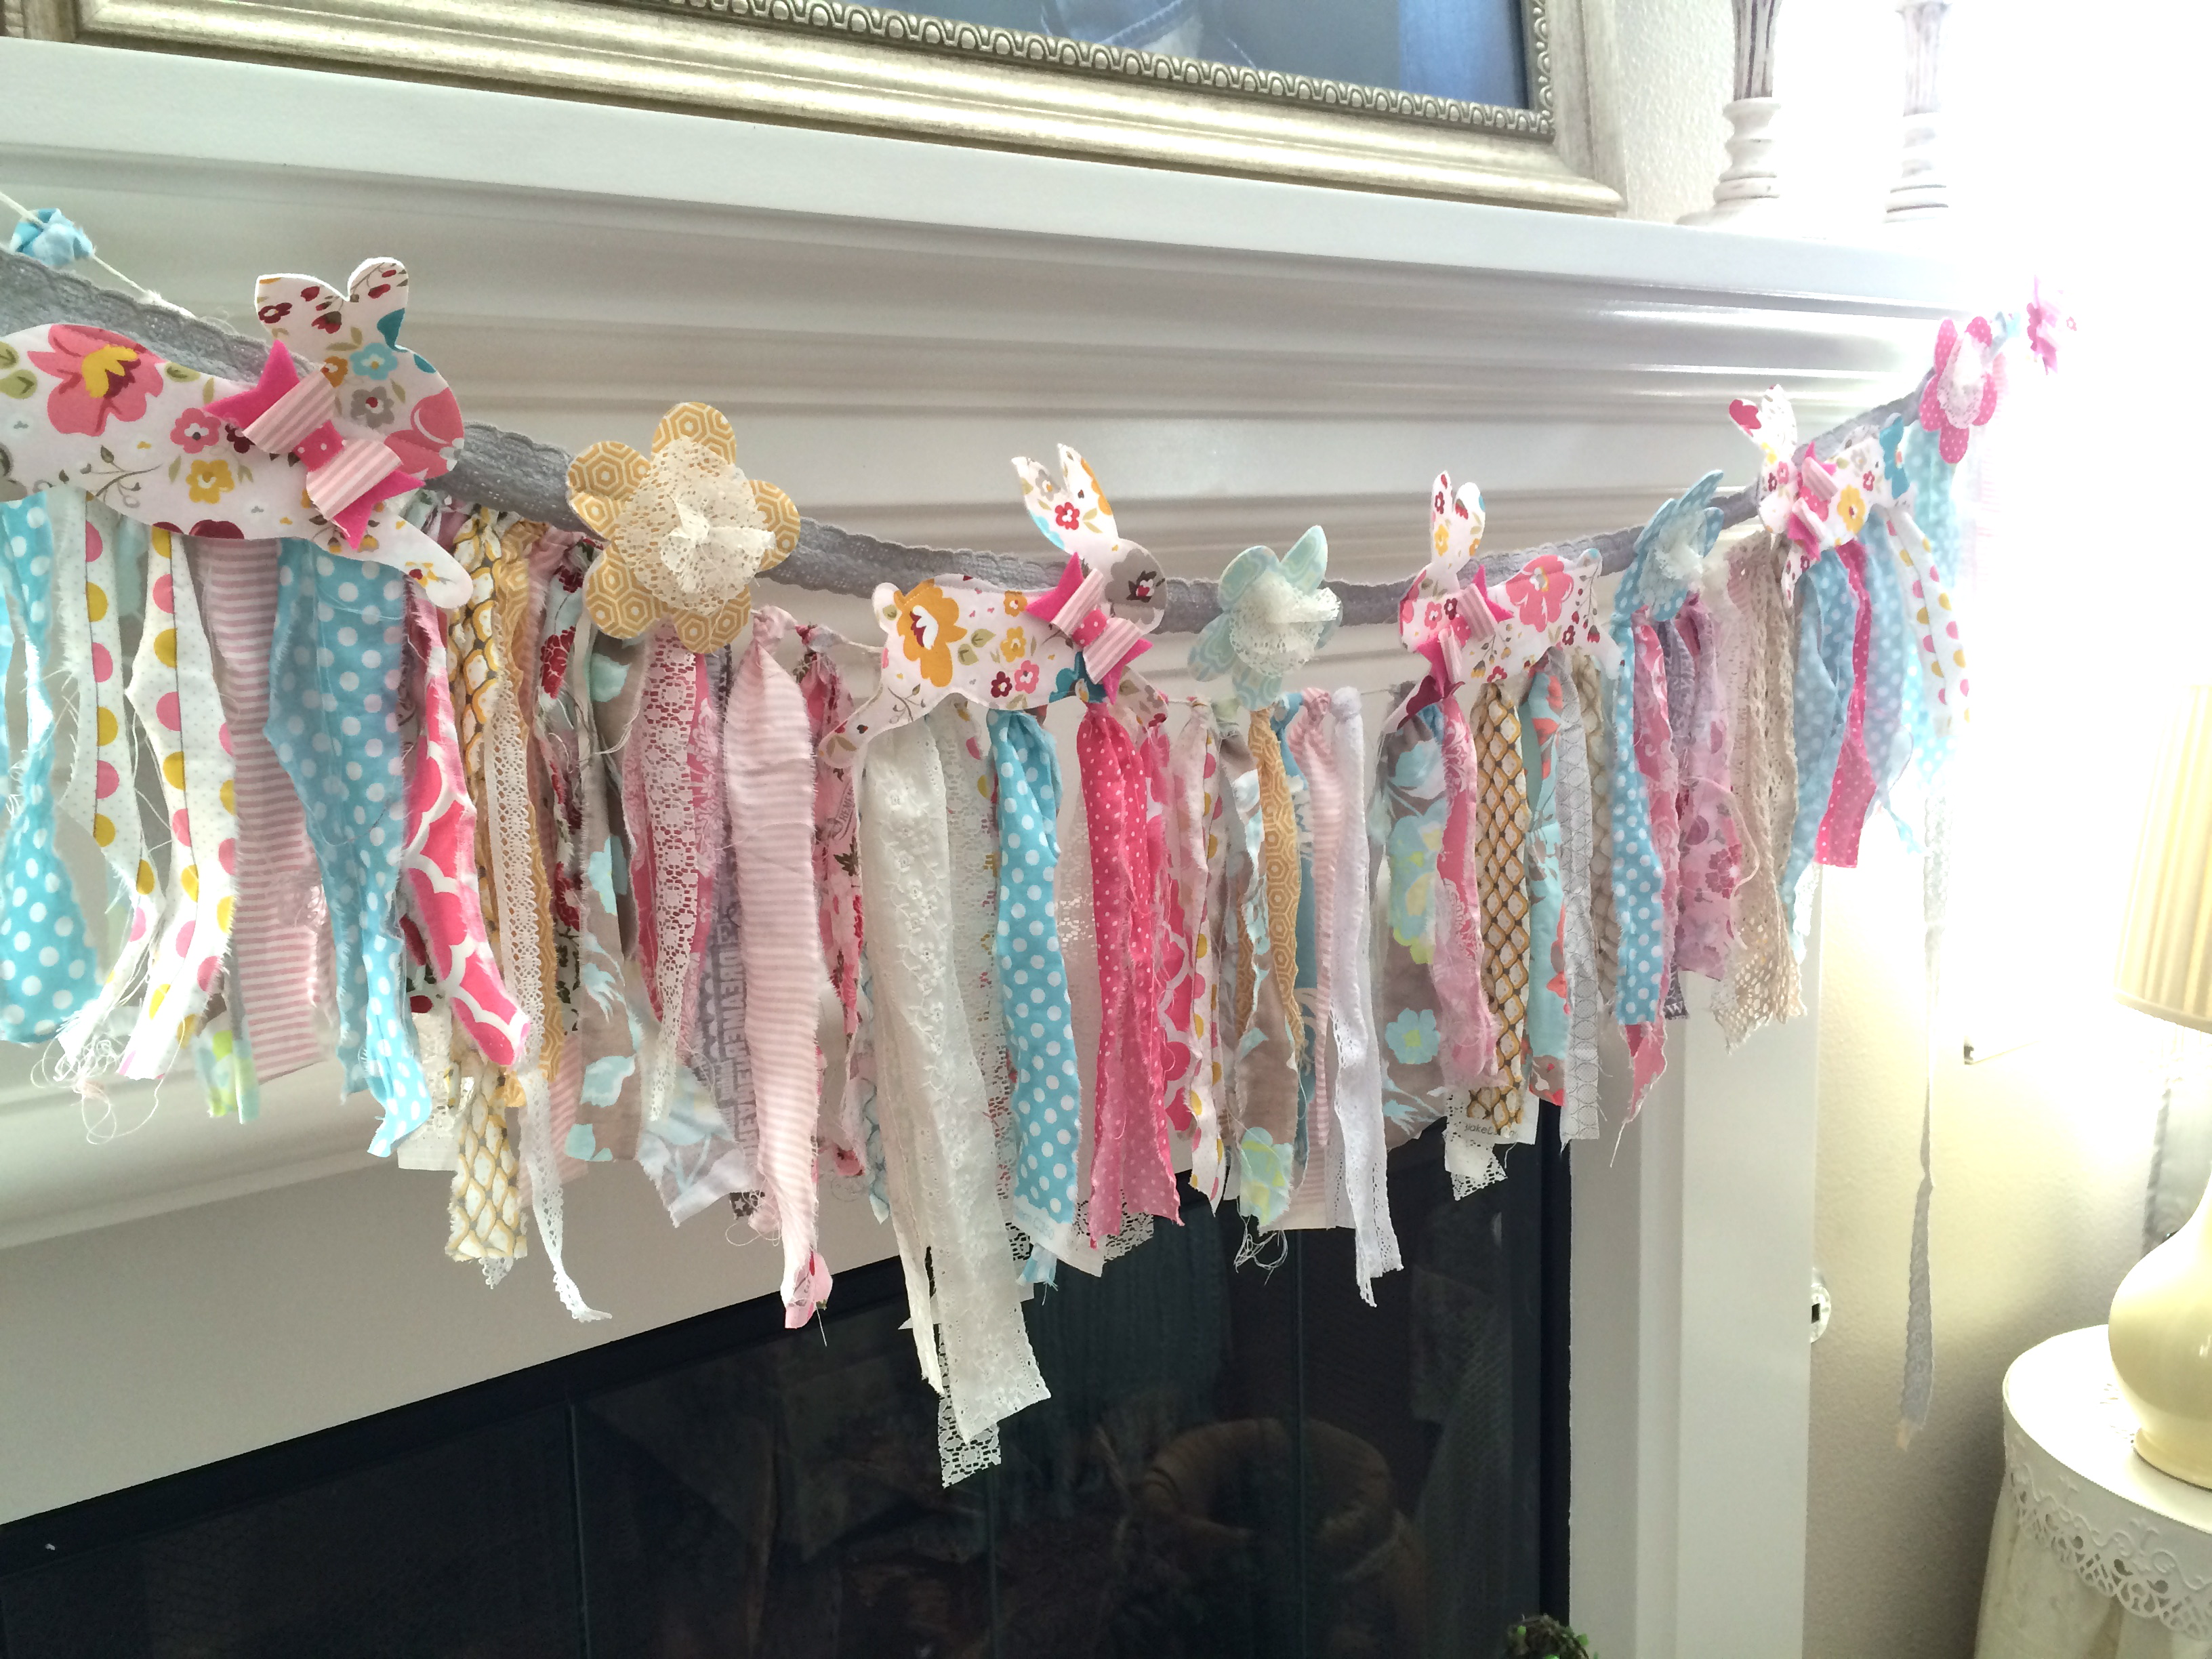
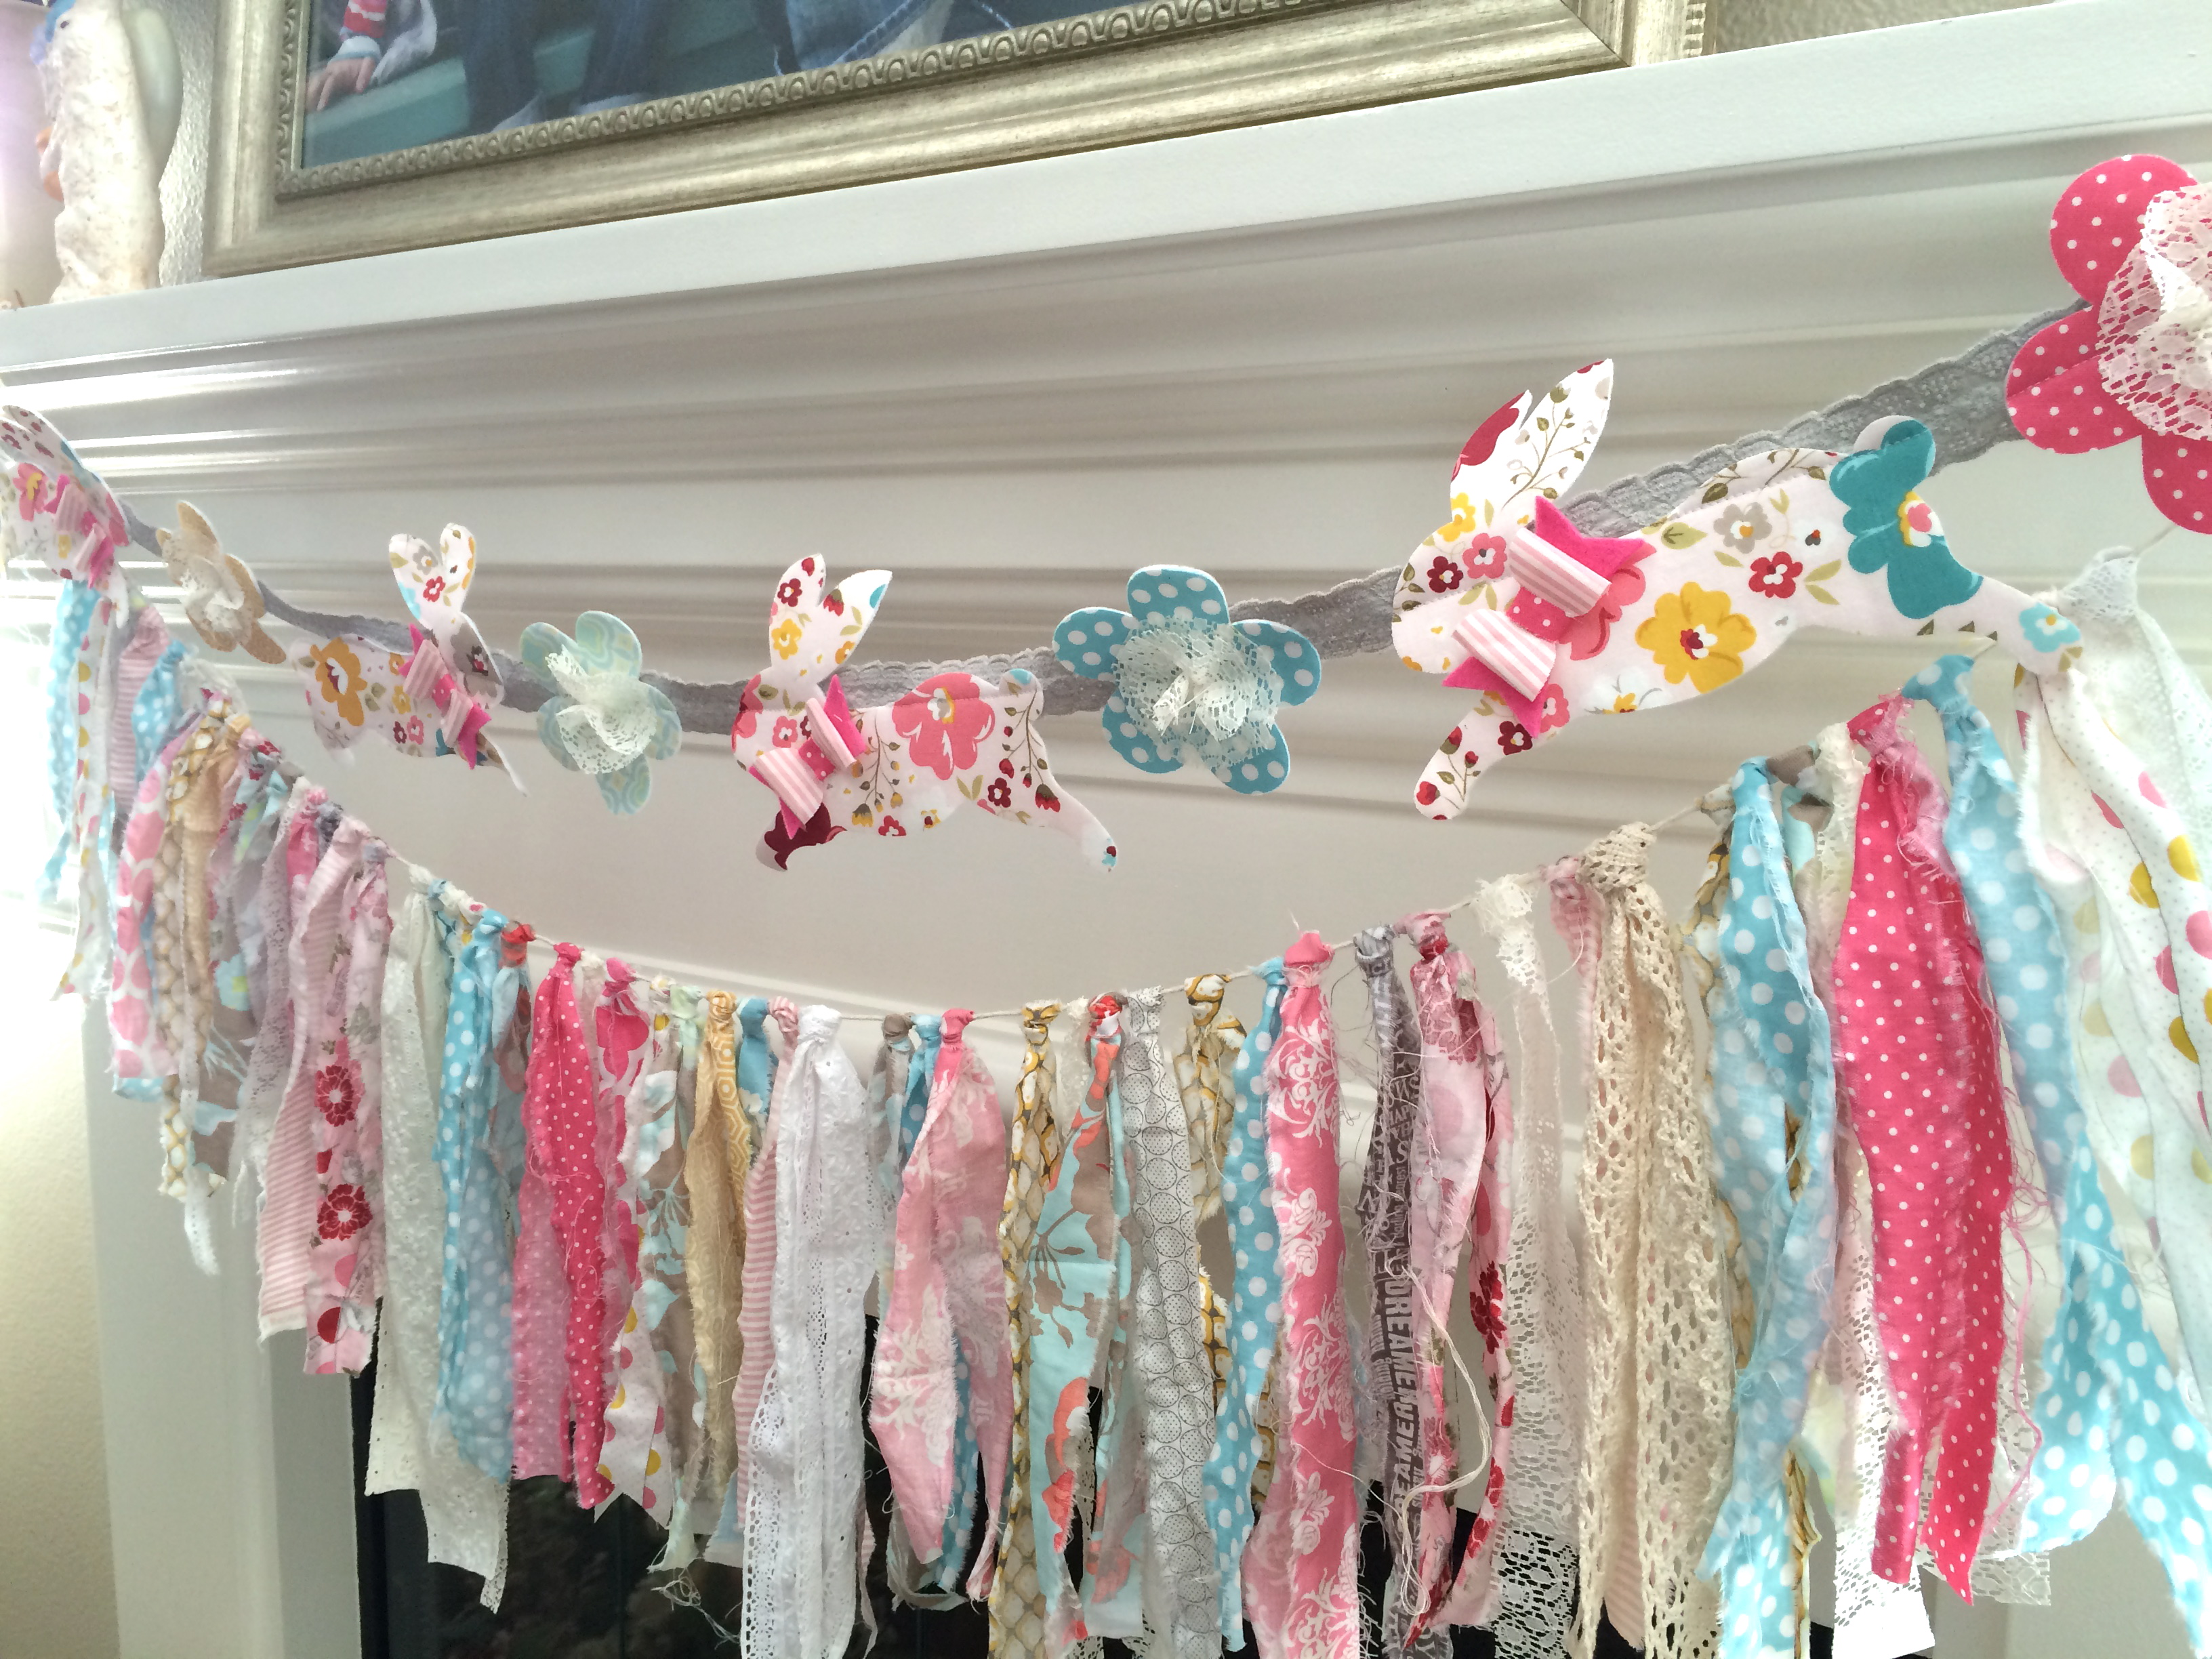
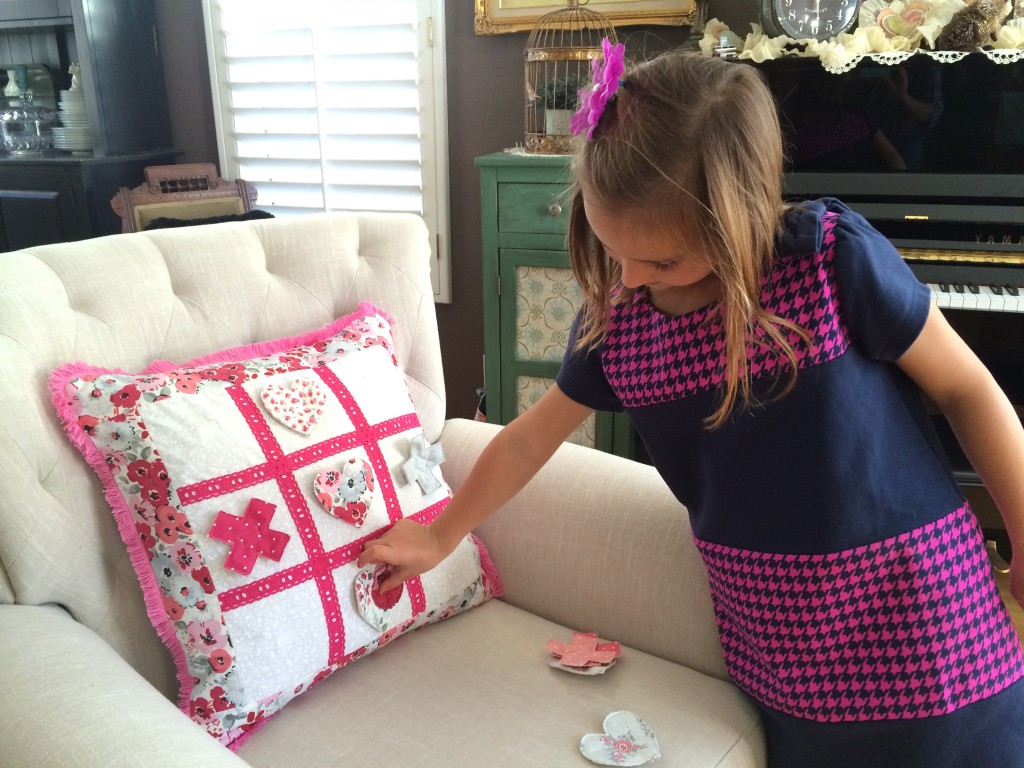
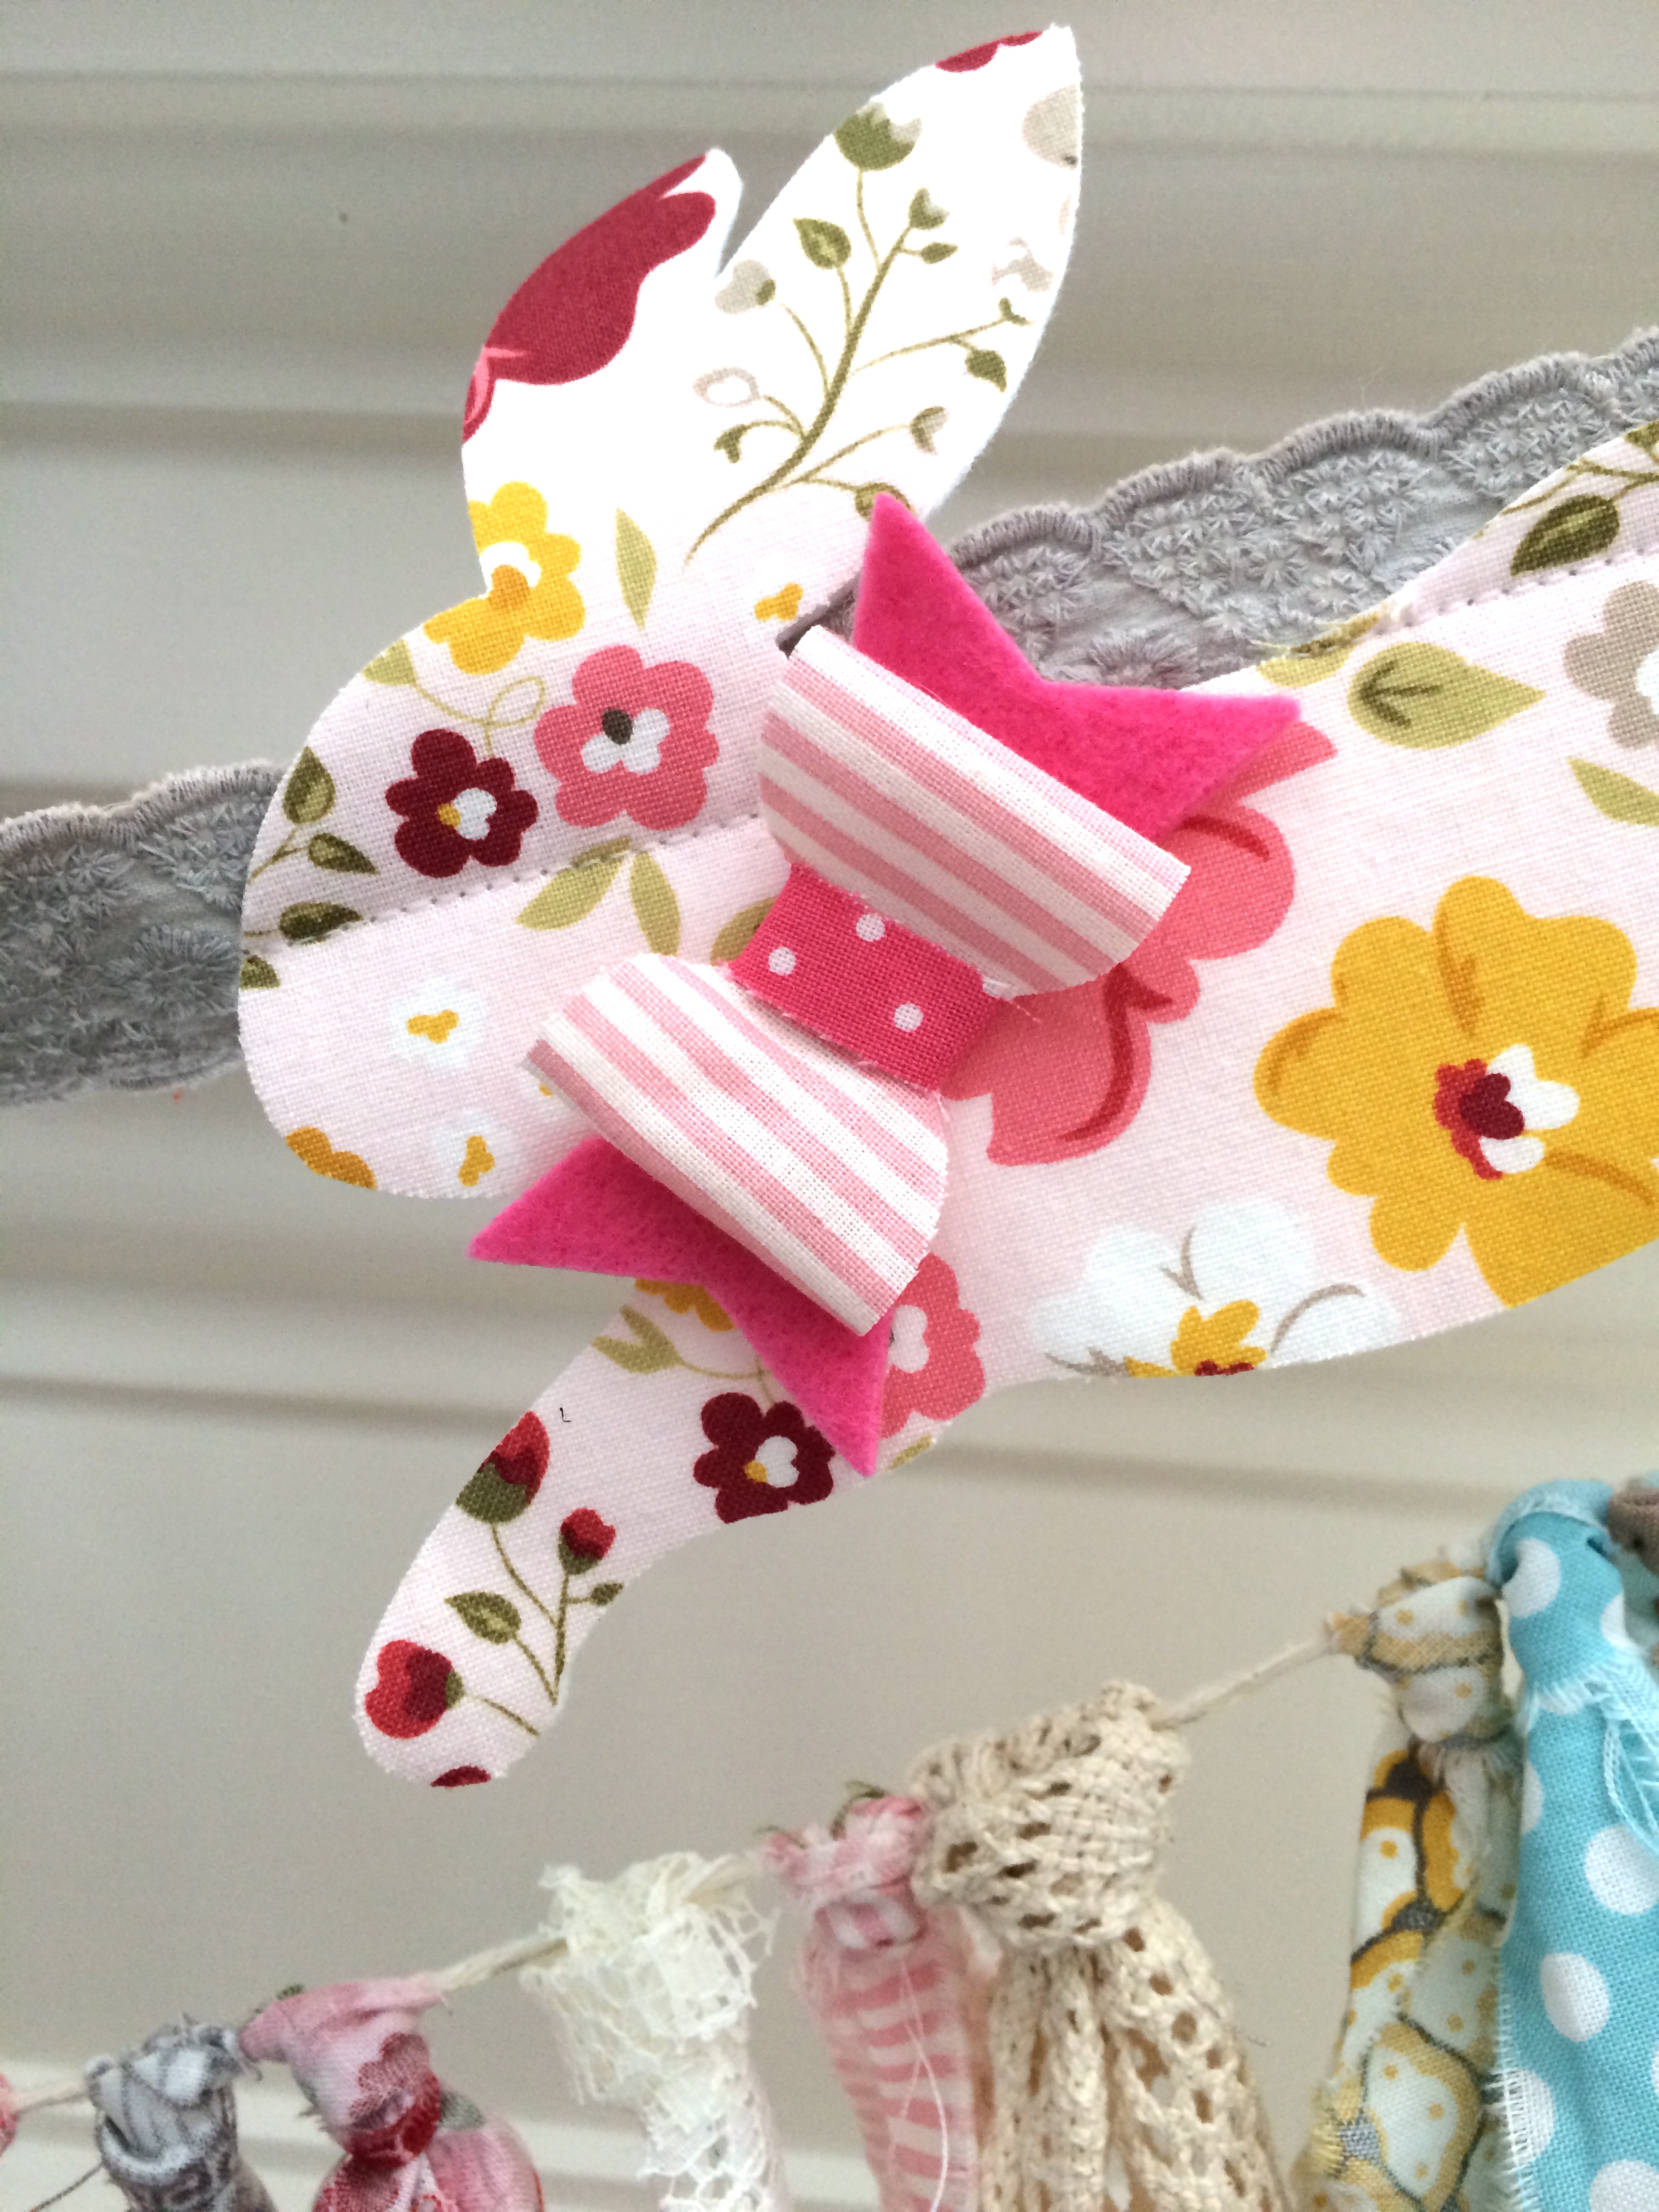
I’m so happy Spring is here!!! All the trees have blossoms, the sun is shining, and it’s time to make things with bunnies!! I love bunnies – they are the cats of spring 🙂 This garland is a quick project that lets you use your favorite fabrics and can be mad in a few hours. I choose to use an assortment of Riley Blake Fabrics from lots of different fabric lines. This is a great scrap buster project. The bunny is cut with a Sizzix die cut – It’s my favorite!. You can see my other bunny projects here and here and here 🙂 The bunnies are stabilized by ironing a piece of Heat n Bond lite to the fabric and then ironing it to felt. Here’s how you can make one:
Supplies
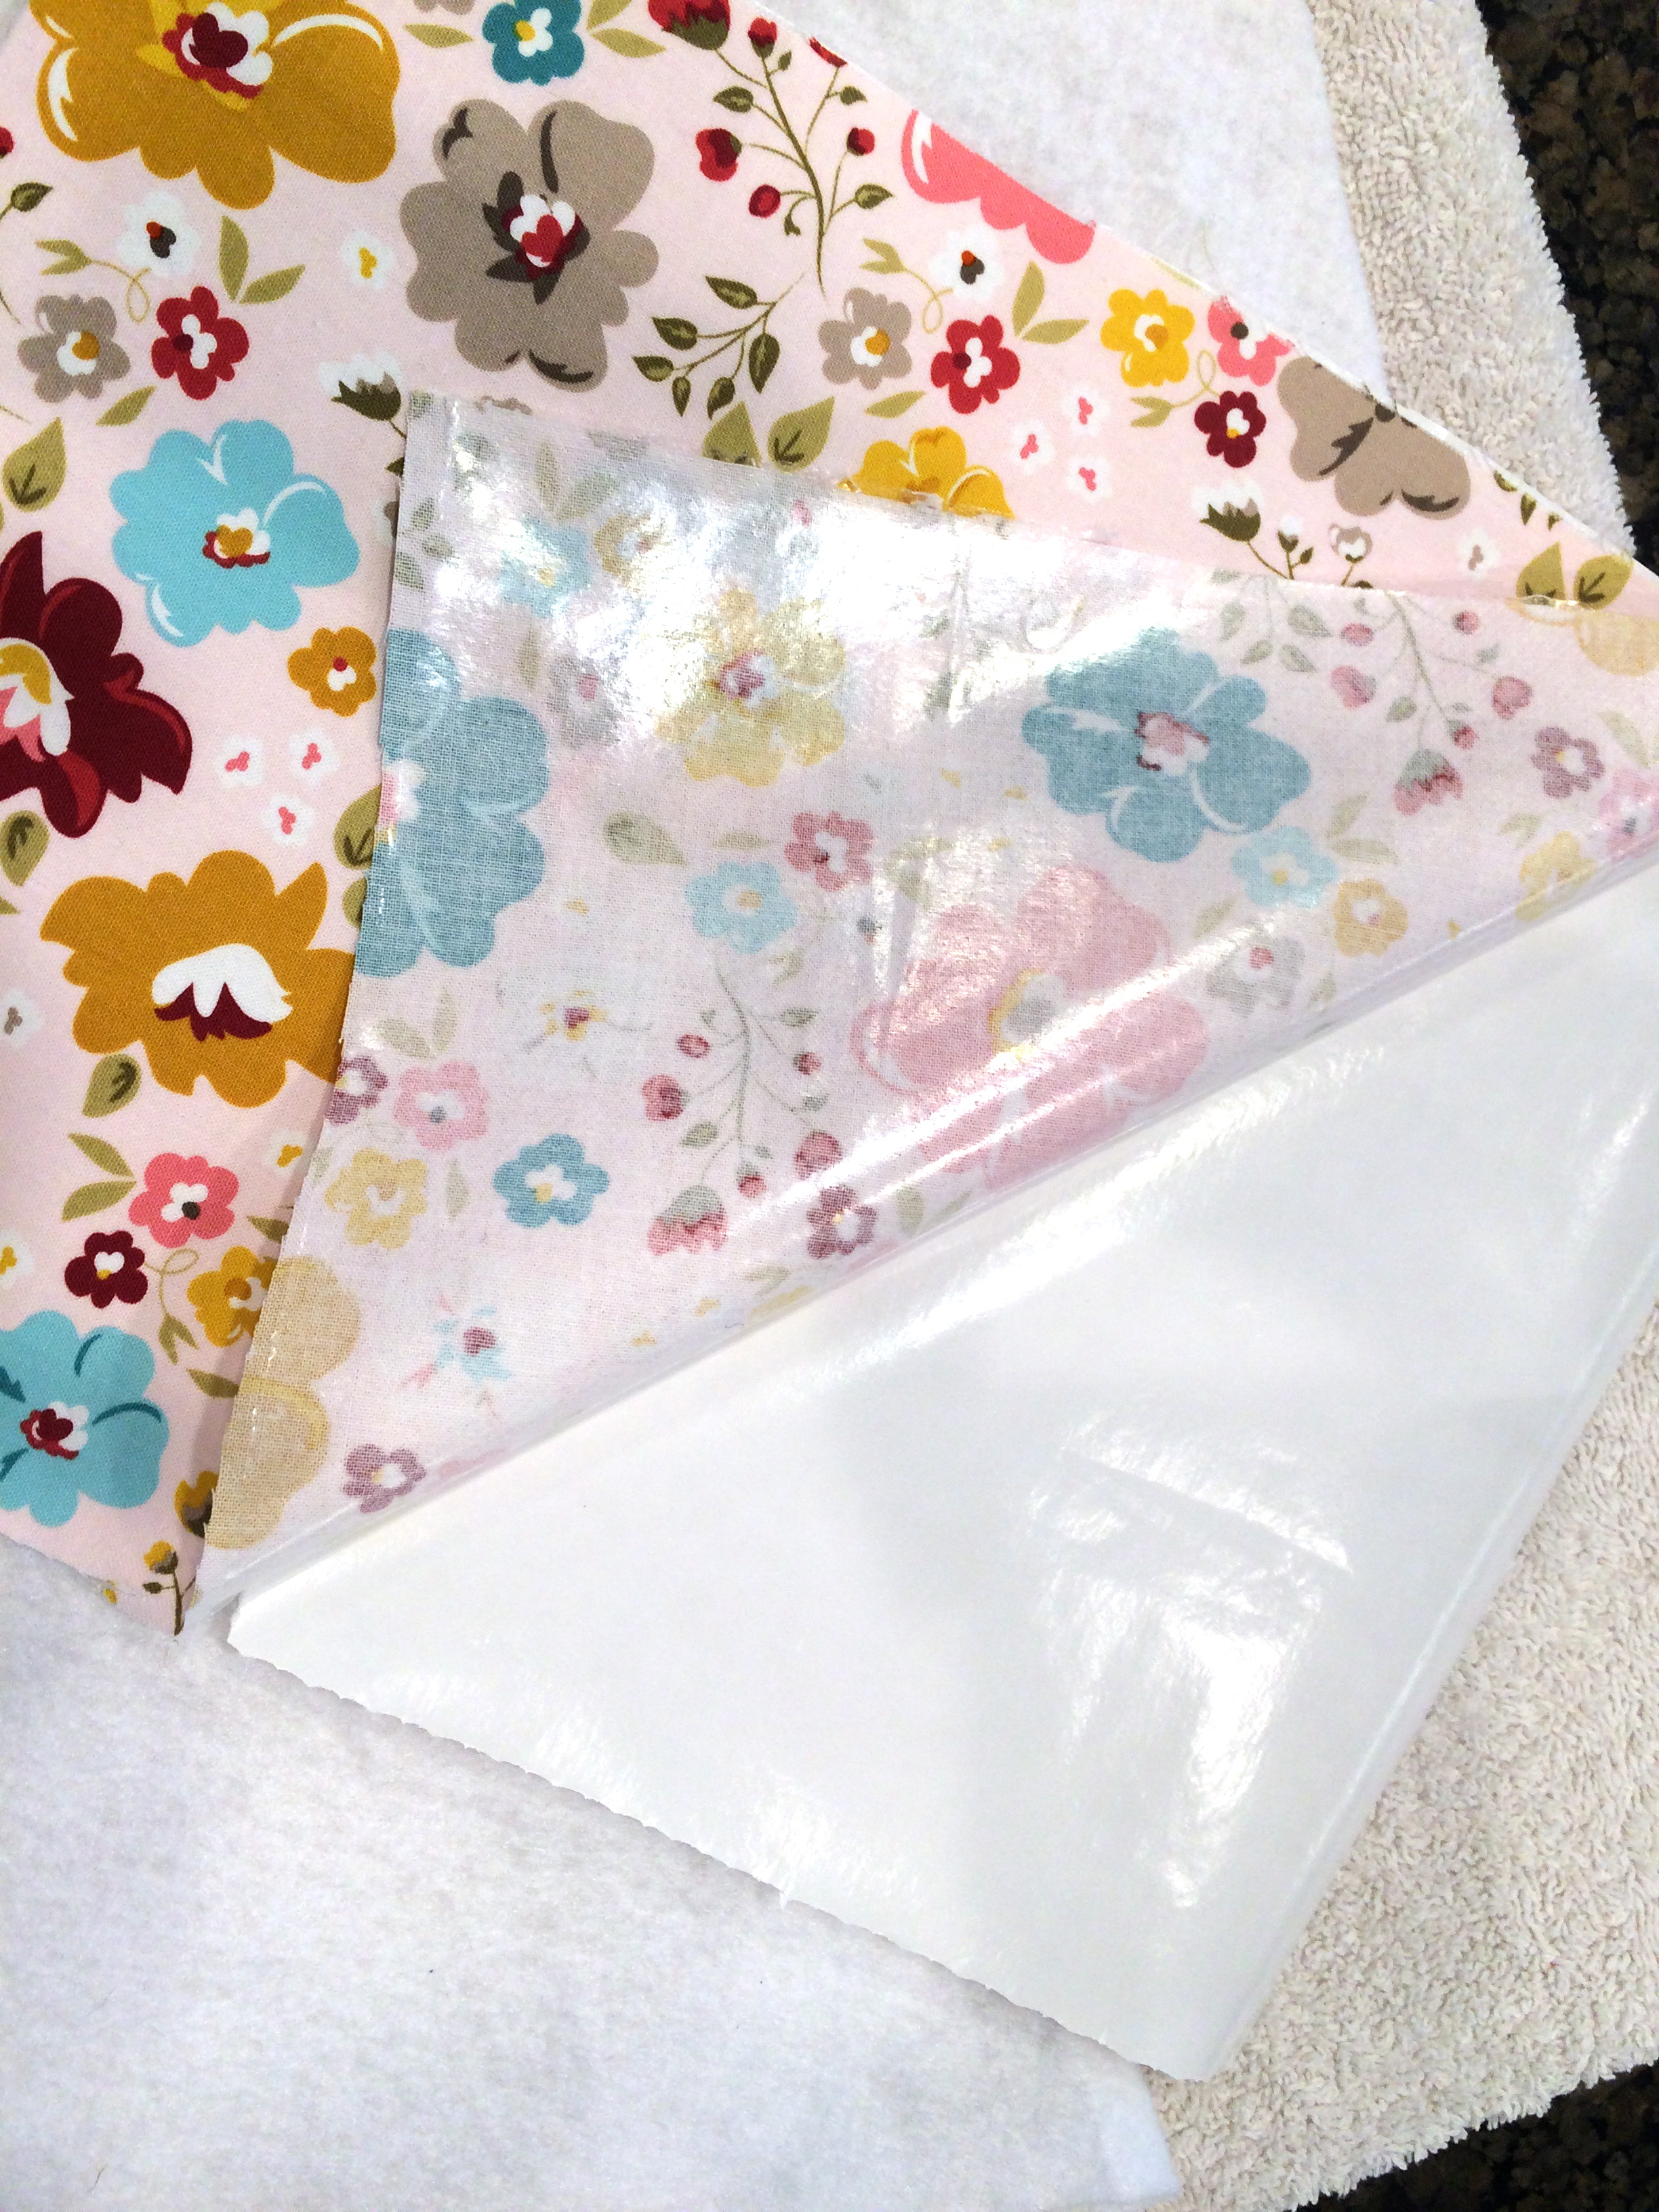
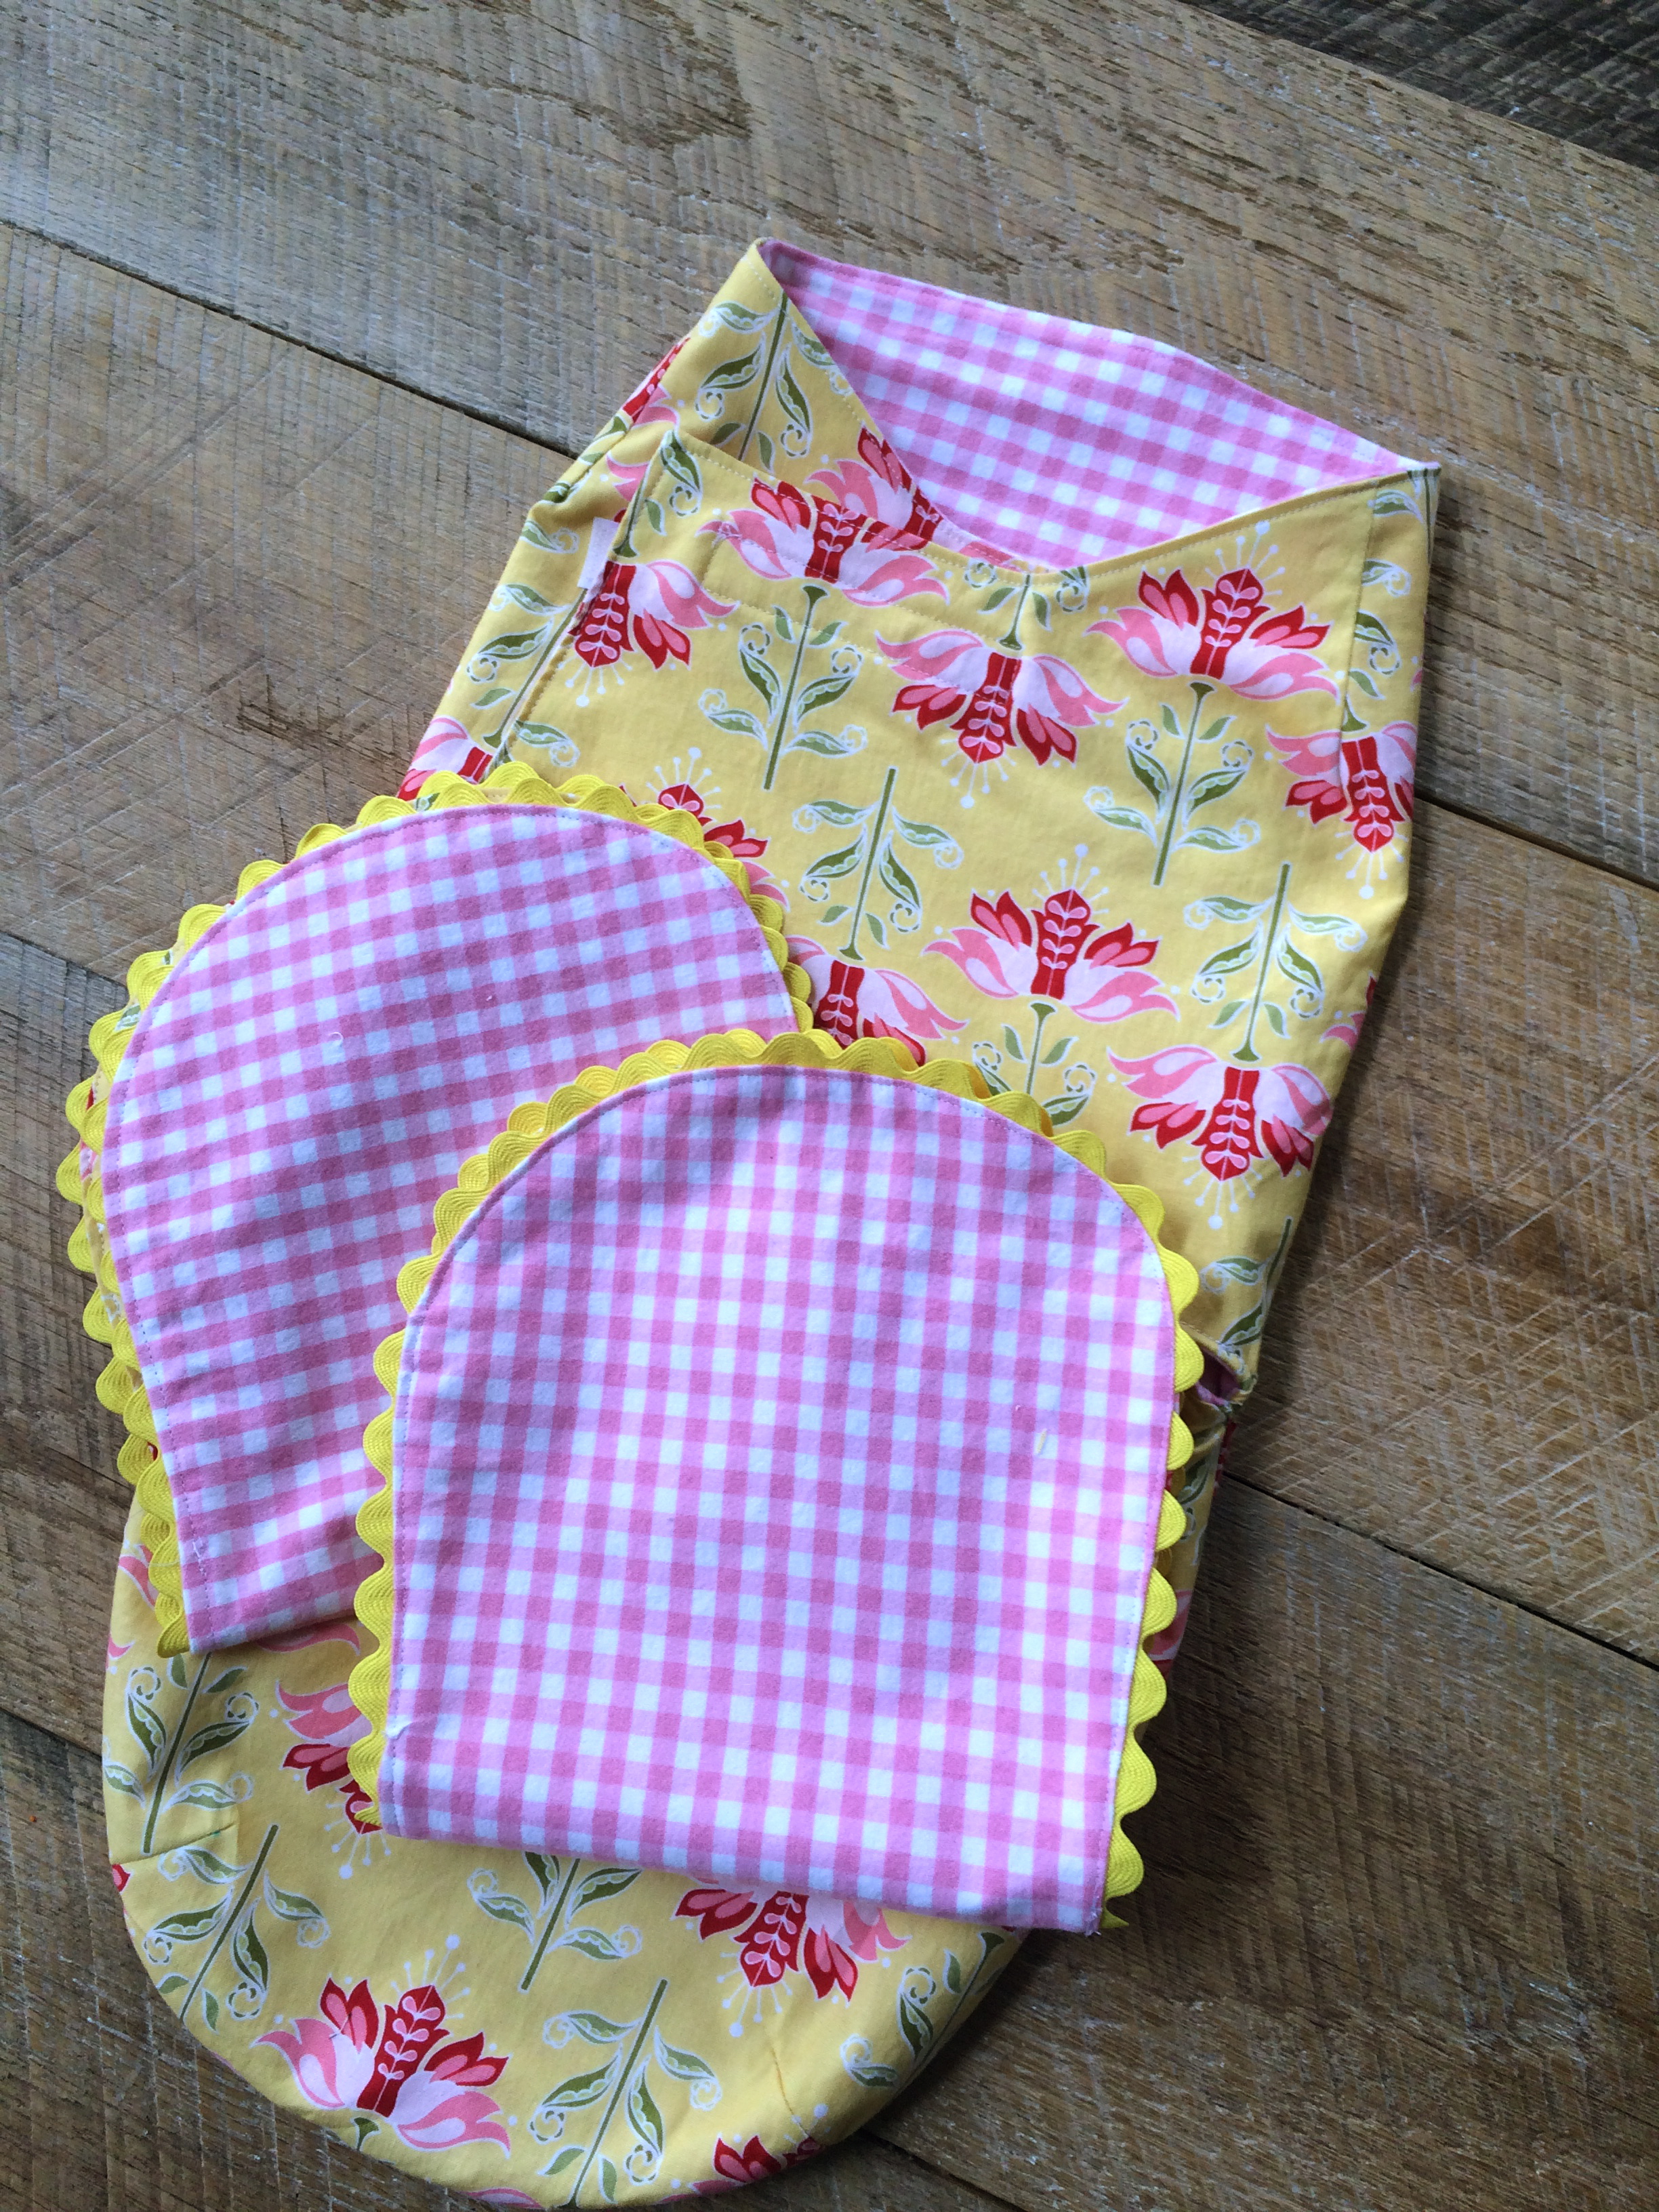
Scraps of fabric
felt
cotton twine, cording, ribbon, etc for fabric ties
6-8 feet lace
scraps of lace
Heat n Bond Lite fusible applique paper
Sizzix Bunny die , flower die and bow die
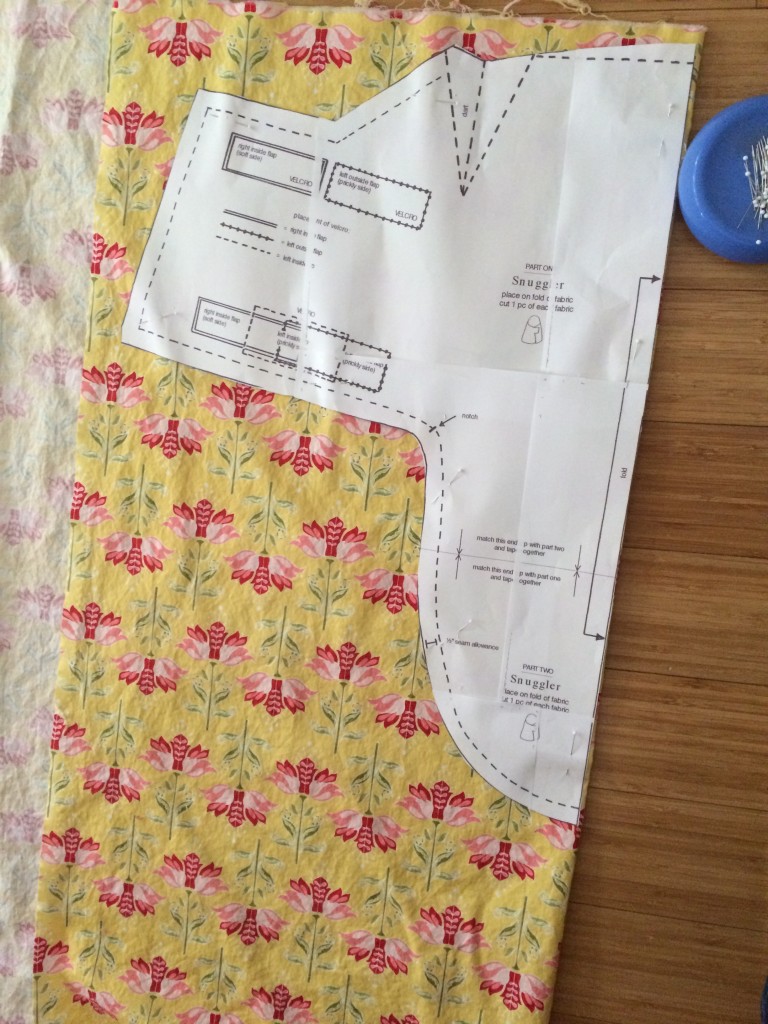
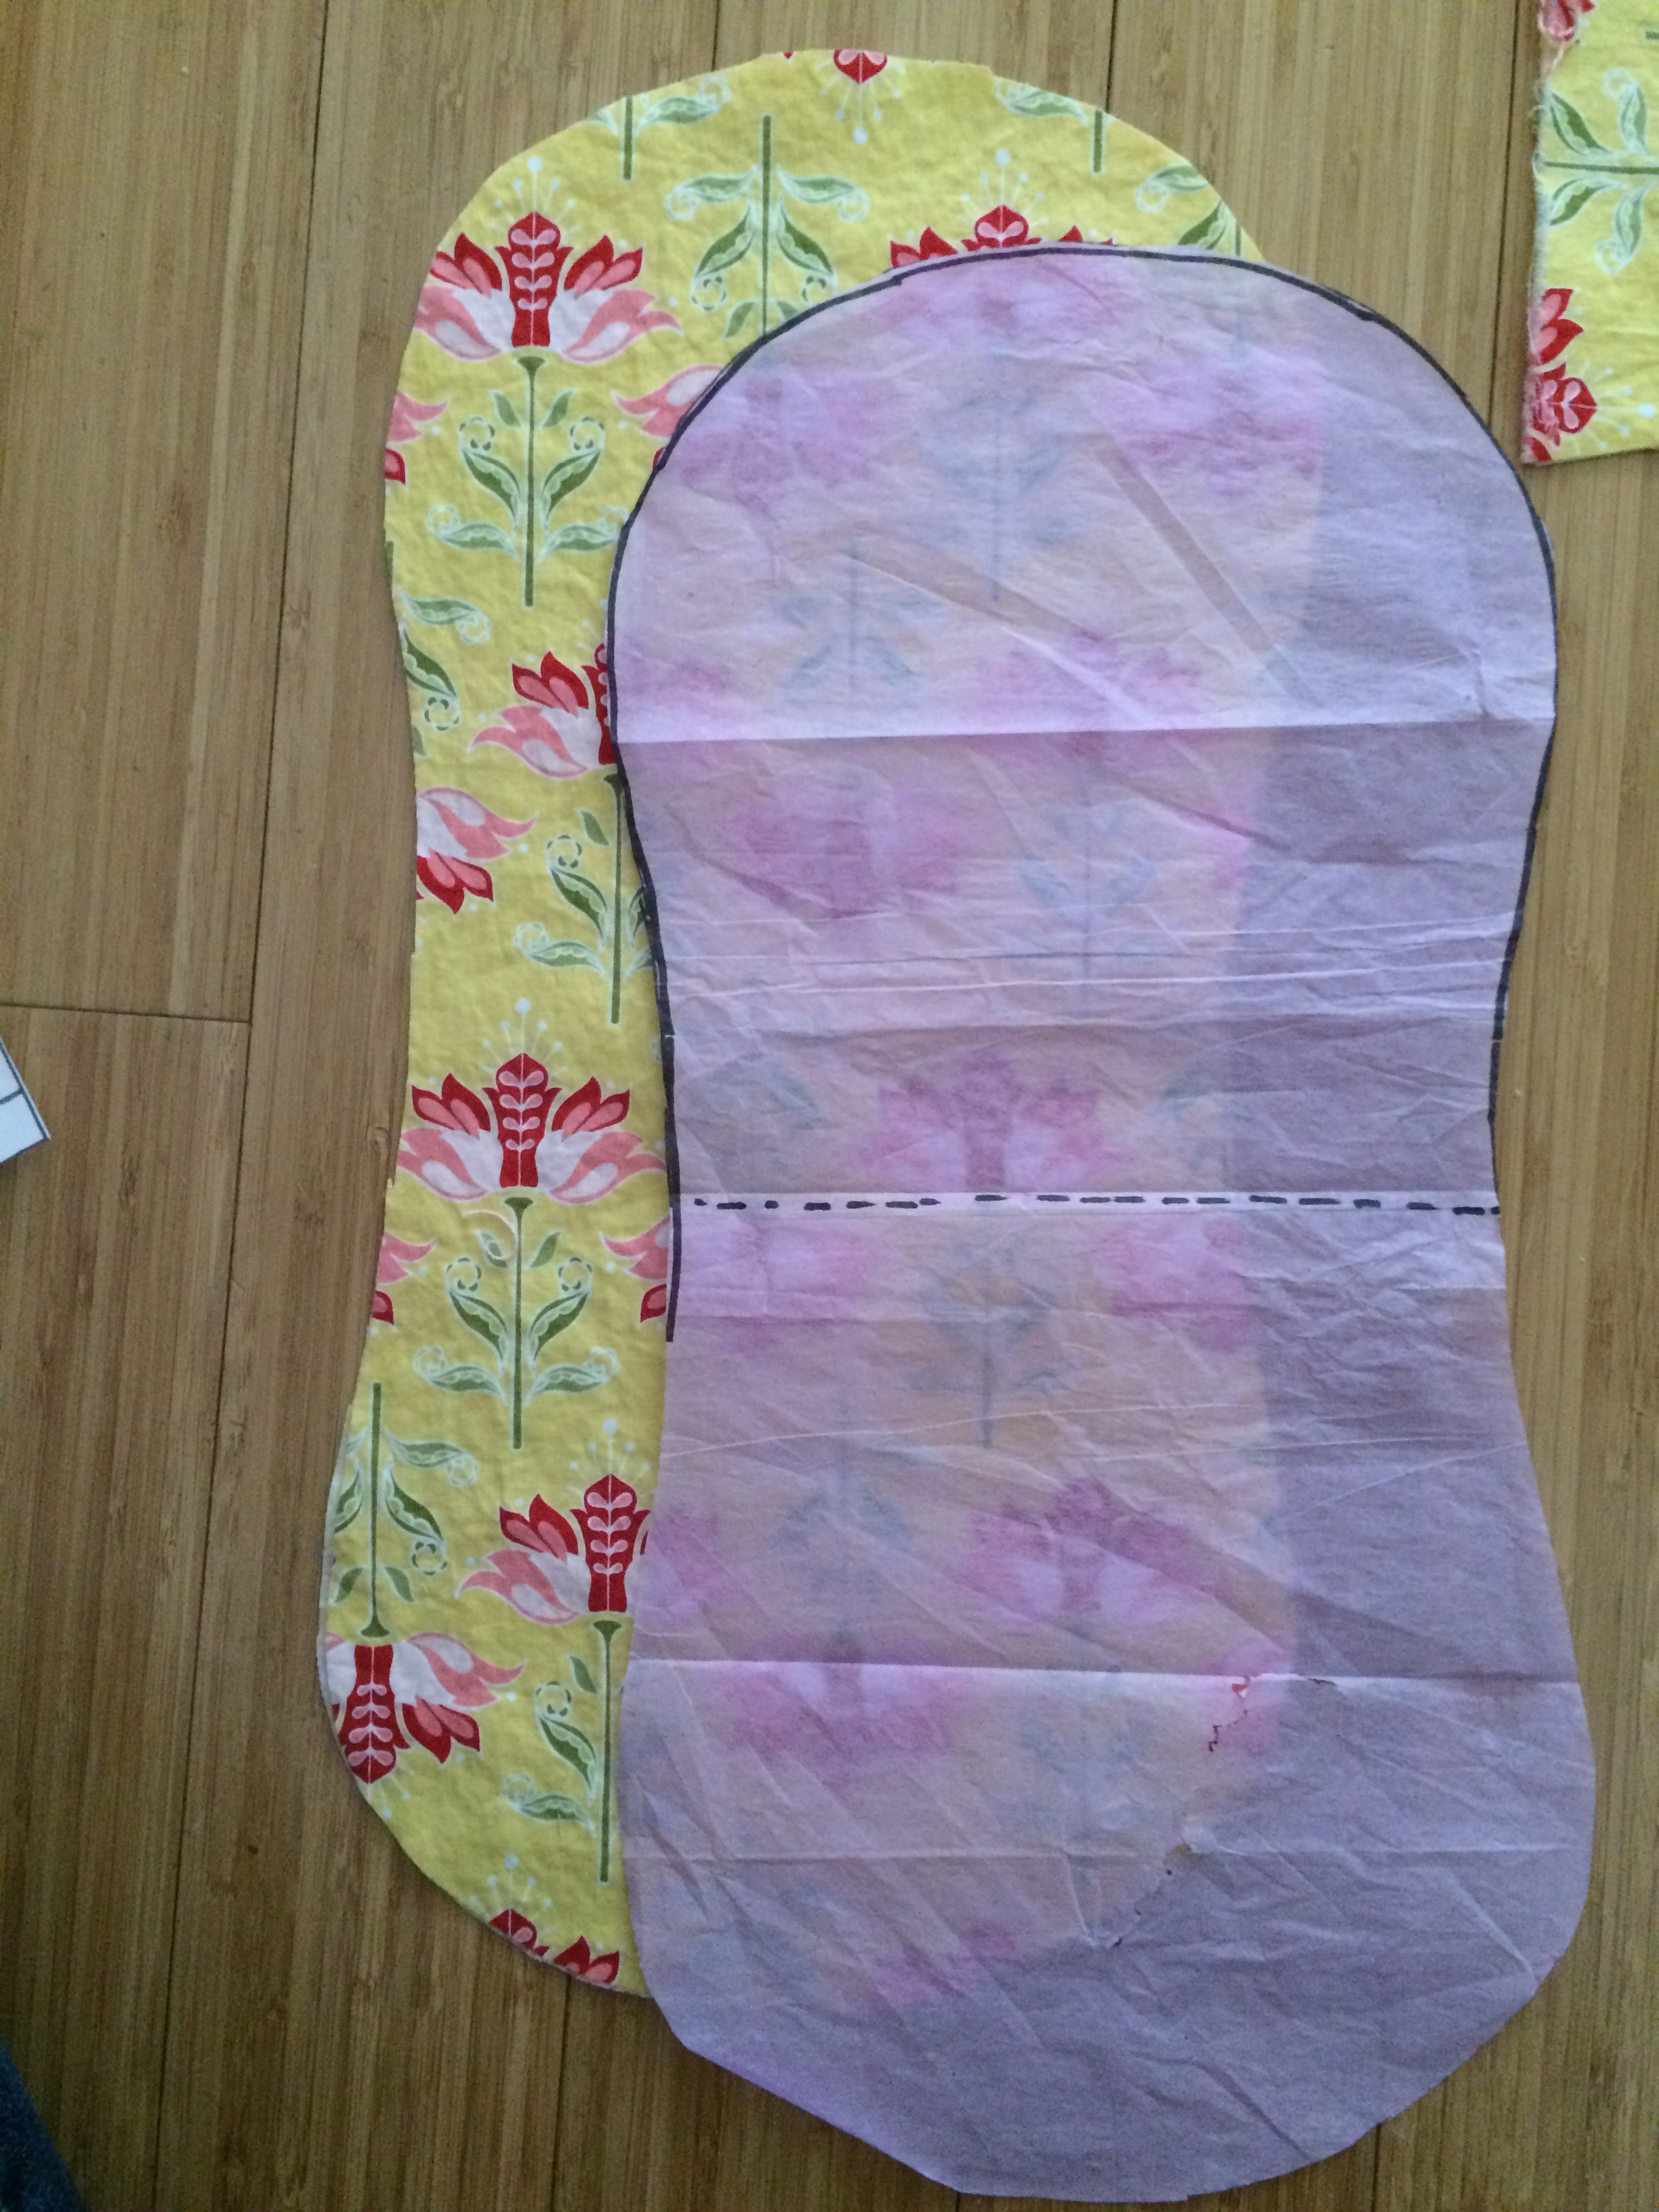
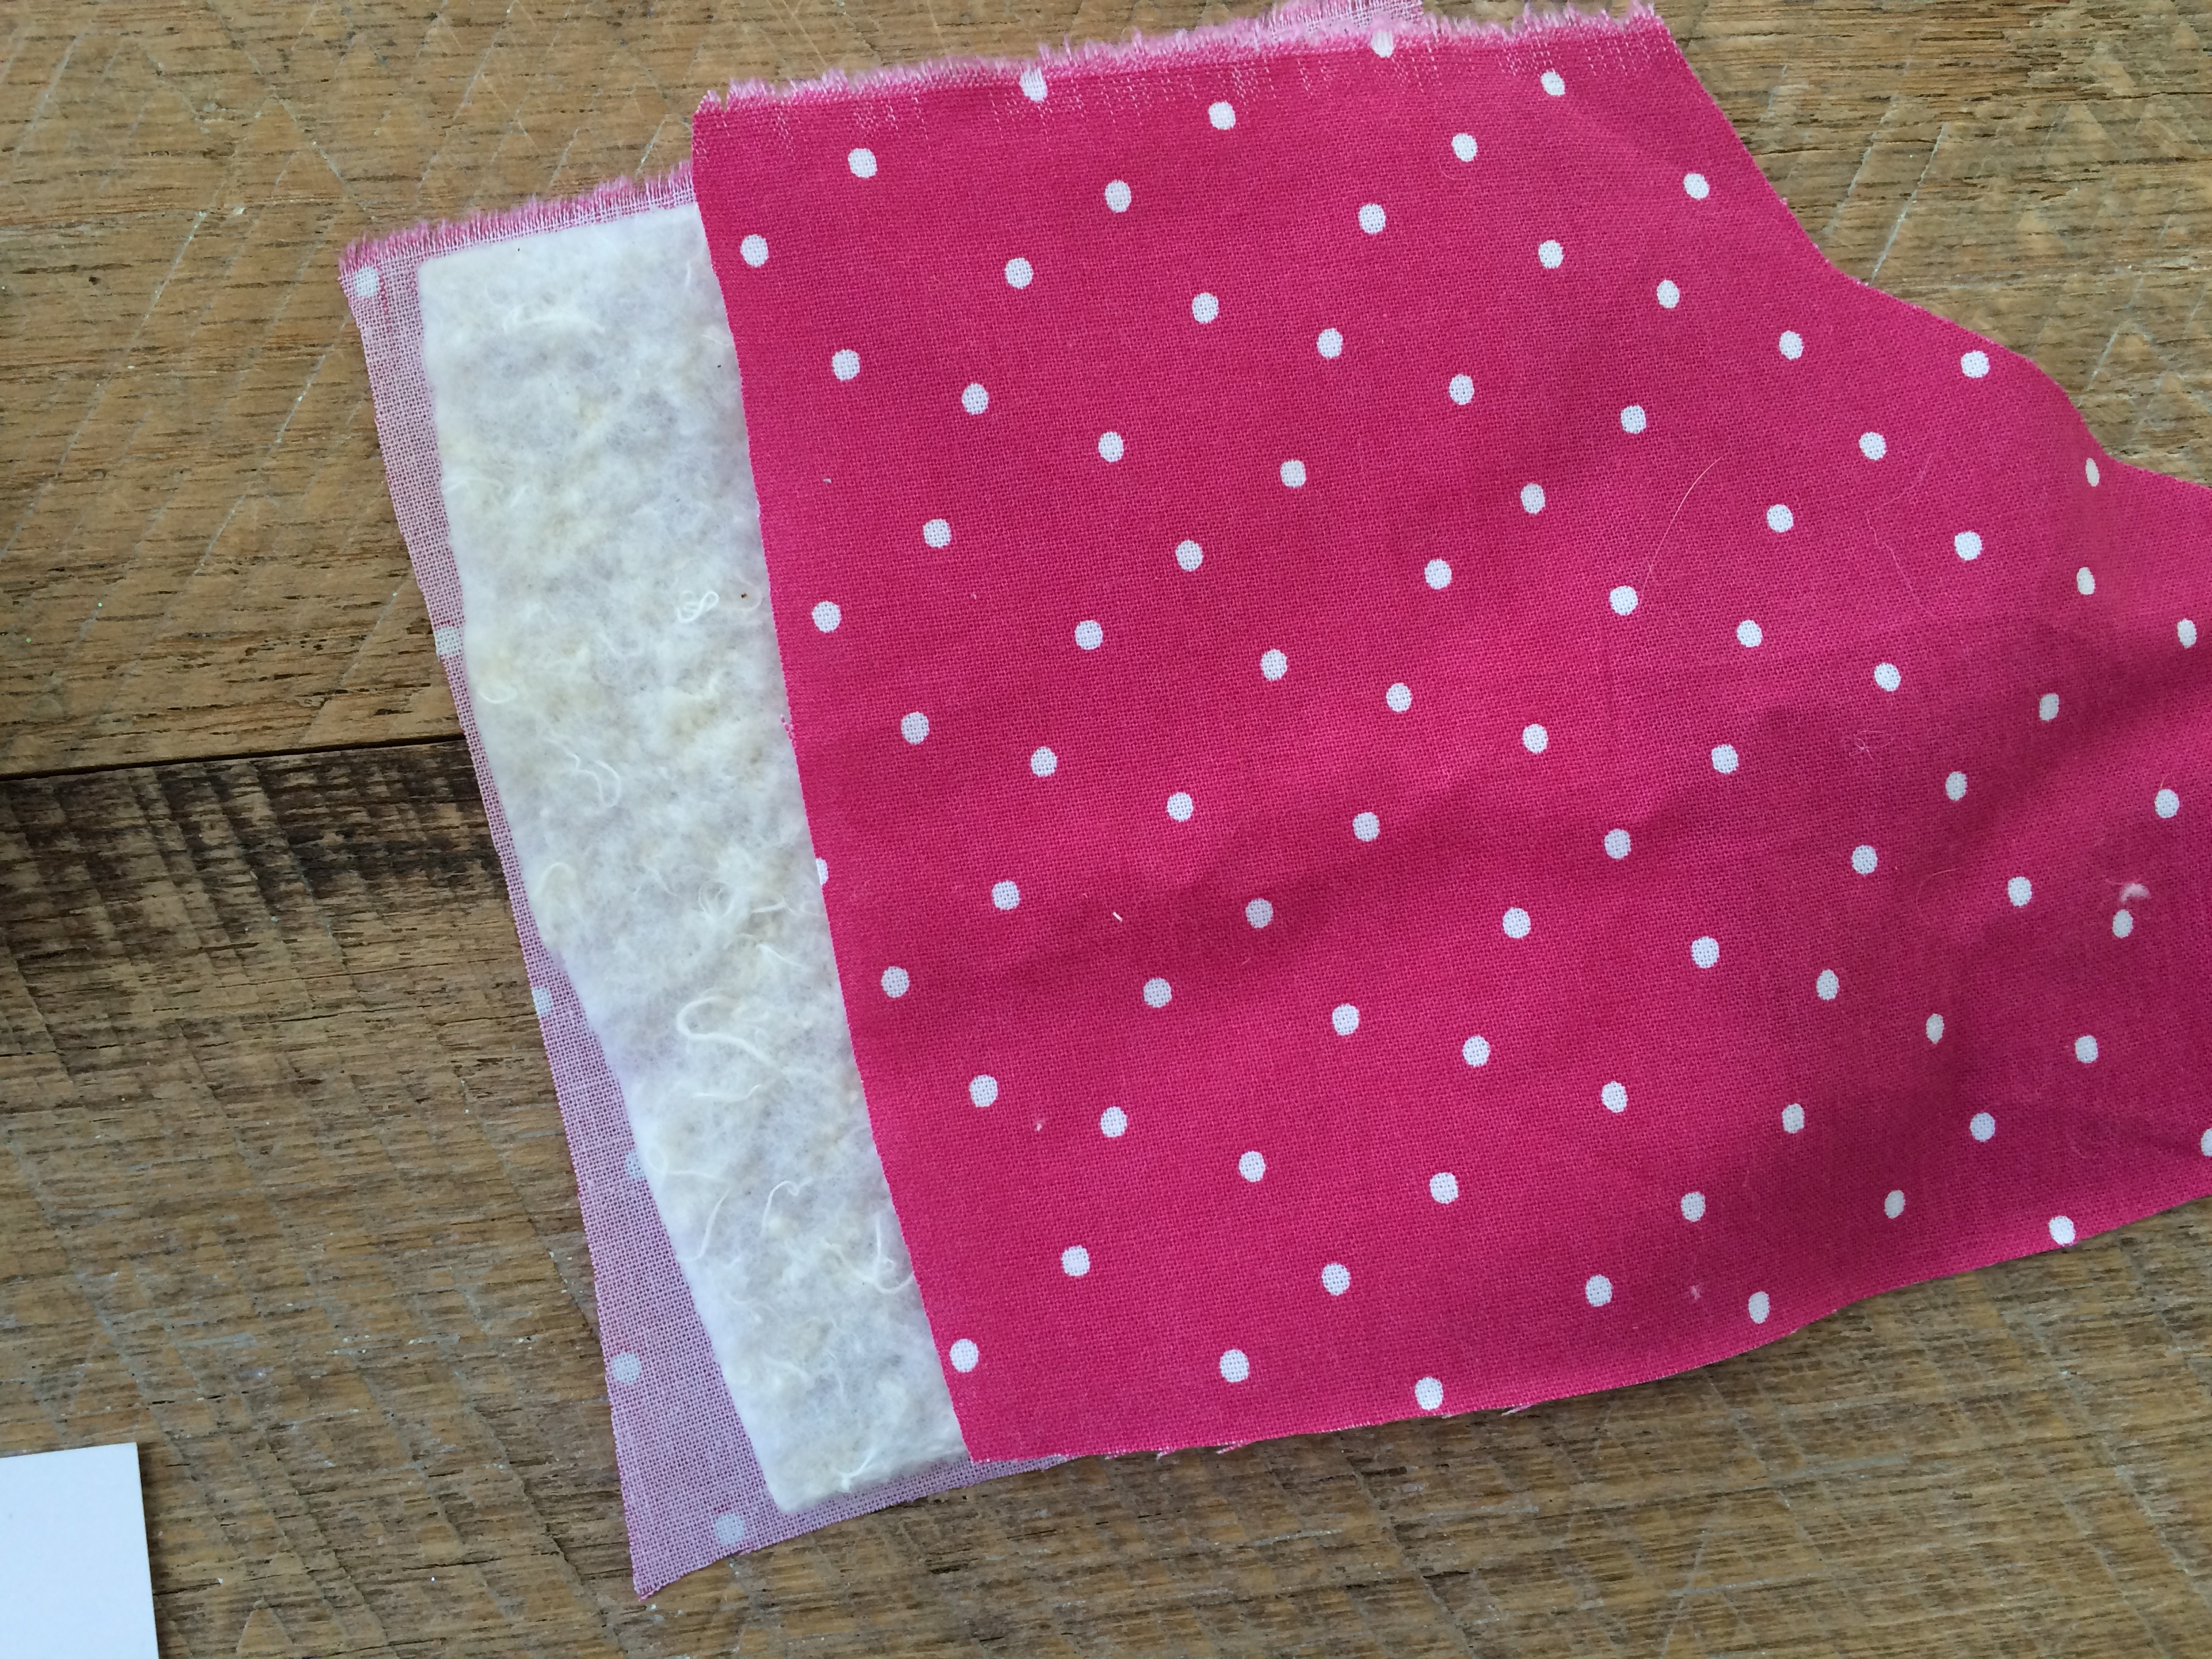
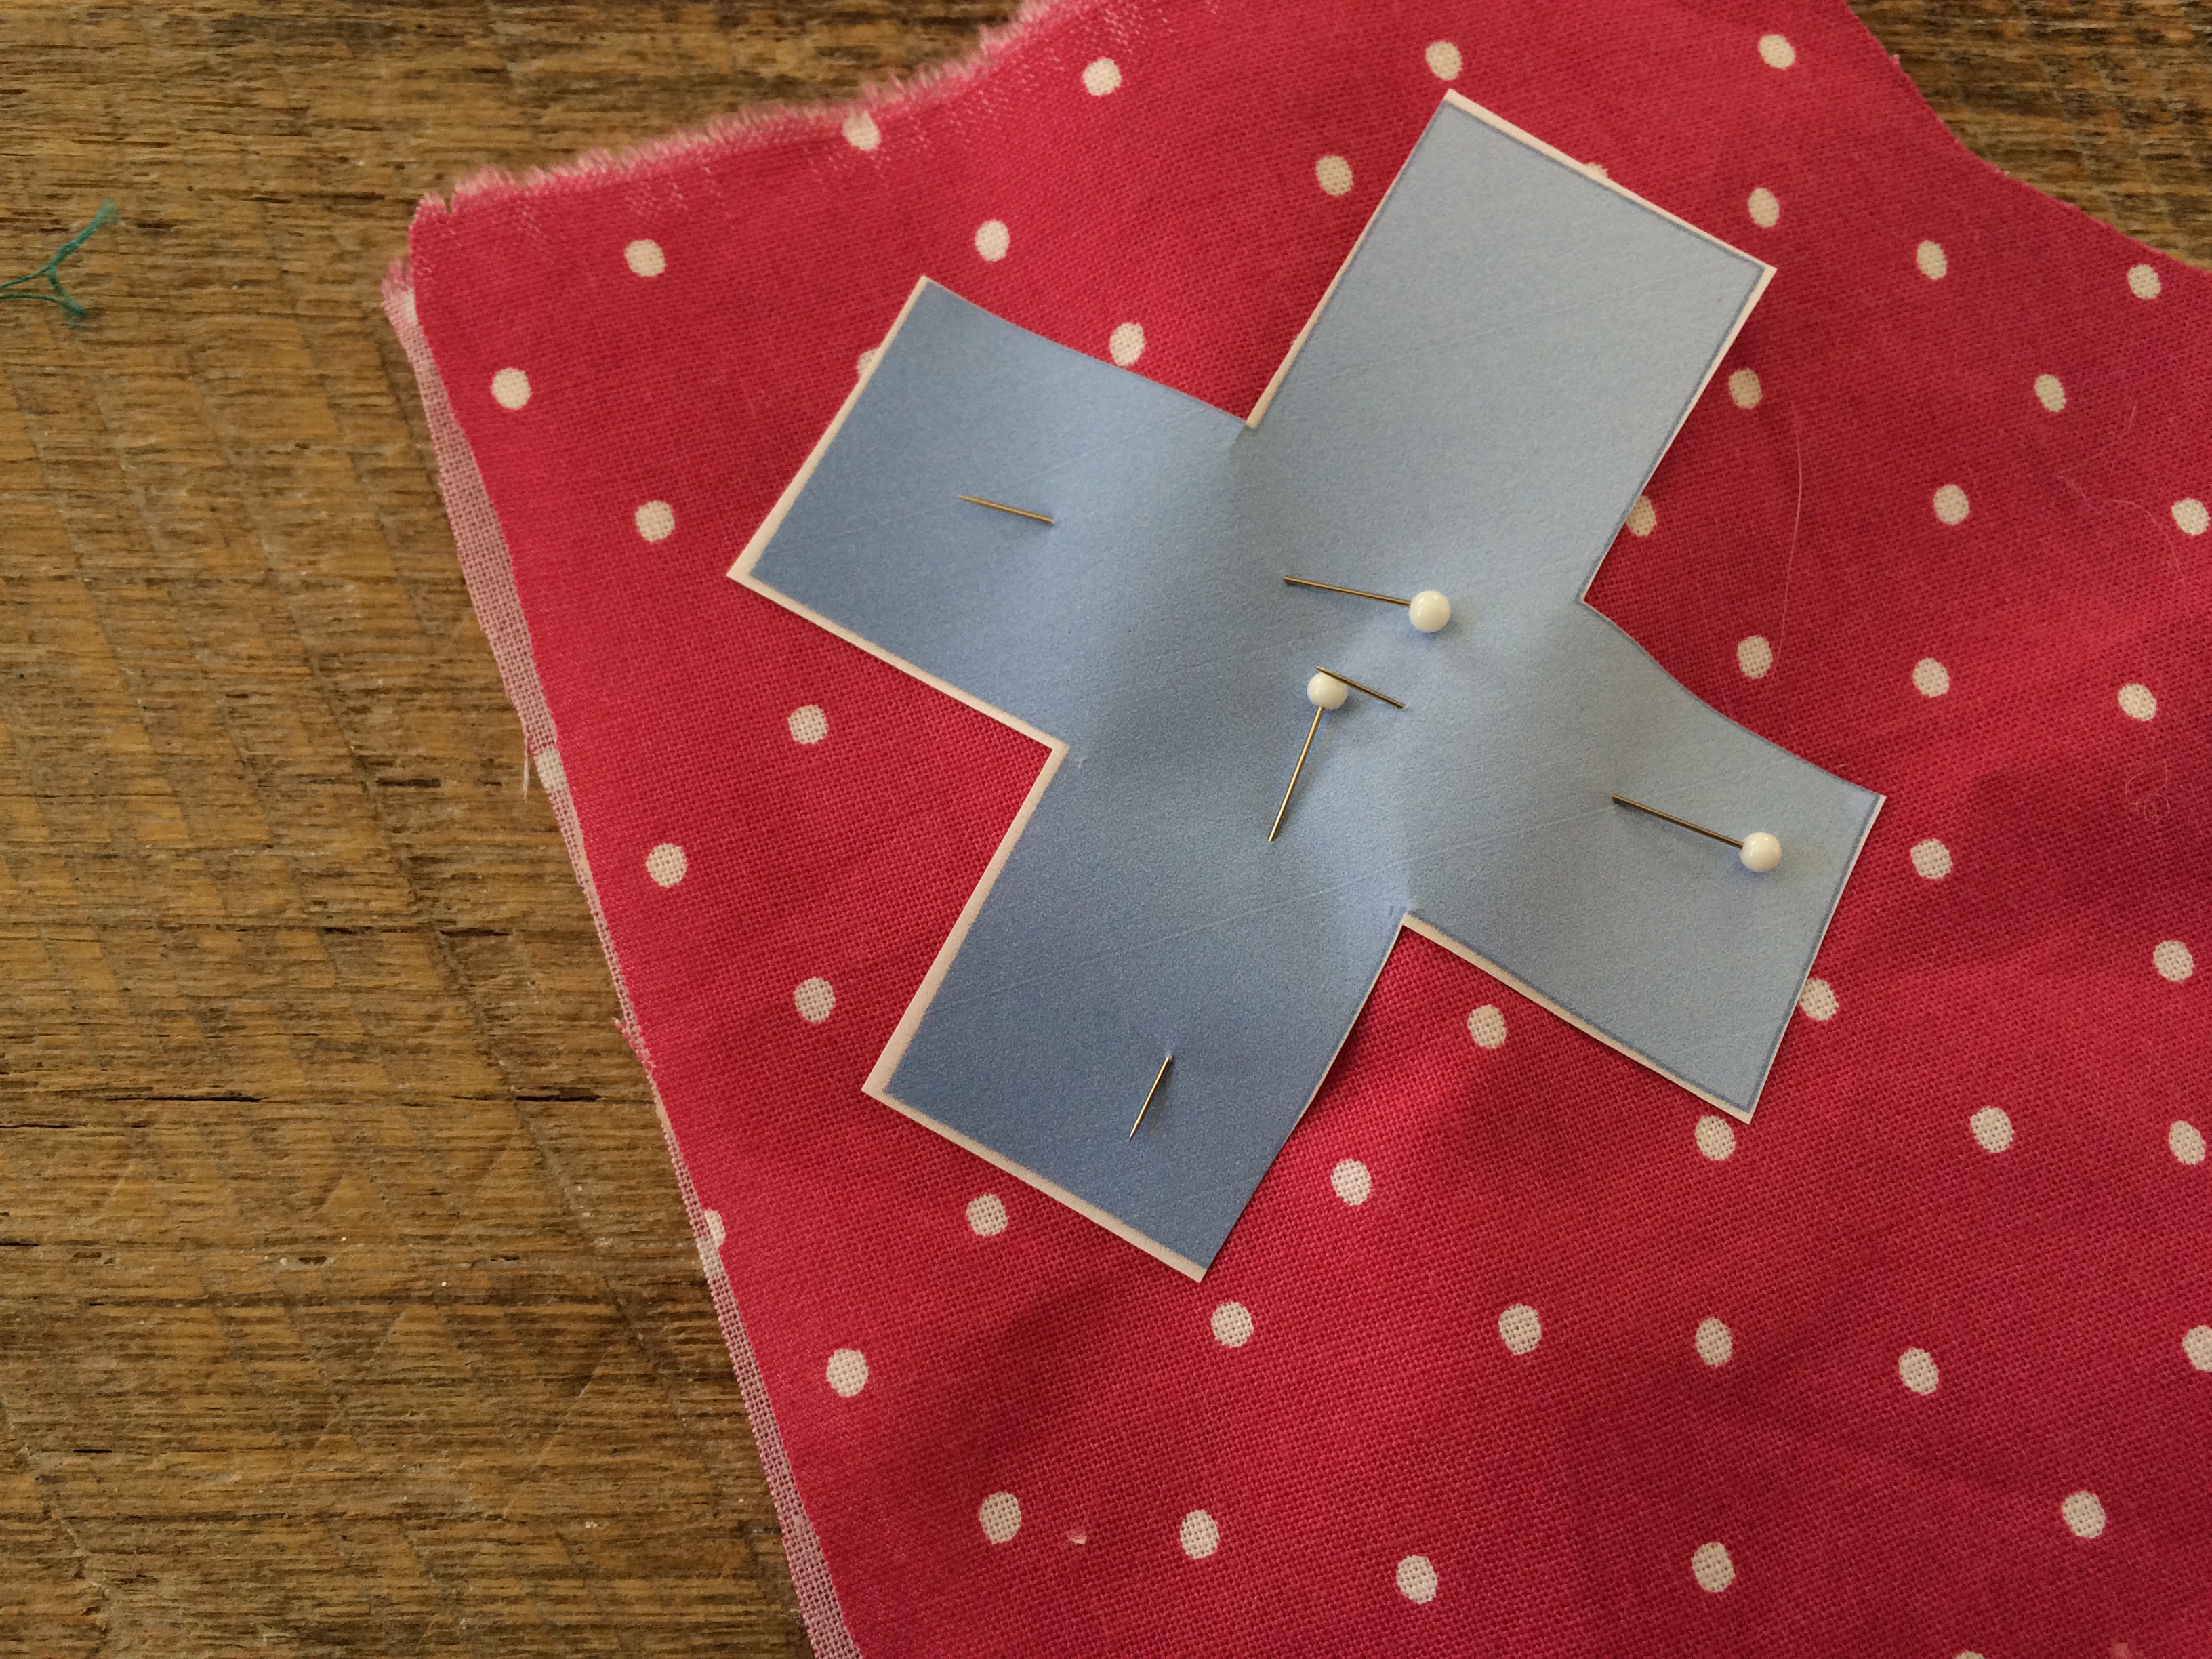
Begin by ironing a piece of Heat n Bond Lite to the wrong side of the fabric.

Peel off the backing paper and iron it to the felt. Be careful when ironing to polyester felt, it can shrink and melt. Place the iron on the fabric side and only press until the felt is adhered.
Trim the piece to fit on the Sizzix die.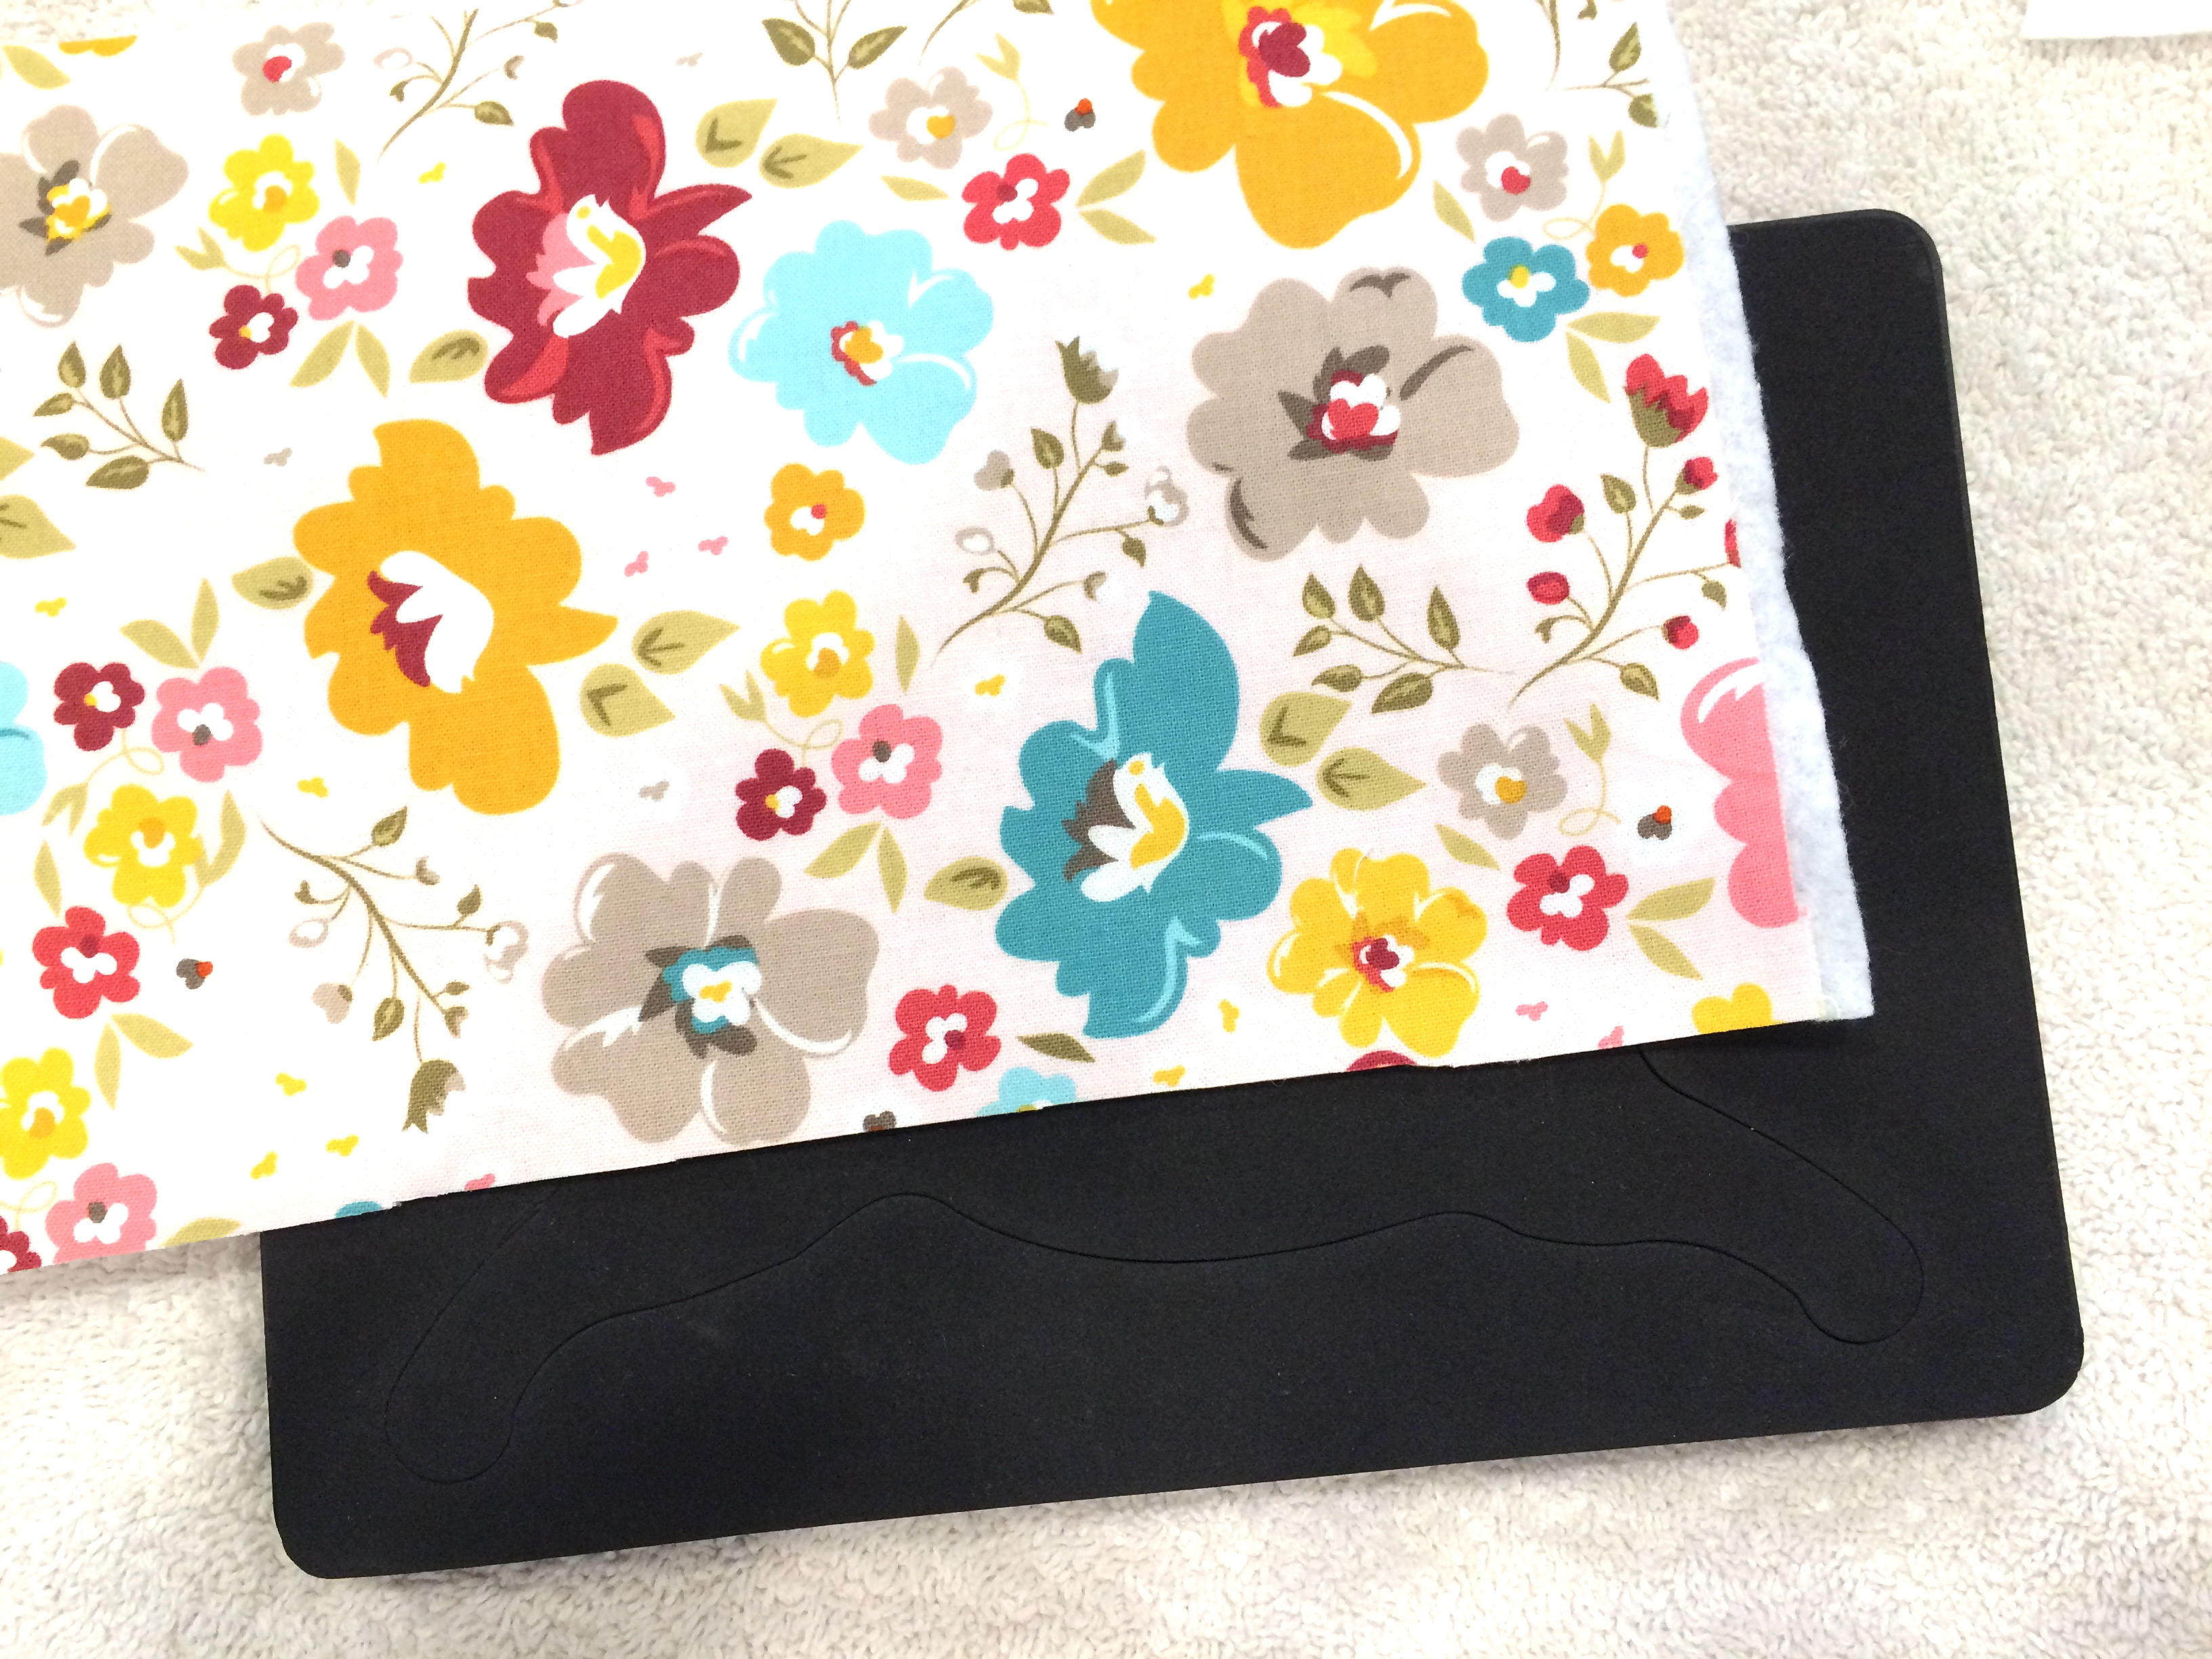
Run it through the Big Shot Machine.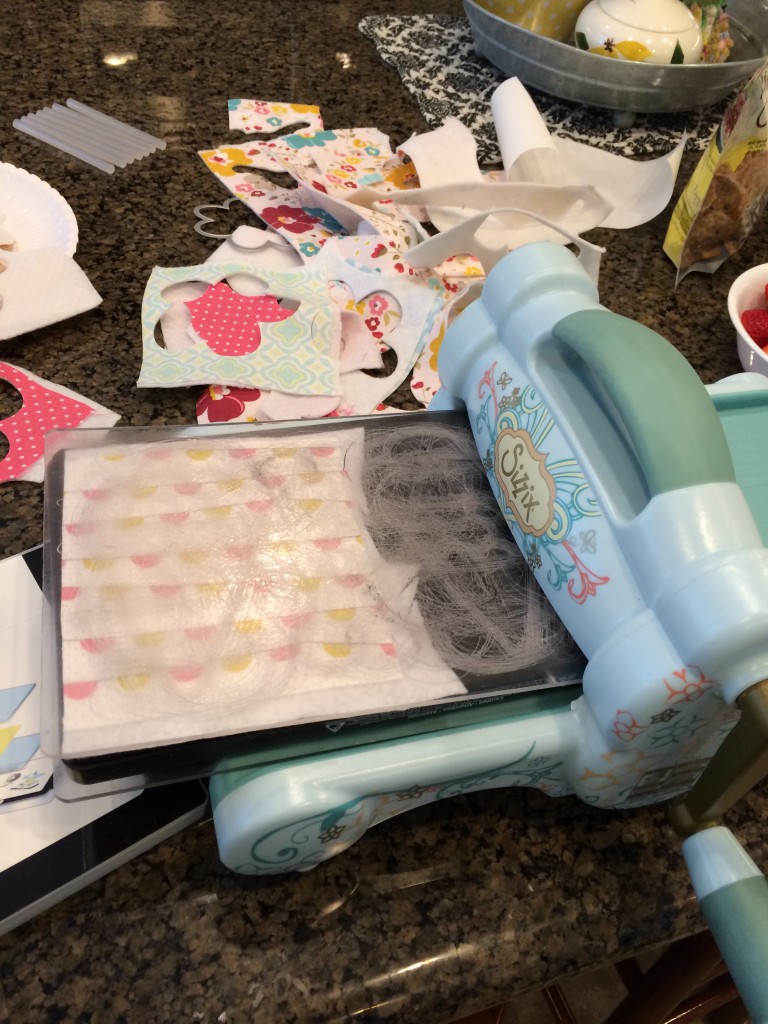
Do the same thing with the flower pieces.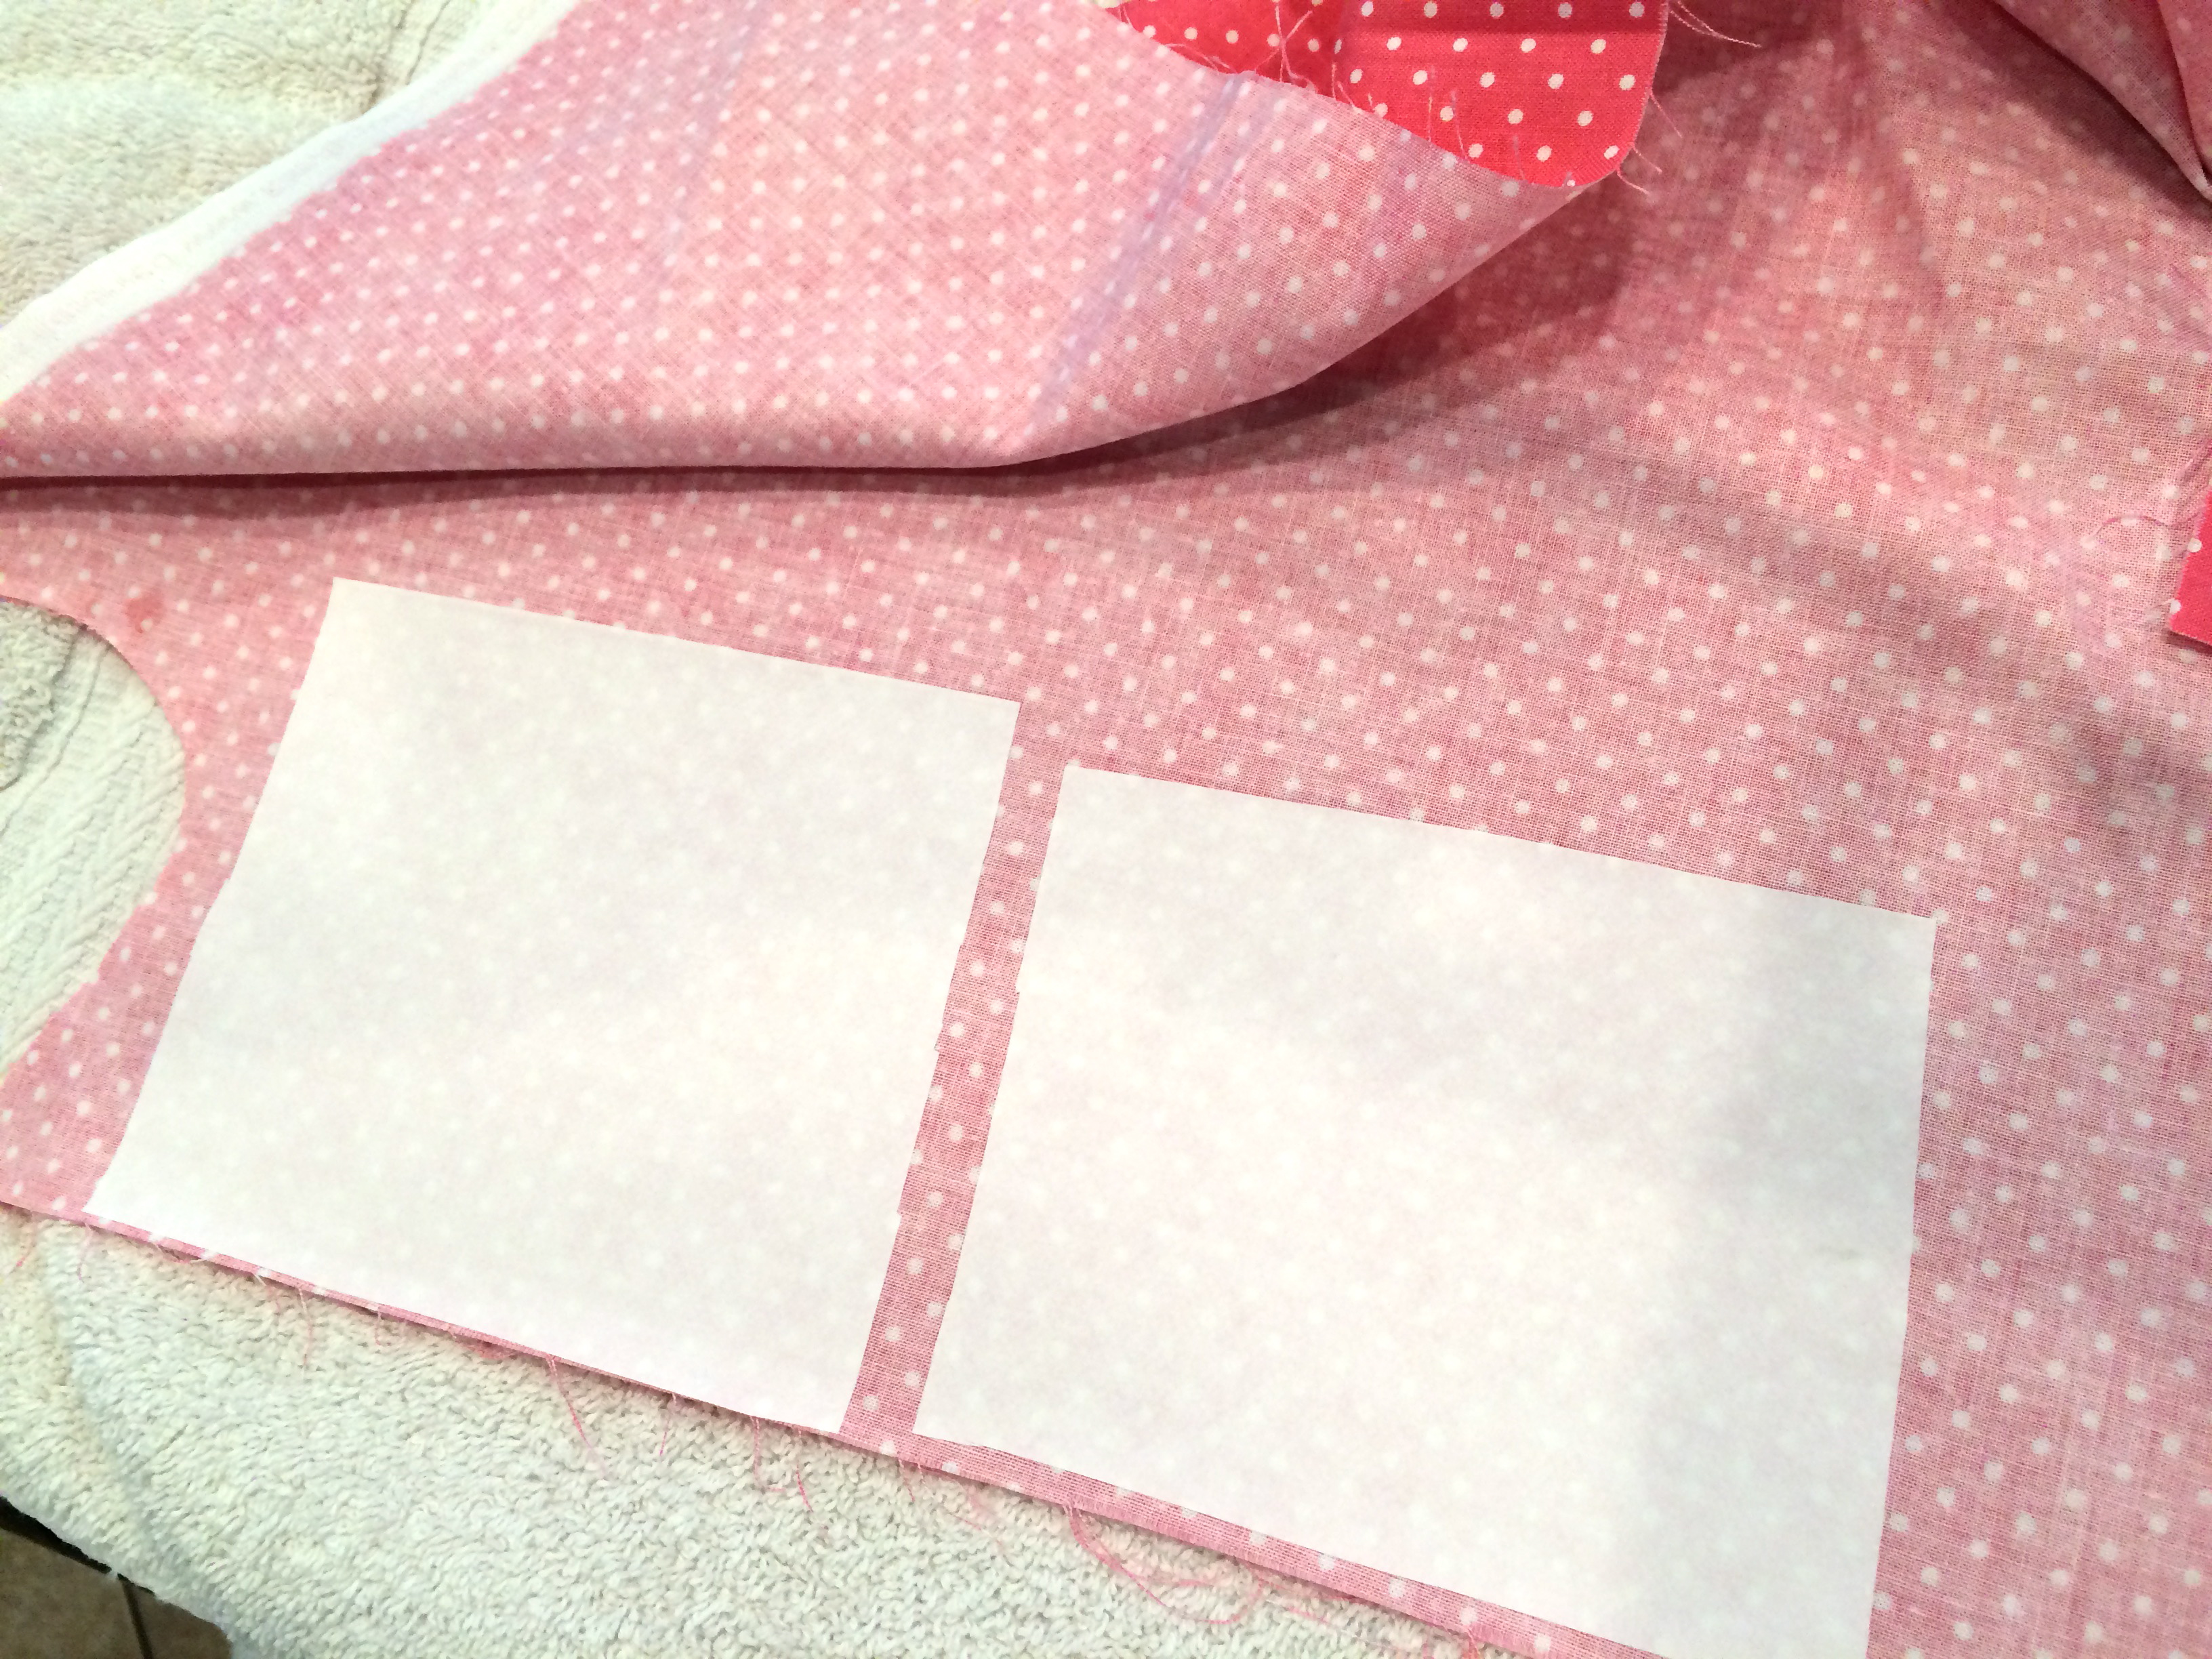
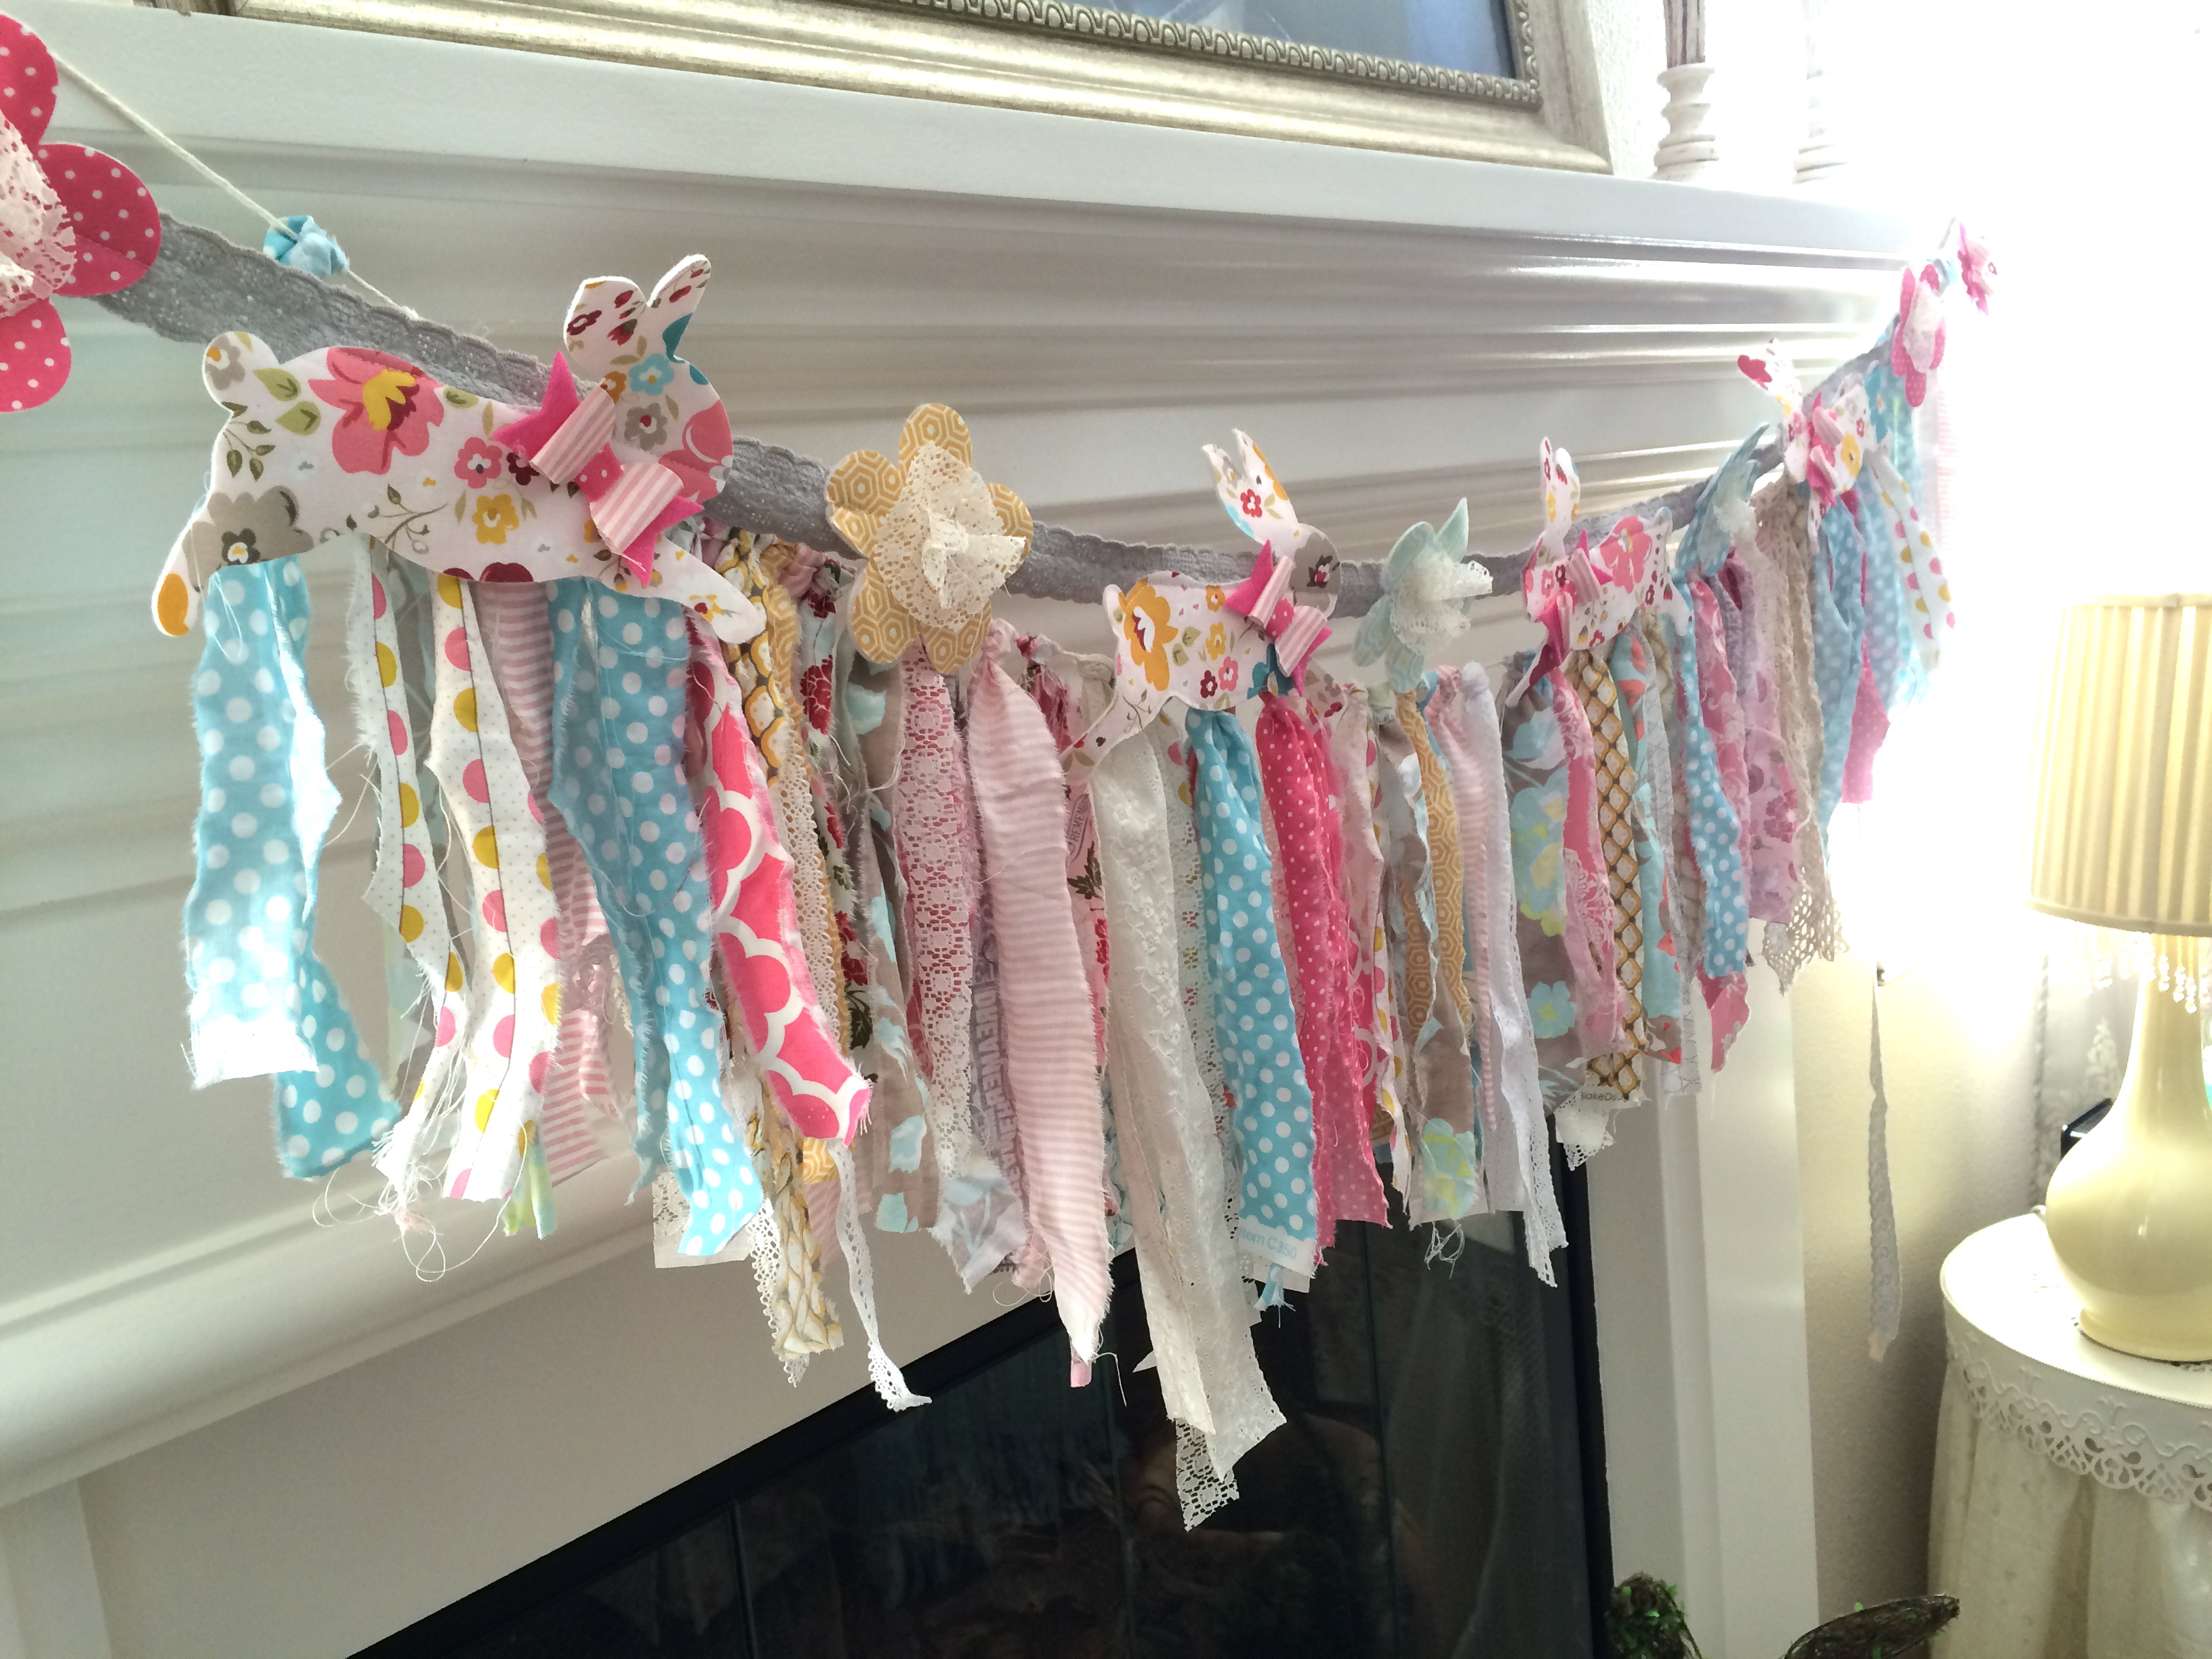
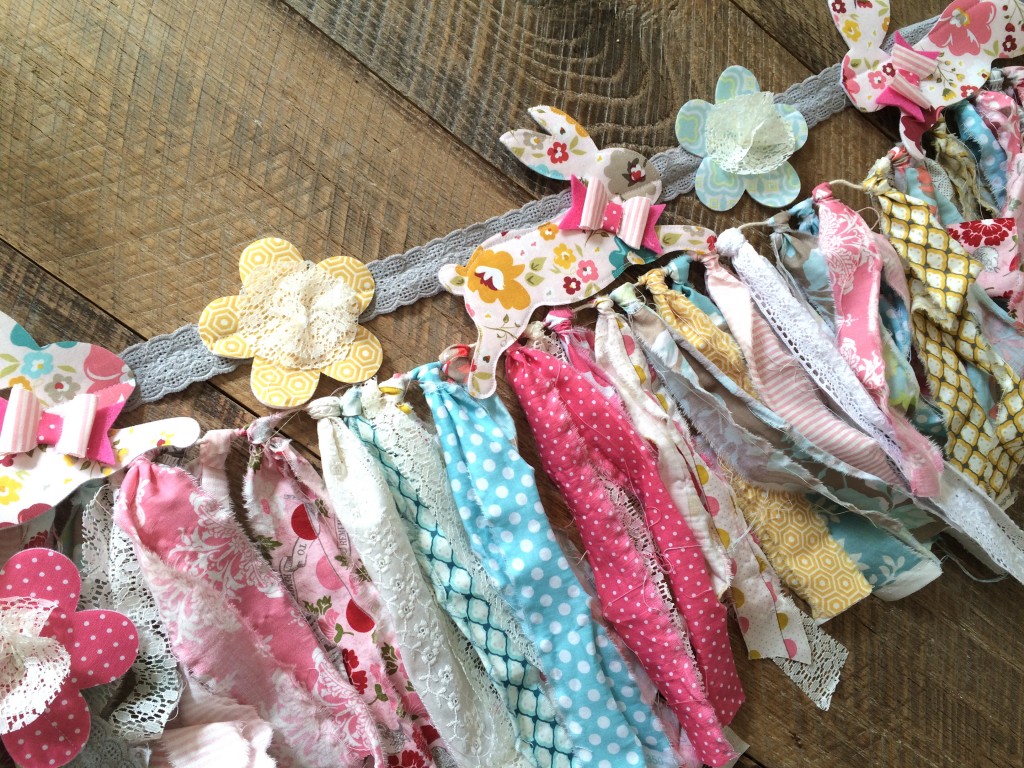
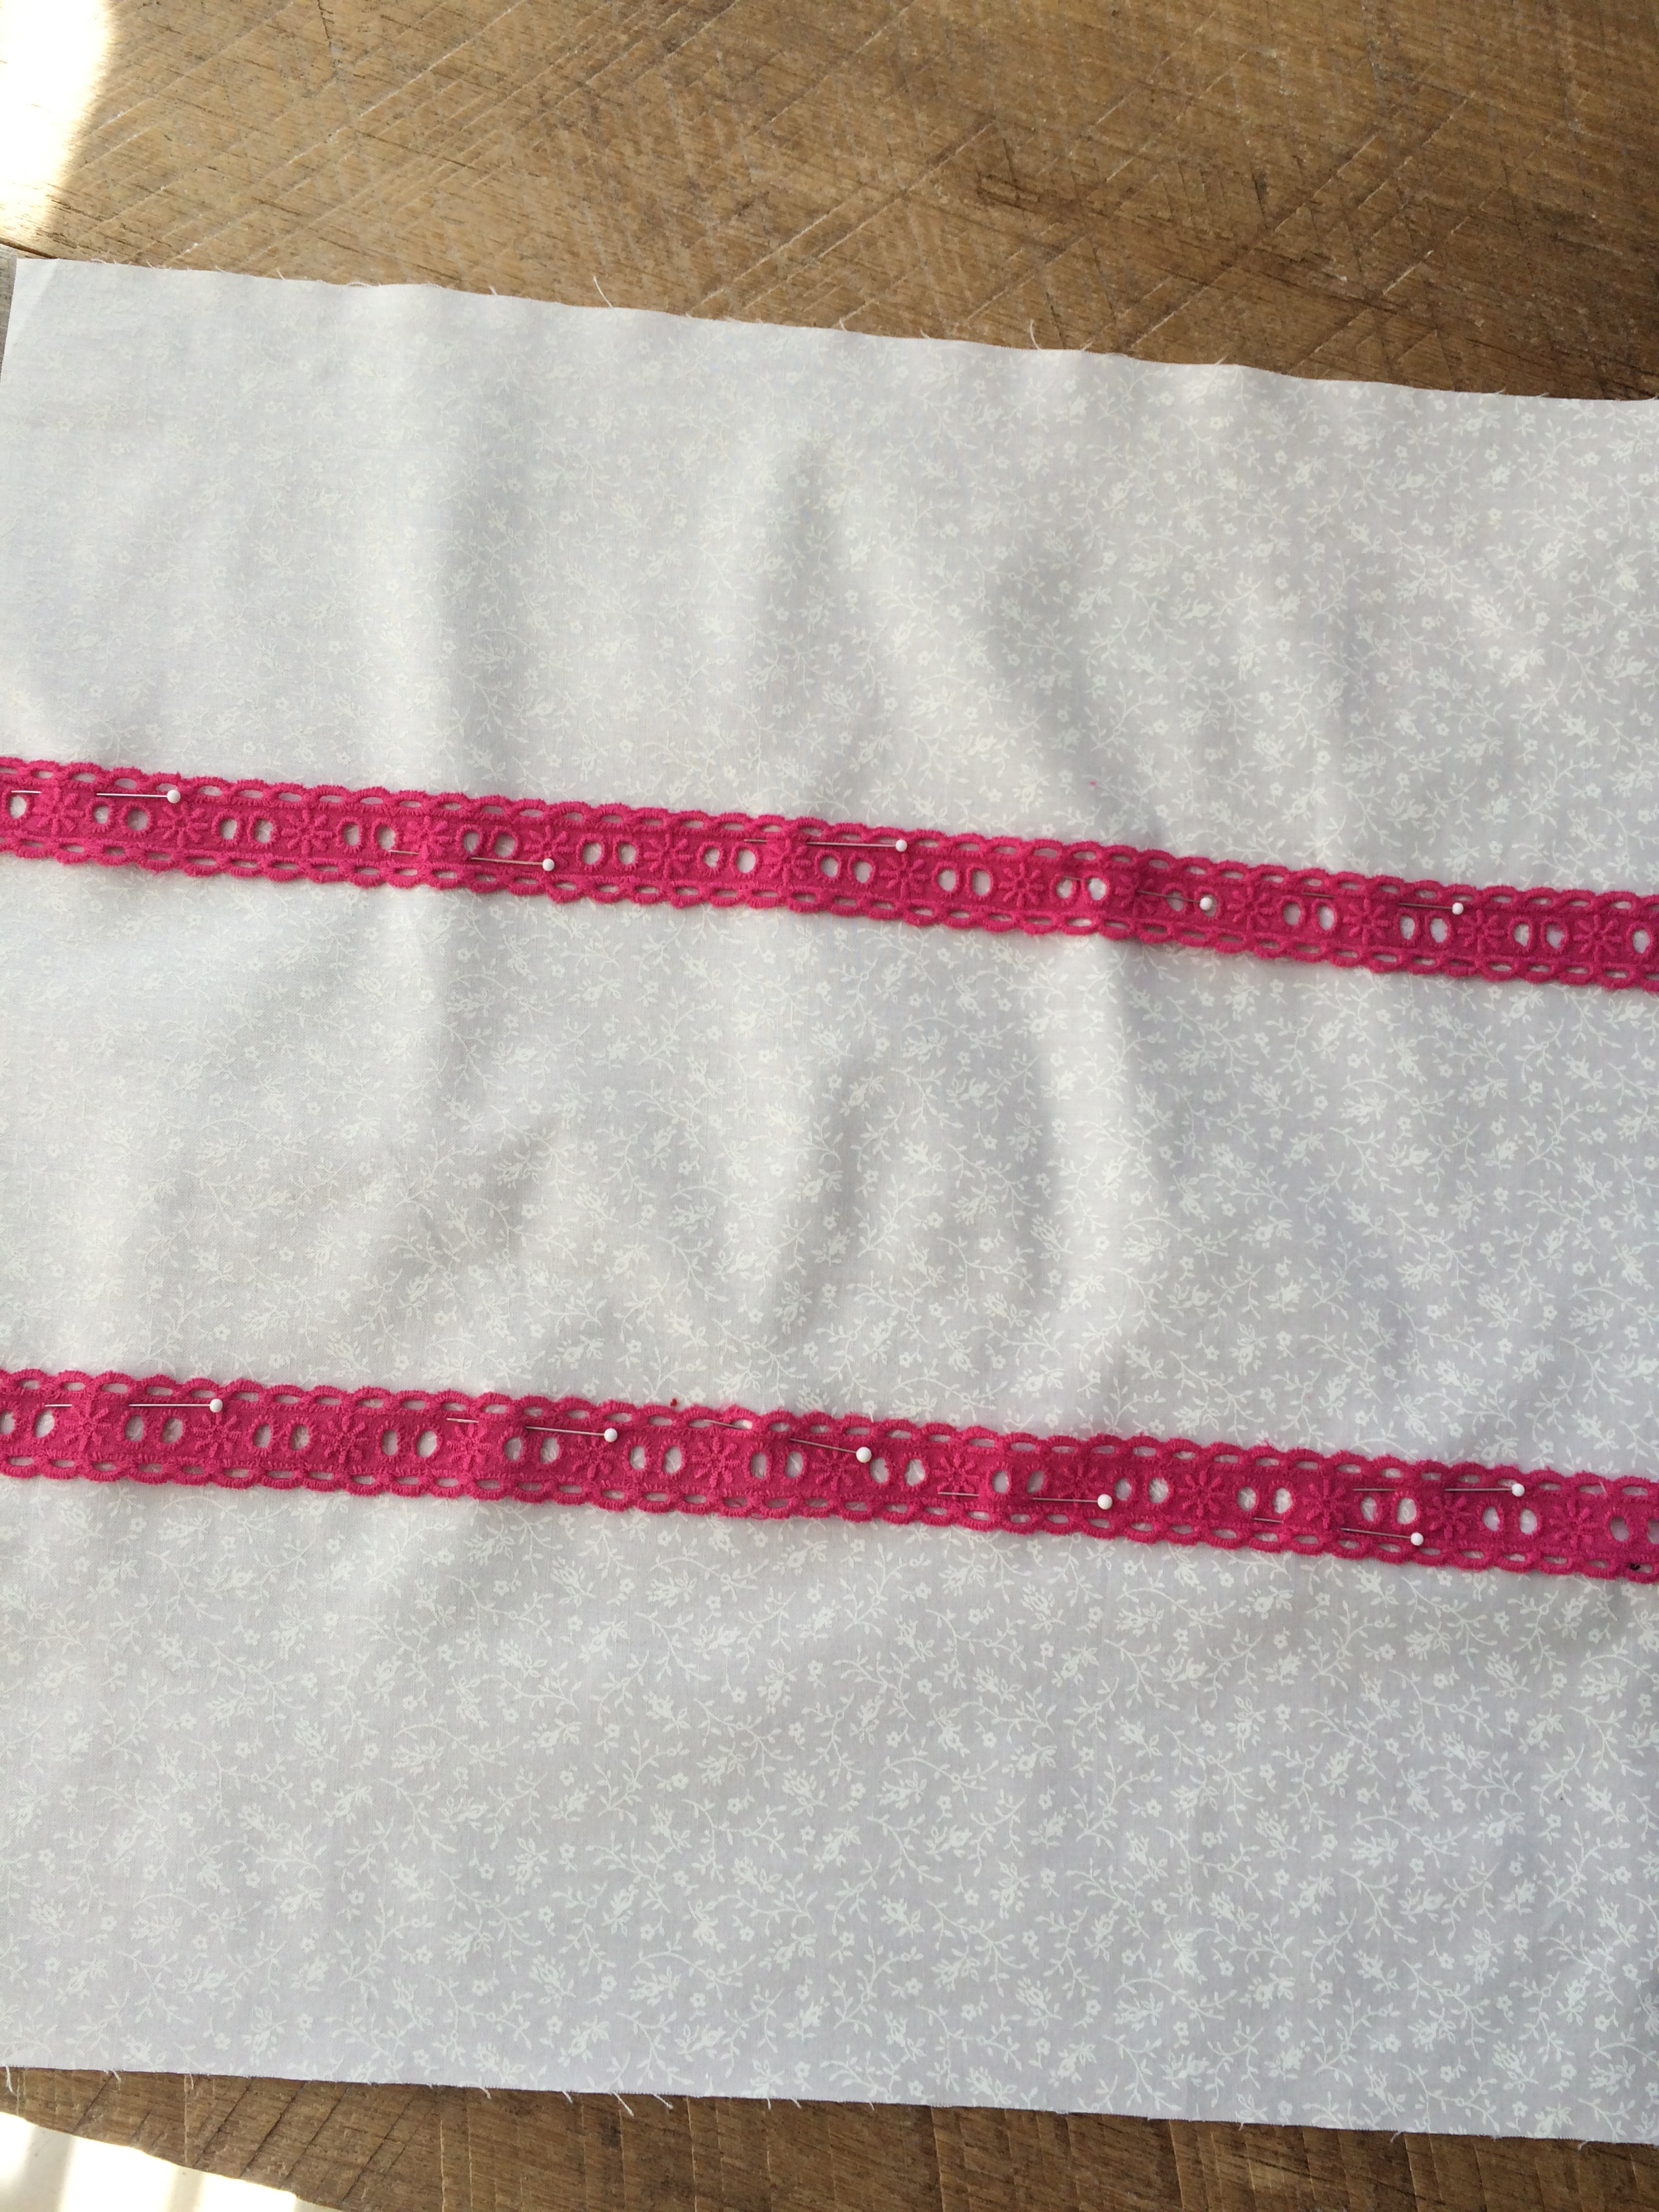
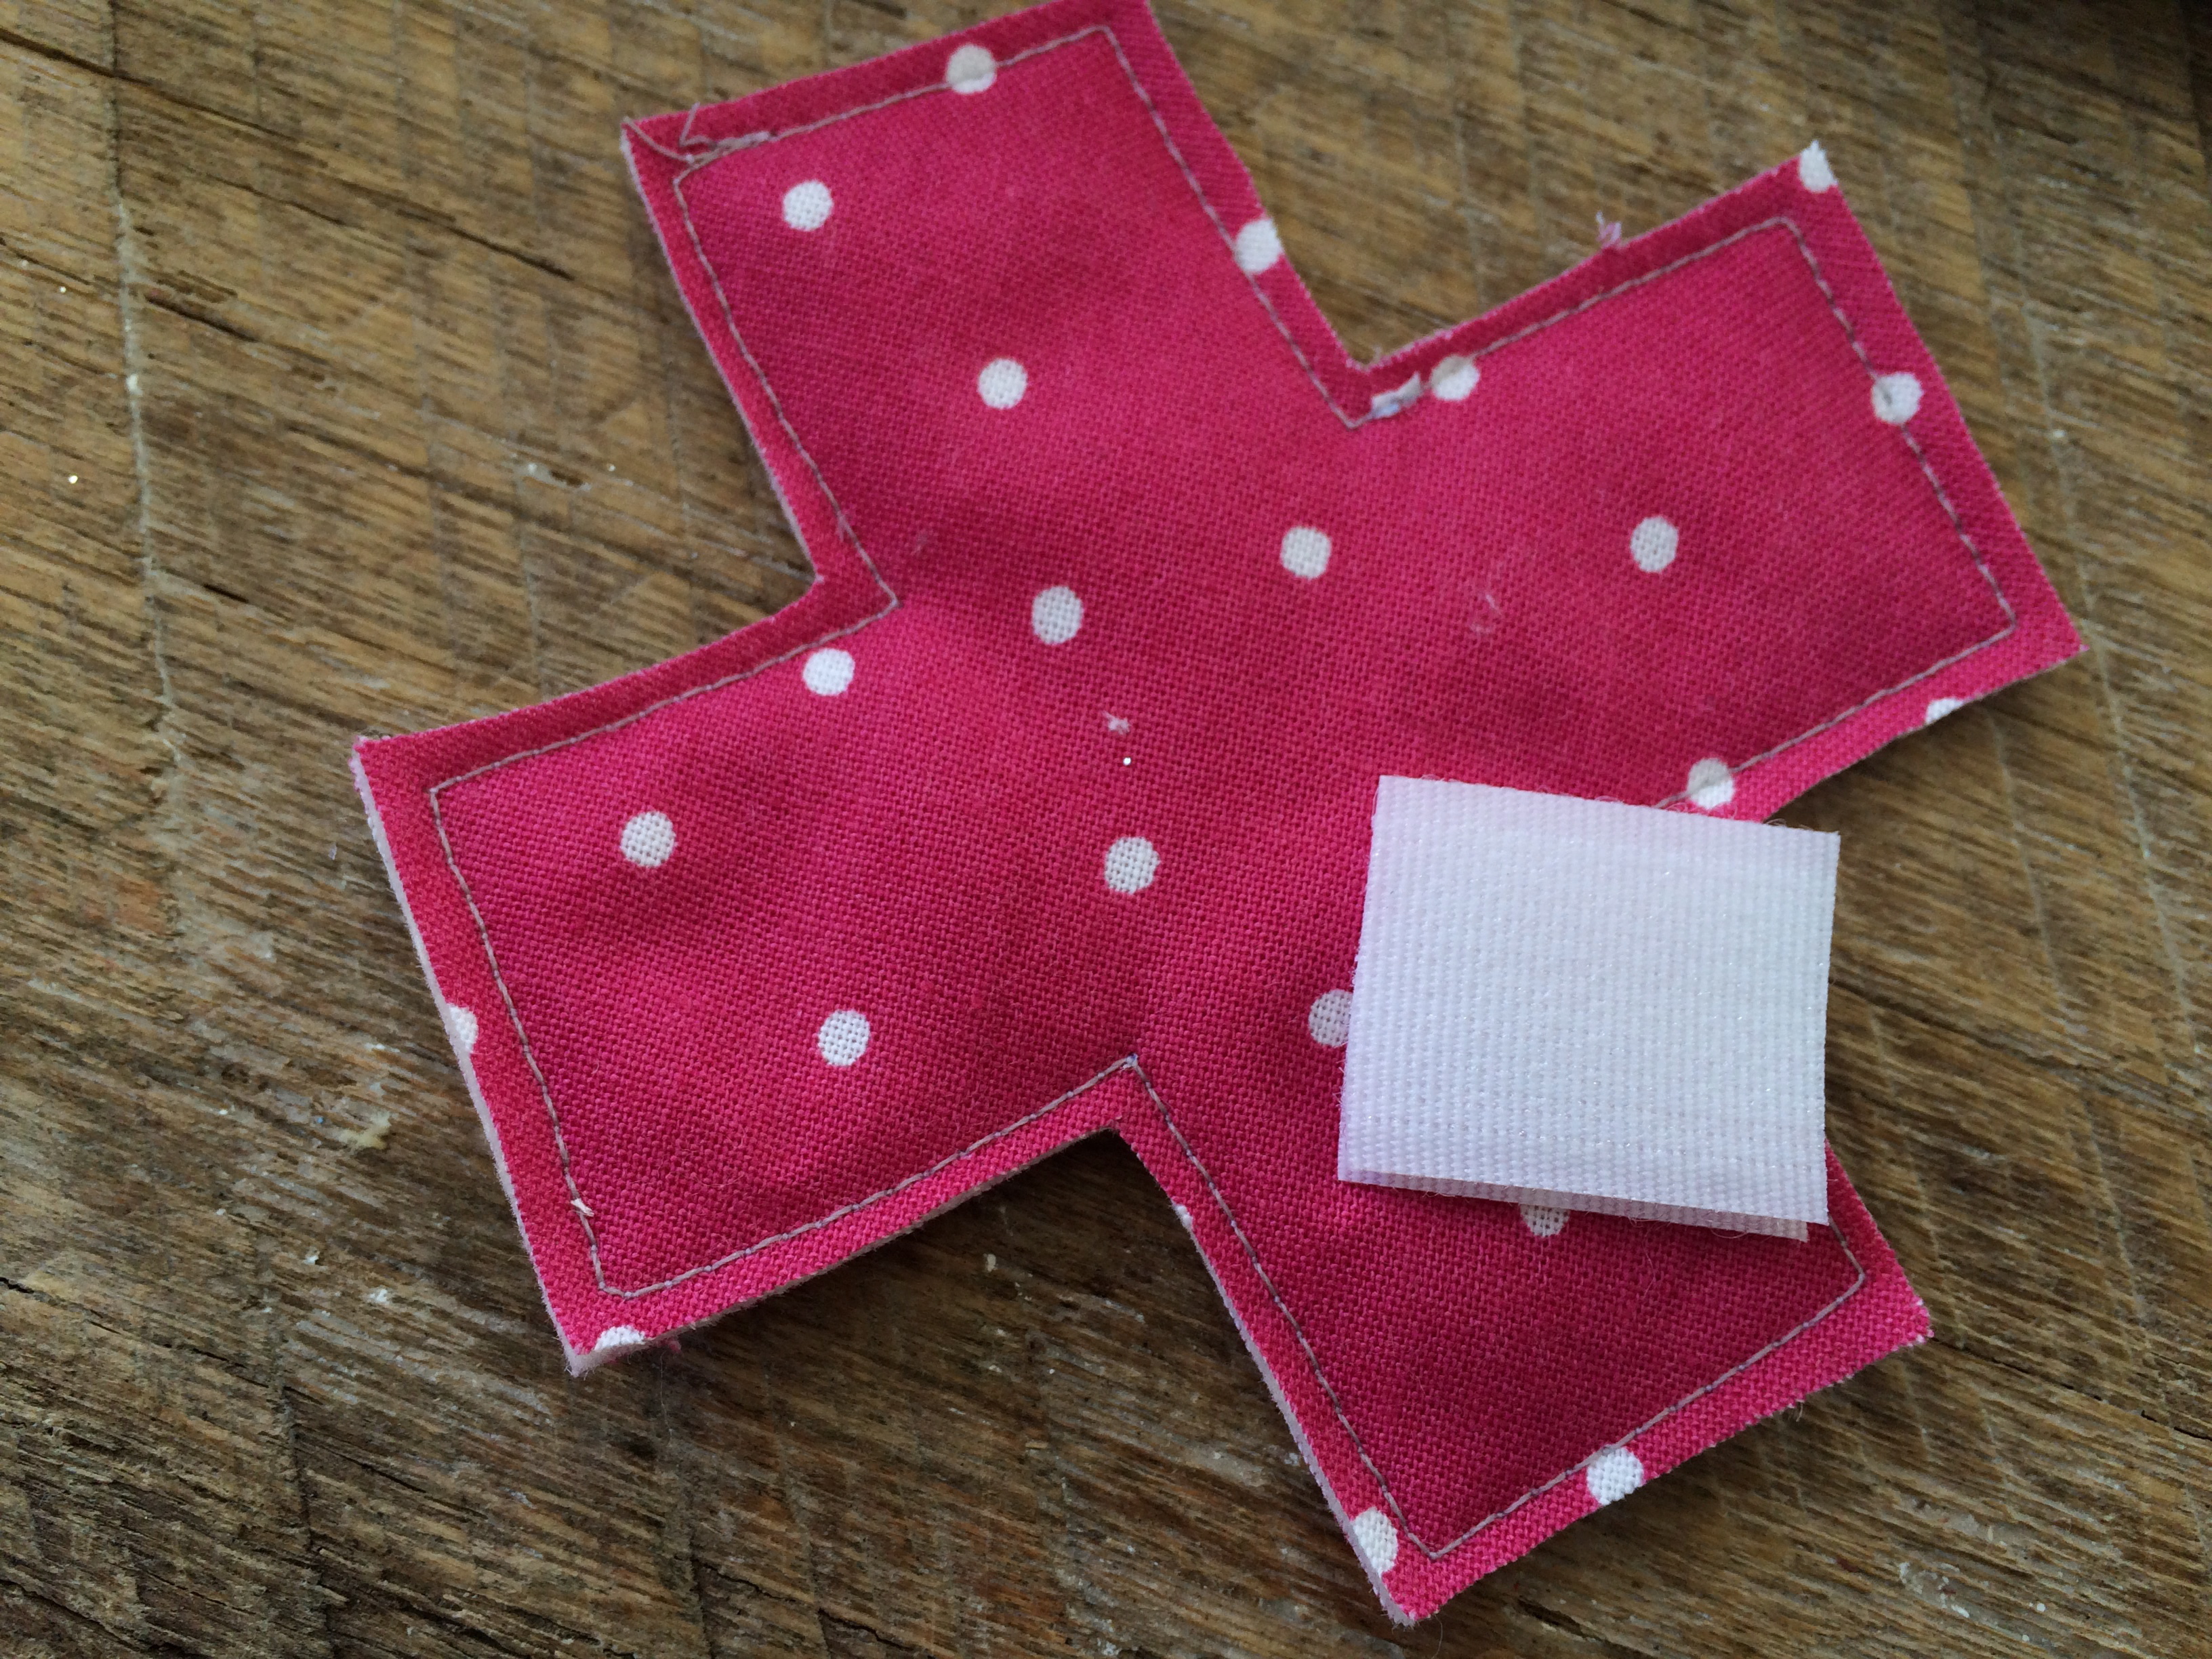
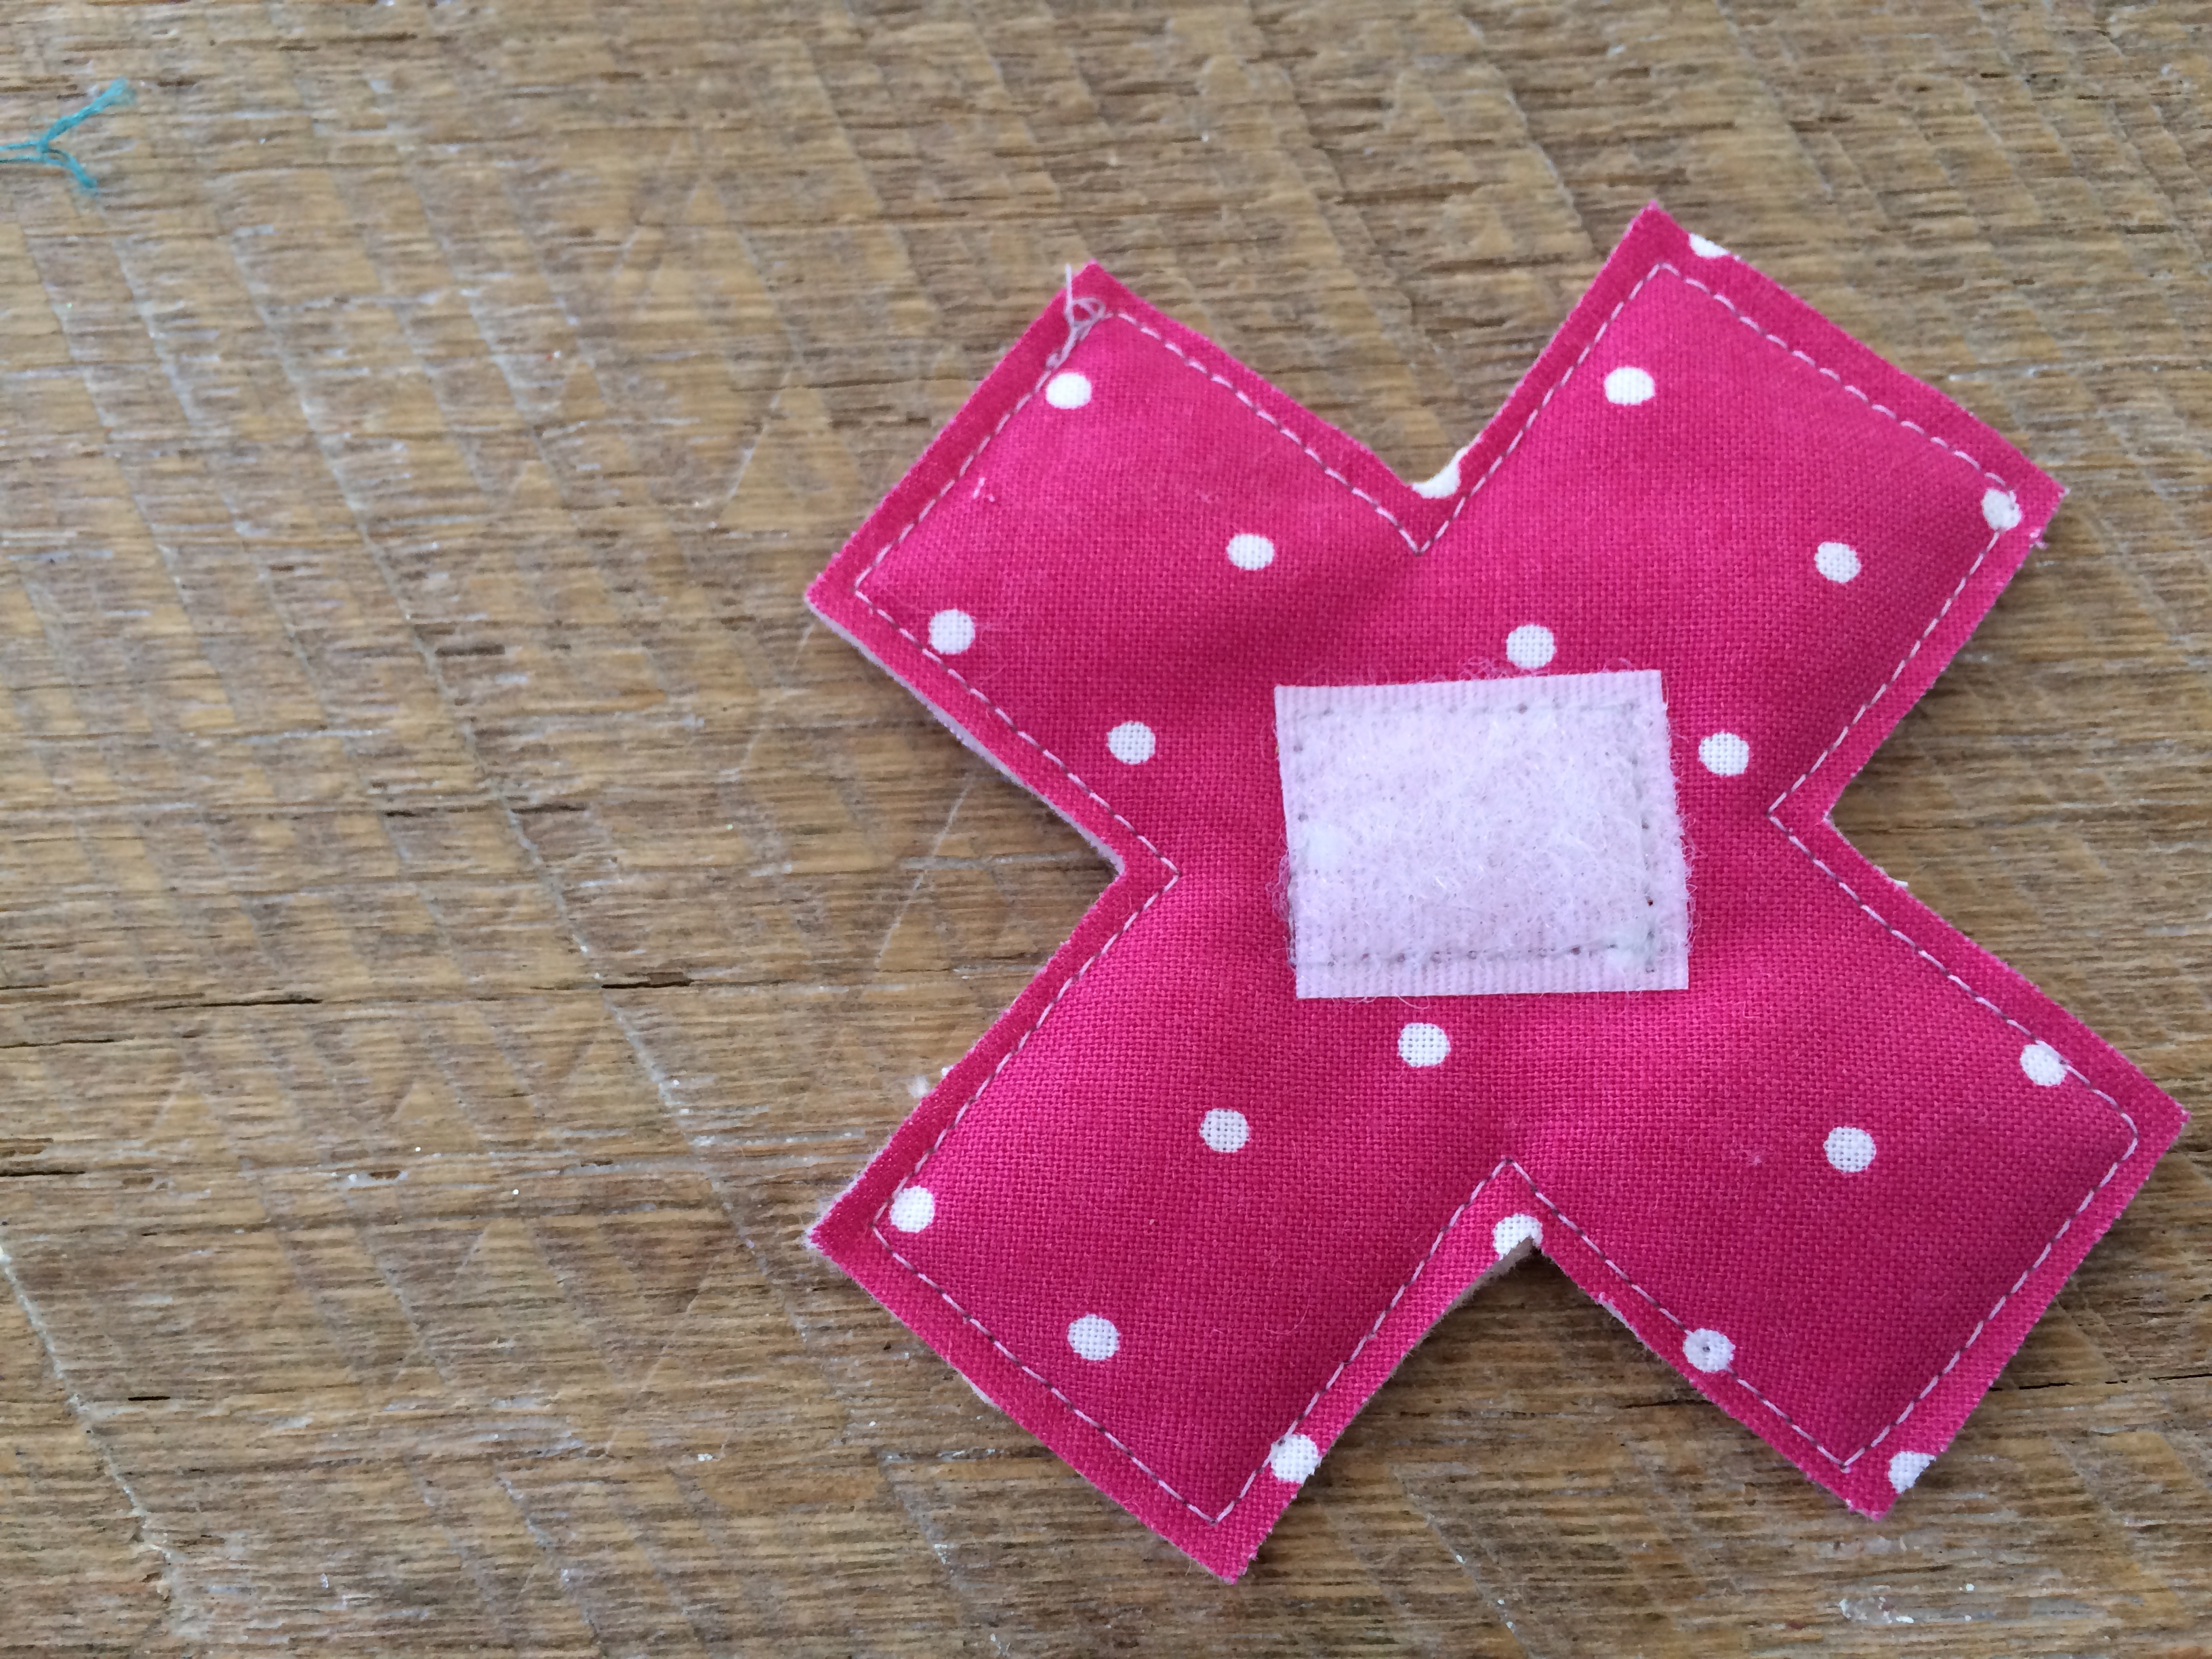
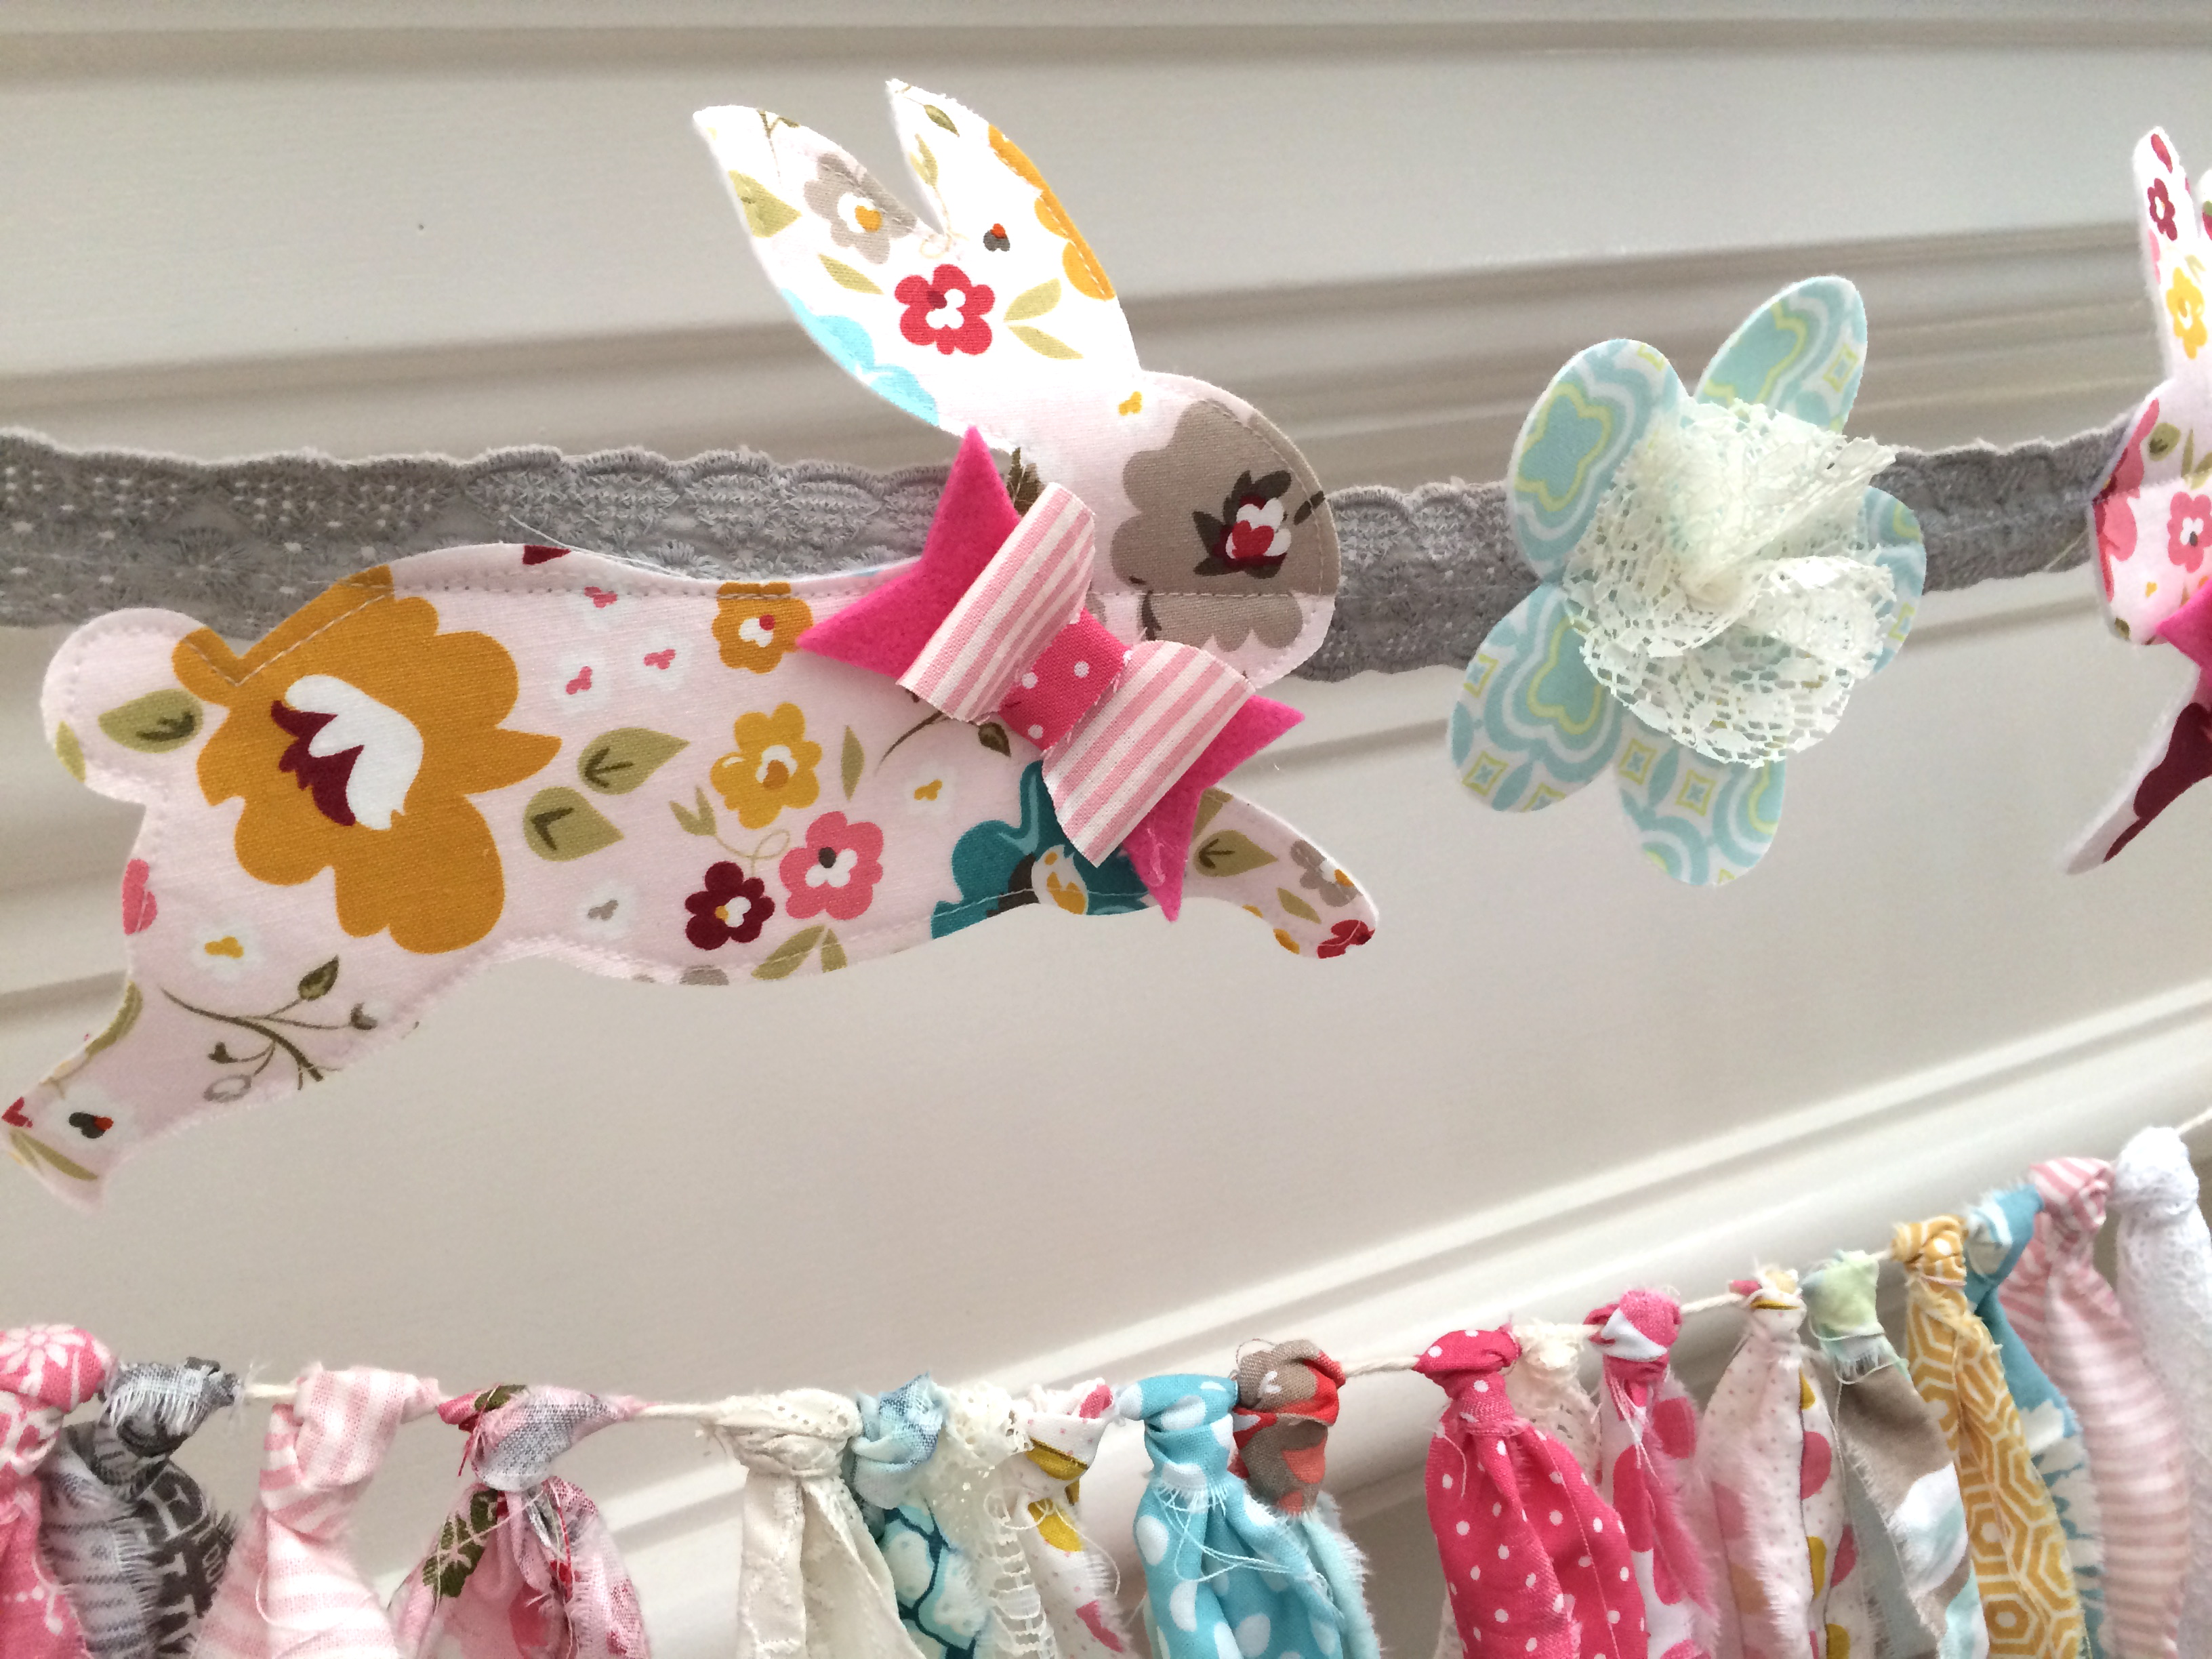
Once all the pieces are cut out, lay them on the desired length of lace. Pin in place and sew using a straight stitch. Make sure the bunnies are positioned just so the sewing catches the top of their back, if the bunnies are too high, they will flip over and hang upside down. The same with the flower, make sure they are bottom heavy. Once you have the shapes sewn to the lace, add the flower centers and bows. The flower centers are made by cutting 2 pieces of lace in a 2.5″ or so circle. Gather a little and tack down with the sewing machine.

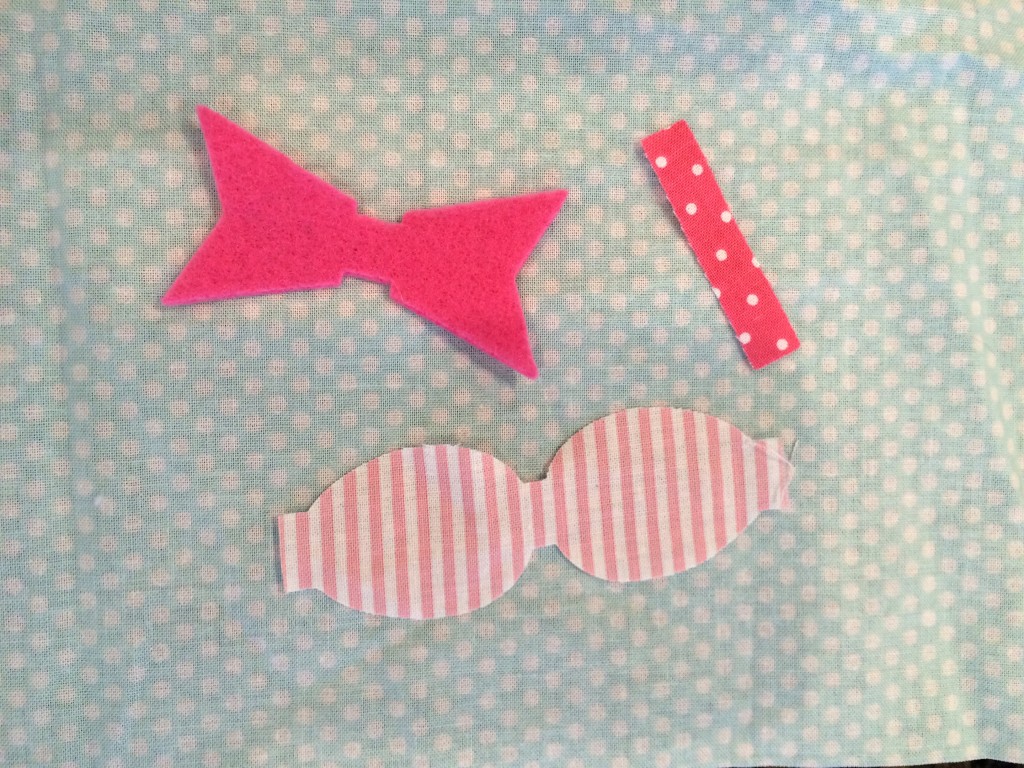
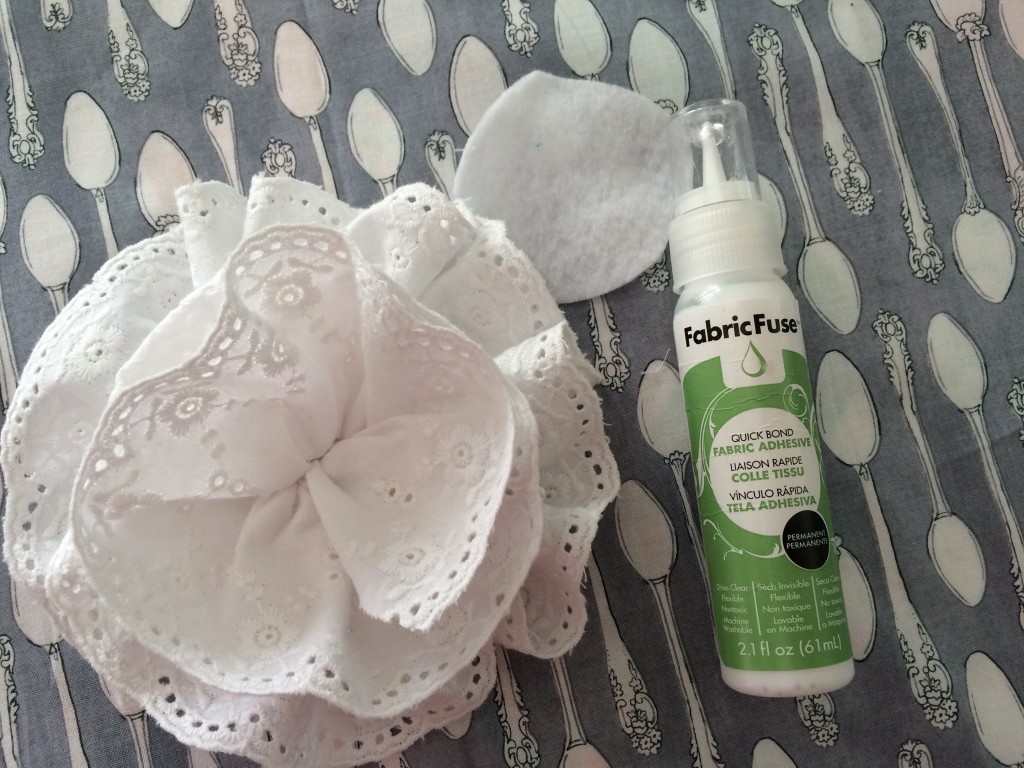
To make the bows, I used the Sizzix bow die. I cut the background piece with felt, the “loops: with striped fabric and the center with dots. I glued them together. You can use hot glue if you like burning your fingers, or may I suggest Fabric Fuse for a burn free way of gluing fabric 🙂
Glue the bow to the bunny.

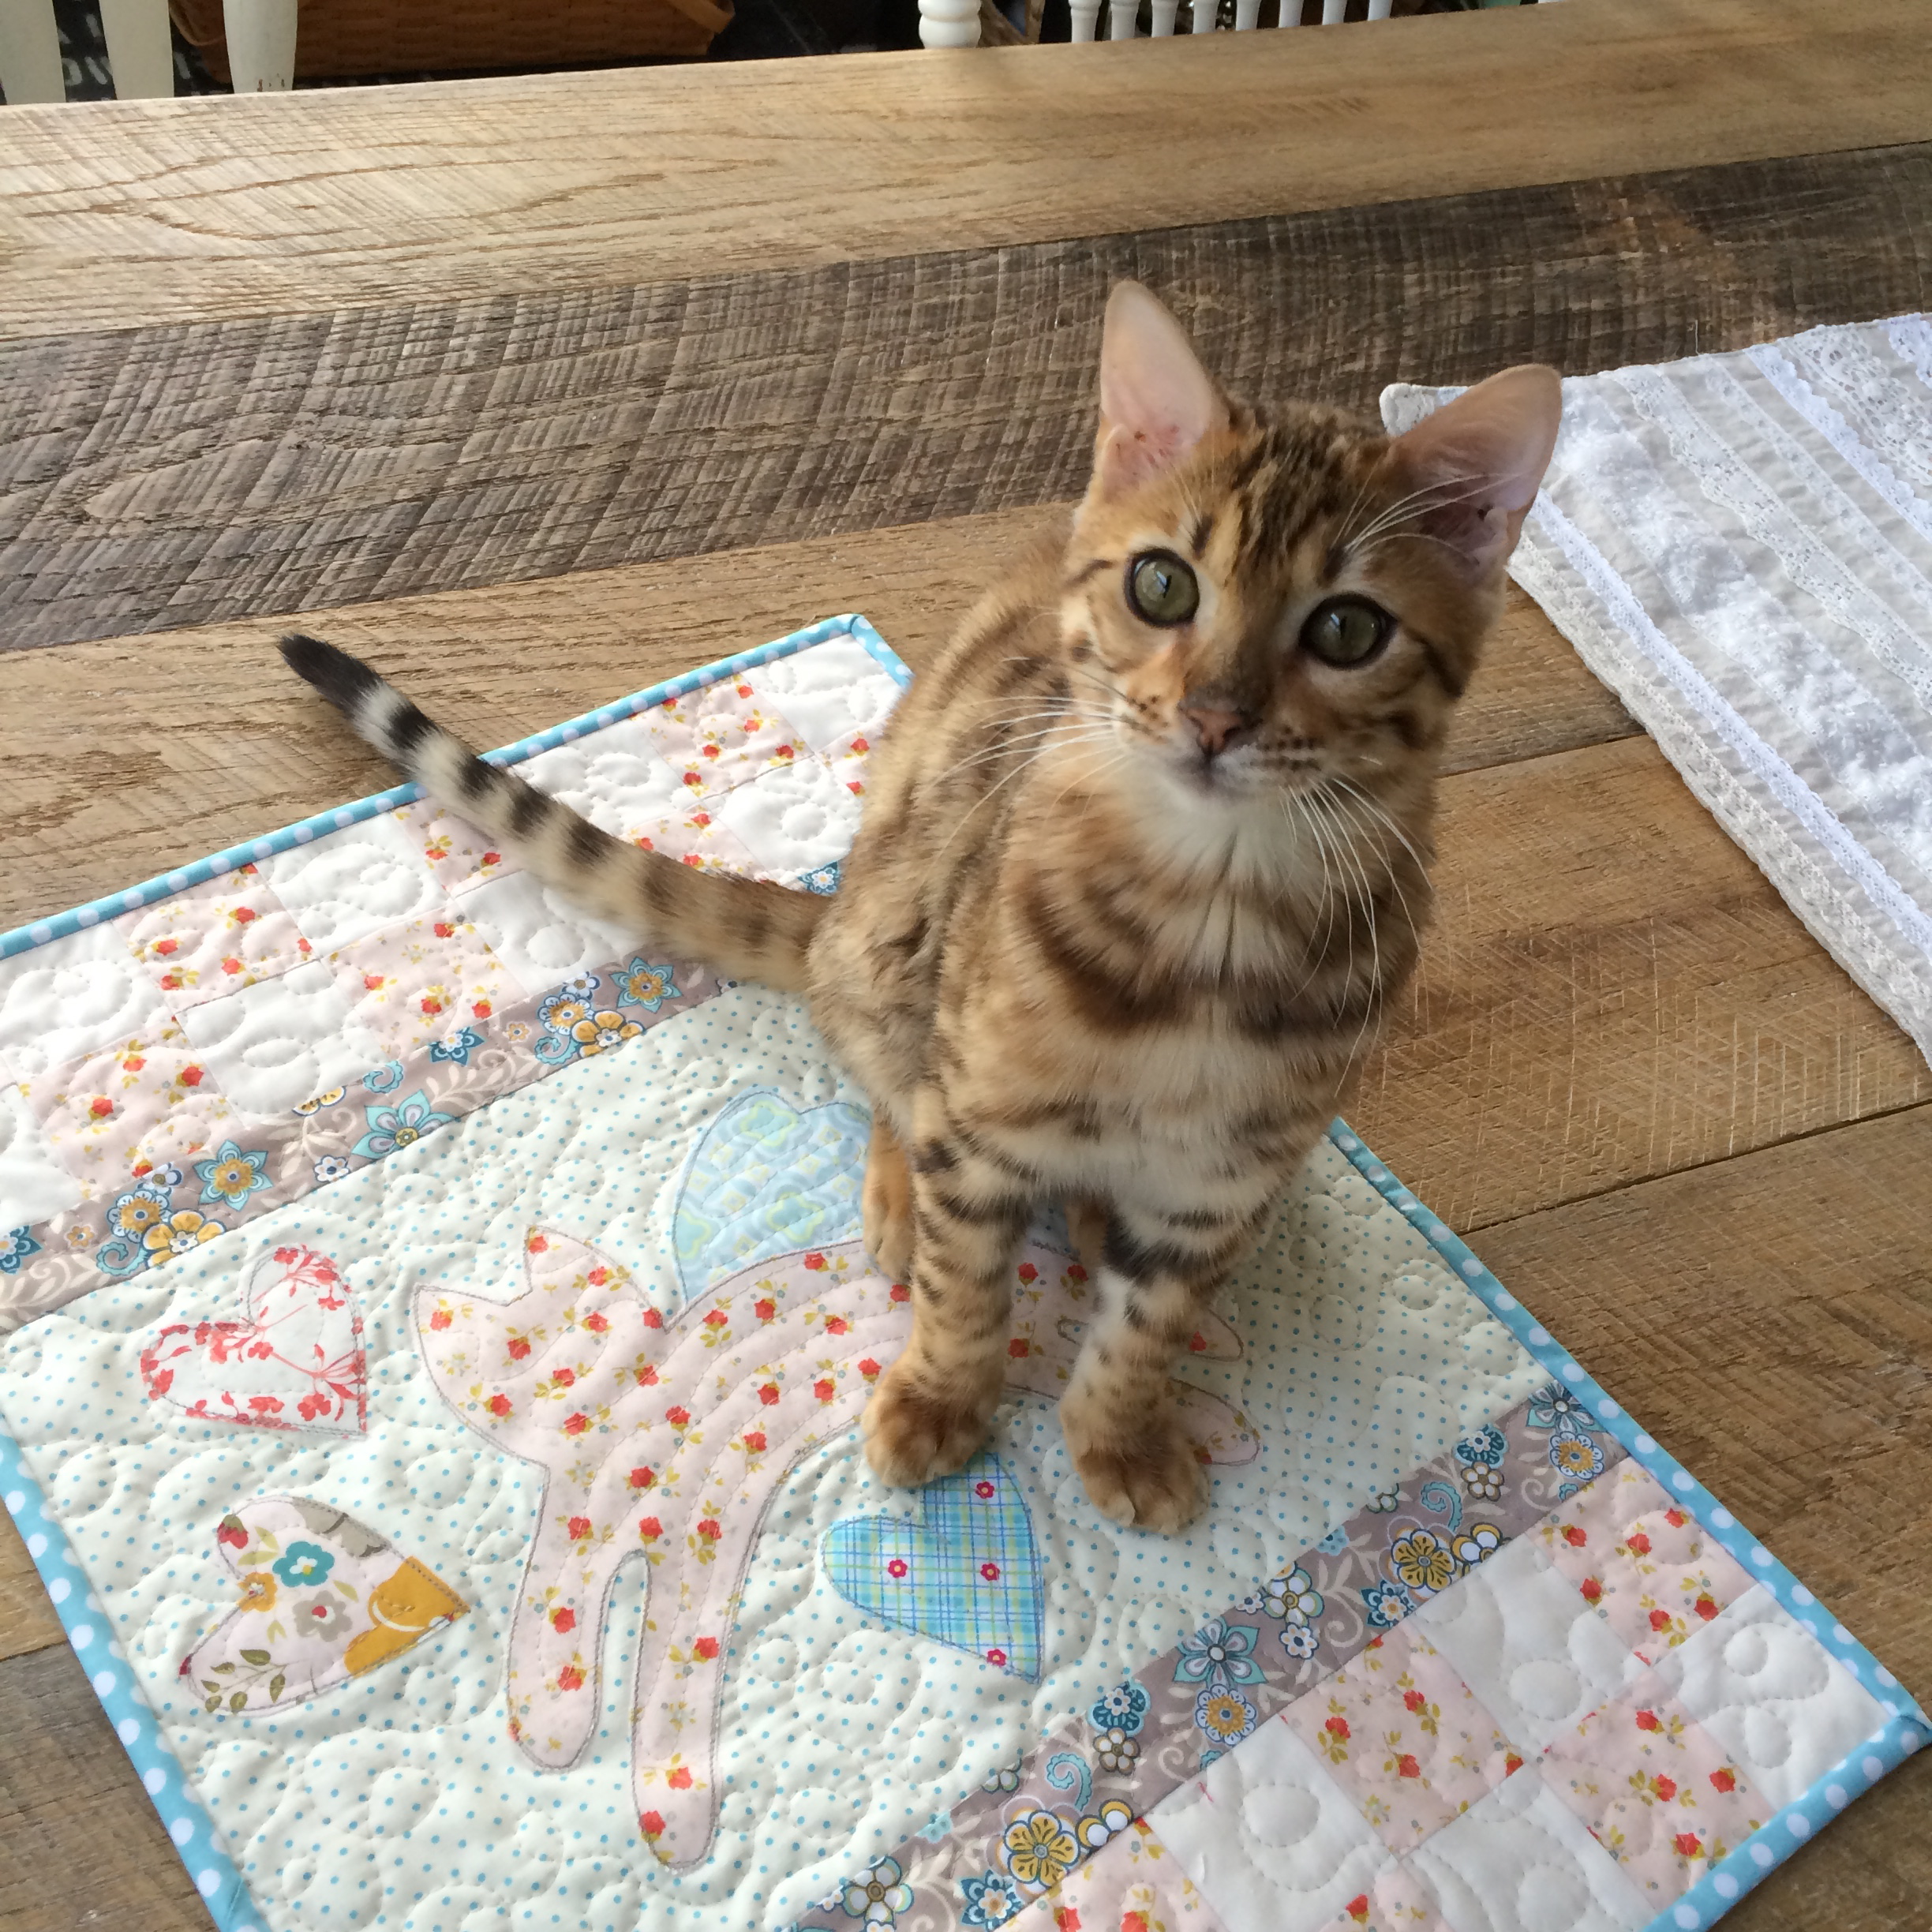
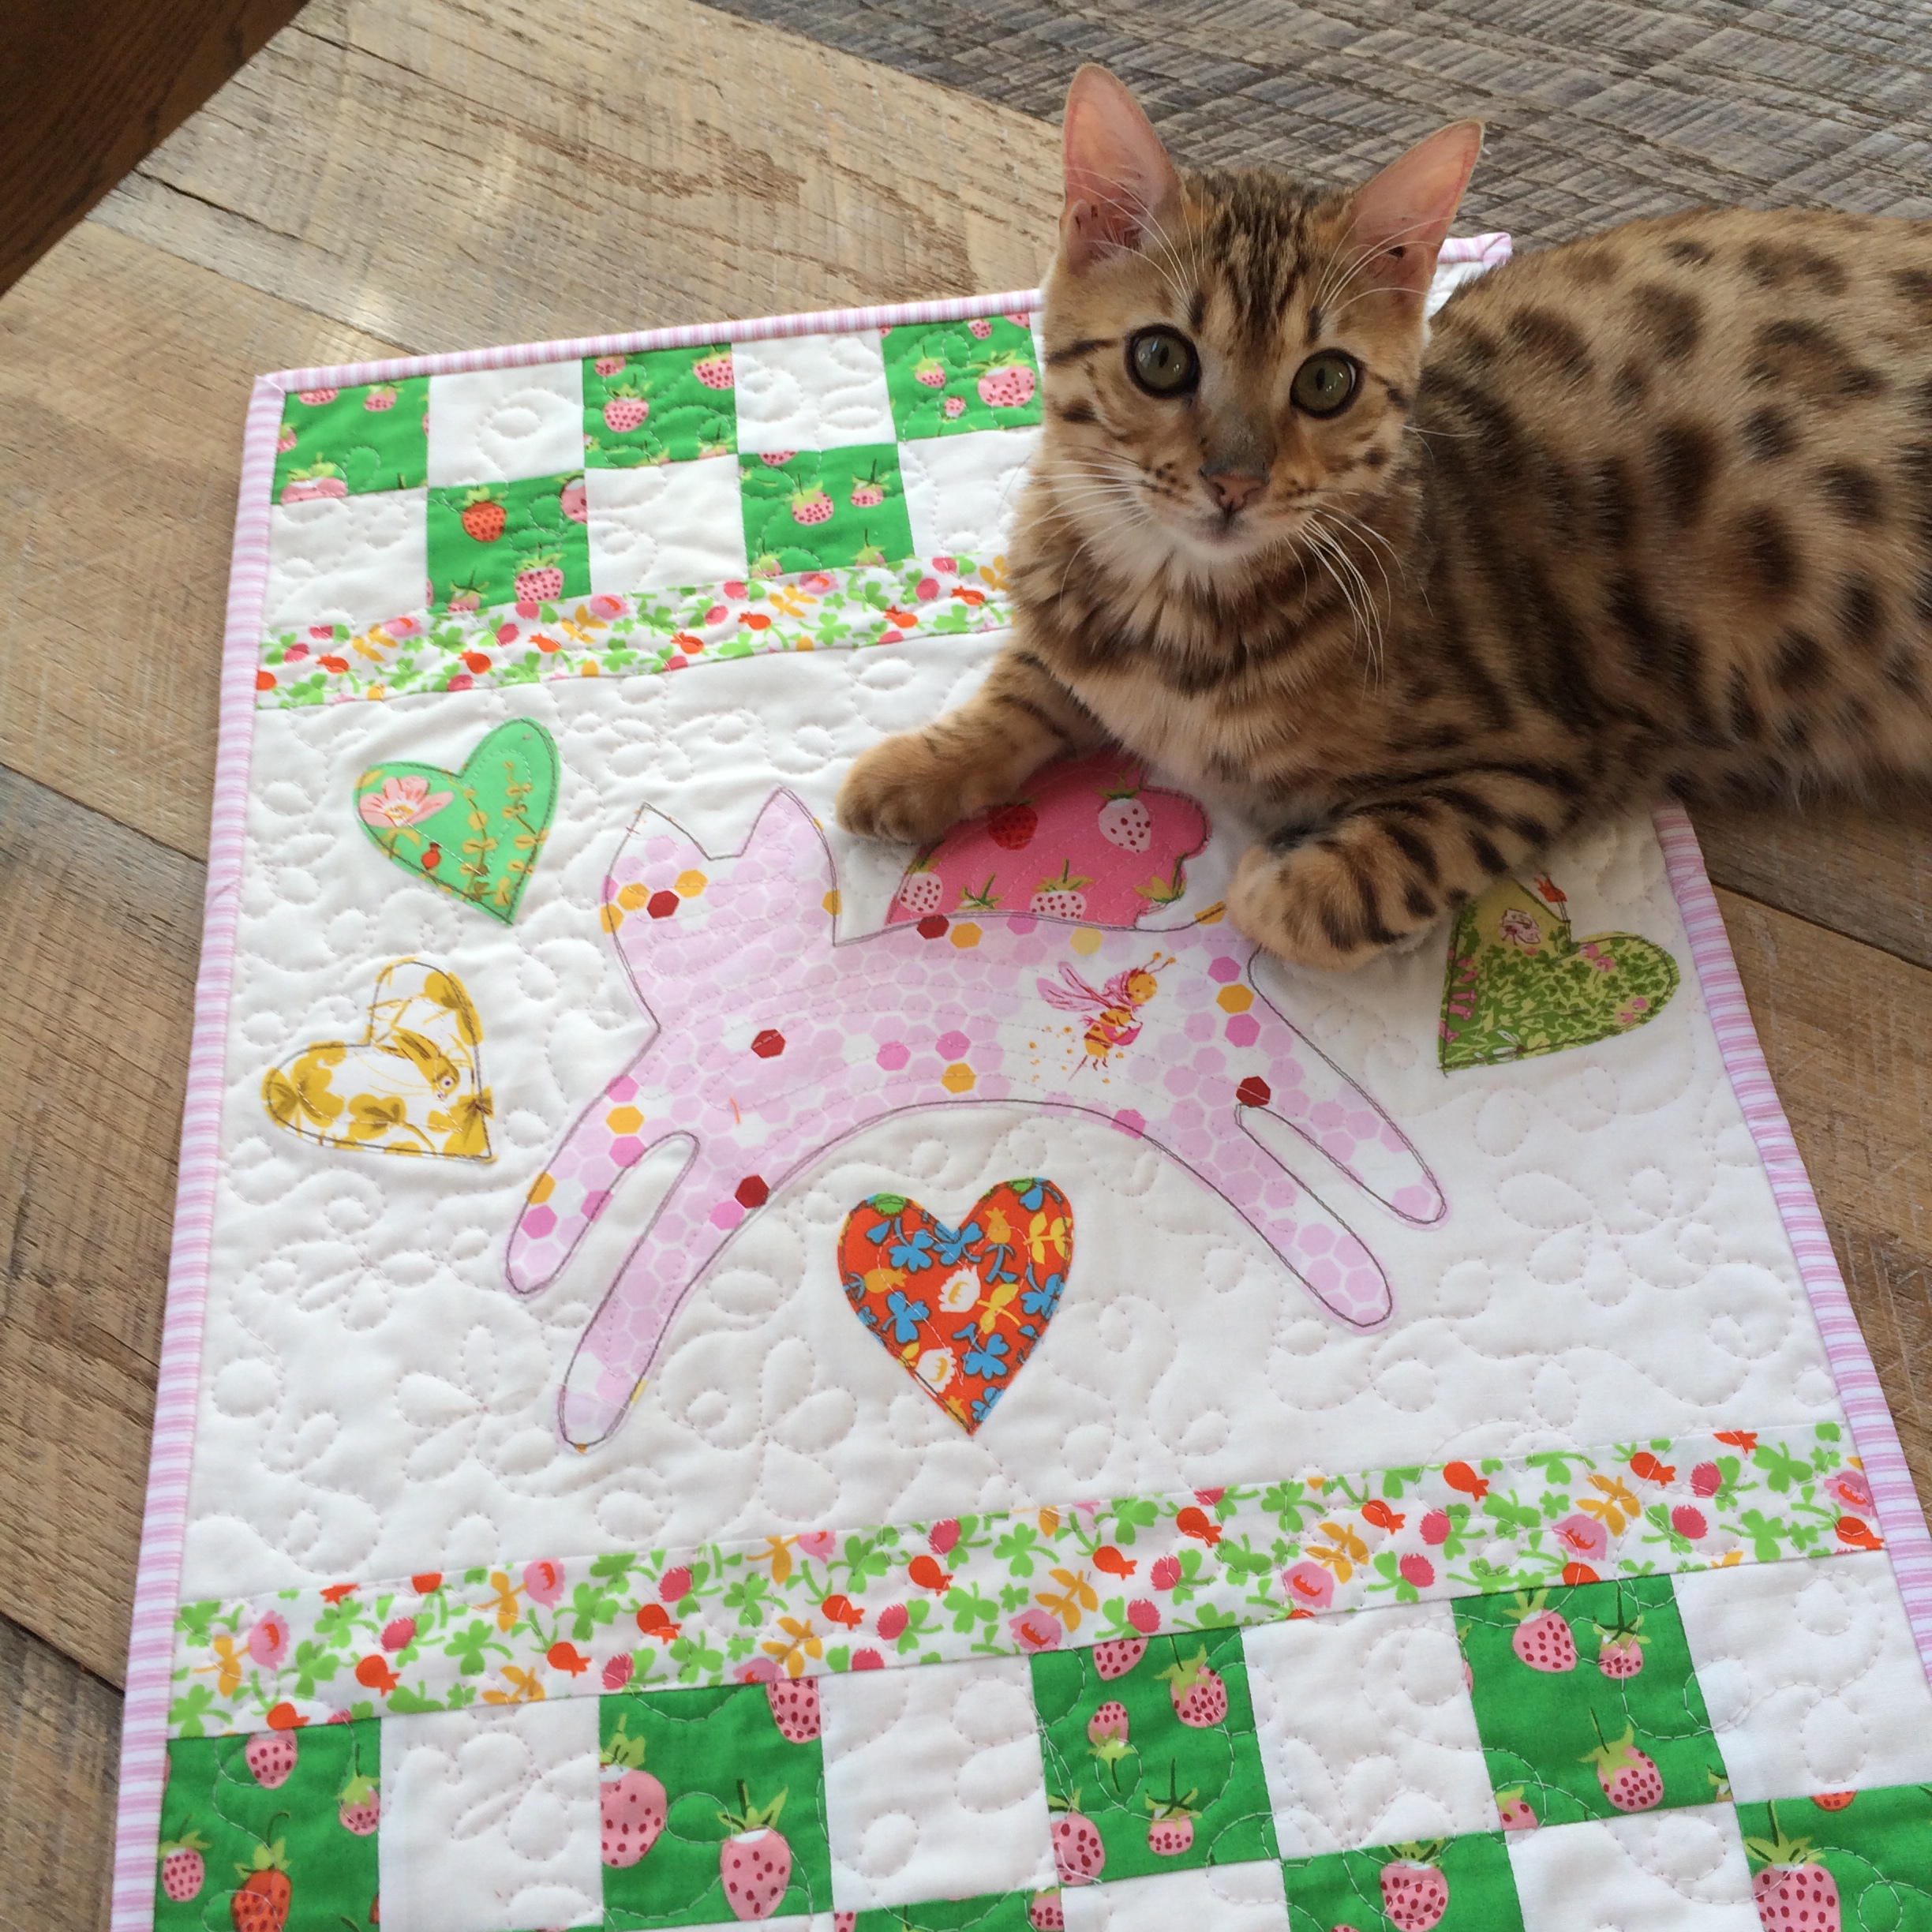
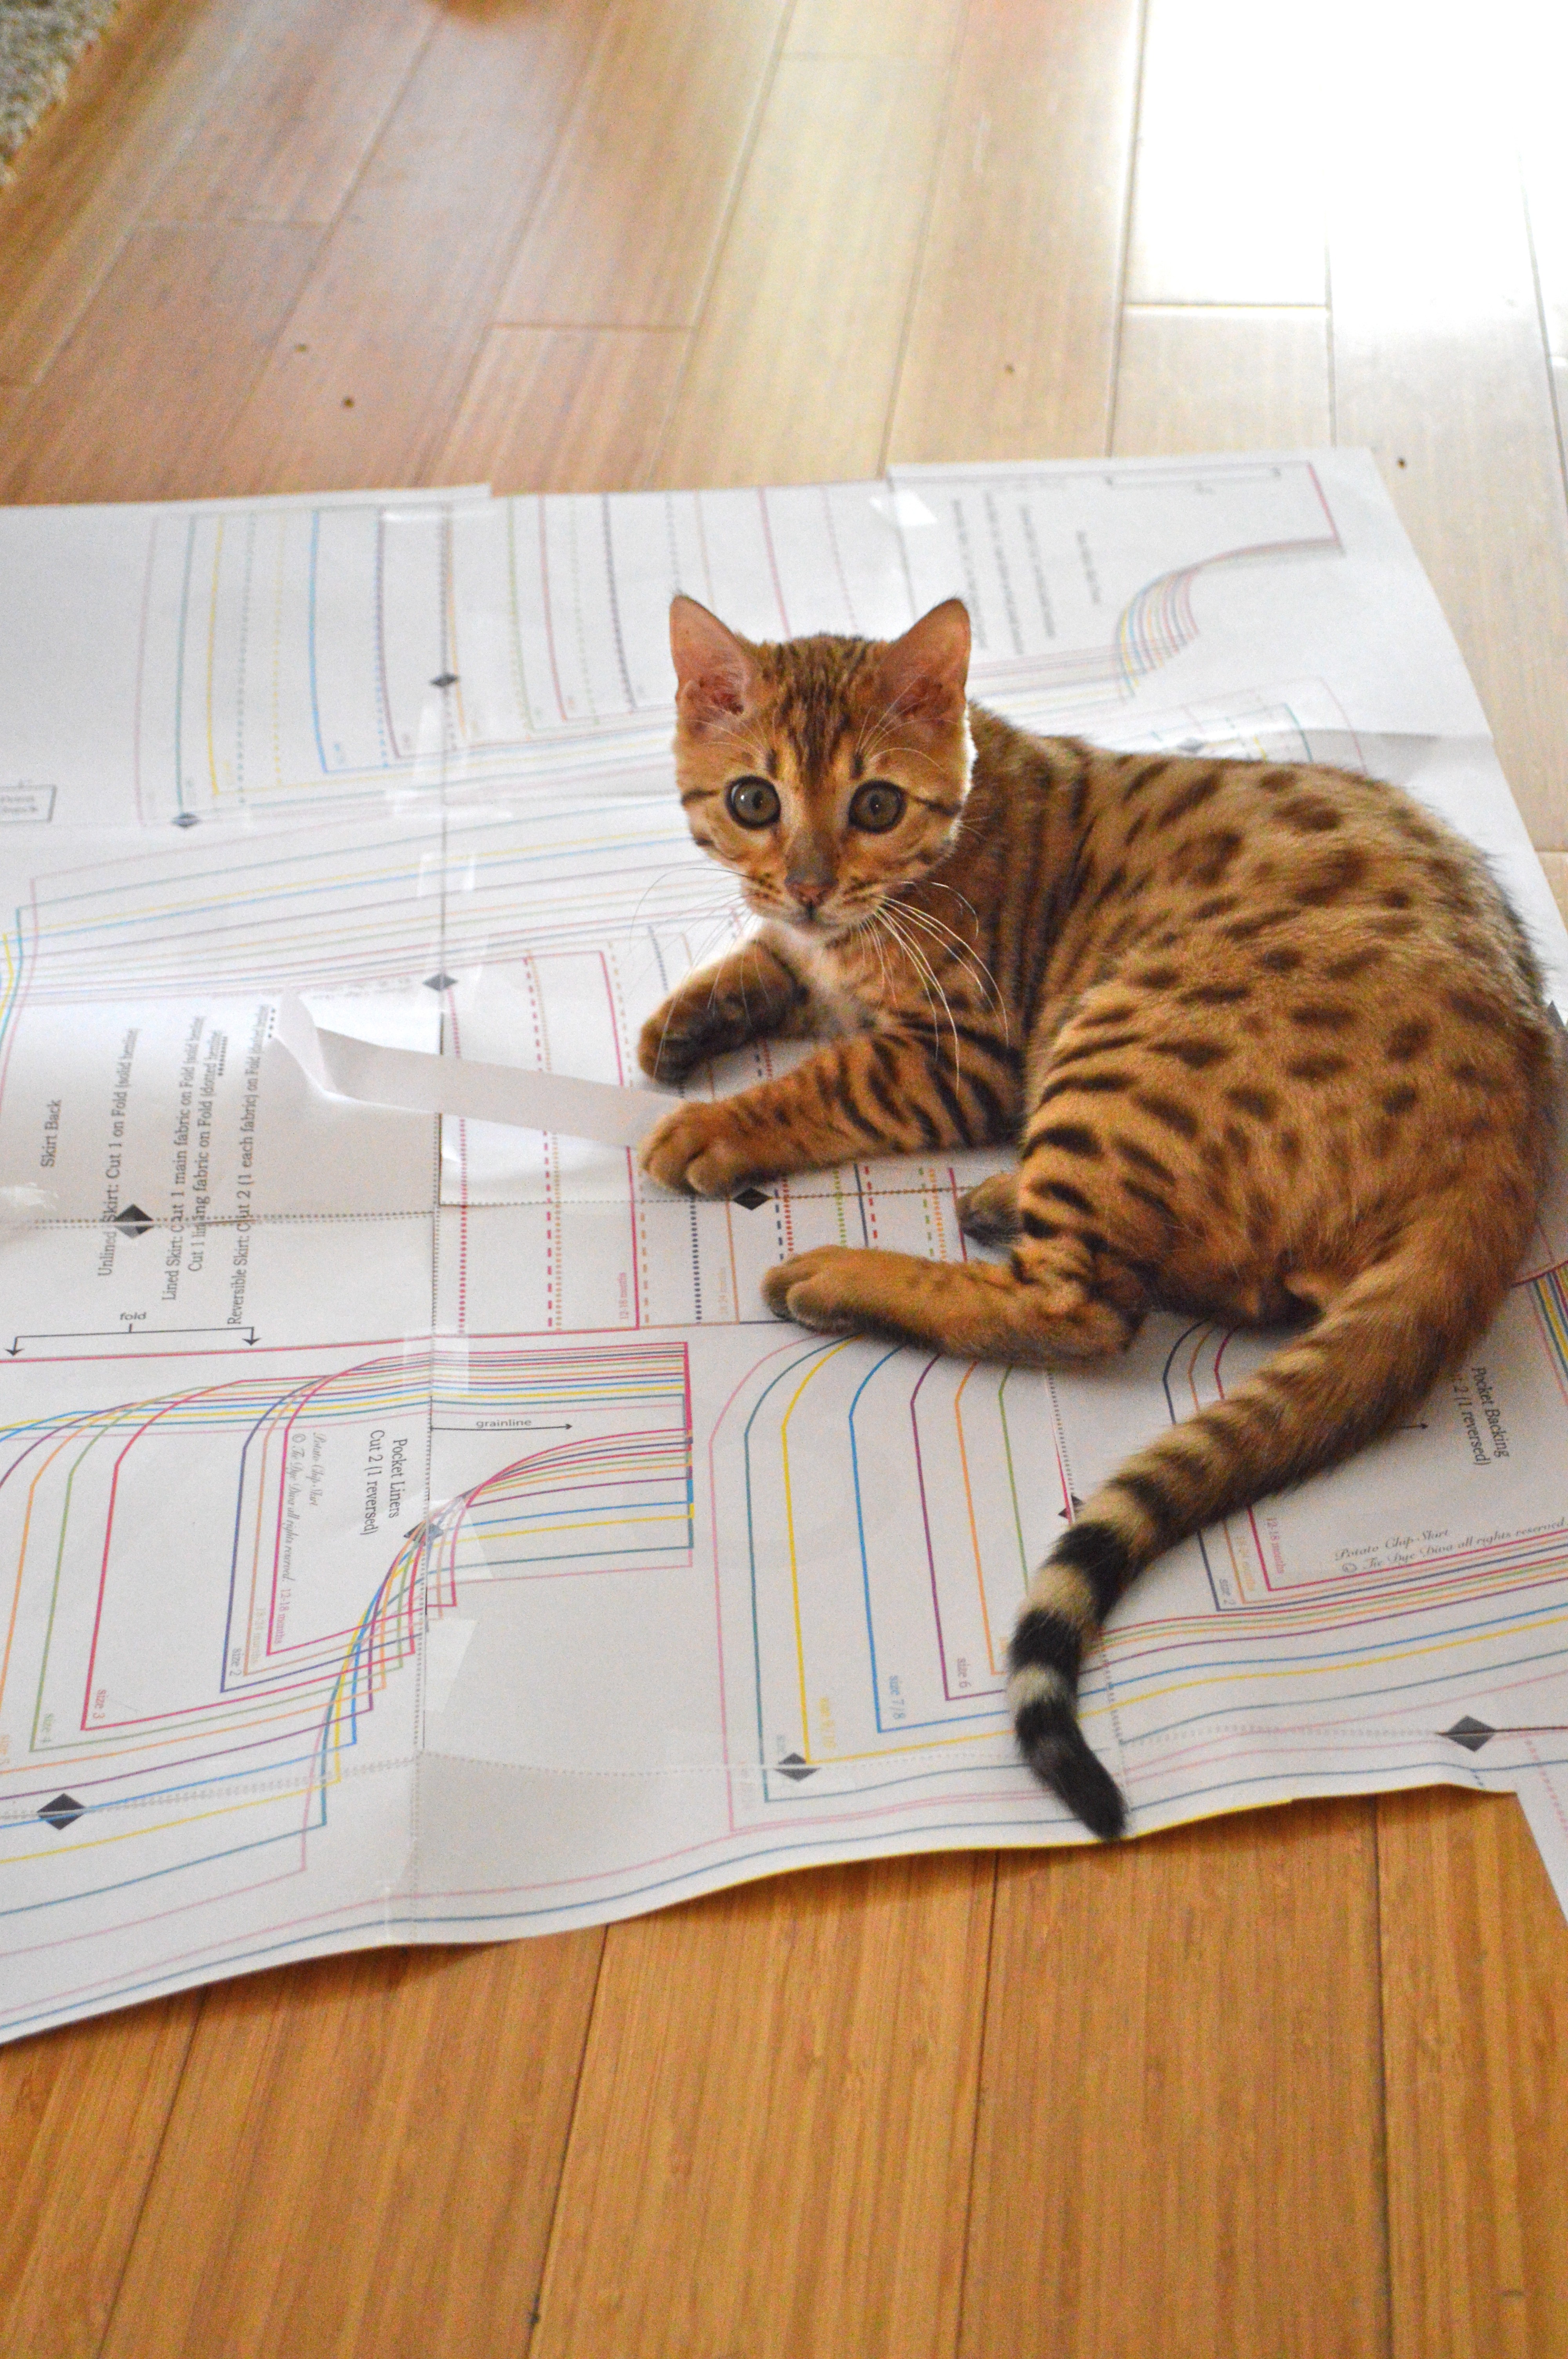
Baby Mufasa always loves helping 🙂
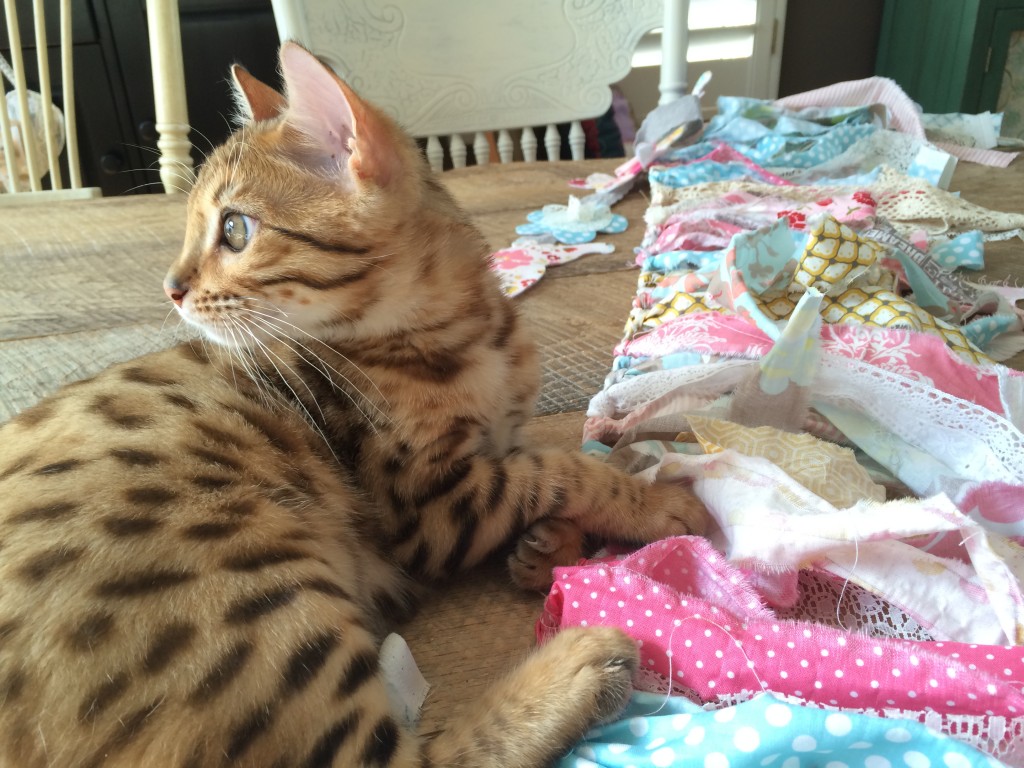
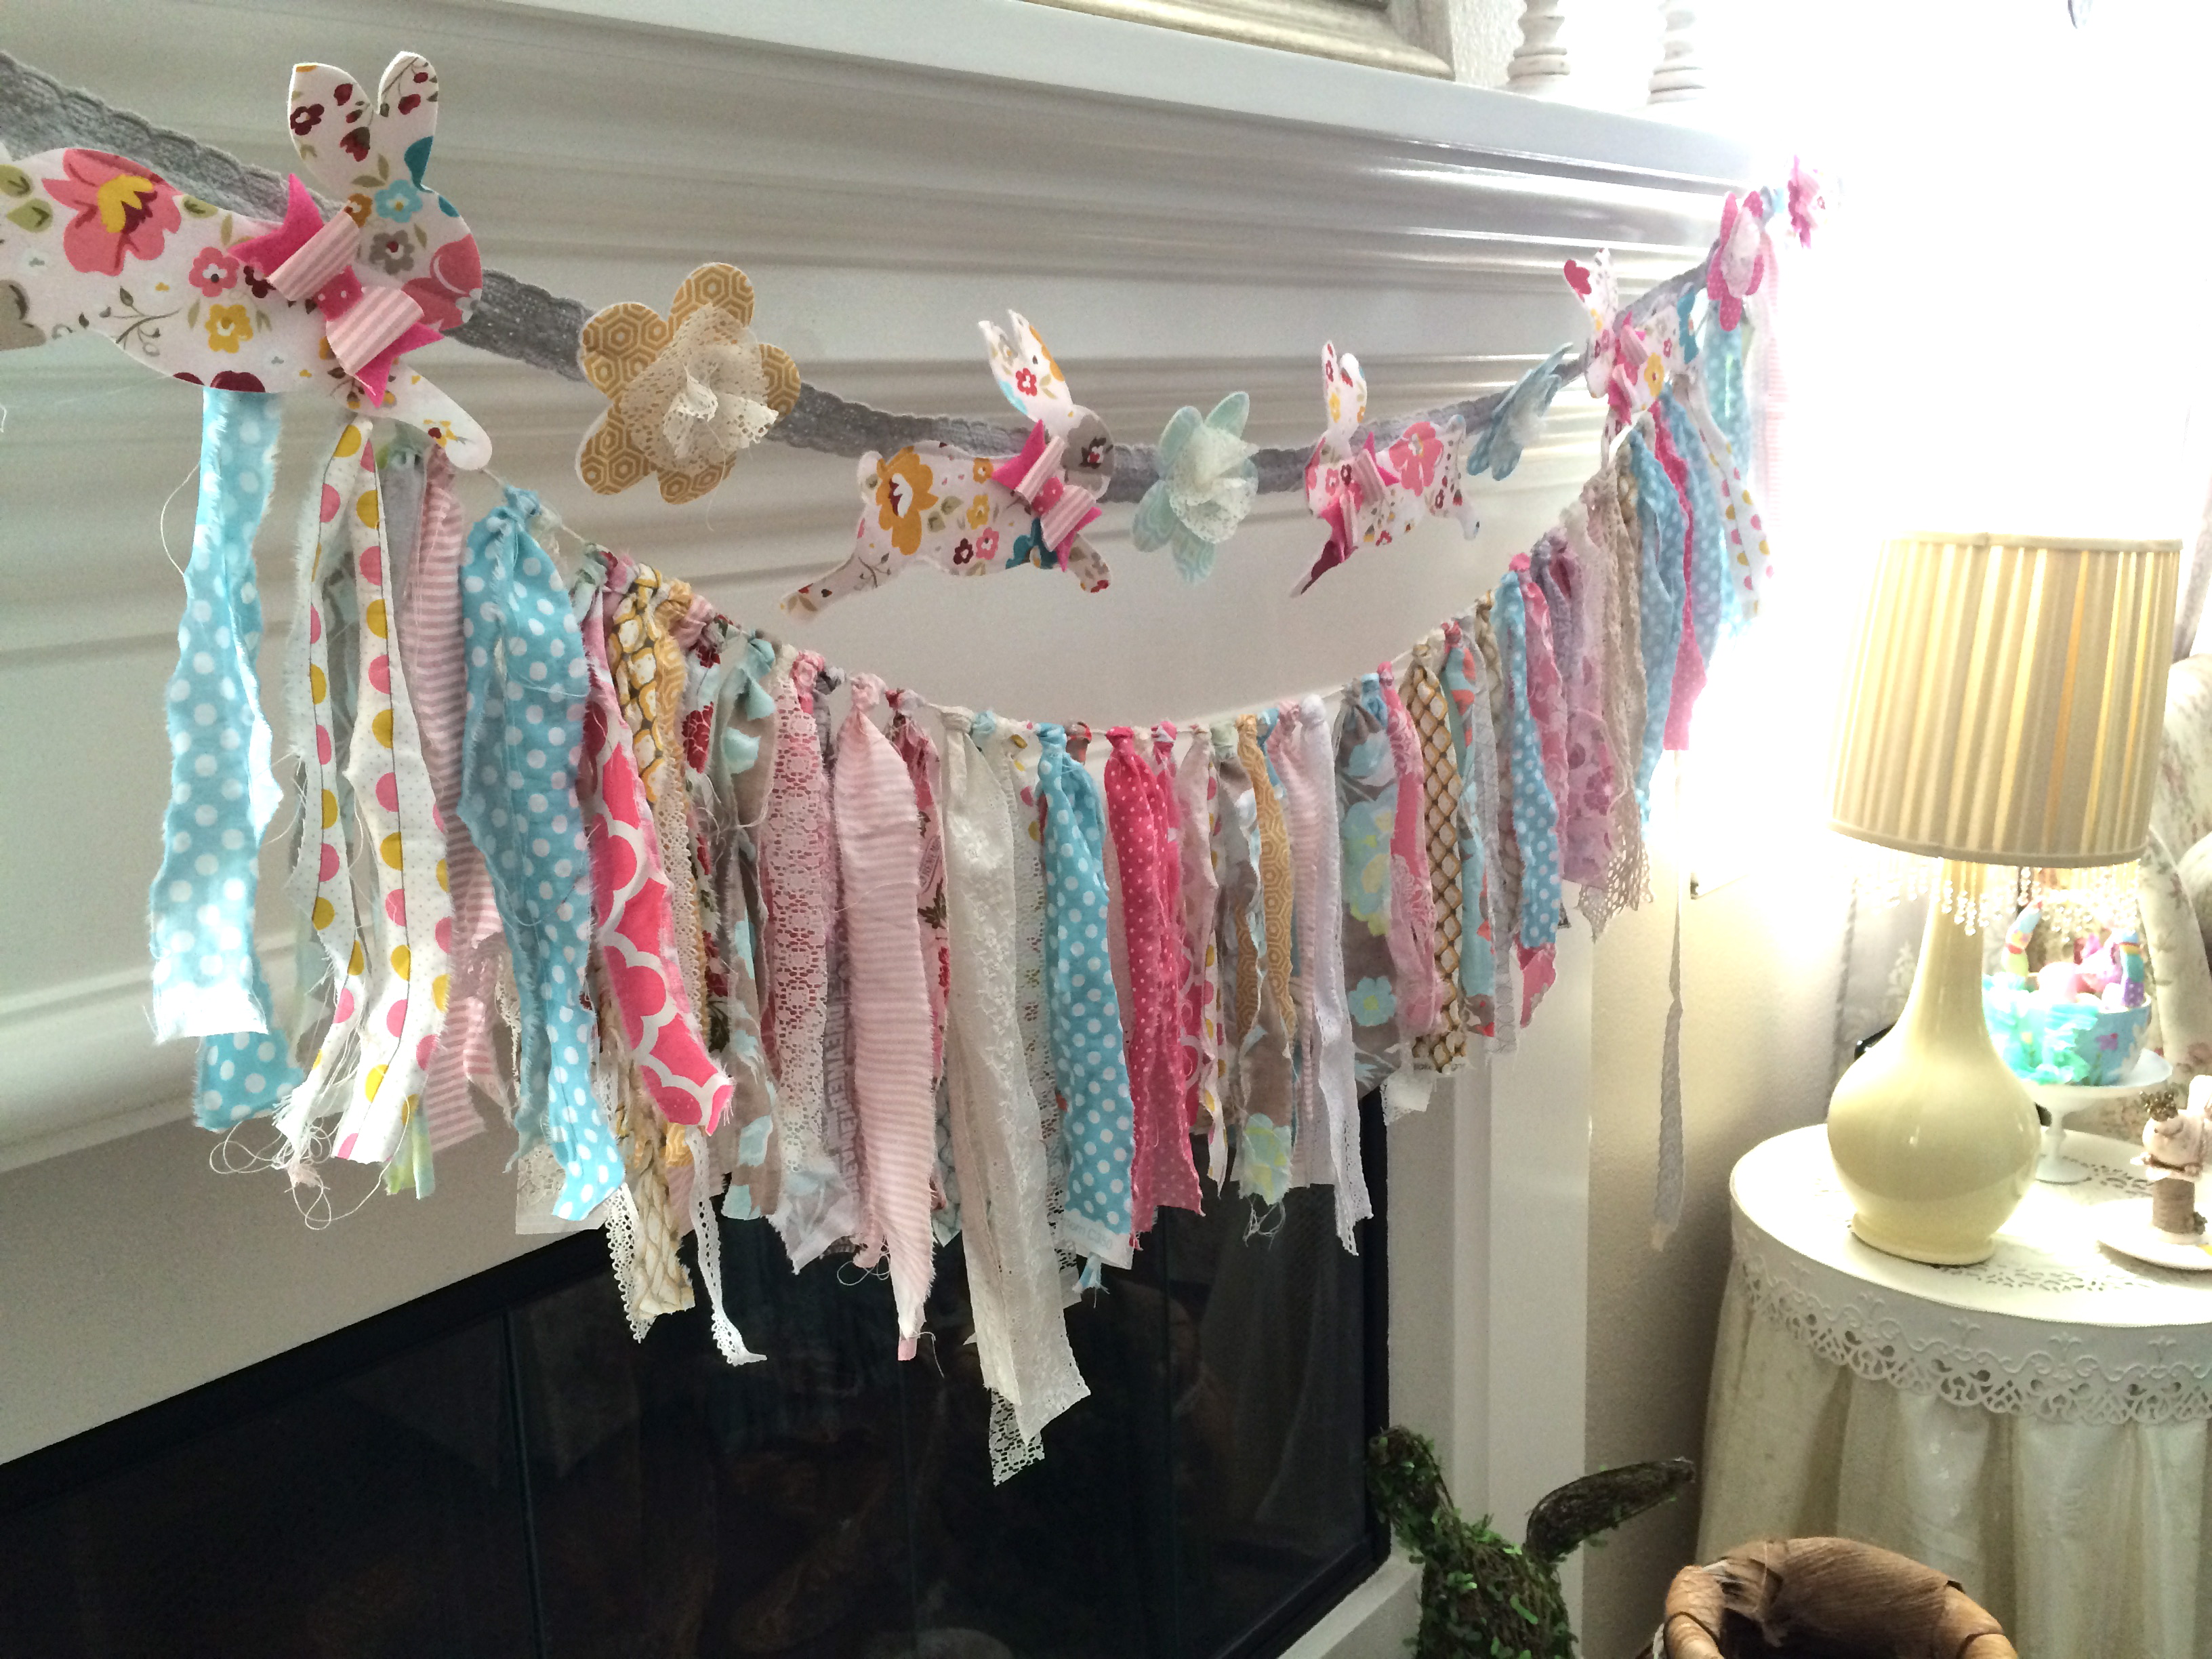
For the scrappy fabric garland, rip 1.5″ x WOF strips of fabric. Each strip will give you 2. Cut the strip in half and tie the fabric to the cotton twine. You can also add in lace, ribbon, etc. Keep tying and tying and tying! My friend ties the end of the twine to her foot. I found it helpful to tie the end of the twine to a door knob, you need to be able to pull the twine tight.
I like how the two look layered together.
You can also add a little space between them.

I have another Sizzix rabbit die – it’s a sitting rabbit. I made this smaller garland the same only used a cotton canvas for a neutral bunny. I might add some pom pom tails!
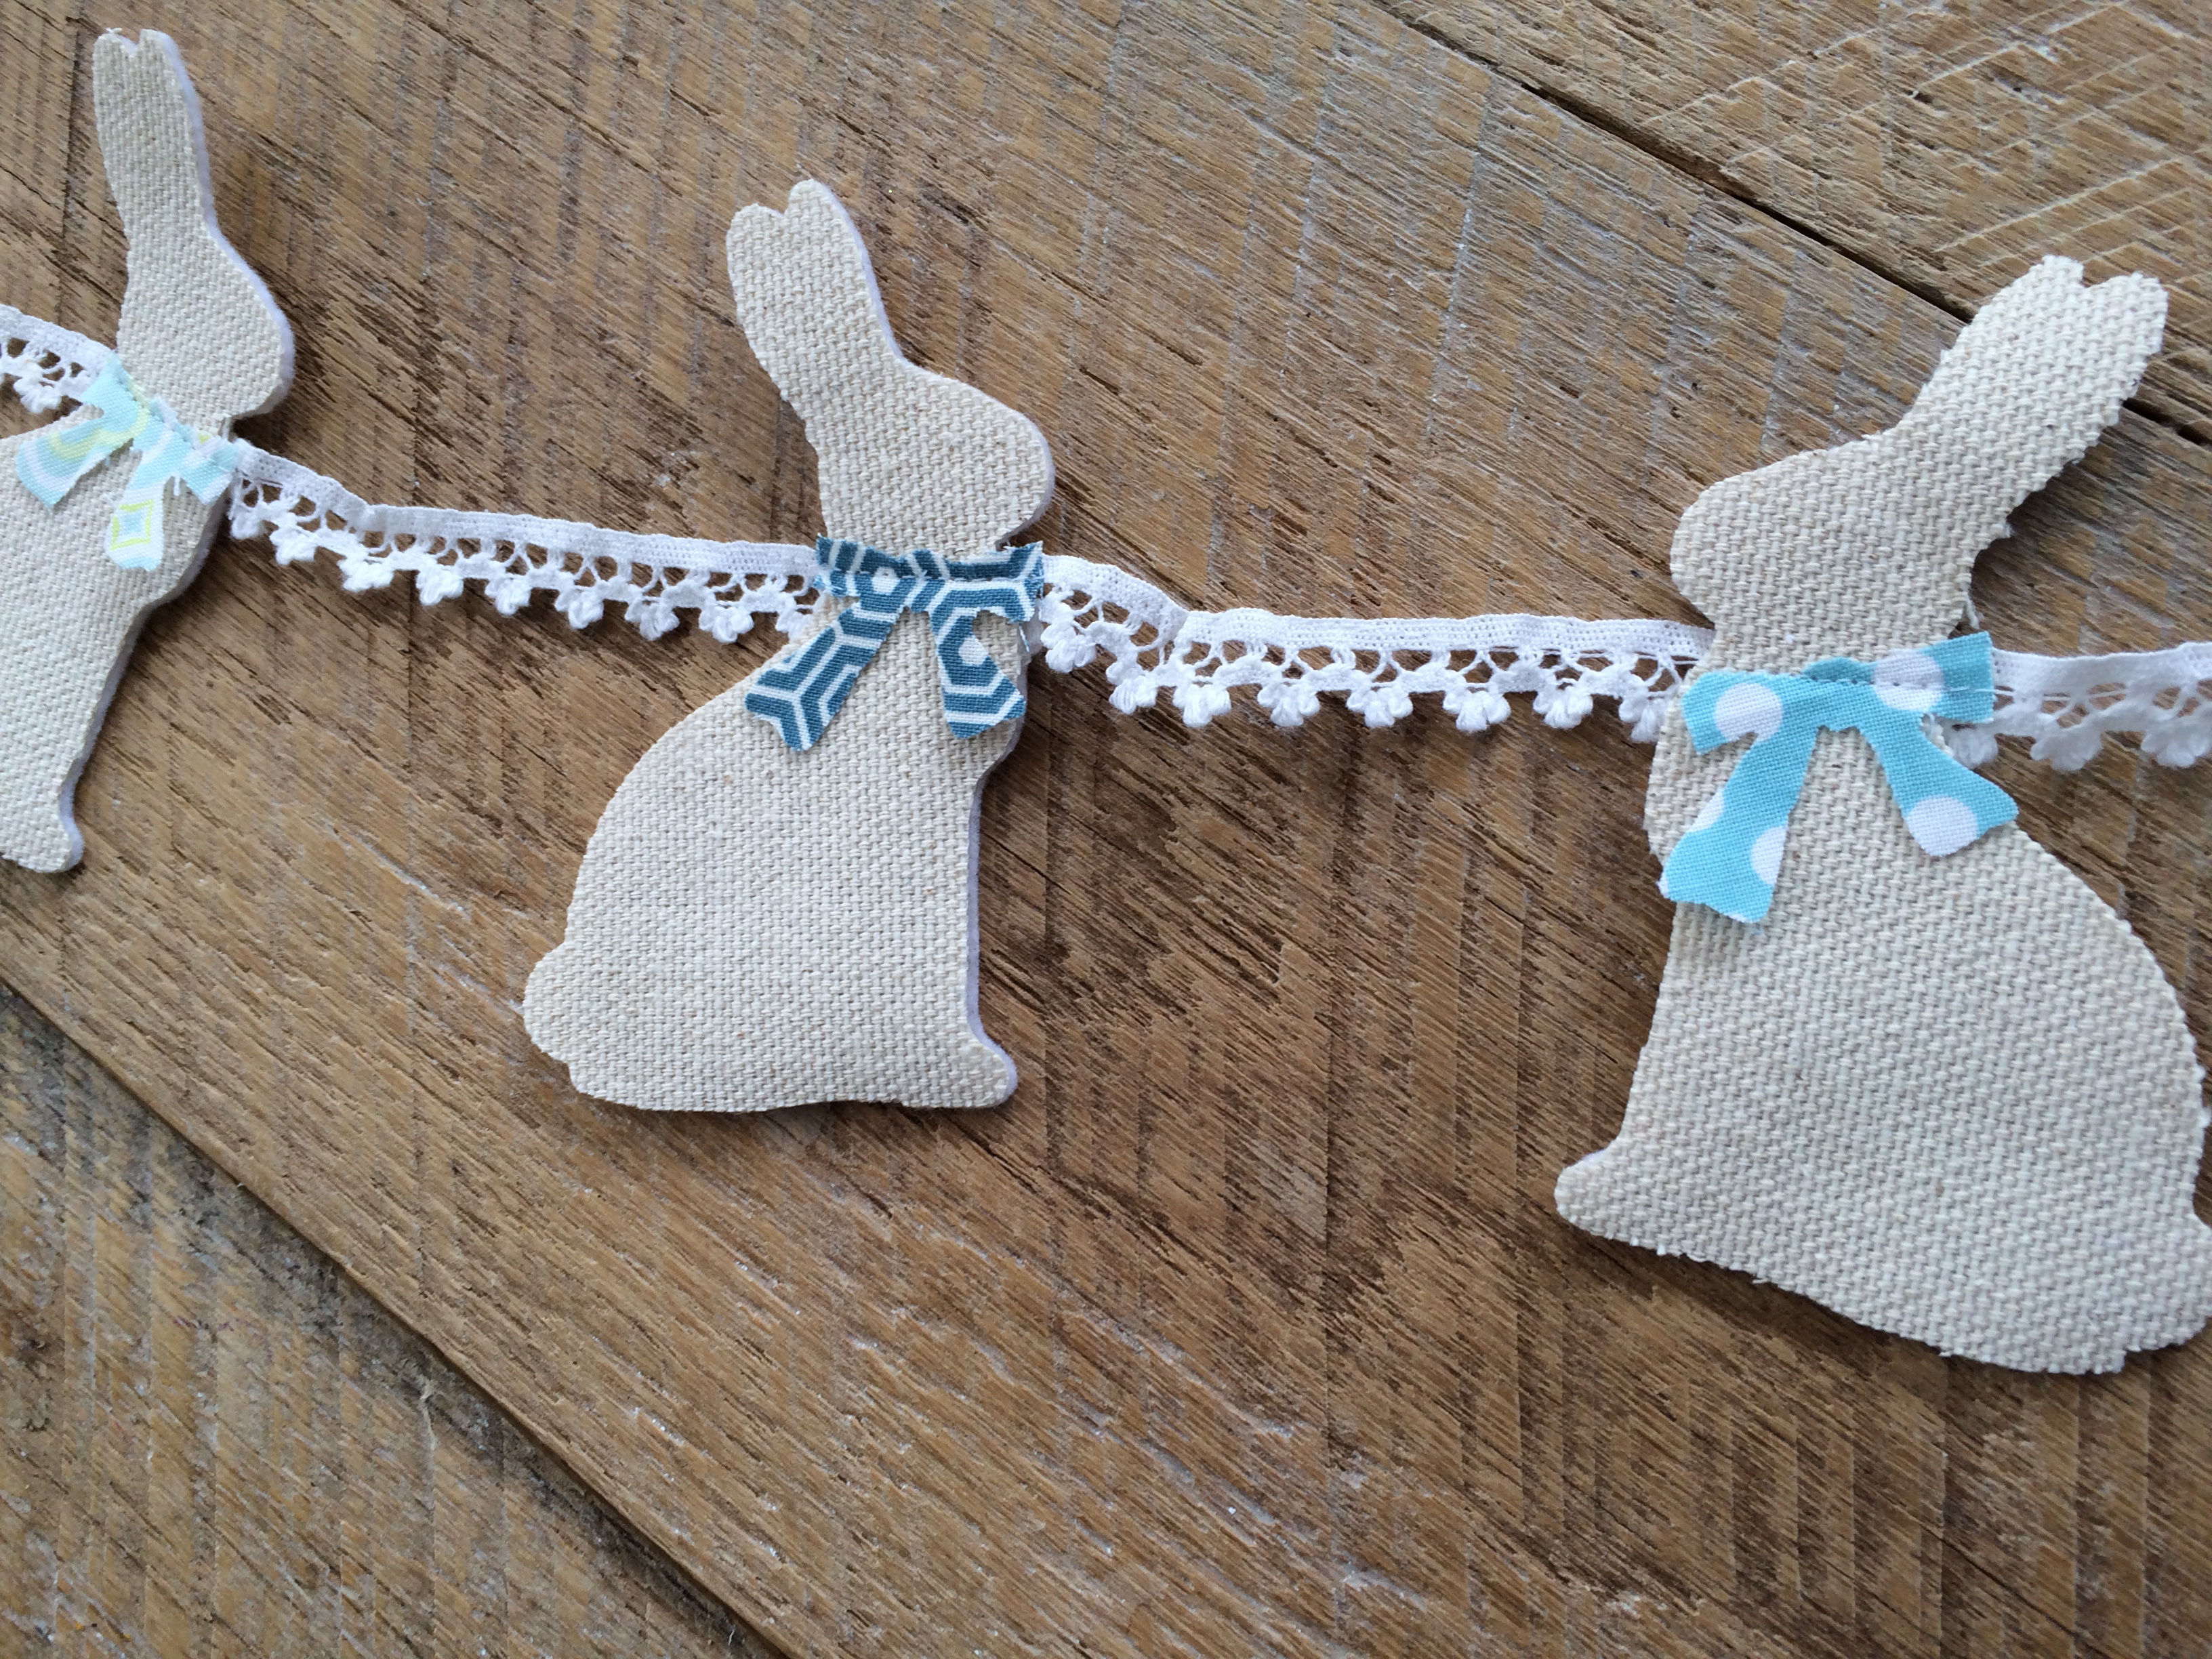
Ok, I just glued the pom pom tails on and I LOVE it!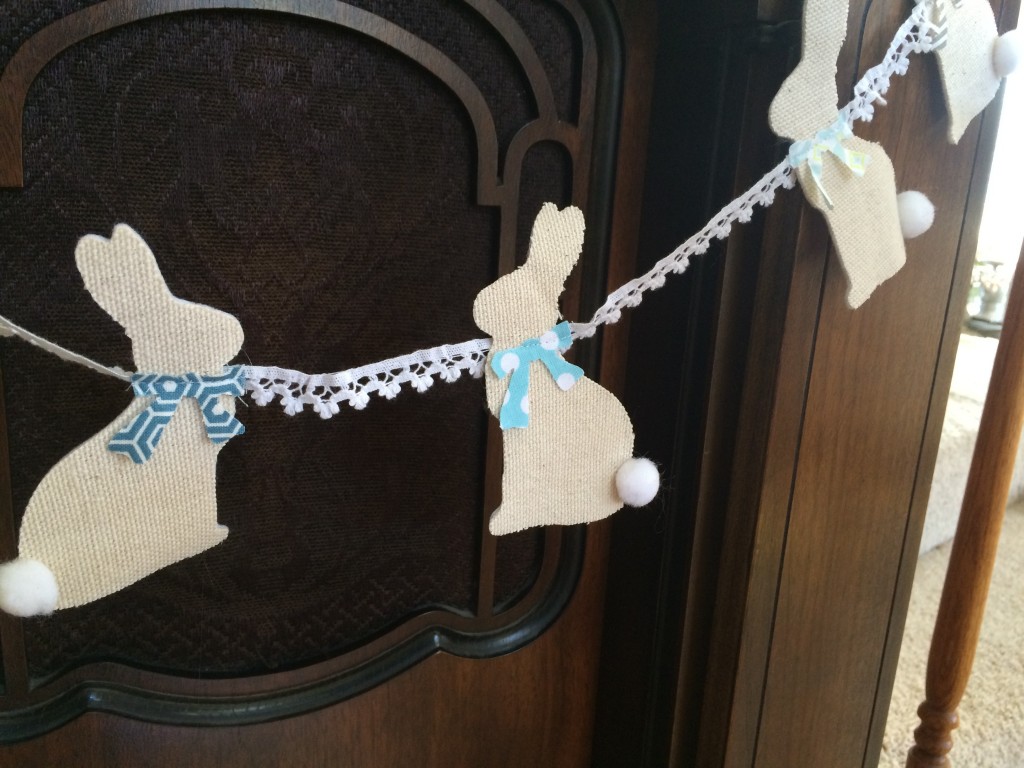
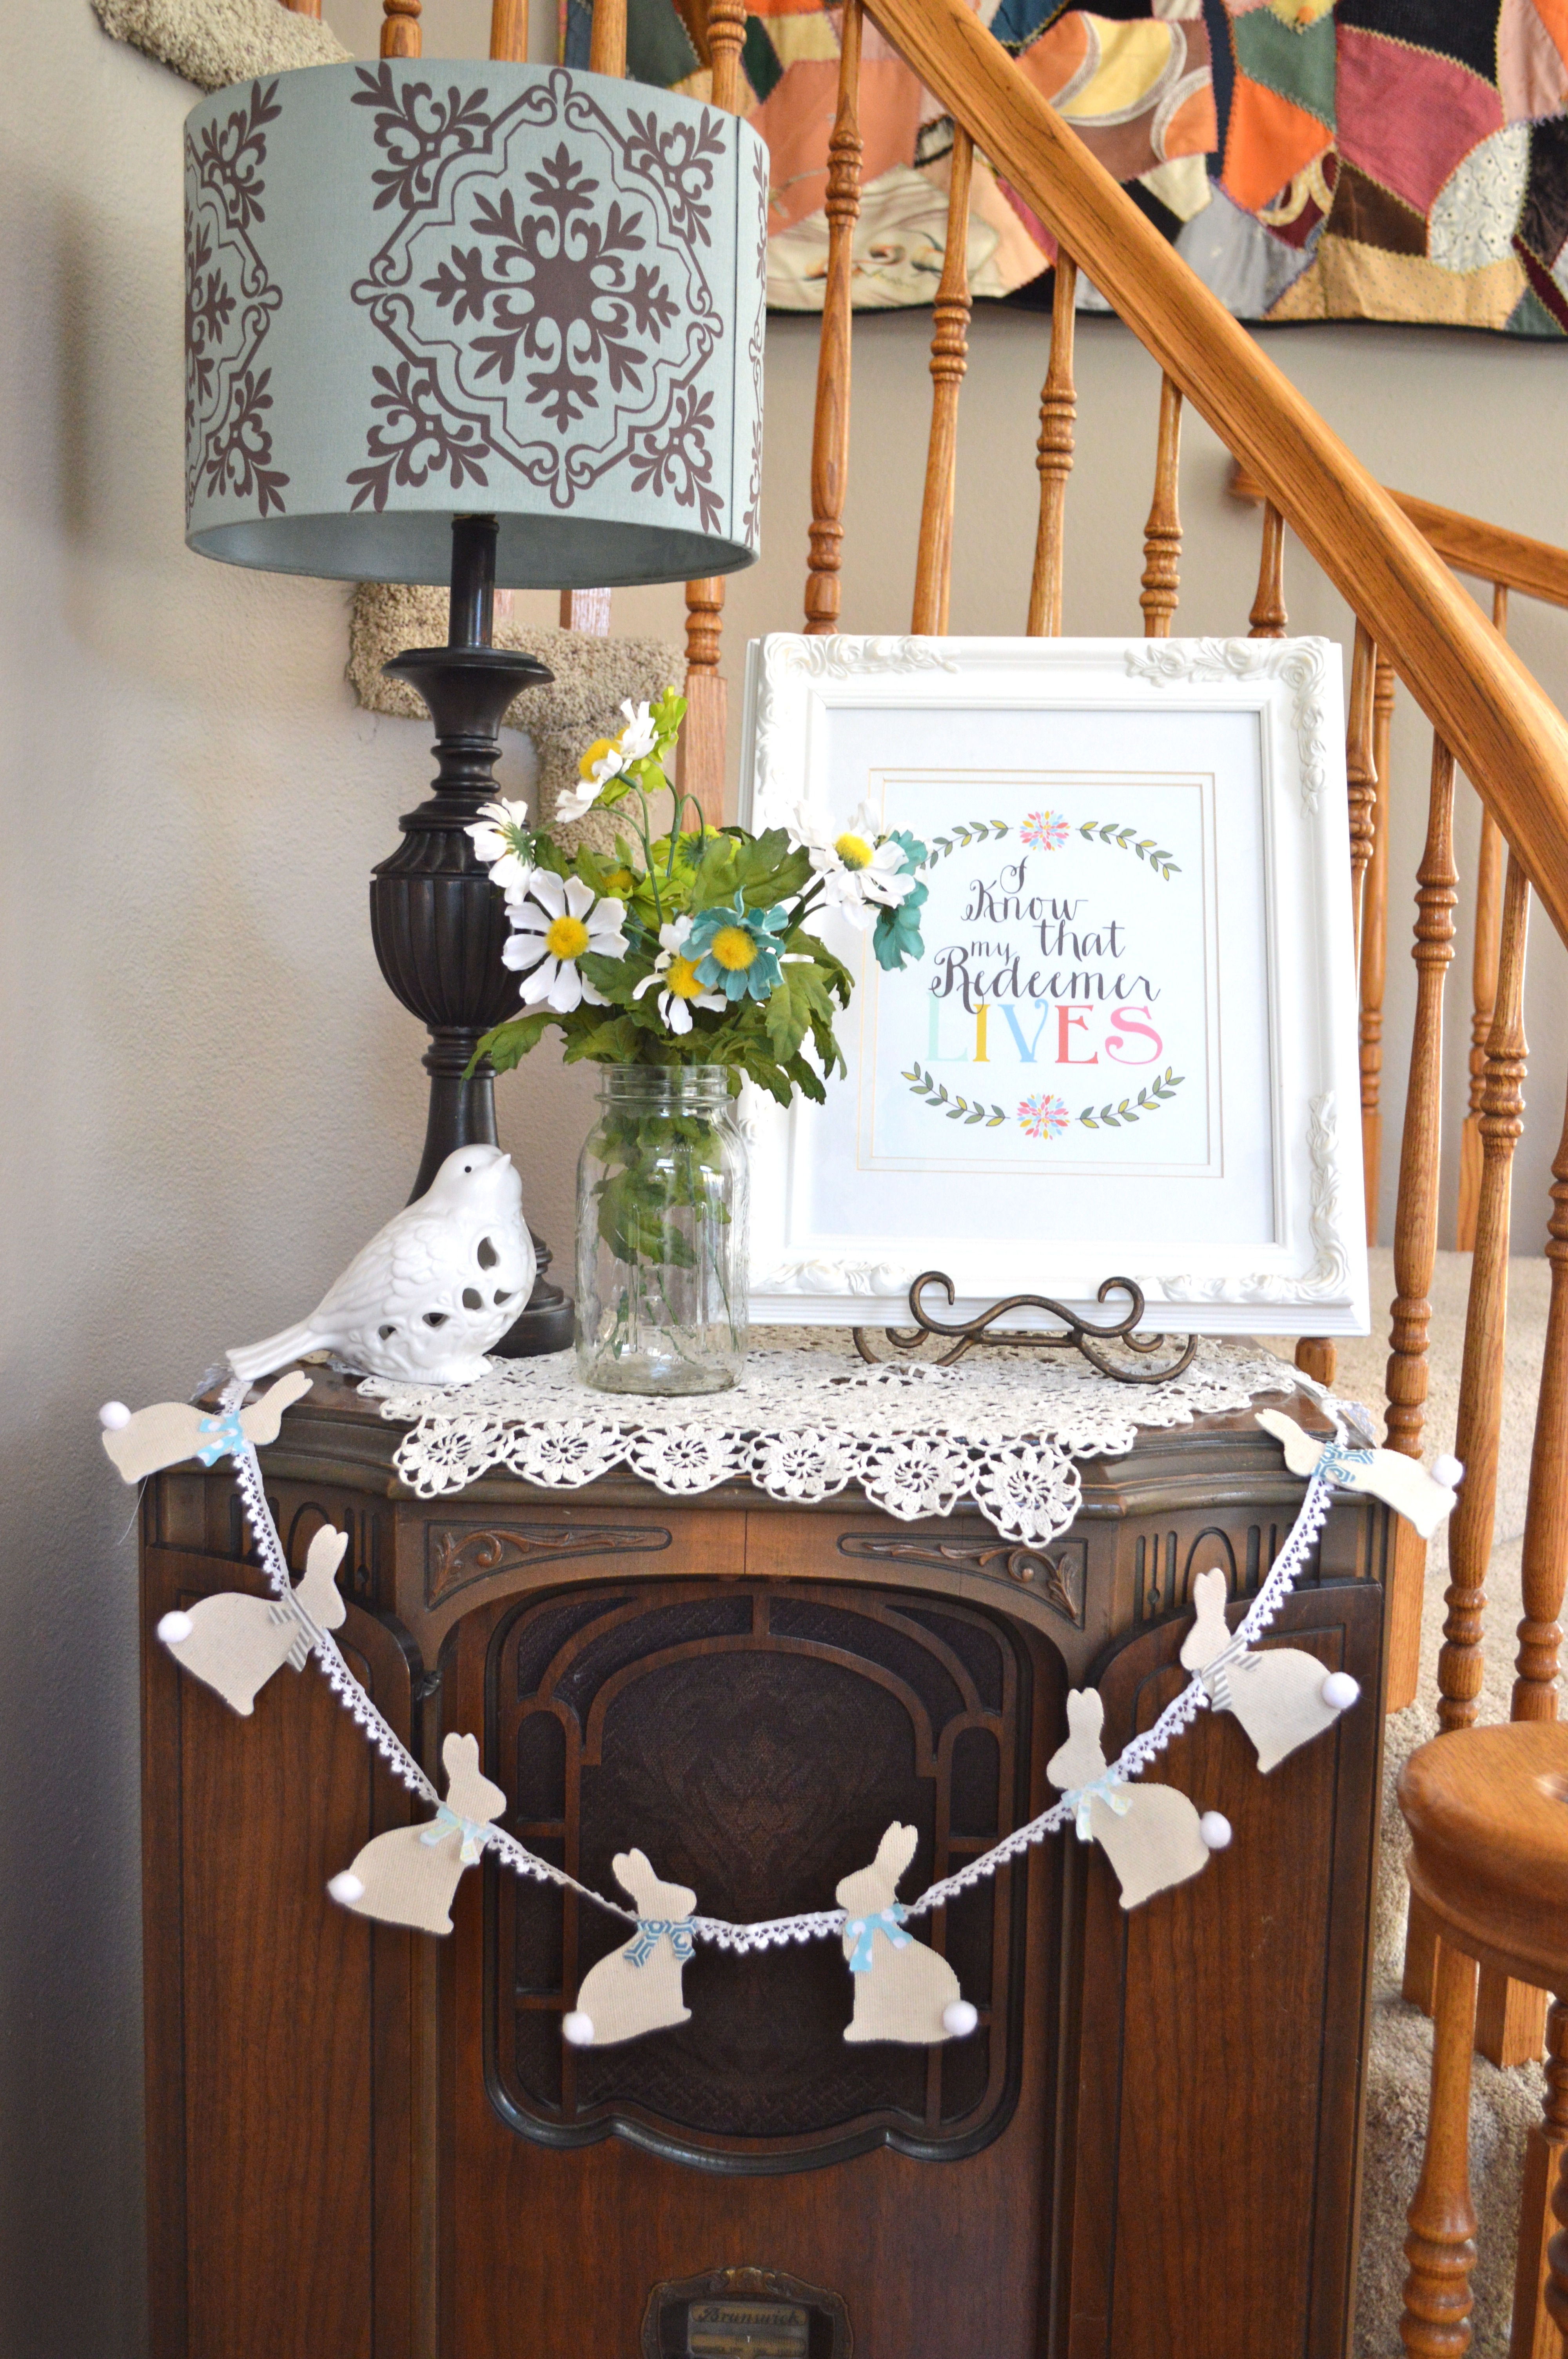
I found this cute Easter printable from Yellow Bliss Road

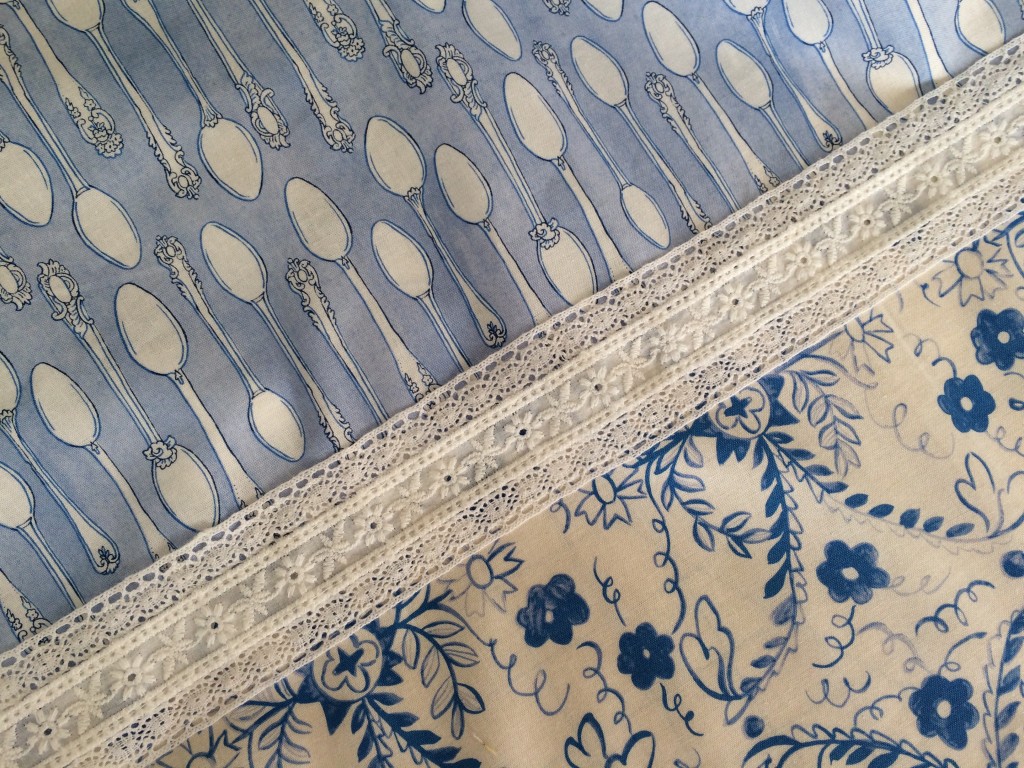
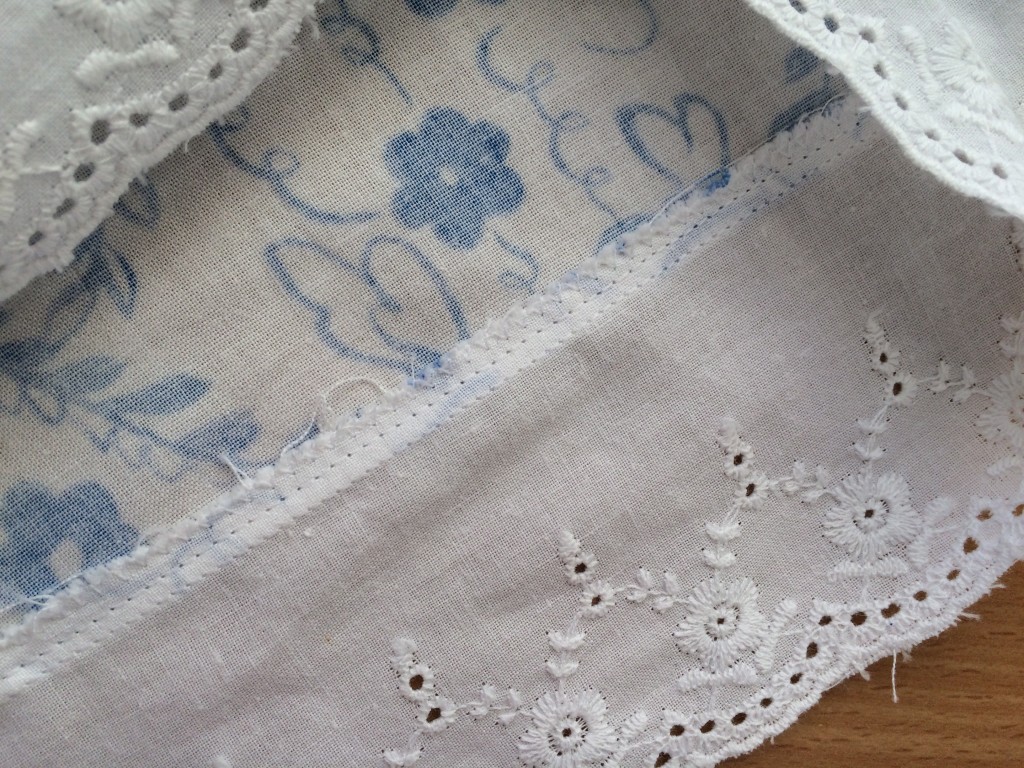
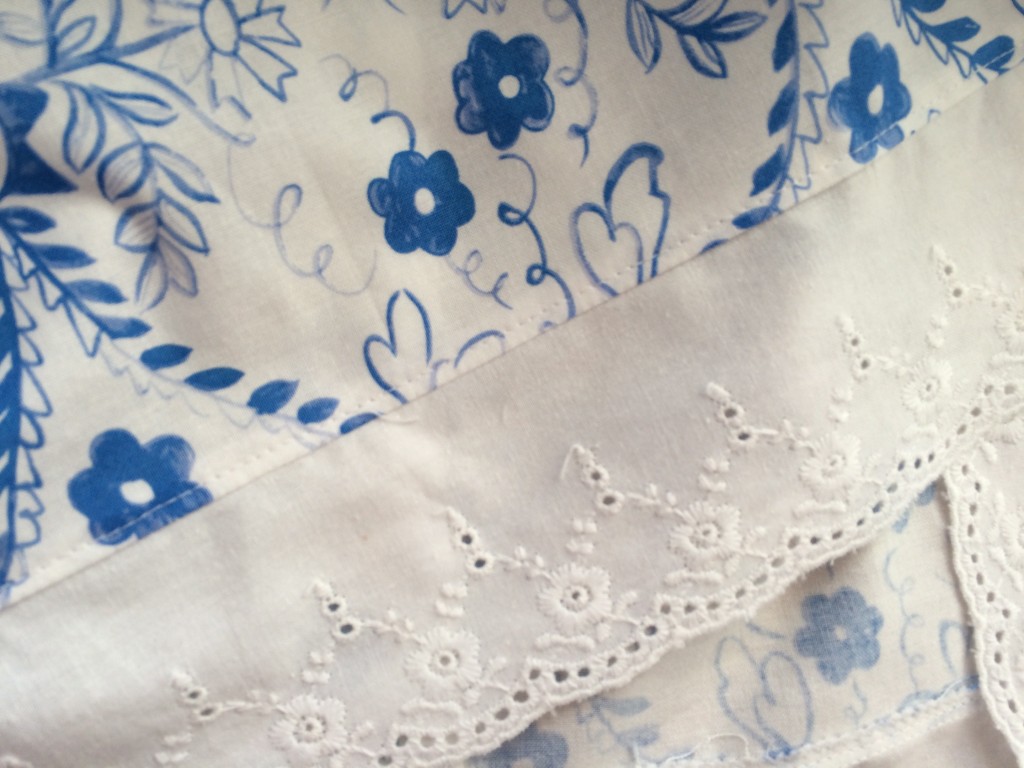
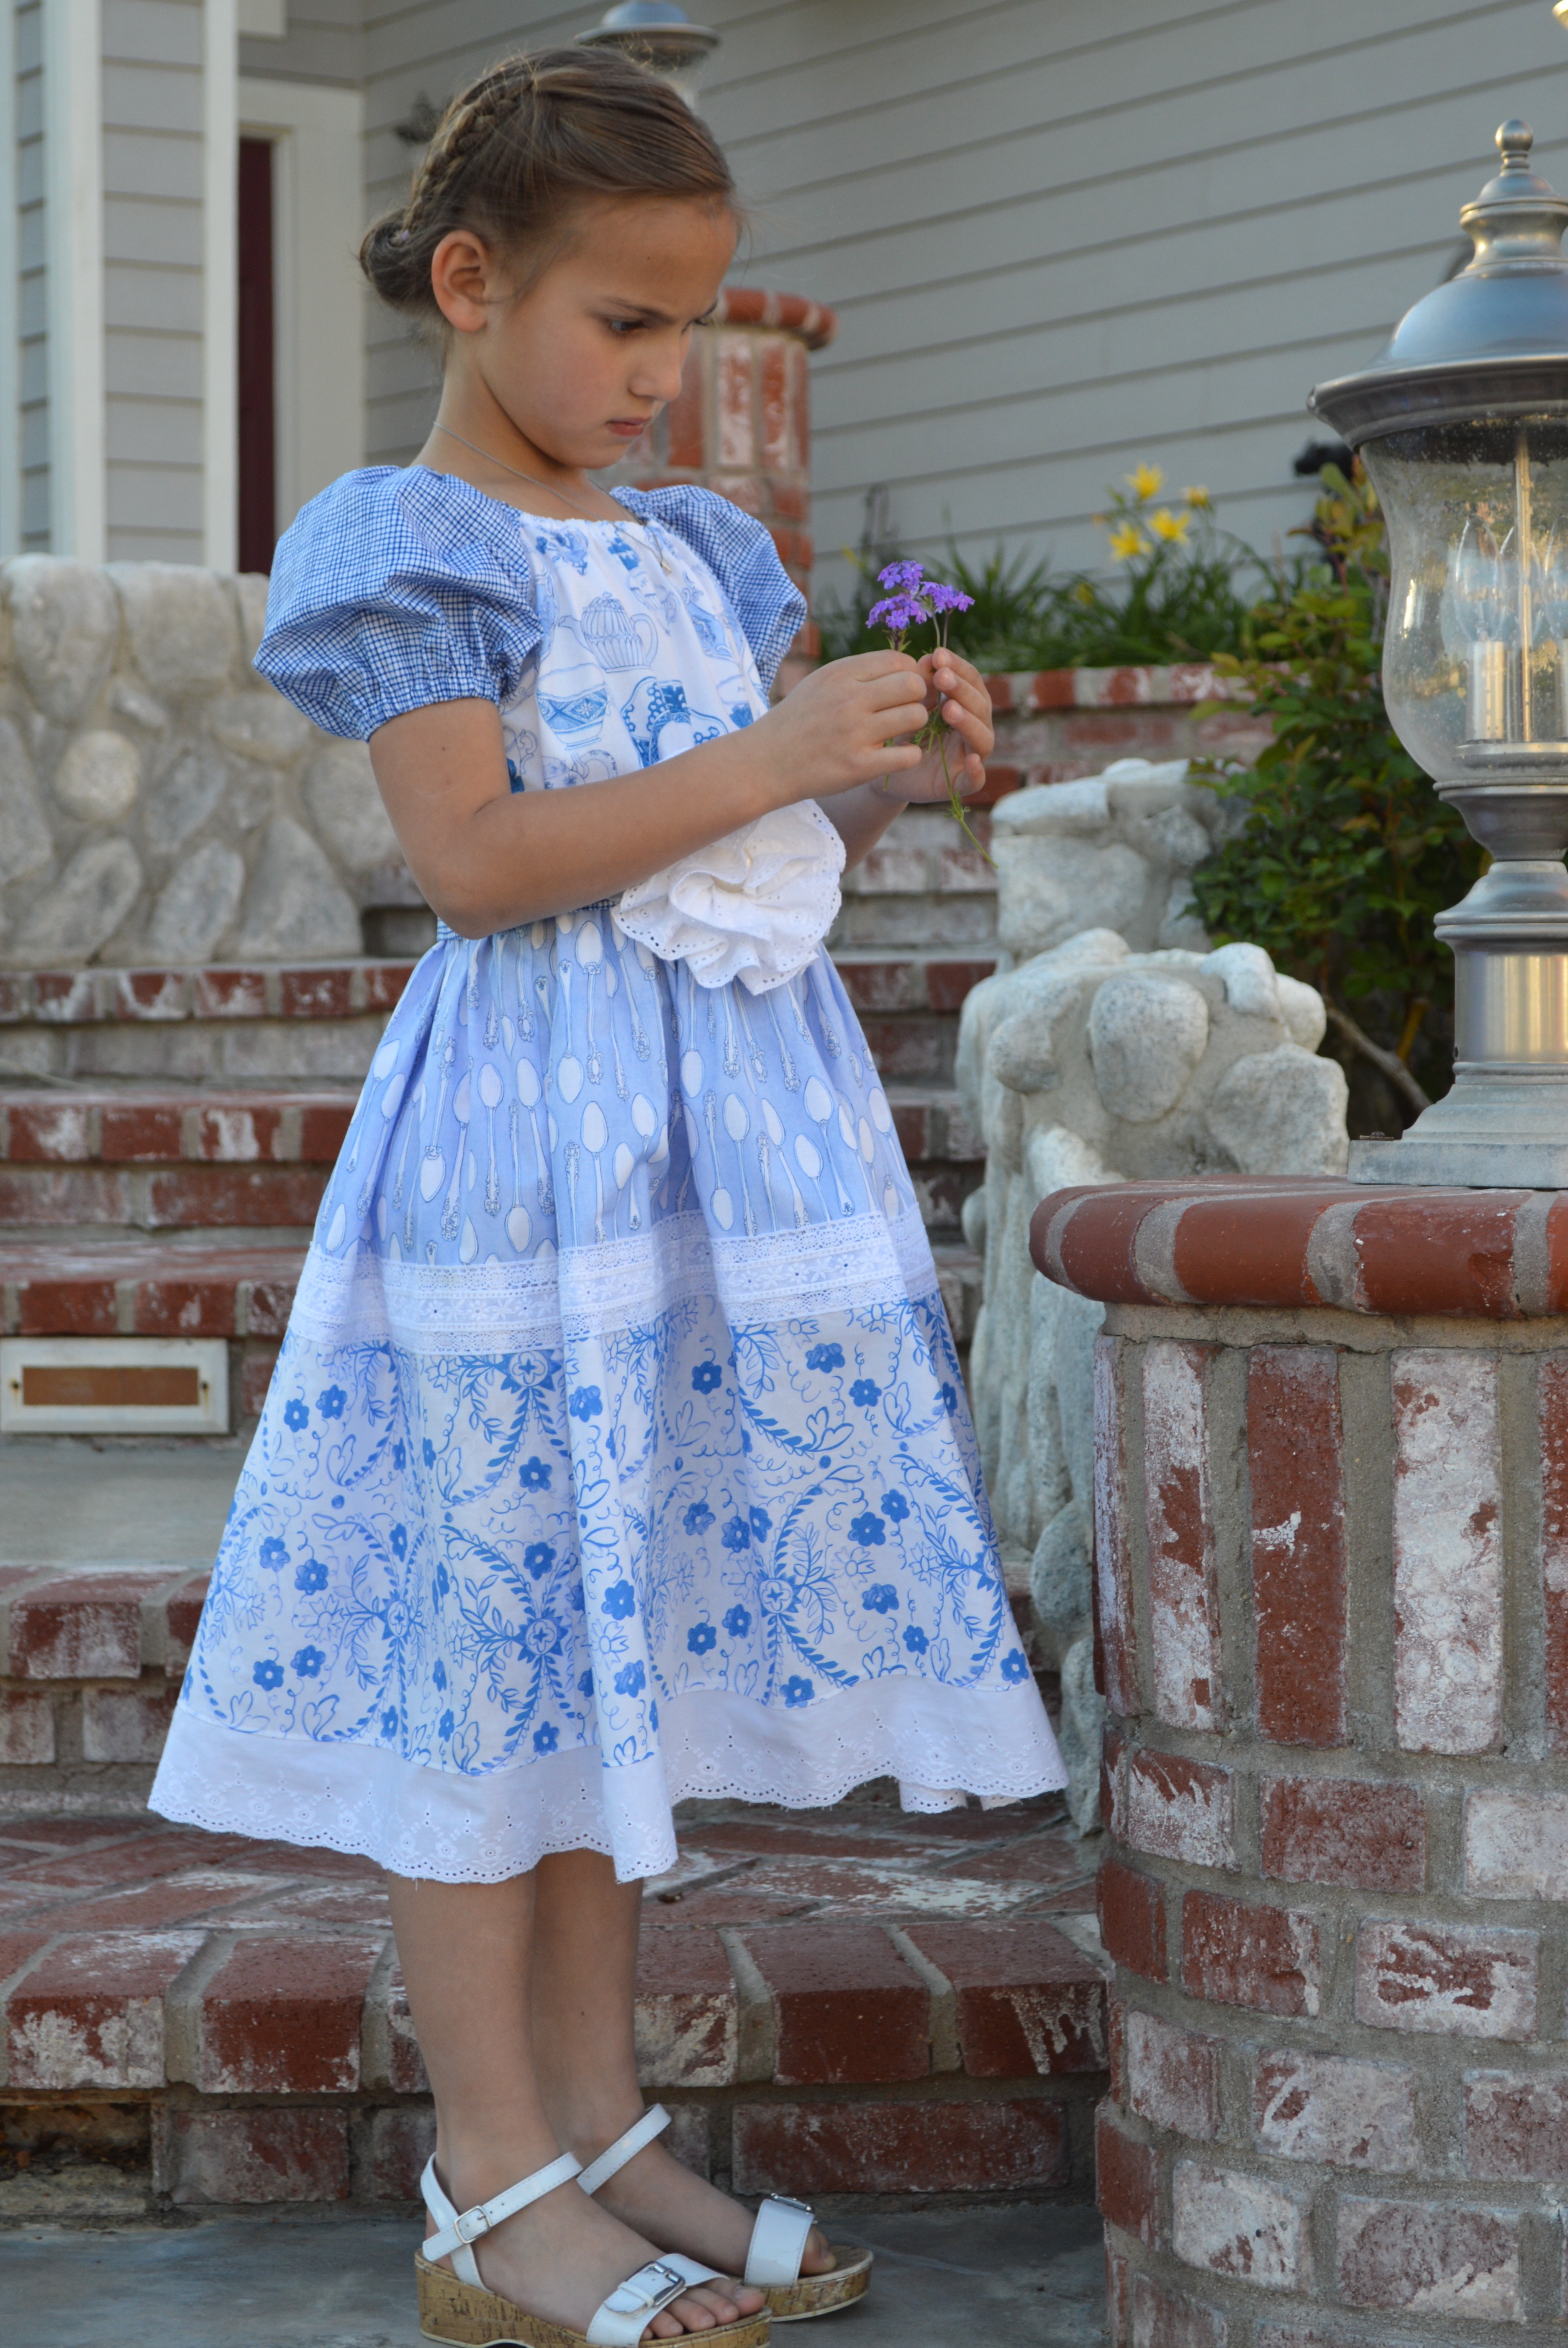
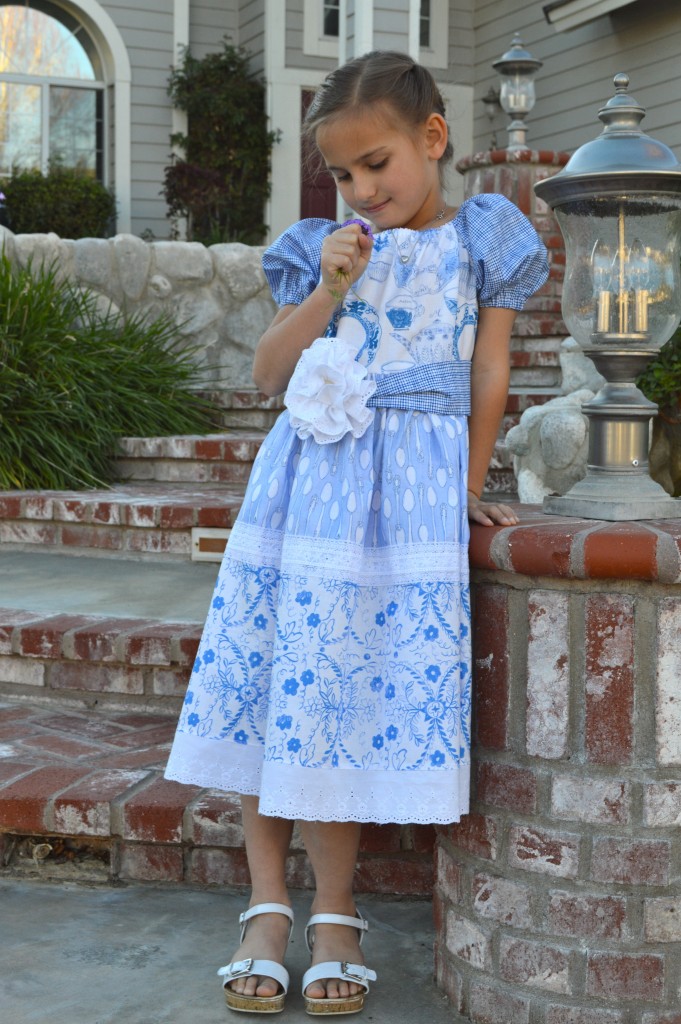
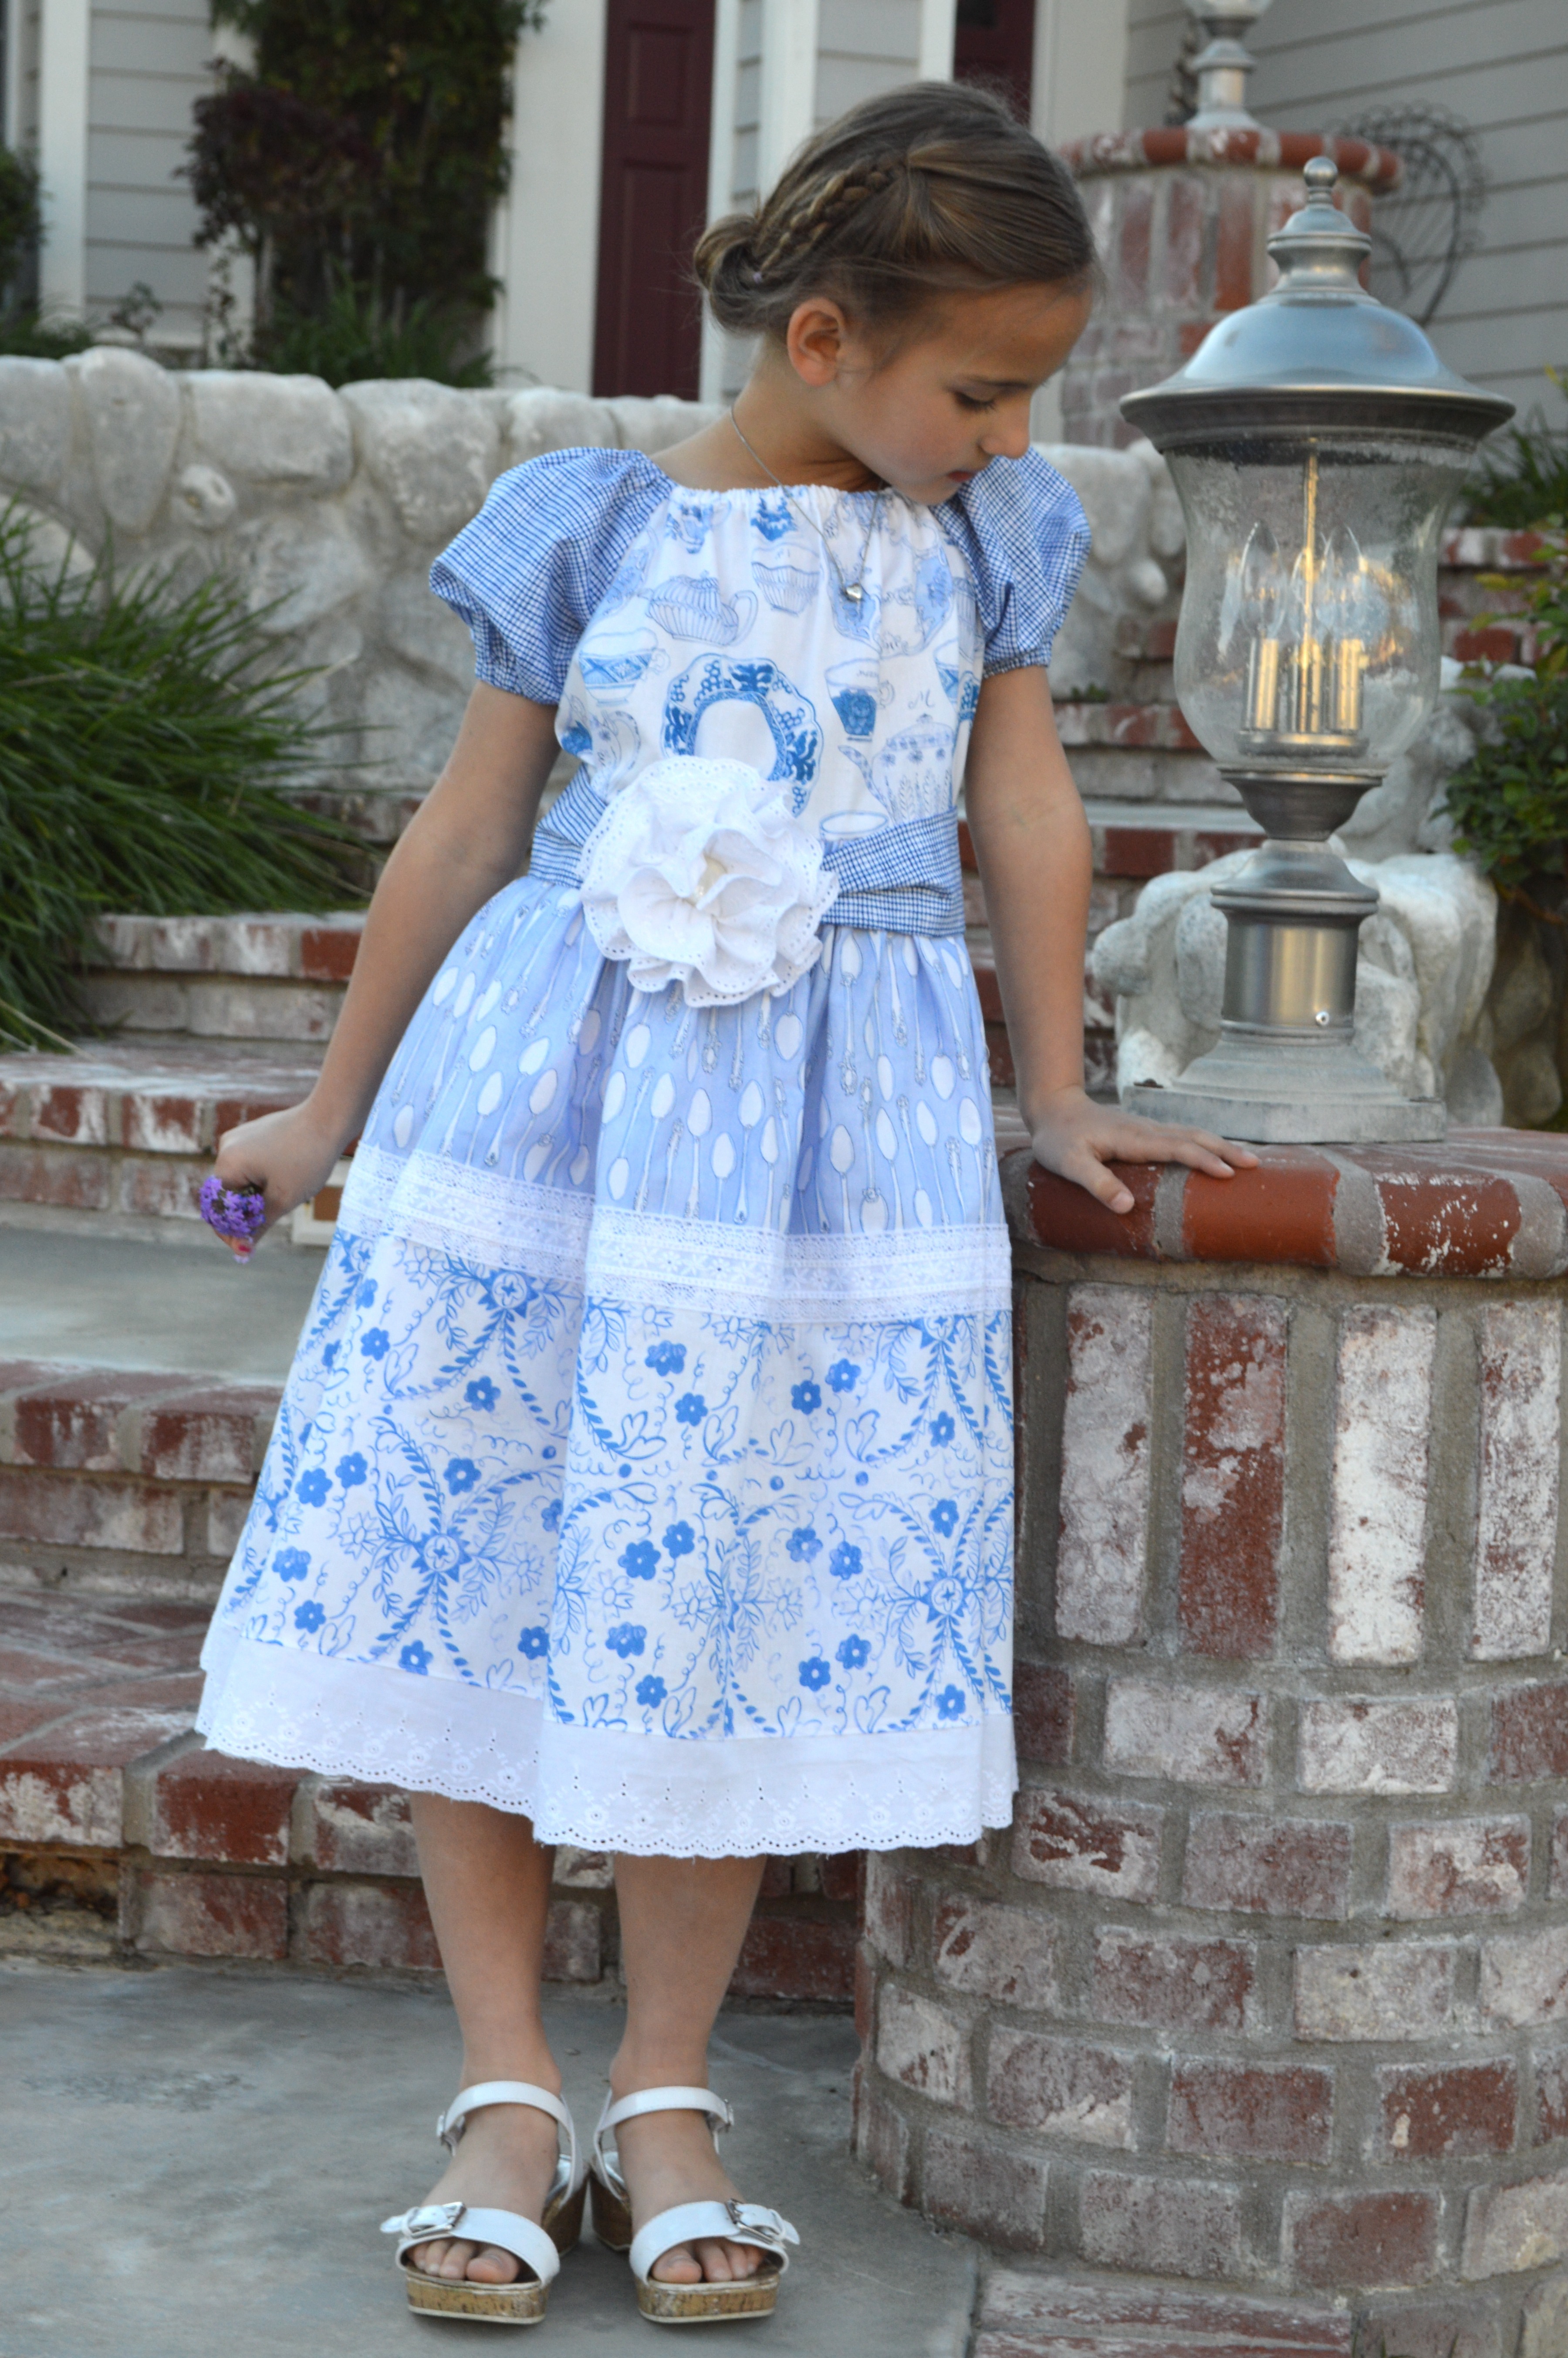
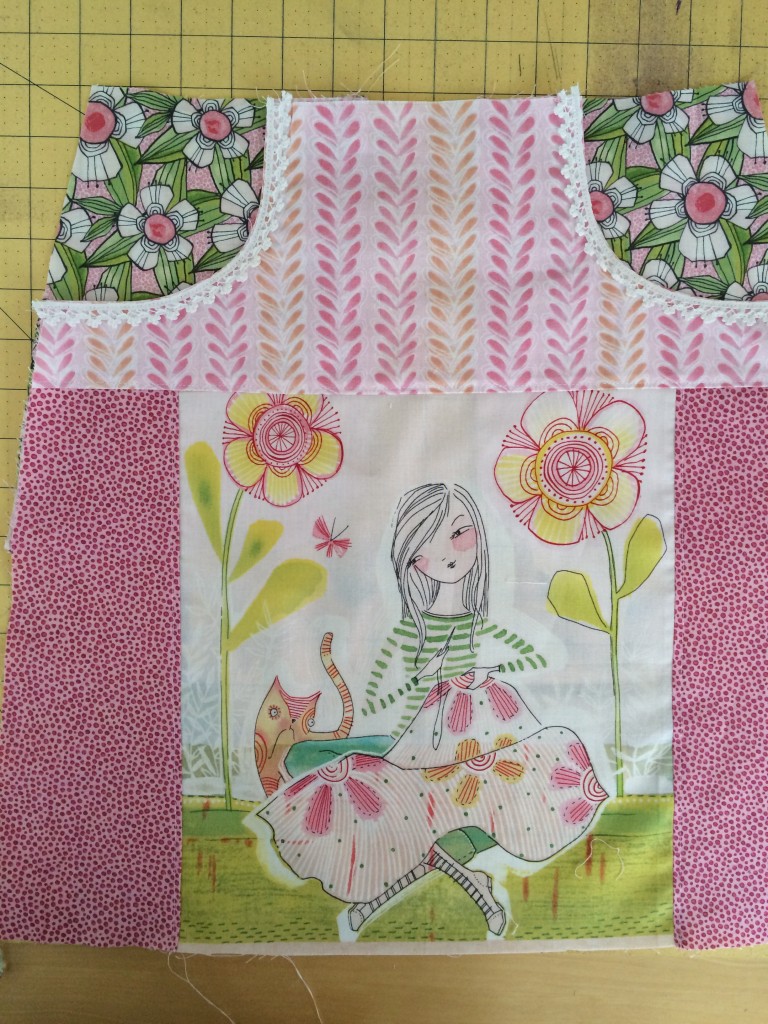
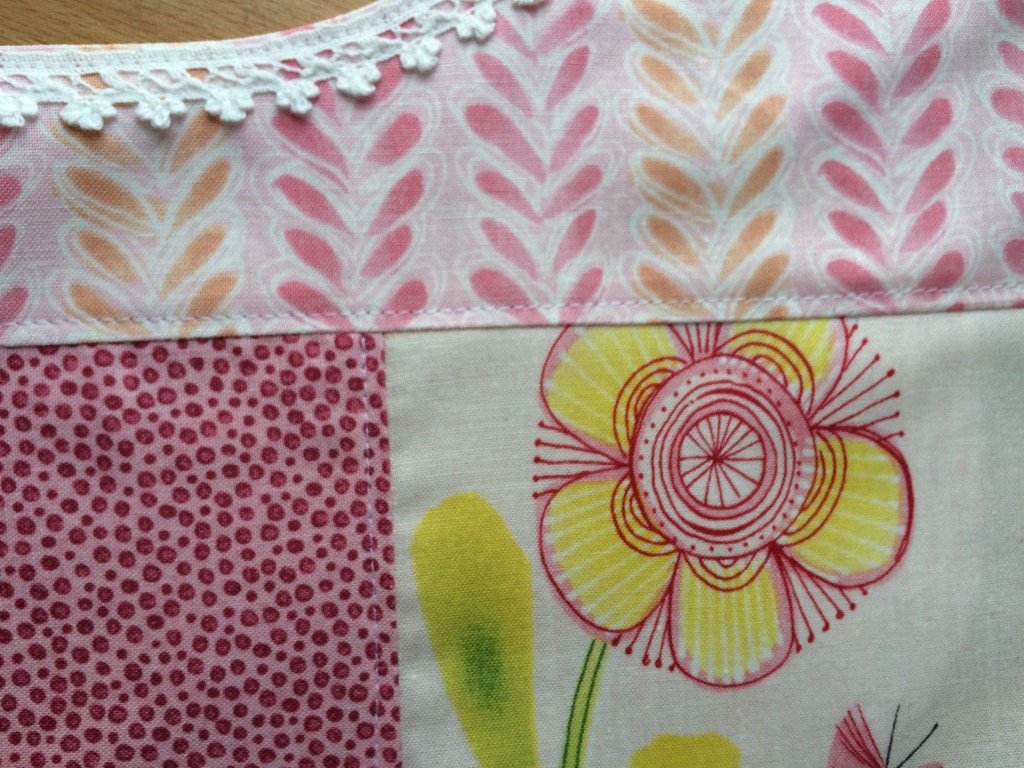
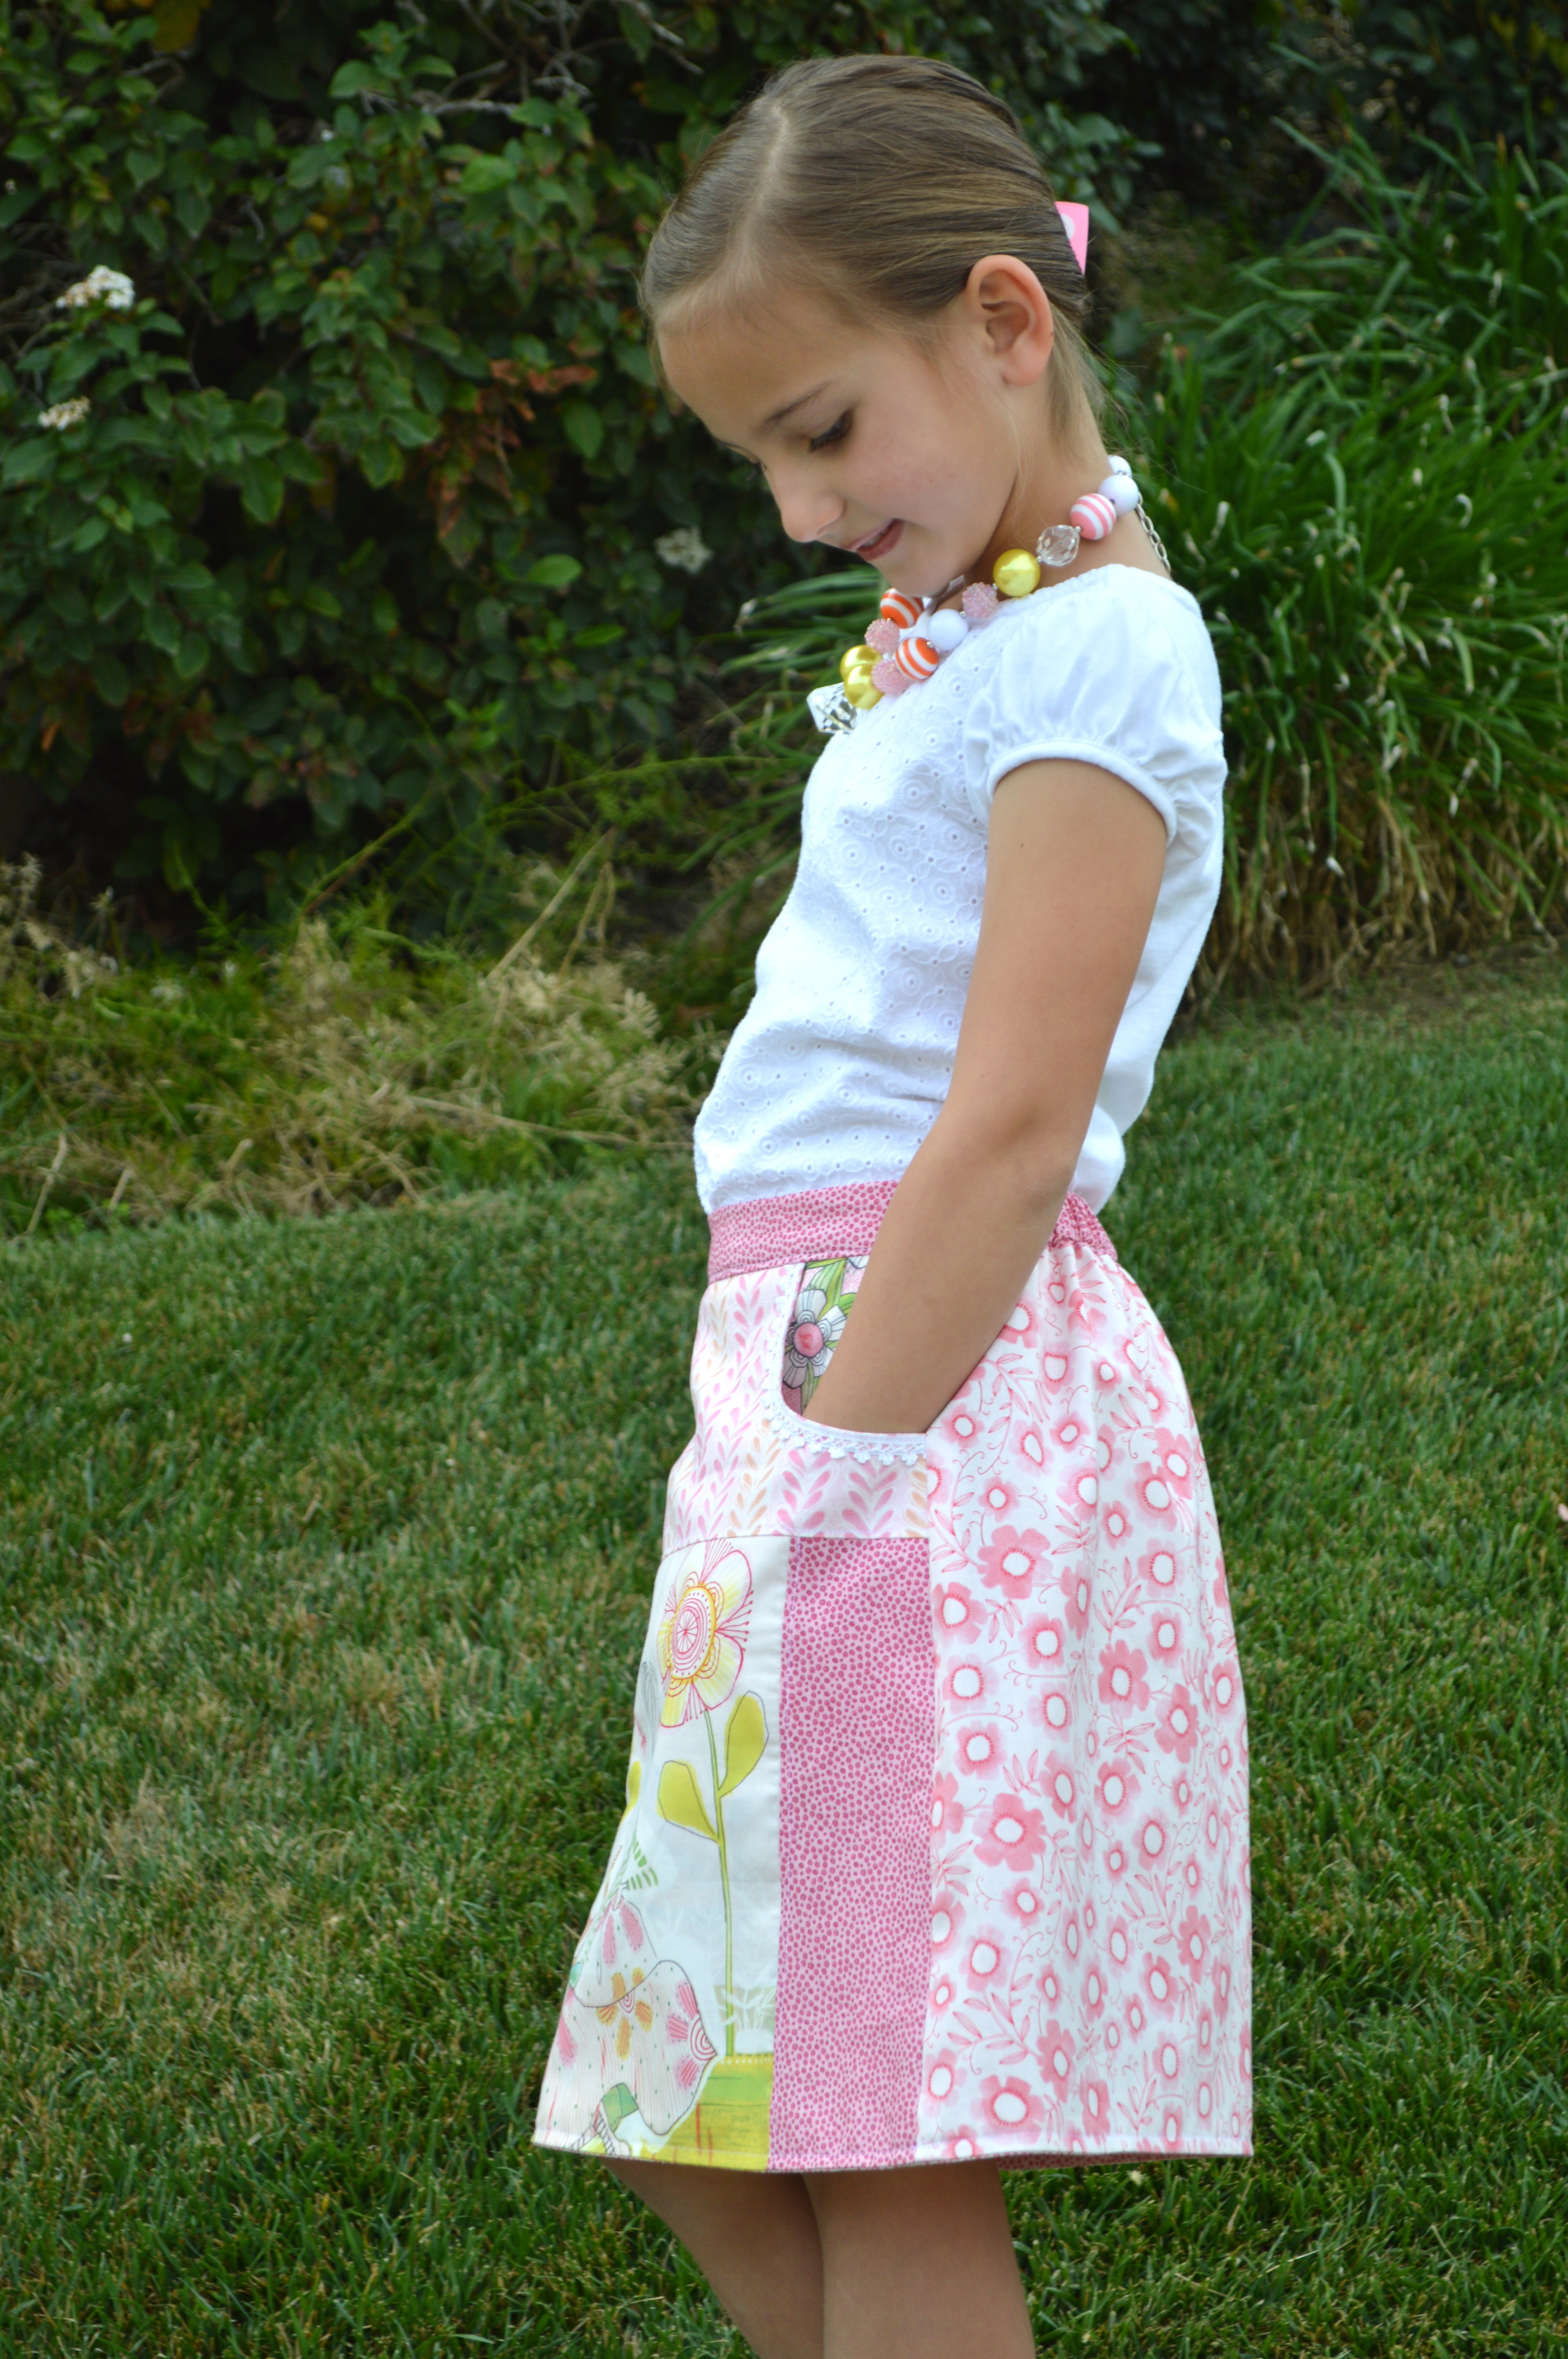
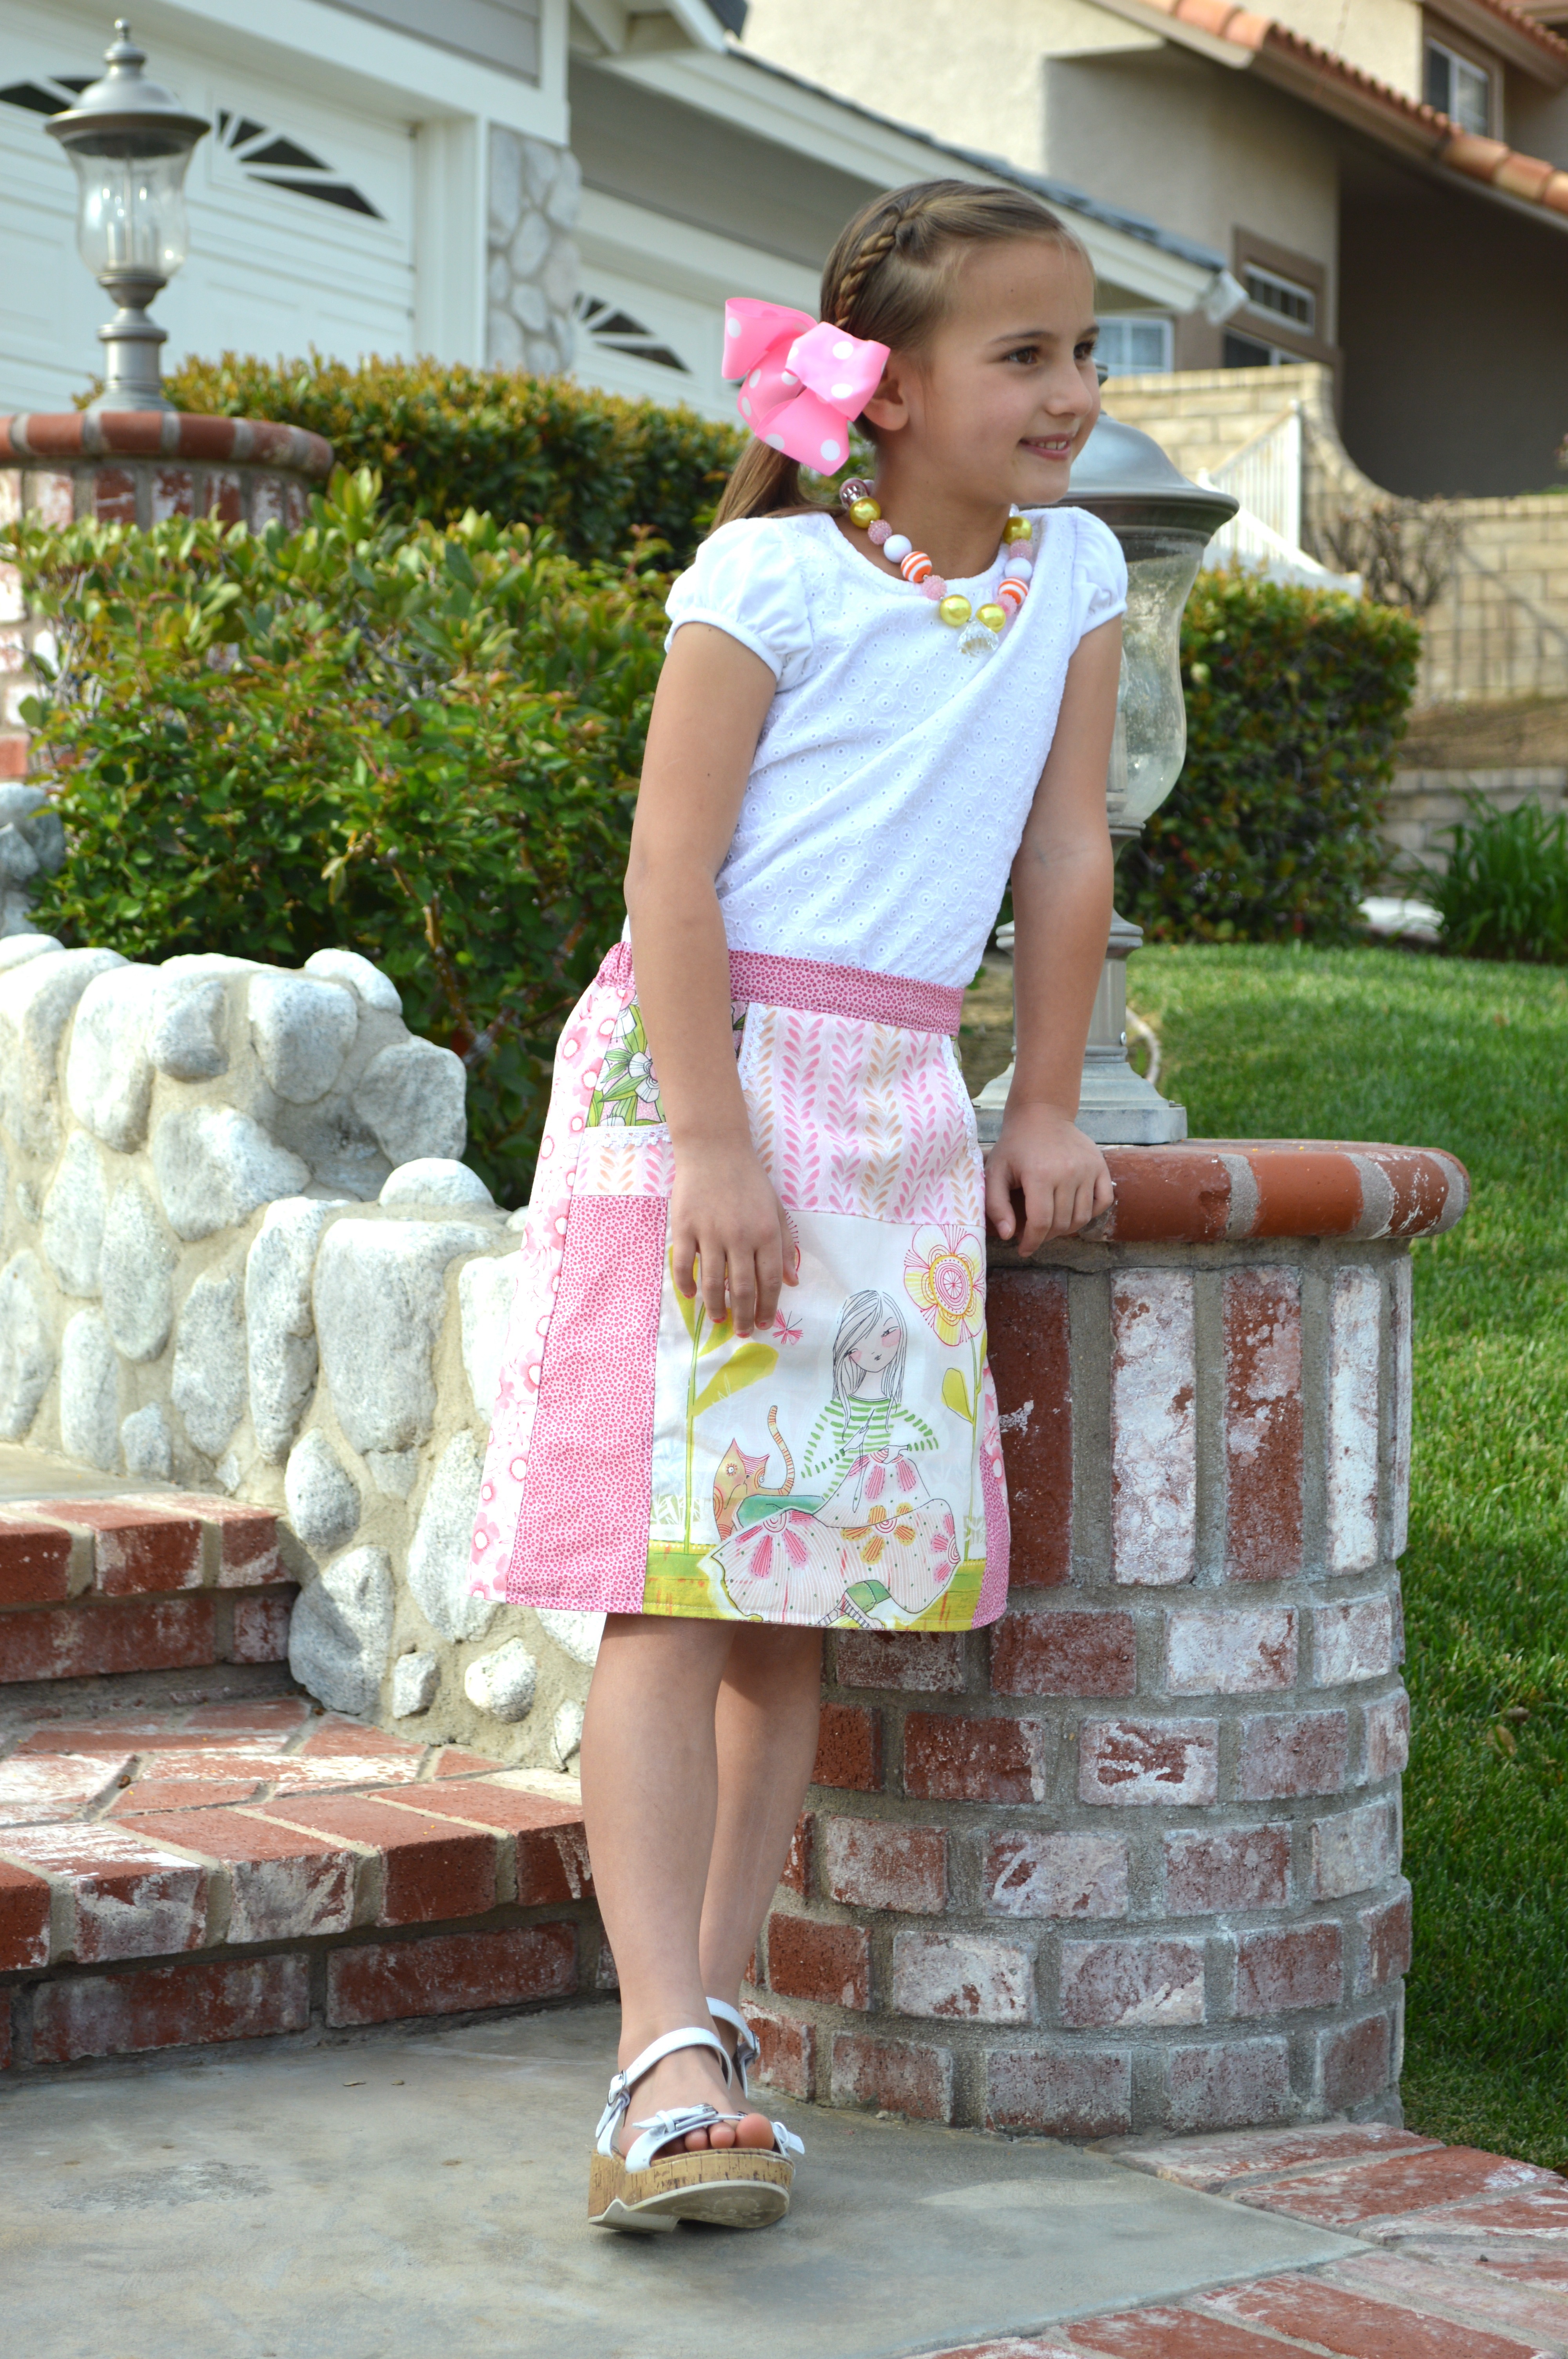
 The fabrics are from Blend’s

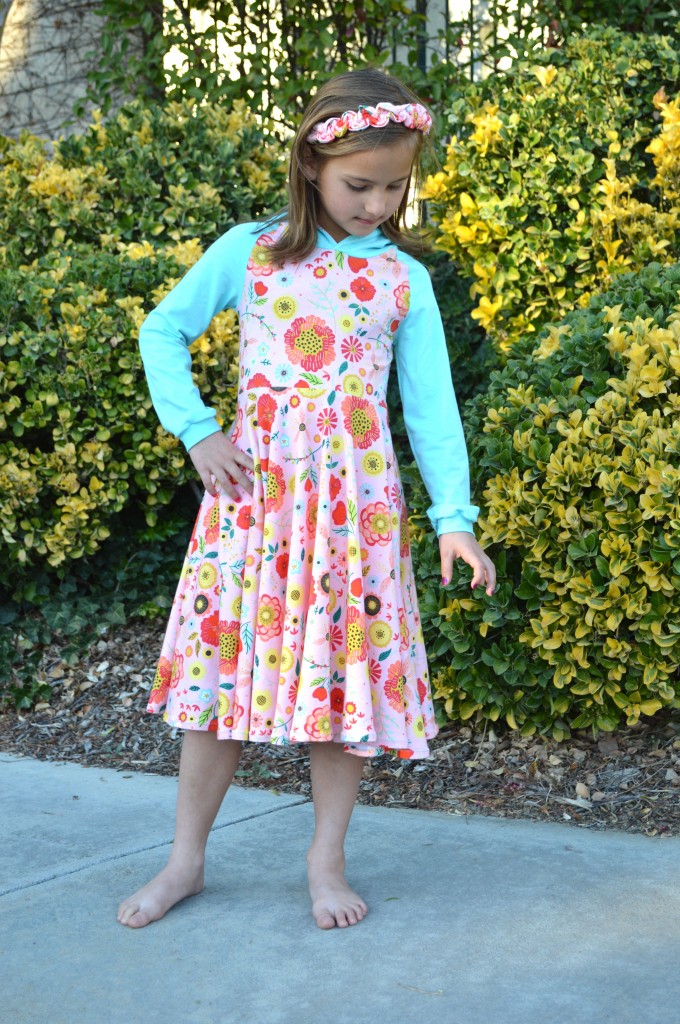
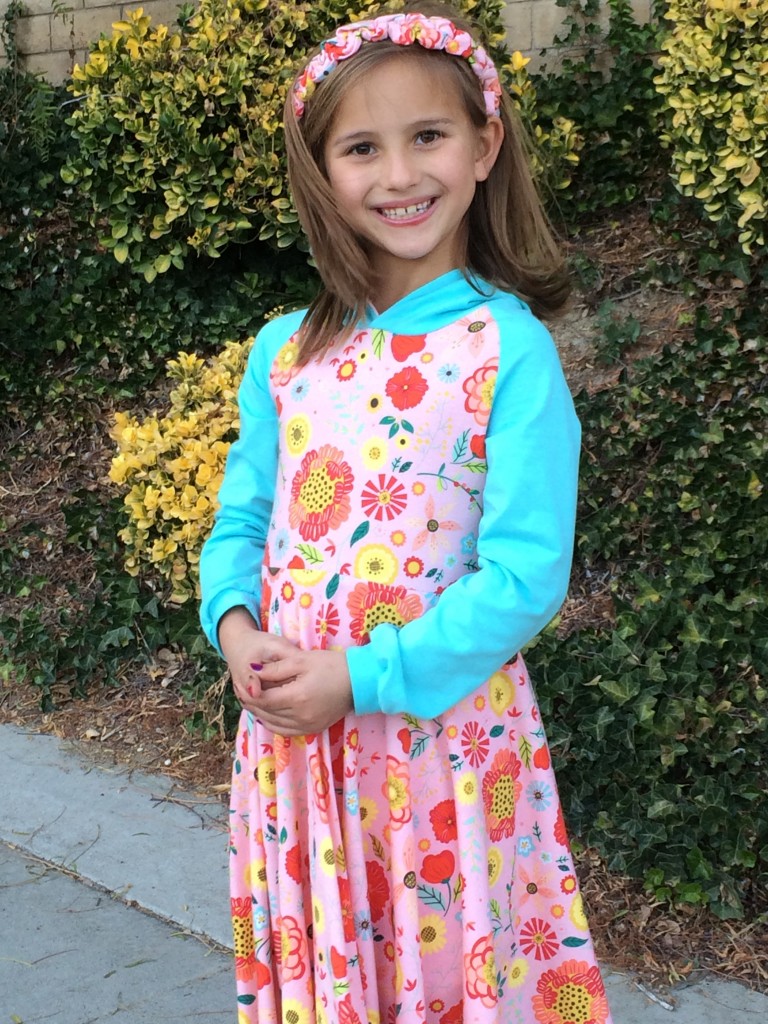
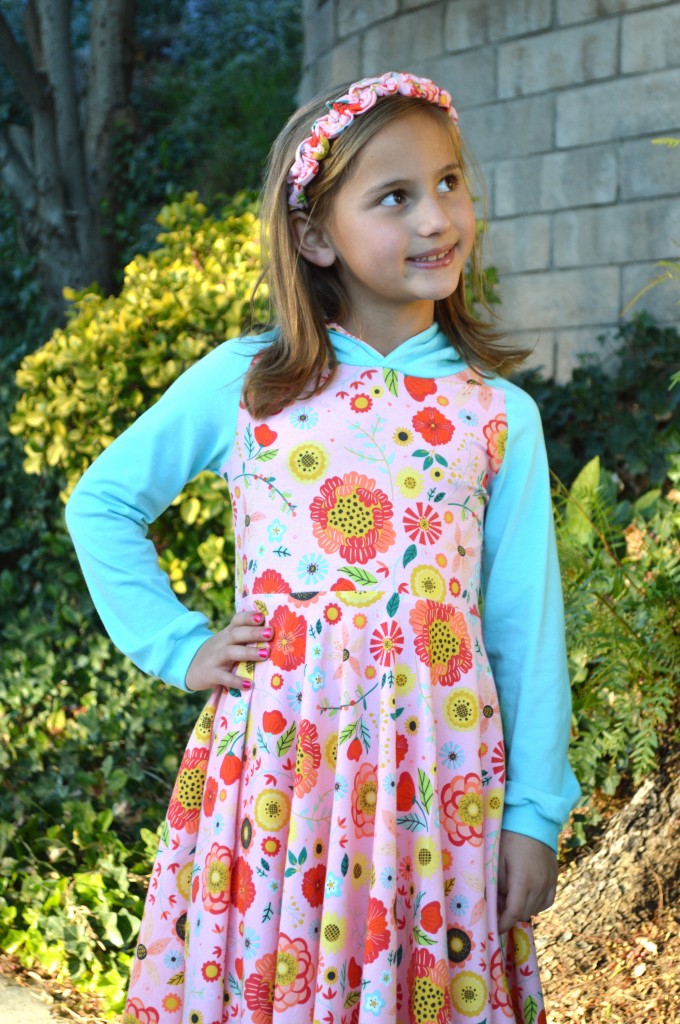
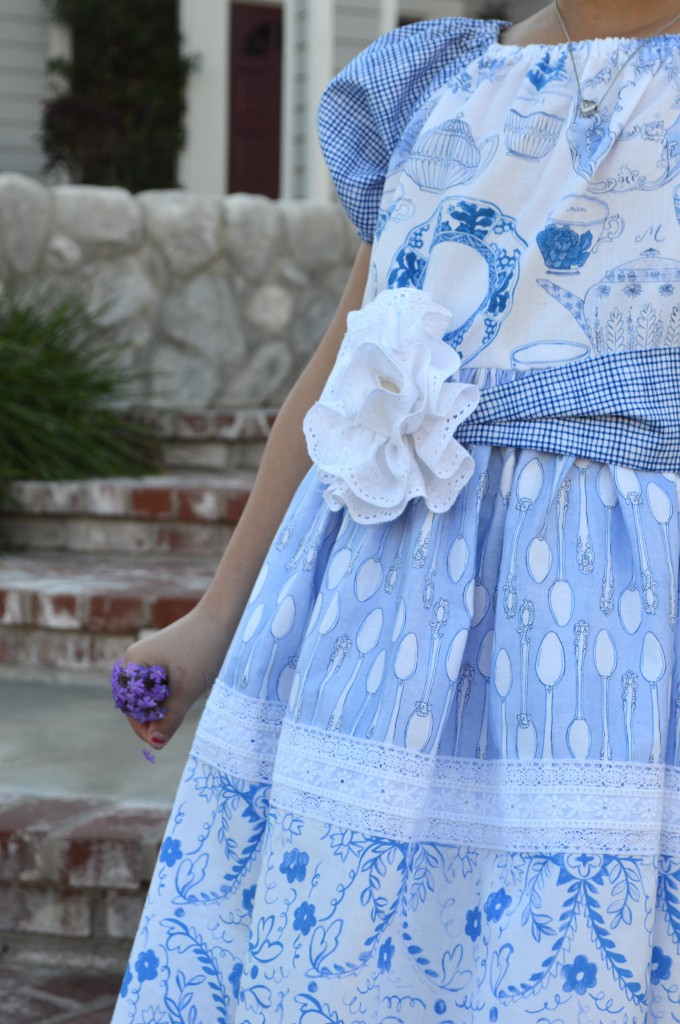
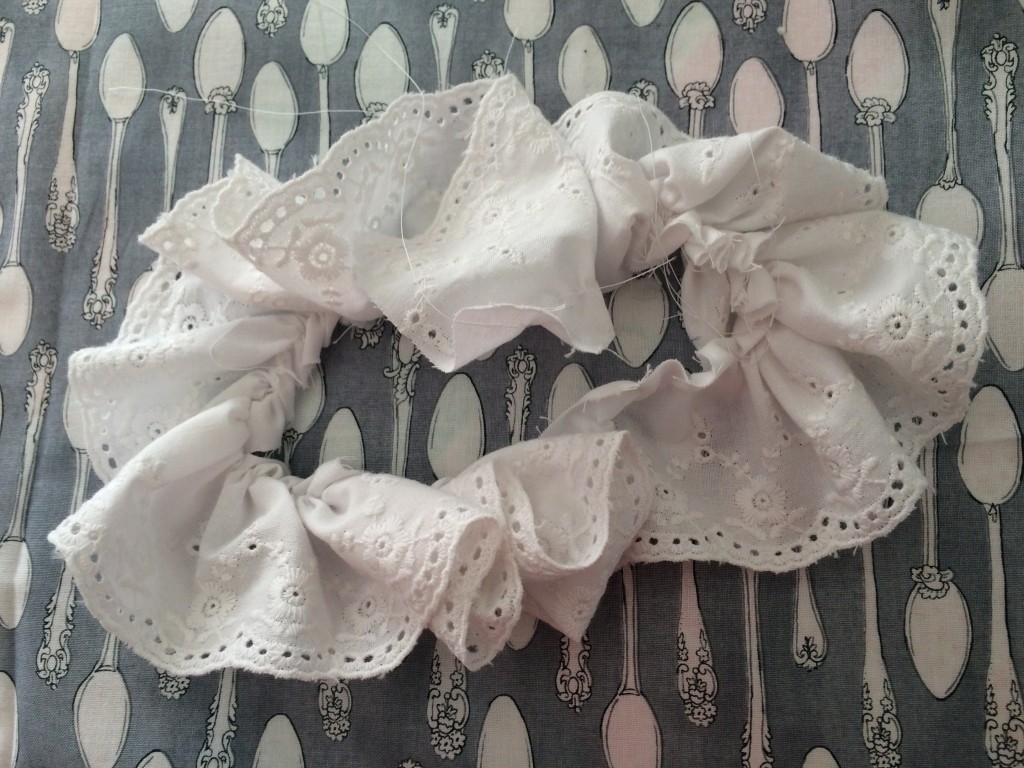
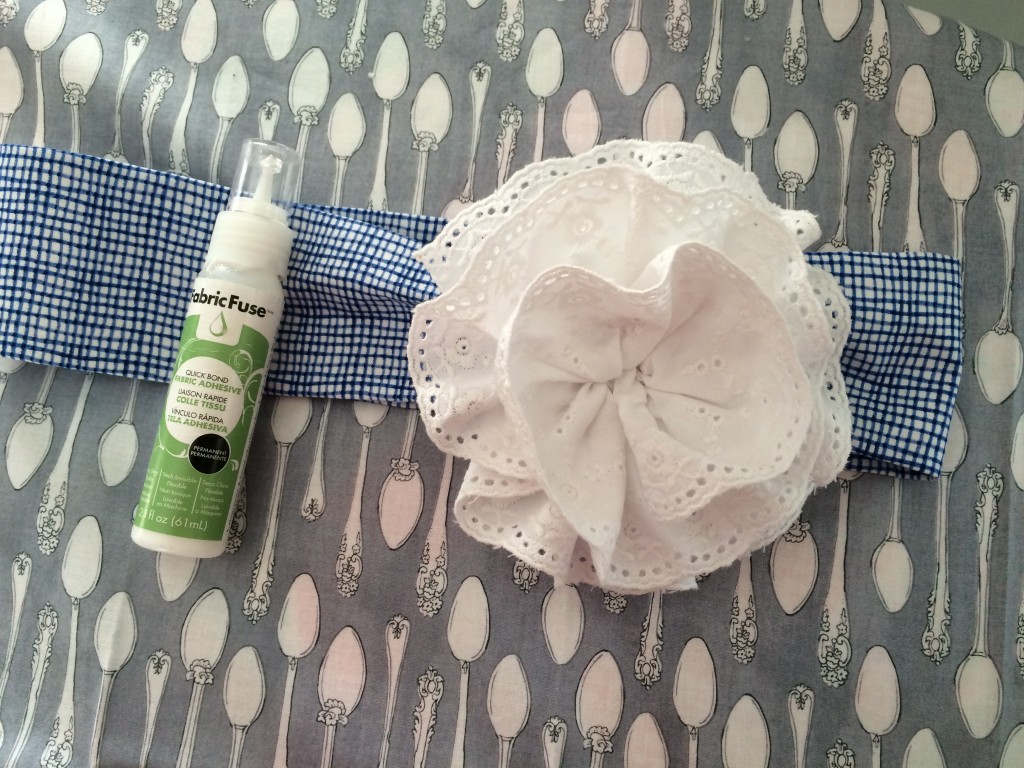
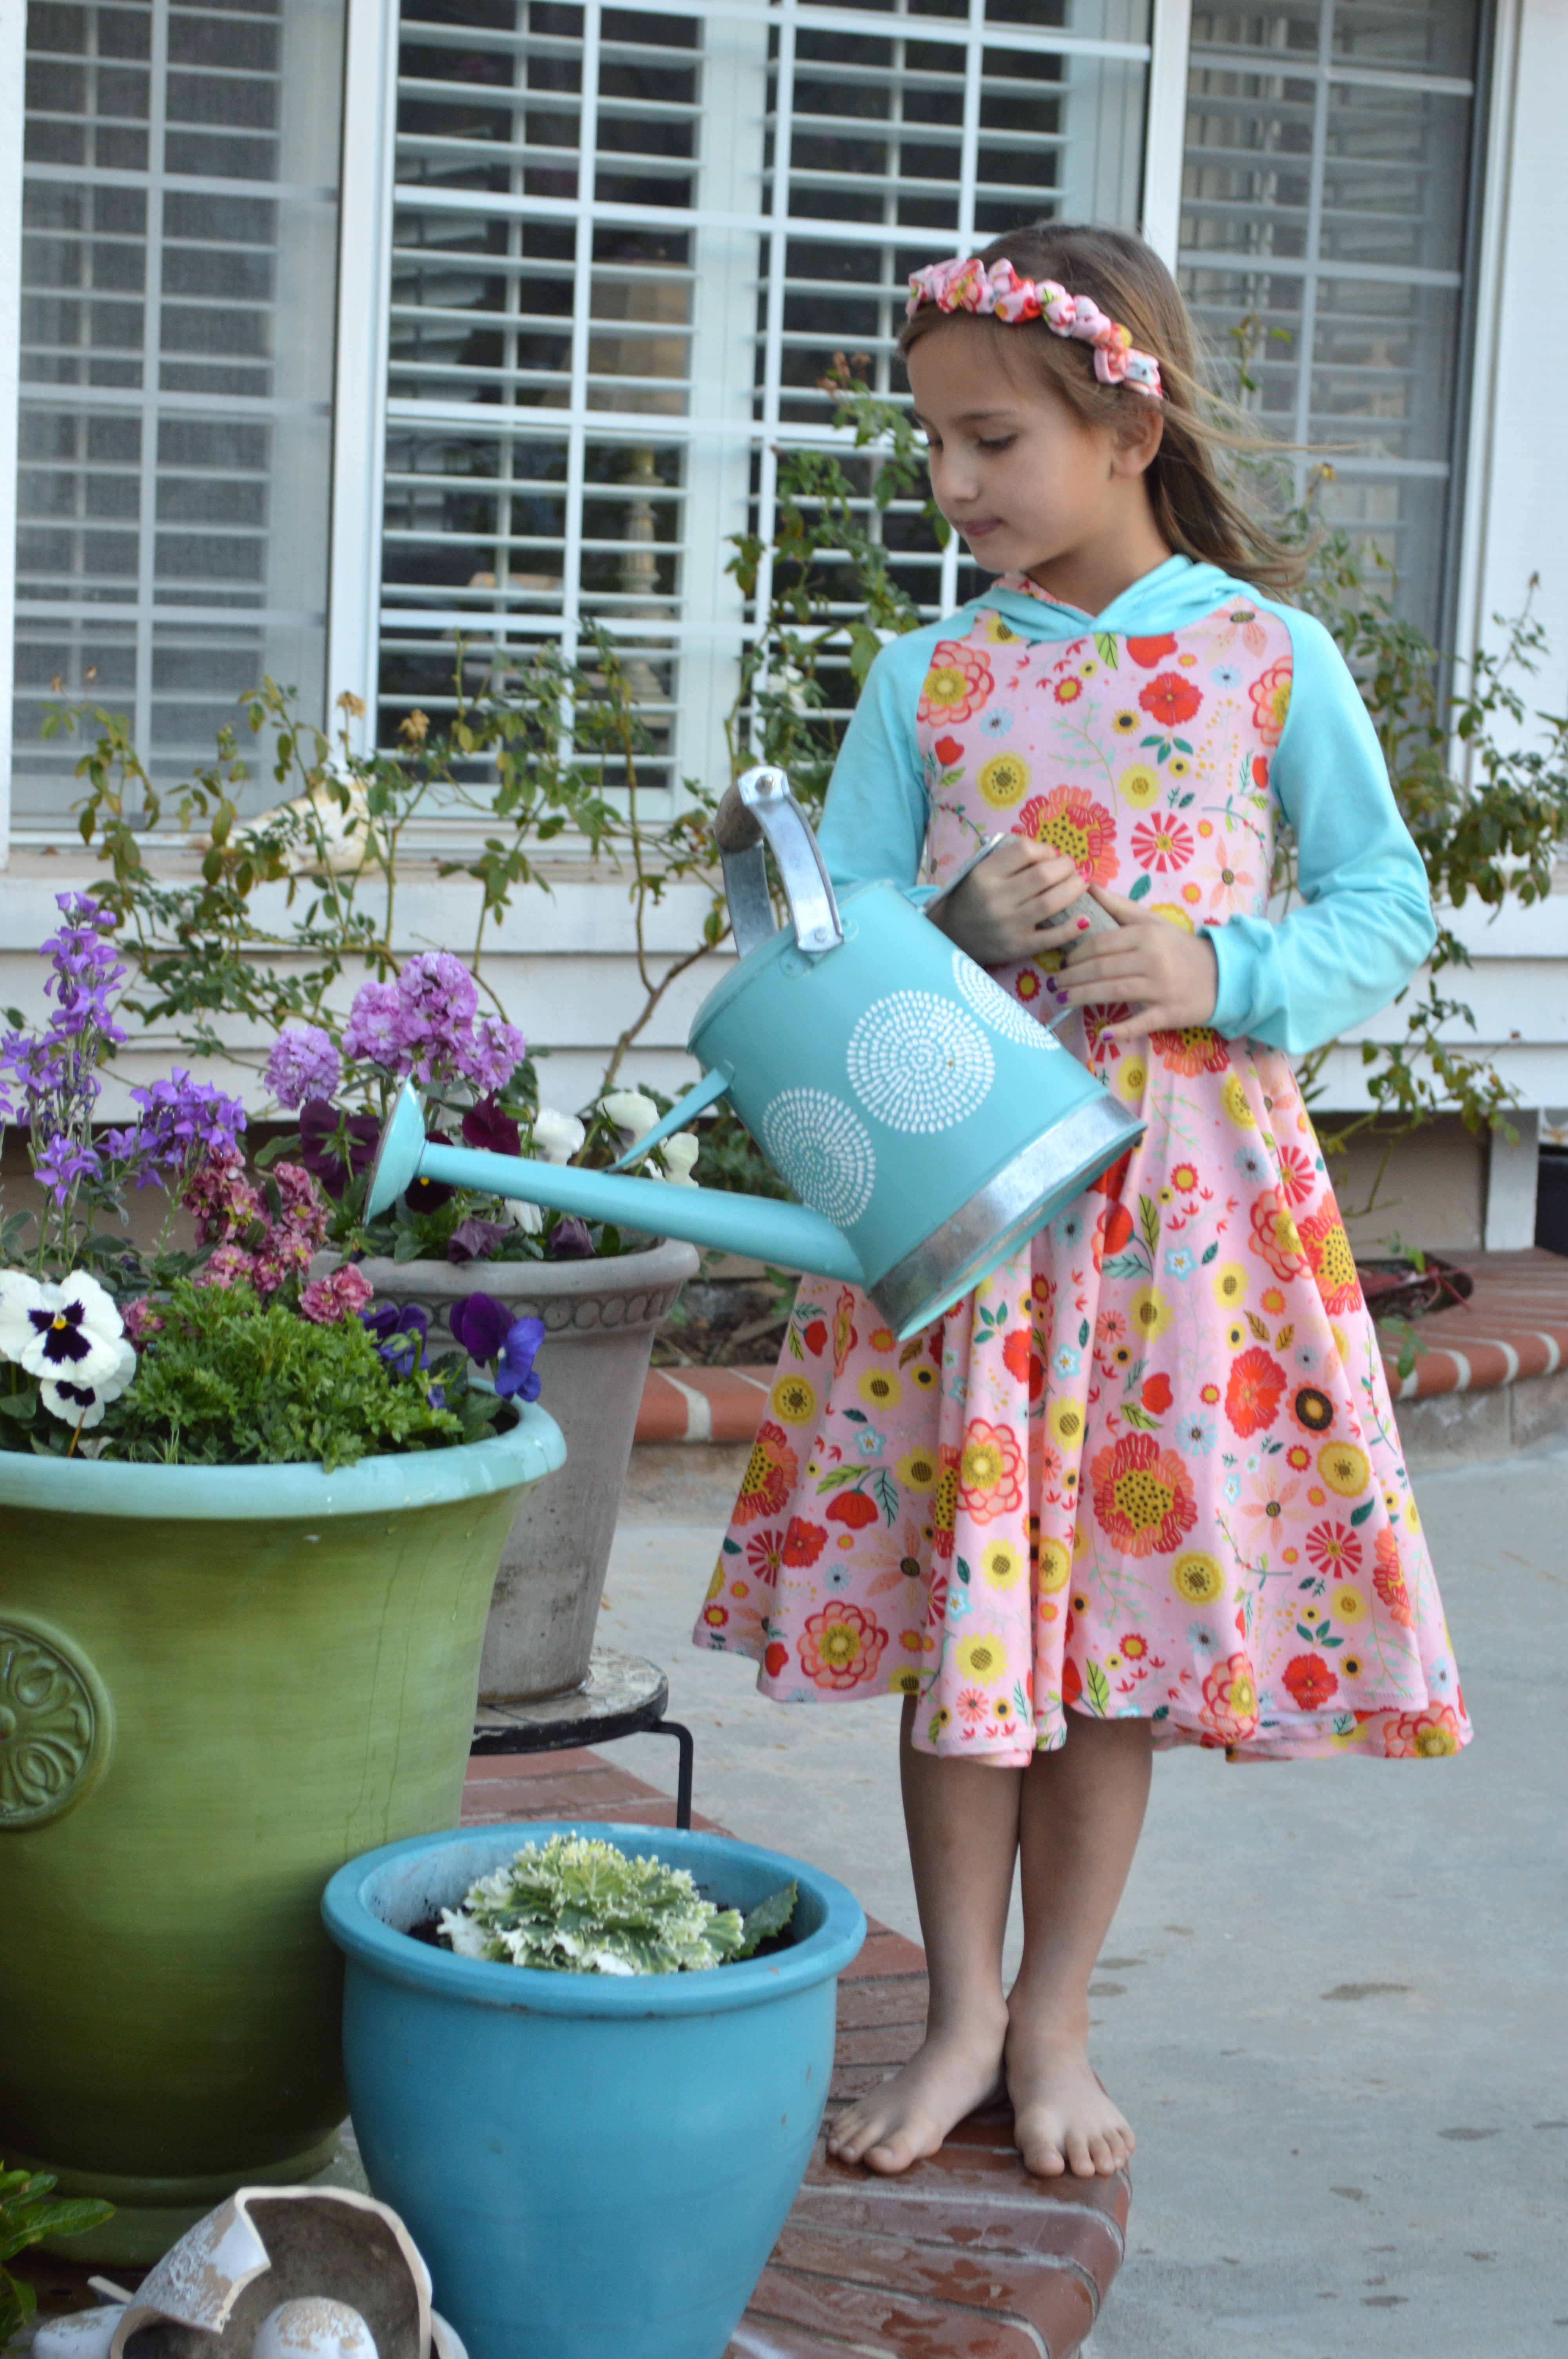
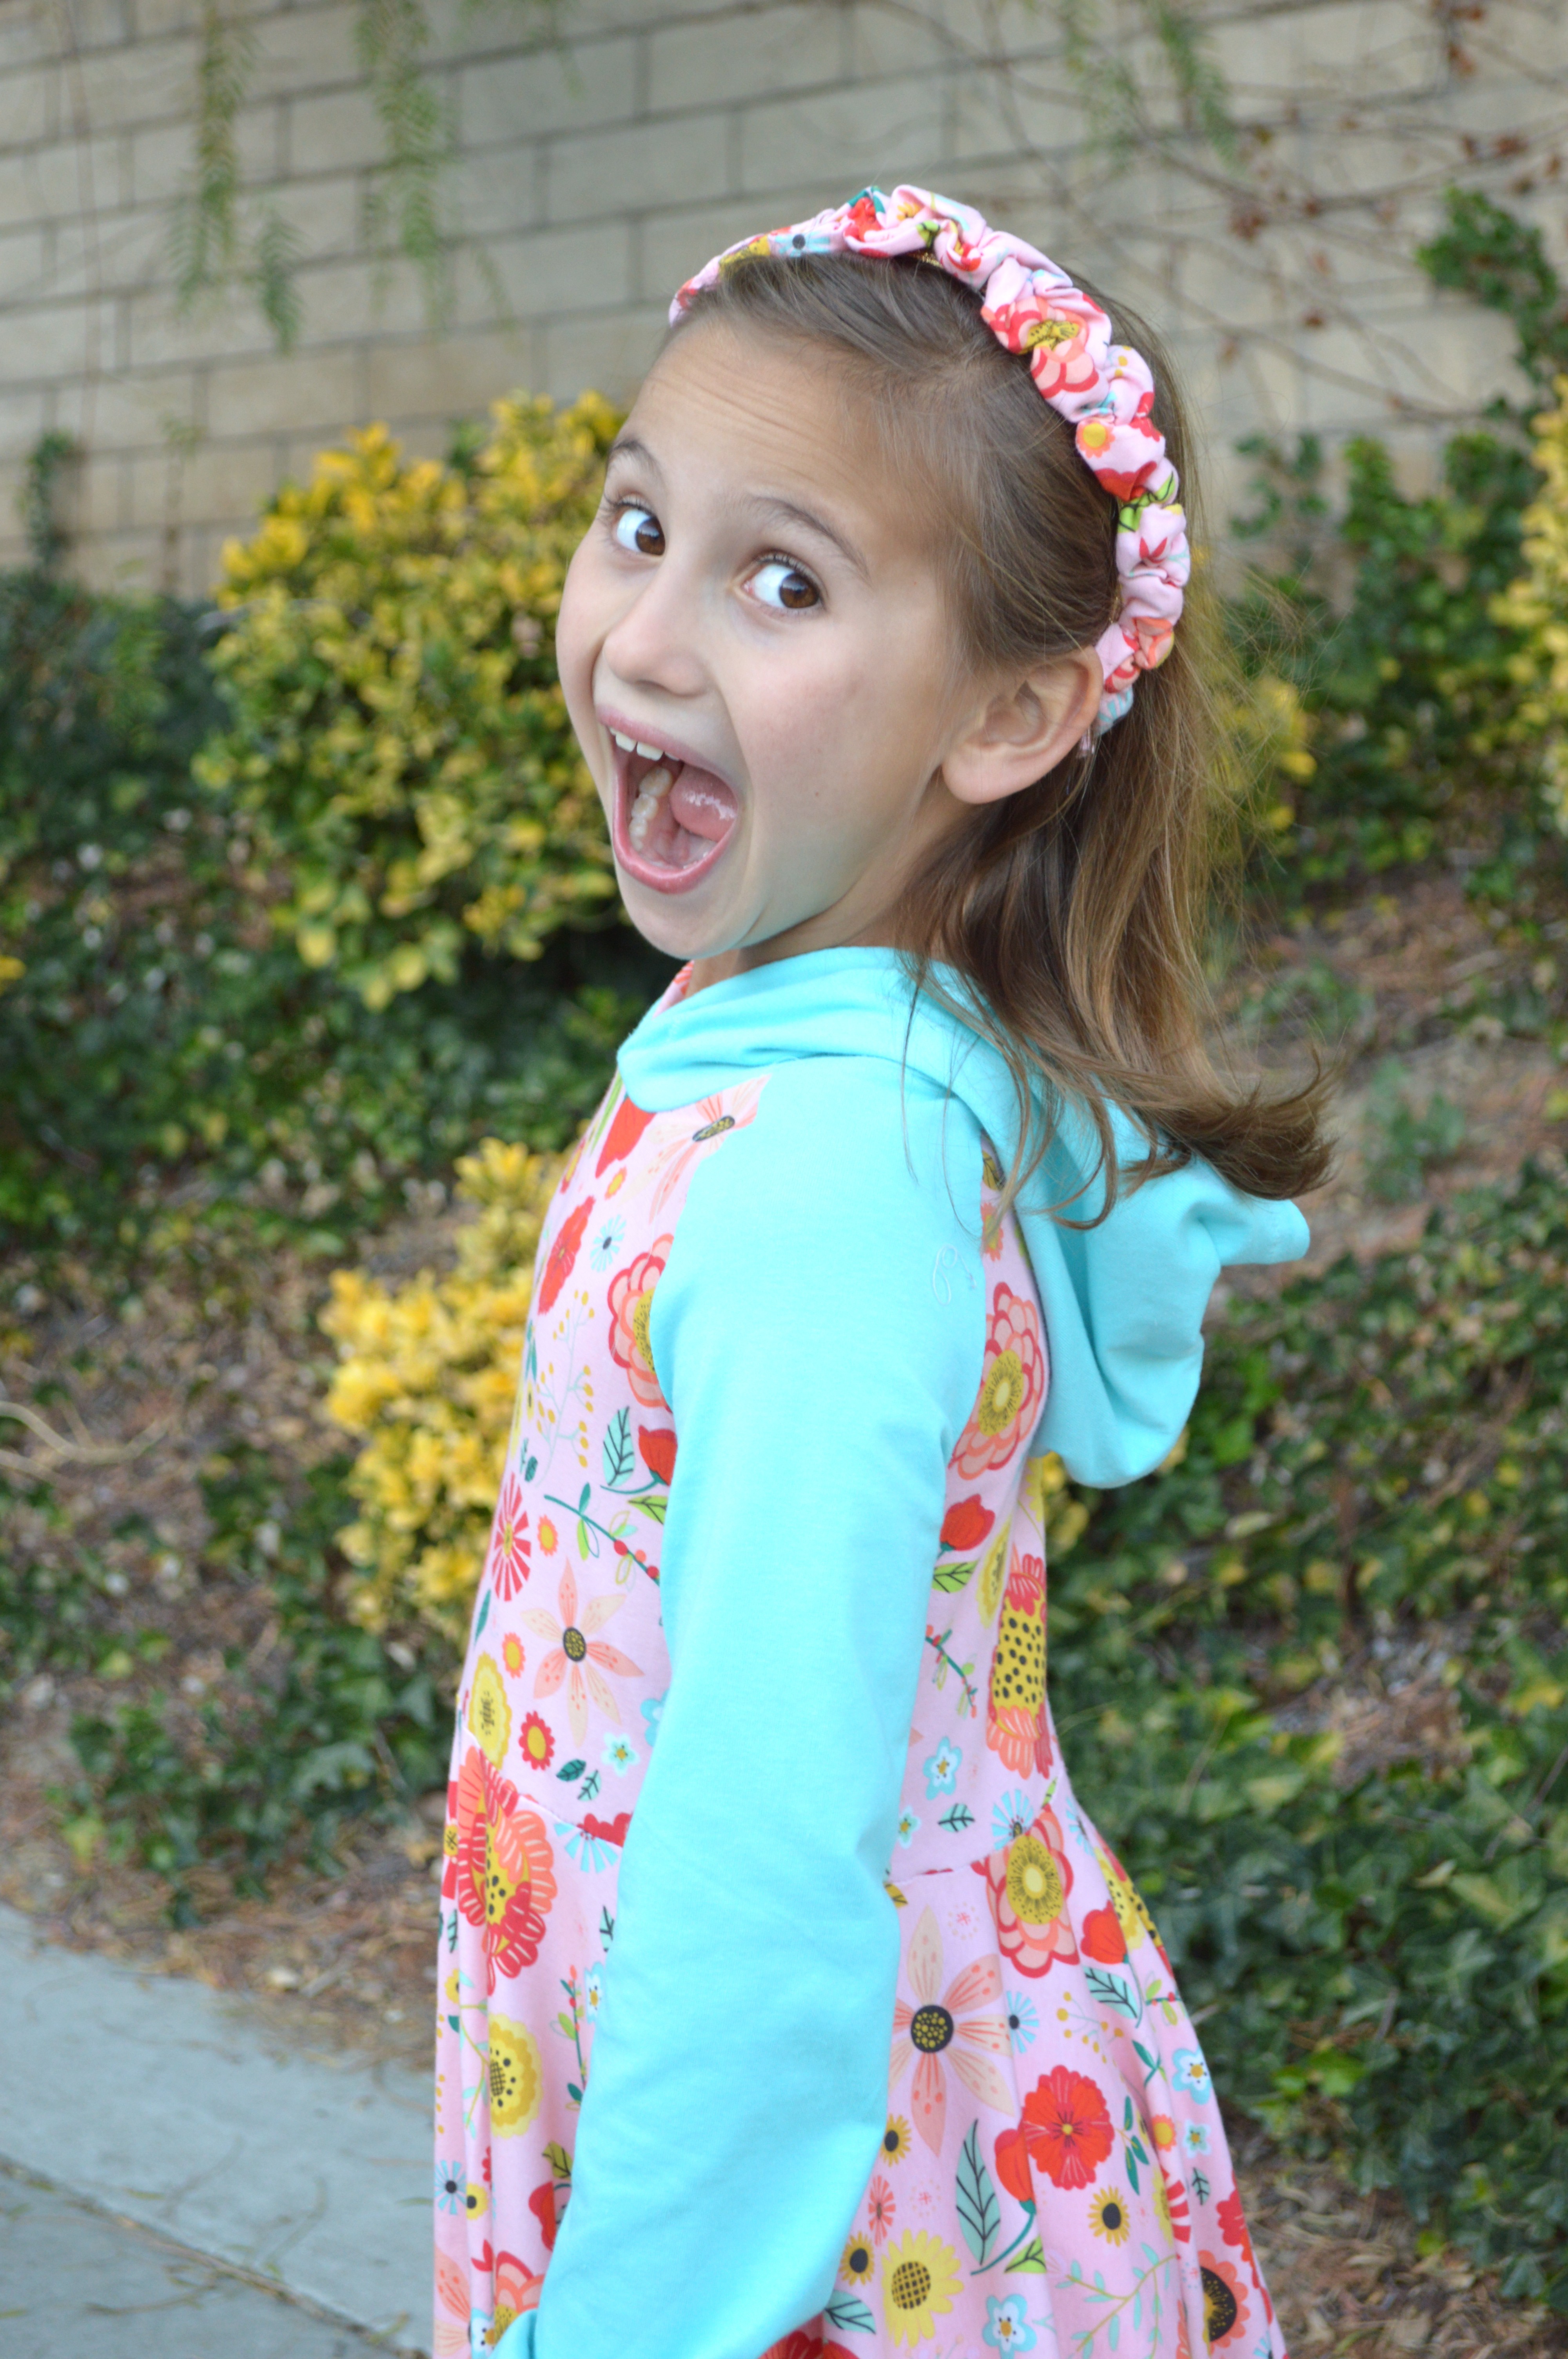
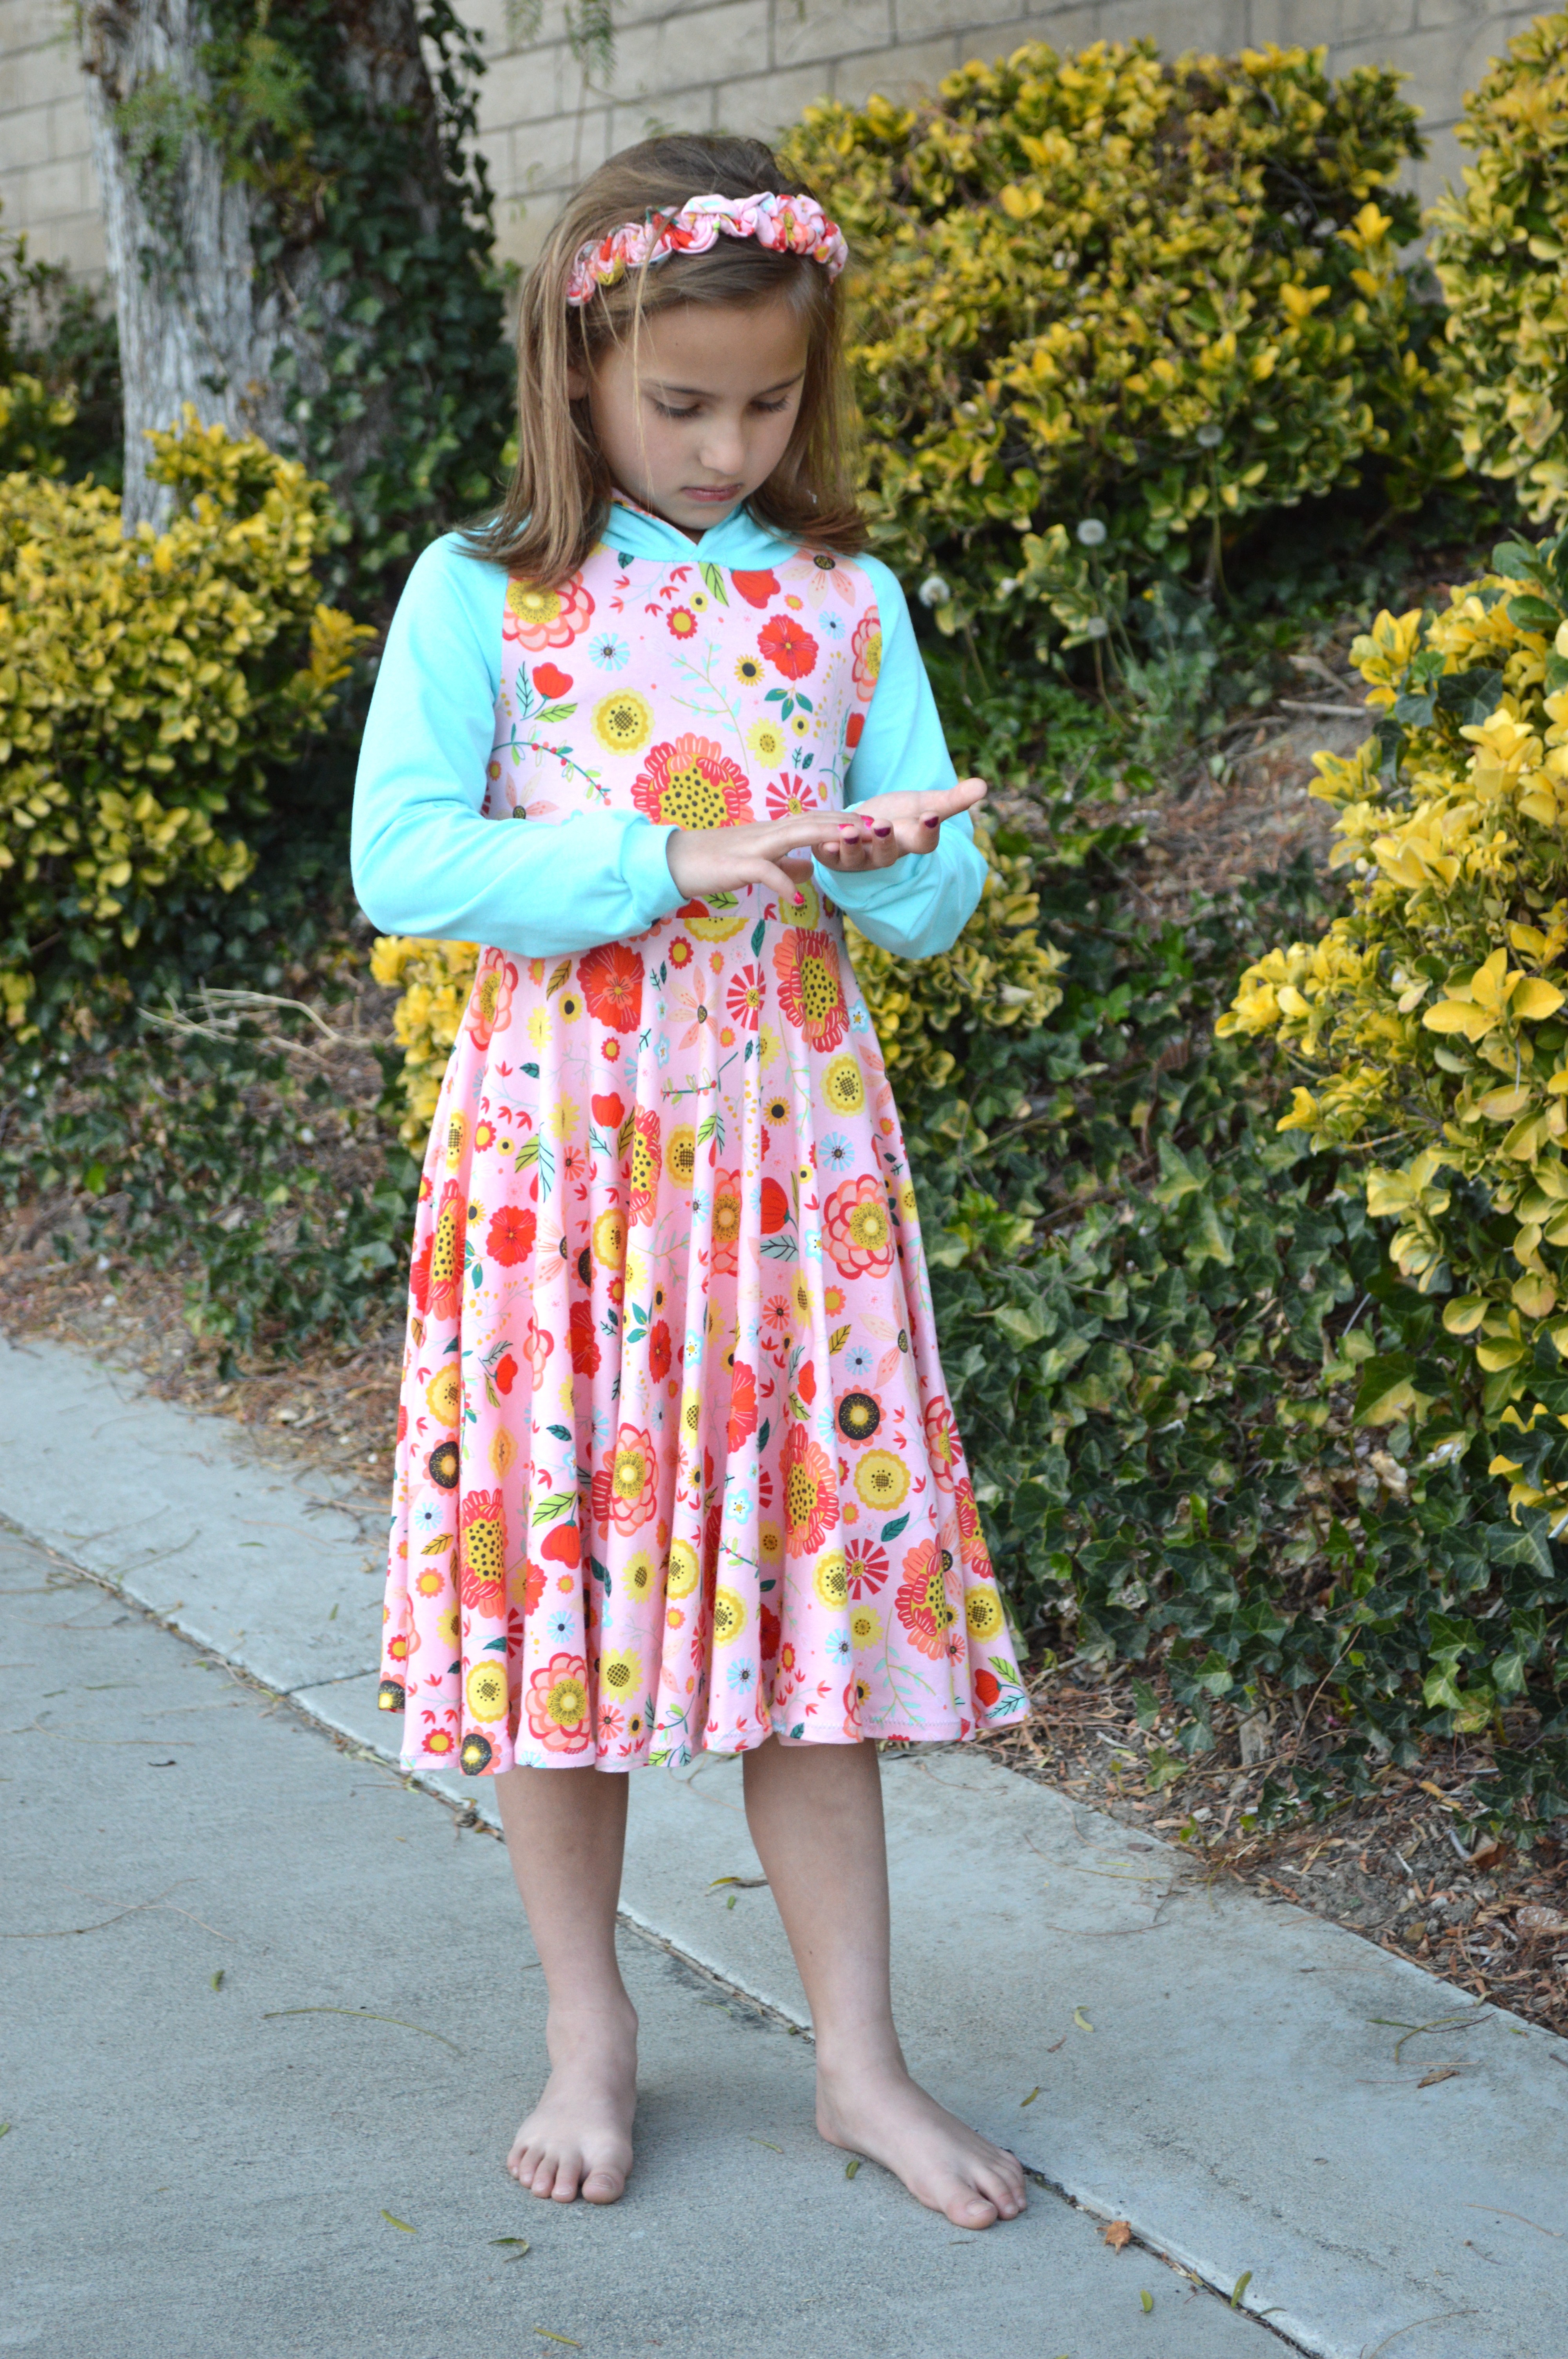
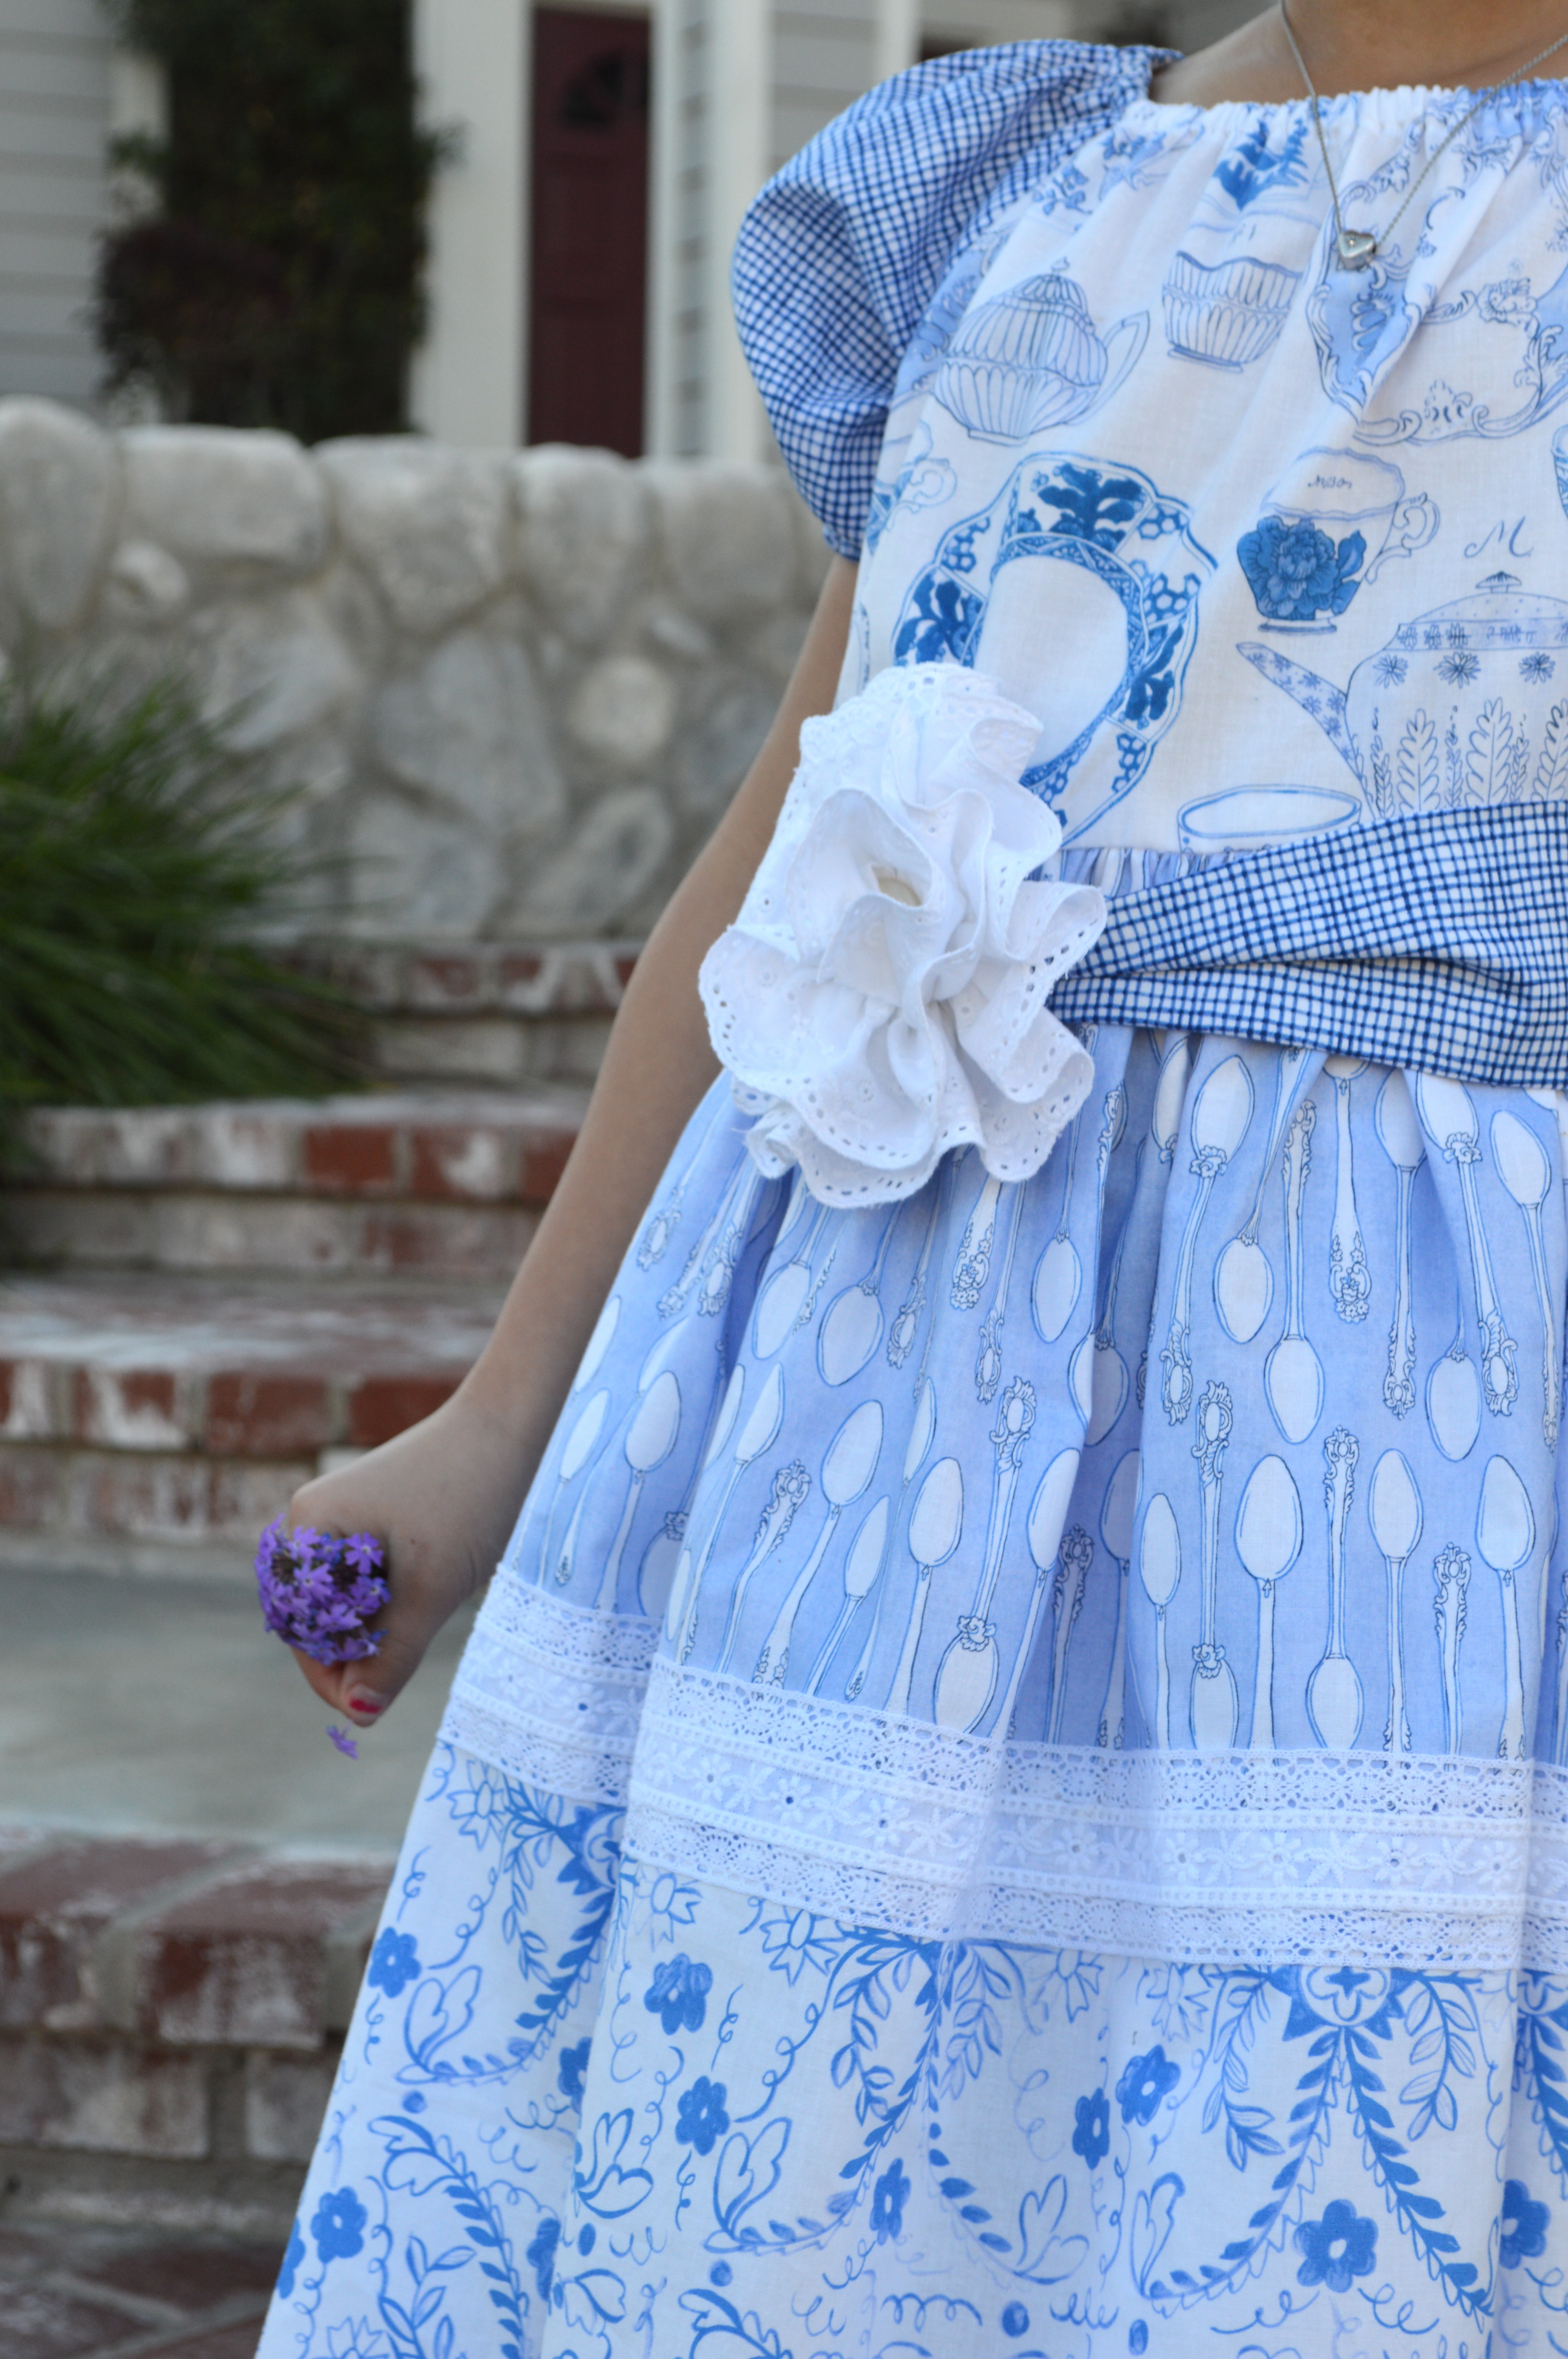
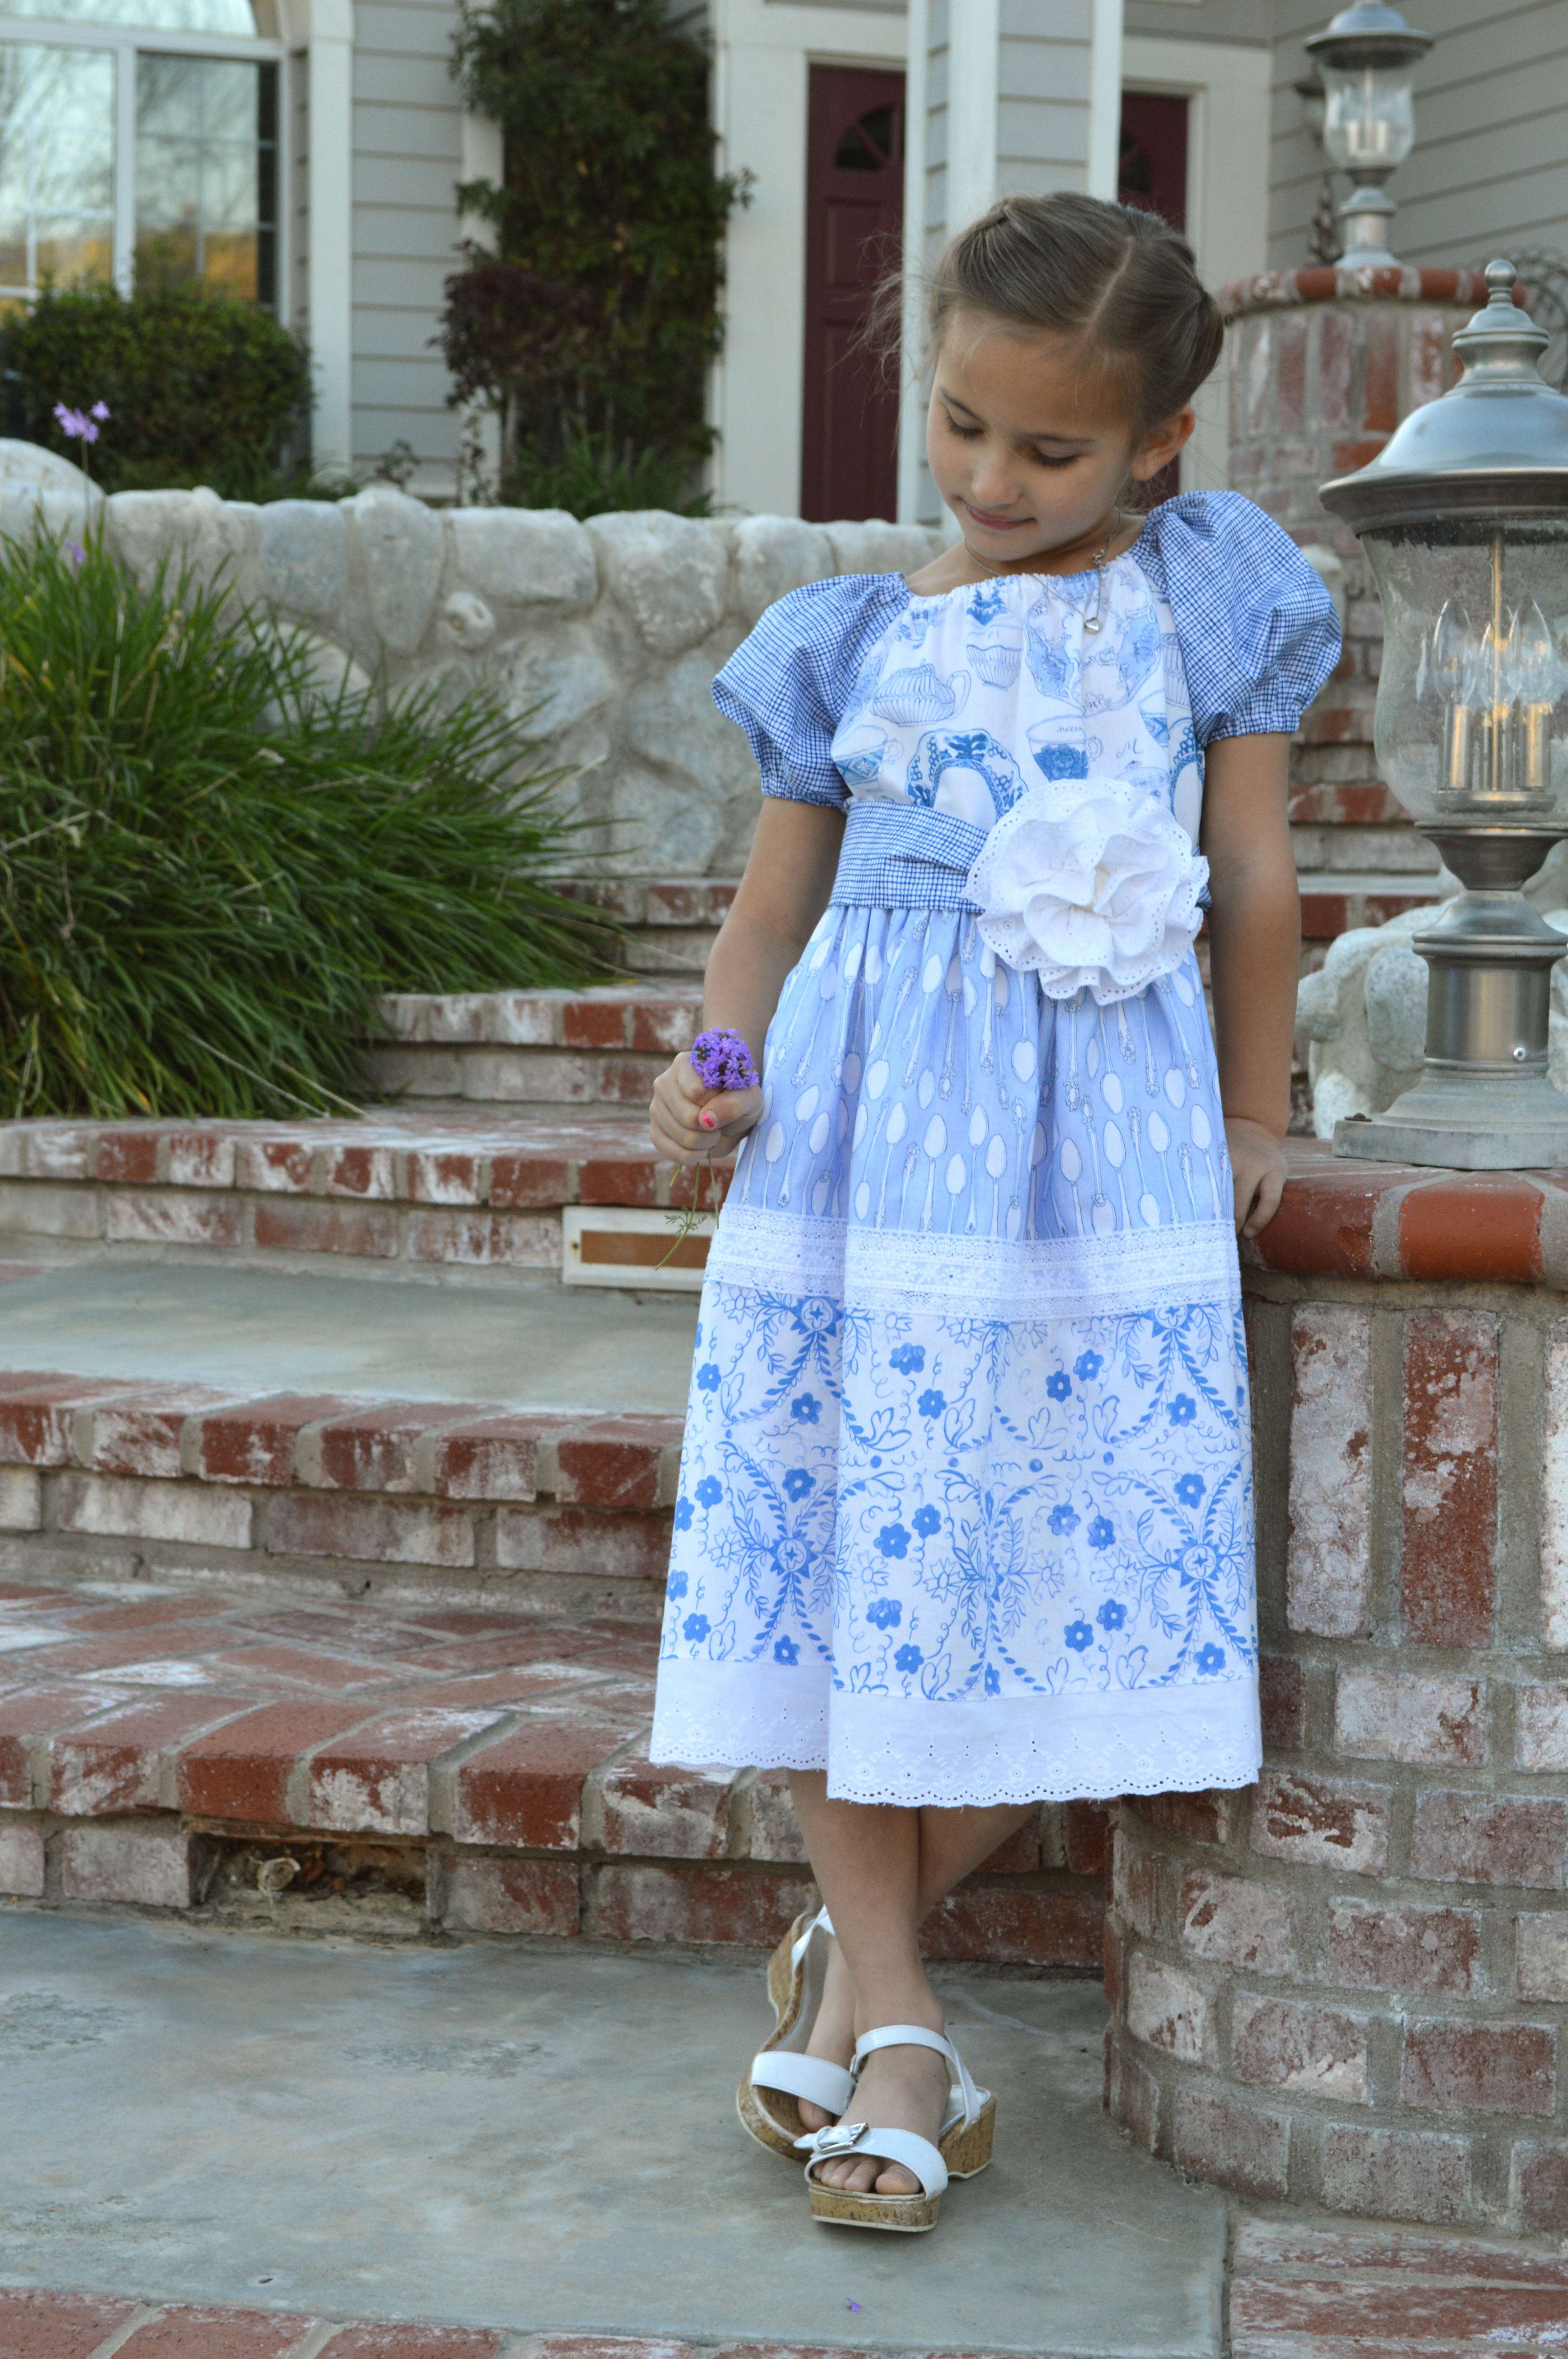
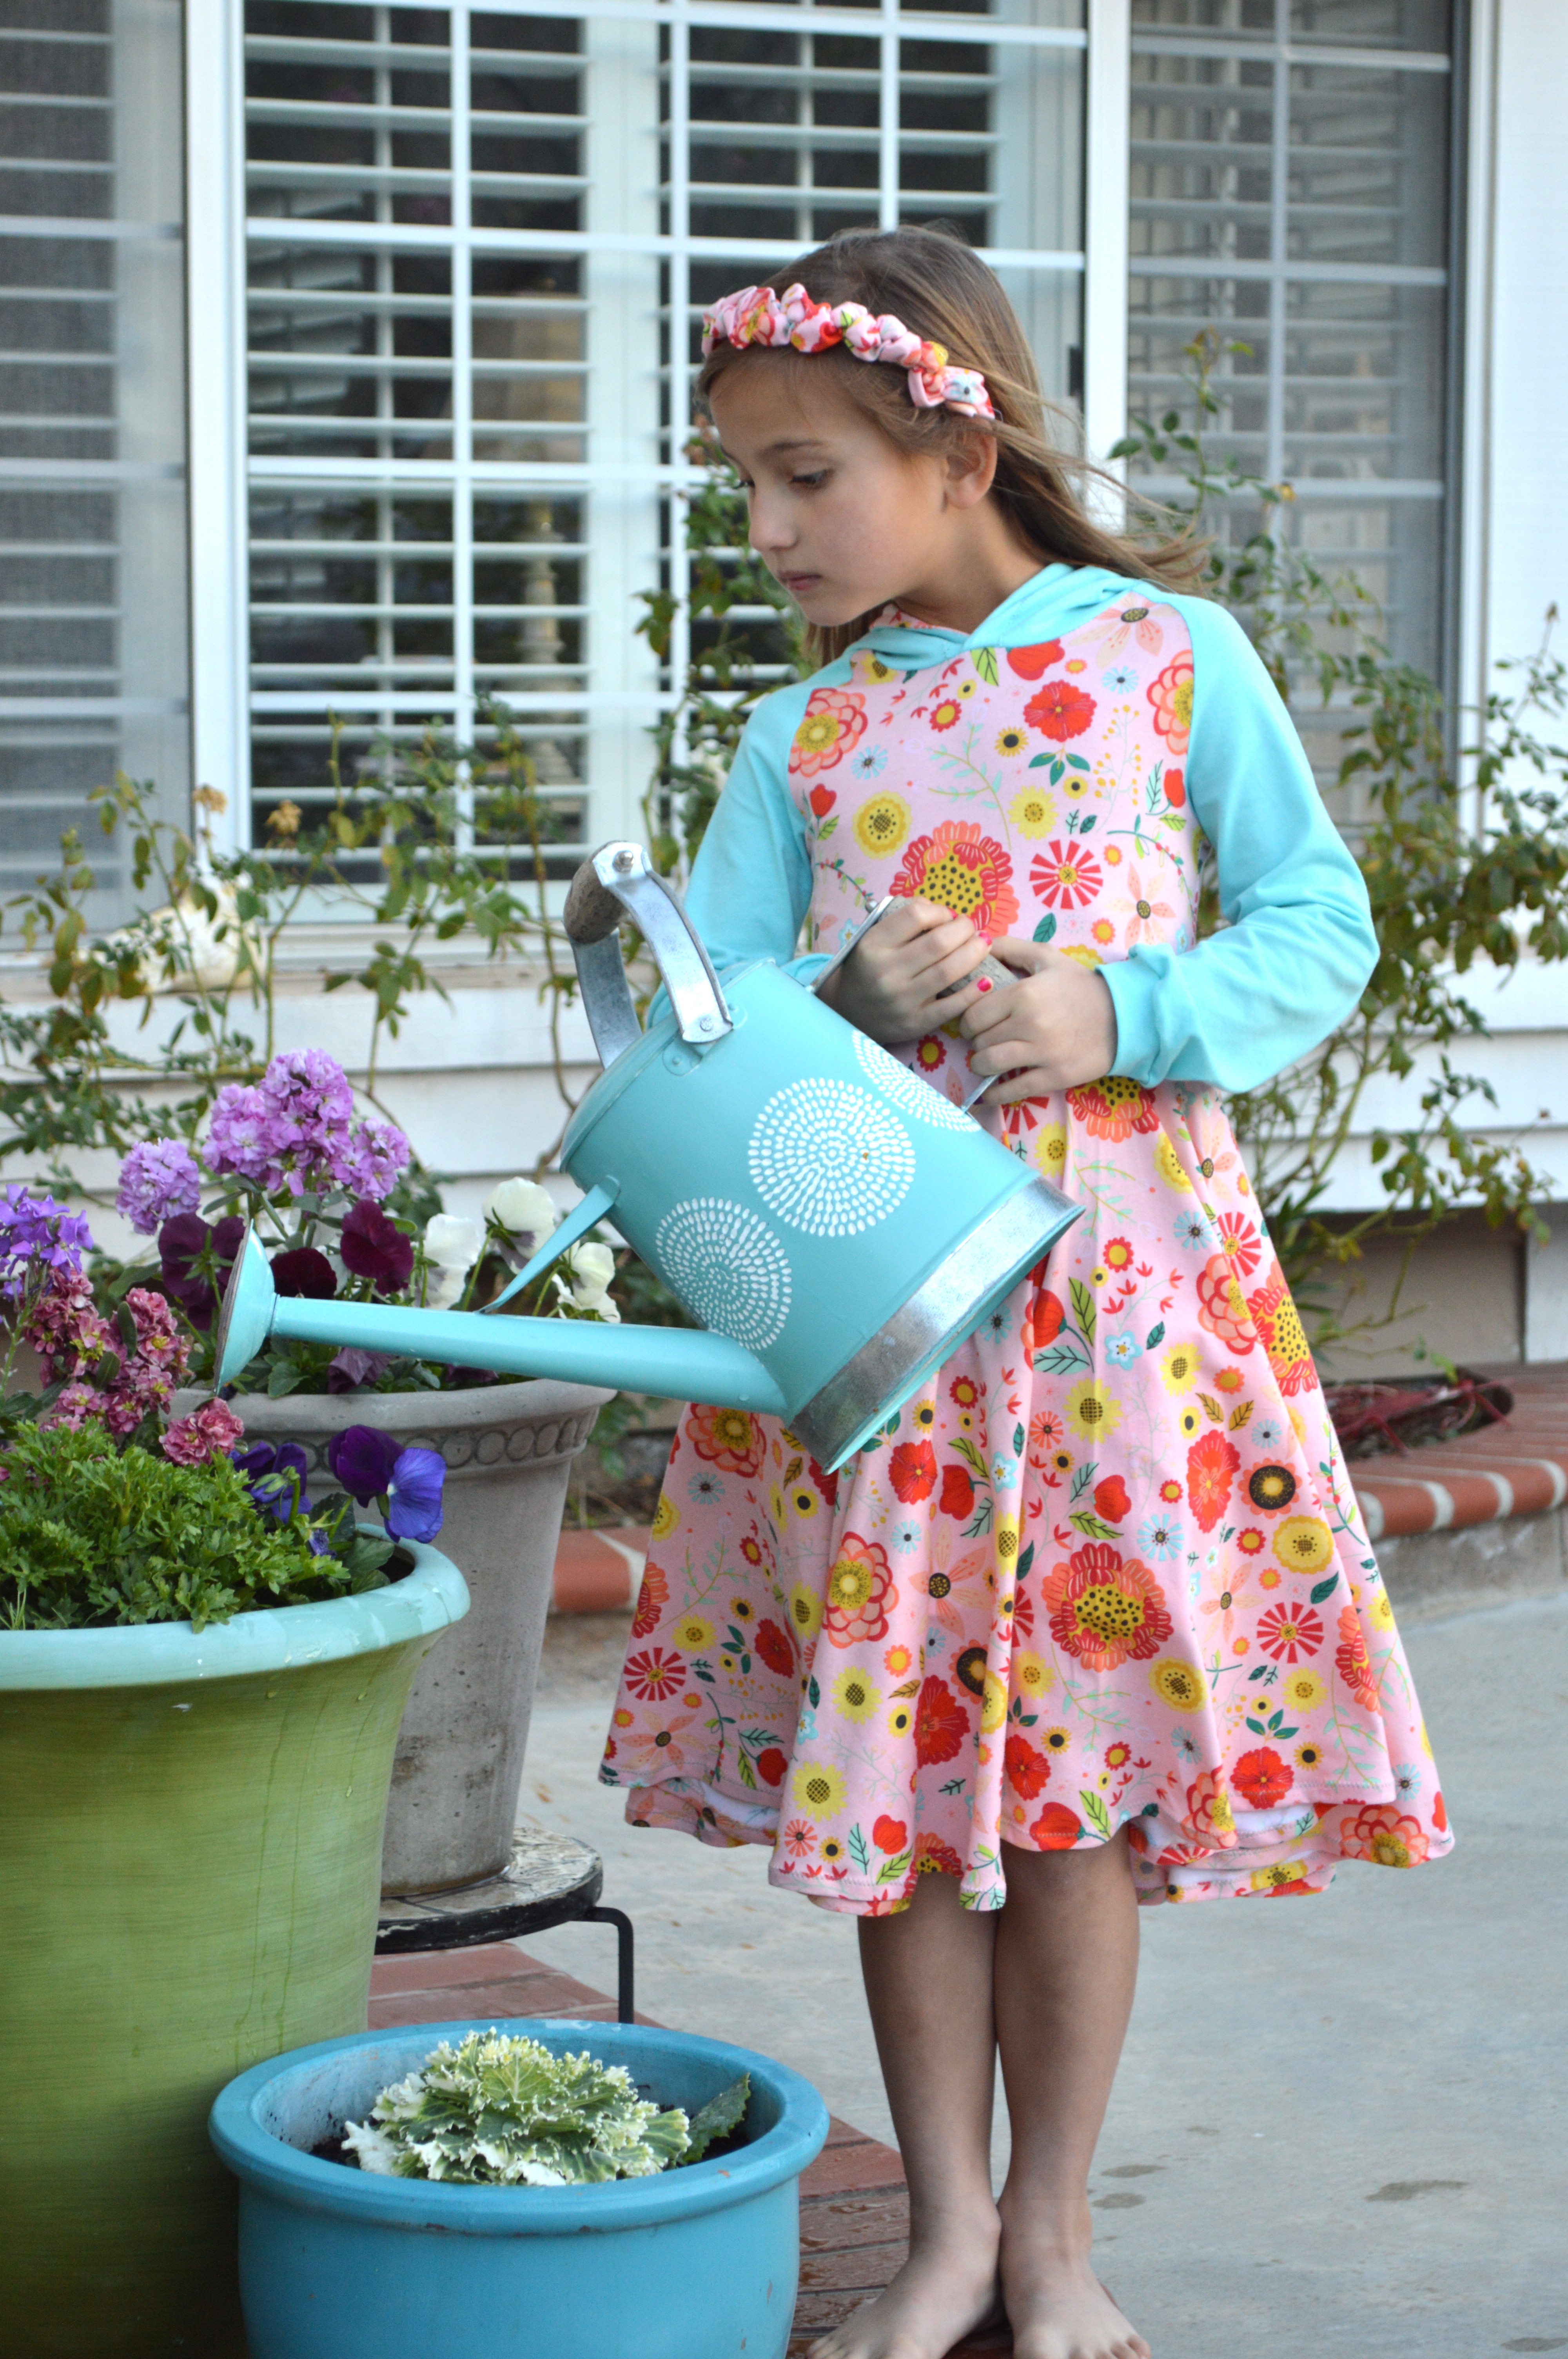
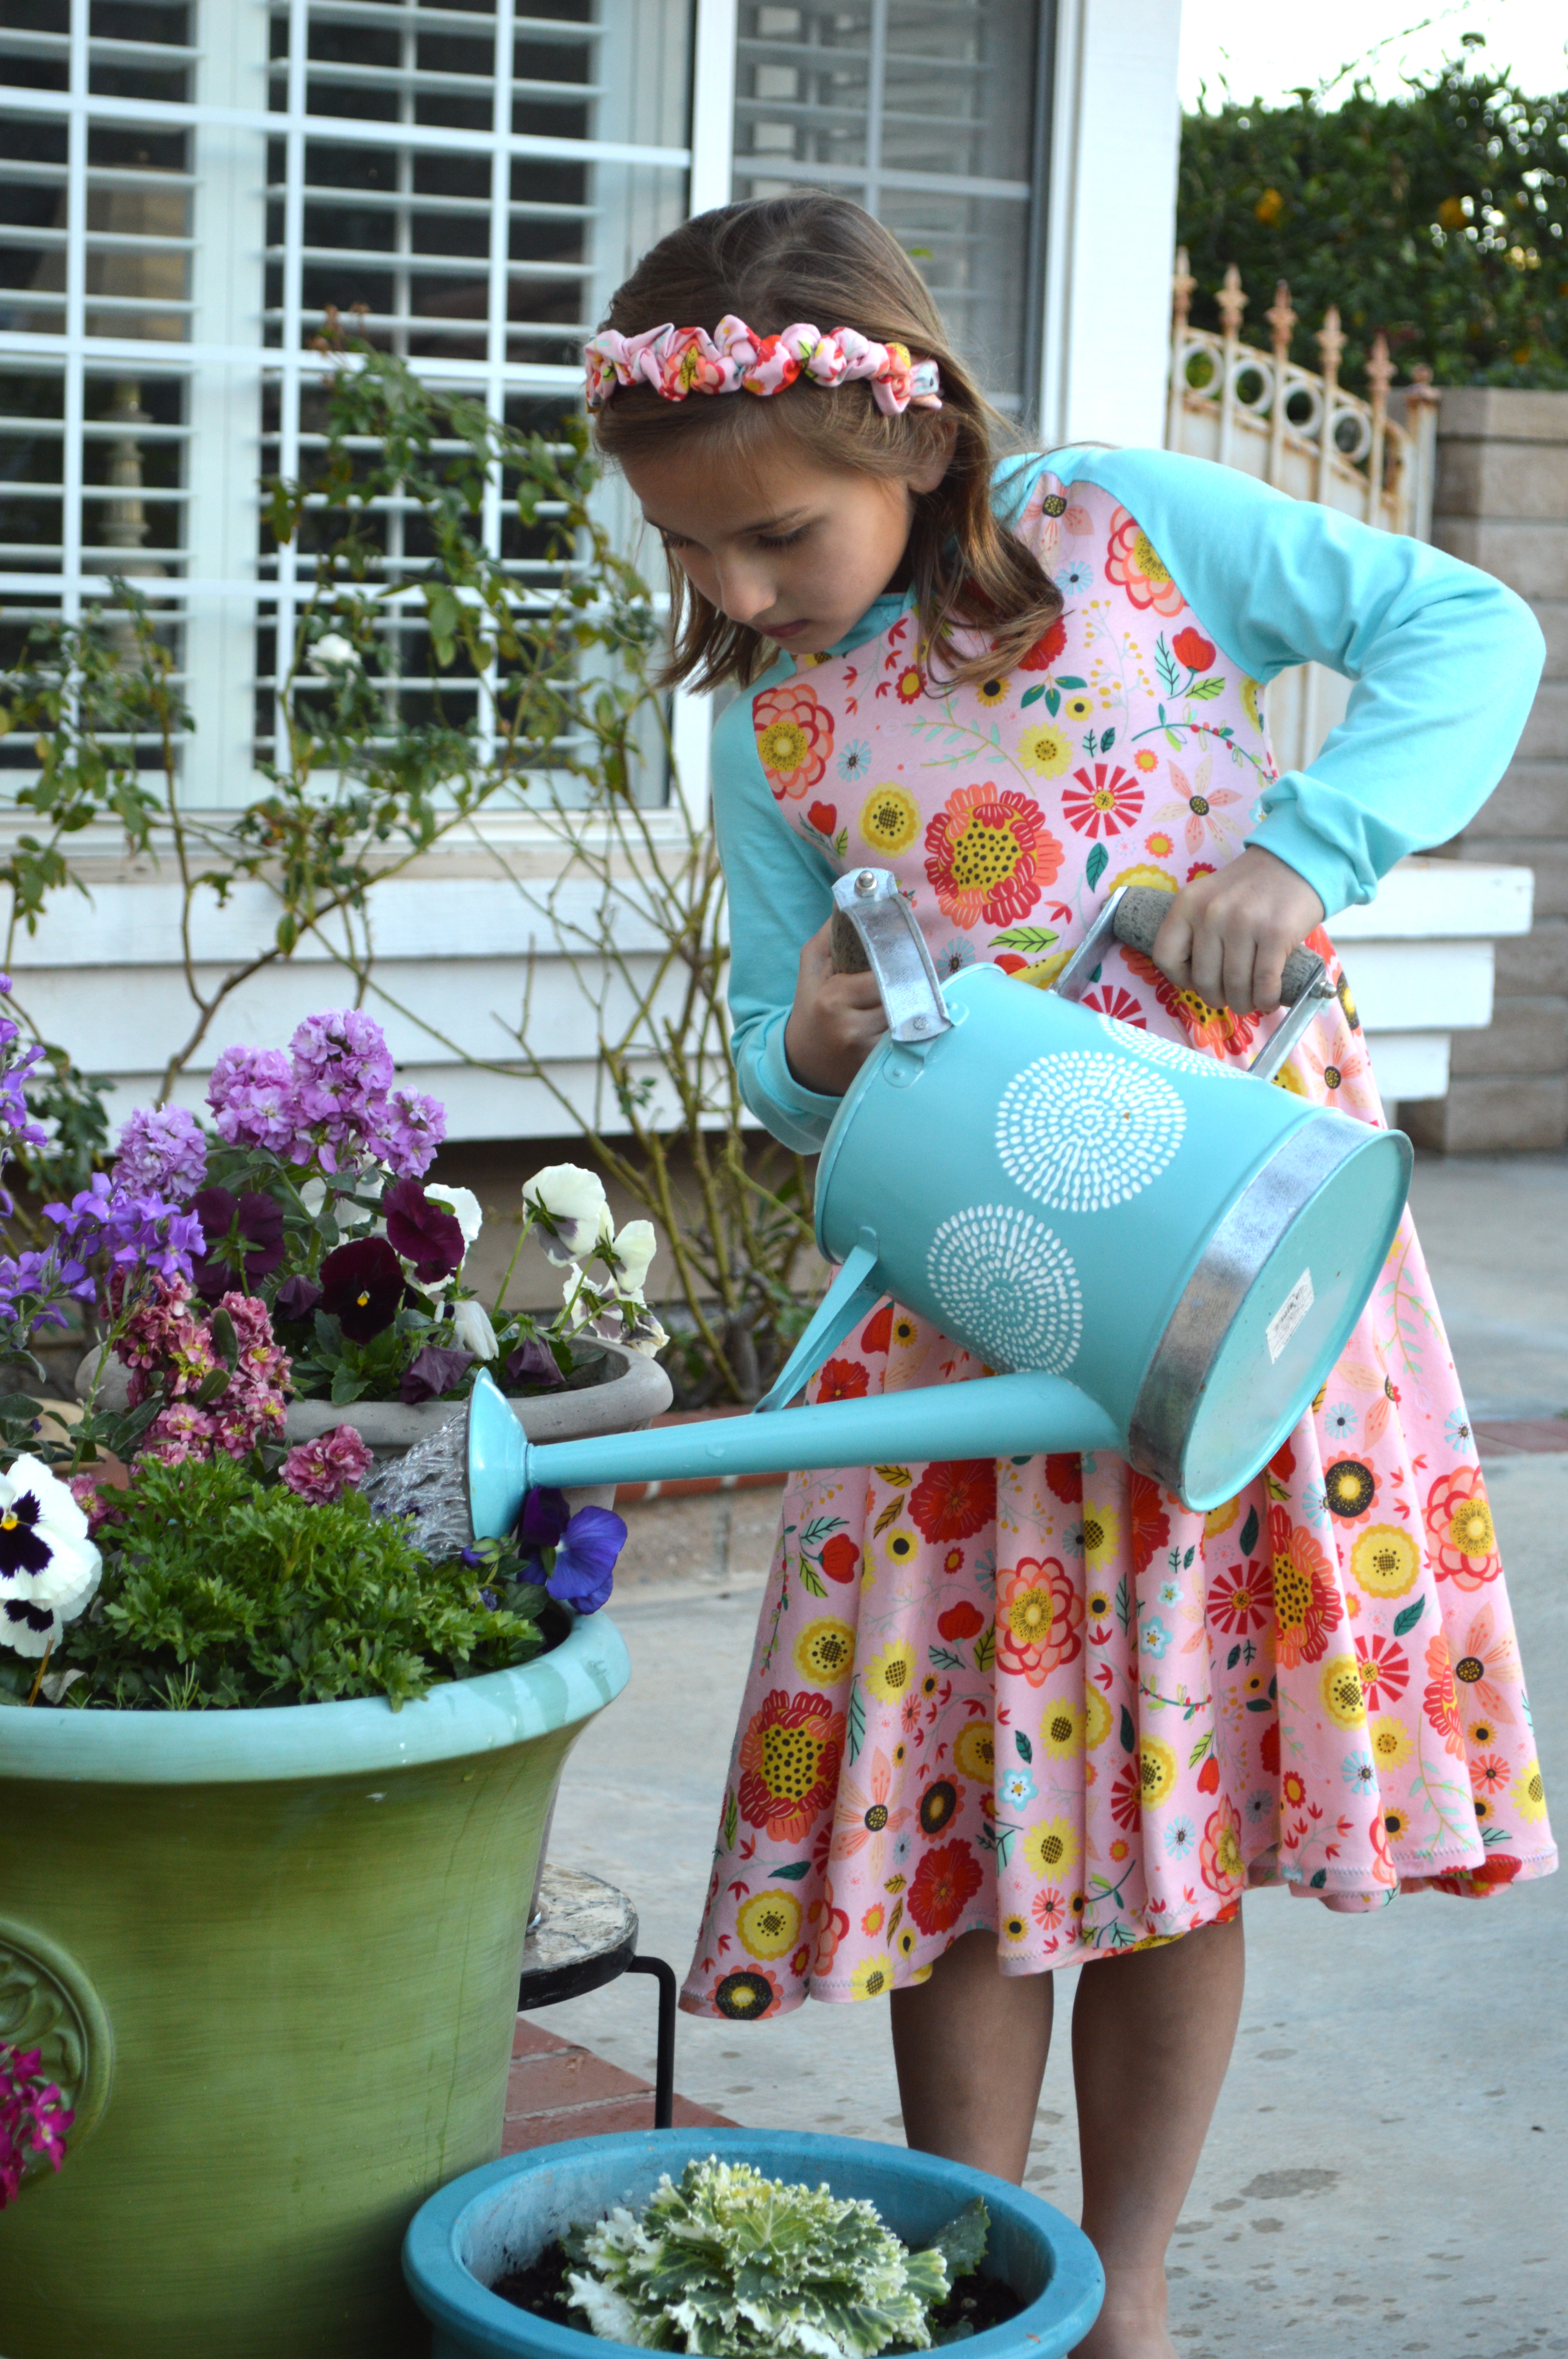
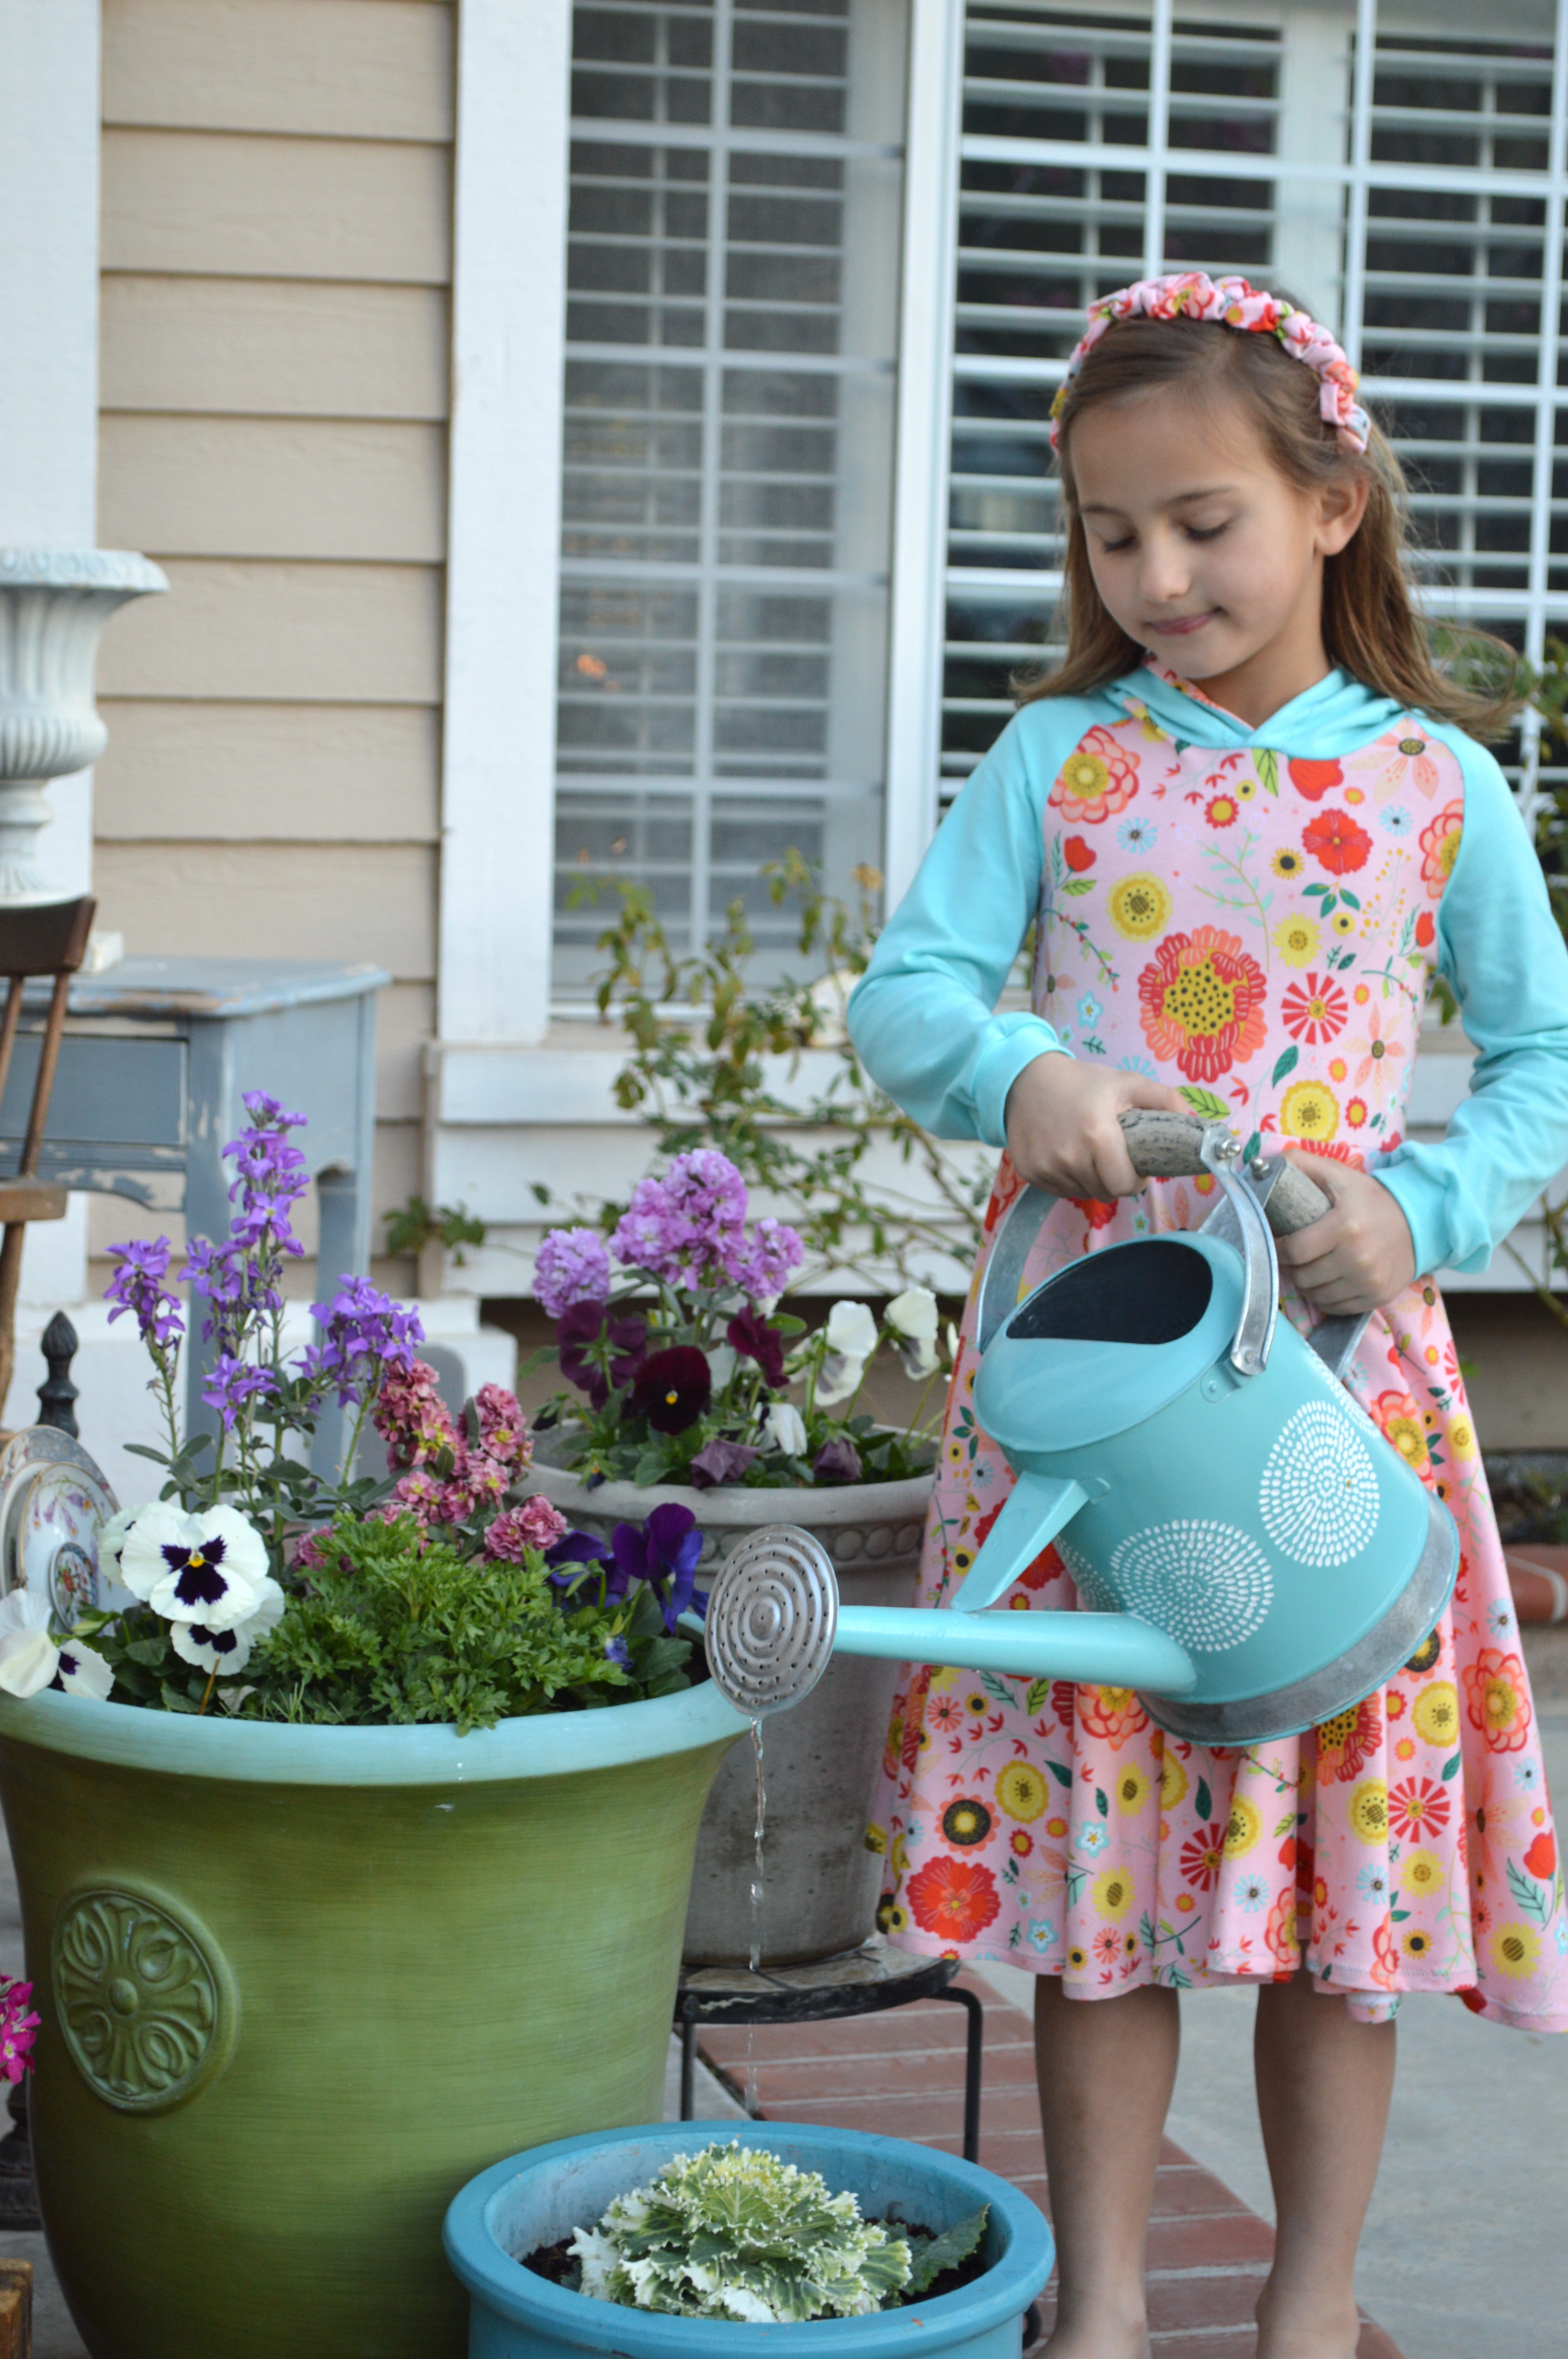
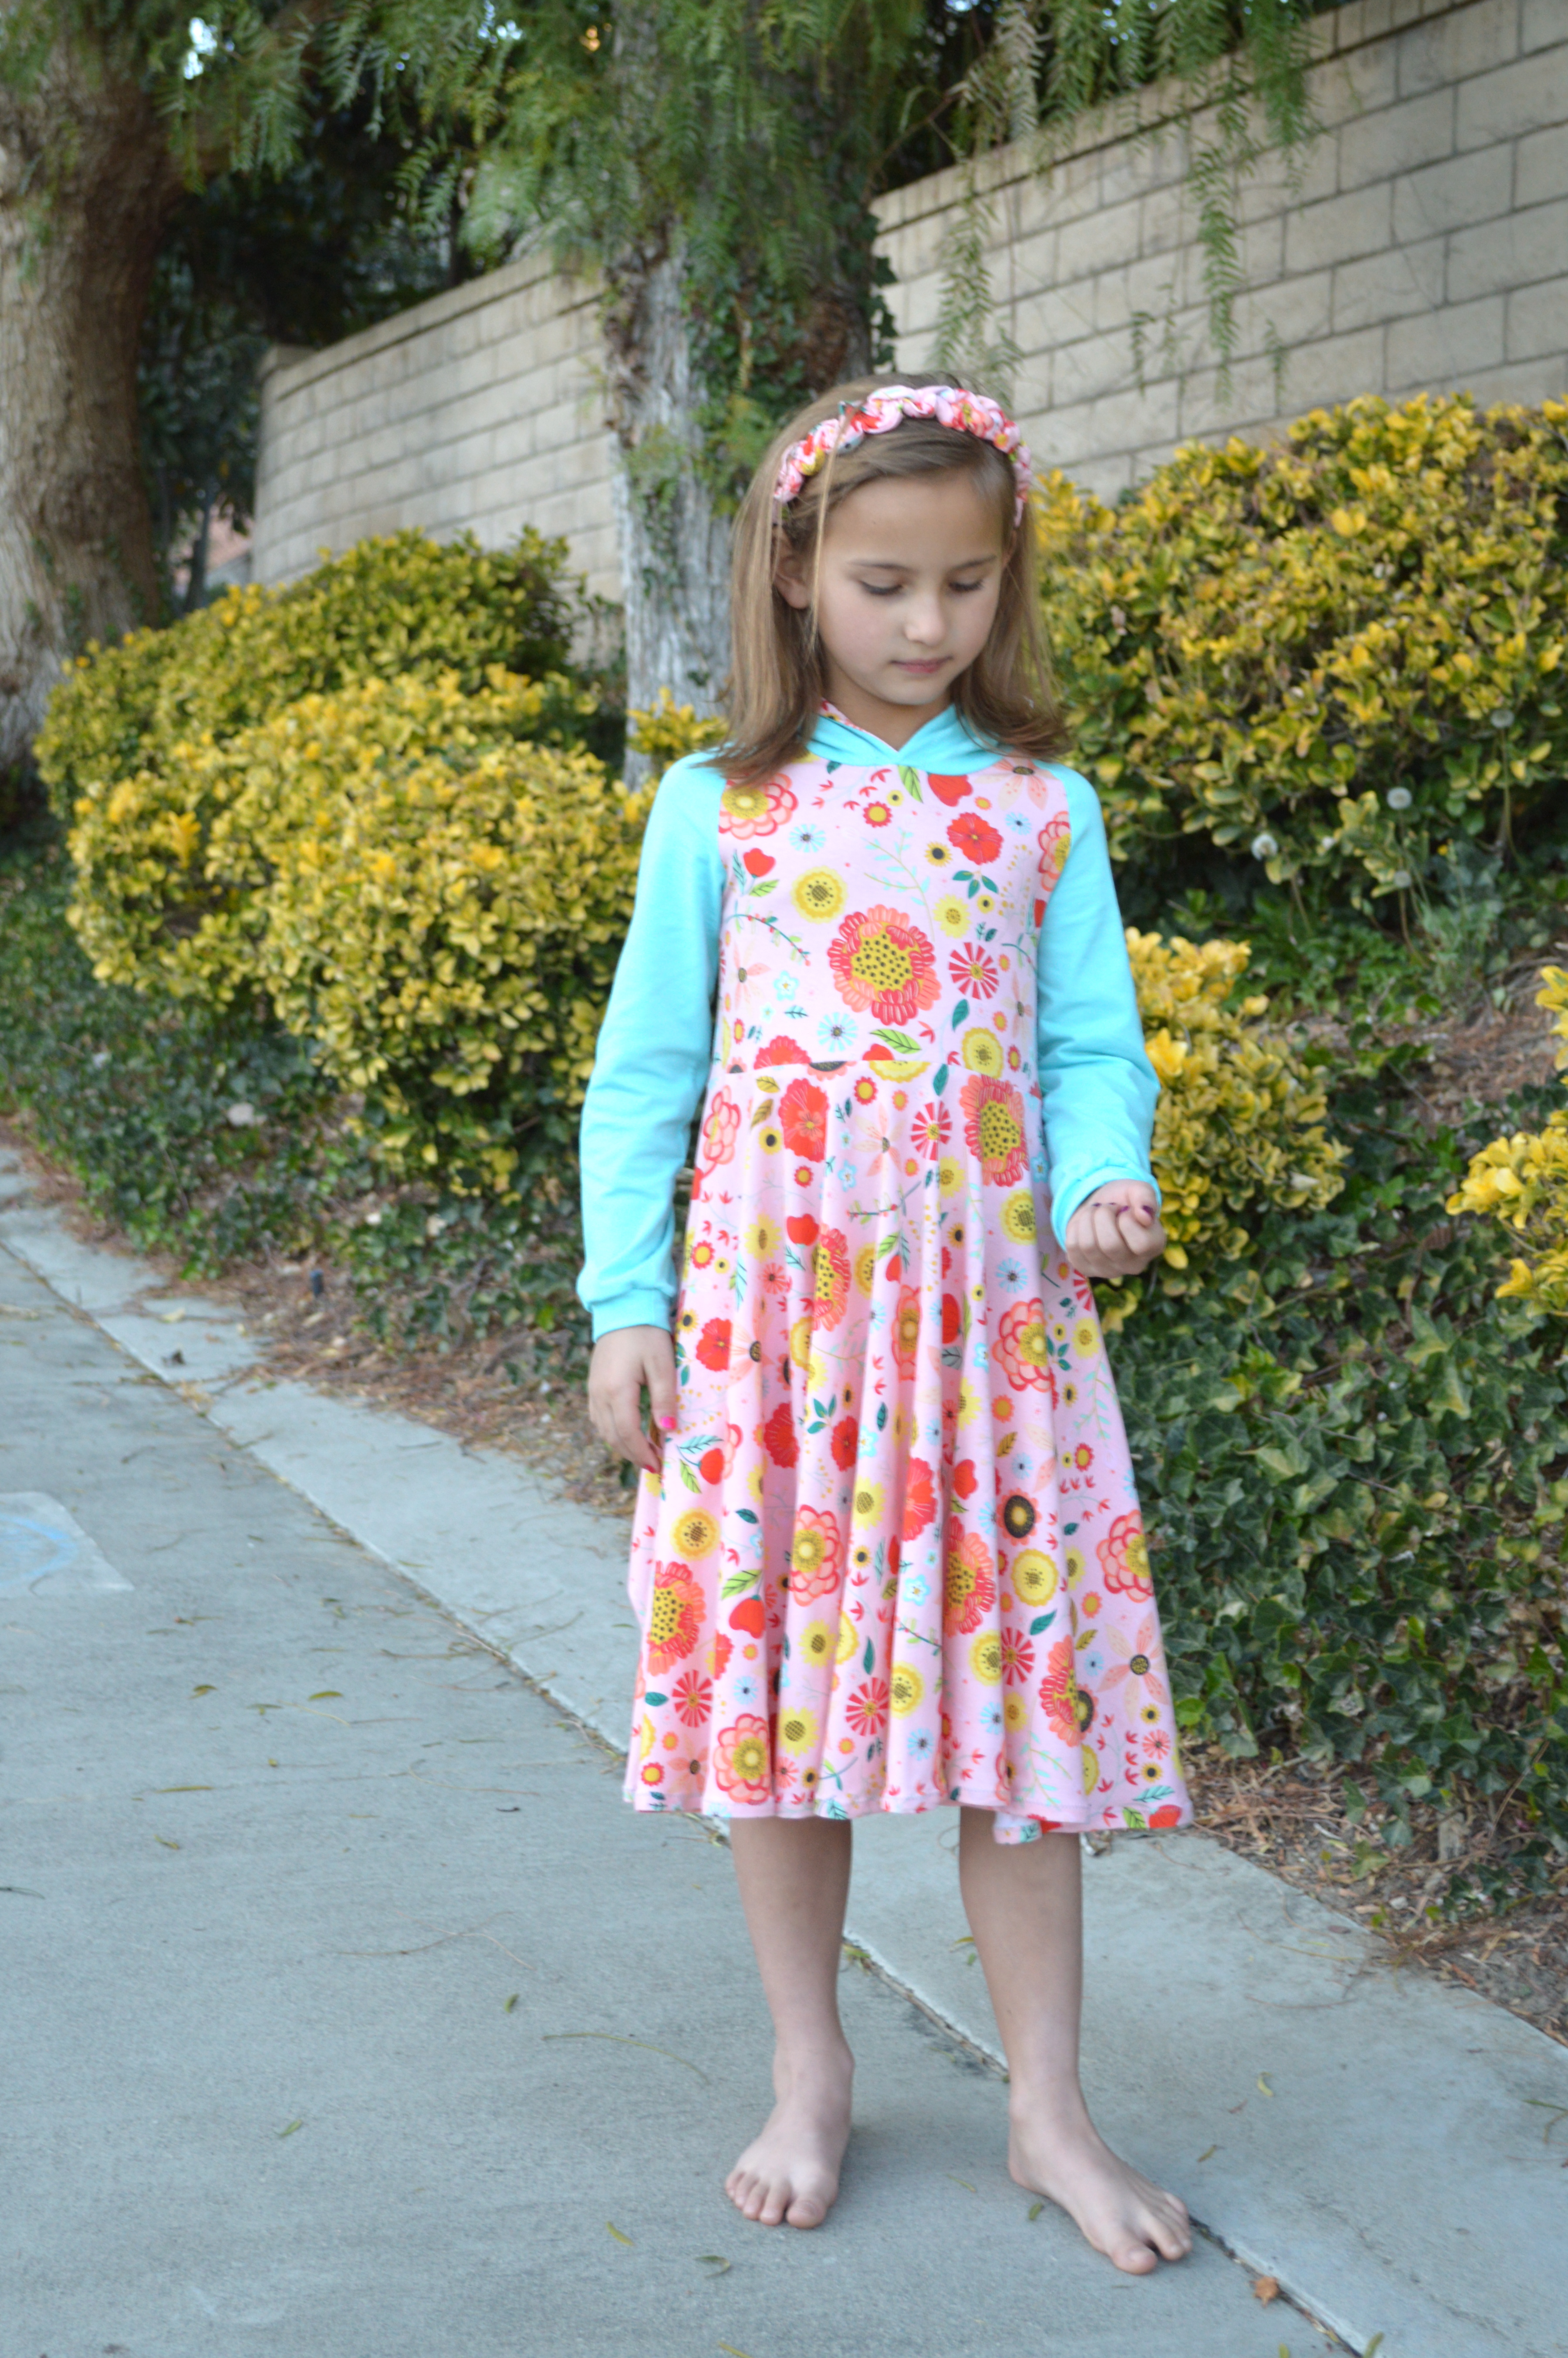
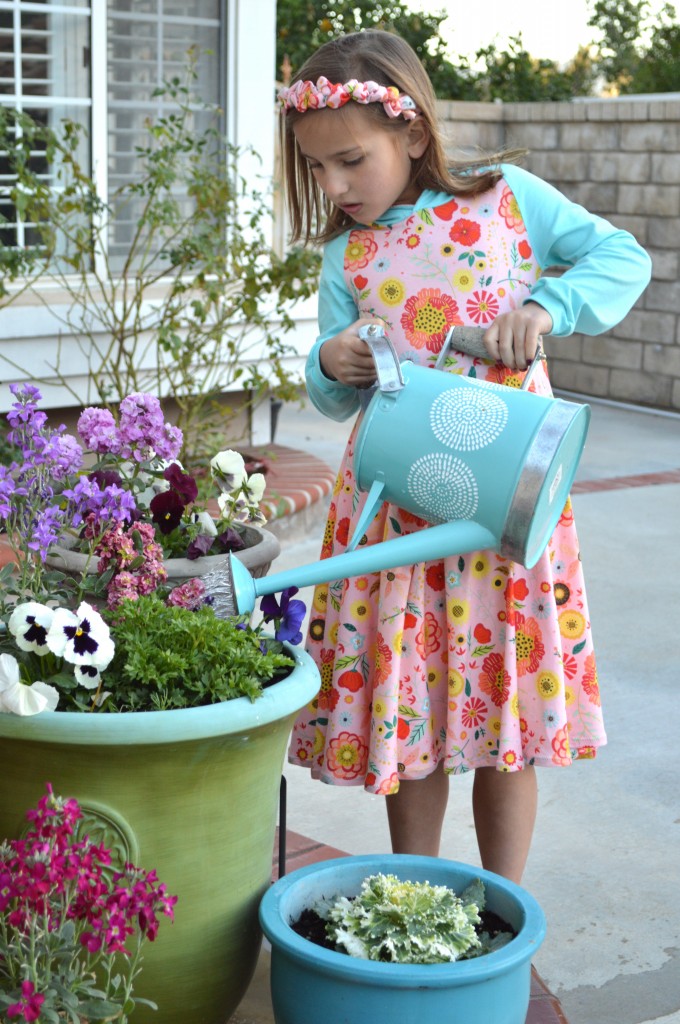 I also made a matching headband out of the left over knit fabric. Cut a 5″ x 24″ strip and fold in half lengthwise, right sides together. Sew a 1/4″ seam and turn the tube right side out. With the seam centered on the back, adjust the stitch length to a gathering stitch and sew a serpentine/wavy seam down the center. I tried first to zig zag back and forth but the thread and the knit kept catching at the corners. The curvy line worked better. Then gather the threads to form a wavy type of ruffle. I was in a hurry so I hot glued it to an existing headband.
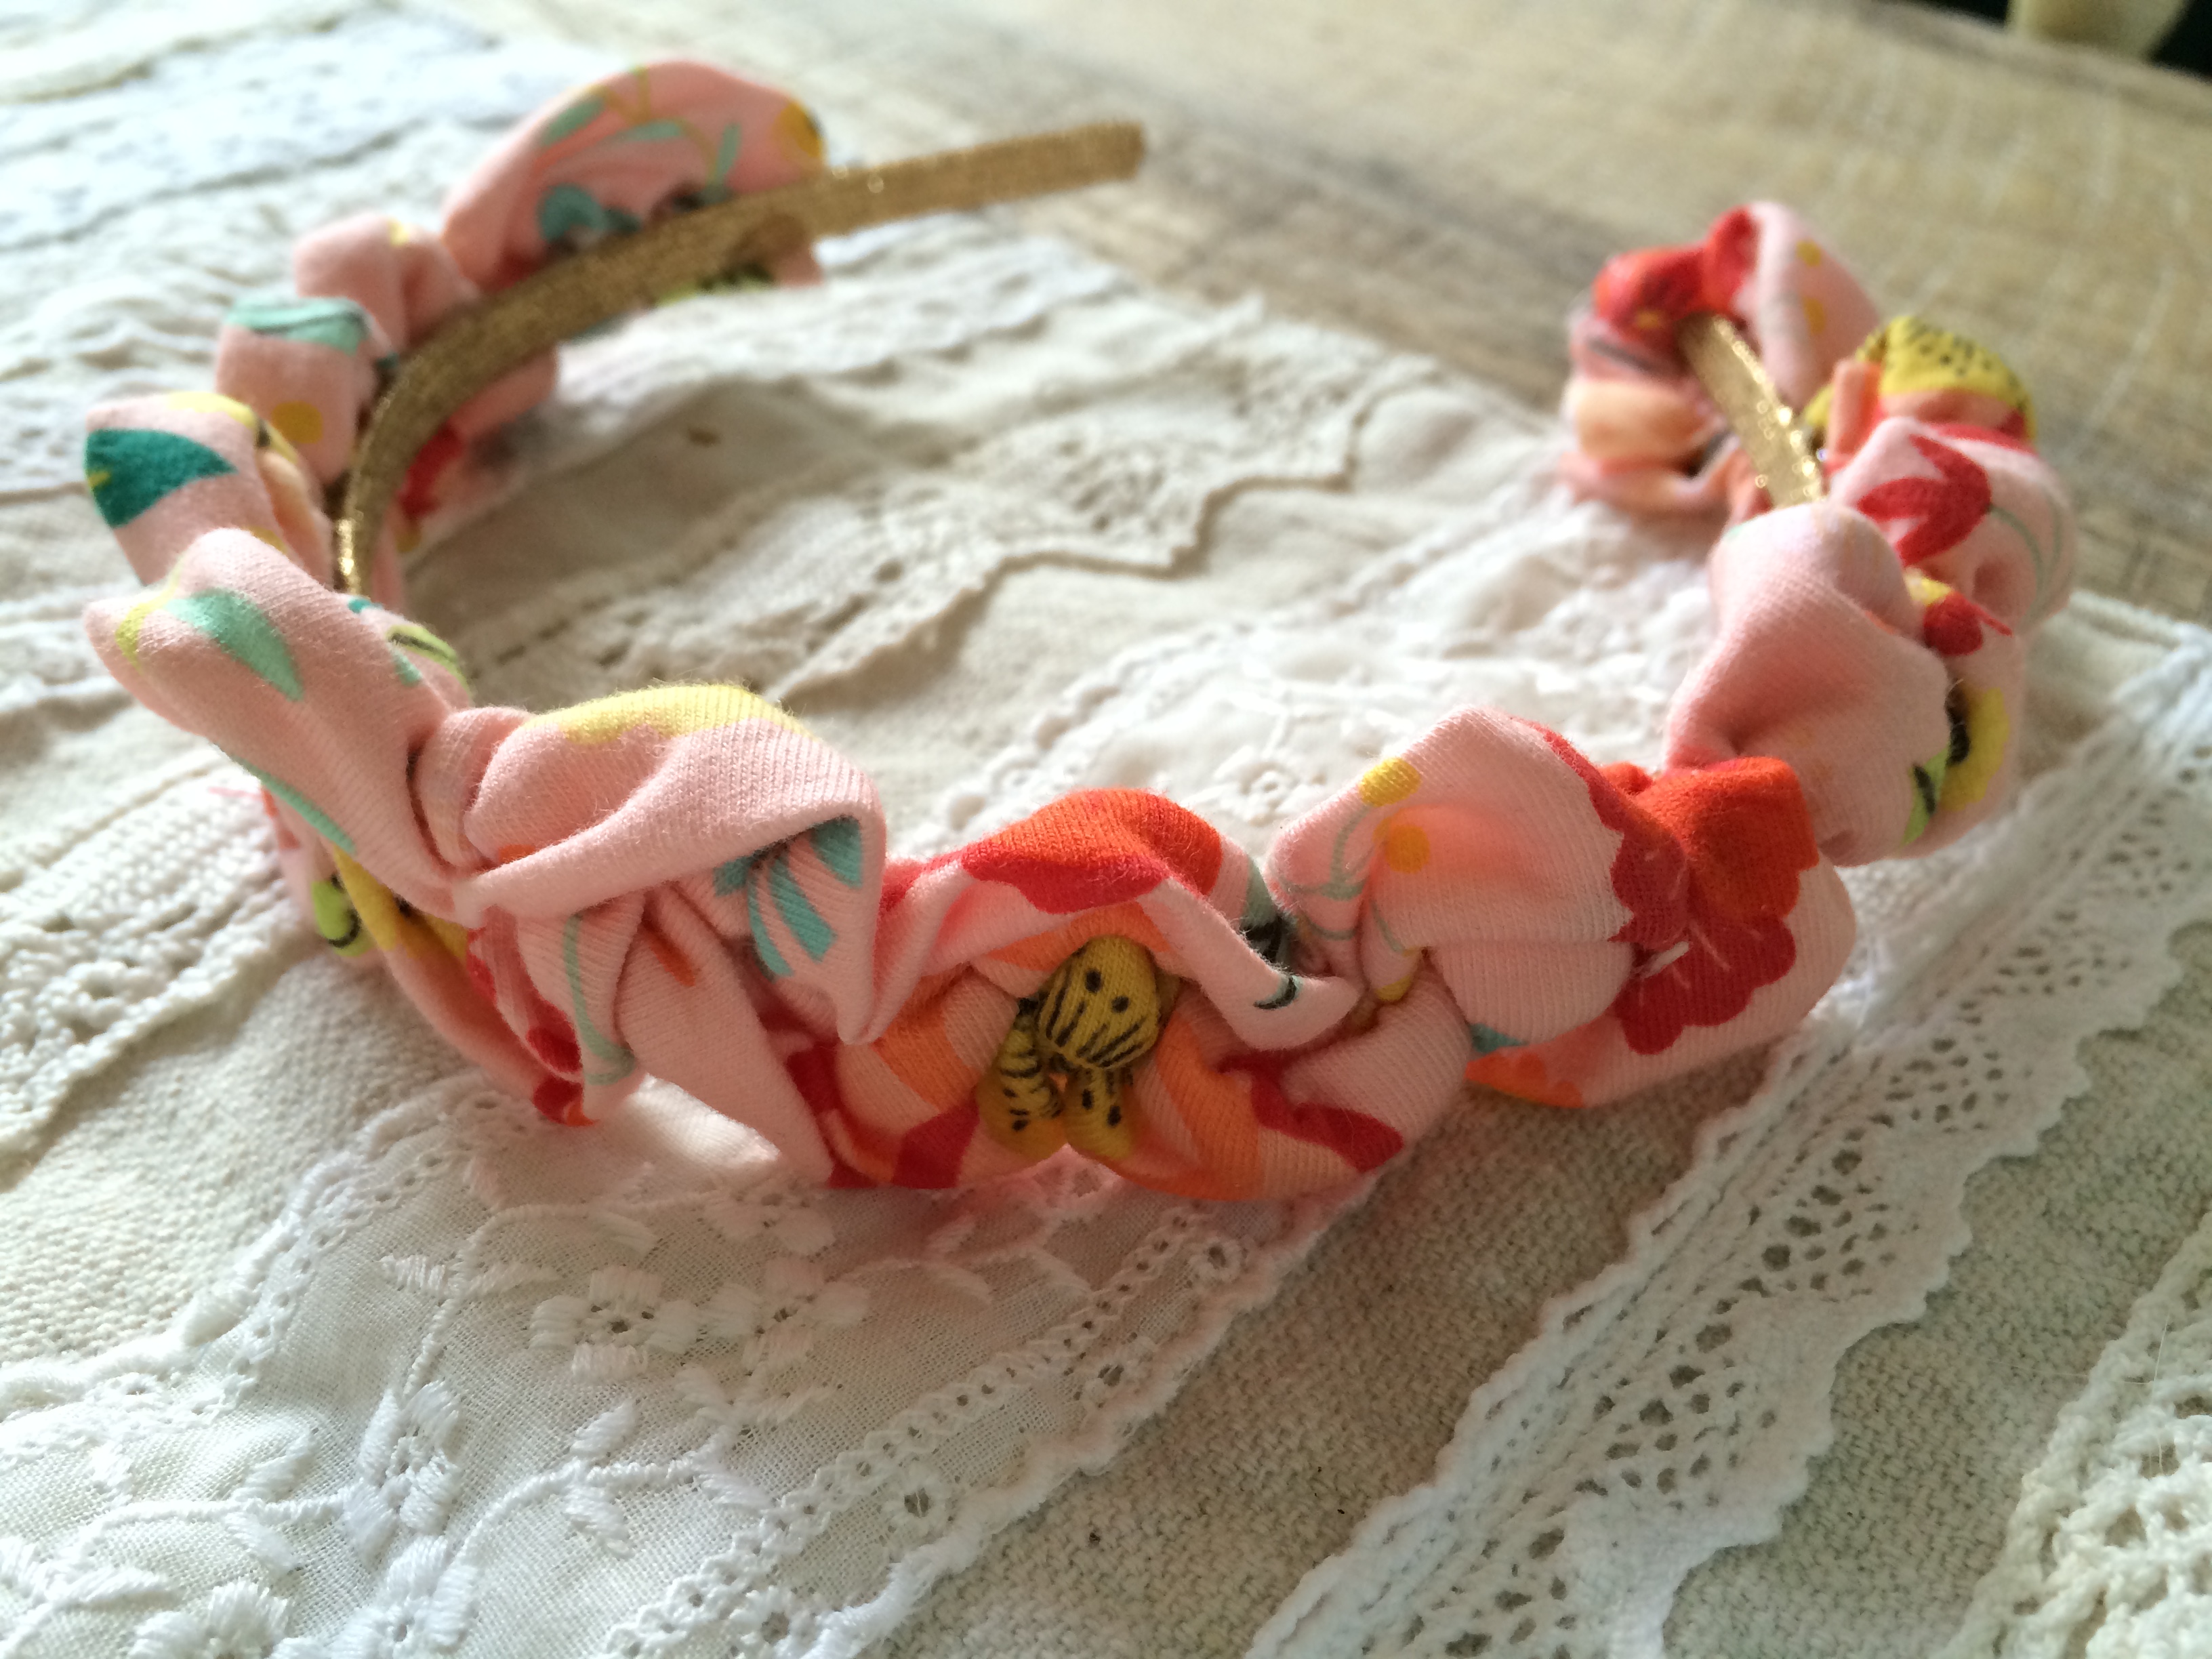


