It’s the day before my son’s school soccer party and I decided I should make each of the 12 boys a gift. Now what to make? I know – a zipper pouch of course! Why do I do this to myself? Really, 12 zipper pouches in 24 hours? It’s a good thing I buy my zippers in bulk 🙂
I was so happy I decided to make these little pouches because the boys (age 11-13) LOVED them. 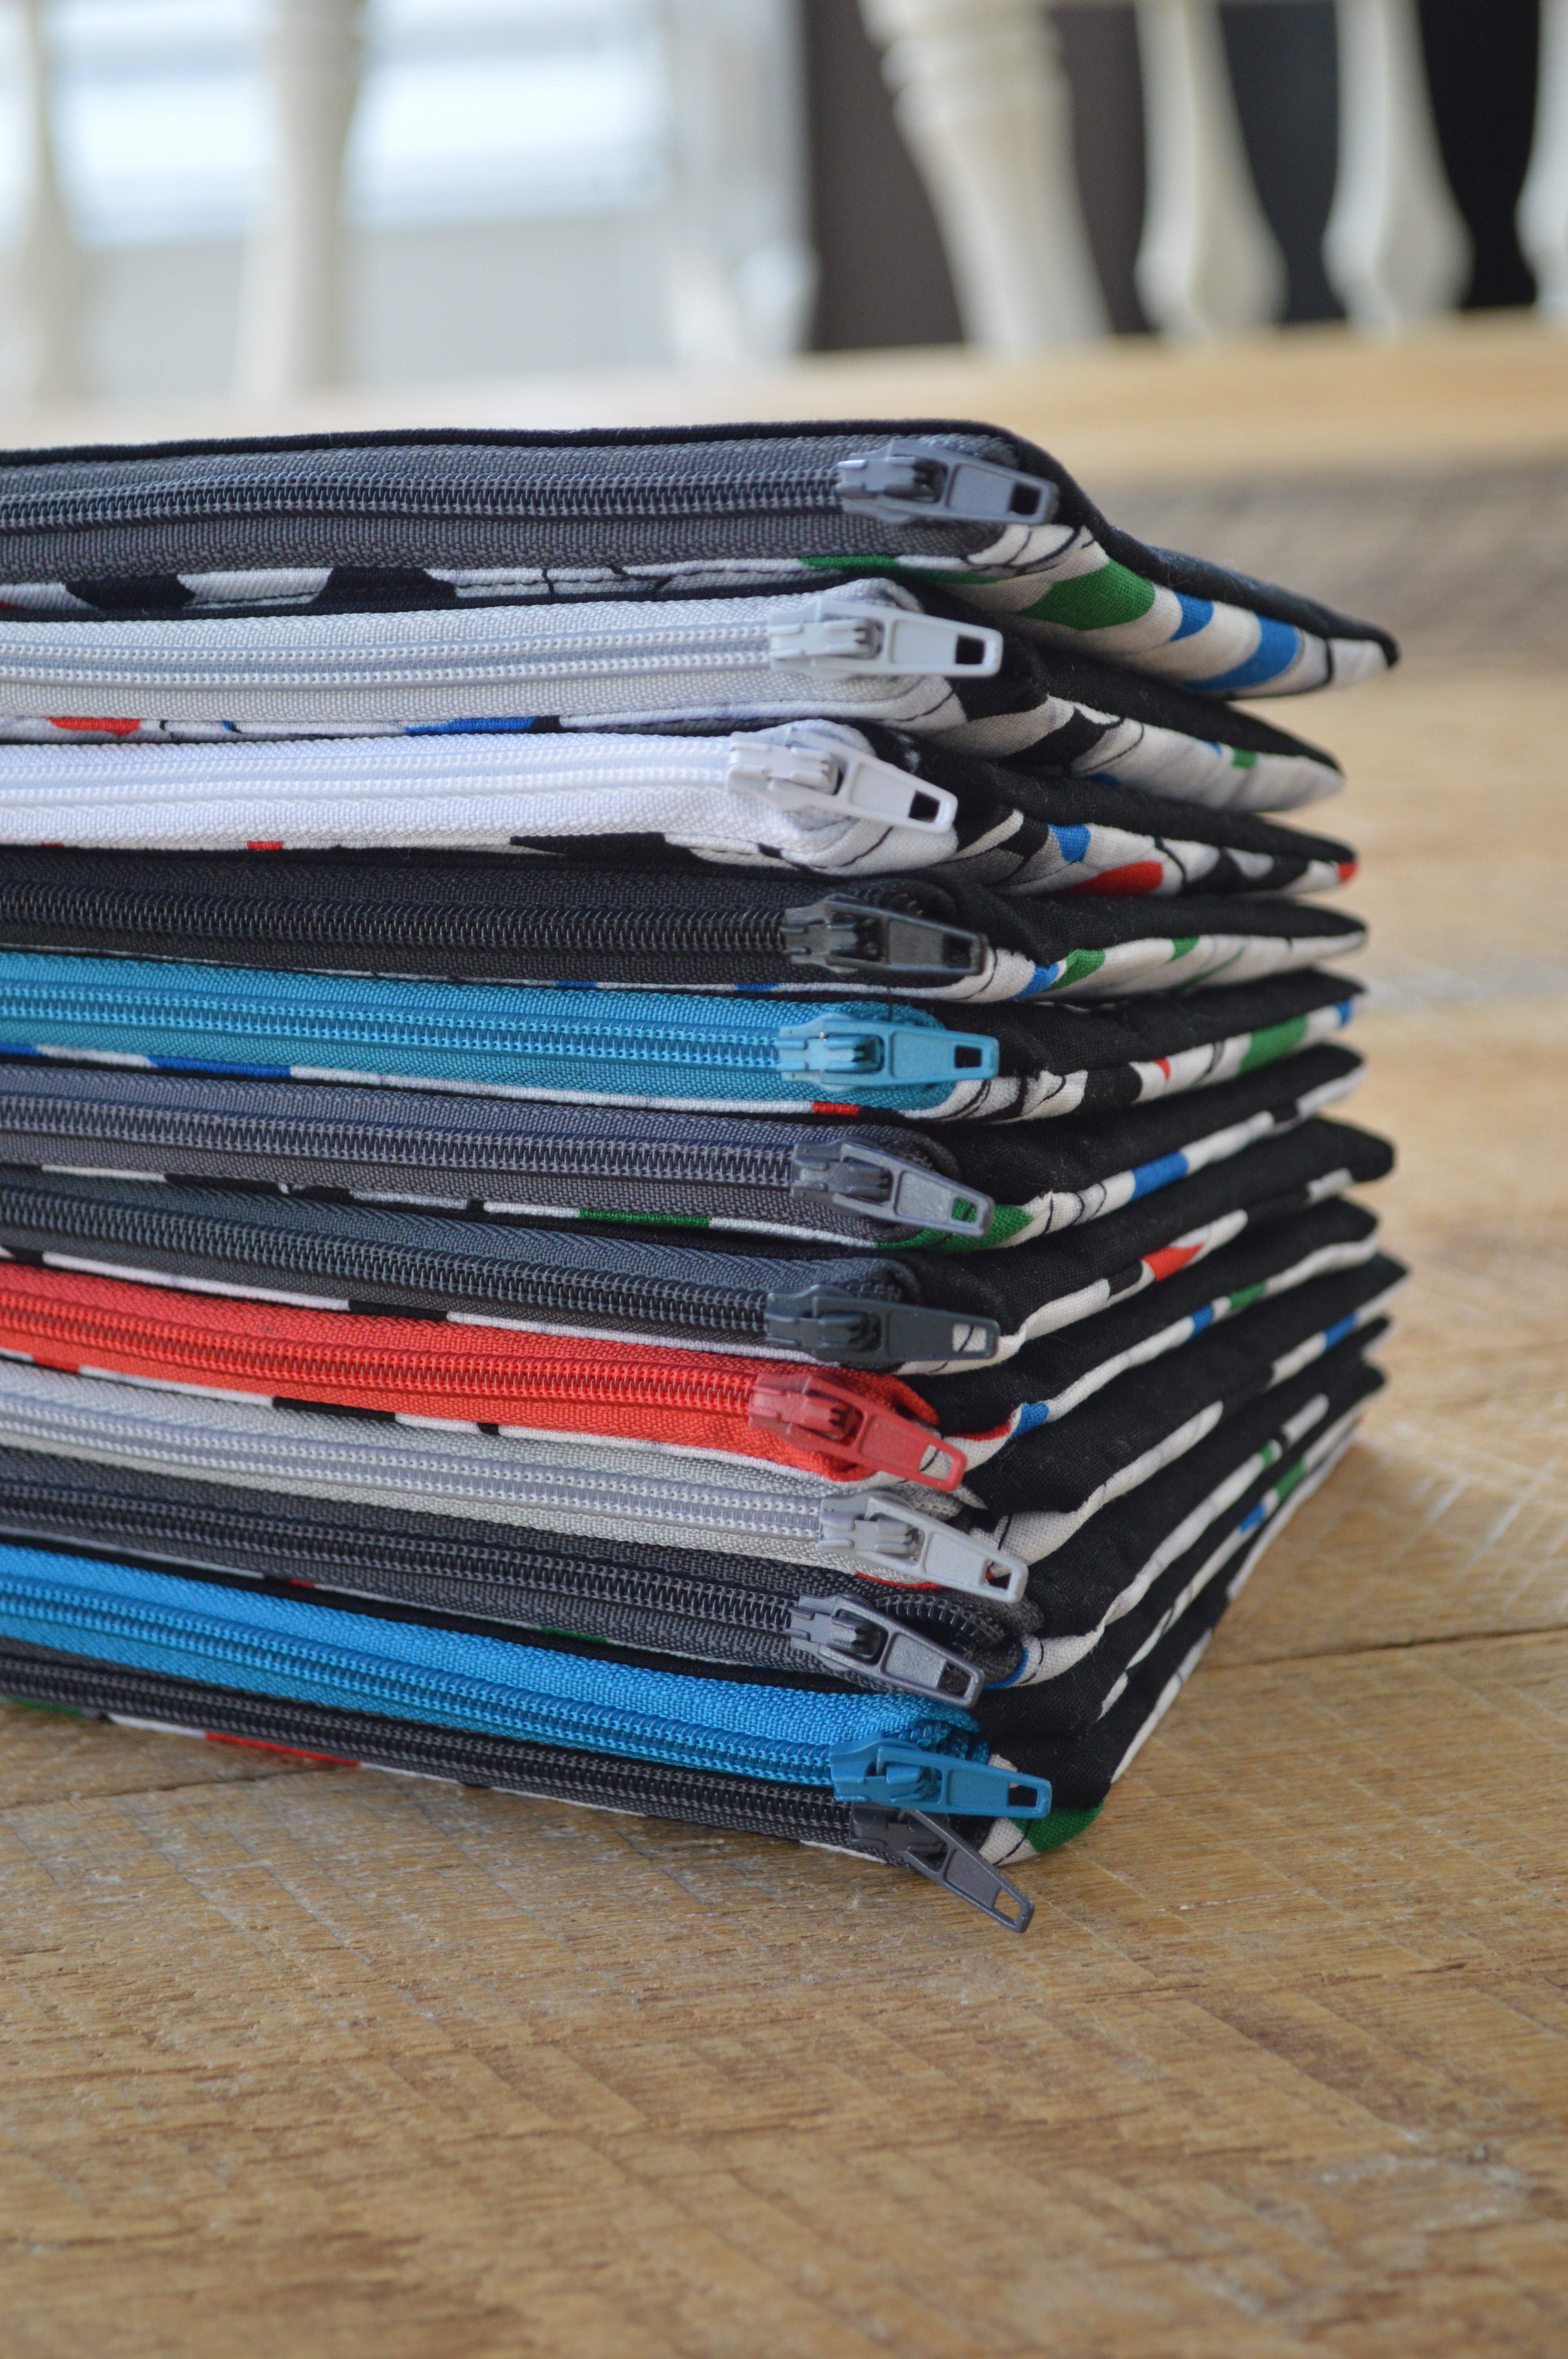
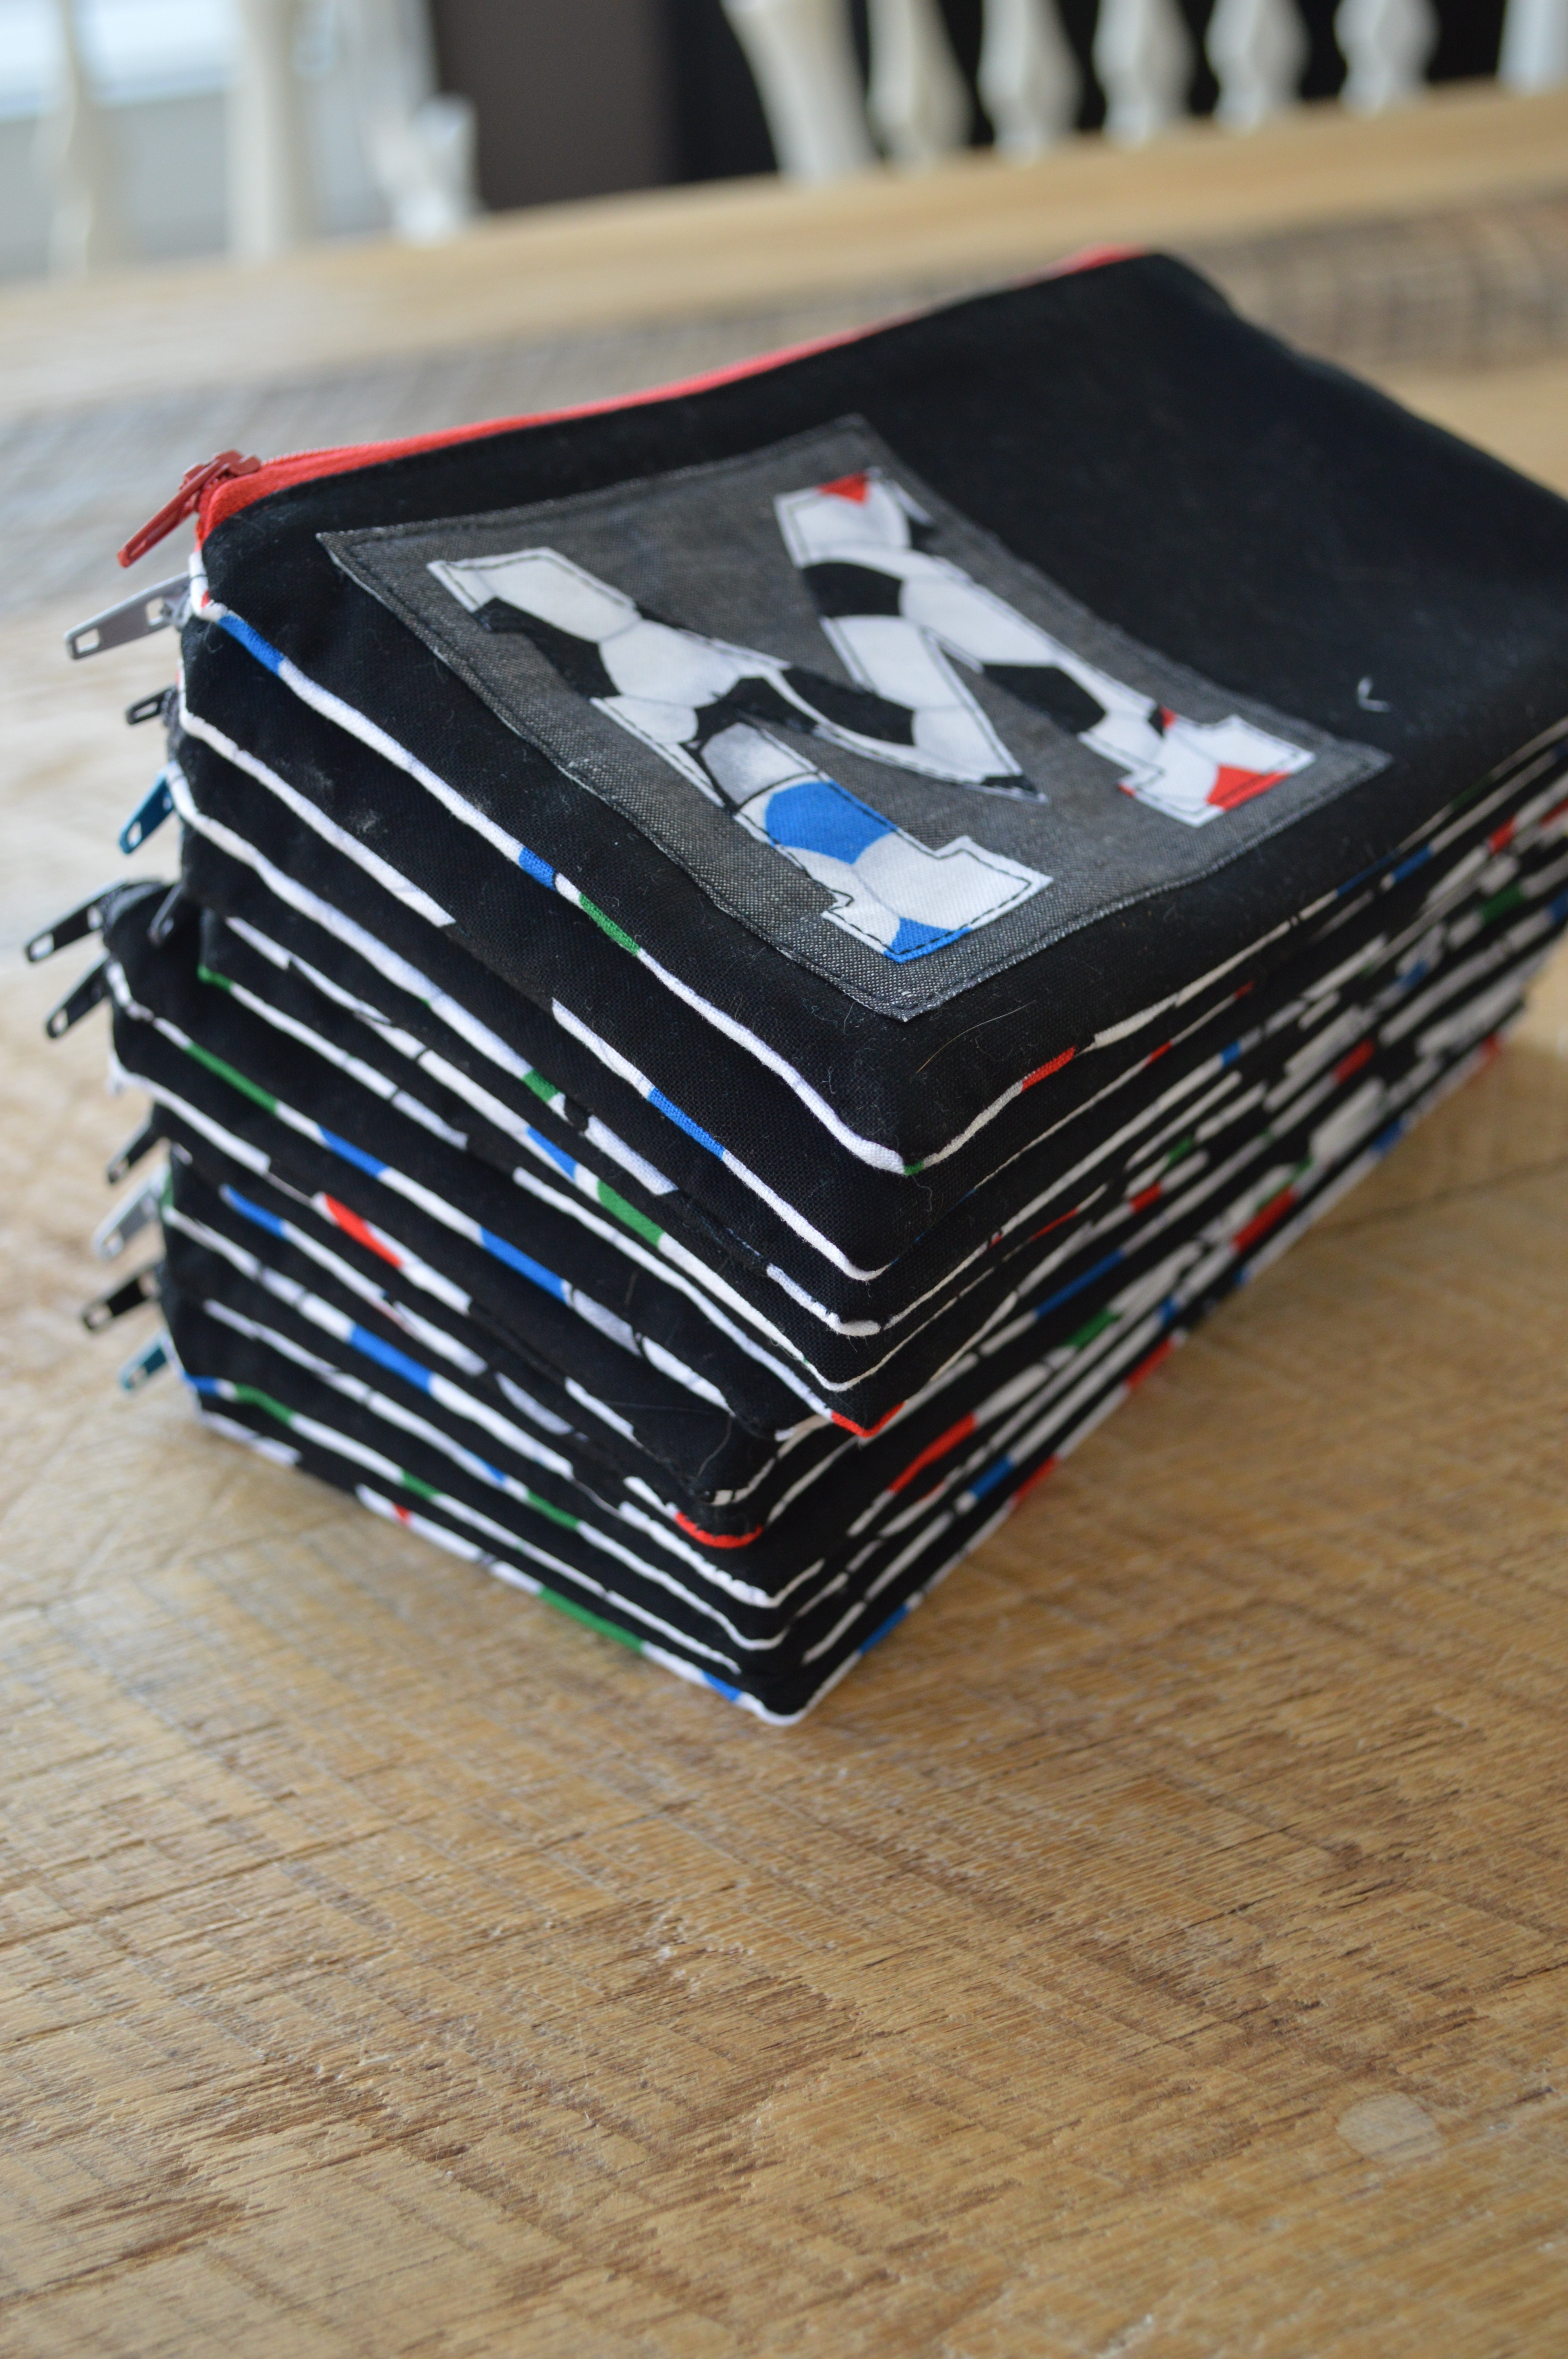
Each pouch has their initial appliquéd on it. 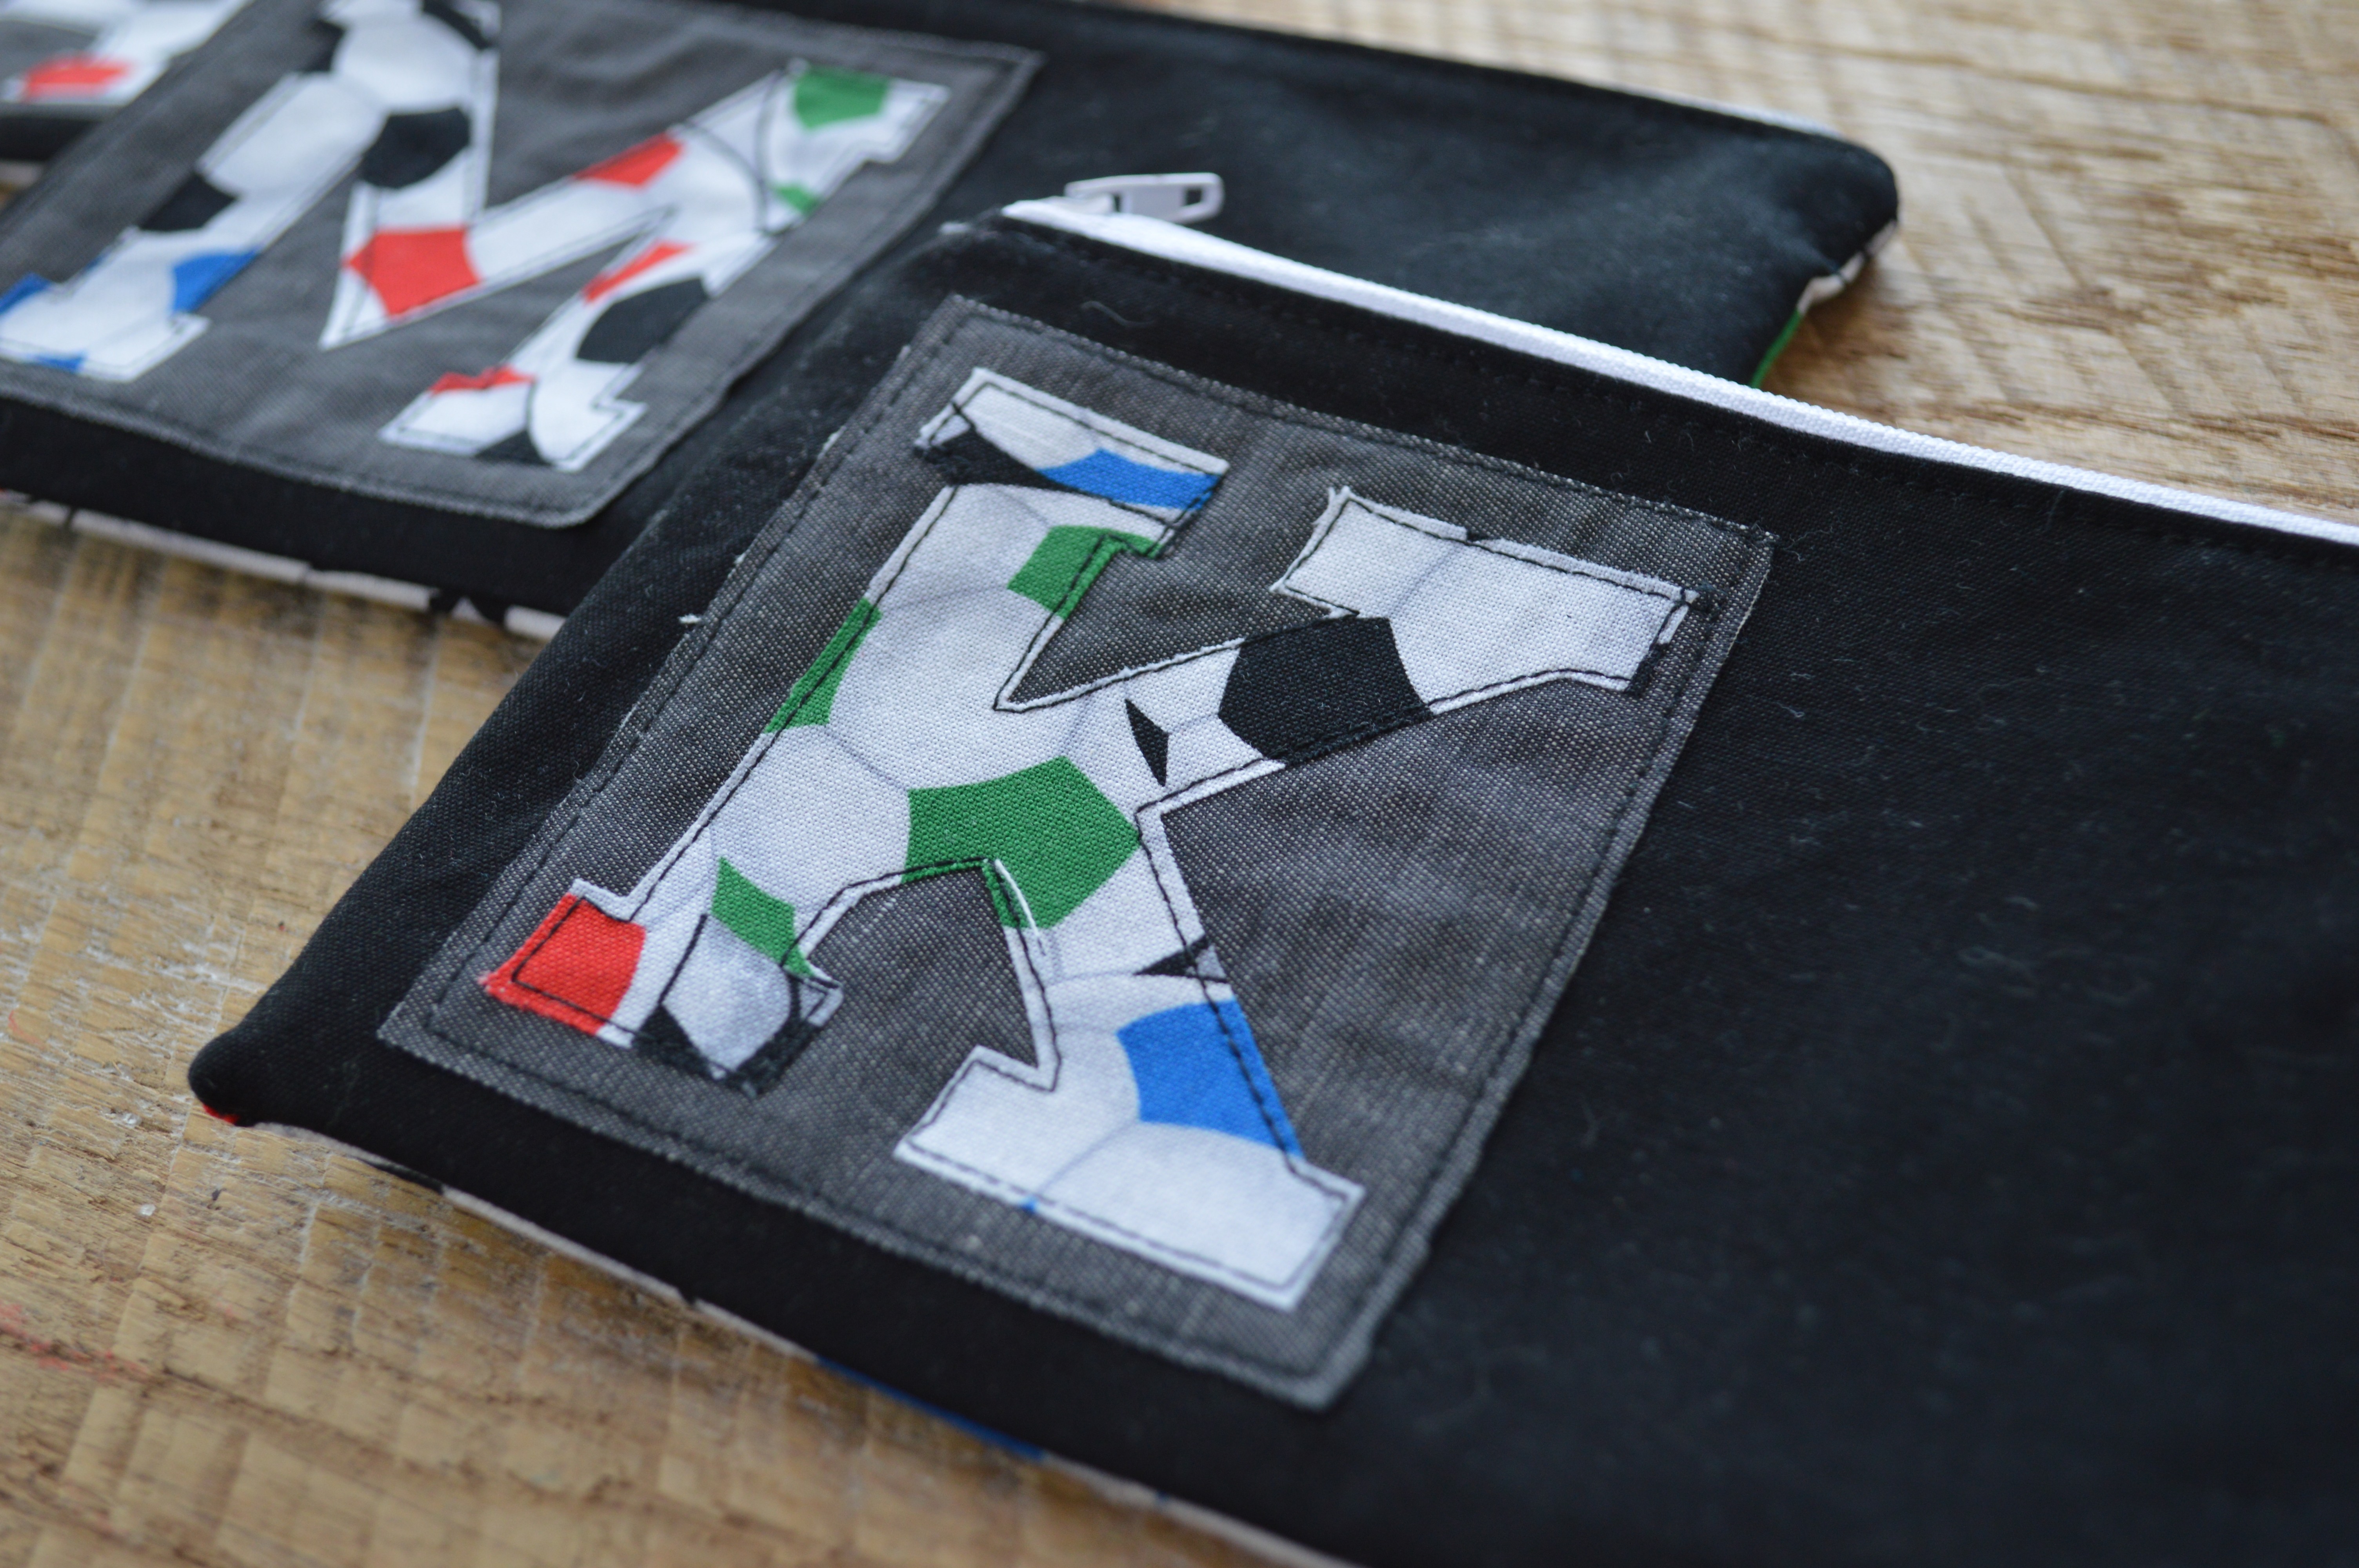
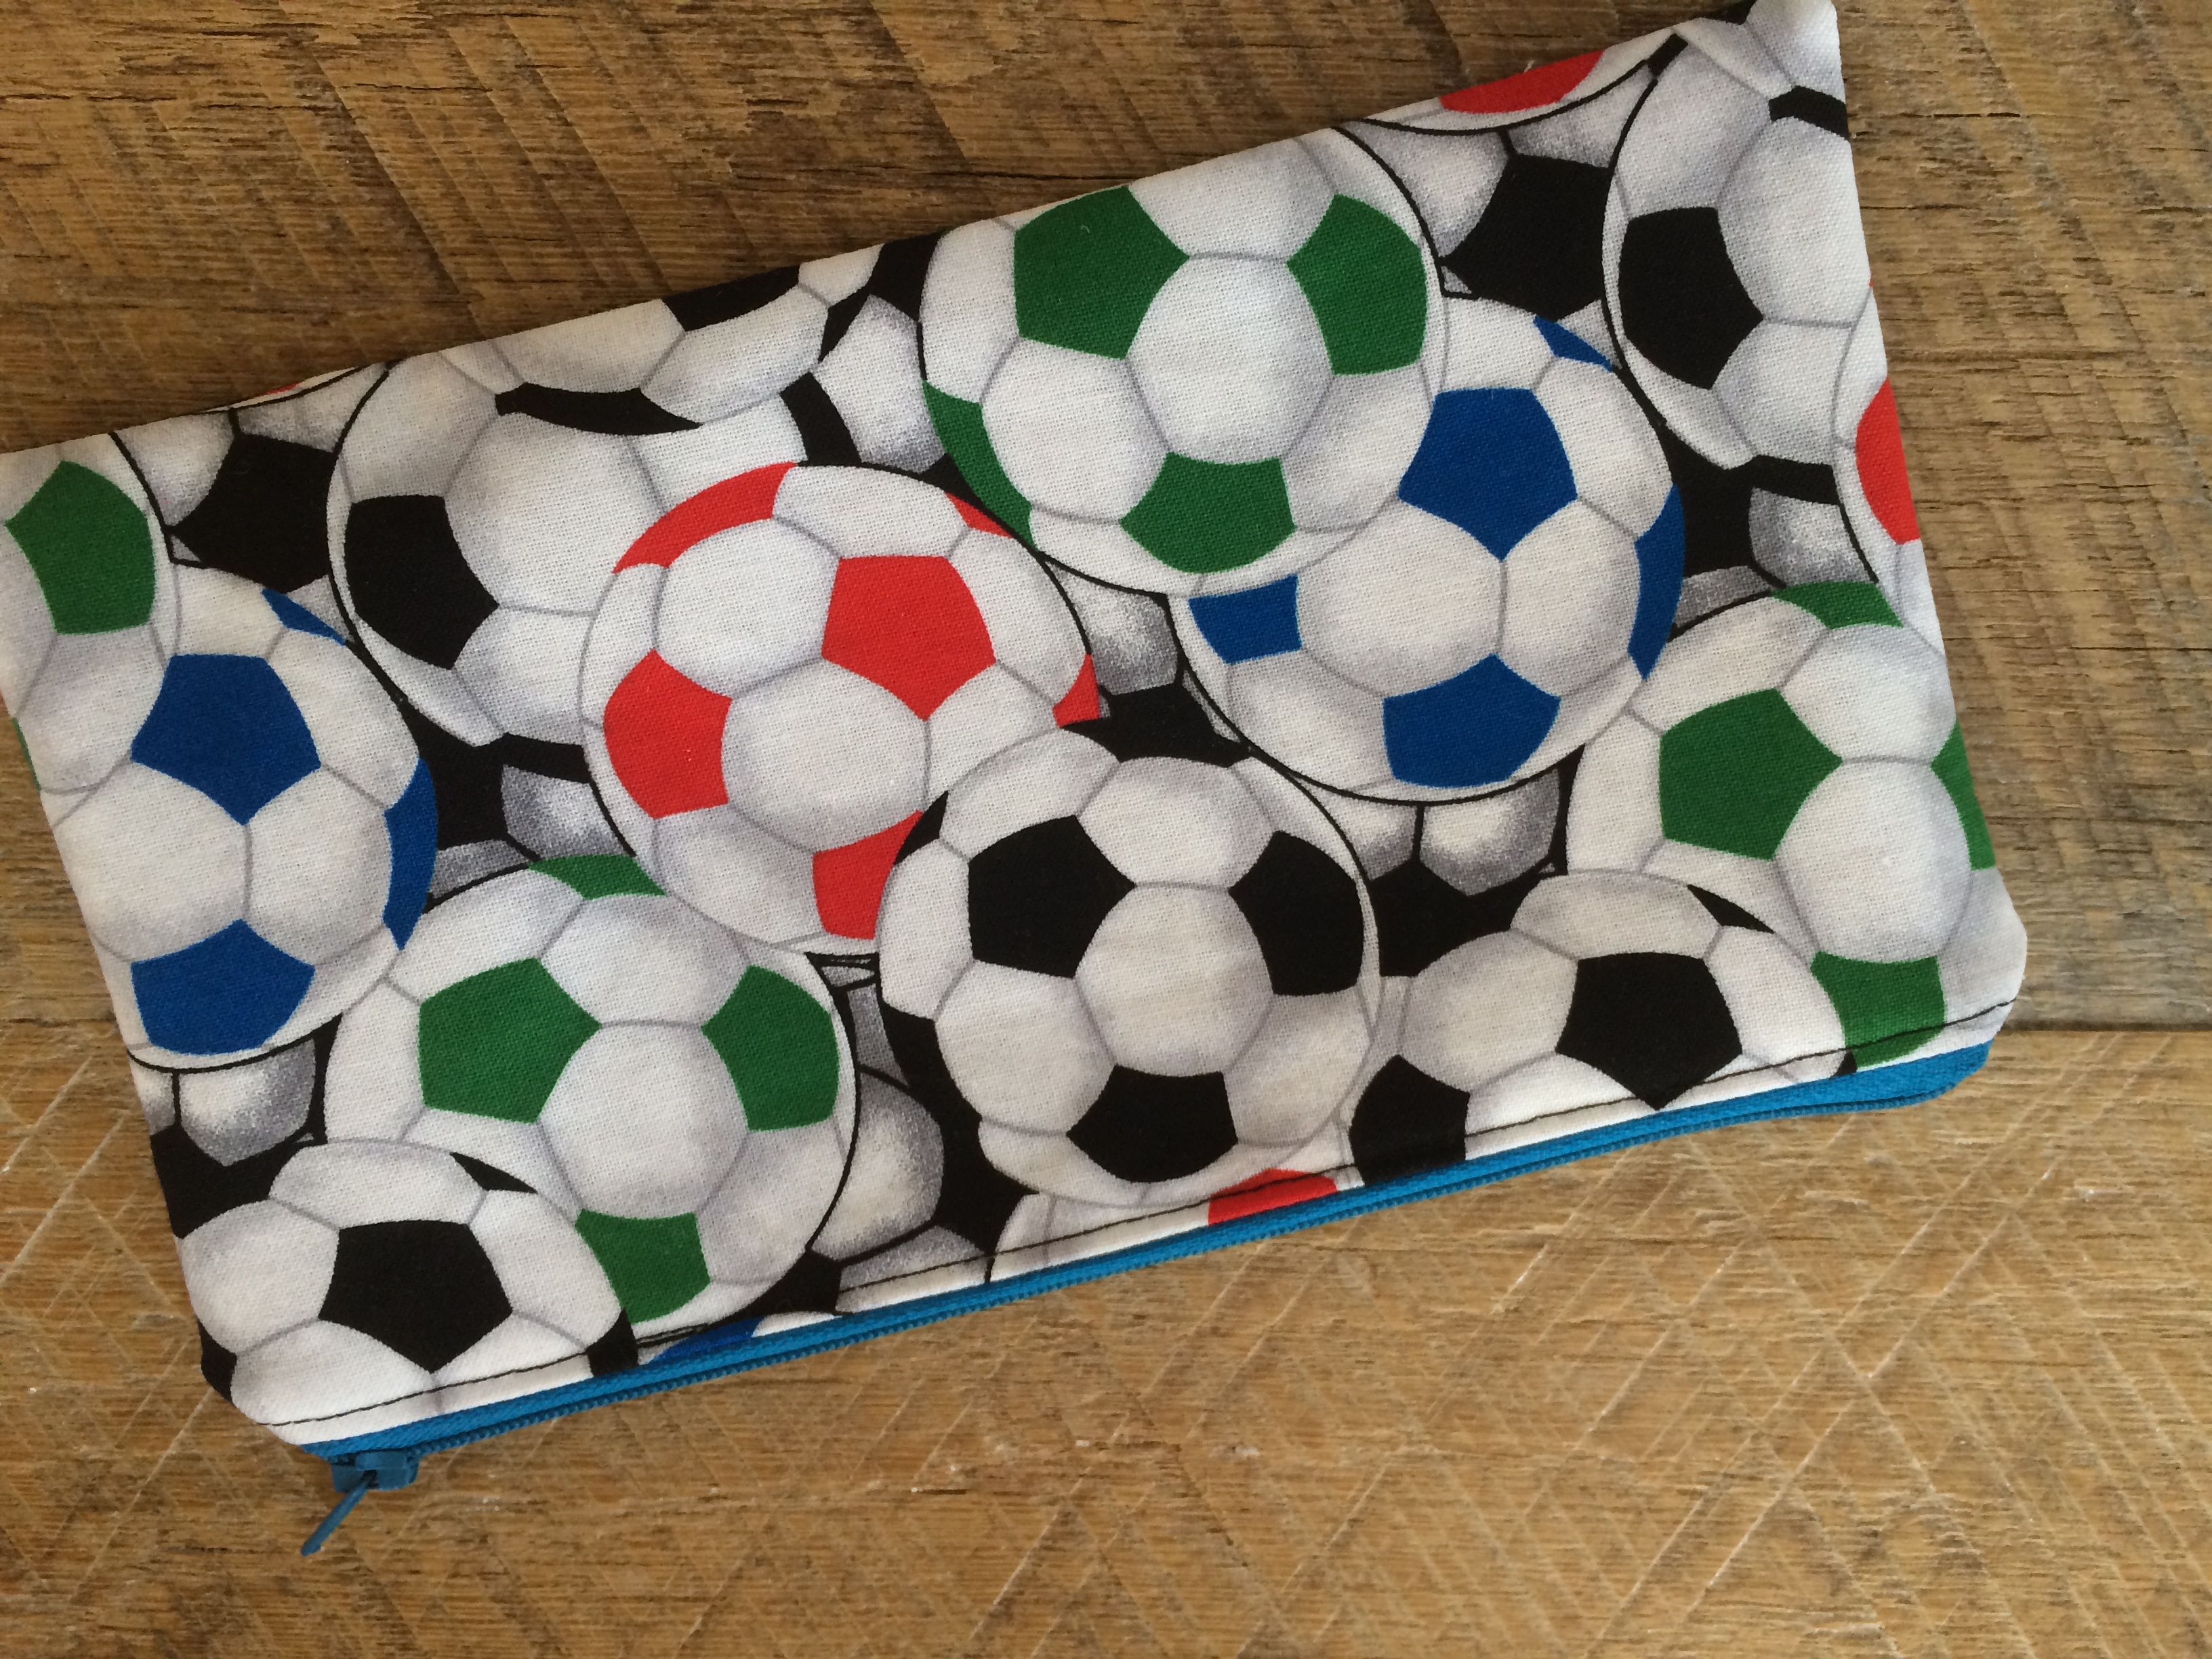
The back of the zipper pouch is soccer ball fabric. This is a great size because it can be a pen/pencil pouch, or hold other items like phone, keys, or in my sons case an inhaler and kleenex 🙂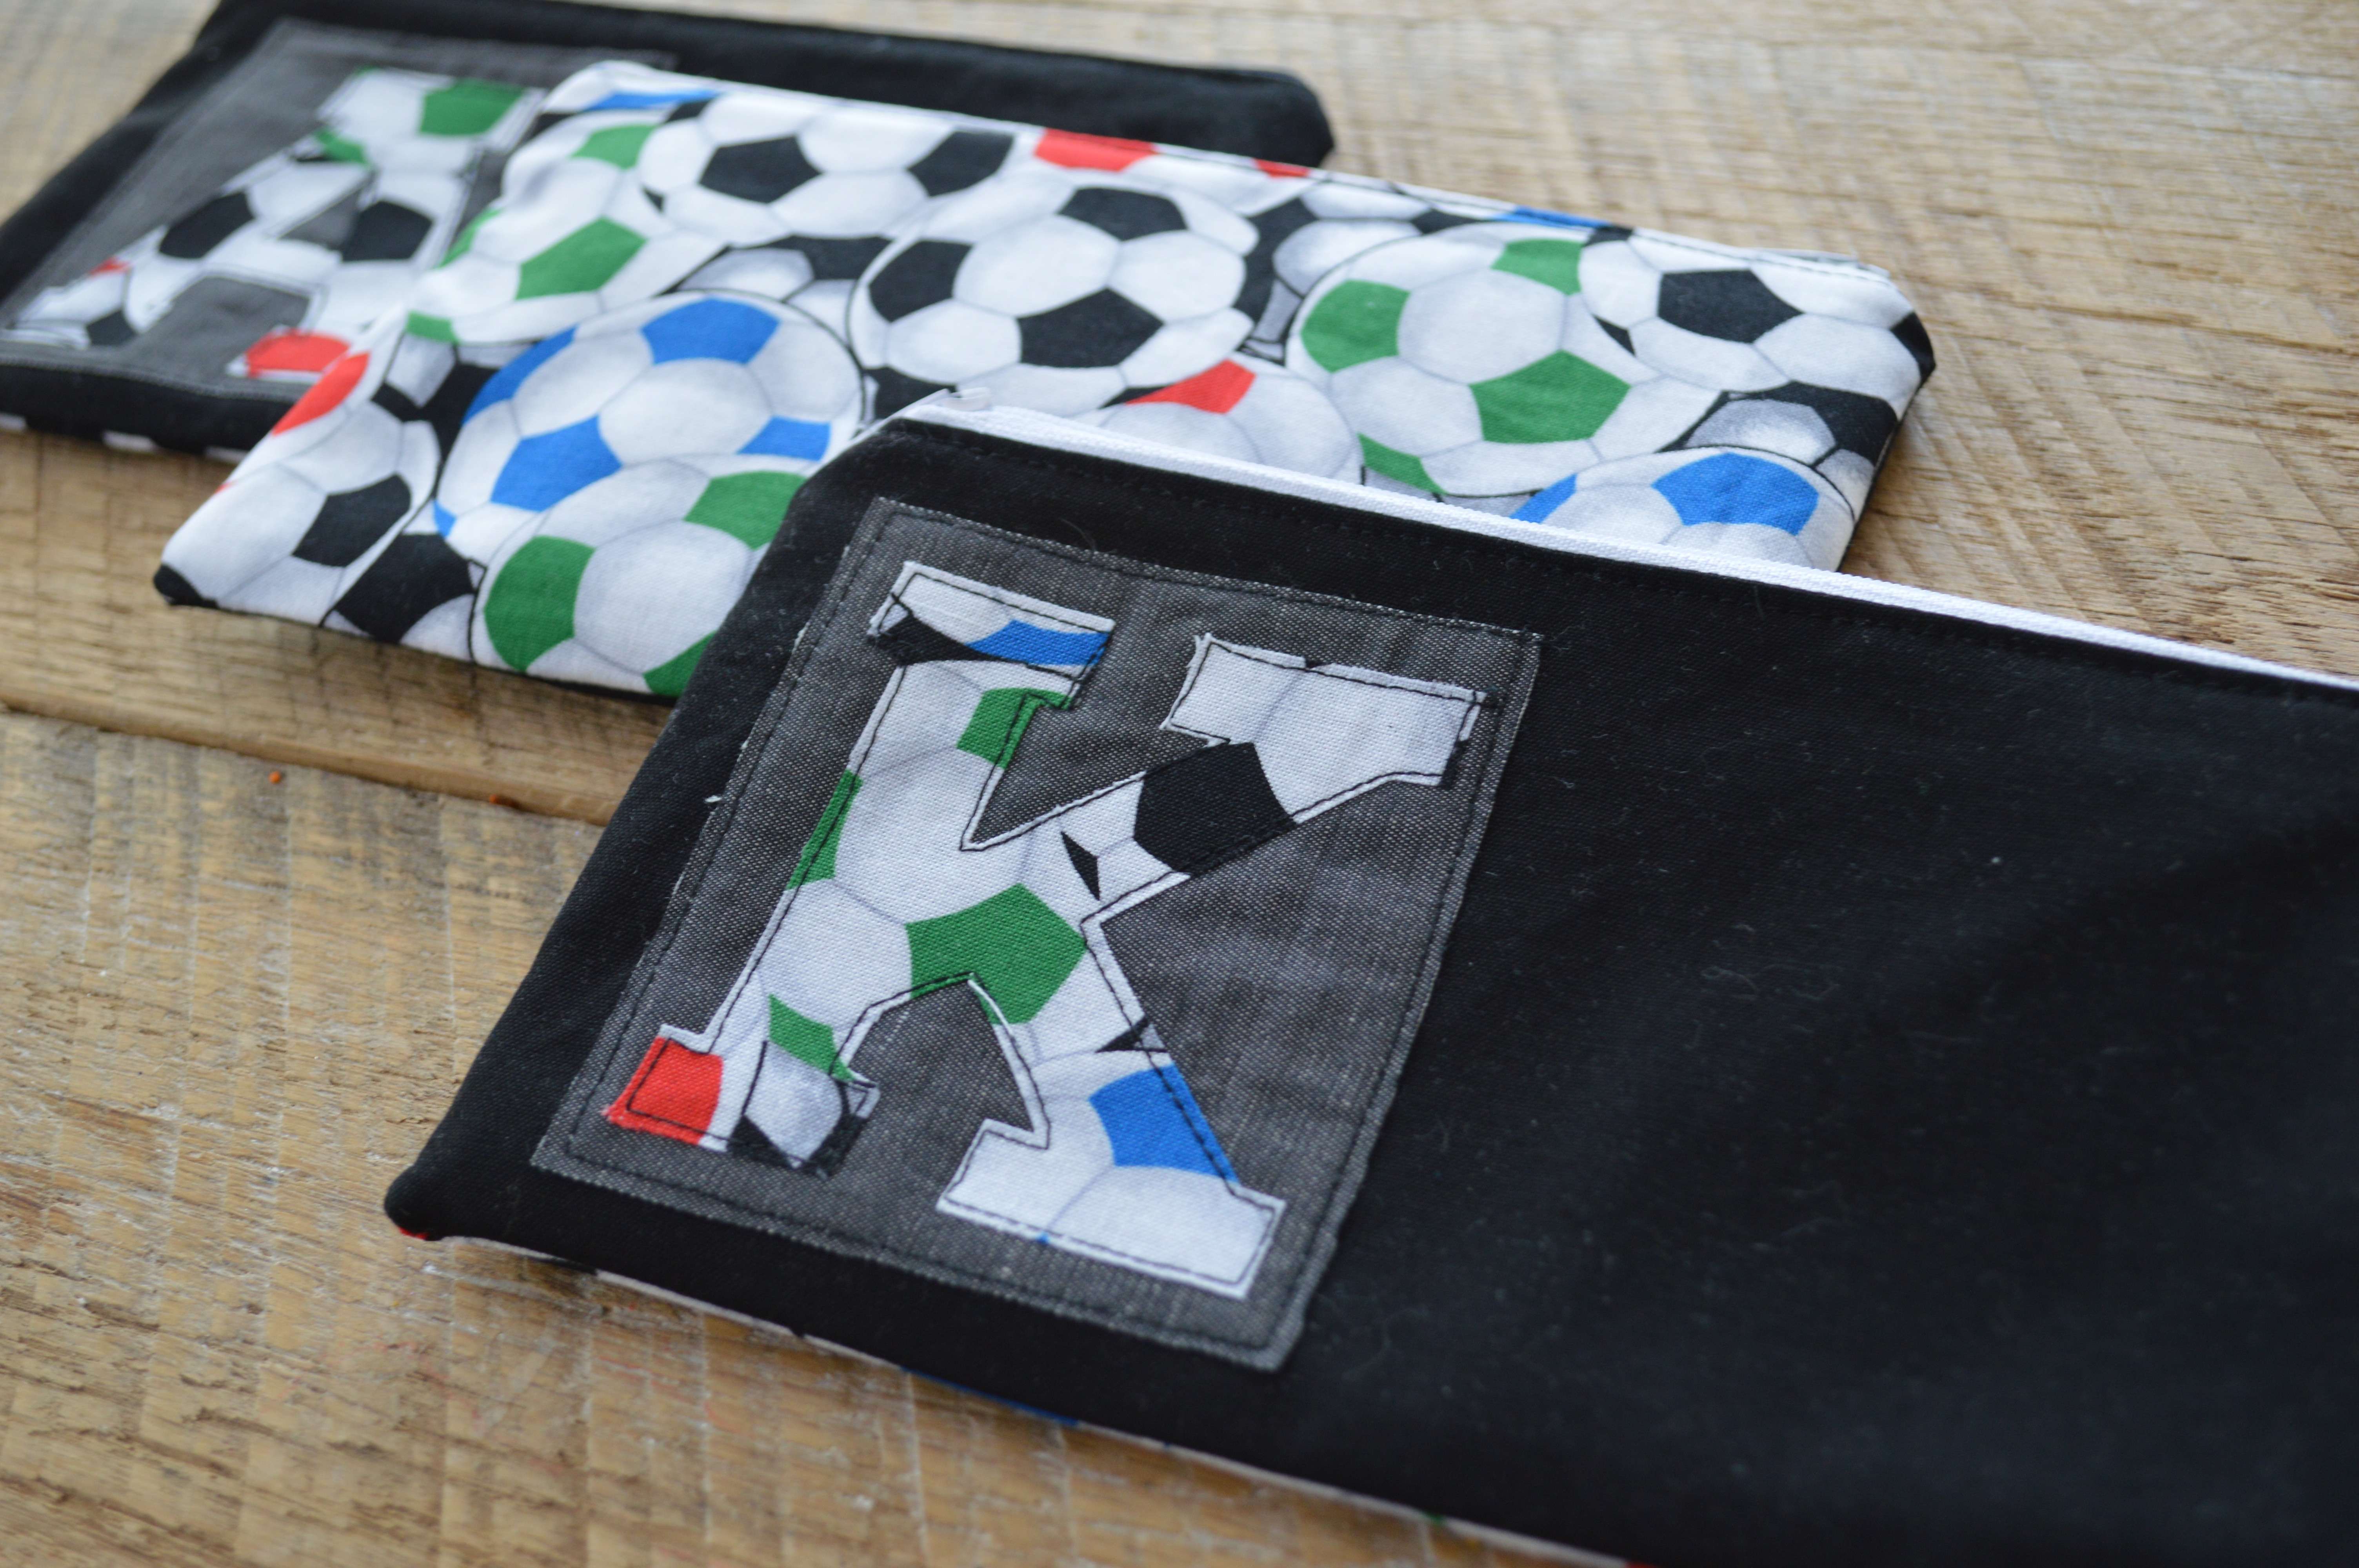
The inside of the pouches are all different black and white prints. I just used up what I had.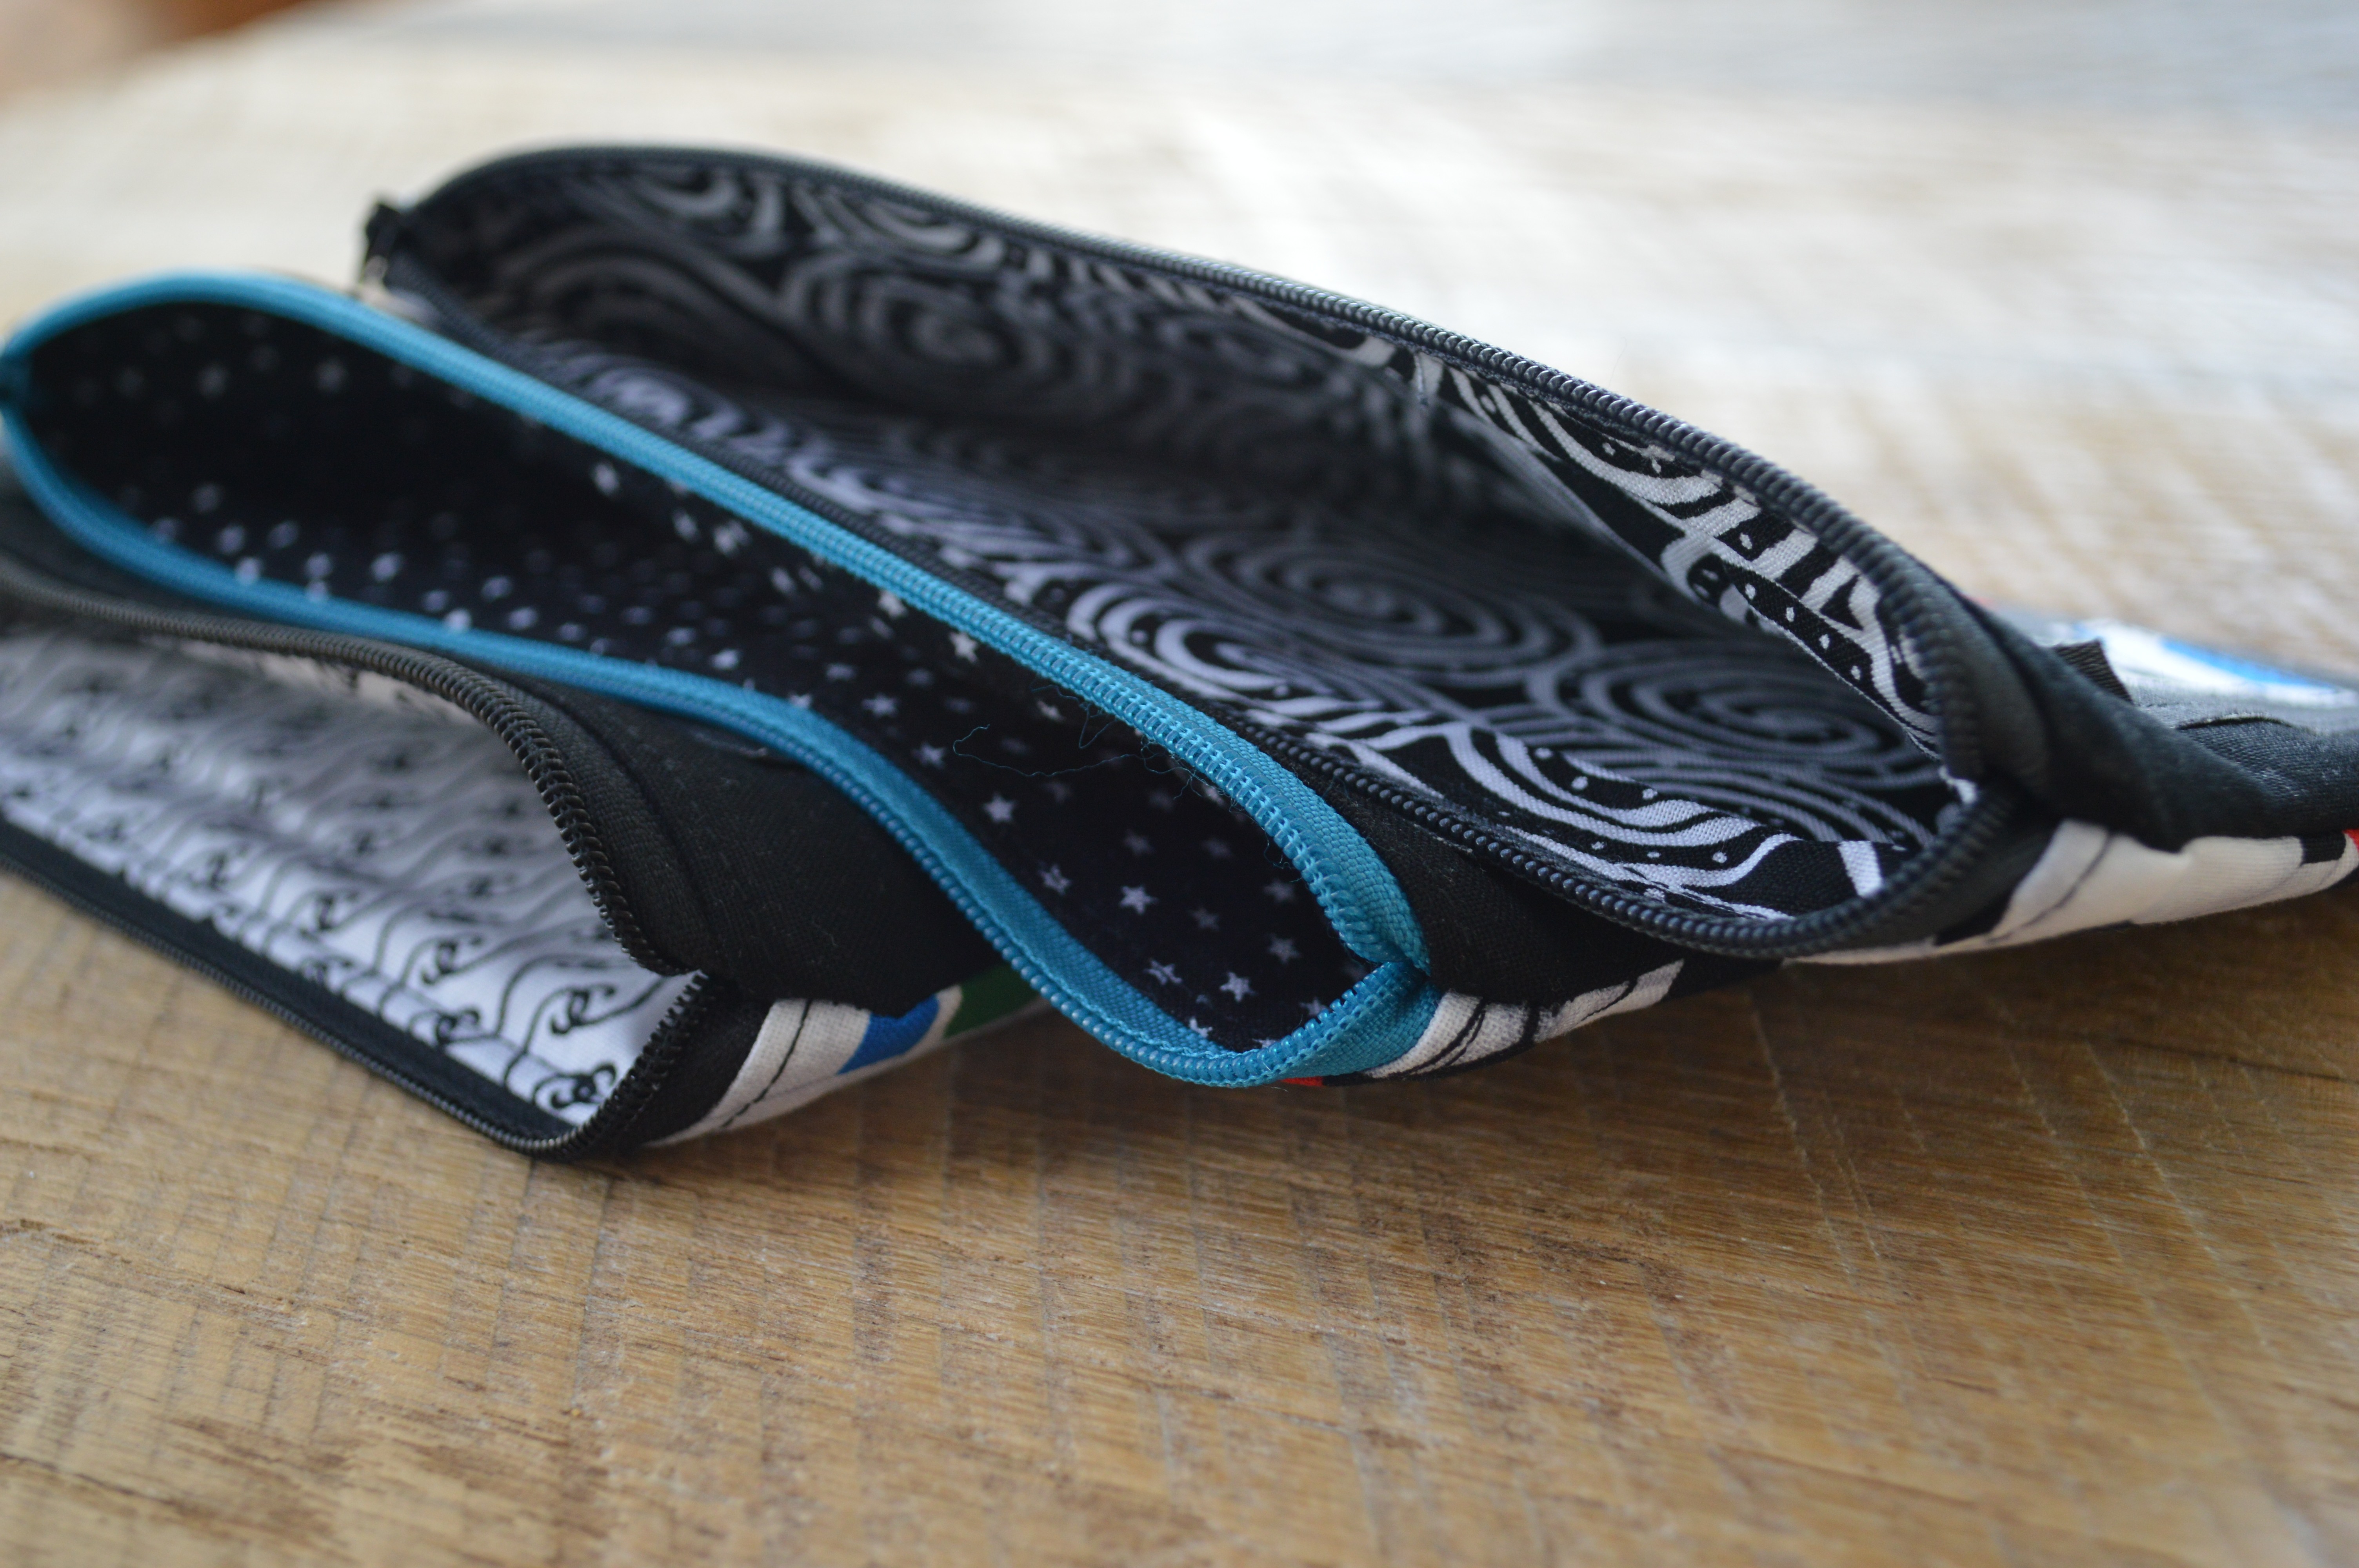
These are great for any type of party favor – just change up the fabric!
Heres how you can make one!
Supplies:
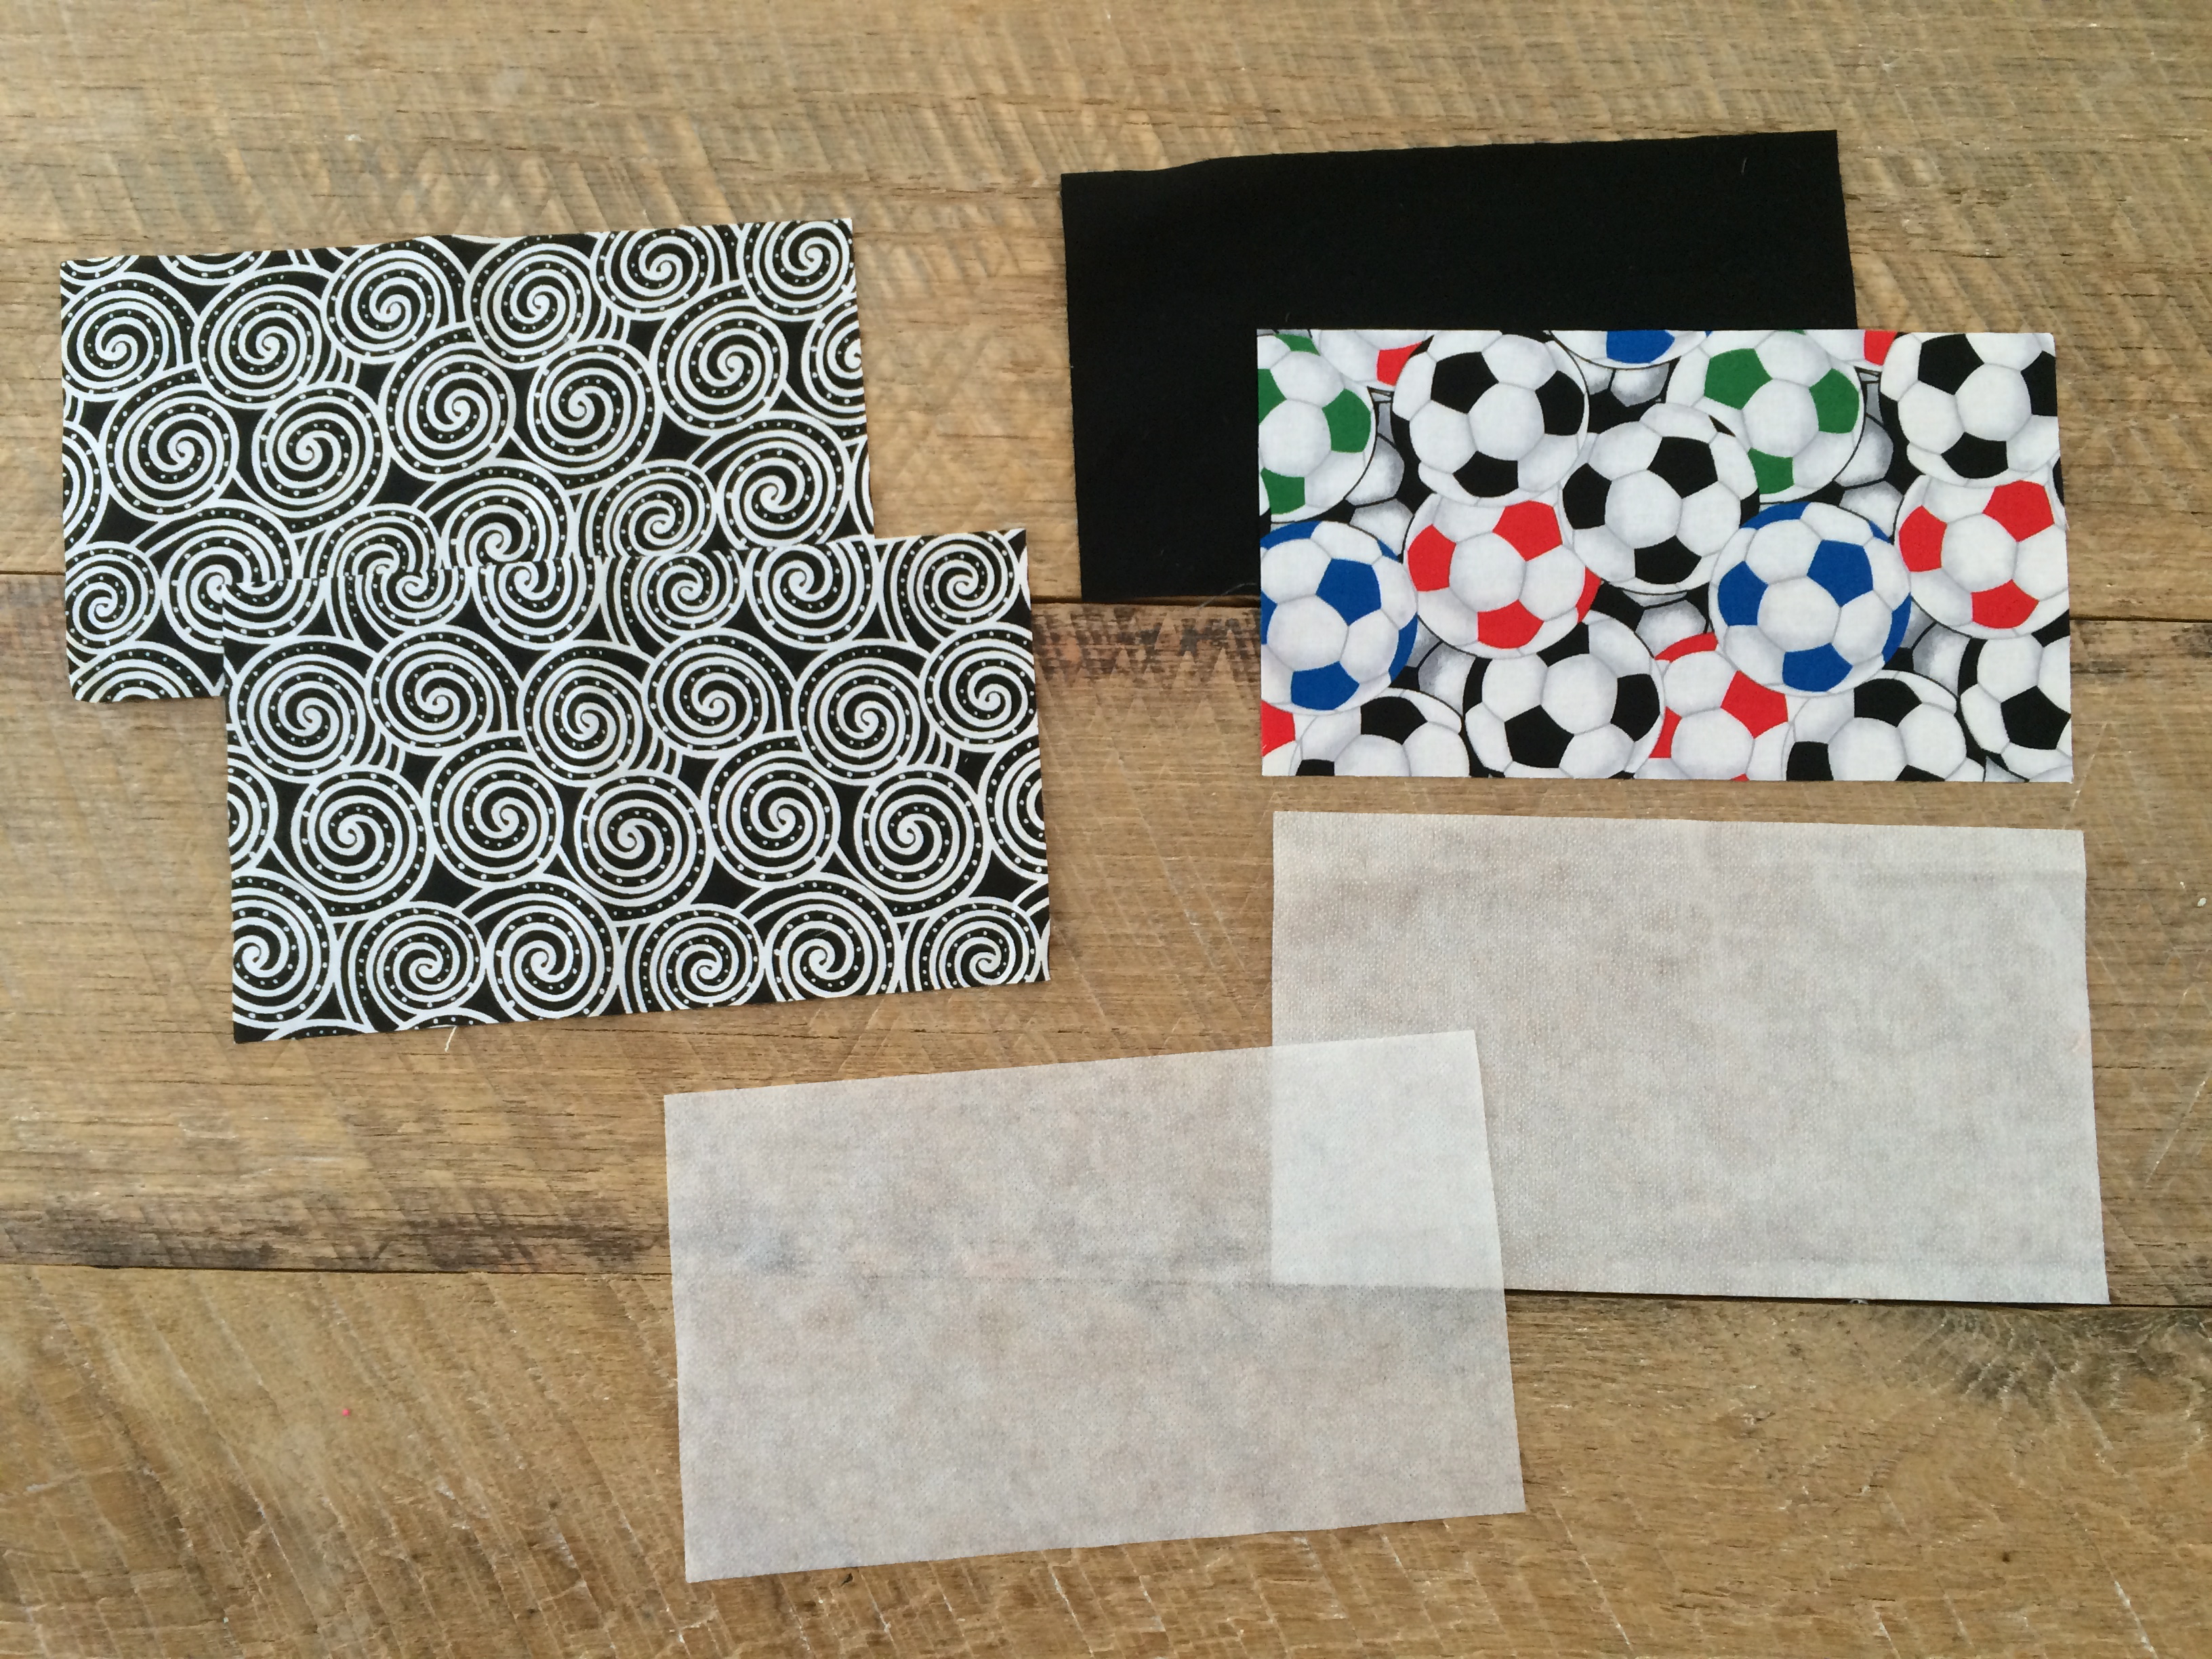
Fabric for outer bag and lining and scraps for appliqué square
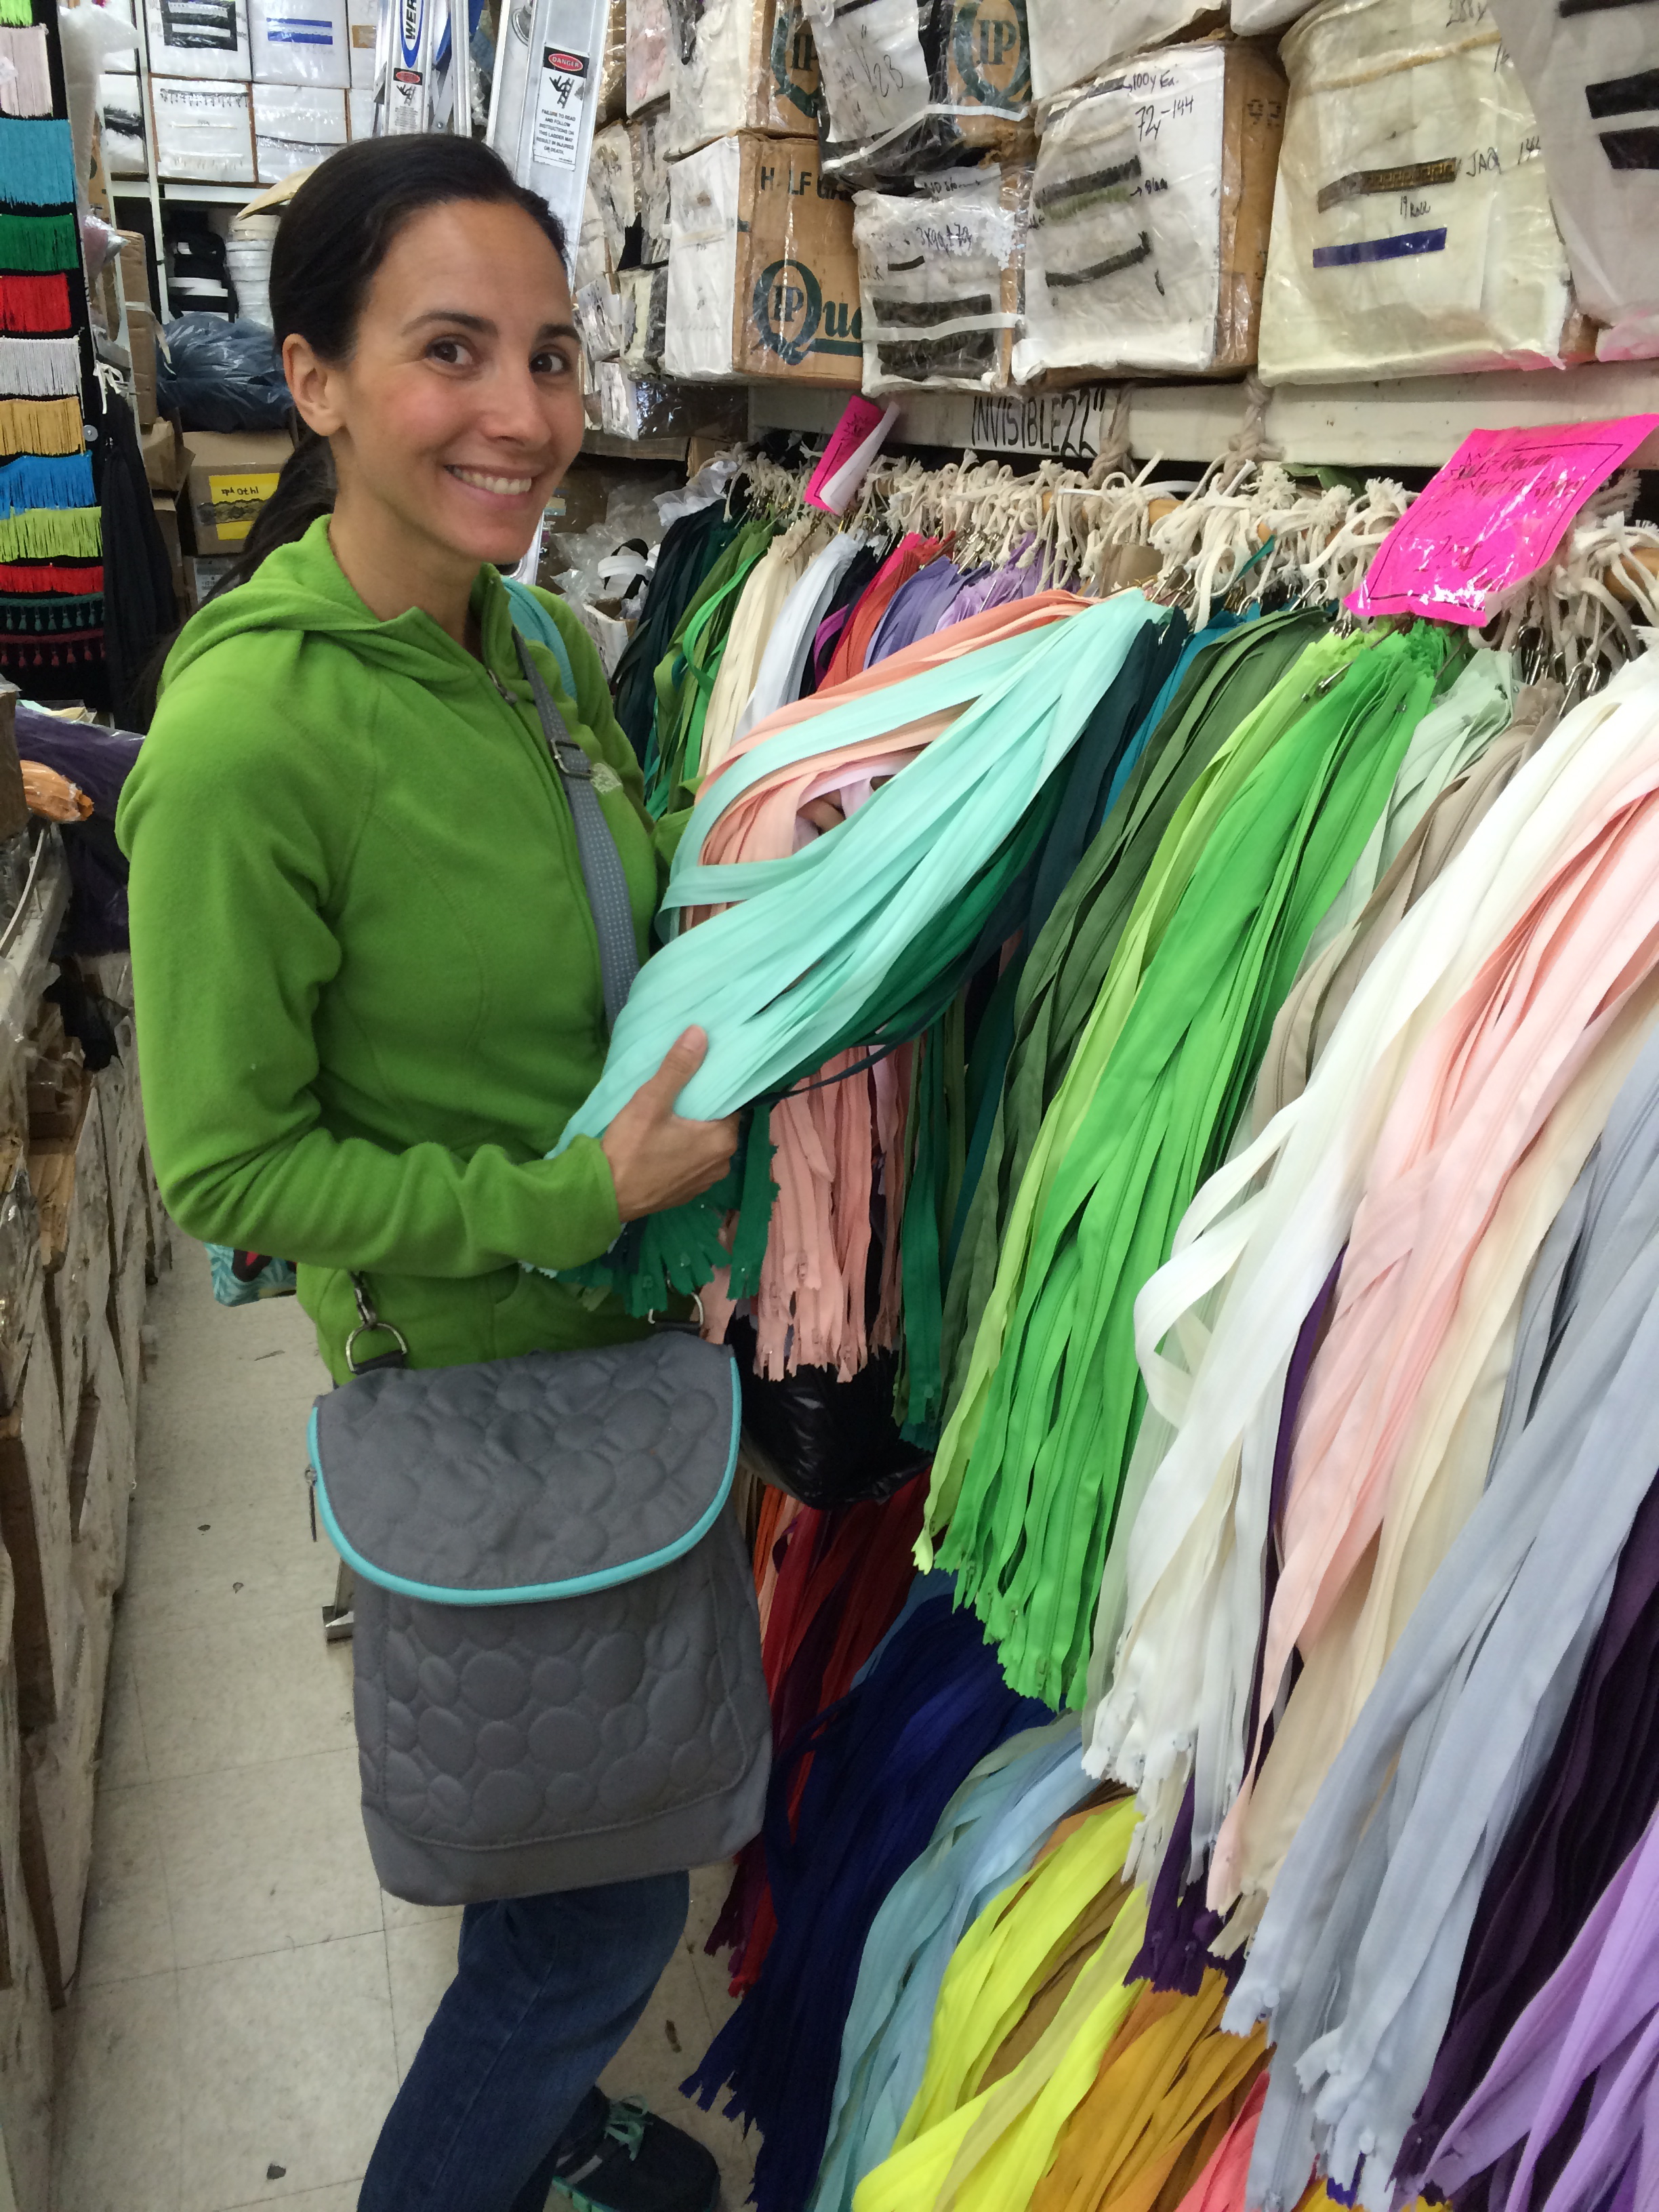
12″ or longer zipper
Heat n Bond fusibile stabilizer
Begin by printing the desired initial in reverse on the Heat n Bond EZ print sheets. If you don’t have the printable sheets, print the letters in reverse on paper and then trace them to a fusible appliqué paper.
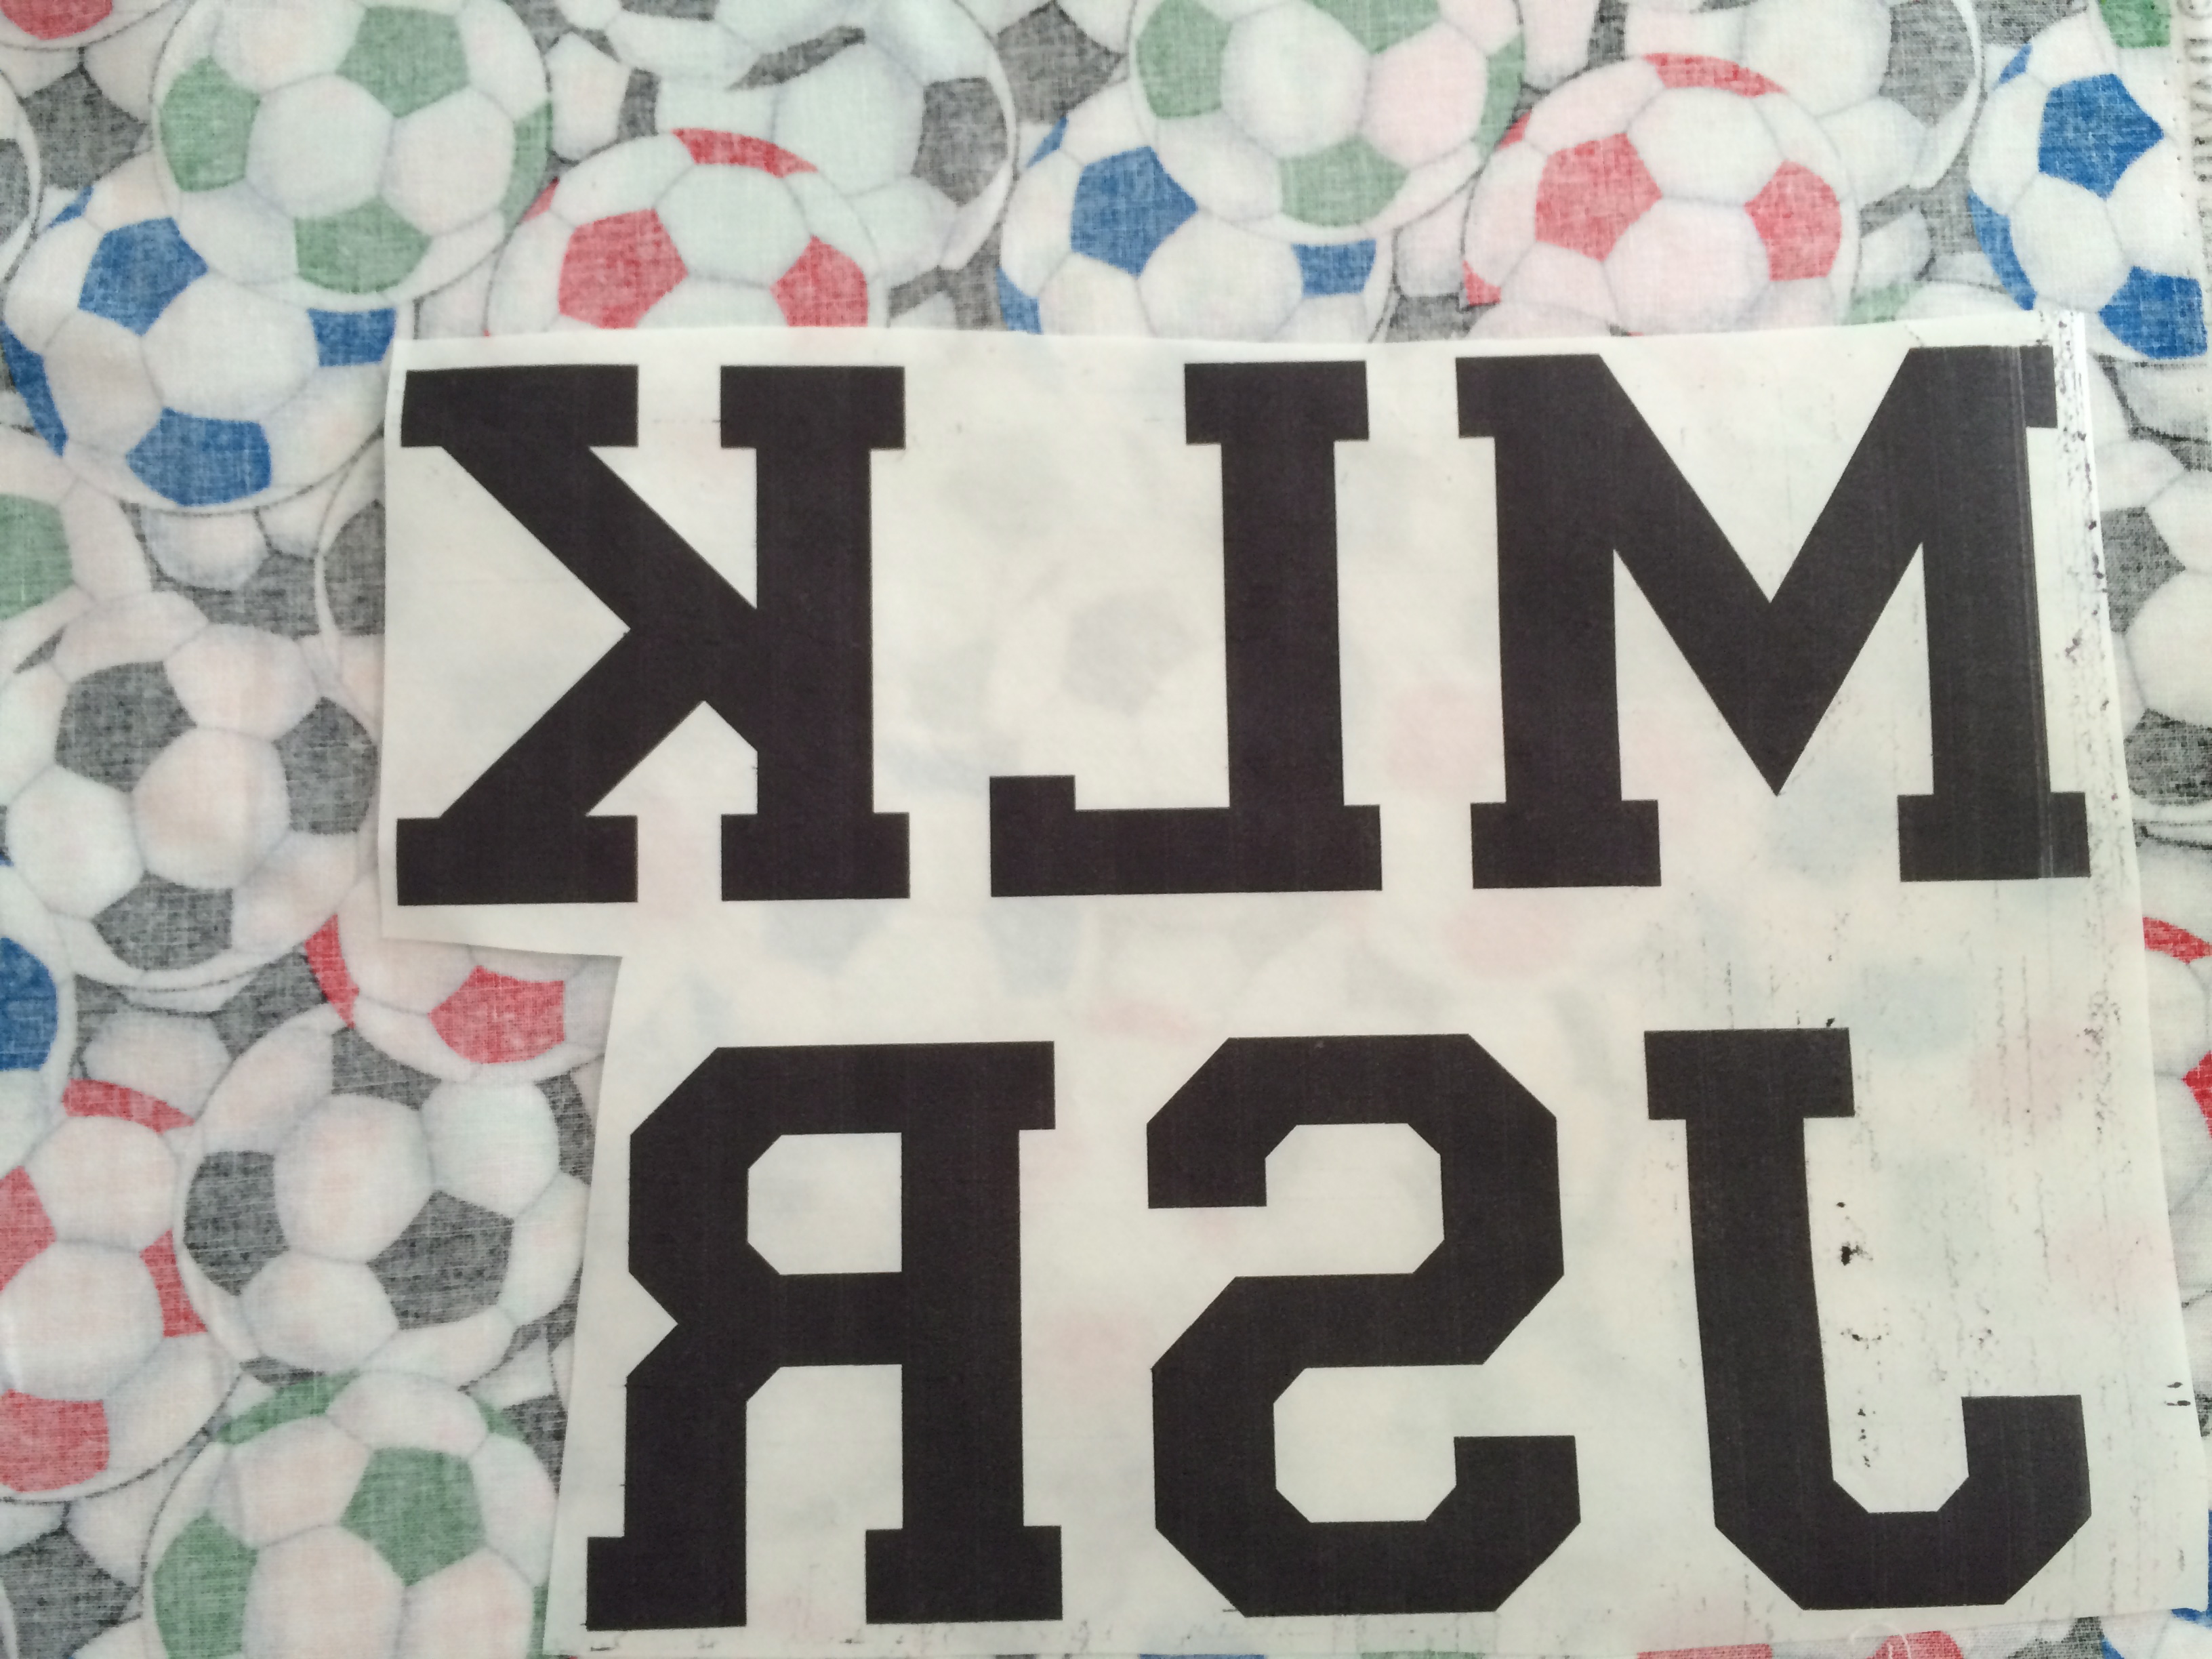
Iron the letters to the wrong side of the soccer ball fabric. Cut out each letter. Or, have your daughter cut them out for you while you sew the bags because the clock is ticking!!
Cut (2) outer bag pieces 8.75″ x 5″
cut (2) lining pieces 8.75″ x 5″
cut (2) fusible stabilizer pieces 8.75″ x 5″
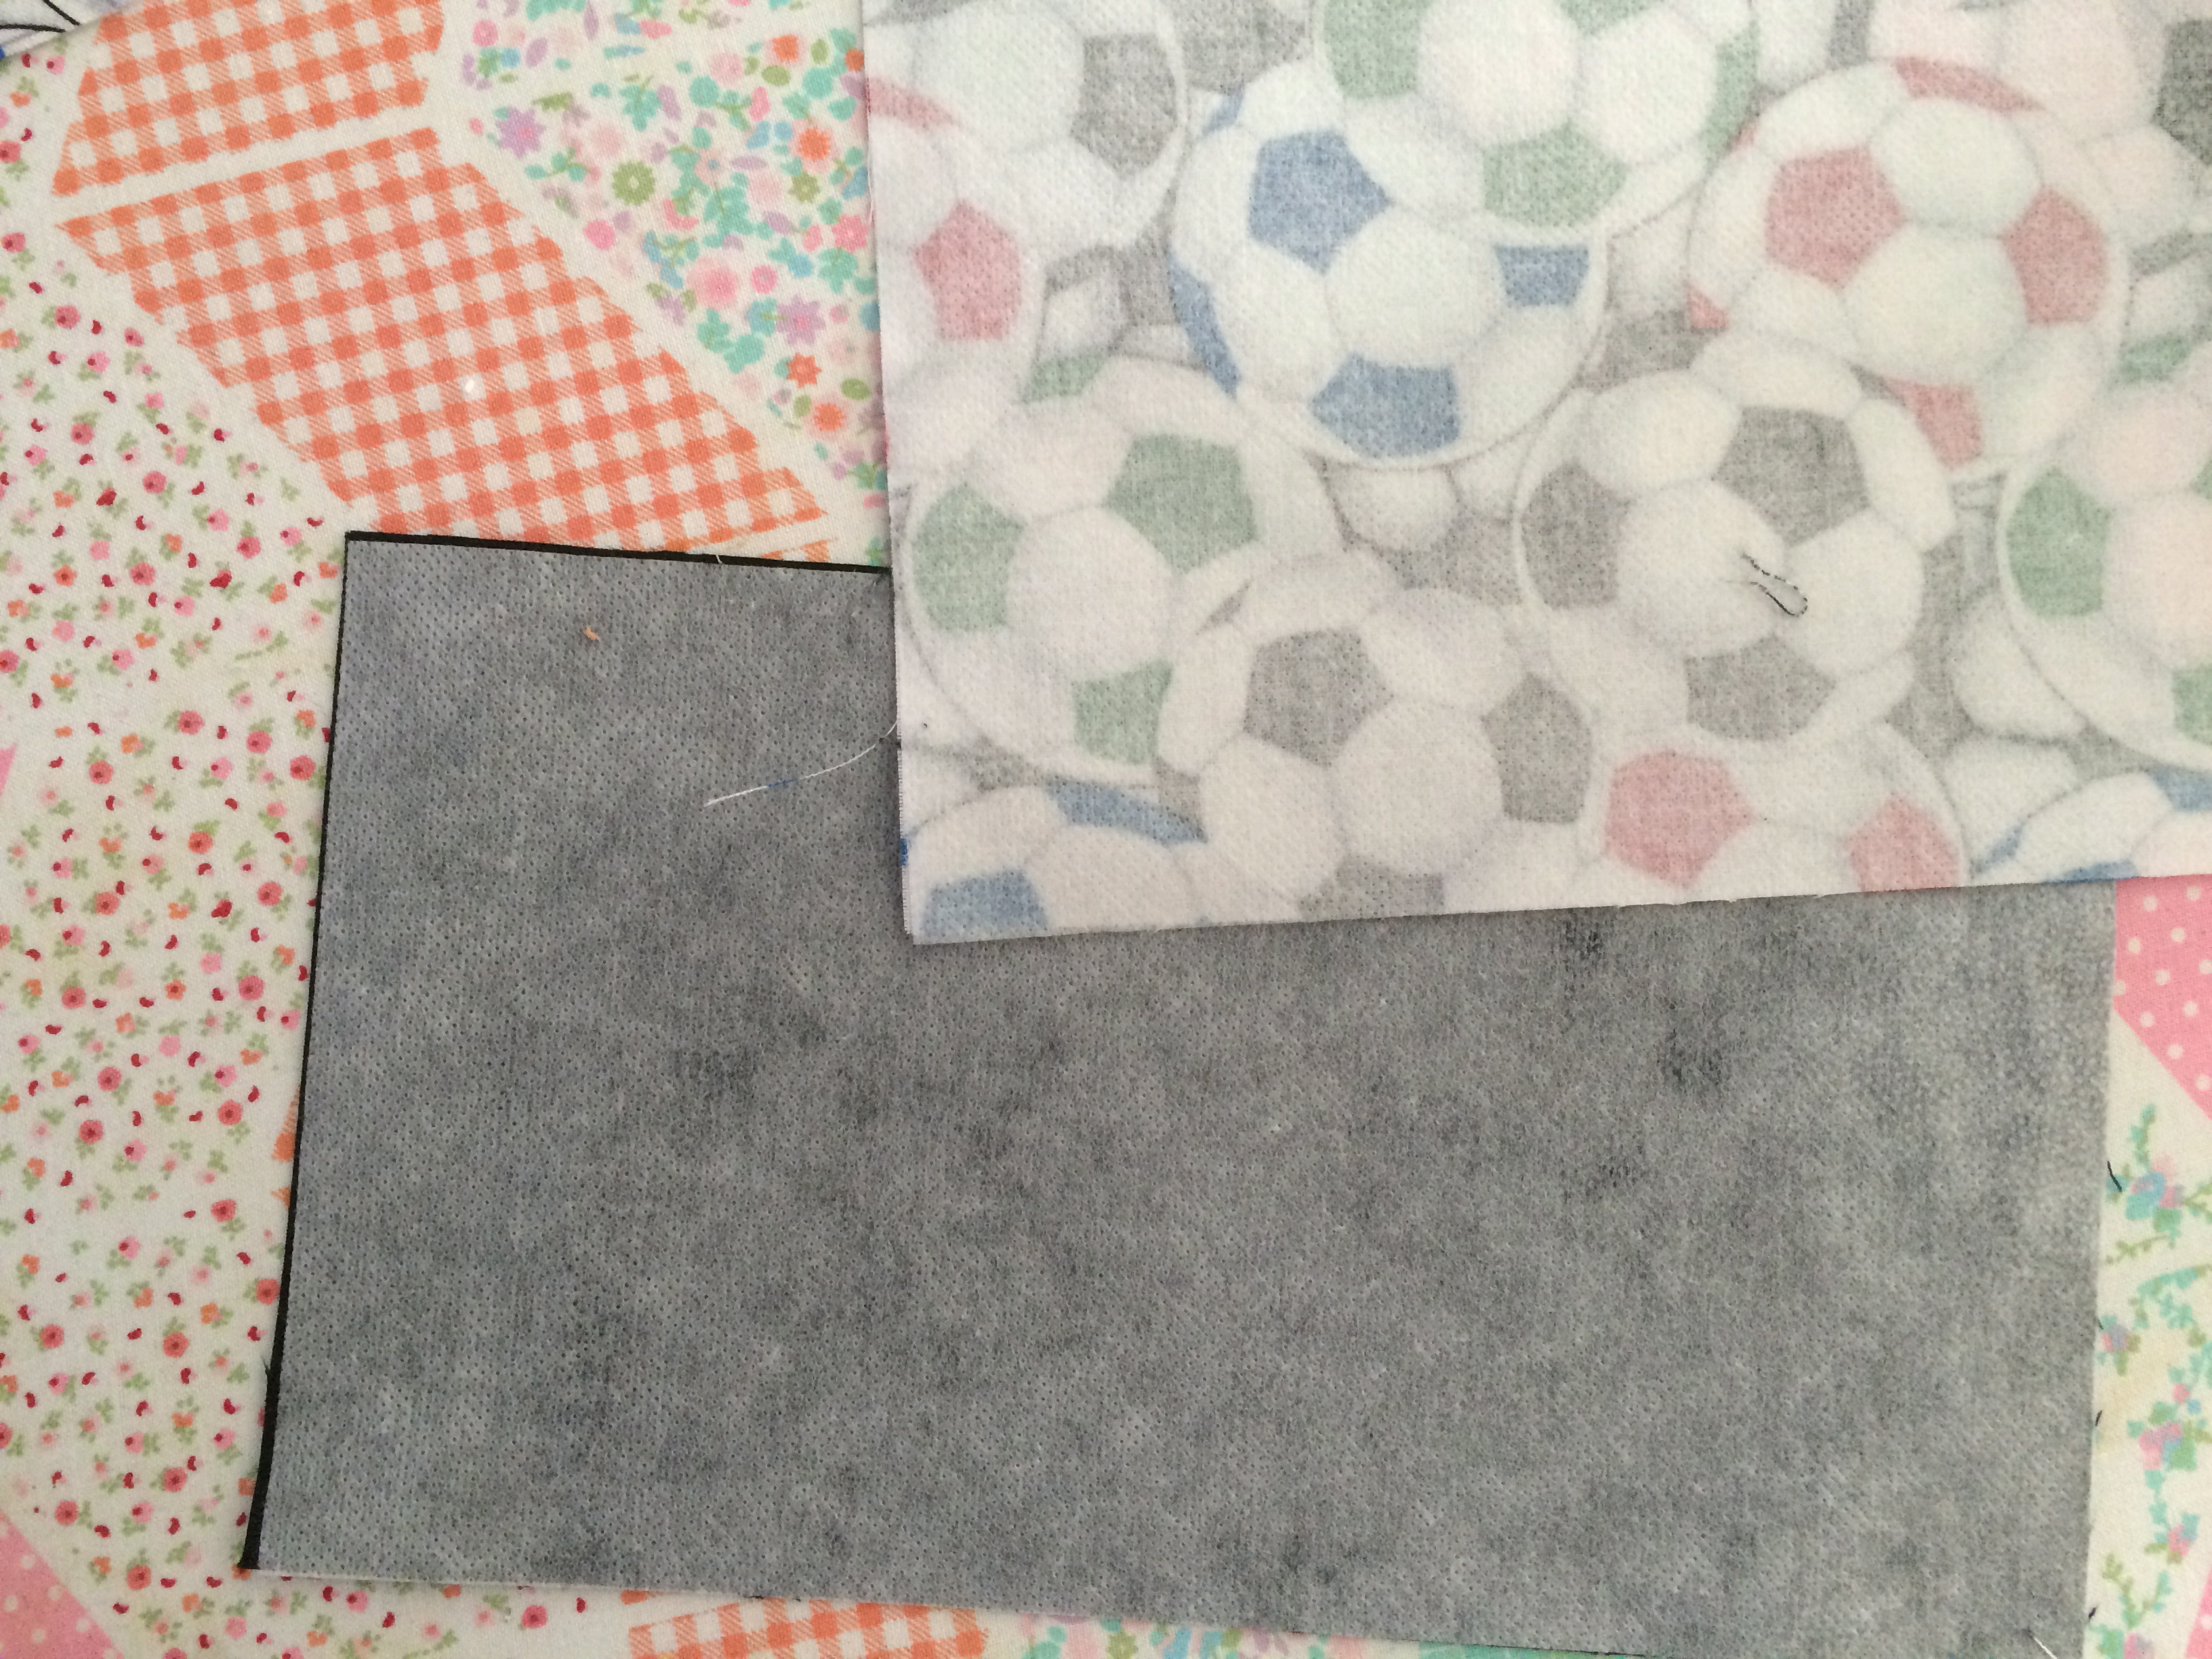
Iron the stabilizer to the wrong side of the outer bag pieces.
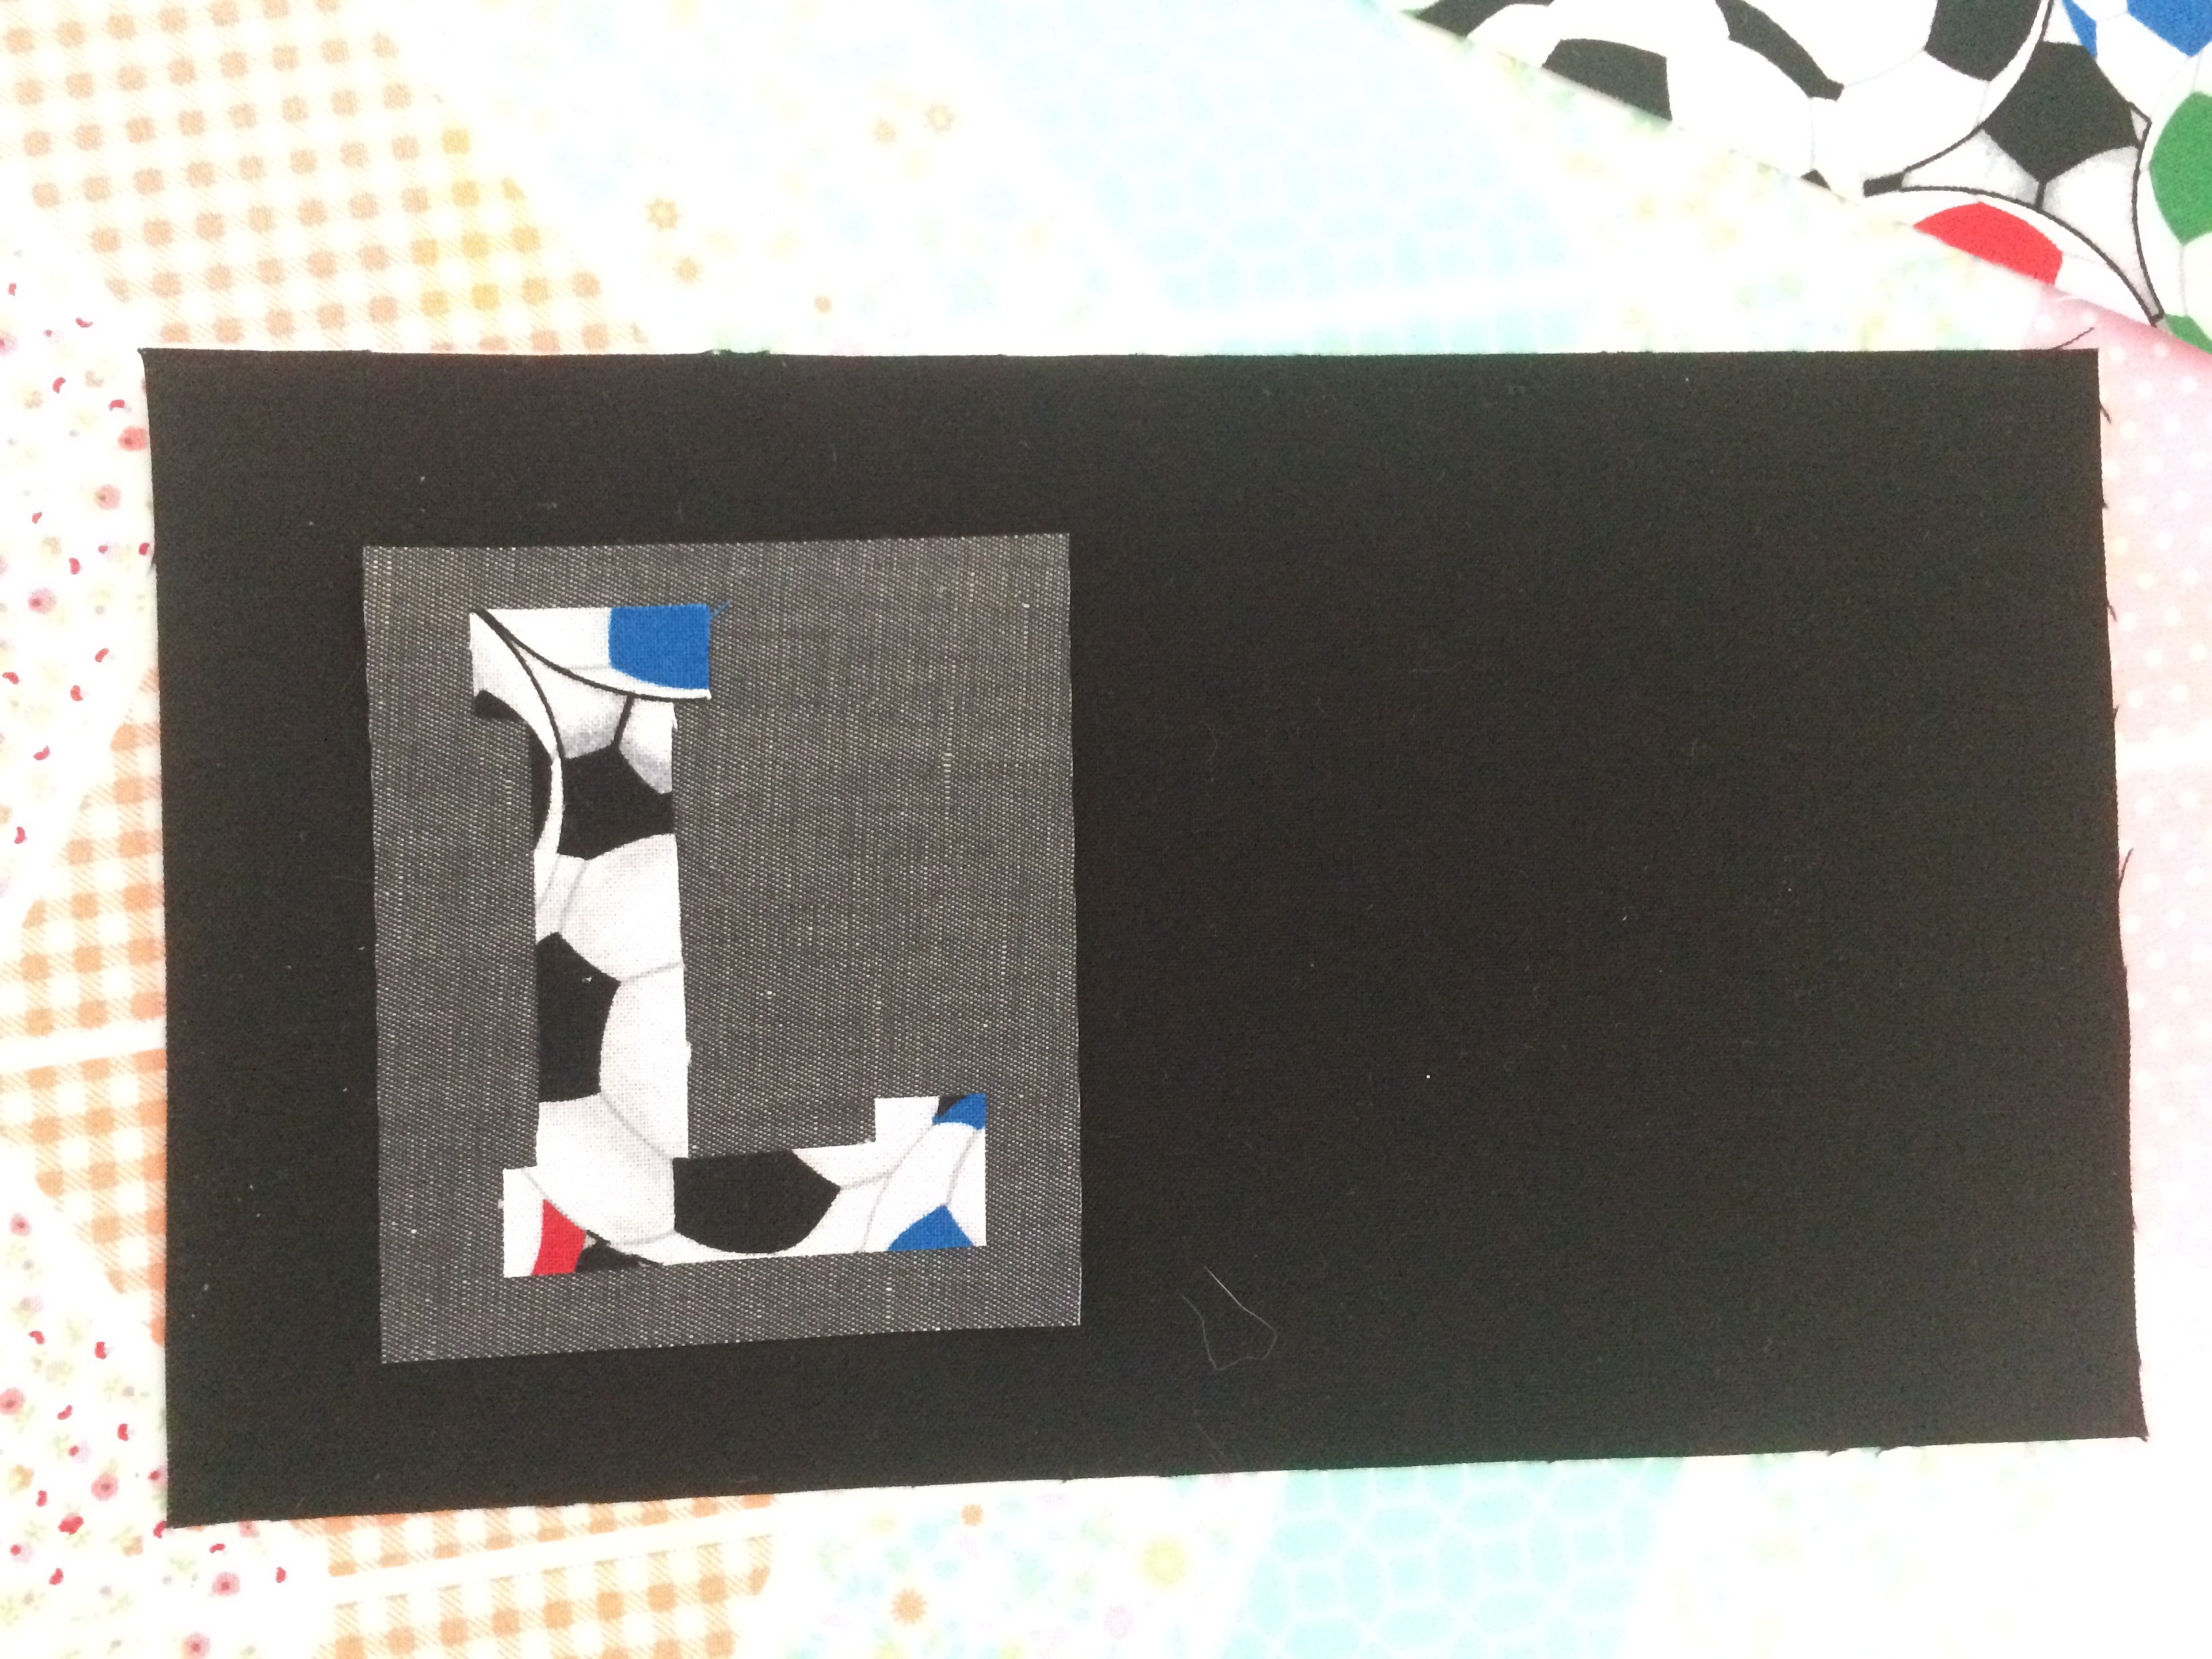
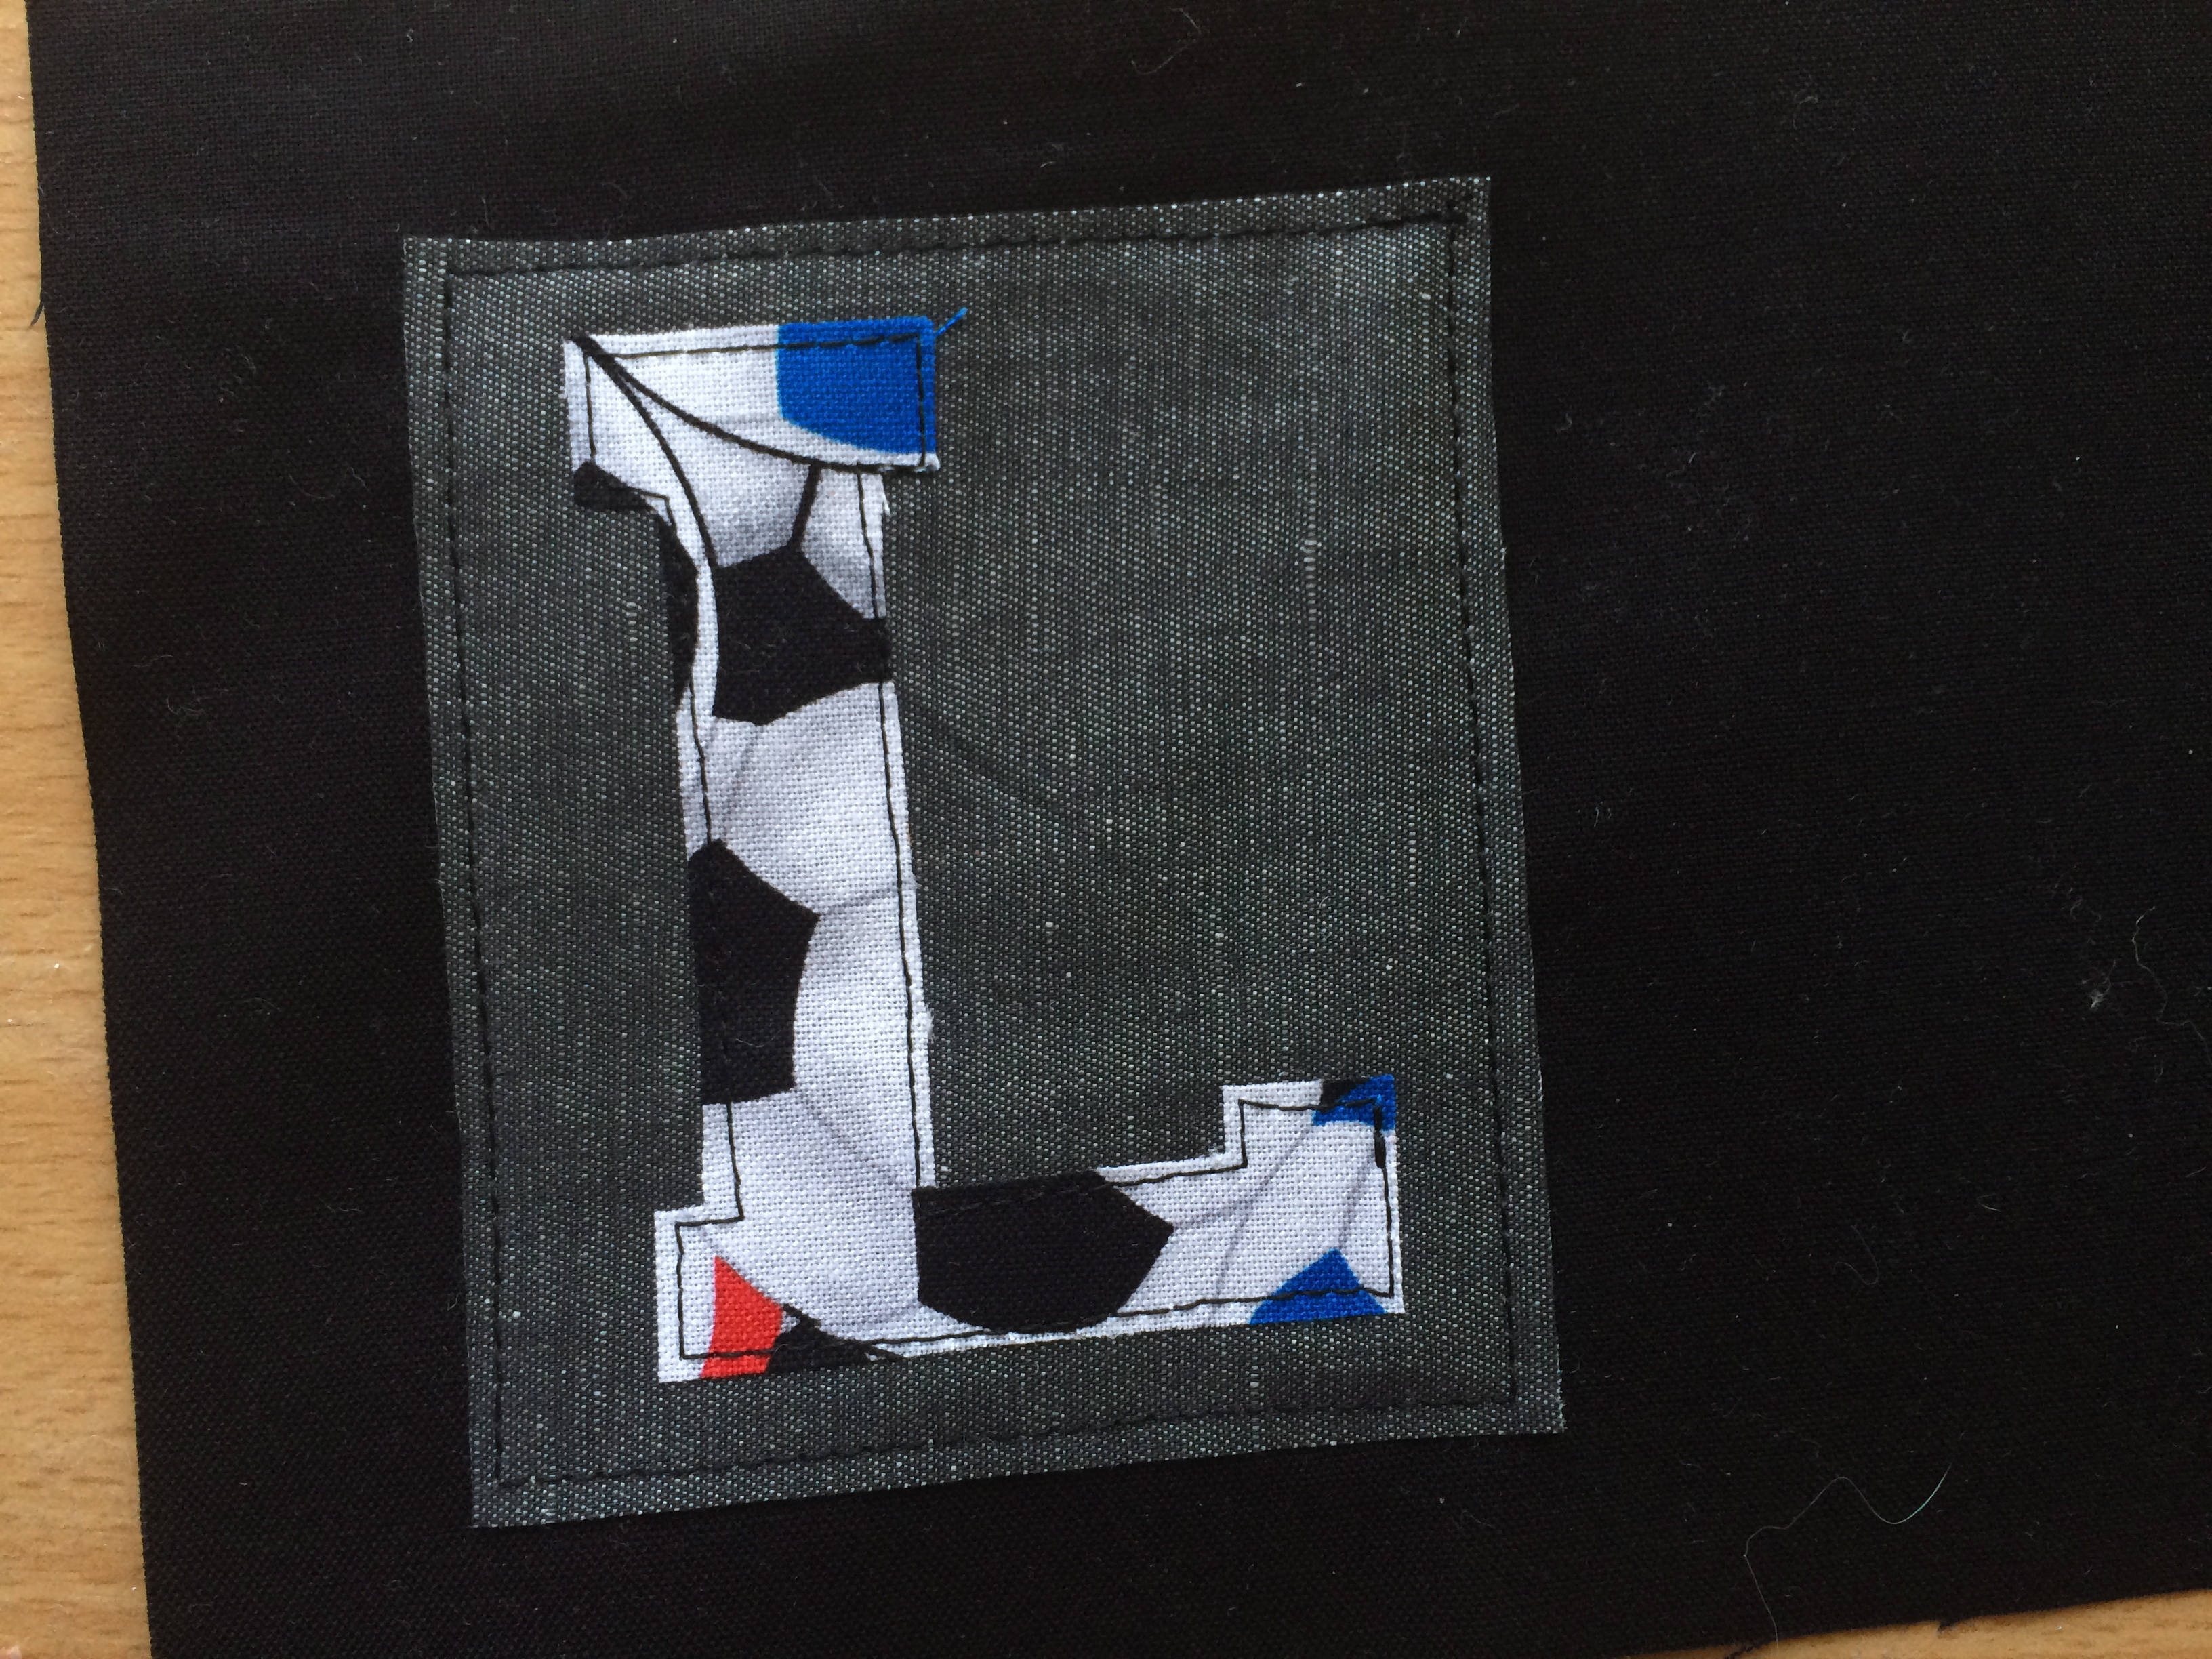
Cut a 3.5″ or so square (it just needs to frame the letter) of grey denim fabric. Layer it as pictured below. Peel the backing paper off the letter and heat set it into place.
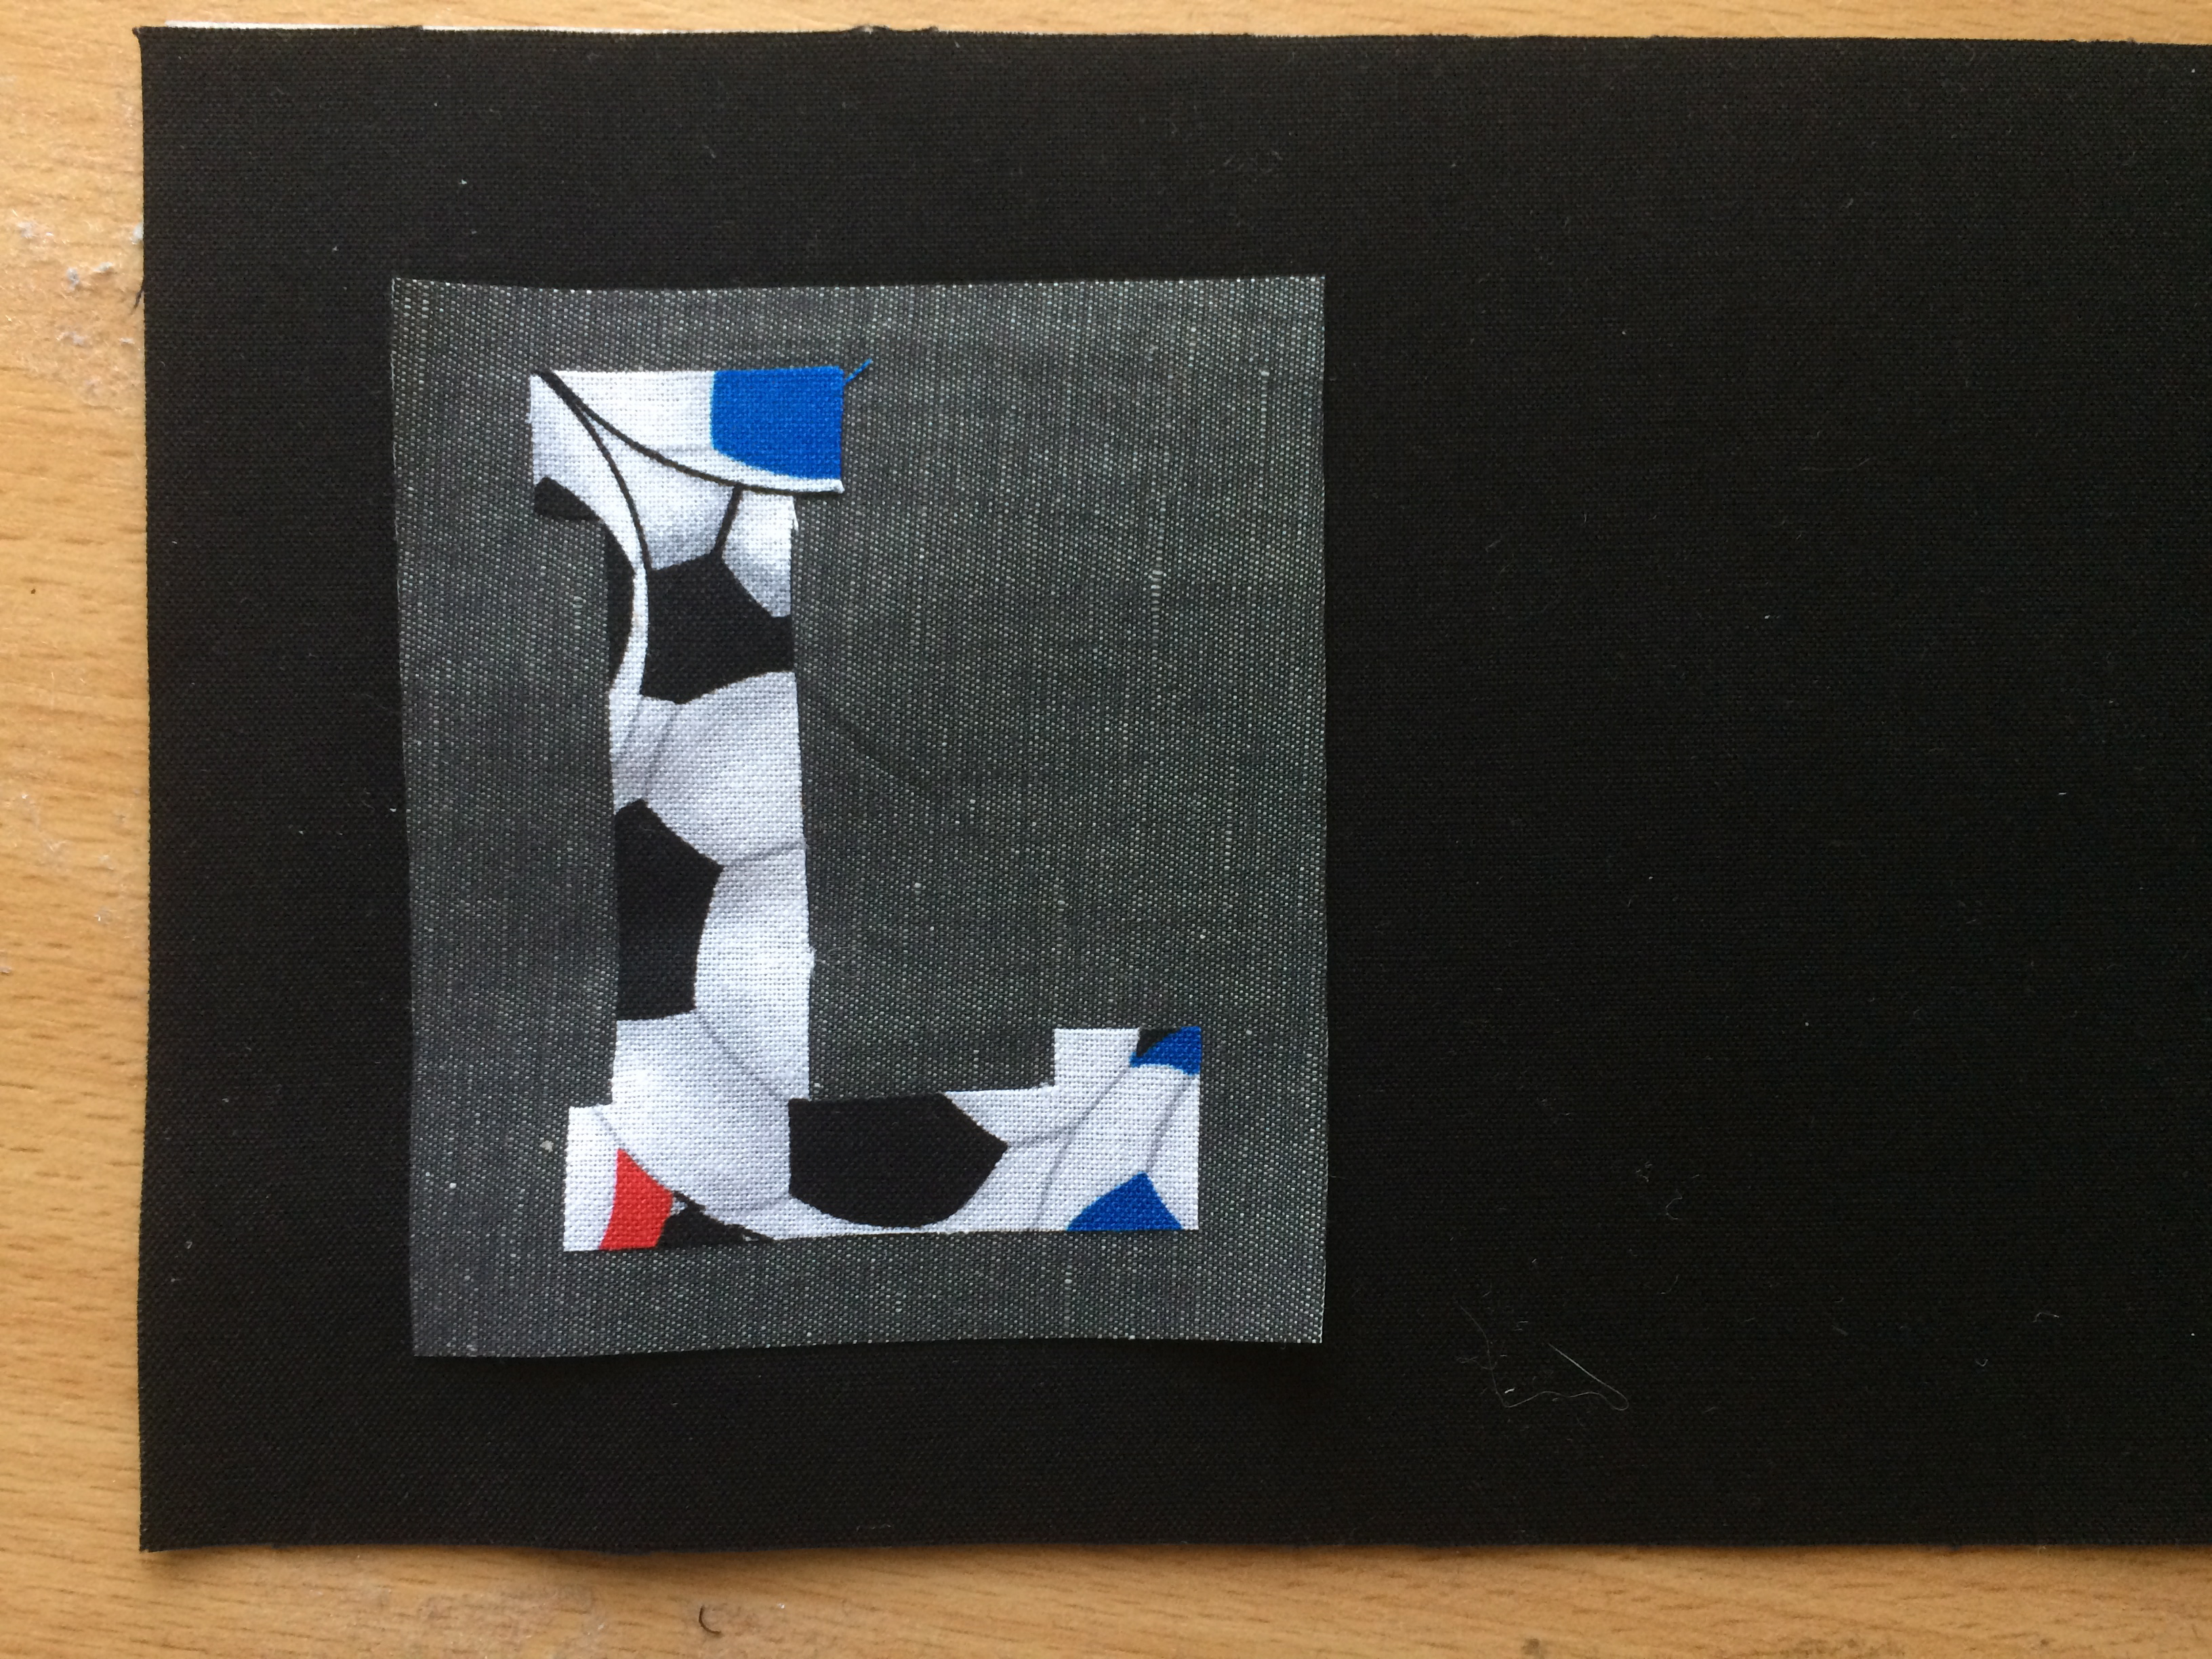
Stitch around the square and the letter.
To insert the zipper…..lay the zipper face down on the front of the bag. Then place a lining piece right side down on top of the zipper, like this: (note, position the front and the lining piece so they line up perfectly. I moved the lining piece over for the picture so you can tell how they are layered.
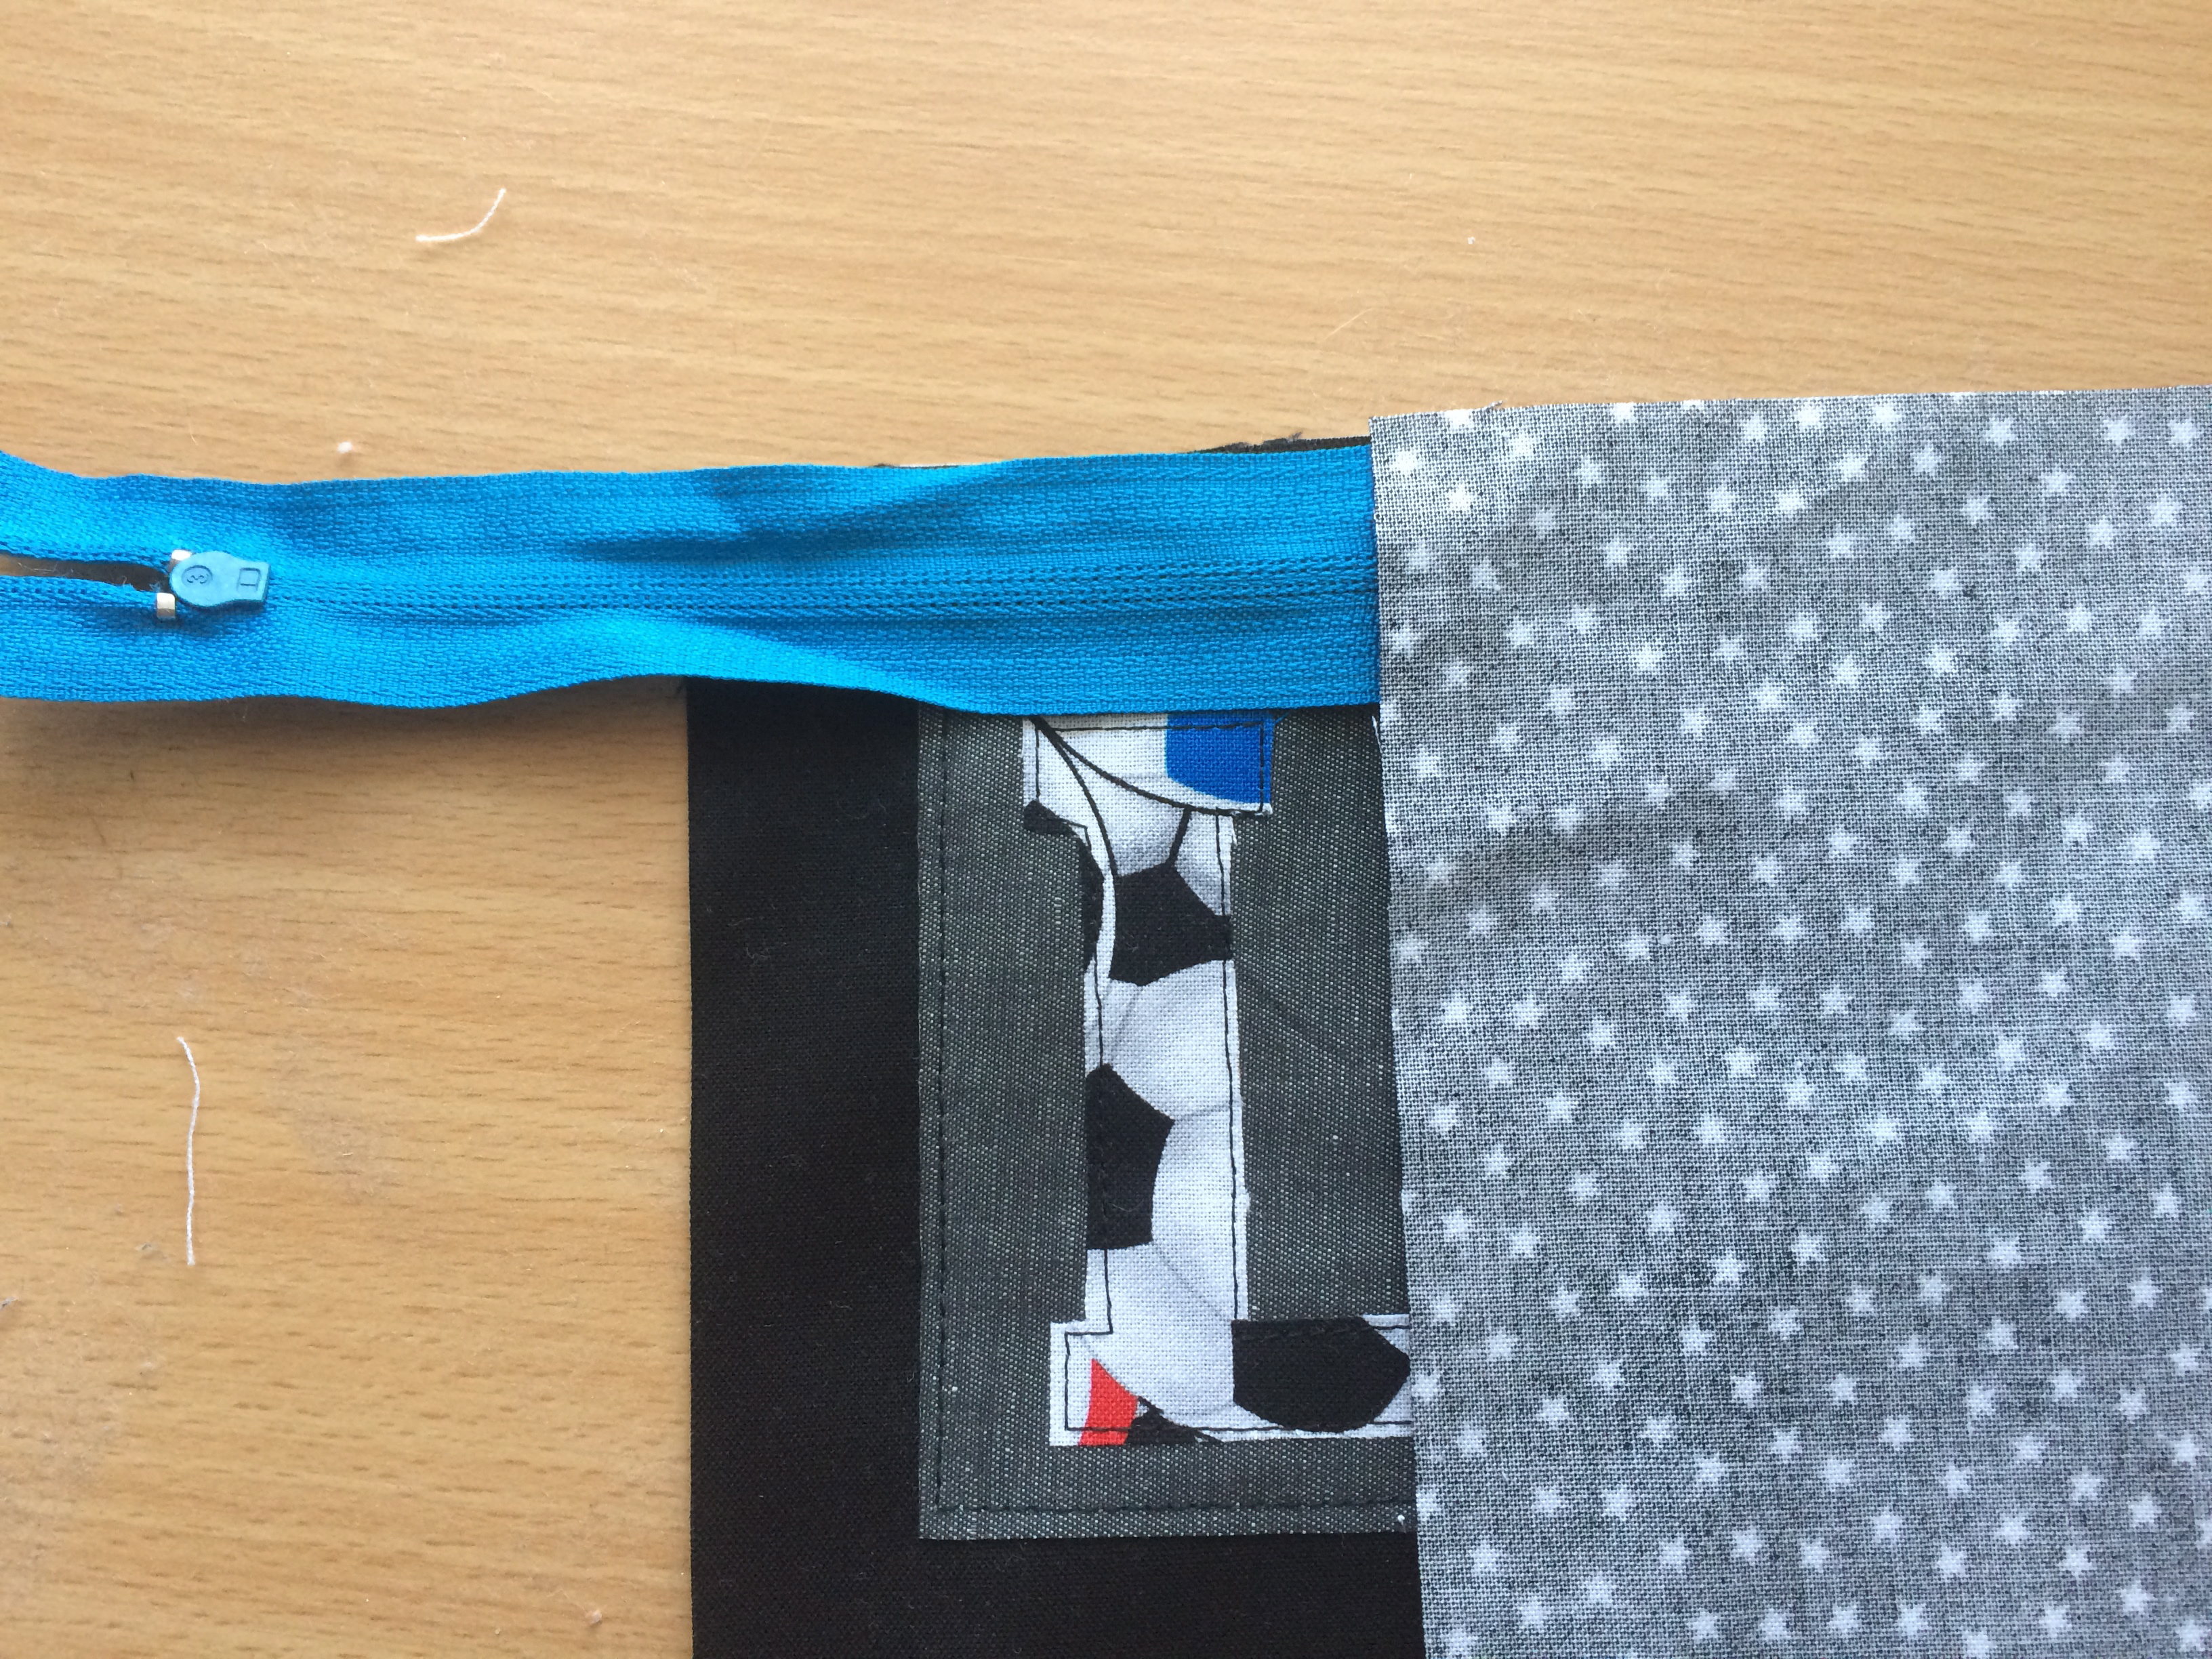
Pin the pieces into place. Notice the zipper ends are hanging out – totaly ok. In my other zipper pouch tutorials I have made zipper tabs. I skipped this step to save time.
Sew using a zipper foot along the edge like this:
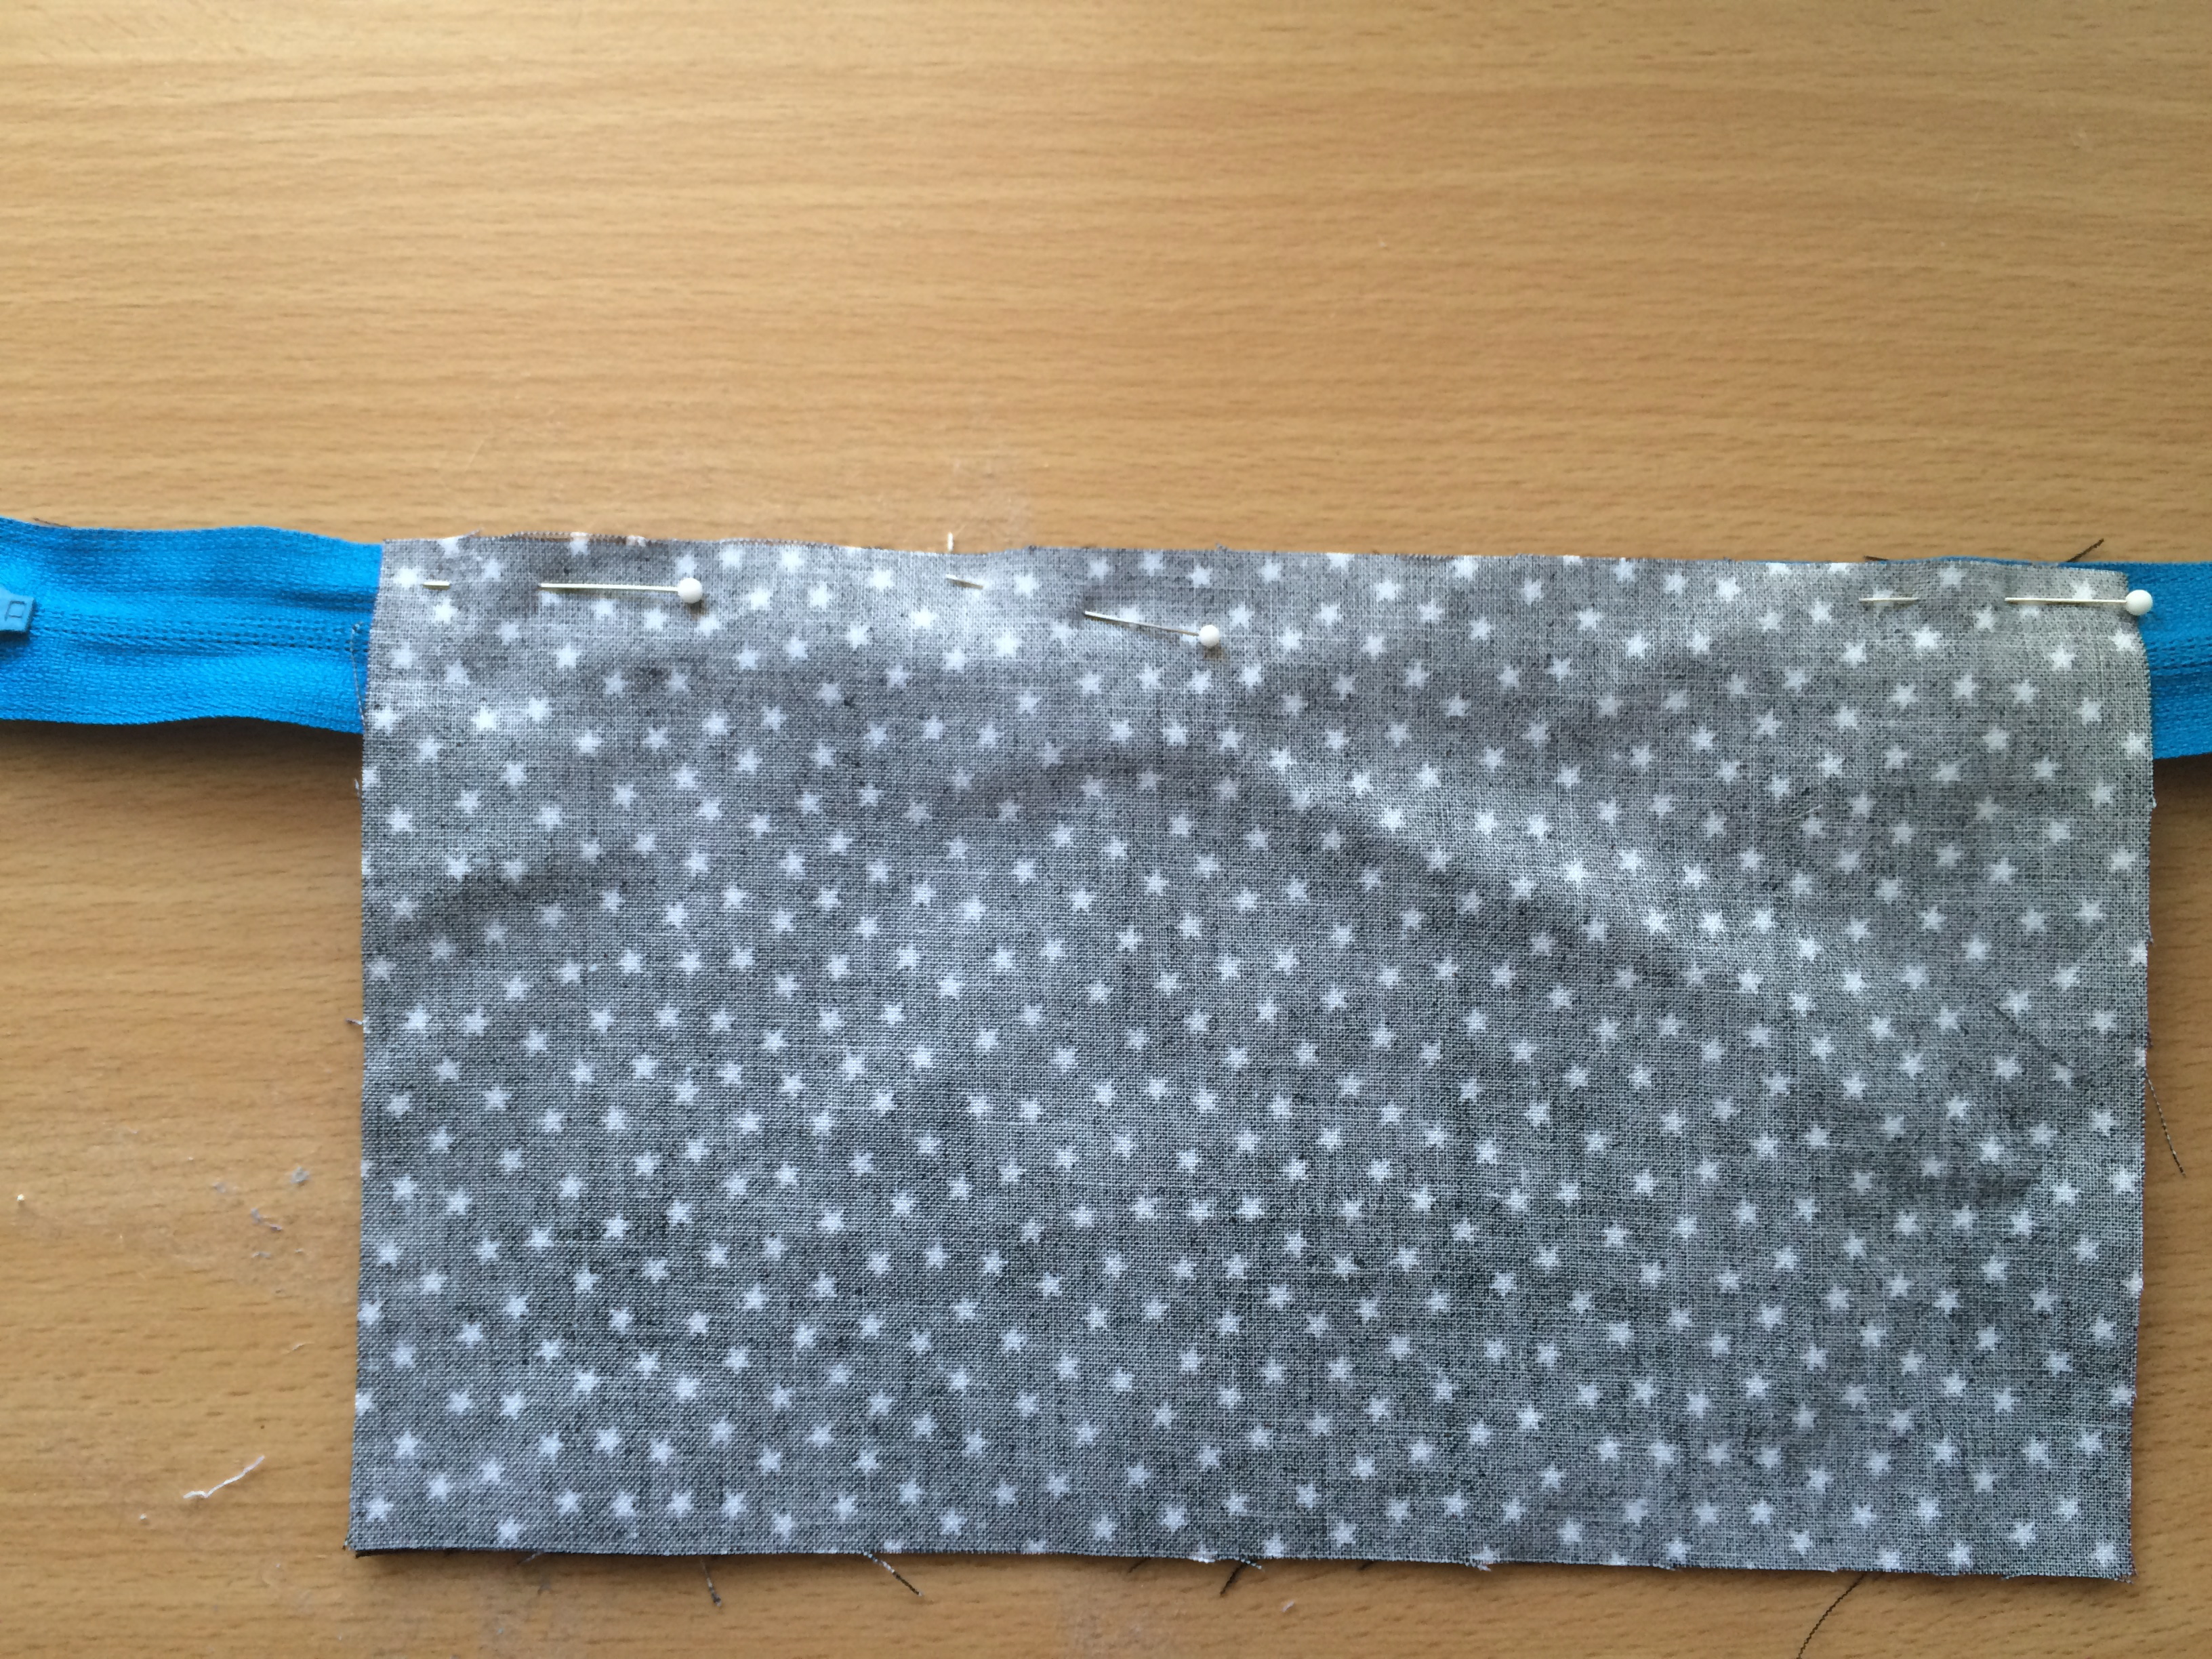
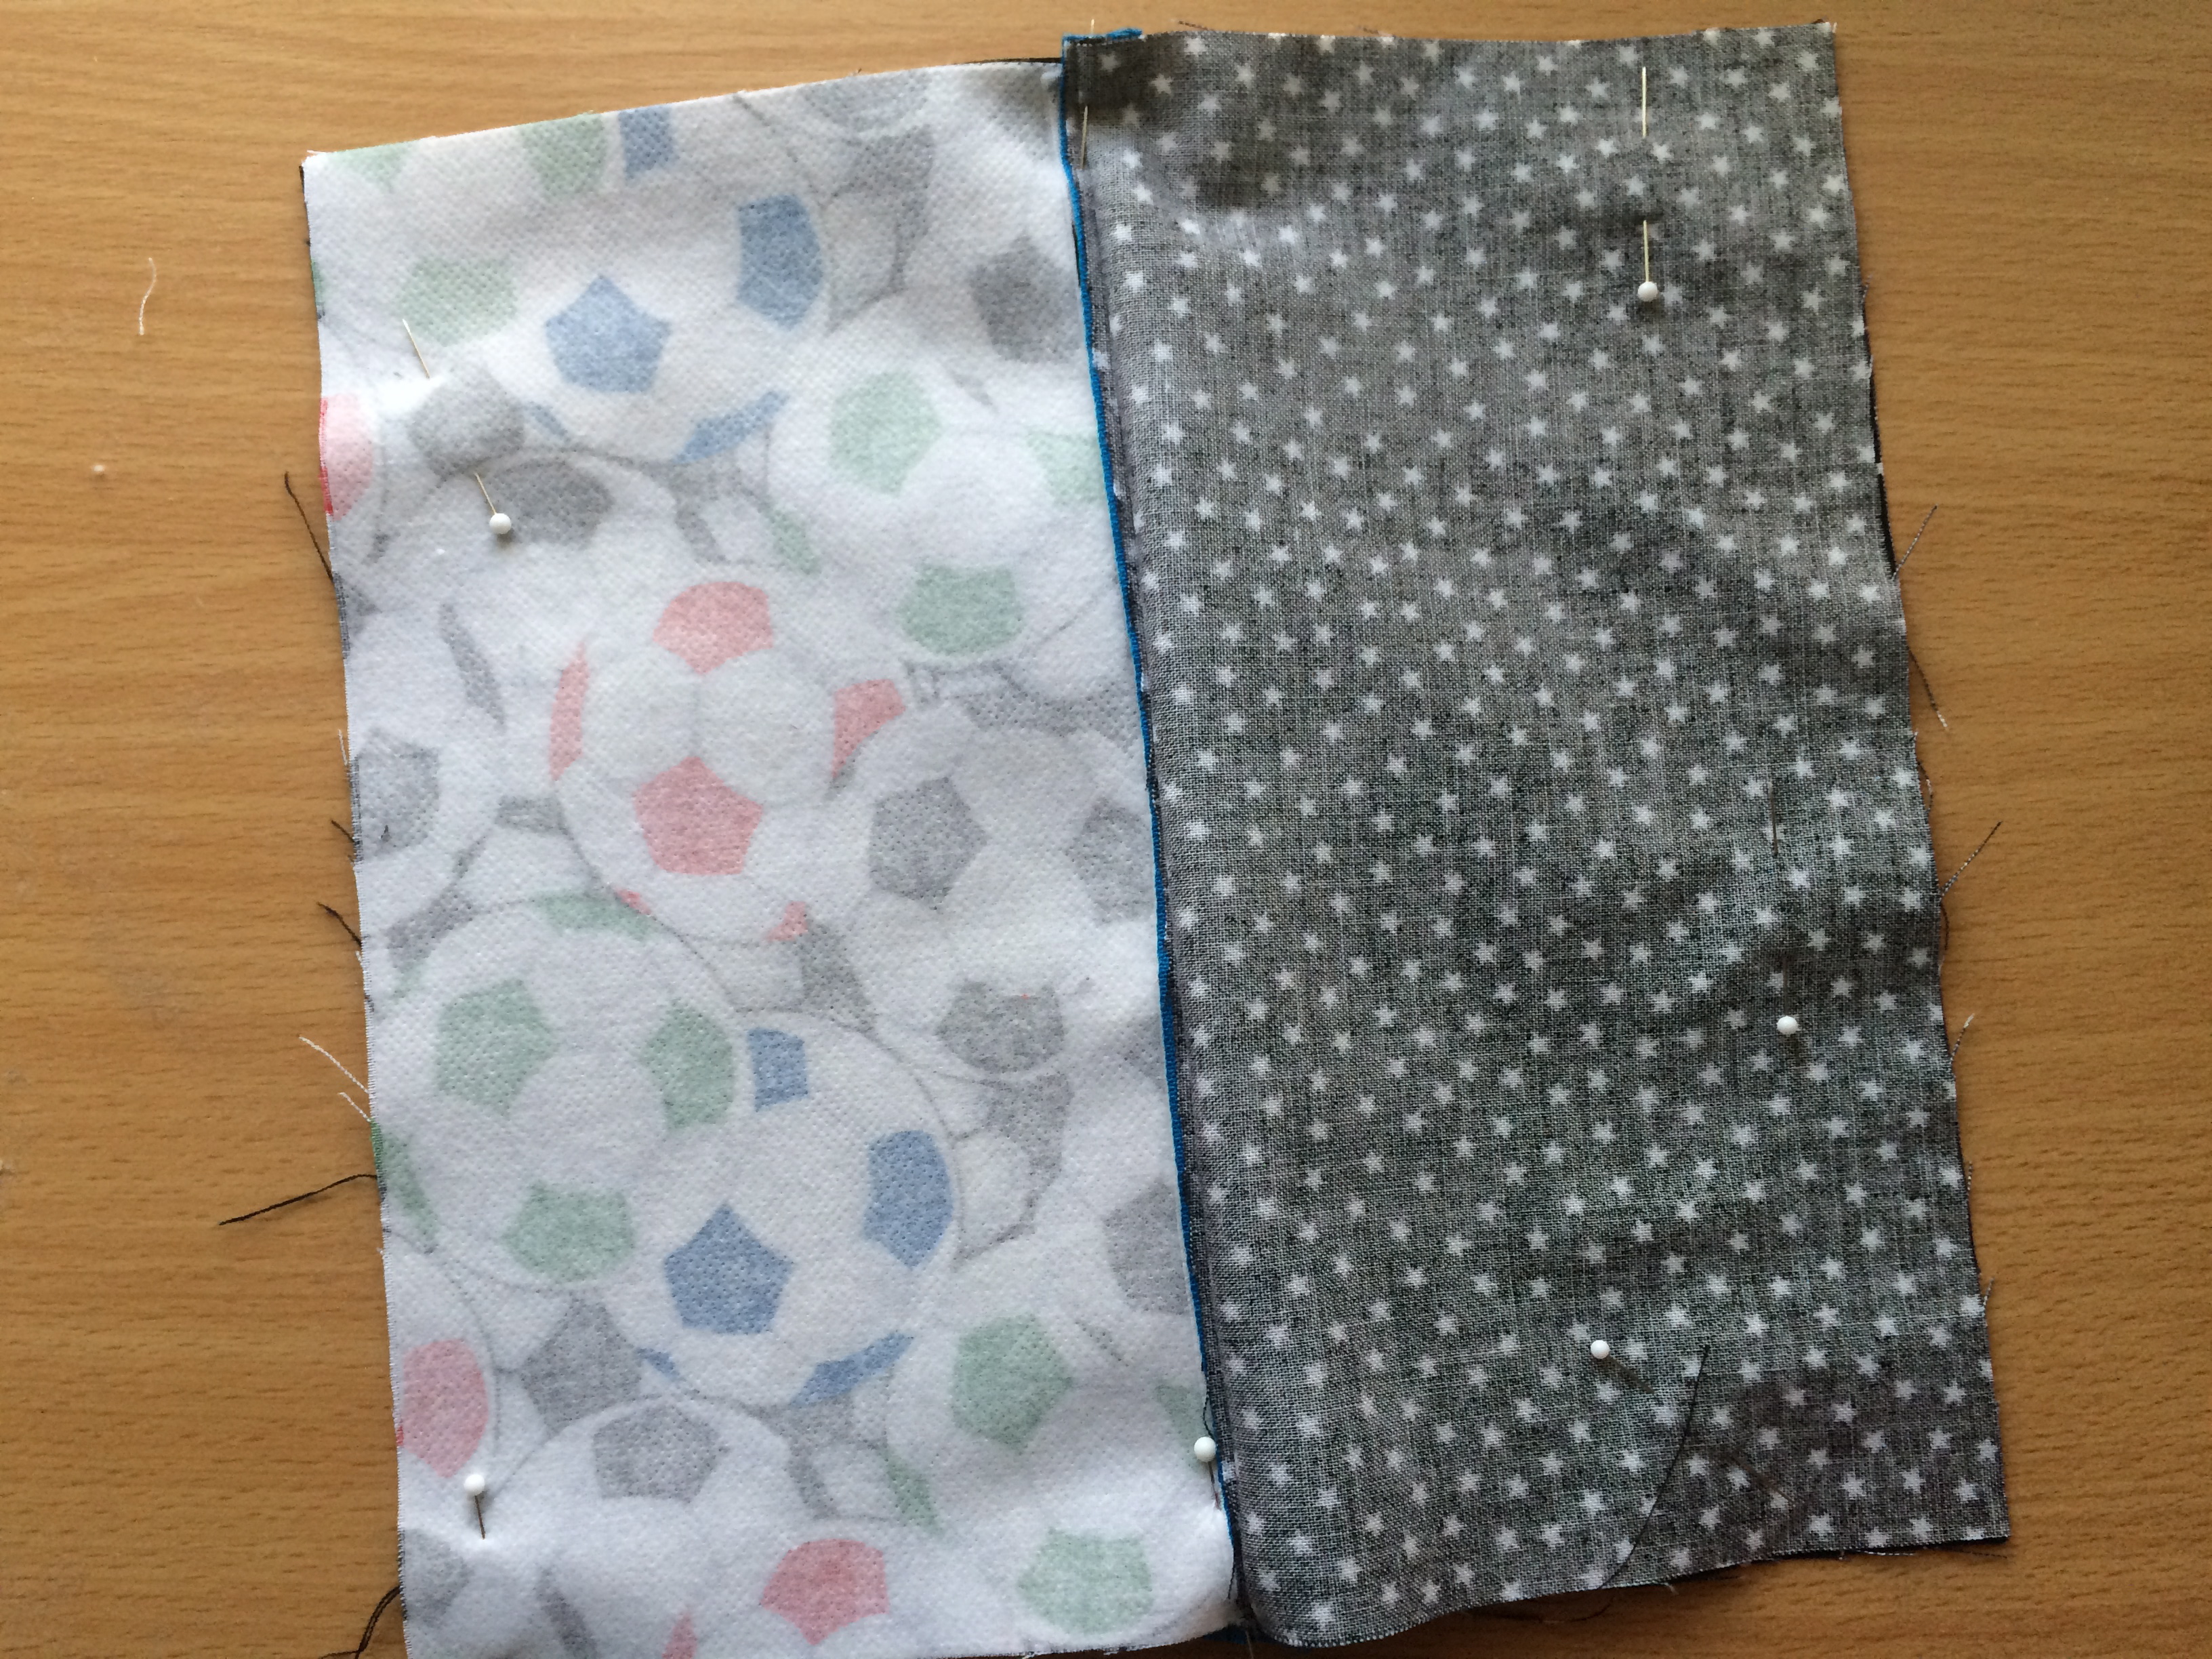
Now do the same thing to the other side. This is how it is layered: the backing fabric (soccer balls) face up, the letter piece face down then add the second lining piece so the right sides are together. Line everything up and sew.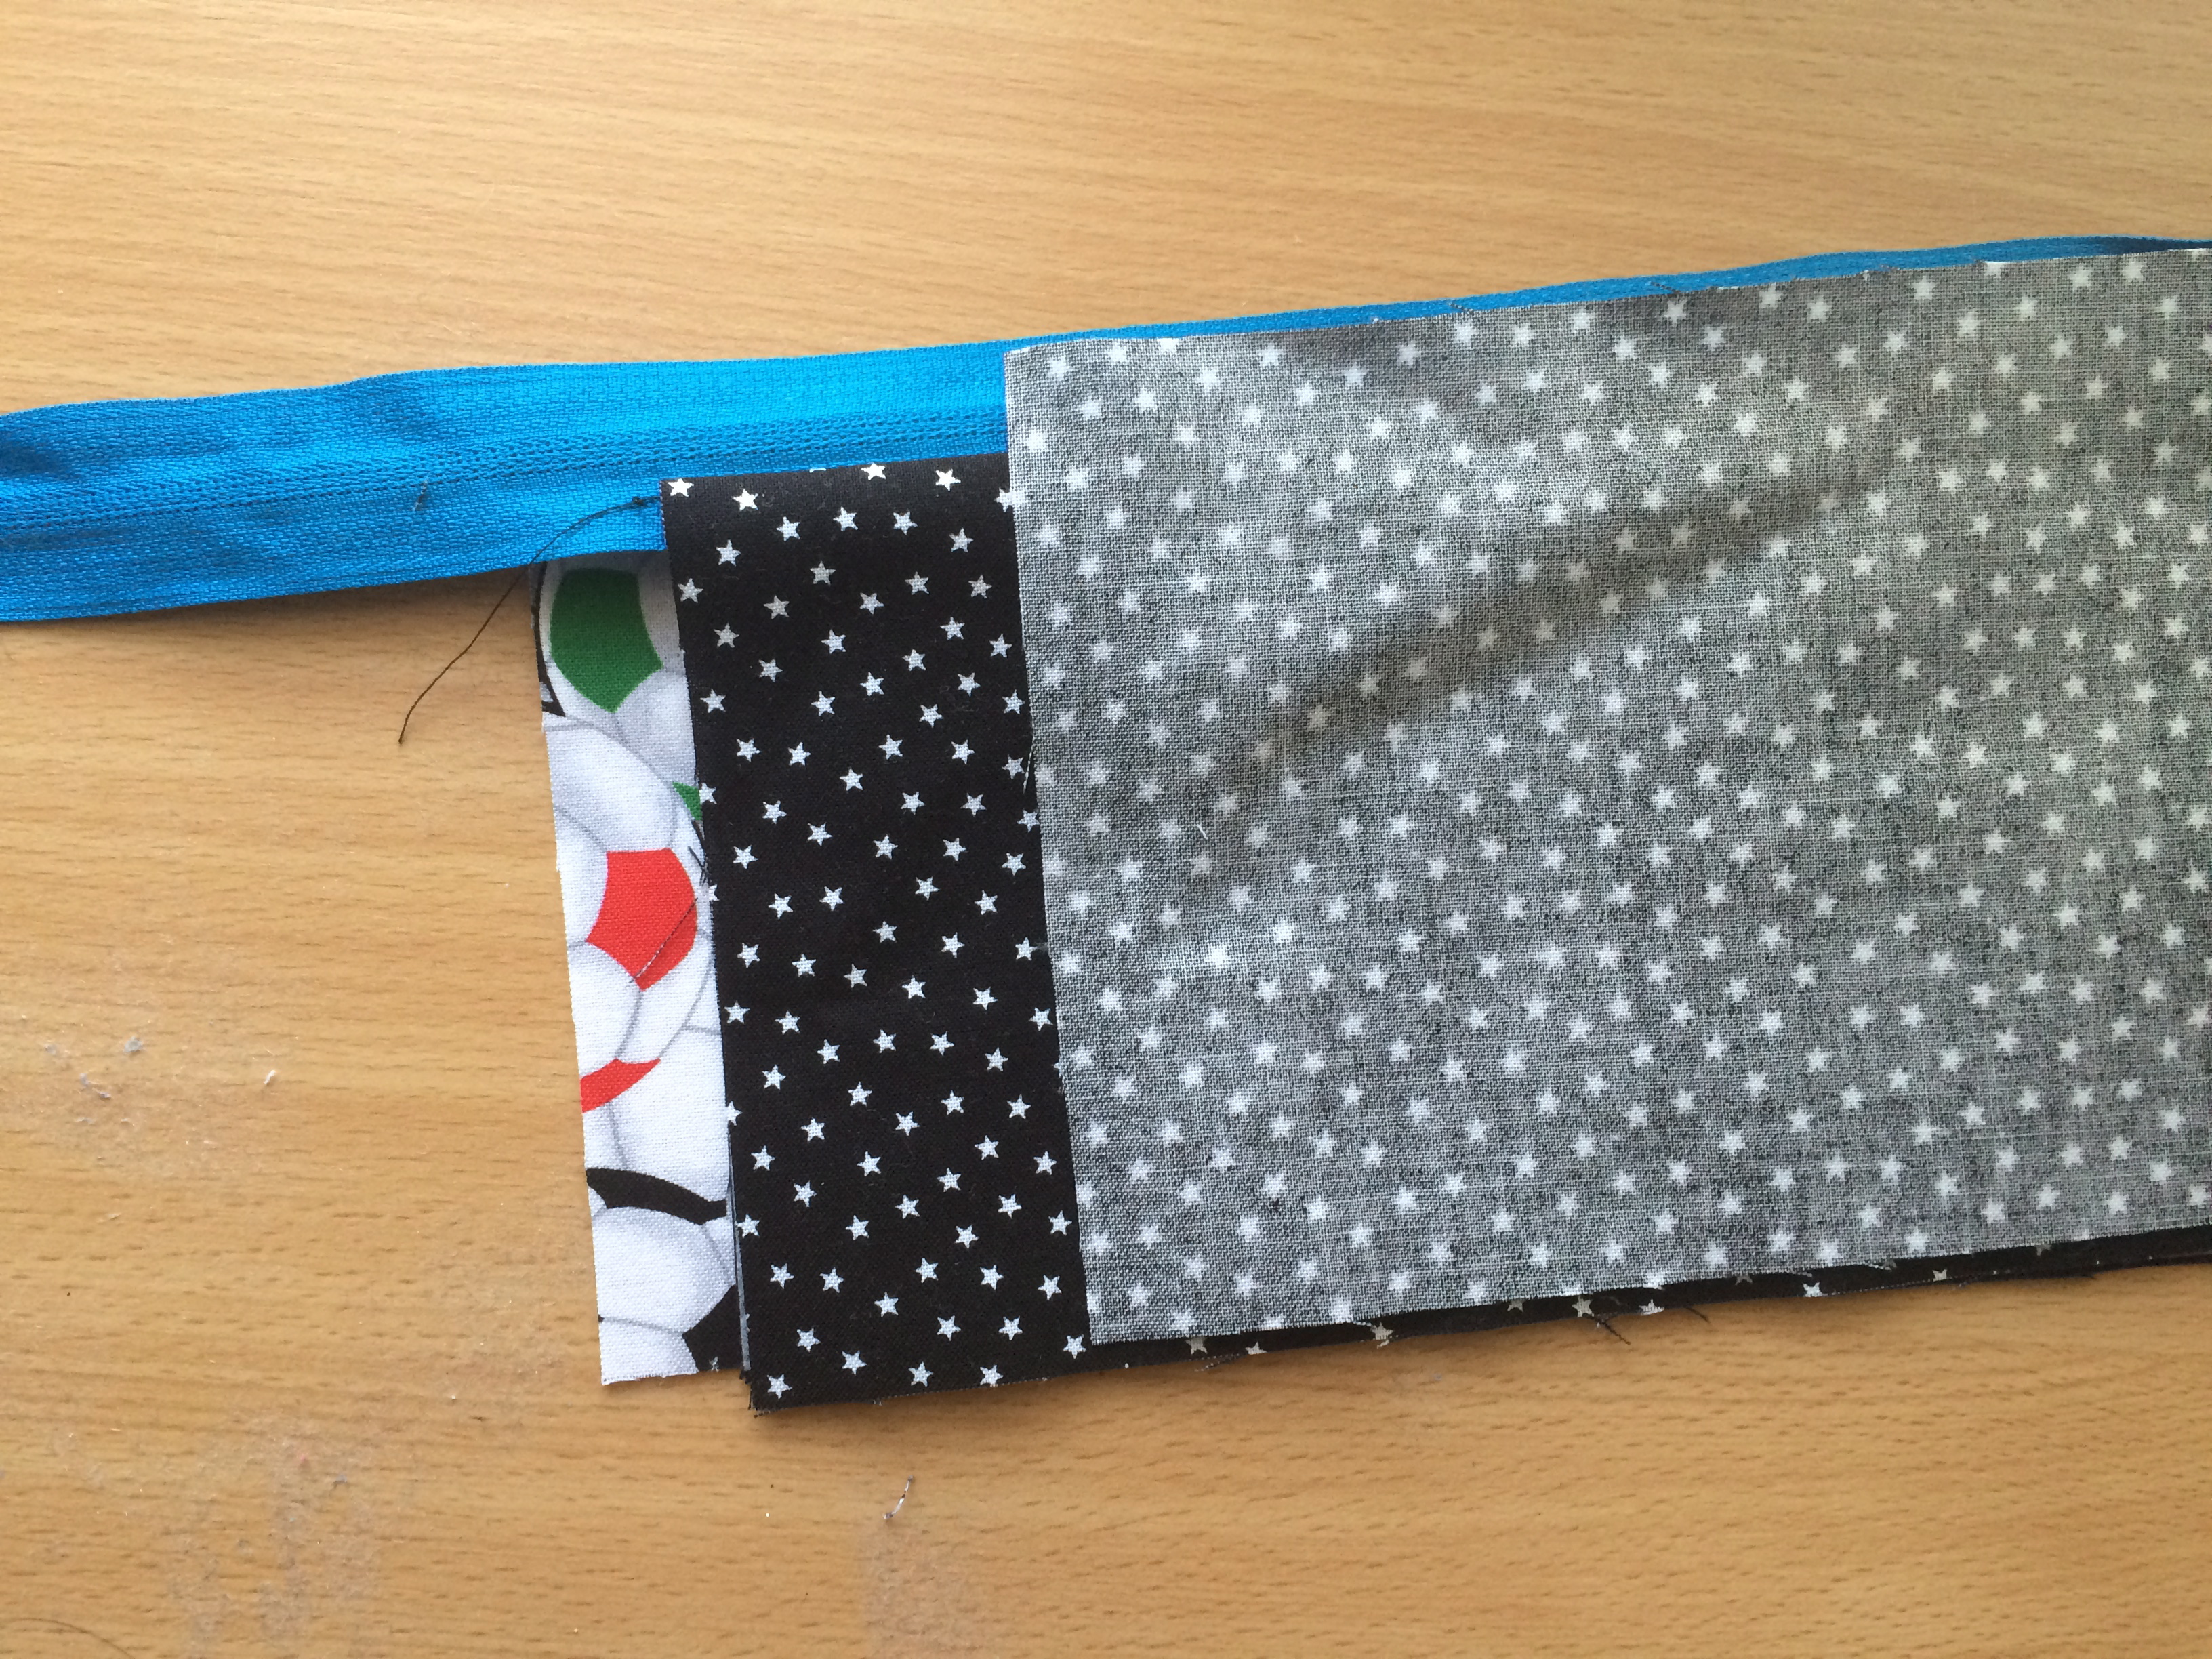
It should look like this before you sew: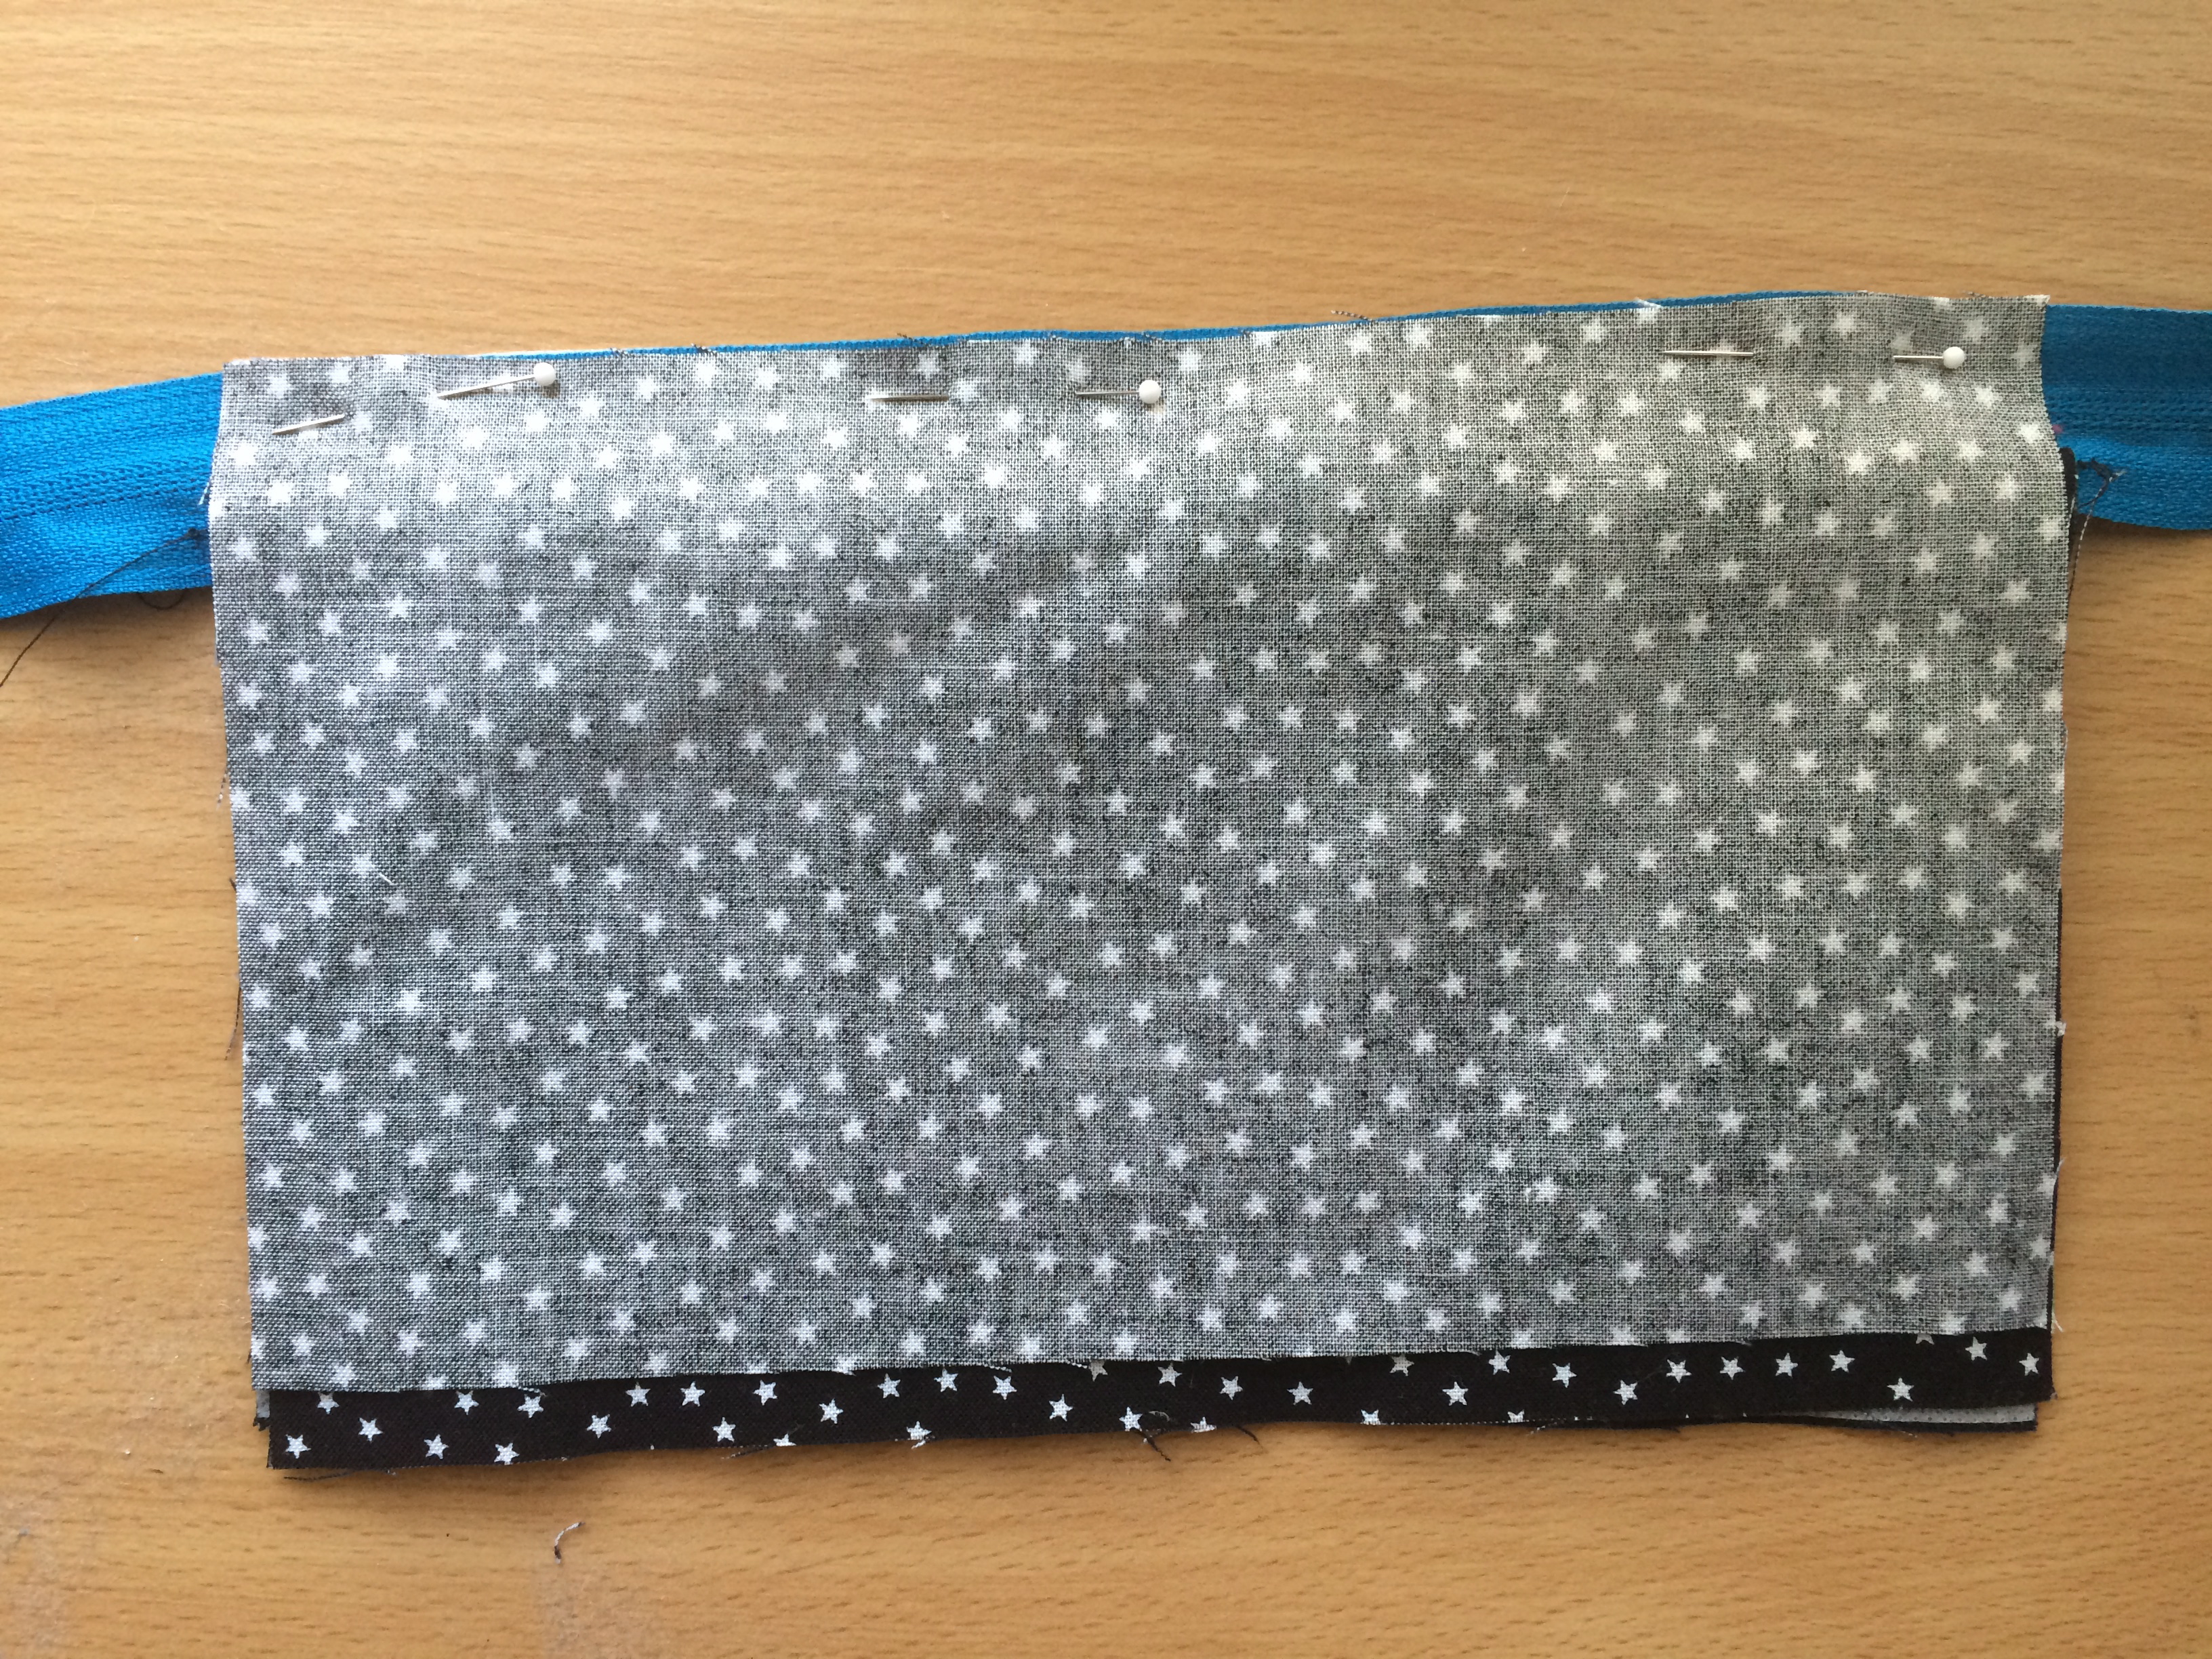
Once the zipper is in, press the sides like this:

Top stitch next to the zipper.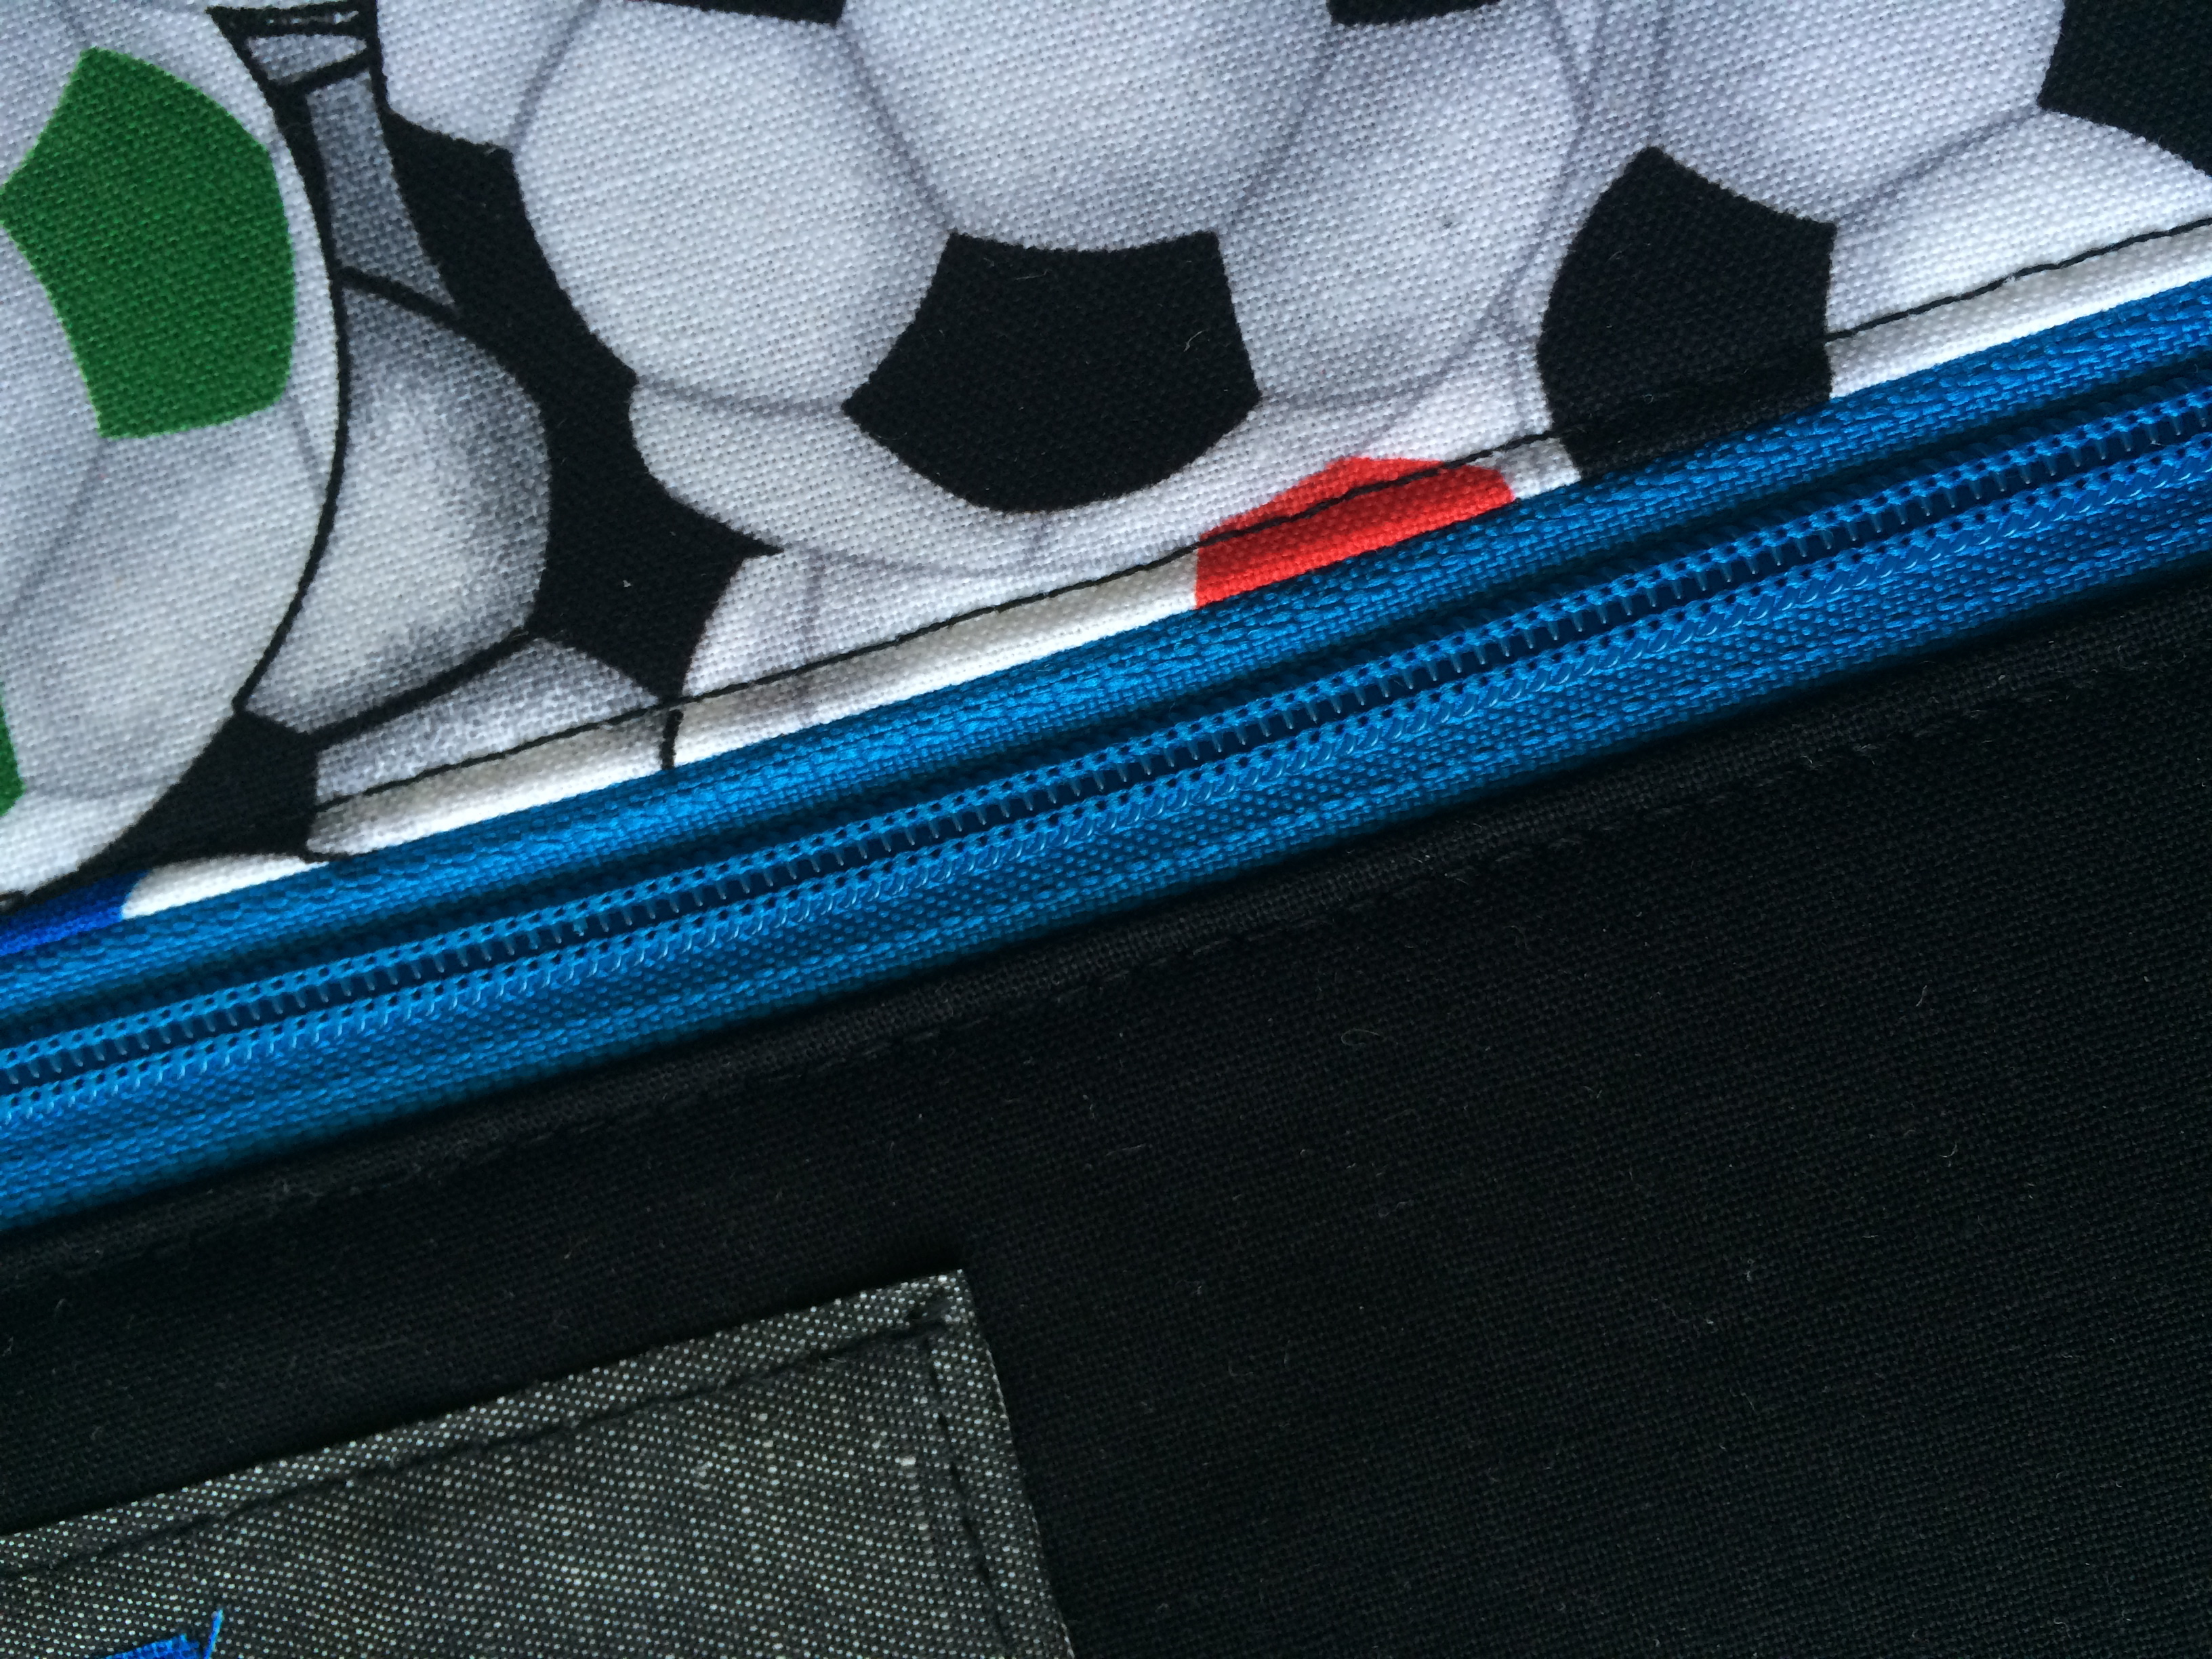
Trim off the excess zipper making sure not to trim the zipper pull.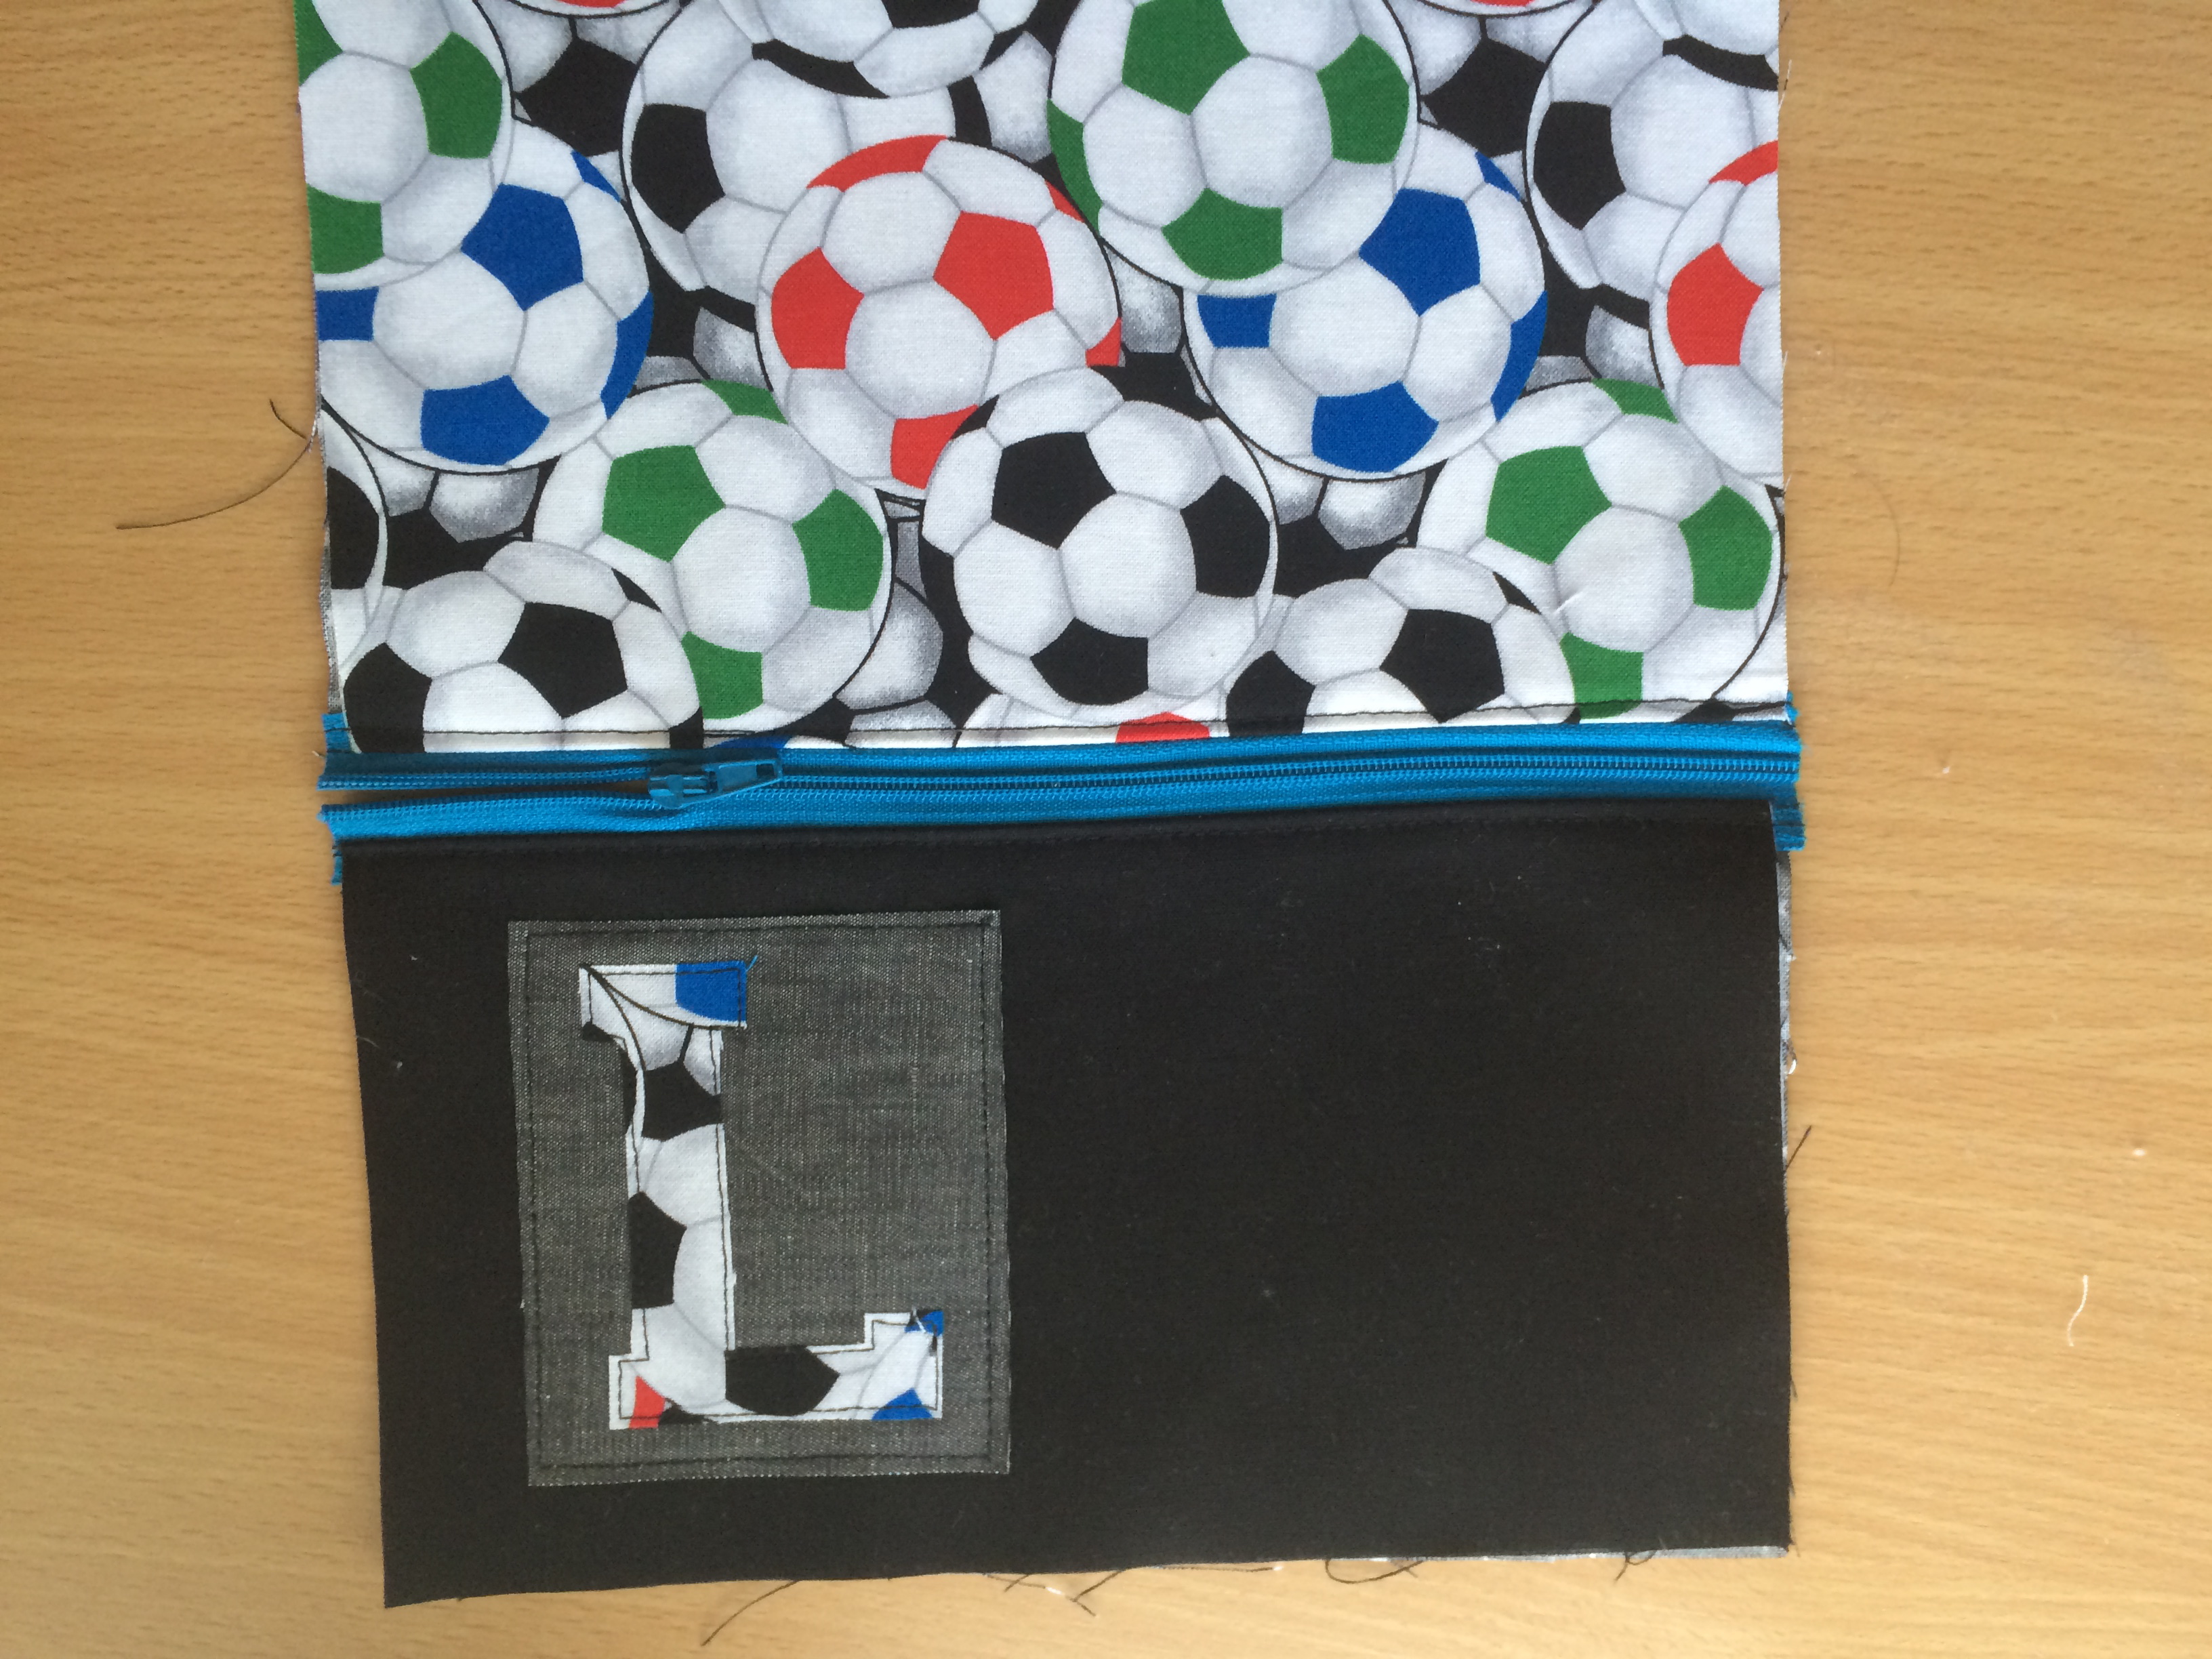
I spy a kitty paw 🙂
 Making sure the zipper is open, place right sides of the outer bag together and right sides of the lining together and pin all the way around.
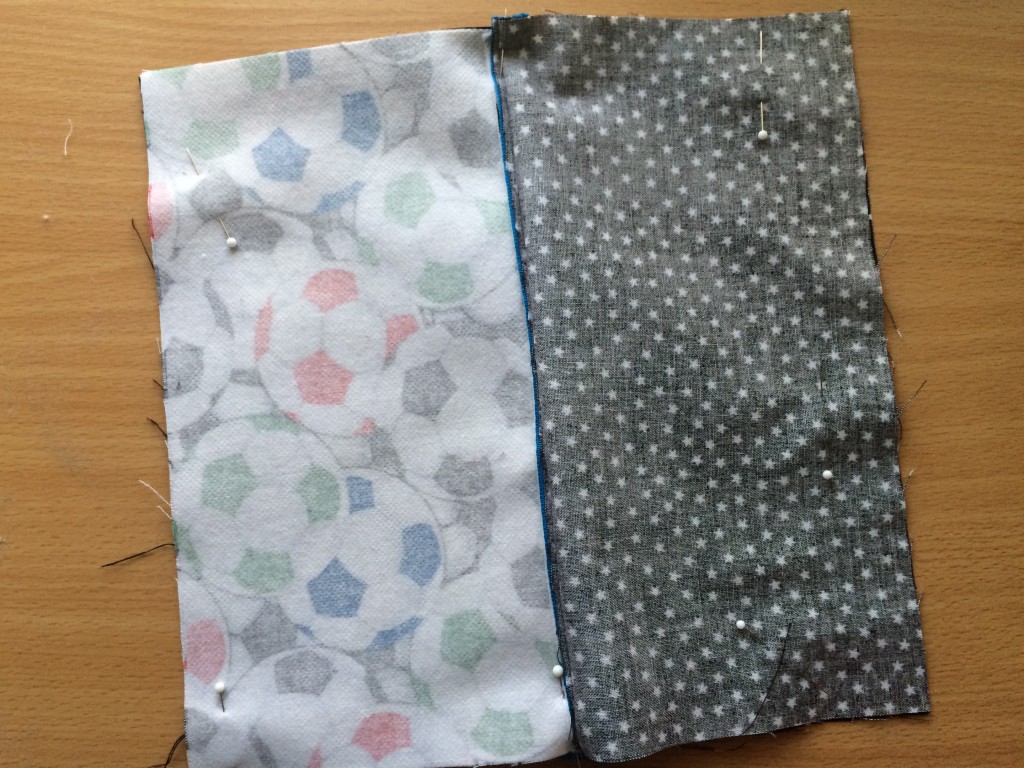
When you get to the zipper, match the seams and push the zipper toward the lining: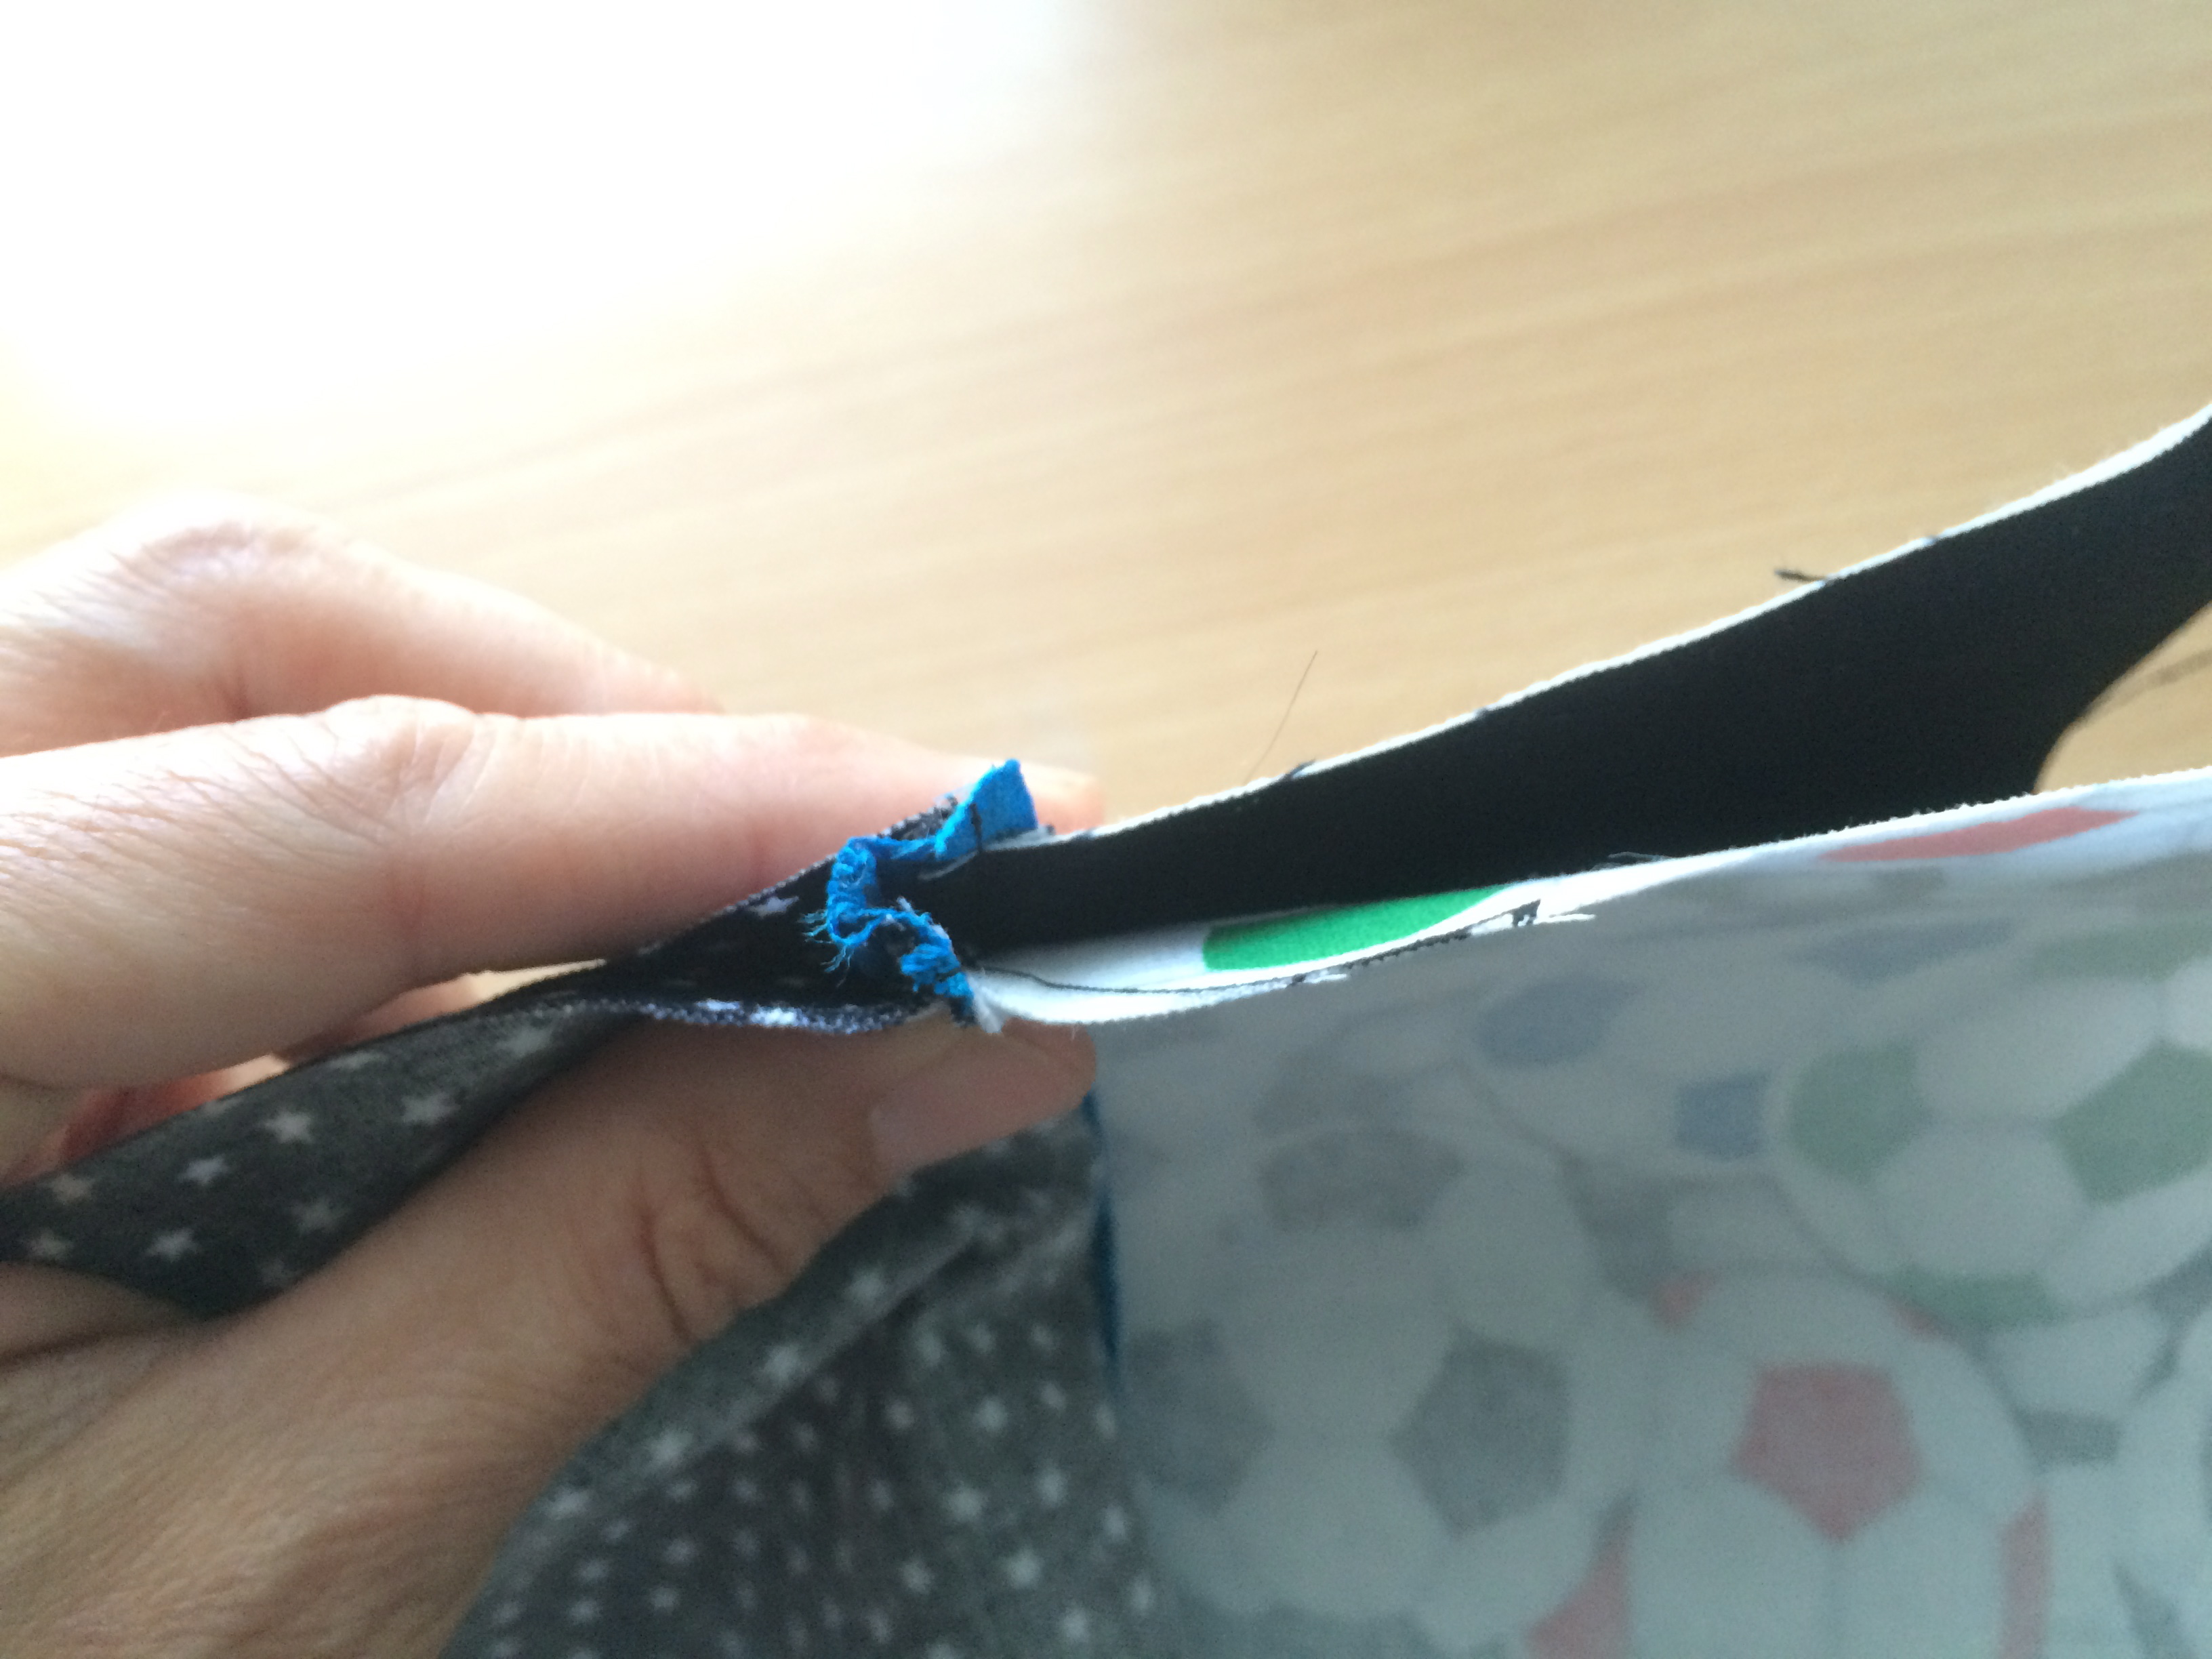
Leave a 3″ opening at the bottom
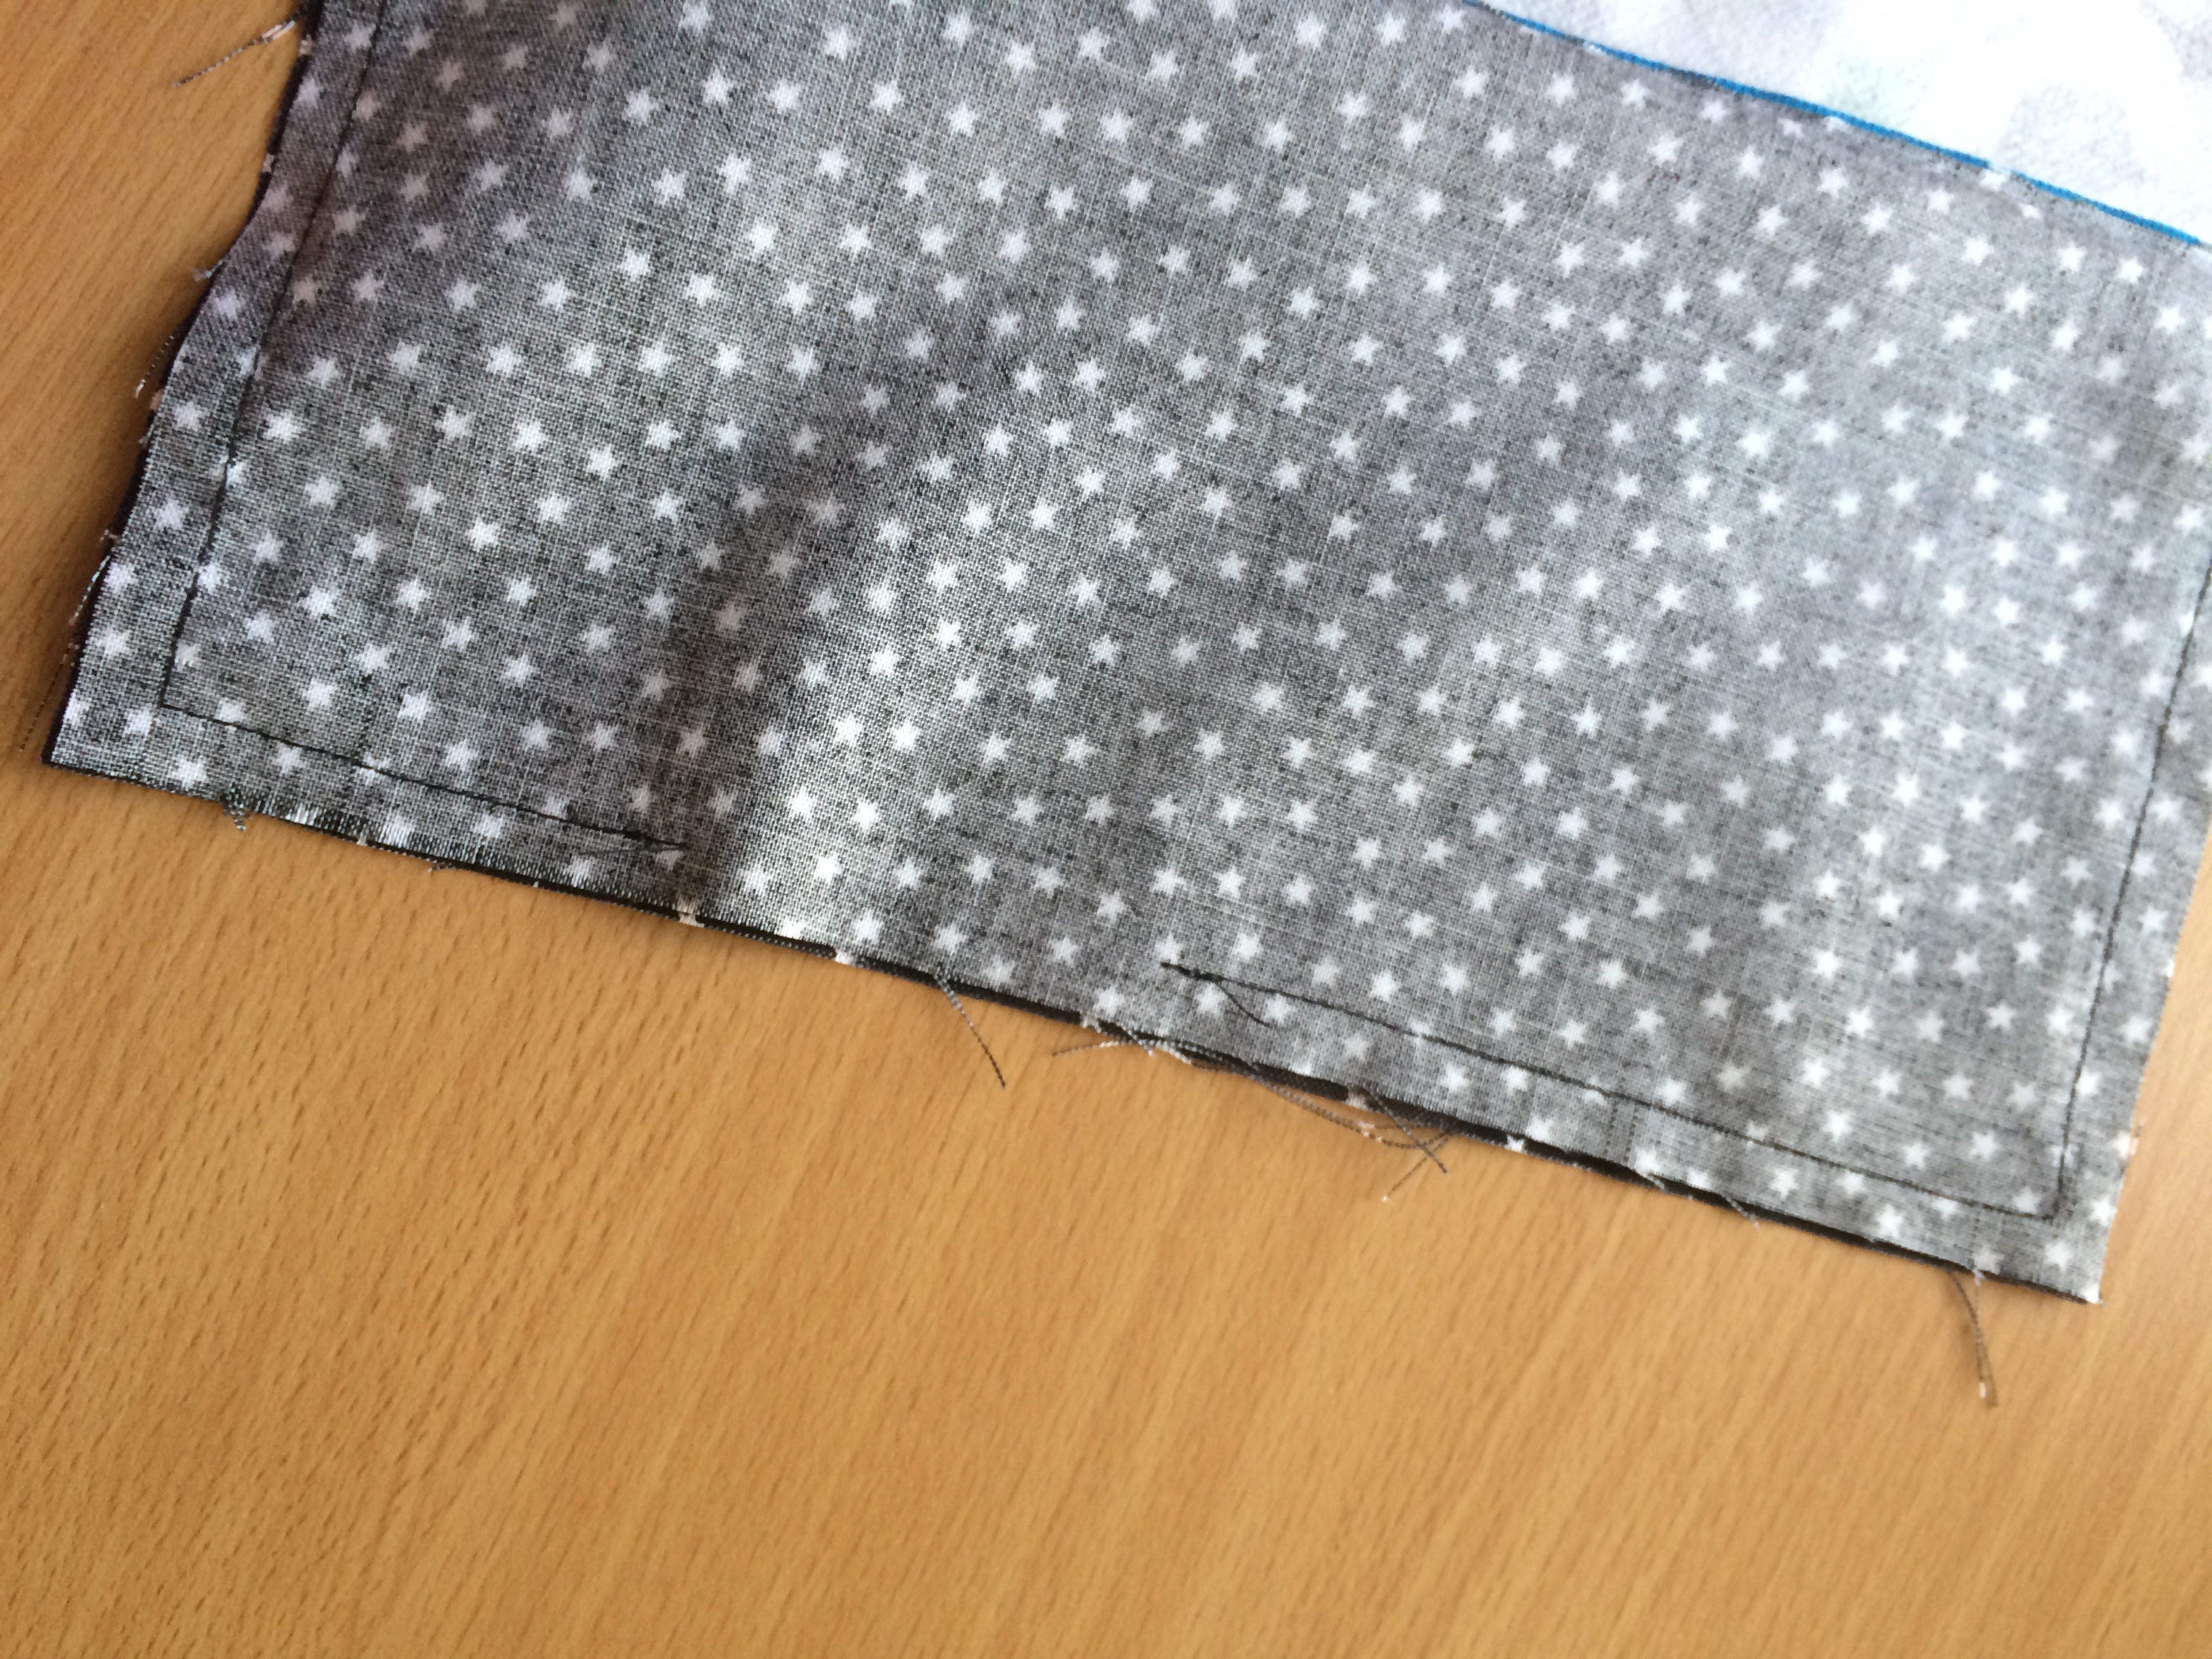
Sew all the way around using a 1/4″ seam. Turn right side out and top stitch the opining closed. Use a turn stick or chopstick to push out the corners and the zipper.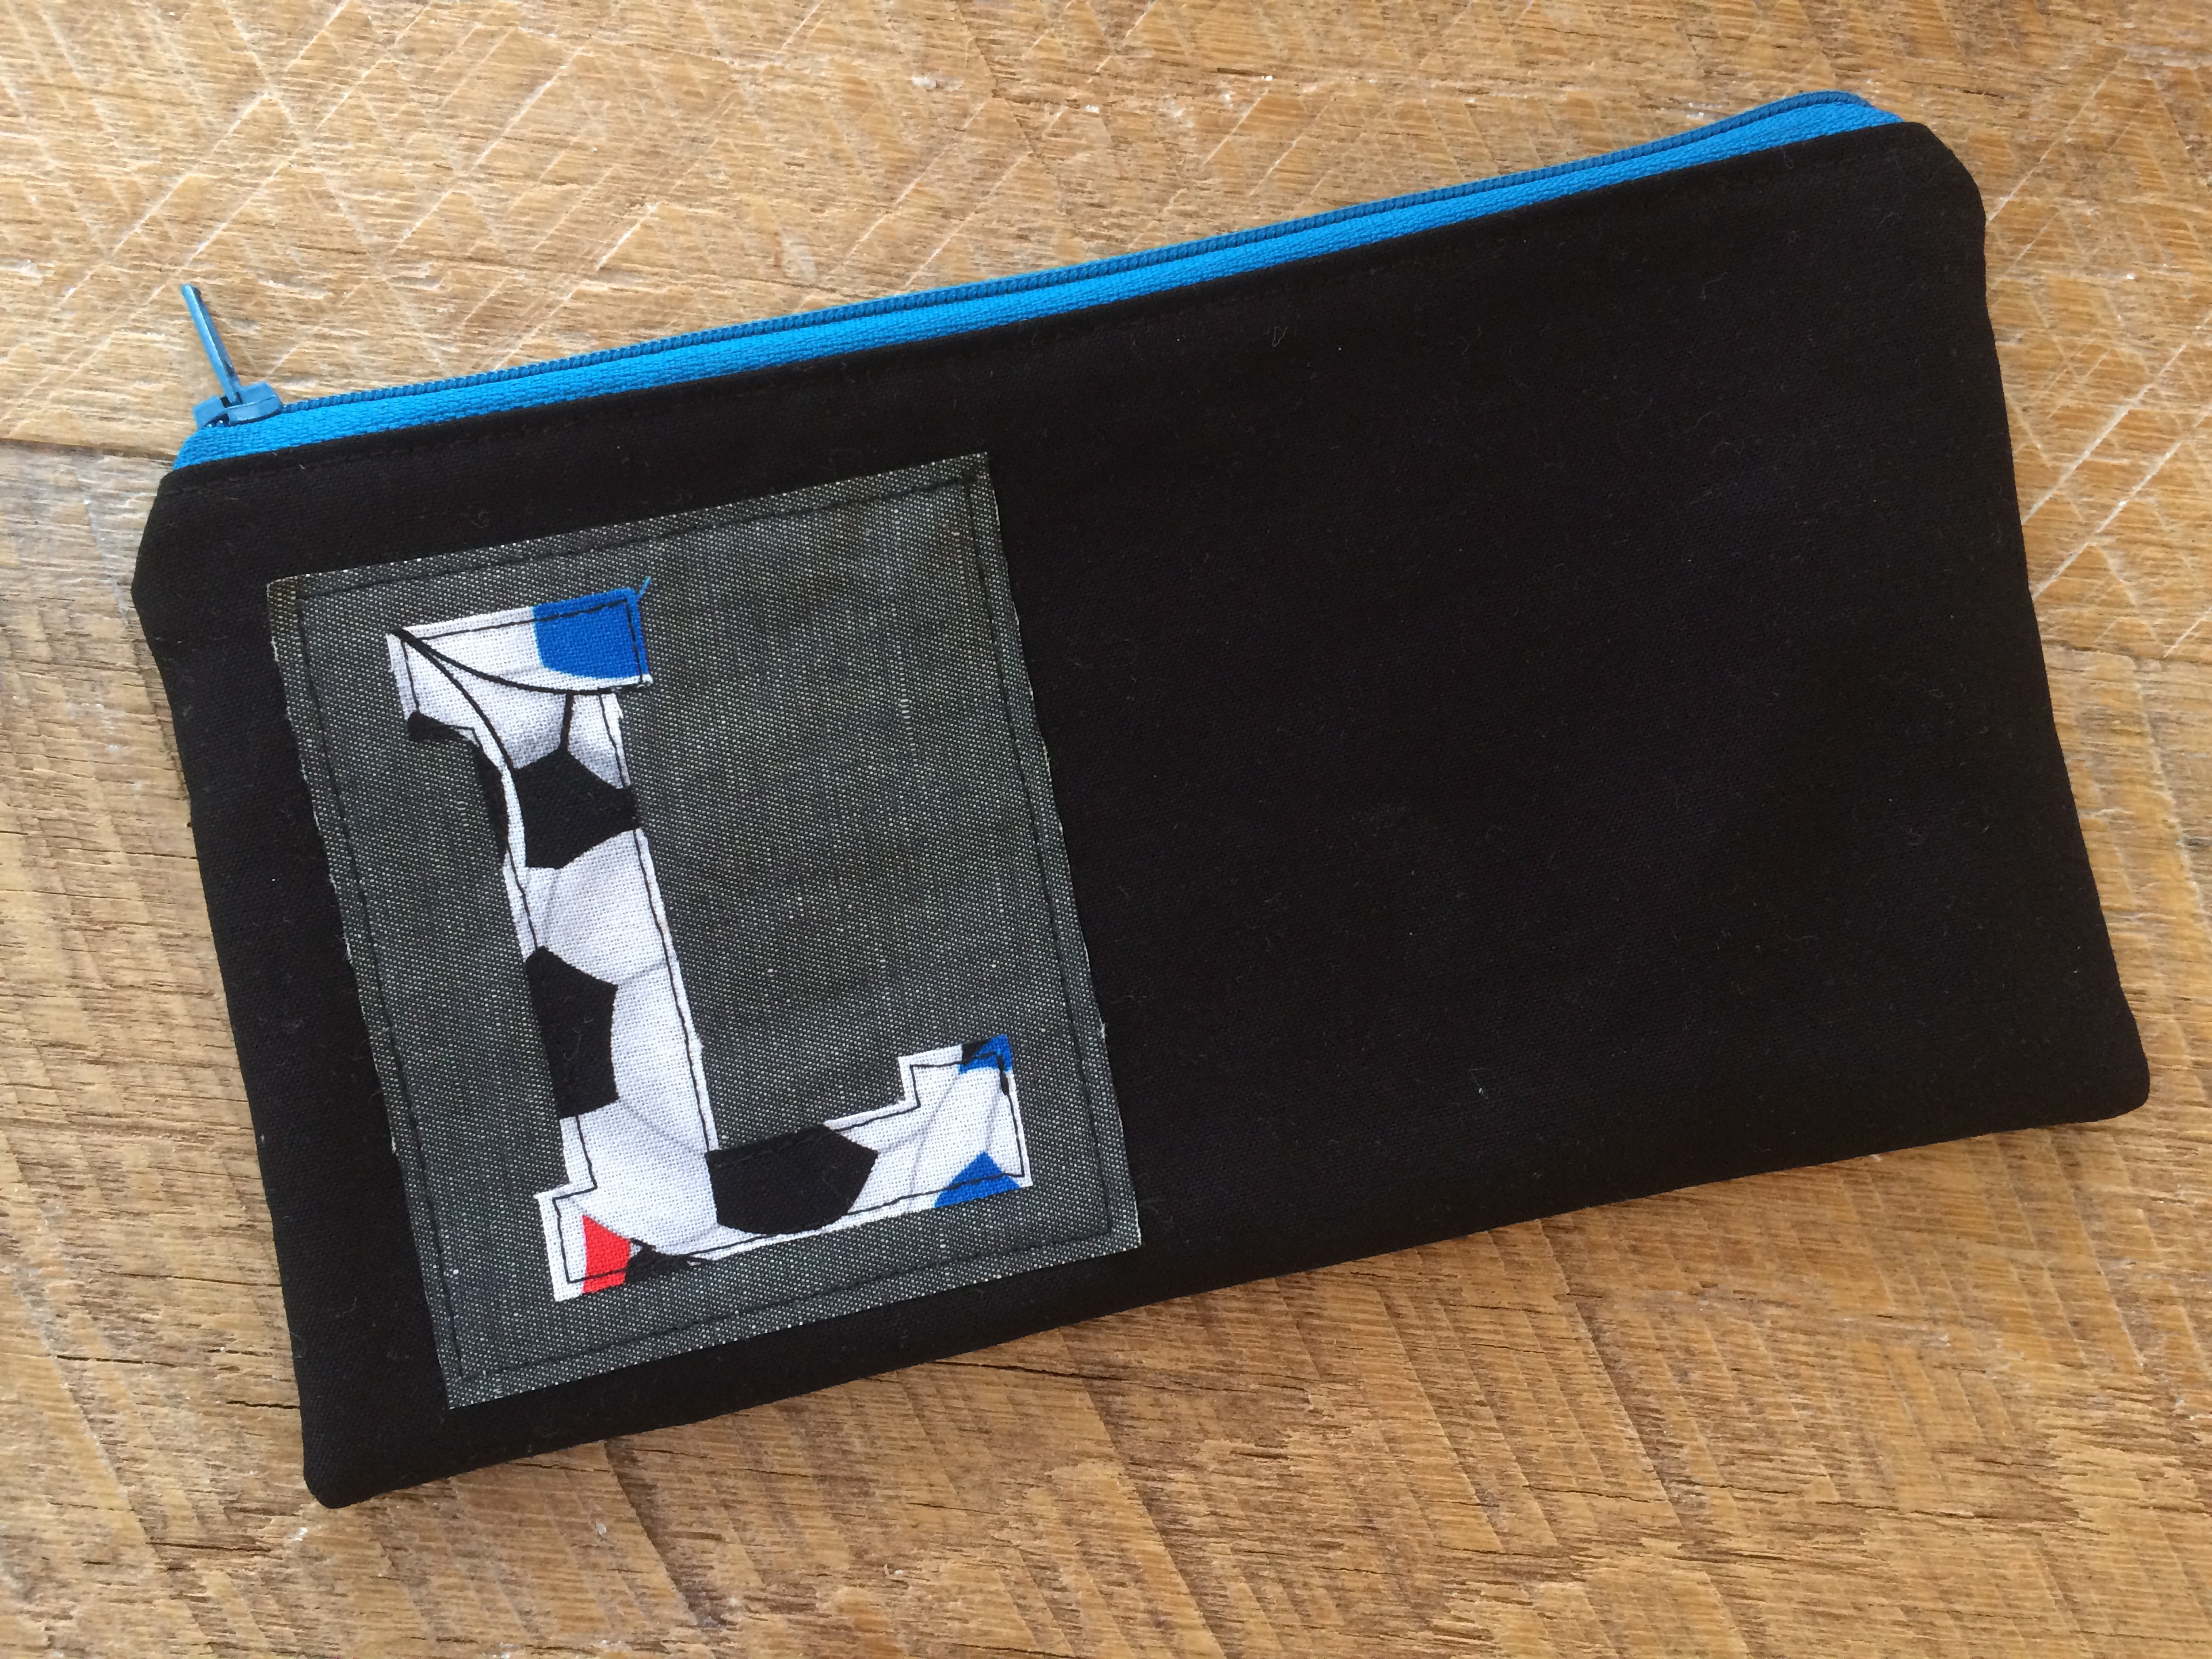
Now make 32 cupcakes with cupcake toppers and dash to the soccer party!!!


You are an amazing mom and an amazing crafter! It reminds me of the things I would do (make) for my kid’s parties and events. It usually involved late nights of sewing or baking. It’s great that you got your daughter involved. Thanks for sharing the tutorial!
Think I’ll make one of these for my soccer girl granddaughter. I love your tutorials, thank you so much!