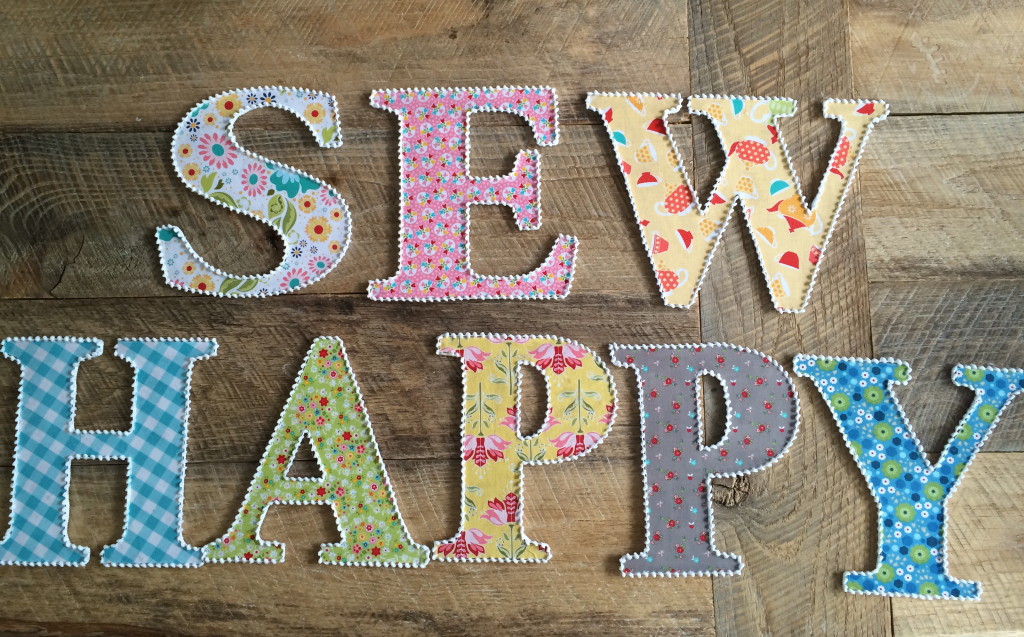
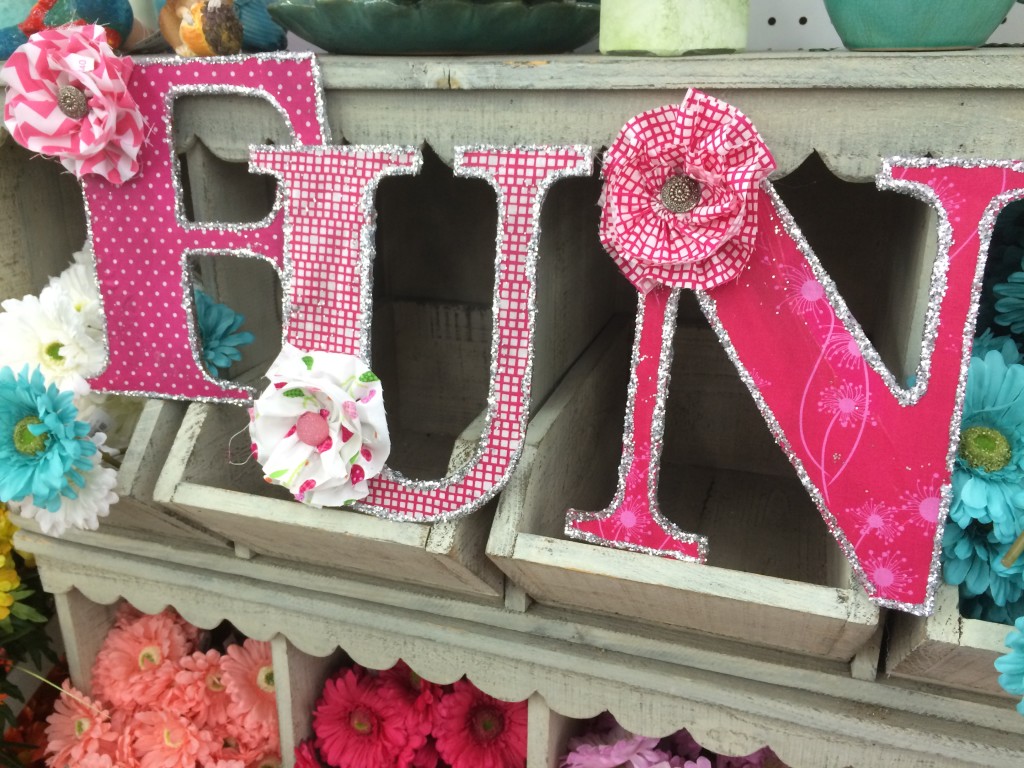
How FUN are these fabric covered letters!!!
You can embellish them with glitter, trim, rosettes, buttons, flowers, pretty much anything! Get your glue gun and let’s get started!!

Supplies
Letters – mine are 1/4″ MDF letters purchased at Beverly’s Crafts. They measure 10″ tall
Fabric fat quarters
Decou page
foam brush
hot blue gun & glue
trim, glitter, buttons, or other embellishments

Begin by making sure your fabric will cover the letter.
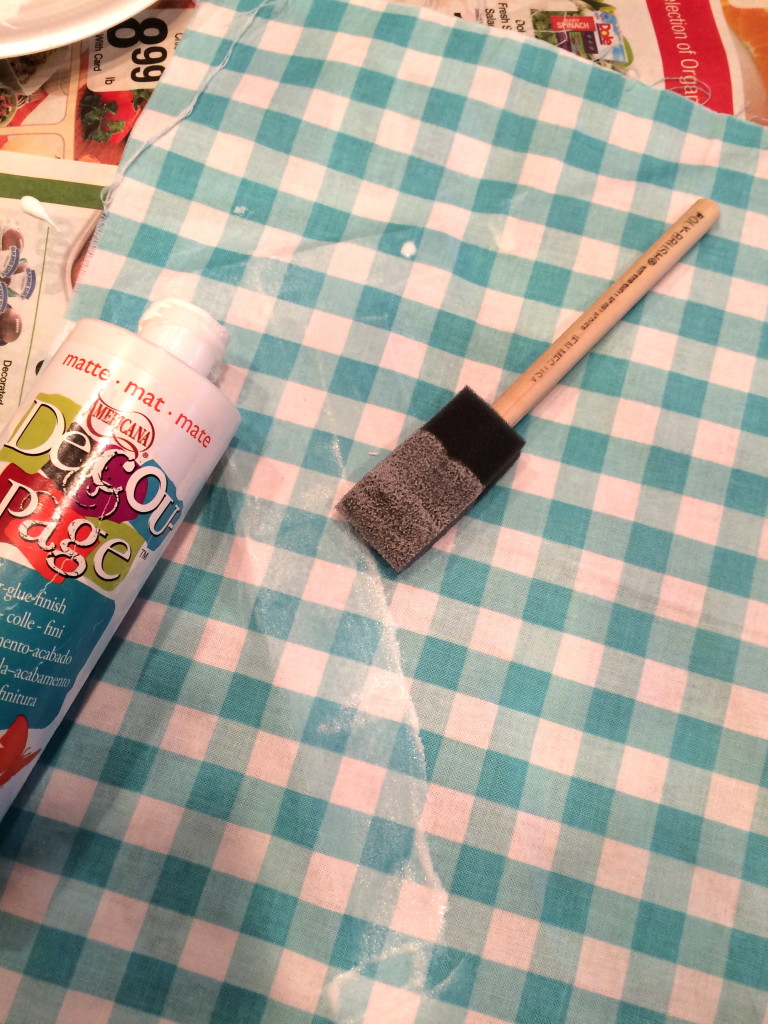
Spread the Decou Page all over the front of the letter. Lay the fabric over the letter, smoothing it out with your fingers. Then apply a coat oa Decou Page over the fabric. Let dry completely.
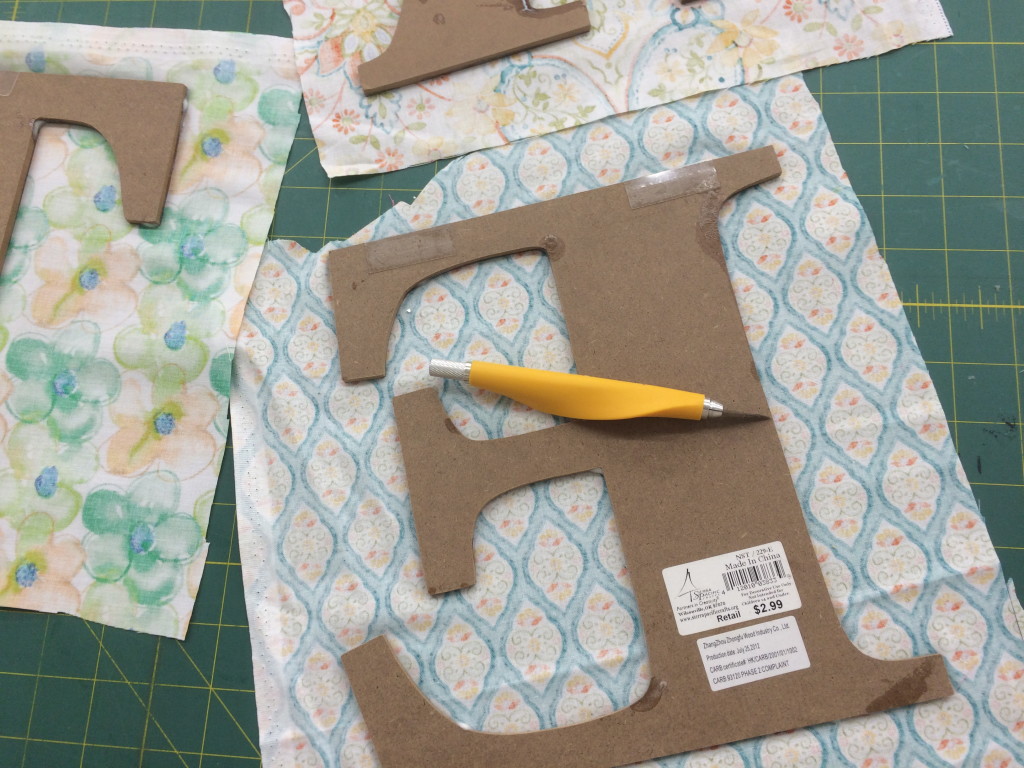
Once it is completely dry. Lay the letter upside down on a cutting mat. Using an exacto knife or small utility knife, cut along the edge letter. I put a movie on and did this because it takes some time 🙂
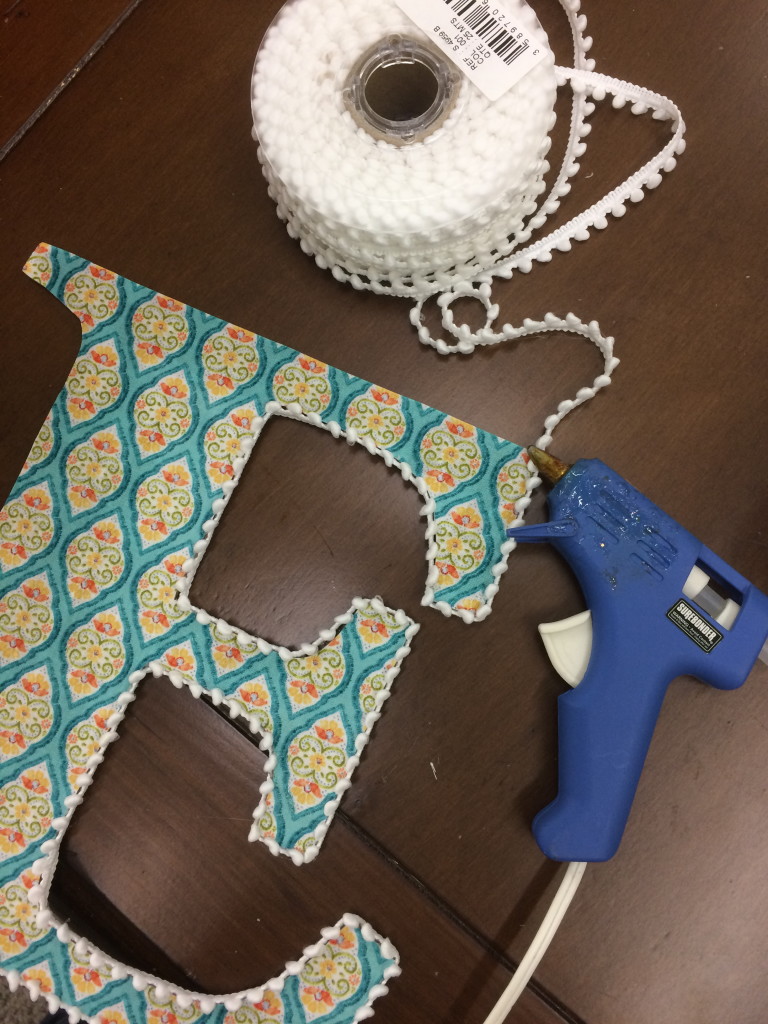
Now comes the fun part – and the painful part! Using a hot glue gun, run a bead of glue along the edge of the letter and attach trim. I love these tiny pom poms!! You could also use white glue and glitter like in the FUN letters.
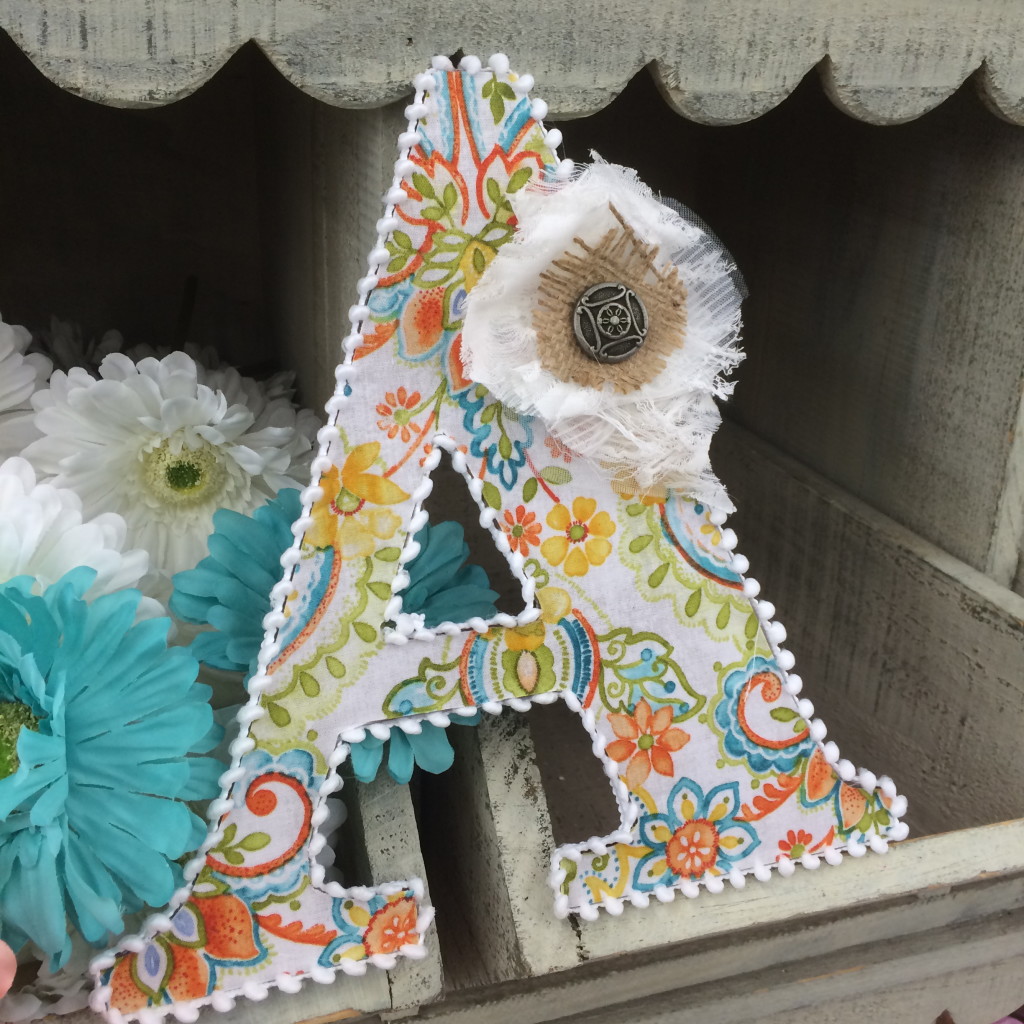
Once the trim is on you can make rosettes or flowers and hot glue them on if you want.

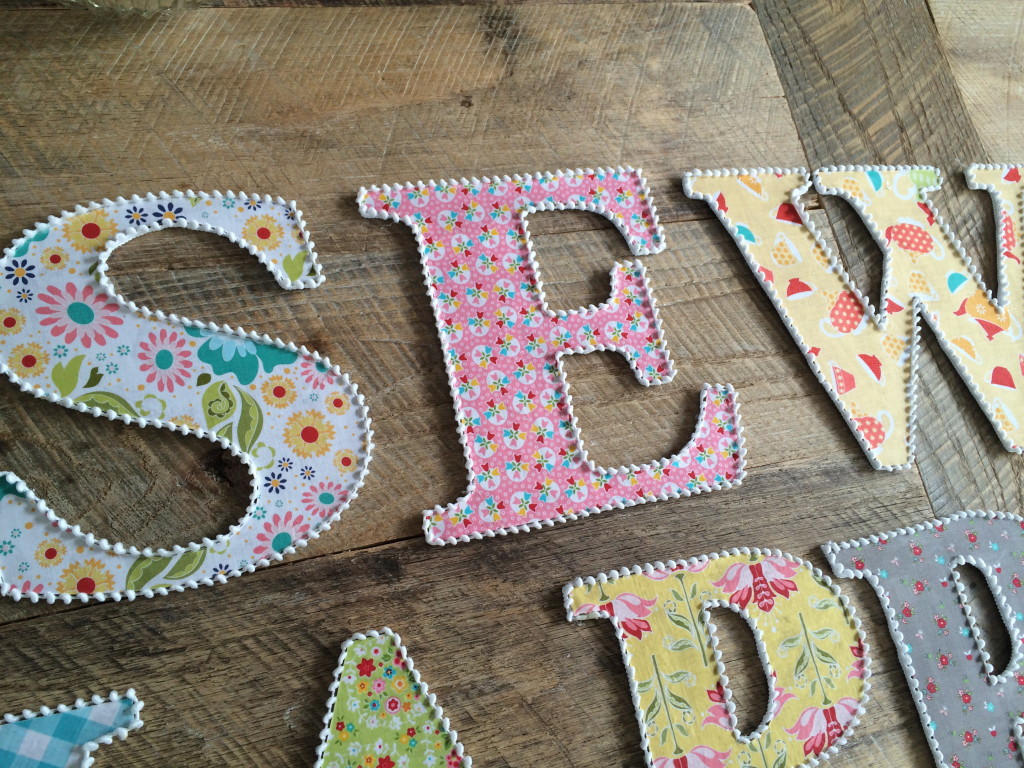
I’m going to hang the SEW HAPPY letters up in my sewing room!!


Speak Your Mind