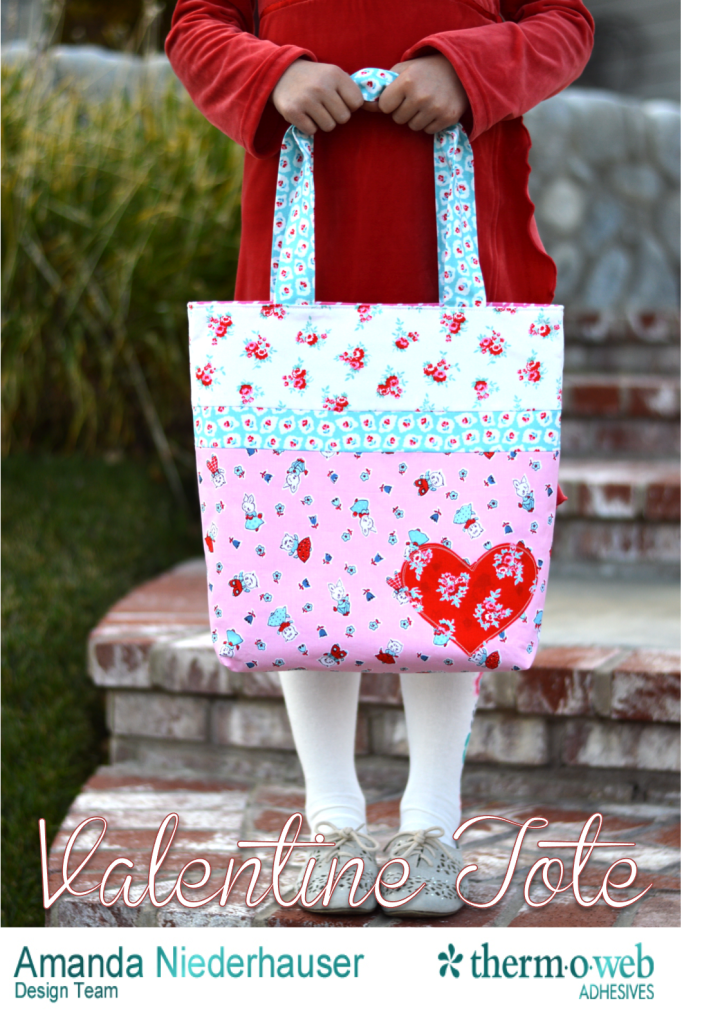
I am so in love with Milk Sugar Flower fabric from Penny Rose for Valentine’s Day! It just screams vintage valentine! I thought Sally needed a cute tote bag to carry her valentines in when she has her Valentine Party! This tote bag is the perfect size for so many things! Library books, piano books, car trips, stuffed animals, and dolls! Sally will be using it as her piano book bag when Valentine’s Day is over. The bag gets its stability from Therm o Web Fusible Medium Weight Stabilizer. You can totally sew it in an hour! Yippee!!
I have to pay her to model you know 🙂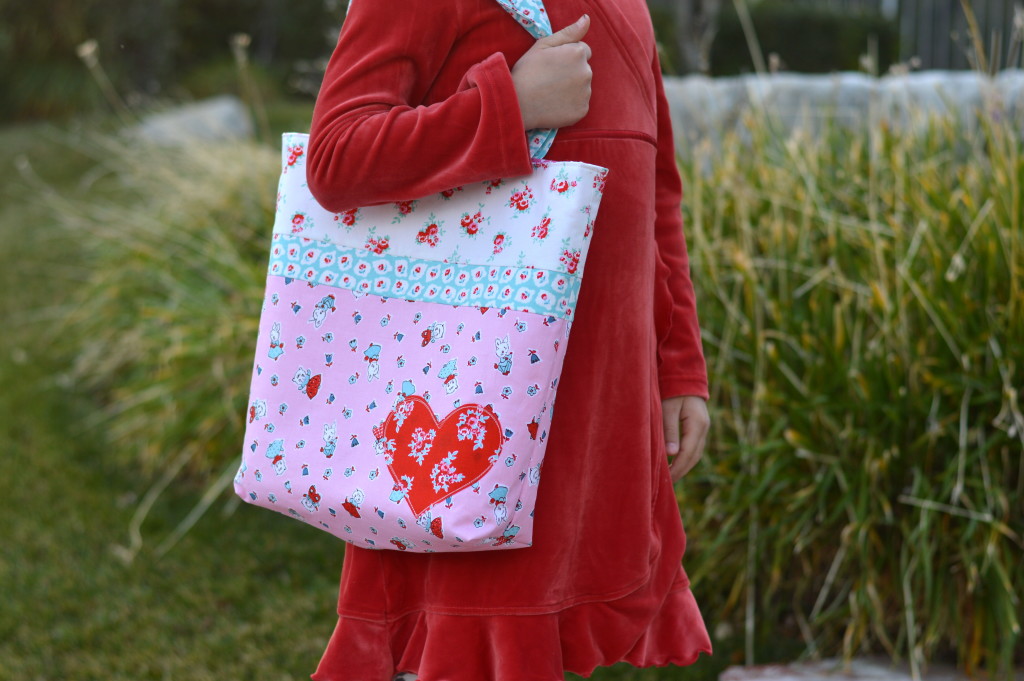

 Note: The seam allowances very as noted in the directions
Supplies for project:
1/3 yard main fabric
1/4 yard white accent
1/3 yard blue accent & handles
1/3 yard lining
HeatnBond® Lite Fusible Adhesive
2 yards HeatnBond® medium weight fusible stabilizer

Cut the following:
White (2) 4.5″ x 16″ accent strip main bag
Blue (2) 2″ x 16″ accent strip main bag
Pink (2) 10.5″ x 16″ main bag
Blue handles 6″ x WOF
Lining (2) 16″ squares
Sew the strips together in that order using 1/4″ seam allowances. You should have (2) 16″ squares for the outer bag.
 Draw a heart on the Heat n Bond® Lite and iron it to the wrong side of the red fabric.
 Cut around the heart and peel off the backing paper. Position the heart as pictured above. Make sure to leave plenty of room for the bag bottom. Press into place and top stitch around the heart.
 Cut the HeatnBond® Interfacing/stabilizer into (4) 16″ squares.
 Cut the lining pieces (2) 16″ squares.
Fuse the HeatnBond® interfacing onto the wrong side of both the outer bag pieces and both of the lining pieces.
 Match both outer bag pieces right sides together and pin all the way around. Do the same for the lining pieces. Sew around the sides and the bottom using 1/2″ seam. Leave a 3″ opening (for turning) on one of the sides of the lining.
 Cut a 2″ square notch out of the bottom corners of the outer bag and the lining.
 Open the notch and match the side seam and the bottom seam. Pin. Do this to each of the notched corners.
 Sew along this edge using 1/4″ seam.
 It’s starting to look like a bag!
 Press the 6″ handle strip in half lengthwise, then fold the edges into the center, the handle strip should be pressed into equal sections of four.
 Press the handles and top stitch along both long sides. Trim off selvage. Cut the handle strip in half creating 2 handles.
 Turn the outer bag right side out and pin the handles into place. Measure 3.5″ from the side of the bag to position the handle. Baste the edge of each handle 1/8″ from the edge.
 Place the right side out outer bag inside the inside out lining (that wasn’t confusing at all!) The above picture is how it should look. Essentially the lining and the outer bag are right sides together. Match the side seams. Pin all the way around the bag. Sew 1/4″ along the edge all the way around the bag. Turn the bag right side out through the opening of the lining. Top stitch the opening closed. Press the lining of the bag so you can’t see any lining on the front of the bag. Top stitch 1/8″ seam all the way around the top of the bag.
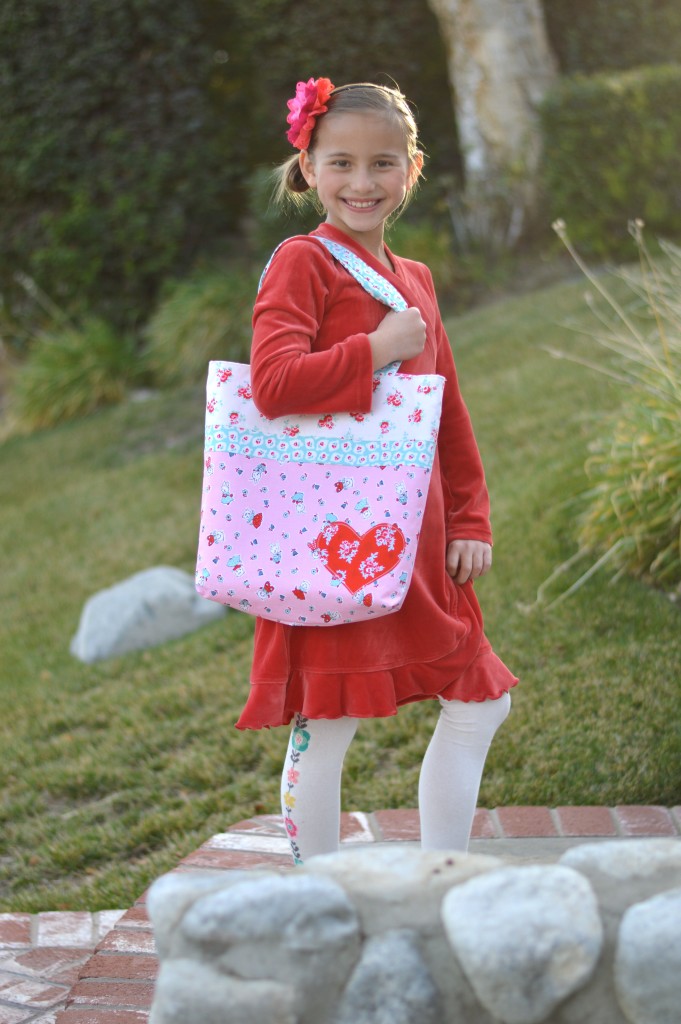
 I love how it turned out and so does Sally! It just screams Sweet Valentine!
 Time to get working on our valentines!


Speak Your Mind