
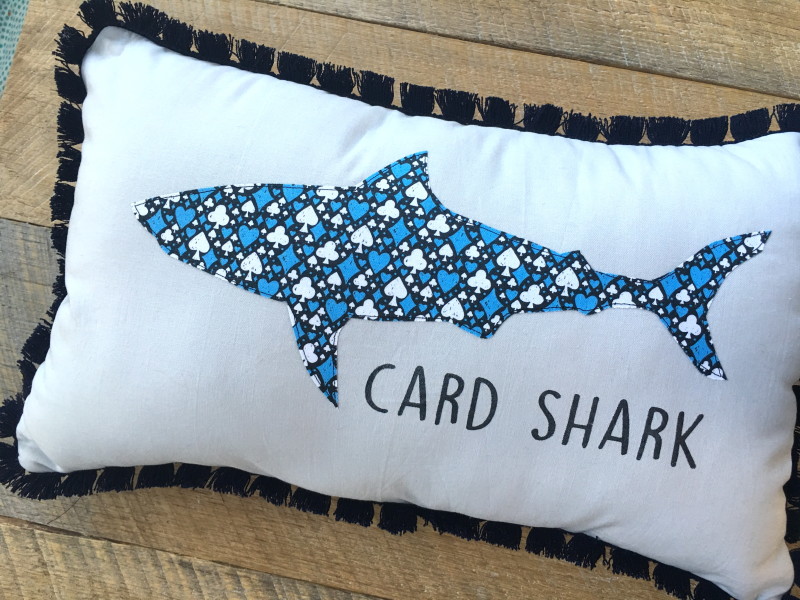
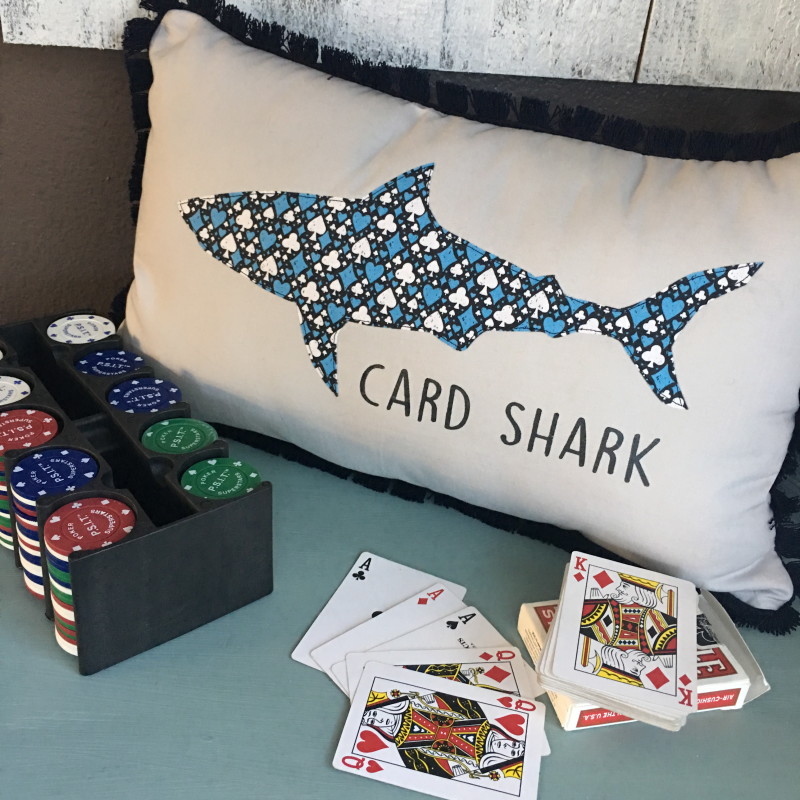
And now a project for the guys! I have a hard time finding projects to sew for my 13 year old son that are…… well….. not floral, cutsey, vintage, or girly which is pretty much most of my sewing! When I saw this fun “card print” from Blend Fabrics I knew it was for my son the “Card Shark”!!!!
It’s the perfect gift for the card lover in your life!
Supplies:
1/2 yard card print fabric
1/3 yard solid gray
Heat n Bond Ultra
2 yards trim
Zipper
Fiberfill
Vinyl letters
Fabric Paint
Shark Pattern download
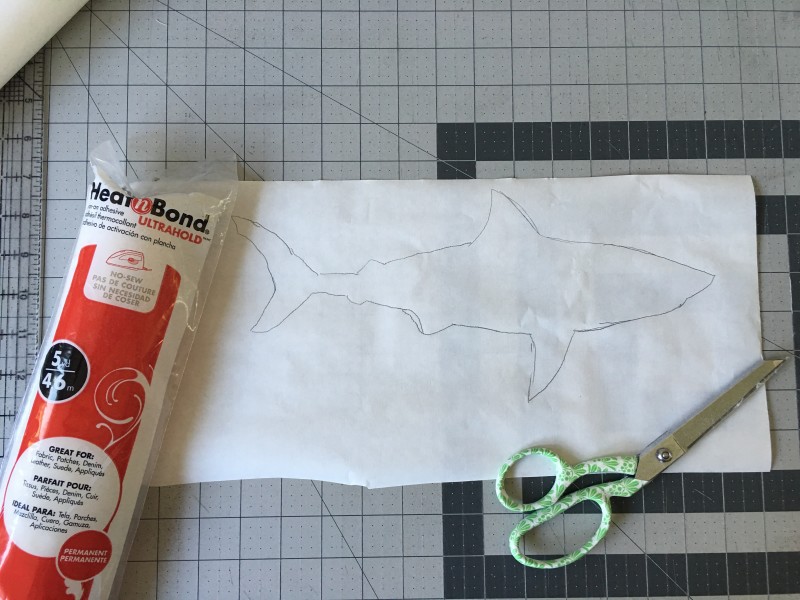
Begin by tracing the shark pattern (in reverse) on the Heat n Bond Ultra hold – you can also use Lite.
Press to the wrong side of the card fabric.
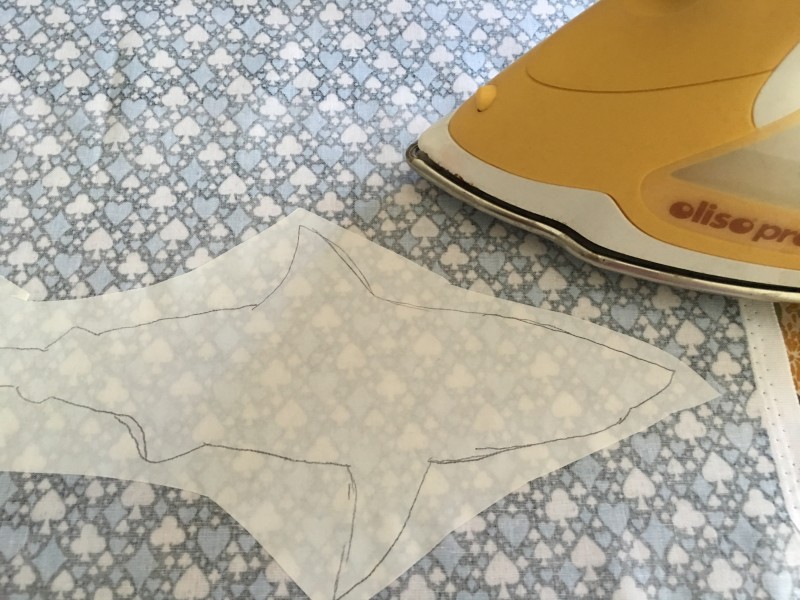
Cut out along the pattern line.
Cut the gray background fabric 12″ x 19″. Peel off the backing paper and heat set the shark in place. Sew around the shark in black thread.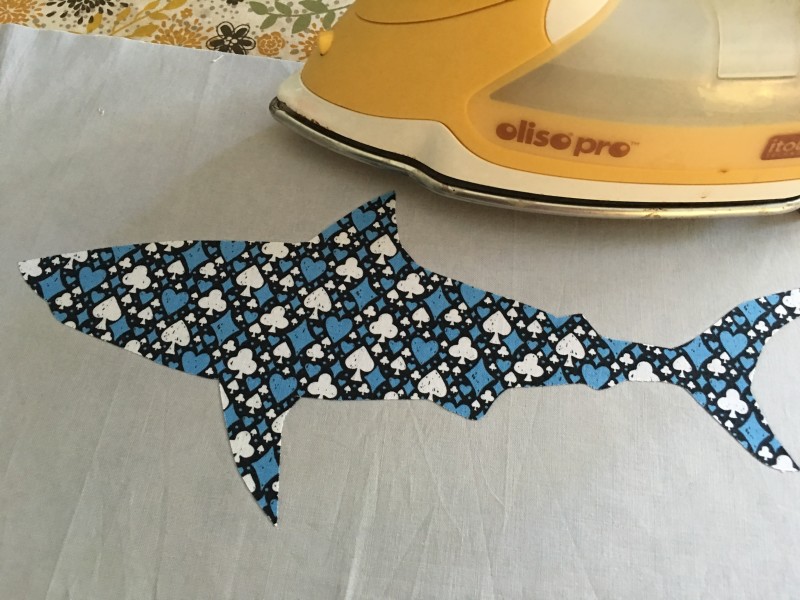
Cut the backing fabric the same size as the front 12″ x 19″.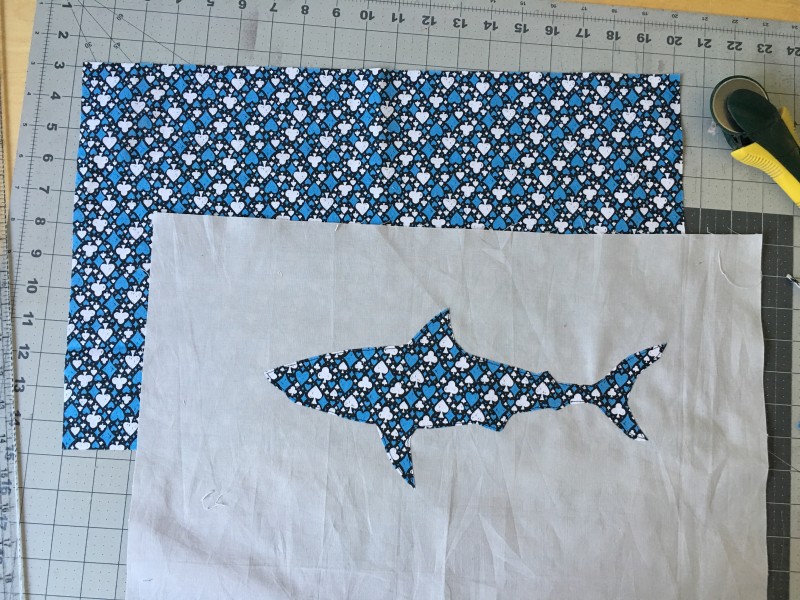
You can use the hand sew method for closing the pillow or you can do the zipper method which is my favorite. Simply cut the backing fabric at 2″ and insert a regular zipper.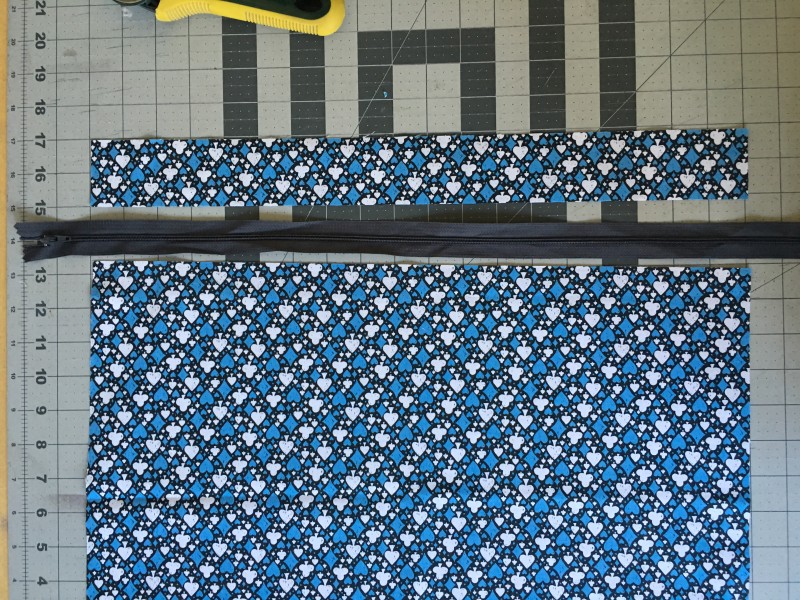
You can add the “Card Shark” words with stitching or you can create your own stencil. I cut the letters on my Cricut machine in vinyl. I peeled off the letters to leave the stencil. I used fabric paint to stencil and removed the vinyl when it was dry. 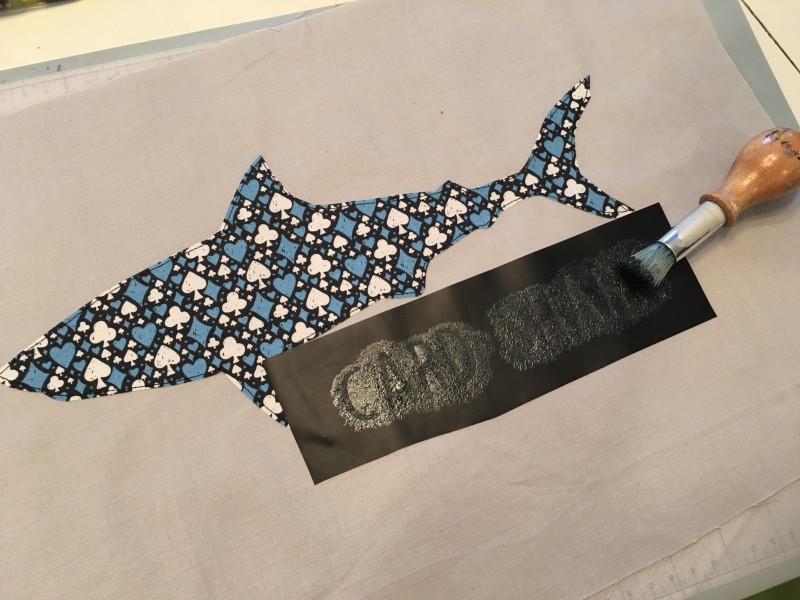
Once the letters are on you can assemble the pillow. Baste the trim to the pillow front. Then with right sides together place the pillow front and back and sew all the way around using a generous 1/4″ seam. Make sure to leave the zipper open before you sew. Turn right side out and stuff with fiberfill.


seminole hard rock casino tampa
References:
http://www.blurb.com