
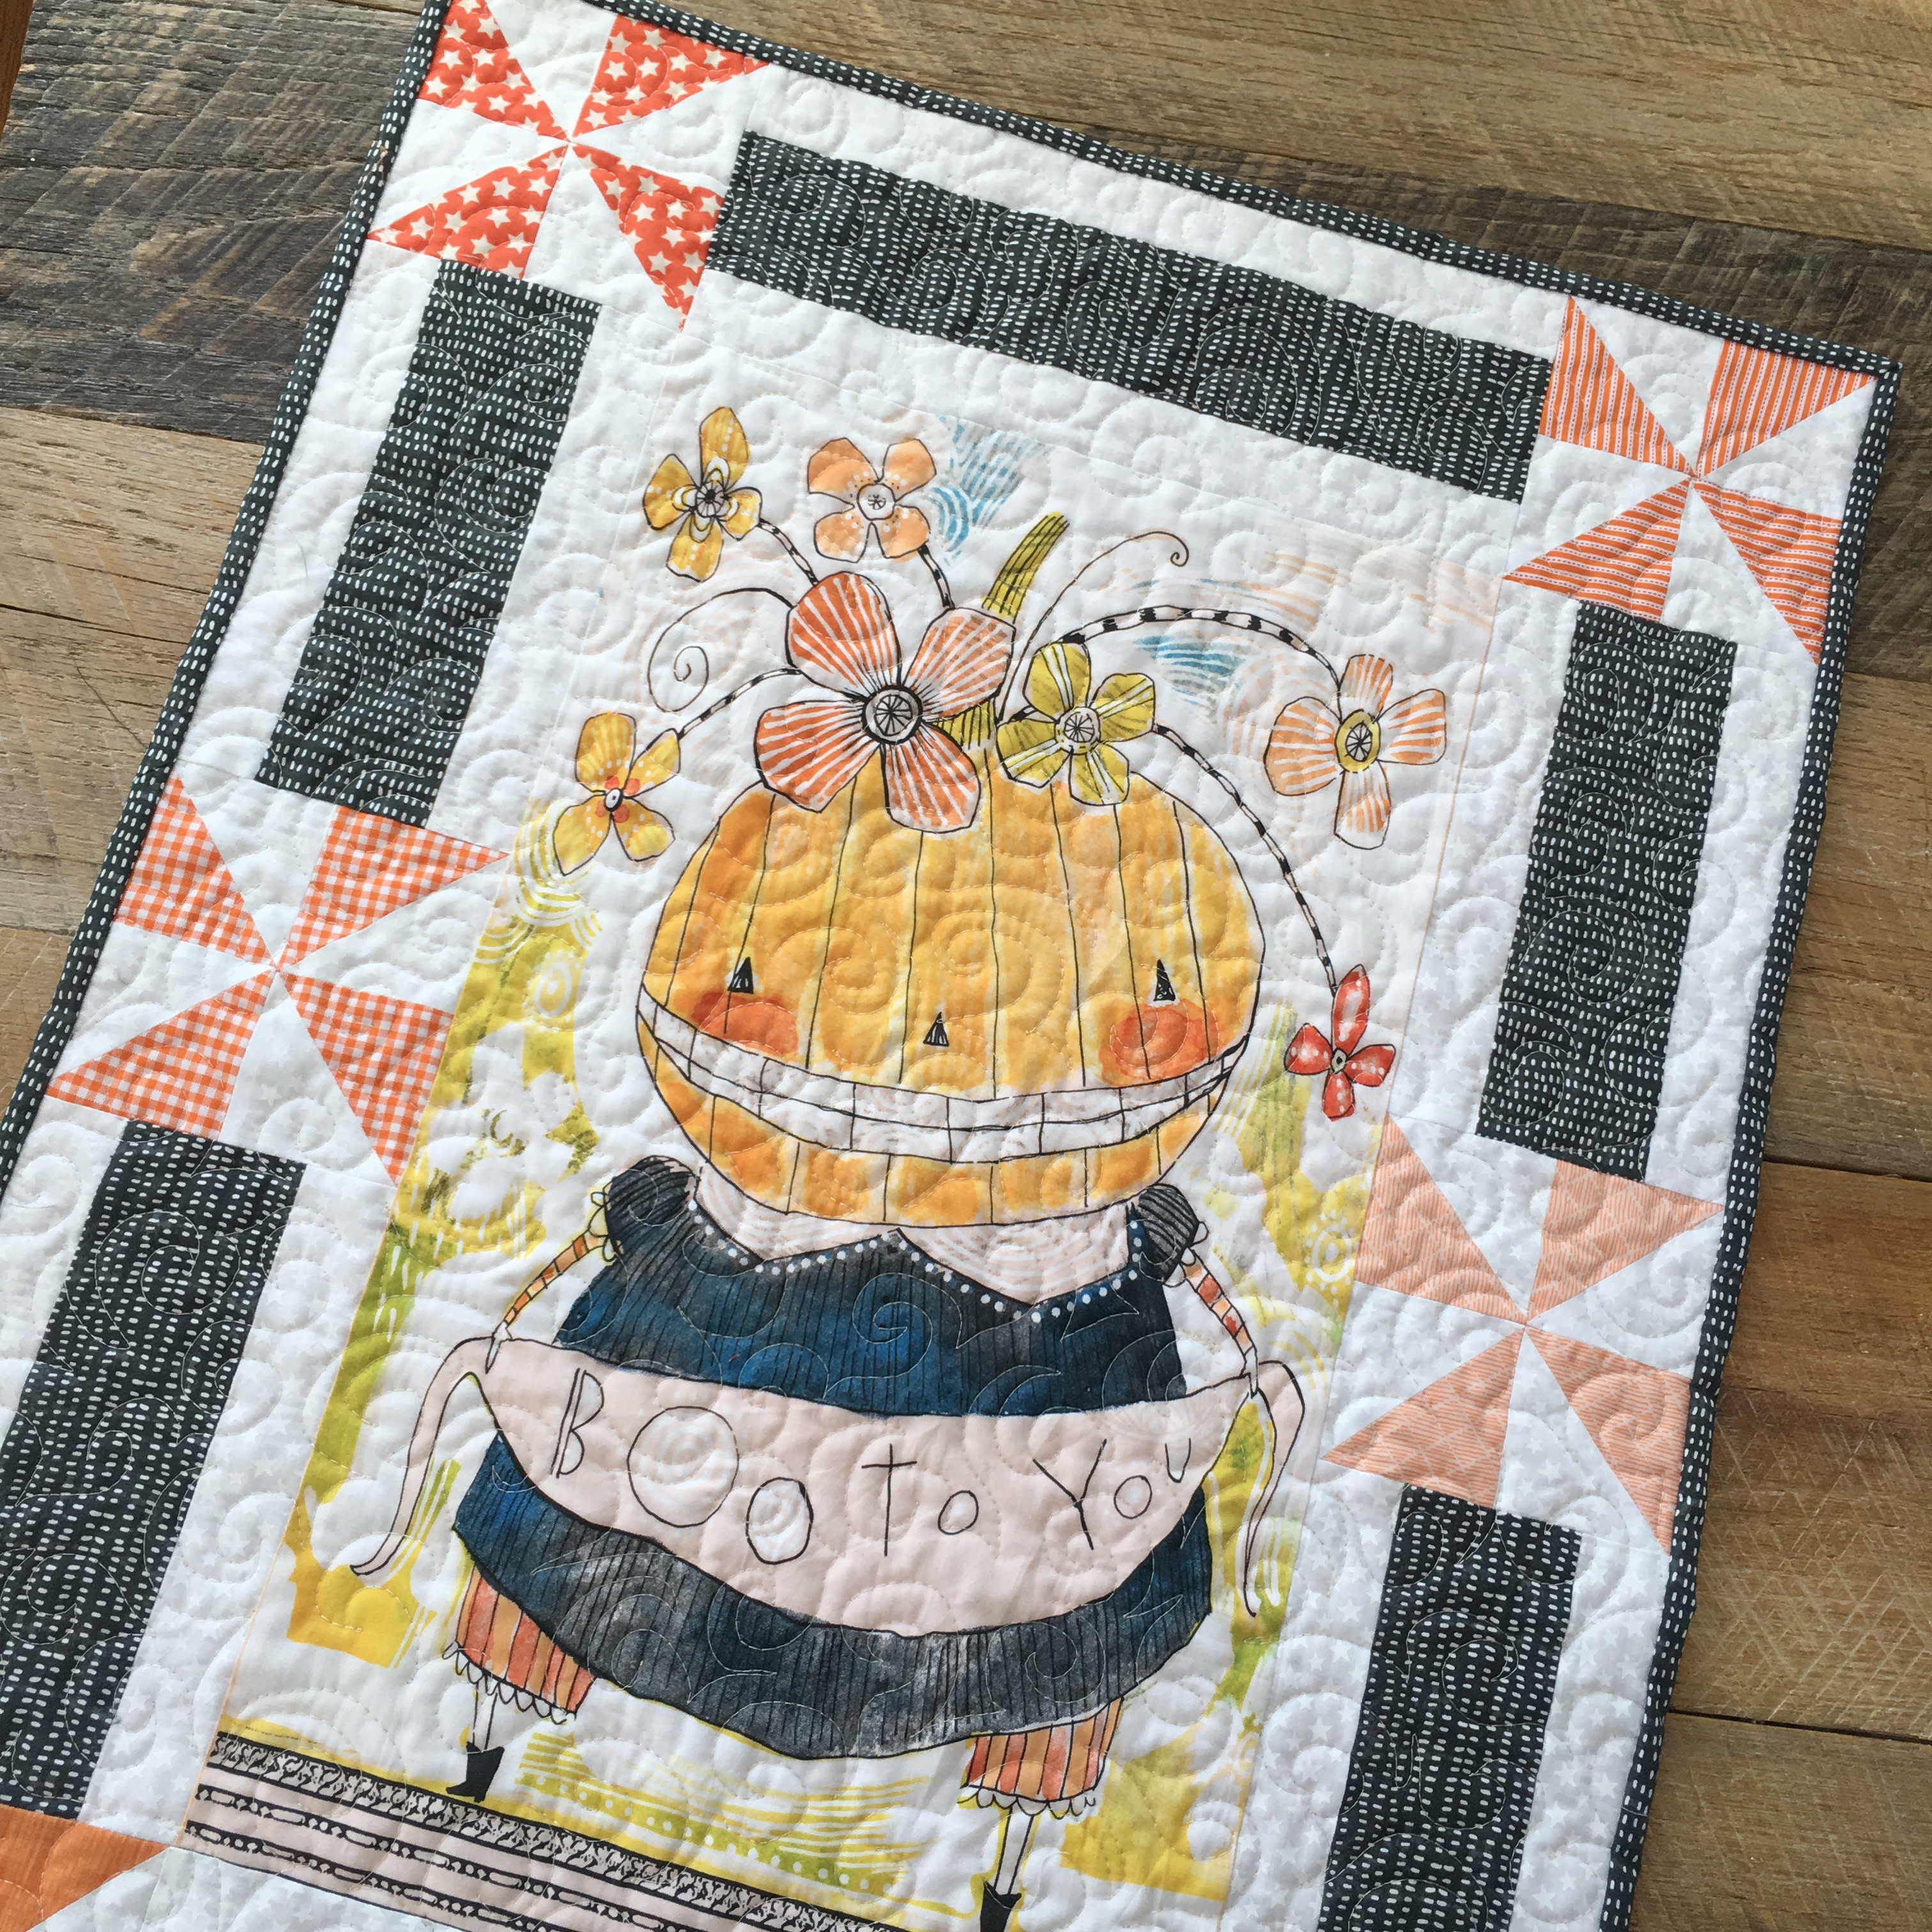
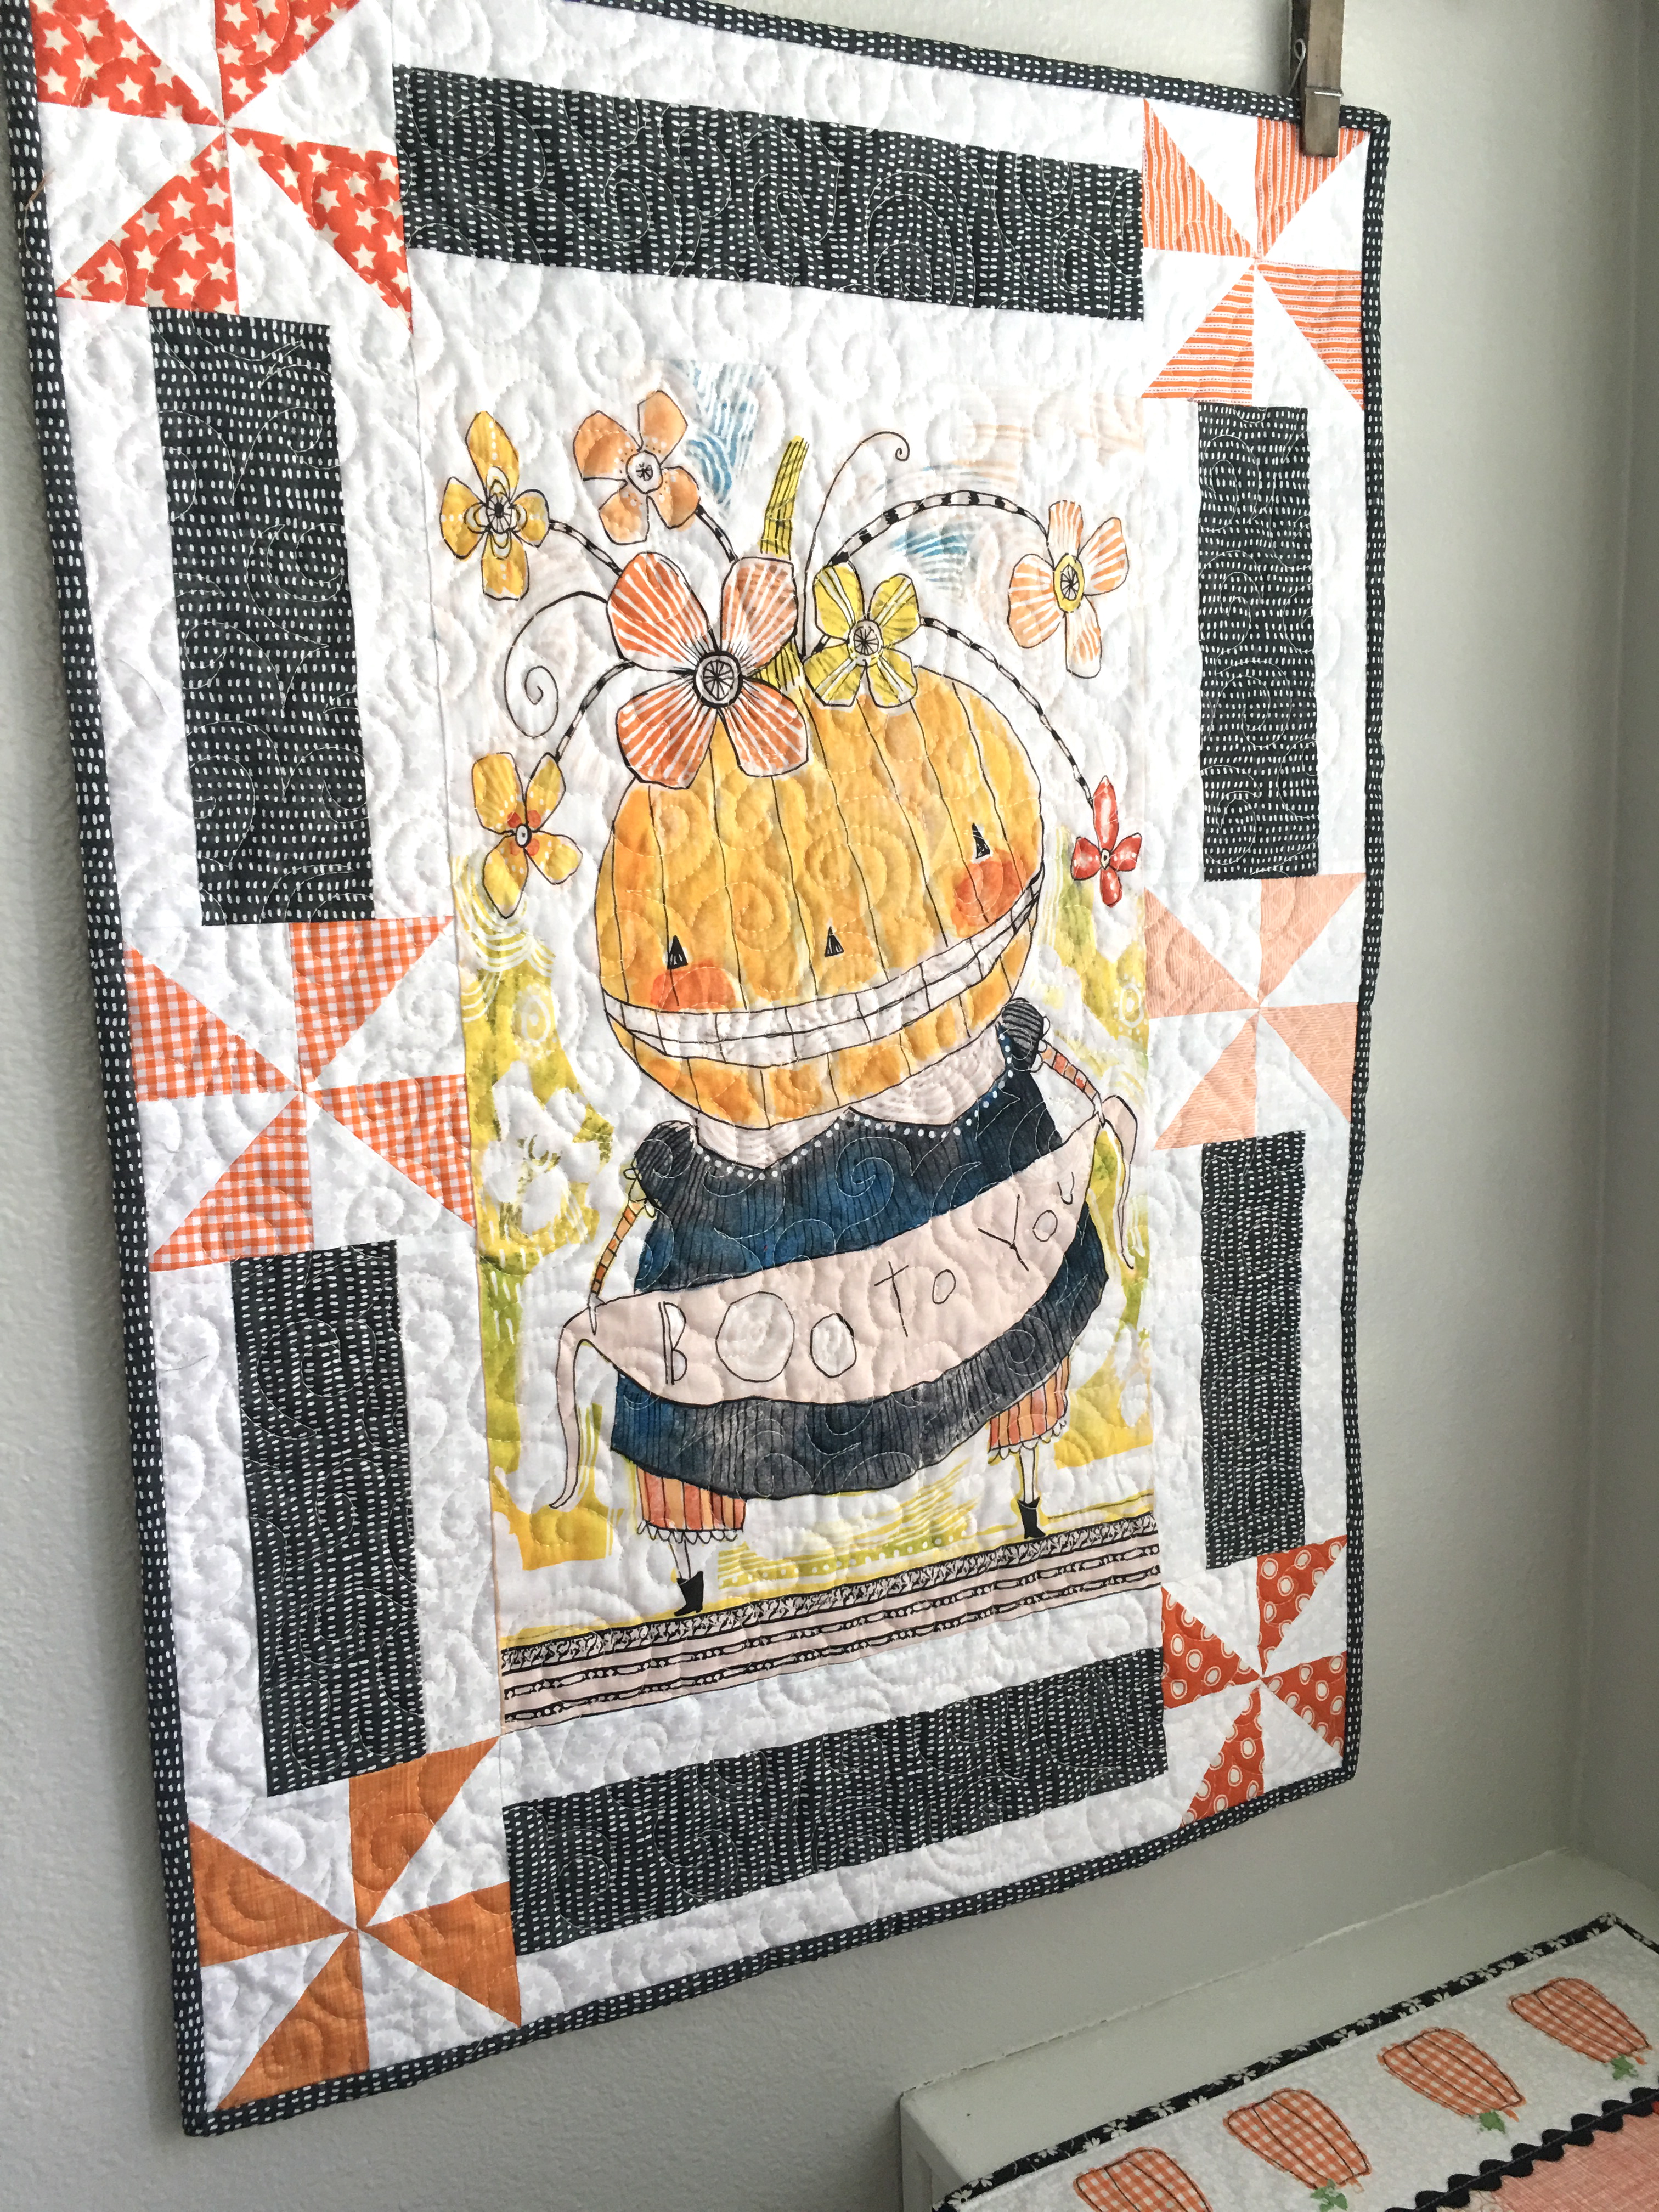
I love the adorable artwork panels by Cori Dantini for Blend Fabrics! This line is called Spooky Town. It seems each season Cori comes out with beautiful new designs! I came up with this fun way to add borders and create a wall hanging! This tutorial can also be adjusted to fit other panels of fabric .
Let’s get started:
Fabric Requirements:
1 panel
1/3 yard white fabric
1/4 yard black print
fat quarters or scraps for each of the 6 pinwheels
1/4 yard binding
1 yard back
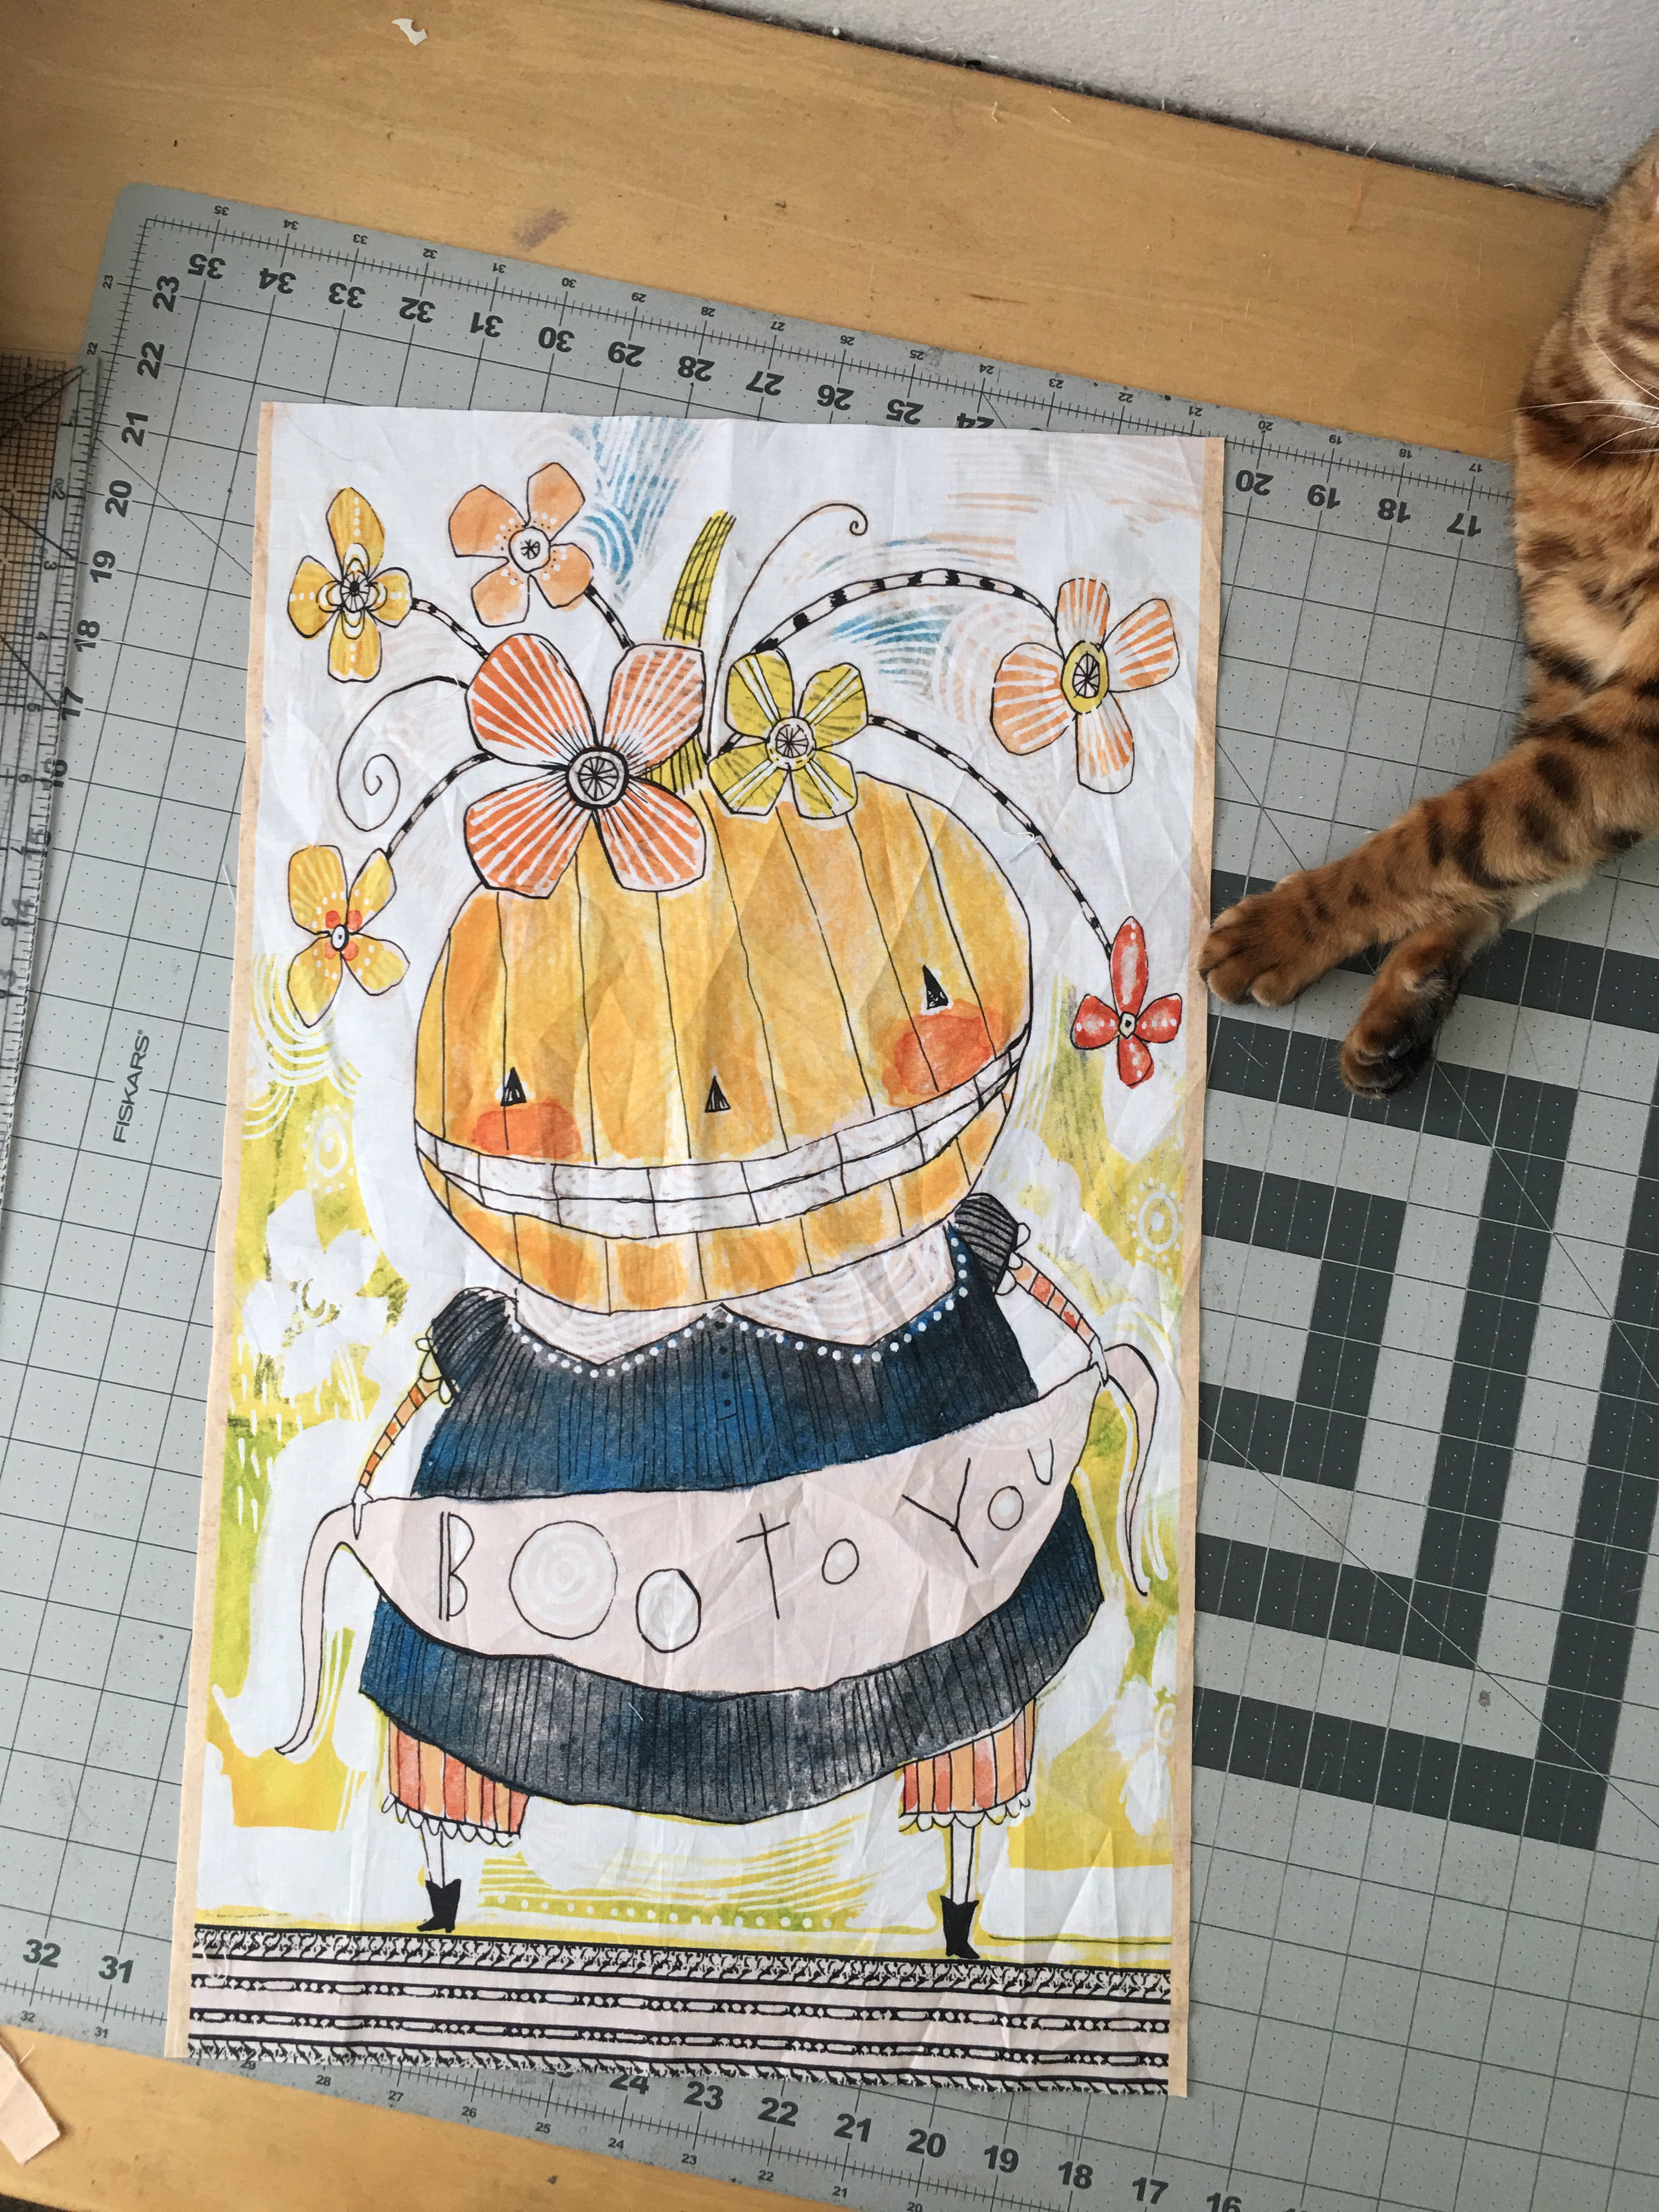
Cut the panel so it measures 13.5″ x 23.5″ 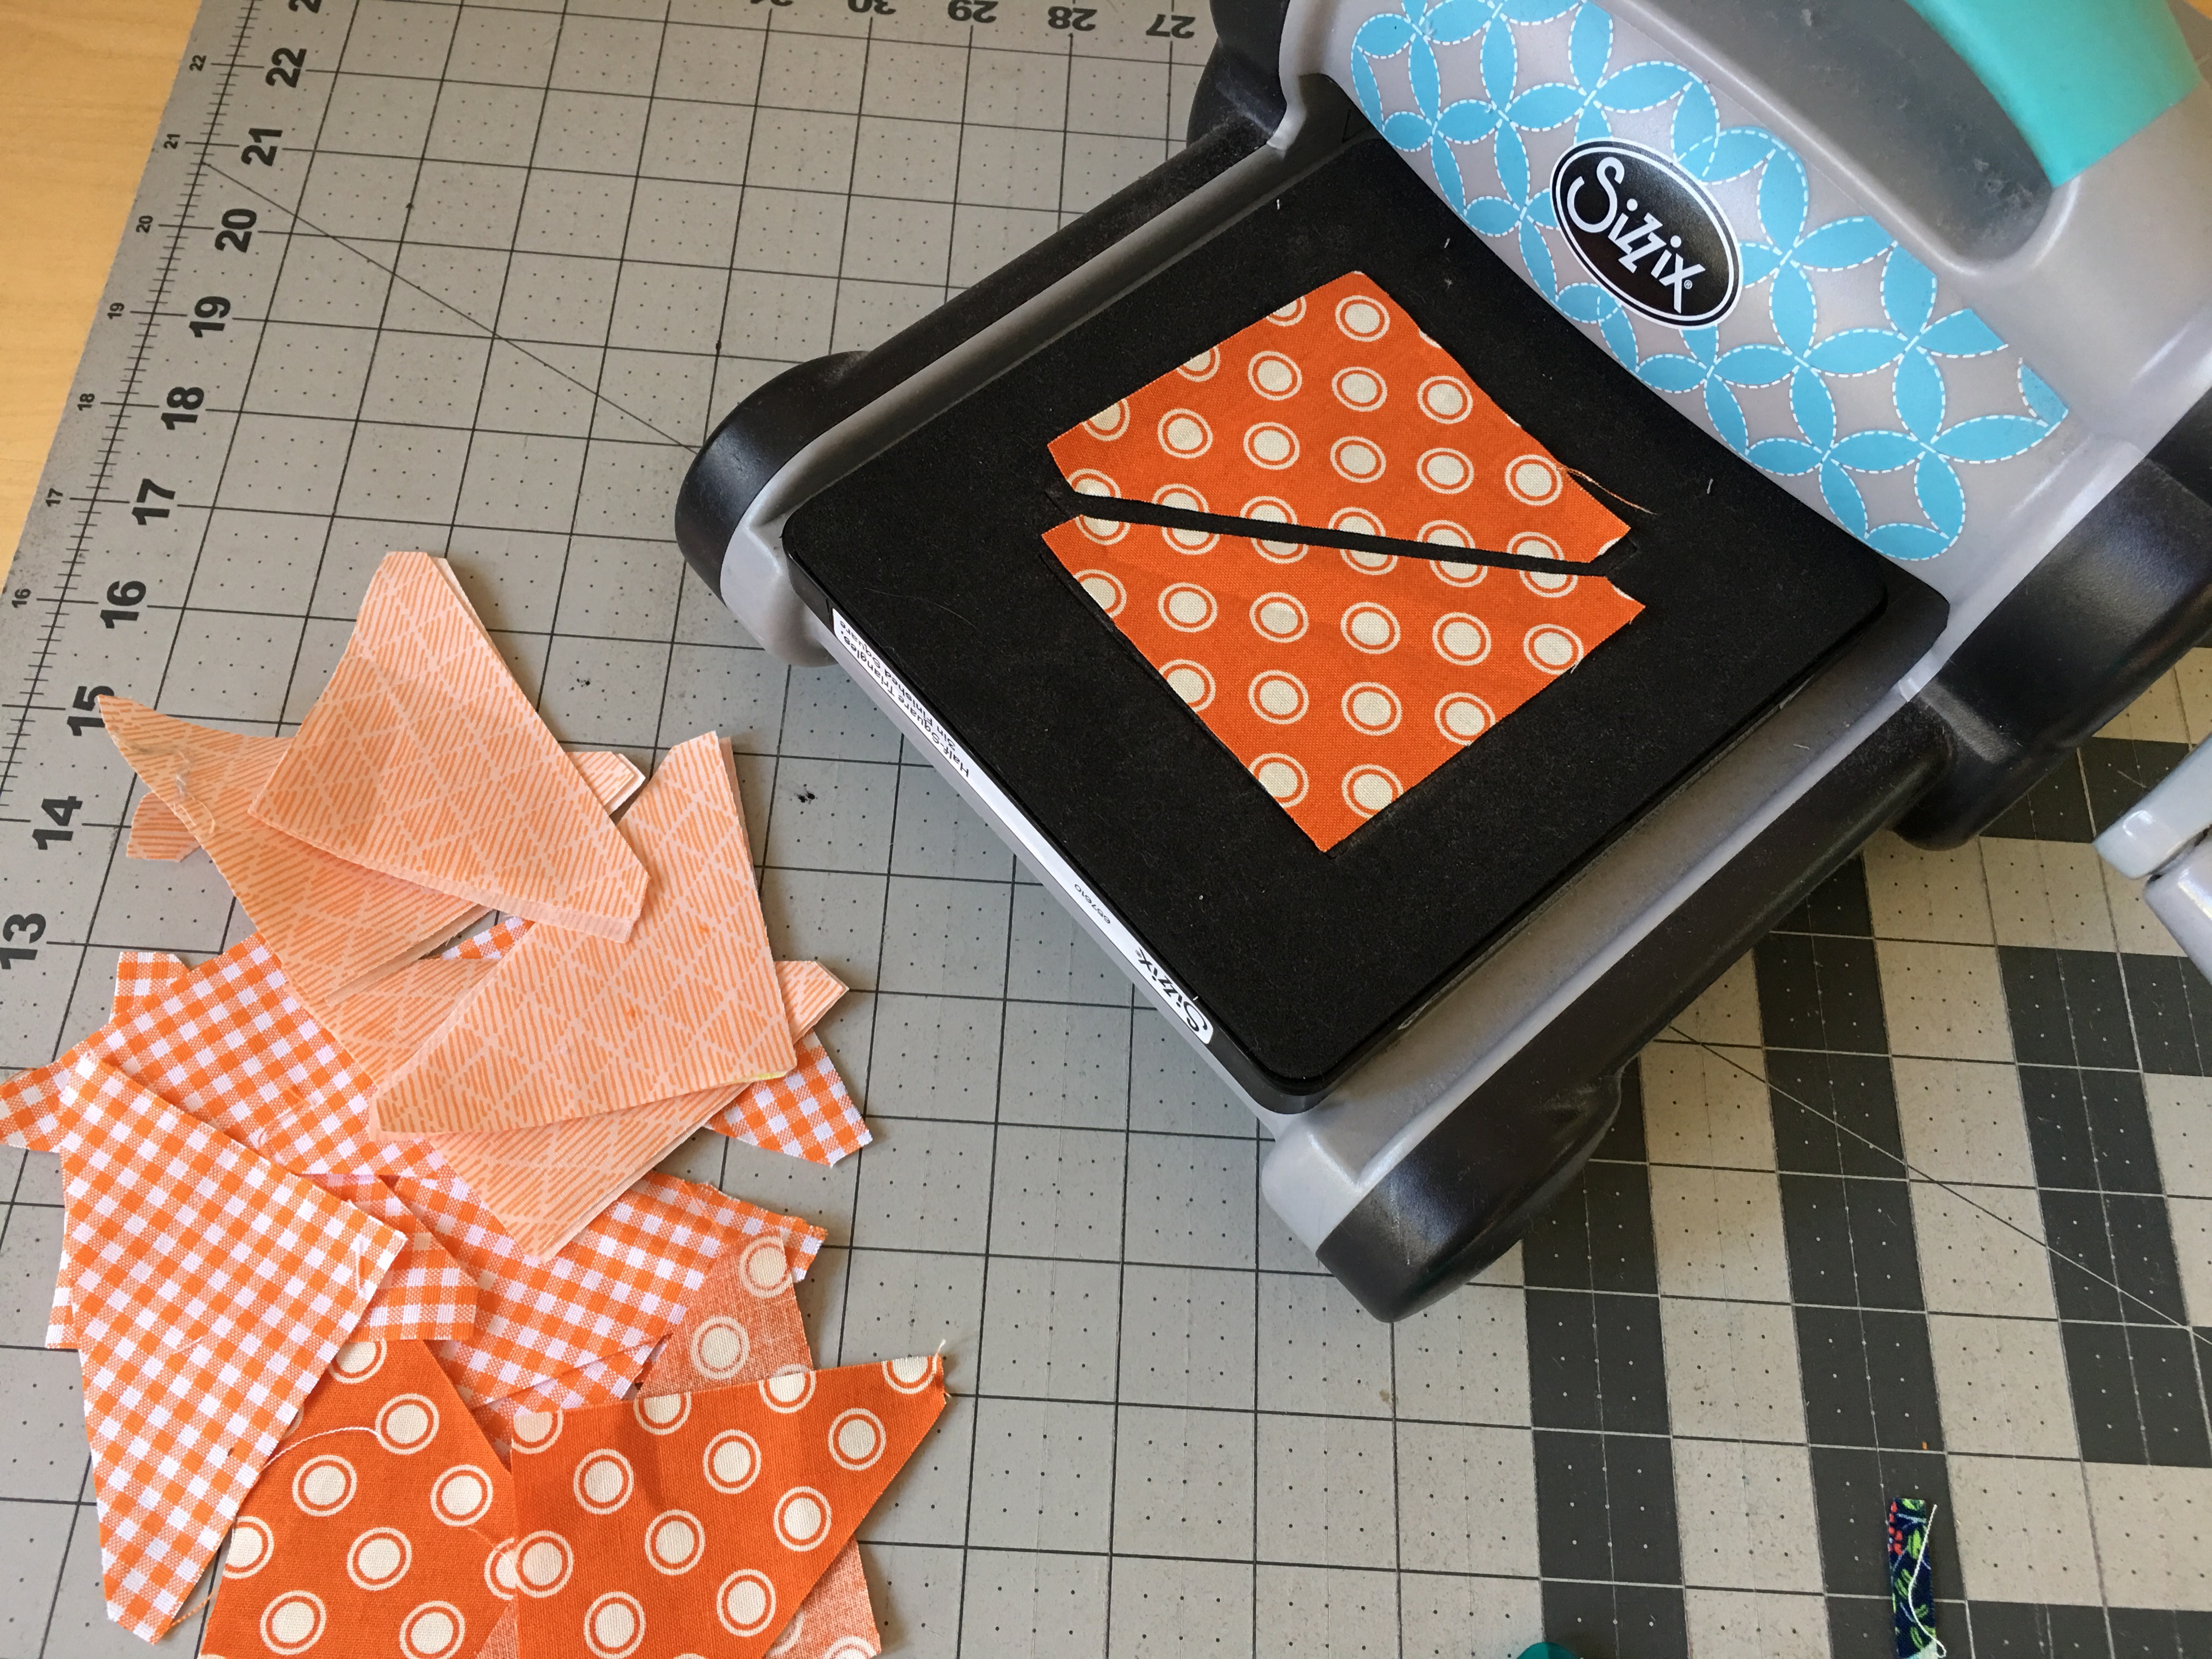
Make 6 pinwheels. Each pinwheel is made up of (4) 3″ half square triangles (HST). You can choose any method you like – I always use my Sizzix to cut the HST – they come out so perfect! You will need 24 triangles of orange and 24 triangles of white.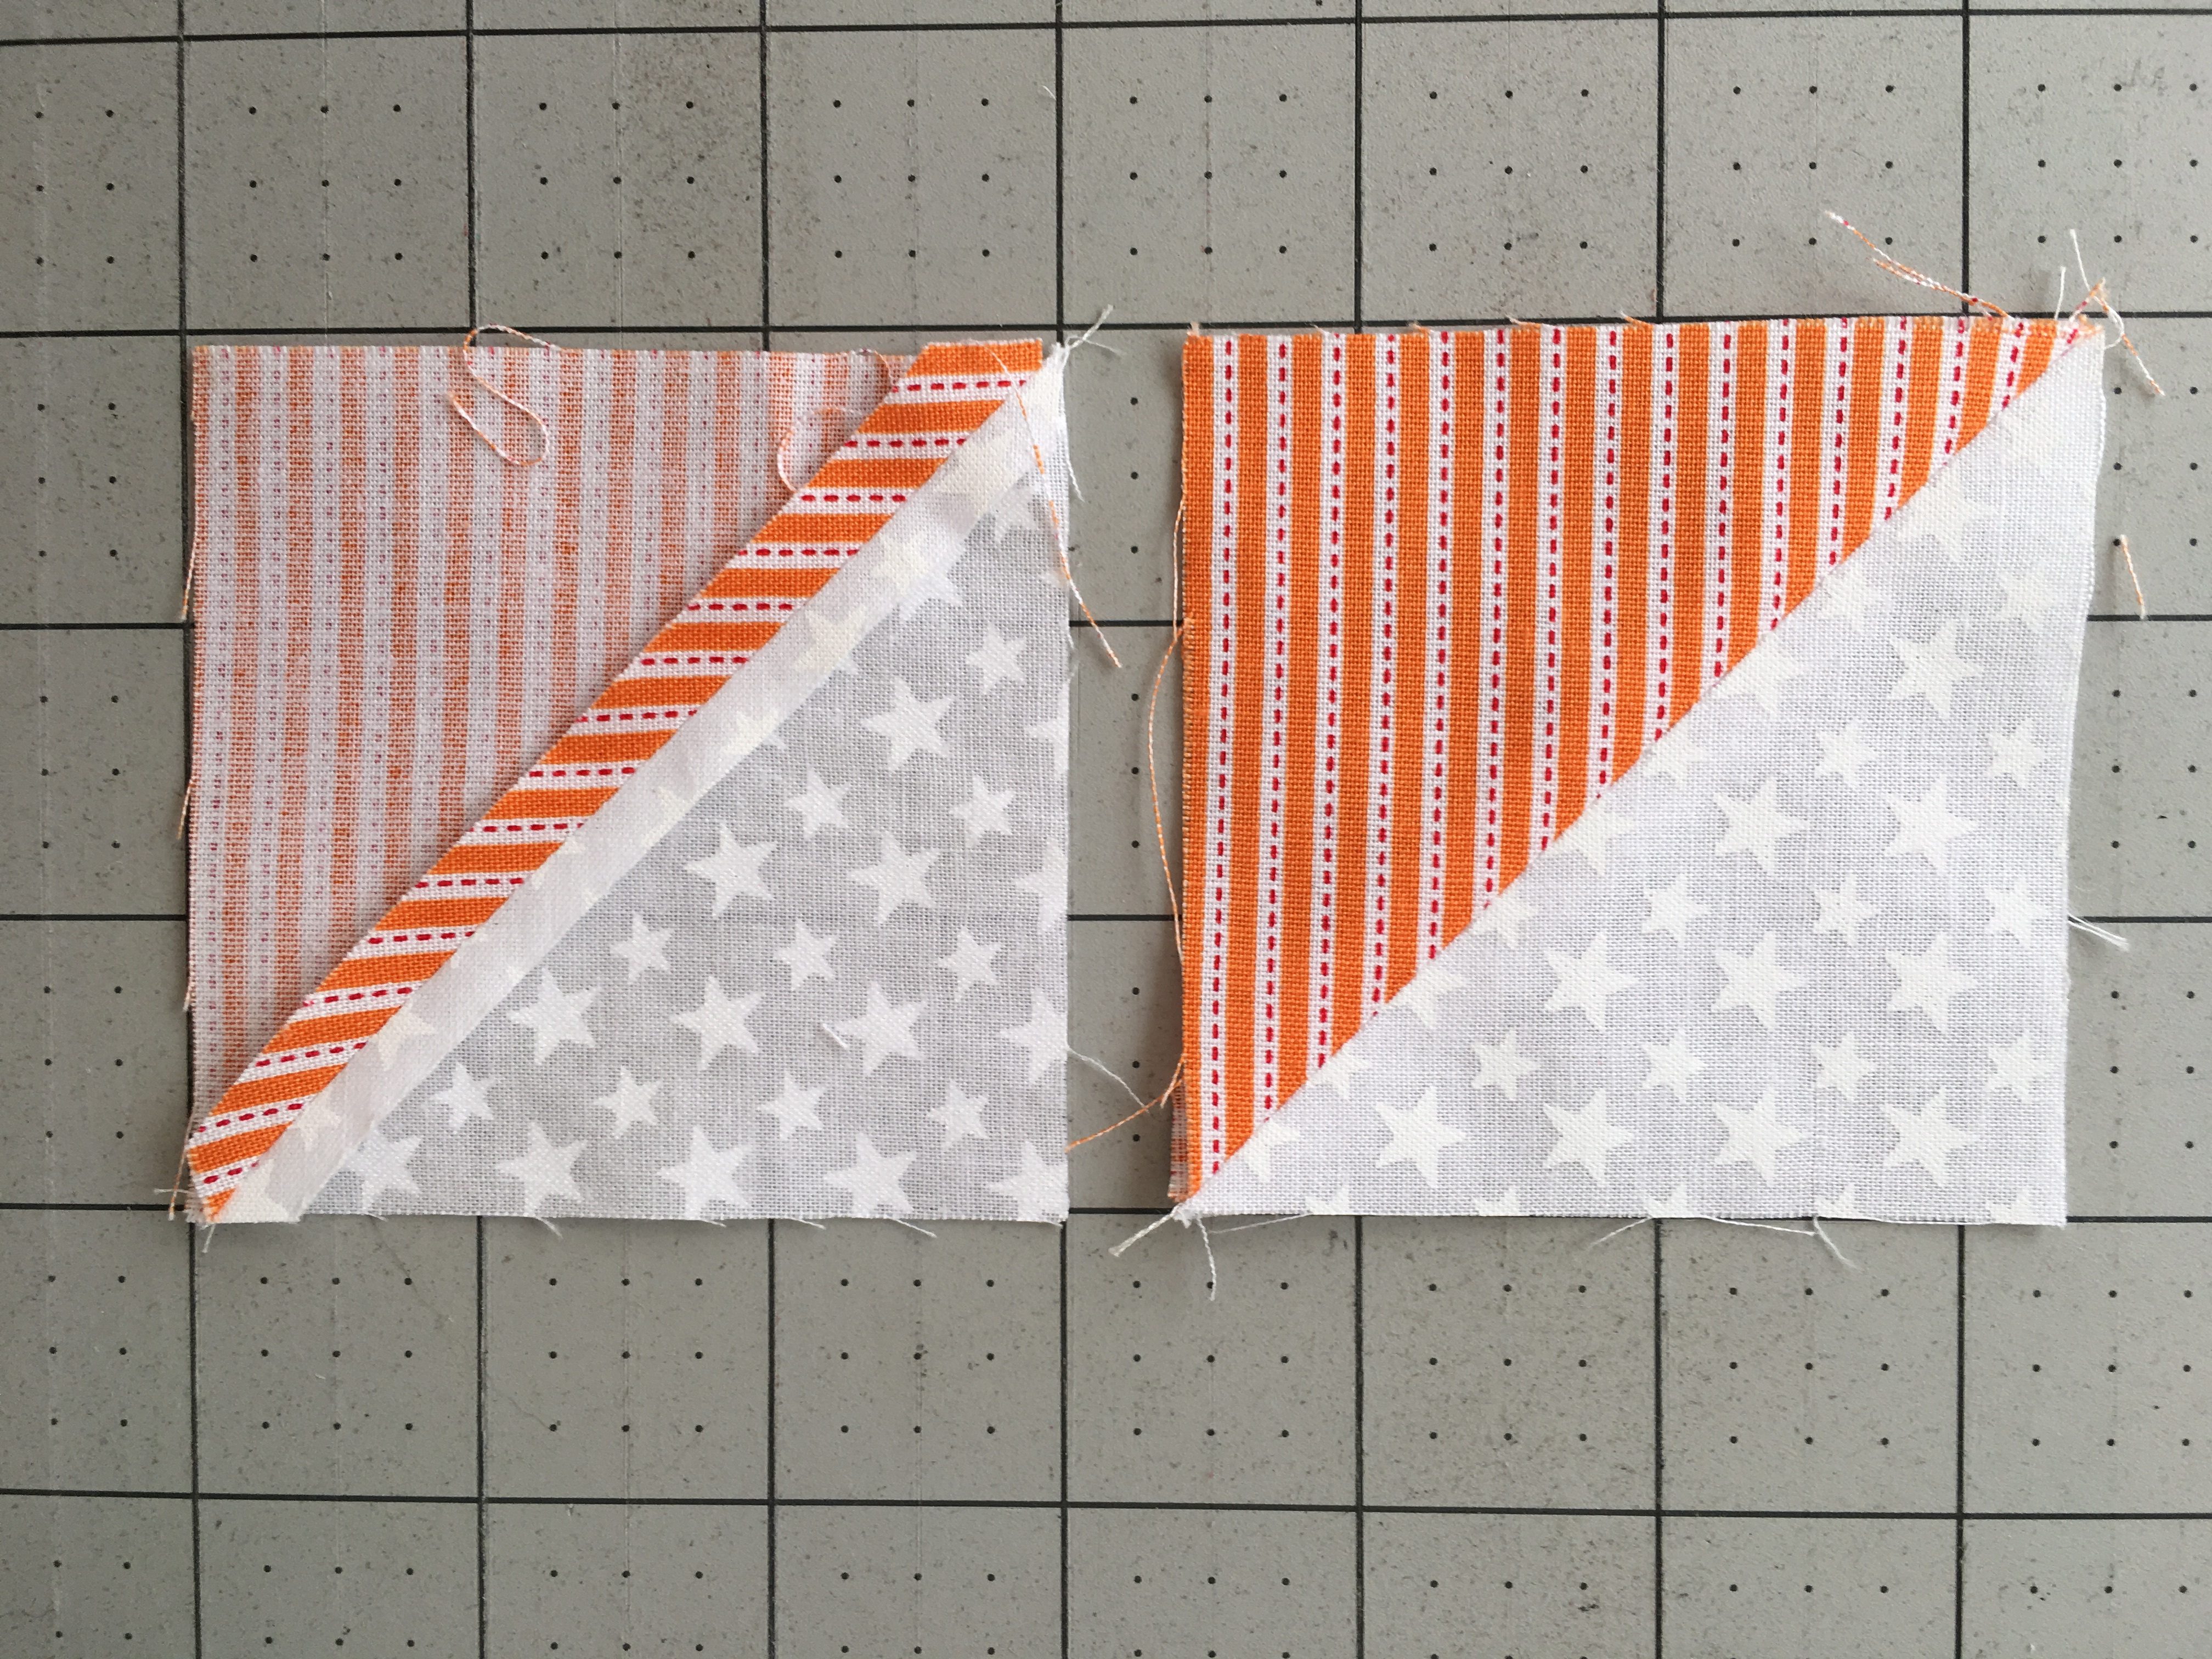
Sew the orange and white triangles together. Press seams open. You don’t have to square up with the Sizzix either!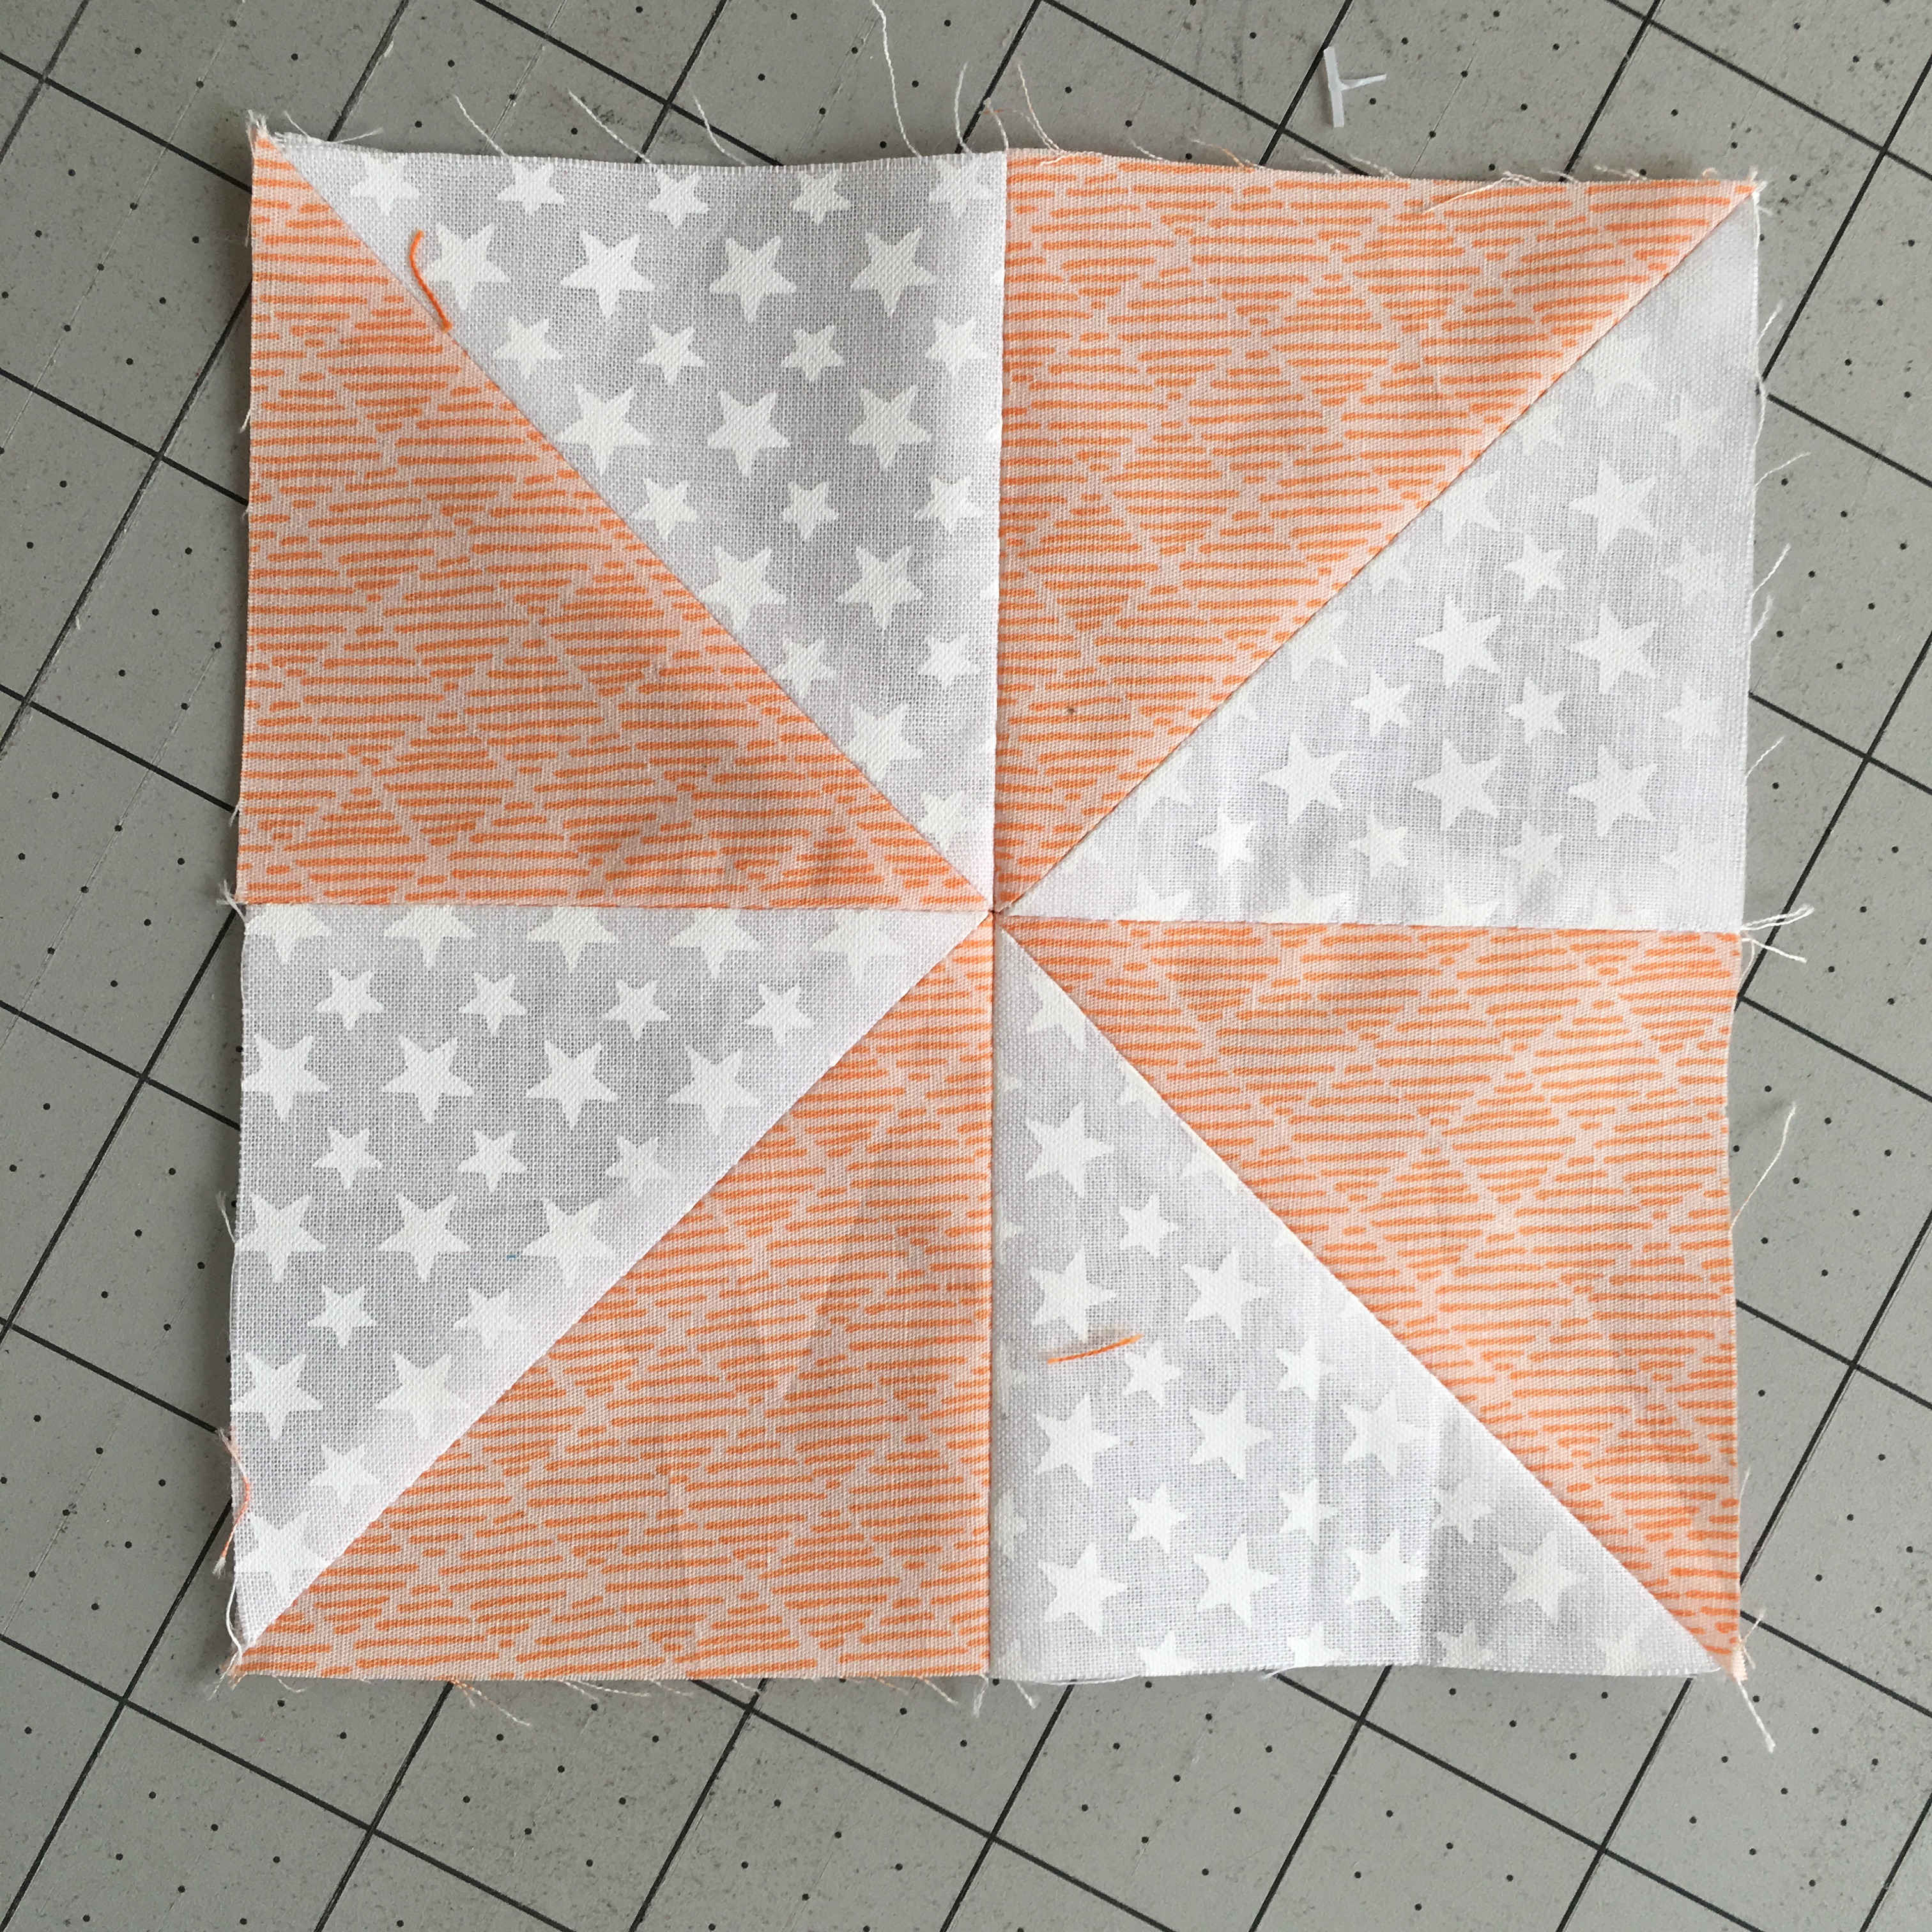
Lay out four HST and sew together as a 4-patch, pressing seams open each time. You will have 6 pinwheels measuring 5.5″ square.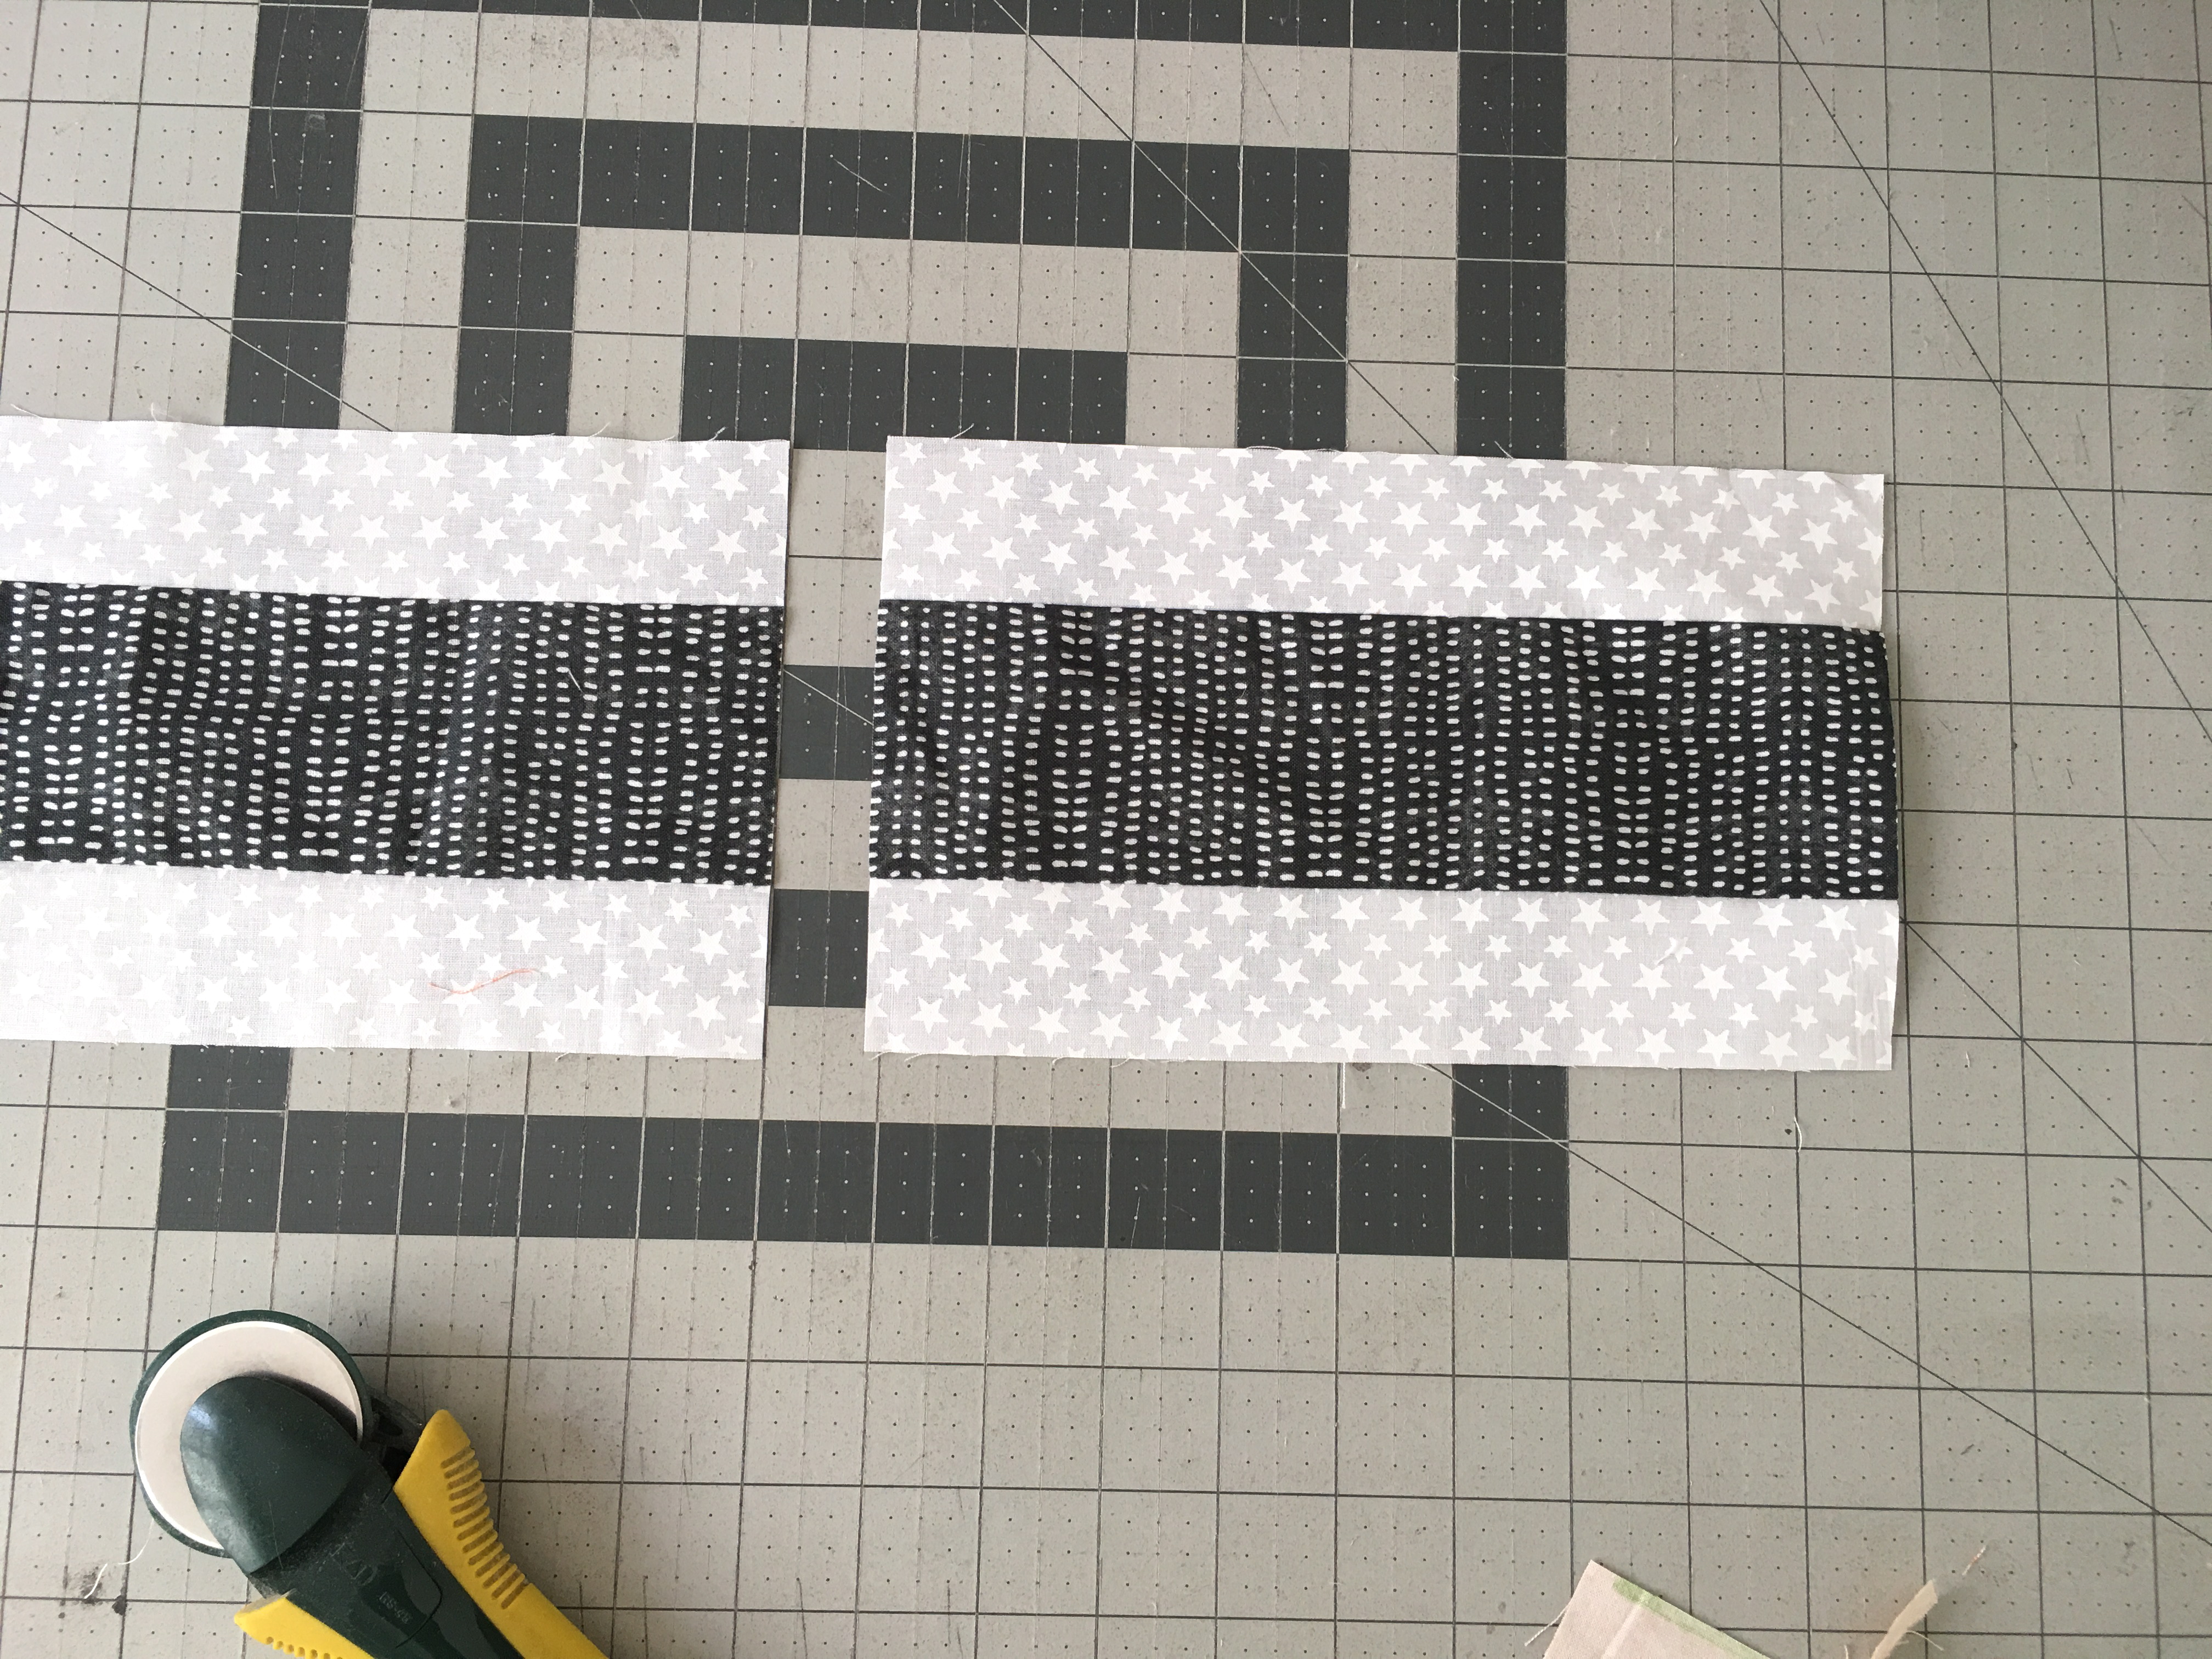
To make the strip sets, cut (4) 1.75″ x WOF of the white. Cut (2) 3″xWOF of the black. Sew the white strips on both sides of the black strip. Make 2 strip sets. Press toward the dark. Cut the strip sets in (4) units of 9″ and (2) units of 13.5″.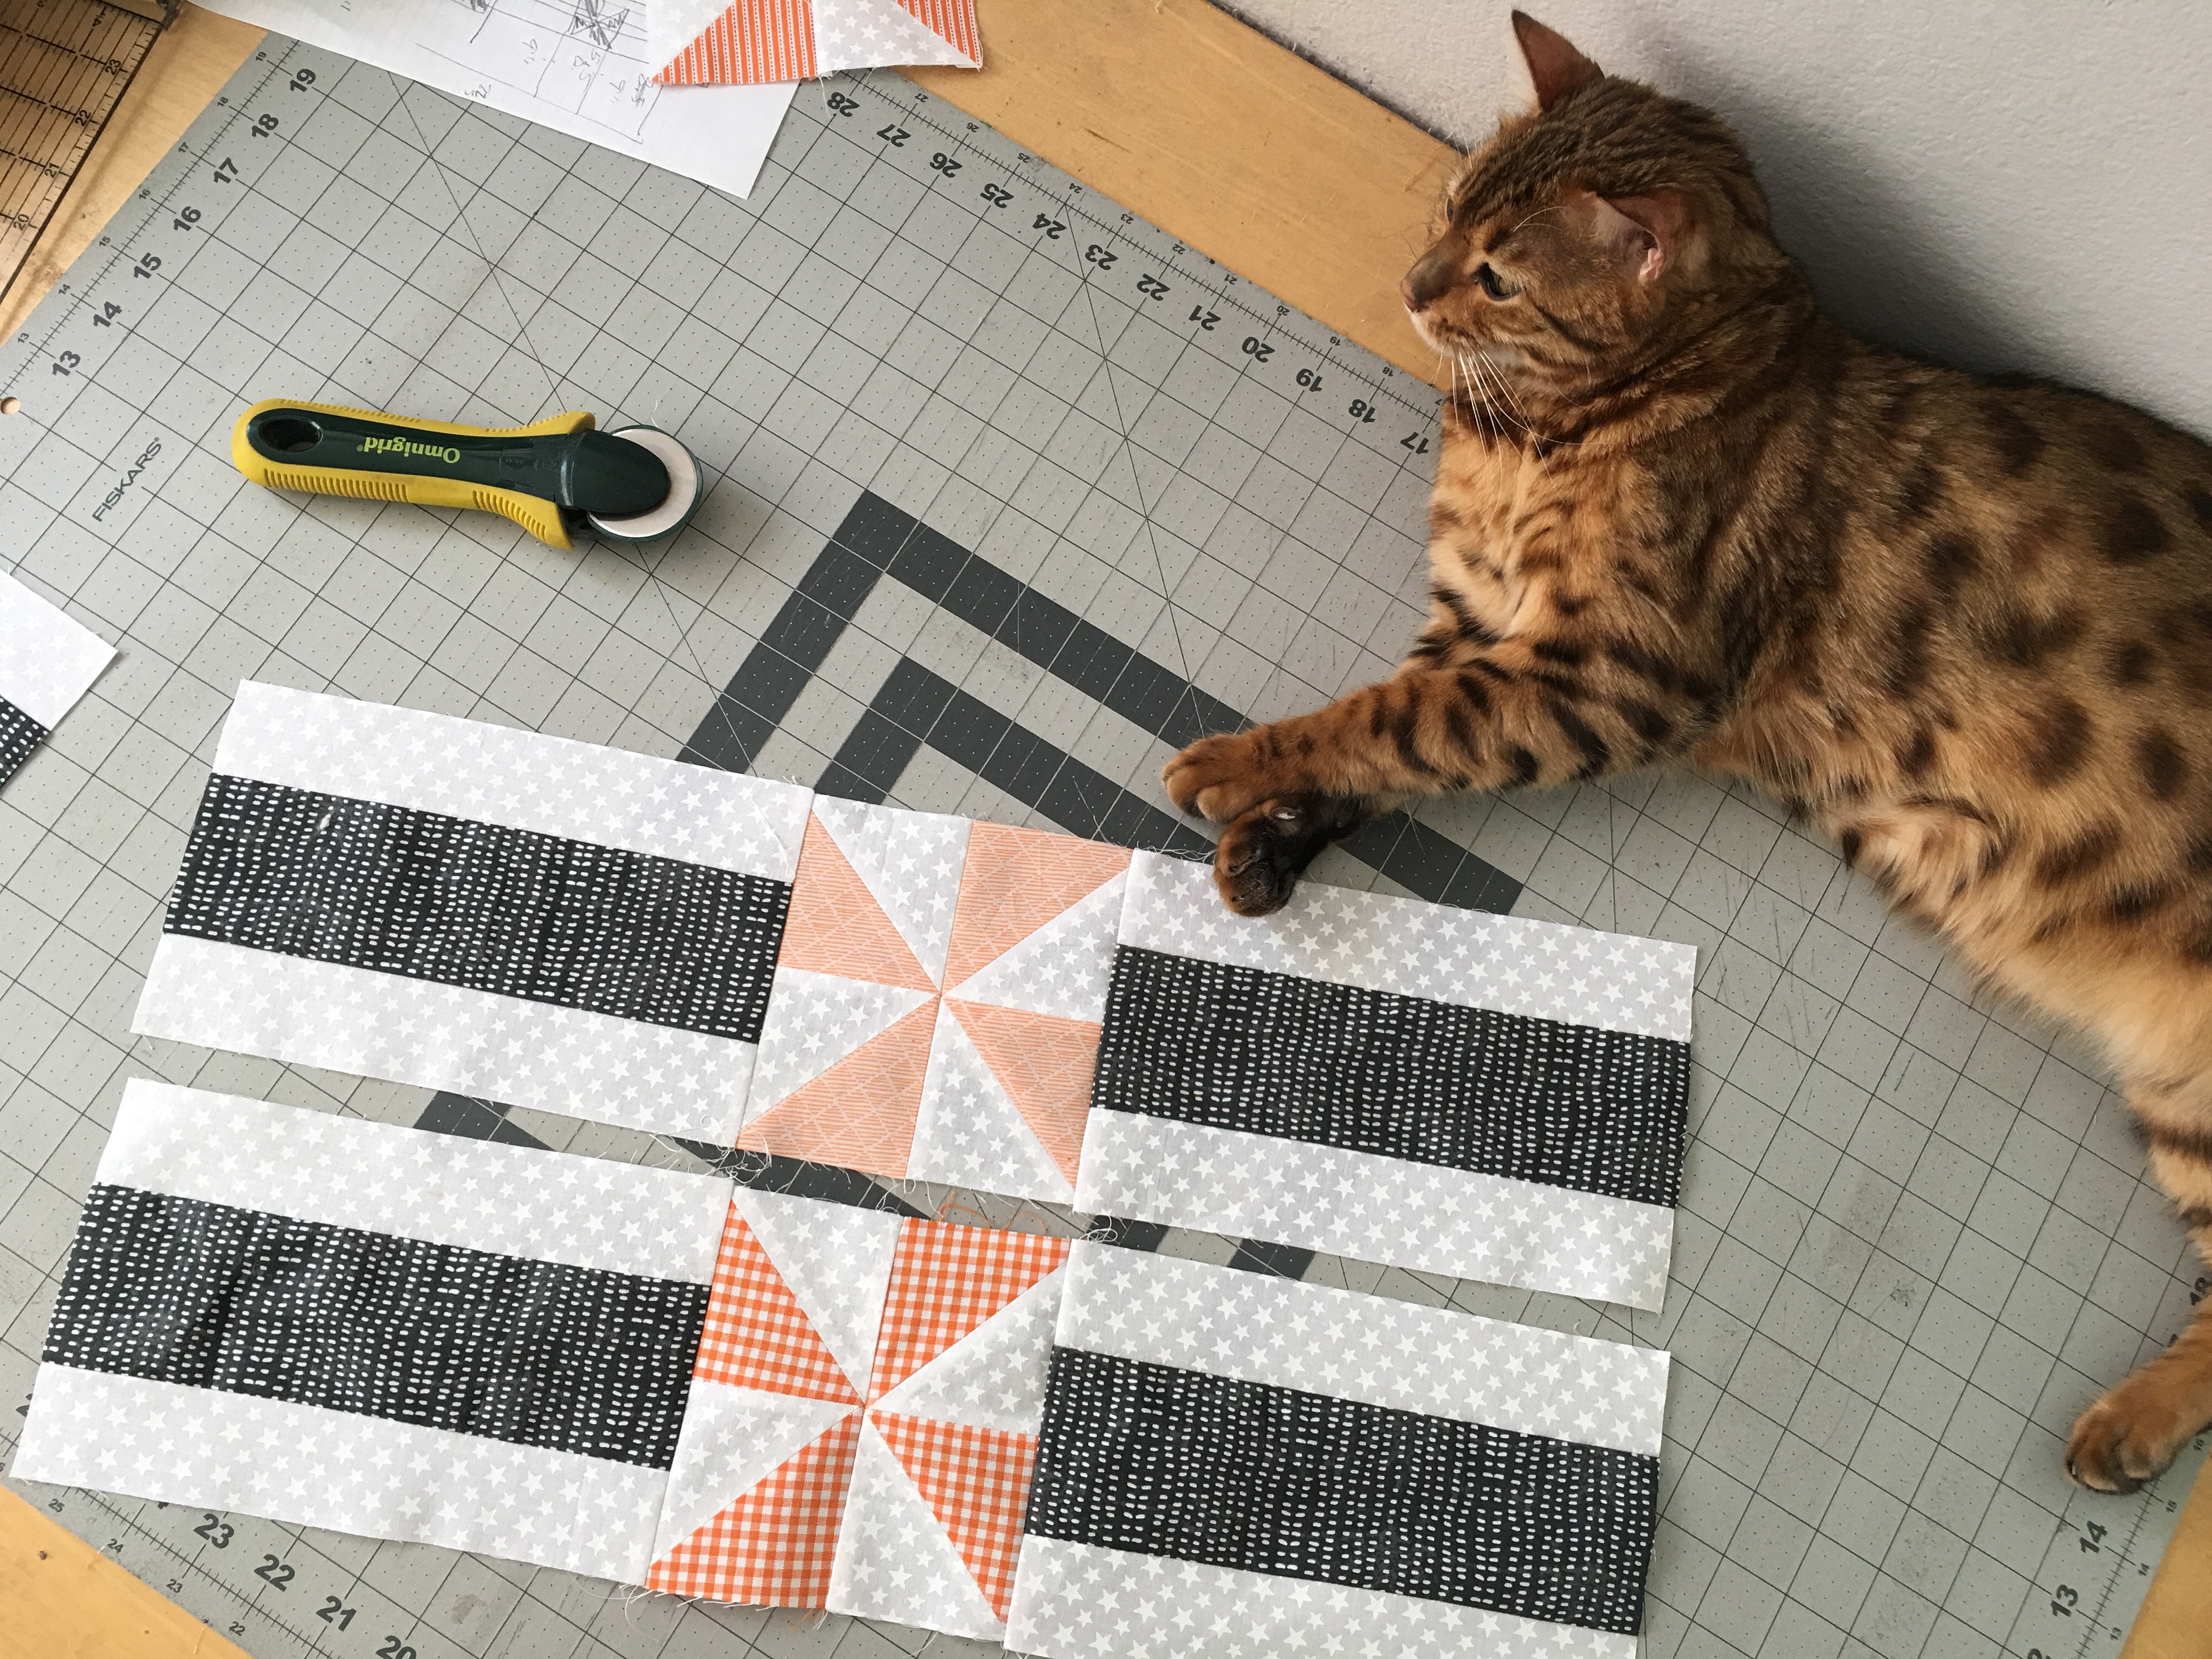
Sew the 9″ units onto both sides of a pinwheel. Make 2 of these side units.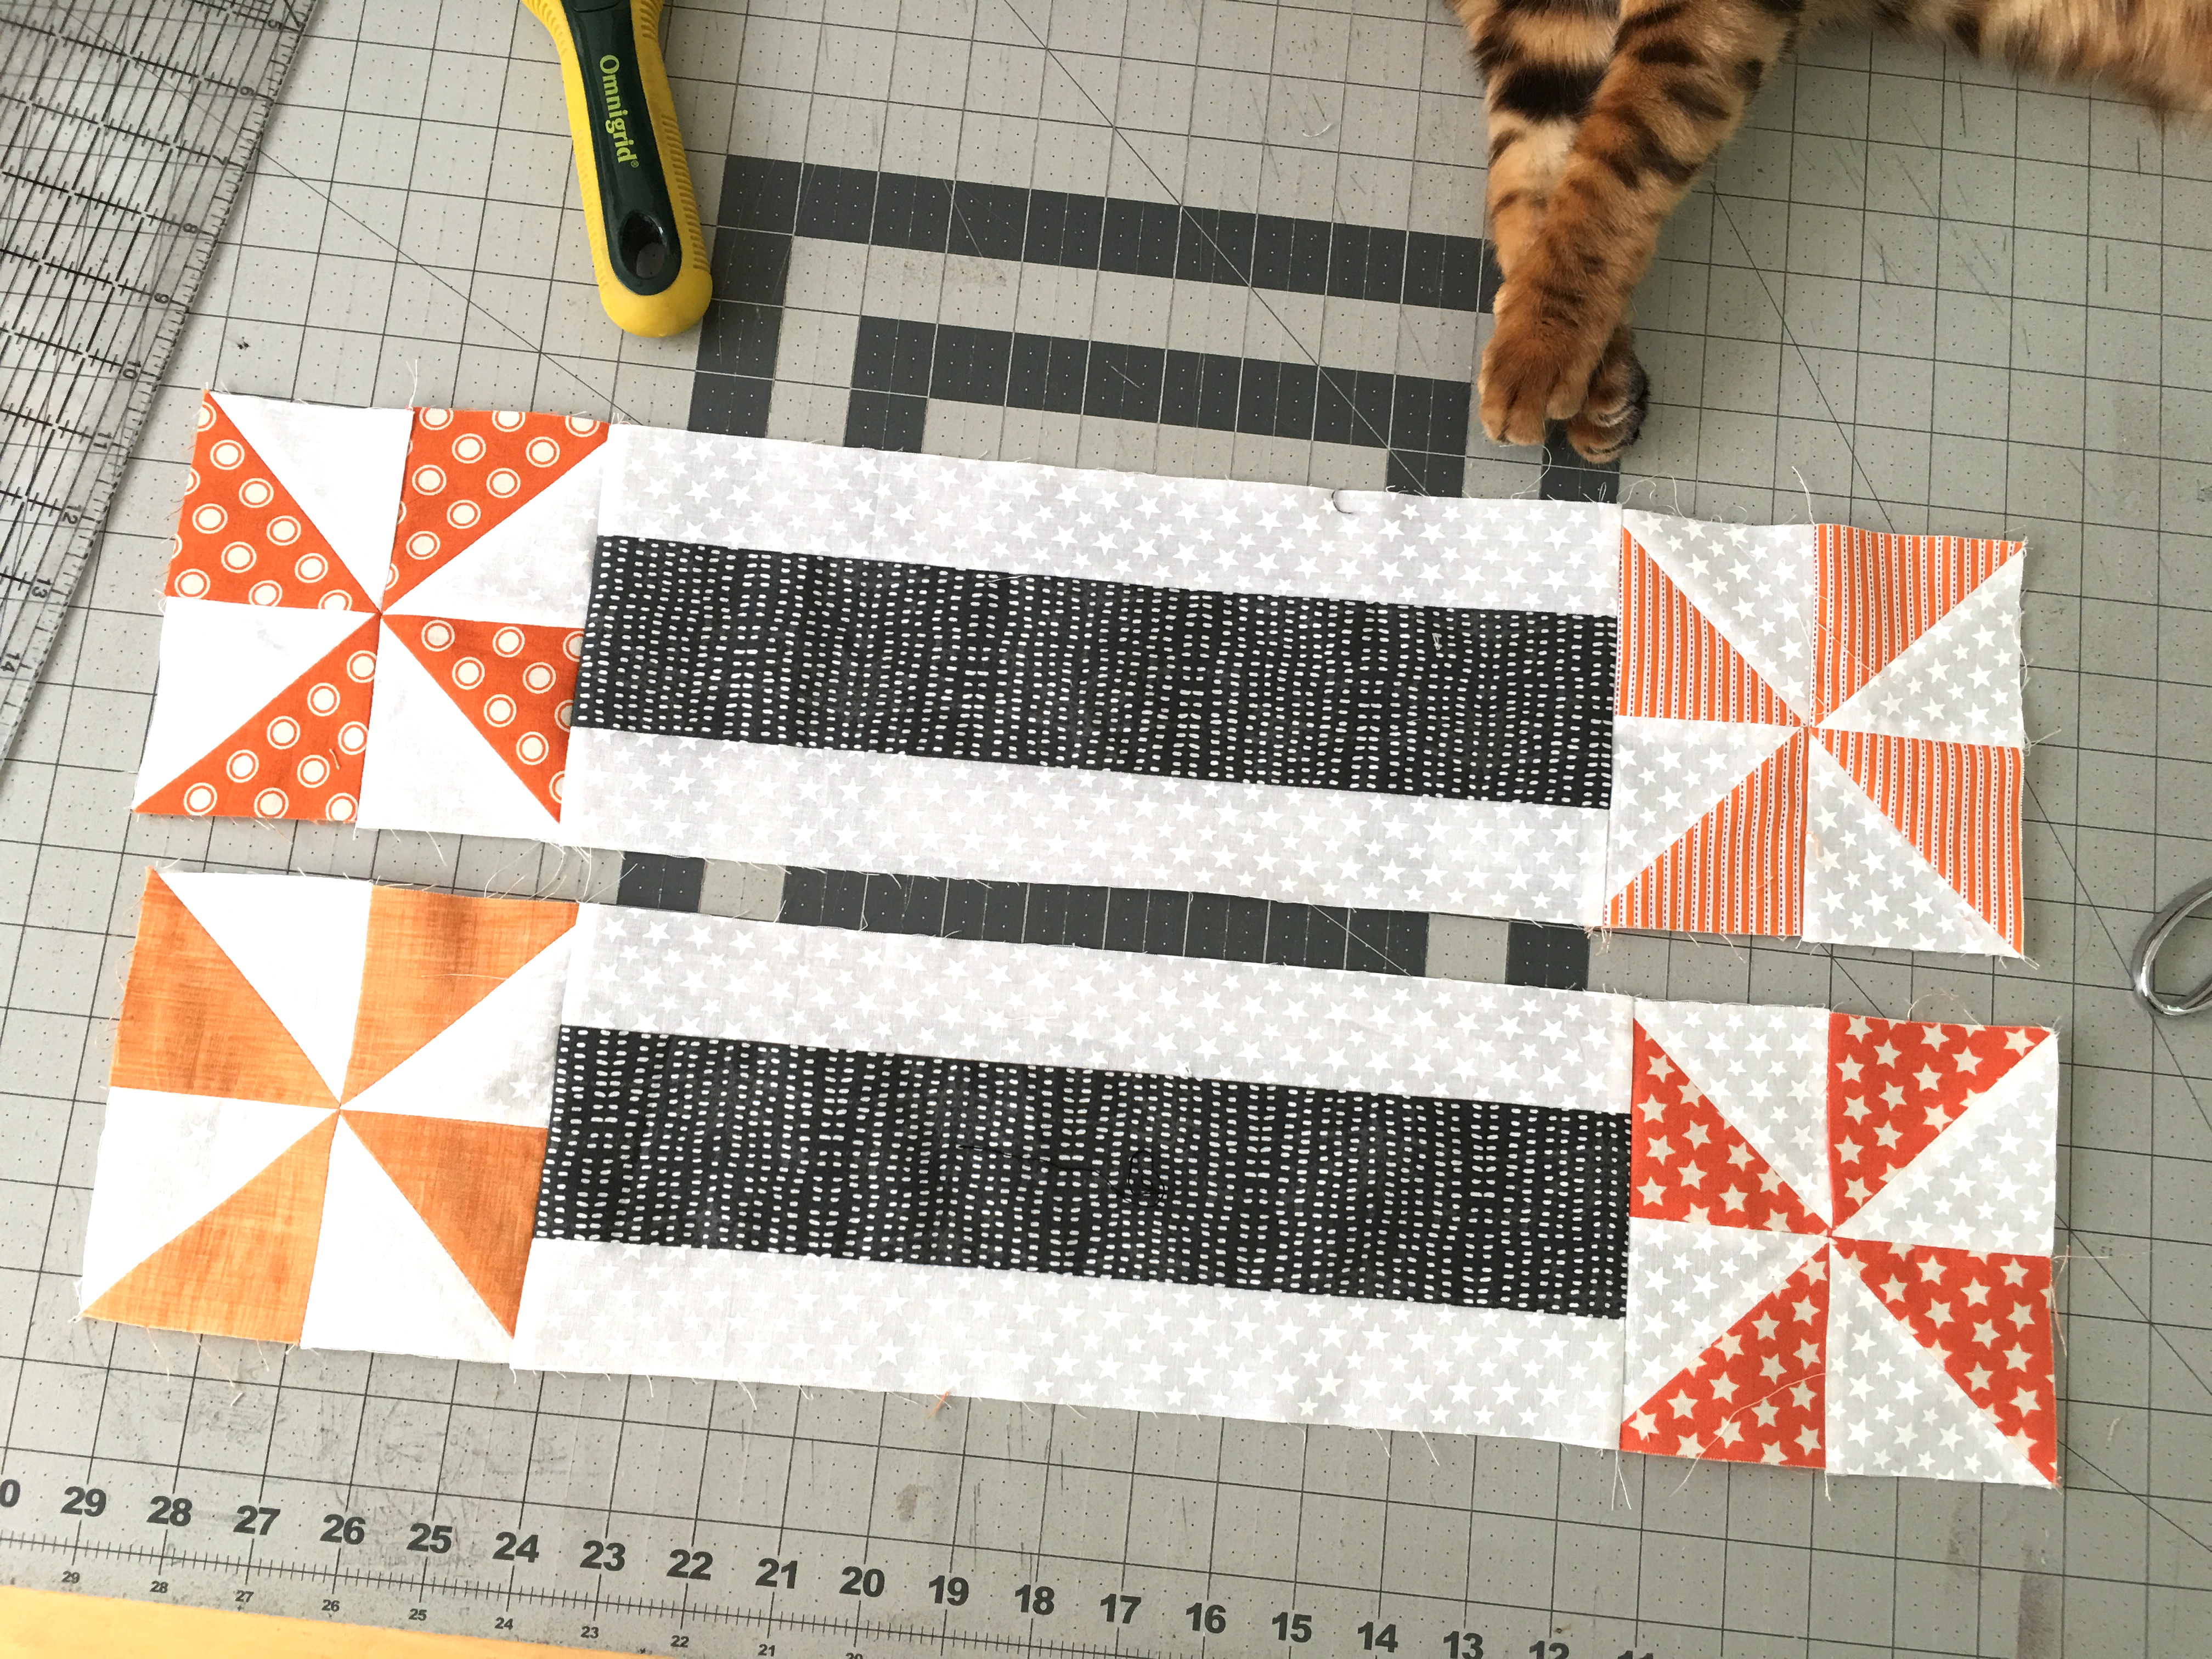
Sew a pinwheel onto the ends of both 13.5″ strip set unit. Press. Below is a diagram with the measurements.
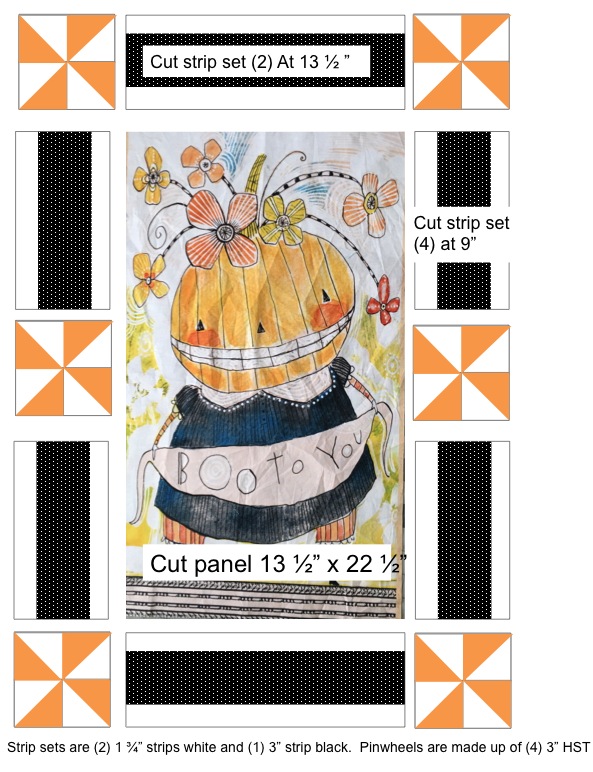
Sew the side units on first. Press open. Sew the top and bottom units on next. Press open.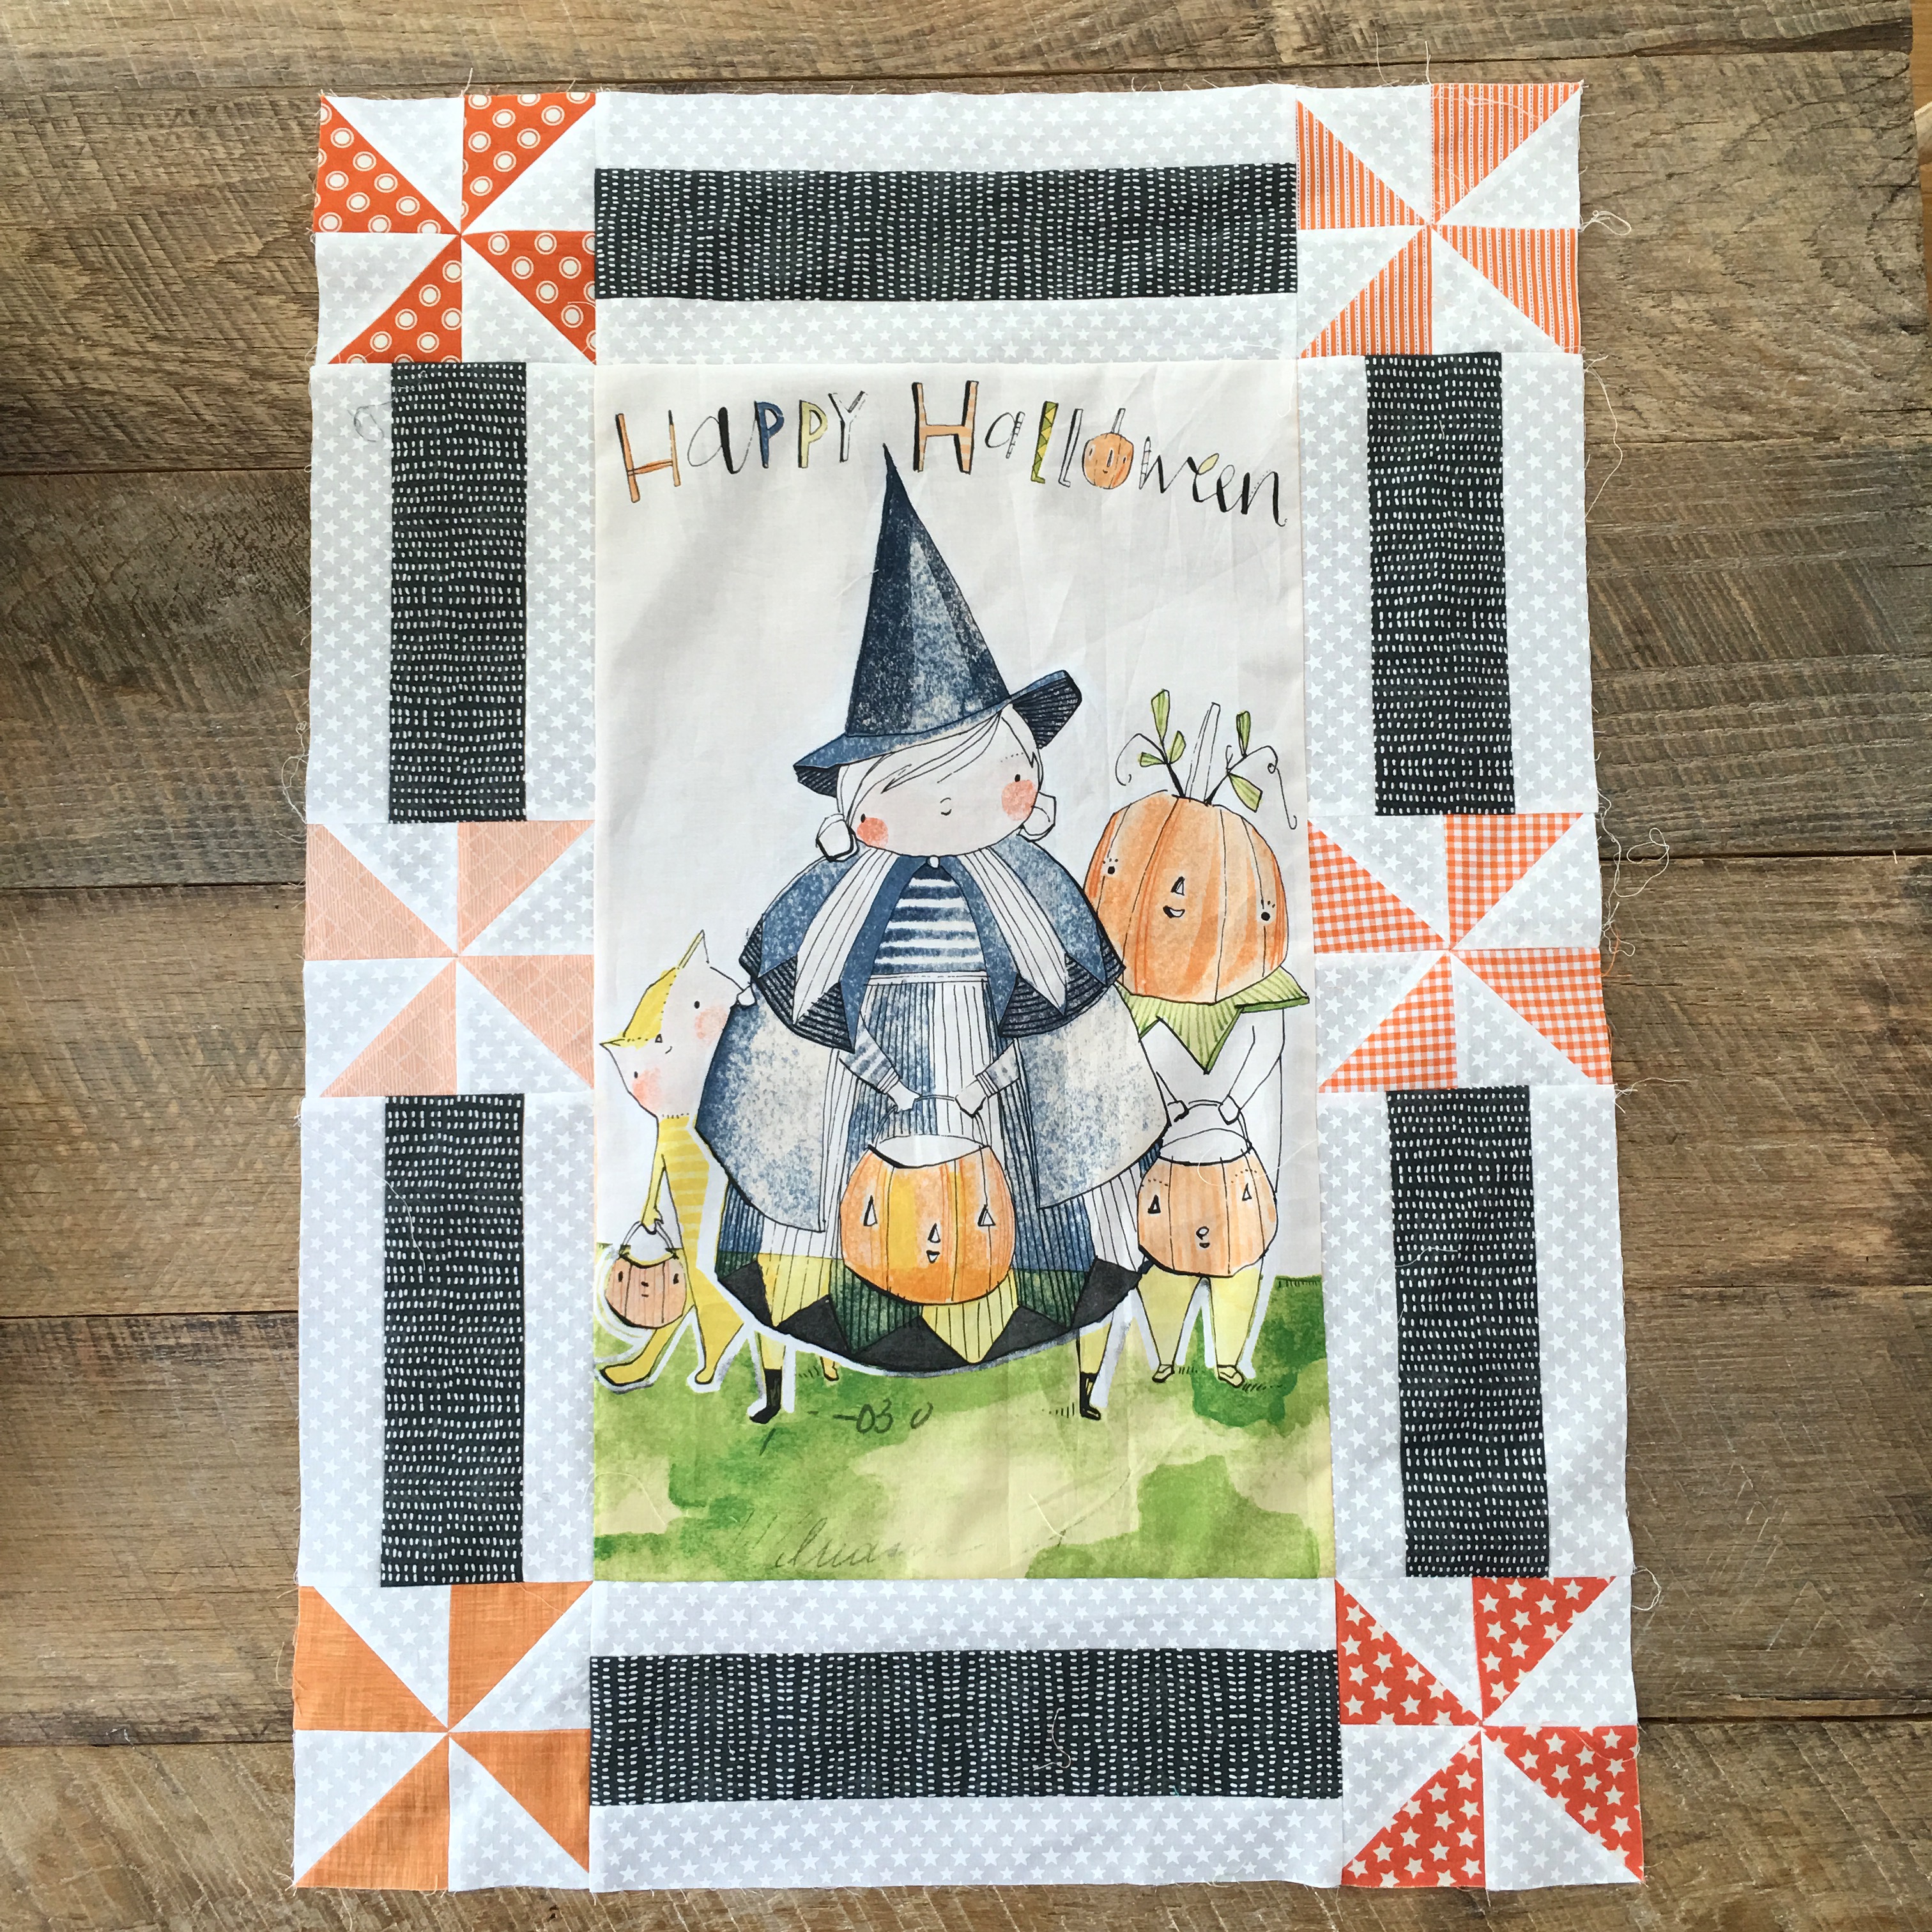
Now it’s ready to quilt and bind! You will love having this to hang in your house! I made one for me and one for my sister 🙂 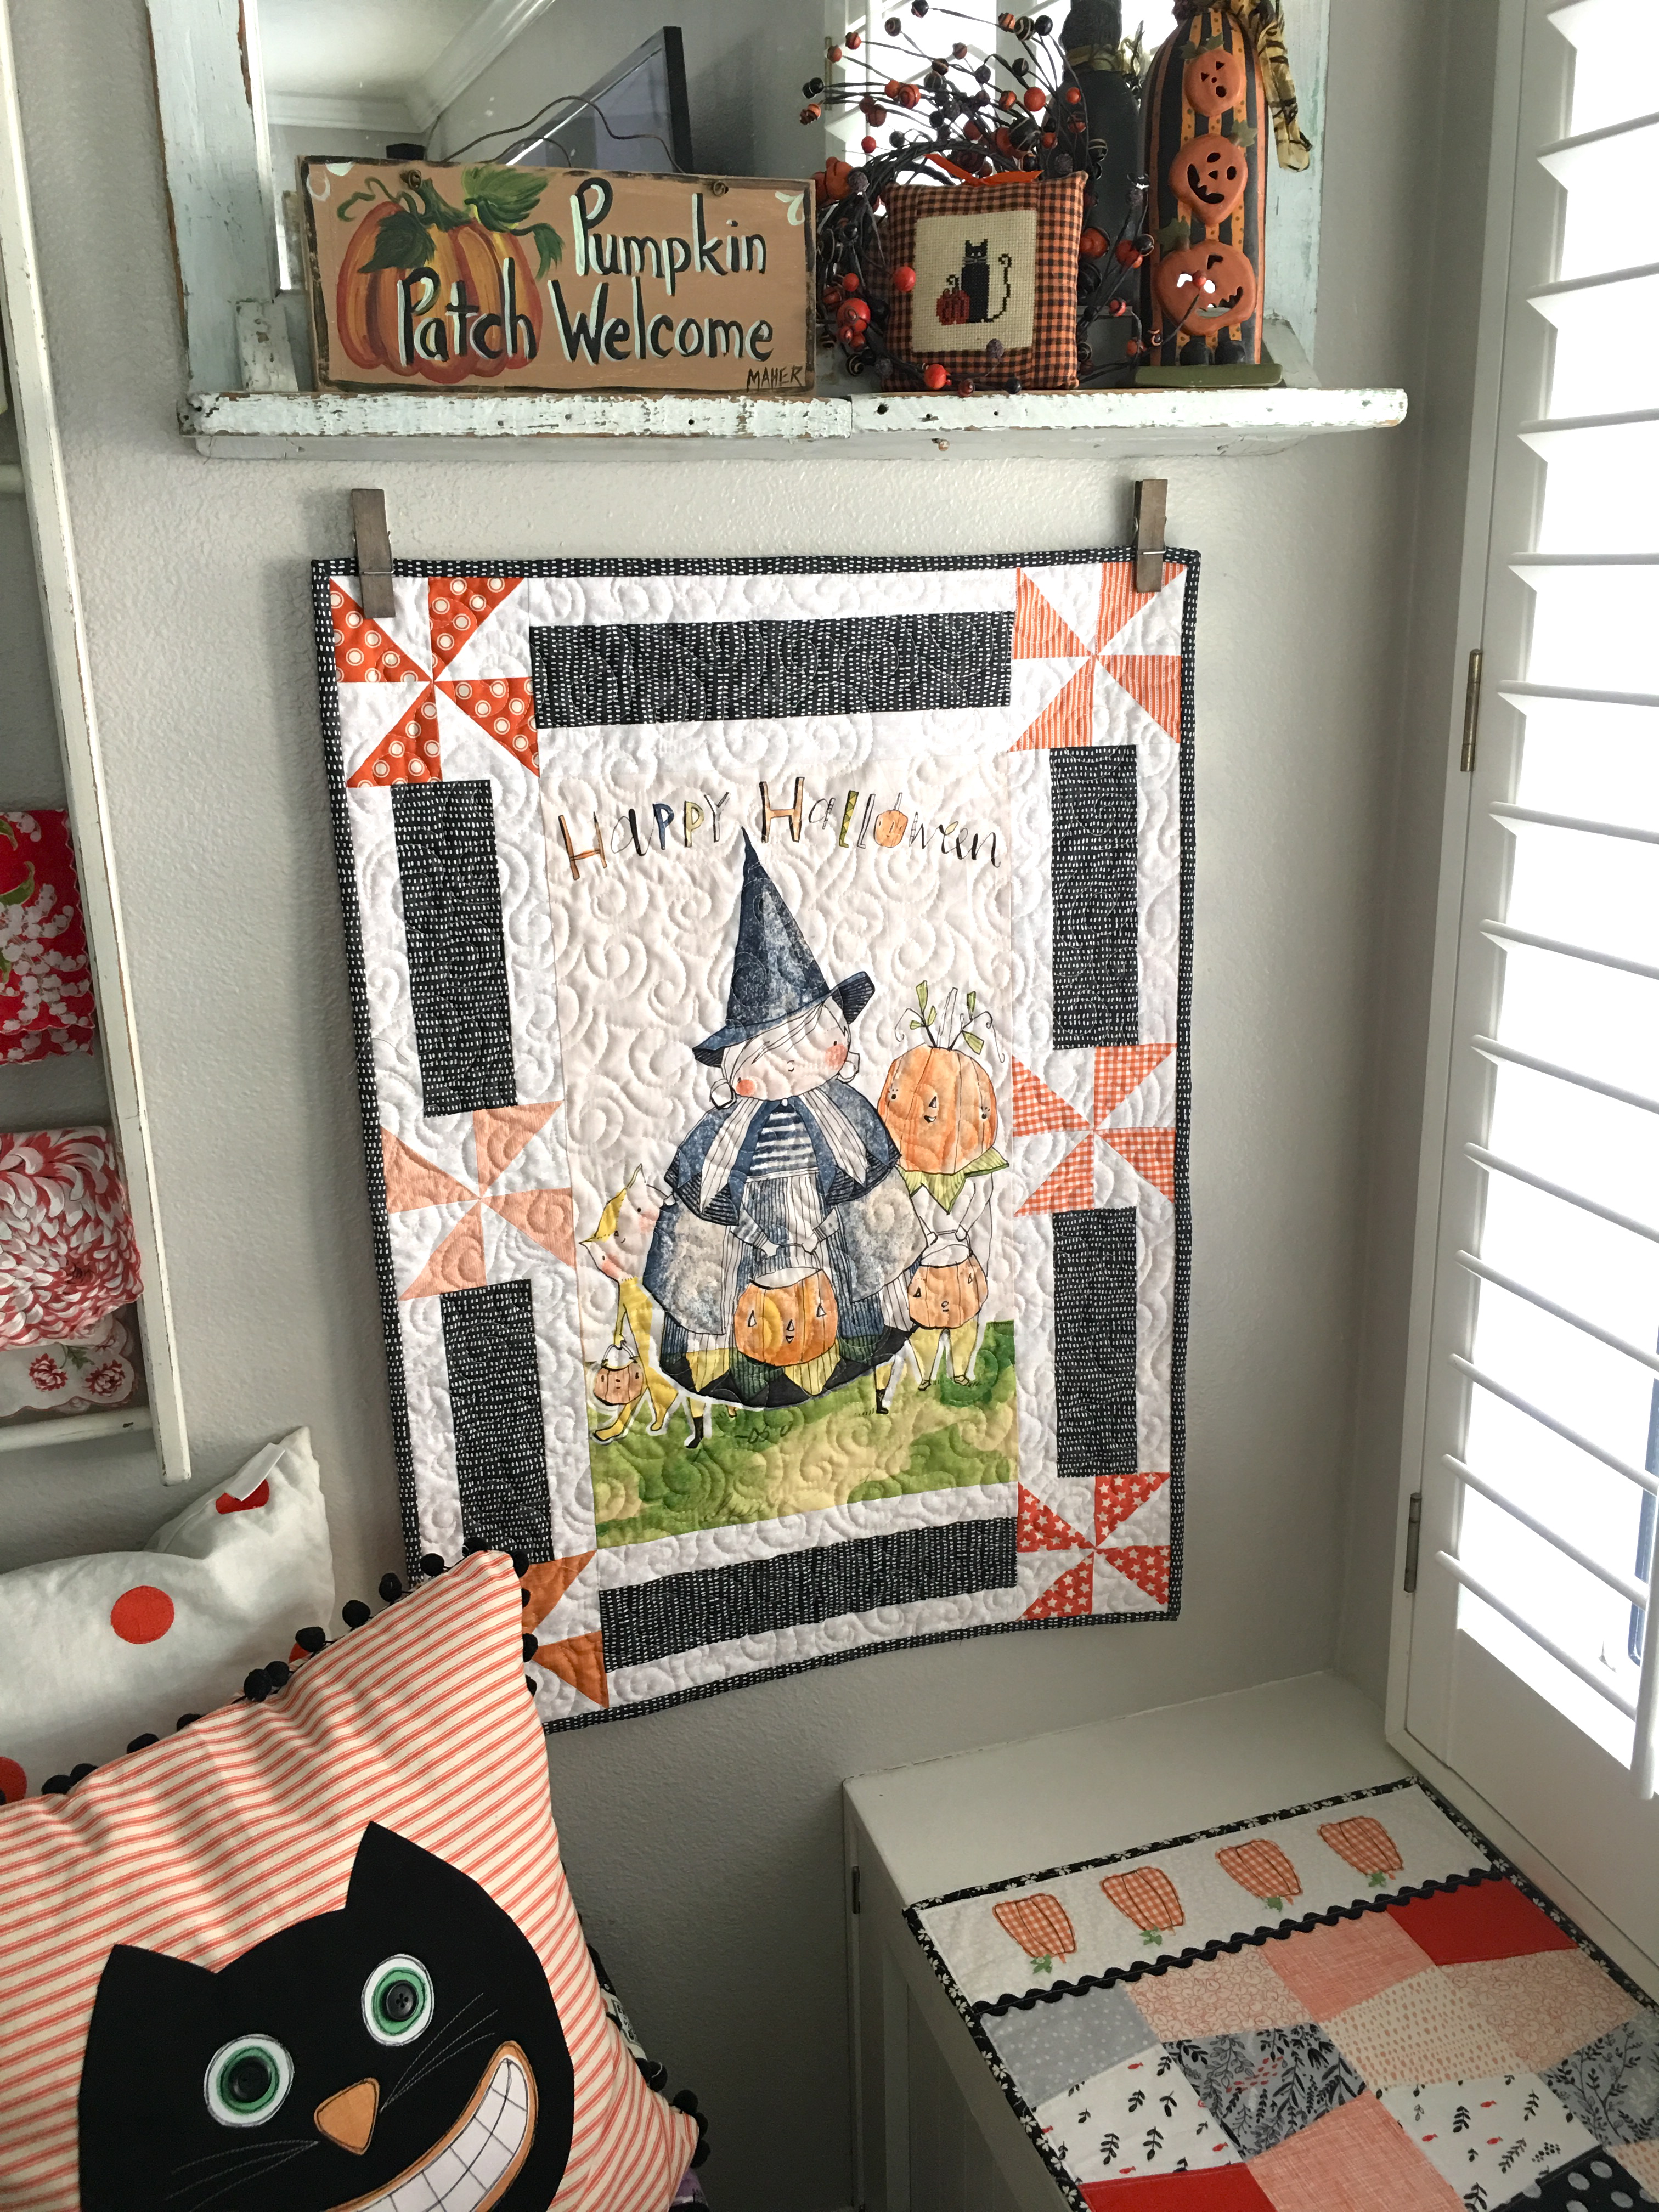


steroid abuse symptoms
References:
urlscan.io