Spring Burlap Table Runner with Appliqué Bunnies

Table Runner: A Cute Rabbit Burlap MIY

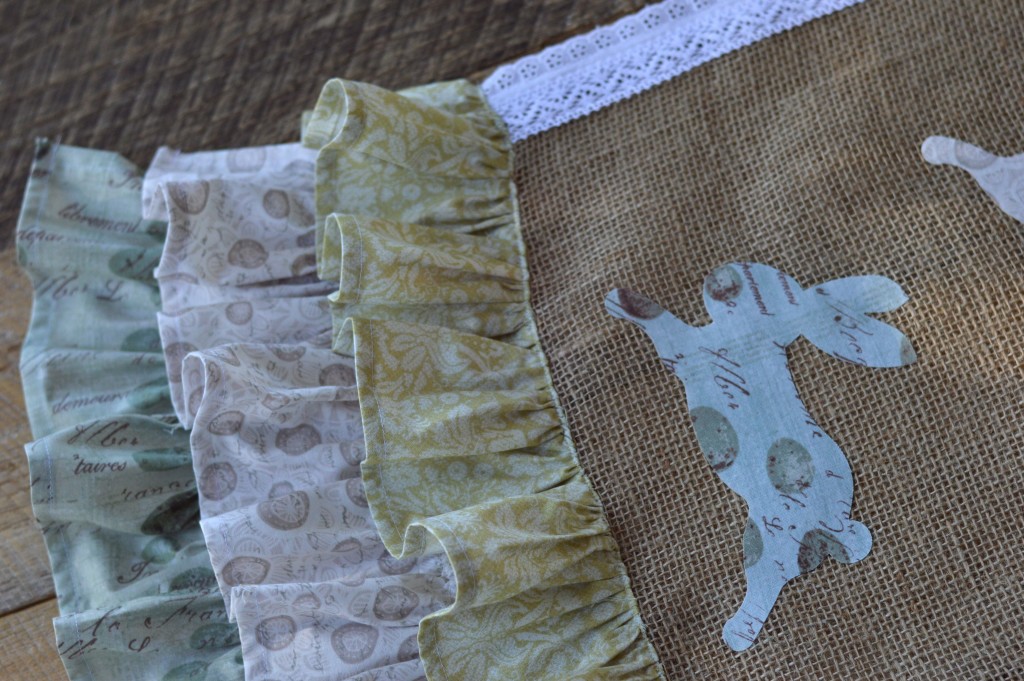
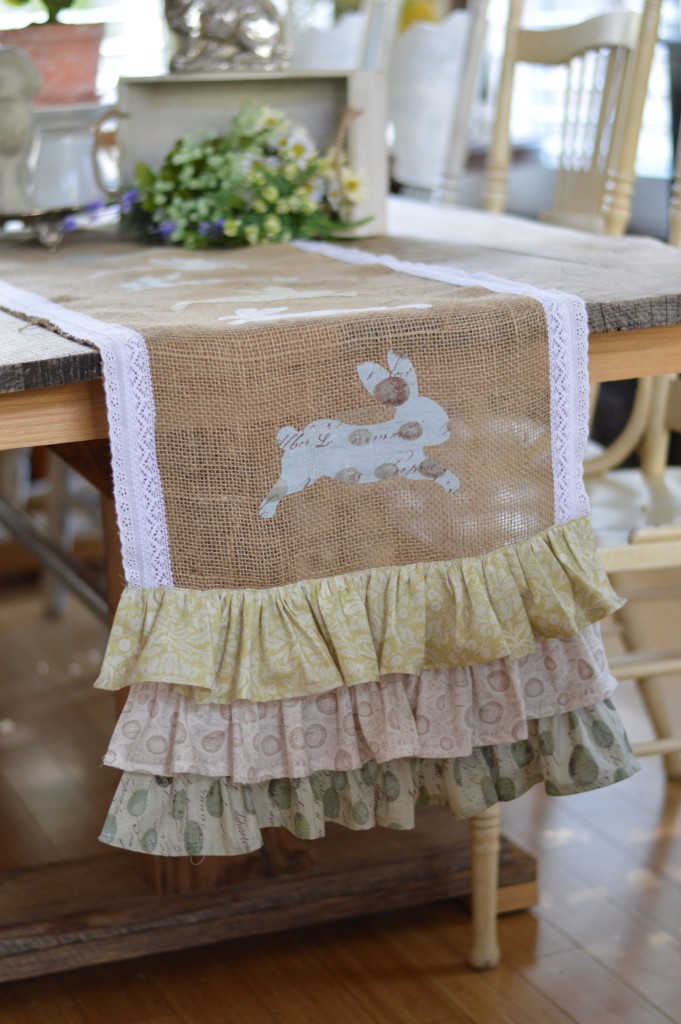
I love spring and I love bunnies and I love this Sizzix Rabbit Die! It is my most favorite Sizzix die of ALL TIME!! It is totally feels like spring here in Southern California! I love it! I’m ready to get all my spring home decor out and I needed a new table runner in my dining room so I came up with this “shabby” inspired bunny runner. I used a ready-made burlap runner that I purchased at the craft store, Heat n Bond Ultra, lace trim, and some yardage. The fabrics are from the line Flora & Fauna by Blend Fabrics.
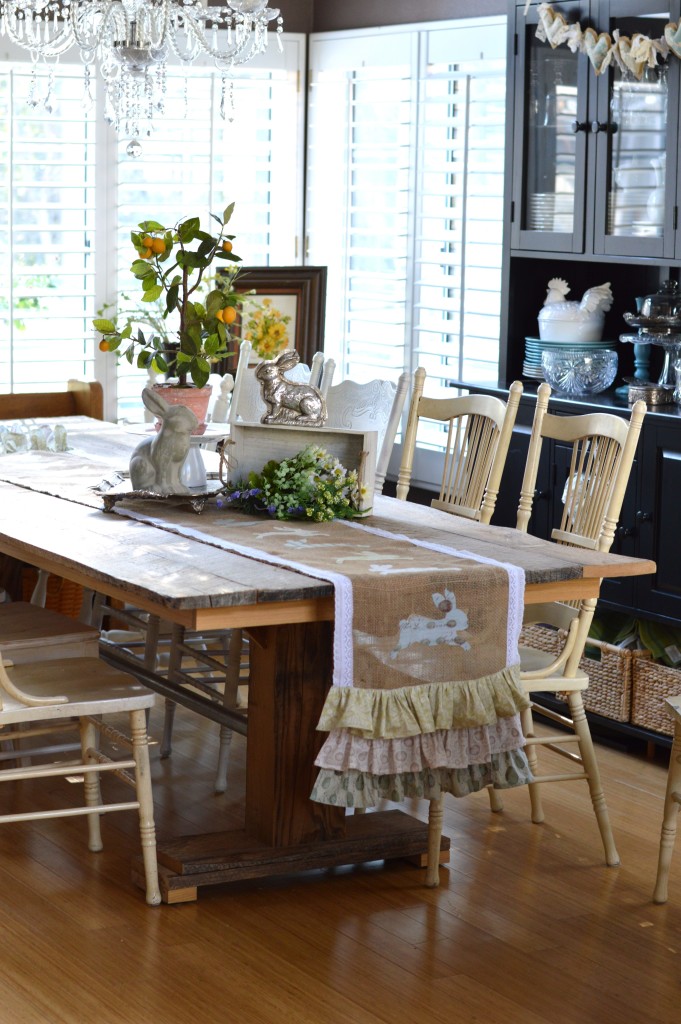
Table Runner: A Cute Rabbit Burlap MIY

Table Runner: A Cute Rabbit Burlap MIY

Let’s get started!

Begin by cutting the Heat n Bond Ultra into rectangles the size of the Rabbit Die. I choose to use Heat n Bond Ultra because I didn’t want to sew around each rabbit. Burlap is a little stretchy and wiggly and I thought the sewing would cause some funky puckering. The Ultra doesn’t require any sewing!
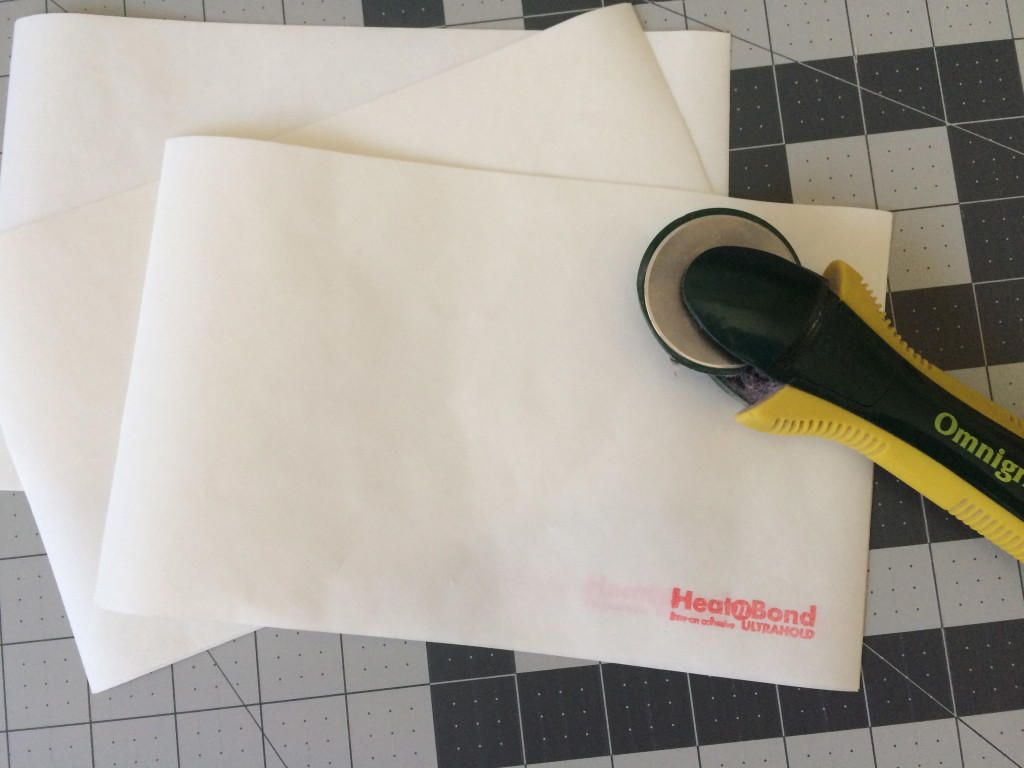
Table Runner: A Cute Rabbit Burlap MIY

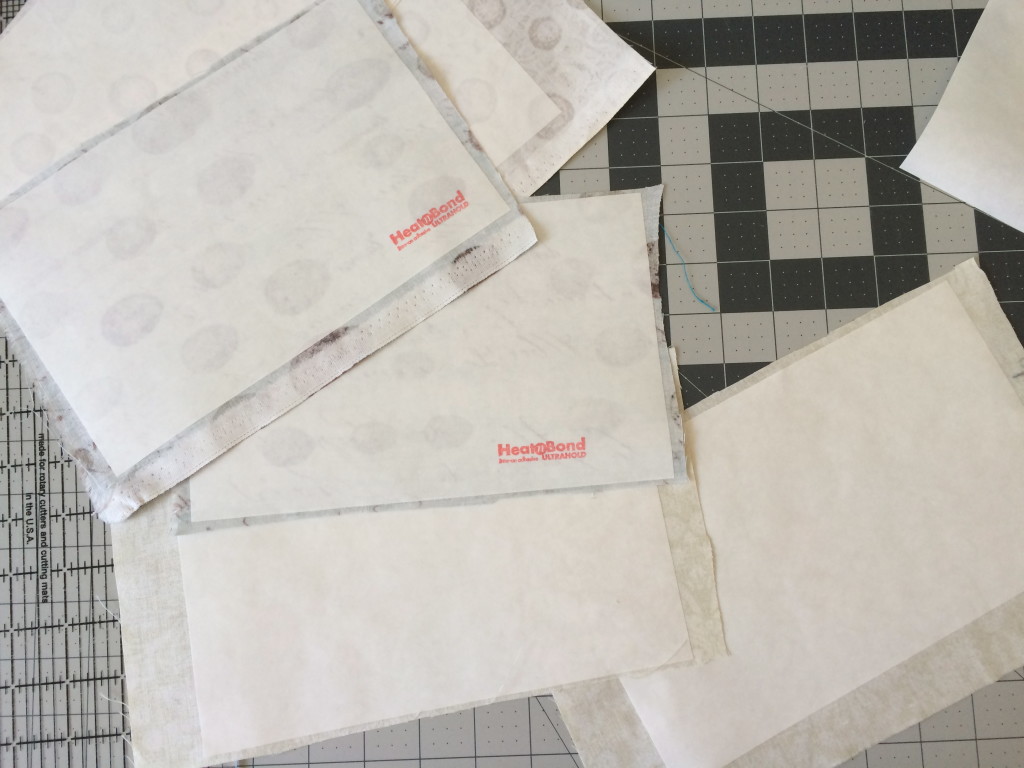
Iron it to the wrong size of the fabrics to be die cut.Table Runner: A Cute Rabbit Burlap MIY
Run the fabrics through the Sizzix Fabi. Make sure to cut half the rabbits going one way and half the rabbits going the other way. I cut 12 rabbits. The number will vary depending on the length of the runner.
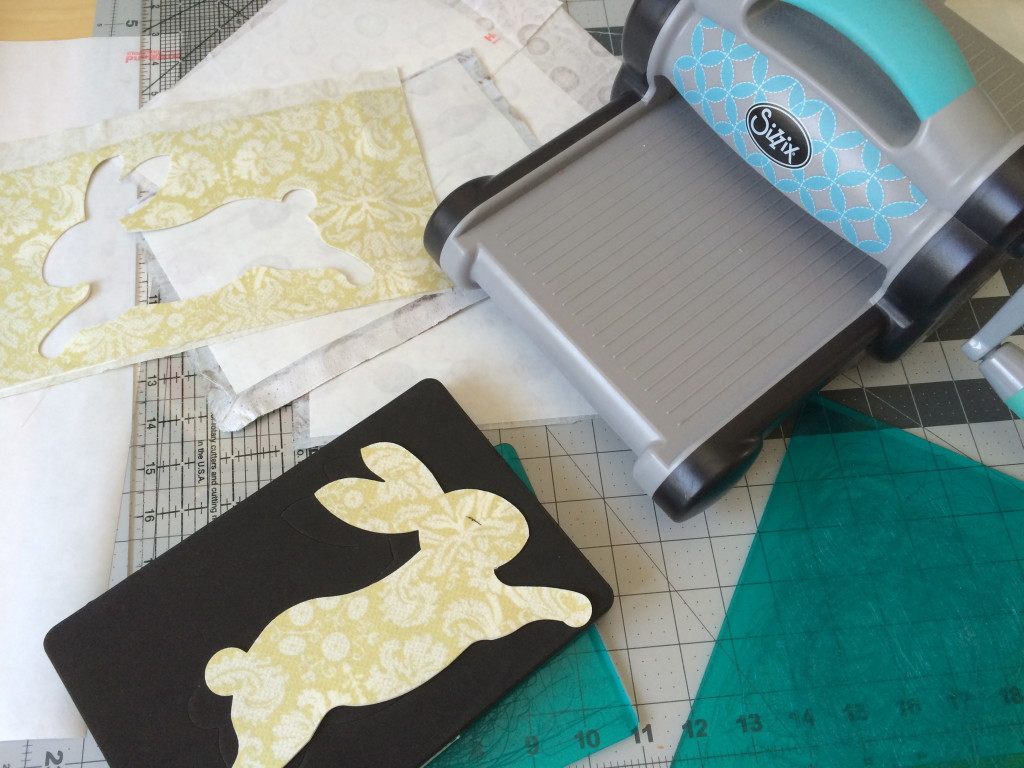
Table Runner: A Cute Rabbit Burlap MIY

Aren’t they the cutest! I could have a million of these bunnies!!!!
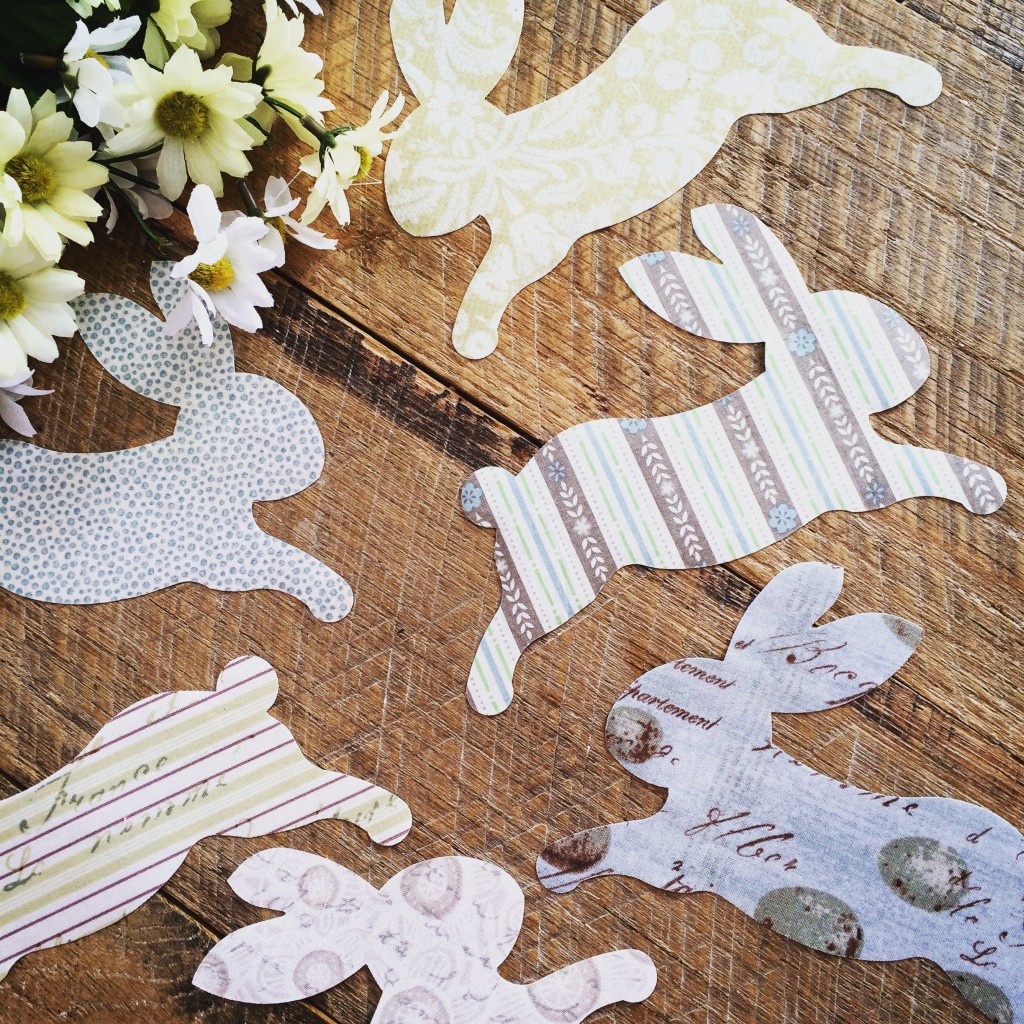
Table Runner: A Cute Rabbit Burlap MIY

Measure the length of your table runner, mine is 116″. You will need the lace to be double the length of the table runner.
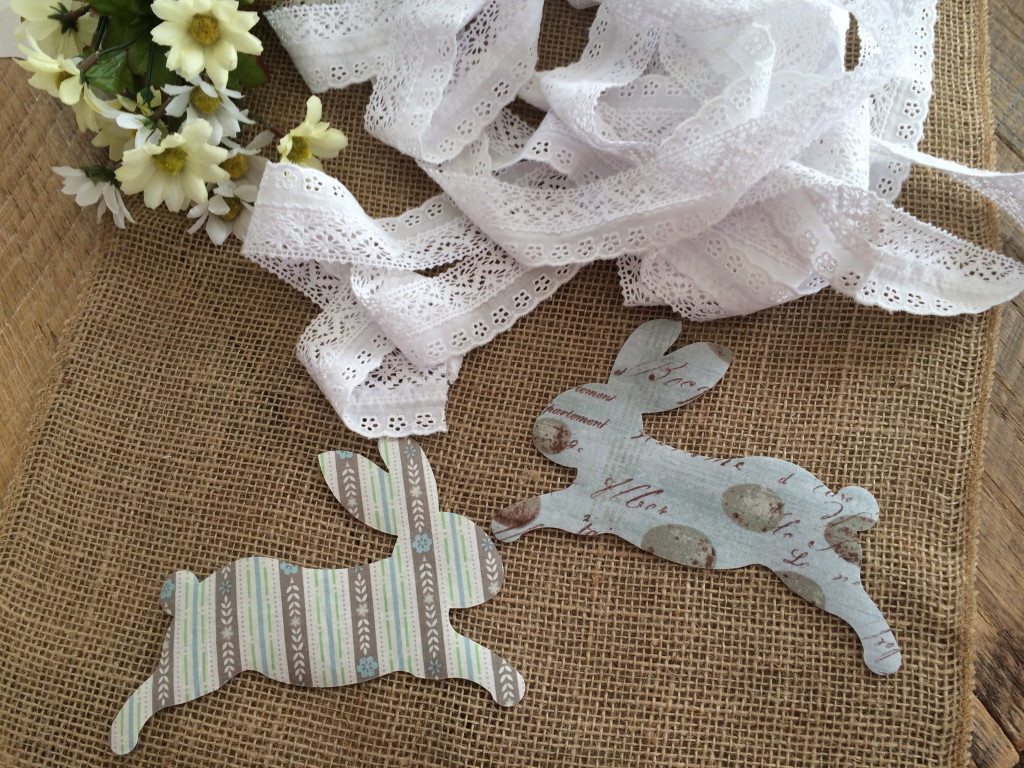
Table Runner: A Cute Rabbit Burlap MIY

Sew the lace to each long edge of the table runner.
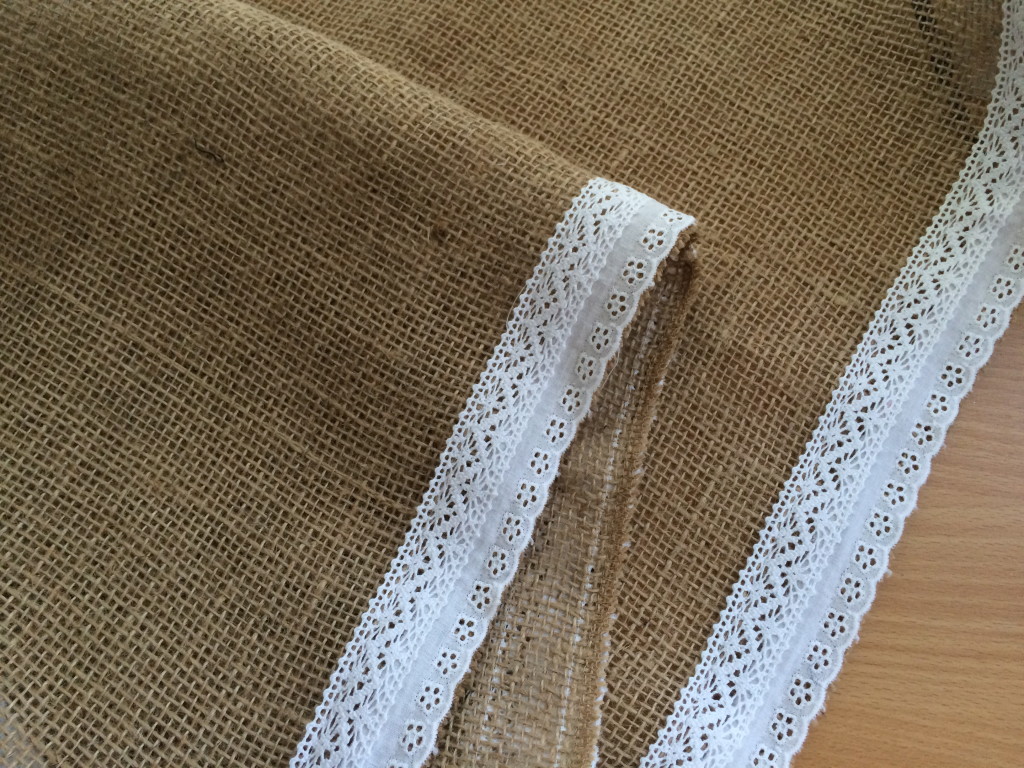
Table Runner: A Cute Rabbit Burlap MIY

Choose three fabrics for the ruffles. Cut (2) 5″ x WOF of each of the ruffle fabrics.
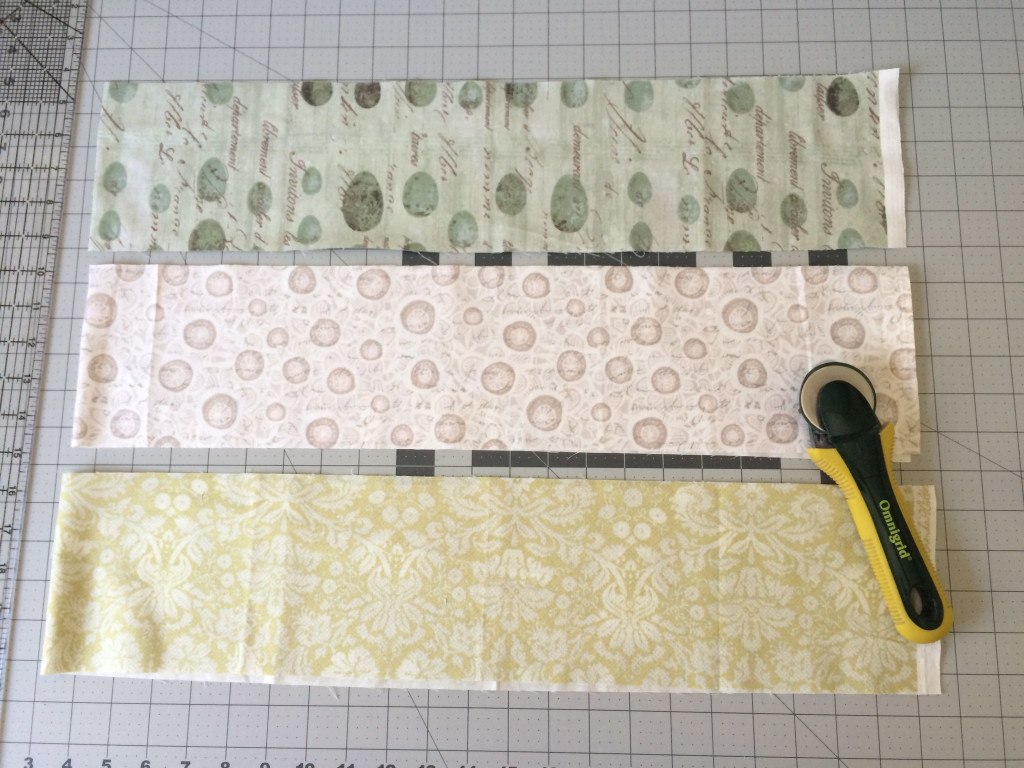
Table Runner: A Cute Rabbit Burlap MIY

Sew a rolled hem on the two short sides of each of the 6 ruffle pieces.
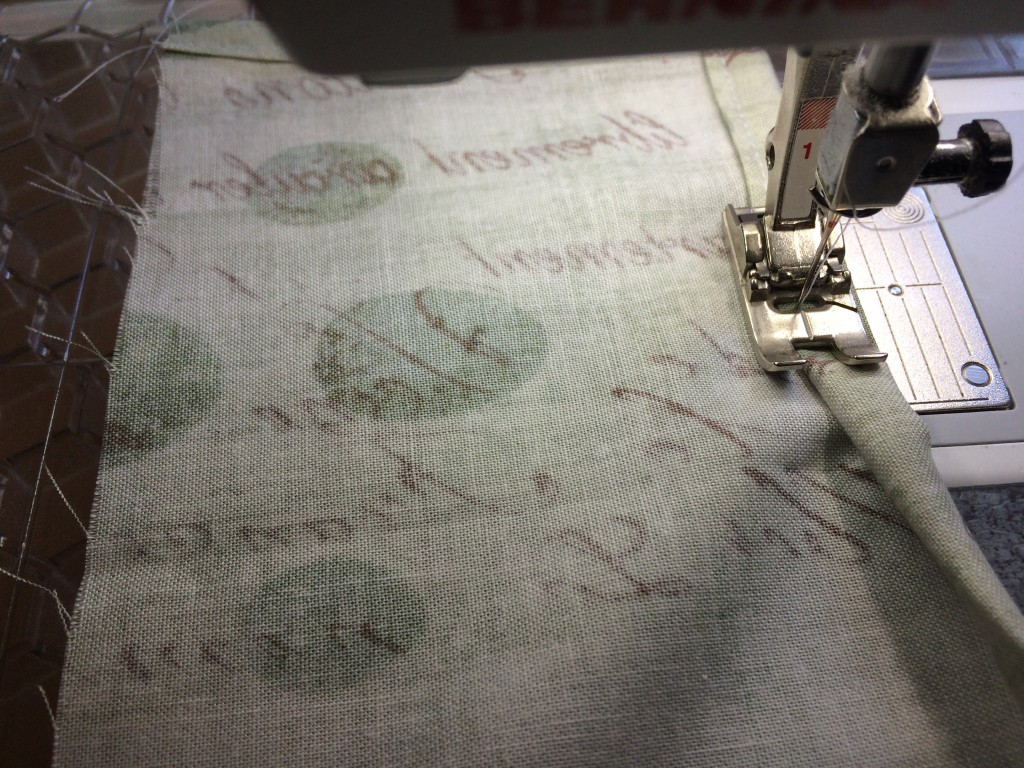
Table Runner: A Cute Rabbit Burlap MIY

Then sew a rolled hem on one long edge of the ruffle pieces. Press.
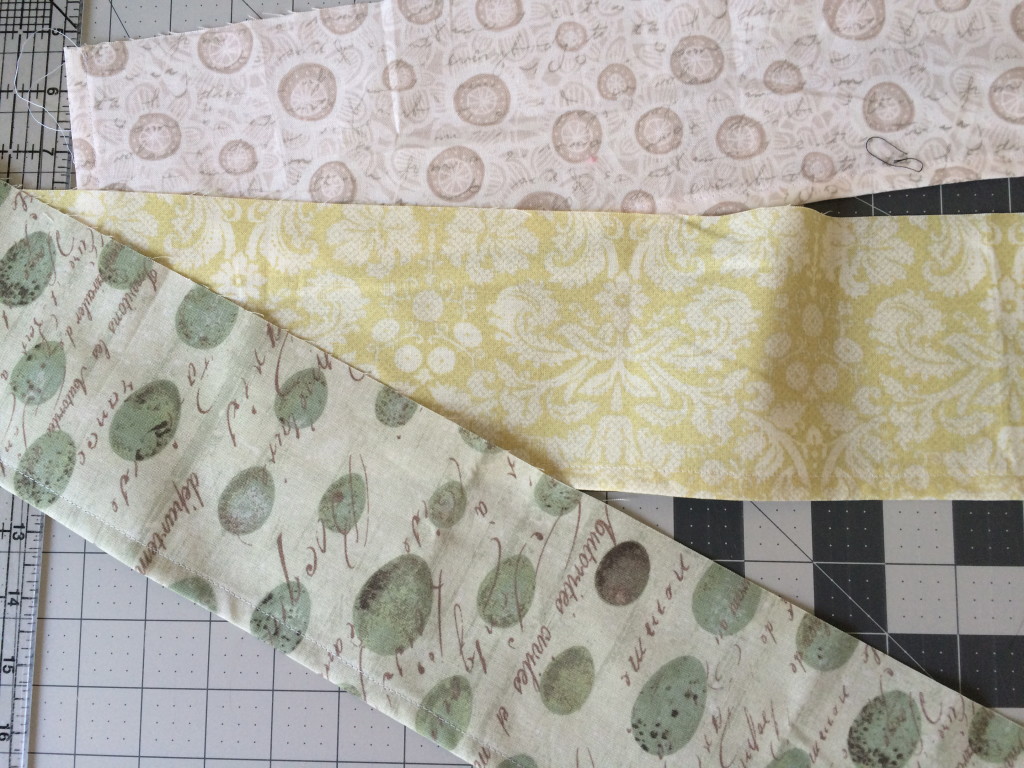
Table Runner: A Cute Rabbit Burlap MIY

Sew a gathering stitch along the length of the ruffle strip, 1/4″ along the raw edge. Gather each ruffle.
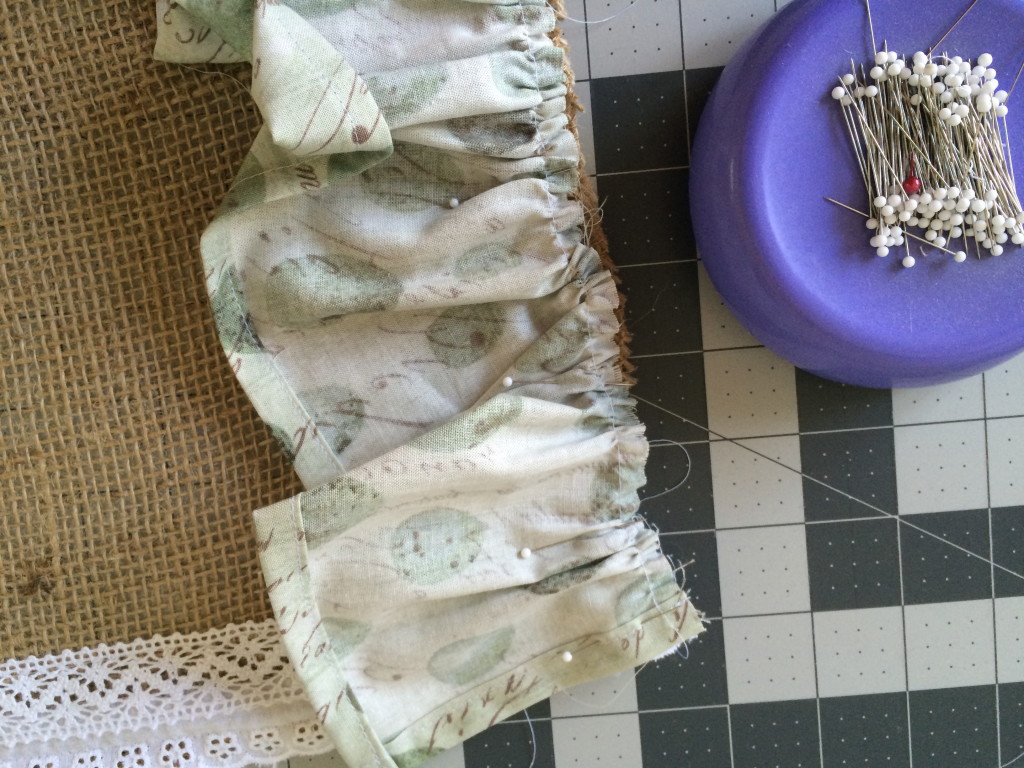
Table Runner: A Cute Rabbit Burlap MIY

The first ruffle we sew till be the end ruffle. Align the ruffle and the end of the runner right sides together. Adjust the ruffle to fit the width of the runner. Pin into place. Sew along the gathering stitches. Do this to both ends of the runner.
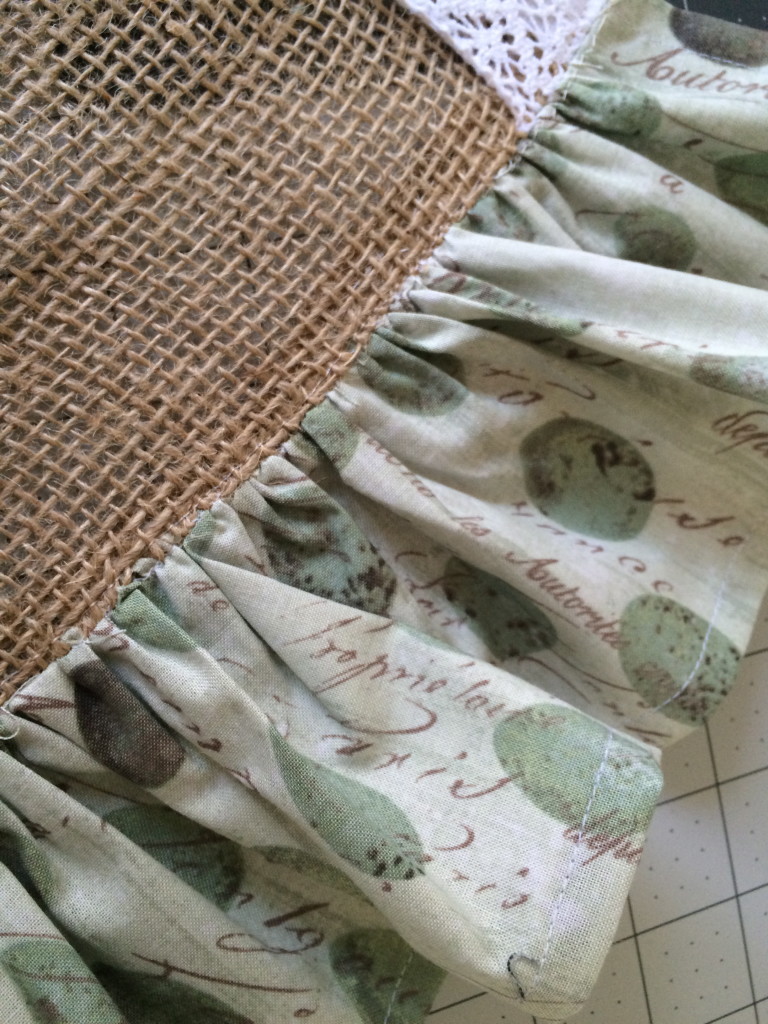
Table Runner: A Cute Rabbit Burlap MIY

Press the ruffle back and top stitch along the top of the ruffle to keep it laying flat.
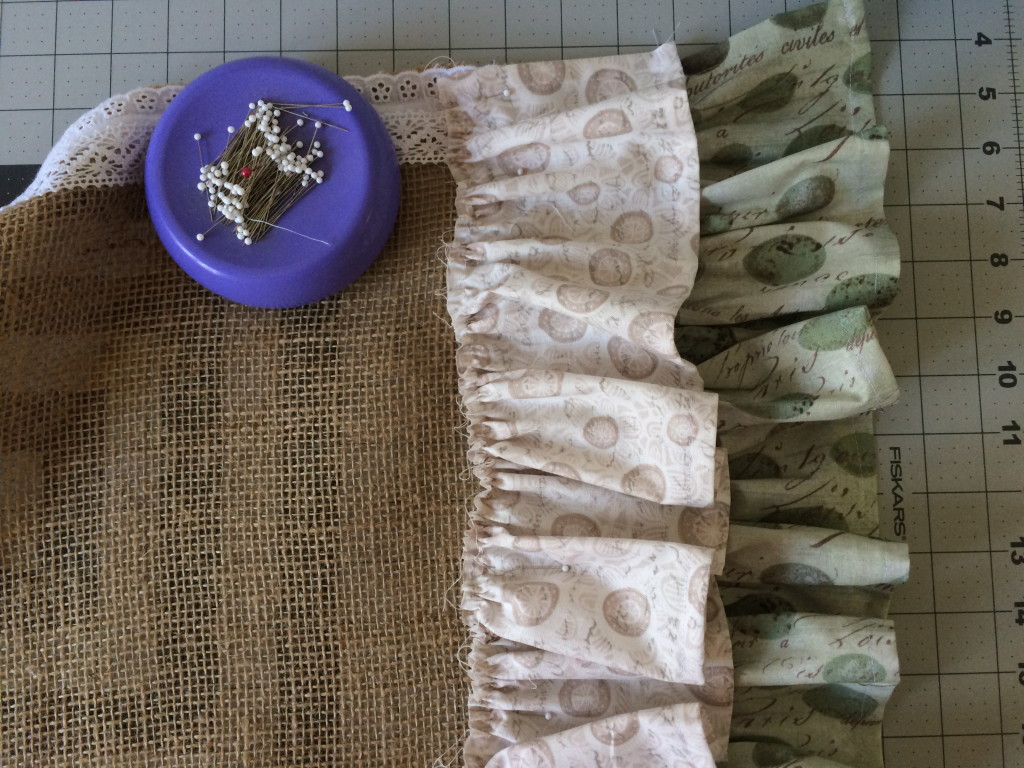
Table Runner: A Cute Rabbit Burlap MIY

For the second ruffle pin it wrong side to the runner (above).
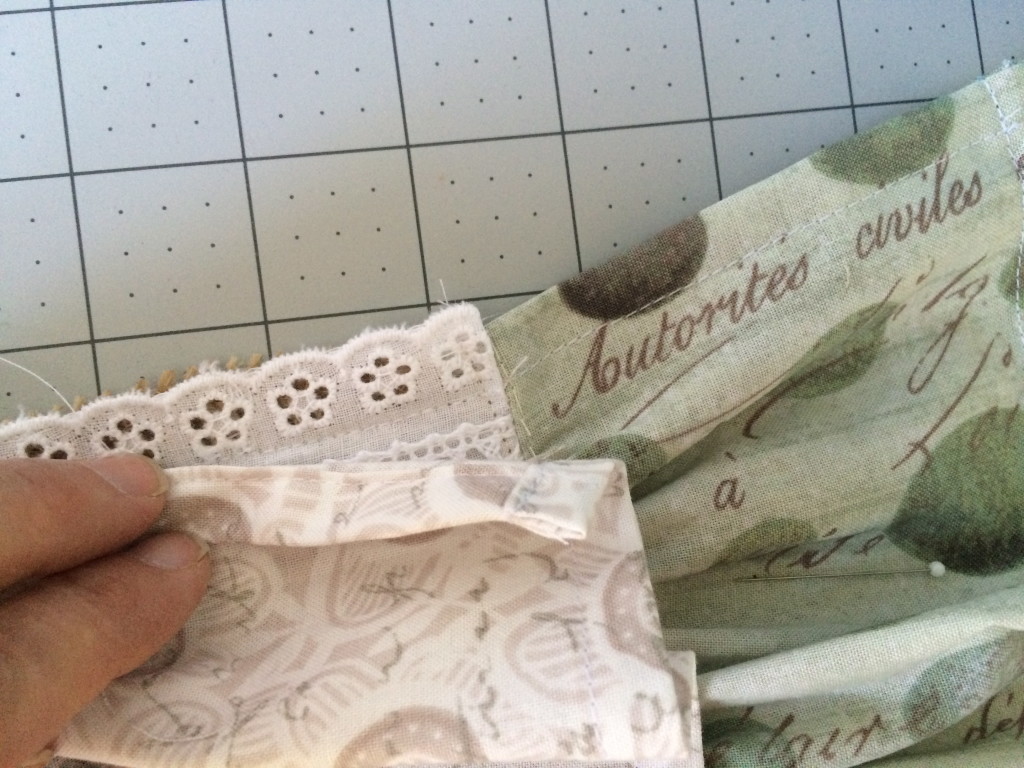
Table Runner: A Cute Rabbit Burlap MIY

Align the ruffle so it overlaps about 1″ (pictured above).
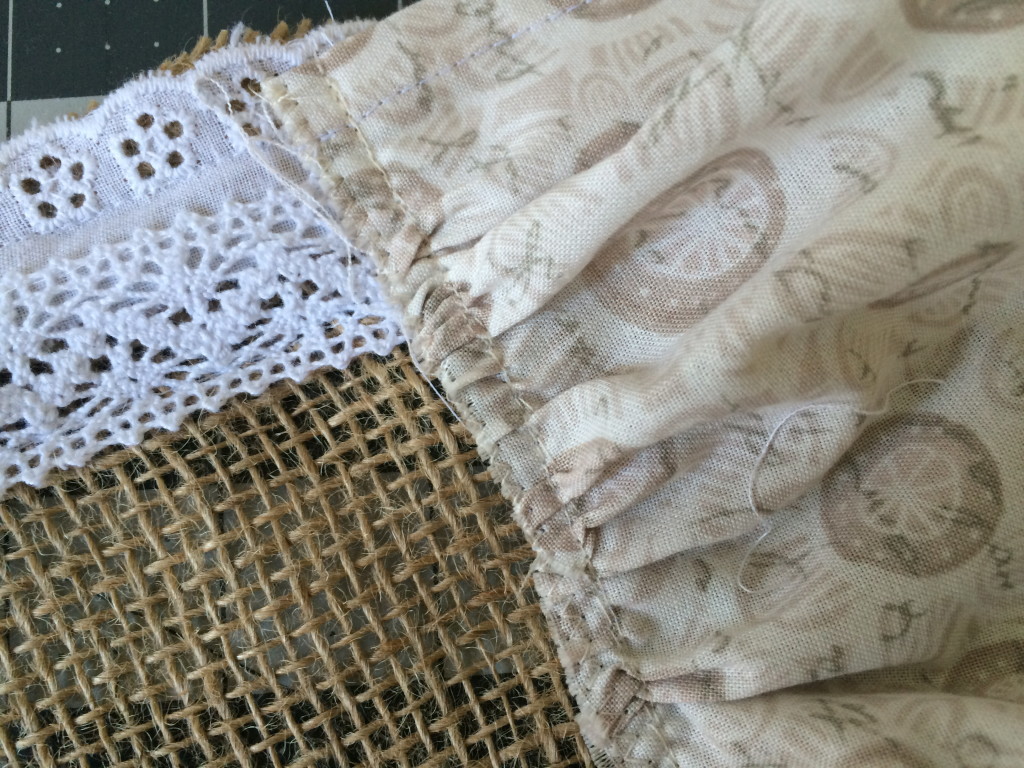
Table Runner: A Cute Rabbit Burlap MIY

Sew along the gathering stitch. Then zig zag along the raw edge.
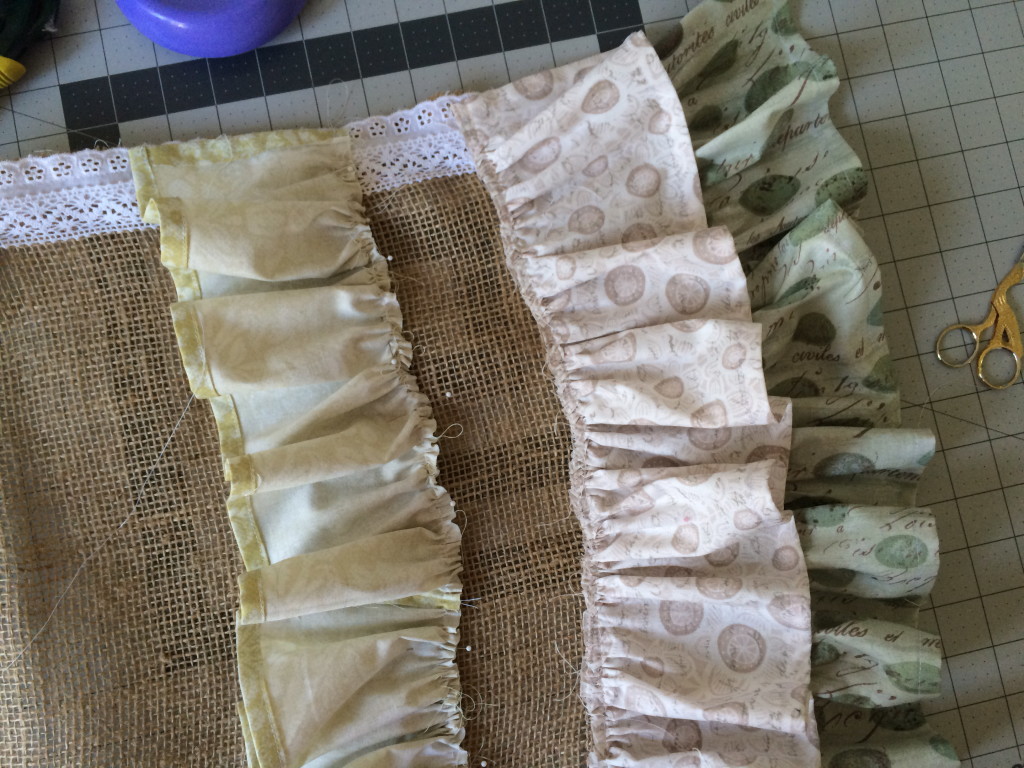
Table Runner: A Cute Rabbit Burlap MIY

For the third ruffle, aligh right sides together (like we did with the first ruffle). Pin it about 2.5″ apart. Make sure when the ruffle is folded back it covers the raw edge. Sew along the gathering seam.
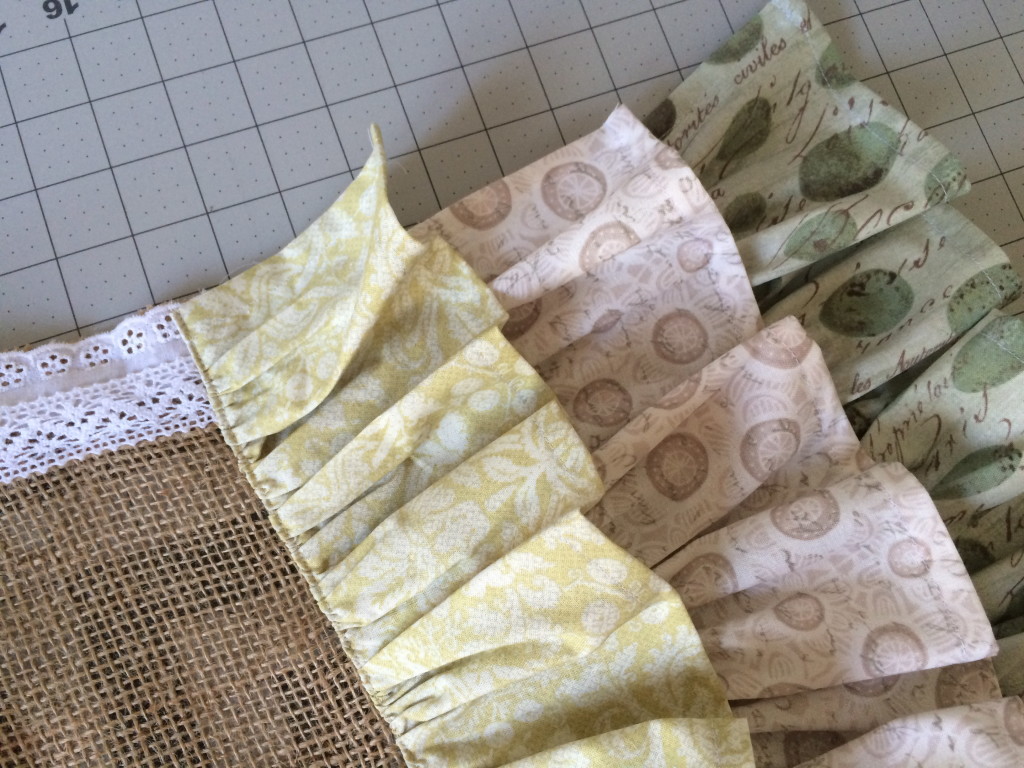
Table Runner: A Cute Rabbit Burlap MIY

Fold ruffle back, press, and top stitch.
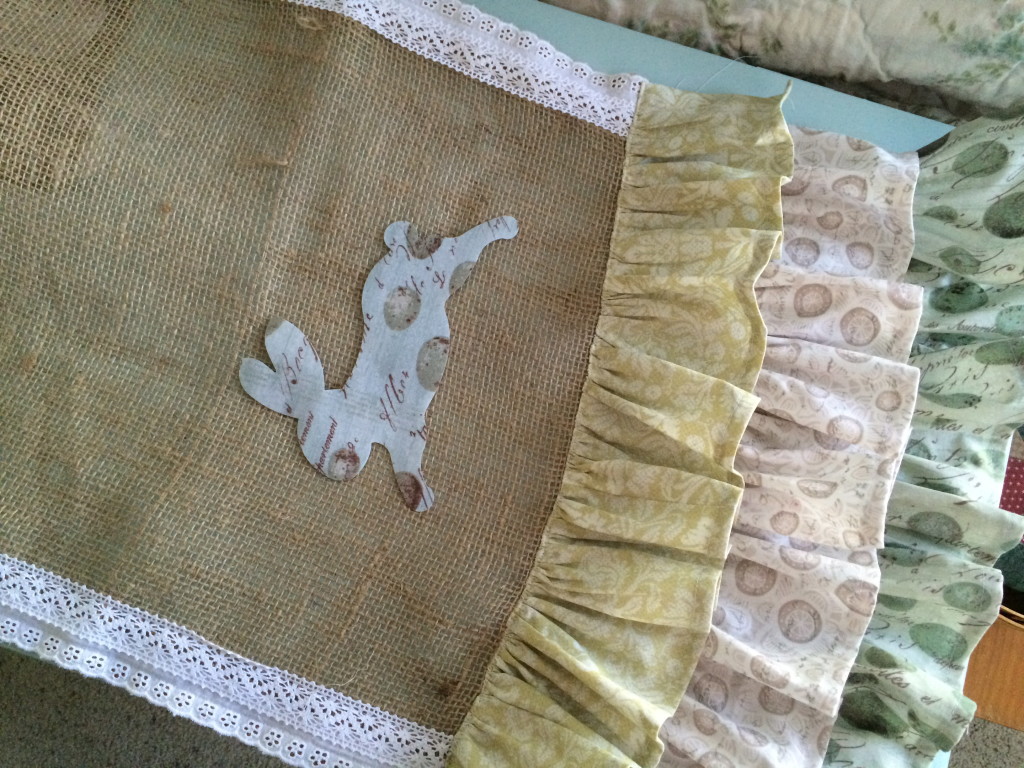
Table Runner: A Cute Rabbit Burlap MIY

Peel off the backing paper of the rabbits and press with hot dry iron. Table Runner: A Cute Rabbit Burlap MIY
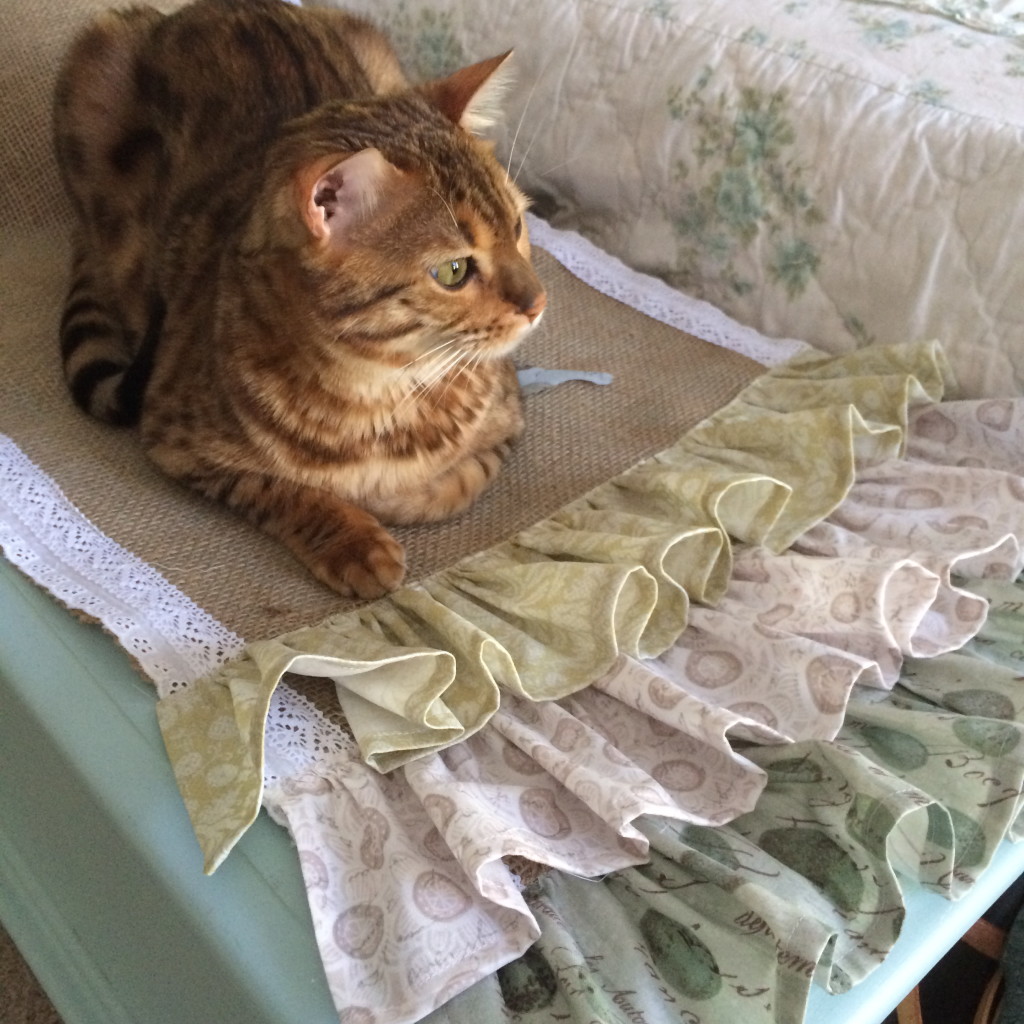
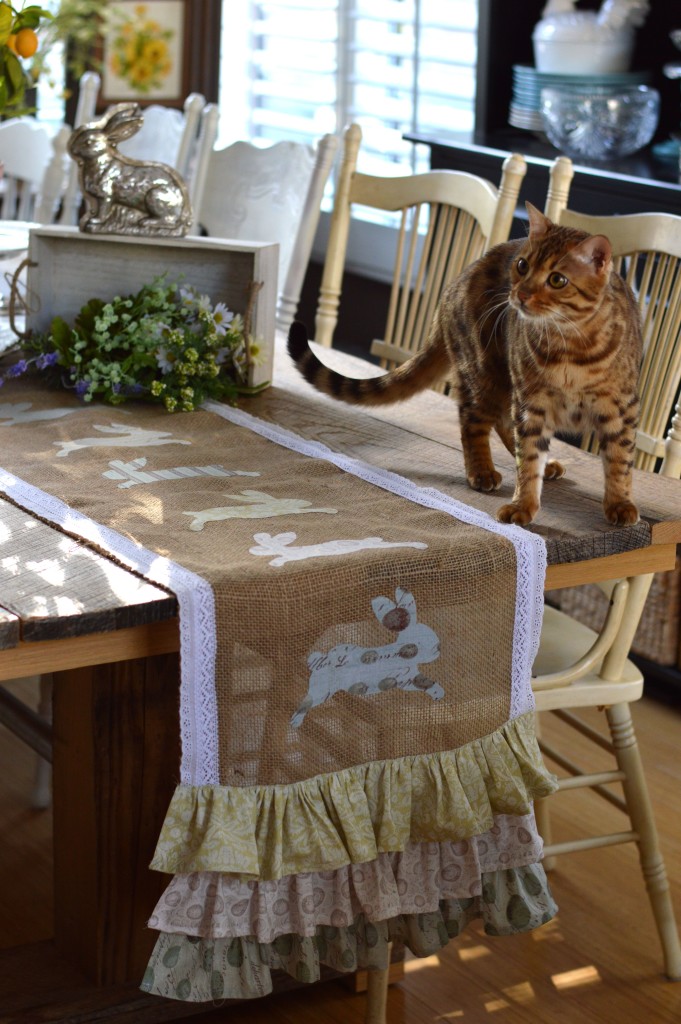
Having your cat press is not the same thing 🙂
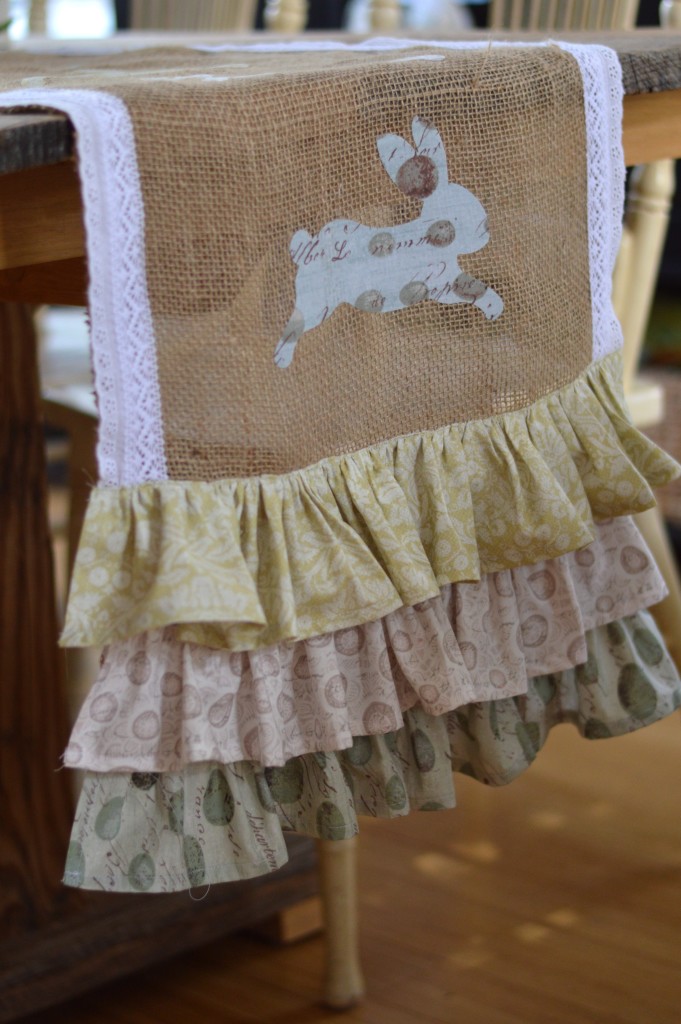
Table Runner: A Cute Rabbit Burlap MIY

Ta Da! It’s done! And I totally LOVE it!!!!
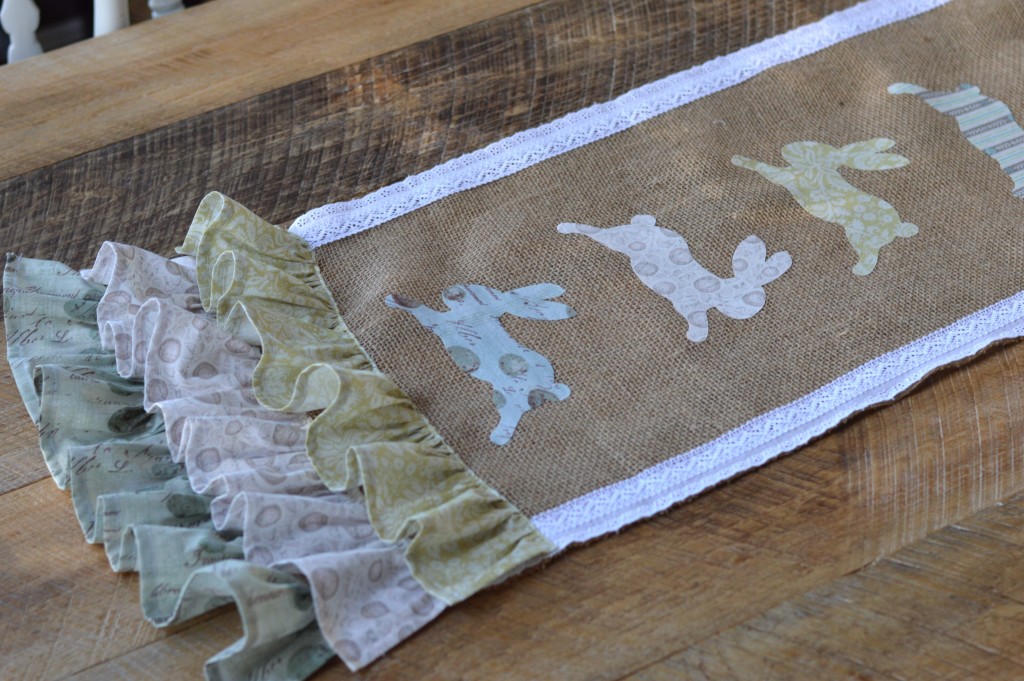
Table Runner: A Cute Rabbit Burlap MIY

It’s the perfect addition to my reclaimed farm table that my husband built me!!!
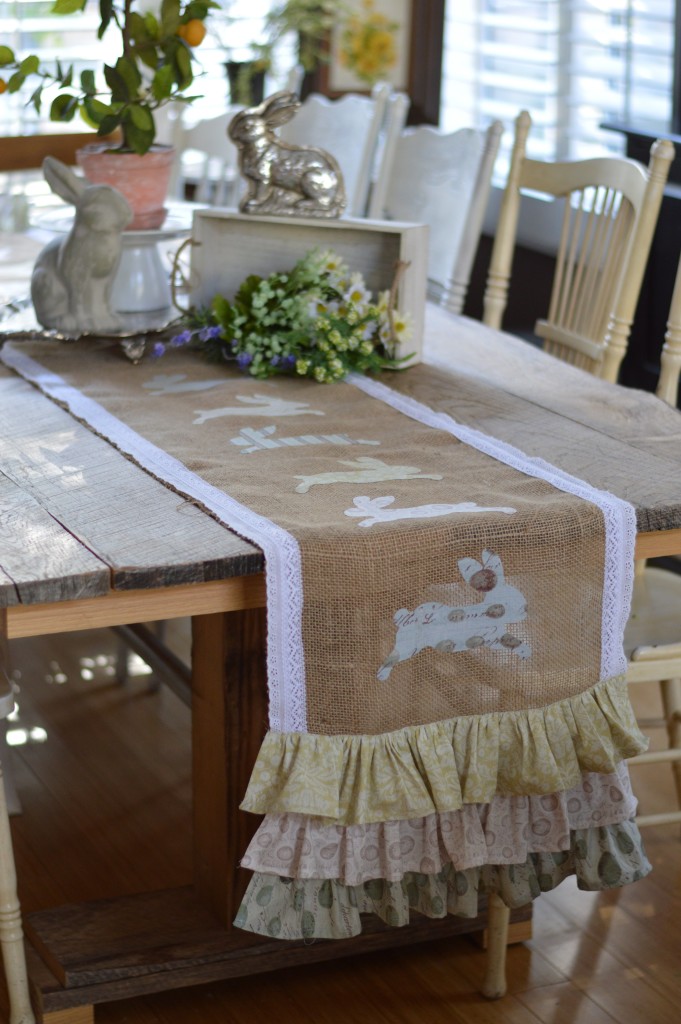
Table Runner: A Cute Rabbit Burlap MIY

Mufasa loves it too!

Table Runner: A Cute Rabbit Burlap MIY

Thanks for joining me today!
Nautical Banner Tutorial

nautical week 2nautical banner

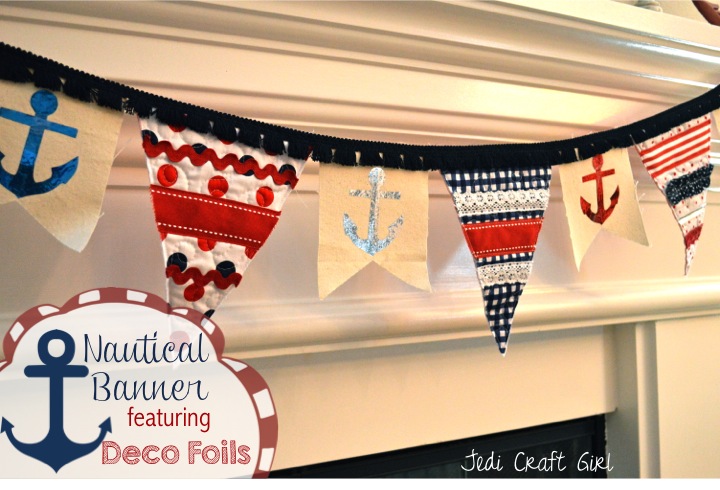
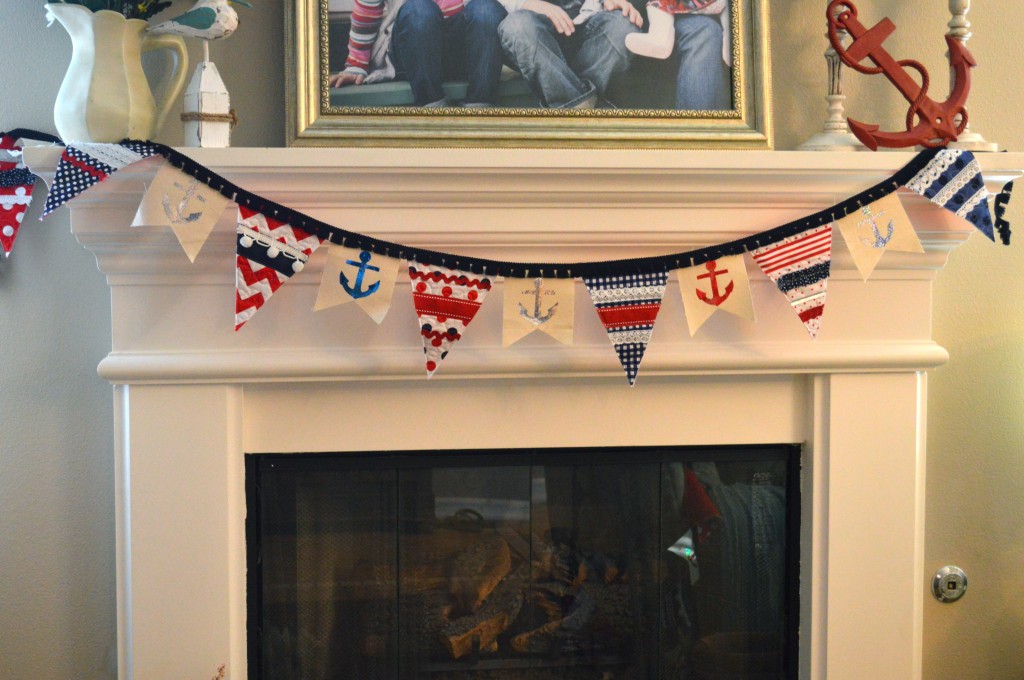
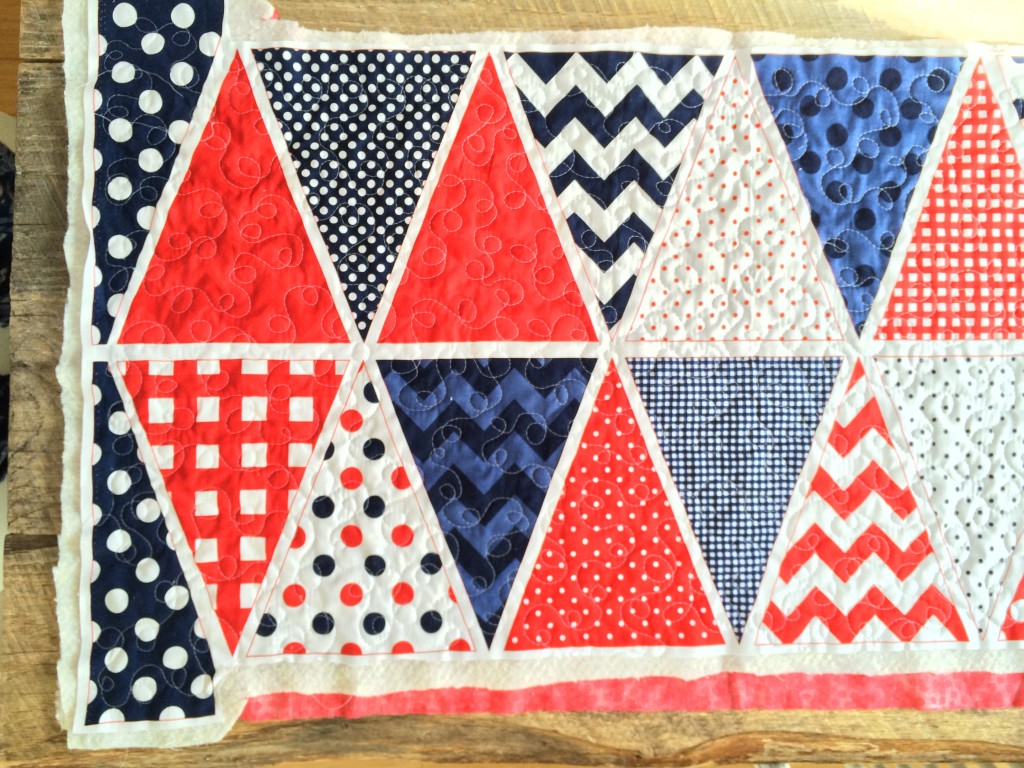
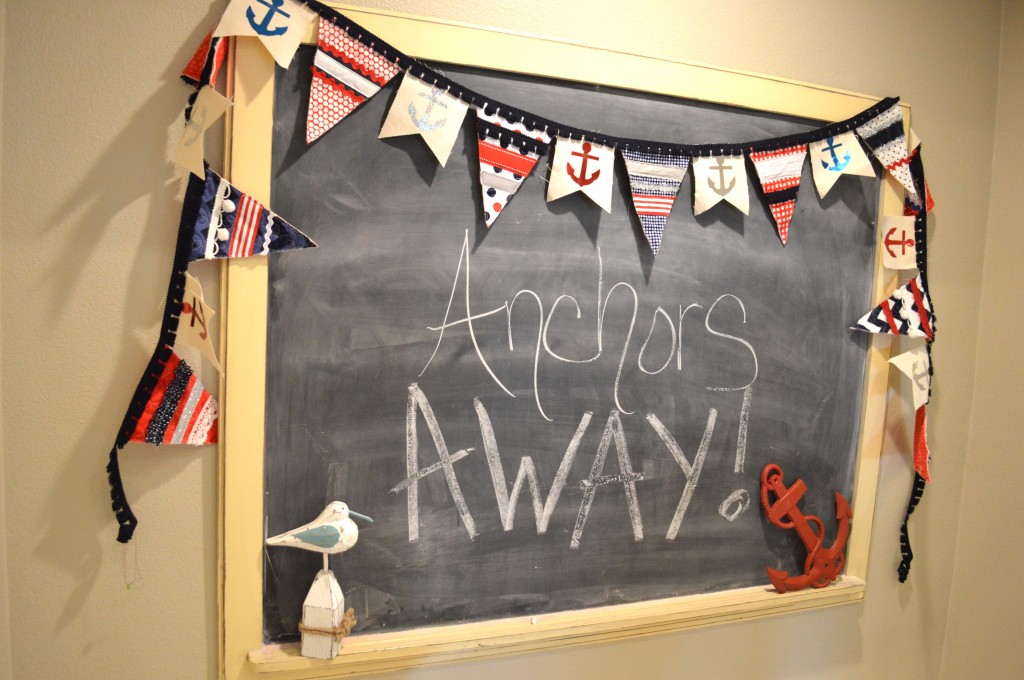
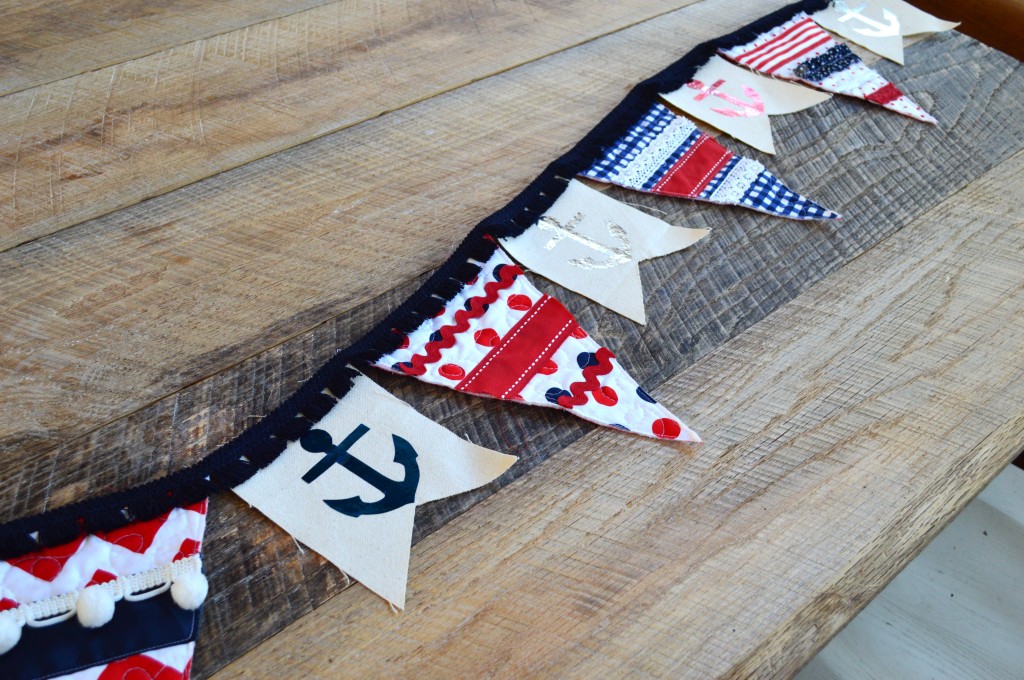
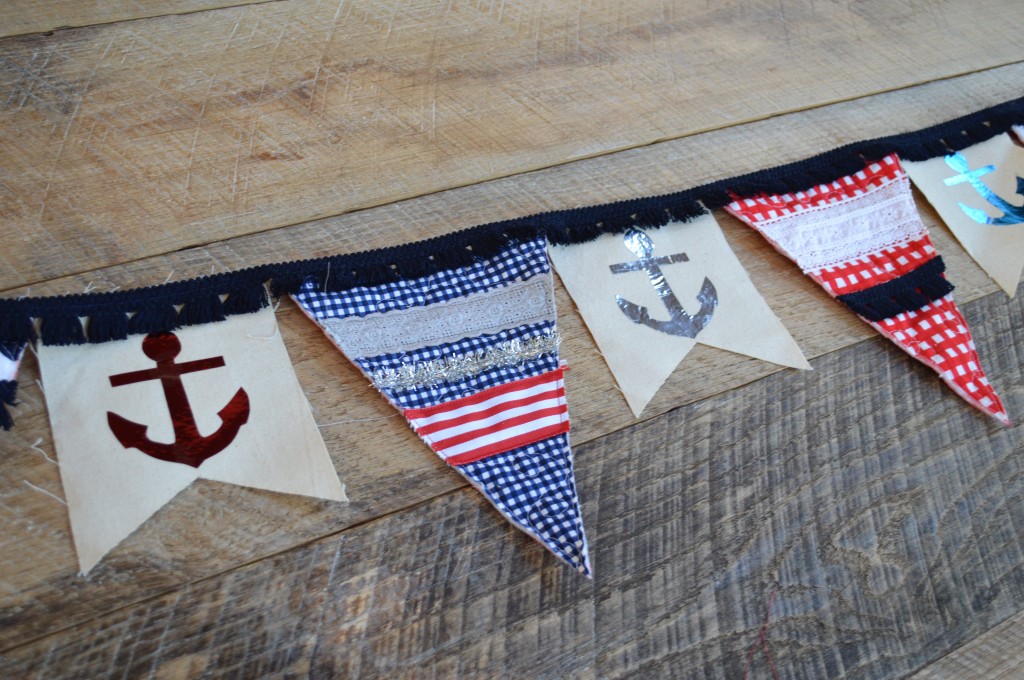
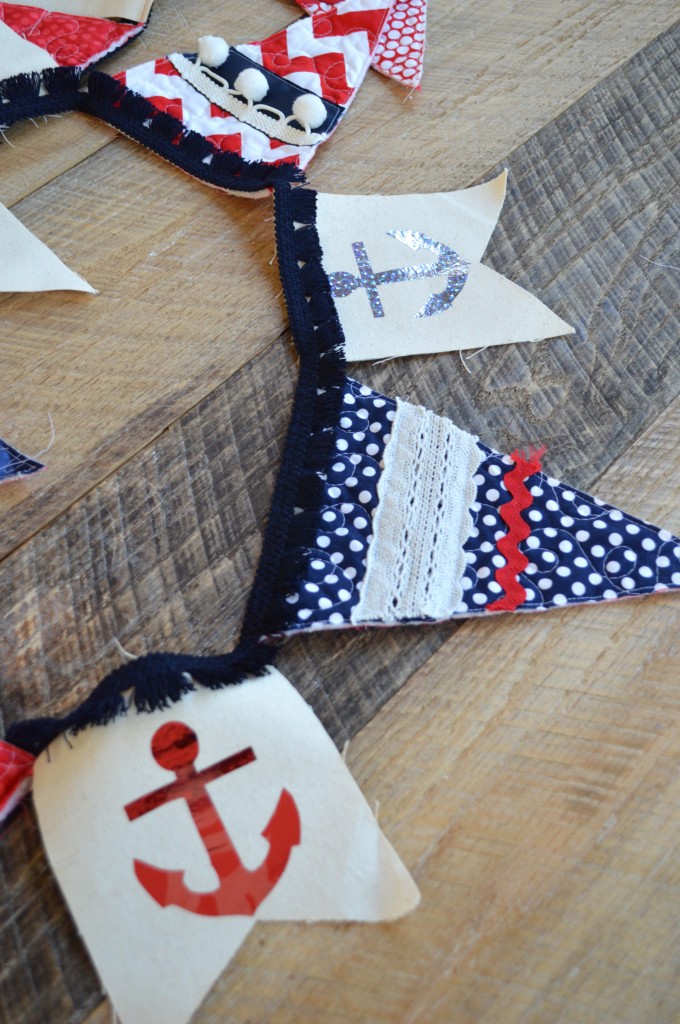
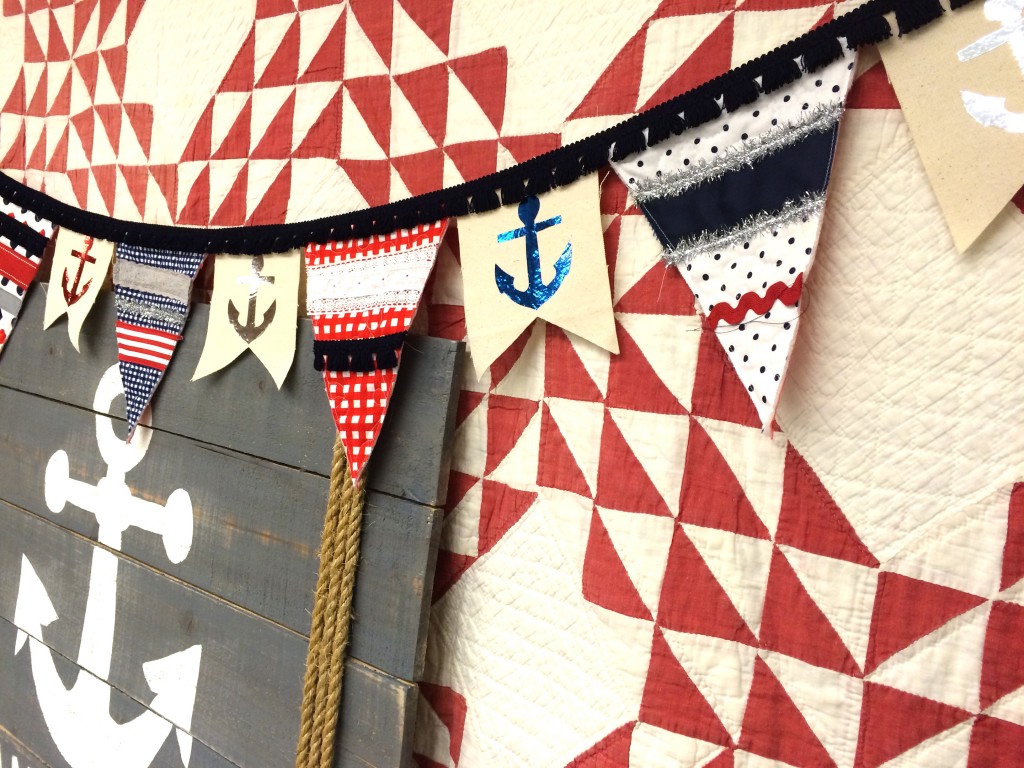
It wouldn’t be Nautical Week without a banner!  I LOVE Riley Blake Designs.  They have come up with the brilliant idea of printing banner triangles on a panel of fabric.  For one panel you get 18 triangles – each one a totally different print!  You can cut them up and sew them together or you can embellish them.  I added a canvas flag with Therm O Web Deco Foil anchors in-between each triangle.

riley blake nautical banner deco foils 2

riley blake nautical banner deco foils 01

Here’s how you can make one:

Supplies:

Riley Blake Designs banner panal or red white and blue patterned fabric
3/4 yard backing fabric
cotton batting
iCraft® Deco Foil™  – Silver, Red, Silver Star and Blue
Natural canvas
Navy fringe trim
Anchor pattern, click HERE
Spray n Bond®
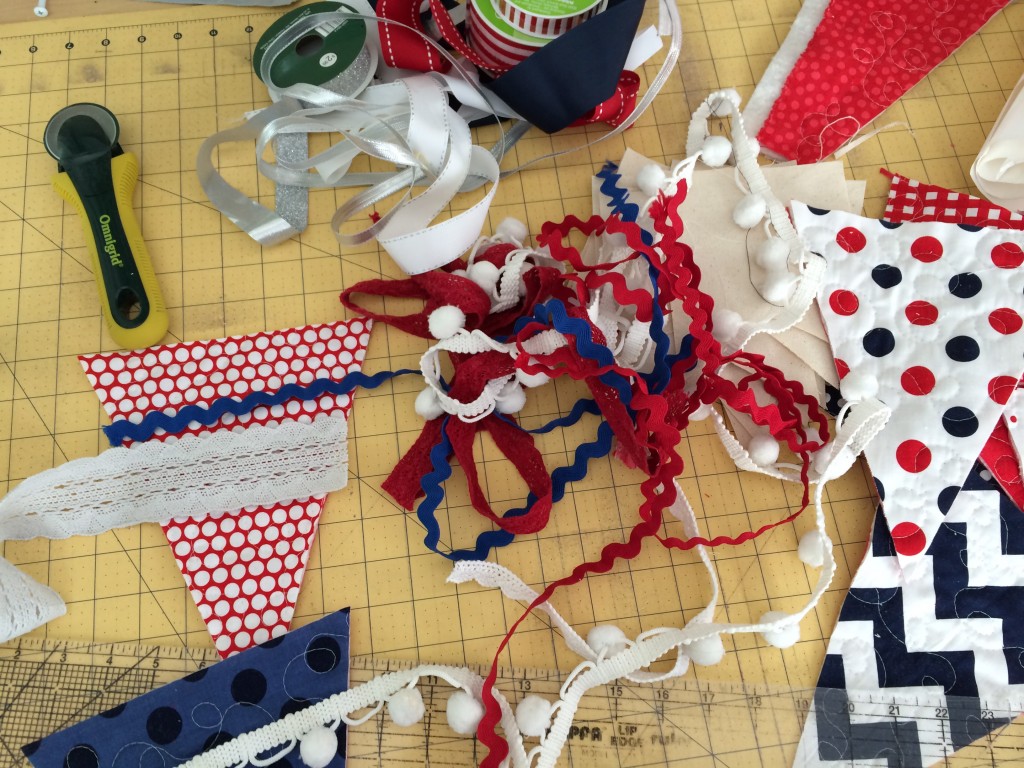
Scraps of ribbon, lace, ric rac, pom poms and any trim you can round up!


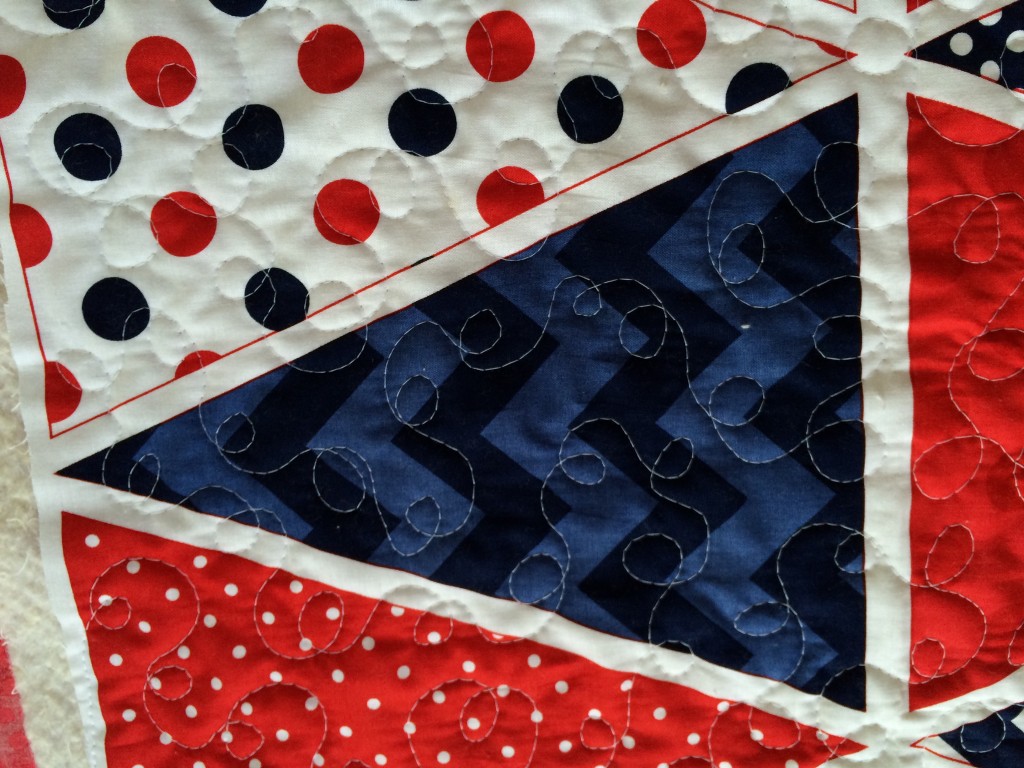
Begin by quilting the banner panel – I quilted mine with loop-de loos.

riley blake nautical banner deco foils 02

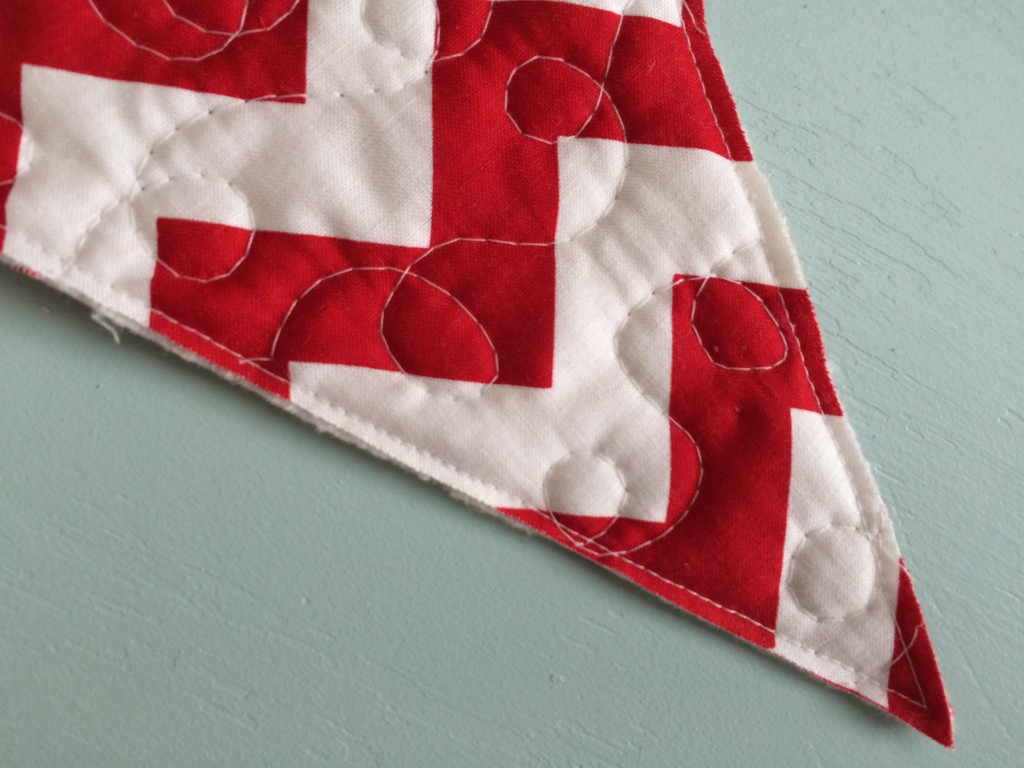
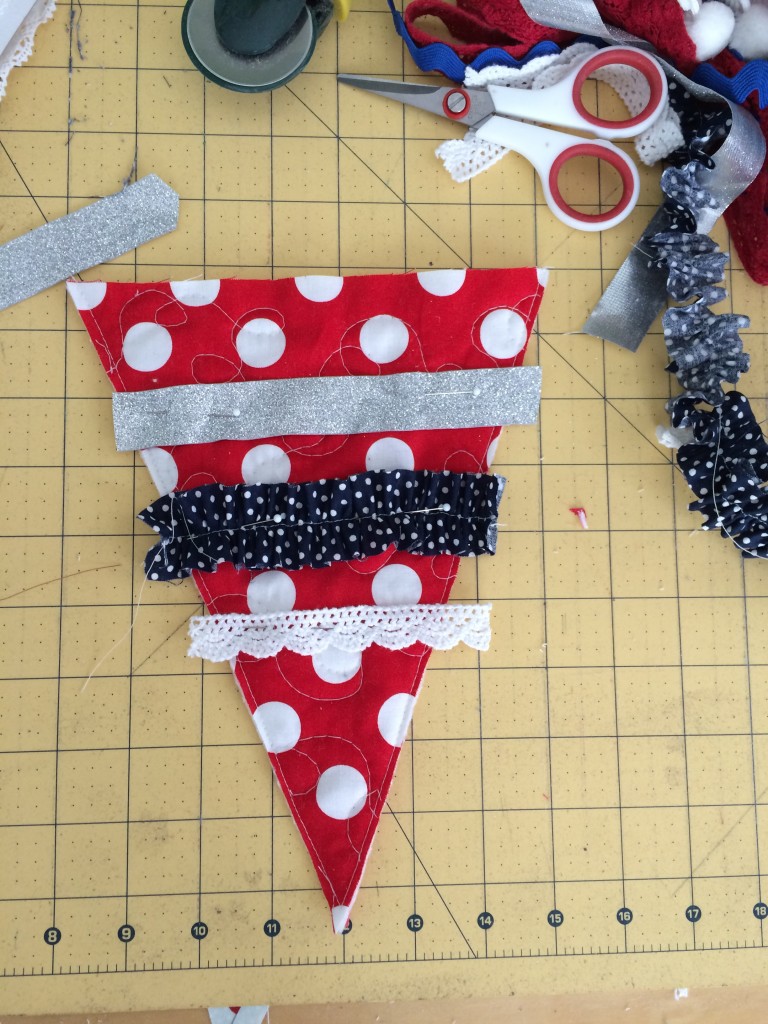
After quilting the pane, cut the triangles out on the line and top stitch 1/8″ from the edge to prevent the quilting from unraveling.

riley blake nautical banner deco foils 001

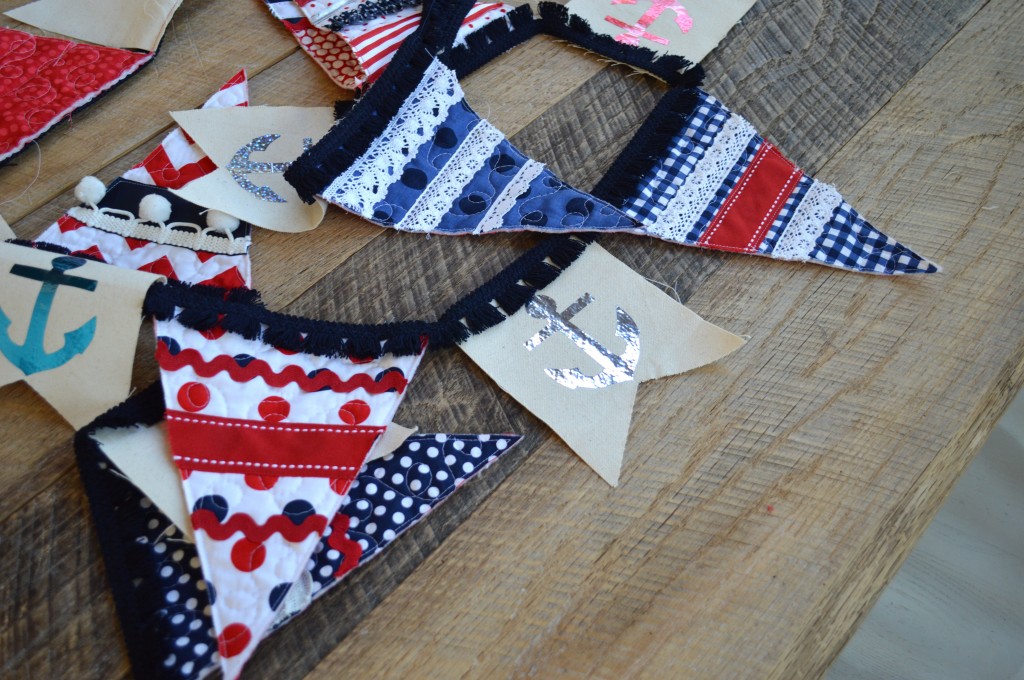
Now comes the fun part.  Run around your house and gather every bit of ribbon, trim, lace, etc. in red, white, blue, gray, and silver.  I even ruffled a few pieces of fabric. Use Spray n Bond® to position the trim in place and top stitch on the triangles.  This takes a while – I didn’t want any of mine to be the same.

riley blake nautical banner deco foils 09

riley blake nautical banner deco foils 004

Once the triangles are completed, move on to the flag portion of the banner.

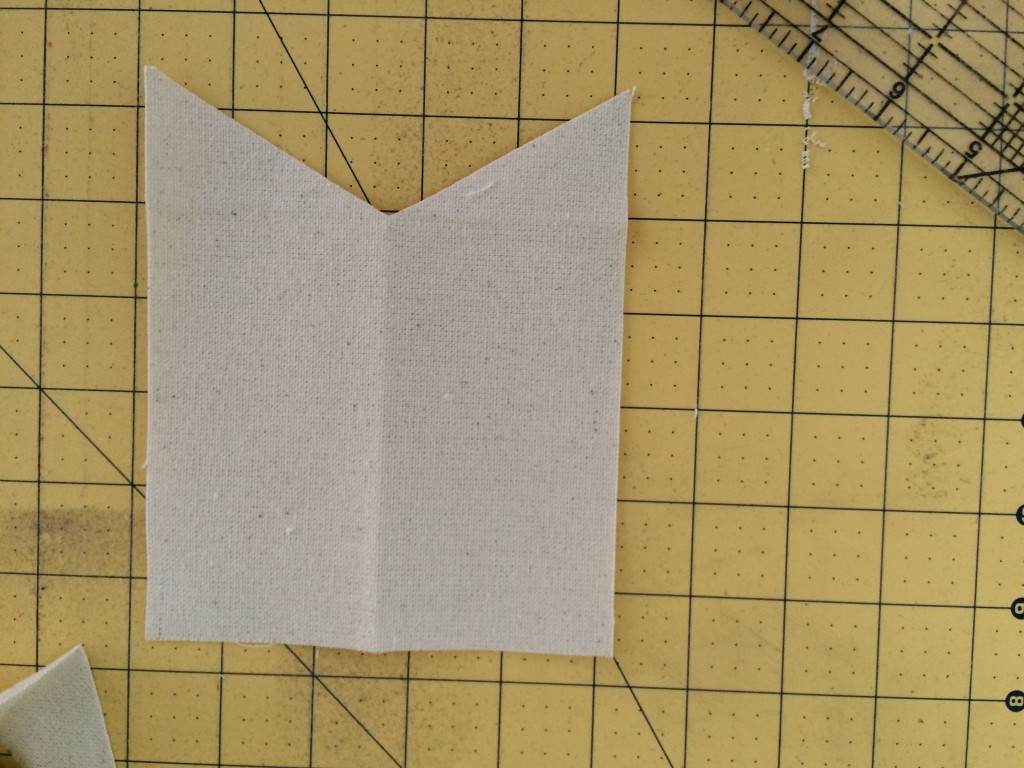
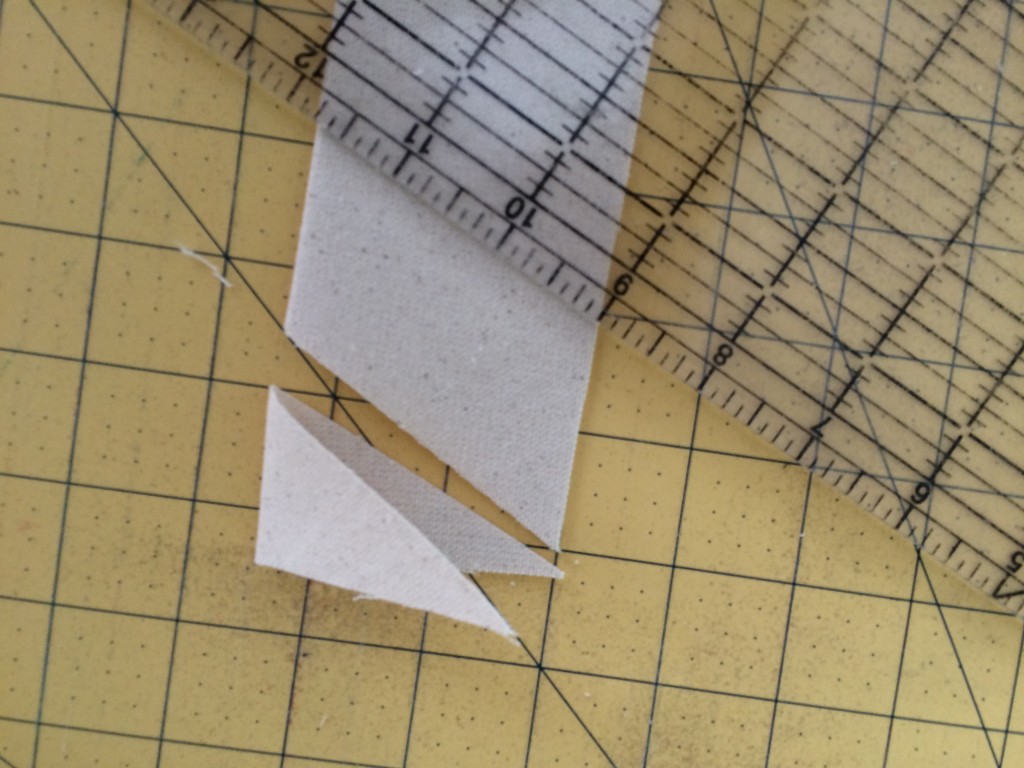
Begin by cutting (16) canvas rectangles in 5.5″ x 6″.  Fold the rectangles in half and cut a diagonal line by angling the ruler from the corner to the 1.5″ mark:

riley blake nautical banner deco foils 08

riley blake nautical banner deco foils 06

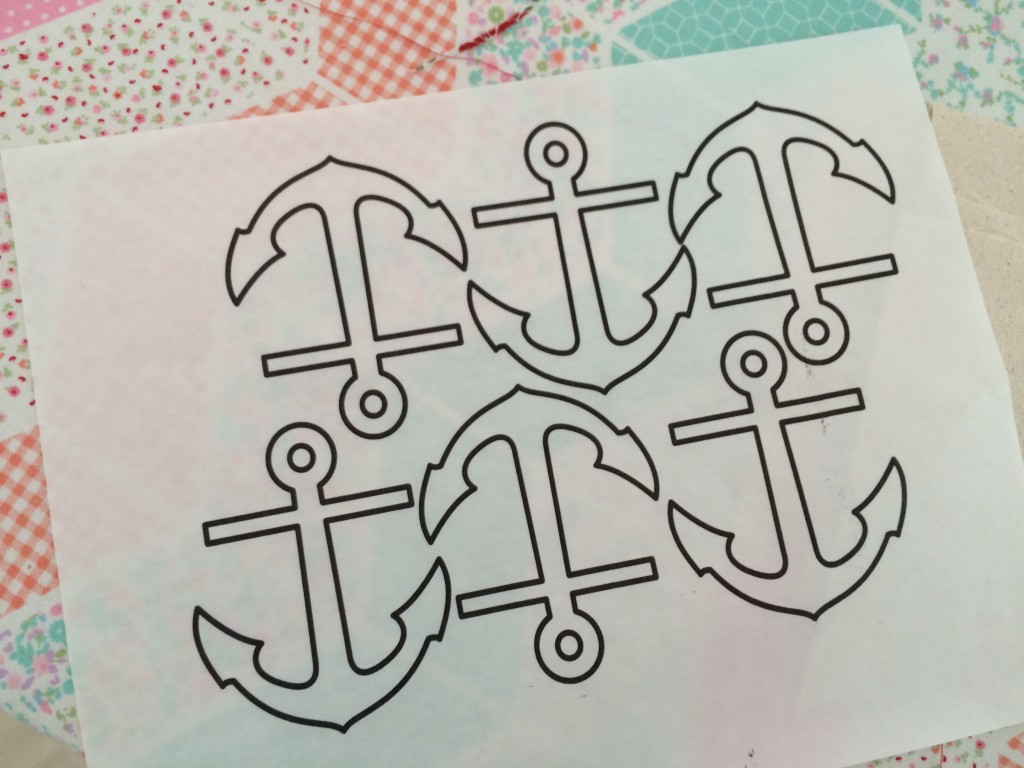
Print out the anchors on the EZ print sheets.

riley blake nautical banner deco foils 006

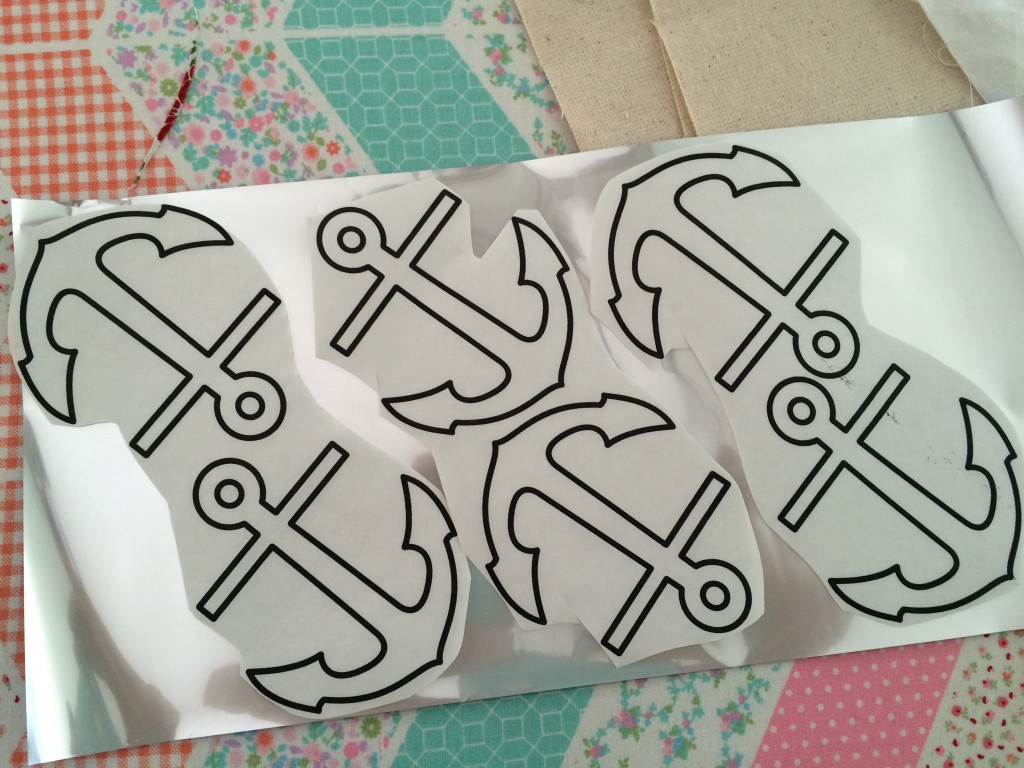
Then cut around the anchors and position them on the back of the Deco Foil.  Six fit on one piece of foil.  Cover with a piece of cotton fabric and press to set.  It only takes seconds.

riley blake nautical banner deco foils 103

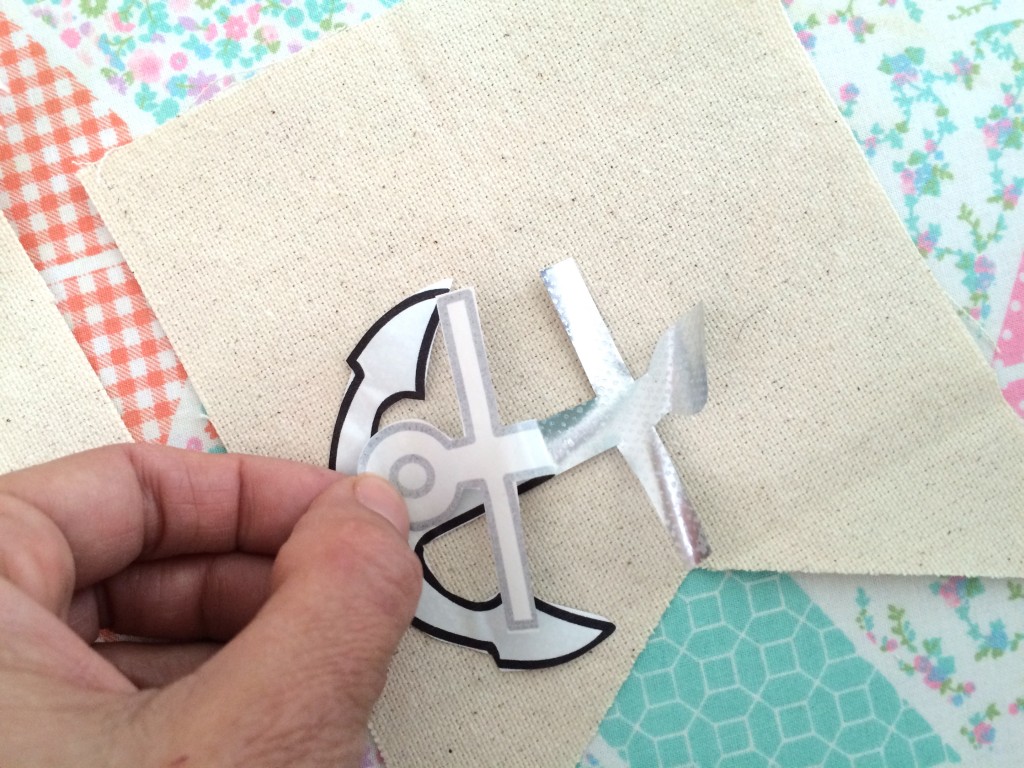
Cut around the anchor and peel off the backing paper.

riley blake nautical banner deco foils 100

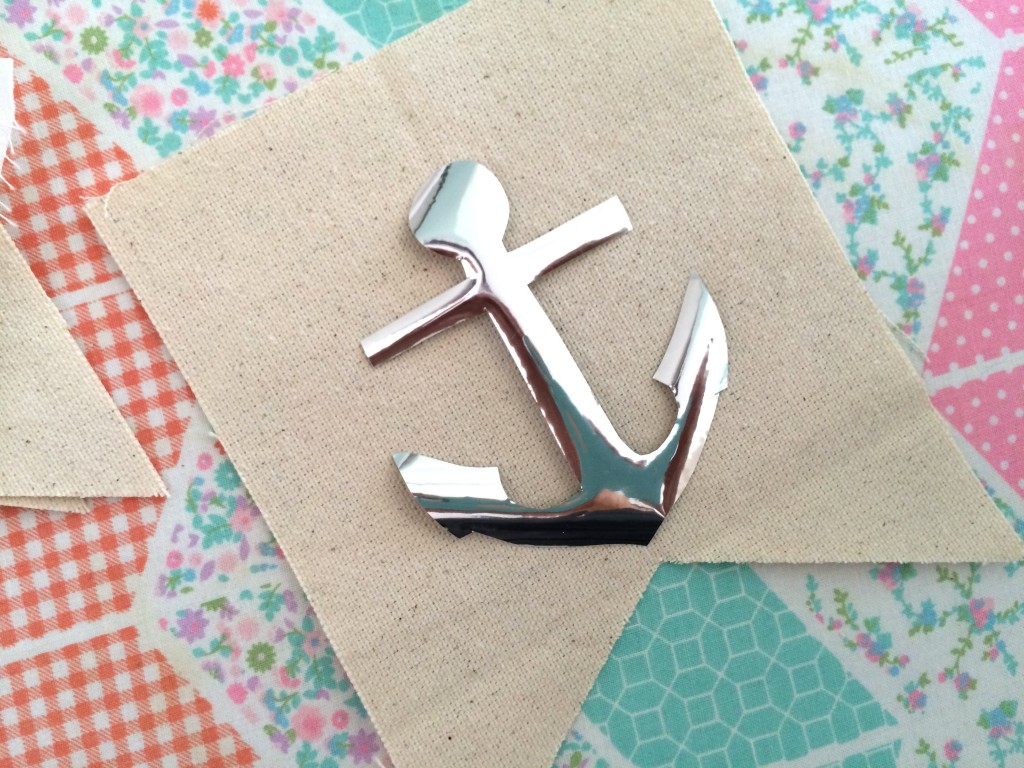
Position the foil side up, cover with a piece of cotton and press.

riley blake nautical banner deco foils 101

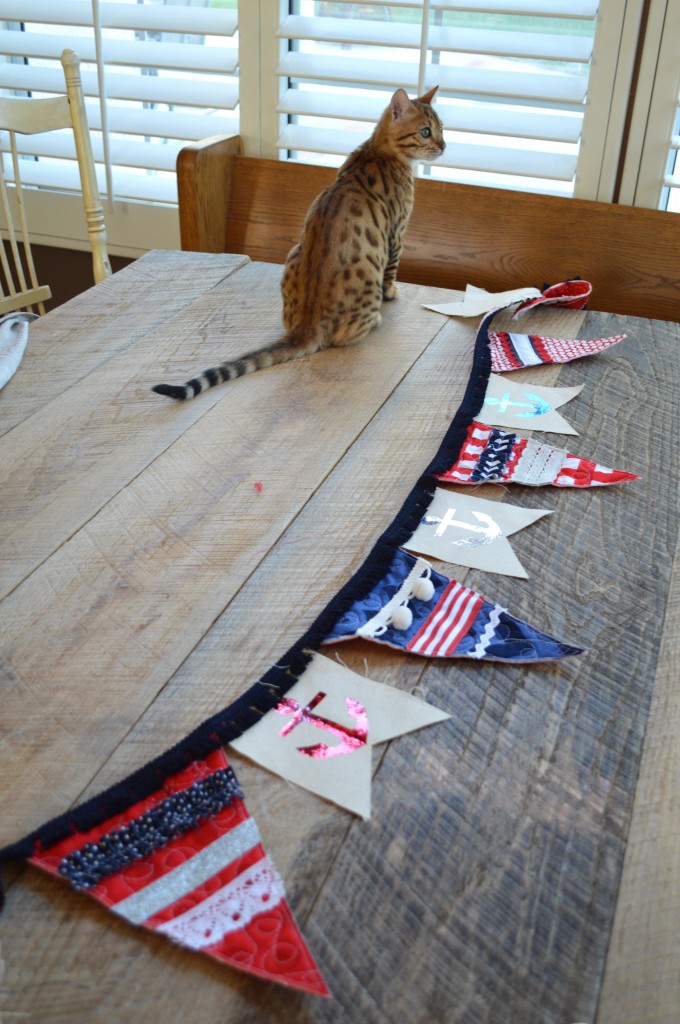
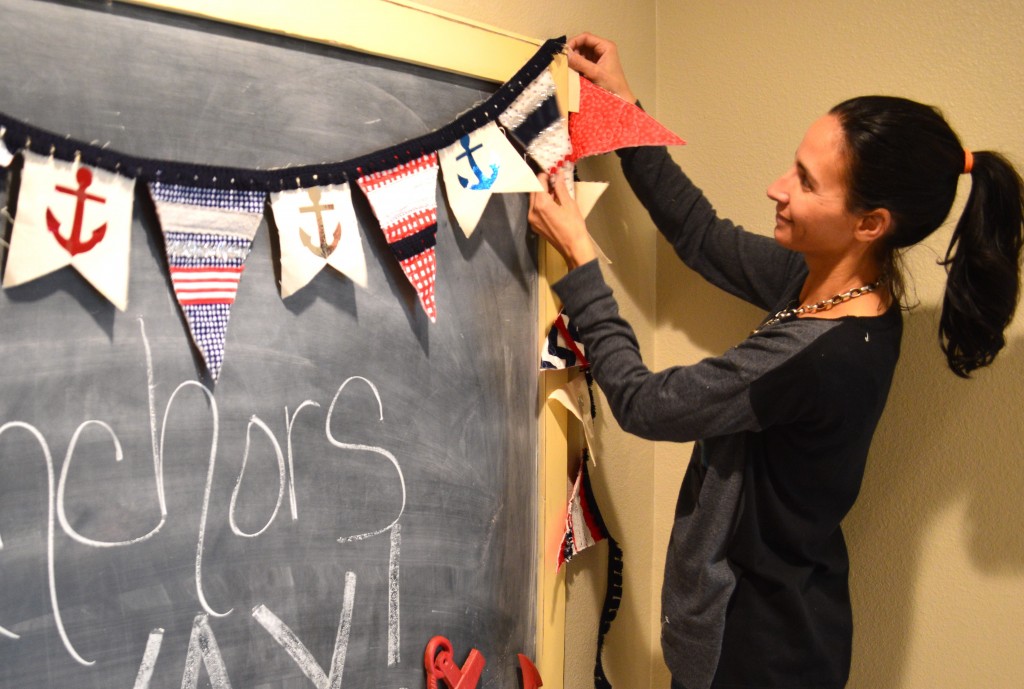
Lay out the banner and use navy blue fringe trim to sew the flags together.  This mades a long banner – I divided it in half and made two separate ones.  It helps if your kitty assists in this process 🙂

riley blake nautical banner deco foils 13

Hang around your home and enjoy!!
riley blake nautical banner deco foils 4

riley blake nautical banner deco foils 7

riley blake nautical banner deco foils 8
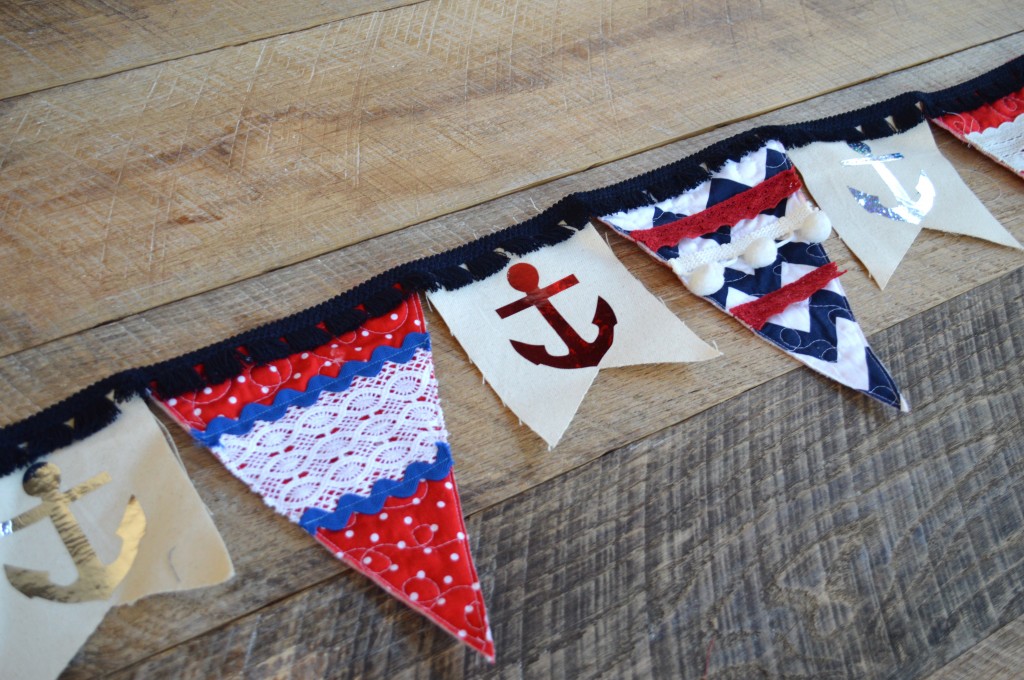
Here are a few photos of different segments to give you an idea of the different trims and fabrics.  It was too long to photograph all together.
riley blake nautical banner deco foils 10

riley blake nautical banner deco foils 11
riley blake nautical banner deco foils 15

riley blake nautical banner deco foils 16
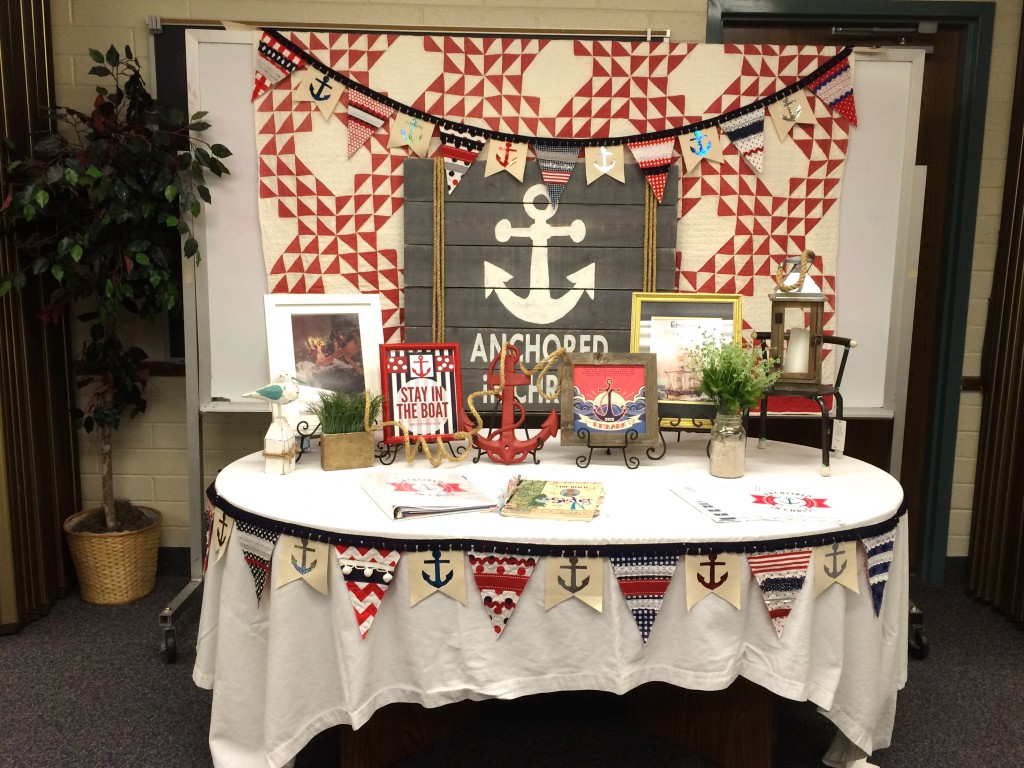
I am the Young Women Camp Director at my church and our theme is Anchored in Christ.  The banner was a perfect addition to my table scape for our leader meeting!
riley blake nautical banner deco foils 104
riley blake nautical banner deco foils 105

Deco Foil Hanging Heart {DIY project}


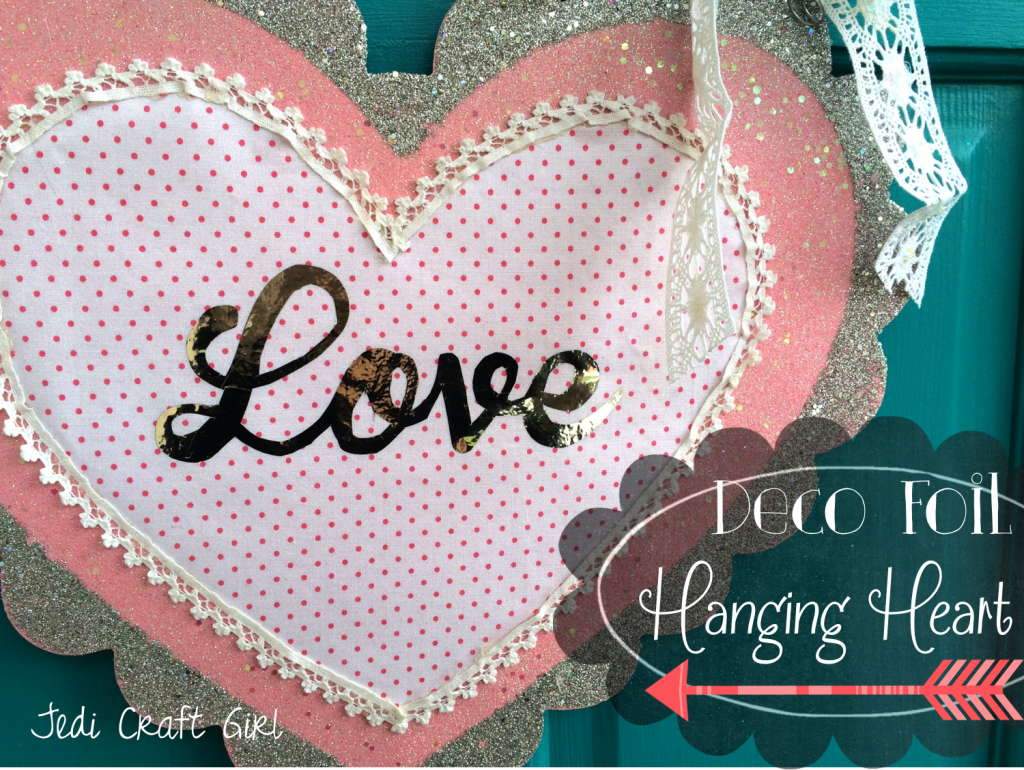
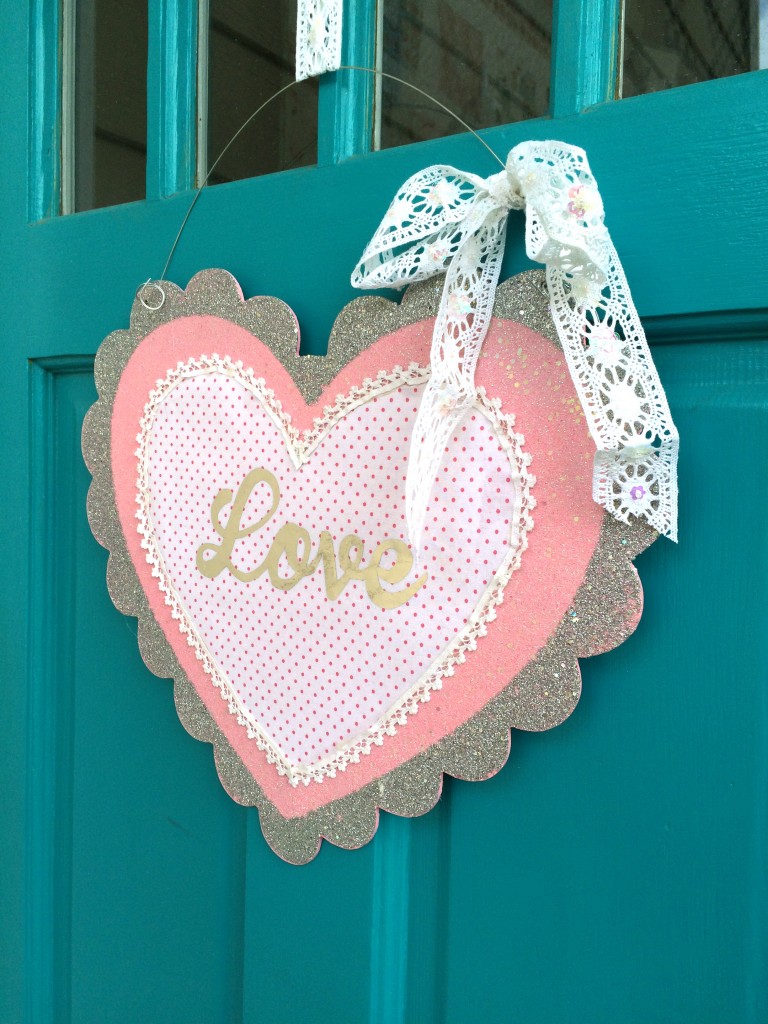
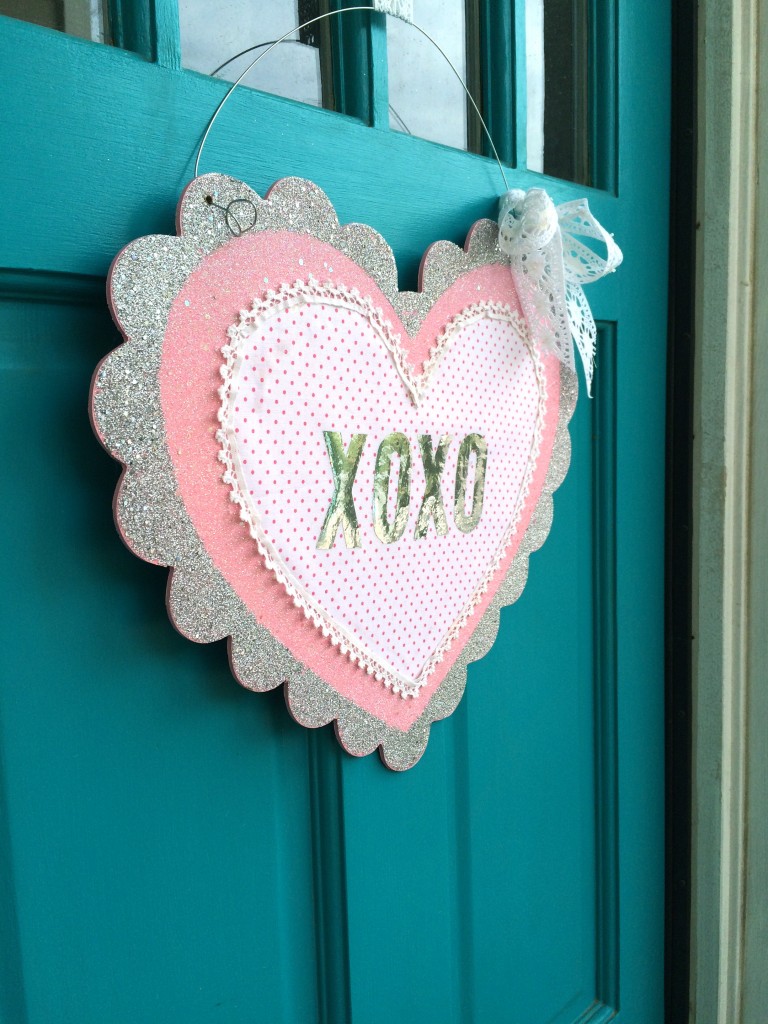
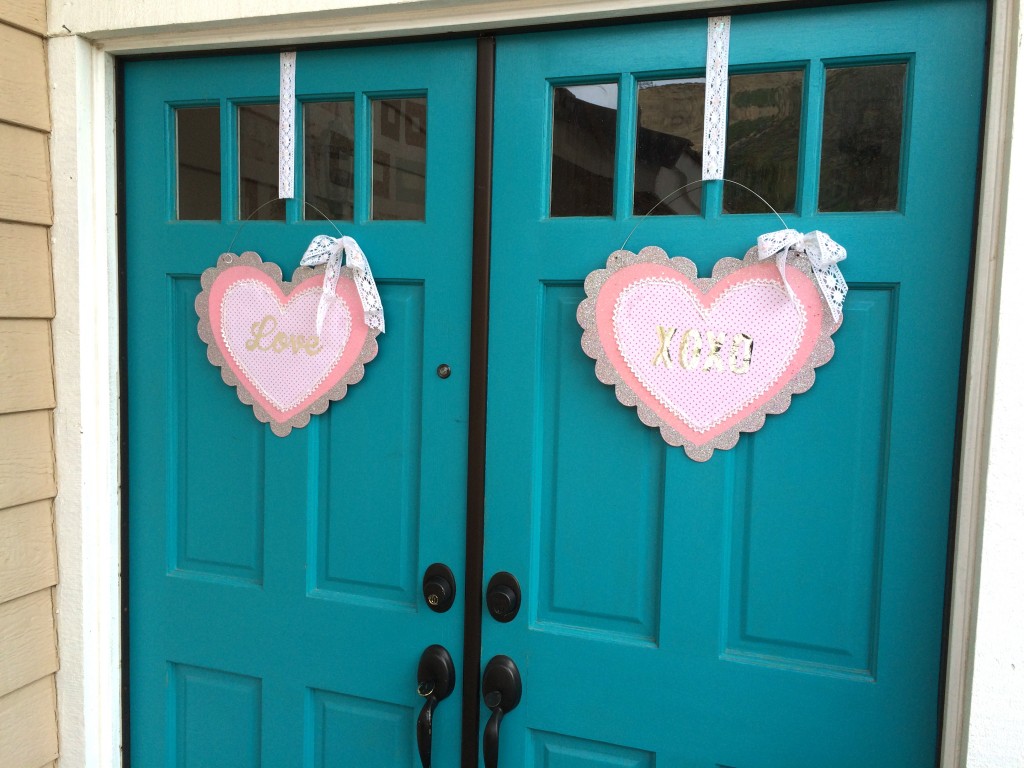
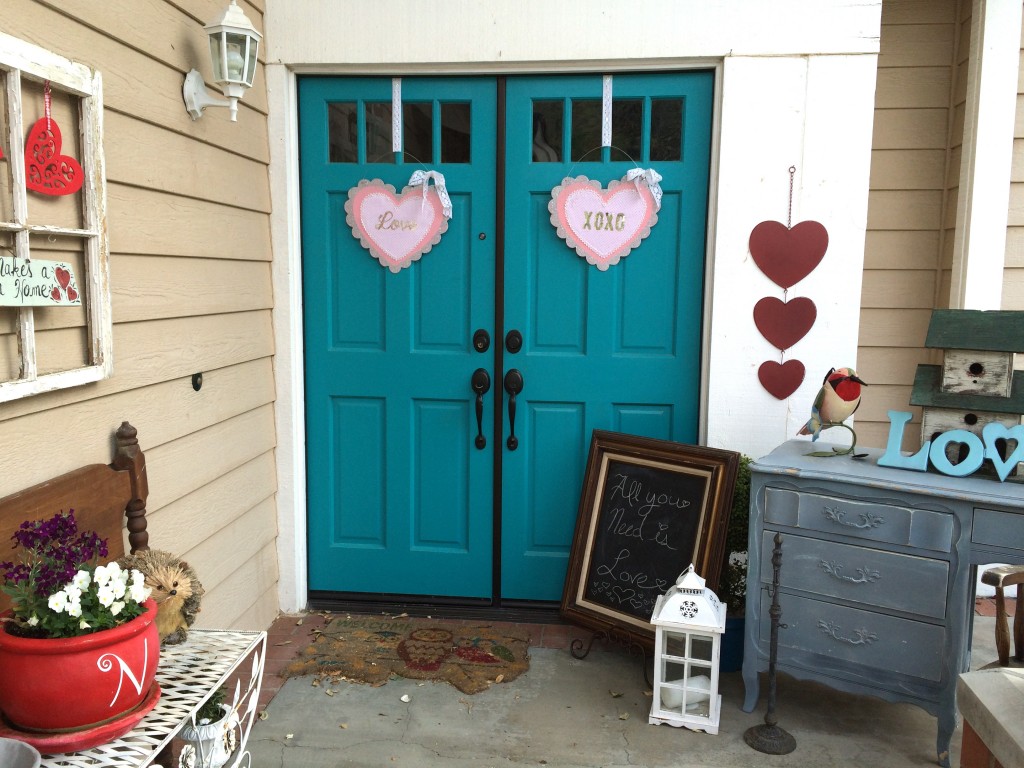
deco foil hanging heart valentineI didn’t quite know what to hang on my front doors this Valentine’s Day season.  Do any of you have the problem of having 2 front doors?  It’s always a delllama, do I hang just one item on the door we use, leaving the other one bare?  Do I hang two of the same thing?  Two different things?  If I hang 2 wreaths, does it look like my doors have eyes?  I came across these sparkly scalloped wood heart hangers at the craft store and I thought they might solve my front door problem.  They were just screaming for some embellishment, don’t you think?  I ran around the house, gathering items that might be cute all while eating cinnamon gummy hearts (highly addictive).  If you don’t have wood heart hangers like these, you can add this heart to a pillow, a frame, or pretty much anything!  Here goes!!foil valentine craft
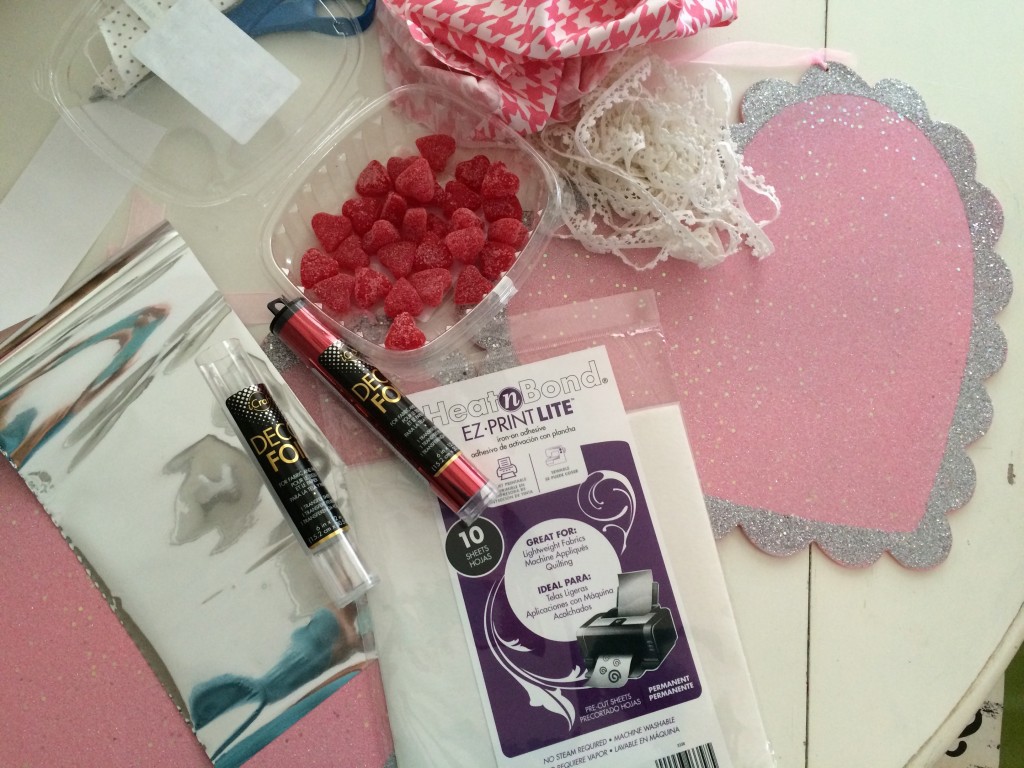
Supplies:

fabric scraps for the hearts, I used Riley Blake Designs small dots, pink & white

a few yards of small lace and larger lace to hang

Heat n Bond Lite EZ Print sheets

Heat n Bond Lite

Deco Foil silver
10942962_10205726136972927_6418707949747214144_o


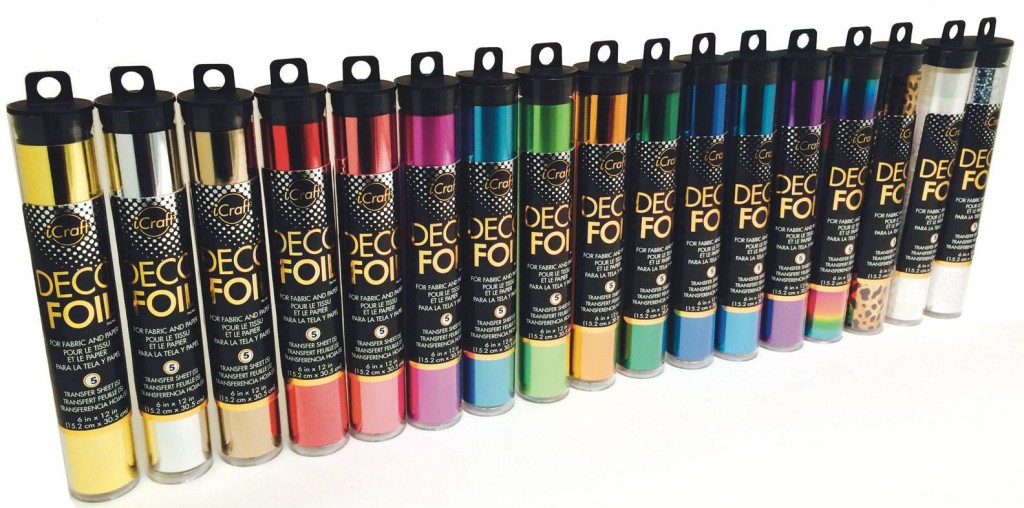
Don’t you just love all the colors this Deco Foil comes in?  This was my first time using it, I was a little intimidated; now it’s my new favorite product!

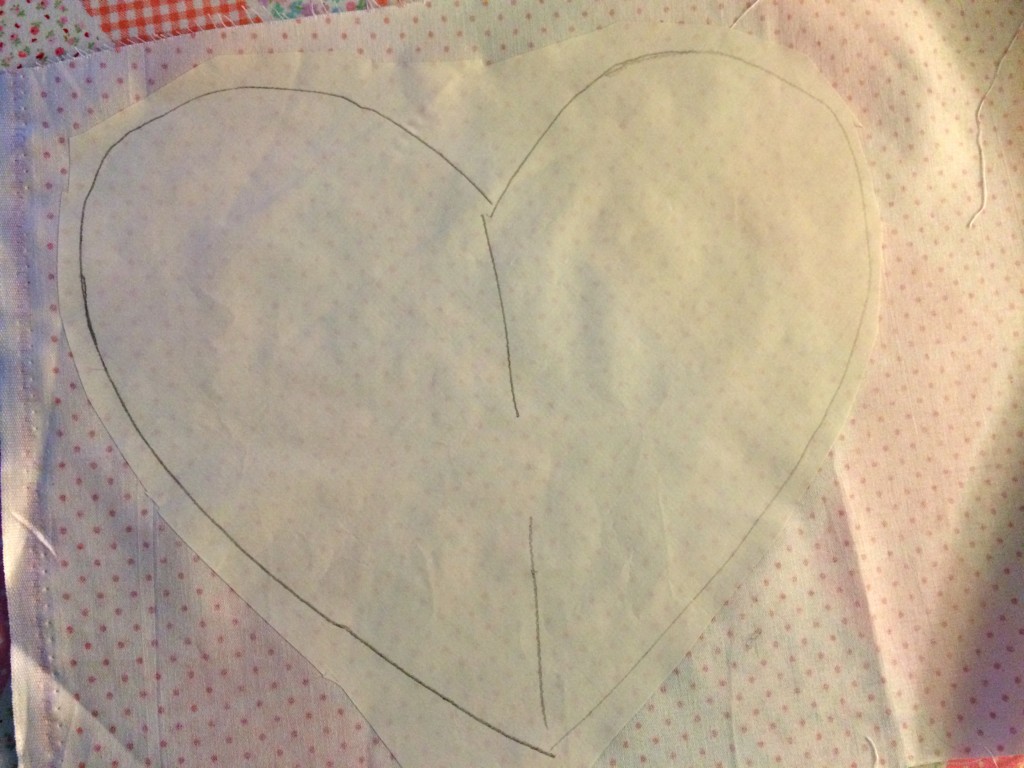
Begin by drawing your desired heart shape onto the paper side of the Heat n Bond Lite.  Roughly cut around the heart and iron it to the wrong side of the fabric.  I choose to use Heat n Bond Lite rather than fusible stabilizer because I like the texture it creates when applied.  Leave the backing paper on.foil valentine craft 2

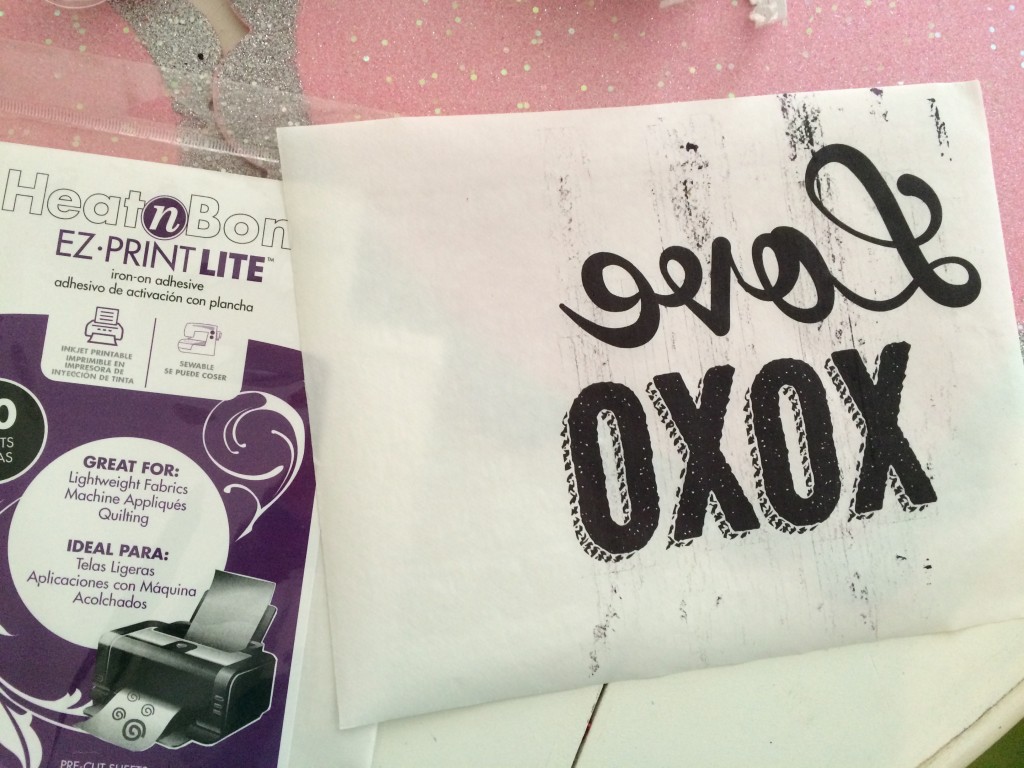
Print out the words in reverse onto the EZ print sheets.  You can download the words like I used or make up your own.

foil valentine craft 1


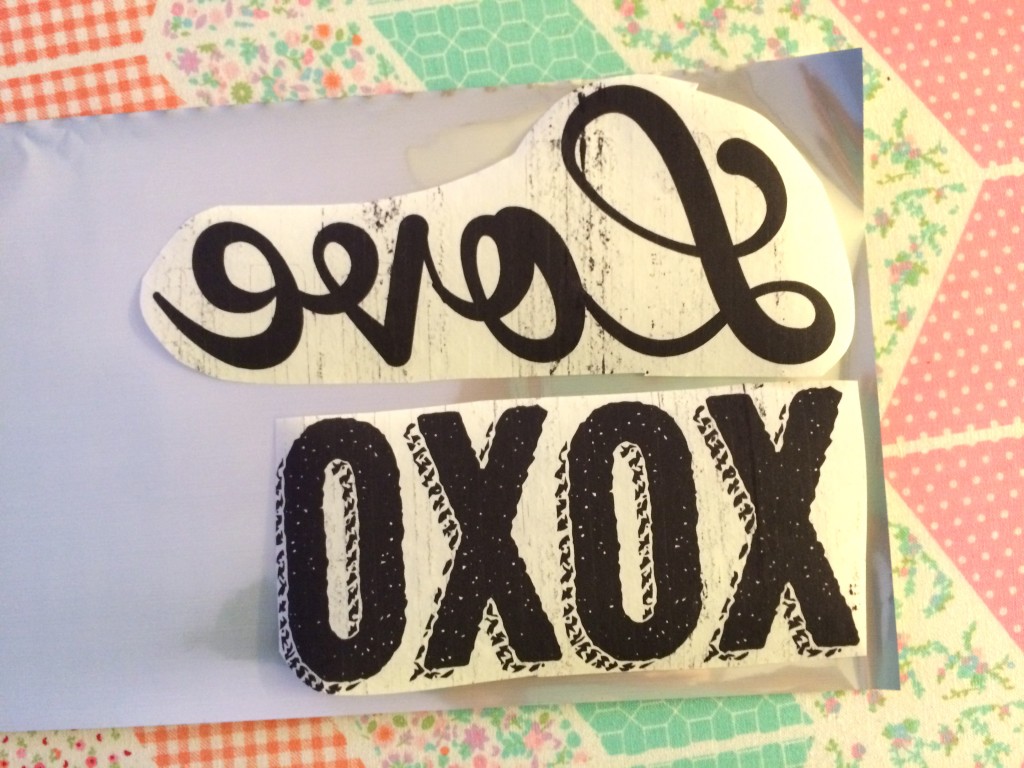
Press the words to the wrong side of the Deco Foil.  Then cut out with scissors.  The XOXO were easy to cut, the Love was a little intense, I might not choose such an intricate word to cut with scissors next time 🙂  But I like how it looks.
foil valentine craft 7

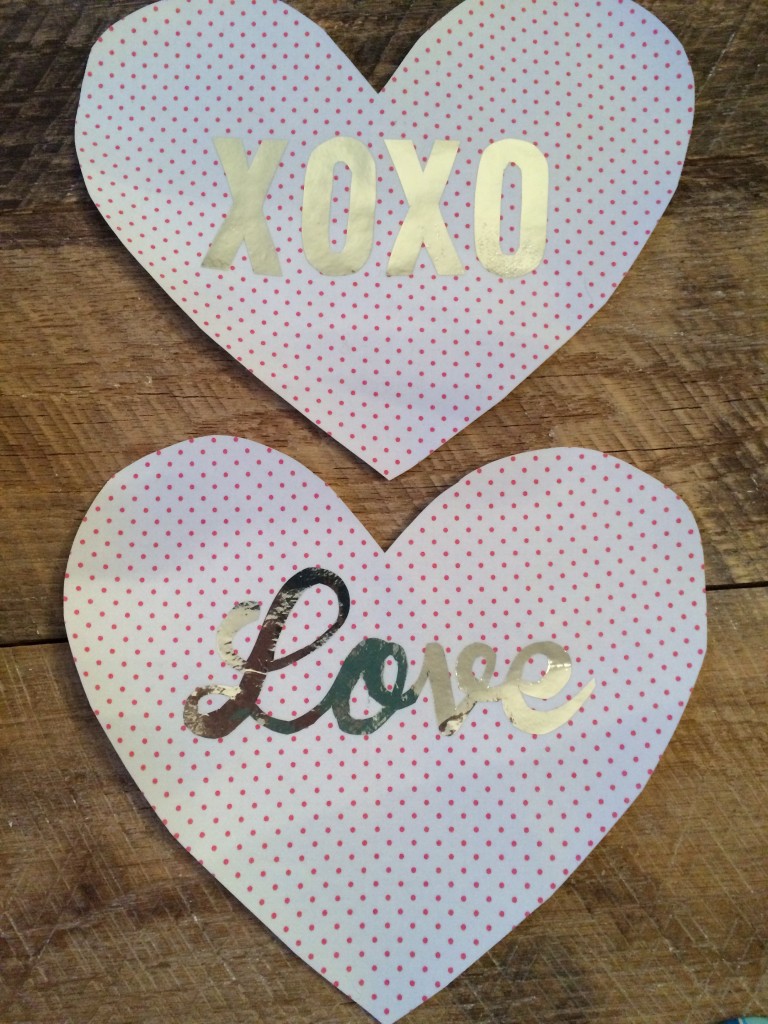
Once the letters are cut out, peel off the backing paper and place the words as desired.  I covered my letters with tissue paper because I was afraid to put the iron directly on the foil.  Press into place.

foil valentine craft 9

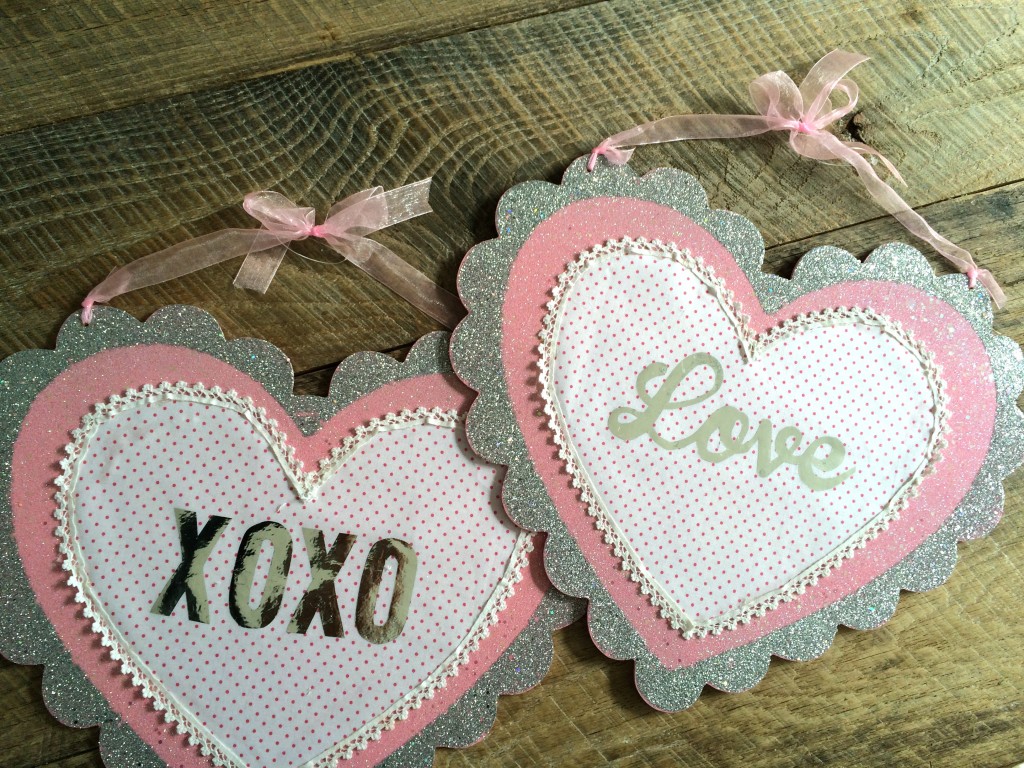
I LOVE the foil!  I can’t wait to try it on more projects!  To finish the heart, peel off the backing paper of the heart.  Center it on the wood heart.  Using hot glue, glue the lace all the way around the heart.  You will burn your fingers many times while doing so 🙁  If you have another favorite glue, you might try that.  I was in a hurry 🙂  You could also use any kind of trim: ric rac, small tinsel, pom poms, ruffles, etc.  I wasn’t in love with the cheap ribbon hanger the hearts came with, so I snipped them off and added some wire.

valentine foli craft

I added a lace bow and also hung it with lace.  I don’t have a wreath hanger, so I tack the lace with a tiny nail to the top of my door.  Maybe that’s not a good idea?

foil valentine craft 4

foil valentine craft 5

foil valentine craft 3

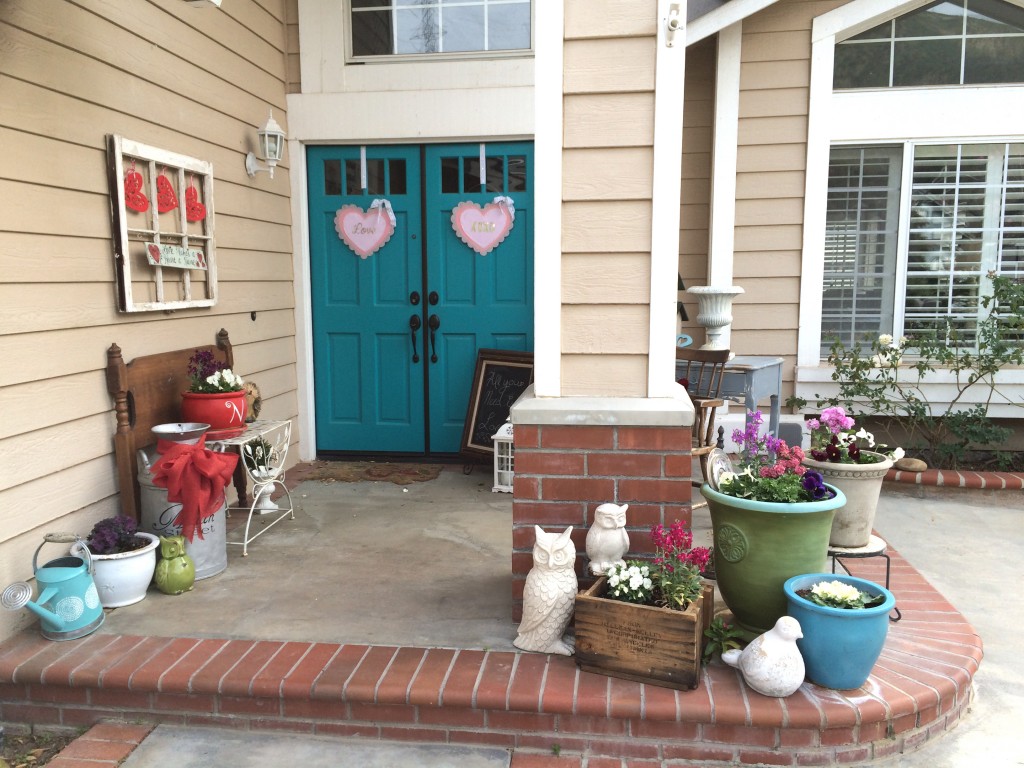
A little peak at my front porch….

valentine front porch 2

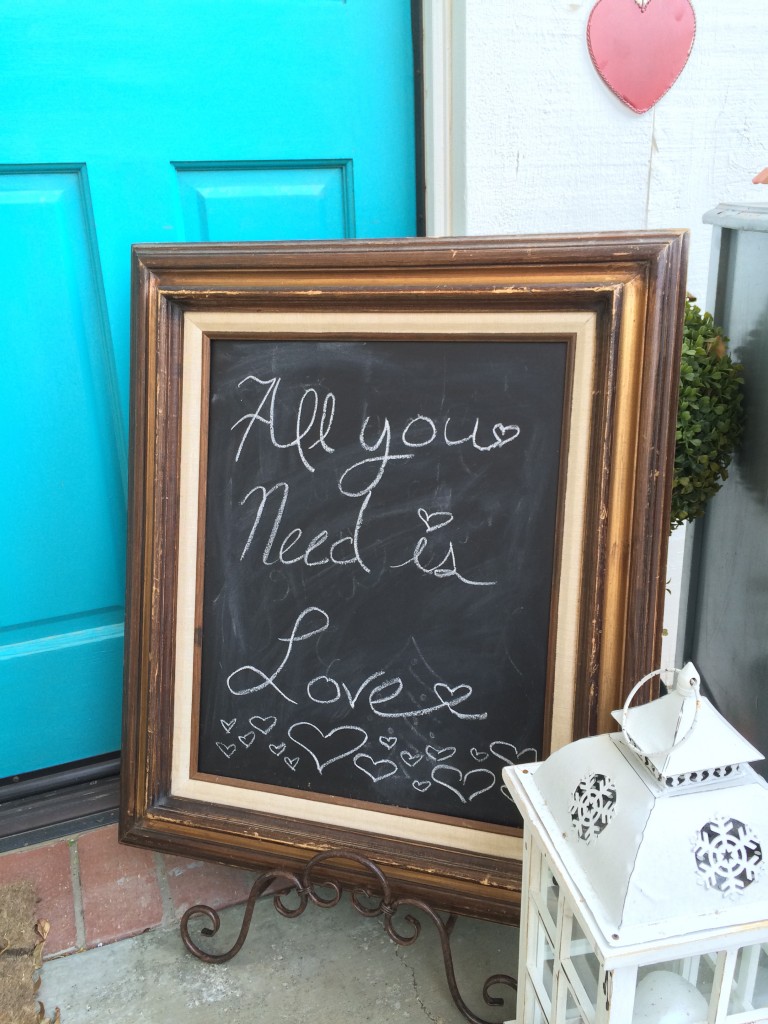
chalkboard frame front porchMy teenage daughter is in charge of all the chalkboard writing in our home.  It’s too nerve racking for me!

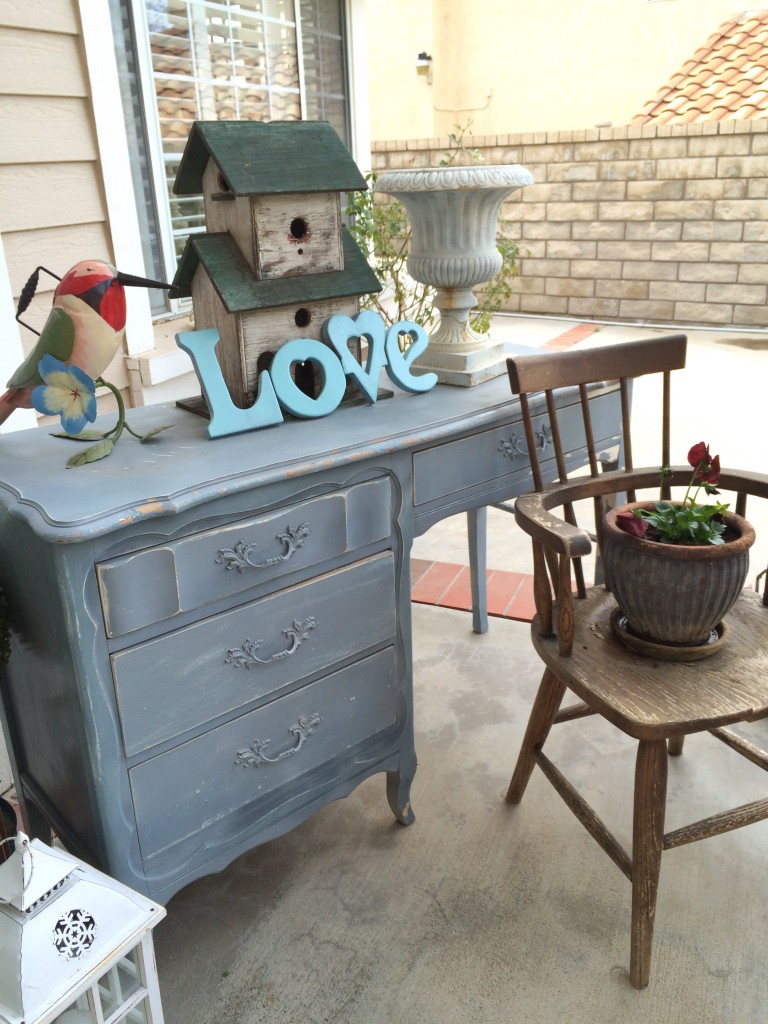
I found this desk literally on the side of the road.  I spray painted it grey and made it look rustic and it lives on my front porch.  In the spring I have flowers growing out of the drawers!!  I also found the chair on the side of the road.  People probably think my porch looks junky – I like it!!


repurposed desk diy

valentine front porch

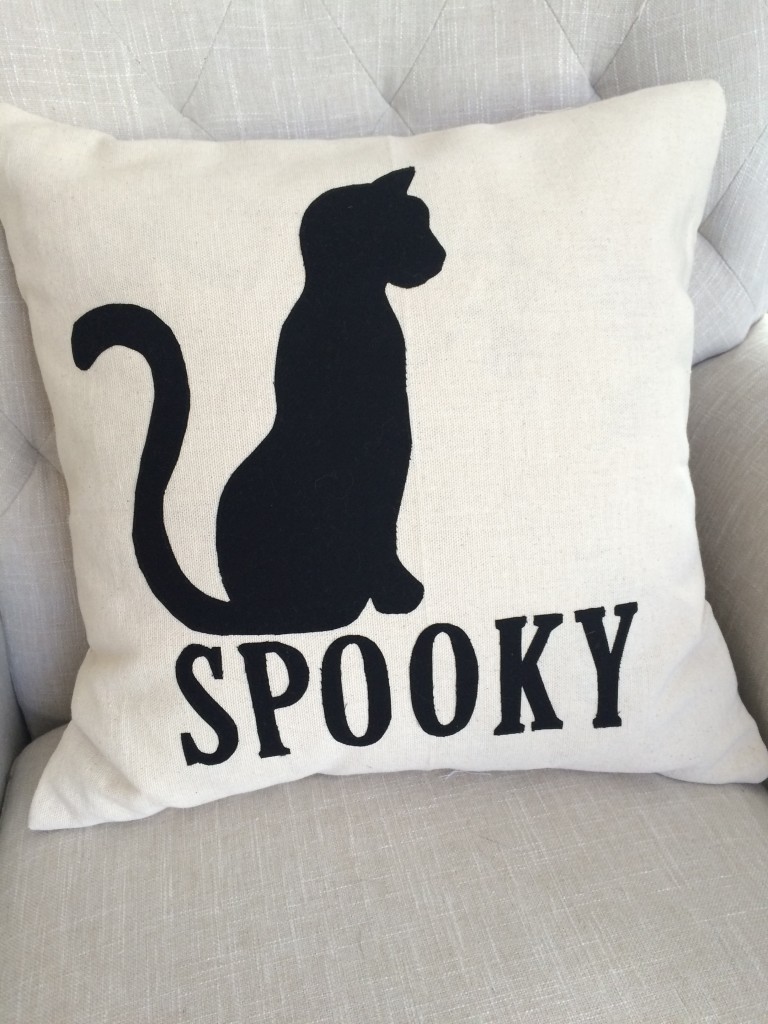
SPOOKY CAT Pillow

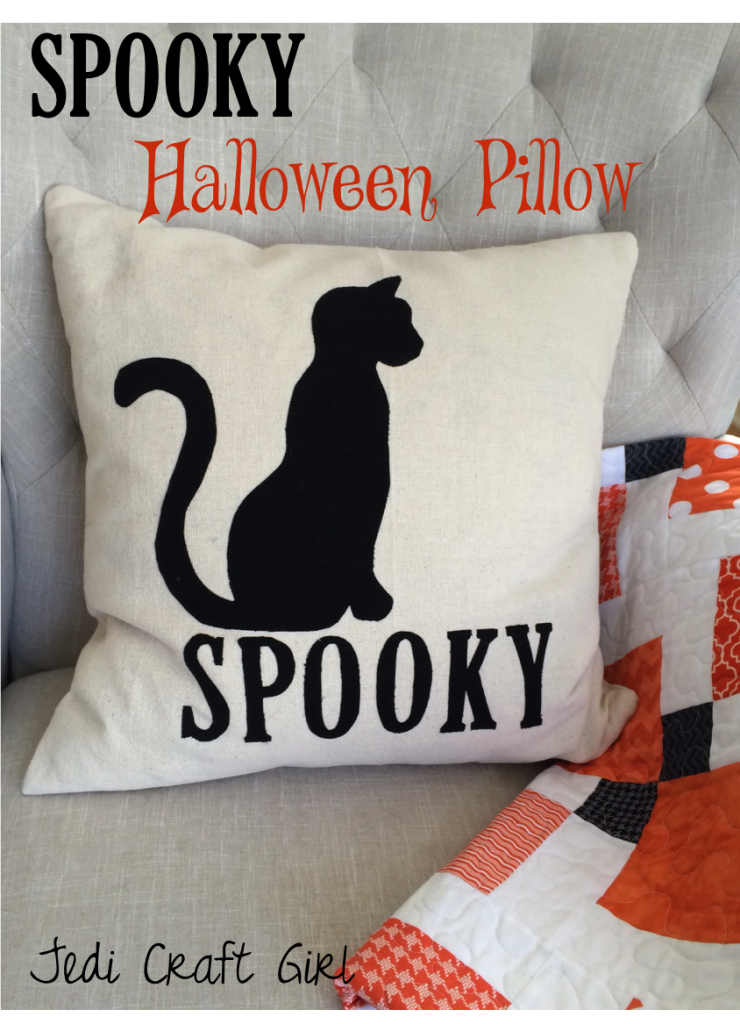
spooky halloween pillow

Can you believe how fast October is flying by?????  It’s crazy!  Here is a quick Halloween project – with a black cat of course – that you can sew in about 30 minutes.   By using their Heat n Bond EZ print sheets, you can print the pattern pieces onto the appliqué paper in your own printer!


Supplies

20″ x WOF duck cloth or neutral light weight canvas
fat quarter or similar black fabric
Heat n Bond® Lite EZ print sheets
22″ or longer zipper
20″ pillow form

Instructions

Begin by cutting (2) 20″ squares from the neutral fabric

Print the cat pattern (here) and SPOOKY pattern (here) then iron them to the wrong side of the black fabric.  Cut out on the pattern line and peel off backing.

spooky Halloween pillow

Position the pattern pieces as desired or as pictured below on the 20″ square and press into place.  Using black thread, stitch around each appliqué piece.
spooky Halloween pillow_2

To finish the pillow take the second 20″ square (pillow back) and cut 3″ off:
spooky Halloween pillow_4


Insert the zipper and press.  Trim off excess zipper.spooky Halloween pillow_5

With zipper pull positioned in the center of the pillow, pin the pillow front and the pillow back right sides together.  Sew all the way around the pillow using a 1/2″ seam.spooky Halloween pillow_6

Turn right side out and insert pillow.

spooky Halloween pillow_7

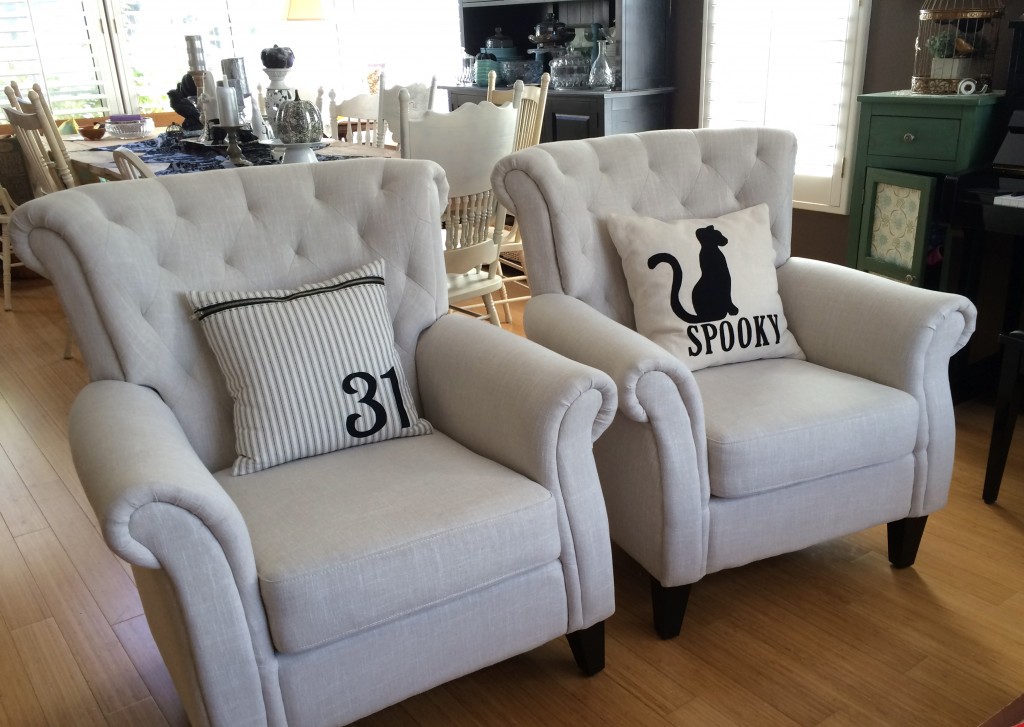
In my dining/living room I like to decorate only with black, white, neutrals, and metallics.  I love how the pillow looks on the neutral chair – a perfect compliment to the “31” pillow!!

spooky Halloween pillow_8

It also looks cute in the family room with some pops of orange!!spooky Halloween pillow_9


Garage Sale Halloween Wreath {DIY}


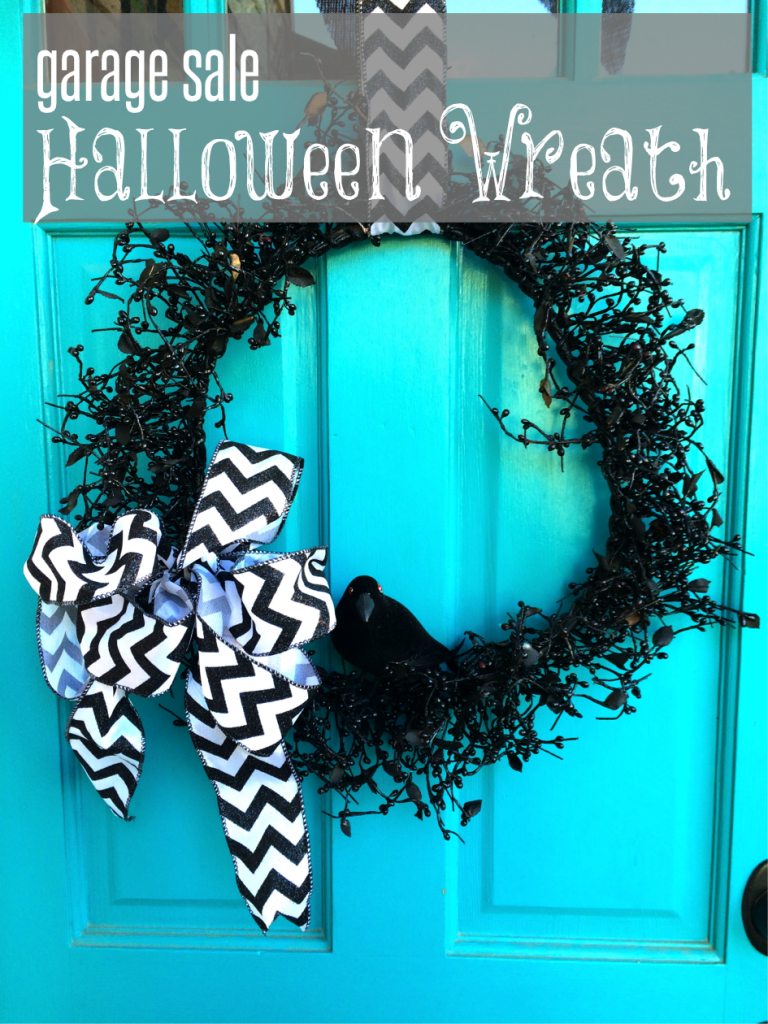
garage sale halloween wreath


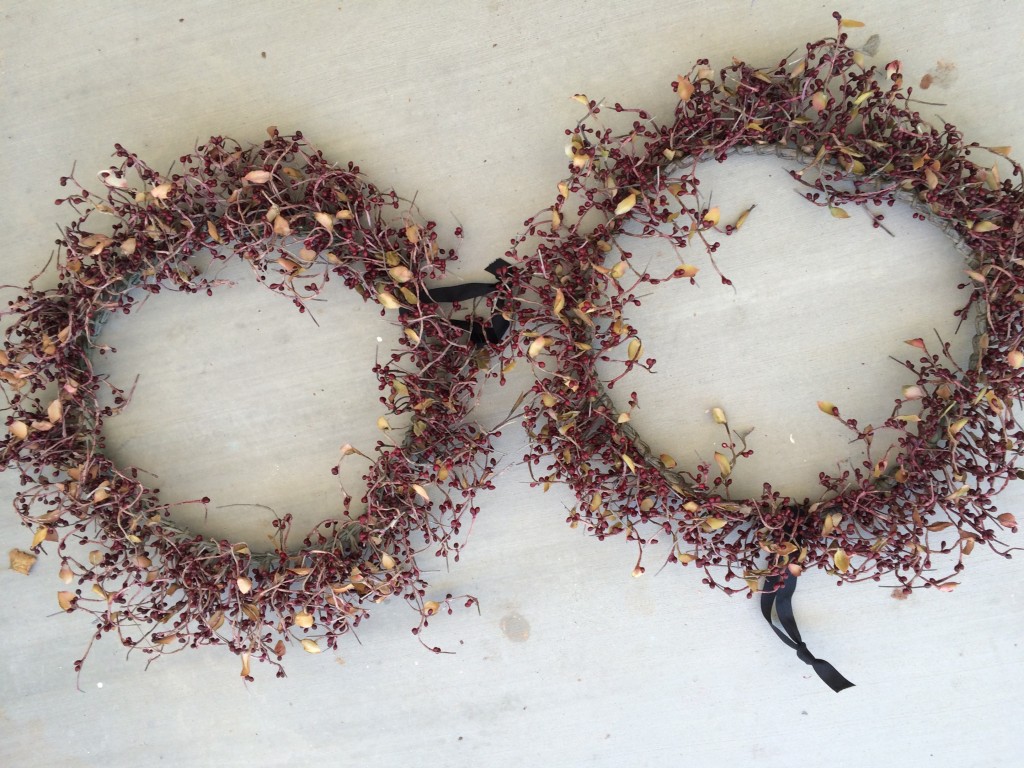
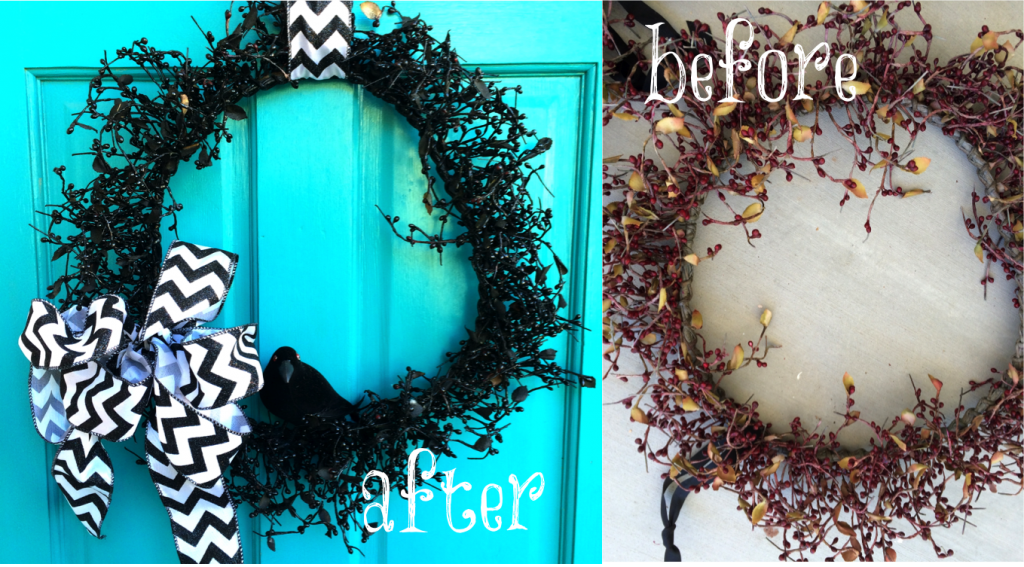
I have two front doors and I never know what to hang on them.  Do I just hang one wreath?  Do I leave them plain?  Oh, and it can’t be anything heavy that will scratch the paint when the wind blows or the door opens.  And one more thing, I don’t want to spend a lot of money, because I like to spend all my money on fabric 🙂  That being said, I found these red berry wreaths at a garage sale for $1 each.  I actually think these might have really been my wreaths from 20 years ago 🙂  I knew they had some Halloween potential.Halloween Wreath 2

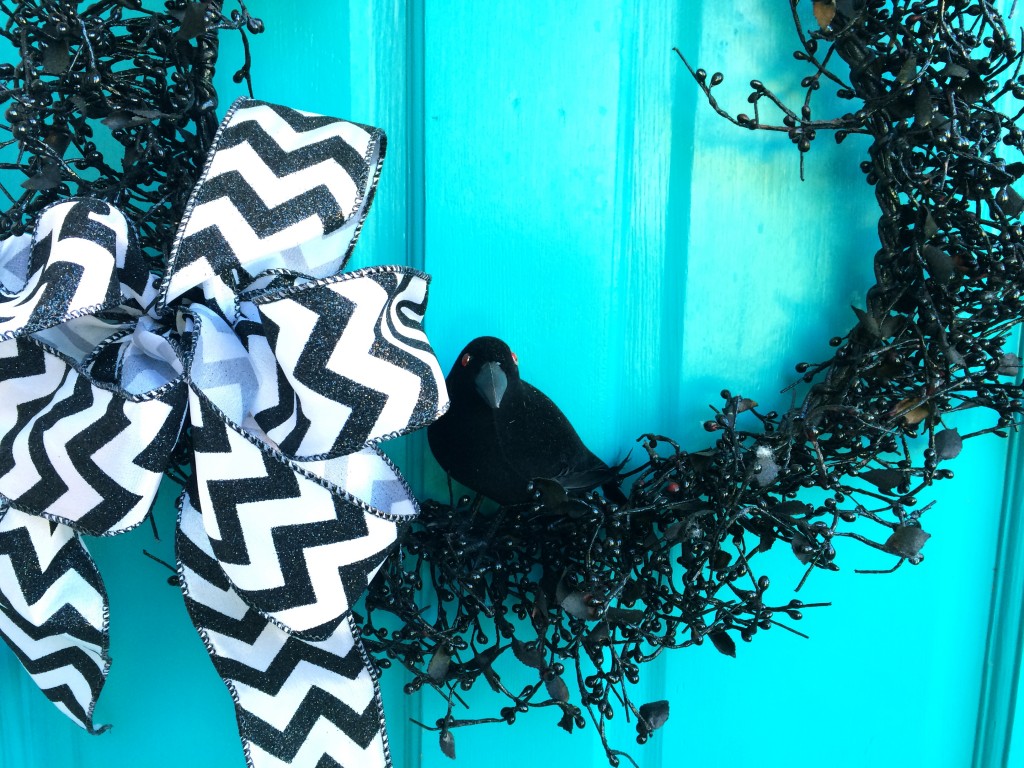
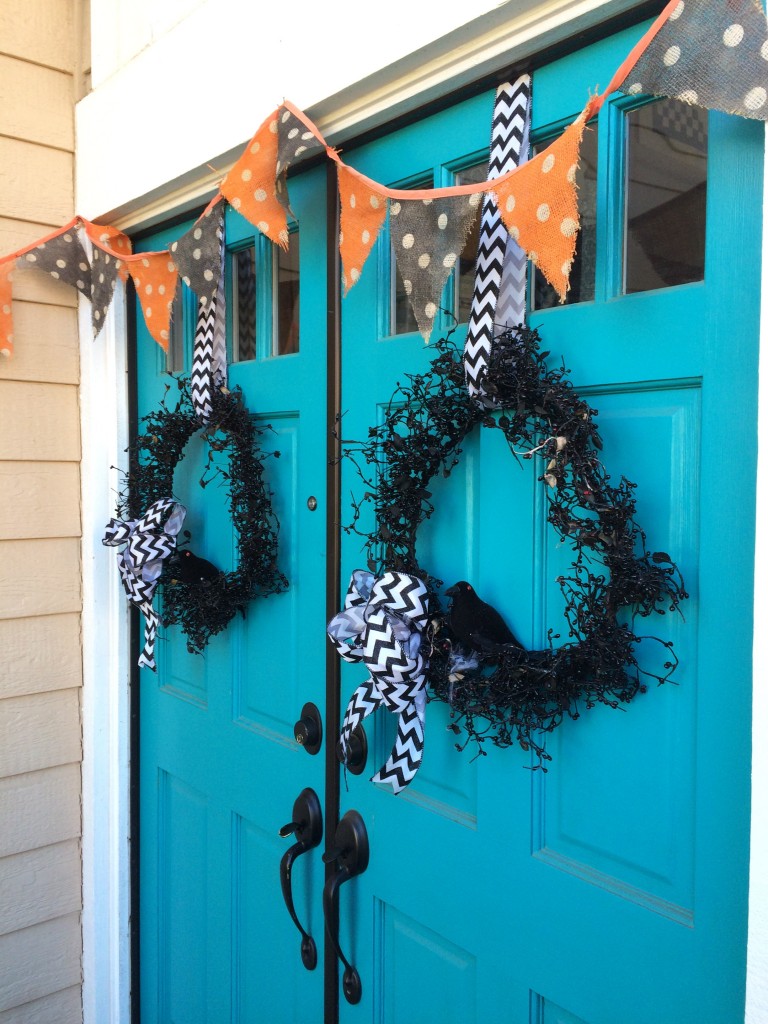
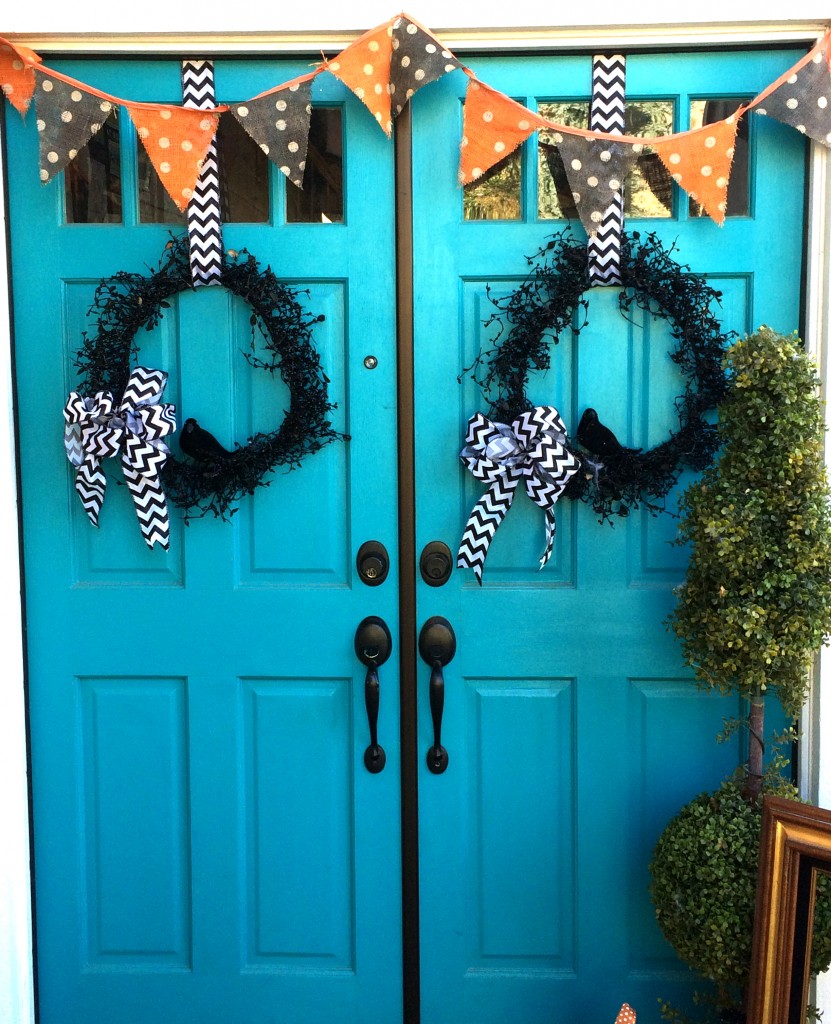
Black spray paint is your best Halloween decorating friend.  One coat of shiny black spray paint, some chevron ribbon left over from last year and a black crow…..It’s the perfect CHEAP Halloween wreath for my door.

halloween wreath diy craft

Halloween Wreath 1
And there are two of them!  Cheap, won’t scratch, and spooky!Halloween wreath 3 Halloween wreath 4


G

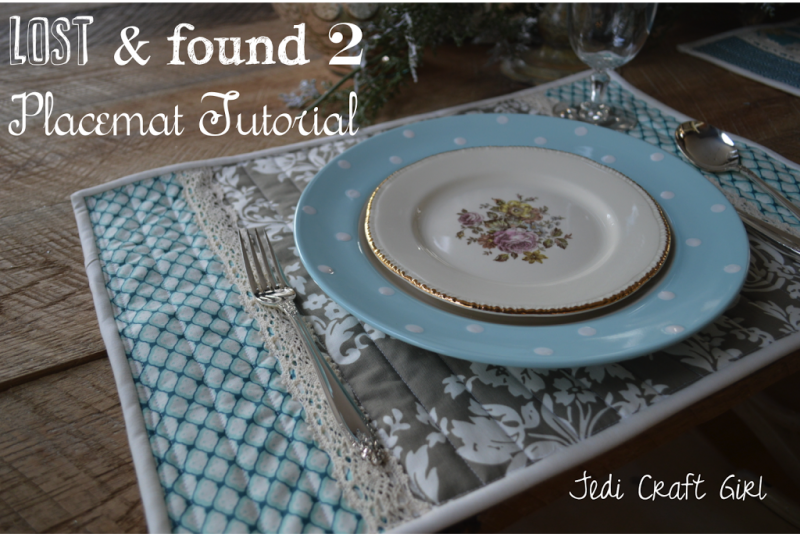
Lost and Found 2 Placemat Tutorial

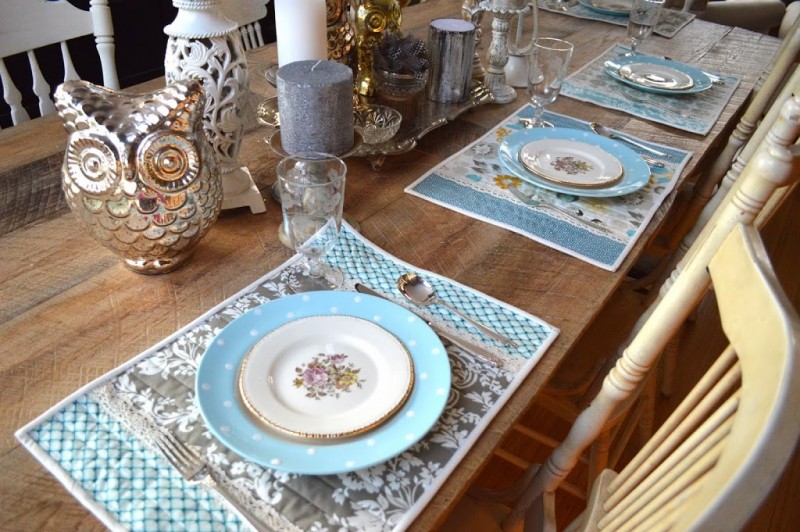
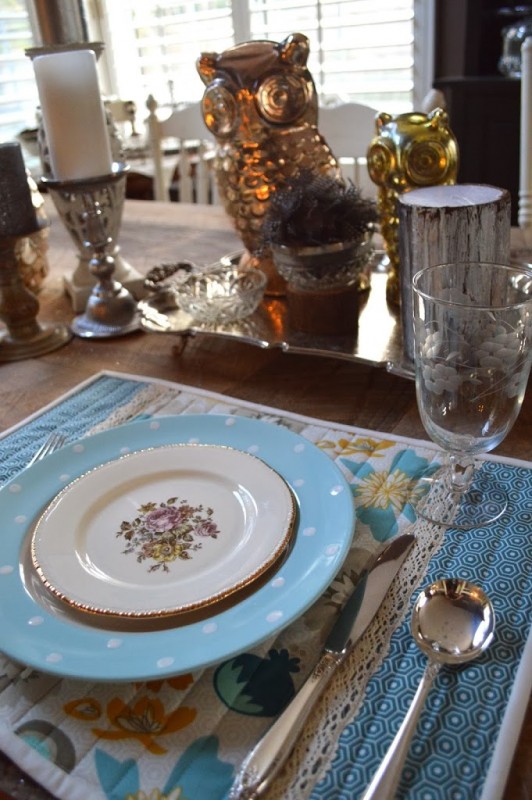
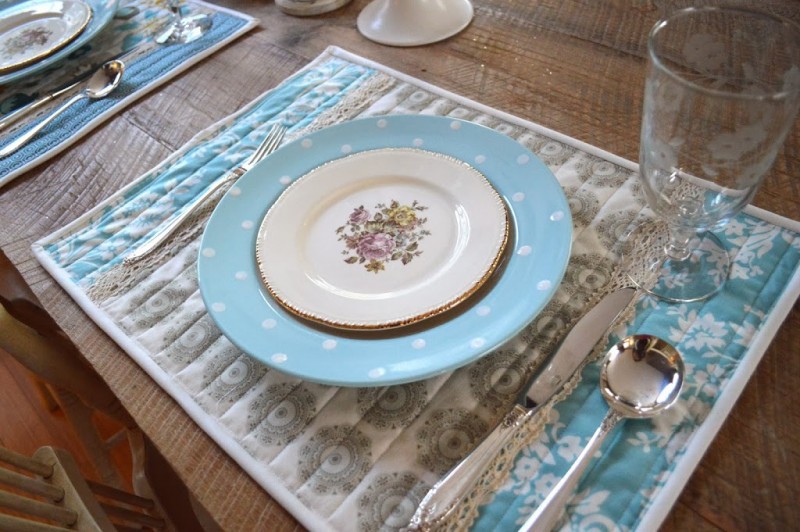
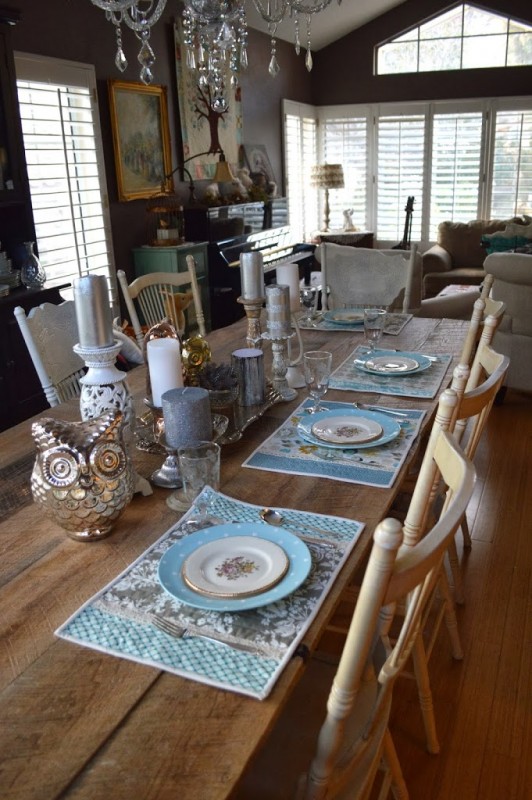
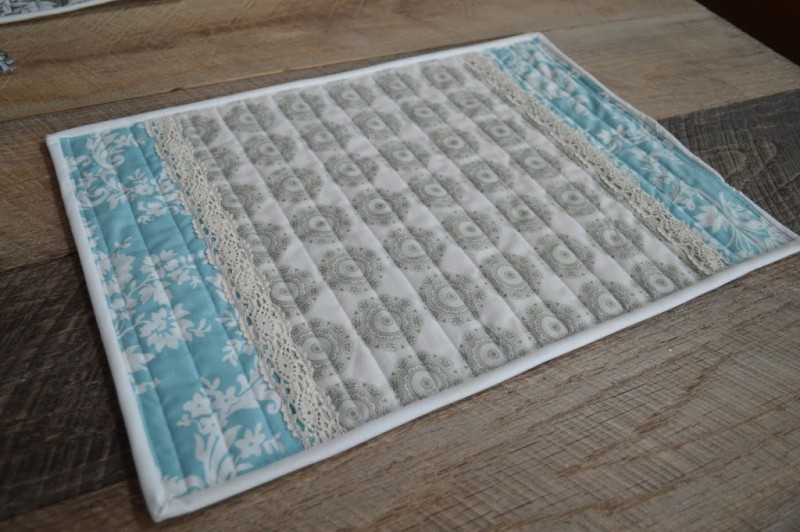
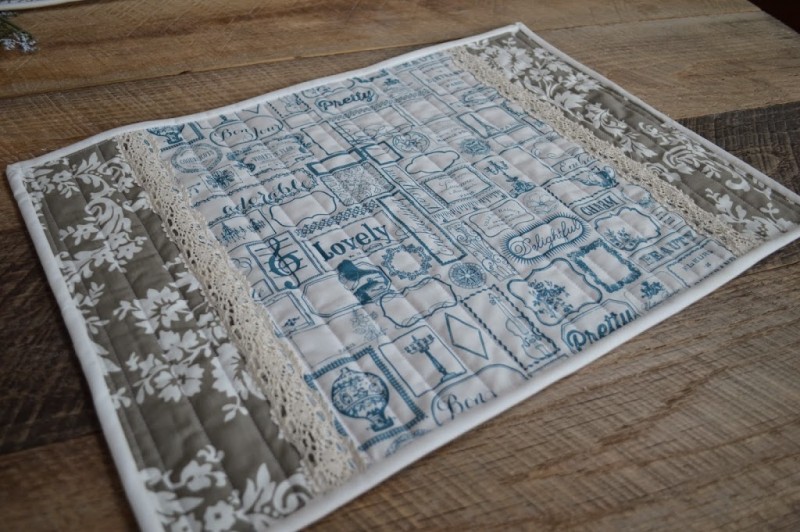
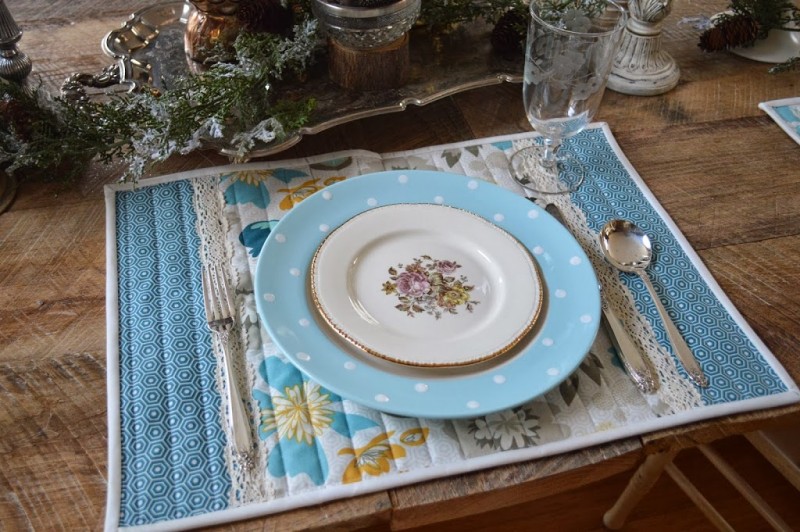
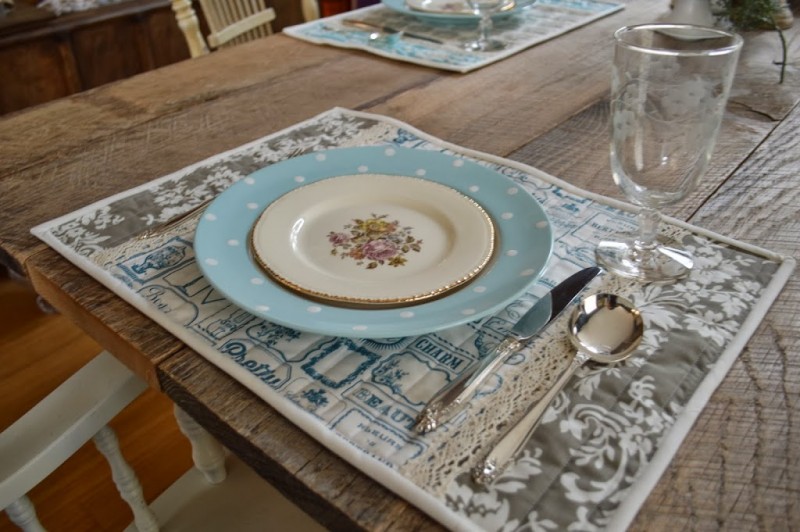
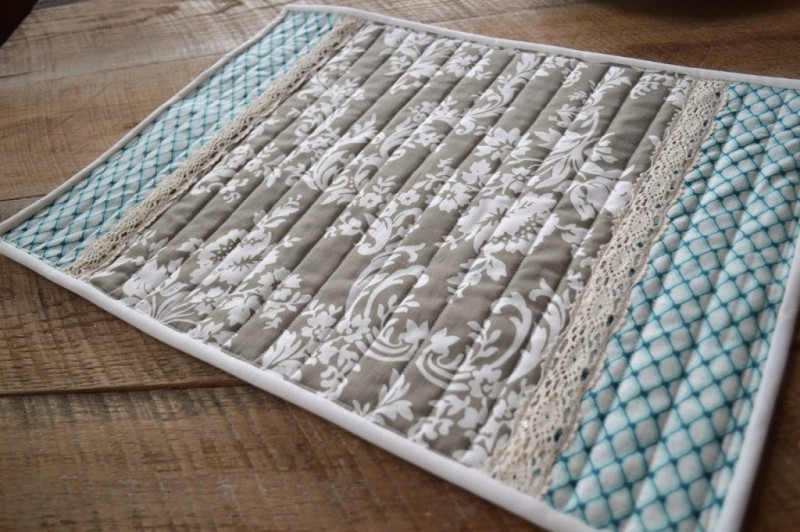
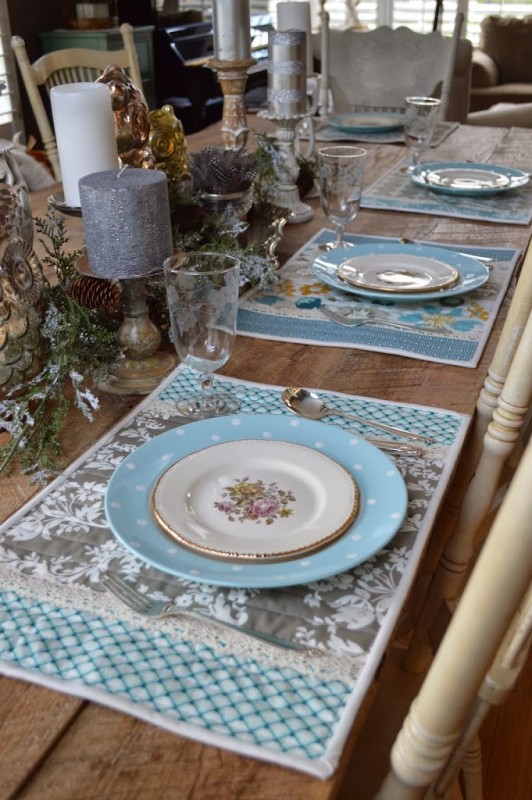
Today my placemat tutorial is being featured over at Riley Blake Designs.  It is featuring the Lost and Found 2 line of fabric that is absolutely delicious!  It is the perfect mix of vintage and trendy!  I am so thrilled to finally have placemats for my new table!  They are super easy to make and finish!

I wanted to show off the fabrics so I kept the design pretty simple.  I love the feeling the crochet lace adds!

Amanda

Deer Friends, Christmas Deer Throw Pillow Tutorials

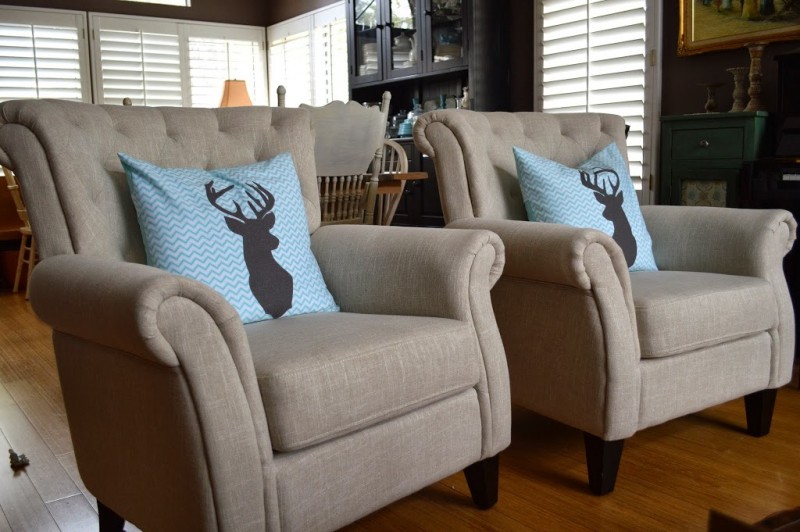
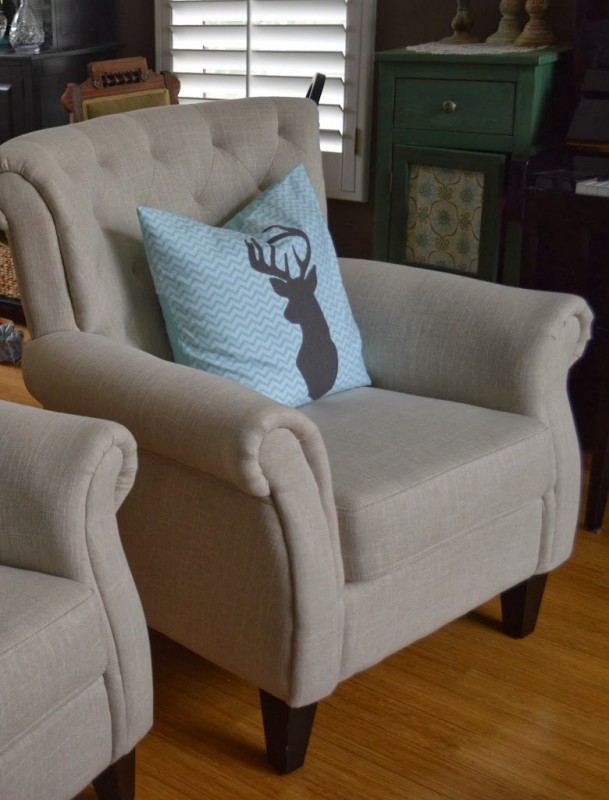
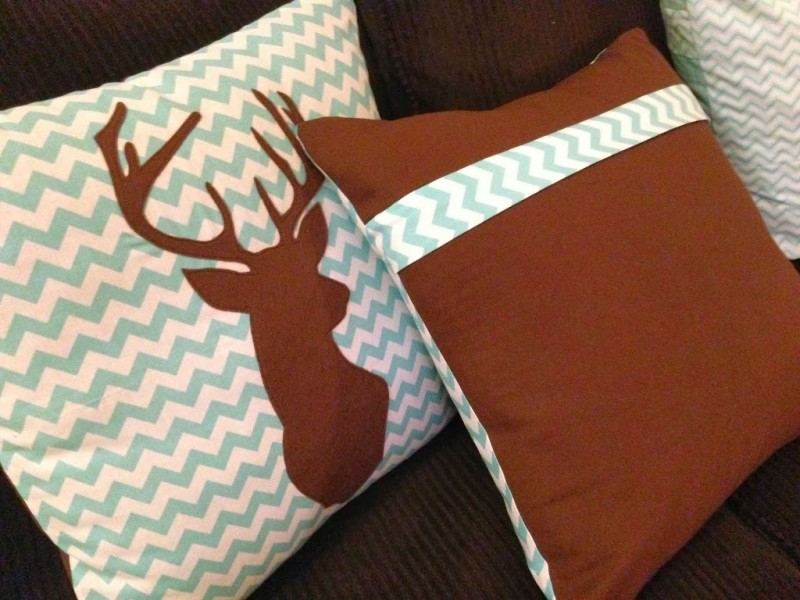
Do you like my new chairs?  I just ordered them from Amazon and they came in 2 days!  It was totally risky of me to just push a button and have chairs sent to my house, sight unseen!  But, I LOVE them!  They are exactly what I wanted and they are even comfortable!!!  The whole reason to buy new chairs is to sew new pillows, right?  I am obsessed with deer!  Deer throw pillows my chairs do need (a little Yoda verbiage!)
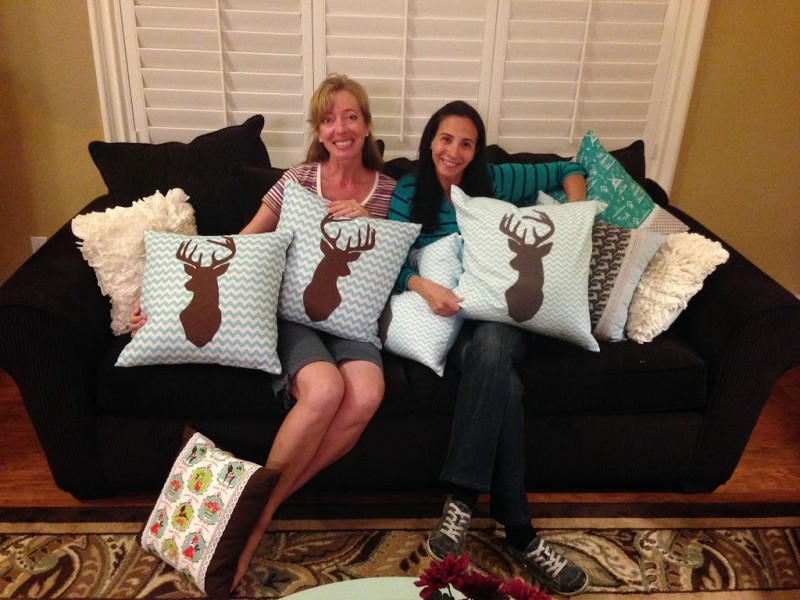
My friend and I got together and the children played and we sewed!!  An entire herd of deer throw pillows!
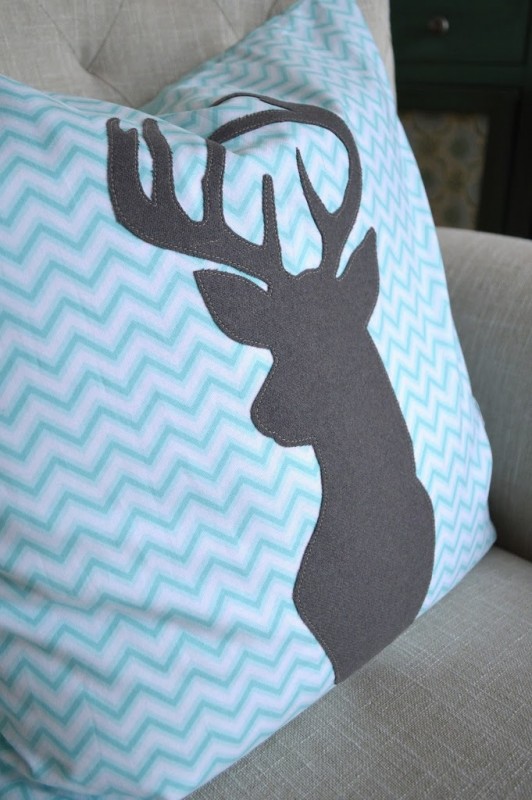
Here’s how to make the appliqué deer pillow: My pillow form is a 20″ square down pillow.  Down is a bit “squishy” so the pillows have a more casual feel. 
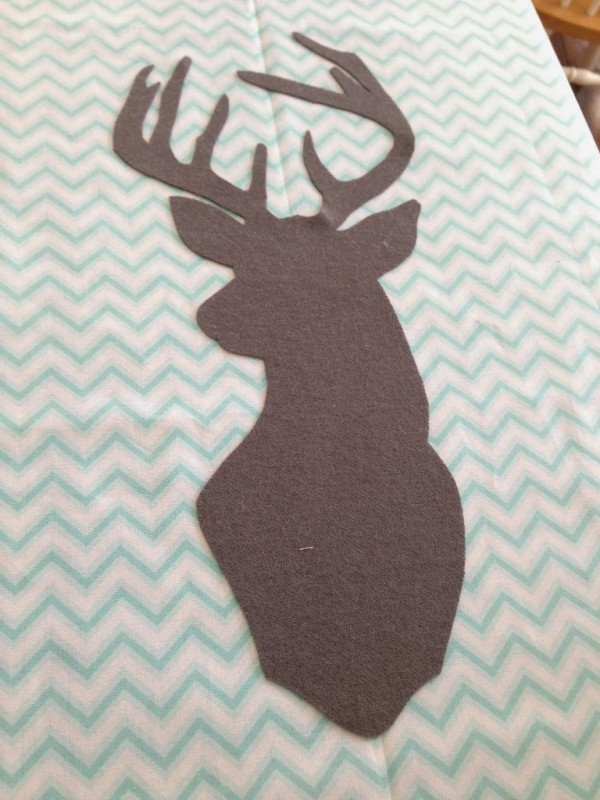
Appliqué Pattern, download HERE.  Print 2 of these and reverse one of the images.  The image is on 2 pages because it is larger than a piece of paper.
Print out the pattern and tape it together.  Trace the pattern onto Heat n Bond Lite fusible appliqué.  I used a wool blend fabric for the gray deer.  You can use any type of fabric.
Cut the chevron fabric 21″
Iron the deer to the center of the fabric and stitch around the deer.
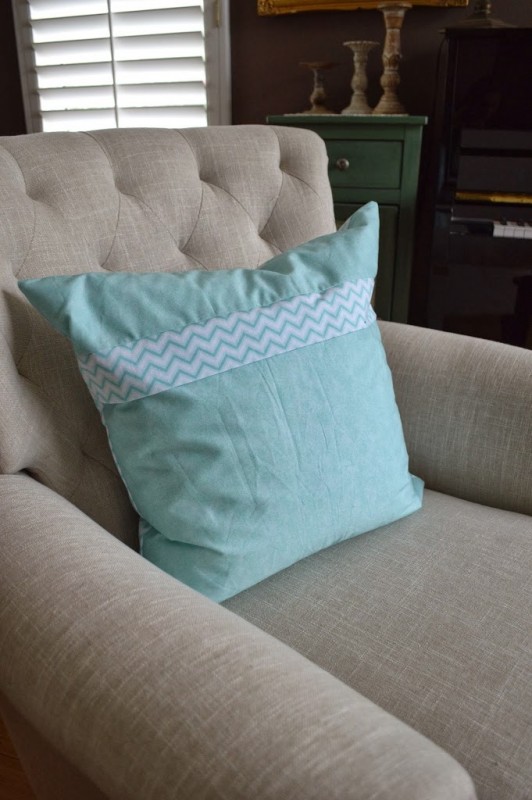
I wanted a bit of an accent on the back of the pillow, so I put the zipper on the back with a decorative flap over the zipper….sounds hard but is super easy!!
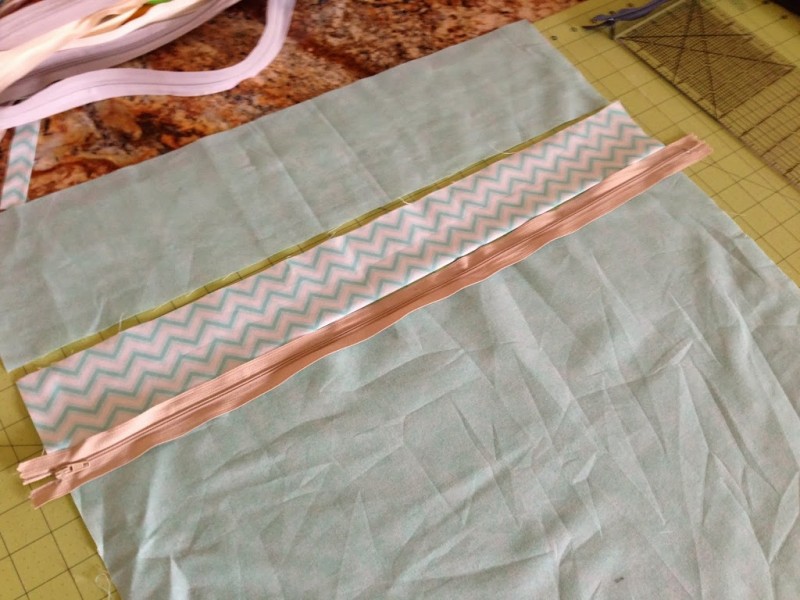
To make the flap, cut your accent fabric 5″ x 20″ and press in half lengthwise.  
Cut your back pieces 4.5″x20″ and 16″x20.
Lay them out like this with your zipper placed as so (NOT invisible zipper)
I promise I ironed my pieces!!
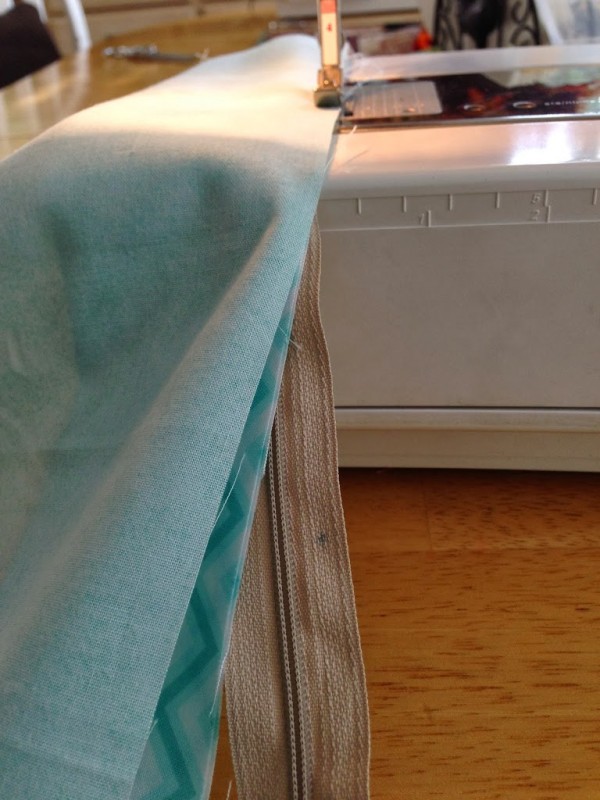
Layer the top piece of the pillow back, the folded flap, and the zipper so all the raw edges align, like this:
Using your zipper foot, sew along the zipper.  For the other side with out the flap, sew the backing fabric to the zipper just as you would normally sew in a zipper.  Press the flap down to cover the zipper – super easy!!! Pin the pillow front and back with right sides together.  Make sure to open zipper so you can turn it.  Sew a generous 1/4″ seam around the entire pillow!
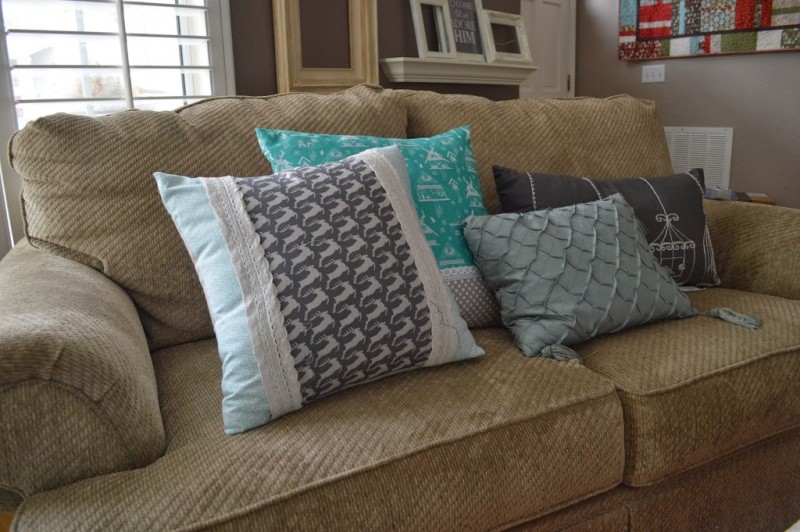
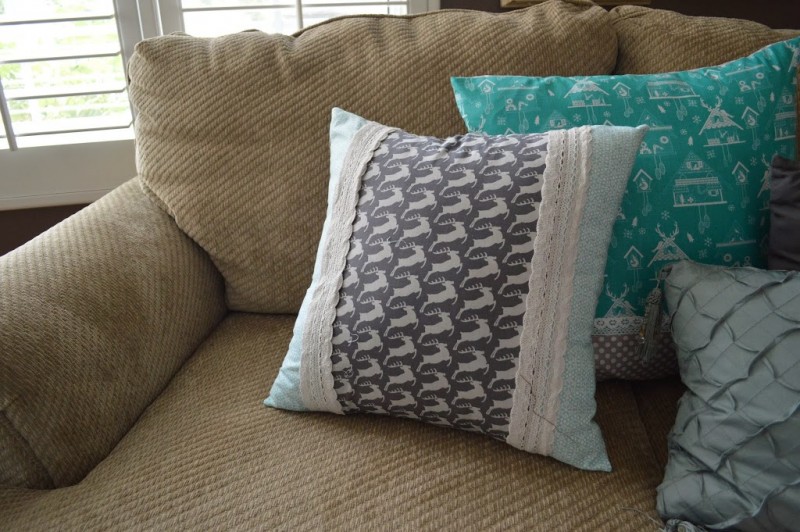
I couldn’t just have 2 deer pillows – I needed more.  This one is super quick!  It is for a 18″ pillow.

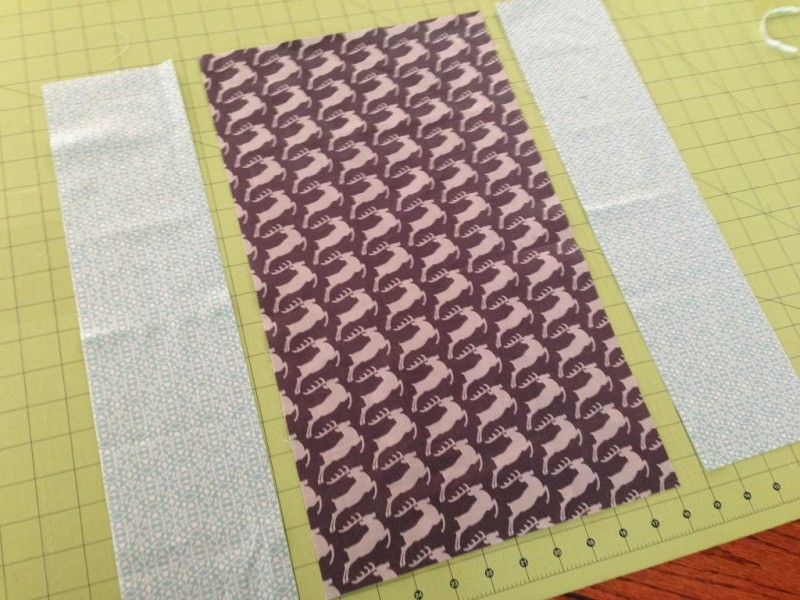
Cut the center deer fabric 10 1/2″ x 19″
Cut the aqua snowflake fabric (2) 4 1/4″ x 19″
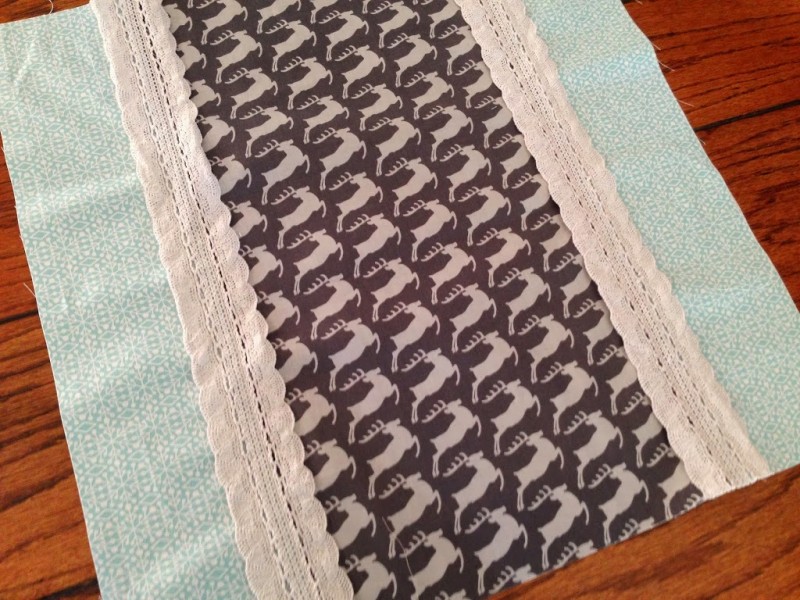
Sew them in this order using 1/4″ seams

 I had this pretty light gray lace I top-stitched over the seams.  Now, cut the back of your pillow 19″ square and finish as desired.  I put an invisible zipper in the bottom.

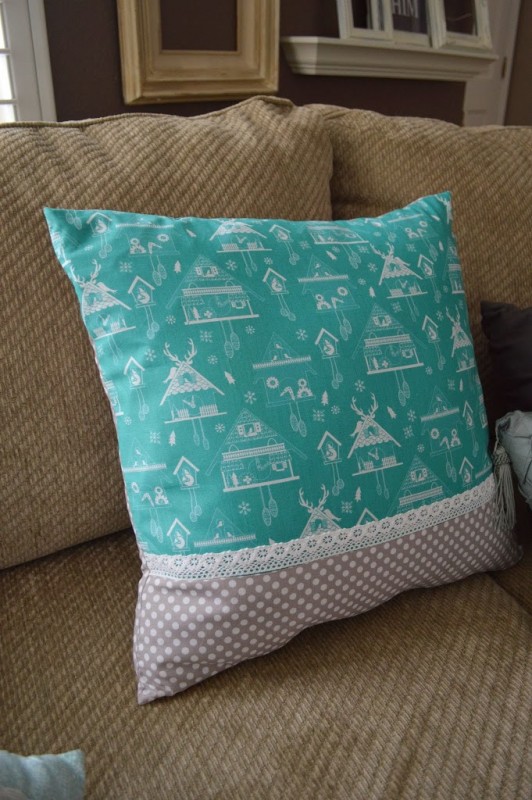
Deer pillow #3 – this fabric doesn’t exactly have deer on it, but it has antlers atop the Cuckoo clocks!  And it’s teal!!!  Another quick pillow!!  This pillow form is 20″ but it is pretty floppy, so I decided to cut my pillow cover at 20″ so it would fit better.
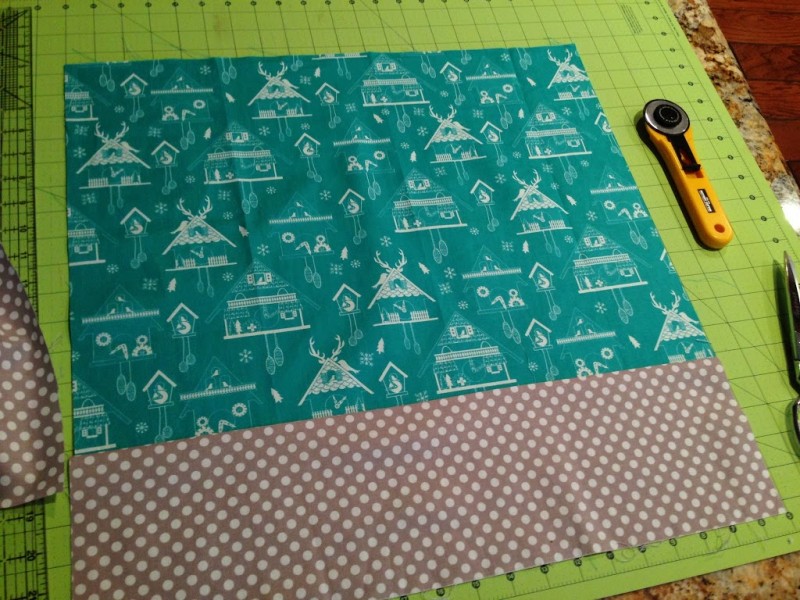
Cut the teal print 15″ x 20″
Cut the gray dot 5 1/2″ x 20″
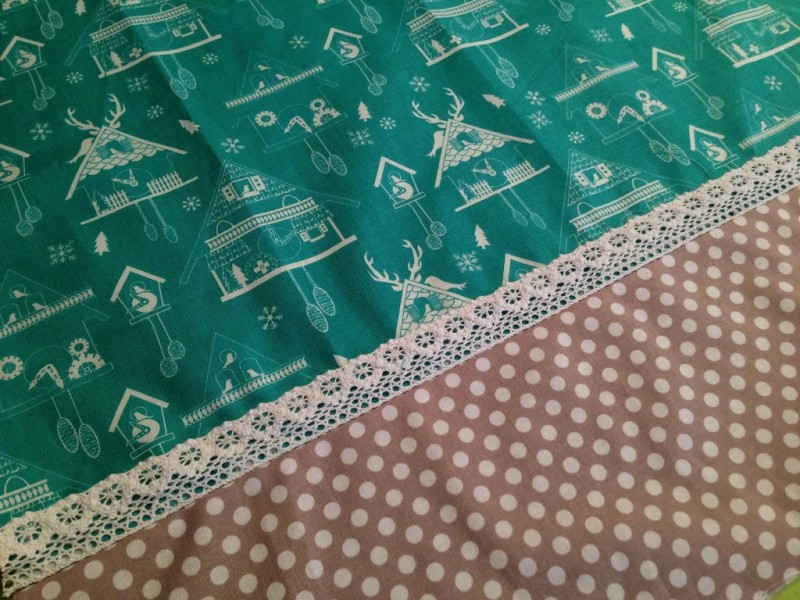
Sew using 1/4″ seams
Cut the back piece 20″ square.

Top stitch lace along seam.  Finish as desired – again another invisible zipper – those things are totally AWESOME!!!

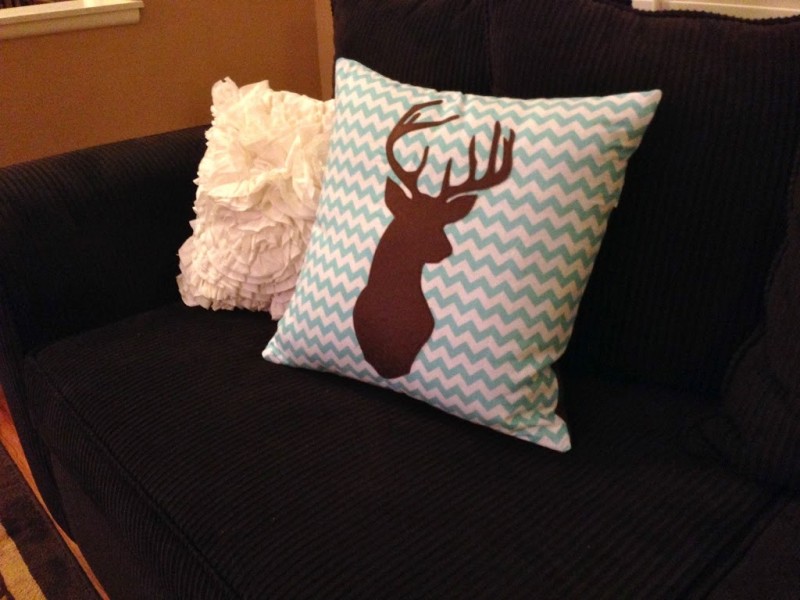
Here are my friend’s cute deer pillows – she used a bolder chevron and a brown deer on an 18″ firm pillow.

I am so loving the zipper flap!
Sewing deer pillows makes me happy 🙂

Amanda

Vintage Sheet Pillowcases, New Bedding, & the Bengal Cat

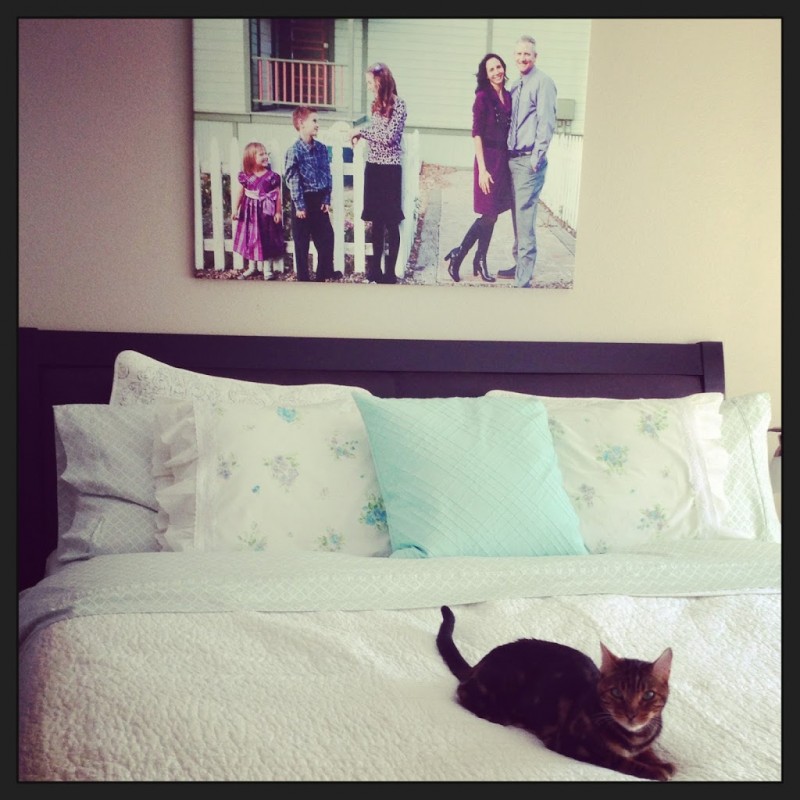
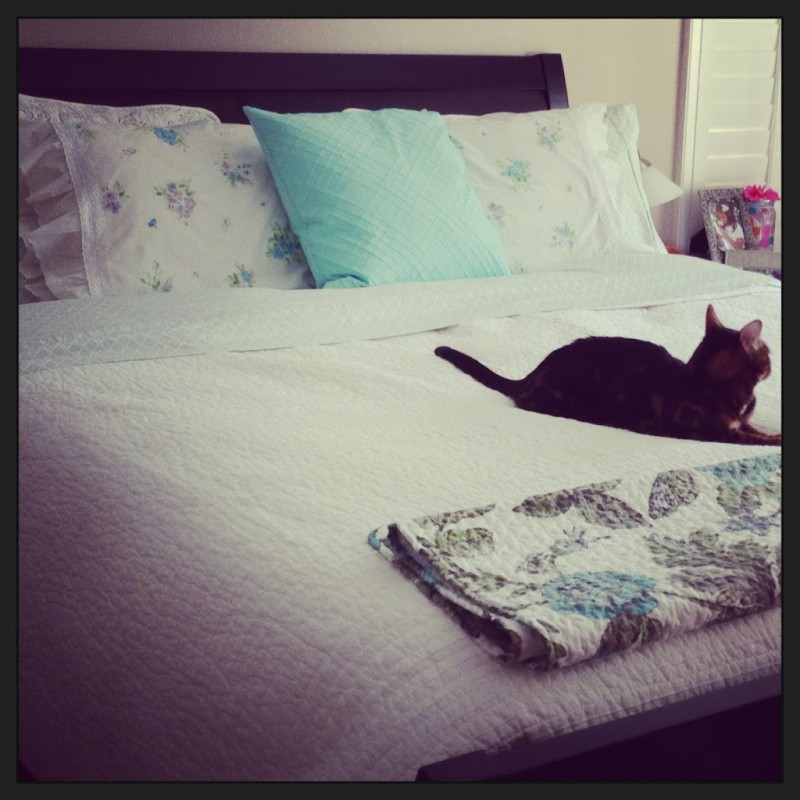
I bought new bedding for my bedroom!  That is always a big deal for me!  Are you like me & need like 5 pillows to sleep???  Which means I needed more pillowcases then the 2 that came with the sheets.  I got out the box of vintage sheets and came up with these!
This is how to make them: (this will make 1 standard size pillow)
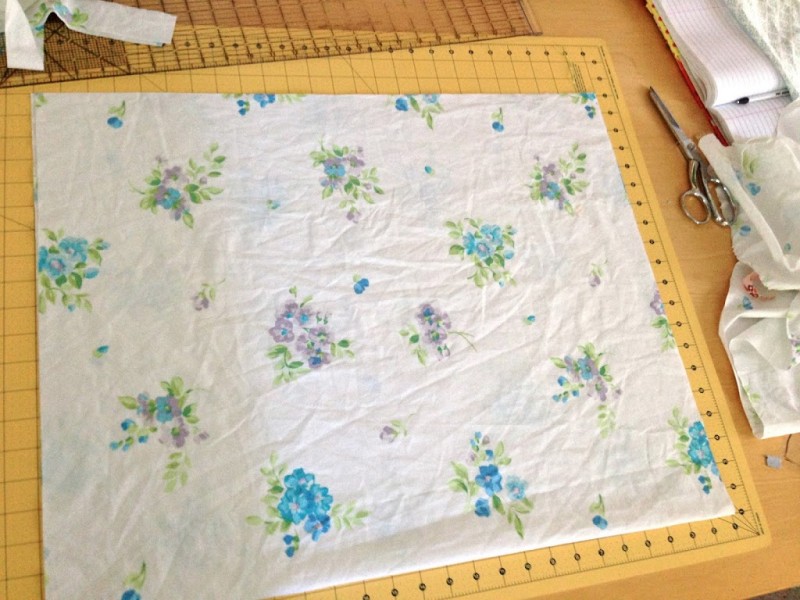
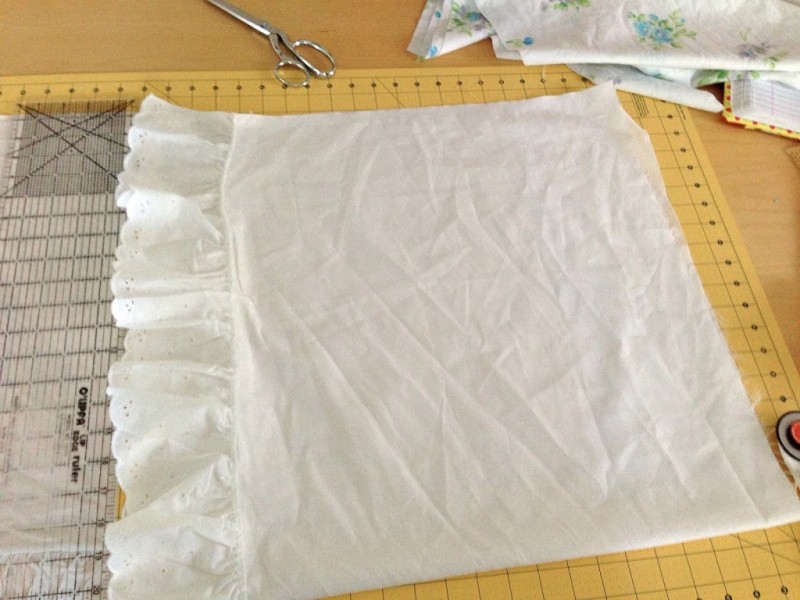
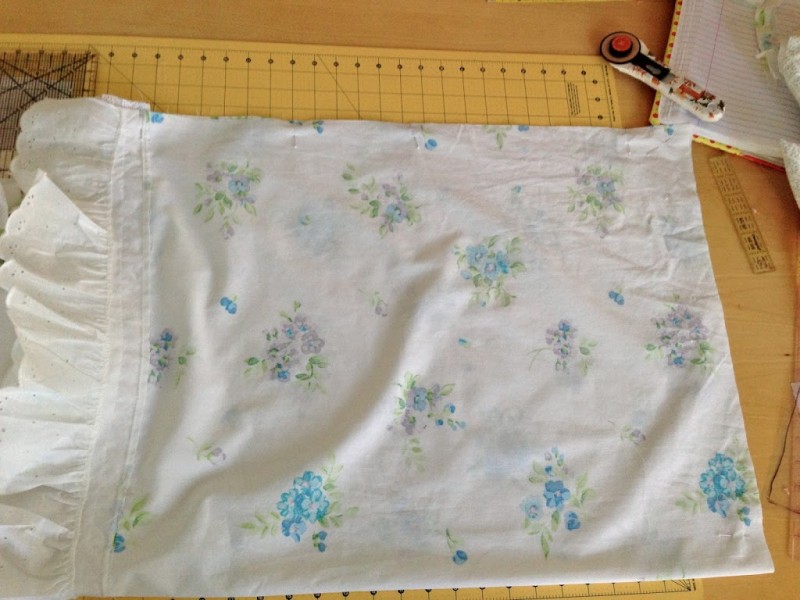
Cut the main fabric on the fold measuring  21″ high and 26″ long (fold is on the long side)
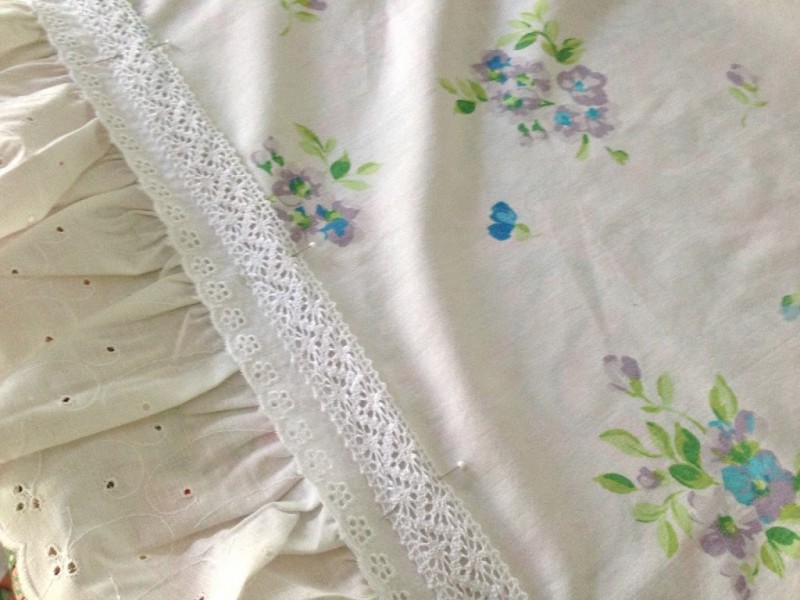
I used the lace ruffle off a different sheet.  I cut this 1 1/2 inches away from the ruffle seam.
Sew it to the edge of your pillow fabric.  Press seams.  The lace on the sheet was super crooked.  I came up with a way to cover it up.
 
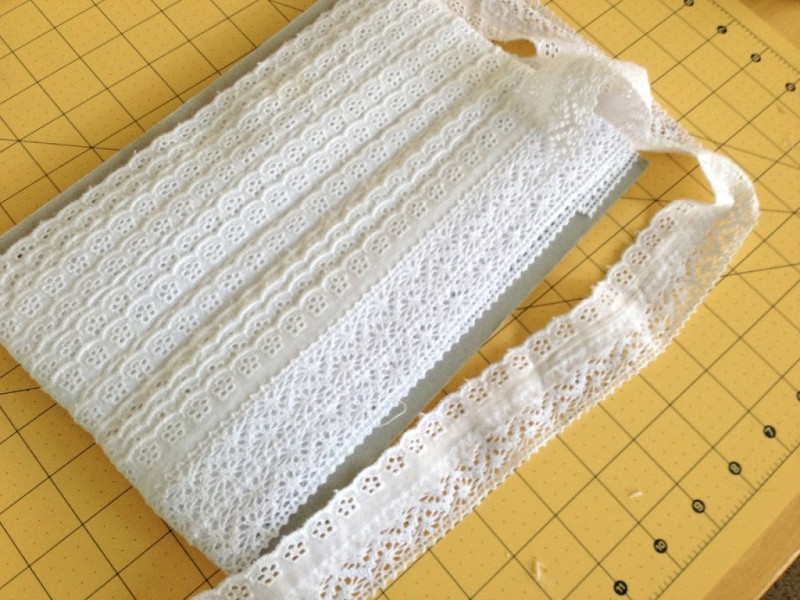
I bought this bolt of lace in the LA fabric district.  50 yards for $15!!  I will be using it on everything!!
 
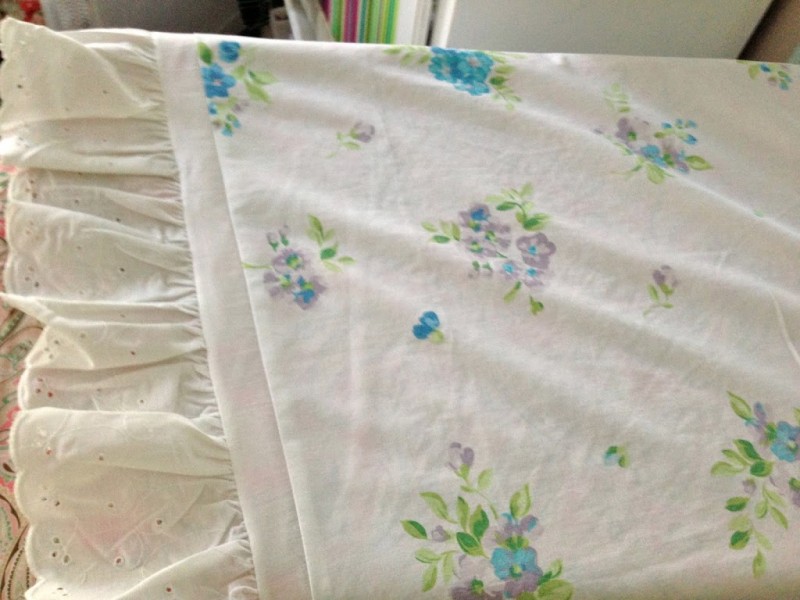
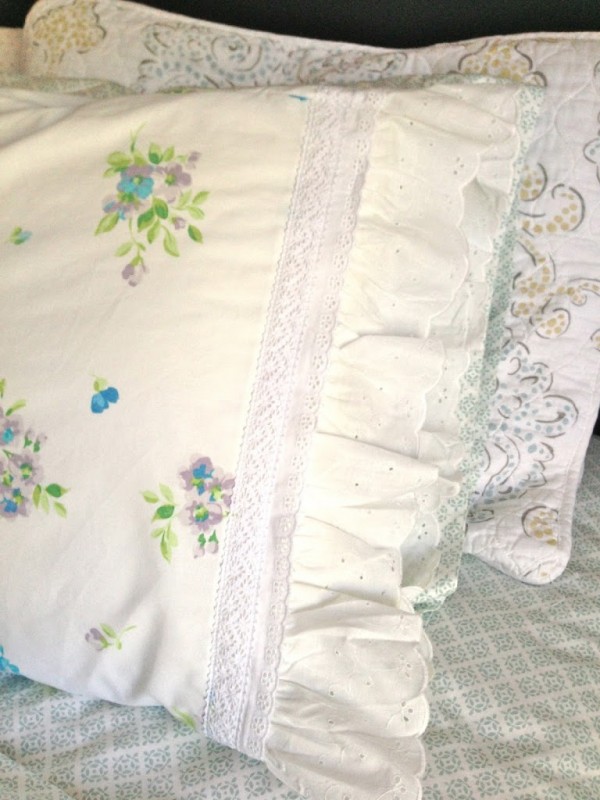
Sew the lace covering the seams.
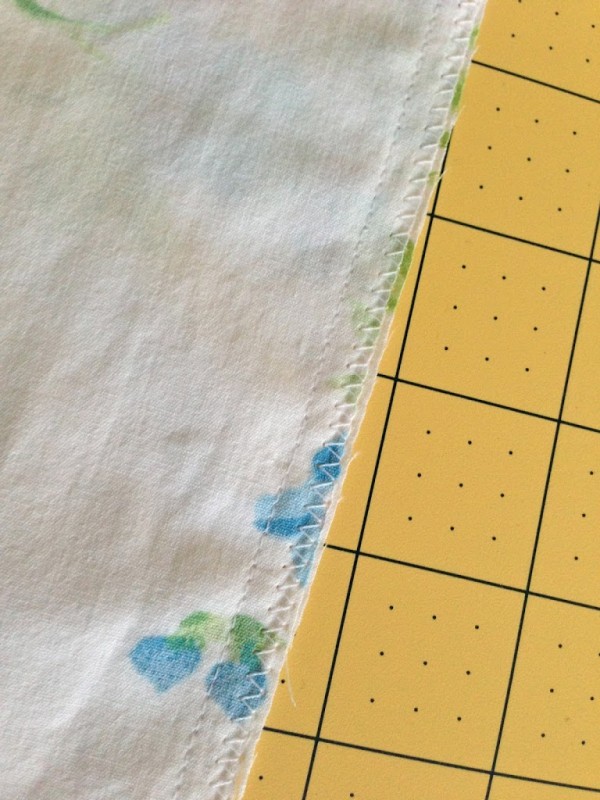
 After the trim is sewn on, fold the pillow right sides together and sew the 2 sides.  I didn’t sew French Seams, I just zig zagged so it wouldn’t fray.

 
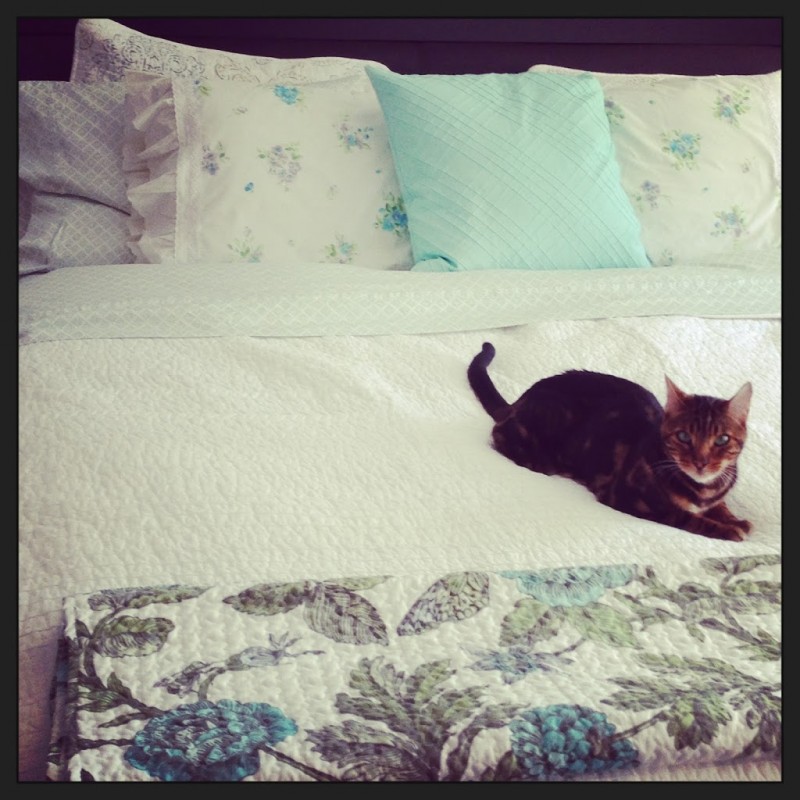
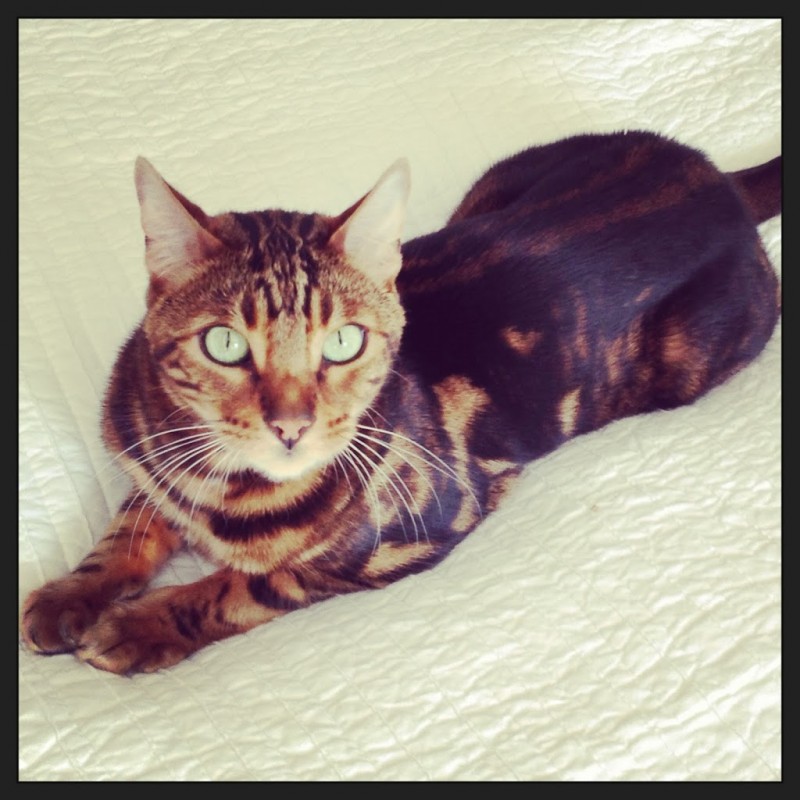
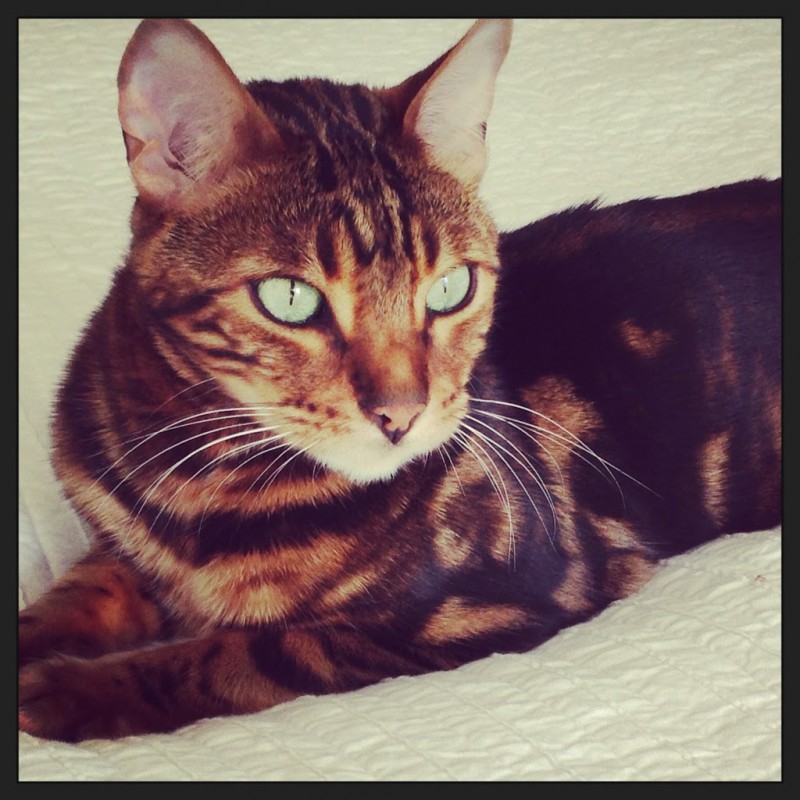
 I love how they turned out!  So does Marbles!  He loves my new bedding and sleeps there everyday now!  The quilt is Tahari from TJ Max, sheets are from Target.  I was hesitant about buying sheets from Target.  I LOVE these!  They have super deep pockets and a double row of elastic to keep the sheets in place.  And they are super soft and comfy!  The quilt at the bottom of the bed was $16 at Home Goods!


Amanda

Gallery Wall Start to Finish

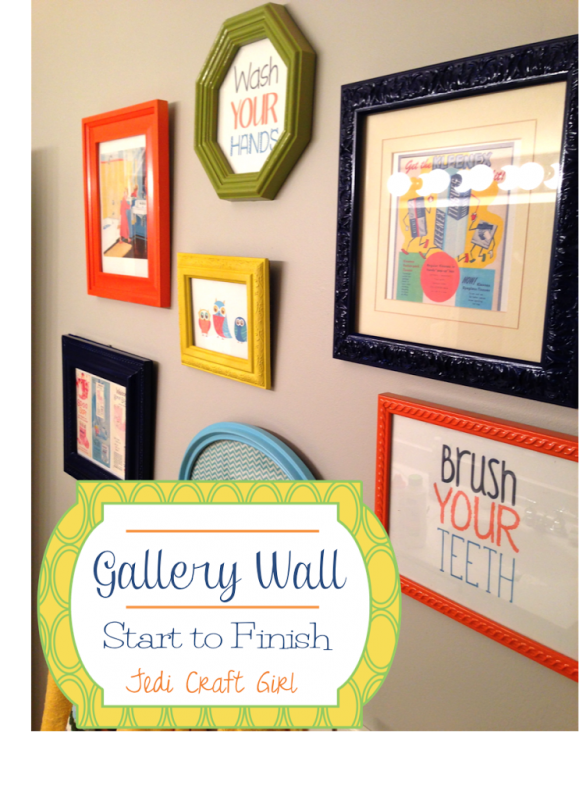
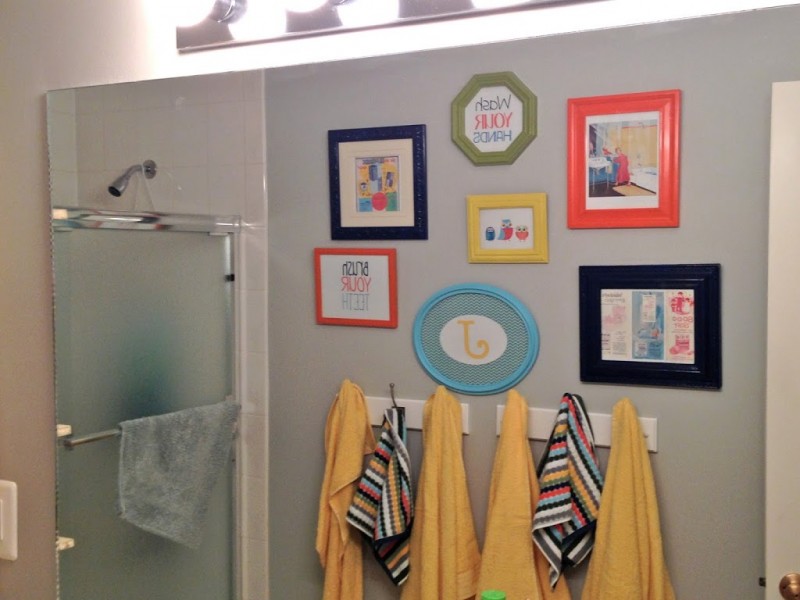
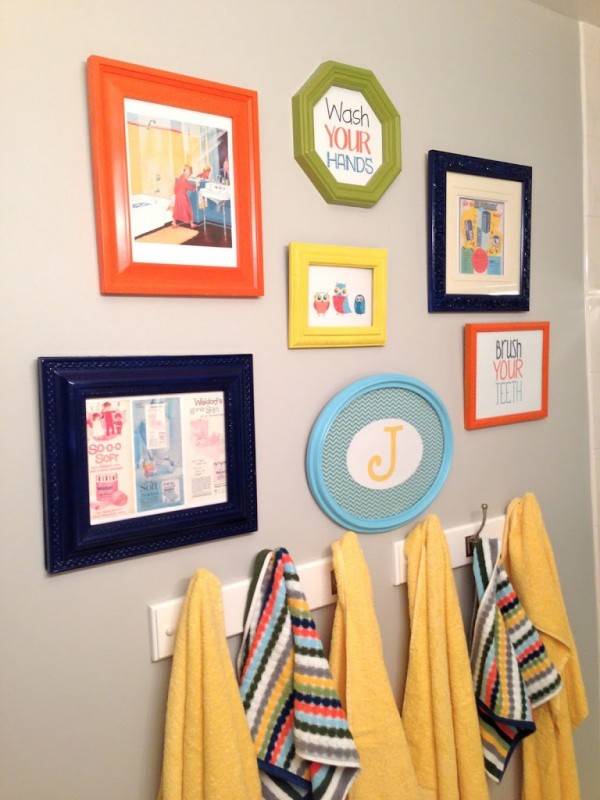
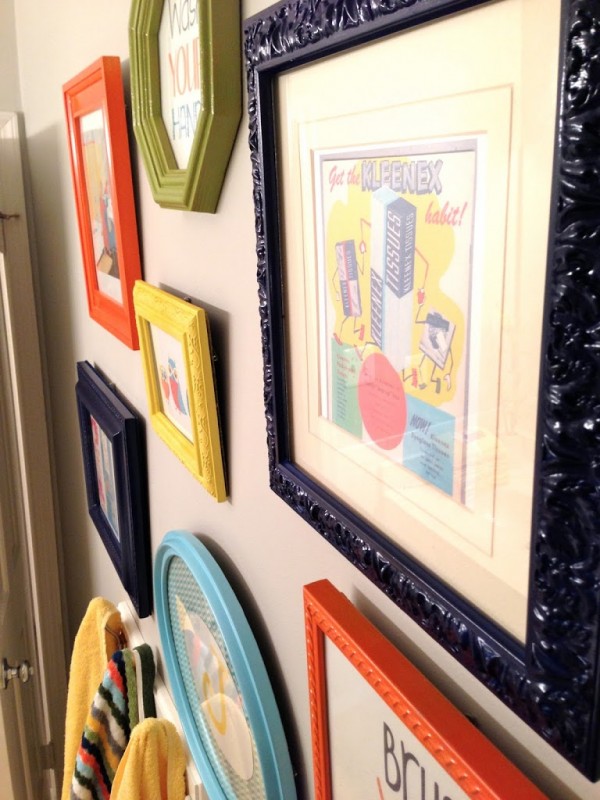
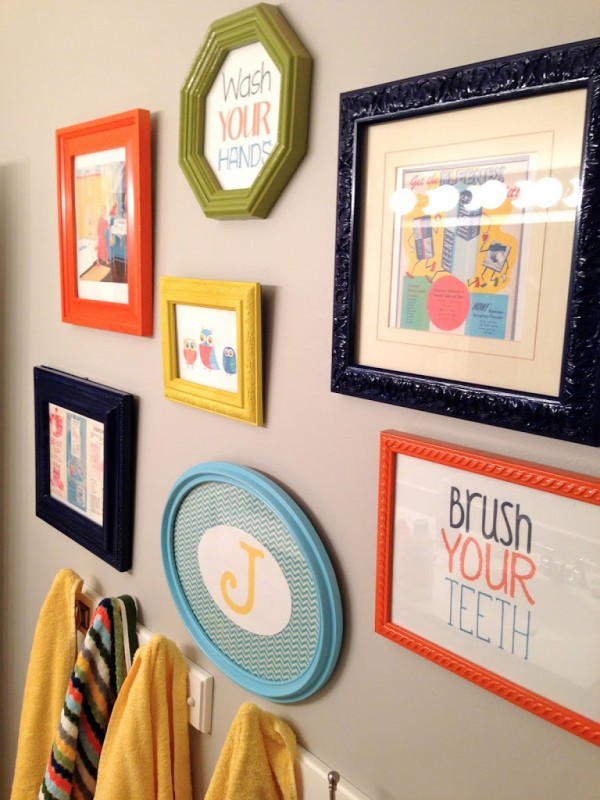
I love putting together gallery walls.  This is the last project I did for my friend’s home in Virginia.  Here is a step by step tutorial for creating one from laying out the frames to how to properly hang the frames. (The wall paint is Home Depot’s Behr Paint in Dolphin Fin)
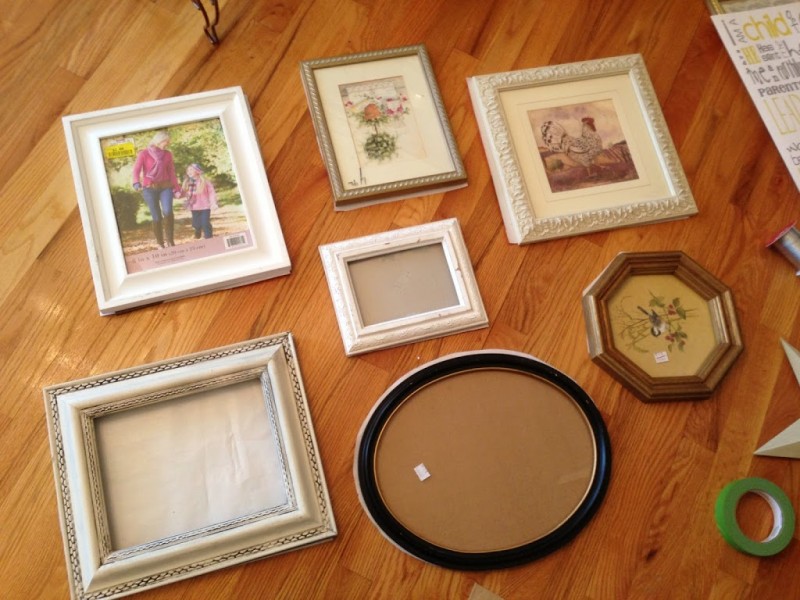
Step #1 Gather your frames and play around with the layout on the floor.  
For this gallery wall I wanted different sizes, different shapes and different texture frames.  The trick to getting a good layout is to either have it perfectly symmetrical and all frames matching and squared up, or in this case, having none of the frames align.  I was careful not to have the frames line up ant the top, bottom, or in the center.  This picture is not the final layout!  Once you get your layout how you want it – take a picture of it so you can remember!

Step #2 Create Footprints
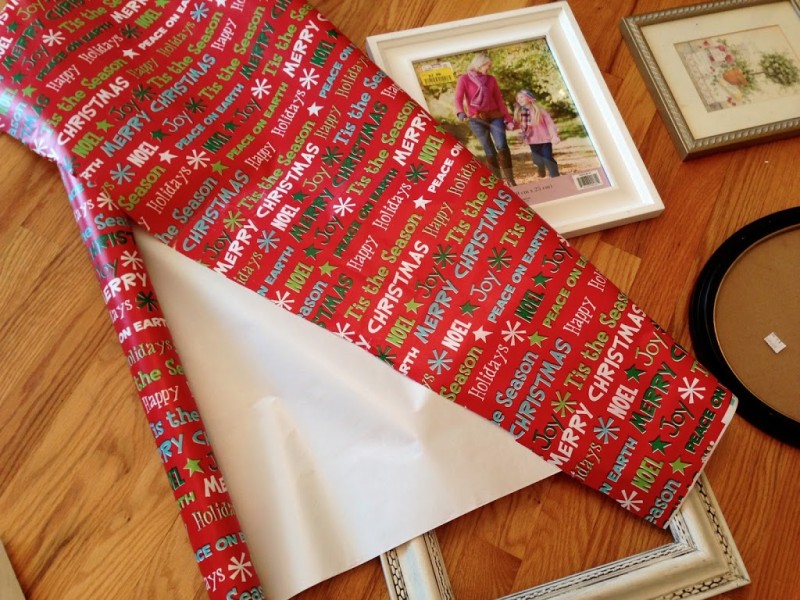
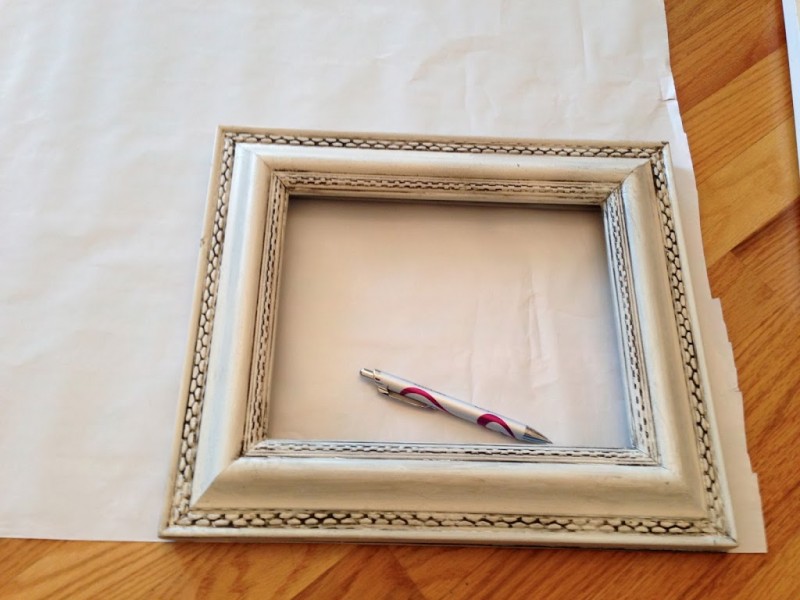
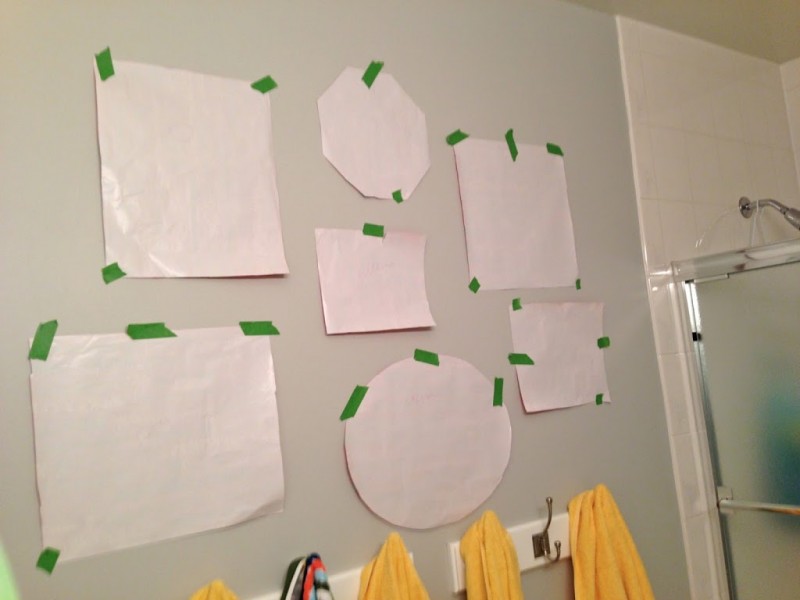
Get out your old wrapping paper and trace each frame to make a footprint to be arranged on the wall first.

Step #3 Paint
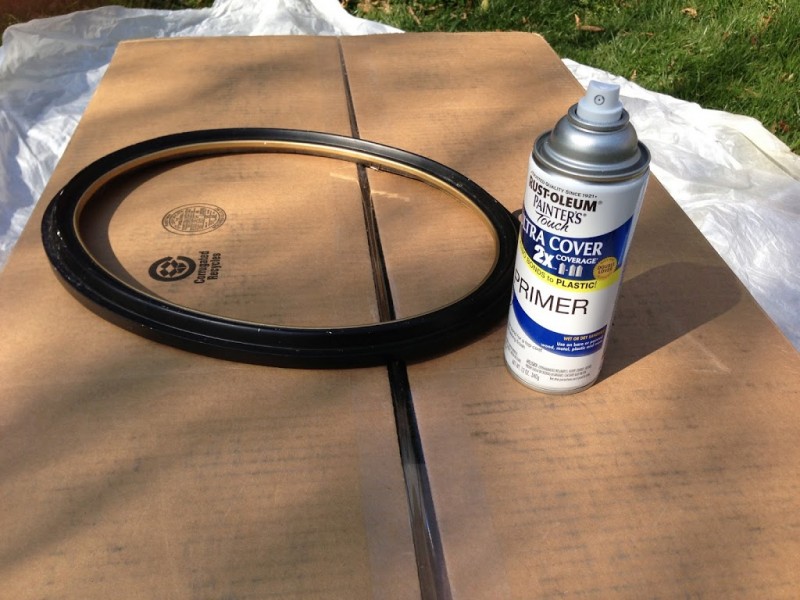
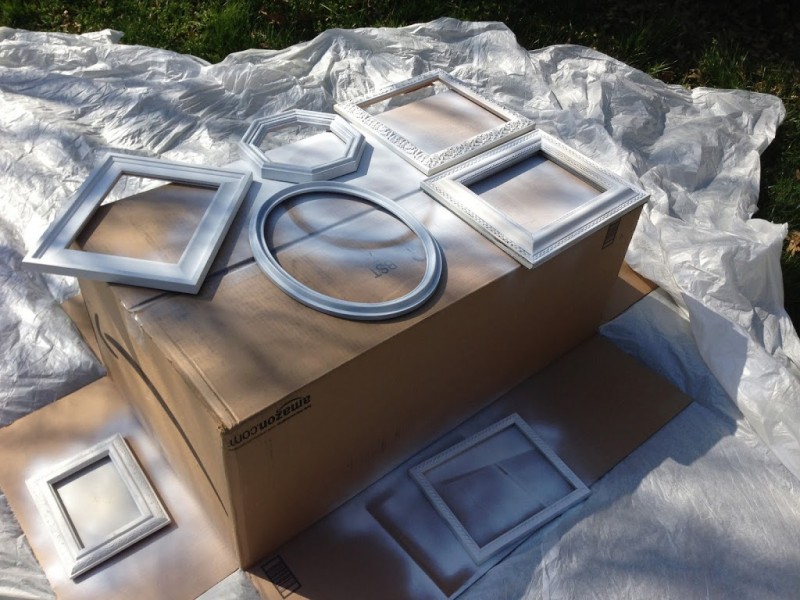
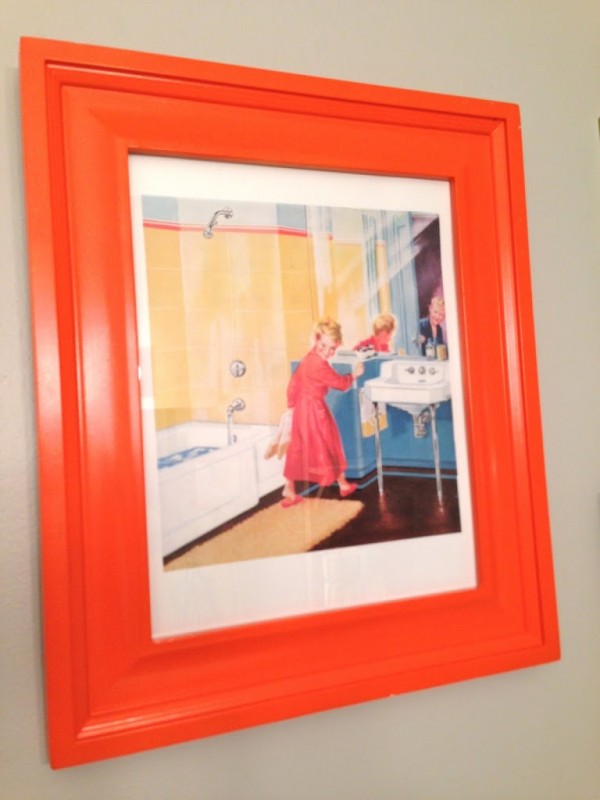
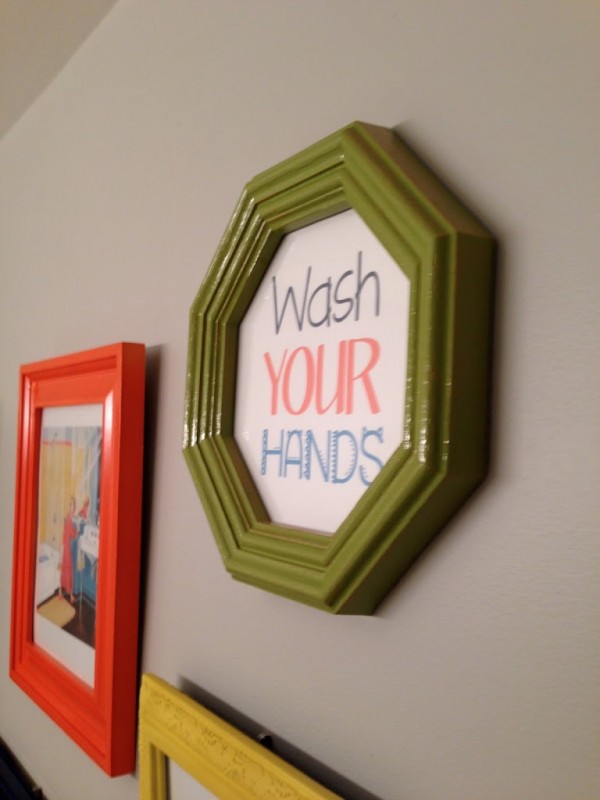
I get all my frames at garage sales and thrift shops.  For this bathroom, I had specific colors in mind to paint the frames: orange, green, navy, and yellow. I always use spray primer first.  It totally helps your paint go farther and cover better!

 Step #4 Attach Wire for Hanging
I took a picture framing class 14 years ago from a gal who framed art for the Smithsonian.  I have never forgot what I learned in that class!

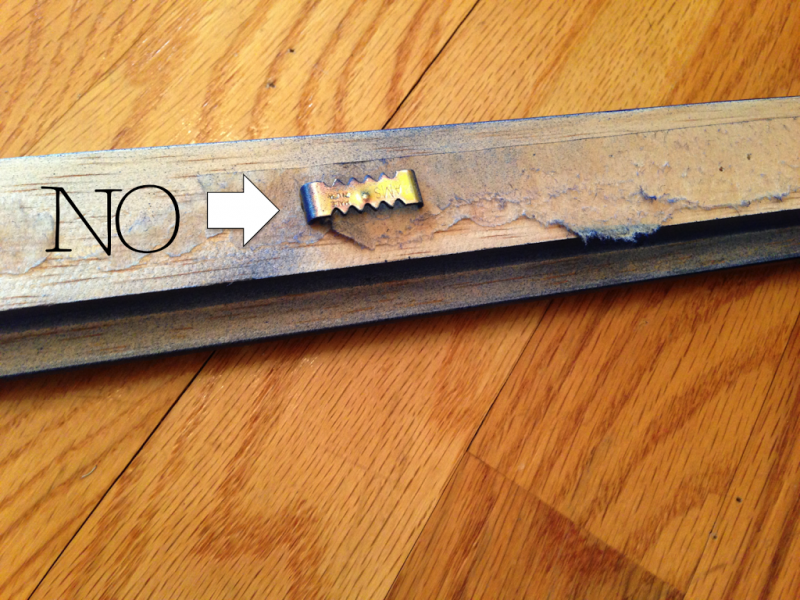
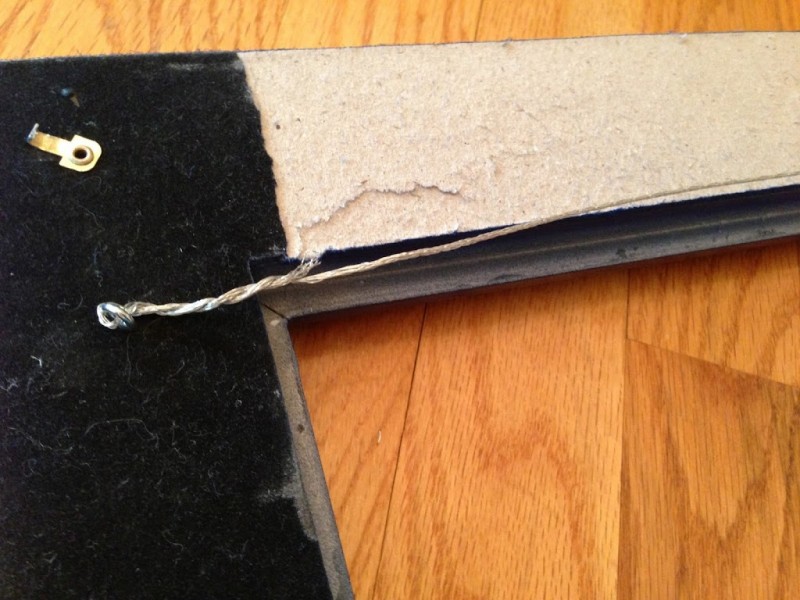
It is best not to use this kind of hanger – it is too hard to get the picture to hang level.

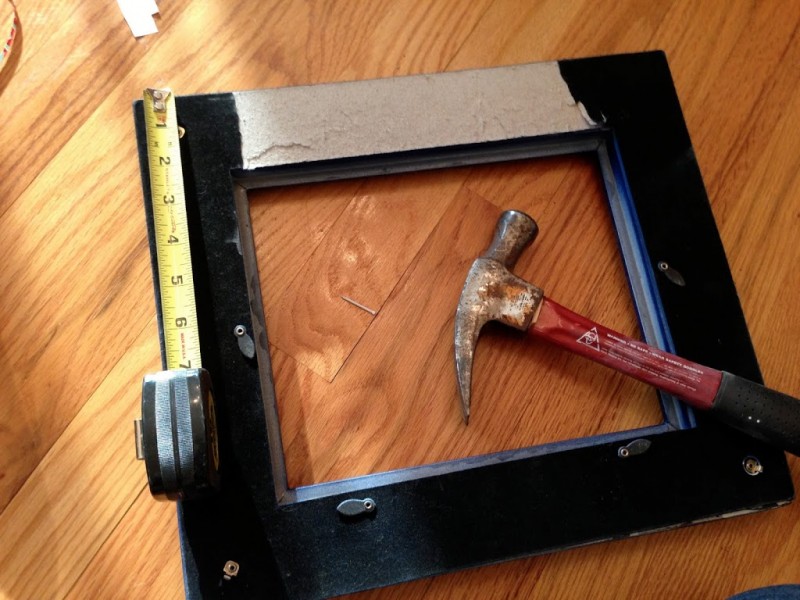
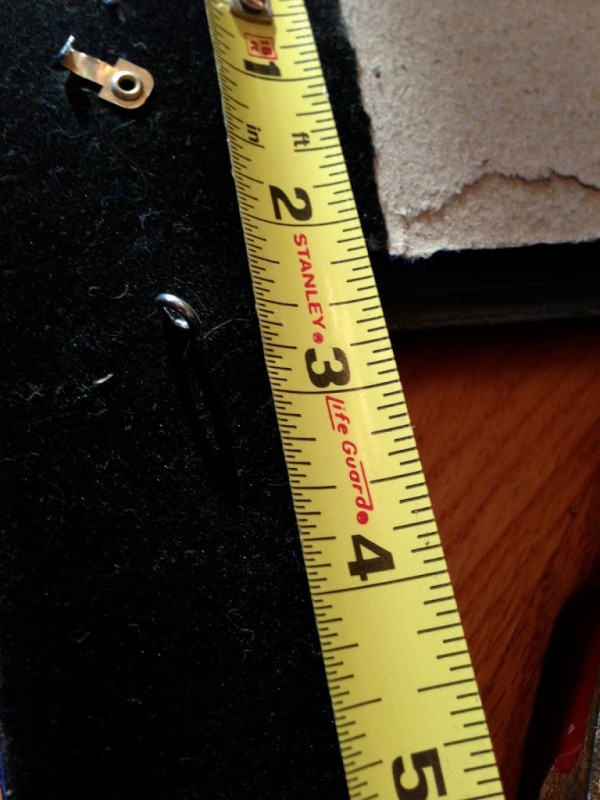
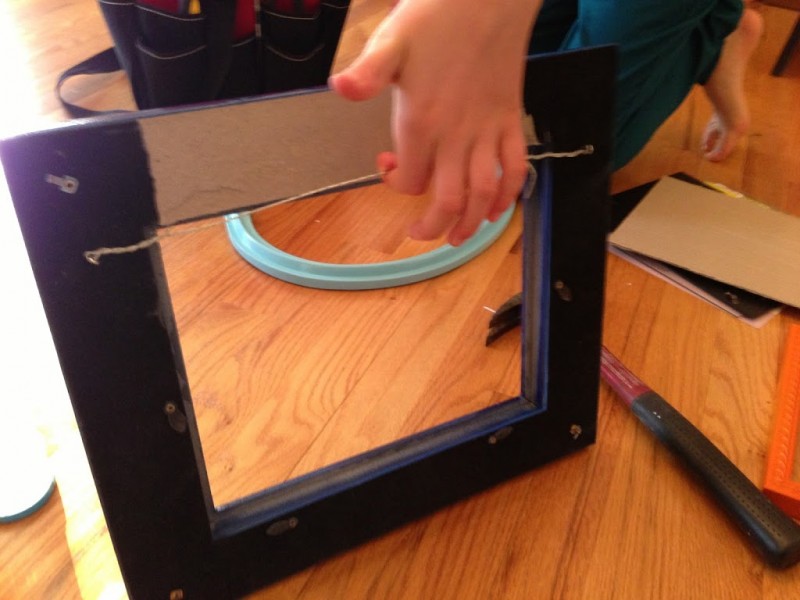
Instead, measure about 2.5″ to 3″ down (depending on the size of your frame) on both sides of frame.  Attach eye screws.  If it is hard to get the eye screws started, hammer a little nail hole first.

Cut a piece of picture hanging wire and loop it through both the eye screws, winding the excess around itself.
It’s ready to hang now!  What is nice about using wire is you can make adjustments to the height of your picture if you don’t get the nail in the right place and it will always hang level.

TIP
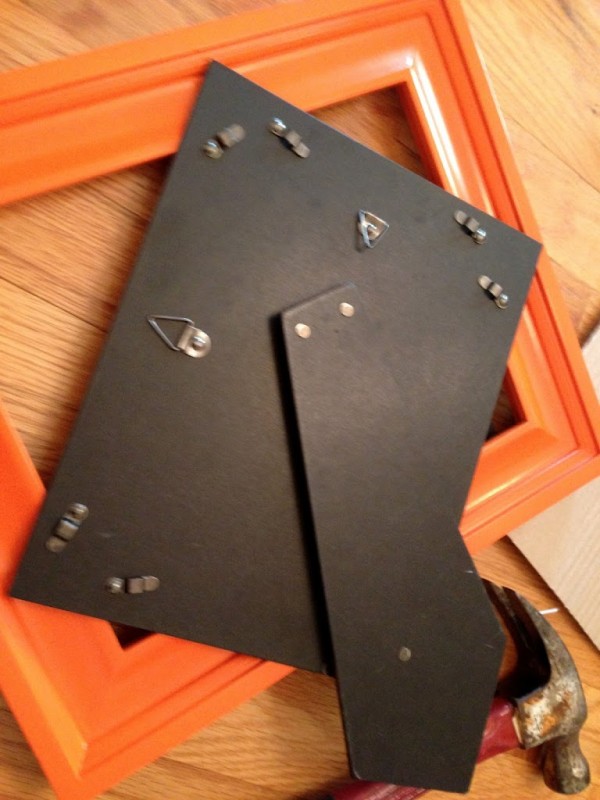
If your frame has a stand on the back, you must remove it or it will also hang funny because of an uneven weight distribution.  Take your pliers and rip the thing off!!

Step #5
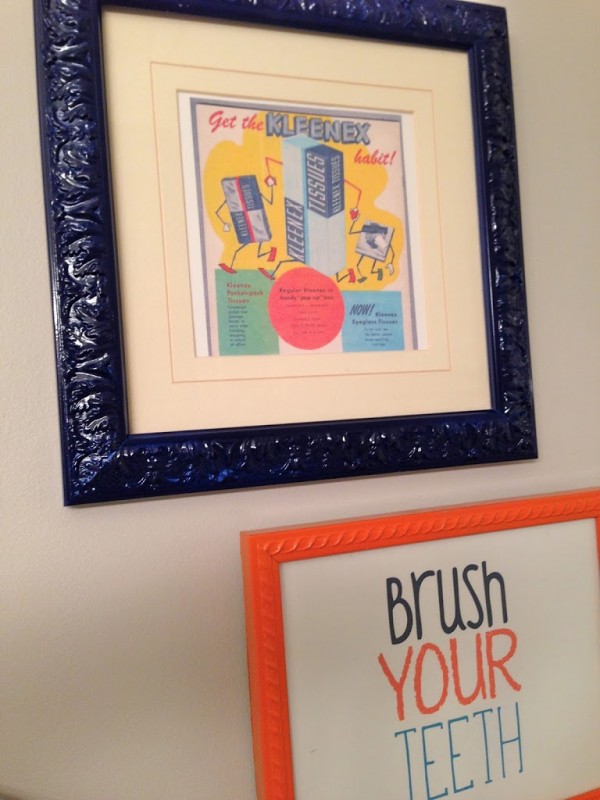
Clean the glass of each frame and place your art or photo in the frame.  For this gallery wall we choose some fun, retro bathroom prints.

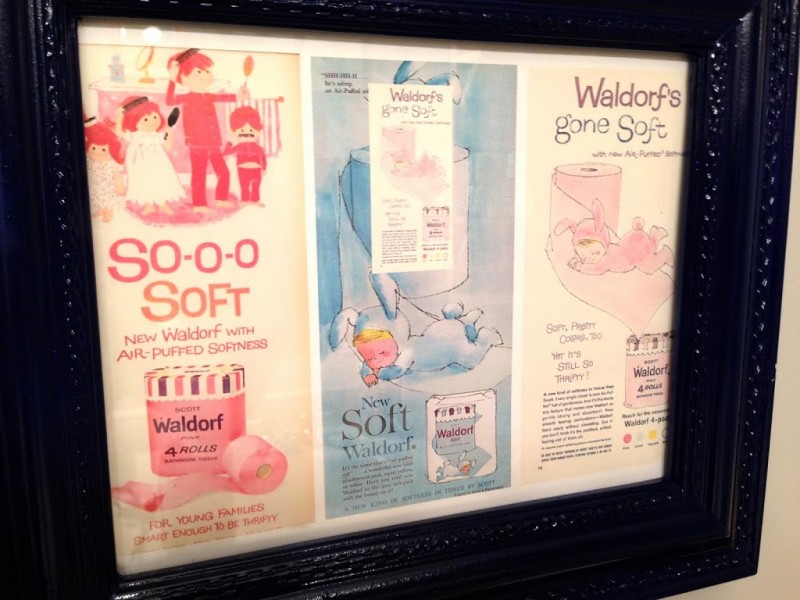
This one is three Waldorf Toilet Paper Advertisements.

This one is a retro bathroom with a child brushing her teeth.

I found this retro Kleenex advertisement and it was in the colors of the bathroom!
Step #6 Tape the footprints to the wall with painters tape
This is important because you get a good feel of how it is going to look.  I actually ended up changing a few frames around from my original design.
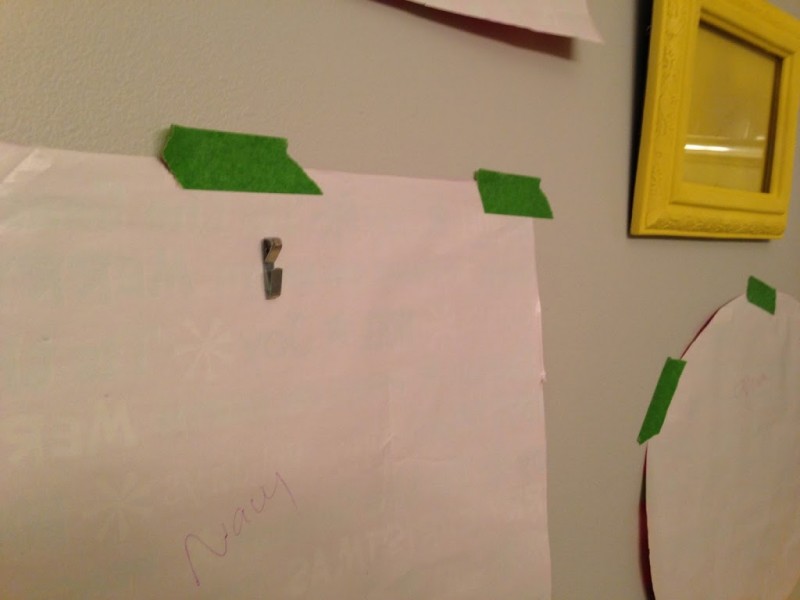
Step #7 Use picture hanger nails
I hammered my picture hangers into the wall through the paper so I knew it would be perfect.
 
Step #8 – Hang your frames & admire!
You’re done!  I love how this one turned out!! 

Amanda

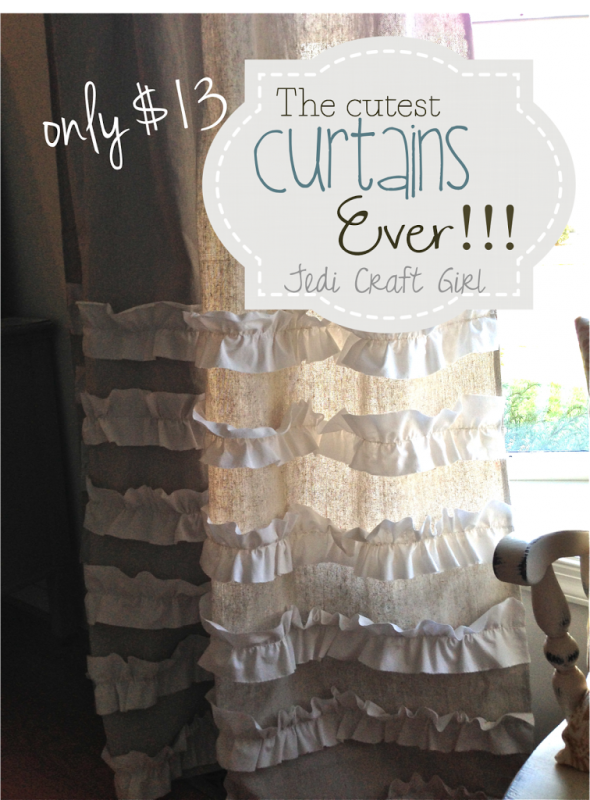
The Cutest Curtains Ever!!! {tutorial}

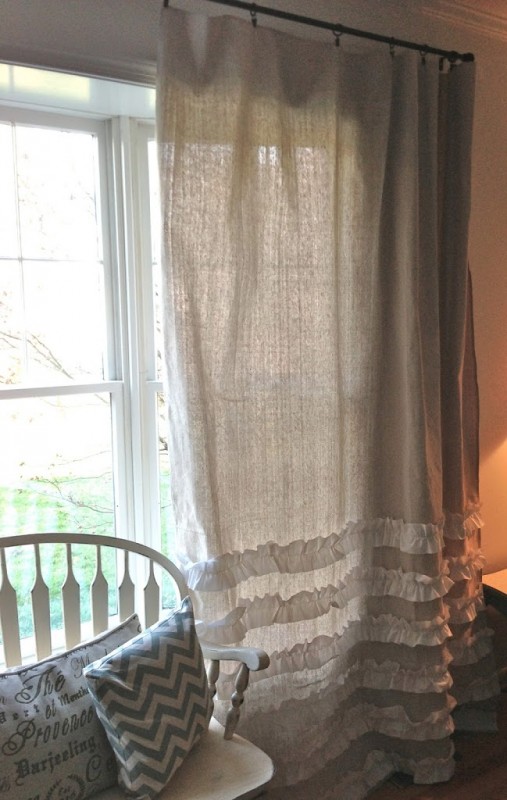
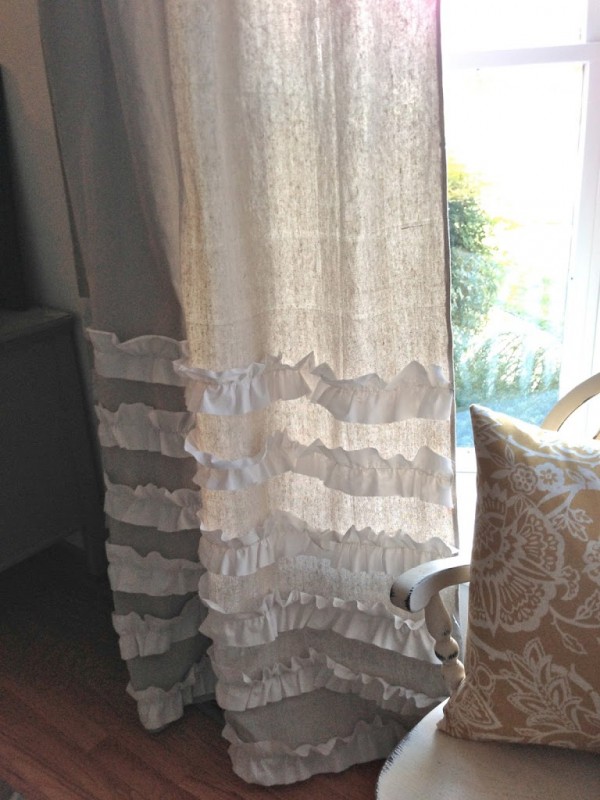
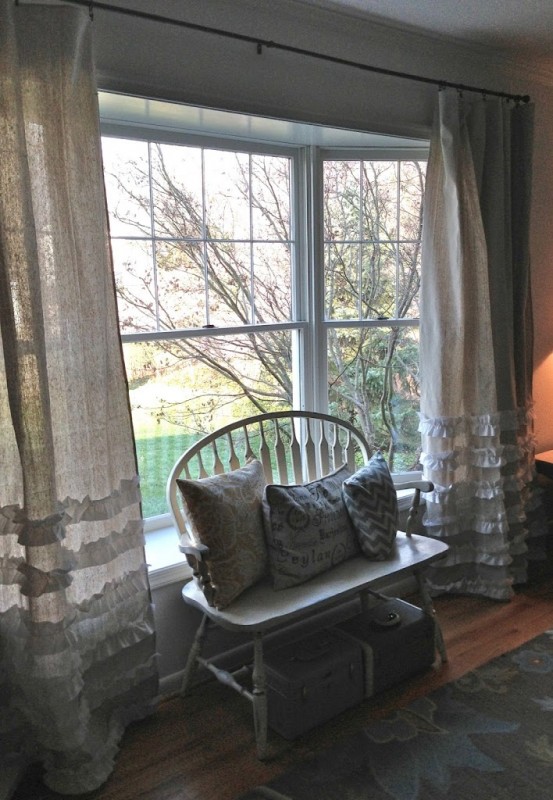
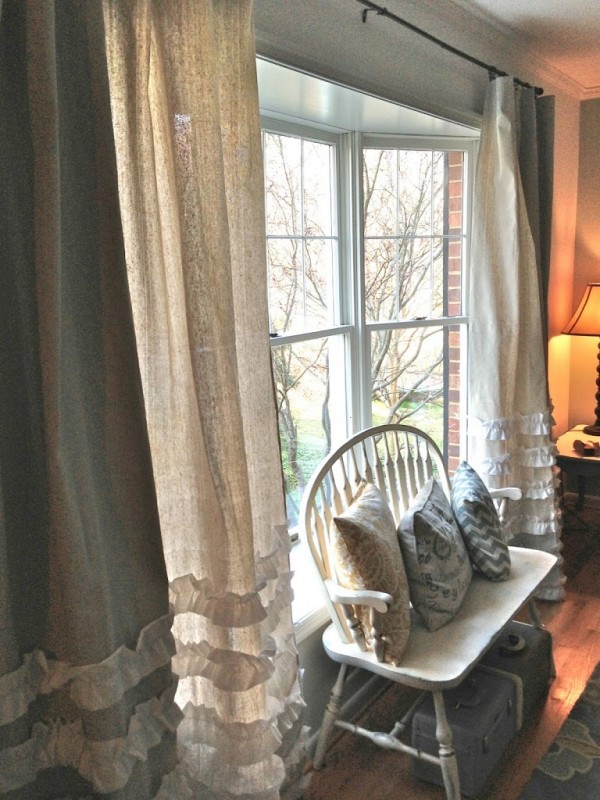
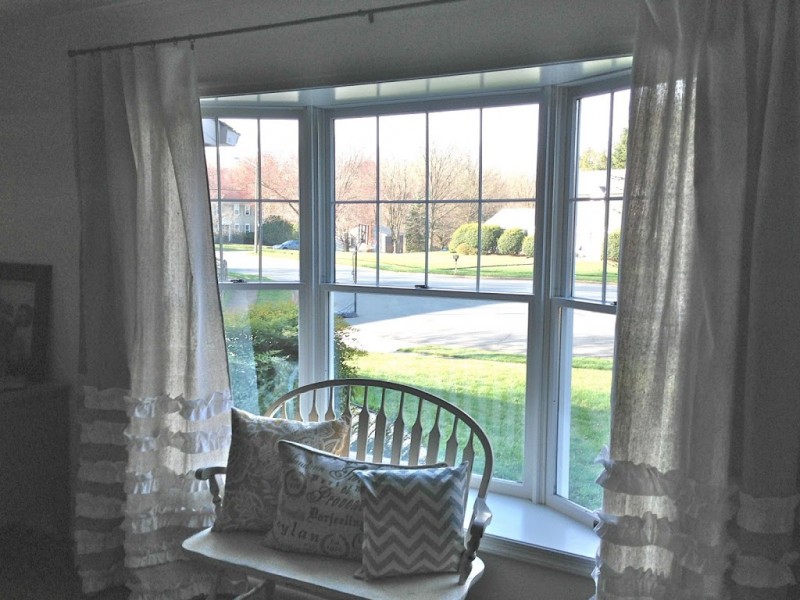
 I spent a week in Virginia helping my friend decorate her house.  She has this big window in her front room and it needed some curtains.  Here is how you can make them too!

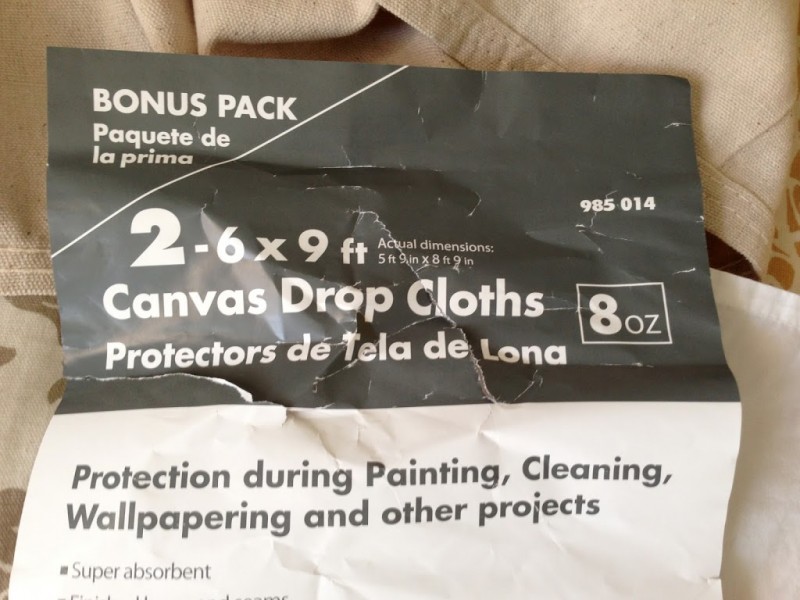
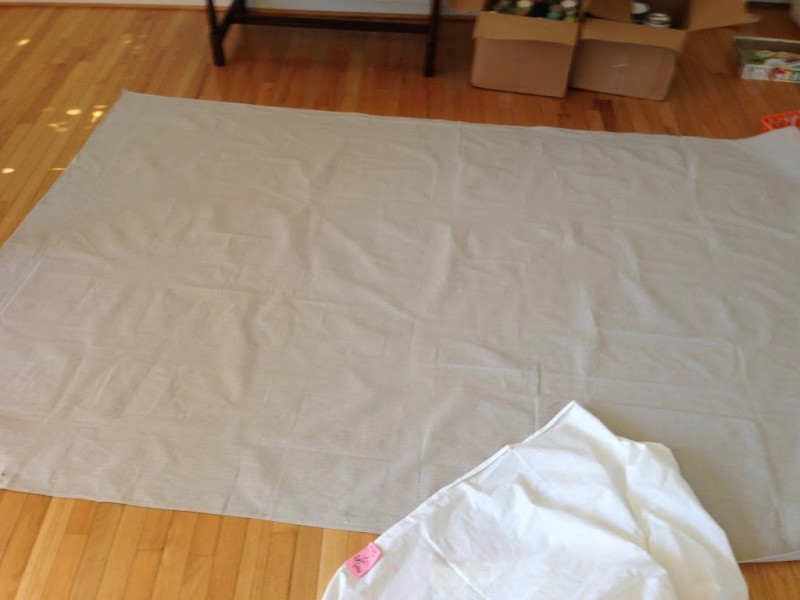
We bought this 2-pack of canvas drop cloths at the Home Depot.  They were $10 for the pair.  We liked these because they were a little more gray than tan.

Some of the other canvas drop cloths were only 1 in a package.  The ones we bought were perfect because we needed 2 curtain panels.

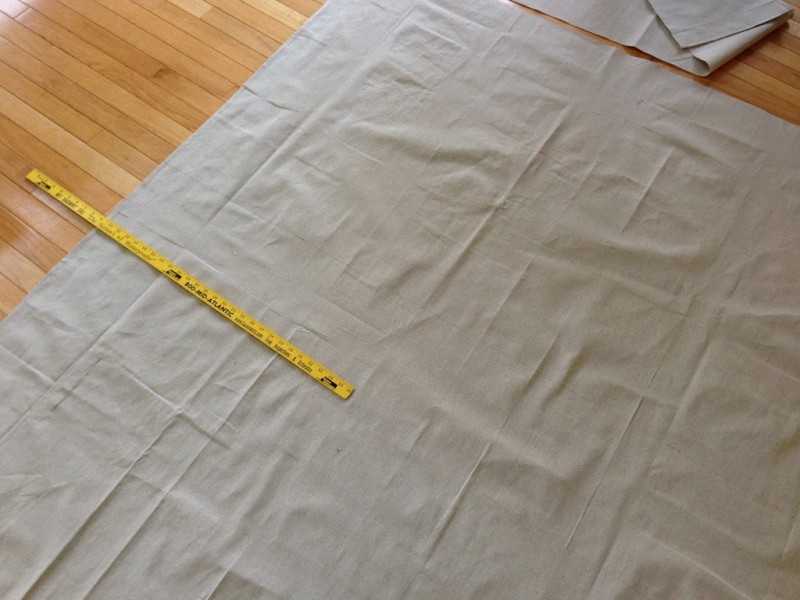
They ended up being the perfect width for our window.  You may need to adjust the measurements to fit your window.  Measure how long you want them and then add 3″ for the hem.  Make sure to consider how you want to hang them.  Ours were hung with curtain clips on a rod.  Cut off the extra fabric and hem.  Our hem was rolled once then again about 2 1/2 inches.

We bought a Queen size flat sheet at the thrift shop it was on sale for $3.

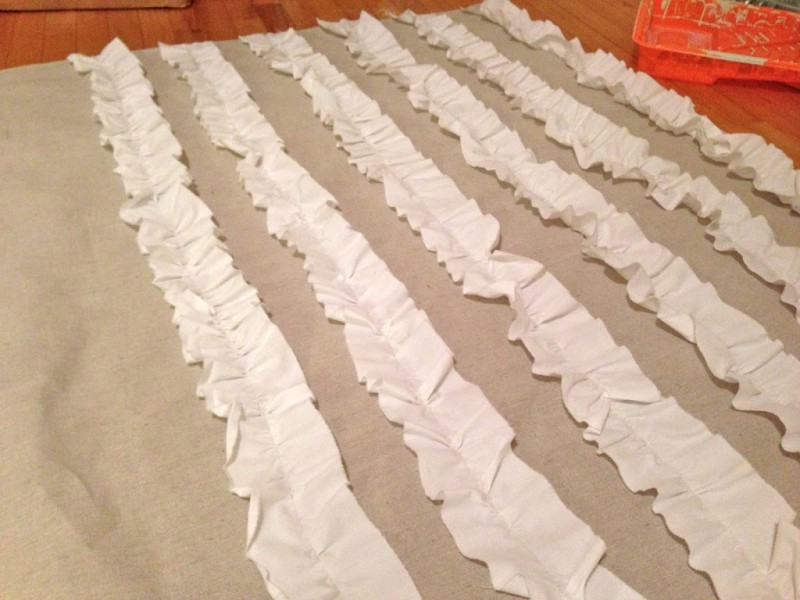
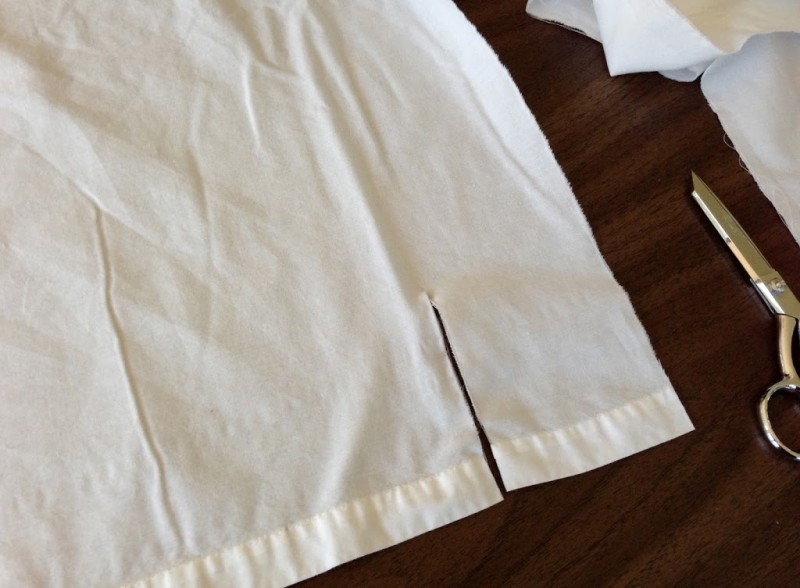
Snip the sheet at 4″ increments and tear apart.  (Do this the long way so you have enough length to ruffle.)  We used 6 strips per panel.  Adjust depending on the size of your curtains.  The combination of the warn, softness of the sheet and the tearing gave the ruffles a nice vintage edge.

After the strips are torn, cut the hemmed edges off the strips so they are raw on all 4 sides.  Sew a gathering stitch down the center of the 4″ strips.  Gather.

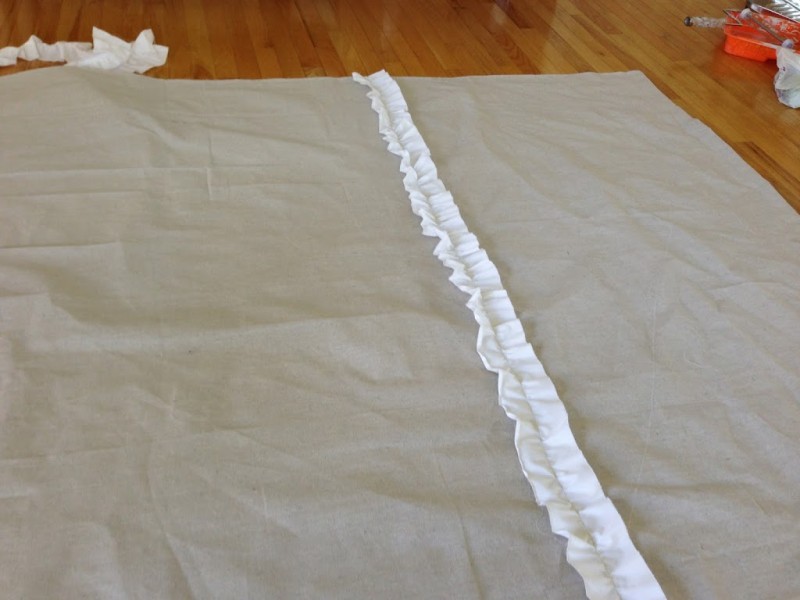
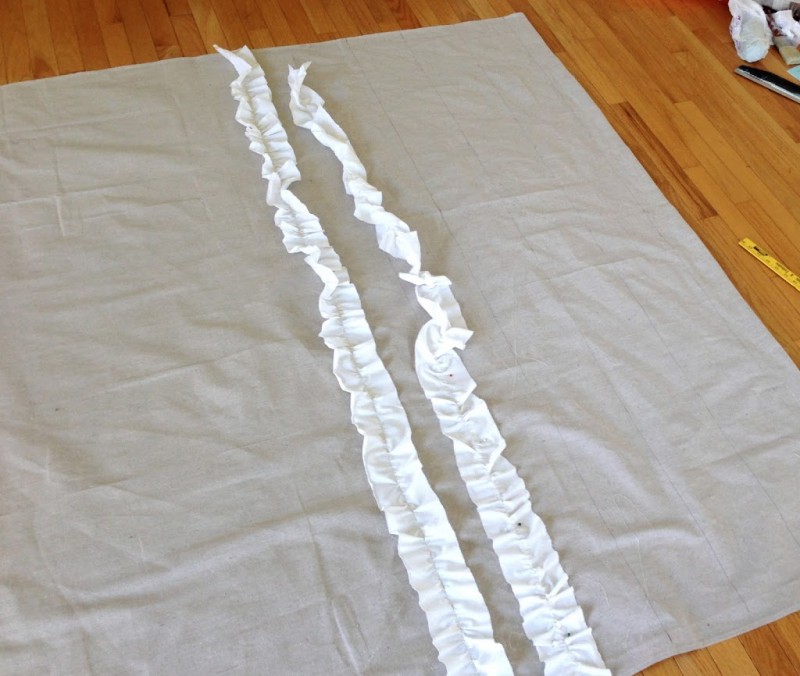
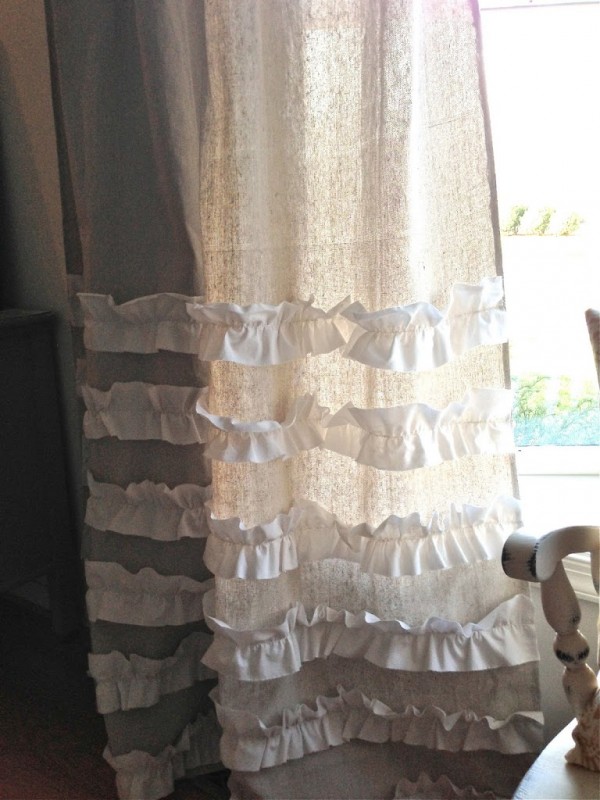
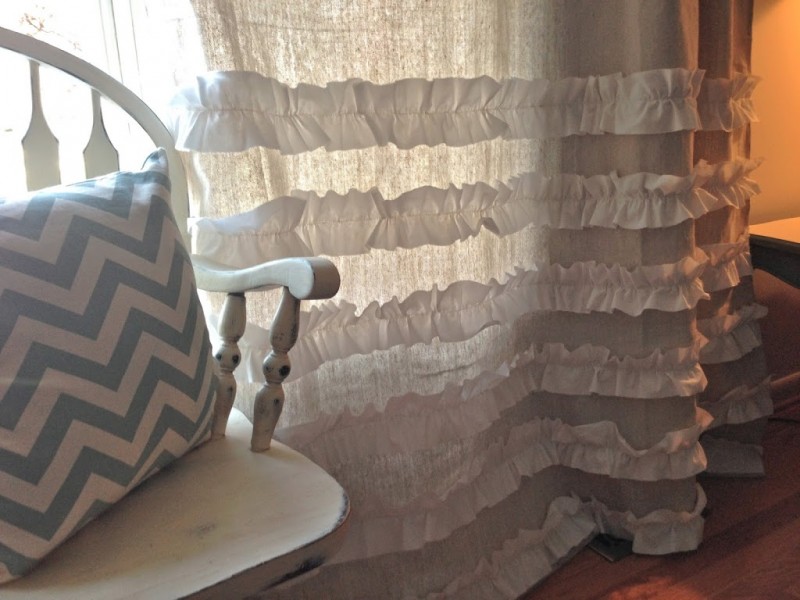
Draw a line 1/3 the way up from the bottom of the curtain.  Then draw a line every 6″ to the bottom of the curtain.  You should have 6 lines for 6 ruffles.

Adjust the ruffle to fit the width of your panel.  Pin the gathered seam along the pencil line.  Continue pinning all 6 ruffles.  Sew a straight stitch over your gathering stitch.  It’s a little awkward because the drop cloth is a little thick. 


 Keep gathering and gathering and pinning and pinning – you can do it!!

 Once you have sewn the ruffles on, they are ready to hang!!  You could easily make a pocket at the top if you don’t want to use curtain clips.  We bought our clips and rod at Target.

We finished our project at 1:00 am.  We hung them up and sat on the couch and admired them for quite some time.  They gave the room such a darling, finished look.

 In my house in California, I have shutters on all my windows, so I don’t think I will be able to have my own set of these curtains in my house.  That makes me sad.  I took lots of pictures so I could remember how cute they turned out!!

Amanda