Halloween Pillow Tutorial

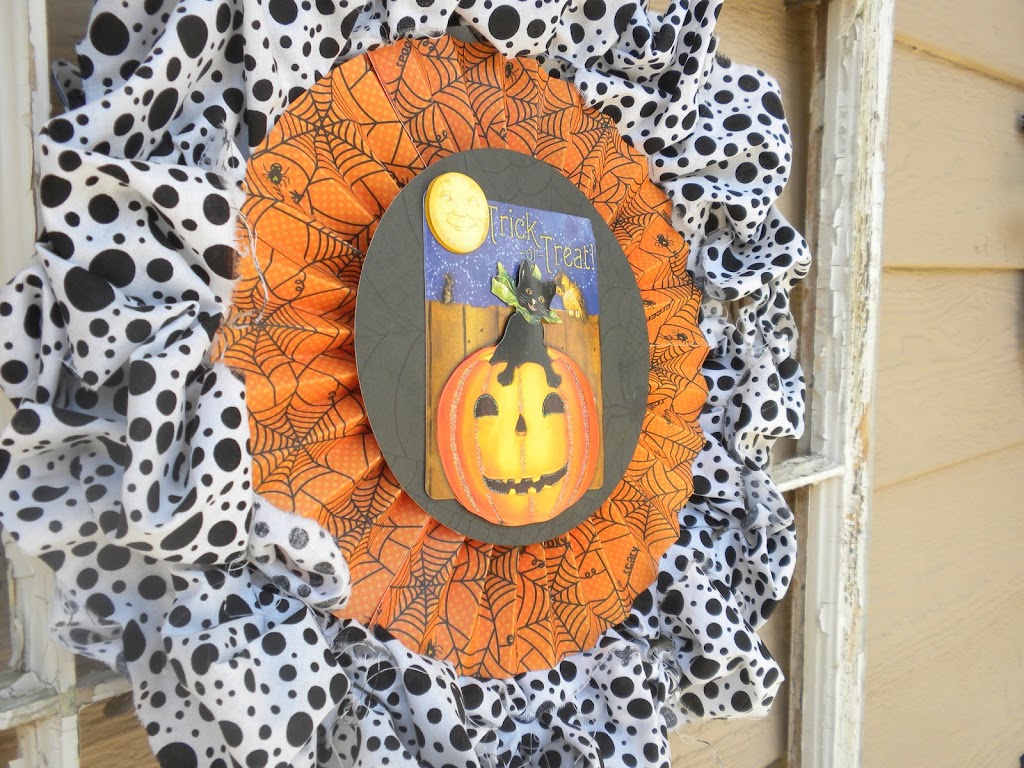
When the calendar turned September, I was wishing so badly that it was still July.  How I love the summer!  Today is October 1st and I have decided to deal with the fact that time is moving super fast!  Bring on the Halloween!  Pumpkins, owls, candy, costumes, bats, black cats and everything else!
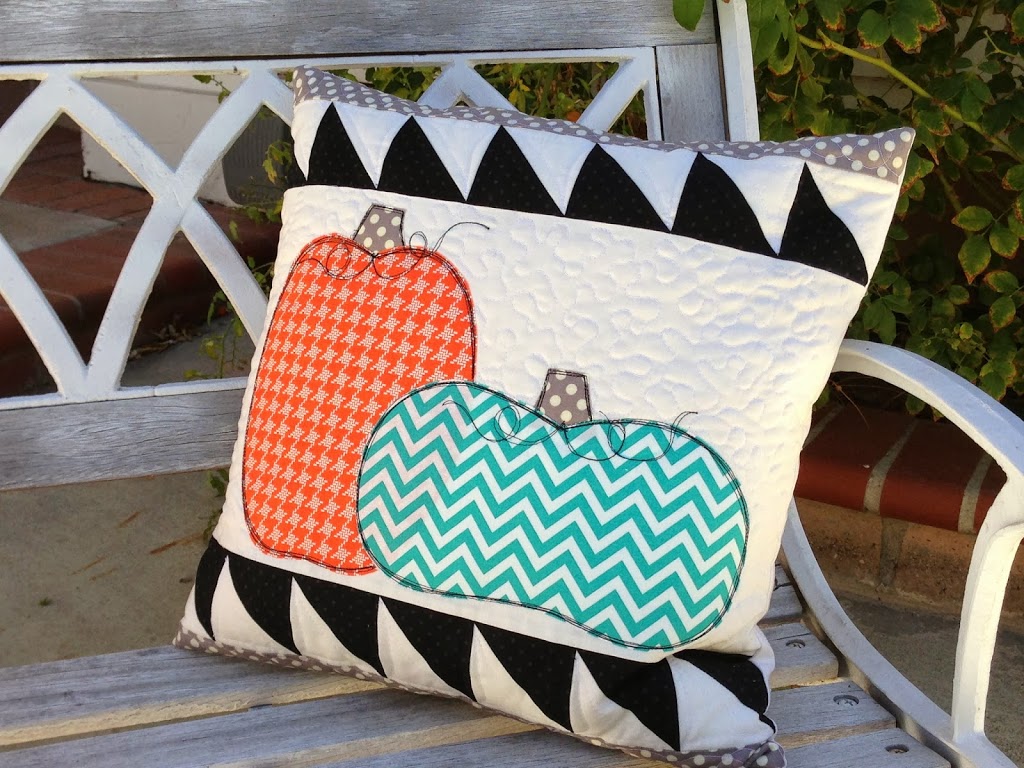
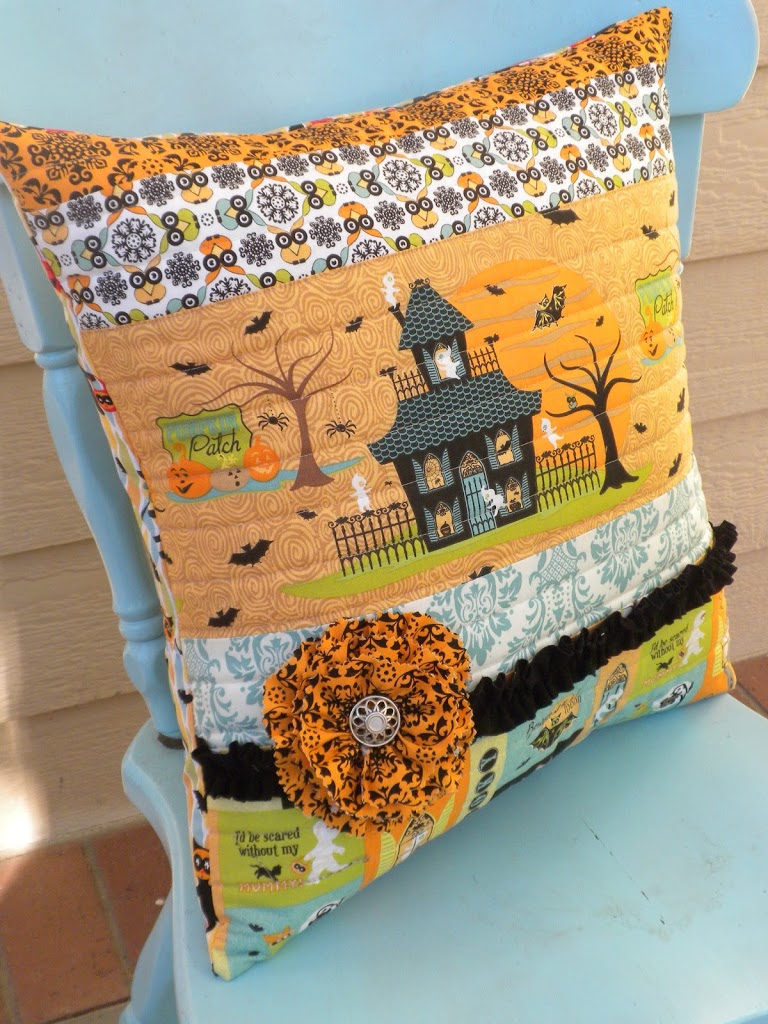
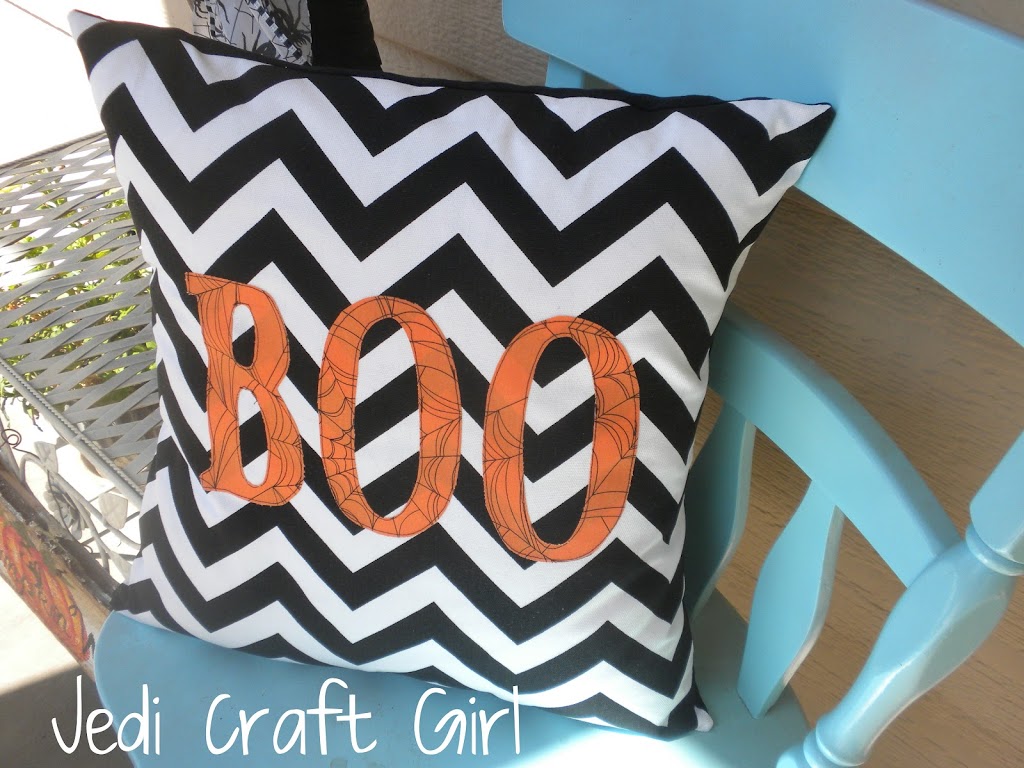
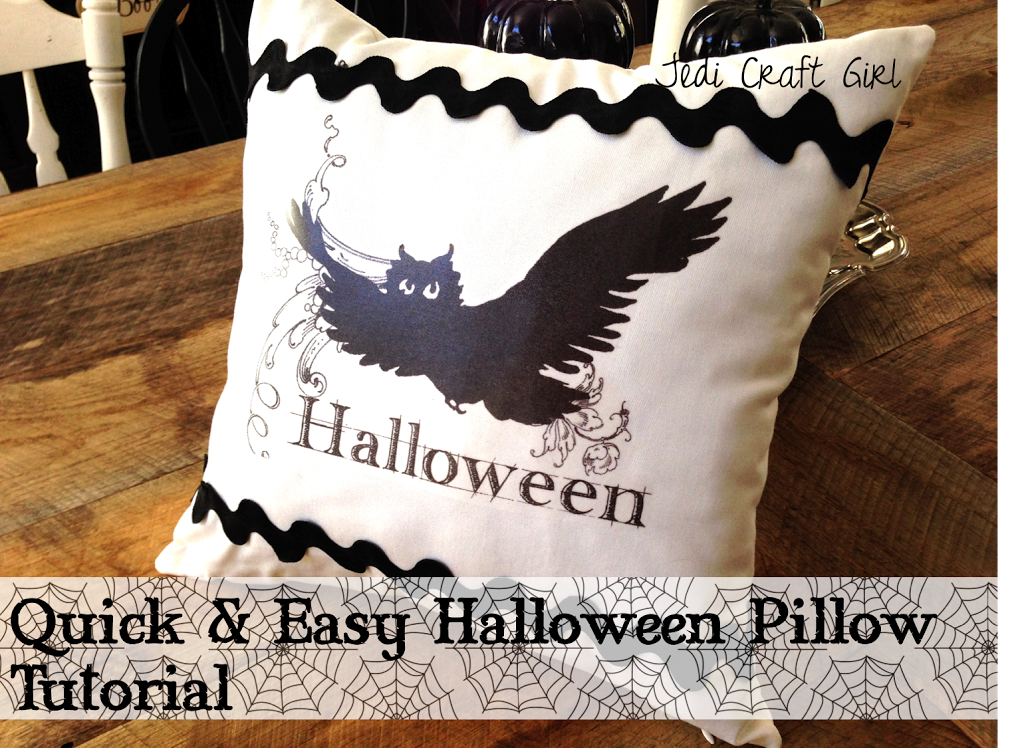
My summertime throw pillows were not matching my Halloween decor.  I decided to make Halloween covers for my current pillows.  This one only took about 30 minutes start to finish.  Here’s how you can make one:
Supplies:
Iron- on transfer paper (purchase at Michaels, Wal Mart, etc. in the computer paper section)
Graphic to print
(2) 17″ squares of light colored canvas, duck cloth or other heavy fabric
1 yard of super jumbo ric rac
16″ pillow form
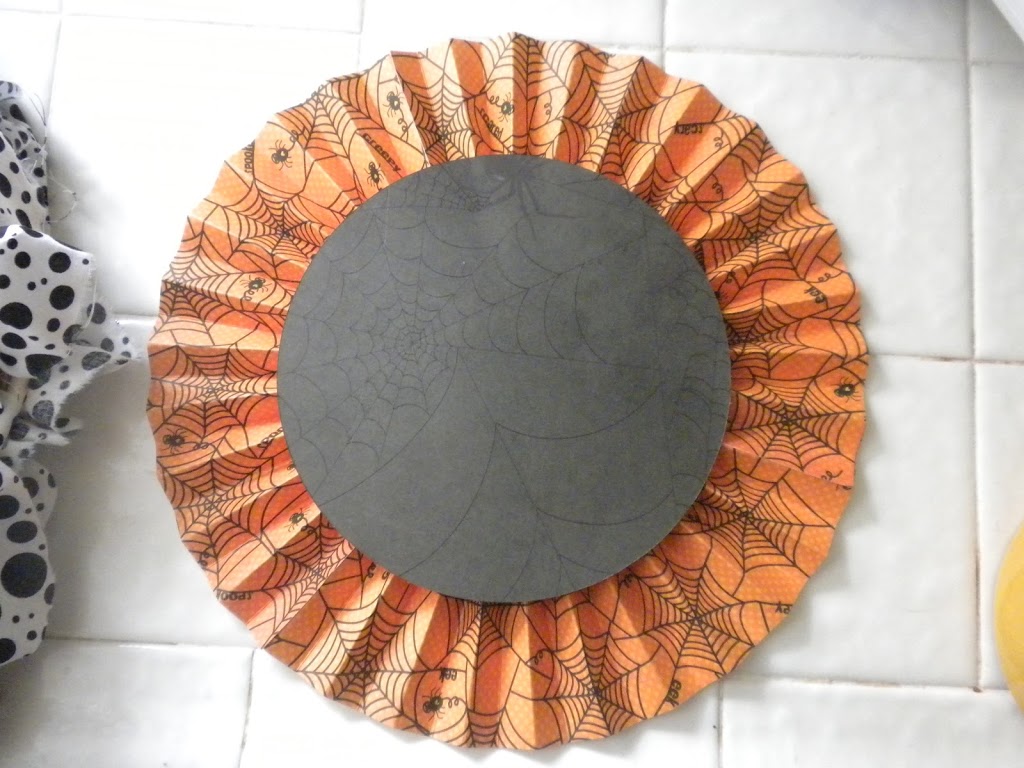
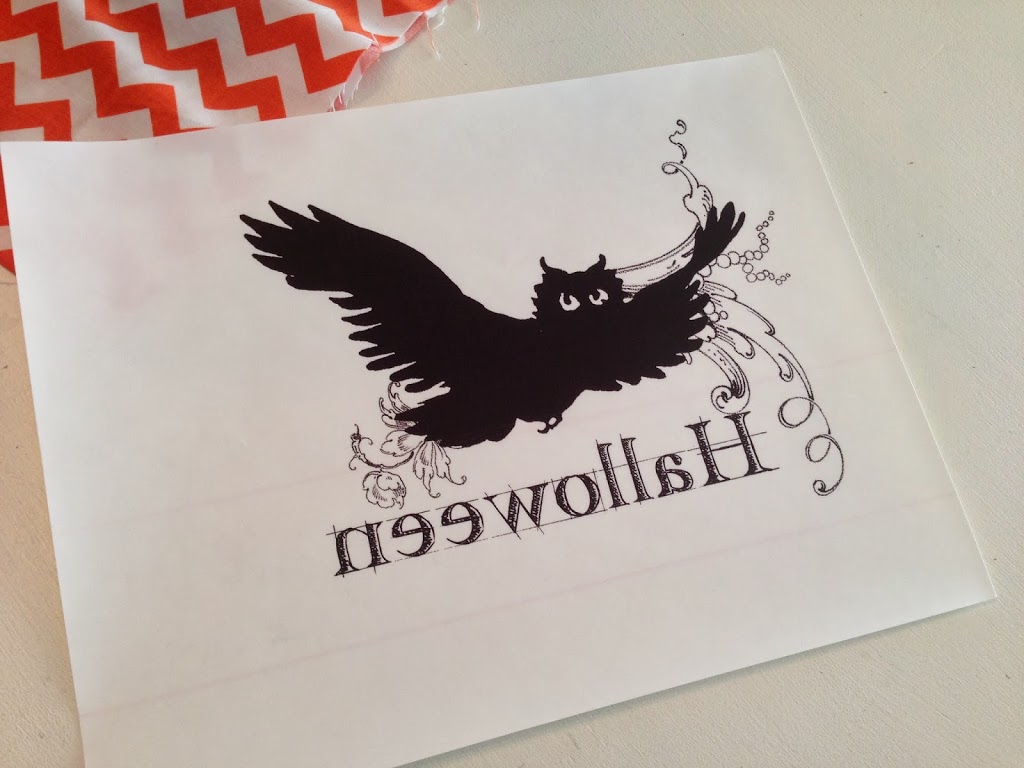
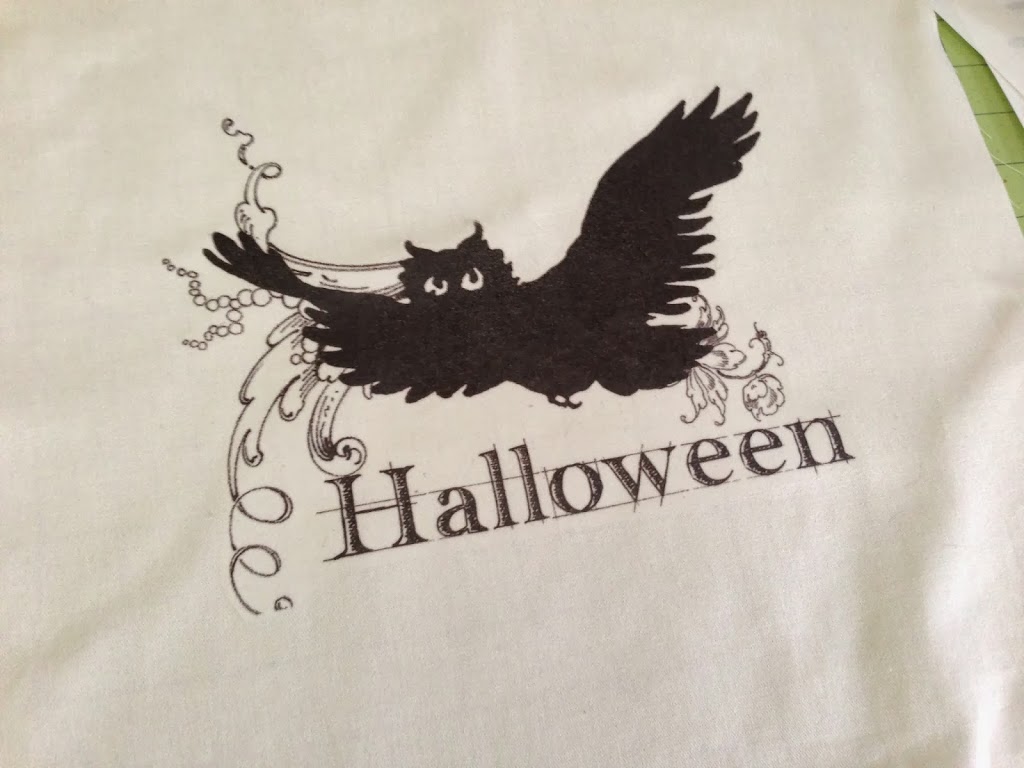
To begin, you need a graphic to print on the iron-on transfer paper.  If you are artsy you can make your own.  I went to Etsy and searched “Halloween pillow iron-on” and 19 pages of vintage style Halloween graphics came up.  Most of them are only $1.00 and download instantly.  Super fast & cheep – yea!
Size the graphic to take up as much of the 8.5″ x 11″ paper.  Make sure to tell the printer to “Flip” the image or “Mirror”.  It needs to print out backwards 🙂

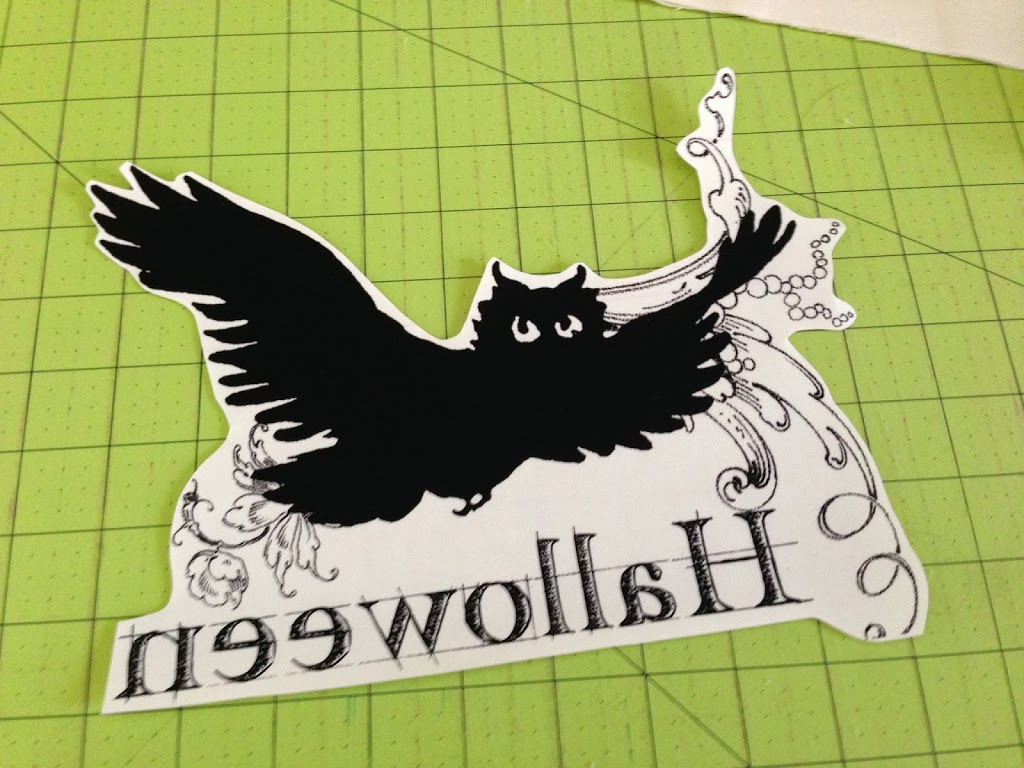
Trim about 1/8″ around the graphic

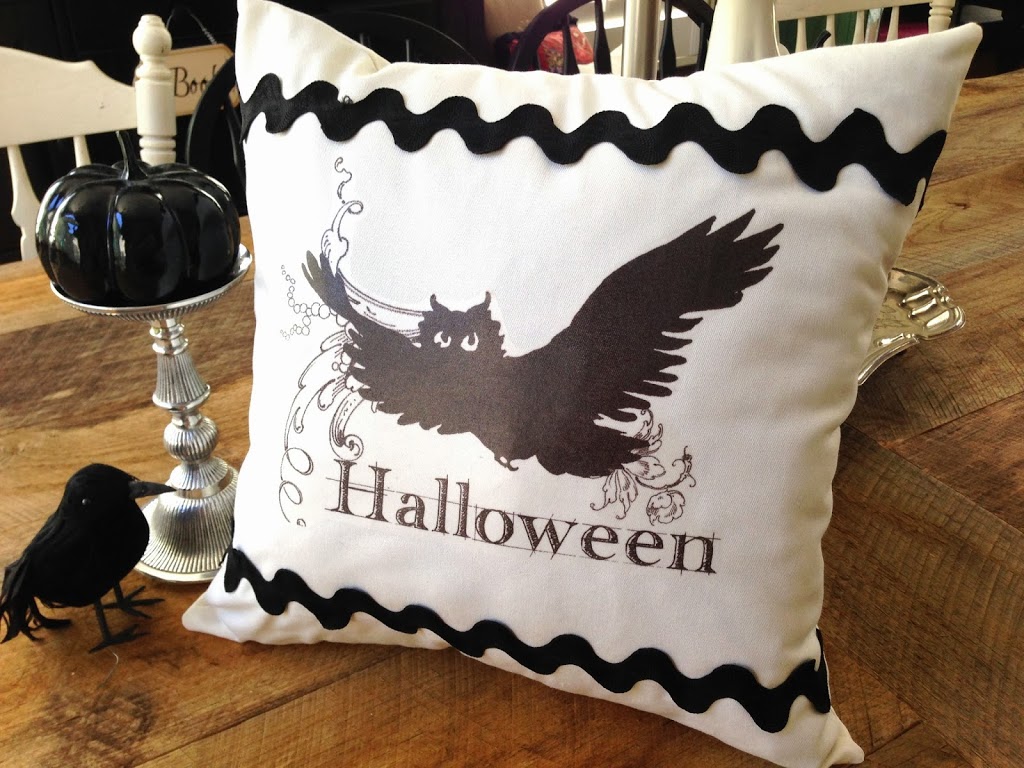
Follow the manufactures instructions.  Essentially use a dry, hot iron and press into place.  It takes a few minutes.  Then when it’s cooled, peel off the paper backing.  I love it already!!

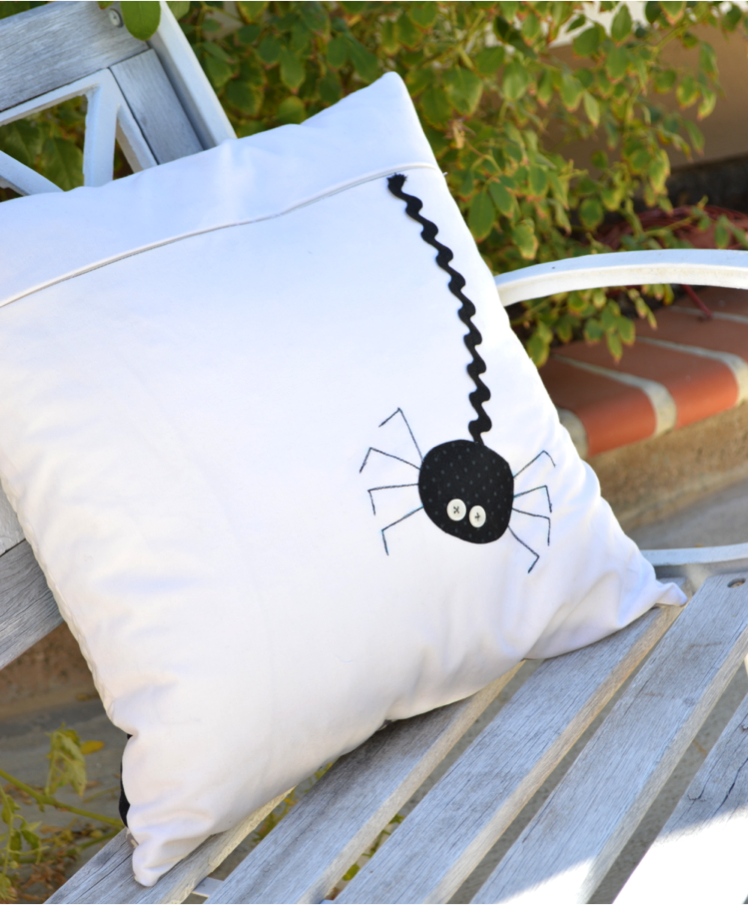
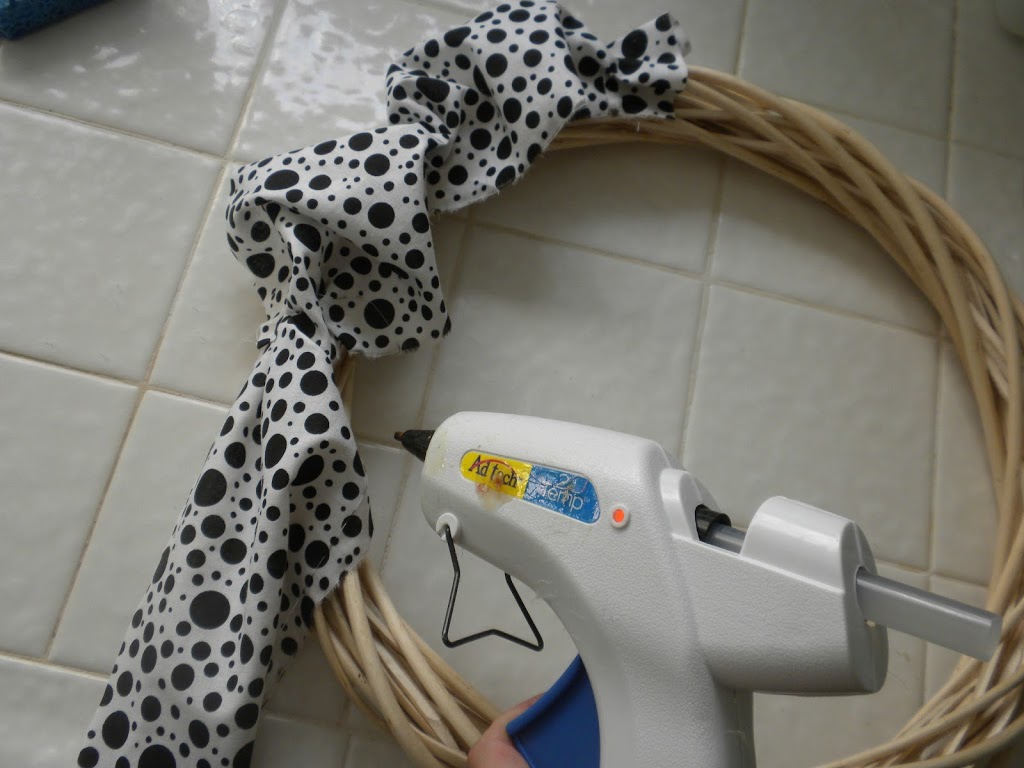
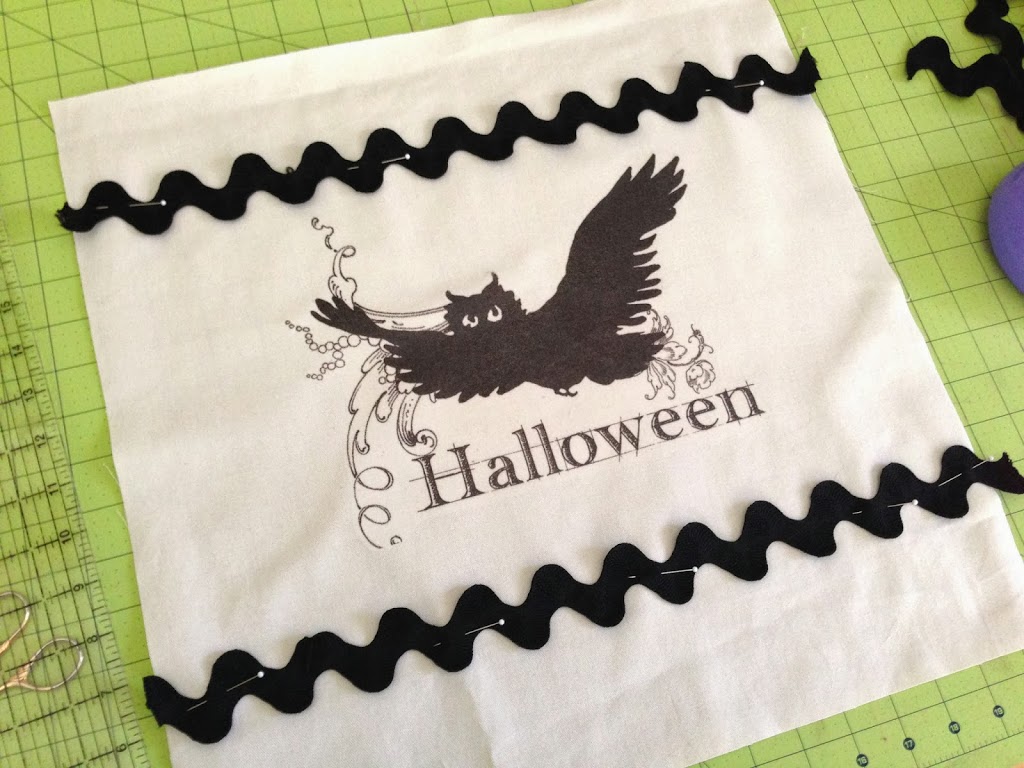
I thought a little trim would be fun and still keep the pillow somewhat simple.  Pin the super jumbo ric rac into place.

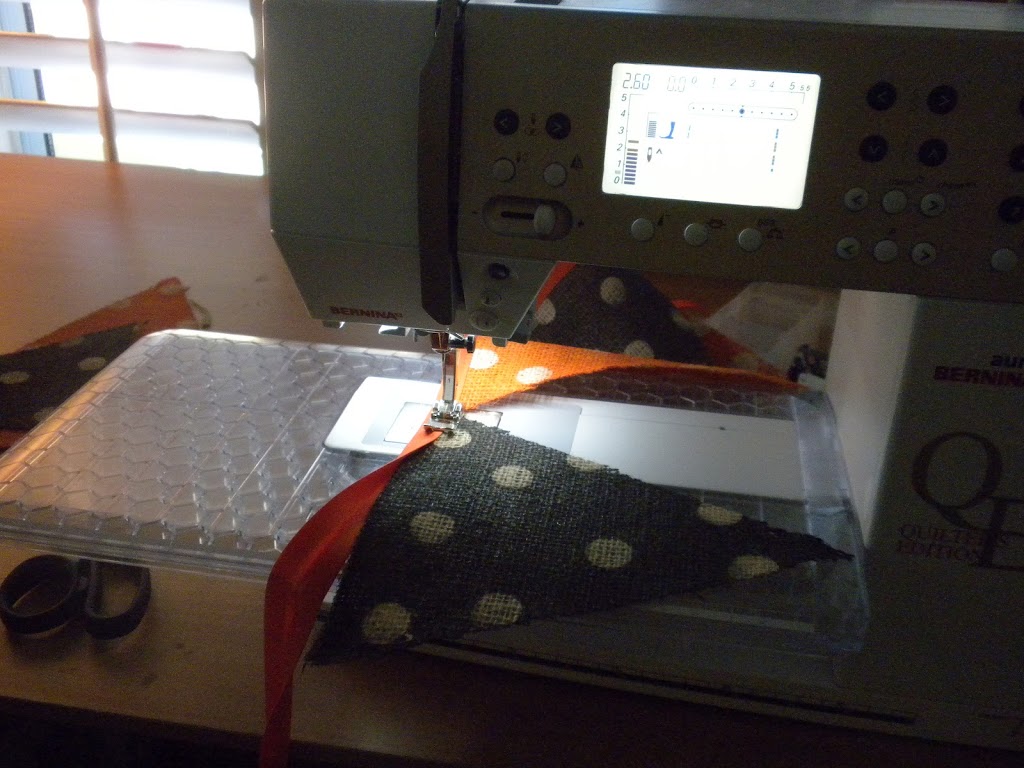
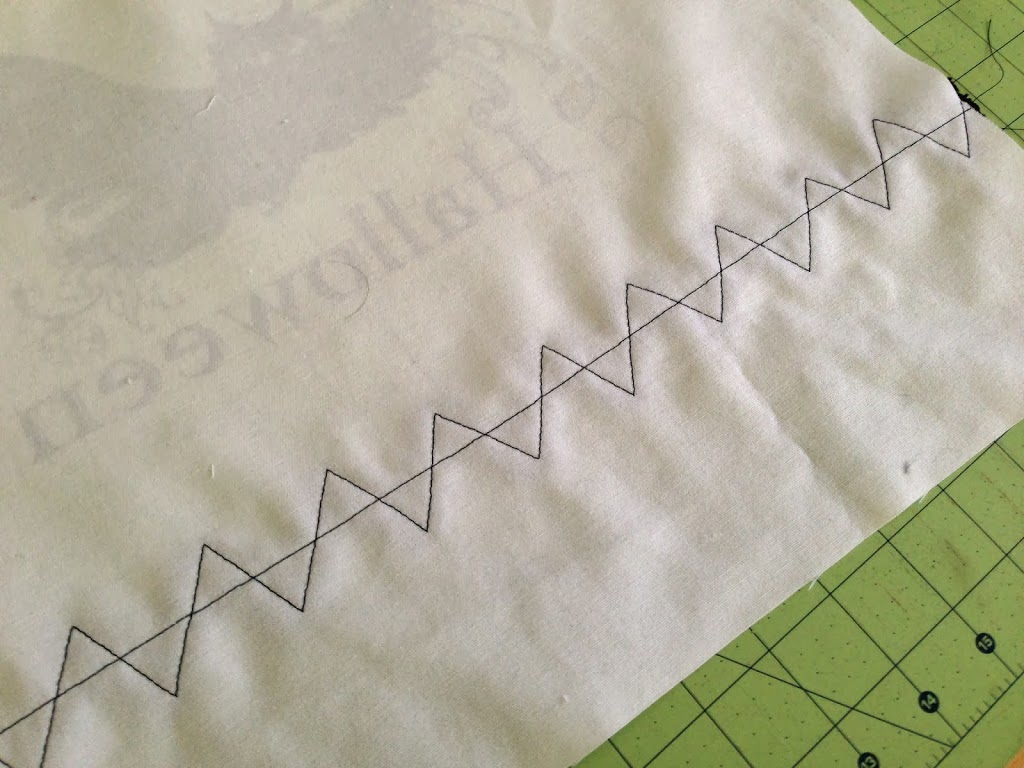
When sewing normal ric rac, you just sew a straight line down the center.  I did this with the super jumbo ric rac and the points were still floppy.  With matching thread, follow the zig zag of the ric rac and sew into place like this:
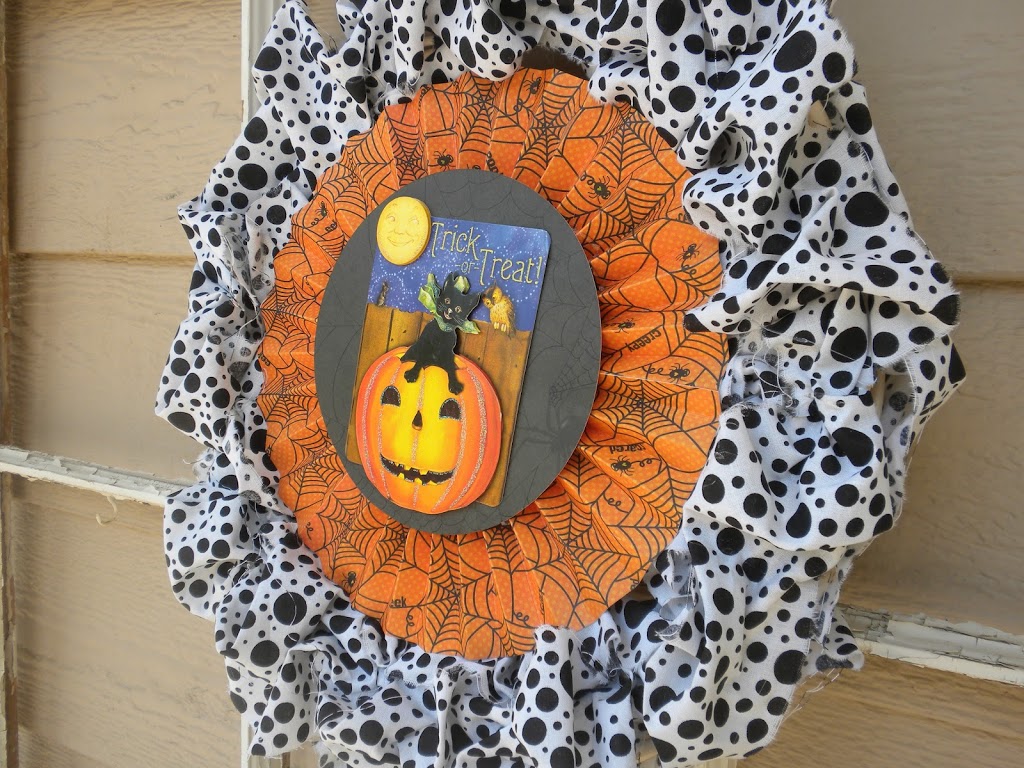
You can finish the pillow using your favorite method.  I put an invisible zipper in the bottom.  Click HERE for the tutorial.  You could easily sew, turn and stuff the pillow or sew an envelope back.  I love how it turned out!!  It’s super spooky!!!

Amanda

Modern Pumpkin Pillow Tutorial

I love pumpkins, I love turquoise & orange, and I love houndstooth & chevron!  This pillow is all the things I love!!   Are you ready for fall?  We’ve had a HOT summer in Southern California!  Making this pillow totally got me totally excited for fall.   This pillow is quick and easy.  It’s being featured on the Therm O Web blog, click HERE for the tutorial.  I hope you enjoy it!!!

 I love the back of the pillow!  A spooky spider!

Amanda

Quilted Halloween Pillow

I made this Halloween pillow for a friend.  I love how it turned out.  I love making pillows with lots of different fabrics.  I cut random strips of coordinating Halloween fabric and sewed them together.  Next I trimmed the finished piece to measure 17″ (to fit a 16″ pillow form).  I quilted the pillow front in vertical seams 1″ apart.  I added a black jersey ruffle (from an old T-shirt) and sewed a gathered flower!  I could make 100 of these!!


Boo Photo Art Thingy

I have so many Halloween photos through the years – it’s hard to display them all!  I came up with this idea to use photos to create the mat.  I bought this frame at a garage sale and the decorative mat was already in the frame.  I tossed the glass, painted the frame and then glued my favorite Halloween photos to the mat.  I also love the paper rosette – I can’t get enough of them!!

Painted Halloween Jar Candles

I made these jars a few years ago.  I have been asked a few questions about the process, so here is a more detailed set of instructions. 

Supplies:
jars, craft paint, white school glue, vinyl motifs cut from Cricut or Silhouette

1.  Collect glass jars – any kind: pickle, relish, molasses, spaghetti sauce, etc.  Mason jars can work – but it’s nice to have a smooth surface for the vinyl to adhear.

2.  Remove all labels, wash & dry the jars

3.  Put a fair amount of glue into a paper bowl and add some paint.  I didn’t measure – but it’s more glue than paint.  You are just trying to tint the glue.  The glue helps the paint to be transparent so you can see the flicker of the candle through the paint.

4.  Start painting the inside of the jars.  You can be real precise and get the glue/paint even, or I like to make it look drippy and spooky!!


5.  Let the jars dry

6.  I cut out trees, pumpkins, bats, spiders, etc. on my cricut.  If you don’t have access to a cutting machine, I have seen black Halloween silhouettes at the Dollar Tree you could Mod Podge to the outside


7.  I put real candles in my jars.  If you are worried about flamibility, you can use battery lights or even twinkle lights.

Hope this helps!  Happy Crafting!!

Burlap Halloween Banner

 I just discovered the fantastic world of spray painted burlap!  Where has this idea been all my life!!!  Here is how you can make your own super cute Halloween Banner:

Supplies:
Burlap (I bought mine at Joann’s – very inexpensive)
scissors
spray paint (white, orange, black)
sticker circles
double fold bias tape

Here is what you do:
 Cut your burlap into triangles.  I just used scissors.  I made a paper pattern and pinned it.  Not all of mine are perfect – burlap kind of stretches – but not to worry – it will still be cute!

Spray Paint White
I painted both sides of my triangles – I was worried they would blow in the wind & I wanted them to be colored on both sides.  Spray paint the burlap triangles white.  This helps the polka dots have a little more contrast.  My burlap doesn’t look bright white, it just looks not as brown.

Circle Stickers
Get your circle stickers (I got mine at Albertsons because that’s where I was).  Put dots all over both sides of the triangles.

Spray Paint
I painted half my triangles orange and half metallic black (that’s what was in the shed).  Paint one side, let dry, then flip over and paint the other side.

 Remove the dots and get really excited because they look so cute!

 Sew
 Measure your bias tape and cut it how long you want your banner – leaving extra to tie at the ends.  Open the bias tape and put the edge of the triangle inside and sew making sure to catch both sides of the bias tape.  I didn’t pin – just keep feeding the triangles in as you sew. 


 Hang as Desired!!!

 I Love it!!!

Boo Chevron Pillow

Just sewed up this Halloween pillow for my front porch.  I LOVE chevron print for Halloween.  I appliqued the letters out of orange spiderweb fabric – took about 15 minutes to make!  Can’t wait to make more Halloween pillows!

Halloween Wreath


The girls over at Eighteen25 are showcasing a new Halloween Project Tutorial everyday.  I decided to make one of the projects.  It’s a Halloween wreath.  Click HERE to see their featured wreath and tutorial.  This is my version!!

Start with a wreath from the dollar store.  Eighteen25 used a foam wreath – this woven wreath is all our dollar store had.  Then get black and white fabric.  I tore mine in 4″ x WOF strips.  I used about 5 strips.

 Hot glue the fabric every so often, kind of bunching it together where you glue it.  (I only burned myself 4 times!!!)

 Go all the way around the wreath, then glue fabric around the inside and then the outside using the same bunch & glue technique.

Next  cut a 12×12 piece of Halloween paper into 4″ strips – you need three strips.  I scored each strip every half inch.  Then accordion fold the strips, glue them together to form a large rosette. 

 I hot glued a piece of black spiderweb paper into the center. 


 I added a vintage Halloween card to the front.  You can decorate it any way you want.  I think the fabric glued to the wreath is such a cheap, fast, easy base for any wreath for any occasion!!

Jedi Costumes


This was the most intense Halloween yet! The children are so into Star Wars and they were very demanding on how the costumes should be. I searched the Internet and read how everyone constructed Jedi robes. It came down to laying the person on the fabric and cutting around their body! No tutorial here – you just have to go for it!!!
Marbles also got his own Jedi Robe. I love sewing things like that minutes before we have to go trick or treating!

I also made them matching treat bags with their names. I cut the image and letters out of vinyl then used it as a stencil and painted the bag.