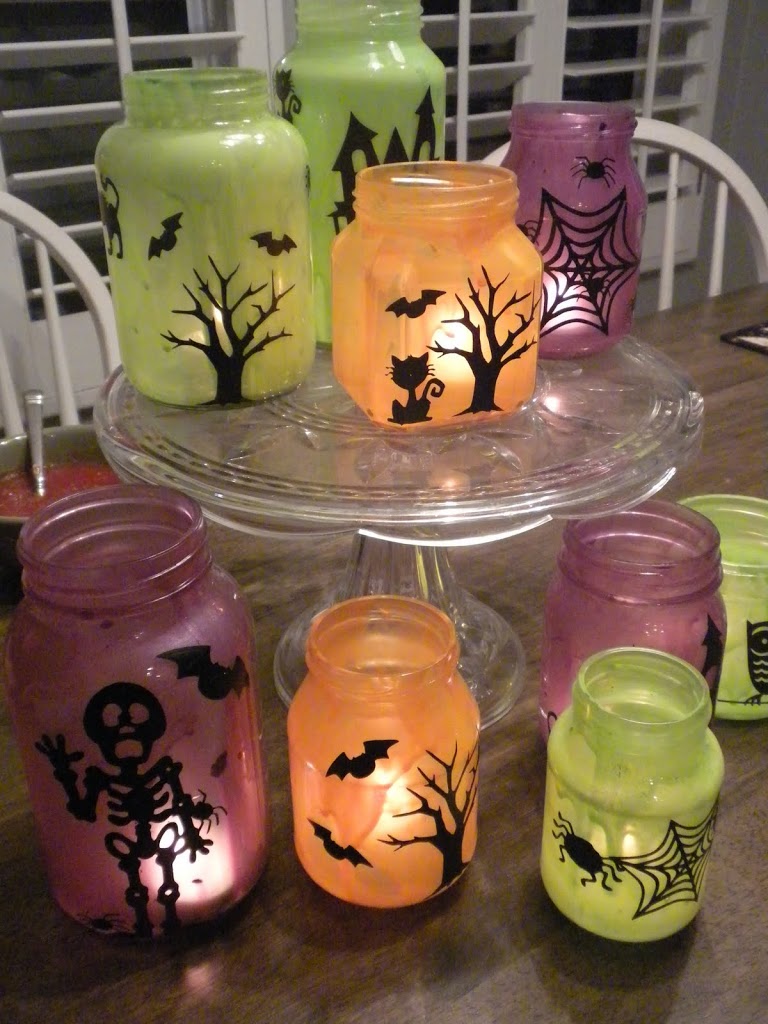
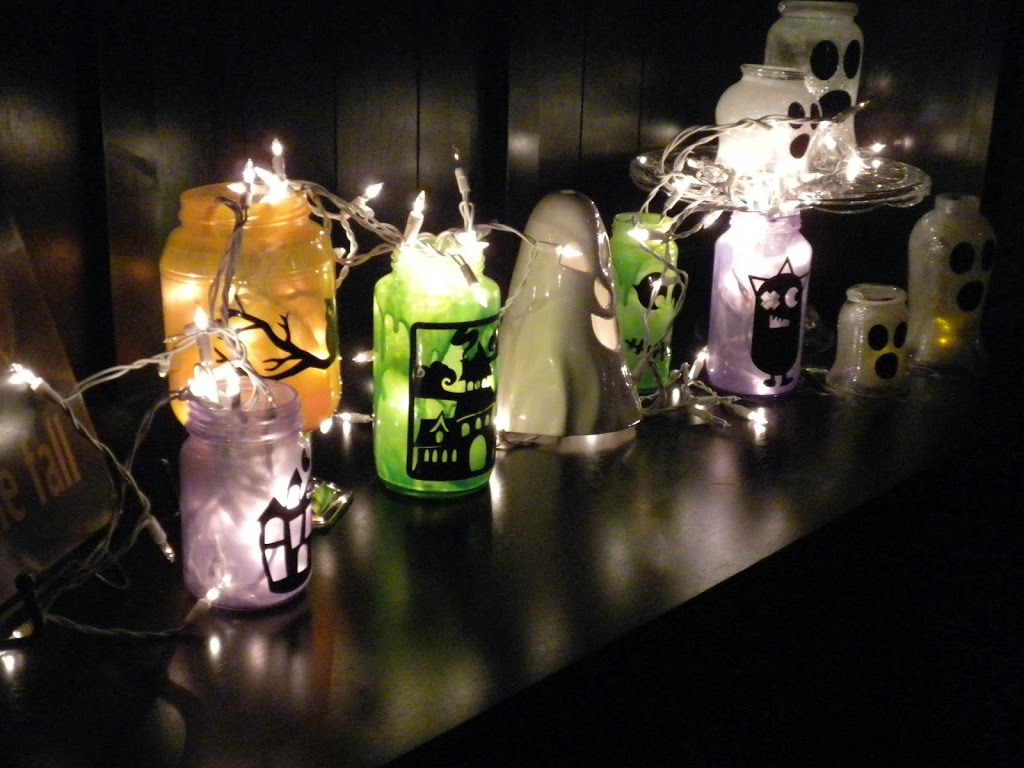
I made these jars a few years ago. I have been asked a few questions about the process, so here is a more detailed set of instructions.
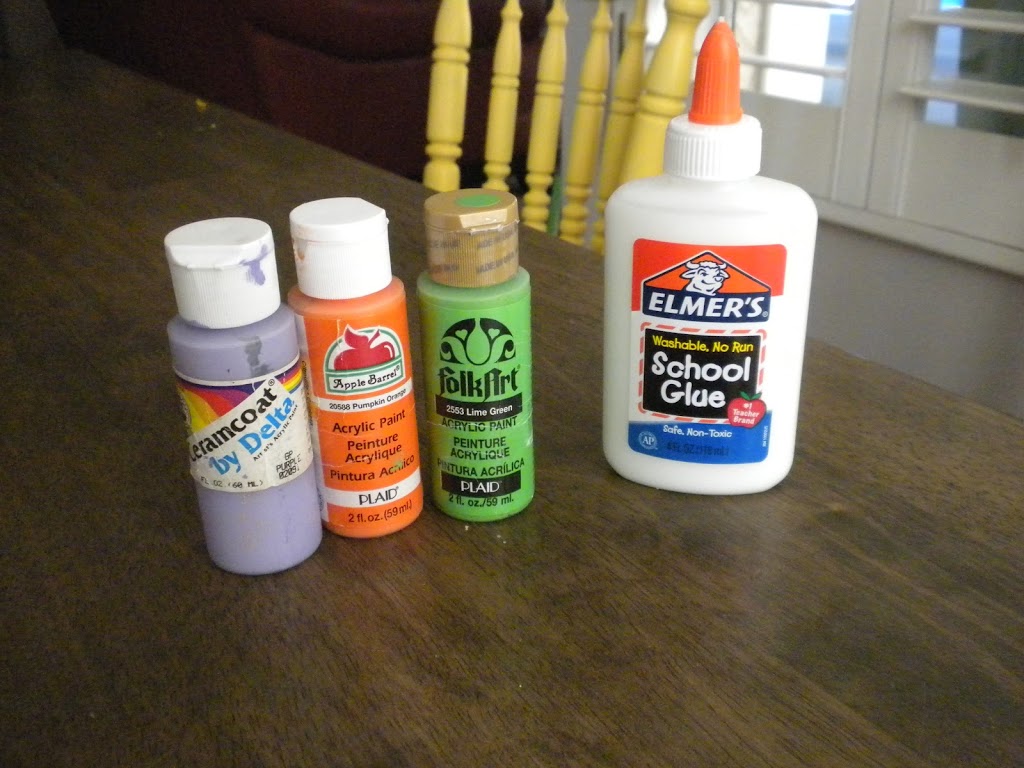
Supplies:
jars, craft paint, white school glue, vinyl motifs cut from Cricut or Silhouette
1. Collect glass jars – any kind: pickle, relish, molasses, spaghetti sauce, etc. Mason jars can work – but it’s nice to have a smooth surface for the vinyl to adhear.
2. Remove all labels, wash & dry the jars
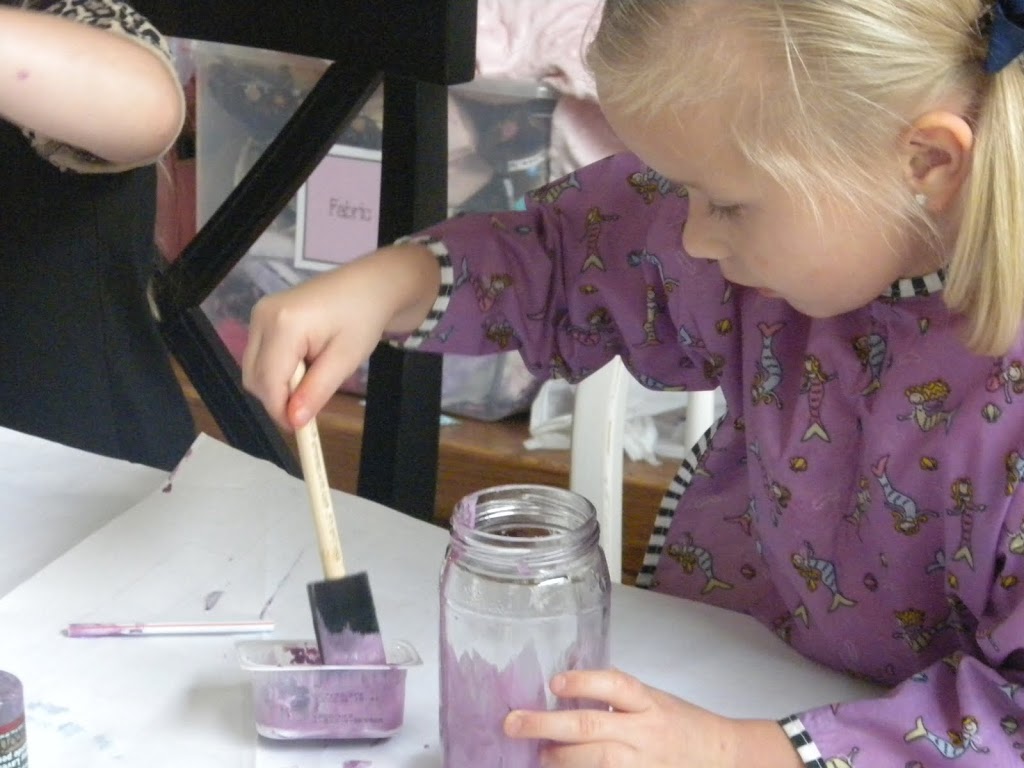
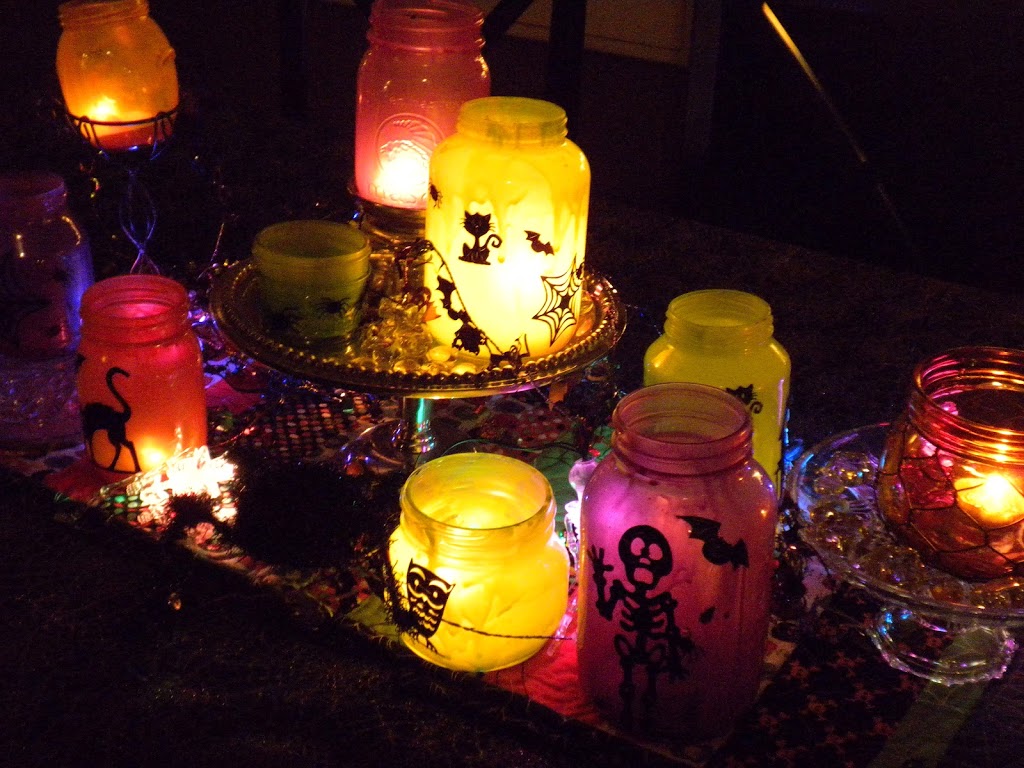
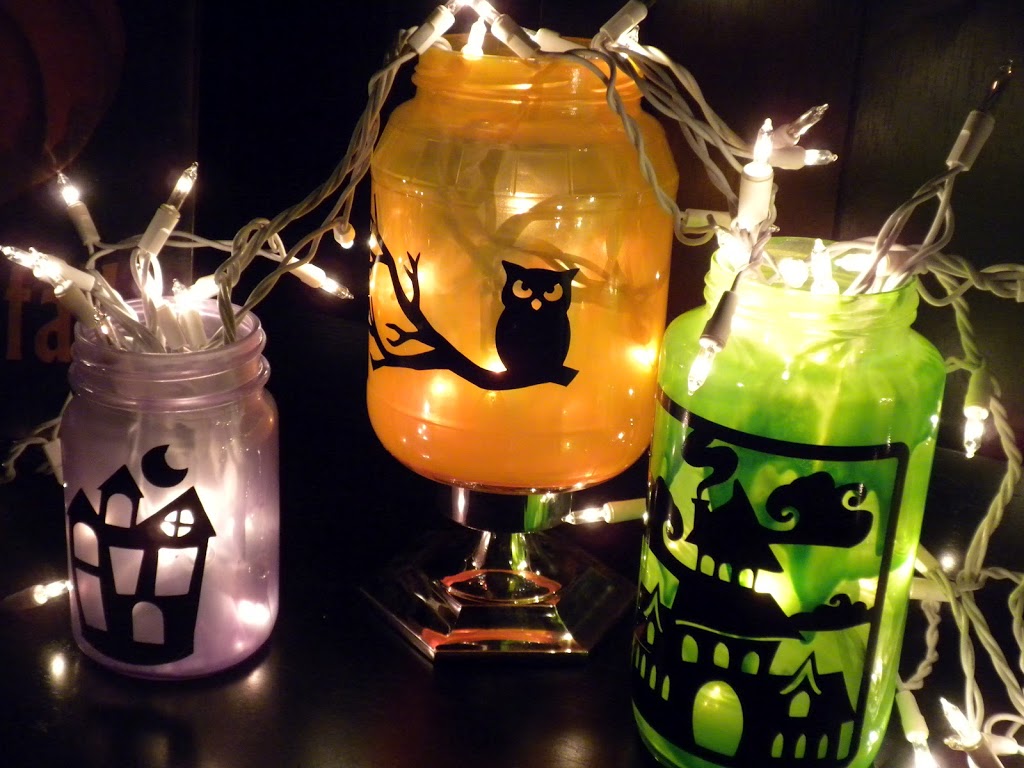
3. Put a fair amount of glue into a paper bowl and add some paint. I didn’t measure – but it’s more glue than paint. You are just trying to tint the glue. The glue helps the paint to be transparent so you can see the flicker of the candle through the paint.
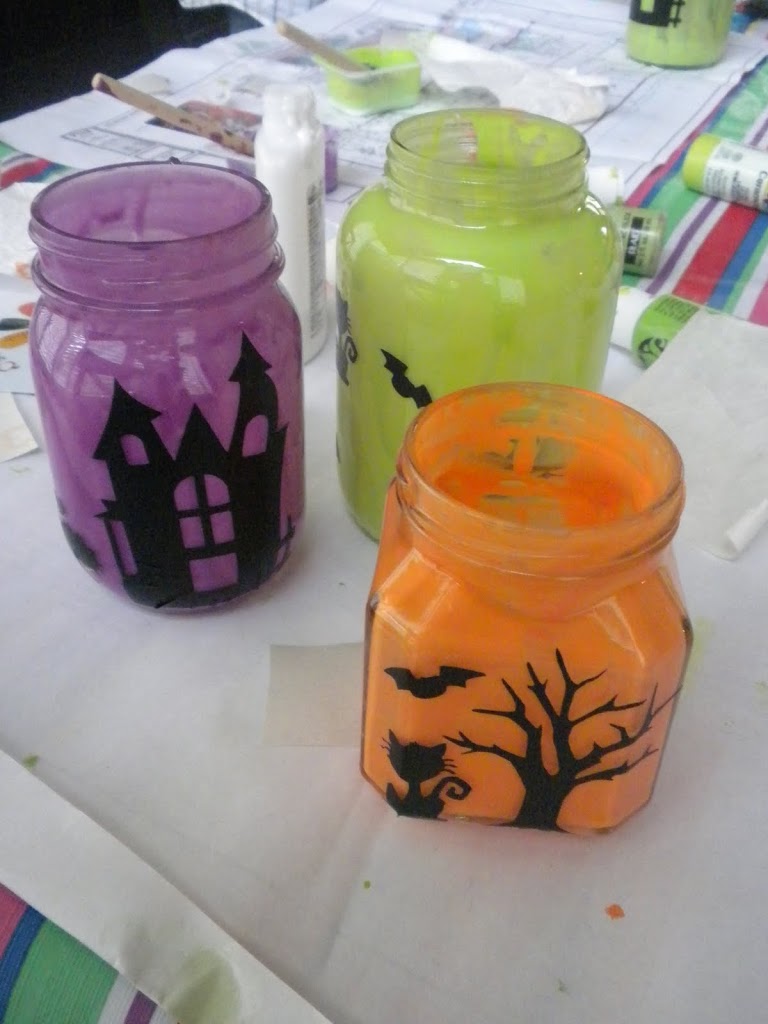
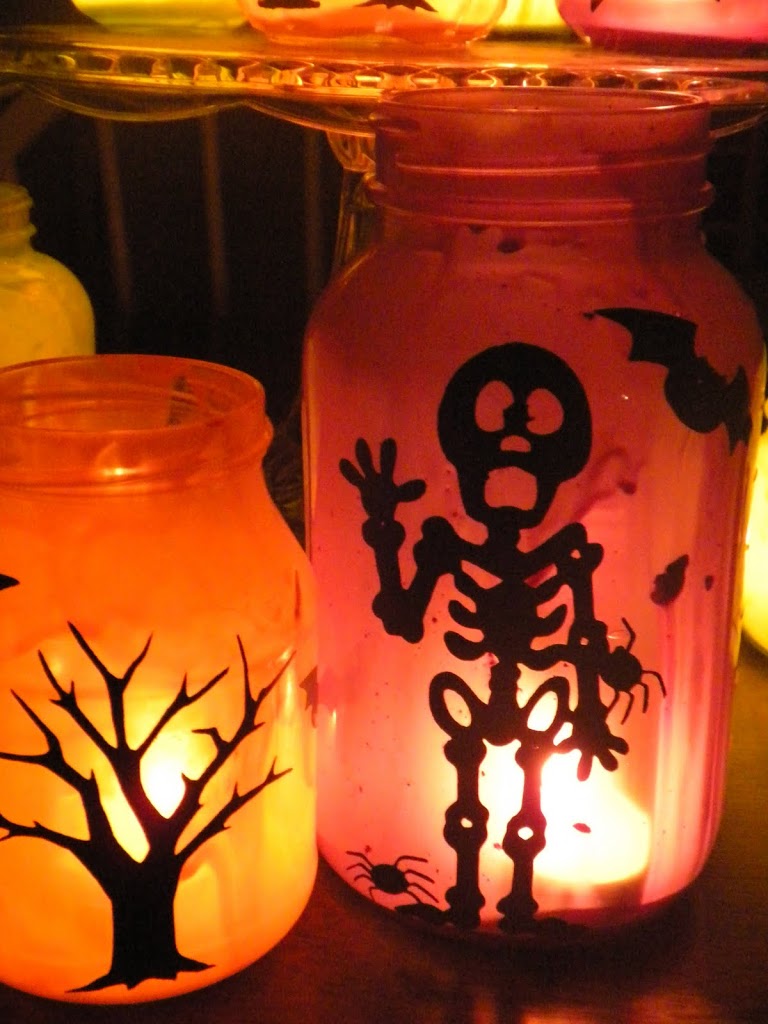
4. Start painting the inside of the jars. You can be real precise and get the glue/paint even, or I like to make it look drippy and spooky!!
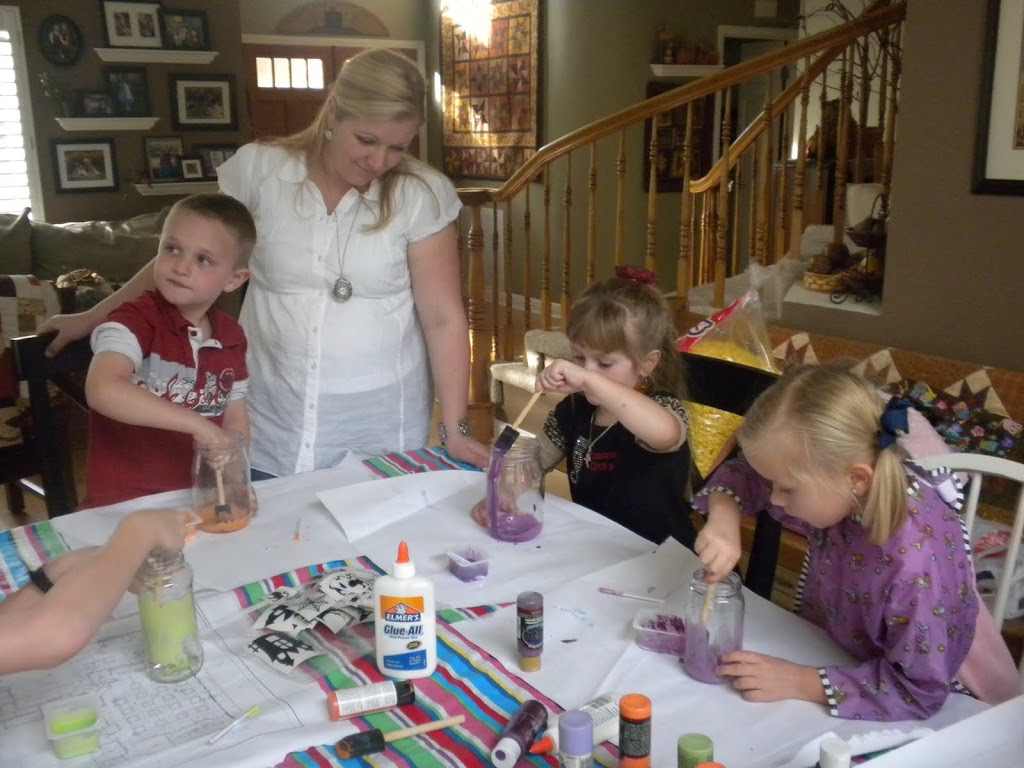
5. Let the jars dry
6. I cut out trees, pumpkins, bats, spiders, etc. on my cricut. If you don’t have access to a cutting machine, I have seen black Halloween silhouettes at the Dollar Tree you could Mod Podge to the outside

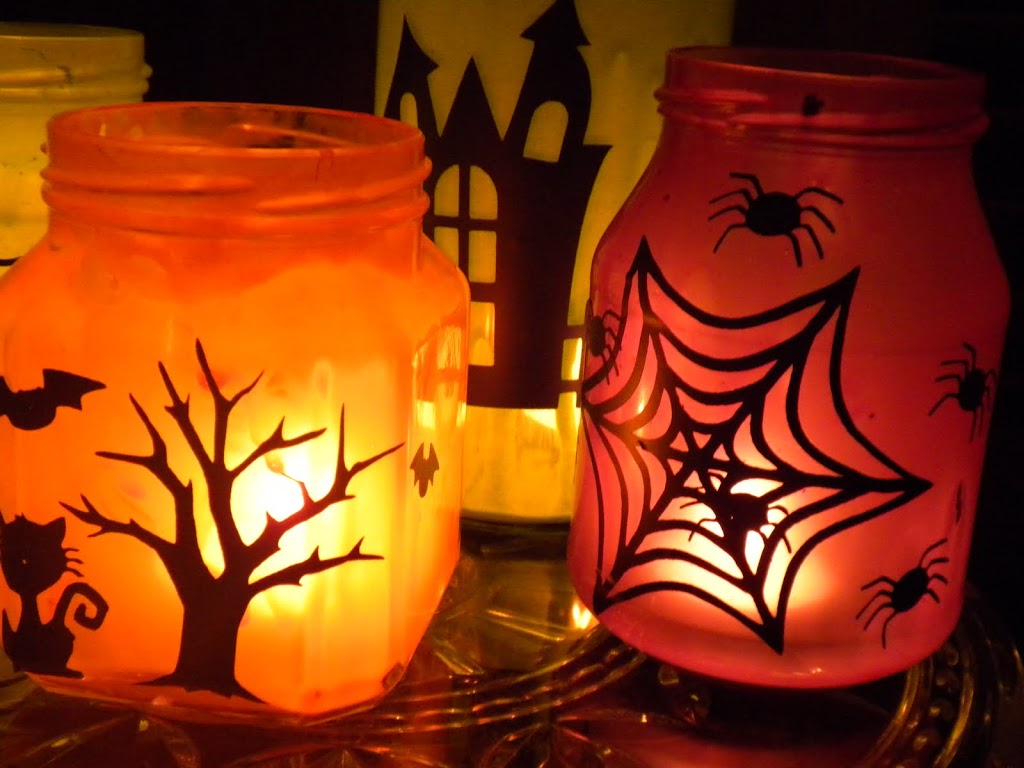
7. I put real candles in my jars. If you are worried about flamibility, you can use battery lights or even twinkle lights.
Hope this helps! Happy Crafting!!


Did you cut out those designs using a vinyl sheet with your cricut, or did you adhere paper cutouts on? What cricut cartridge did you use to get these designs, they are cute!
Love these jars. What a great idea. I saw your idea on pinterest. I’m a new follower on your blog. –C
christinescreativecards.blogspot.com
Great idea!
I just have a question, what’s the reason of
mixing glue with paint?
She said to make the paint more transparent
These are great!!!!! Thanks for sharing…I will have to try to make them soon!!!
Want to buy a Cricut just for those designs! But I guess I will look in the dollar store instead. This might be the first online craft I actually do!
In answer to the above questions…..
I cut the images on my Cricut machine using black vinyl. The reason you need to mix white glue in the paint is to give the paint a transparent look so you can see the flicker of the candles 🙂
Why can’t anyone ever get you to say what cricut cartridges you used? Saw the same unanswered questions
the last time, We want to know,
In response to the question regarding the Cricut cartridges used in the Halloween jars …..I used a variety of cartridges, including “Carved and Candle-lit”, stretch your imagination, Doodlecharms, and Paper Doll Dress Up. I also have a program I can cut .png or .jpeg images.
Love this idea. But when I painted inside of jar it looked great however this morning it all had run down side of jar didn’t look like I painted it. What did I do wrong ??
My paint often looks “drippy” also. You can up the ration of paint to glue. Try painting several thin coats and letting the paint dry in between. The jars do seem to dry lighter than they look wet. I hope that helps 🙂