Pretty Playtime Quilt Along

Blog-Header

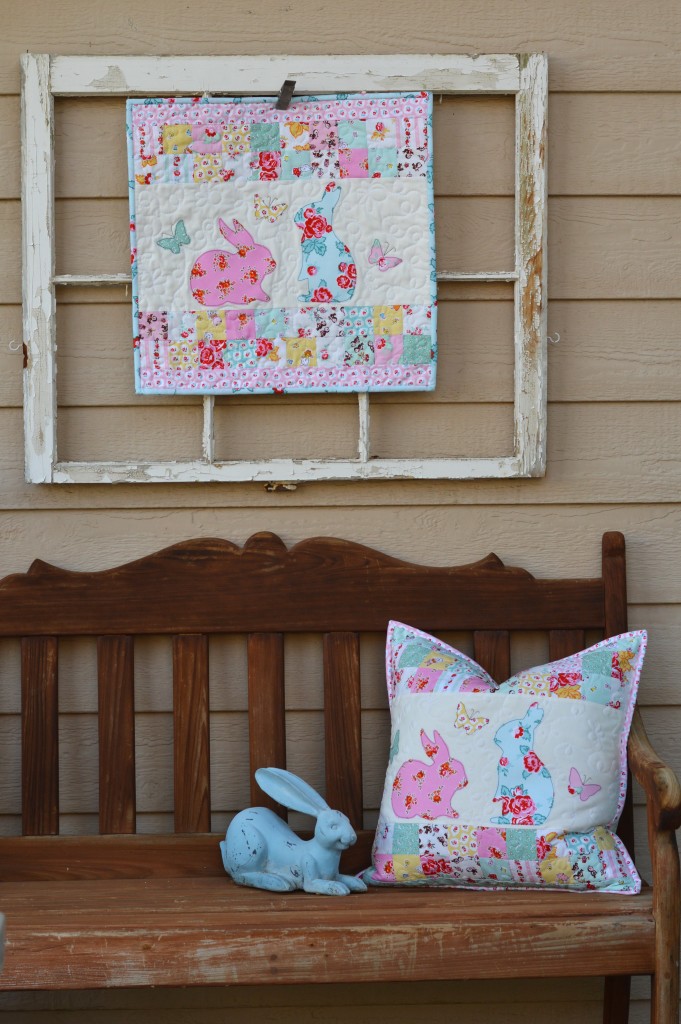
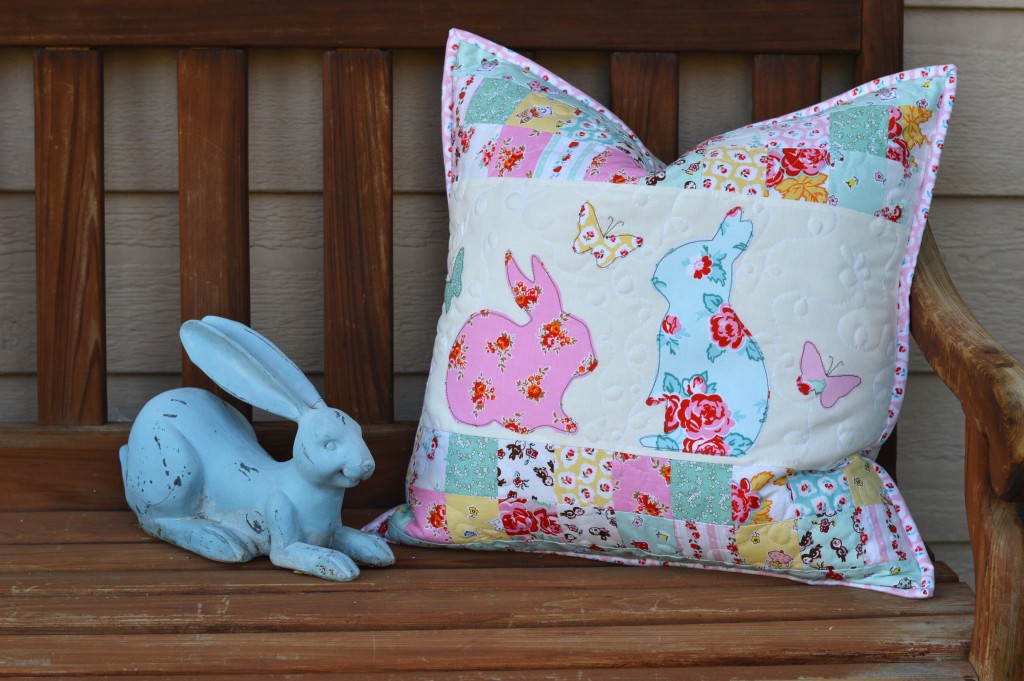
Have you seen the latest book from Fat Quarter Shop and Elea Lutz?  It’s called Pretty Playtime Quilts and it’s the cutest book ever!  First, who doesn’t love that it’s spiral bound – genius!  The book is filled with adorable quilt blocks that can be made into 6 quilts……or you can make the blocks and create your own quilt!IMG_7733

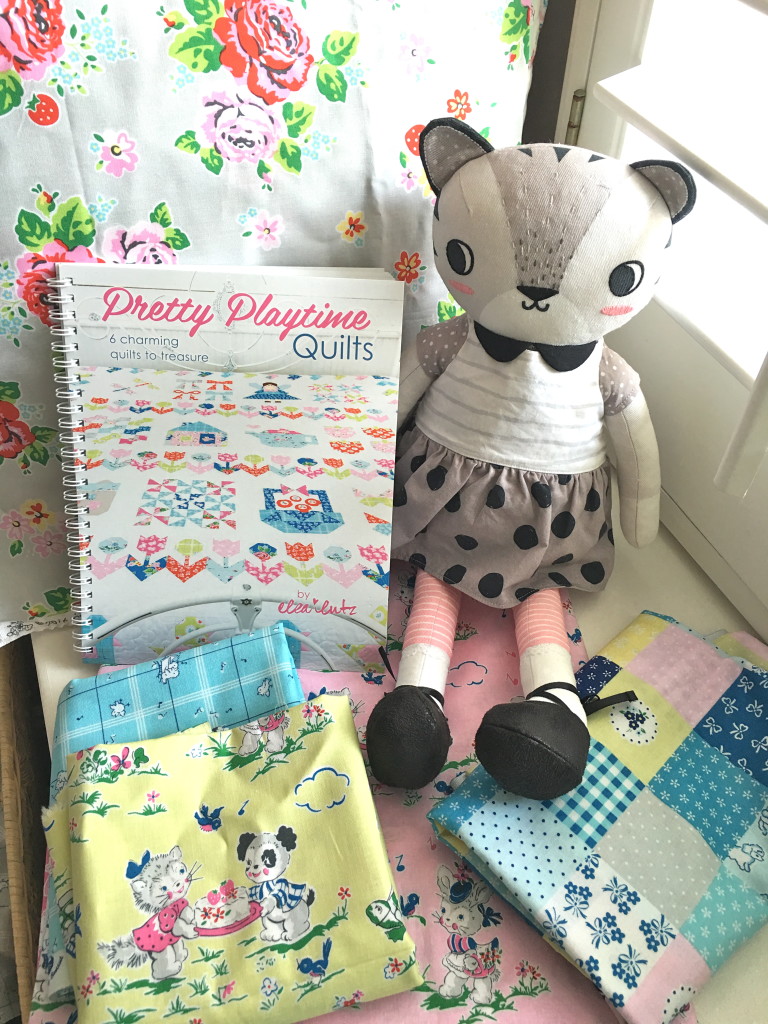
Fat Quarter Shop is hosting a Quilt-Along and here’s the schedule if you’d like to join in!  Each week a different designer will be featuring a quilt block from this book!

Week 2 – Erin from Why Not Sew?
Week 3 – Wynn from Zakka Art
Week 4 – Anorian from Samelia’s Mum
Week 5 – Amy from Diary of a Quilter
Week 6 – Renee from Sewn with Grace
Week 7 – Jemima from Tied with a Ribbon
Week 8 – Amanda from Jedi Craft Girl
Week 9 – Debbie from Happy Little Cottage
Week 10 – Tina from Emily Ann’s Kloset
Week 11 – Erica from Kitchen Table Quilting
Week 12 – Kristyne from Pretty by Hand
Week 13 – Heidi from Fabric Mutt
Week 14 – Brigitte from The Family Hearth
Week 15 – Lorrie from Sew Mod Designs
Week 16 – Kristin from They Grow Up Too Fast

IMG_7744

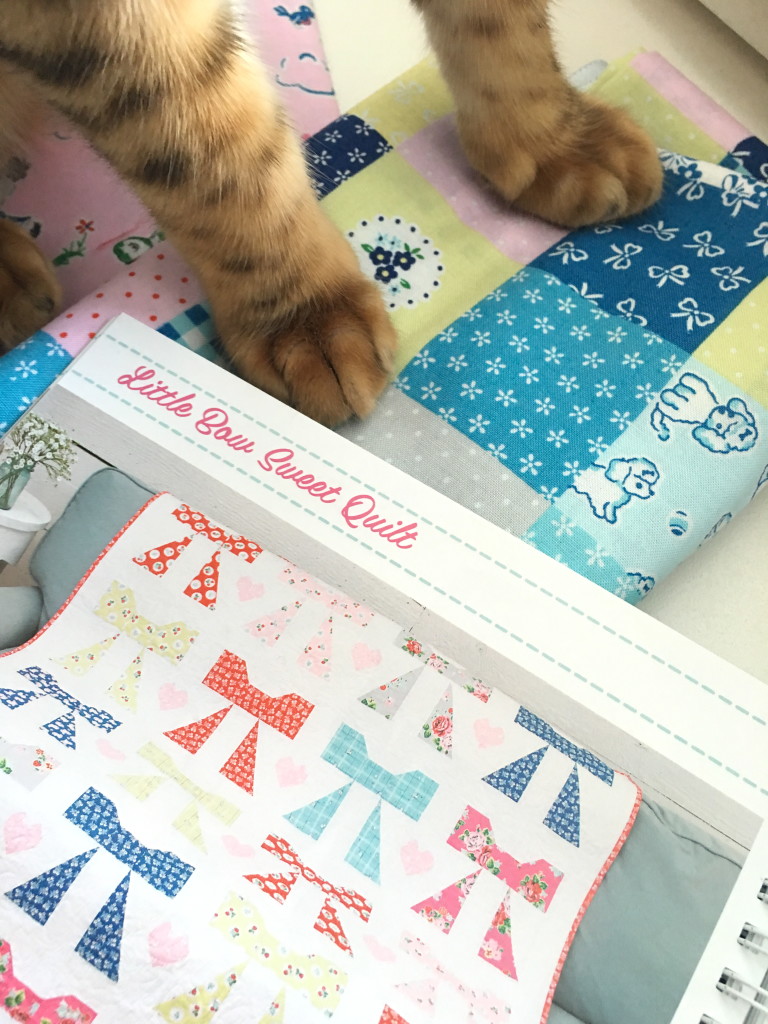
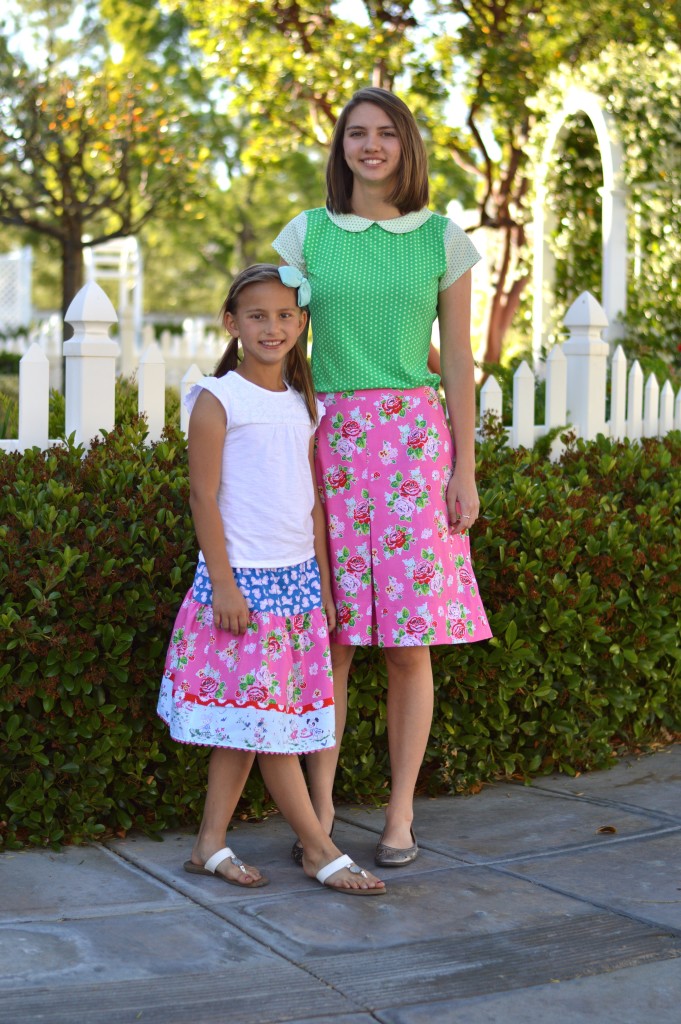
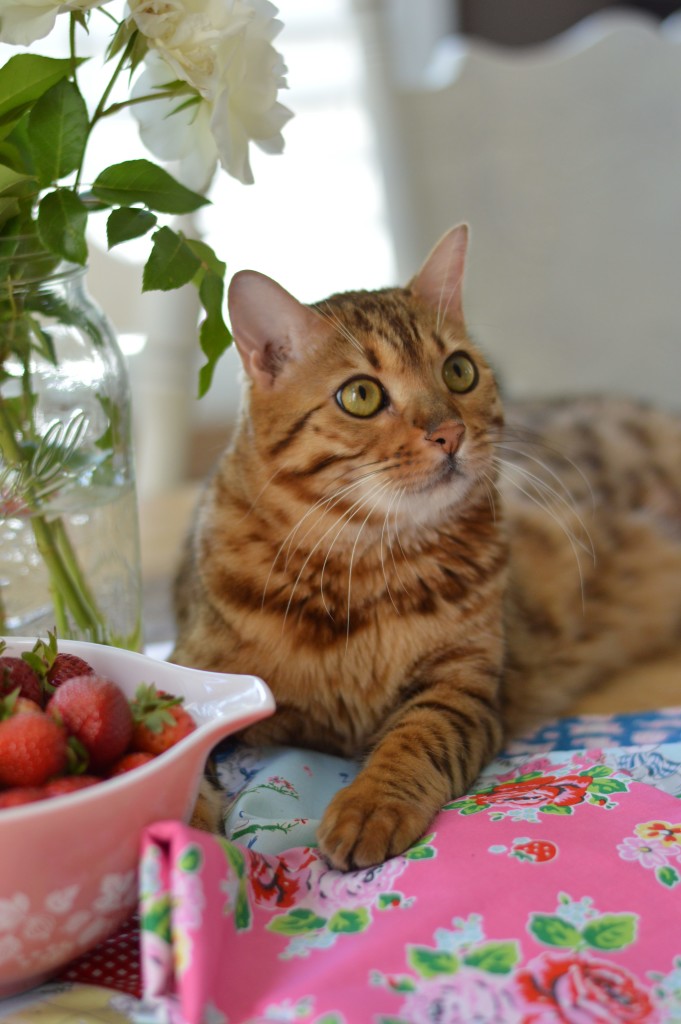
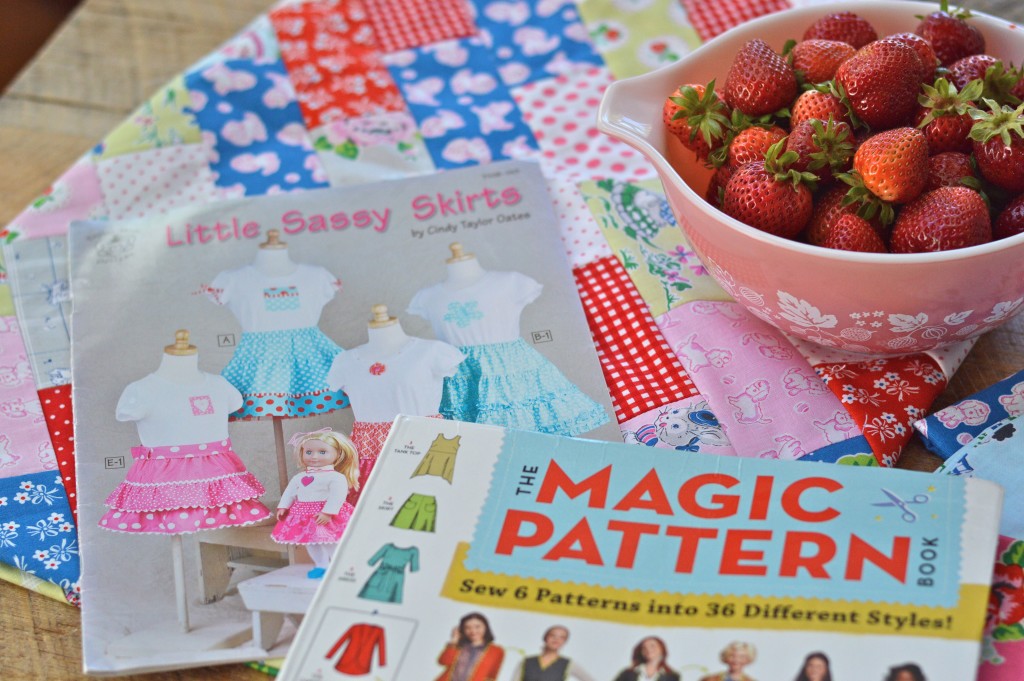
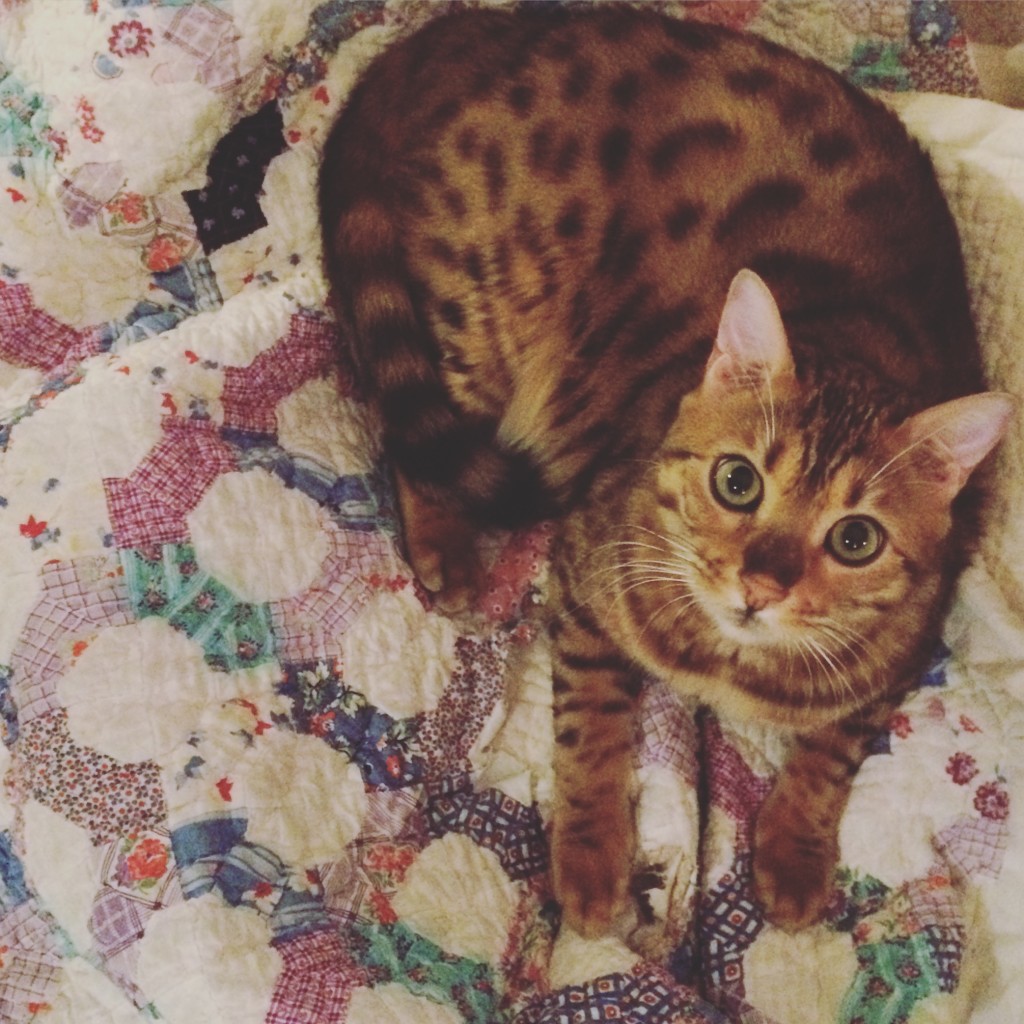
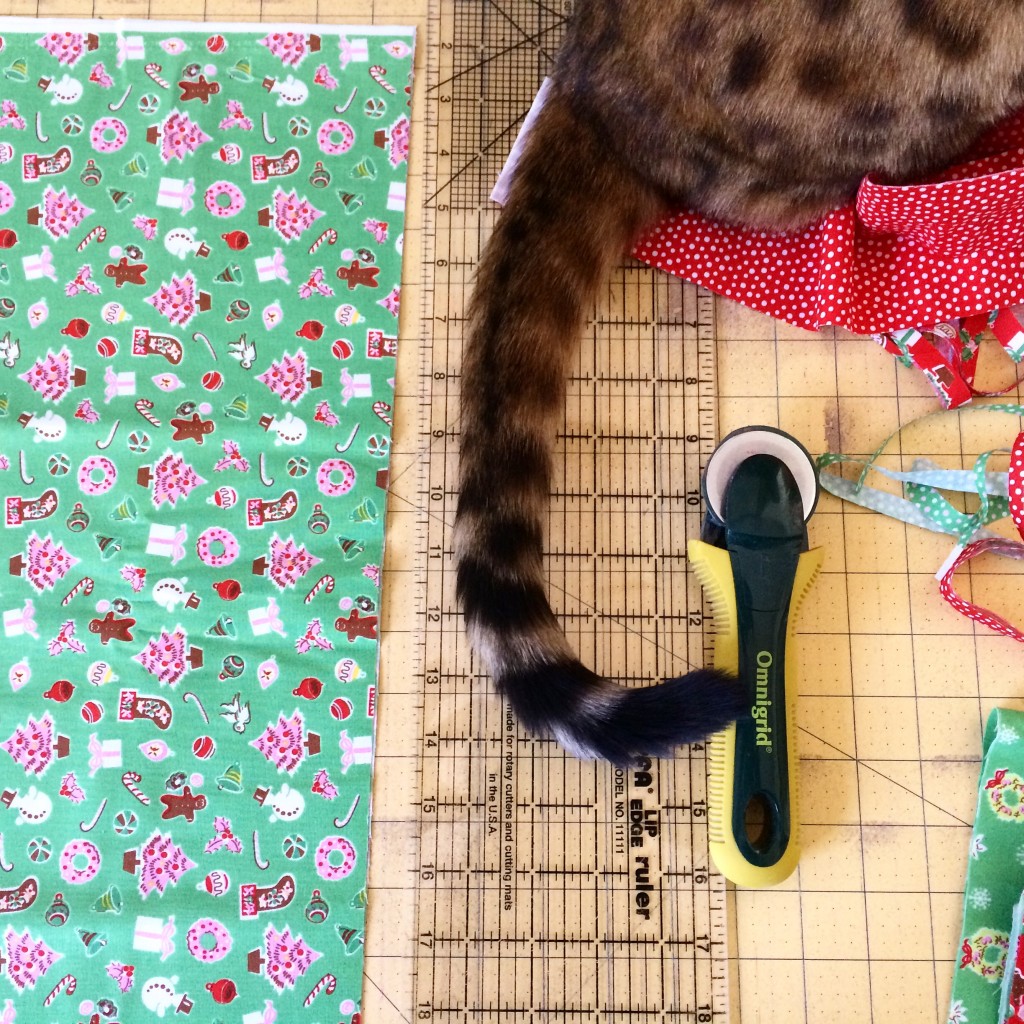
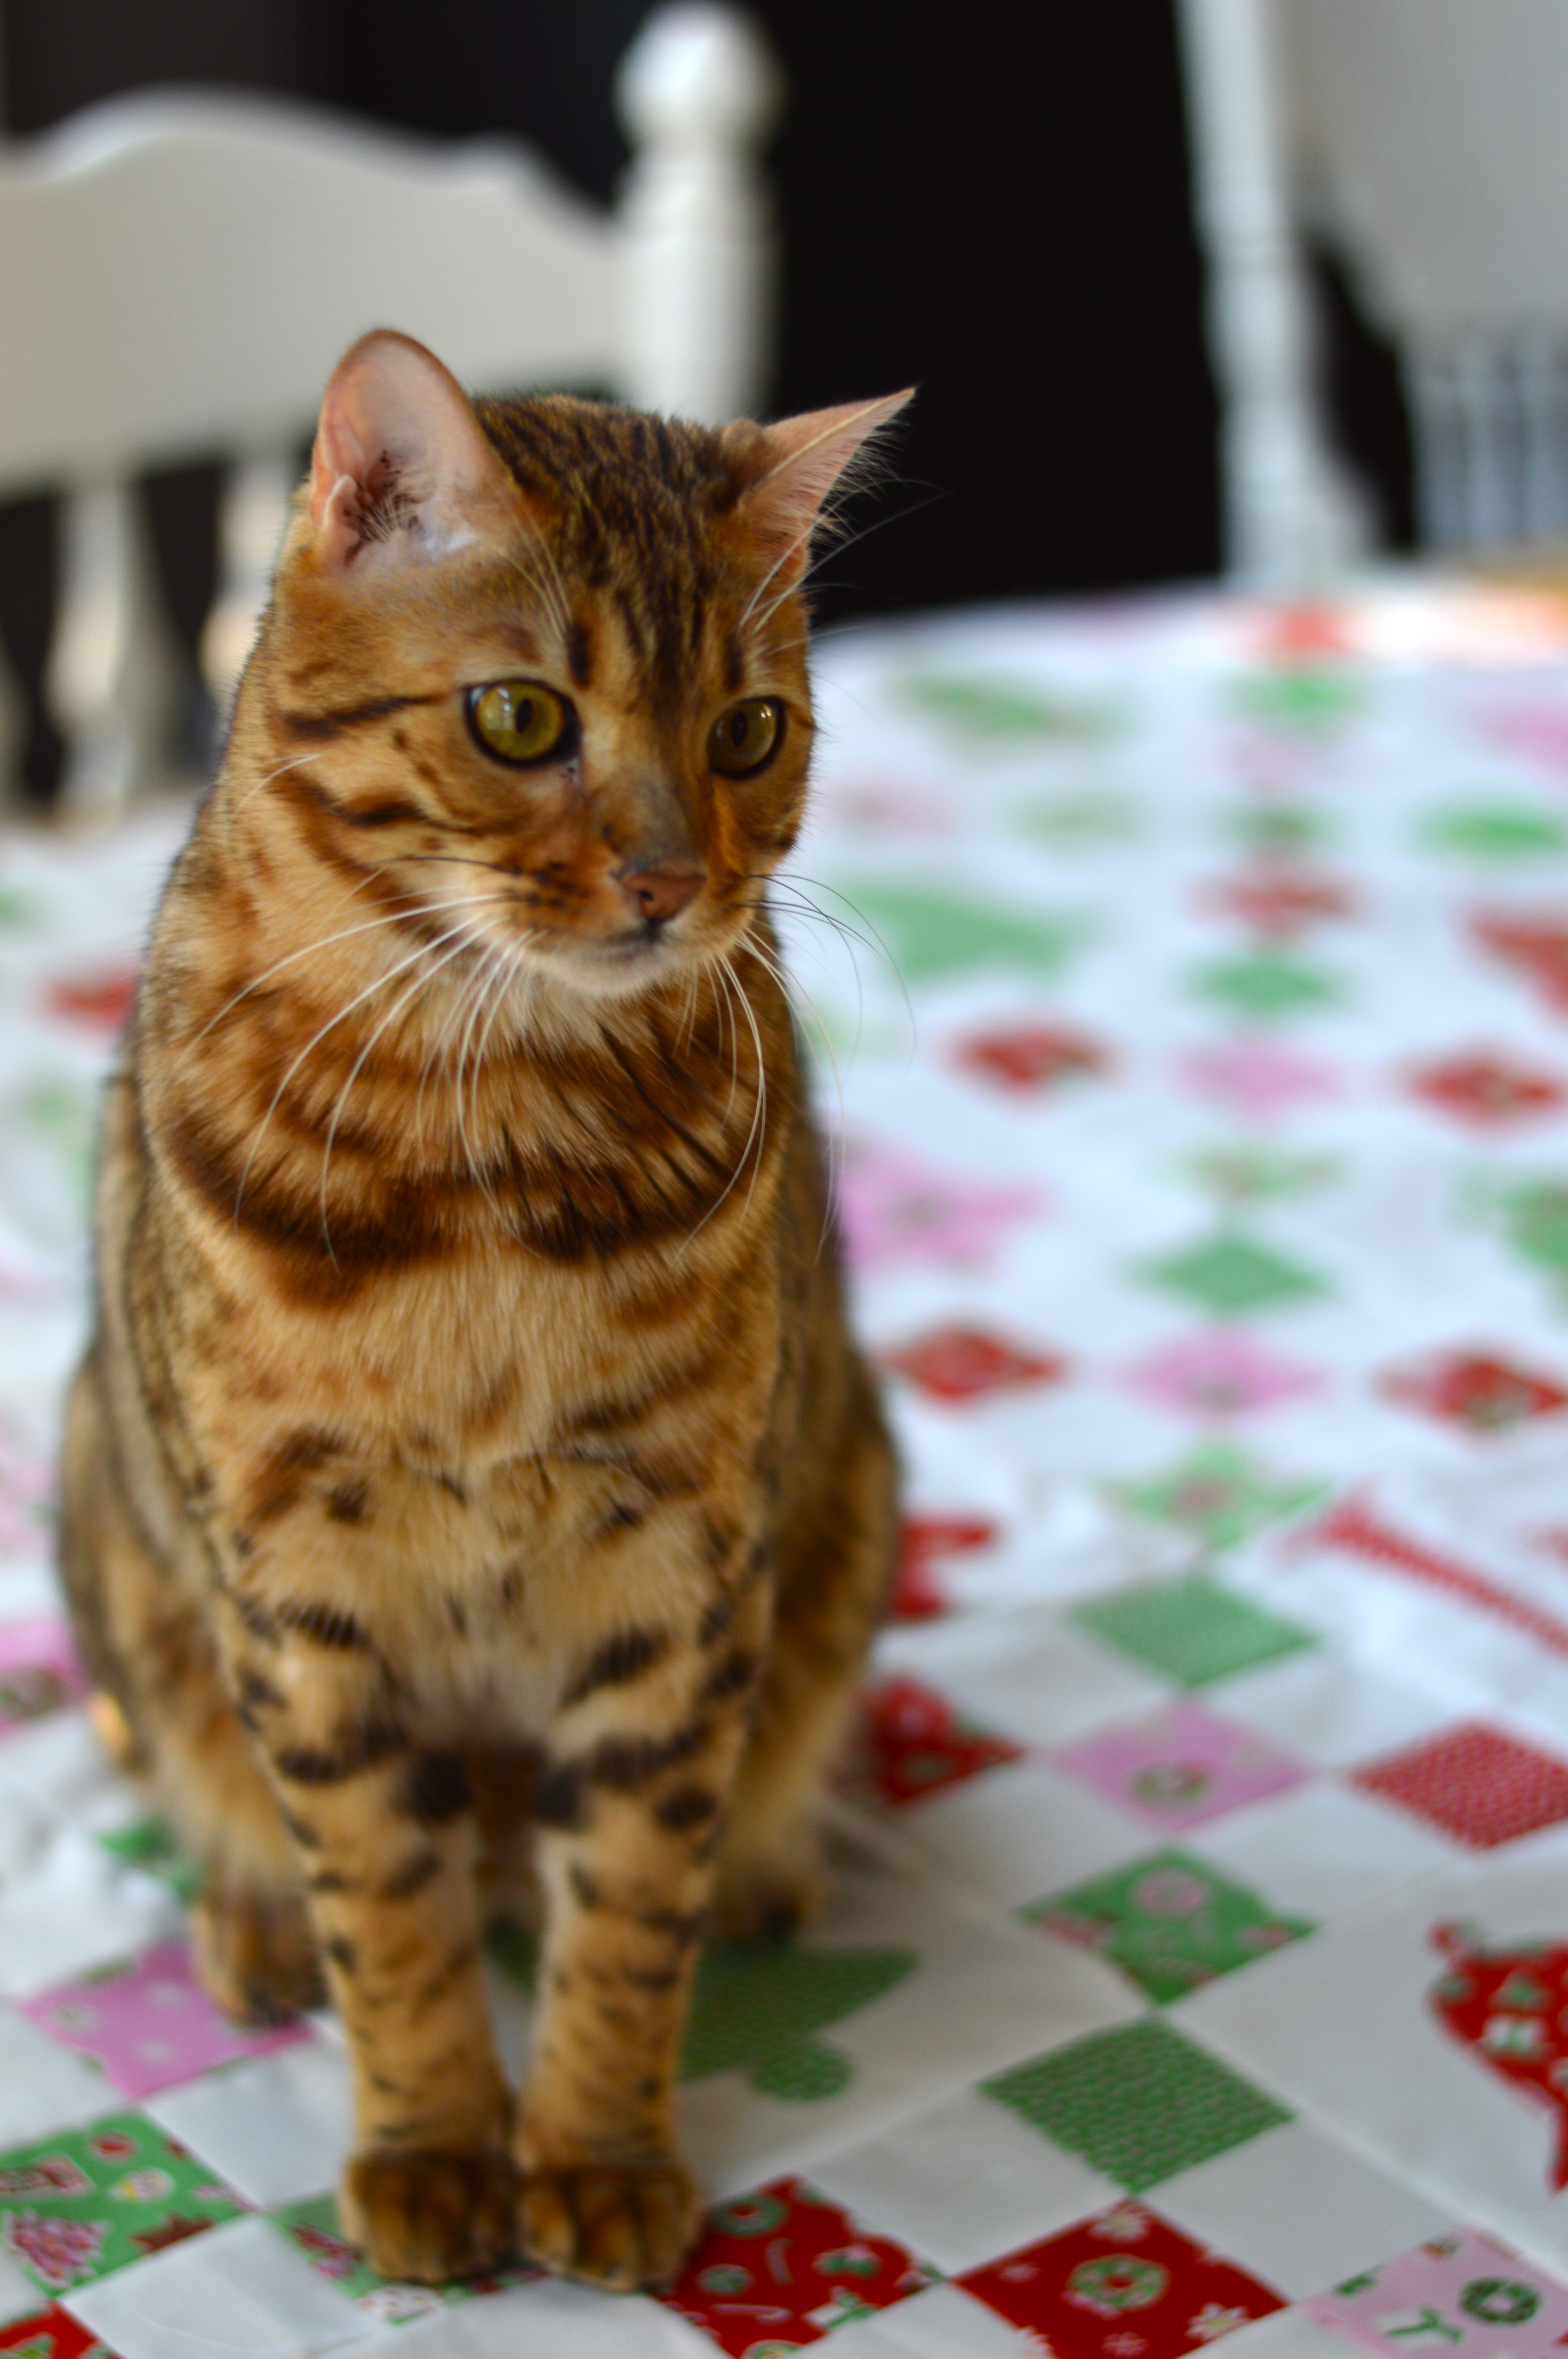
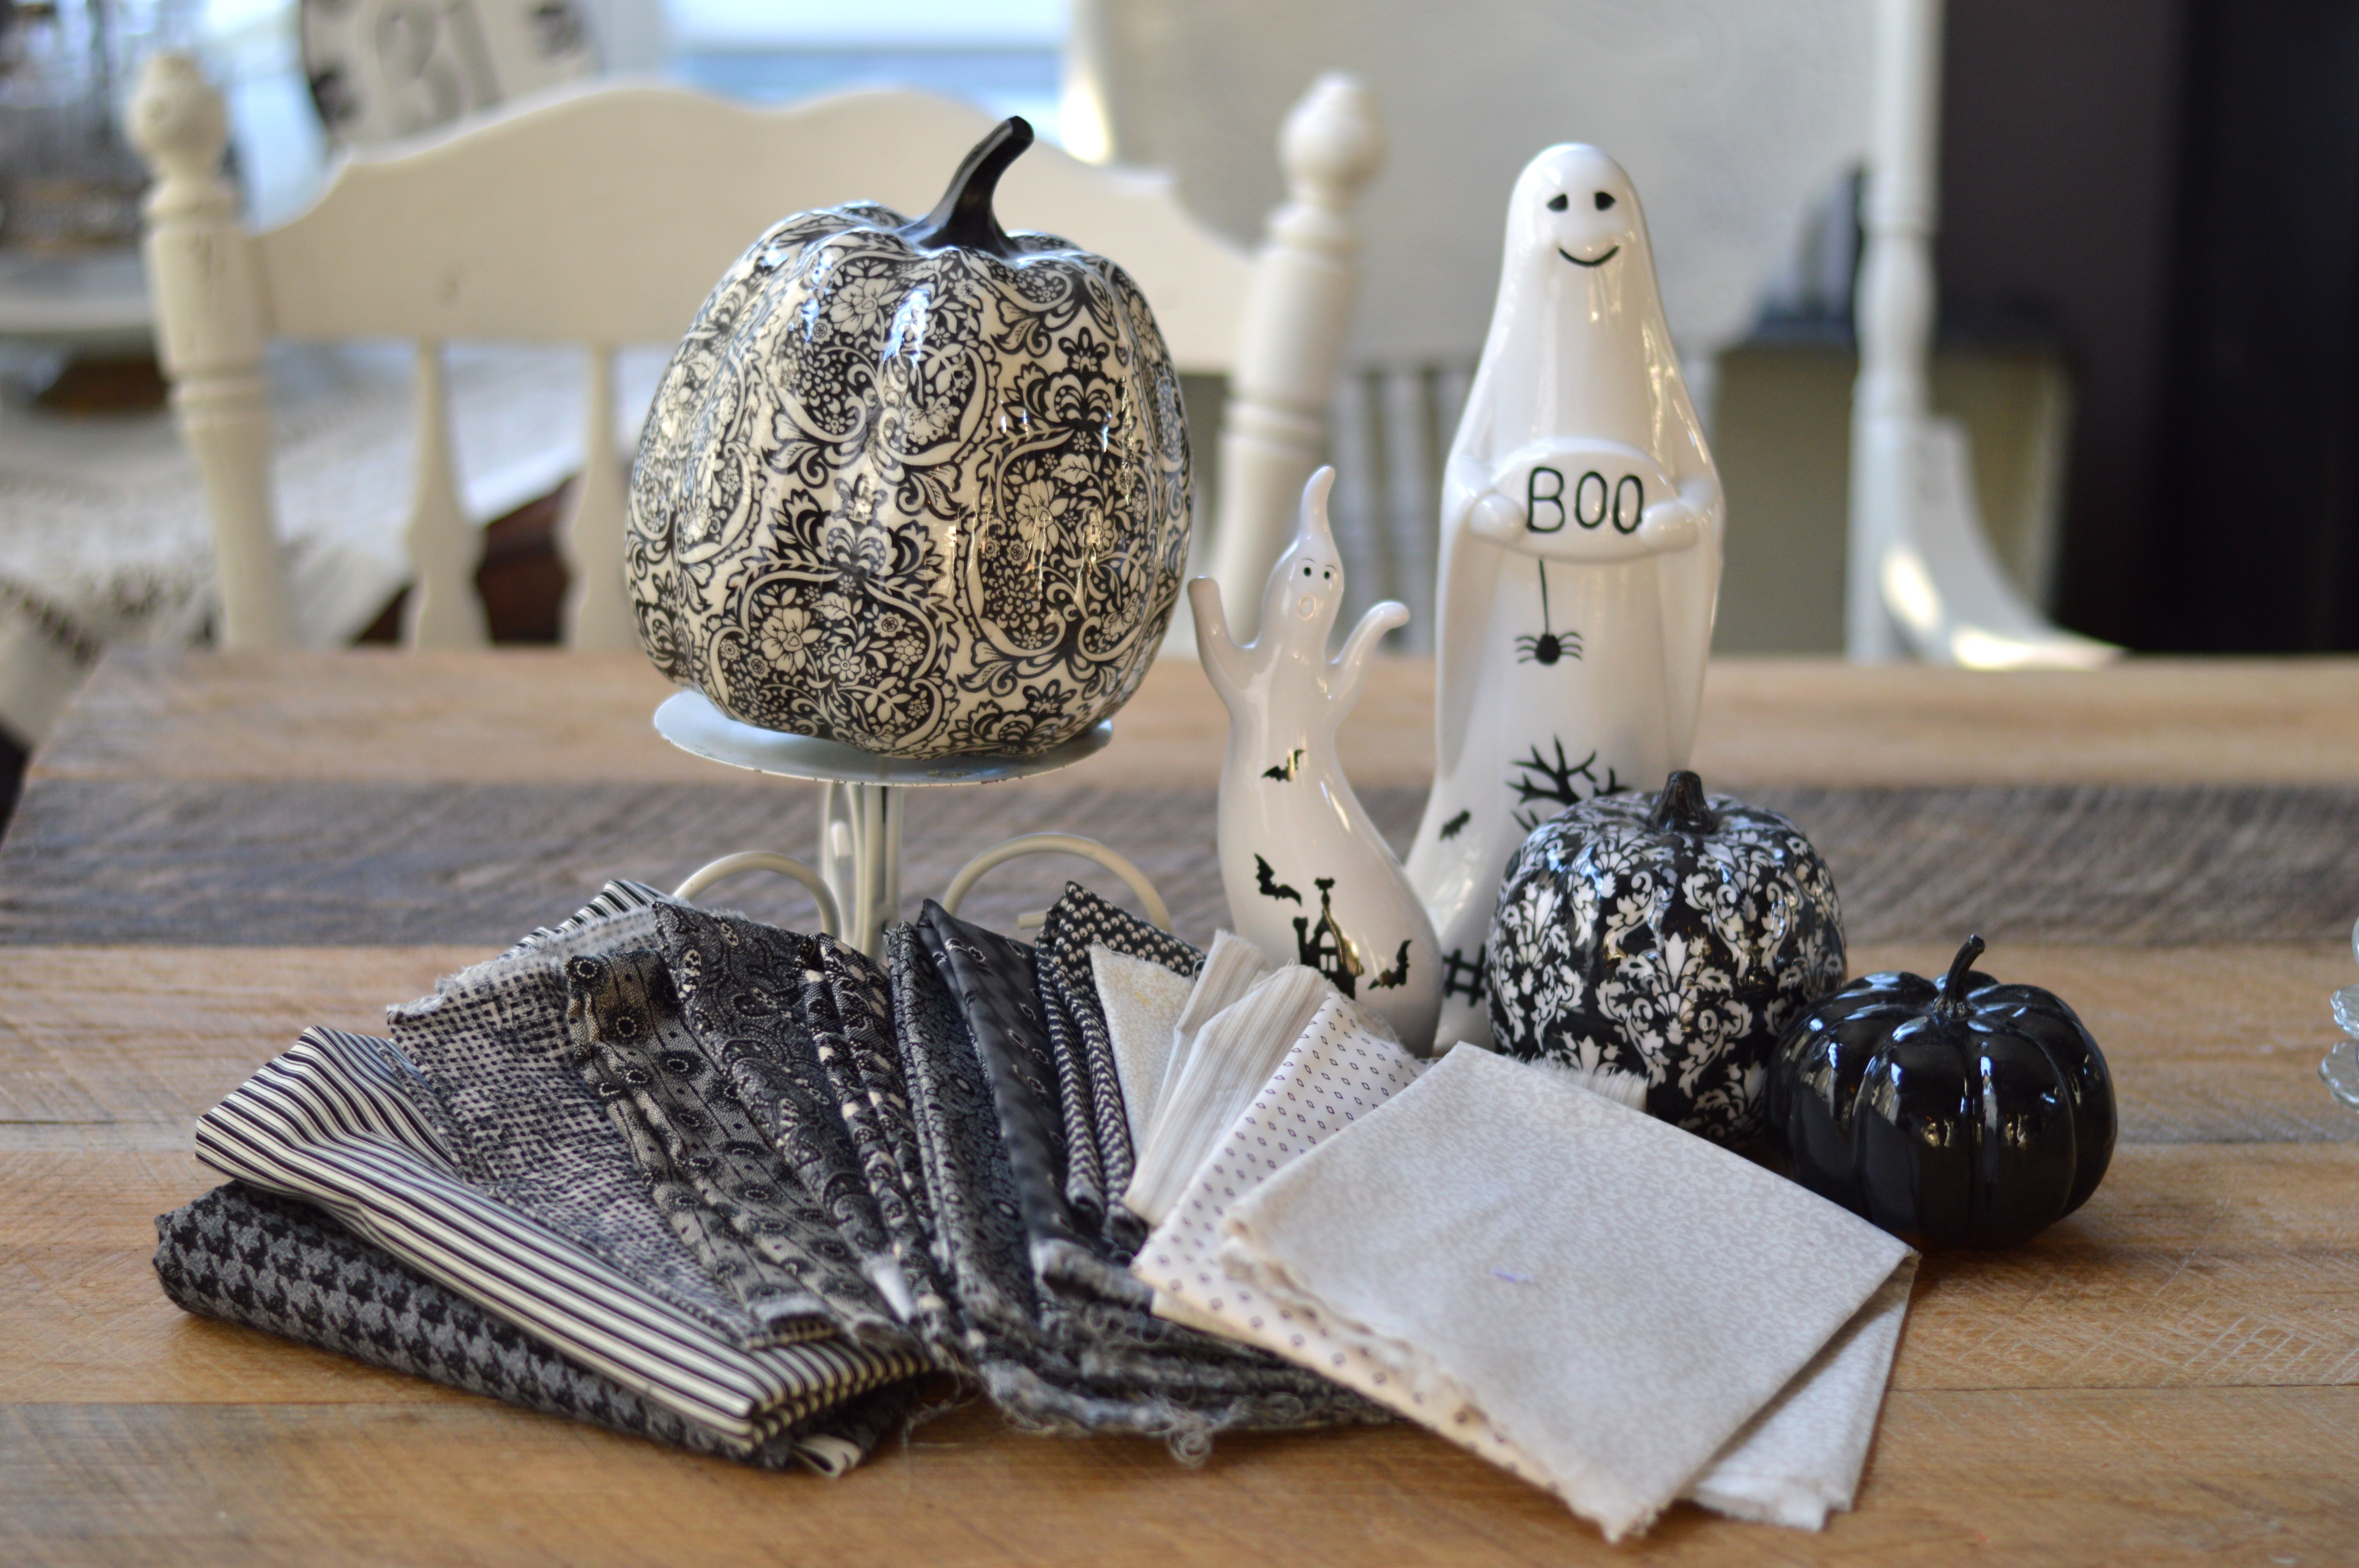
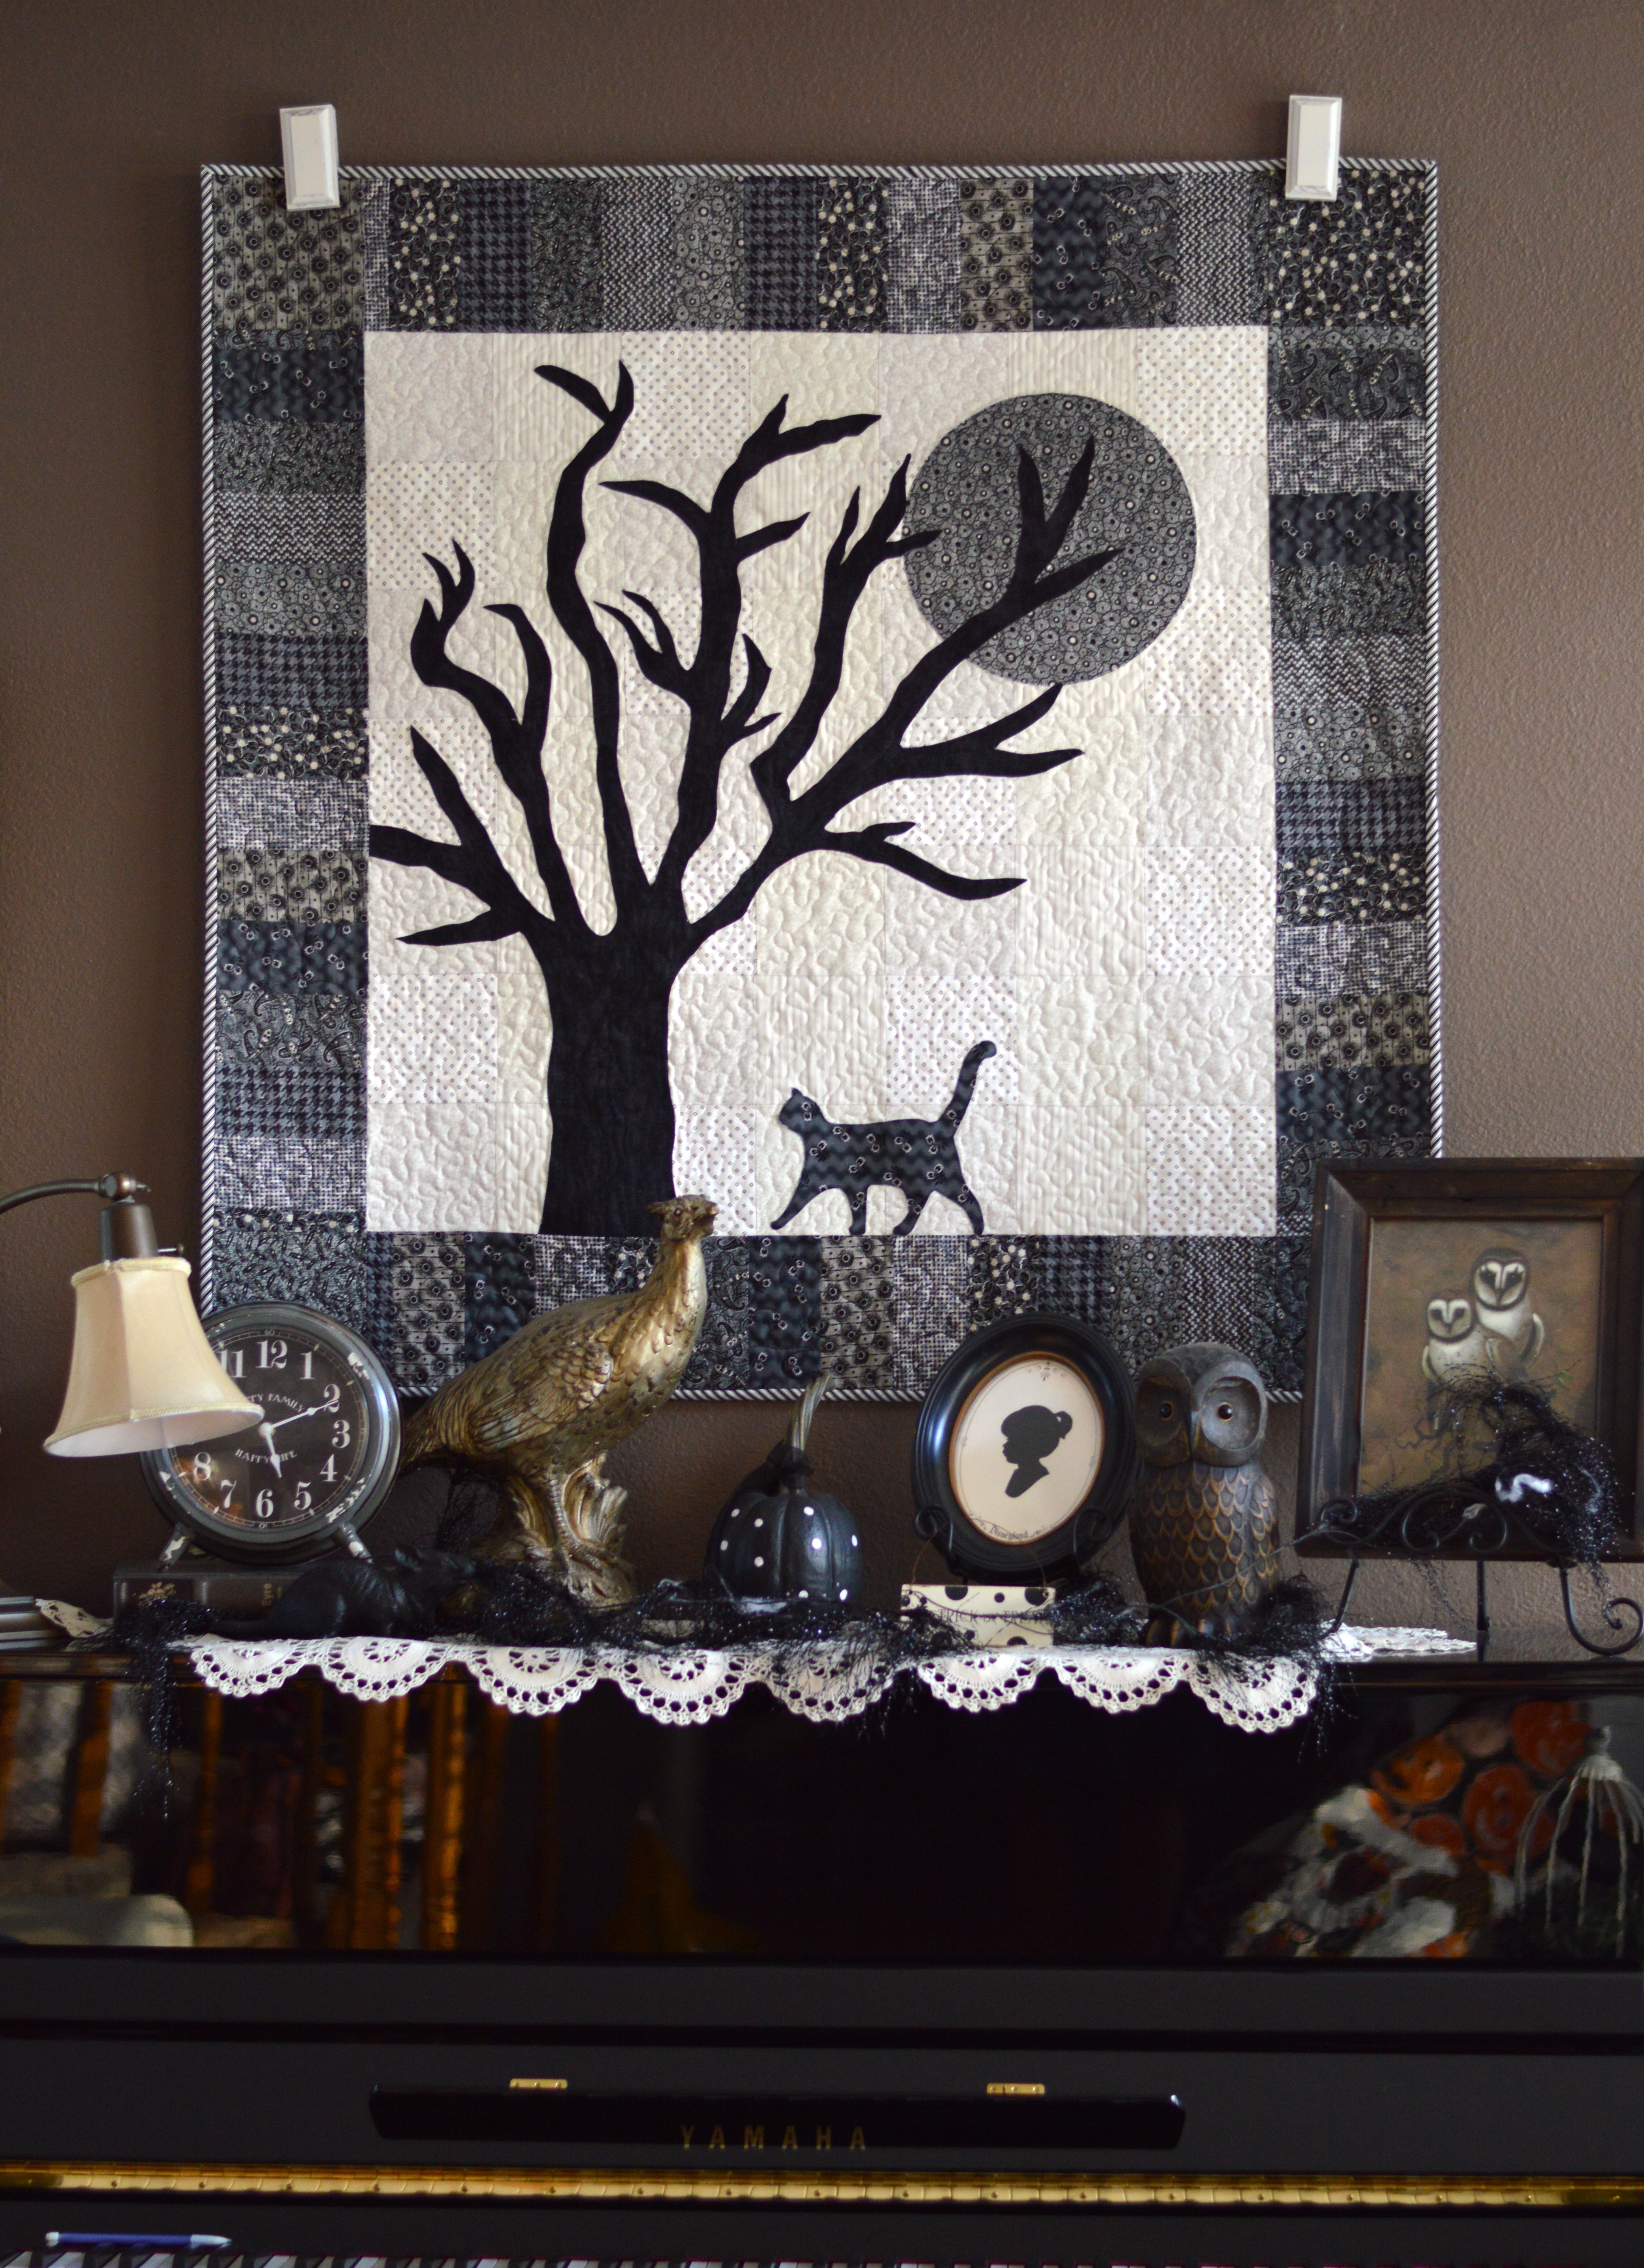
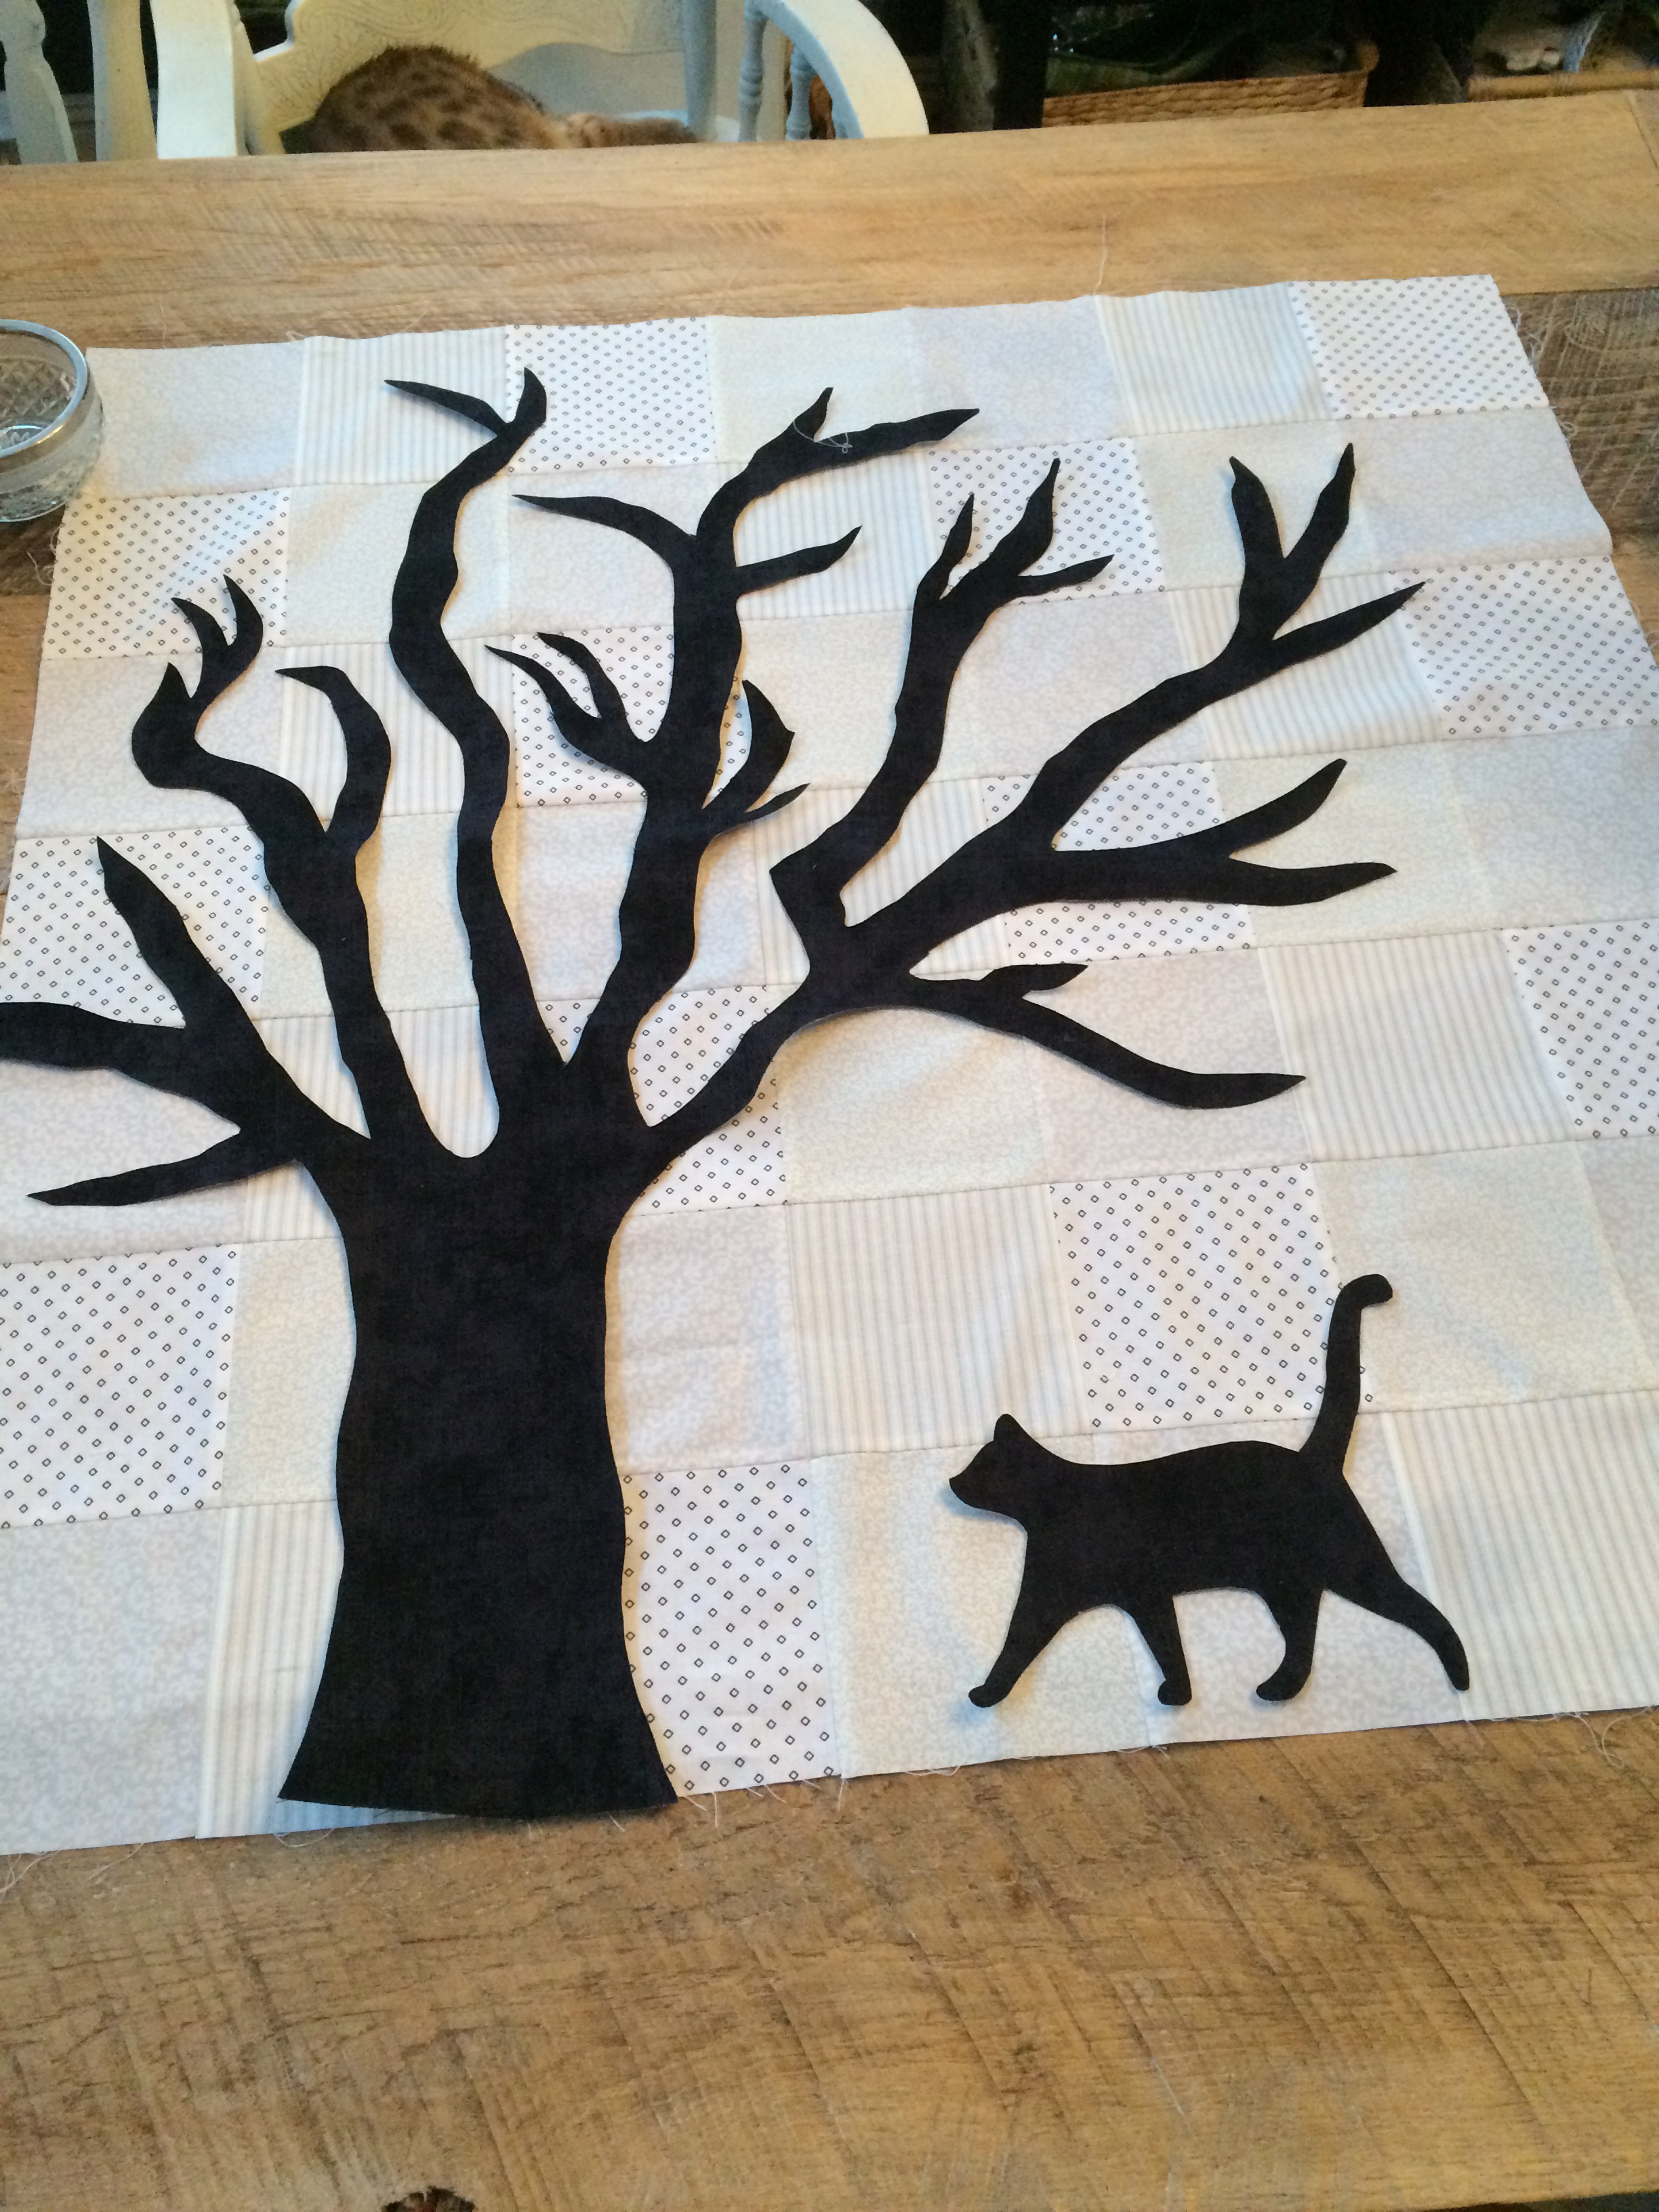
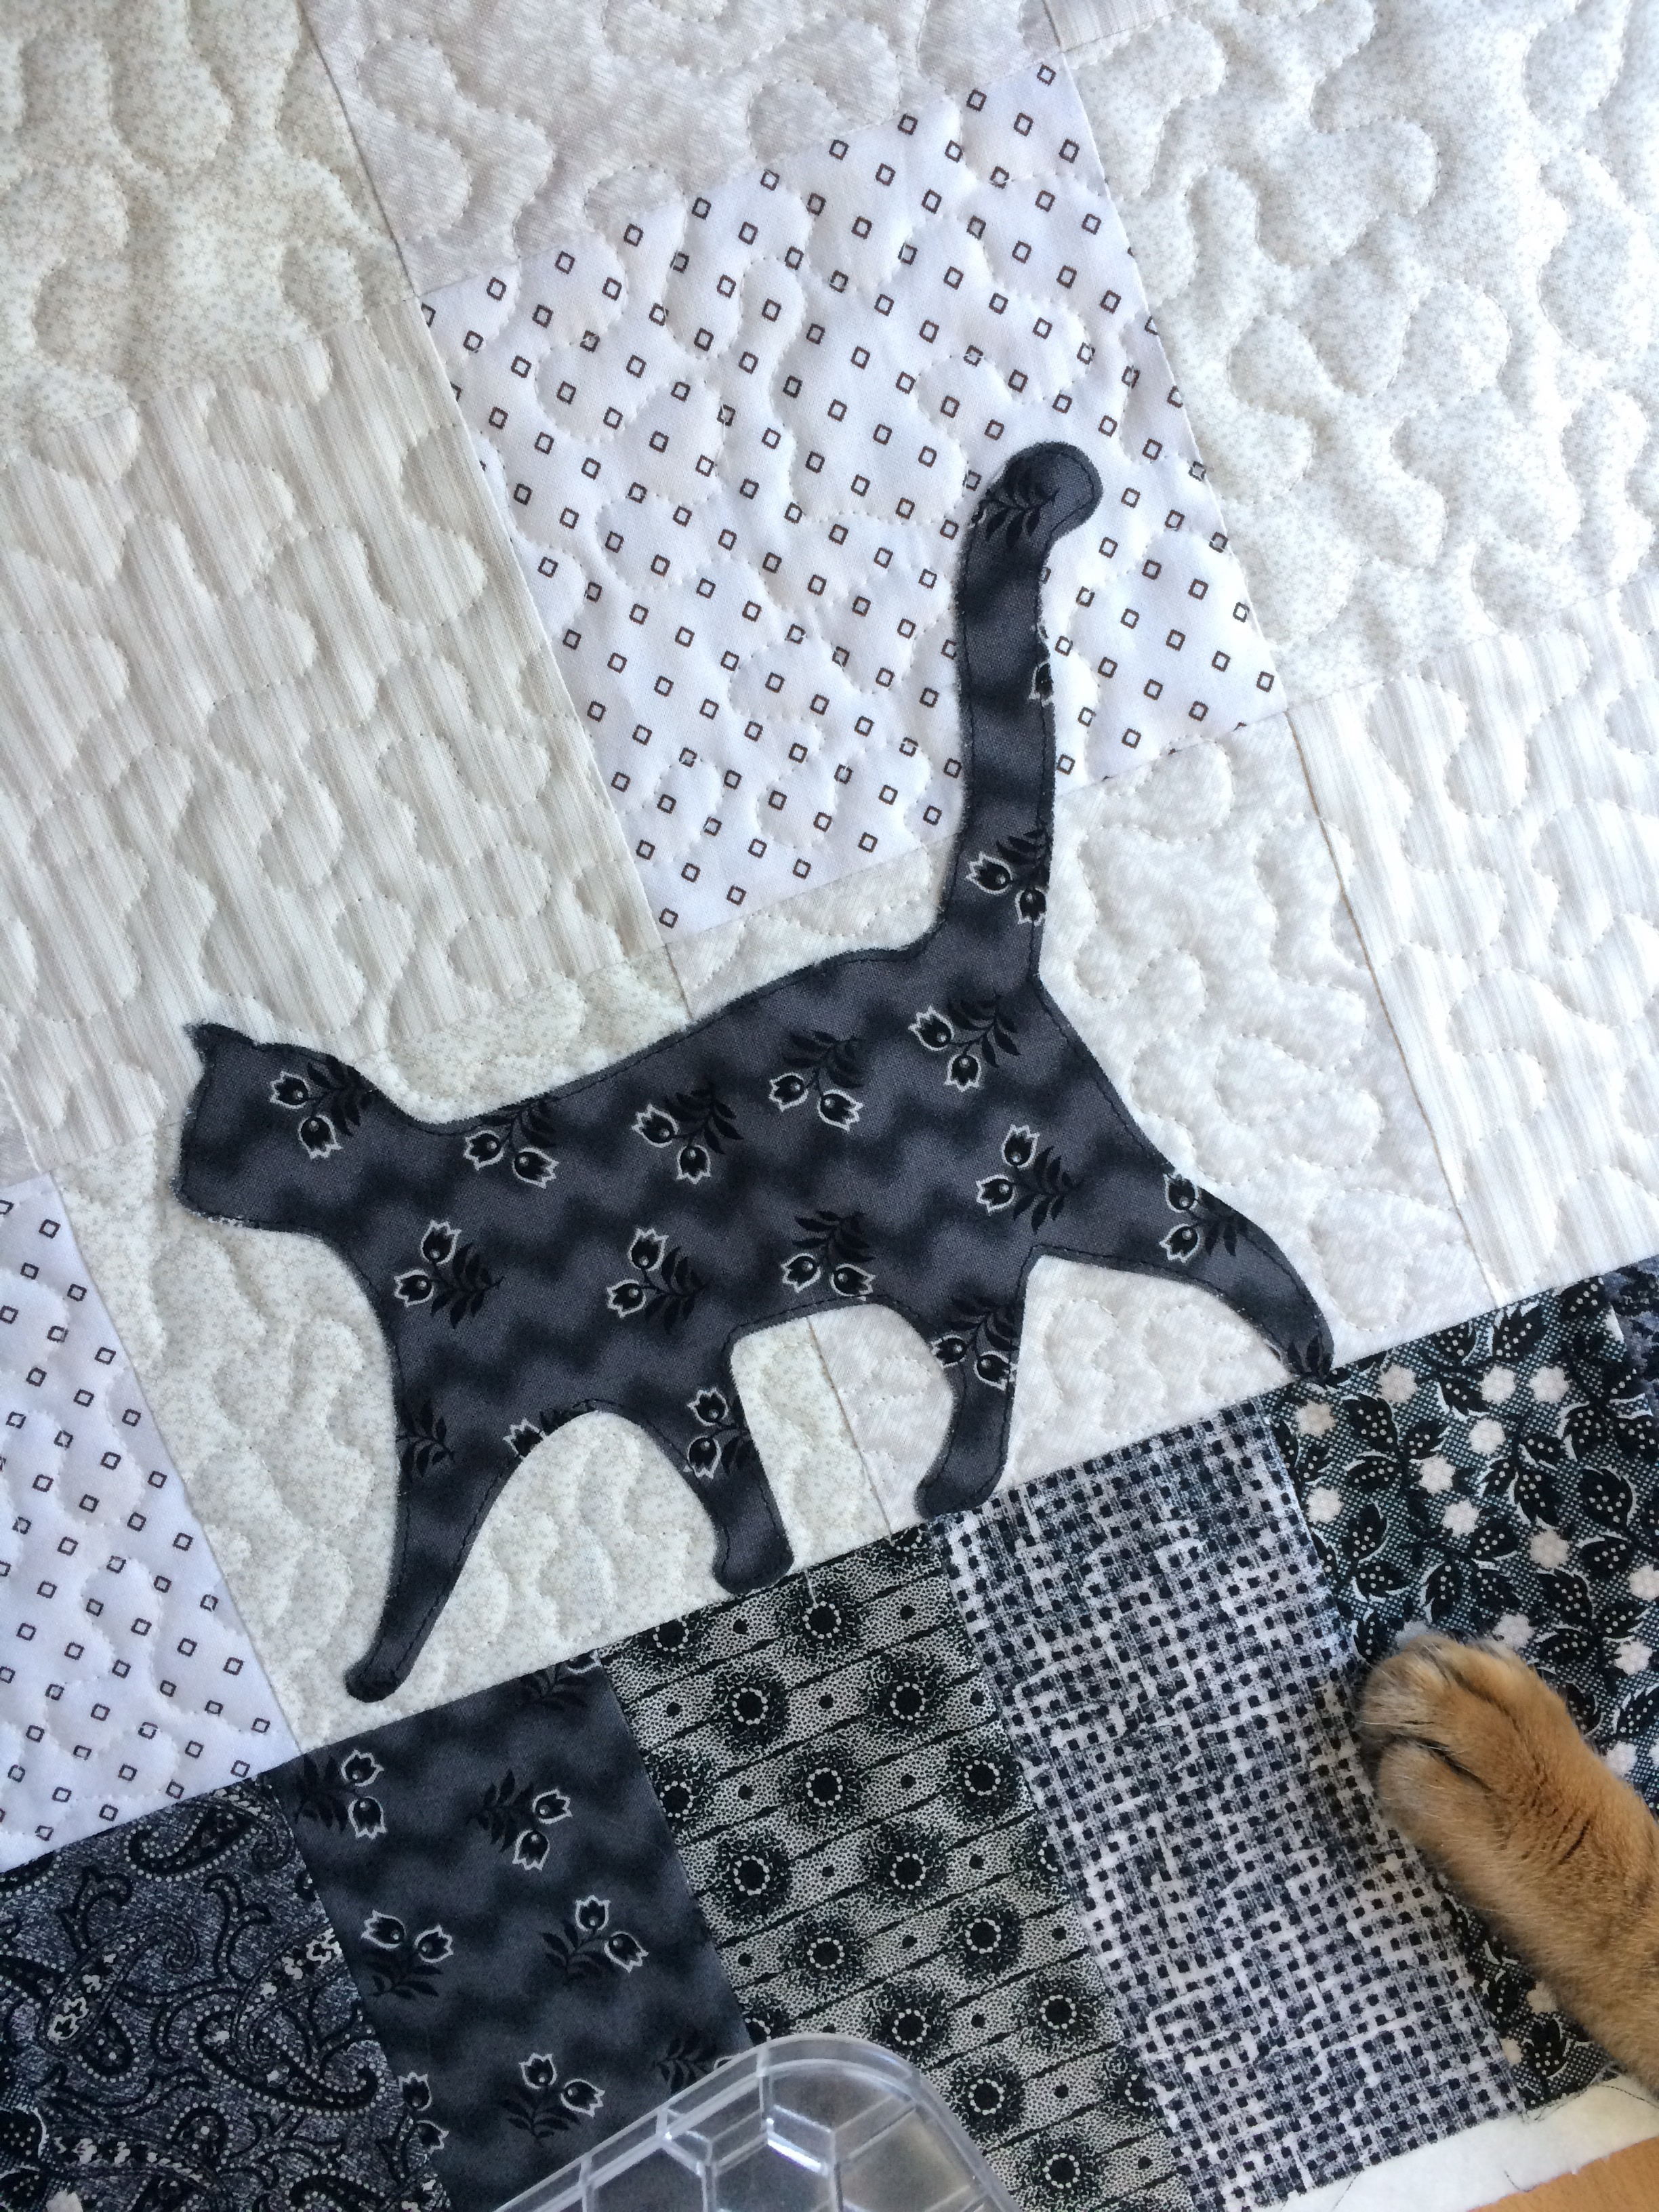
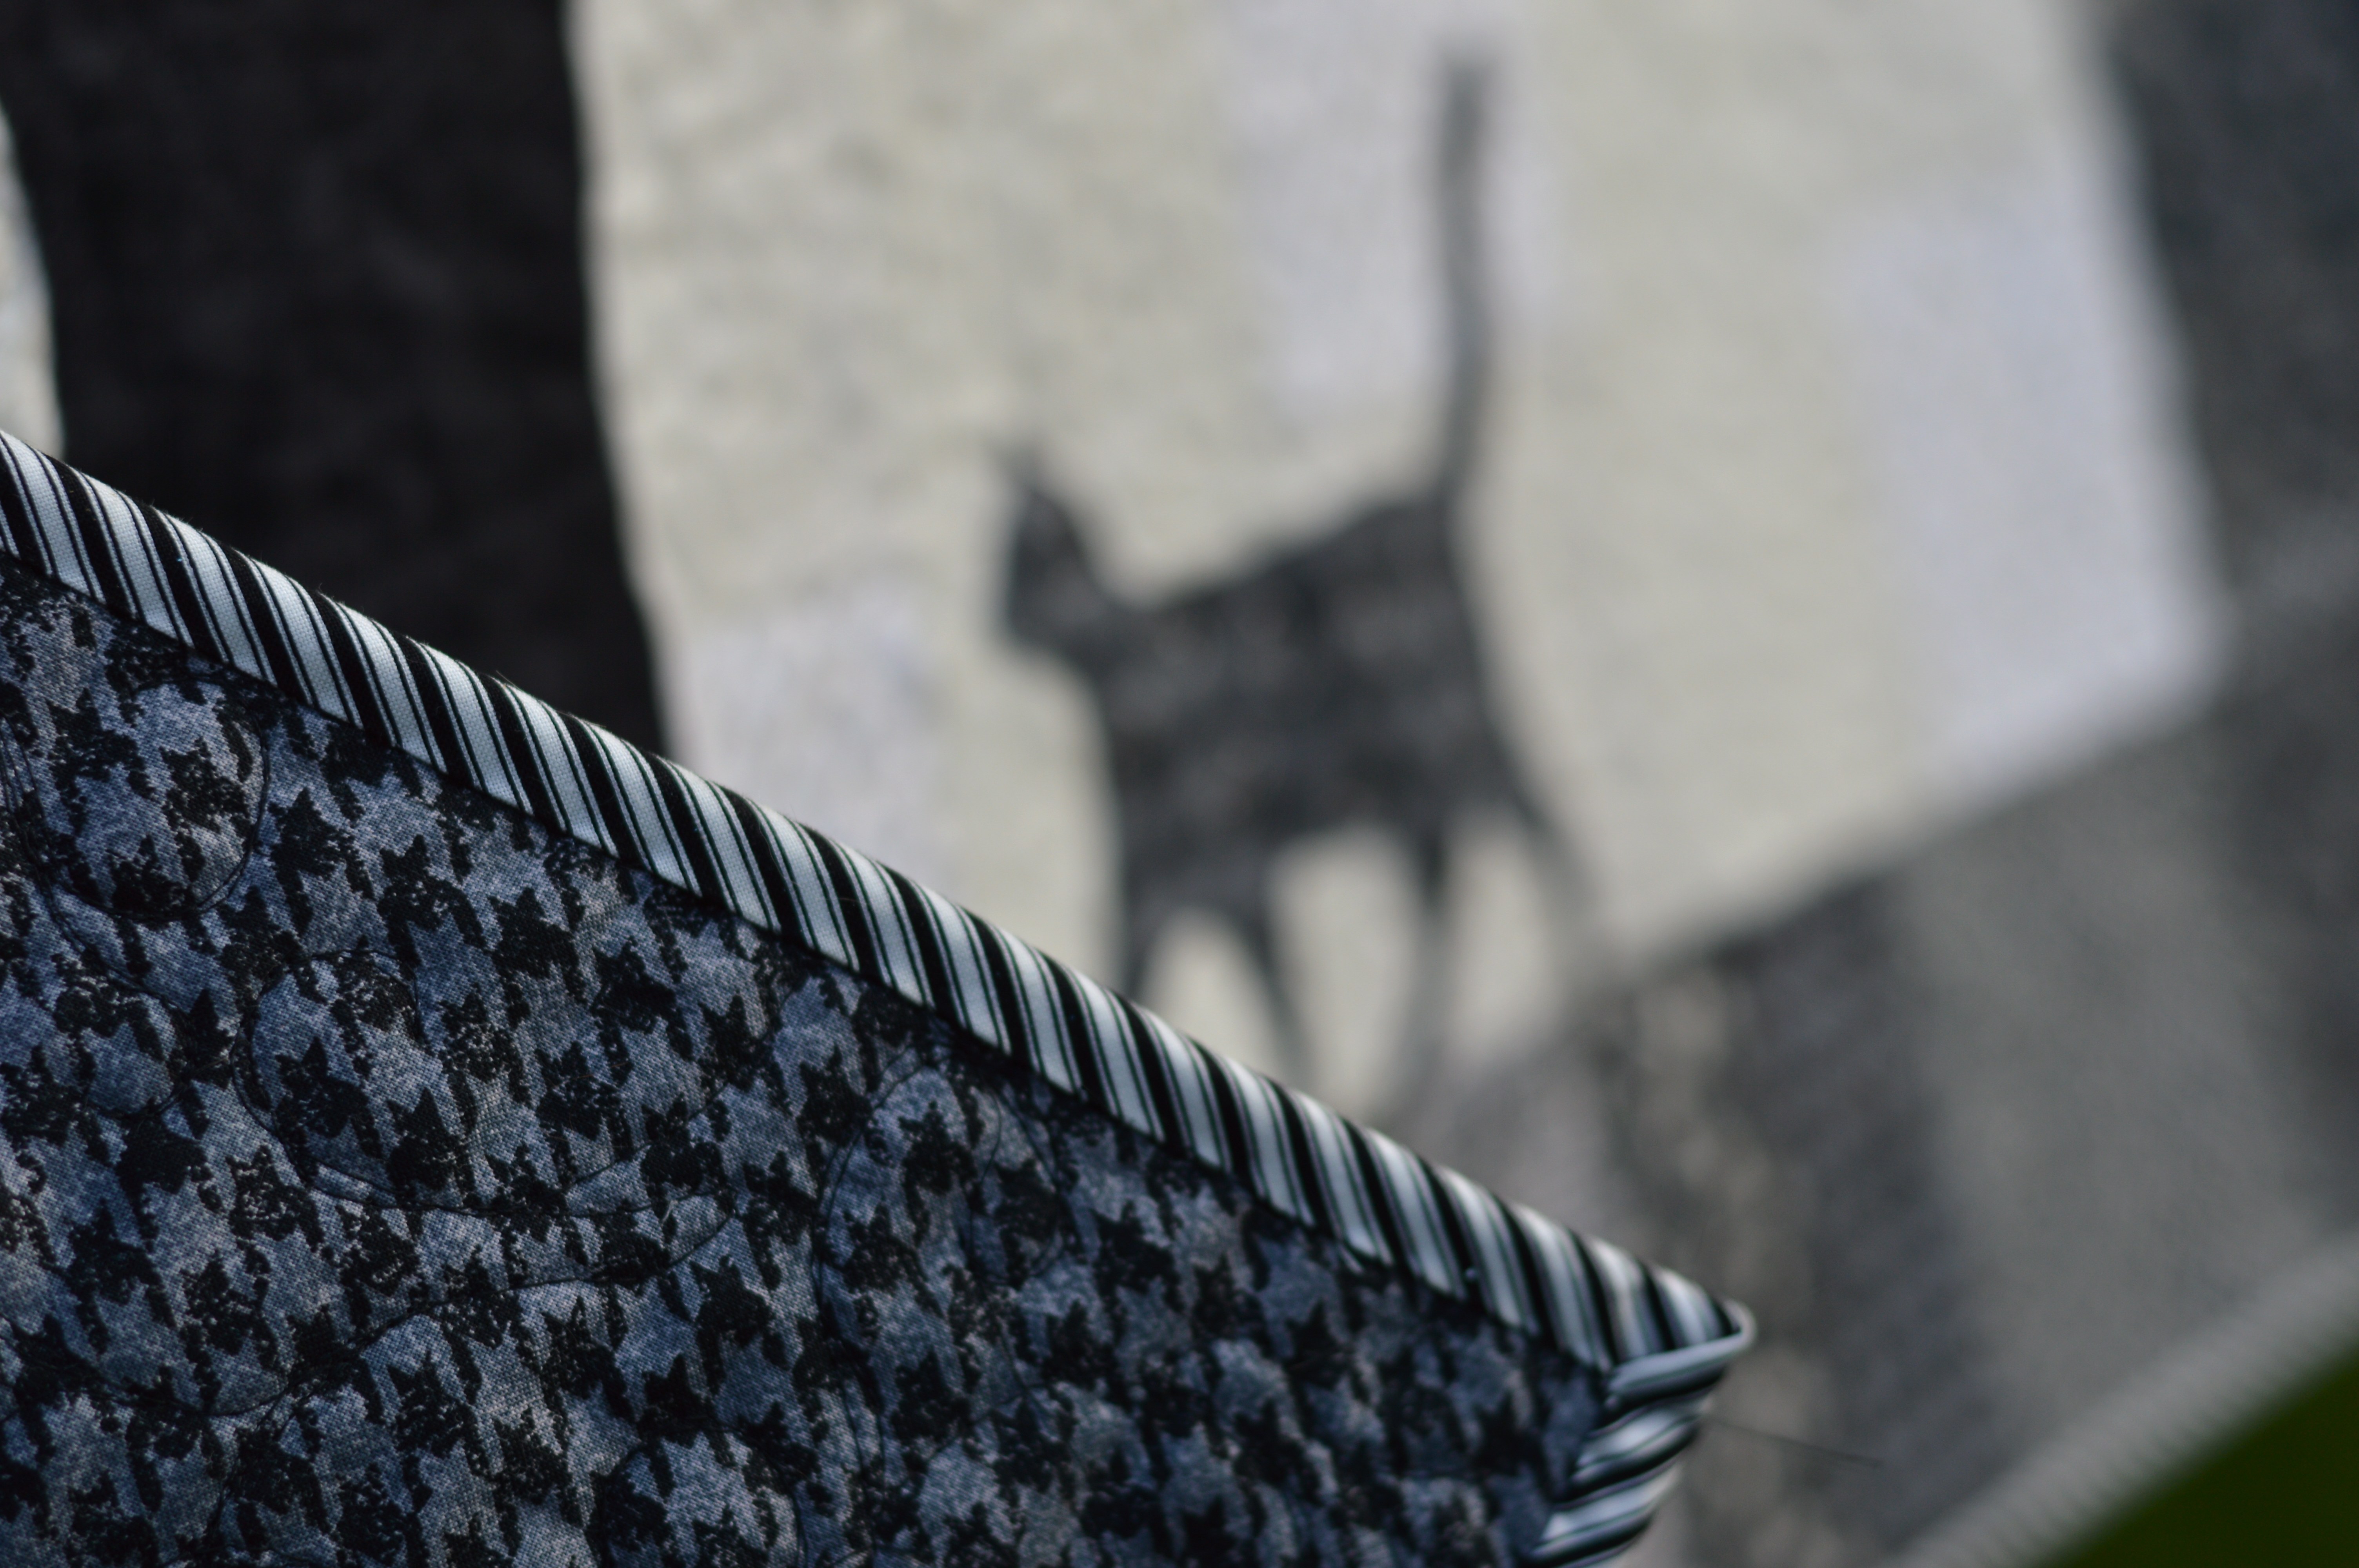
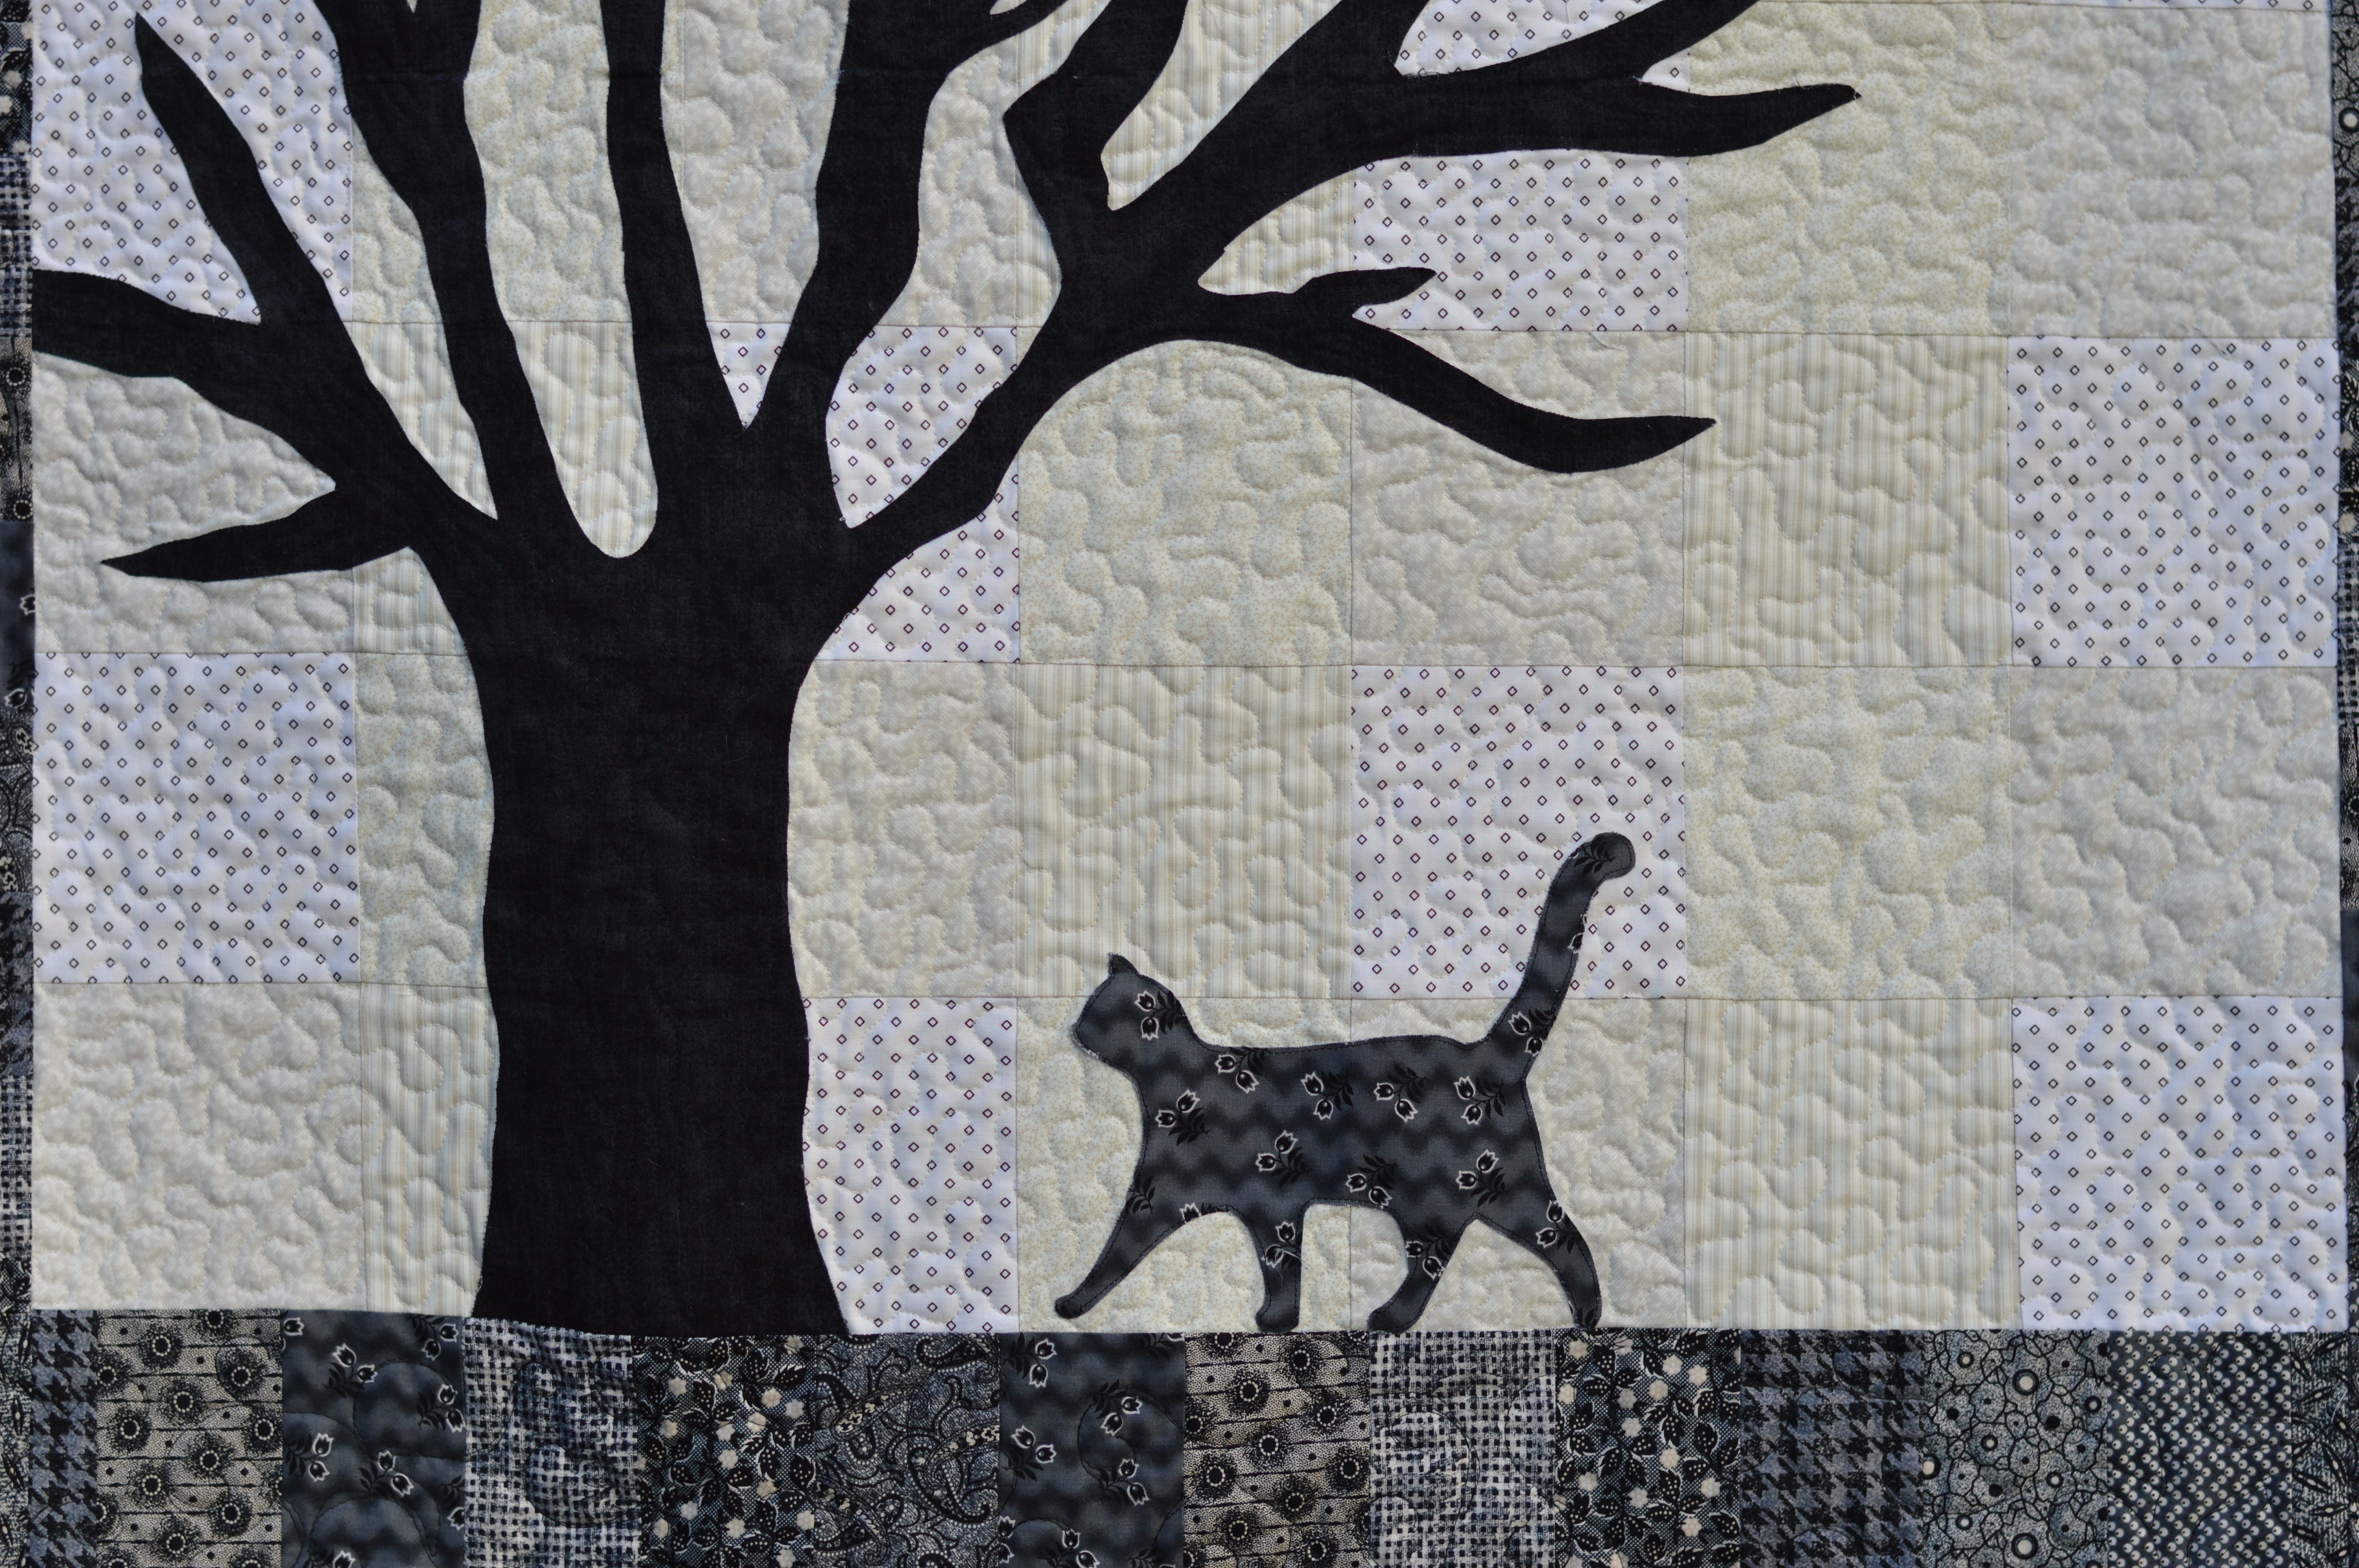
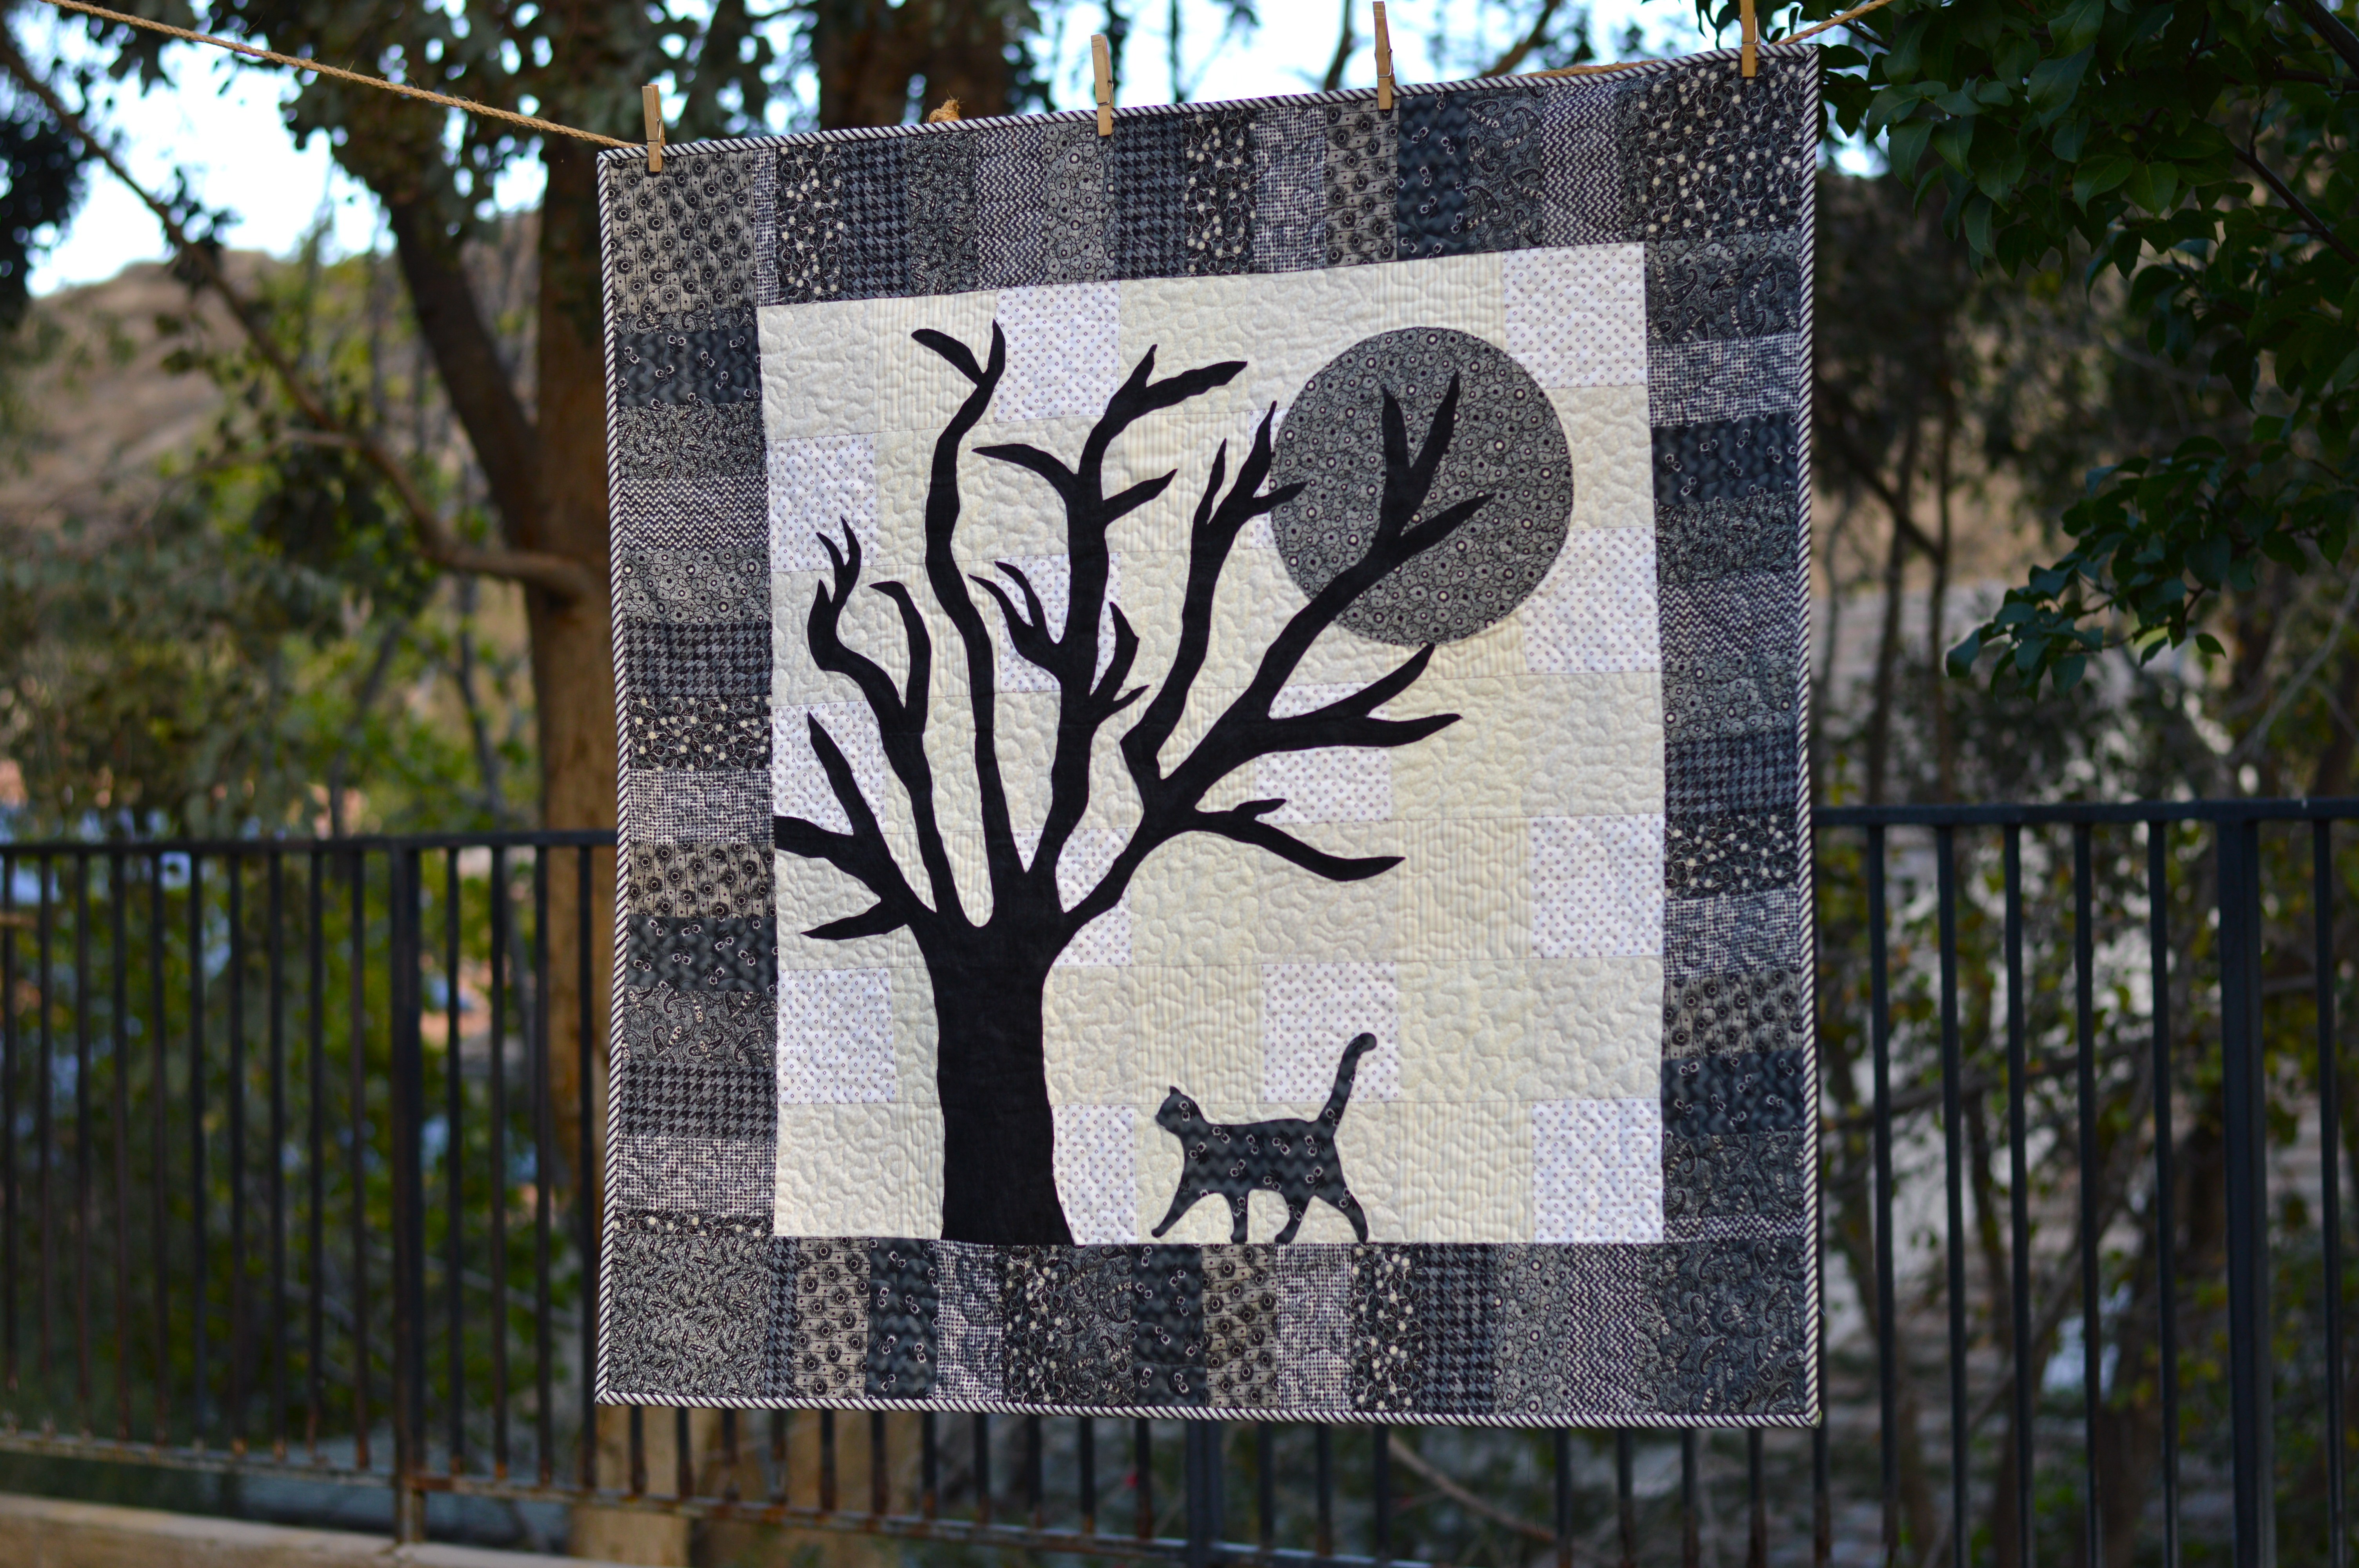
Mufasa is helping me choose my fabrics and we can’t wait to show you what we’re making!IMG_7735

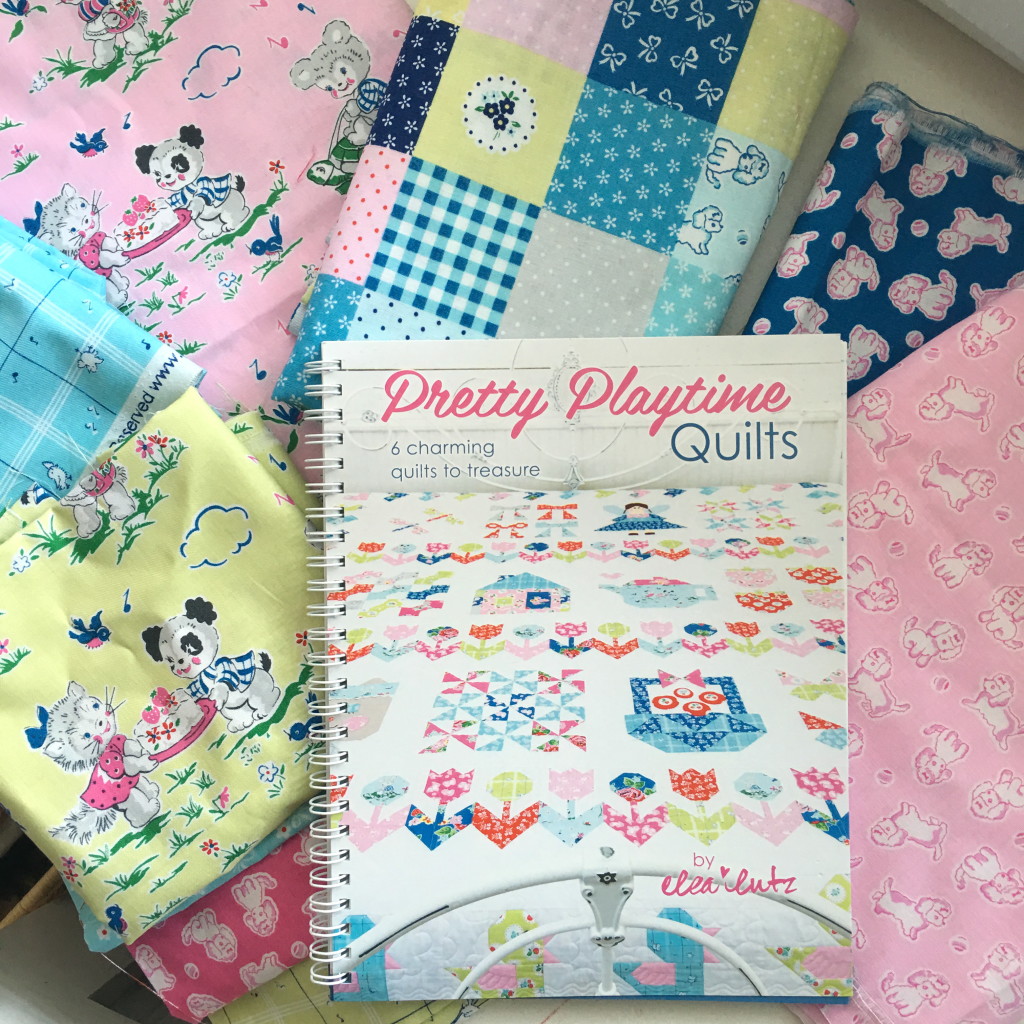
And I also have to say the Elea Lutz might just be the cutest person in the whole world 🙂
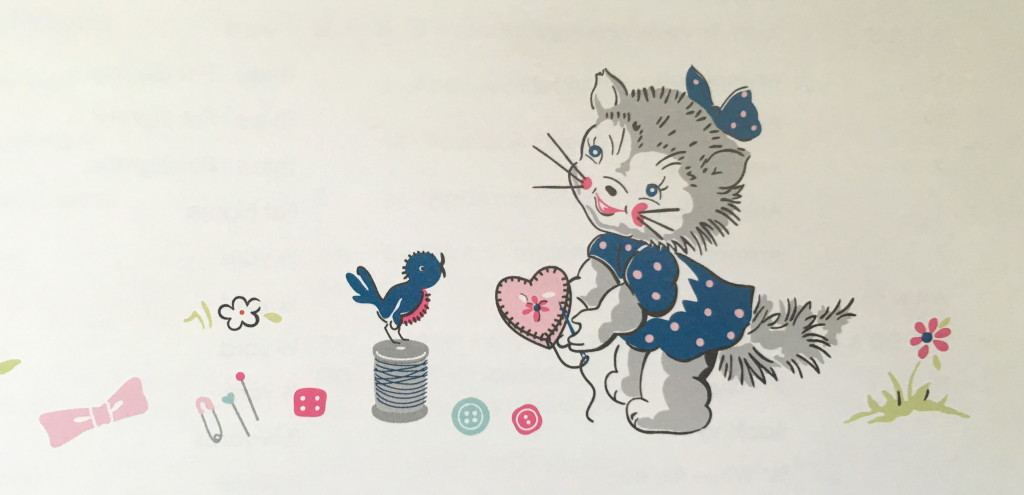
IMG_7737

Strawberry Biscuit Matching Skirts

Strawberry Biscuit Fabric 13

Yay!  It’s my turn on the Strawberry Biscuit Blog Hop!!!  I have loved seeing all the AMAZING creations on this super fun blog hop!  I love strawberries, I love fabric, and I love this new line of fabric by the talented Elea Lutz for Penny Rose Fabrics.  I could sew with it all day long!

strawberry_biscuit_blog_hop

Upon receiving my fabric I put my guard cat on duty so no one would touch or take my new fabric!

Strawberry Biscuit Fabrc 5

I knew as soon as I saw this fabric I wanted to make several quilts with it and I was dying to make my girls coordinating skirts.  I got out my two favorite skirt patterns and began sewing away.  For Sally’s skirt I used the Little Sassy Skirts book and for Ella’s skirt I used the Blythe skirt from the Magic Pattern Book.  Both of which I have sewed many times and I always return to.Strawberry Biscuit Fabric

I always get a little nervous cutting into a piece of fabric – especially when it’s this pretty!

The Blythe skirt is an A-line skirt that has an elastic back, a flat front waist band, and a center pleat.  You can totally make this skirt in an hour.  I am so in love with the large floral print on this style of skirt!!

Strawberry Biscuit Fabric 6

Sally’s skirt has several tiers, an accent band, and ric rac trim on the bottom.  This style is perfect for showing off several prints and I love how they all work together in this skirt!  That’s what’s so fun about this fabric line!!

Strawberry Biscuit Fabric 12

I love having girls to sew with and I can’t believe how grown-up they are getting!  Time sure flies.  I am so happy to have pictures like this with them looking so happy wearing something their mom made 🙂

Strawberry Biscuit Fabric 9

Be sure to visit Taunja from Carried Away Quilting today also for her stop on the tour.  And tomorrow you’ll have to pop over to see what Jemima from Tied With A Ribbon is making!! These girls are all so talented!  This blog hop is making me hungry for more strawberries! Thanks so much to Elea and Penny Rose for making it all possible! Strawberry Biscuit Fabric 14

I also made this cute little quilt out of Strawberry Biscuit and you can read all about it HERE.     IMG_5990 copy

Bunny Mini Quilt and Pillow Featuring EZ Print Sheets

bunny applique pillow and quilt 2

I am so in love with bunnies and springtime!  My whole house is starting to look like a rabbit hutch!  (hahaha!!) I am sharing this pattern over on the Therm O Web blog today!  You can choose to make a mini quilt or a pillow!  The fabrics are from Penny Rose Fabrics designed by Elea Lutz called Milk, Sugar, Flower.bunny applique pillow and quilt 4

The pillow is made just like you would a quilt, only you add a zippered pillow back before you sew the binding!bunny applique pillow and quilt 8

See the zipper?  It’s hiding under an accent strip of cute fabric!

bunny applique pillow and quilt 9

I’m keeping the pillow for myself and giving this mini quilt to a sweet friend!

DSC_0572

Both the quilt and the pillow are 20″ square.bunny applique pillow and quilt 16

Hop over to the Therm o Web blog and you can download the applique pieces and print them directly onto Heat n Bond Lite EZ Print sheets!

bunny applique pillow and quilt 14

bunny applique pillow and quilt 11

Hope Chest Bowtie Quilt

bowtie quilt

I love all things vintage so of course I love 30’s reproduction fabrics! This line is called Hope Chest II from Penny Rose Fabrics. I love the vintage vibe of these fabrics. I am happy to live in the modern age where we can use rotary cutters & sewing machines! You can totally make this quilt in a day!!

hope chest quilt 5

The idea for this quilt comes from this old quilt I have. It is pieced and quilted totally by hand. Me and Mufasa love it!! The blocks are much smaller but it is a traditional bowtie quilt pattern.

hope chest 30


hope chest quilt 22

All you need to make this throw size quilt is a 10″ stacker, 2 yards black swiss dot, 1/2 yard for the triangles, plus backing, batting, and binding.

hope chest 42

hope chest quilt 8

Finished quilt 54″ x 72″. Finished bowtie block 9″. 48 total blocks. All seams 1/4″.

Hop over to the Penny Rose Blog to find all the instructions!!

hope chest 26

I love how it turned out! It’s the perfect quilt for a picnic!!hope chest quilt 21

hope chest quilt 2

Milk Sugar & Flower Girls Dress

milk sugar flower dress

I am so in love Milk Sugar & Flower from Penny Rose!  I have been saving it until I found the perfect project.  And I found it!  A dress for Sally!  Sally will be getting baptized this month and I wanted her to have a special dress to wear after her Baptism.

milk sugar flower dress 5

The style of the dress is classic little girl and fits Sally’s personality.  She is a girl after my own vintage heart: lover of Elvis, old TV shows, and classic dress style.  It’s just how little girls should be dressing.milk sugar flower dress 4

I have to admit I did not like the pattern at all.  Upon completion of the dress I wadded the whole pattern up and threw it in the garbage!  Which, by the way, saved me a good 30 minutes of folding the dang thing up so it would fit in the envelope!

IMG_3883

Despite the frustration with the pattern, I love the finished dress and so does Sally.milk sugar flower dress 2  DSC_0242

Penny Rose Strawberry Jam Quilt

strawberry jam quilt. 9

I’m happy to share this delicious little quilt called Strawberry Jam. Living in Southern California, it’s strawberry season all year round! This quilt reminds me of fun times spent in the kitchen making popovers, biscuits, rolls, and anything else we could bake to hold our fresh strawberry jam on! YUMMY!! The Shabby Strawberry fabric line is brand new from Penny Rose. Let’s get started!

strawberry jam quilt 24

First make sure you have some hot buttermilk biscuits and fresh strawberry jam to keep you going while you make the quilt 🙂  For the full instructions hop on over to the Penny Rose Blog!!

strawberry jam quilt. 7

I used my Sizzix Fabi machine to die cut the jam jar. This die is called Jar #2 by Lori Whitlock. It’s the cutest!

Screen Shot 2016-01-26 at 9.50.40 PMIron  Heat n Bond Lite to the back of the strawberry fabric. Then run it through the Sizzix Fabi with the jar die. Peel off the backing and heat set it into place. I did the same thing with the jar lid, it’s part of the die. strawberry jam quilt. 16

Stitch around the jar and lid with gray thread.

strawberry jam quilt. 26

I love how SWEET it turned out! strawberry jam quilt. 22

Valentine Tote Bag

valentine tote

I am so in love with Milk Sugar Flower fabric from Penny Rose for Valentine’s Day!  It just screams vintage valentine!  I thought Sally needed a cute tote bag to carry her valentines in when she has her Valentine Party!  This tote bag is the perfect size for so many things!  Library books, piano books, car trips, stuffed animals, and dolls!  Sally will be using it as her piano book bag when Valentine’s Day is over.  The bag gets its stability from Therm o Web Fusible Medium Weight Stabilizer.  You can totally sew it in an hour!  Yippee!!

valentine tote bag 5

I have to pay her to model you know 🙂valentine tote bag


valentine tote bag 35

valentine tote bagNote: The seam allowances very as noted in the directions

Supplies for project:

1/3 yard main fabric

1/4 yard white accent

1/3 yard blue accent & handles

1/3 yard lining

HeatnBond® Lite Fusible Adhesive

2 yards HeatnBond® medium weight fusible stabilizer

valentine tote bag 8

Cut the following:

White (2) 4.5″ x 16″ accent strip main bag

Blue (2) 2″ x 16″ accent strip main bag

Pink (2) 10.5″ x 16″ main bag

Blue handles 6″ x WOF

Lining (2) 16″ squares

Sew the strips together in that order using 1/4″ seam allowances.  You should have (2) 16″ squares for the outer bag.

valentine tote bag 12Draw a heart on the Heat n Bond® Lite and iron it to the wrong side of the red fabric.

valentine tote bag 10 Cut around the heart and peel off the backing paper.  Position the heart as pictured above.  Make sure to leave plenty of room for the bag bottom.  Press into place and top stitch around the heart.

valentine tote bag 13Cut the HeatnBond® Interfacing/stabilizer into (4) 16″ squares.

valentine tote bag 14Cut the lining pieces (2) 16″ squares.

Fuse the HeatnBond® interfacing onto the wrong side of both the outer bag pieces and both of the lining pieces.

valentine tote bag 16Match both outer bag pieces right sides together and pin all the way around.  Do the same for the lining pieces.  Sew around the sides and the bottom using 1/2″ seam.  Leave a 3″ opening (for turning) on one of the sides of the lining.

valentine tote bag 20Cut a 2″ square notch out of the bottom corners of the outer bag and the lining.

valentine tote bag 21
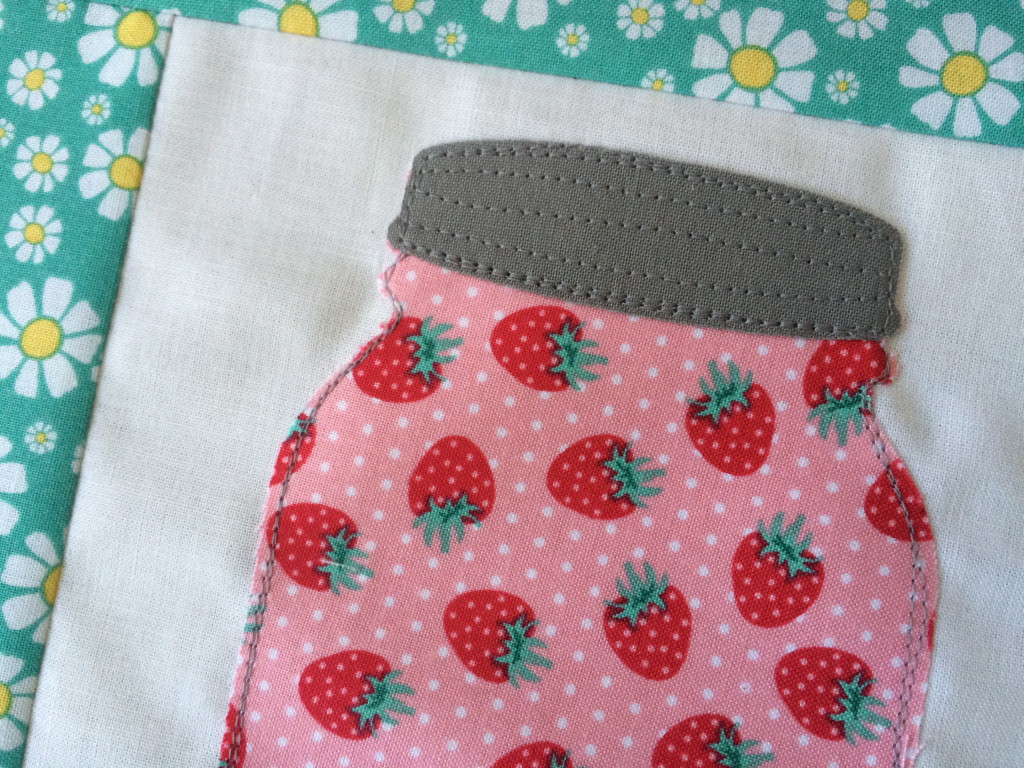
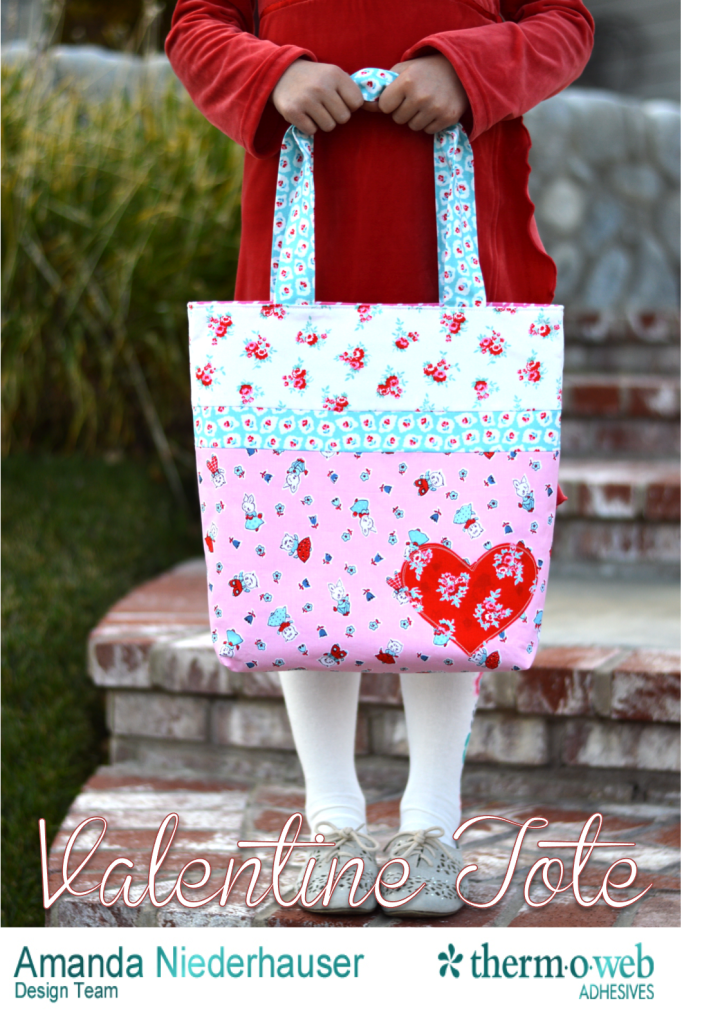
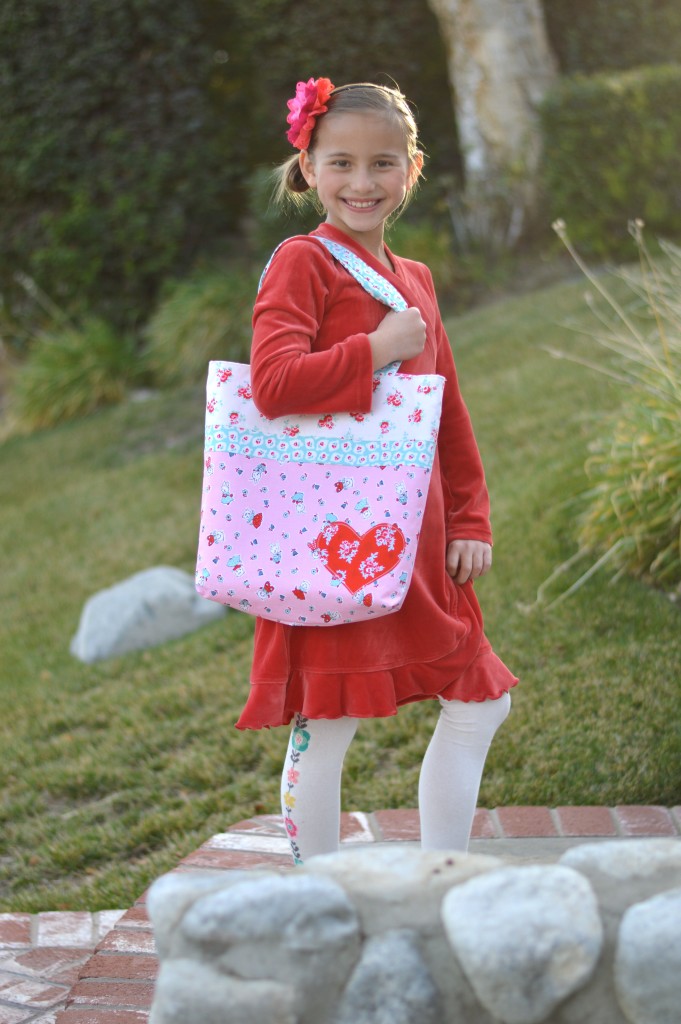
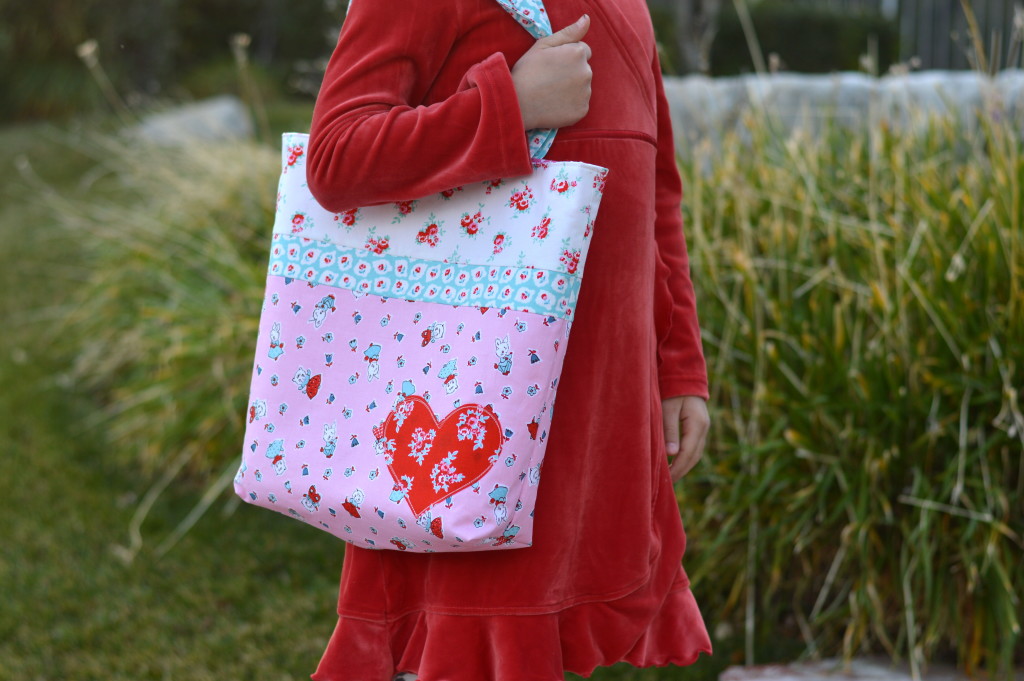
Open the notch and match the side seam and the bottom seam.  Pin.  Do this to each of the notched corners.

valentine tote bag 25Sew along this edge using 1/4″ seam.

valentine tote bag 23It’s starting to look like a bag!

valentine tote bag 29Press the 6″ handle strip in half lengthwise, then fold the edges into the center, the handle strip should be pressed into equal sections of four.

valentine tote bag 30Press the handles and top stitch along both long sides.  Trim off selvage.  Cut the handle strip in half creating 2 handles.

valentine tote bag 31Turn the outer bag right side out and pin the handles into place.  Measure 3.5″ from the side of the bag to position the handle.  Baste the edge of each handle 1/8″ from the edge.

valentine tote bag 32Place the right side out outer bag inside the inside out lining (that wasn’t confusing at all!)  The above picture is how it should look.  Essentially the lining and the outer bag are right sides together.  Match the side seams.  Pin all the way around the bag.  Sew 1/4″ along the edge all the way around the bag.  Turn the bag right side out through the opening of the lining.  Top stitch the opening closed.  Press the lining of the bag so you can’t see any lining on the front of the bag.  Top stitch 1/8″ seam all the way around the top of the bag.

valentine tote bag 34I love how it turned out and so does Sally!  It just screams Sweet Valentine!

valentine tote bag 33Time to get working on our valentines!

valentine tote bag 5

Noel Mini Quilt

noel cover

Hello, my name is Amanda and I am addicted to gingerbread cookies and Christmas sewing!  I love this time of year!!!  It’s so happy and magical and joyful!  I can’t stop listening to Christmas music, baking cookies, or sewing with this Little Joys Fabric from Penny Rose!  I created this little quilt pattern using Therm o Web’s EZ print sheets.  All you have to do is print the applique pieces from your computer and you’re already on your way to making this quilt!  noel quilt 3

Mufasa was very helpful in the creation of this quilt as you can see.noel quilt 4The pattern is over on the Therm O Web blog today!  Hop on over to download the pattern and get the cutting instructions!!

noel quilt 5This quilt is perfect to hang on a wall, put on a table, or give as a gift to someone special.

noel quilt 13Because most of this quilt is applique, I didn’t want the applique pieces to puff out from the quilt so I quilted over the entire top.

noel quilt 11Merry Christmas!!


Little Joys Quilt Tutorial

little-joys-quilt
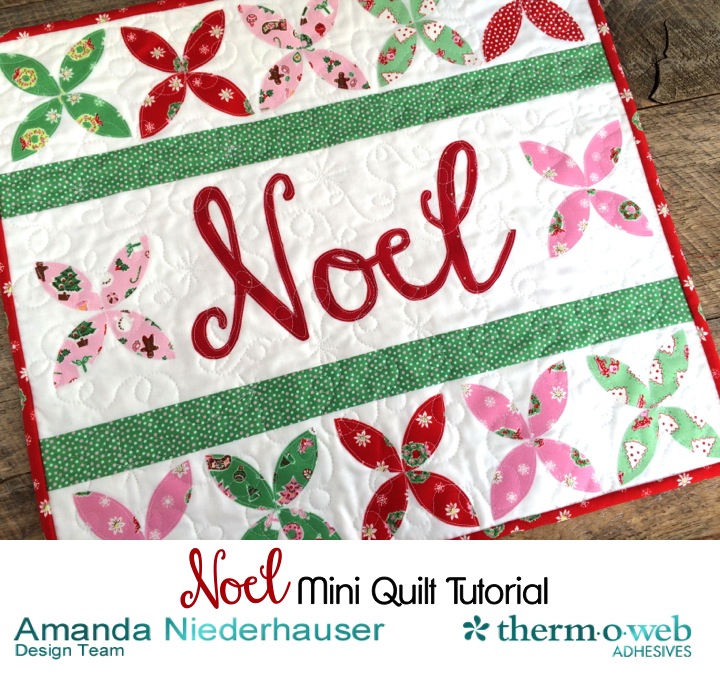
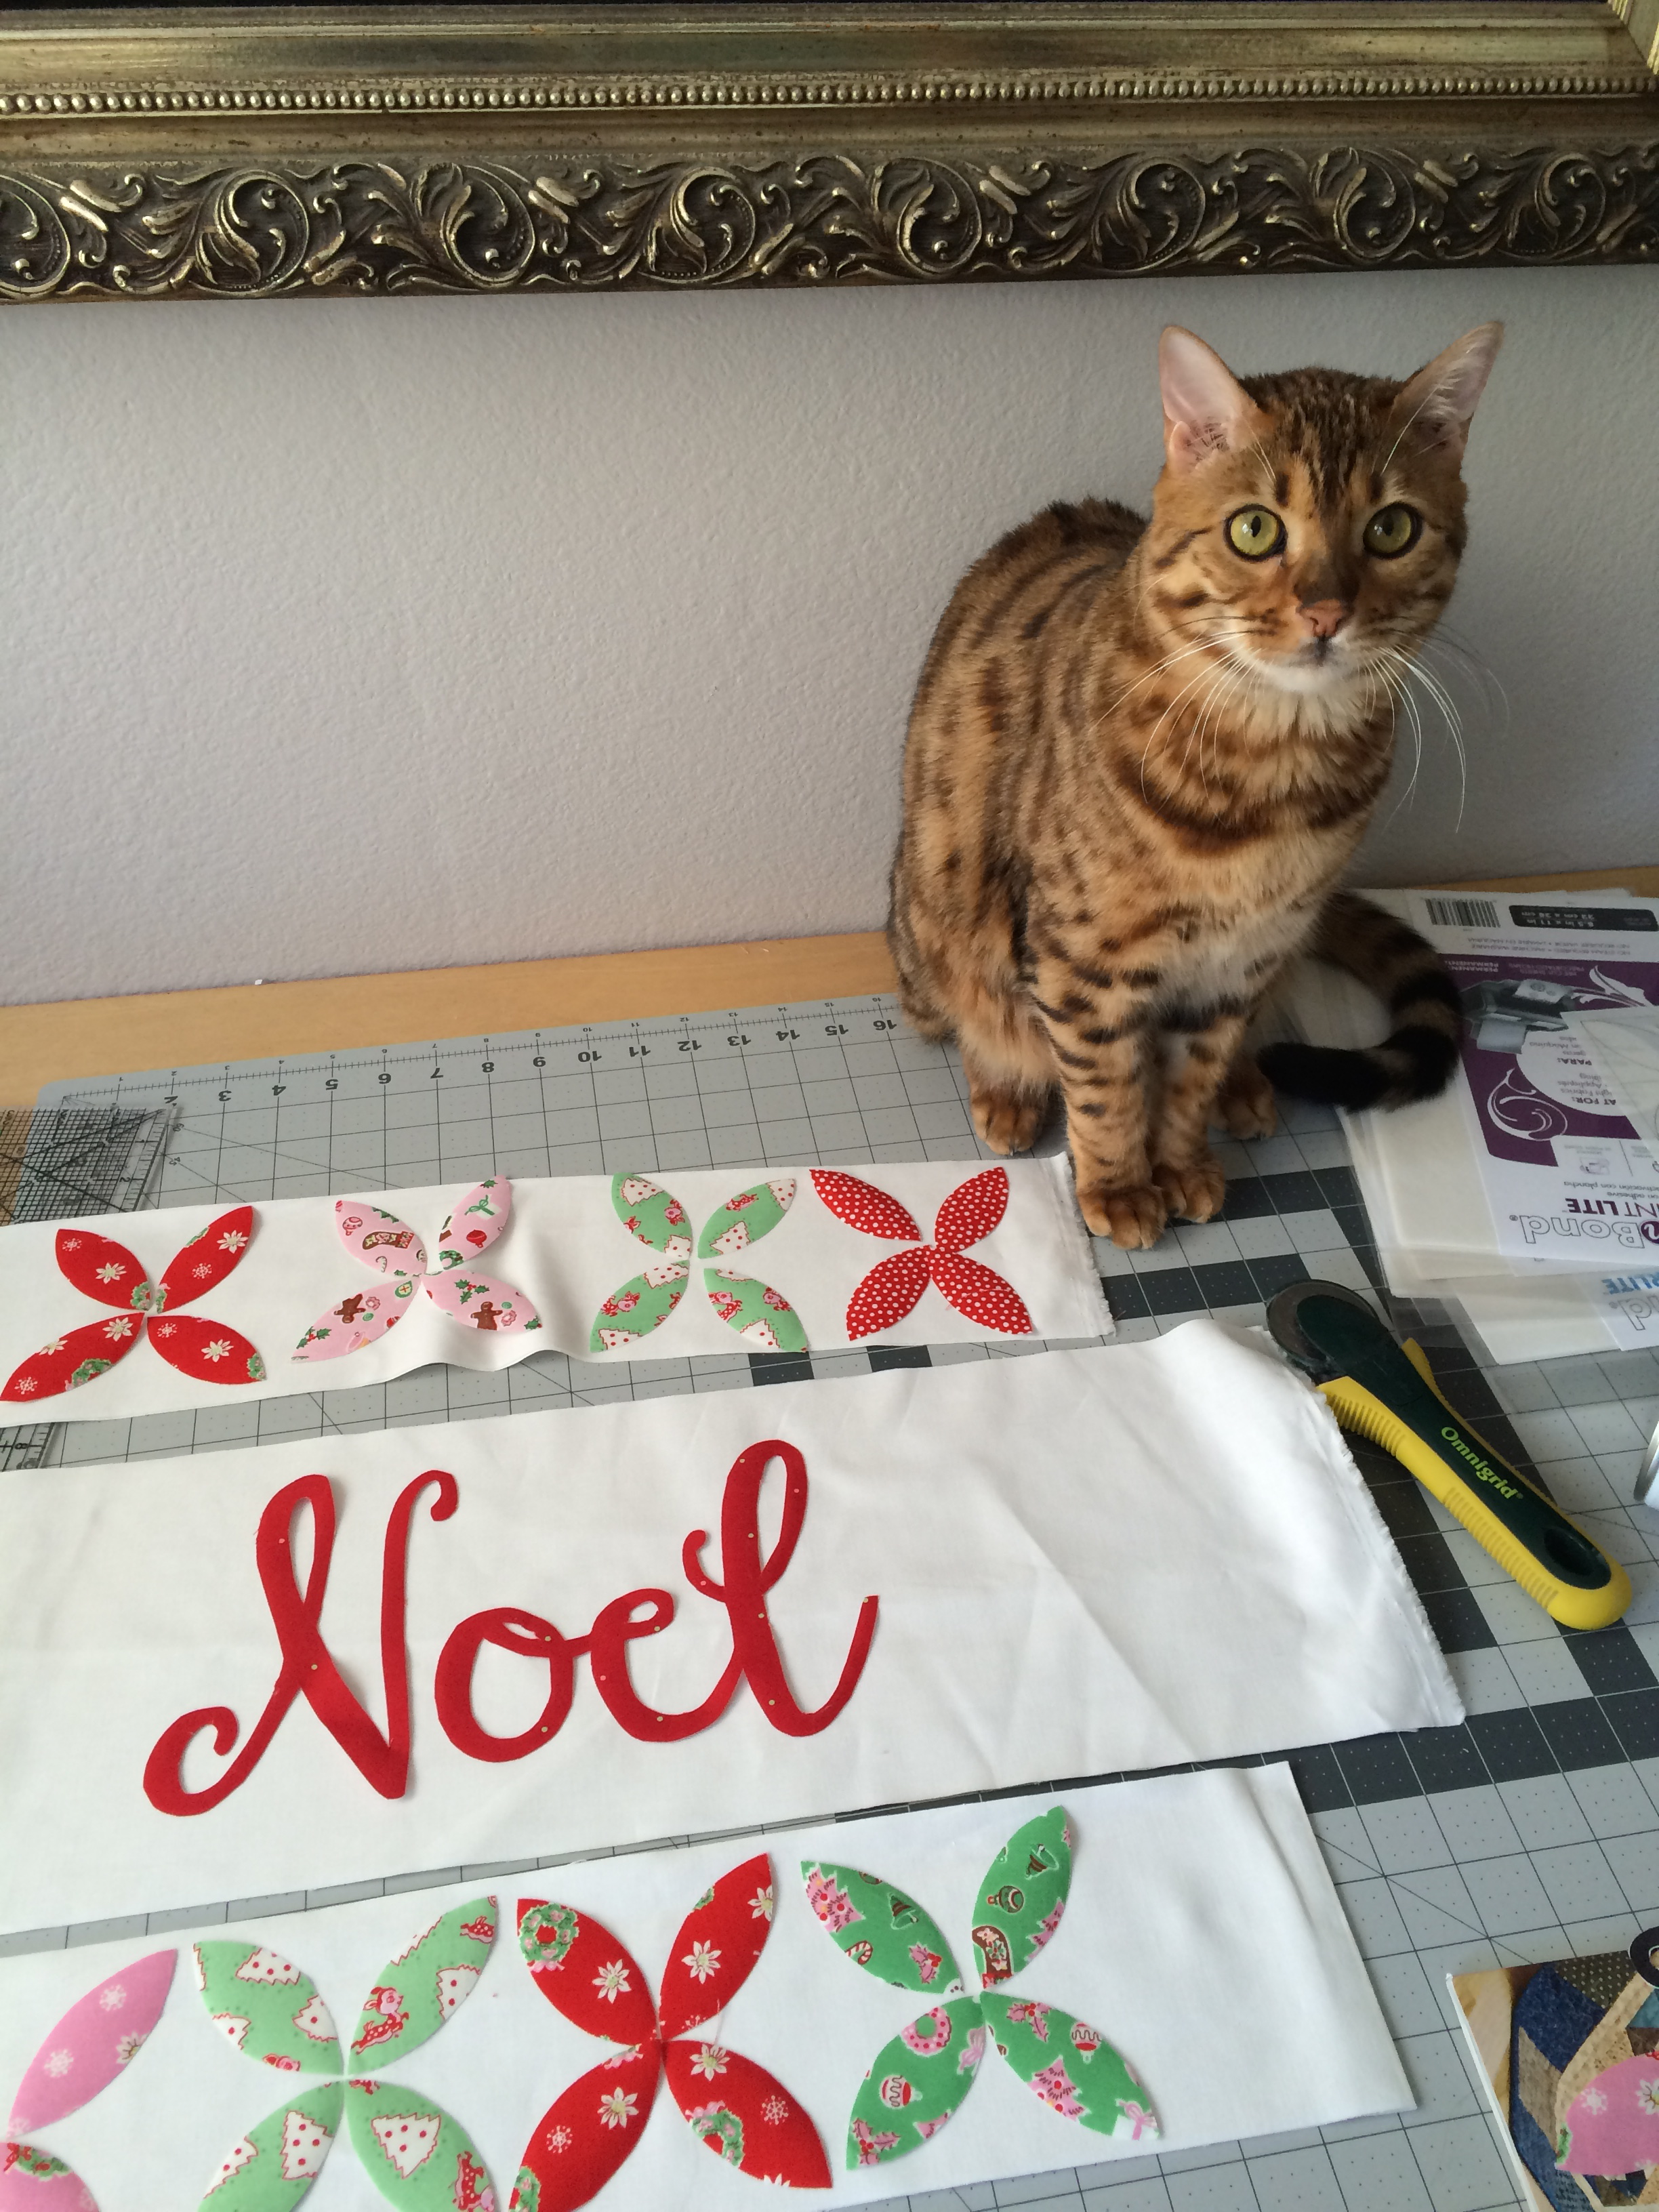
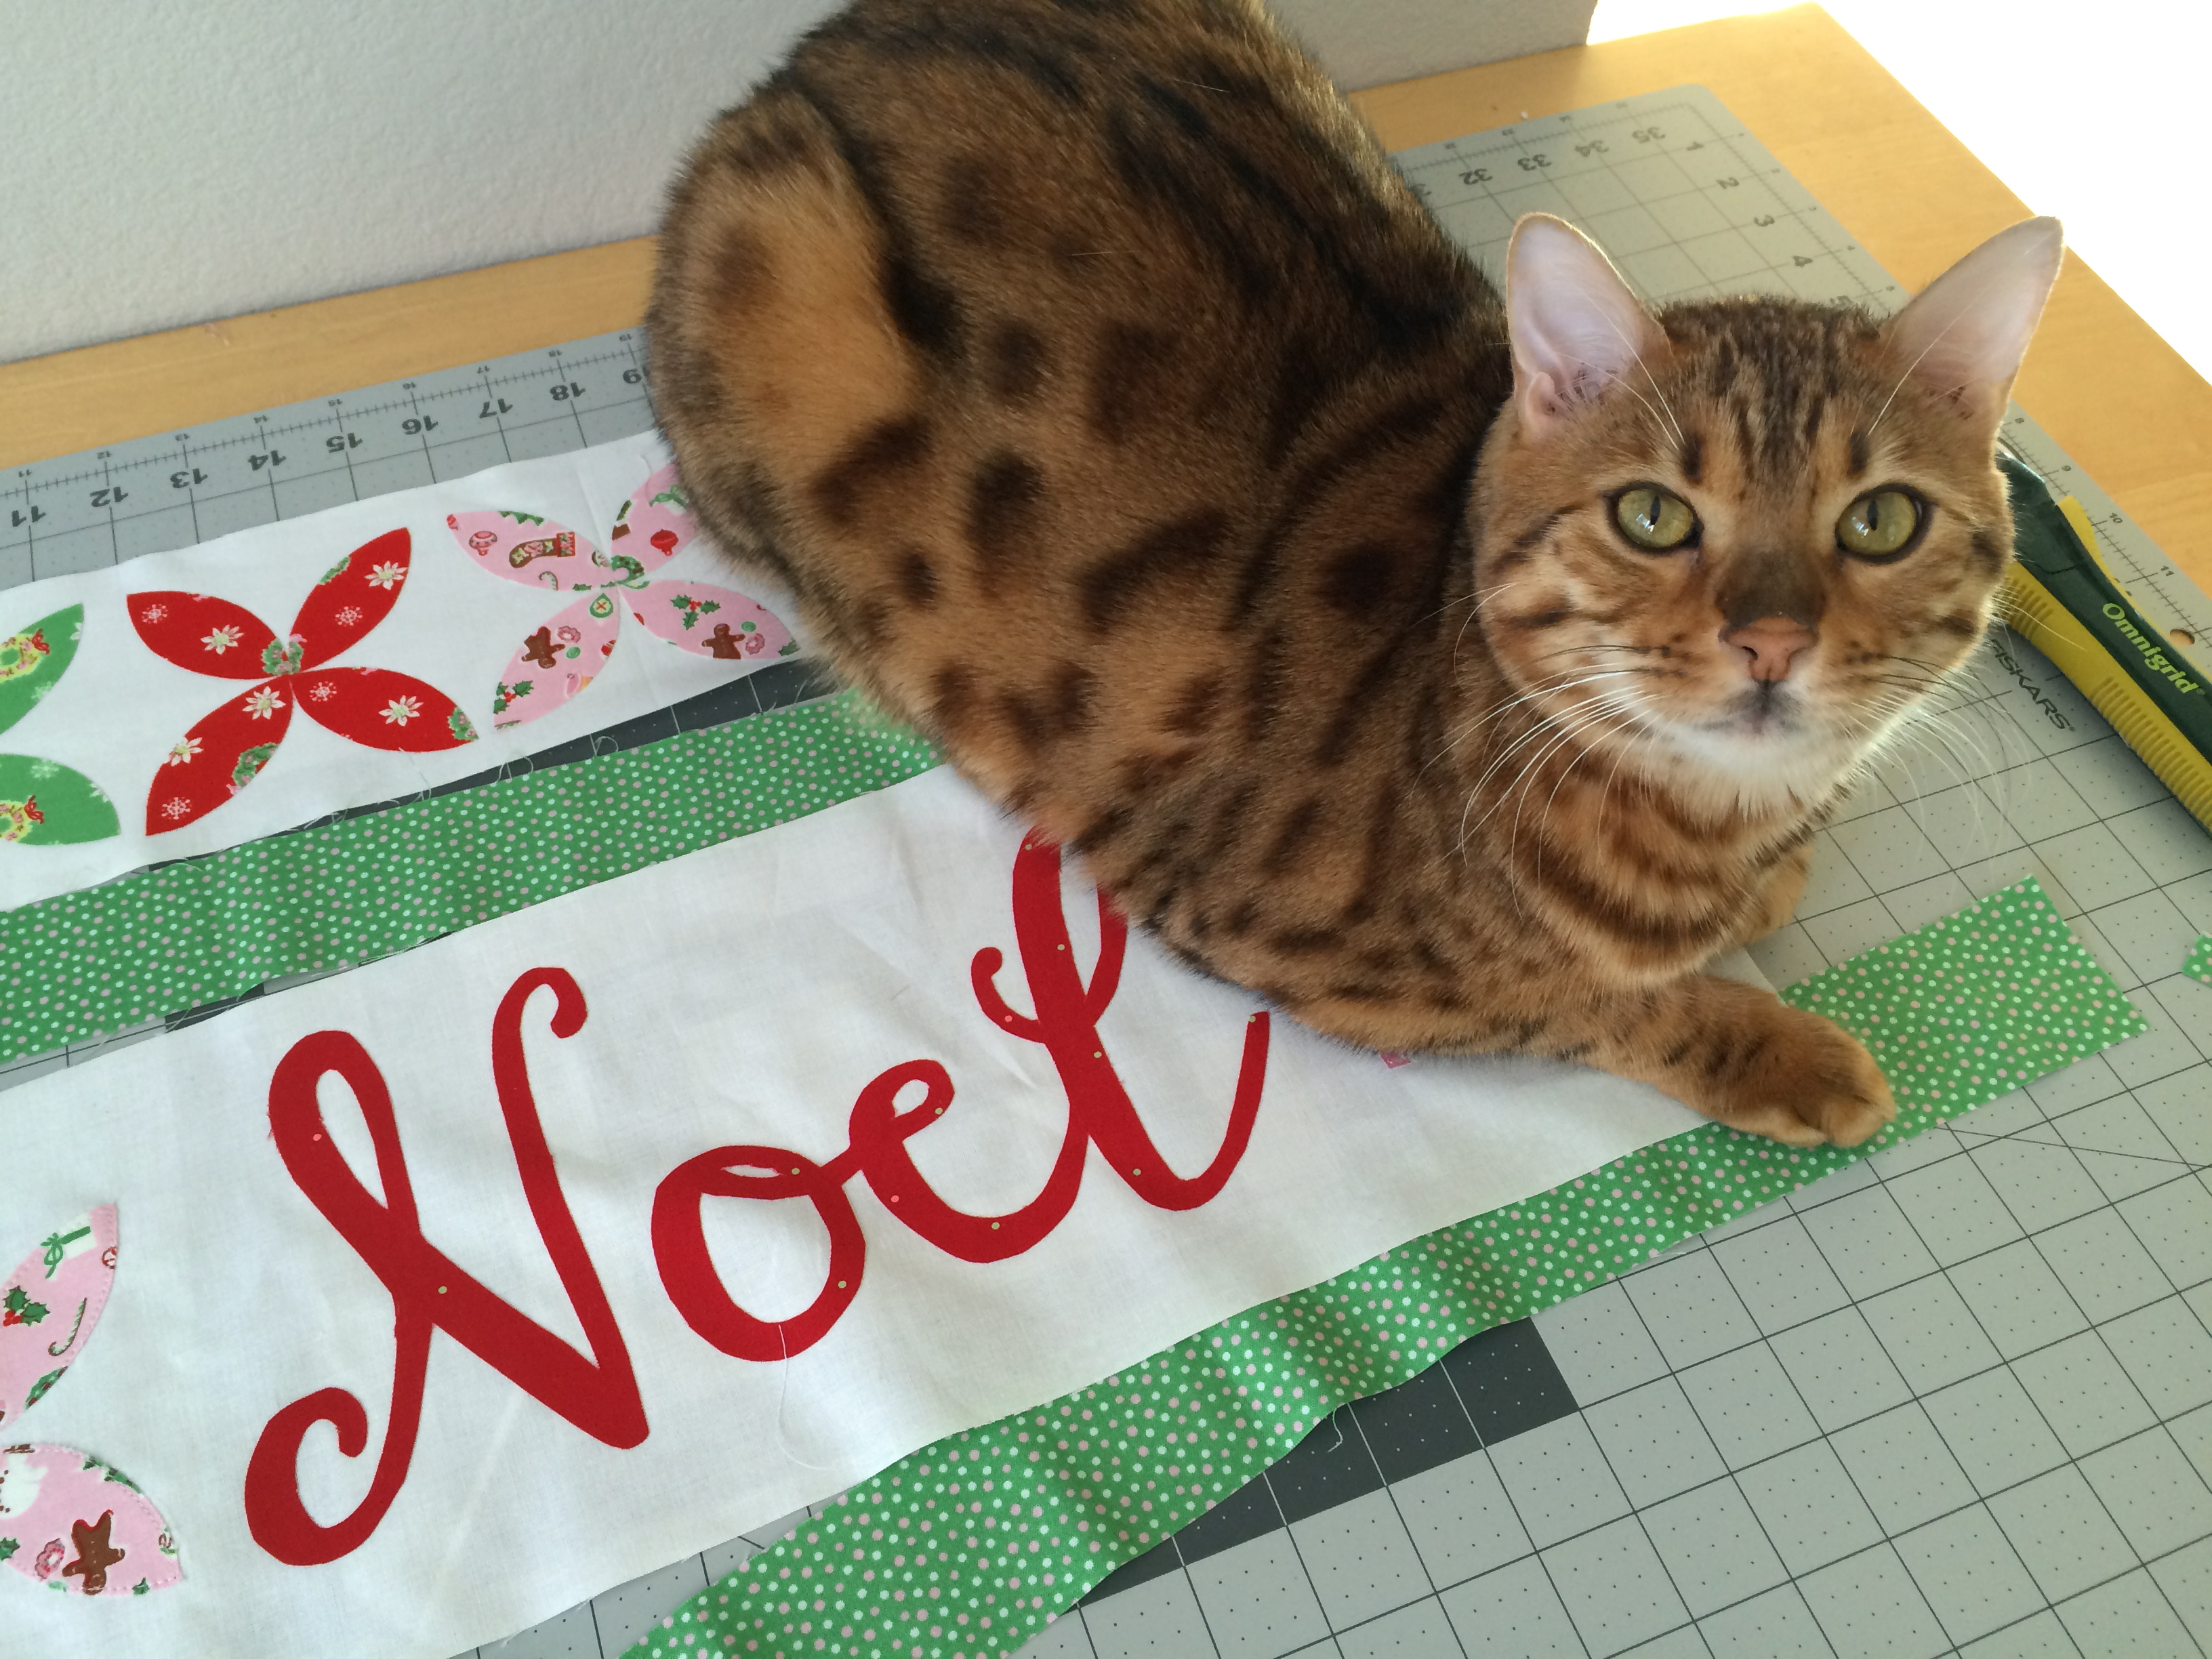
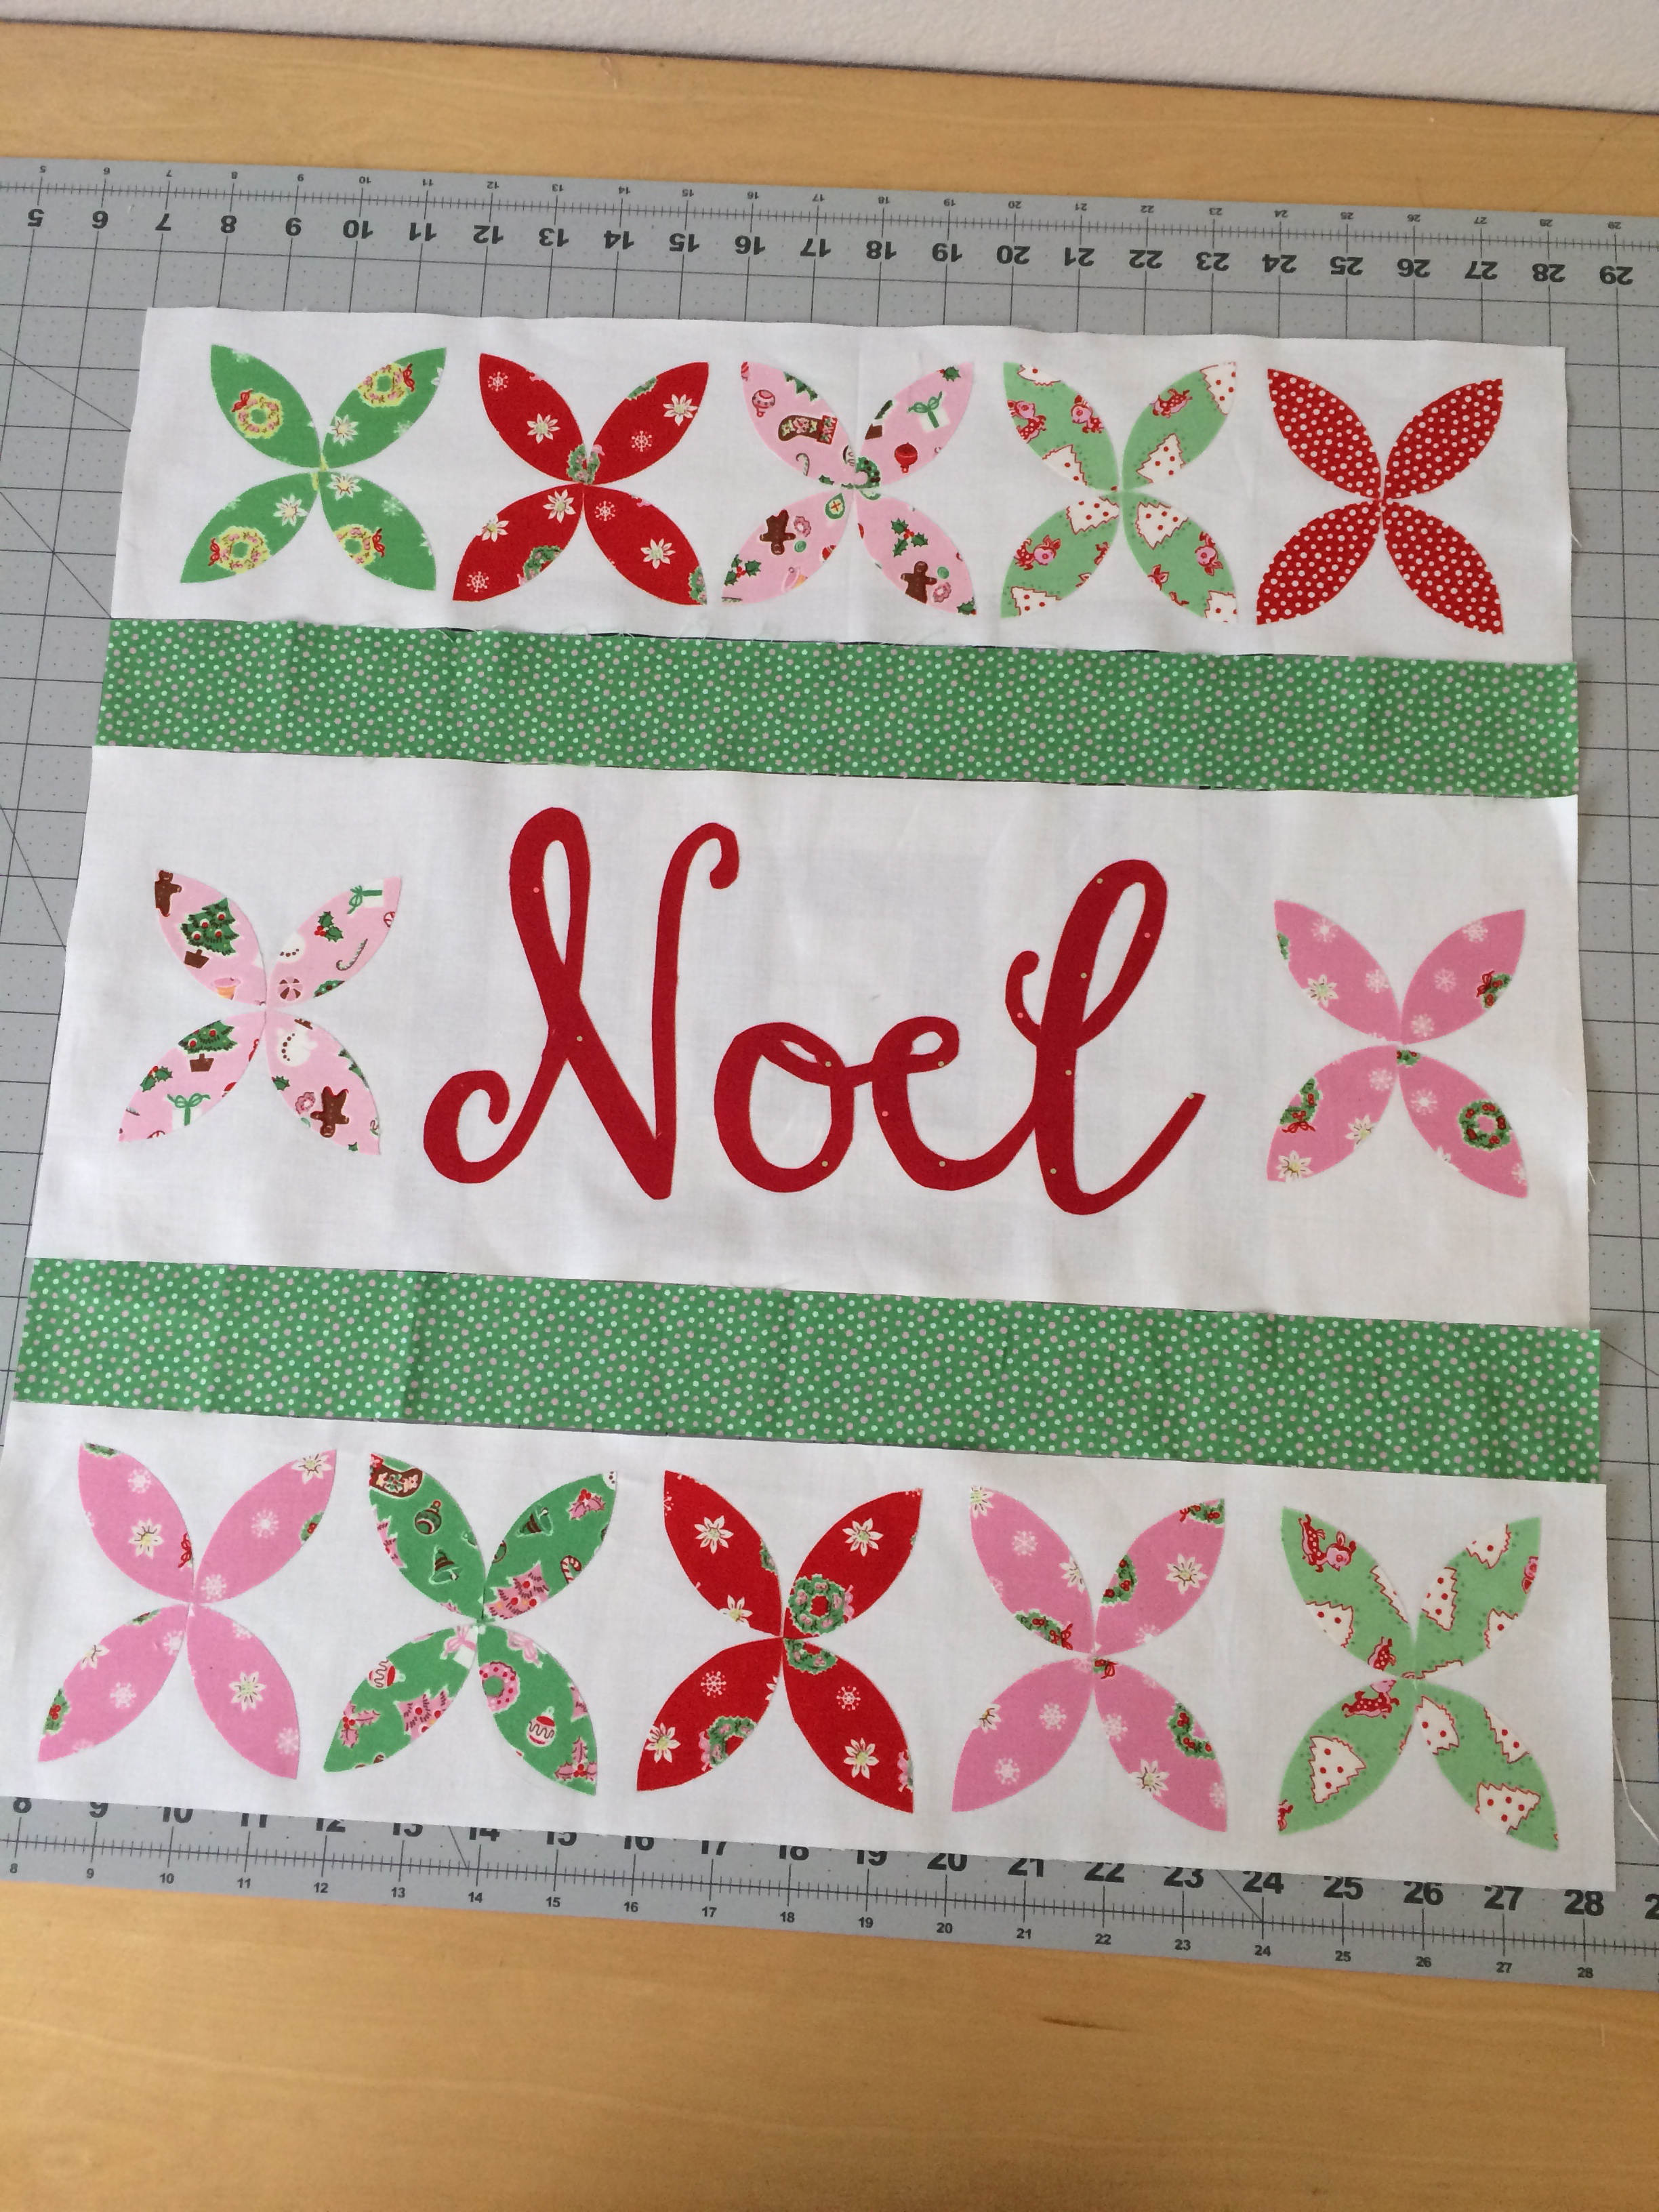
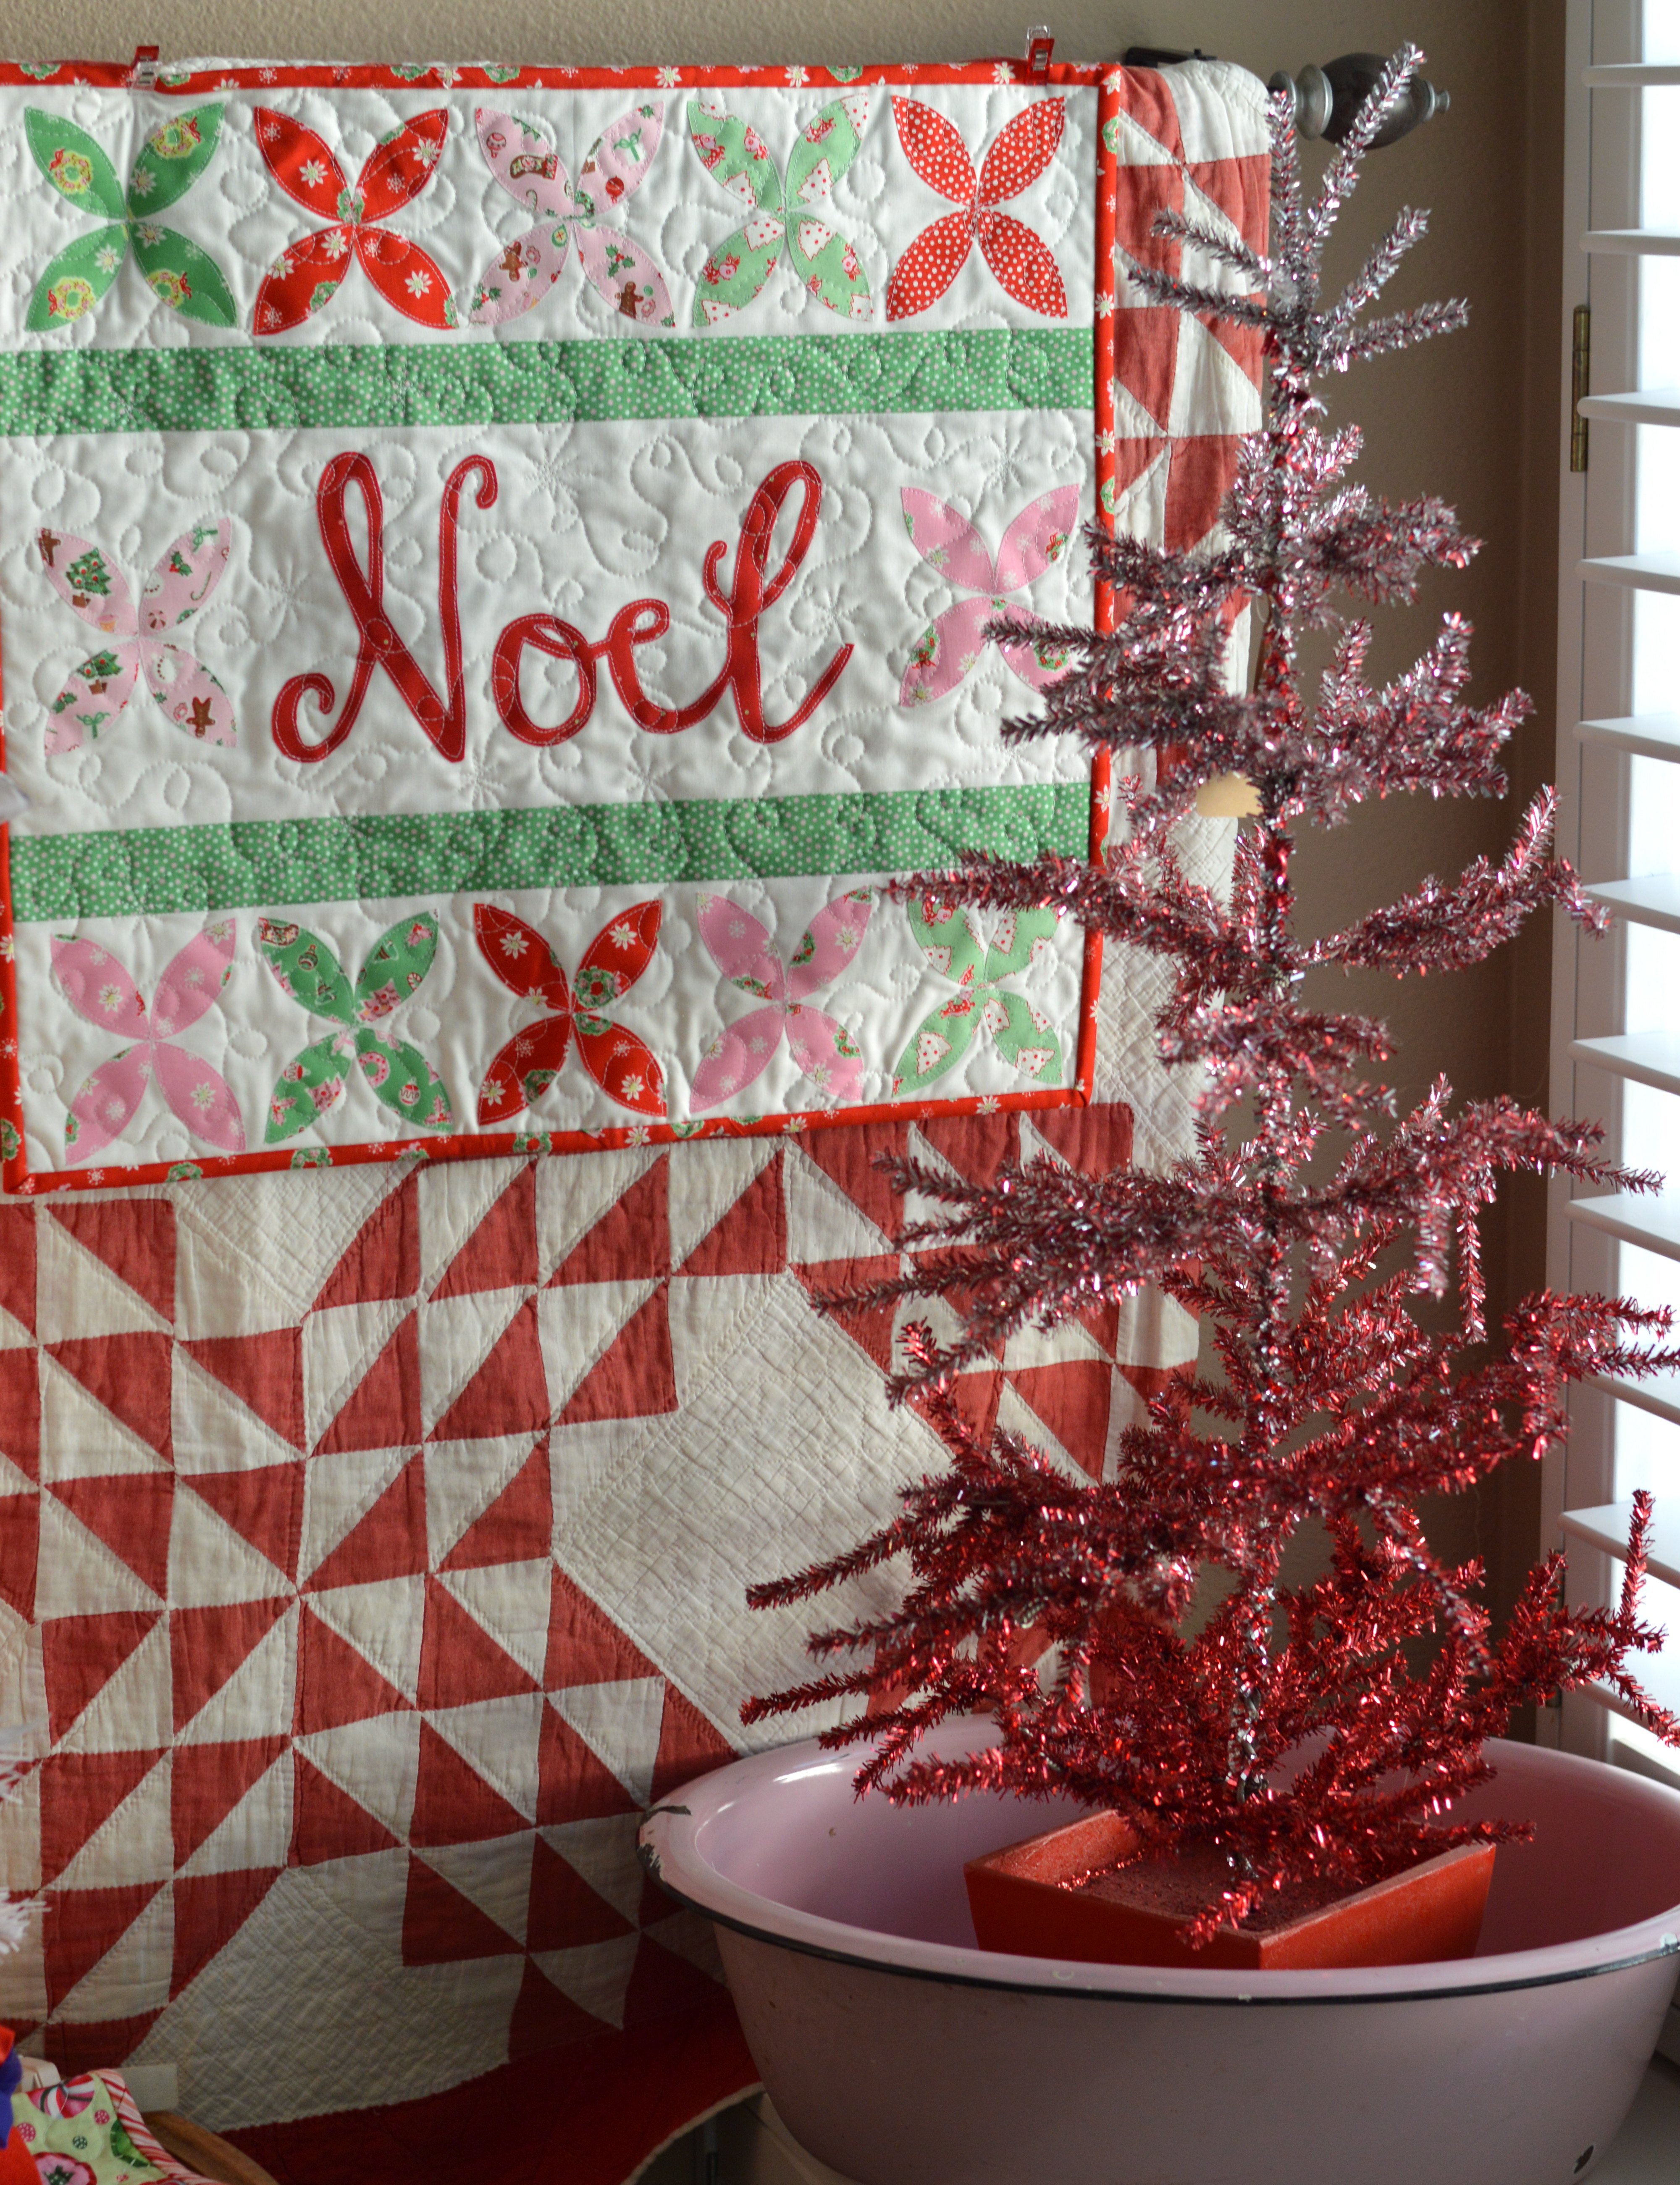
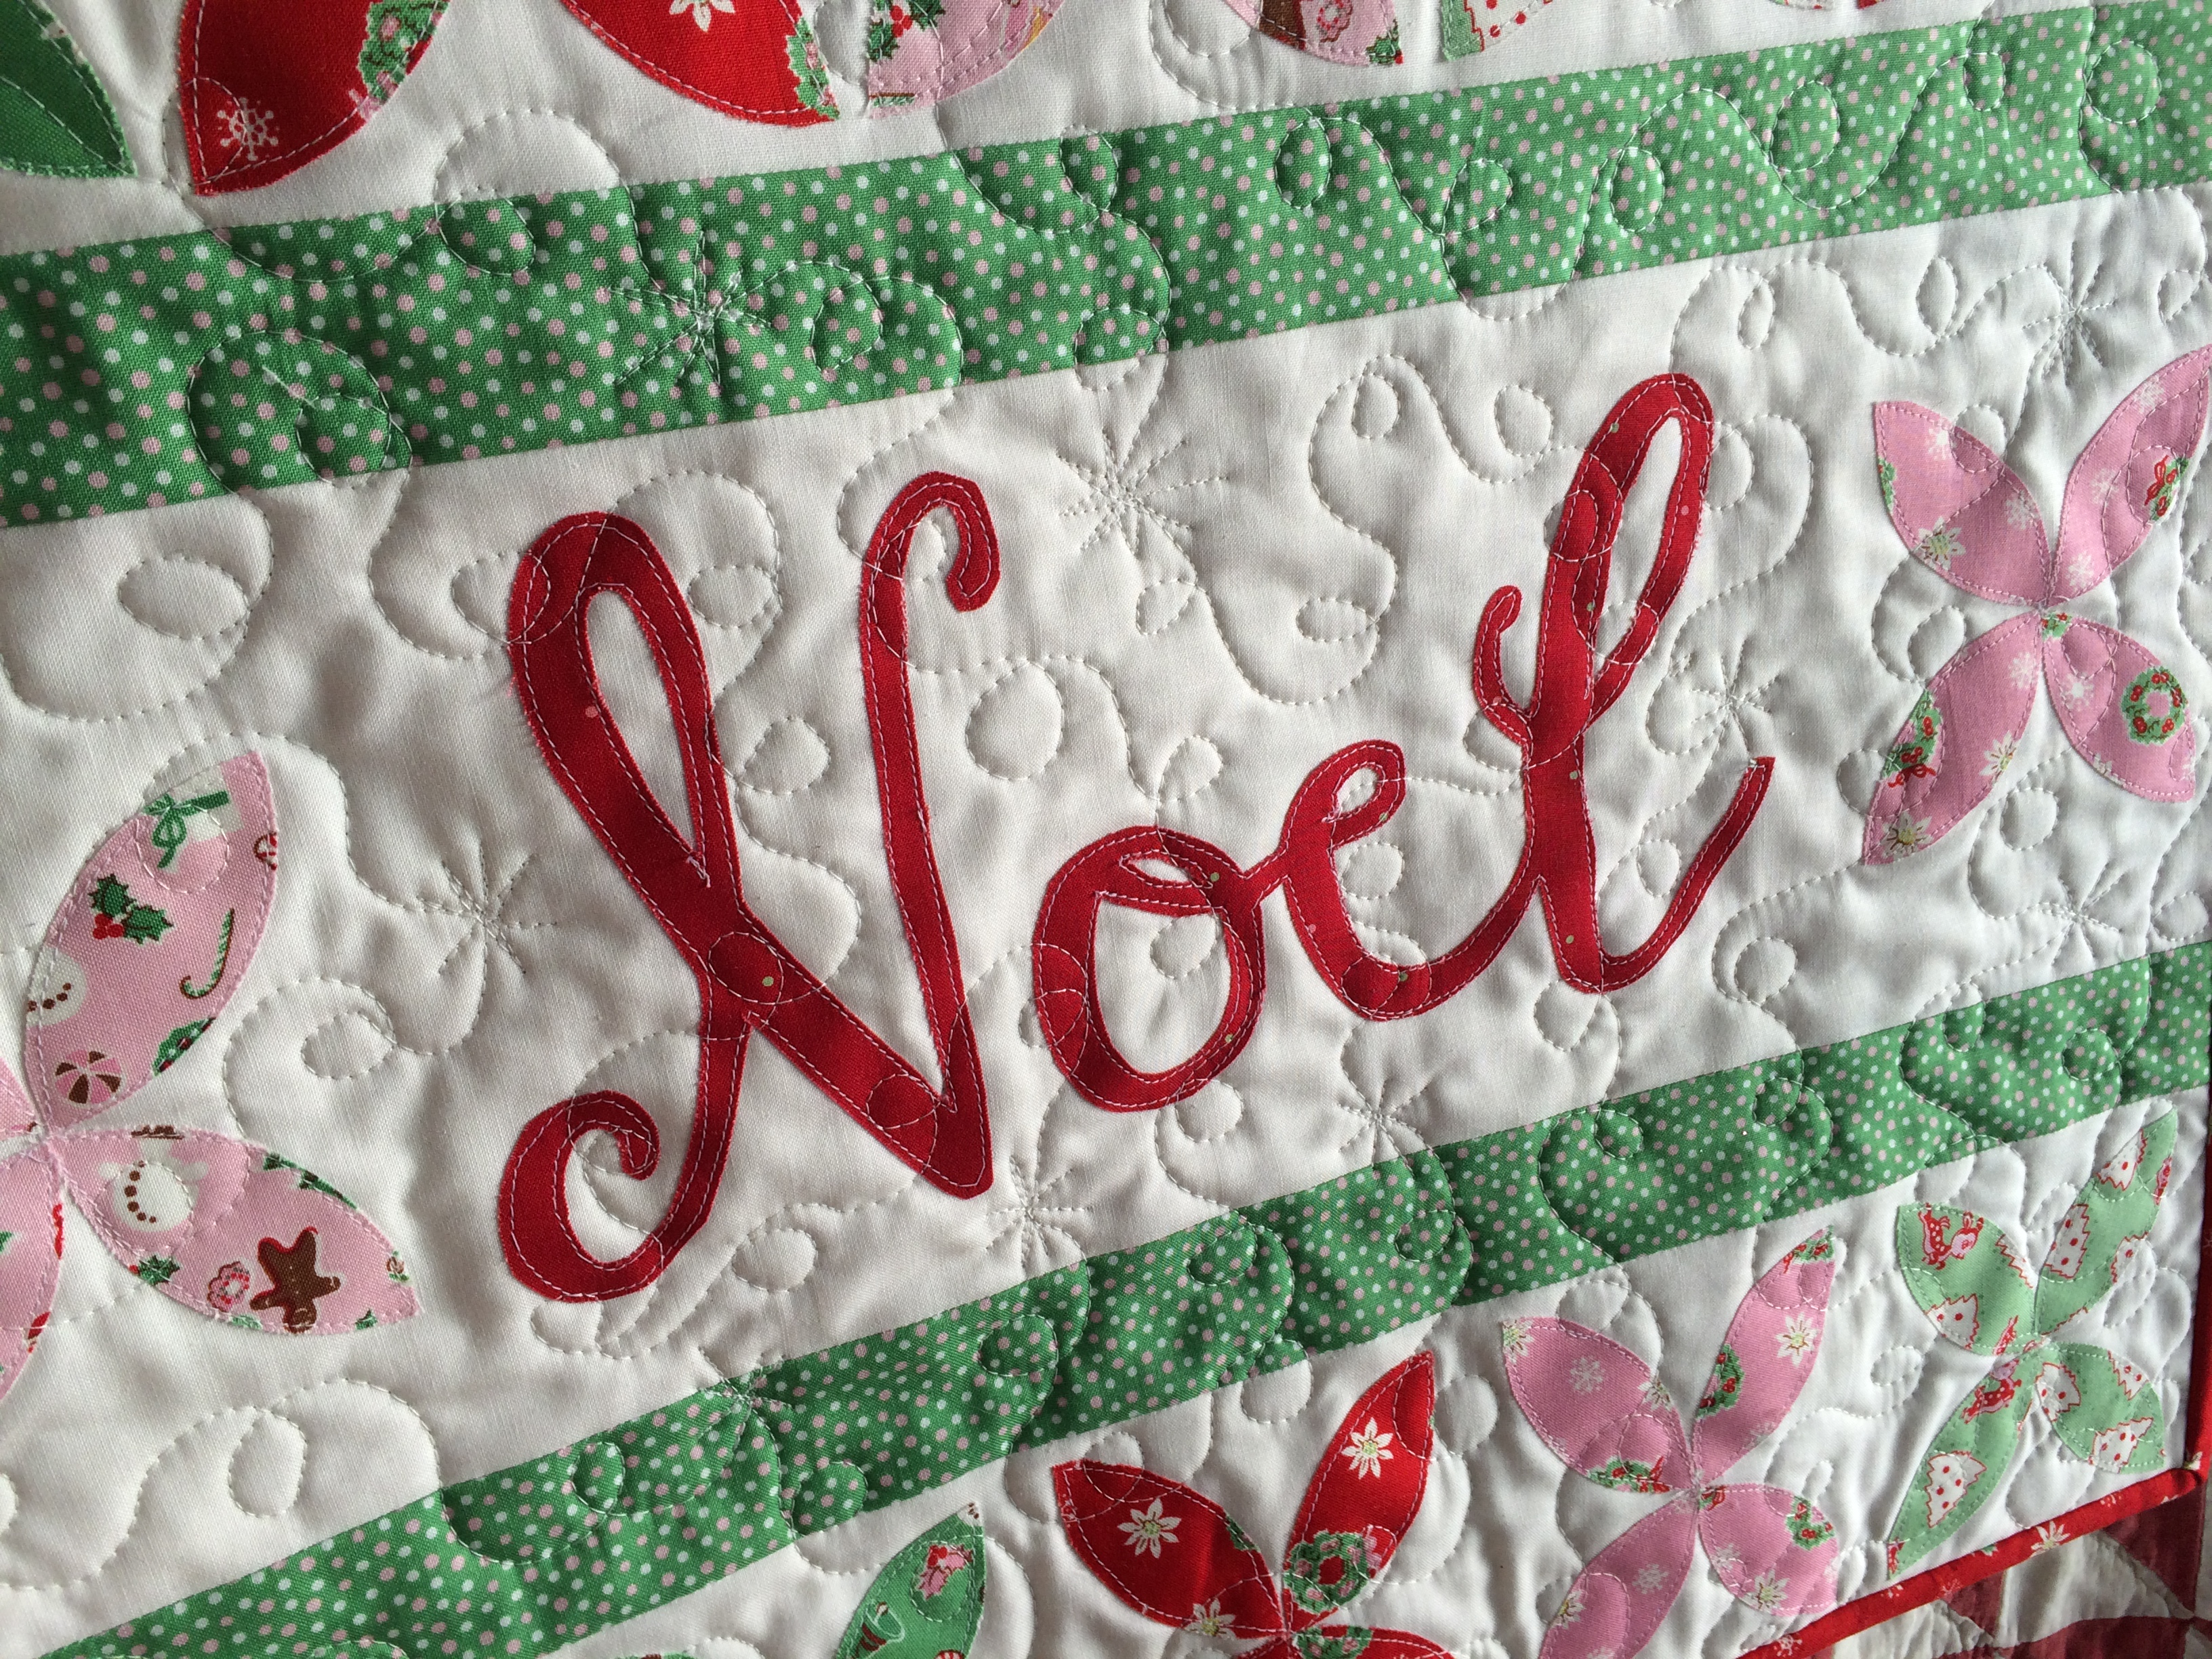
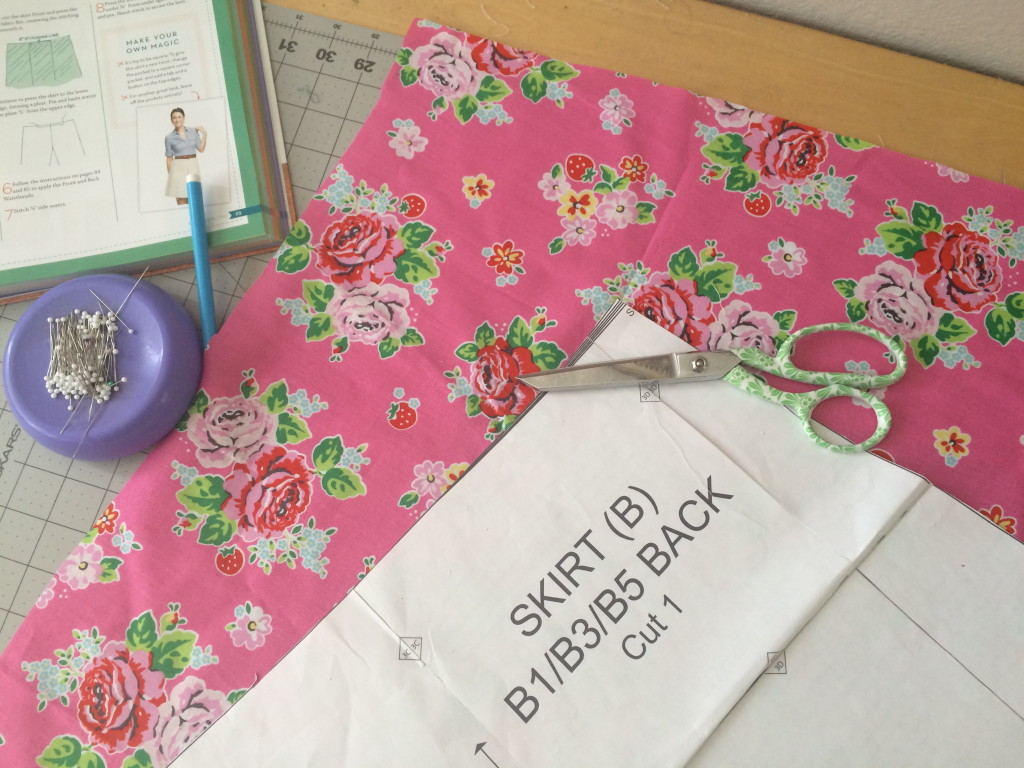
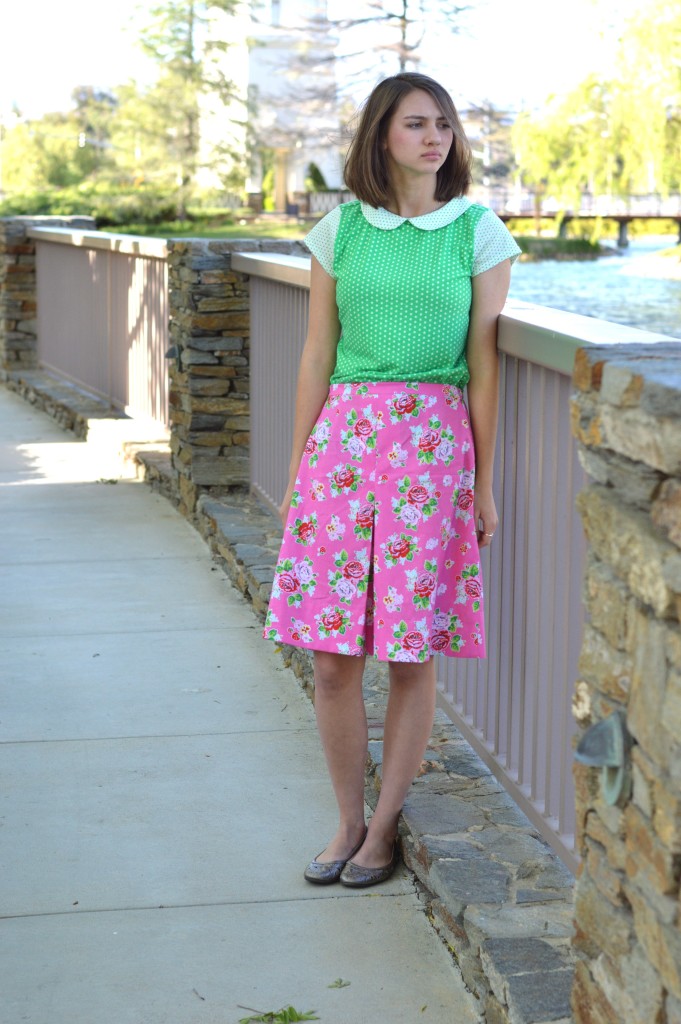
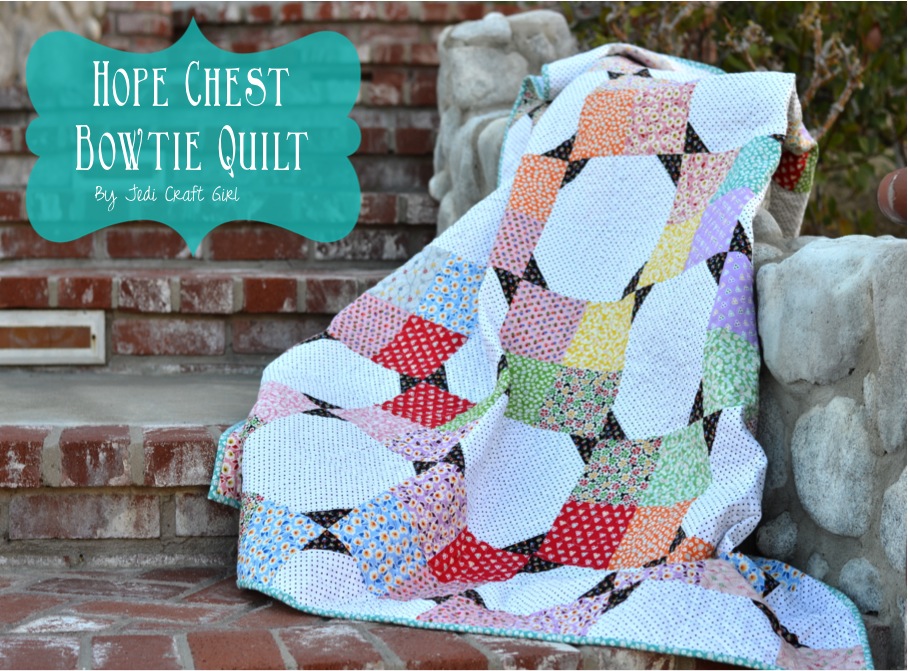
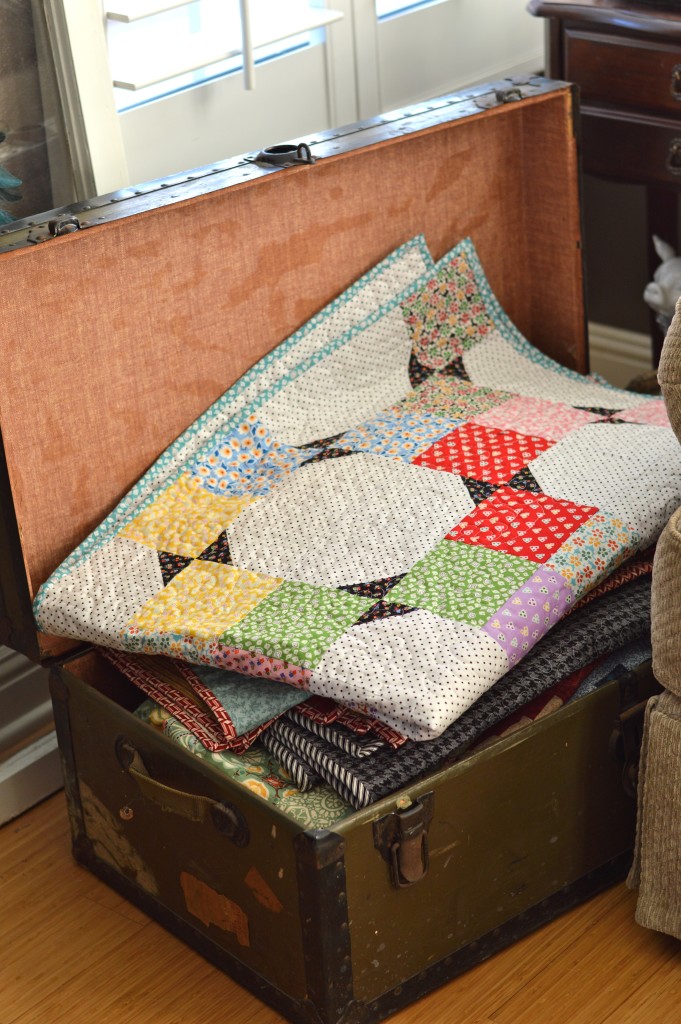
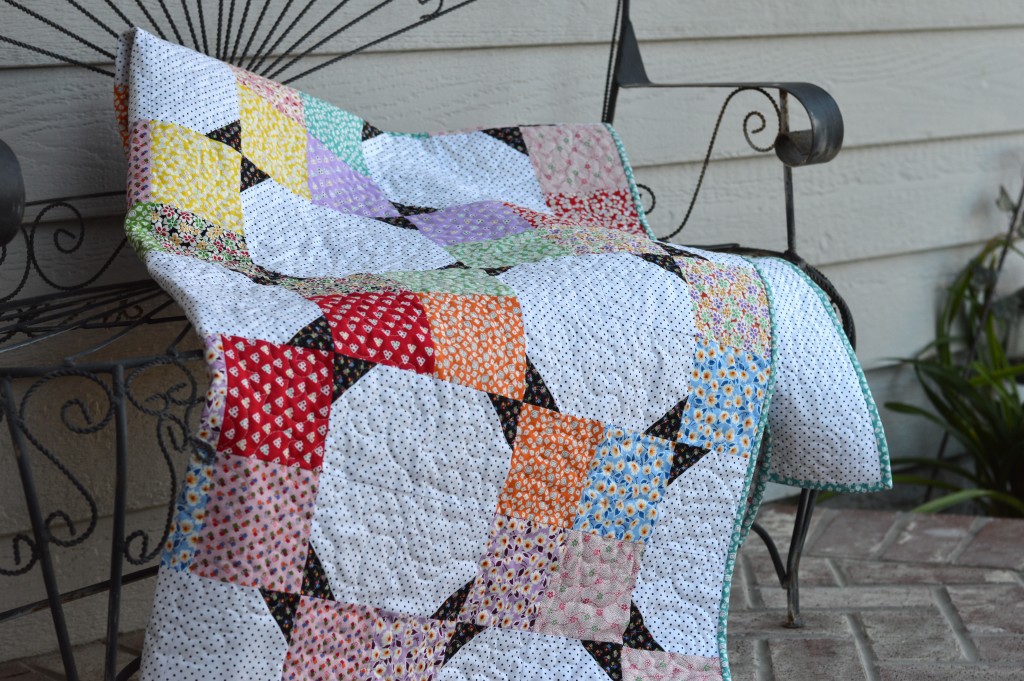
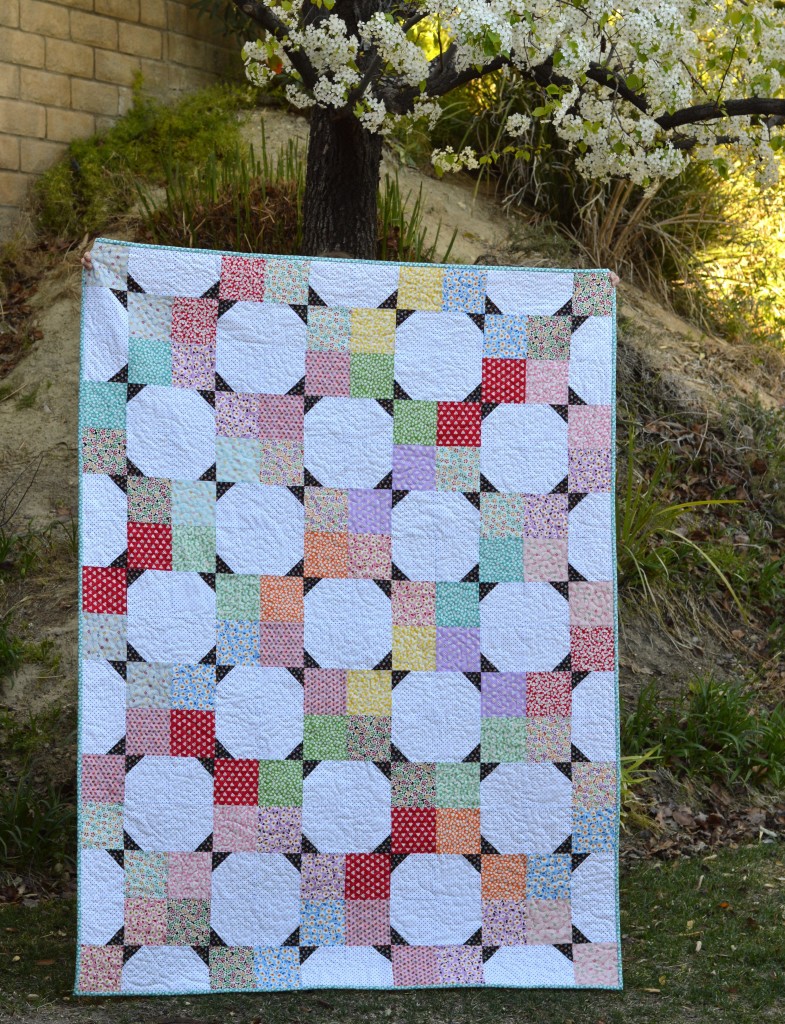
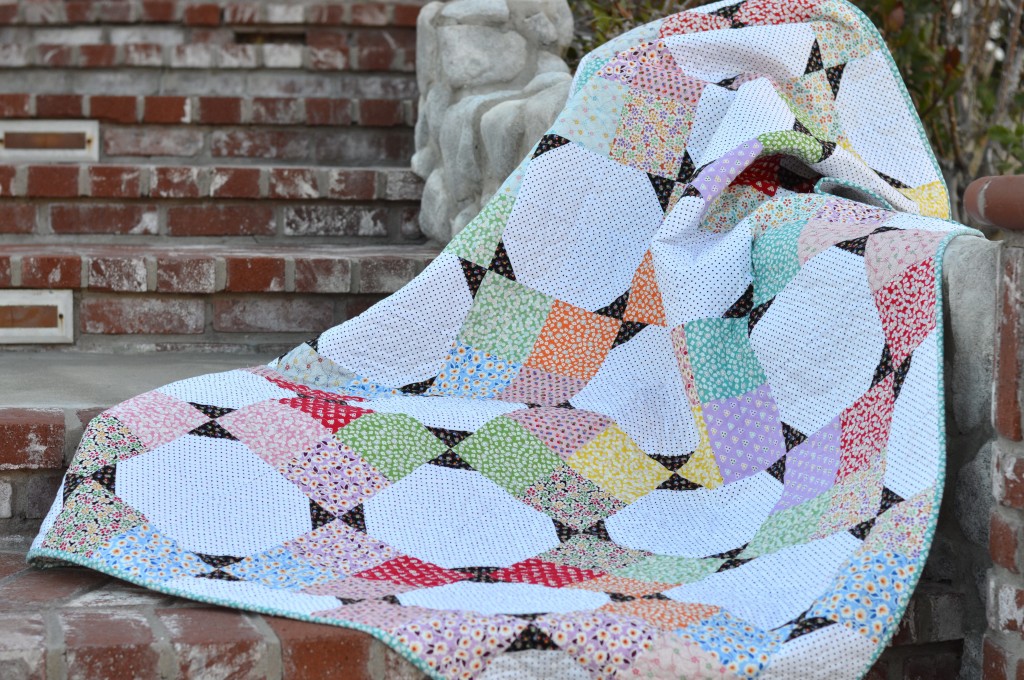
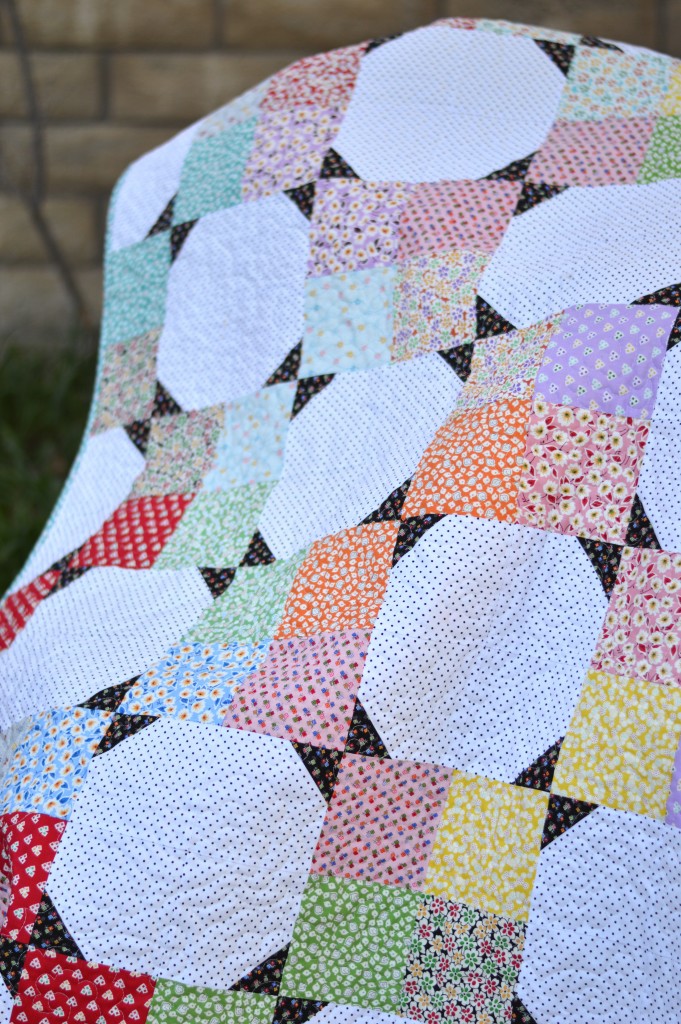
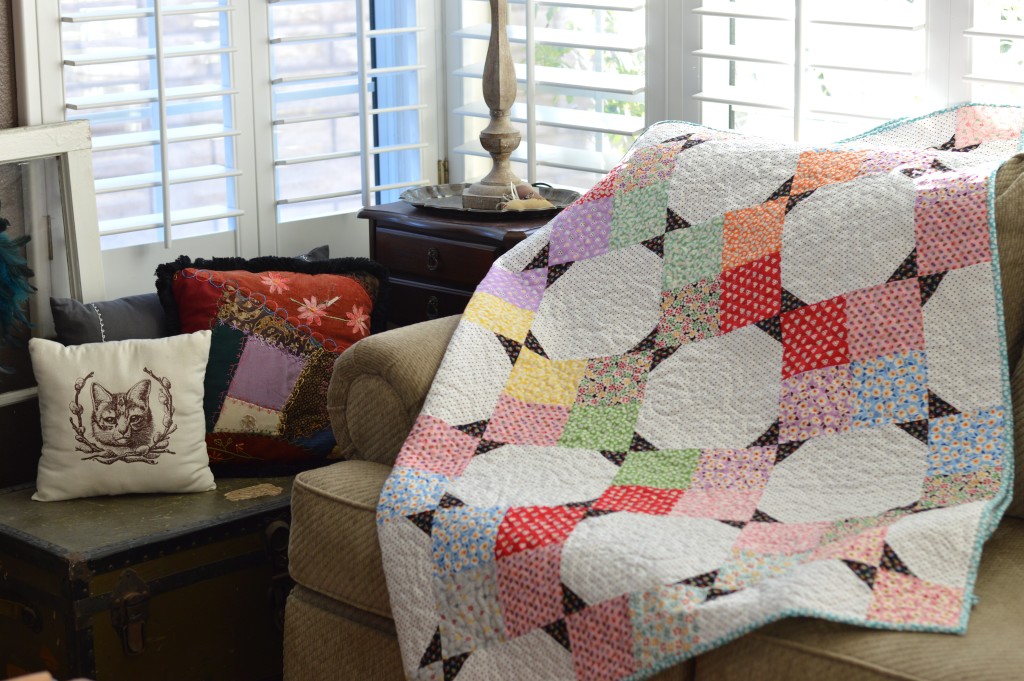
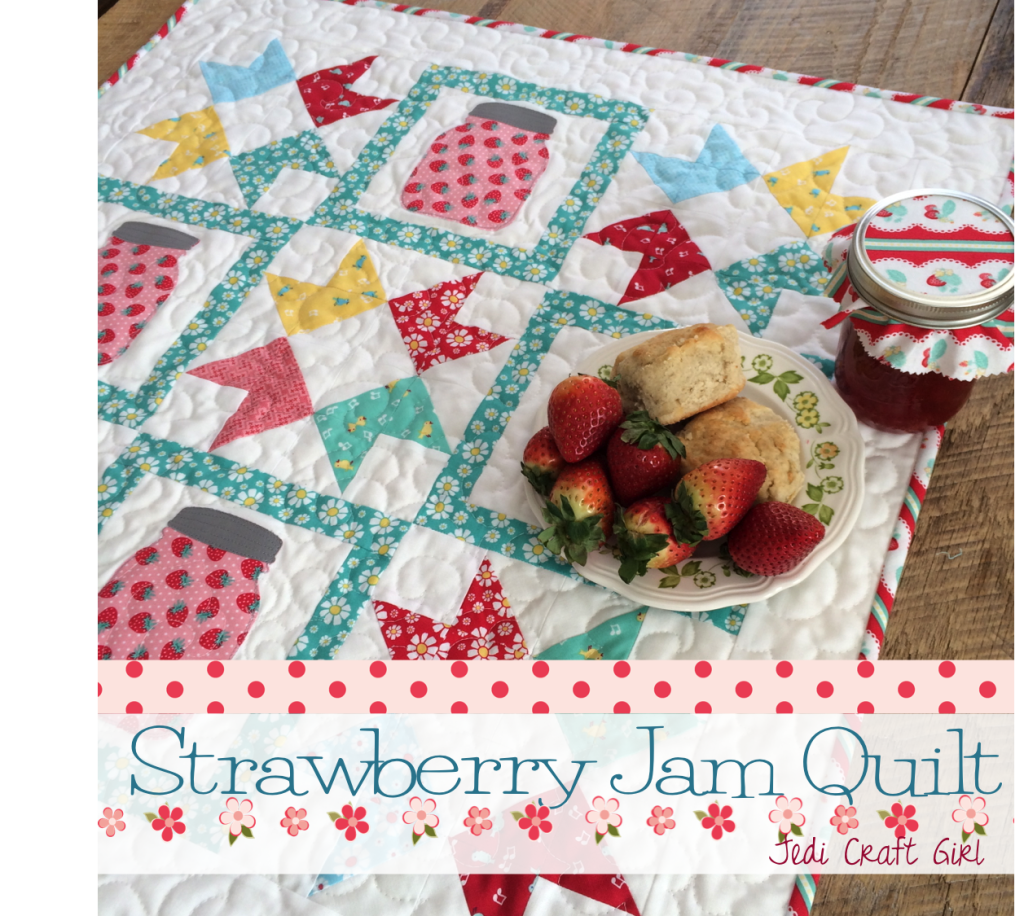
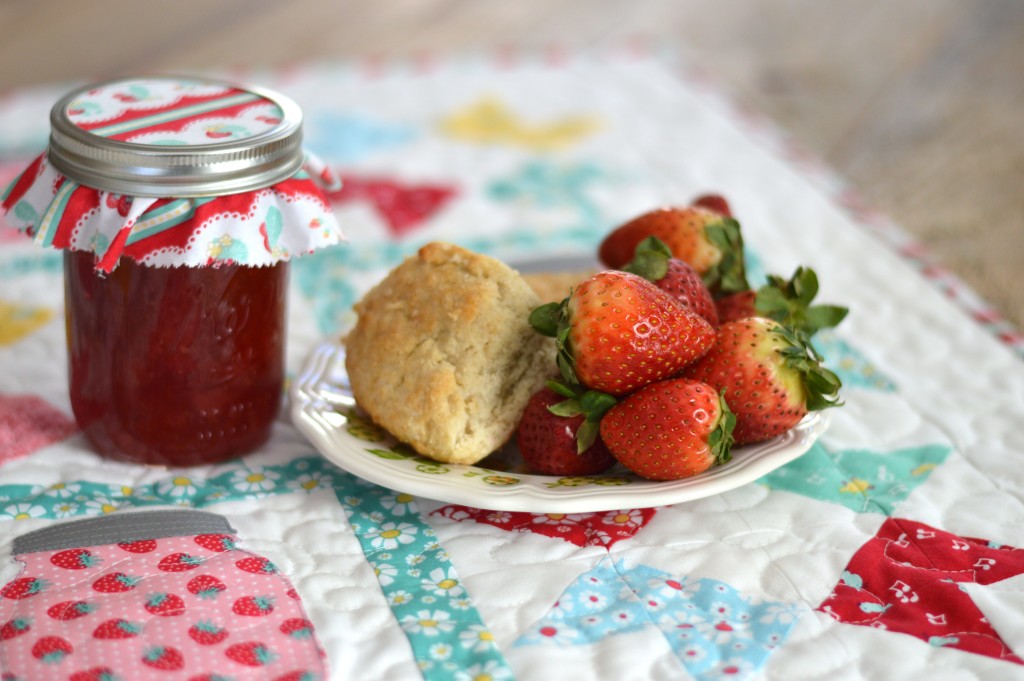
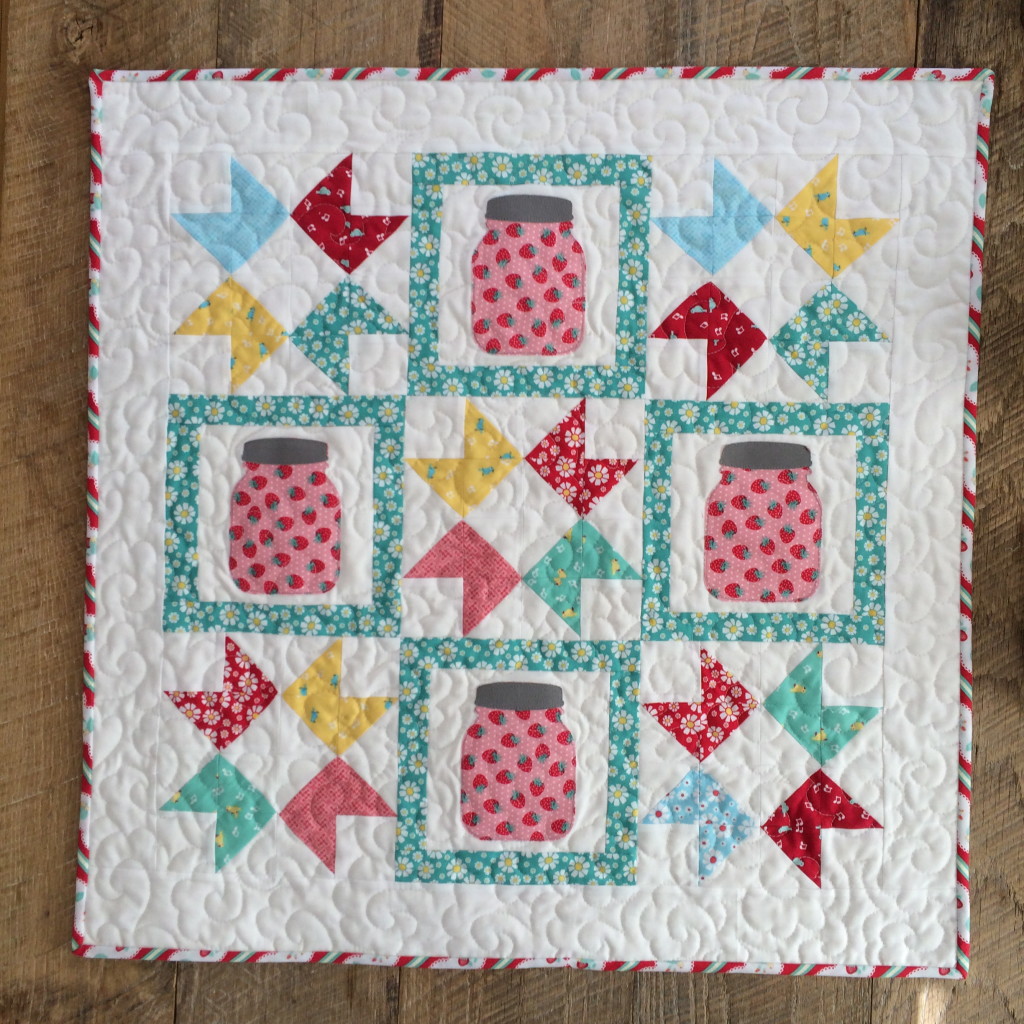
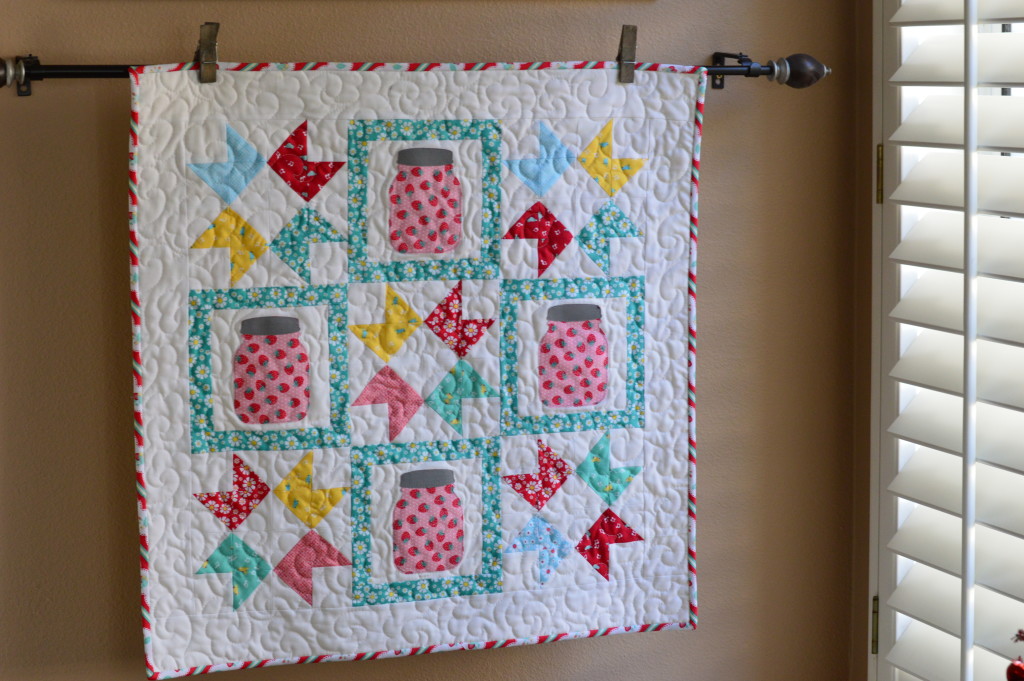
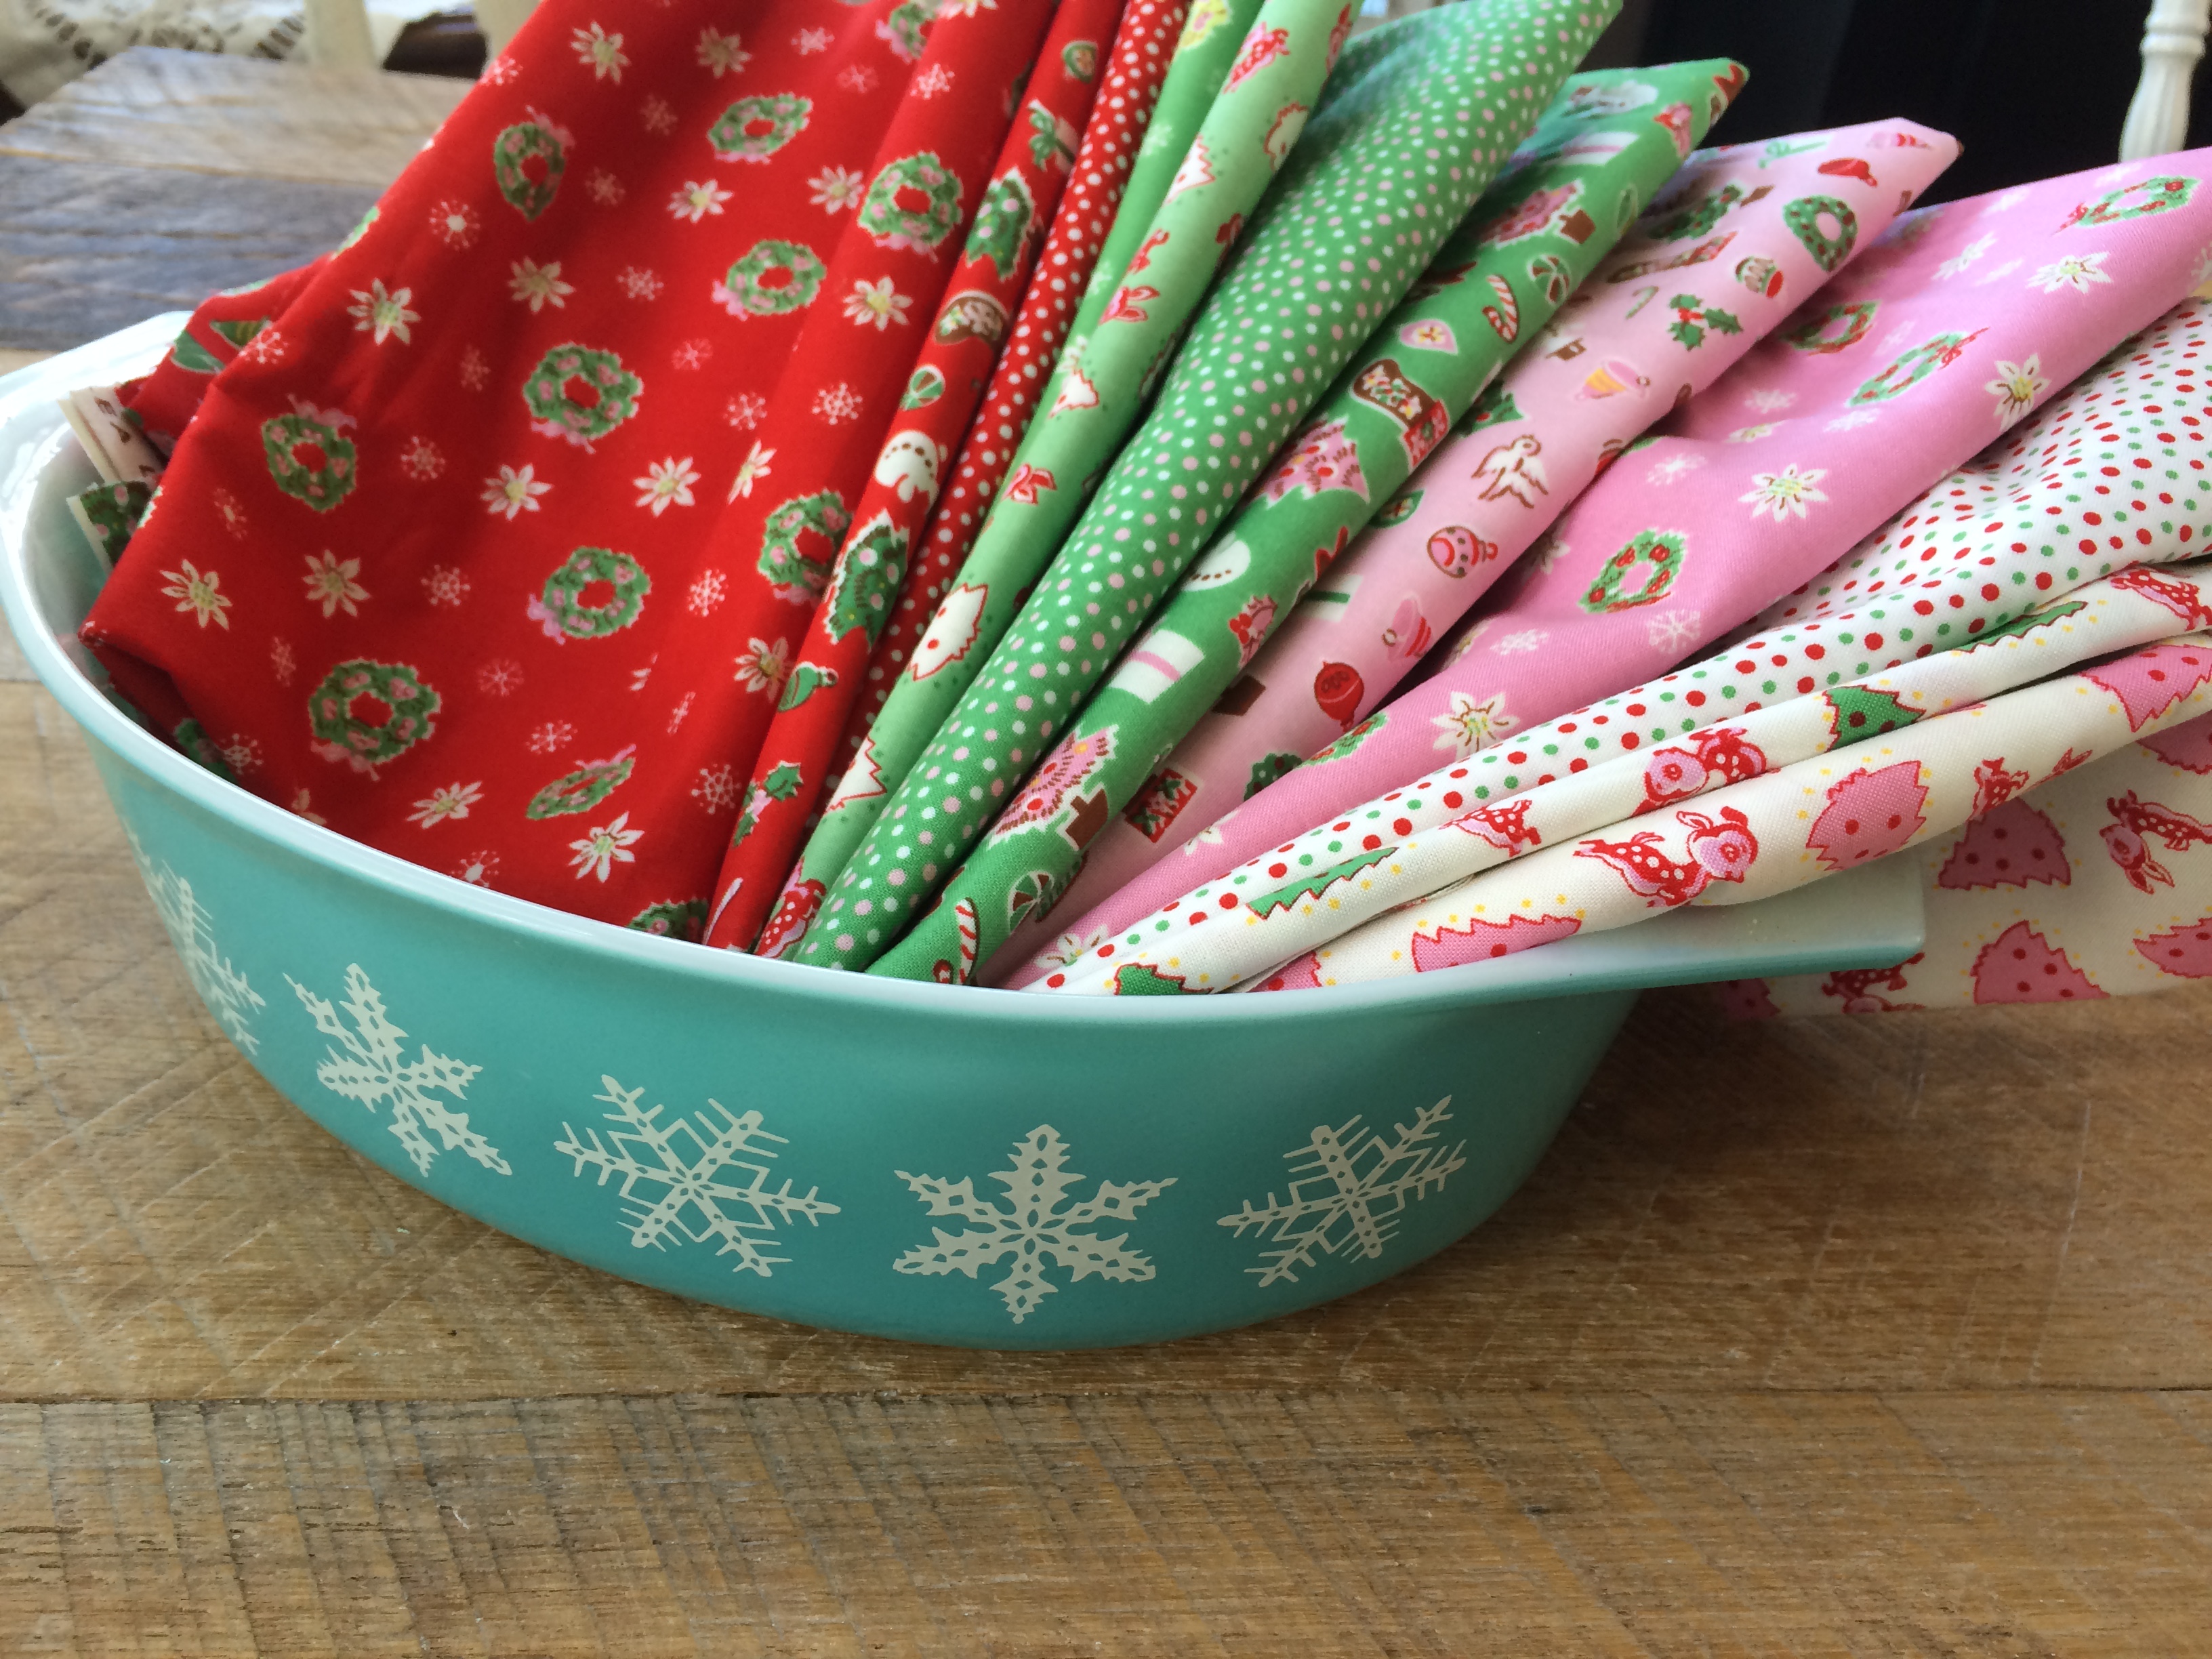
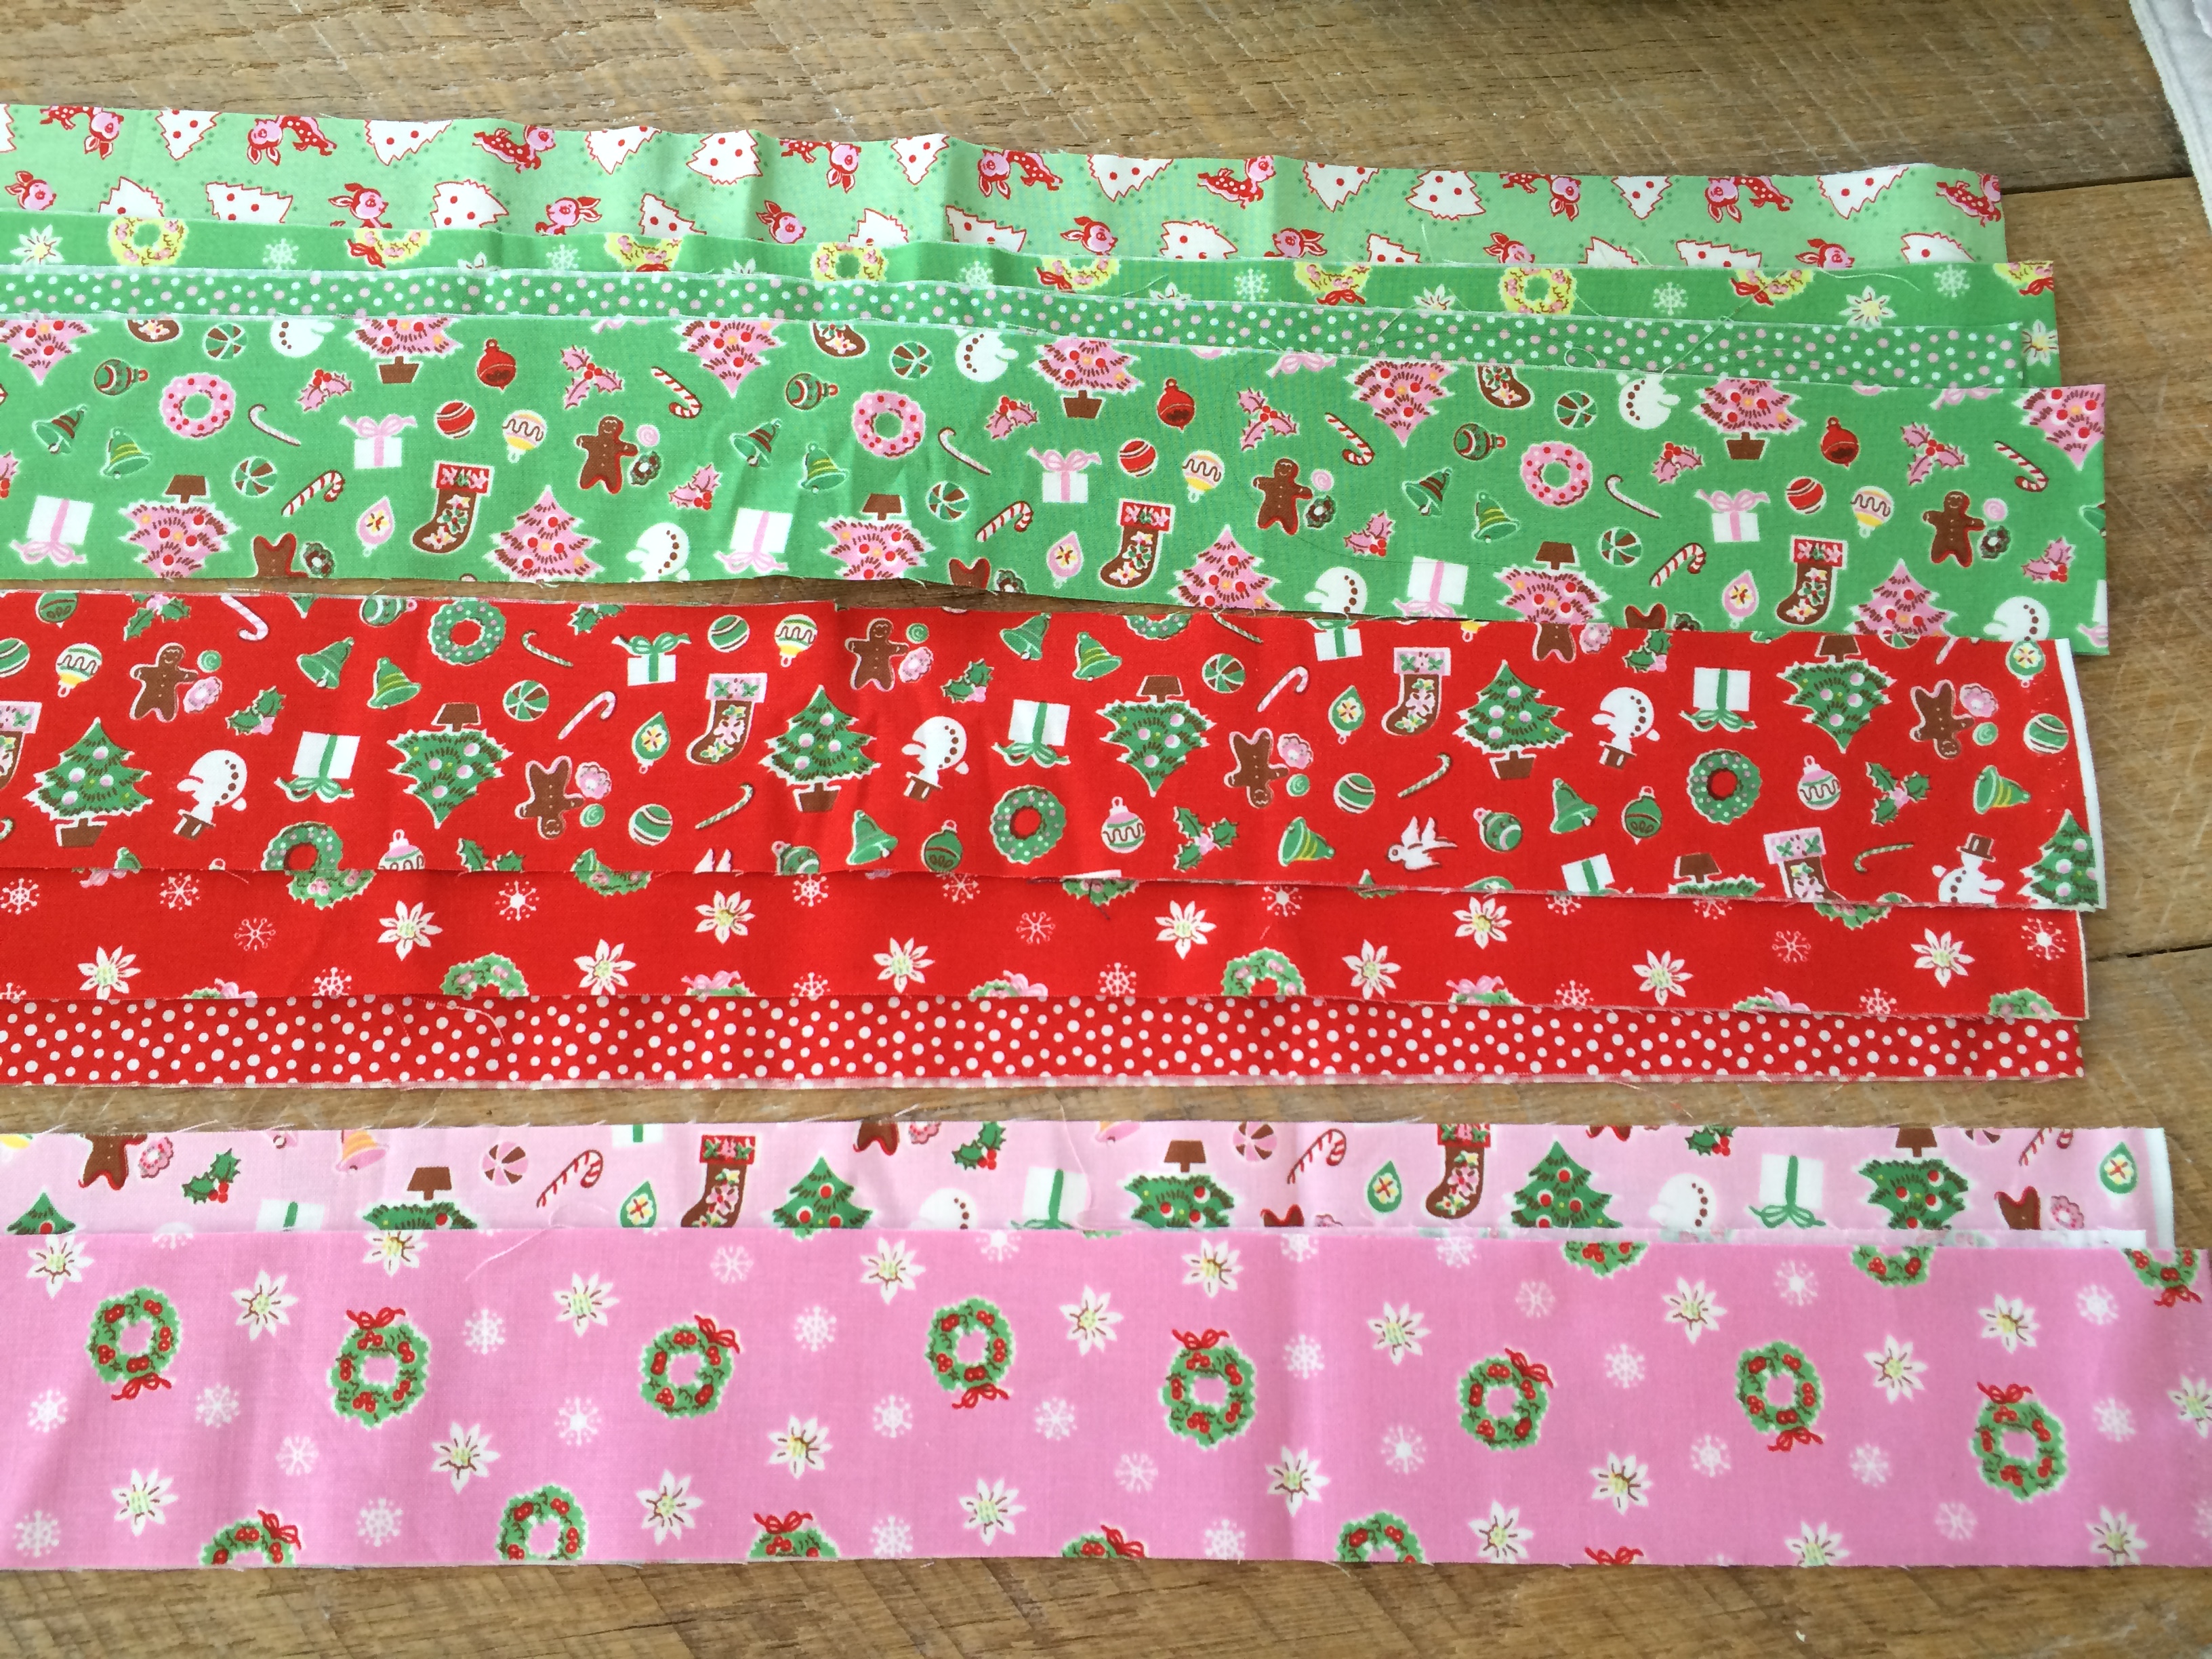
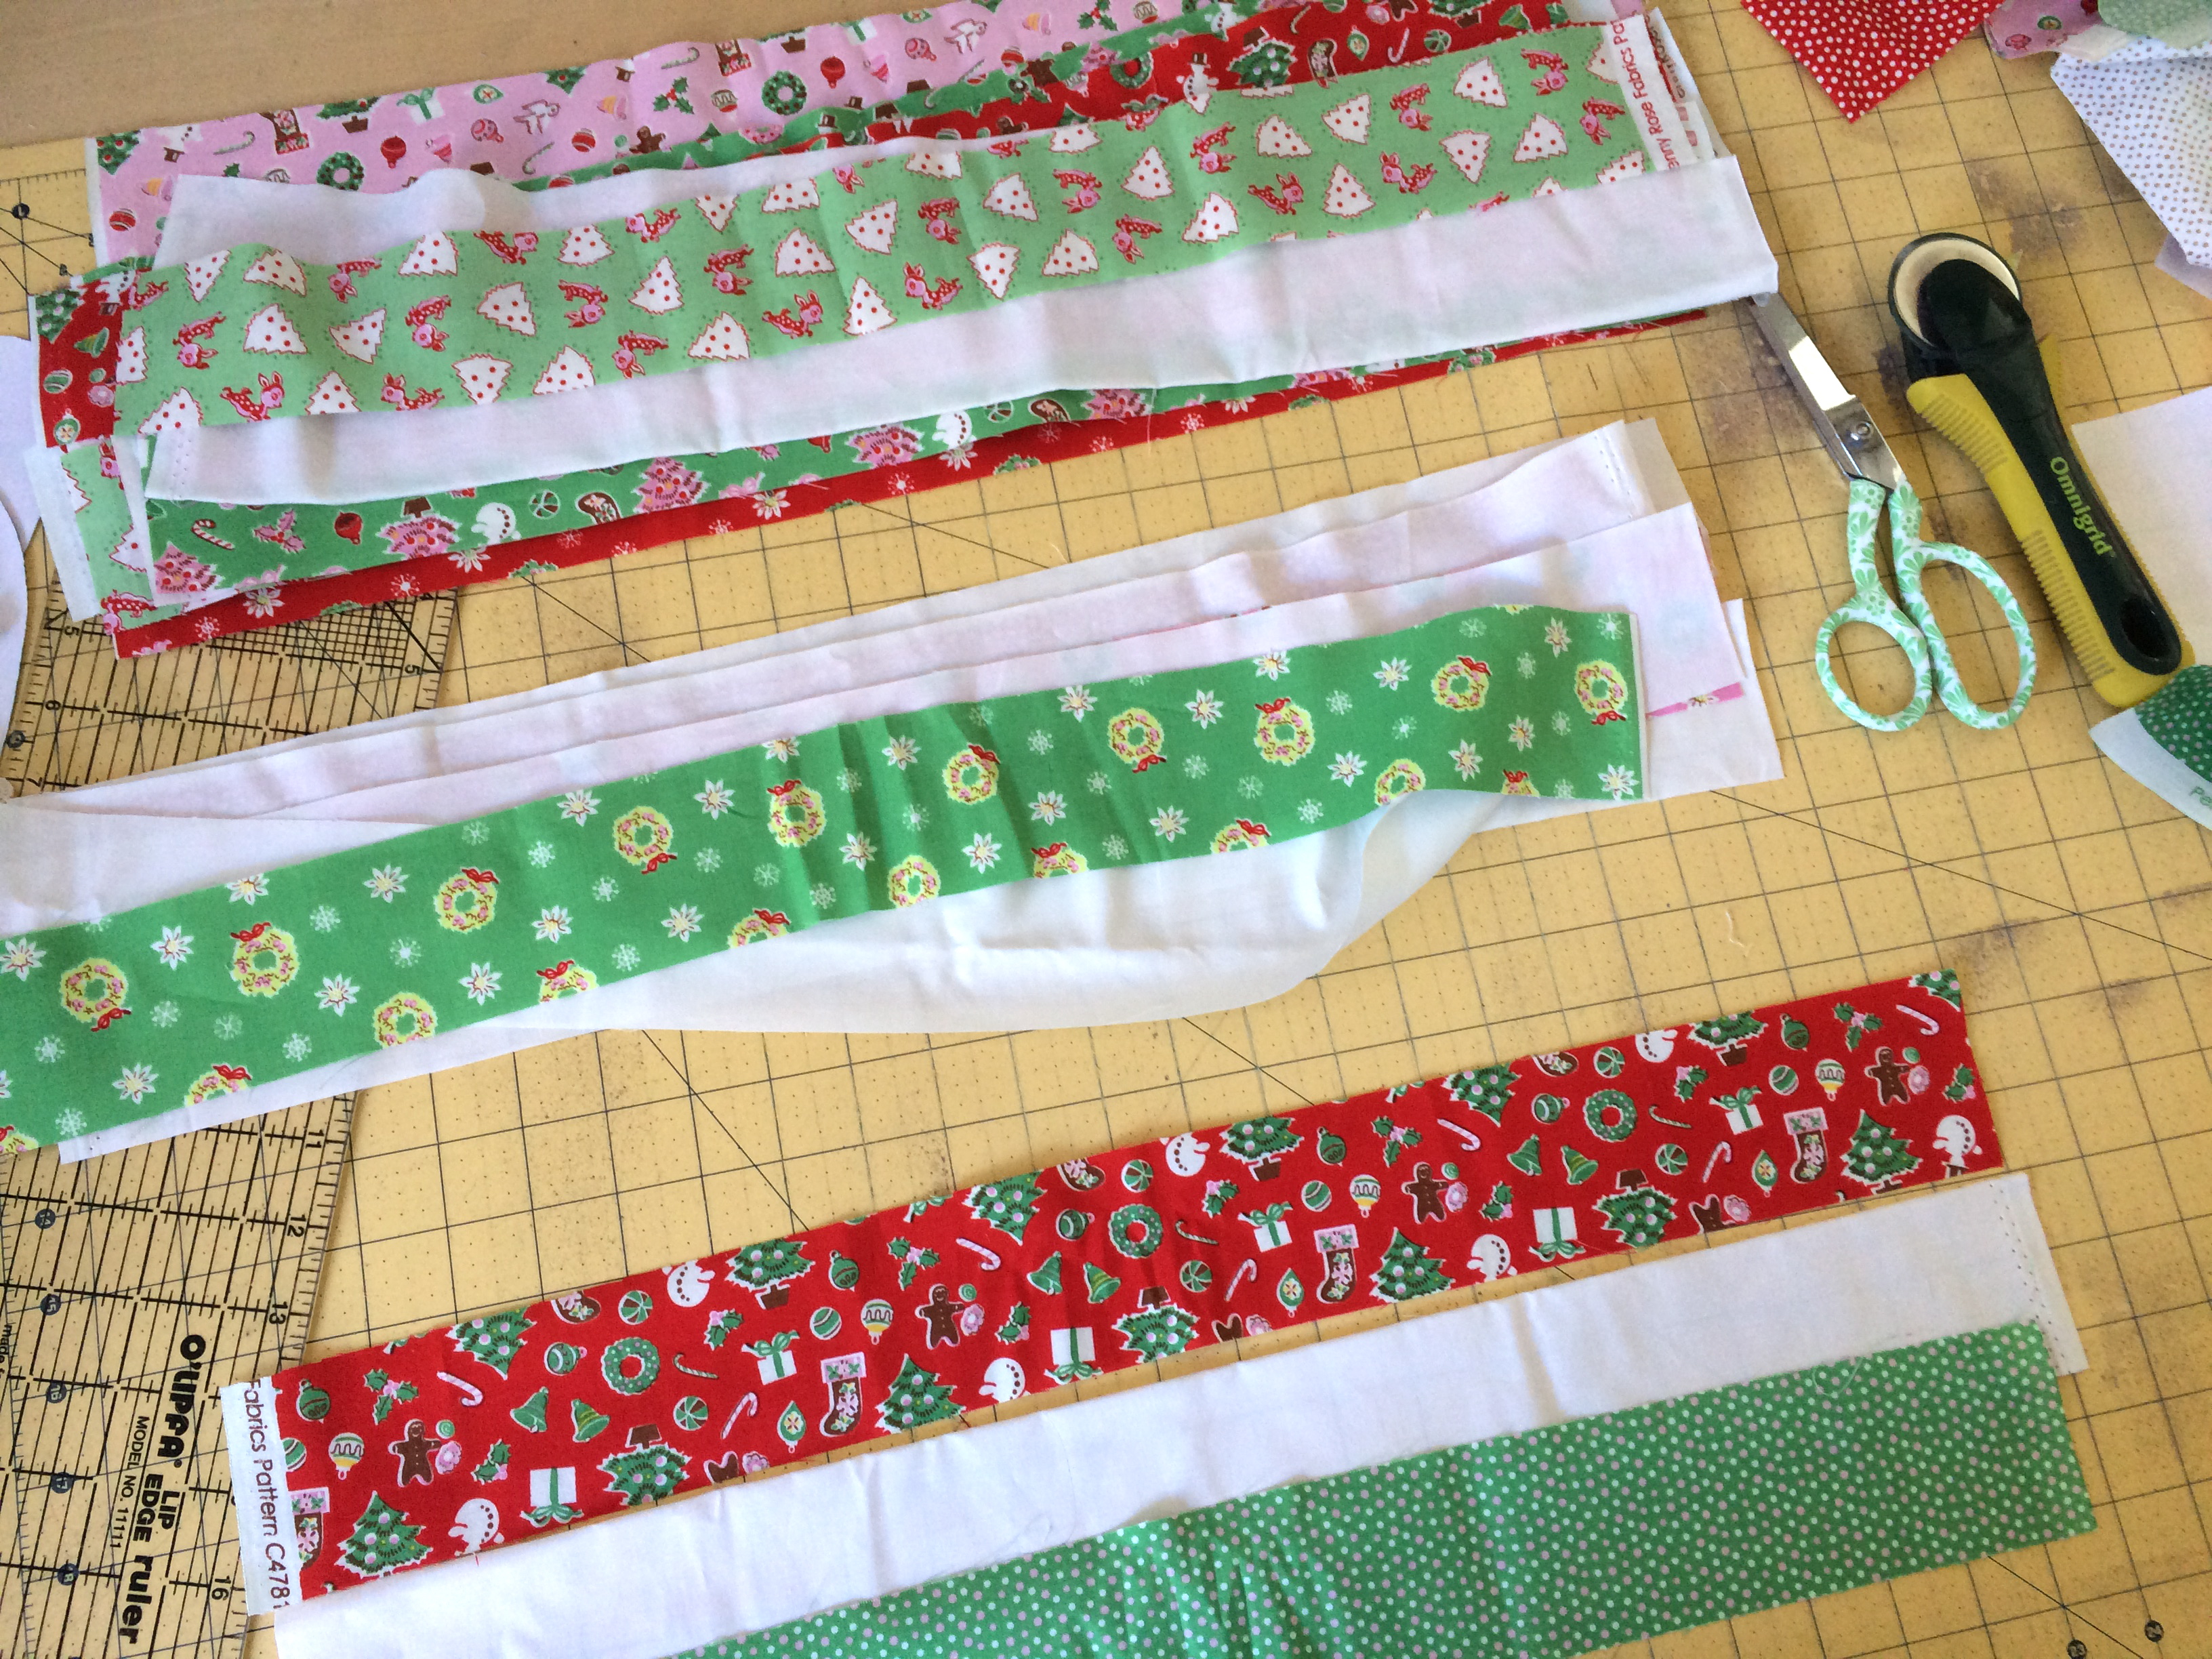
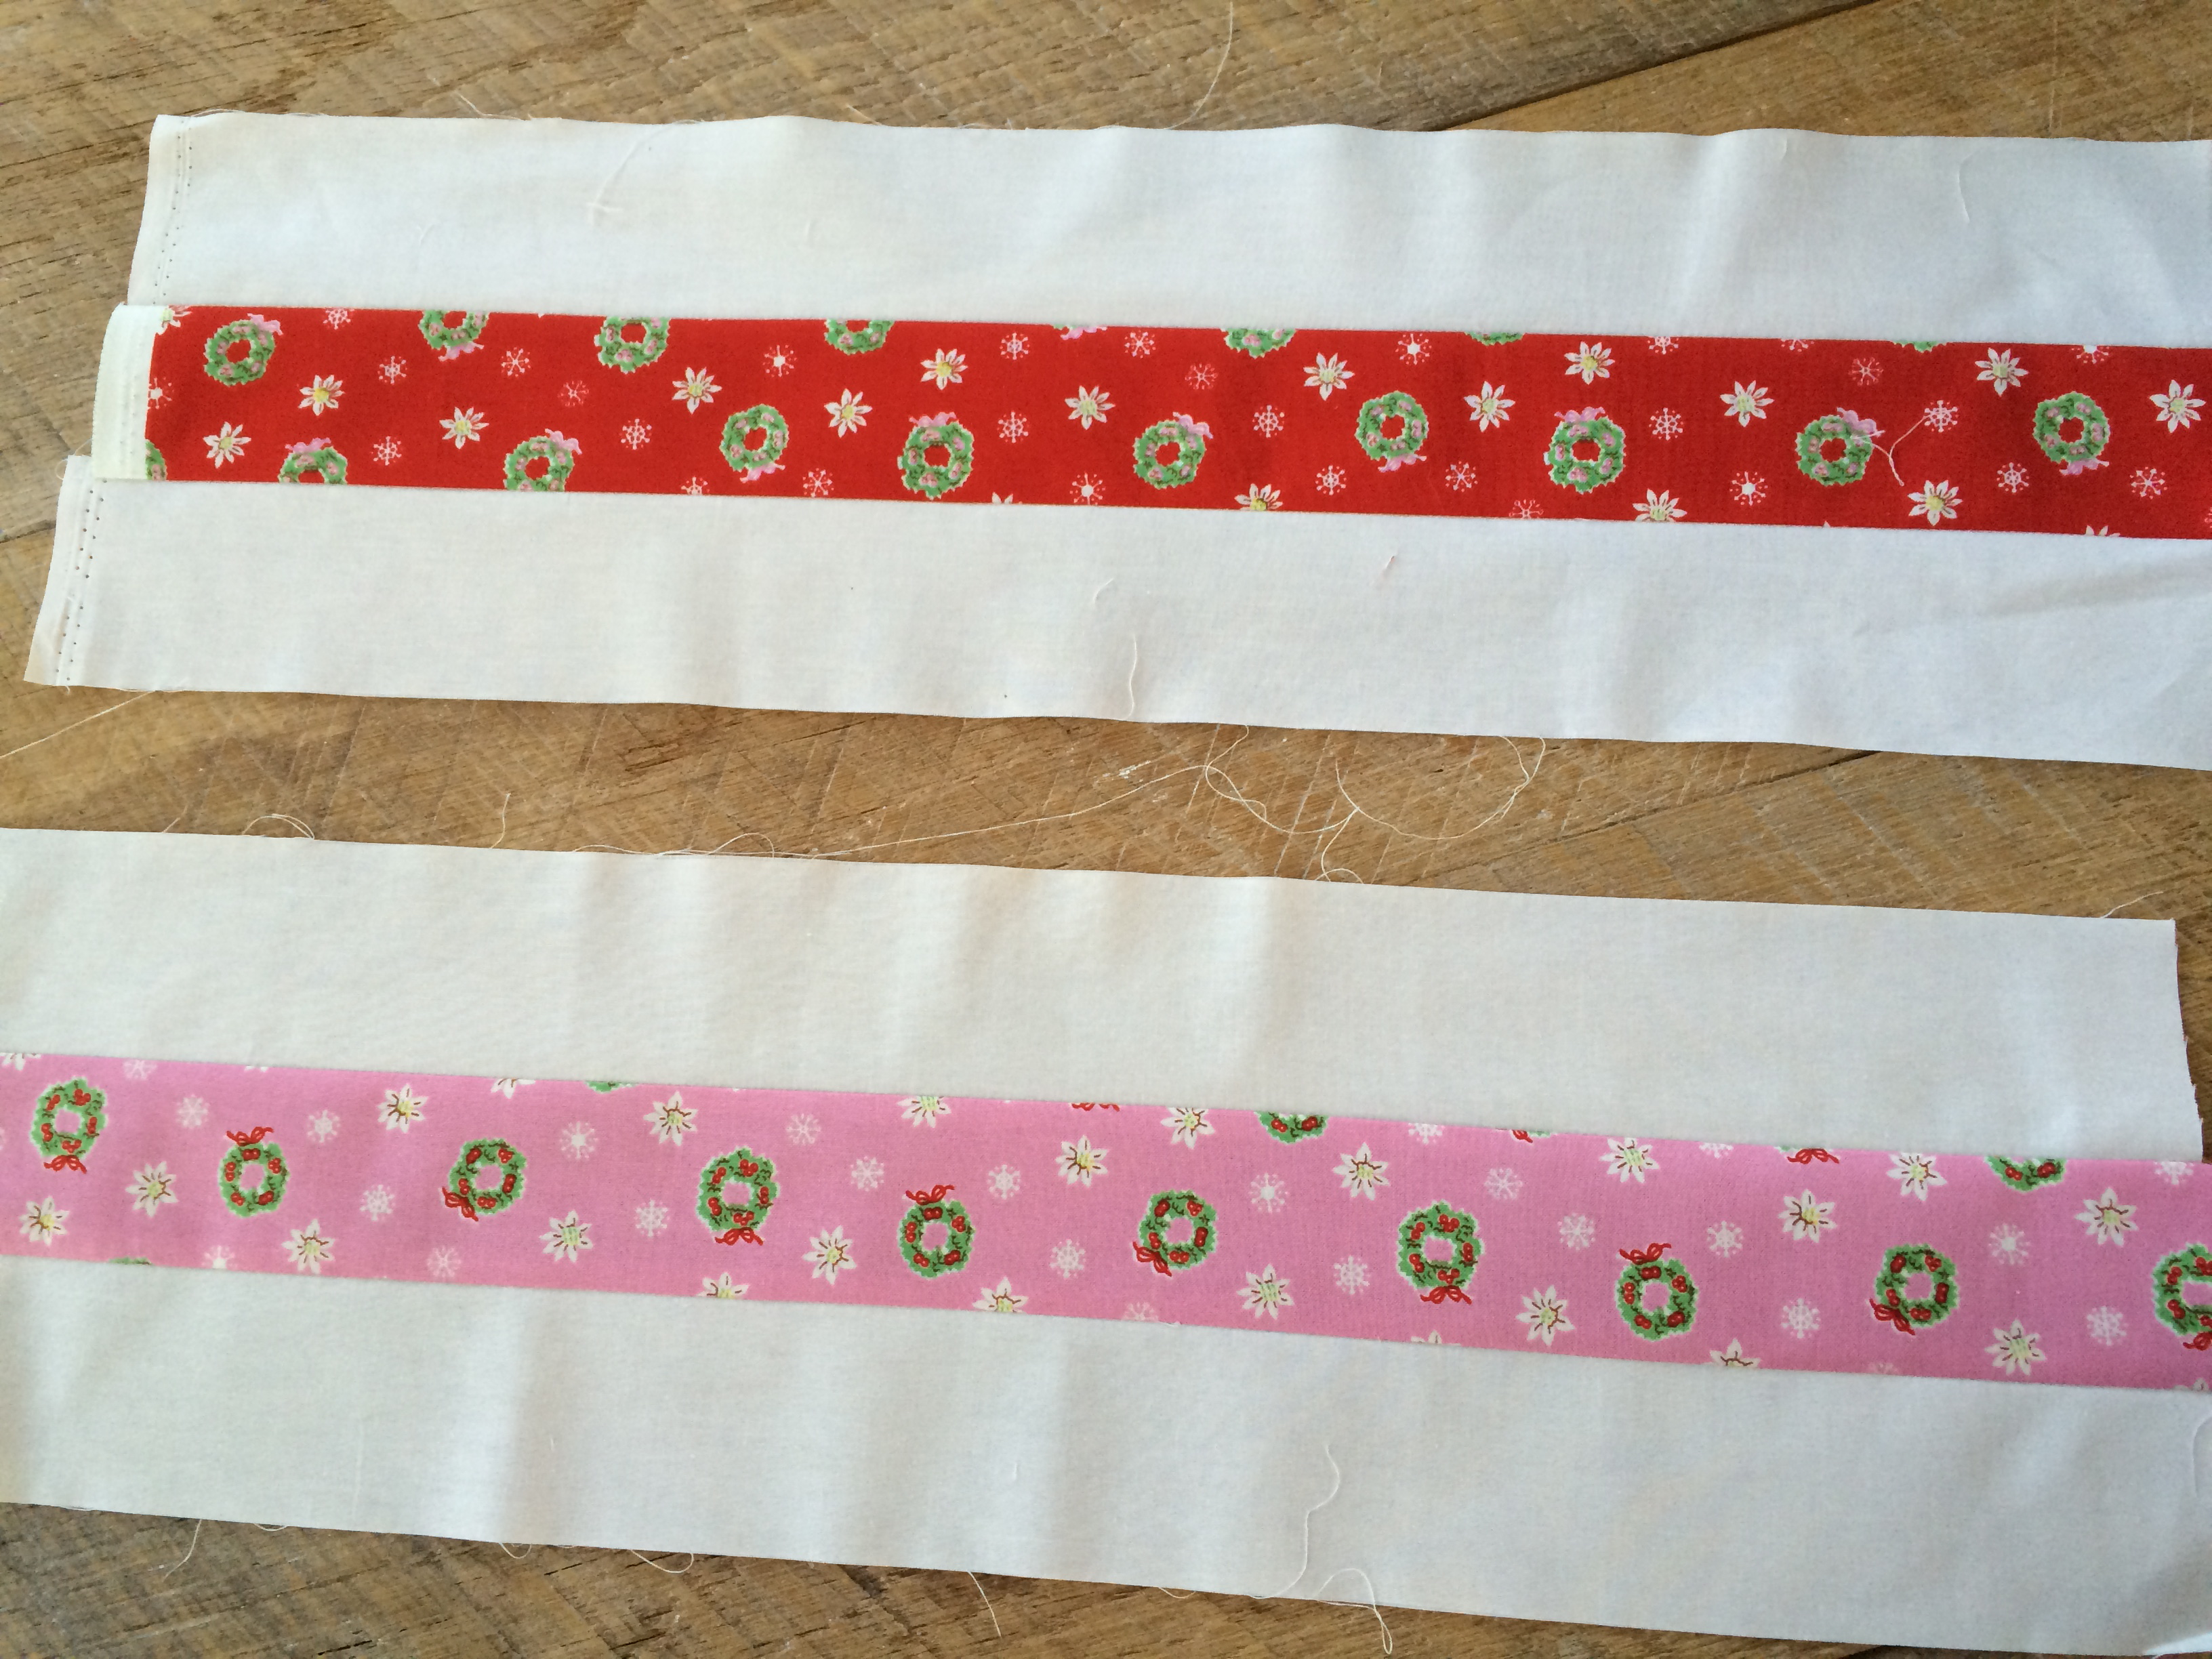
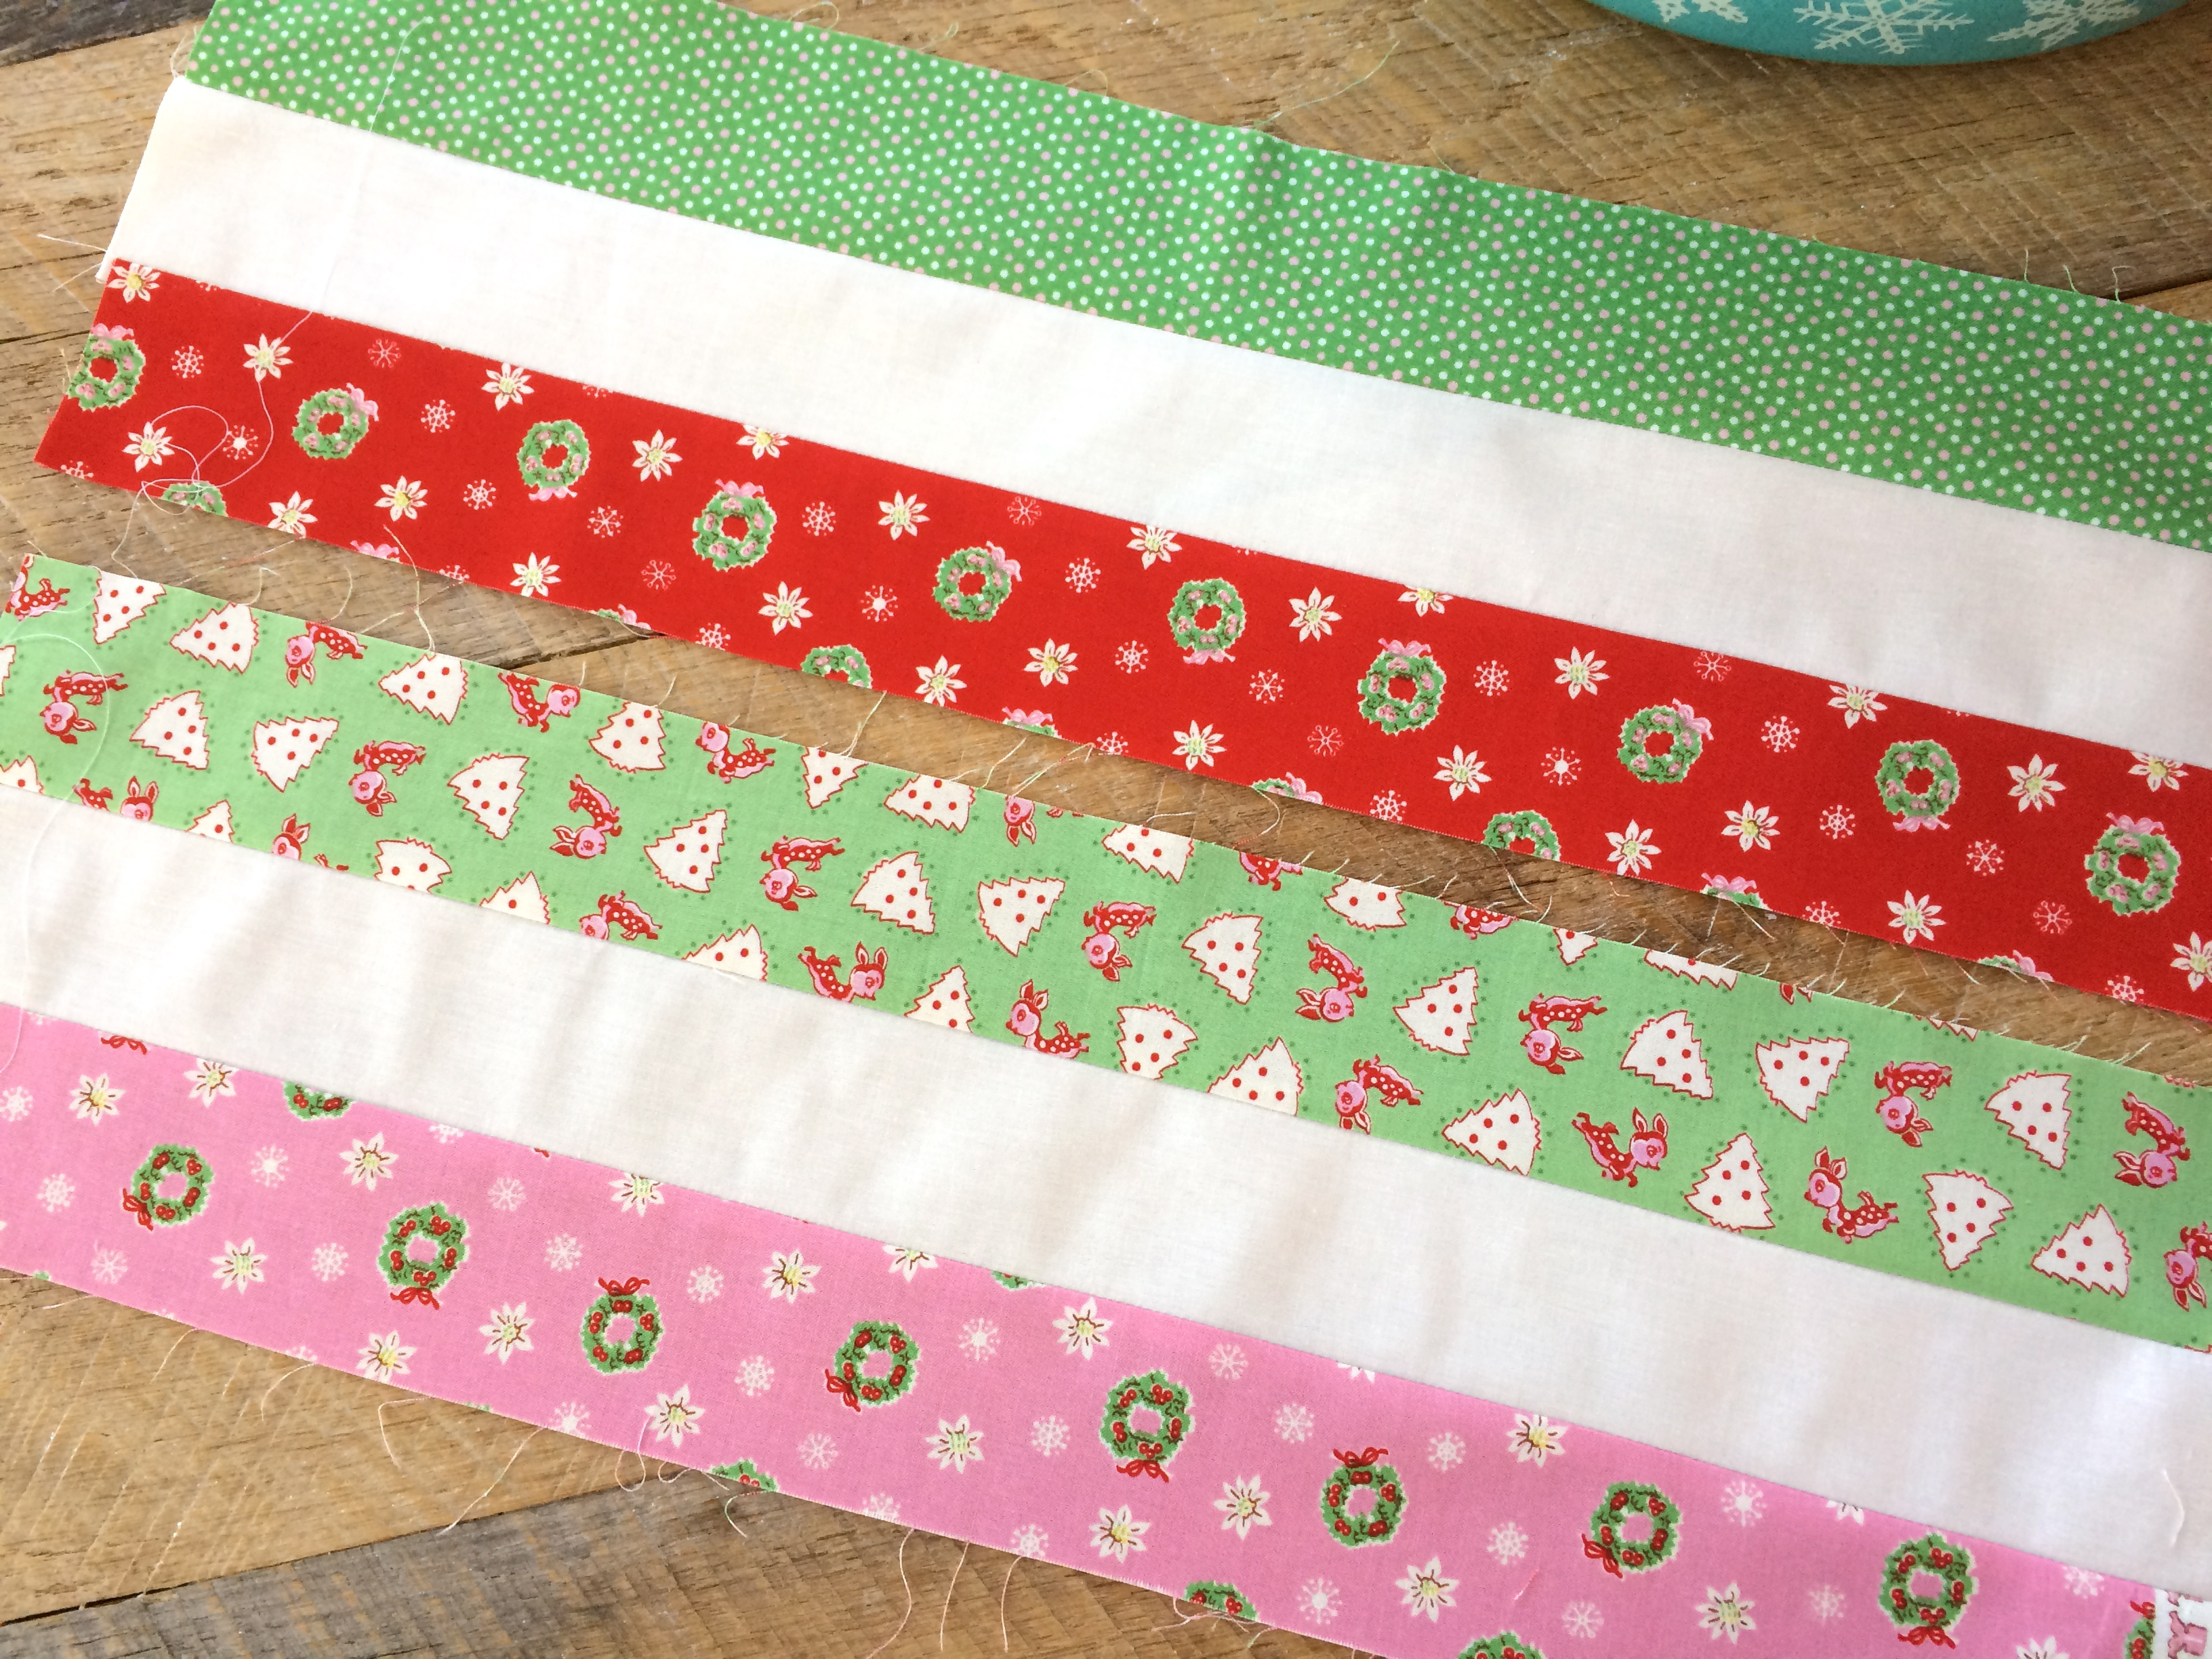
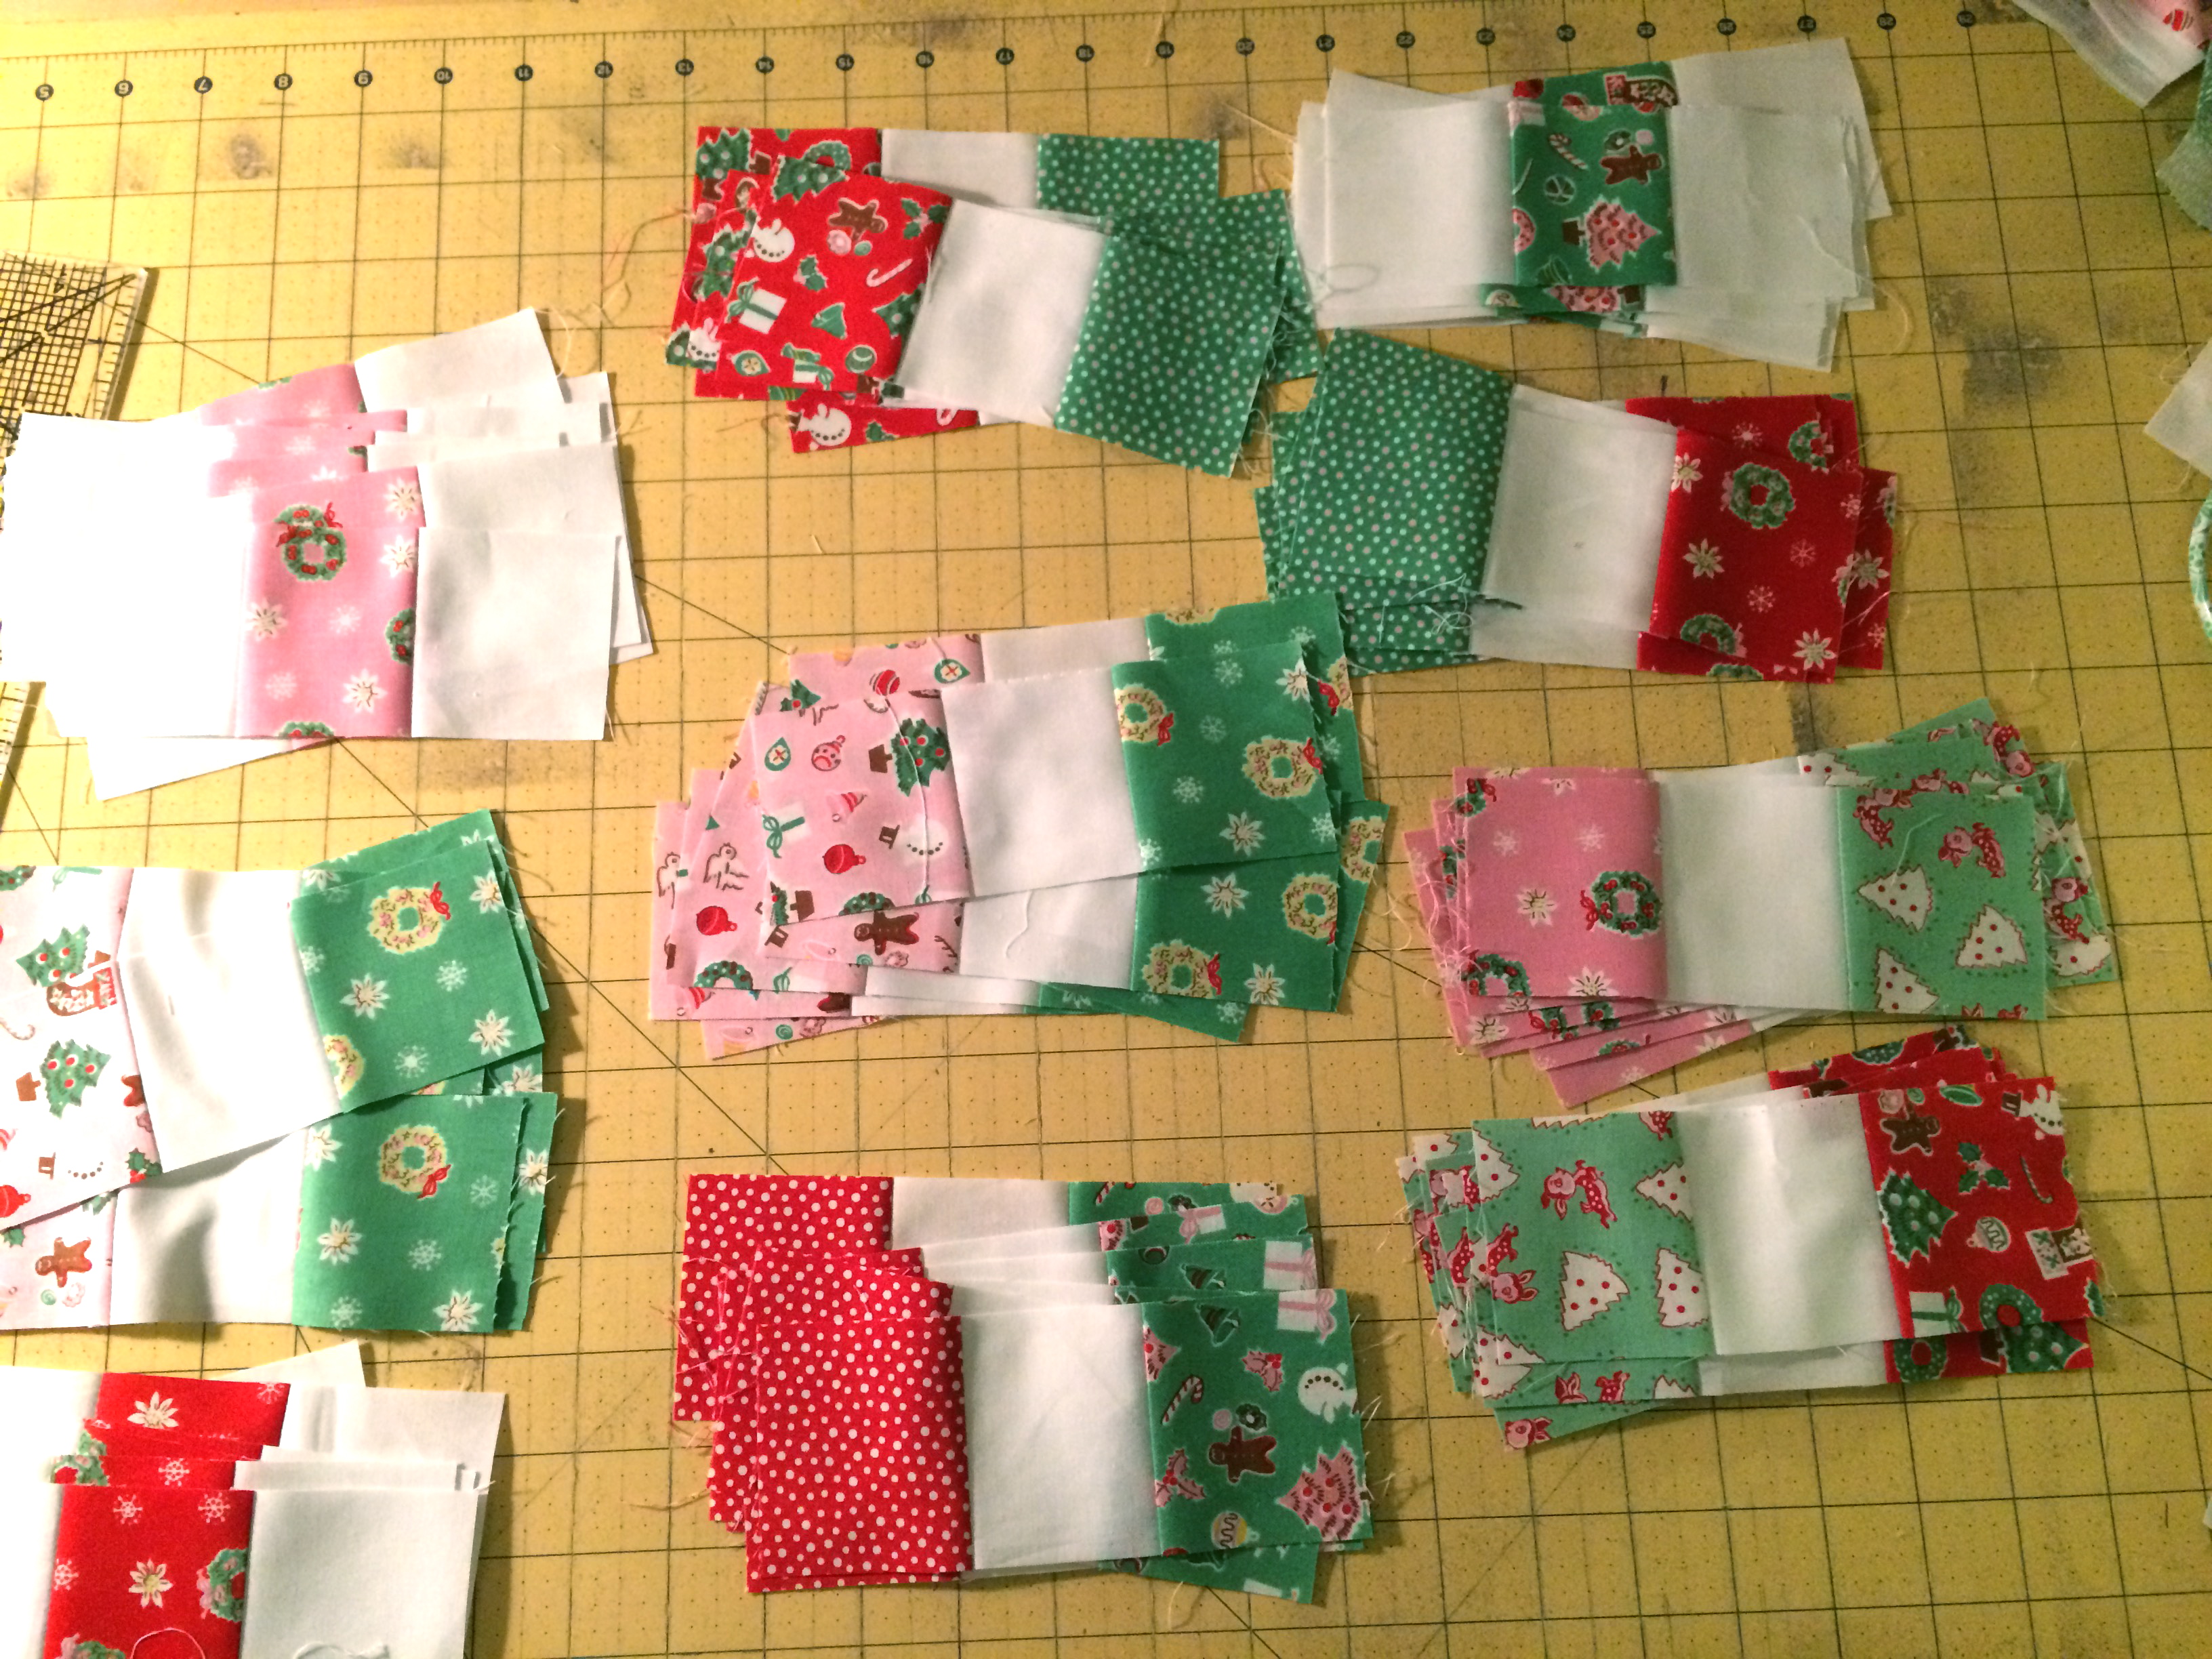
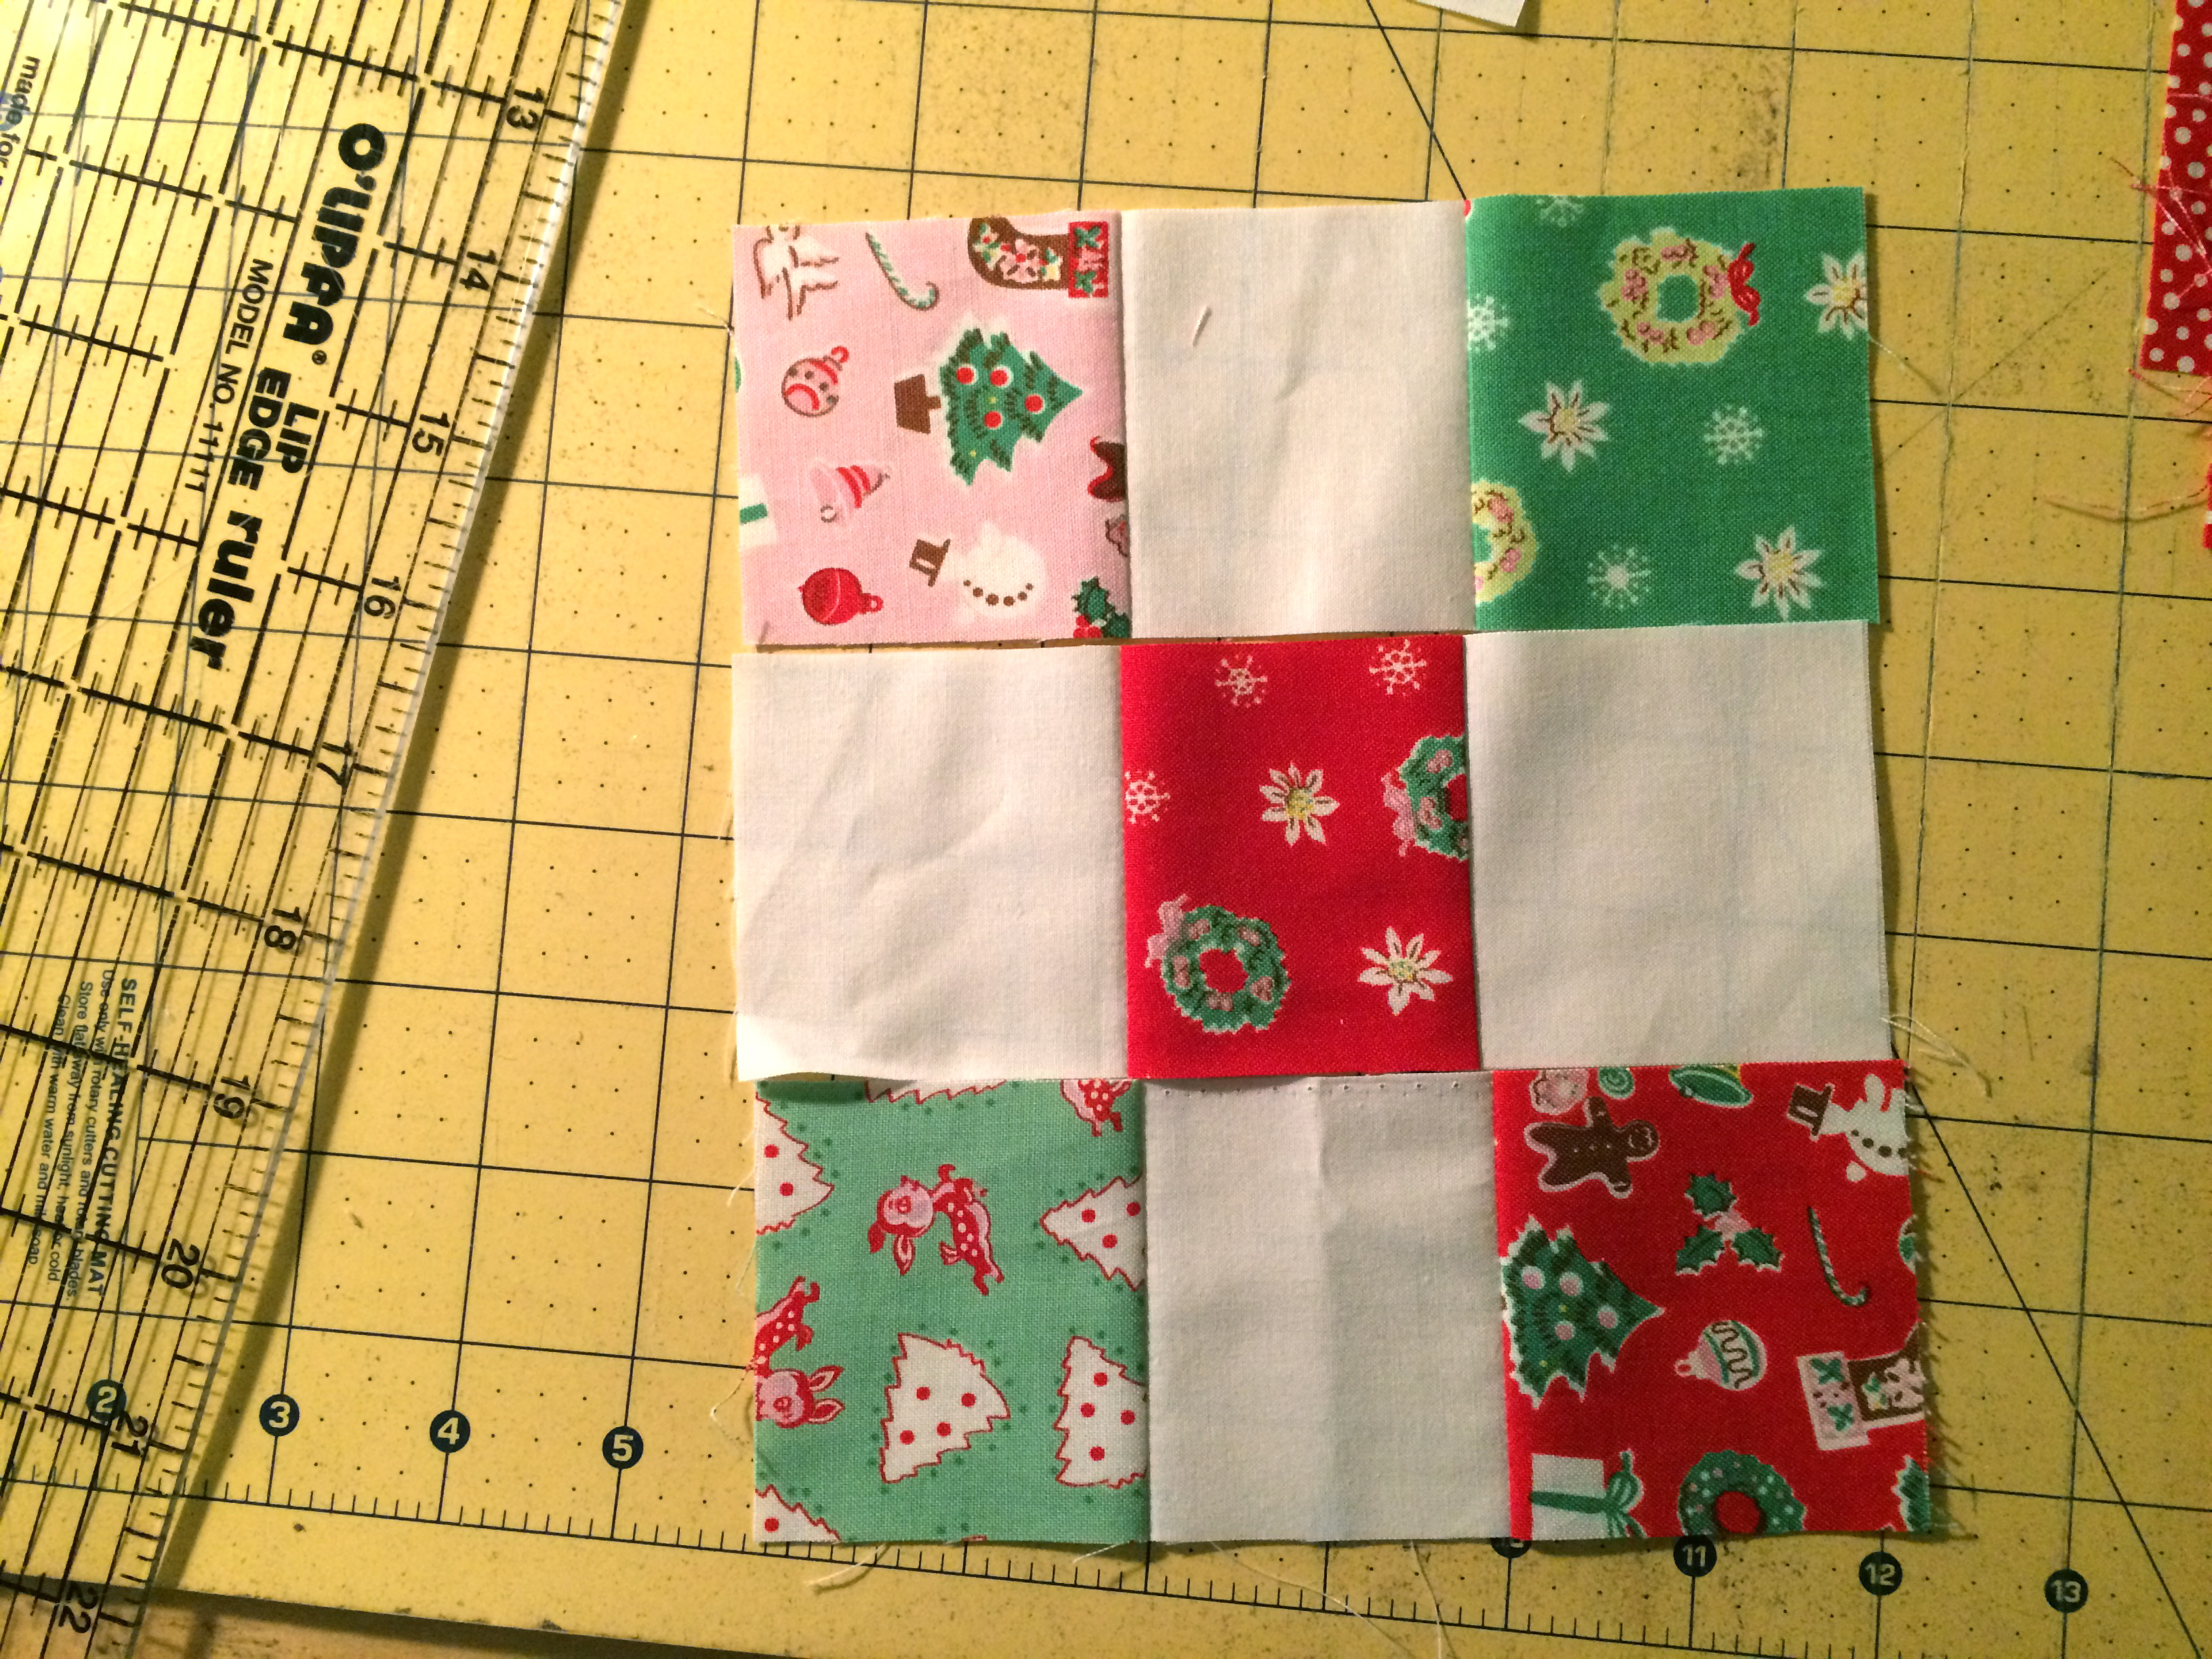
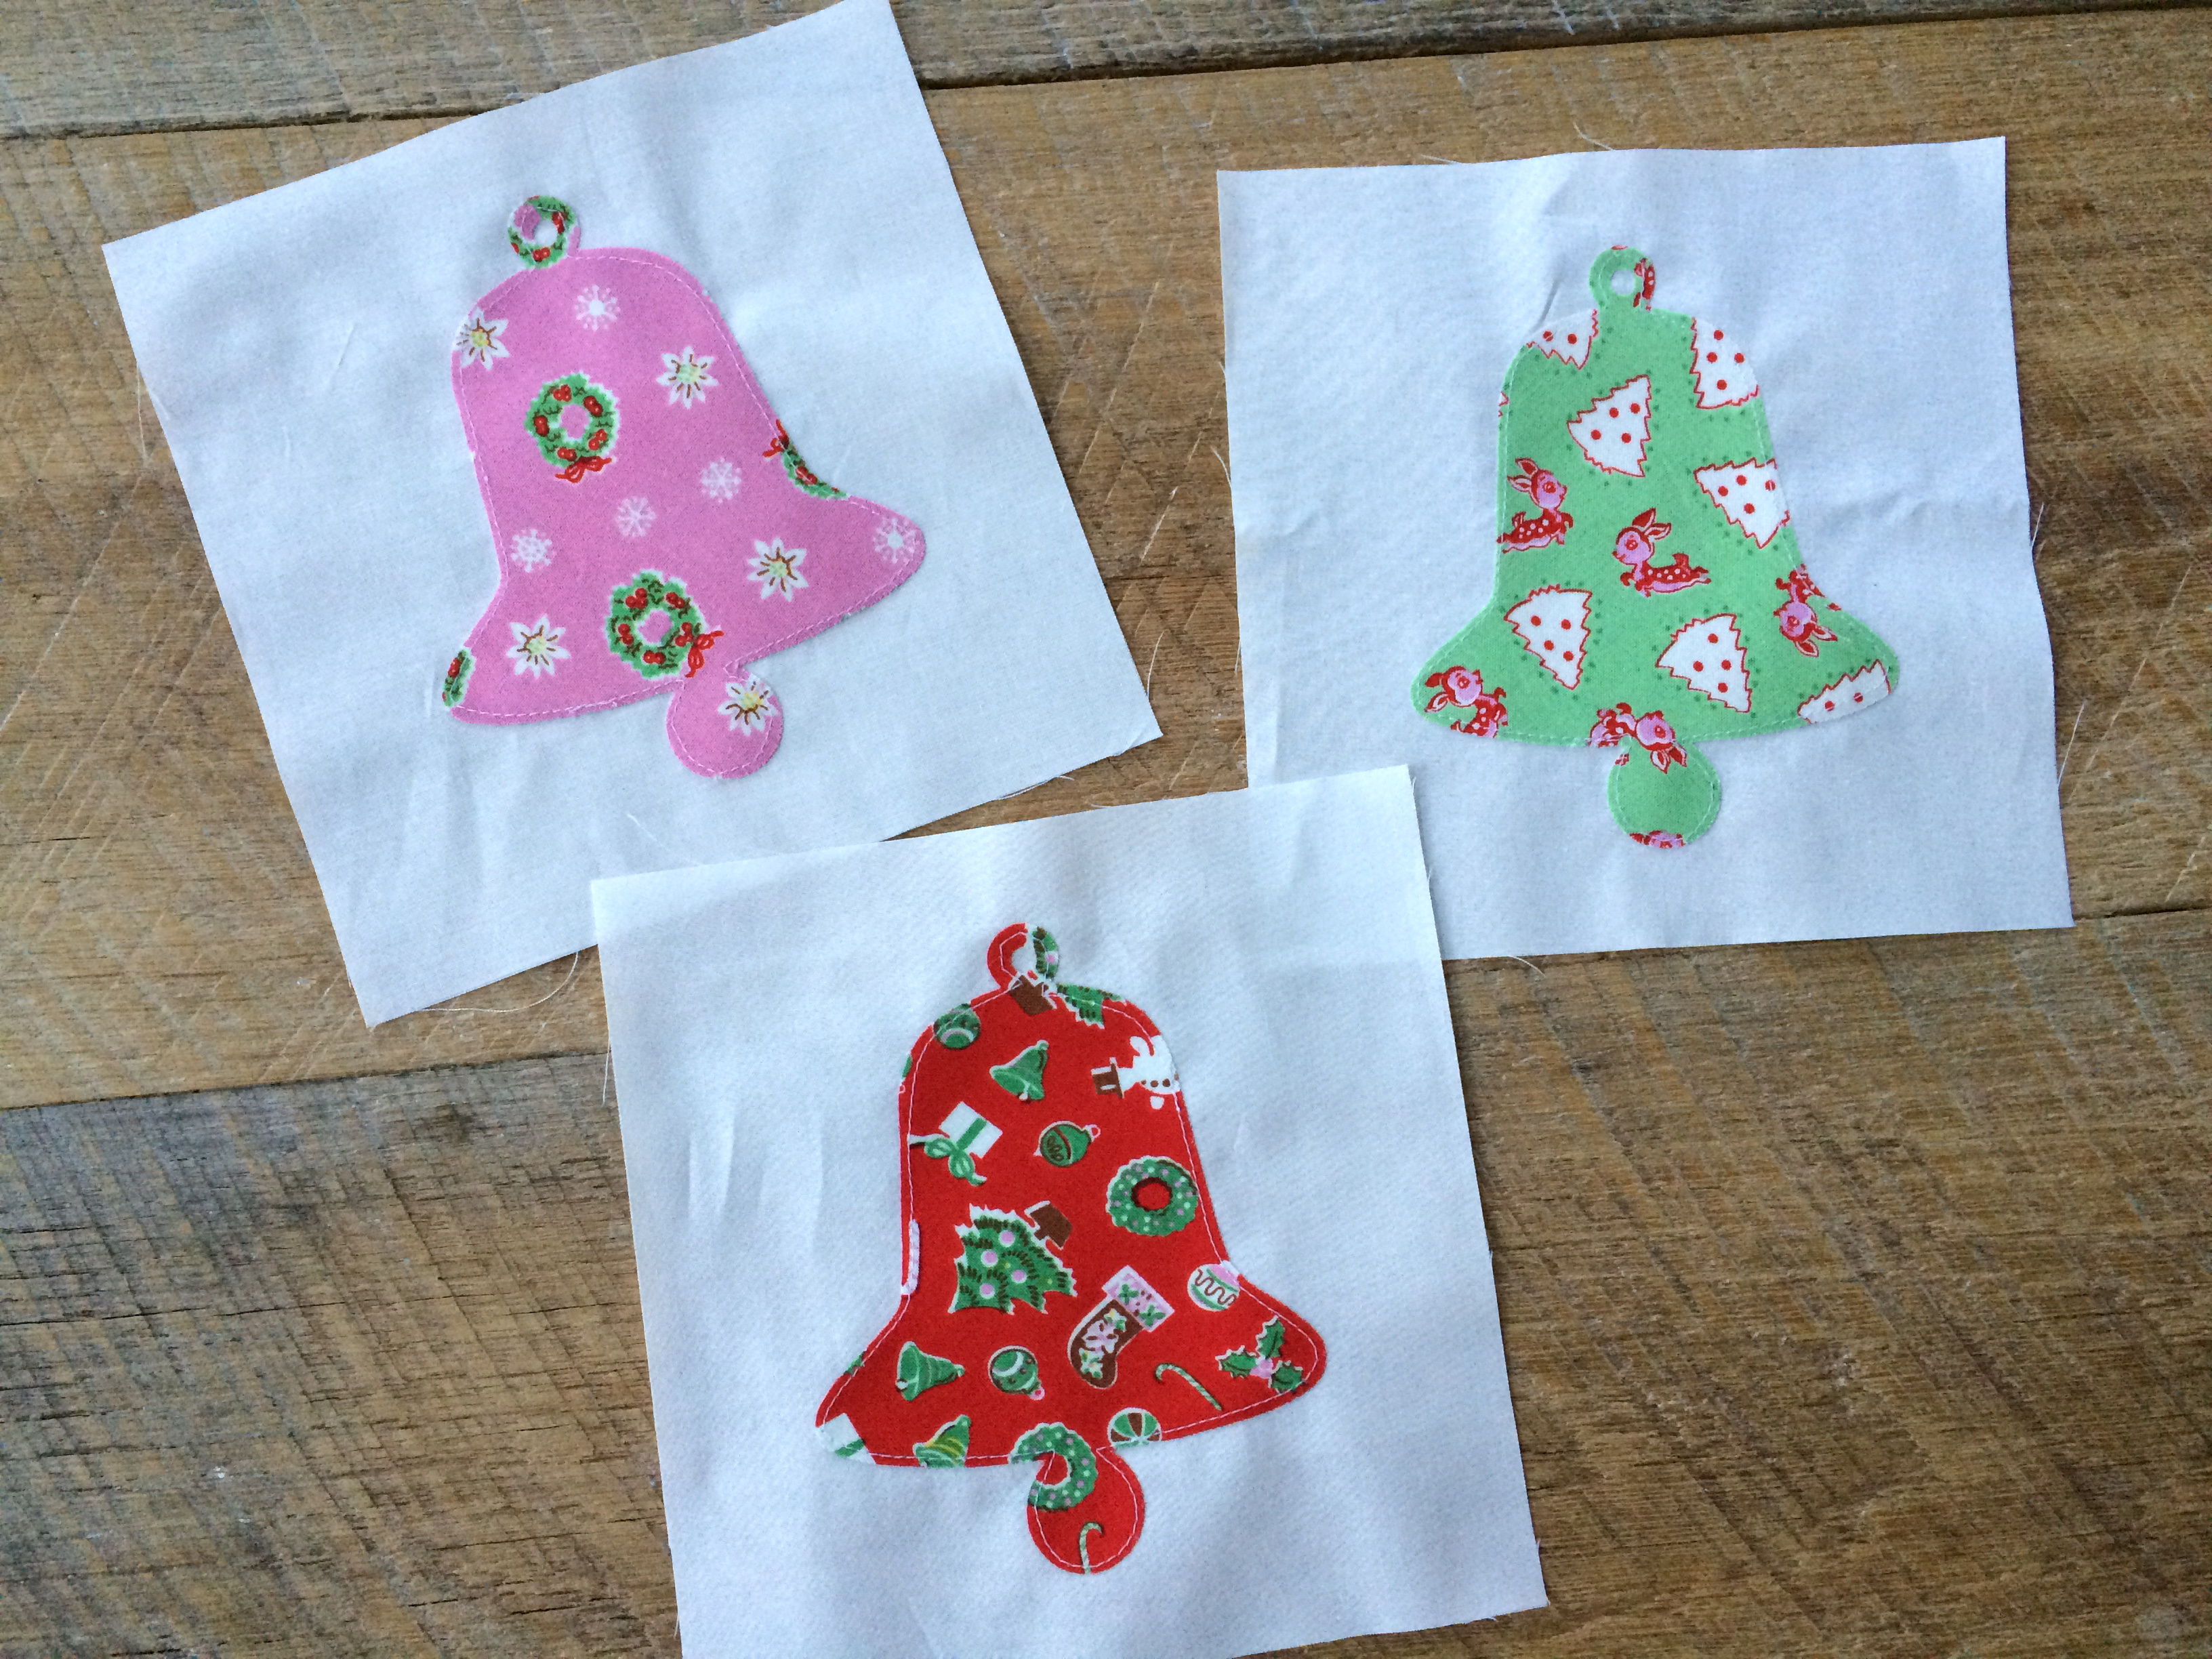
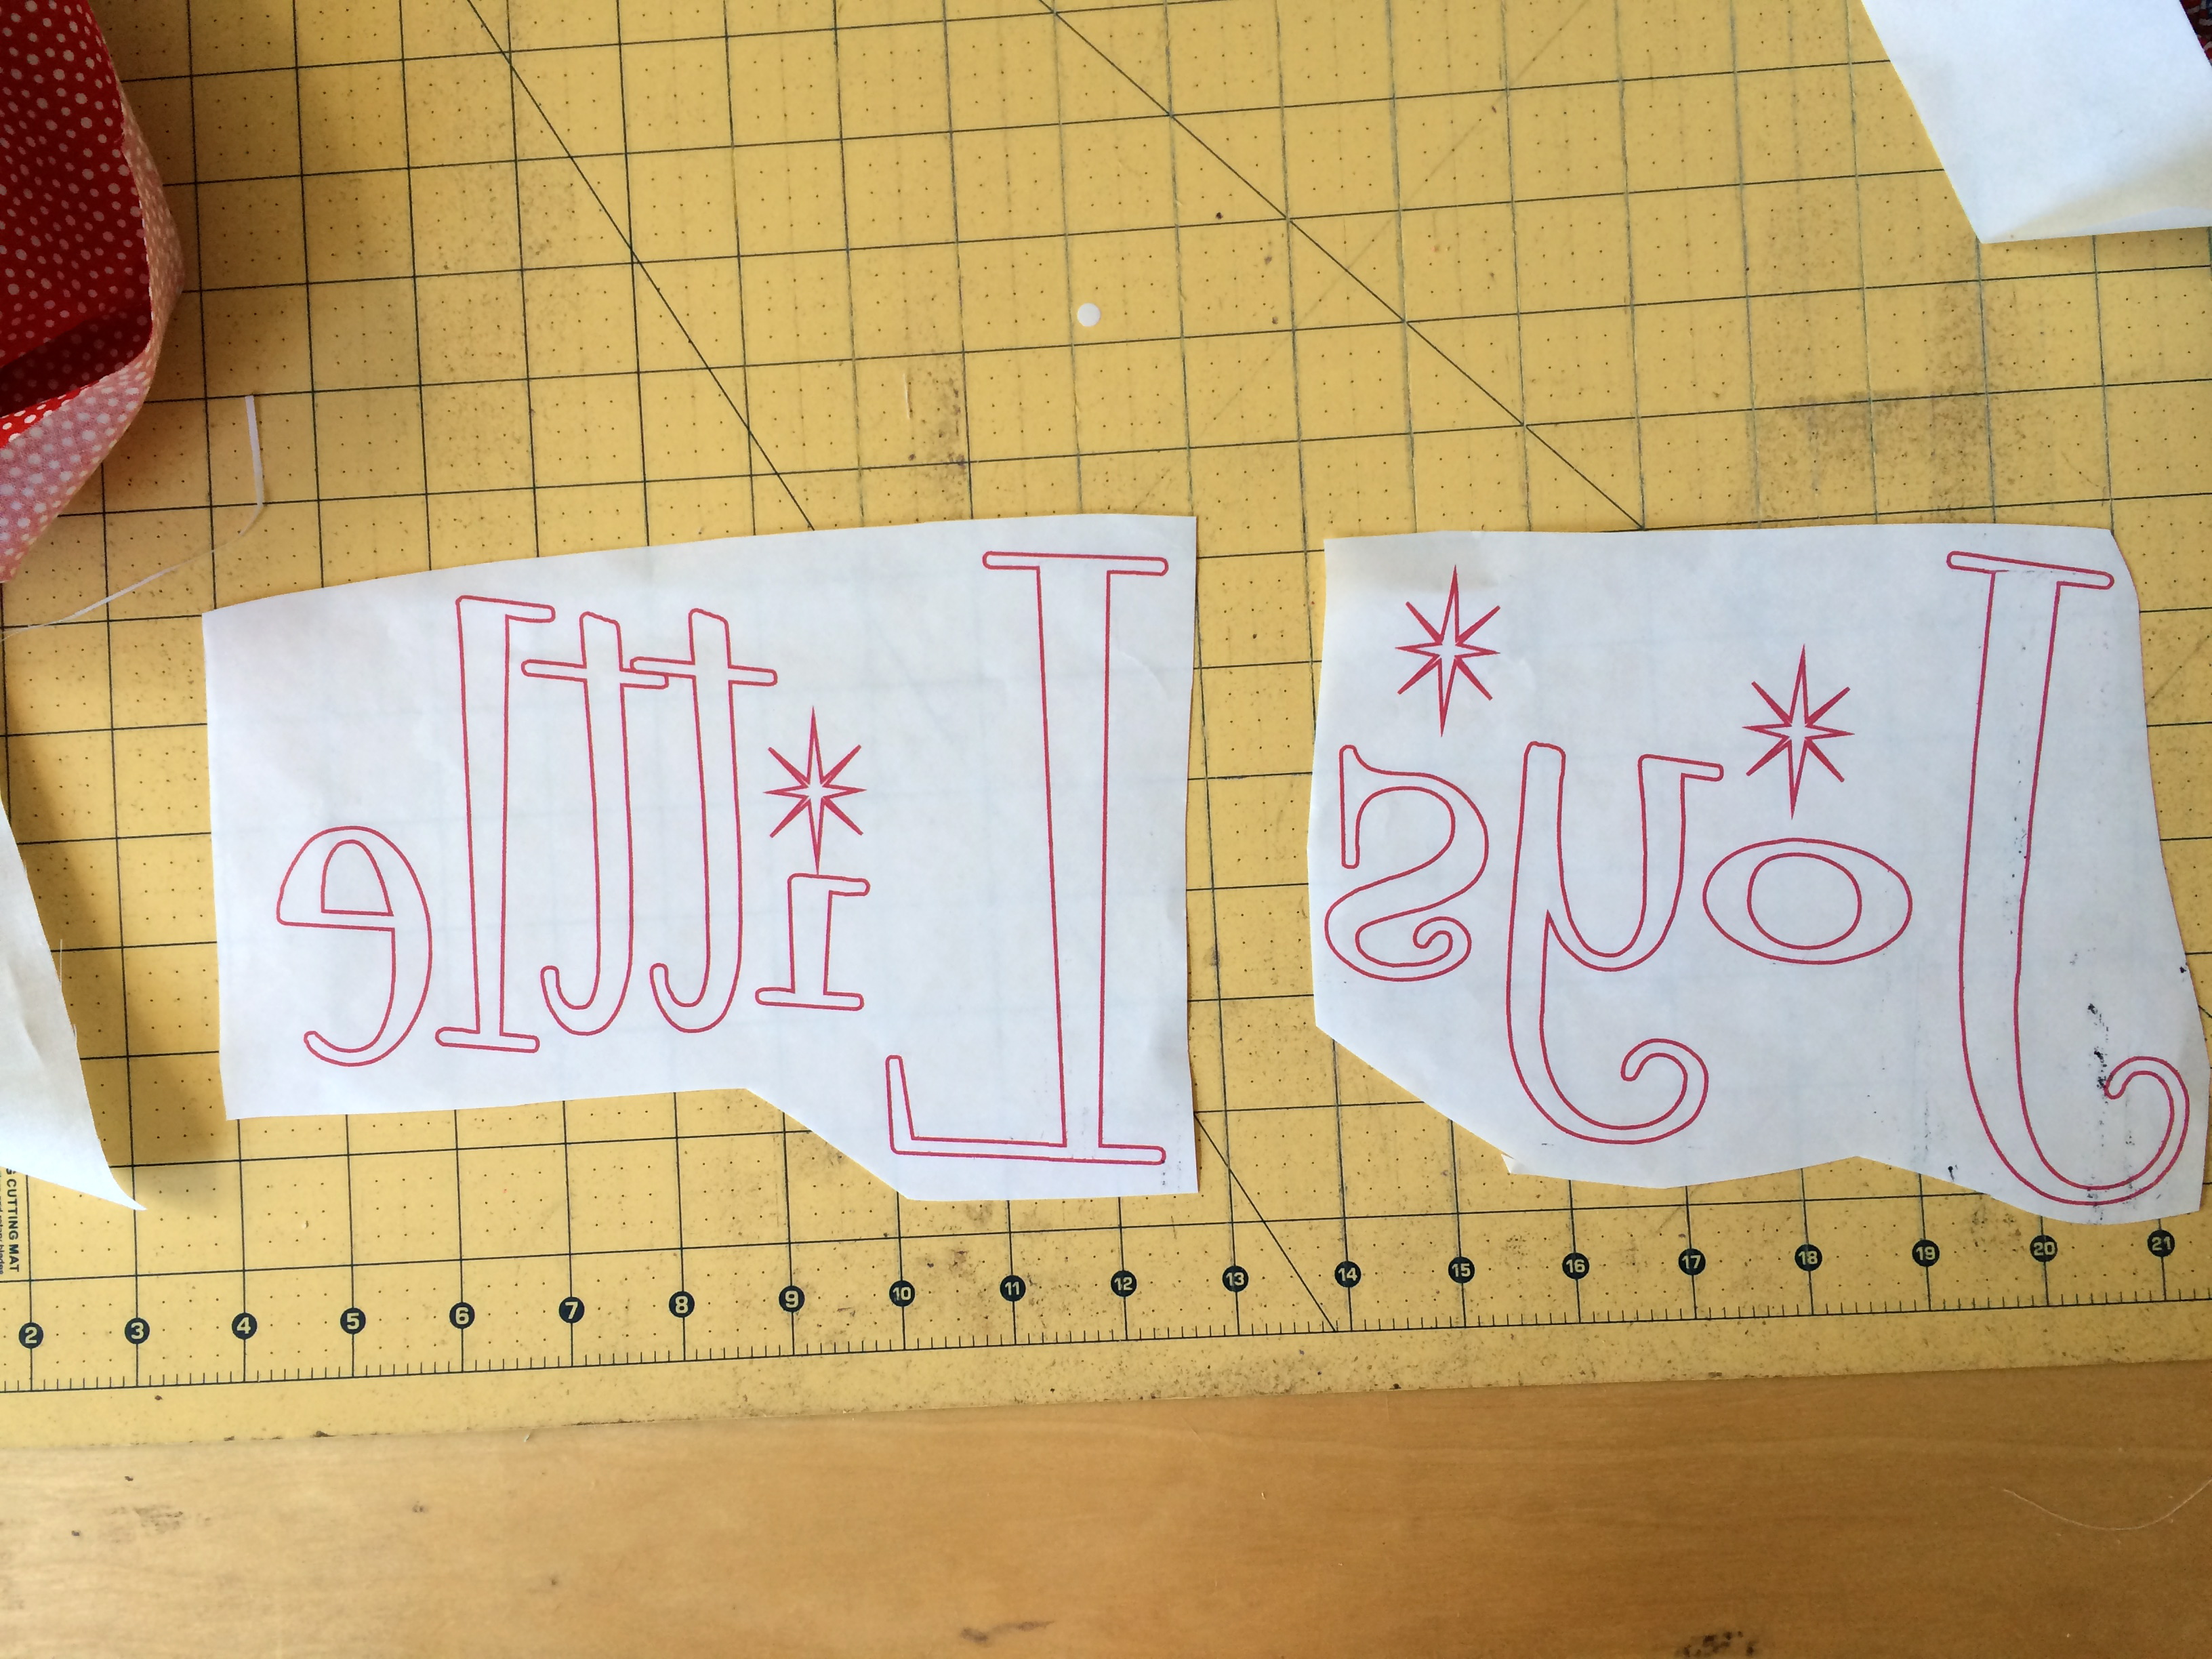
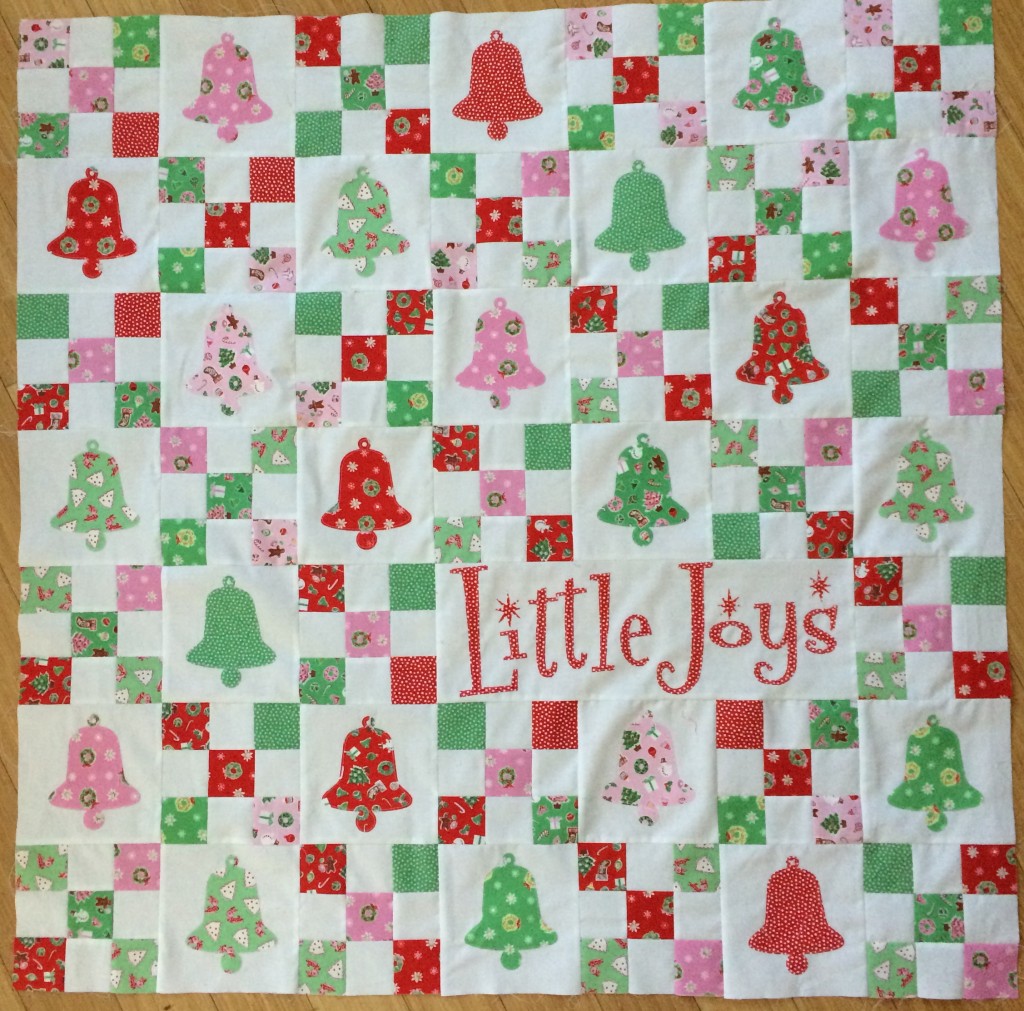
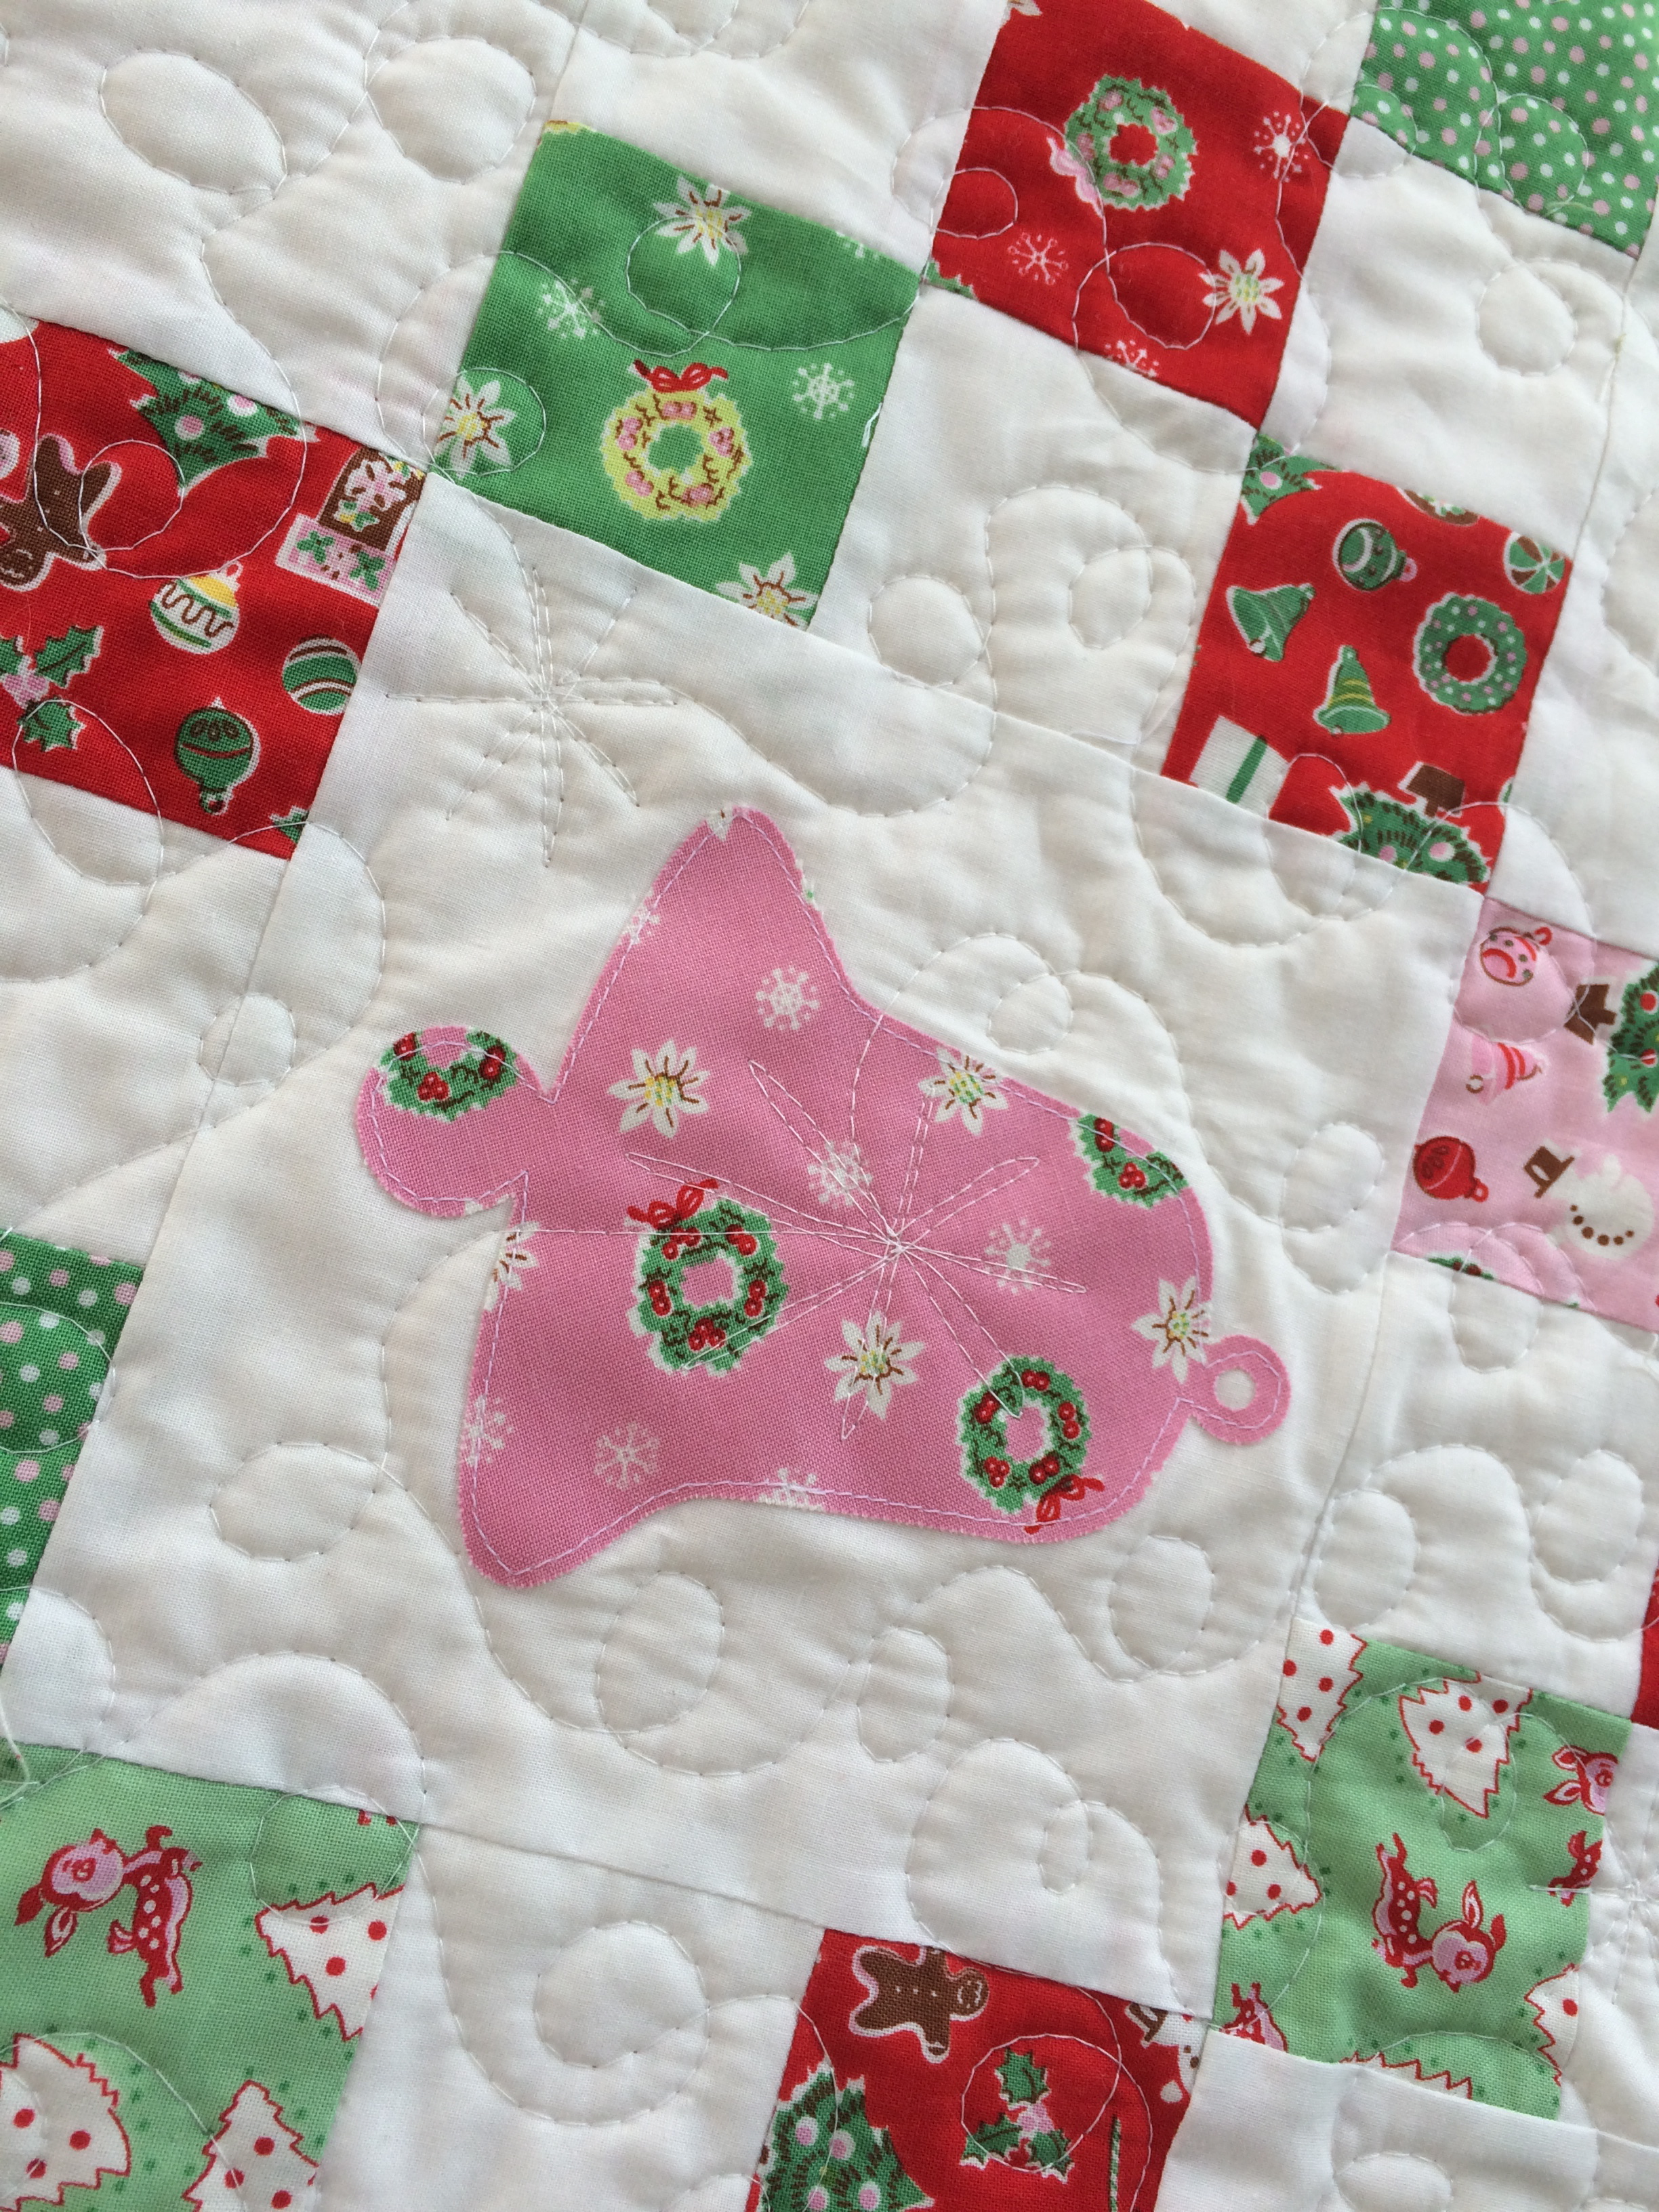
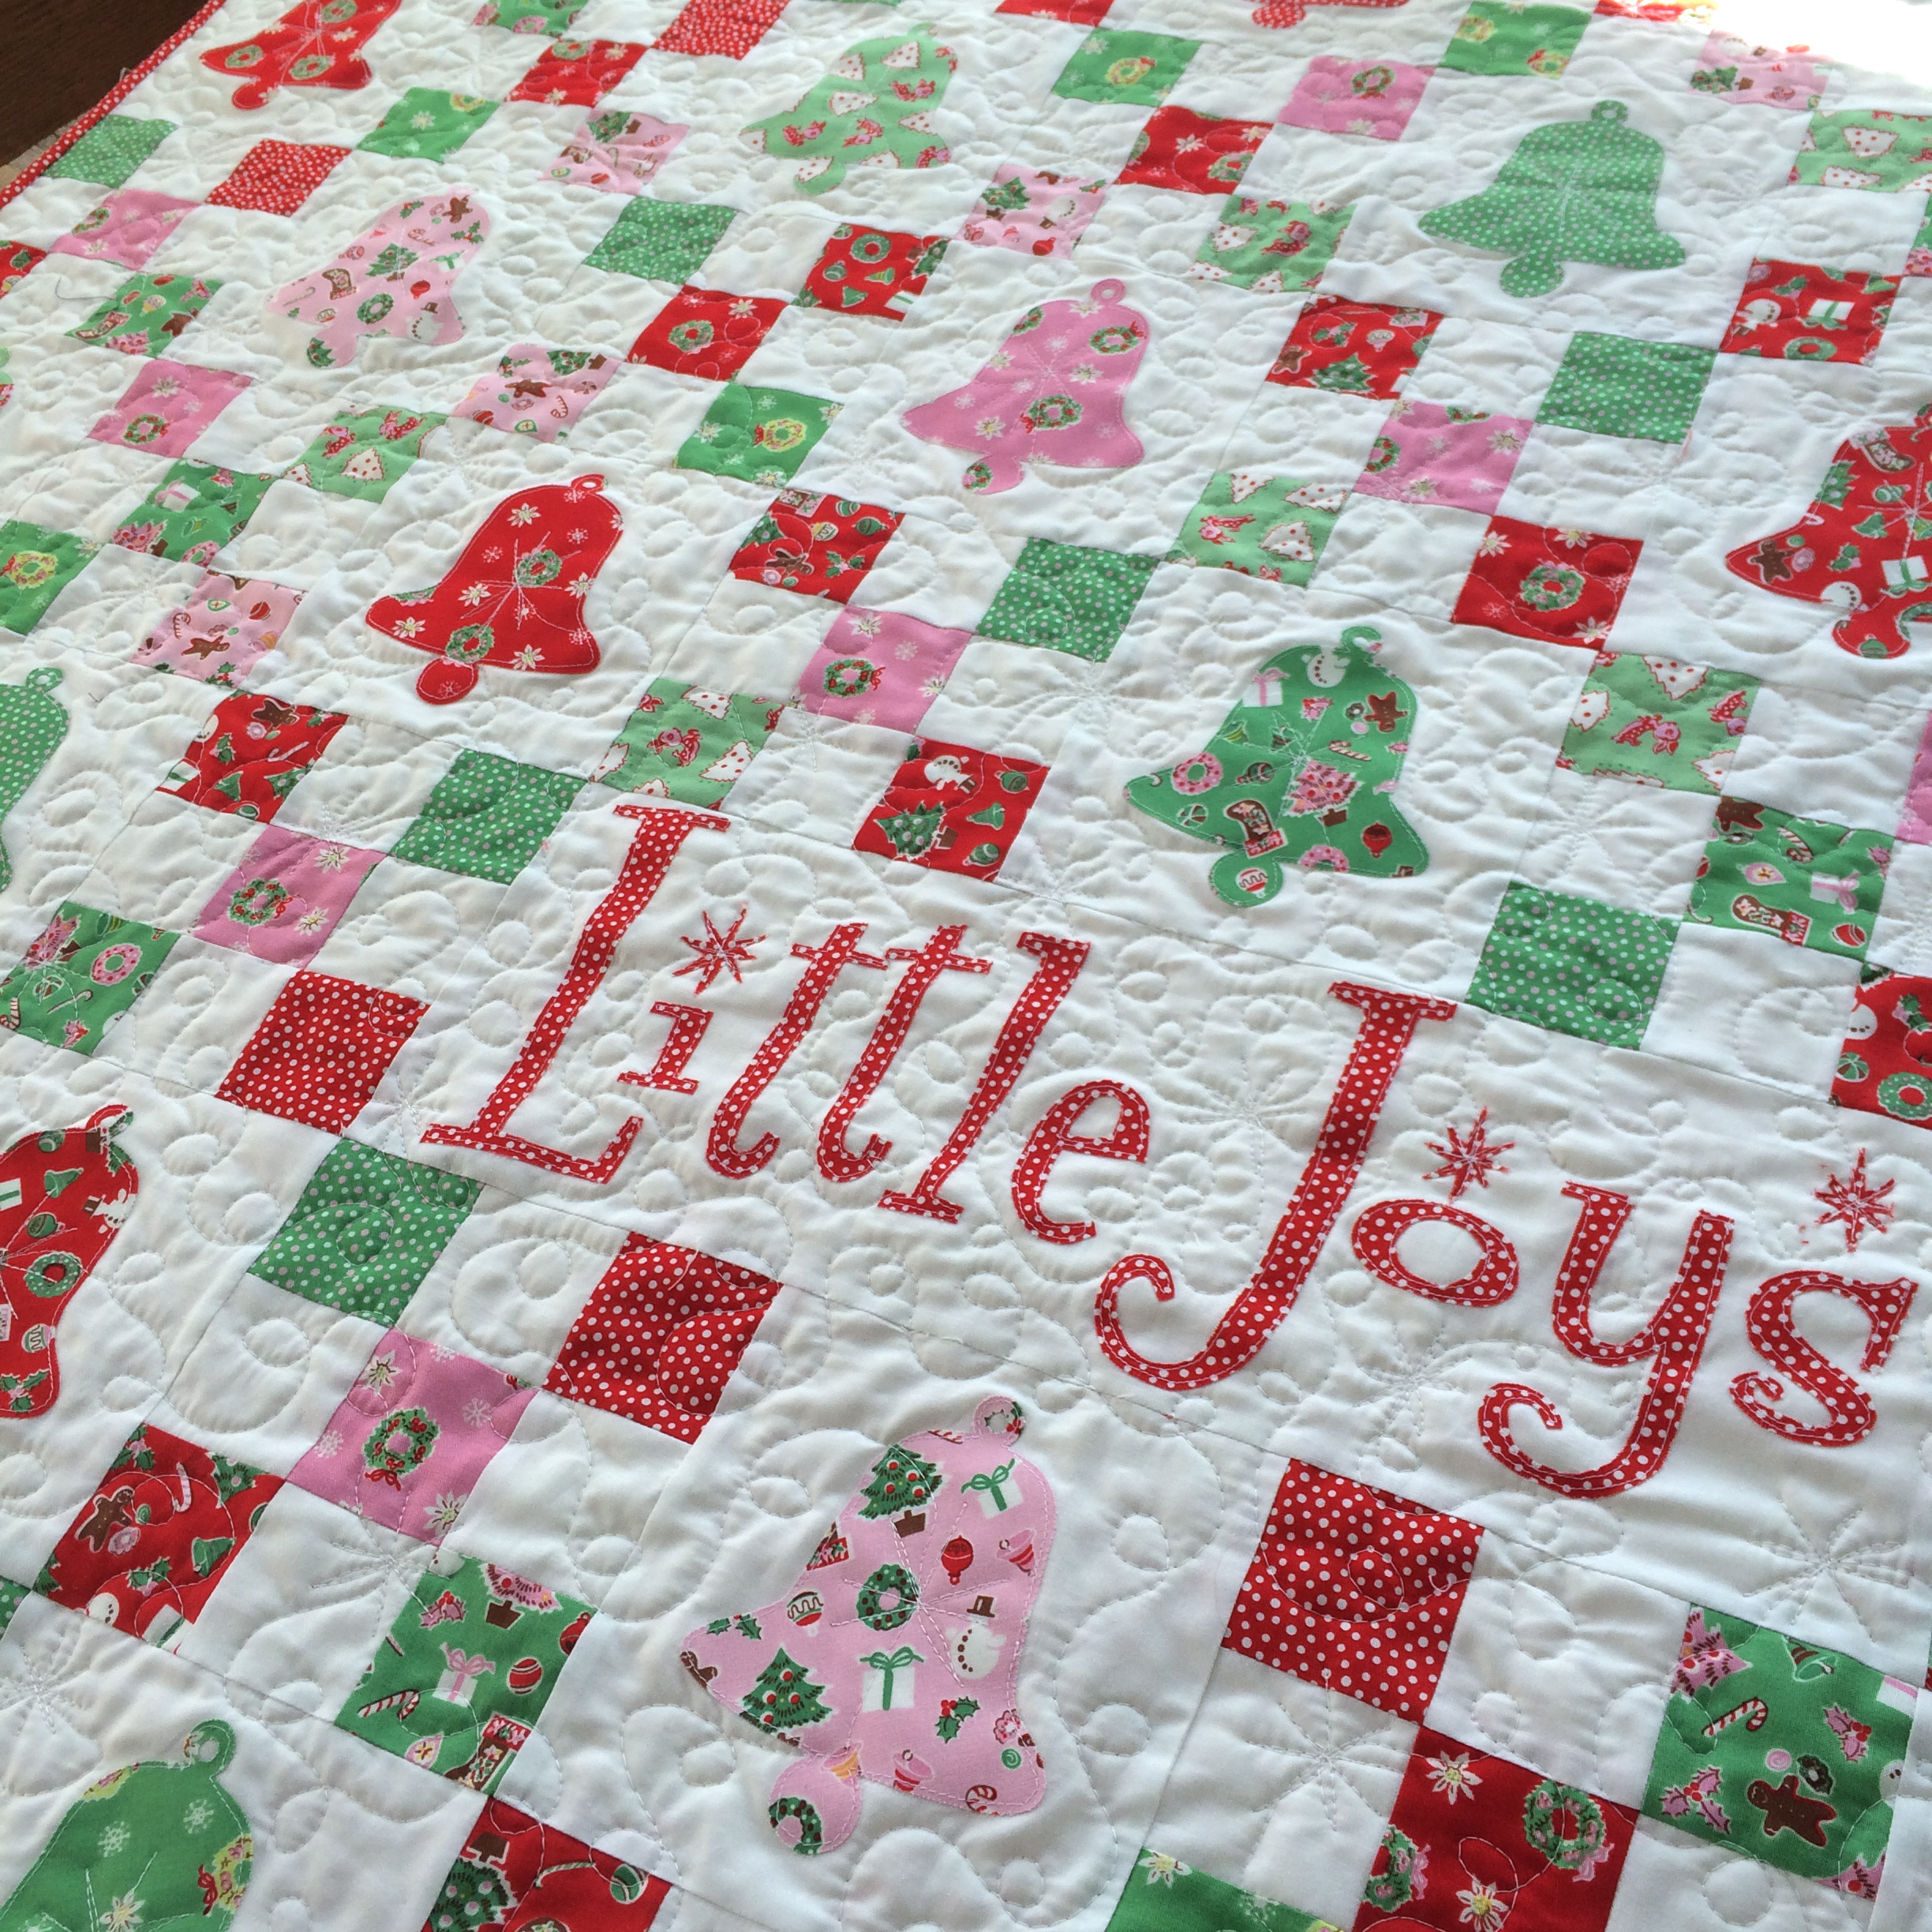
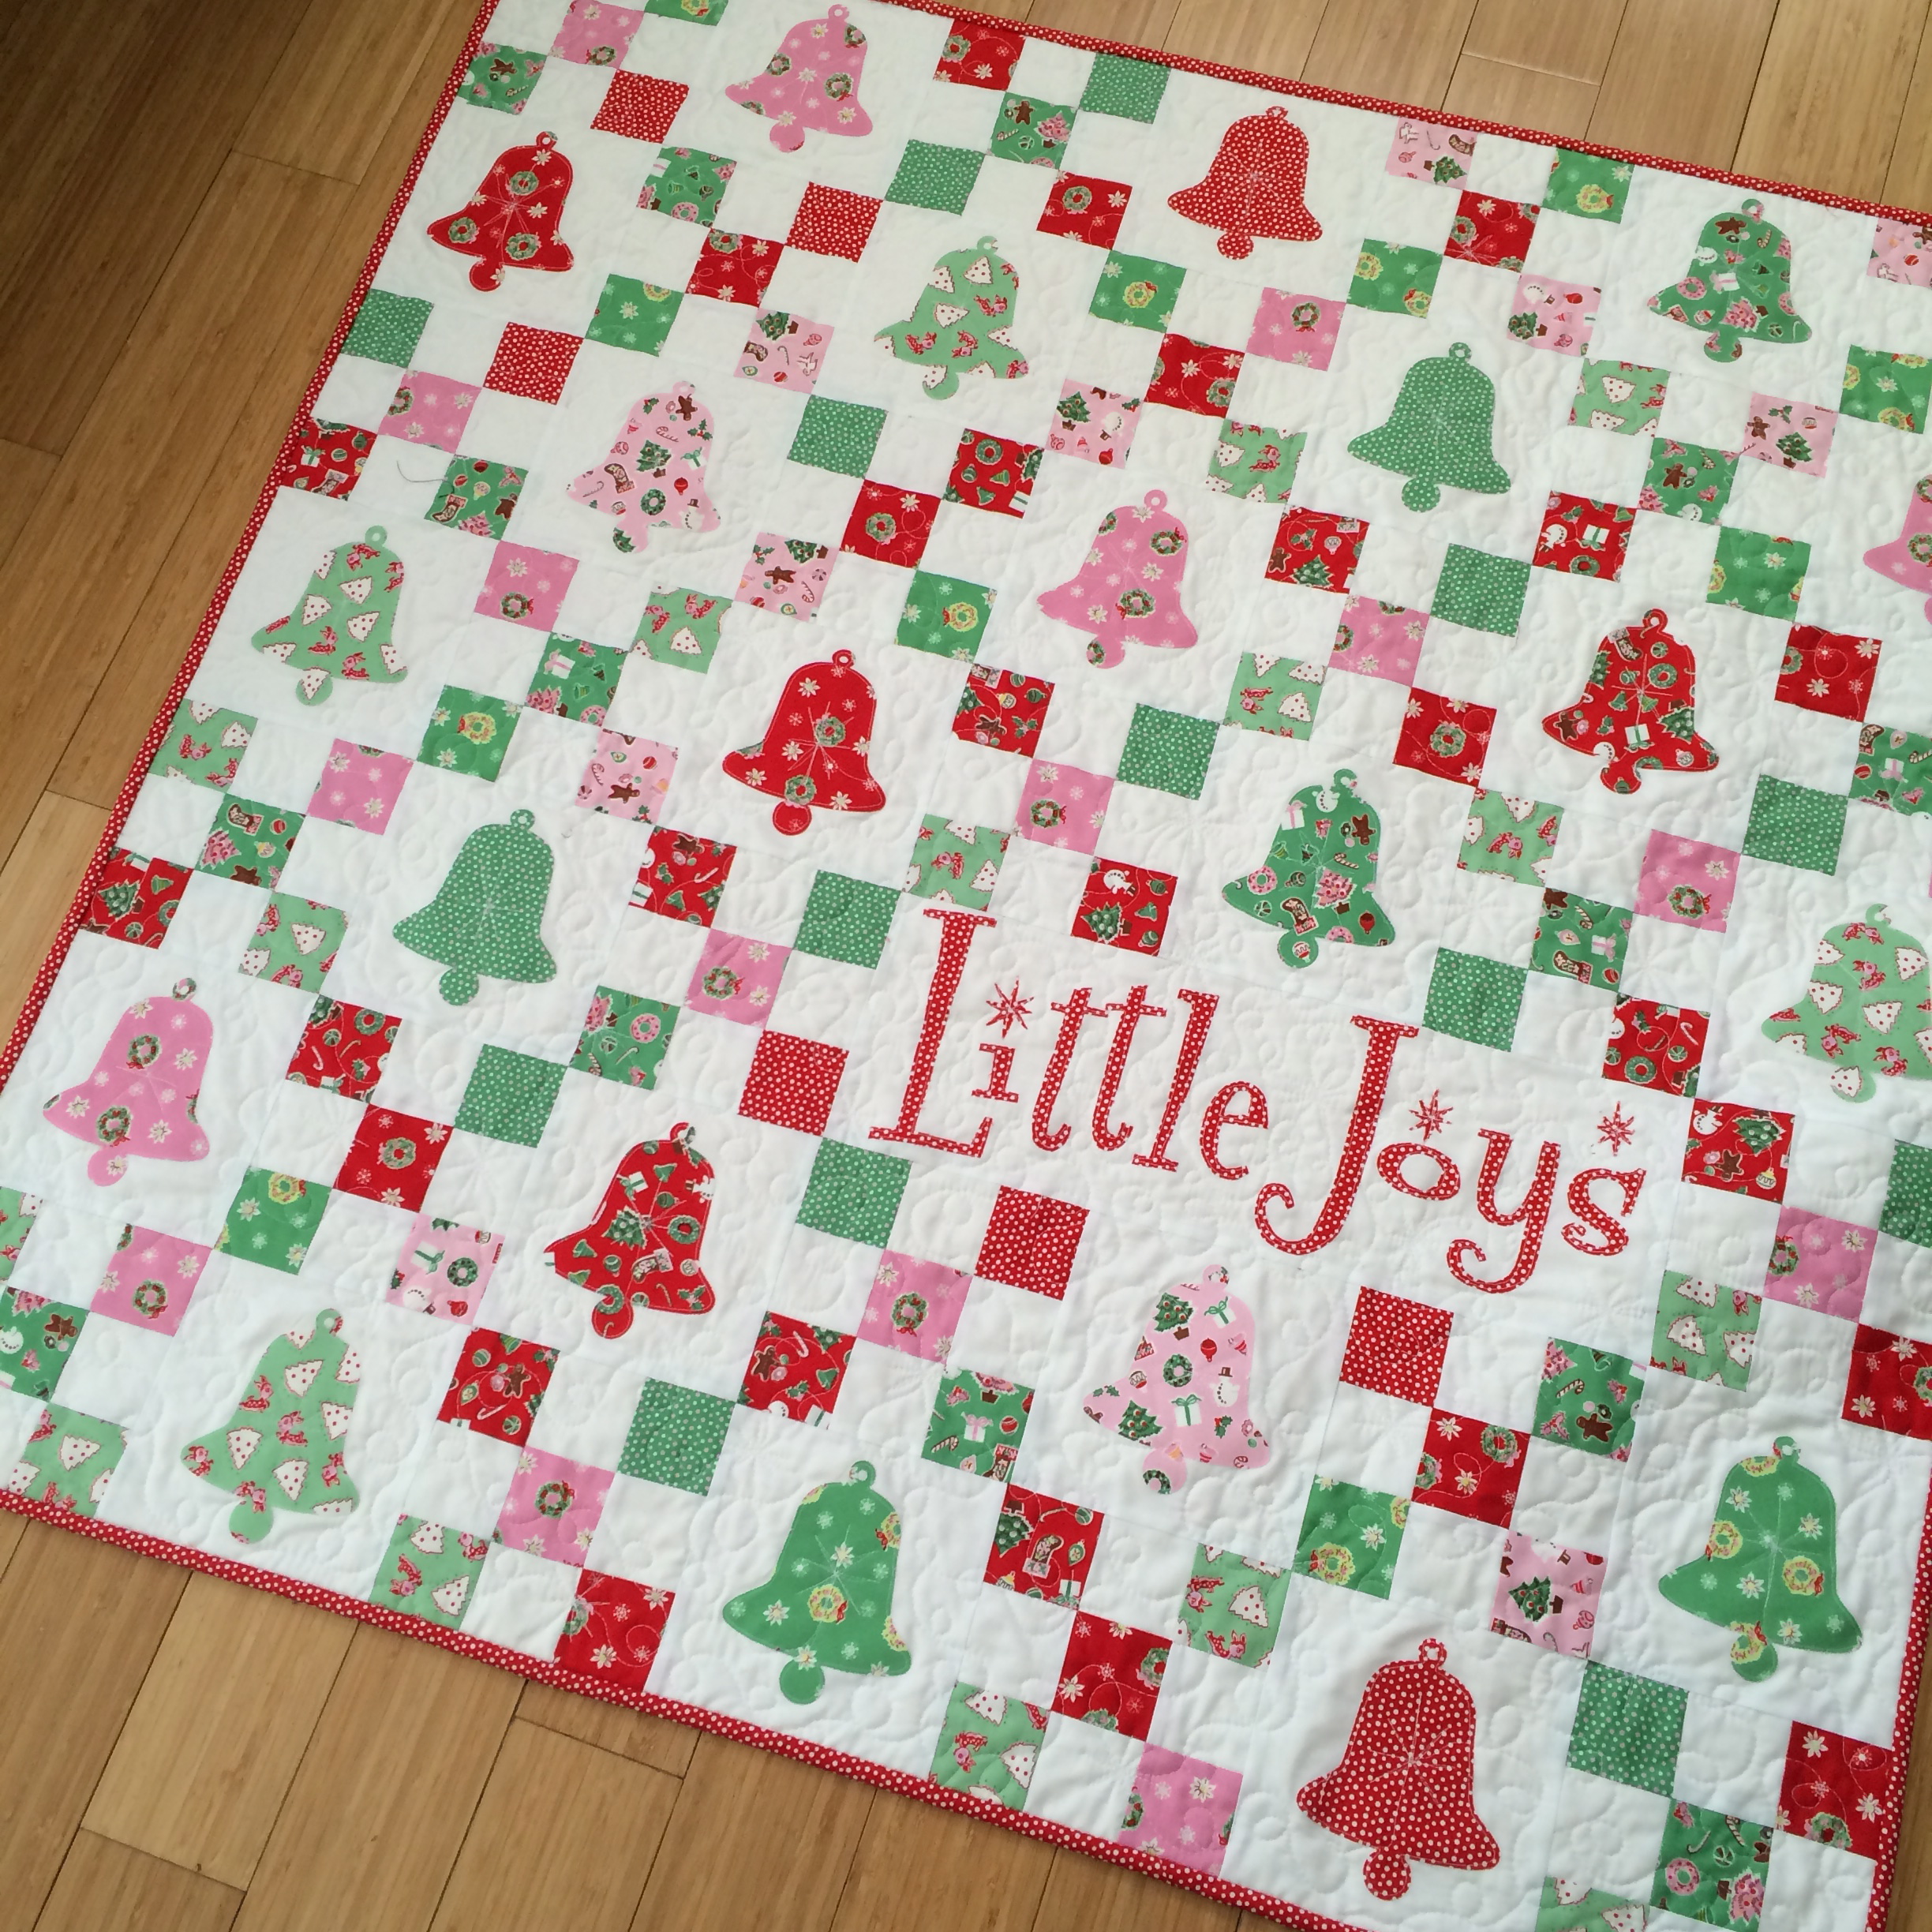
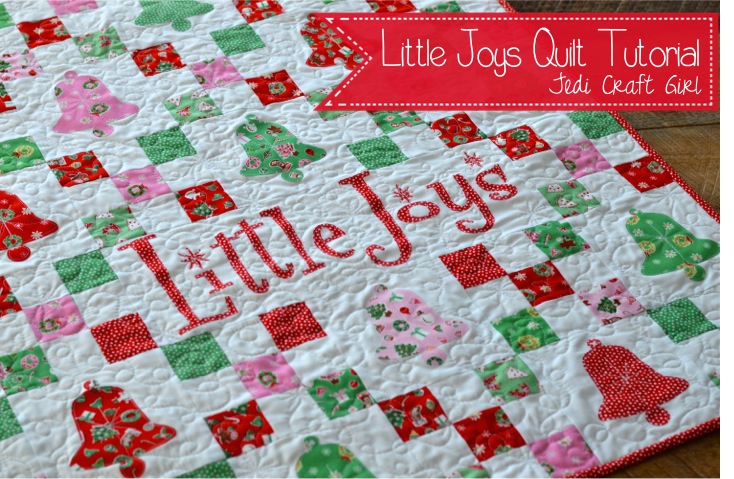
I wrote this pattern a few years ago for Penny Rose Fabrics.  I updated it and have the full tutorial available here!  I have always loved the Penny Rose “Little Joys” Christmas fabrics!  These sweet vintage prints make me think of a simpler time.  I love collecting vintage Christmas ornaments and decorations; this quilt is sure to fit into the mix!
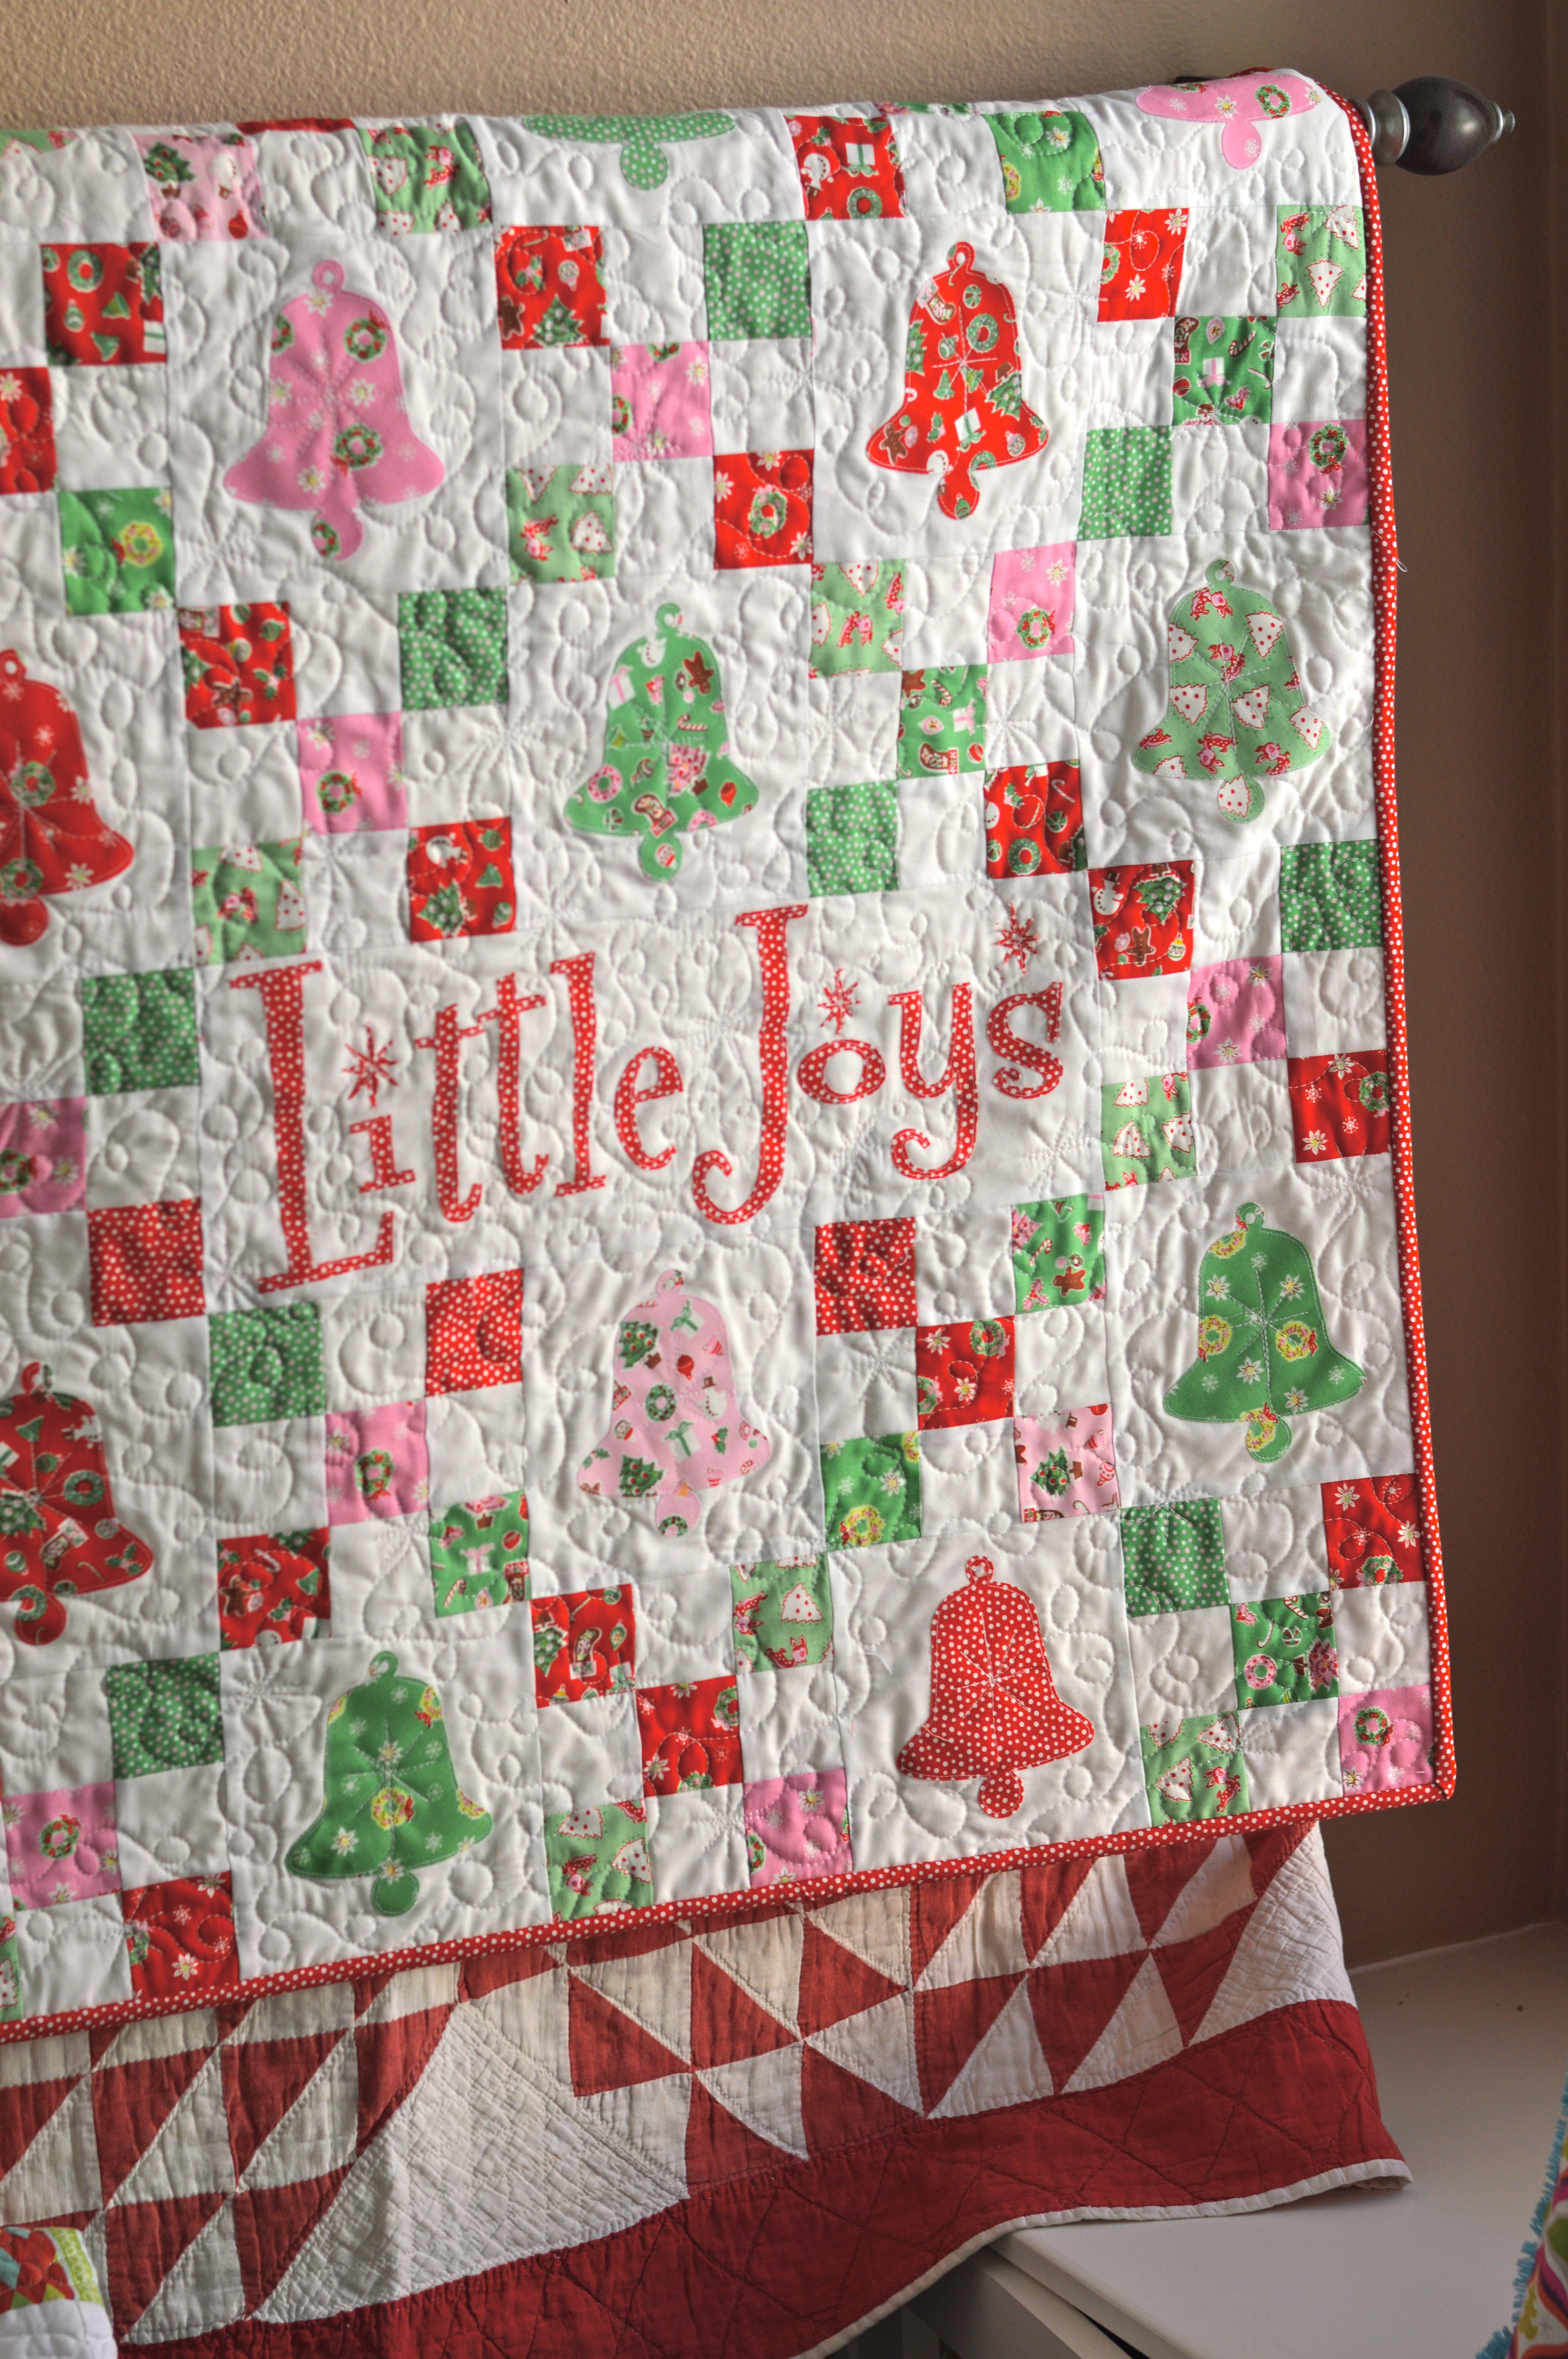
little joys quilt pattern christmas 35This quilt measures 42″ square and is a perfect size to hang on a wall, put at the end of a bed, or center on a table.  The quilt is made up of 6″ solid blocks with bell applique and  6″ nine-patch blocks that form a chain.

Screen Shot 2015-11-30 at 8.08.25 AMI used this Bell from Sizzix.  It is such a versatile die!

little joys quilt pattern christmas 15

Mufasa was all over this project because it involved the Sizzix Fabi – his FAVORITE toy!little joys quilt pattern christmas 20

Fabric Requirements:


9 fat quarters (green, red, and pink) – this is a scrappy little quilt so there are different amounts of each color – the colors don’t form a pattern in this version, but if you would like a pattern it would be easy to do!

1 1/2 yards solid white fabric

Heat n Bond Lite for appliqué

1/2 yard binding

1 1/4 yard backing (the fabric needs to measure at least 43″ wide or you may need to piece it)

Cutting Instructions

Fat Quarters:

Cut (2) 2 1/2″ x WOFQ strips from each fat quarter. You will have a few extra.

Use remaining fabric for bell appliqué and letters

Solid White:

Cut (6) 2 1/2″ x WOF strips, cut them in half to give you (12) 2 1/2″ x 21″ strips.

Cut (5) 6 1/2″ x WOF strips, subcut into (22) 6 1/2″ squares and (1) 6 1/2″ x 18 1/2″ rectangle

little joys quilt pattern christmas 7

2 1/2″ strips are cut from each of the 9 fat quarters.

little joys quilt pattern christmas 3

6 white 2 1/2″ x WOF strips are cut and then cut in half to equal the width of the fat quarter strips.

little joys quilt pattern christmas 16

Sew white, dark, white strip sets together, making 3 strip set units.  Press toward the dark.

little joys quilt pattern christmas 5

Sew 6 strip units of the dark, white, dark pattern (above).  Press toward the dark.

little joys quilt pattern christmas 13

Sub cute each strip set in 2 1/2″ increments.  You should have 8 per strip set.

little joys quilt pattern christmas

Lay out blocks making a checkerboard pattern.  Sew together, matching seams.  Press seams in one direction.  Continue this process making 24 total checkerboard blocks.

little joys quilt pattern christmas 11

Cut the remaining fat quarters into 5″ squares and fuse Heat n Bond Lite to the wrong sides of the fabric (above).  Using the Sizzix Bell die, die cut 22 bell shapes.  Peel off backing paper and heat set to the centers of the 6 1/2″ white squares. Sew around each bell with a straight stitch.

little joys quilt pattern christmas 6

little joys quilt pattern christmas 12For the Little Joys word block I cut the letters by hand.  Download the Little Joys pattern HERE.  I printed the letters on Heat n Bond EZ print sheets.

little joys quilt pattern christmas 17You can also trace onto iron-on transfer paper.  The letters are in reverse.  Iron the heat n bond to the wrong side of the letter fabric.  Cut out by hand around each letter.  Peel off the backing and position on the white rectangle.  Heat set in place.  Sew around each letter.

little joys quilt pattern christmas 19

Now you’re ready to lay out the whole quilt!  Use the above photo as your guide.  Again, my colors are random but you can make a color pattern!

Sew each block together creating rows, pressing toward the applique blocks.  Then sew the rows together, pinning at intersections so seams match up.  Press all seams in one direction.

Baste, Quilt, Bind!


IMG_2019Mufasa also loves the sewing machine!  No animals were harmed in the quilting of this project!


little joys quilt pattern christmas 9Make sure your cat approves 🙂

little joys quilt pattern christmas 2I free motion quilted this with loop de loos and retro style stars.  I love how it turned out!  Add the binding and you’re finished!

little joys quilt pattern christmas 10

little joys quilt pattern christmas 14


All Hallow’s Eve Wall Quilt featuring Penny Rose Fabrics

halloweenIt’s finally feeling like fall here in Southern California!  Yippee!!!!!  I love decorating for Halloween and I totally needed a new spooky wall hanging in my living room.  I like to decorate with spooky neutrals in my living room/dining room.  The family room and kitchen get a brighter treatment 🙂  When I saw the huge variety of neutrals and gray/blacks from Penny Rose Fabrics I knew exactly what I wanted to make!  I love that this is more subtle Halloween and not so obvious.  I hope you love it too!  You can download the details of the pattern HERE.

Quilt measures 42″ square.

spooky halloween quilt 30Most of the black/gray fabrics are from the Civil War Times fabric line.  I love the variety!  The rest of the fabrics are from Penny Rose Classics.Screen Shot 2015-10-21 at 9.03.17 PM

spooky halloween quilt 10Here is the finished quilt hanging above the piano.  I’m a little giddy right now 🙂

spooky halloween quilt 22I first made the background by sewing 5″ squares together in 7 rows of 7.  Then the applique comes next.  You could totally add ghosts and bats, I wanted to keep it simple.

spooky halloween quilt 26The moon is made by tracing a pie plate.

spooky halloween quilt 28Here is a little close up of the quilting, with Mufasa’s permission 🙂  spooky halloween quilt 6I love striped binding cut on the bias – it’s my absolute FAVORITE!!!!  The backing is from Penny Rose’s mensware line – I love houndstooth!!!spooky halloween quilt 8Ok, so this is totally my new favorite Halloween Quilt!

spooky halloween quilt 9