Birdies for Baby: Cottage Garden Baby Quilt Pattern

birdies for baby

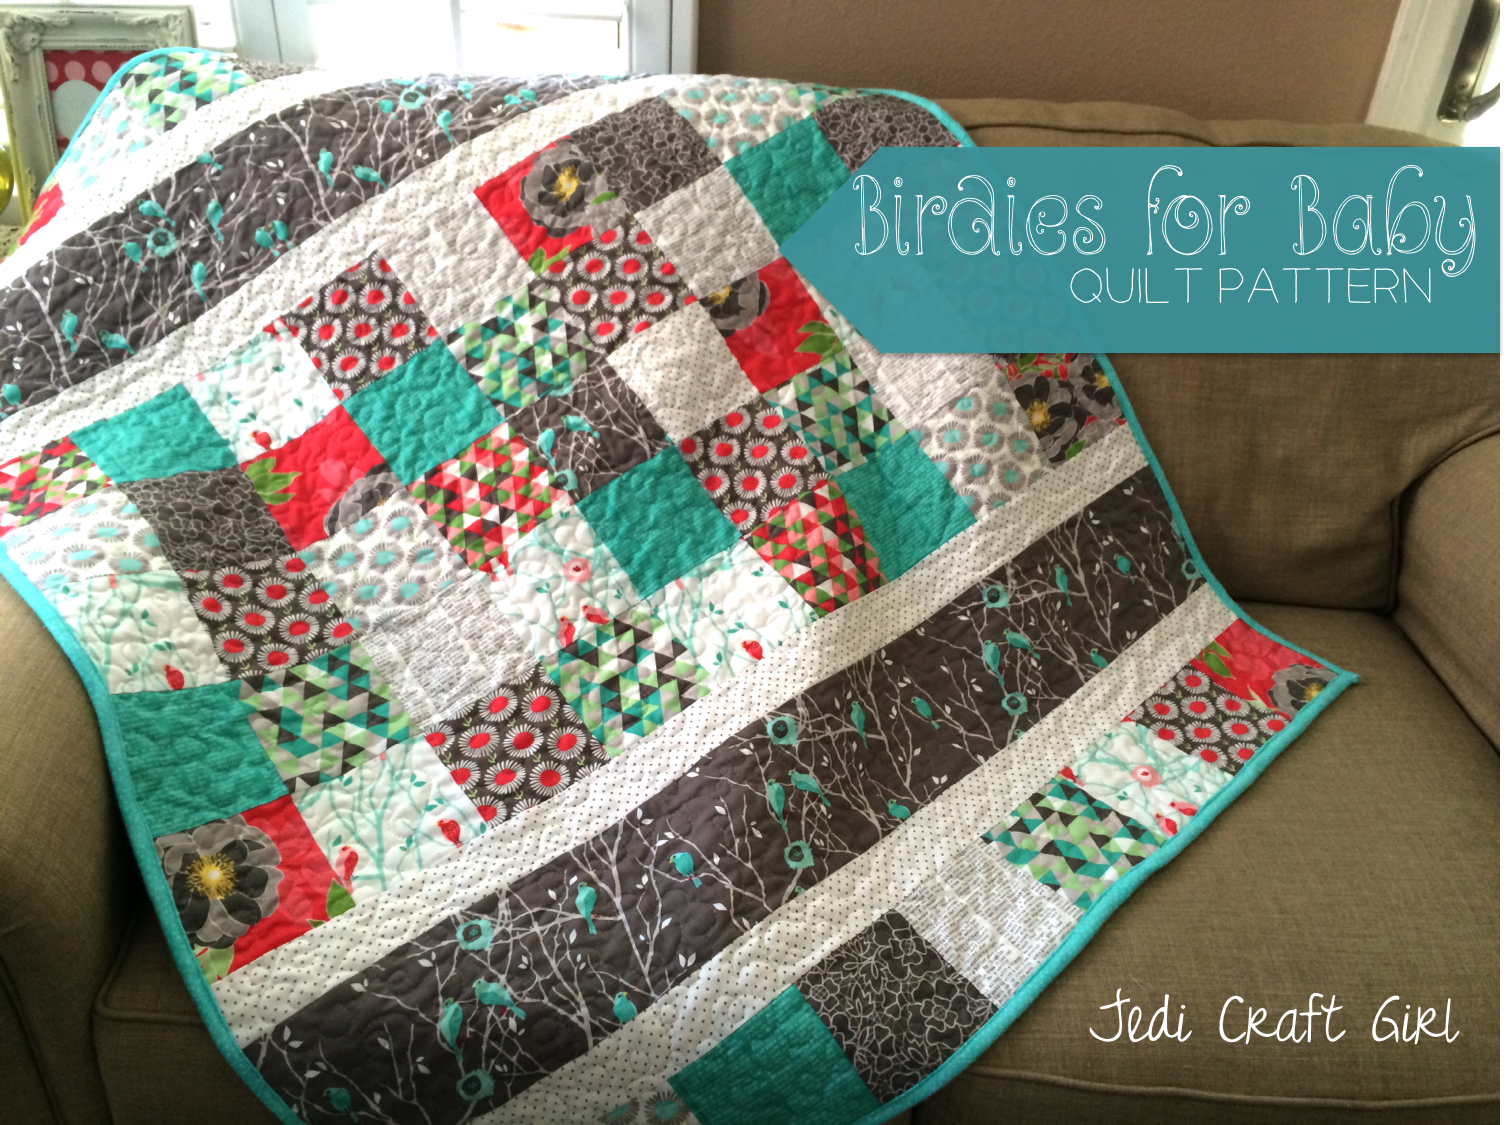
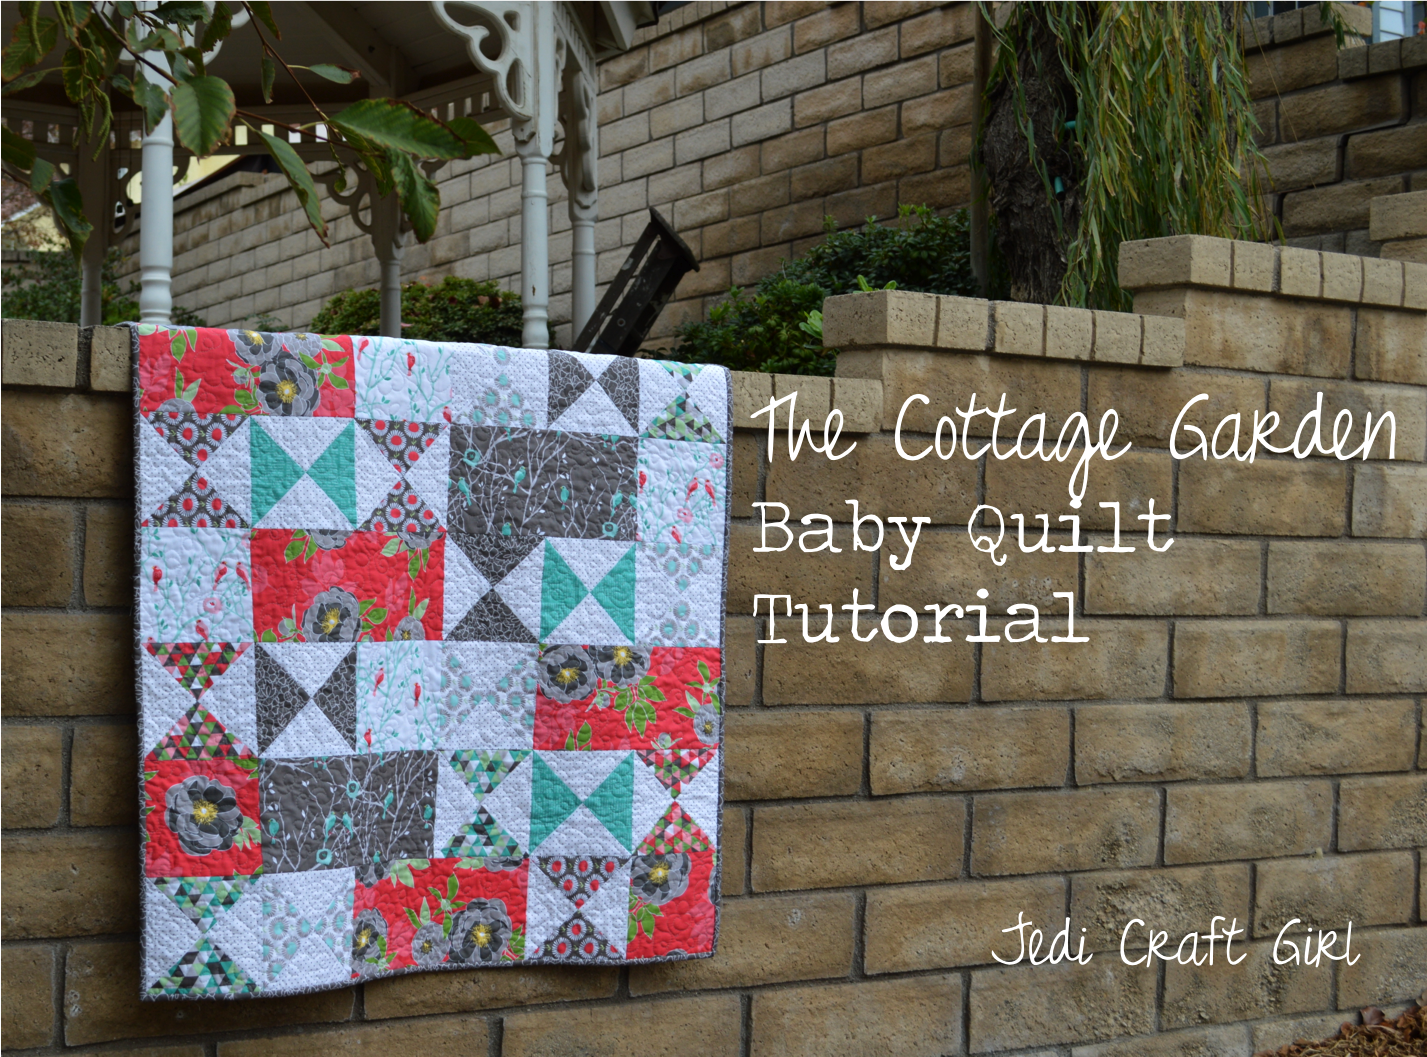
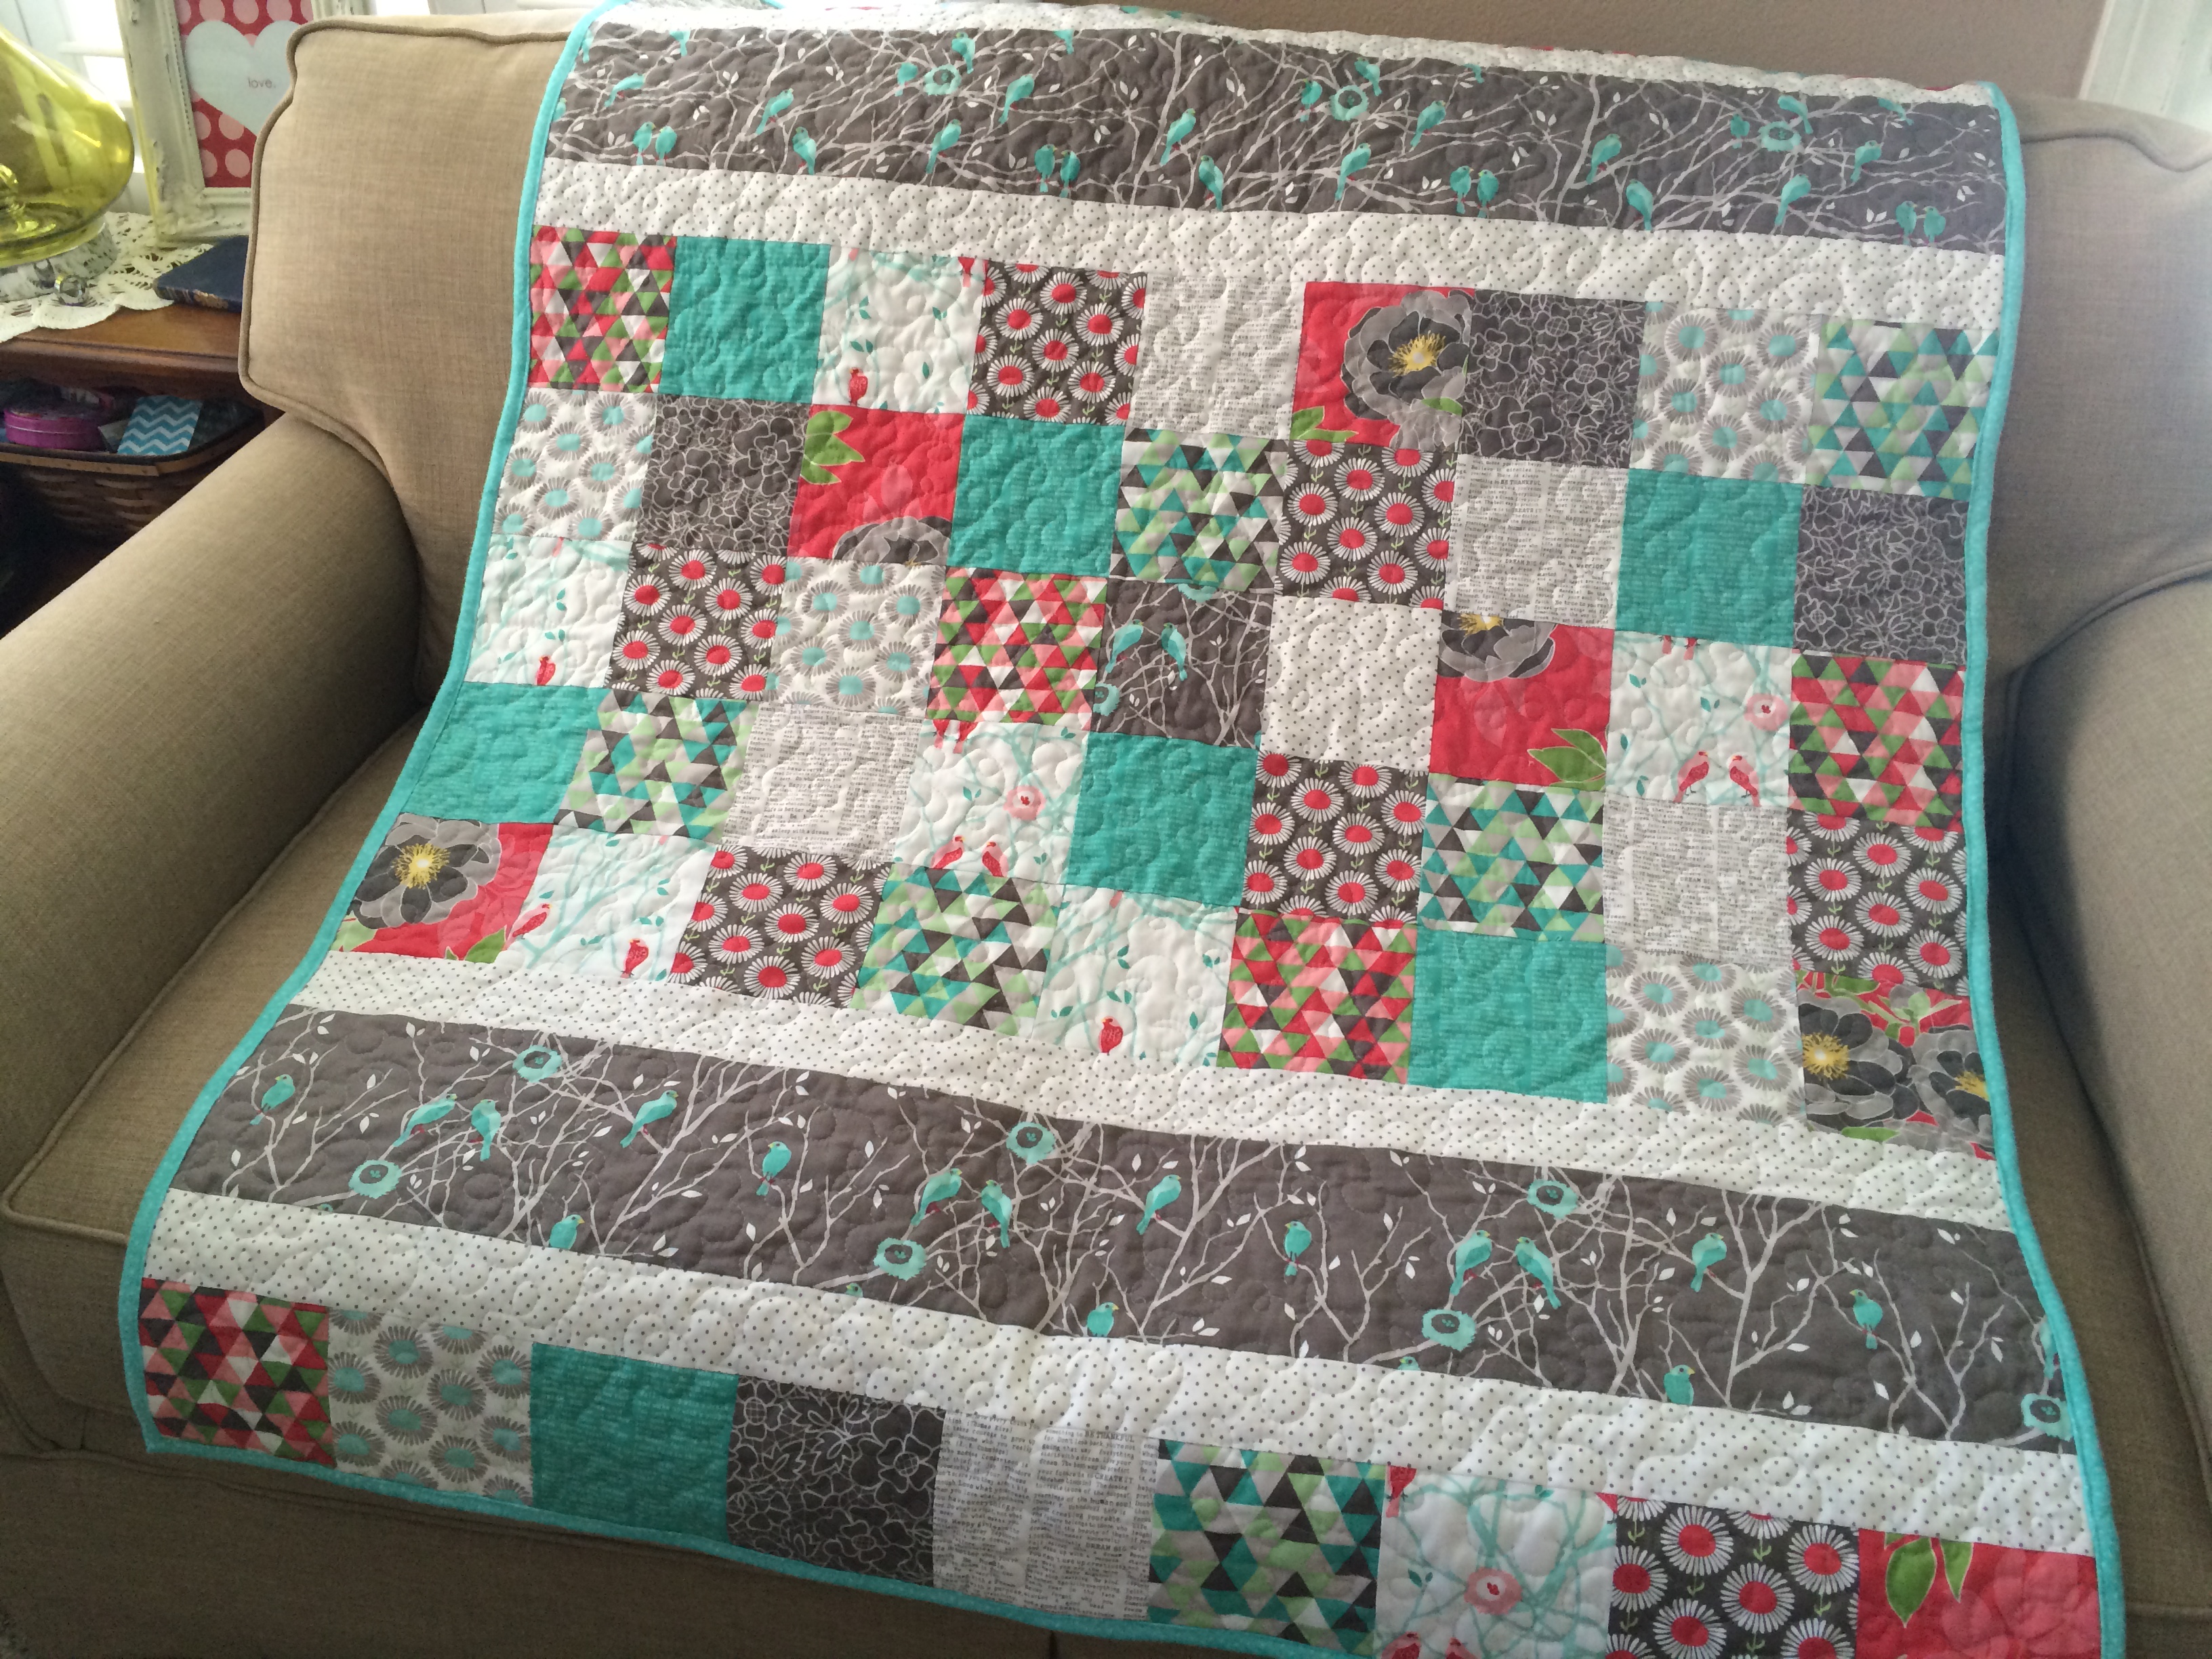
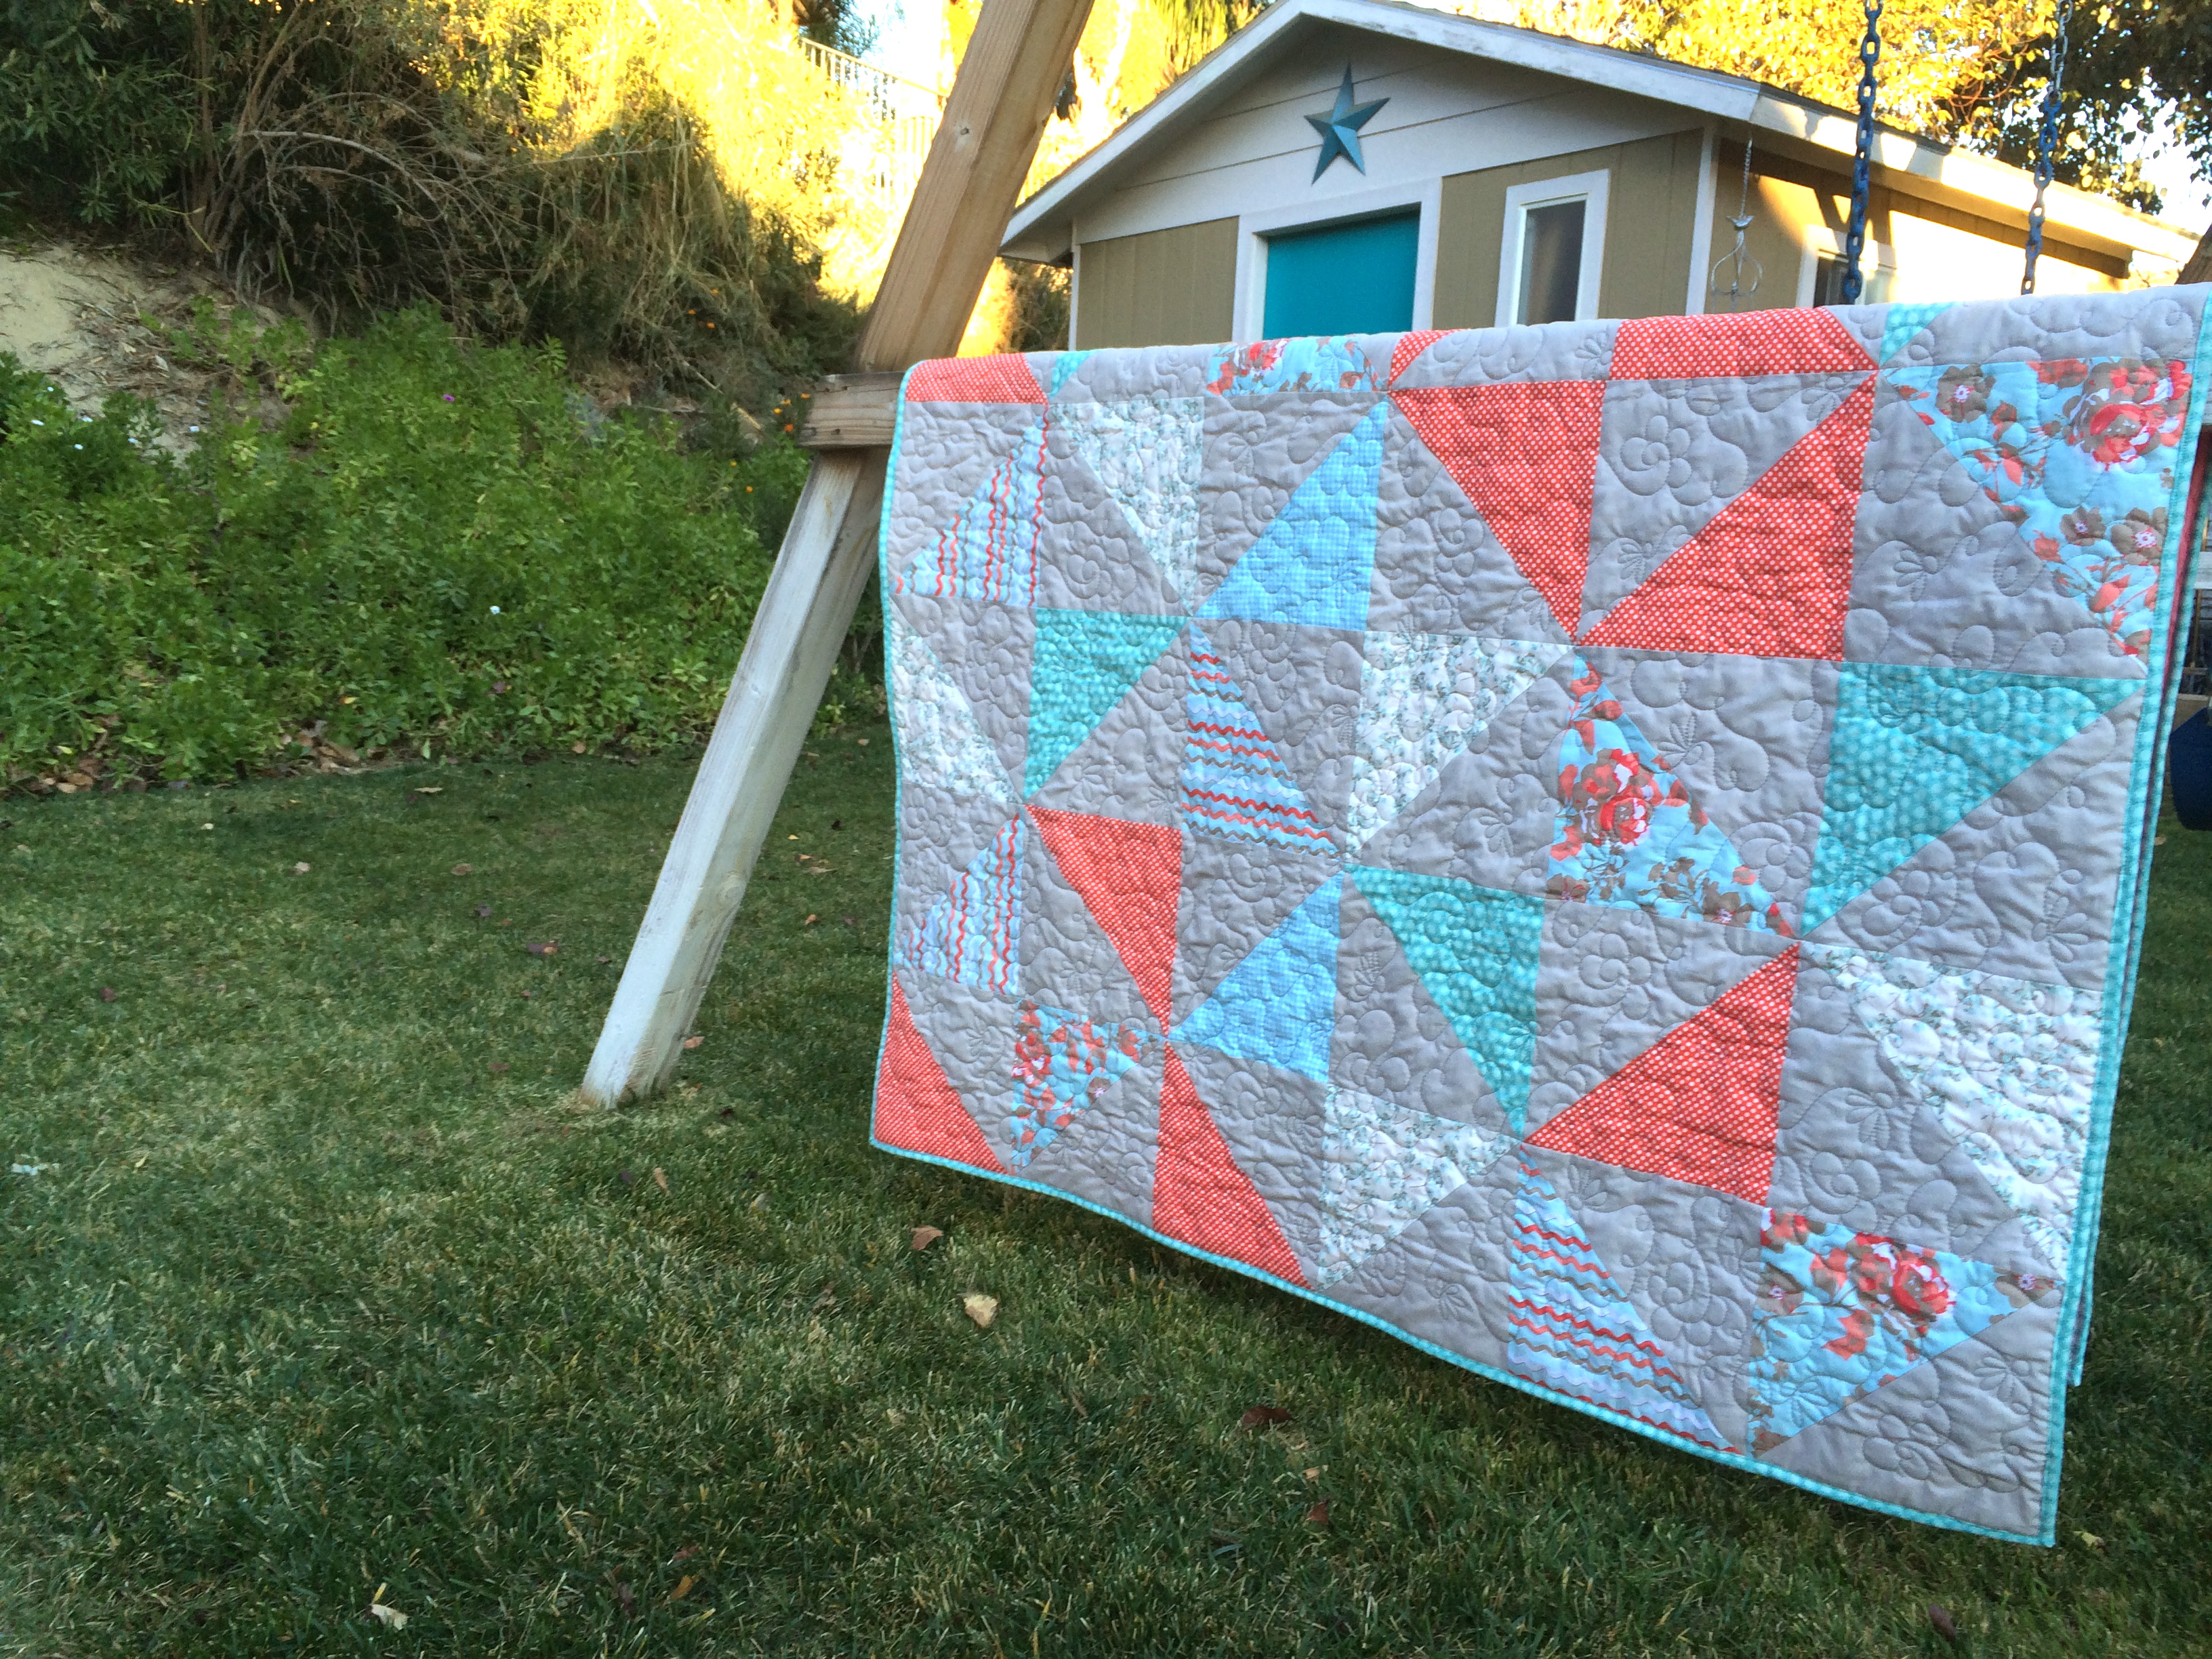
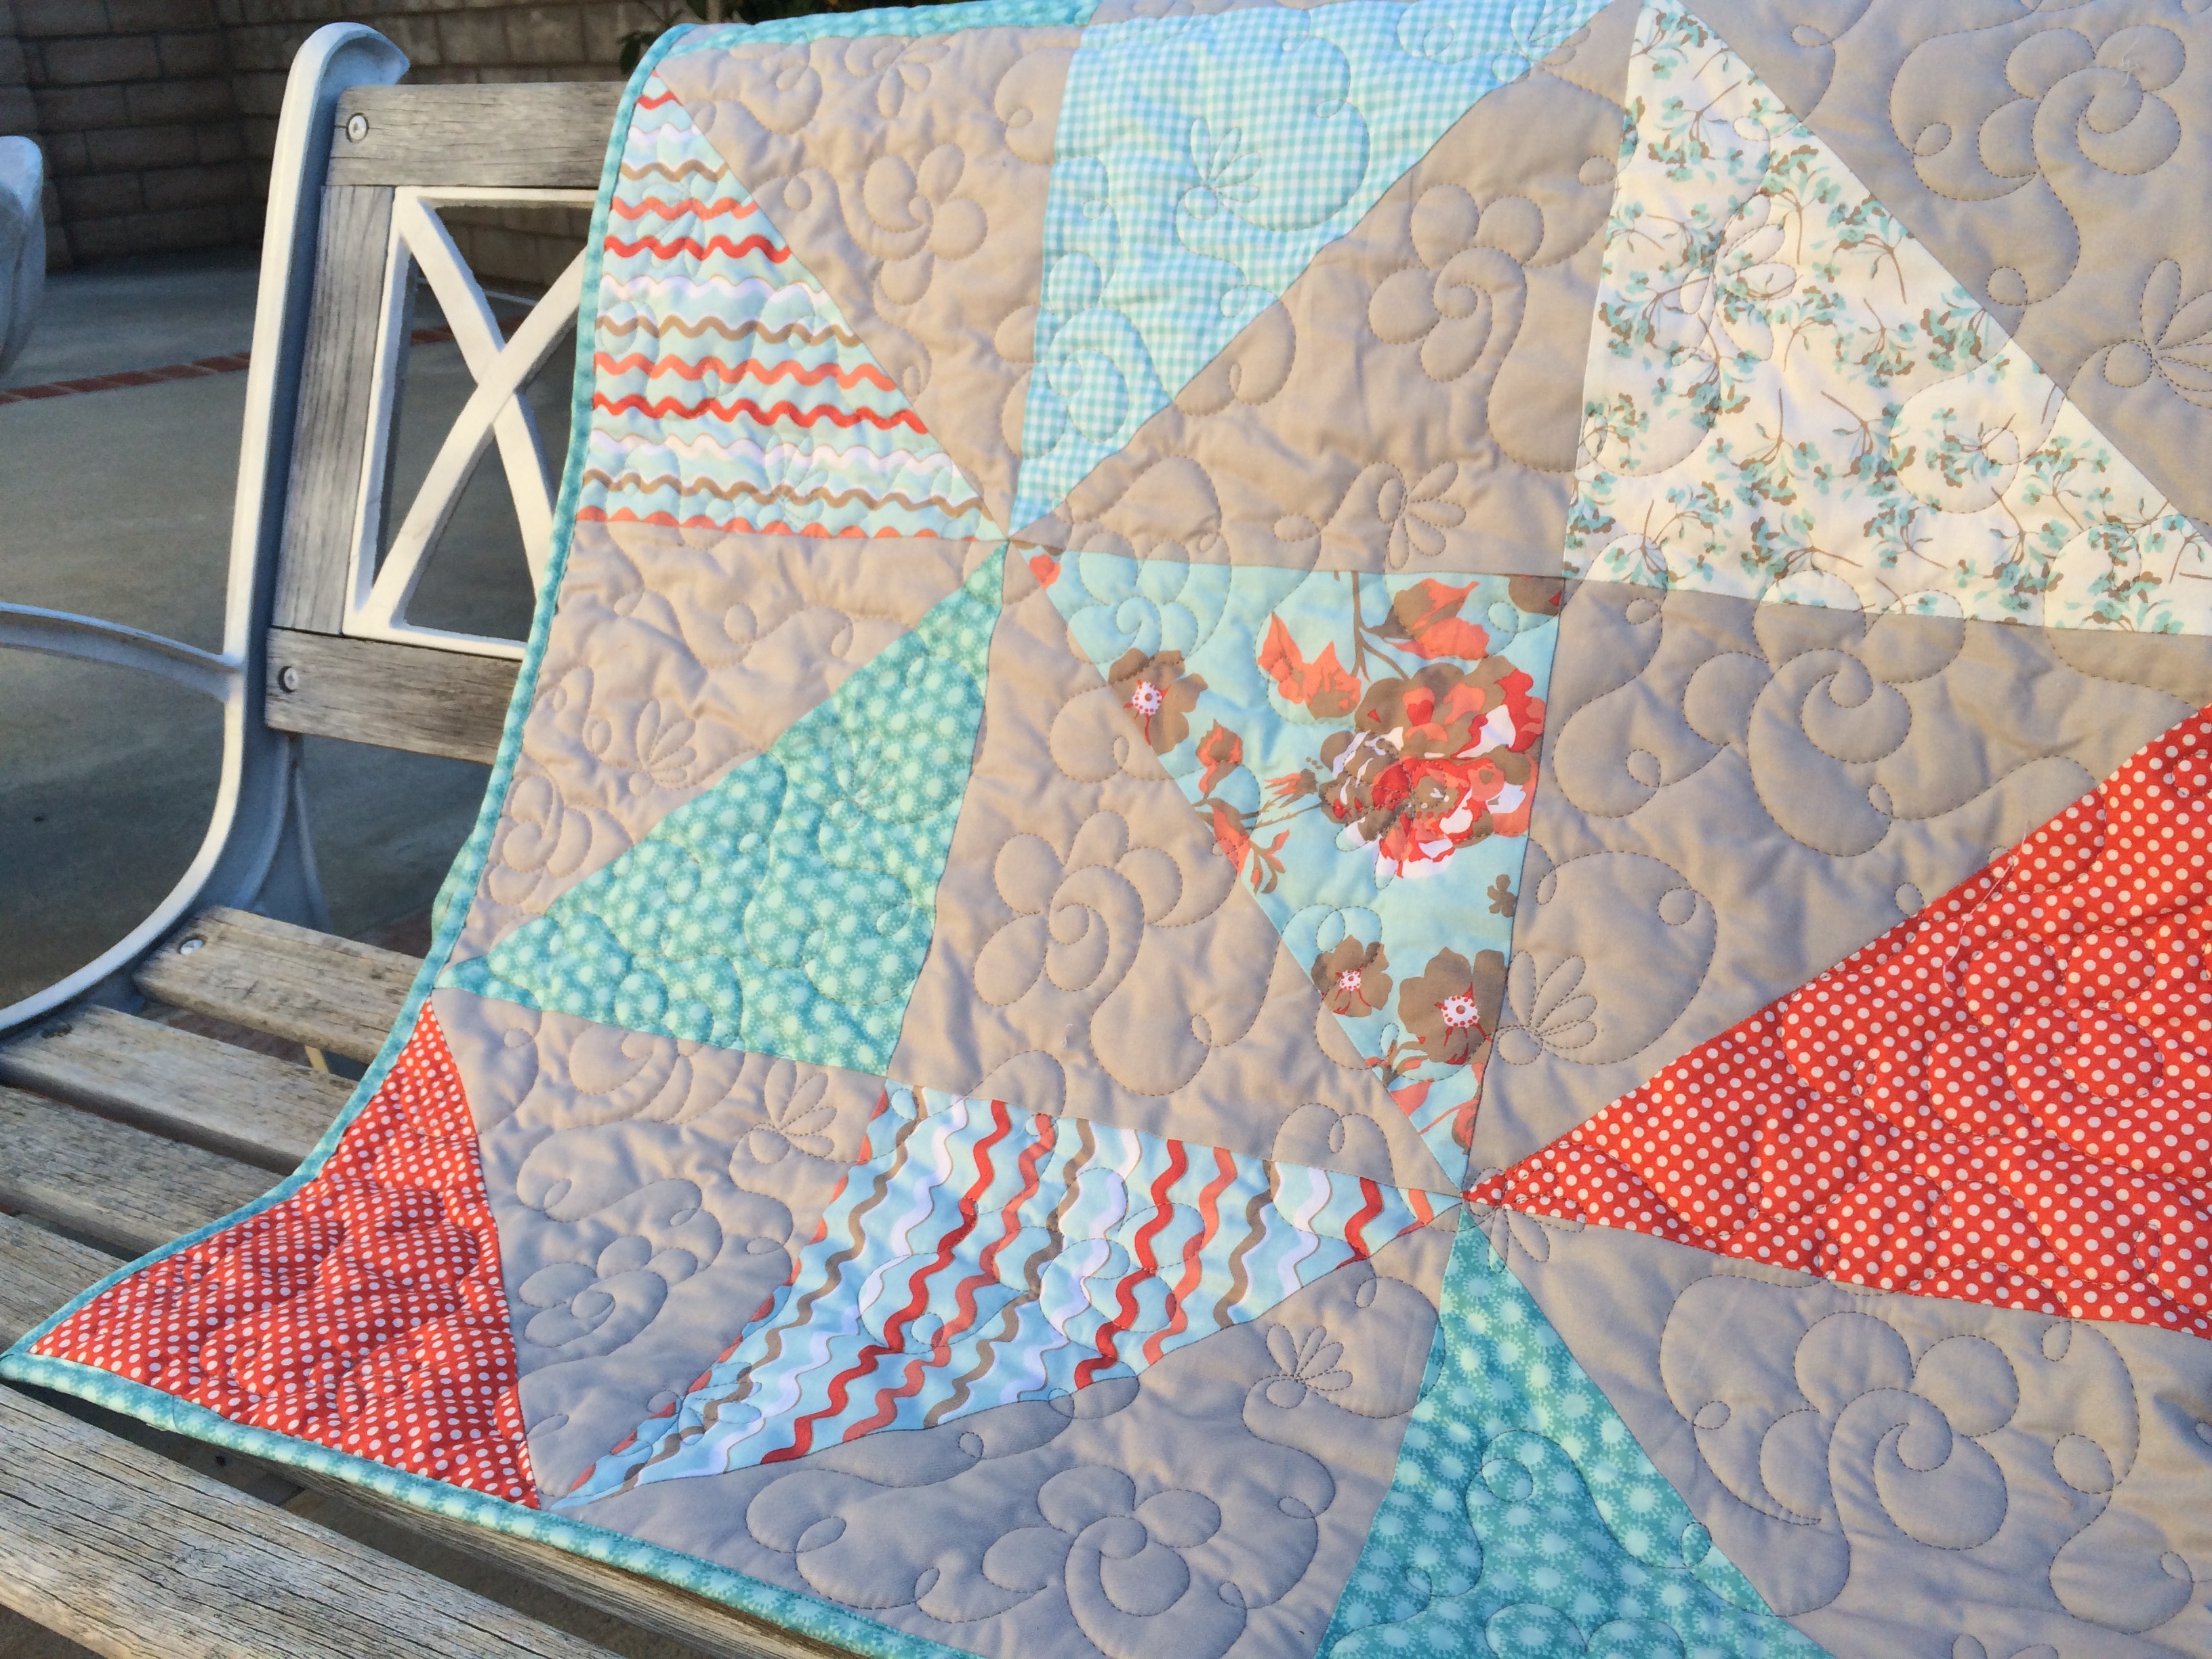
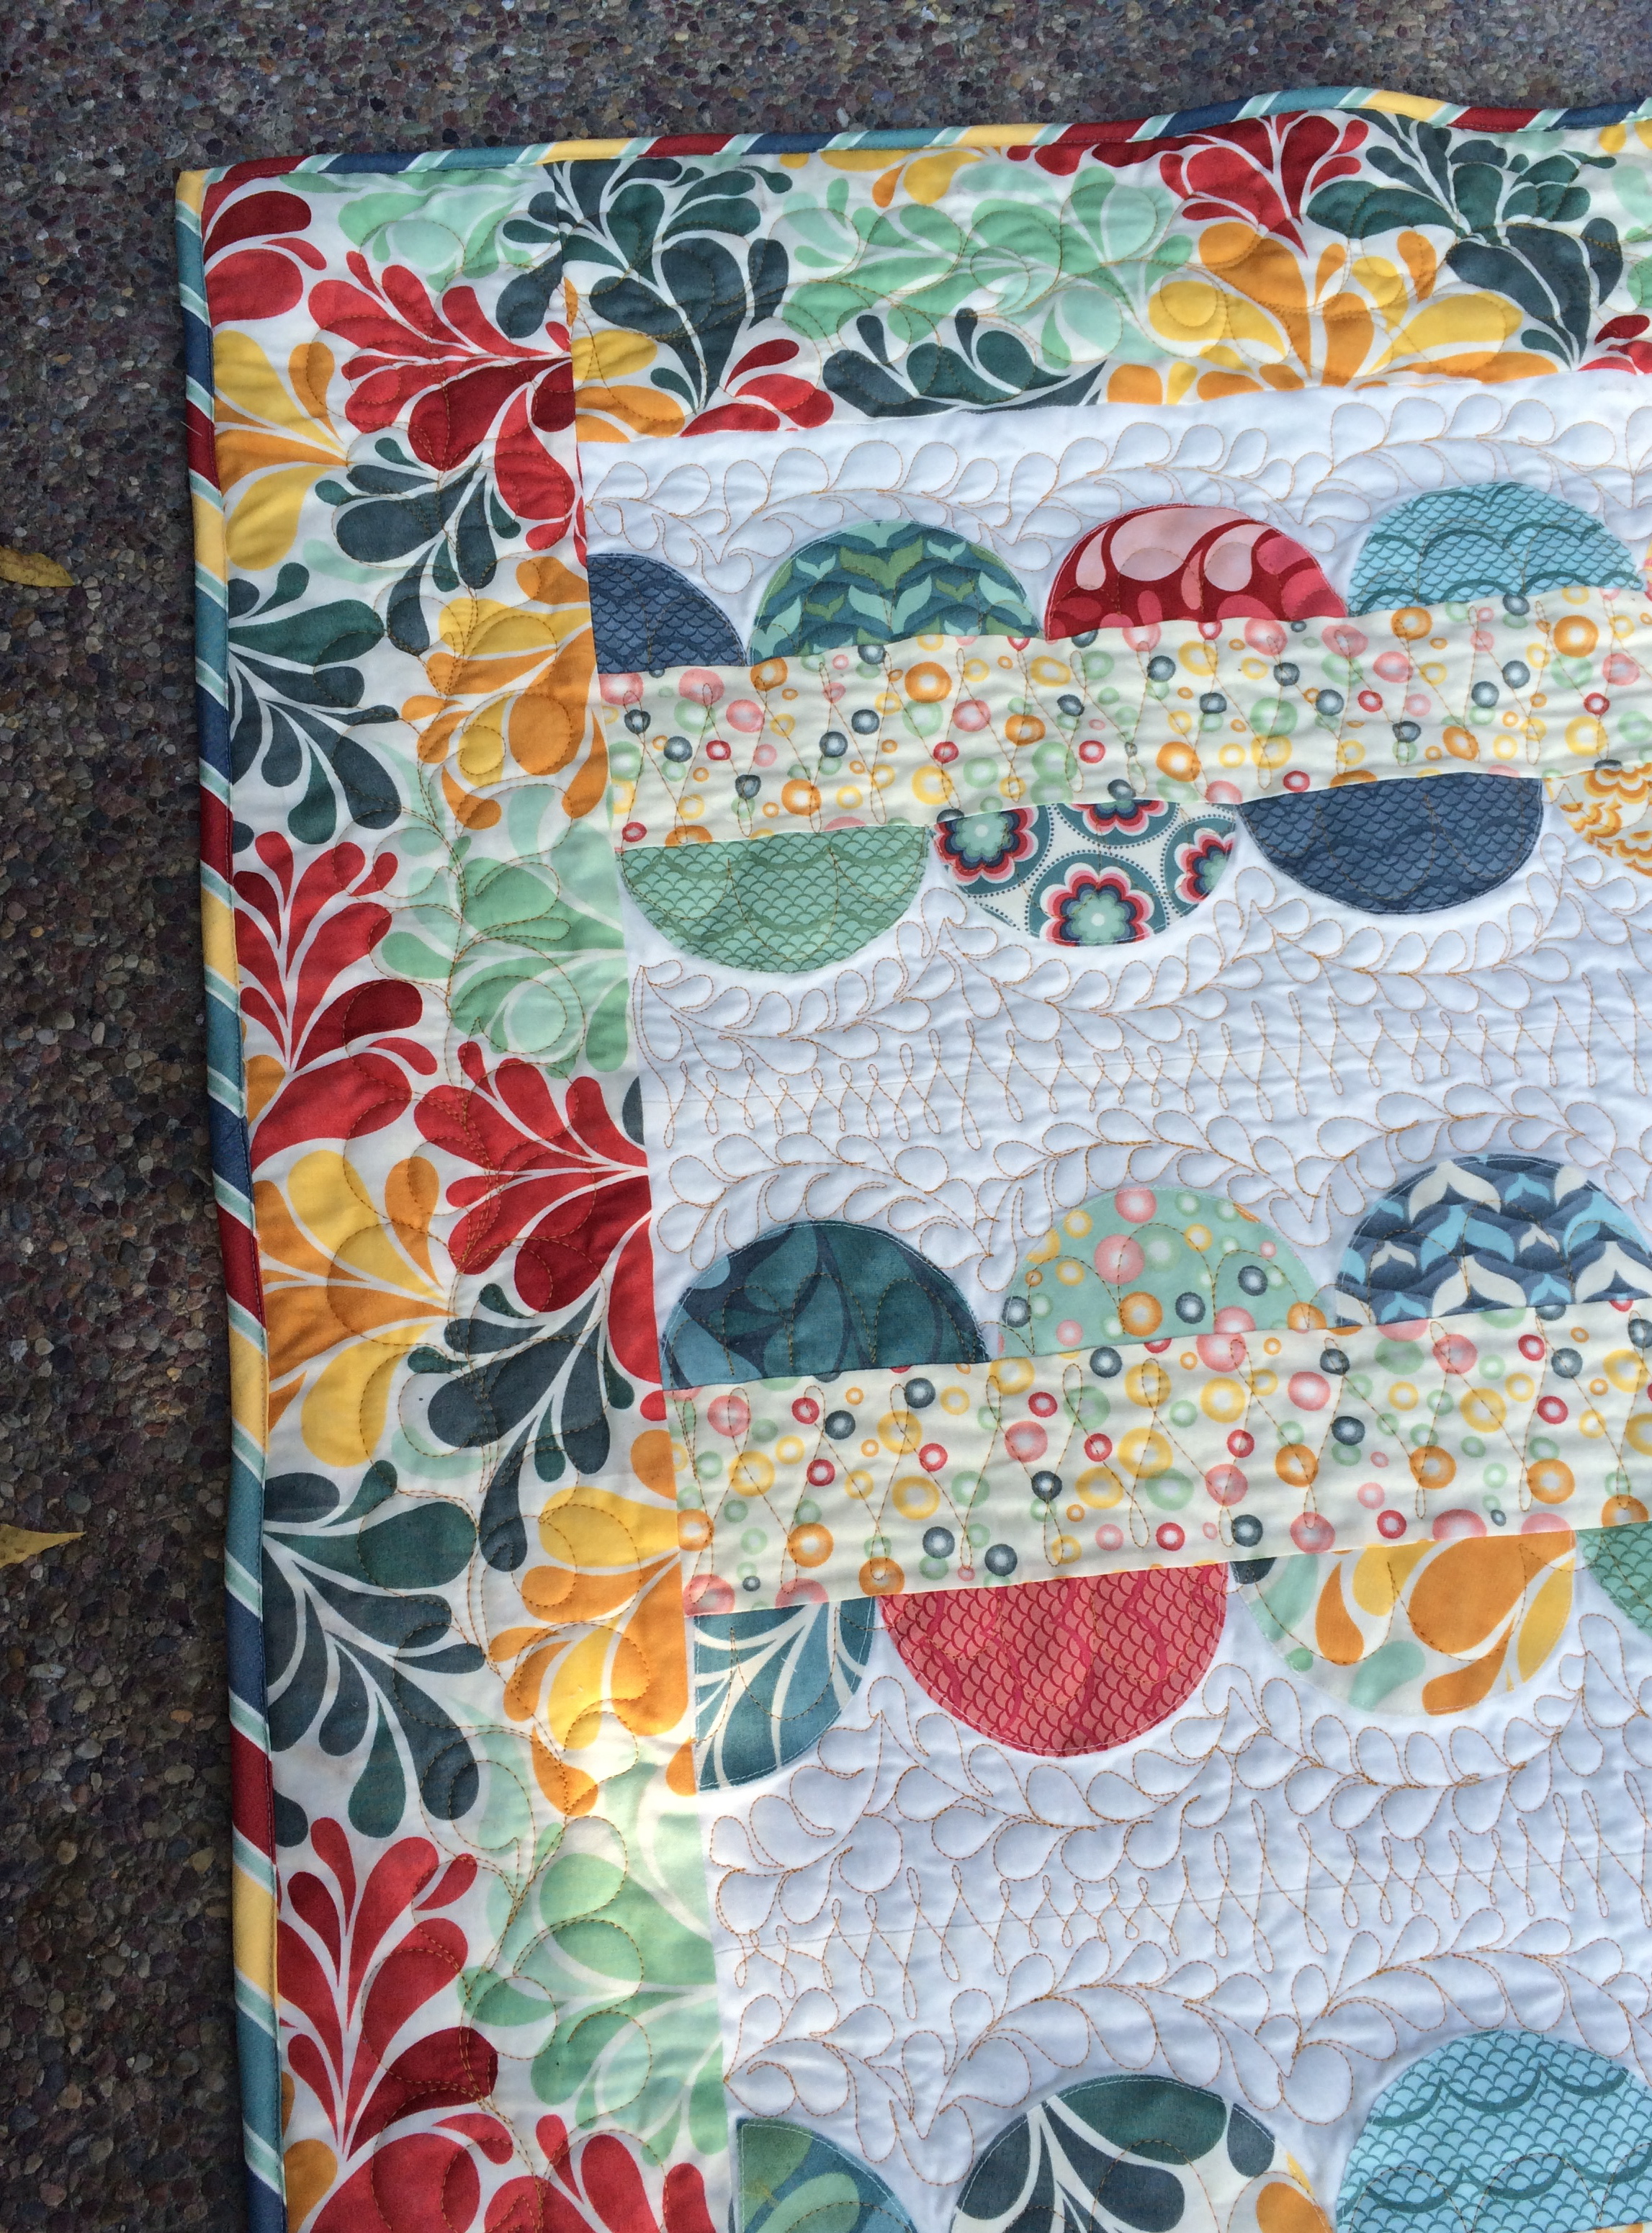
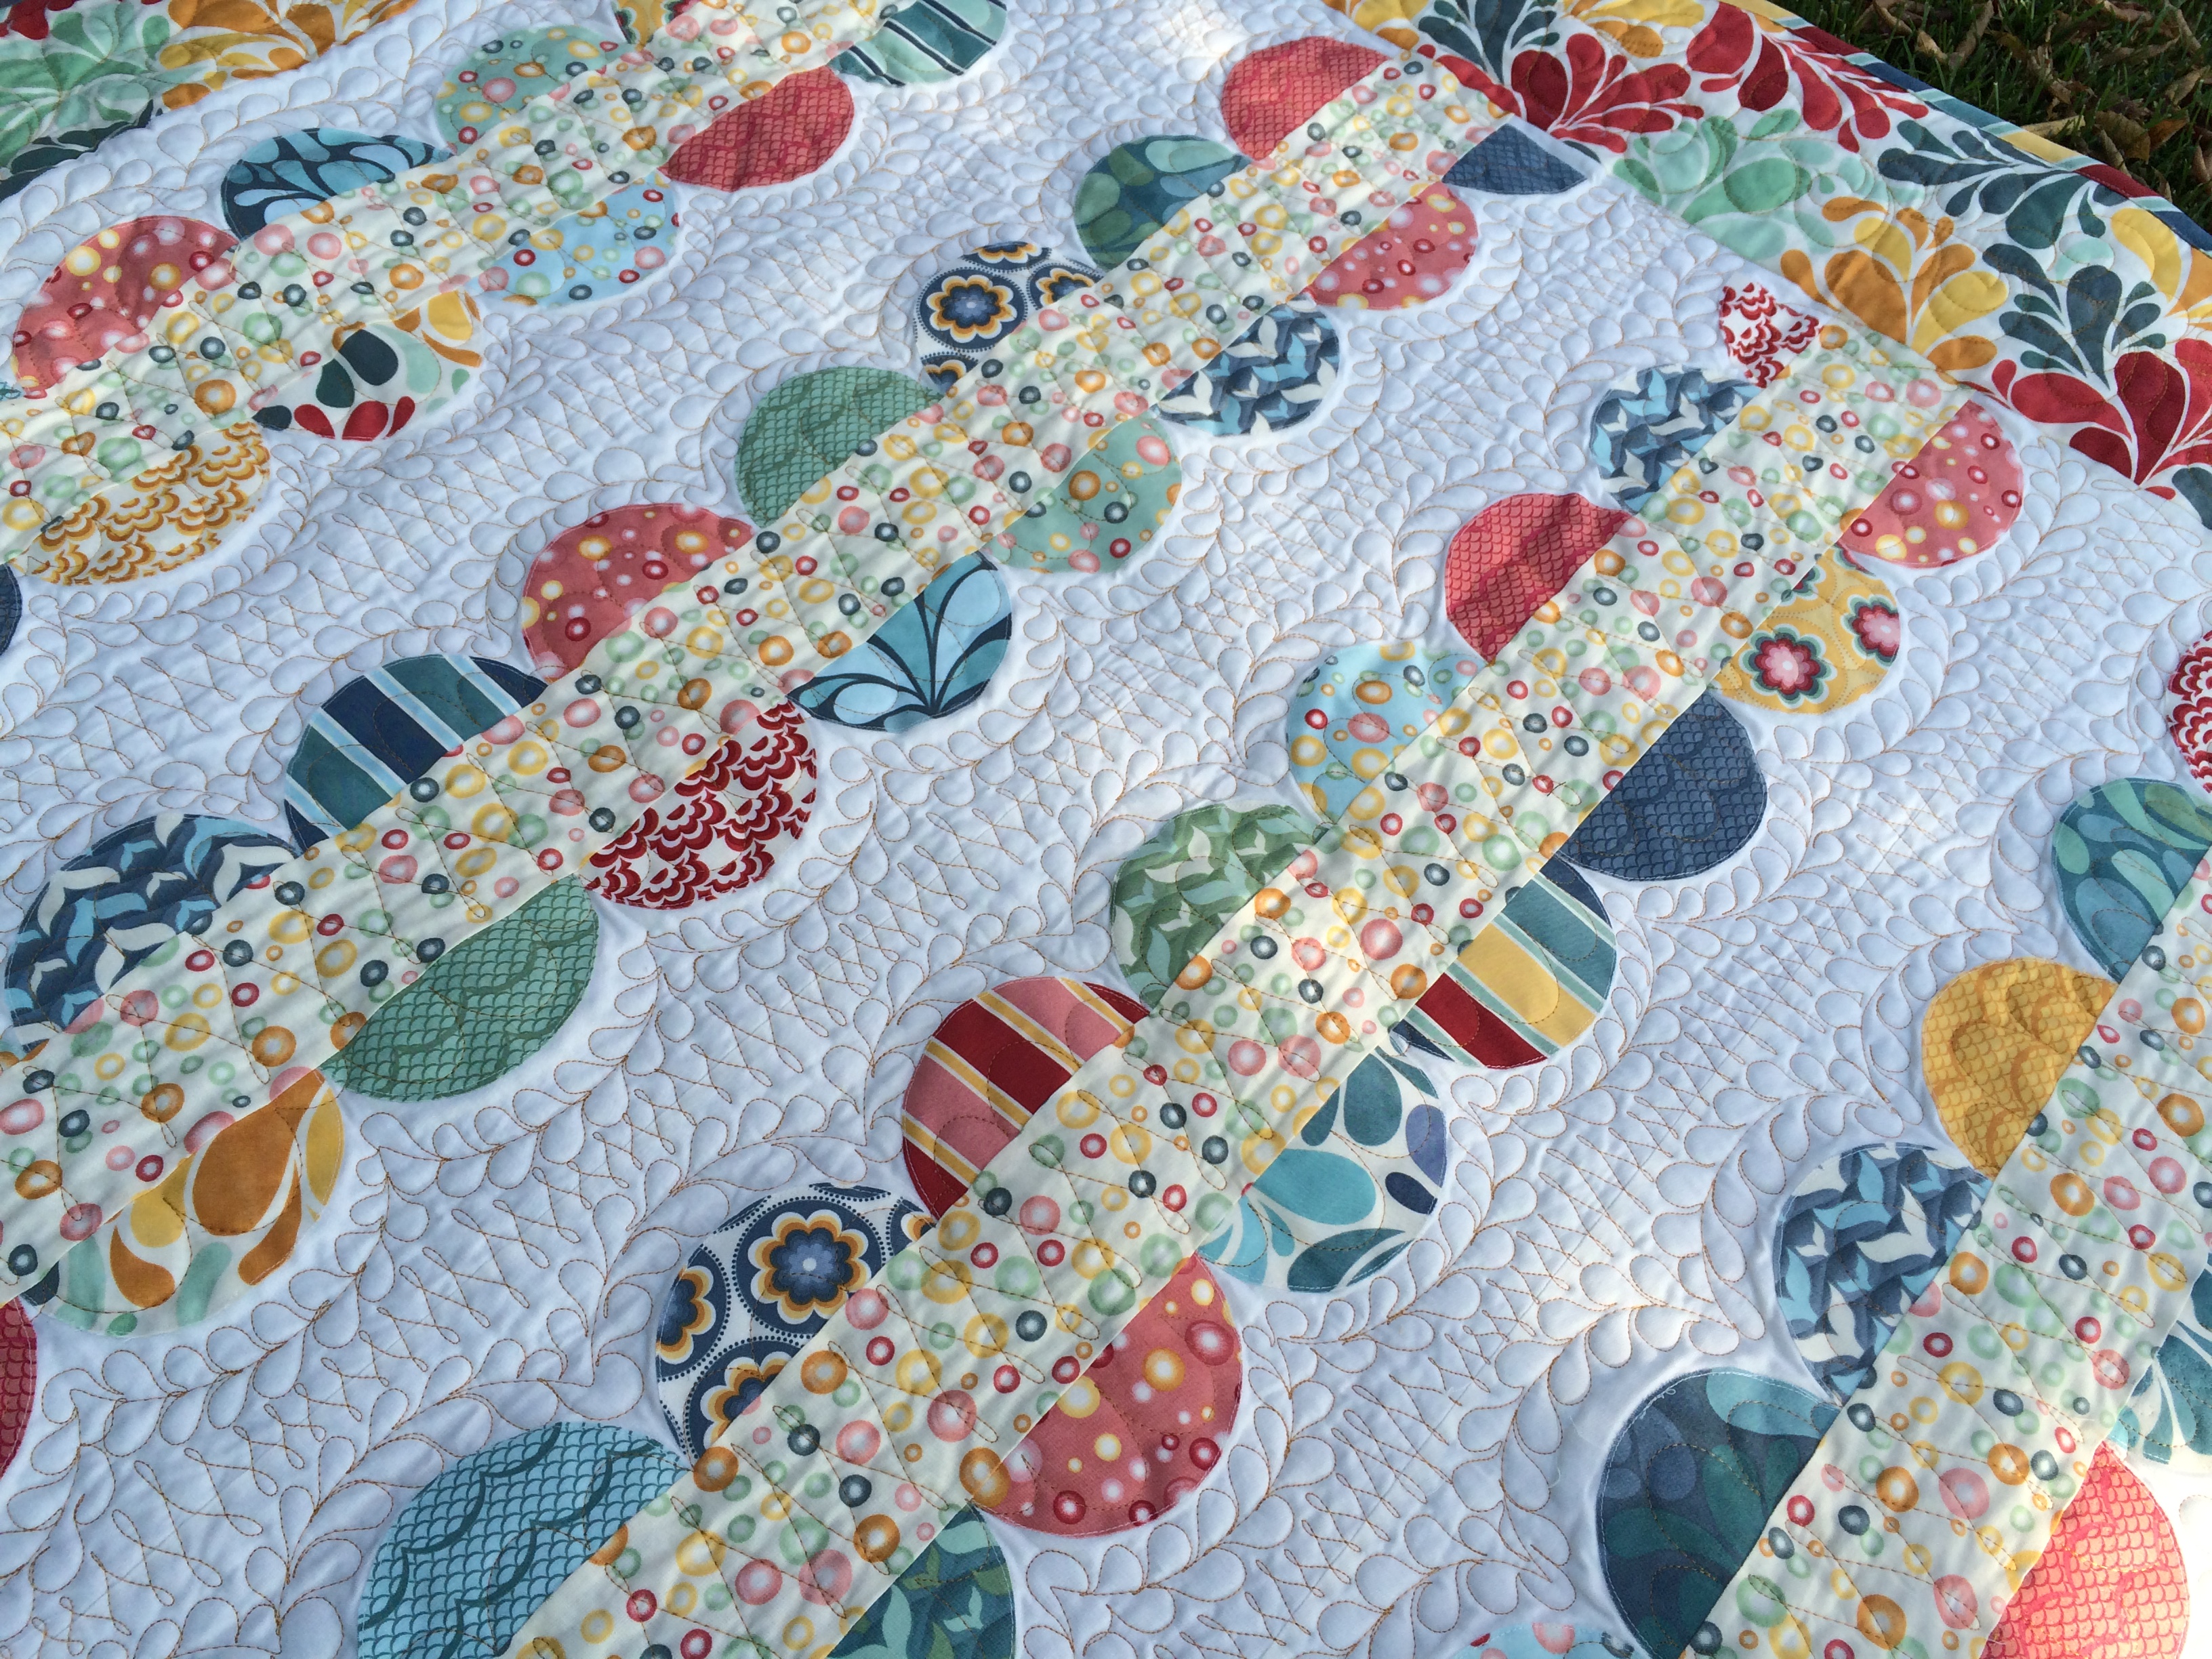
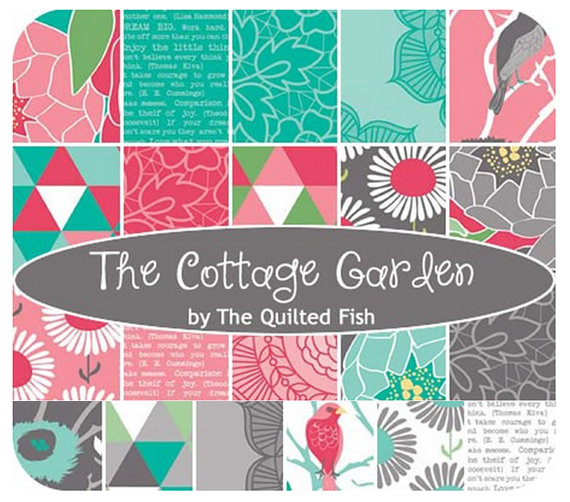
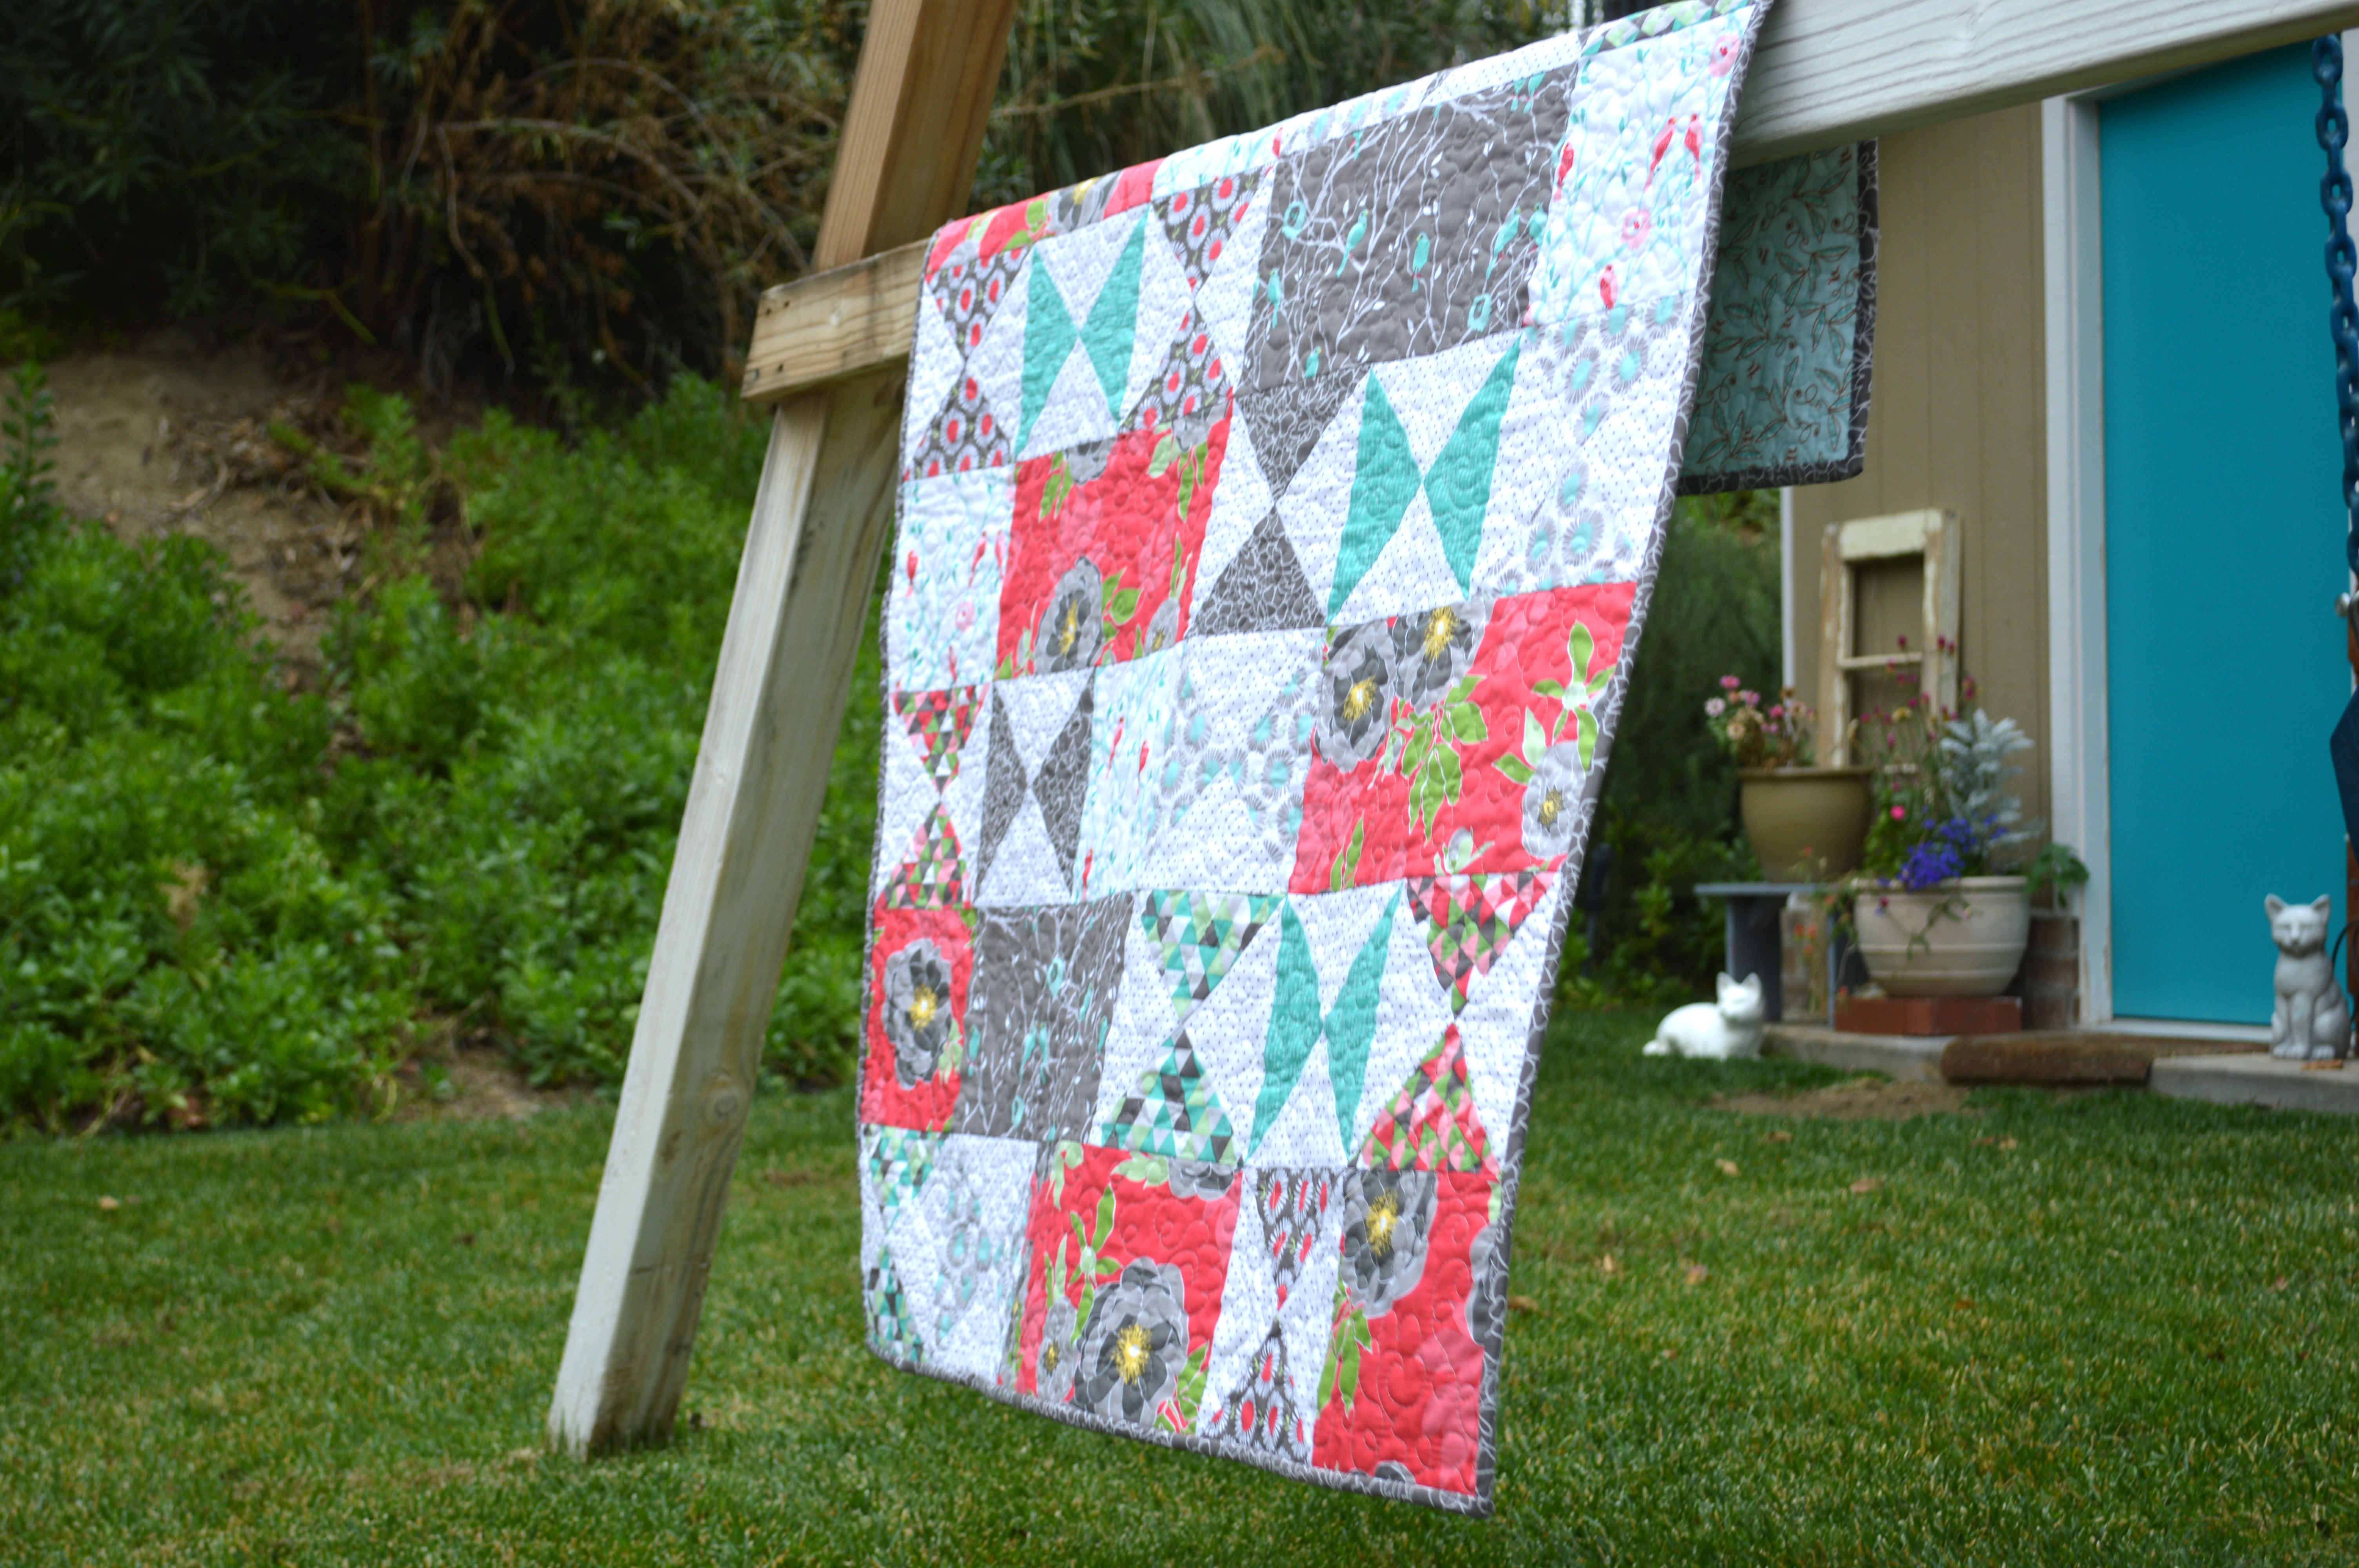
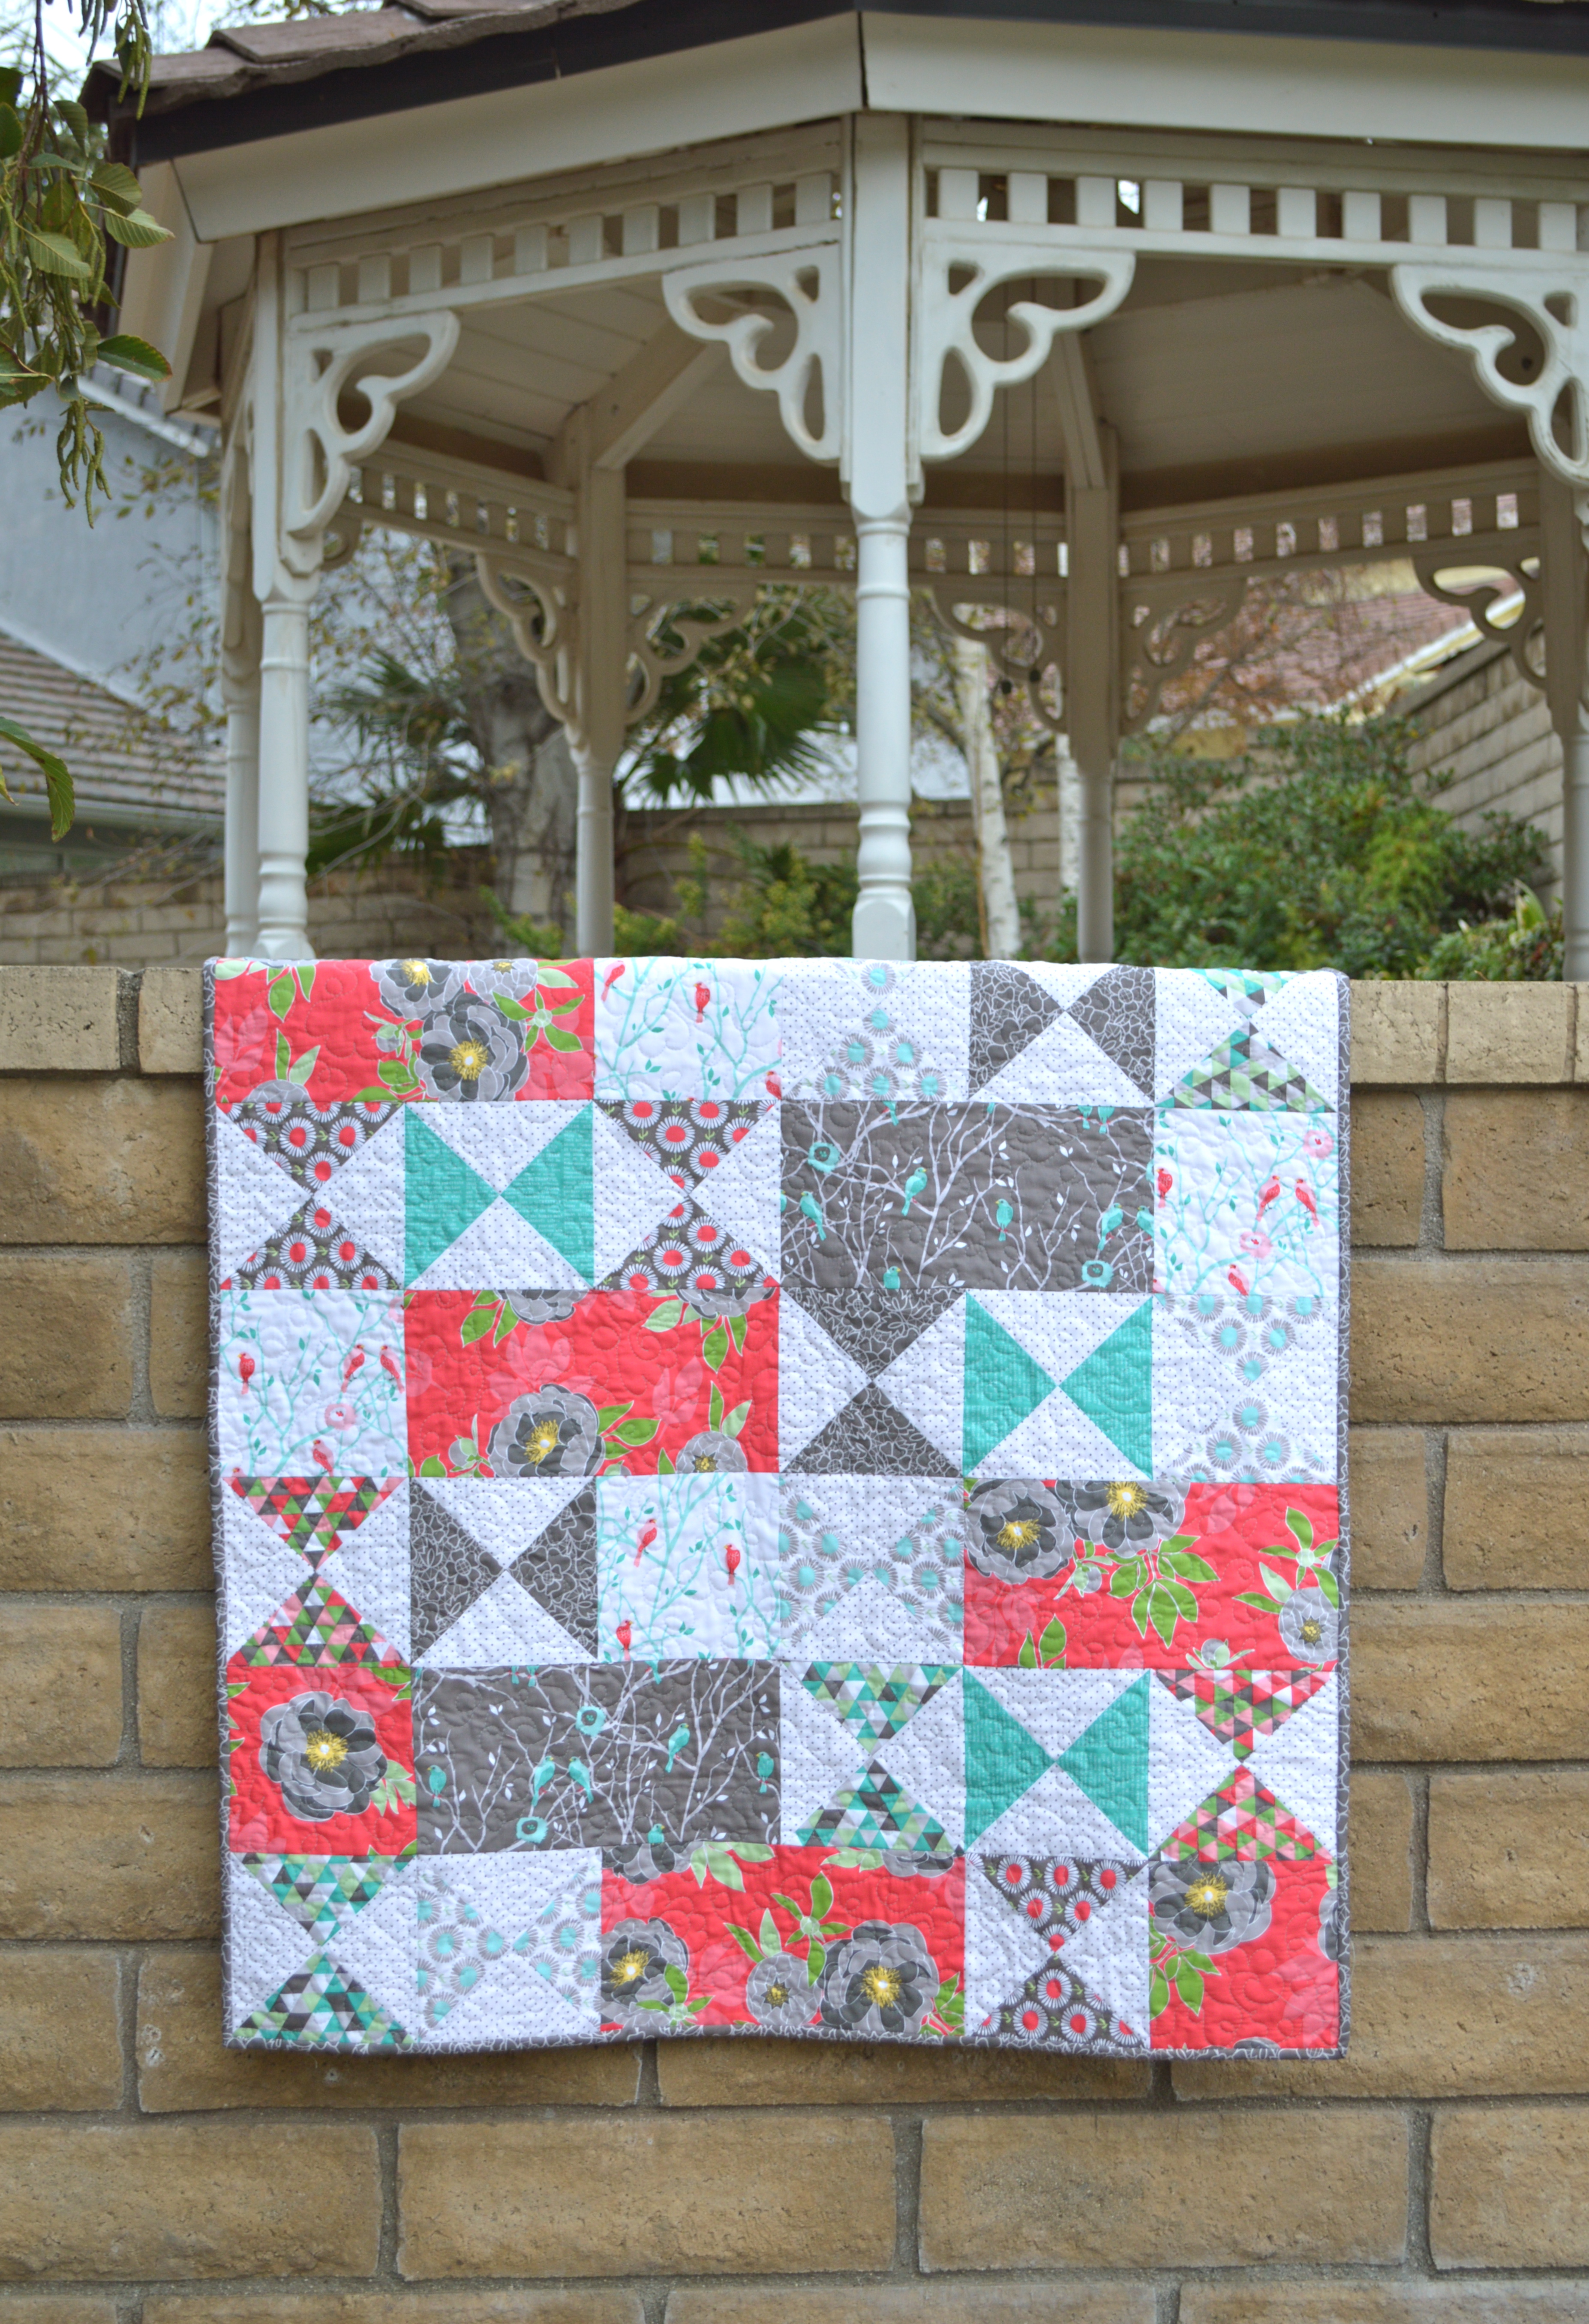
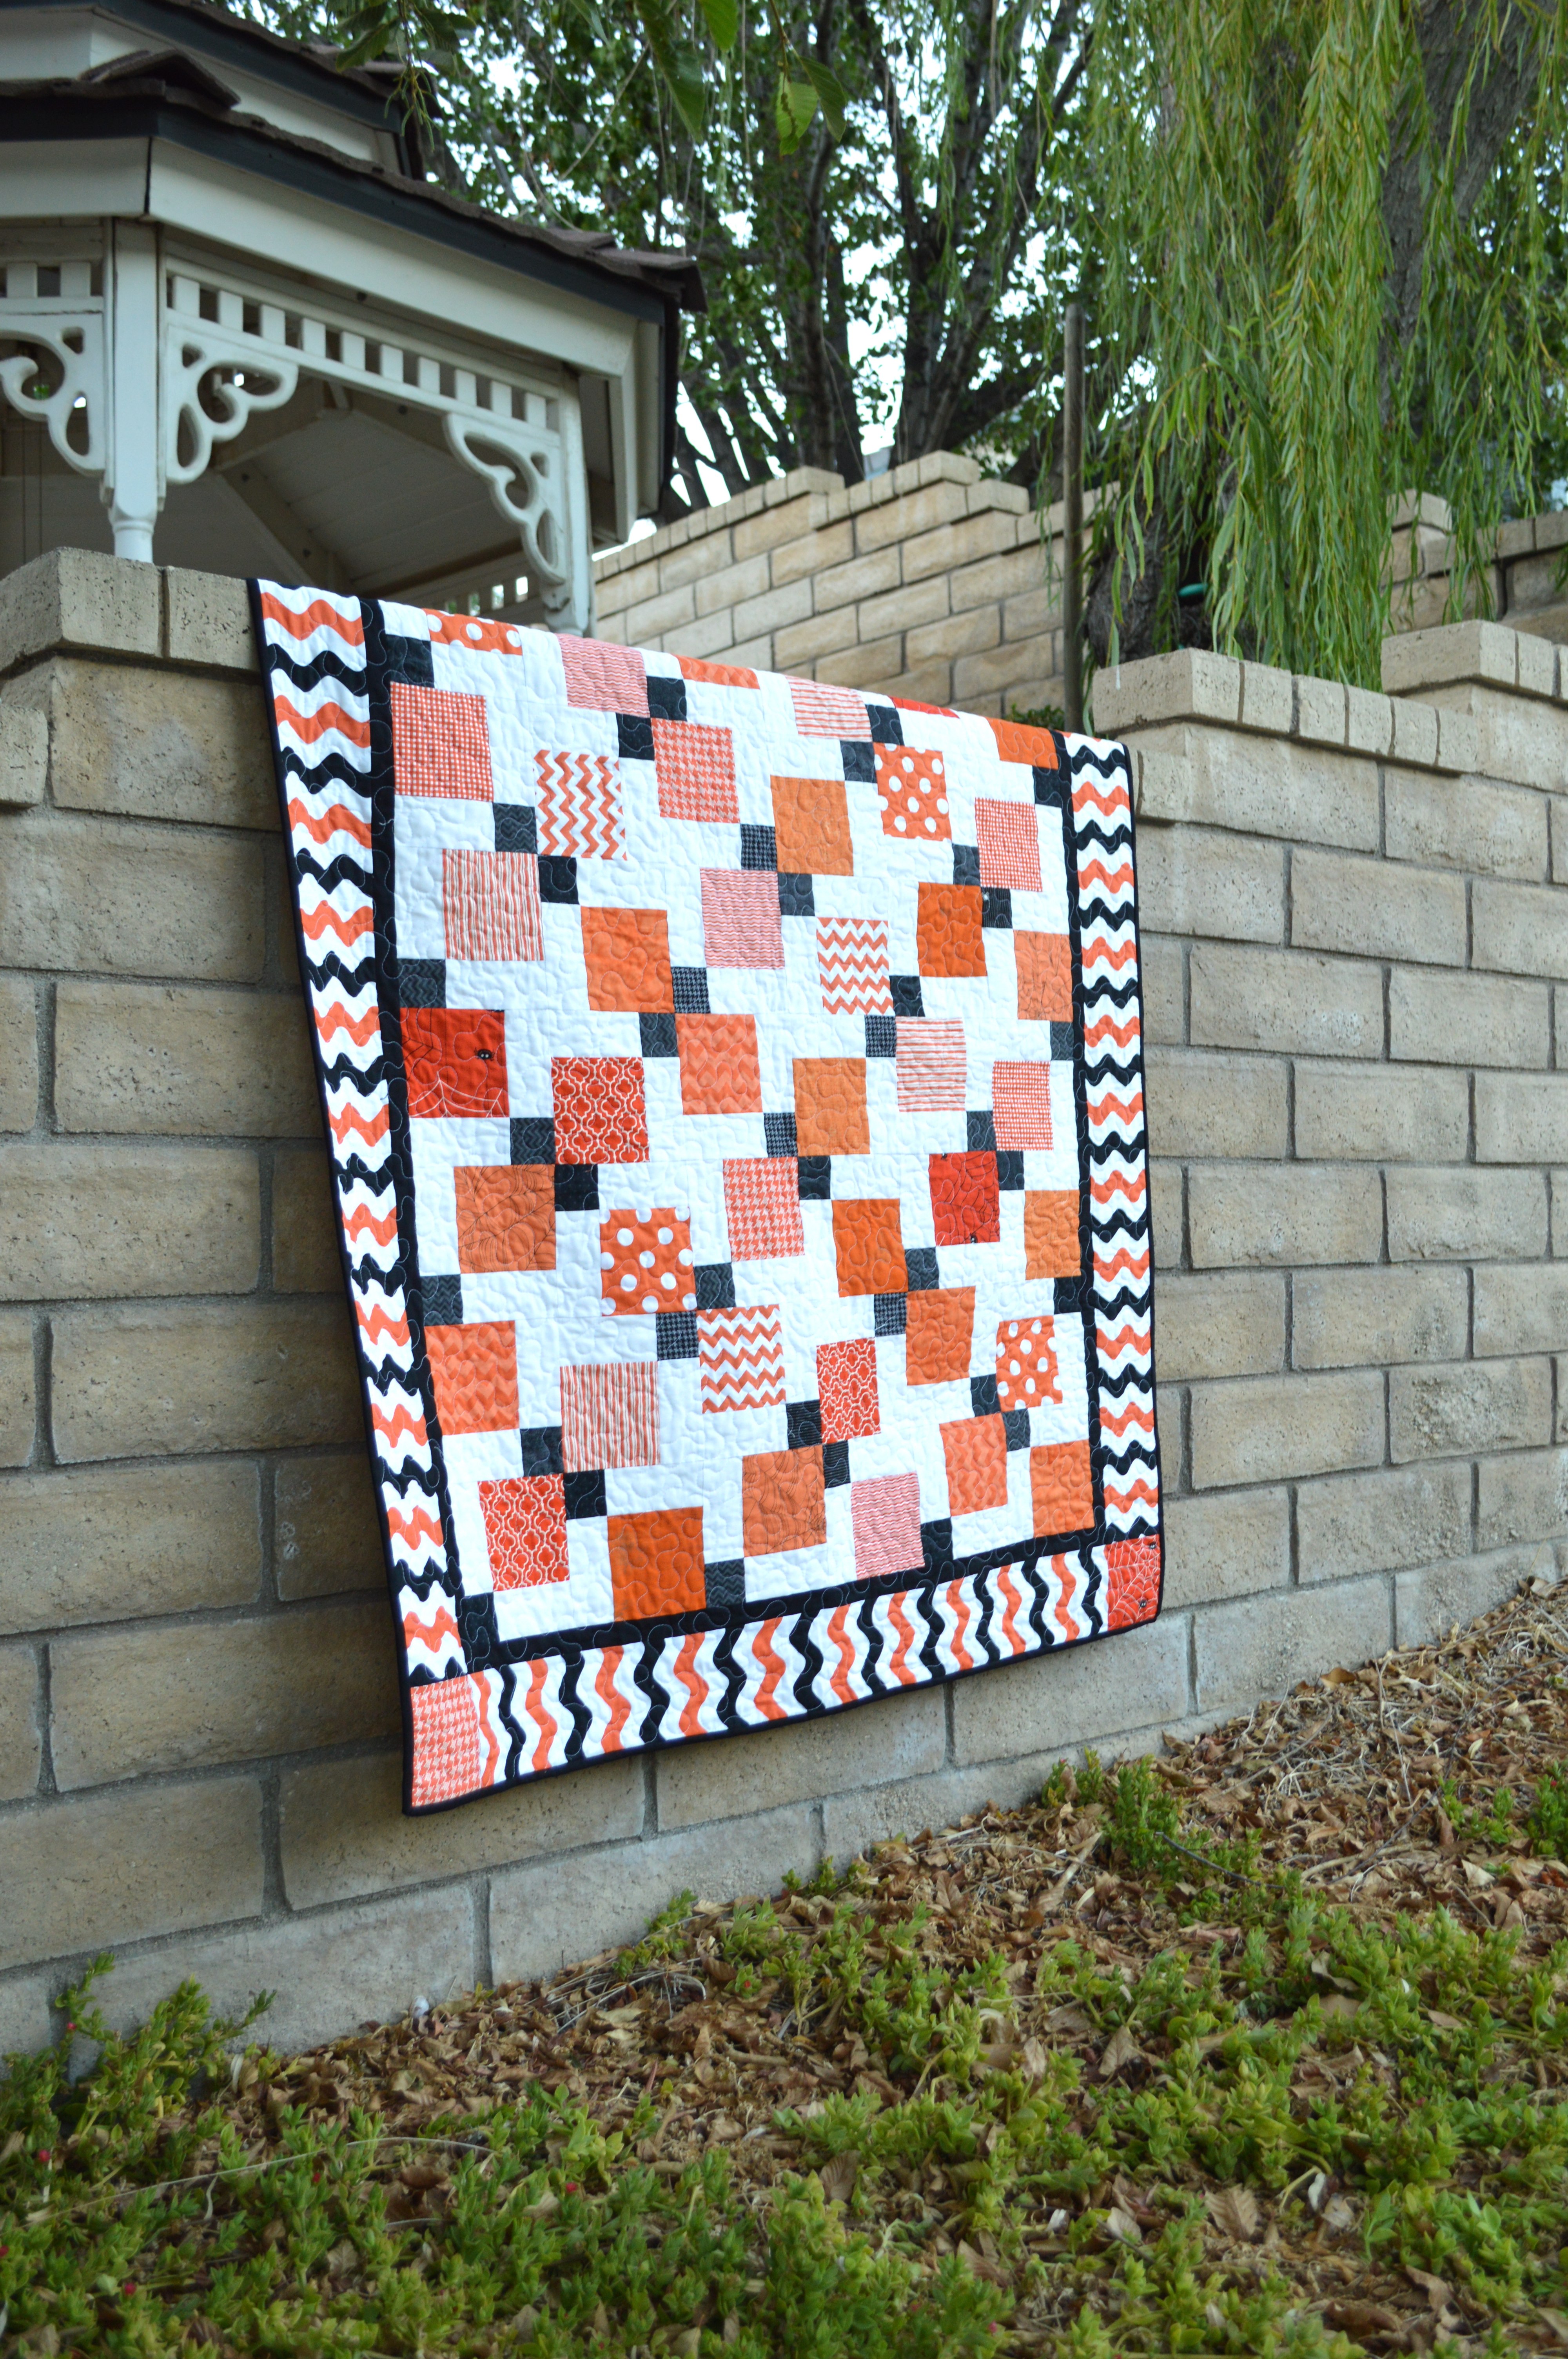
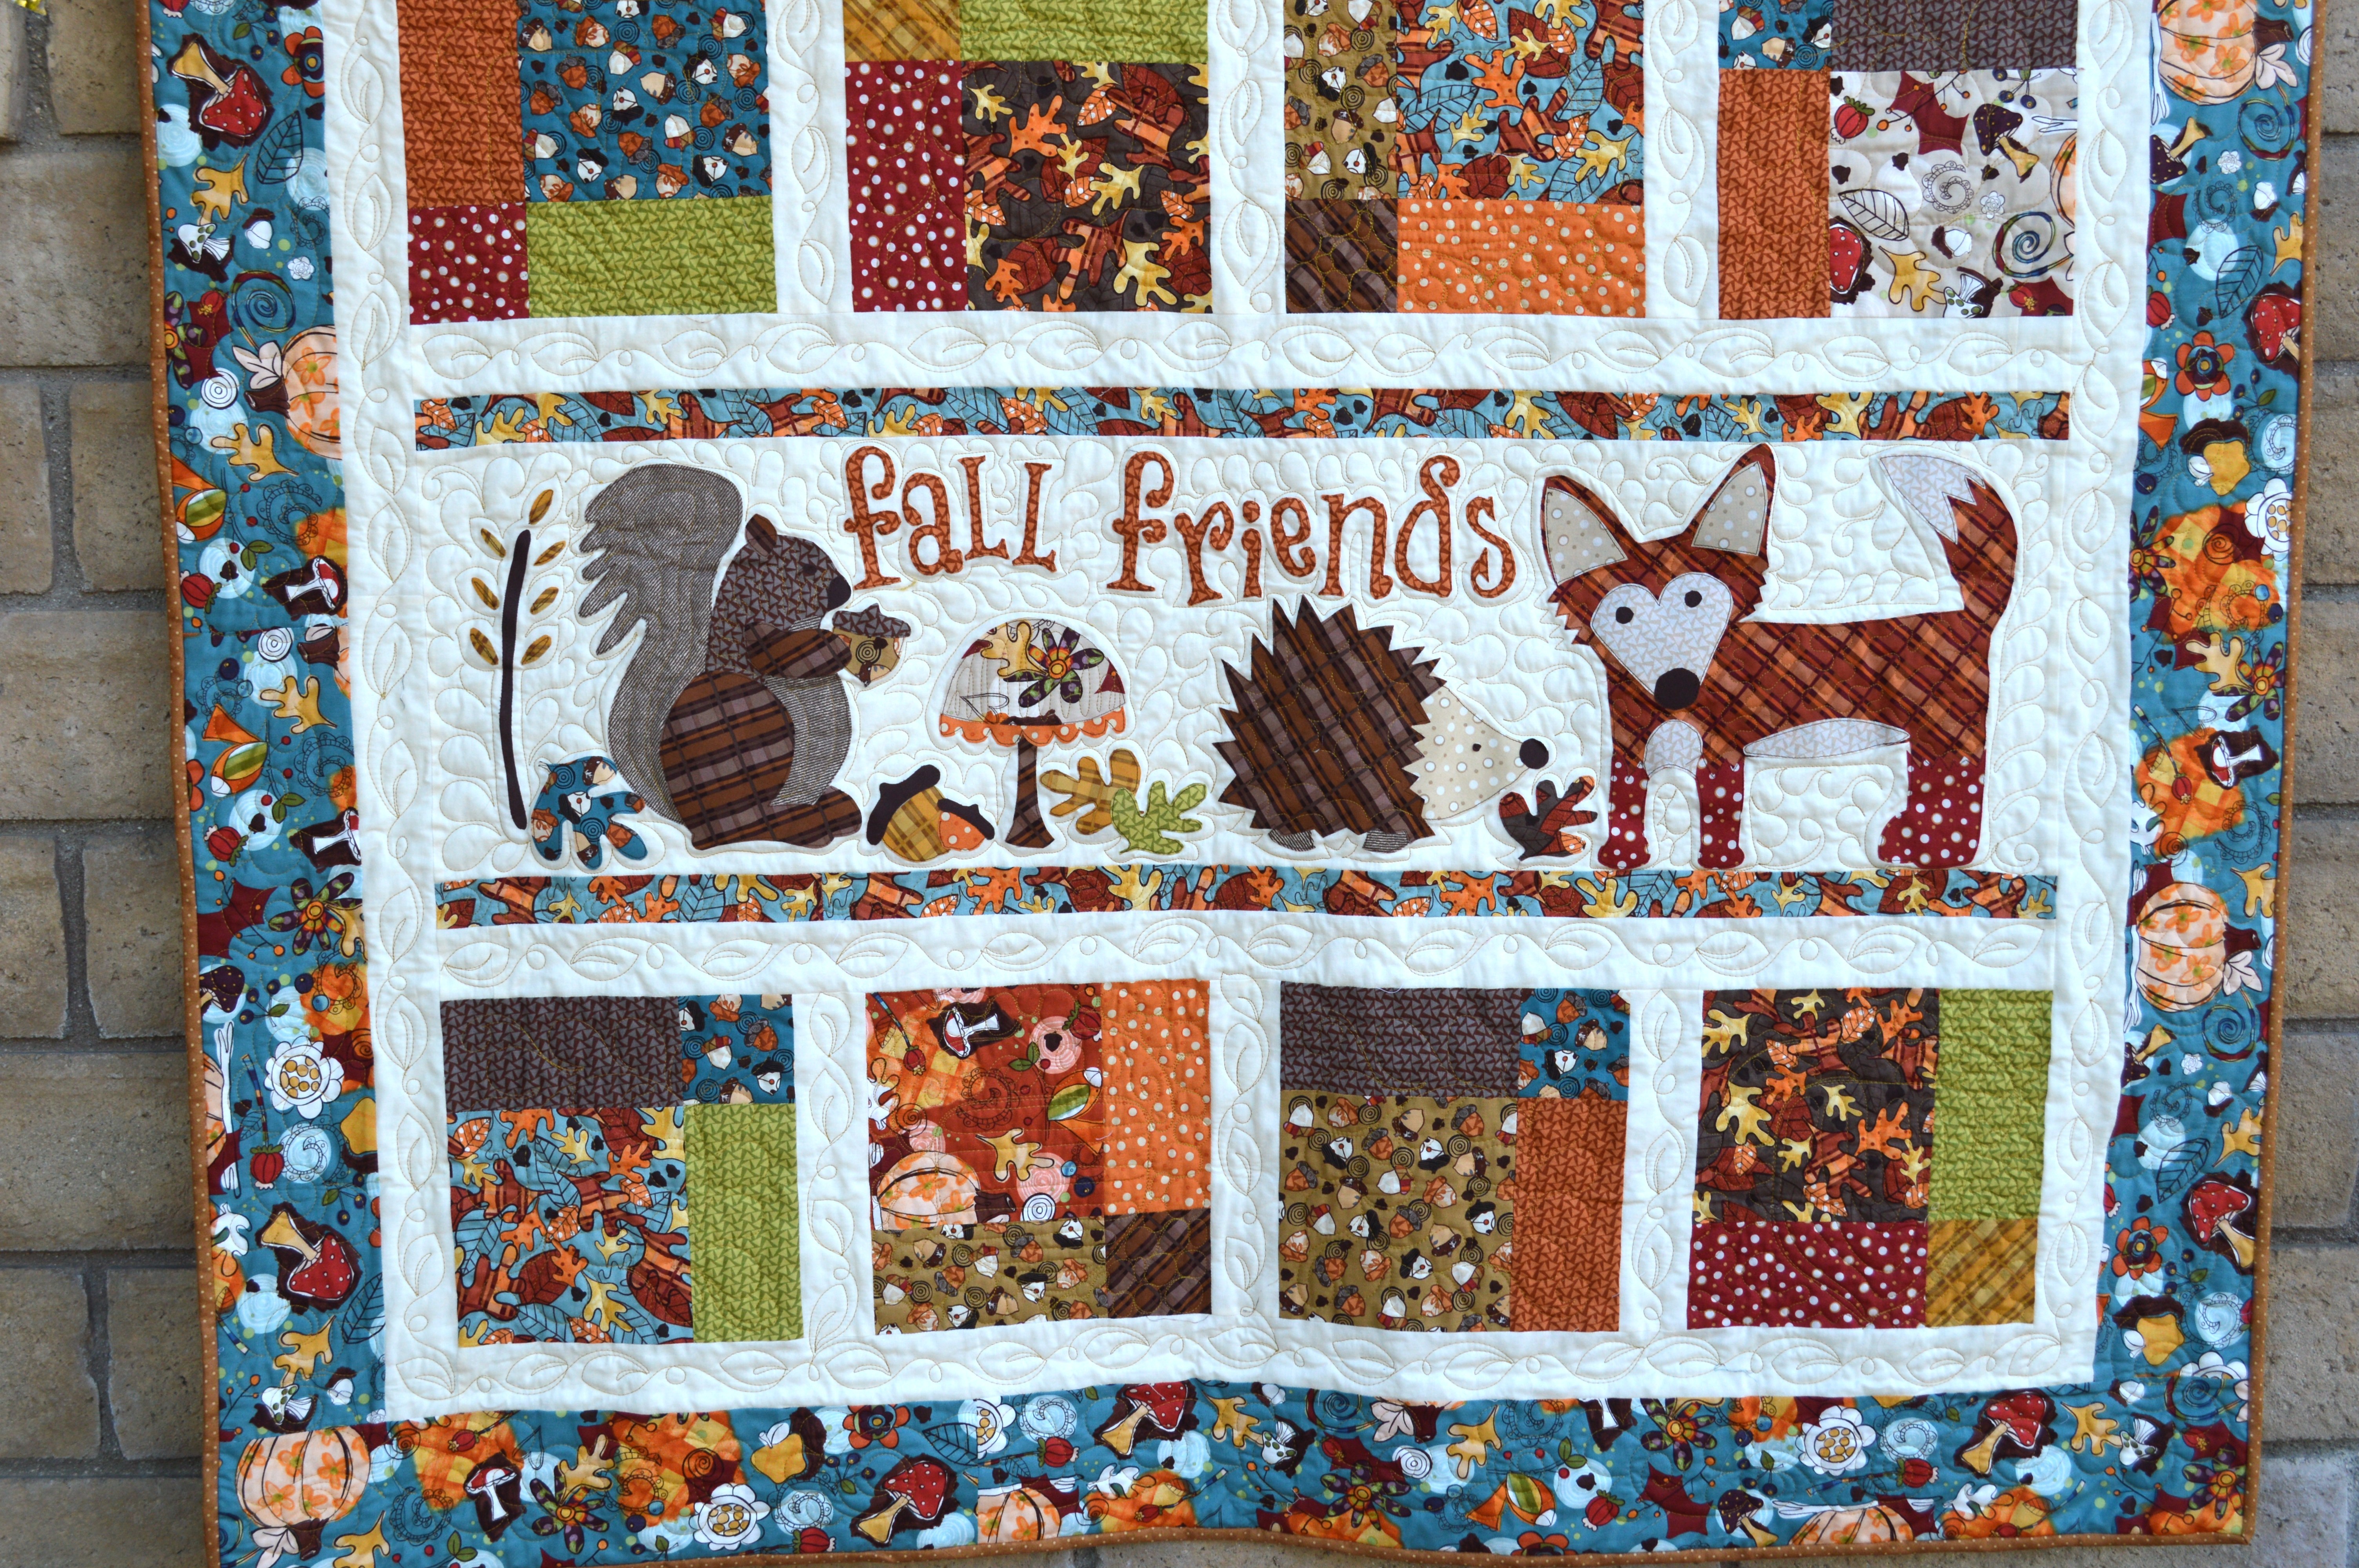
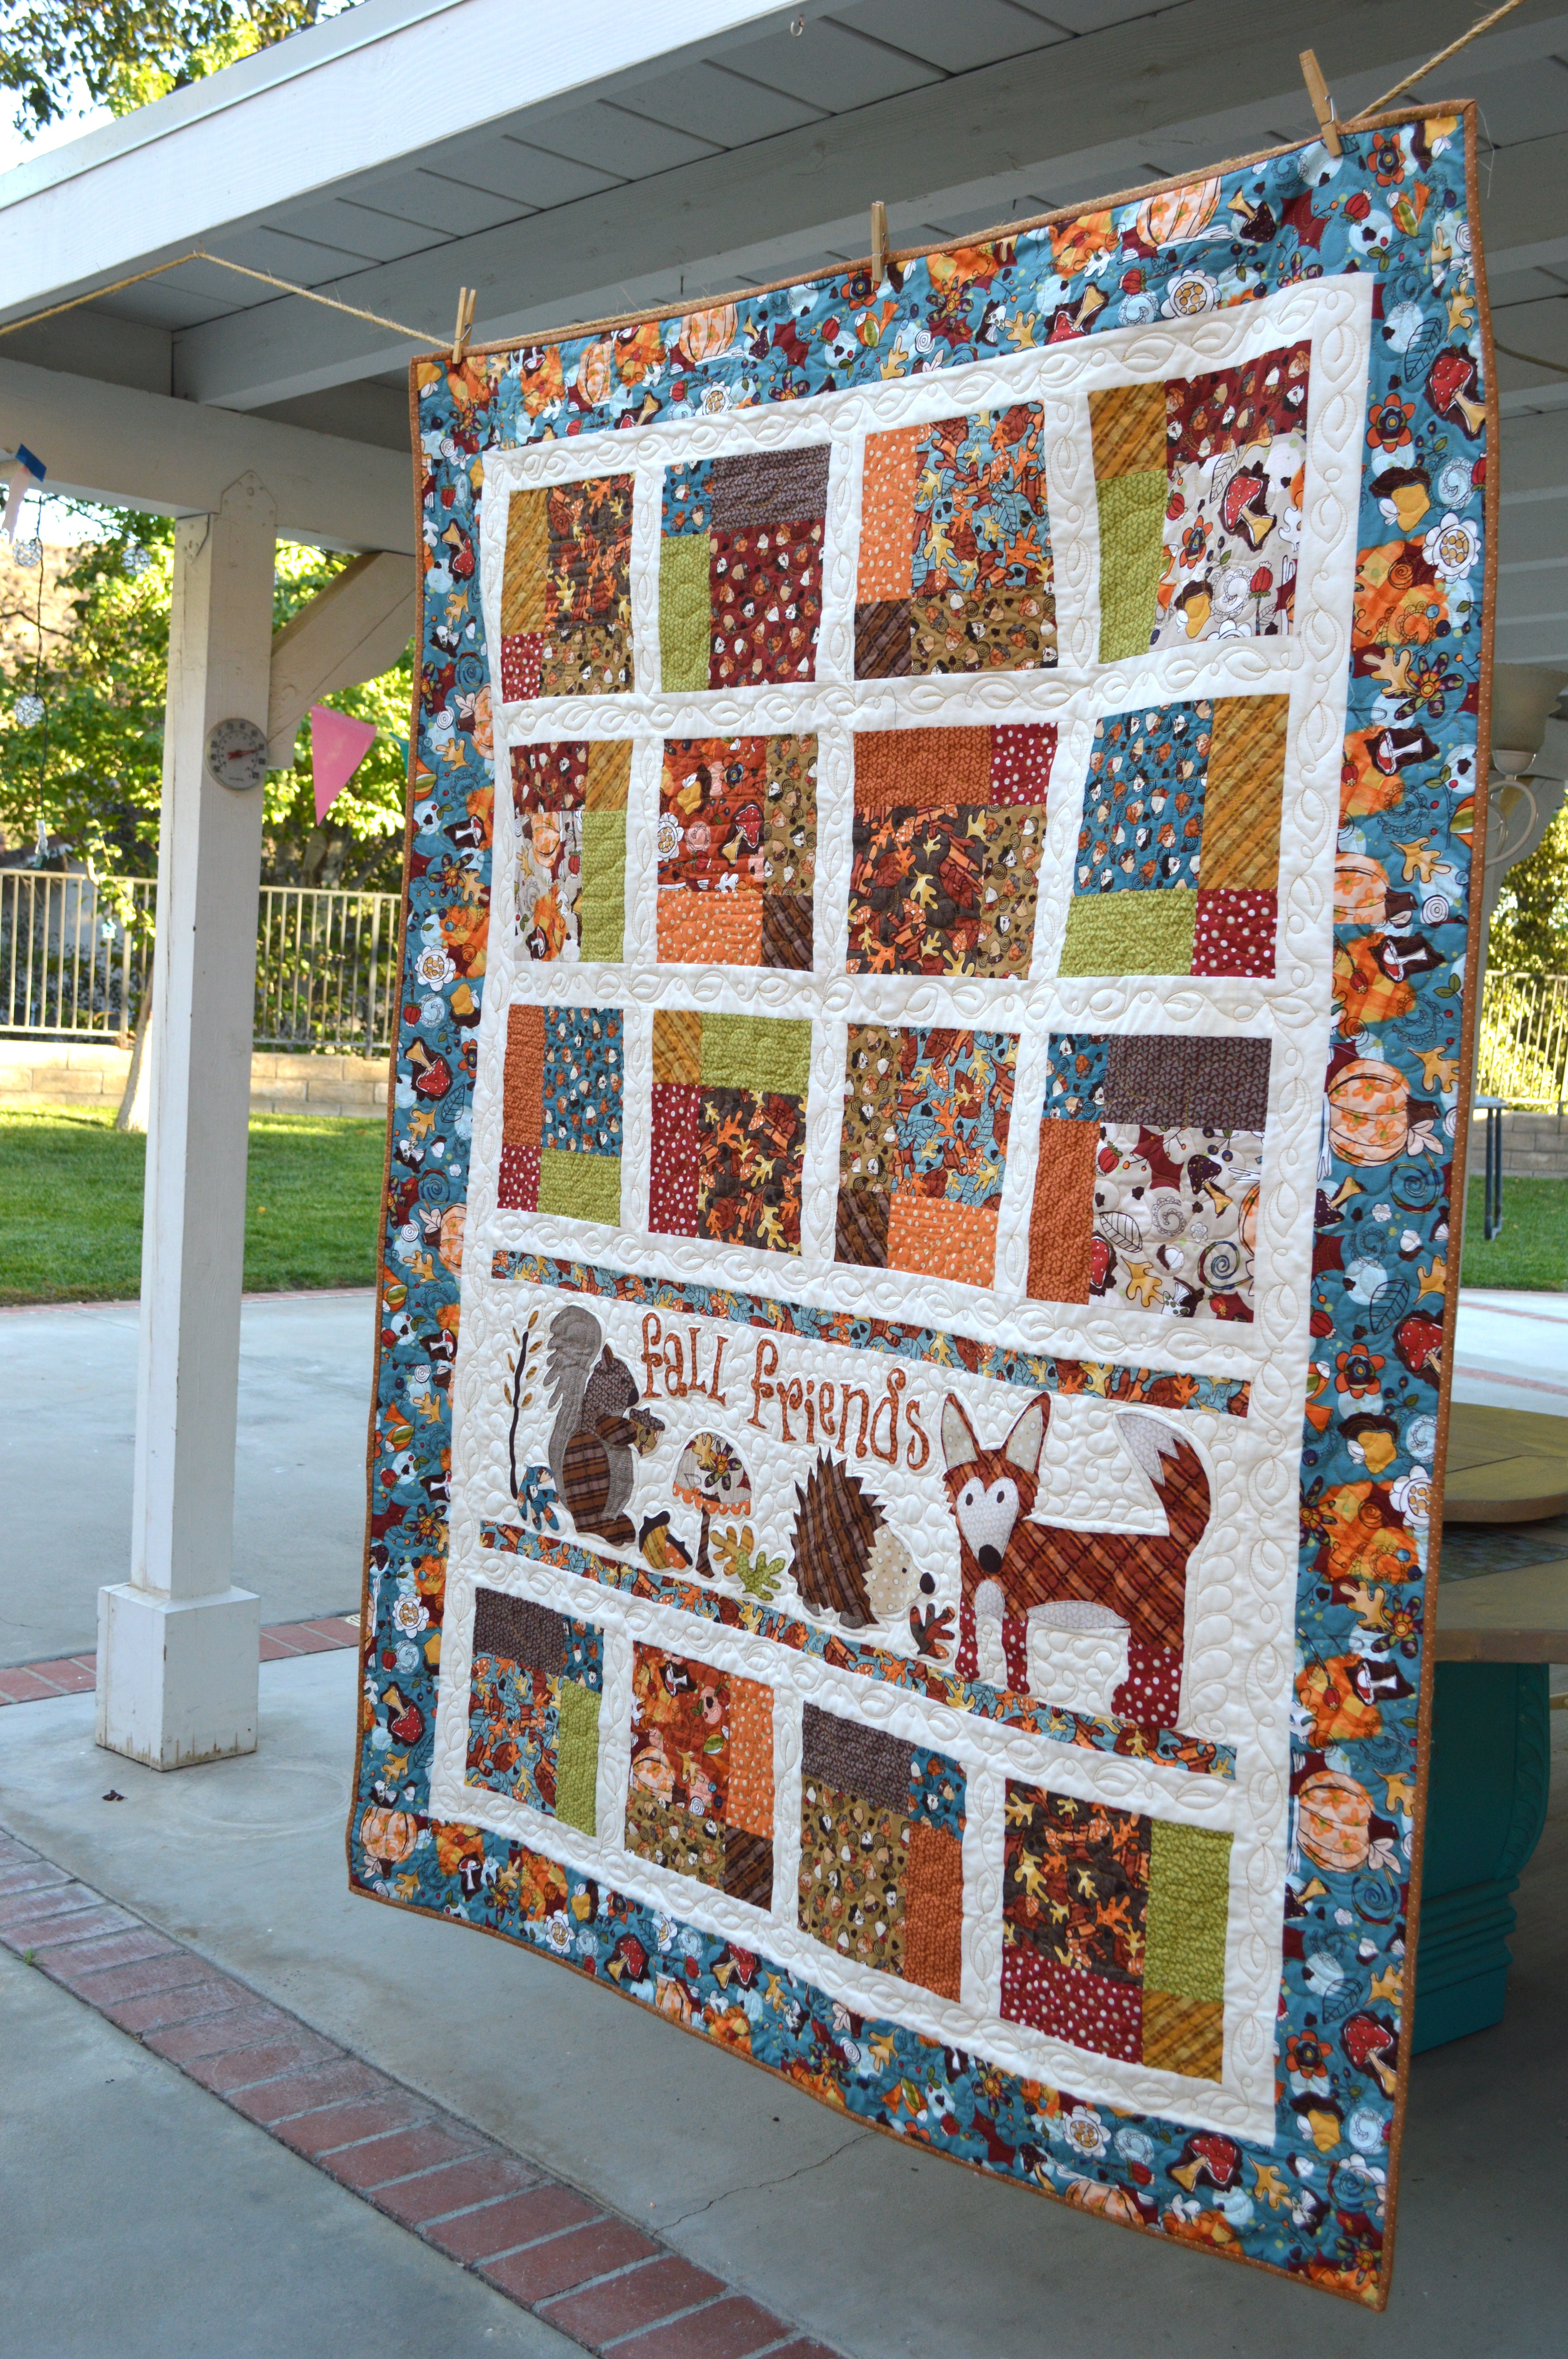
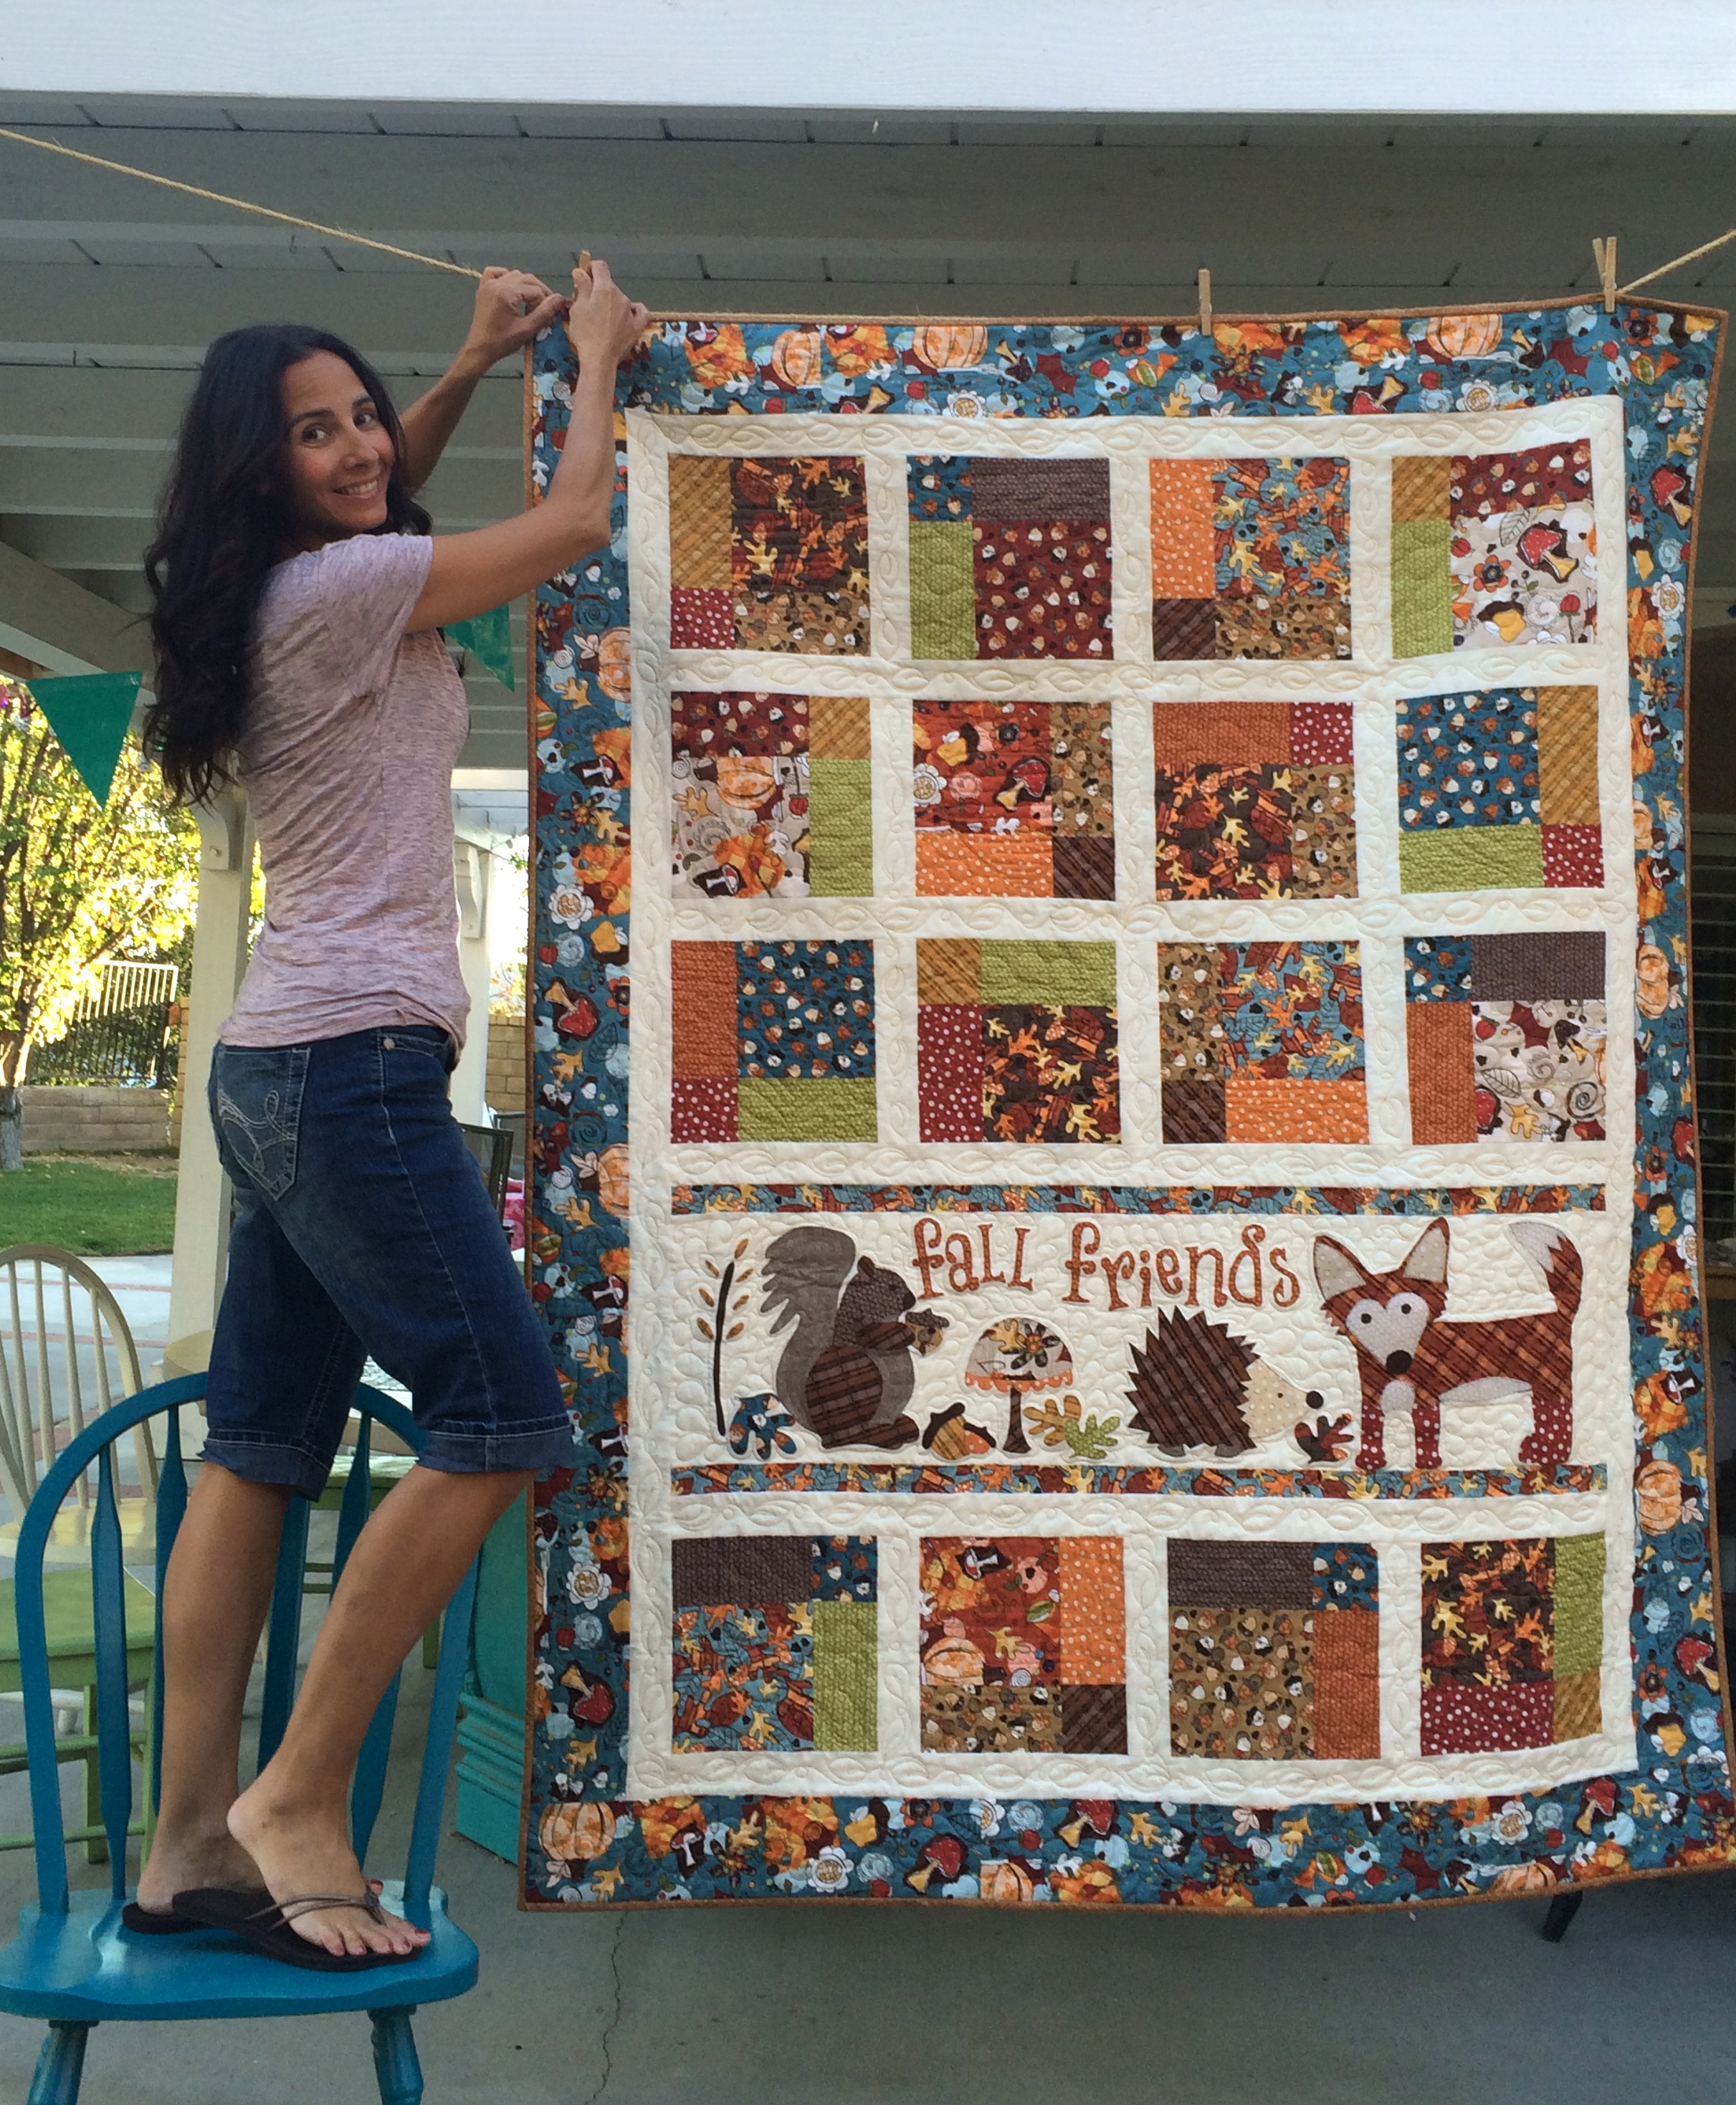
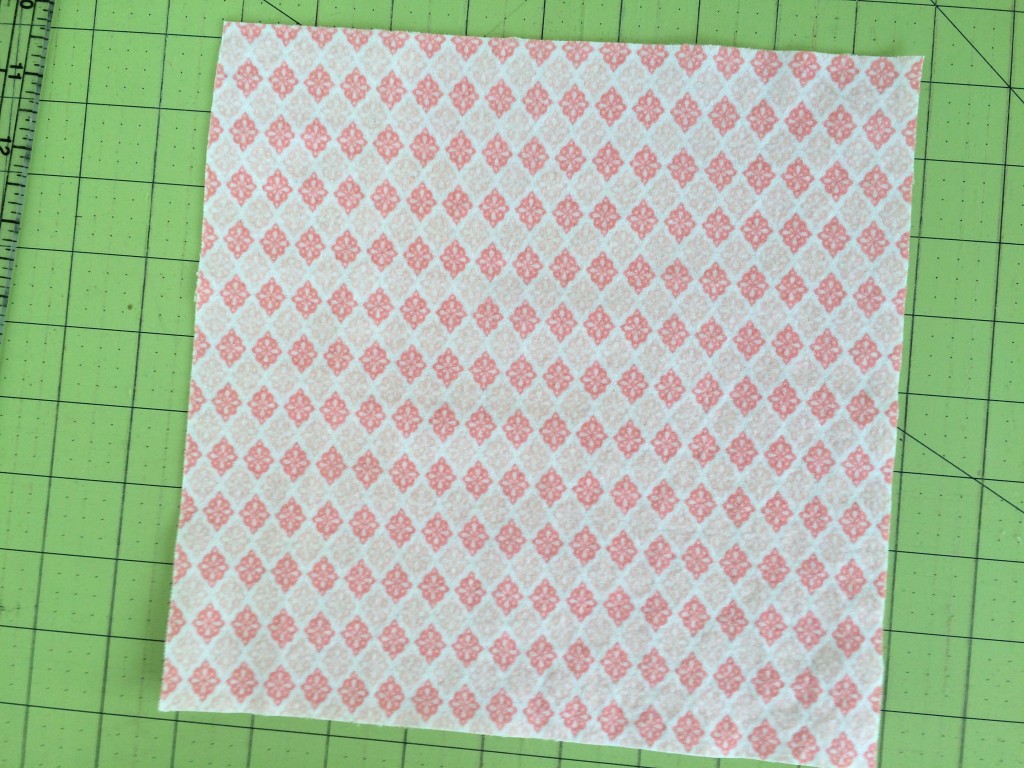
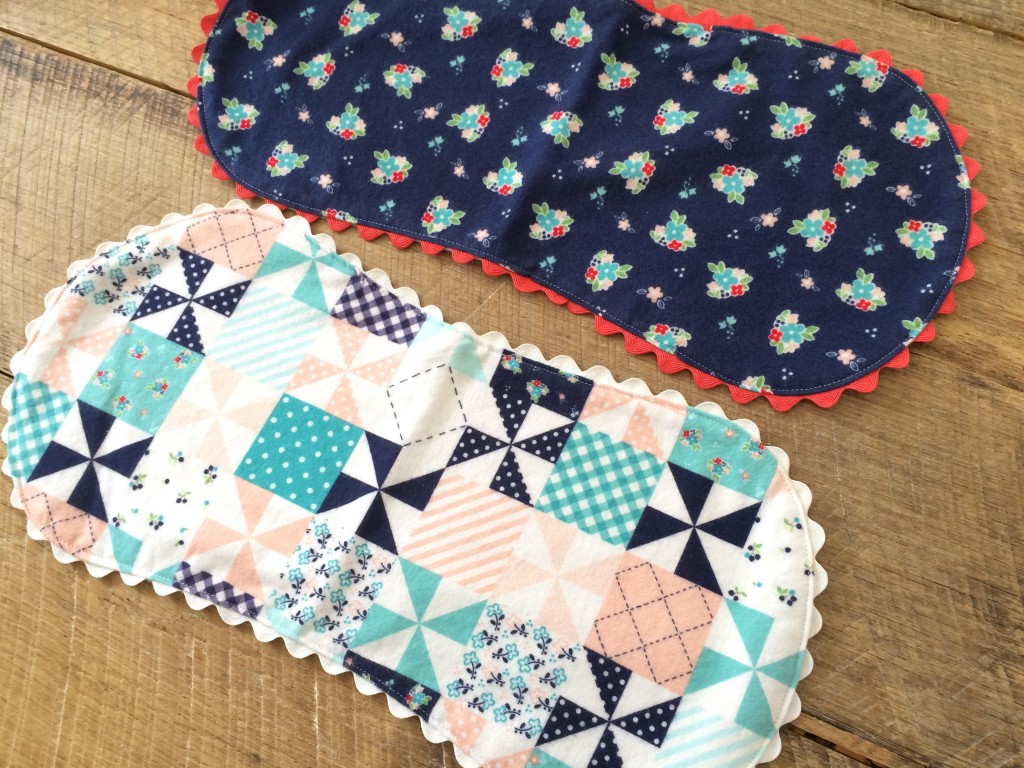
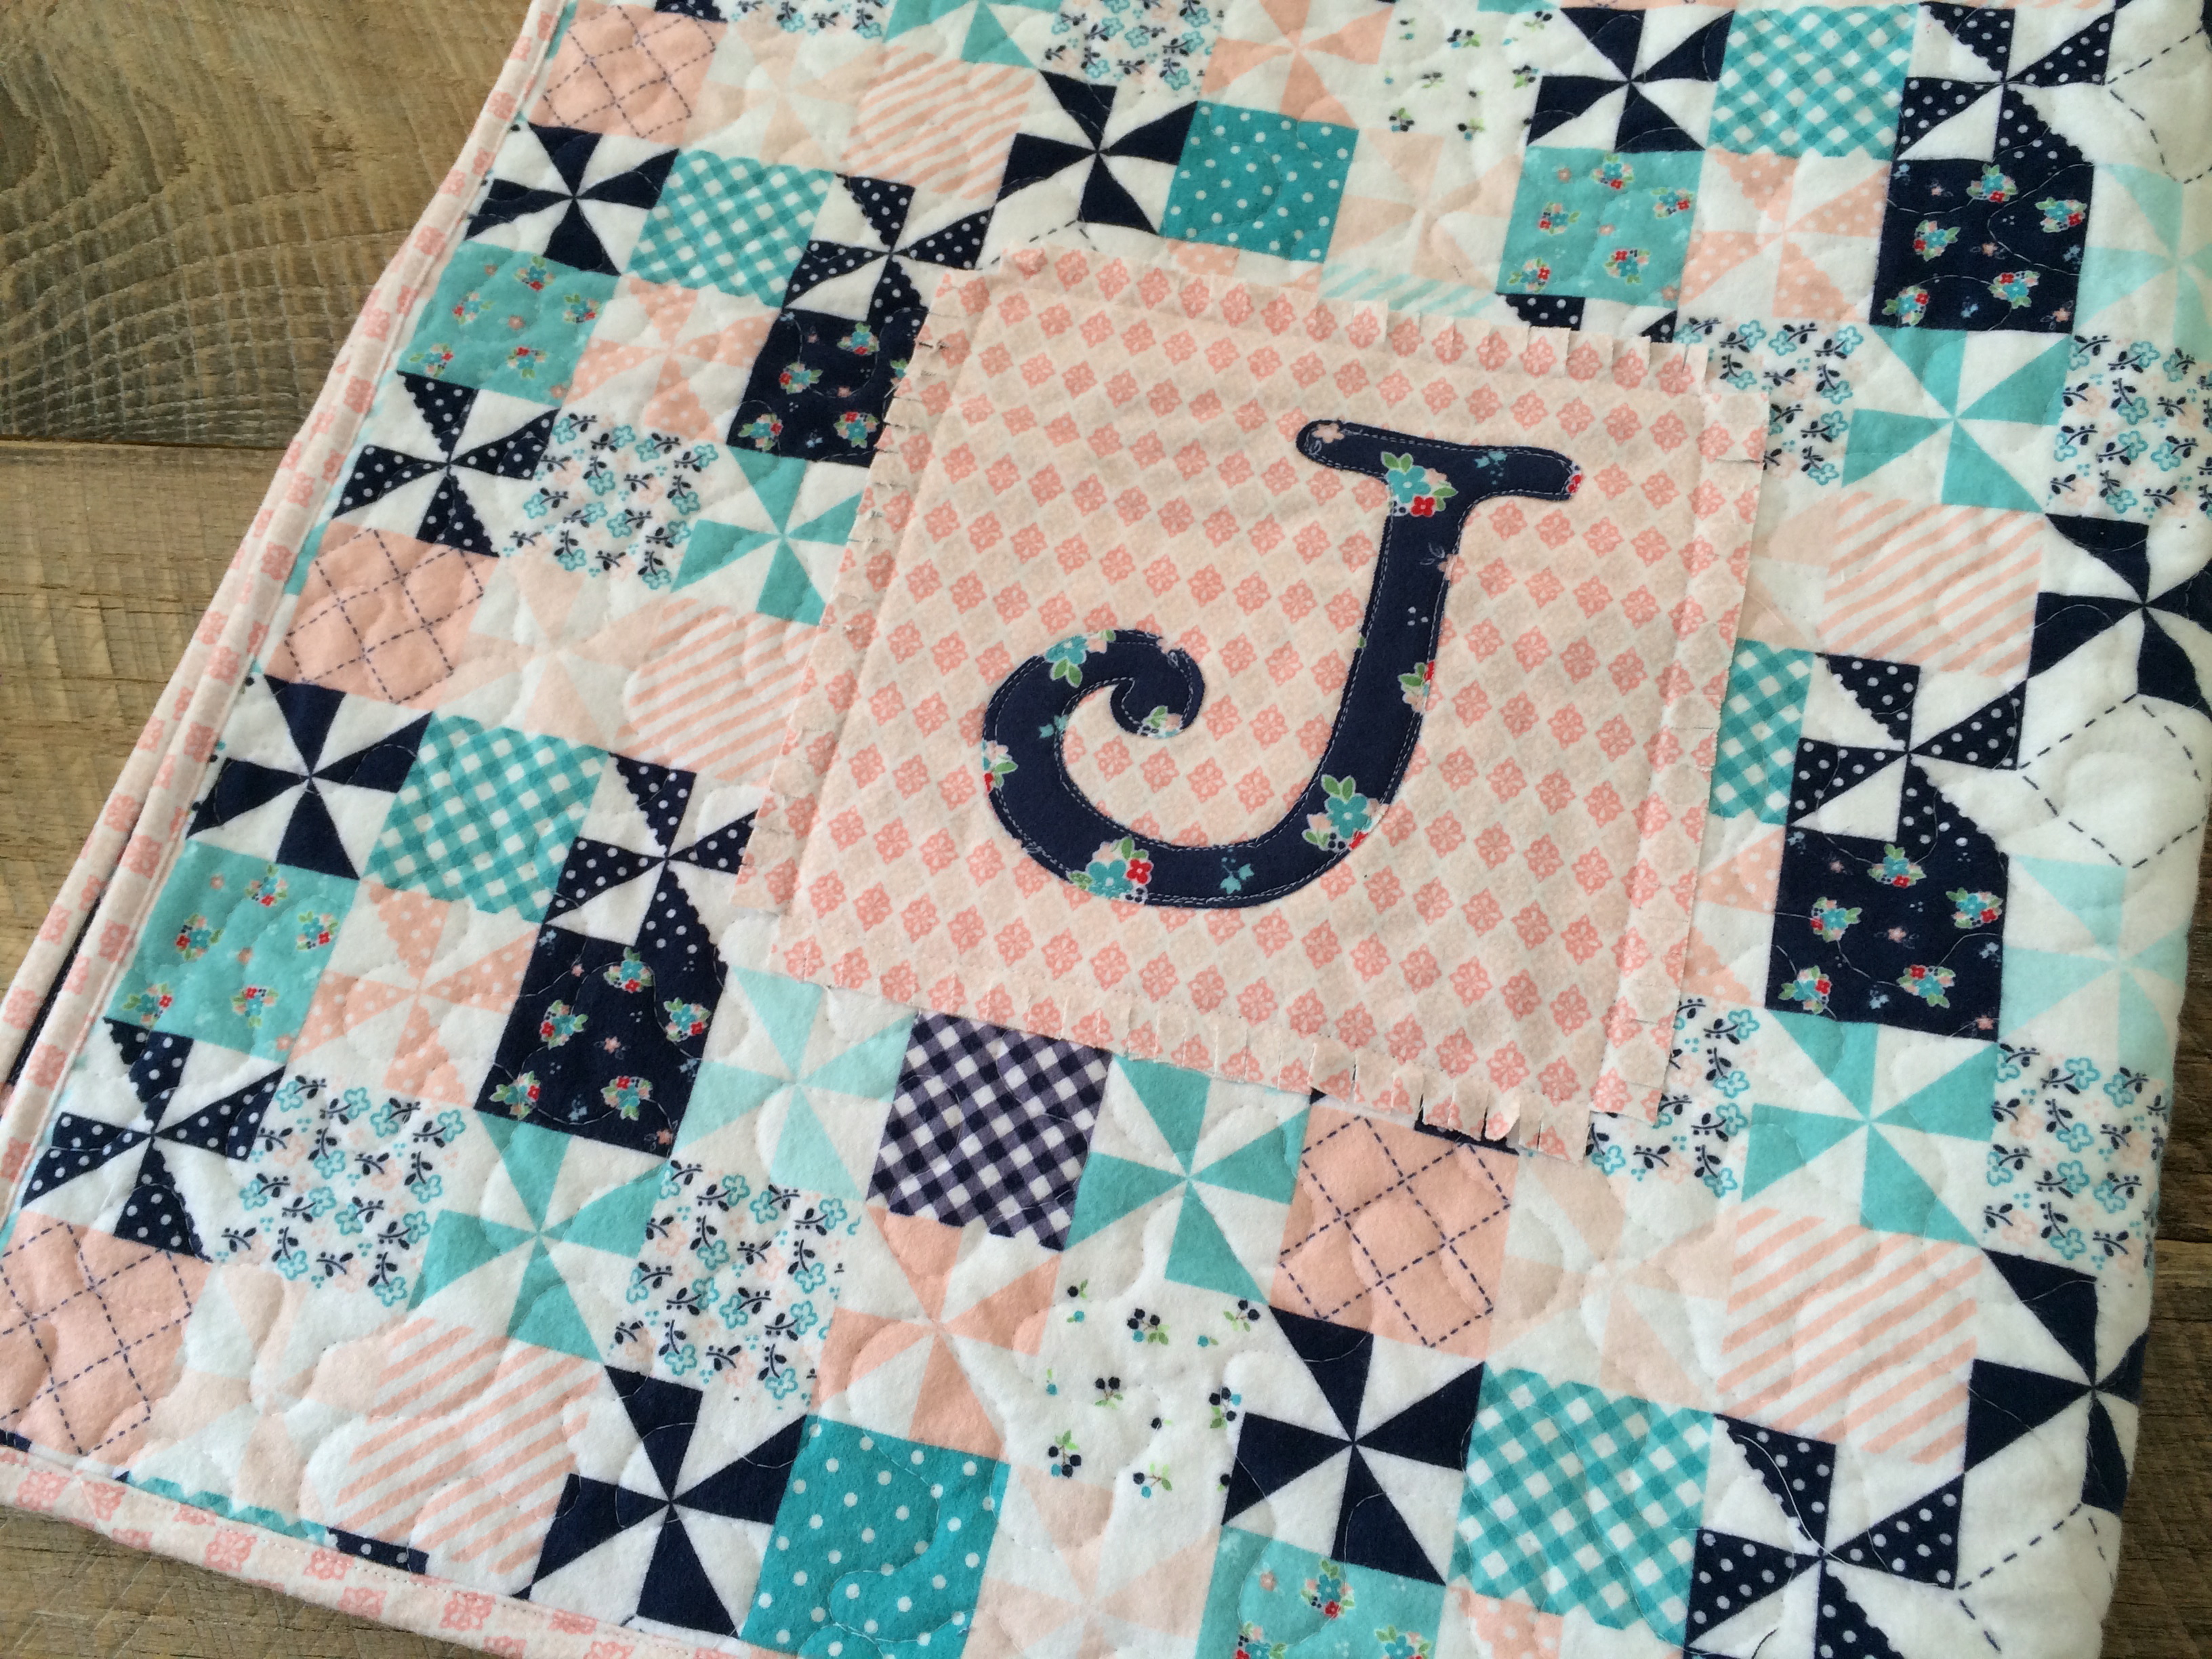
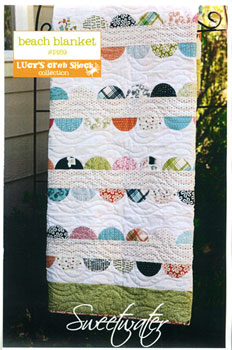
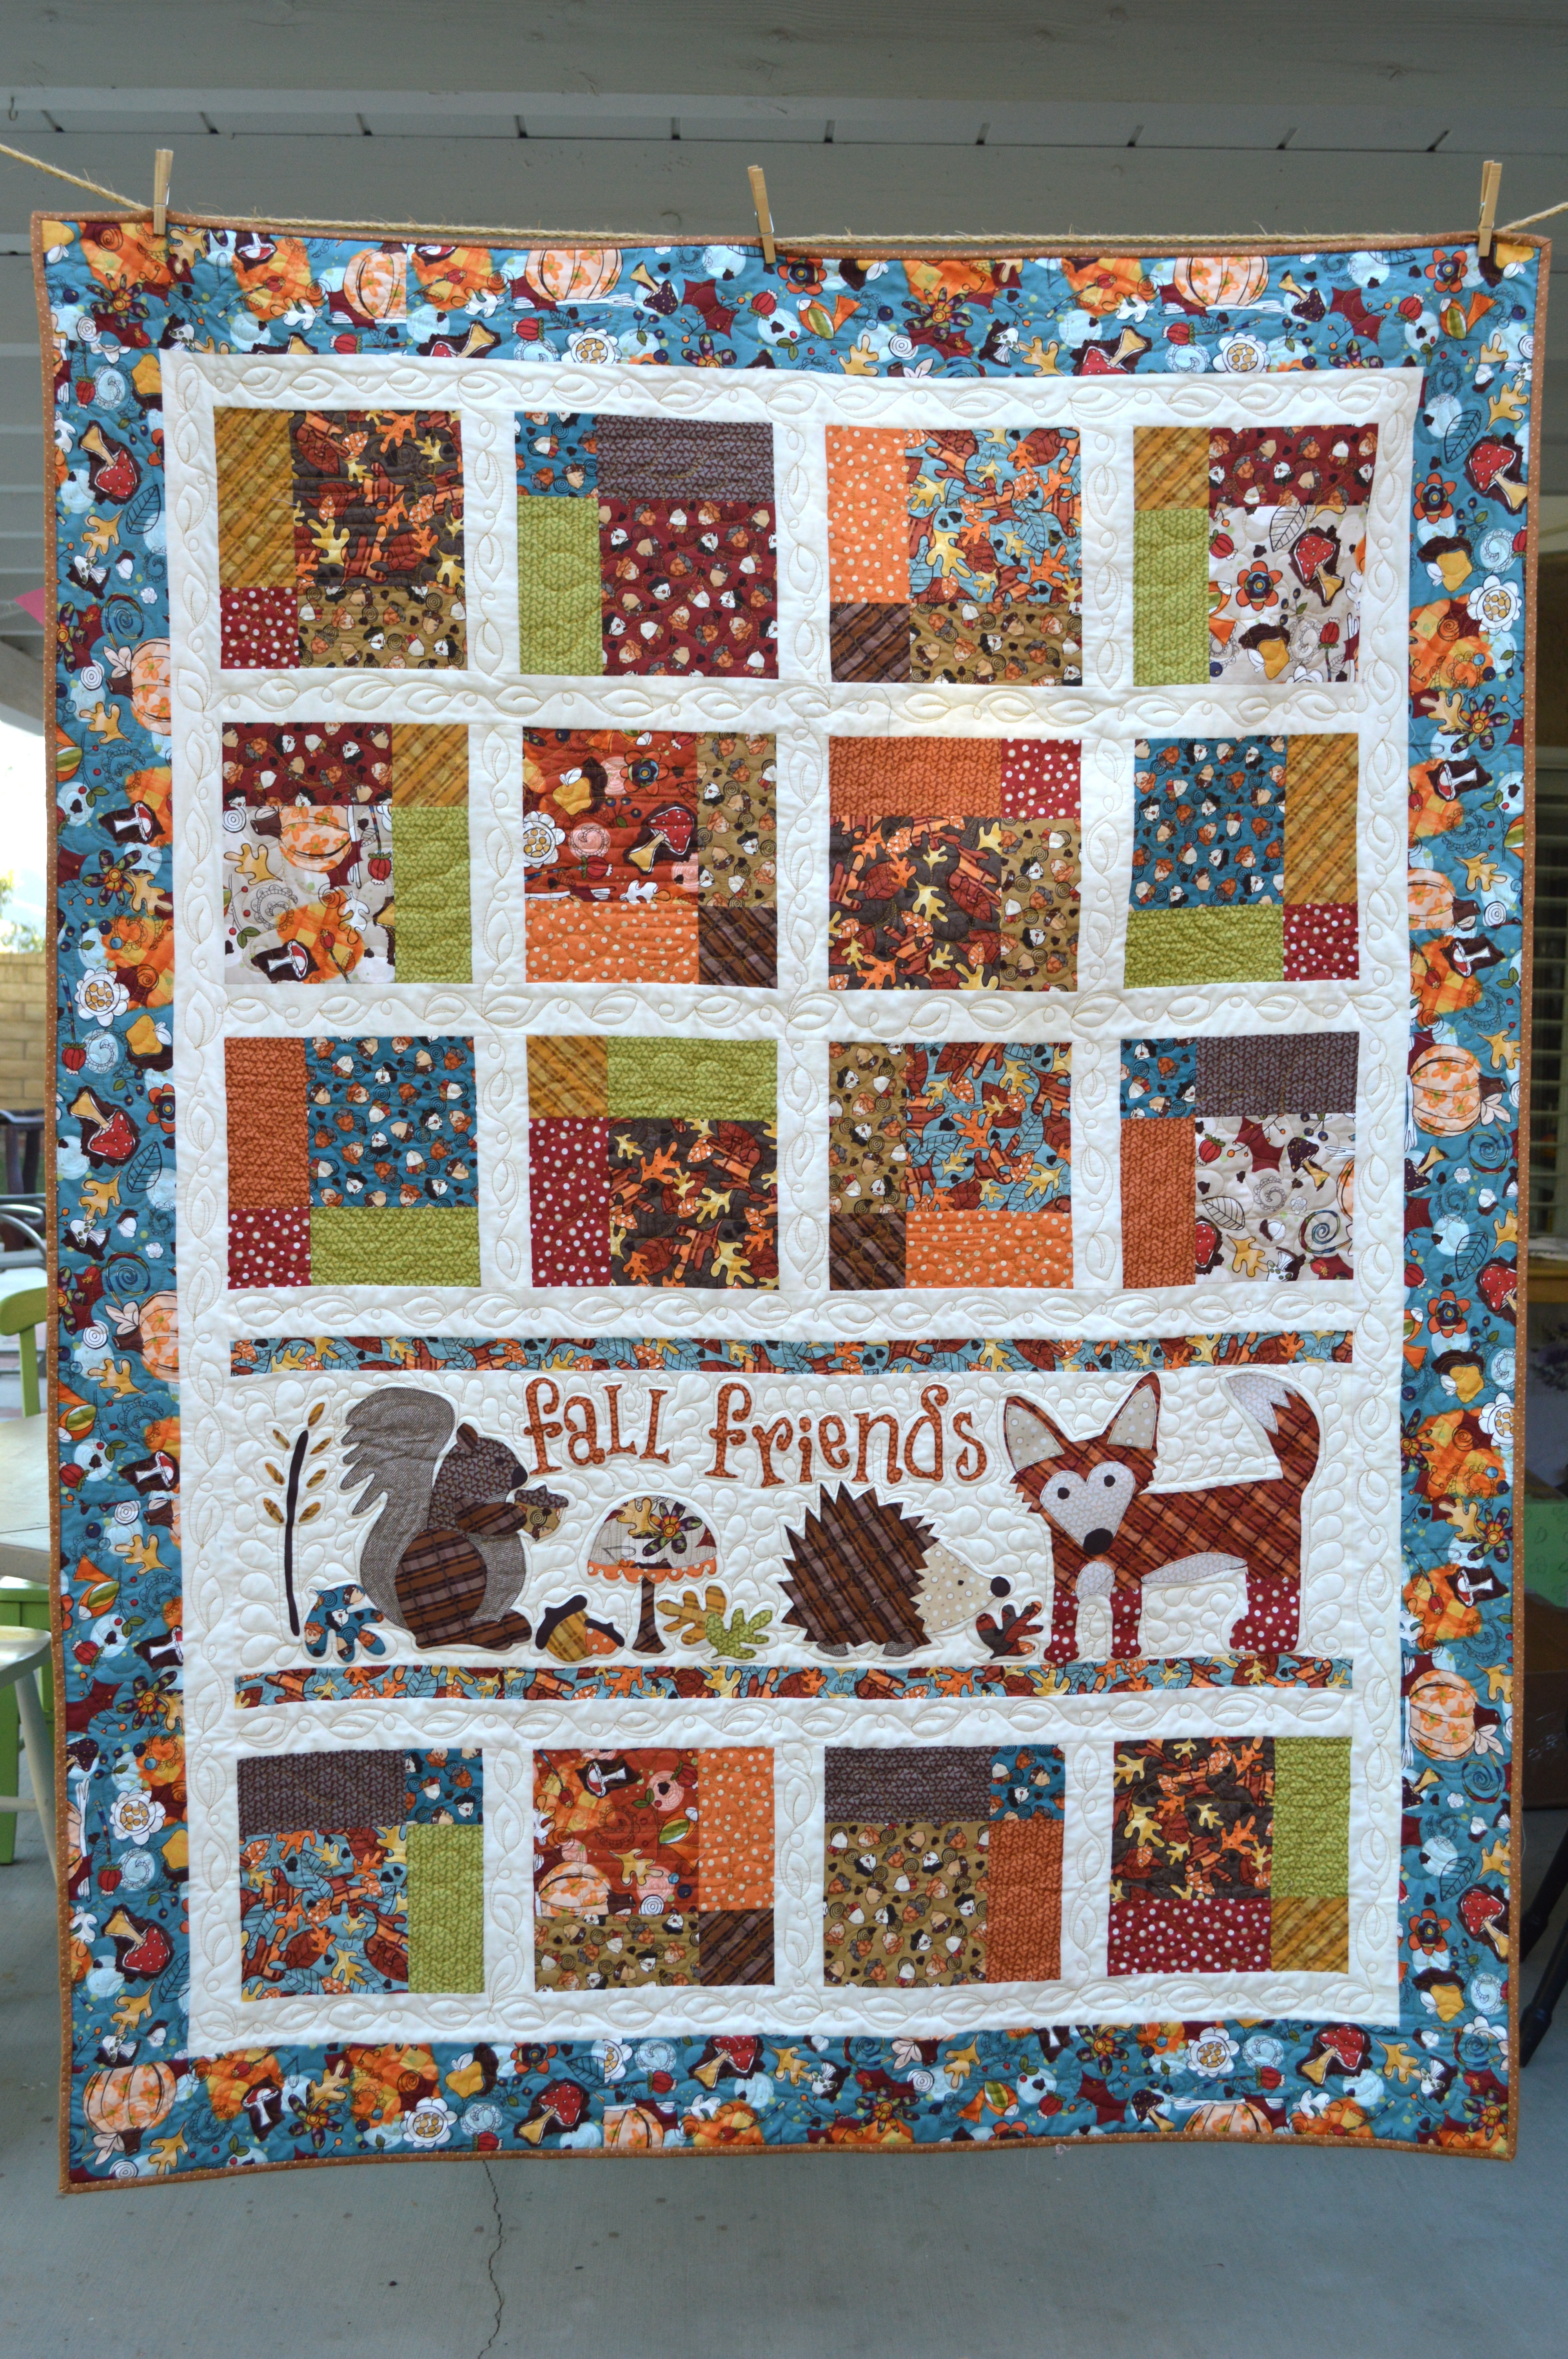
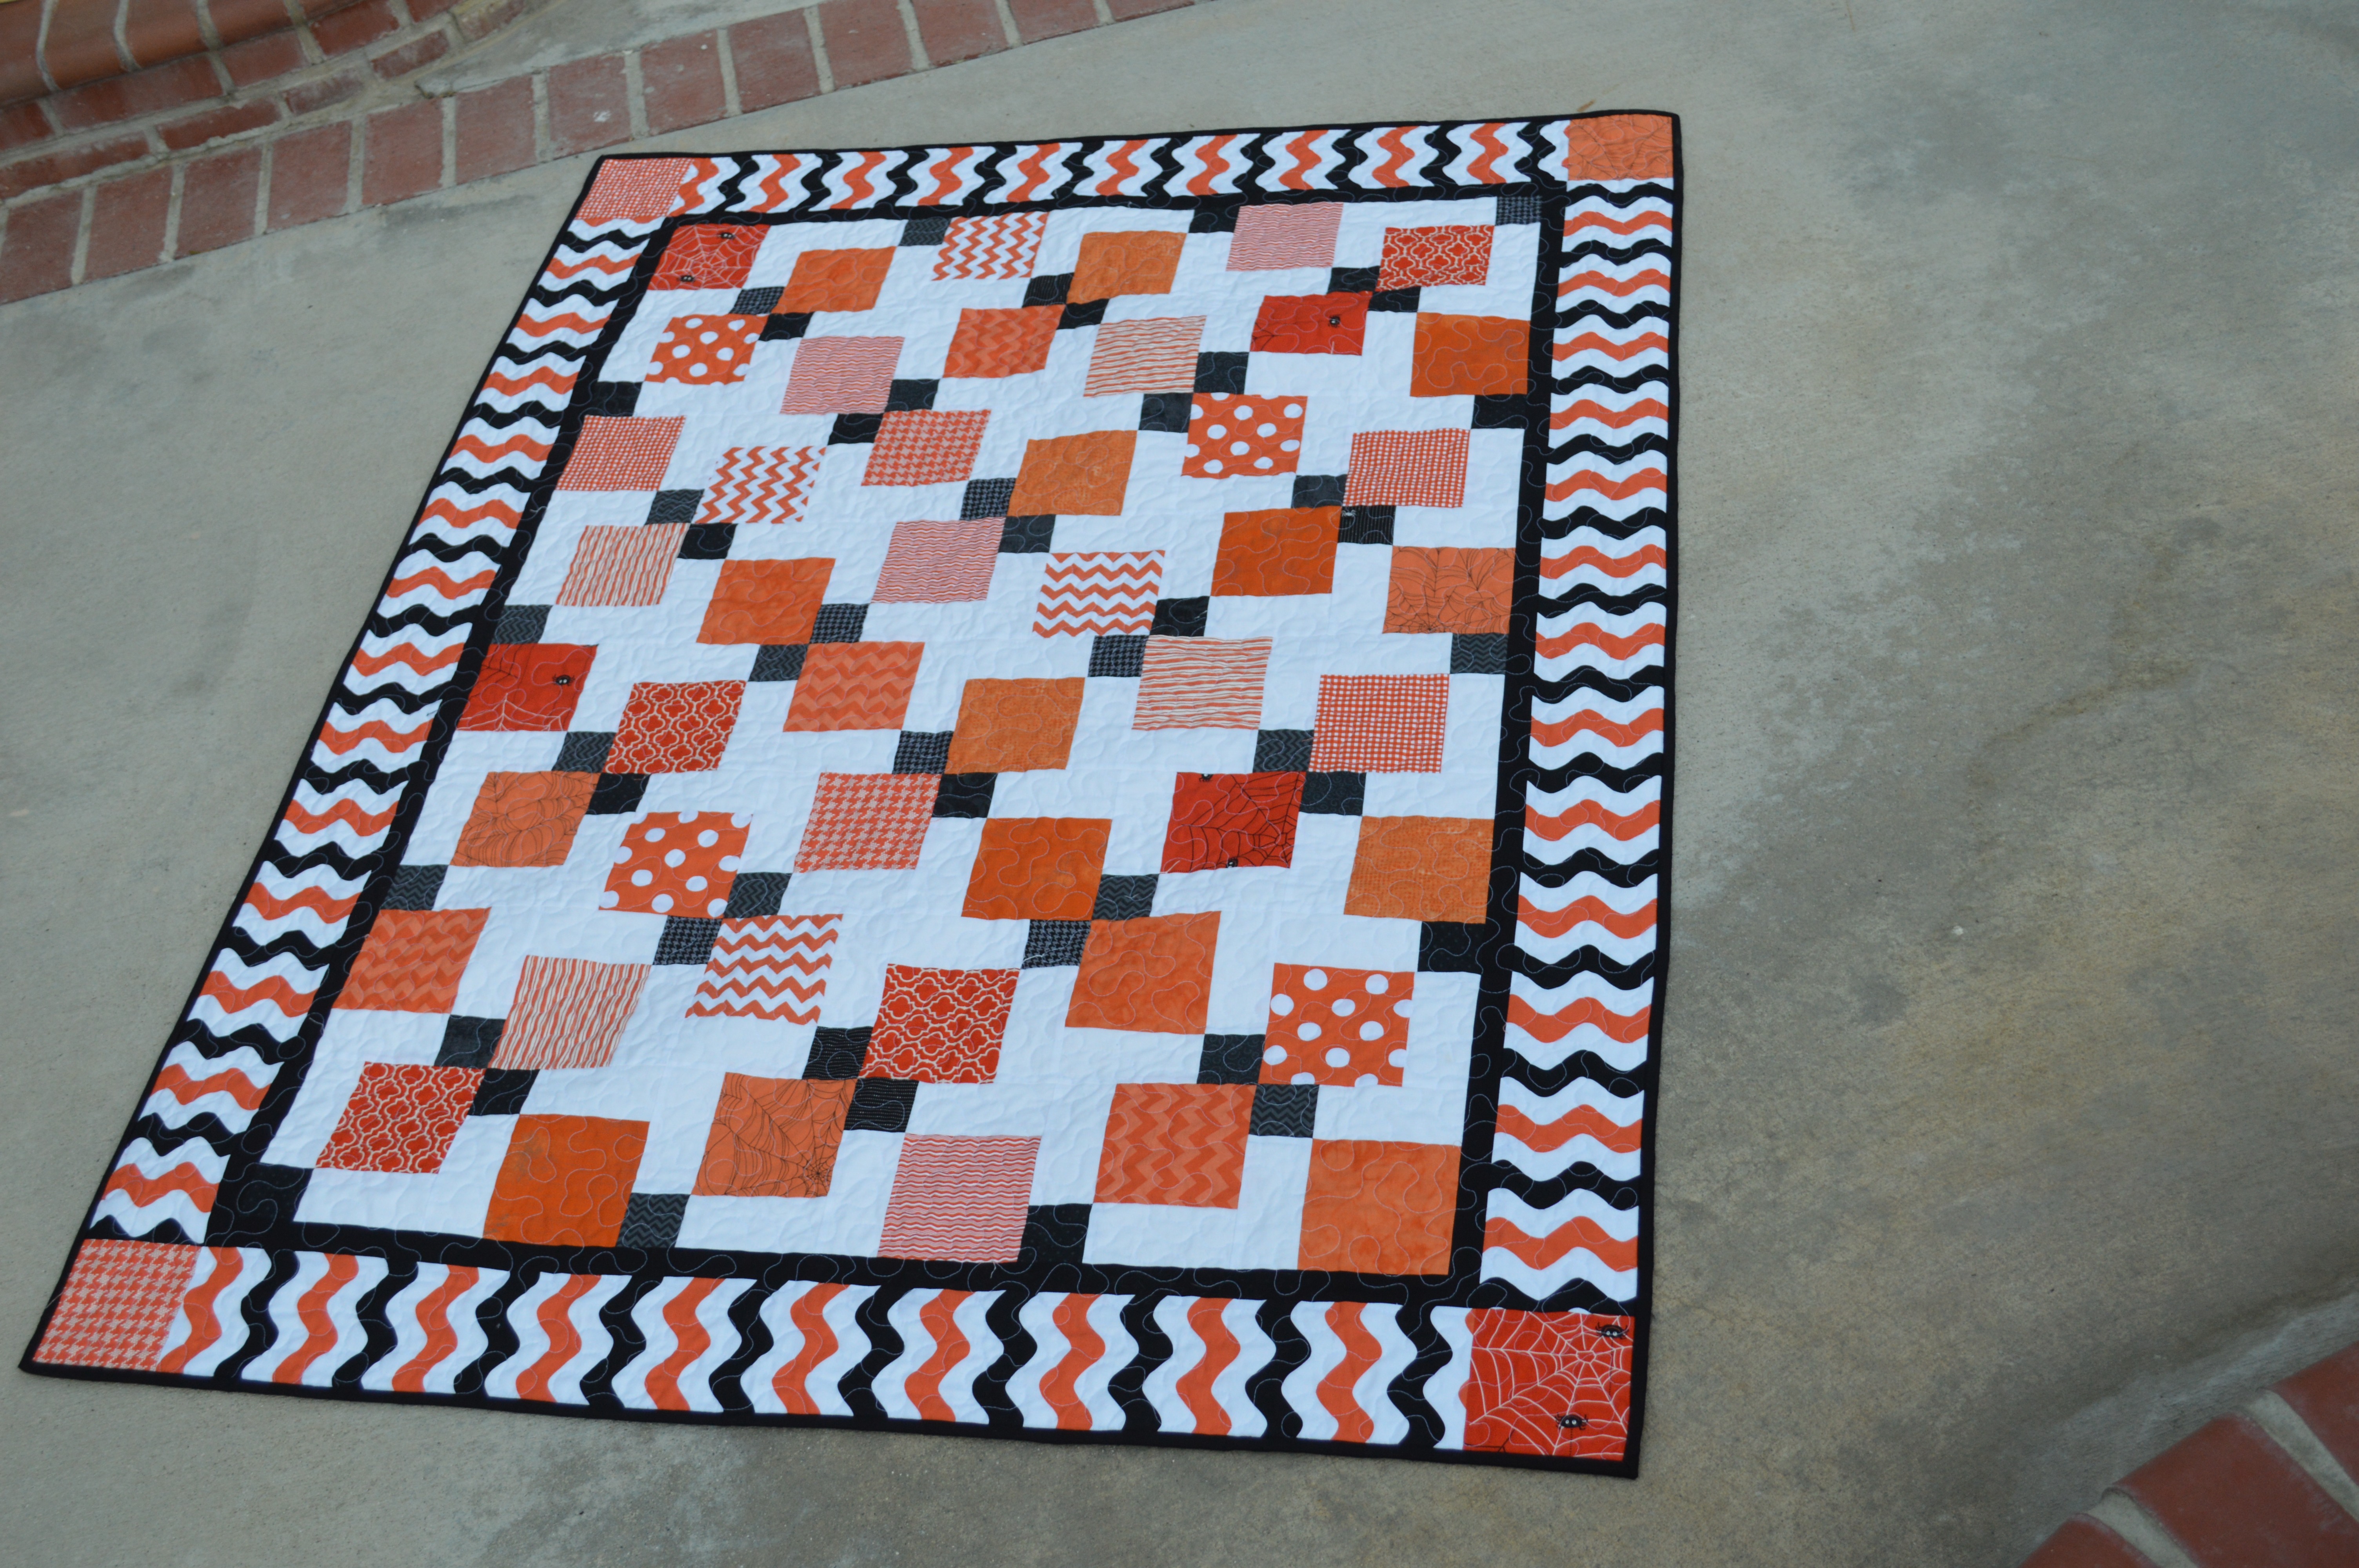
I love this baby quilt pattern.  I recently helped with a baby shower for a sweet friend who is expecting her first baby.  I made her this quilt.  This is the best baby quilt pattern because  you can sew it start to finish in a day (as I did), you can use precuts for the bulk of the quilt, it shows off larger prints or theme prints nicely which I always like to use in baby quilts, you don’t need to piece the back (yippee!),  and it’s a little more interesting then just squares.   The fabrics in this quilt really make the quilt – The Cottage Garden from Riley Blake Designs.  Click here for my other Cottage Garden Baby Quilt pattern:

the cottage garden quilt

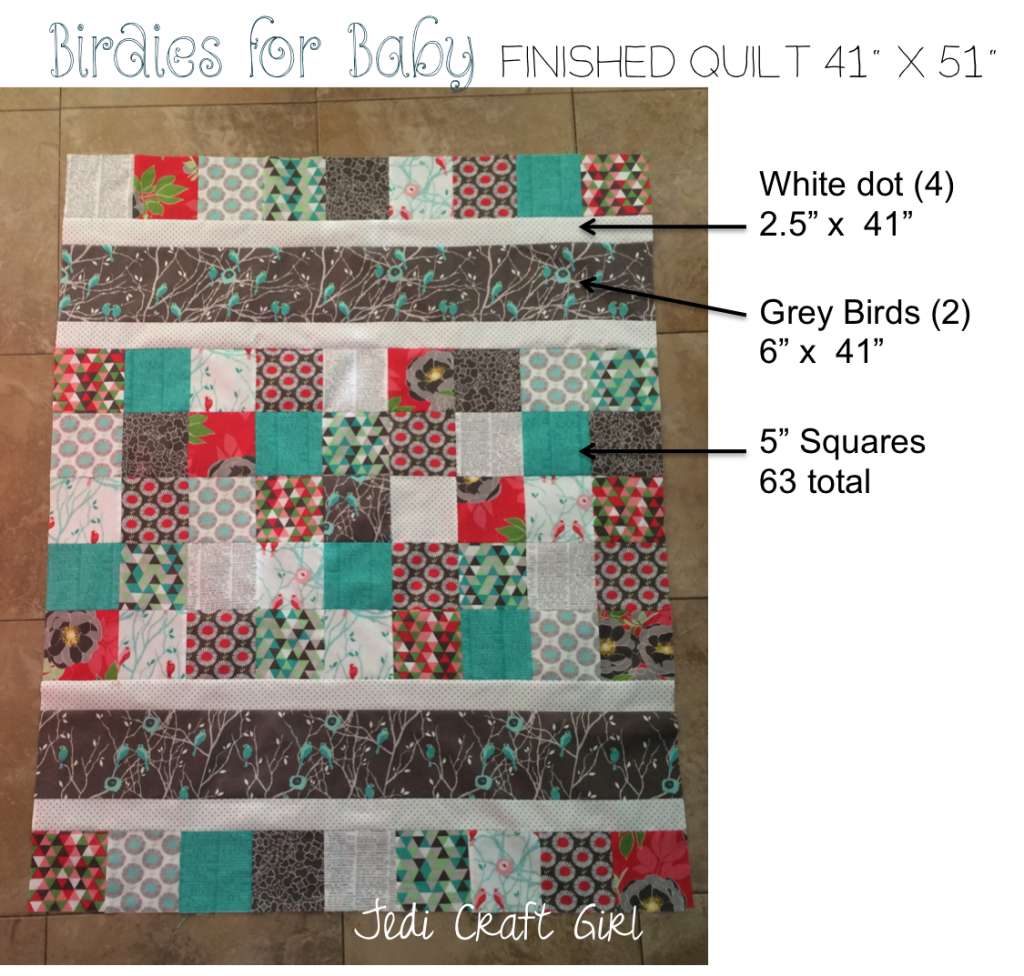
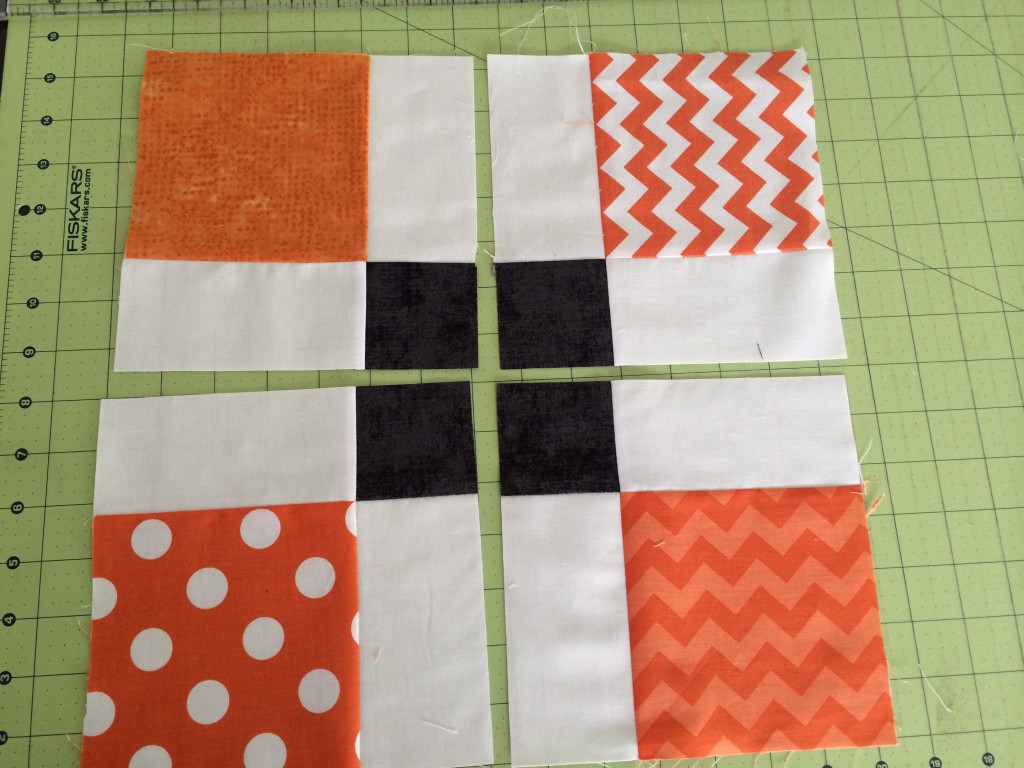
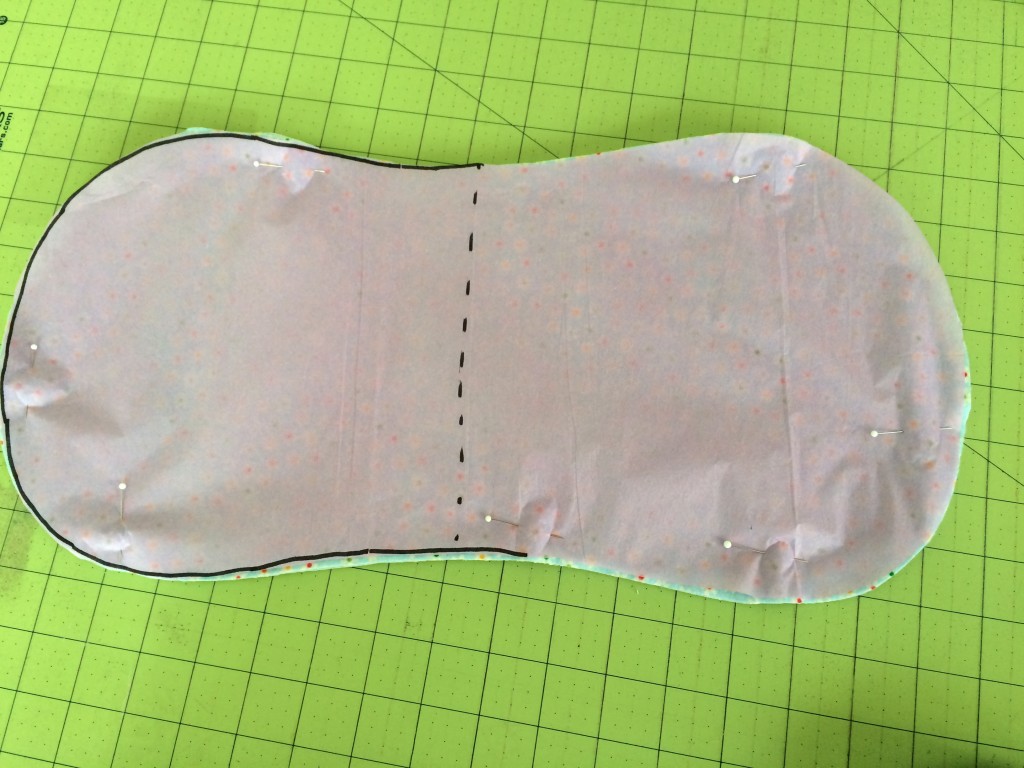
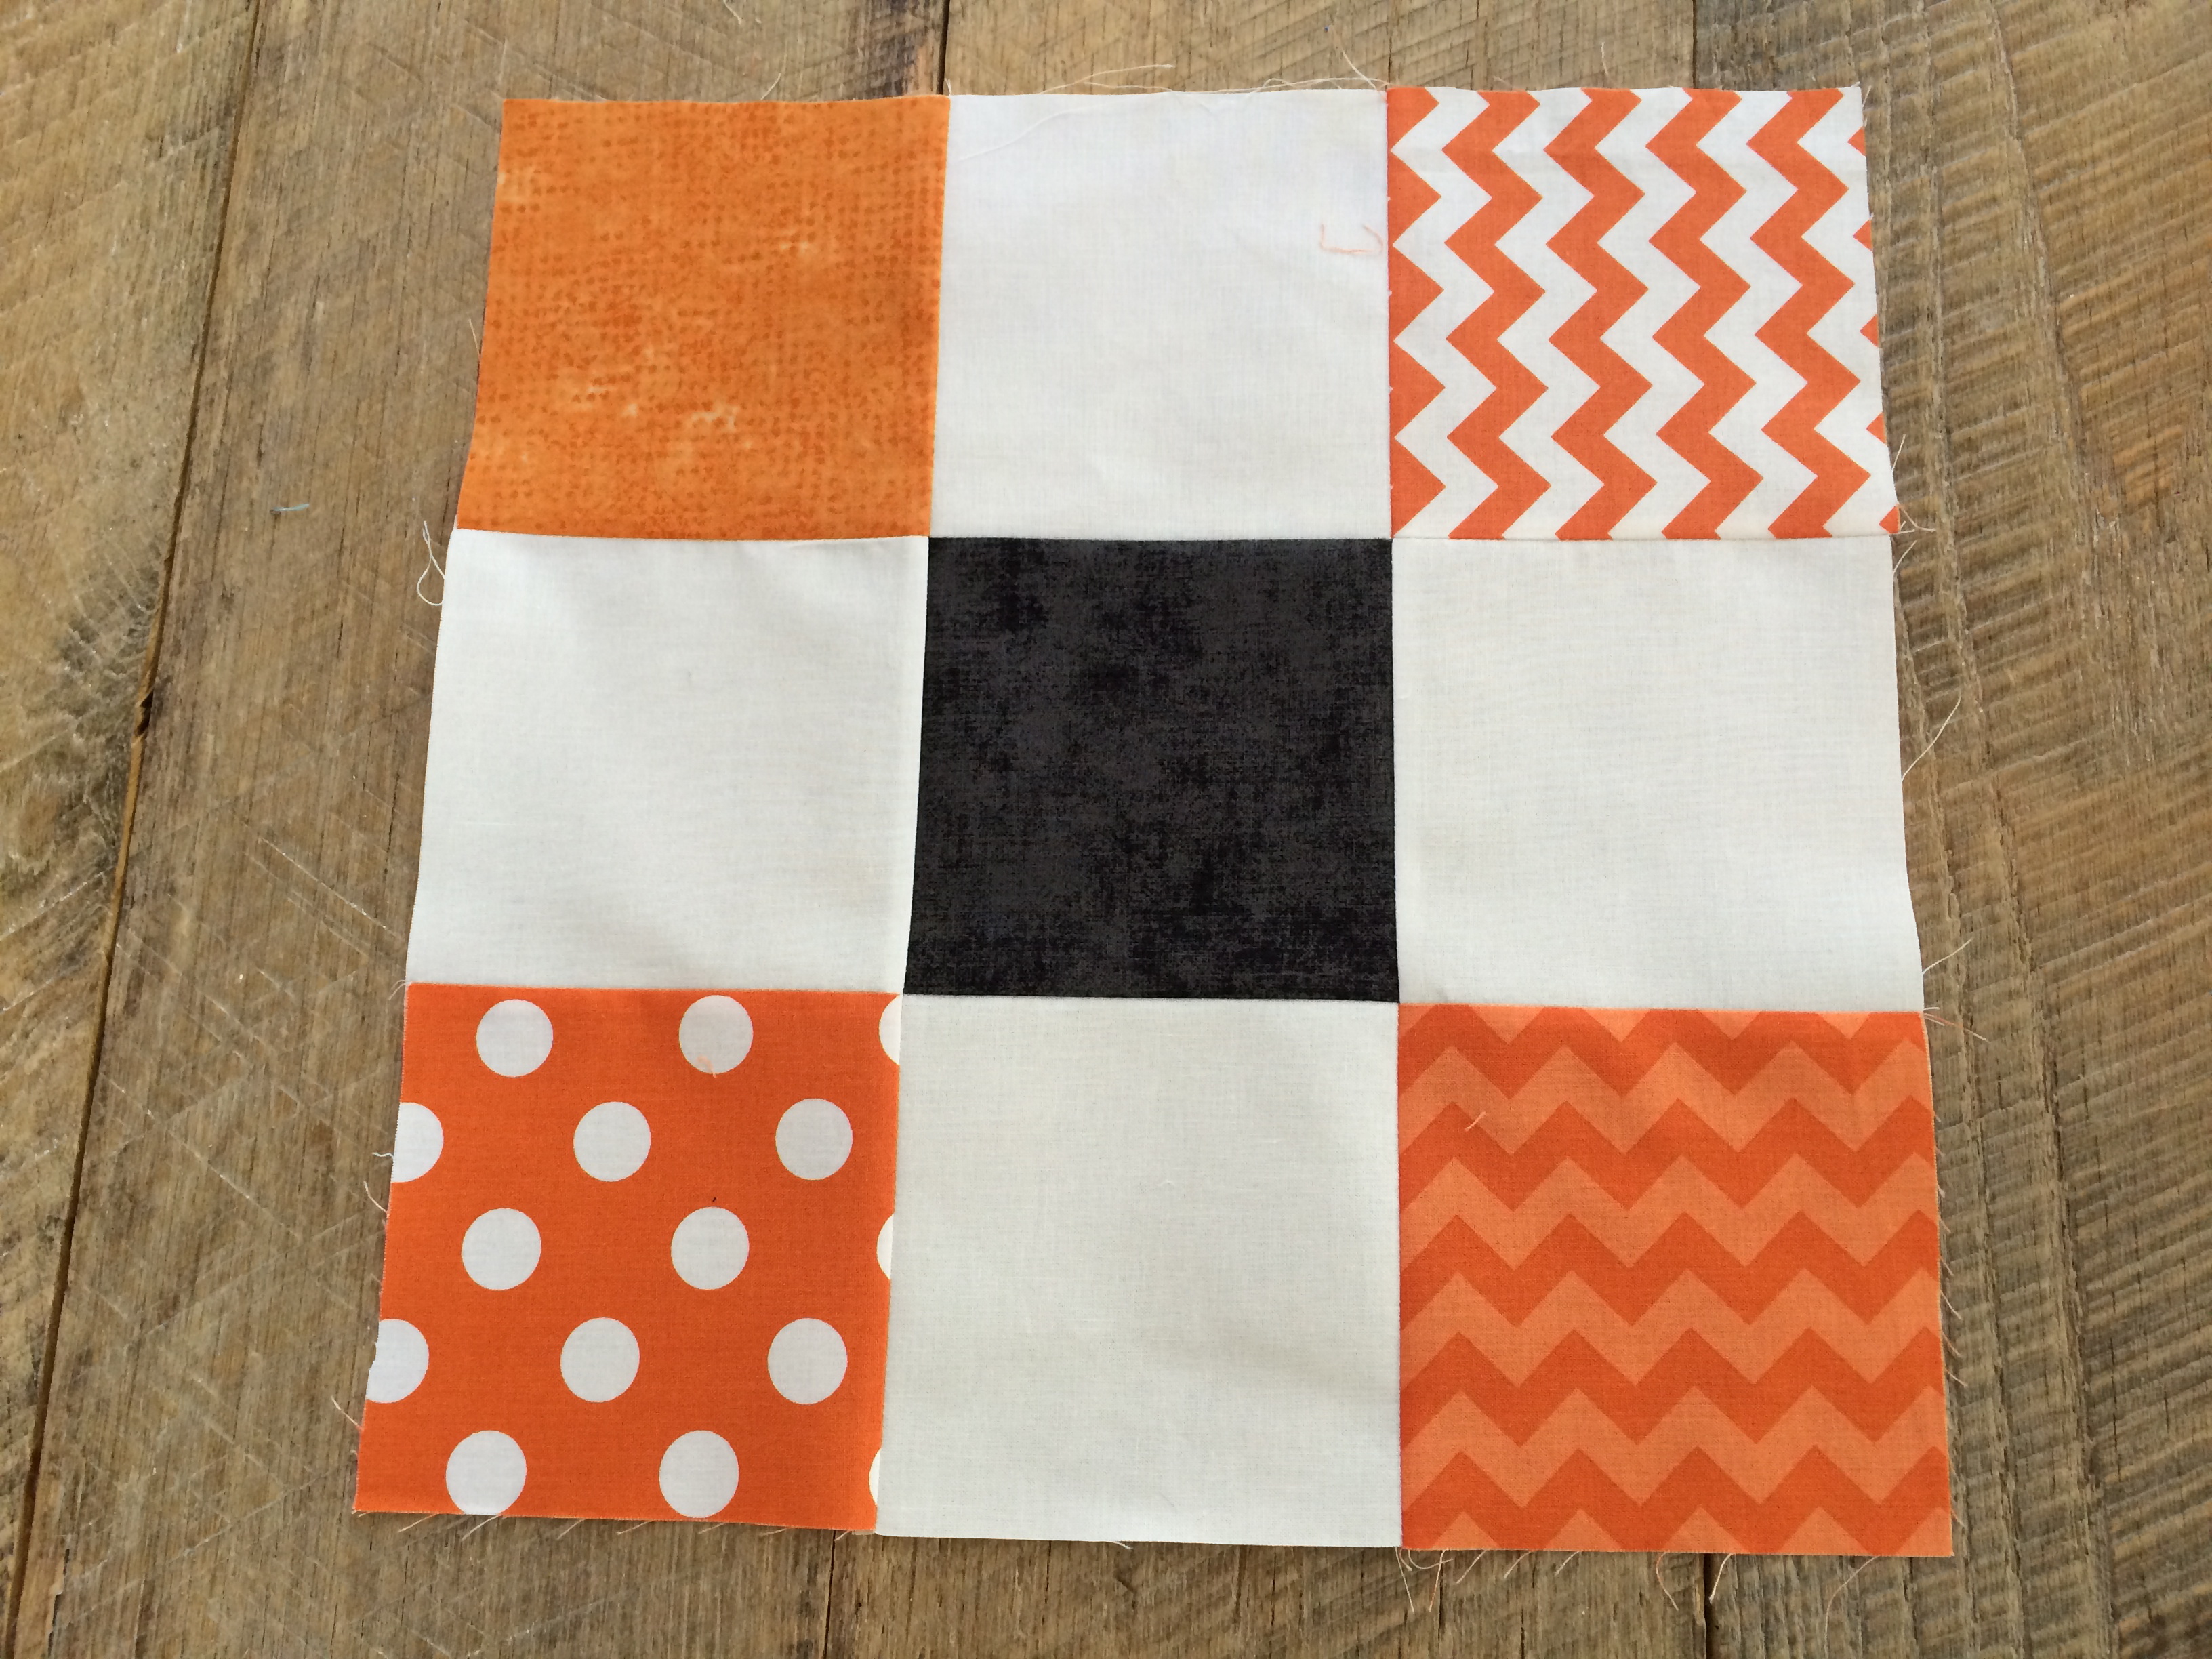
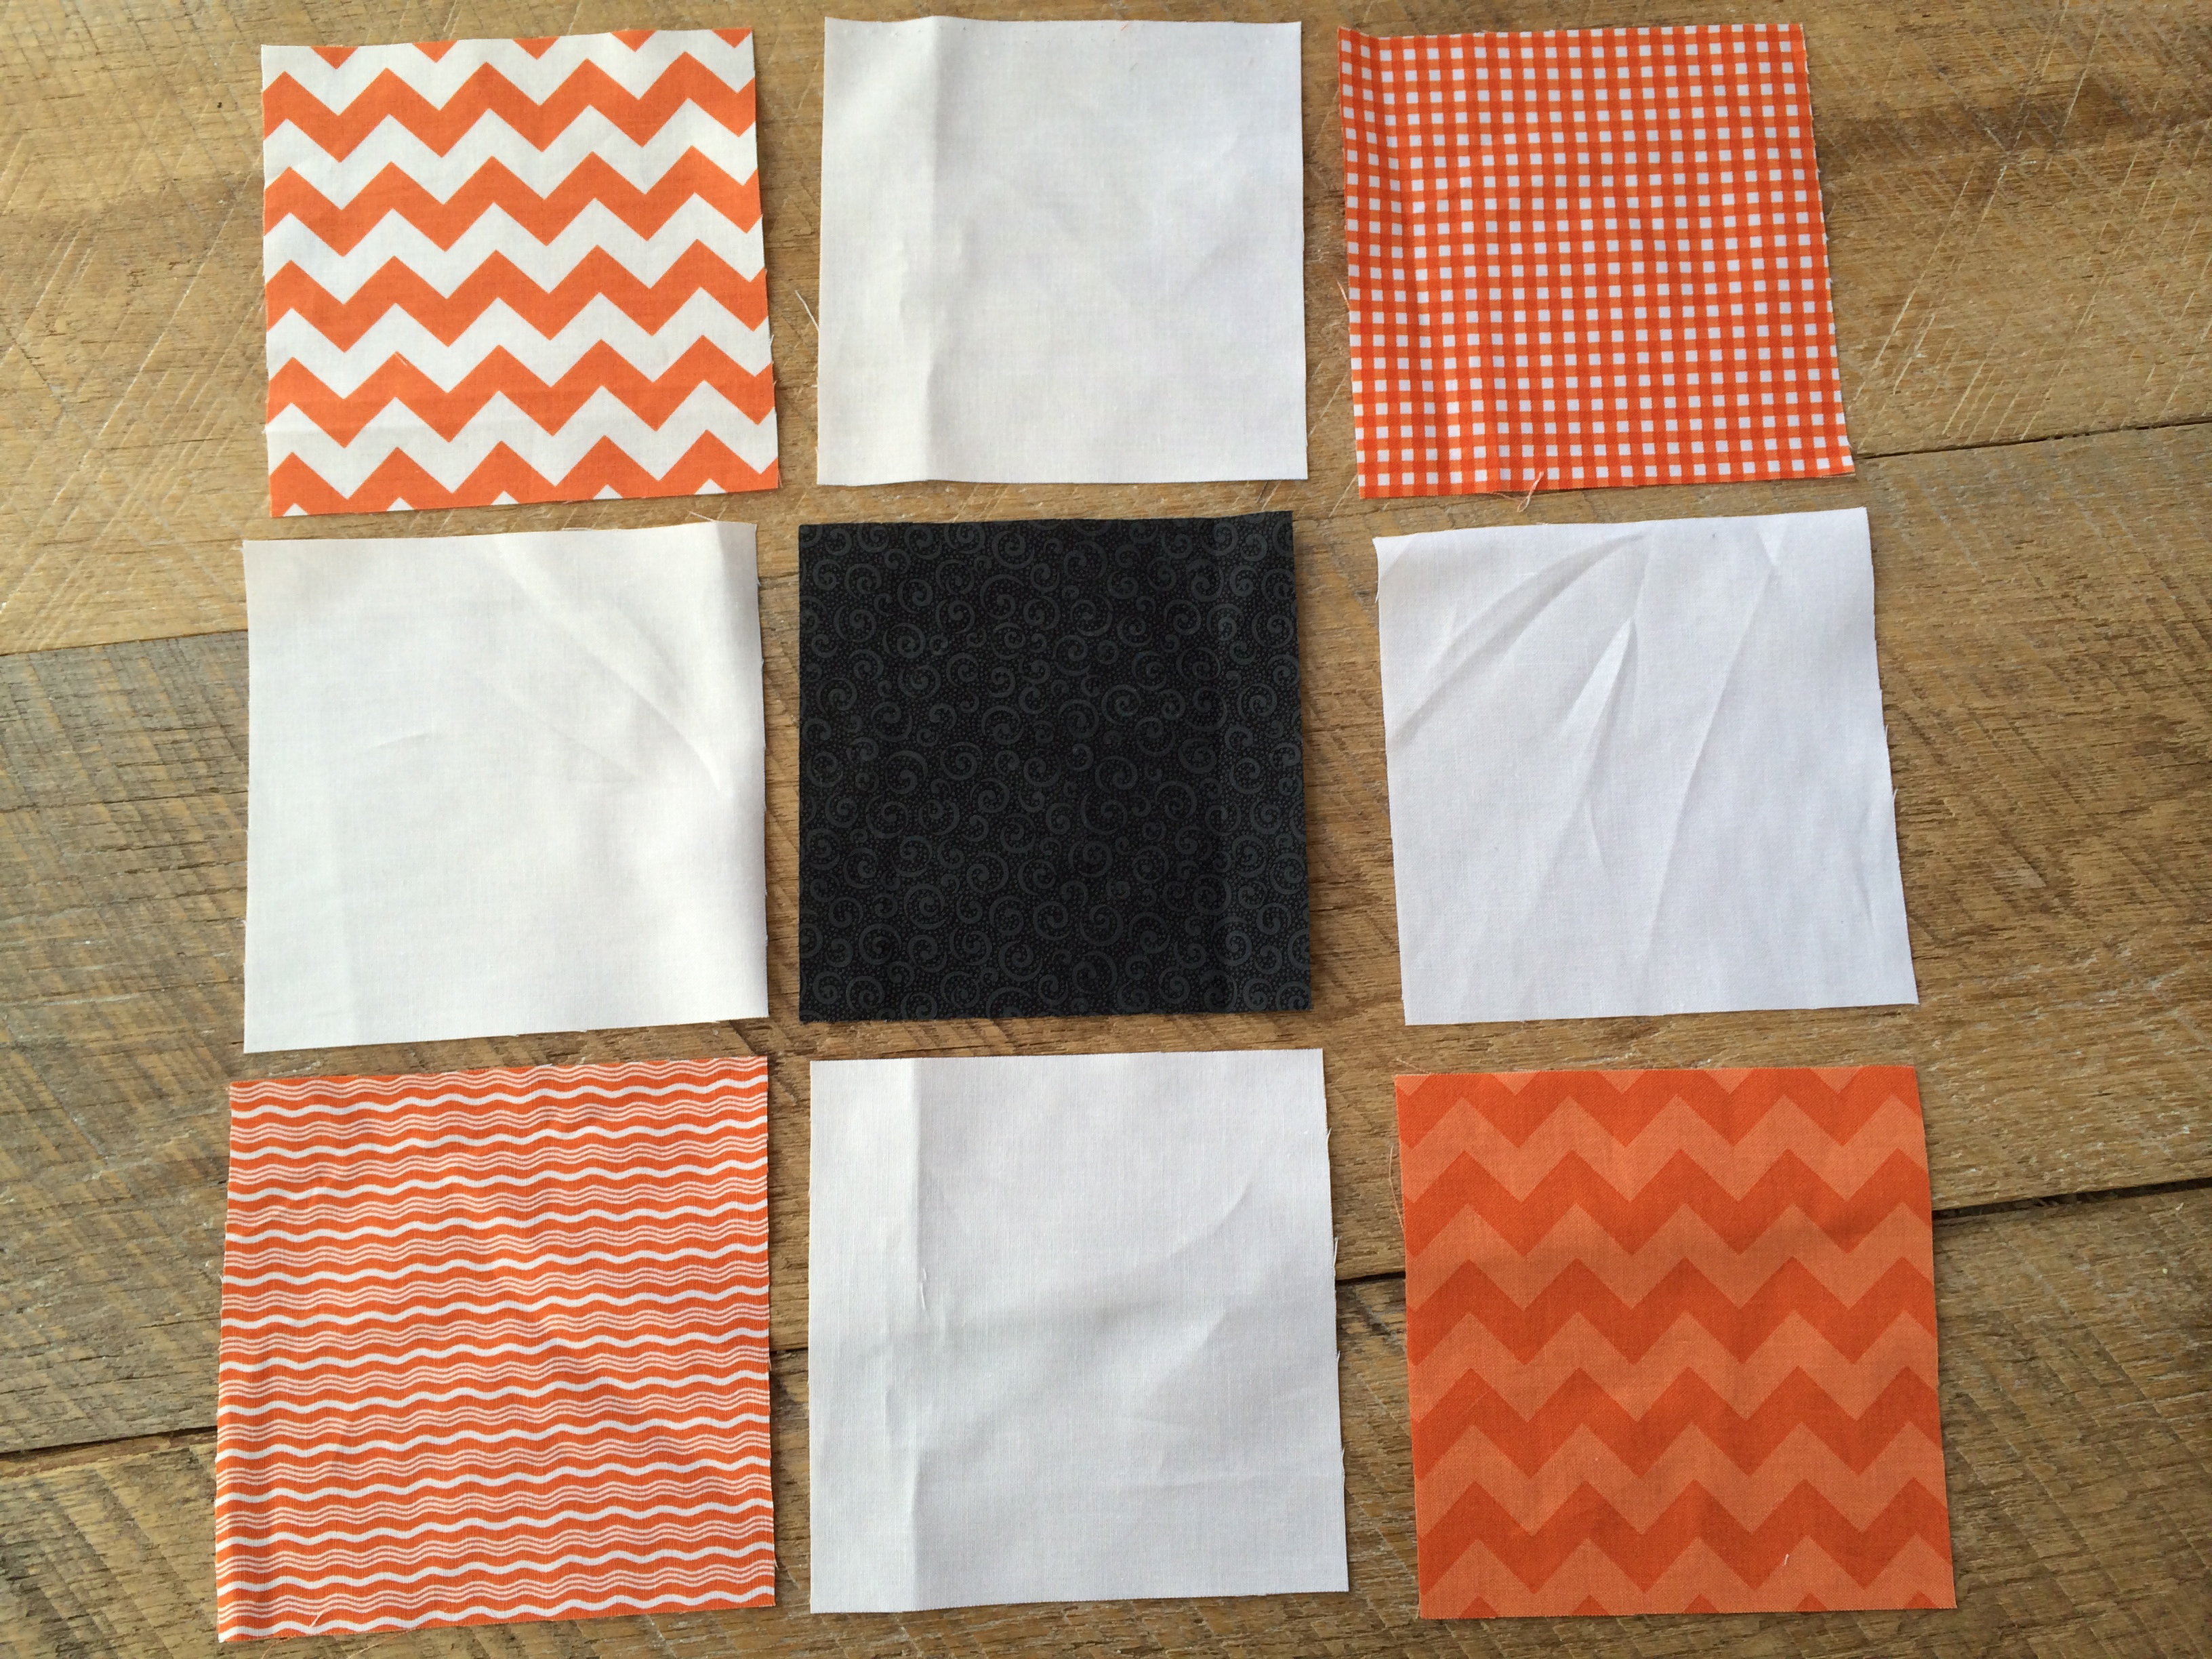
Instead of writing up the tutorial, I thought this chart might be easier – I love “at a glance” pattern outlines like this.

birdies for baby quilt pattern

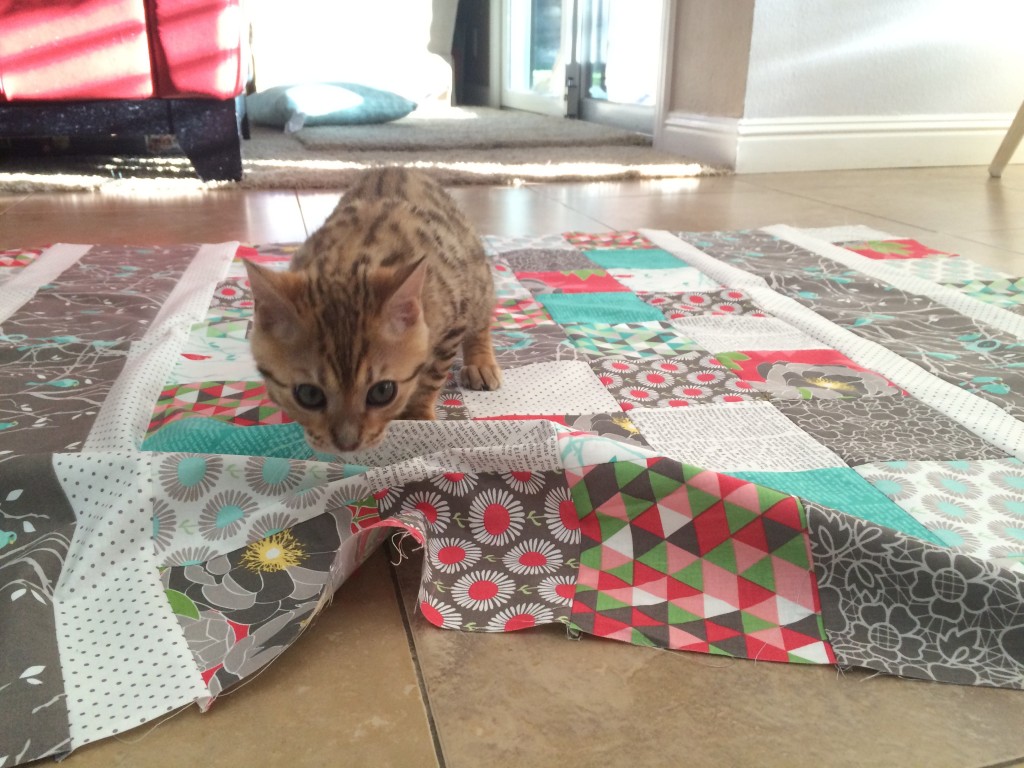
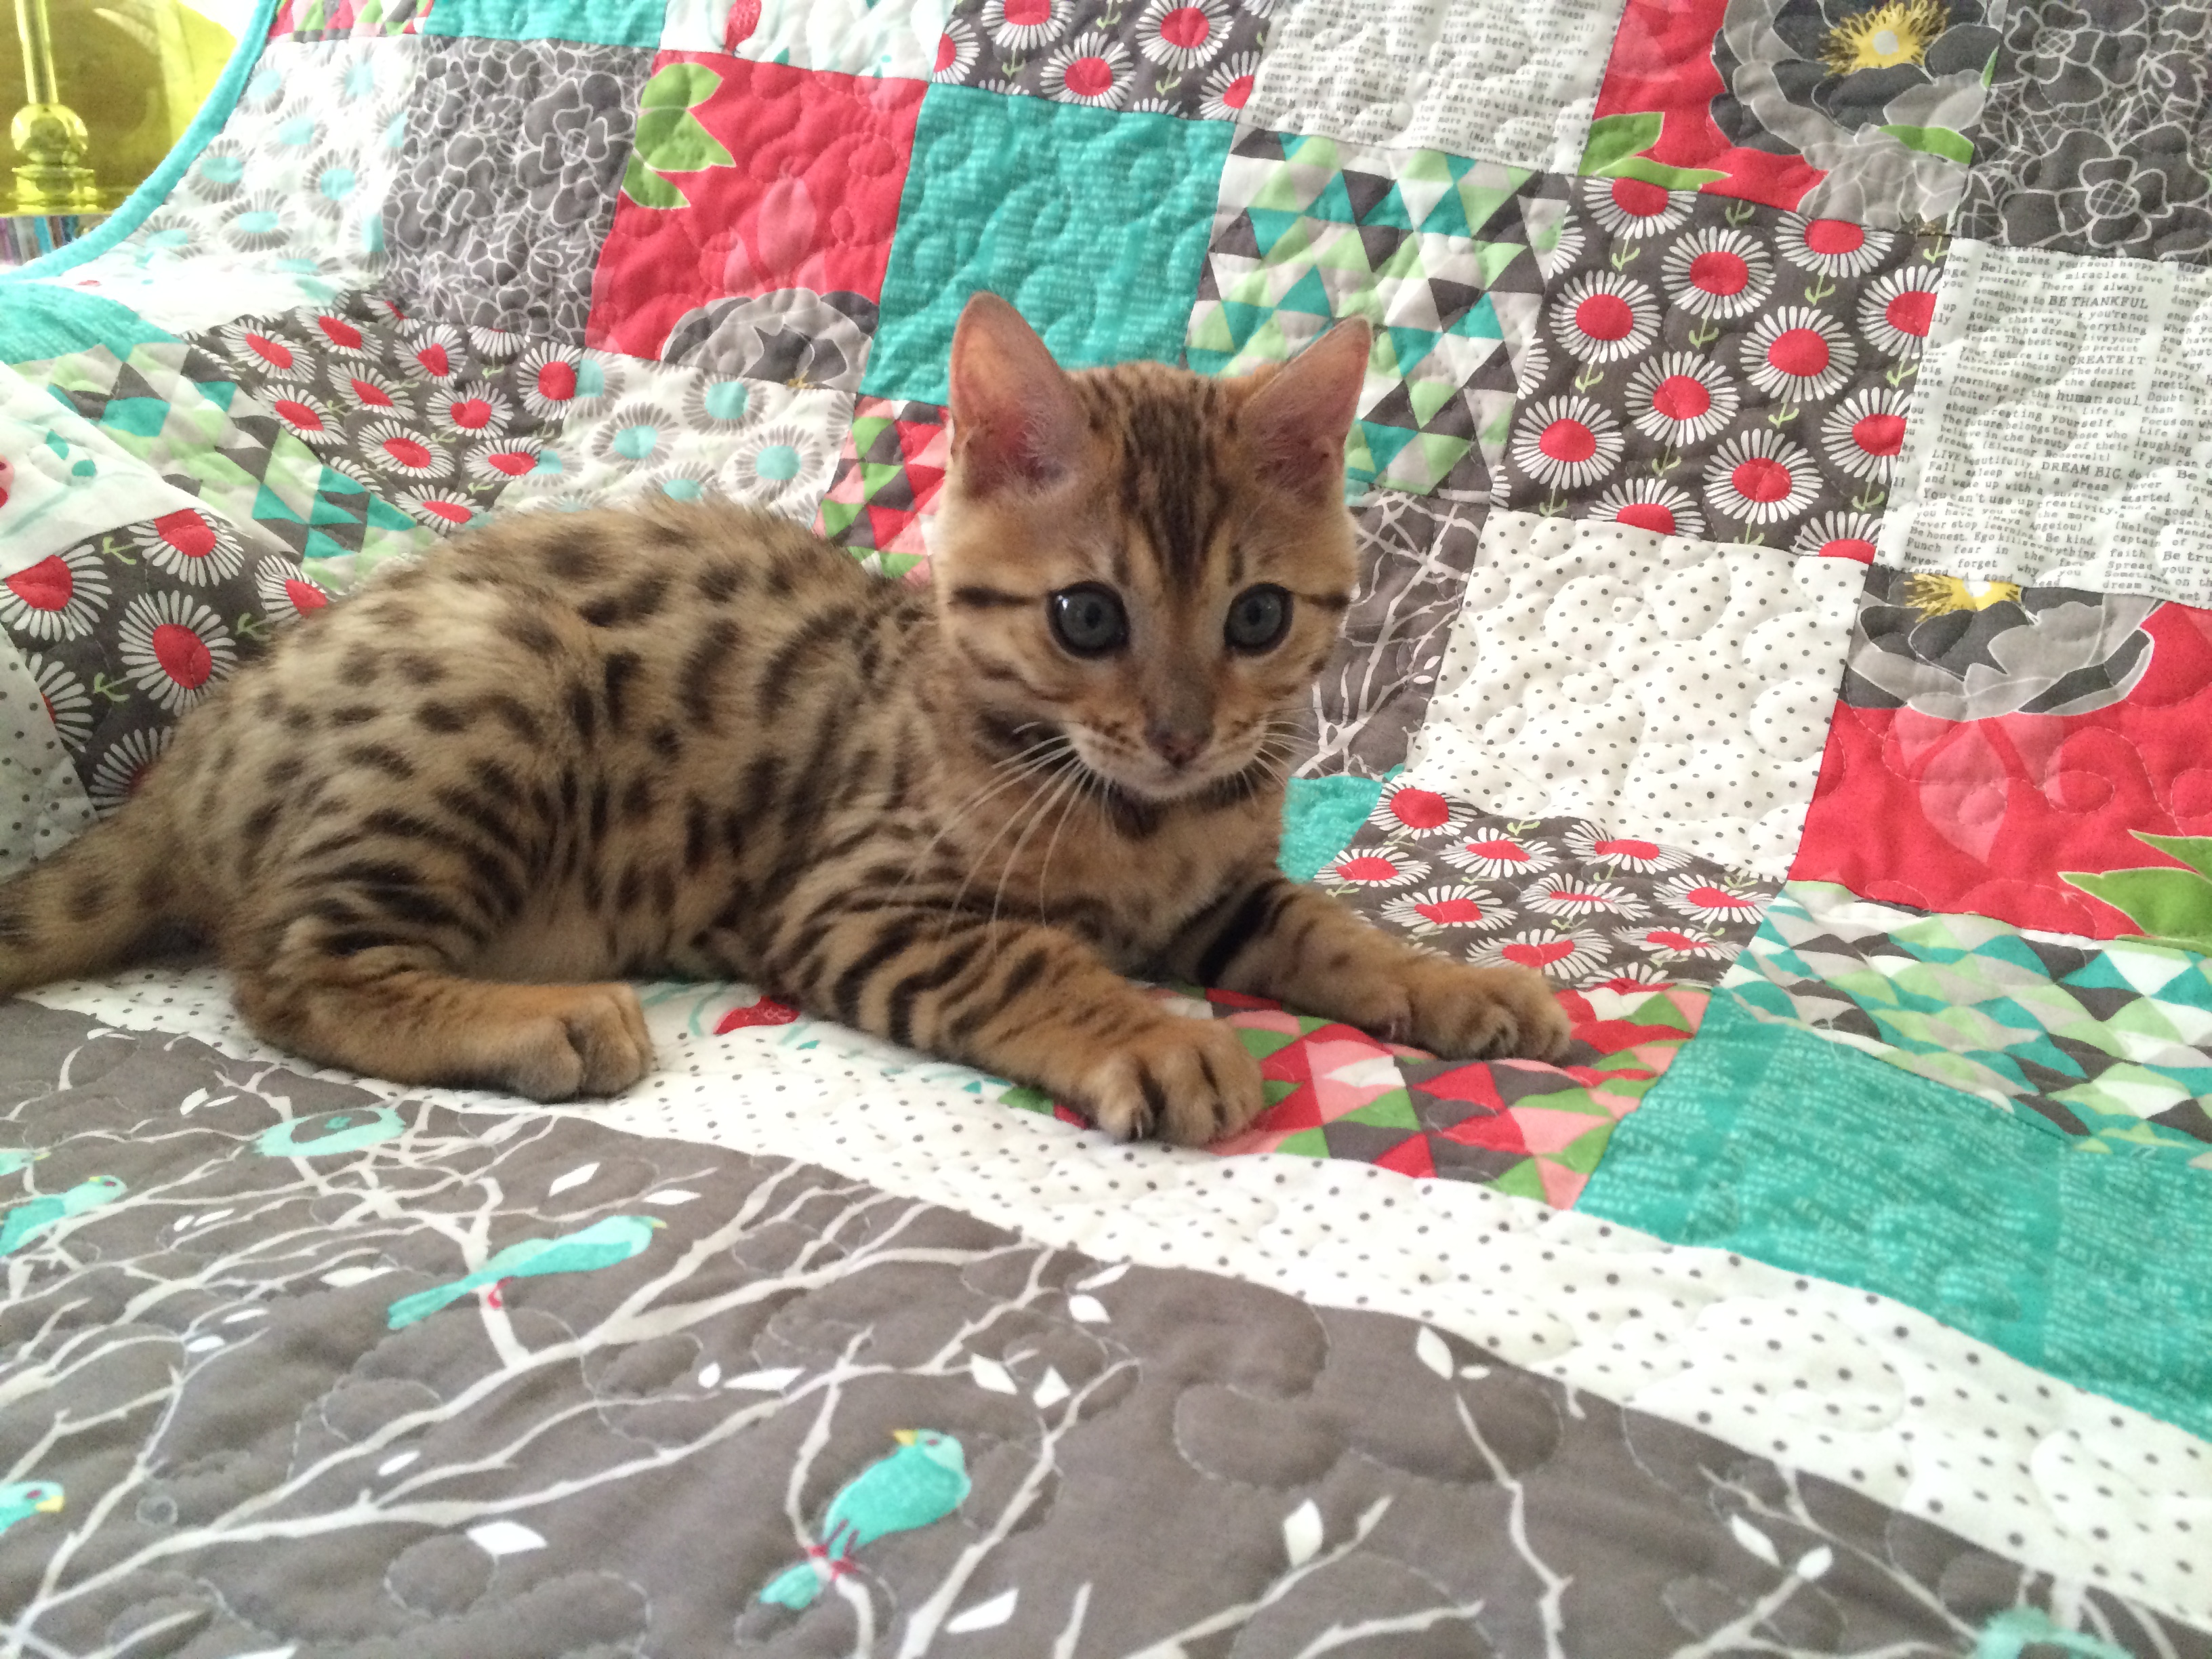
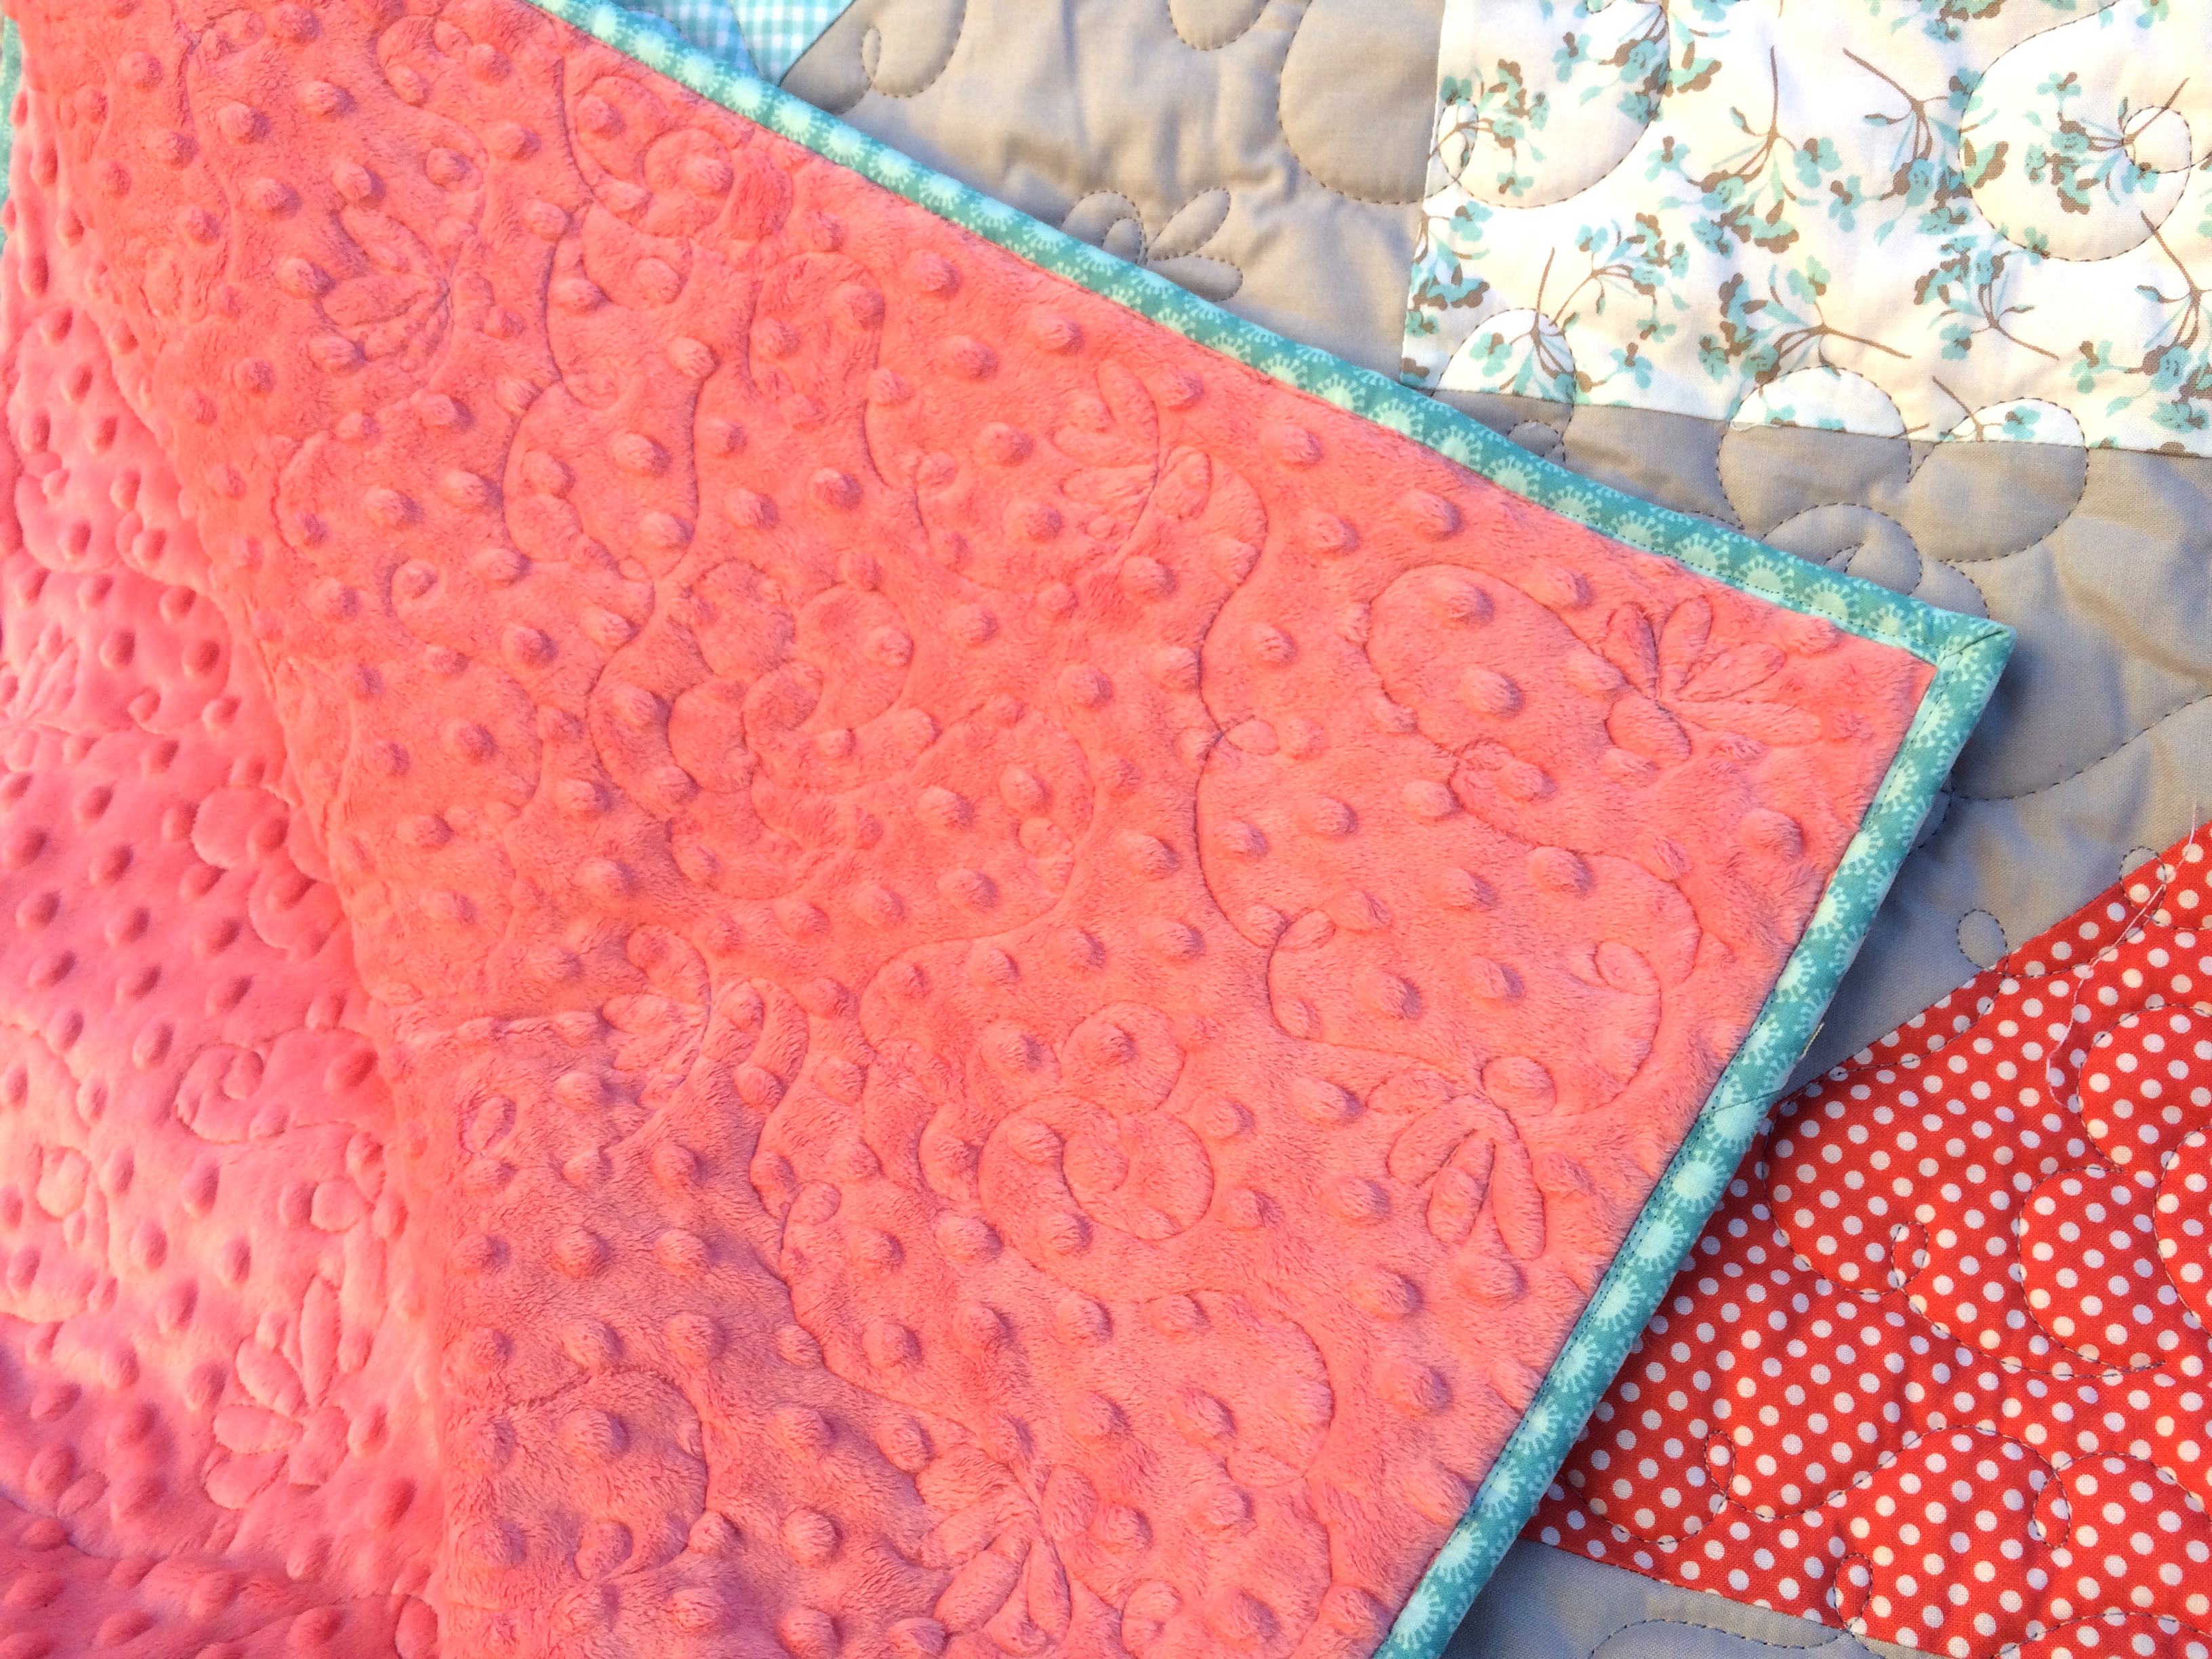
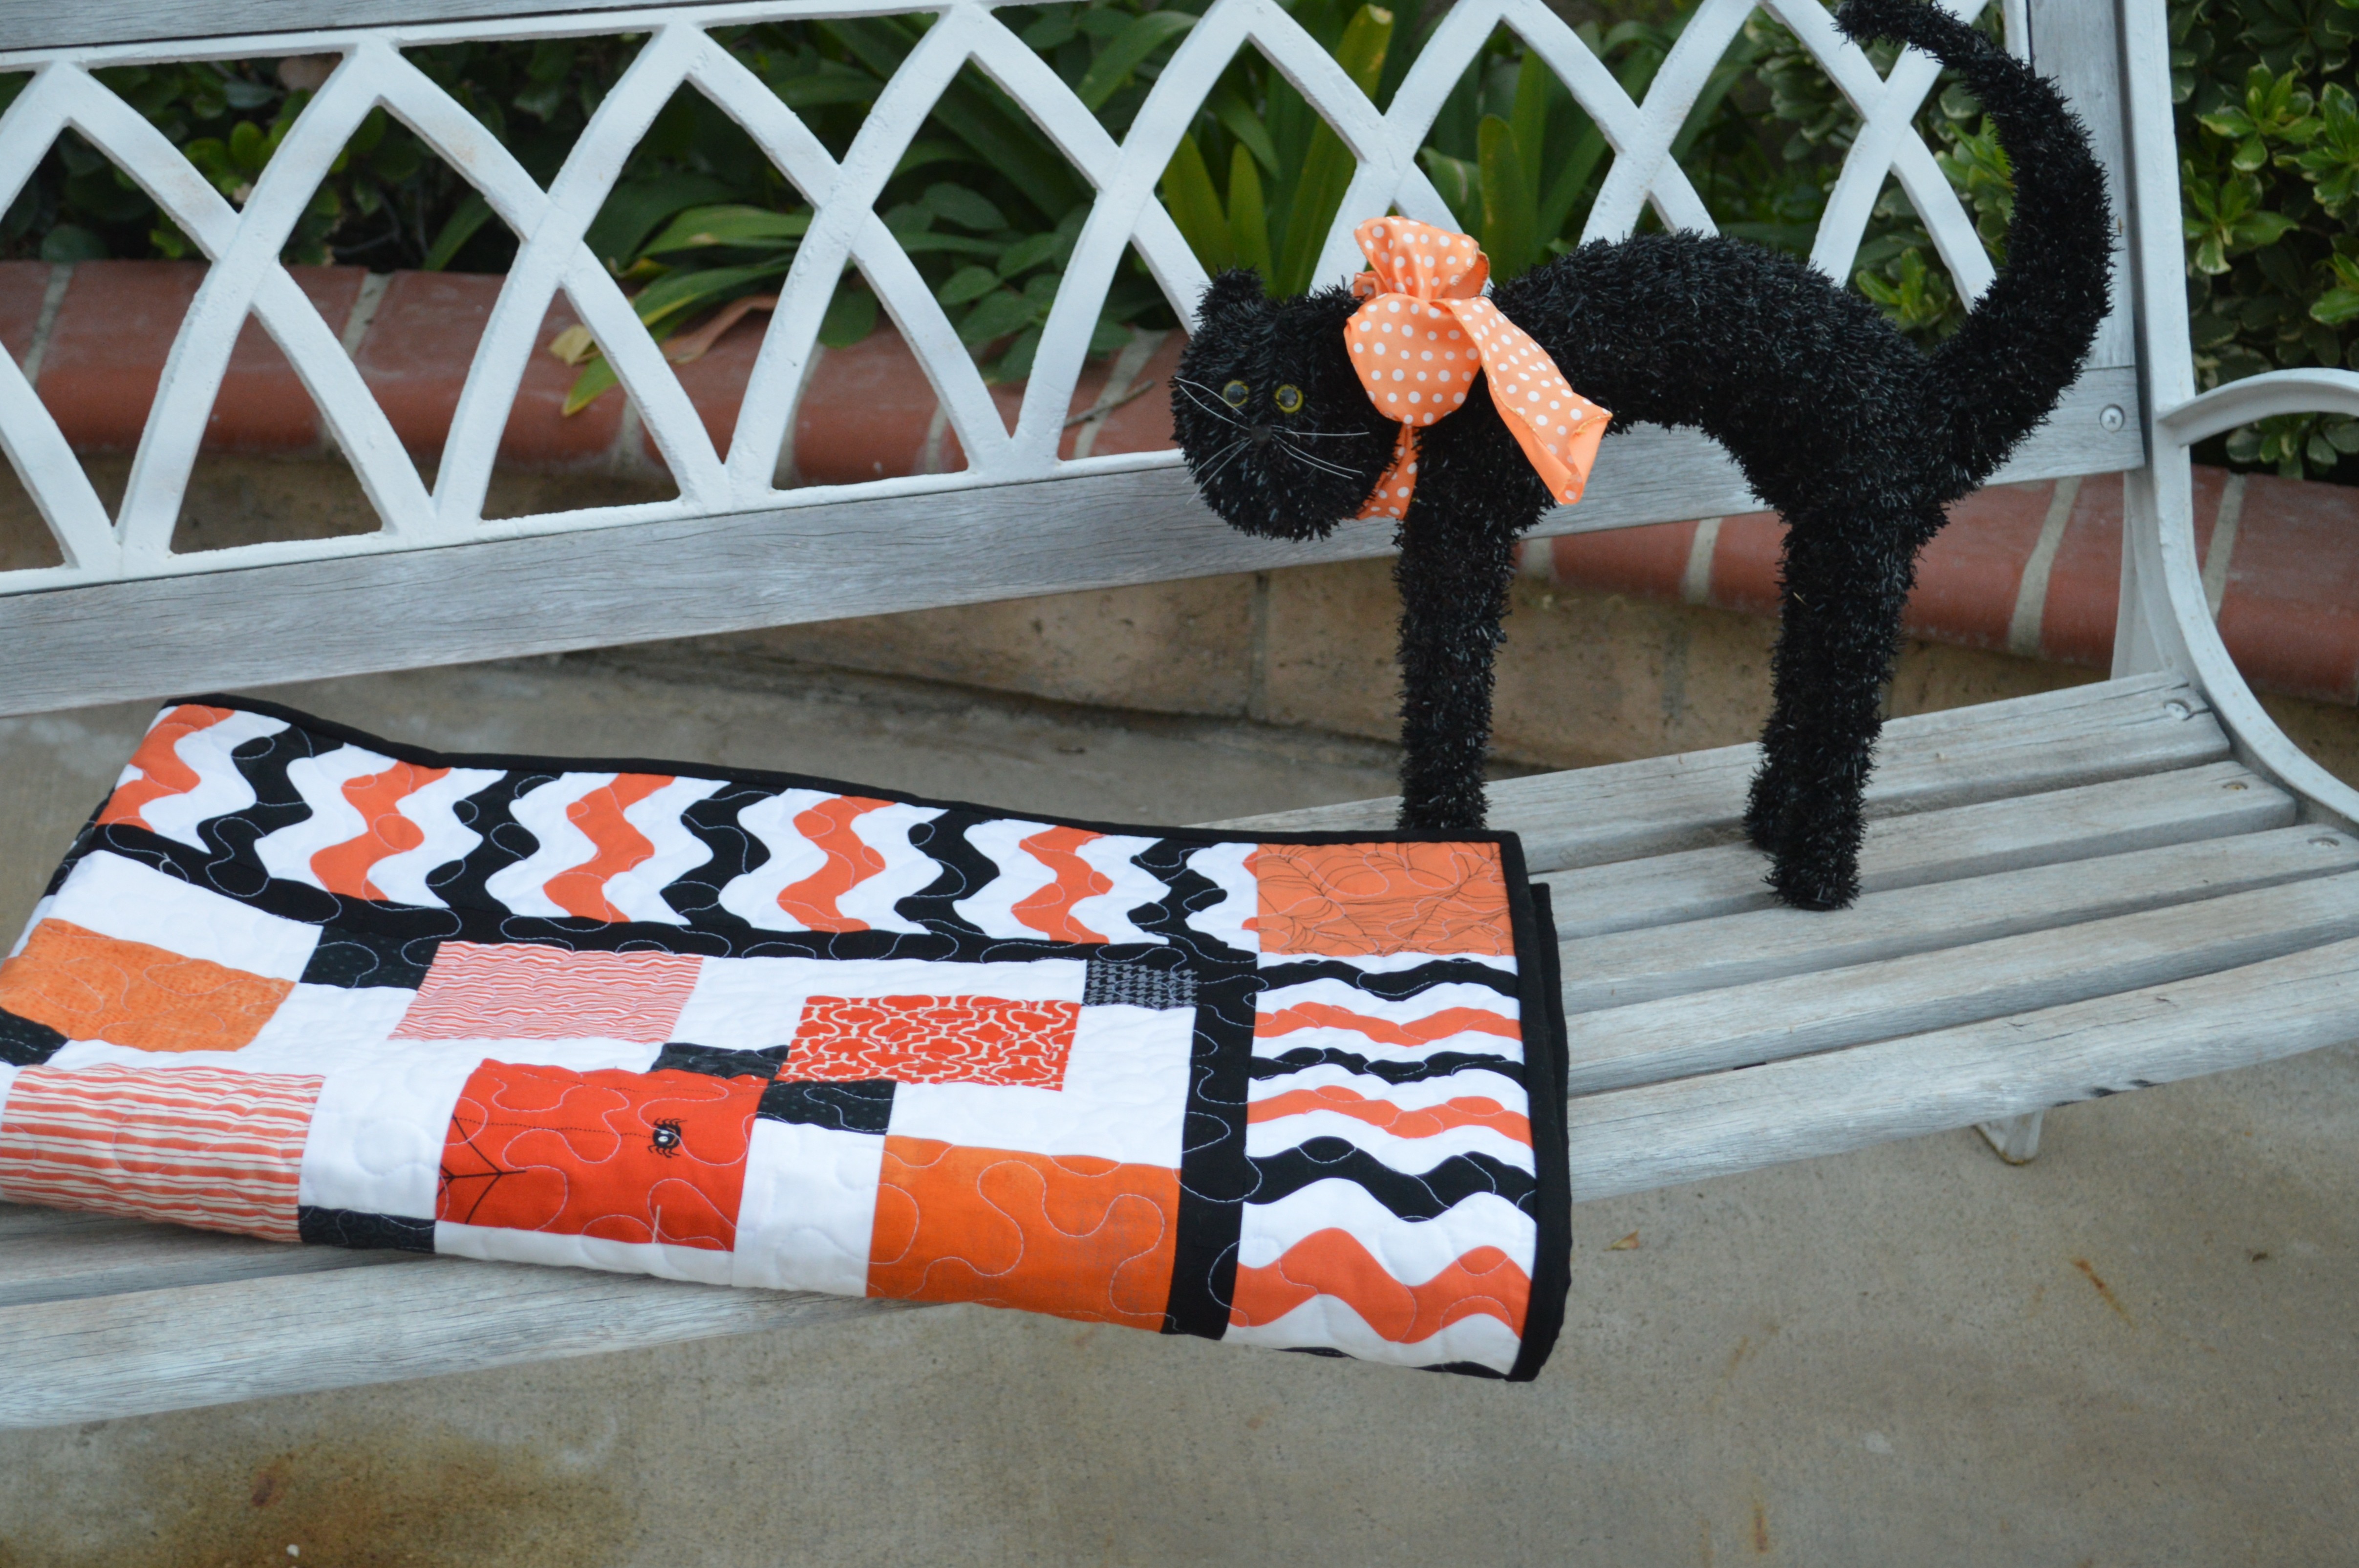
It’s important to let the kitten inspect all sewing!!

cottage garden baby quilt

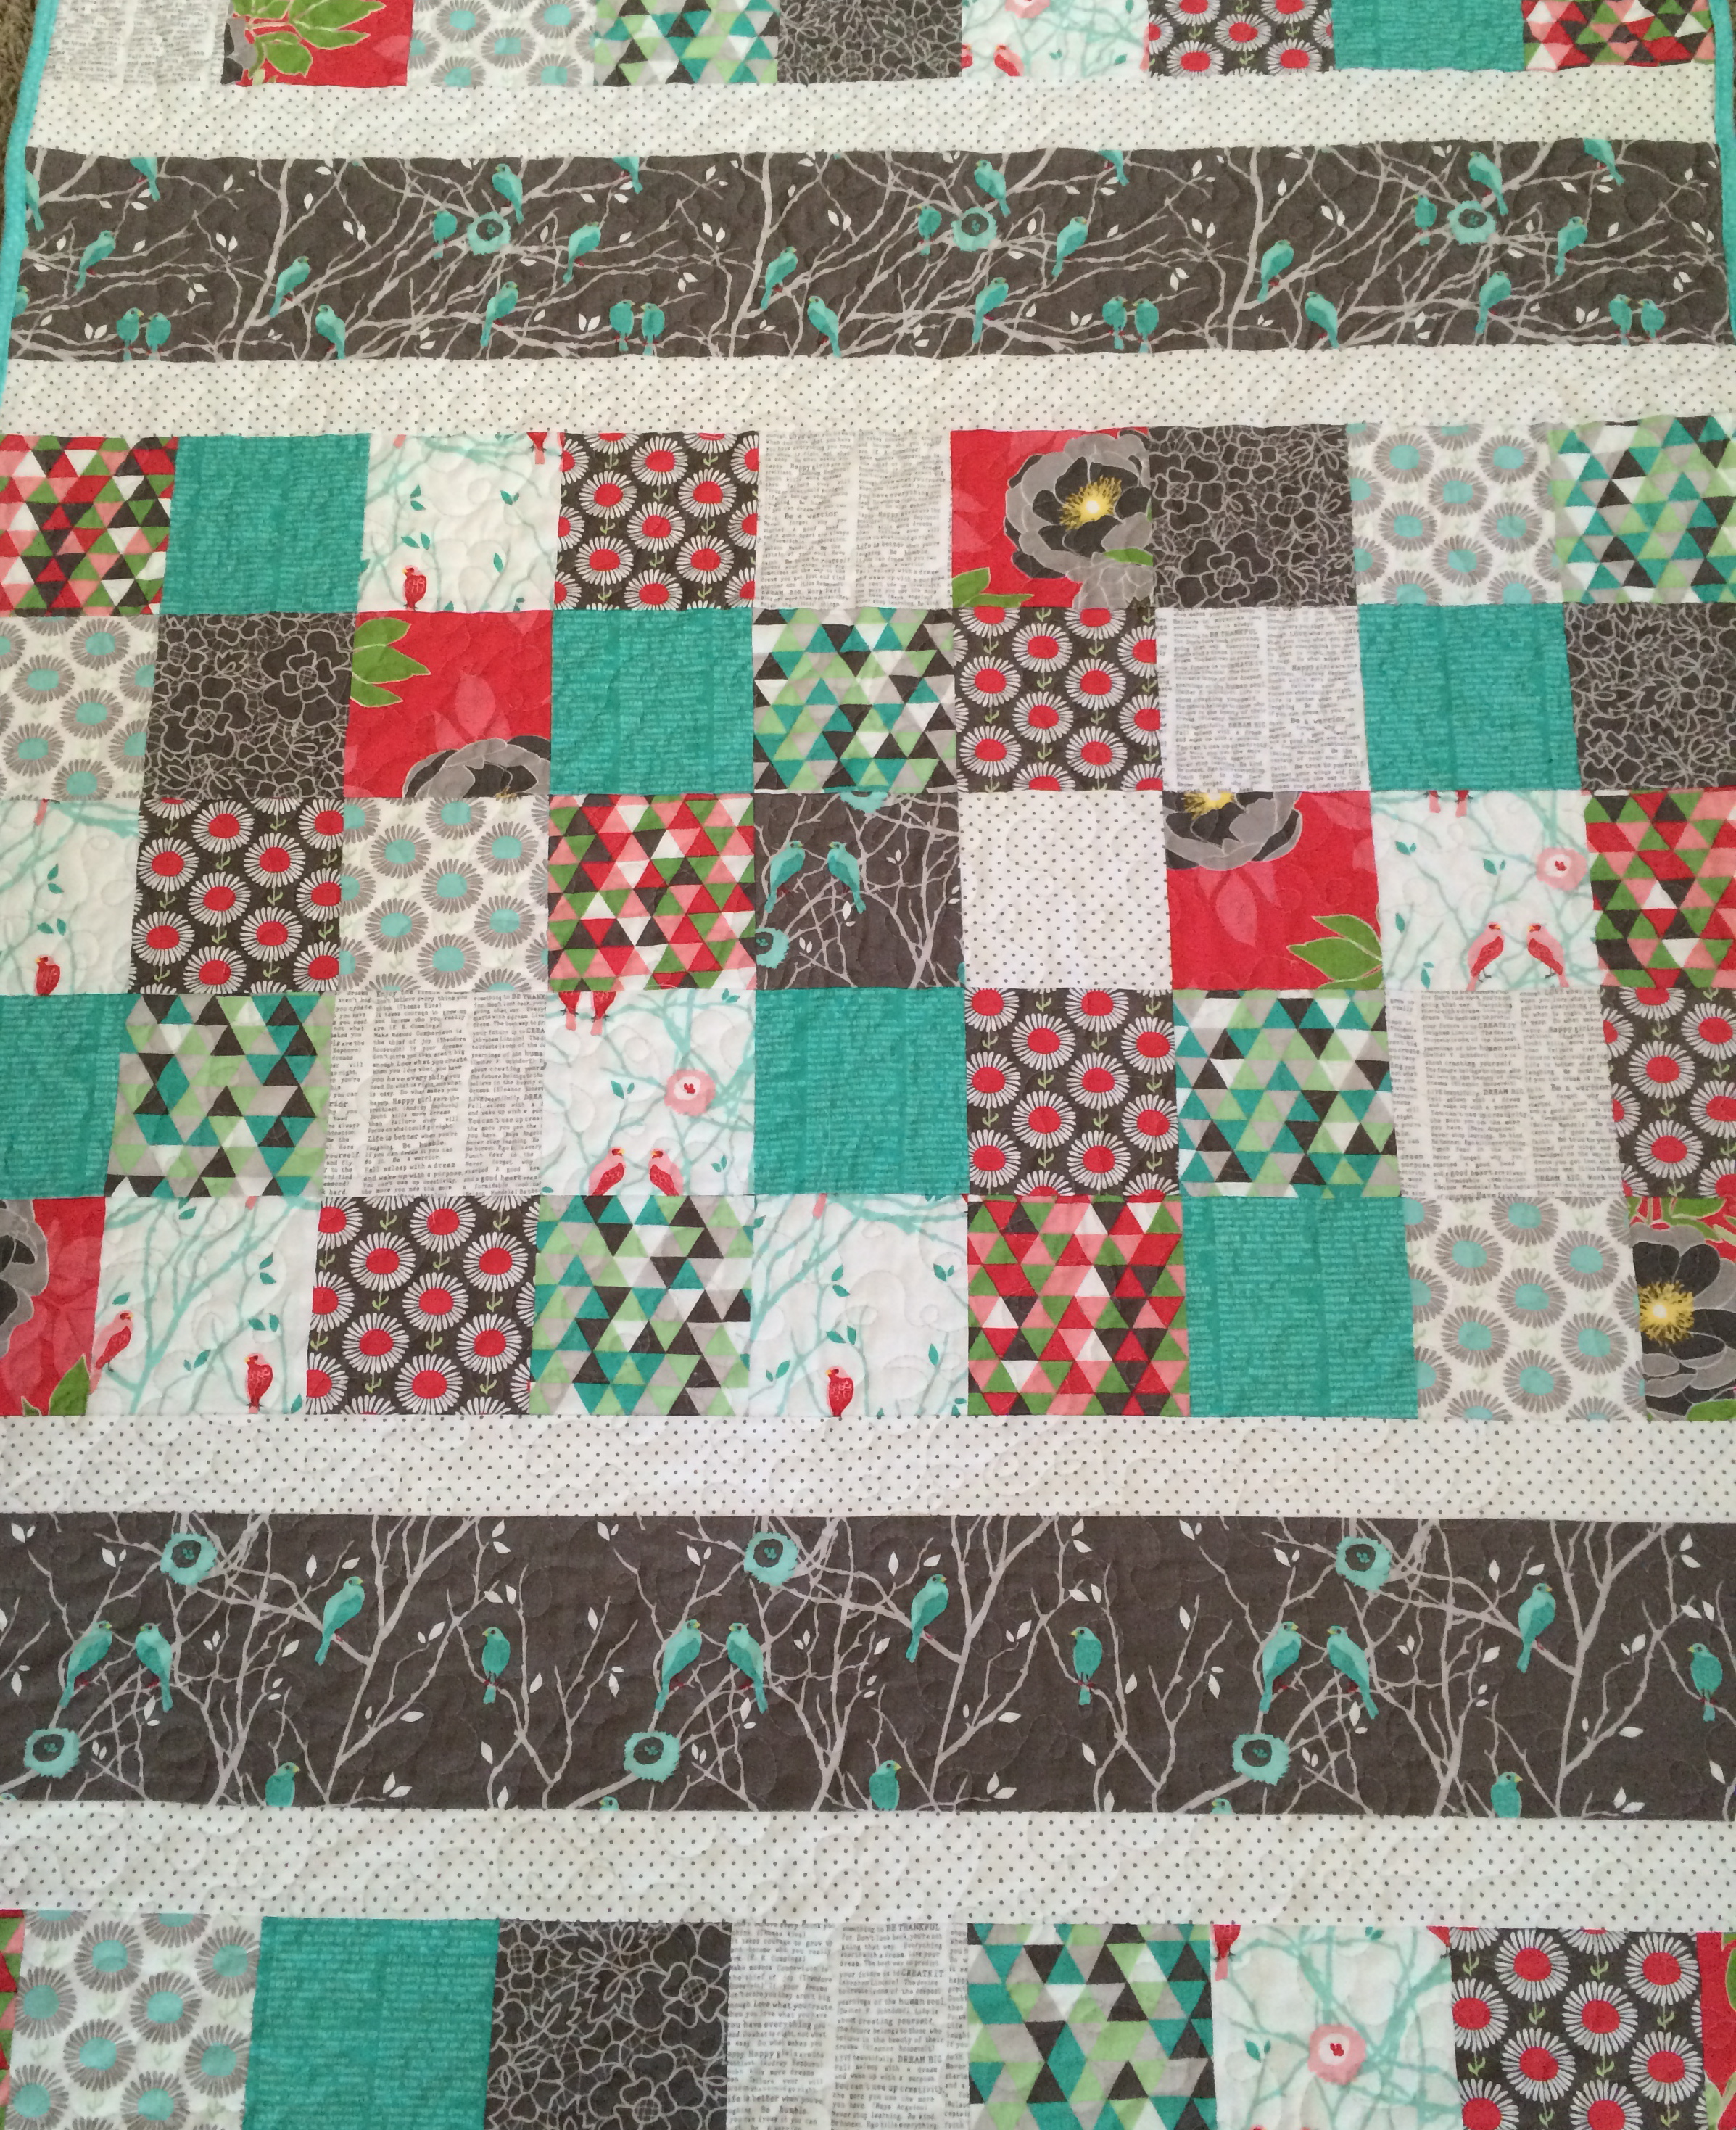
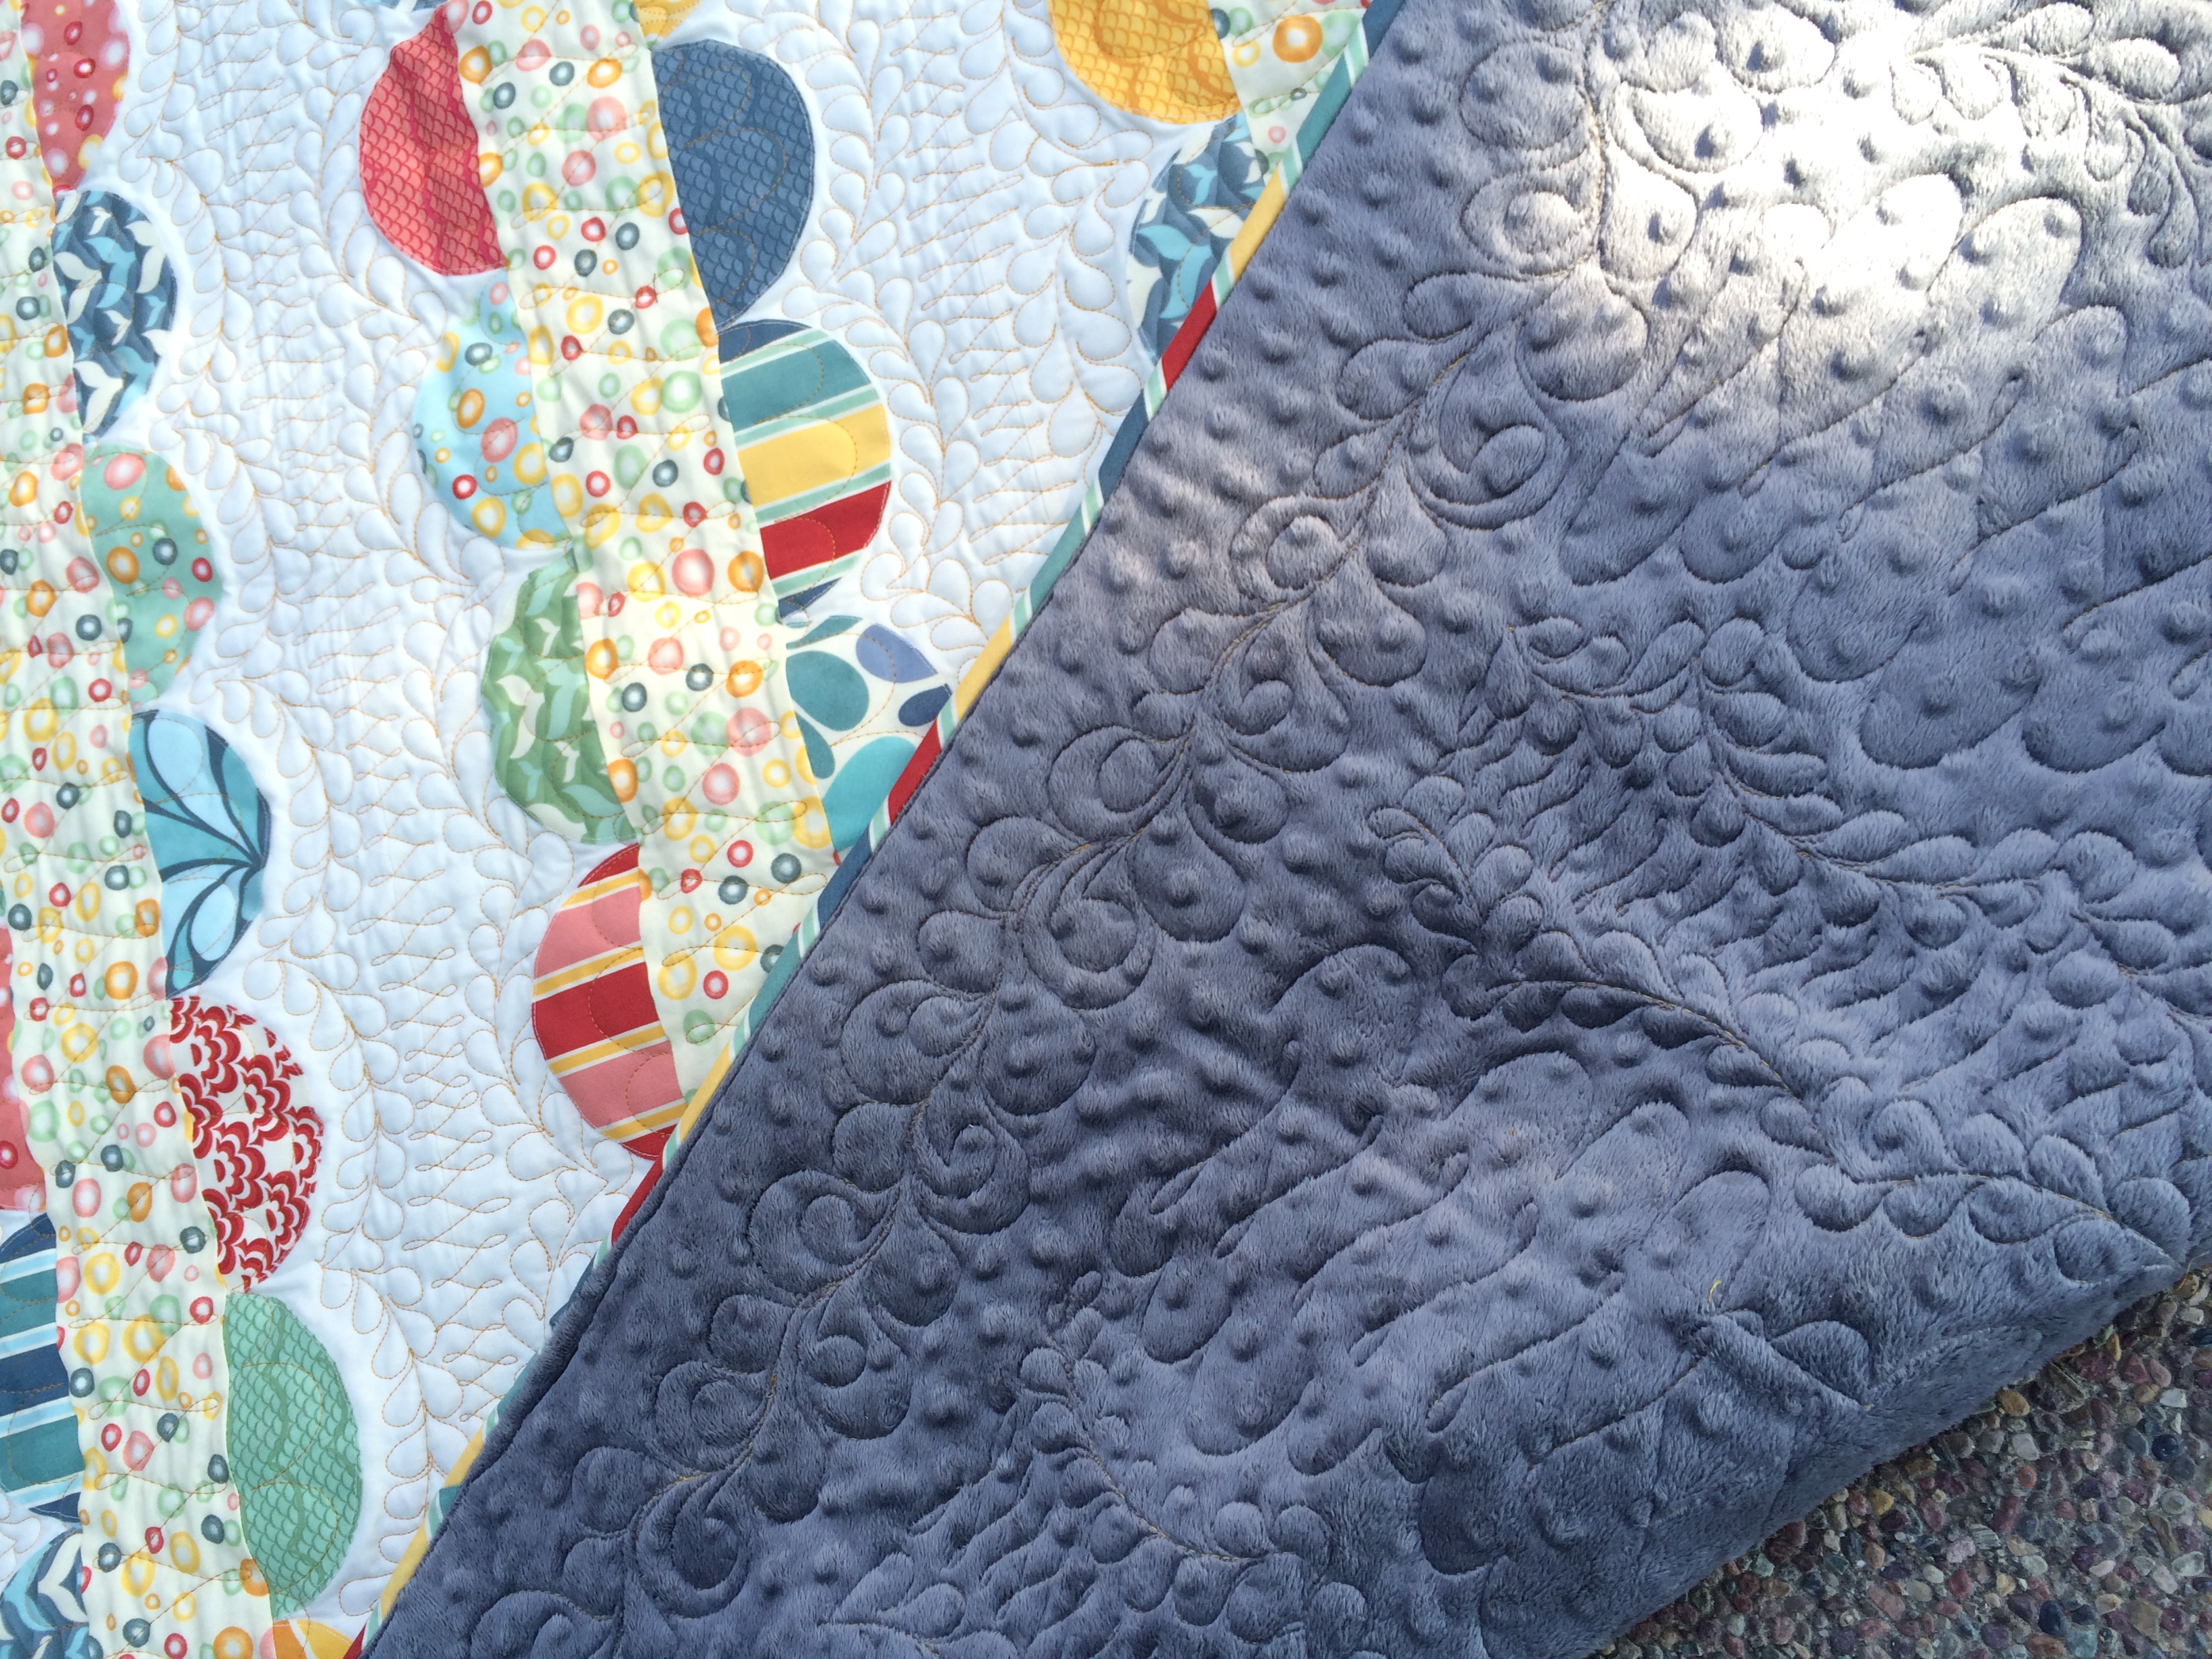
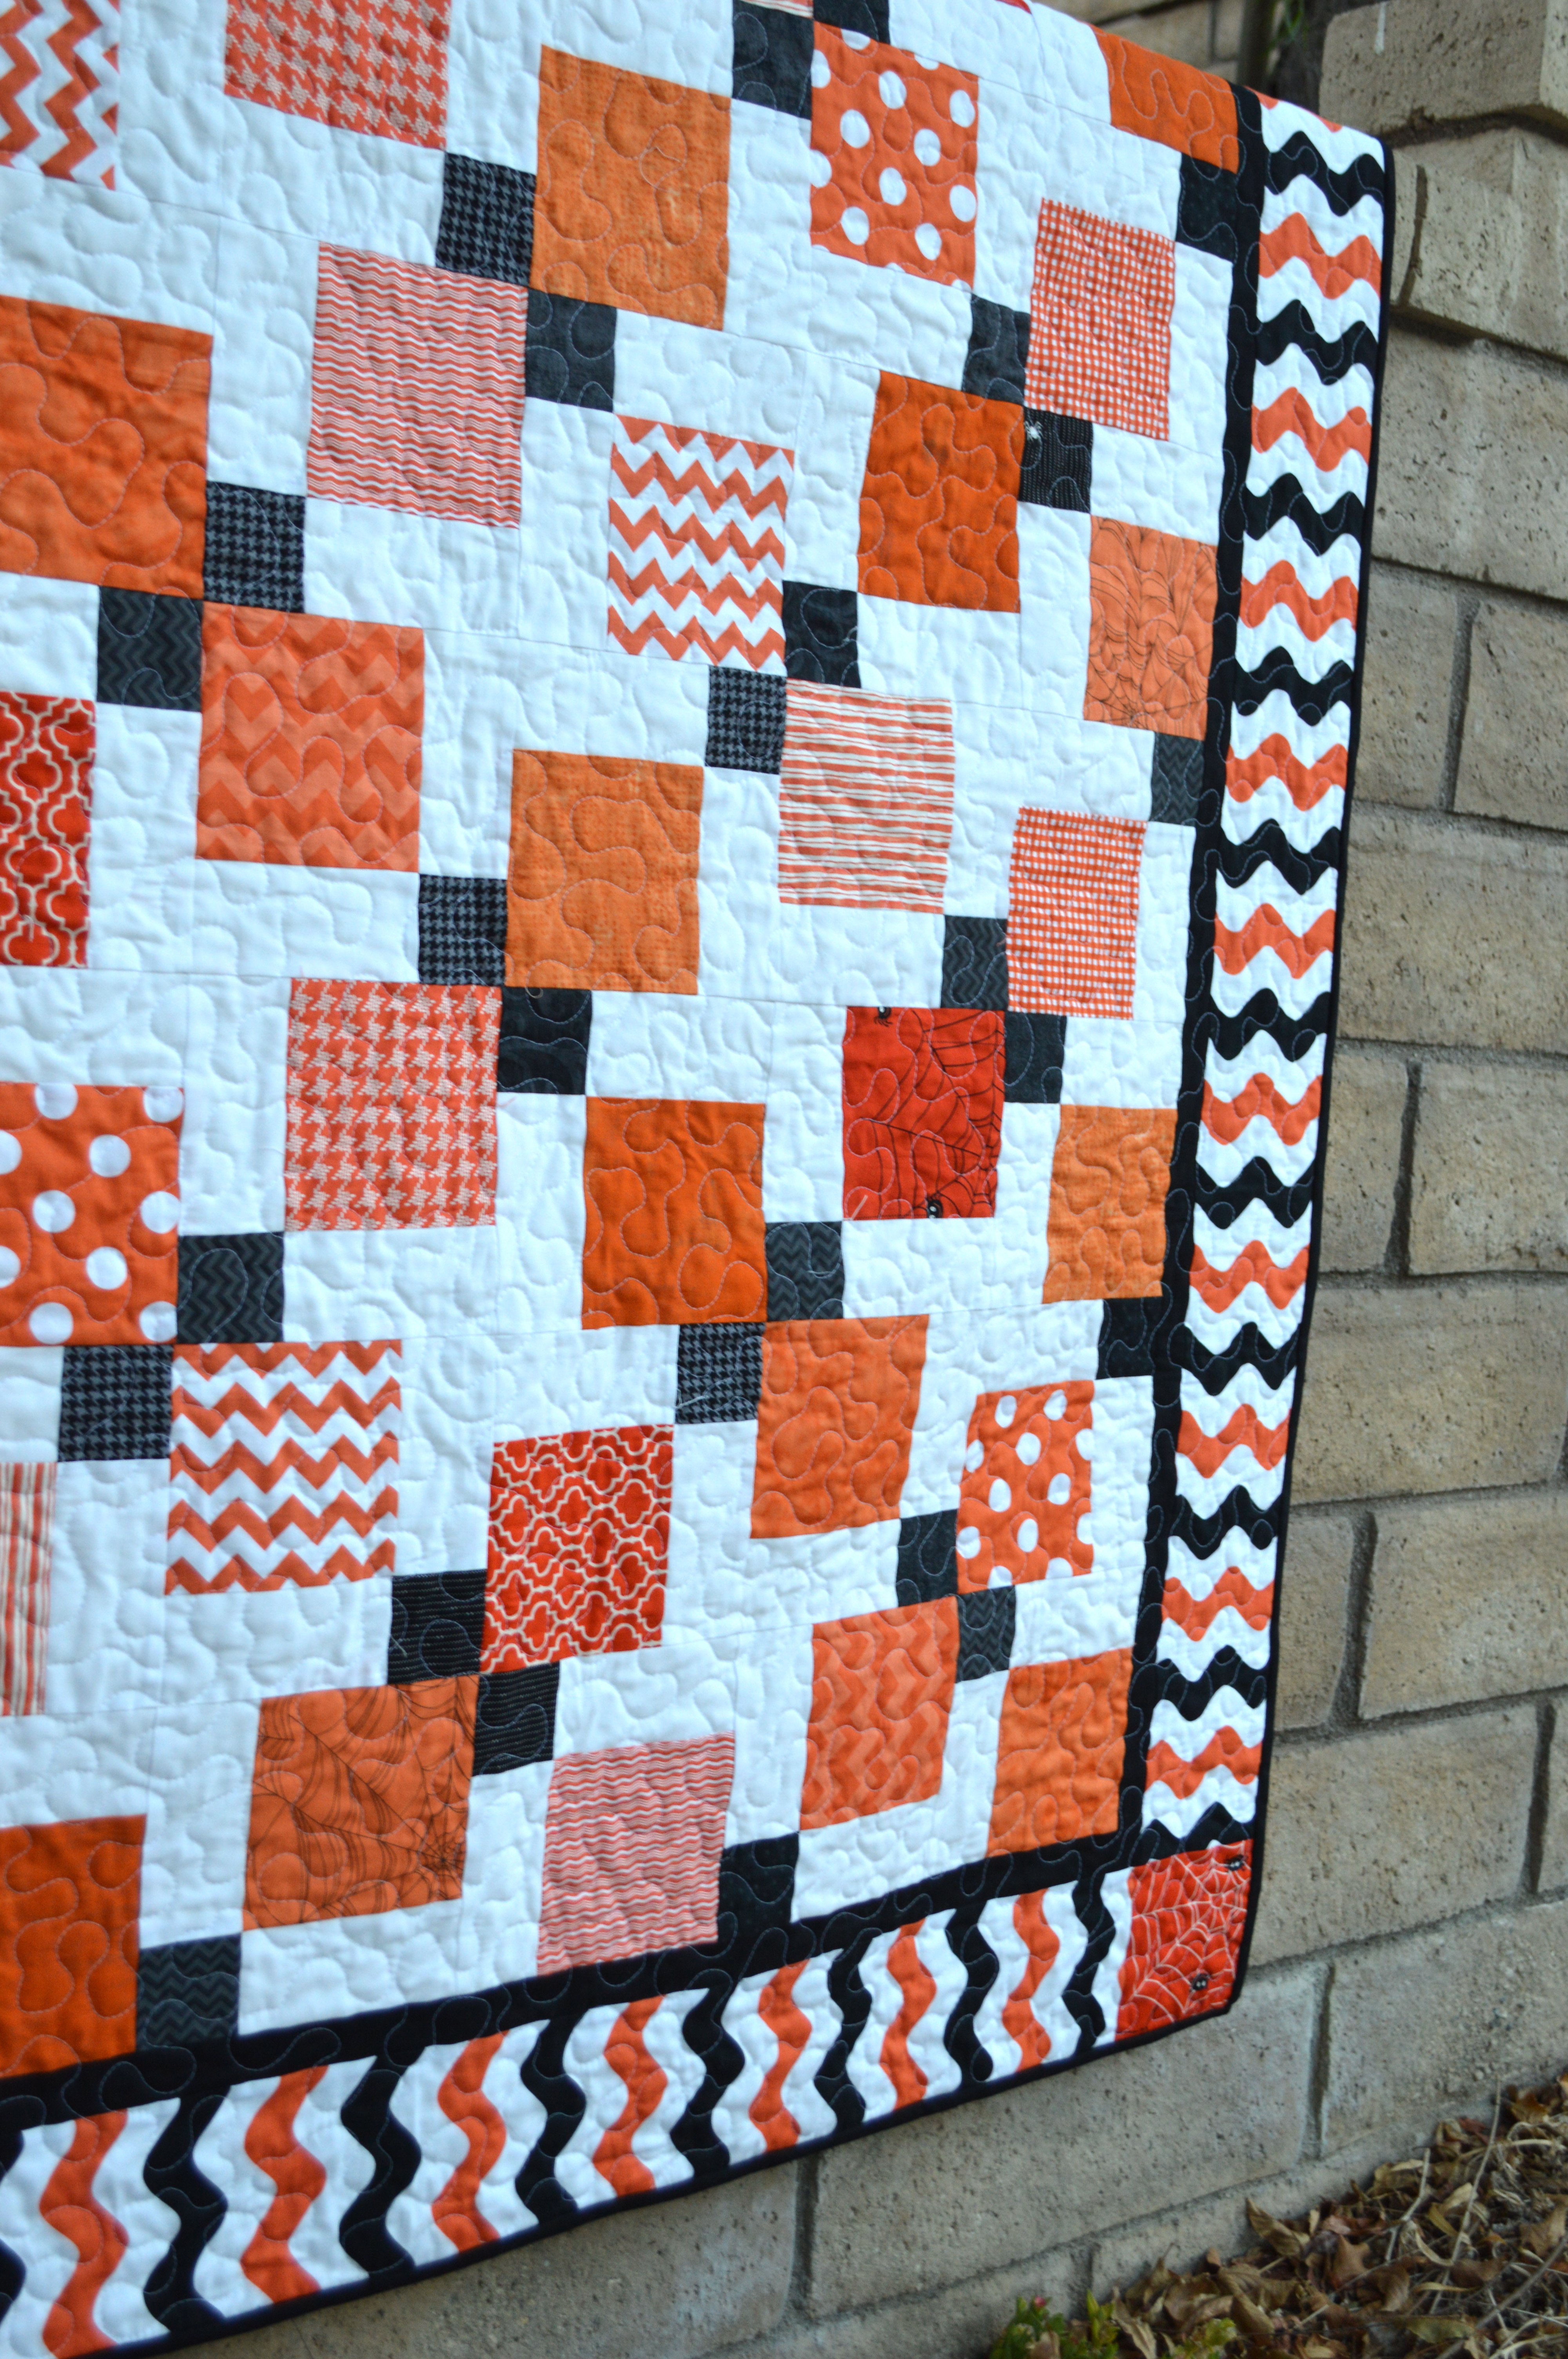
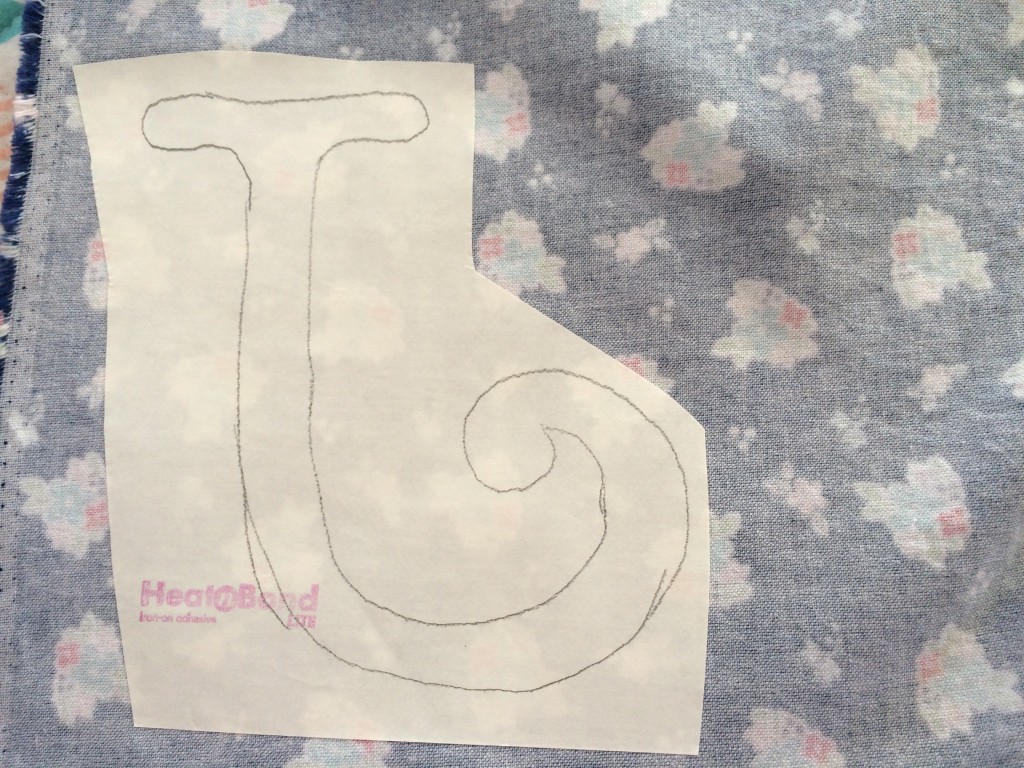
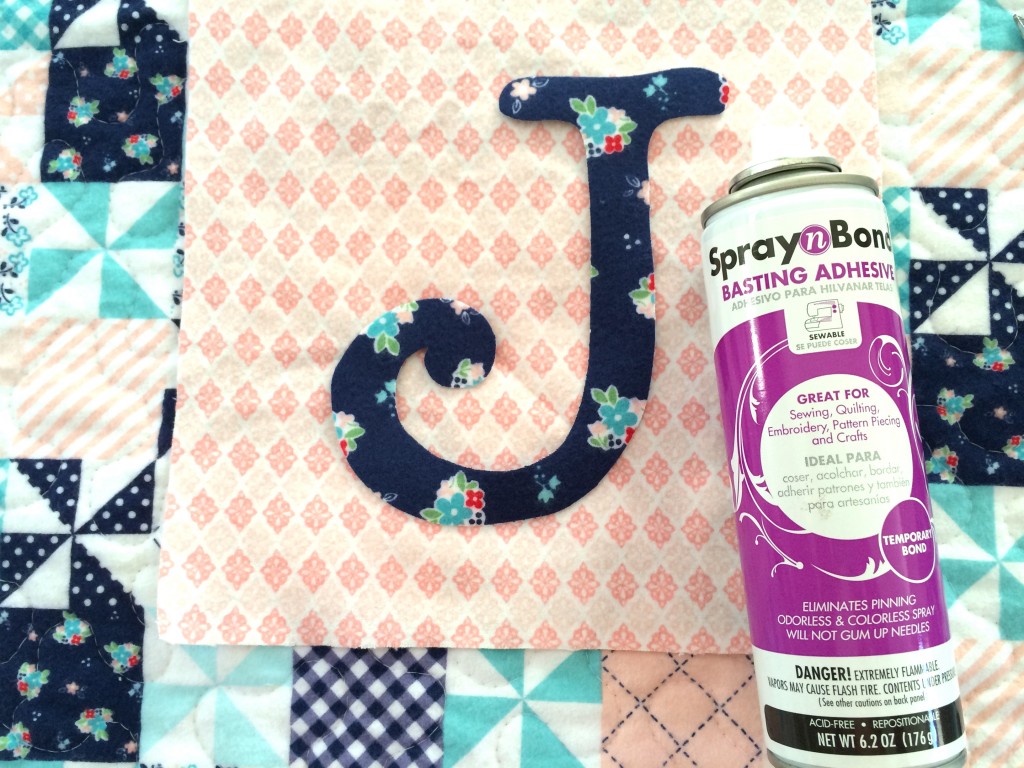
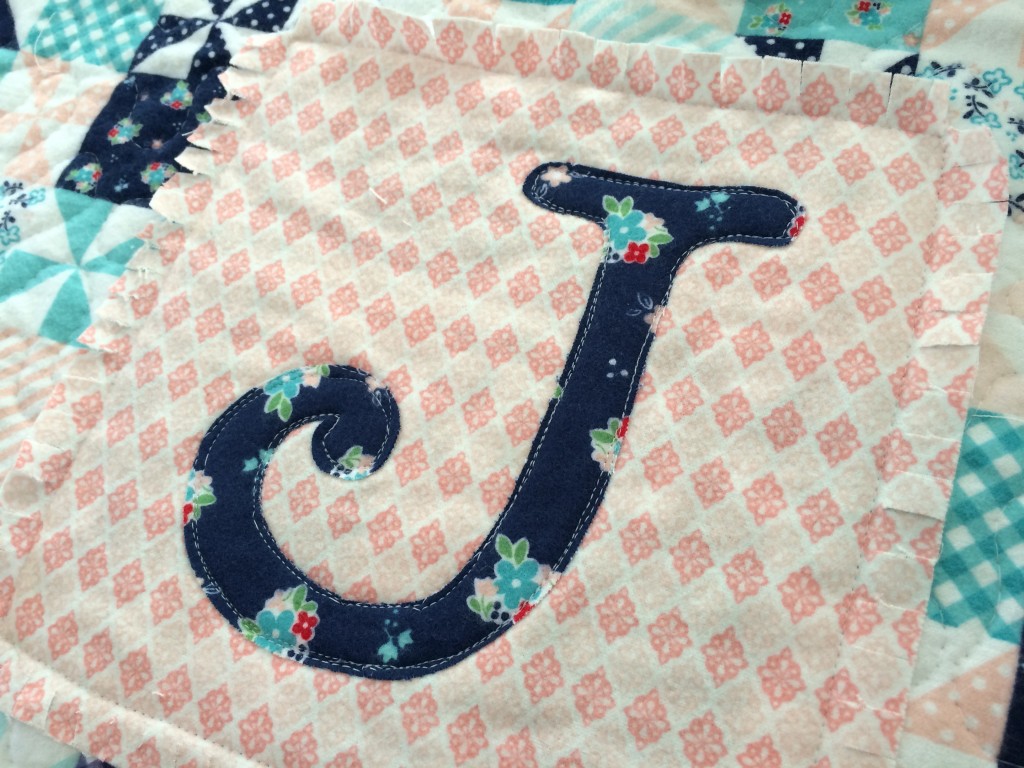
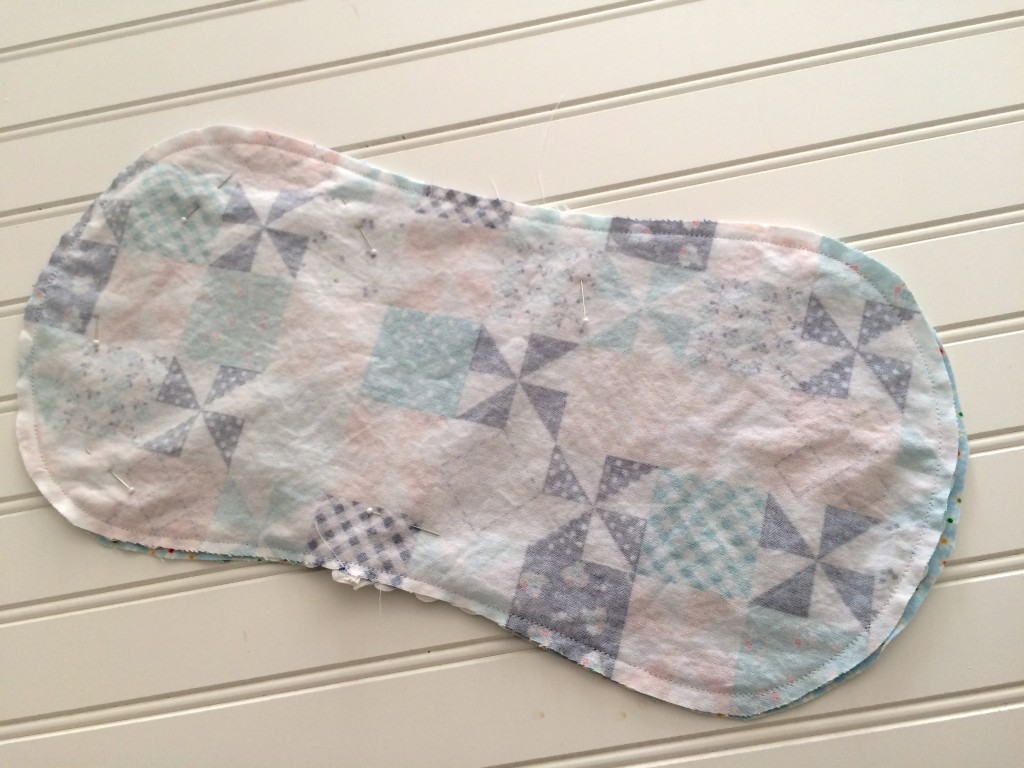
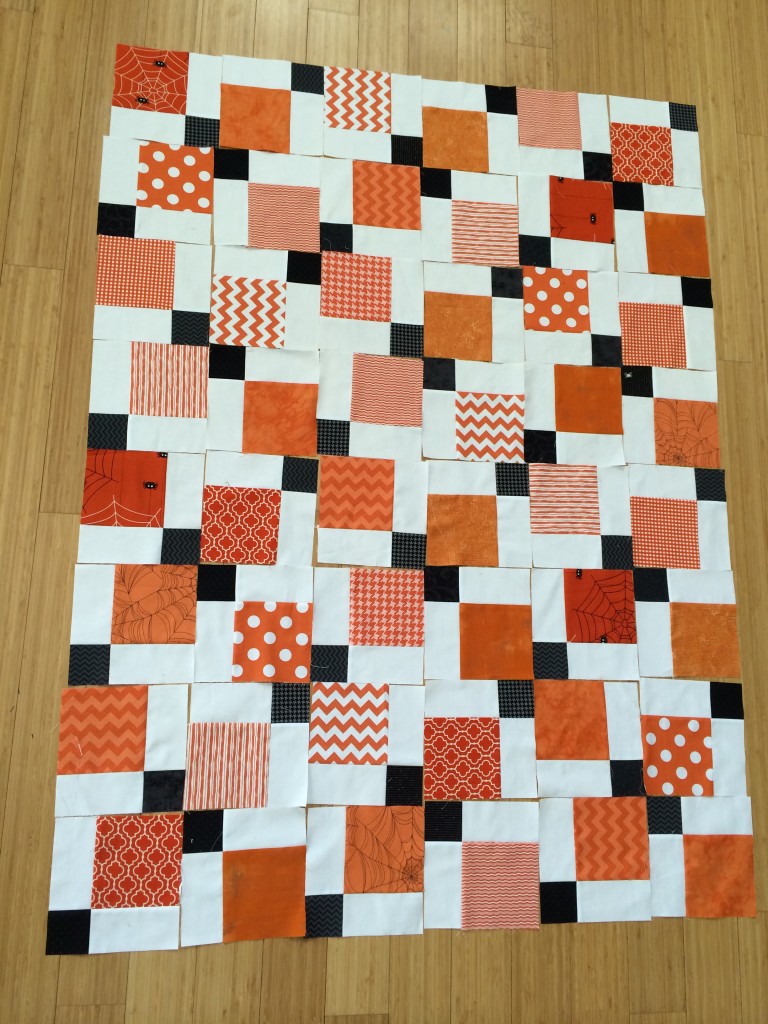
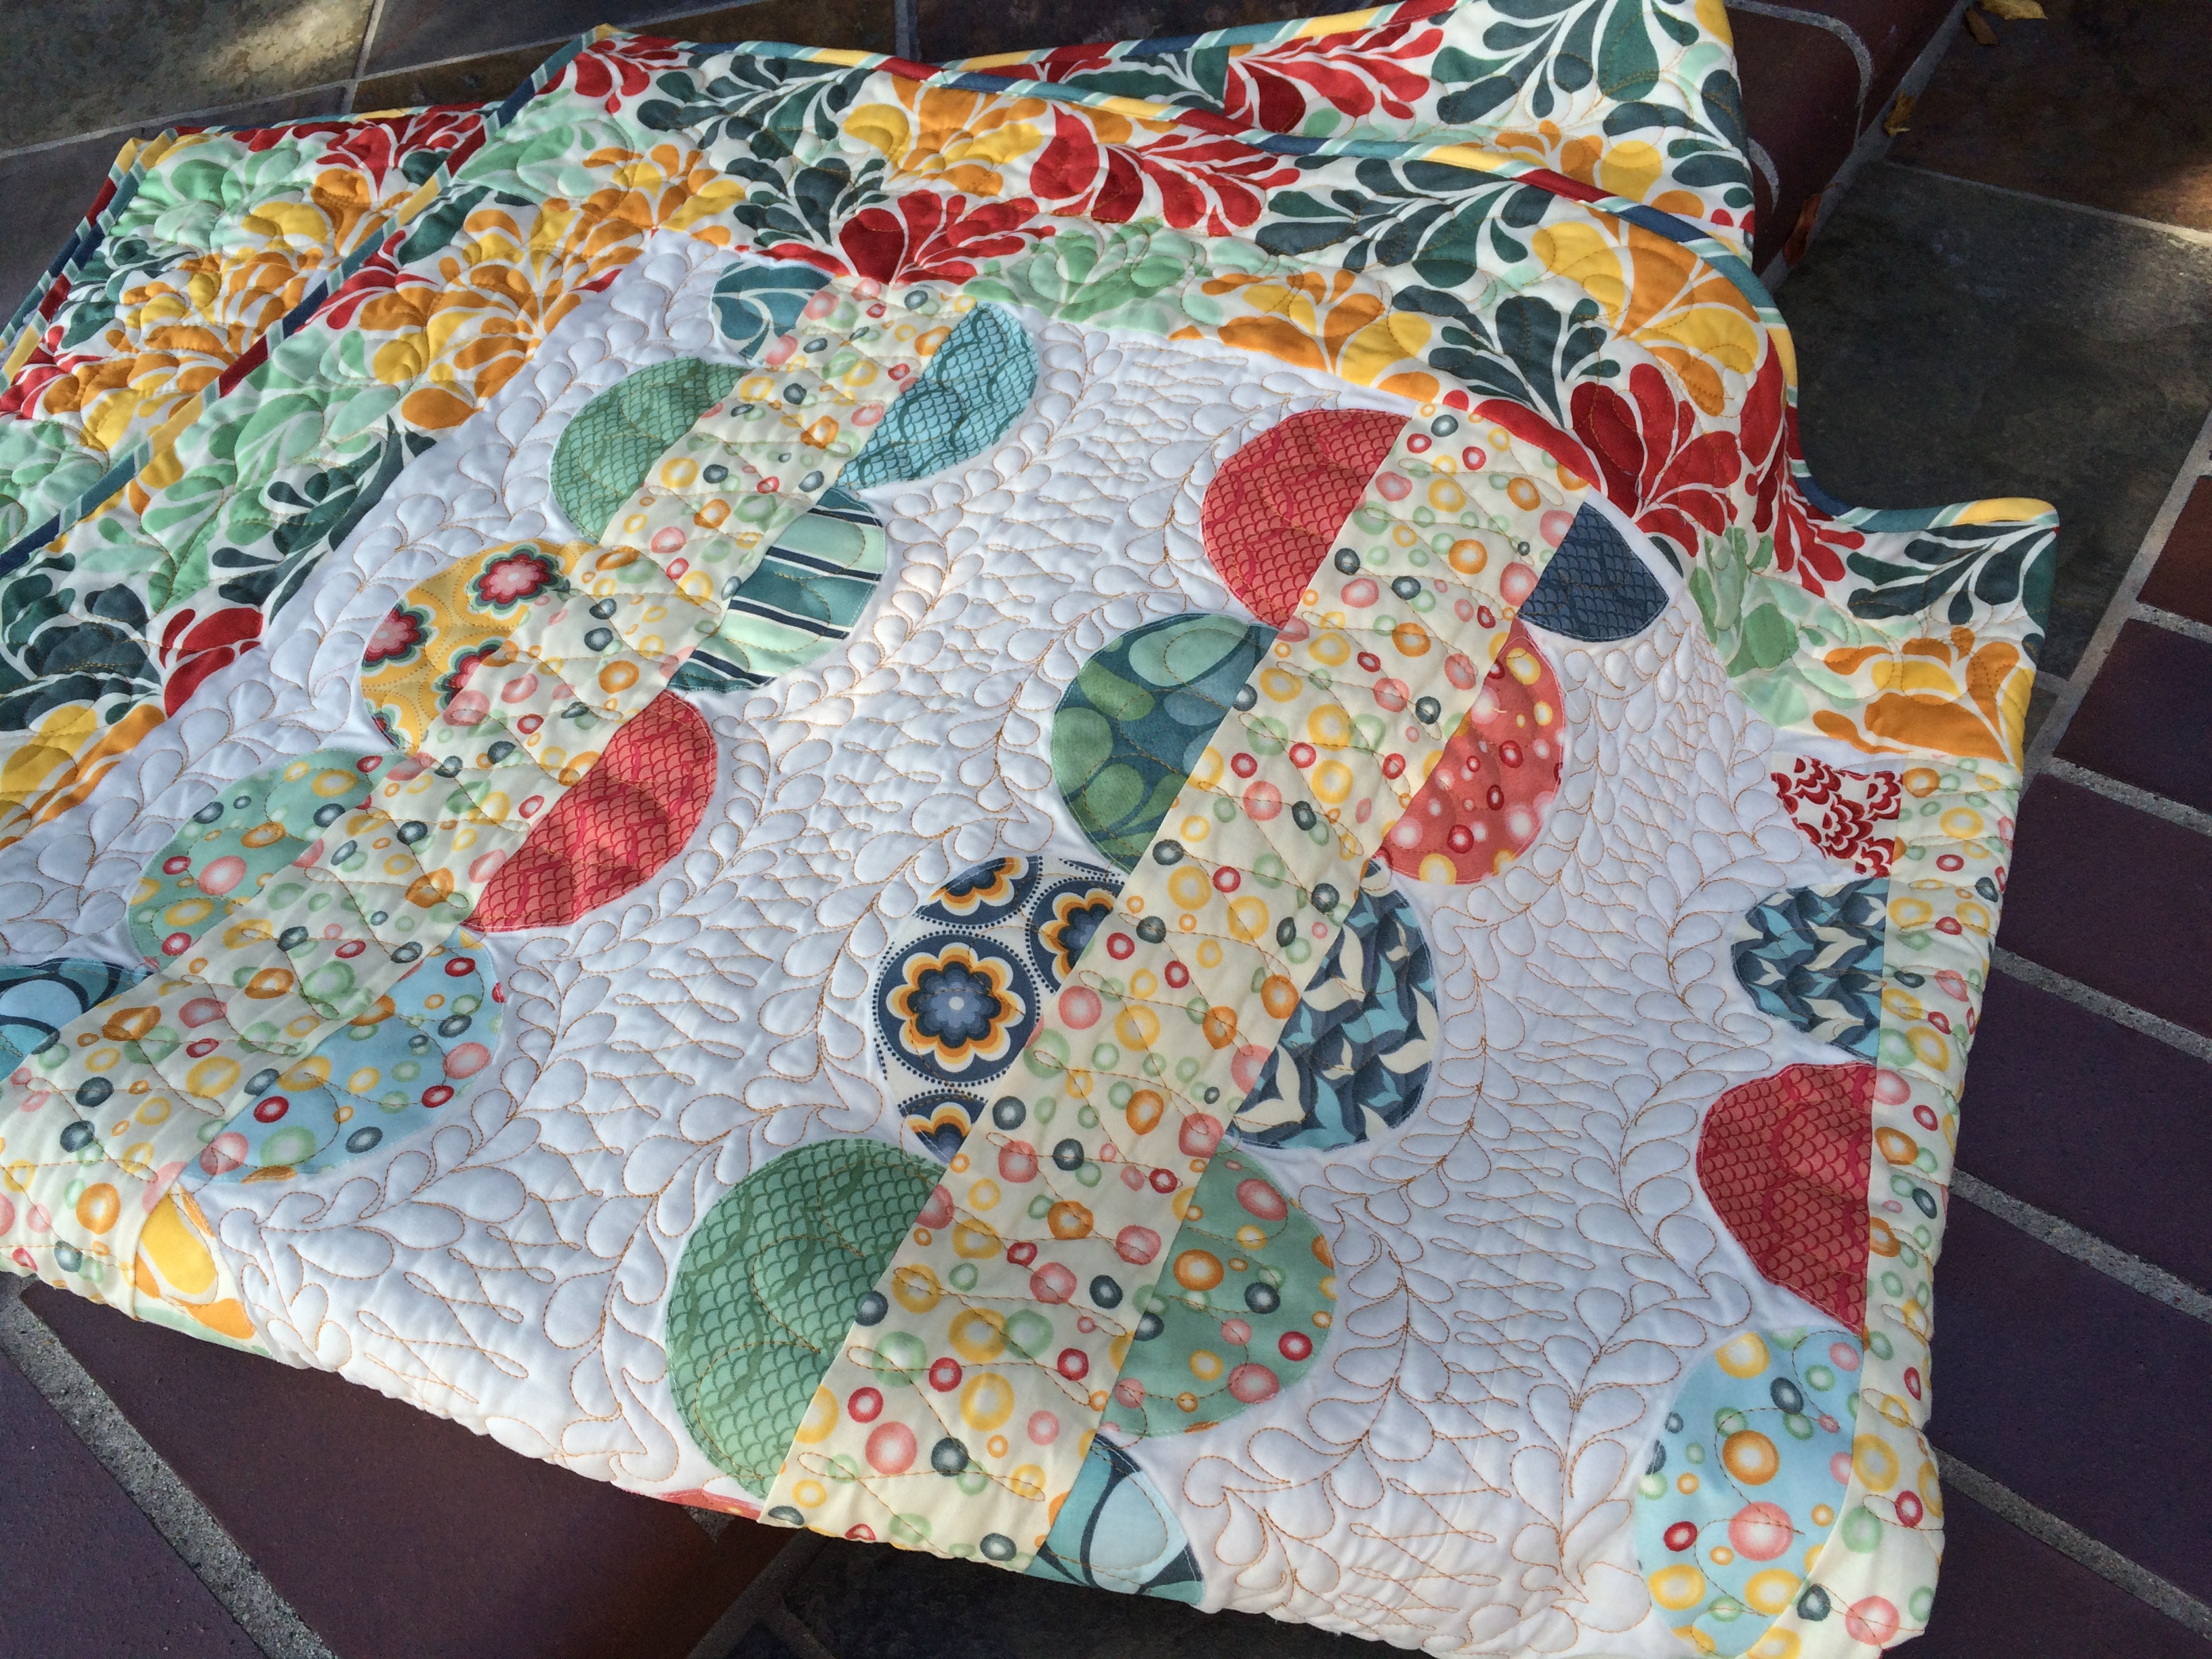
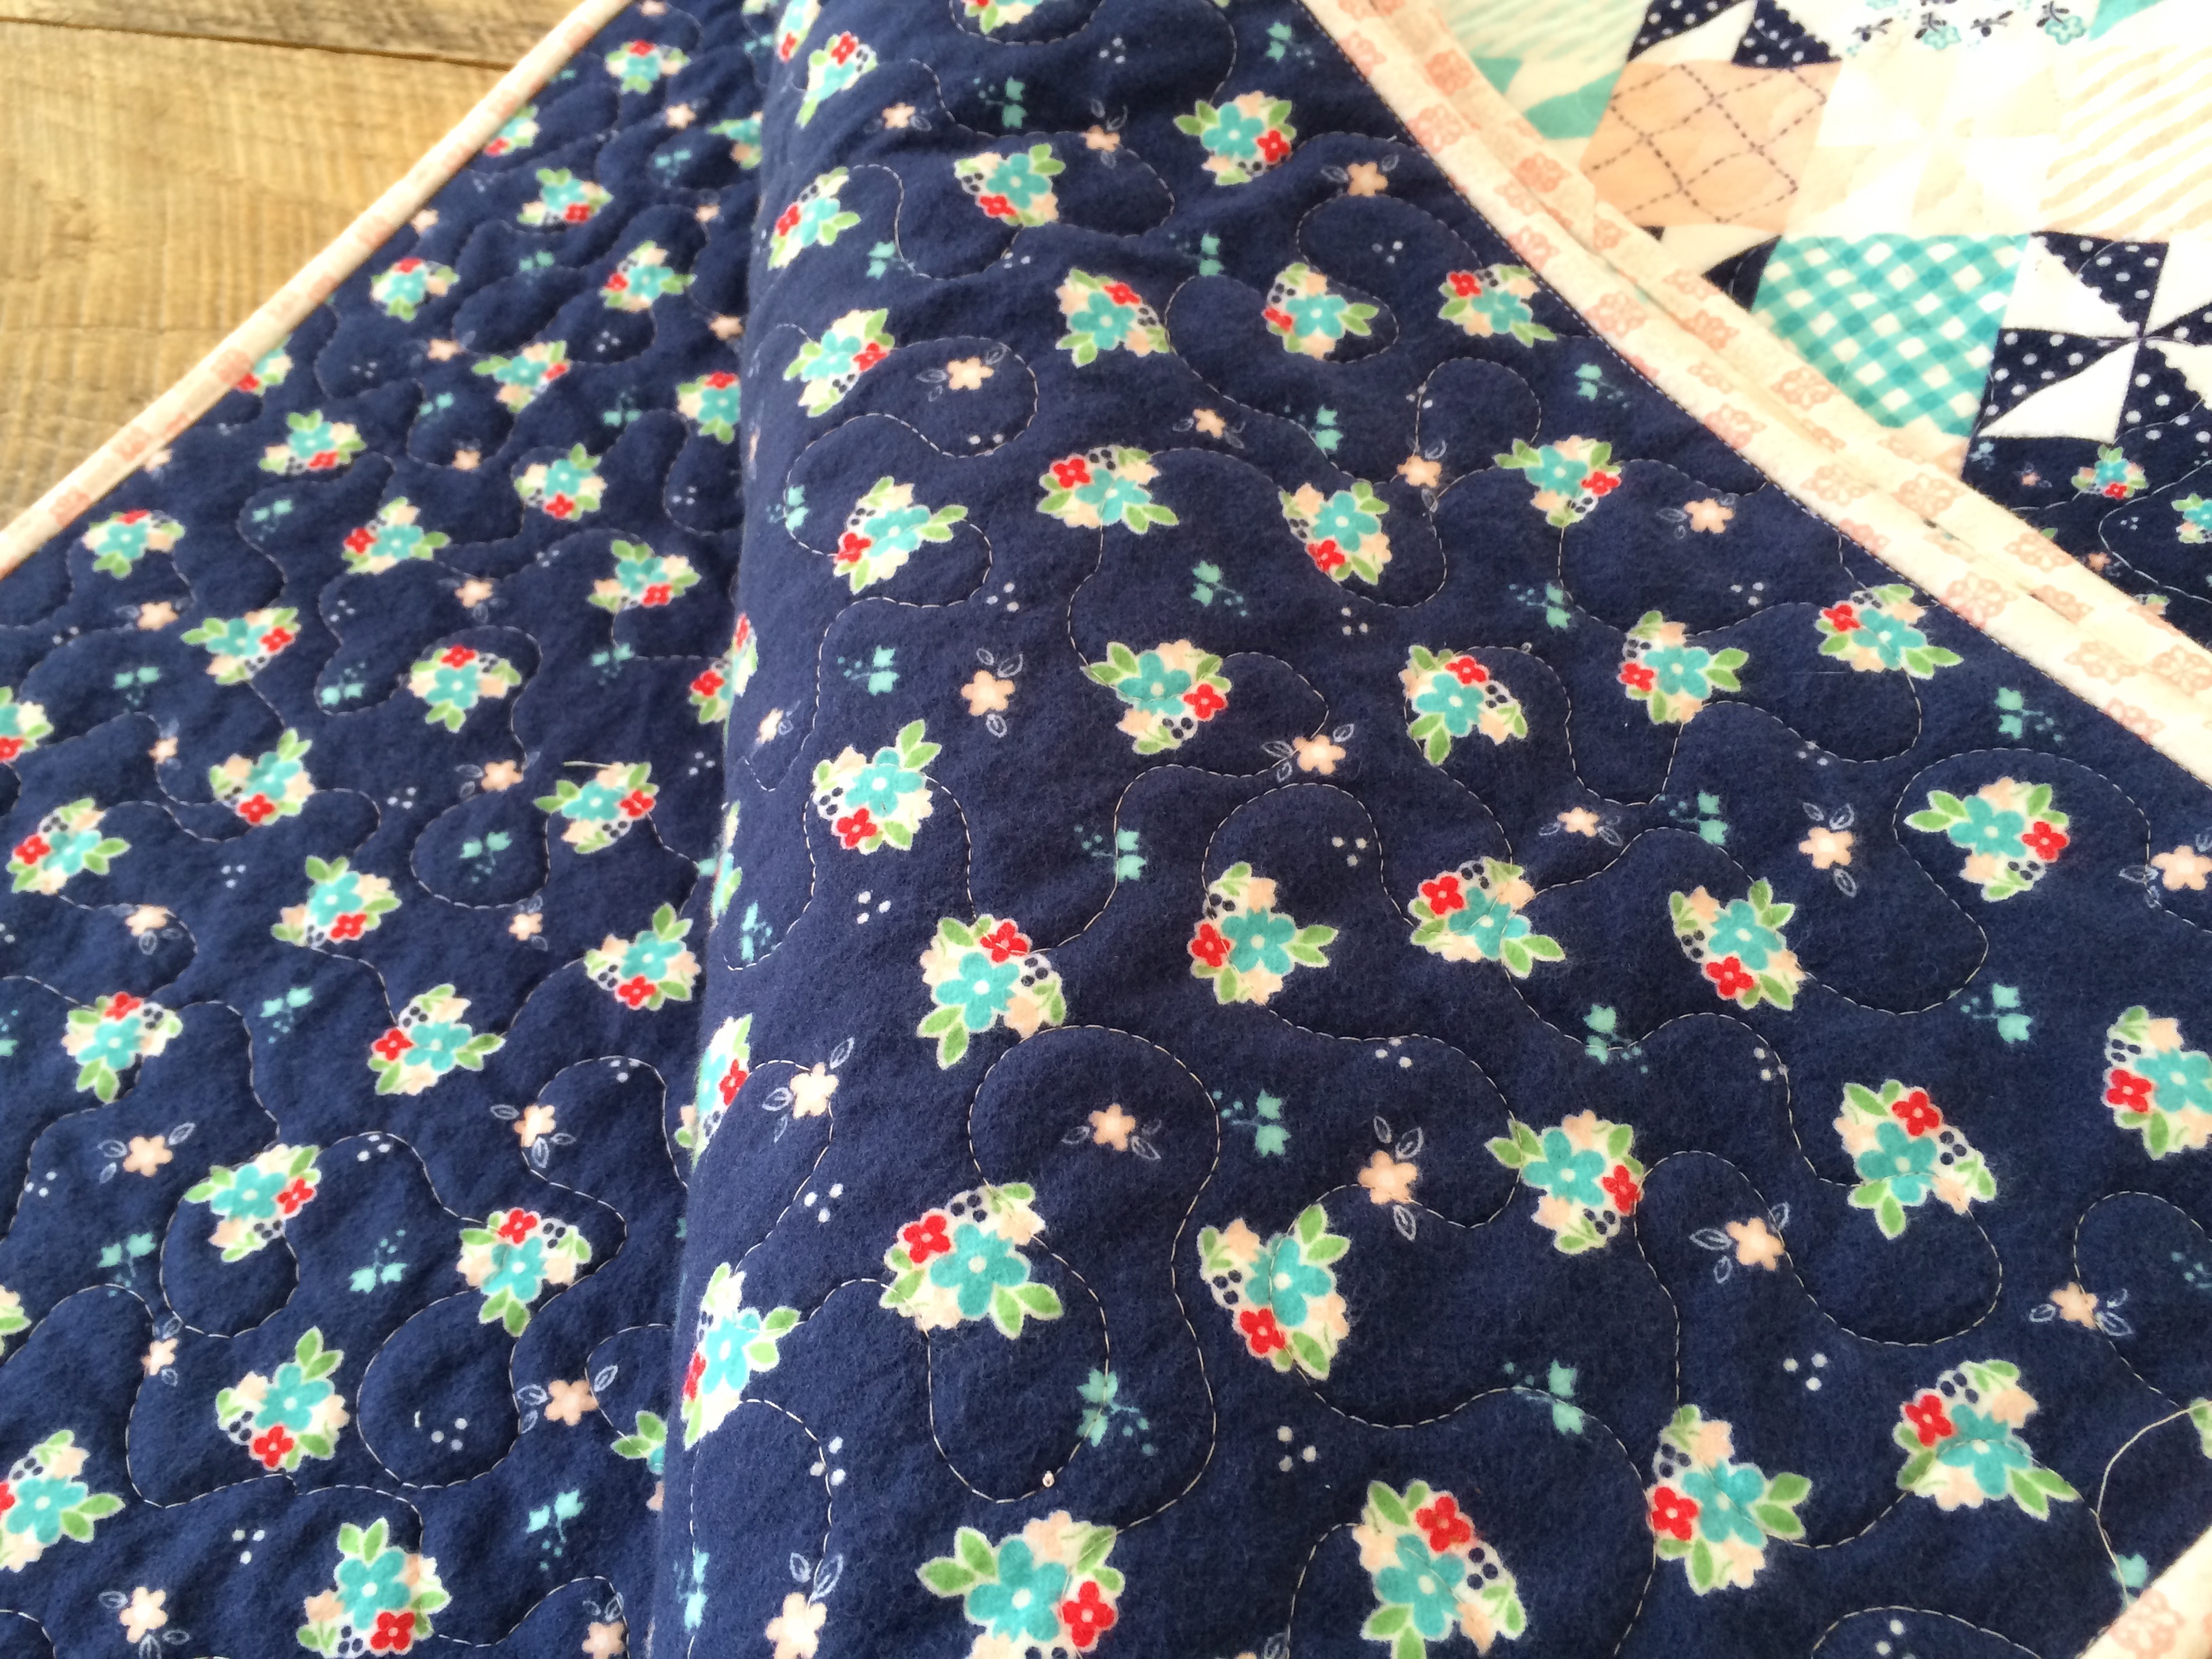
Sew the quilt together in rows.  I used Spray n Bond to baste the quilt together.  This cuts my pinning and quilting time in half at least.  No more stopping and starting to remove pins.  It is a HUGE time saver!!!  The back of the quilt is flannel, I forgot to photograph it as I was on my way to the baby shower while taking the photos!!cottage garden baby quilt 2

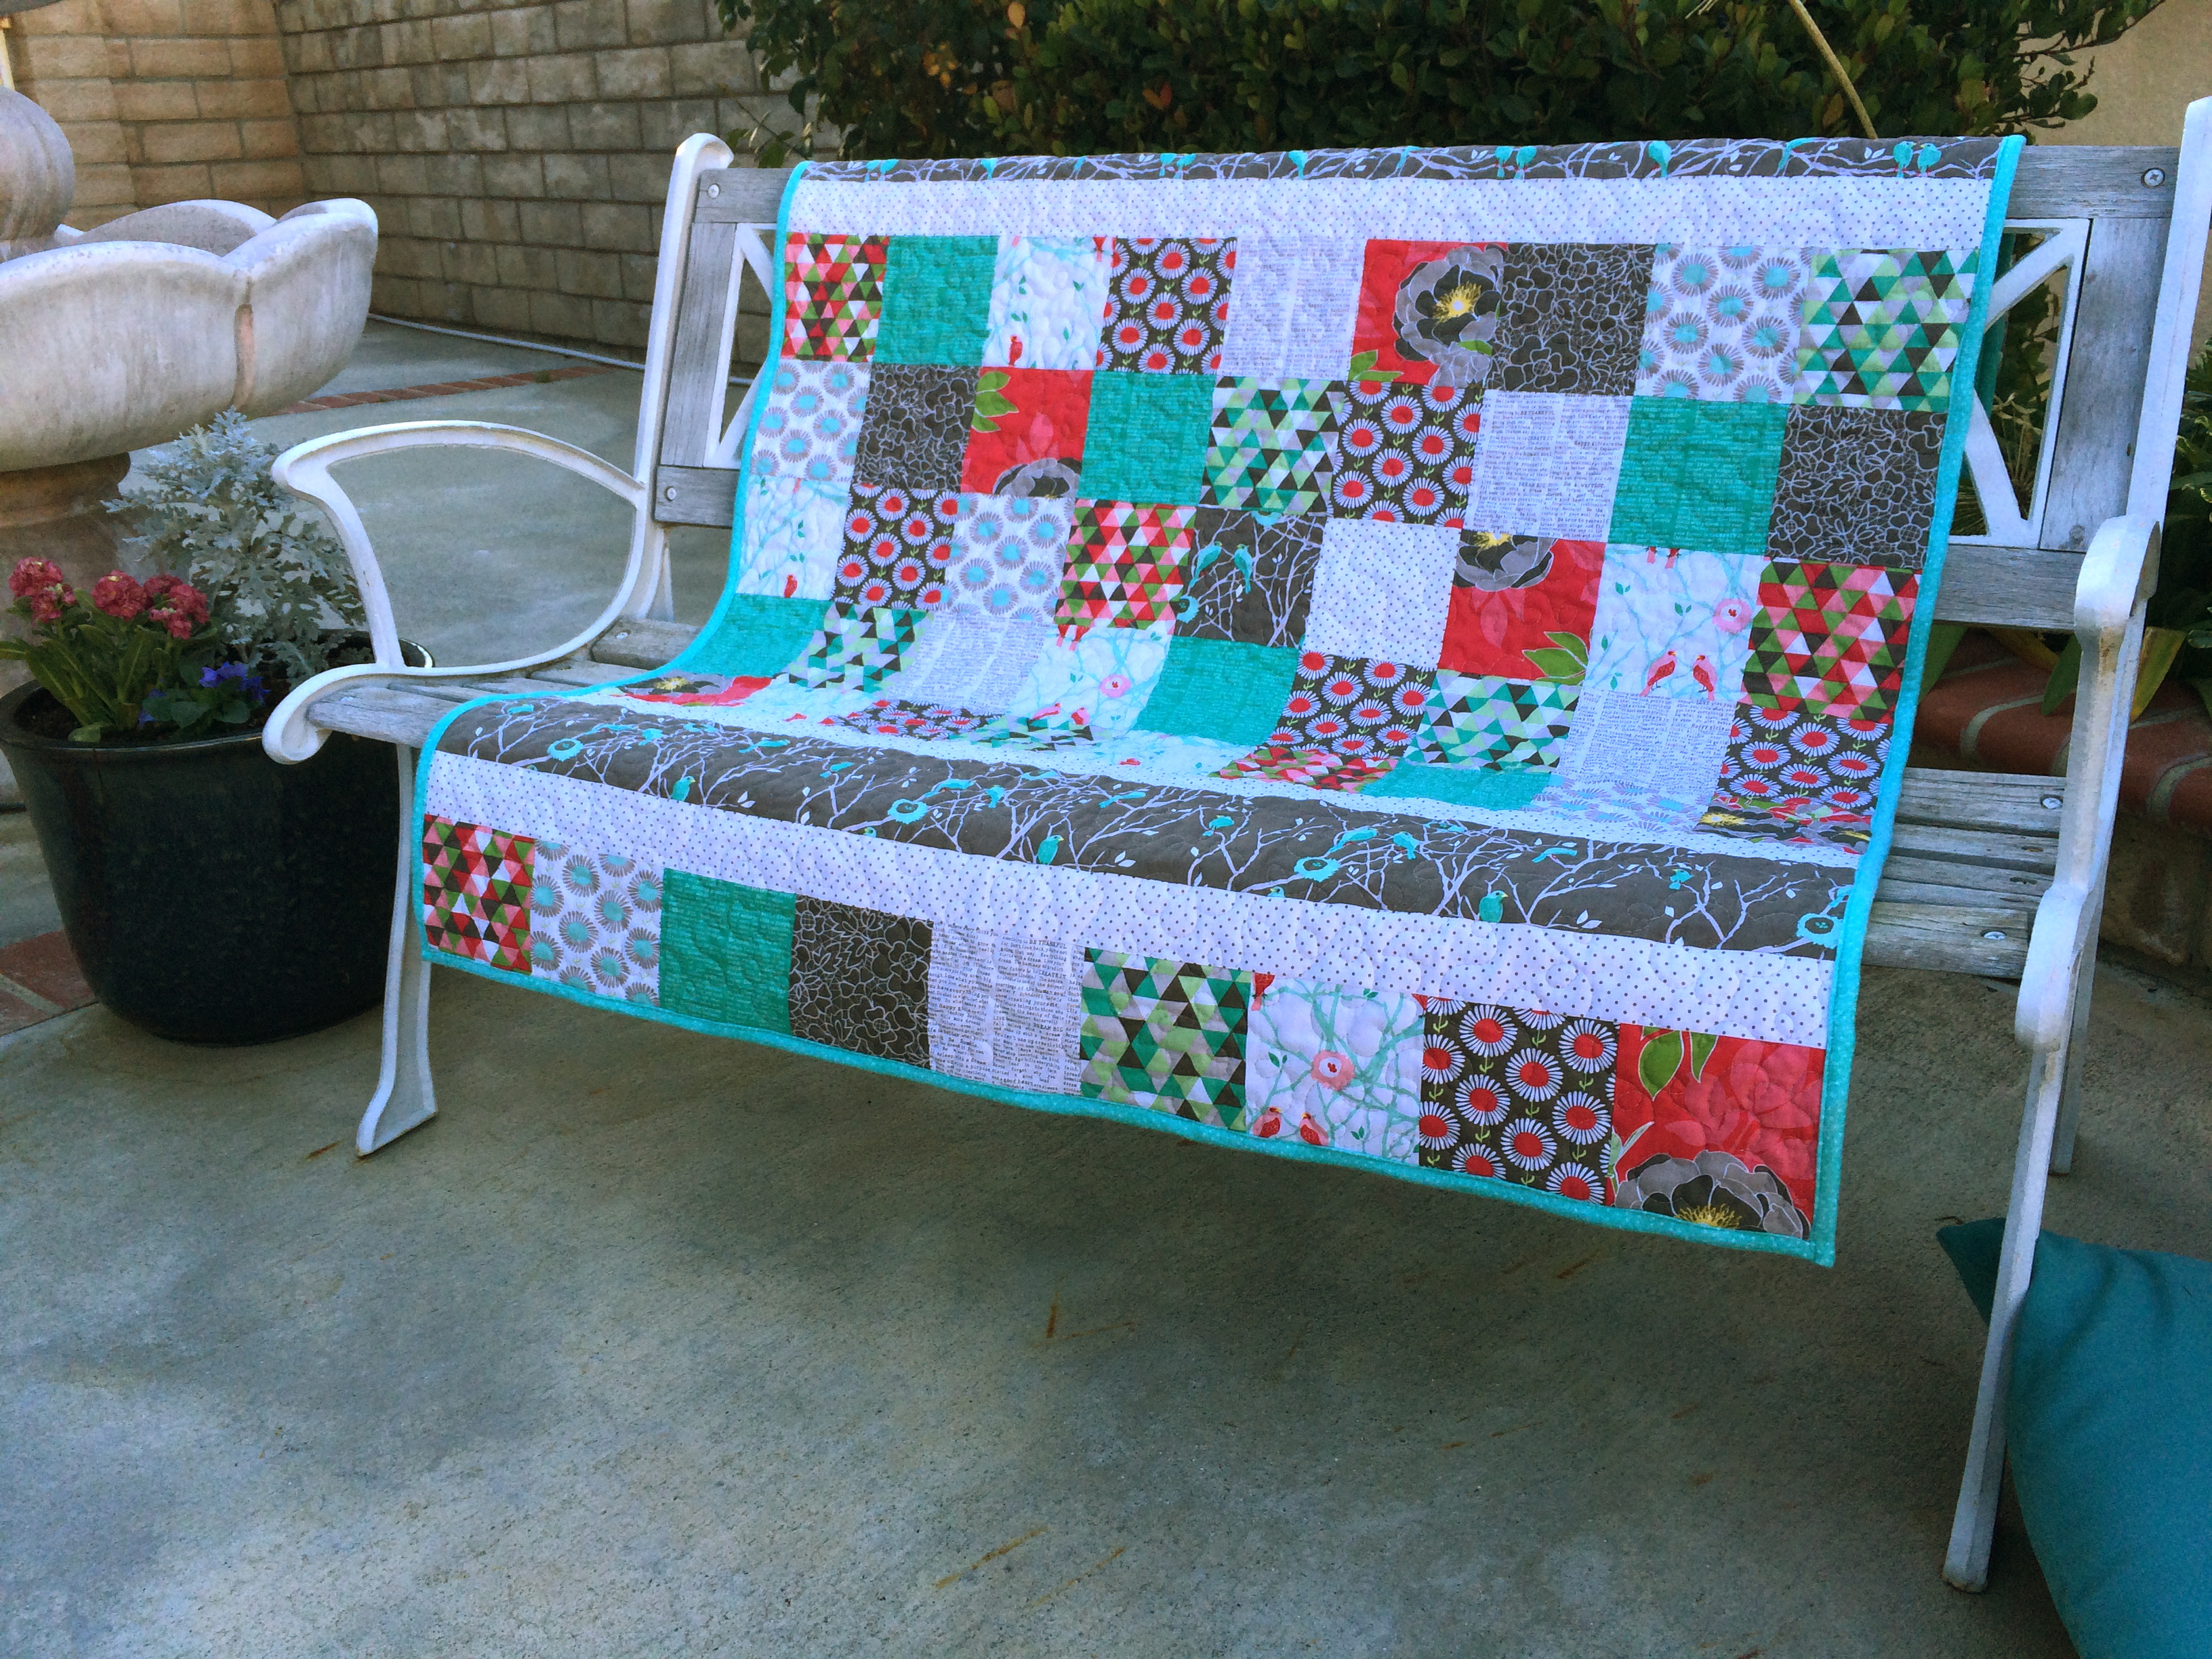
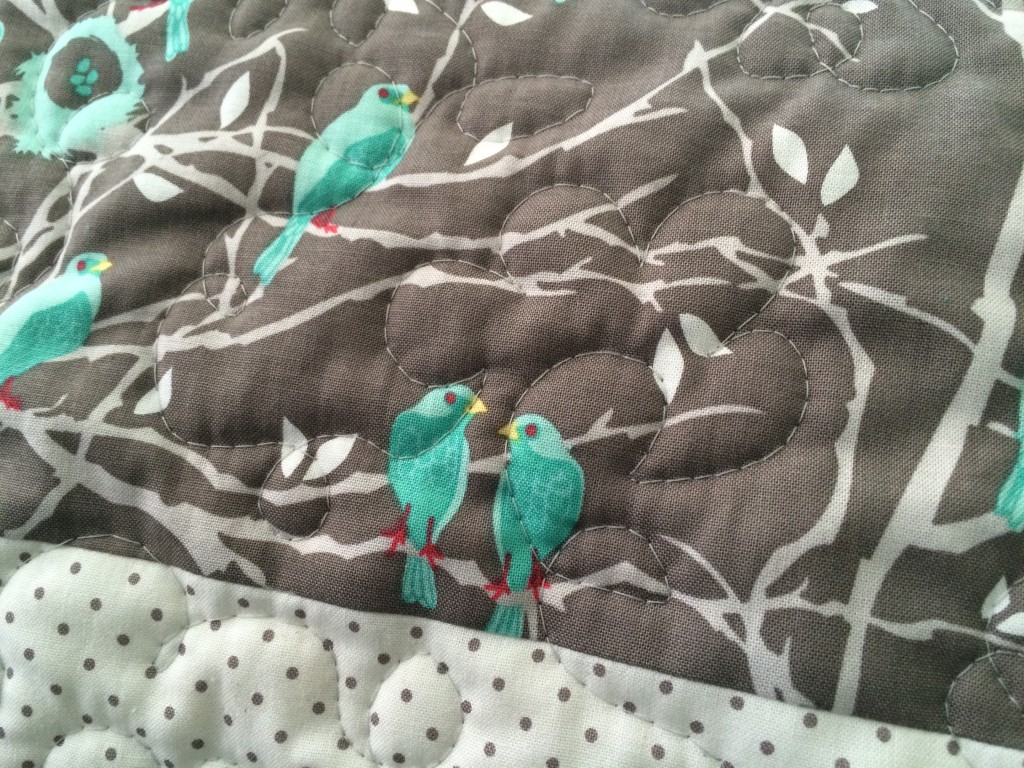
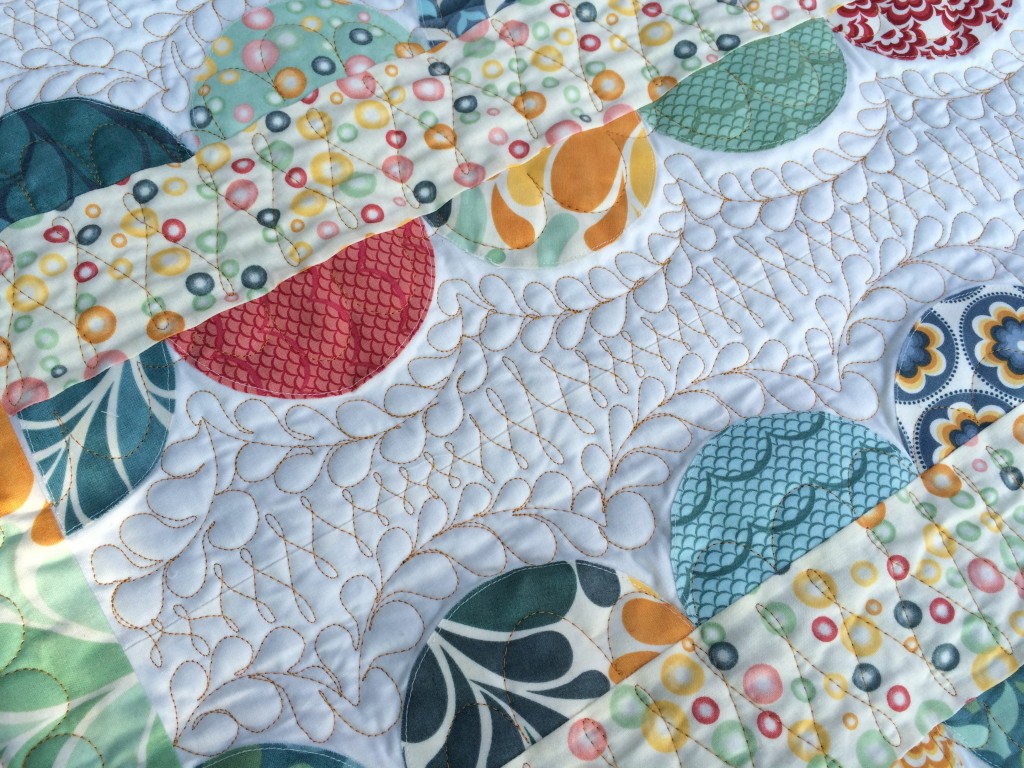
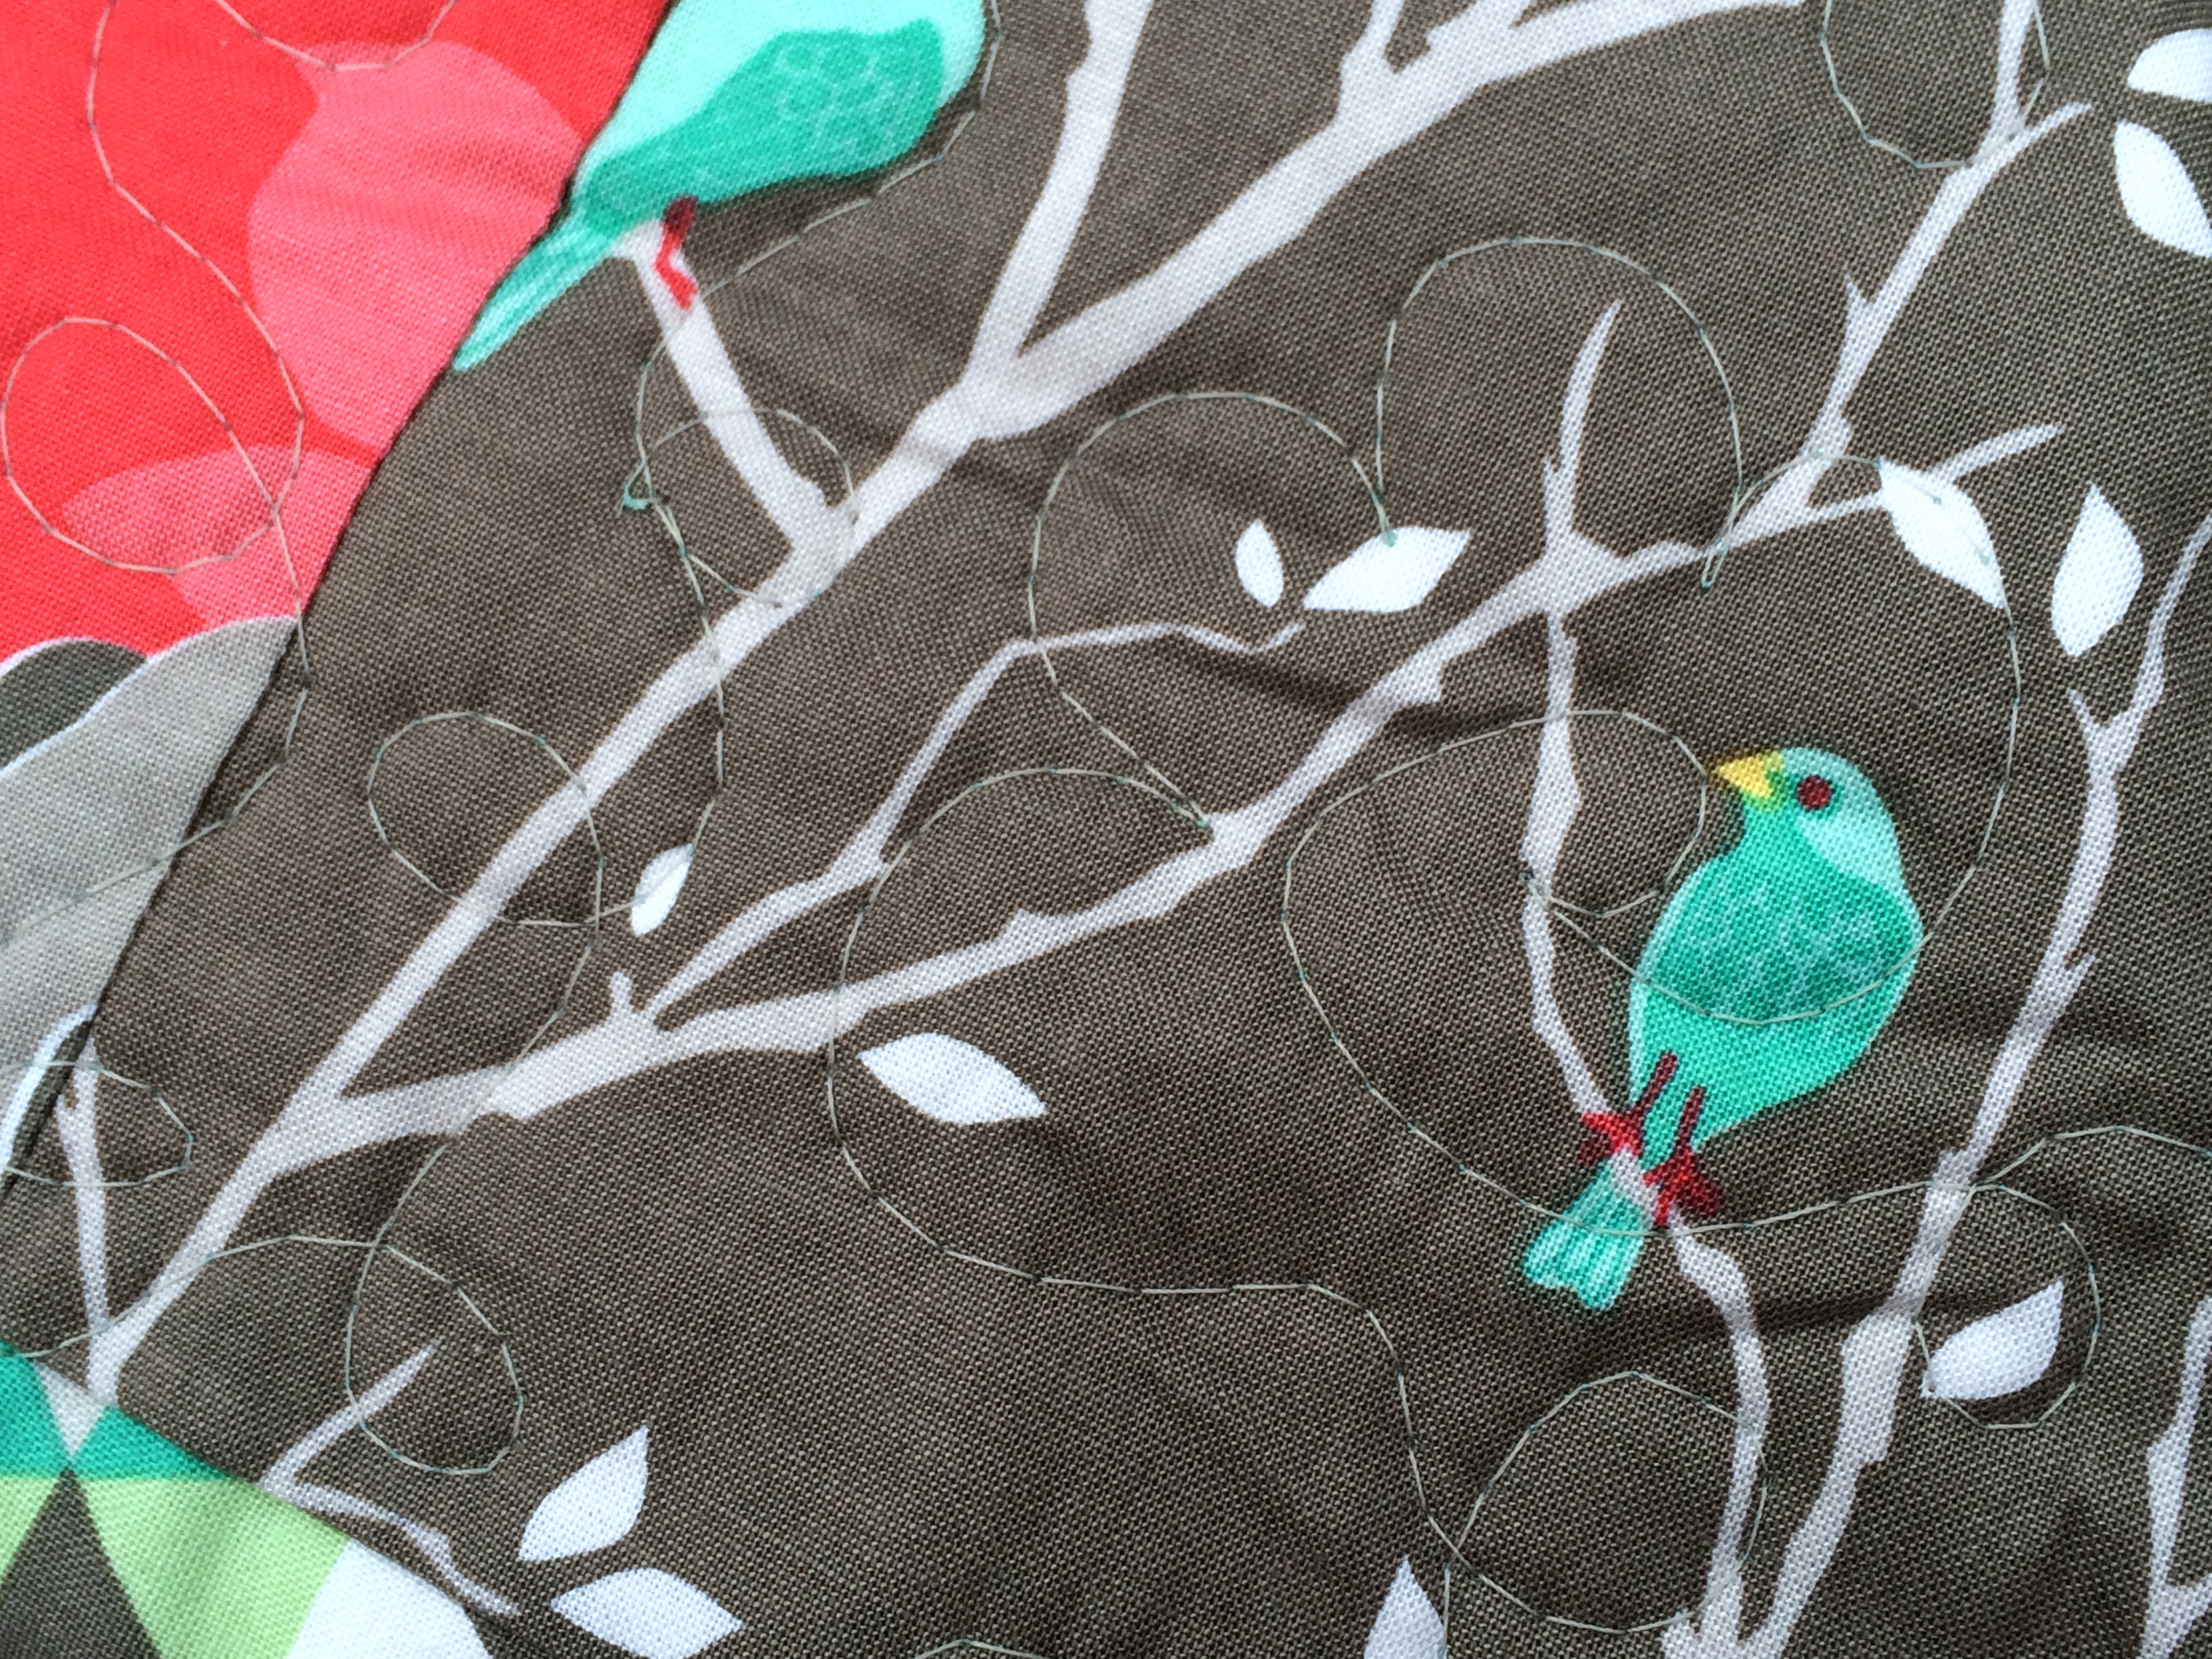
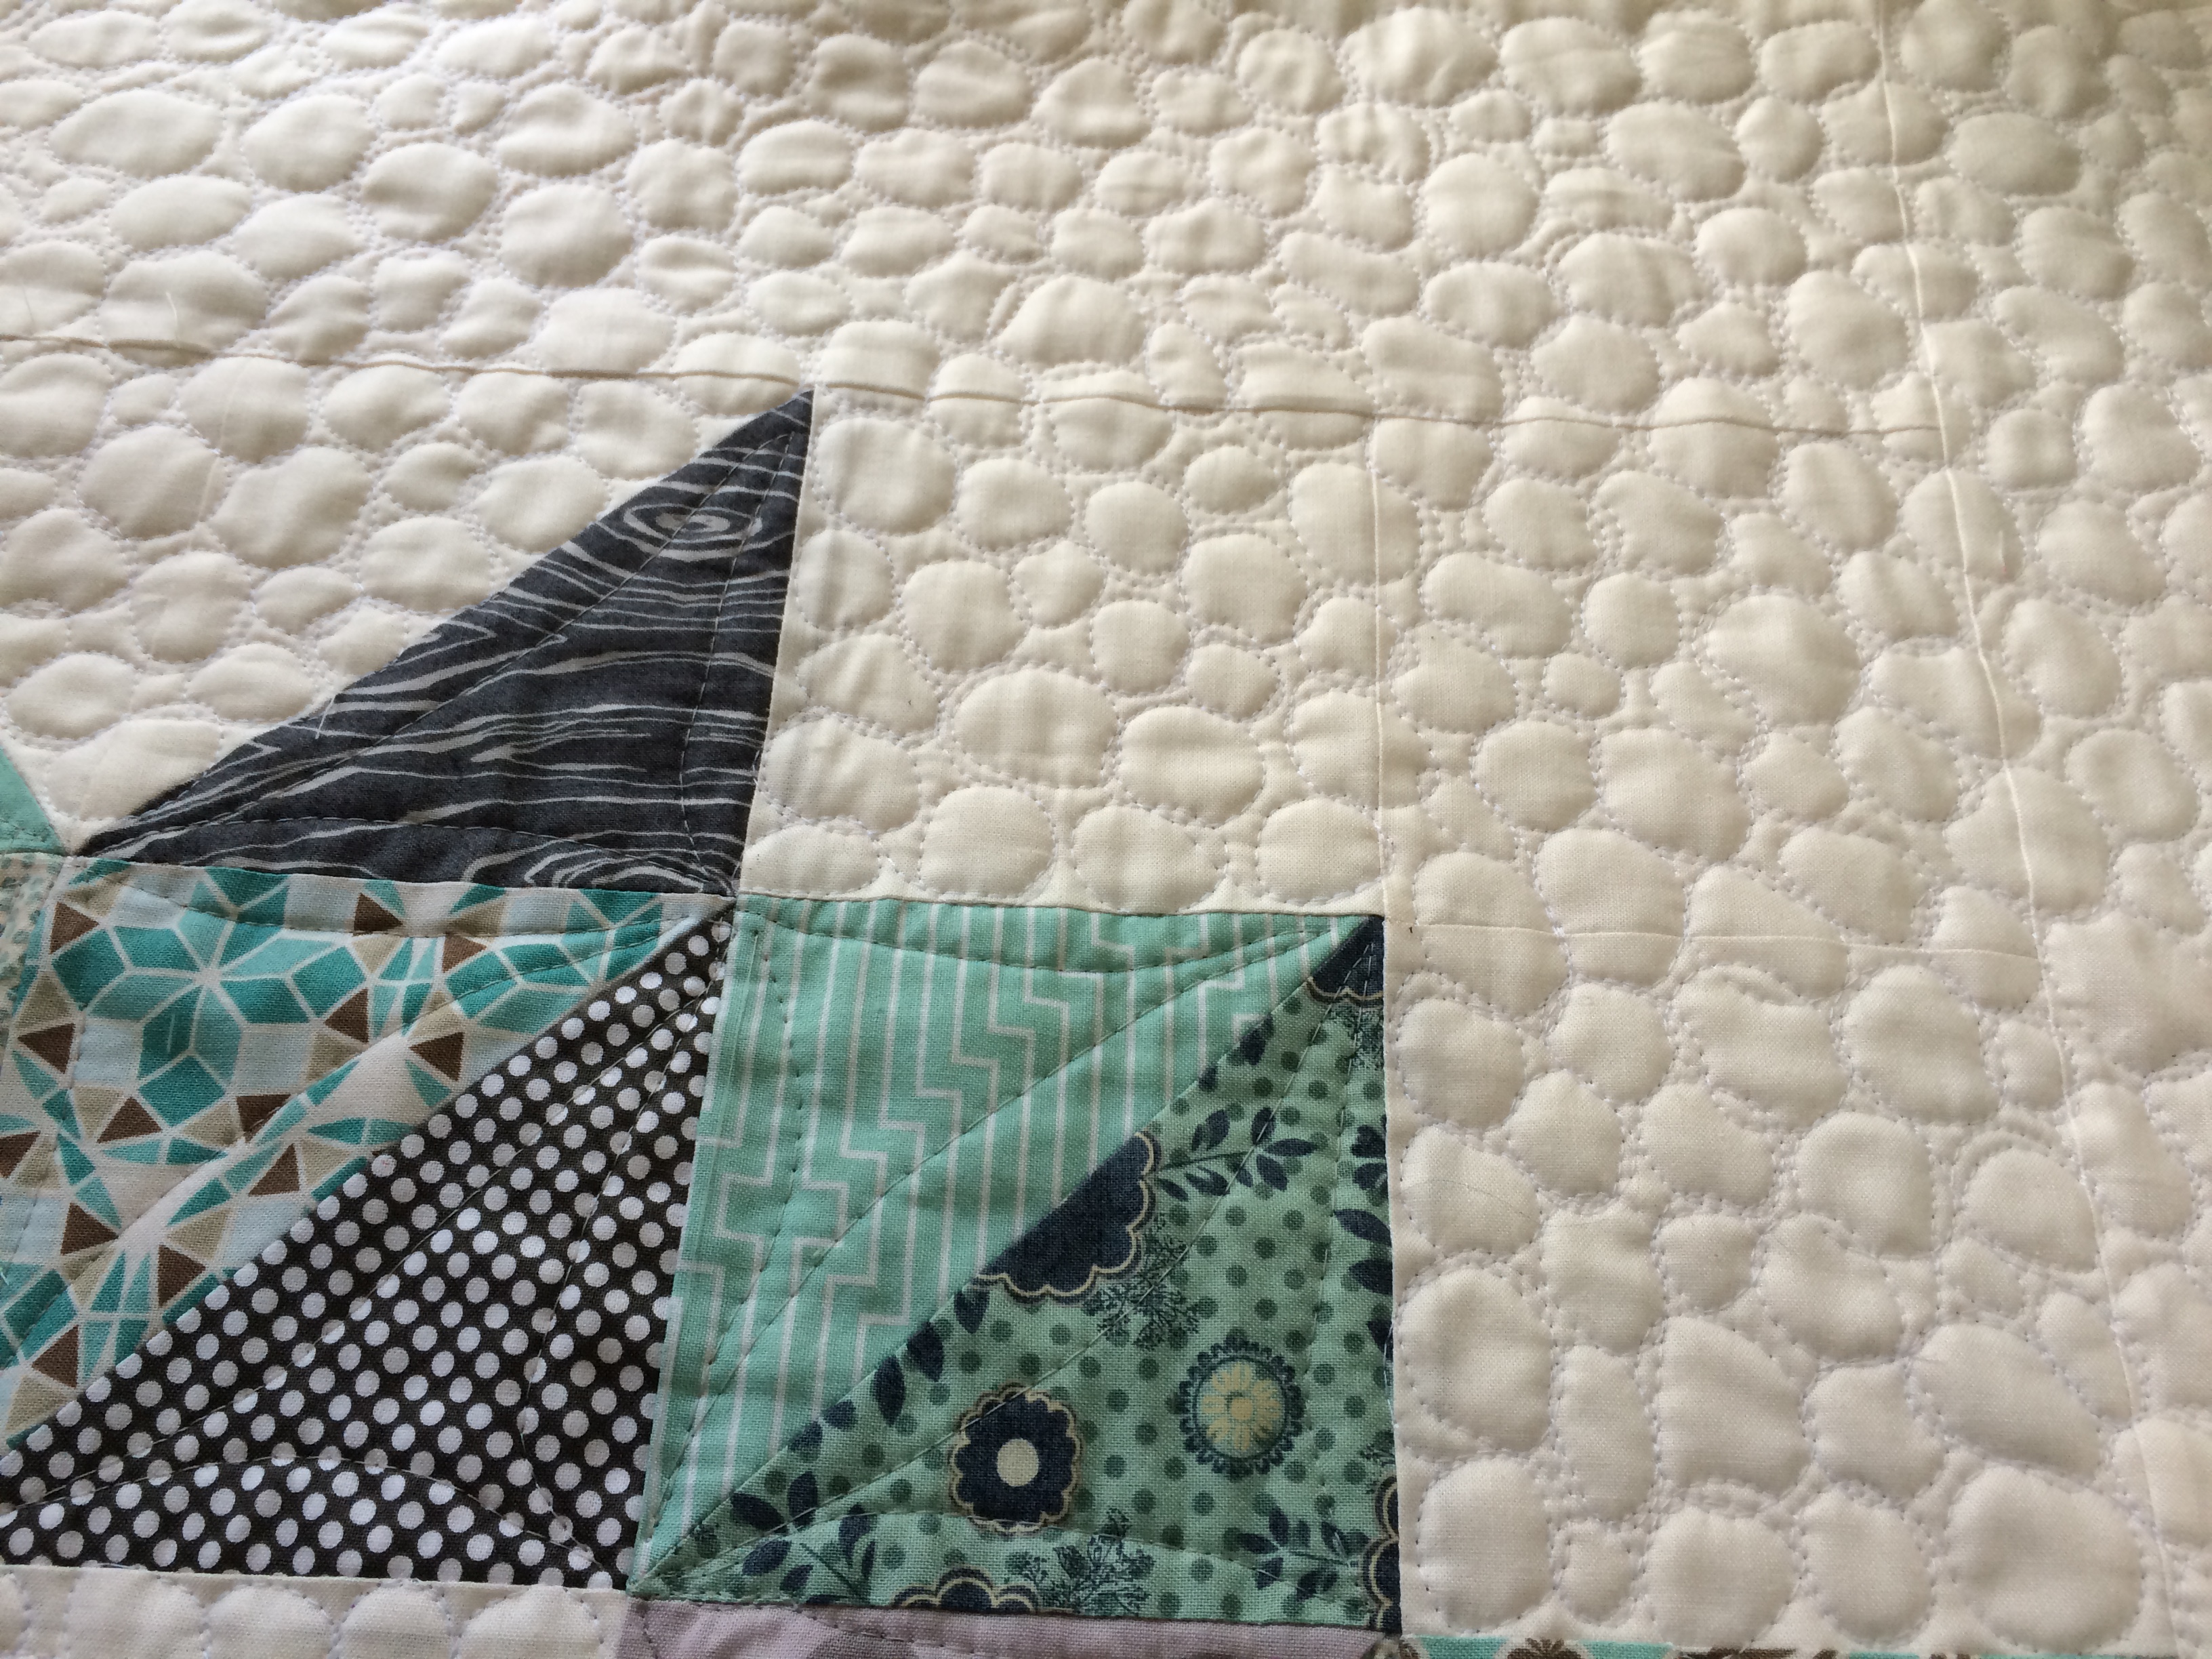
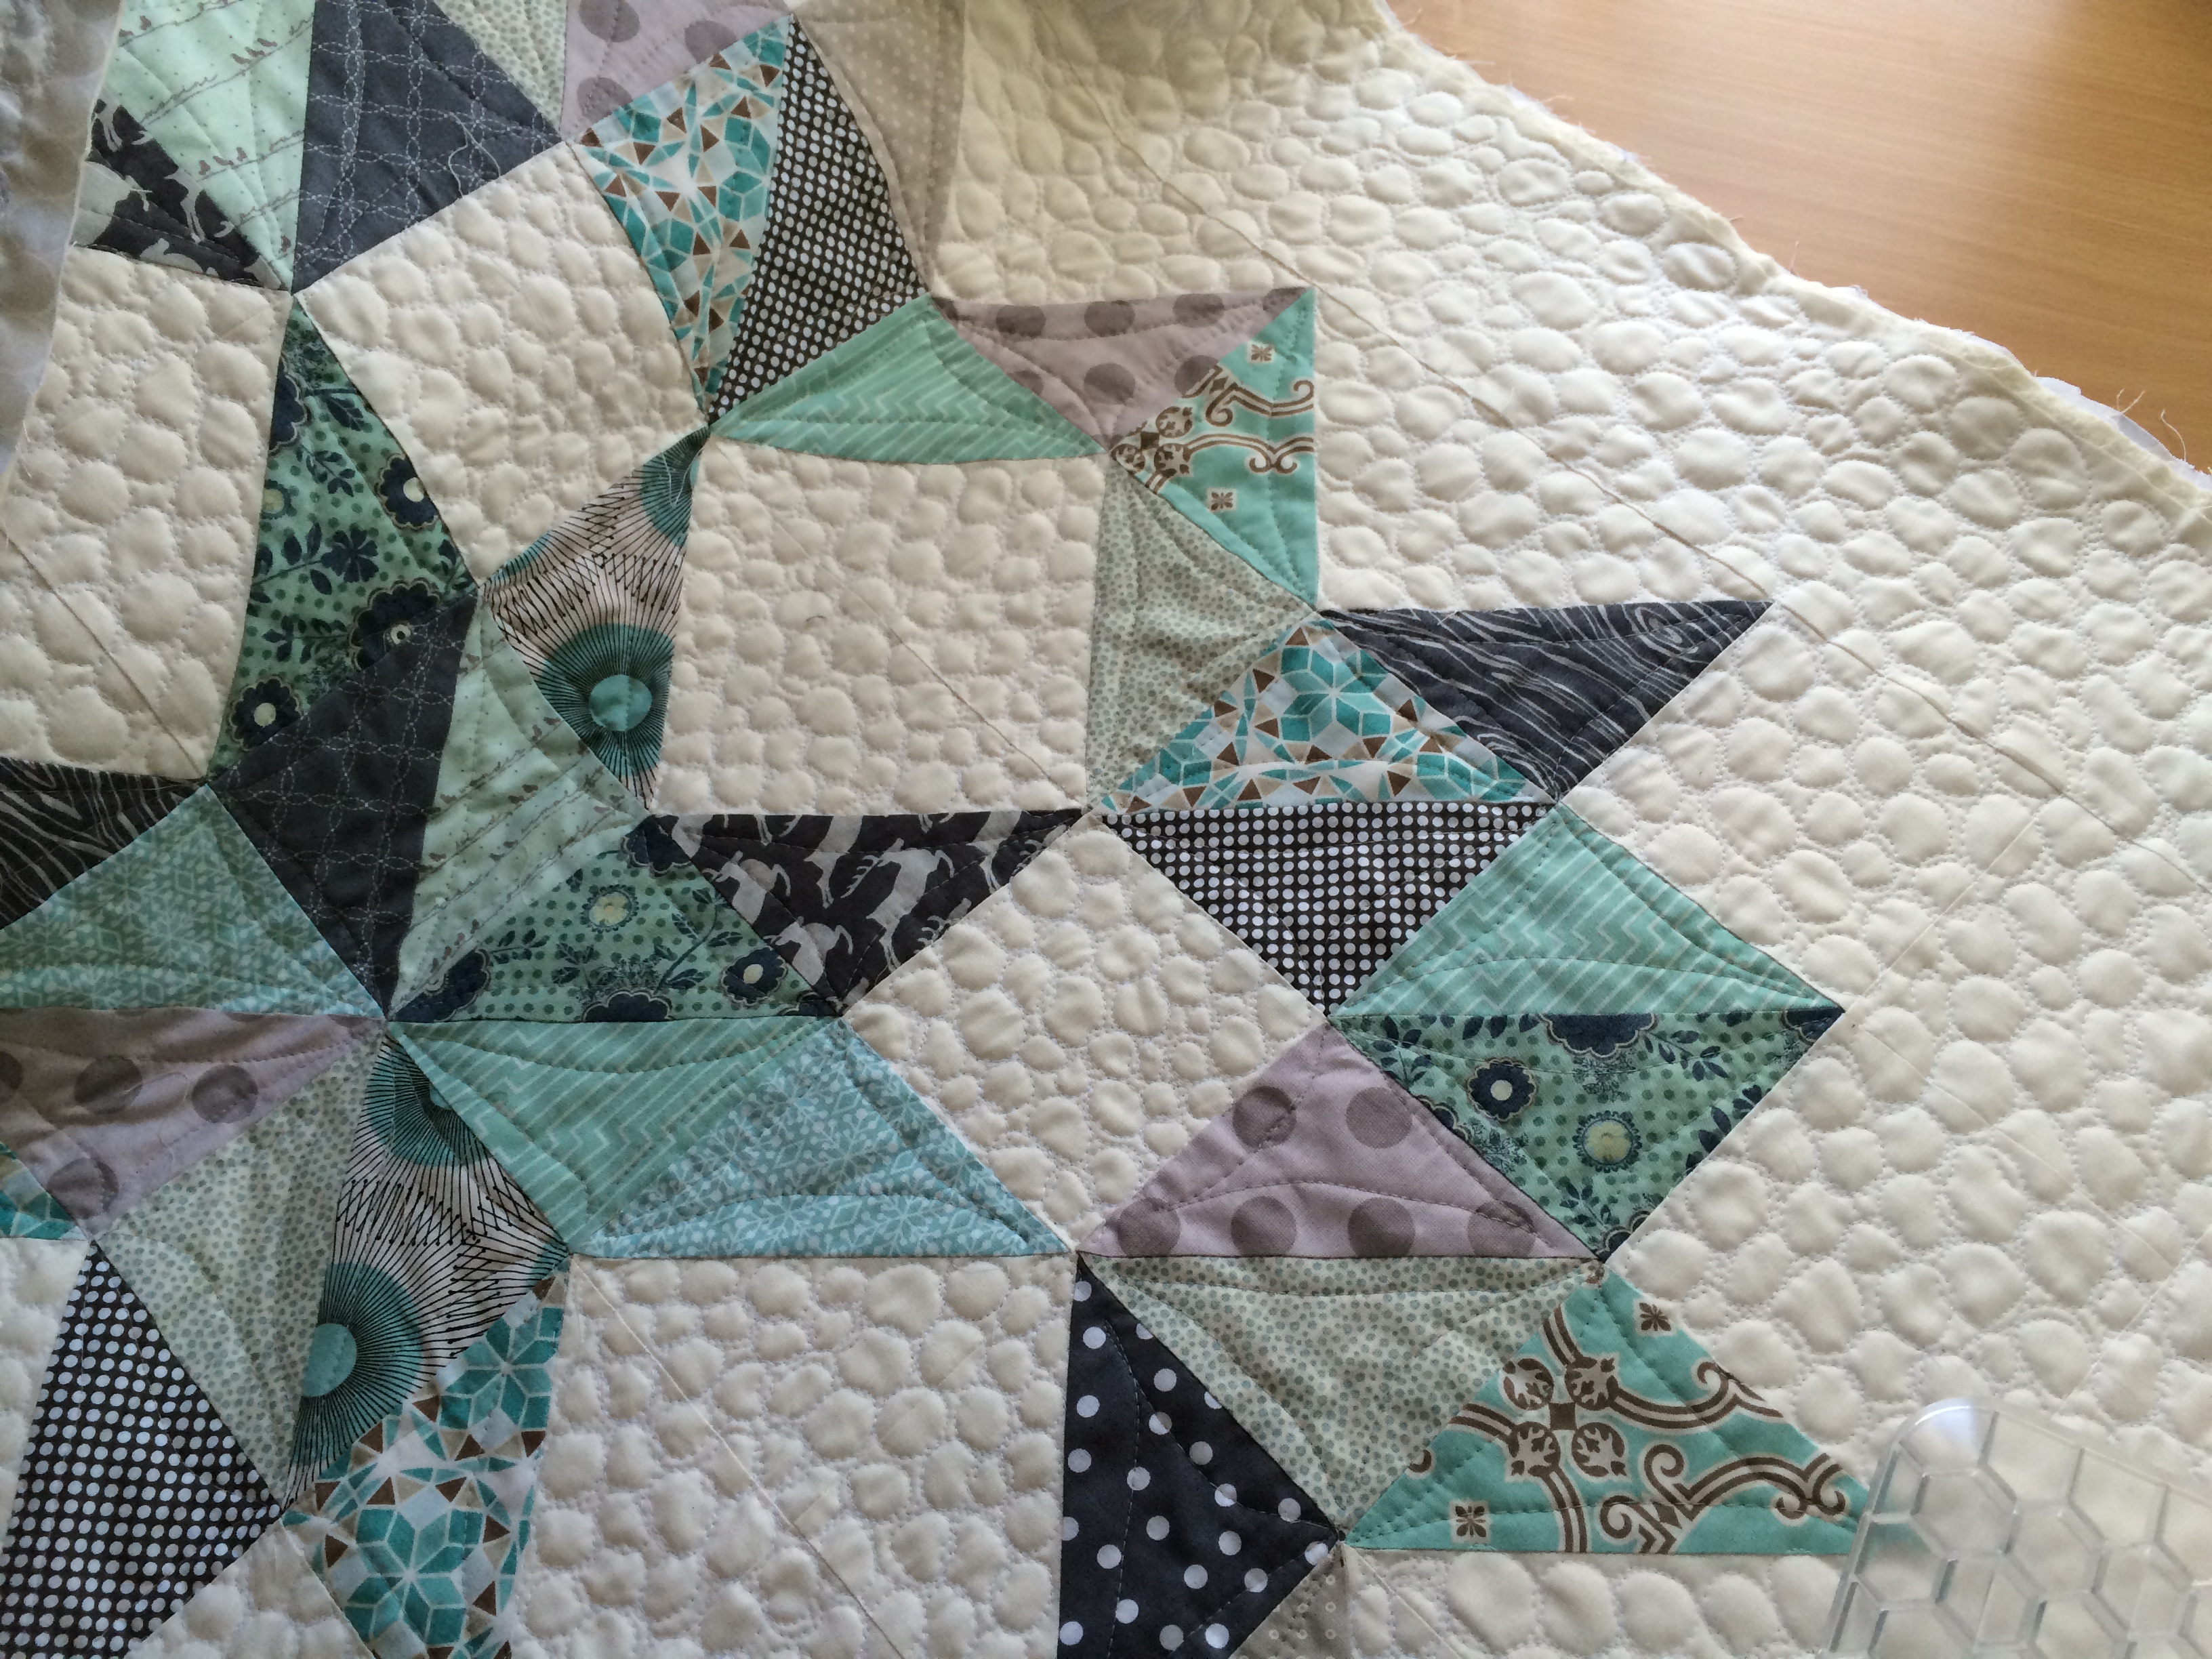
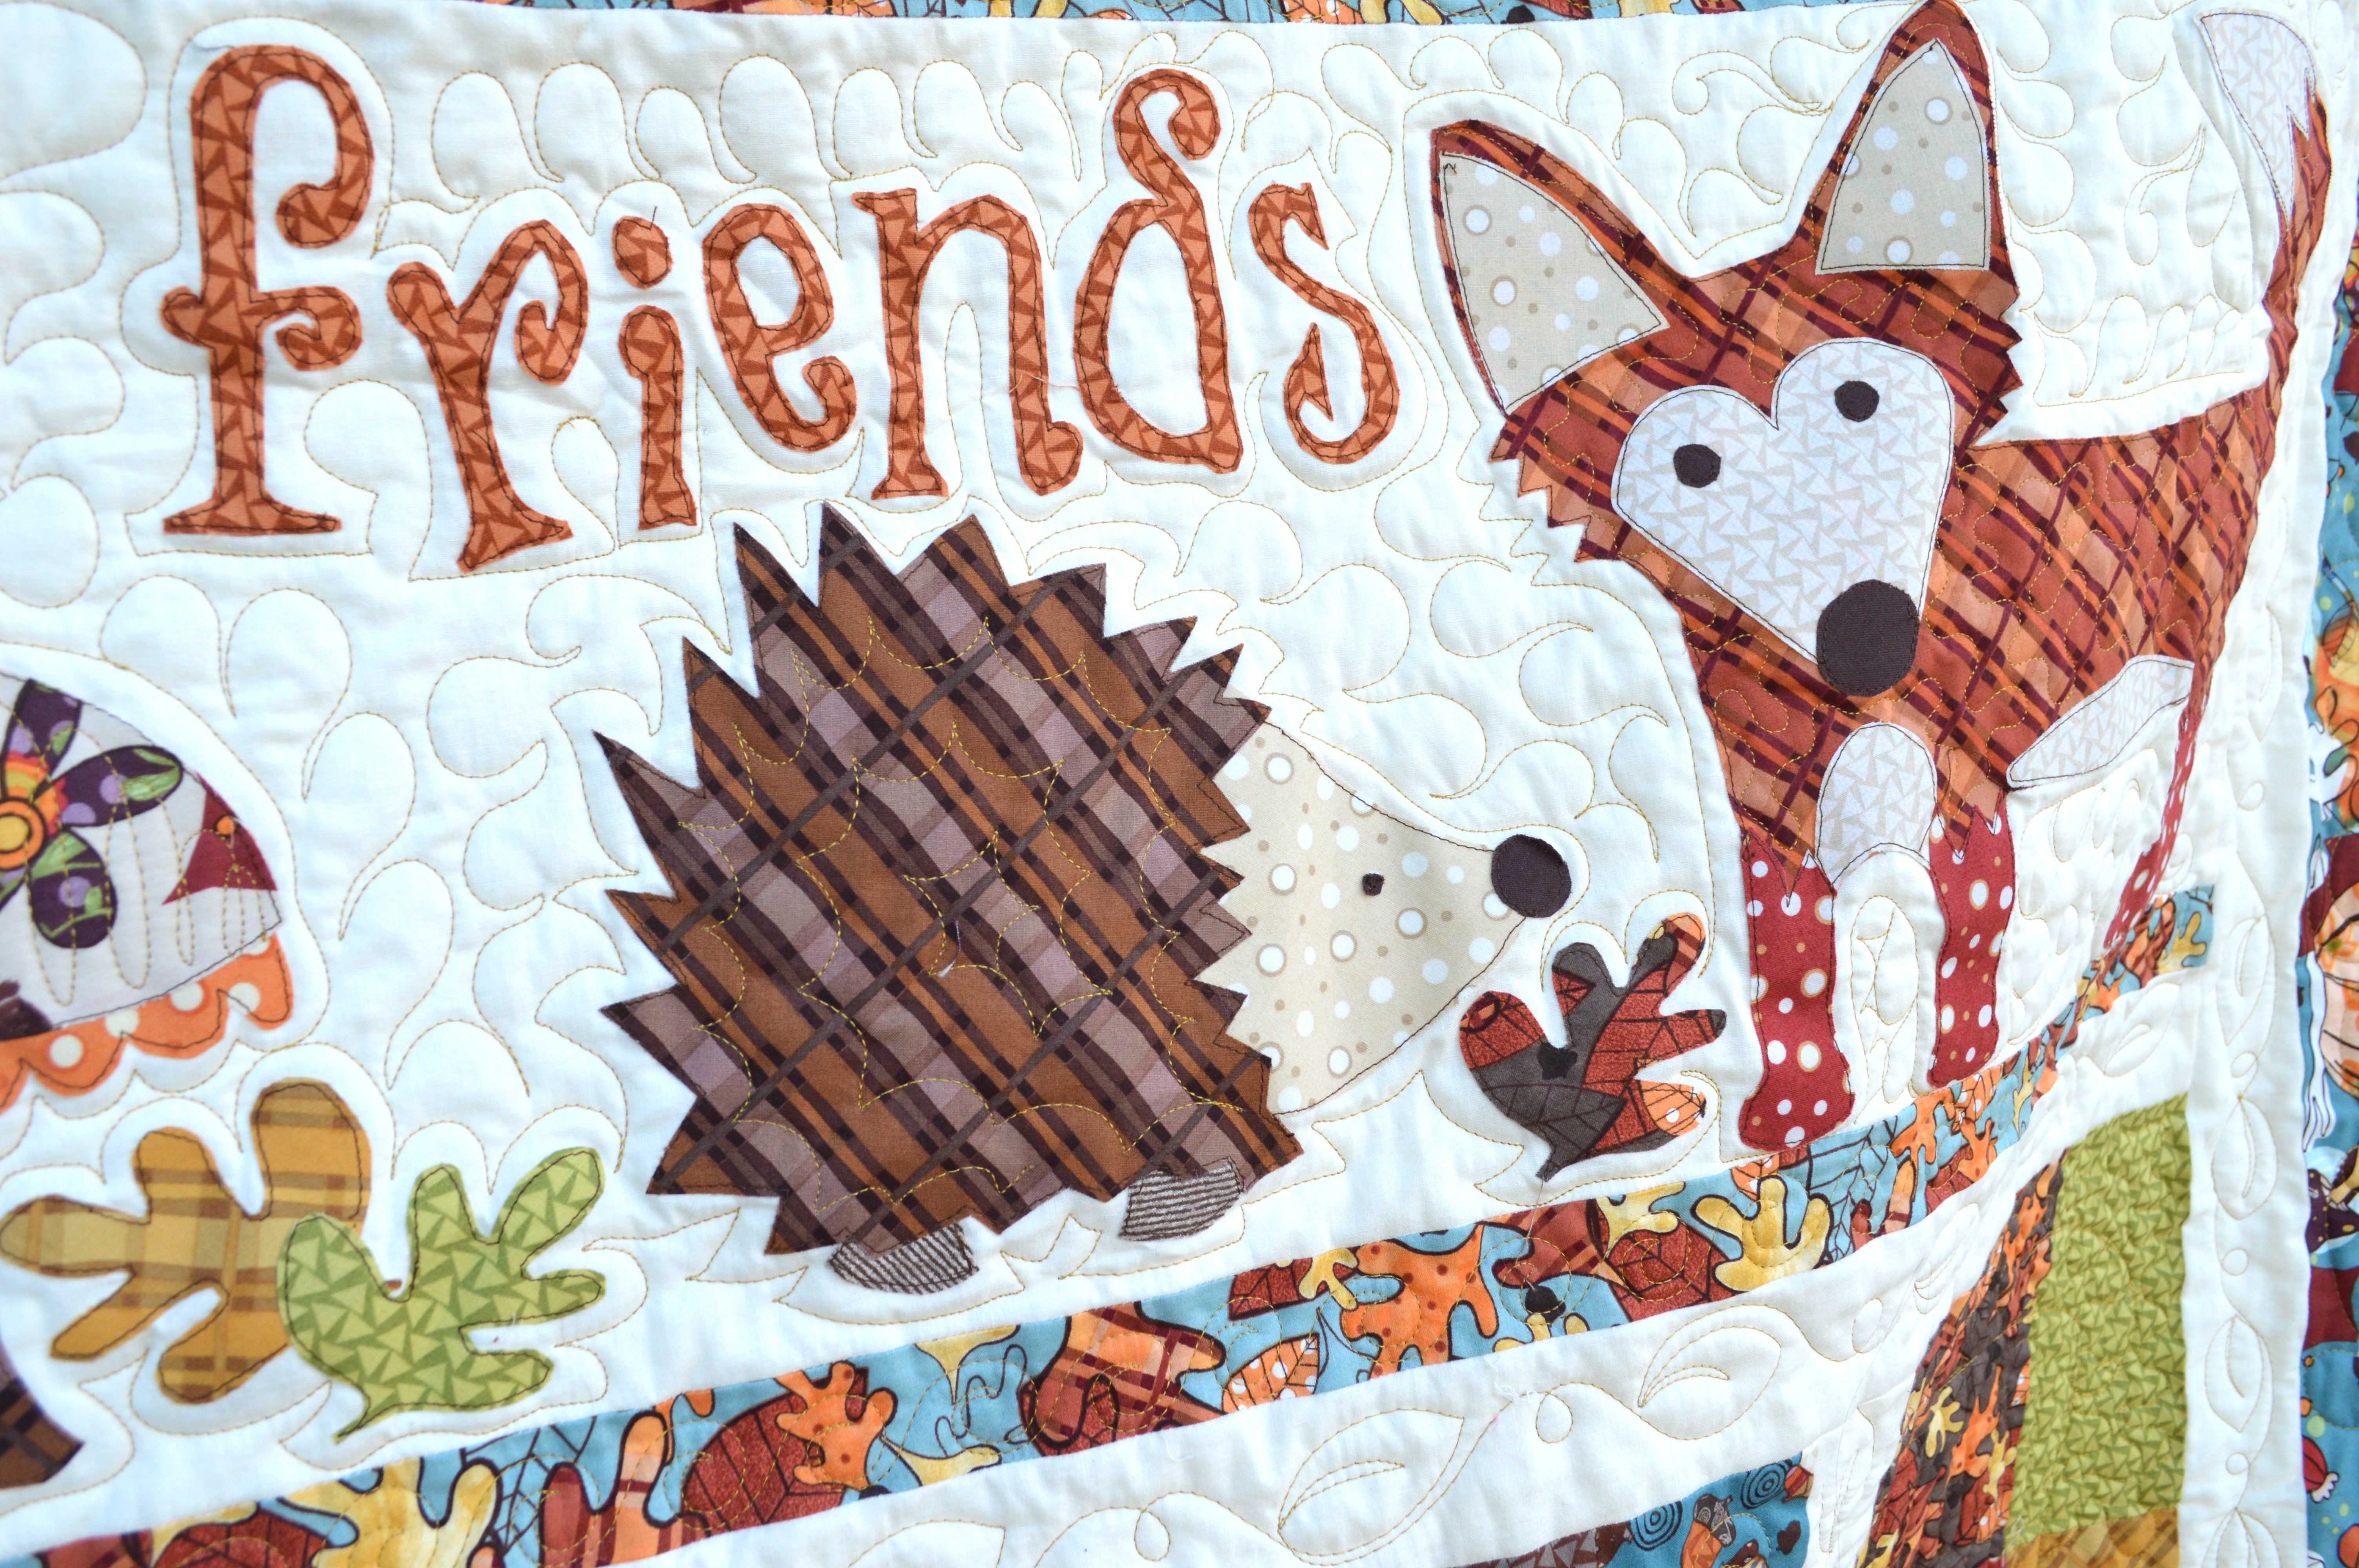
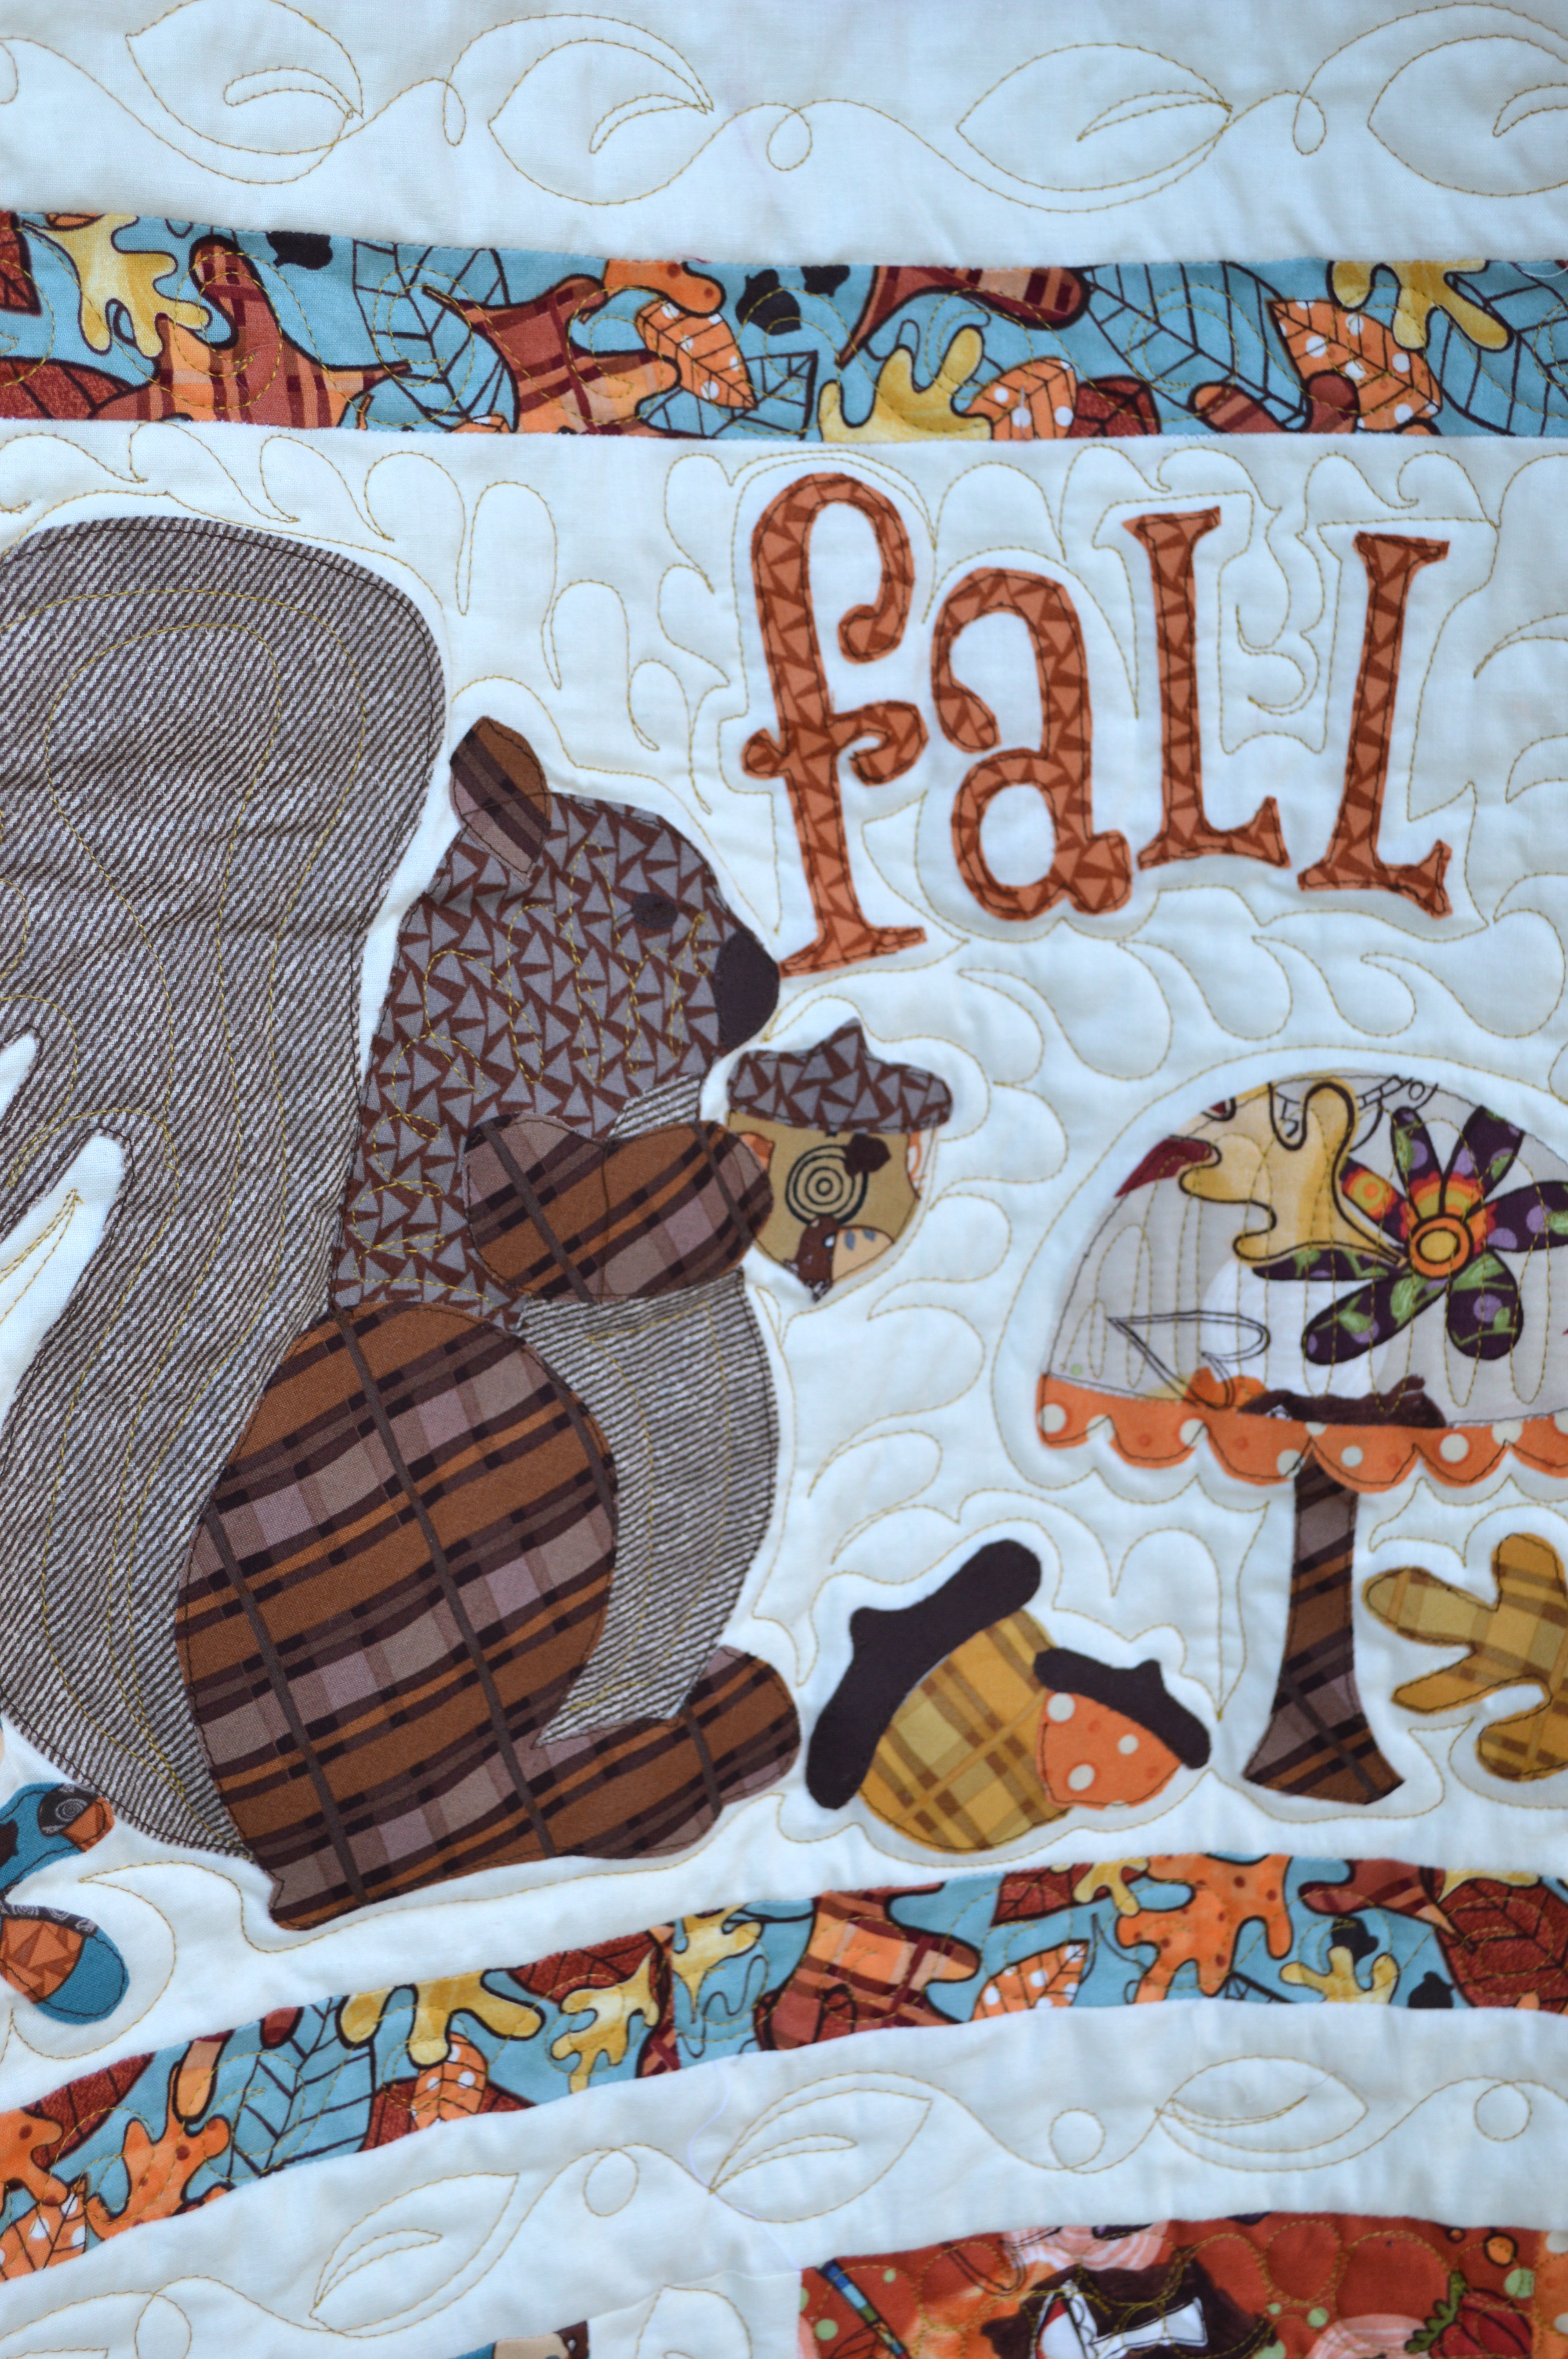
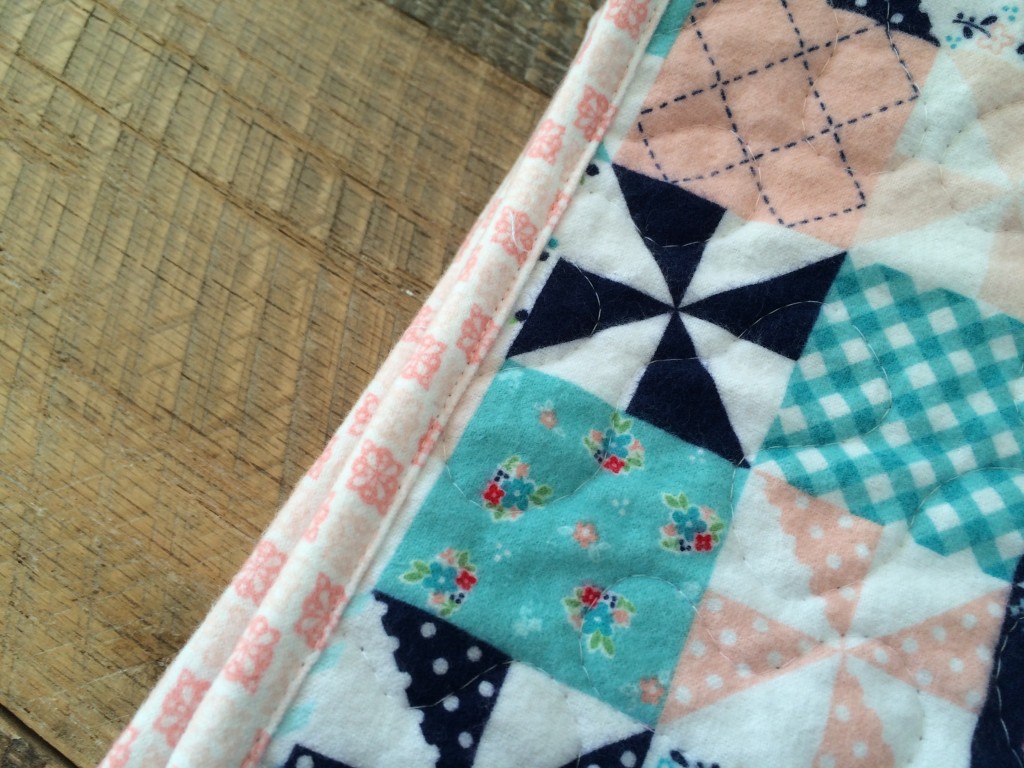
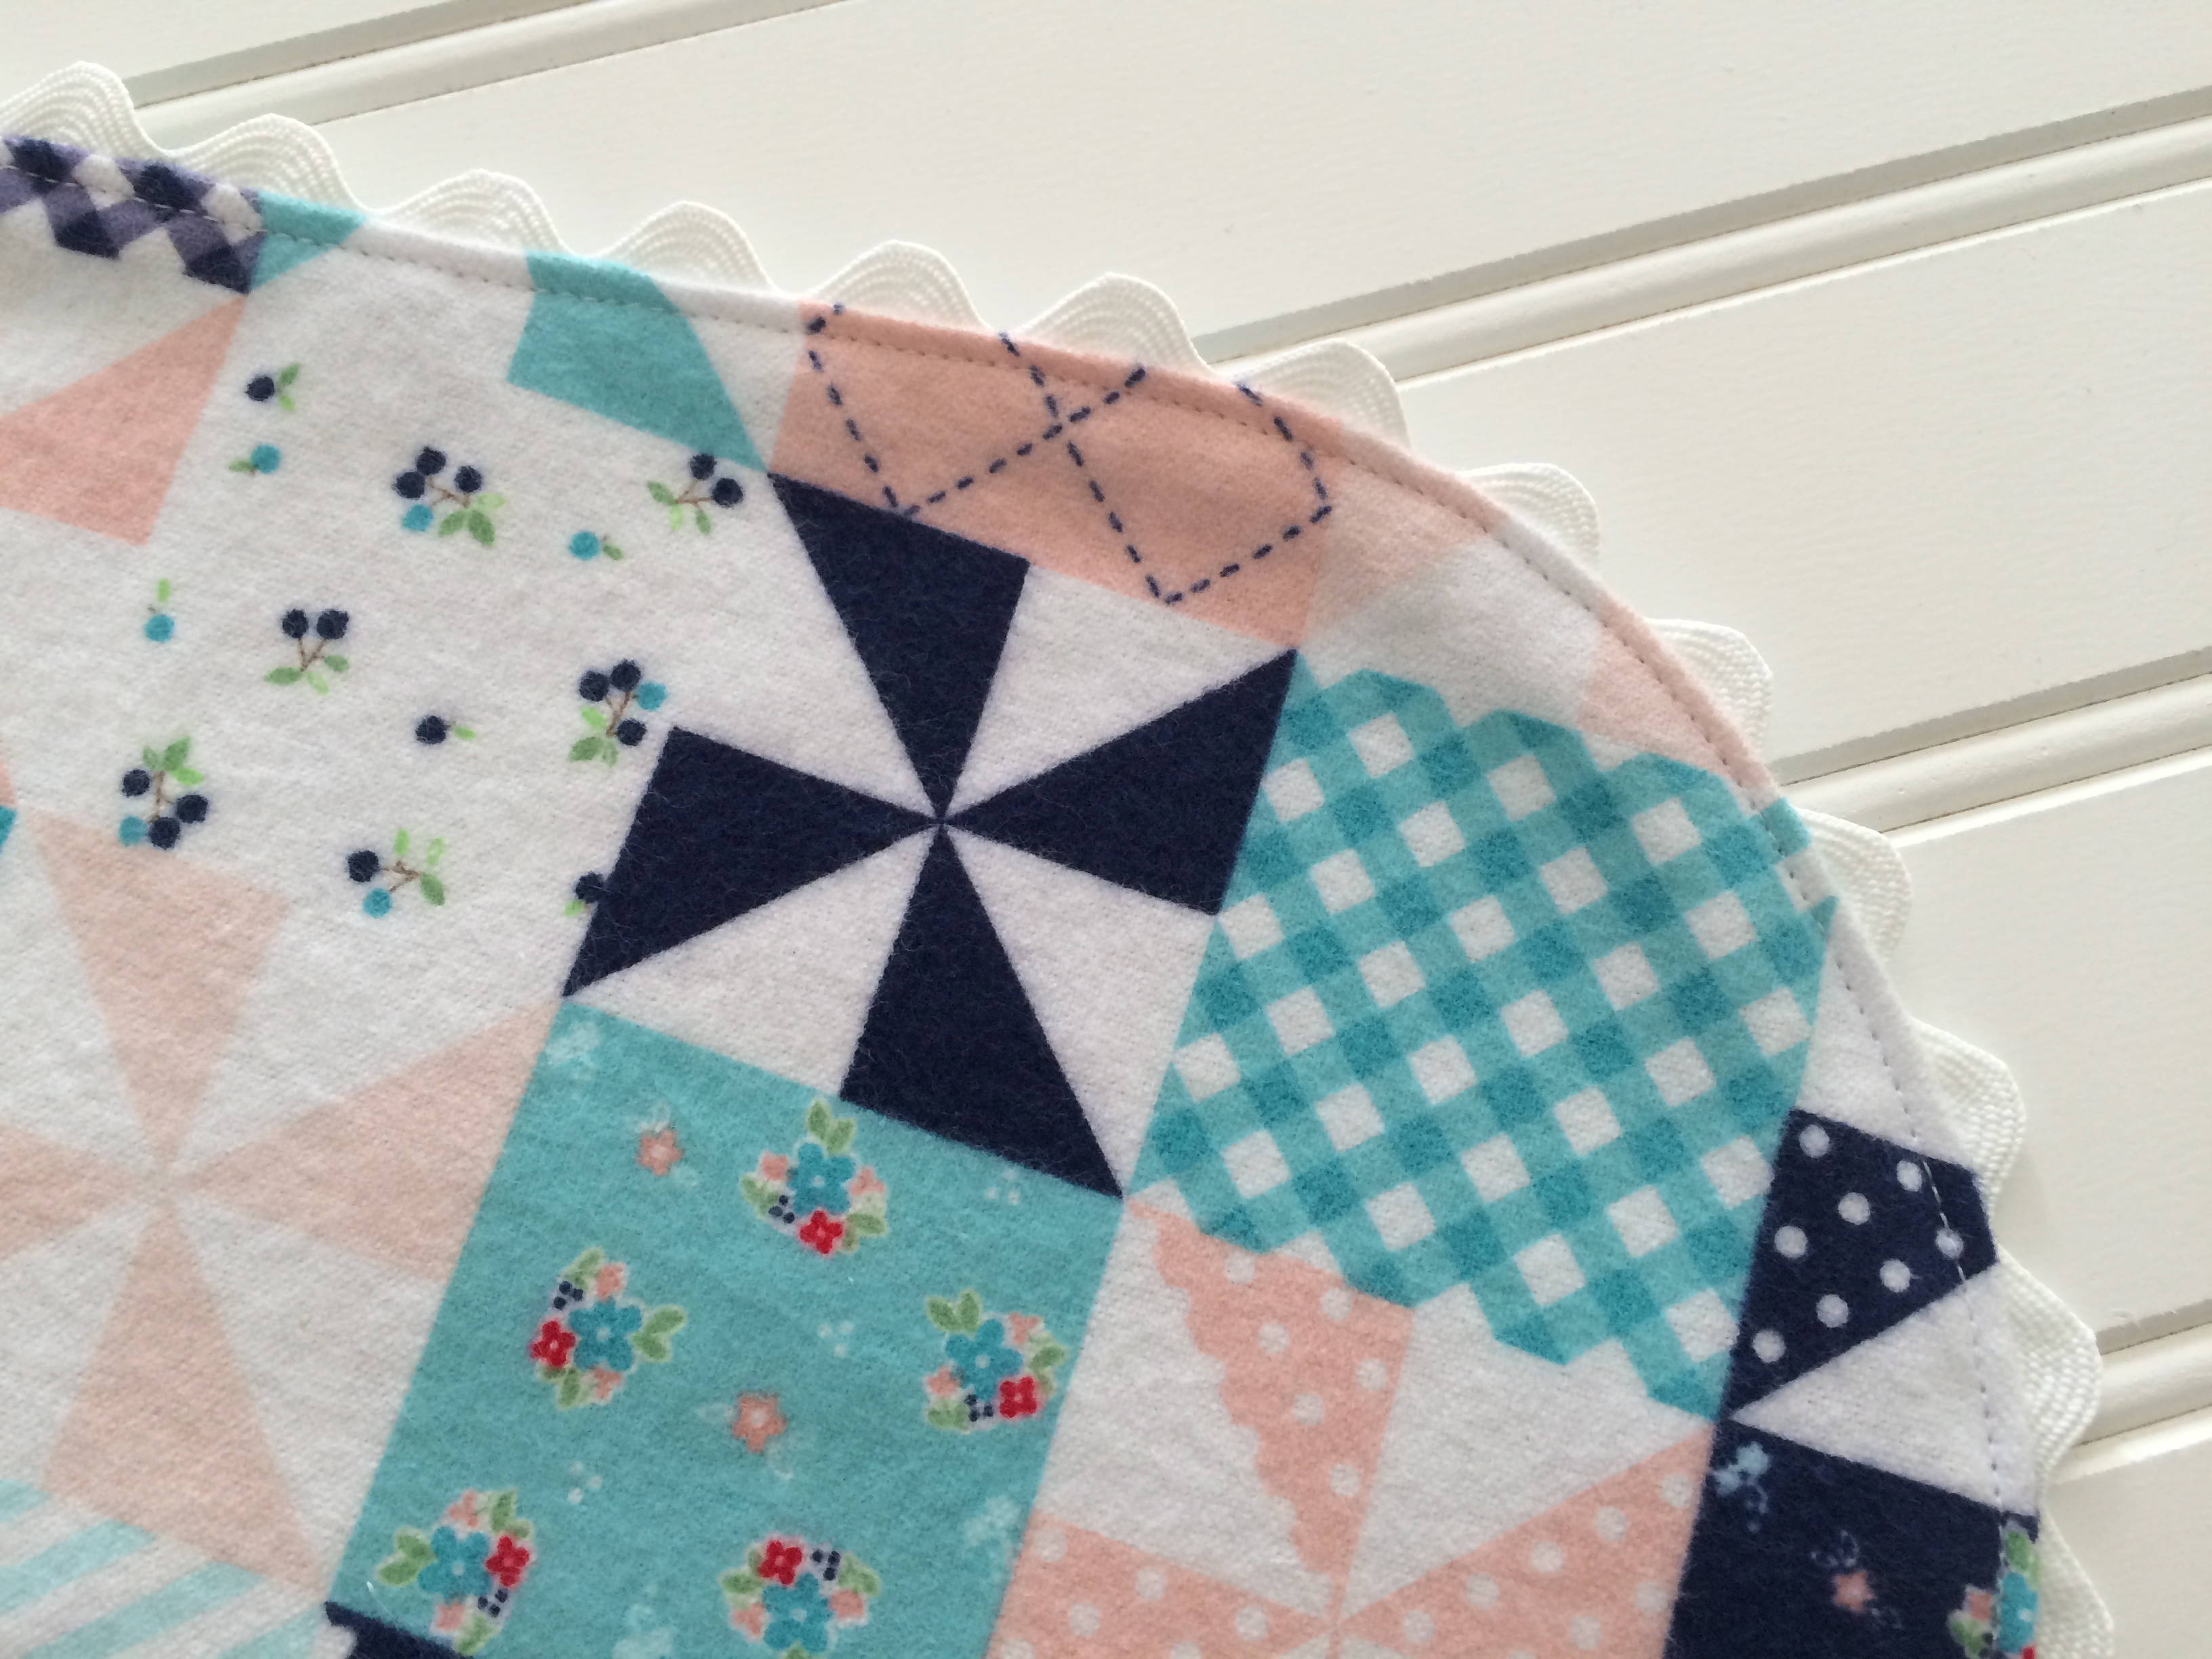
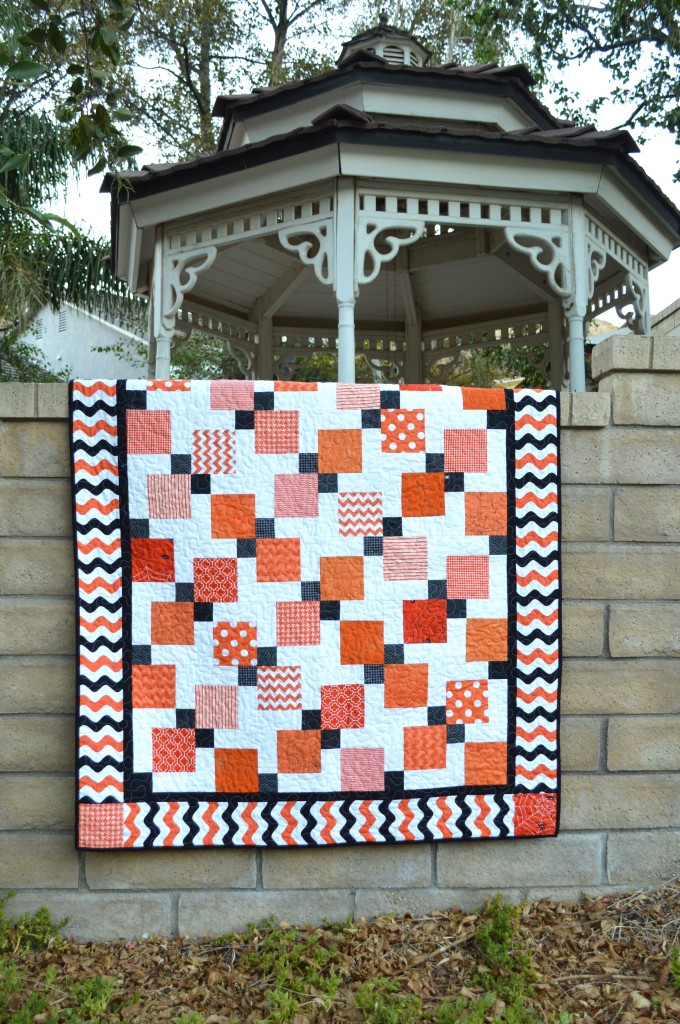
I quilted loop de loos and swirly flowers in an all over pattern using light grey thread.

cottage garden baby quilt. 6

cottage garden baby quilt. 9

I love this quilt!!  This is my new “go-to” baby quilt pattern, especially when I need it done in a day!  Kitten likes it too 🙂

cottage garden baby quilt. 10

cottage garden baby quilt. 8

Jumbo Half Square Triangle Quilt

half square triangle quilt 3

I finally finished this quilt!  I attended Sewing Summit in September 2013 where I took a class from Diary of a Quilter’s Amy Smart.  I loved meeting her – she is the sweetest person ever!  IMG_5268-600x800

While at Sewing Summit I was able to put the quilt top together.  This is such a fast, fun quilt.  I also love half square triangle quilts because there are so many design options.

IMG_5280-800x800

I took the quilt top home and it sat in a drawer for quite sometime.  I wanted minky on the back of the quilt so it would be a cuddly throw quilt for the family.  Since I don’t quilt large quilts with minky on the back, I had my quilter quilt it this last summer.  Then finally this weekend I sewed the binding on!  I love it!  It’s fun sewing something for me!  I seem to give all my quilts away which I love.  half square triangle quilt 2

half square triangle quilt 4


This is the perfect quilt top to sew up in a day.  Most of the fabrics are Riley Blake with light grey Kona solids.  Now, I just need a good movie and a bowl of popcorn 🙂half square triangle quilt 5

half square triangle quilt

Salt Air Quilt with Lucy’s Crab Shack Beach Blanket Pattern

beach blanket quilt


I purchased this pattern Sweetwater’s Lucy’s Crab Shack Beach Blanket over a year ago.  Along with it I picked up some pre cuts and yardage of Moda’s Salt Air line.  I love this line of fabric and I knew it would be perfect in my parent’s home.  beachblanketp189

I hoped to sew it for my parent’s anniversary, then Christmas, and then time just went to fast.  So, finally, this past summer, I finally put it together and had it quilted.  I wrapped it up and gave it to them for Christmas.  It’s the cutest!beach blanket quilt salt air6

This pattern is super fun to sew and fairly easy.  The half circles are drawn on Heat n Bond Lite appliqué paper and then ironed on and top stitched.  I changed the pattern a little bit by omitting the inner boarder and adding a few more half circles so my quilt was a larger throw size.
beach blanket quilt 2


My quilter, Janika from Springville, Utah did and AMAZING job on the quilting!  When she gave it back to me, thoughts of keeping it for myself entered into my head 🙂beach blanket quilt salt air 3

It’s extra cozy with this soft gray minky on the back.

beach blanket quilt salt air 2


beach blanket quilt salt air 4


My favorite print in this collection is the whale’s tails…..see if you can spot them!!beach blanket quilt salt air


The Cottage Garden Baby Quilt Tutorial

the cottage garden quilt


Today my pattern for The Cottage Garden Baby Quilt is over at Riley Blake Designs.  This quilt is the perfect baby quilt size (38.5″ x 45″)  It also sews up pretty fast and really shows off the yummy fabrics.  Don’t you just love this fabric line by the Quilted Fish?  Hop over to Rile Blake for the full tutorial!!il_570xN.680196912_lcfffinished quilt 3


I branched out in my quilting and added this little flower/swirl thing in with the loop-de-loos.  Thanks Molly Hanson for your free motion quilting book ideas 🙂finished quilt 4


I can’t wait to wrap this up and give it to my friend who is expecting her first baby!!finished quilt

finished quilt 6

Christmas Wall Hanging

christmas half square triangle quilt 9

I recently read Molly Hanson’s Free Motion Quilting for Beginners.   While I don’t consider myself a beginner (I’ve been FMQing for 16+ years) I found that reading this book gave me courage to break out of my quilting comfort zone – you all know what that is!  Mine is stippling and loop-de-loos!  I decided to try something new and try “pebble” style.  Beginning a free motion quilt pattern is like curling your hair – once you start you have to finish the job weather you like it or not!!  I am super happy with the way it turned out and my family was in awe at my creation!  You can check out the tutorial for this wall hanging over at the Therm O Web Blog!
christmas half square triangle quilt 7

christmas half square triangle quilt 8
christmas half square triangle quilt 10

Modern Black & Orange Quilt – Blogger’s Quilt Festival Entry

AmysCreativeSide.com


Thanks so much for stopping by!  I always look forward to the Blogger’s Quilt Festival presented by Amy’s Creative Side.  I love seeing all the fabulous quilts out there!  I am entering my Modern Black & Orange Quilt in the “Modern Quilt” category.   I made this quilt last month and it is one of my all-time favorites.  I love the traditional Halloween colors of Black & Orange.halloween_quilt_disappearing_nine_patch

This quilt was fun to put together – it’s a Disappearing 9-Patch.  I love the many variations on this quilt pattern and I love how the colors play together in this design.

The quilt measures 49″ x 62″

It’s machine quilted by me with an all over meander pattern.

The binding is hand-sewn.

disappearing_nine_patch_quilt_halloween

disappearing_nine_patch_quilt_halloween_4


This is how the block looks once the 9-Patch is cut up.  I love how making the center of the 9-Patch black, it makes the small black squares that pop in the quilt.  If you would like the exact pattern, click HERE.
disappearing_nine_patch_quilt_halloween_10

Thanks so much for stopping by!!!  Hugs 🙂

disappearing_nine_patch_quilt_halloween_5


Fall Friends Applique Quilt – Blogger’s Quilt Festival Entry

Fall Friends Applique Quilt_3

It’s that time of year again, the Blogger’s Quilt Festival from Amy’s Creative Side!  I am entering my “Fall Friends” quilt in the “appliqué quilt” category.  I am so in love with this quilt that I just finished sewing today!  The woodland animal appliqué patterns are from Jennifer Heynen’s book “A Walk in the Woods“.  I came up with the design of the quilt – it’s a disappearing 9-Patch with sashing.  The fabric’s are also from Jennifer’s “A Walk in the Woods” fabric line.  I don’t know about you but I am in love with hedgehogs, squirrels, and foxes!!!

AmysCreativeSide.com


Fall Friends Applique Quilt


The quilt measures 56″ x 72″.  The appliqué is fused with Heat n Bond Lite and then straight stitched around the edges.  The quilting is long-arm machine quilted and the binding is hand-sewn.

Fall Friends Applique Quilt_1

Fall Friends Applique Quilt_2
Fall Friends Applique Quilt_4

Thanks so much for stopping by!  and Happy Fall!!!

Fall Friends Applique Quilt_5

Riley Blake Flannel Baby Quilt and Burpers Tutorial

flannel baby quilt
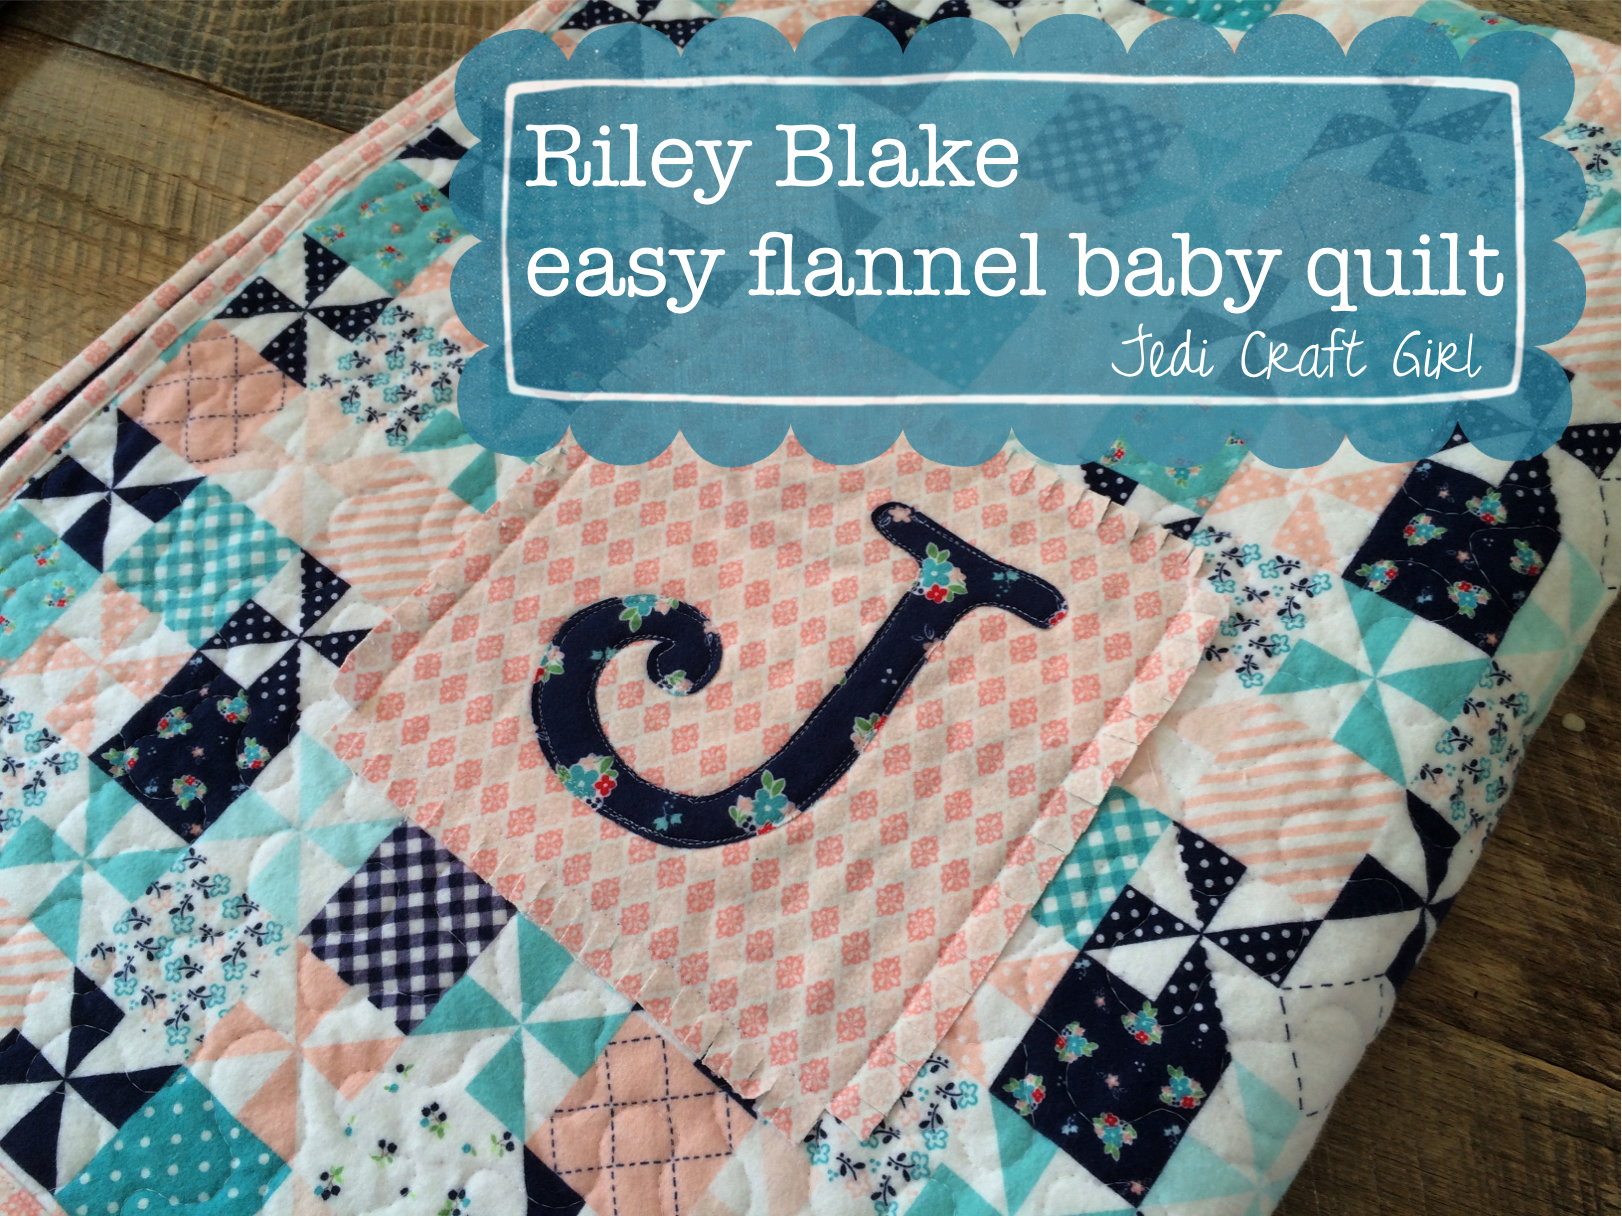
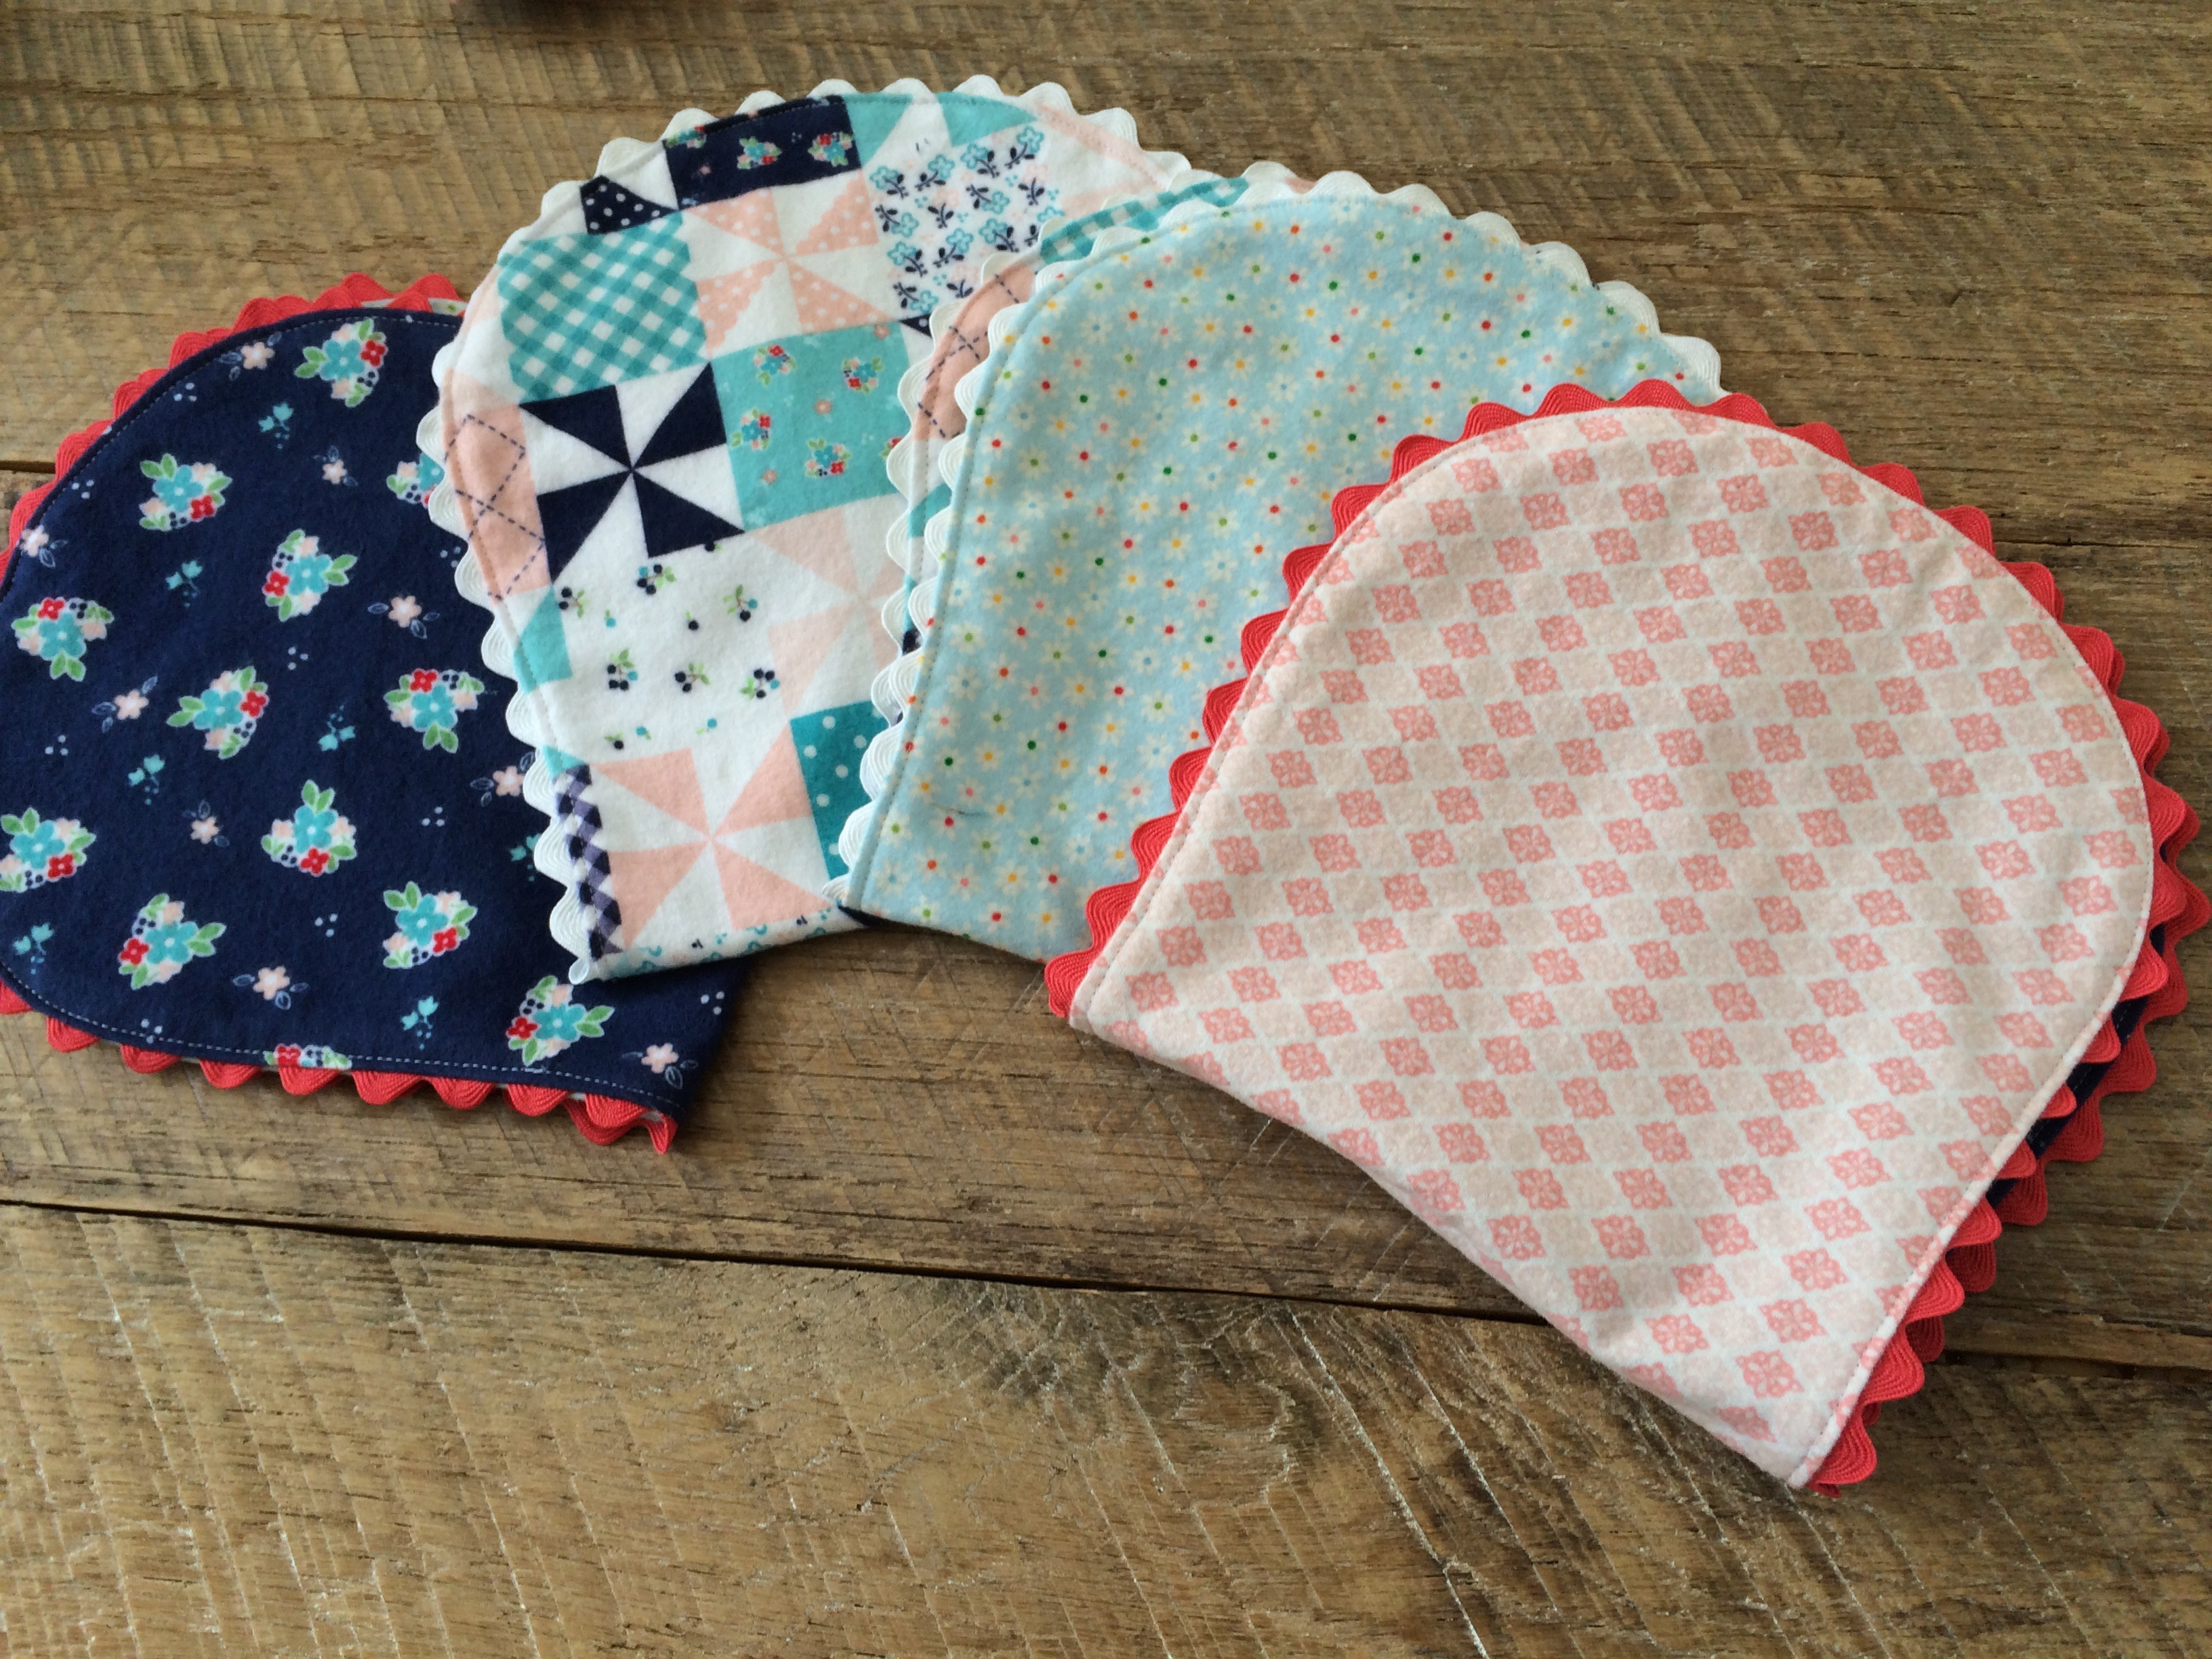
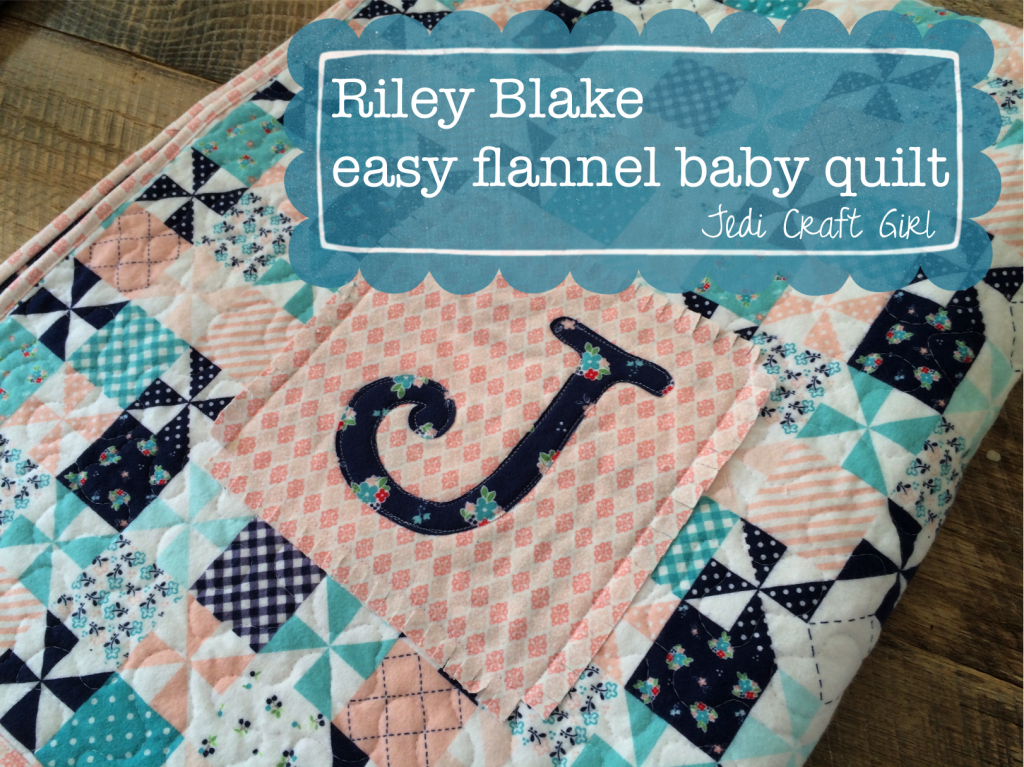
I am so excited to be participating in the Riley Blake Flannel Blog Hop!  Thanks for stopping by!  Let me introduce myself….I’m Amanda, a Southern California mom of 3 children who LOVES fabric, sewing and quilting!  I love sharing my projects and patterns on my blog and connecting with people who share my same interests.

First let me just say how much I love Riley Blake flannels.  I have been sewing with flannel for years and the quality and durability of Riley Blake flannel is amazing – plus it comes in so many cute prints!  My tutorial today is for two projects.  #1 Easy Quilted Flannel Baby Blanket and #2 “Old School” Baby Burpers

riley_blake_flannel_baby_quilt_20


…..yes I know super “Old School” but this burper pattern has been in the family for 40 years – since I was a baby!!  Each generation of babies and mommies has loved using these.
riley_blake_flannel_baby_quilt_21

Let’s get started….

Quilted Flannel Baby Blanker

Supplies:

1.5 yards top fabric, I used Riley Blake Country Girls Patchwork in Pink….I love this because it already looks like a darling quilt

1.5 yards back fabric, I used Riley Blake Country Girls Country Floral Navy plus extra for the appliqué letter

1/2 yard flnnel for binding and accent square

cotton batting

Heat n Bond Lite

Basting spray

I love sewing with flannel, especially quilting because it is soft and it doesn’t move around when you sew!  I always prewash my flannel.  
riley_blake_flannel_baby_quilt_


The first part of the project is pretty much just quilting the two 1.5 yards of fabric together.  Pin baste the back, batting, and top fabrics of your quilt just like you would any quilt.  If the edges don’t line up perfectly, don’t worry.  After you quilt it you will square it up.  Quilt as desired.  I quilted free motion meanders.  Square up.riley_blake_flannel_baby_quilt_2

Attach the monogram:

Cut a 9″ square of accent flannel.

riley_blake_flannel_baby_quilt_1

Print your desired letter in reverse.  I choose a “J” because I am giving this to my friend who is having a girl and naming her Juliette.  Trace the letter onto the Heat n Bond Lite and iron it to the wrong side of the flannel.

riley_blake_flannel_baby_quilt_3

Cut out the letter, peel off the backing paper and press it to the center of the 9″ accent square.  Using basting spray or pins, position the accent square as desired on the quilt.

riley_blake_flannel_baby_quilt_4

Using a 1″ seam, sew around the square.  Then sew around the letter sewing close to the edge.  Cut little slits into the edge of the square like this:

riley_blake_flannel_baby_quilt_6

I choose to add the letter after the quilting so the letter would have a quilted look as well.  After a few washings, the fringed edge of the square should look more ruffley similar to a rag quilt.

Cut (6) 2.5″ strips of flannel for the binding.  I choose to machine sew my binding on so it would hold up nicely after many washings.

riley_blake_flannel_baby_quilt_23 
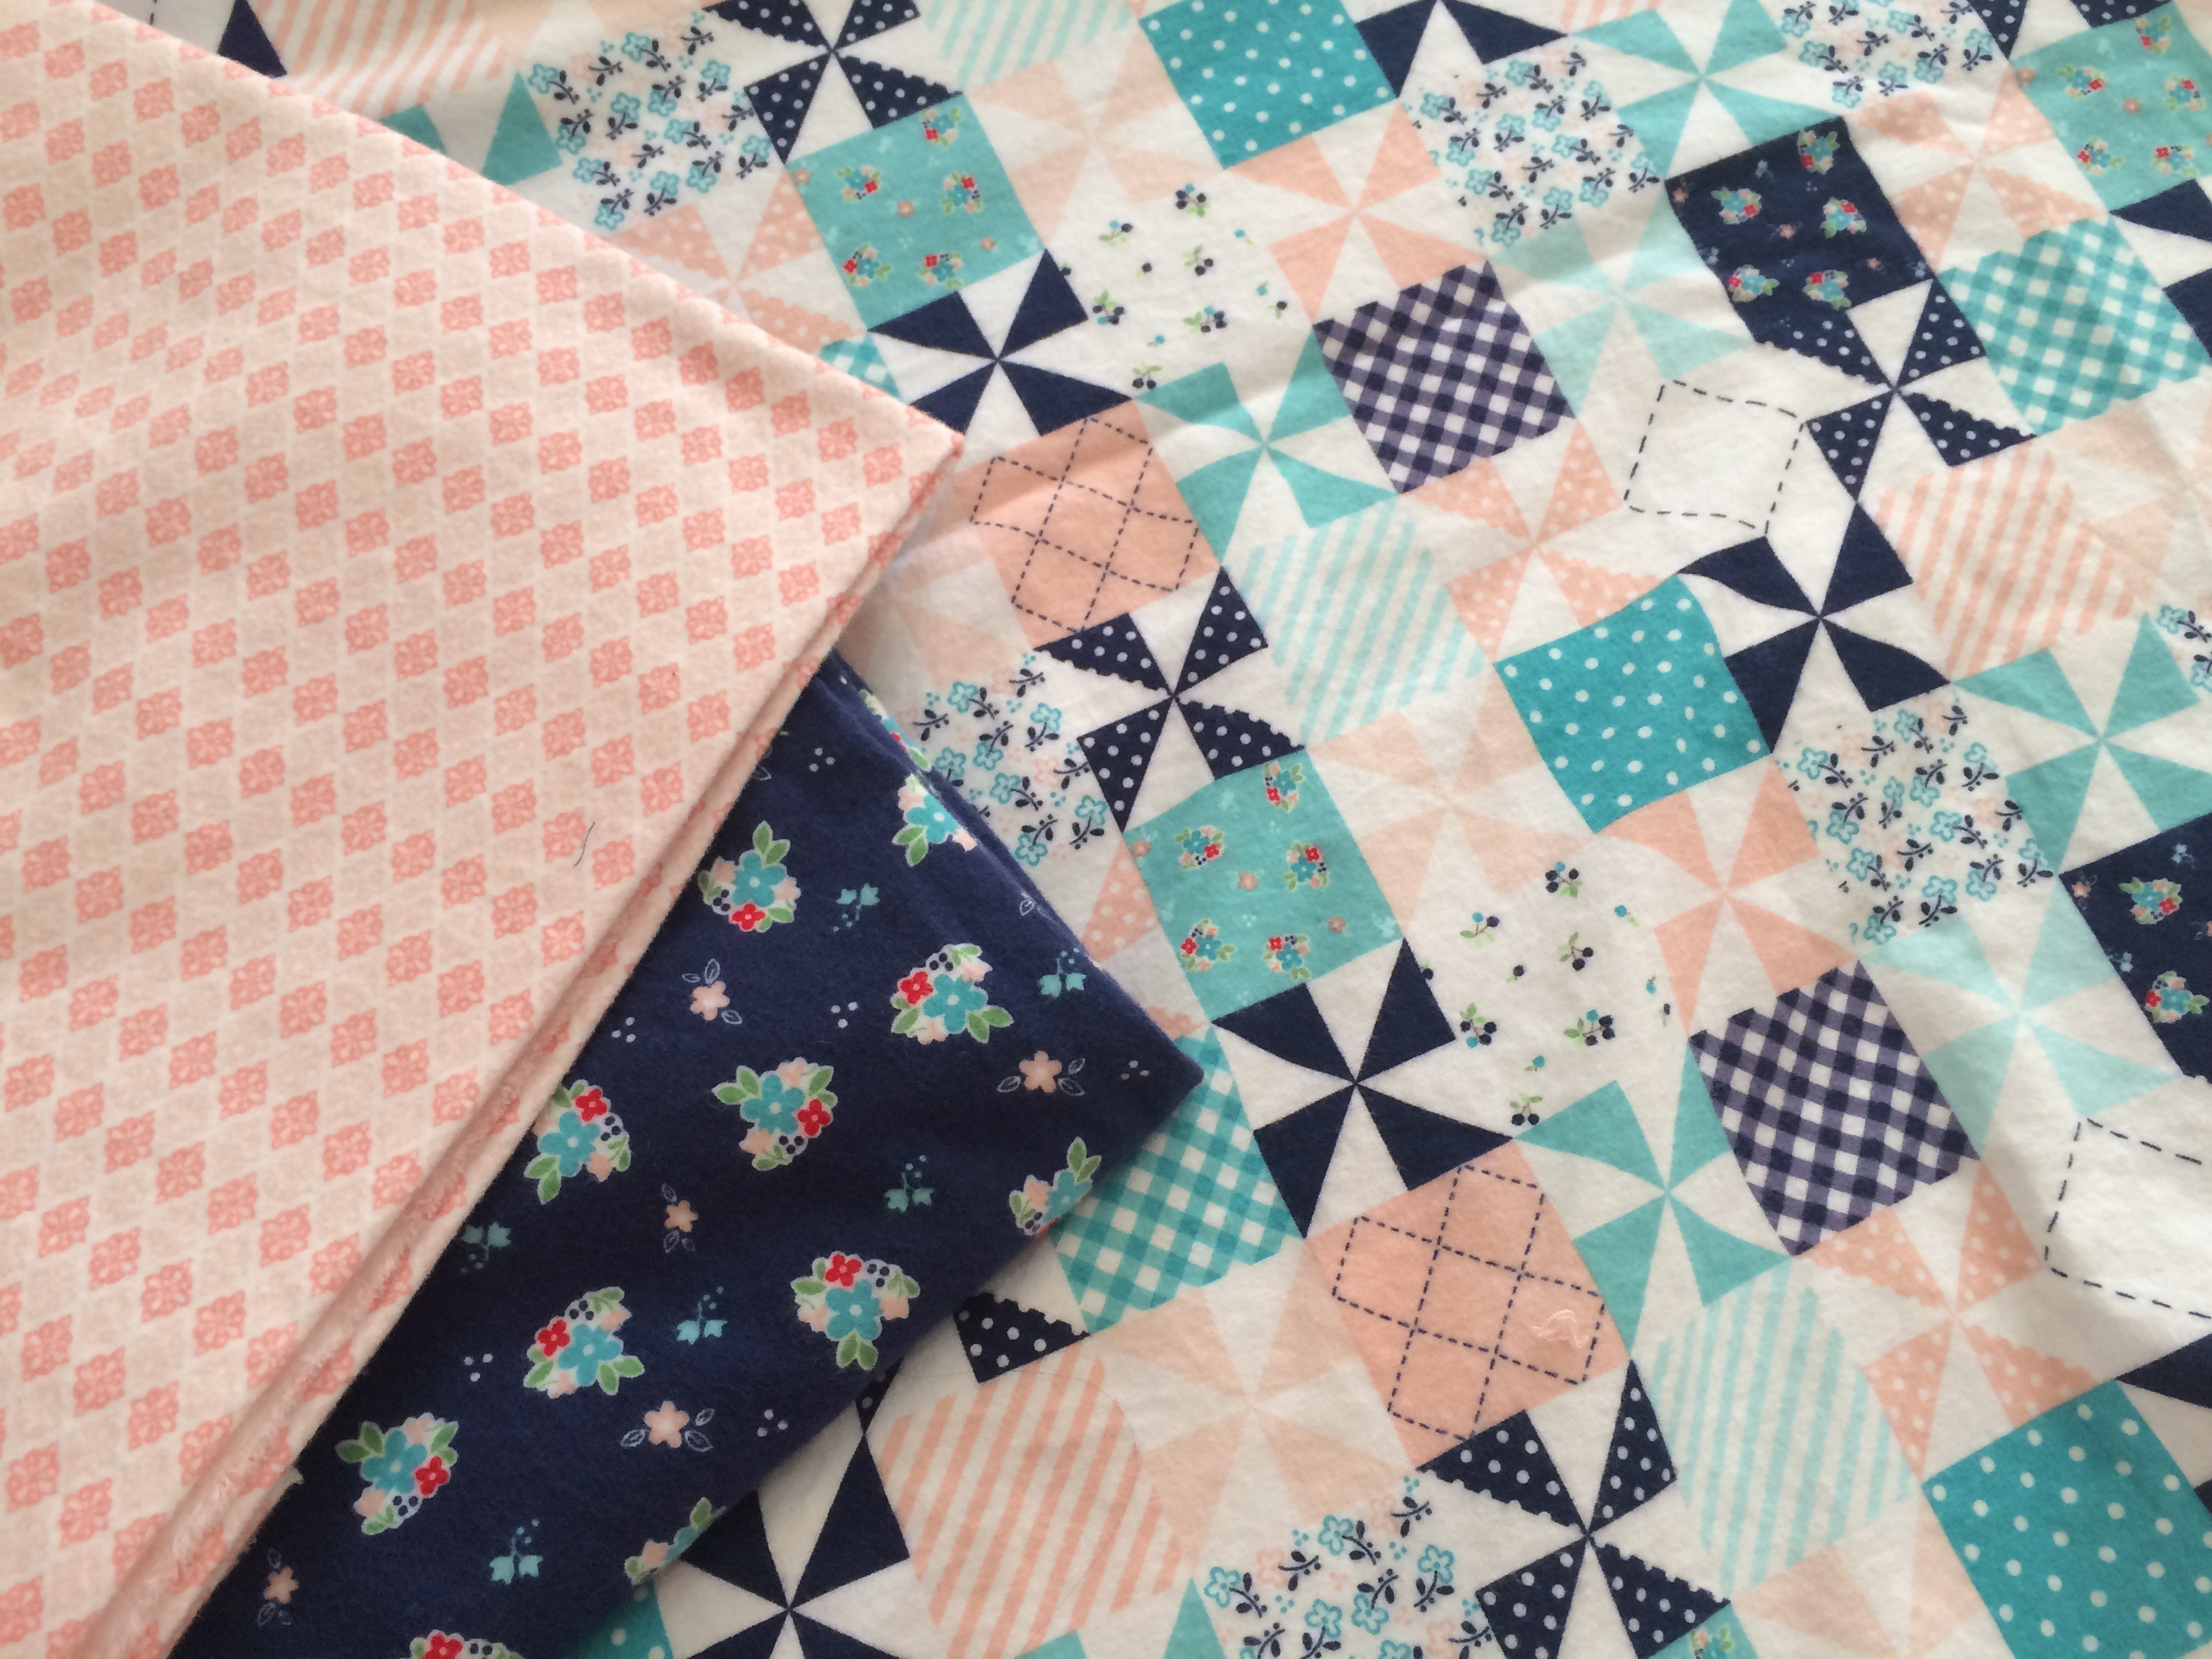
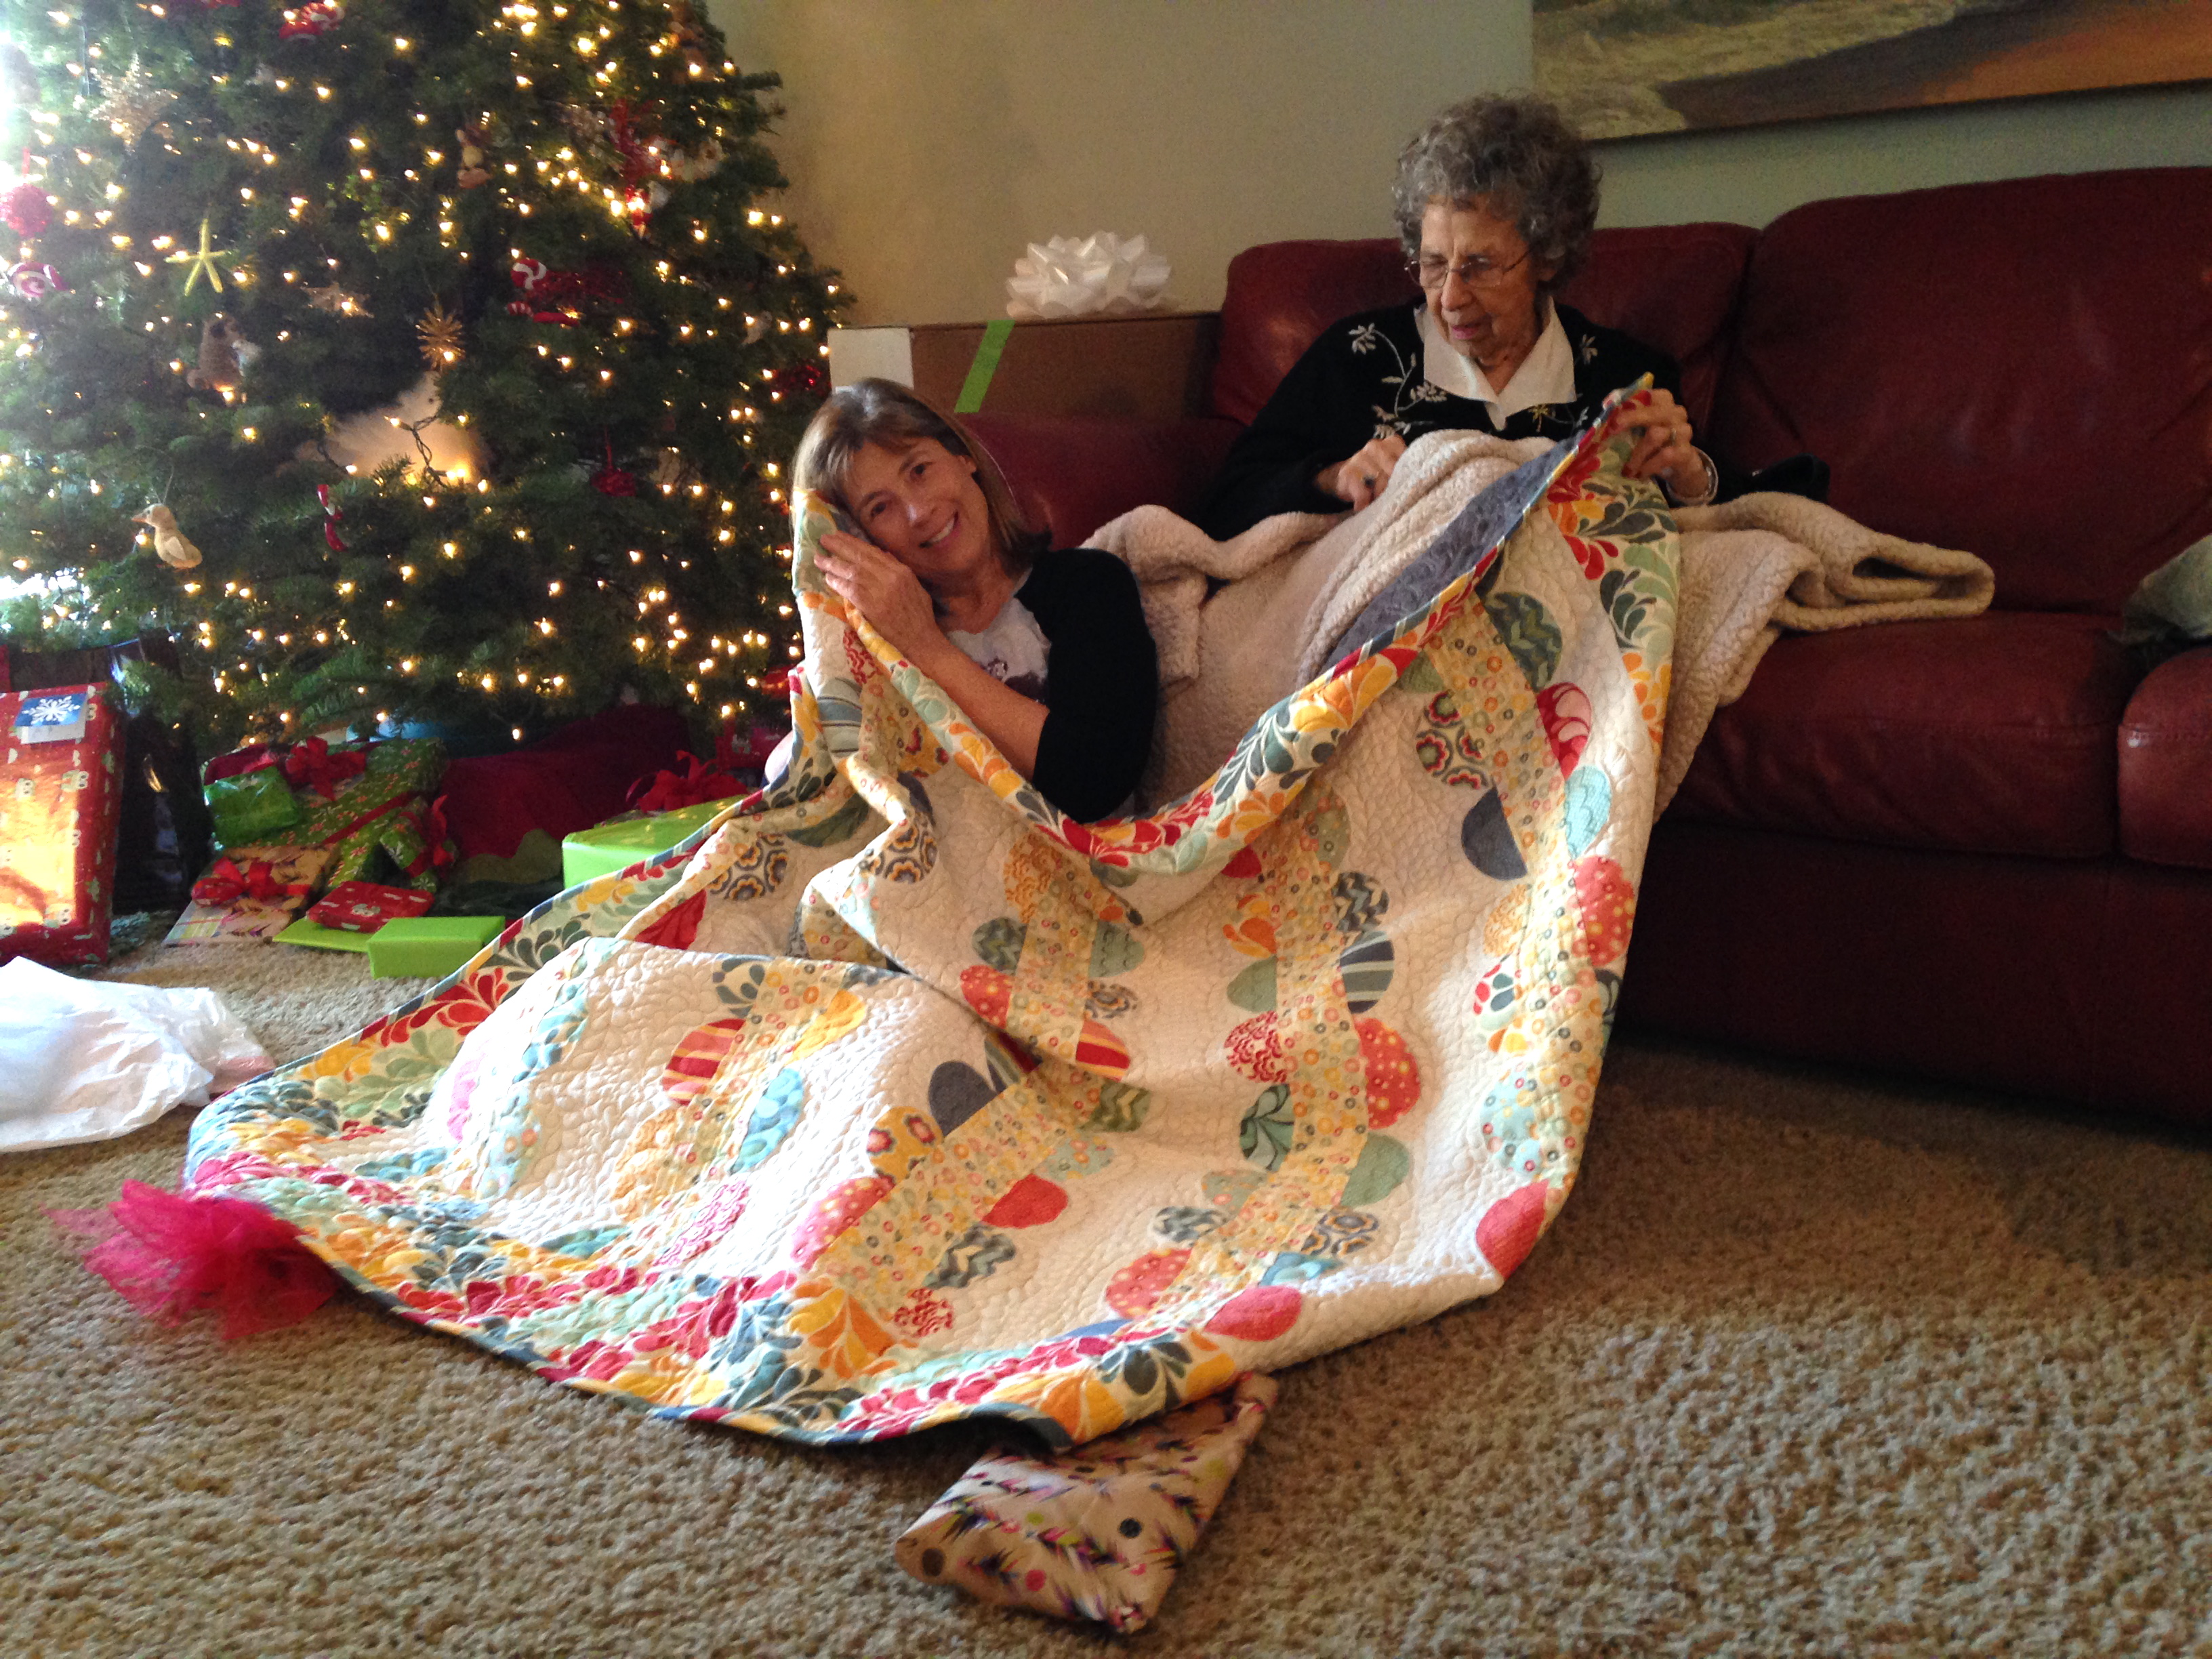
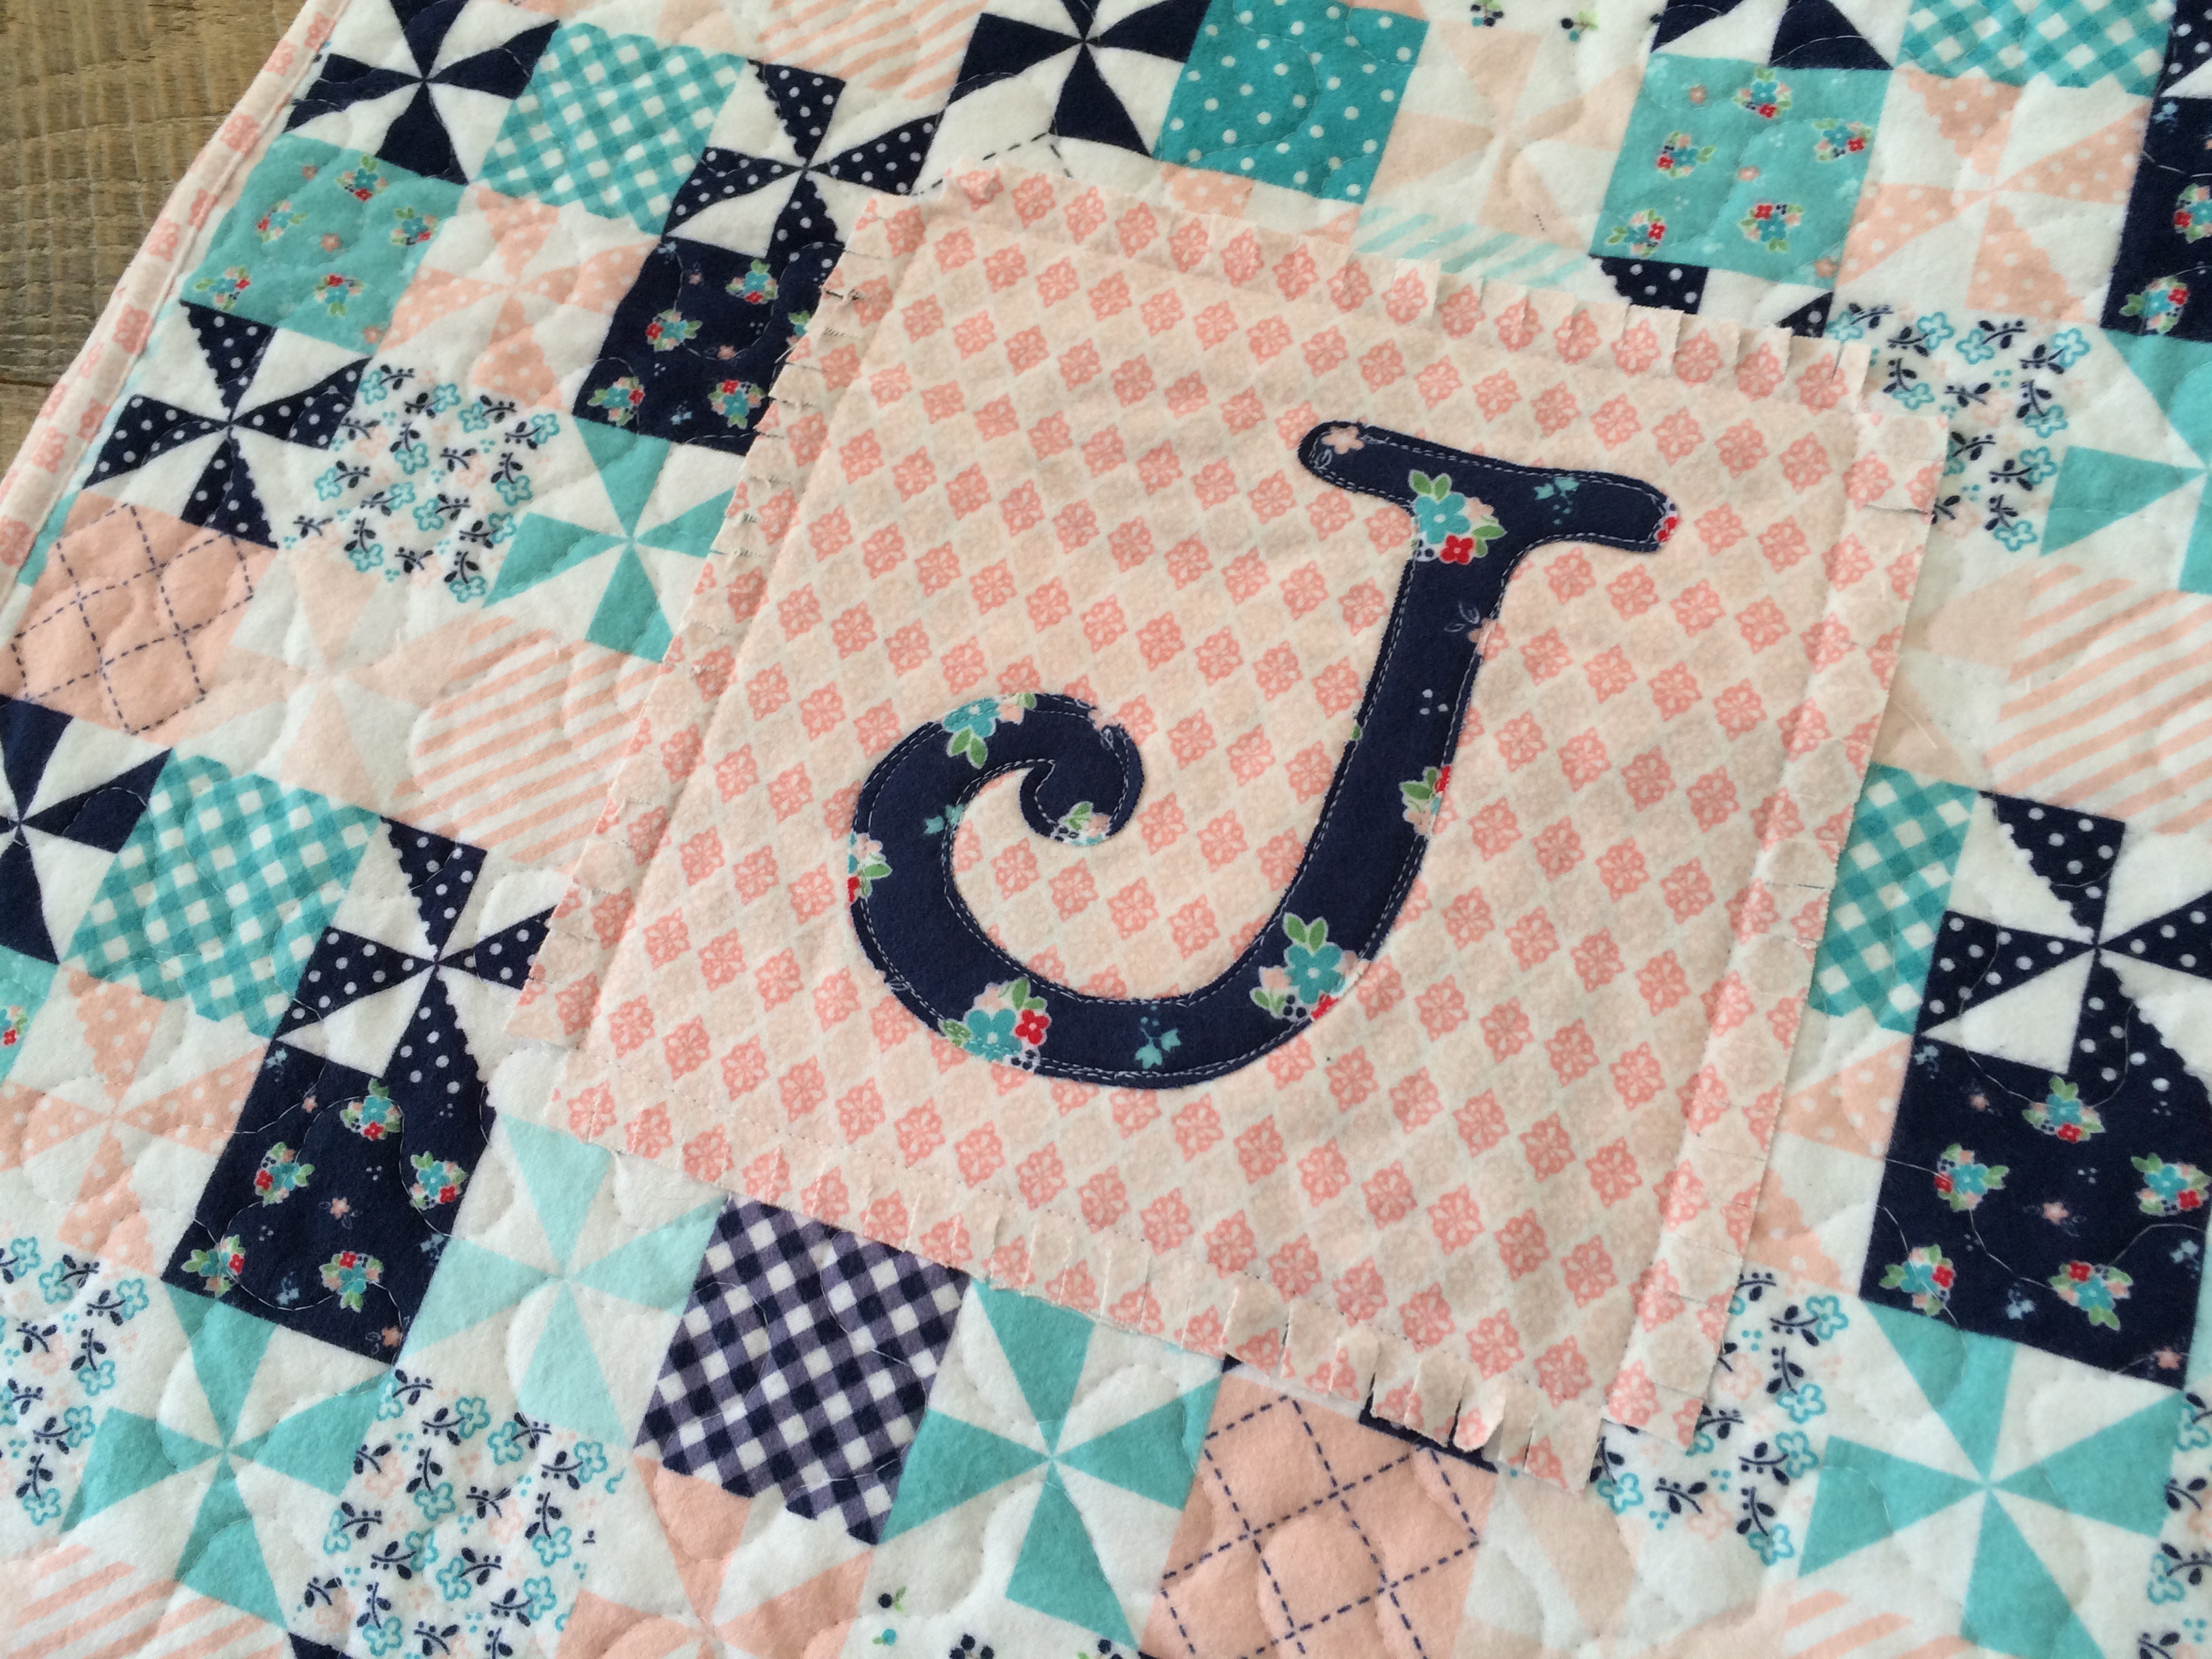
I think it turned out so cute!  and it’s sooooo soft and snuggly!
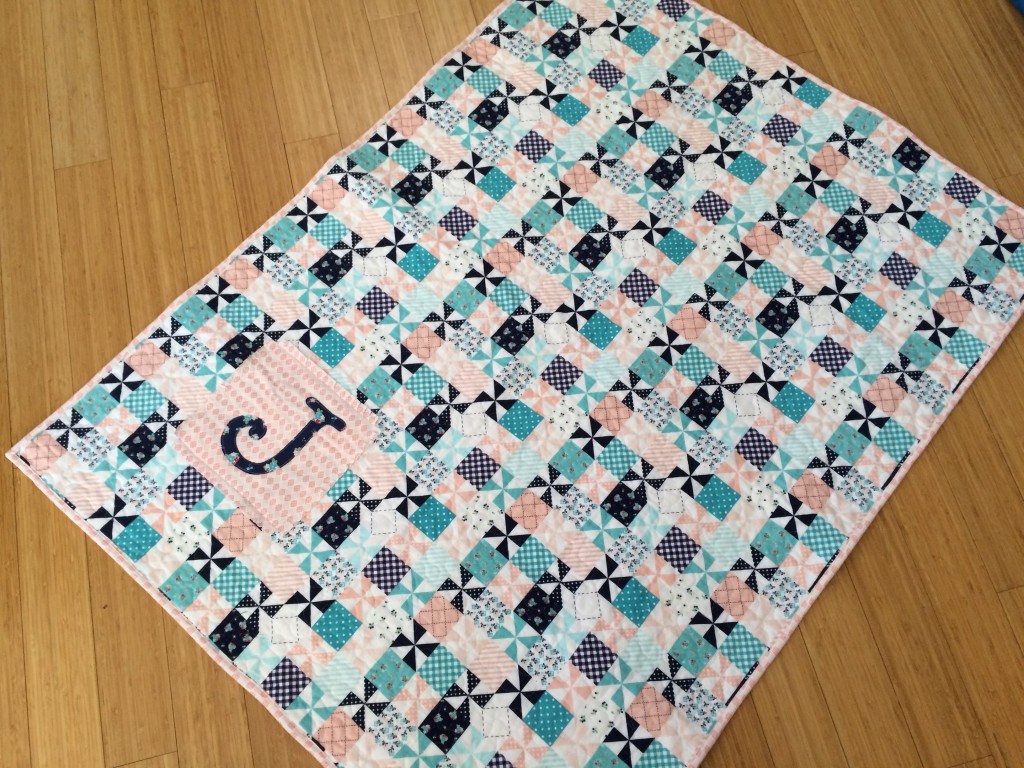
riley_blake_flannel_baby_quilt_19

riley_blake_flannel_baby_quilt_16

Old School Baby Burpers

riley_blake_flannel_baby_quilt_17

Just a word about these baby burpers…..  My mom sewed this same style burper when I was a little baby.  As a toddler I would carry one around like it was a little blankie.  I called them “Night Nights”.  I’ve continued the tradition with my children.  Below are ones I sewed 16 years ago for my first baby.  The flannel selections were so sad back then – but I made do!  I made stacks and stacks of these and boy did we go through them!  Since my children are older, I found a new use for them – dusters!  They are perfect for dusting the piano, the china hutch and for other finishes you don’t want scratched!!

IMG_0902

Supplies

1/2 yards of assorted flannels

ric rac

Pattern, click HERE

Begin by printing the pattern and tracing it onto tissue paper.  Note, the pattern is only for half the burper, trace both sides onto the tissue paper and cut it out.  Pin it to the flannel, I like to cut 4 out at a time.  Cut around the pattern line.

riley_blake_flannel_baby_quilt_7

Cut the desired amount and choose matching ric rac.

riley_blake_flannel_baby_quilt_8

Beginning and ending on the side of the burper, take one of the pieces you’ve cut and sew the ric rac on; line up the edge of the ric rac with the edge of the burper.  Sew the seam in the center of the ric rac.  Start and stop on the side, overlapping the ric rac and having the edges outside of the seam like this:

riley_blake_flannel_baby_quilt_9

Pin the second piece right sides together with the first piece.  Sew along the seam created by sewing the ric rac.  Start and stop on the side leaving a little opening to turn.

riley_blake_flannel_baby_quilt_10

Turn right side out, press seams so they lay flat and edges curve nicely.  Top stitch.  This will close the opening that was left open for turning.

riley_blake_flannel_baby_quilt_12


Now do this over and over until you have a nice stack!  These are great to make and keep on hand for baby gifts.
riley_blake_flannel_baby_quilt_18

I love that they are coordinating!  What a perfect gift!

riley_blake_flannel_baby_quilt_14
Thanks for stopping by!!!


Halloween Disappearing 9-Patch Quilt

halloween_quilt_disappearing_nine_patch


Have you ever made a “Disappearing Nine-Patch Quilt”?  This is such a fun pattern and great for beginner quilters.  You can change the pattern of the quilt by changing the colors of the patches and the layout.  It is made by sewing a simple 9-Patch block and then cutting it in quarters and repositioning the new blocks.  I love the simple Halloween colors of Black, White and Orange.  I found this black, orange and white wavy boarder from Riley Blake Designs.  I think it totally makes the quilt!  Here’s how you can make one:

Finished quilt: 49″ x 62″

Materials:

assorted orange and black fabric

1 yard solid white

3/4 yard solid black for inner boarder and binding

3/4 yard orange and black wavy stripe

Begin by cutting 5″ squares of orange, white and black.  For this quilt I pieced (12) nine-patch blocks.  Each block had the same color values: orange corners, white side centers and black center.  I used a variety of oranges and blacks.

cut (12) black 5″ squares

cut (48) orange 5″ squares

cut (48) white 5″ squares.disappearing_nine_patch_quilt_halloween_8

Using 1/4″ seams throughout, sew squares together in rows and then rows together to form the block.  Press toward the dark.  The block will look like this:

disappearing_nine_patch_quilt_halloween_9

Cut in quarters.  Since the block at this point measures 14″ square, cut it at the 7″ point on both sides:

disappearing_nine_patch_quilt_halloween_10

Next comes the fun part of playing with the layout.  I choose to lay mine out like this so the small black squares made a pattern.

disappearing_nine_patch_quilt_halloween_11

Sew the blocks together in rows and the rows together and press.

For the boarder:

The black inner boarder is cut 1.5″ wide.  I didn’t measure the length, I sewed it to the sides of the quilt and trimmed the excess.

The wavy outer boarder is 5″ wide.  I matched the stripes when piecing the boarder together.  I added 5″ squares to the corners of the boarder.

disappearing_nine_patch_quilt_halloween_4

I LOVE how it turned out!  I have it on my couch and it makes me happy to look at it.  Now, to just keep the cat off it 🙂


disappearing_nine_patch_quilt_halloween_5
disappearing_nine_patch_quilt_halloween_7

“Spooky” Quilt for Riley Blake Designs

spooky_quilt_tutorial

I am so excited to share this quilt!  Did you know I love Halloween and I love black cats?  The fabric in this quilt is Riley Blake Design’s “Witch Hazel.”  I love the vintage feel of the prints and the colors.  I enlarged the cat from the theme print to create this cat silhouette.  The pattern is being featured over at the Riley Blake Design Blog  “Cutting Corners” if you want to make one 🙂Halloween_quilt_tutorial_1


It’s 100 degrees here but all this Halloween sewing is helping me get in the mood for Fall. This quilt is hanging in my family room and it makes me smile every time I look at it….and it makes me want to adopt another black cat!!
Halloween_quilt_tutorial_3

There are many different parts to the quilt: a patchy center, appliqué, lace and pom pom trim and an appliqué scallop top and bottom border!Halloween_quilt_tutorial_4

Halloween_quilt_tutorial