Patchy Pumpkin Quilt

DSC_0456

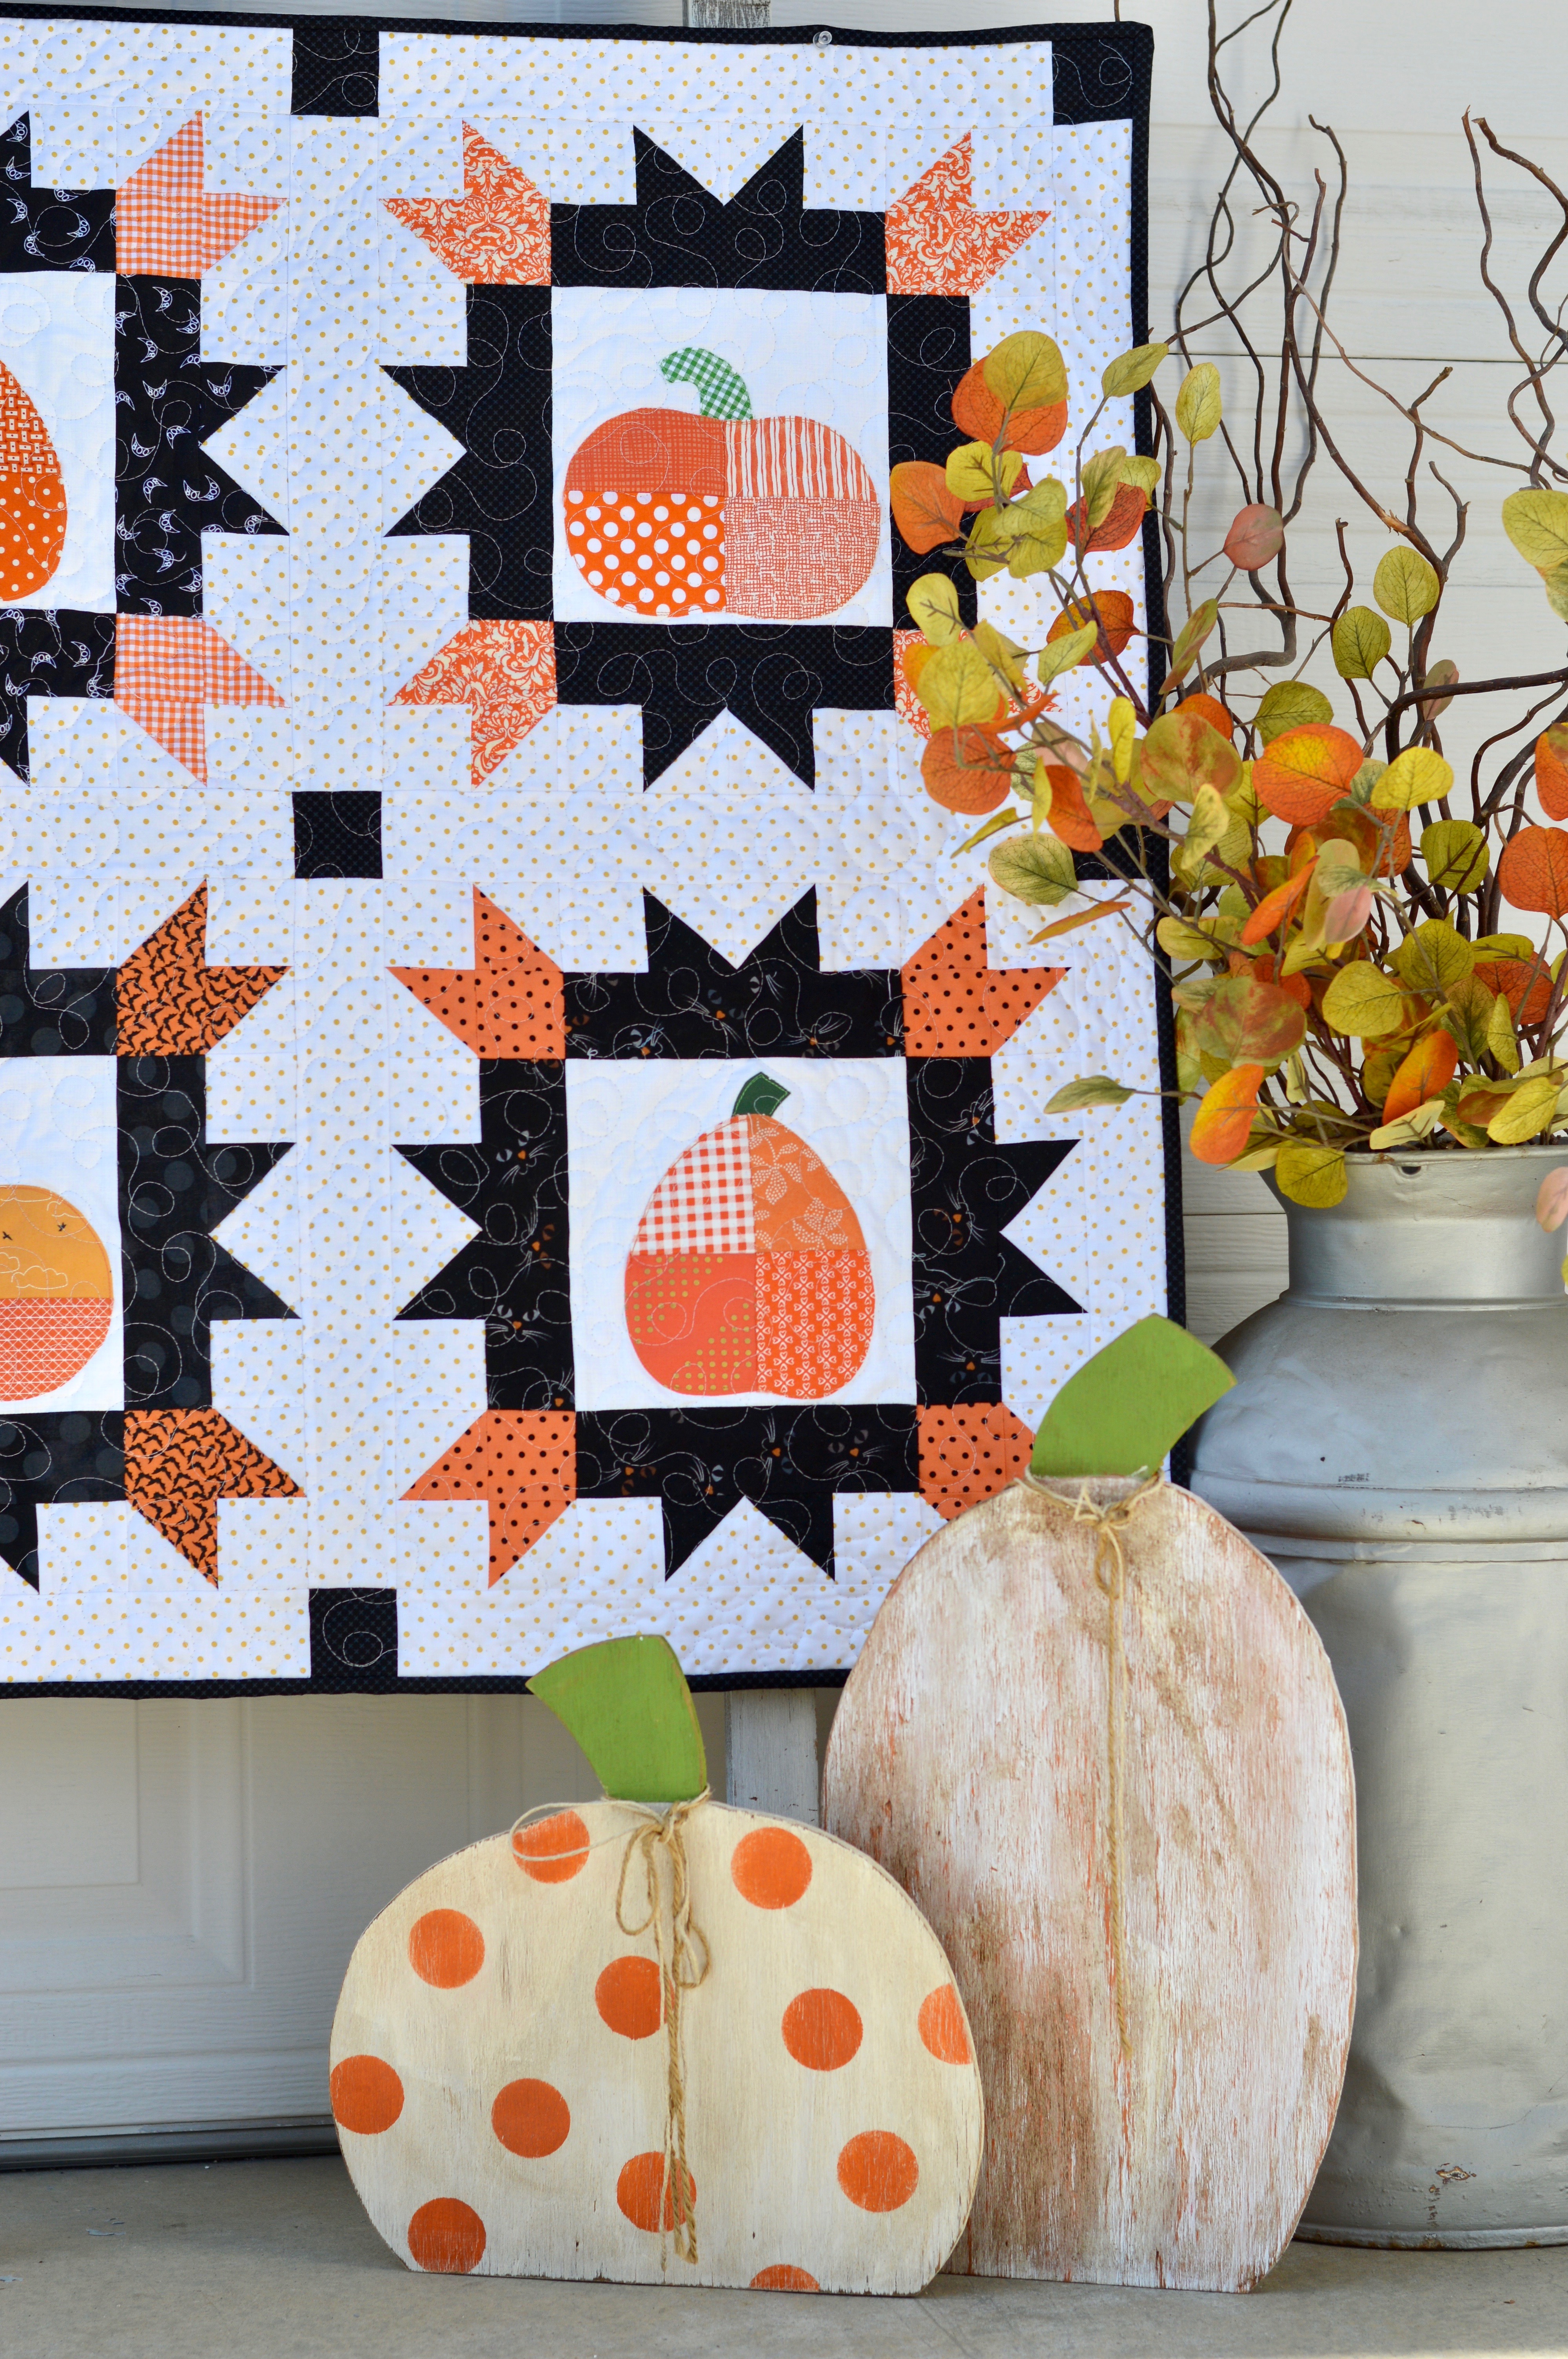
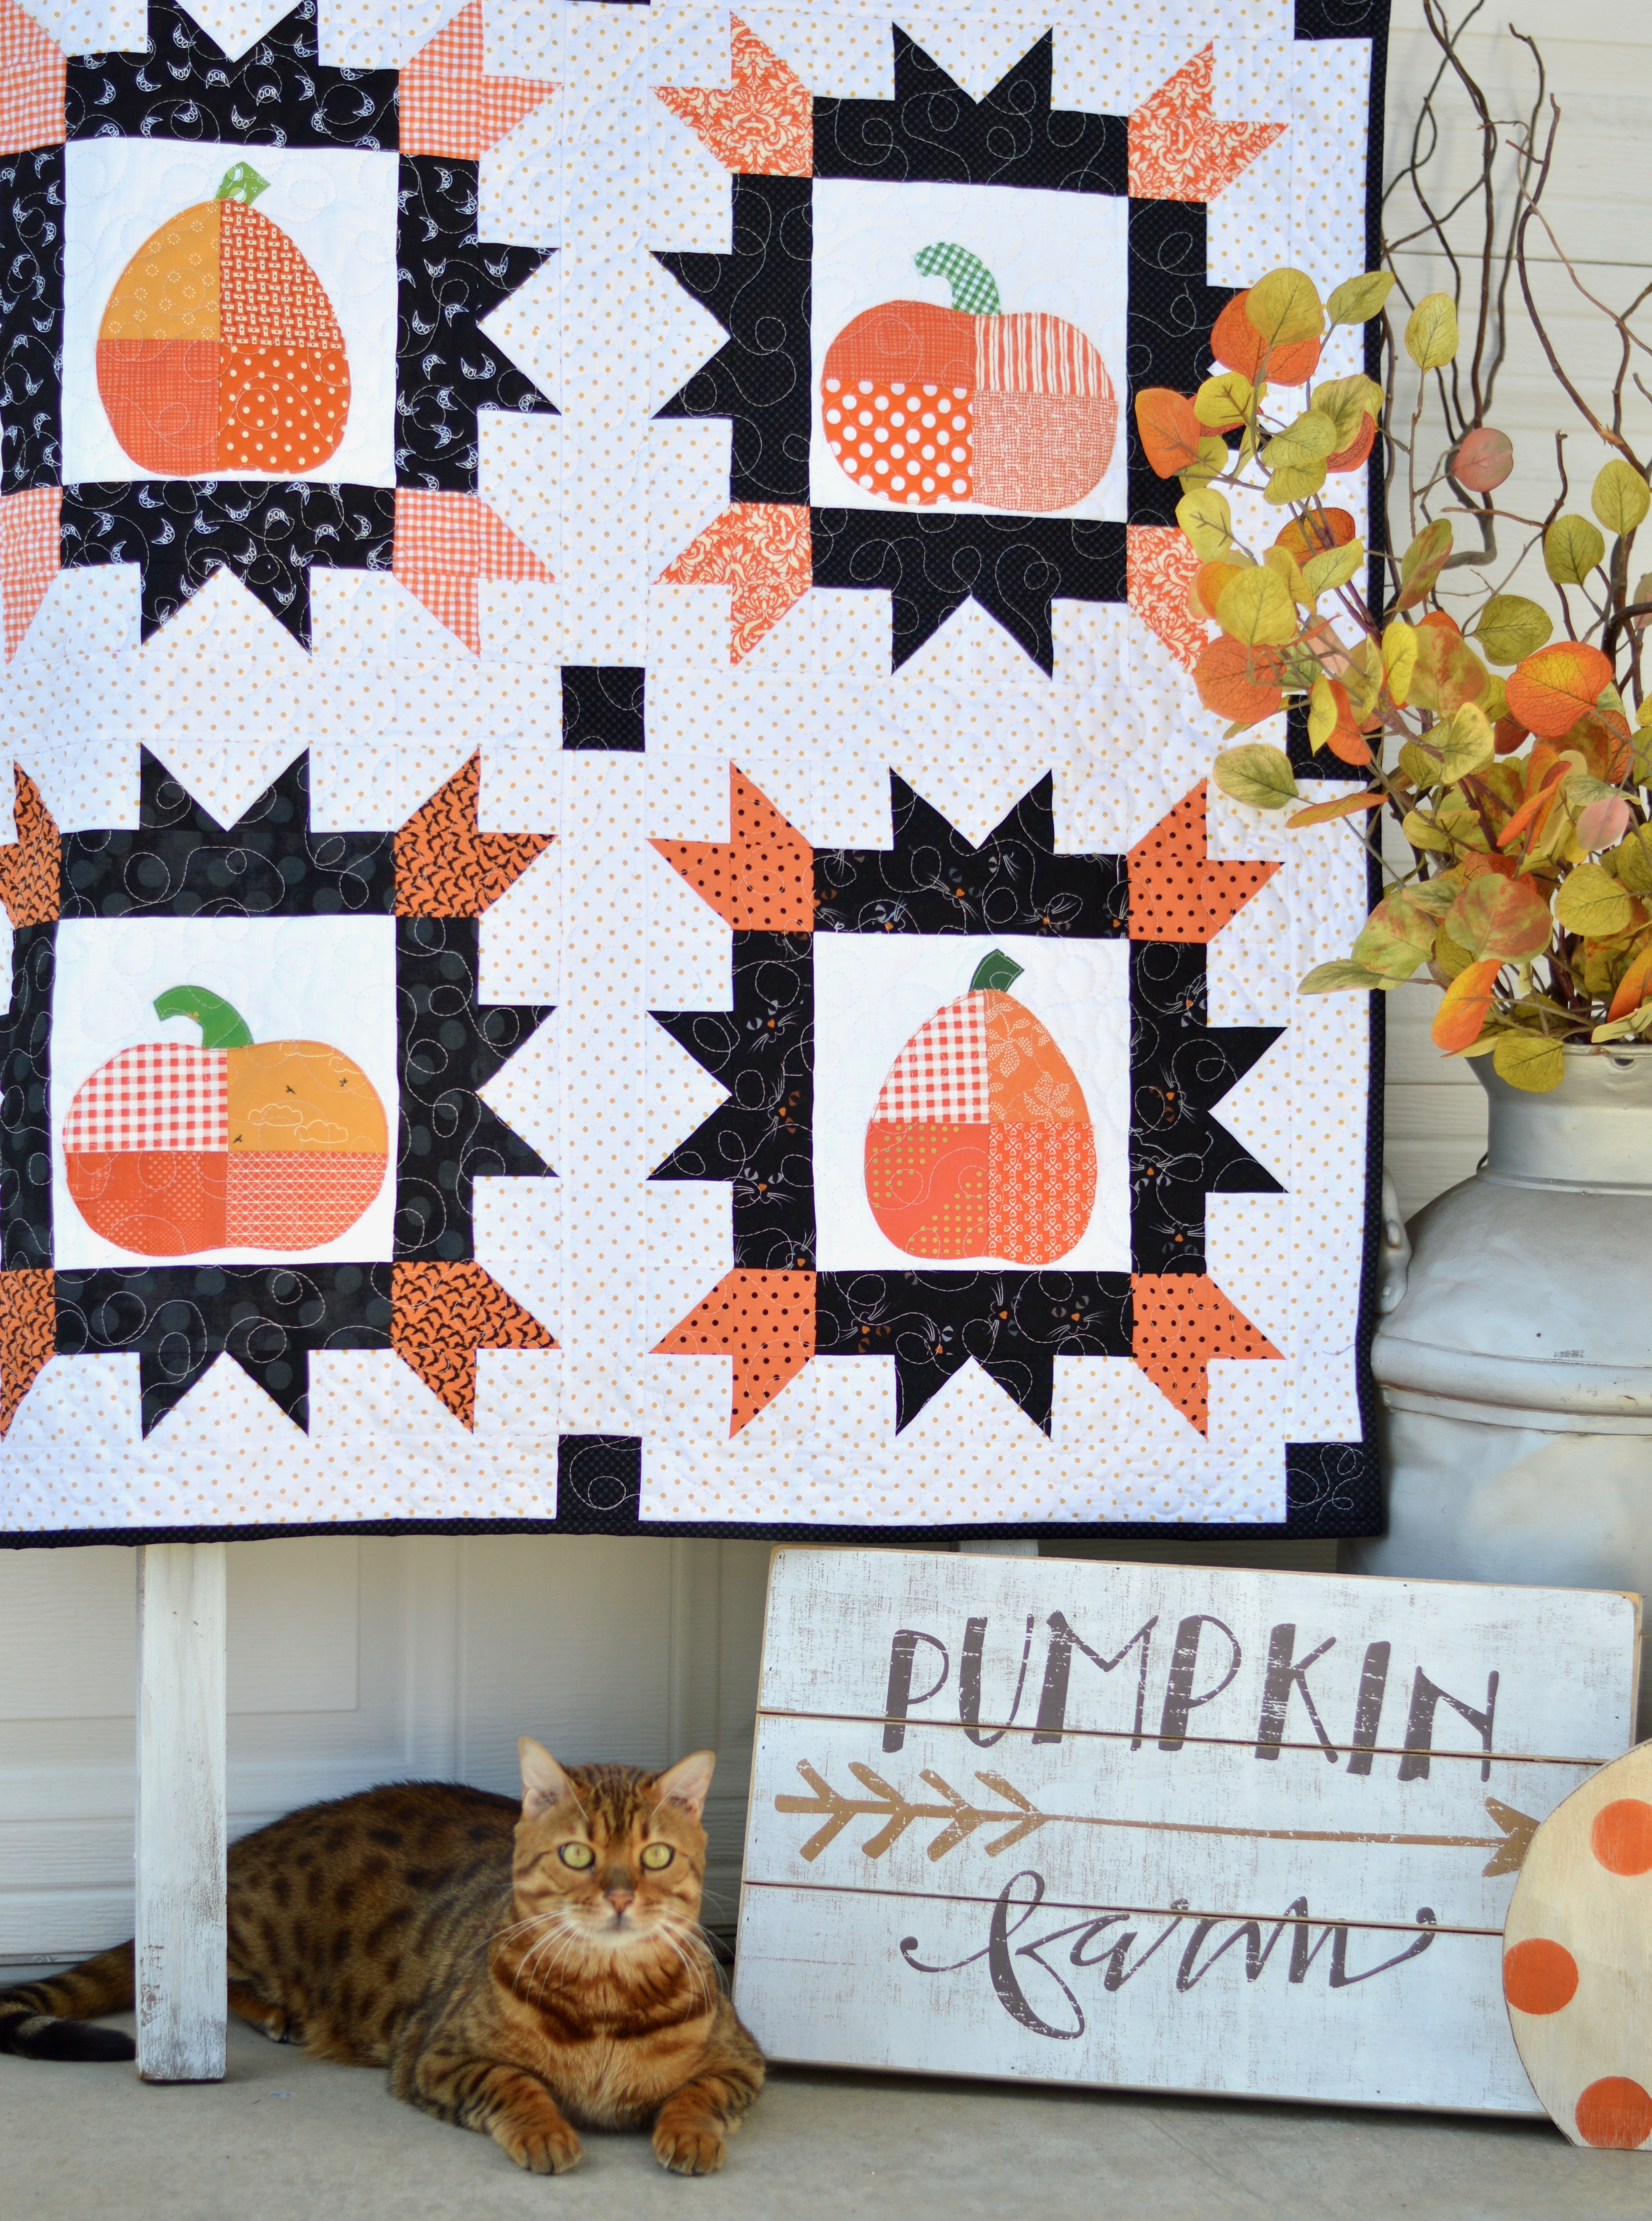
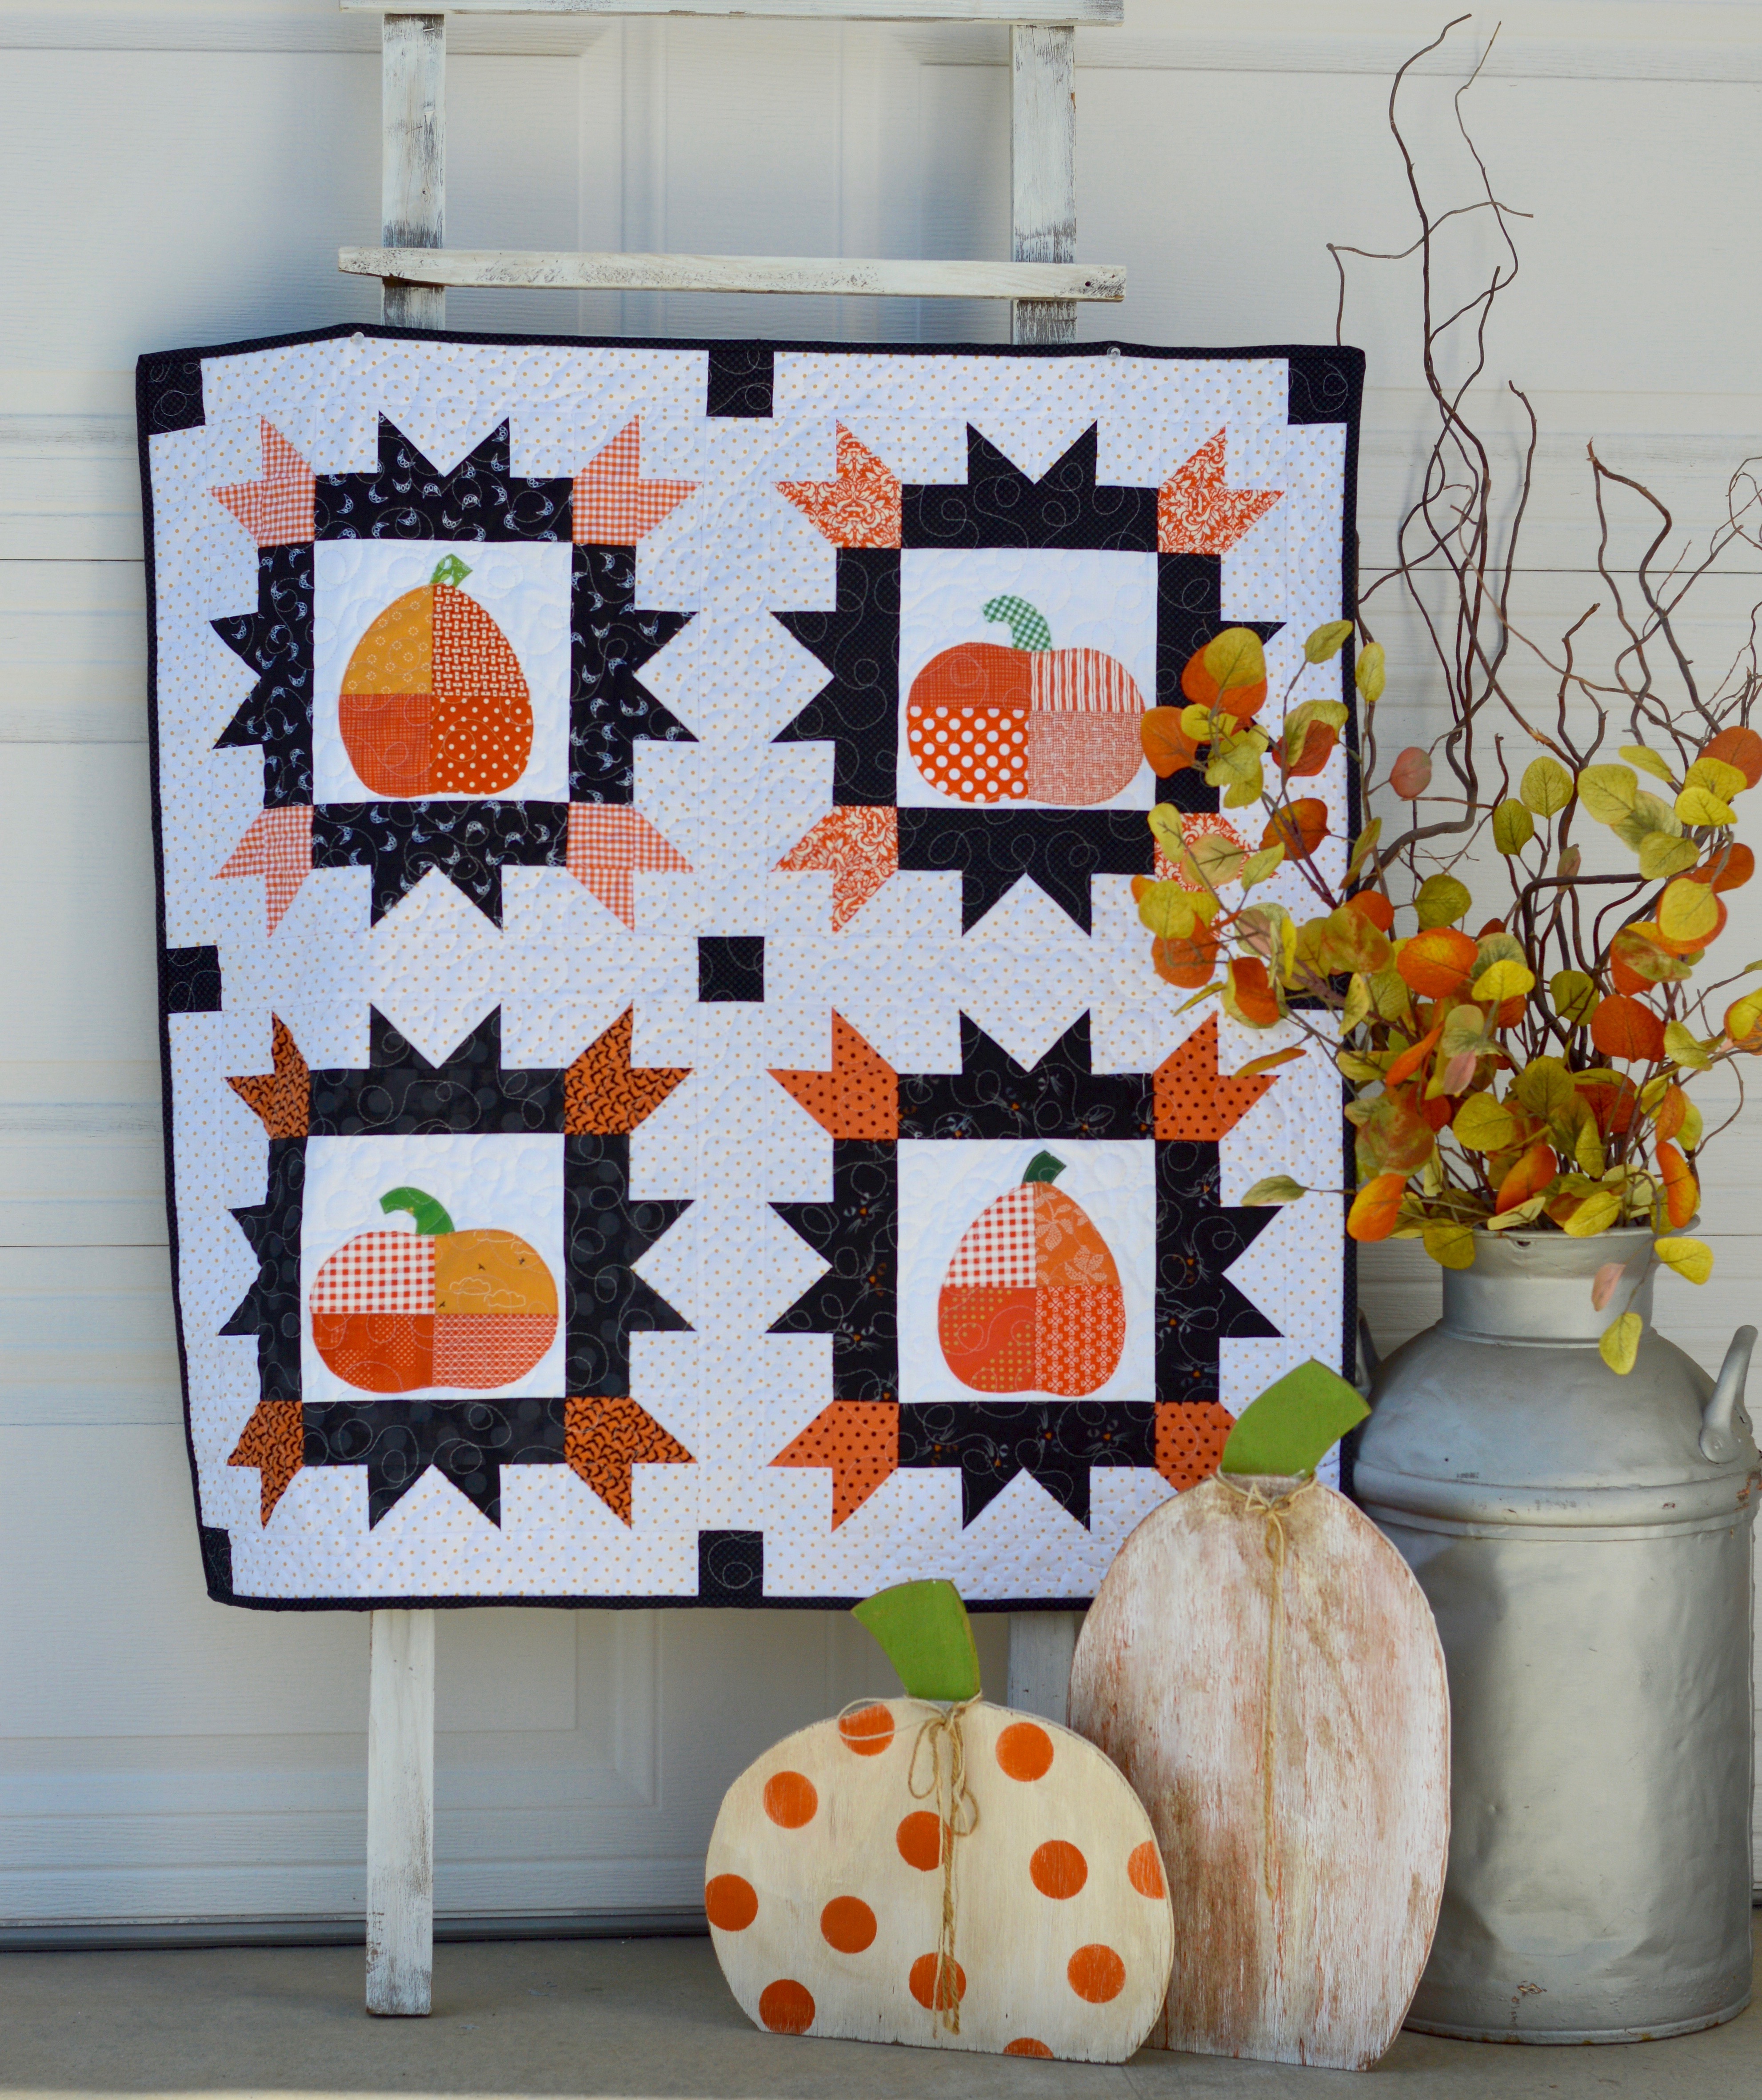
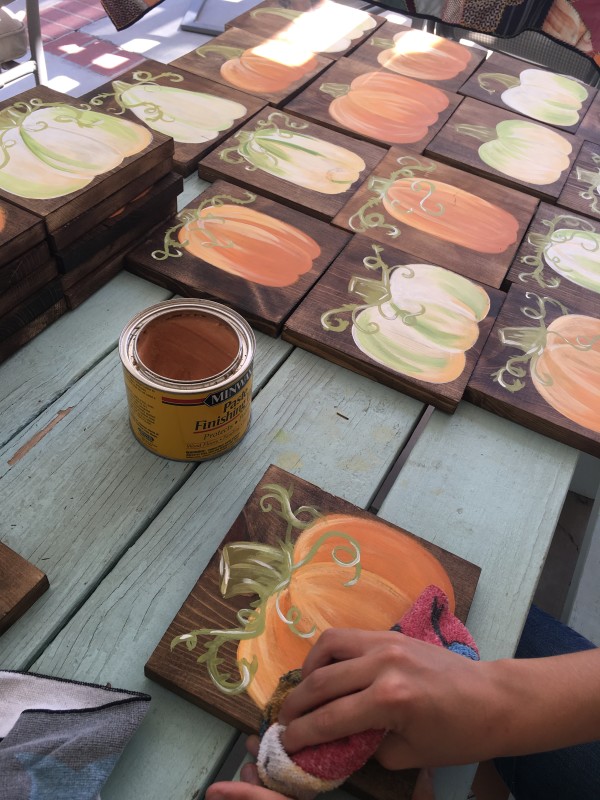
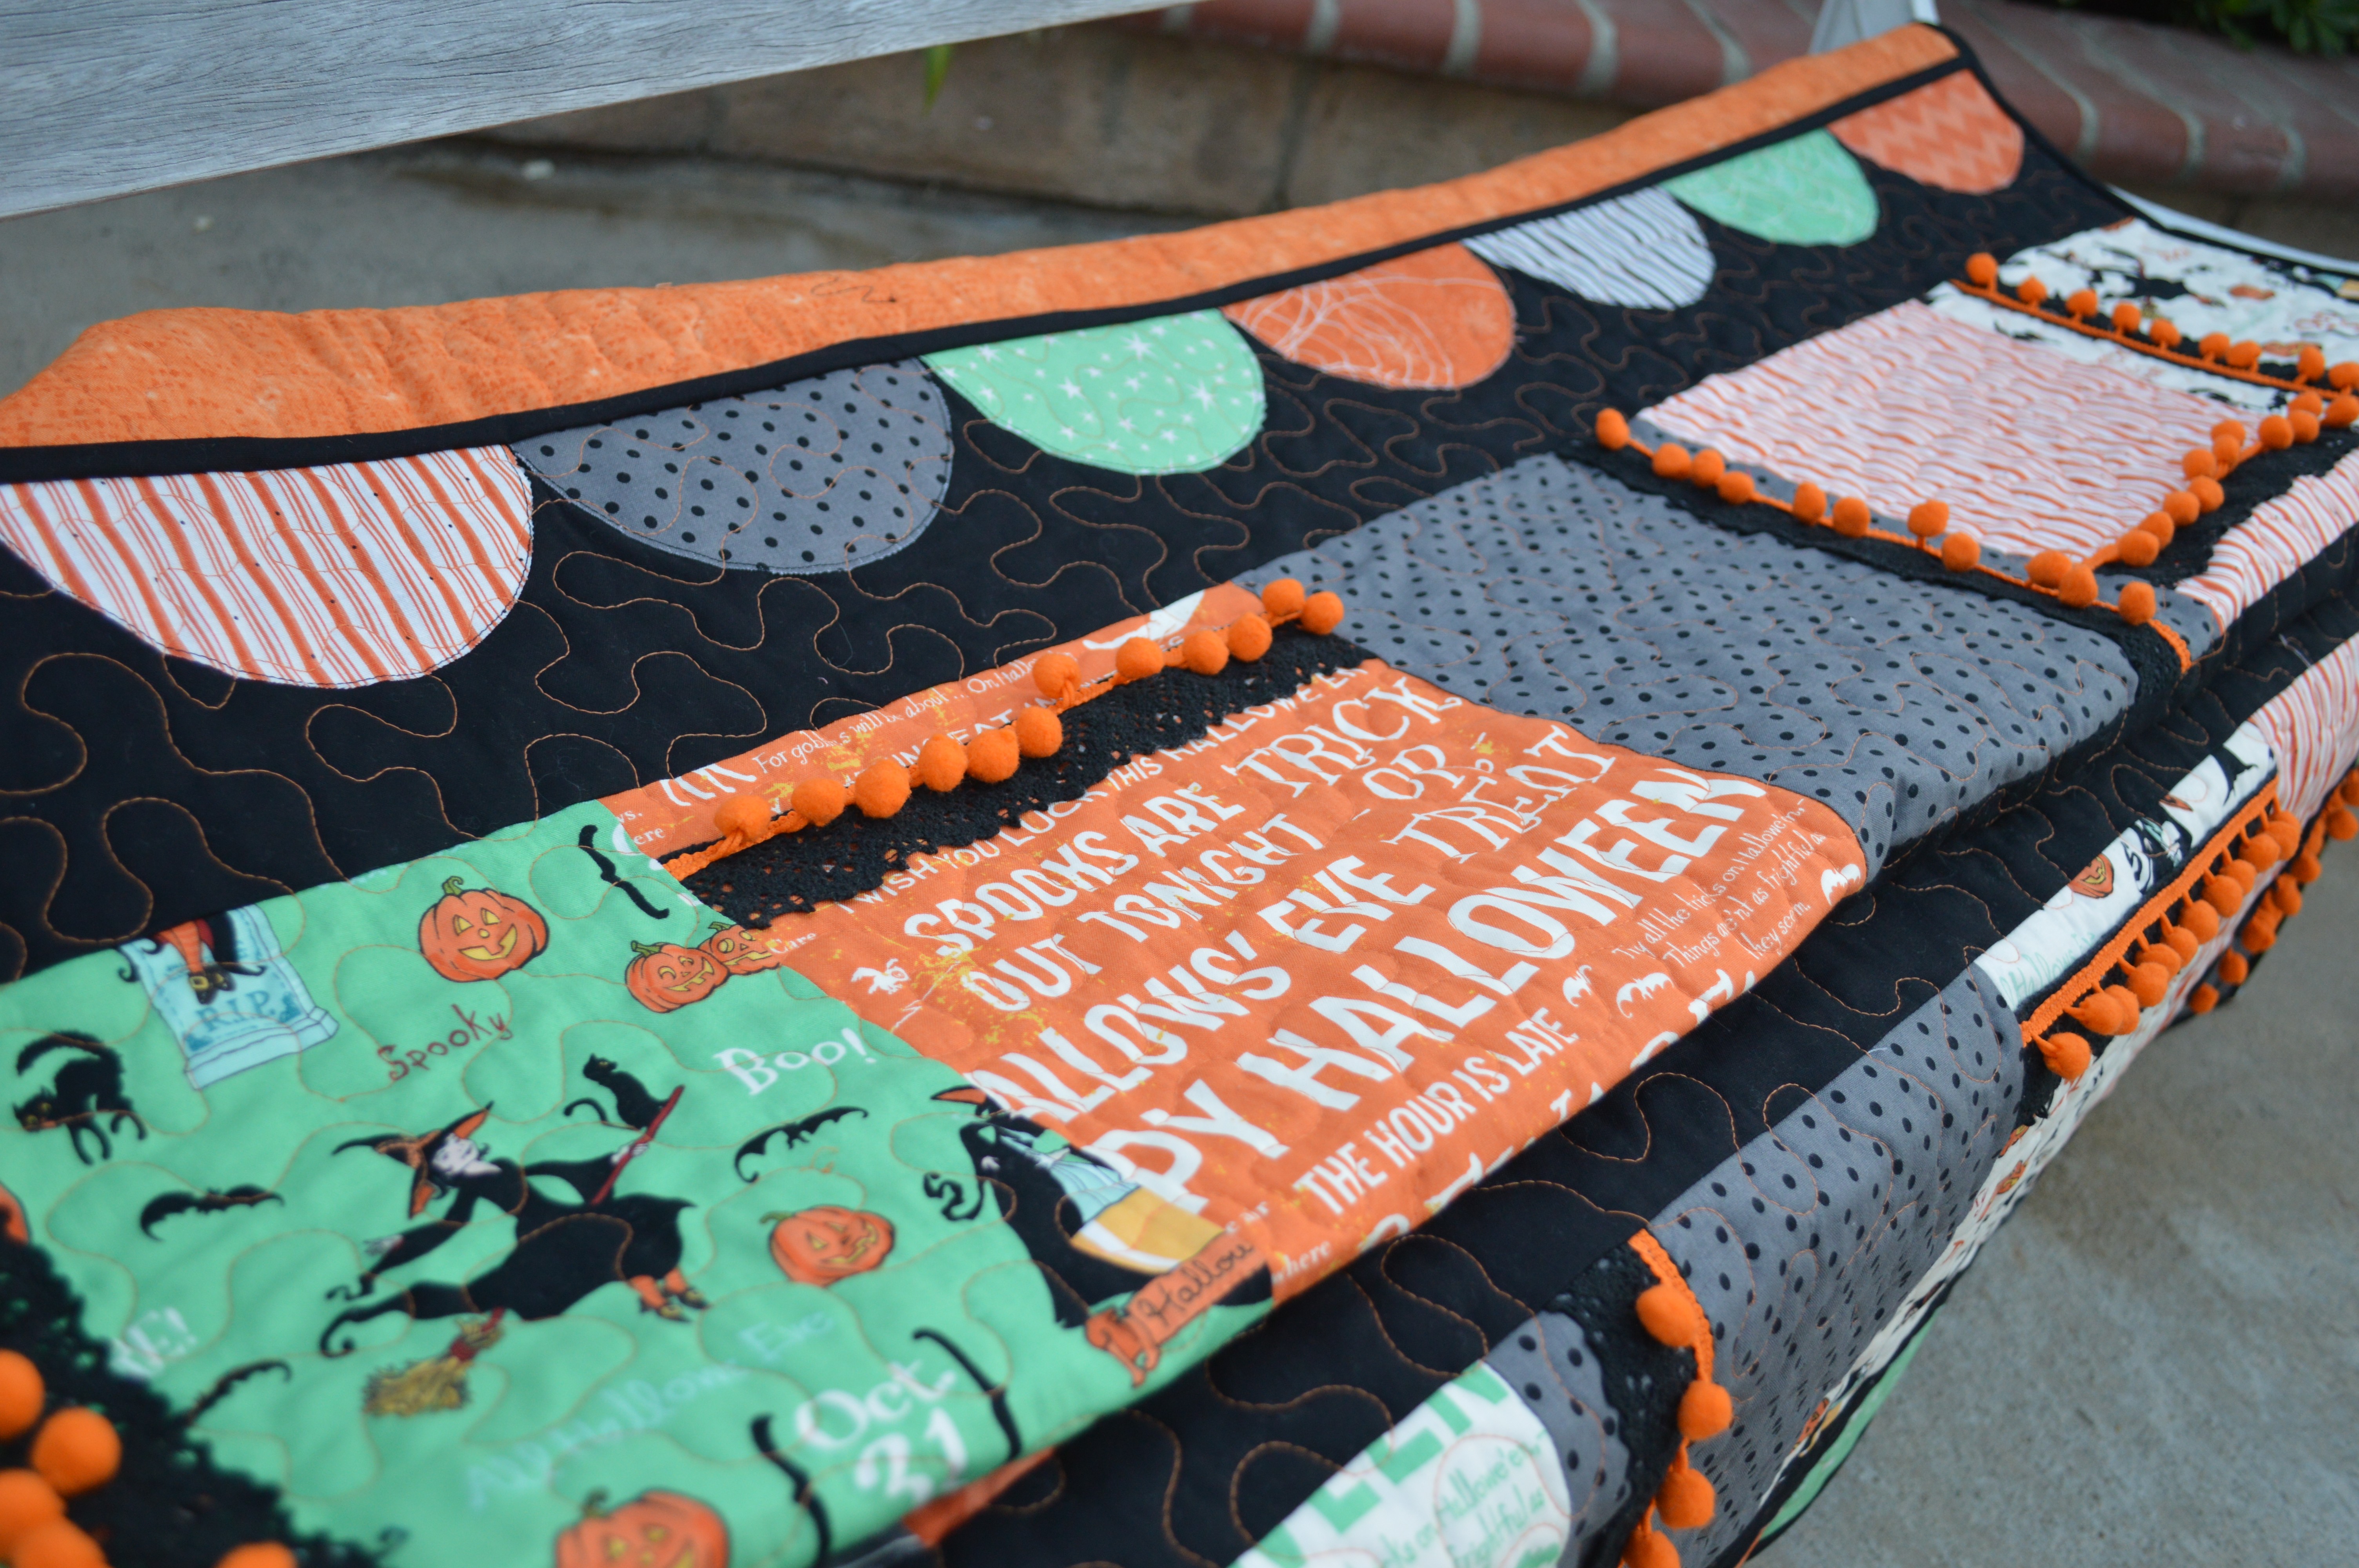
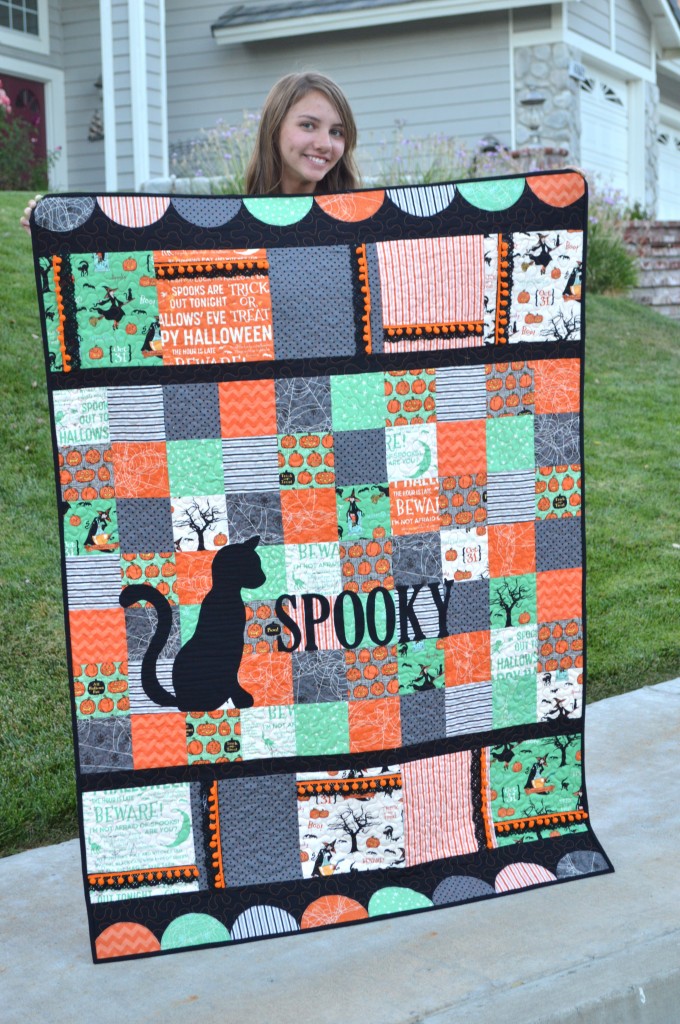
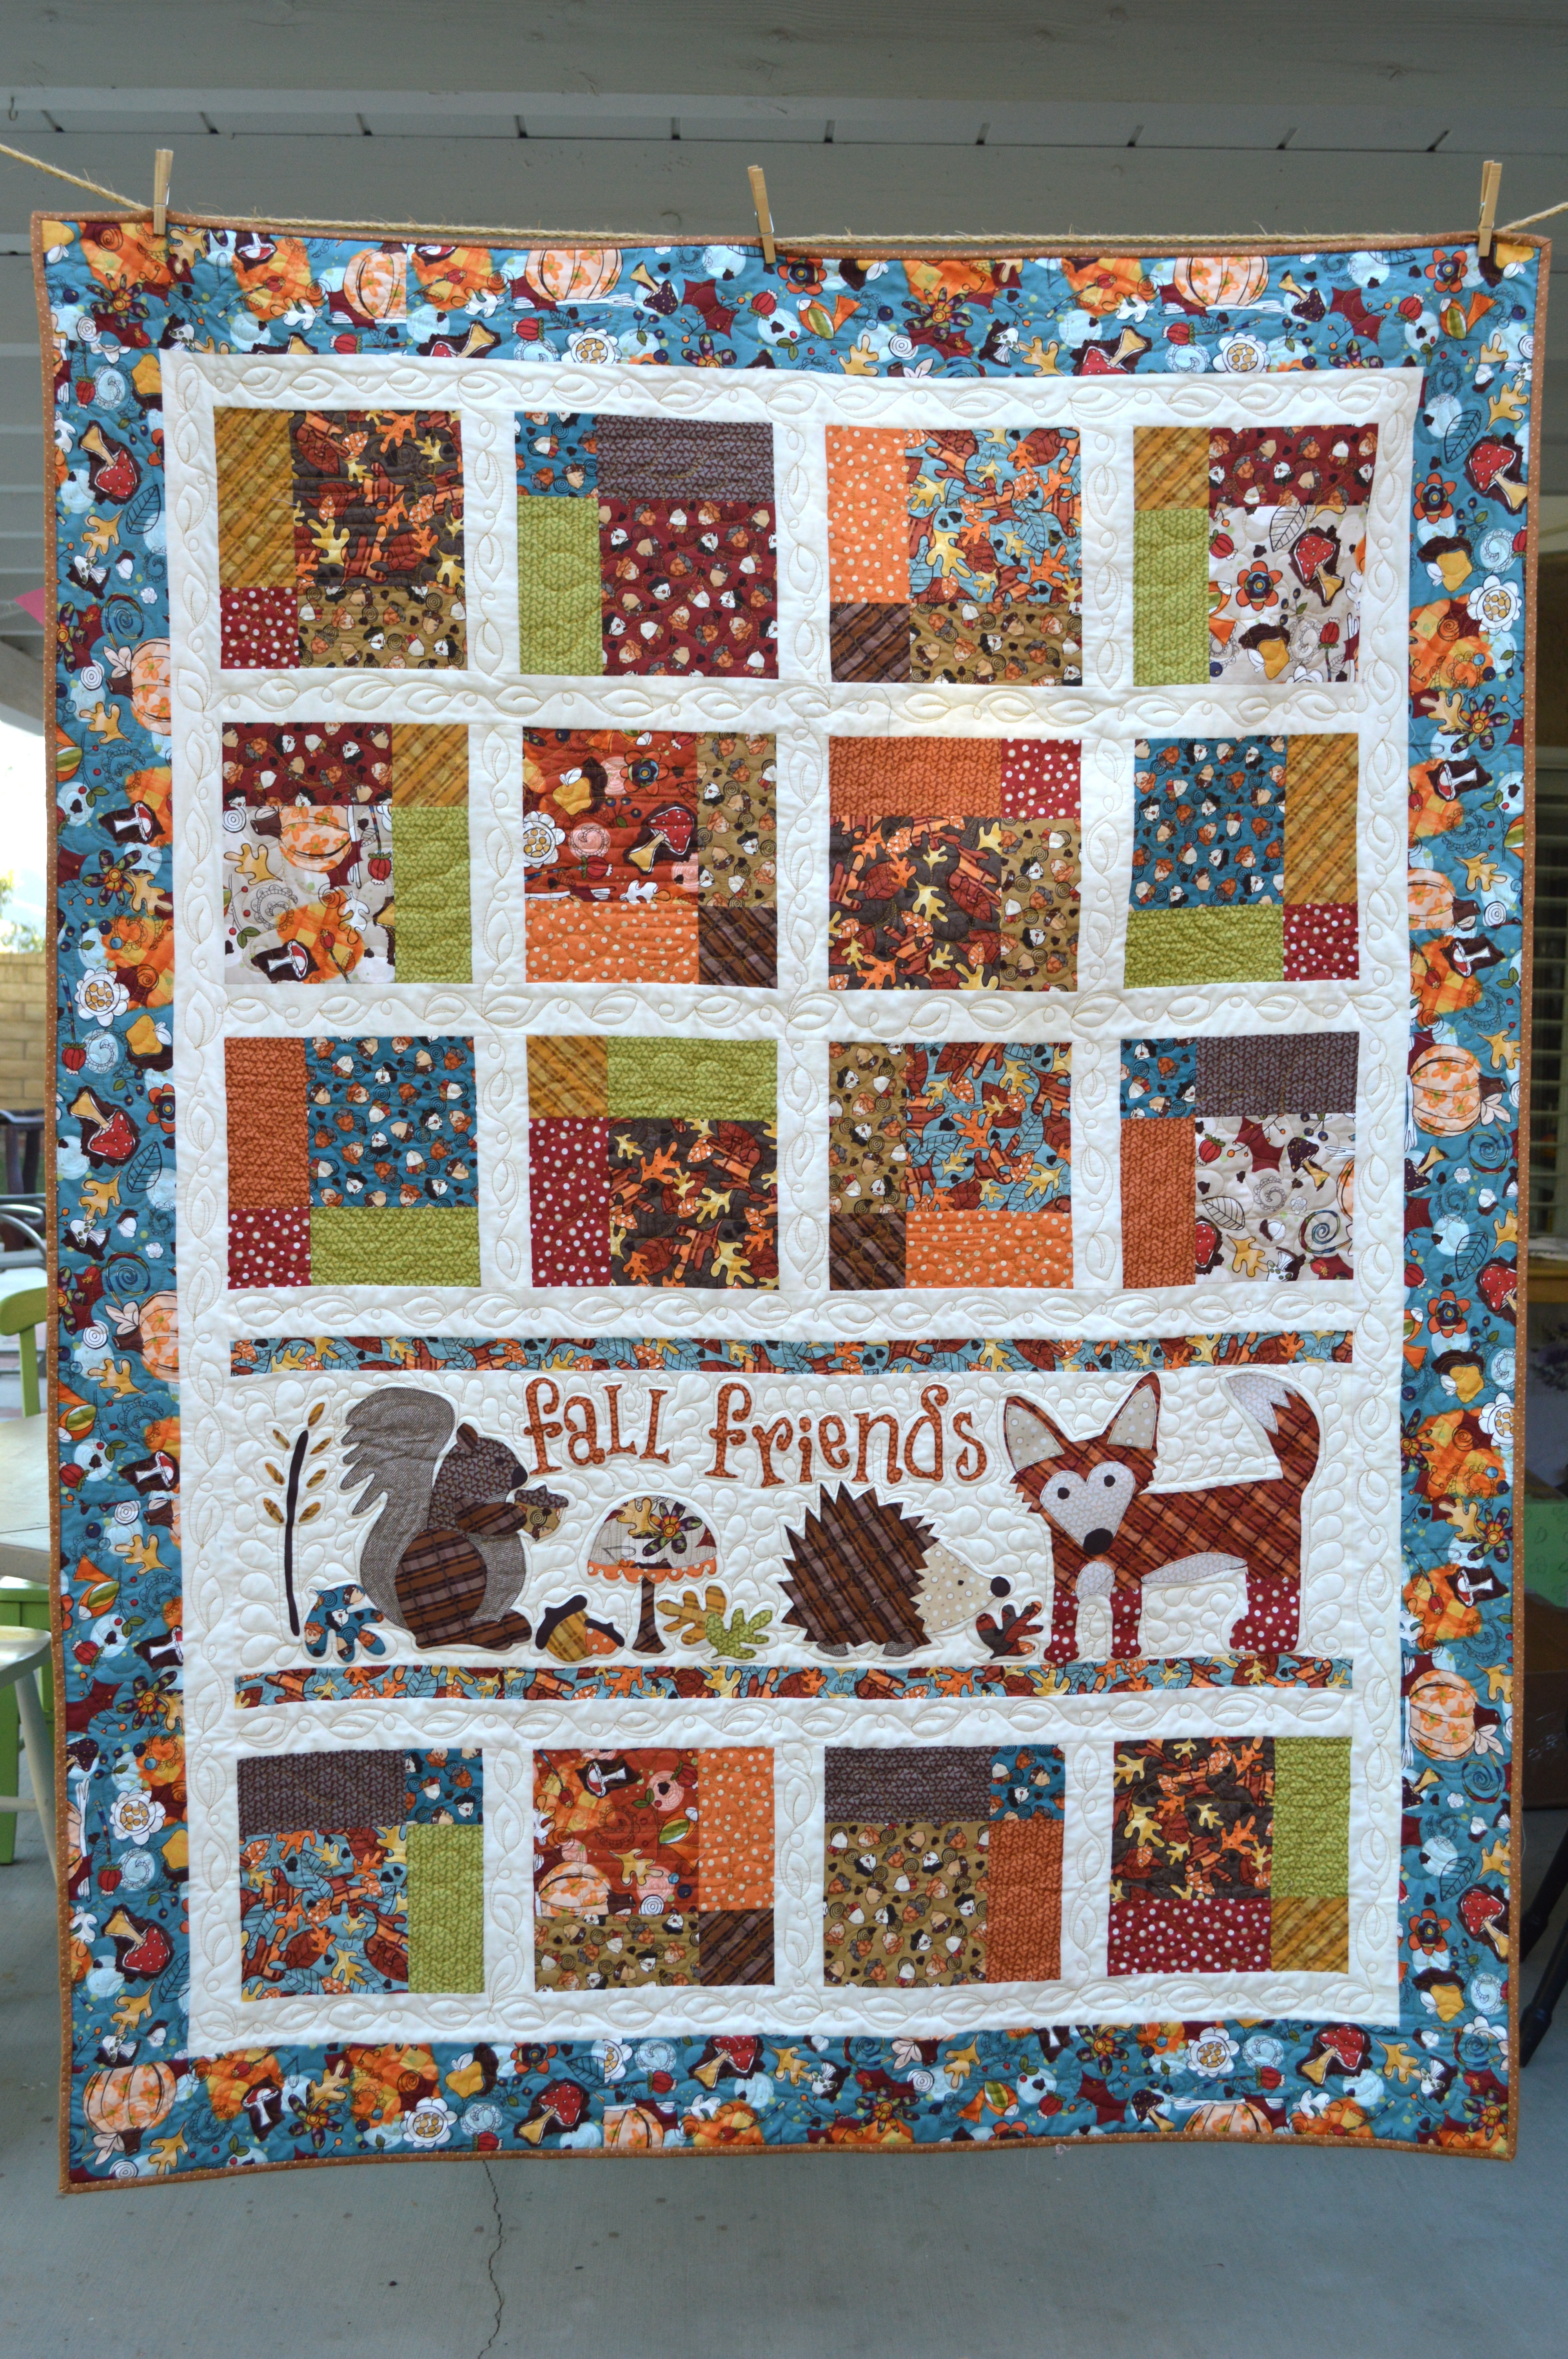
I love sewing for Halloween and Fall!  Orange and Black are so amazing together!!!  I created this fun little quilt to get my orange and black sewing fix!  And you can make one too!!

DSC_0527

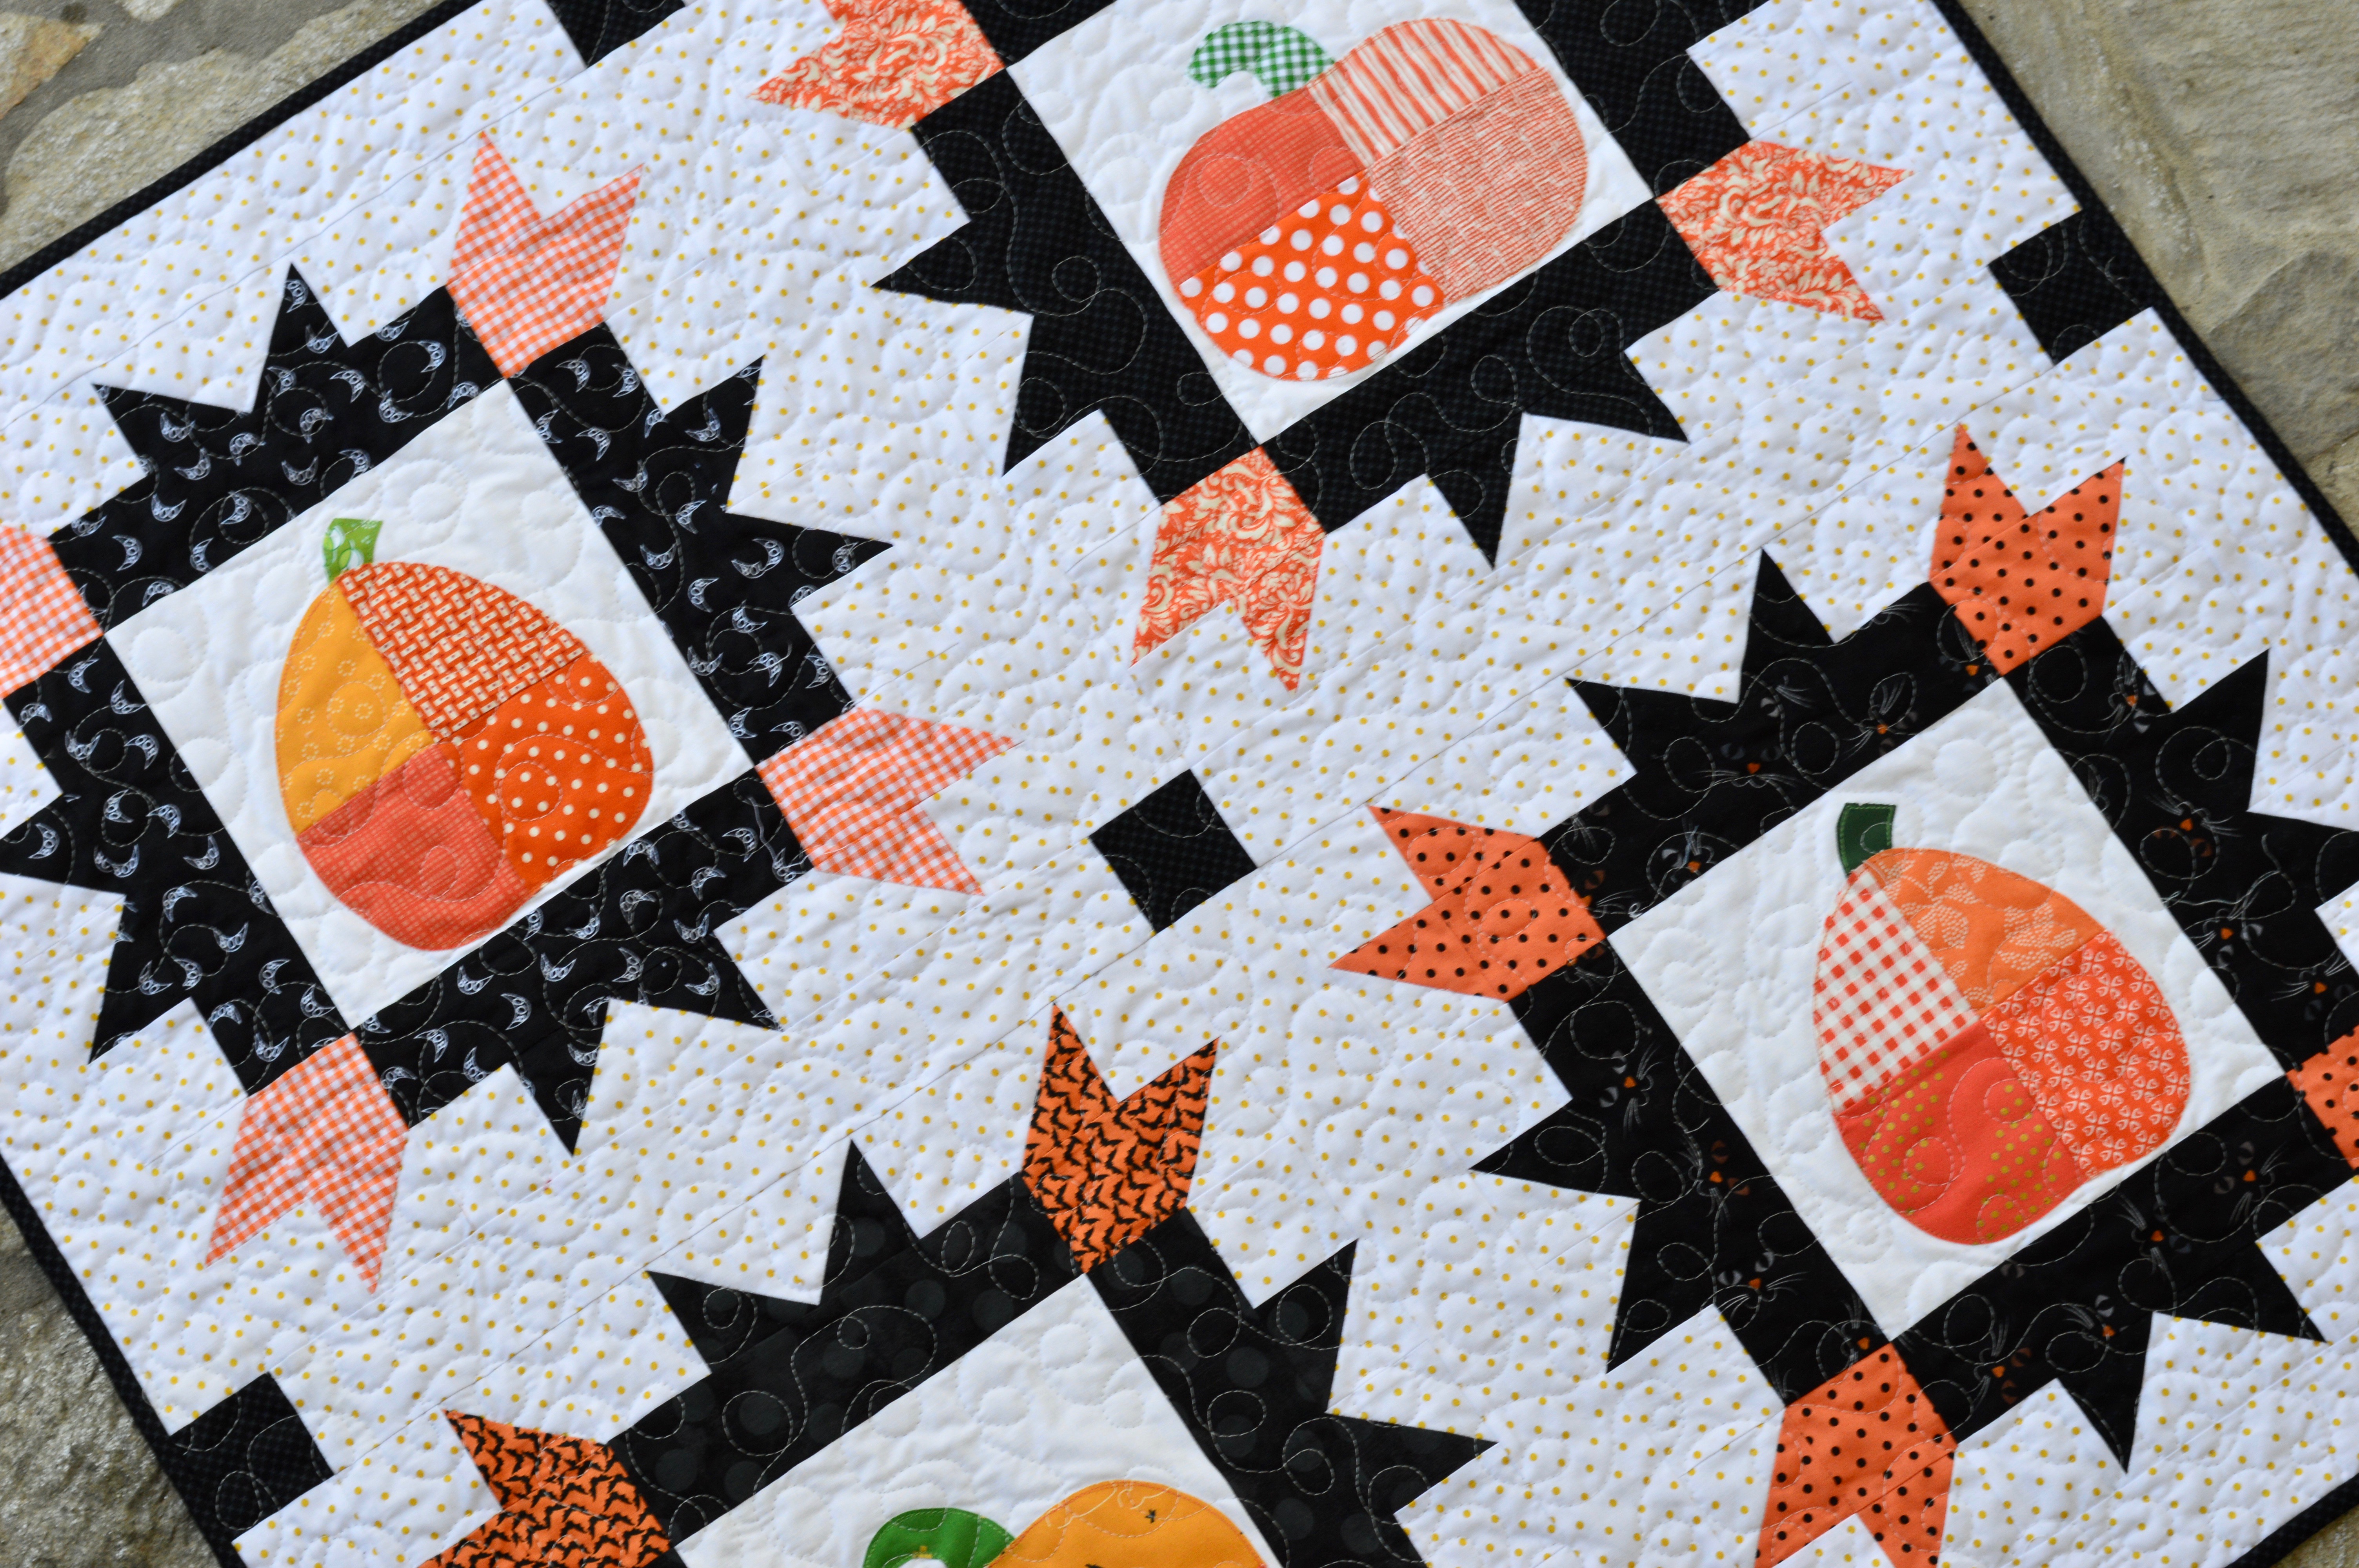
The quilt measures 38″ square and is a perfect size for hanging on a wall or putting on a table.  You could always make more blocks and turn it into a throw quilt!!  How fun!DSC_0473 2

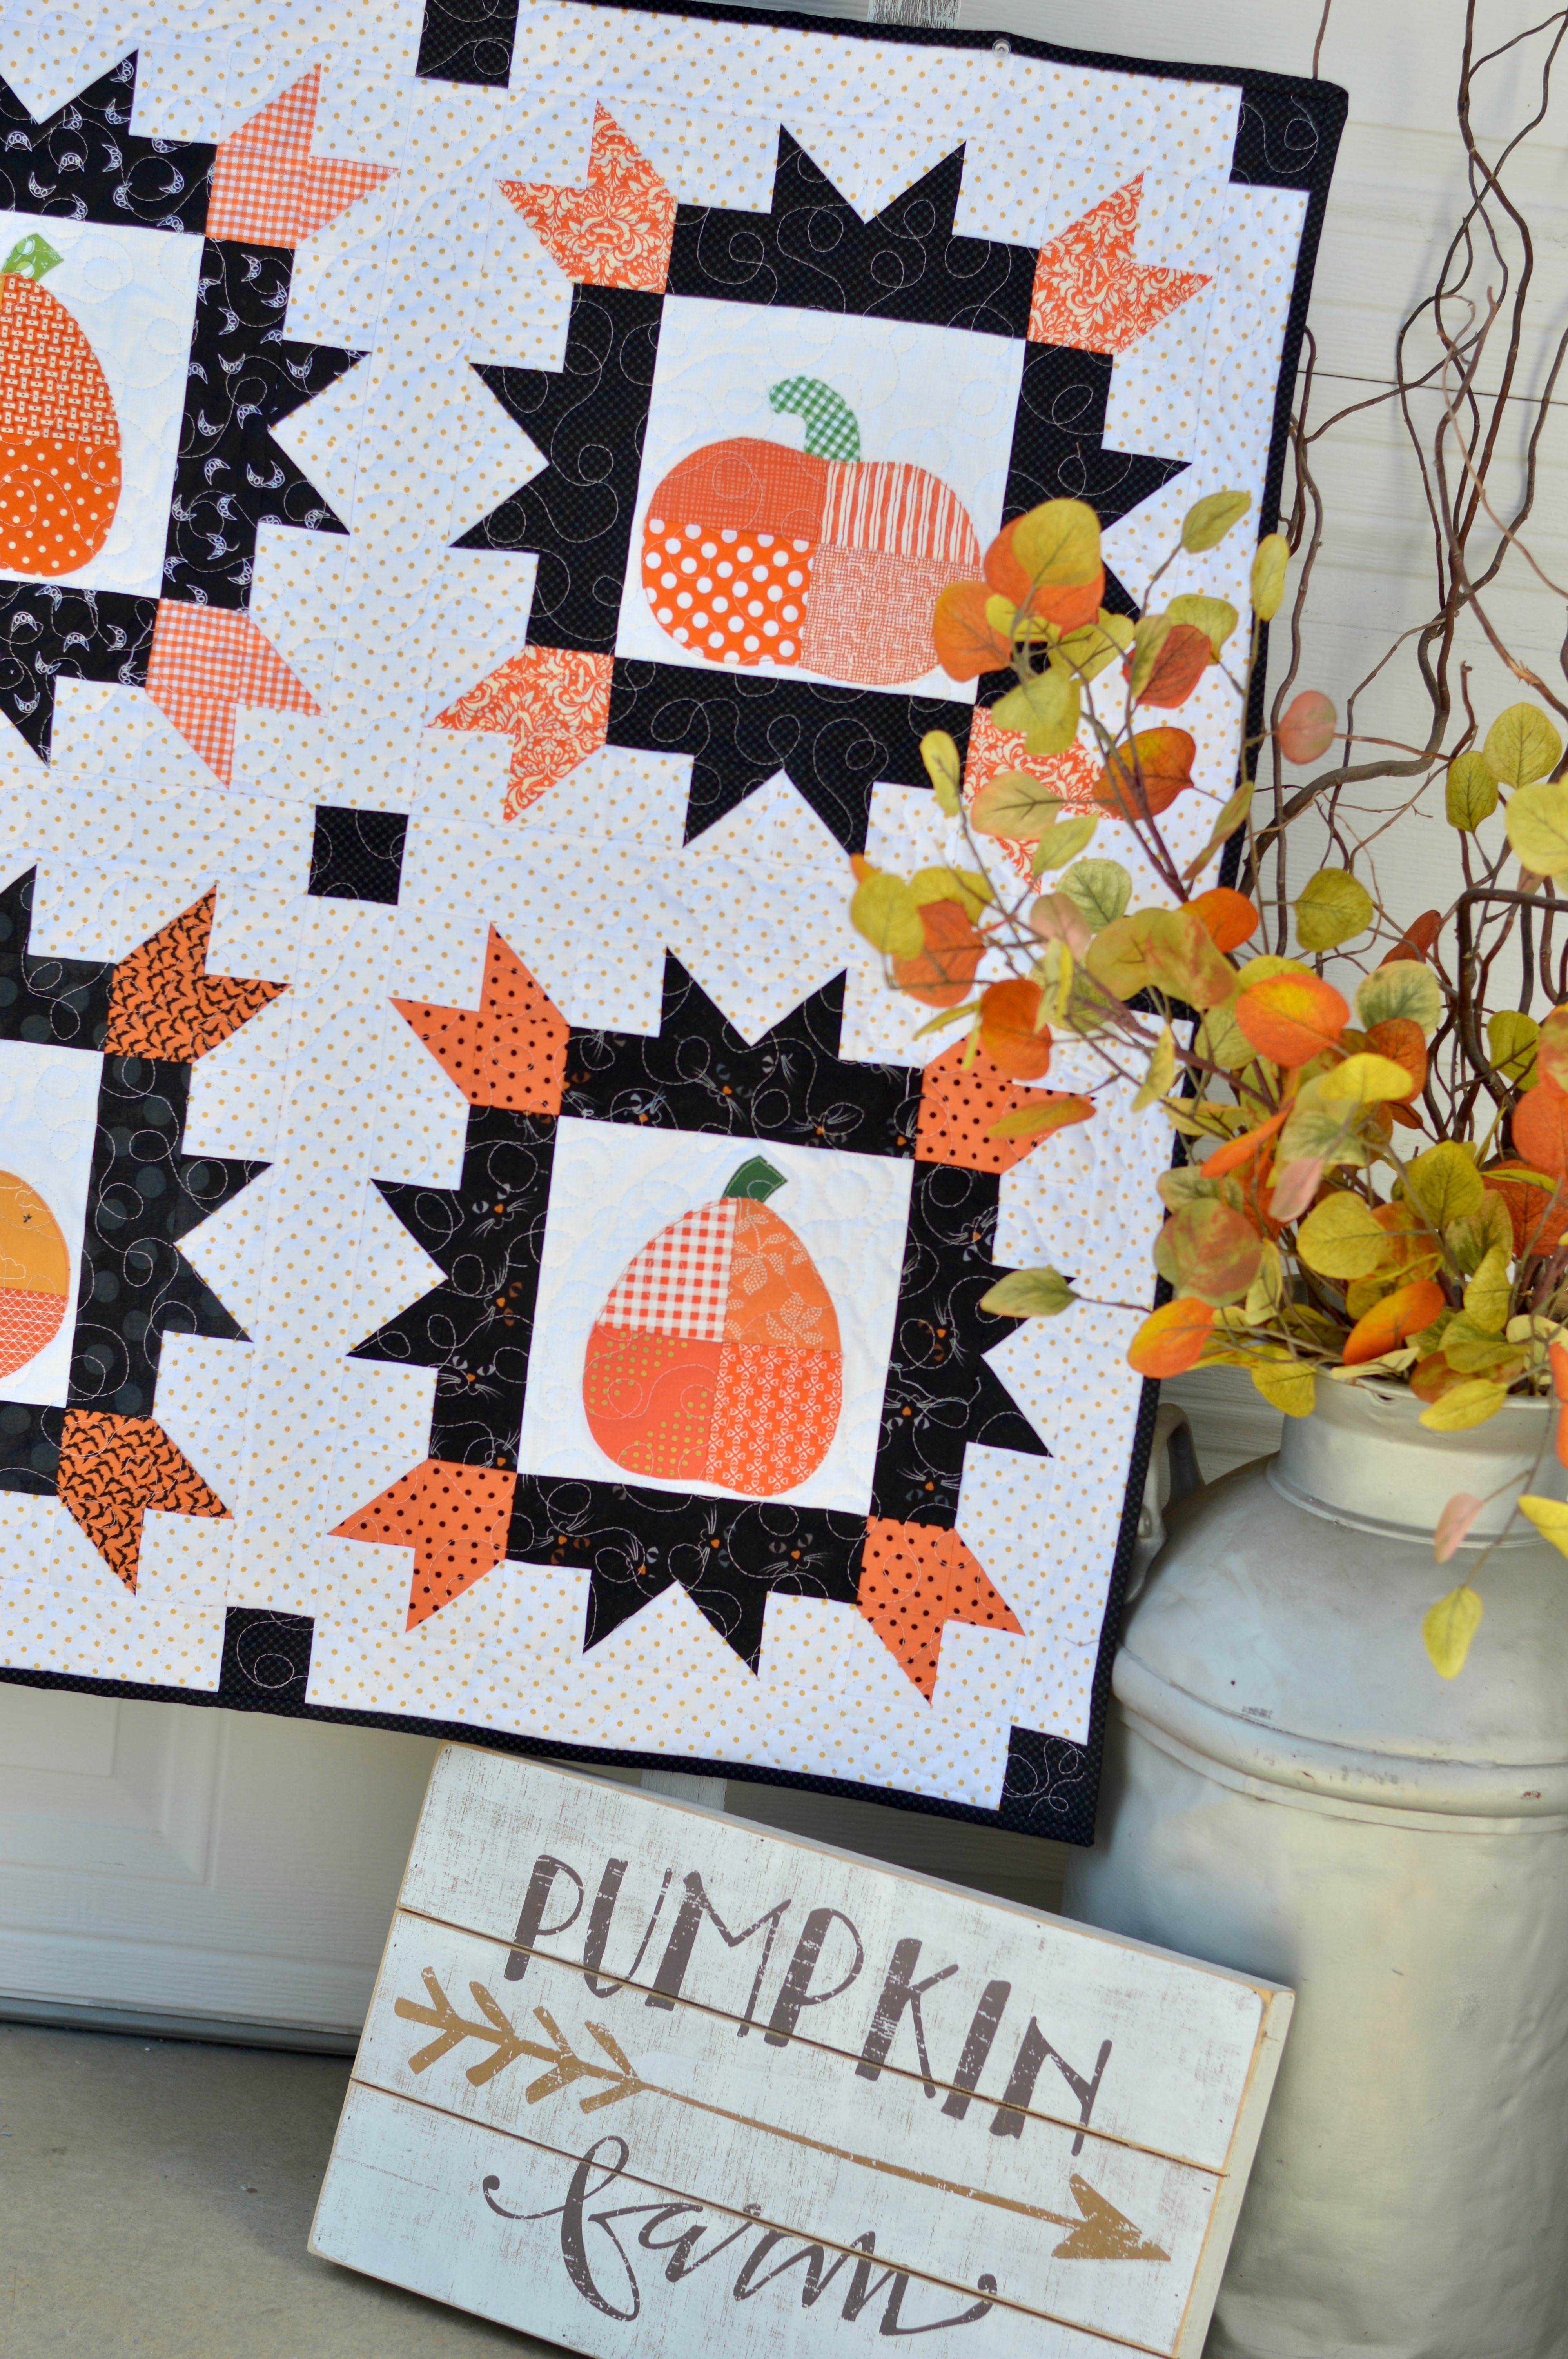
I used fabrics from my stash which is also fun!  Some fabrics I’ve had for years and some are newer additions!  You can use all different shades of orange and black!DSC_0466

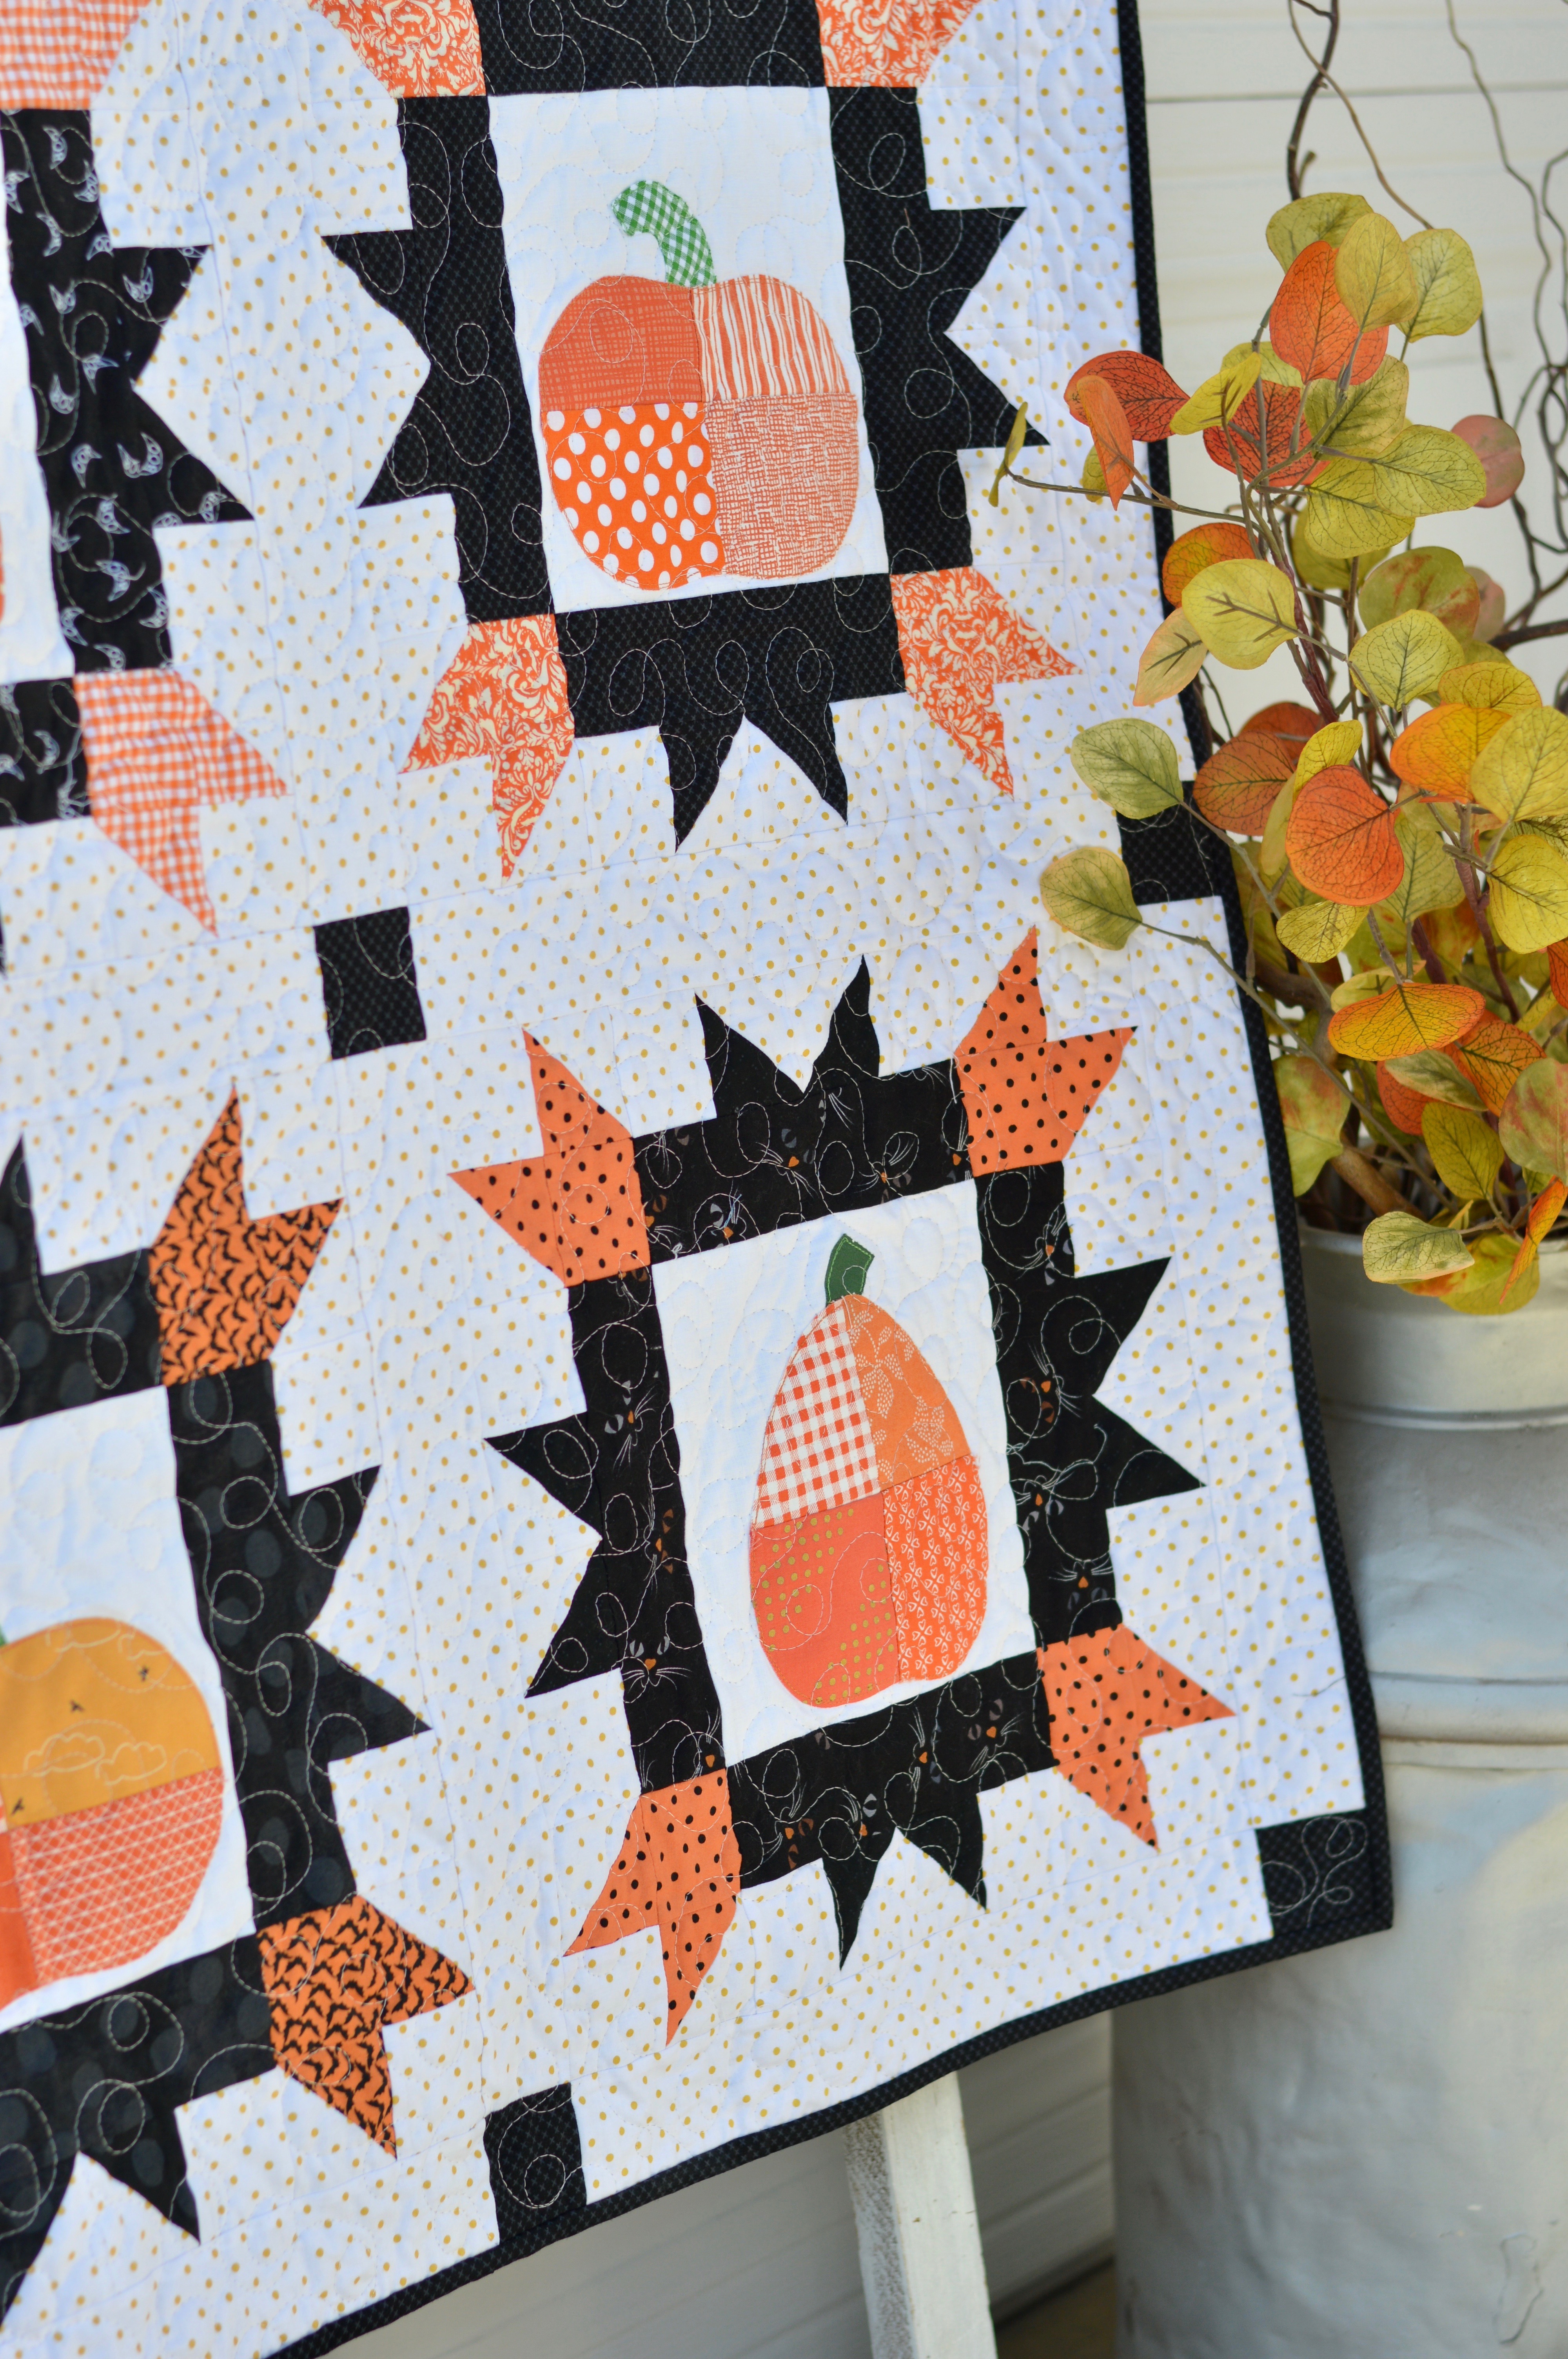
Fabric Requirements:

(4) black fat quarters

(4) orange fat quarters

(16) orange charm squares (5”)

4 small scraps of green

(1)white fat quarter
(2) 1-yard white dot background fabric

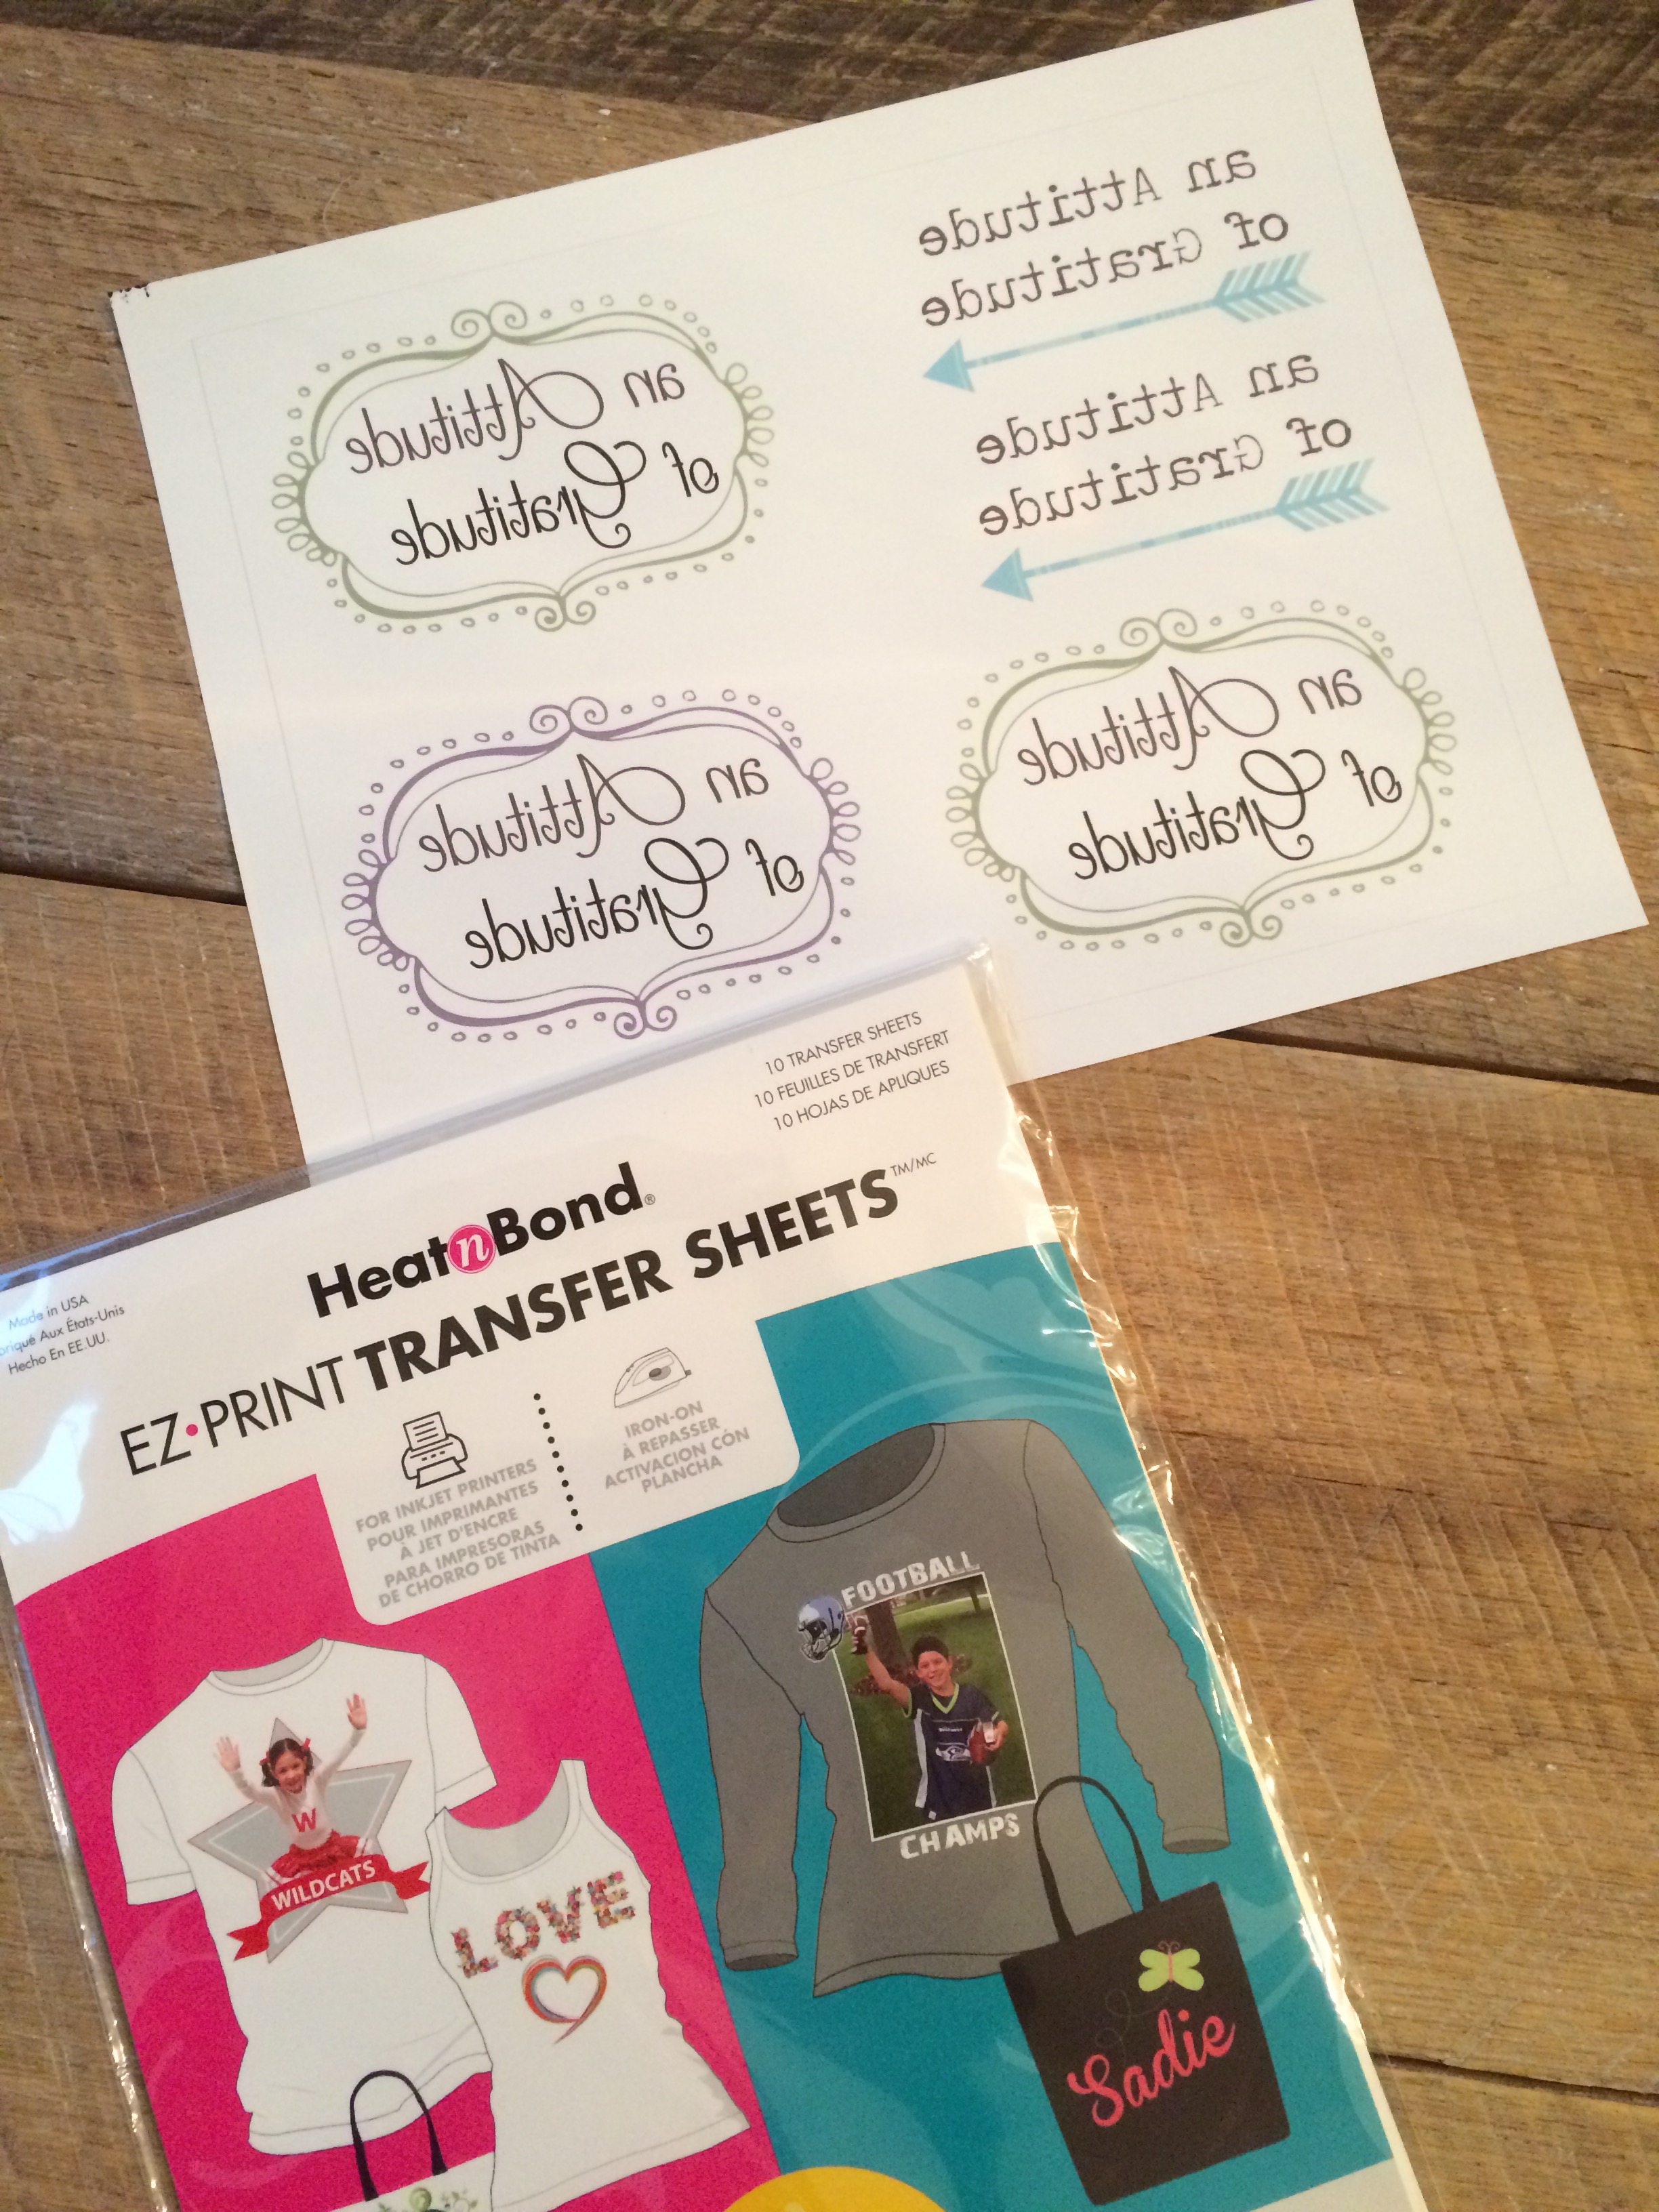
Heat n Bond Lite Fusible Adhesive 

or

HeatnBond EZ Print Sheets – Lite

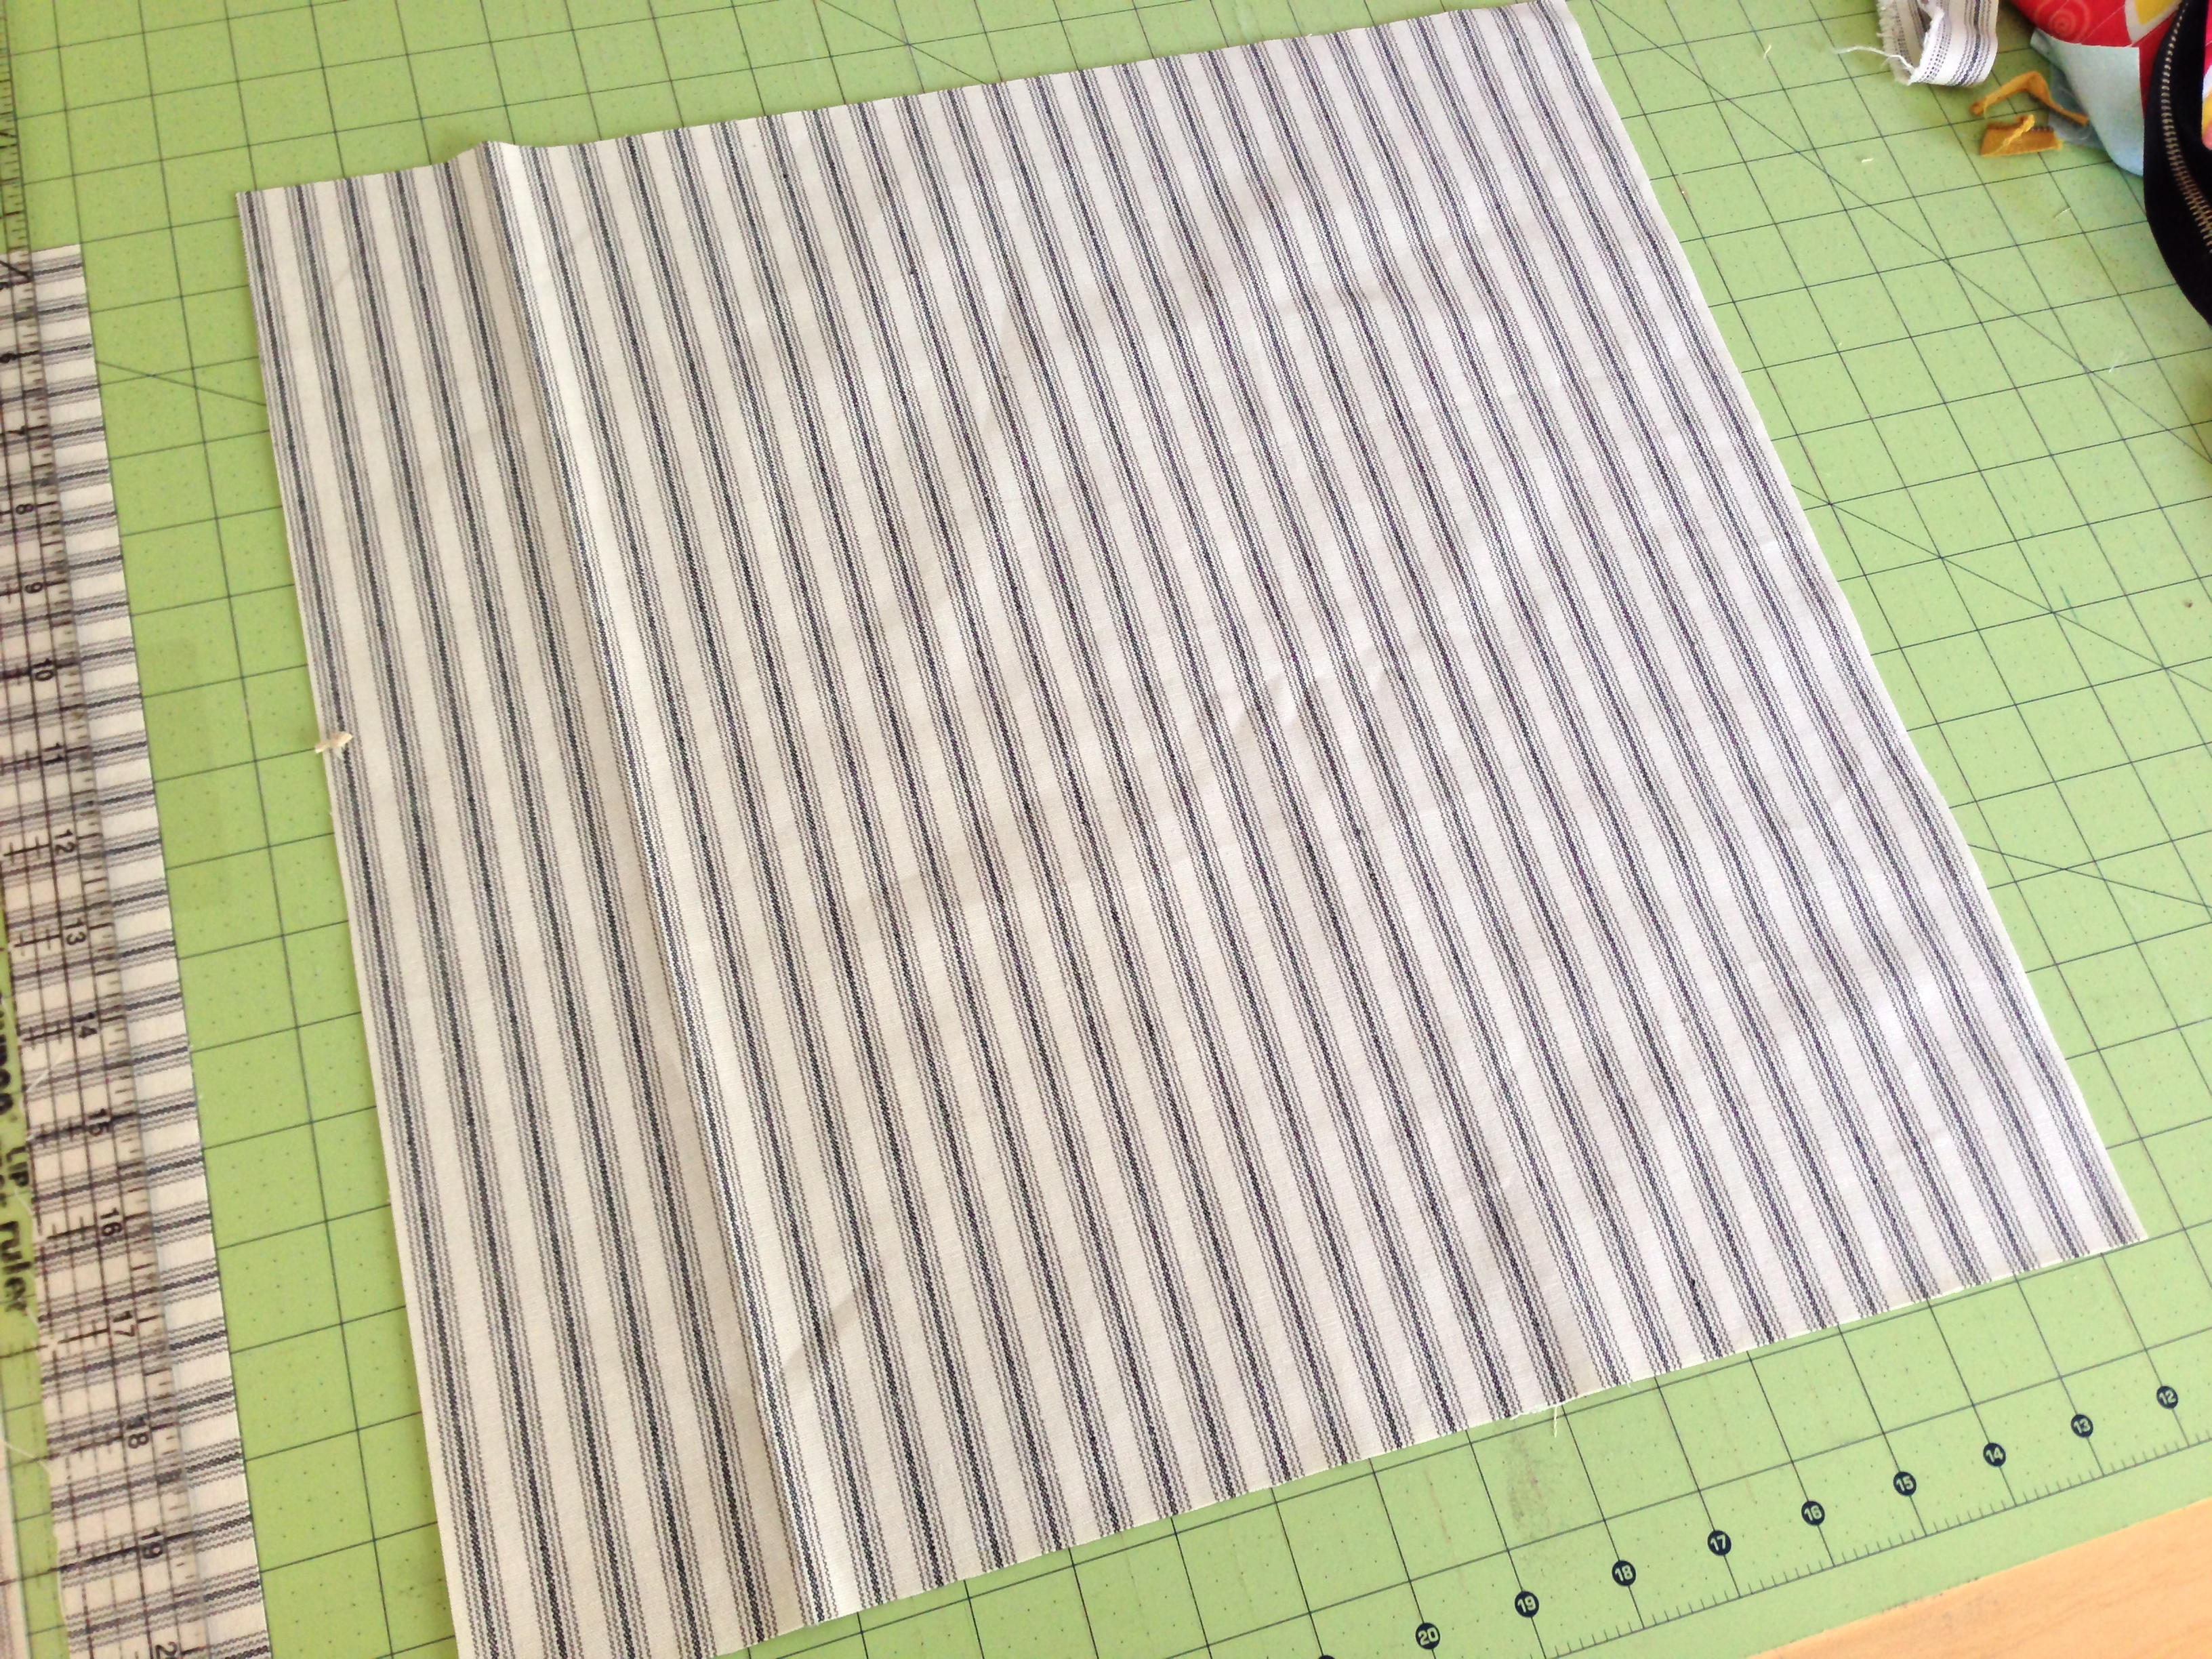
1 ½ yard backing fabric

2/3 yard binding fabric

You can download the free pattern by clicking HERE.

Patchy Pumpkins Fall Quilt with Heat n Bond Lite Instructions:

To make the patchy pumpkins sew (4) charm squares together like a 4-patch

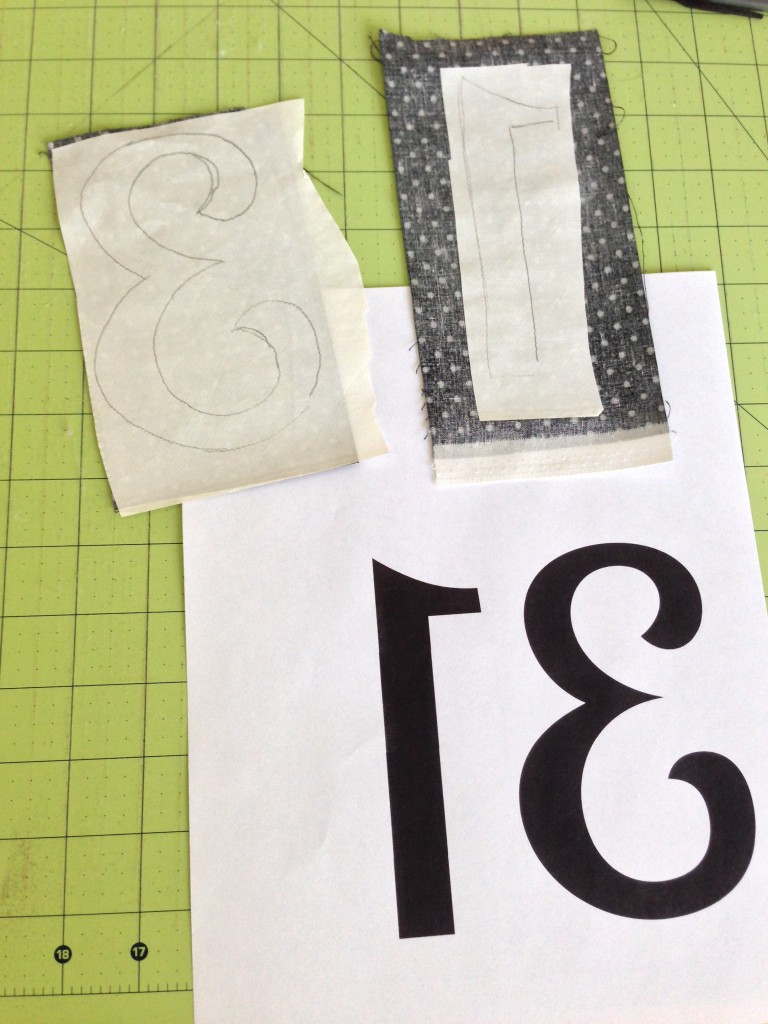
Trace the pumpkin pattern onto the Heat n Bond Lite.

Cut out around each pumpkin and stem about 1/4″.  Heat set to the wrong side of the 4-patch.  You can center the 4-patch or have it off center – you can even rotate it so it’s on an angle!

Let it cool and then cut out the pumpkin along the pattern line.  Peel off the backing paper.

Heat set the pumpkin in the center of the quilt block.  Straight stitch around the pumpkin and stem two times.

DSC_0517
DSC_0452

Shabby Fall Bunting and Farmhouse Fall Decor

img_4493

It’s so much fun switching out all the summer decor for fall decor!  I wanted a vintage farmhouse look for my front porch.  So I gathered a few items, I call it shopping at my house!  I love these shabby buntings and needed one that would fit on this vintage window.

img_4363

I pulled out all my lace, trim, ric rac, burlap, and soft colors of fabric.  I cut each piece about 24″ long, you don’t want every piece to be exactly the same.

img_4443

This is Mufasa’s favorite kind of project!img_4375

After playing in all the lace, he napped in the lace!!!

img_4492

I tied each of the strips to a piece of cotton cording.  Just keep tying until you get the look and length you want.

img_4494

I love how it turned out!  My daughter drew my chalkboard art – she’s the best.  I handed her 4 chalk boards and said “Do your thing!”  The gold polkadot pillow tutorial can be found here.

Here are a few more fall touches around my house:img_4468

img_4477

img_4480

img_4481

img_4482

Painted Pumpkin Art

I’m so proud of my daughter for painting these beautiful pumpkins and selling them to earn money for college next year!  She’s made over 100 and has officially launched her Etsy shop where she will be keeping it stocked with lots of hand-painted goodness!!

img_3594

I love my selection of white pumpkins that I have hanging in the dining room in this cute plate rack!  img_3570

She has been working so hard!!  img_3600

img_3534

Patchwork Acorns

patchwork acorn potholdersI’m sharing my Patchwork Acorn Potholder tutorial over on the Therm O Web Blog.  You can download the pattern and read the instructions!!patchwork acorn potholder

These are cute to use as potholders or as decorations in the kitchen!  I used a kitchen towel for the backing and the inside is fusible fleece.

patchwork acorn potholder 22

I also used the same pattern for the acorn and appliqued it onto burlap for a quick fall pillow!IMG_1846

To make the pillow, use spray an bond basting spray to hold the acorn in place.  Top stitch a few times around the acorn.  Then sew a 1″ seam all the way around the pillow leaving an opening for stuffing.  Stuff, then sew closed.  Fray the edges of the burlap as desired.IMG_1836

An Attitude of Gratitude Quilted Journals

quilted gratitude journal tutorial


I am so excited it’s November!  Yes, it’s all going a bit too fast, I will admit 🙂  Every year we do a “thankful campaign”  in the month of November.  When my children were small we wrote what we were thankful for on leaves and taped them to a big tree I had placed on the back of the front door.  As the children got a little older, we wrote what we were thankful for everyday and then put it in the “Thankful Bucket”; we read all the thankful papers out loud on Thanksgiving.  This year I want something a little more meaningful and something that can be adopted into a habit.  Gratitude journals are not a new idea, but I decided it’s time every member of my family have a Gratitude Journal and we write each day at least 10 things we are grateful for.  Pretty much, you open the book and you write what ever it is you are thankful for – it can be a word or many paragraphs.

I’ve done a lot of reading on Gratitude and I even have a Pinterest board for all the wonderful Gratitude ideas and quotes there are out there.  My favorite quotes are:

Gratitude Turns What We Have Into Enough and A Thankful Heart is the Parent of All Virtues

I am hoping by helping my family turn our hearts into grateful hearts, we will have more love for each other and for those around us and we will feel closer to God and His Son, Jesus Christ.

Here is how you can make a Quilted Gratitude Journal!!

Supplies:

fat quarters or small cuts of fabric for the pieced journal front

1/3 yard fabric for lining

1/3 yard for journal cover flaps

cotton batting

hair elastic

button

Spray n Bond Basting Spray

Scrap of burlap

“An Attitude of Grattitude” printable, click HERE

For the “boy” journal I used fabric from Blend’s “Hammer and Nails” line – I love finding mature boy fabric – it’s hard to come by, but I thought this was perfect for my 11 year old son and my husband with out being cheesy 🙂

For the “girl” journal I used fabric from Blend’s “Good Company” line – super cute – reminds me of feminine fall fabrics

Therm O Web’s Heat n Bond’s EZ Print Transfer Sheets


Begin by cutting the strips for the outer part of the journal:

For the boy version, cut the blue fabric 5″ x 16.5″, the measuring tape fabric 2″ x 16.5″, and the wood fabric 5″ x 16.5″ .  Sew them together in this order using 1/4″ seams.

quilted gratitude journal tutorial__3

For the girl version, cut the top pink piece 6″ x 16.5″, the owl & squirrel print 4″ x 16.5″, and the blue print 2″ x 16.5″.  Sew together in this order using 1/4″ seams.

quilted gratitude journal tutorial_6

Basically, the final measurement should be 16.5″ x 11″ if you want to design your own pattern.

Using Spray n Bond, baste the journal top to the cotton batting and quilt as desired.

quilted gratitude journal tutorial_7

On the girl journal I quilted loop-de-loos…..

quilted gratitude journal tutorial_8

On the boy journal I quilted straight lines….

quilted gratitude journal tutorial_9

Square up the journal top by trimming the excess batting.  It’s OK if the journal top shrinks a bit due to quilting.

Next, prepare the “gratitude saying” by printing in reverse on the EZ Transfer Sheets.

quilted gratitude journal tutorial_


Cut out a rectangle of  solid cream fabric the size you want it – the girl’s one was 4.75″ x 3.5″ and the boy’s one was 4.75 x 3″quilted gratitude journal tutorial_2


Trim down the EZ transfer sheets and read the directions on the package.  Pretty much you put it face down on the cream fabric and press with a dry hot iron.  Then peel off the backing paper.  I love using these sheets – expect to see more projects with words and quotes 🙂quilted gratitude journal tutorial_4

Cut the burlap so as to “frame” the word square.  Using the basting spray, baste the word piece to the burlap, then the to the journal cover.

quilted gratitude journal tutorial_10


Position as desired.quilted gratitude journal tutorial_11

quilted gratitude journal tutorial_12


Sew around it twice with dark brown thread.quilted gratitude journal tutorial_21

Cut the “flap” fabric (2) 10″ x 11″ squares and press in half lengthways.

quilted gratitude journal tutorial_13


Cut the lining fabric 16.5″ x 11″.  then lay the flaps like this matching raw edges.quilted gratitude journal tutorial_15

Baste the hair elastic in the center of the back of the journal cover:

quilted gratitude journal tutorial_14

Place the journal top right sides together with the lining/flap piece an pin all the way around.  Sew around the whole piece using 1/4″ seams and leaving an opening to turn at the bottom center.  Turn right side out.  Press.  Top stitch the opening closed with matching thread.

quilted gratitude journal tutorial_16

Insert the composition book into the cover and mark where the button should go.  Sew the button on with needle an thread, careful not to catch the flap.

quilted gratitude journal tutorial_18

quilted gratitude journal tutorial_23

I love how they turned out and my children were super excited to receive one of these tonight during our Family Home Evening!!

quilted gratitude journal tutorial_24

quilted gratitude journal tutorial_26


Fall Friends Applique Quilt – Blogger’s Quilt Festival Entry

Fall Friends Applique Quilt_3

It’s that time of year again, the Blogger’s Quilt Festival from Amy’s Creative Side!  I am entering my “Fall Friends” quilt in the “appliqué quilt” category.  I am so in love with this quilt that I just finished sewing today!  The woodland animal appliqué patterns are from Jennifer Heynen’s book “A Walk in the Woods“.  I came up with the design of the quilt – it’s a disappearing 9-Patch with sashing.  The fabric’s are also from Jennifer’s “A Walk in the Woods” fabric line.  I don’t know about you but I am in love with hedgehogs, squirrels, and foxes!!!

AmysCreativeSide.com


Fall Friends Applique Quilt


The quilt measures 56″ x 72″.  The appliqué is fused with Heat n Bond Lite and then straight stitched around the edges.  The quilting is long-arm machine quilted and the binding is hand-sewn.

Fall Friends Applique Quilt_1

Fall Friends Applique Quilt_2
Fall Friends Applique Quilt_4

Thanks so much for stopping by!  and Happy Fall!!!

Fall Friends Applique Quilt_5

“Spooky” Quilt for Riley Blake Designs

spooky_quilt_tutorial

I am so excited to share this quilt!  Did you know I love Halloween and I love black cats?  The fabric in this quilt is Riley Blake Design’s “Witch Hazel.”  I love the vintage feel of the prints and the colors.  I enlarged the cat from the theme print to create this cat silhouette.  The pattern is being featured over at the Riley Blake Design Blog  “Cutting Corners” if you want to make one 🙂Halloween_quilt_tutorial_1


It’s 100 degrees here but all this Halloween sewing is helping me get in the mood for Fall. This quilt is hanging in my family room and it makes me smile every time I look at it….and it makes me want to adopt another black cat!!
Halloween_quilt_tutorial_3

There are many different parts to the quilt: a patchy center, appliqué, lace and pom pom trim and an appliqué scallop top and bottom border!Halloween_quilt_tutorial_4

Halloween_quilt_tutorial

Modern 31 Halloween Pillow


modern_halloween_pillow_tutorial
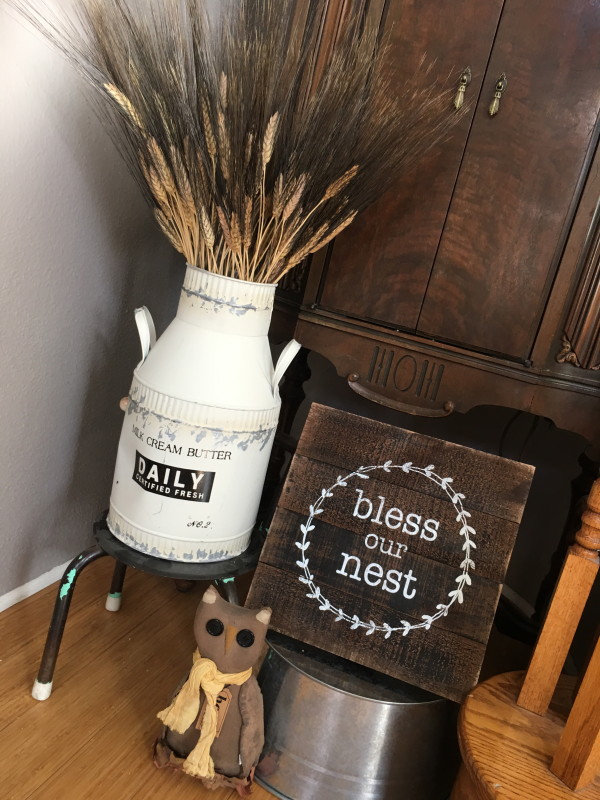
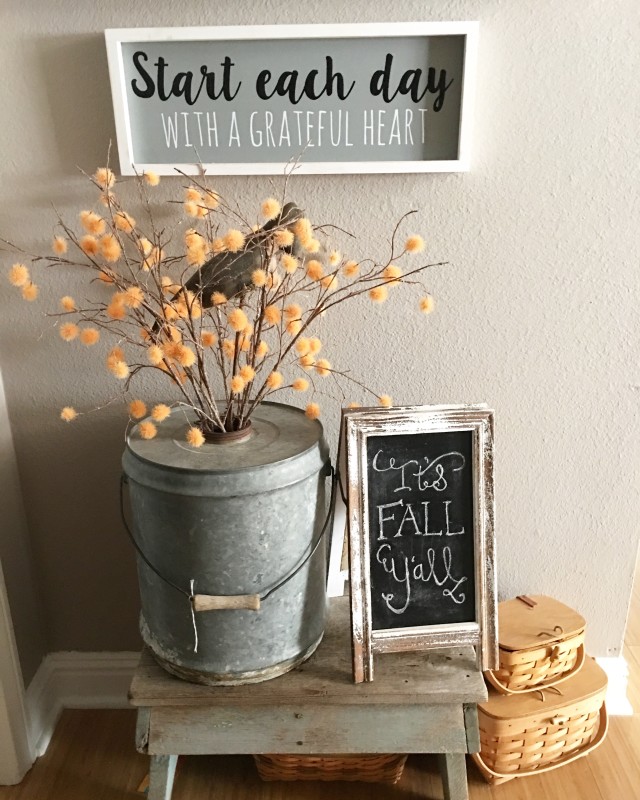
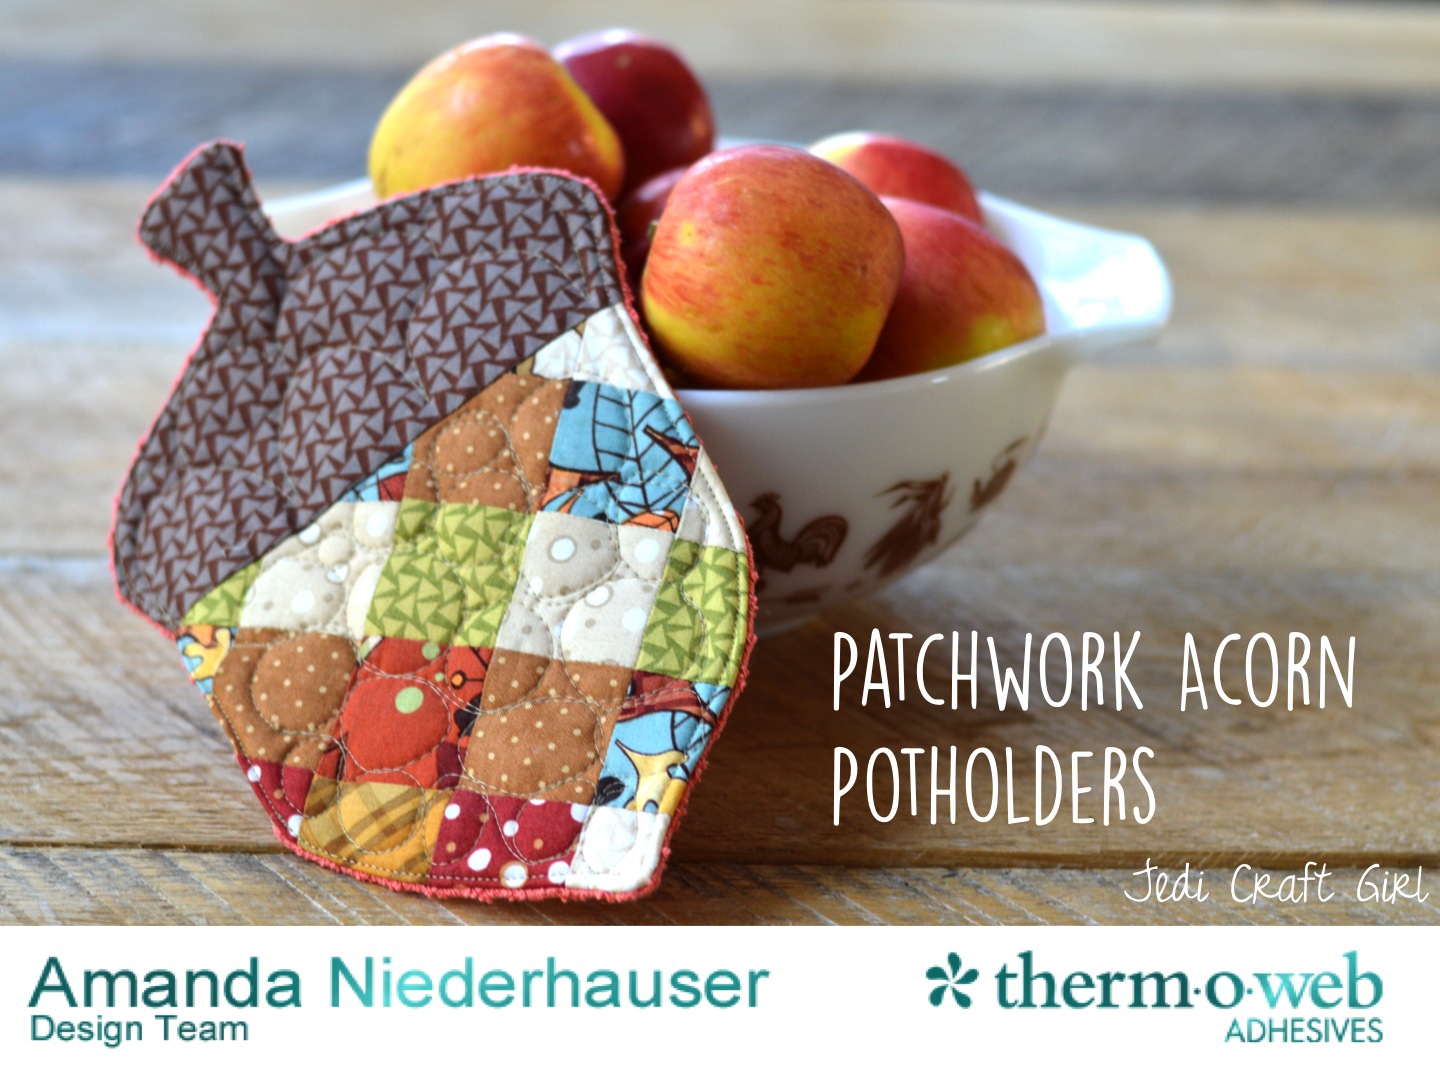
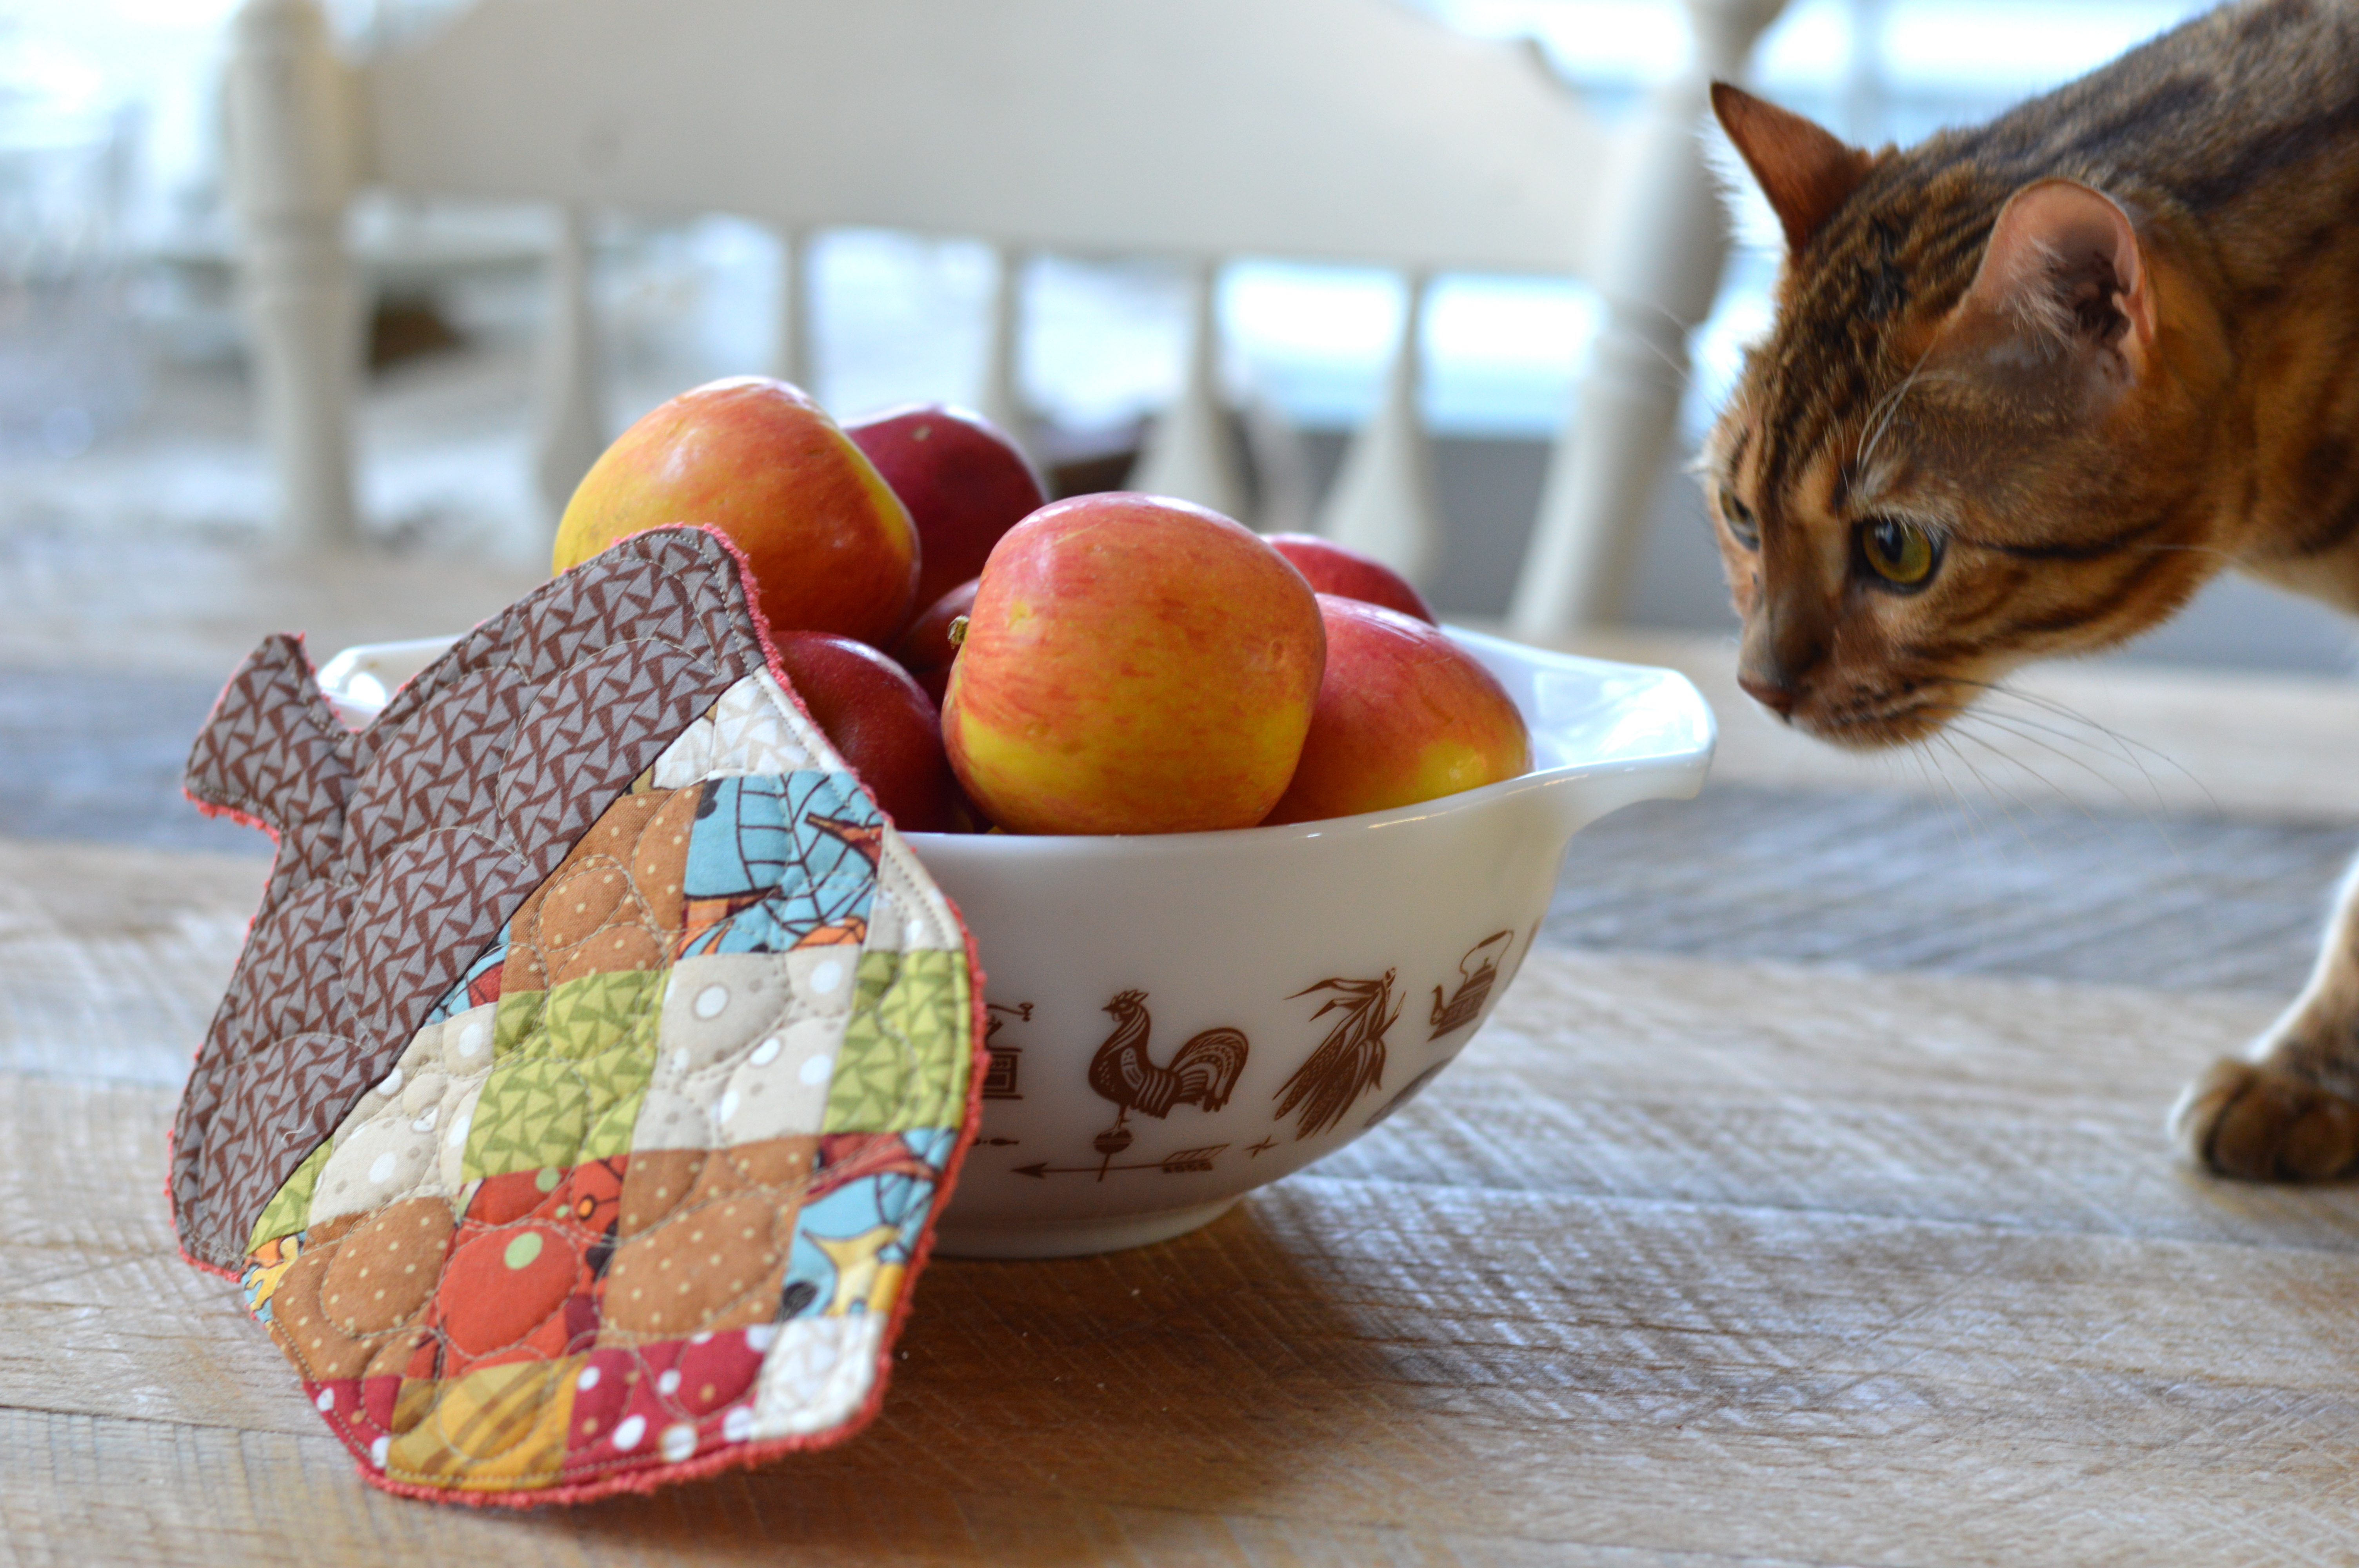
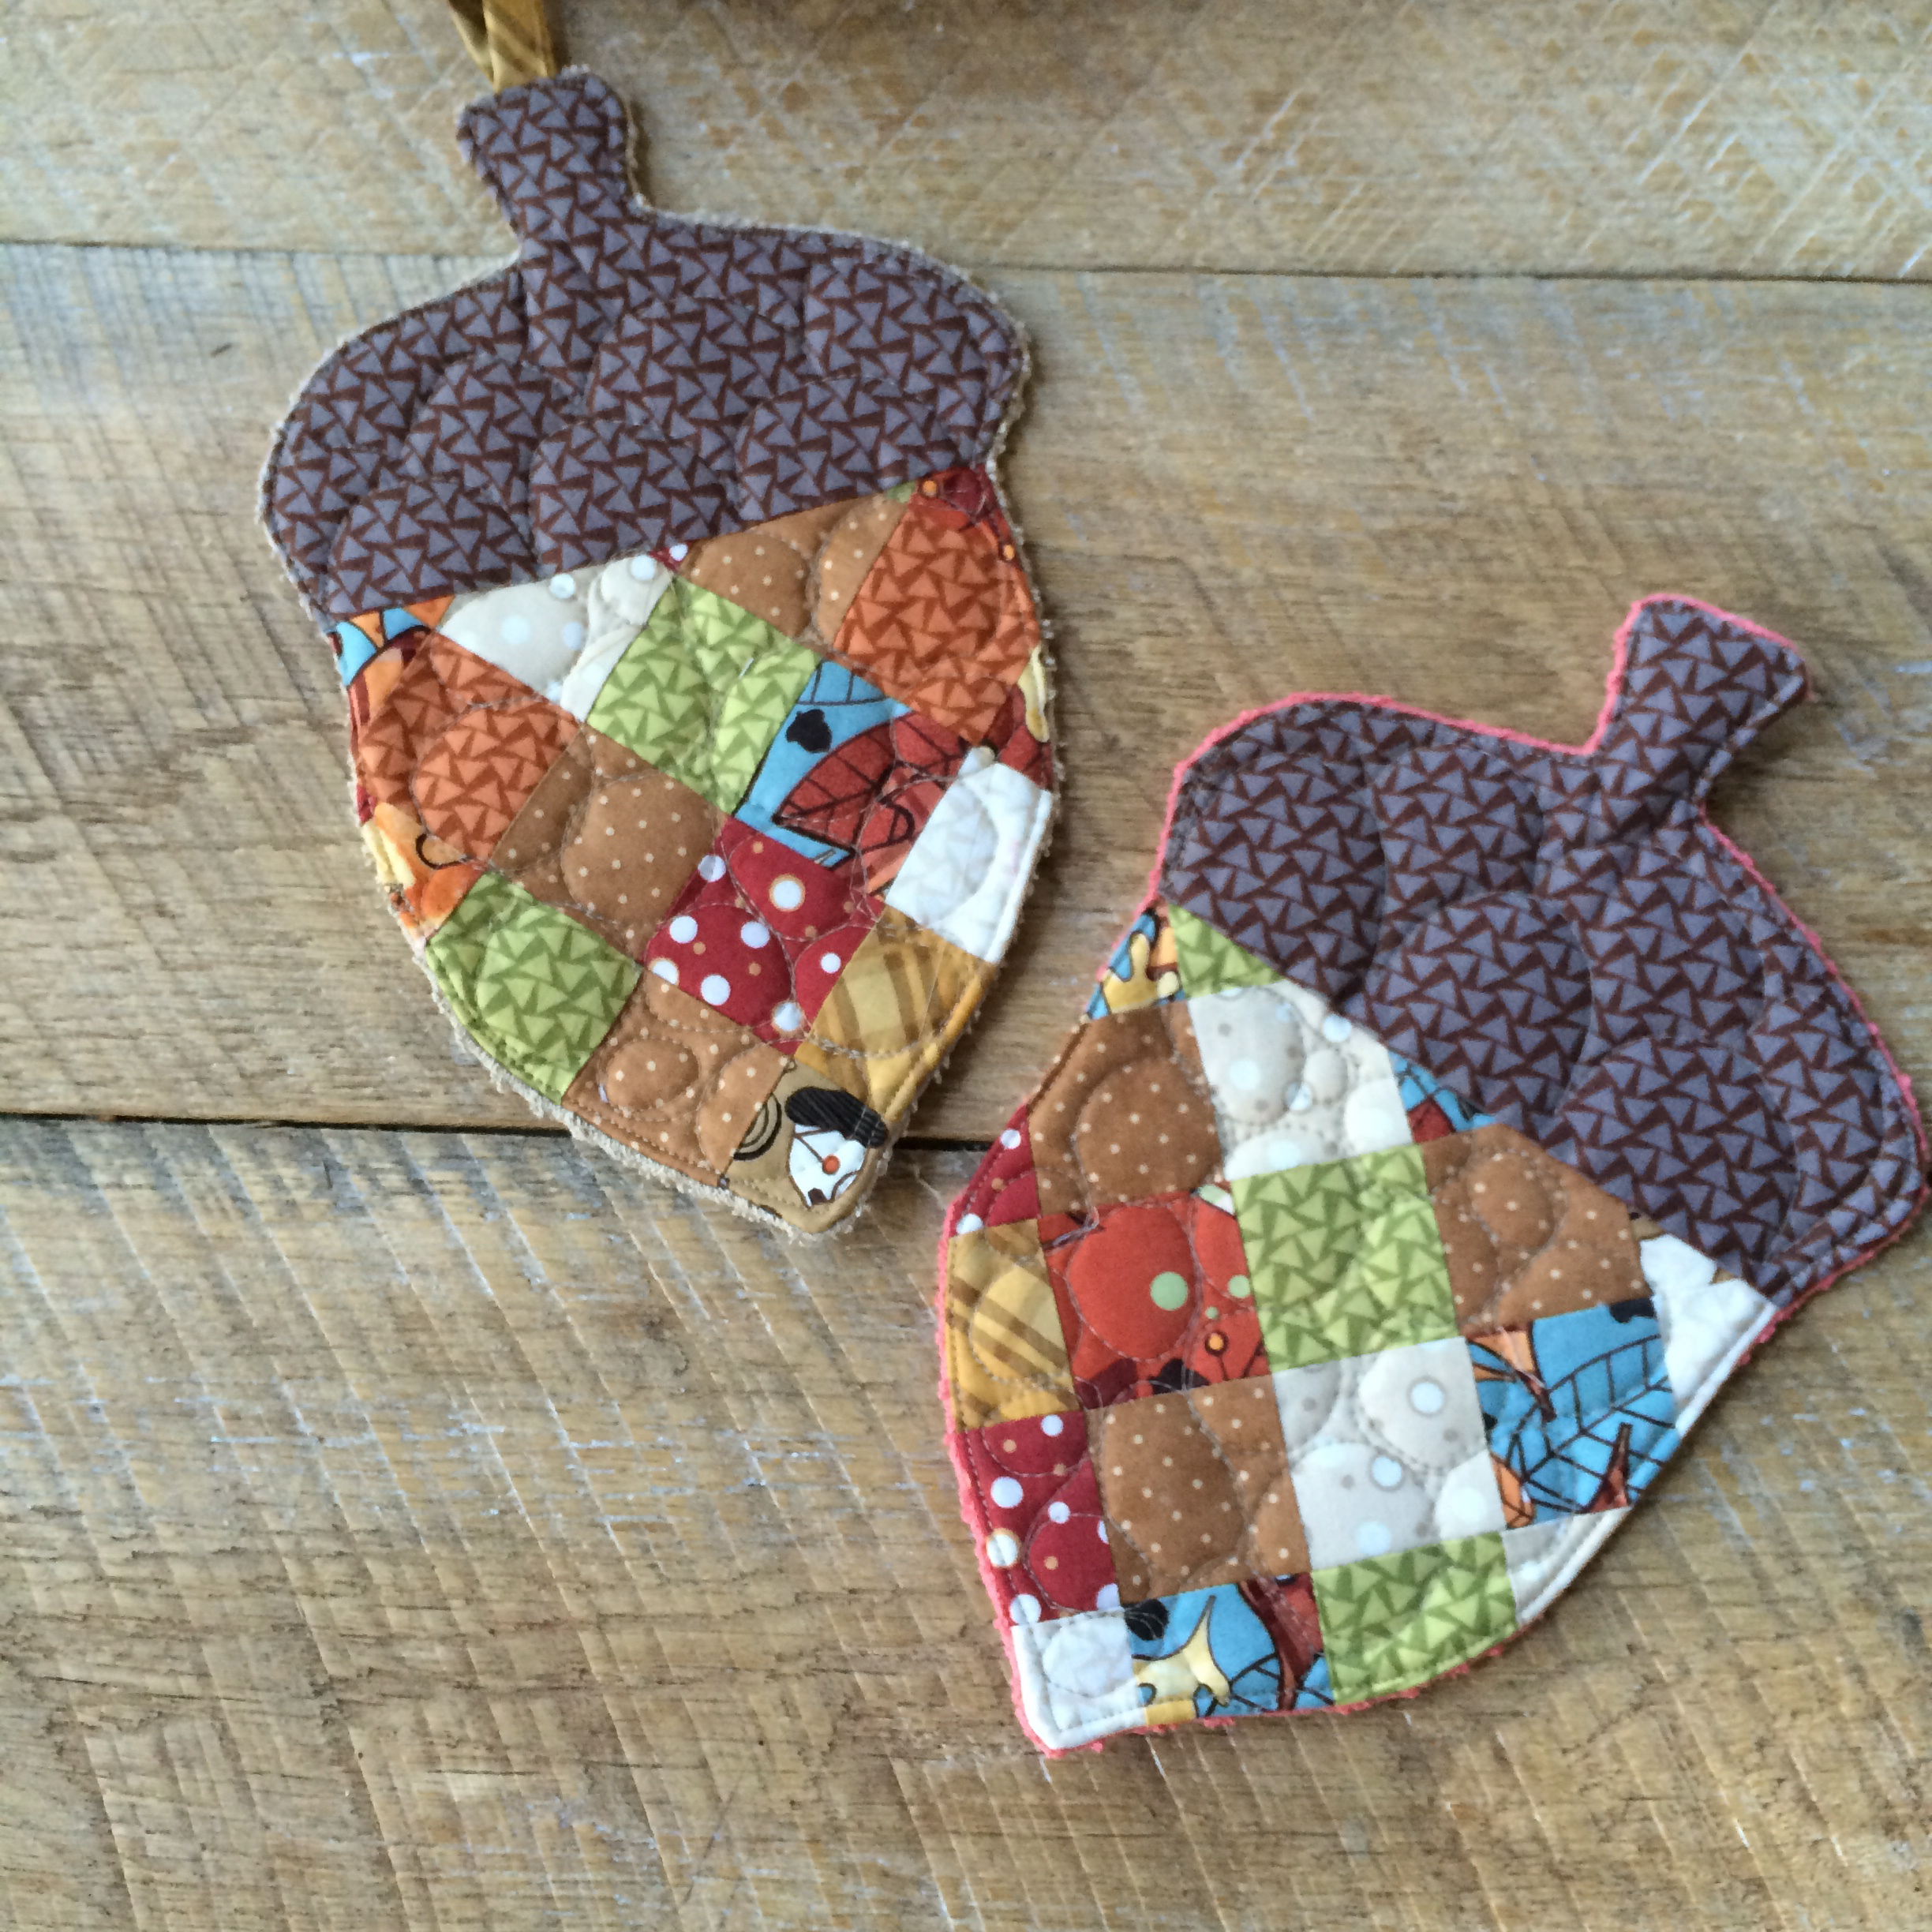
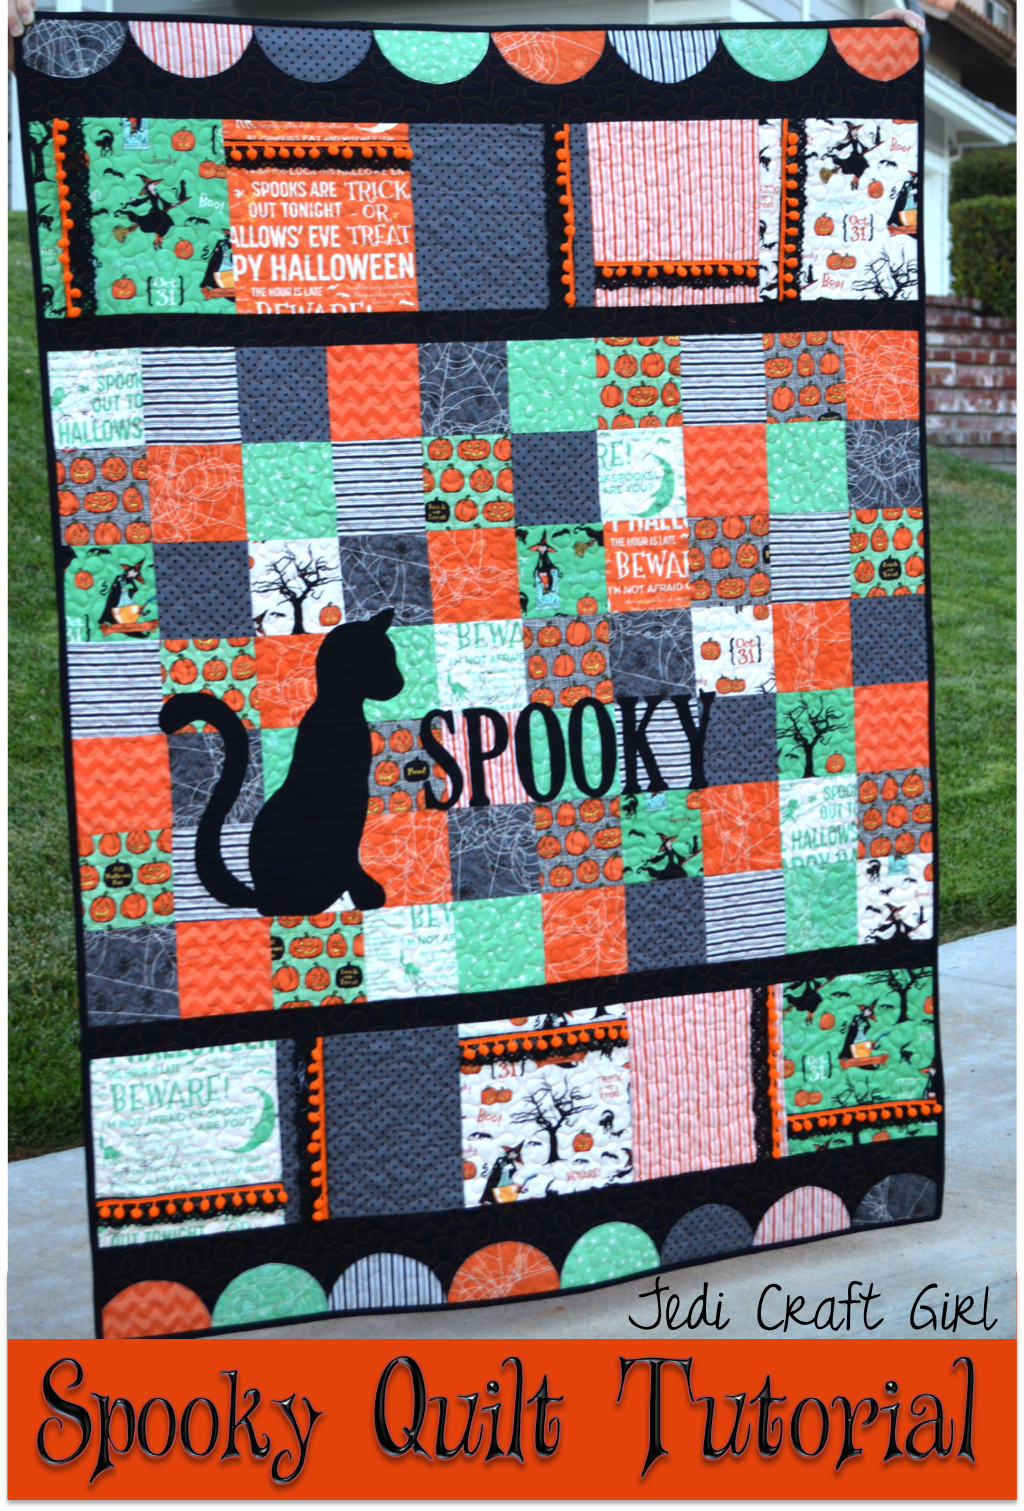
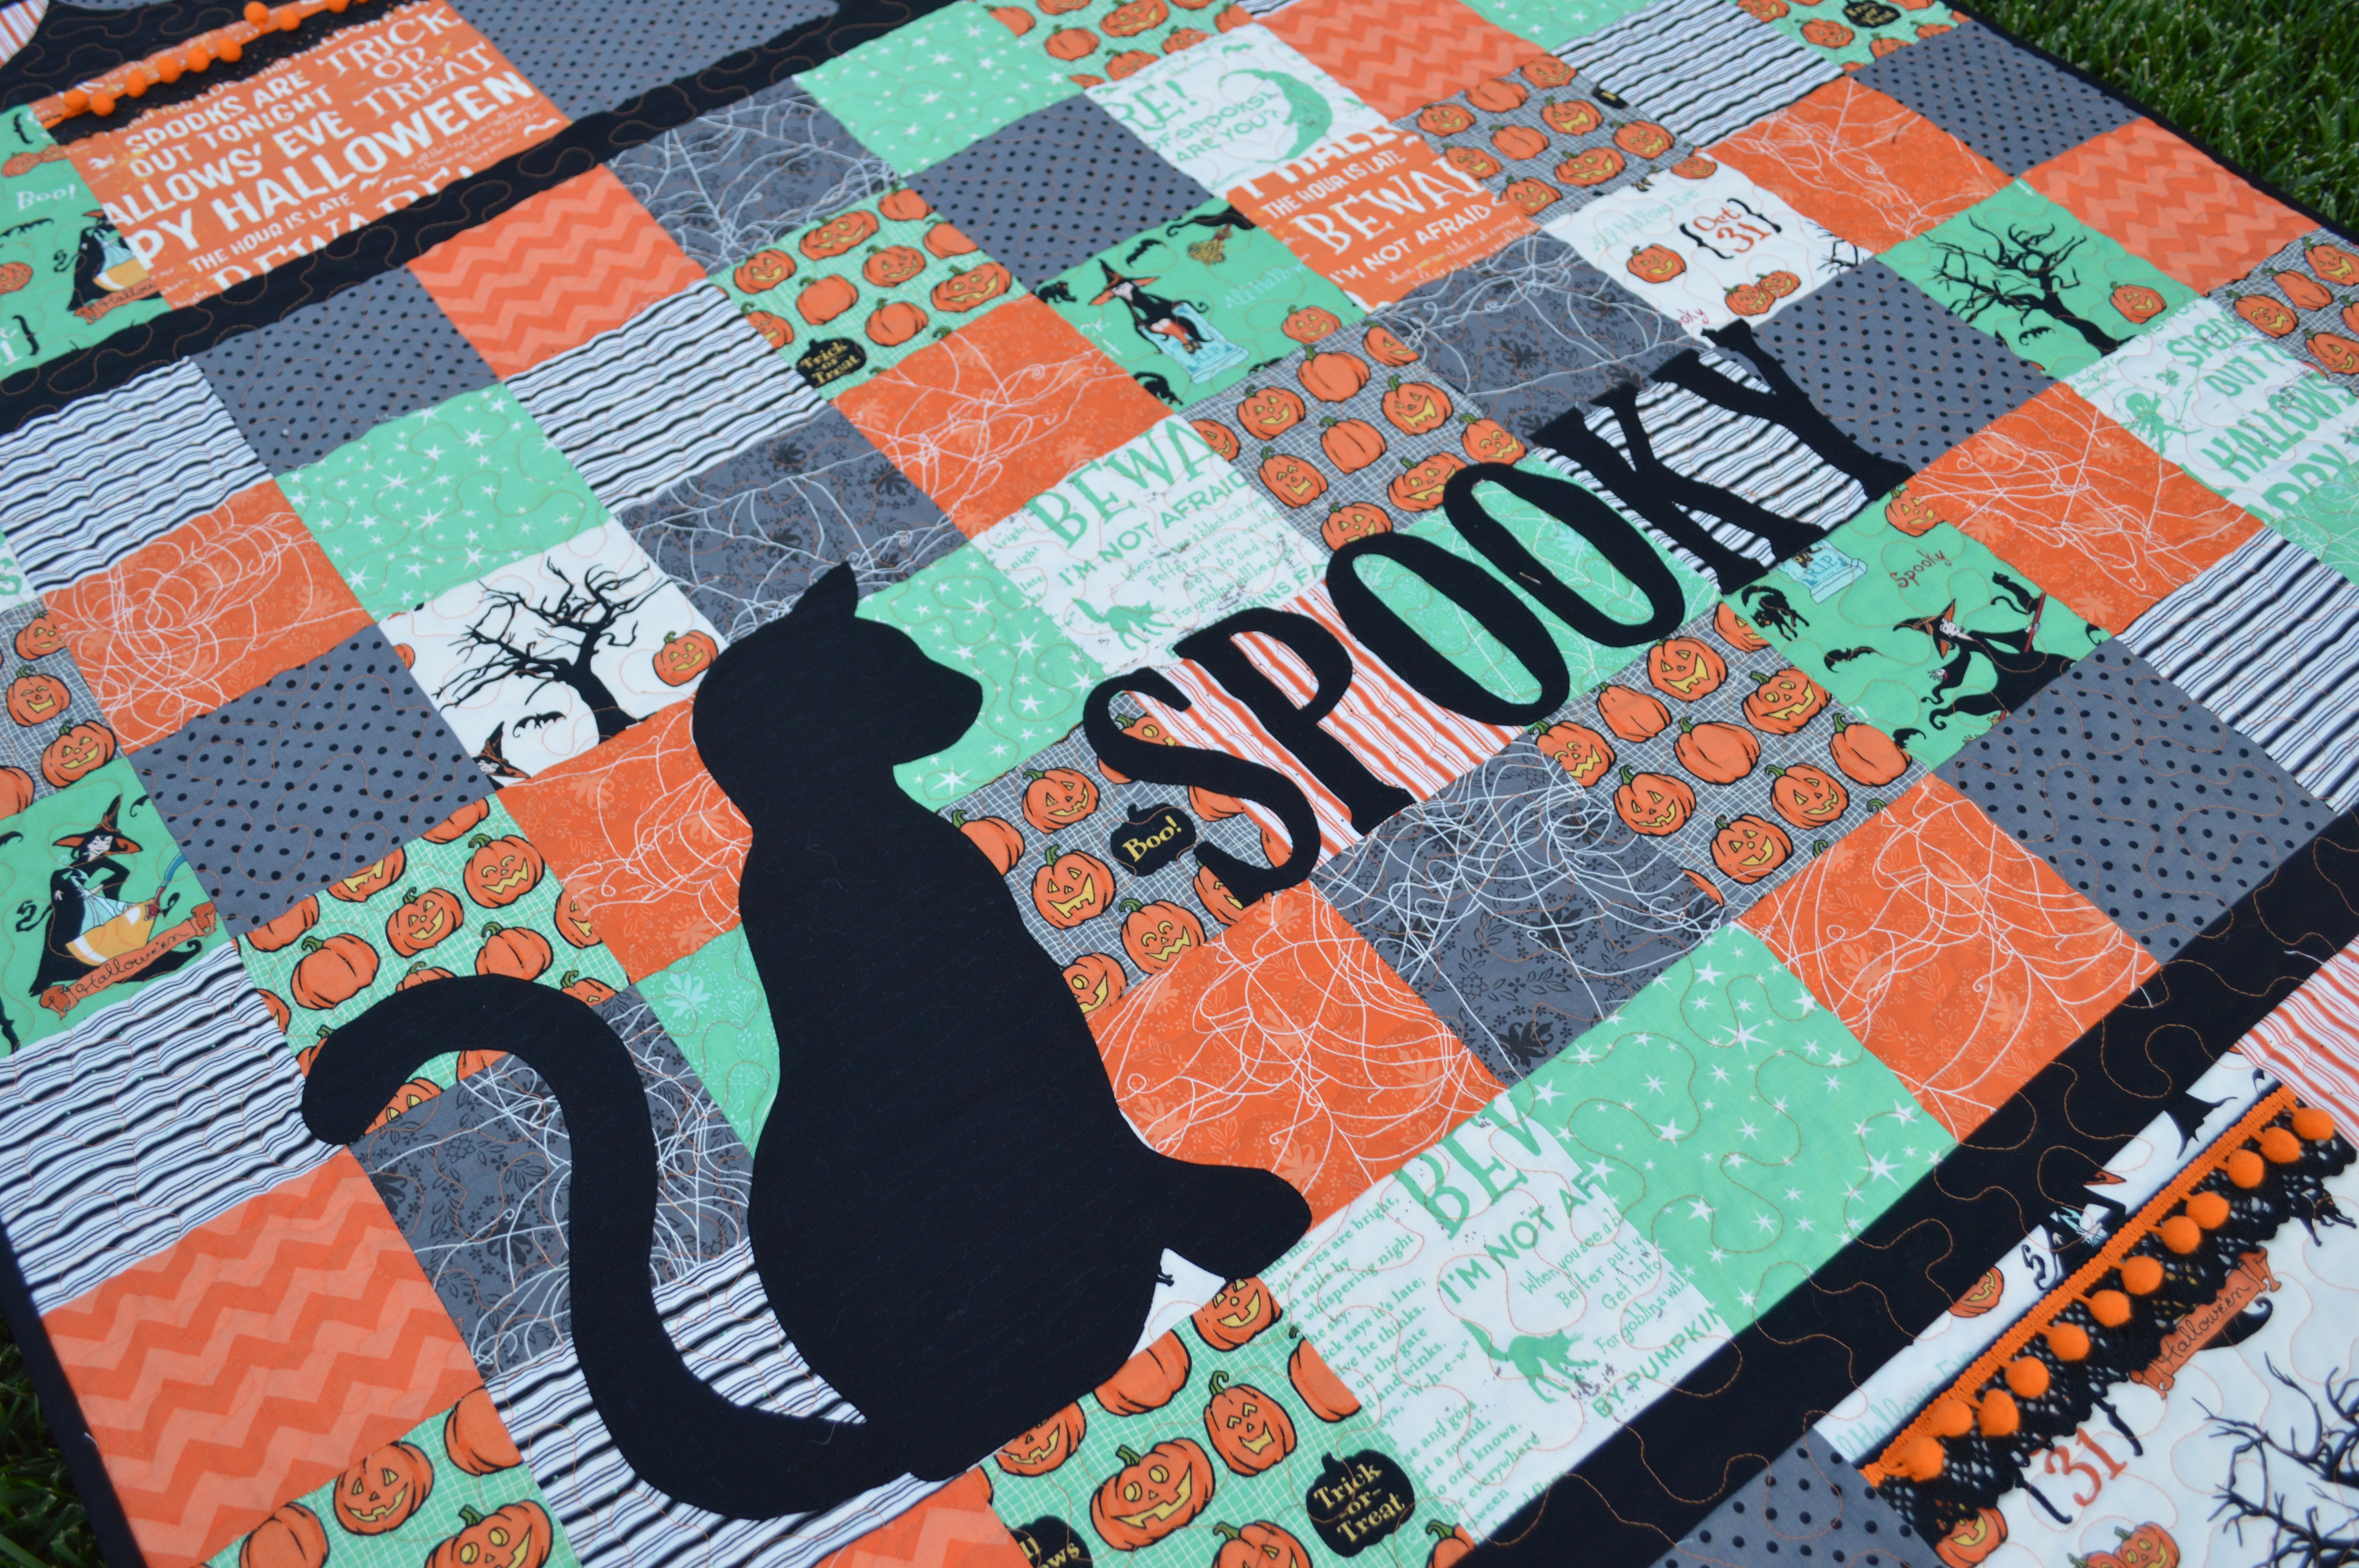
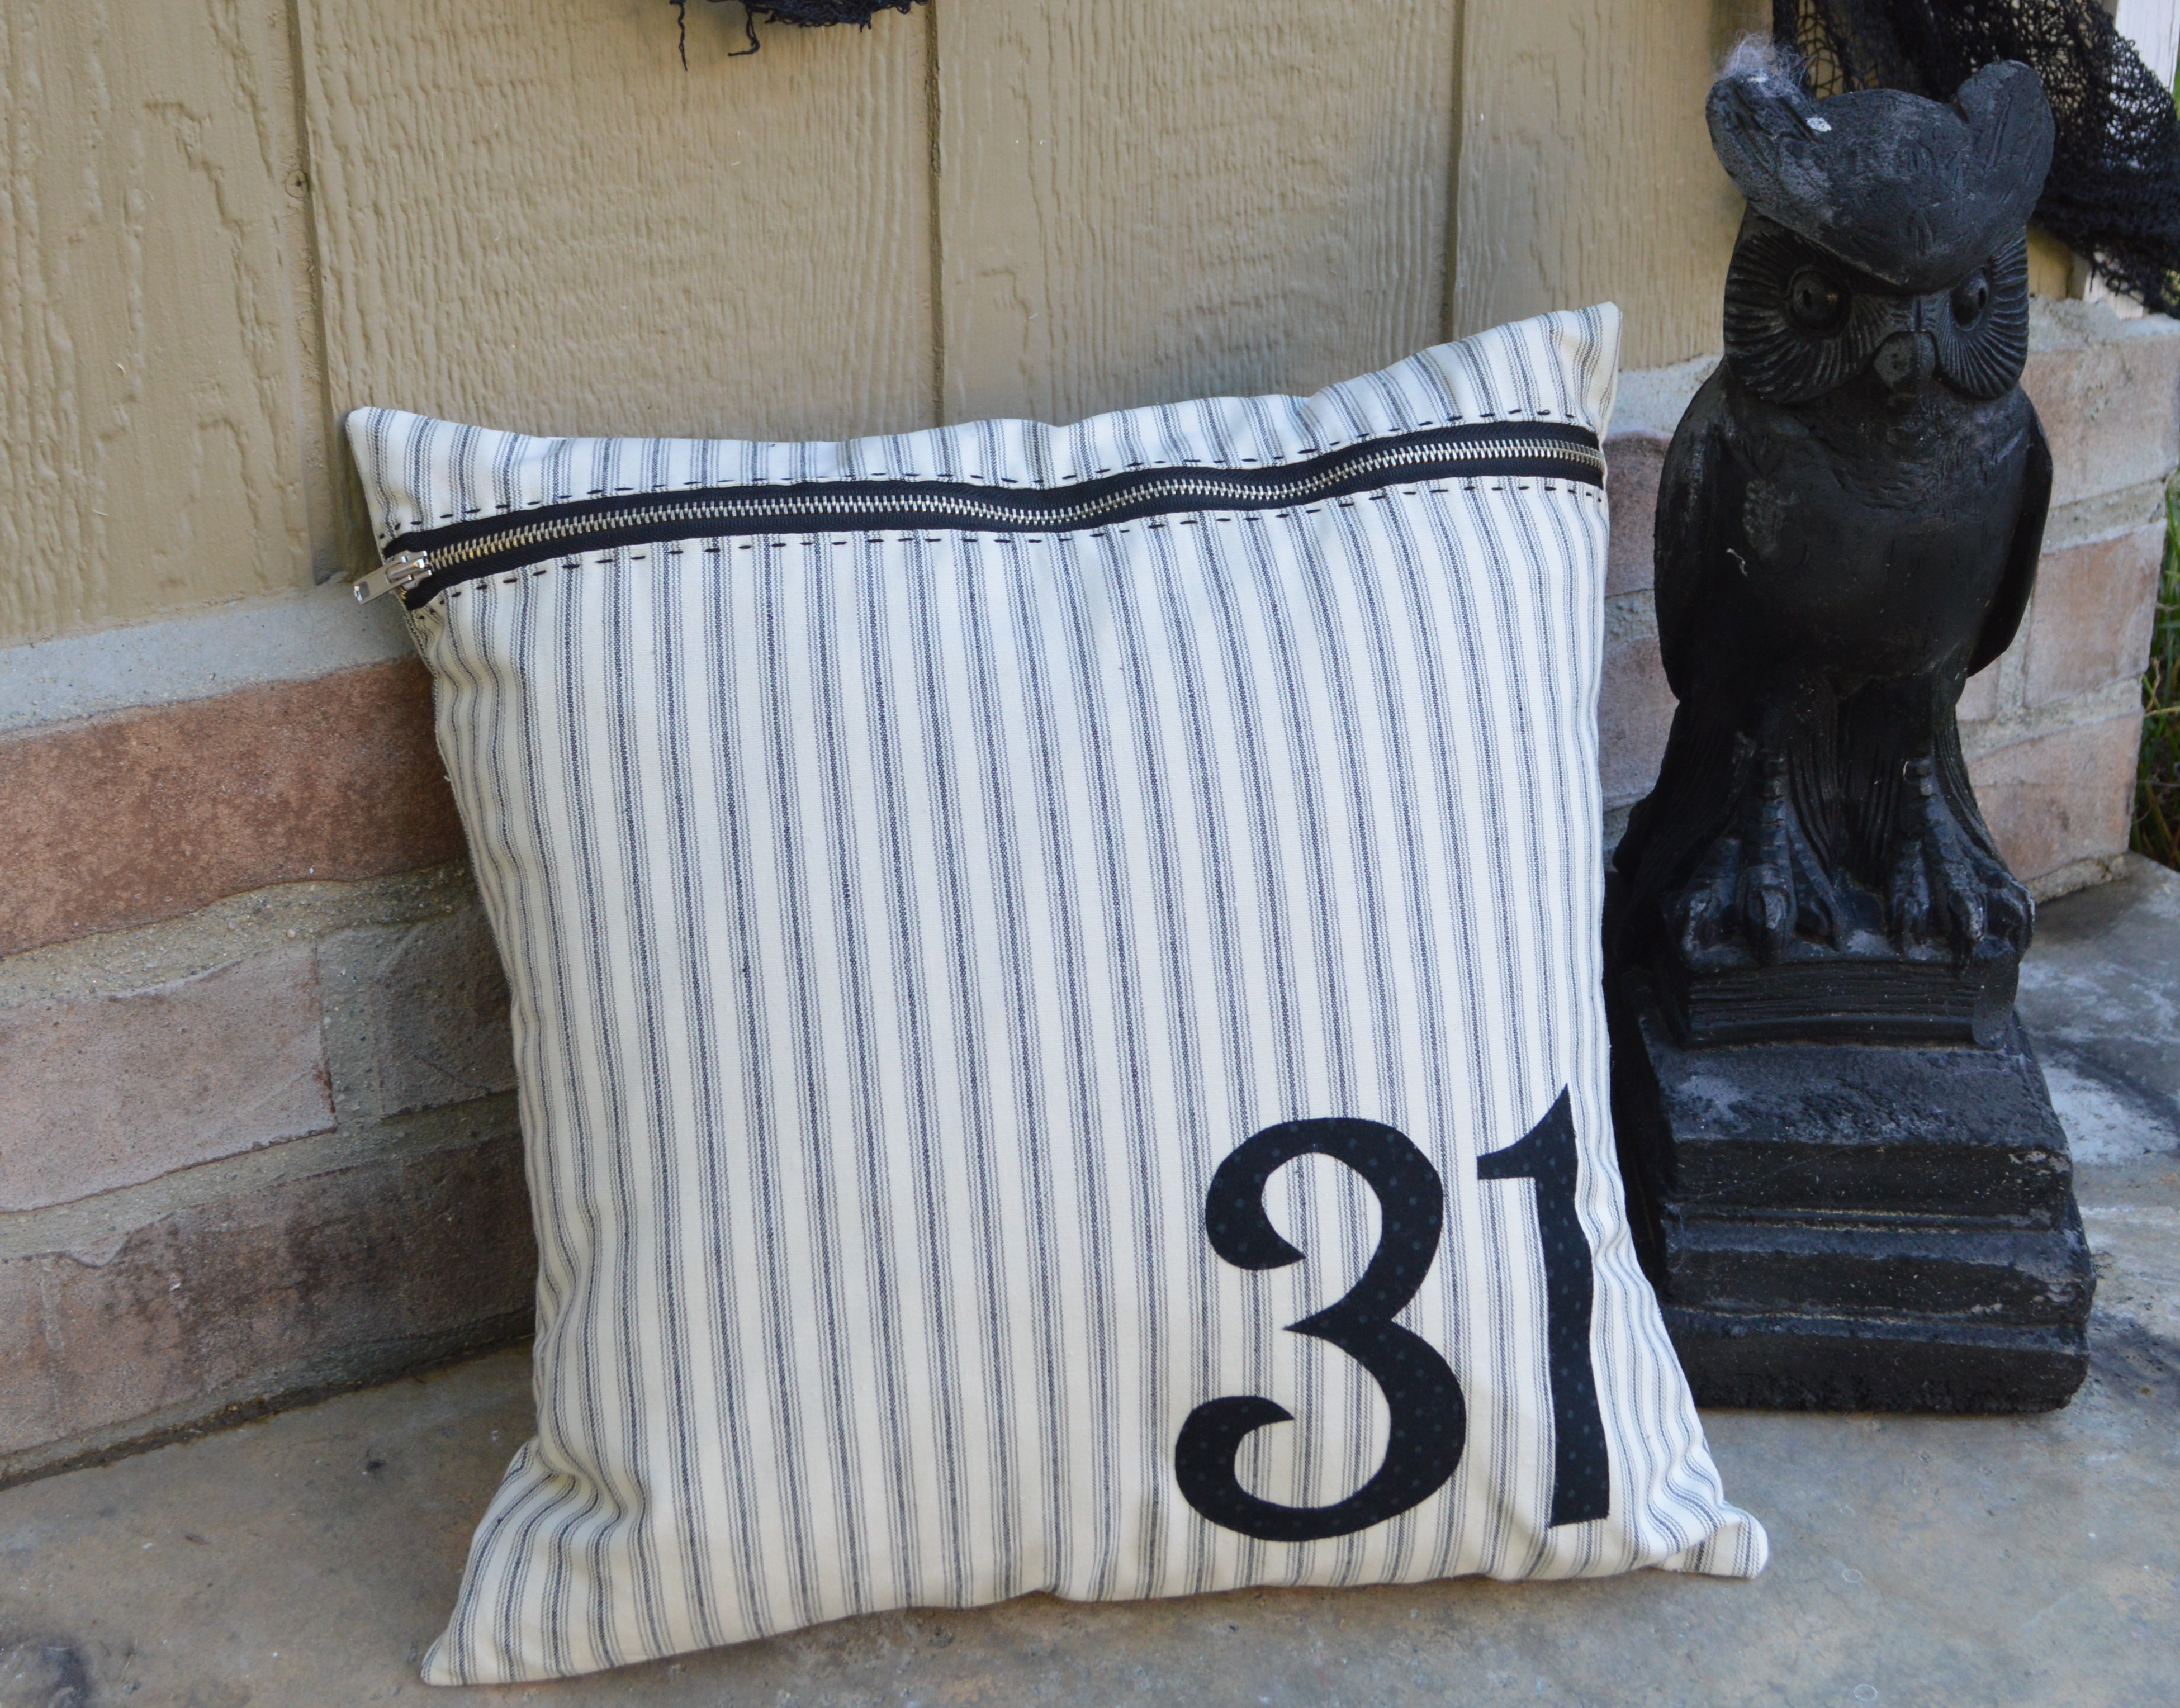
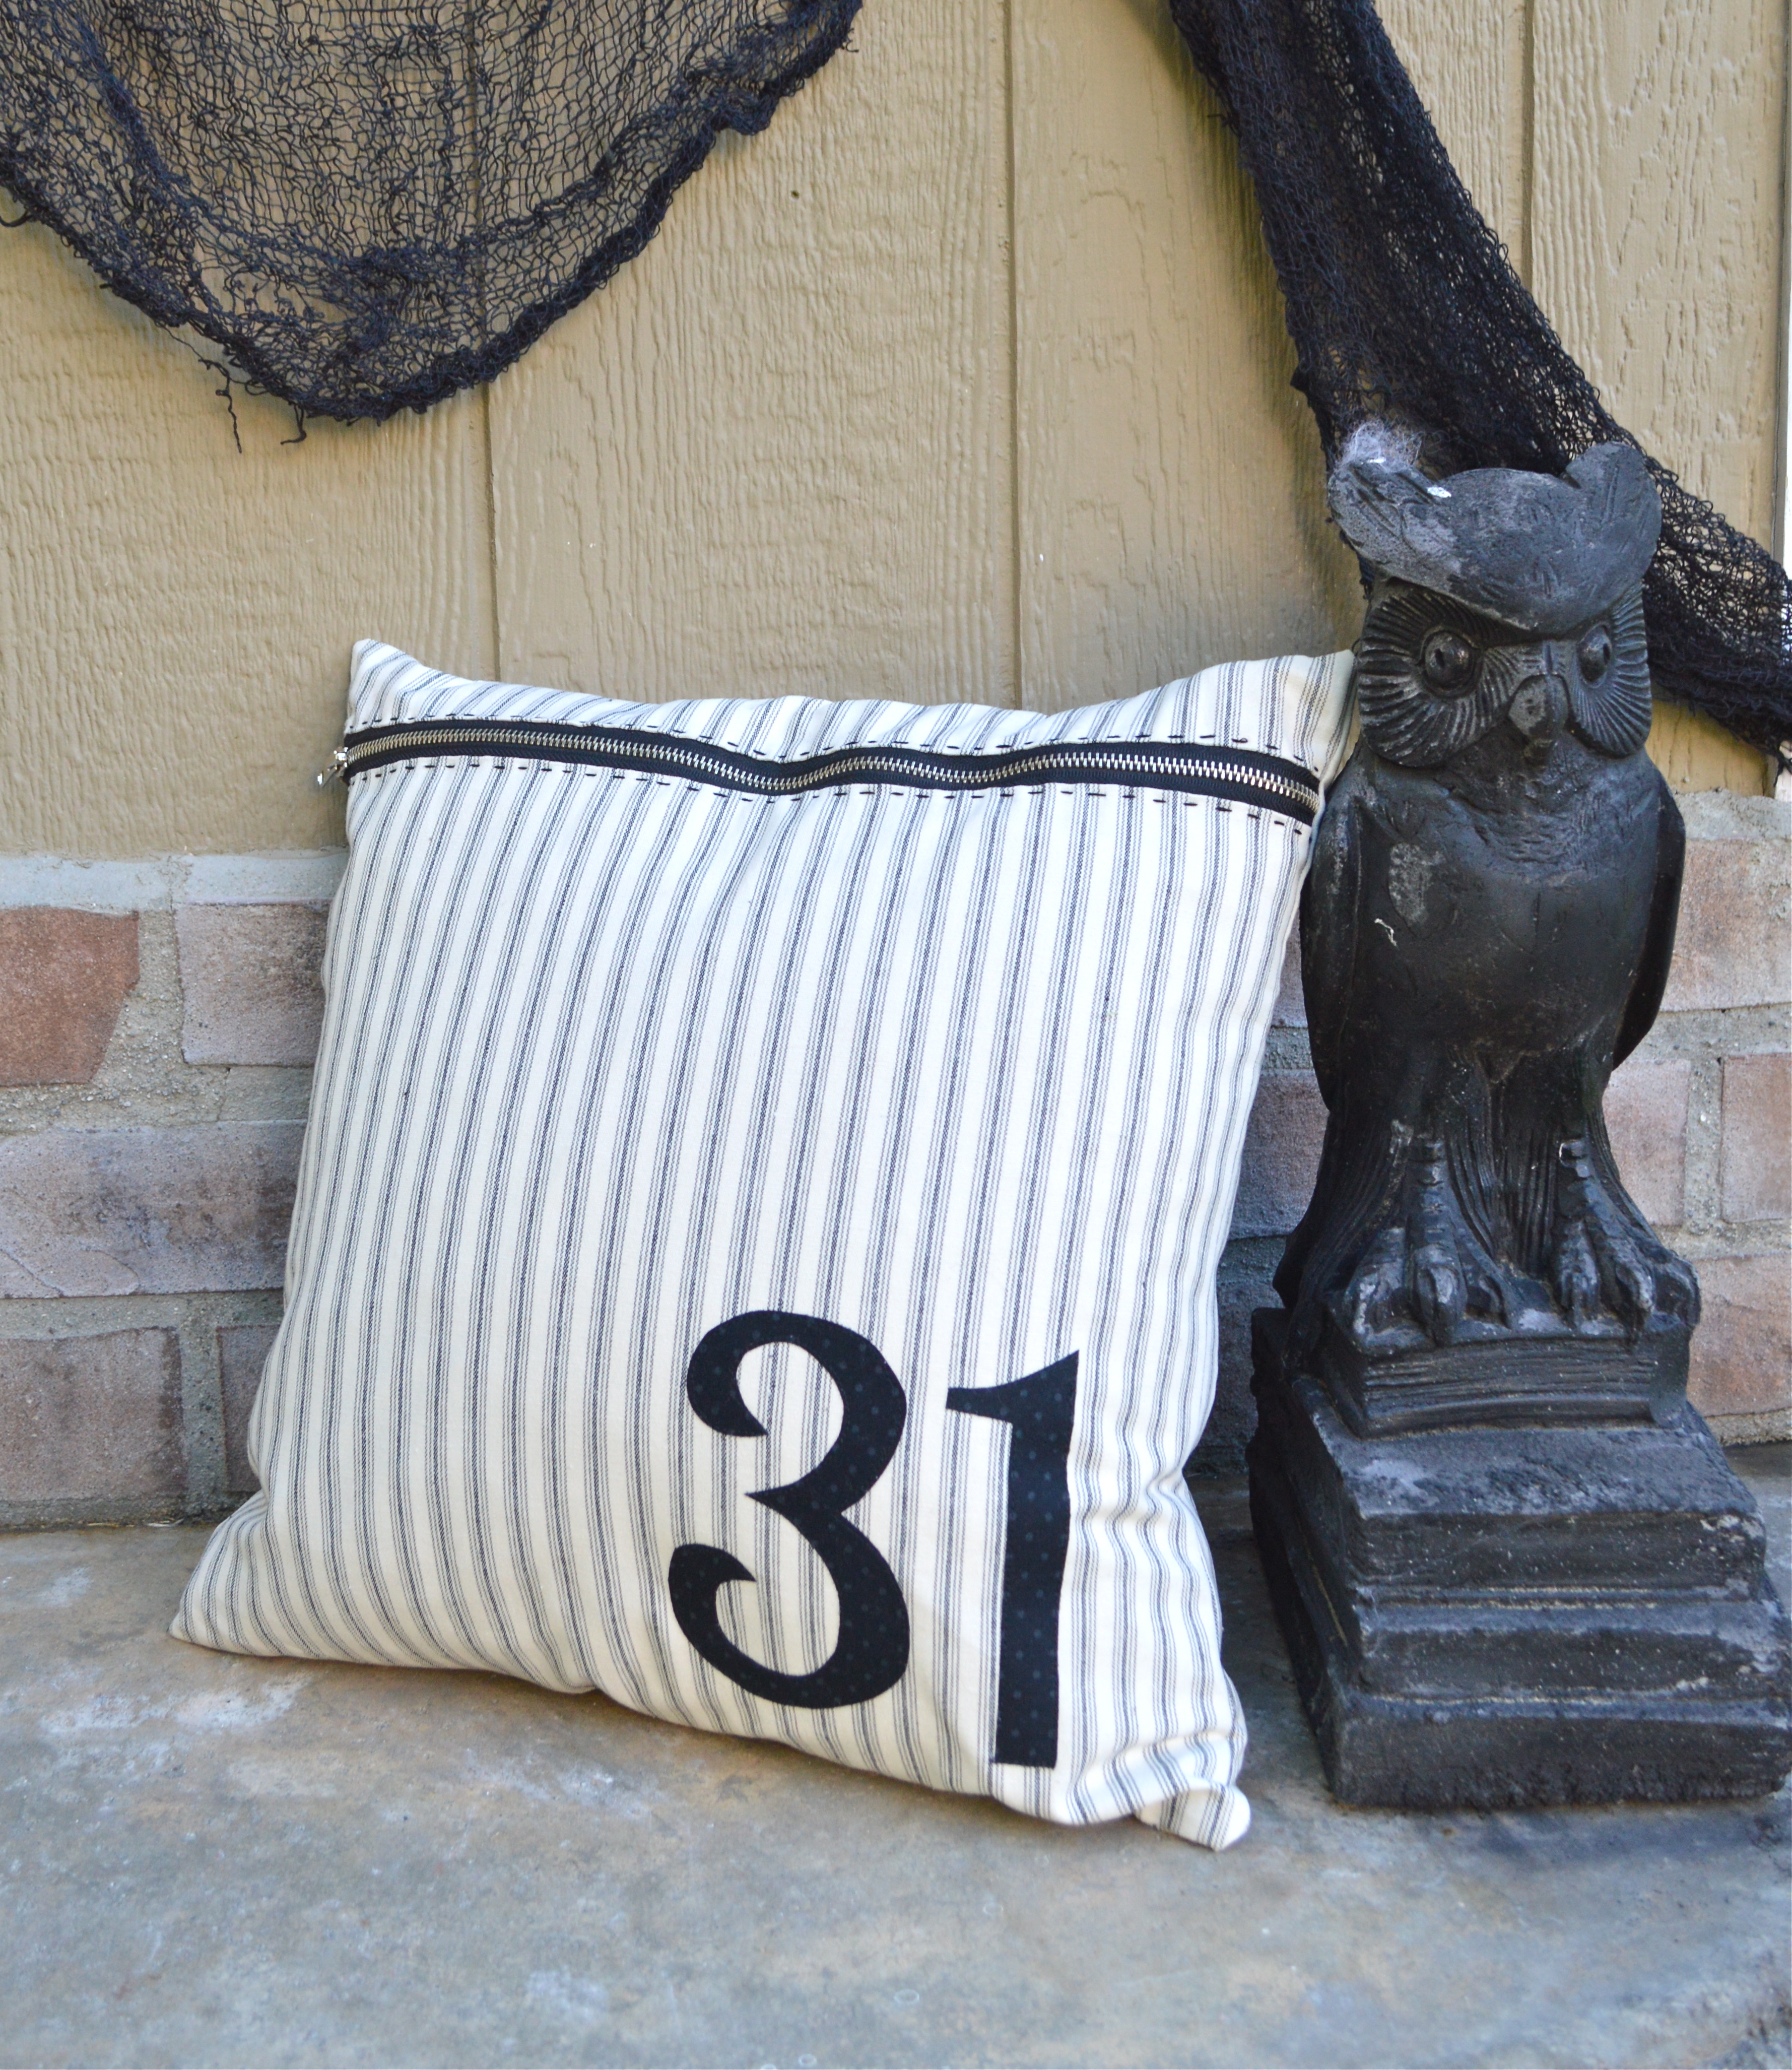
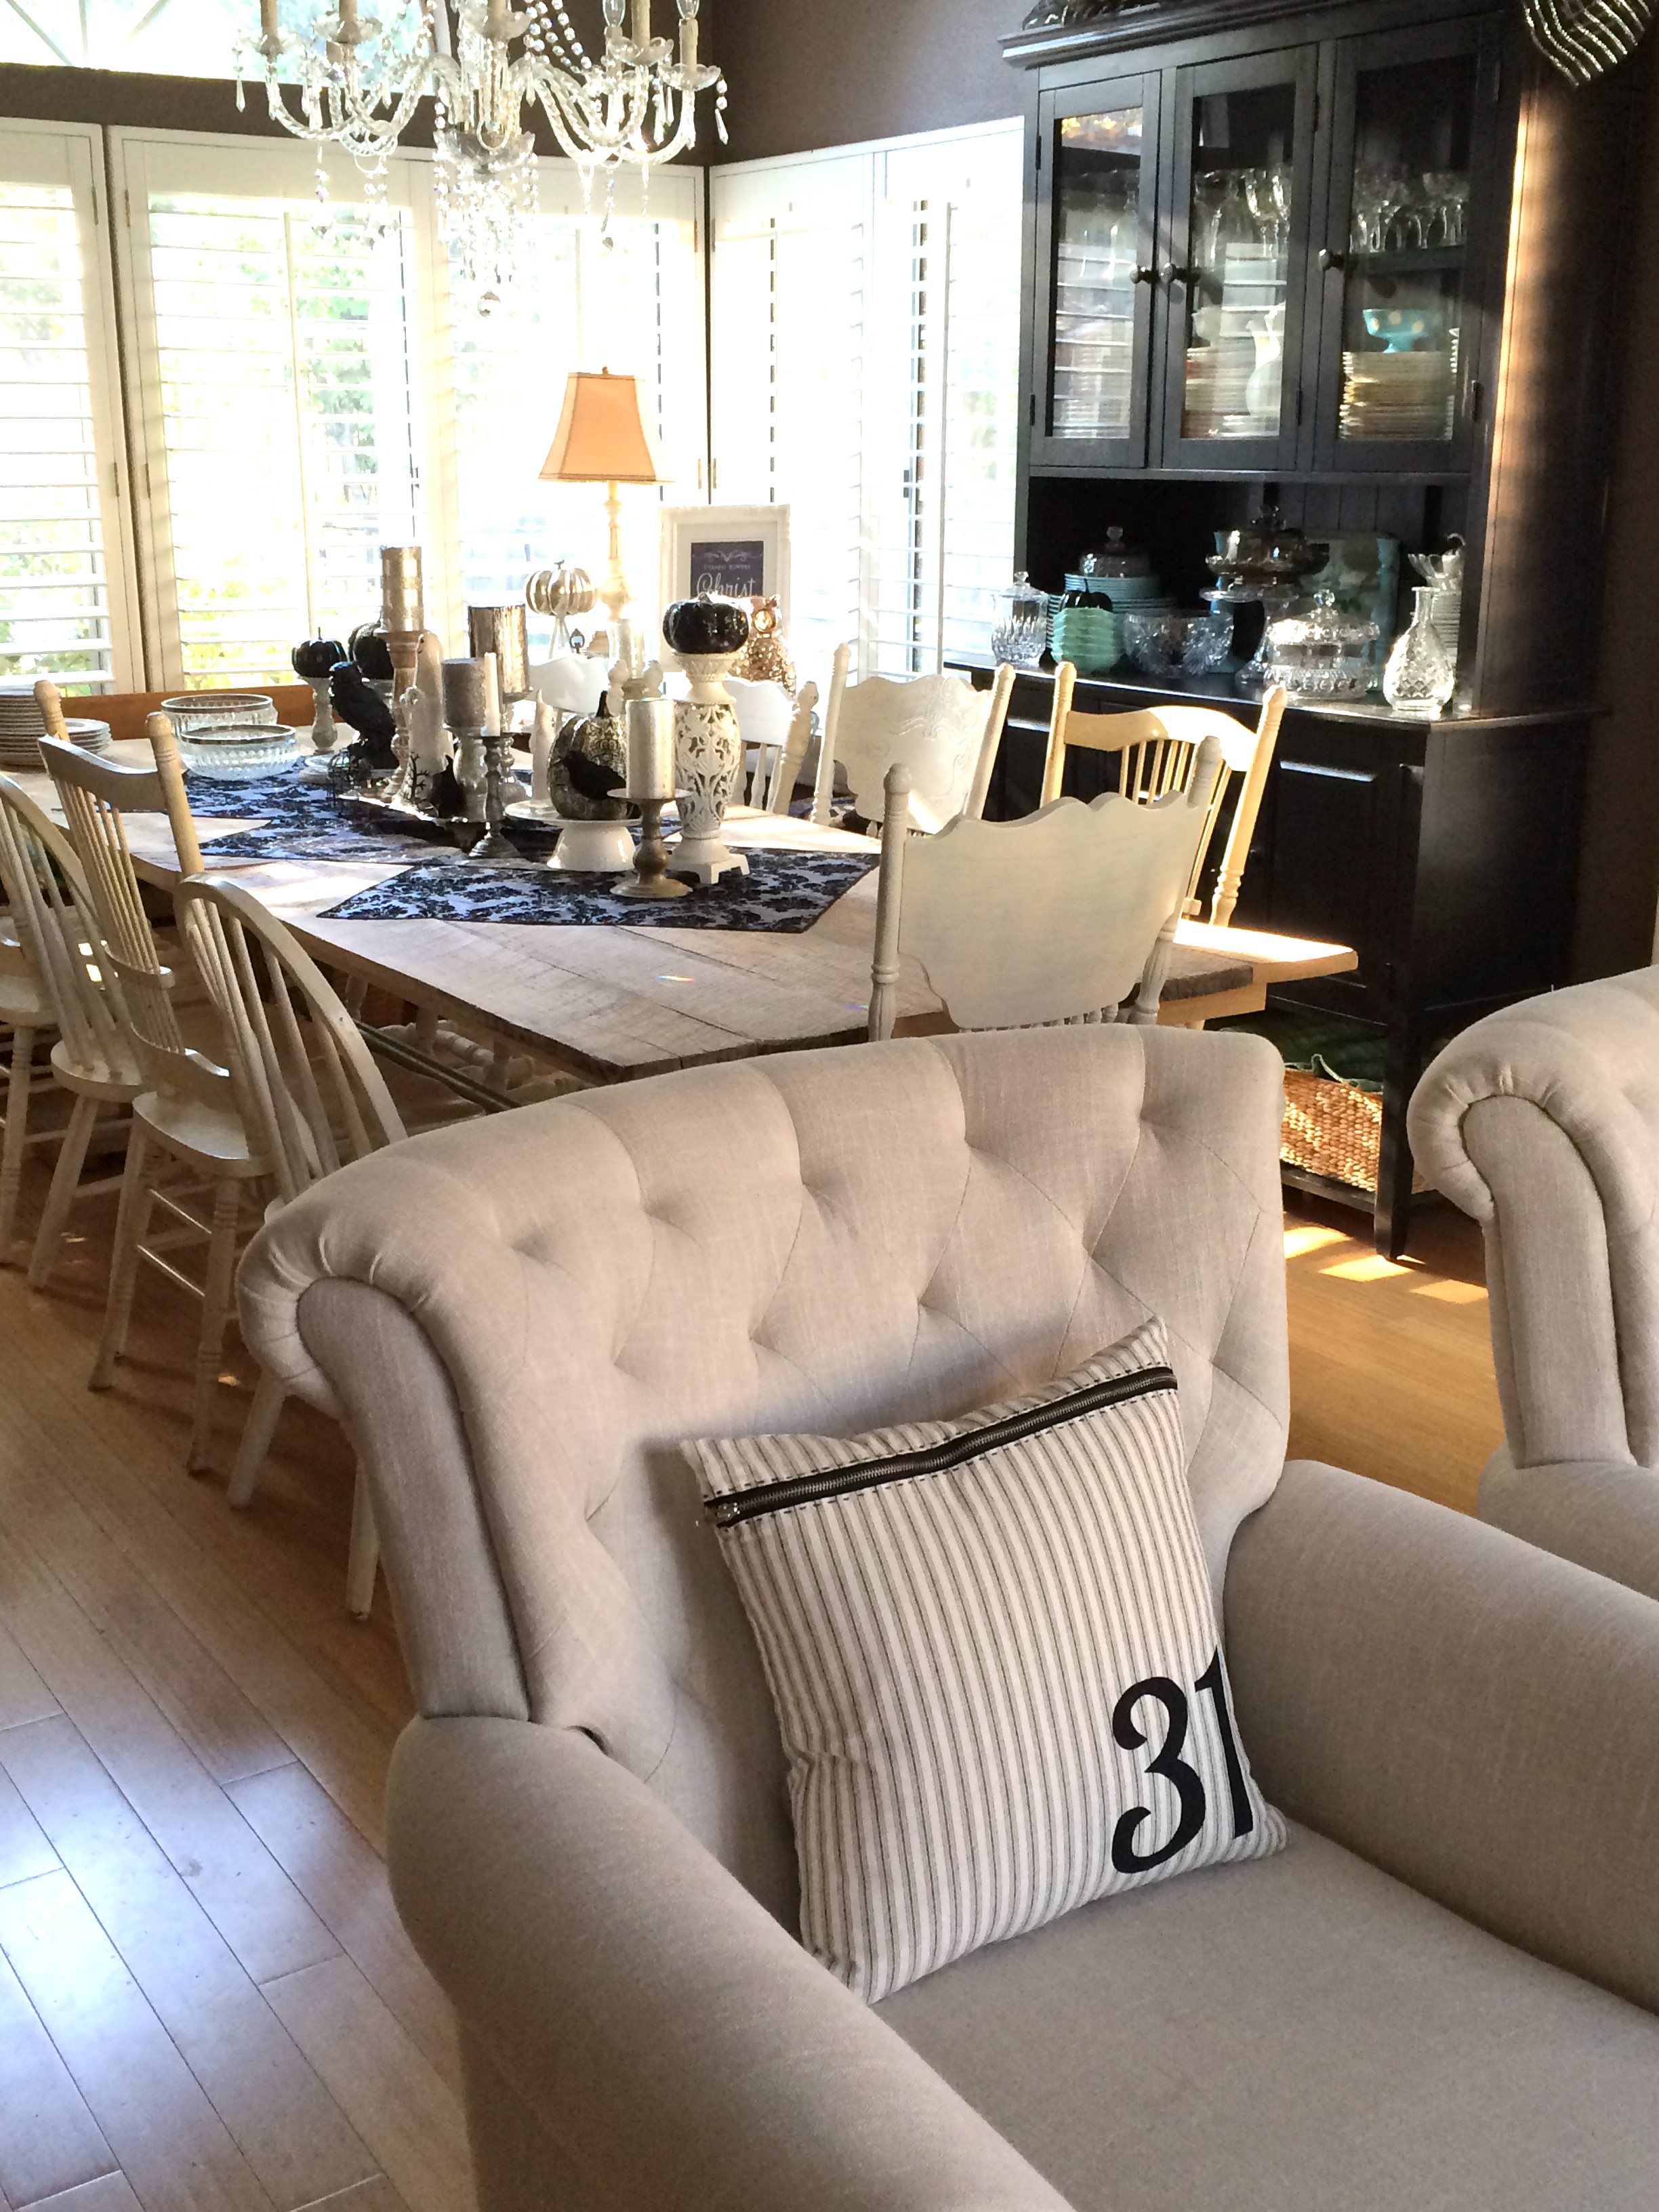
It’s September which means my house is decorated for Halloween and I’m gearing up for a super crazy fall family schedule!!  Don’t you feel like time just flies between now and Christmas?  We better get the Halloween sewing done!!


halloween house

I decorate my dining and living room for Halloween in Black and White and silver.  I like how this pillow is slightly understated for Halloween.  Here’s how you can make one…


Supplies:

16″ pillow form

1/2 yard black and white ticking

scraps of black fabric for numbers

Heat n Bond EZ print sheets or Heat n Bond Lite

Black metal zipper

31 pattern HERE


Begin by cutting (2) 17″ squares from the black and white ticking, set one aside for the pillow back.31_halloween_pillow_3


Cut a 3″ strip off the top:31_halloween_pillow_4


Lay out the pieces like this with the chunky zipper between:31_halloween_pillow_5


Place the small strip right sides together with the zipper and using a zipper foot sew along the length:31_halloween_pillow_6


Repeat with the other side:31_halloween_pillow_9


Once the zipper is sewn in, press the seams.  Prepare the appliqué by printing 31 on Heat n Bond EZ sheets or tracing on to Heat n Bond Lite.  Iron the numbers to the wrong side of the black fabric.  Cut out and press onto the pillow front.  Top stitch around the numbers in black thread.

31_halloween_pillow_11

Using scissors you are not fond of, cut off the excess zipper on both ends.

31_halloween_pillow_12


Add a hand stitched detail by sewing a running stitch along both sides of the zipper with black embroidery floss.31_halloween_pillow_13


Place the pillow back and pillow front right sides together and pin around the entire pillow.  Make sure the zipper is open.  31_halloween_pillow_14


I cut 2 small strips of fabric and added them to both sides of the zipper where the seam would be to give it strength.  Otherwise the only thing holding the zipper is a seam of thread.  I also like to back stitch a few times over the zipper.  With the metal zipper it is best to slow down the sewing speed and even manually move the needle so it can find its way around the zipper teeth.  Sew around the entire pillow using 1/4″ seams31_halloween_pillow_15

Turn right side out and add the pillow, it’s done!


31_halloween_pillo2


Click the button for or more Halloween Projects


Thankful Owl Pillow

I can’t believe it is November!  I made this cute owl pillow out of a dish towel from Joann’s – 70% off!
I love the fall owls – but the fabric was canvas-like – not good for doing dishes…. better for a pillow!  I cut a piece of burlap and cut the word “Thankful” on the Cricut in vinyl.

 I removed the letters, leaving the background for the stencil.  Then I stenciled black paint & removed the vinyl when it was dry.

 I love stenciling on burlap!!  It is so fun & easy!

 I cut the dish towel into a 17″ square (it will fit at 16″ pillow form).  I top-stitched the burlap piece in place.  Then just sewed the pillow.  I added some trim in the seam.