Search Results for: label/A Week of Quilt Tutorials

9-Patch Big Block Quilt Tutorial

This has been such a fun week of quilt tutorials!  
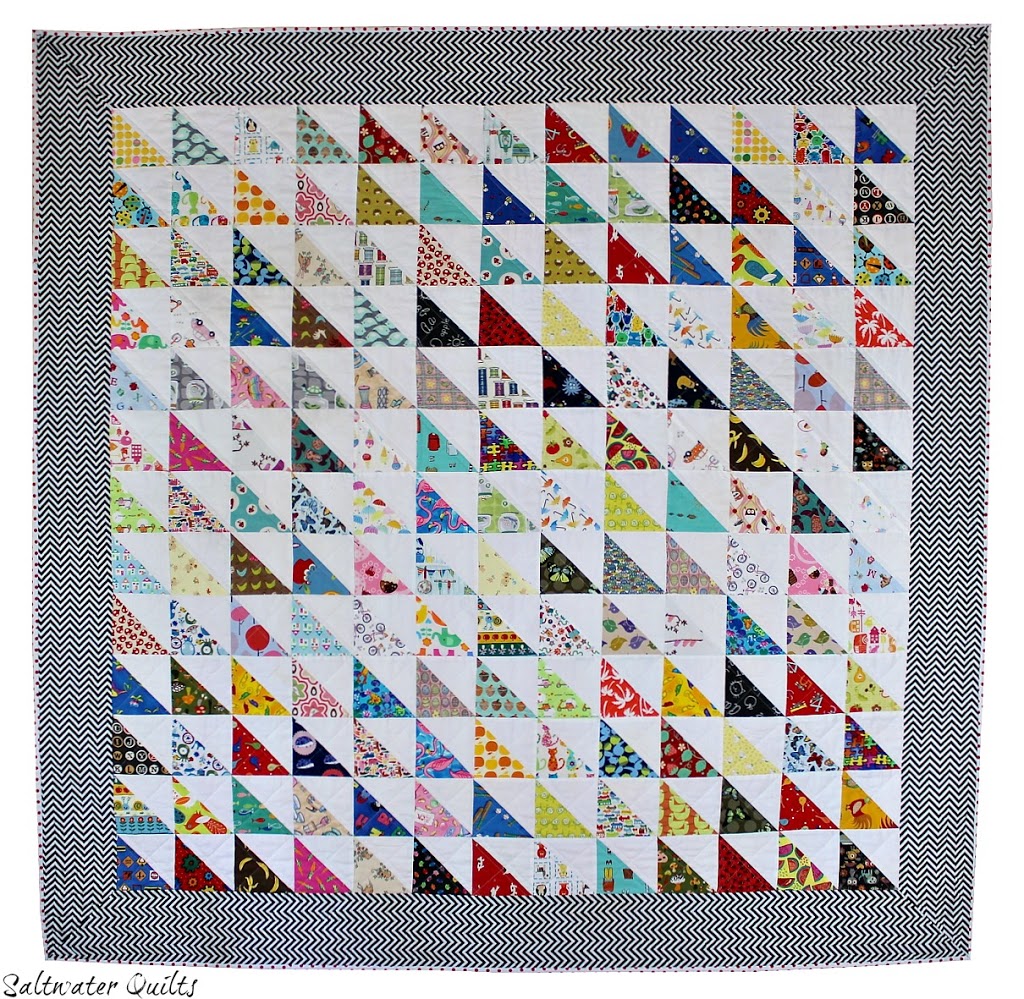
 I made this quilt with lots and lots of love.  It’s for a friend who is battling cancer.  Sometimes only a hand-made quilt can express how you truly feel about a person.
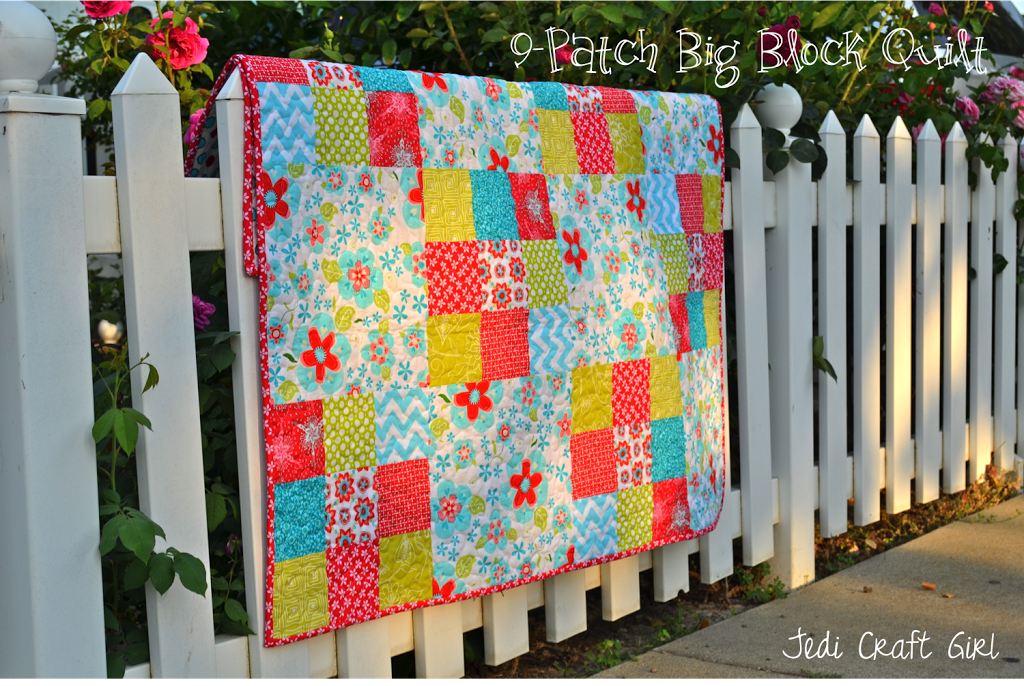
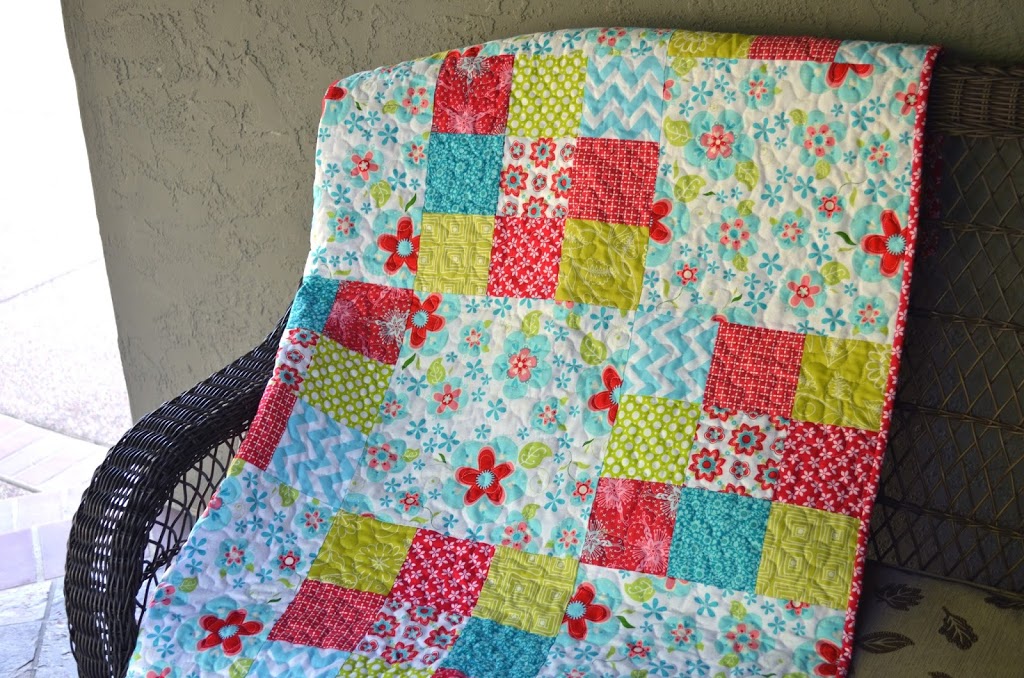
I love this pattern because it showcases larger print fabrics which I am always drawn to!

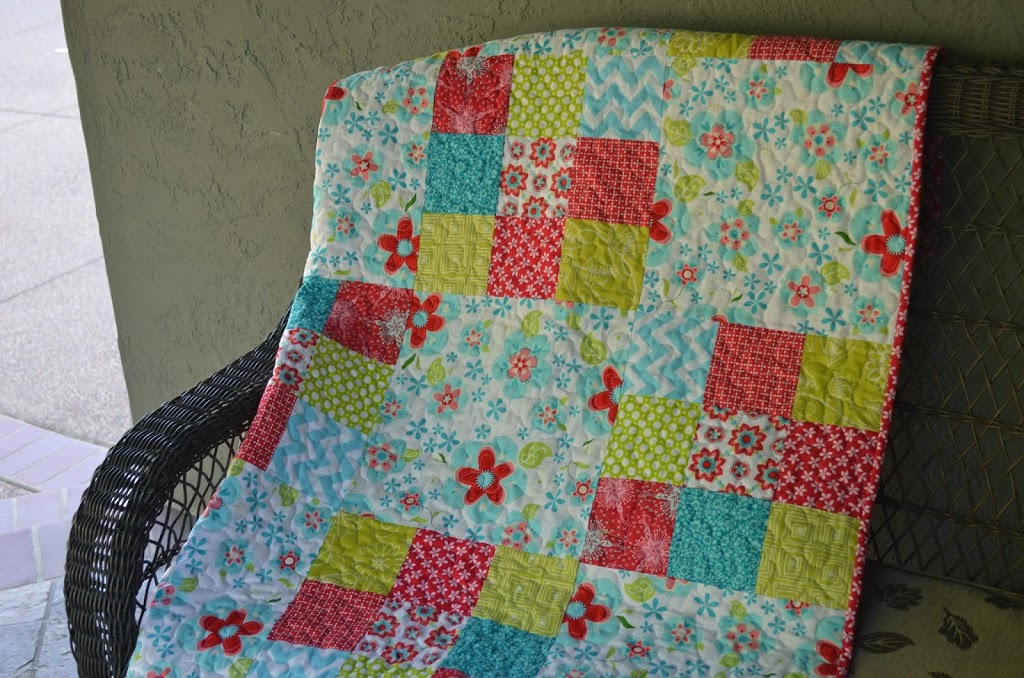
 This quilt is made up of 9-patch blocks and plain blocks.
Quilt blocks measure 12″ finished
Make (10) 9-patch blocks
Cut (10) 12.5″ squares of theme print

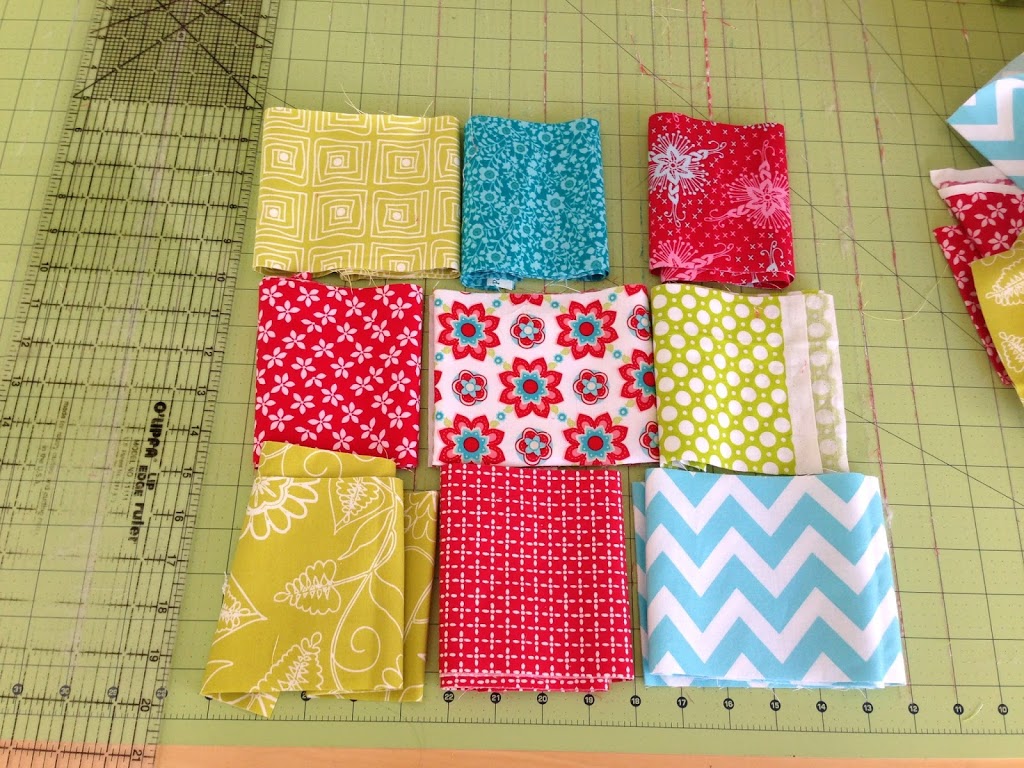
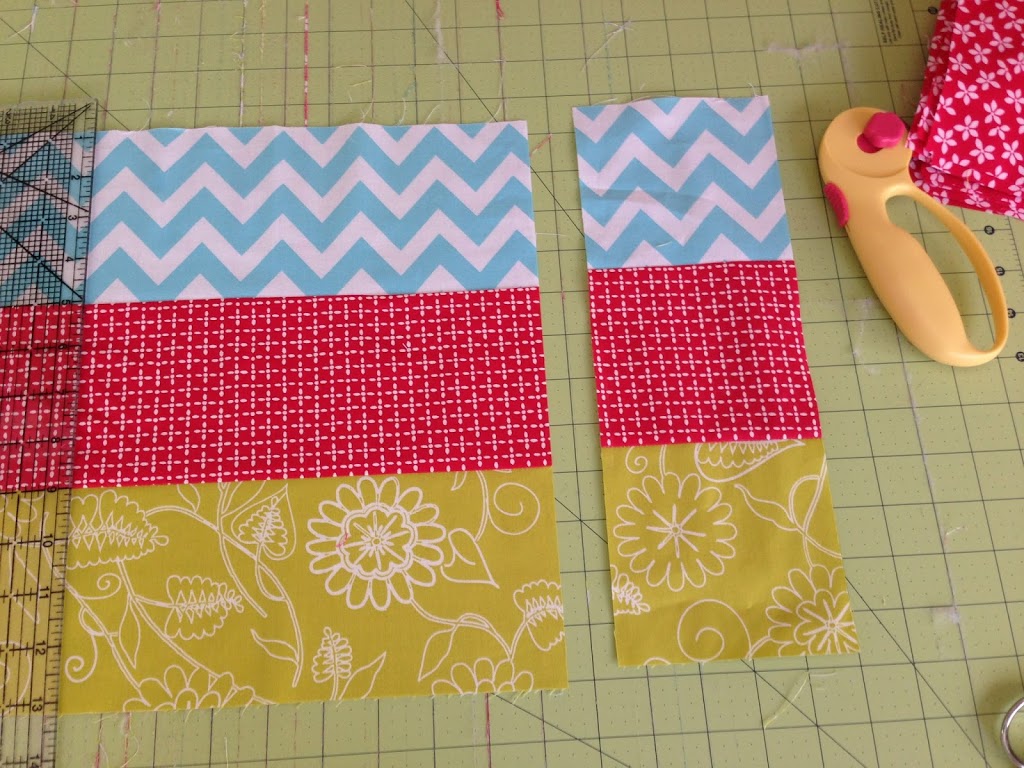
Select your fabrics and lay them out how you want them in the 9-patch.  Cut them in strips of 4.5″x WOF

Sew them together in 3-strip sets: row 1, row 2, and row 3

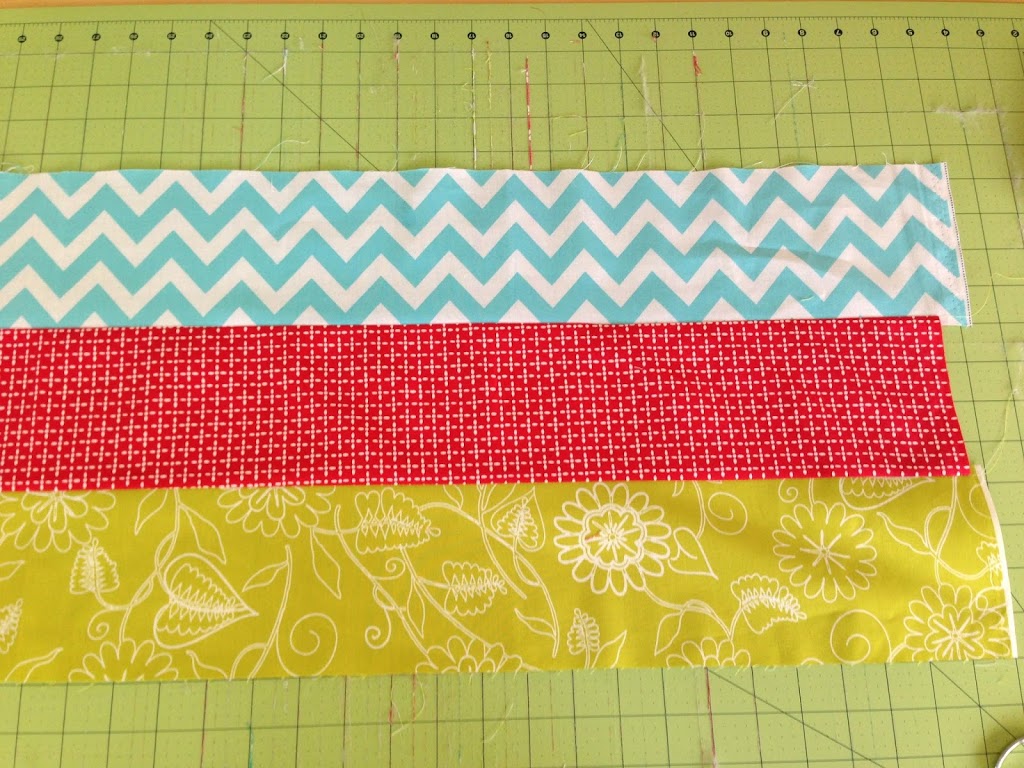
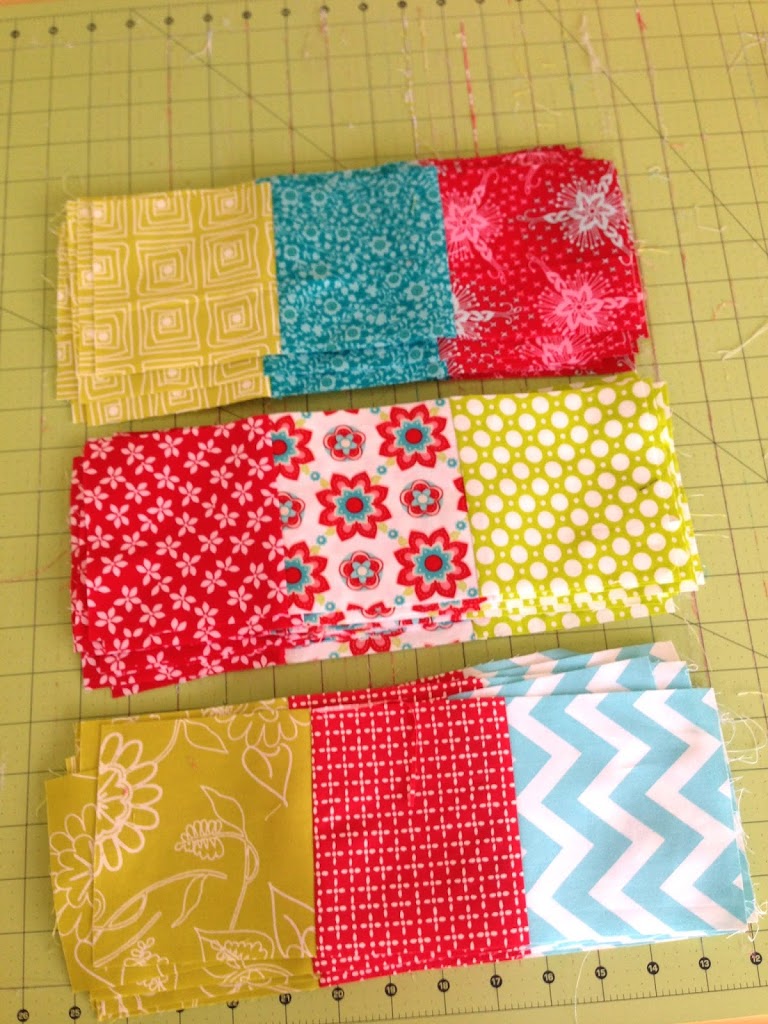
 Press seams so they alternate for easy intersection pinning.  Cut in increments of 4.5″

 Do this with each of the strip sets until you have stacks that look like this:
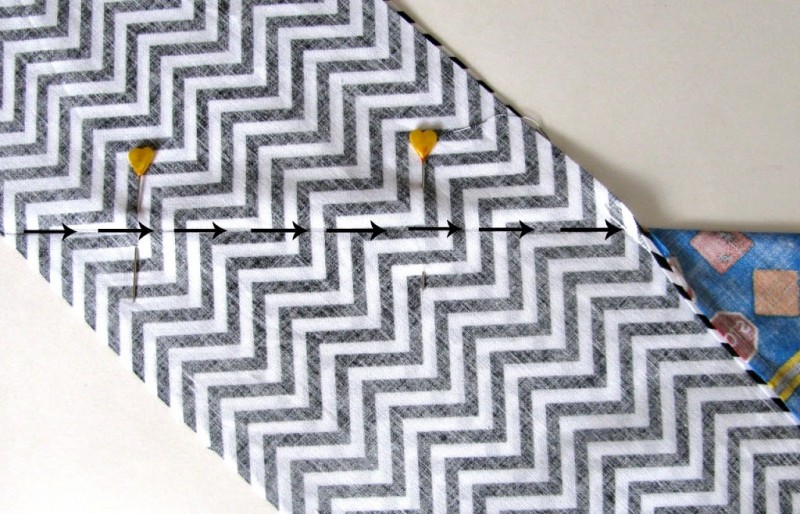
Pin at seams
 
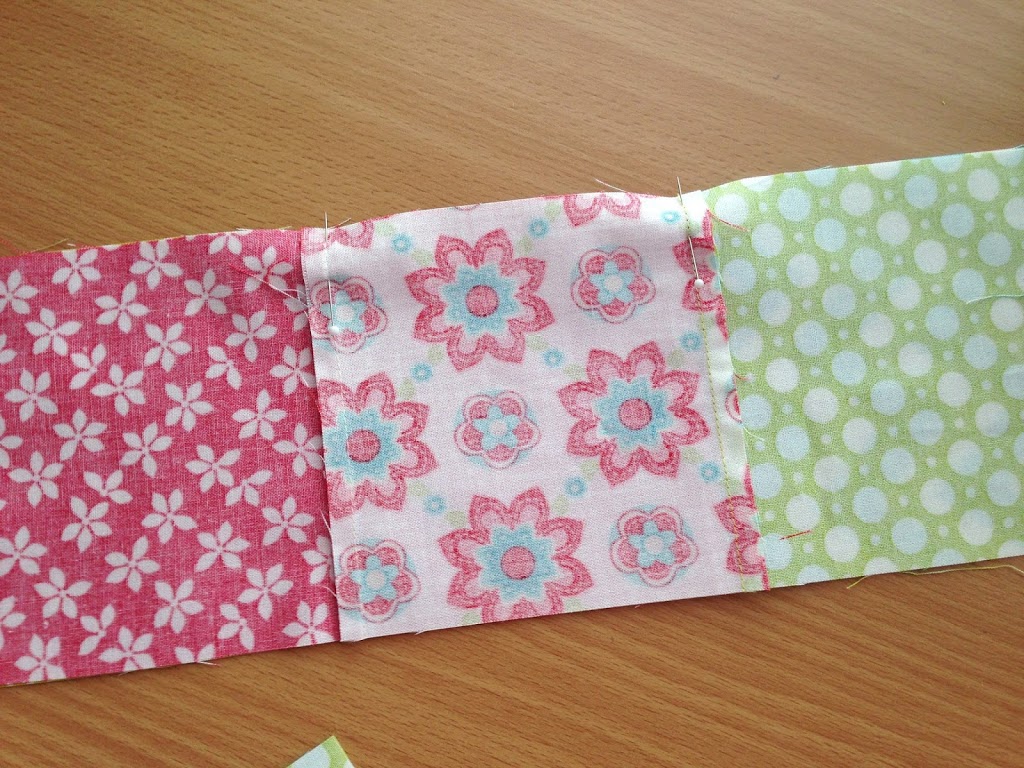
Here you can see how I did my pressing:

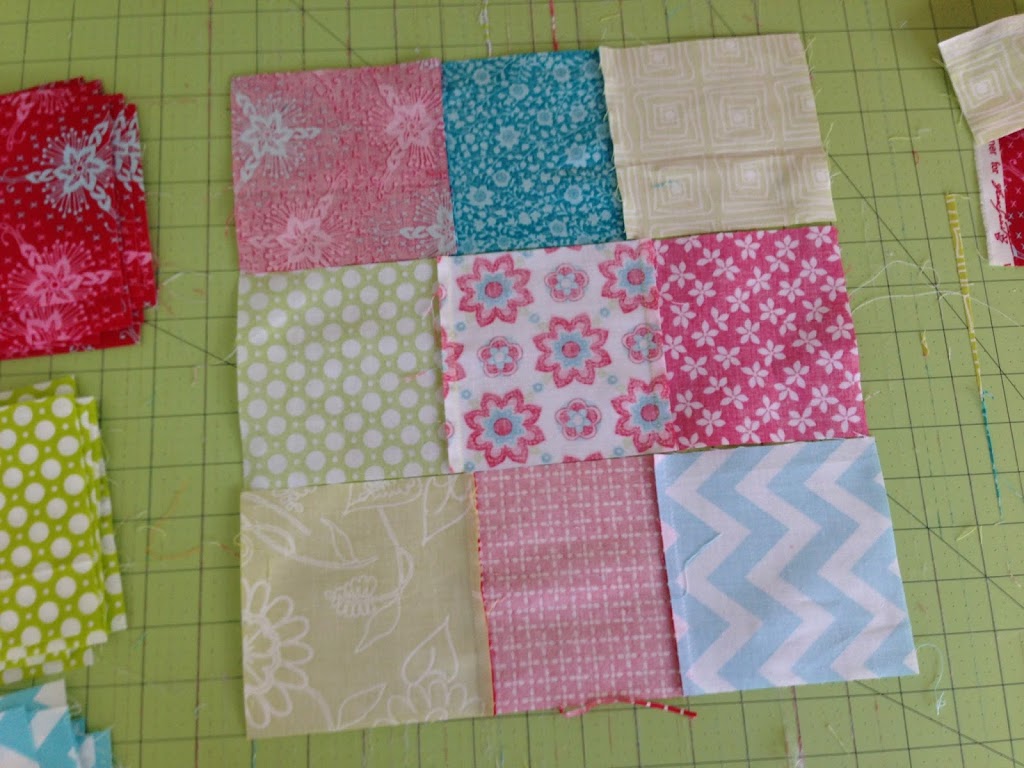
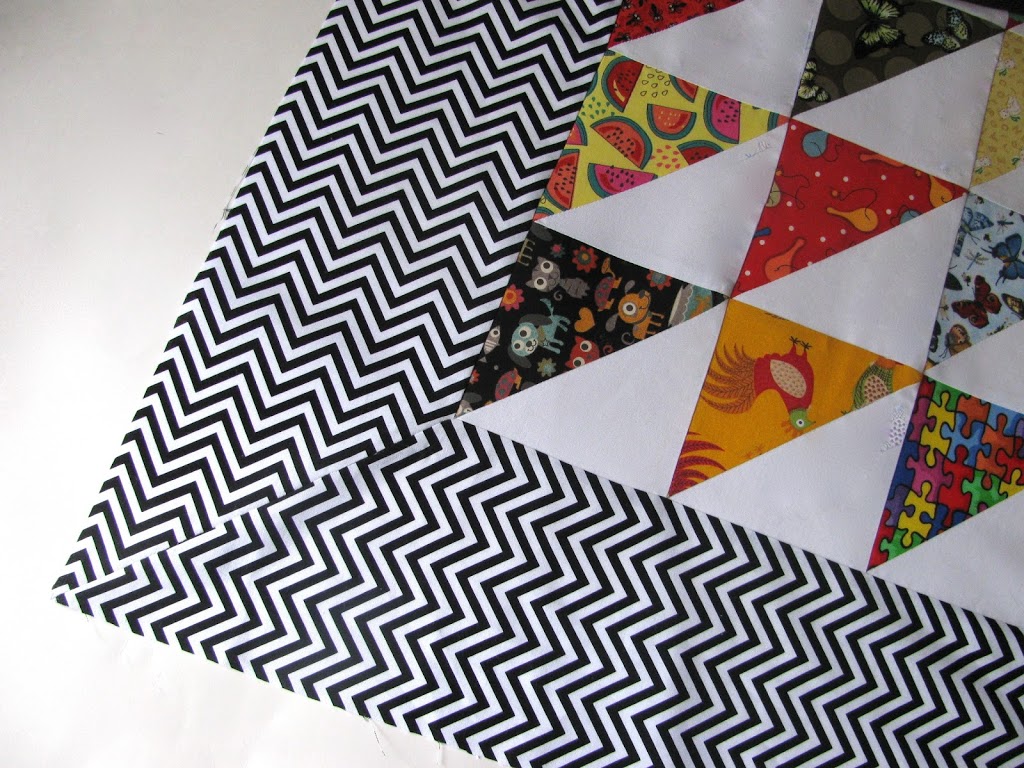
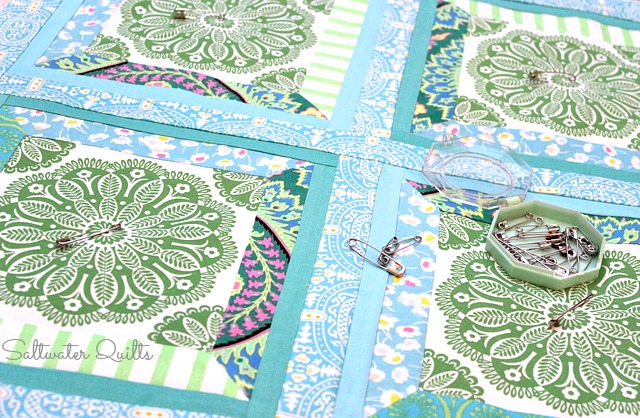
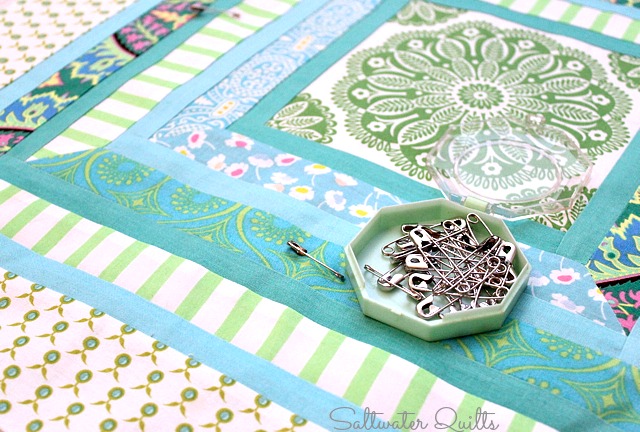
 Lay out your 9-patch blocks with your 12 1/2″ squares alternating.  Sew them in rows and join rows together.  This quilt is 4 squares across and 5 squares down.

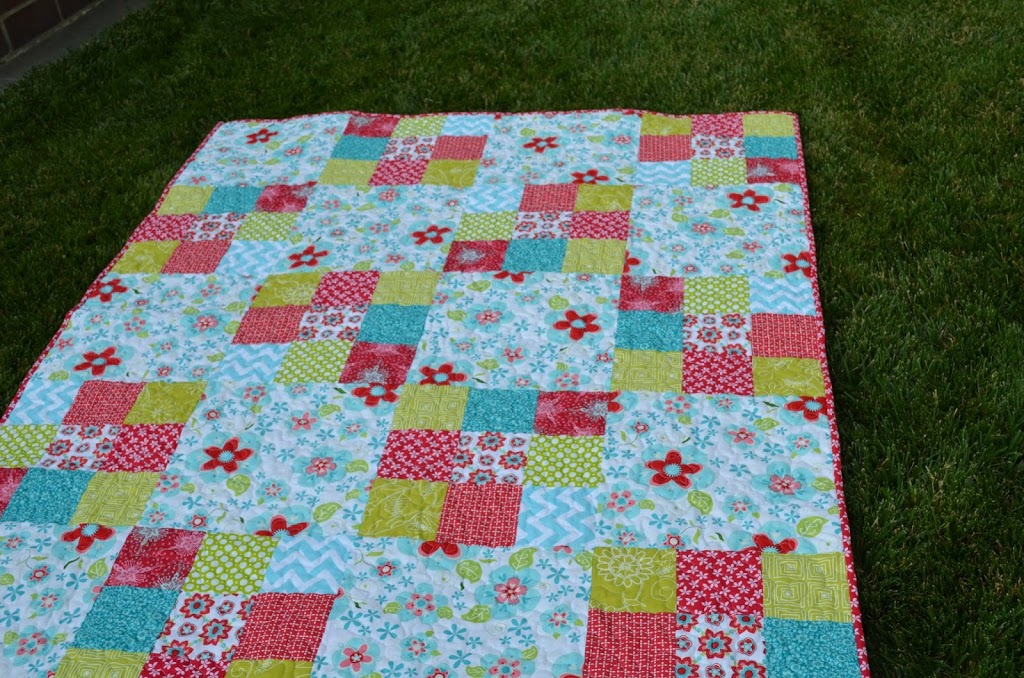
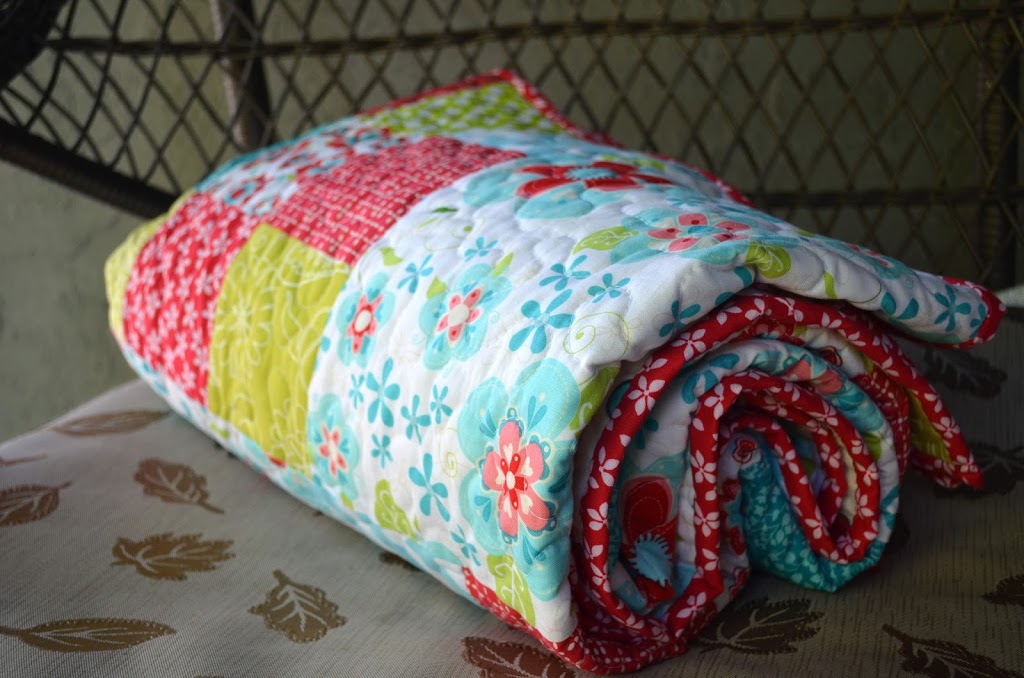
I put flannel on the back and free-motion quilted it – it’s so cuddly!! 

Amanda

Mitered Corners Tutorial {Contributor}

I am loving all the quilt tutorials this week!  I am learning a lot and being totally inspired!!!  Today’s post is from Candace at Salt Water Quilts.


Hello!  I am Candace and I am so excited to be apart of Amanda’s Week of Quilt Tutorials.  You can find me at SaltwaterQuilts.com where I regularly share my quilting adventures and projects.  Today I going to share my Mitered Corners Quilt Tutorial.  It takes a complicated task and makes it really simple.  Mitered corners are a quick and easy way to add a polished look to your quilting projects.  They are often avoided because they can look intimidating, but my tutorial makes it so easy!  Give it a try! 
Tutorial: Mitered Corners


A mitered corner may look complicated, but it is actually really easy.  It can be added as a border to just about any center design to spruce up your quilt or thrown into your overall quilt design.  There are a few examples at the end of the tutorial.

Calculations

Width of Border Fabric:
Choose the width of your border.  For example, the chevron border above is 6″ wide.

The Length of the Border Fabric: 
length of the side of the quilt top (green section below)
+ 2 times the width of the border
+ 10 extra inches (for seam allowance, mitering, and extra) 

For example, the side of the quilt center above is 55″.  The length of the chevron fabric cut for the border would be 55 + 6 + 6 + 10 = 77″.


1.  Center the border with the body of the quilt top.

2.  Place them together with the right sides facing each other.  Sew the two together with a 1/4 inch seam allowance.  The quilt center should be on top and the border on bottom (so you will be looking at the back of your quilt top as you stitch).  Make sure you start and stop stitching 1/4 inch from the edge of the main body of your quilt (sew the pink line in the green section above).  This is an important part of getting the corner points and seams in the right place. 


3.  Repeat step 2 for the next side.  Be sure and pull the extra from the first border out of the way (the grey section above).  Pin it back if it helps.  Remember to start and stop 1/4 inch from the edge (where the seam from the other sides ends). Continue repeating these steps until all four sides are completed.  The seams will meet up 1/4 inch from each corner, but will not cross over each other.


4.  After sewing all four borders on, iron and press the seams.  For the corner seams, fold the top in half to form a triangle.  Make sure all the seams and edges match up neatly. Spread the borders out and line them up with right sides facing each other.


(Here is an example)


5.  Line up a ruler with the folded edge of the quilt straight out through the borders.  Draw a line using a pencil or a quilt marker.


6.  This is where you will stitch your seam.  Place a couple of pins along the line to hold everything in place.  Remember to stop where the previous stitching stopped (Where the arrow on the farthest right is pointing.  This will ensure that you end up with a neat pretty corner.  Be sure and back stitch here to lock in the stitches.


 (close up of where to stop and back stitch)

7.  Flatten out the quilt top and make sure everything looks accurate.  If you are happy with the results, press and trim the seam allowance to 1/4 inch.

Here is a larger view of the finished product (I Spy Quilt)…
You can also use this technique on a smaller scale.  Here are a few quilted pillows where I used mitered corners…


I hope you have enjoyed this tutorial and I hope it has inspired you to add mitered corners to your designs.  A BIG thank you to Amanda for inviting me to join her week of tutorials!!

Amanda