Archives for July 2013

Tie-Dye 101


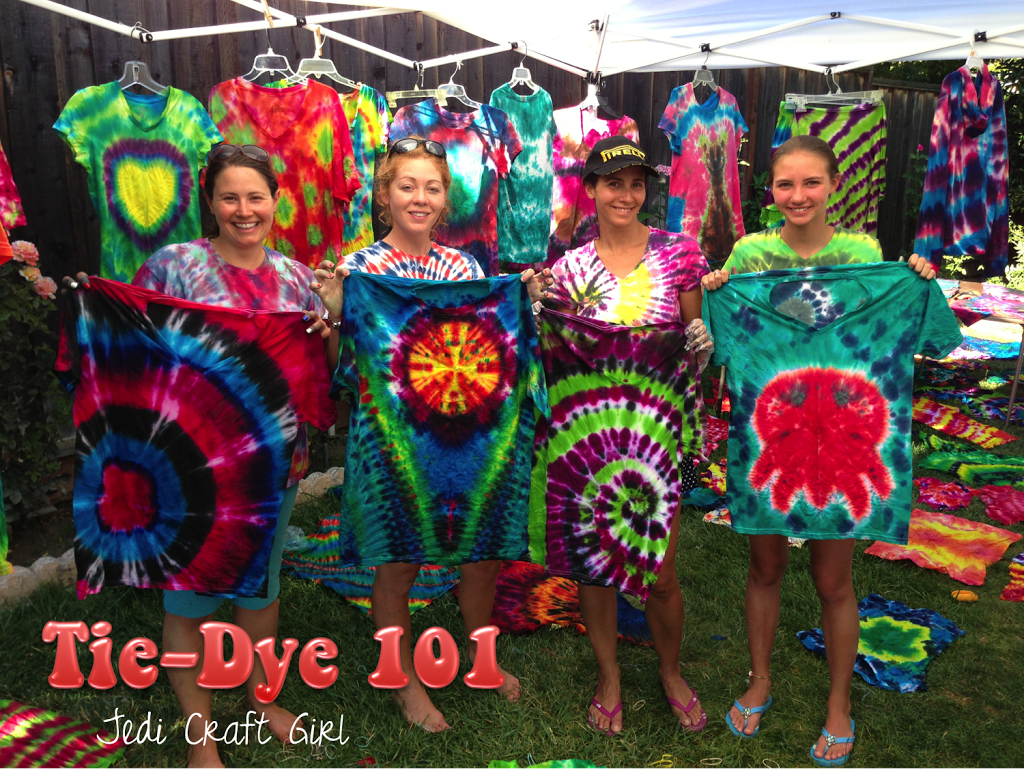
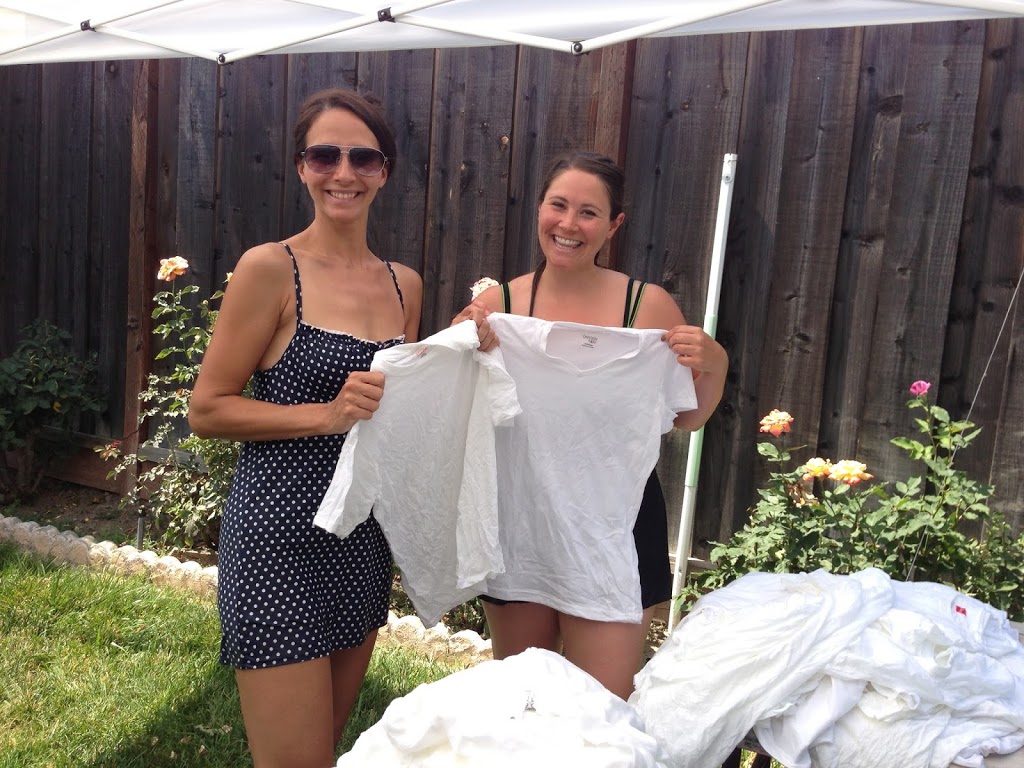
We are a little Tie-Dye crazy in my family.  Growing up in the bay area, I guess Tie-Dye is in our blood!  Every summer we get together for weeks of swimming, eating, hanging out and Tie-Dye.  Every year gets more and more intense!  So, here’s and invitation to you: put on some hippie music, grab some white T-shirts and fabric Dye and join us in the fun. (the fun turns to crazy really fast!)
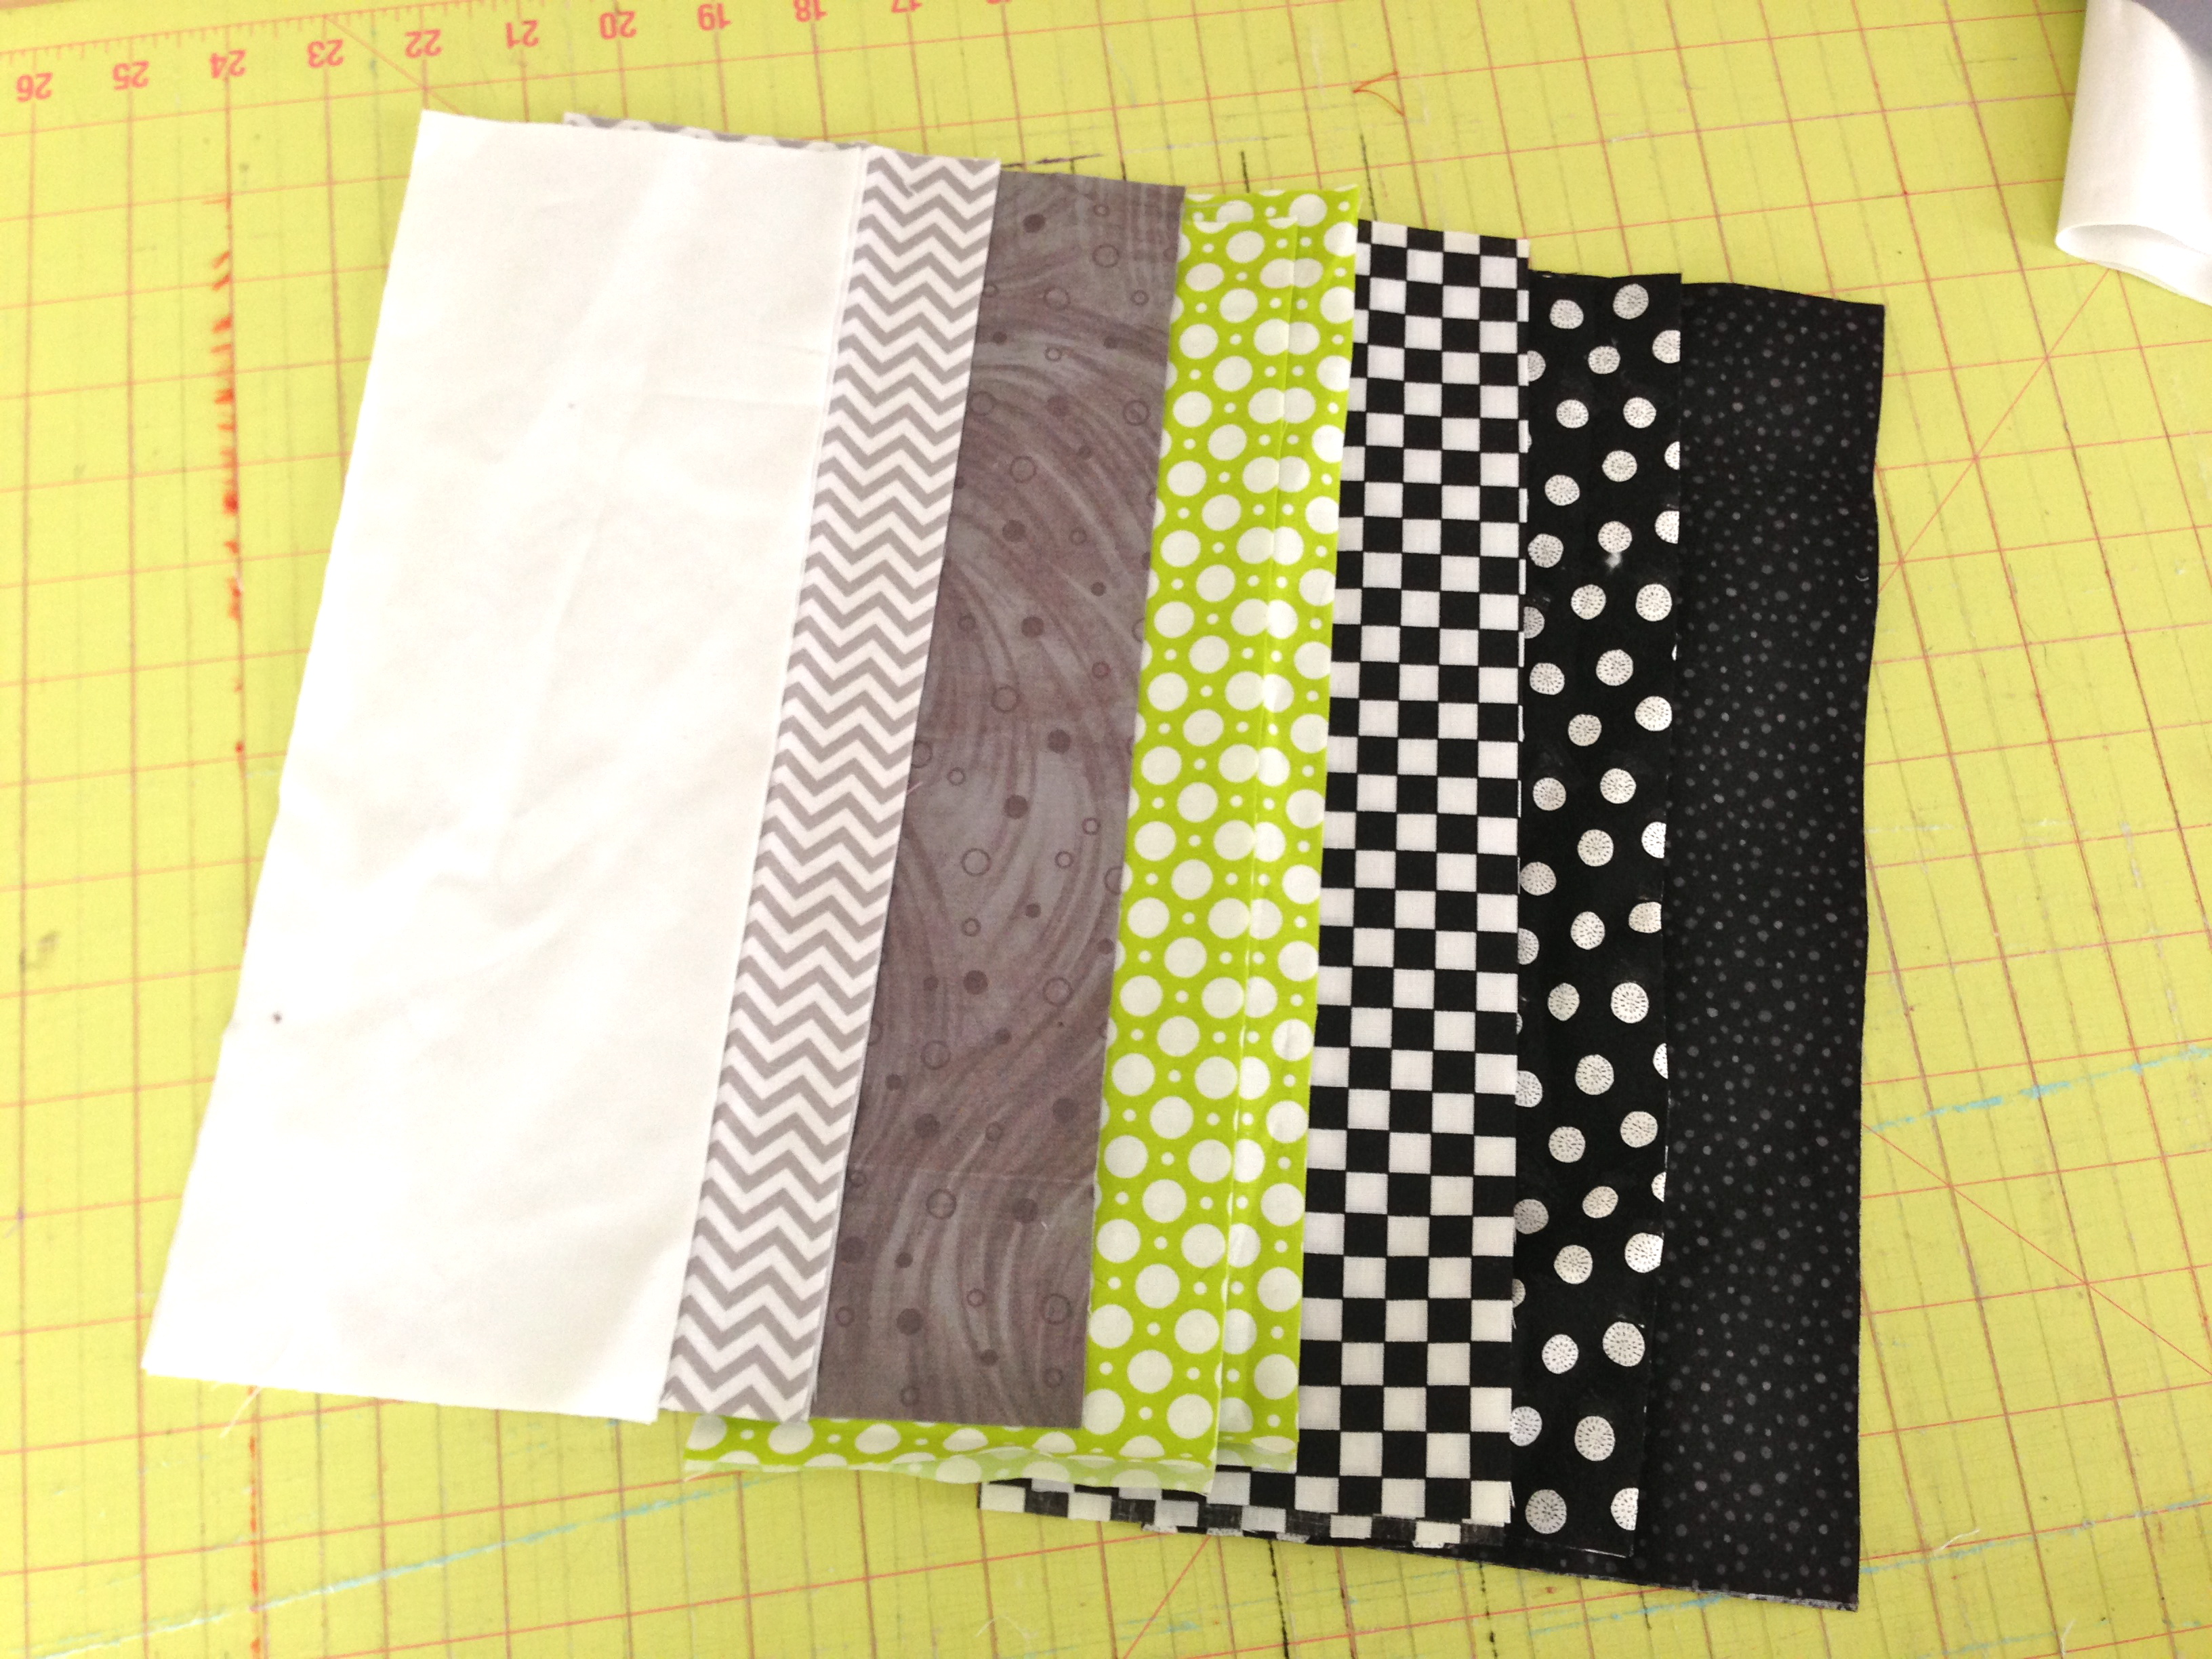
Fabrics:
100% cotton shirts and clothing work the best.
95% cotton 5% spandex – these work good as well
50% cotton 50% polyester – Stay away from this combination – colors will be muted, there will be a light fuzz over the dye and they just don’t look good.
The key is to have a good quality cotton.

Prep your clothing:
If your clothes have never been laundered, run them through a light wash or a rinse cycle.  If you have shirts that you want to pre shrink, rinse them and then put them in the dryer, then rinse them again.

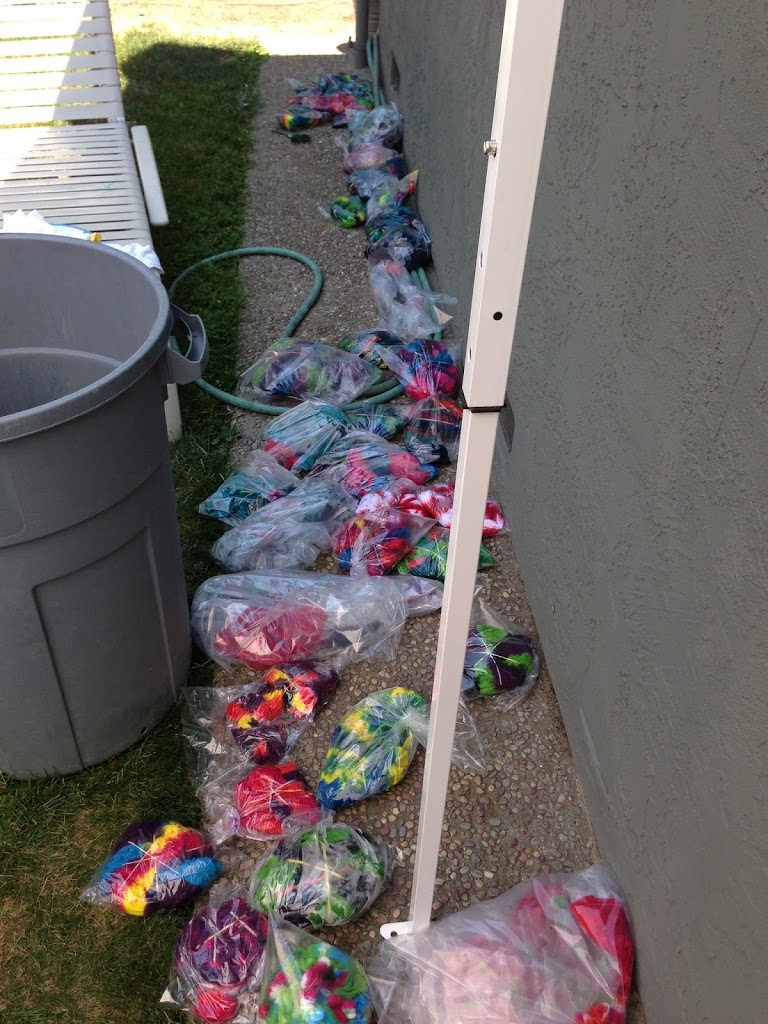
Your clothes need to be damp (not wet) to tie…despite what the directions say.
Giant batch of damp shirts!!

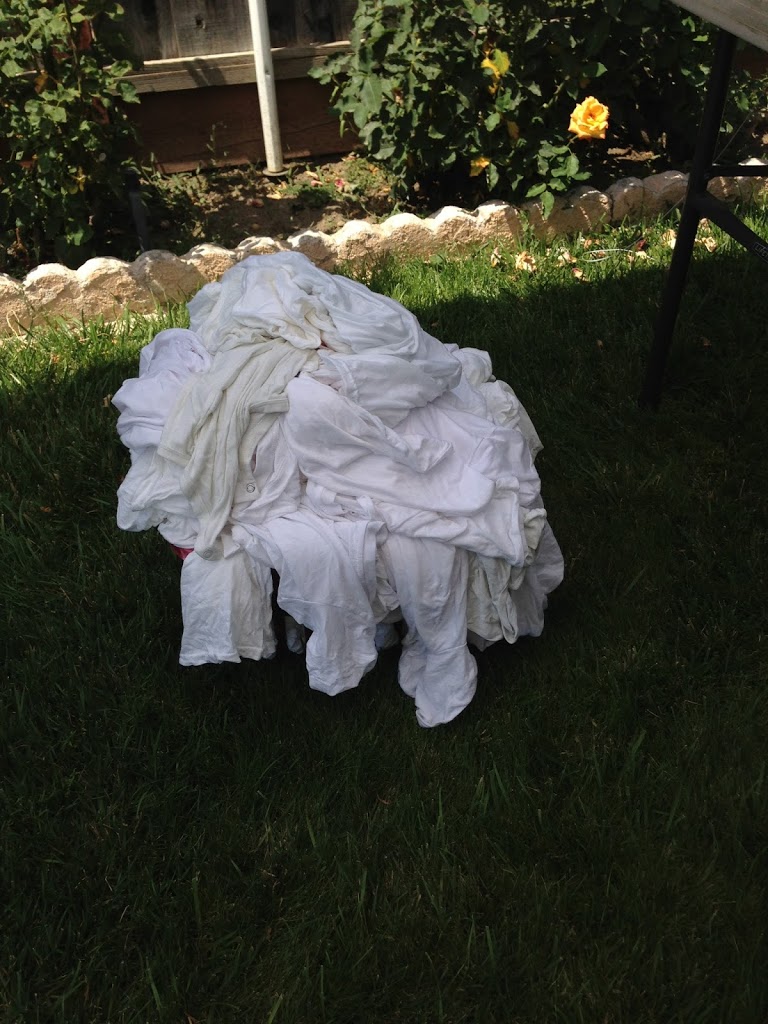
It is 106 degrees as we are doing this project – so we are in our swim suits.  We alternated swimming and tying for about 8 hours – almost 200 shirts.

Soda Ash:
You can dye your shirts without soda ash – but we all agree that this helps keep the colors vibrant.  The package instructions say to soak your shirts in the soda ash for 20 minutes.  We have tried this method and found the shirts were too wet and very drippy which makes the colors run.

We developed a new method which will let you maximize your soda ash.  Mix the soda ash according to the instructions (1 package makes 1 gallon).  Place in spray bottles.  We sprayed our shirts with the soda ash before we tied them.  I like this the best.

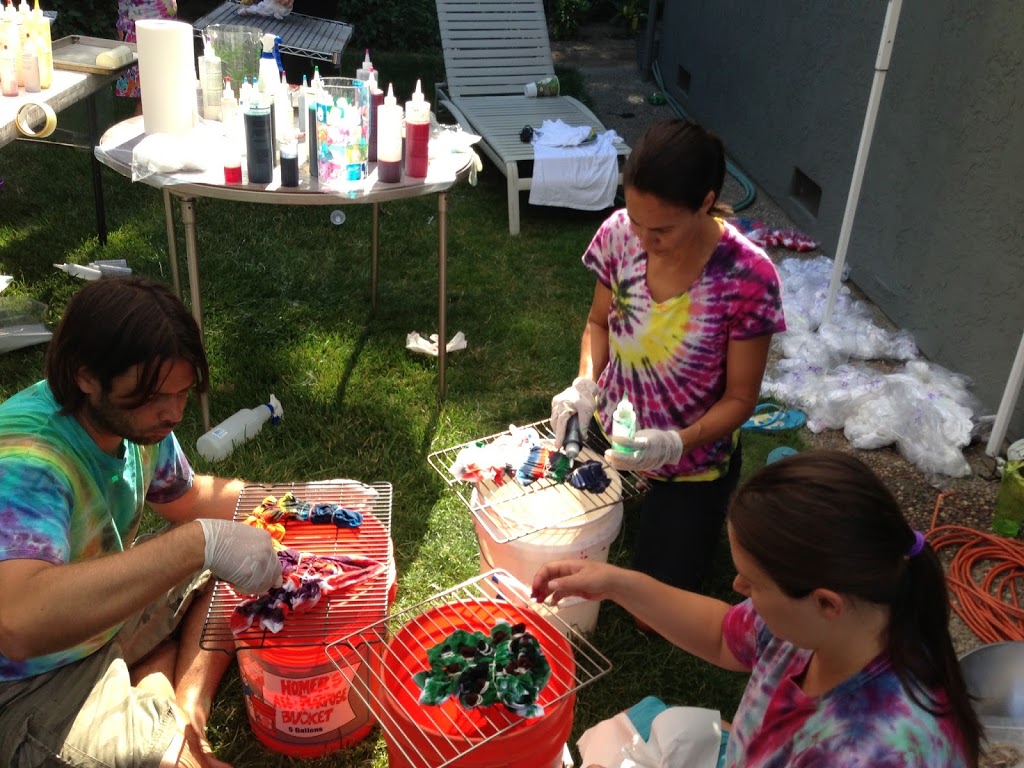
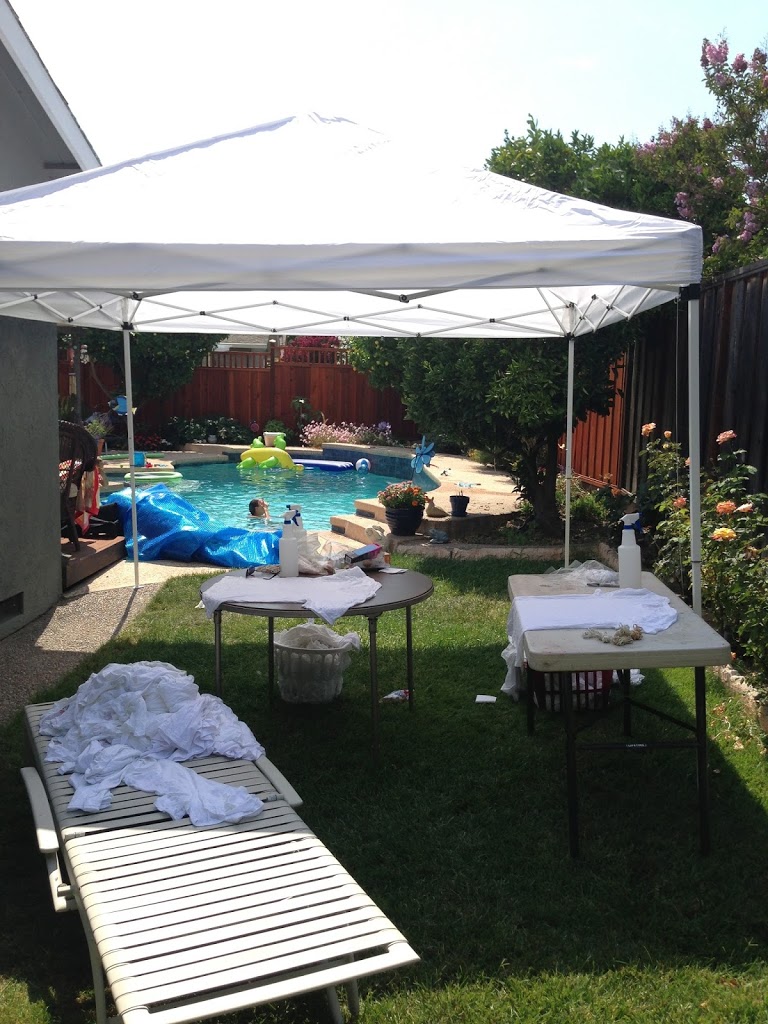
Prepare your work station:
You need to have a flat work surface to tie your shirts on.  We had 4 adults working at once so we needed a few tables.  Here is our set up:

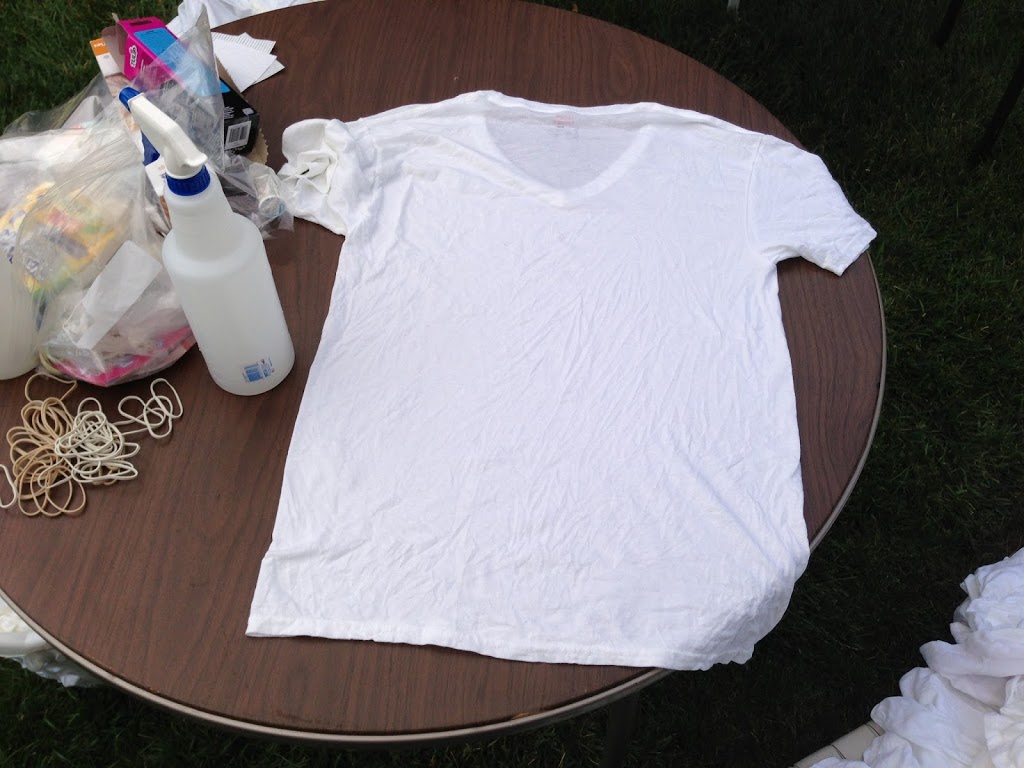
Spray both sides of your shirt with the soda ash mixture.

It’s best to wear tie-dye and listen to hippie music while doing this!!!
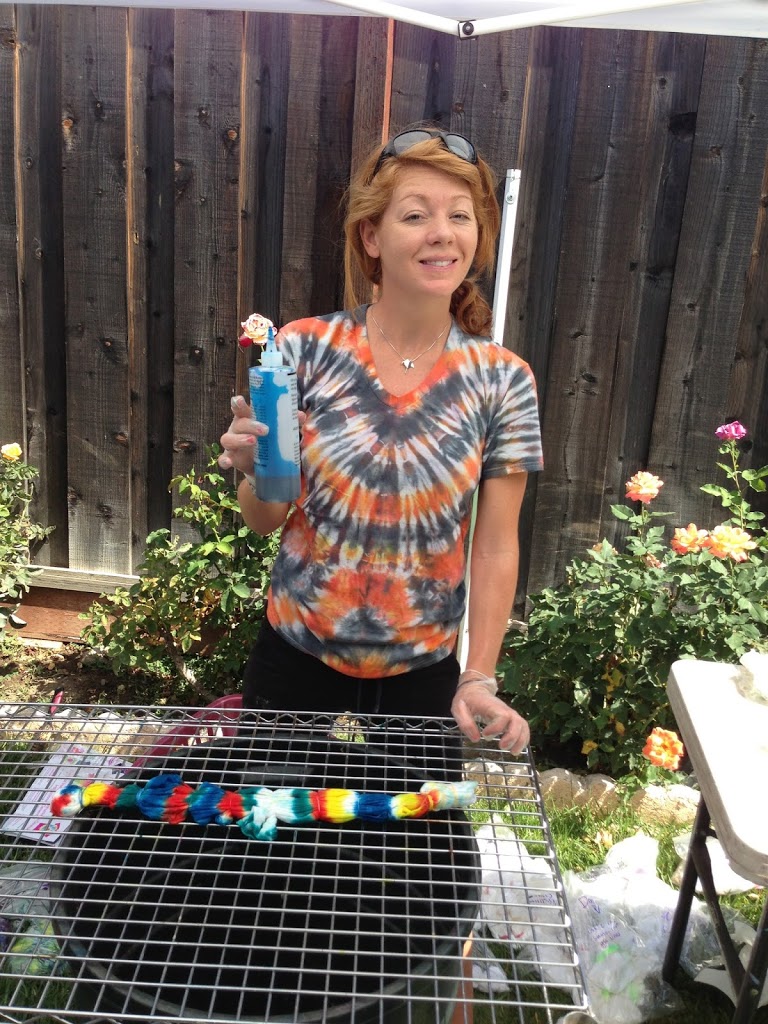
Tying:
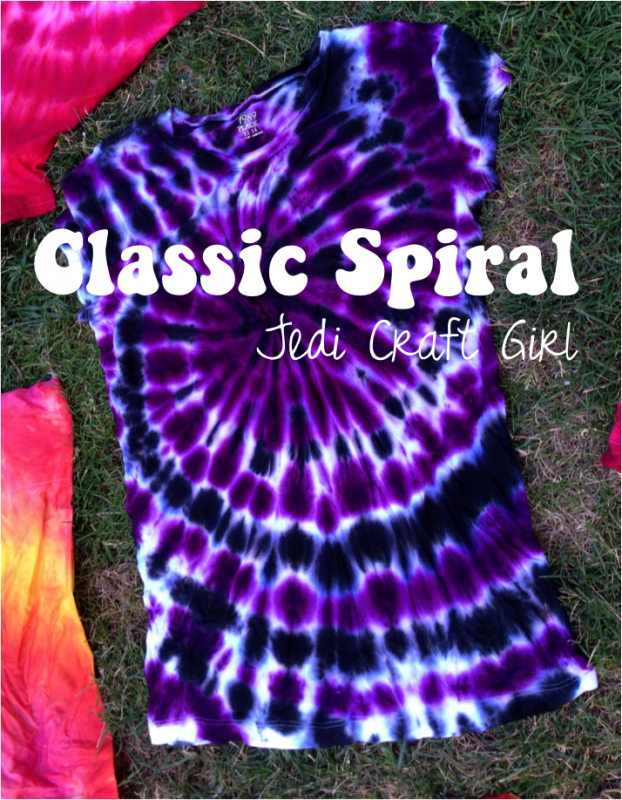
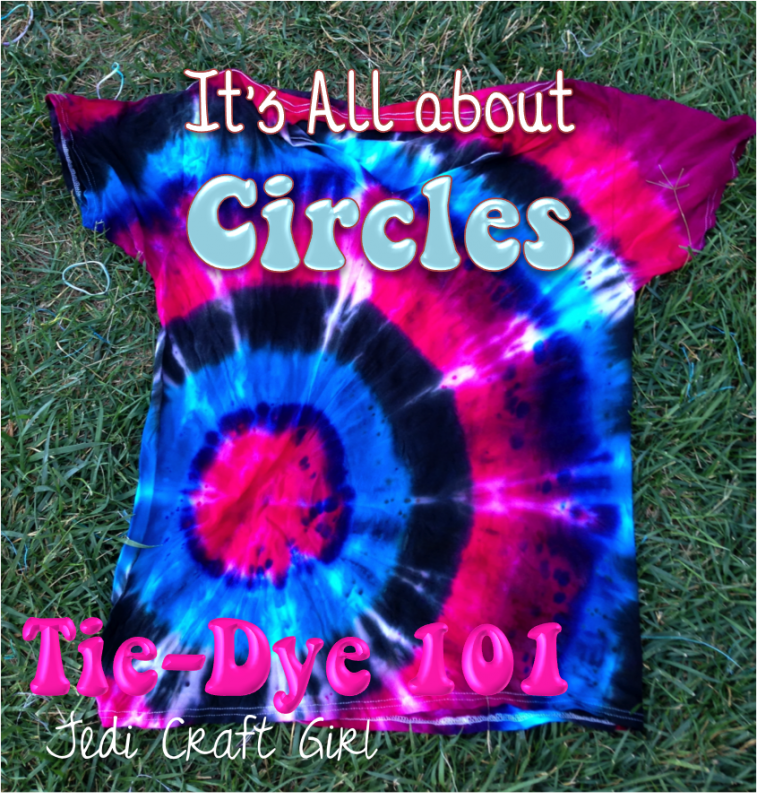
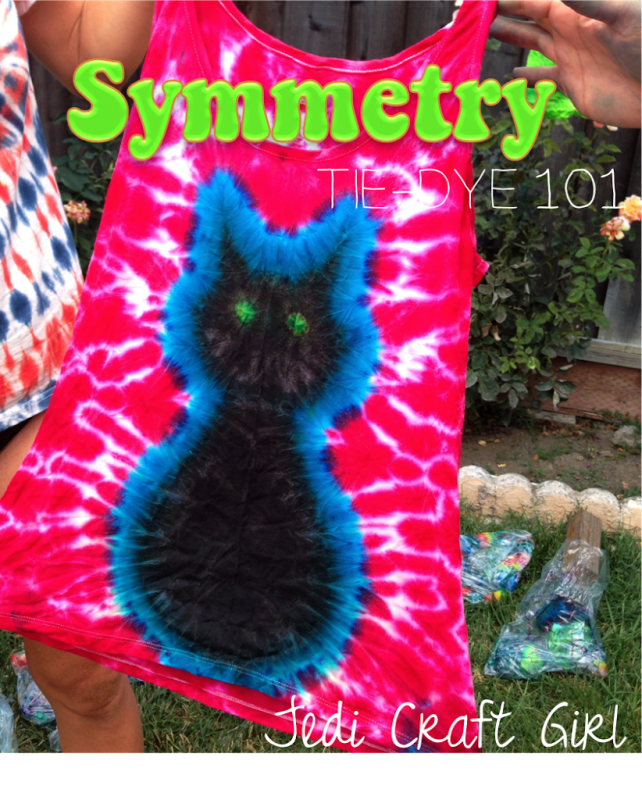
This is the fun creative part.  There are so many ways to tie your shirt: classic spiral, double spiral, triple spiral, deep V, stripes, scrunch, etc.  (at the bottom of this post are links different methods of tying.)  You need rubber bands, string, and maybe a needle and thread.  I like to put my tied shirt into a baggie and label it so when it comes to dying I know what I am doing.  This shirt was a crazy tie design:


The Dye:


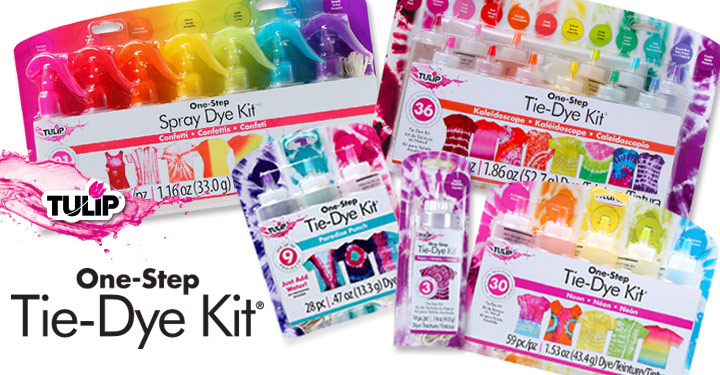
We used Tulip brand Tie-Dye.  They offer a wide range of colors, it’s not too expensive, and it’s sold at all craft stores and Wal Mart.  We have a lot of dye!

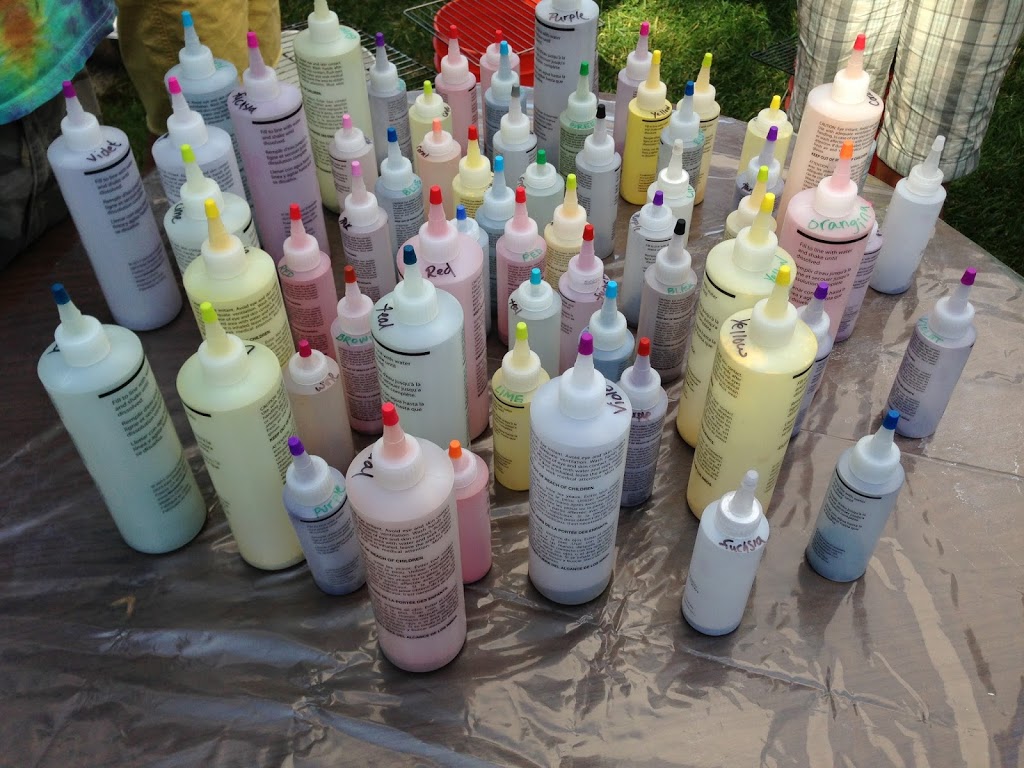
The caps are colored.  Once the caps are removed and the dye is mixed, it’s impossible to tell which color is which.  Using a Sharpie, write the color of the dye on the top of the bottle – this makes it SUPER EASY!

Mix the Dye:
The dye comes in the bottles and you fill the bottle up with water and shake.  The dye is best used within 30 minutes of mixing.  After that the colors can loose intensity.
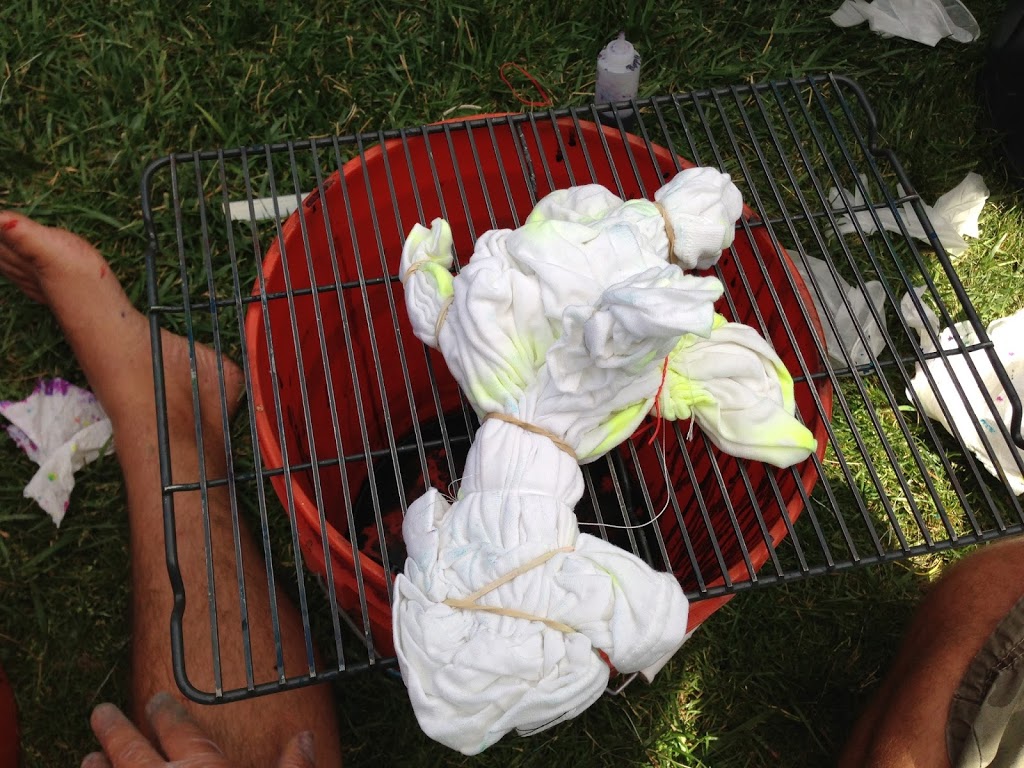
Dying:
Wear gloves!!!
Work fast but carefully
Consider your color choices before you mix the dye – it saves time – the dye is the most potent during the first 30 minutes so DON‘T mix all the die at once
Set up a rack on top of a bucket or bowl.  The dye will run off an needs somewhere to drip.
Wear old clothes or tie-dye – it can be messy is messy.

Once the dying is done, wrap the shirt in plastic wrap or a baggie. The instructions say to let sit 6-8 hours.  I wait at least 24 hours.  It’s really hard to wait to see how they turn out!

Final Thoughts:
After you have waited about 24 hours, unwrap your shirt and cut off the string or rubber bands.  I like to hang my shirt up and let it dry completely.  Then rinse each shirt in the faucet or the hose and squeeze as much dye out as you can.  Then, put them through the rinse cycle in your washer and dry them.  I rinse like colors together.  Now you are ready to wear your awesome Tie-Dye Shirt!!!

Amanda

Patriotic Tote Bag Tutorial

Today my Patriotic Tote Tutorial is on the Therm O Web blog!  Click here to read how you can make one of these fun totes for summer!!  This tote is the perfect size for the beach, the pool, or the park.

Amanda

Monster Truck Baby Quilt

Modern Monster Truck Quilt

I came up with the idea for this quilt when I was invited to a baby shower for a friend who loves going to Monster Jam.  I wanted a cute, modern take on the monster truck and this what I came up with. To begin, select fat quarters  of various prints.  I choose gray, white, black and green.  You can choose any prints or patterns you like.  I only had 8 different fabrics, but I would have liked 12.IMG_1708

Next, cut your fabric into 12.5″ strips, then sub-cut into the following measurements:monster truck measurements
Do this with each of your fabrics.  Now mix up the pieces and sew the following 12″ (finished) block:  (quarter inch seams)monster truck quilt block
You want the top and bottom pieces to be the same fabric, and the center to be different.  Press the seams toward the 6.5″ piece.
I love personalizing quilts, especially if they are gifts.  To add a name to the quilt block, print the name using your favorite word processing program.  I tried several different fonts until I got the one I liked.  If you can, reverse the image when you print.  Take your Heat N Bond® Lite and trace the reversed name in pencil.  Iron the piece of Heat N Bond® with the name to the WRONG side of your fabric.  Then, cut the name out.  Peel the backing off and arrange the letters how you want on your quilt block.  Finally press to attach it.
I outlined the letters using a straight stitch.  I went around each letter twice to give it the “sketch” feel….which I love.
IMG_1743
  After you make 11 of these blocks, lay them out.  For the truck applique block, cut a white square 12.5″x 12.5″
  IMG_1709
Next,  follow the same technique using Heat N Bond® Lite to applique the monster truck to the quilt block.  Click HERE for the truck pattern.
To finish the quilt, sew the blocks together to form rows and sew the rows together.  Quilt as desiredIMG_1782
IMG_1783
IMG_1784
IMG_1787
Note: These are big blocks which help make this a fast, easy quilt to put together in a day.  If you would like the same look, but with smaller blocks here are the measurements:
For a 10″ finished block: cut pieces 10.5″ x 5.5″, 10.5″ x 2.25″, 10.5″ x 3.75″
For an 8″ finished block: cut pieces 4.5″ x 8.5″, 1.5″ x 8.5″, 3.5″ x 8.5″
Essentially the bottom strip is 1/2 the block size, the top strip is 1/3 the block size and the center strip is 1/6 the block size.
Here is a little peek of the baby shower – we centered the colors and theme around the quilt.  We even hung the quilt in the entry way so it was the first thing people saw as the entered.
IMG_1802
I love that we were able to get a stack of tires!!
Monster truck cupcakes – complete with “dirt” on the top.IMG_1805
IMG_1808


Amanda