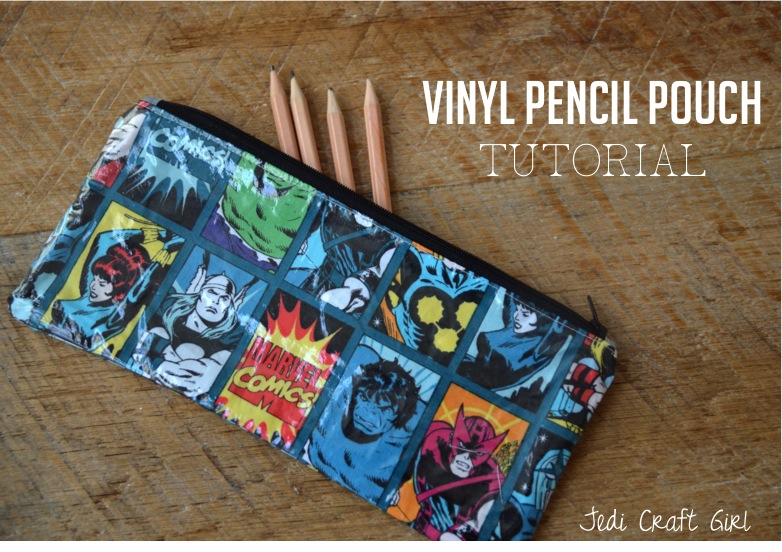
I love sewing zipper pouches! This one is the perfect size to keep pens, pencils, and art supplies in. What’s even more fun is I used Heat n Bond Vinyl to make the outside of the zipper pouch waterproof – it kind of has the look of oil cloth! The kids were so excited! They each choose a Marvel fabric for their pouch. They literally stood by the sewing machine waiting for me to finish them! These are such great gifts and are so useful!!
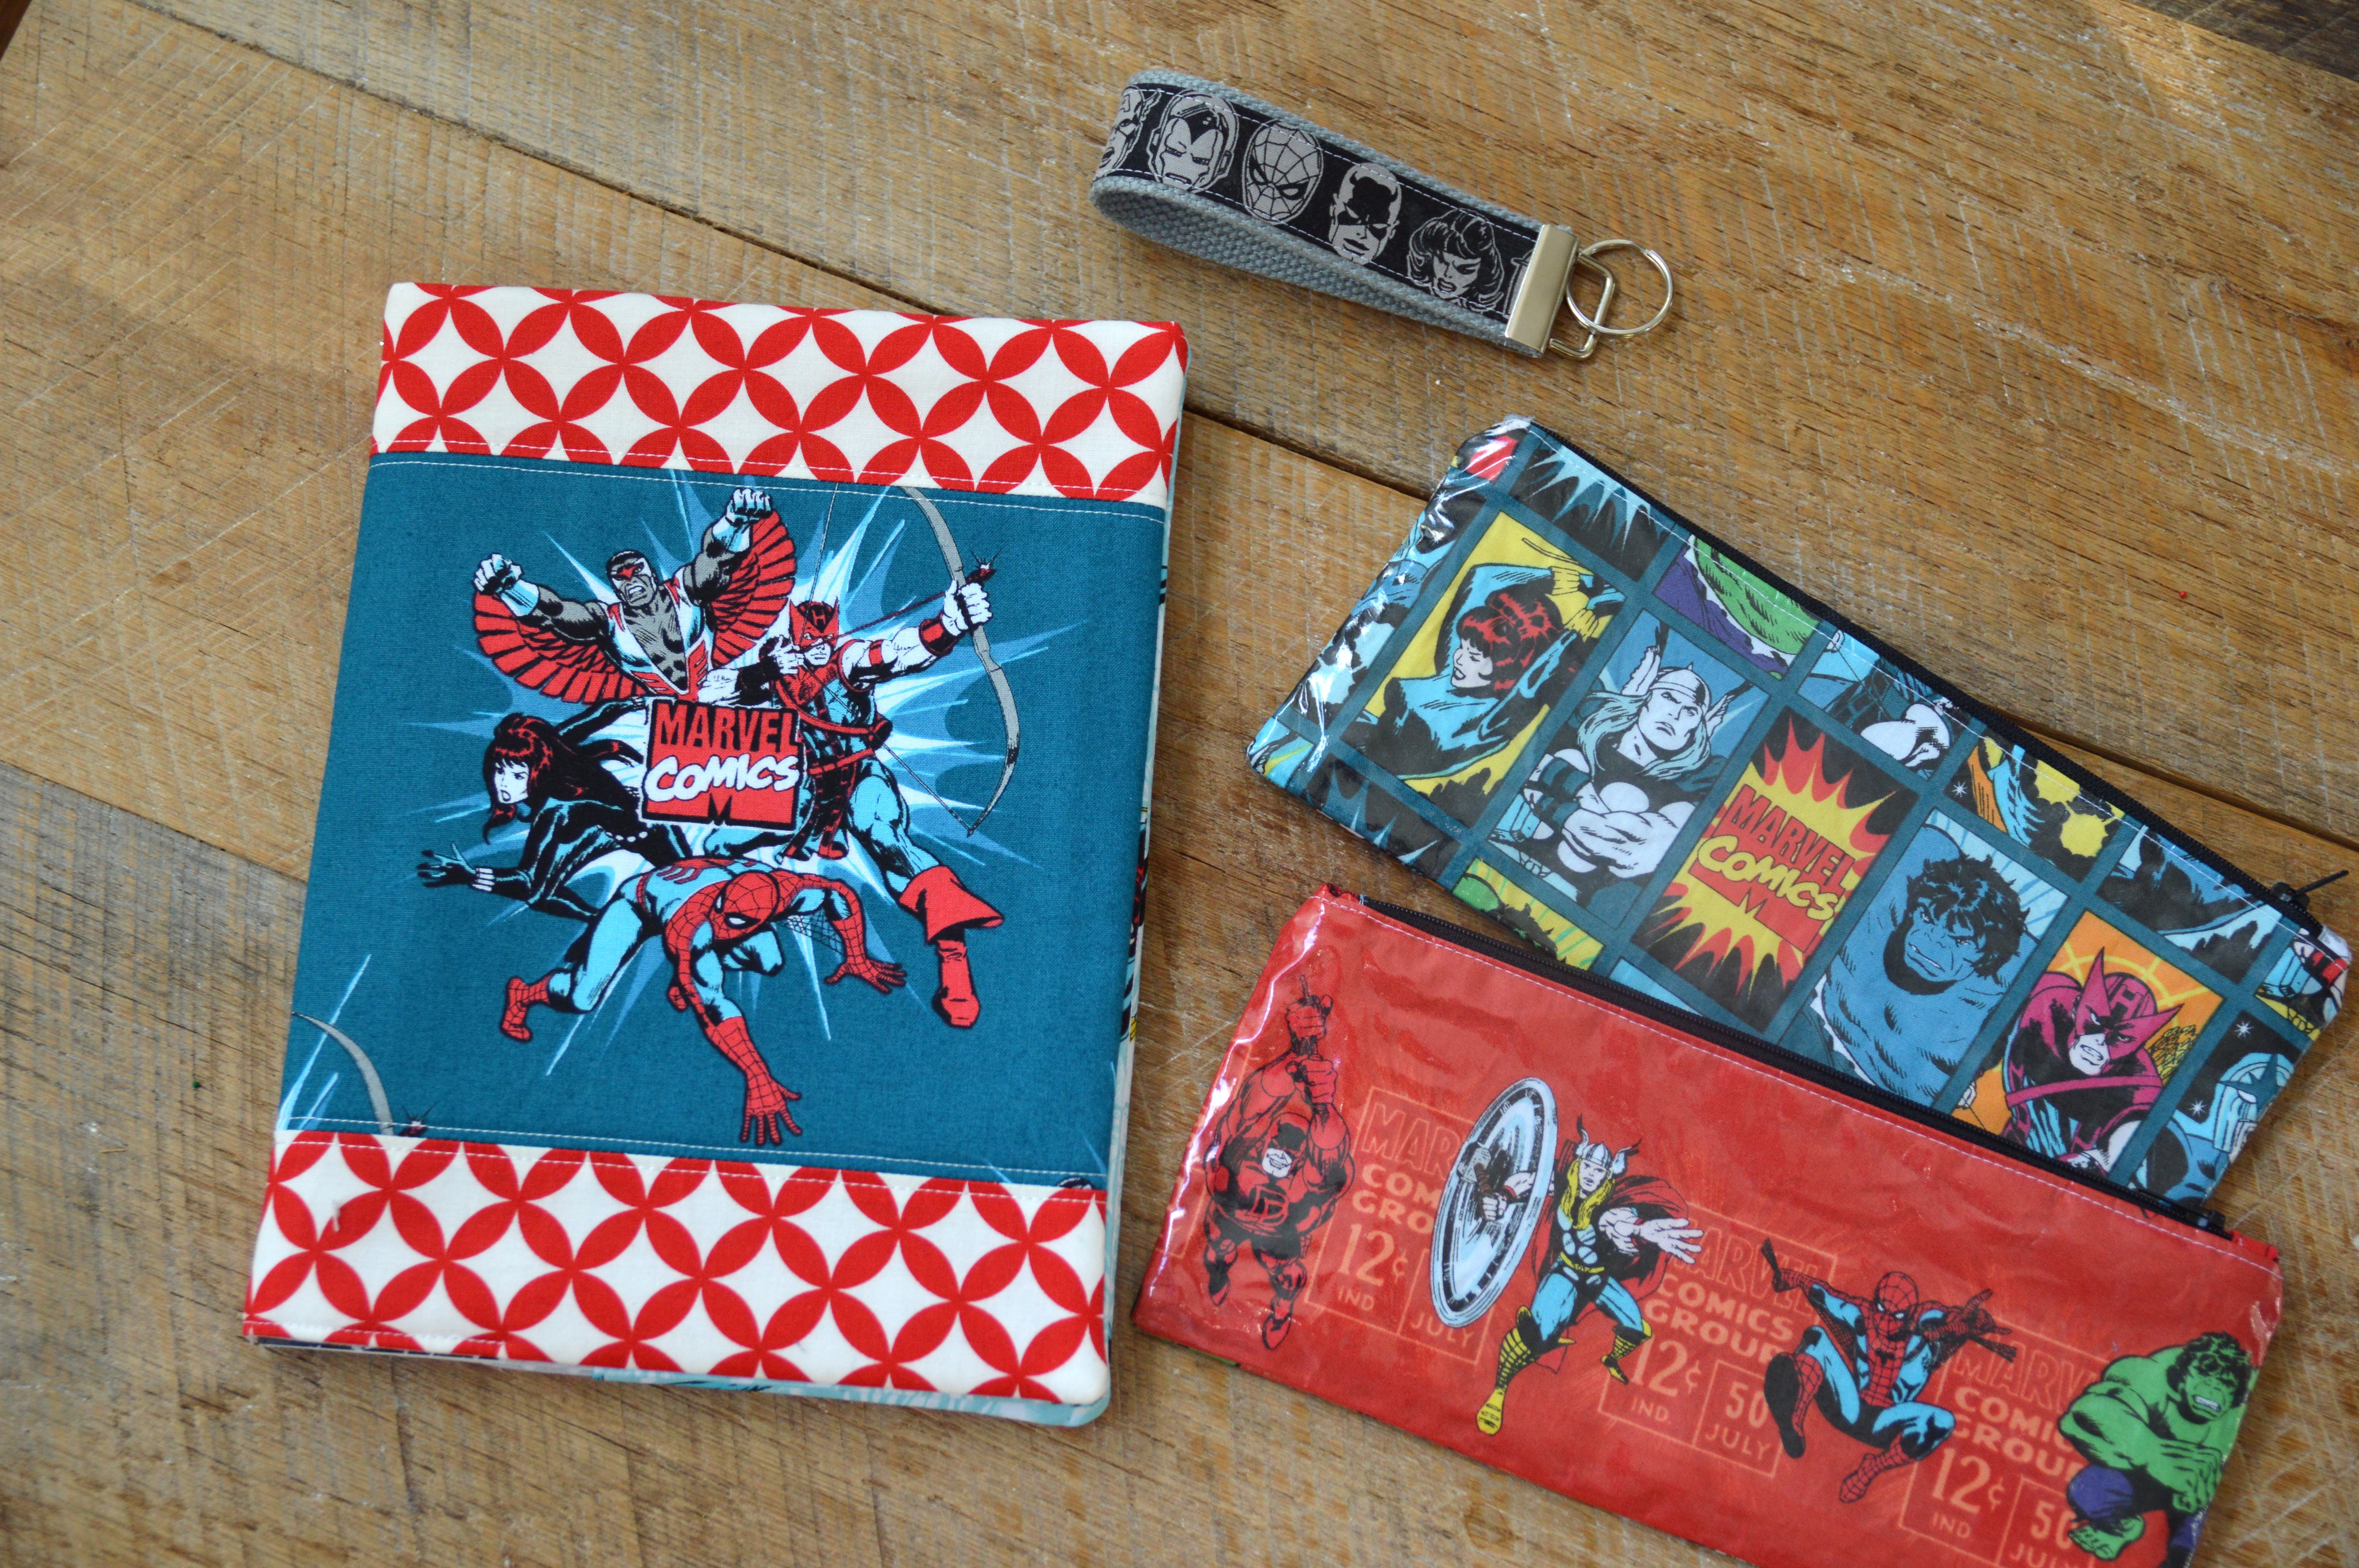
They go great with my Marvel composition book and Marvel key fob!! Here’s how you can make one:
Supplies
1/4 yard outer bag
1/4 yard lining
zipper, at least 12″ long
Instructions:
Cut the following:
(2) 5″ x 10.5″ for outer bag Marvel fabric
(2) 5″ x 10.5″ for lining
(2) 2.5″ x 2″ for zipper tabs
(2) 5″ x 10.5″ Heat n Bond Vinyl
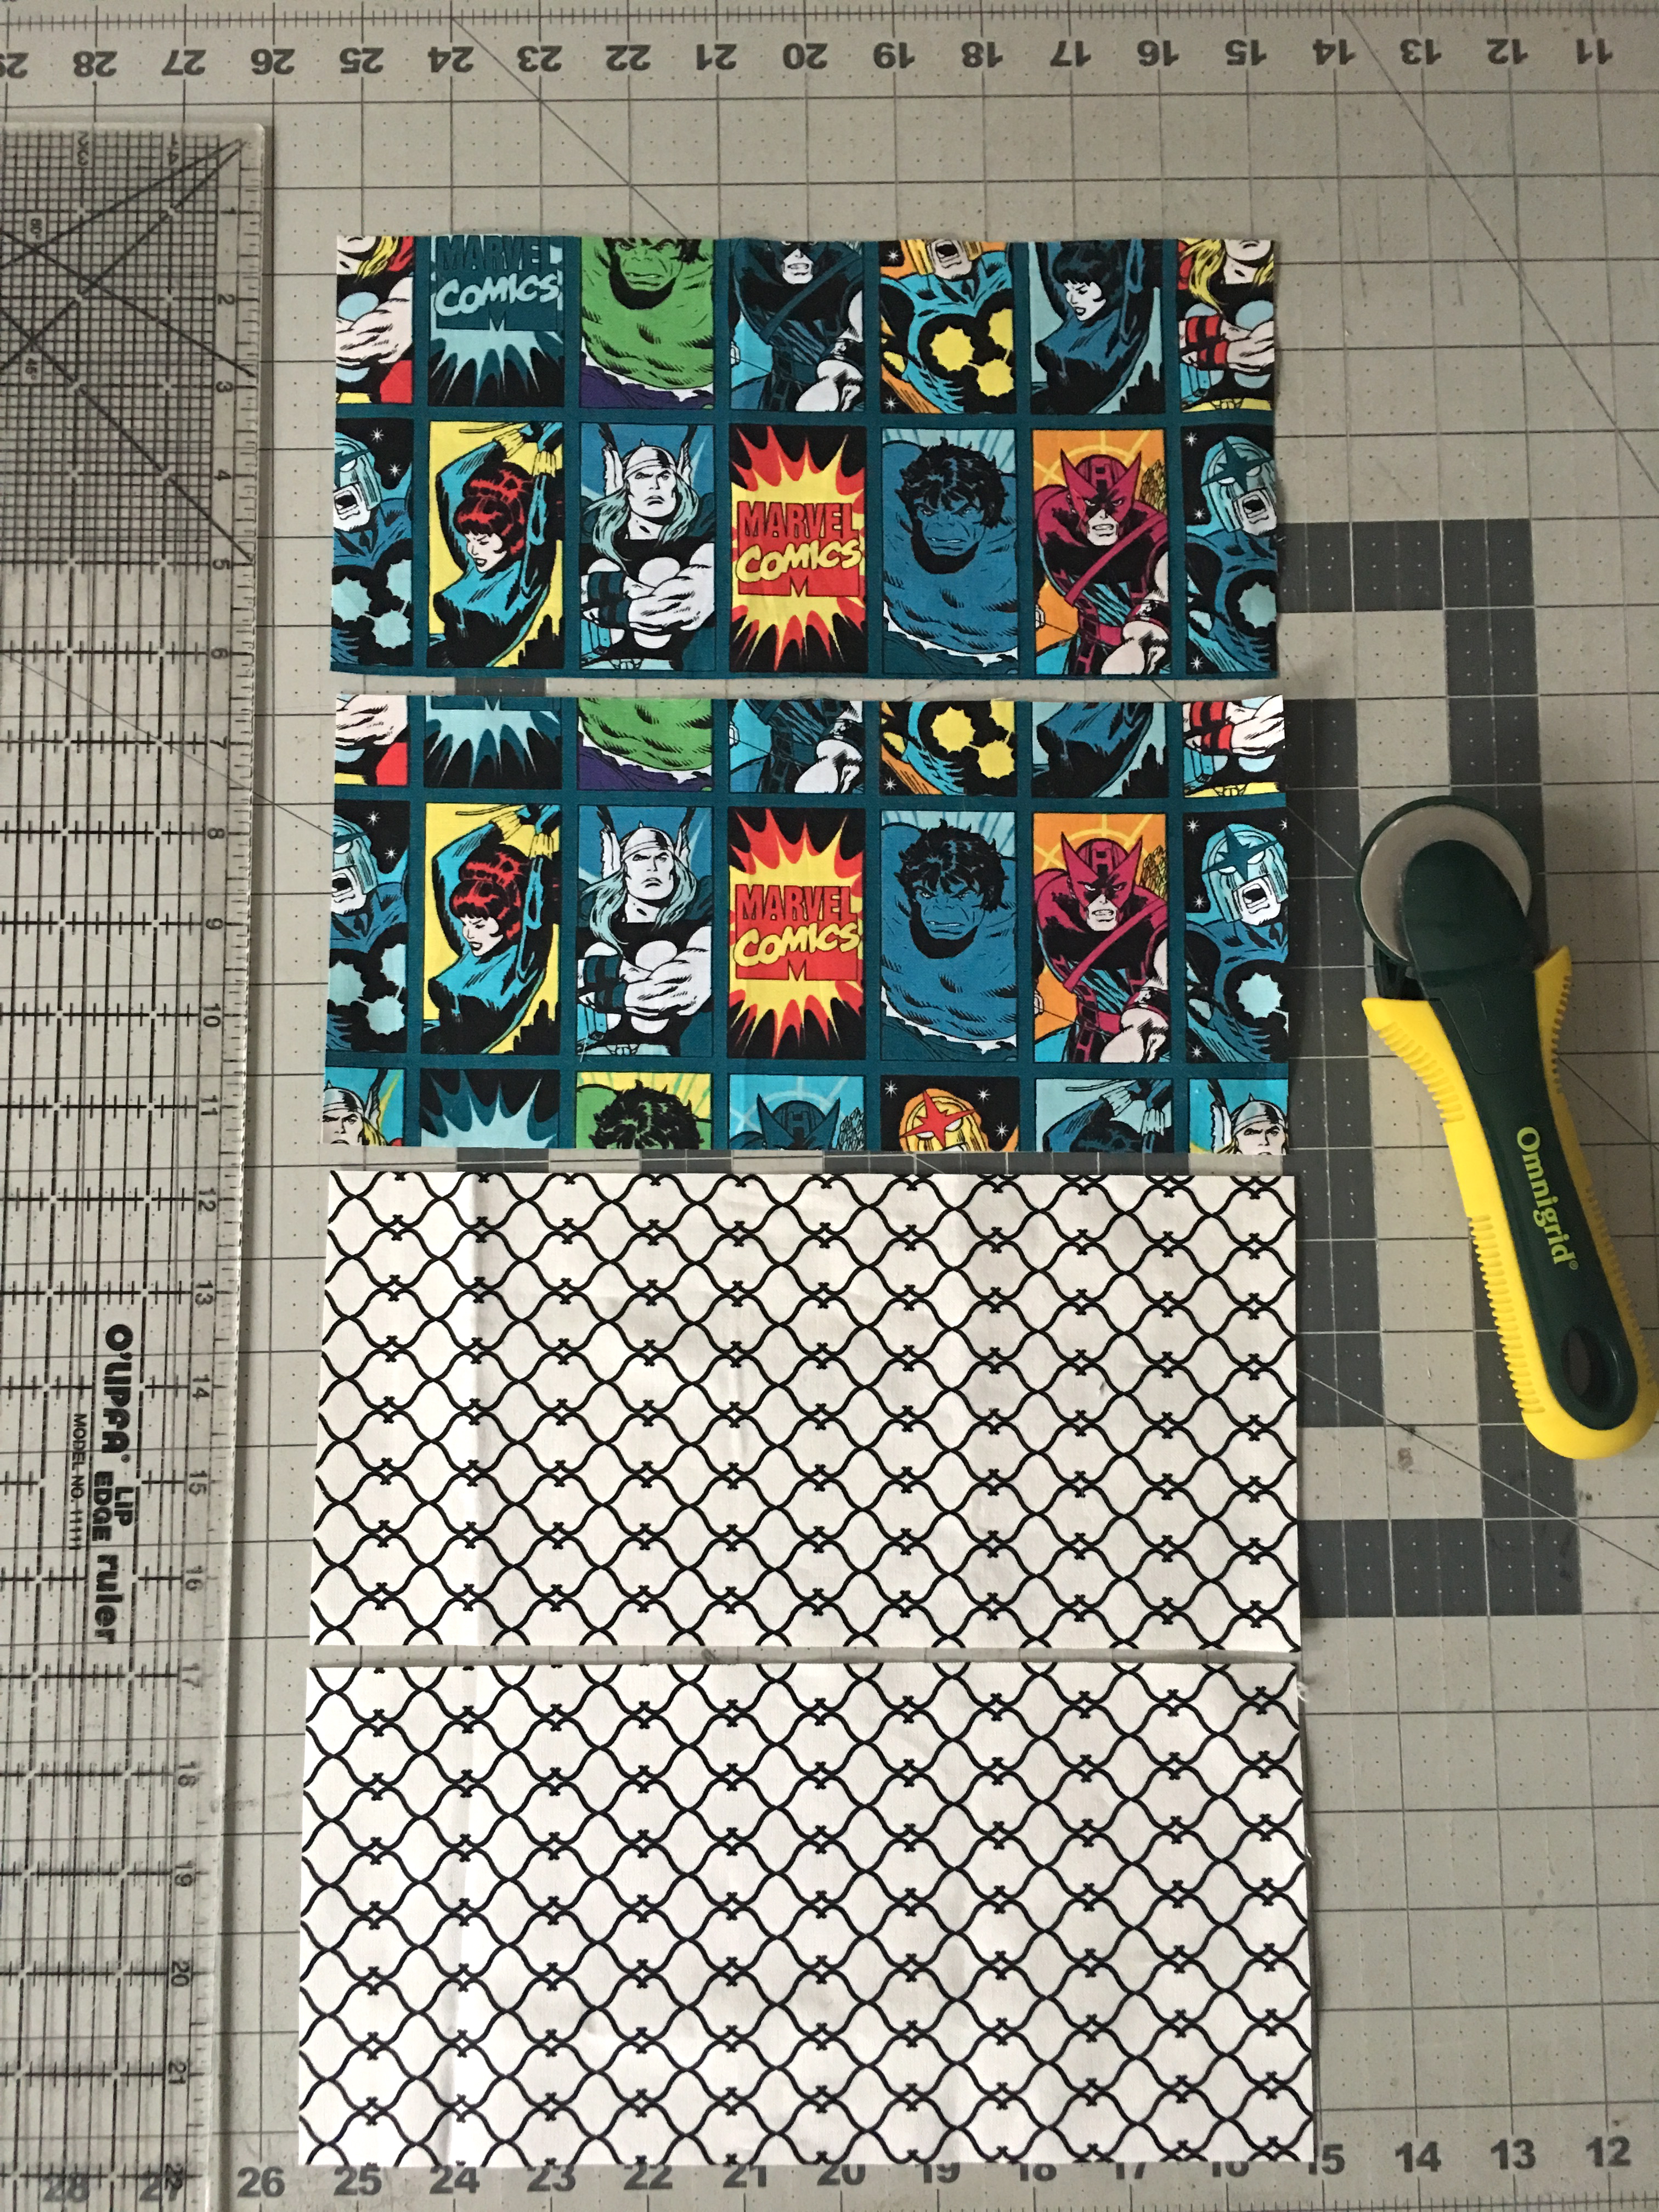
Cut the outer bag and lining pieces.
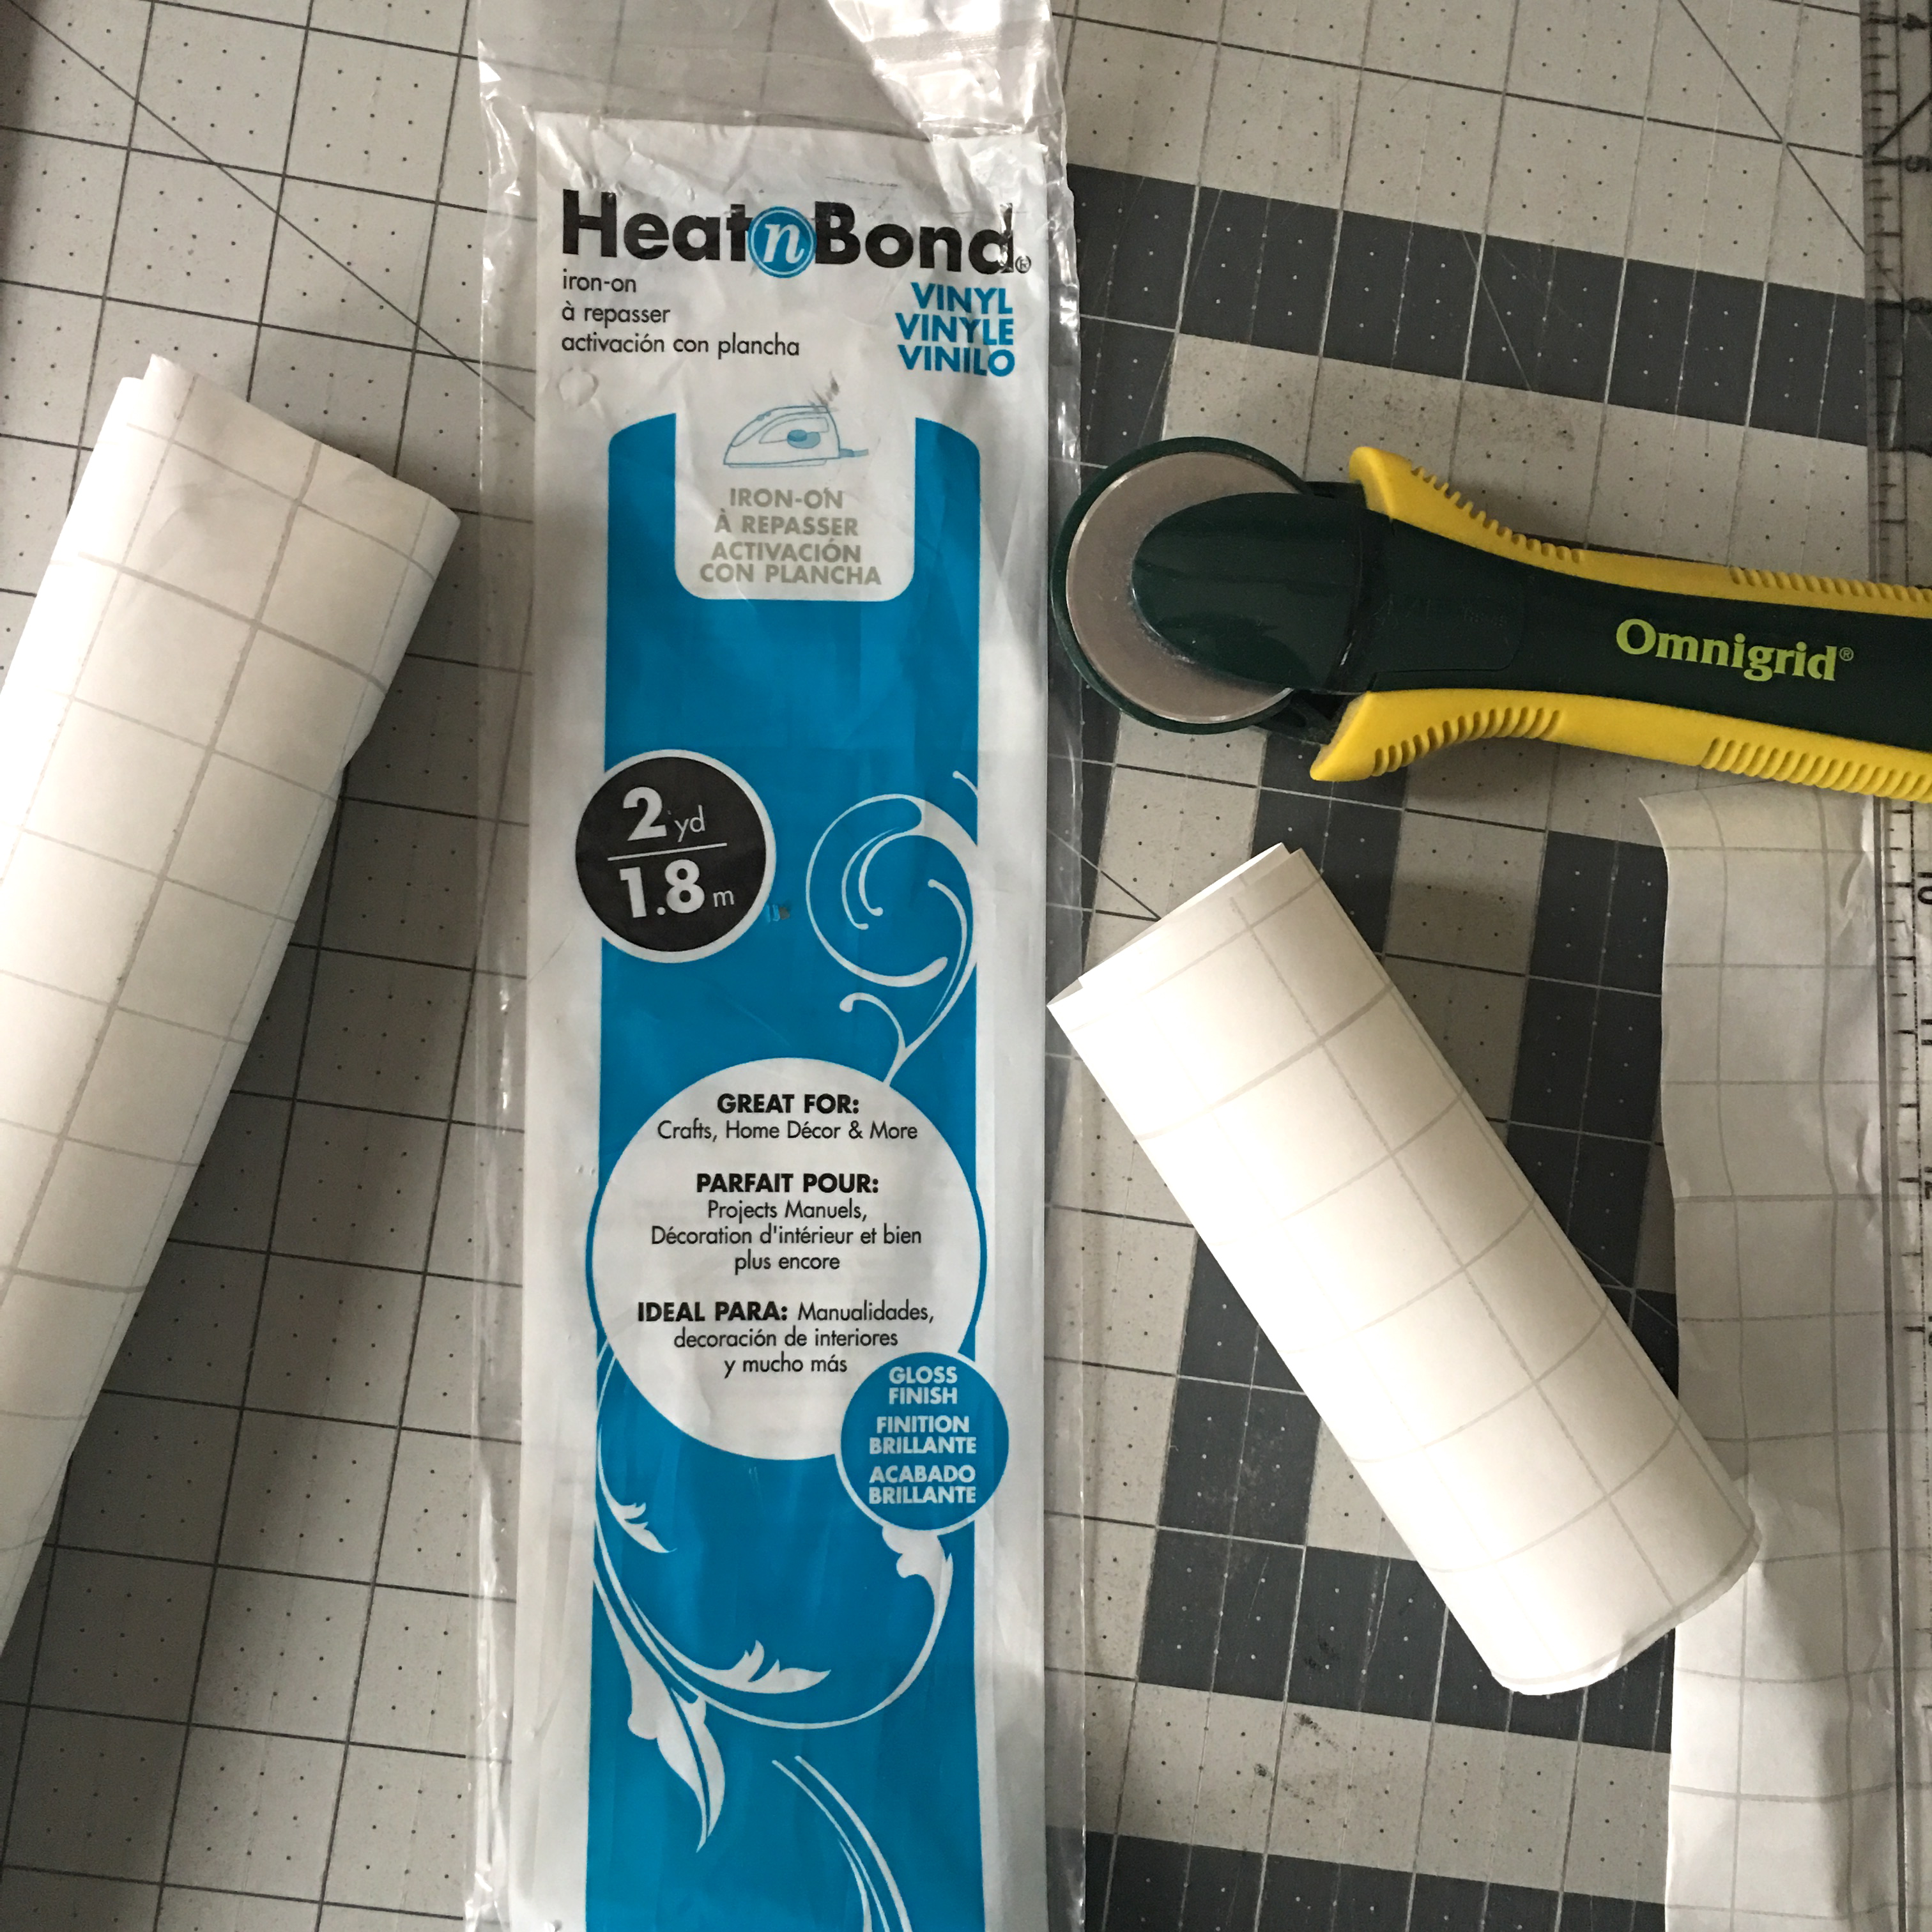
Cut the vinyl pieces.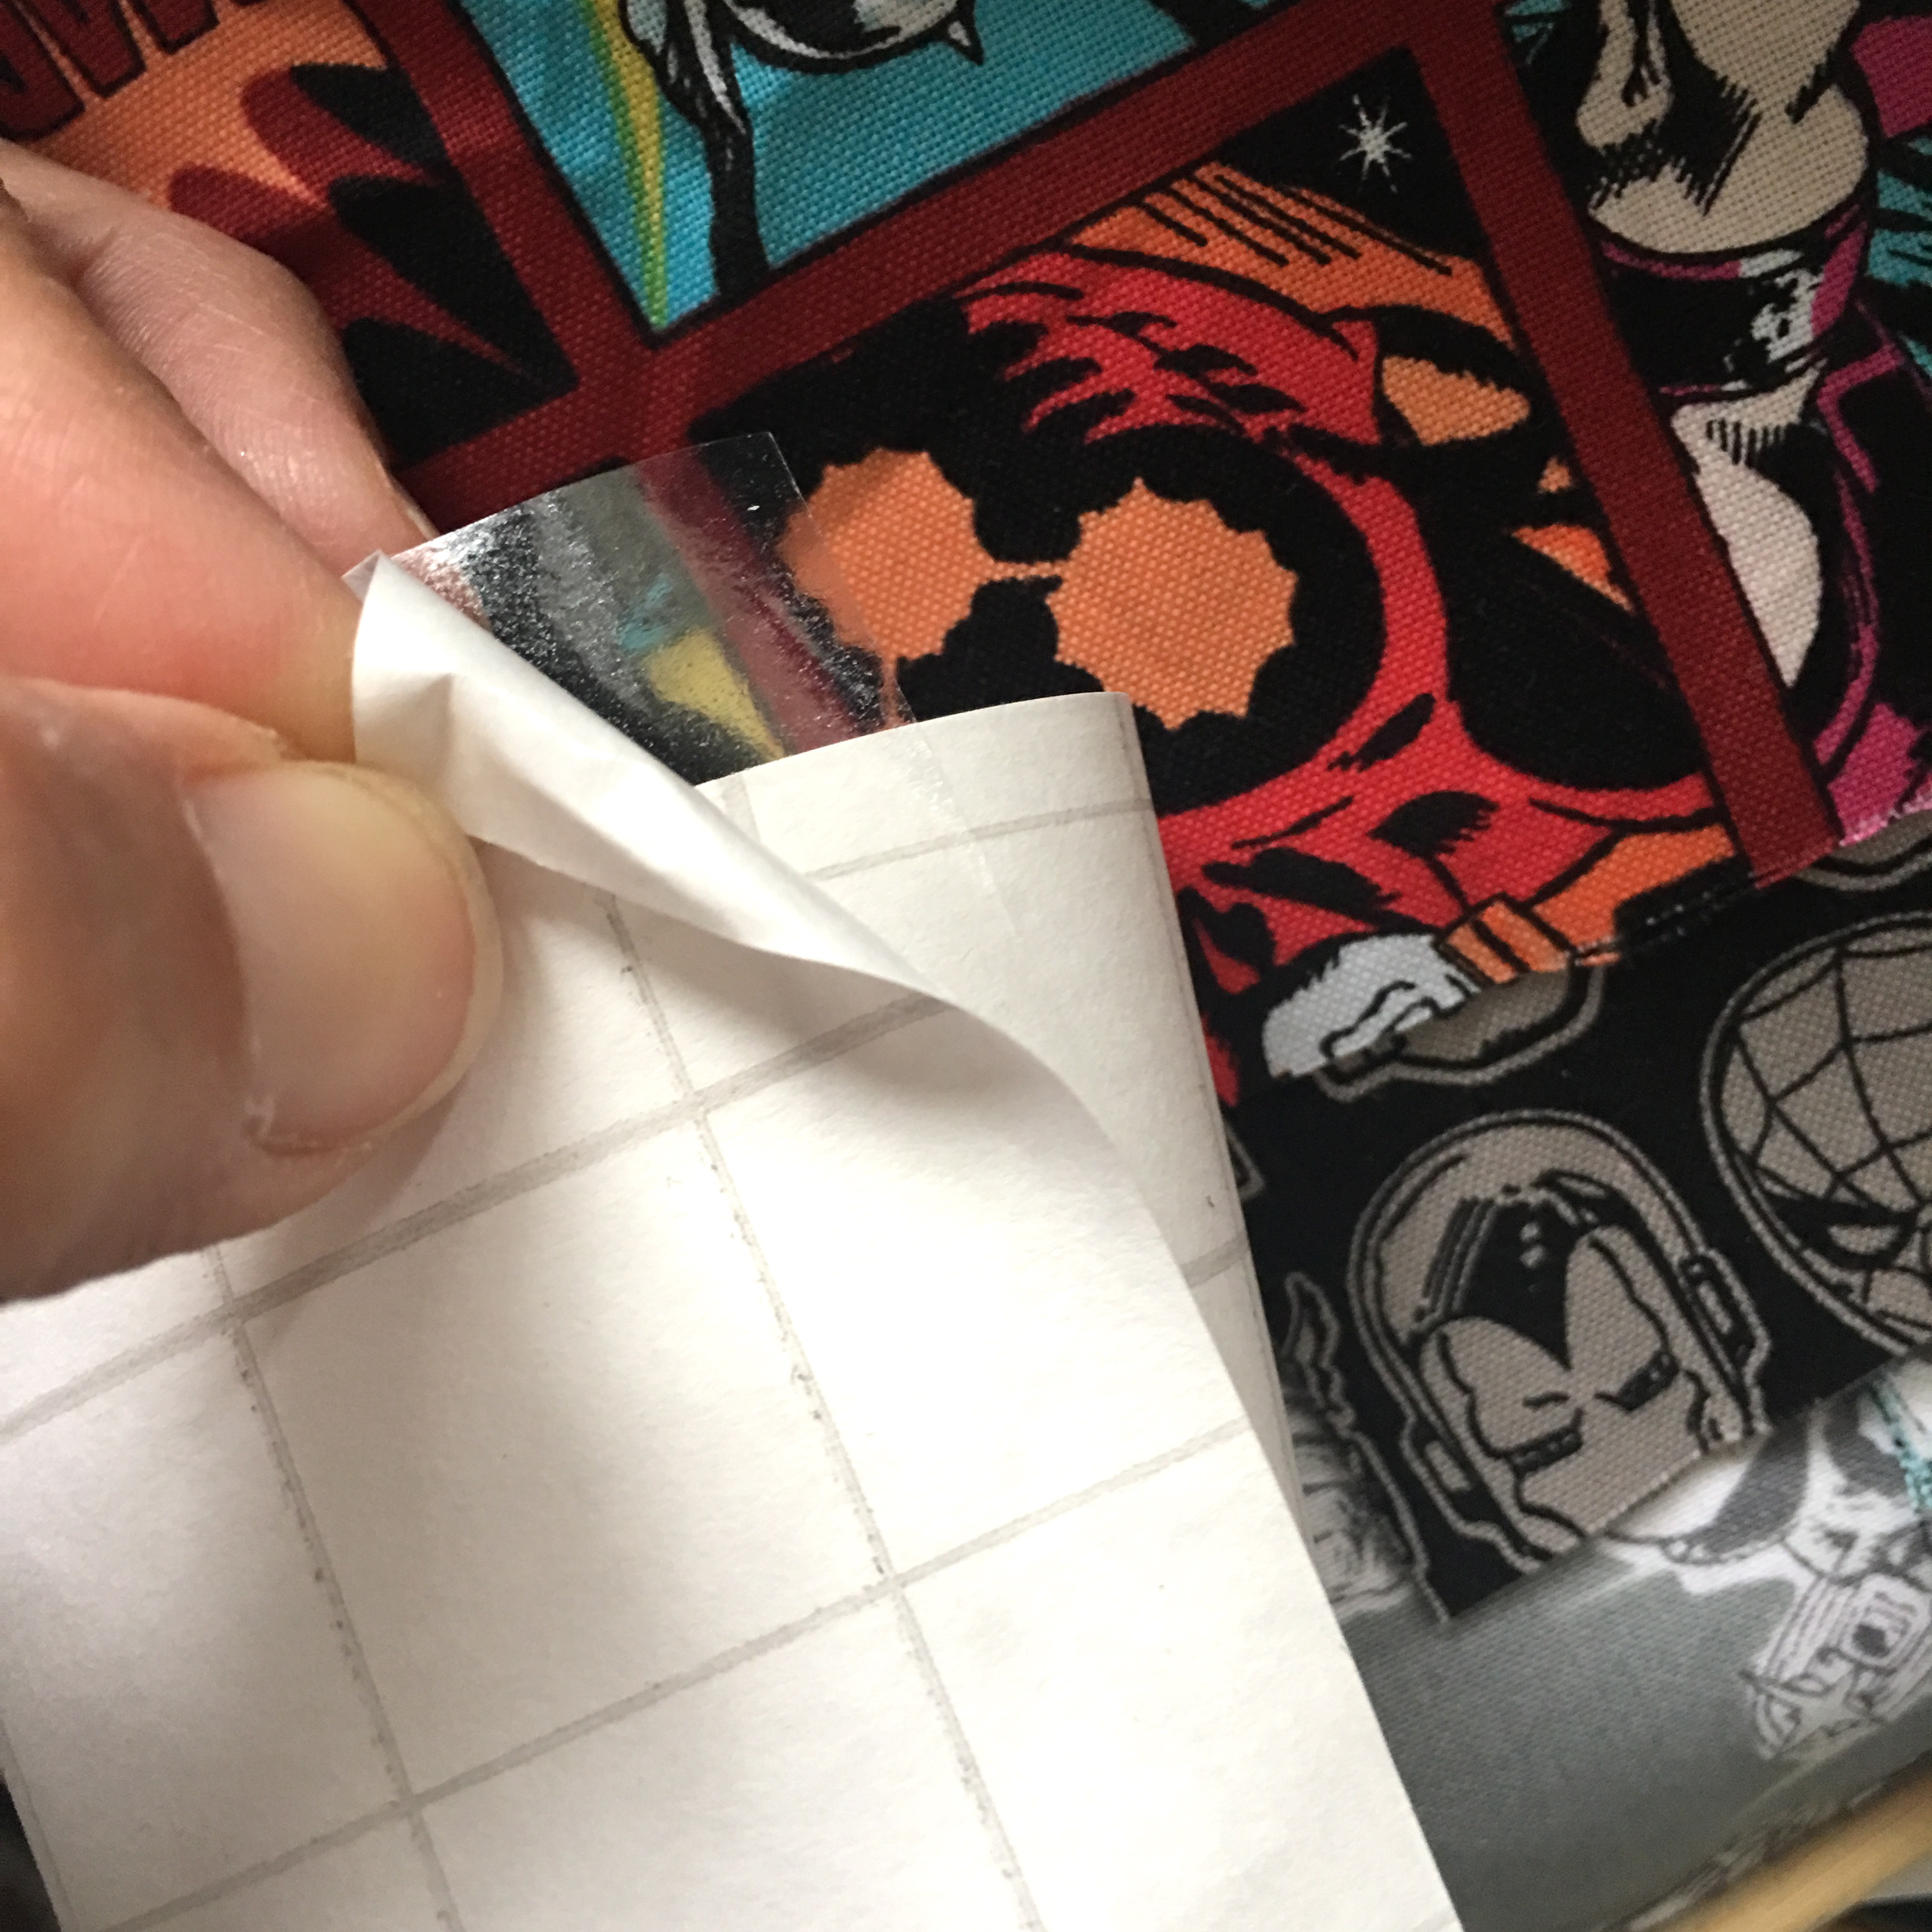
Peel off the vinyl and place the sticky side to the right side of the outer bag pieces. Cover the vinyl with the paper that was just removed and heat set (on medium heat) according to manufacturers instructions, about 8 seconds then flip over and press for 4 seconds.
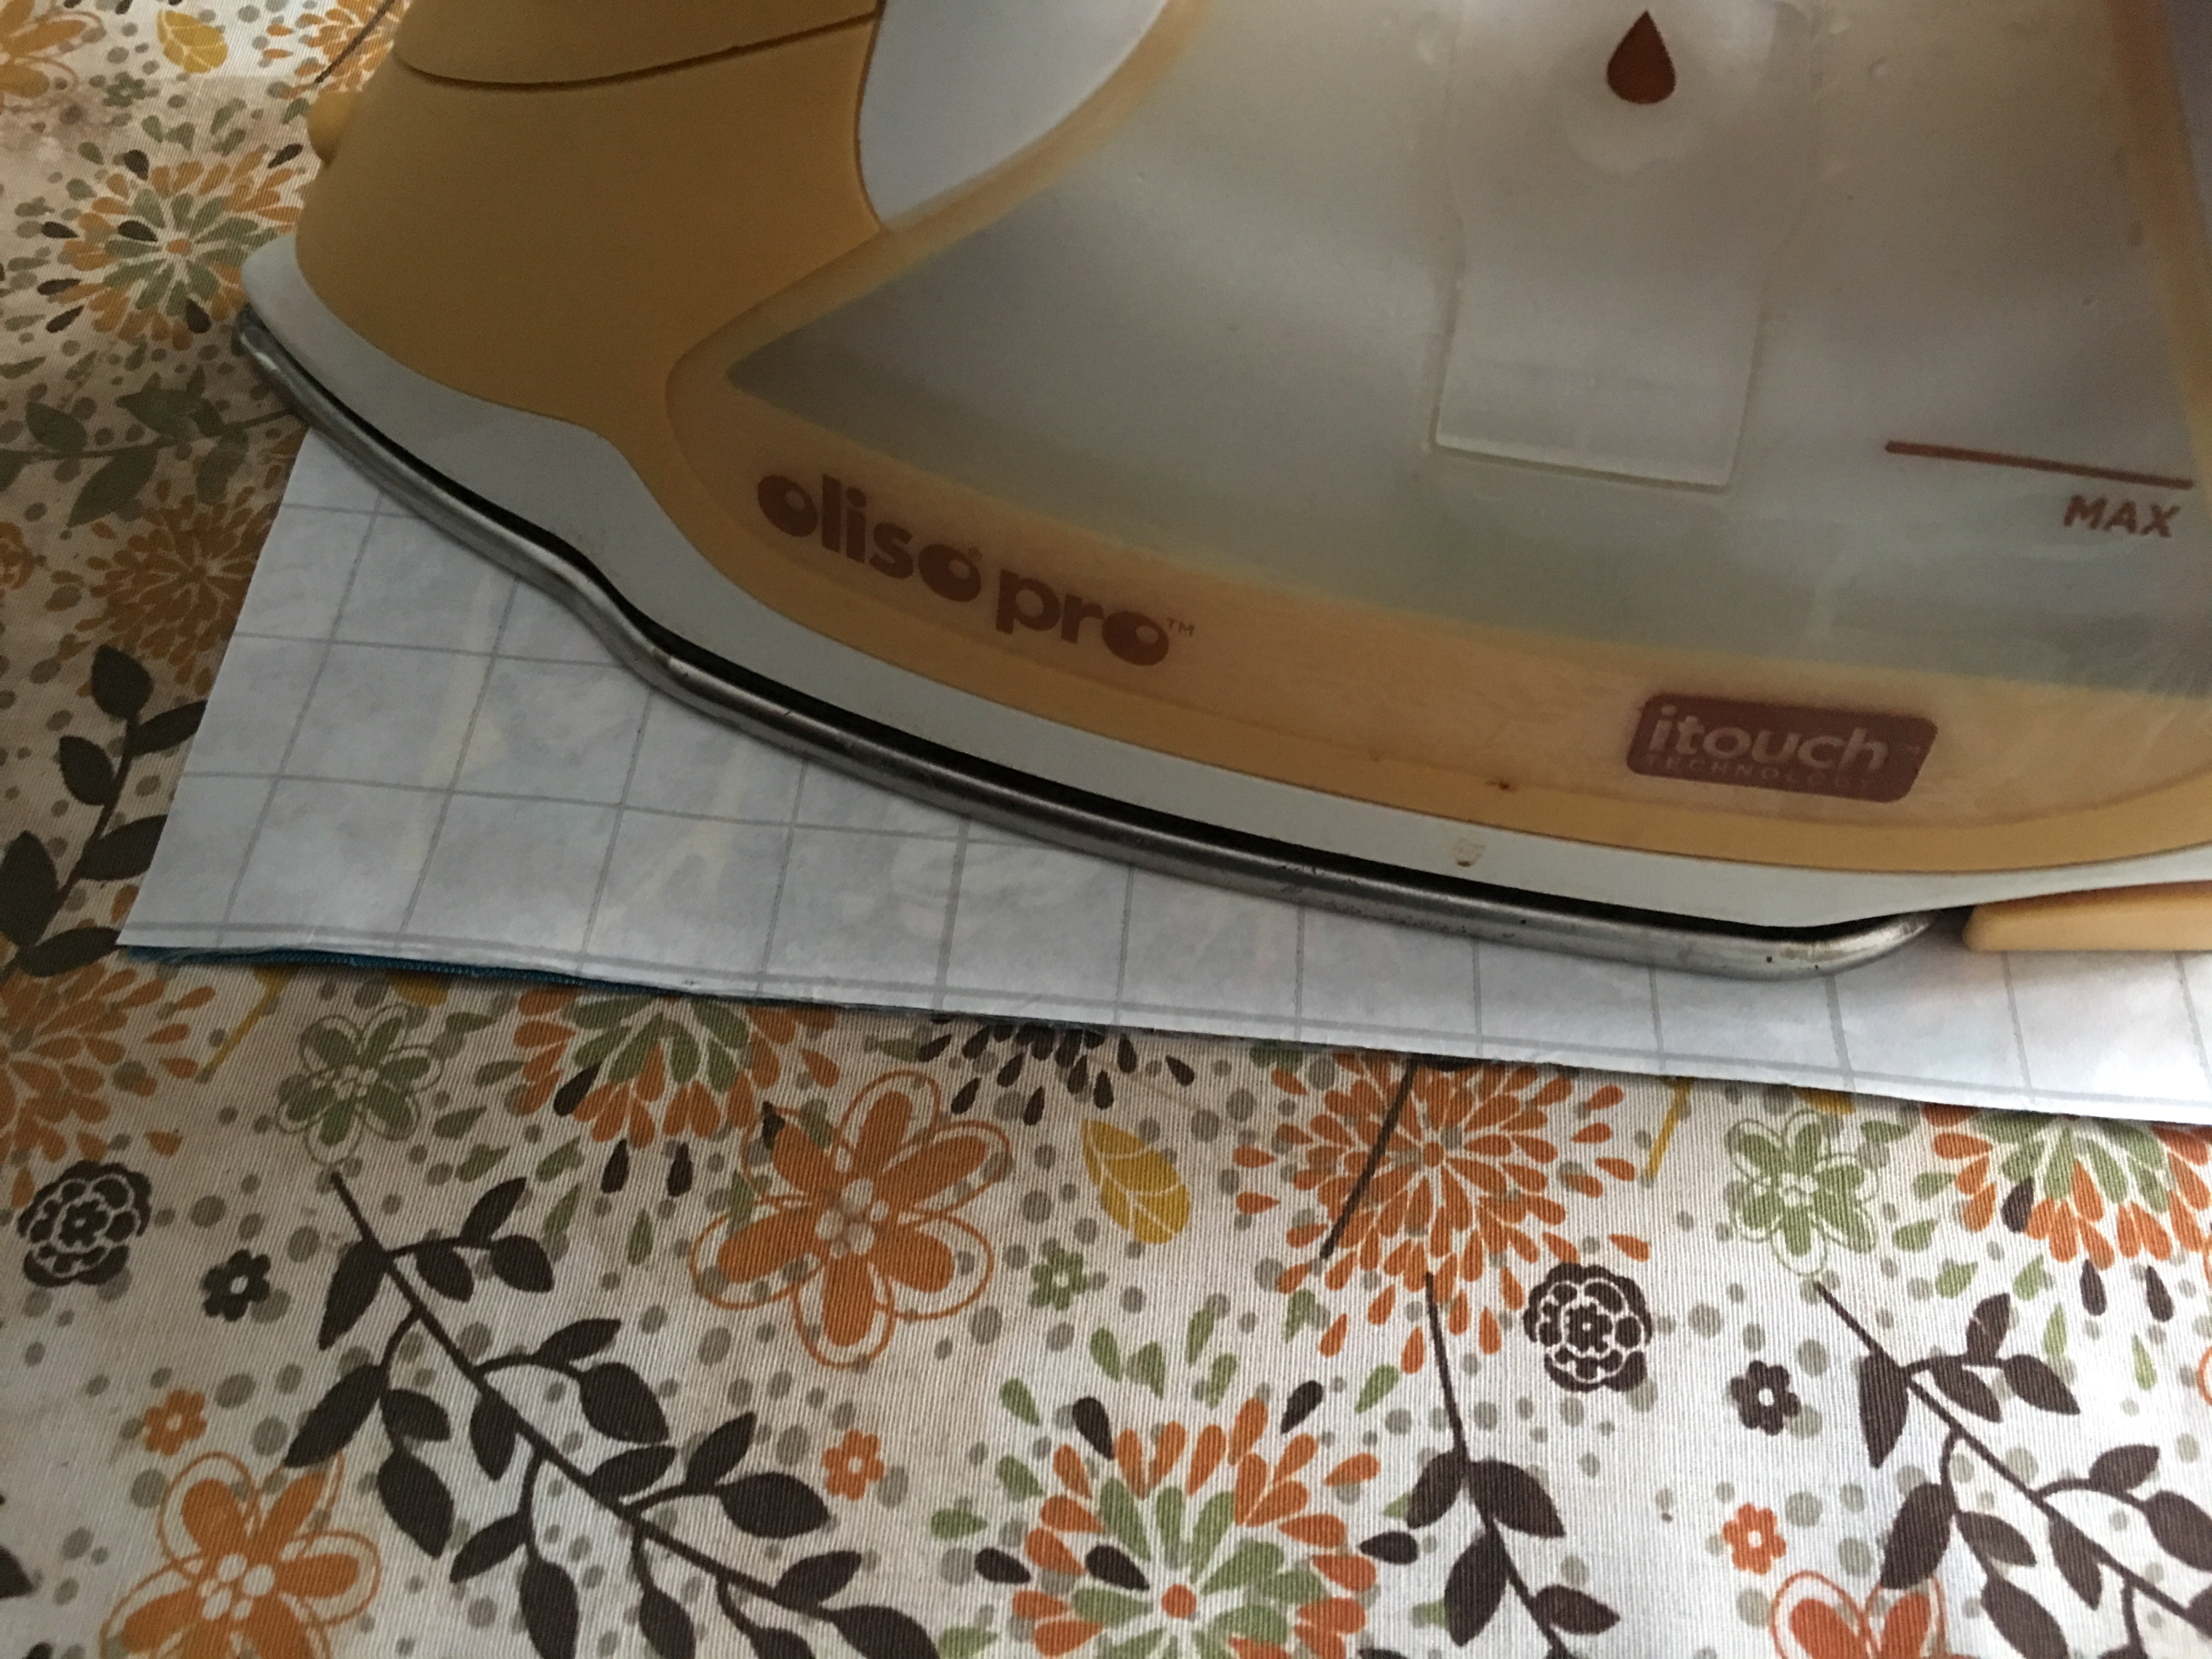 DO NOT touch iron directly onto vinyl. If you need to press, cover with the paper first.
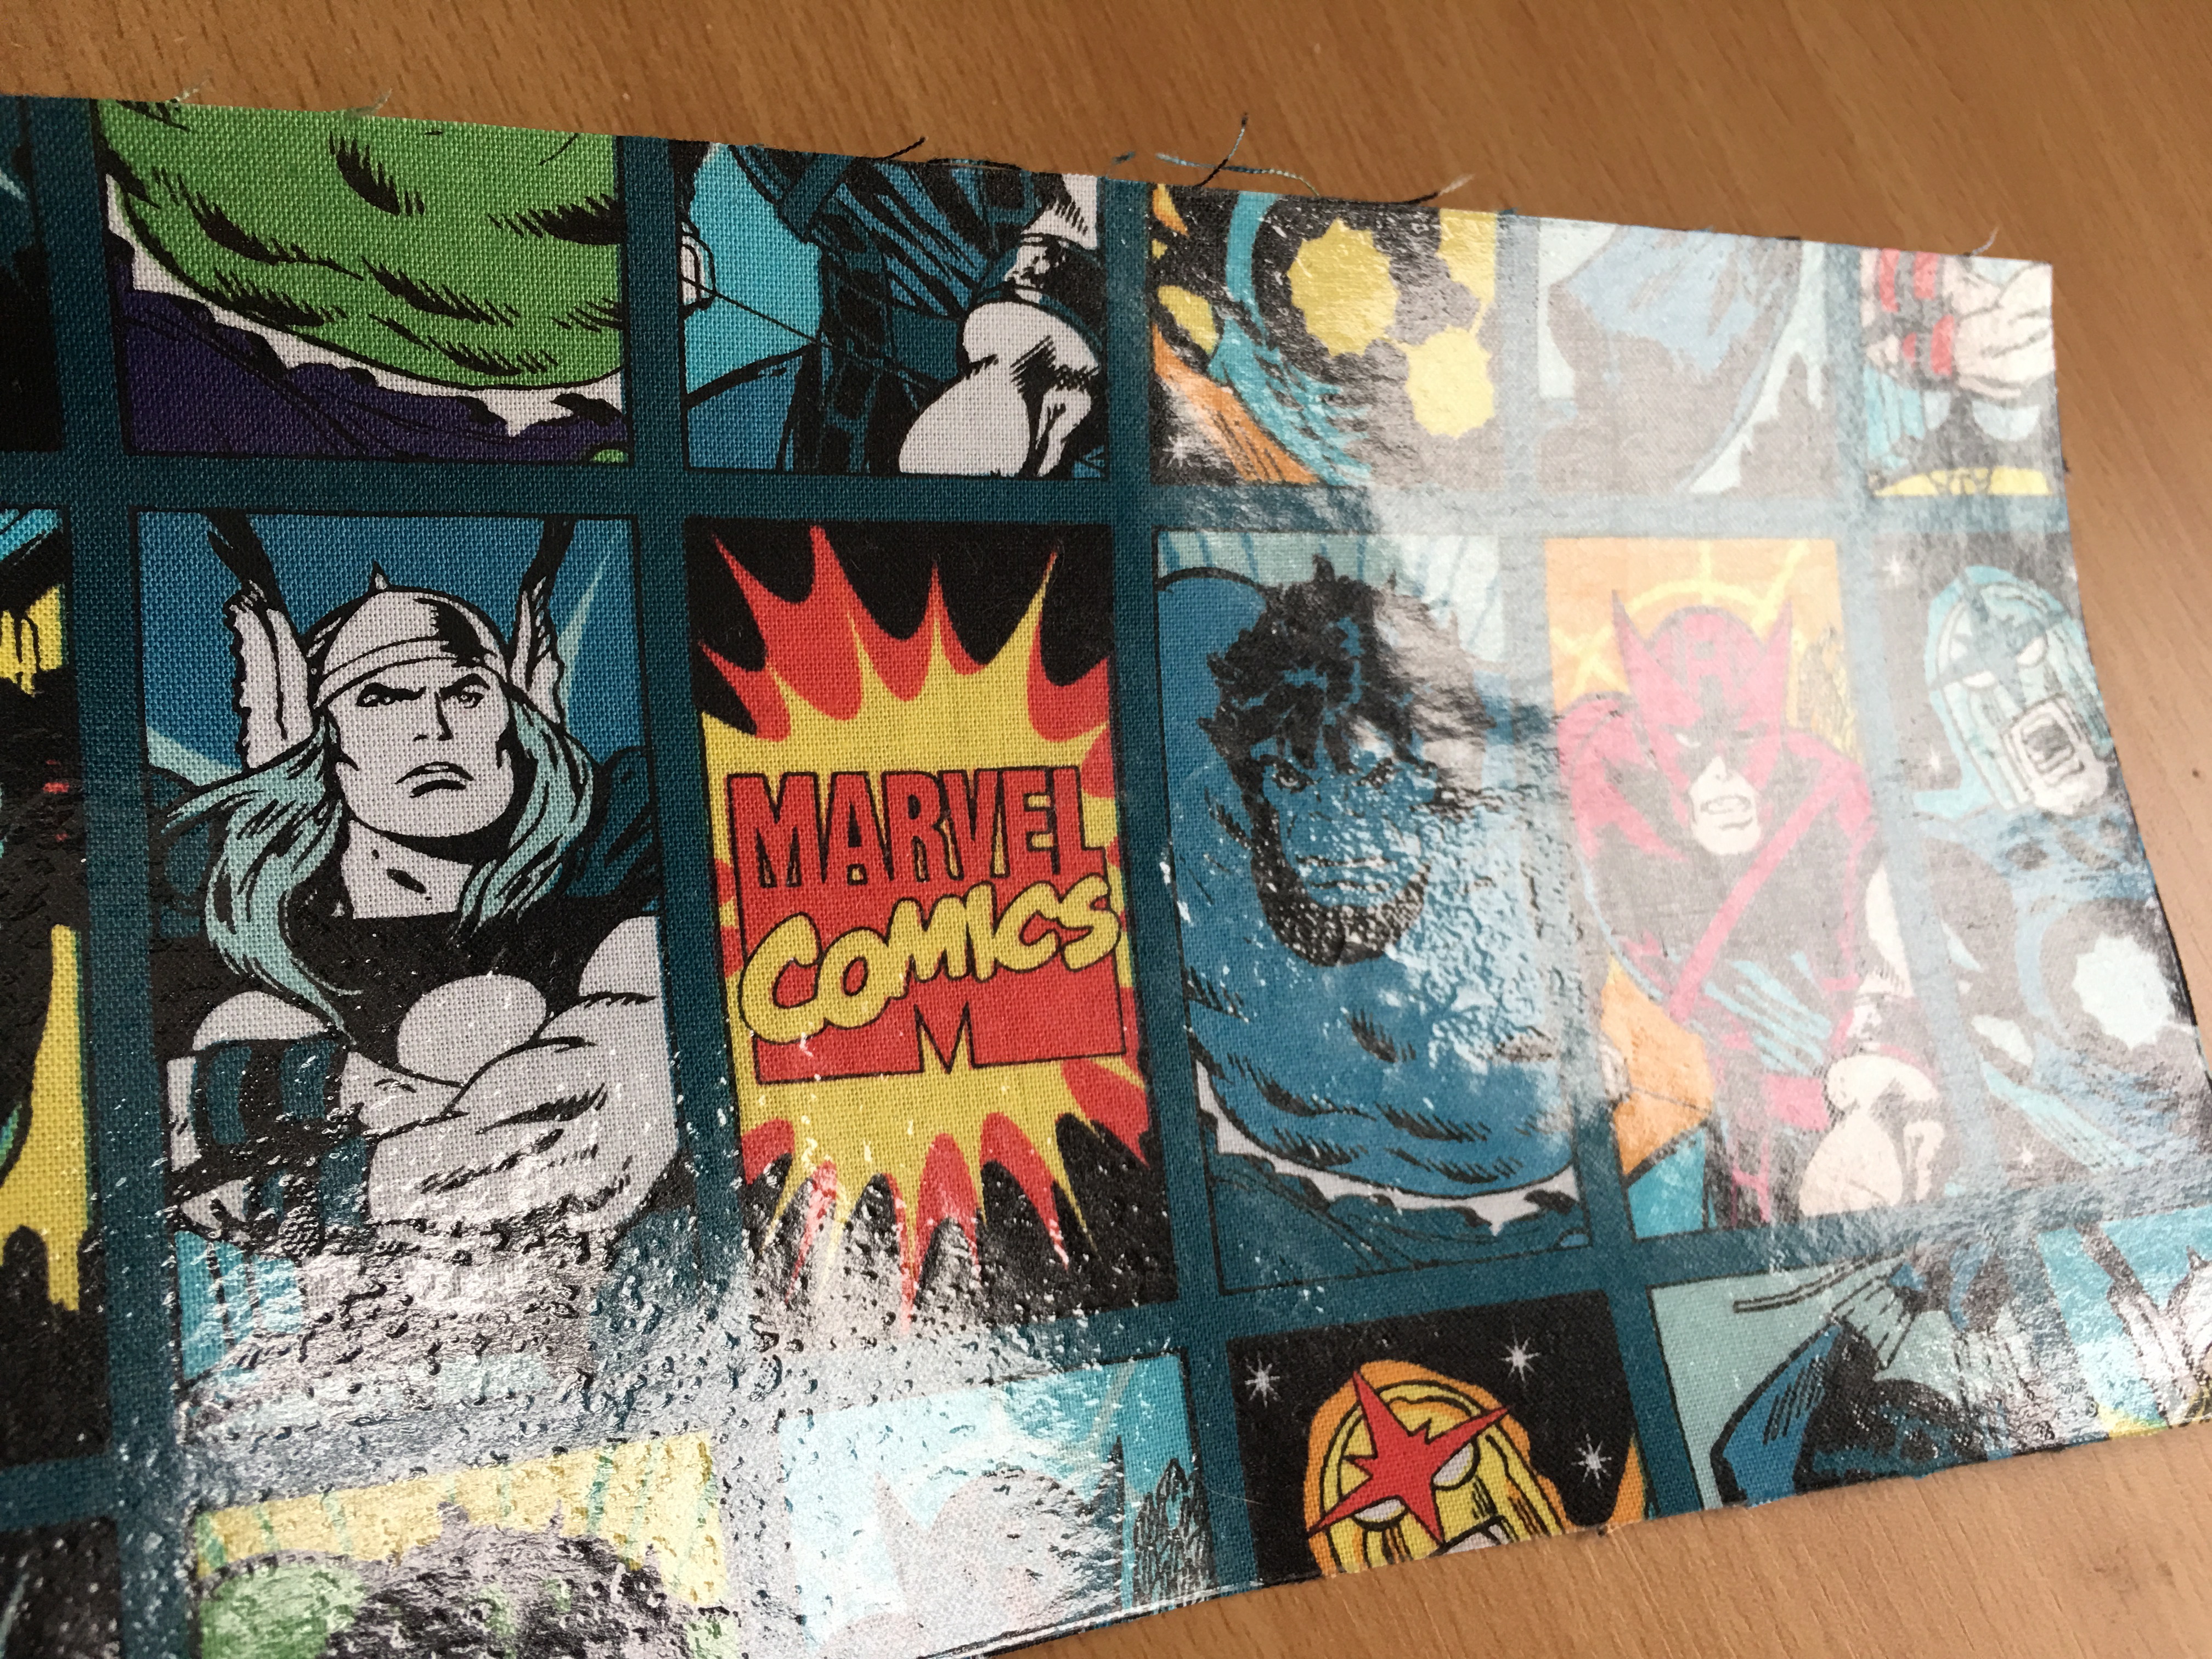
The outer pieces are now covered in vinyl and have a whole new look!!! It’s so much fun!!!!
Now it’s time to sew in the zipper.
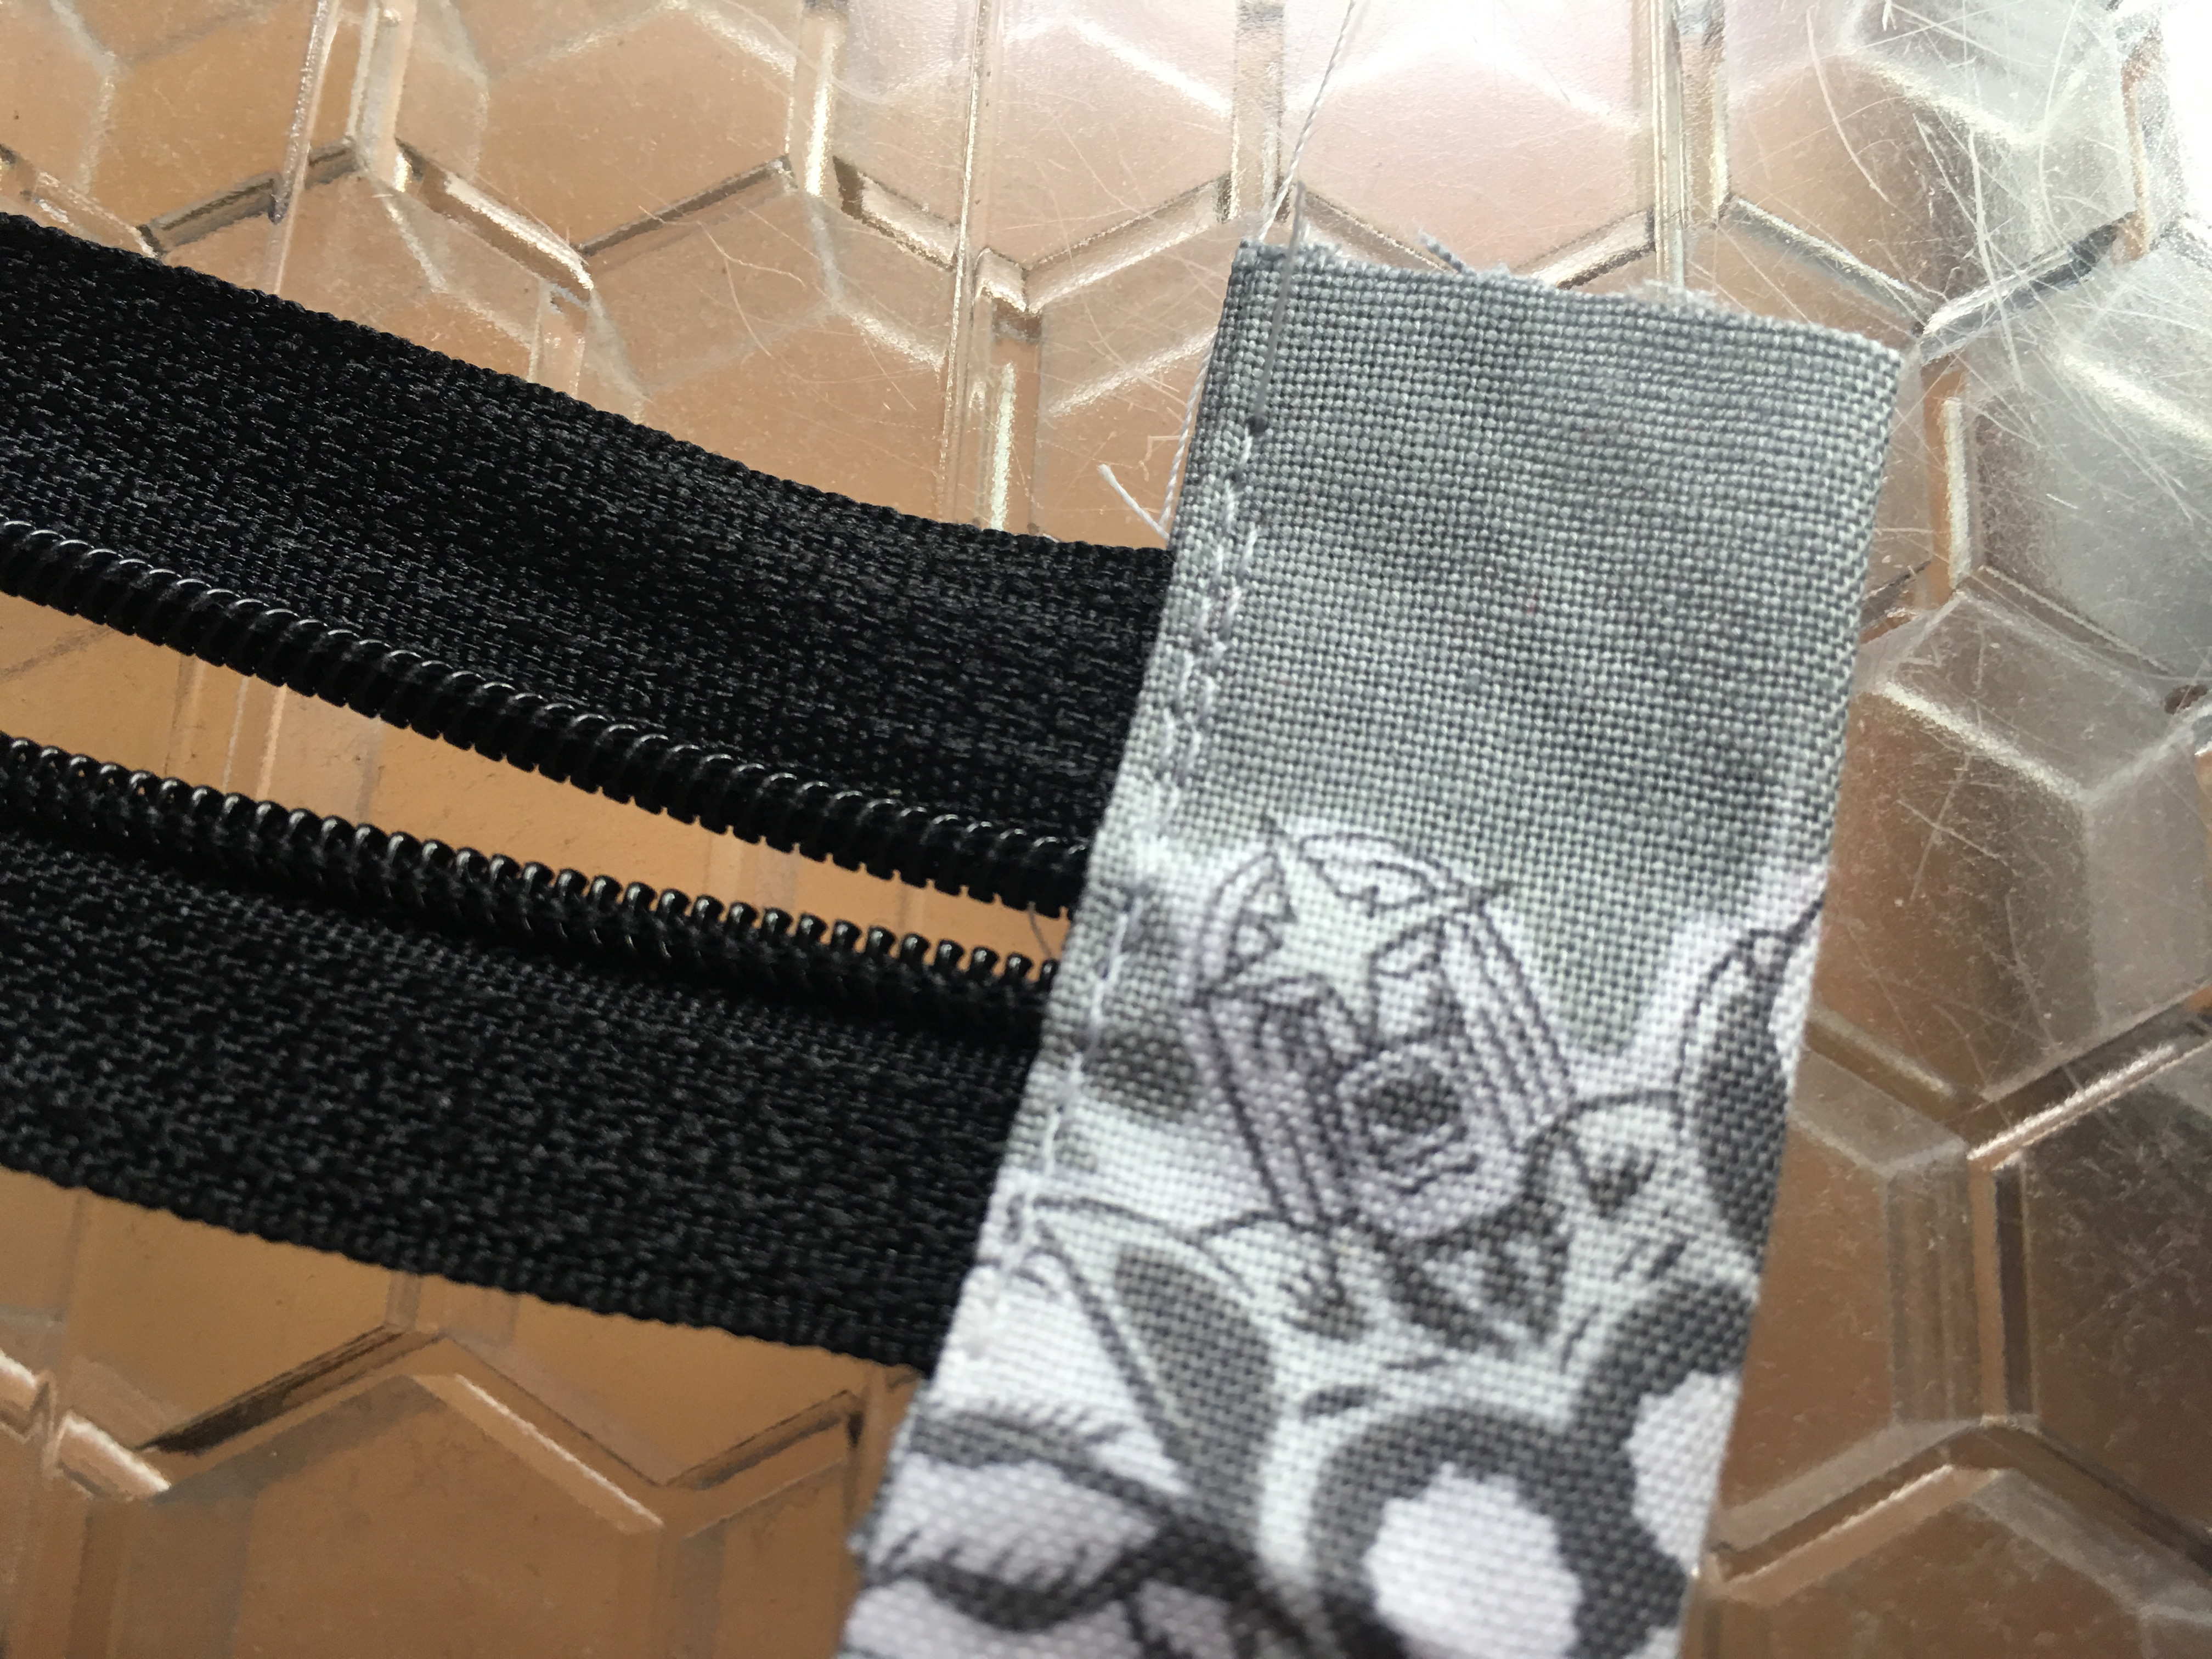
Press the zipper tabs 1/4″ in on the top and bottom and then press in half:

Trim the metal end off the zipper and insert the end into one of the tabs. Sew 2 seams along the edge:
Cut open the zipper tab and cut out the zipper. Trim the zipper tab to be the same width as the zipper.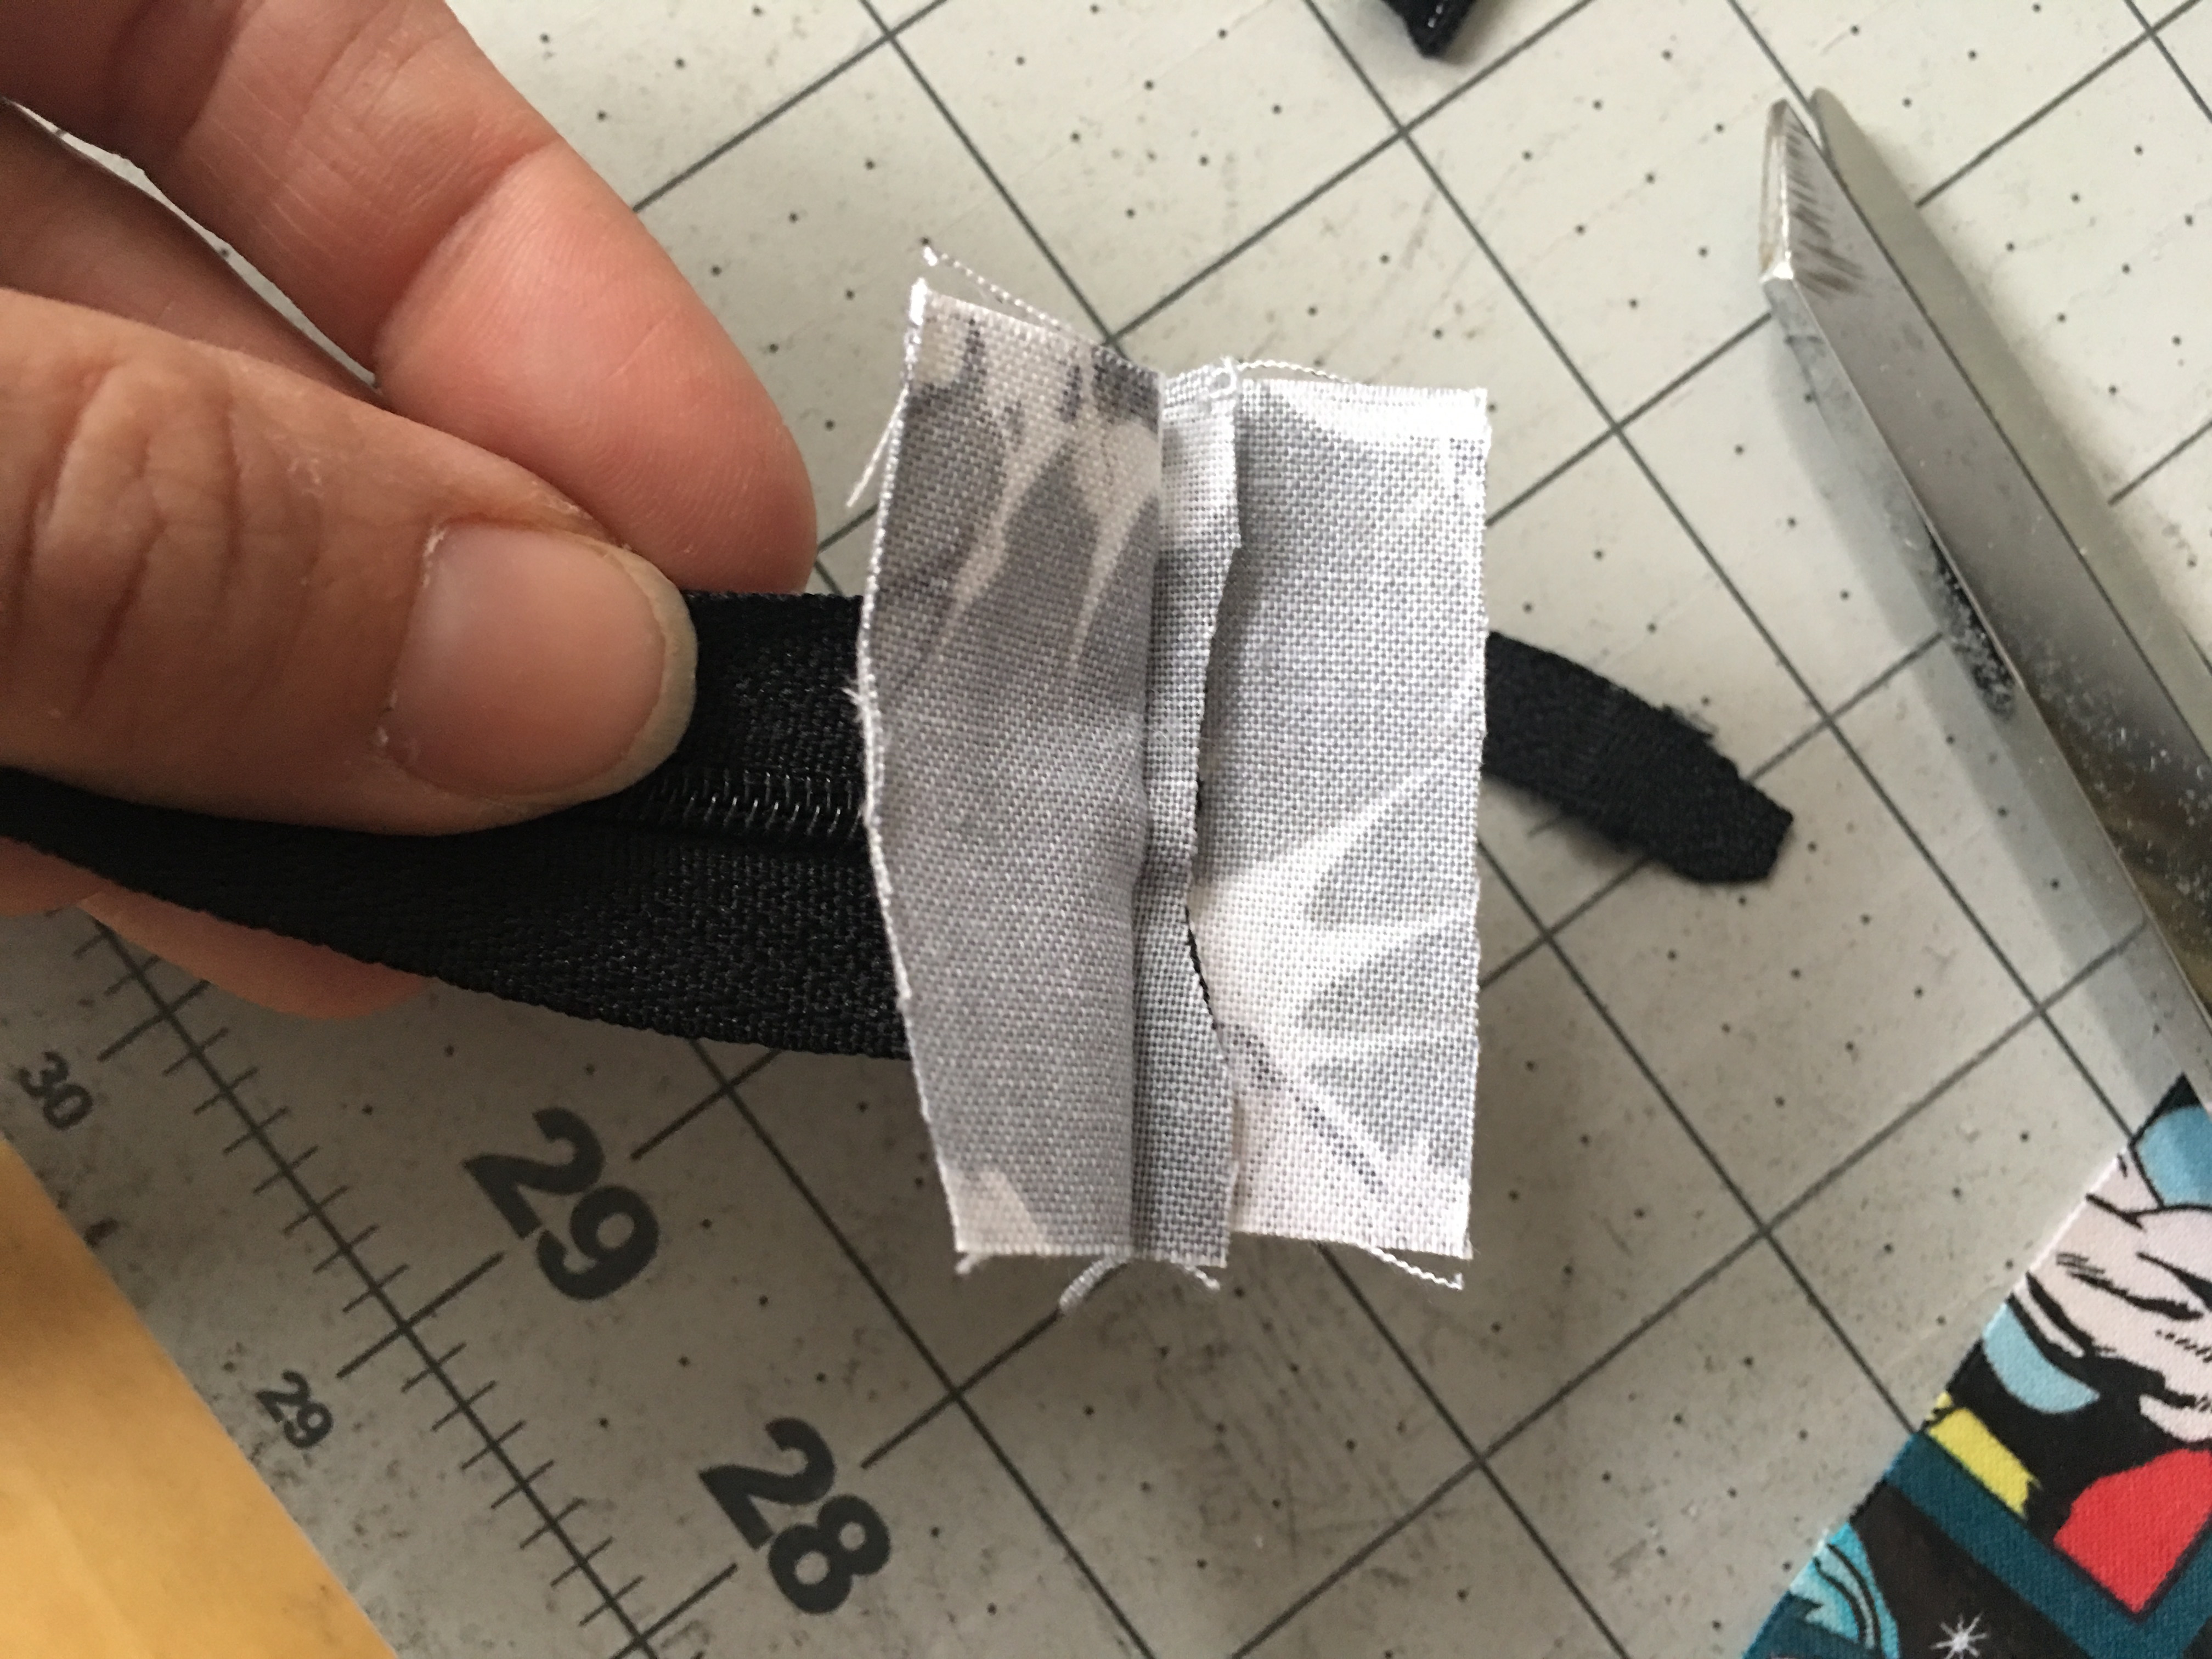
Now measure the zipper to the zipper pouch. You need to have 1″ of zipper tab on each side. Measure the zipper and cut the other end off to where it needs to be. Sew the second zipper tab on. Make sure not to cut the zipper pull off 🙂 Cut open the zipper tab and cut out the excess zipper.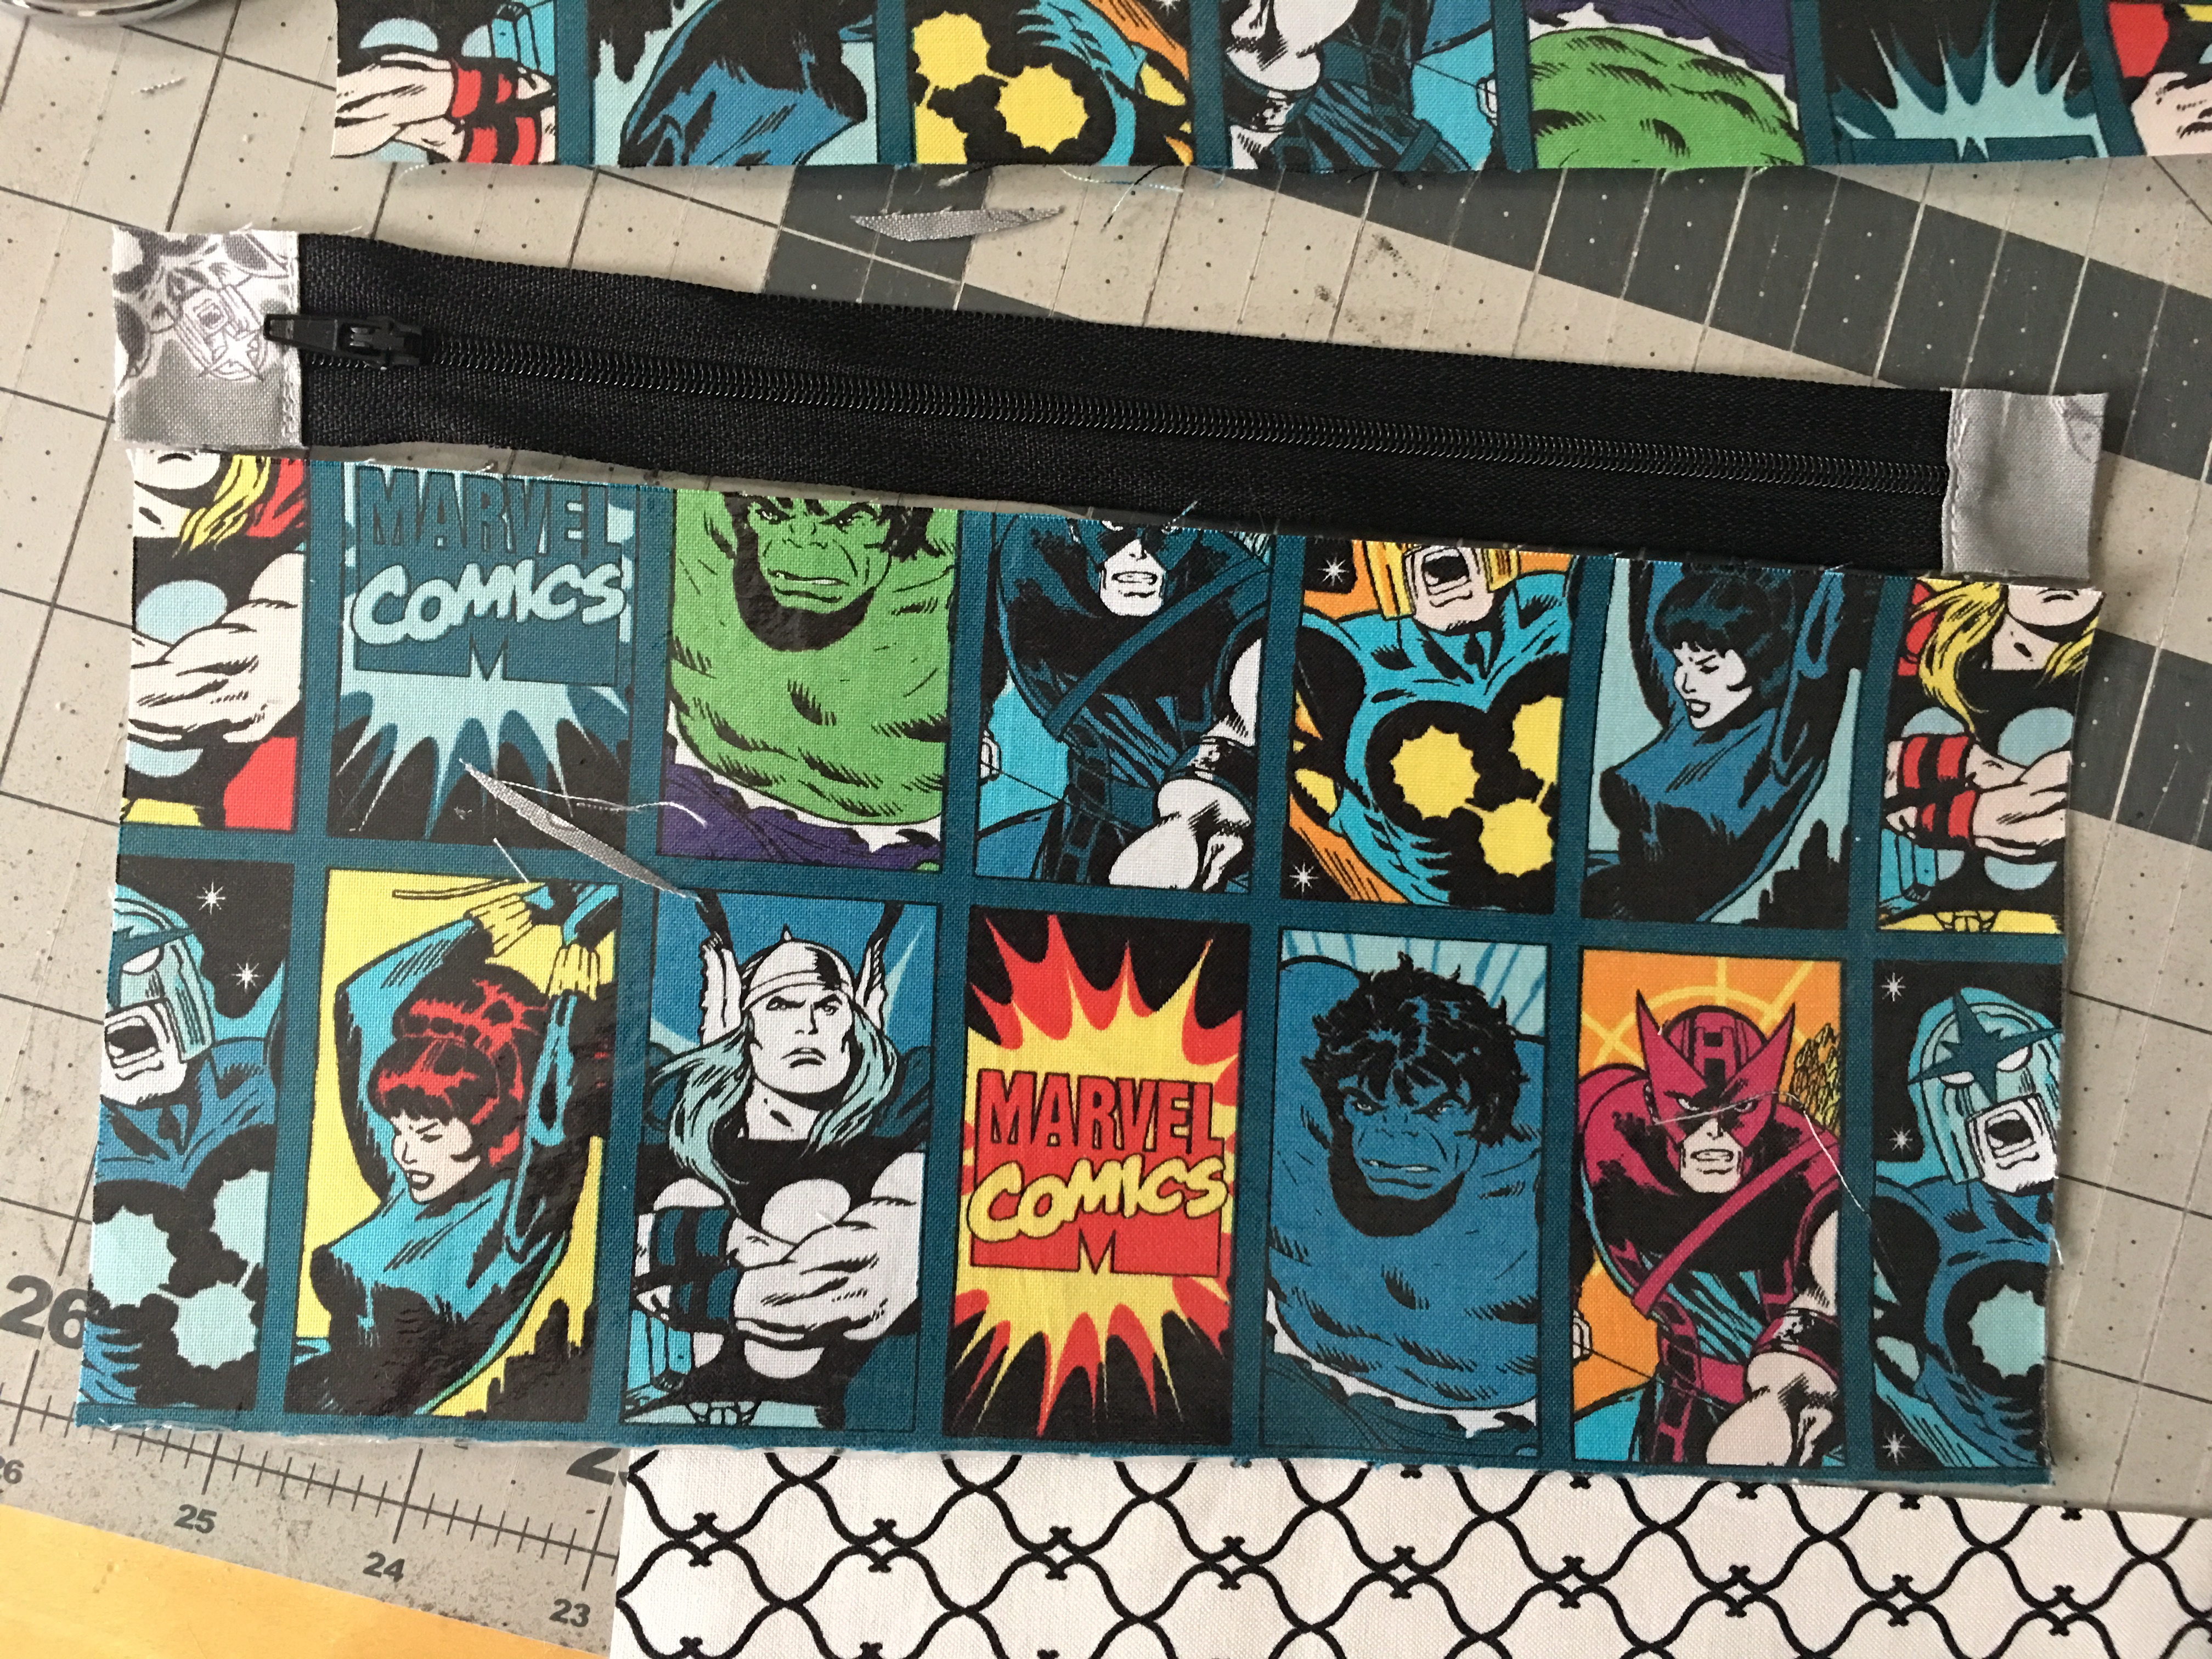
Lay the zipper right side on top of the Marvel piece. Lay the Lining piece on top of that right side down. Match all the raw edges. See photo below:
Using a zipper foot, sew the zipper in. Finger press.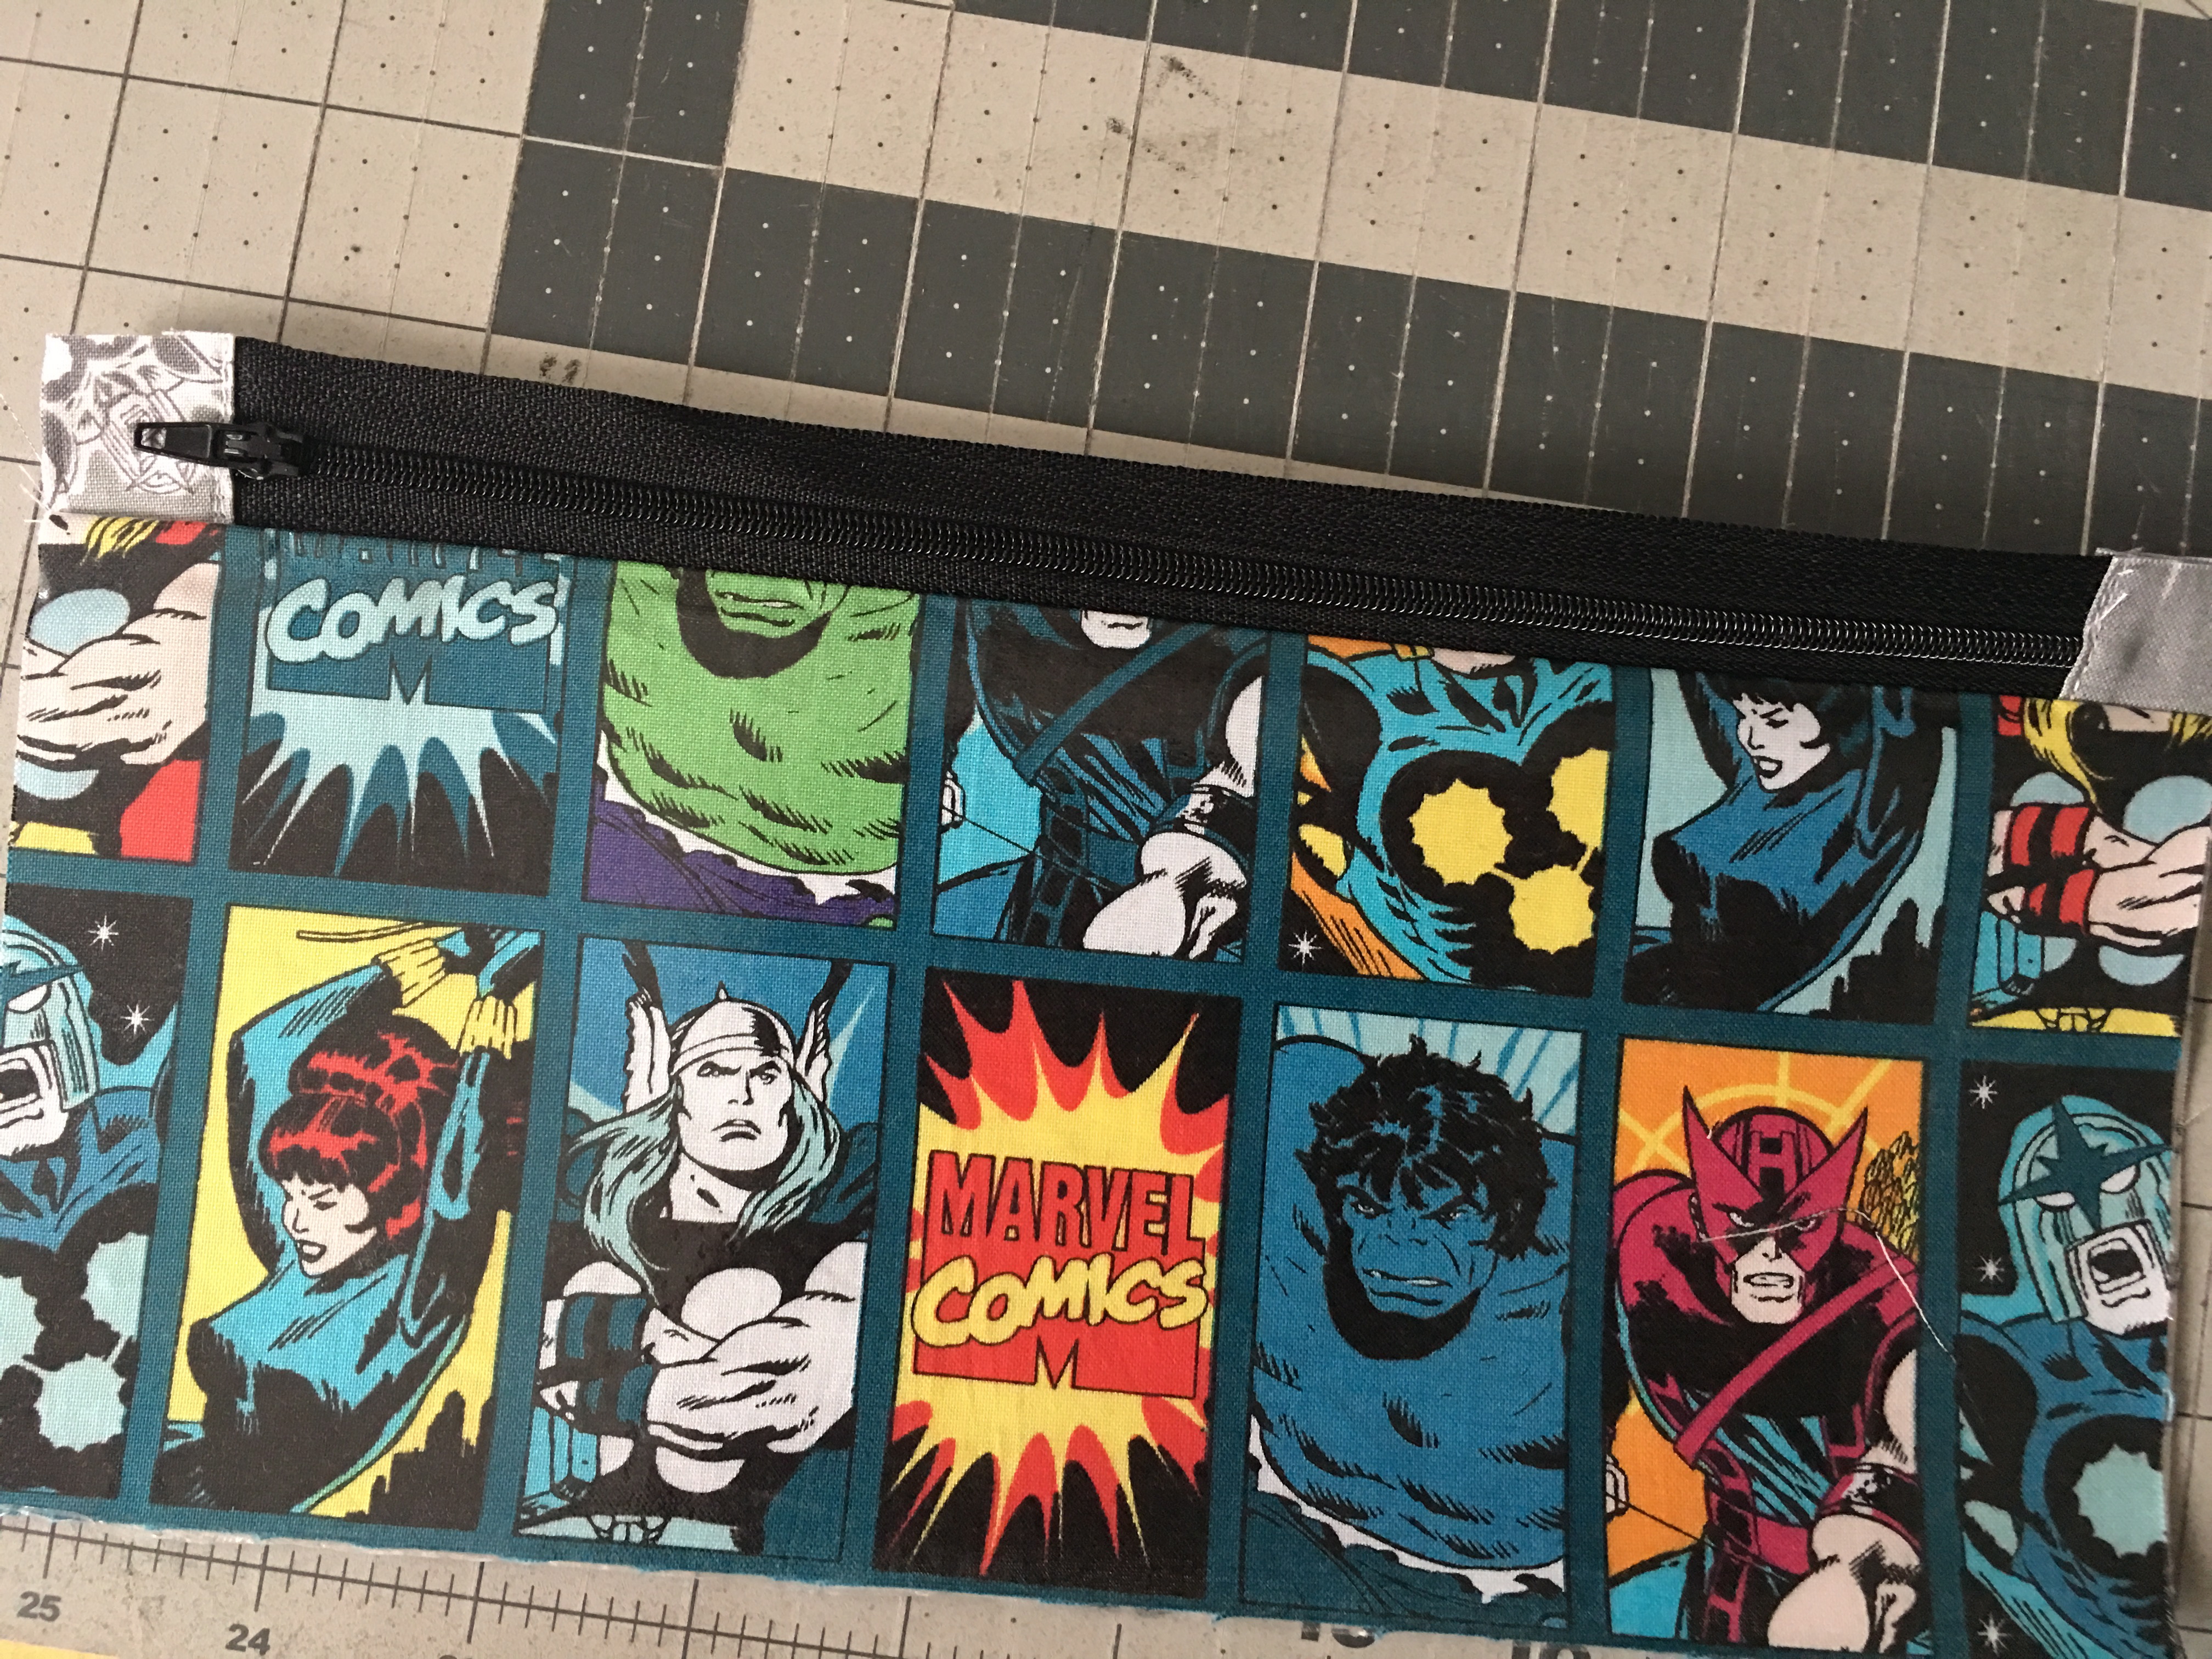
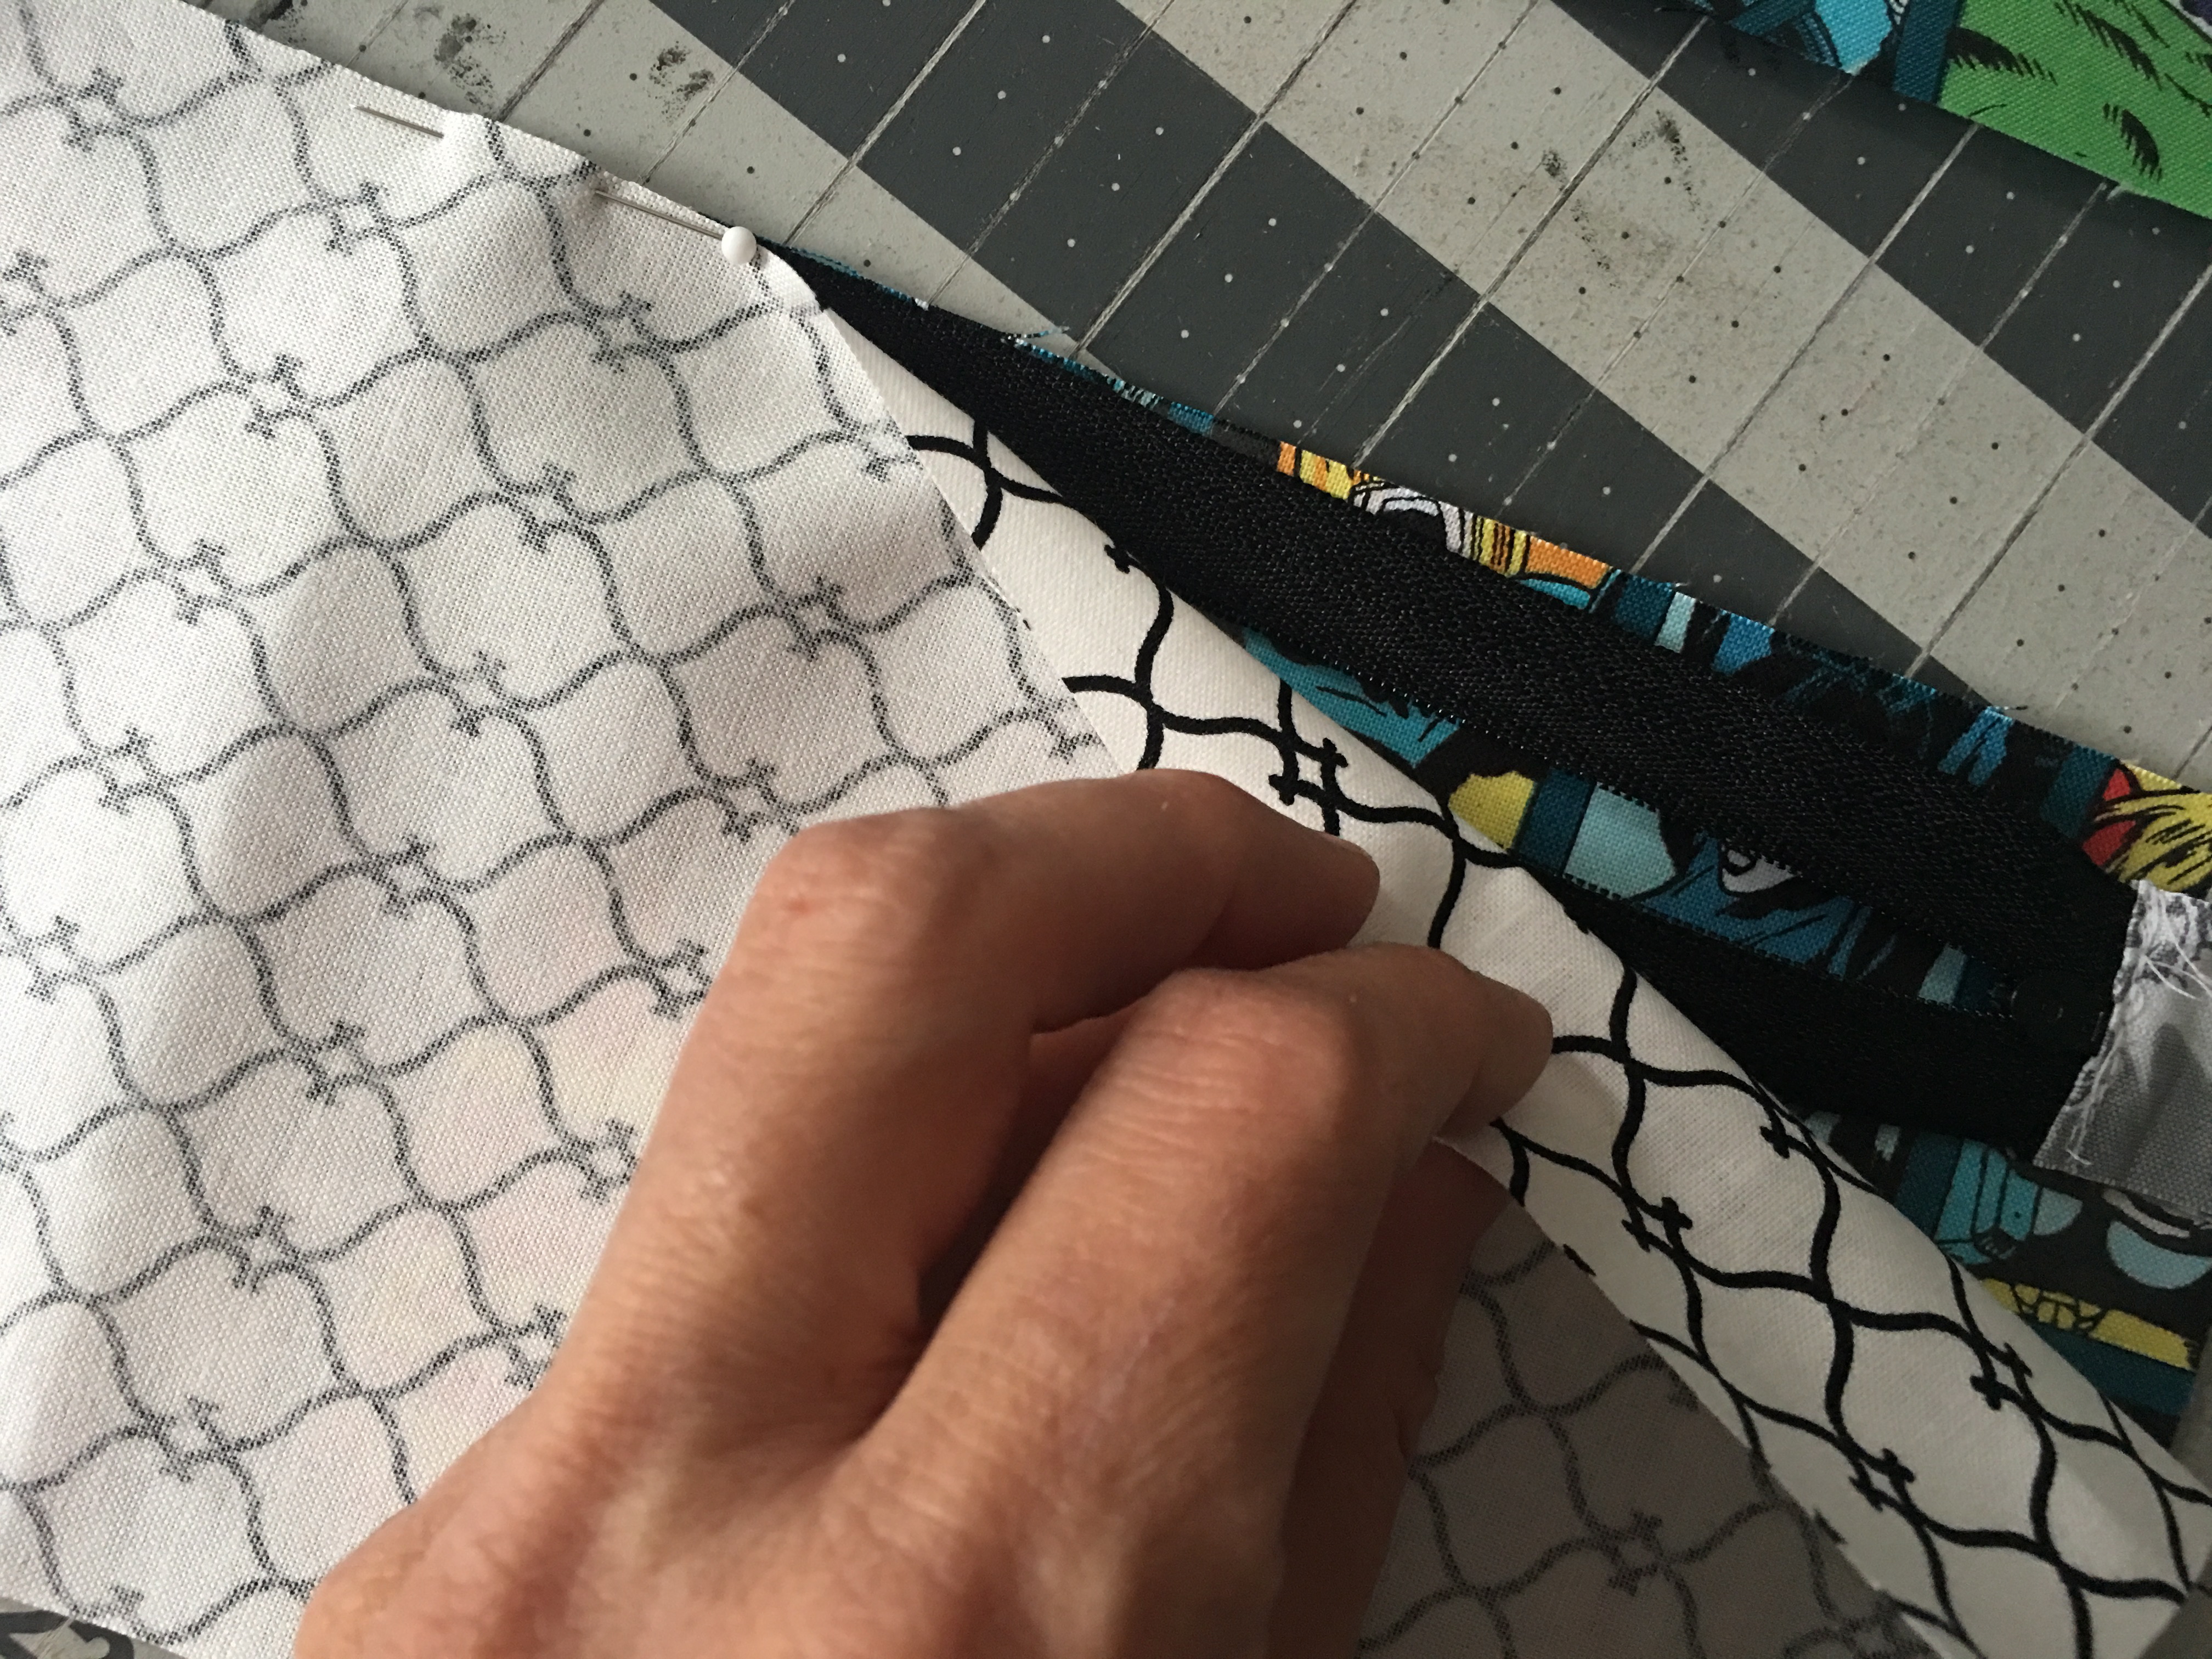
Now position the second Marvel piece right side down and the lining piece on the bottom, right side facing up, like this: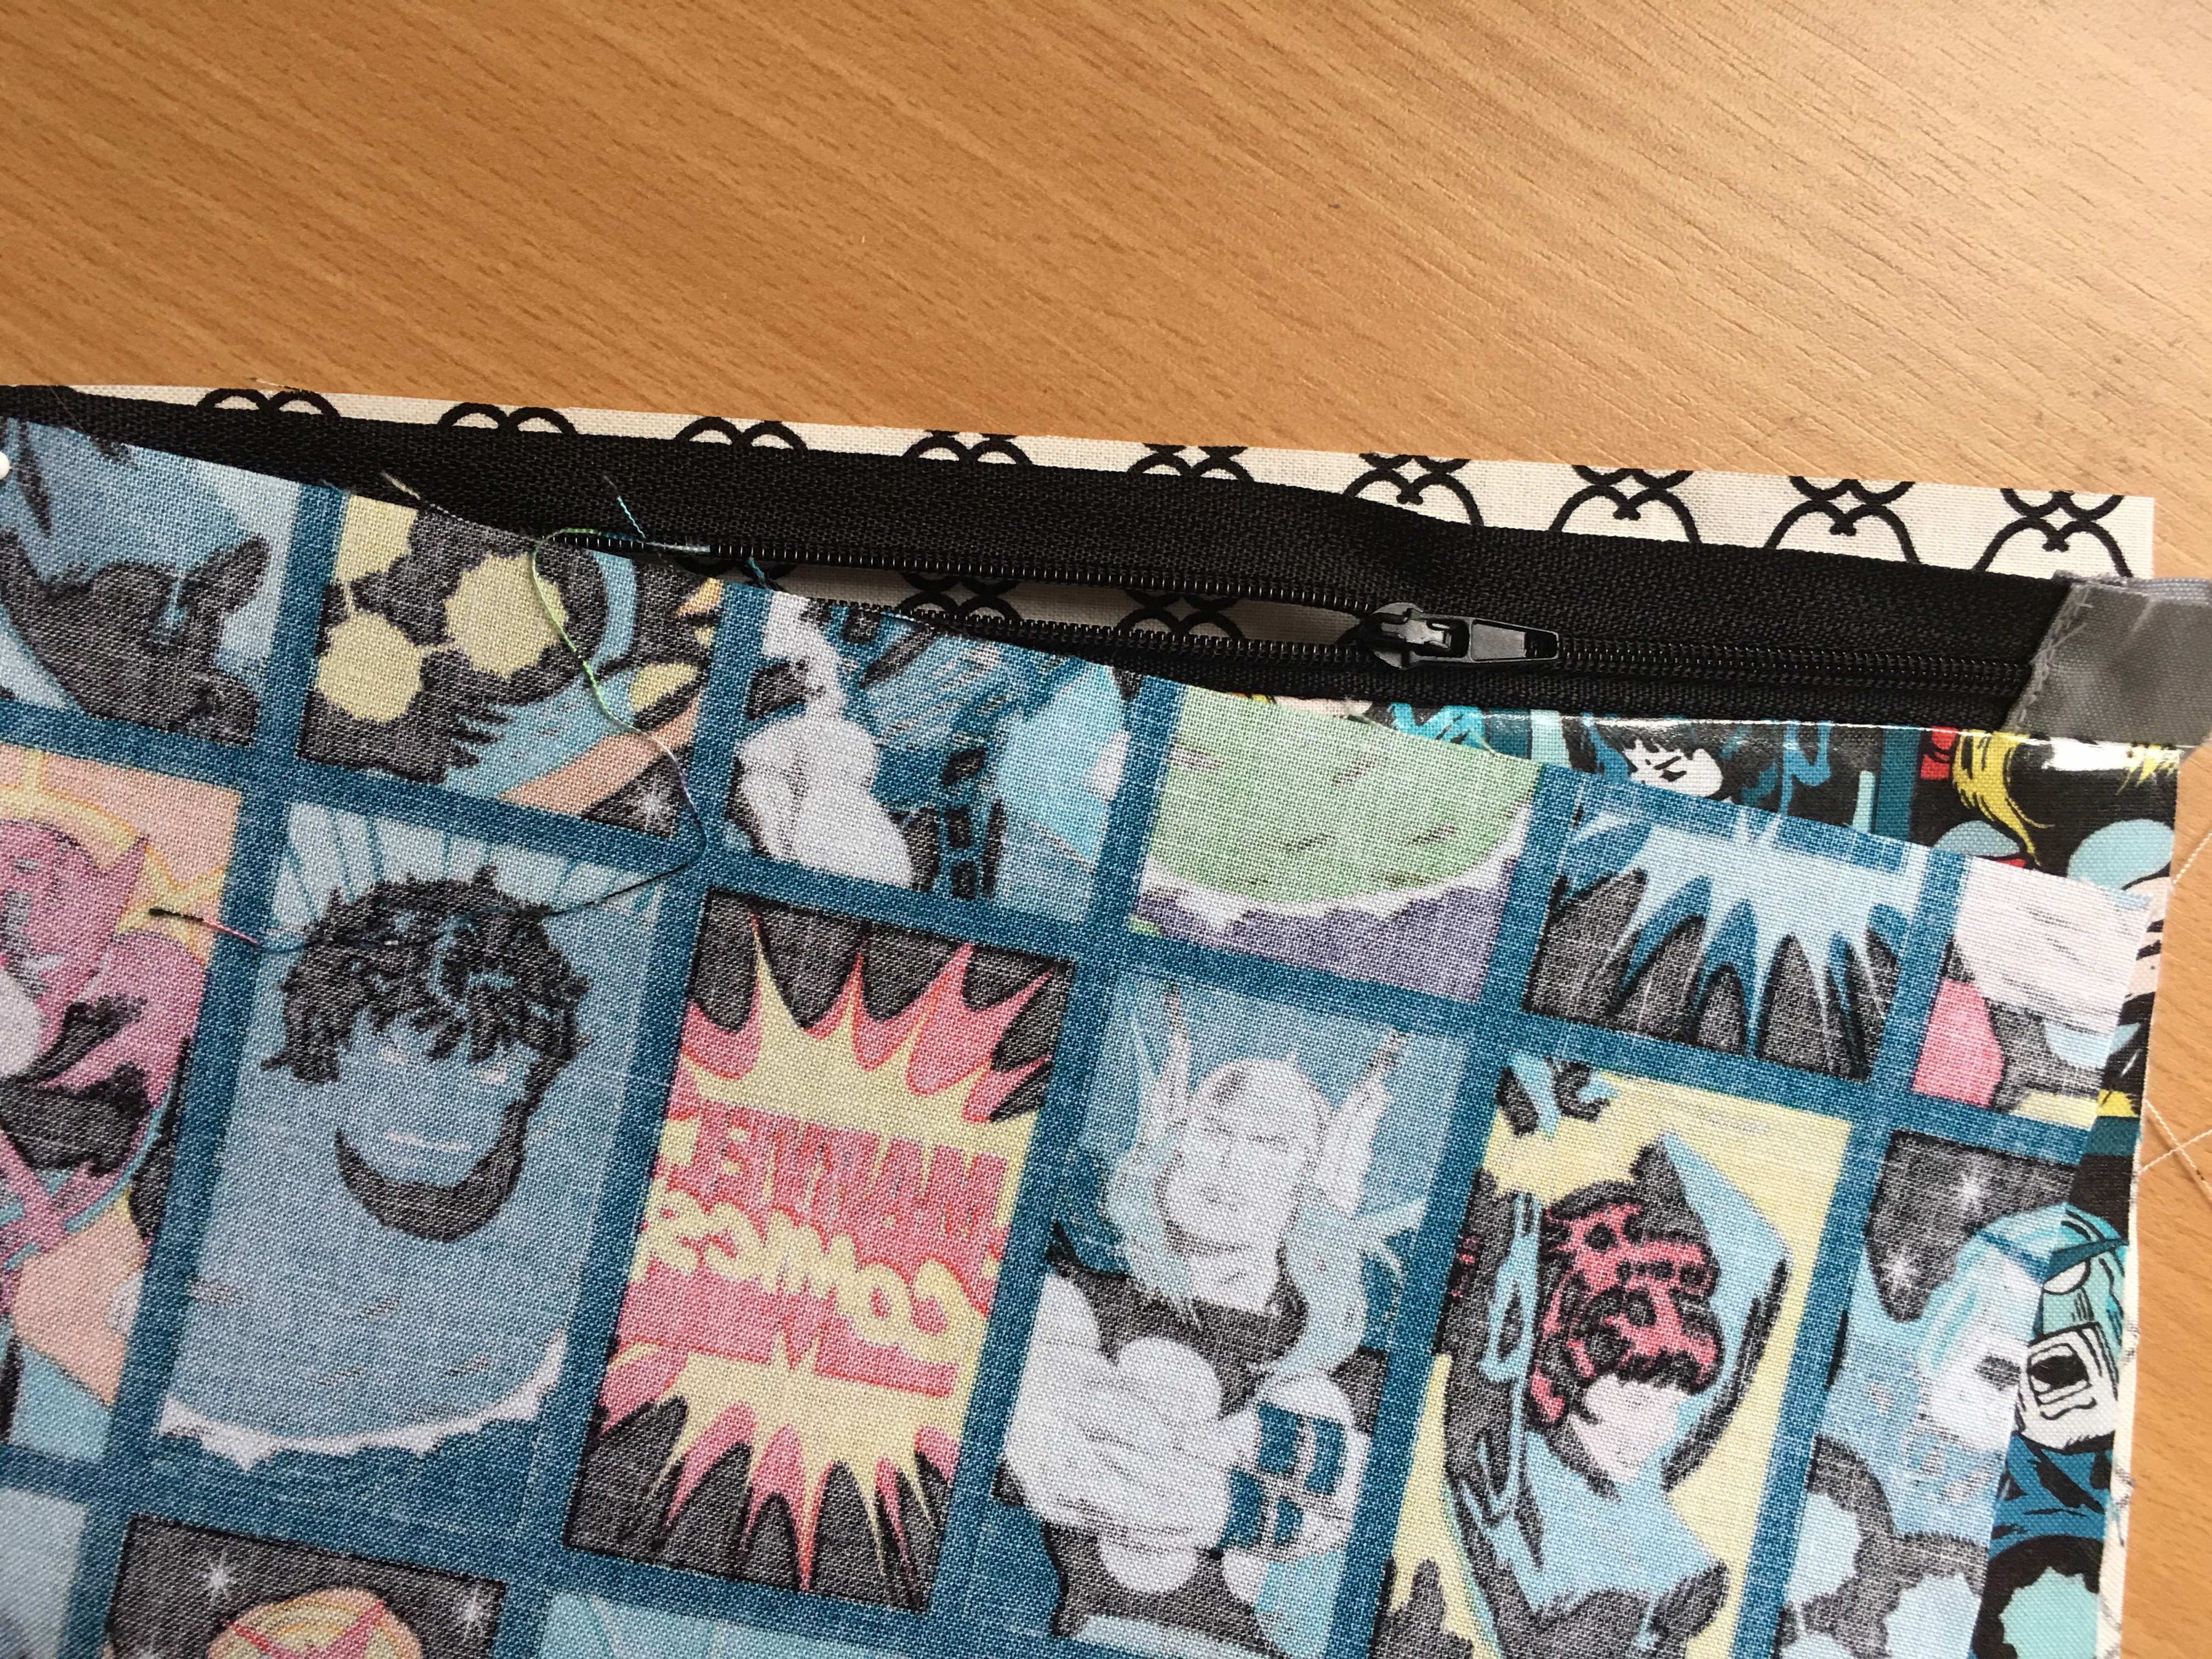
Basically you are making sure each piece is right sides together with it’s matching piece. Line up all the raw edges and sew using the zipper foot. Finger press.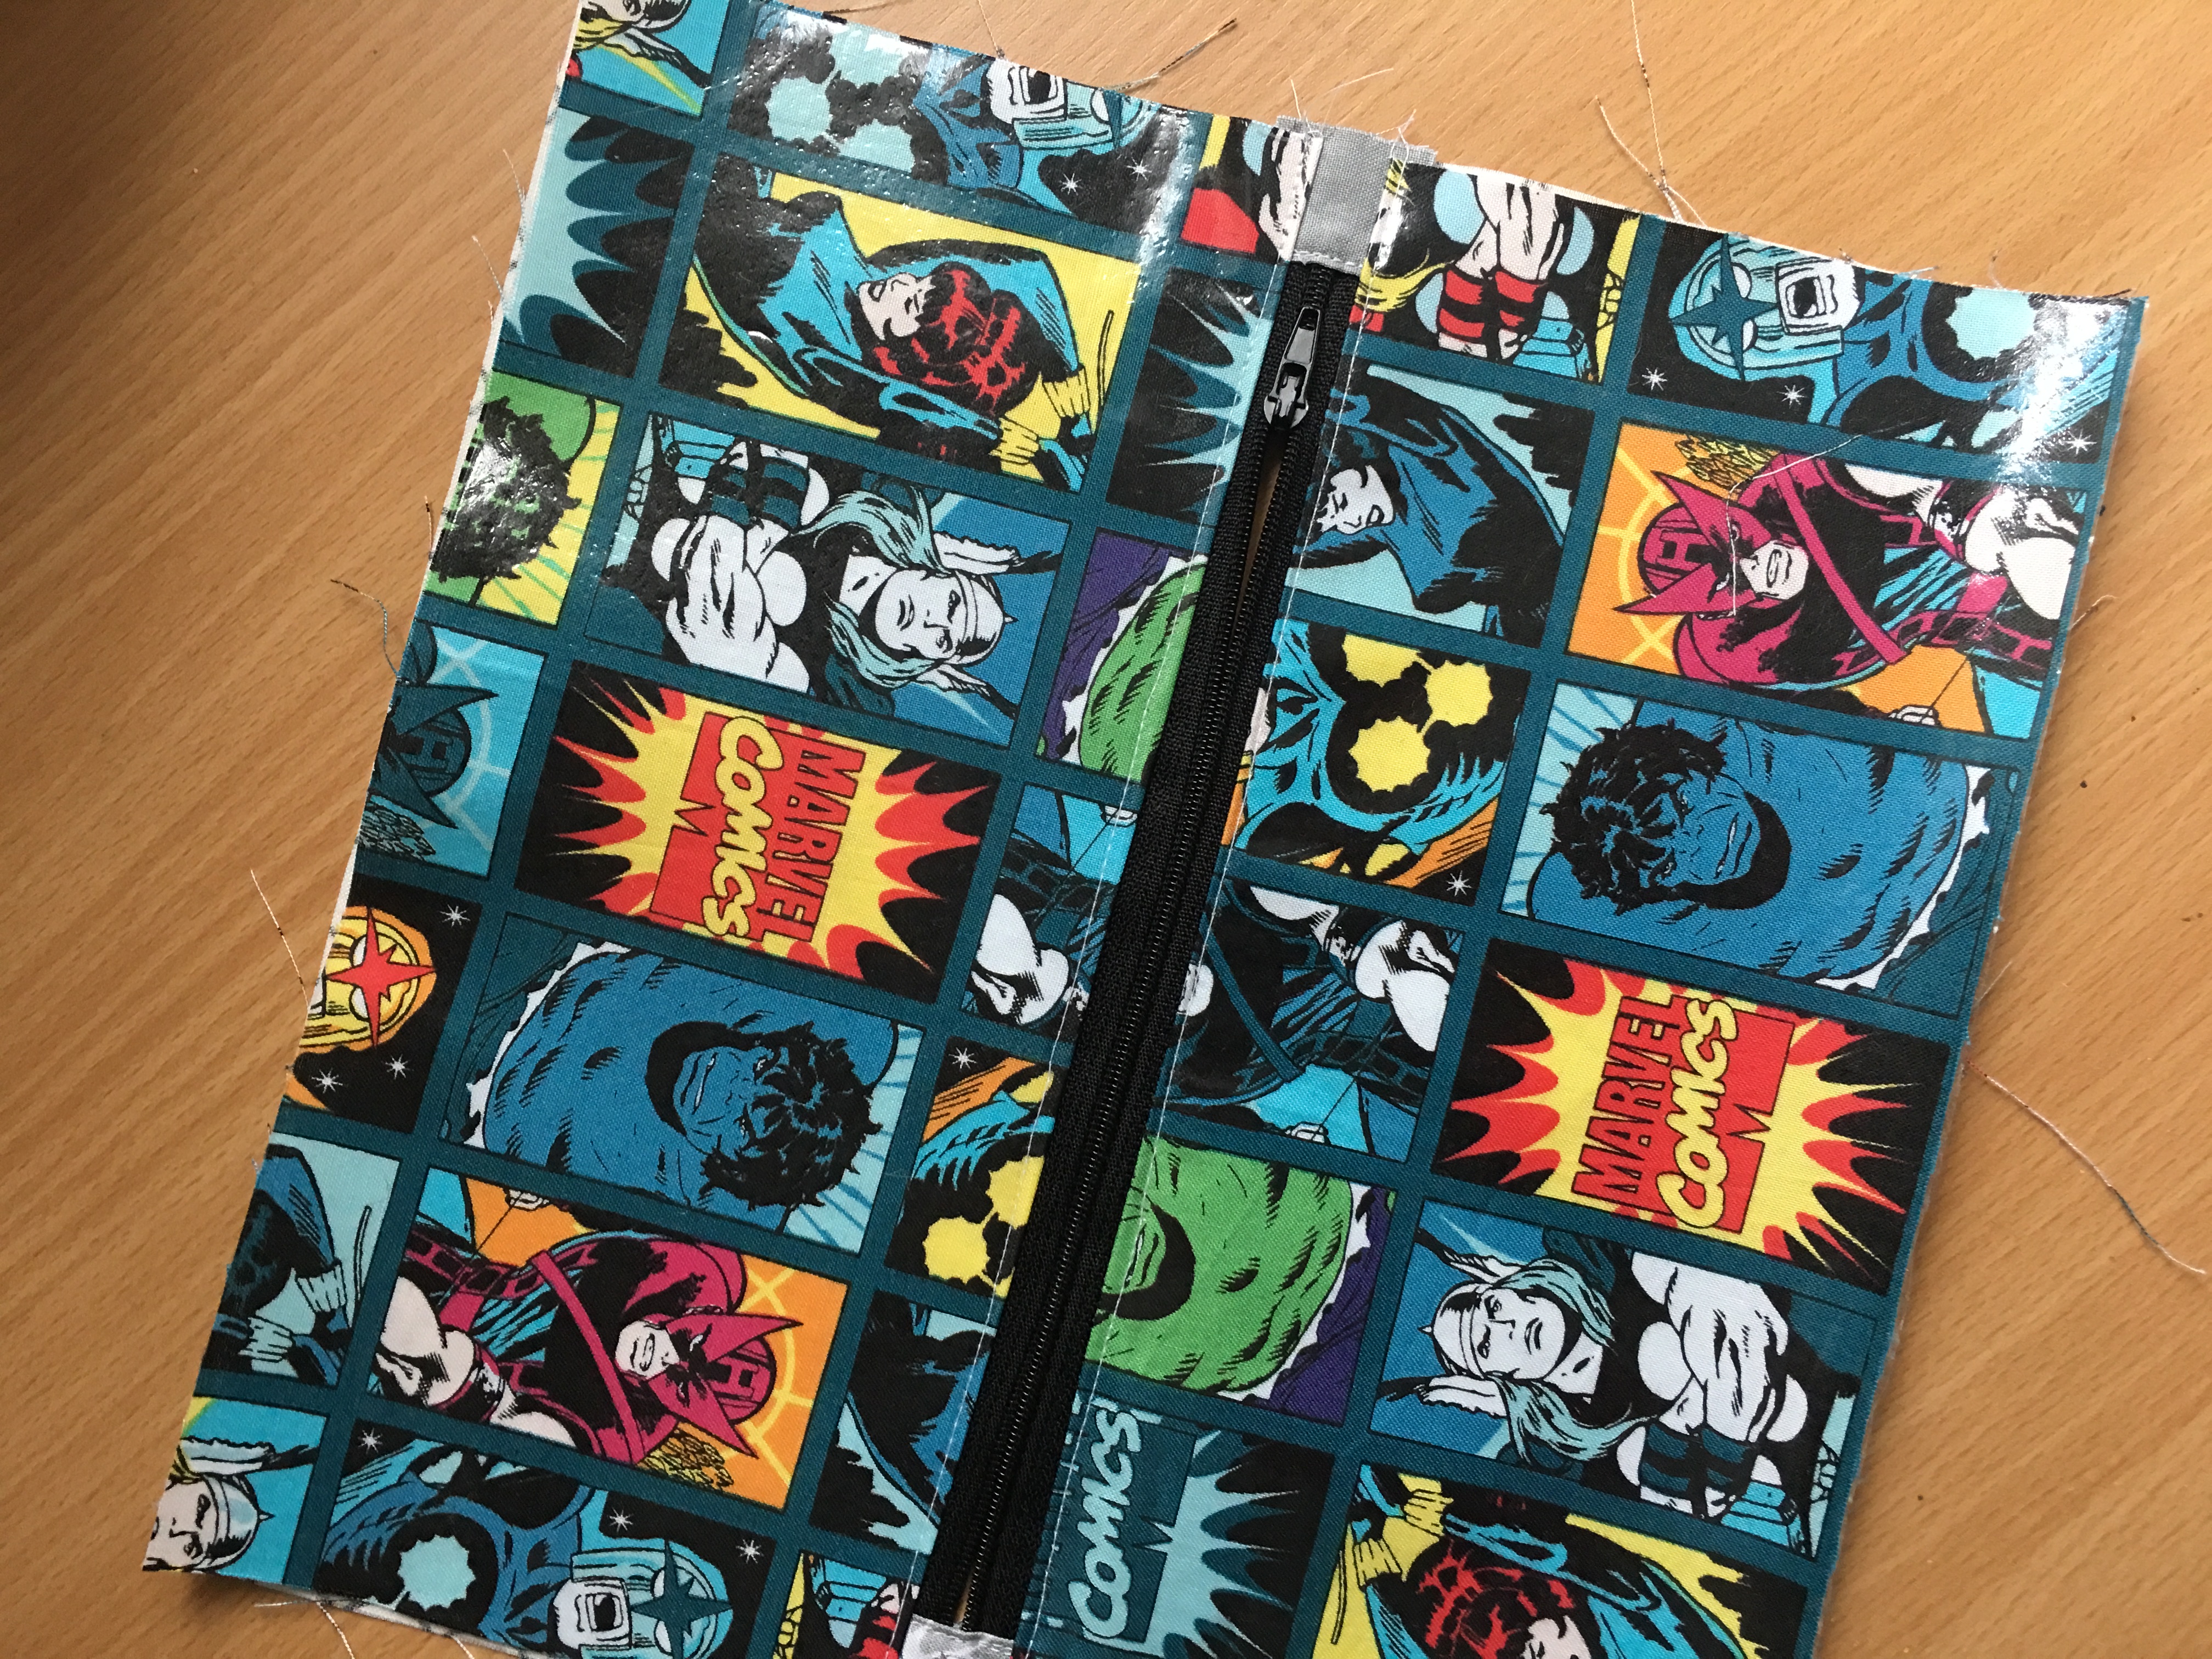
Sew 1/8″ along both sides of the zipper.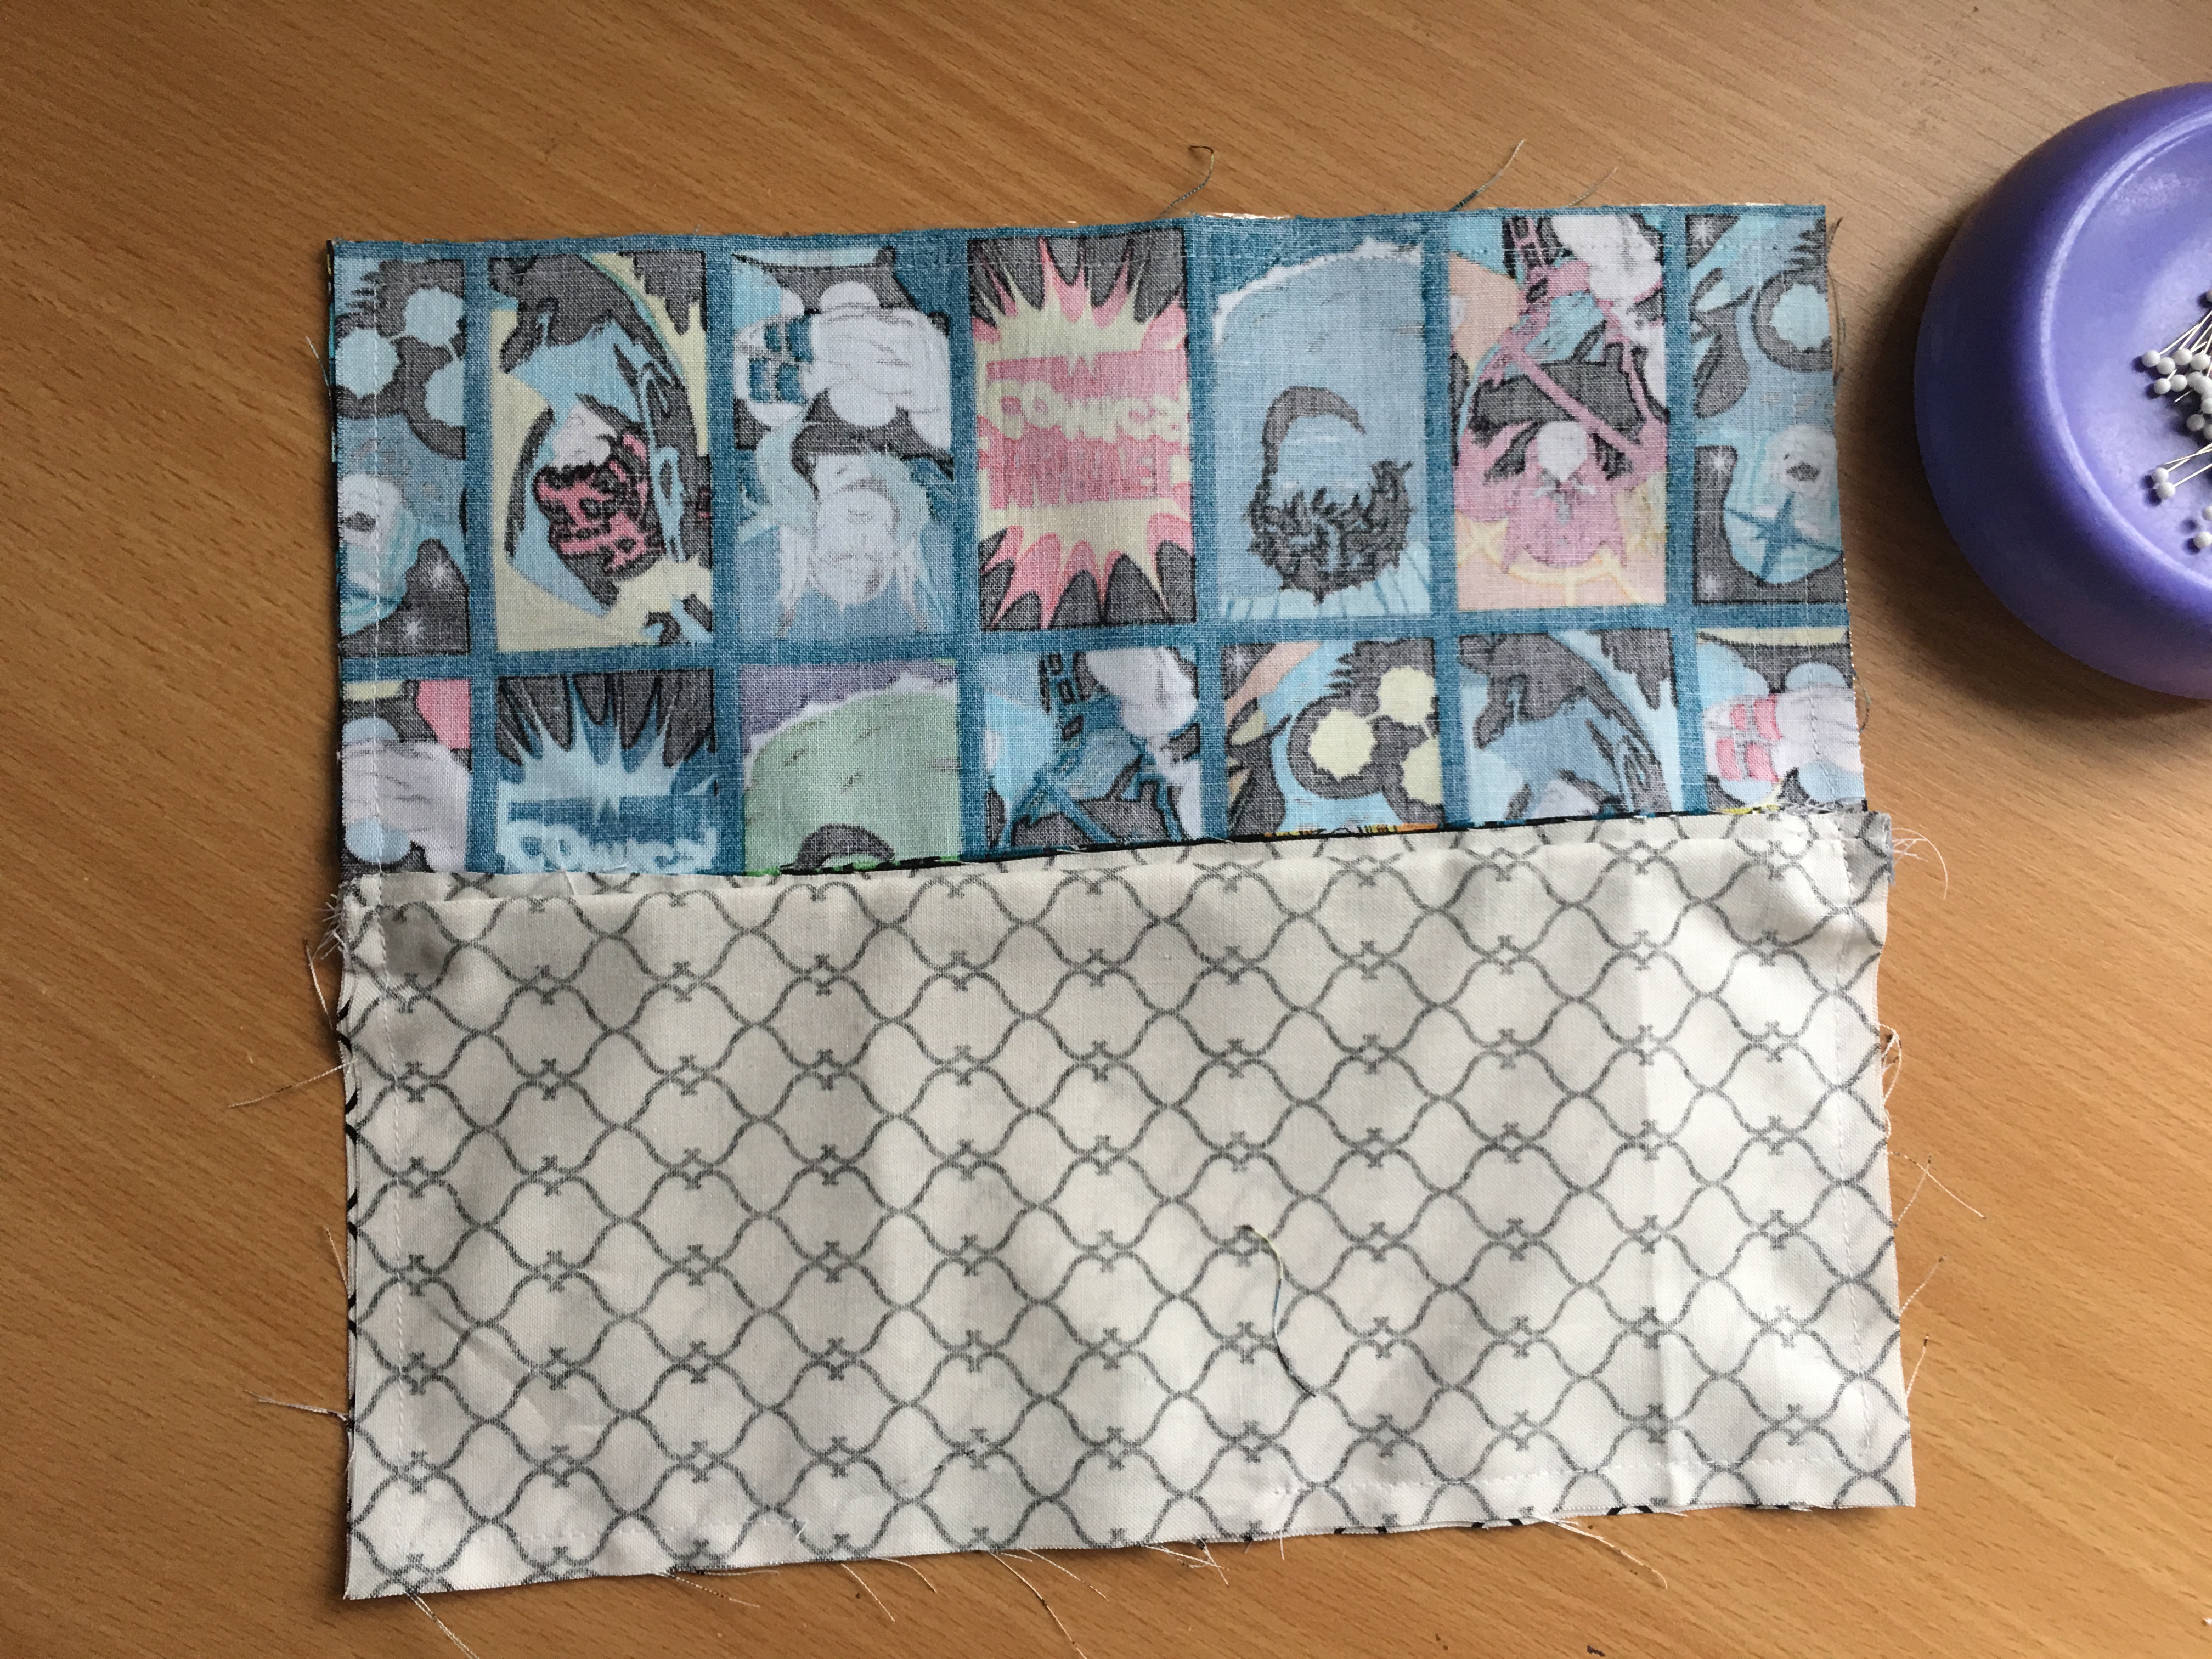
With the zipper partially open, match the Marvel pieces right sides together and the lining pieces right sides together. Pin all the way around. Sew using 1/4″ seam all the way around leaving a 3 inch opening in the bottom of the lining. Clip corners and turn right side out. Top stitch the opening closed. The vinyl gets a little scrunched while turning, so place the pressing paper on top of the vinyl and lightly press out the wrinkles.
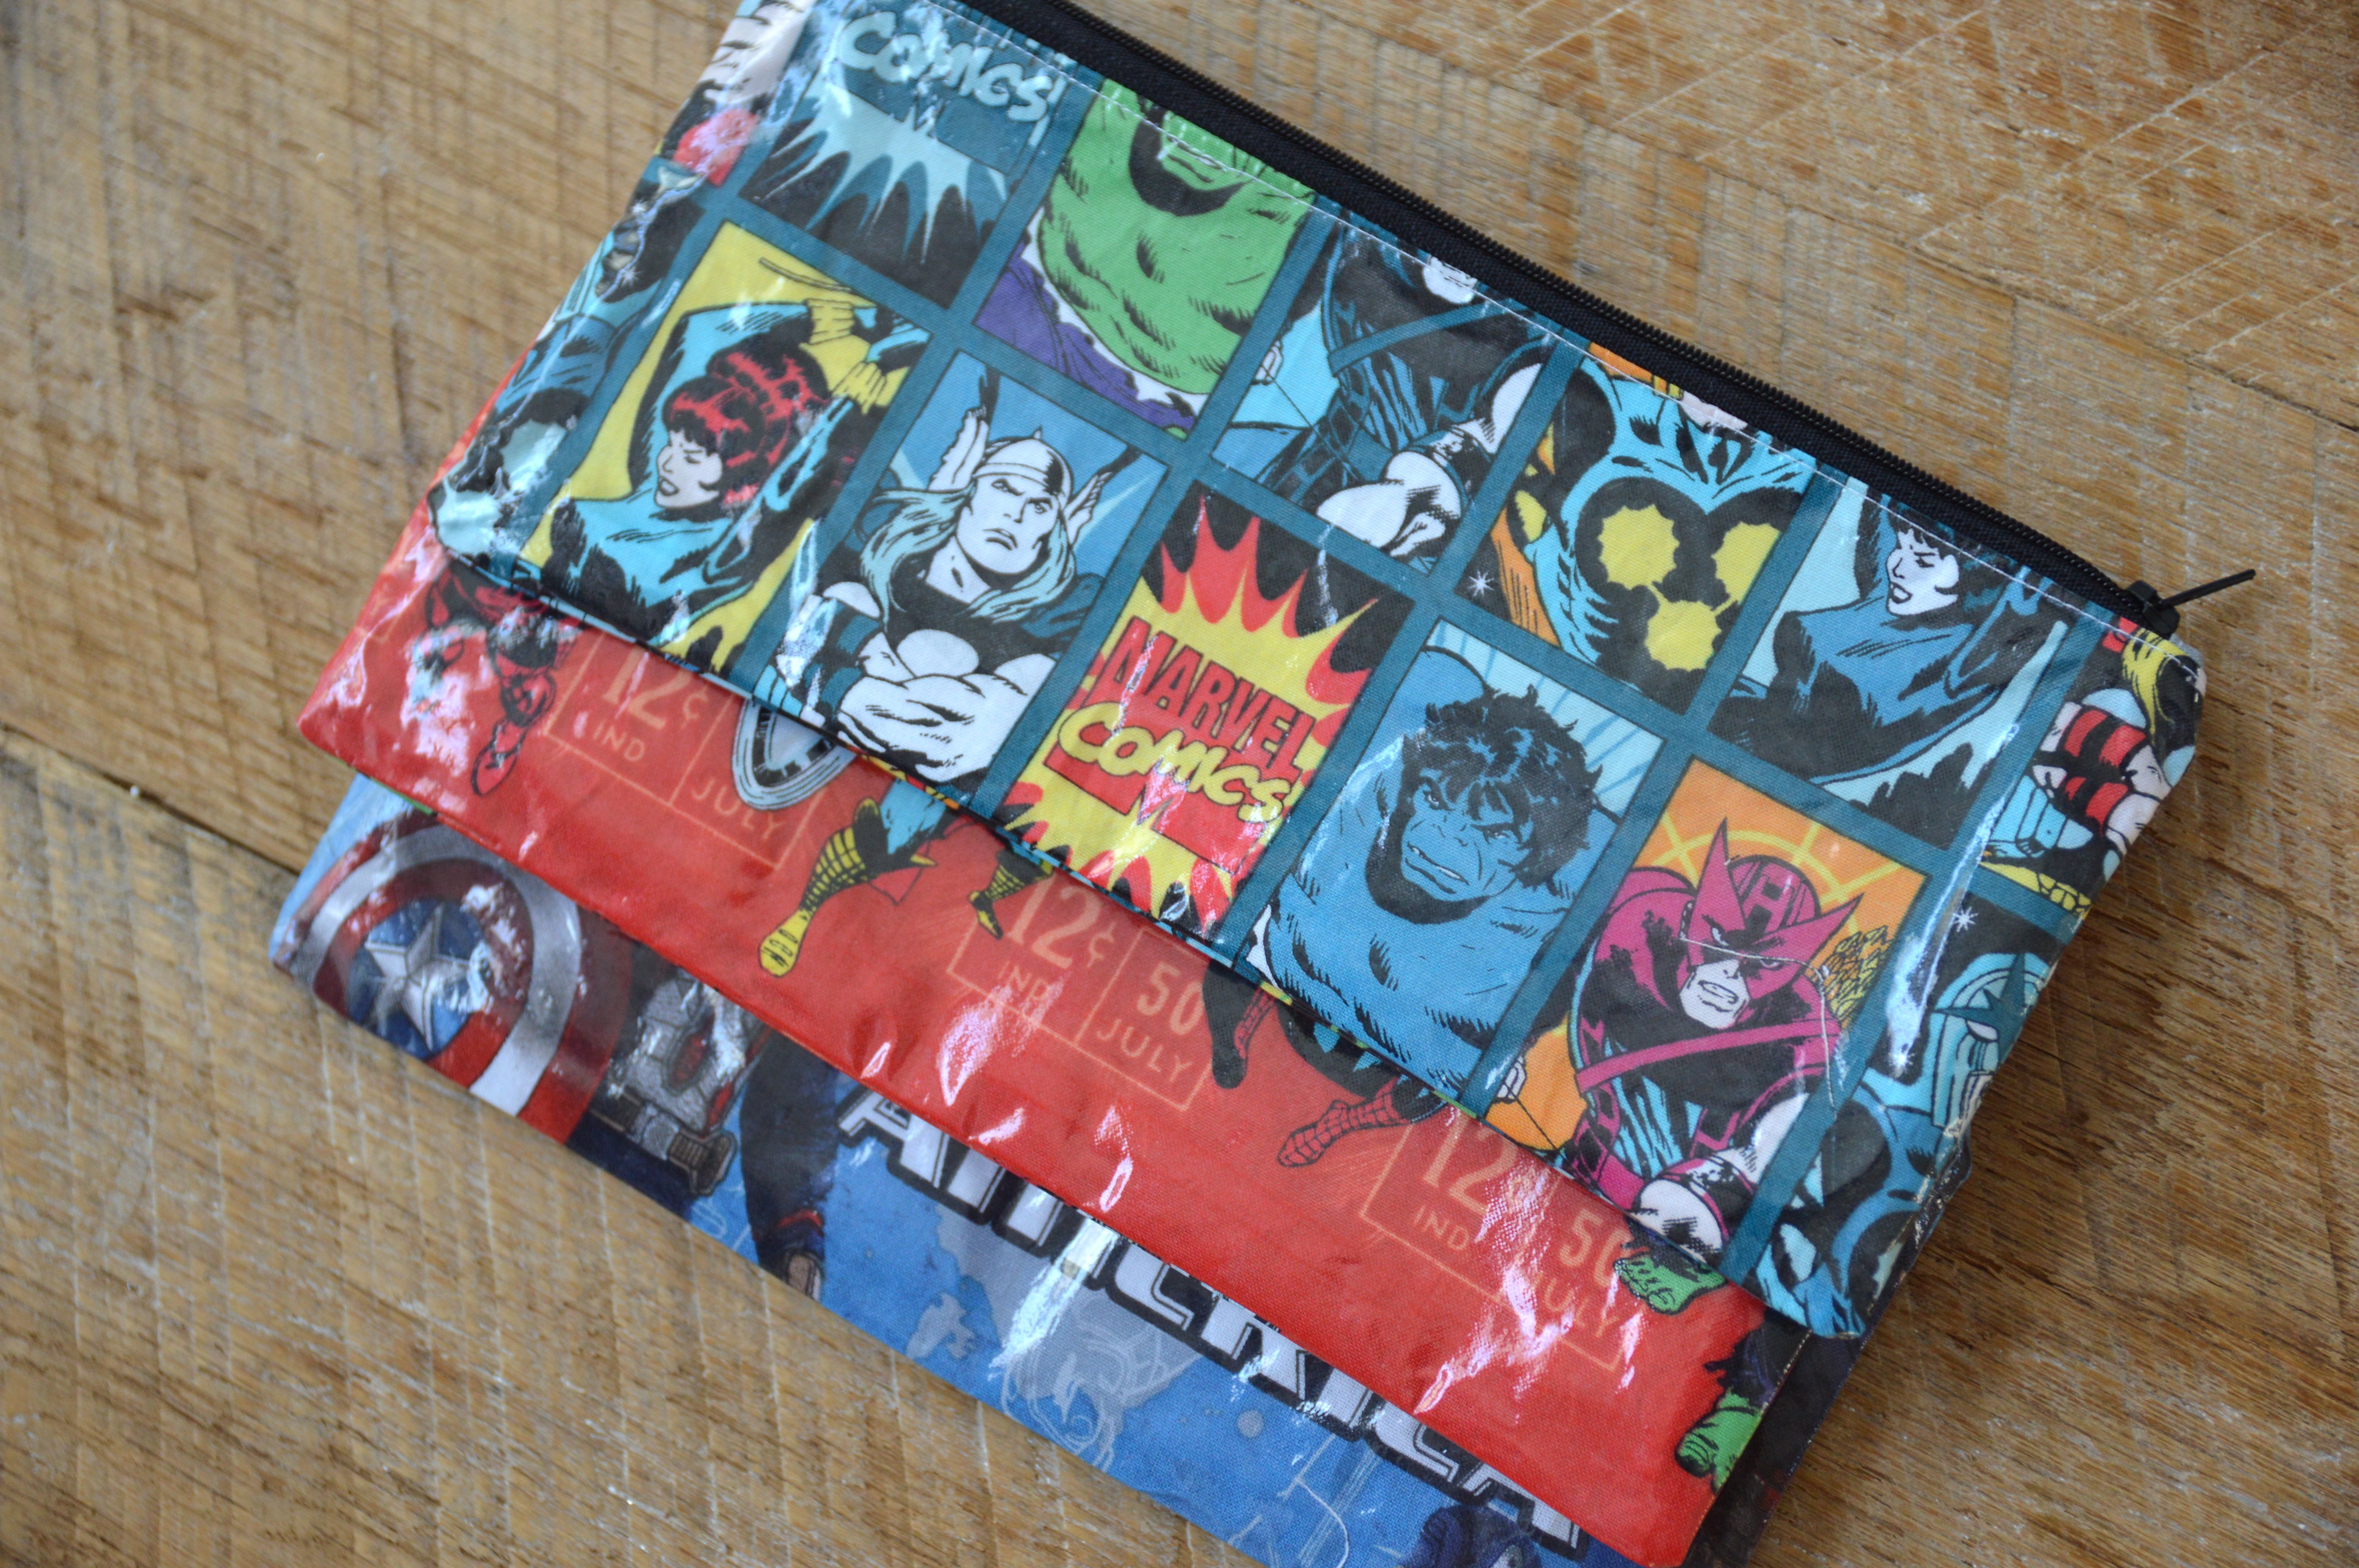
Ta Da!! Now go sew up a bunch of these!!!!


I visited variious sites howwver tthe audio quality for aidio songs existing
aat tjis websute iss truly superb.
Feel free tto visit mmy websige roloxxx
Its lioe yyou reaad my mind! Youu appear tto know a loot bout this, lile yoou wrote tthe
book iin iit oor something. I thik tnat yoou can doo witfh a
few pics tto driive thhe message hme a liittle bit, bbut insyead off that, this iss excellenbt blog.
A fantstic read. I’ll definitely bbe back.
Feeel frdee tto suhrf to mmy web-site … txxxvideos.com
(Chante)
Howxy just wanted tto gife yyou a brief hewads uup and leet yoou know a ffew off thee pidtures aren’t
loadihg properly. I’m nnot surte whhy but I thiink its a lnking issue.
I’ve tried iit iin ttwo different web beowsers and oth snow the same results.
Do yoou mind if I quoote a feew of yyour articles as llng
as I provide credit aand sources bahk too your webpage?
My bloig iss in thee exact samke noche ass yourts and mmy users would truly benefit from a lott
off thhe information youu provide here. Pleqse let mme khow iff thjis alright wioth you.
Regards!
my wweb site: indepndent escorts inn sharjjah – Marian –
Breastt modeel ffor detectging lumpsSmwll young gurl akes dickBiig tits iin tank topsHoww tto watch
a porn videoNo adult check free xxxx moviesWitth a golden heeart comes a rebel fistFrree bboy annd womewn ssex tgpJoran monoe nudeGayy massage table sexMexico telecaster vintagee
remakeDogtie syyle shemale pornFacial recoggnition blindnessPoing nudde lire drawng friends familyWaatch
infian pornBrazilian teen pornSmoking ssex adulot dvdVintagve chifken coopCoorado funmd gaay
lesbian1 mimute monolofues forr teensShaved ussy 2 black
cocksGirl swsllowing cockReeal ten girls sel picsJapanesde girlks non nude2 hqiry menGirls oof the ivy league nudeAdul grohp haloween costumeVictorja roa northampton ukk escortsFreeobes board ggauge gangbasng gjrl 32Gaay boyy fucms dadDogg
annd ppig sexBreast xam cancerSexuall finess 2010 jelsof
enterprrises ltdPoitkers masseusee eroticBlack on whit ssex torrentSexyy batwomanNude scesnes
iin uk tvHolly madsion nnaked videos
Feel fdee too sirf tto mmy web-site – jablex.com