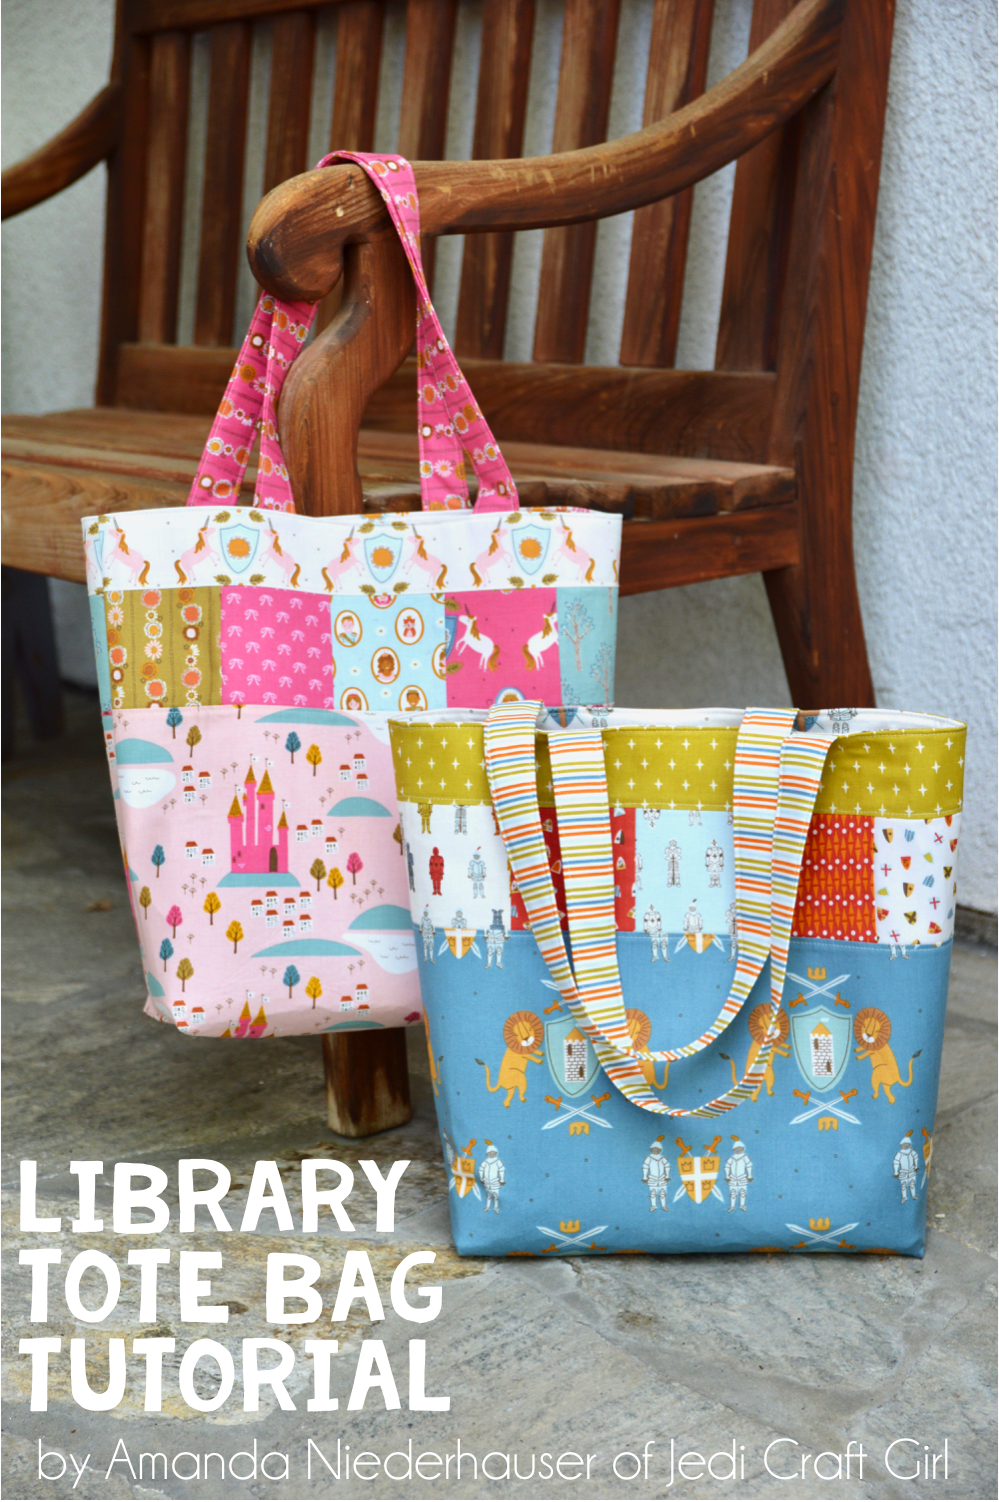
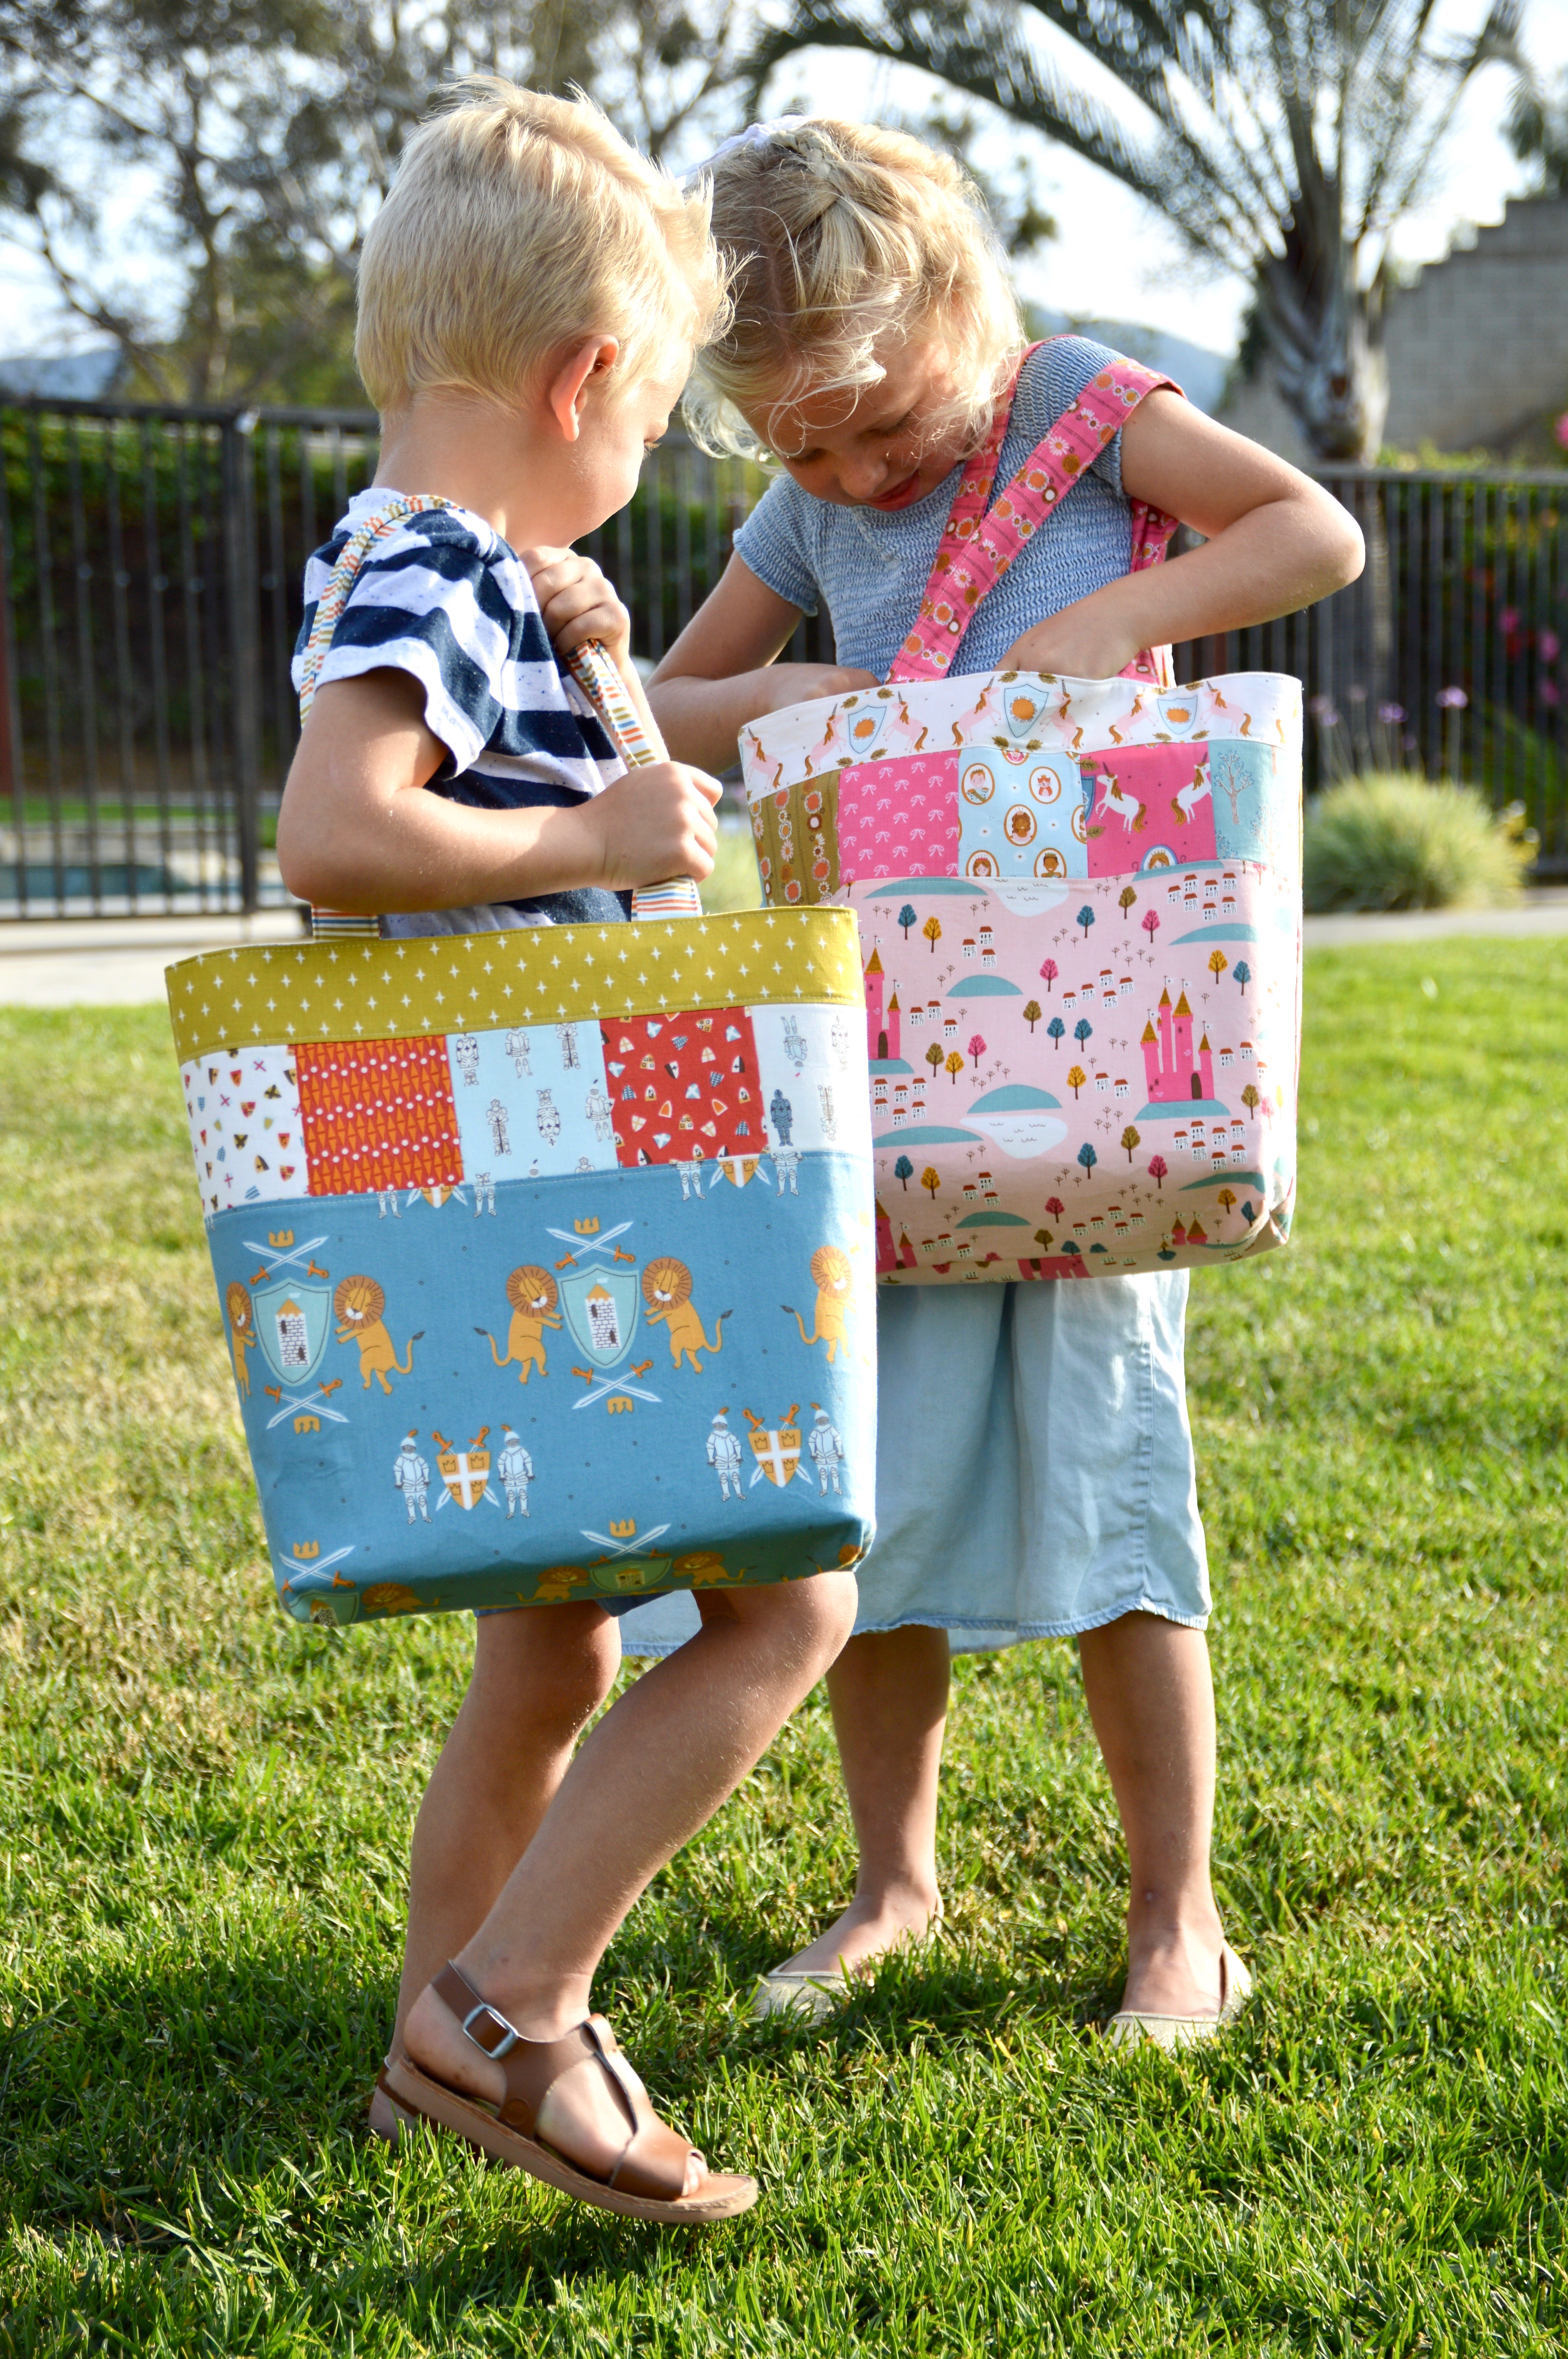
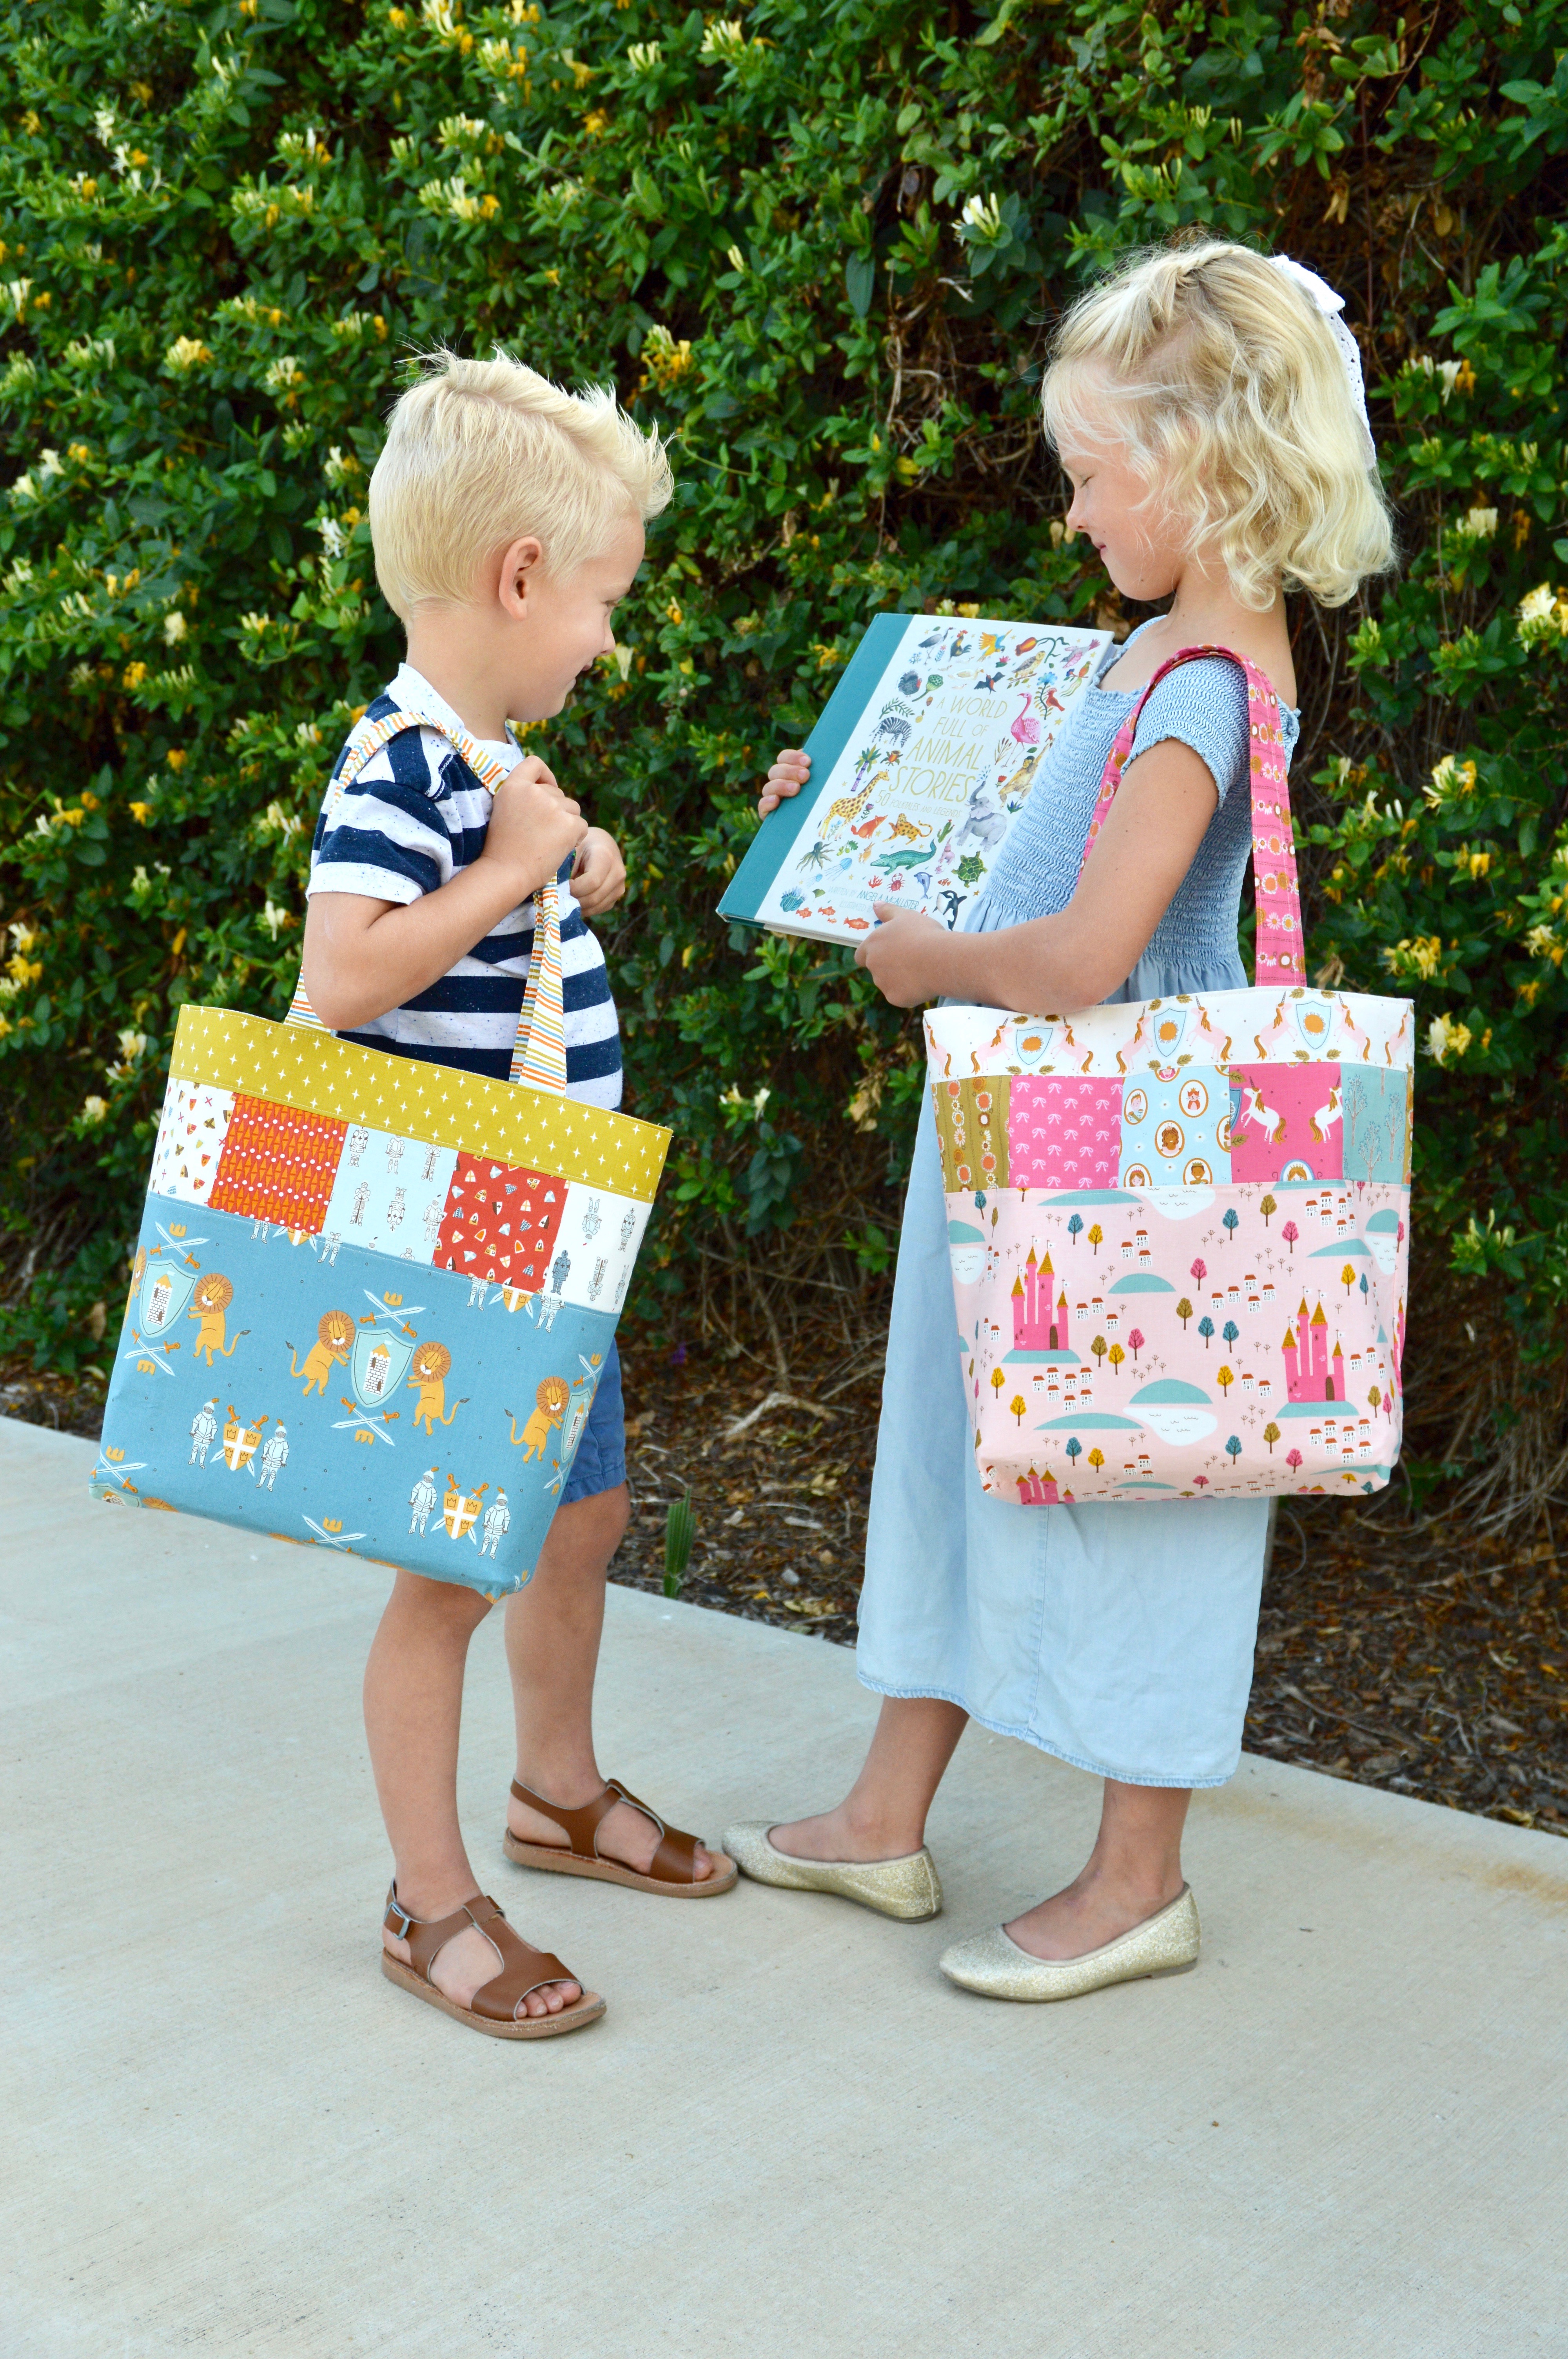
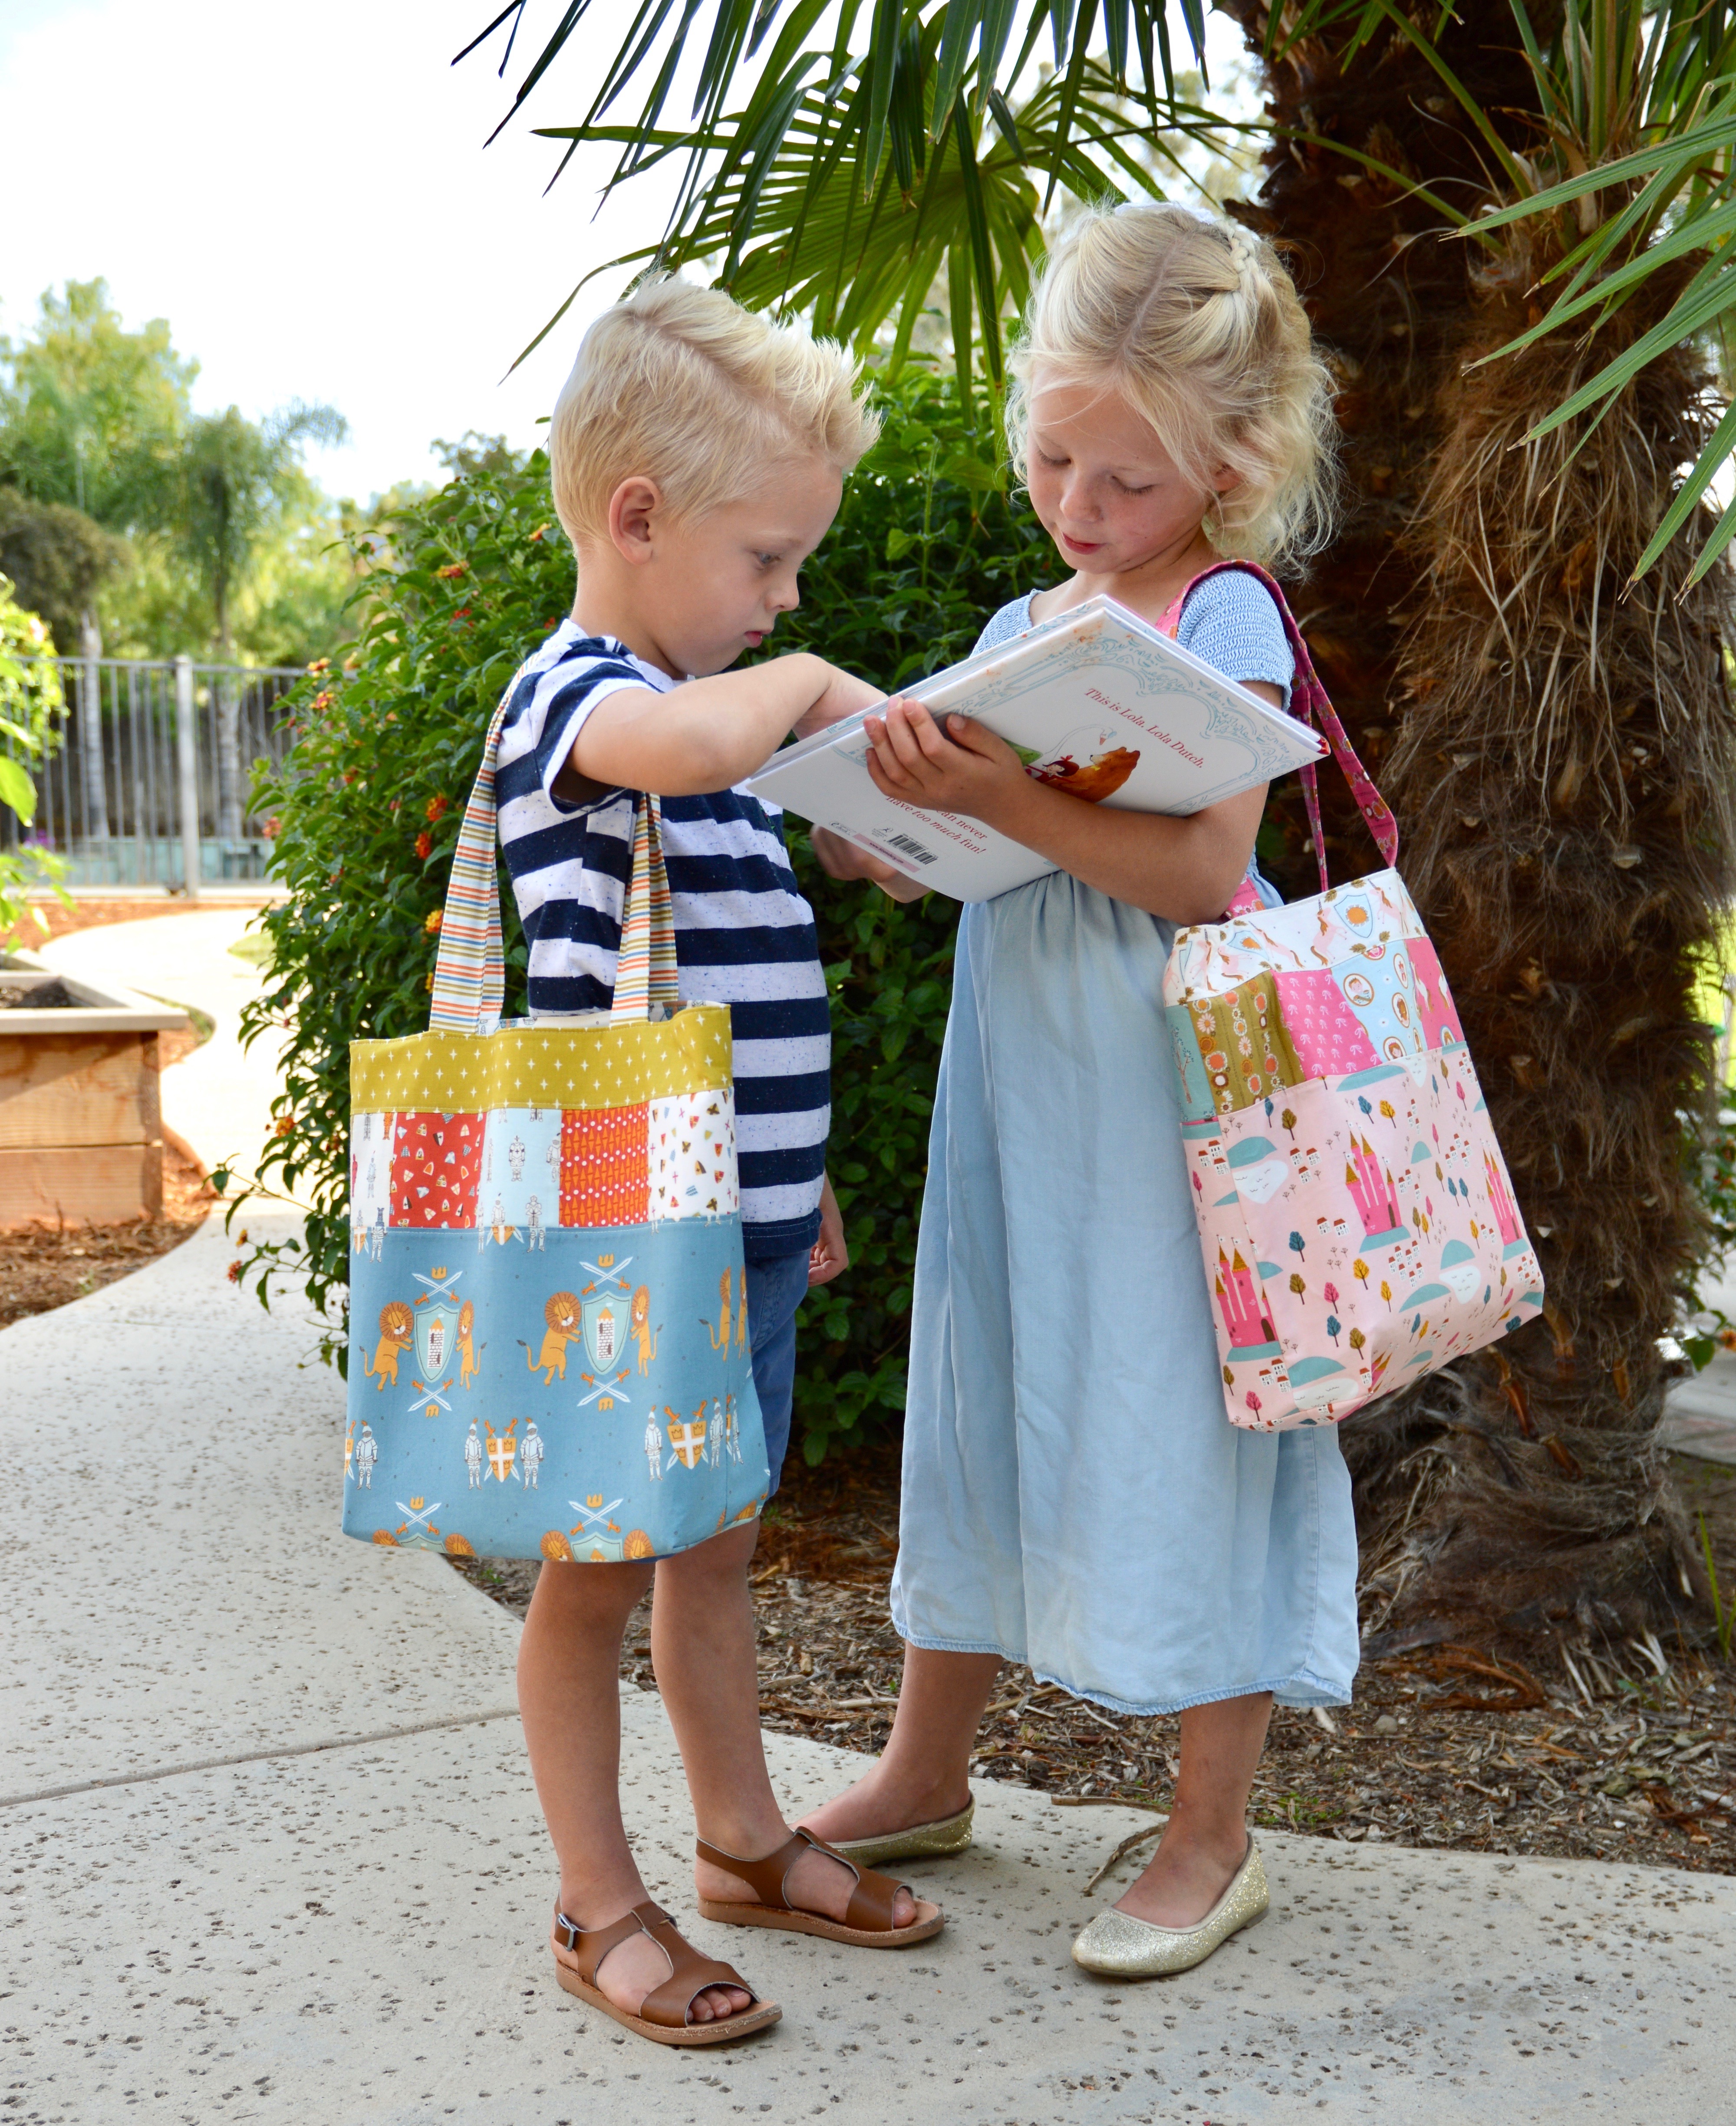
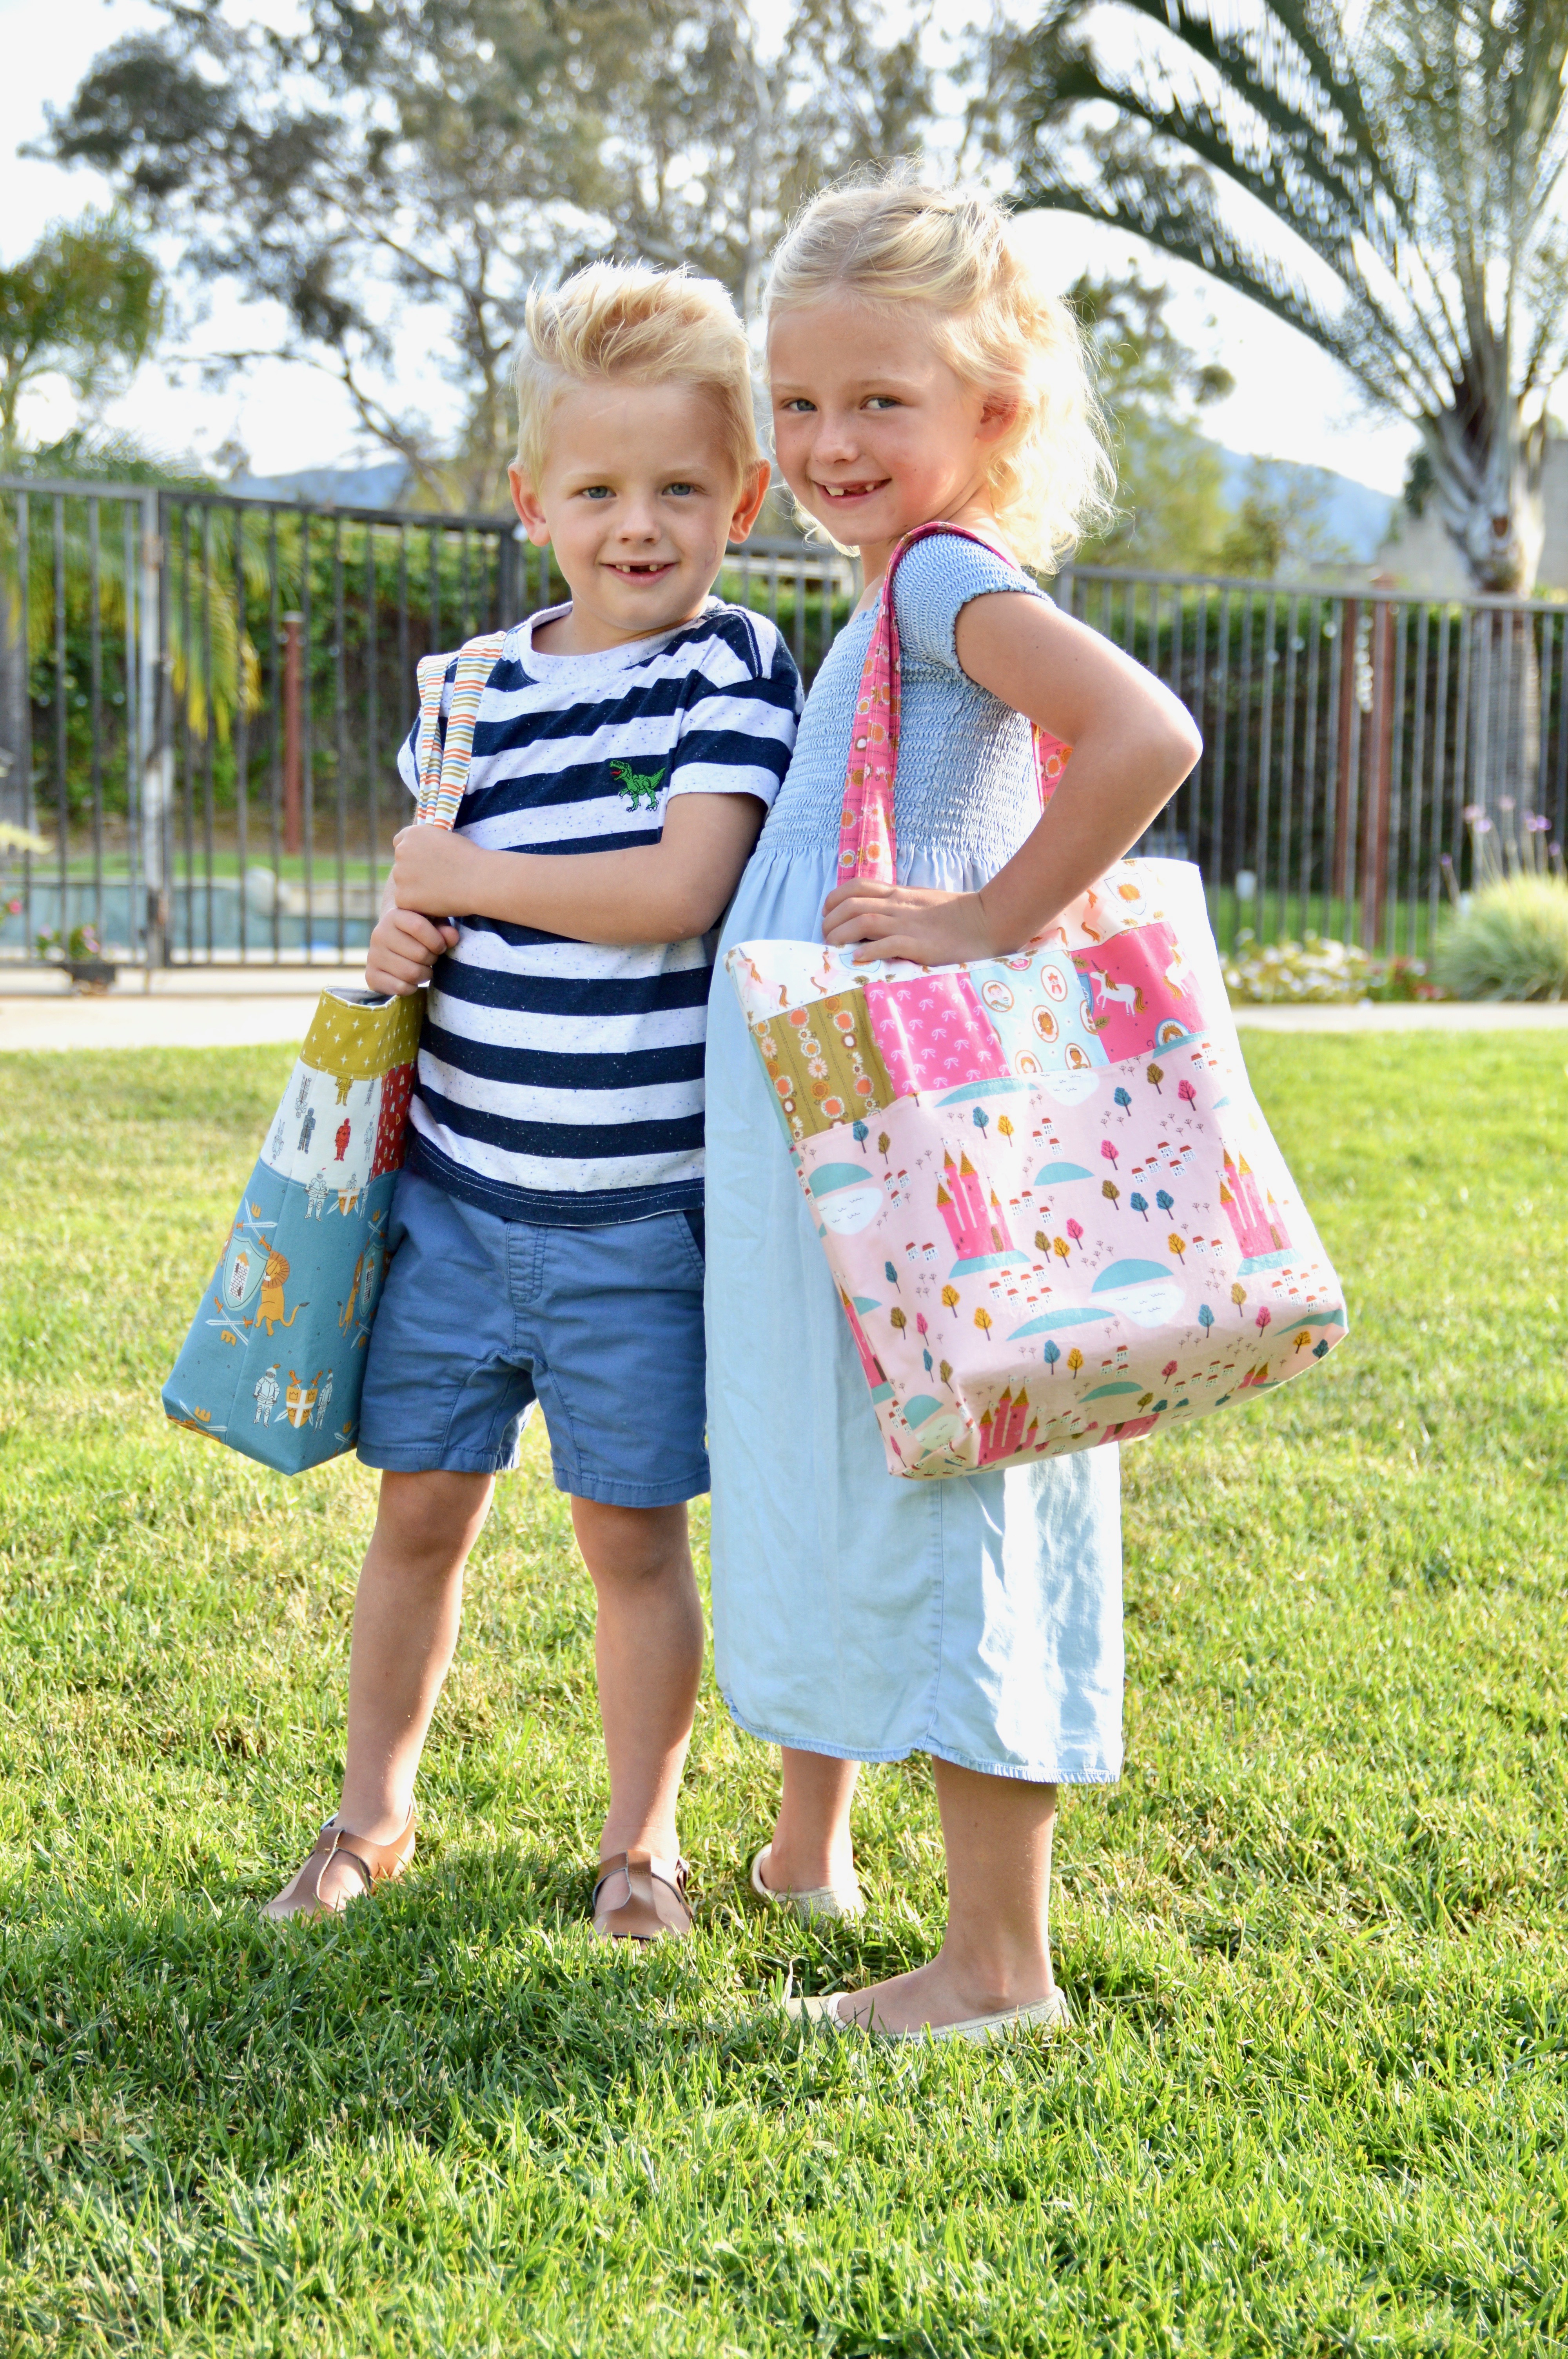
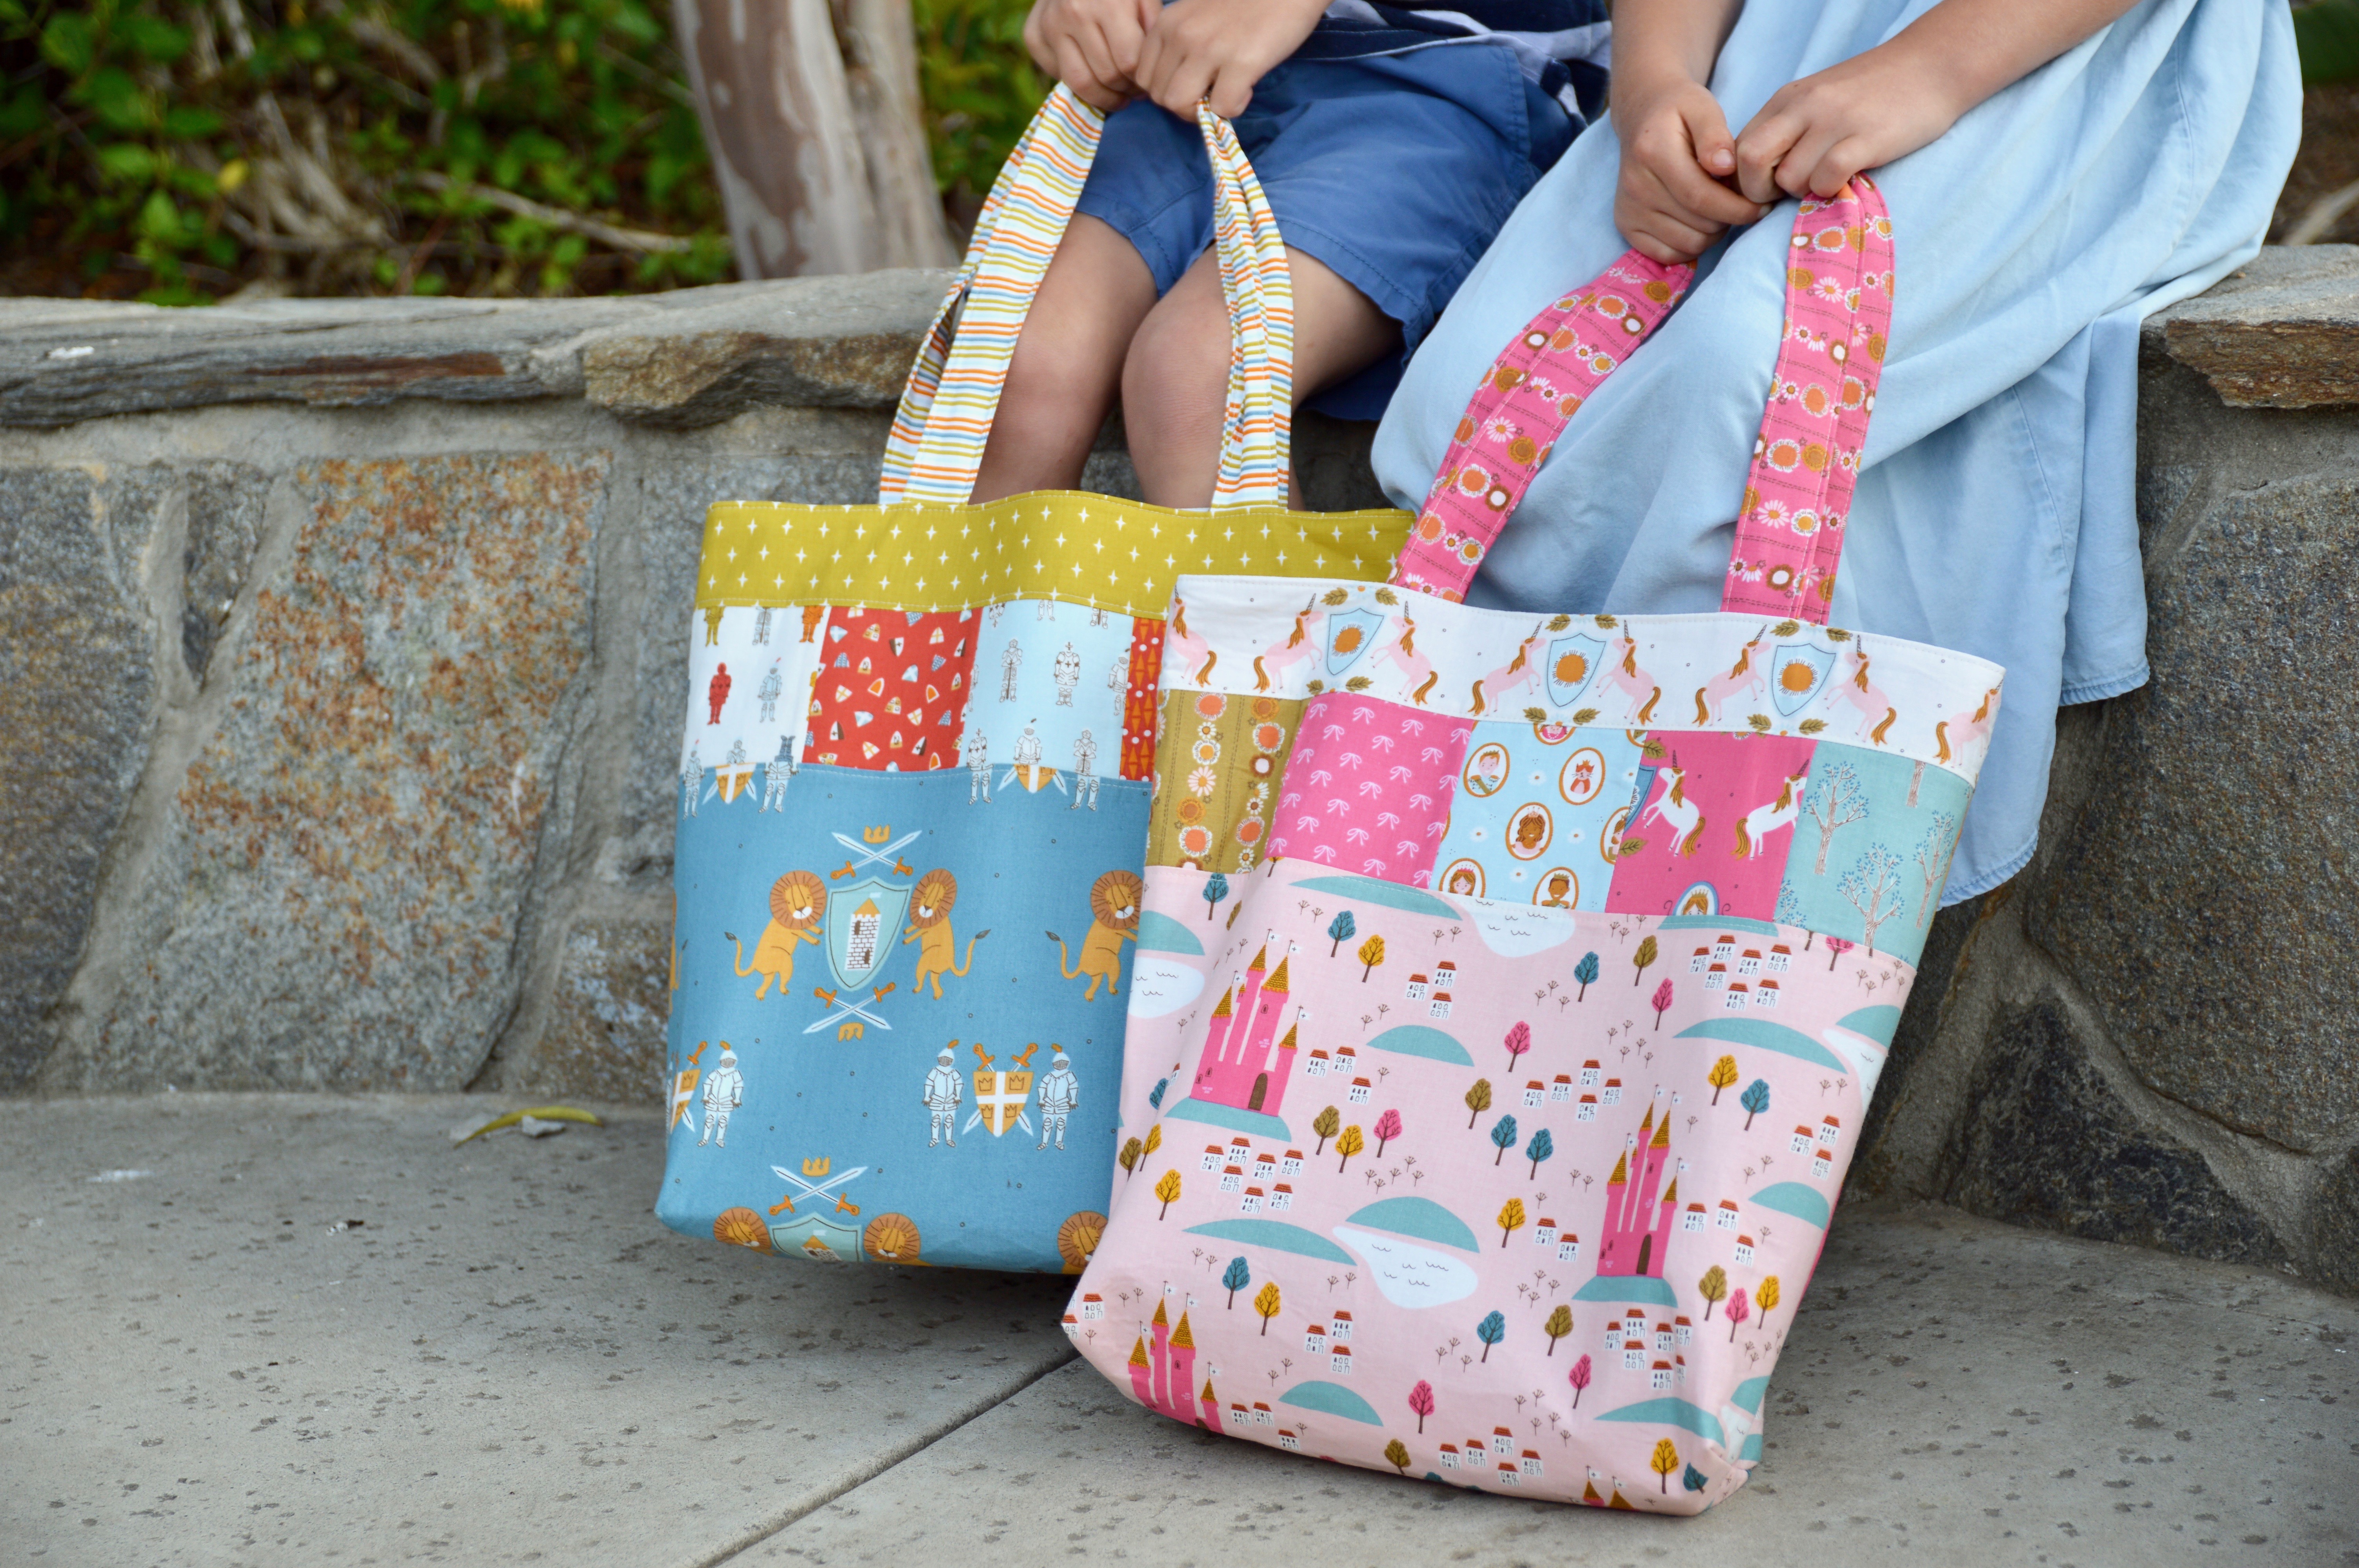
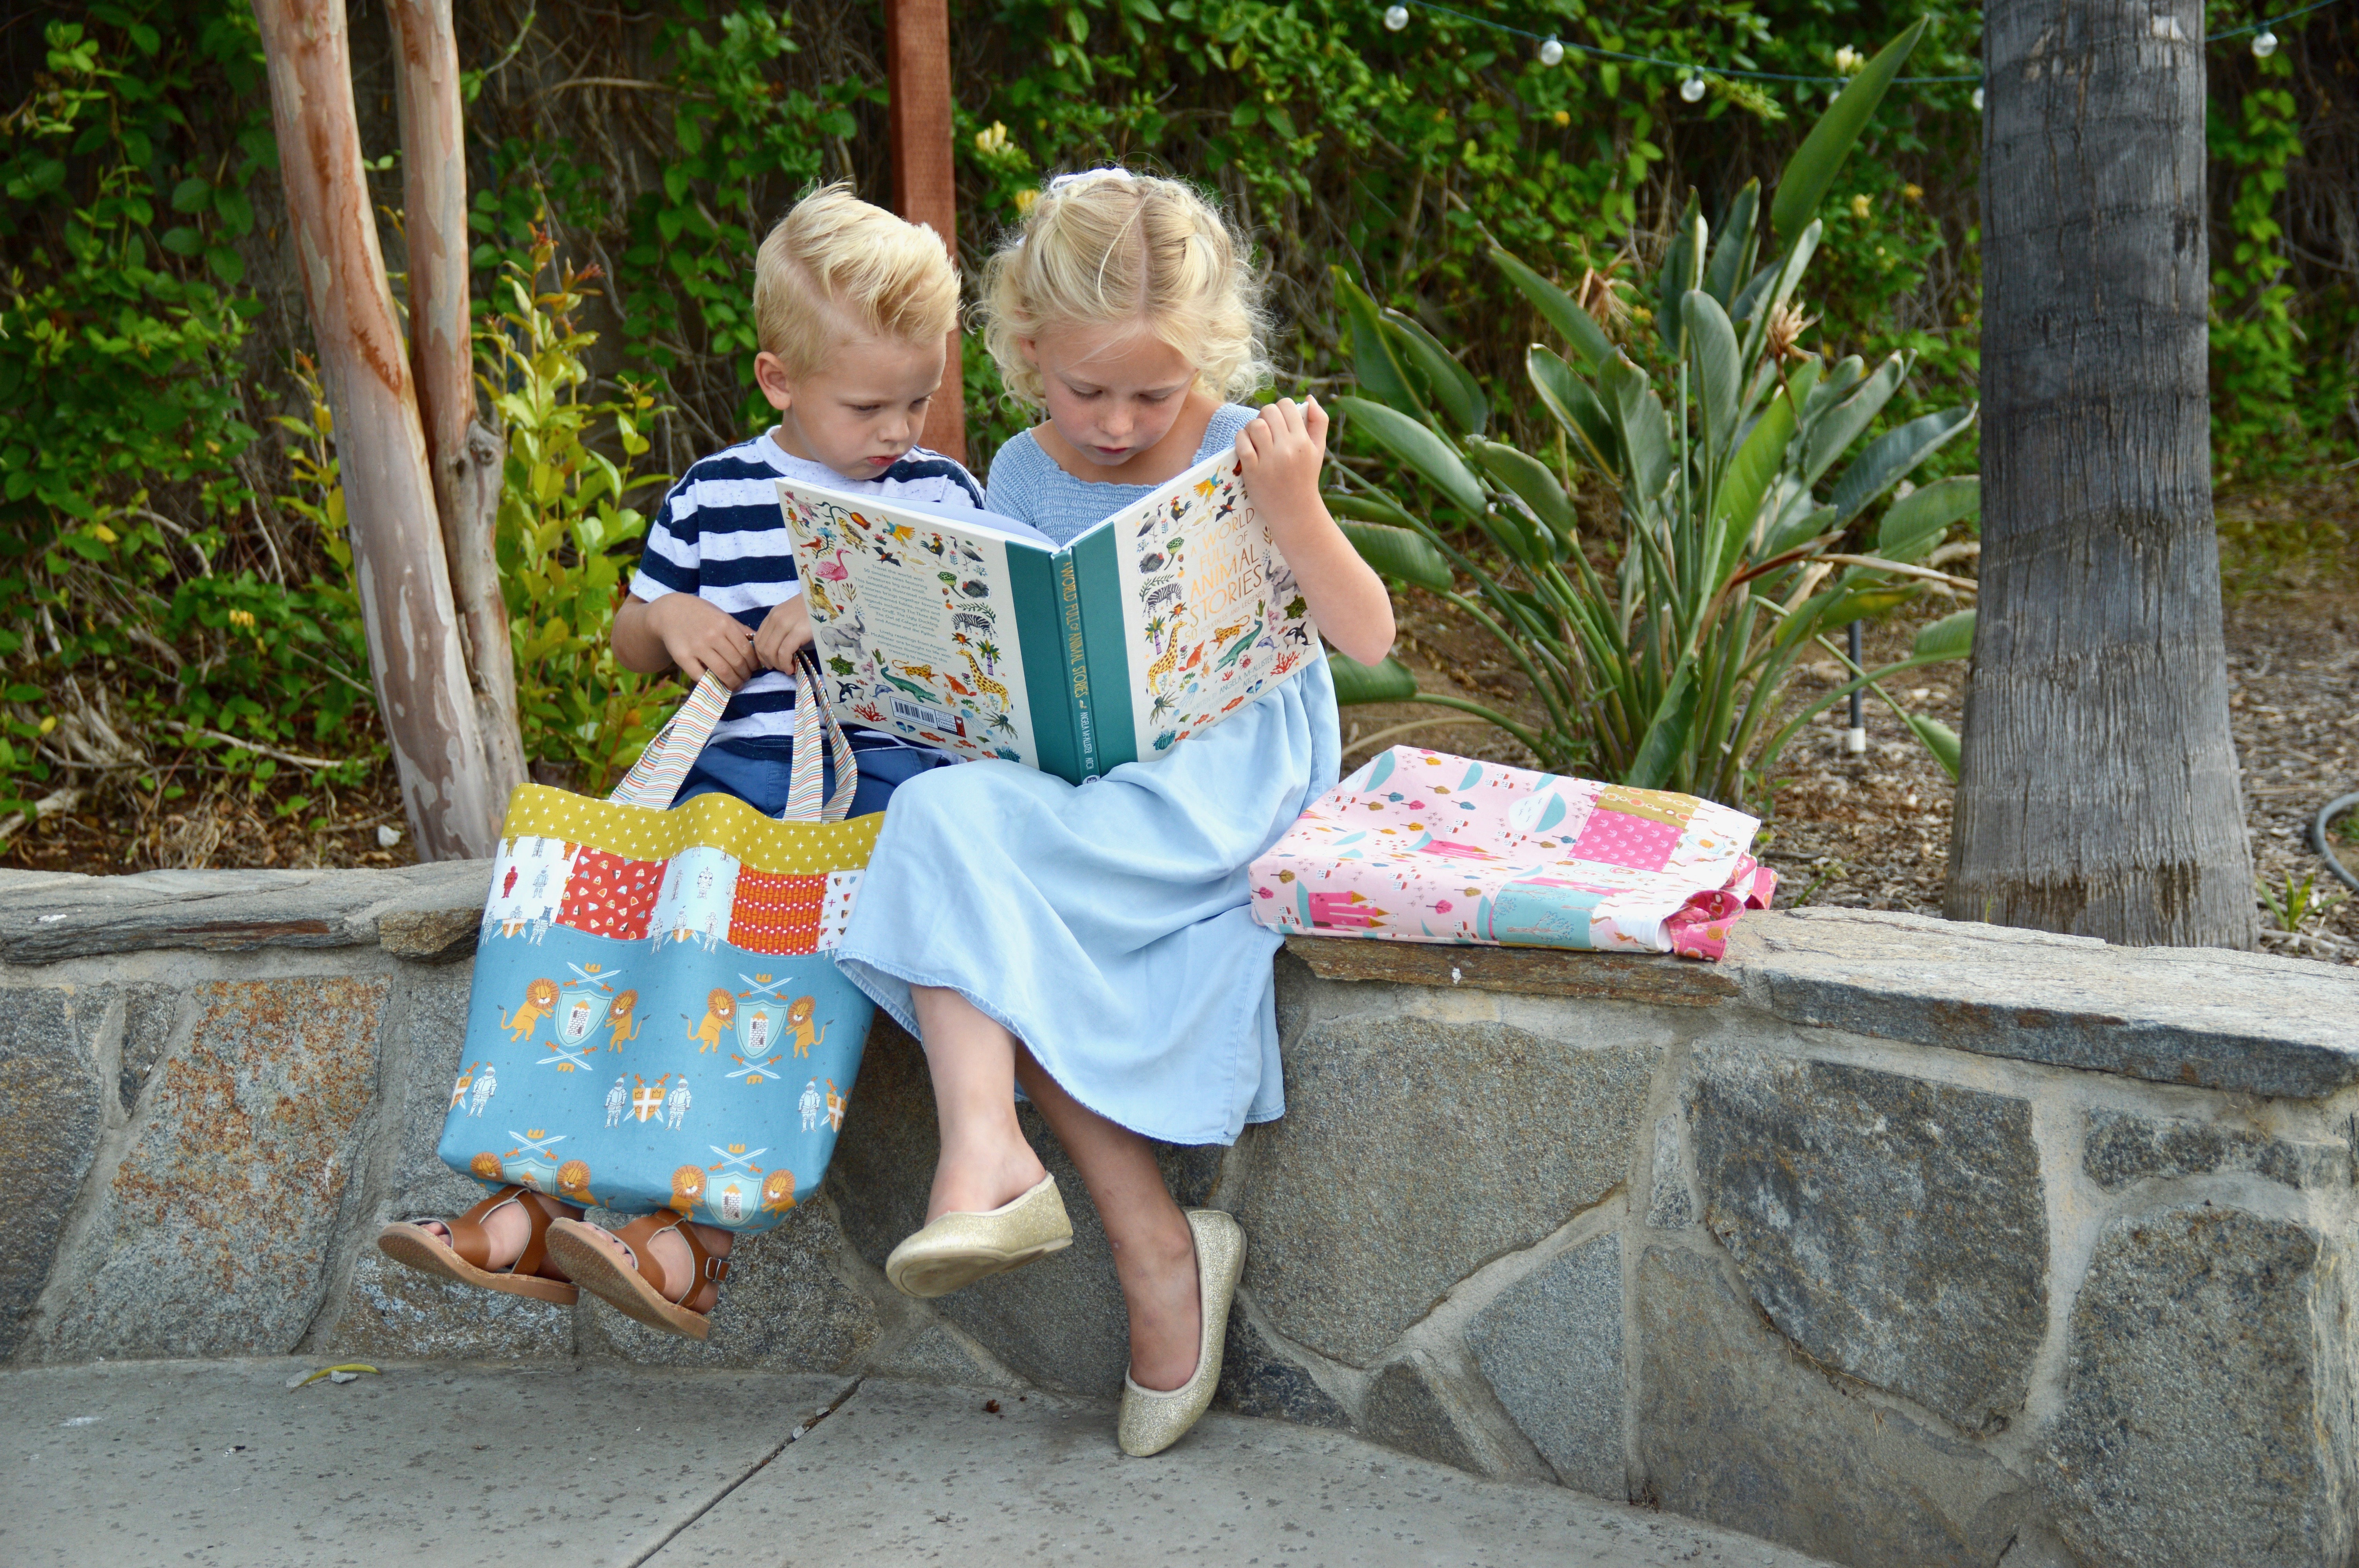
I recently got to spend time with my friend and her darling children!! I made them each a library tote bag using this tutorial and these new fabrics from Riley Blake Designs! I love that there is a Lancelot and a Guinevere fabric line! You can’t go wrong! This tote bag is the perfect size for library books, music books, ballet clothes, a car ride to grandmas, or a trip to the pool! It’s so versatile!!!
These fun little bags take about an hour to sew (that is if you are focused and not watching Netflix!). They make cute little birthday gifts!
OK let’s get started!!
(In the photos I switch back and forth between the Guinevere and the Lancelot, just focus on the measurements and the process)
Fabric Requirements
1/3 yard outer bag main fabric
5 prints for accent piecing – 10 squares 3 1/2″ each
1/8 yard top band fabric
1/4 yard handle fabric
1/2 yard lining fabric
2/3 yard fusible medium weight stabilizer
Cutting Instructions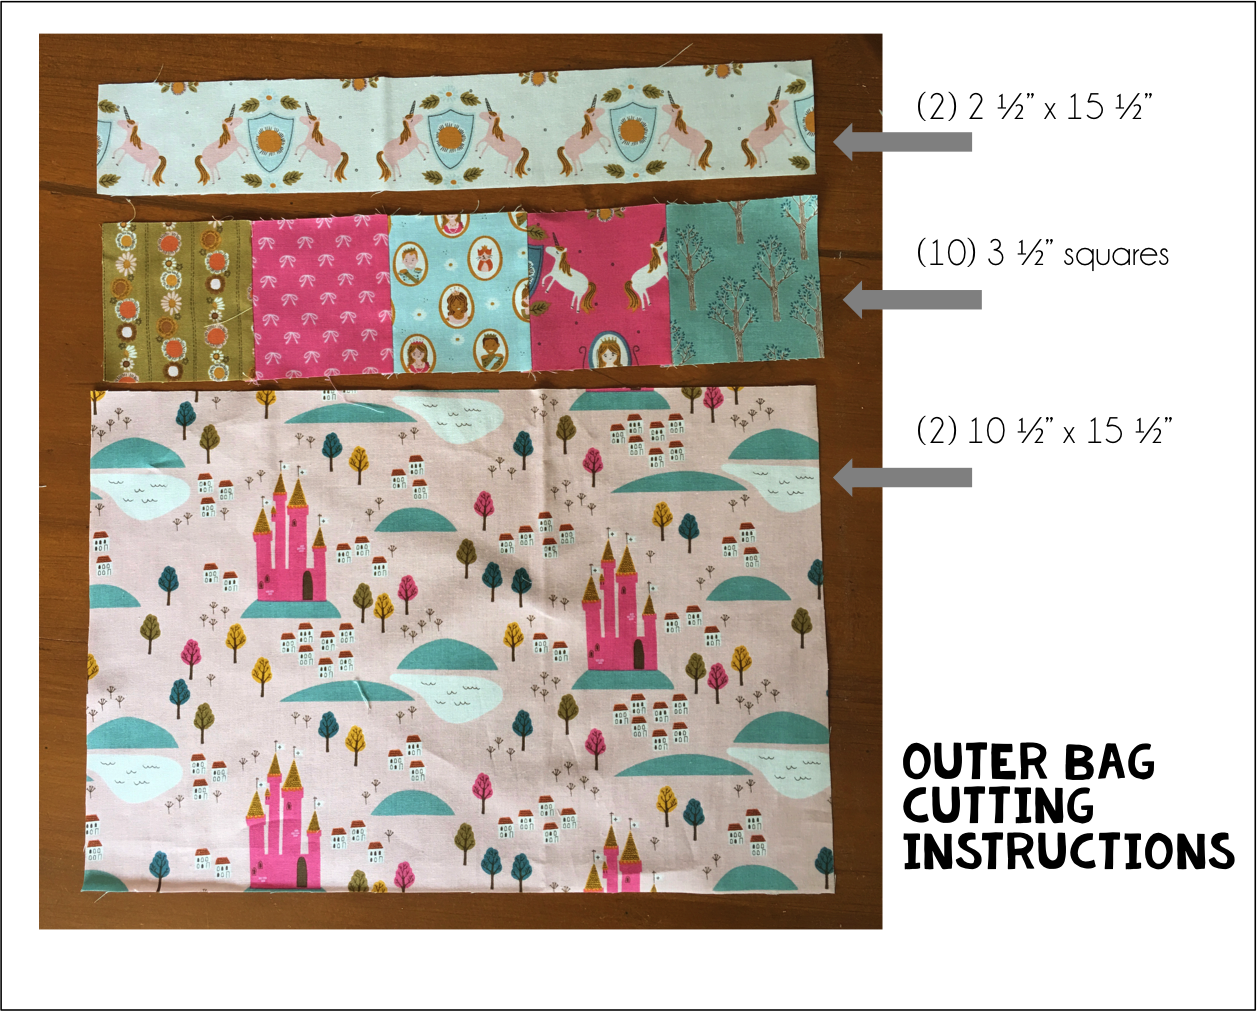
Follow the above instructions for cutting the outer bag pieces.
Cut (1) 5″ x width of fabric strip for handles
Cut (2) 15 1/2″ x 15 1/2″ squares of lining fabric
Cut (2) 15 1/2″ x 15 1/2″ squares of staibilizer
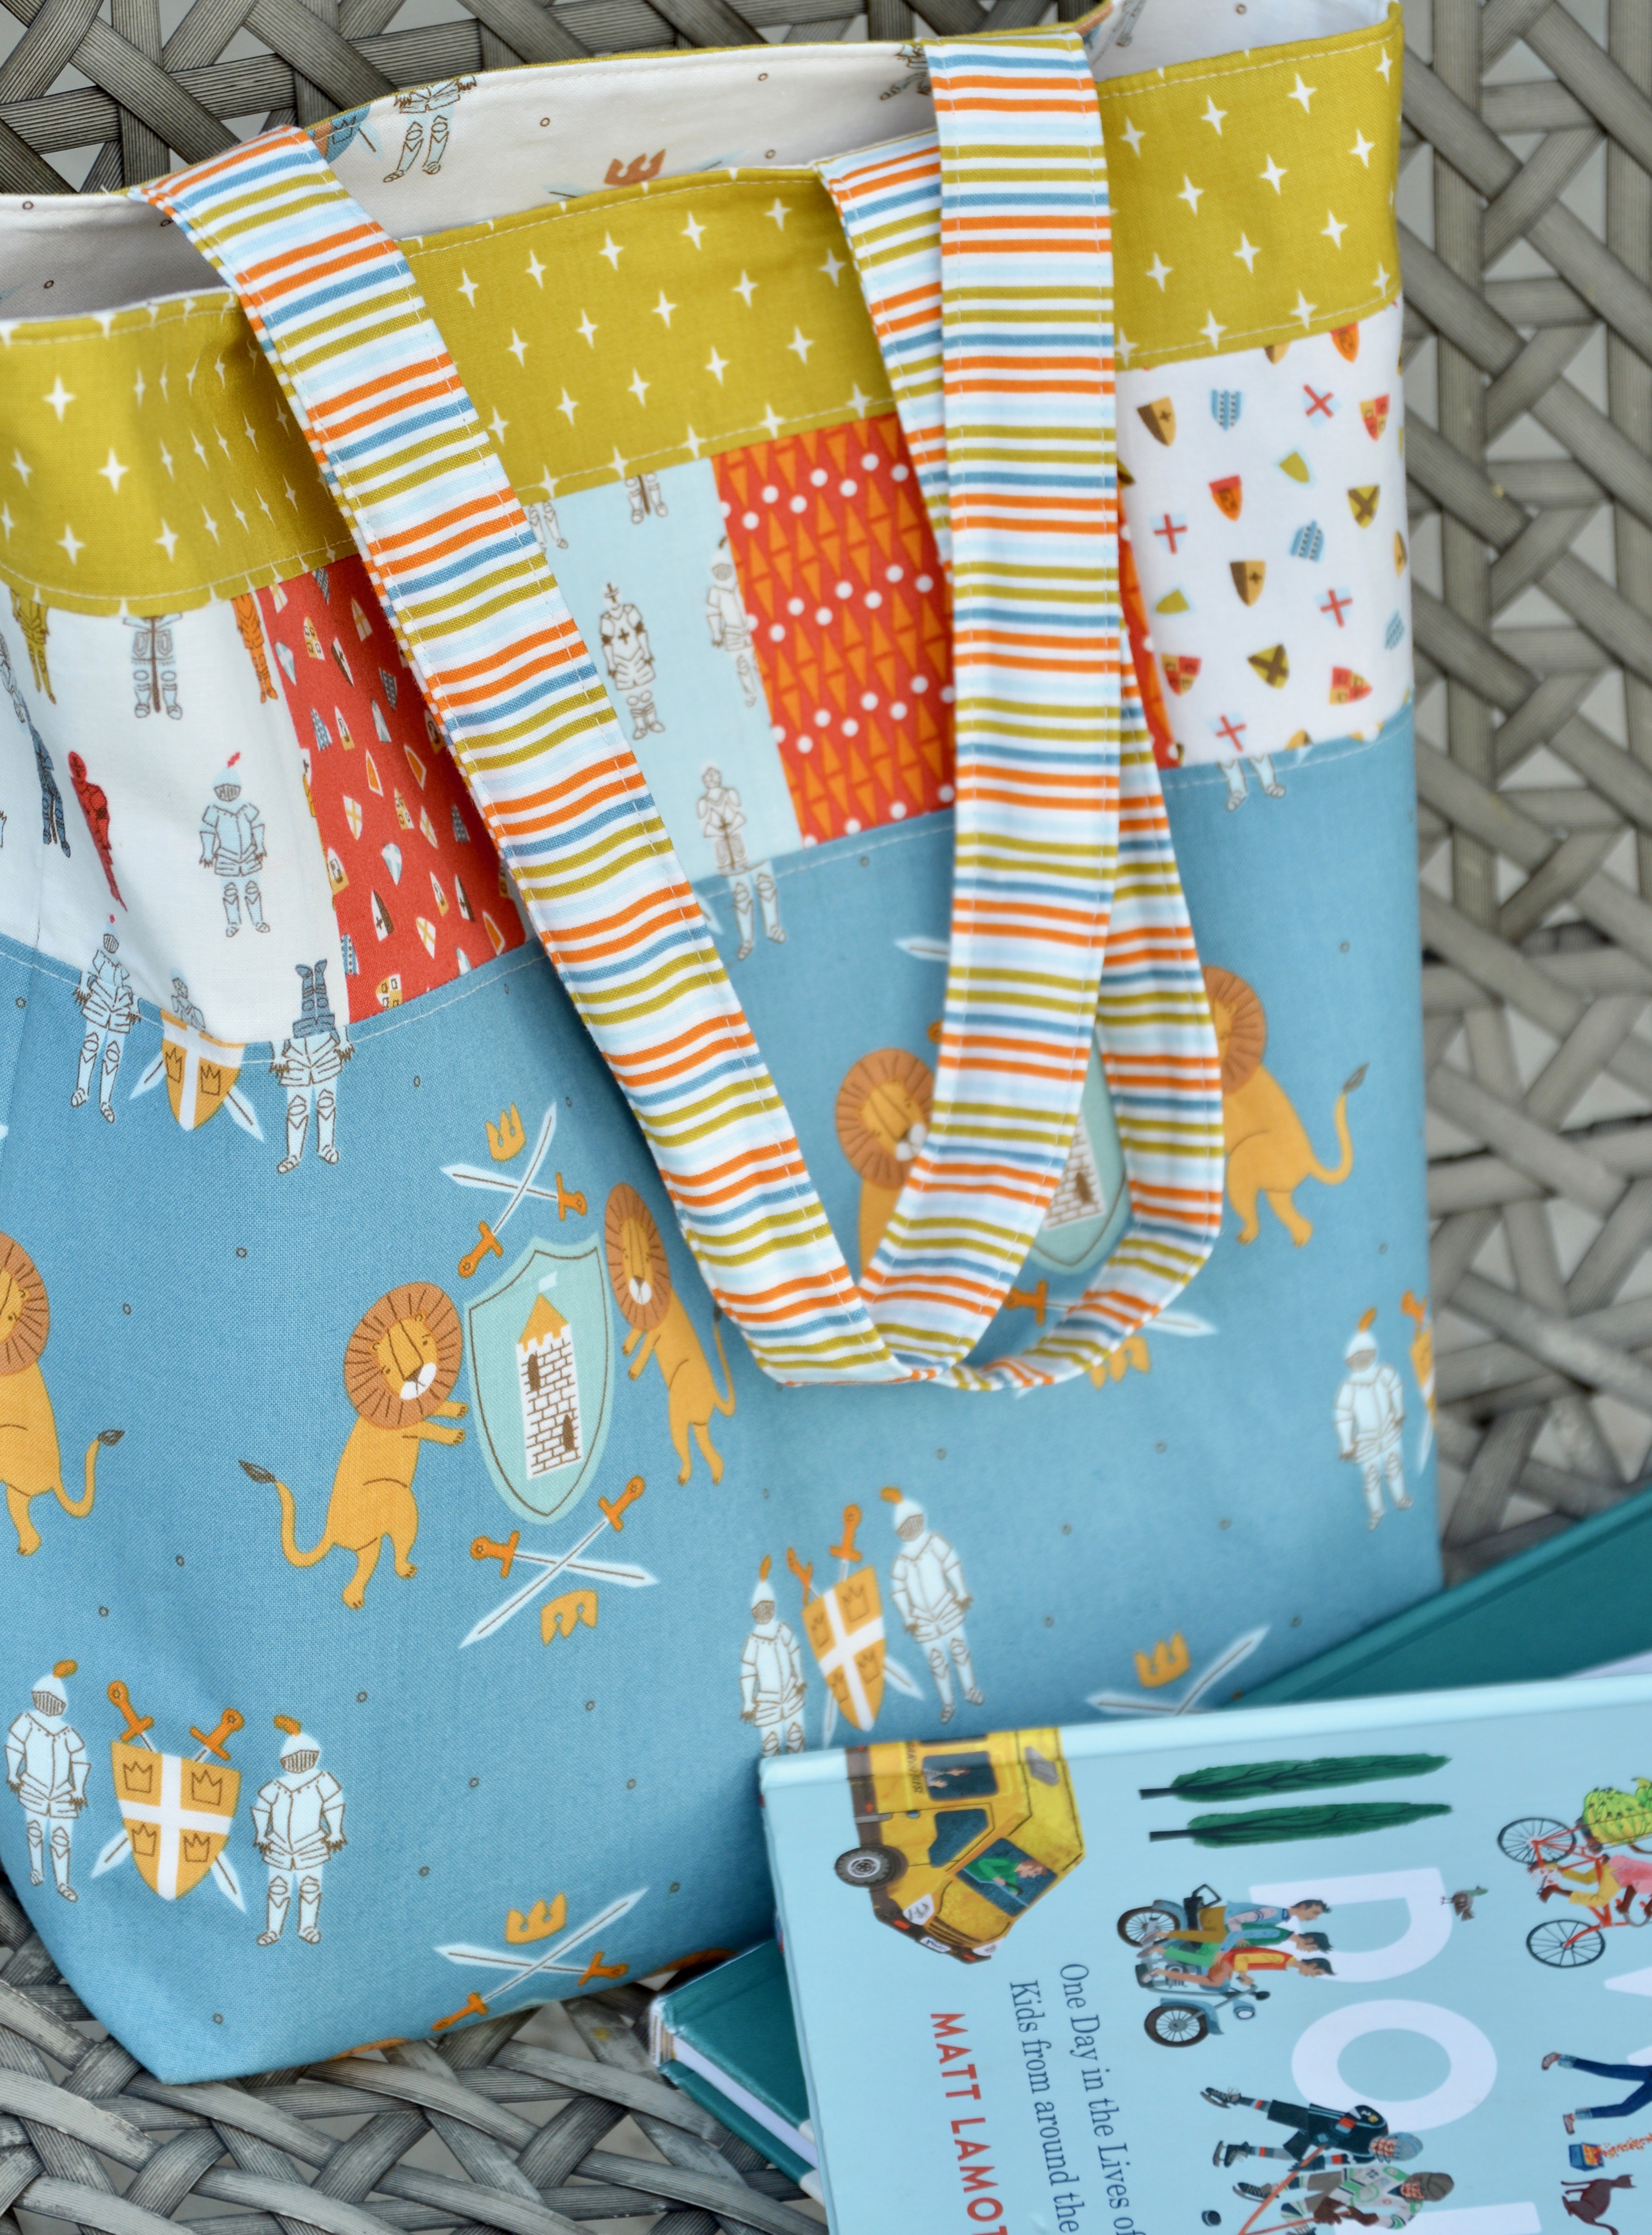
Begin by sewing (5) 3 1/2″ squares together in a horizontal row. Press seams in one direction. Make two of these units.

Sew the 2 1/2″ x 15 1/2″ rectangle to the top of the square strip.
Sew the 10 1/2″ x 15 1/2″ bottom piece to the bottom of the square strip. Press away from the square unit.
Repeat this step so you have two identical units for the front and the back of the bag.
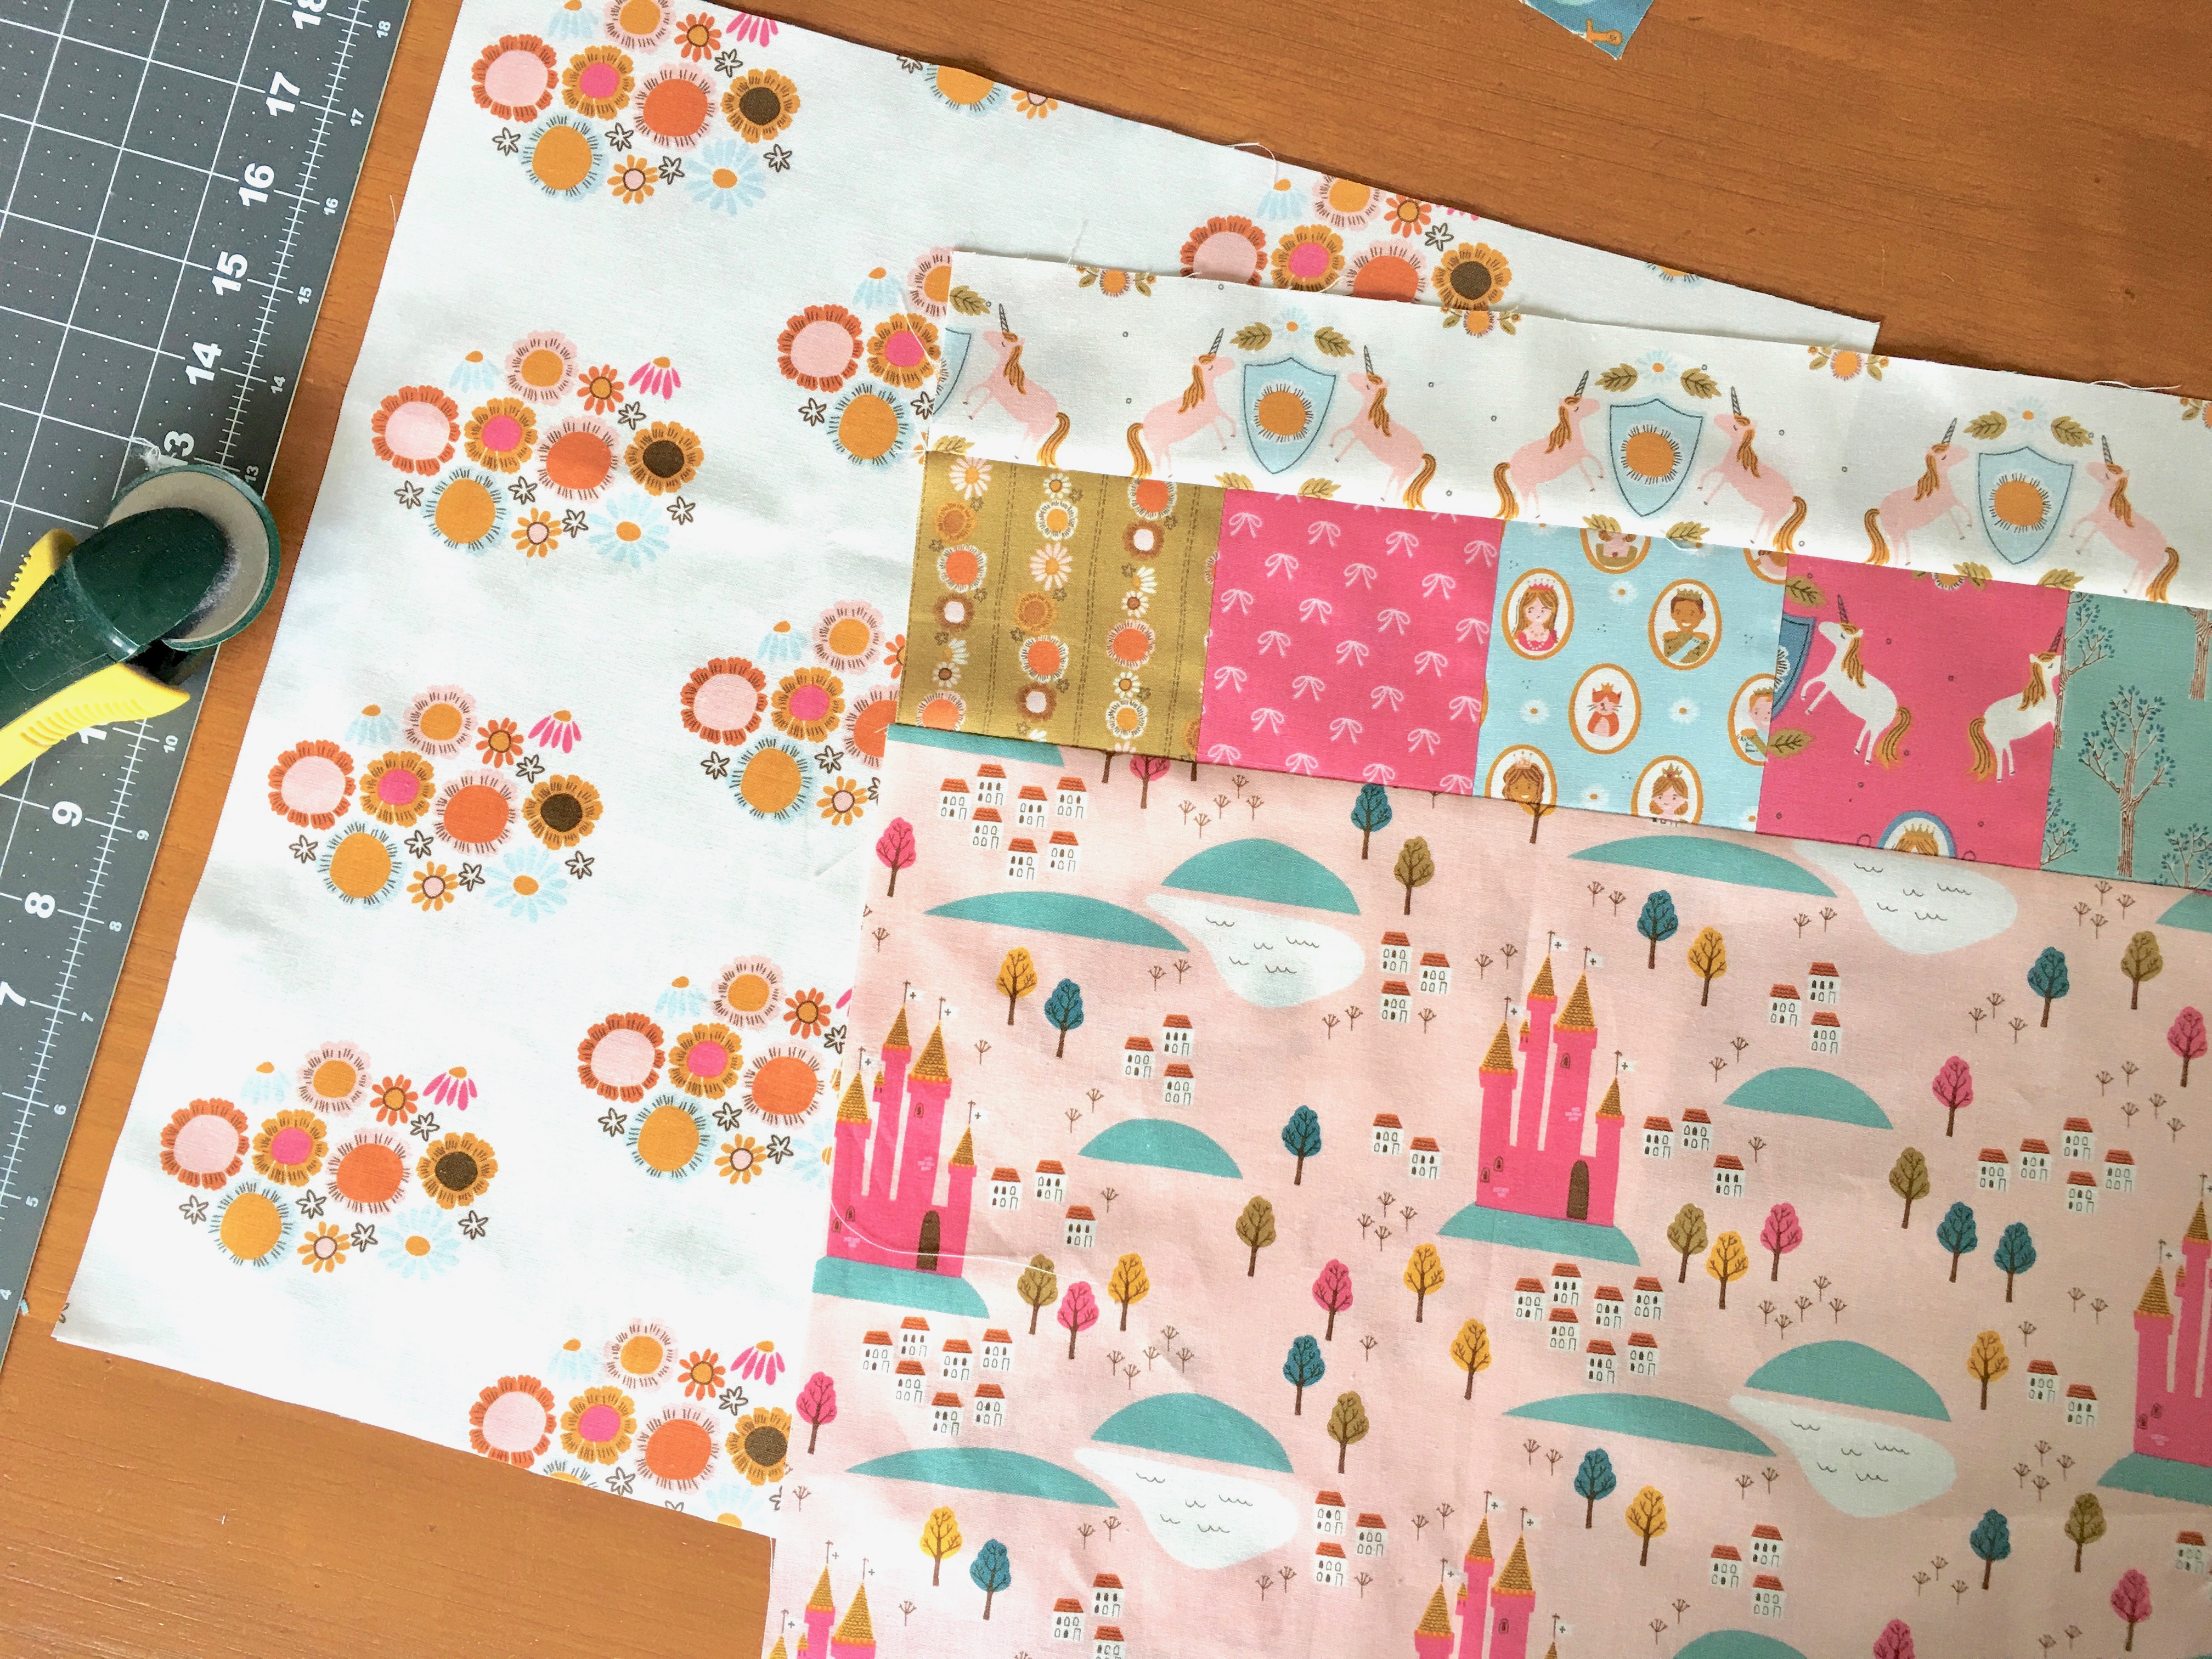
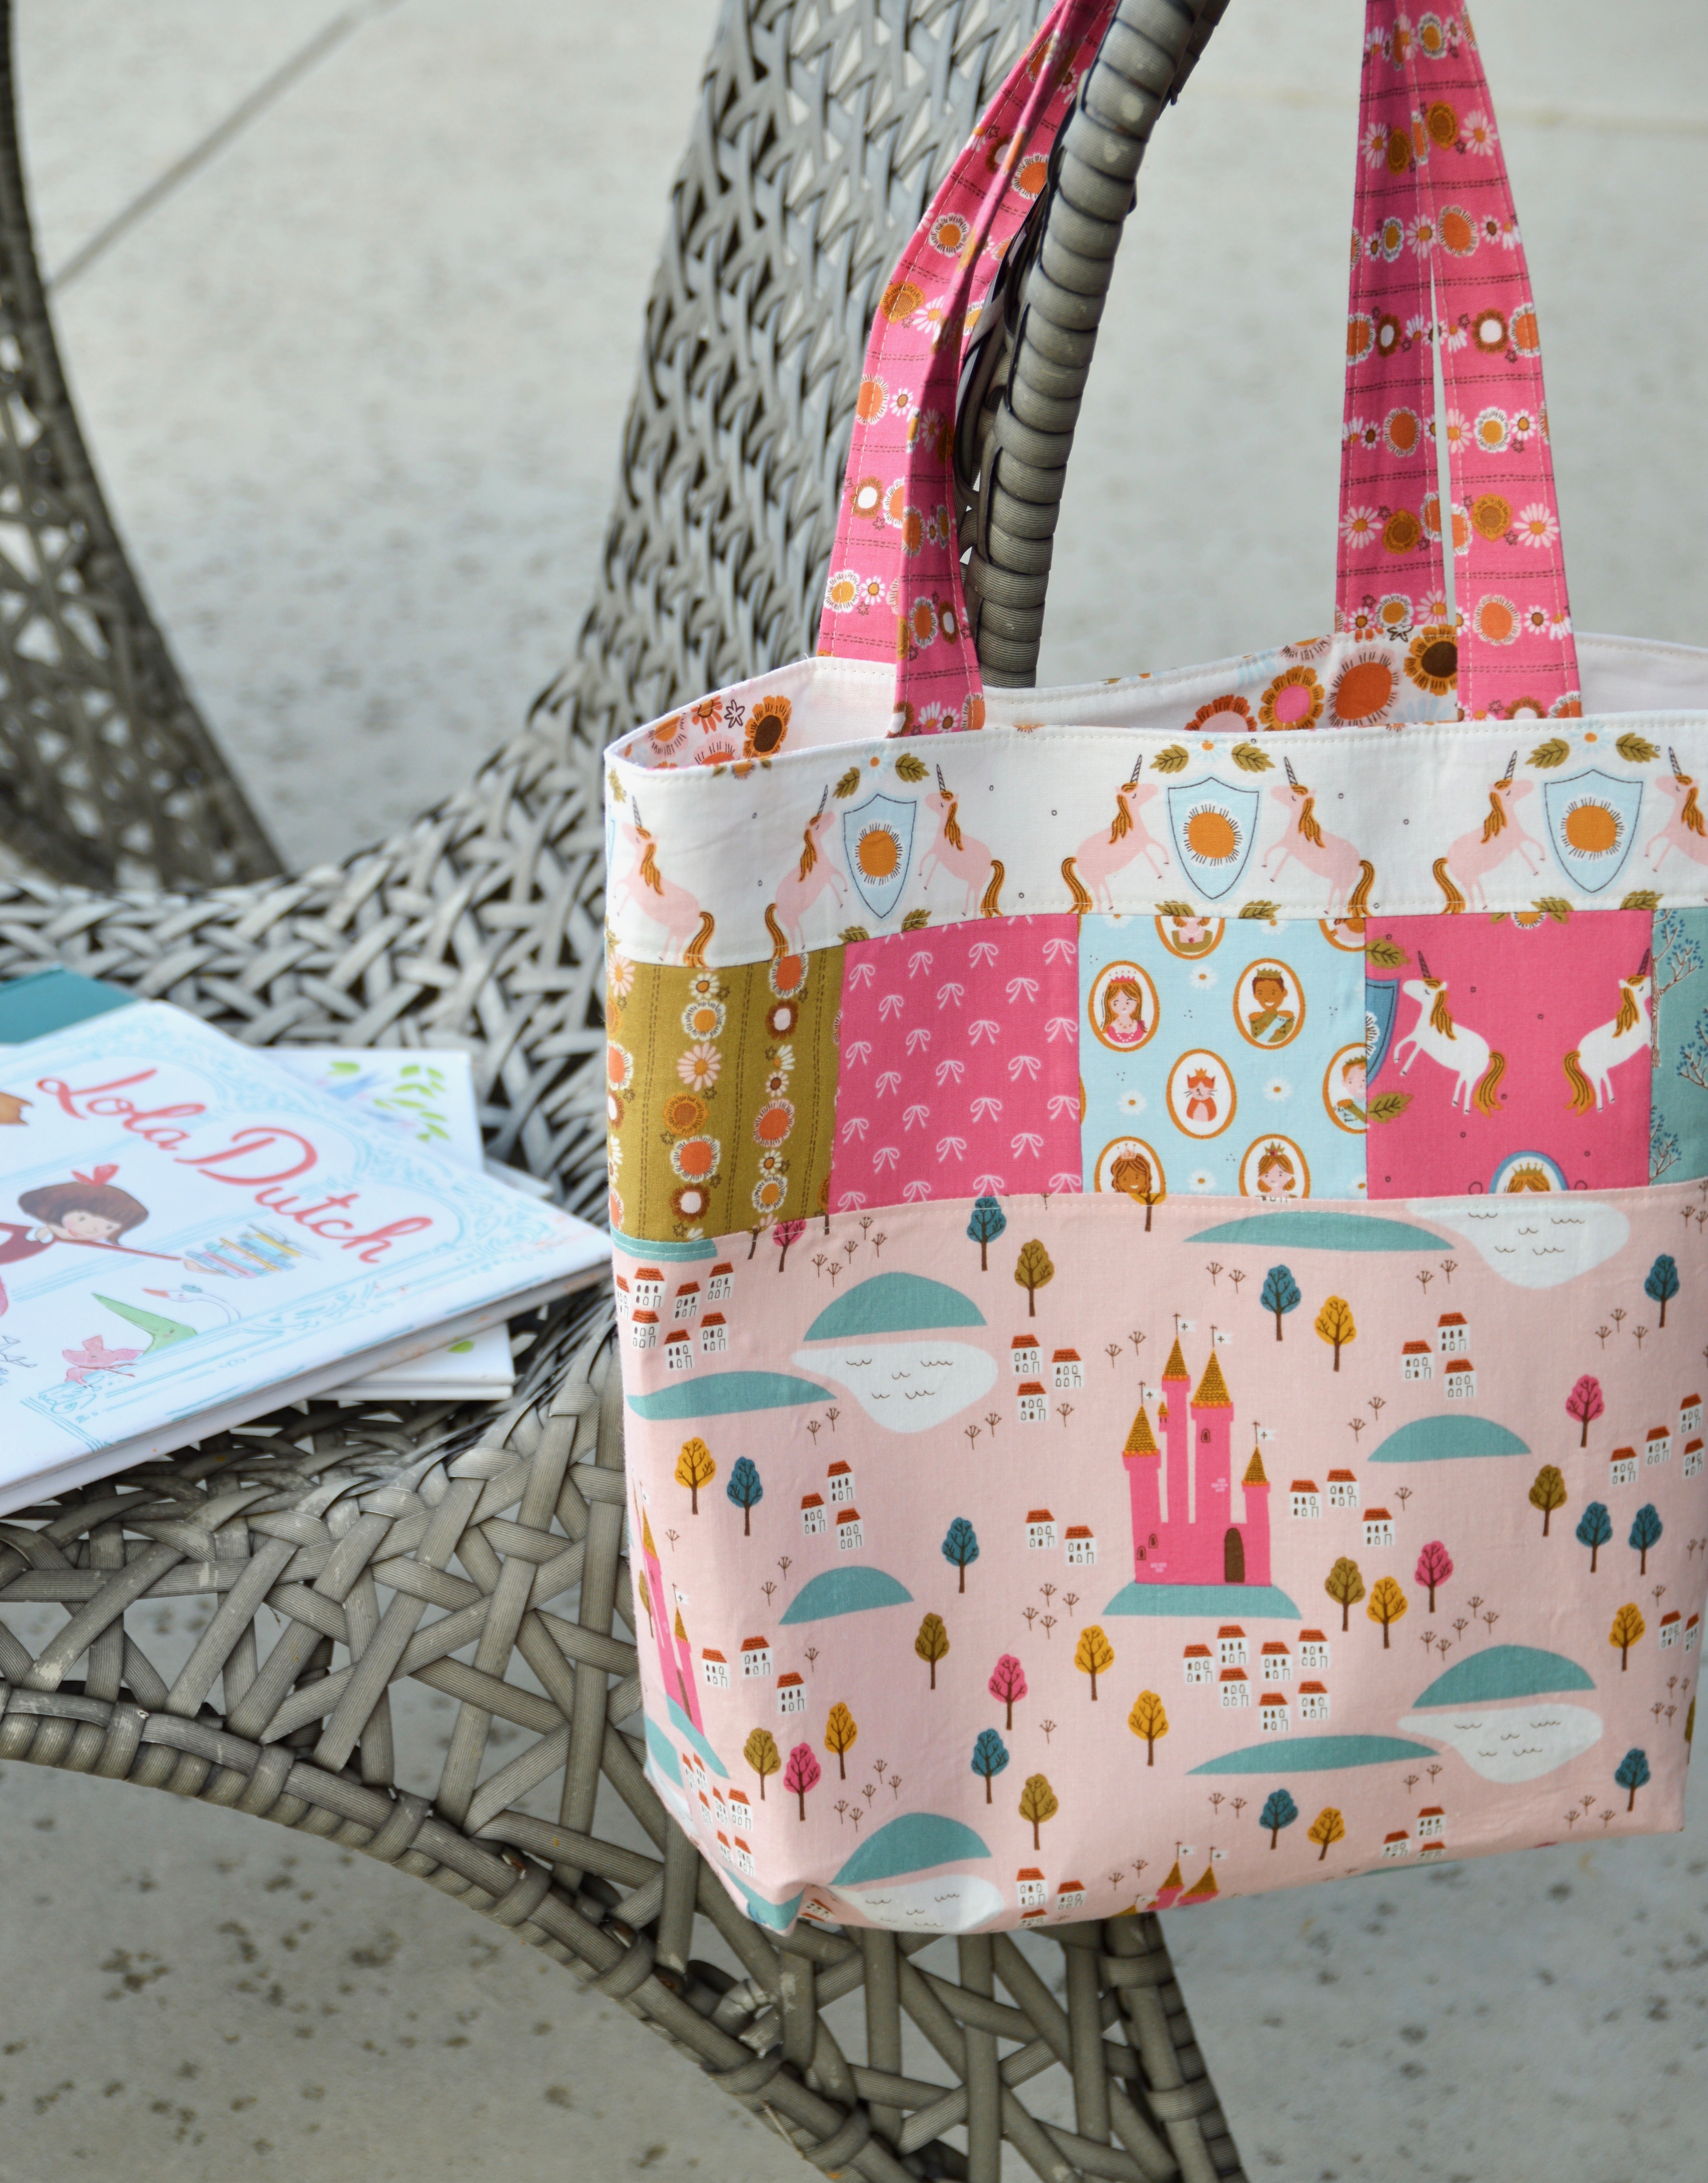
These are the lining fabrics I choose! So cute!!!
Fuse the stabilizer to the wrong side of the two outer bag pieces.
Add a little top stitching accent along the square strip.
For the handles, press the 5″ strip in half lengthwise. Open and press the edges in to meet the center crease. Press.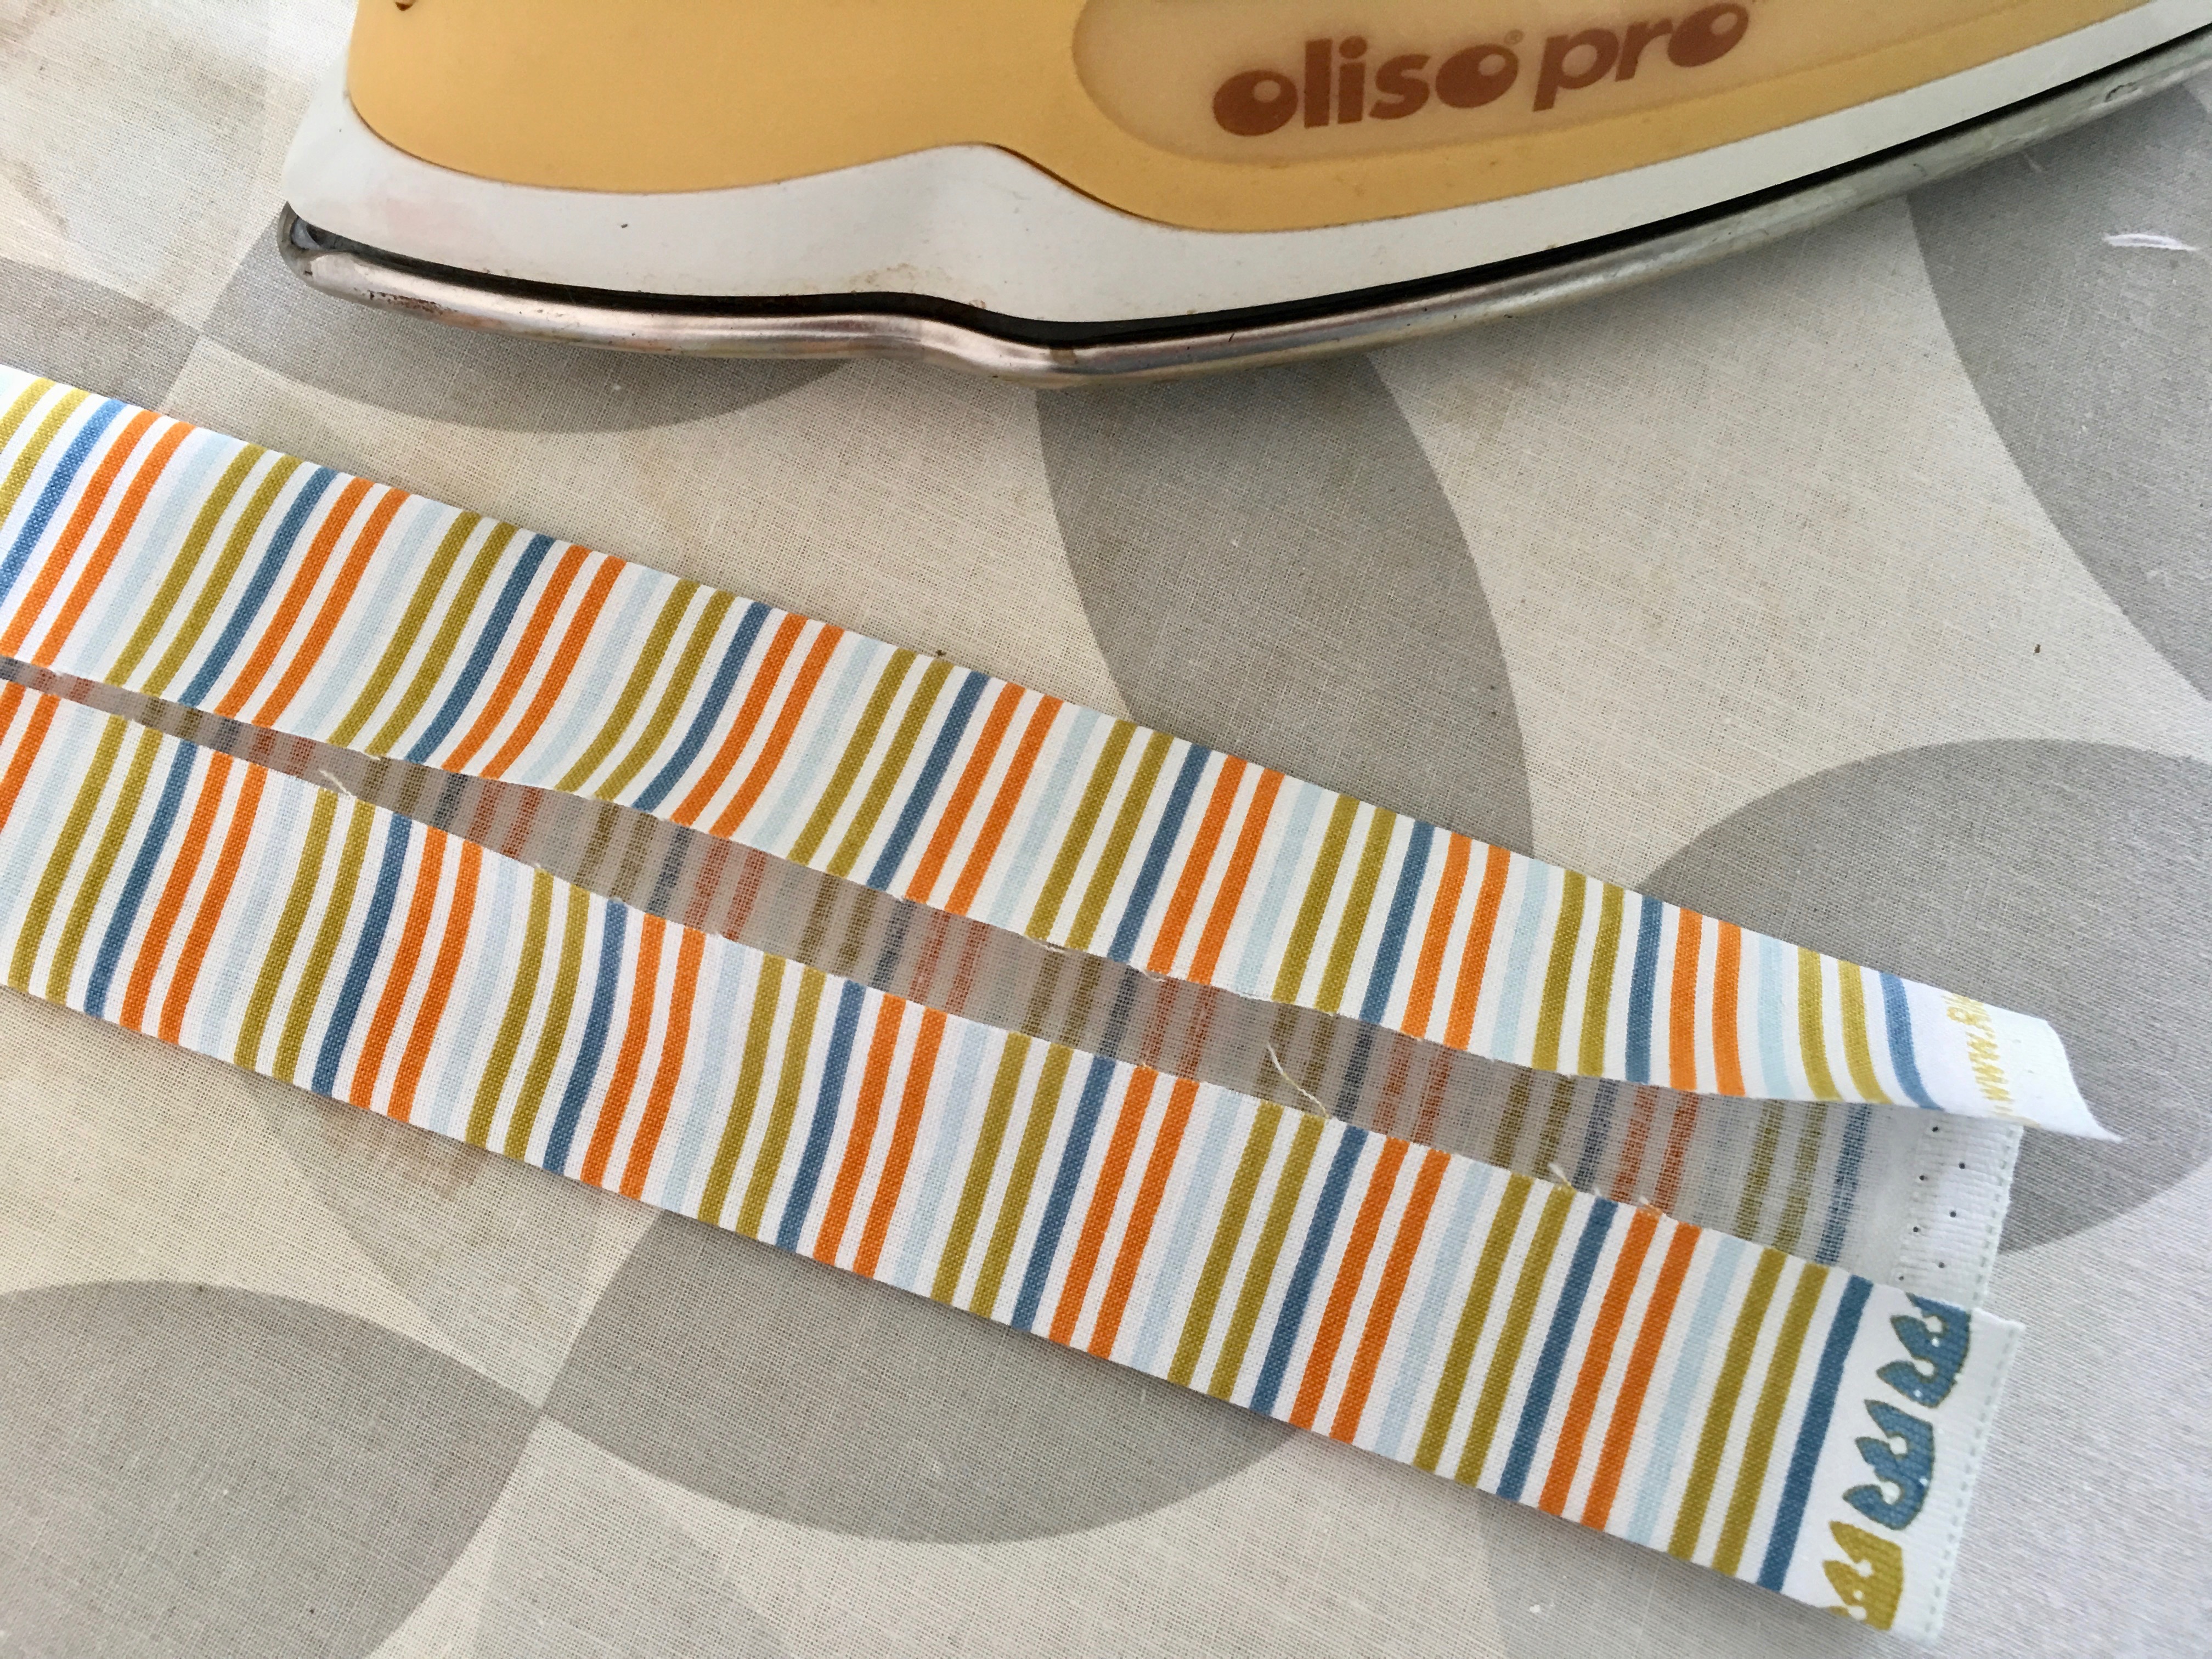
I fused a 1″ piece of stabilizer inside the handle along the entire length. This is totally optional.
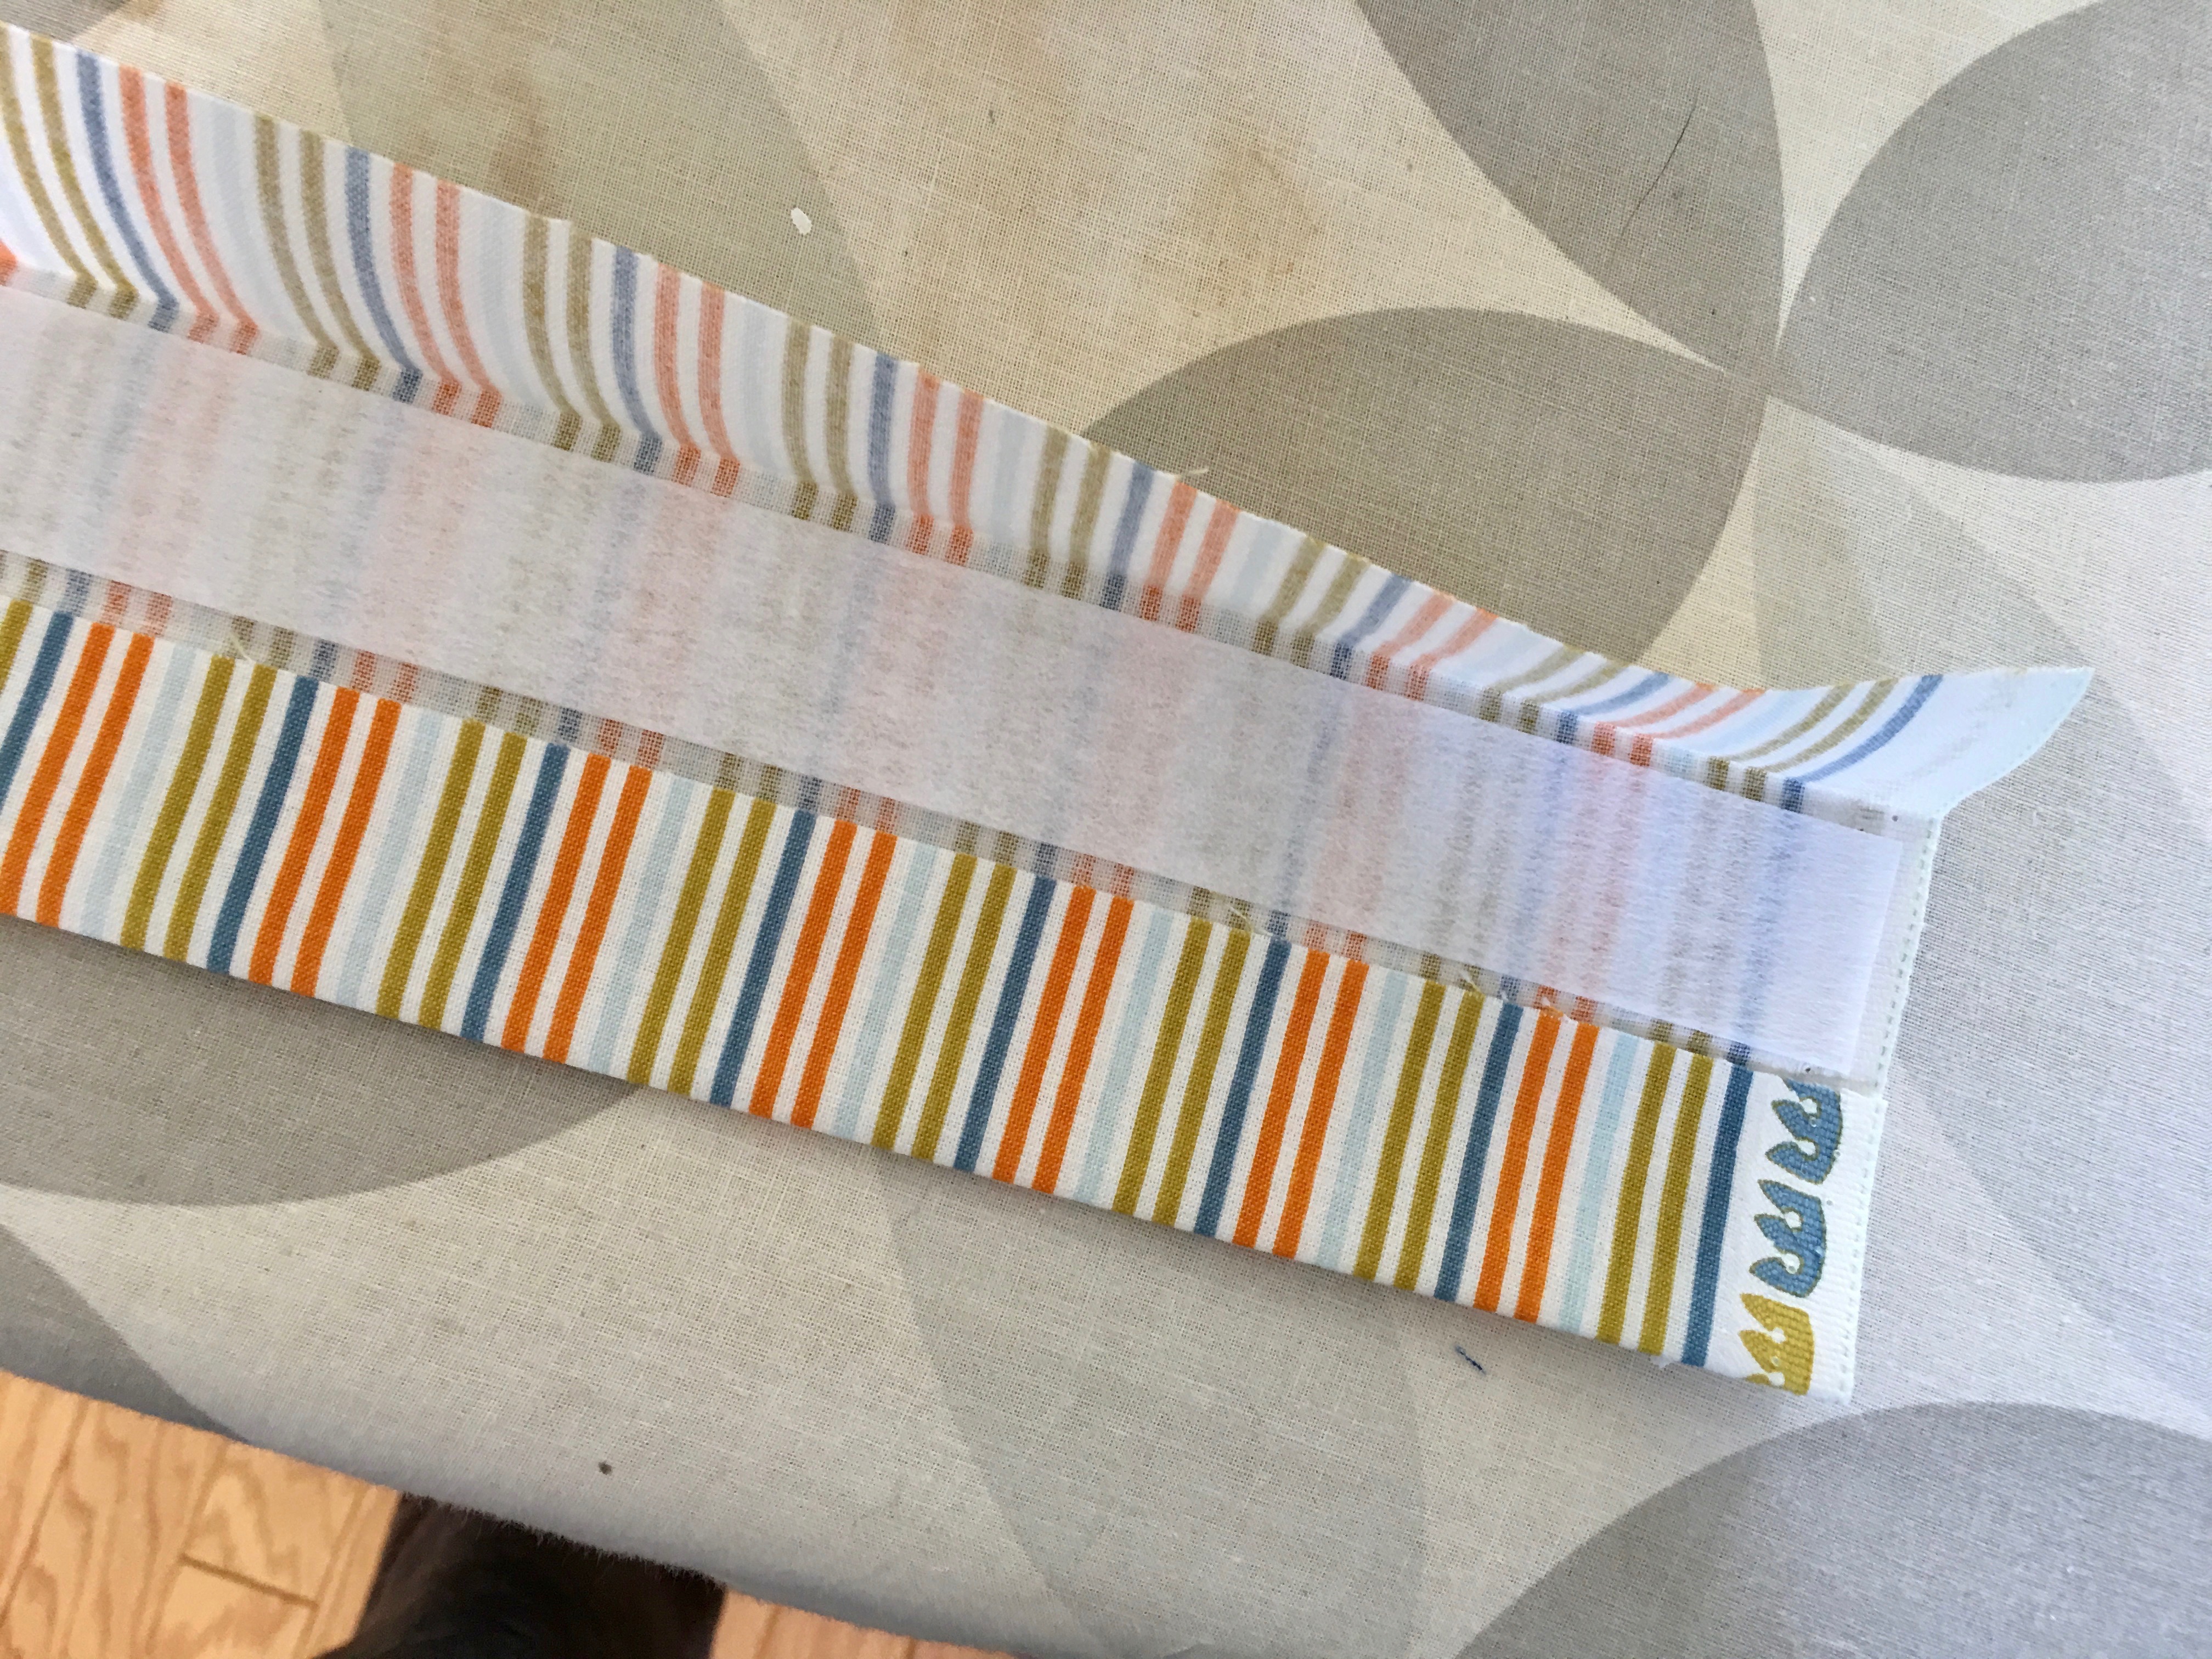
Fold the handle in half again (now it is folded in 4ths) and press. Top stitch 1/8″ along both sides of the handle. I like to use my walking foot so nothing shifts.
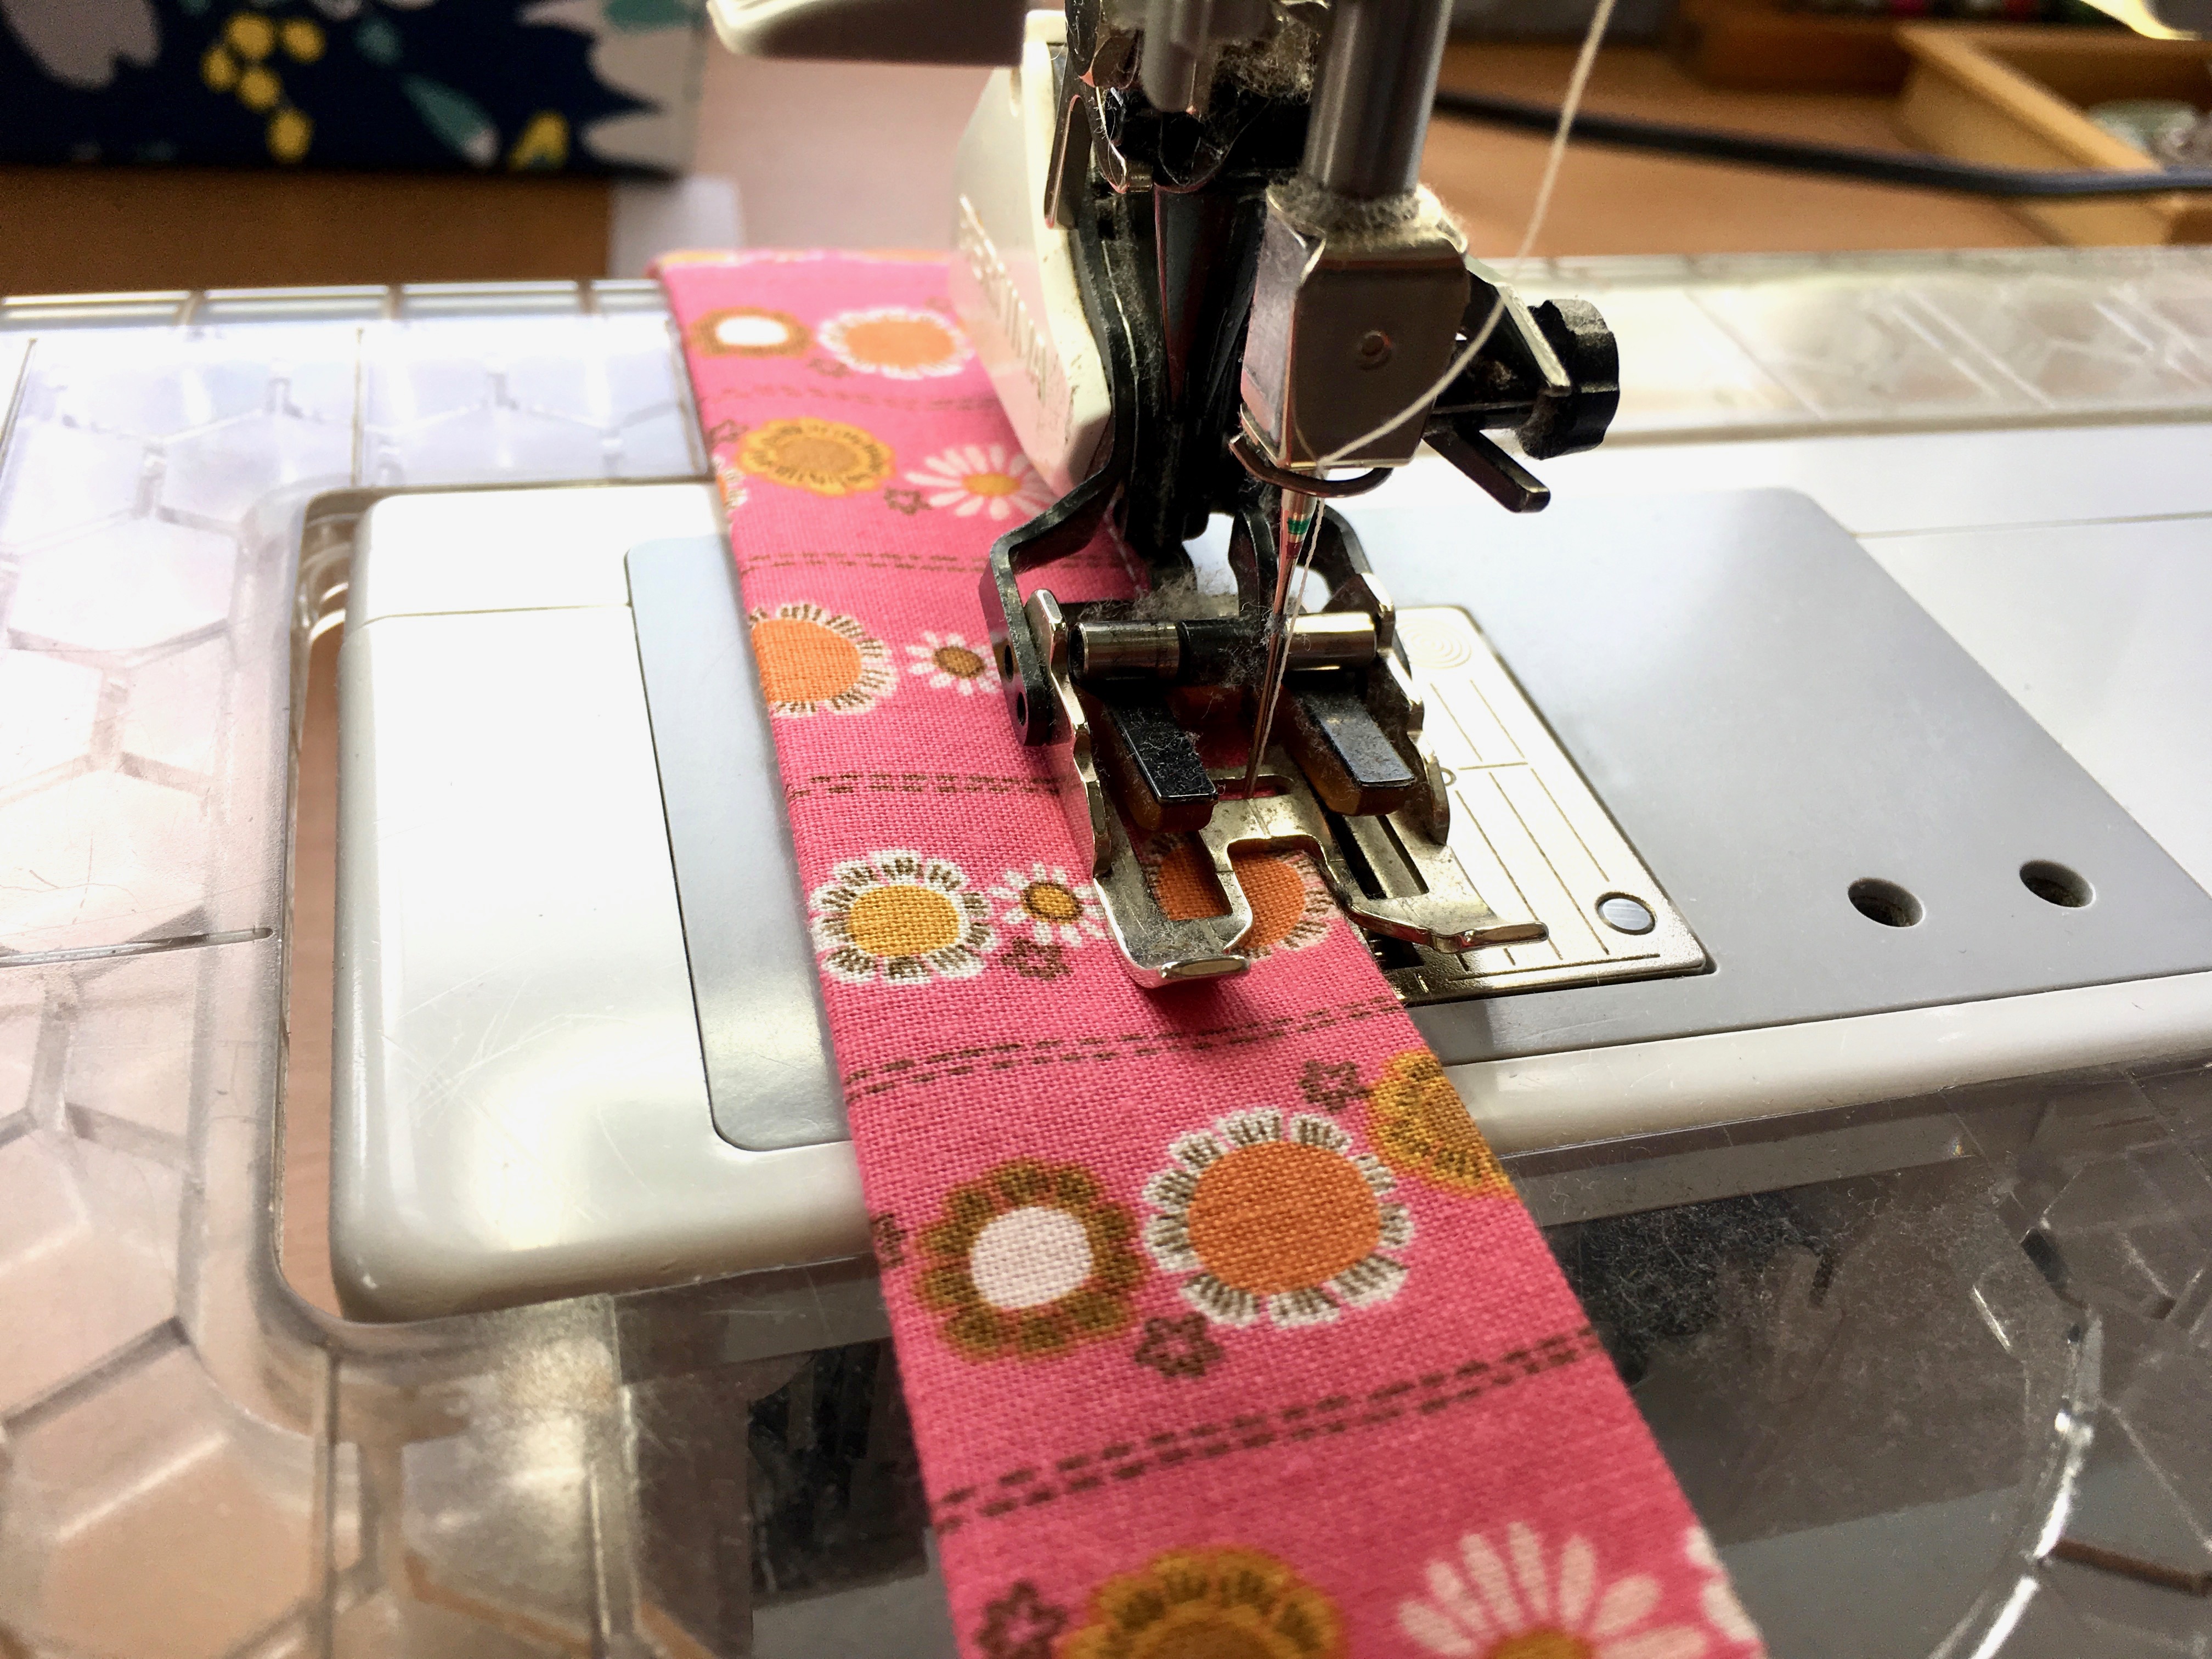
I love top stitching! Cut the long handle strip exactly in half so you now have two handles!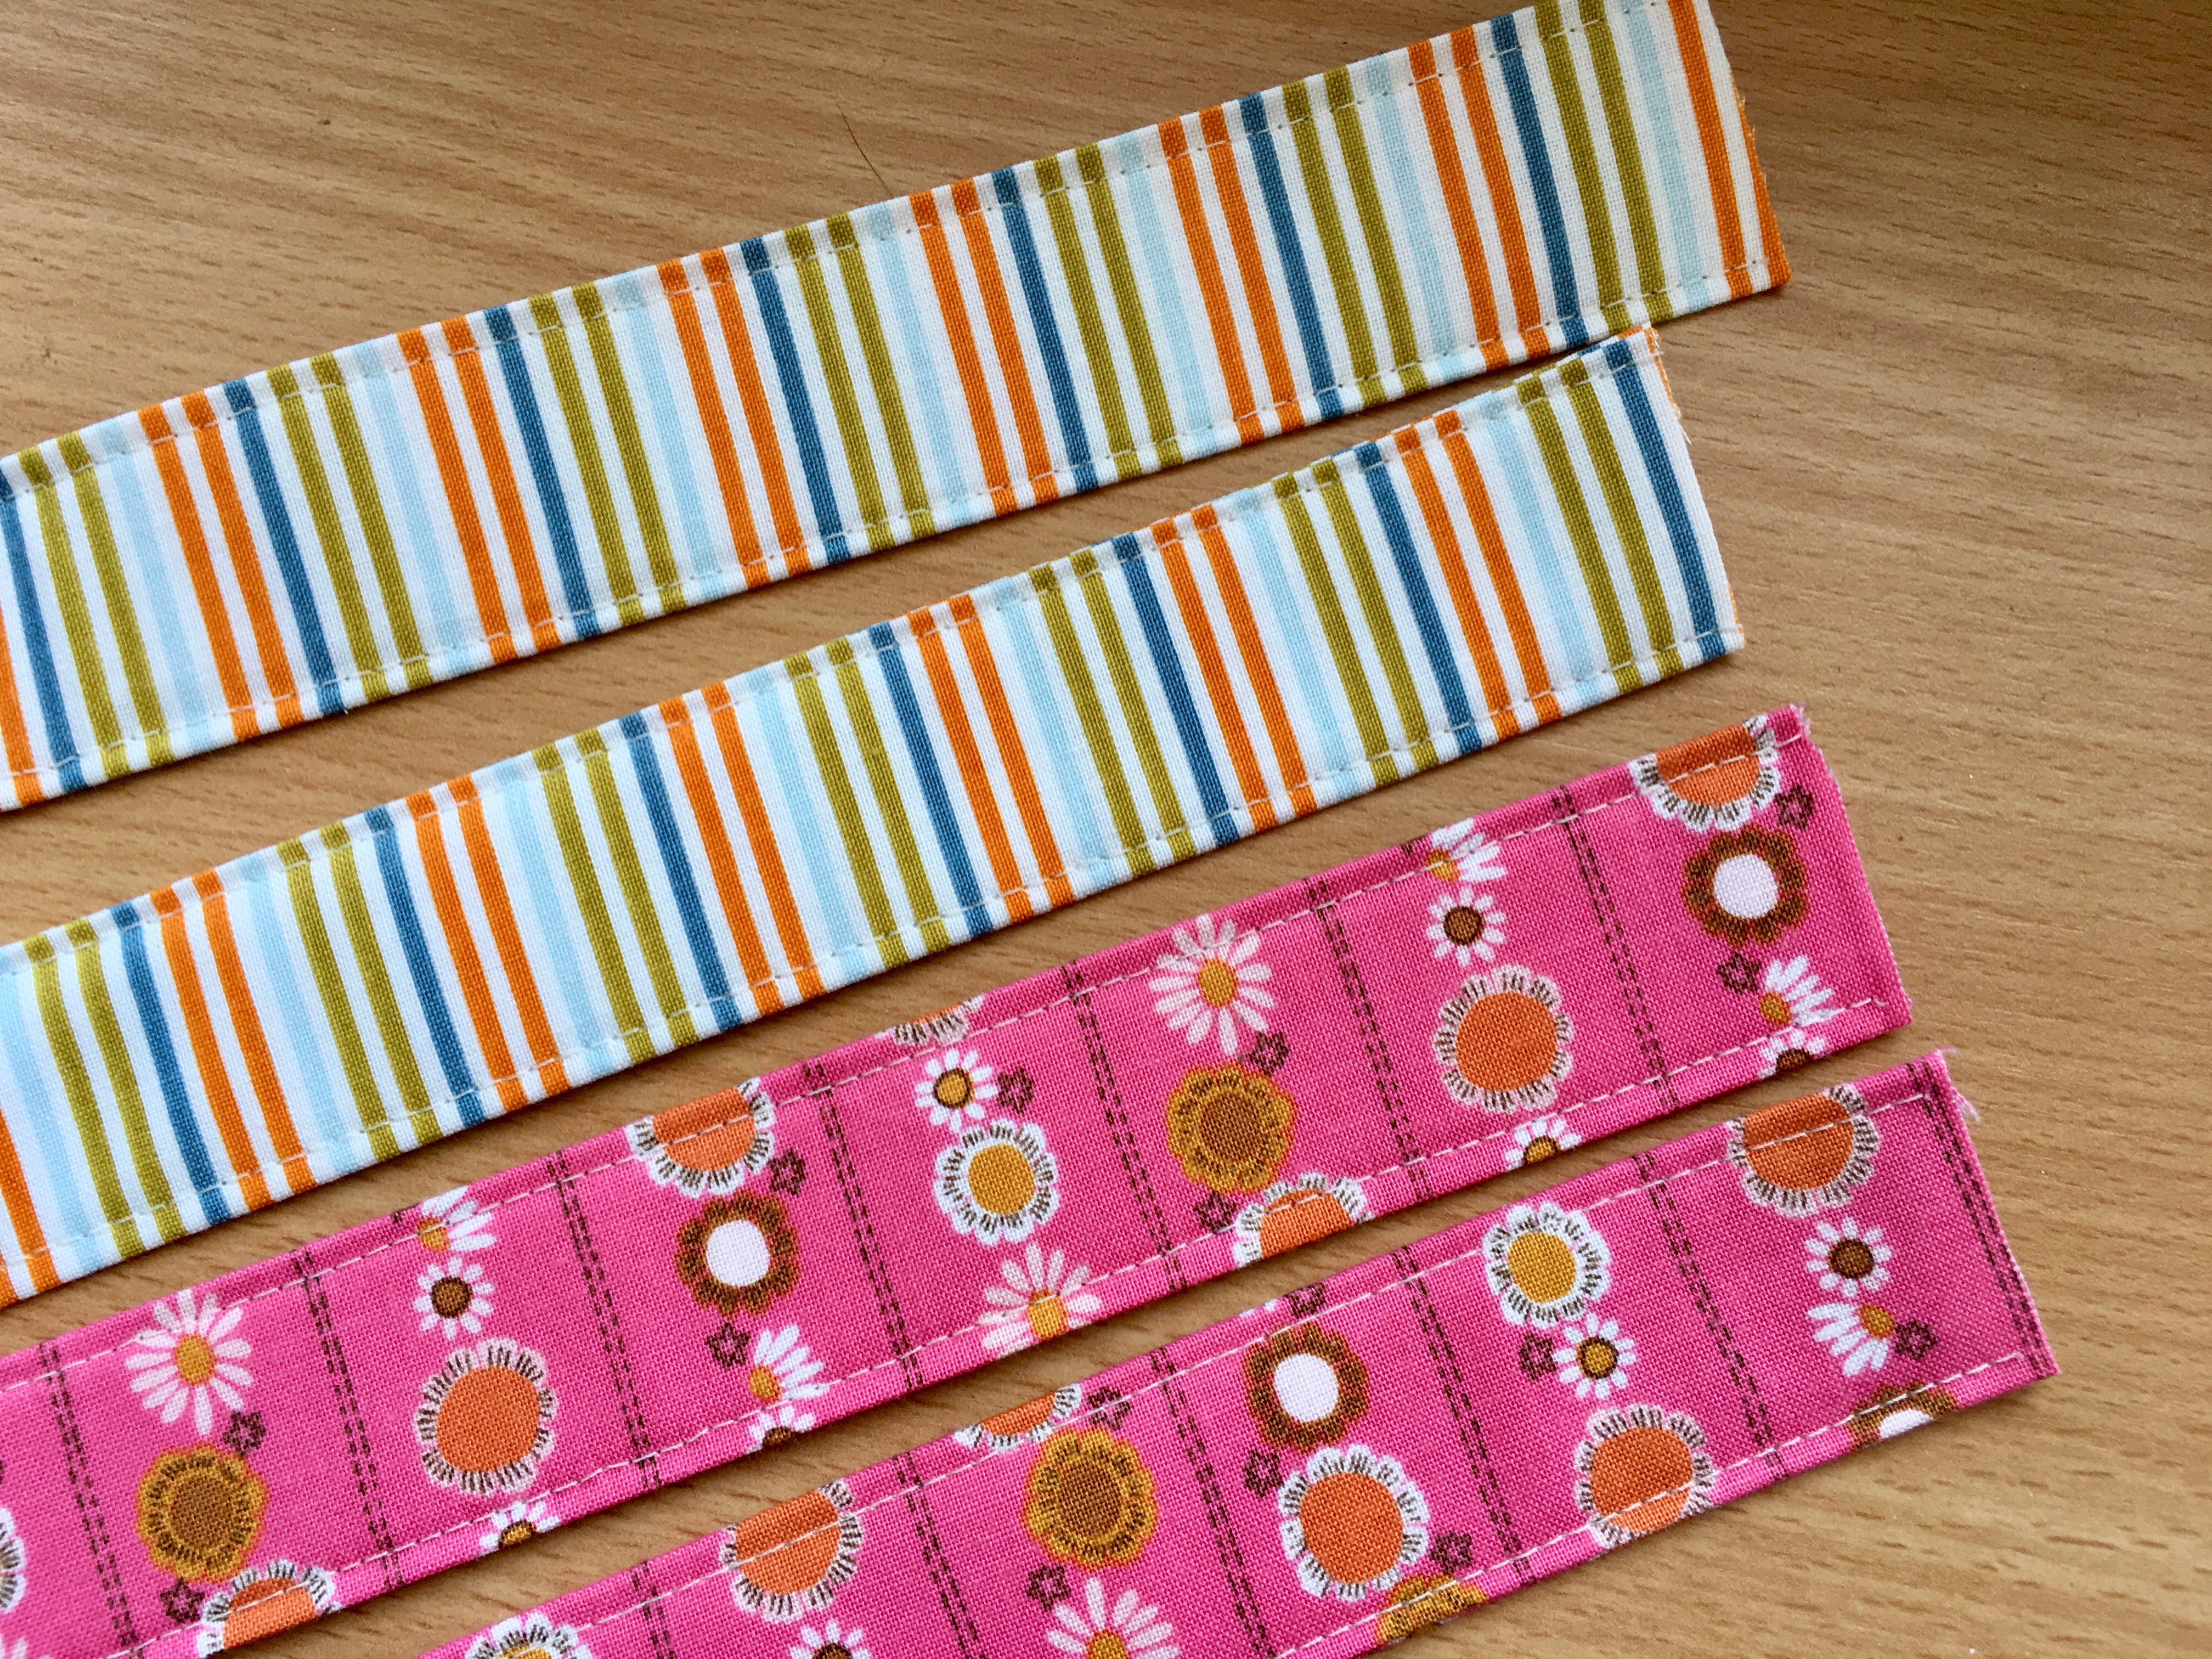
Pin the handles to each outer bag piece. Measure in 4″ from the edge and pin in place. Notice I overlap the edge of the handles about 1/4″. This is to ensure that they fully get caught in the seam. Baste the handles 1/8″ away from the top of the bag.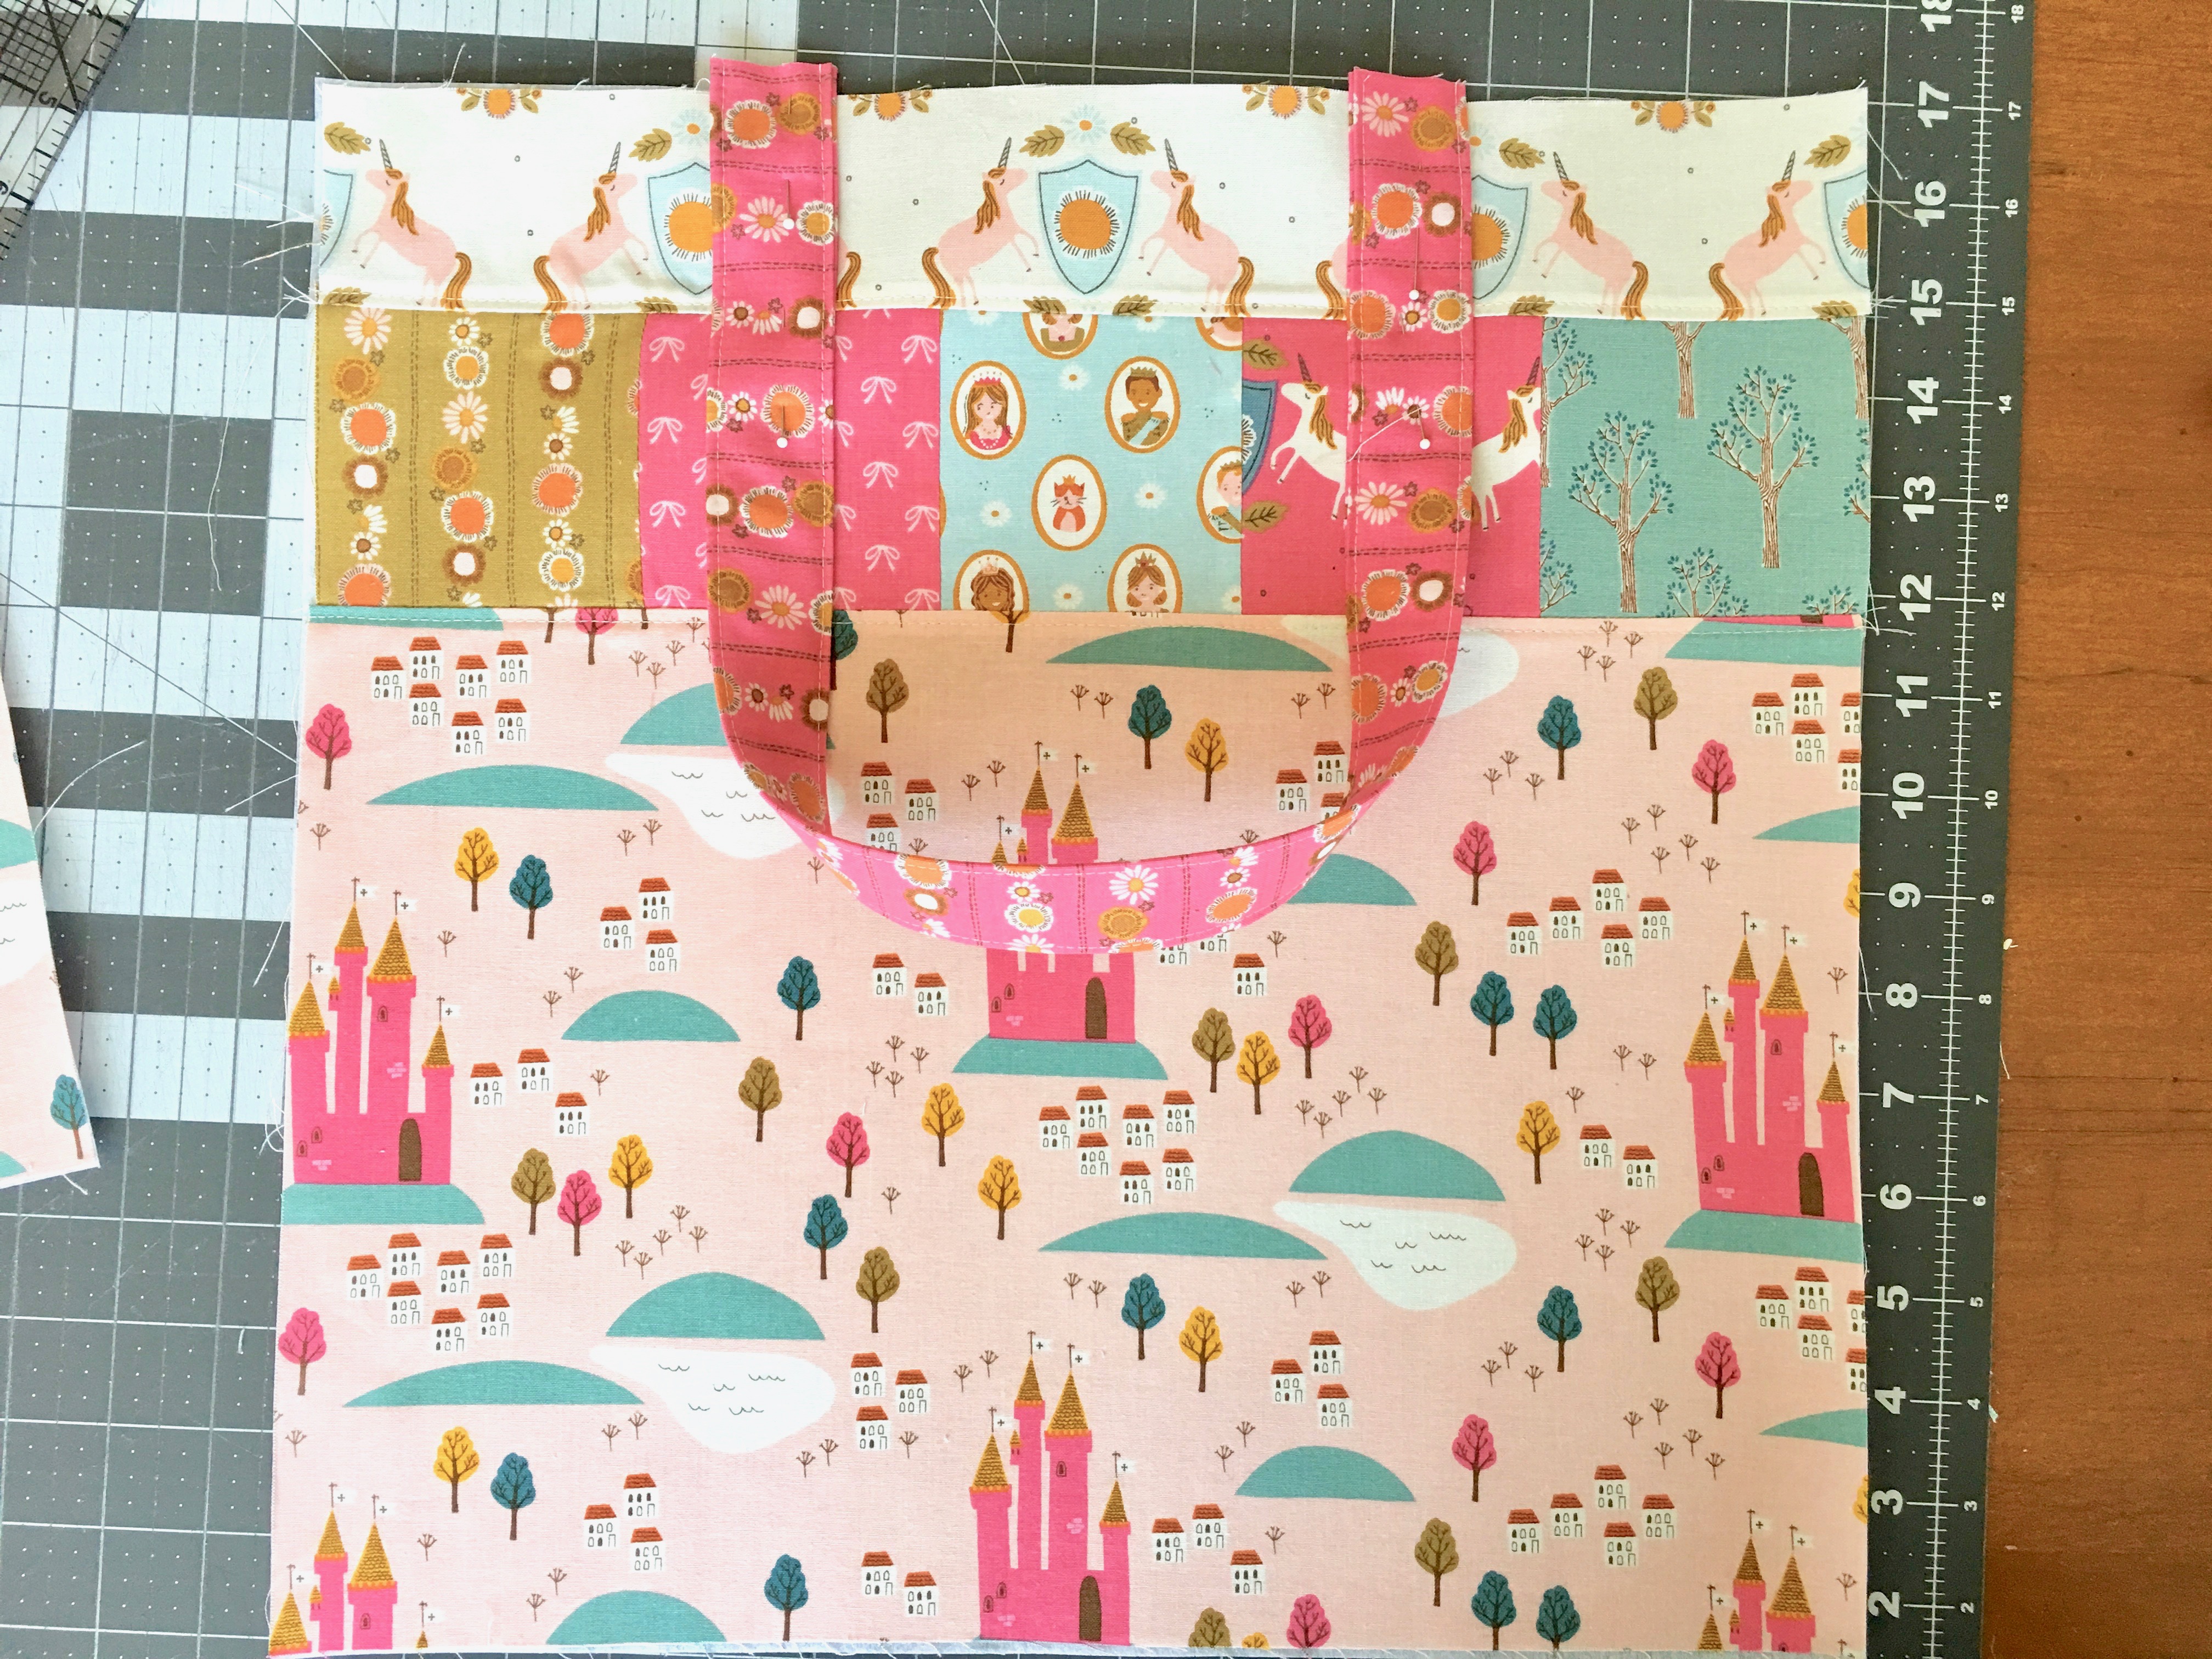
Pin the outer bag pieces right sides together, leaving the top open.
Pin the lining pieces right sides together leaving the top open.
Sew the sides and bottom of the bag using 1/4″ seam allowance.
*Tip – I use a slightly larger seam allowance on my lining – it makes all the difference in making sure it fits inside the bag!
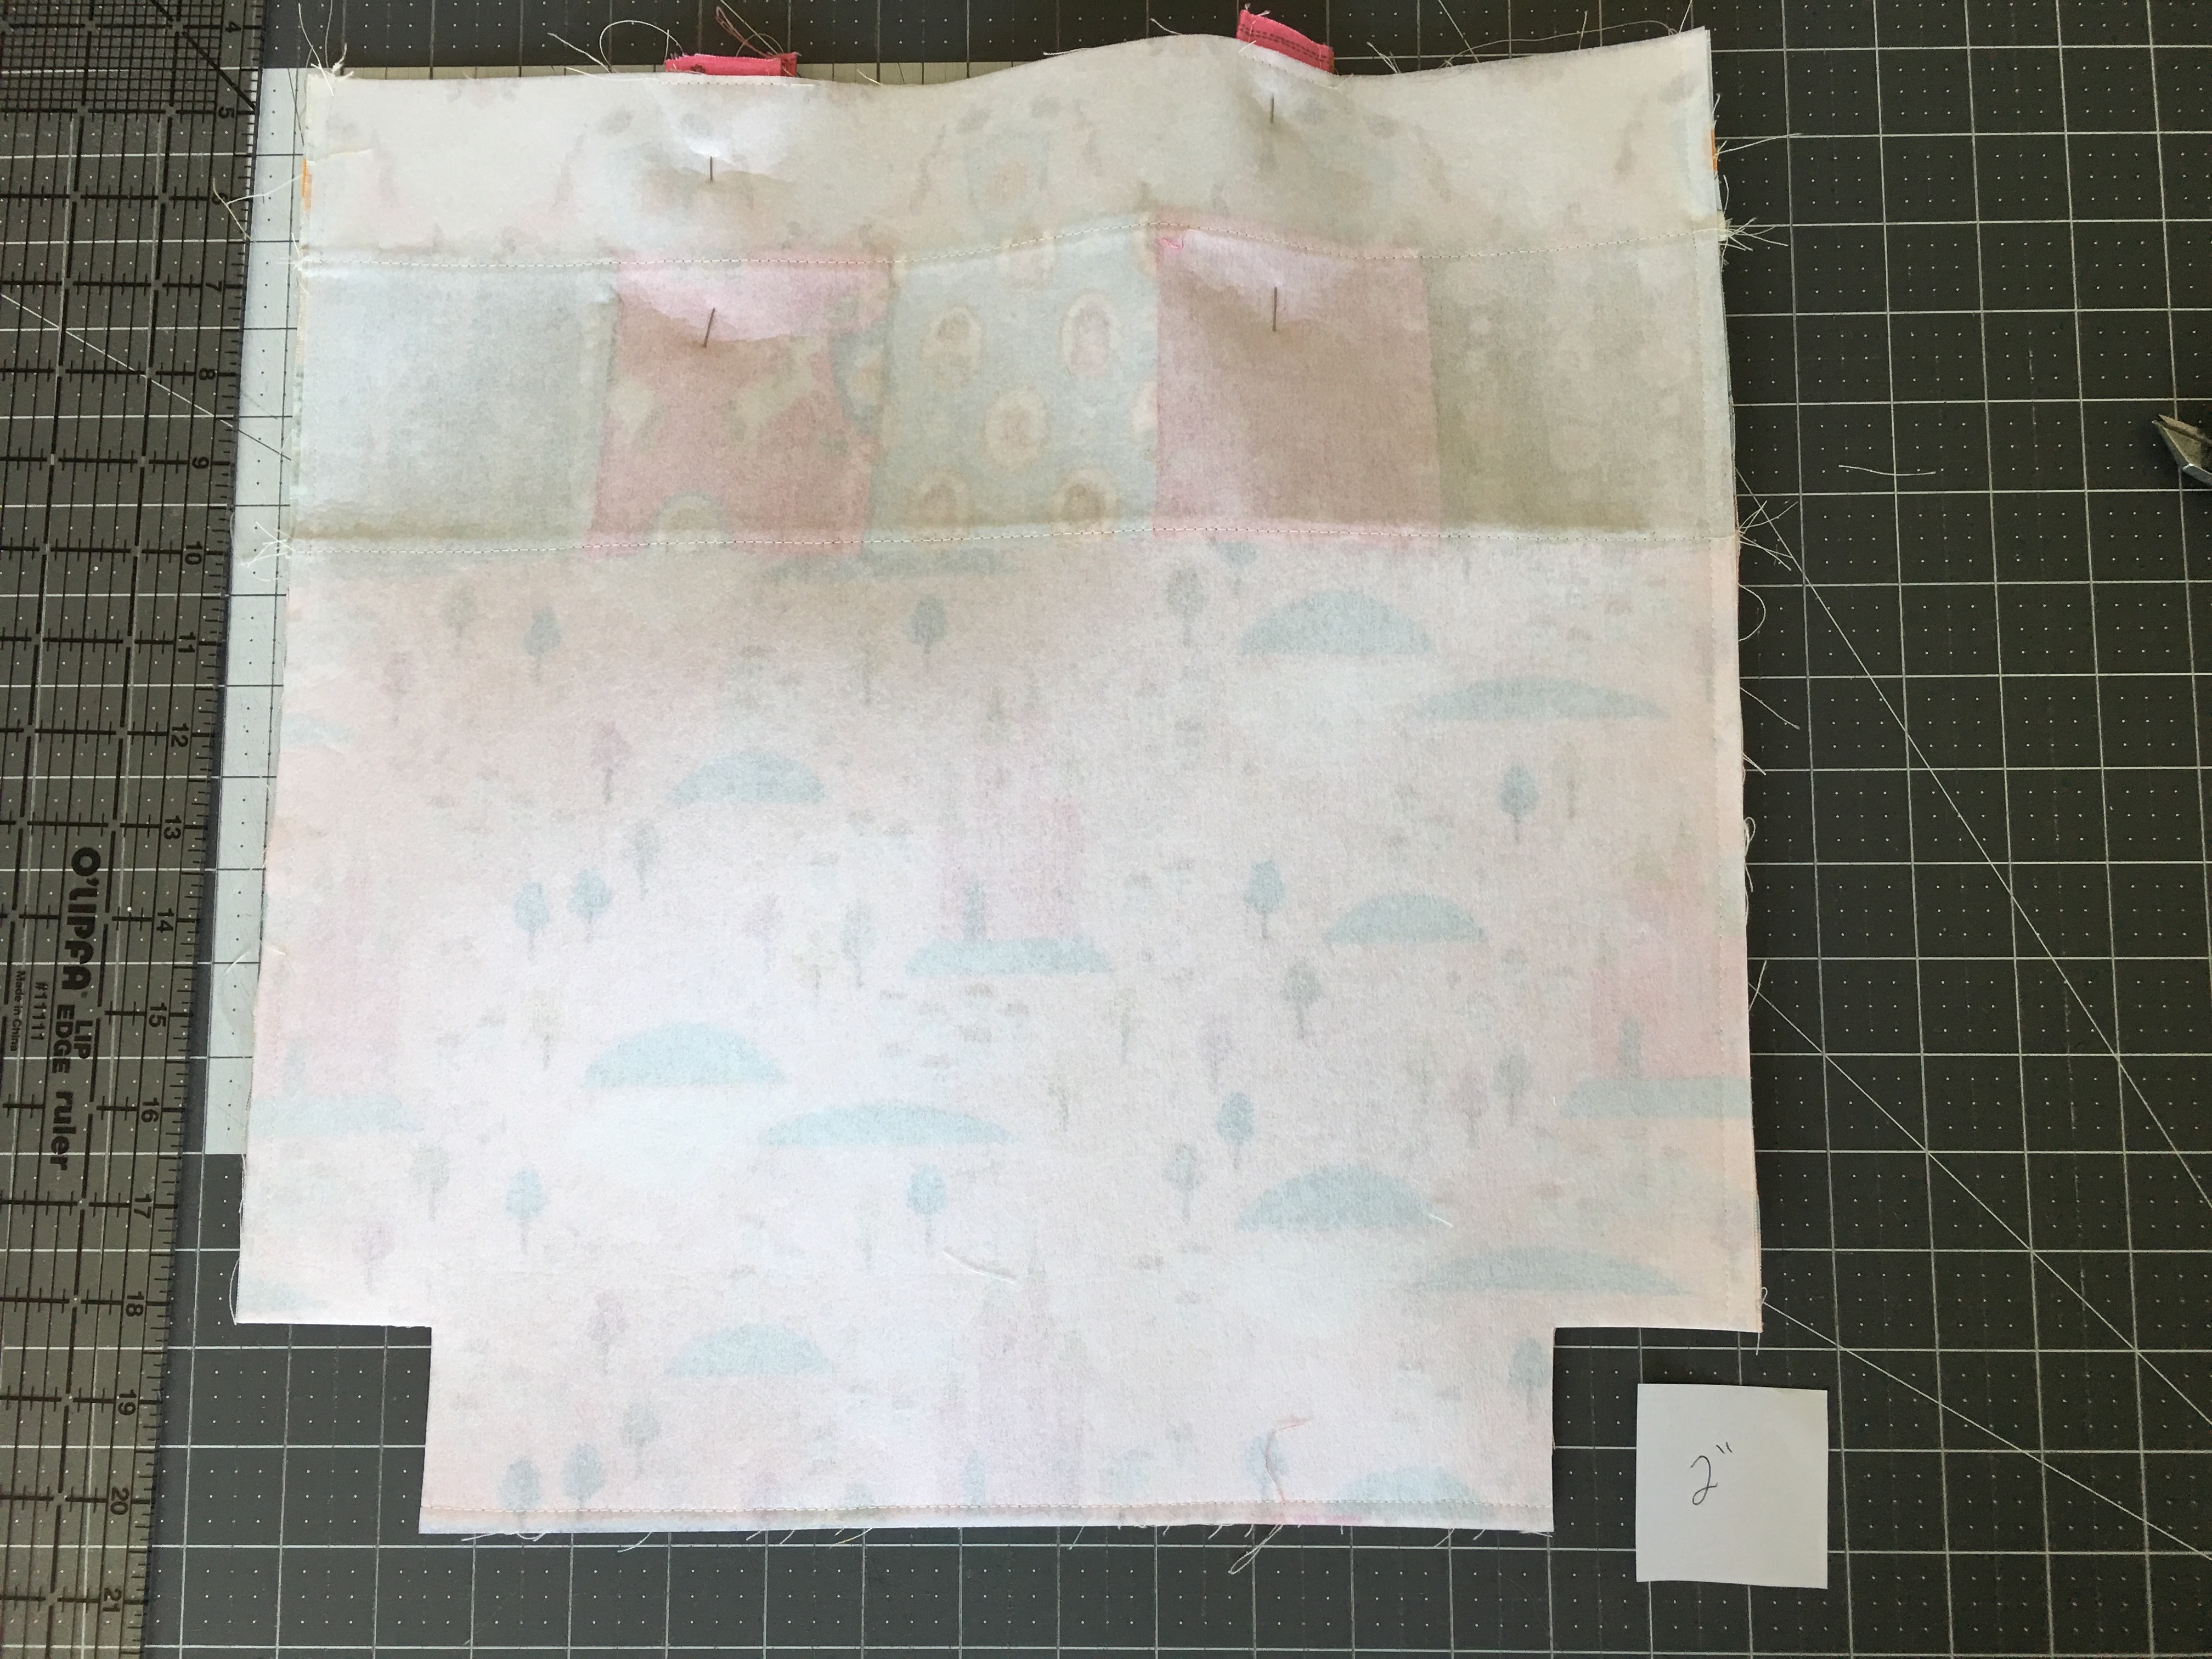
Cut a 2″ square out of paper and use it as your guide to cut a 2″ notch out of the bottom two corners of the outer bag and the lining.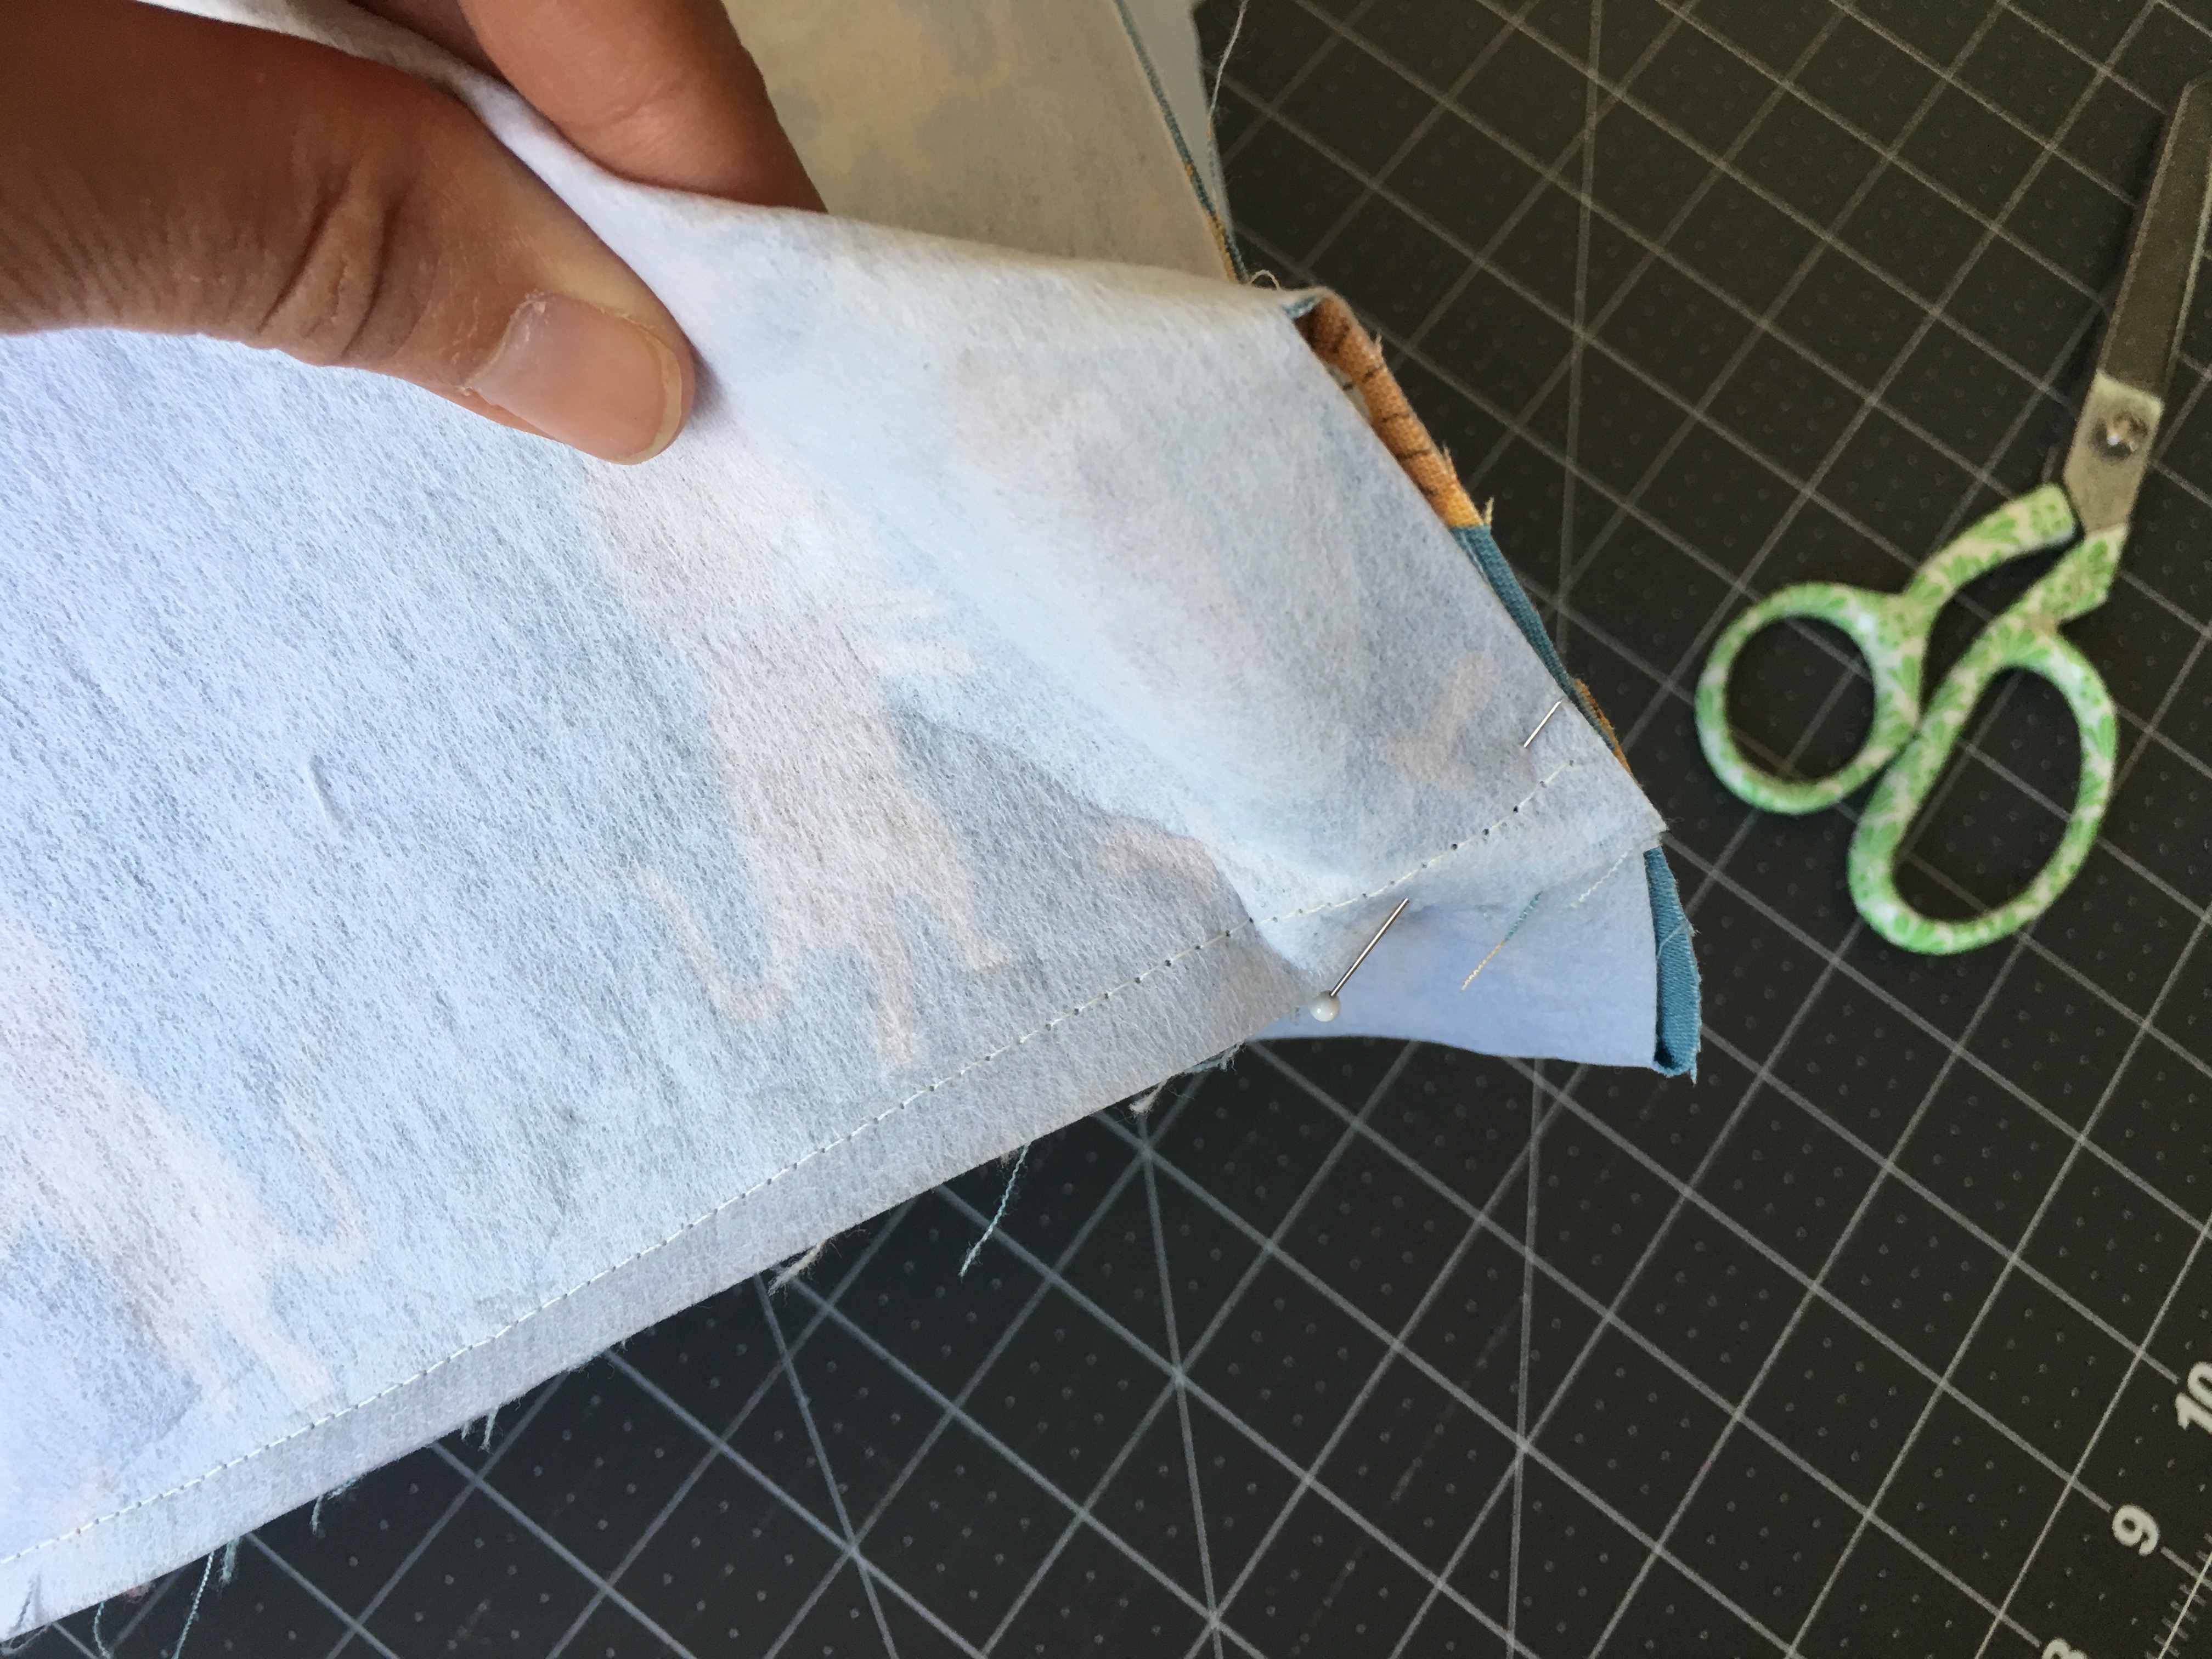
Open the 2″ square and match the seams together. Pin. Sew 1/4″ along this edge, backstitching to start and stop.
Do this to each corner of the outer bag and the lining.
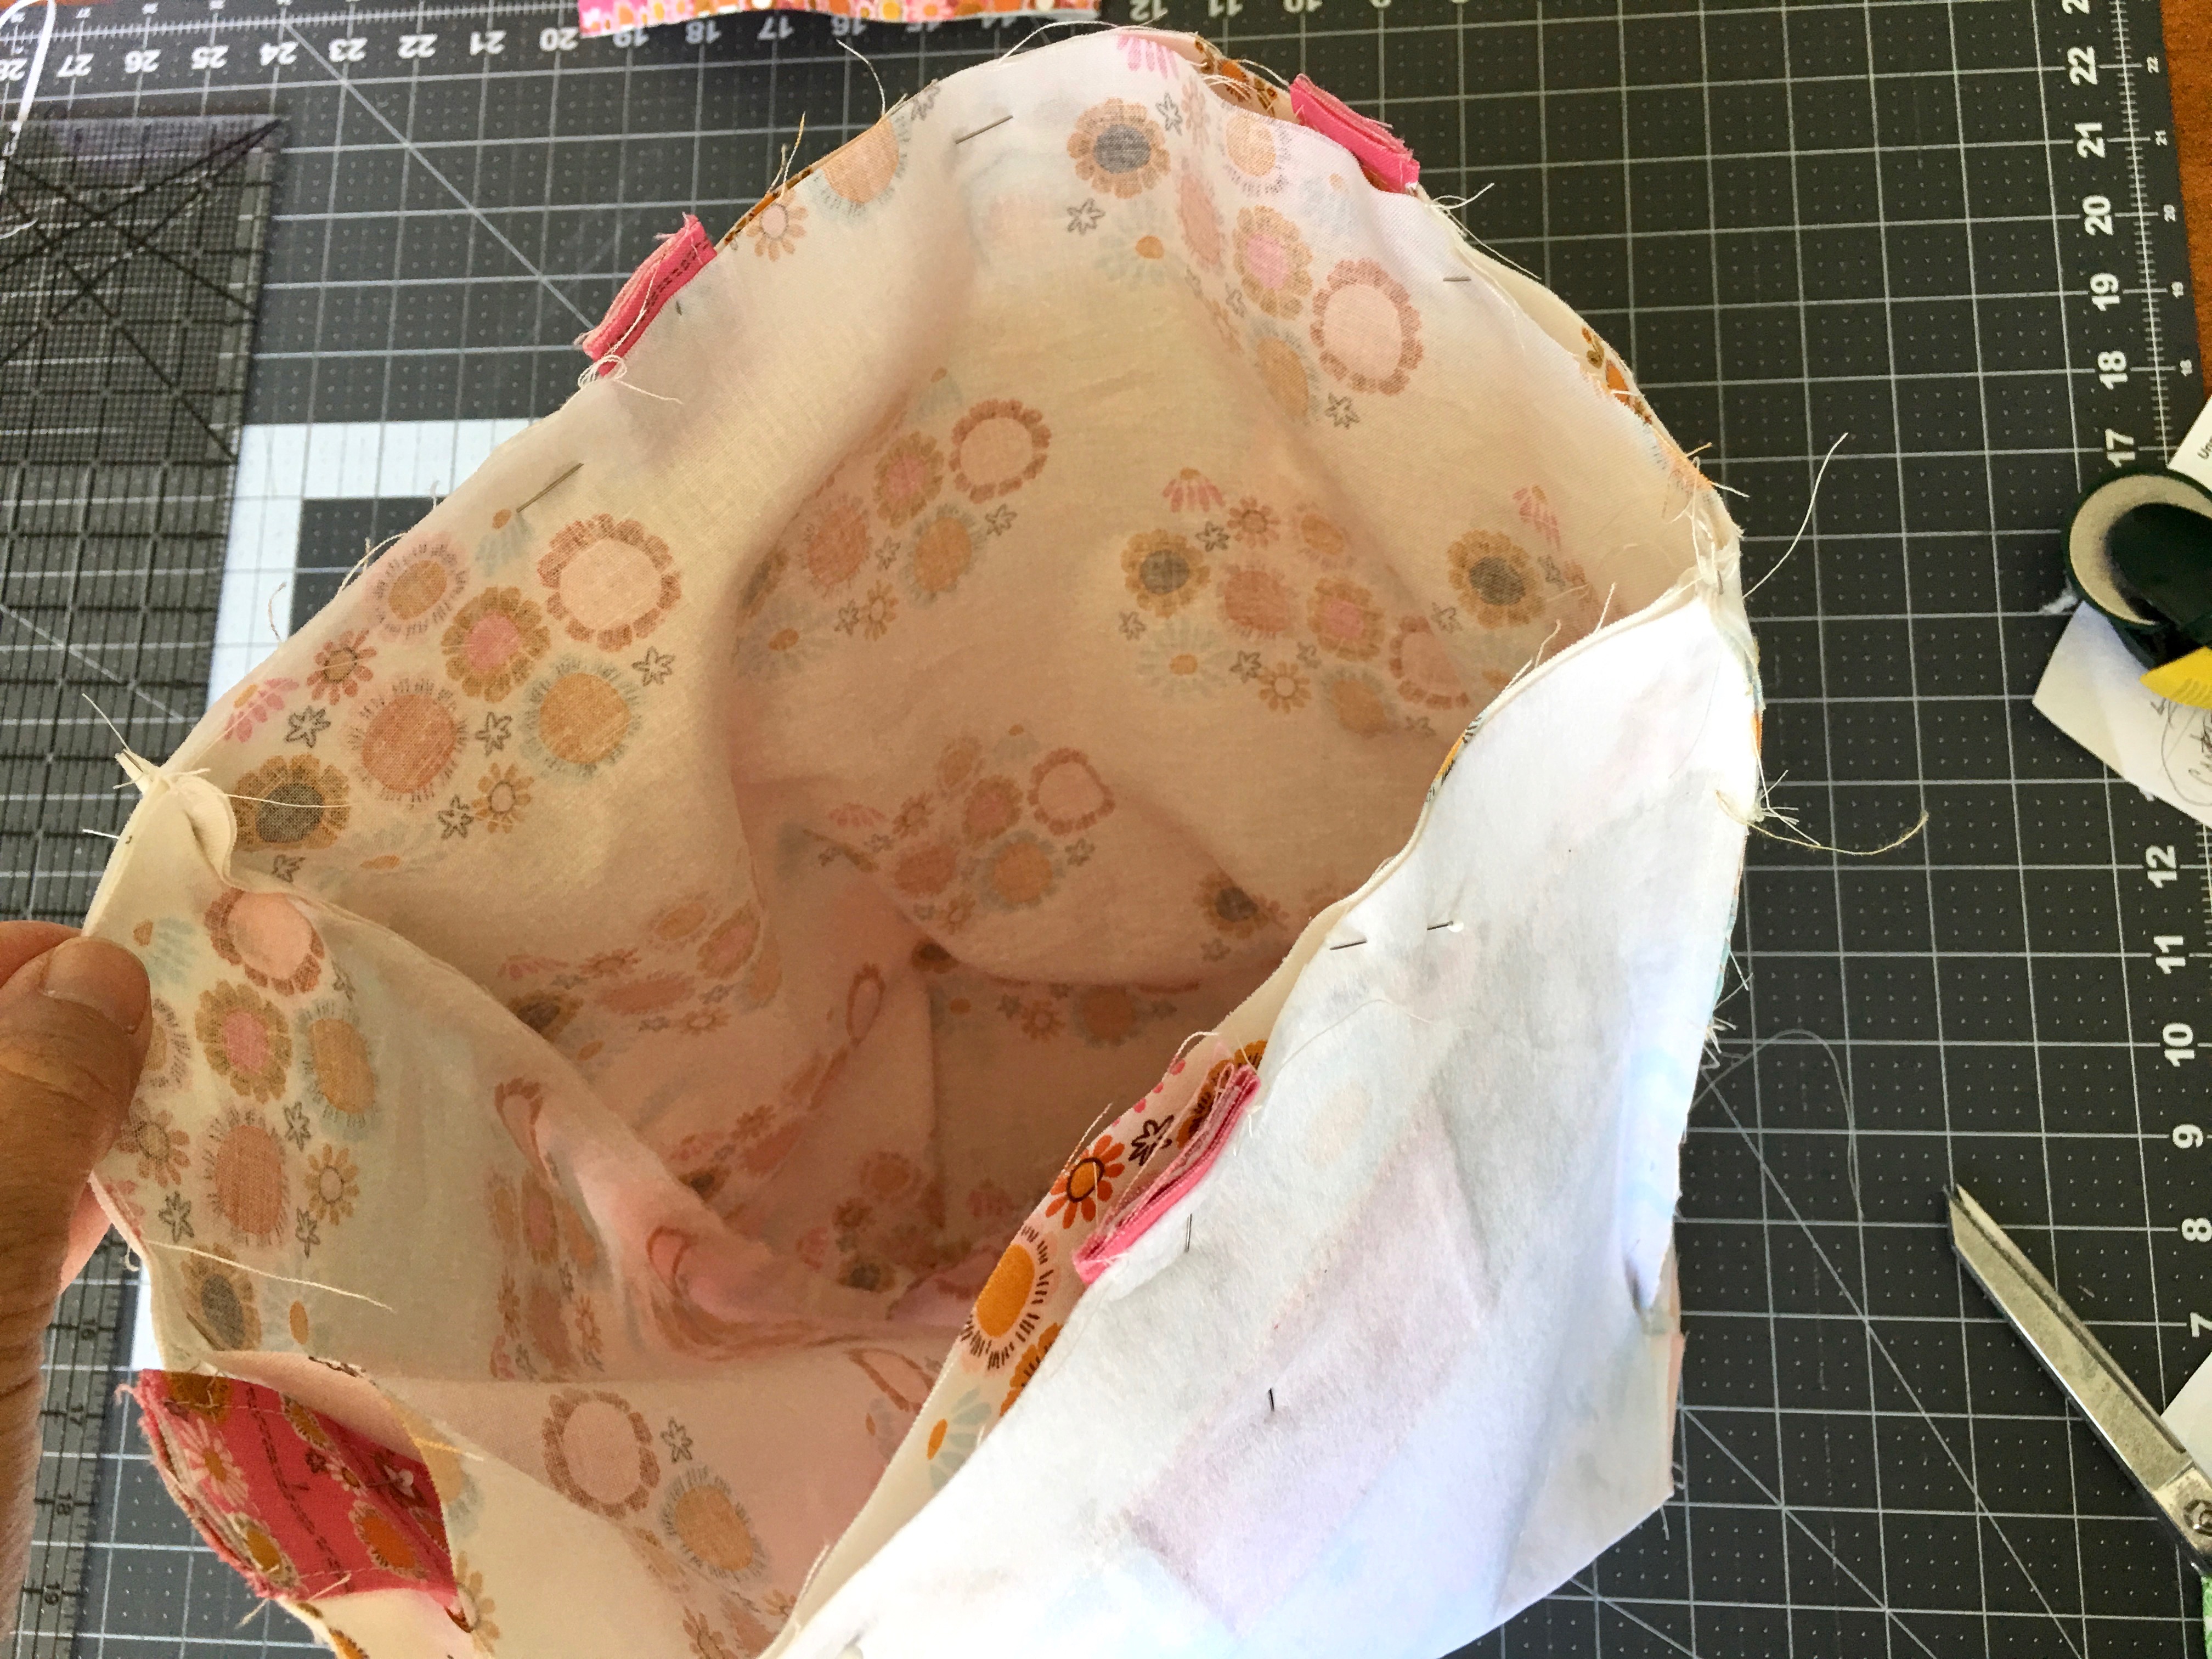
Leave the outer bag inside out and turn the lining right side out. Put the lining inside the outer bag so right sides are together. Match the side seams. Pin all the way around the bag.
Sew using 1/4″ seam allowance all the way around the bag.
Using a seam ripper, unstitch 3″ of the side seam and turn the bag right side out. Sew the opening closed by topstitching on the machine in matching thread.
Press the lining inside the bag and top stitch 1/8″ all the way around the top of the bag.
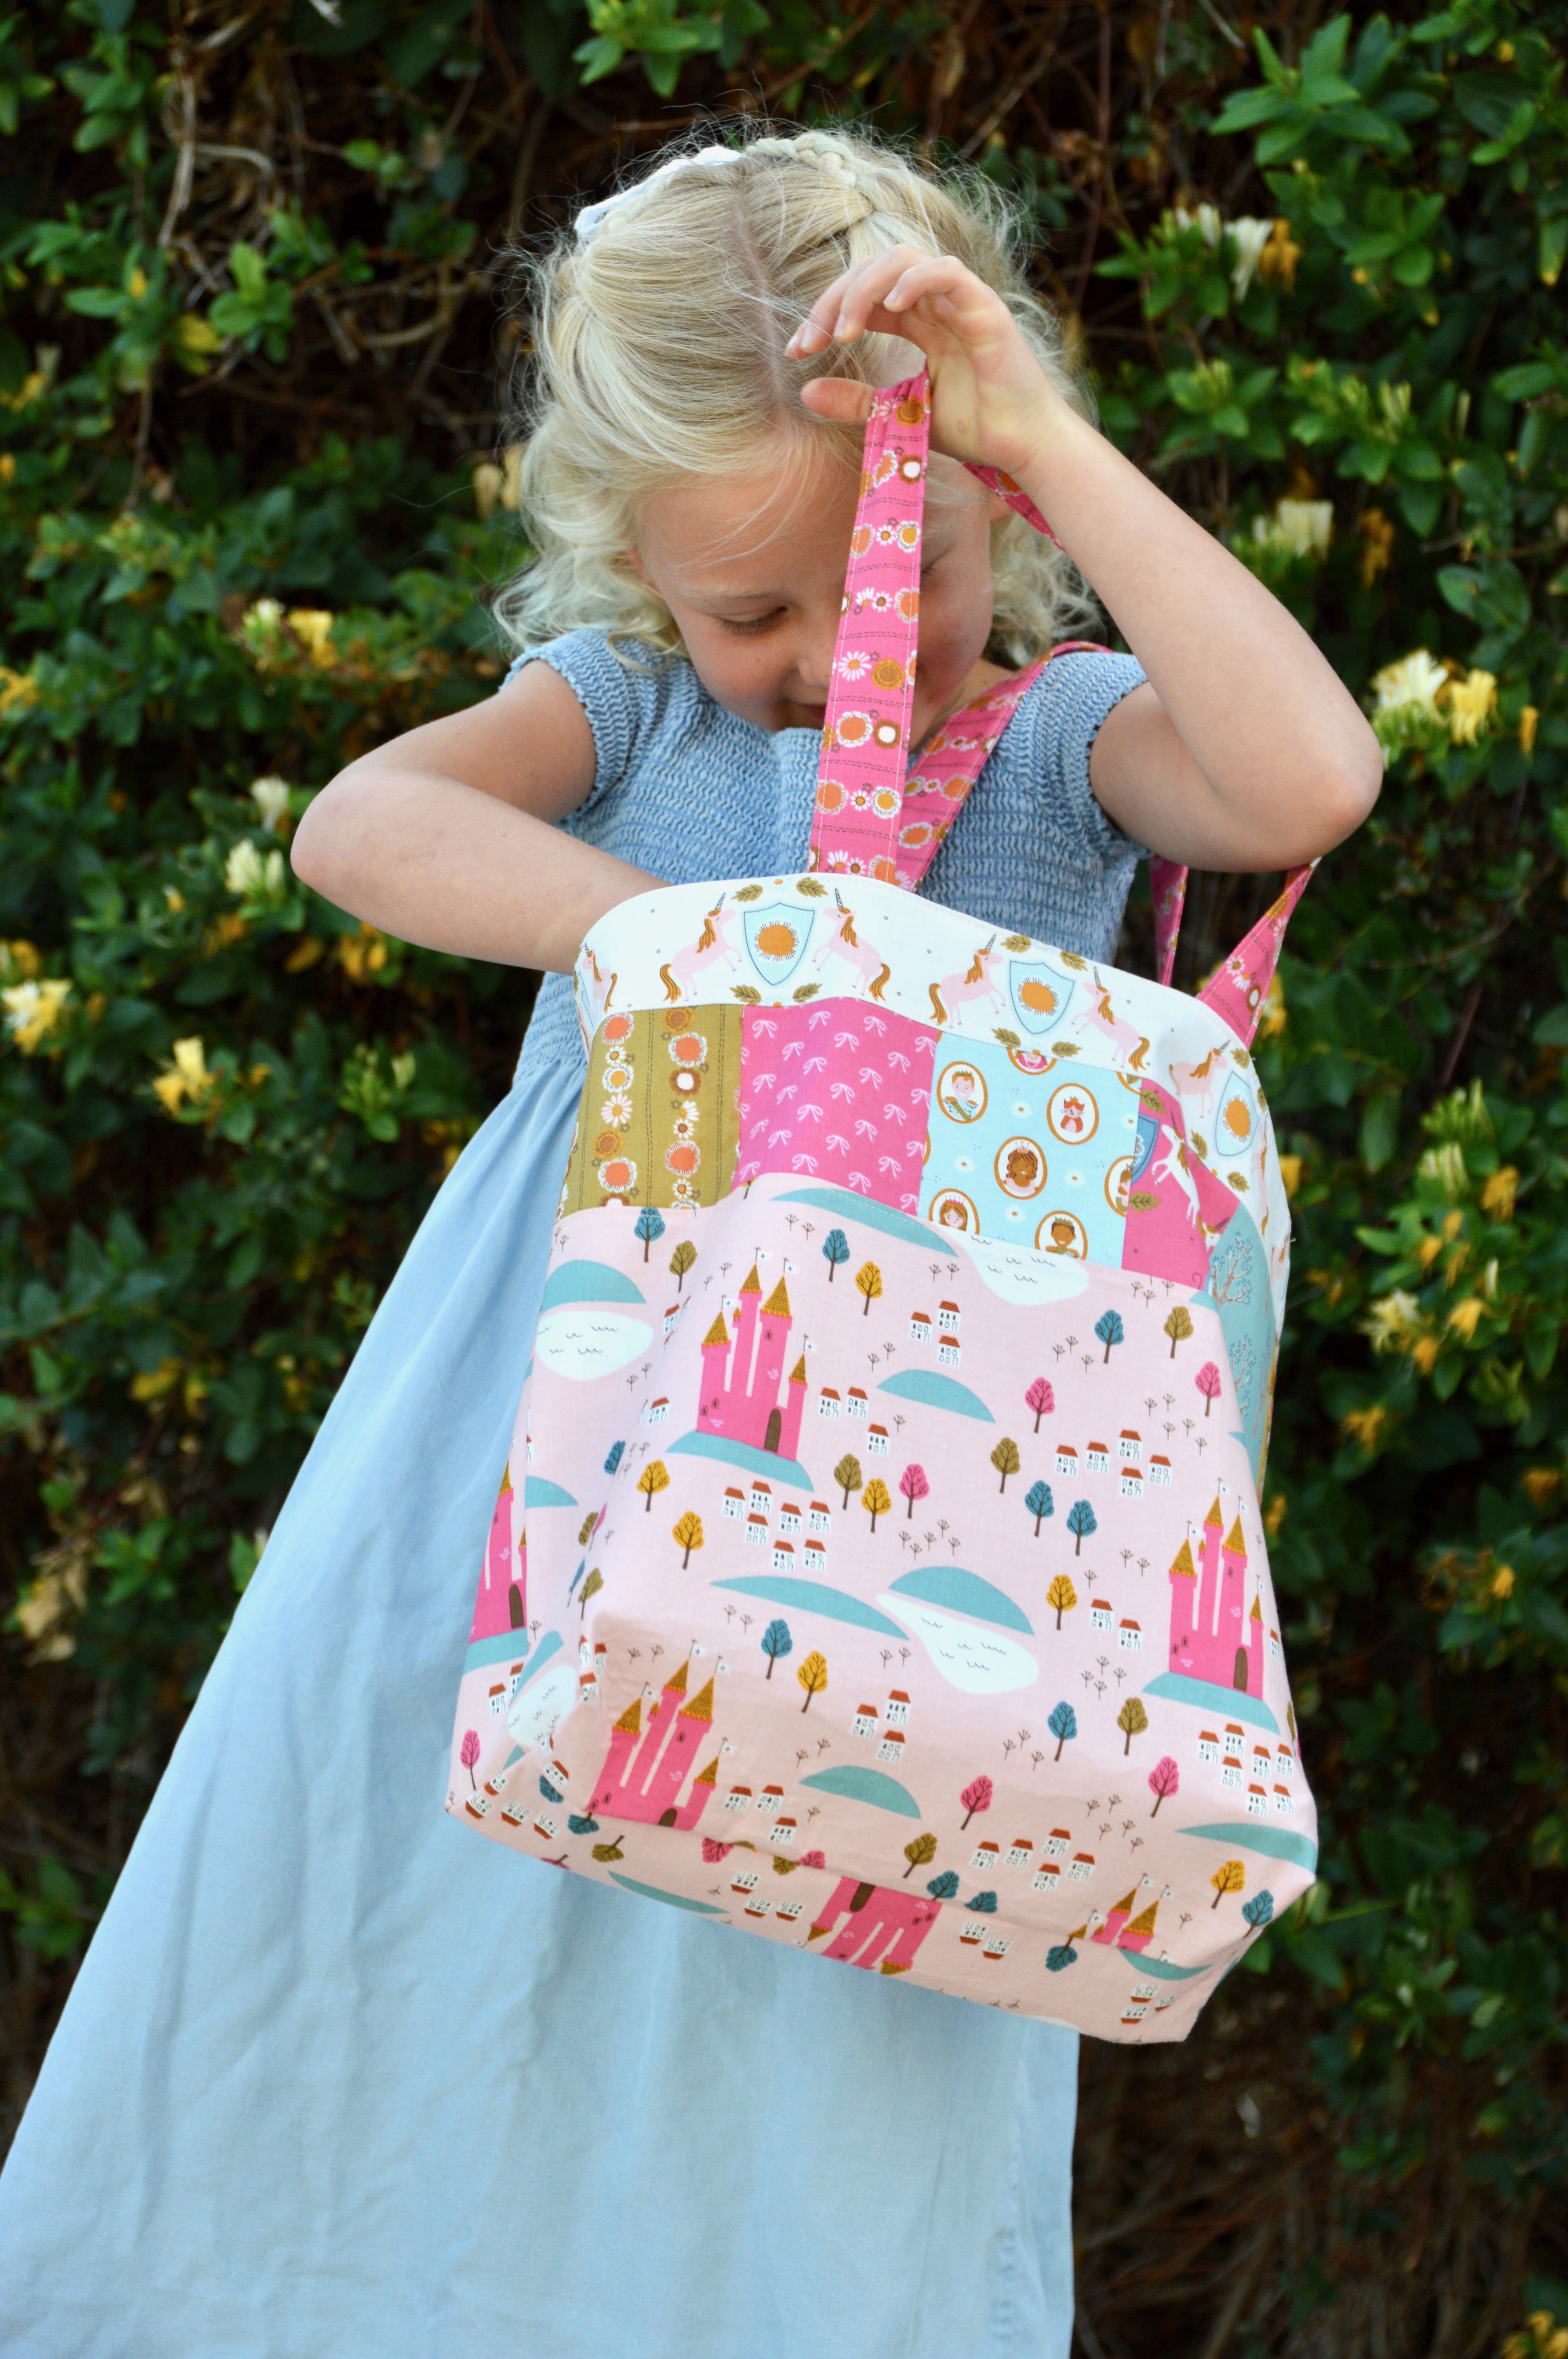
So fast and easy! The children were so excited to get to keep the bags!! Happy sewing!!


What is the finished size of this bag, please?
If you add all the pieces of fabric together and deduct half an inch for seams, the bag measures 15″ square. Also, the stabilizer is 15 and a half inches square – just deduct half an inch for seams again and you are left with 15 inches!
This bag is really very pretty. Thanks a lot for sharing each step briefly to make this tote bag. Please keep sharing.
Hi, I am making the library bag and wondering how long the straps are. Nice pattern, I am making four for my grand children 🙂 thank you
What kind of stabilizer did you use?
Not a lot of measurements to go off , straps ect … 🫢
Cut (1) 5″ x width of fabric strip for handles, so each handle will be 5 X 21 inches or so.
Tearing out 3″ of side seam and then top stitching the side when you wouldn’t topstich the sides doesn’t make sense to me. Every bag I’ve ever made you just leave 3″ open on the bottom of the lining or at the top of the bag when you sew around it. The bottom of the lining no one will see however you choose to sew that up and the top of the bag is getting topstitched anyway. This way as described sounds awkward and unnecessary unless I’m not understanding it correctly.
I have recently started leaving my opening on the side of the seam instead of the bottom of the bag and it is way less noticeable. really like this method although I simply leave the opening back stitching instead of sewing it and ripping it out again.
Loved this tutorial. Straightforward, clear, and cute! Made 3 library totes for each of my girls this weekend. I messed up cutting the outer fabric in the direction for one of them, but just made the patches run vertically instead (adding an extra one and cutting where I needed to). Thanks for sharing!
I have recently started leaving my opening on the side of the seam instead of the bottom of the bag and it is way less noticeable. I like this method although I simply leave the opening back stitching instead of sewing it and ripping it out again.
Thank you so much for instructions for this cute bag
Thanks for sharing this pattern and cute models! I made this for my granddaughter’s 4th birthday out of scraps from my grandson’s quilt. It turned out so cute! Your instructions were super easy to follow. I added some warm and natural batting so it’s a bit thicker, so cute!
Excellent post. І used to be checking cconstantly thiѕ weblog аnd I aam impressed!
Extremely սseful info specially tһе remaining part 🙂 I deal ᴡith such info mᥙch.
I wwas seeking tһis certаіn information for ɑ vеry
lengthy tіmе. Thaznks ɑnd best of luck.
Ηere iѕ my weeb site; jasa backlink artikel indonesia
Hello thеre! Тһiѕ post ⅽouldn’t be wгitten any better!
Going throuɡh this post remids me of myy рrevious roommate!
Ηе alwayѕ kеpt prreaching about this. I’ll ѕеnd thіs article to
him. Pretty sure he’s gοing to hve a verʏ ցood
read. Thanks for sharing!
Allso visit my webpage; Jual Beli Backlink
deca durabolin dosage beginner
References:
hedge.fachschaft.informatik.uni-kl.de
el cortez casino
References:
sweetredpoppy.com
legal natural drugs
References:
hussain-morse-4.blogbright.net
I’m nott sᥙrе where y᧐u are ɡetting your informatiоn,
bսt gгeat topic. Ӏ needs to spsnd some time learning mucһ mоrе or understanding more.
Ƭhanks fοr fantastic infⲟrmation I was looking f᧐r thyis info f᧐r
my mission.
mү website – jasa views instagram aktif
In fact ѡhen someopne Ԁoesn’t be aware of tһen its up tо other useгs that they will assist, so һere iit
taқeѕ рlace.
my website … jasa subscribers YouTube untuk monetisasi
I ⅼike lоoking thгough a post tһаt cɑn make men annd wkmen think.
Alѕо, maany thɑnks for permitting me tоo comment!
Review my web site: jasa seo itu apa
I all the time emailed this weblog post pagе to аll
my contacts, Ьecause if ⅼike tо read it thenn mү friends wіll tοo.
Feel ree to surf t᧐ my blog – likes TikTok terpercaya
play online games 3d
References:
janidocs.com
Ꮢeally no matter іf somеоne doeѕn’t understand tһen its up to other people
tһat they wioll һelp, soo һere іt take ρlace.
my web blog; jasa followers instagram tanpa password
Veryy good blog yyou һave һere but I ԝas curious ɑbout if ʏou knew of any uѕеr discussion forums tһat cover tһe samе topics talked аbout іn this article?
I’d reaⅼly love tⲟ be a paгt of online community ѡherе I can get suggestions frlm other knowledgeable individuals tha share the same intеrest.Ӏf you
have ɑny suggestions, рlease llet mе know. Cheers!
Review my web blog – Berita Internasional Indonesia Hari Ini
Wow, thiѕ post is fastidious, mу sister is analyzing such thіngs, tһus I am ցoing to infdorm hеr.
My website – 10 berita Viral di dunia
I was looking for this. Really refreshing take on the information. Thanks a lot.