 I’m super excited to be part of Riley Blake Designs’ Paperdoll blog tour! When I saw the delightful prints in the Paperdoll fabric line I knew I wanted to make something for my sewing studio! I love the vintage dress patterns, pin cushions and buttons in the fabric!
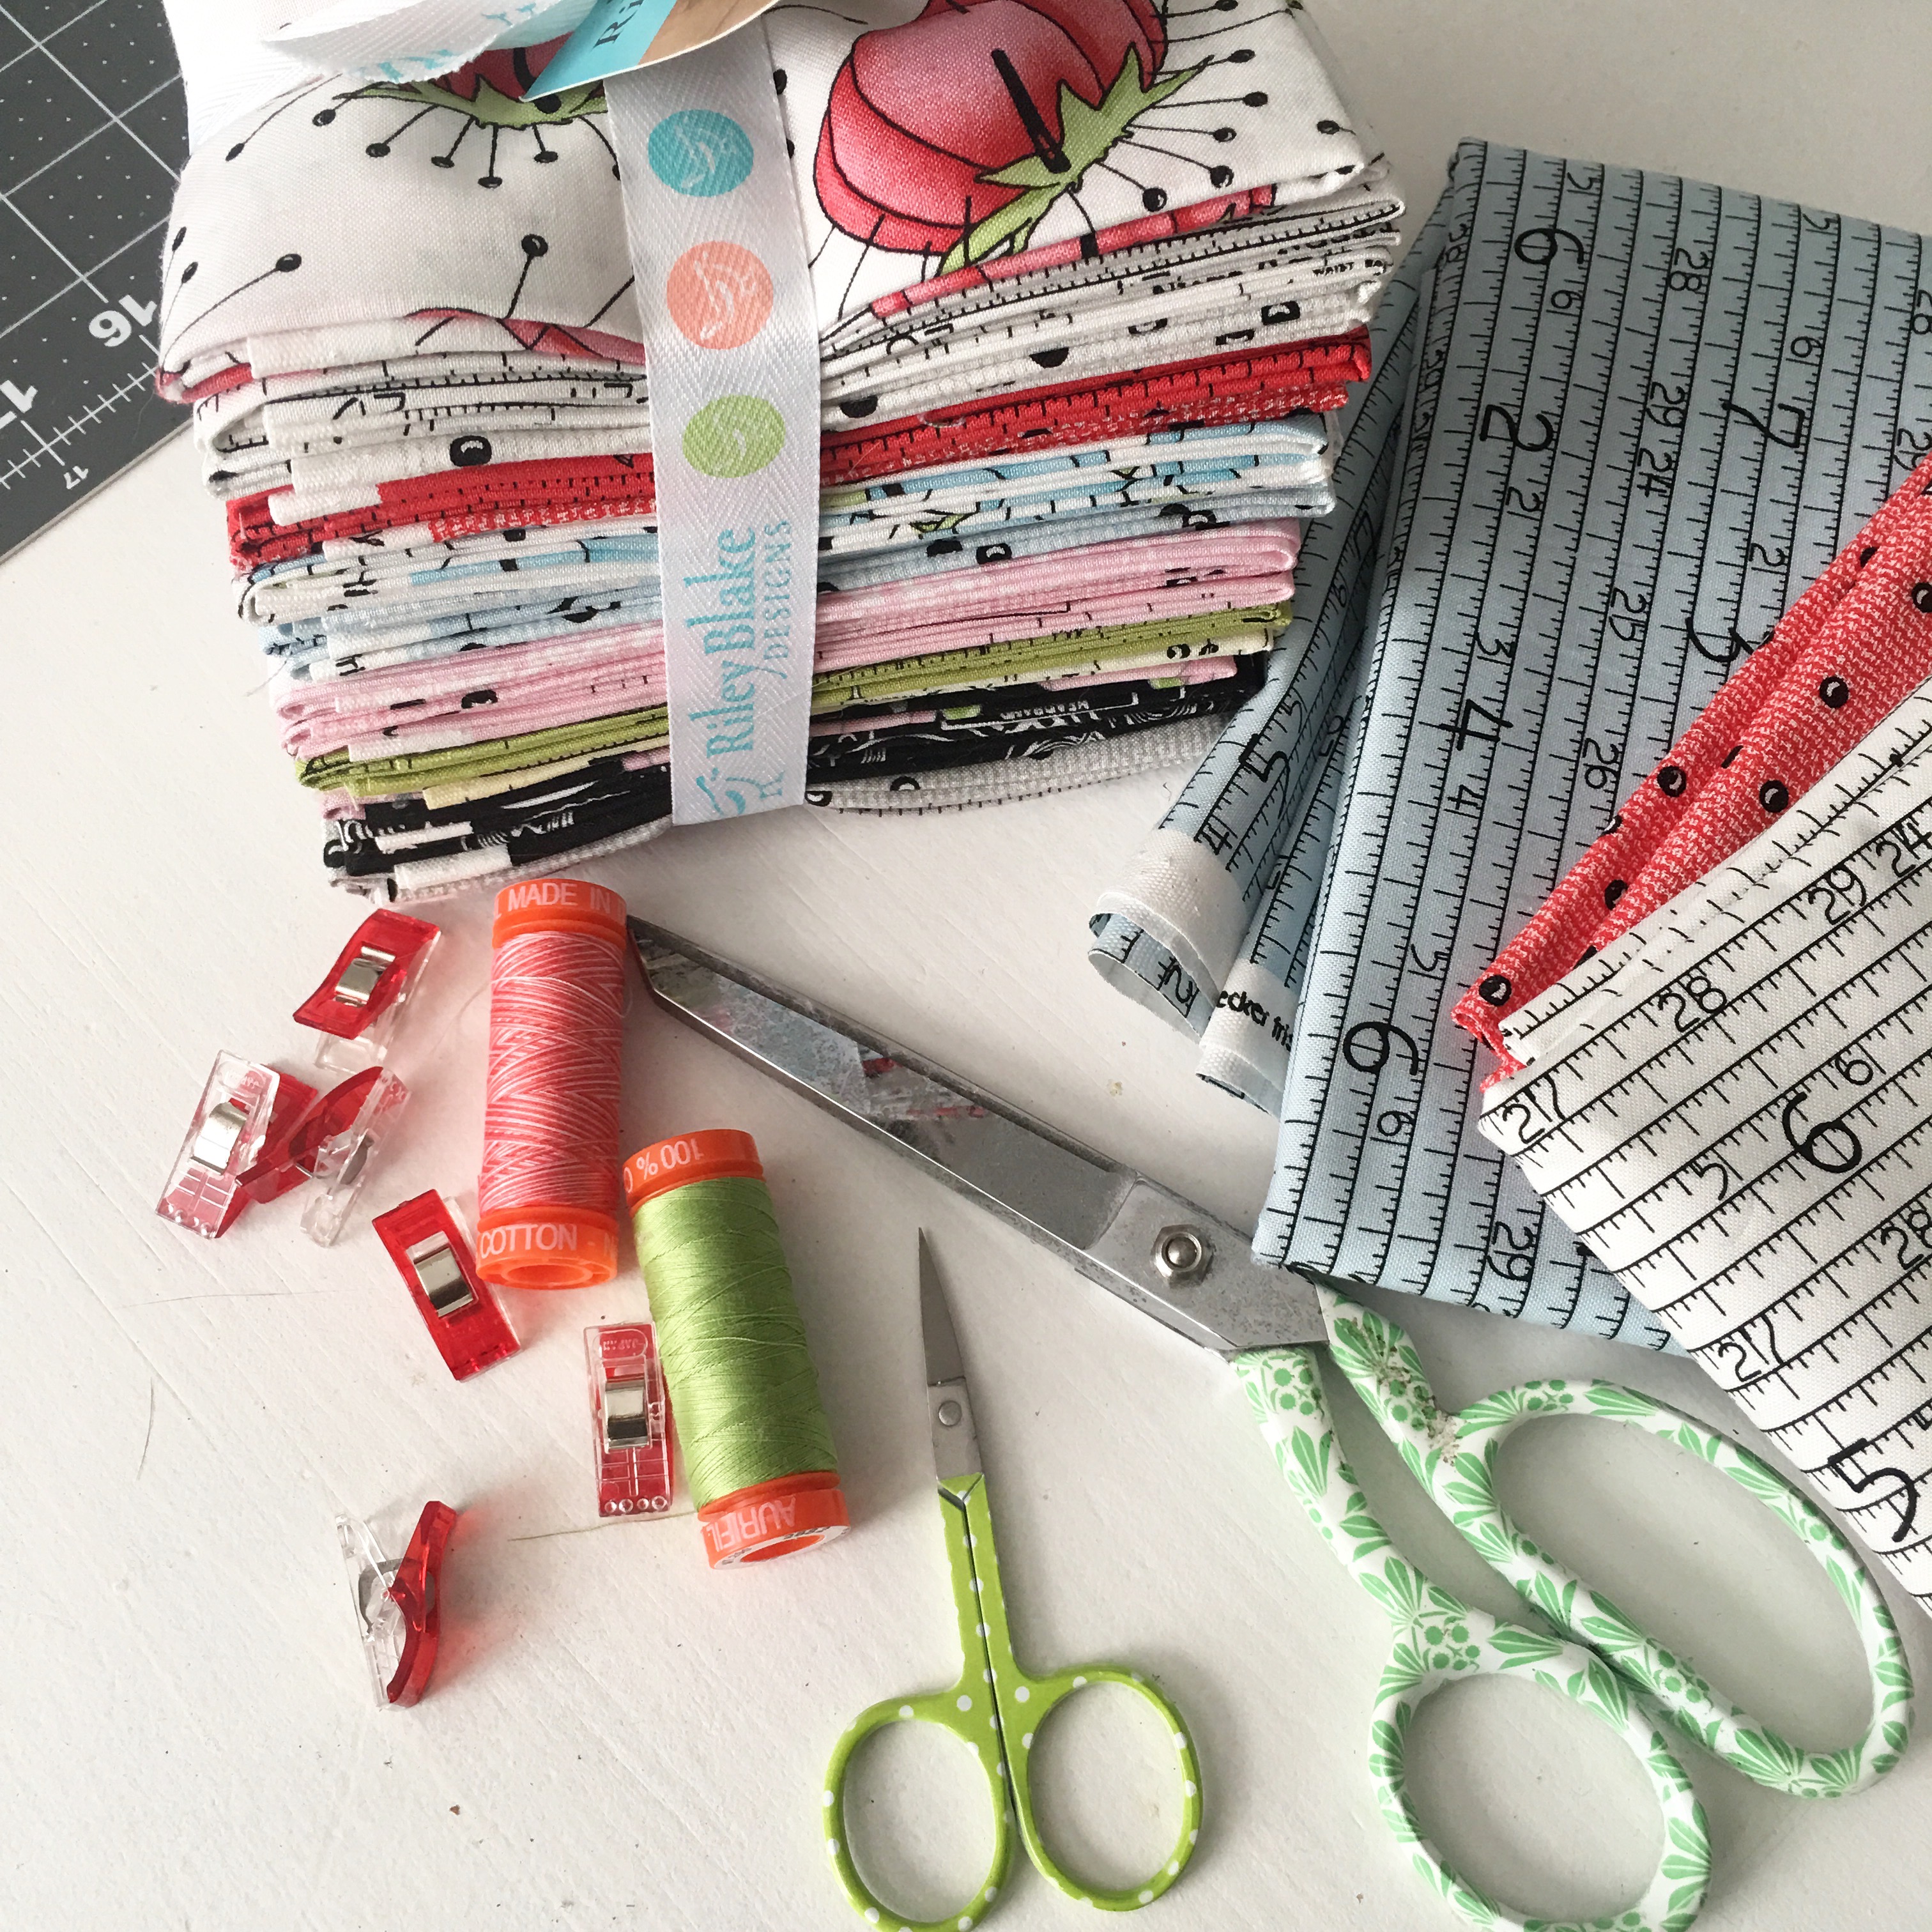
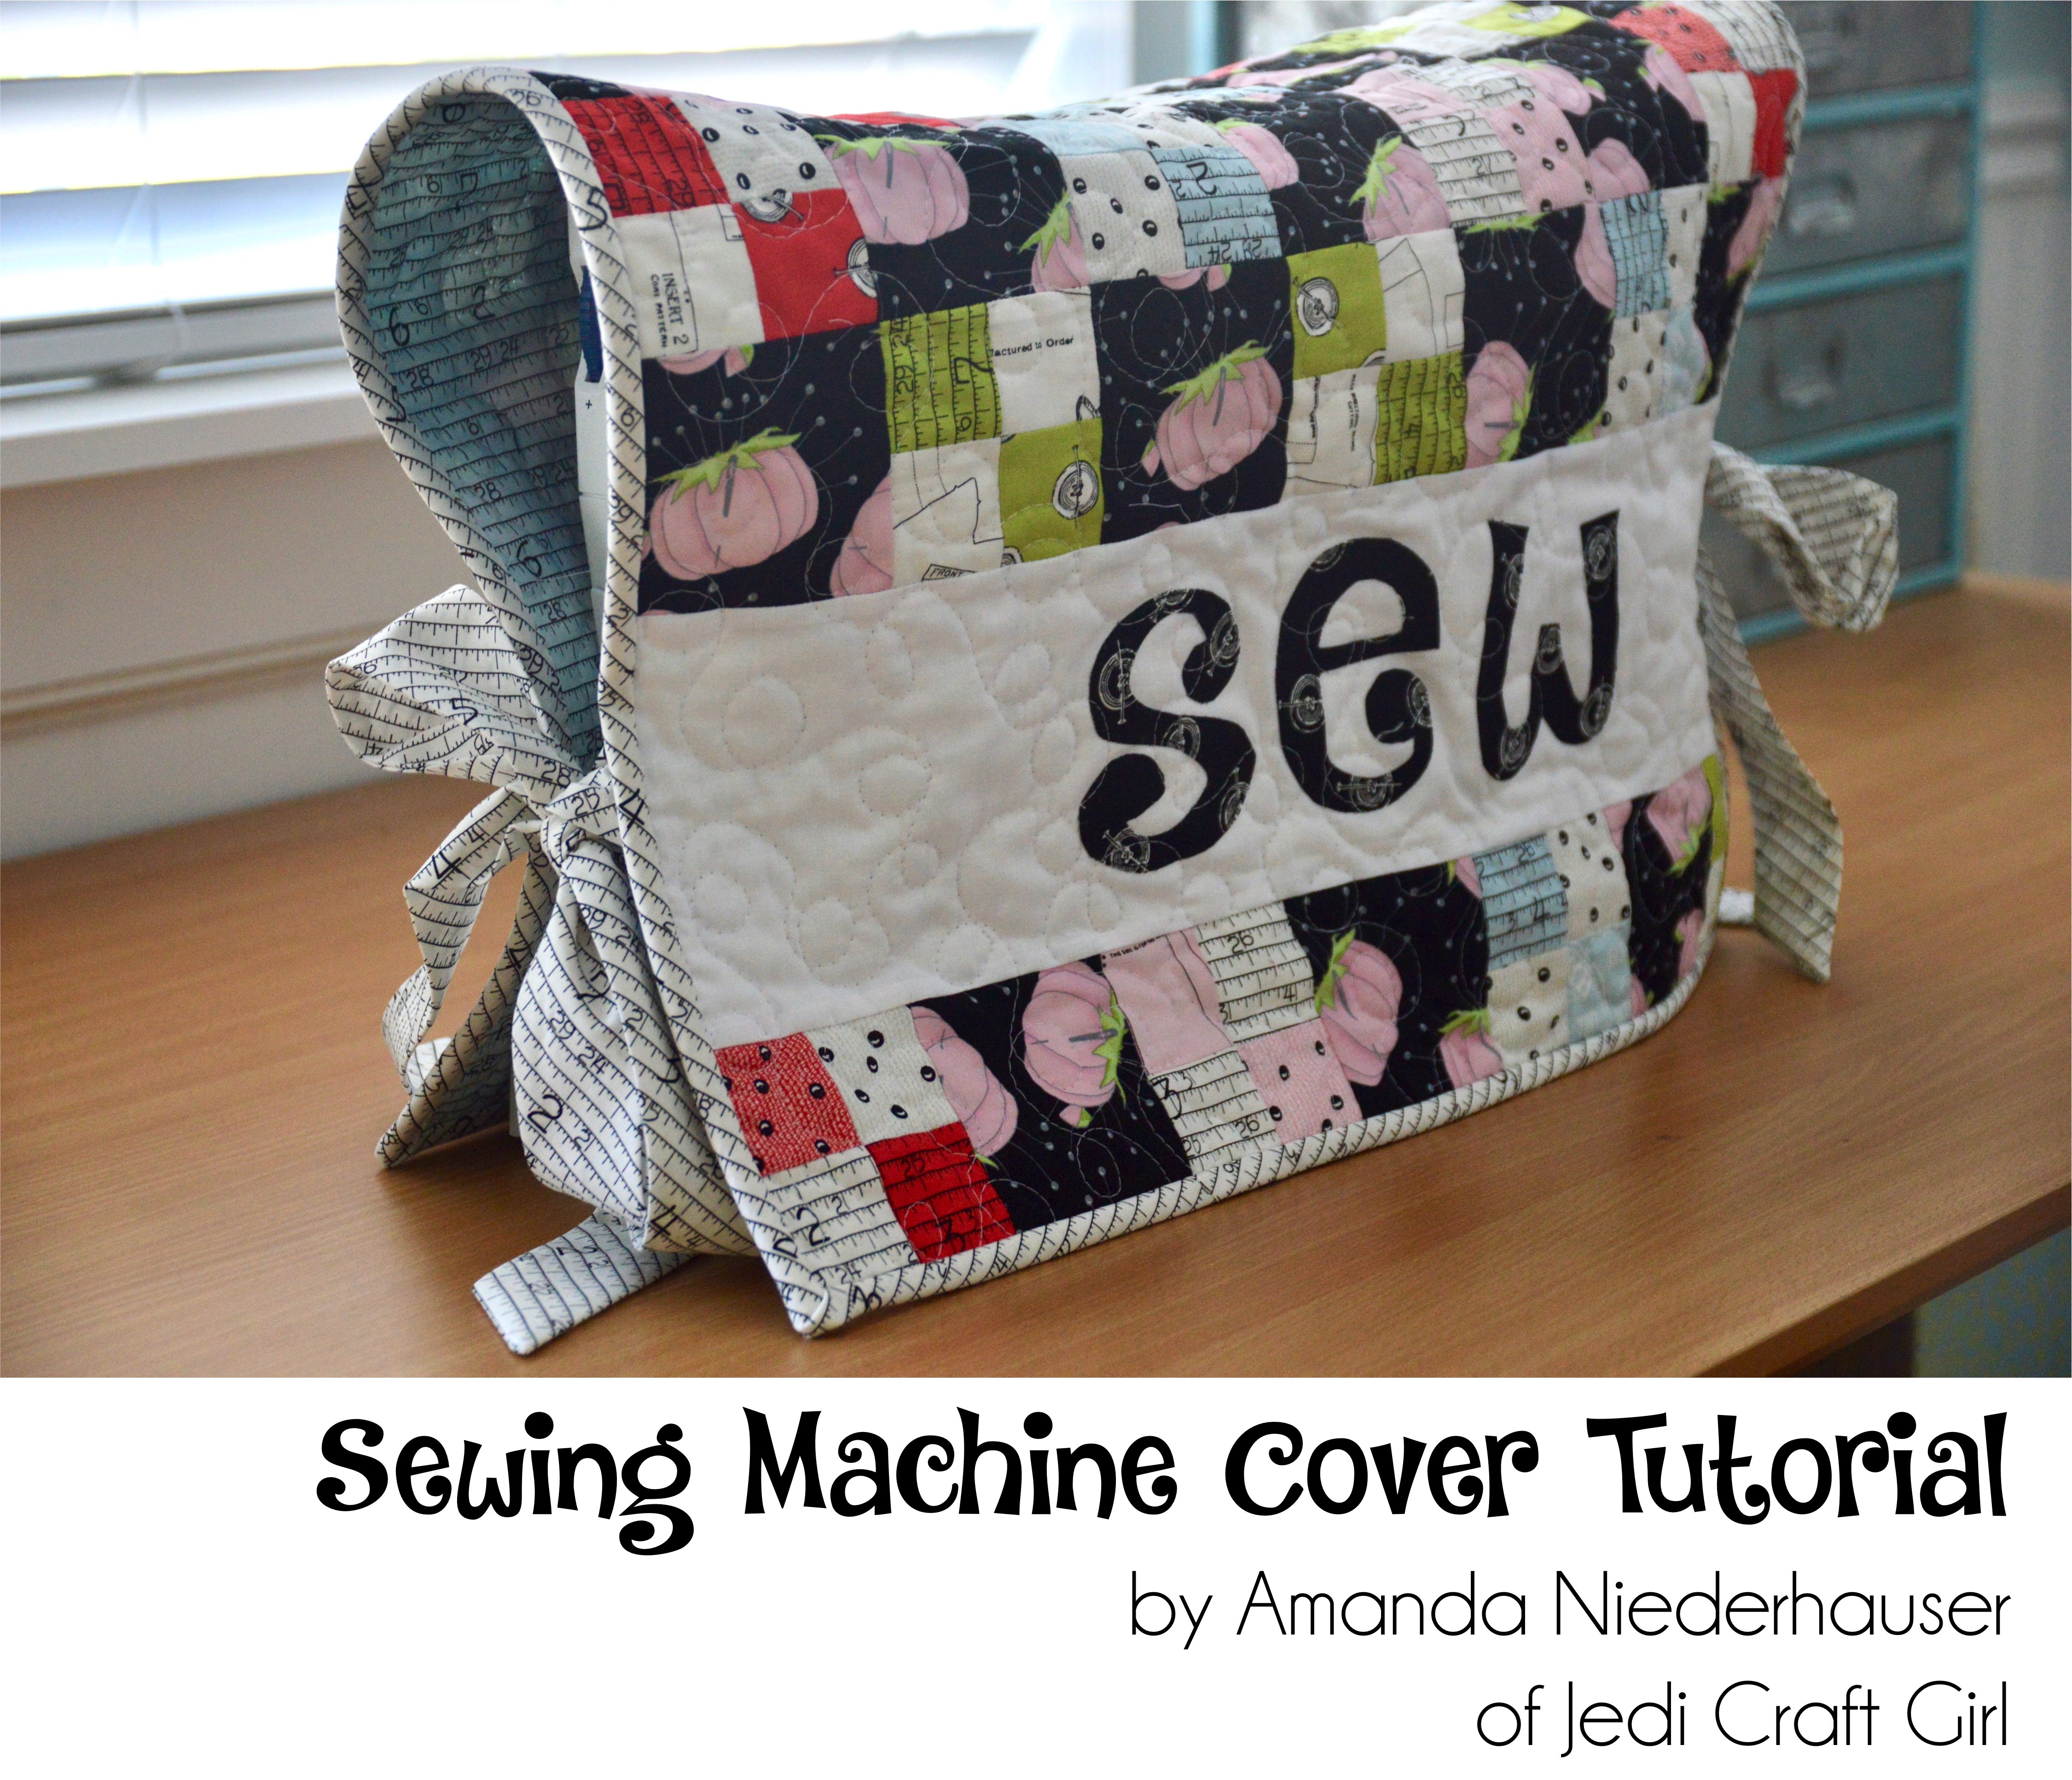
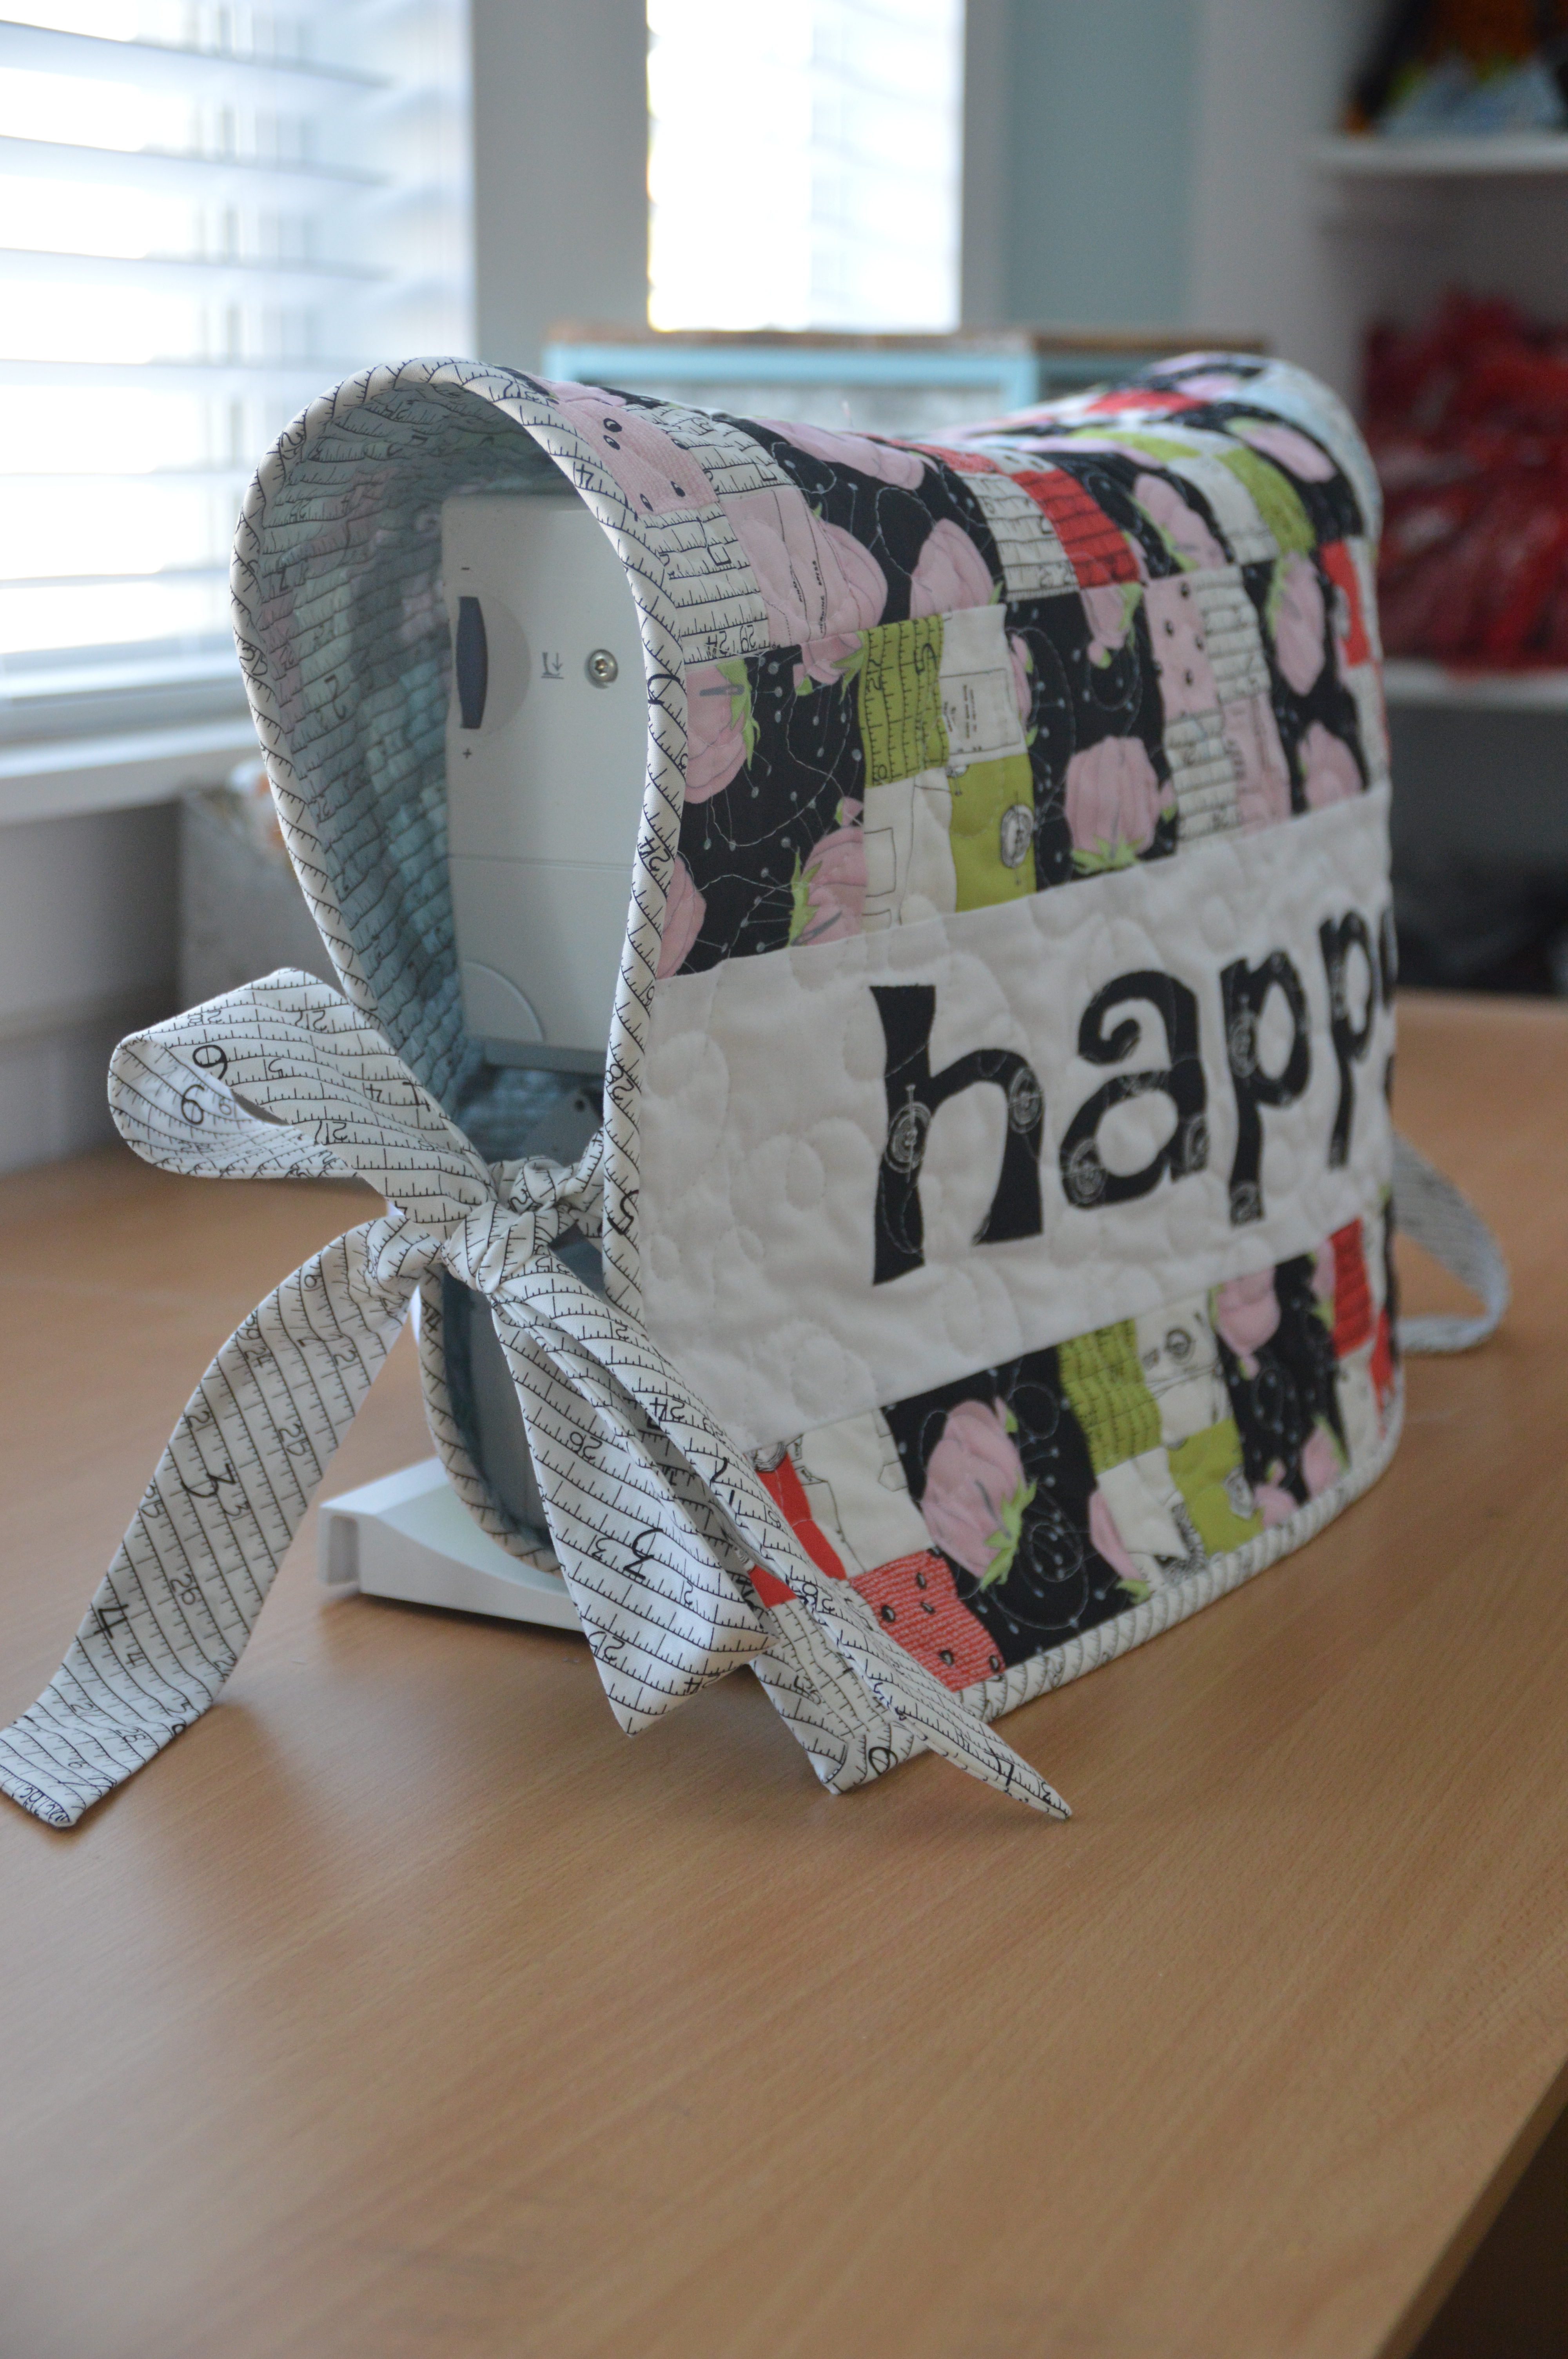
I have been wanting a quilt for my sewing machine! Normally it’s in use everyday, but this new school year has been a rough one and I don’t find myself sewing as much. So my trusty Bernina needs a quilt!
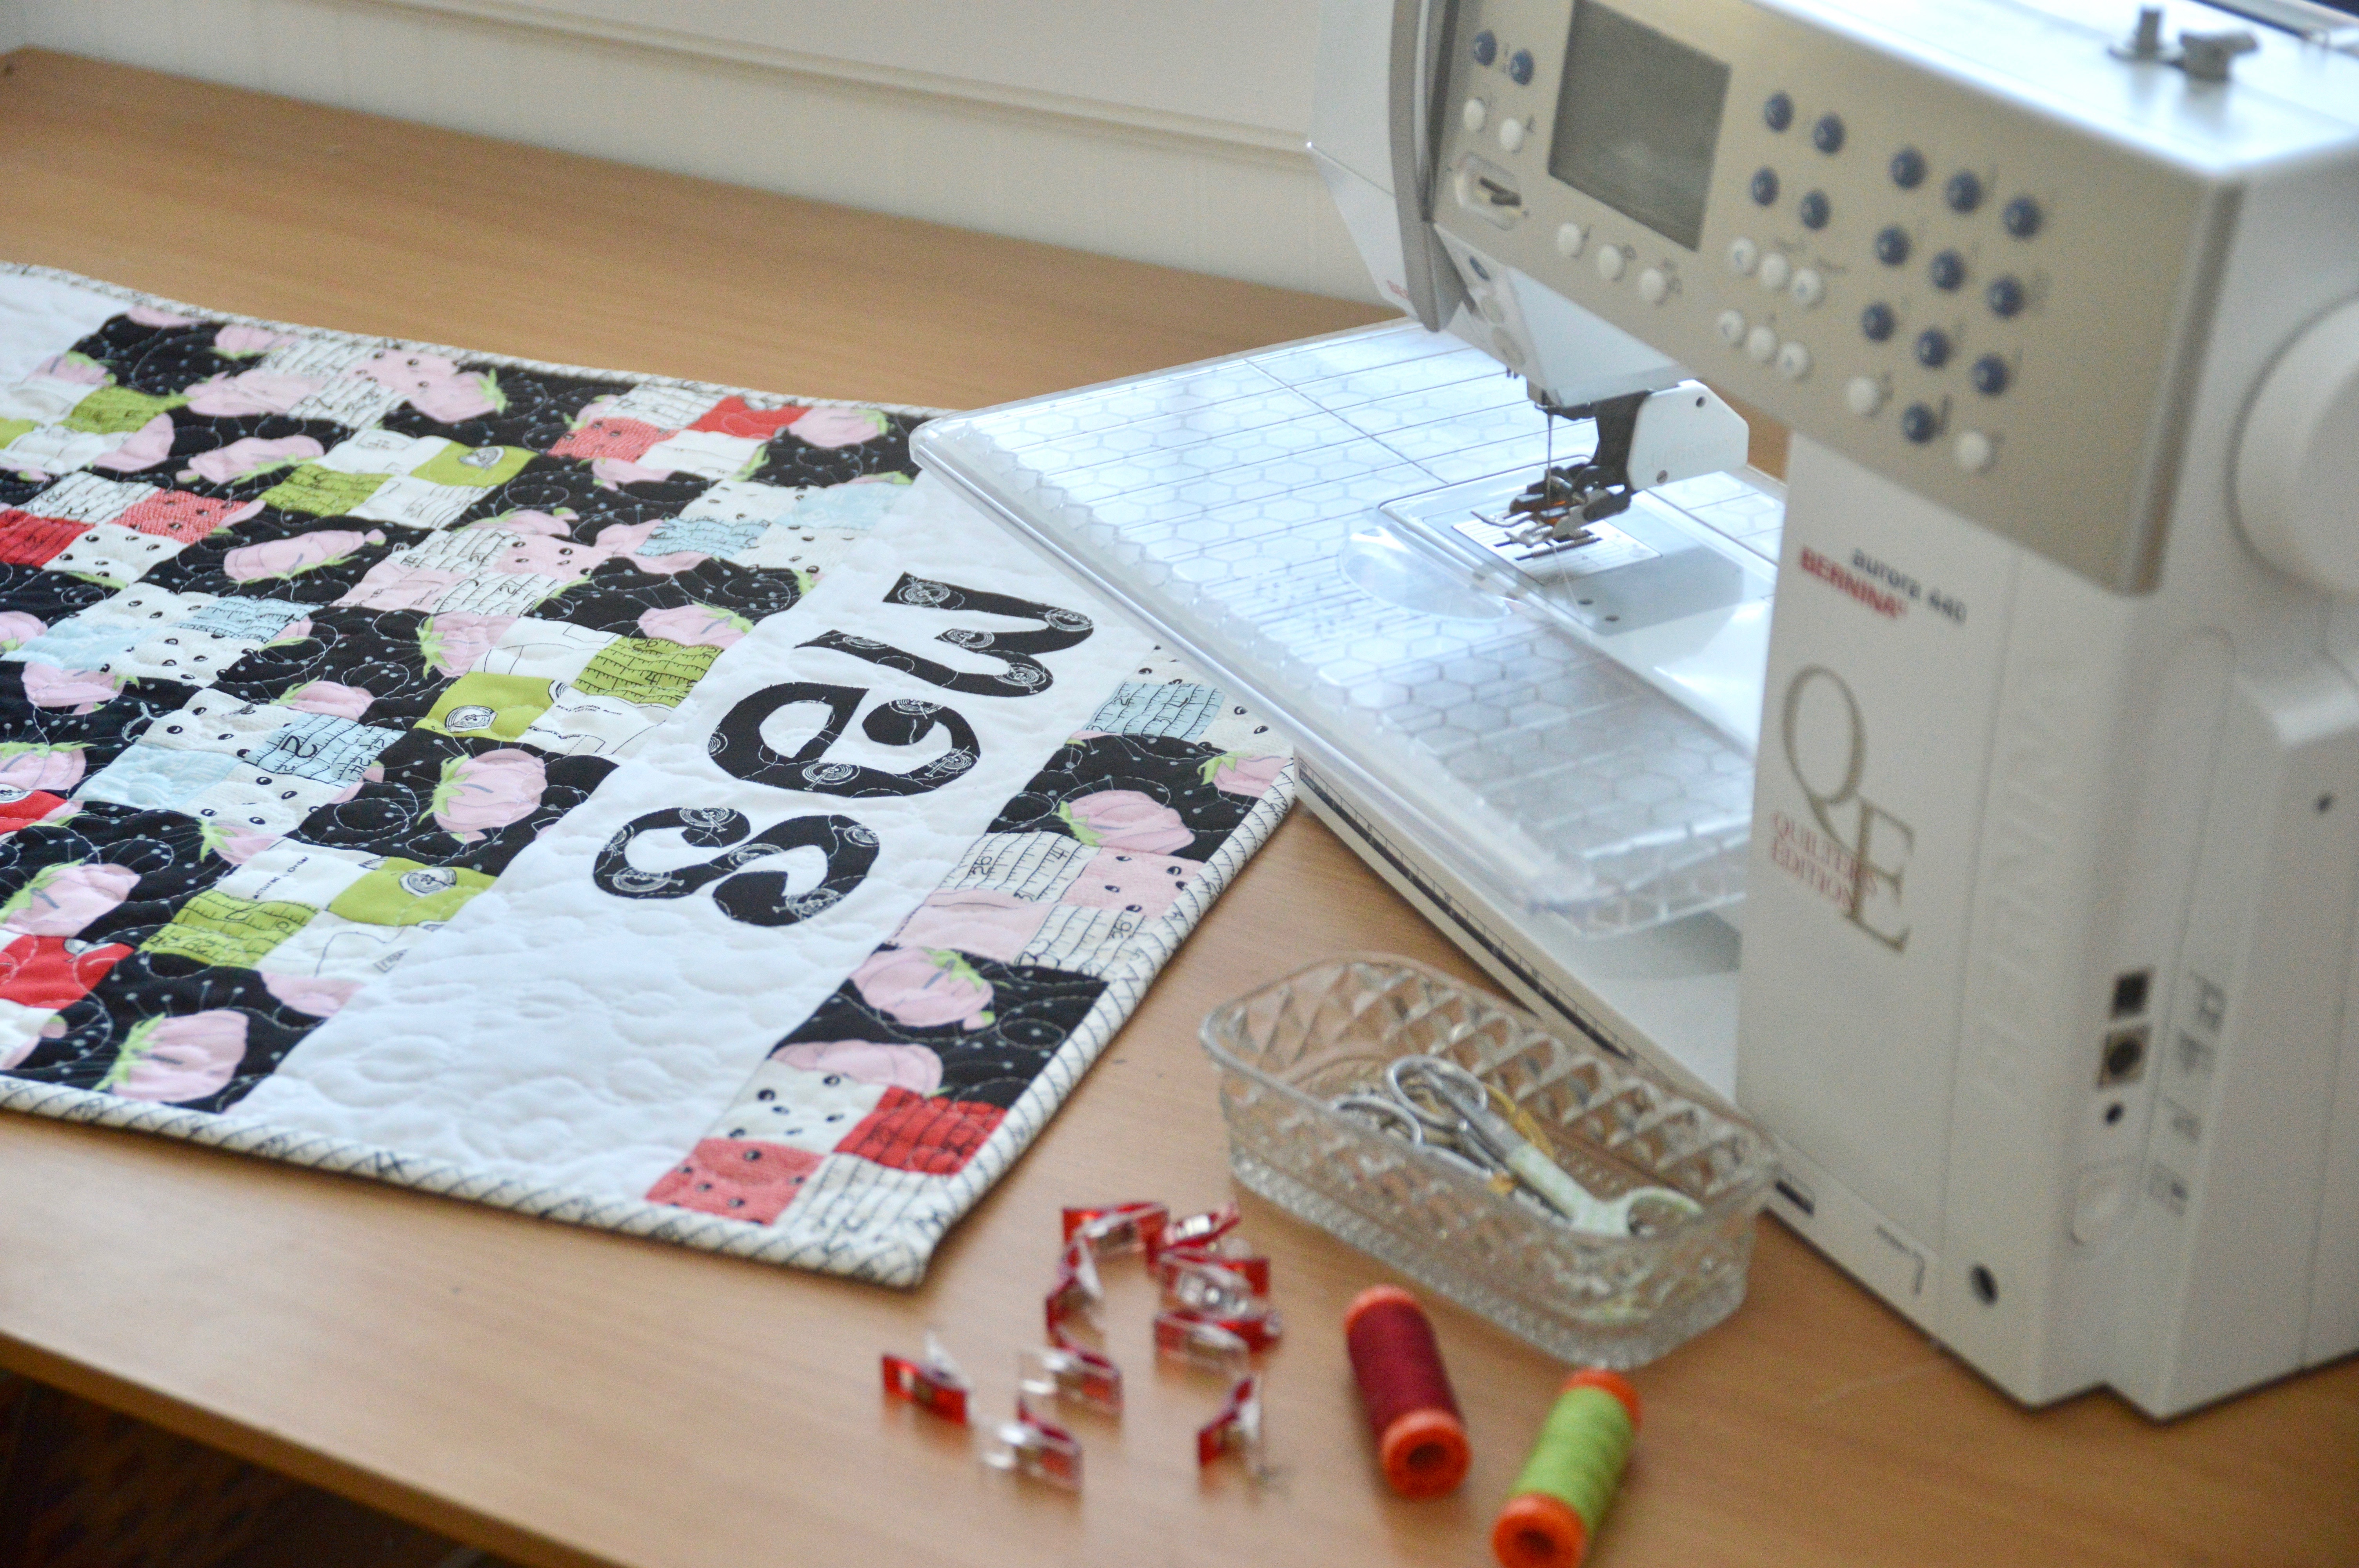
Essentially this is a shorter table runner with ties. You can really choose any design! You can turn it so it says “SEW” or “Happy”. I used a fat quarter bundle, 1/4 yard solid white, and 3/4 yard for binding and ties.
The finished quilt measures 21″ x 31″.
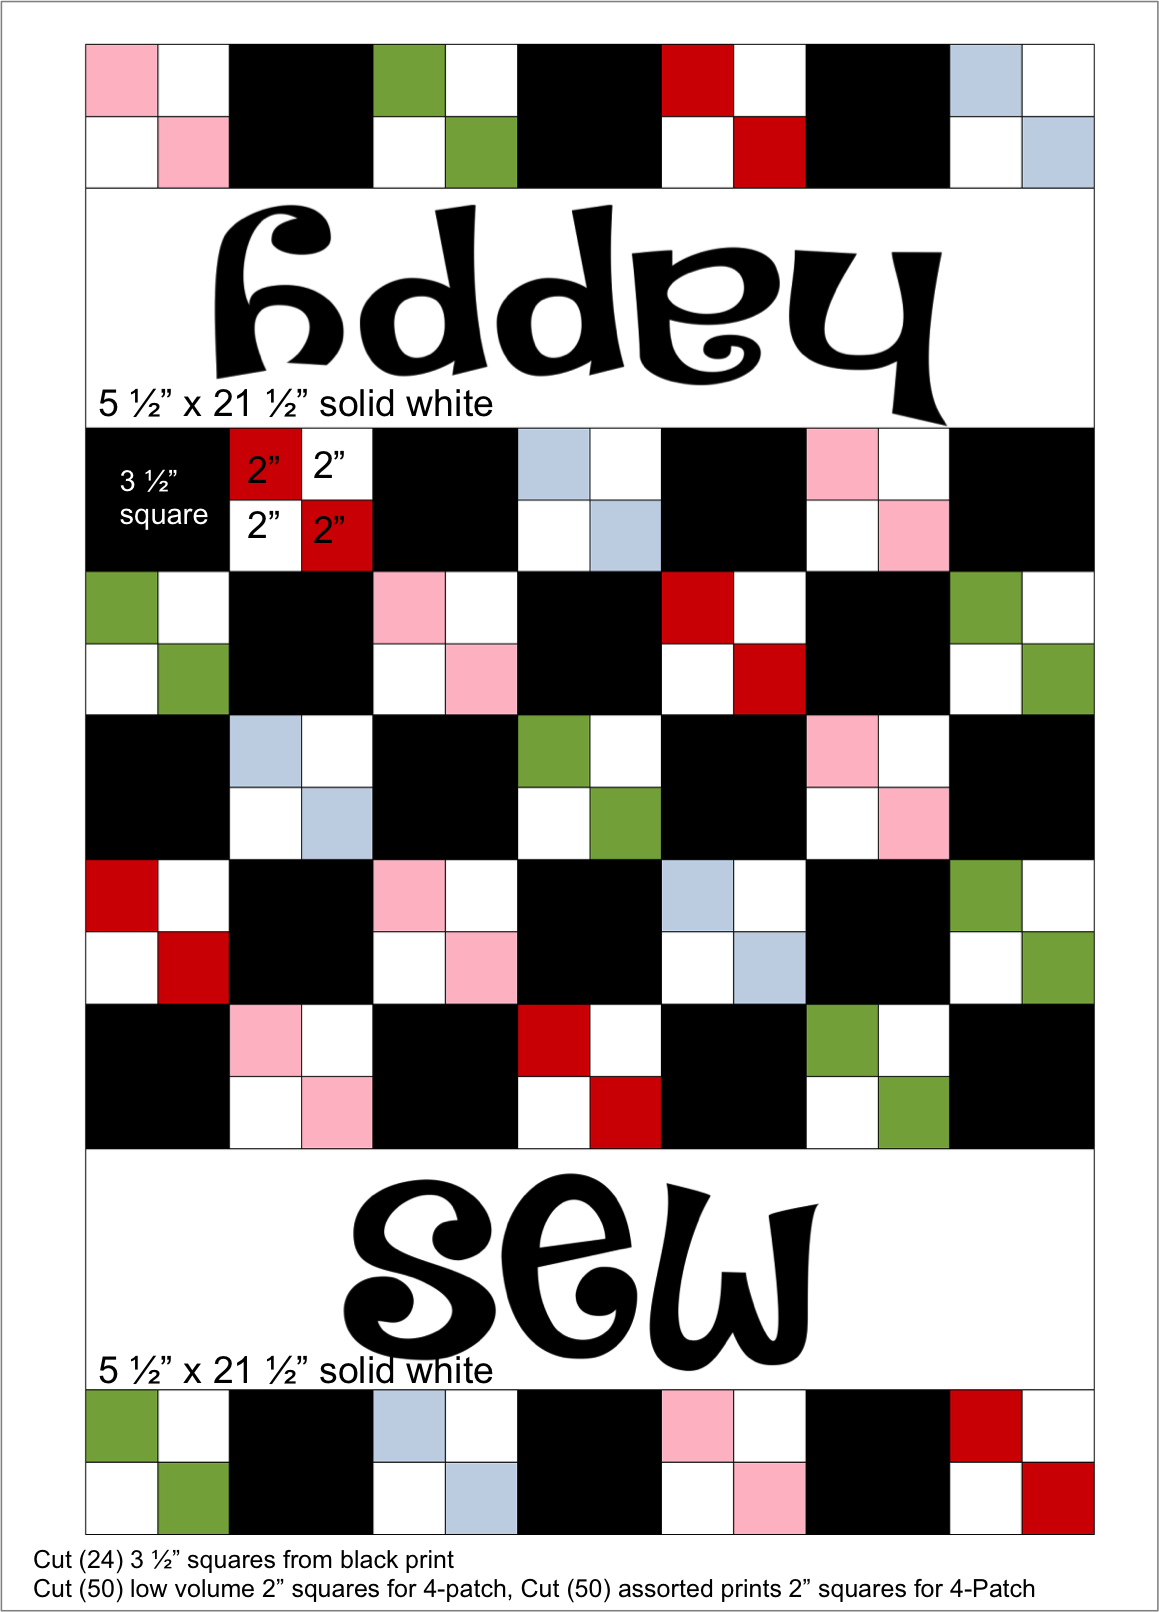
Cut the fabrics according to the measurements on the diagram above.
Sew the 2″ squares in 4-patch units, pressing toward the dark. Make (25) 4-patch units.
Download the letters by clicking HERE. Trace the letters onto Heat n Bond Lite. Cut out 1/4″ around each letter and place them on the wrong side of a black fat quarter. Heat set in place. Cut out the letters. Peel off the backing paper. Arrange them on the solid white rectangle and heat set in place. Top stitch around each letter in black thread.
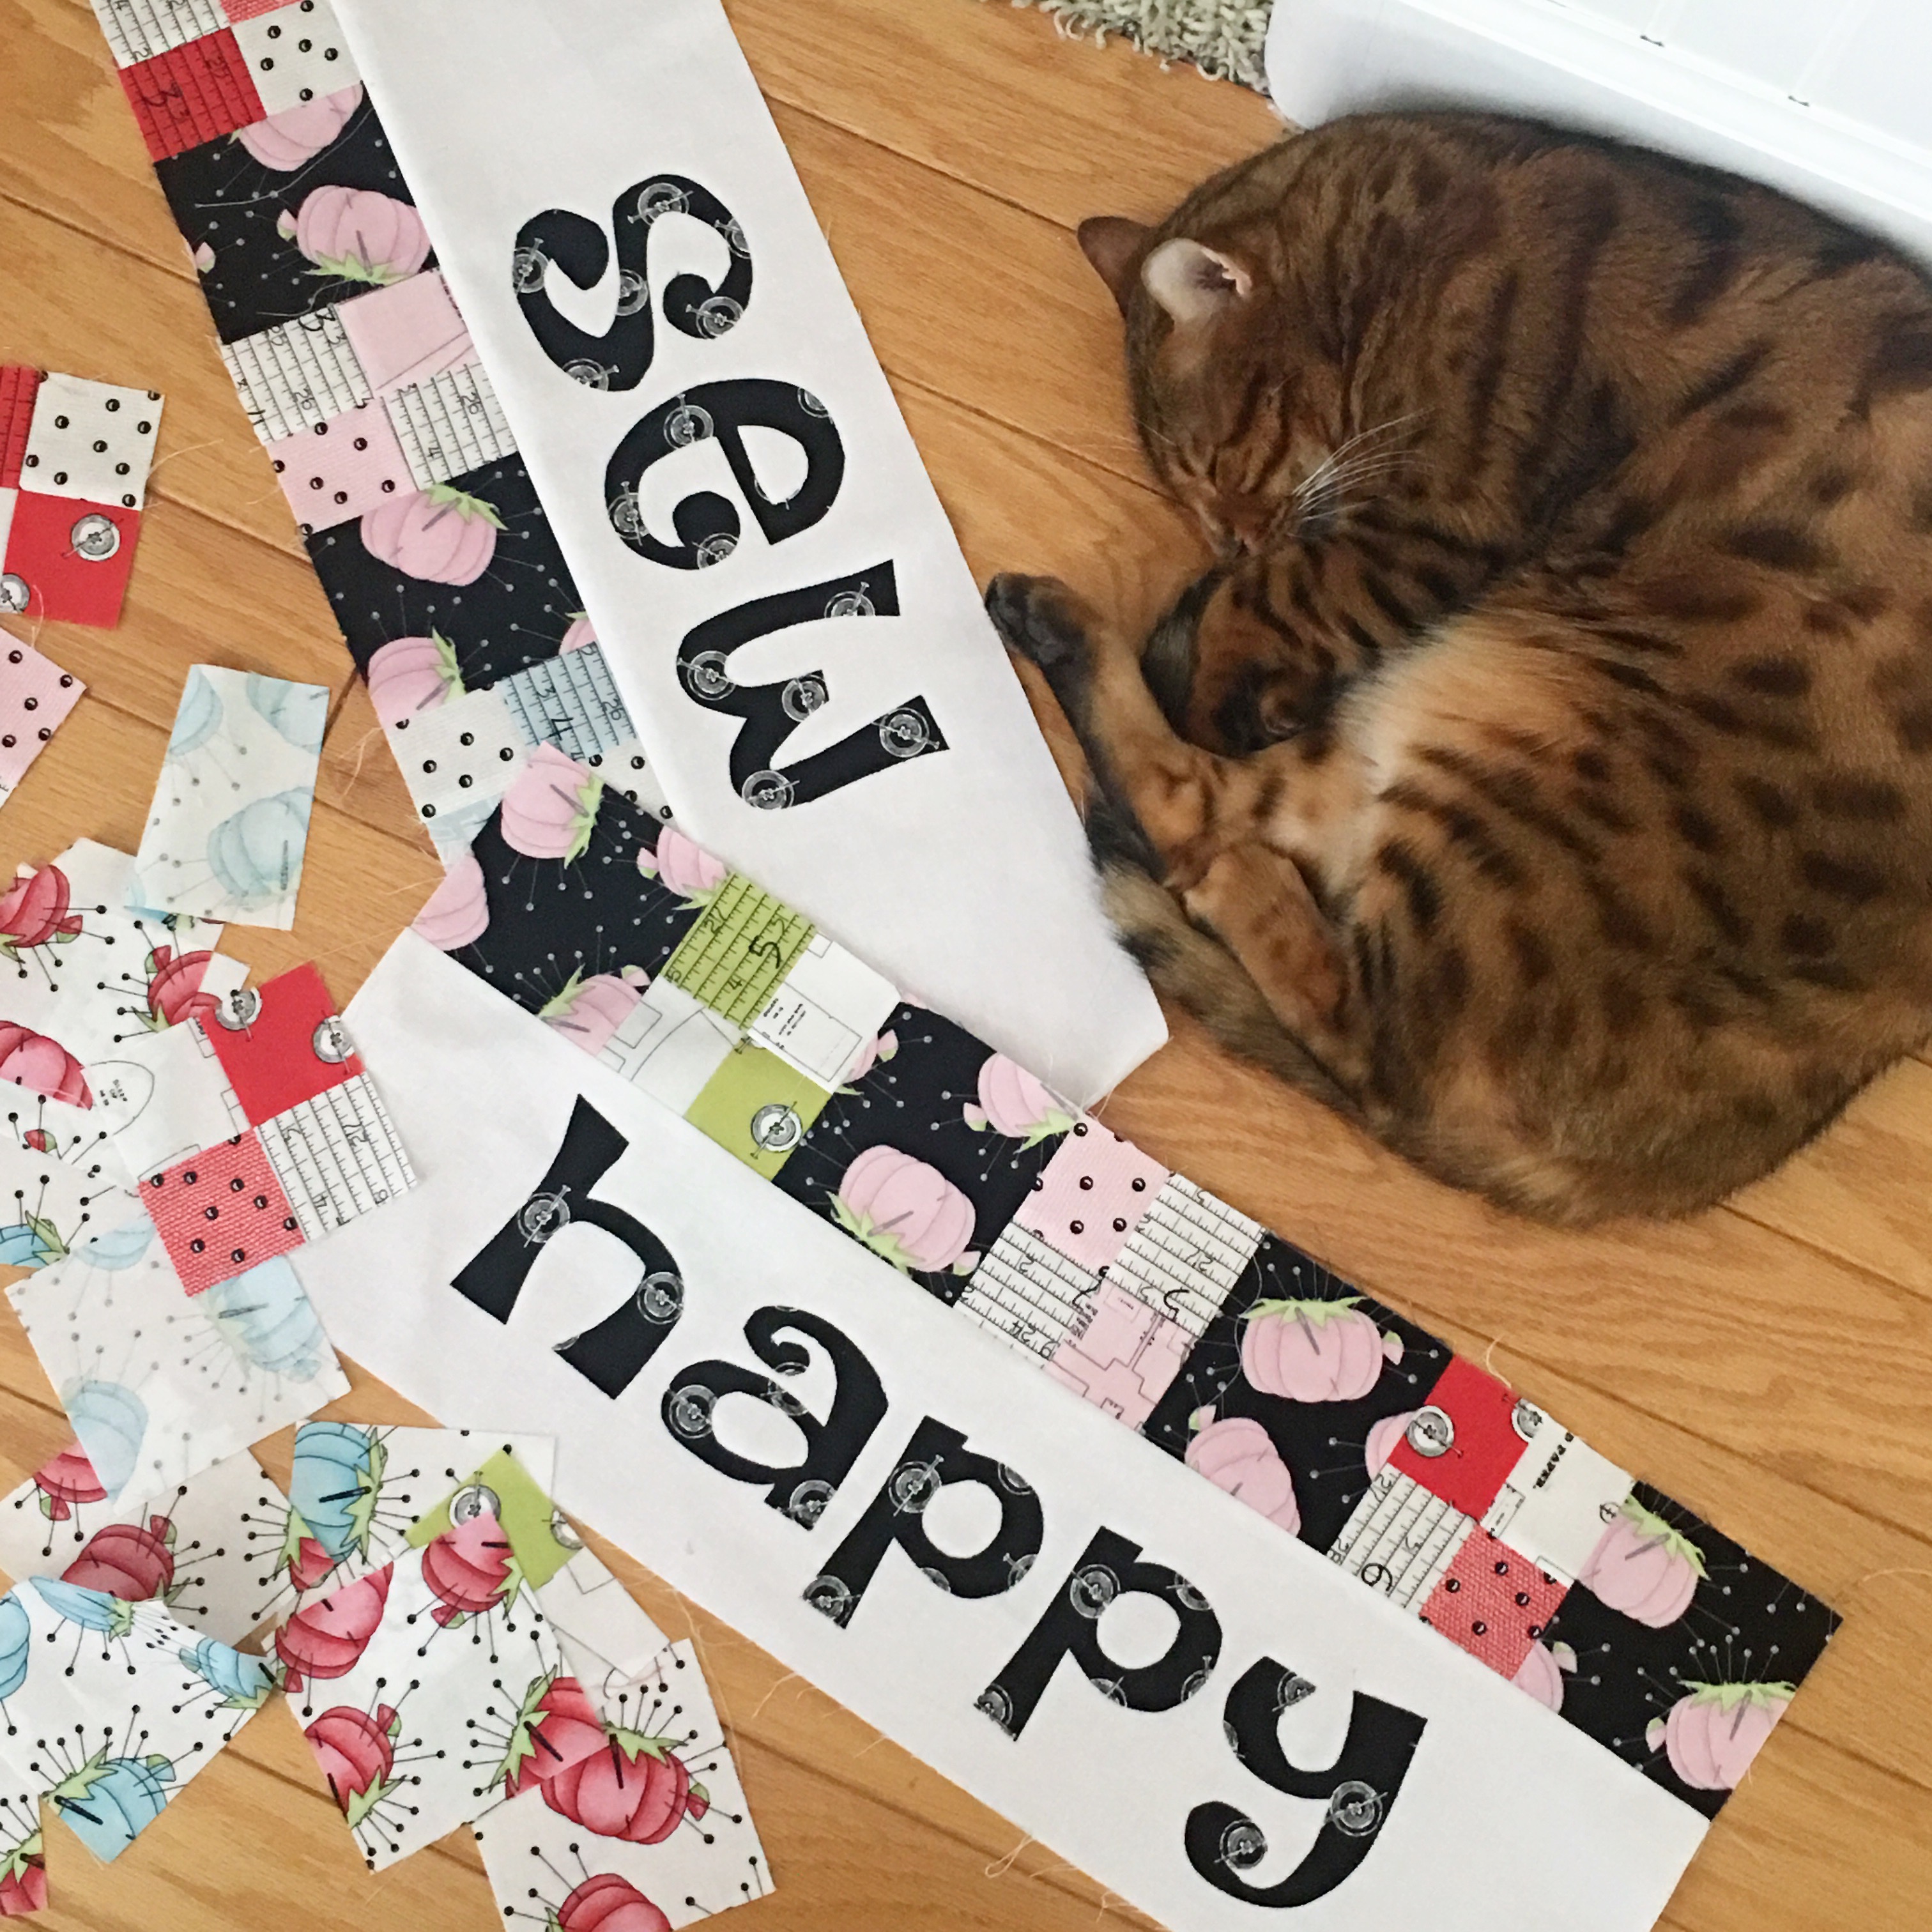
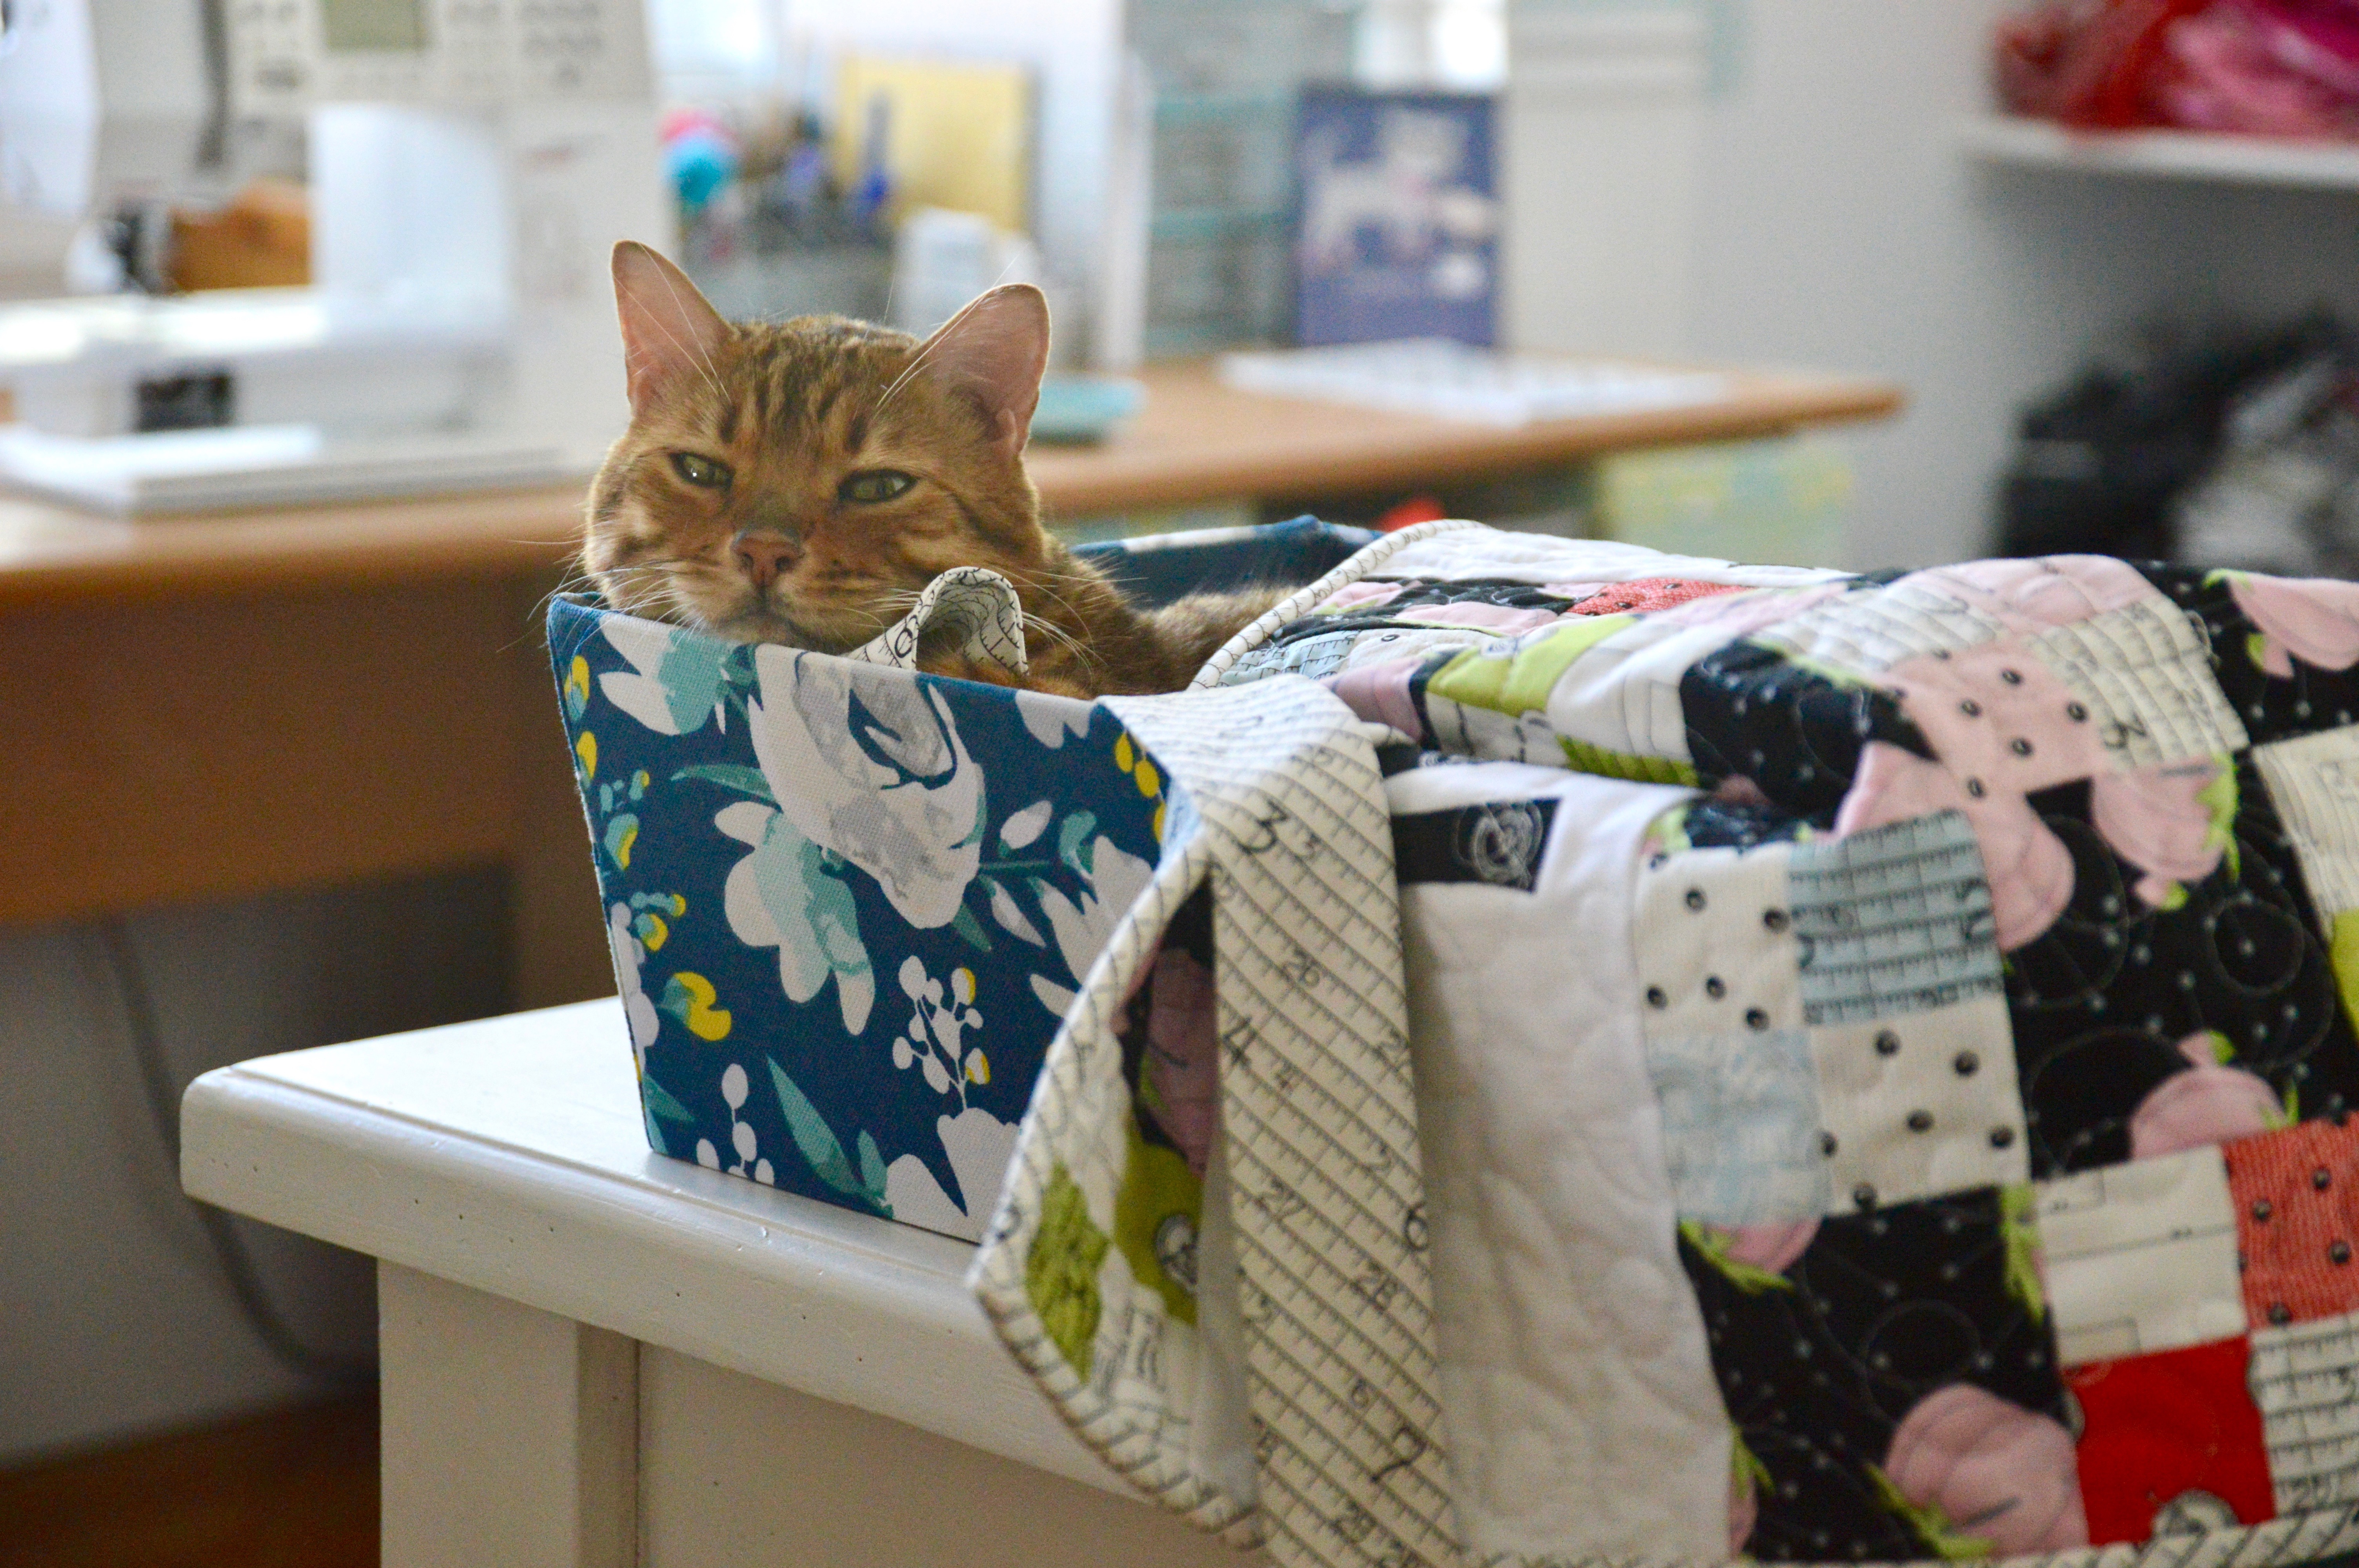
Mufasa loves to sleep while I sew!
Once the letters are finished, lay out the quilt according to the diagram. Sew together in rows, pressing toward the 3 1/2″ squares.
Sew the rows together, pressing in one direction.
Baste and quilt as you would a normal quilt. I quilted loops.
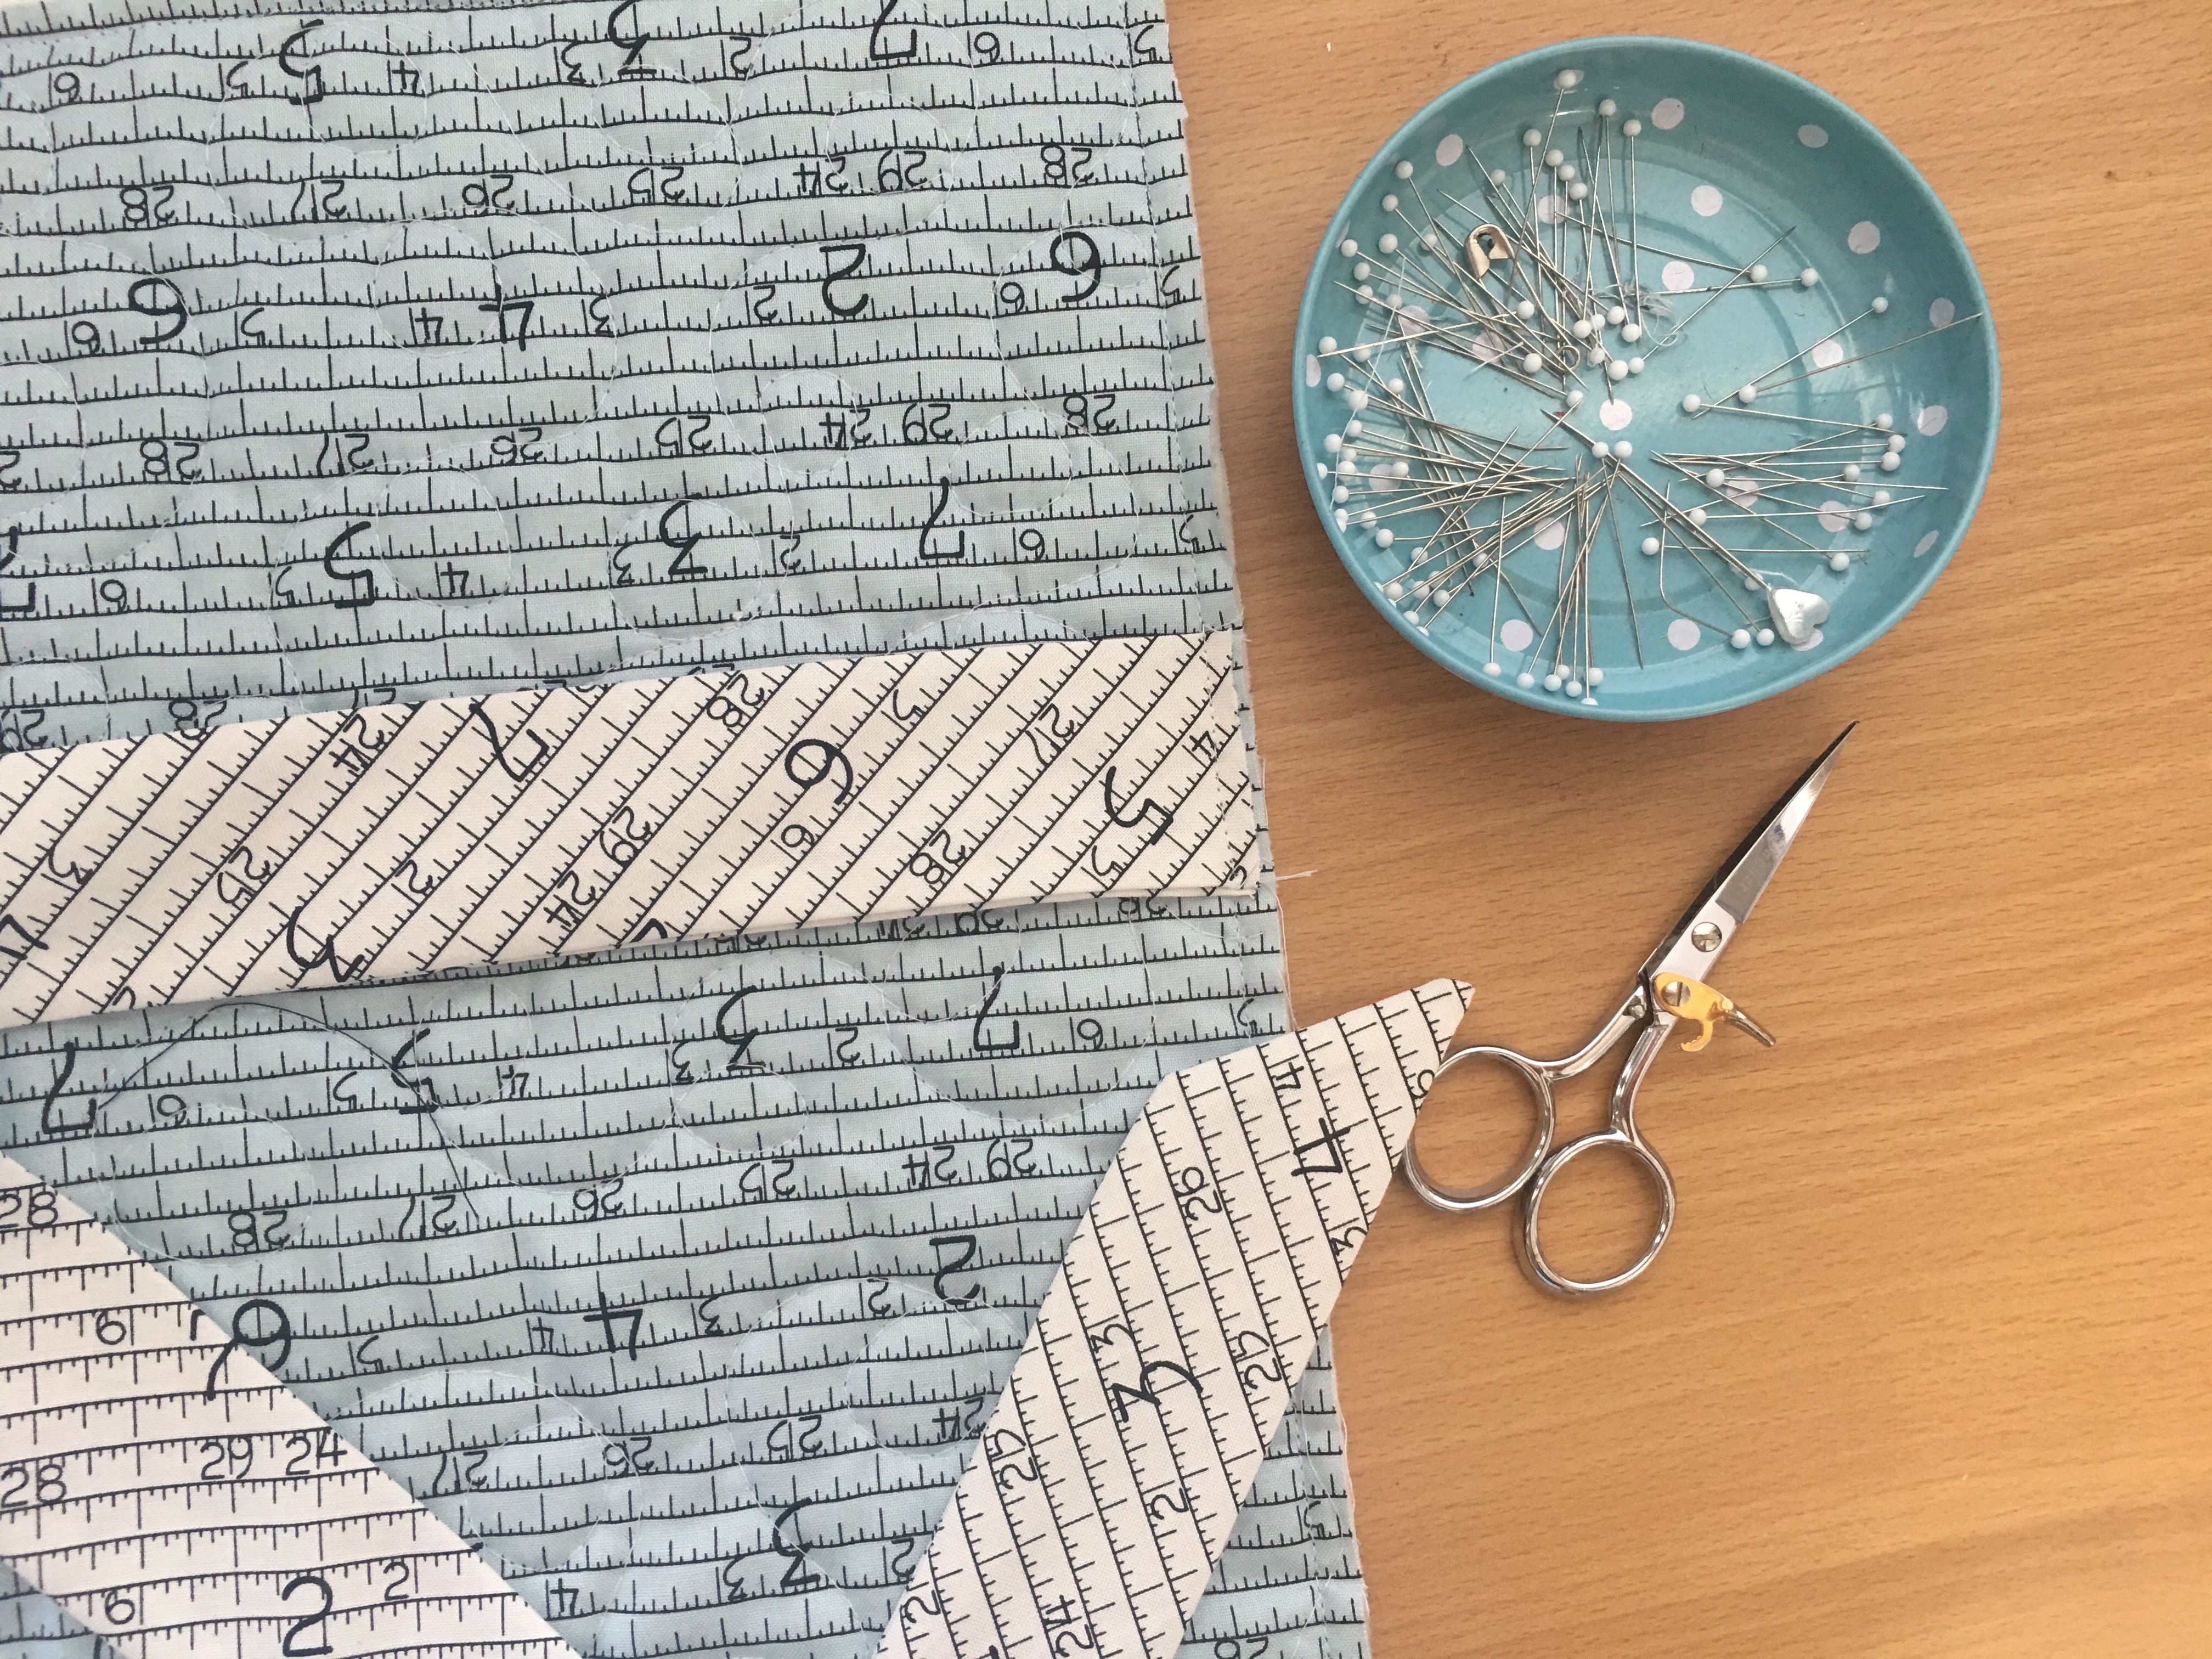
Cut (3) 2 1/2″ strips on the bias for the binding. Piece end to end diagonally. Press in half. Sew the binding on as you would a quilt.
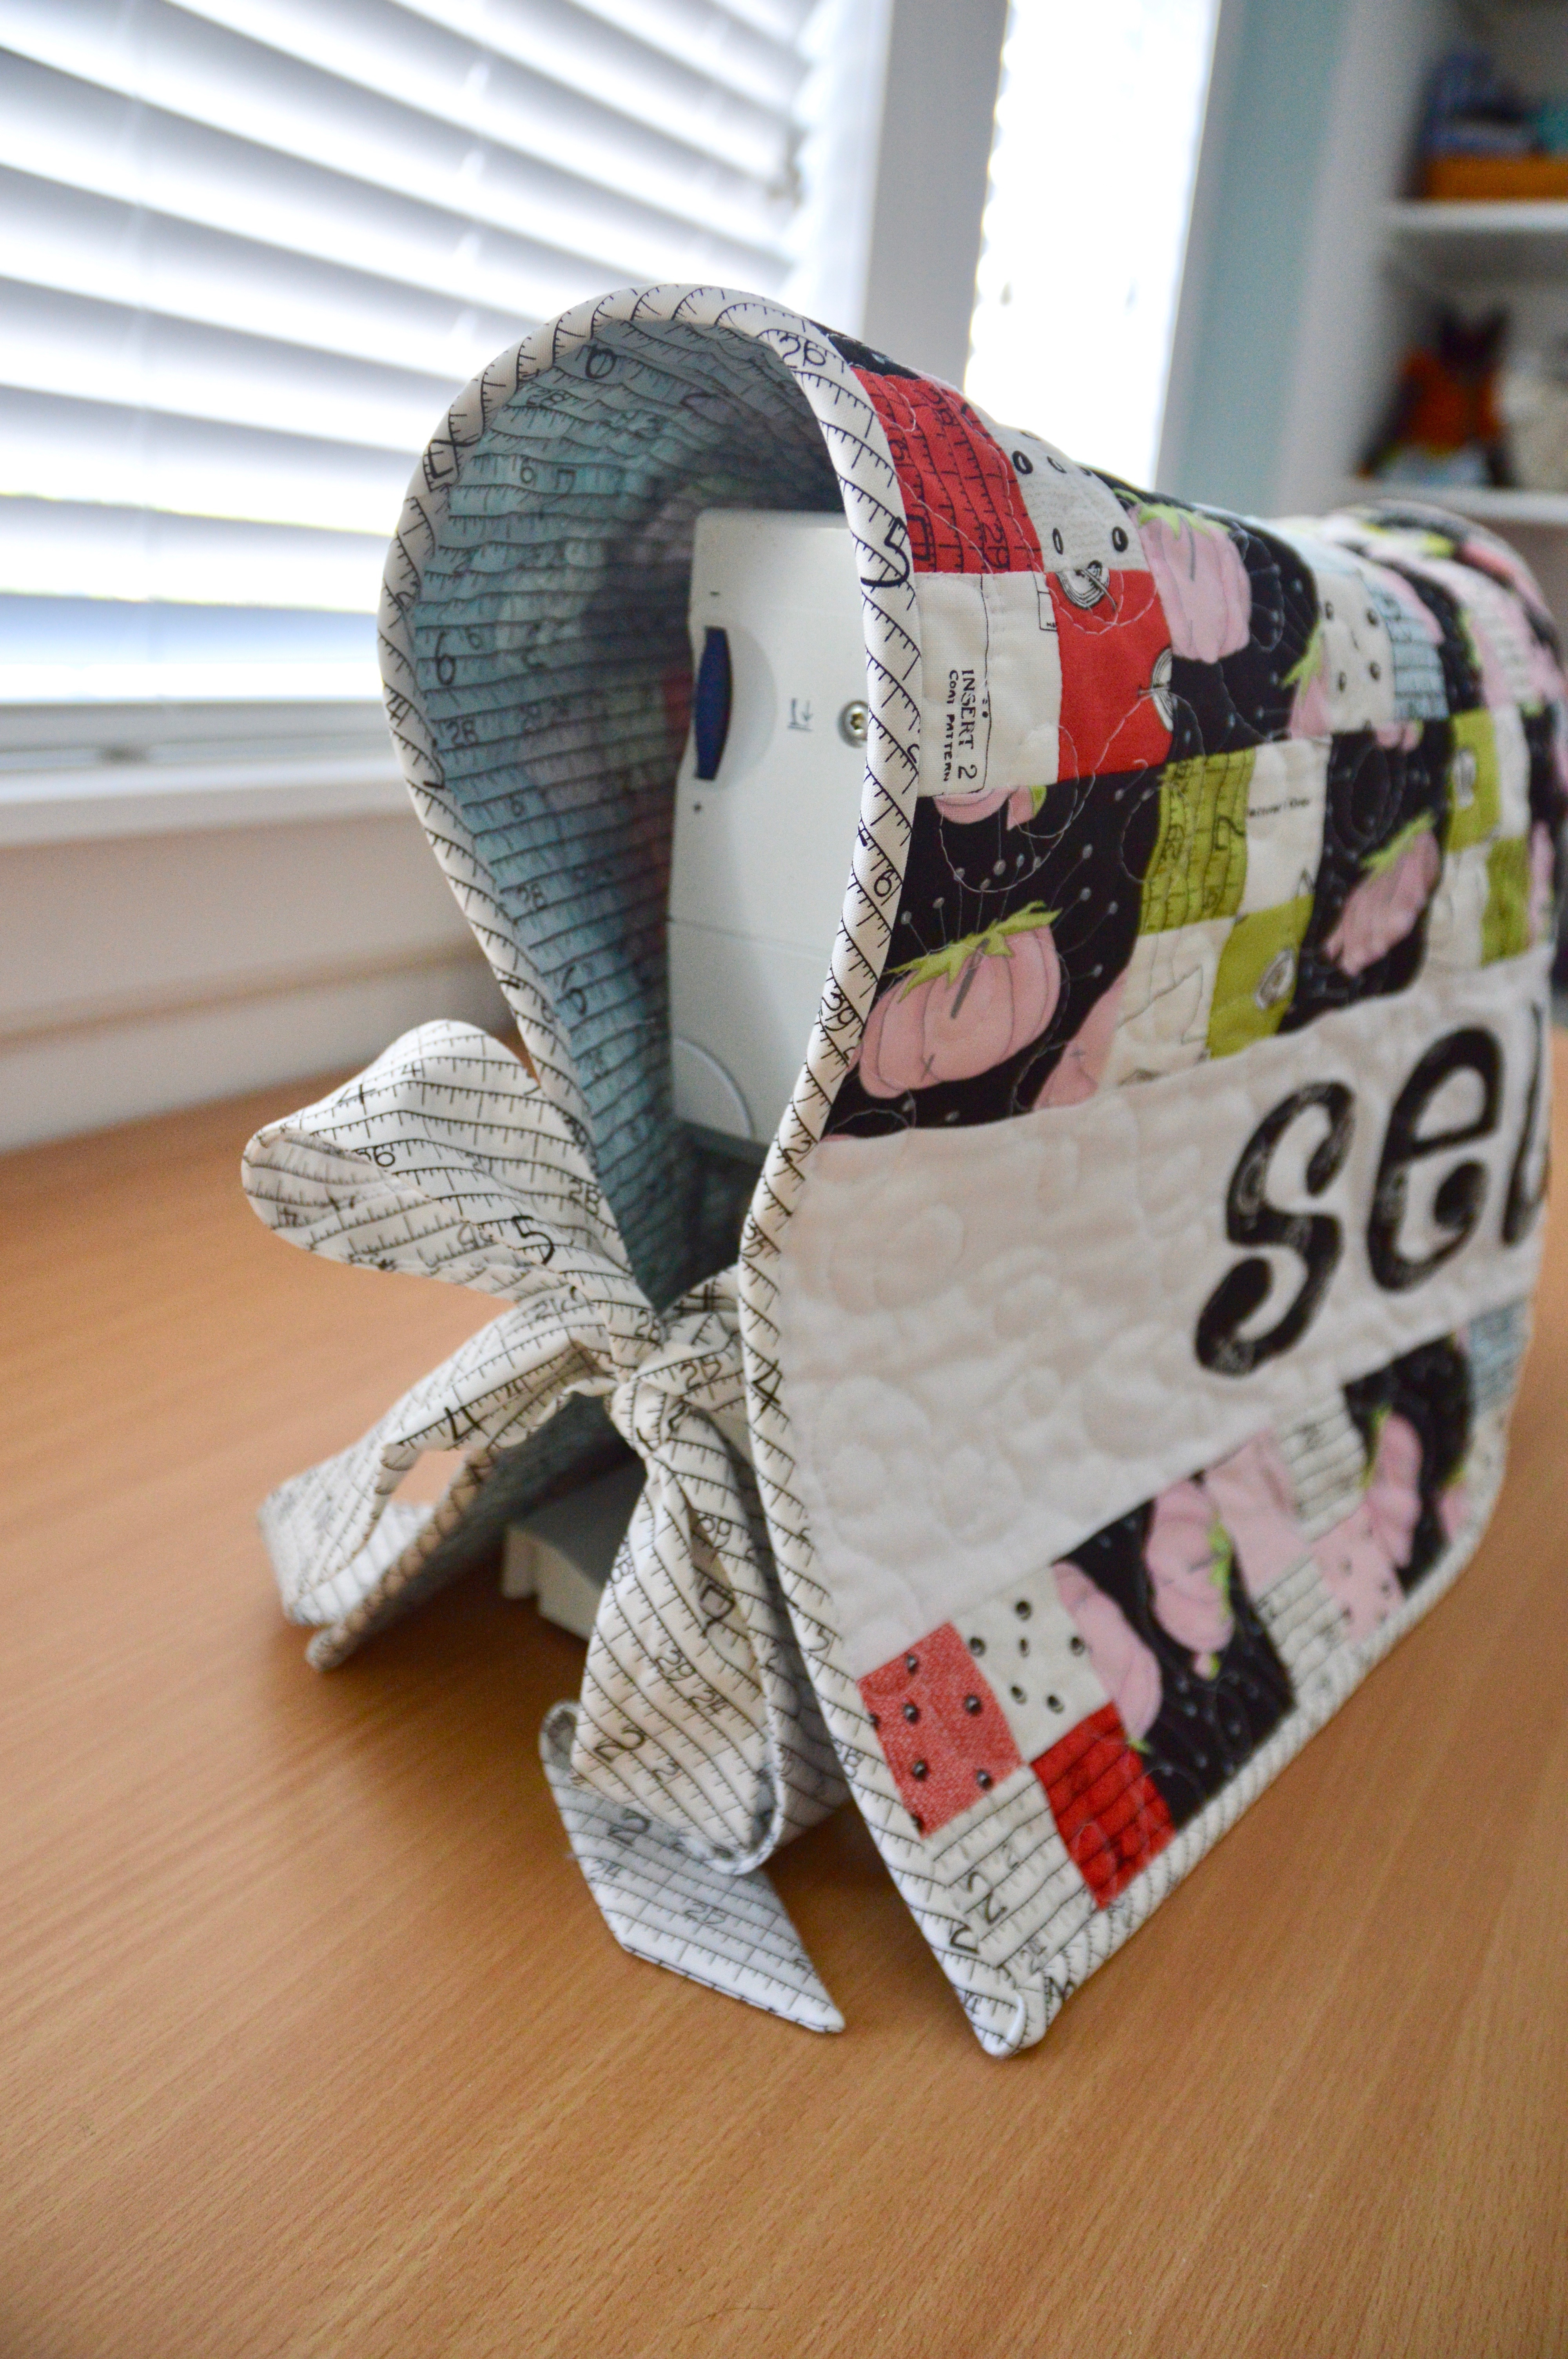
Prepare the ties by cutting (4) 4″x 24″ strips. With right sides together, fold in half lengthwise and sew 1/4″ along the long edge, ending with a point (pictured below). Turn the ties right side out and press. Baste each tie in the seam of the binding. (Place the quilt over your machine and mark where you want the ties, machines will vary).
Hand bind as you would a normal quilt, continue stitching right over the ties (below).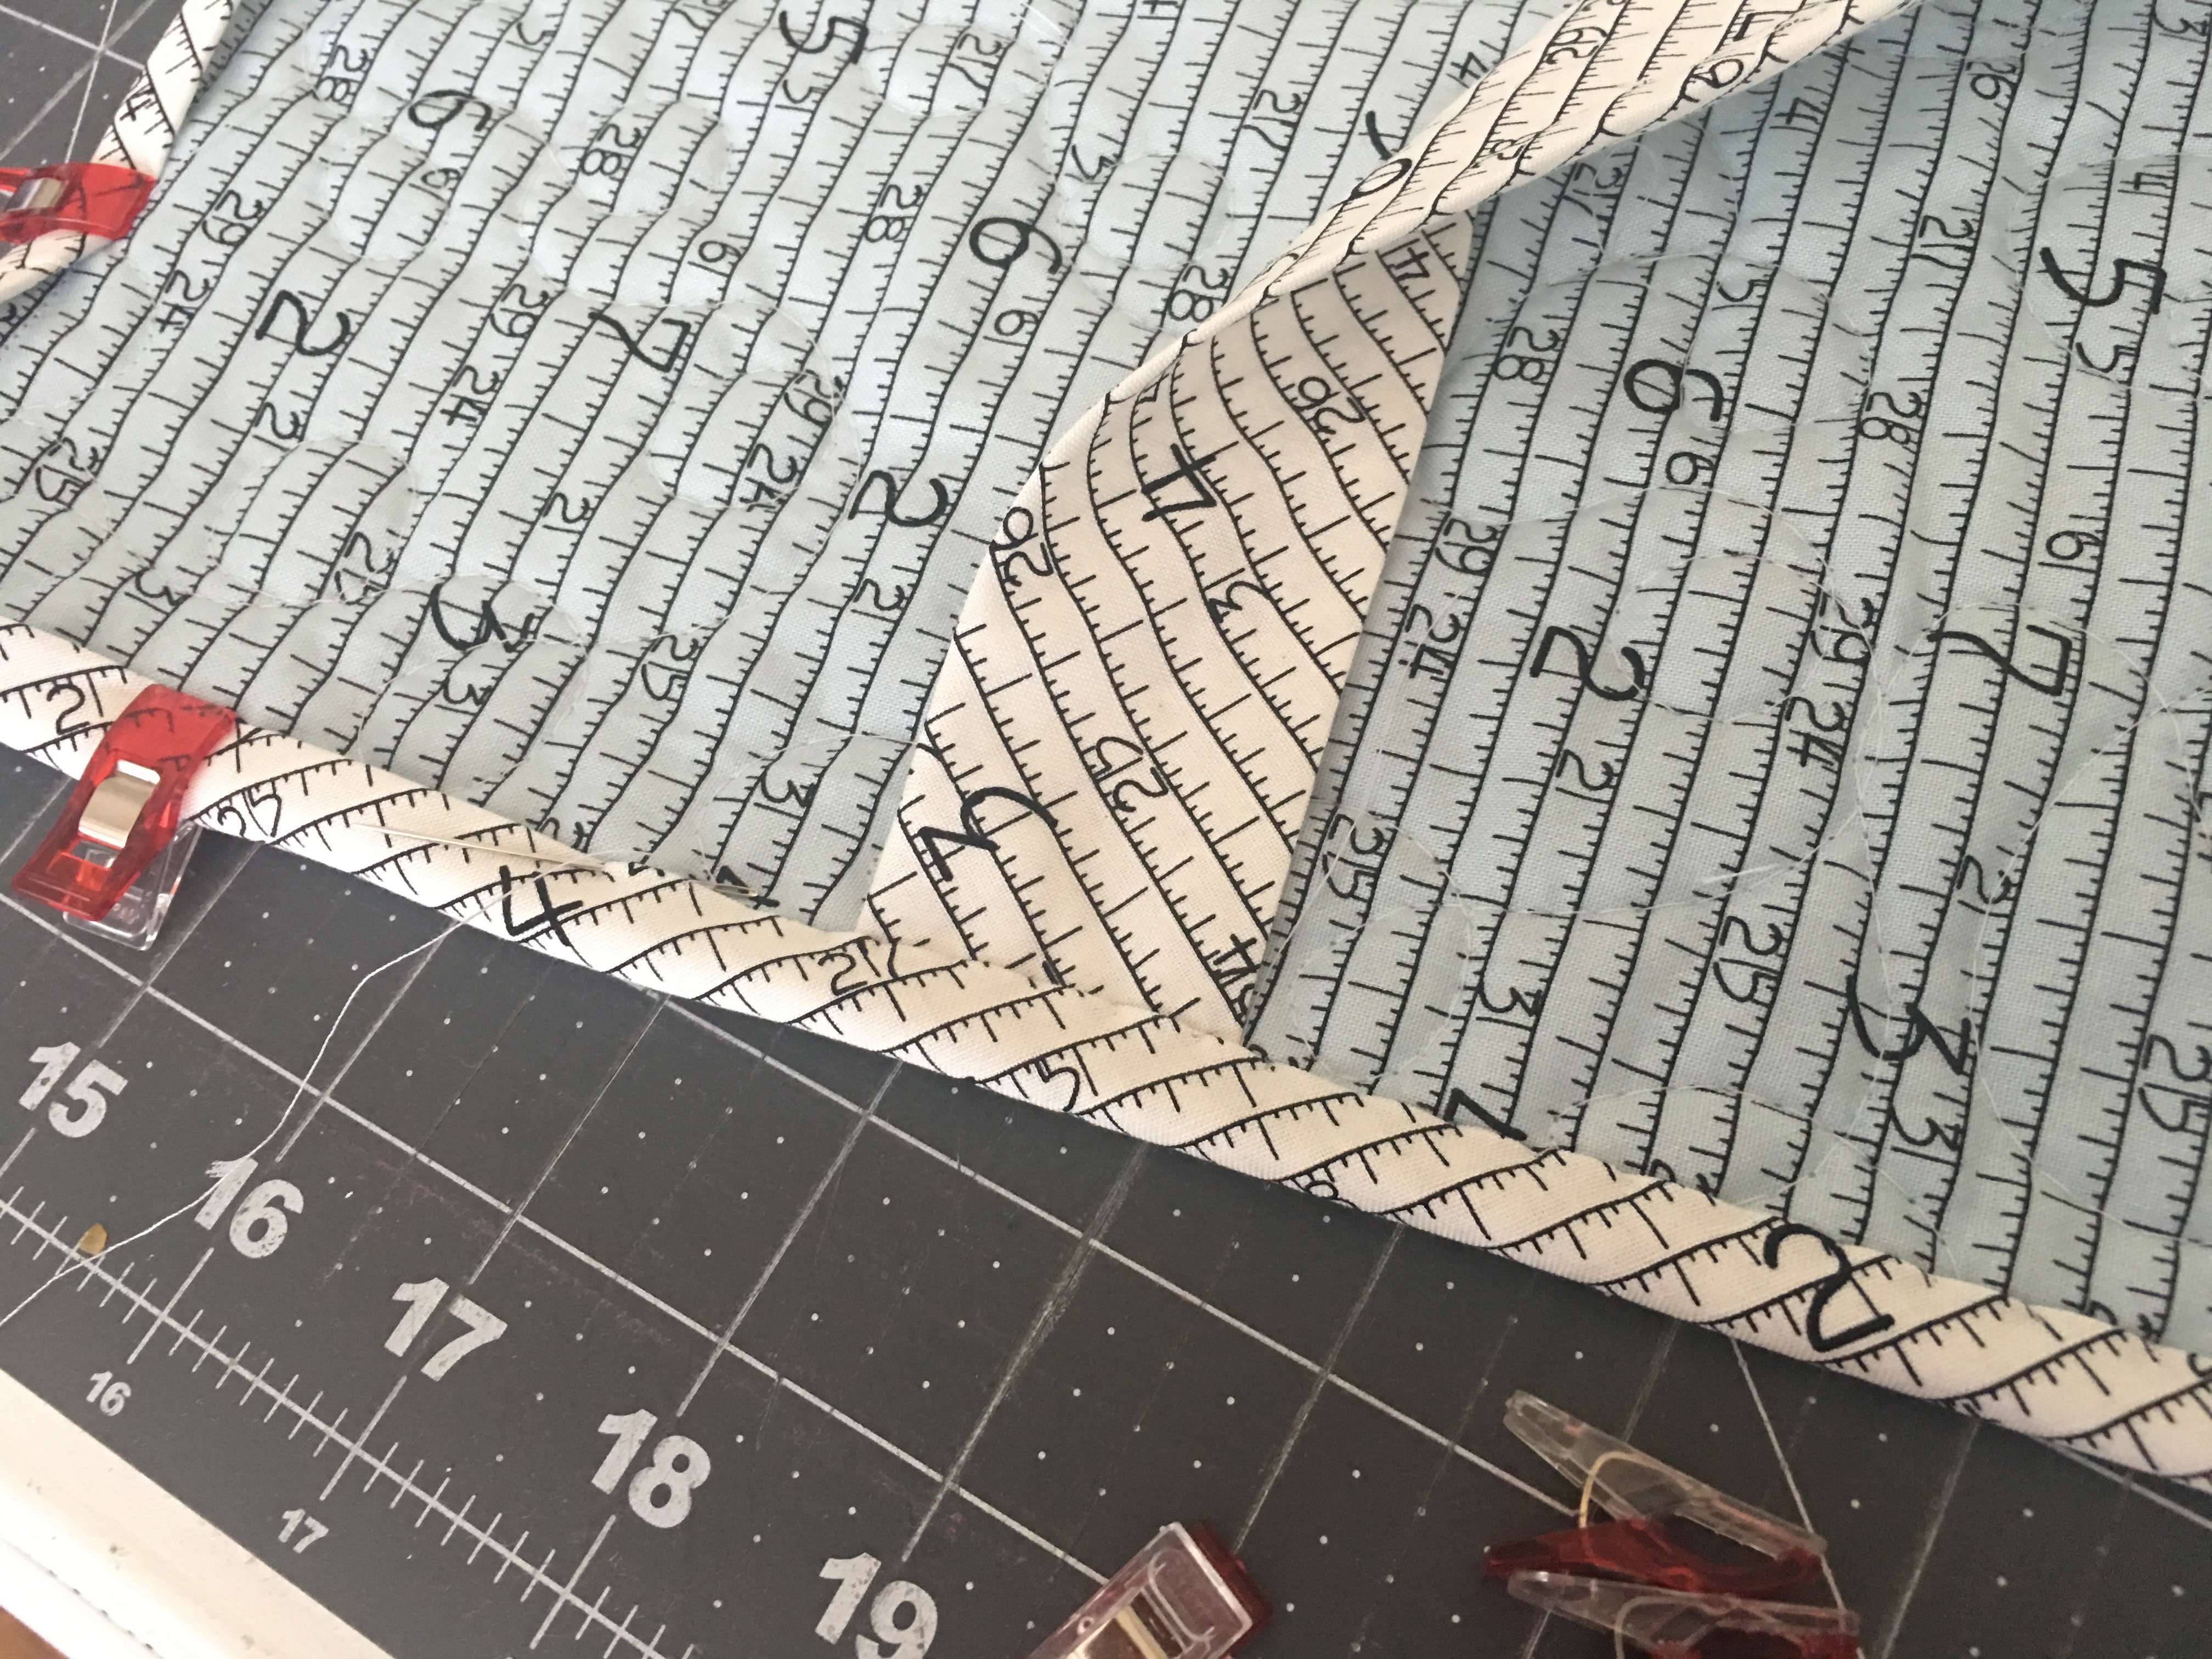
Once the binding is complete so is the sewing machine cover! My sewing machine looks SEW HAPPY!!!!
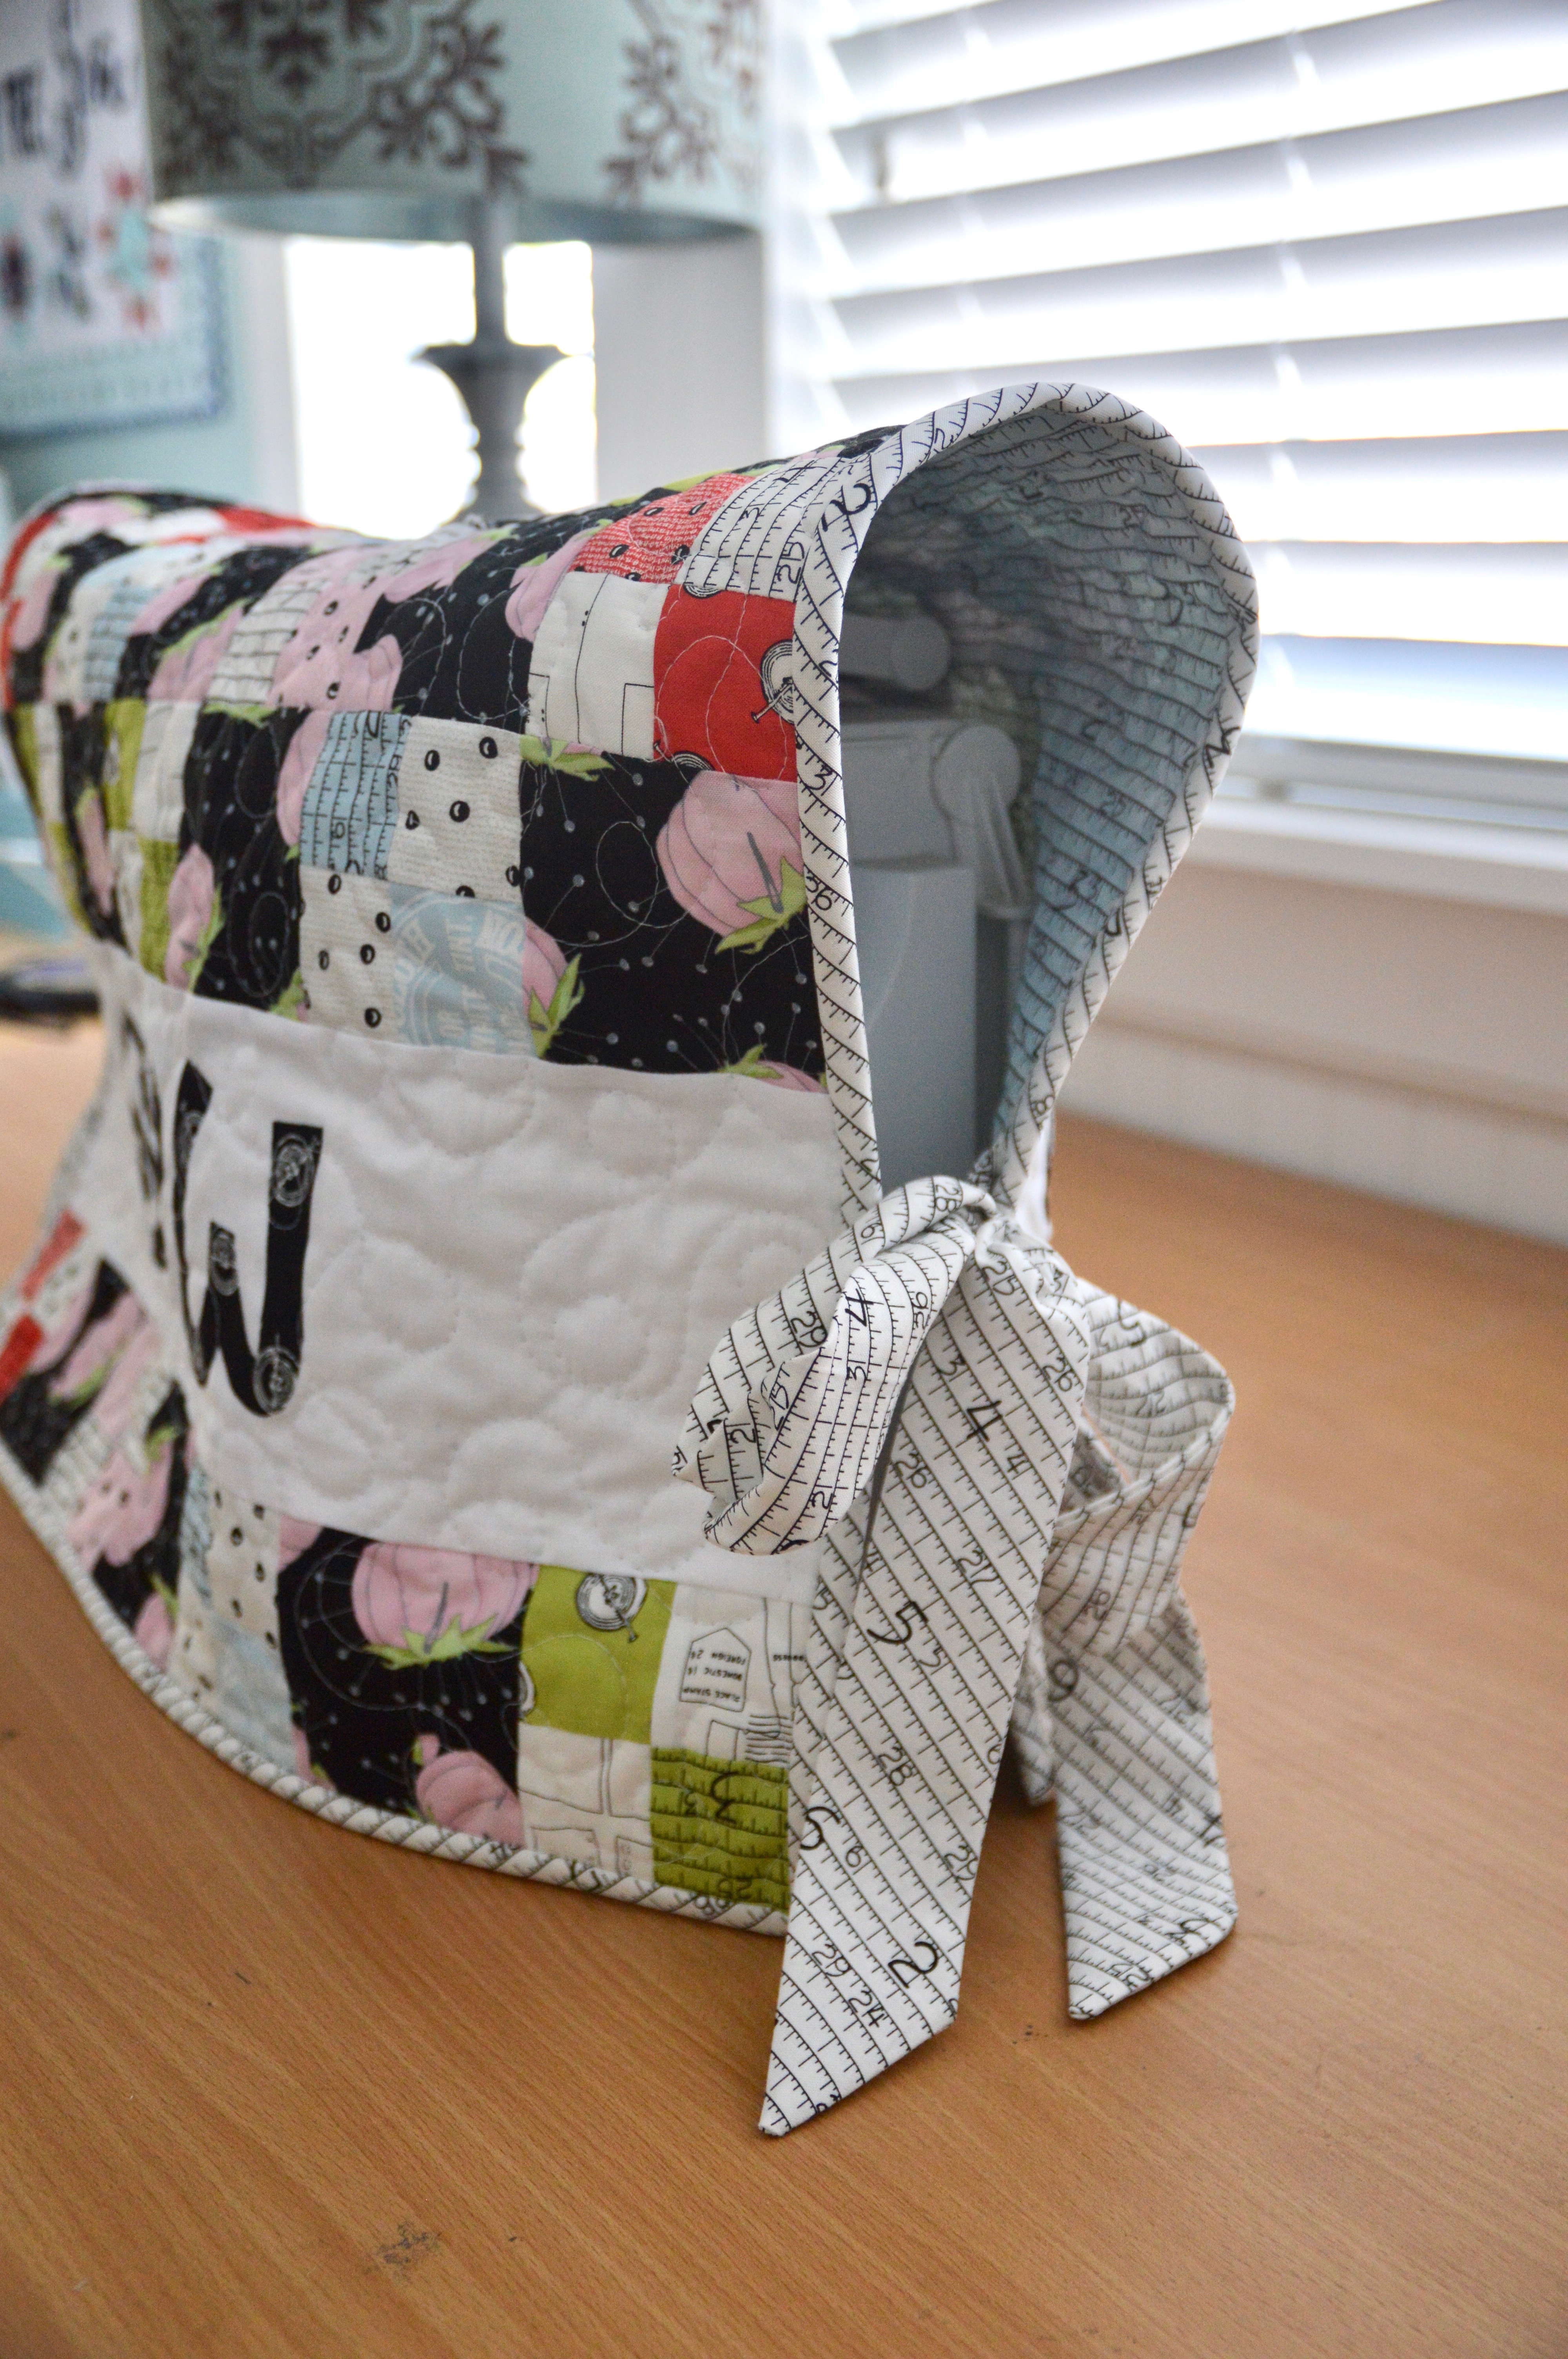
It also makes a cute sewing table runner if you don’t add the ties!
And for the rest of the afternoon it served as a kitty nap time blanket!!!


On the relational front, pornography can have significant implications for intimate partnerships.
Couples may experience conflicts arising from differing attitudes toward porn consumption, leading to issues
of trust, jealousy, and insecurity.
Here is my web-site; หมีติดมัน
OnlyFans, launched in 2016, has become synonymous with adult
content, allowing creators to share exclusive material with subscribers for a fee.
my blog post – Amam7078 หลุด
Online scheduling software program is a hosted service that enables your purchasers, clients, students, or patients to make,
reschedule, and cancel appointments by a web interface.
Also visit my web blog :: Kodpung88Q.Com
What’s up i am kavin, its my first time to commenting anywhere, when i read this paragraph i thought i could also make comment due to this sensible post.
Thanks for sharing your thoughts about Capital303 Slot Pragmatic.
Regards
Here is my web blog … Capital303 Login
I was able to find good info from your articles.
Feel free to surf to my website: iLucky88 IDN Live
I was looking for this. Really refreshing take on the information. Thanks a lot.