12 Days of Meow-y Christmas {Day 6} Gingerbread Cookie Cats

IMG_2617

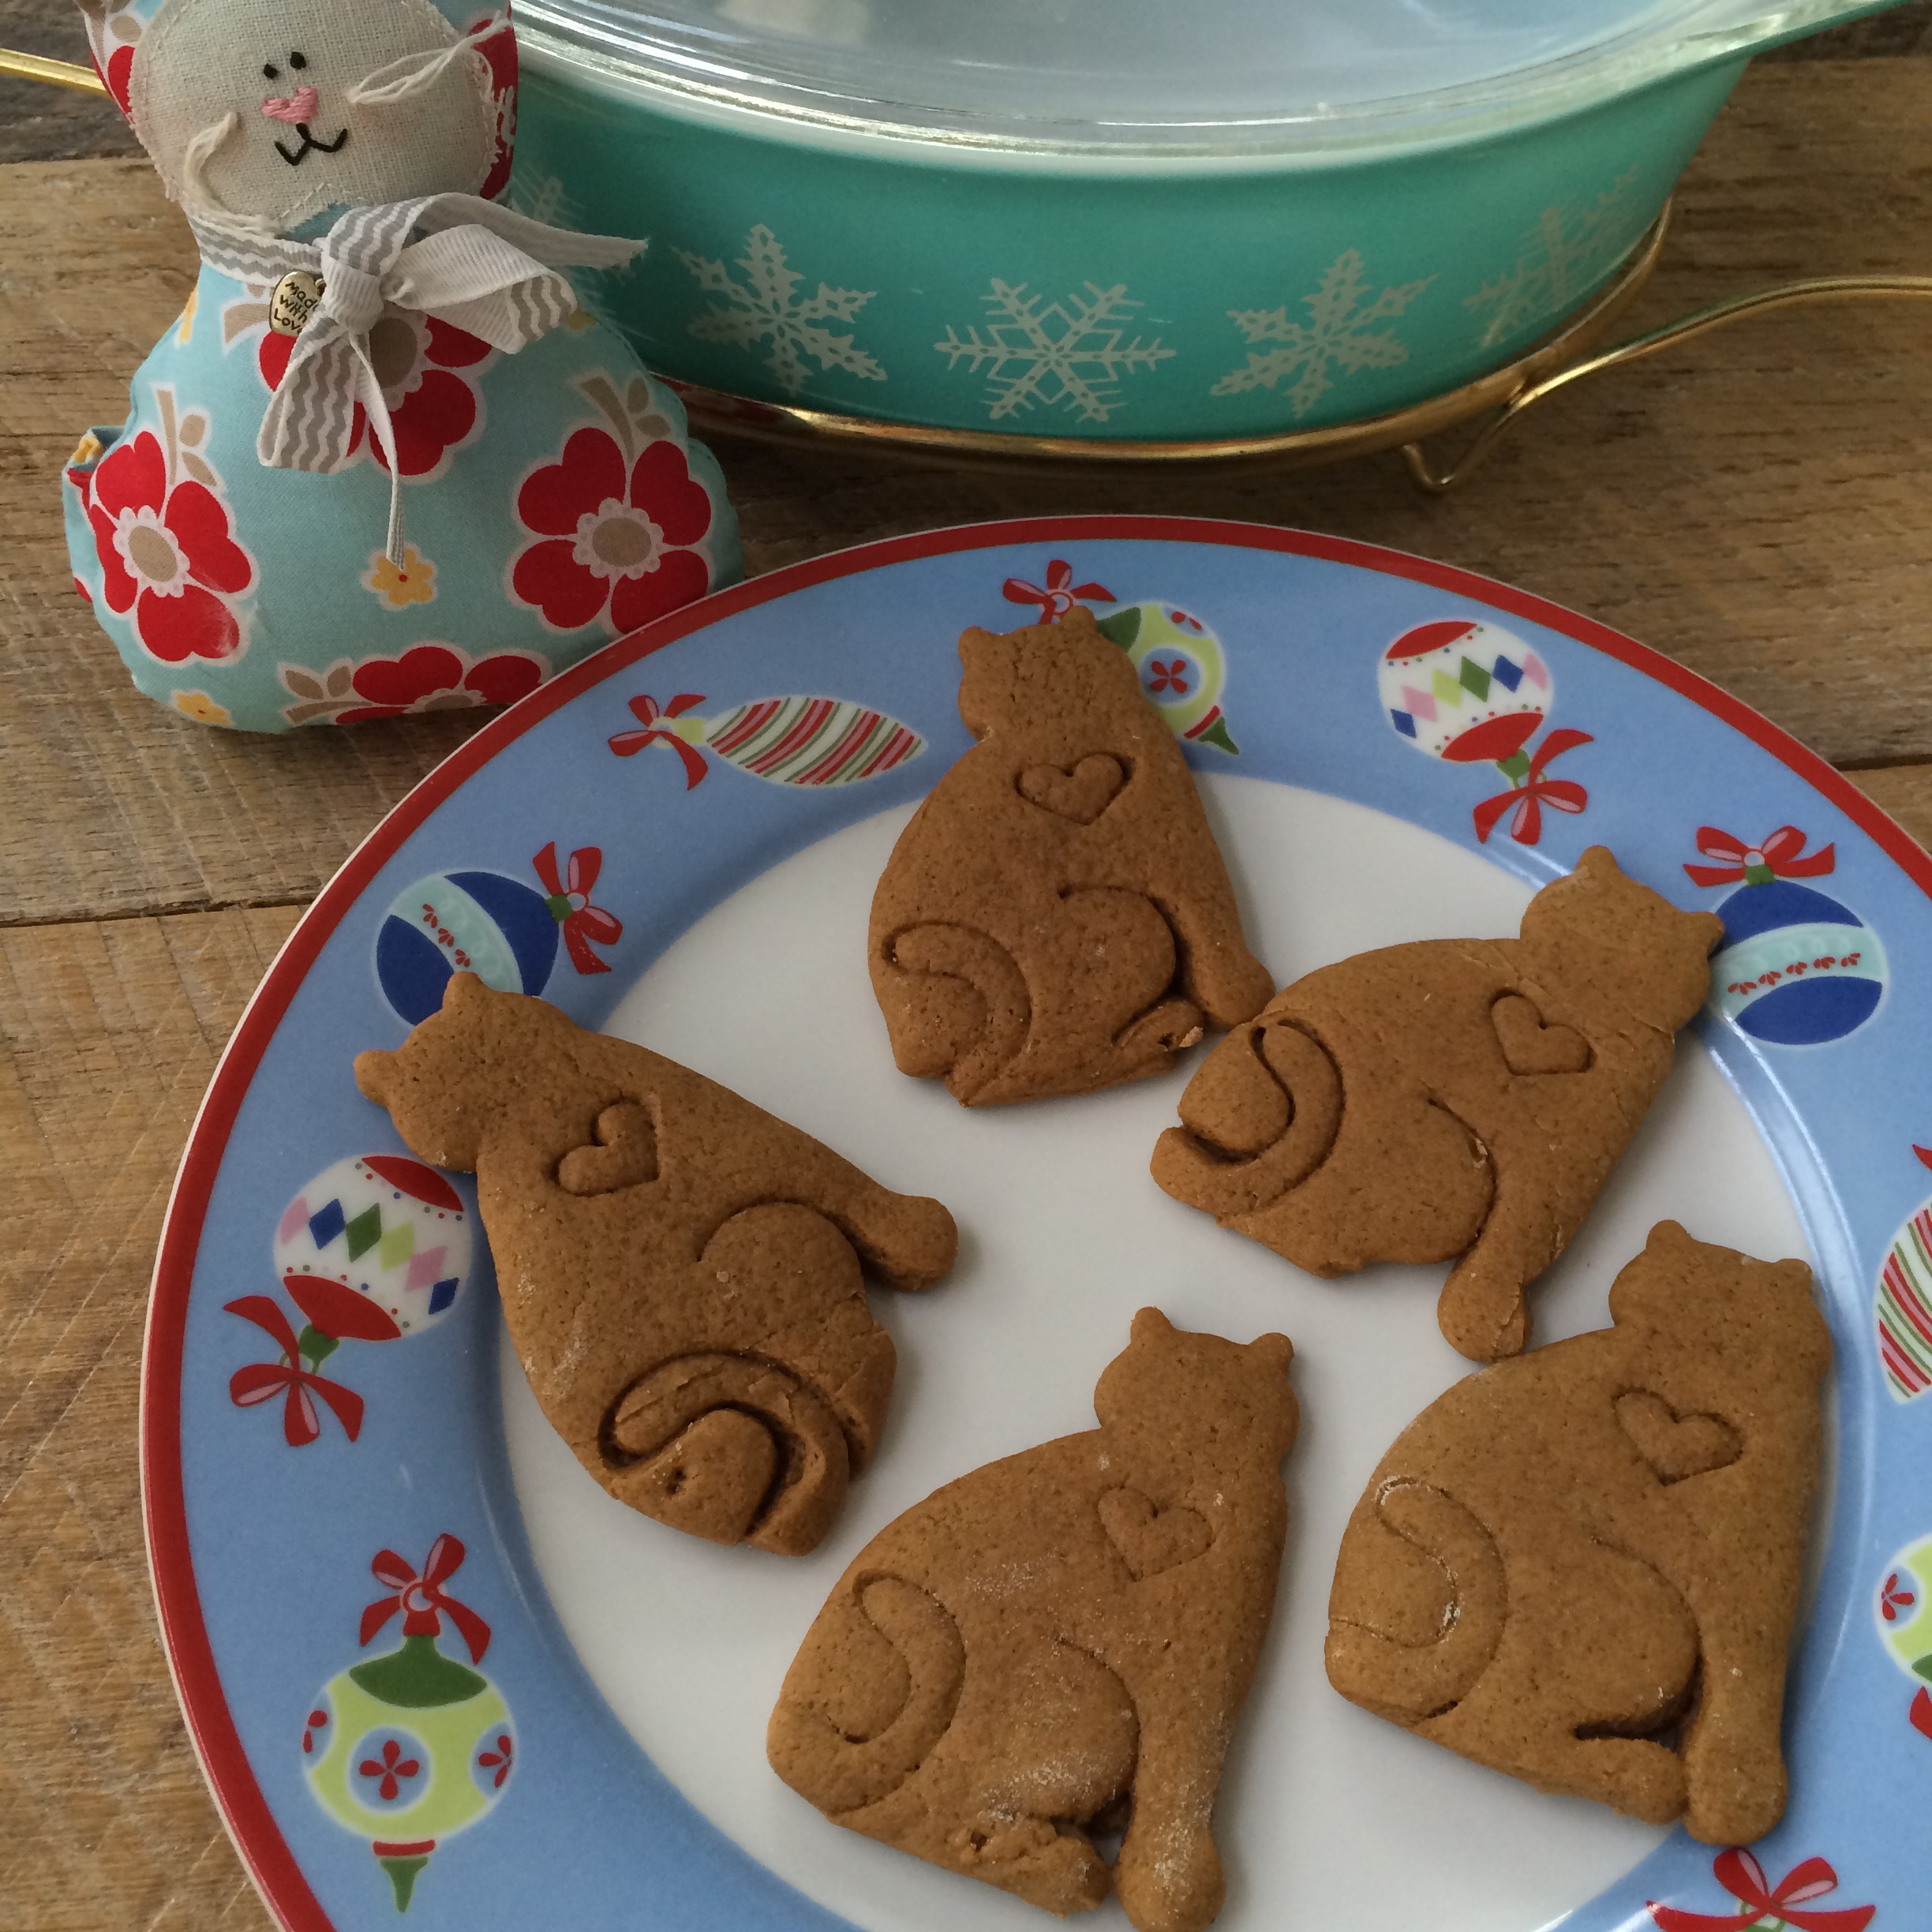
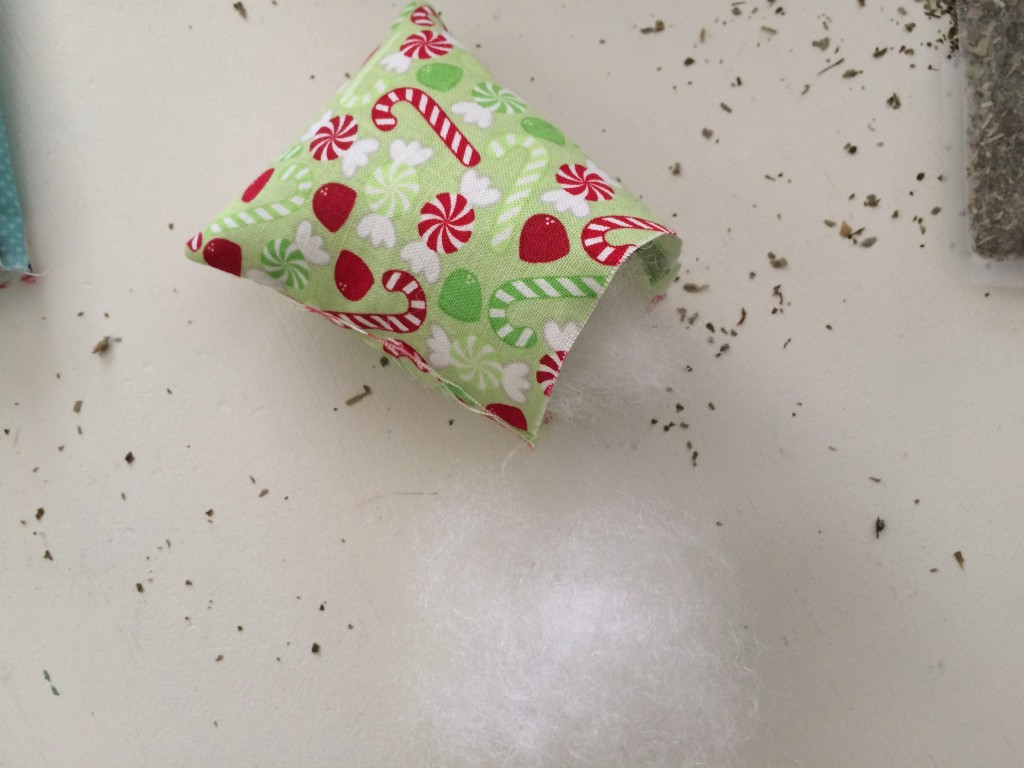
Today I’m taking a little break from the sewing machine and enjoying my FAVORITE gingerbread cookies – shaped like cats!  This recipe has been our family’s favorite since I was in Kindergarten!  It is super easy but the most flavorful gingerbread recipe you will ever have.  I just brought them to our church Christmas party and a few people were fighting over them 🙂

Amanda’s Famous Gingerbread Cookies

1/4 cup butter

1/2 cup brown sugar

1/2 cup molasses

1/3 cup water

3 cups flour

1 tsp. baking soda

1/2 tsp. ground cloves

1 tsp + cinnamon

2 tsp. ginger

1/2 tsp. salt

Cream the butter and brown sugar.  Add the molasses.  Next beat in the water. (it will look a little weird)

In a separate bowl, mix all the dry ingredients together.  Then add the dry ingredients to the wet ingredients and mix until incorporated.

On a floured surface roll out the dough 1/4″ thick and cut with cookie cutters.  If the dough seems a little sticky, just add more flour as you are rolling out.

Transfer to a parchment lined baking sheet and bake at 350 for 8 minutes.  Let cool.  Dip in dipping chocolate or pipe with royal icing.

IMG_2622


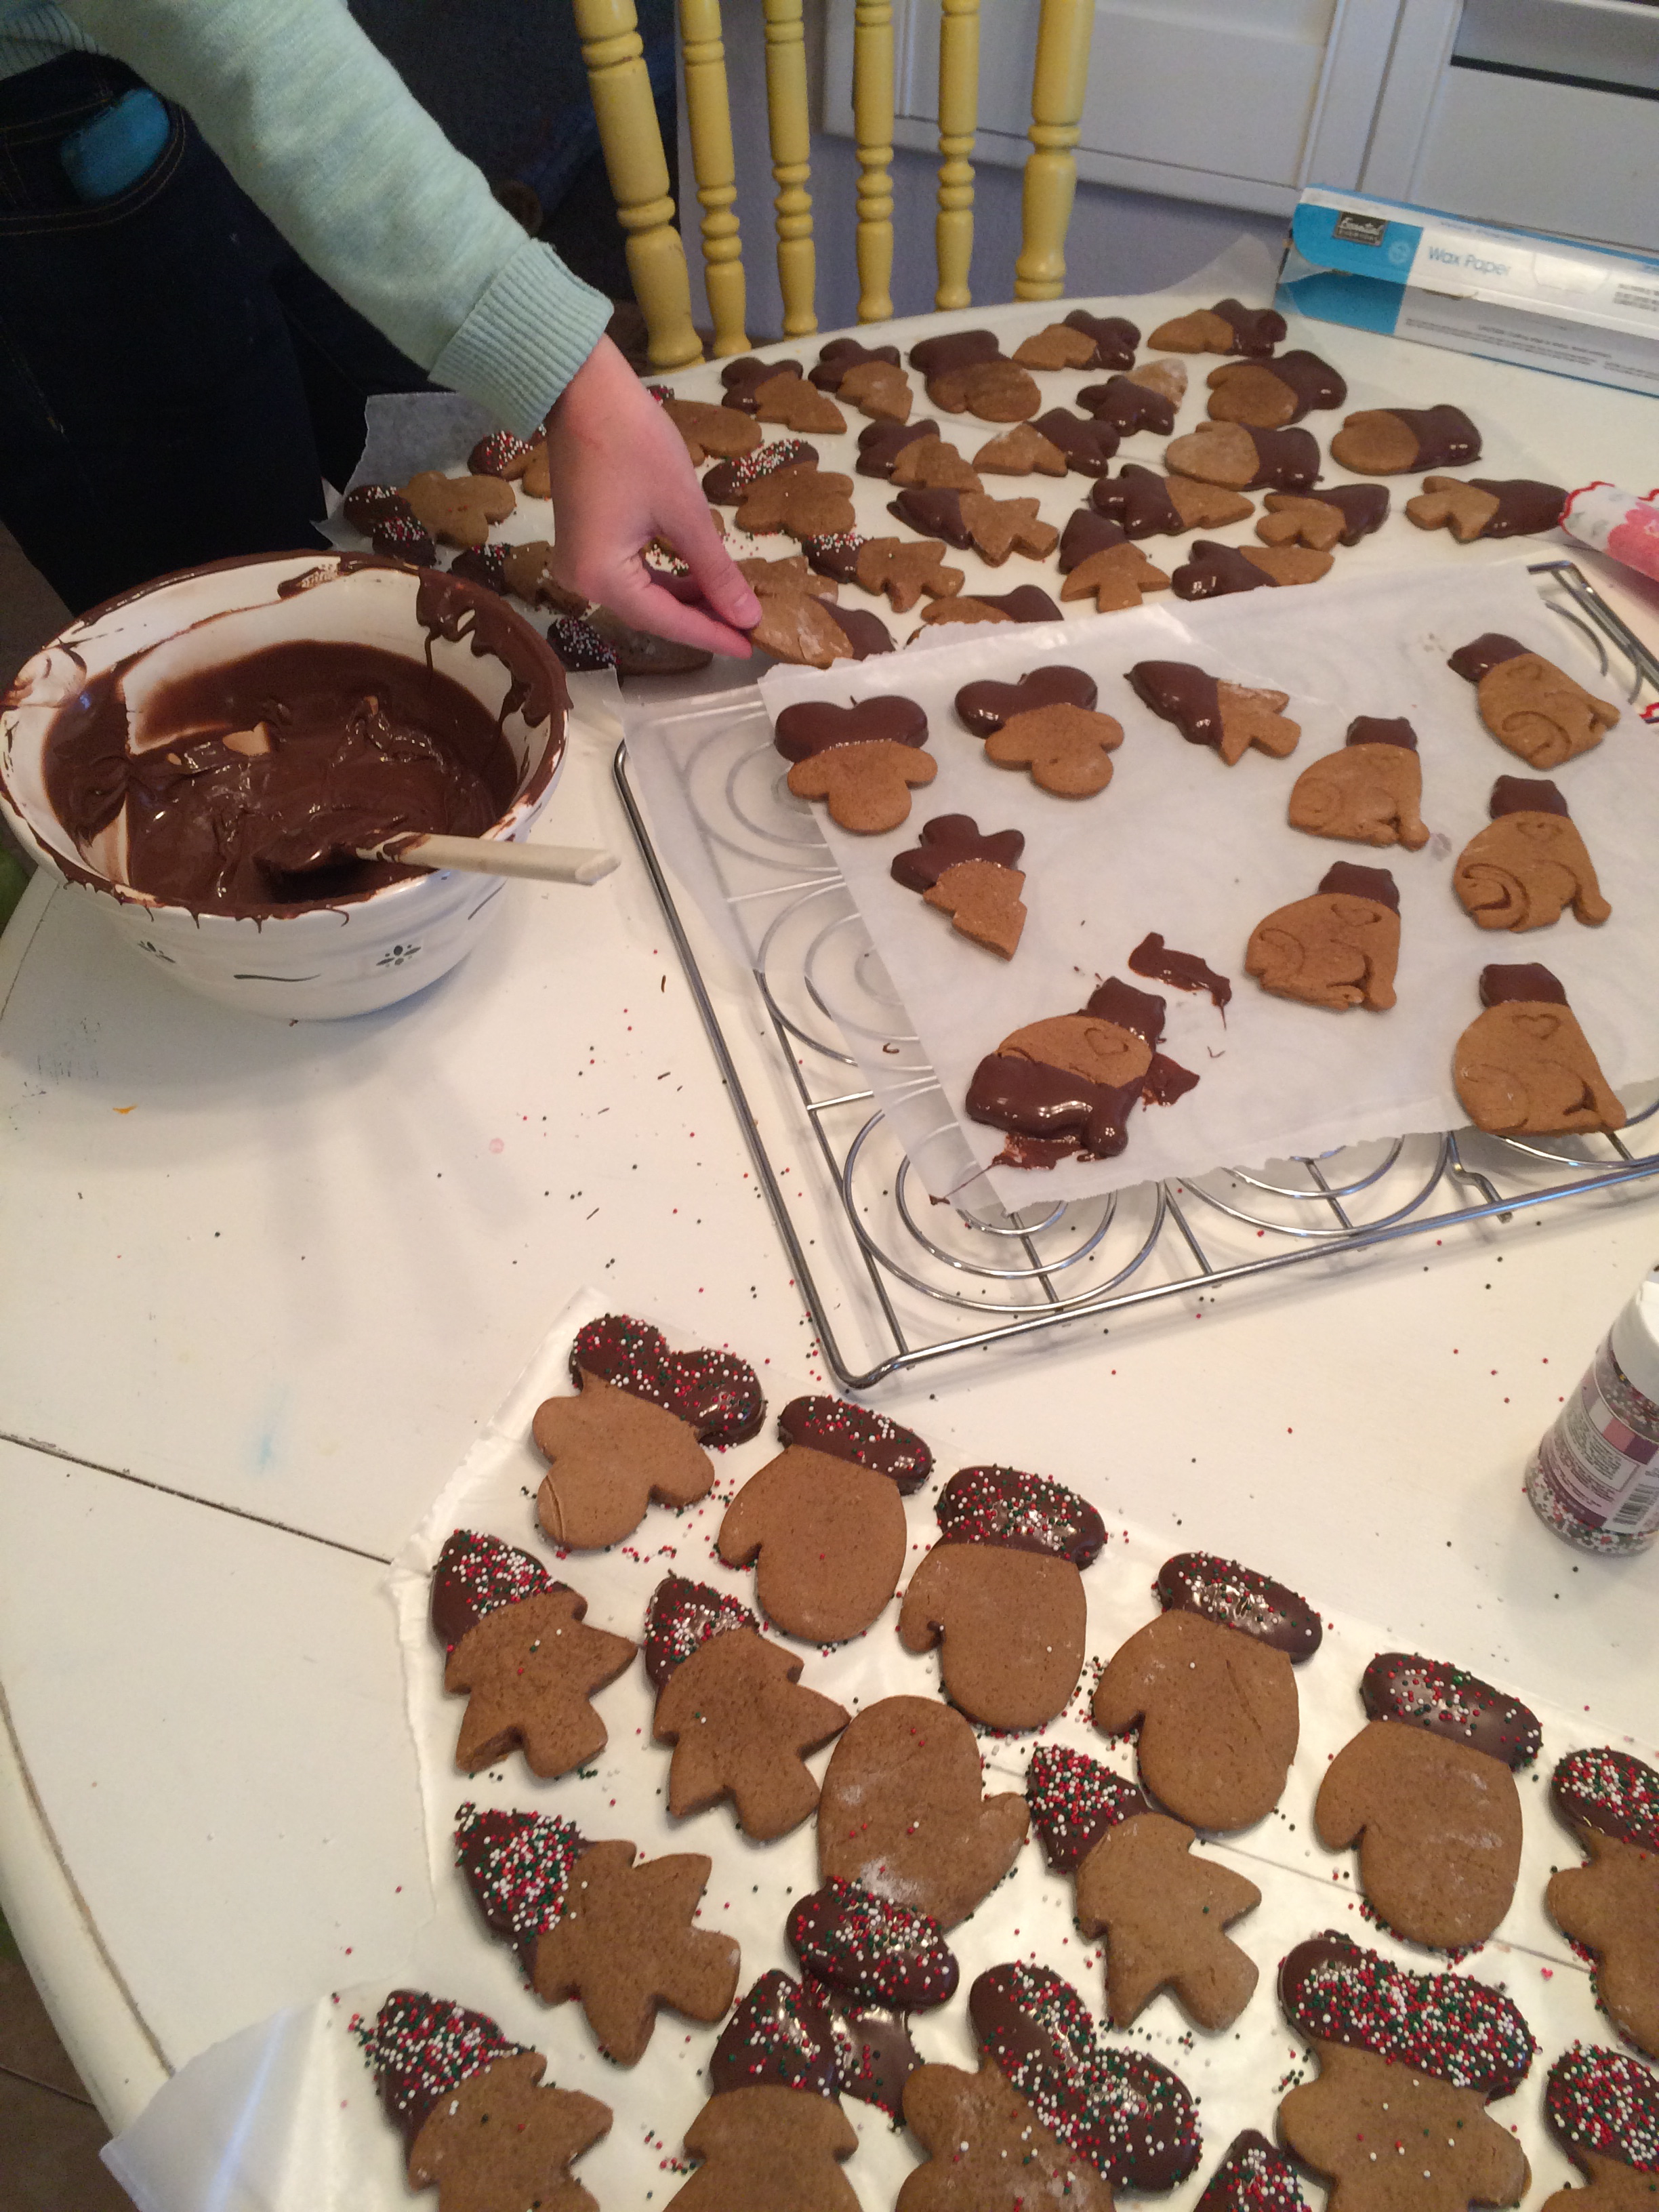
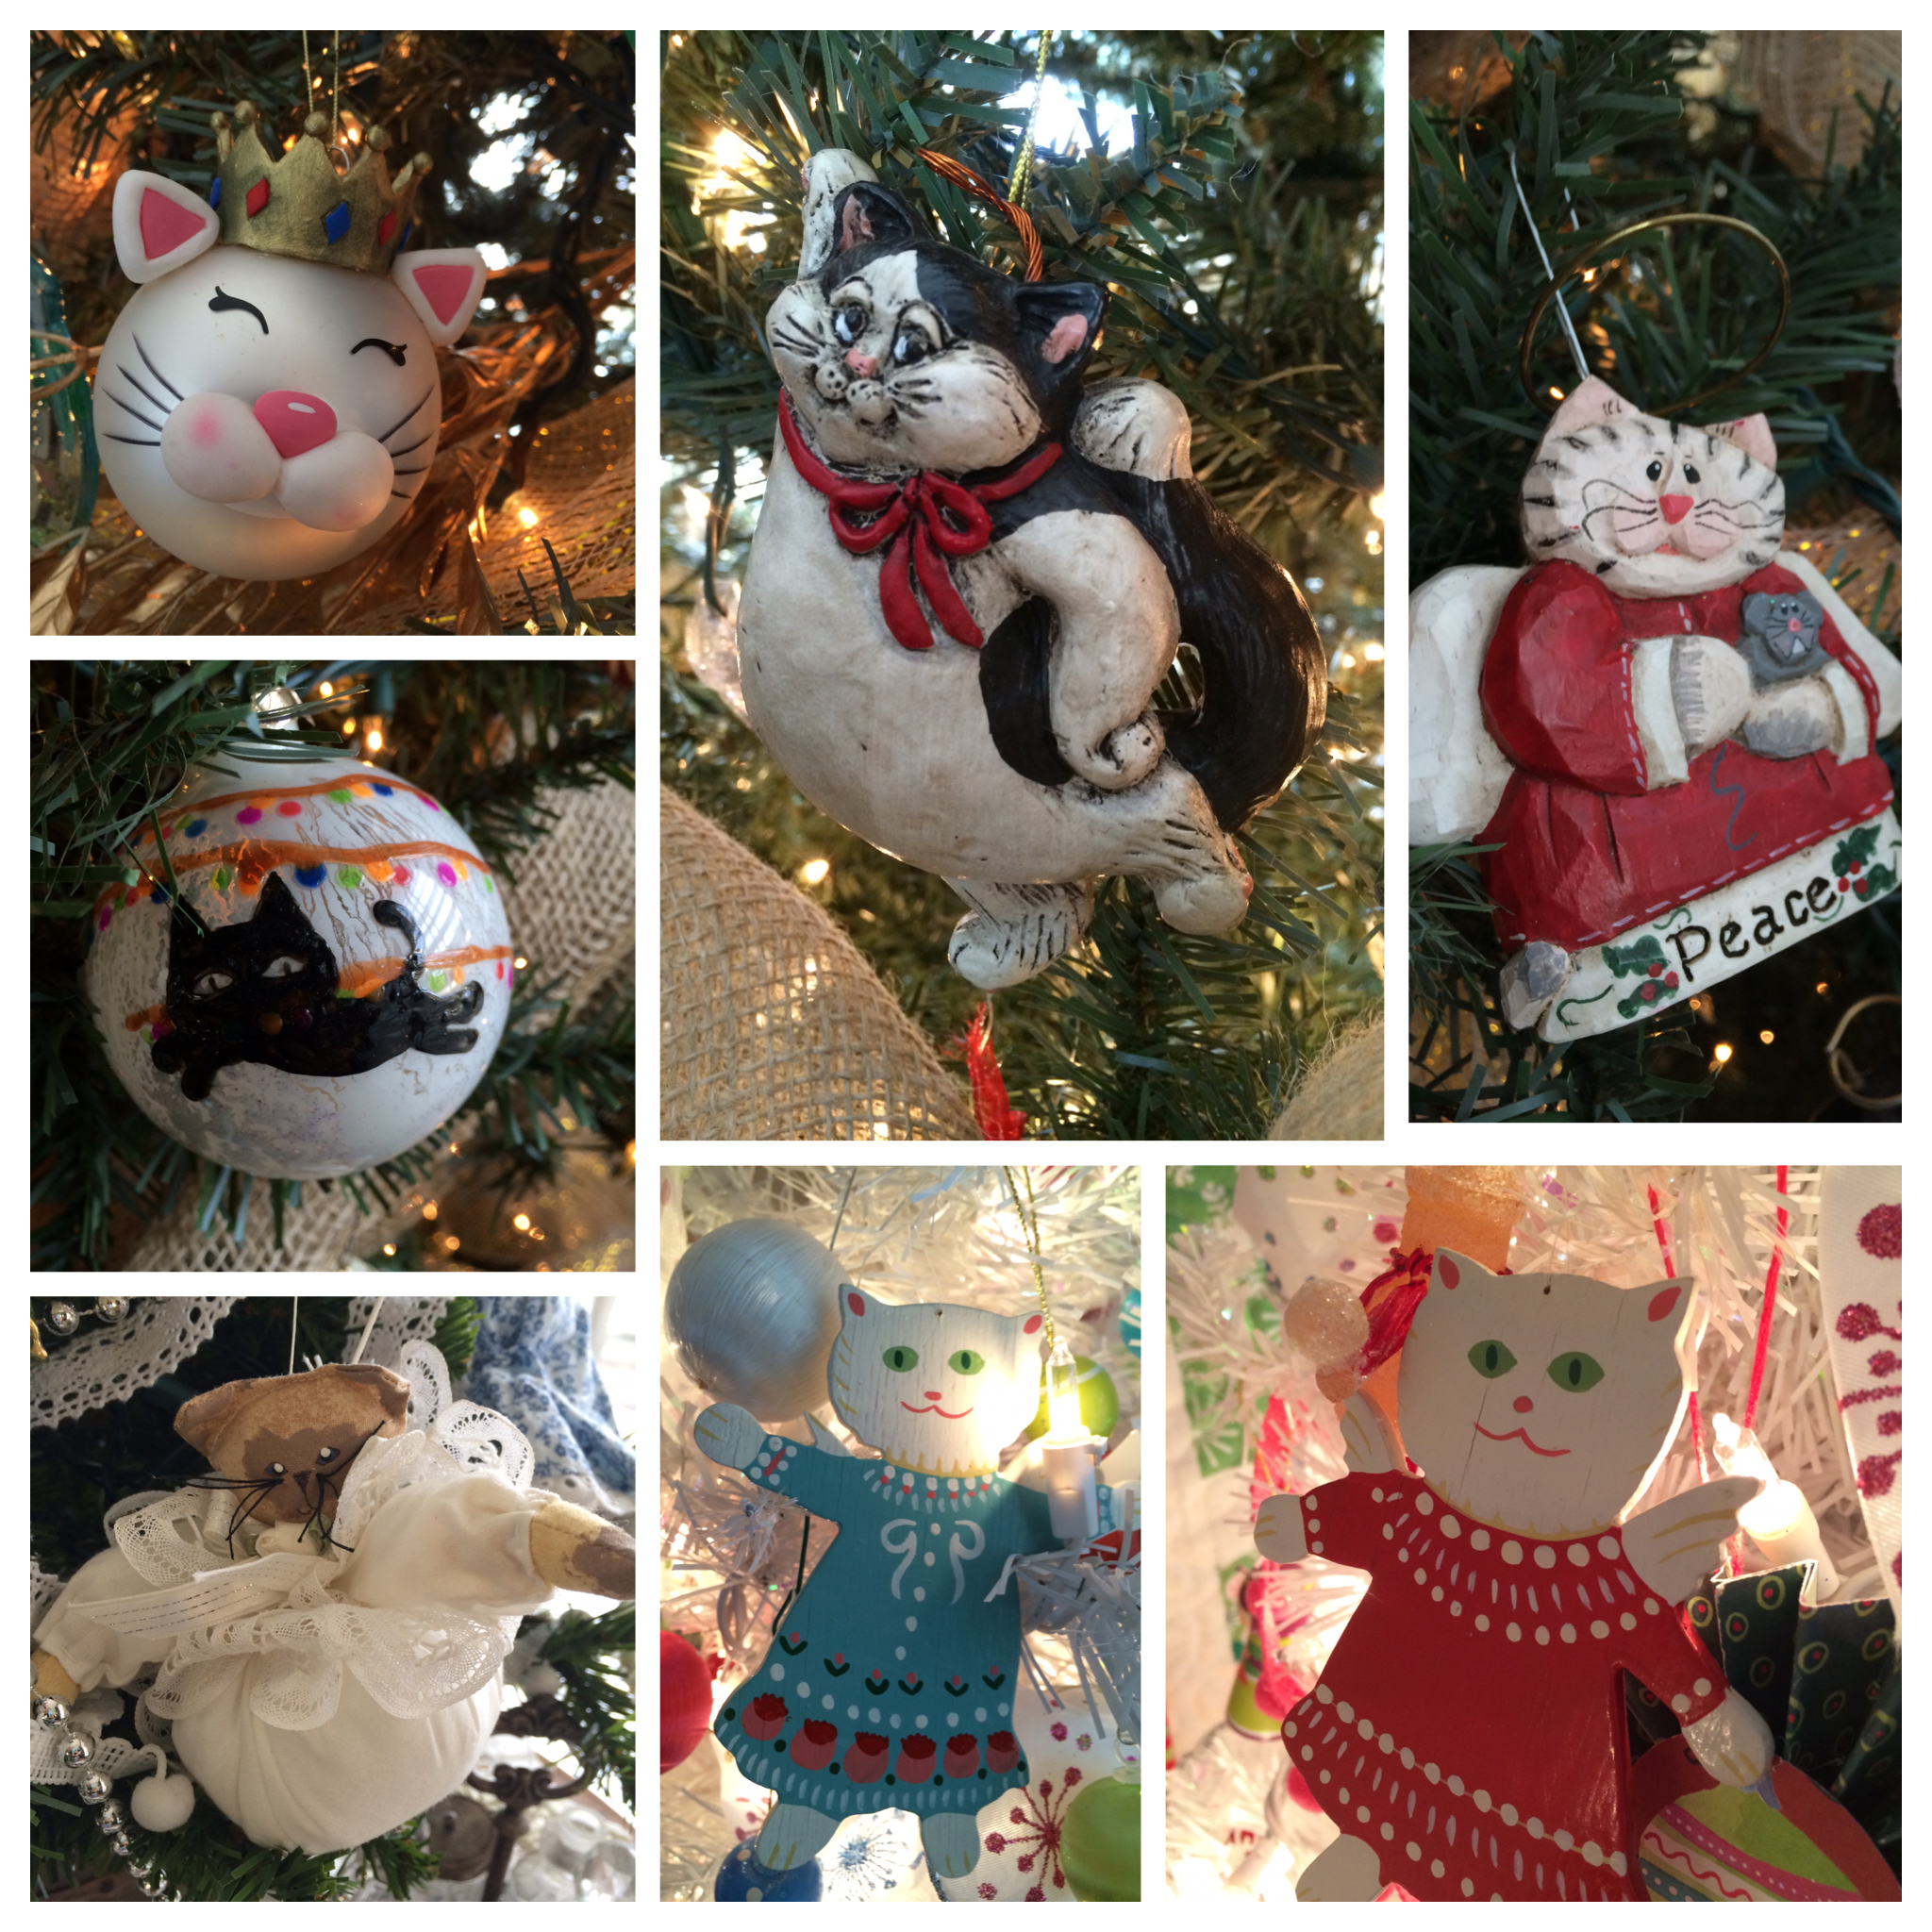
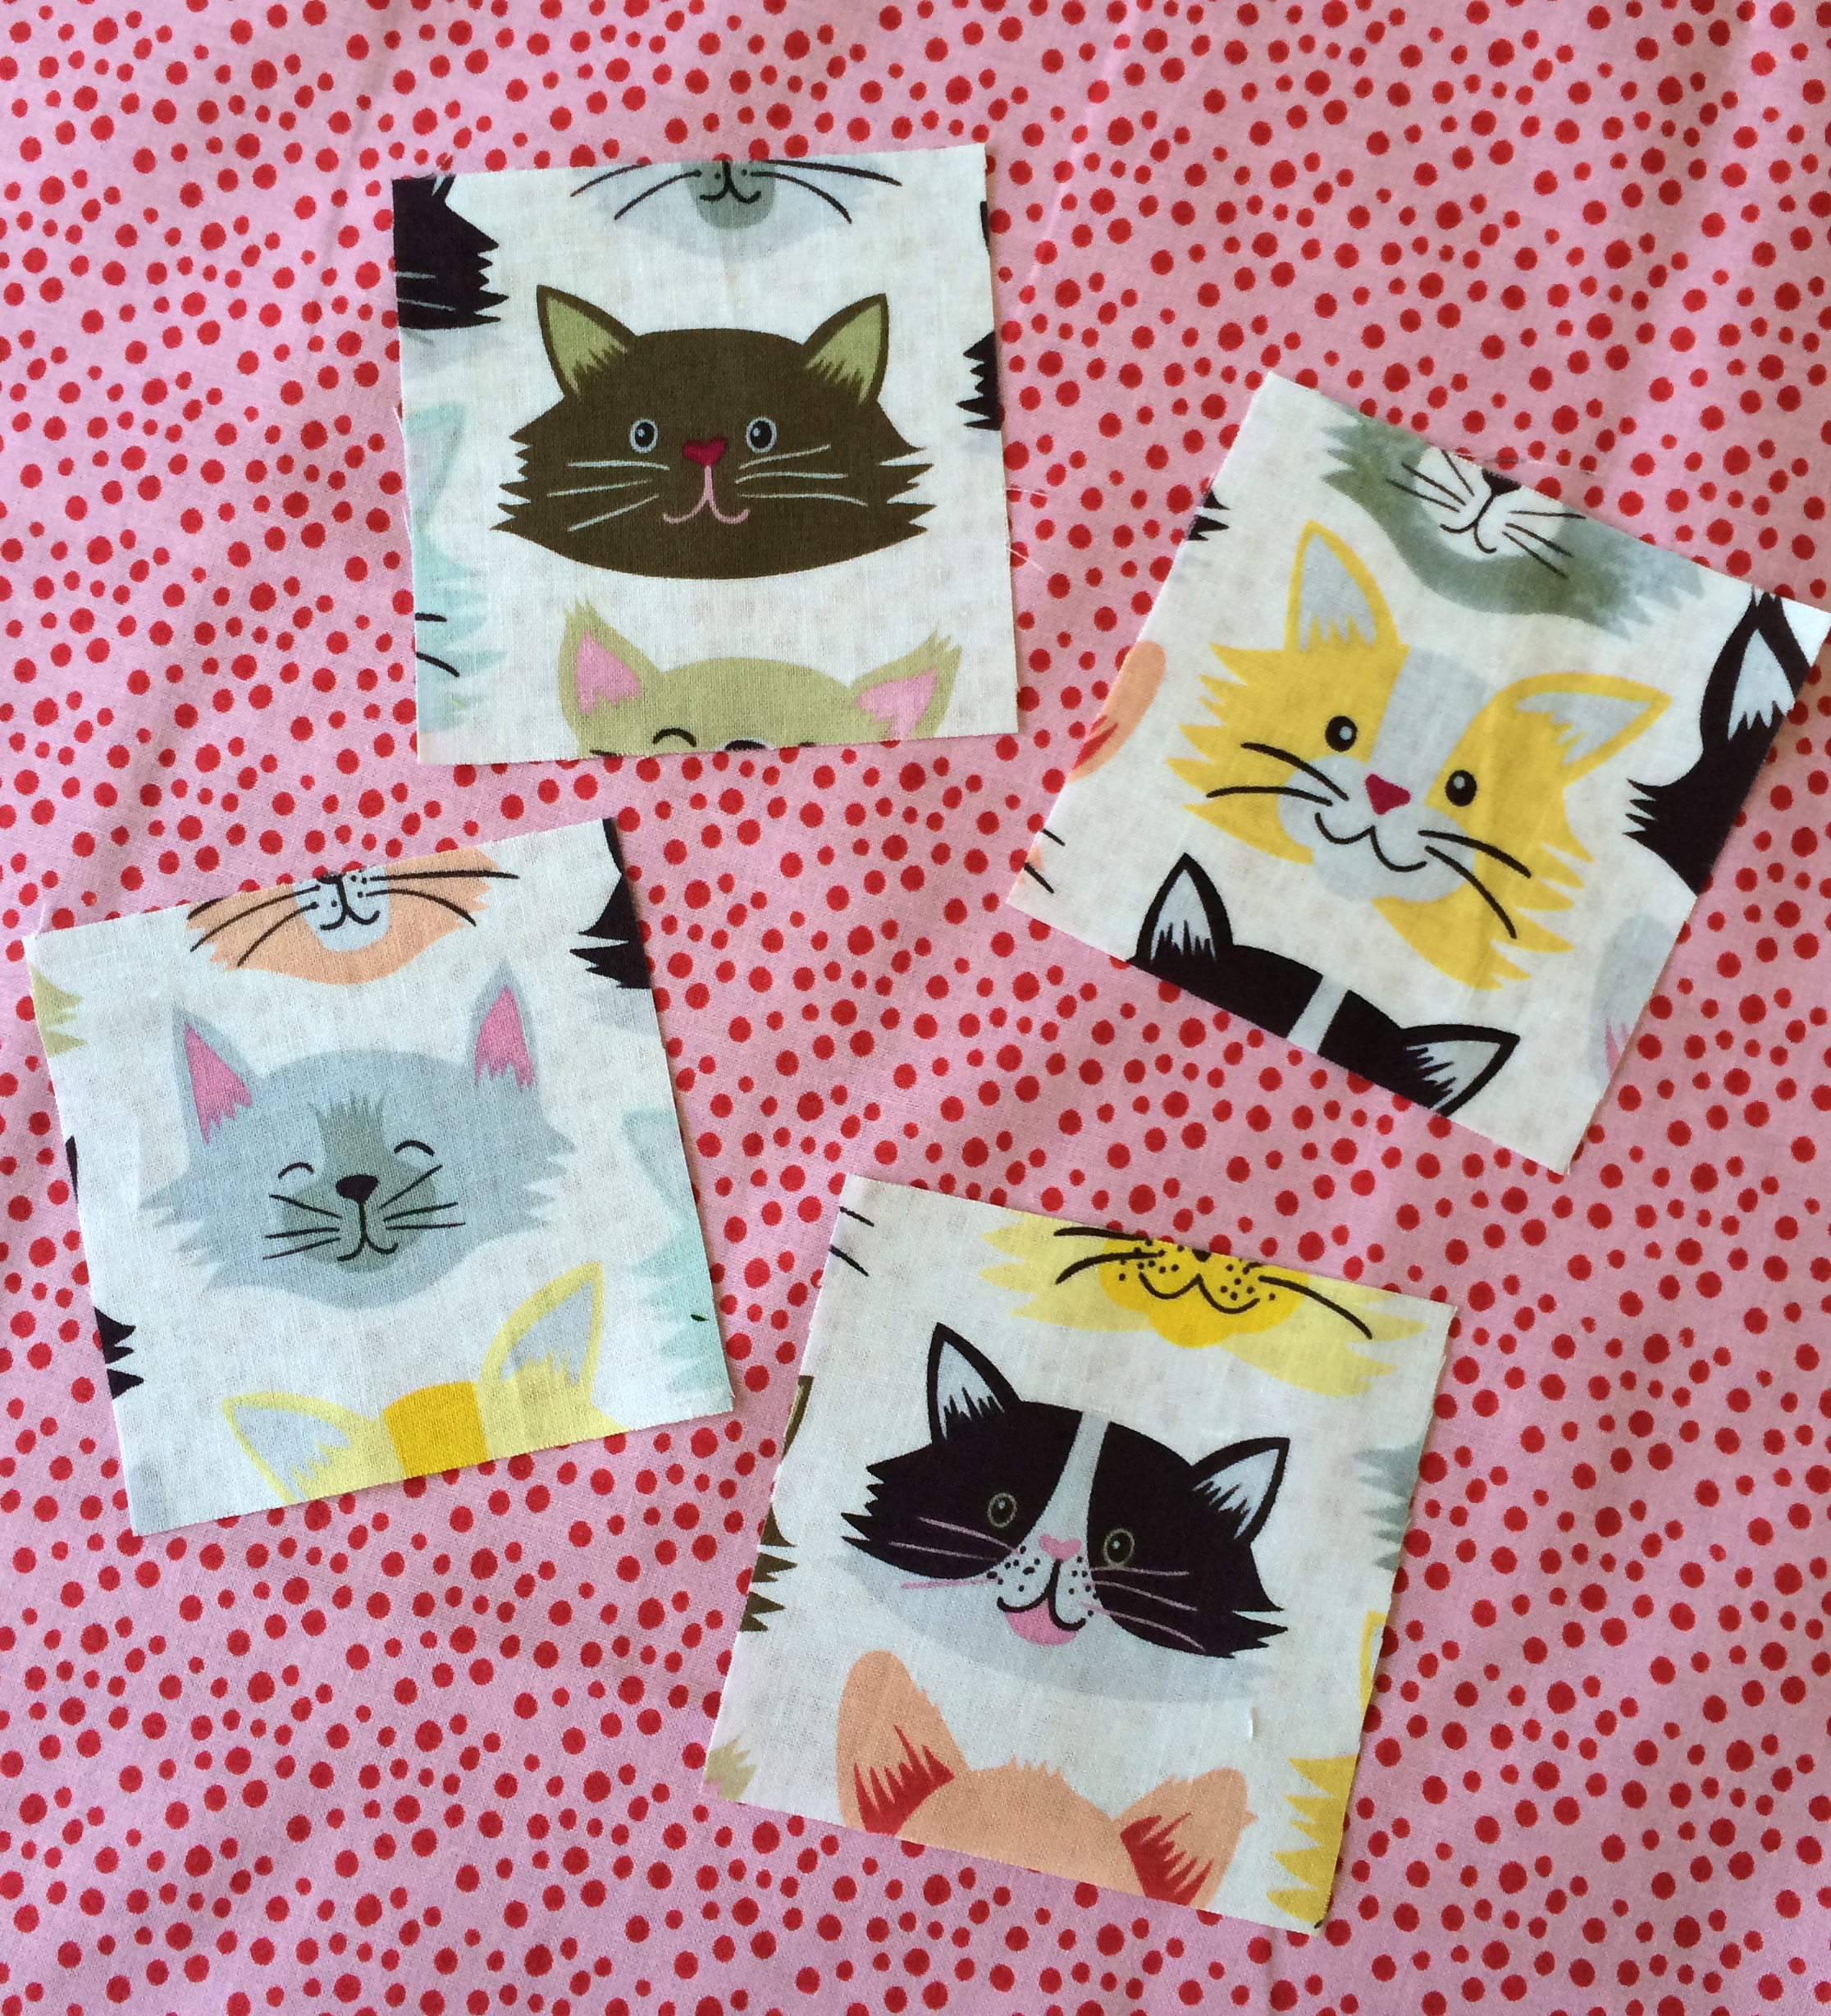
Gingerbread dipped in chocolate is one of the best flavor combinations in the whole world!!!IMG_2612
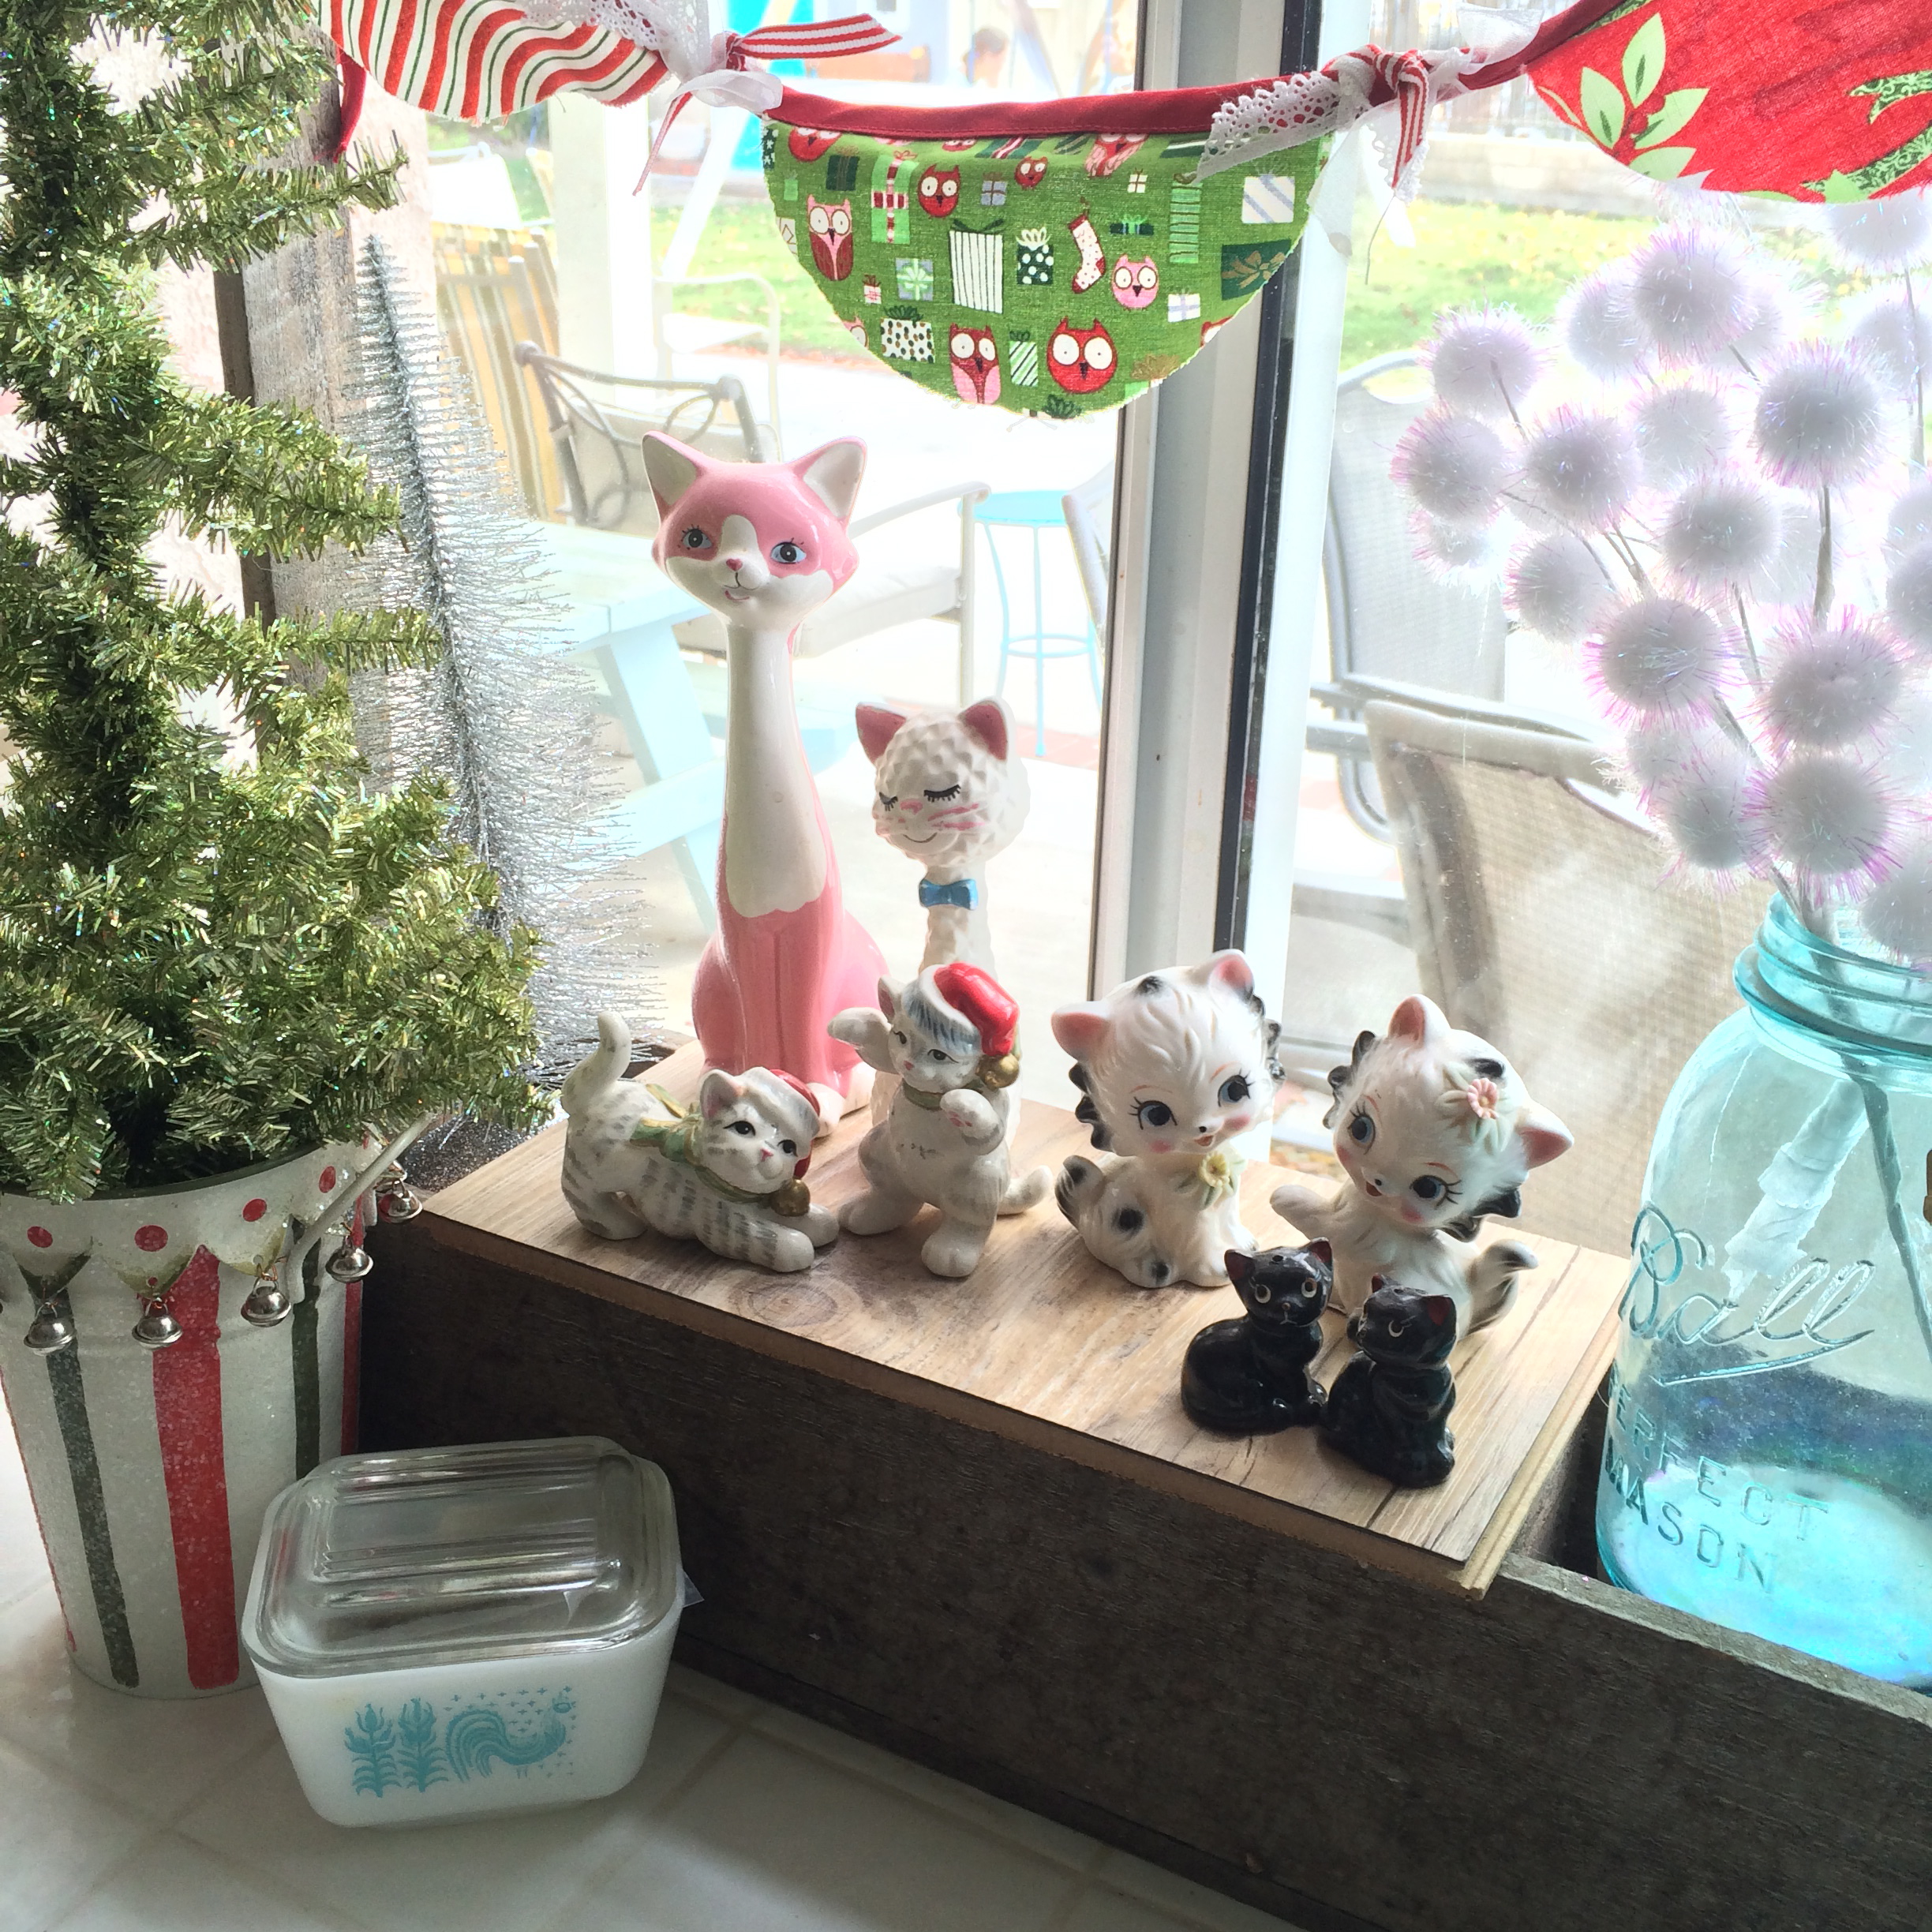
I collect little vintage cats – they sit in my kitchen window and keep an eye on the baking!  IMG_2626
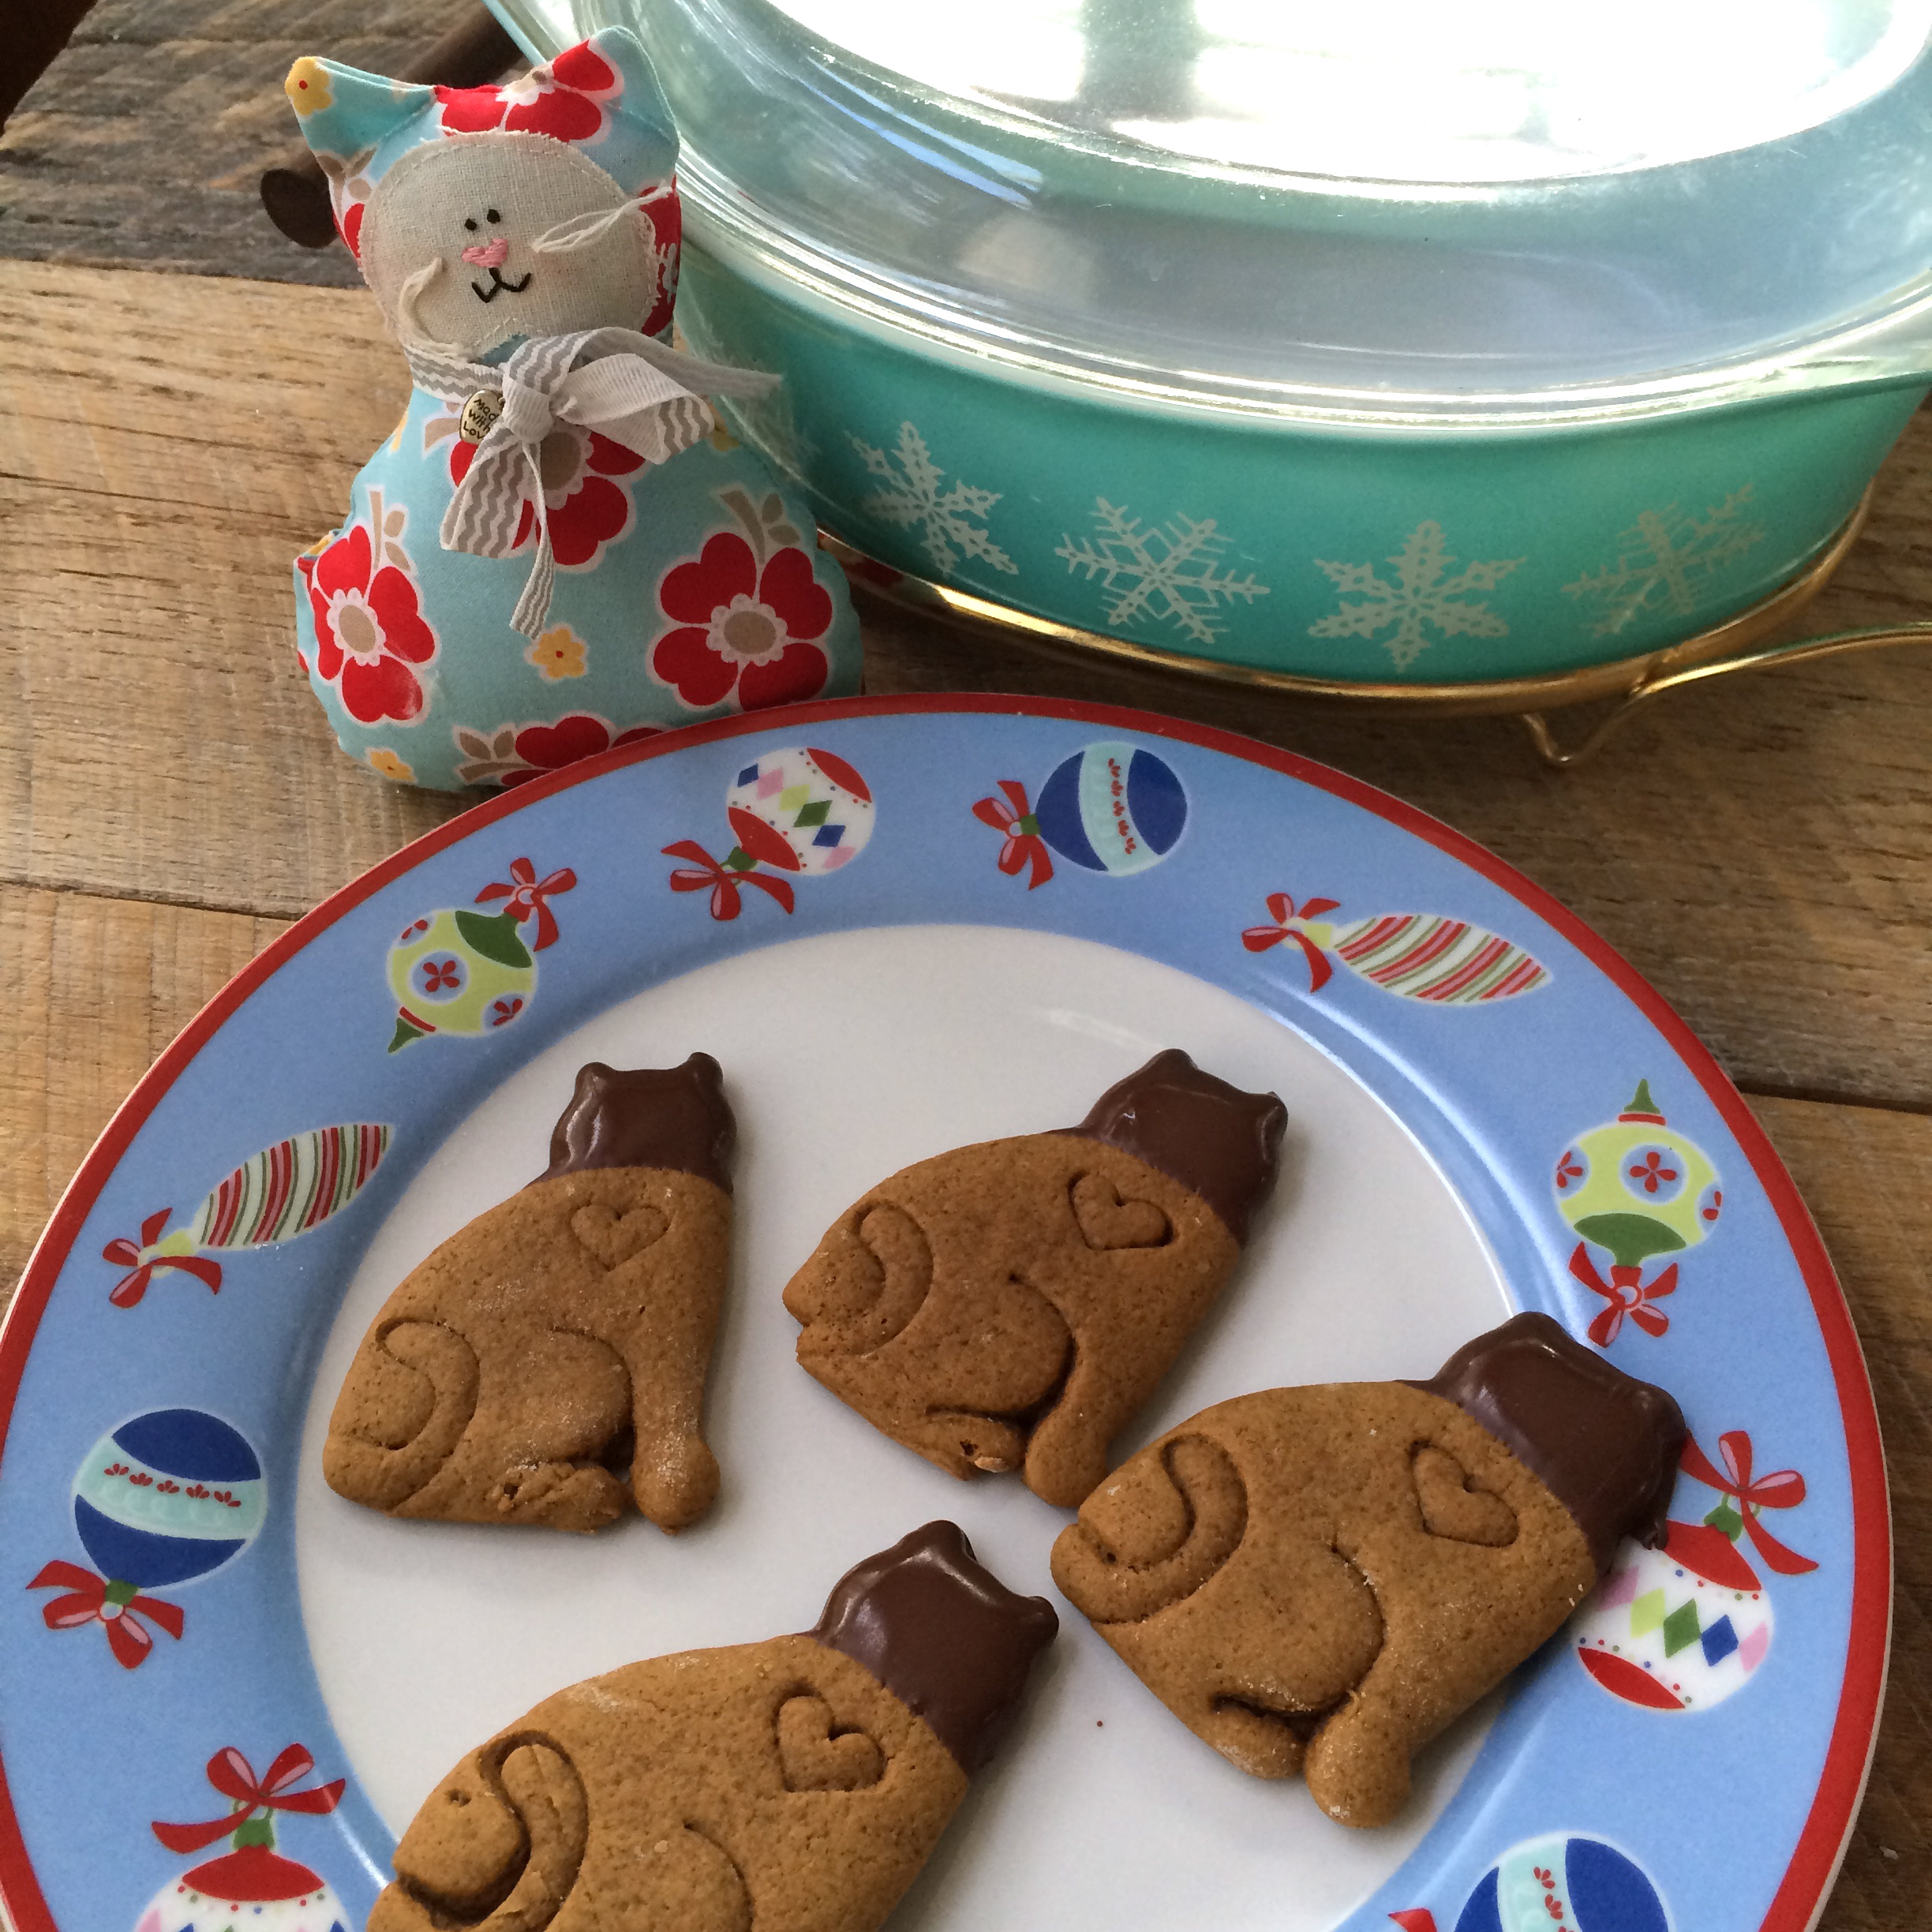
I didn’t want to cover up the detail on the cats, so I just dipped their heads in chocolate 🙂

12 Days of Meow-y Christmas {Day 5} Kitten Softies

christmas cat softie 8These cute cat softies are ones my mom made in the early 80’s.  She is also a crazy cat lady, I think it is hereditary!  These cute little kittens can sew up in a snap and look darling tucked in a Christmas tree.  Download the pattern HERE.  I think I will make some in some updated fabrics!  Every tree needs kitties in it!!!

christmas cat softie 2I have a cat themed tree upstairs in the hallway.  Don’t worry, there are plenty of cat ornaments on all my other trees!!!christmas cat softie 3

christmas cat softie 6  I bought this Mufasa ornament when I was at the Farmers Market in New Jersey!christmas cat softie 5OK, I may have bought 2 Mufasa ornaments 🙂

IMG_2607Just a sampling of some of my favorite cat ornaments I’ve collected 🙂

christmas cat softie

12 Days of Meow-y Christmas {Day 4}

catnip pillow toy

For years my mother has purchased little catnip pillows at her veterinarian’s office and sent them to her grand-cats.  My cats have actually worn the pillows out because they love them so much.  They are super simple just a square stuffed with fiberfill and catnip!  They are purrrrfect little stocking stuffers for your furbabies!

catnip pillow toy 9

This is the old one – not even made with cute fabric!

Let’s make some Christmas ones!

Supplies:

Bright cheery Christmas fabric, mine is from Riley Blake Designs

Fiberfill

Catnip

a word about catnip…..for years I have grown catnip.  It grows easy and doesn’t need a lot of care.  In fact if you start growing it you might find it growing in other parts of the yard.  However, if there are any cats in the neighborhood or if your cats roam outside, they will find the catnip, roll in it, sleep in it, eat it and ruin it!  You can purchase dried catnip at pet supply stores.  You should definitely give your cat fresh catnip sometime just to see their reaction! 

catnip pillow toy 6

Cut (2) 3.5″ squares for each pillow.  Mine were a touch smaller then the ones my mom sent.  I think they were cut 4″.

catnip pillow toy 2Sew  using 1/4″ seams along 3 sides, back stitching to start and stop.

catnip pillow toy 3Turn them right side out.

catnip pillow toy 5

Fill with catnip and fiberfill.  I alternated so the catnip wasn’t just at the end.catnip pillow toy 4

catnip pillow toy 7Turn the raw edges under 1/4″ and top stitch closed.

catnip pillow toy 8It’s best if you sew them when your cat is not sleeping right behind the sewing machine.  The smell woke Mufasa and this is what happened!

catnip pillow toy 10Mufasa loves his new catnip pillow!catnip pillow toy 12        
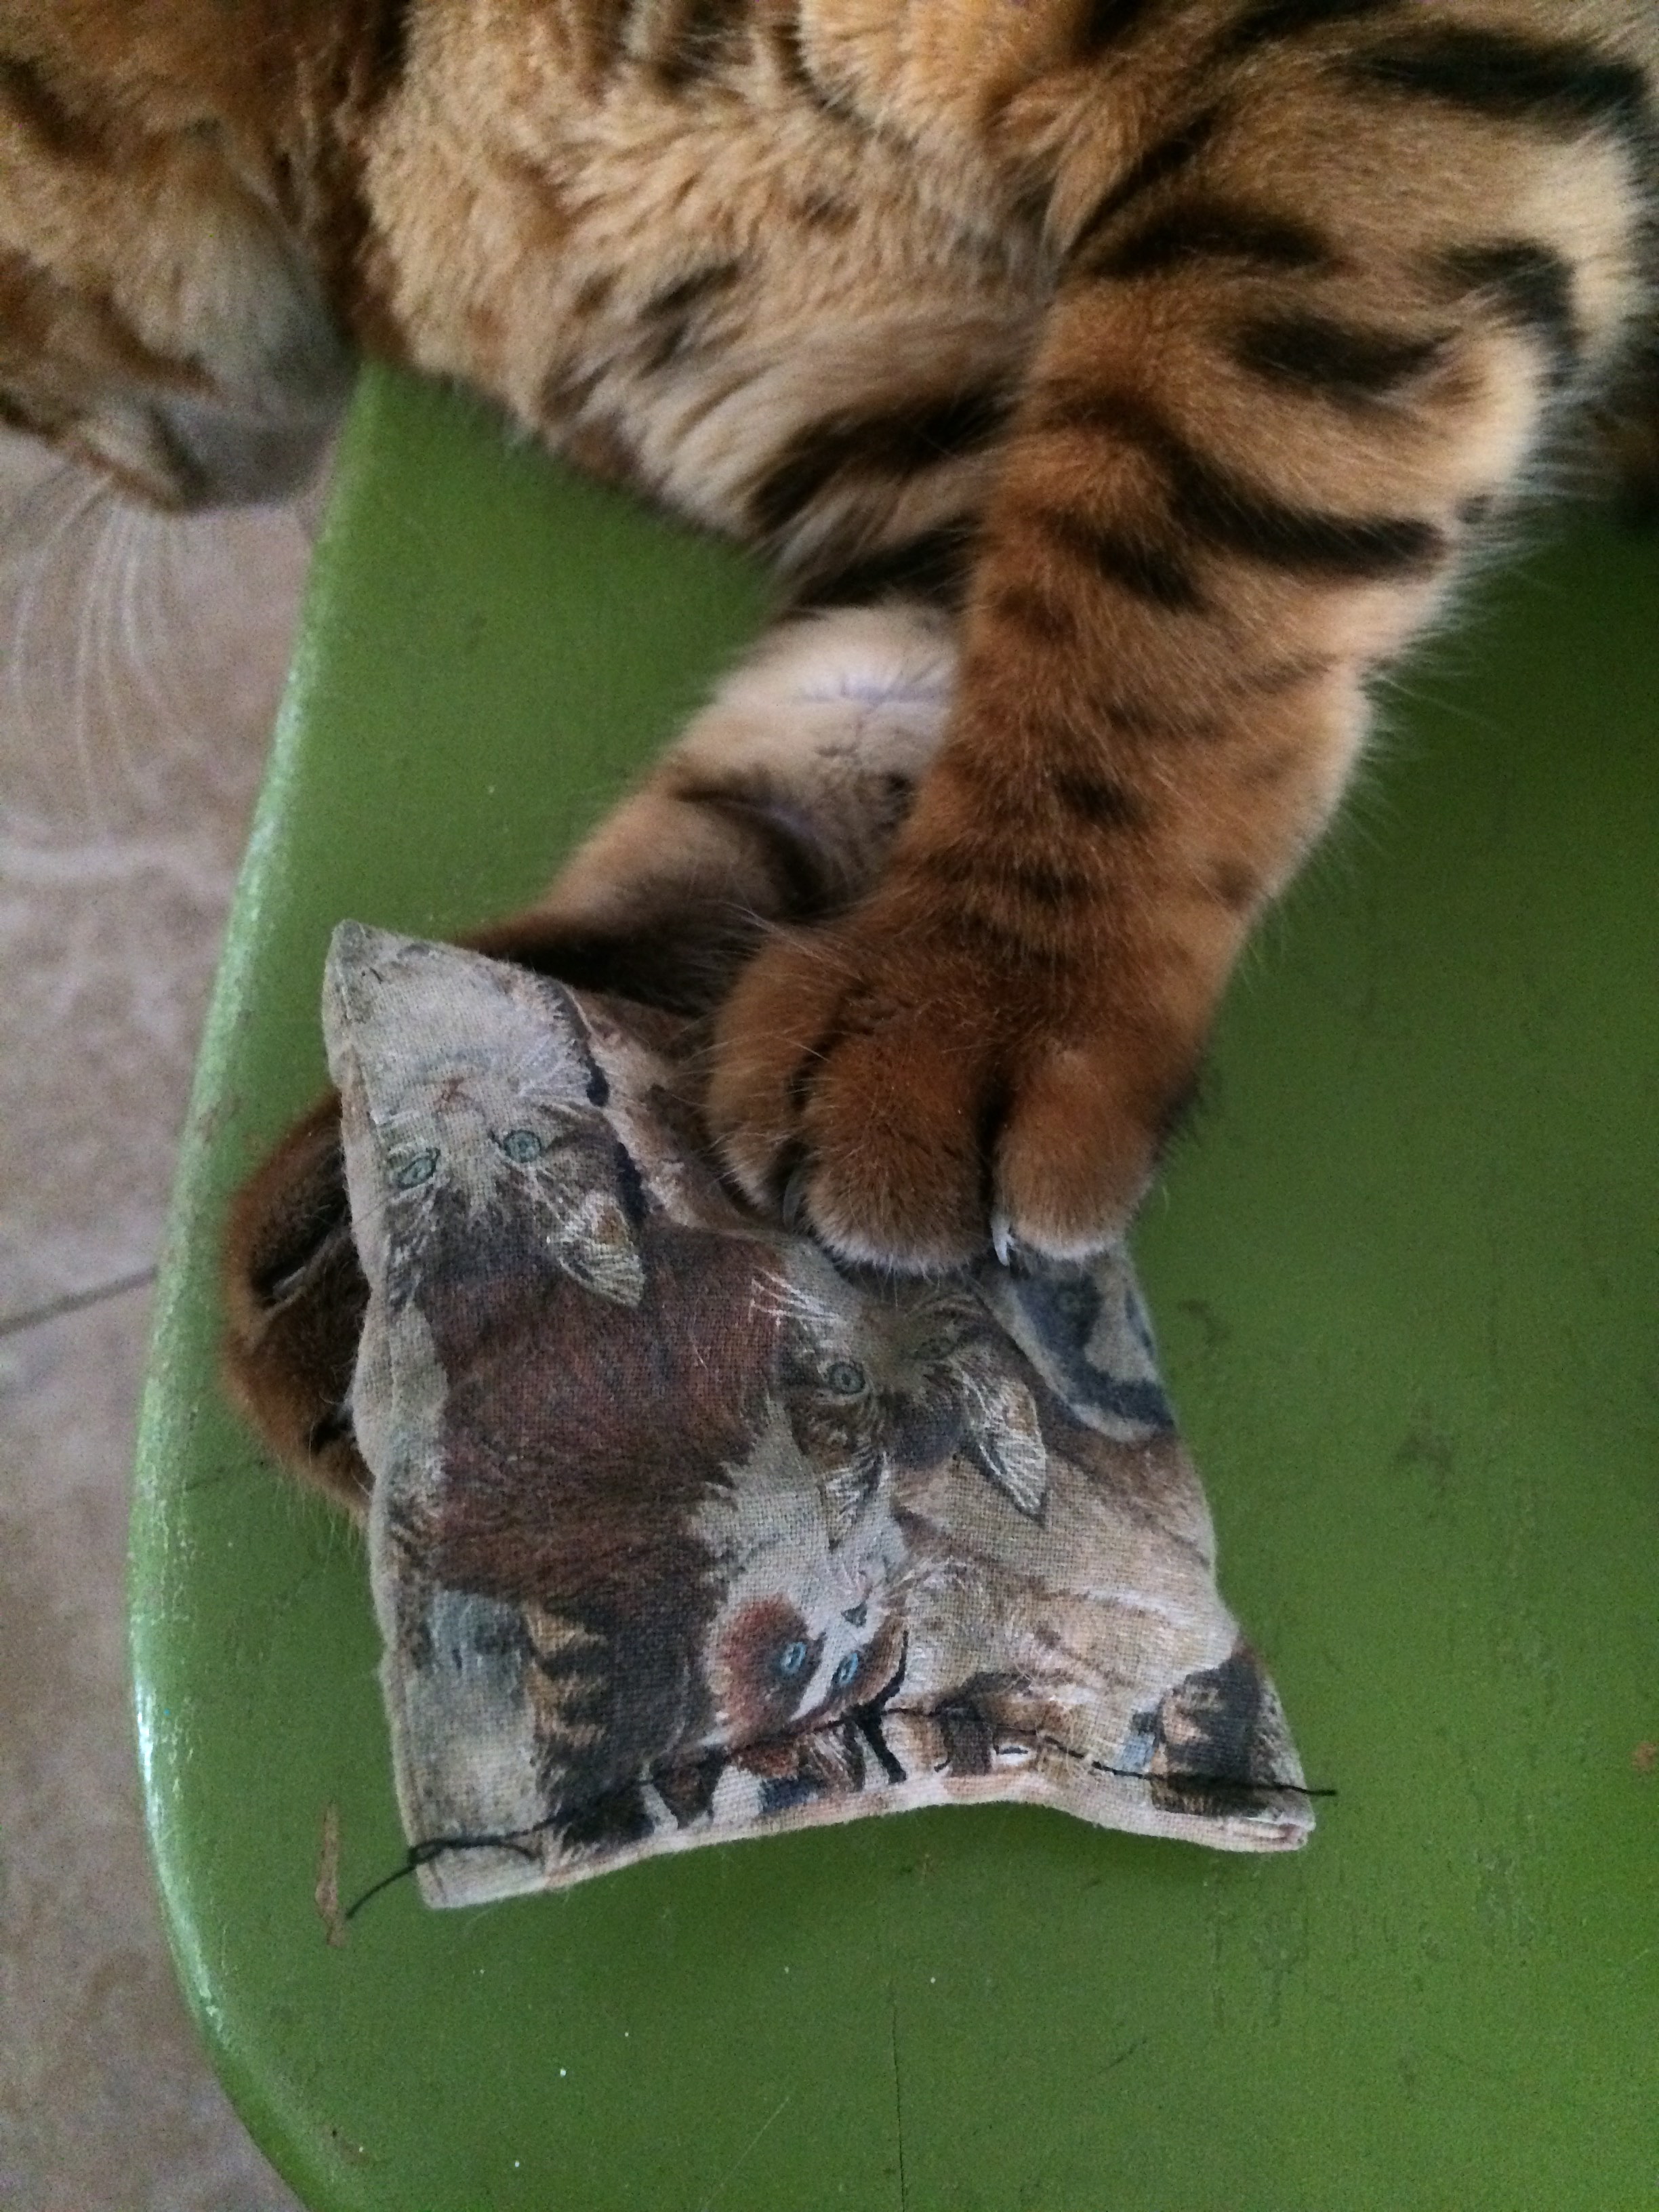
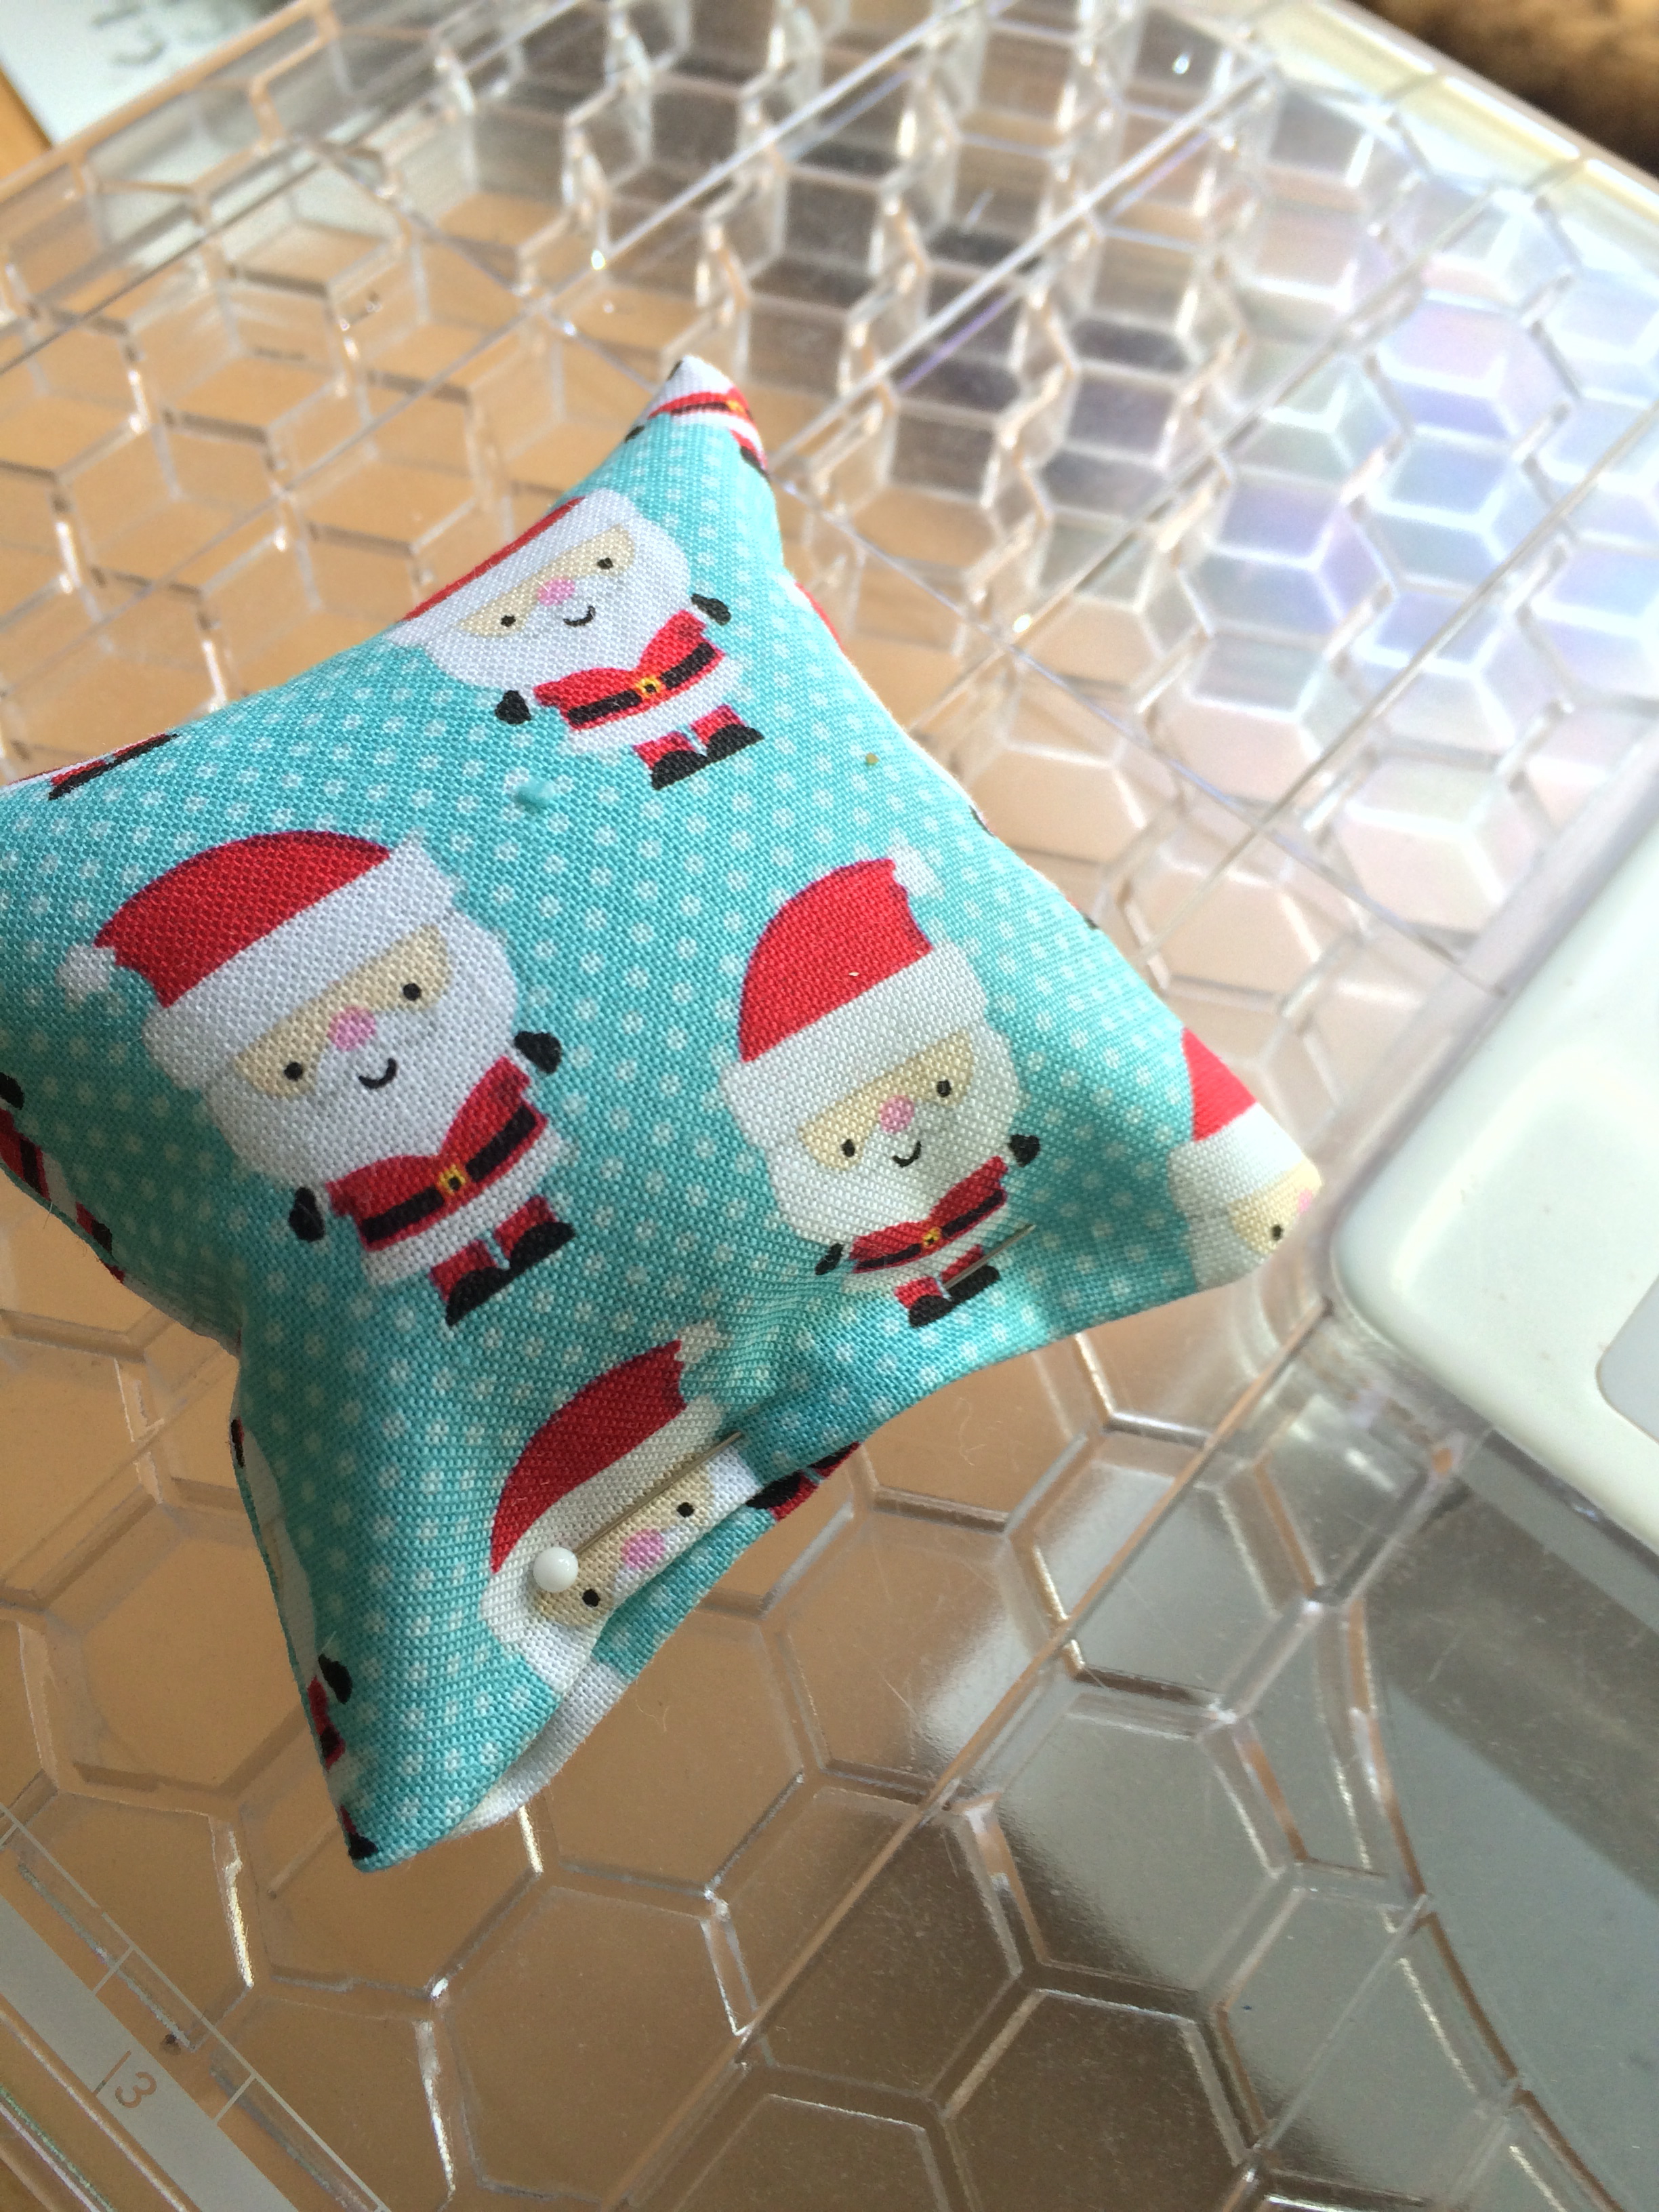
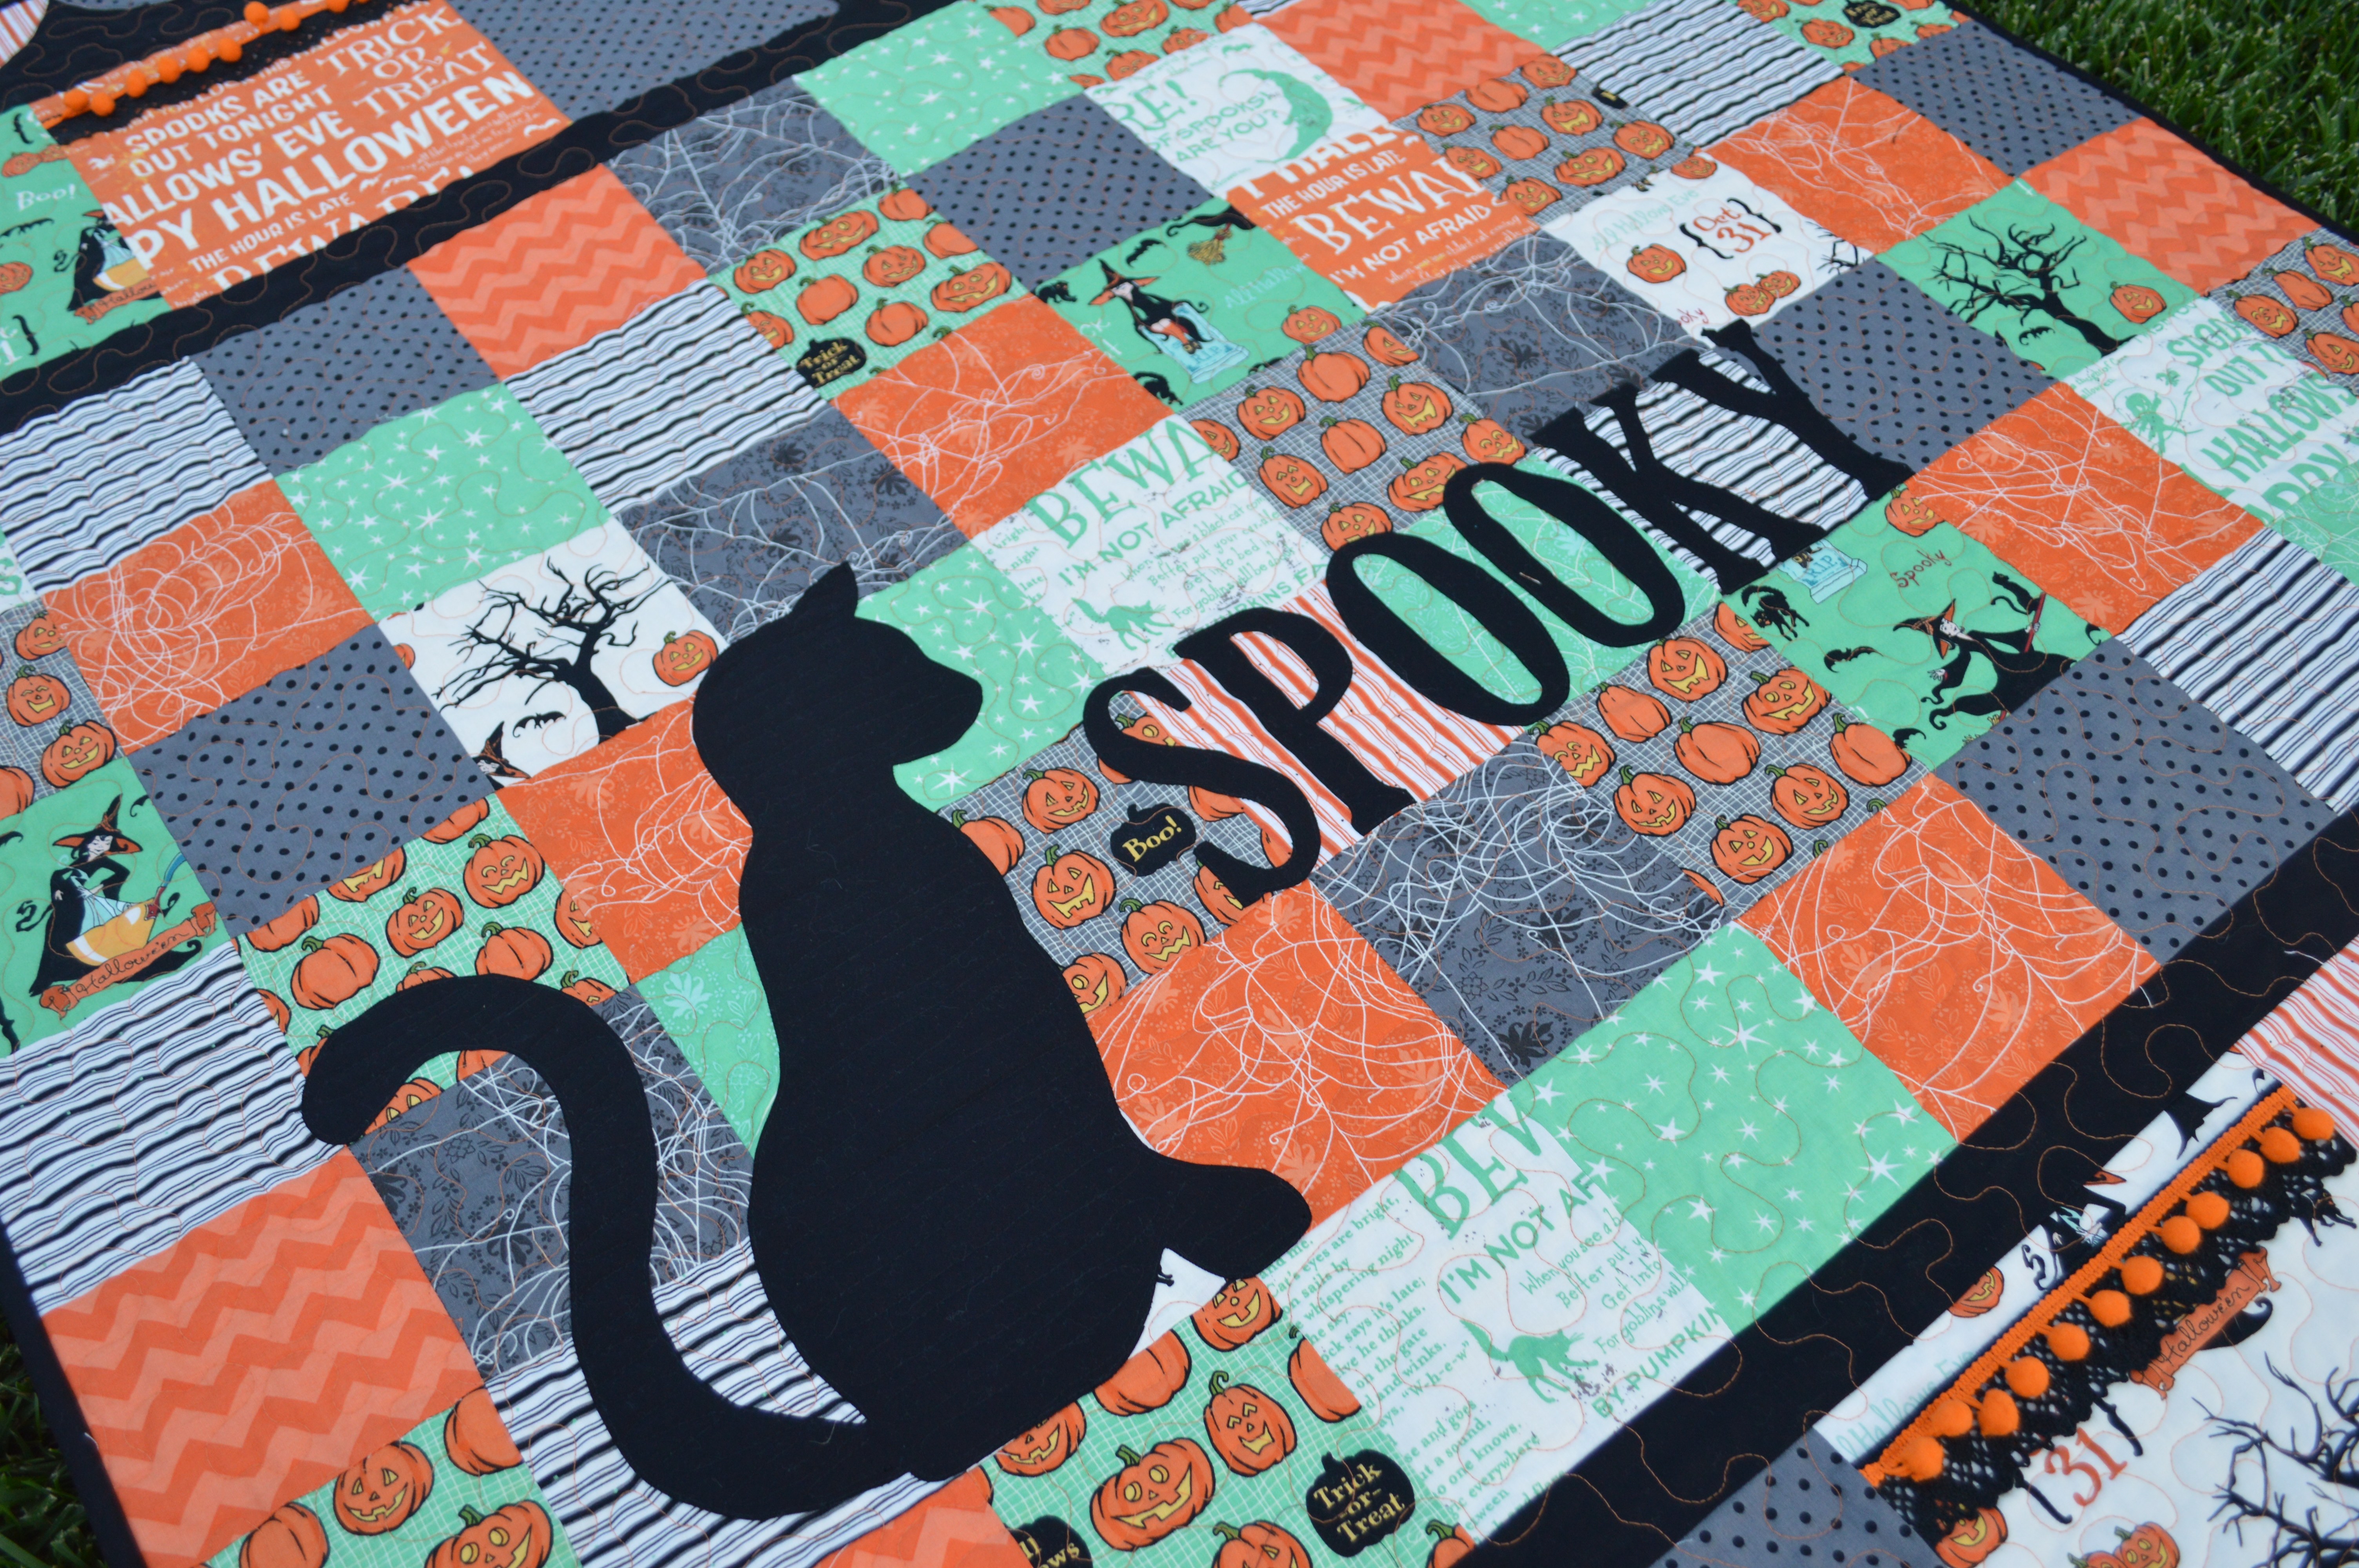
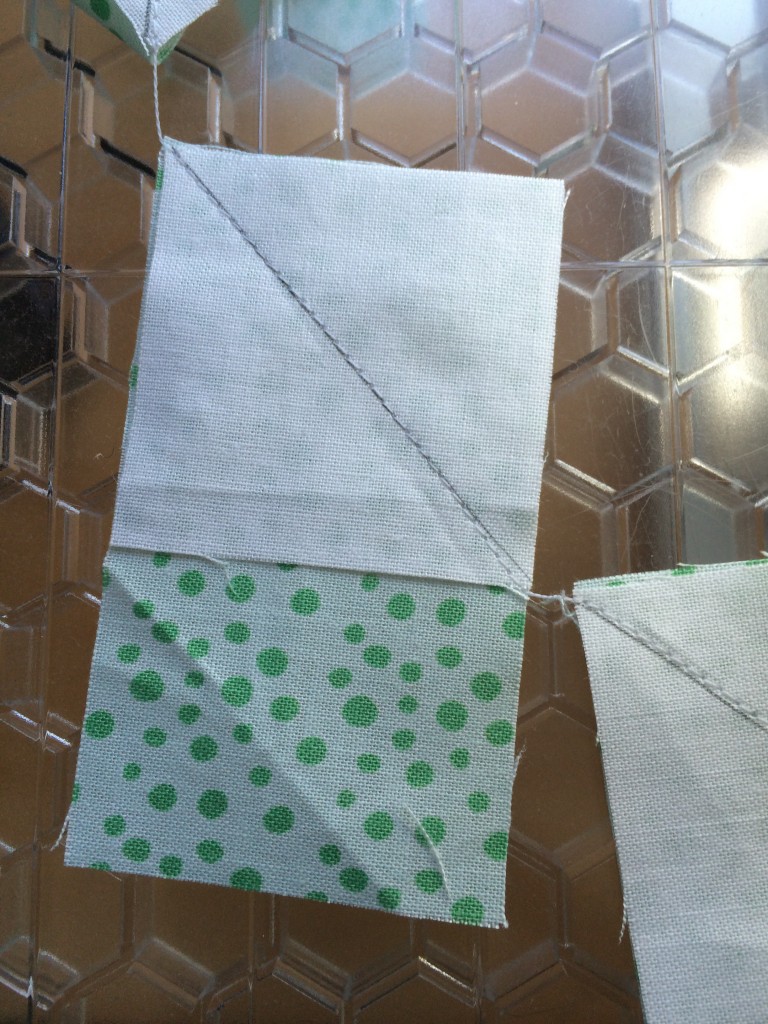
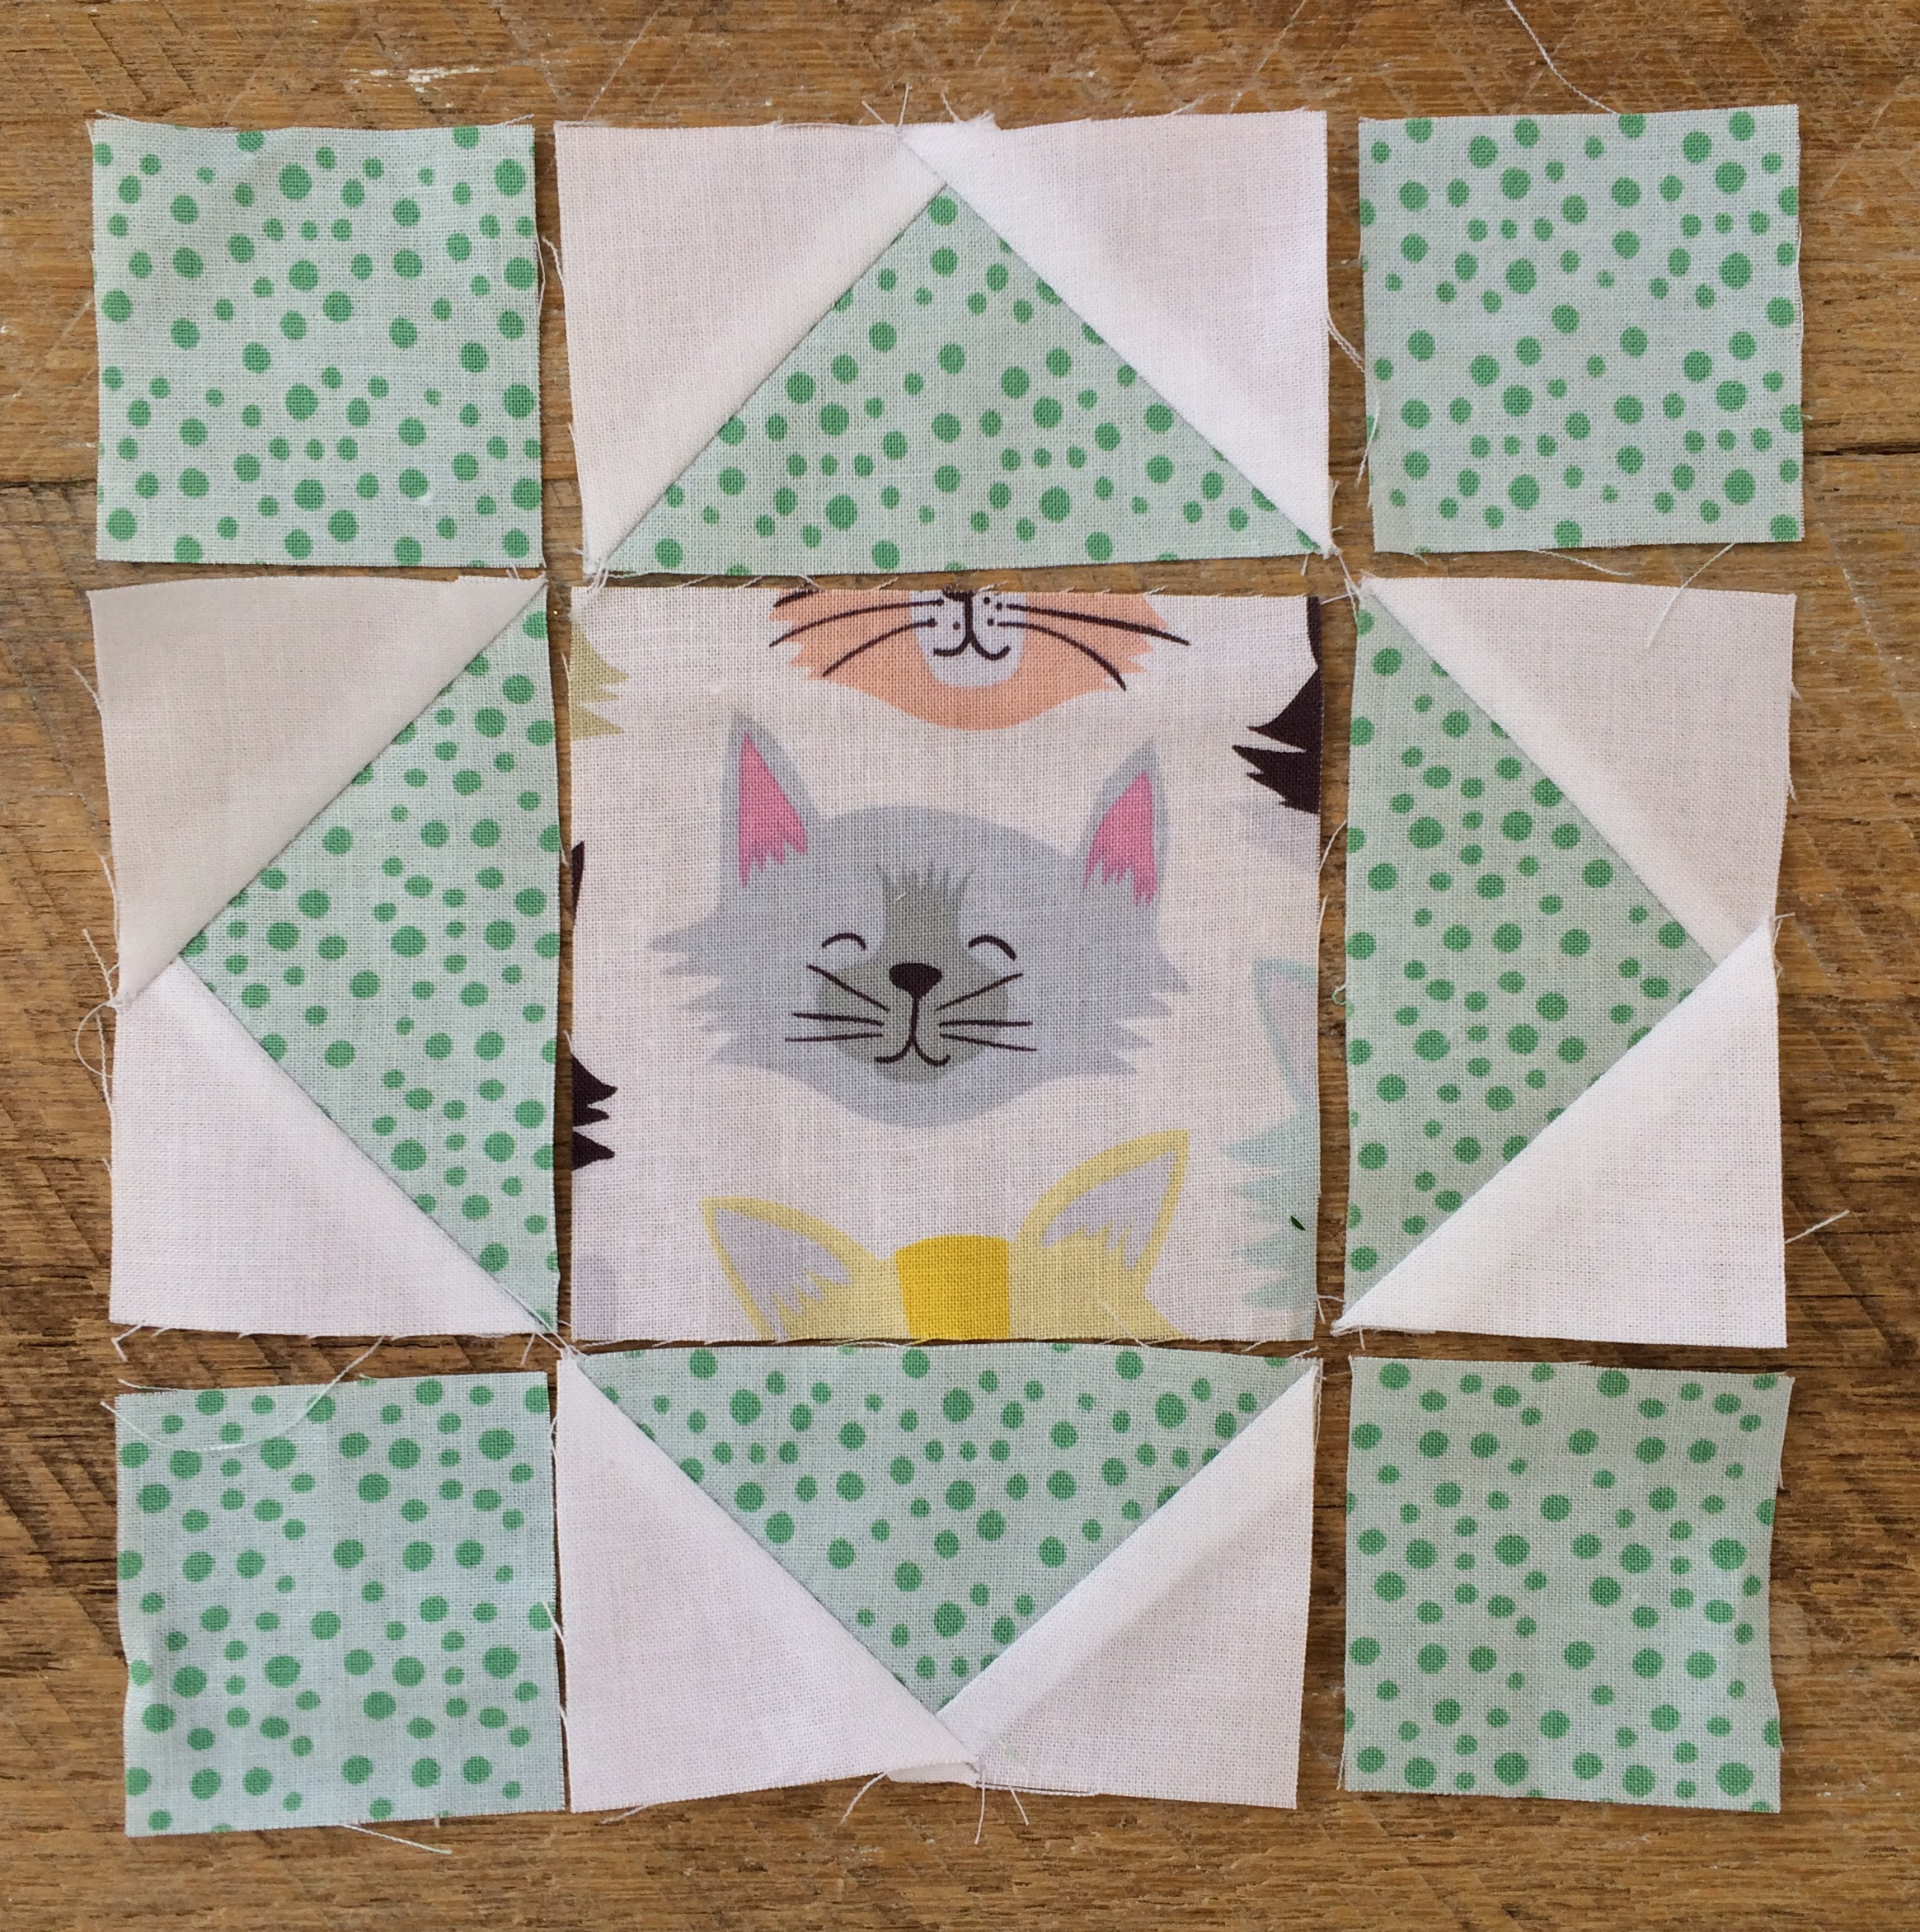
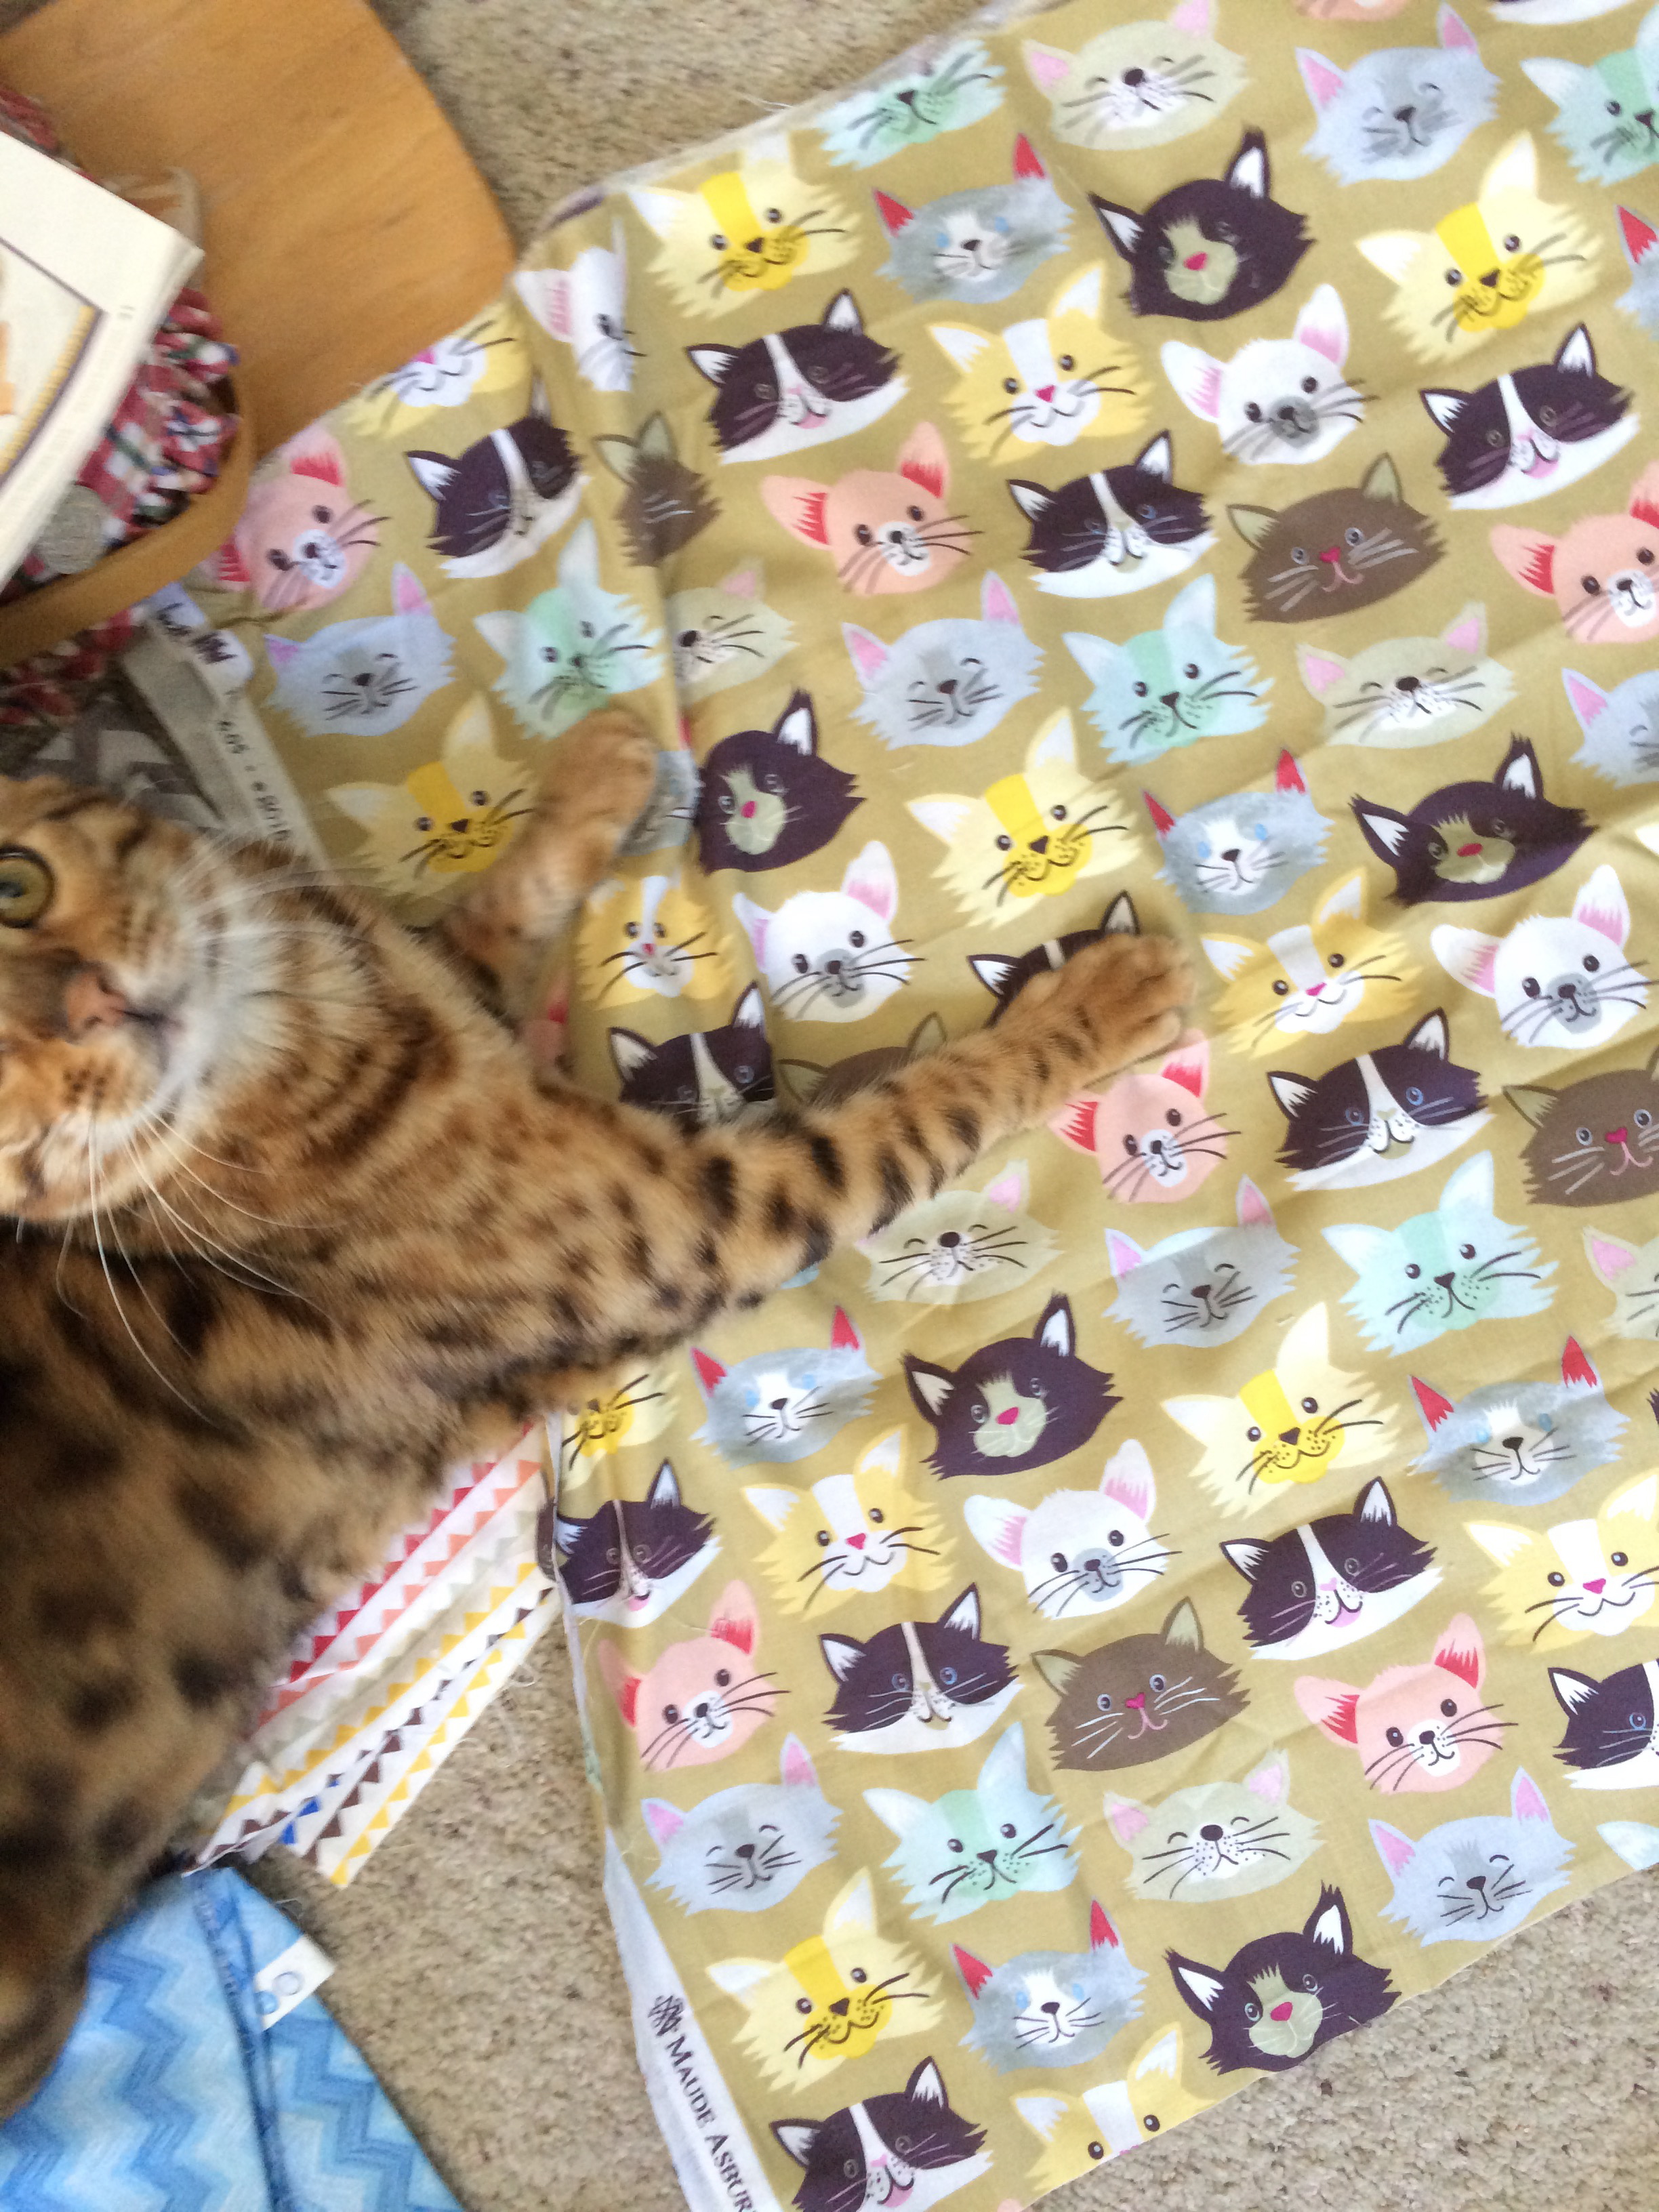
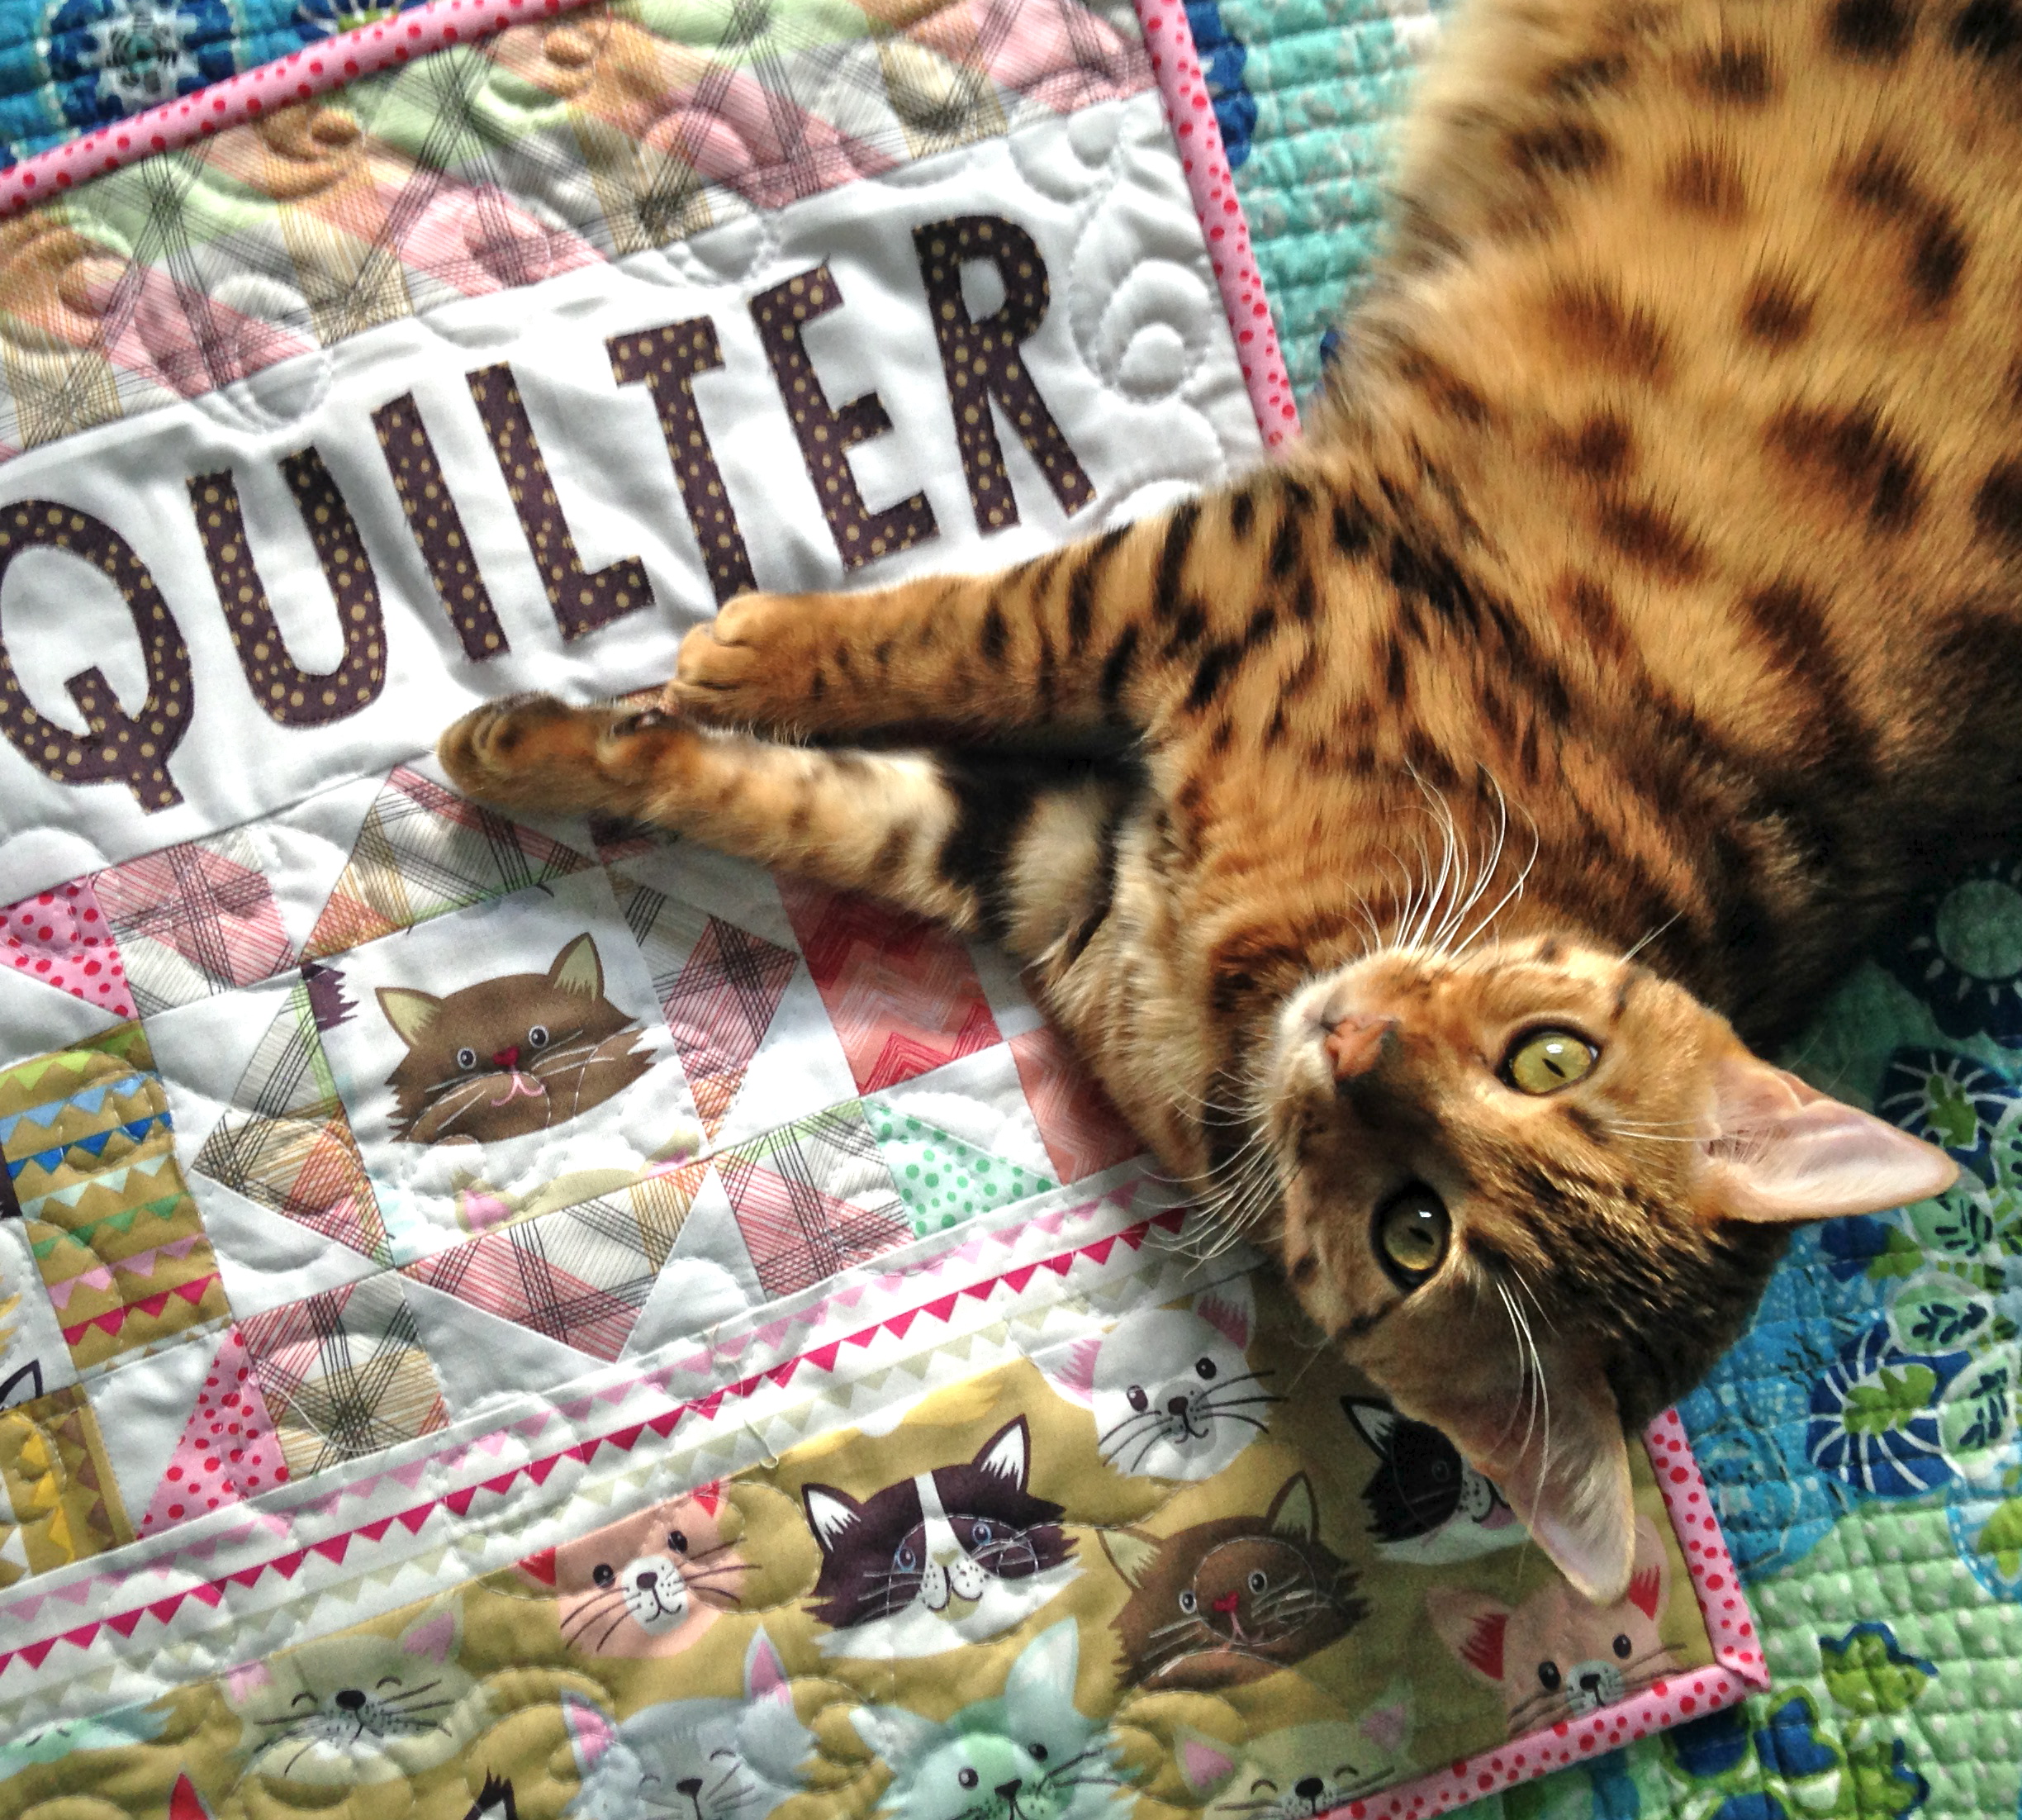
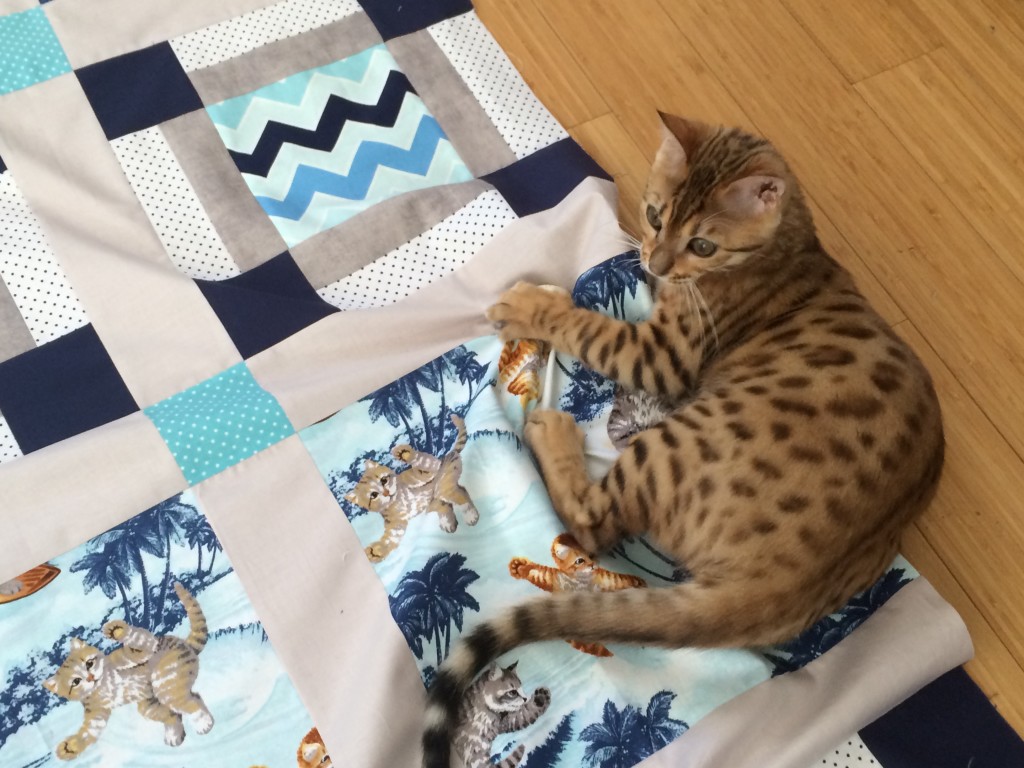
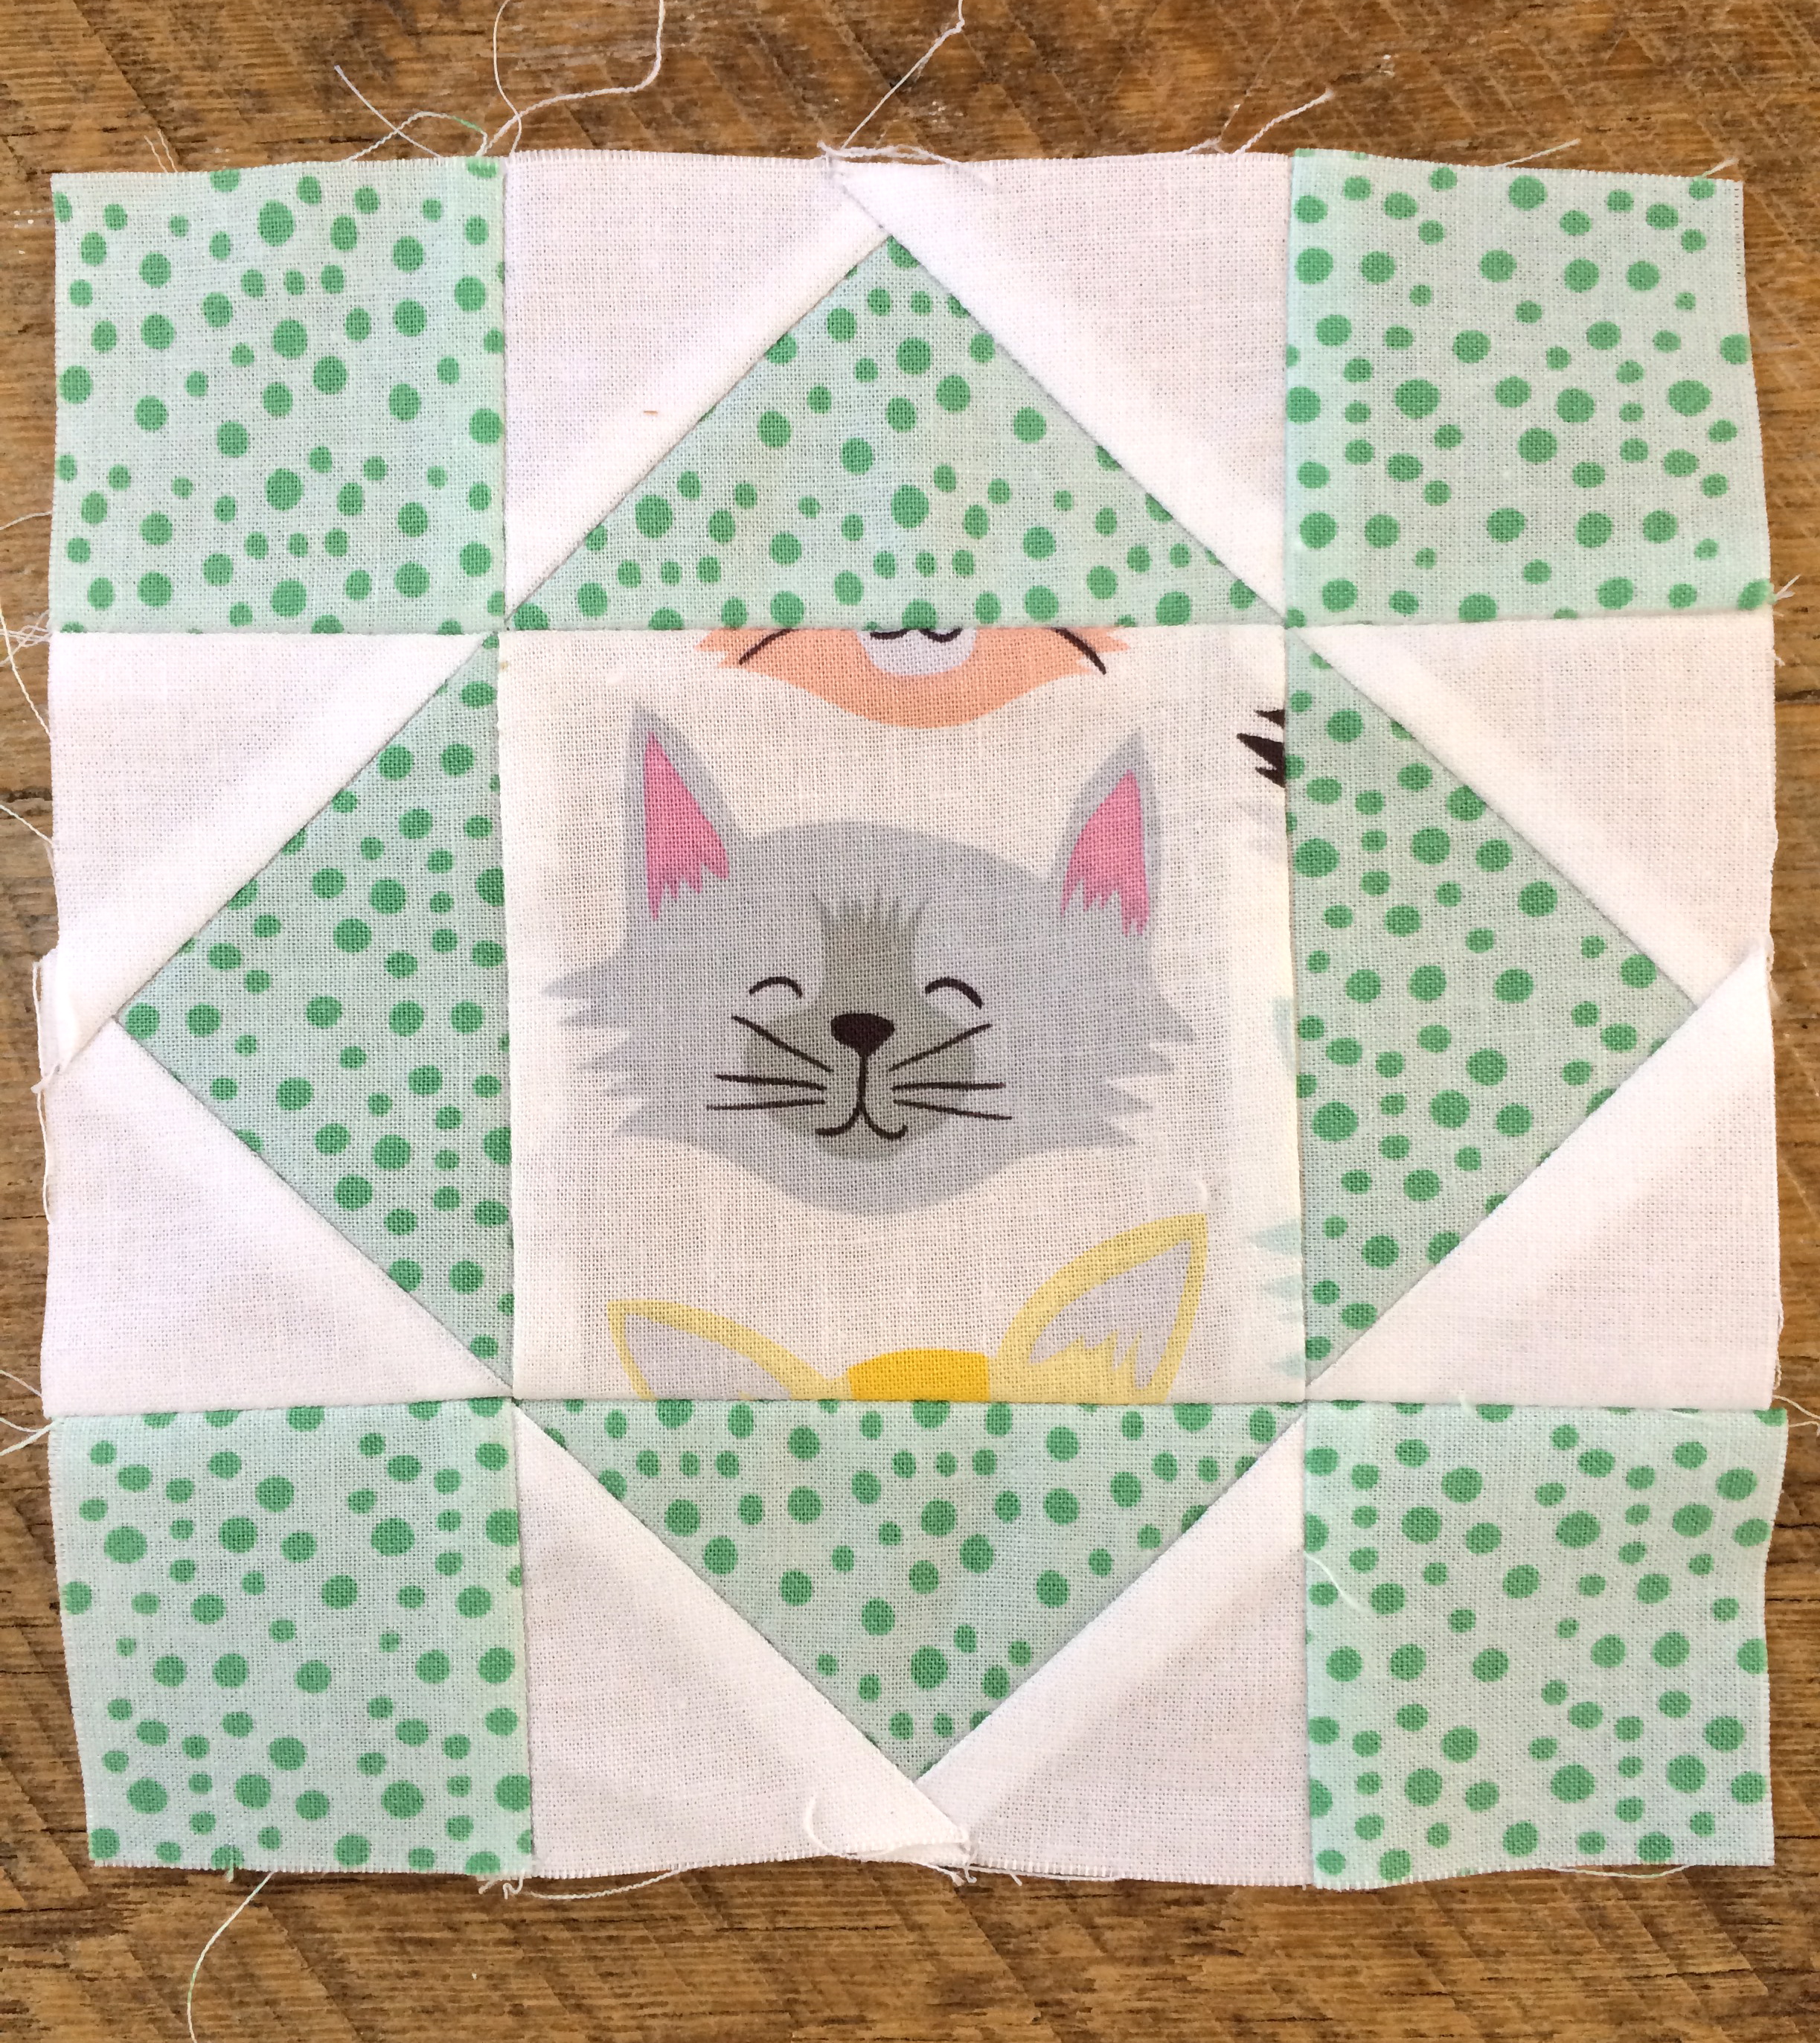
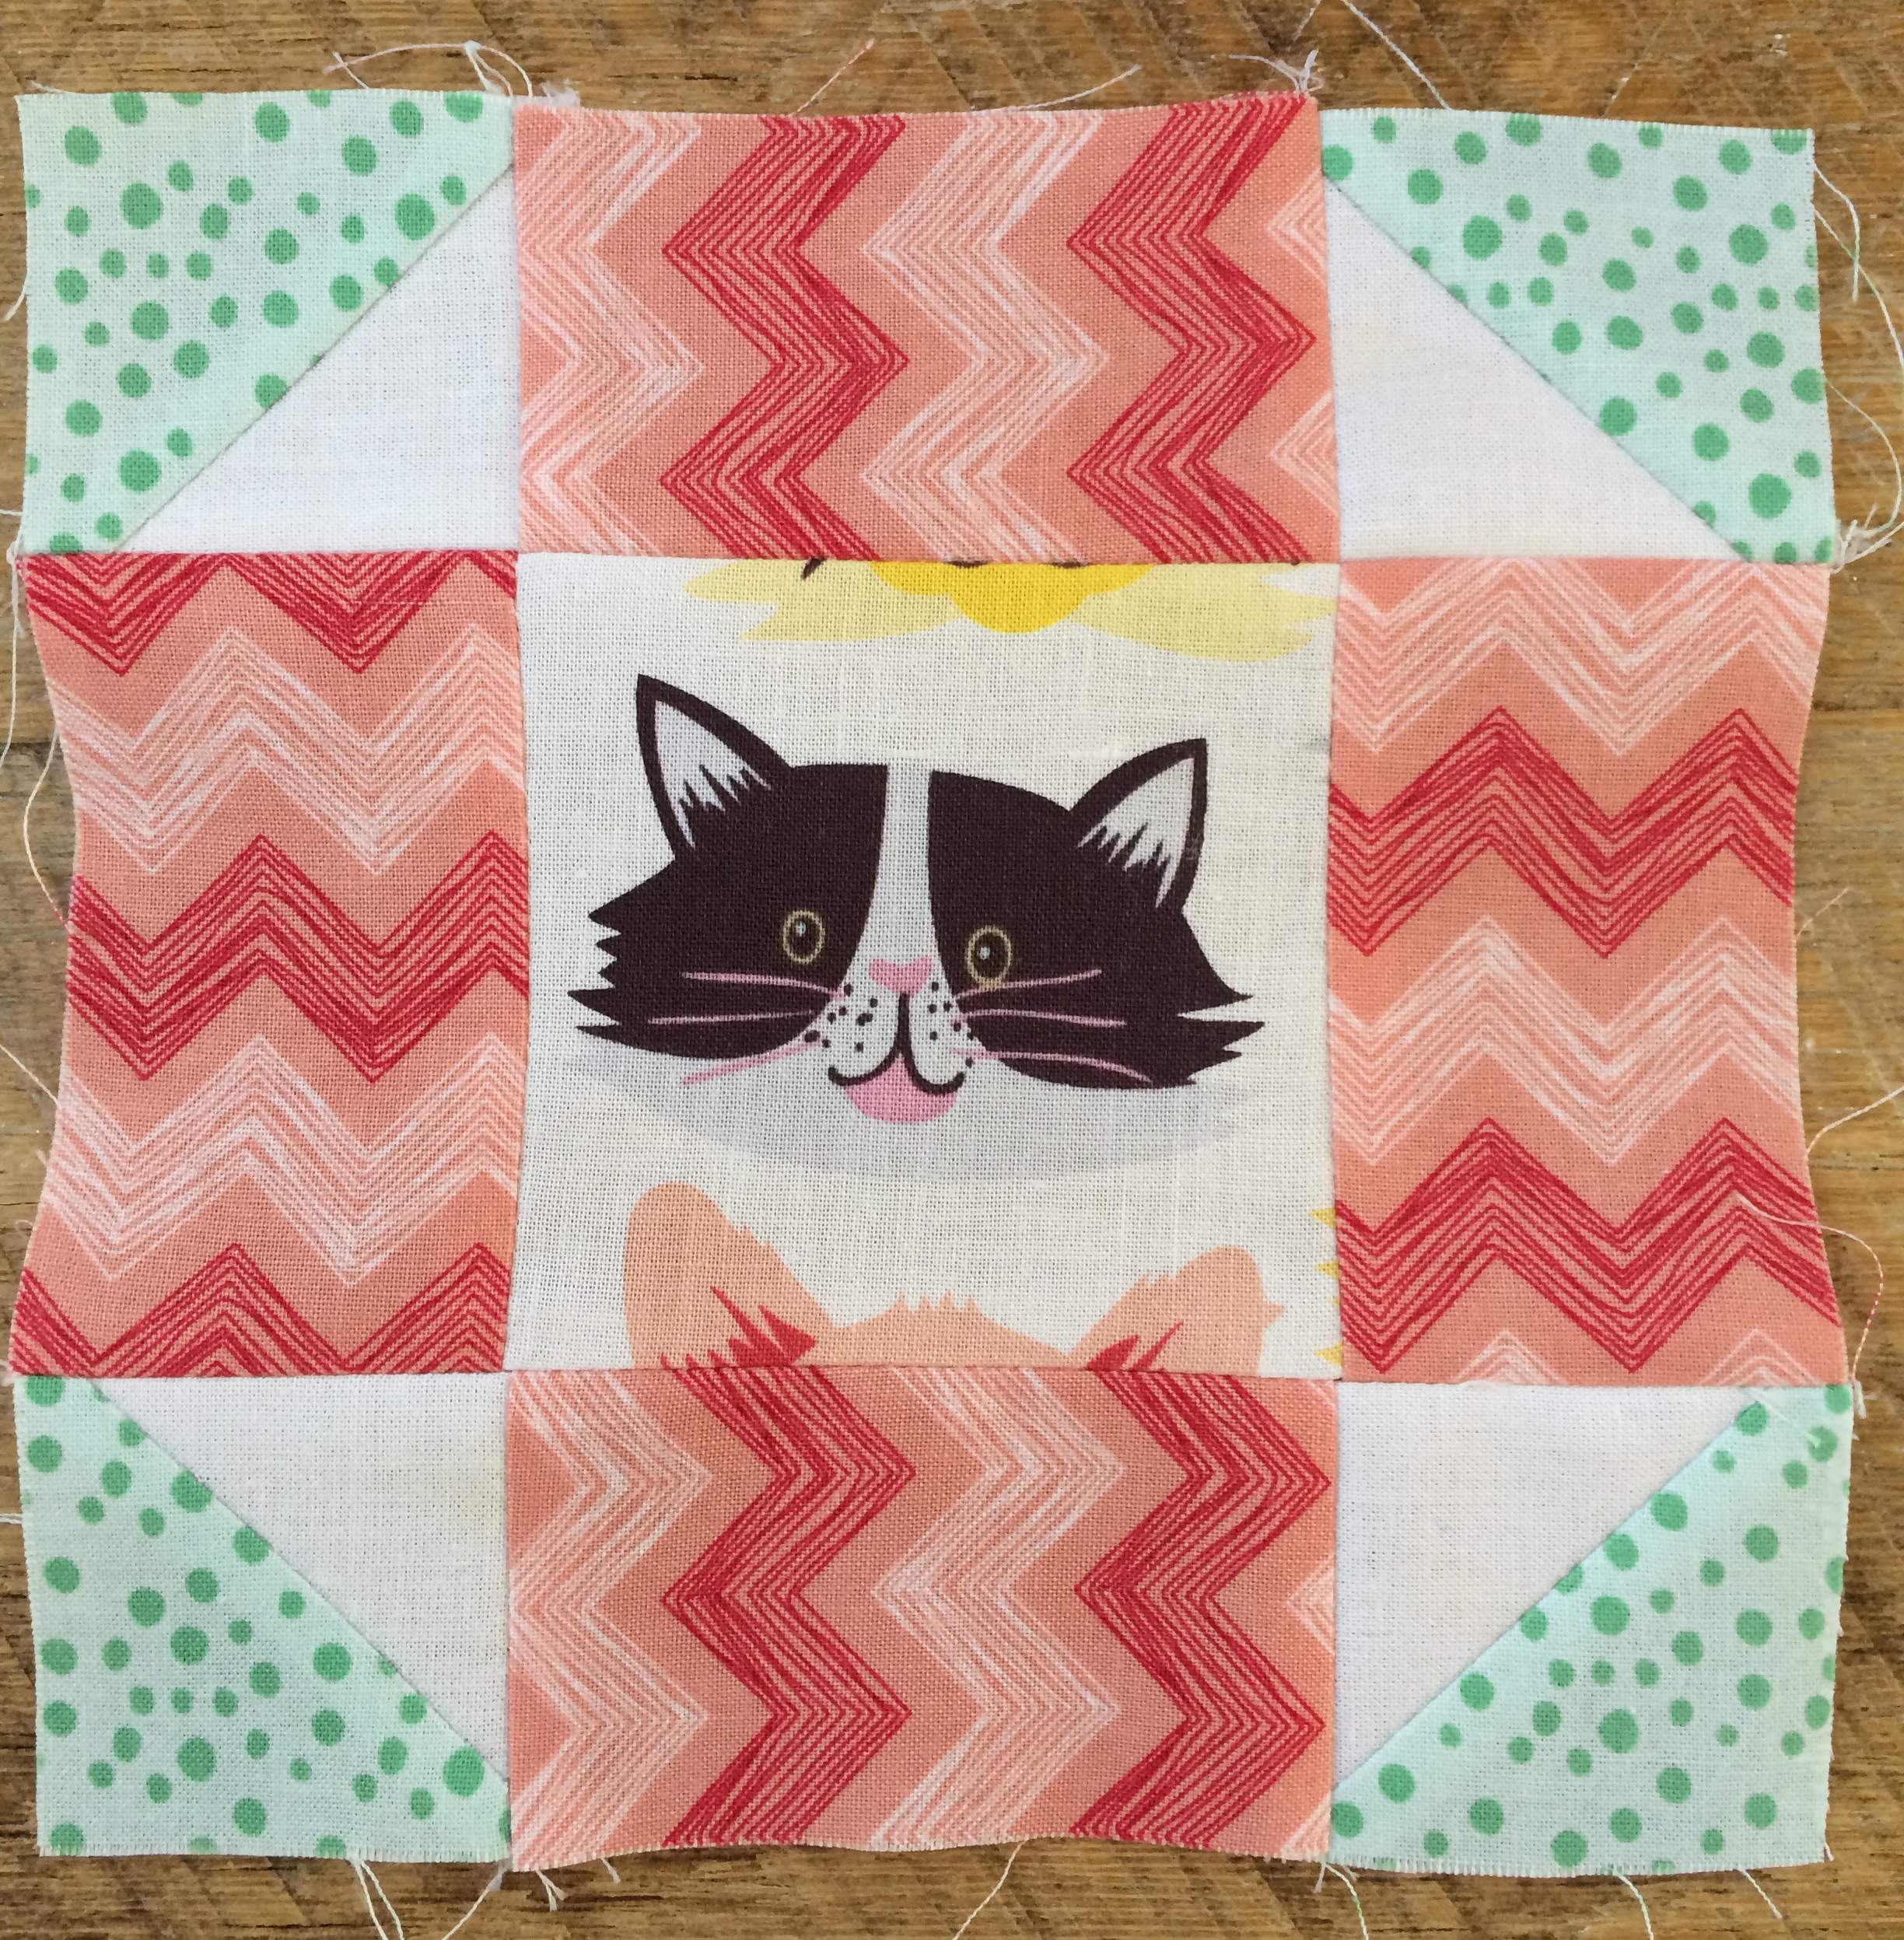
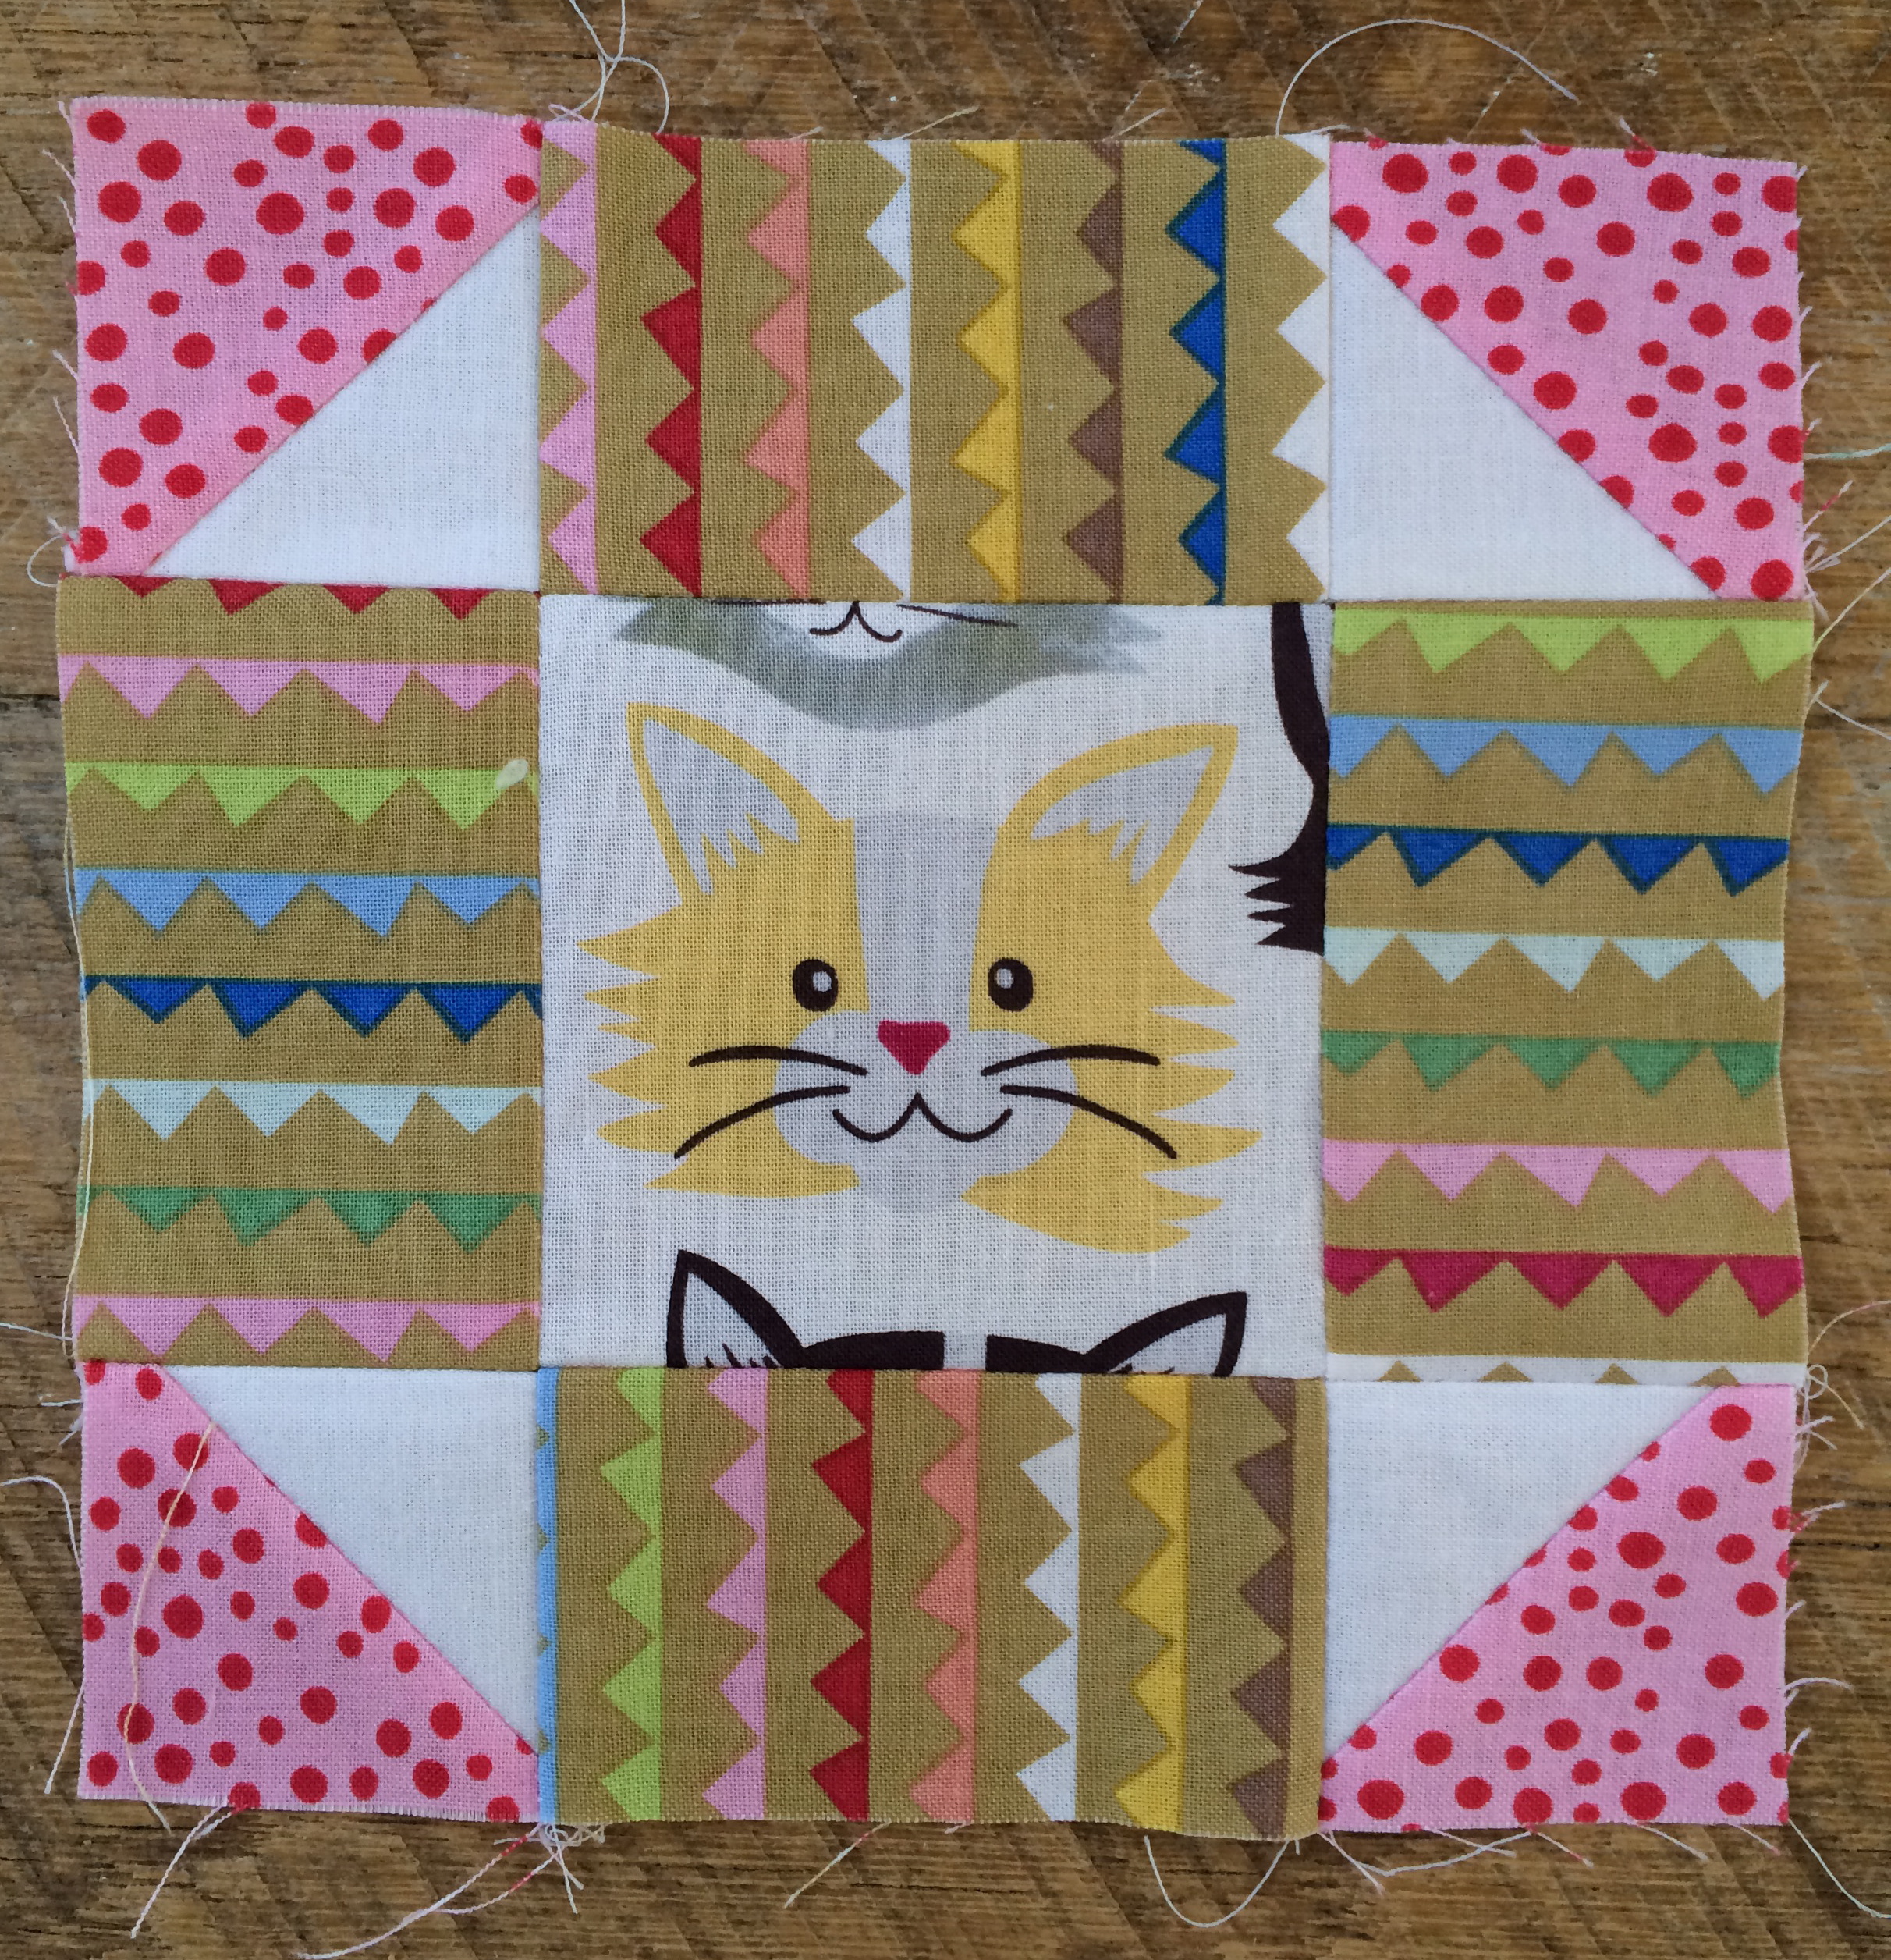
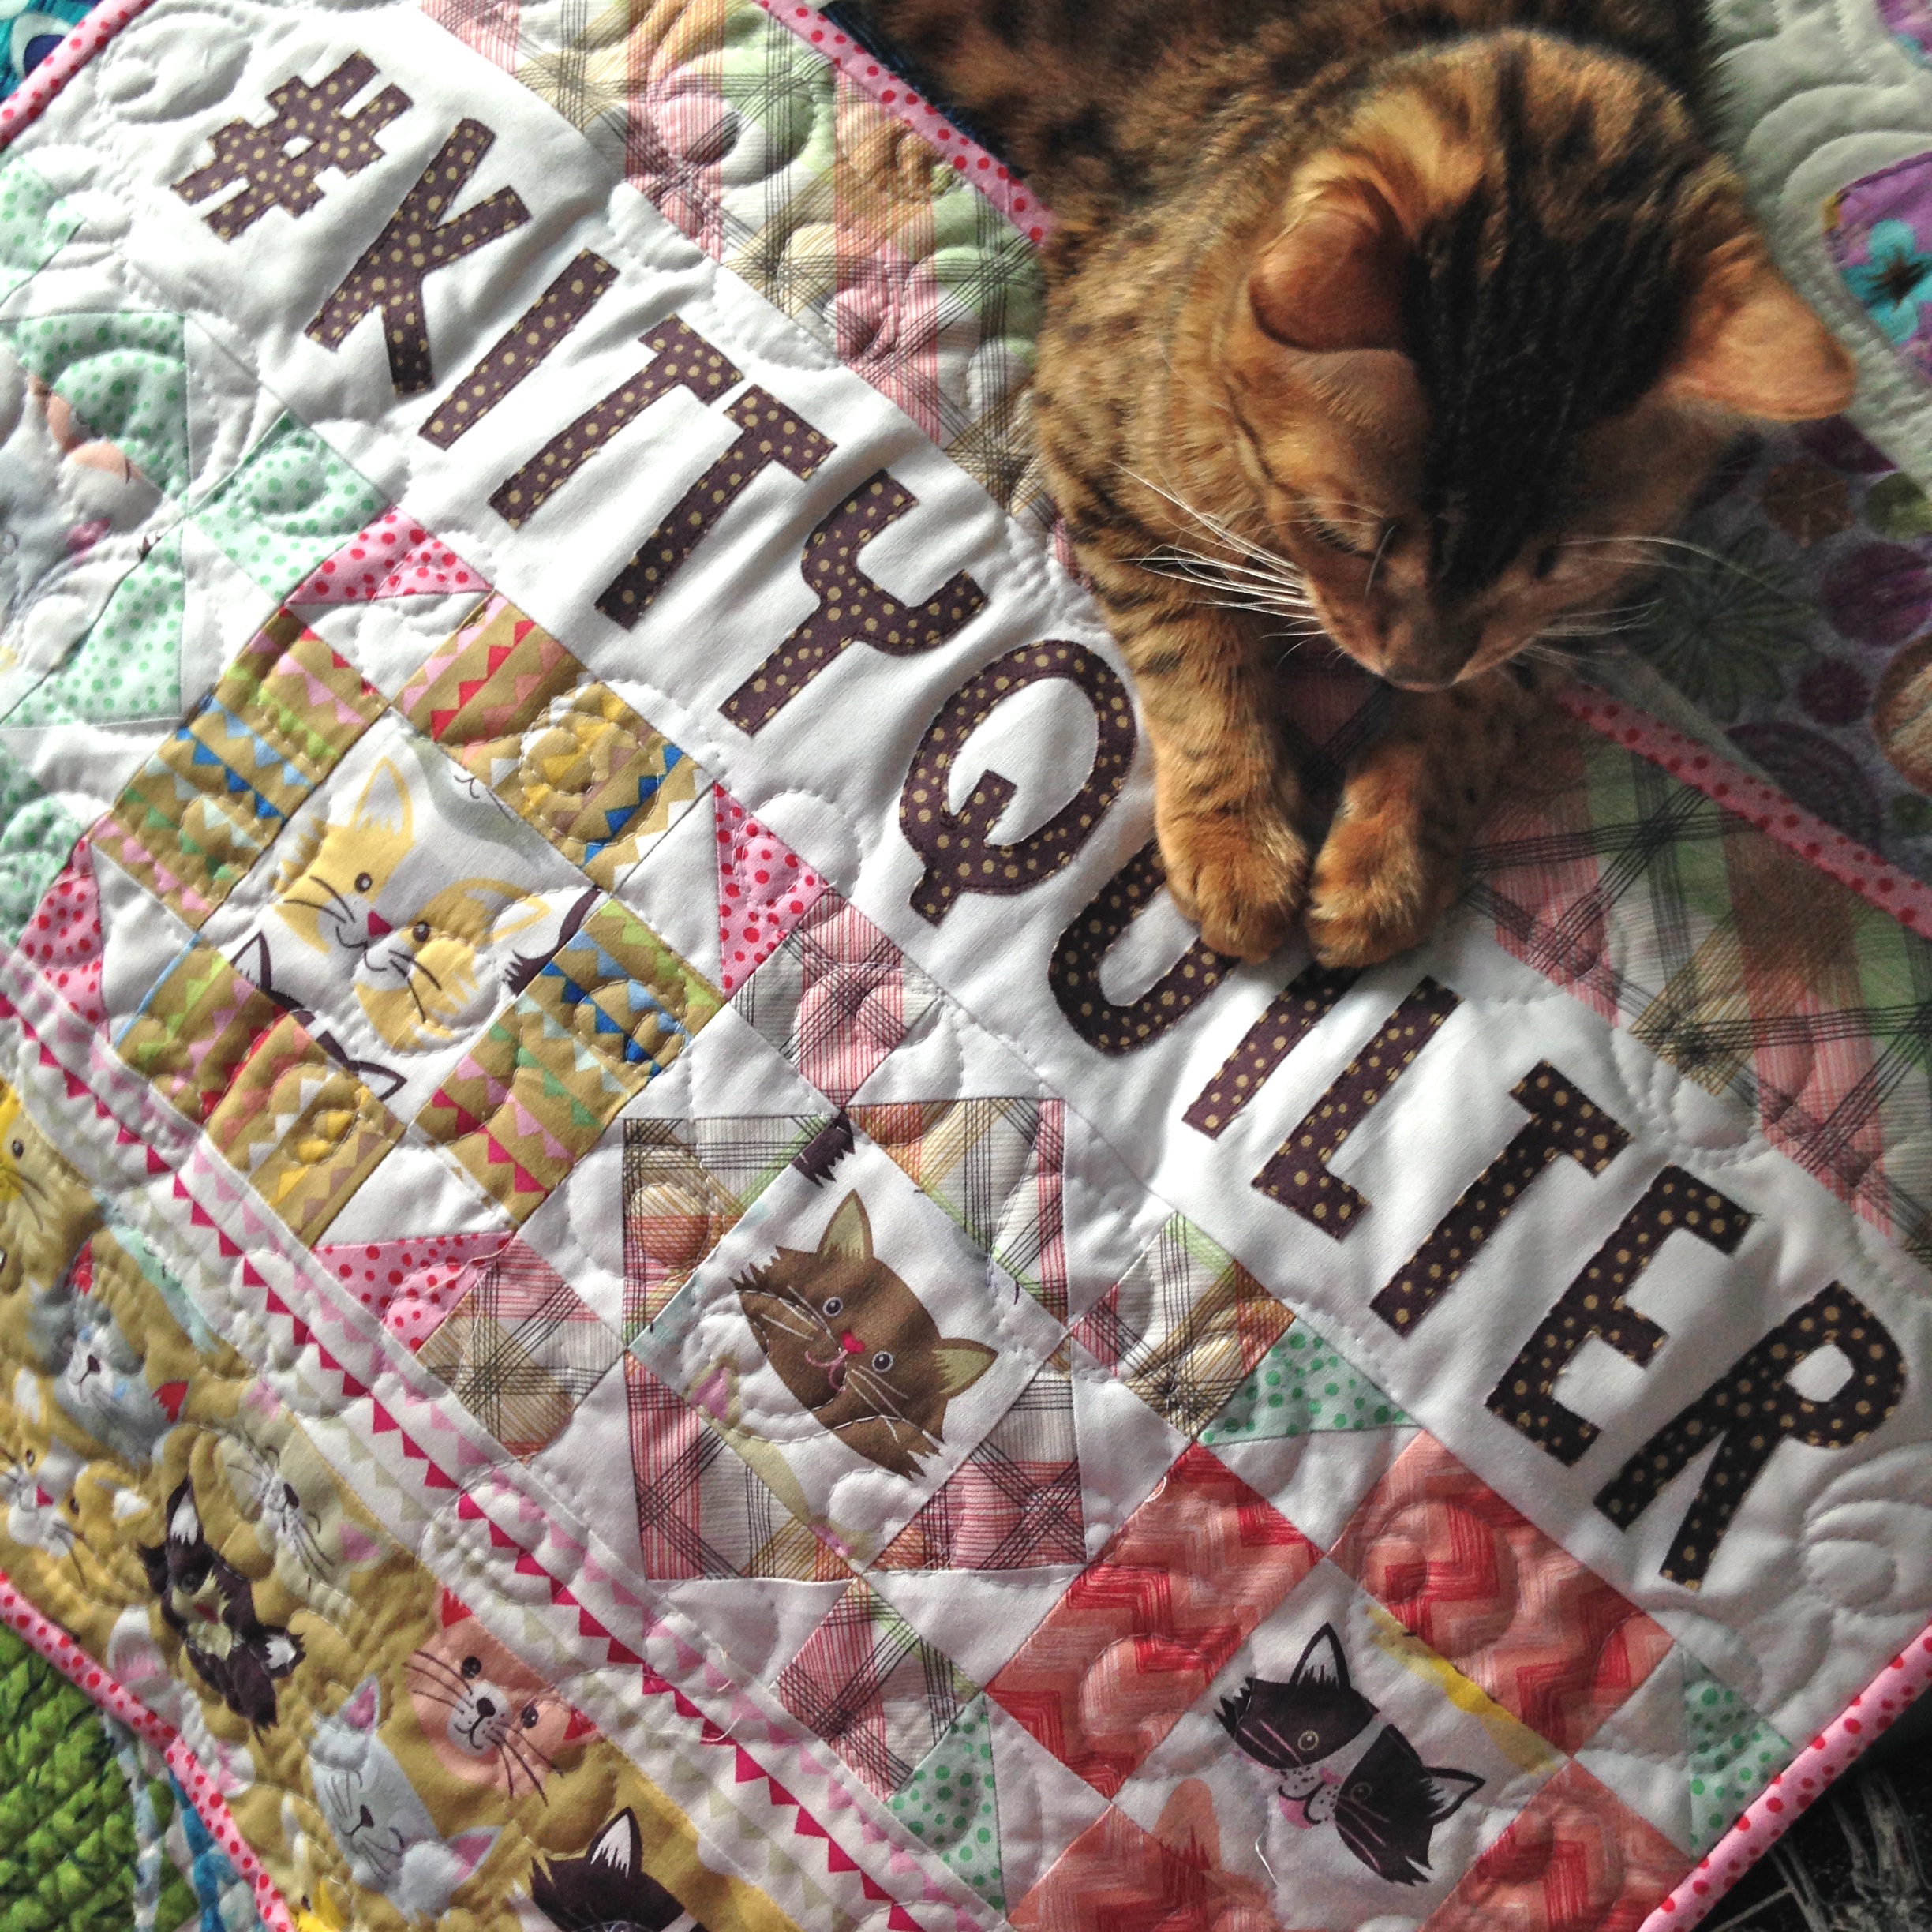
Don’t touch my pillow!

IMG_2531

Happy Birthday Baby Mufasa

DSC_0978Happy Birthday Mufasa!  We celebrated Baby Mufasa’s 1st birthday!  How fast does time fly!  He used to be so small and fluffy!!!

DSC_0442He used to fit inside a zipper pouch!

DSC_0561I made him a little birthday hat and he HATED it!  He acted like he was going to die!  Poor thing!!  But he looks so cute in it!

DSC_0803

DSC_0821

DSC_0902  My daughter and Mufasa share the same birthday – so we had quite a party!!  The cupcakes were for her, and most of the gifts 🙂DSC_0923

DSC_0963

Even though he’s a big boy now, I’m going to keep on calling him Baby Mufasa 🙂

DSC_0976   For more up to date coverage on Mufasa’s antics, follow us on Instagram!

Caturday Sew Along October

caturday octoberWelcome to the Caturday Sew Along!  I love cats and sewing!!!  I know a lot of you love sewing with your fur babies too!    Each month I will post a cat themed quilting project that we can sew together.  Post your progress on Instagram and tag it with #caturdaysewalong.  For October choose any variation of these three projects that use a cat silhouette and SPOOKY applique.  Click the links for the patterns.

spooky mini quilt tutorialThis Spooky mini quilt measures 20″ square and uses 2.5″ squares to complete.  It’s such a fun way to use up those Halloween scraps you’ve been saving!!  Click HERE for the tutorial.

spooky_quilt_tutorialThis larger version measures 44″ x 60″ and it uses 5″ charm squares for the center.  It’s my favorite Halloween quilt.  Click HERE for the tutorial.

Halloween_quilt_tutorial_1

spooky Halloween pillow_10If you find yourself pressed for time but still want to sew something SPOOKY, try this quick pillow tutorial!  Click HERE

Spooky Mini Quilt

spooky mini quilt tutorialI love Spooky Sewing!  Halloween is such a fun time of year and the fabrics are so amazing!  This mini quilt pattern is inspired from a larger pattern I created.   You can find the pattern for the large version on the Riley Blake Designs website.  The fabrics are from last years and this years Riley Blake Designs Halloween fabrics.  They are purrrrfect for Halloween!Screen Shot 2015-09-30 at 2.46.16 PMSupplies:

scraps of Halloween prints

fat quarter or equivalent for applique

2/3 yard for backing

1/4 yard for binding

batting

Heat n Bond Lite EZ print sheets

This small version measures about 20″ square.  It would make a great pillow too!  Begin by rummaging through all your scraps and cut 2.5″ squares.  You need 100 total.  There are 10 rows of 10.  I did mine totally random.  I just grabbed 2 fabrics and sewed them together.

spooky mini quilt I paired all the fabrics then sewed those pairs with other pairs, leaving 10 pairs out.  Once you sew the 2 sets of 2, you have strips with 4 squares.  Pair those up to give you 10 sets of 8 squares.  Then add the reserved pairs to the ends.  This was the fastest way I found.  I lined up the rows the best I could.  I tried to avoid having 2 like fabrics touching.  Press all seams.spooky mini quilt 3

To add the cat applique, click HERE for the cat and HERE for the Spooky.  Print them in reverse.  I like to use Heat n Bond EZ print sheets – no tracing!!!  Once you’ve got your applique ready, iron it into place and stitch around it with black thread.

spooky mini quilt 2All that’s left is the quilting!  I quilted orange swirls.

IMG_0813Add the binding and its done!  This might take a while if your cat decides to have a nap on it!!!  spooky mini quilt 4
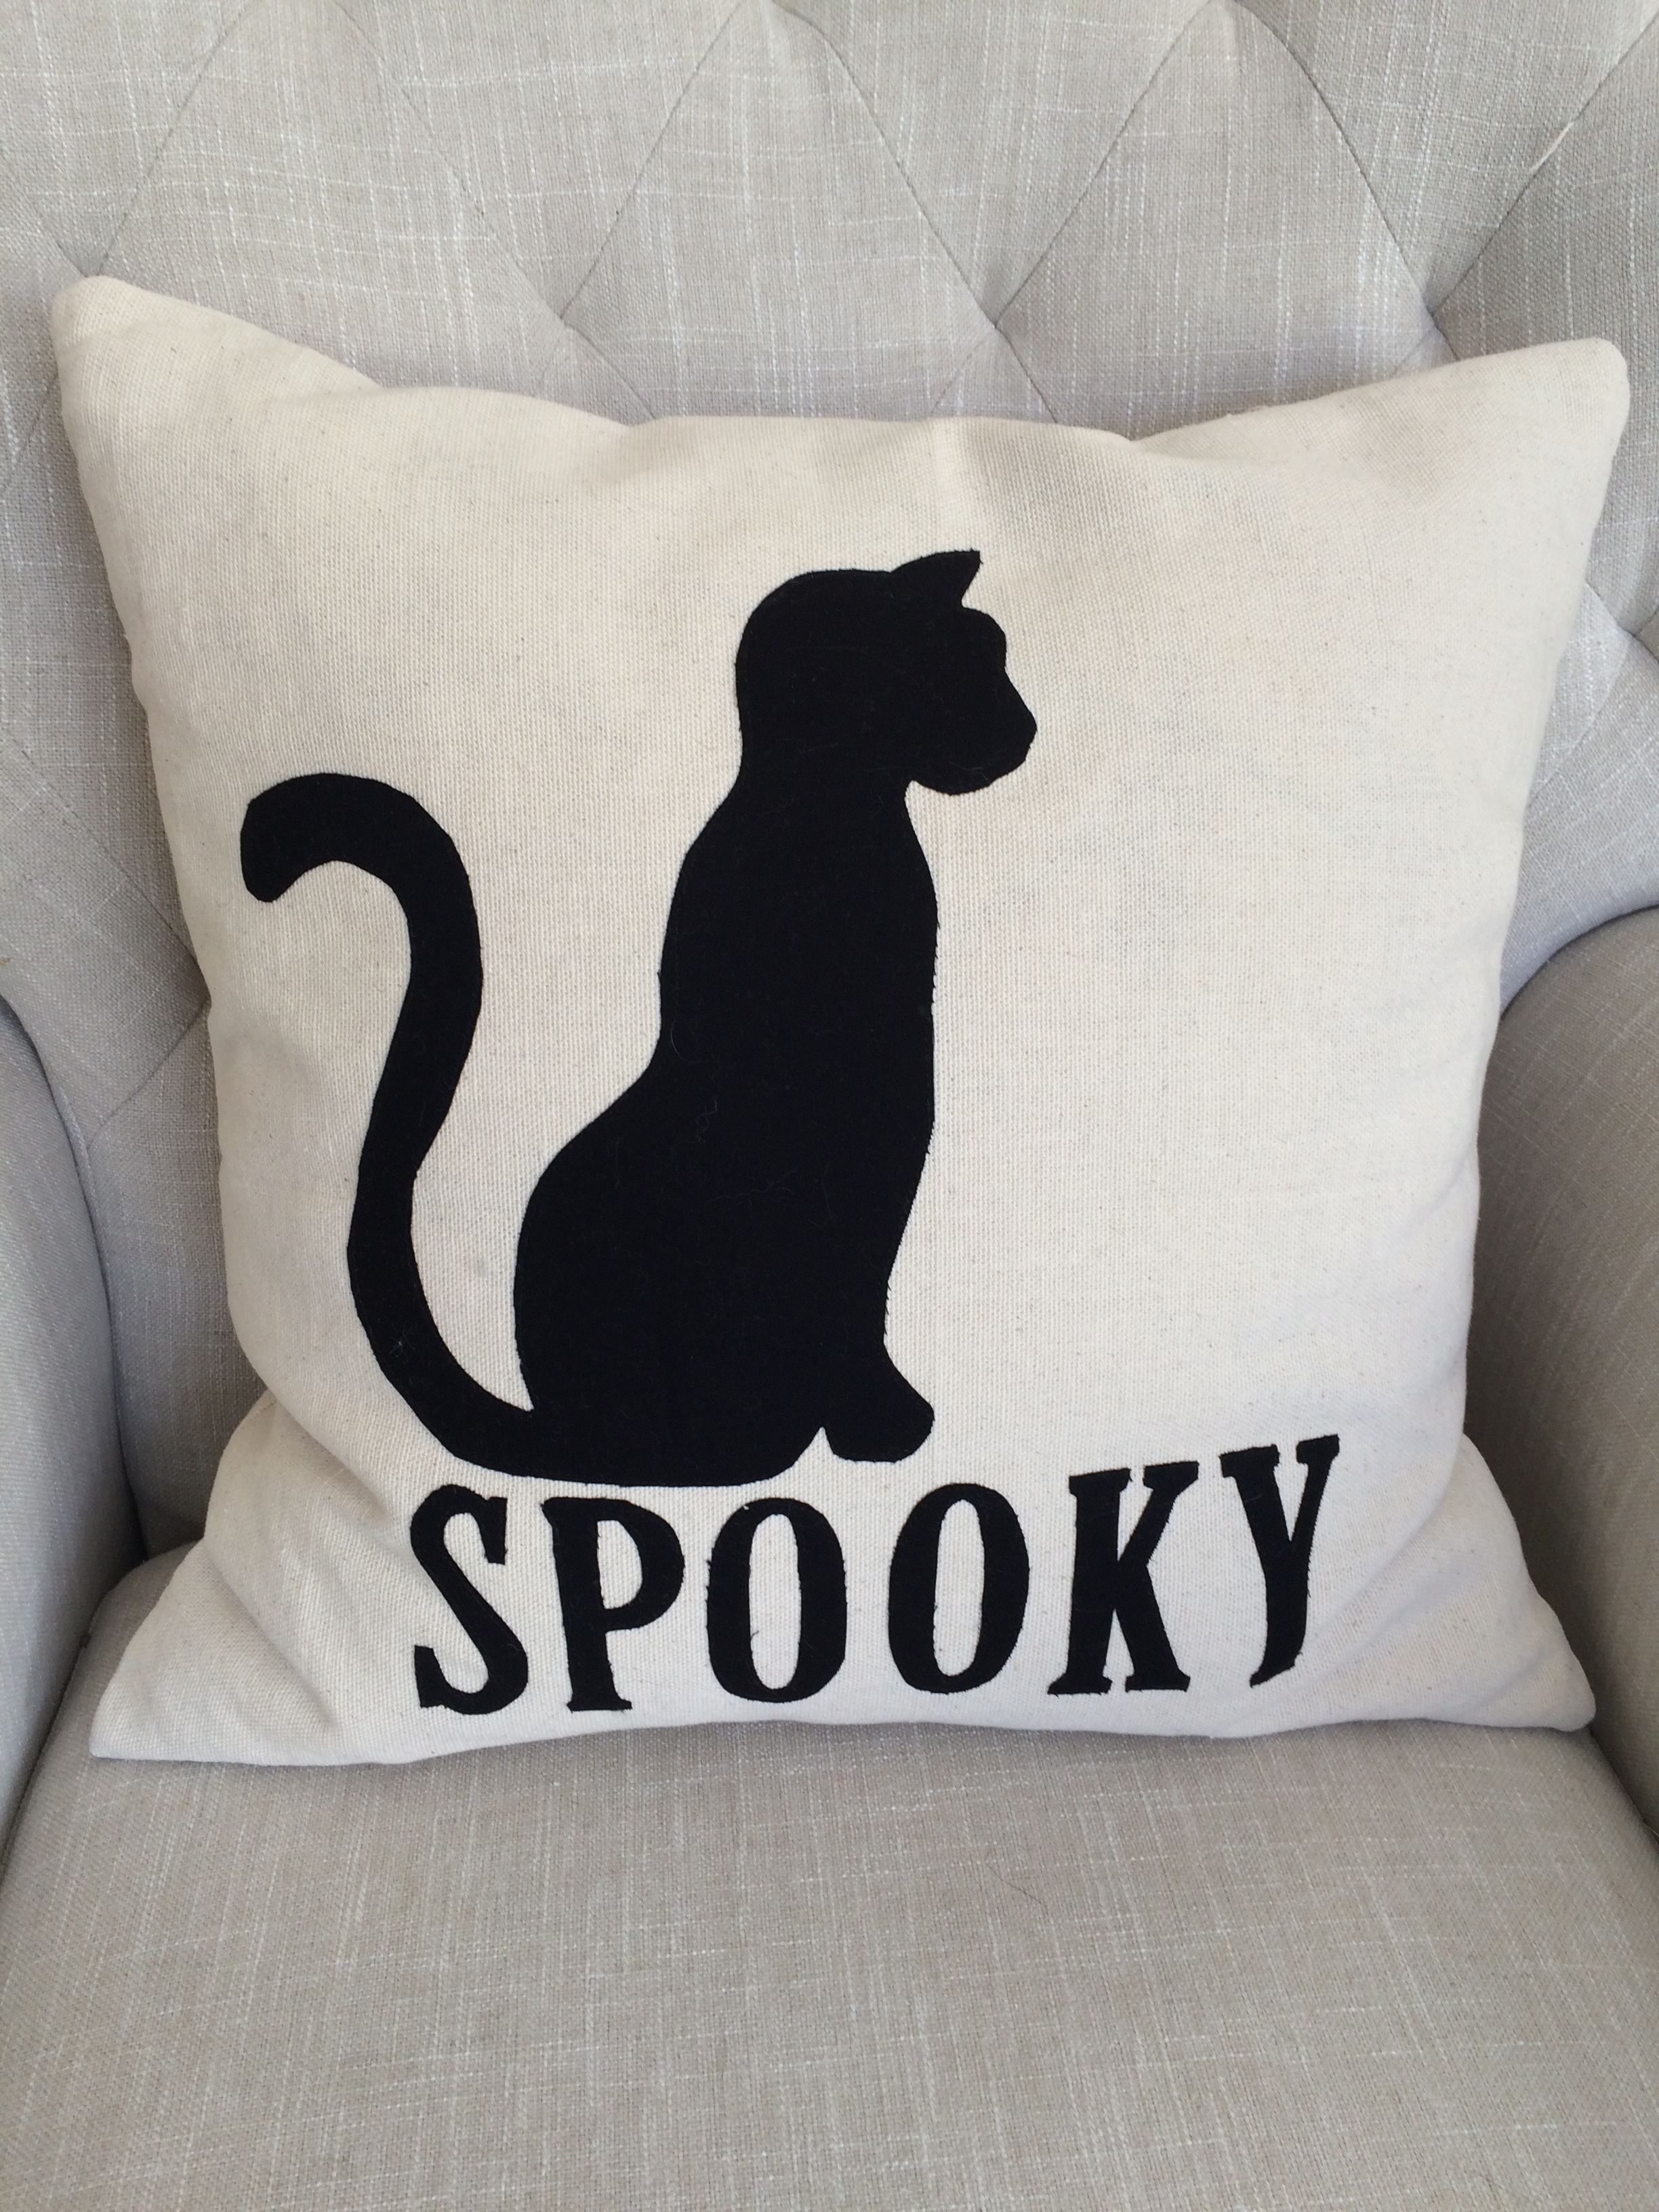
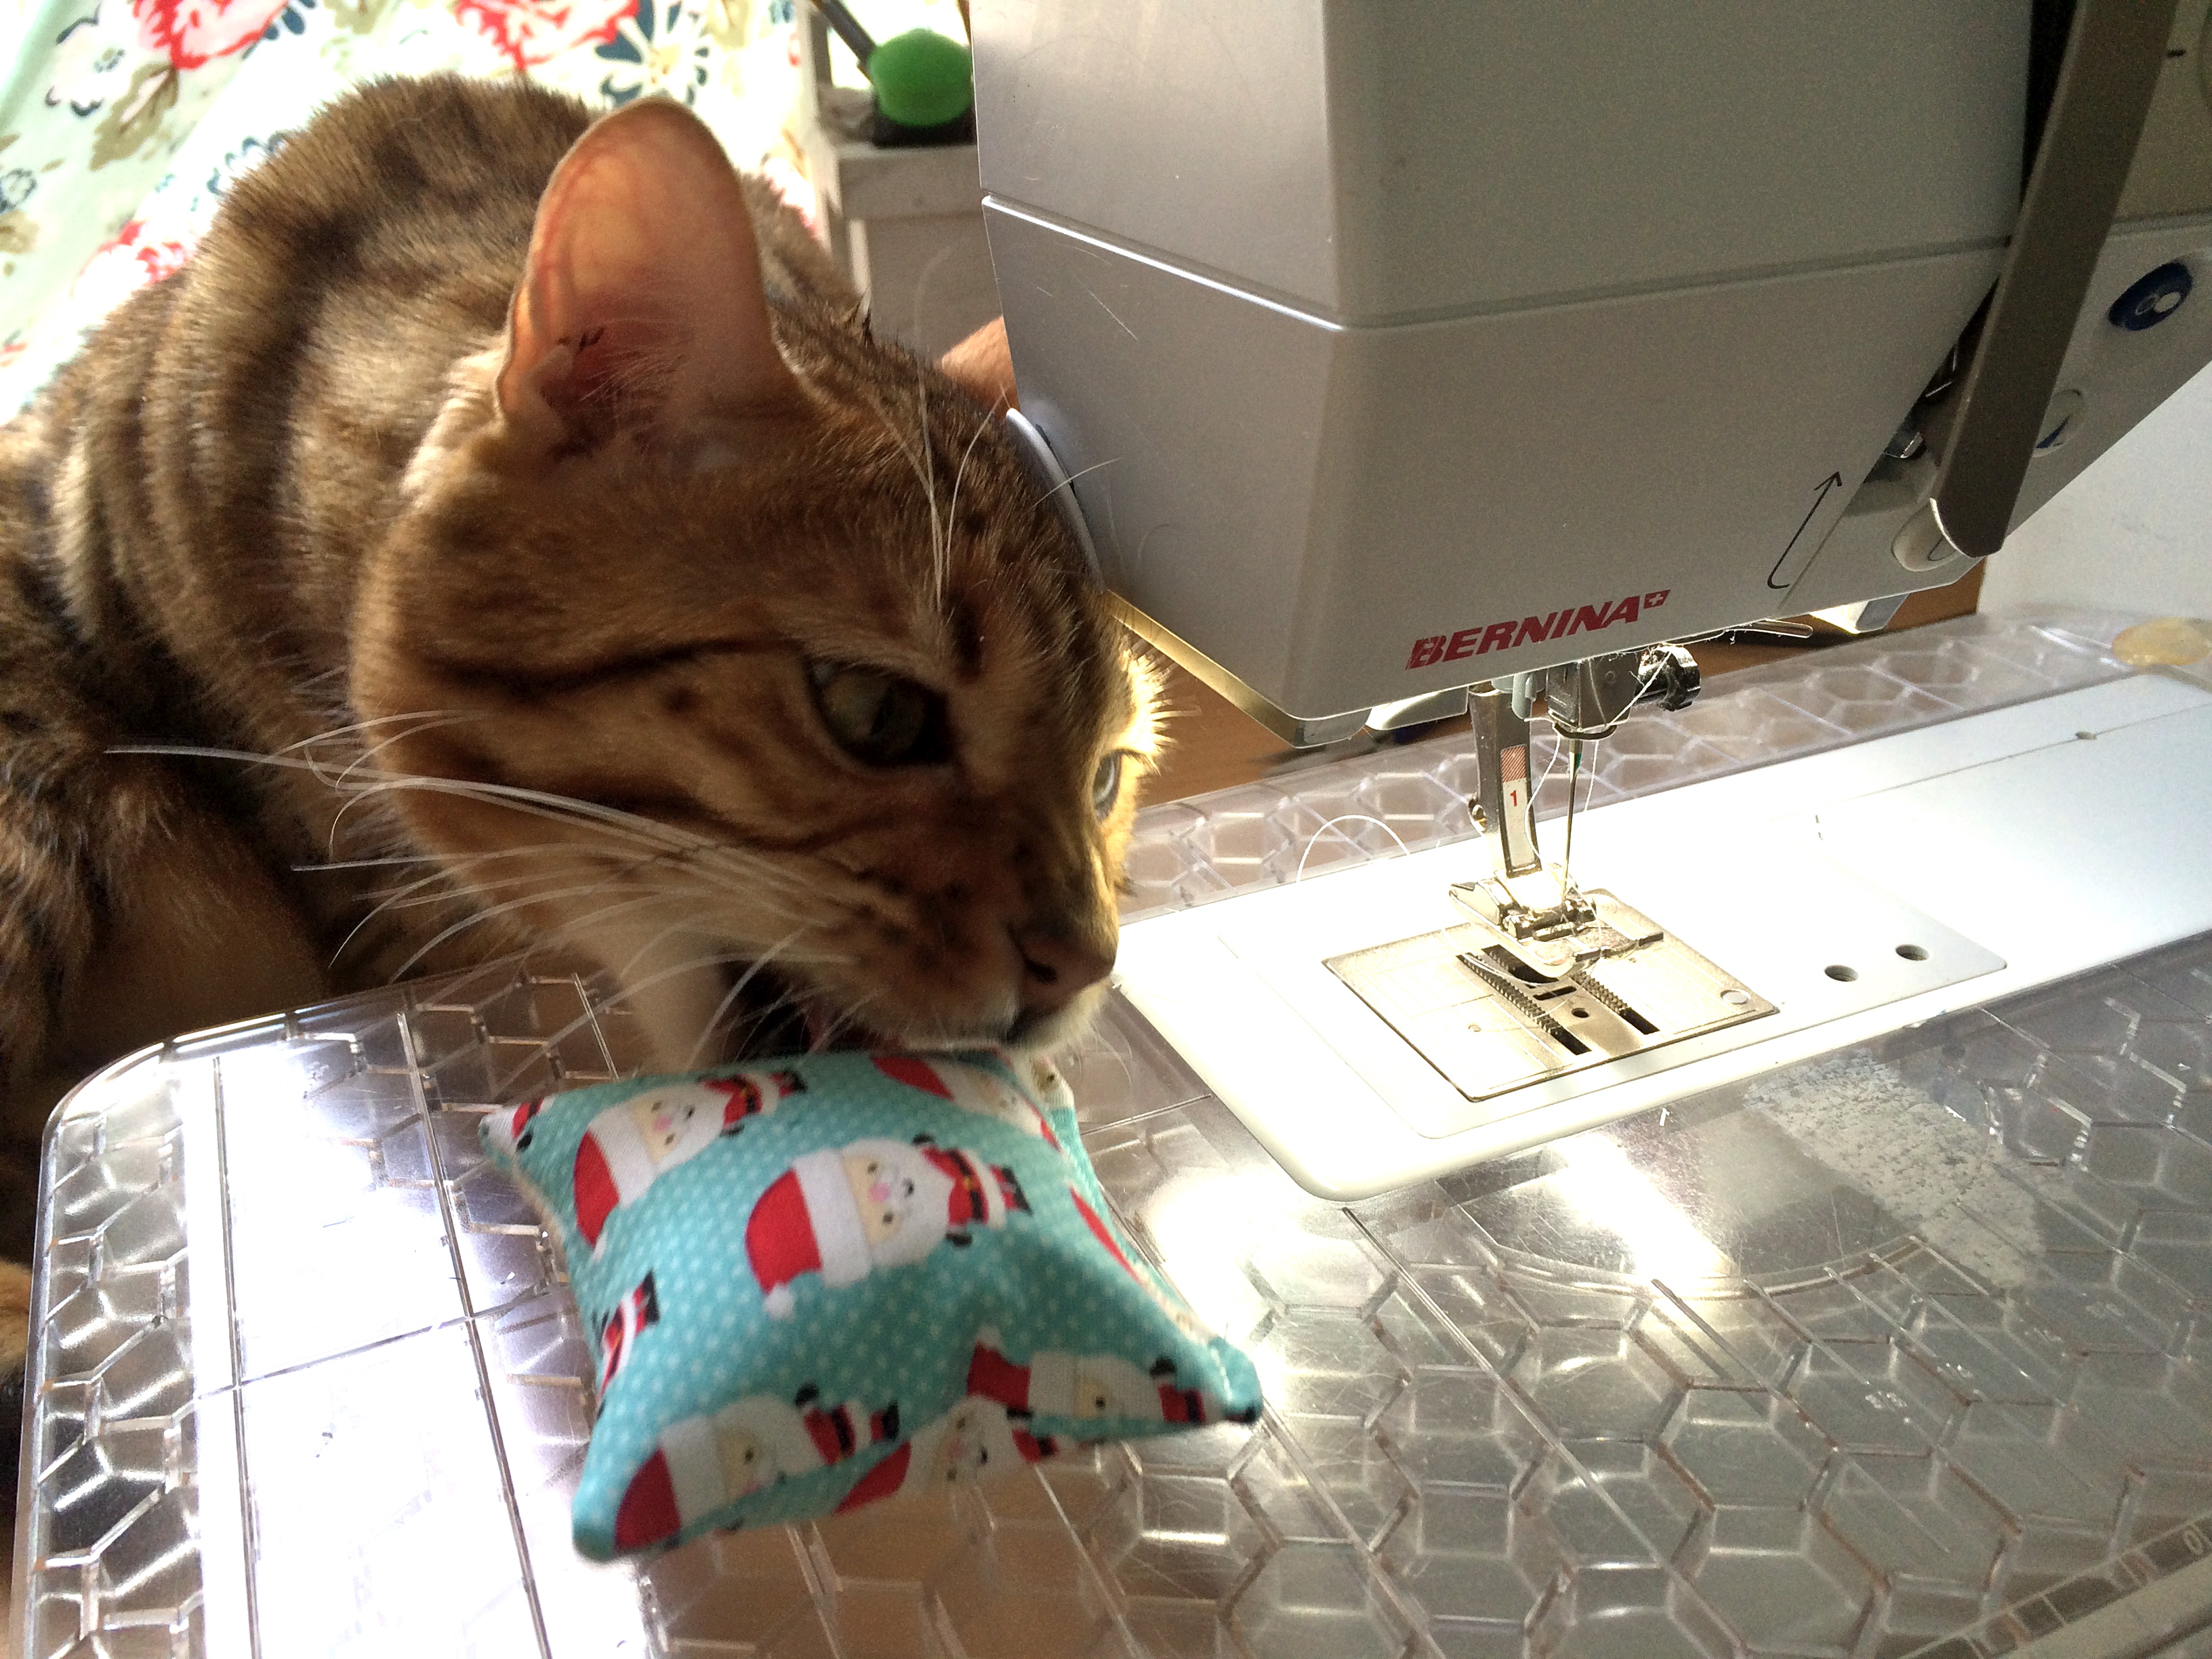
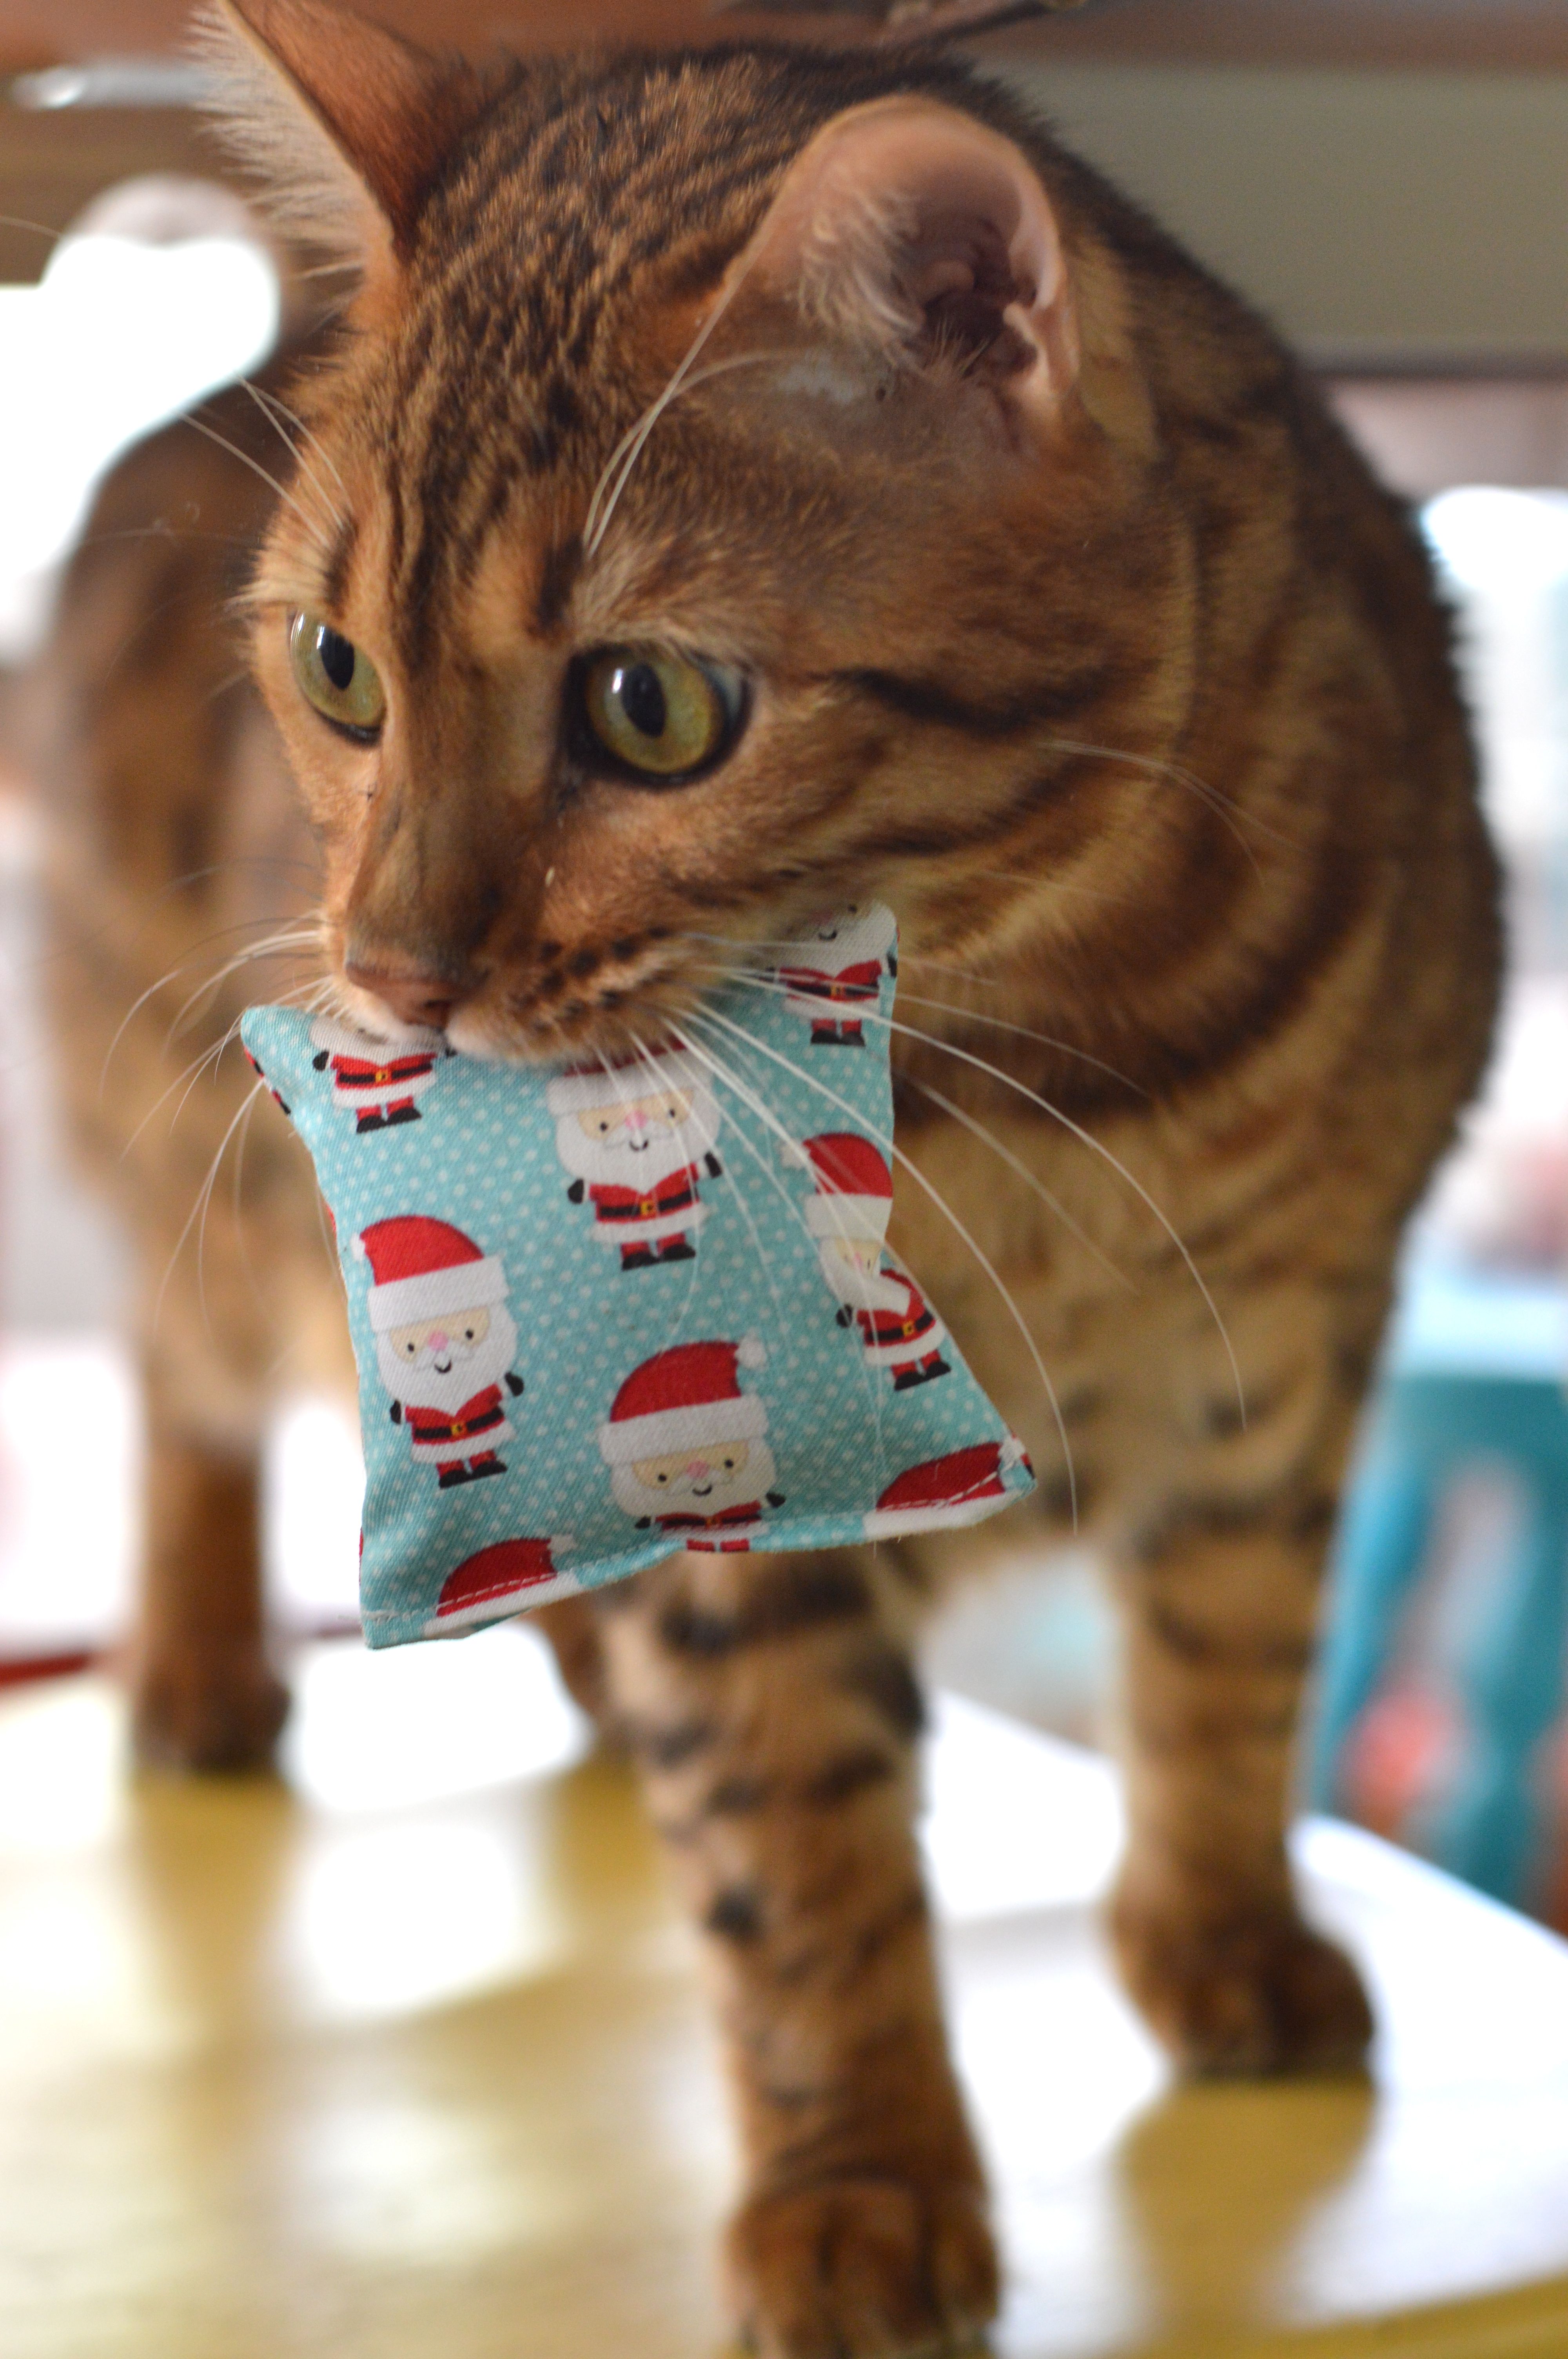
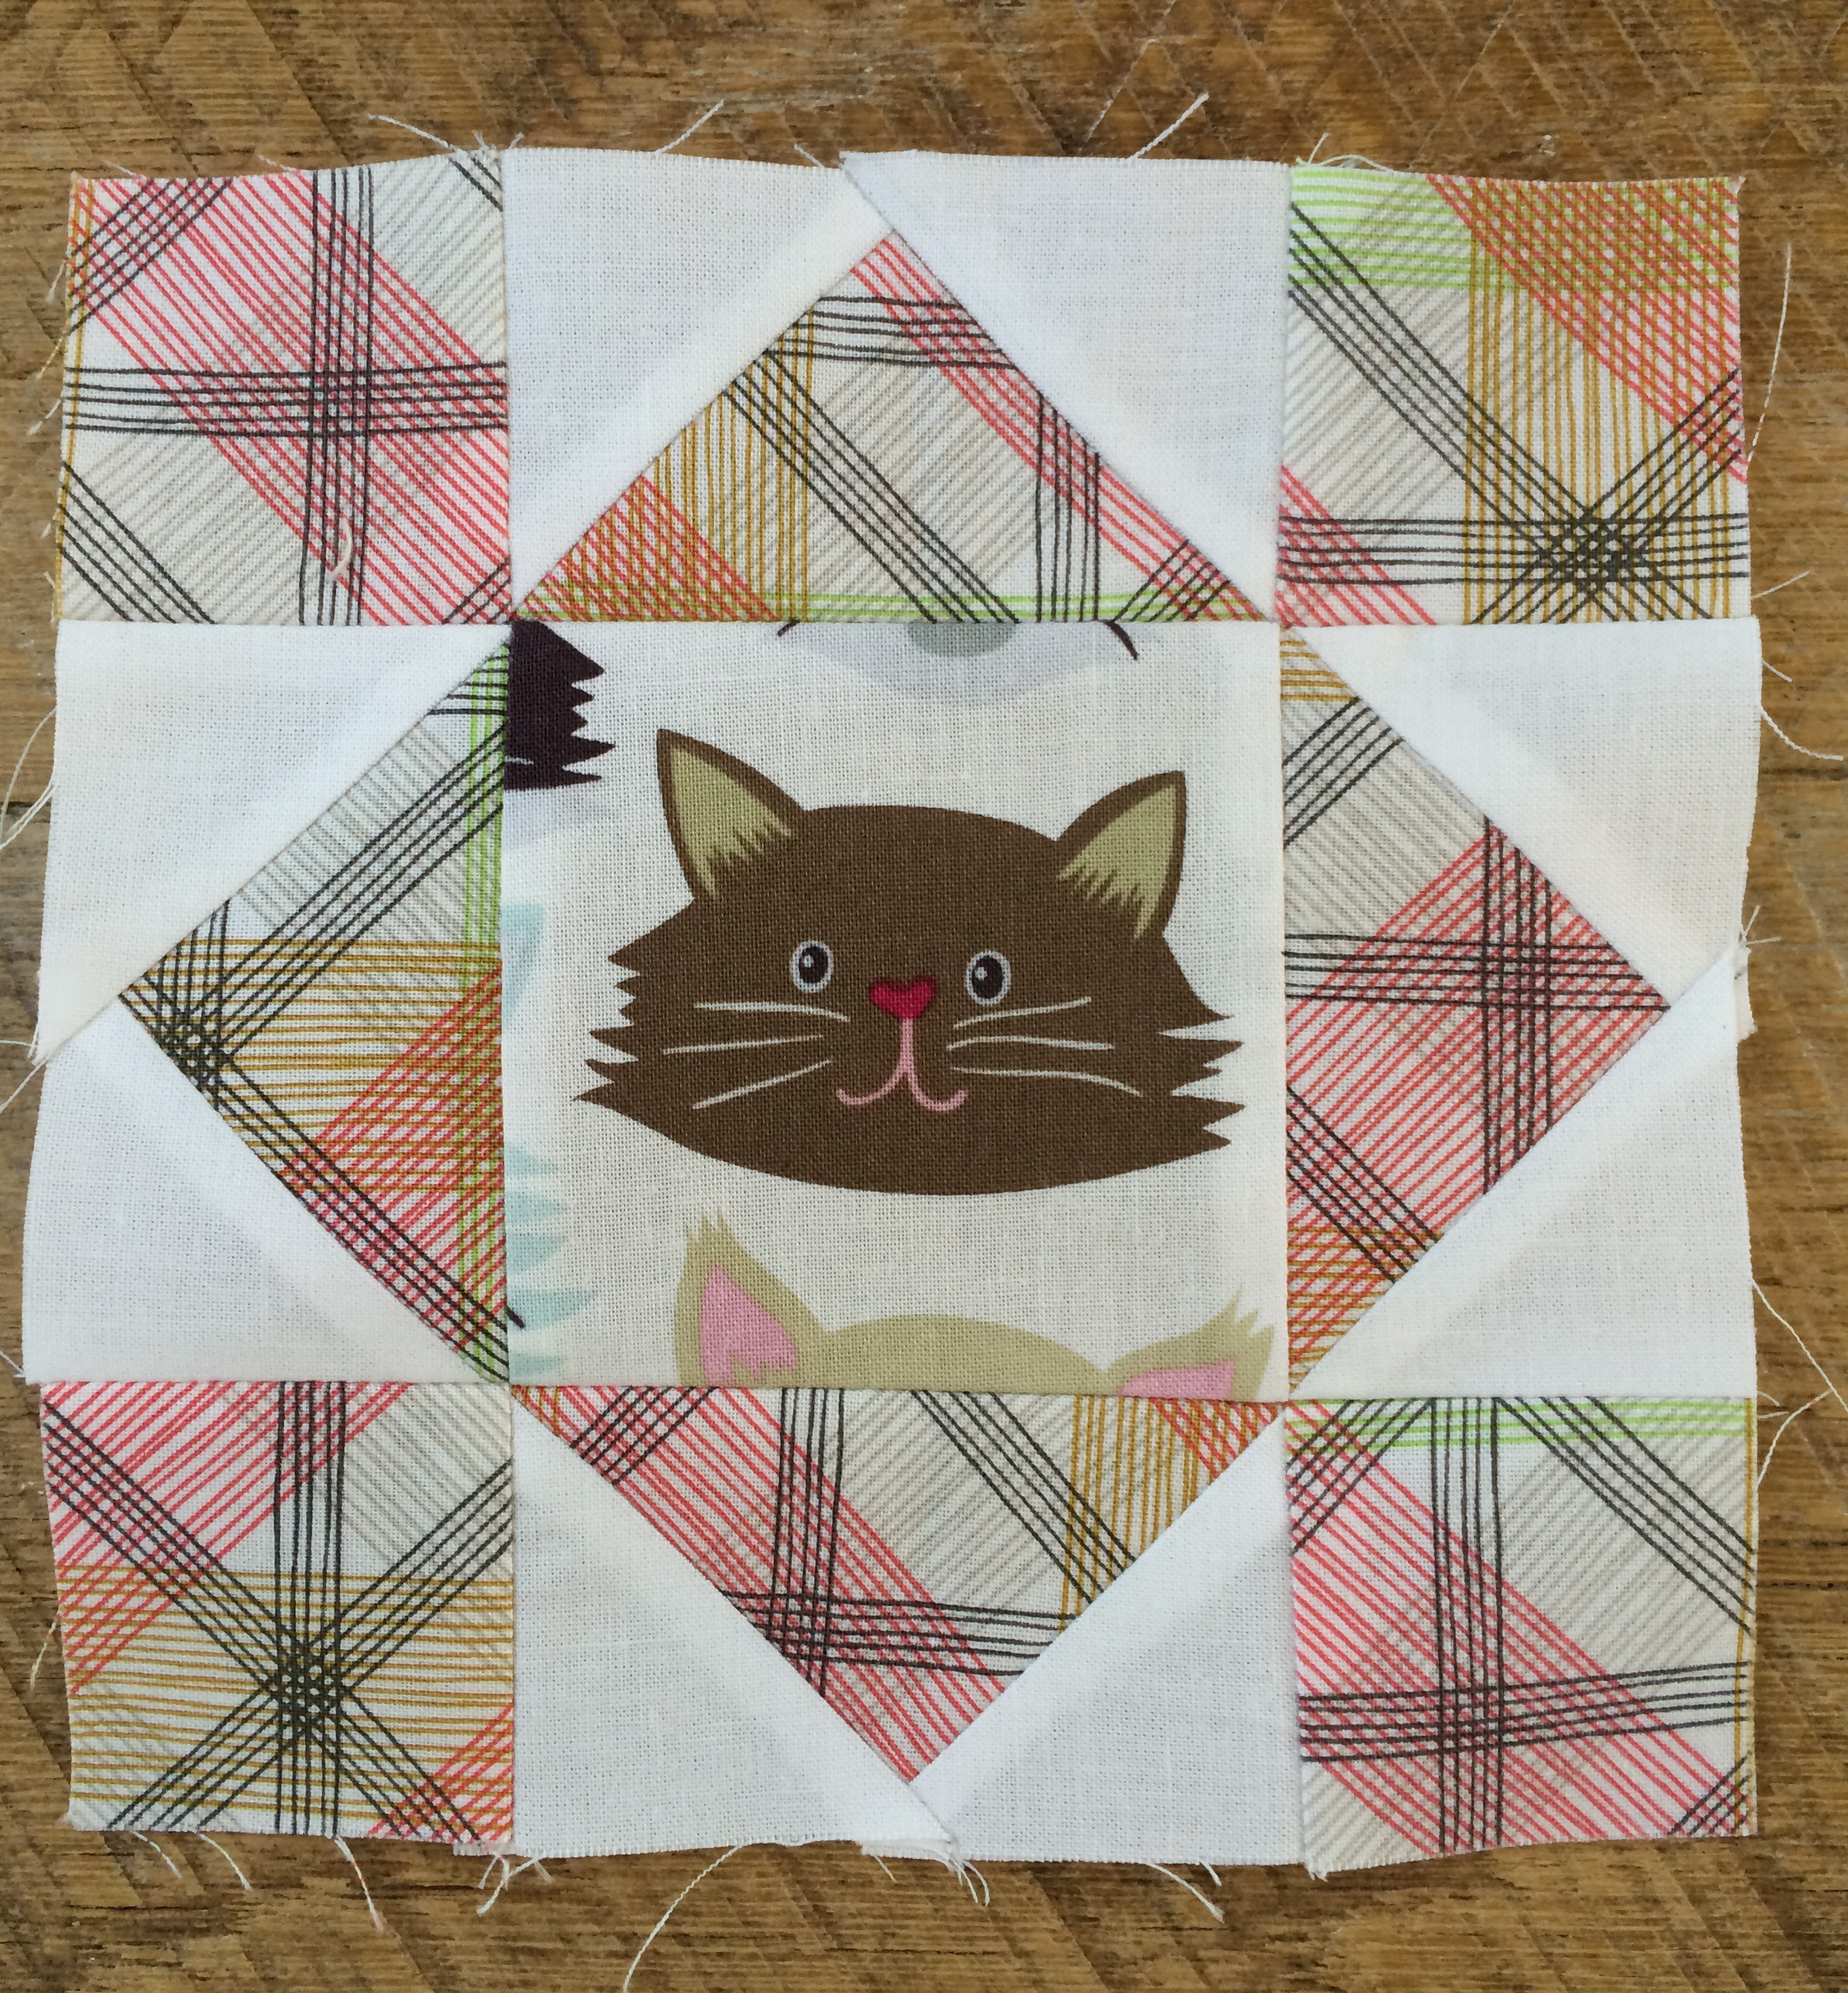
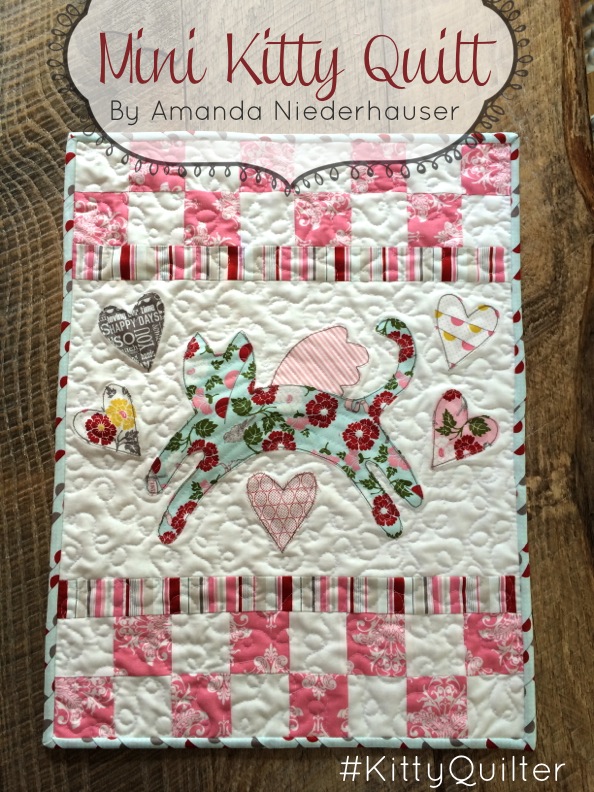
I love it so much!!!!

spooky mini quilt 5

Sizzix Crazy Cat Lady Coasters

cat coasters

I am sharing this fun tutorial for “Cat Coasters” over on the Sizzix blog today.  This is a fun project to use up charm squares or other scraps of fabric you have laying around.  Of course you can always change the appliqué to something that reflects you if you are not a crazy cat lady like I am 🙂 cat coasters sizzix. 3

I used the cat head from the “cat die”.  I also used some of my Heat n Bond Lite scraps I had laying around.  I love scrap buster projects!cat coasters sizzix. 5

cat coasters sizzix. 4I

#kittyquilter Mini Quilt Tutorial


kitty quilter mini quilt

Hey there all you crazy cat quilter friends!  I have a fun mini quilt for you!!  I love using the hashtag #kittyquilter on Instagram.  There is something about felines and quilting that just go so well together!  Baby Mufasa is involved in every step of the quilting process: choosing fabric, cutting, basting, and binding – he’s right there!

kitty quilter mini quilt 15

This fun little quilt sews up fast.  The fabrics are from Blend Fabrics’ Best in Show fabric line.  I am sew in love with the kitty faces fabric – I ordered more yardage to make a skirt!!!   You could easily make this with your favorite cat theme print fabric.

This quilt has 2 different traditional quilt blocks: Kitty in the Corner and King’s Crown.  I choose kitty in the corner for obvious reasons and I choose King’s Crown because Mufasa means King!  Isn’t that the cutest!!  Let’s get started!  (1/4″ seams throughout)

Supplies:

1/4 yard of a variety of coordinating fabrics including cat theme print

Heat n Bond Lite EZ print Sheets

#kittyquilter letters

batting

1/2 yard backing

1/4 yard binding

Fussy Cut (4) Cats

Choose the cats you want in the center of the blocks and cut them 3.5″ square.

kitty quilter mini quilt 2

Kitty in the Corner Block 6.5″ finished

Make (2) of these

Cut the fabric according to the diagram pictured below.  I don’t know about you, but I love when measurements are shown in pictures and not in a long list of cutting instructions.

kitty in the corner quilt block diagram

Draw a diagonal line on the wrong side of the (4) white squares.  Match a white square and a patterned square right sides together and sew on the pencil line.  Cut 1/4″ away from the seam.  Press to the dark.  Do this with each of the (4) white blocks and (4) patterned blocks.  This makes (4) half square triangle (HST) units.  Arrange them as pictured below and sew as you would a traditional 9-patch.

IMG_7601

Kings Crown Block 6.5″ finished

Cut the fabrics according to the picture below.  Make sure to cut (8) white 2″x2″ squares, I only have 4 in the picture.
kings crown quilt bloock


Draw a diagonal line on the back of the (8) white squares.  Next make (4) flying geese units by laying the white square right sides together with a patterned rectangle, matching up the 3 edges.  Sew on the line as pictured below:

kitty quilter mini quilt 4

Trim 1/4″ next to the seam and press toward the dark.  Place another white square on top of that unit and sew on the line, as pictured below:

kitty quilter mini quilt 9

Cut 1/4″ away from the seam and press again.  The block should look like this:
kitty quilter mini quilt

If you turn the flying geese blocks around it makes a Sawtooth Star pattern.  I love that each of these blocks has the same center measurement and only a variation on the 2″ sides!

Sew the block together and press seams open.

kitty quilter mini quilt 8Happy Cat blocks!!

kitty quilter mini quilt 12

kitty quilter mini quilt 7
Prepare the applique

Print the letters on the EZ print sheets and iron them to the back of the desired fabric.  Cut around each letter and peel off the backing paper.

kitty quilter mini quilt 11

Cut the remaining strips according to this cutting diagram:

#kittyquilter design

Position the letters on the white strip and press in place.  Top stitch around each letter.
kitty quilter mini quilt 13

Sew the (4) blocks together and press seams open.  Sew each of the rows together according to the layout diagram.  Quilt, bind, and let the cat have a nap on it:)

kitty quilter mini quilt 18

Mufasa loves it!  and I hope you do too!!!

kitty quilter mini quilt 14

Hang Paw Quilt Featuring Surfing Cats

hang paw quilt

I can not contain my excitement for sharing this quilt pattern!!  I am a California girl through and through.  I spent most of my teenage years at the beach trying to surf but really I was there to watch the cute surfer boys.  I am also a crazy cat lady and I have been my whole life.  I also have loved quilting and sewing for pretty much my whole life. SOOOOOO when I saw this Surfin’ Cats fabric from Riley Blake Designs – I died!  It literally combined three of my passions in one project: the beach, cats, and quilting.  BRILLIANT!!

When ever we go to the beach we make sure to always bring sweatshirts and a blanket.  It can be 112 degrees at our home and 35 miles away the coast will be a chilly 66 degrees.  I thought this was the purrrrrfect blanket to take to the beach on those windy days.  I love big theme prints and this pattern is a great way to show off the wonderful design of the fabric without cutting it up to much.  You can make this in a day – easy!

surfing cats quilt 2

Here’s how you can make it:

Supplies:

  • 1.5 yards surfin cats
  • 1.5 yards gray sashing fabric
  • 1/2 yard navy blue
  • quarter yard cuts of coordinating fabrics – I love the RBD basics – I used the chevron, houndstooth and polka dots
  • 1/2 yard gray basic shades
  • 1/2 yard white small dots
  • 1/2 yard binding – I used the chevron
  • 2 1/2 yards for back

The quilt consists of 8 pieced blocks that are 12″ finished in size and 3 larger sections of Surfin’ cats.  All seams 1/4″.  Finished Quilt measures 57.5″ x 72.5″

I choose to cut 2″ x WOF strips of the white small dot and the grey basic shades and piece the strips lengthwise.  Then I cut the strip sets into 6.5″ increments. Sew the block in rows and the rows together, alternating seems for pressing and matching intersecting seams.

surfing cats quilt 26

Once you have the 8 blocks finished, begin making the Surfin’ Cats section.  I labeled the quilt layout with the cutting measurements – I’m a visual learner & quilter!  All the surfin’ cats squares are cut 12 1/2″.

quilt layout

Sew the rows together how they are laid out, pressing seams alternately so they go together nicely.

surfing cats quilt 13

Make sure your cat helps in each step of the process!

surfing cats quilt 11

Pin all the rows together and sew.  Press the seams to one side.IMG_4020

The quilt top is done!  Super easy!!!

surfing cats quilt 15

surfing cats quilt 17

I had my friend quilt the quilt with her long arm machine.  She did a great job and I love all the swirly waves – it’s the purrrrfect finishing touch.

surfing cats quilt 4

surfing cats quilt 23

DSC_1444

Mufasa totally loves it!!!     surfing cats quilt 22

Mini Kitty Quilt Pattern Now Available!

minikittycover

Meet Mini Kitty – my very first published quilt pattern!  This little mini quilt has brought me so much joy in my life!  I was inspired to make it as a gift for a friend.  Since then, it has been recreated over and over as gifts, and has even been the inspiration for our #kittyquilter group on Instagram!  I love connecting with friends who love quilting and their fur-babies!!!  My pattern is available to purchase on Etsy at Emily Ann’s Kloset and on Craftsy.  I hope you like it!!!kitty love mini quilt 18

IMG_5464_2

I love all the combinations and variations you can make with this one pattern!!20150404_183528-1024x576
IMG_5462_2

IMG_4660

I really should make one for Baby Mufasa instead of always giving them away 🙂

IMG_4690

IMG_4913

IMG_4925

IMG_4922