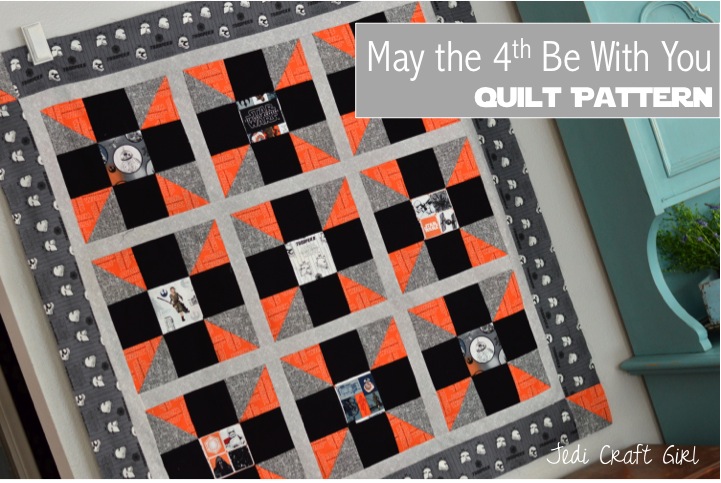
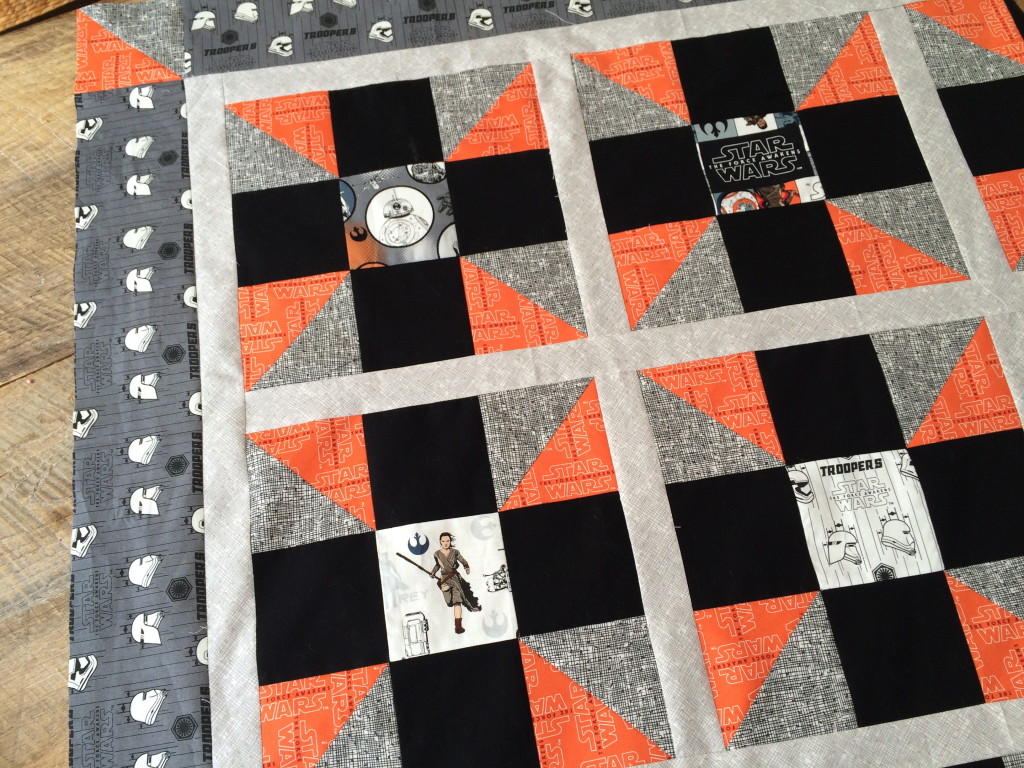
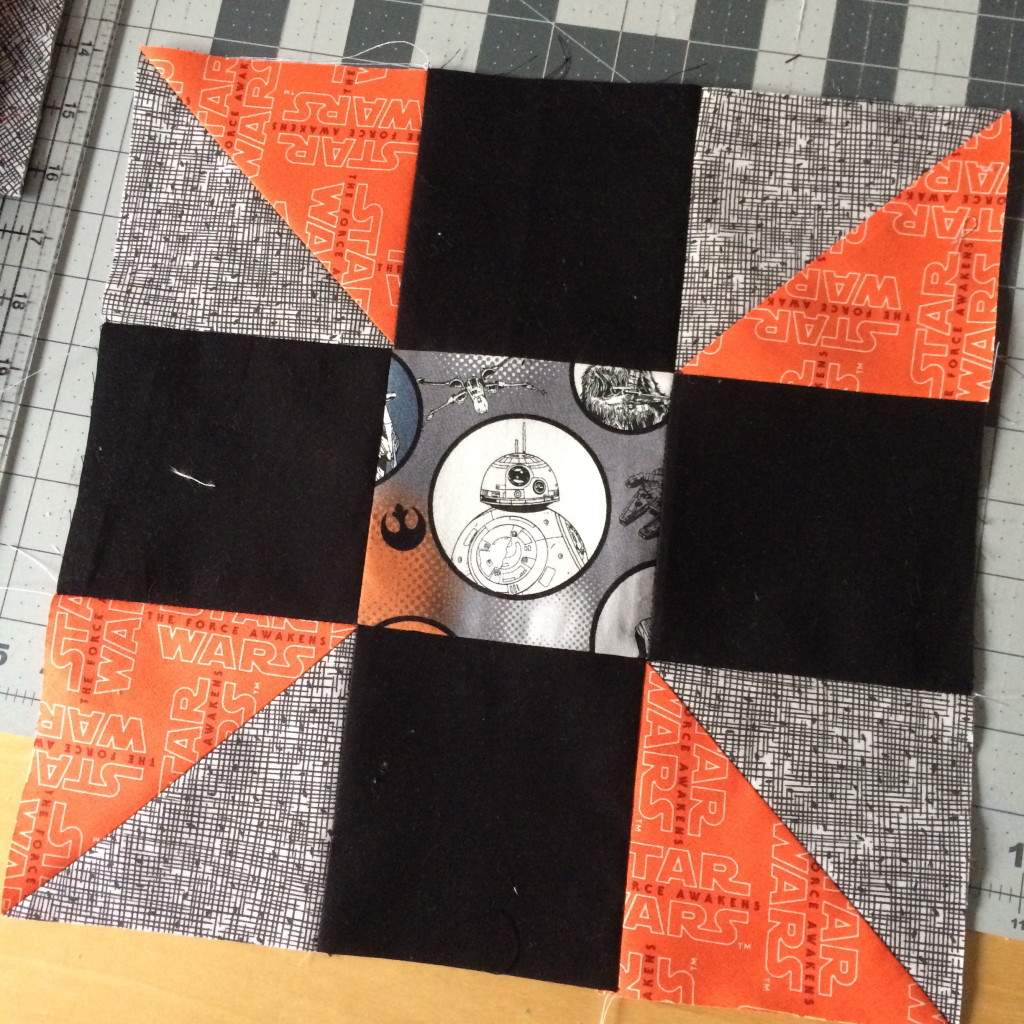
We go a little crazy on May the 4th in our family! I really think it should be a national holiday! I am so totally in love with this latest Star Wars themed quilt. It is the perfect for a young child, a teenager, or an adult! In fact everyone in the family is fighting over who gets it!!
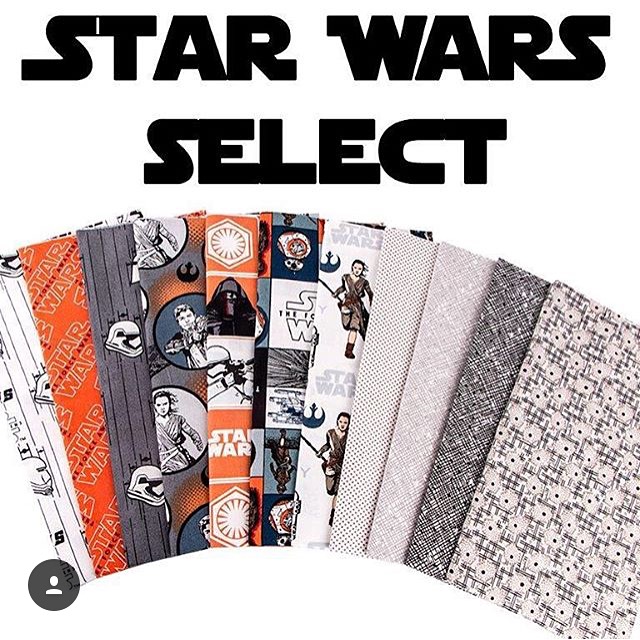
I curated this fun fabric bundle from Fat Quarter Shop. You can find it by clicking HERE.
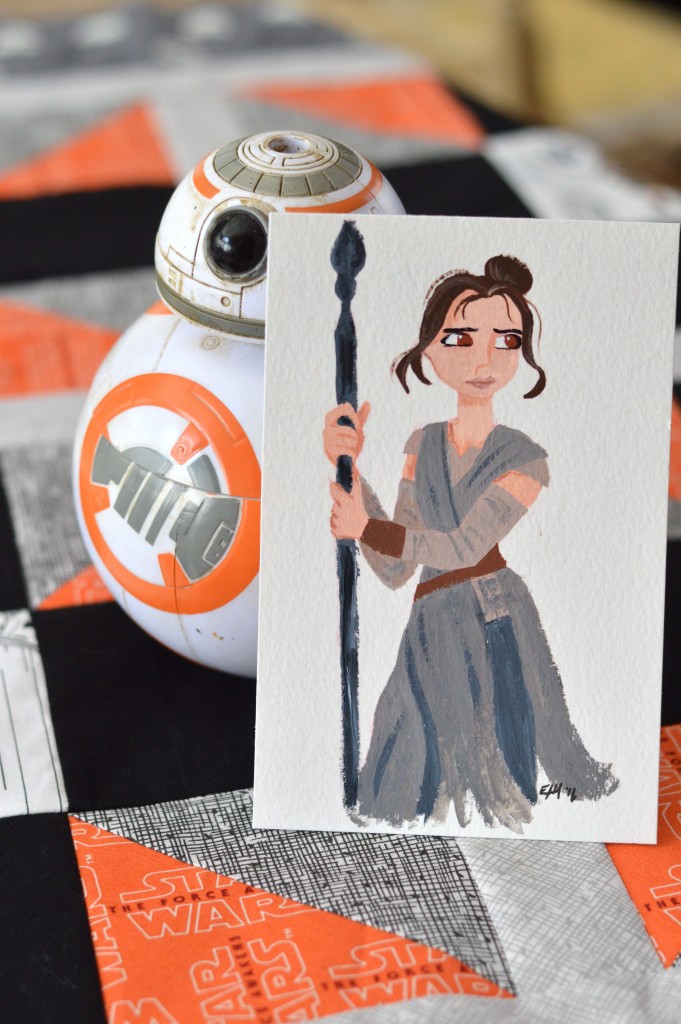
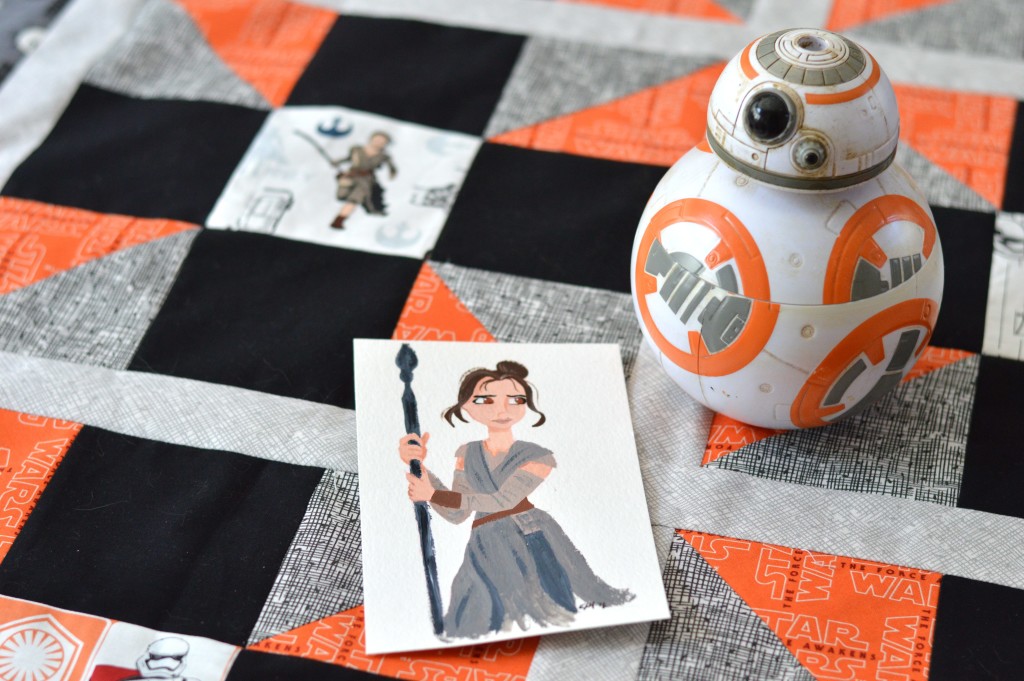
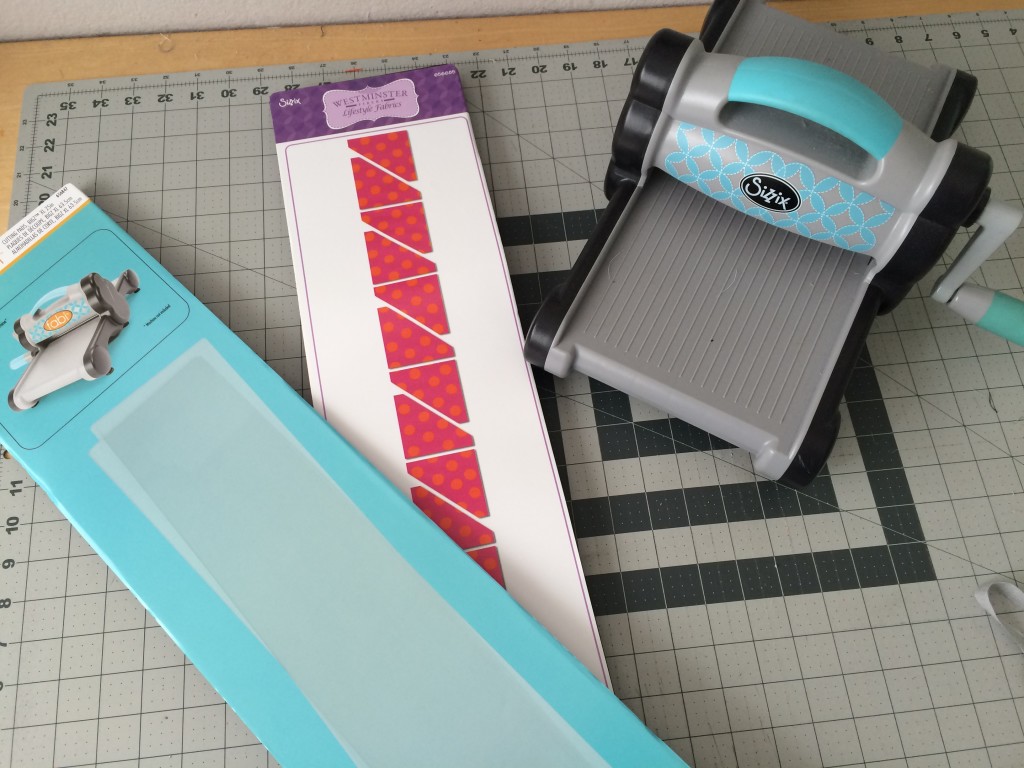
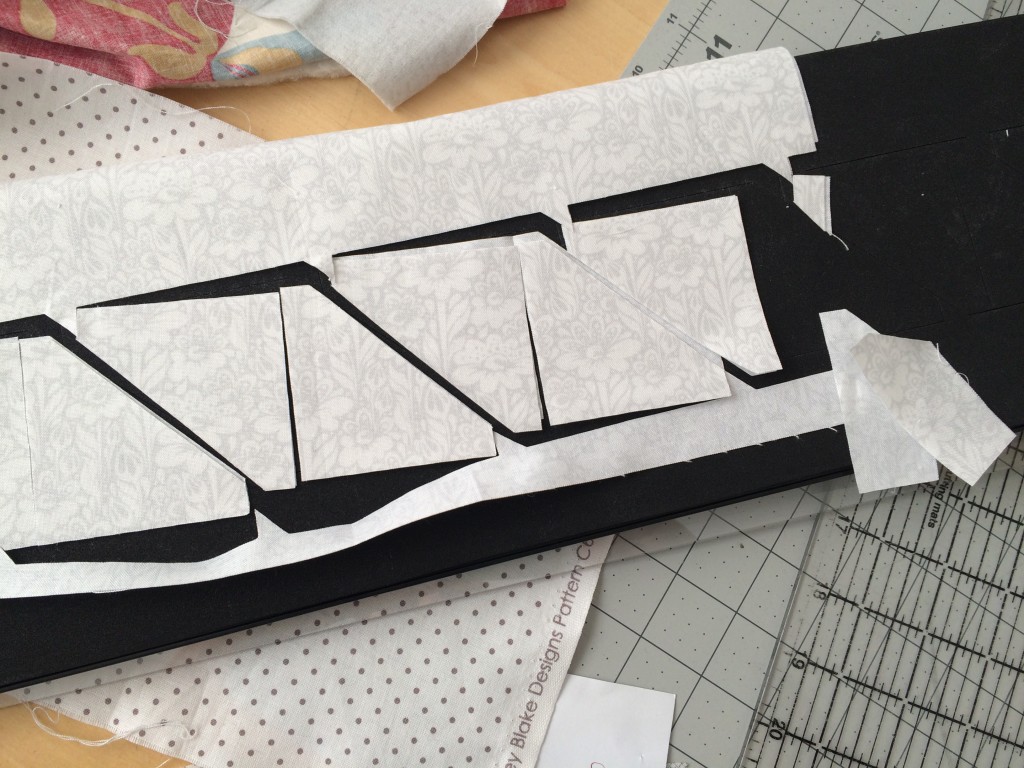
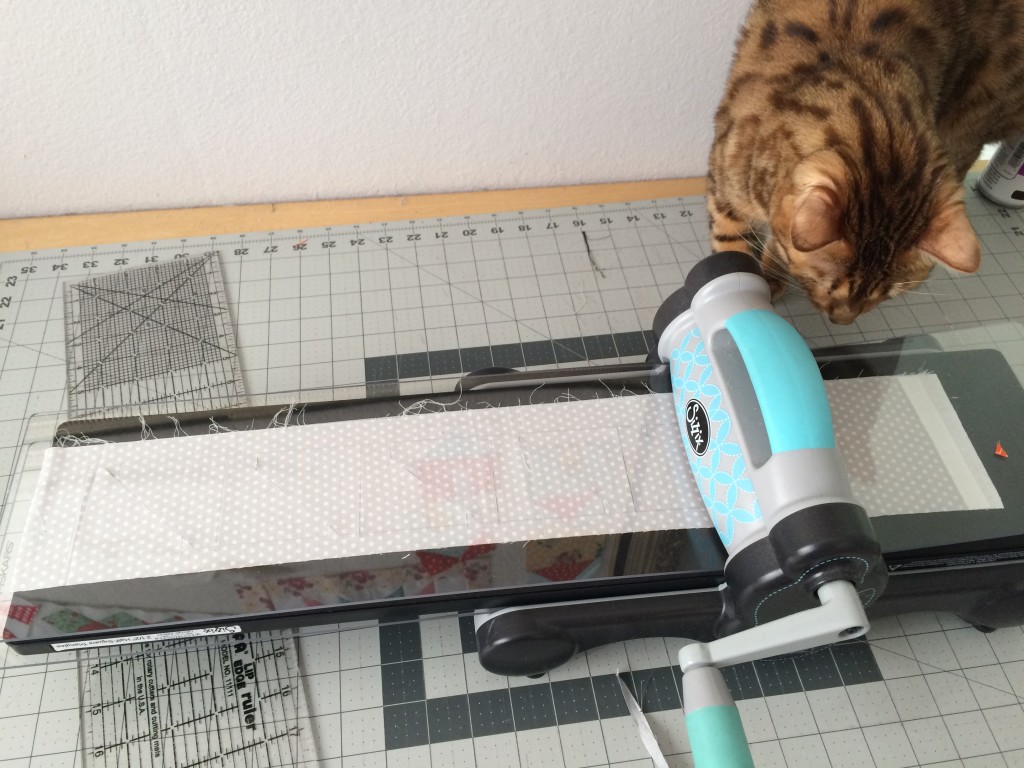
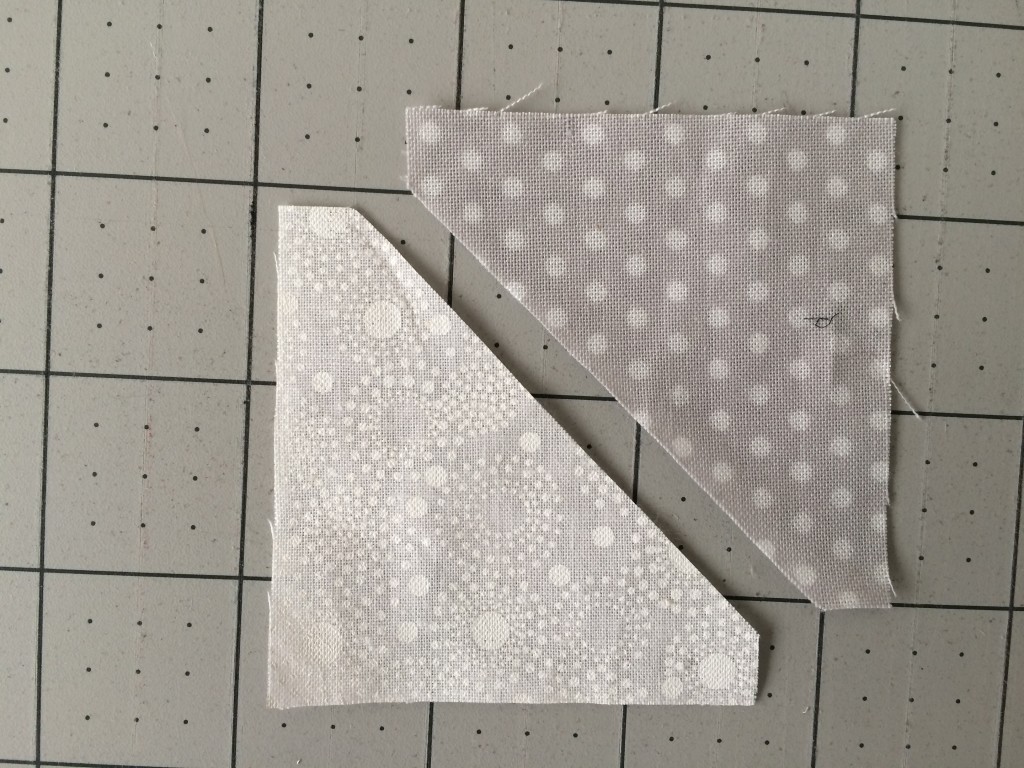
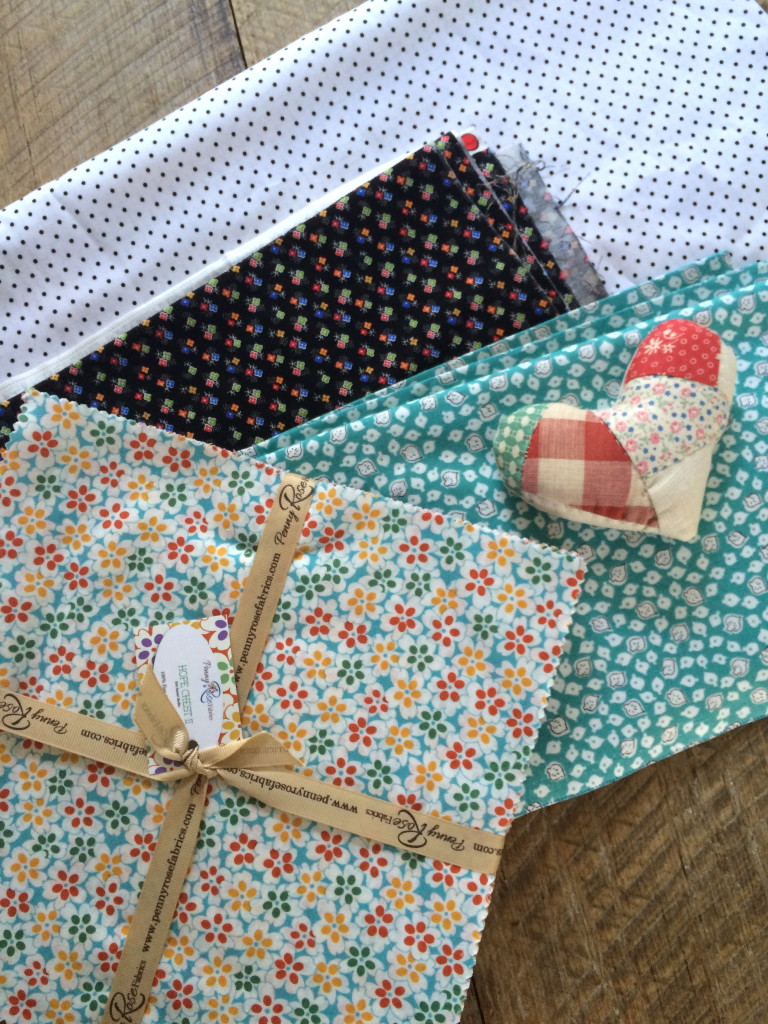
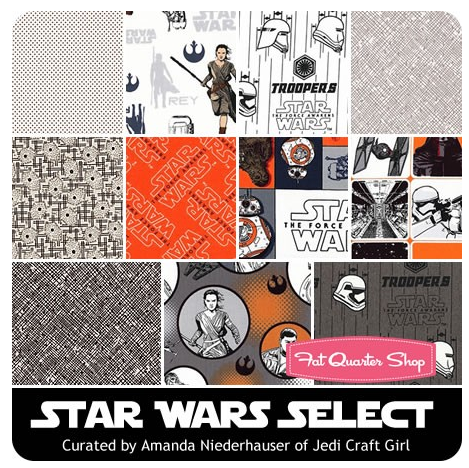 I choose fabrics that were inspired by the colors of BB8 and Rae – 2 of our favorite characters! I used all the fabrics in this collection and only added a yard of solid black fabric.
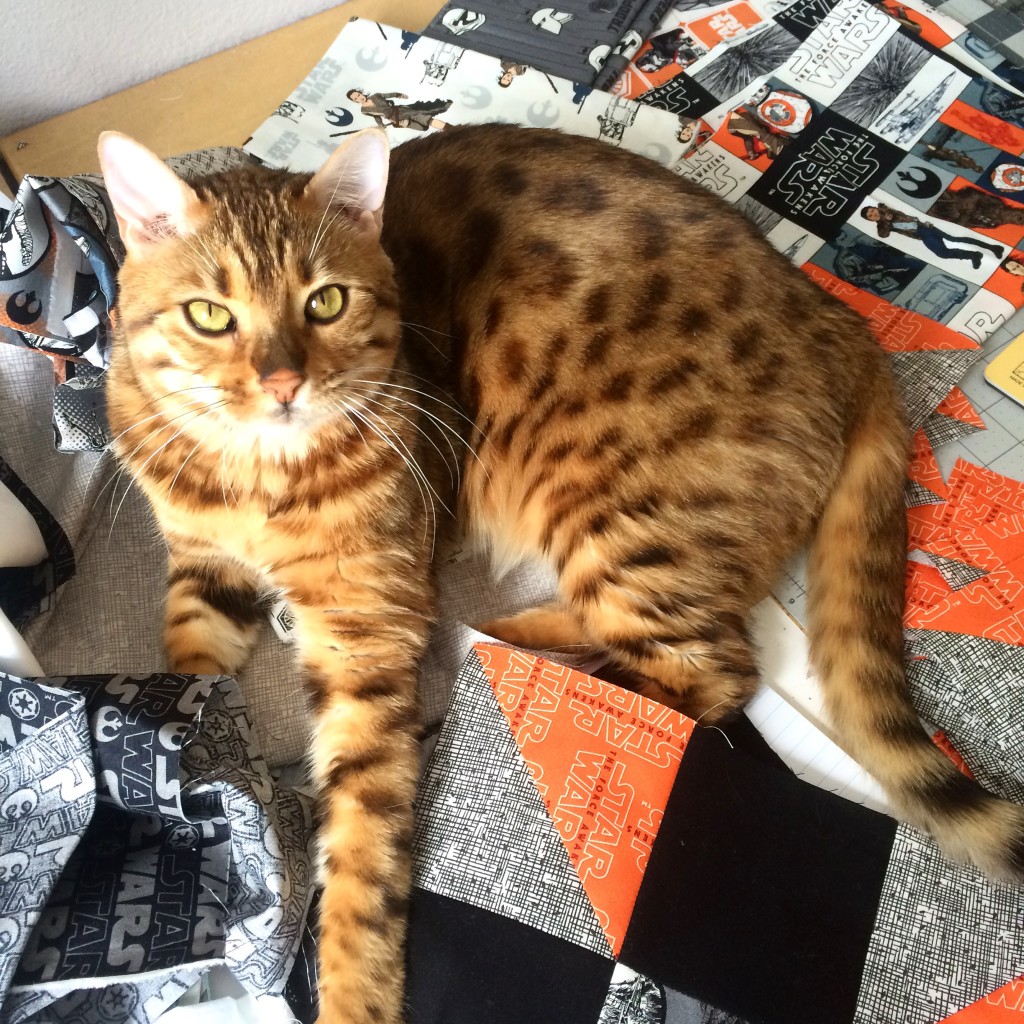
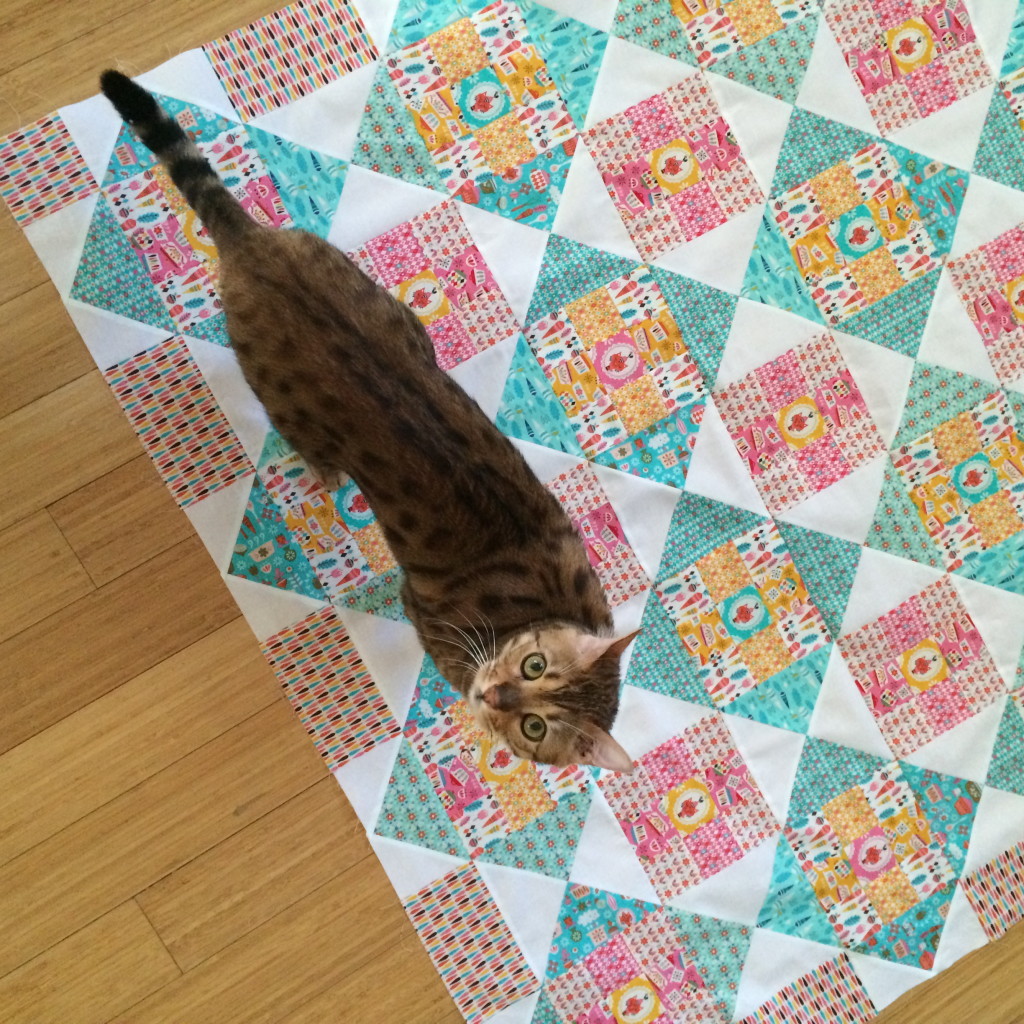
Mufasa was very helpful in making this quilt. I think the quilt will end up being his 🙂
The quilt is made up of 9 of these blocks with sashing and a border. It measures 50″ square. For the full instructions and FREE pattern, click HERE to download.
I hope you love making this quilt – I sure did! 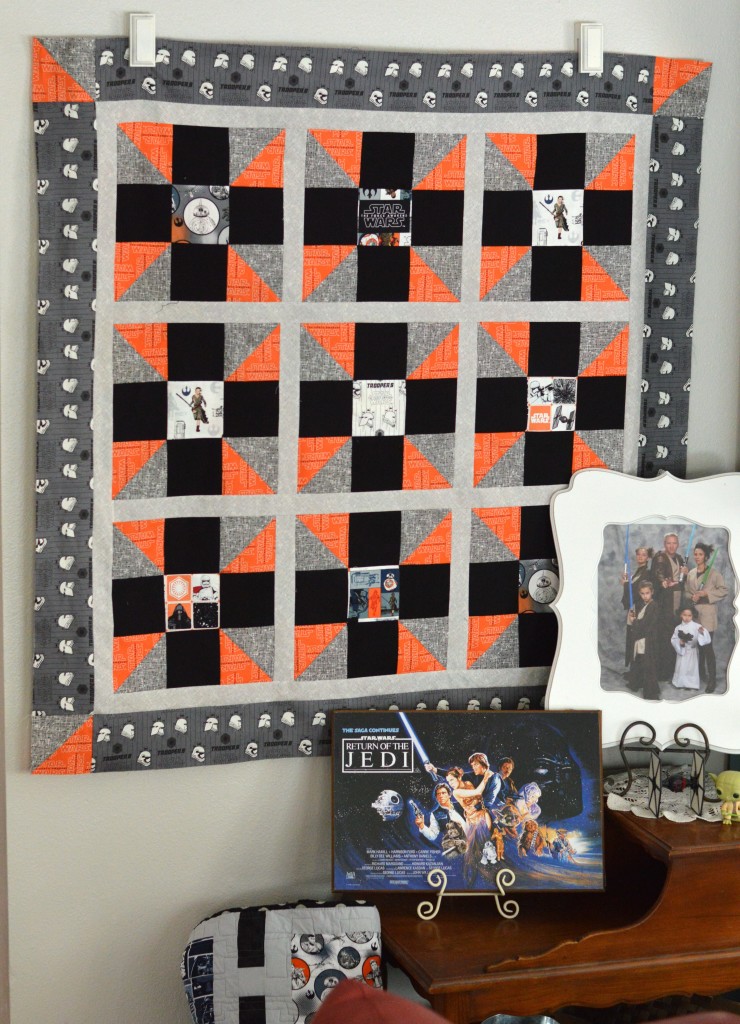
And remember, May the 4th be with you!!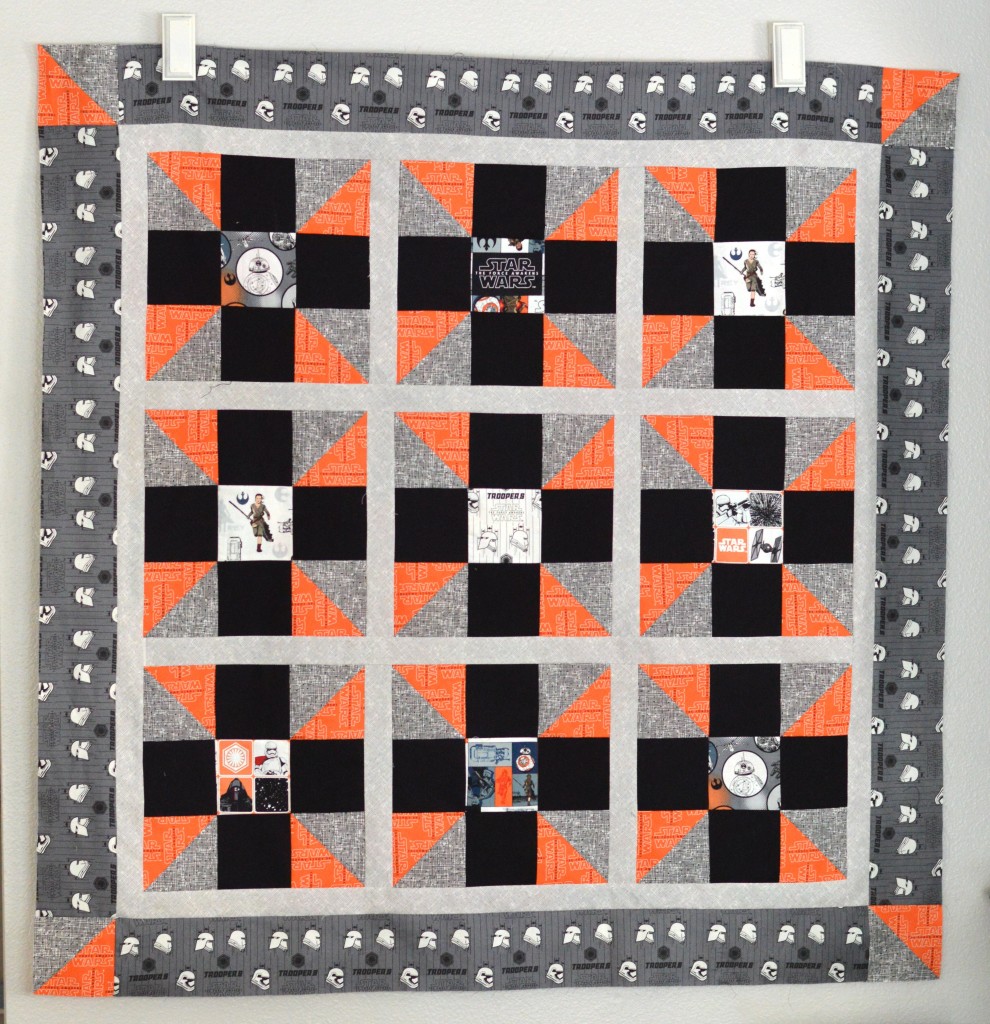
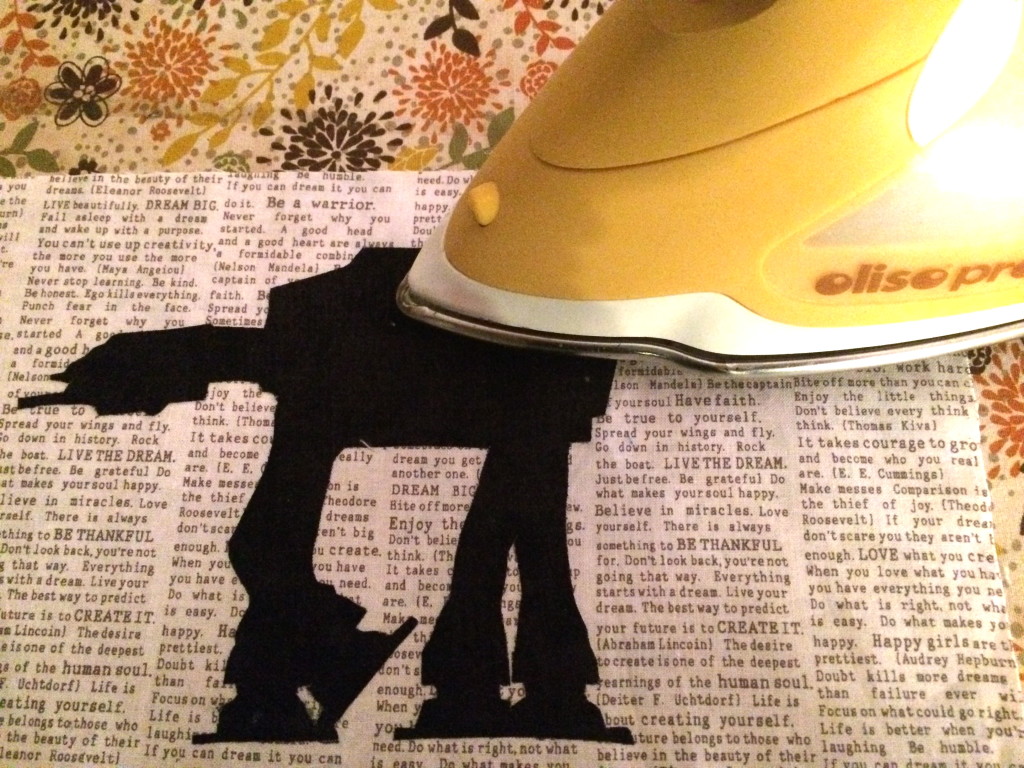
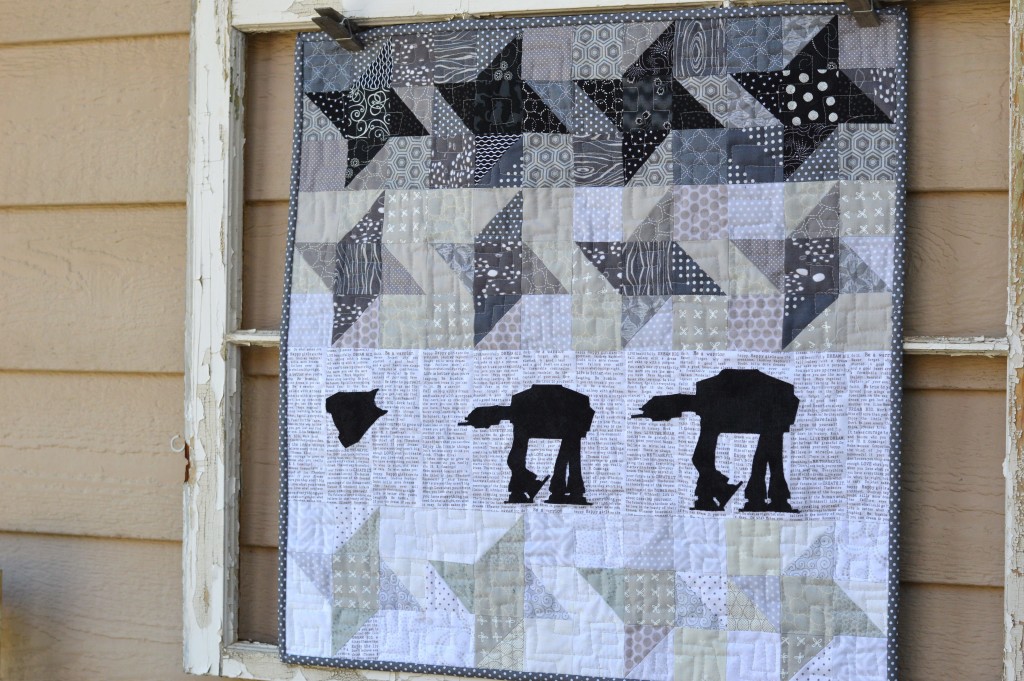
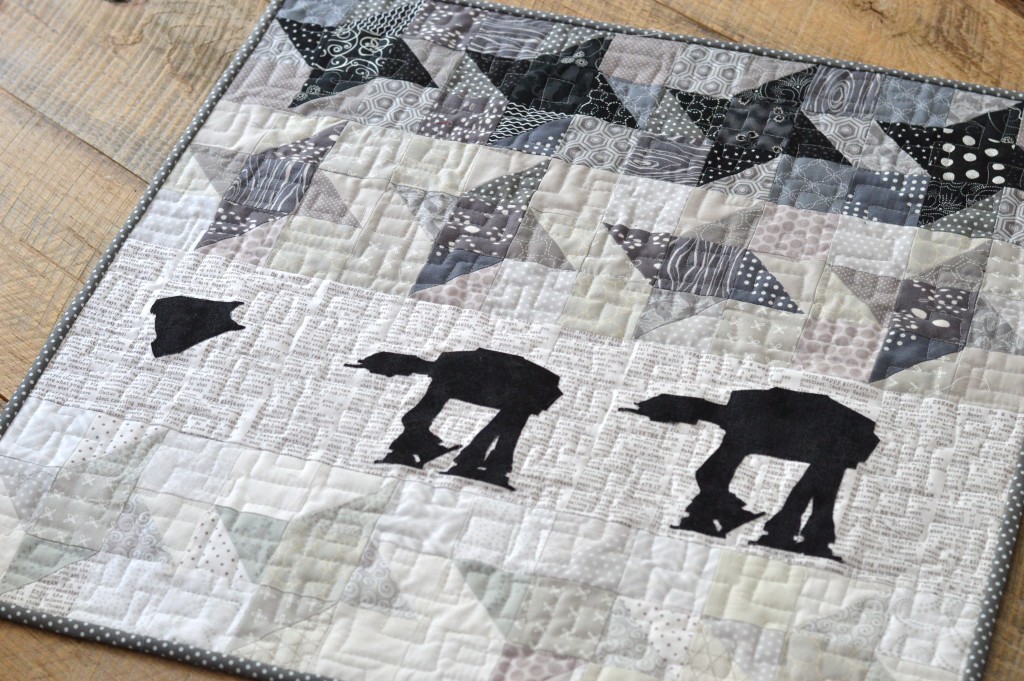
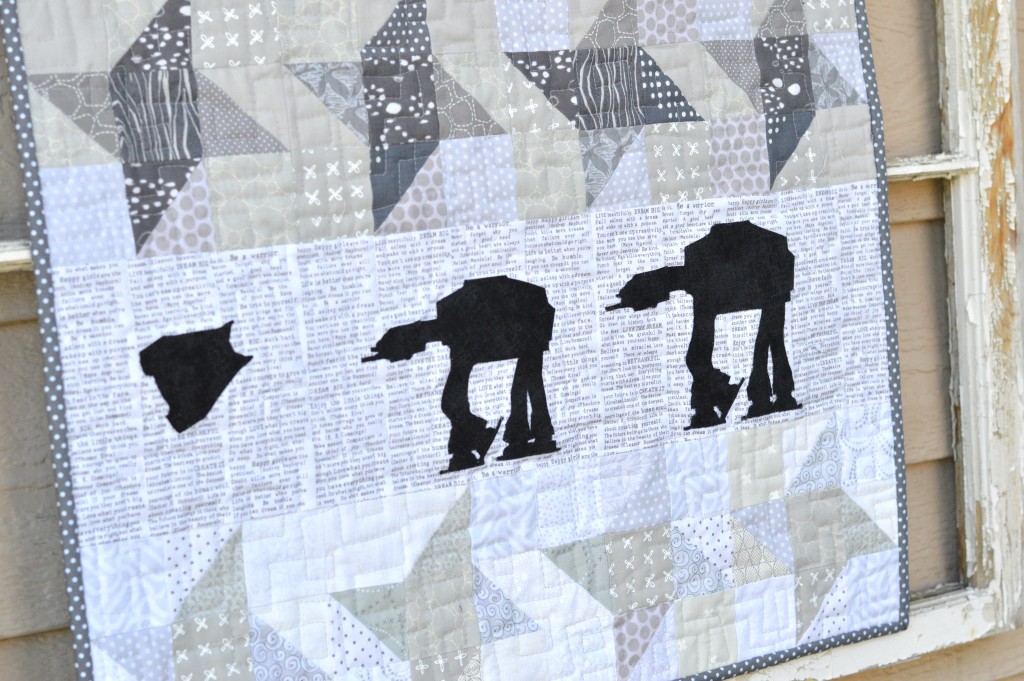
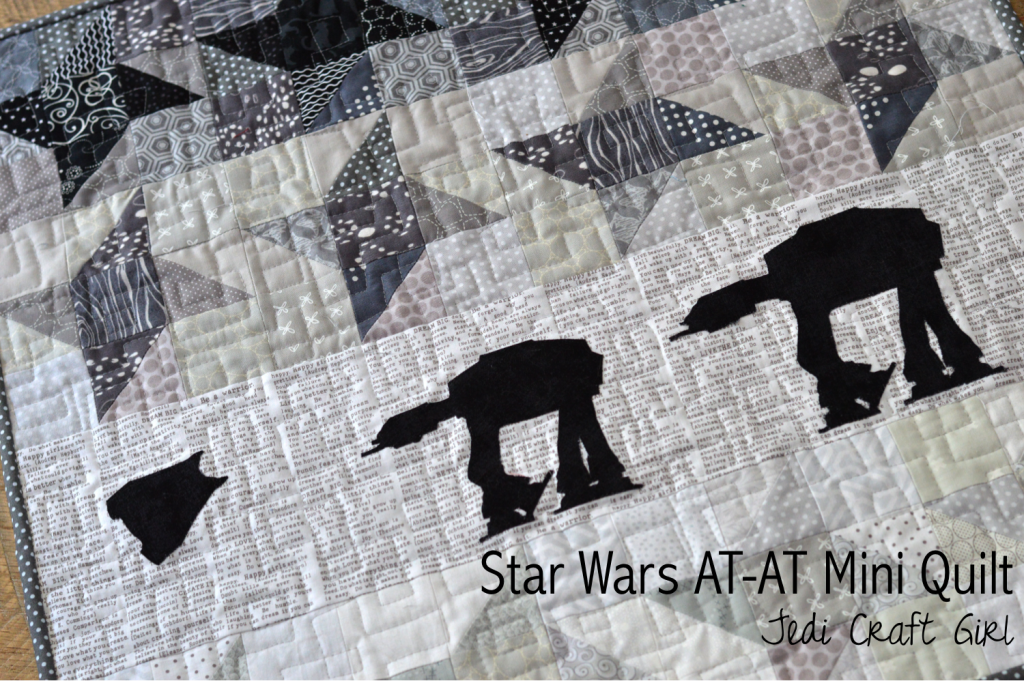 I recently participated in a May The 4th Mini Quilt Swap on Instagram. This is the quilt I made for my swap partner. I really wanted to bring out the feel of this scene in The Empire Strikes back. I am totally in love with it!
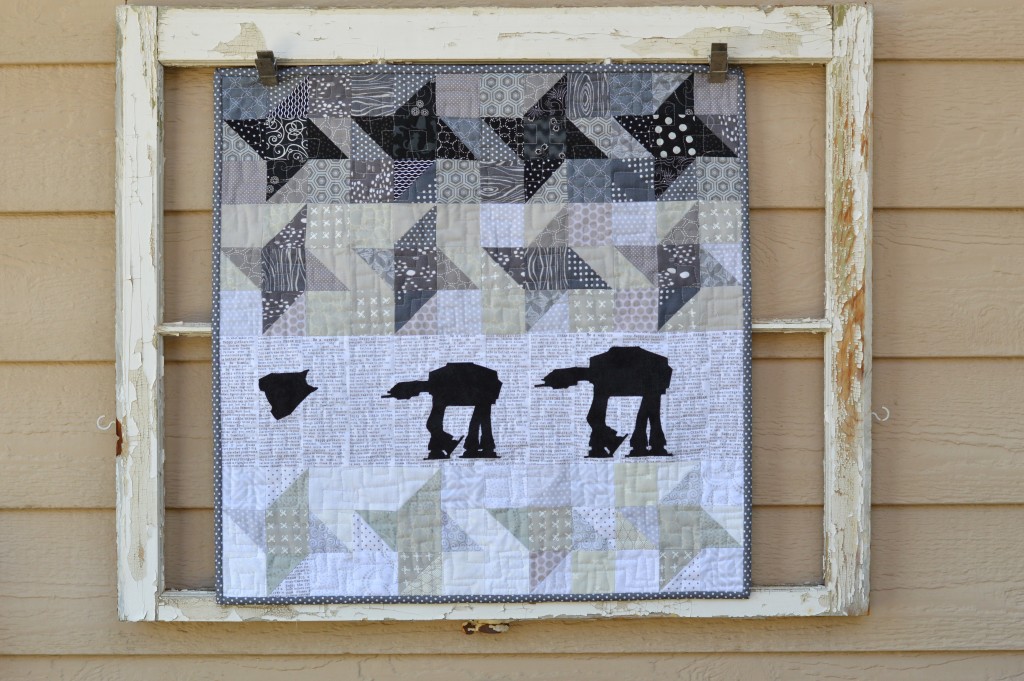
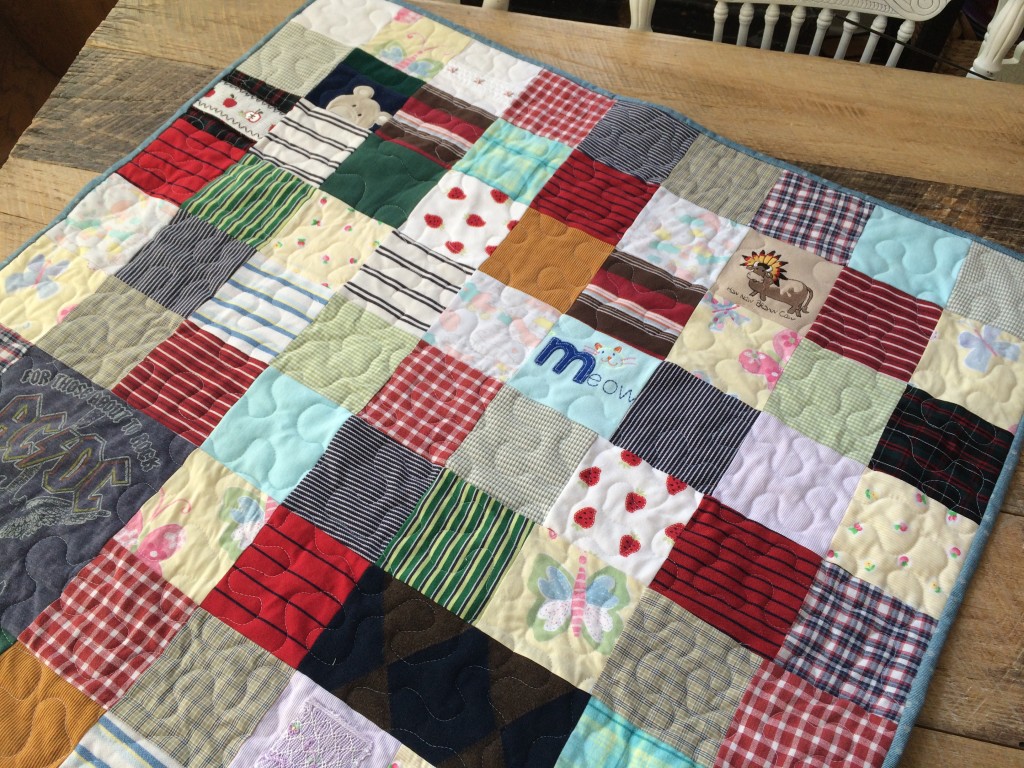
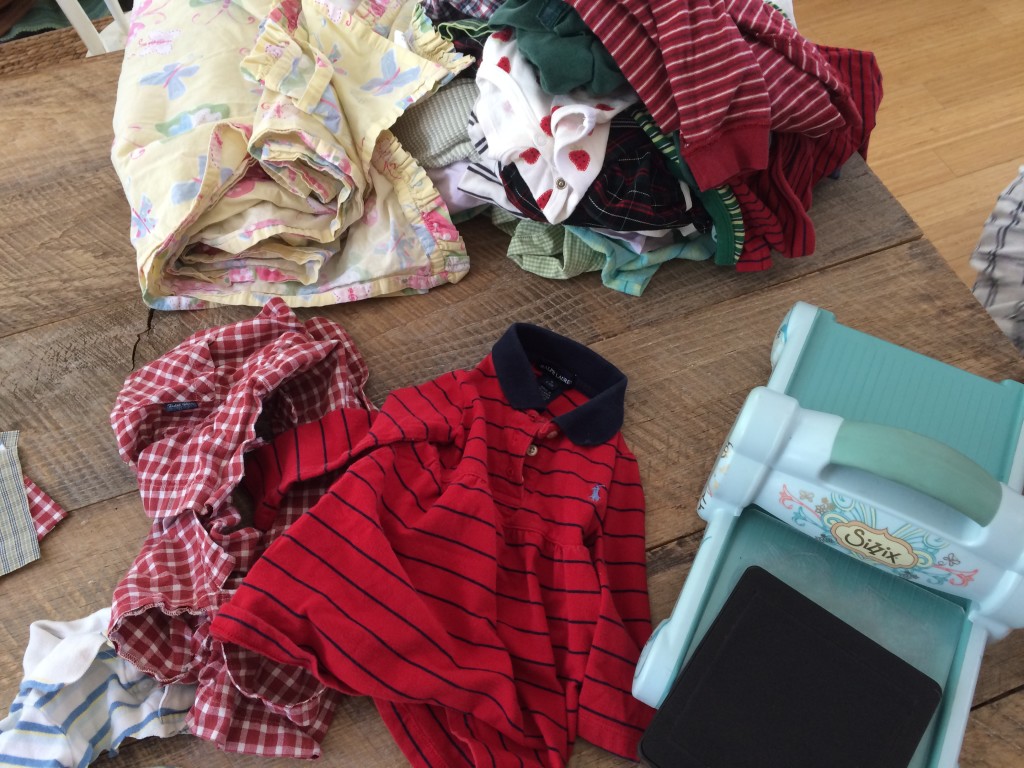
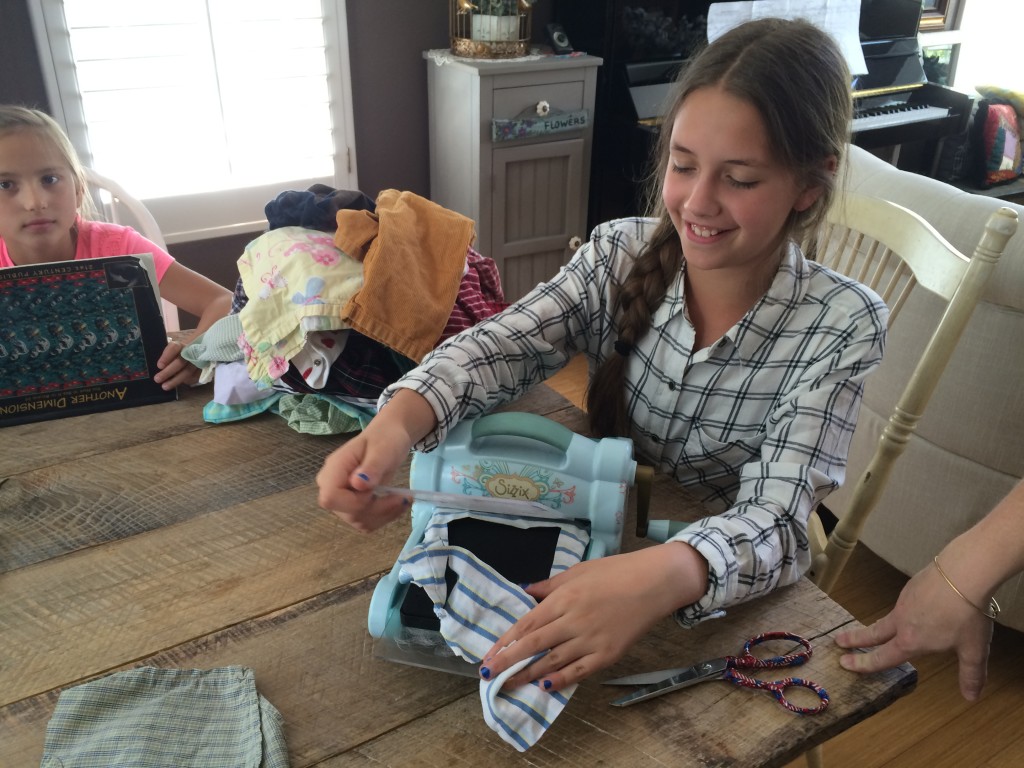

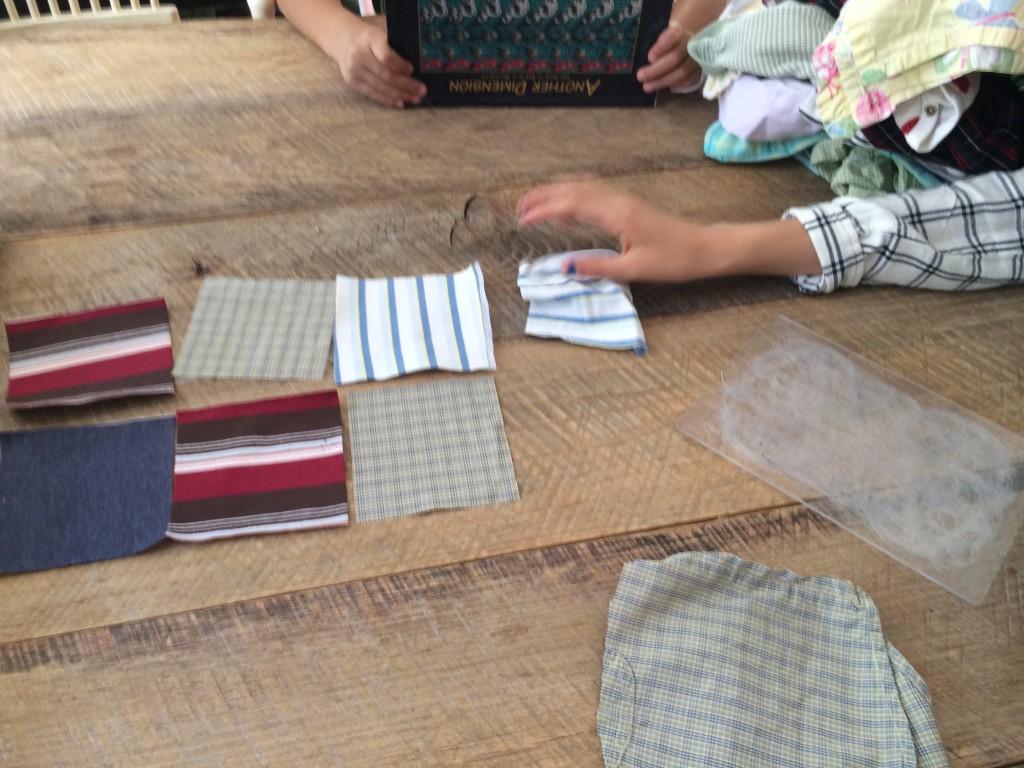

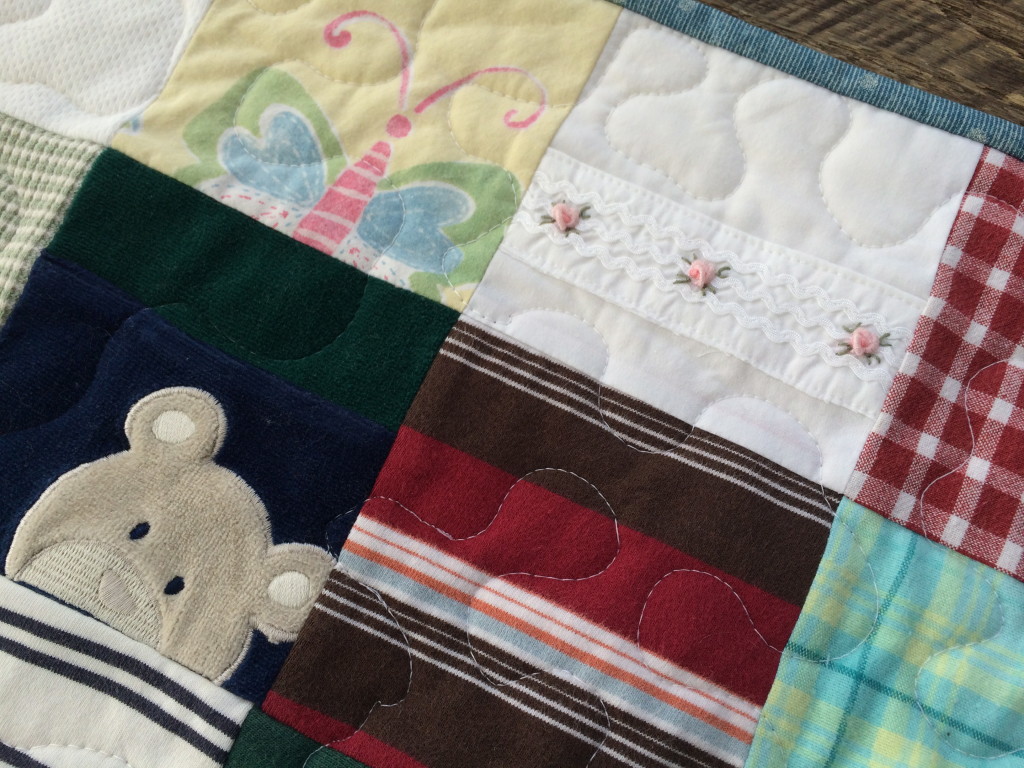
 I basted and quilted this just like a regular quilt. I quilted a little slower just to account for the varying degrees of thickness. I was able to put a sweatshirt piece next to a thin polyester pj fabric and it totally worked!
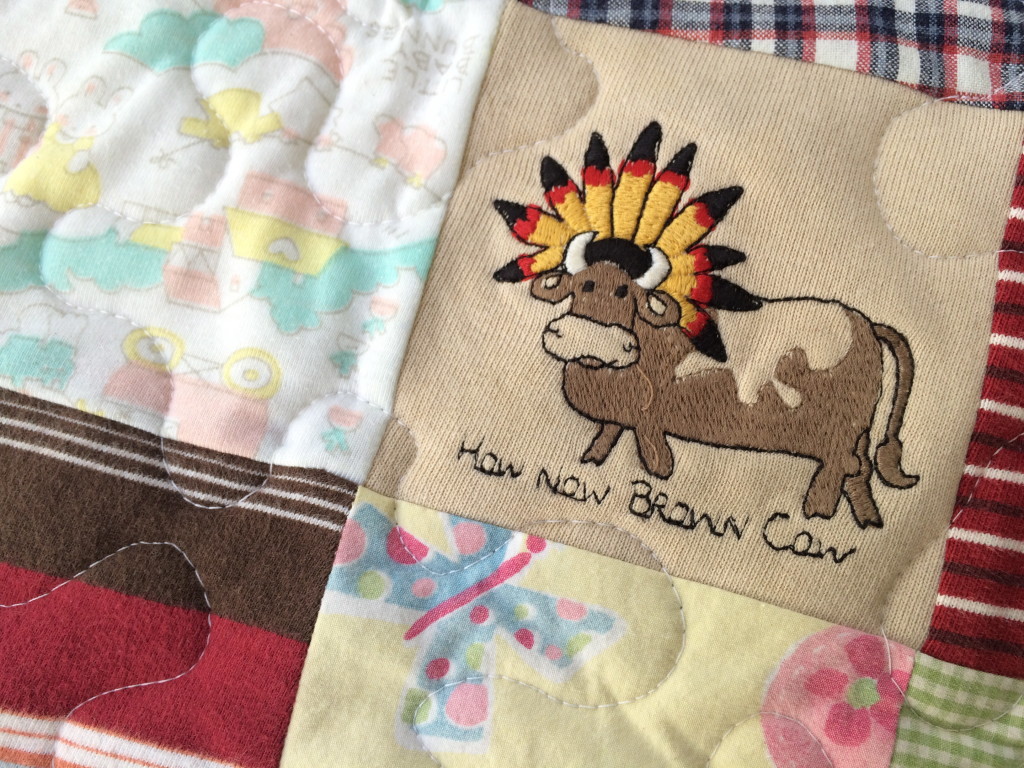

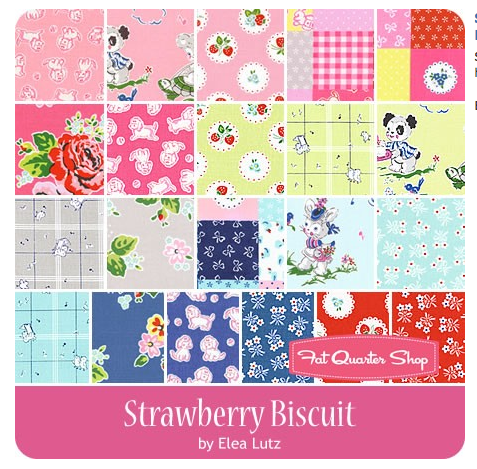
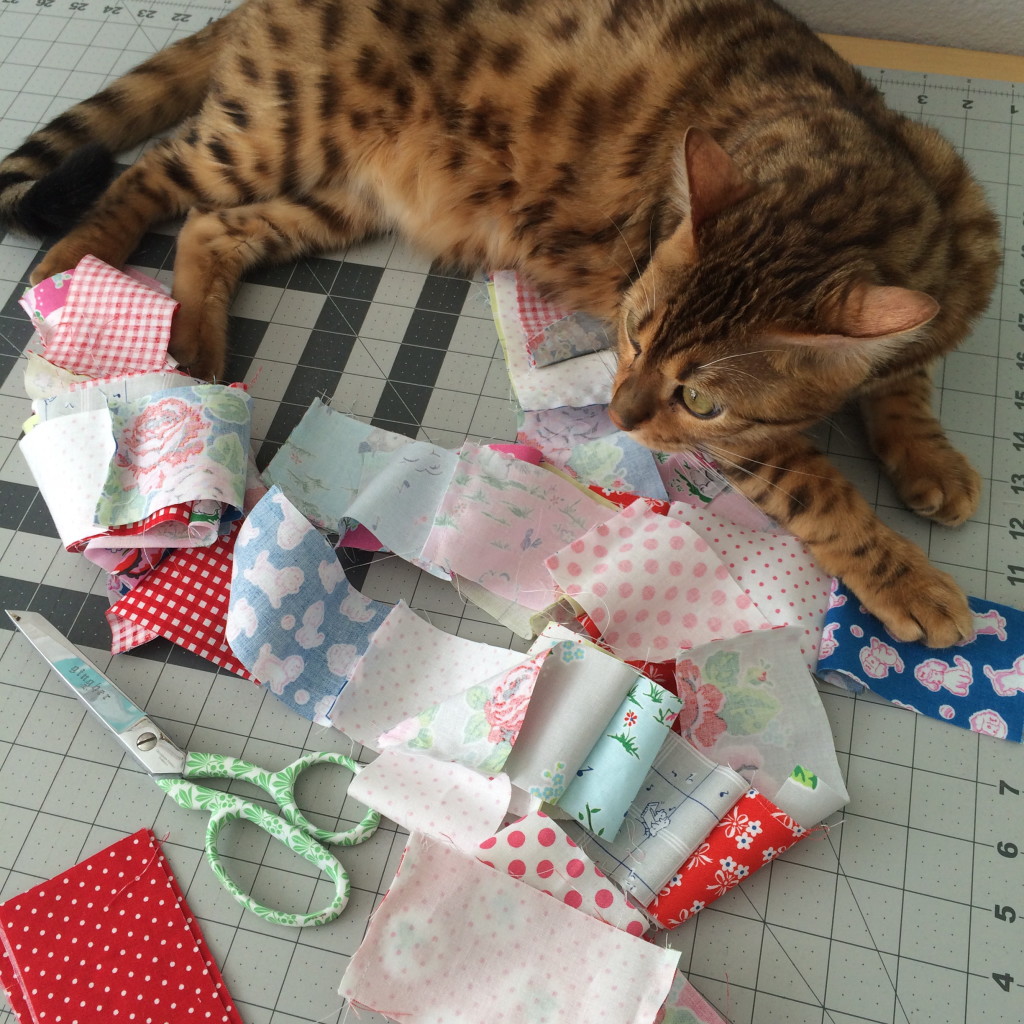
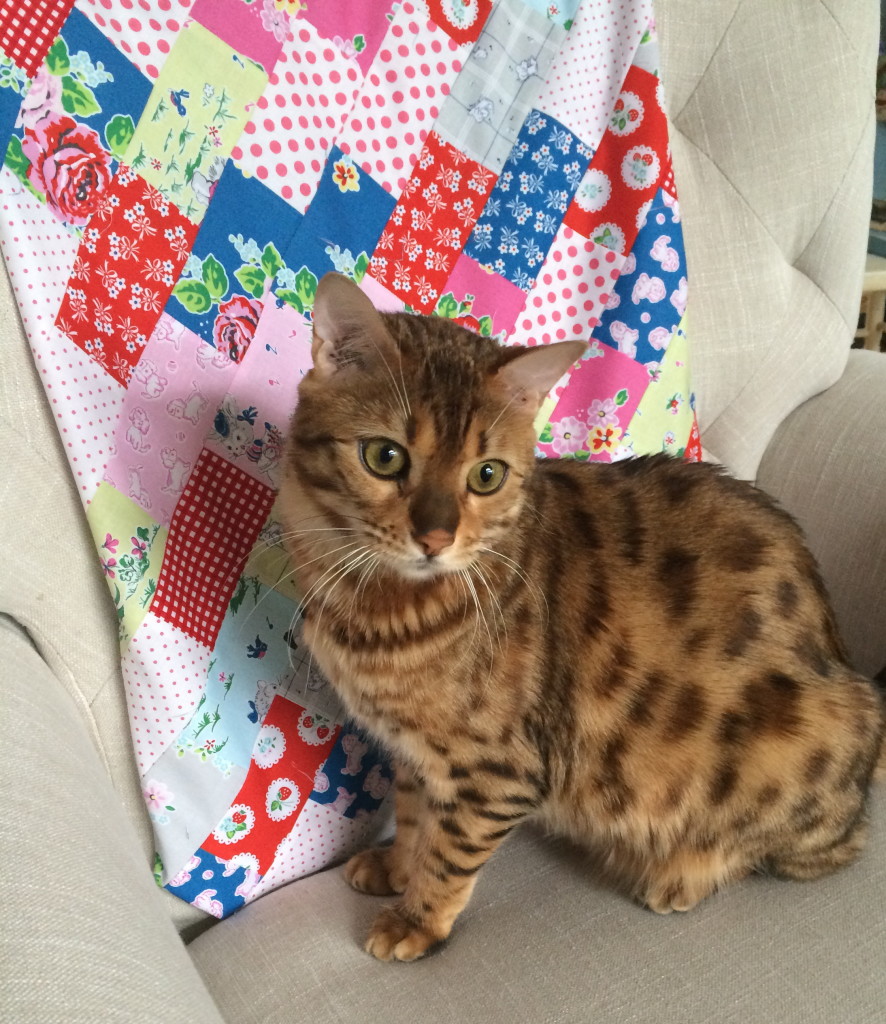
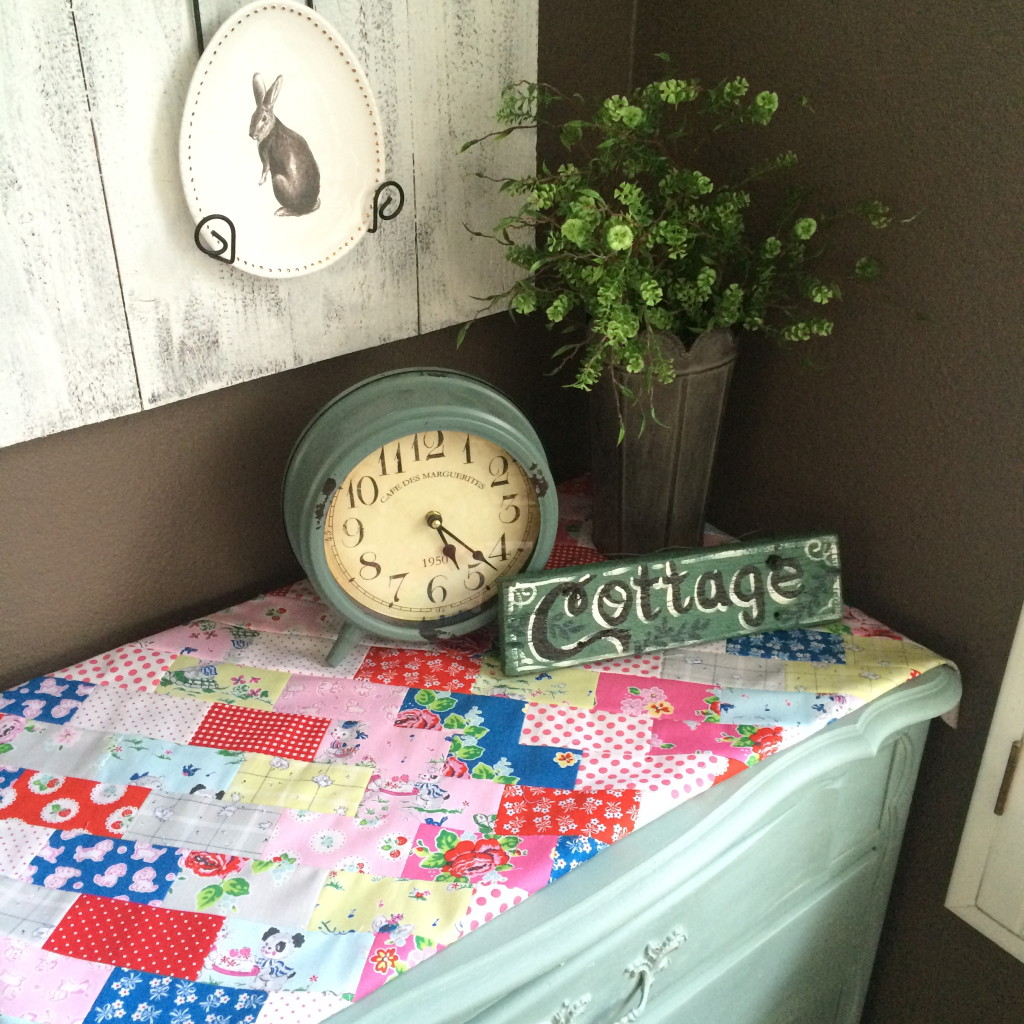
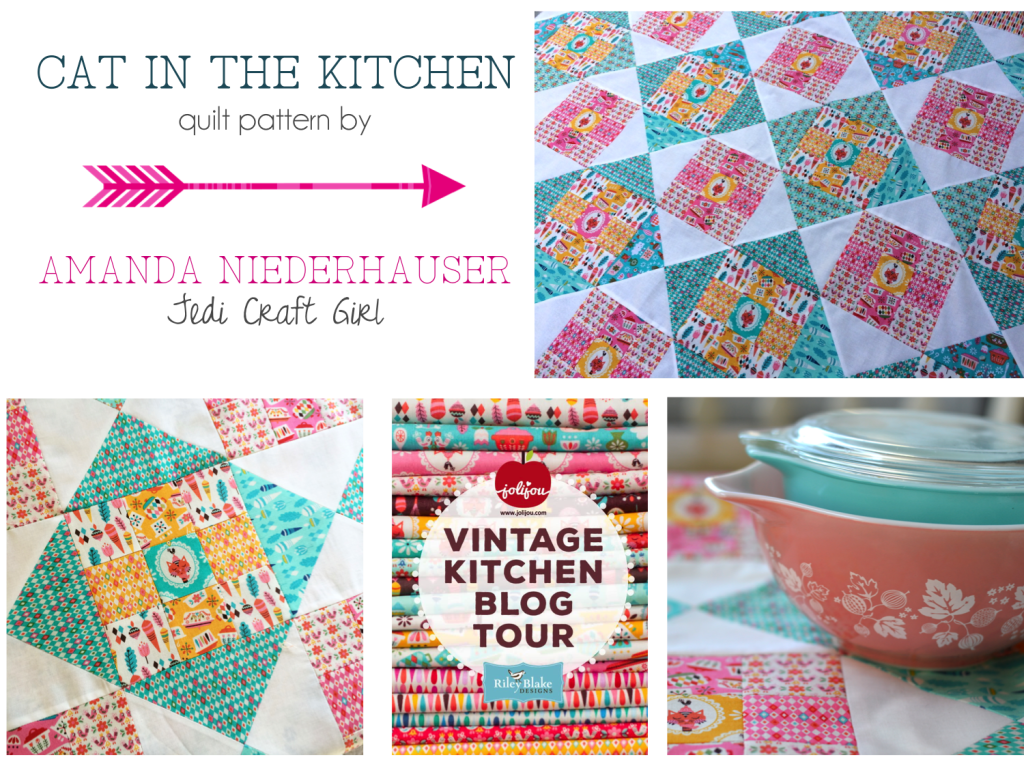
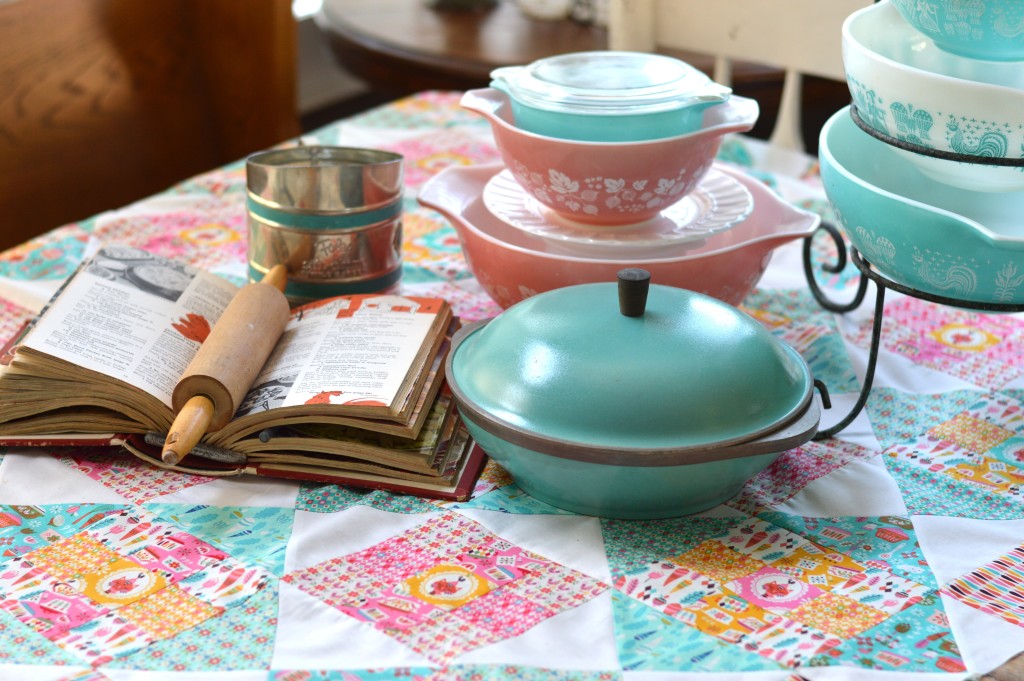
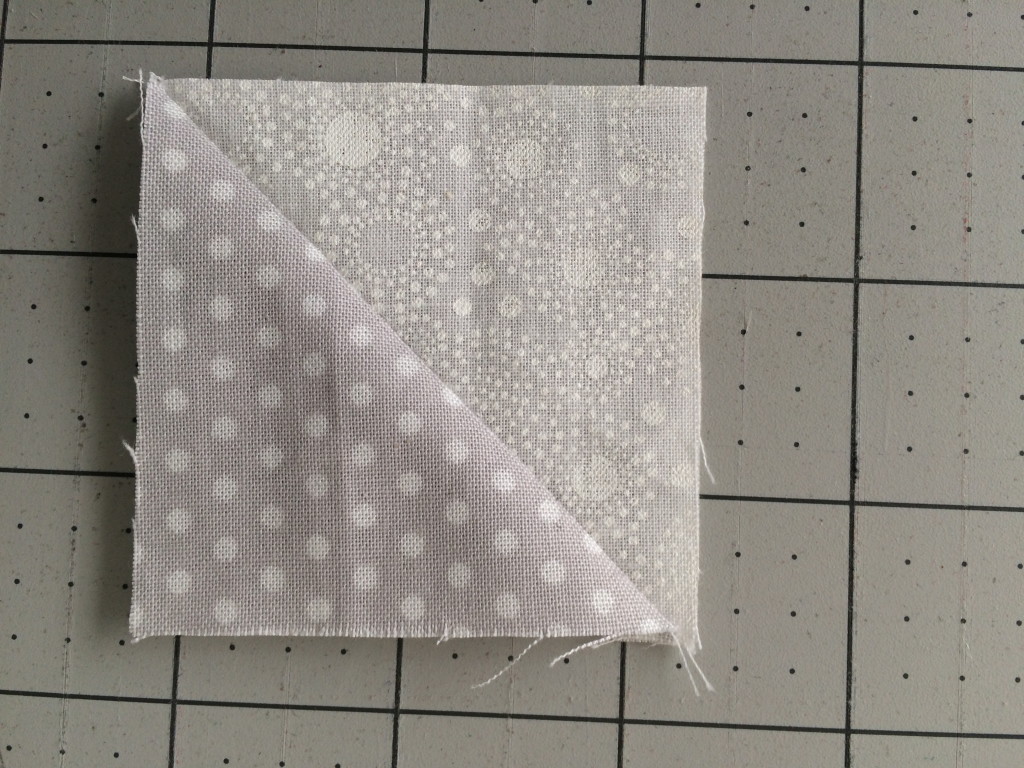
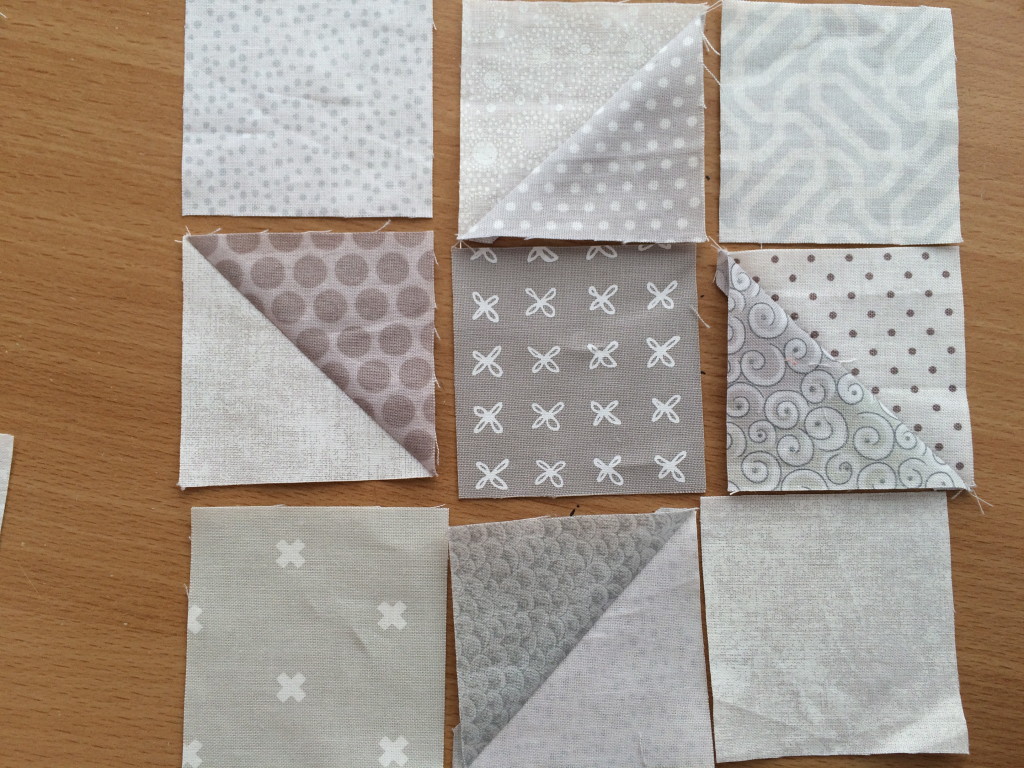
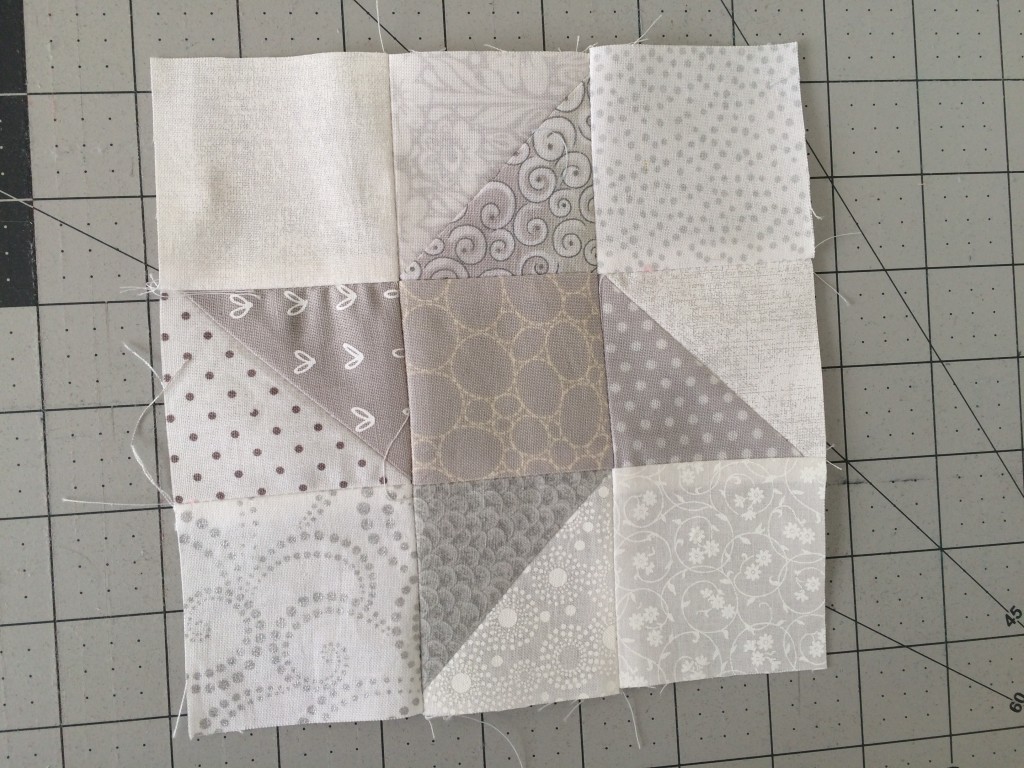
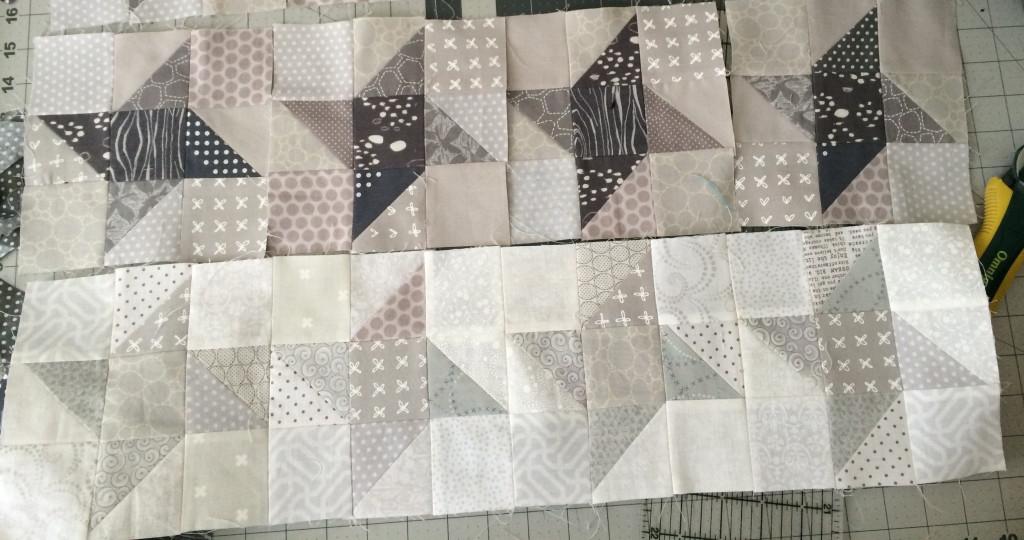
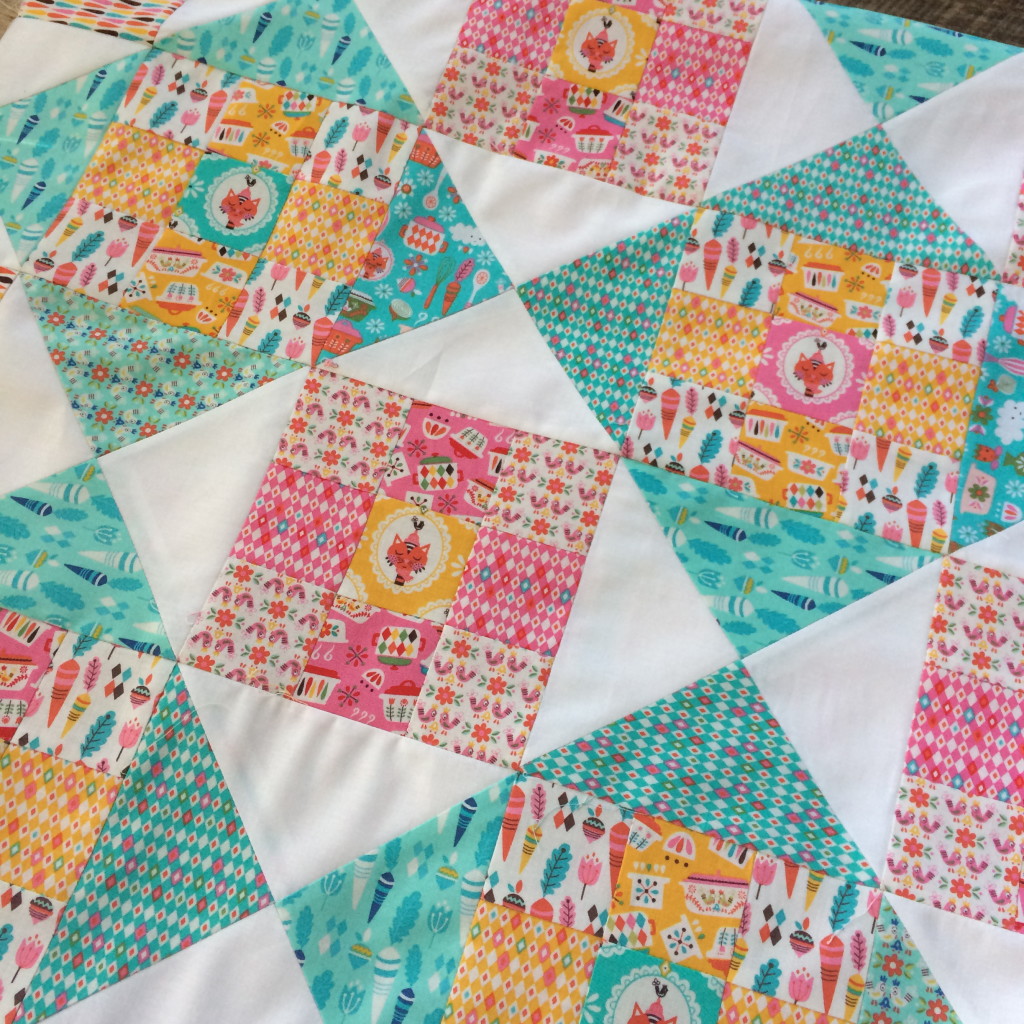
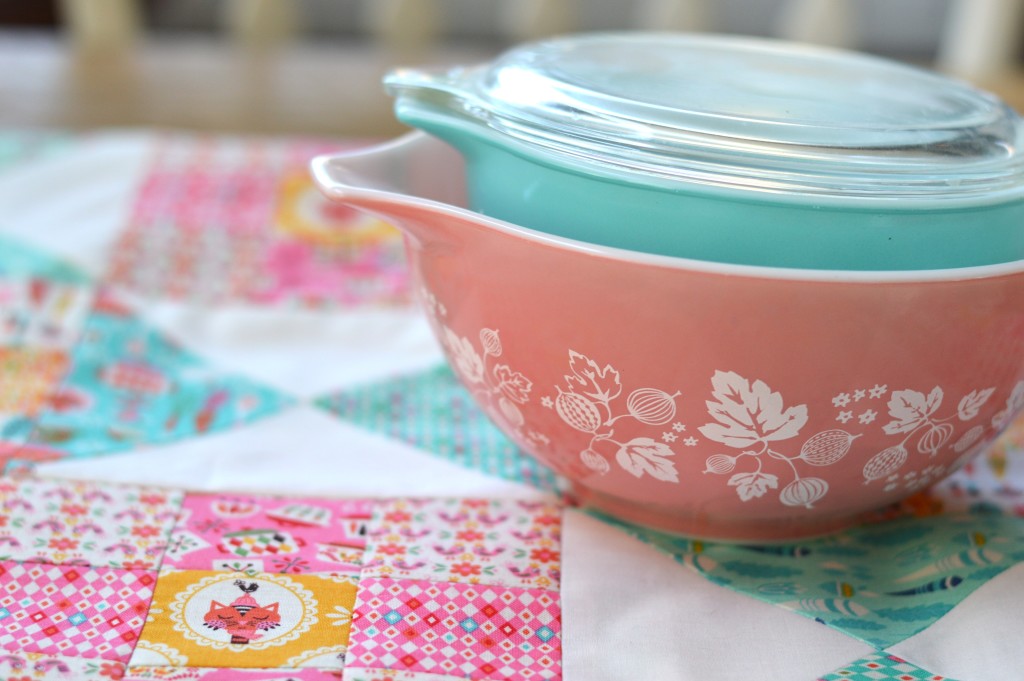
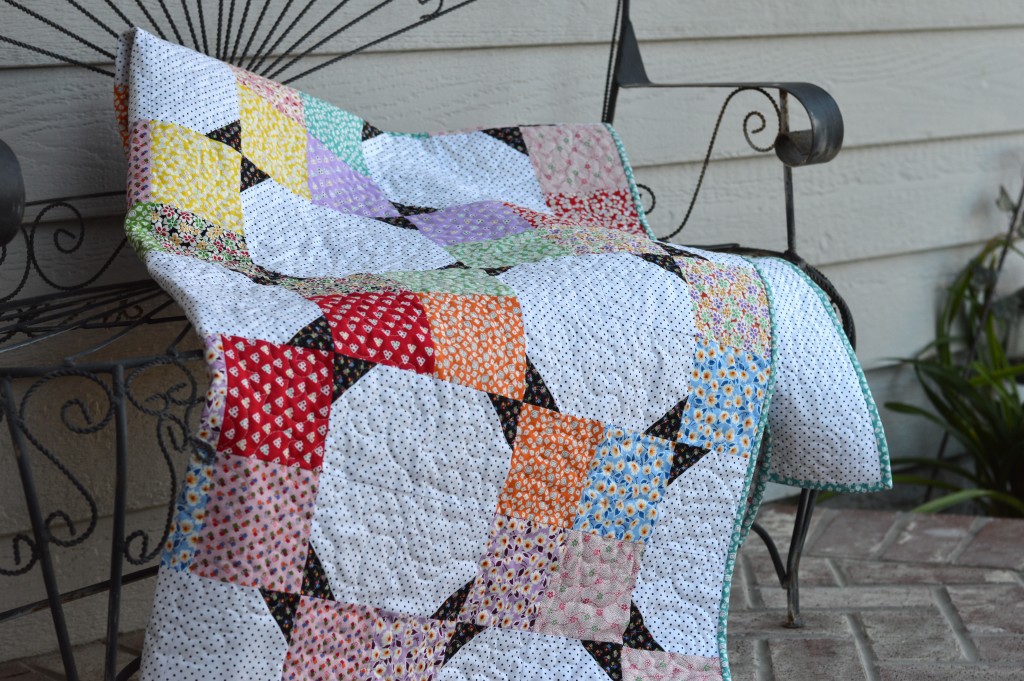
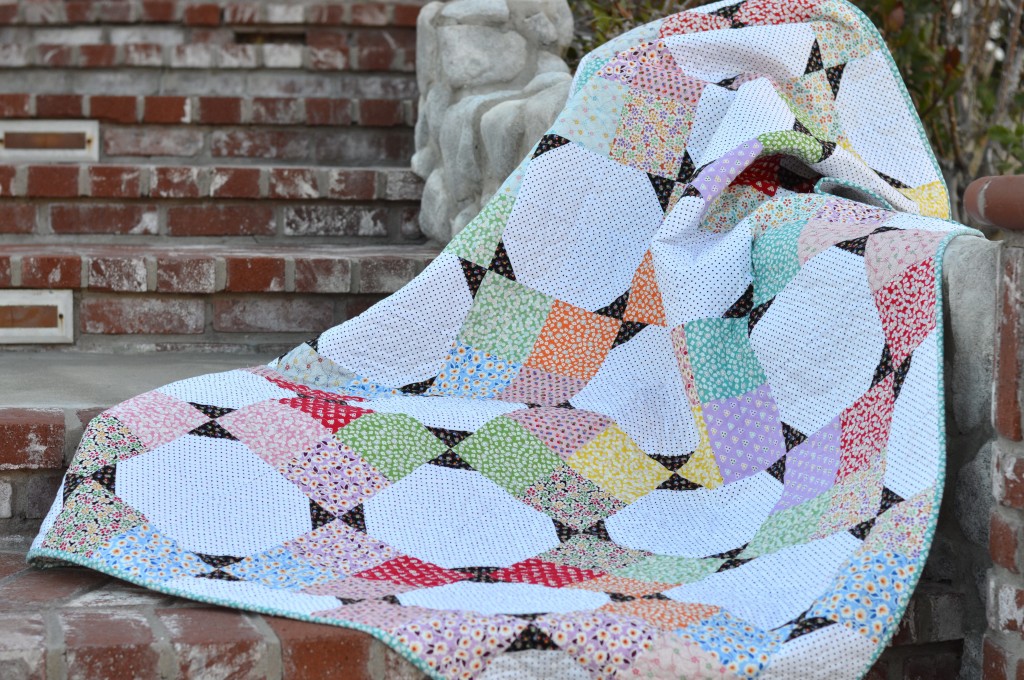
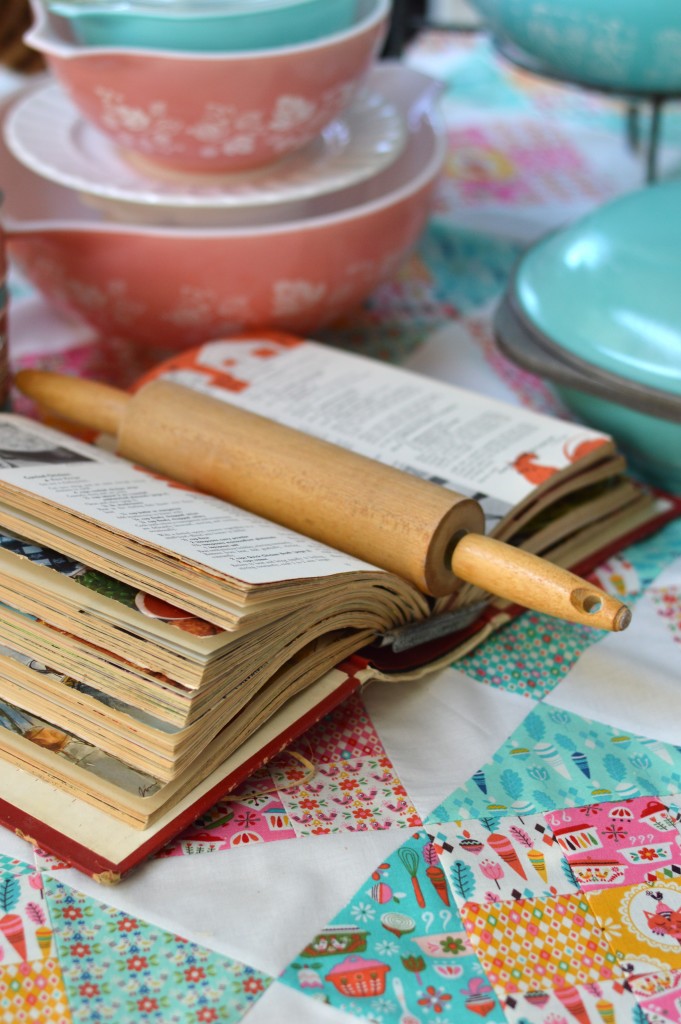 I created this quilt called “Cat in the Kitchen”. It is made up of hourglass blocks and 9-patch blocks. What could be more fun!!
 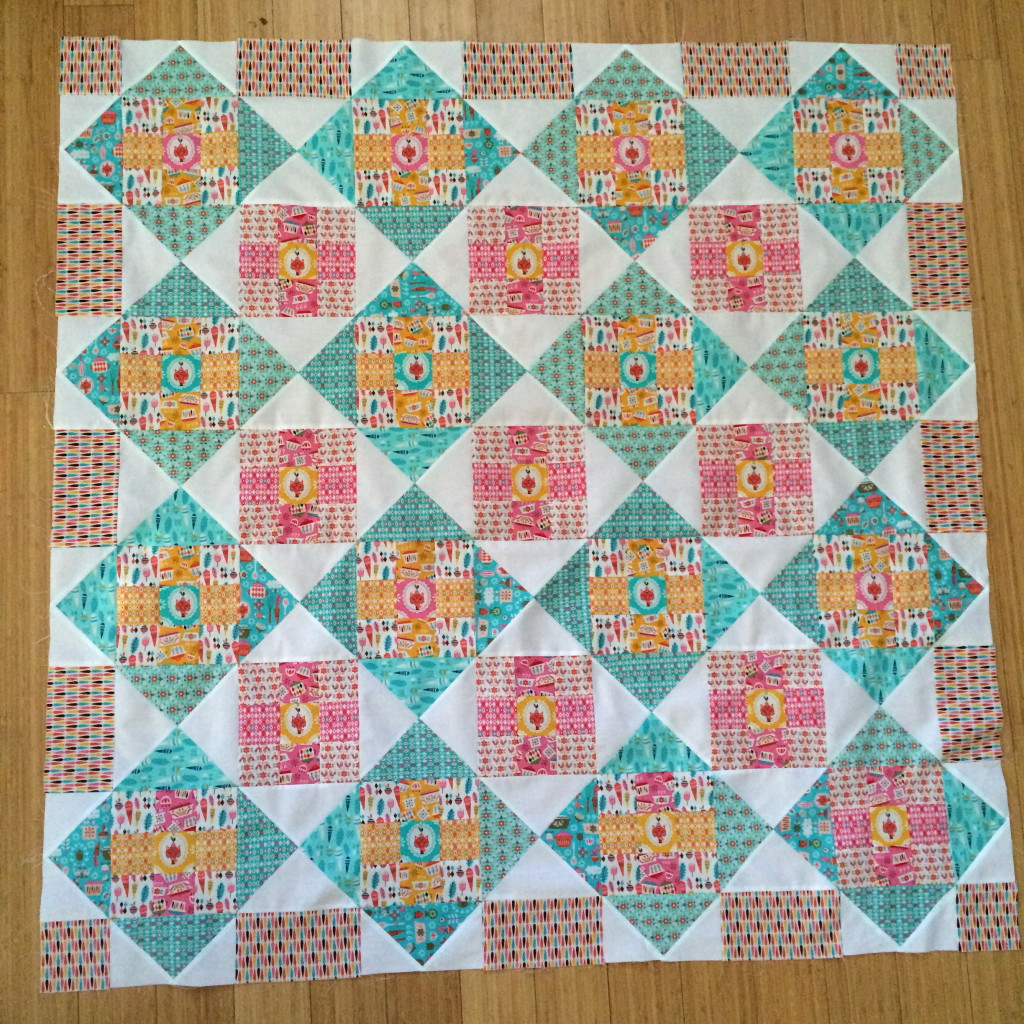 Each of the 9-patch blocks has a kitty in the center – just like in my kitchen….with Mufasa constantly in the center of it all.
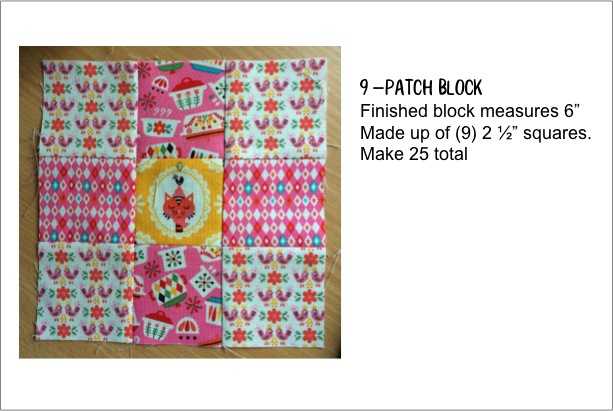
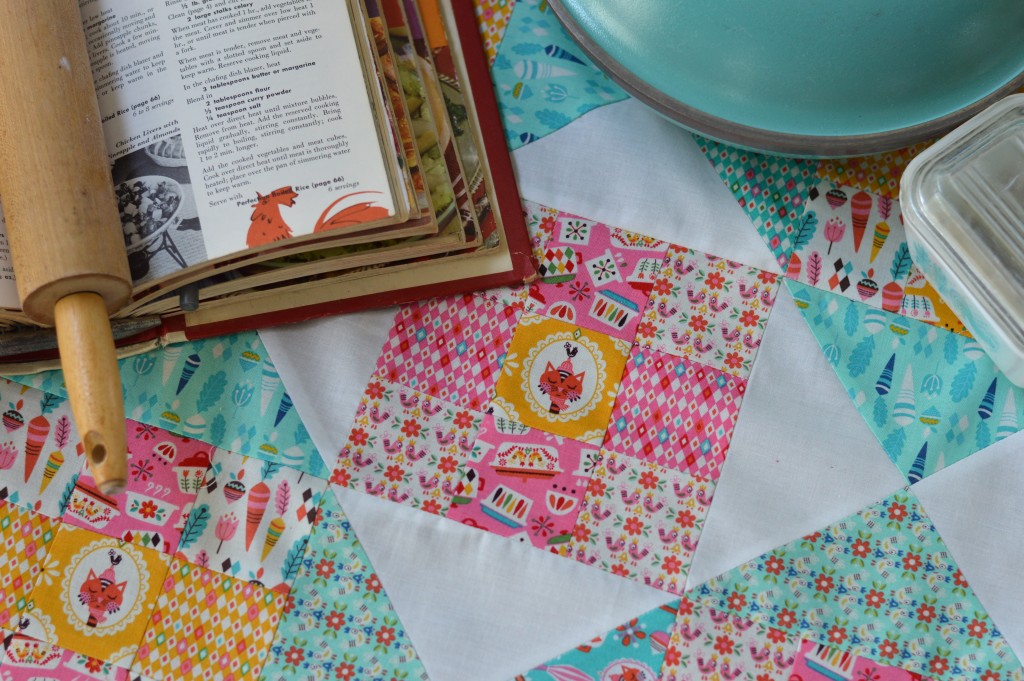 I have created a few little instruction guides to help you put this quilt together.
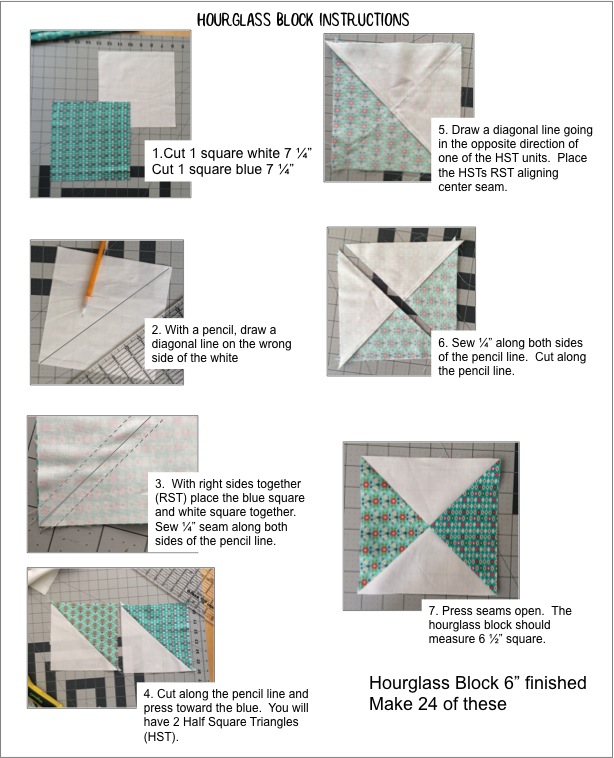
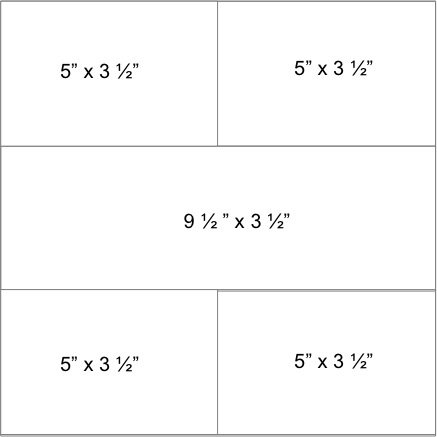
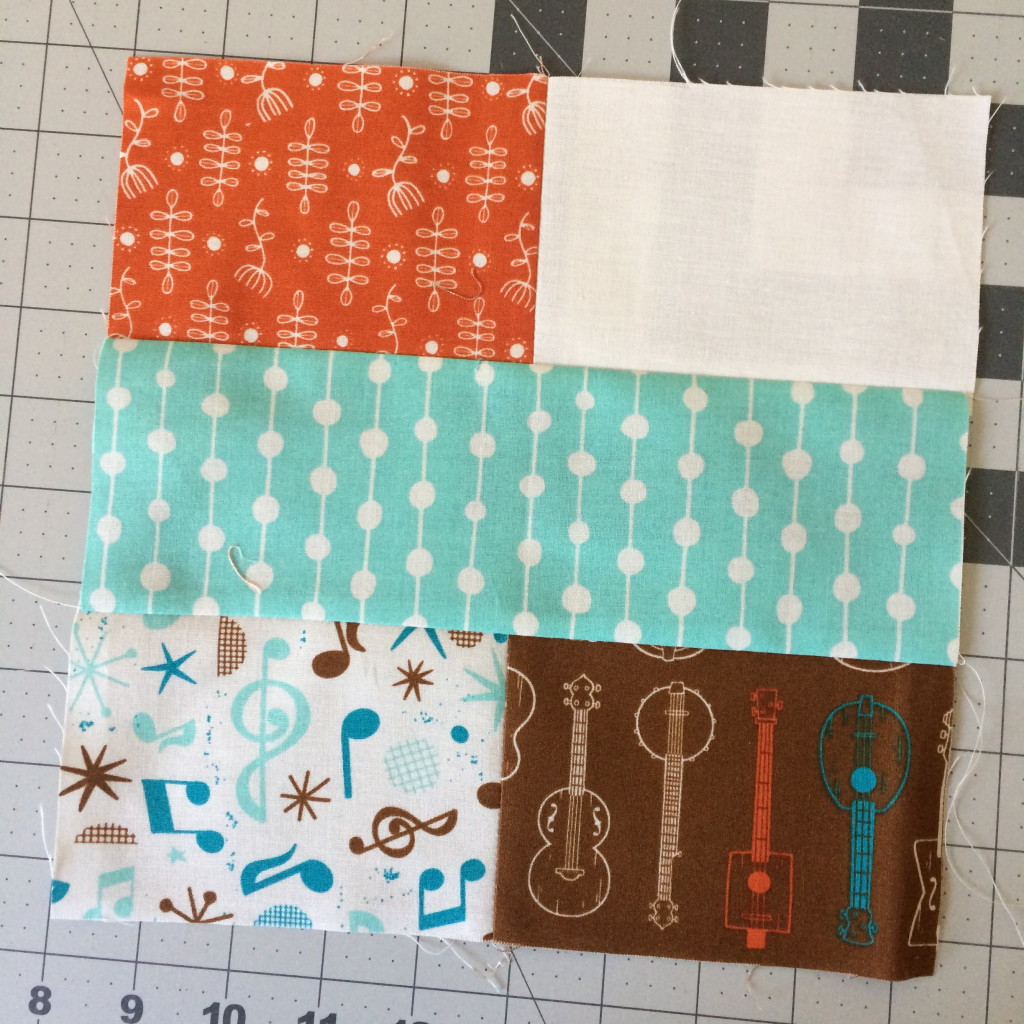
 Lay out the quilt as suggested below:
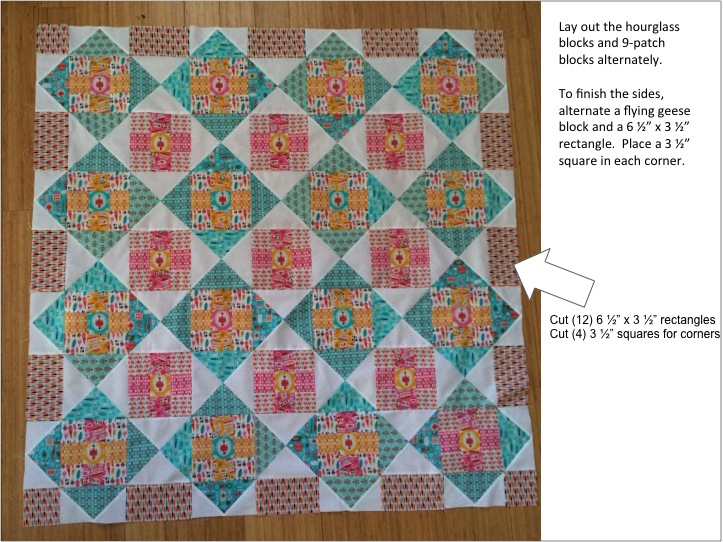

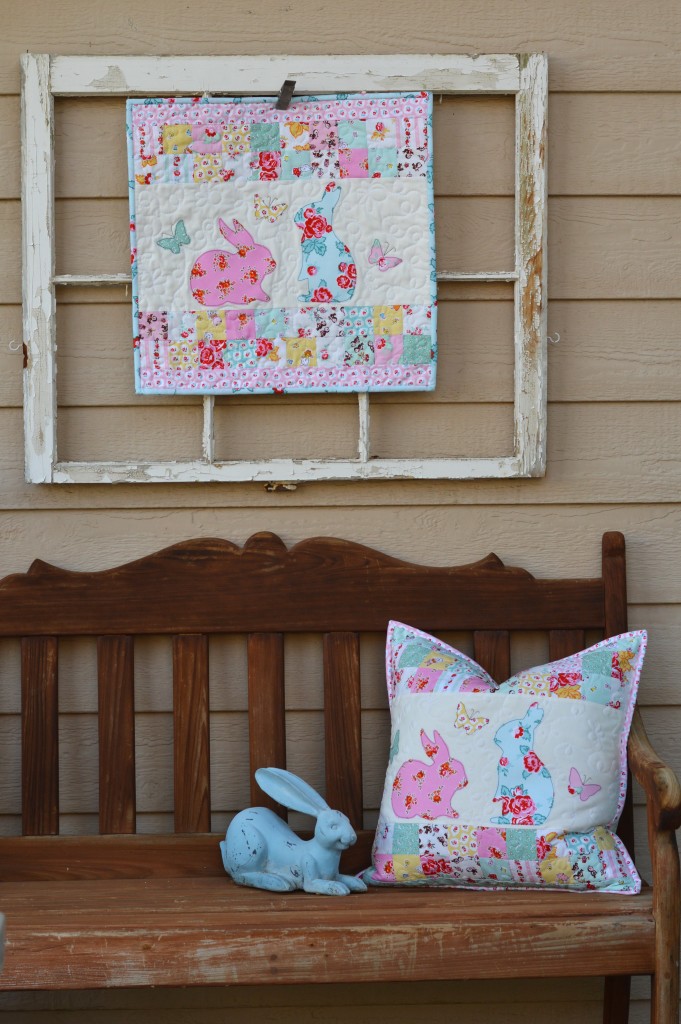
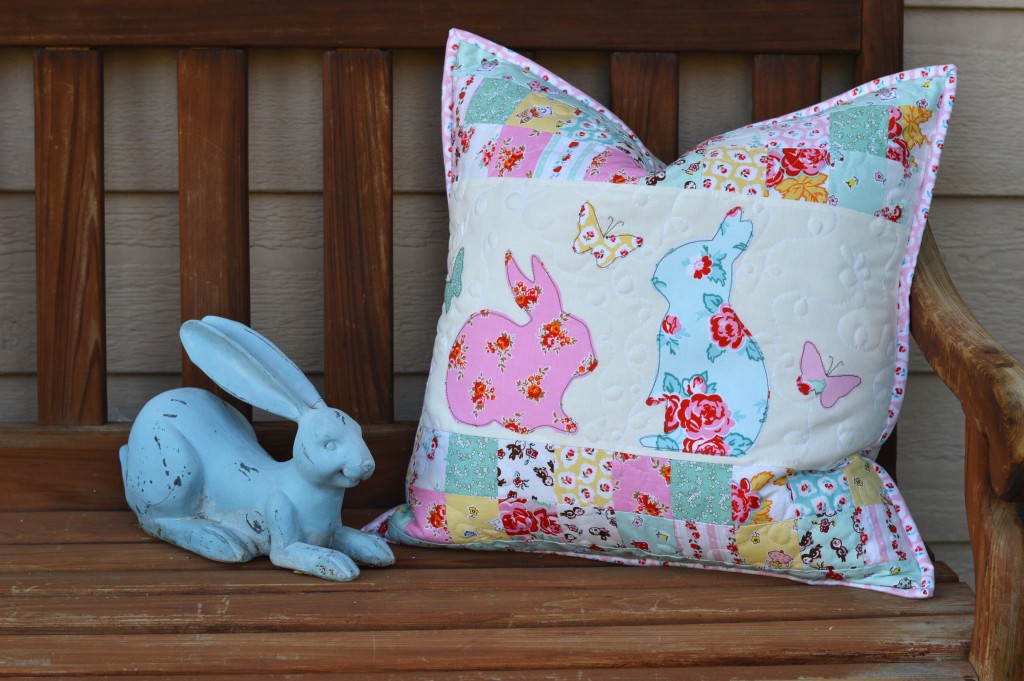

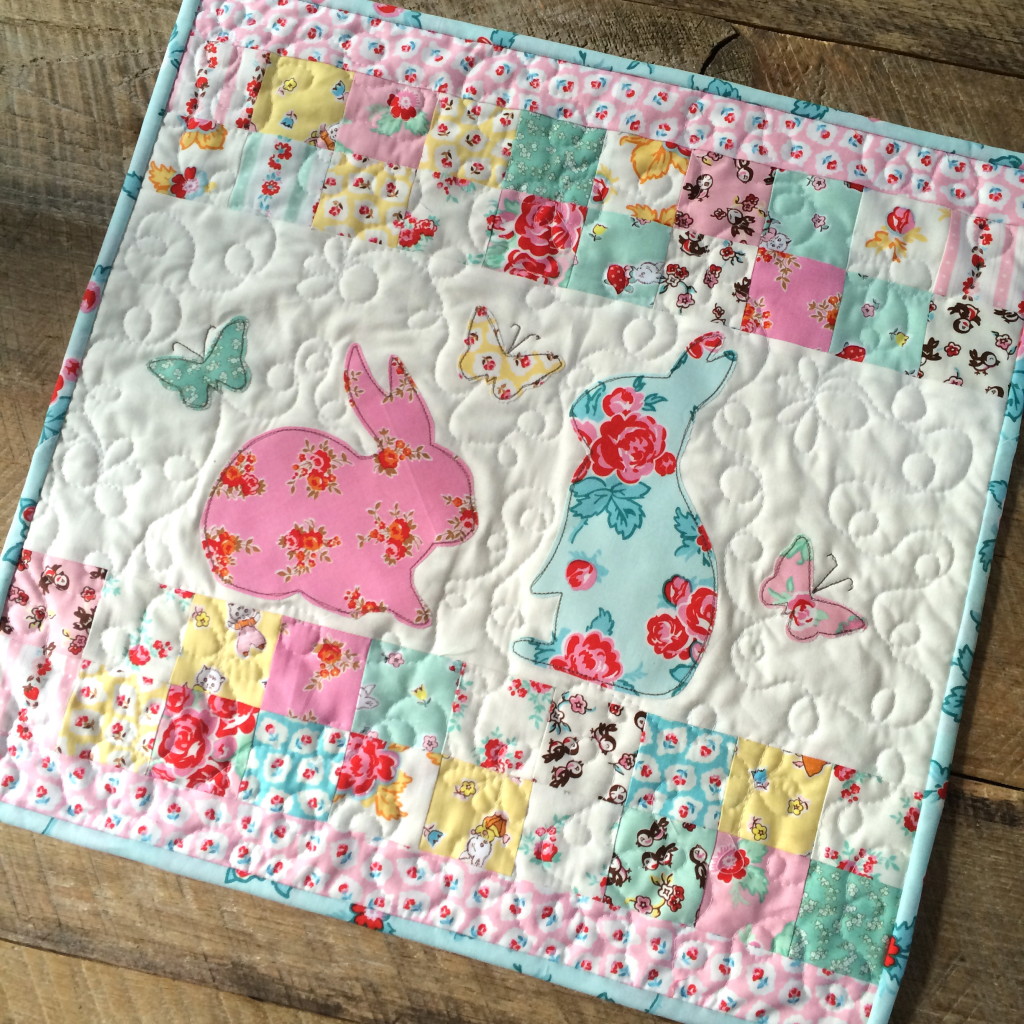
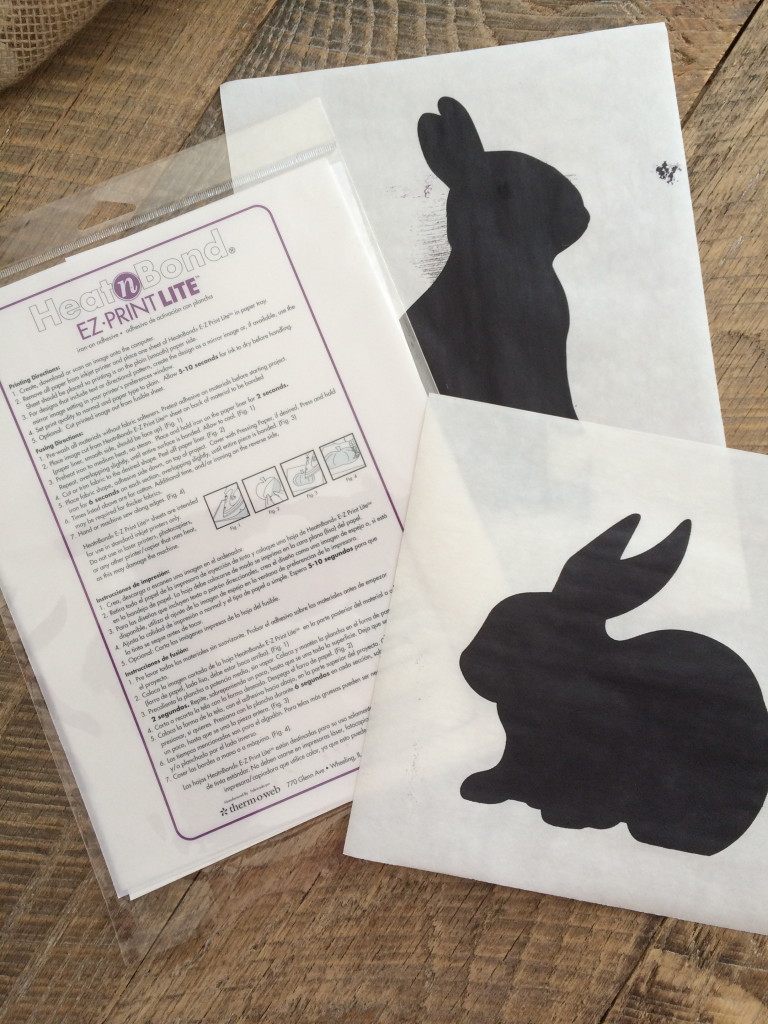
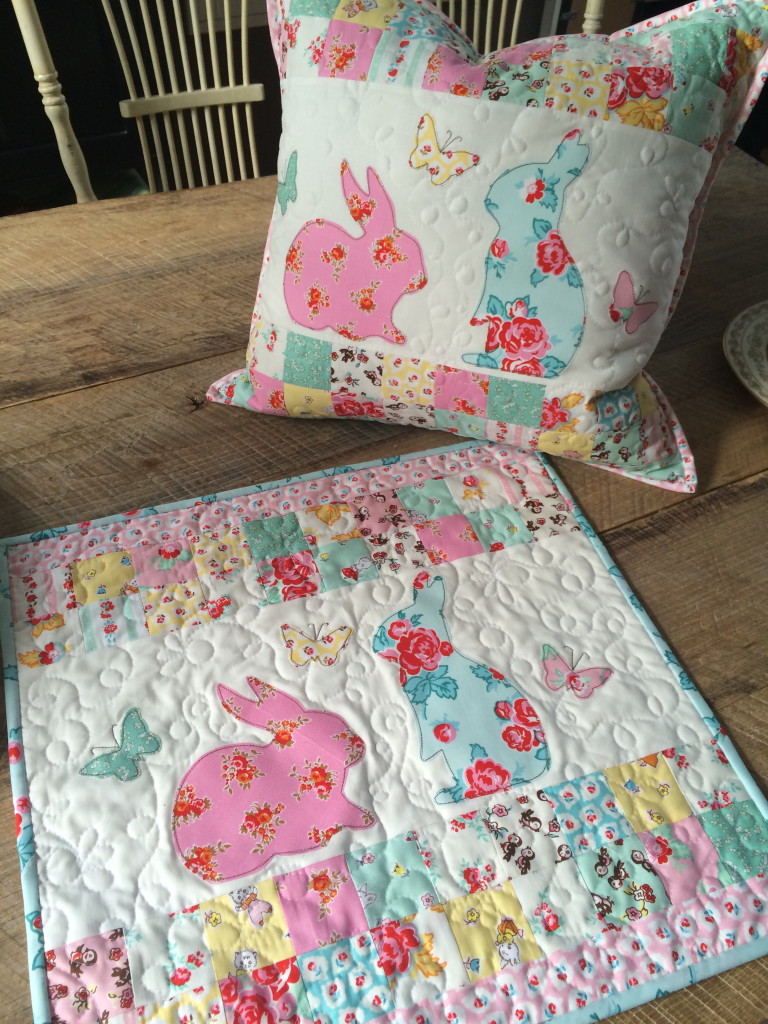

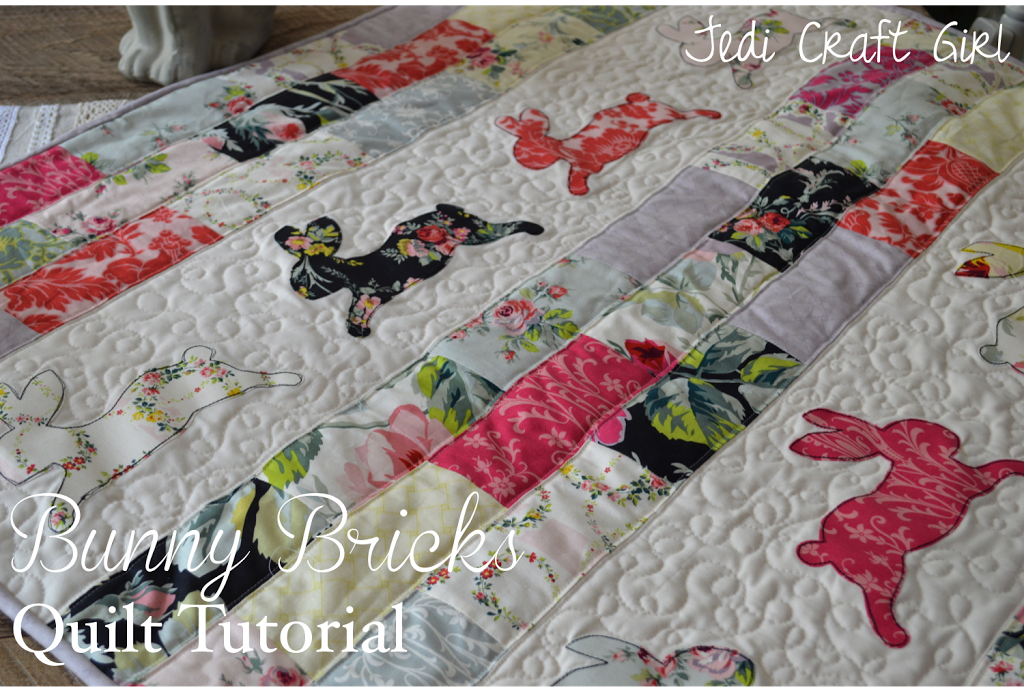
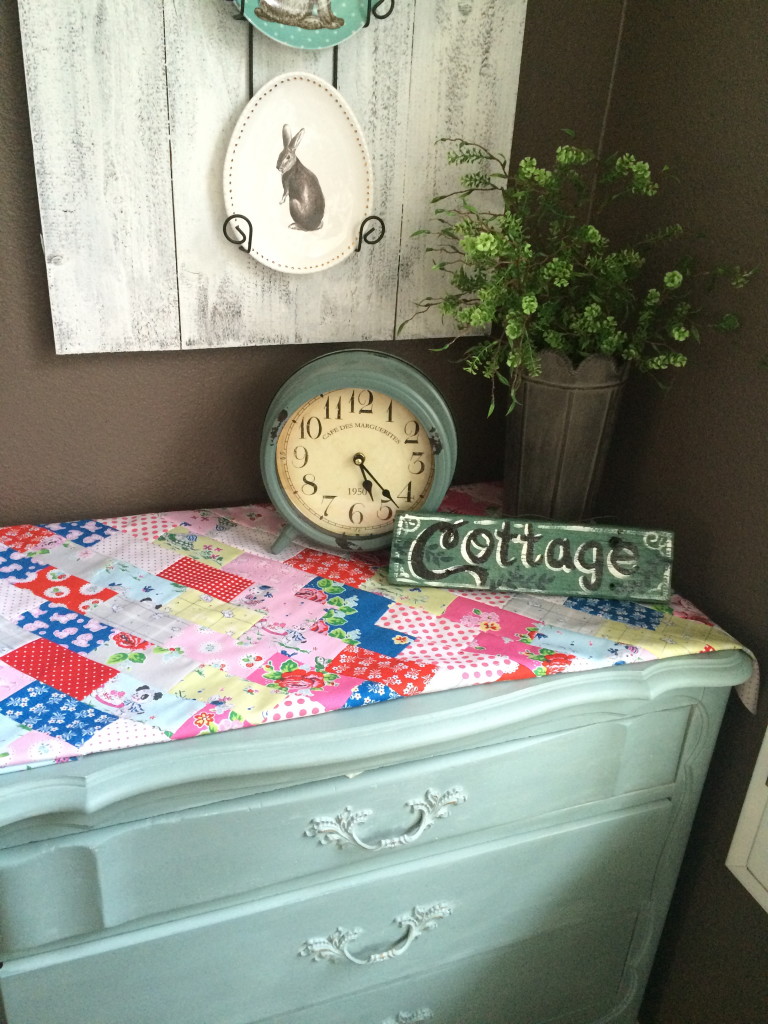
 Hoppy Sewing!
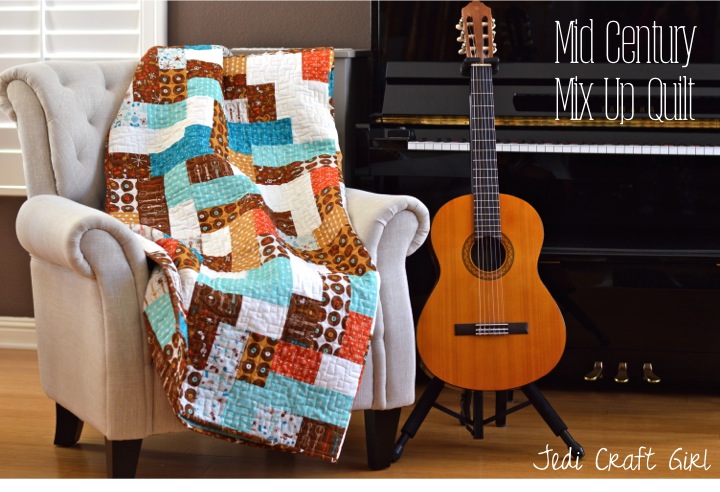
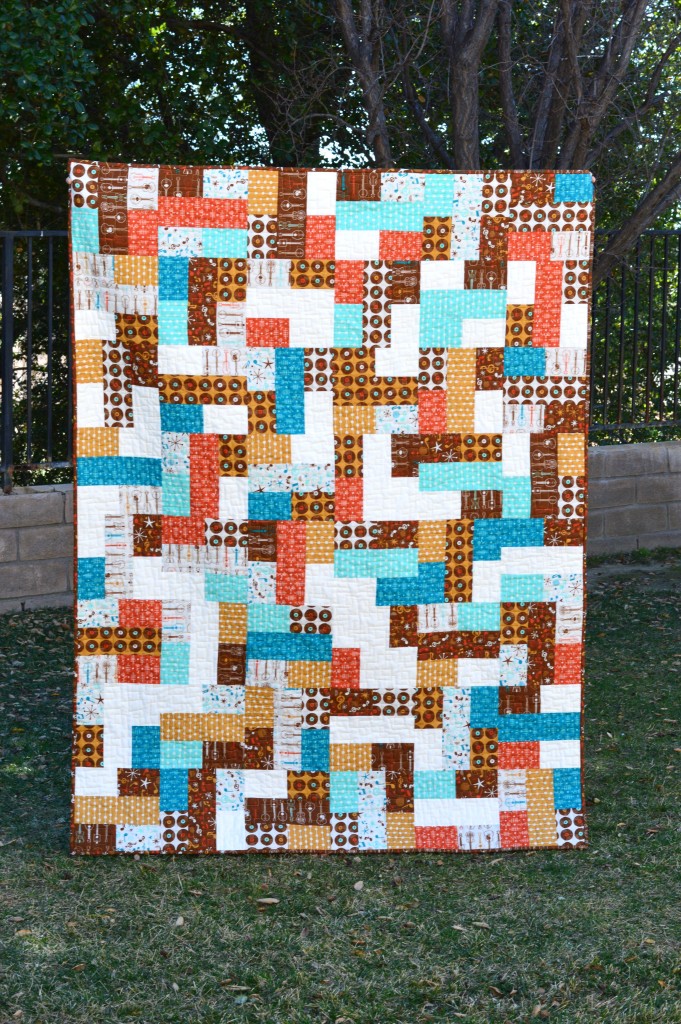
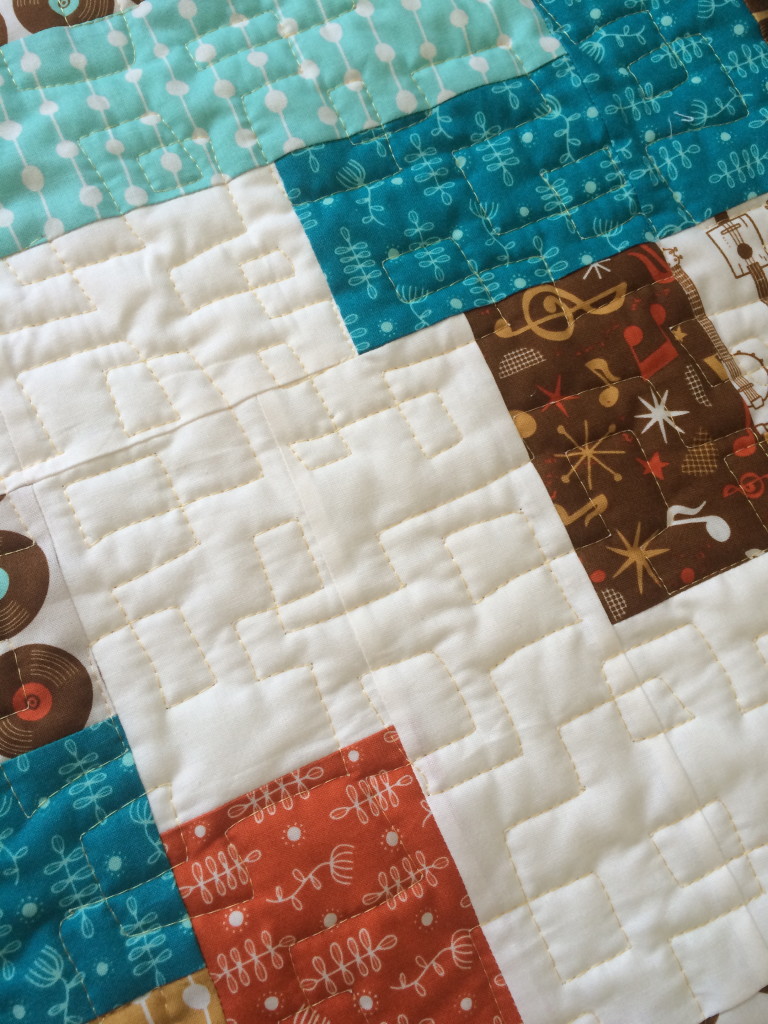
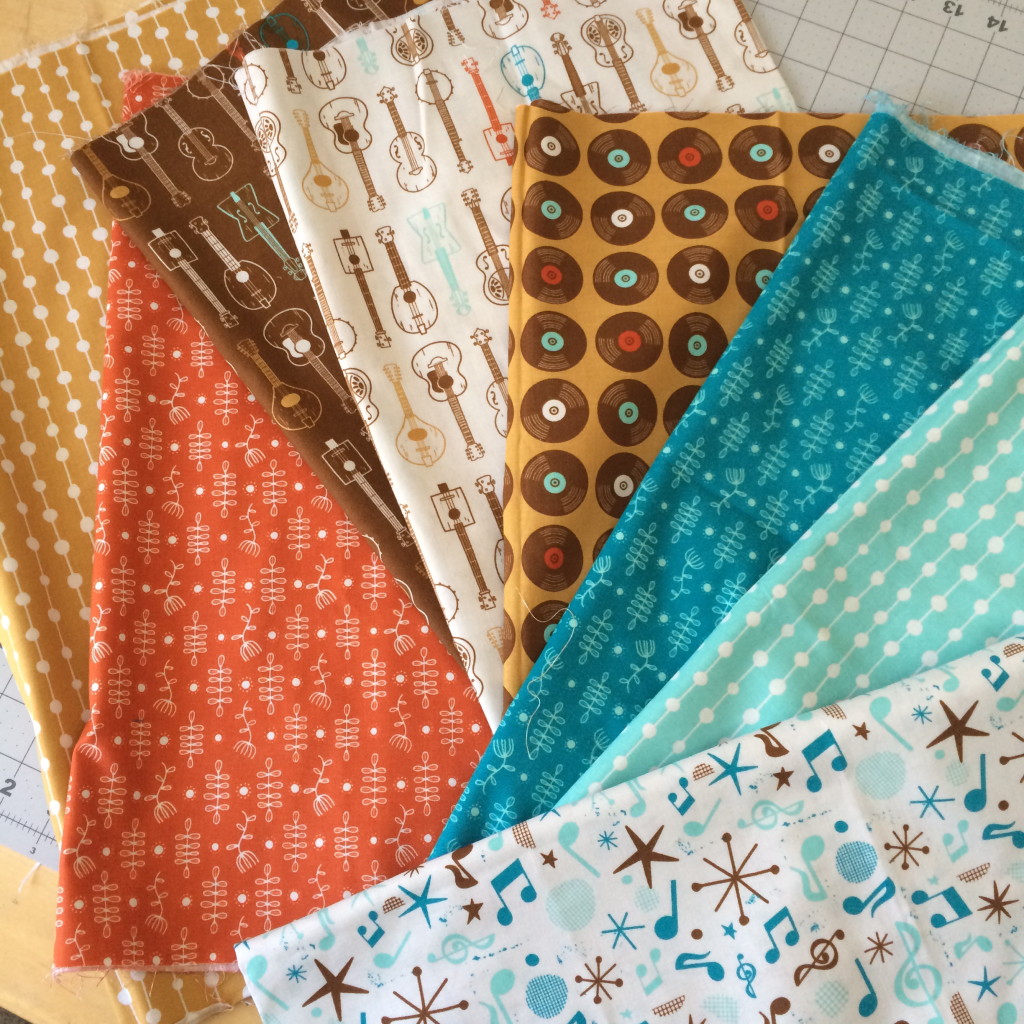
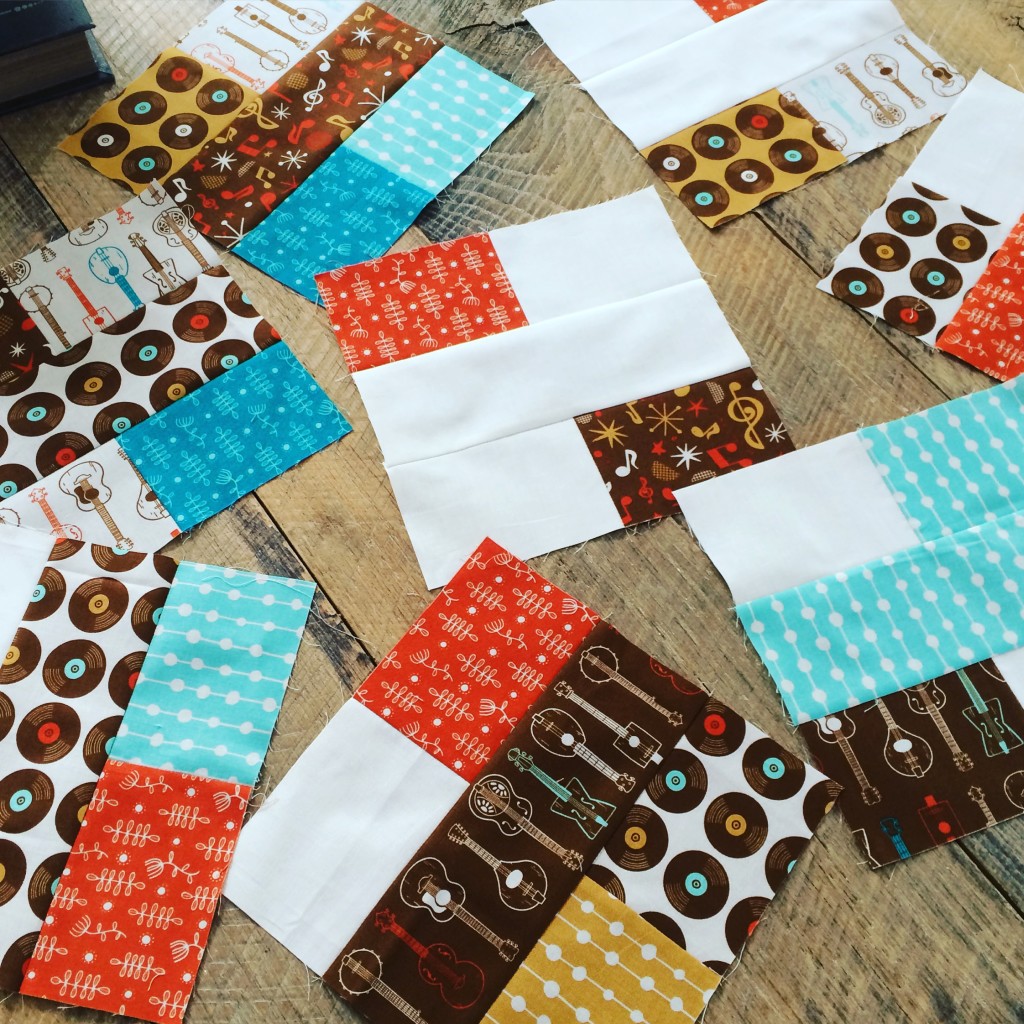
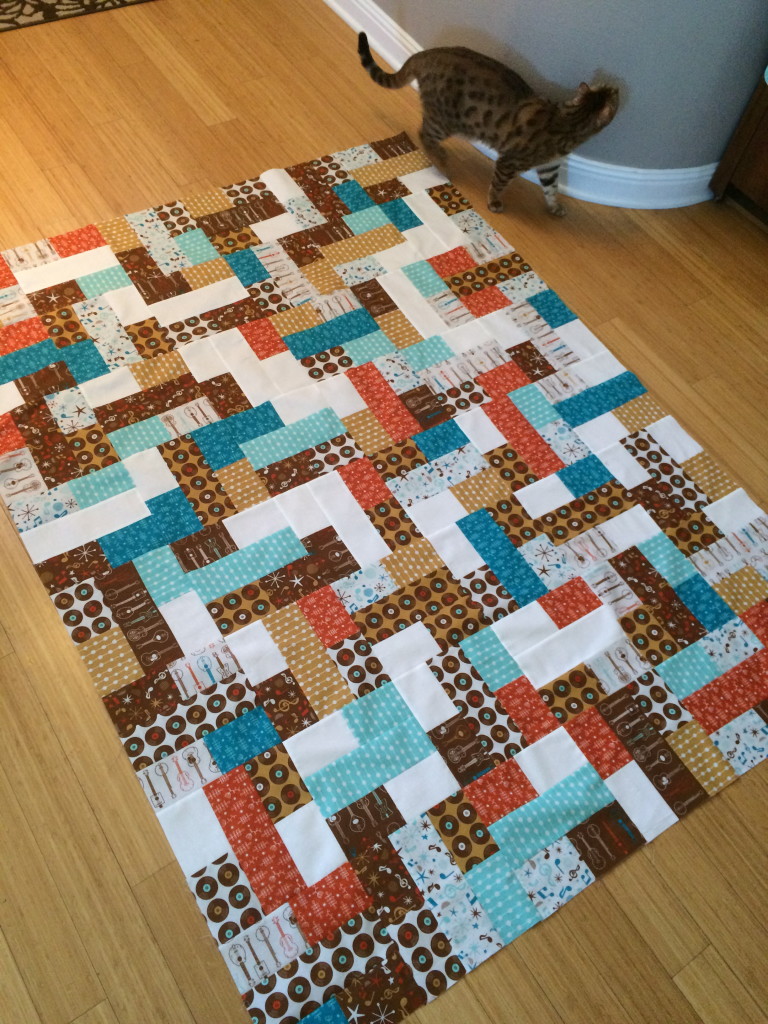
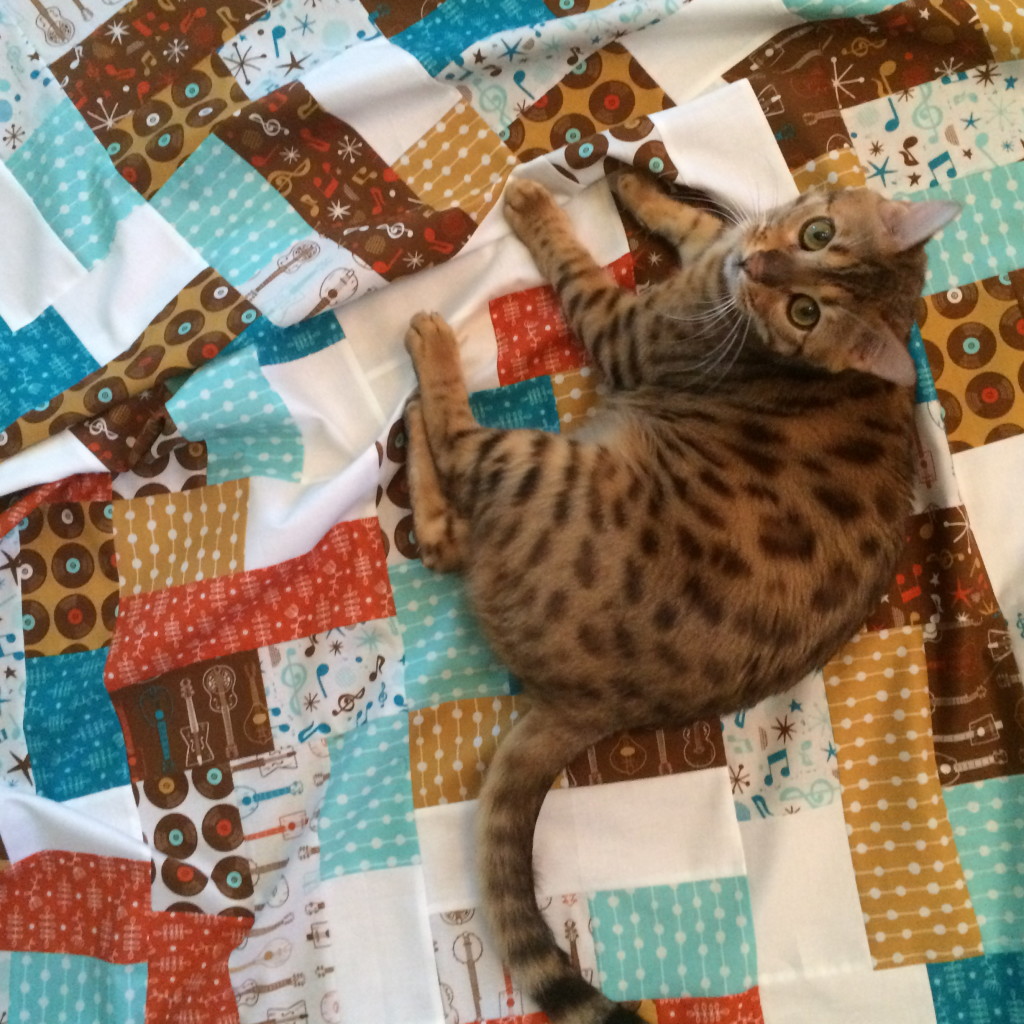
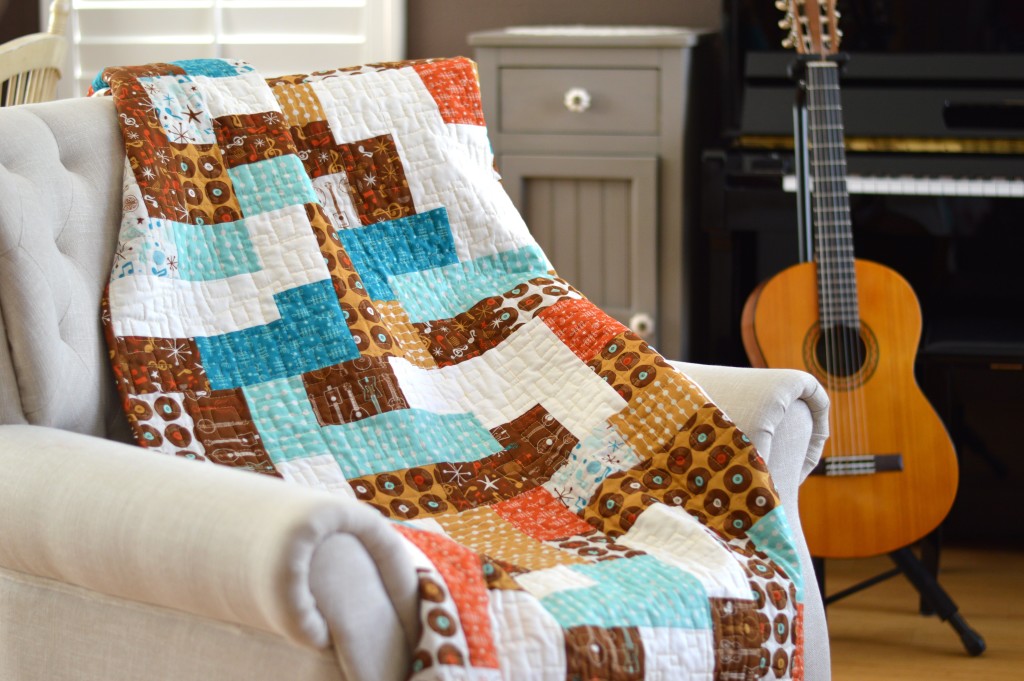
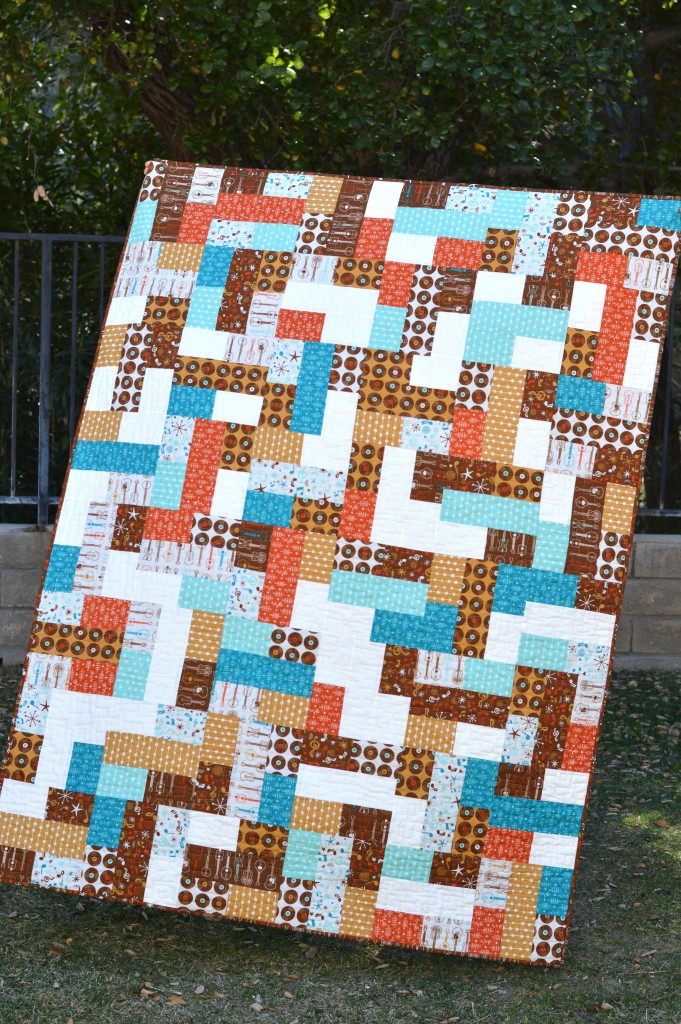
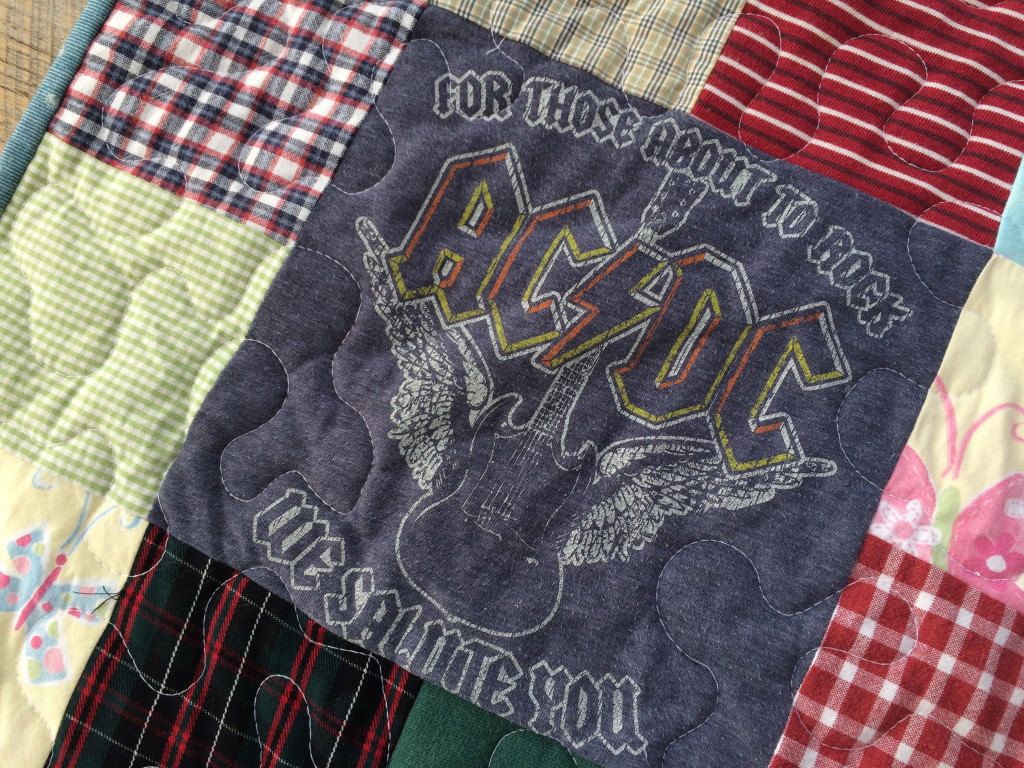
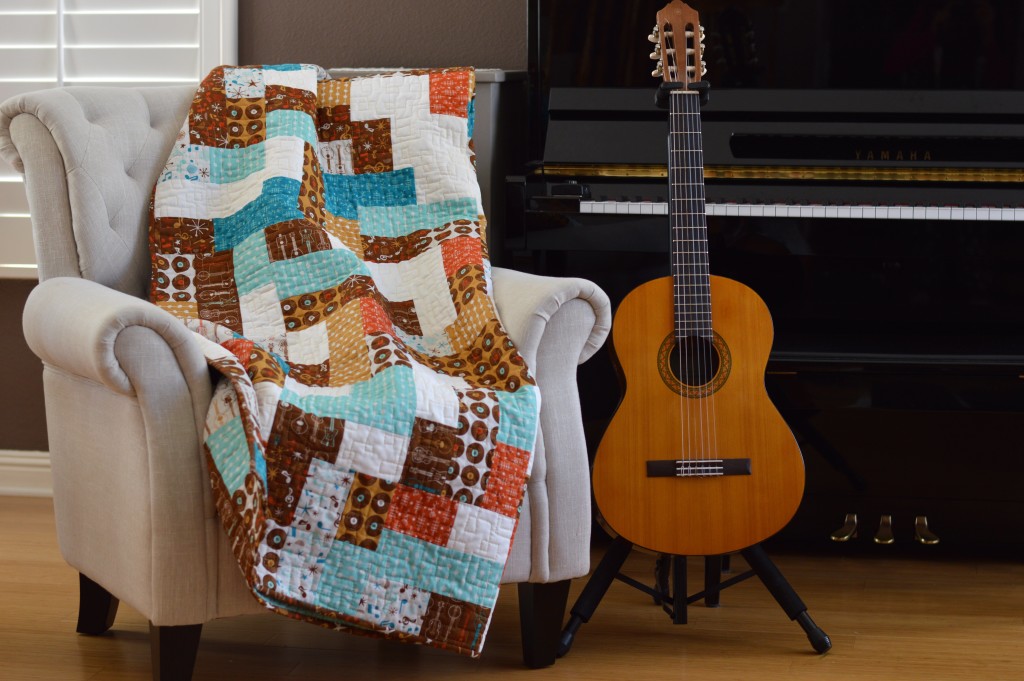
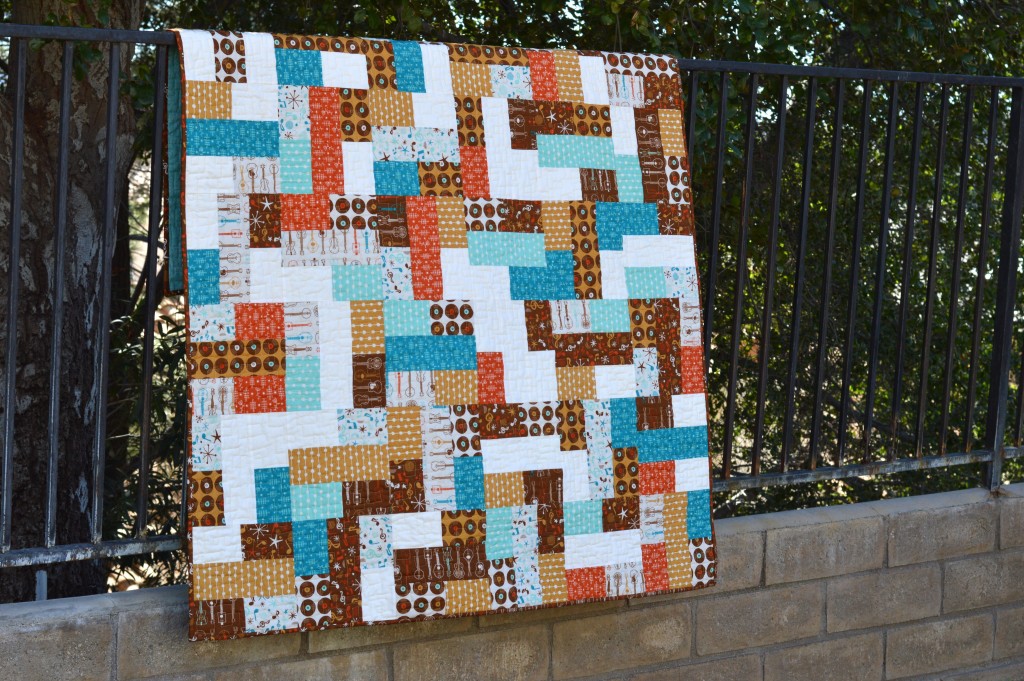 Every year I try and learn the guitar, this quilt is inspiring me to pick it up yet again!!!
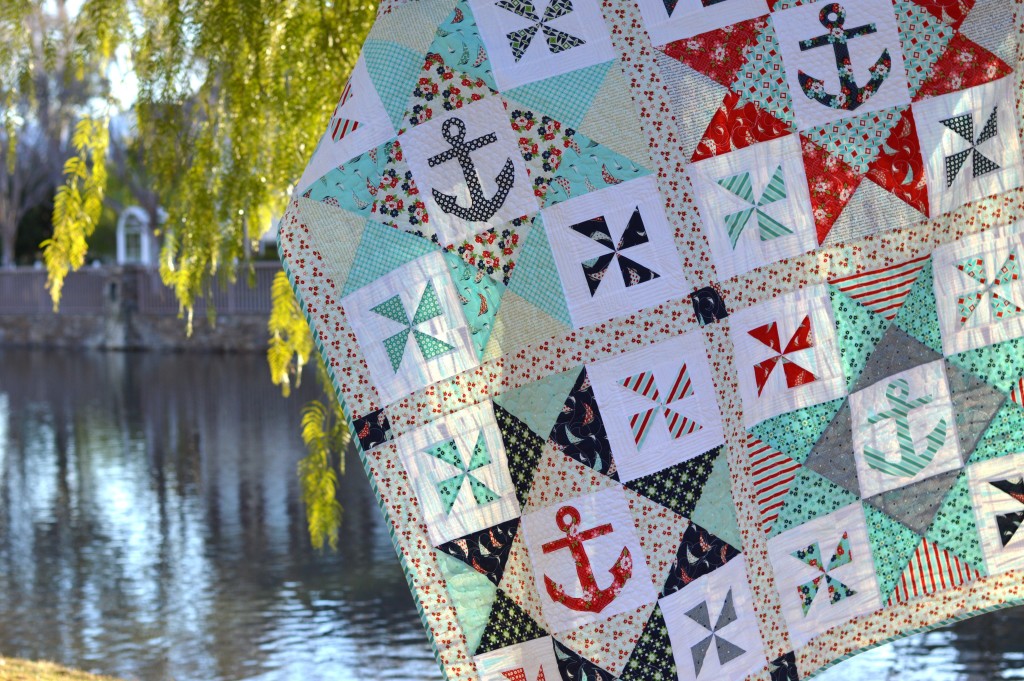
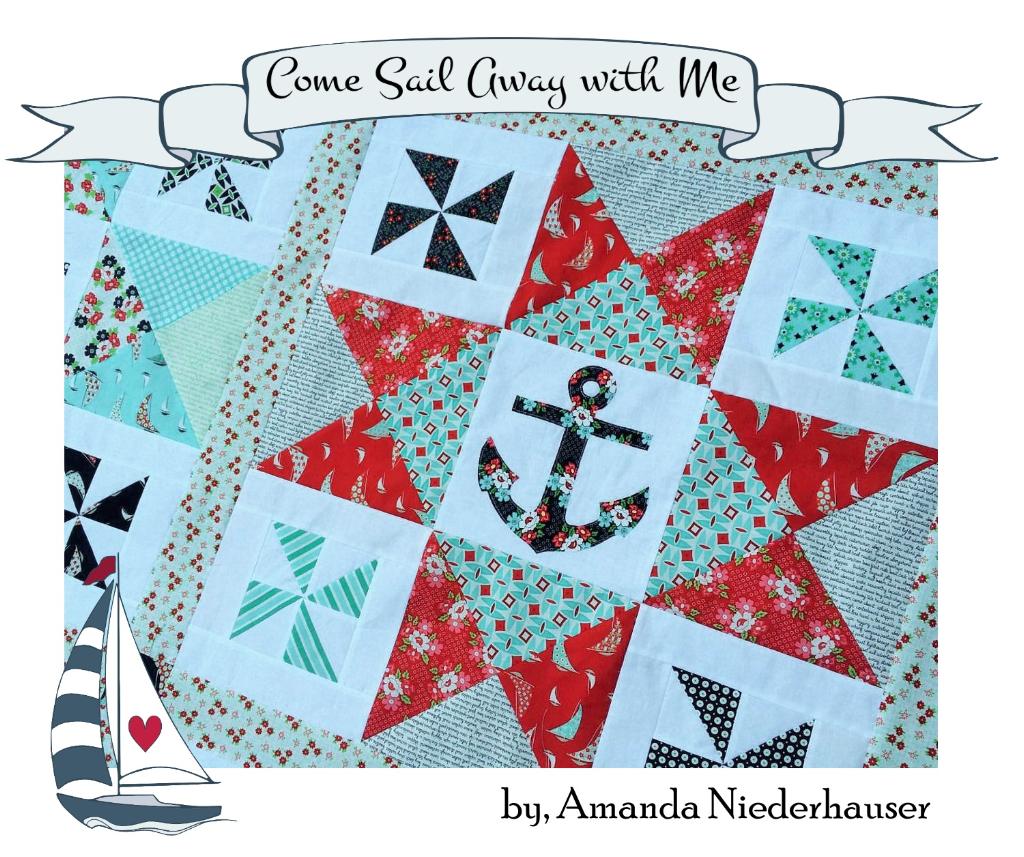
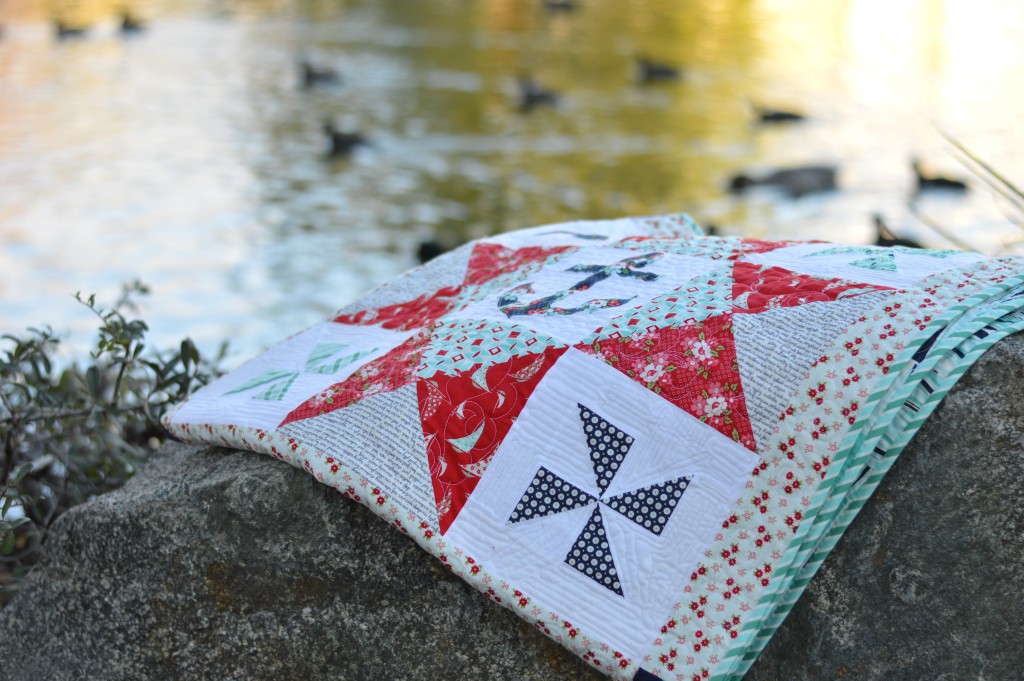
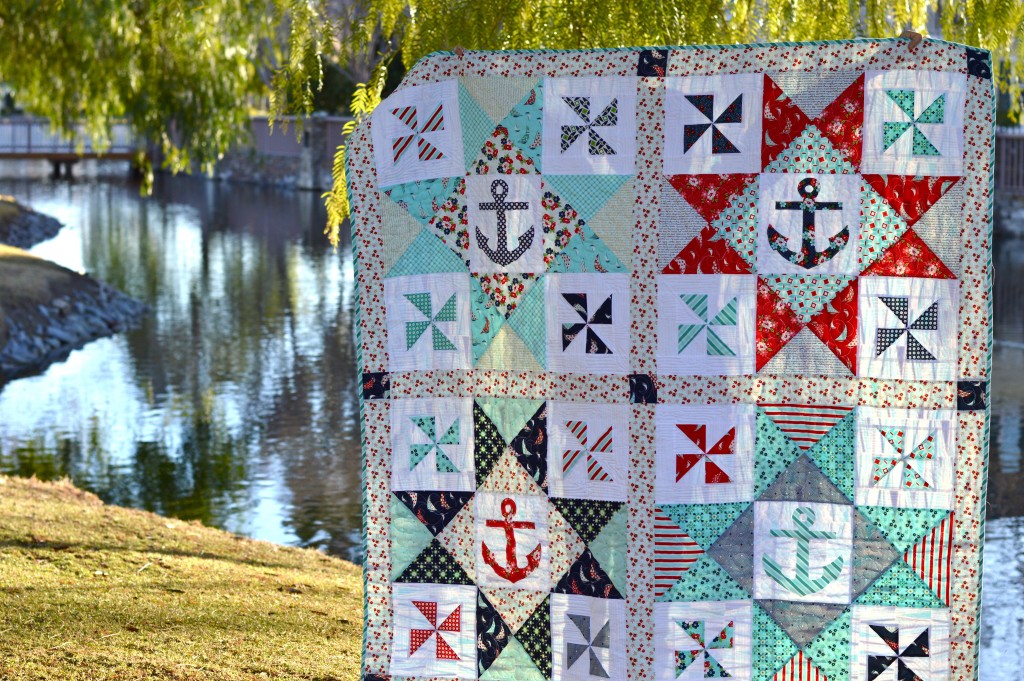
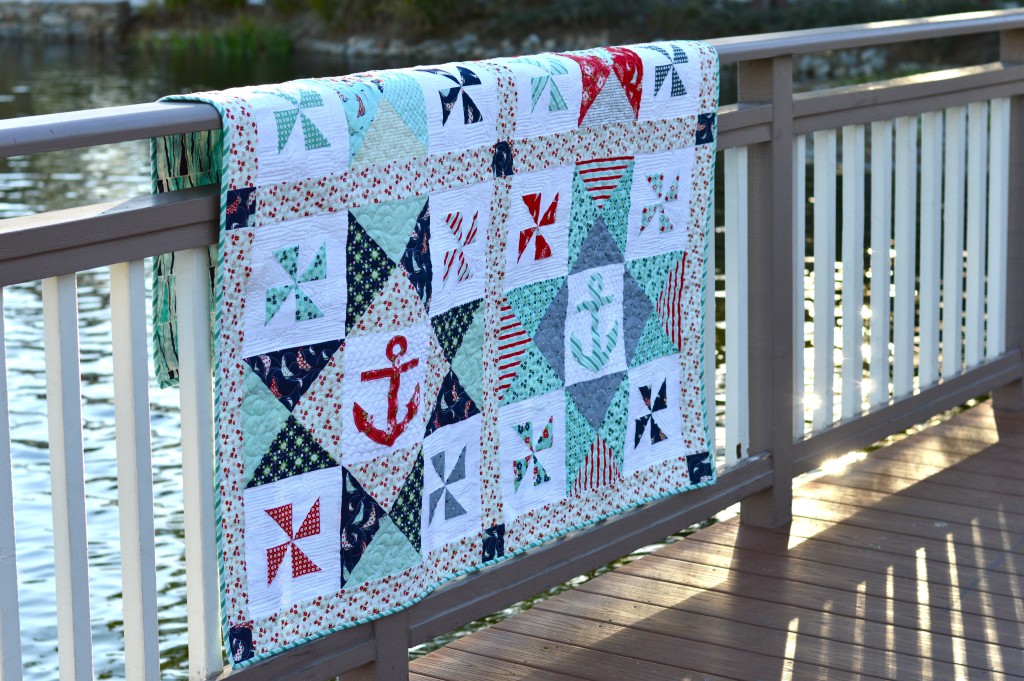
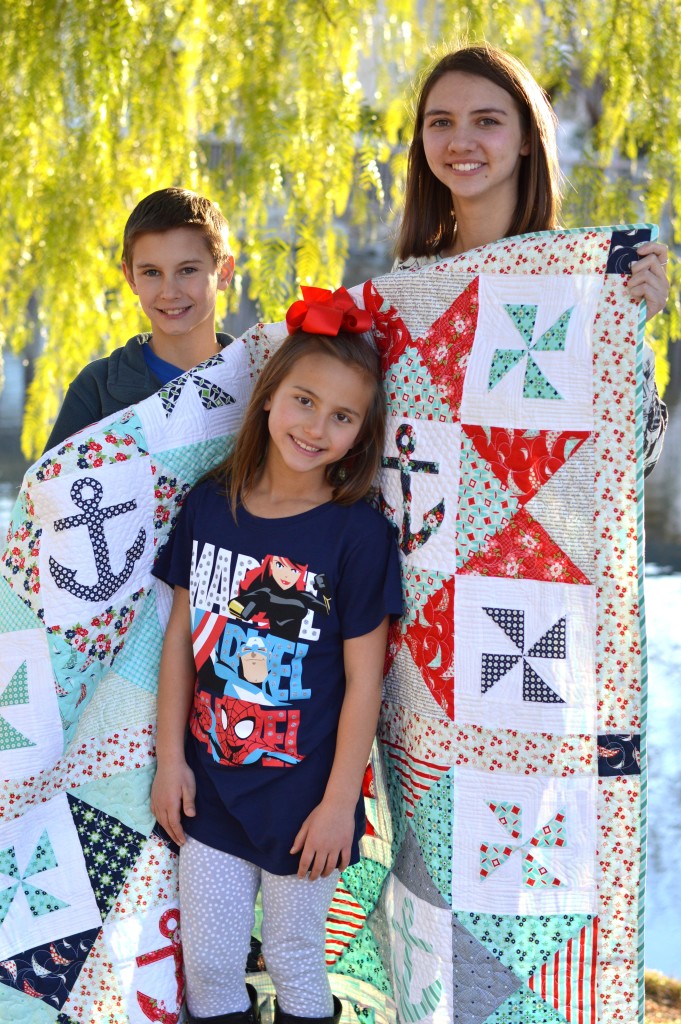
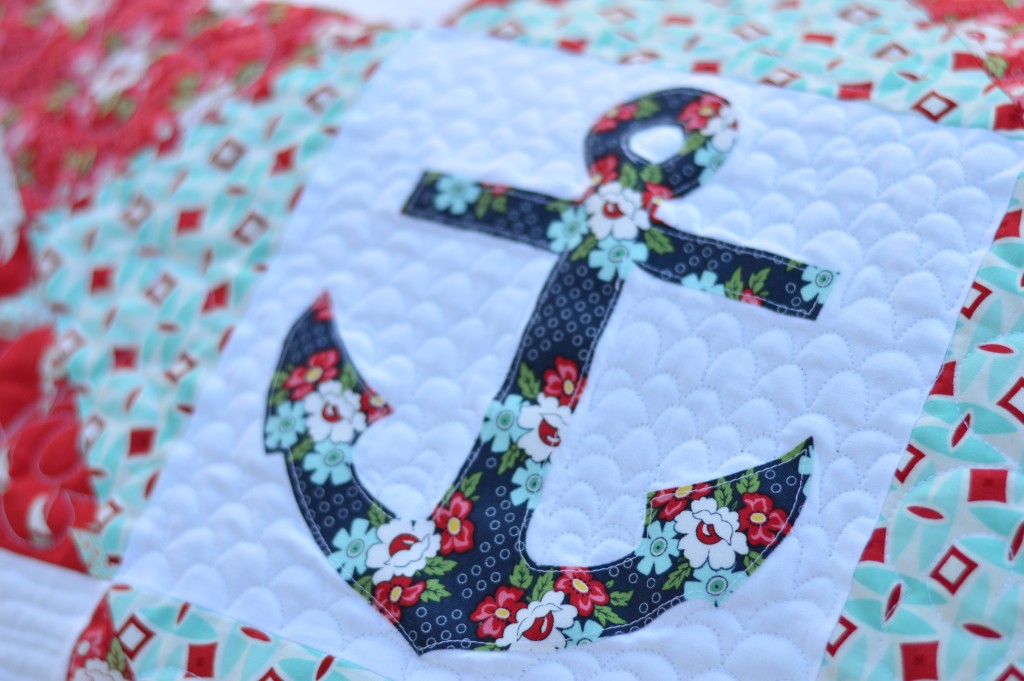
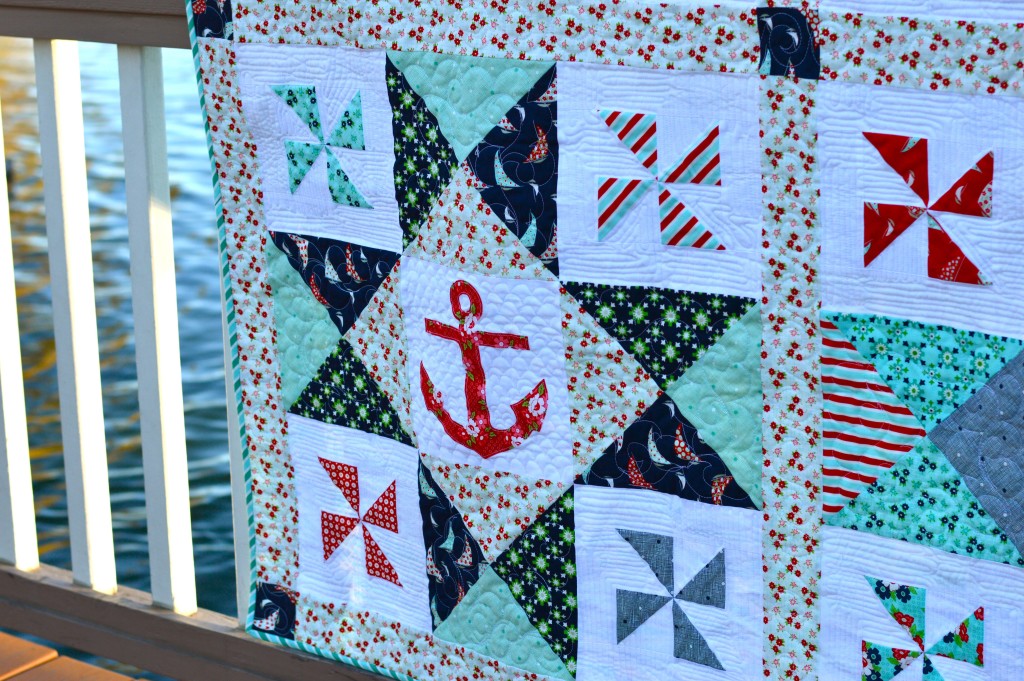
 Come Sail Away With Me!!!


