Welcome to Jedi Craft Girl! Family Ever After is hosting SEW-VIVOR and I am so excited to submit this post as my entry.
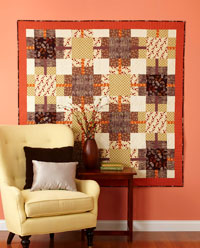
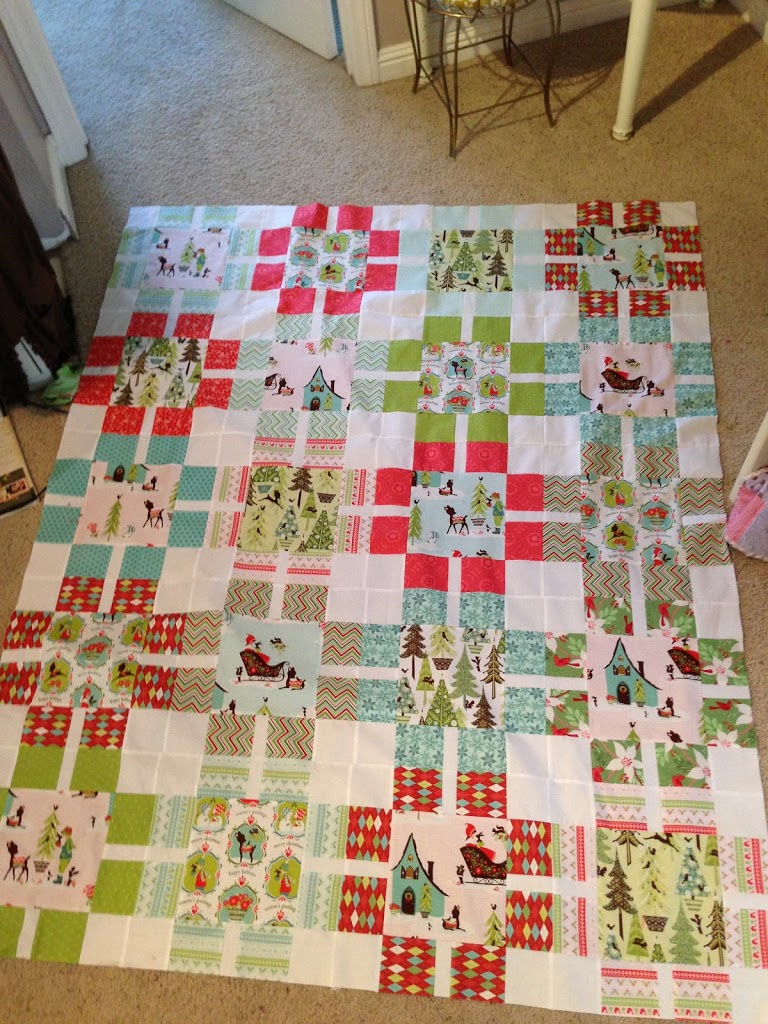
I love sewing and quilting more than anything!!! I have been sewing since I was in junior high when I learned to sew myself shorts. I have been quilting for the past 14 years and I don’t even want to count how many quilts I’ve made. It was hard to choose “my best work” to submit….kind of like choosing which child you love best 🙂 I decided on this quilt. It hangs in my entry way and I see everyday. It makes me feel happy.
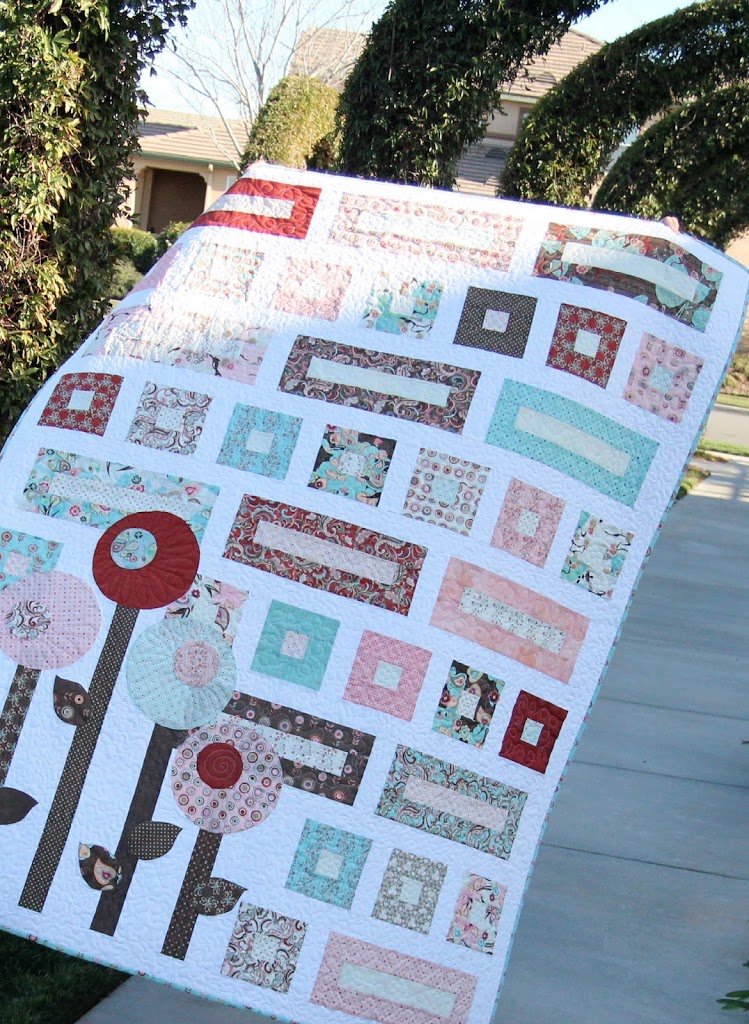
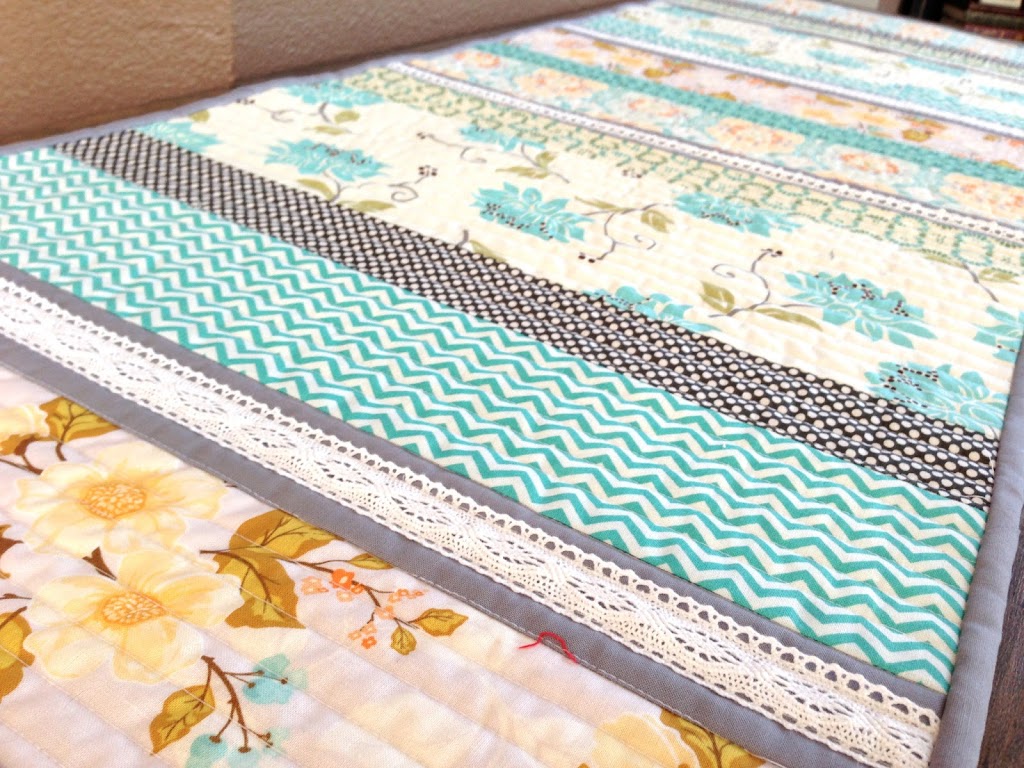
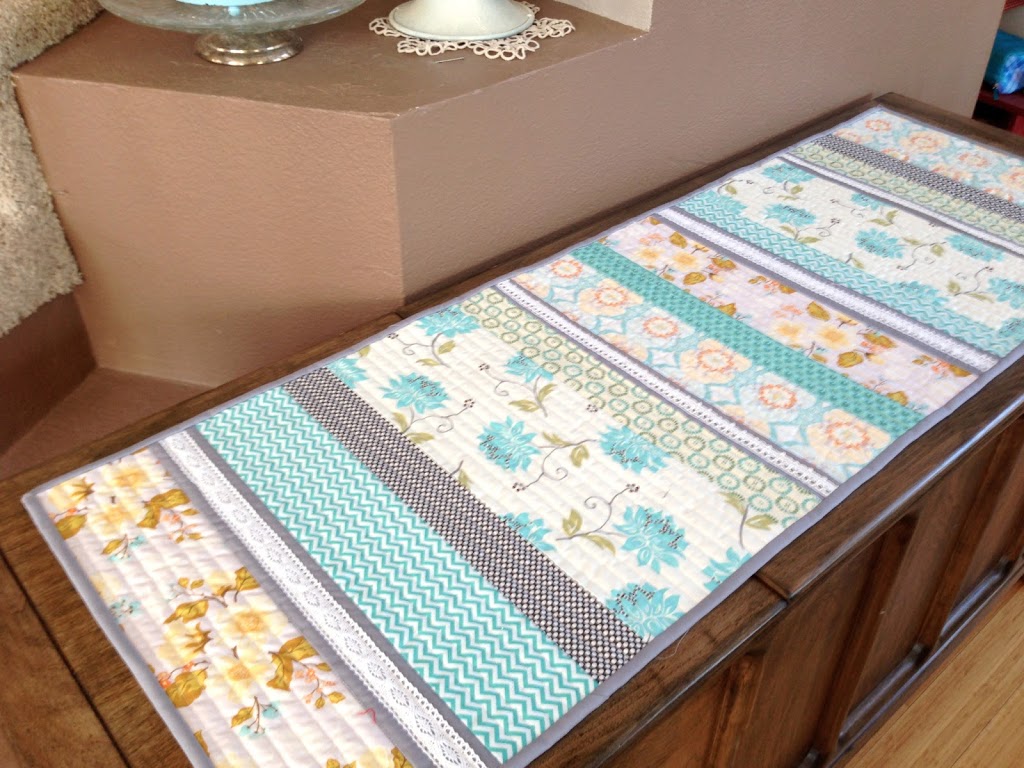
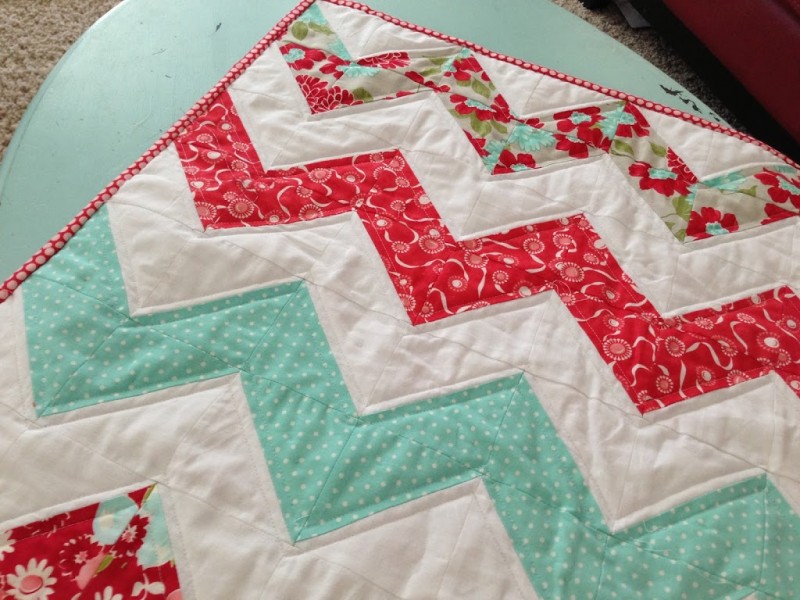
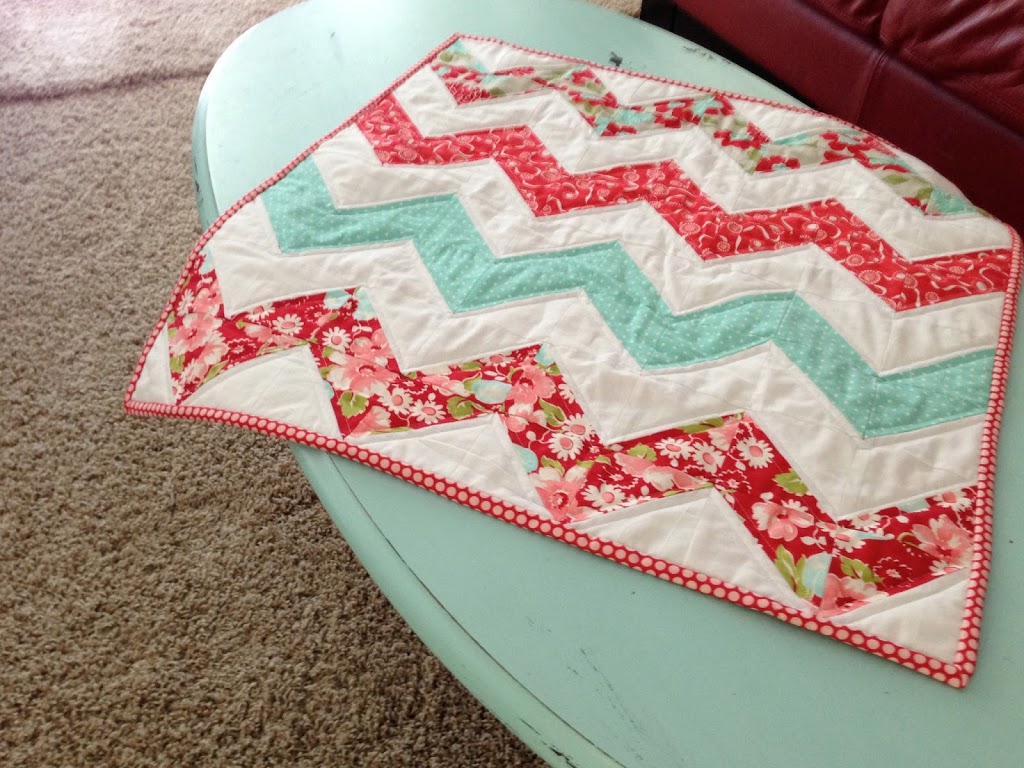
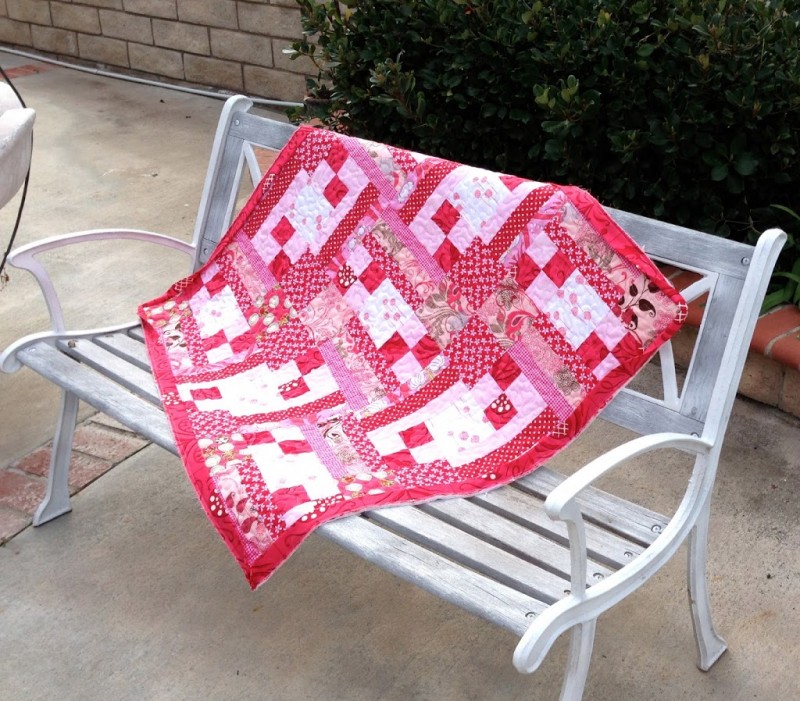
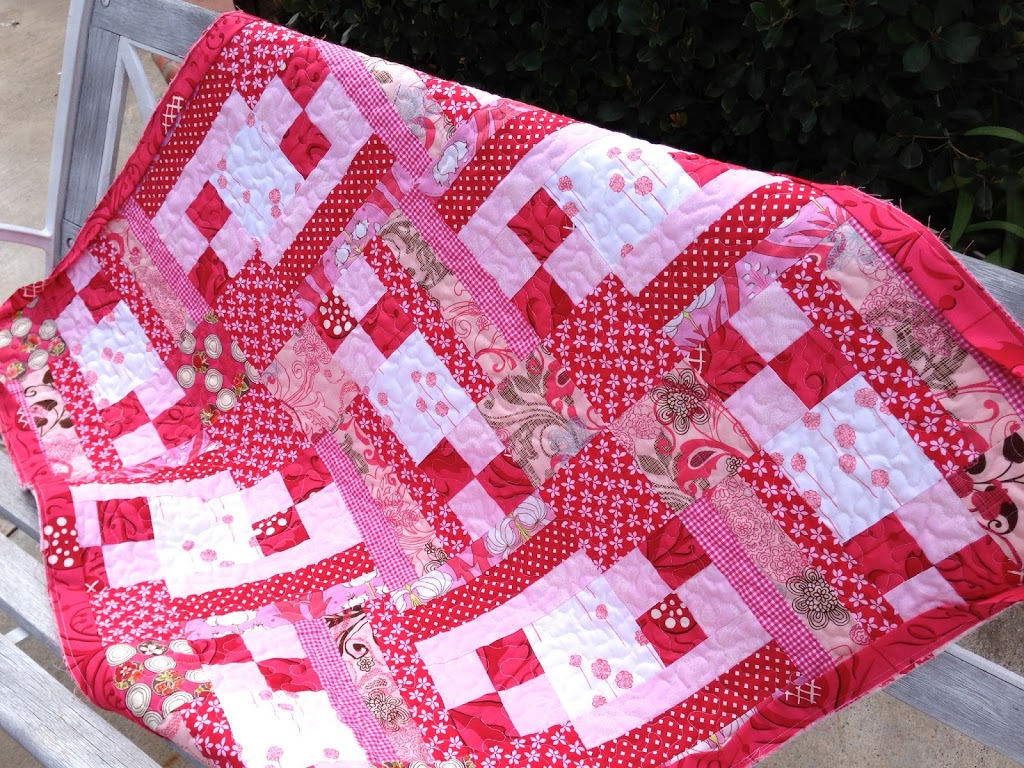
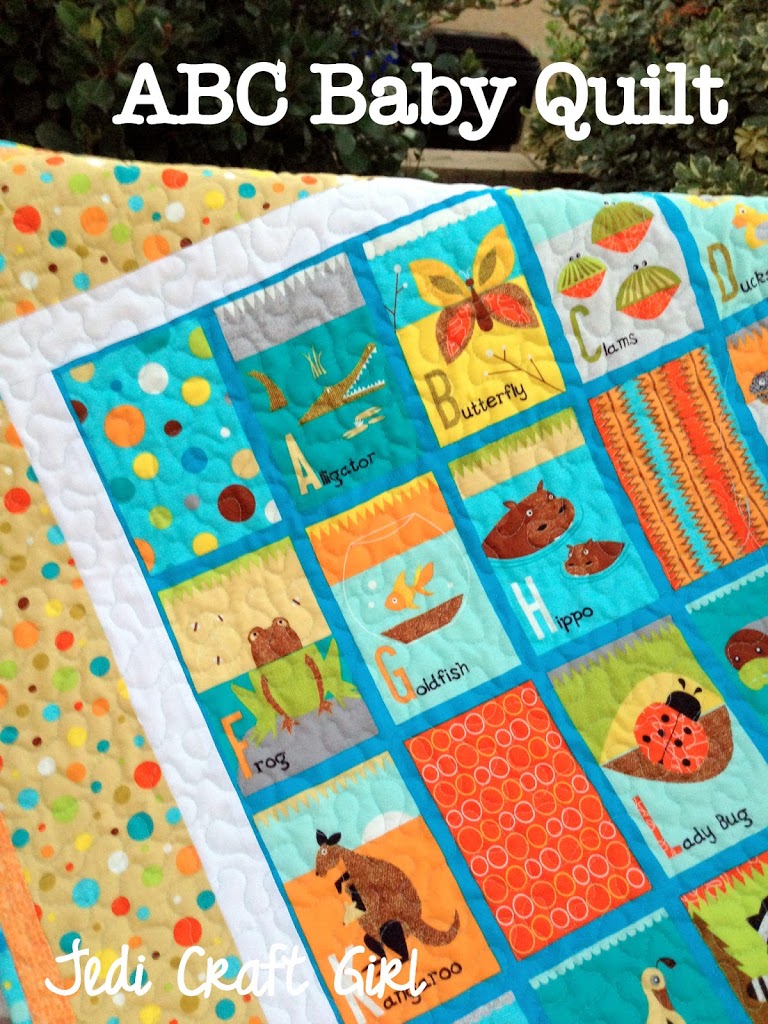
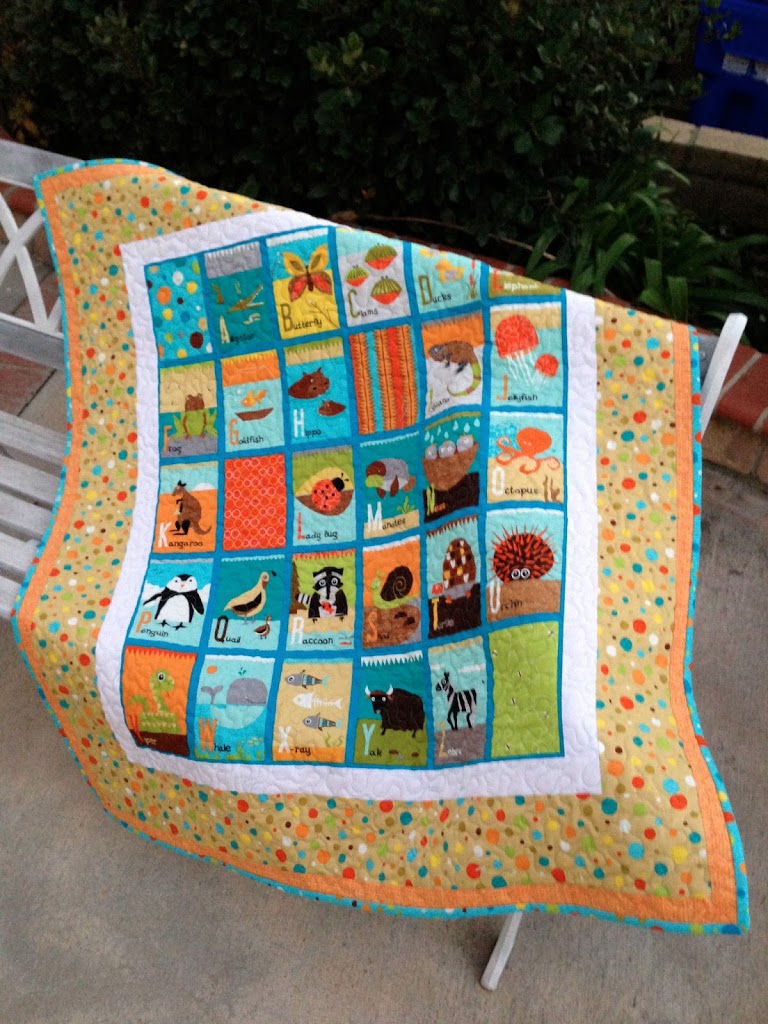
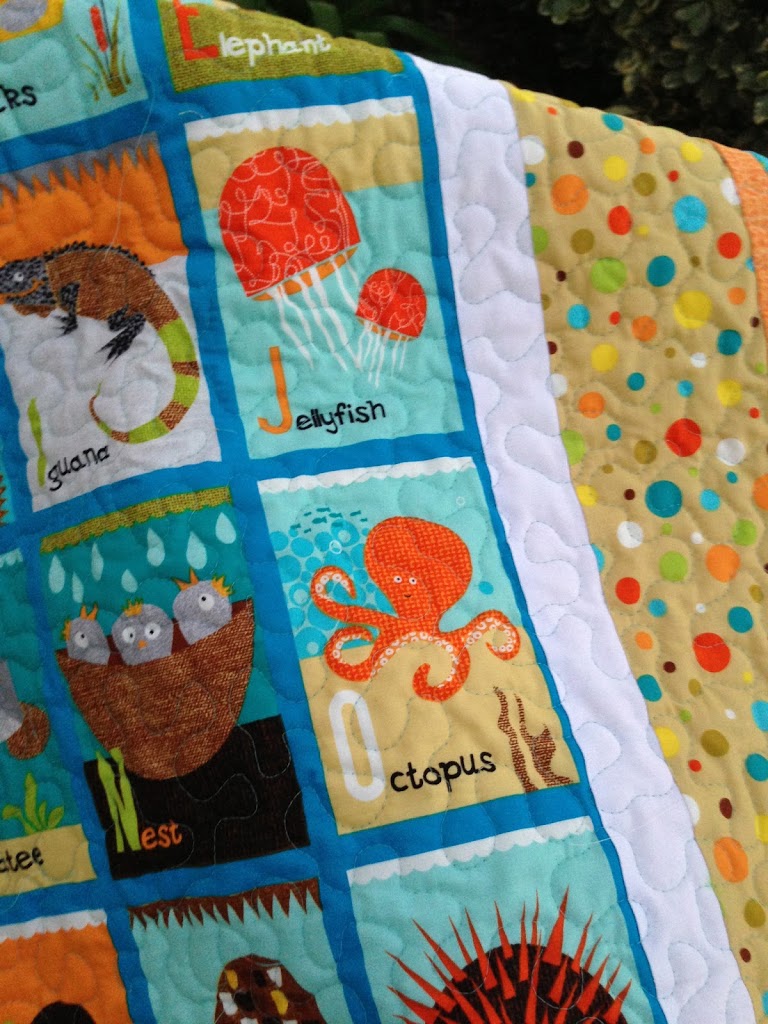
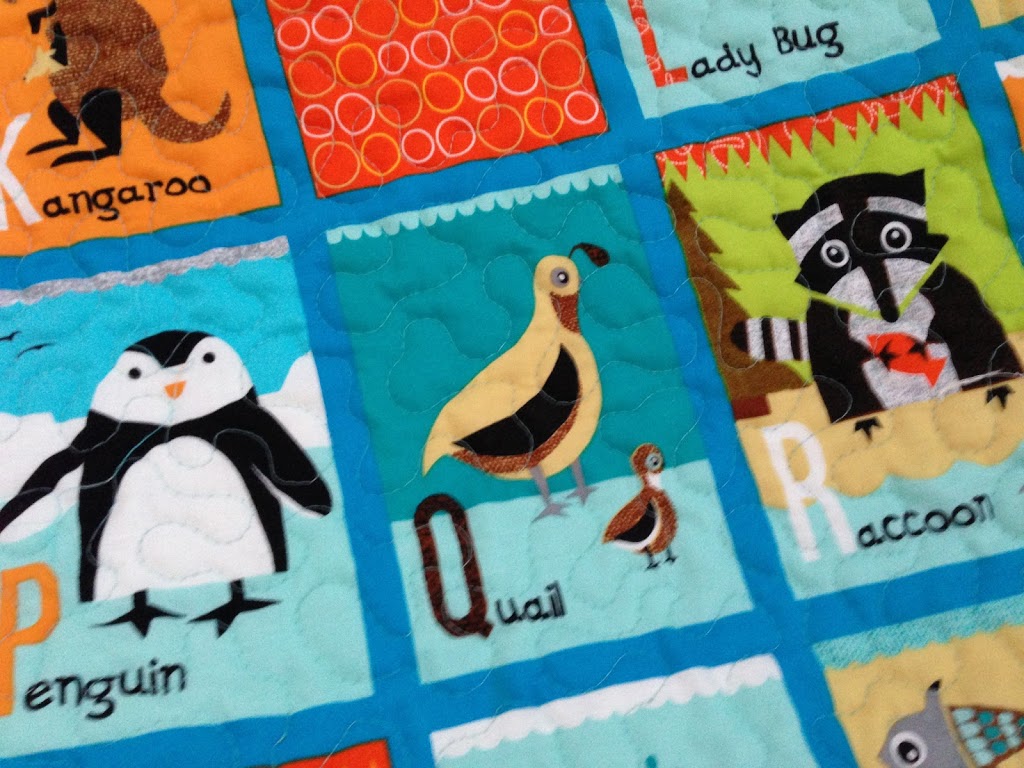
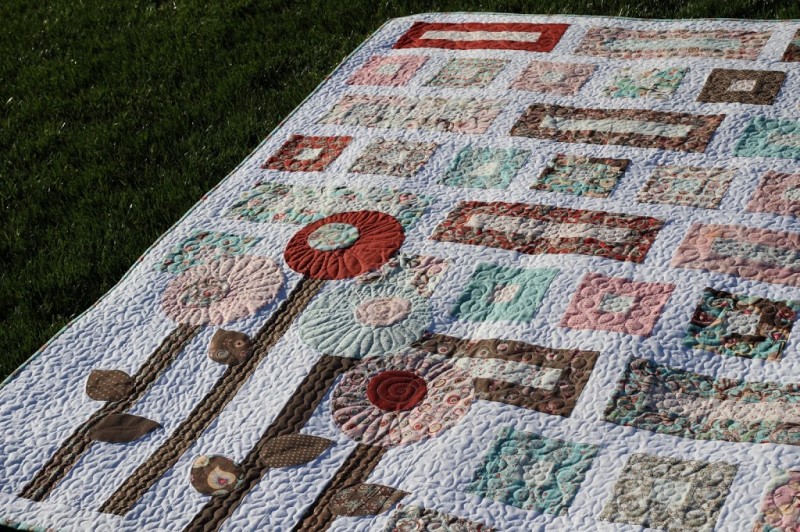
The quilt measures 57″x73″. The blocks are pieced and the flowers and leaves are machine appliqued.
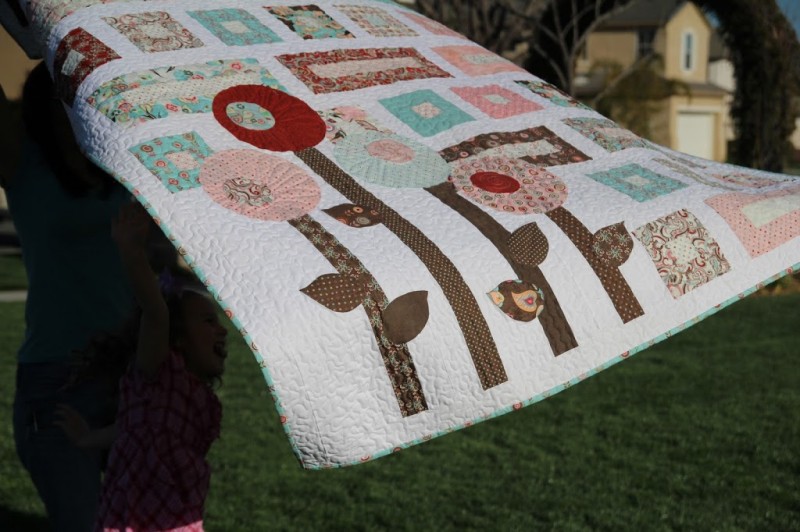
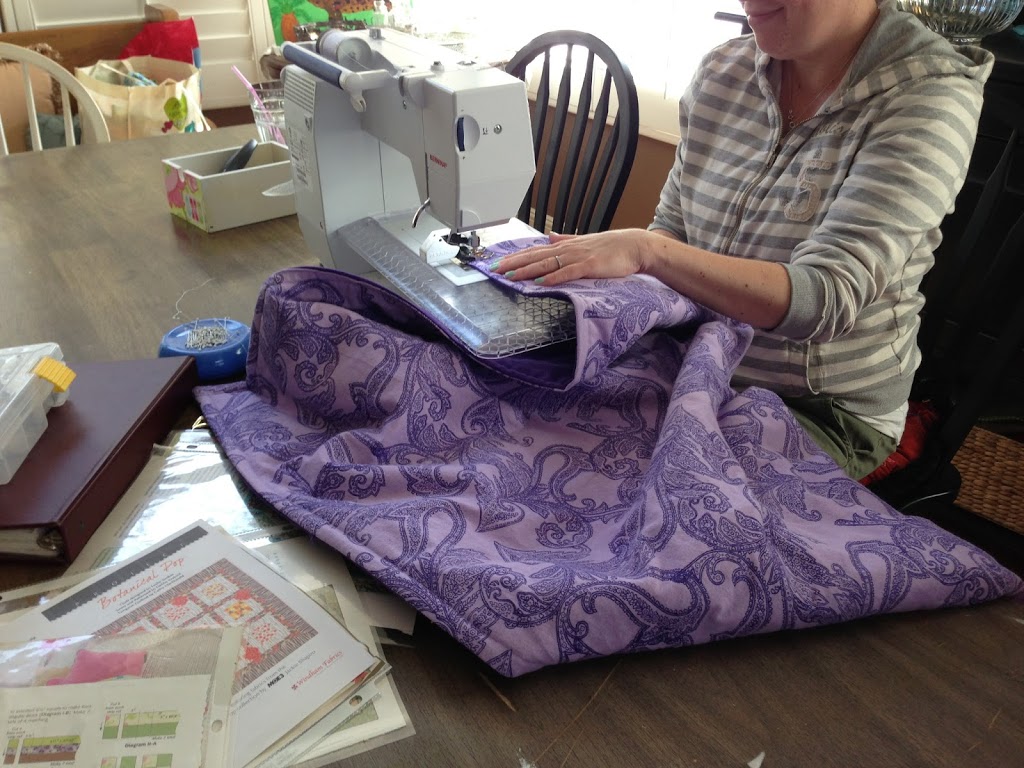
I don’t own a long arm quilt machine, so the quilting was all done by me on my regular sewing machine. This is about the largest size I will quilt at home. It gets too bulky.
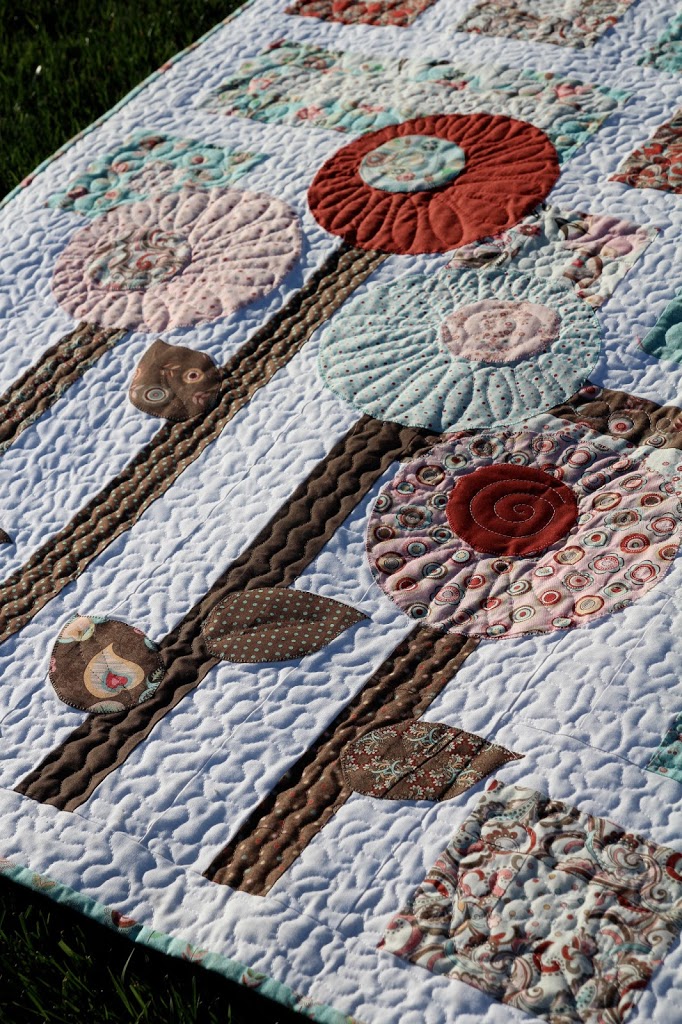
I was so happy with the quilting. (It took 3 hours and my back hurt for 2 days.) I did tight meanders on all the white fabric. The blocks have flowers and loop-de-loos quilted on them.
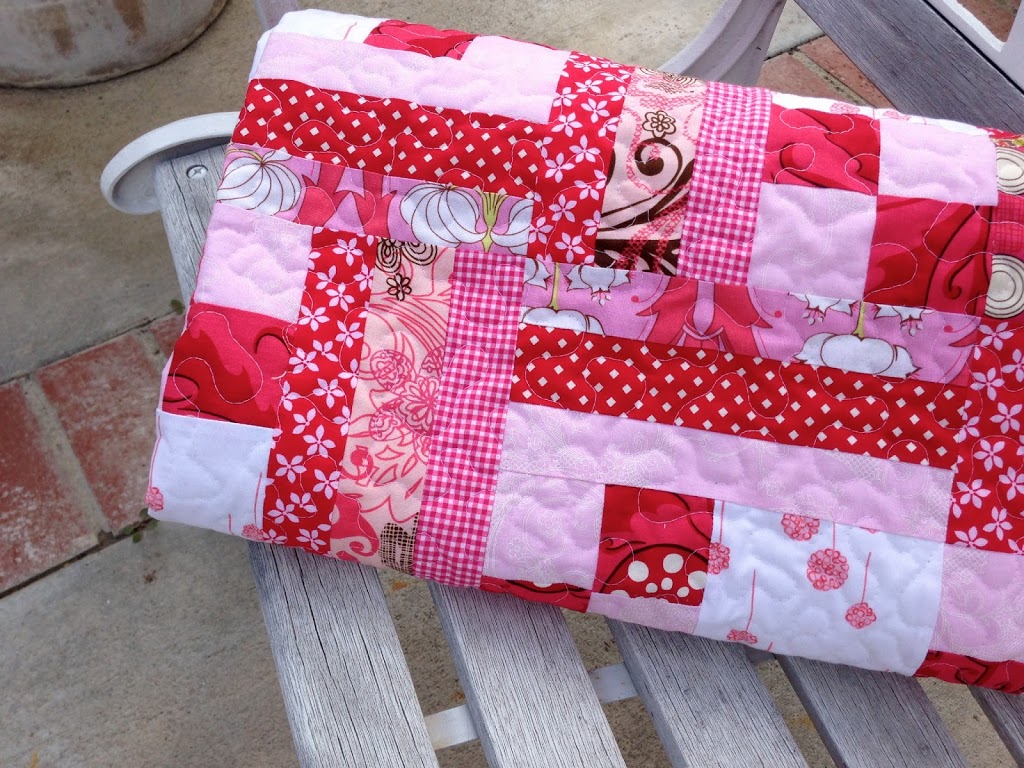
The binding is hand-sewn.
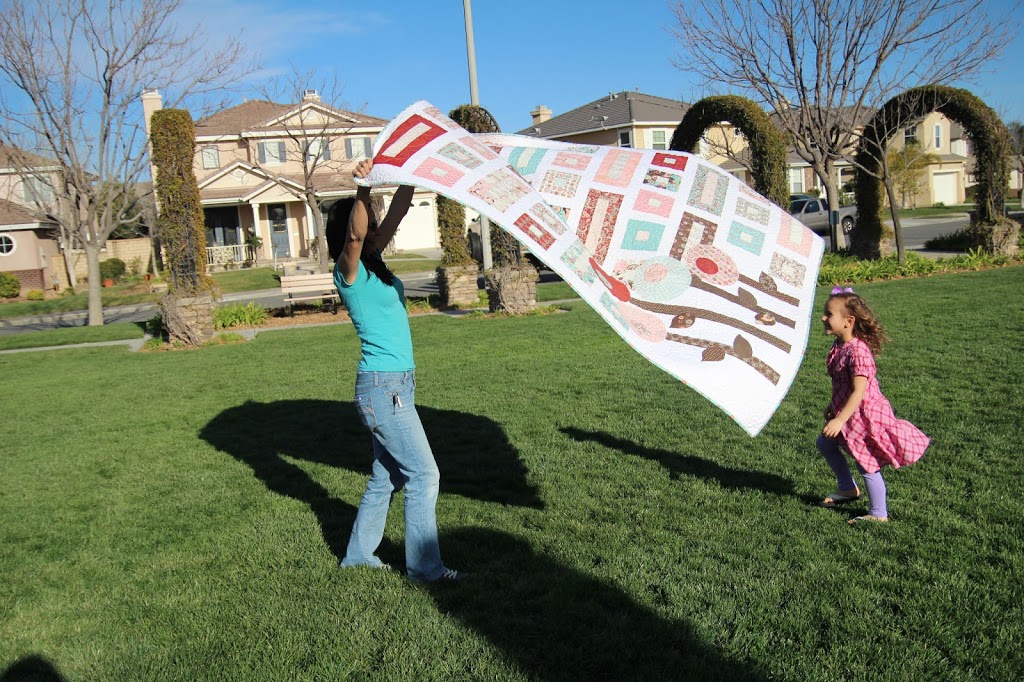
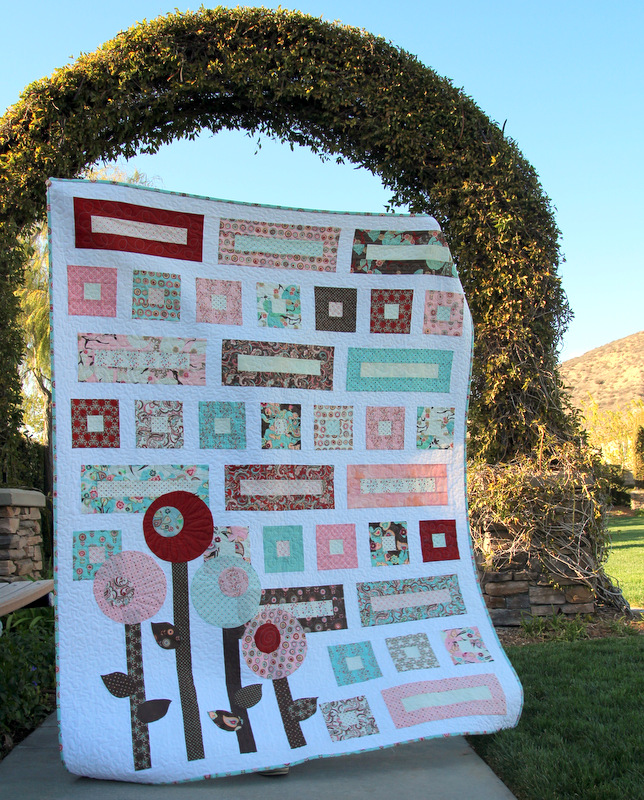
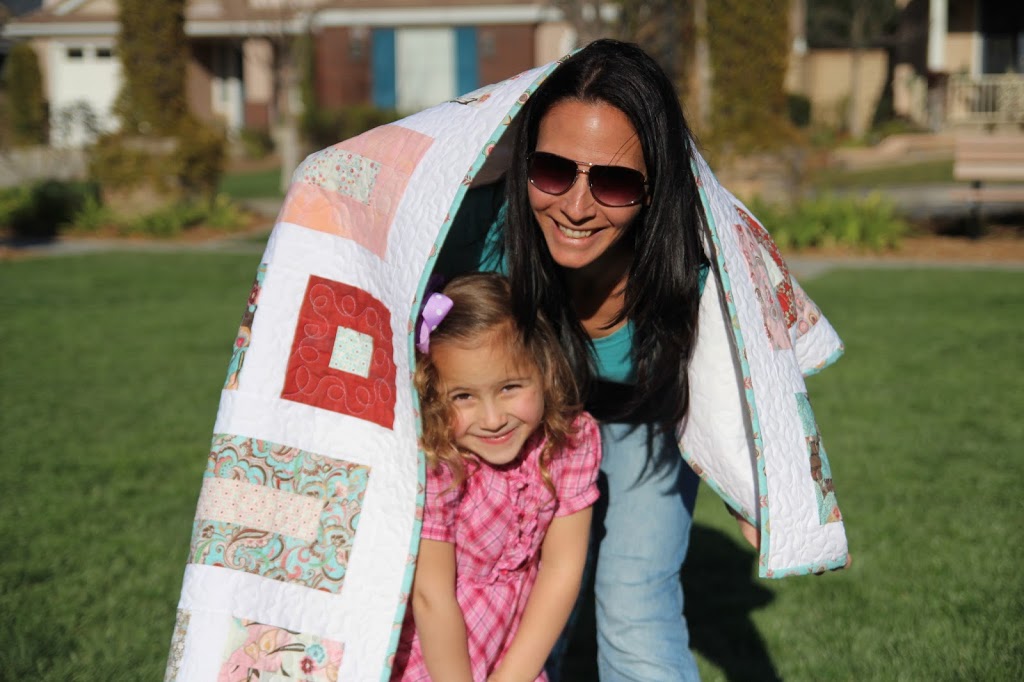
A quilt on a windy day is so much fun!!
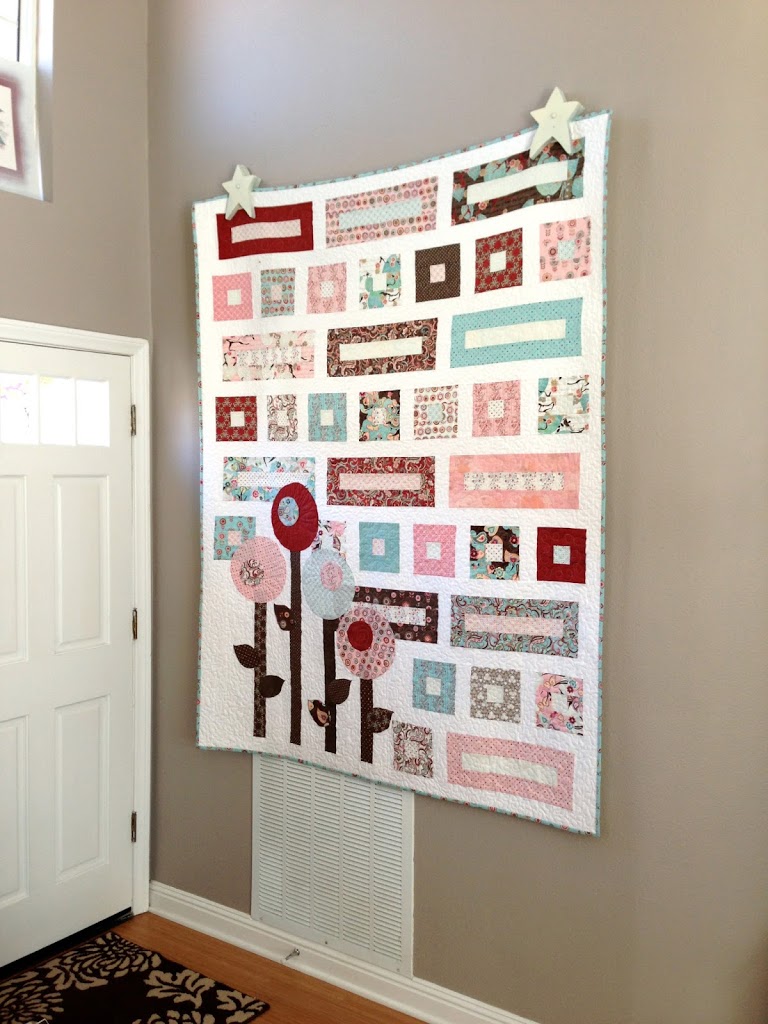
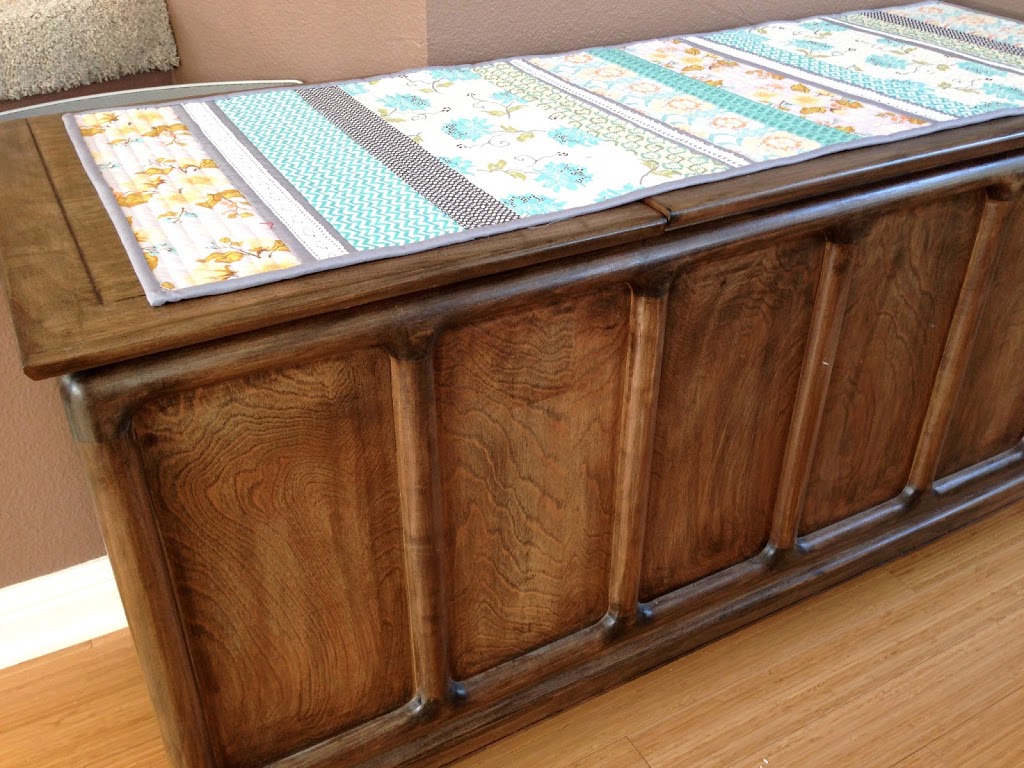
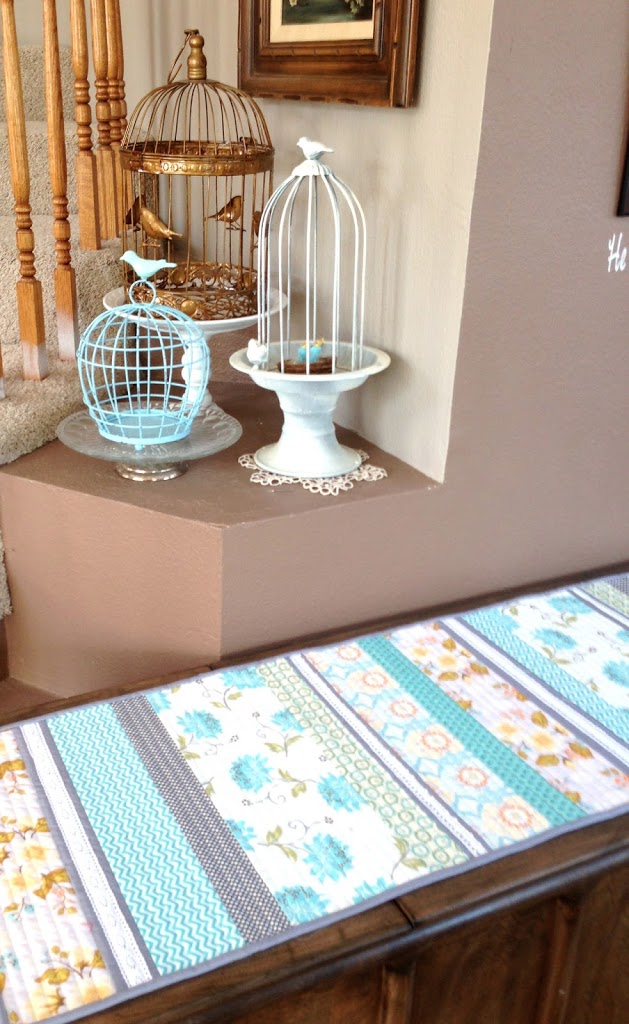
Here is where it lives most of the year. It’s the first thing people see when they come in my home and it is a good representation of who I am.
“I cannot count my day complete, ’till fabric, thread, and needle meet”