I am in the process of repainting my kitchen. Today’s project is the pantry cupboard. I saw this cool paintable-textured wallpaper at Lowe’s. So I thought I would give it a try. The photos are a little dark as I do my best work in the wee hours of the night!!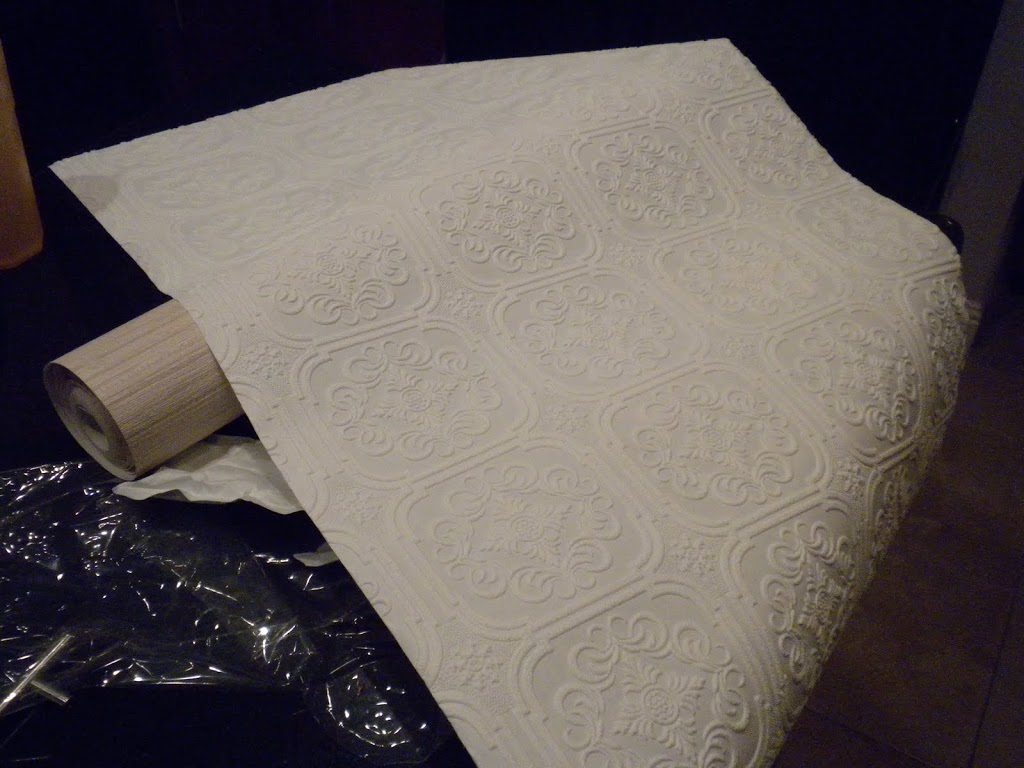
First you measure the space you want to cover and cut the wallpaper those dimensions. I used my quilting rotary cutter and mat and it worked like a dream. Then I followed the wallpaper instructions. Soak the paper for 30 seconds, let it sit for 5 minutes, then apply, smoothing out the air bubbles and wiping off the excess glue.
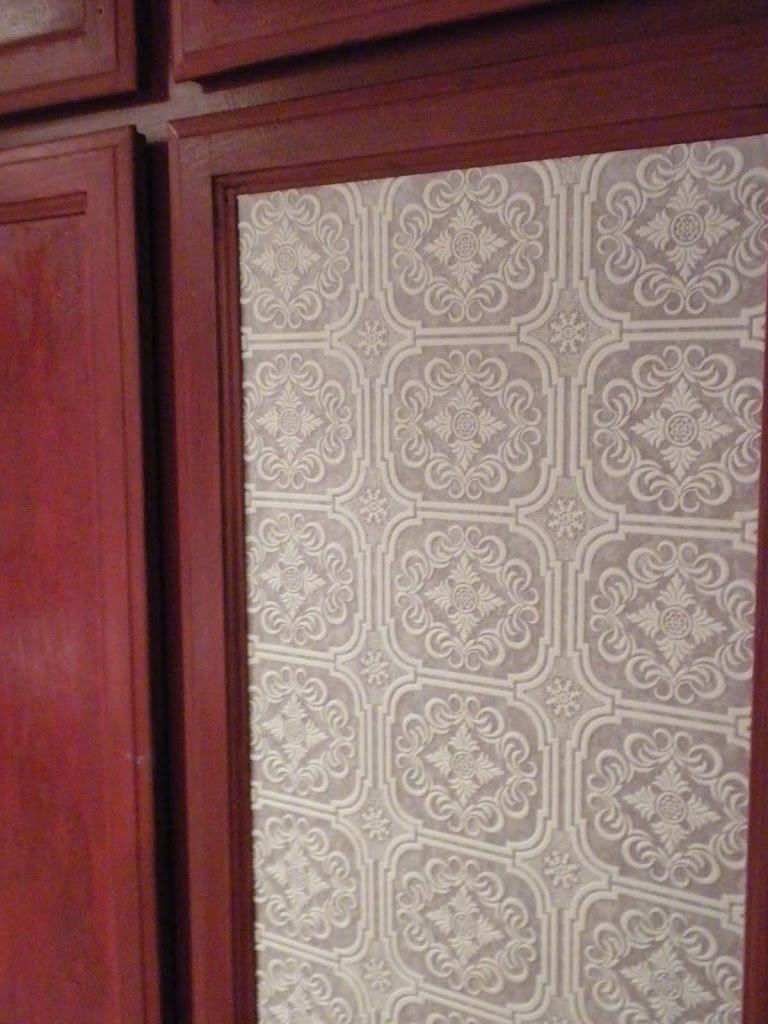
I applied a piece to each of the panels on the cupboards and let it dry over night.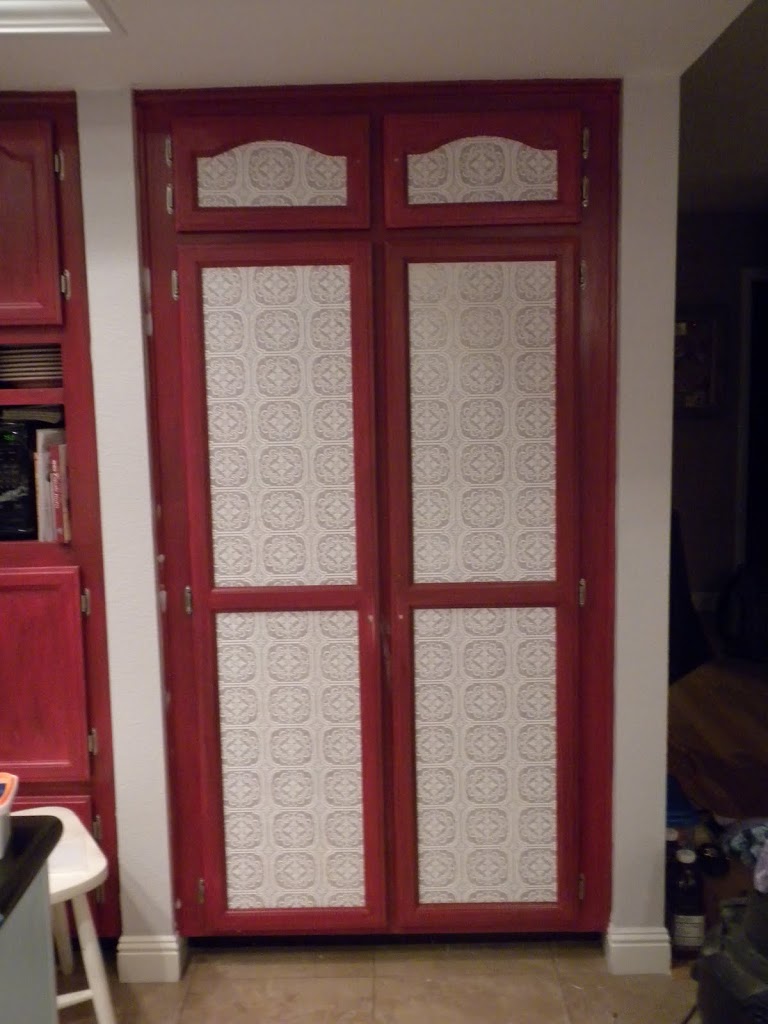
Now the fun part begins. I wanted the wallpaper to match the rest of the cabinets so I first needed it to be red like the rest of the kitchen. It was hard to get out the Tomato Red paint when I am wanting to cover it up!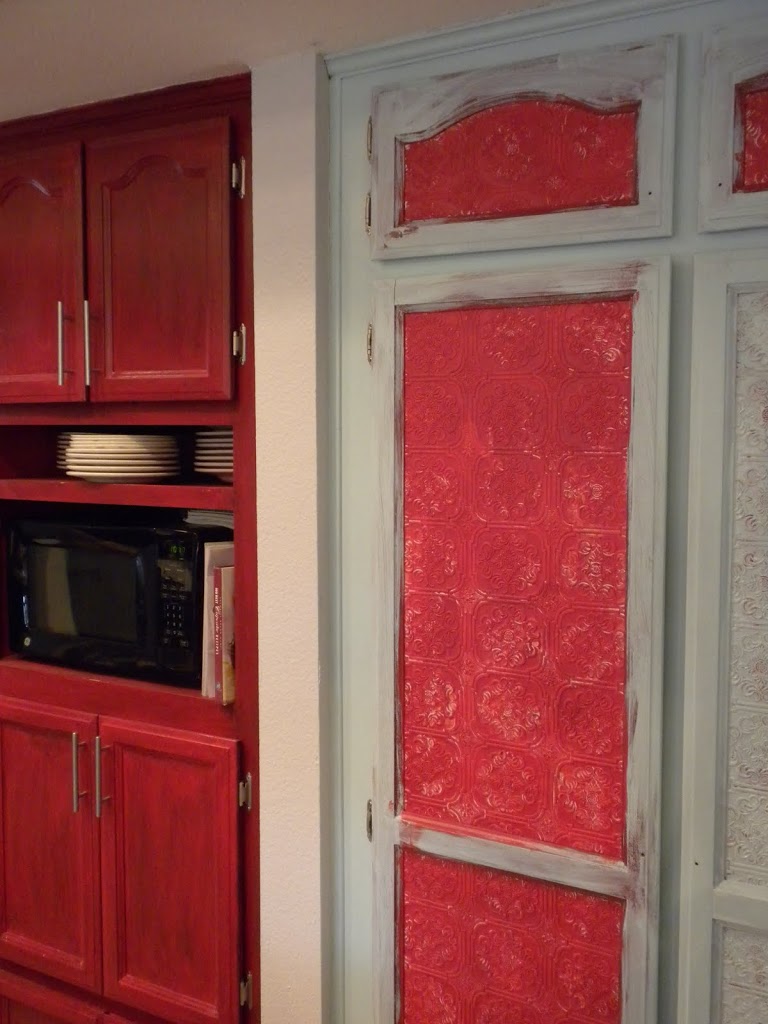
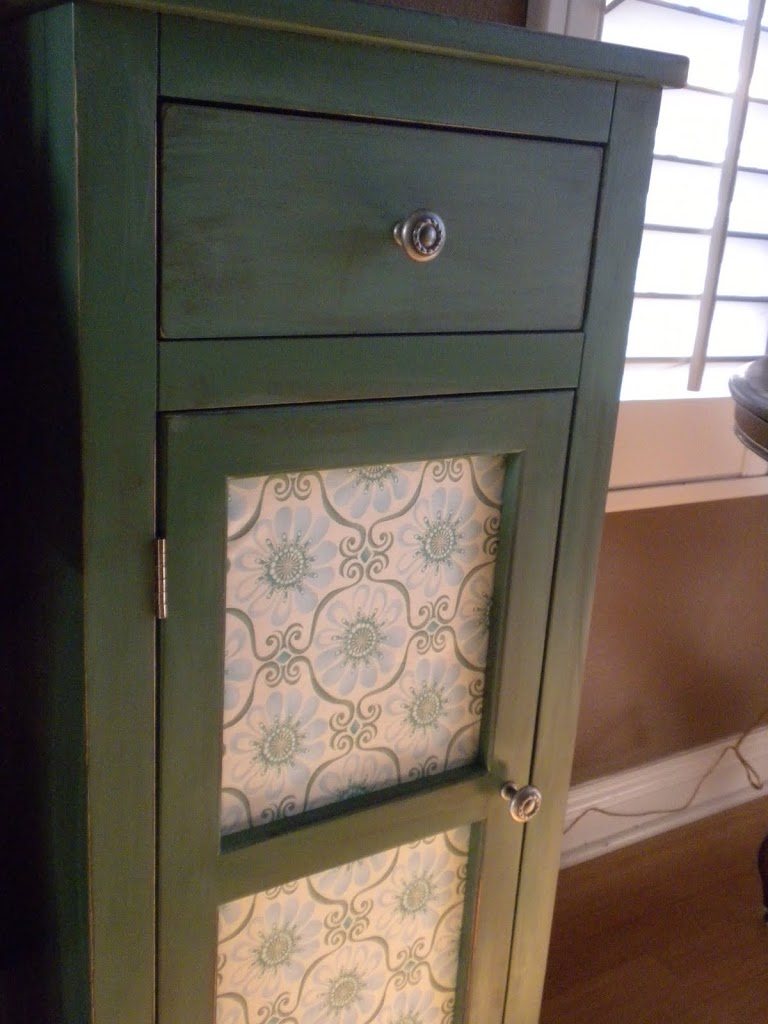
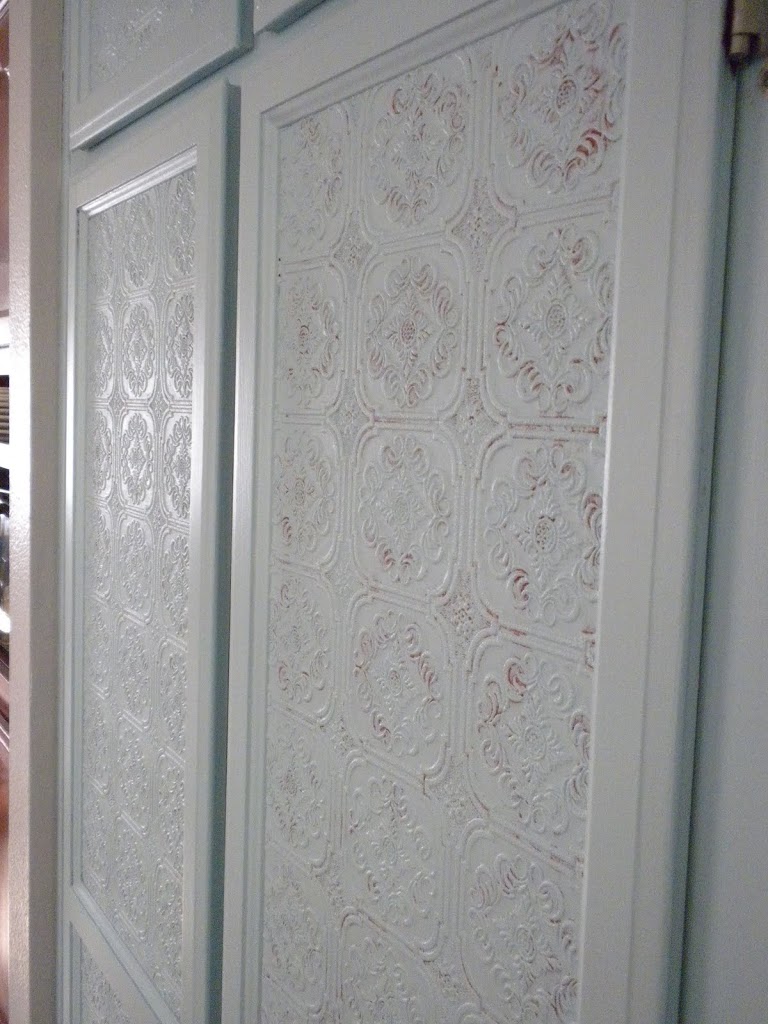
I let the red dry then it was time to paint the aqua color over the doors. I left bits of the red showing through on the texture part to give it the rustic feel I am going for.
When that step was done and dry, I sanded the edges of the doors so the red would show through here and there.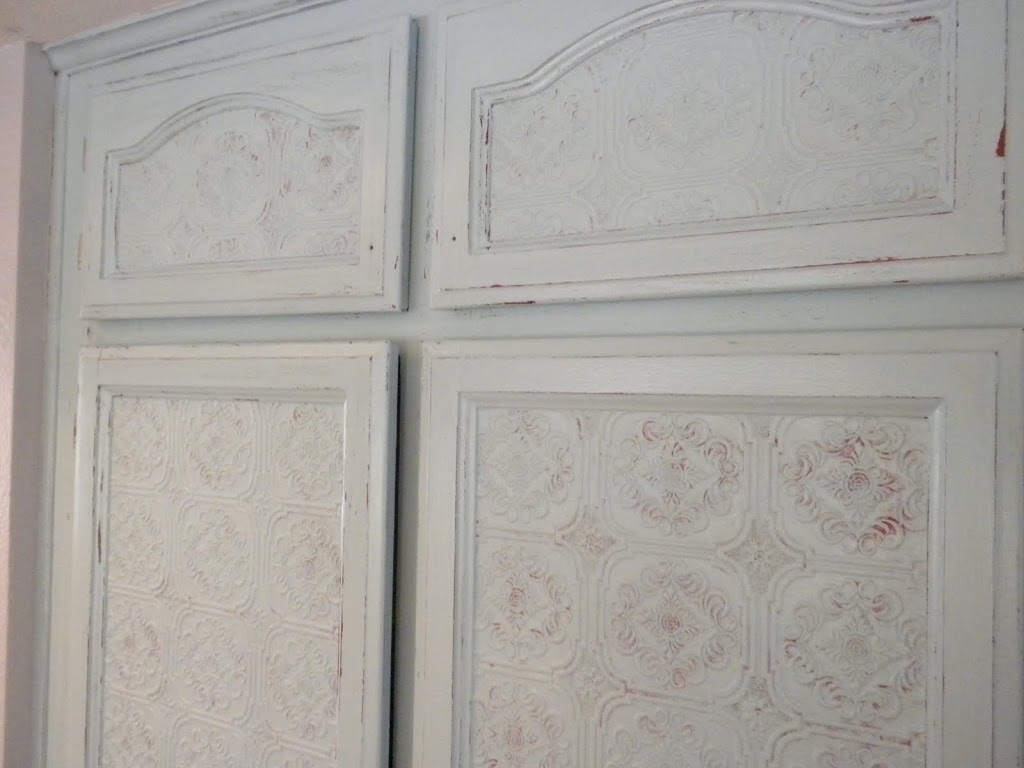
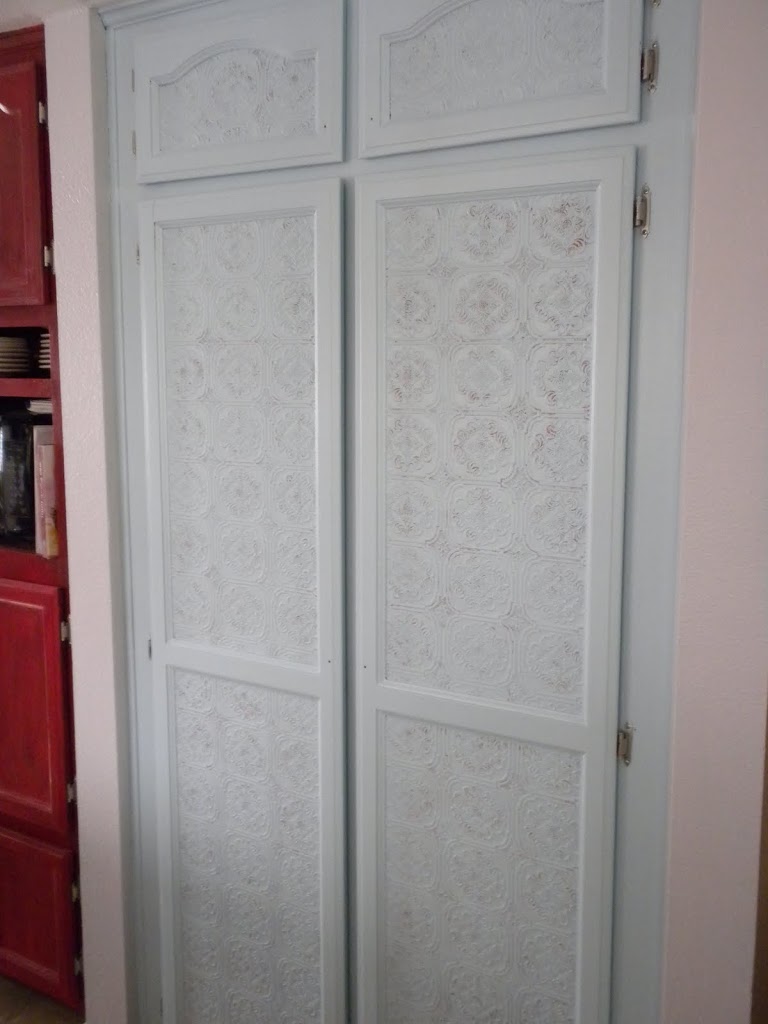
I then applied a coat of Polycrylic. This is a non-coloring protective coat that will keep the paint from chipping and give some durability to the wallpaper.
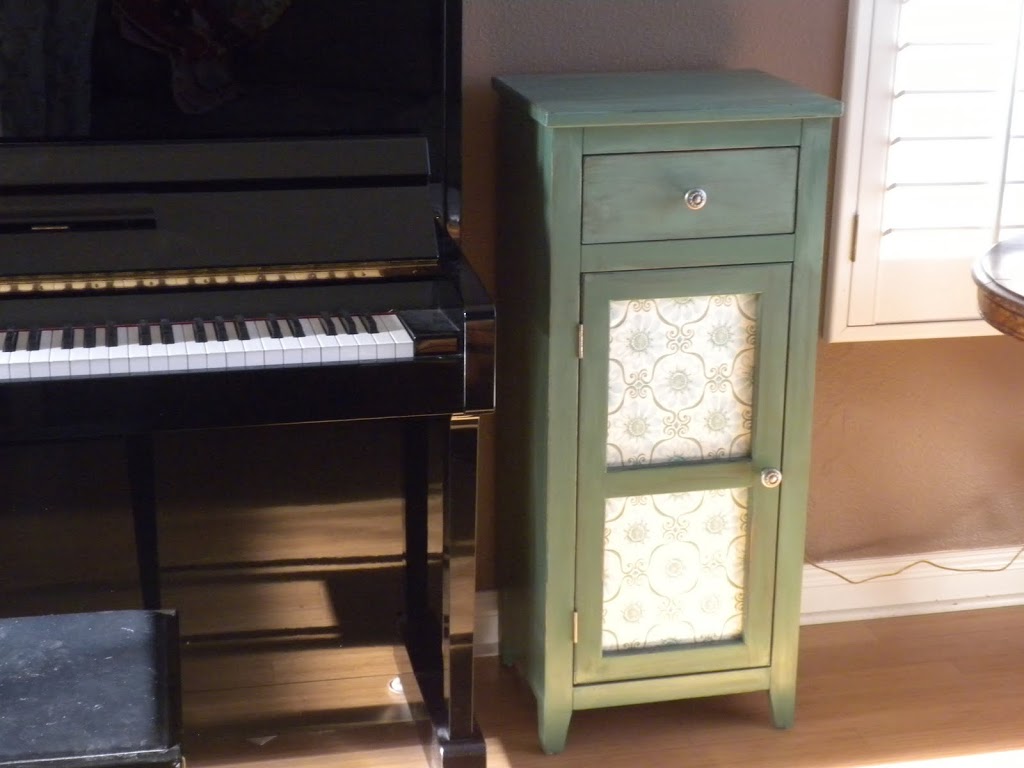
I love the finished look. The wallpaper looks like it was always part of the doors!