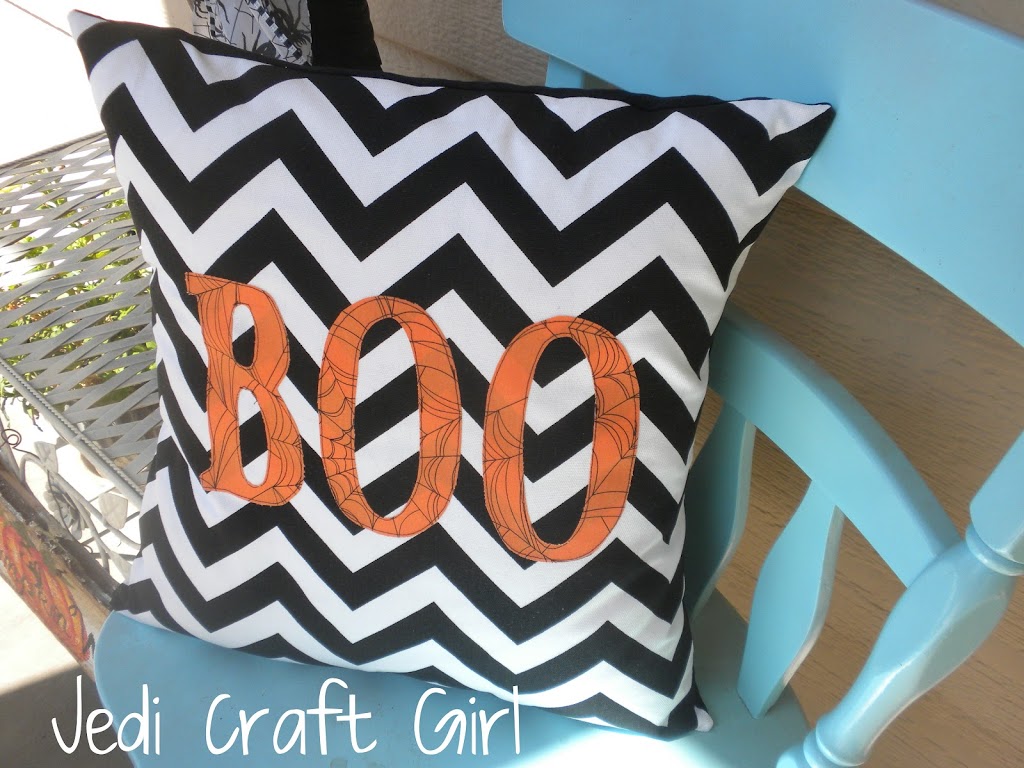
Just sewed up this Halloween pillow for my front porch. I LOVE chevron print for Halloween. I appliqued the letters out of orange spiderweb fabric – took about 15 minutes to make! Can’t wait to make more Halloween pillows!
Saving the universe one project at a time!
Just sewed up this Halloween pillow for my front porch. I LOVE chevron print for Halloween. I appliqued the letters out of orange spiderweb fabric – took about 15 minutes to make! Can’t wait to make more Halloween pillows!
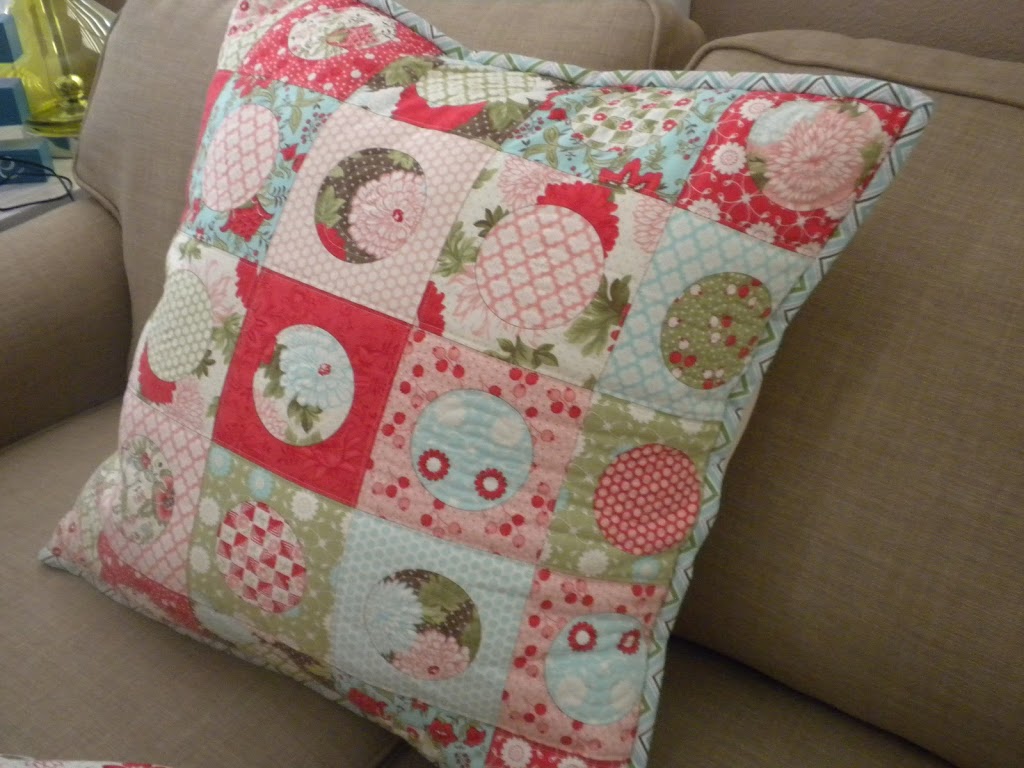
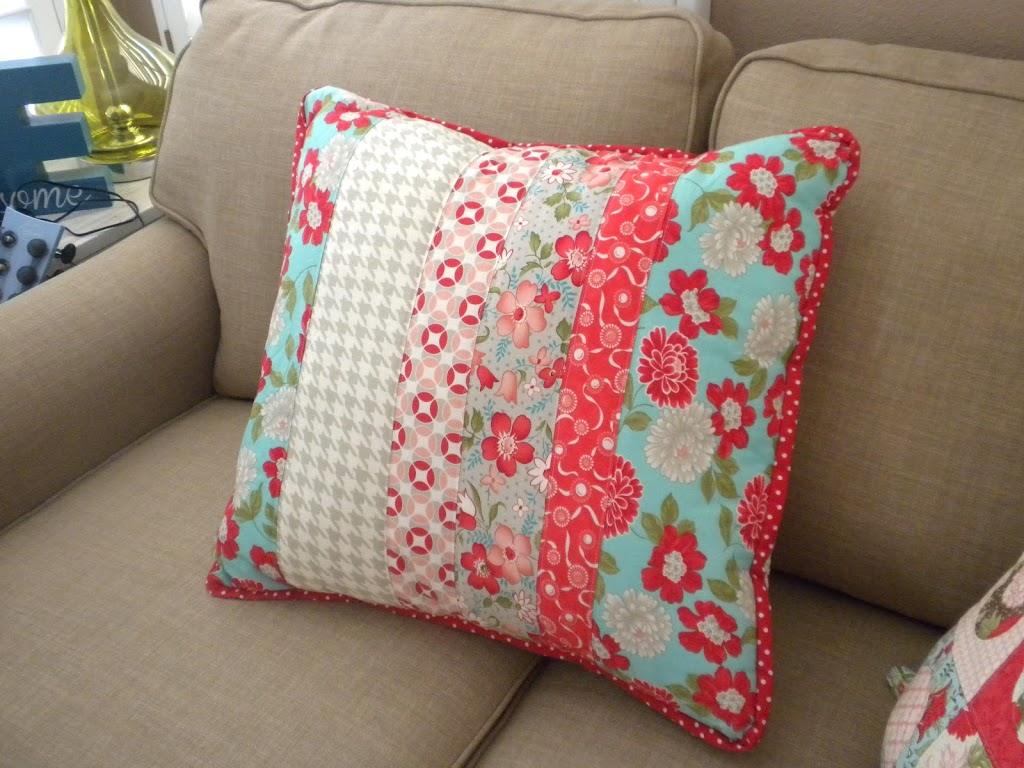
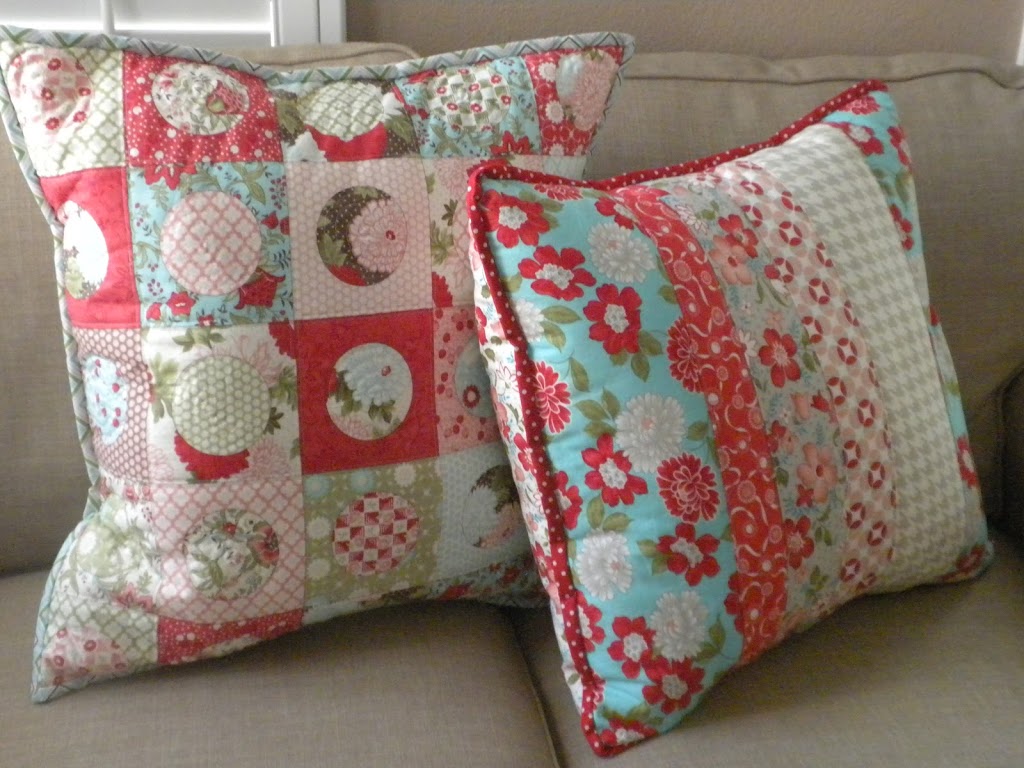
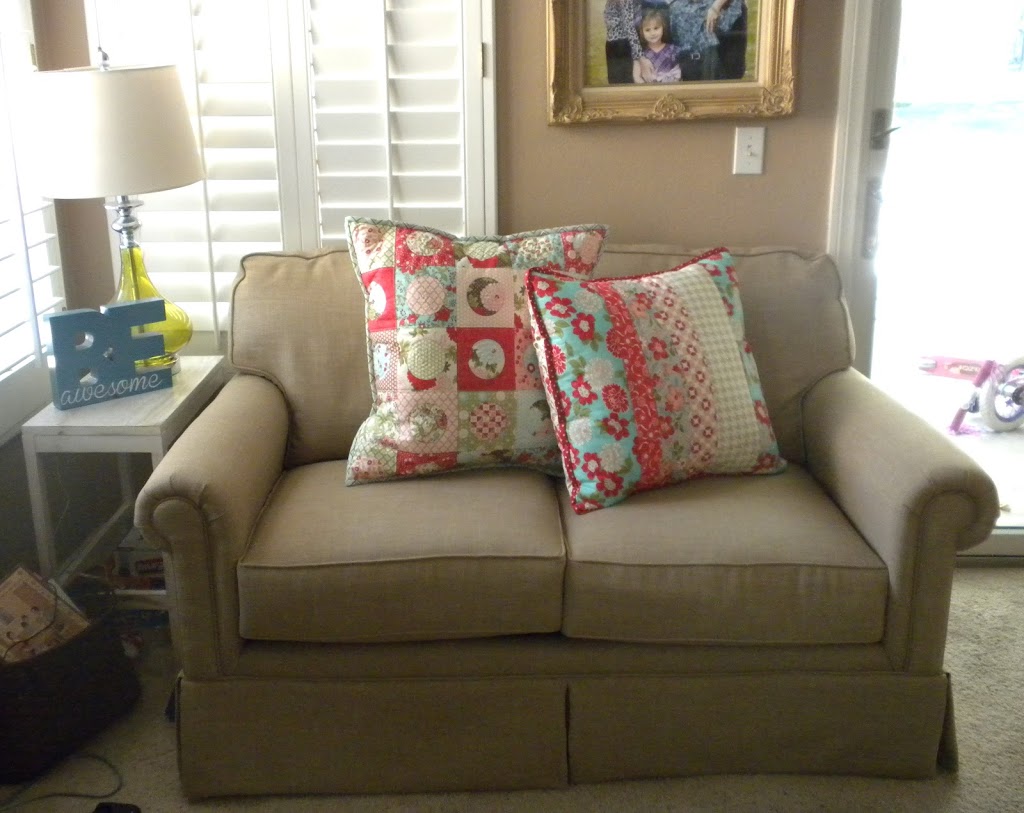
So I sewed new ones! They are really big – much larger than a throw pillow. I essentially made a mini quilt and put 2 flaps on the back to make an envelope. This one is a Moda print and all I did was quilt it – swirls in the circles and then just 1/8 inch from the lines straight stitching.
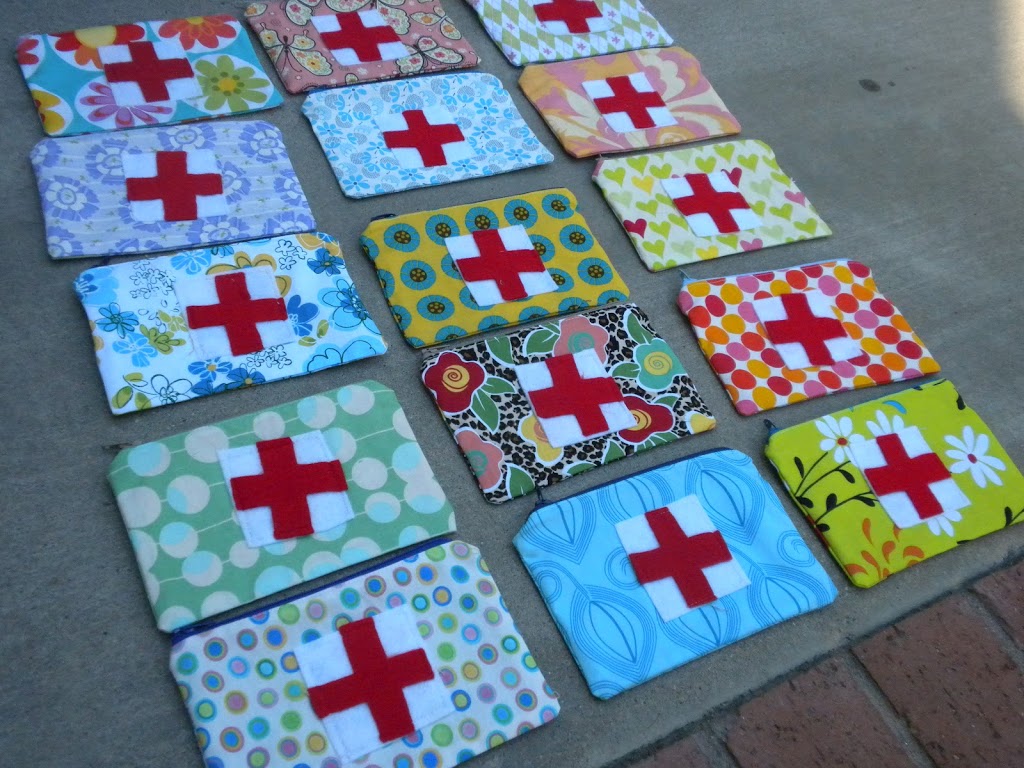
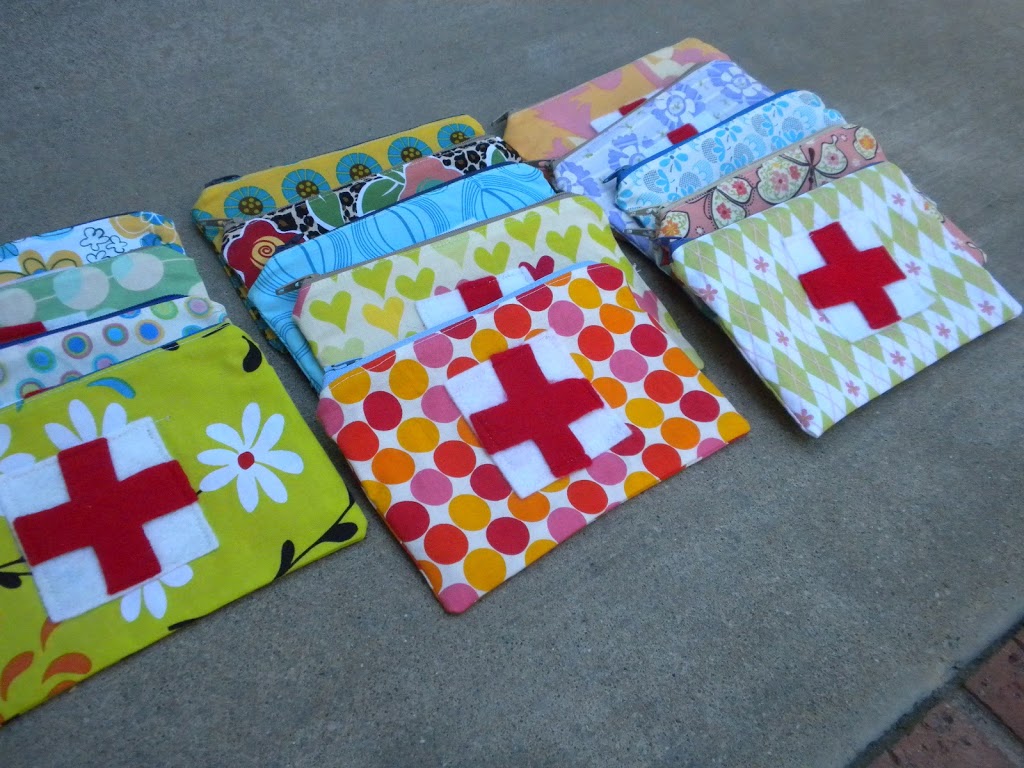
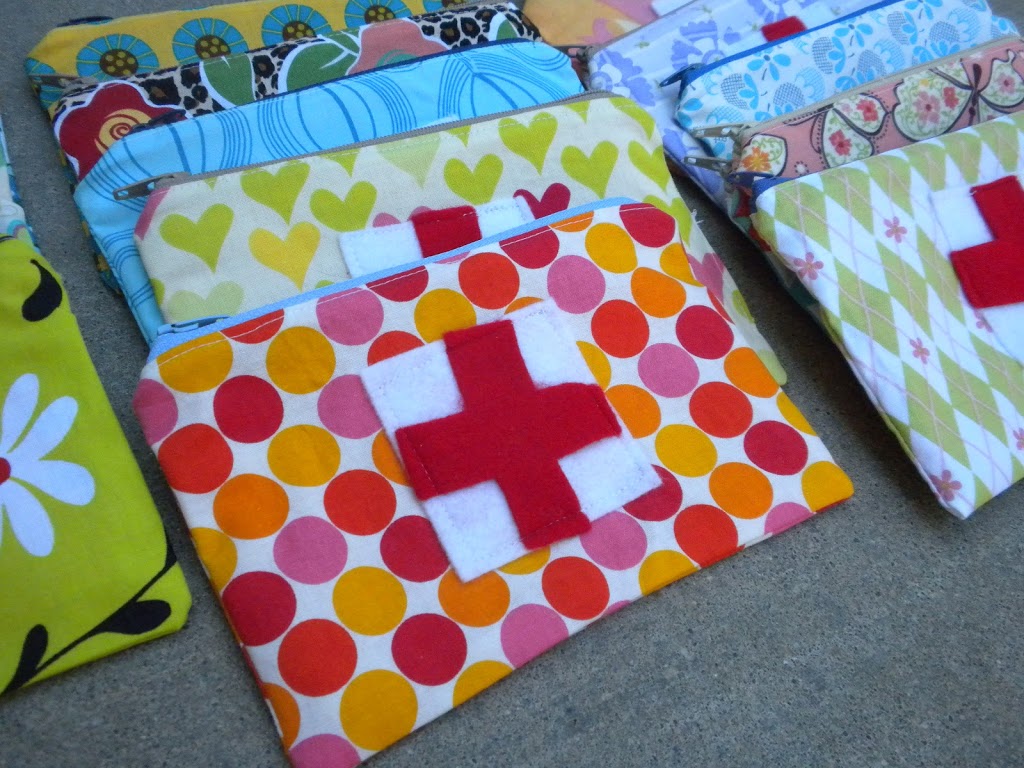
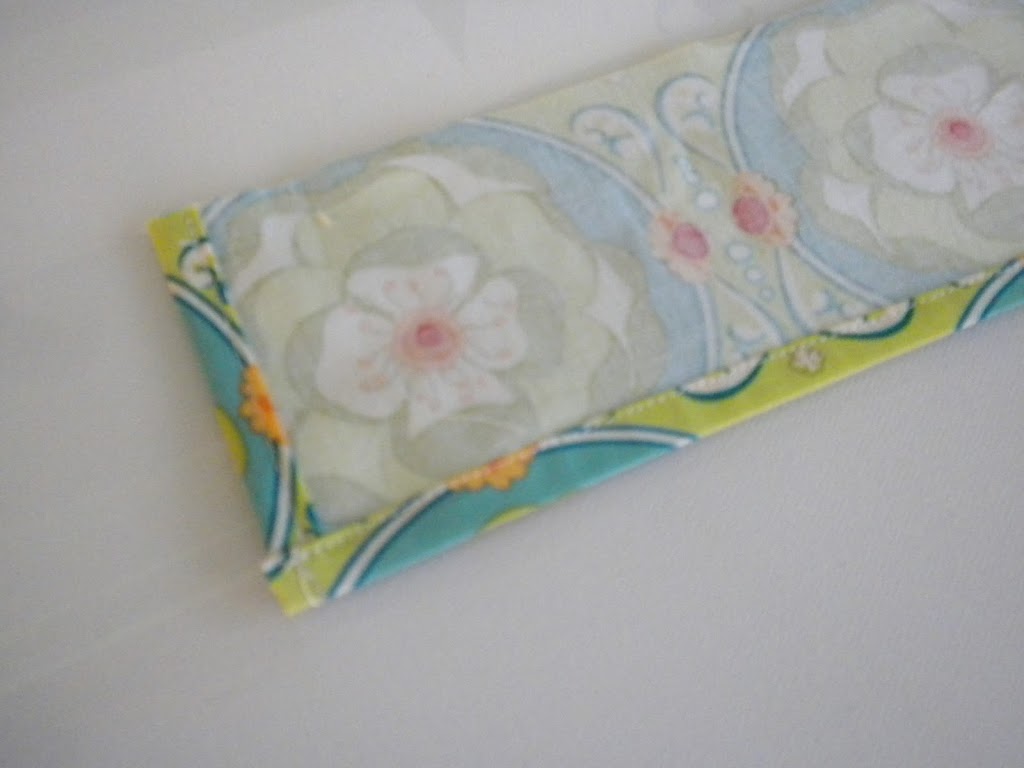
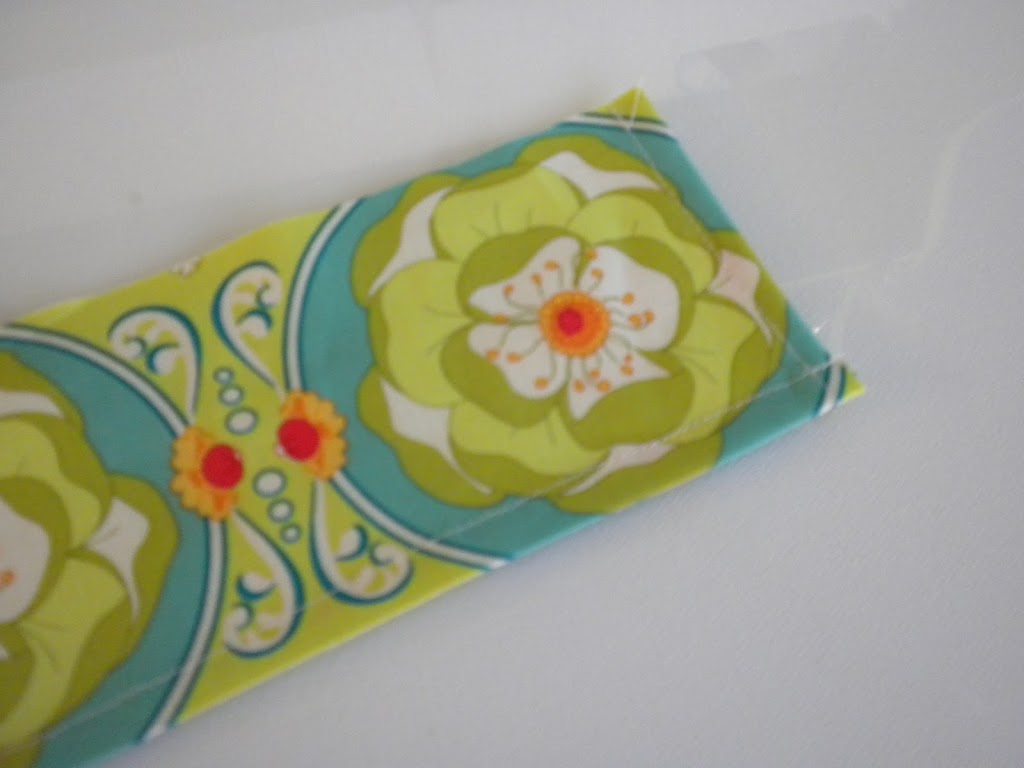
I had a lot of fun getting ready for Girl’s Camp. I made these little first-aid zipper pouches for the girls to put their first-aid kits.
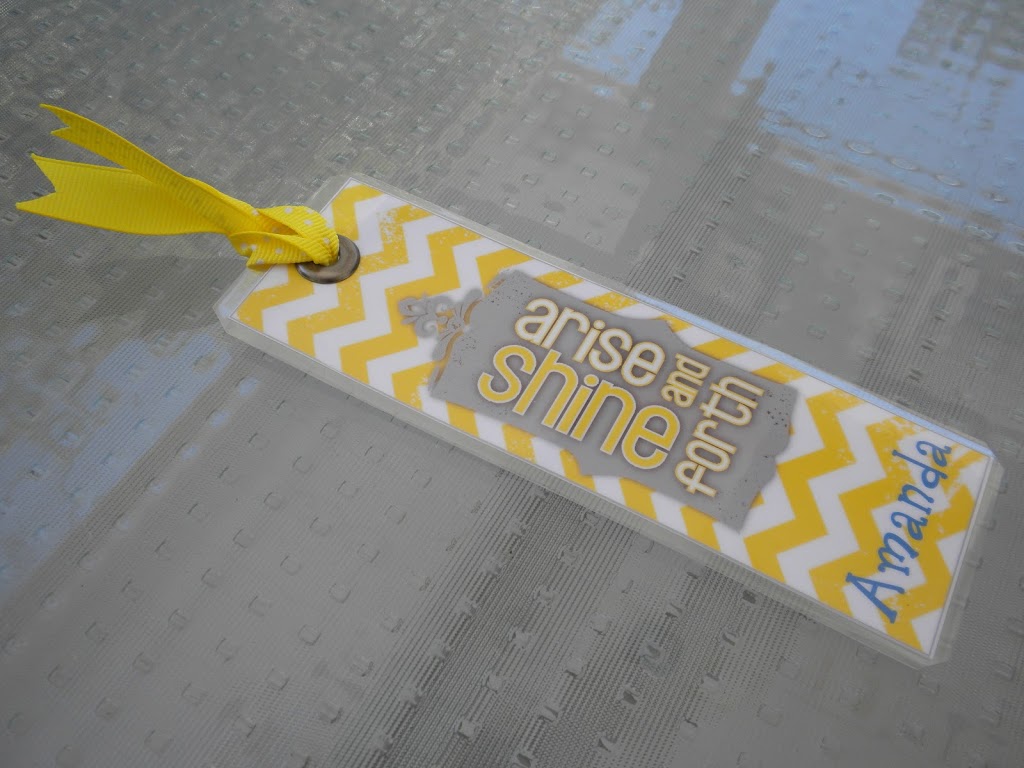
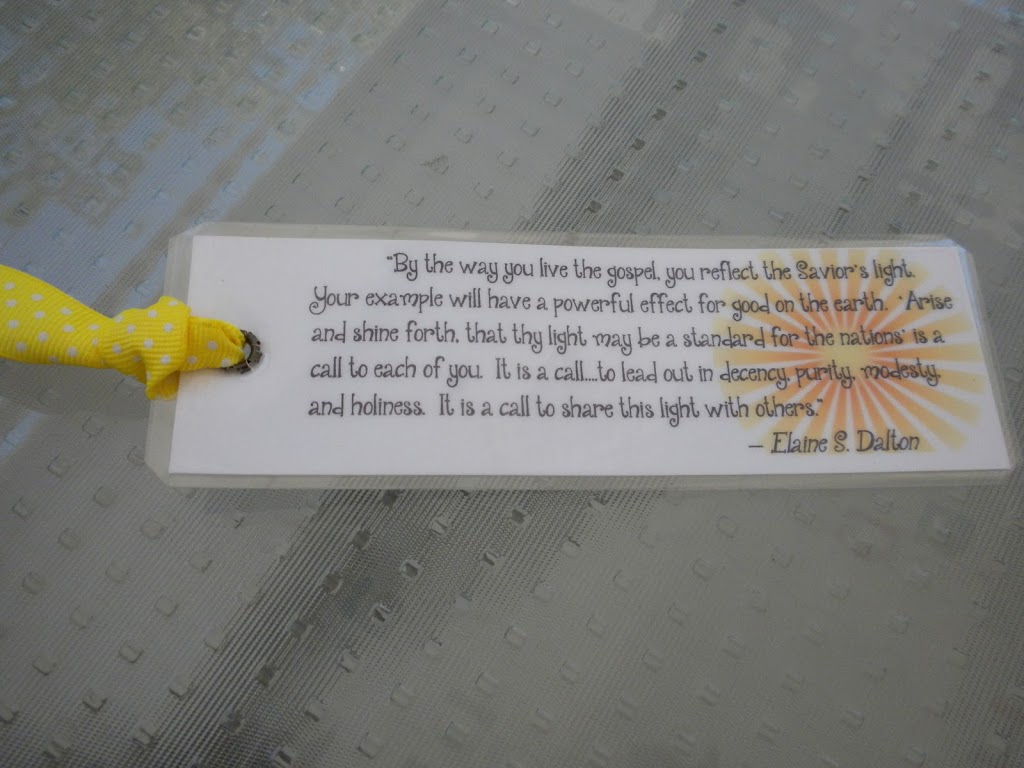
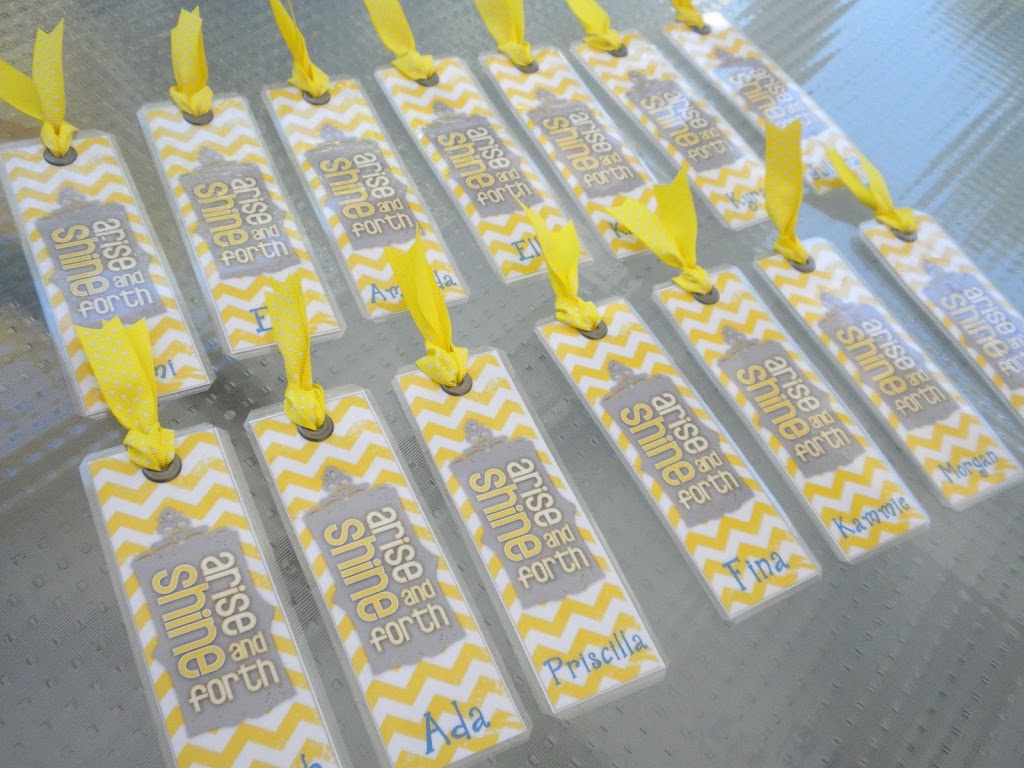
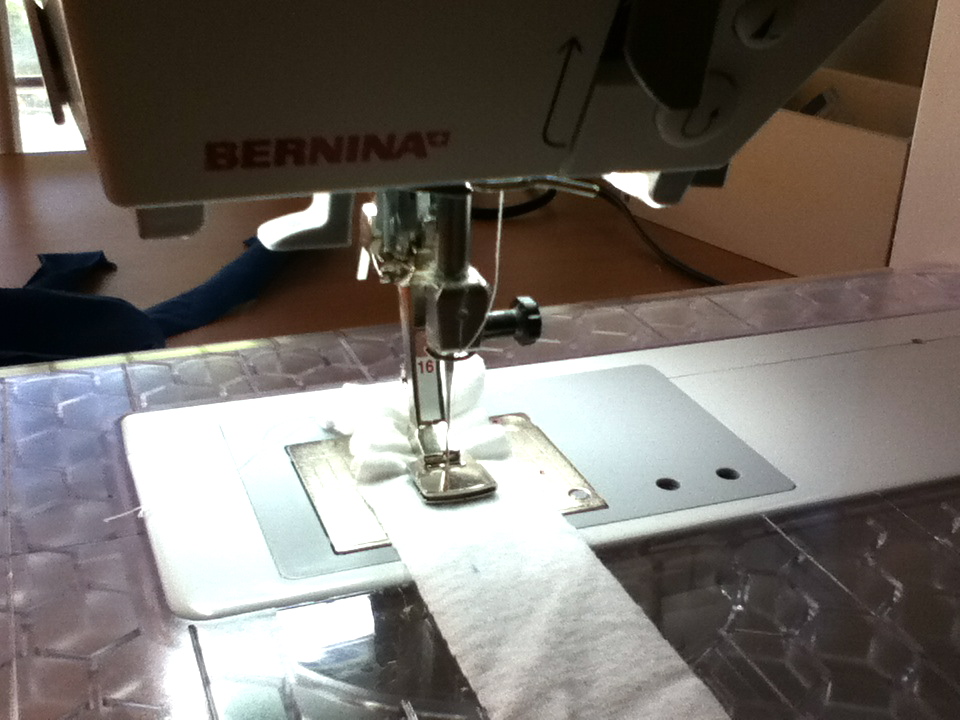
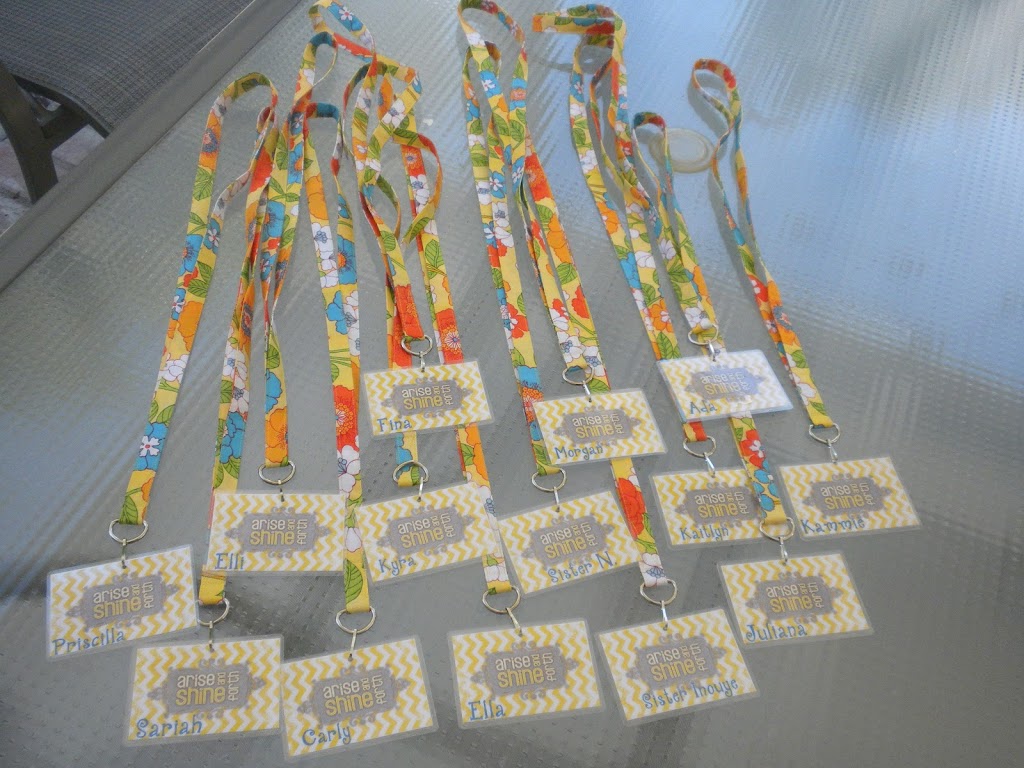
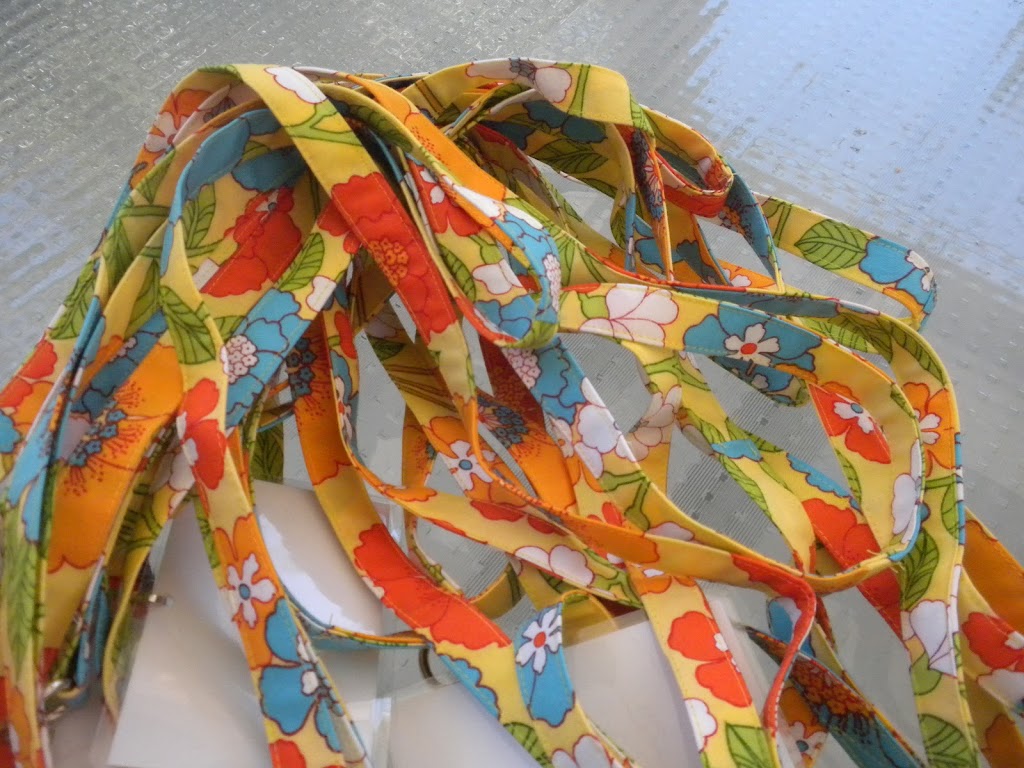
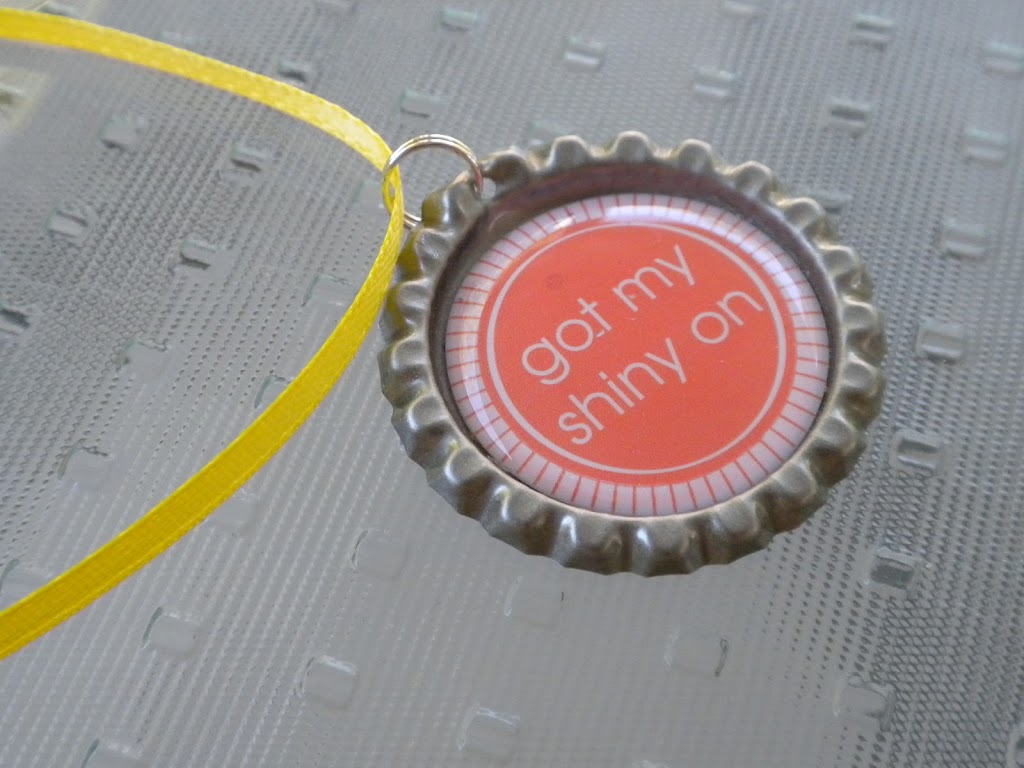
Arise and Shine laynards. To make the lanyard, I just used 2 1/2″ strip of fabric. Press it in half then press the sides in & fold over (like double fold bias tape.) Top stitch and put a clasp on the end. They were fun to make!
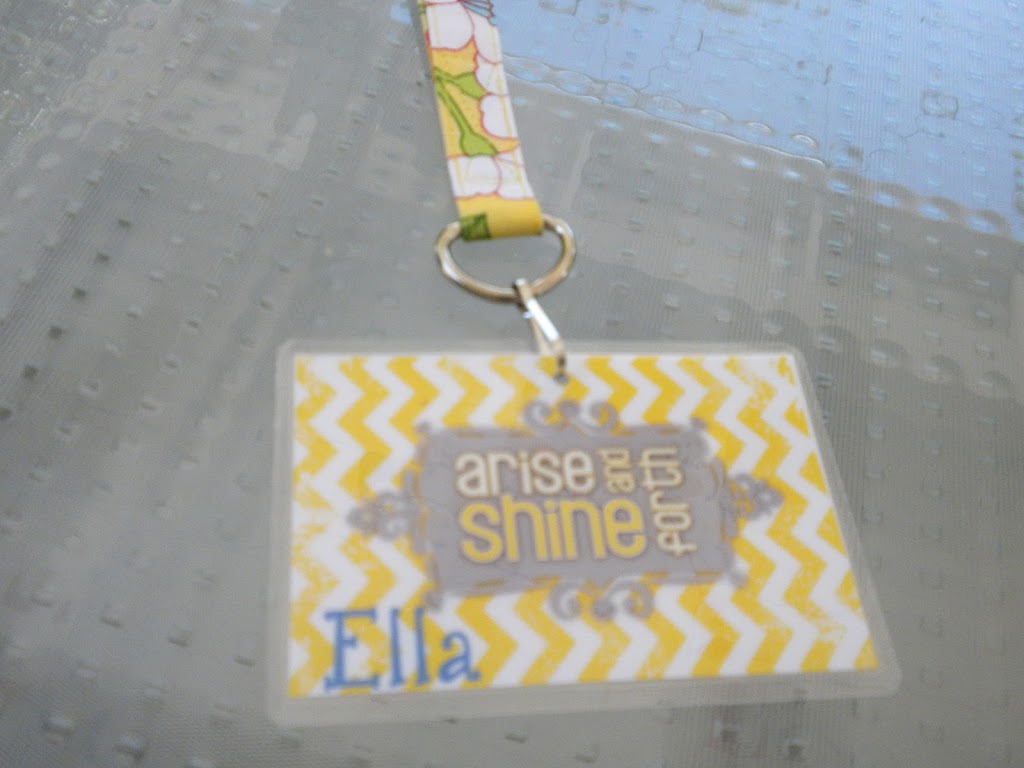

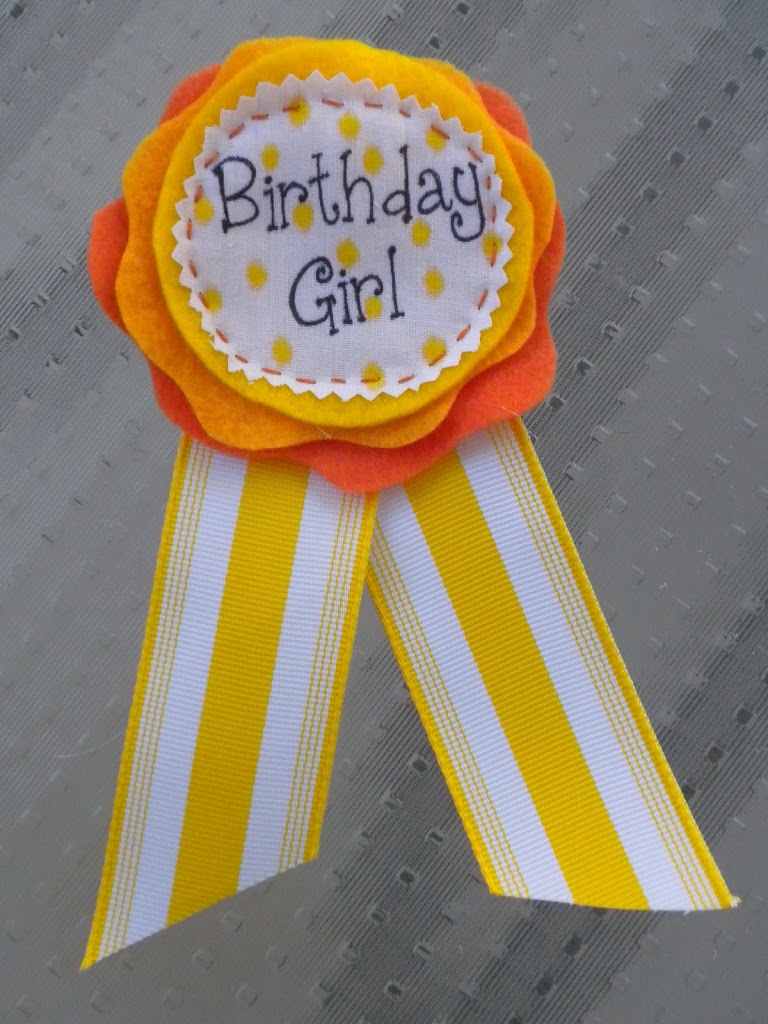
On of our girls had her birthday at camp. I made this little birthday badge for her to wear all day so everyone would say happy birthday to her!
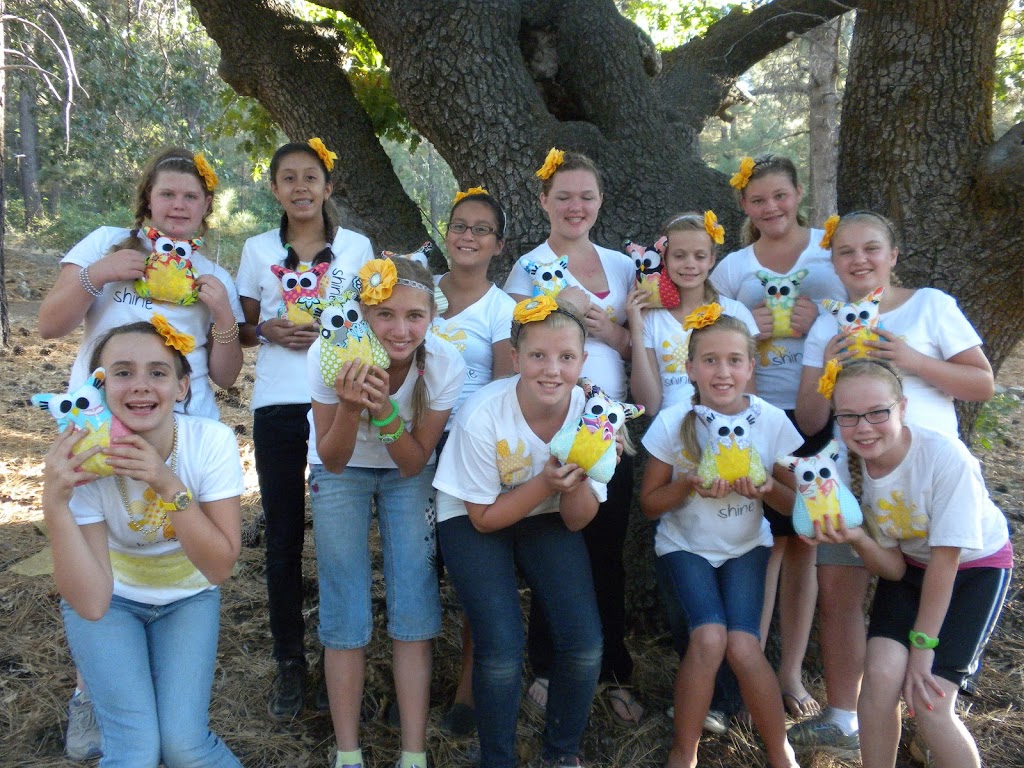
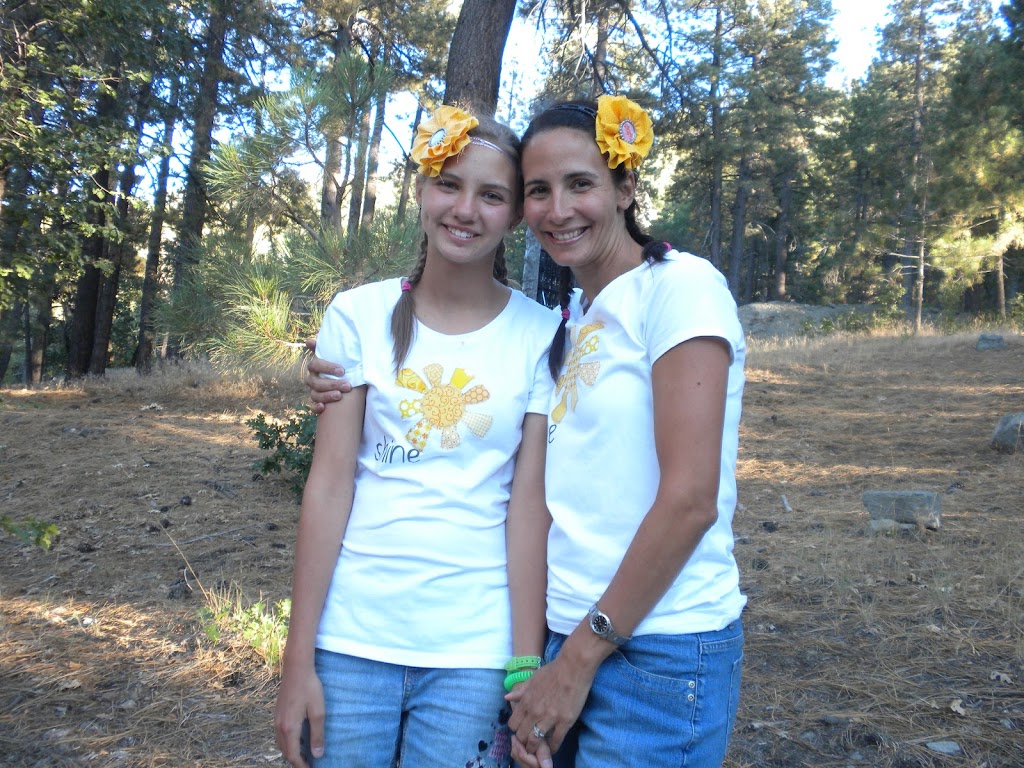
I made these flower headbands for the girls. It looked cute when we all had them in our hair.
There were a few other things I made that I forgot to take pictures of. Each day we gave the girls candy in their mail boxes: DOTS disciples of the Savior, You’re a Sweet Heart sweetarts, and Saver Life Life Savers.
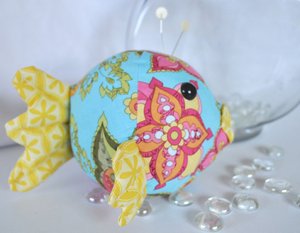
I haven’t been able to post any new projects but I did find this darling fish tutorial. It’s from Riley Blake Designs and I can’t wait to make a school of them!!
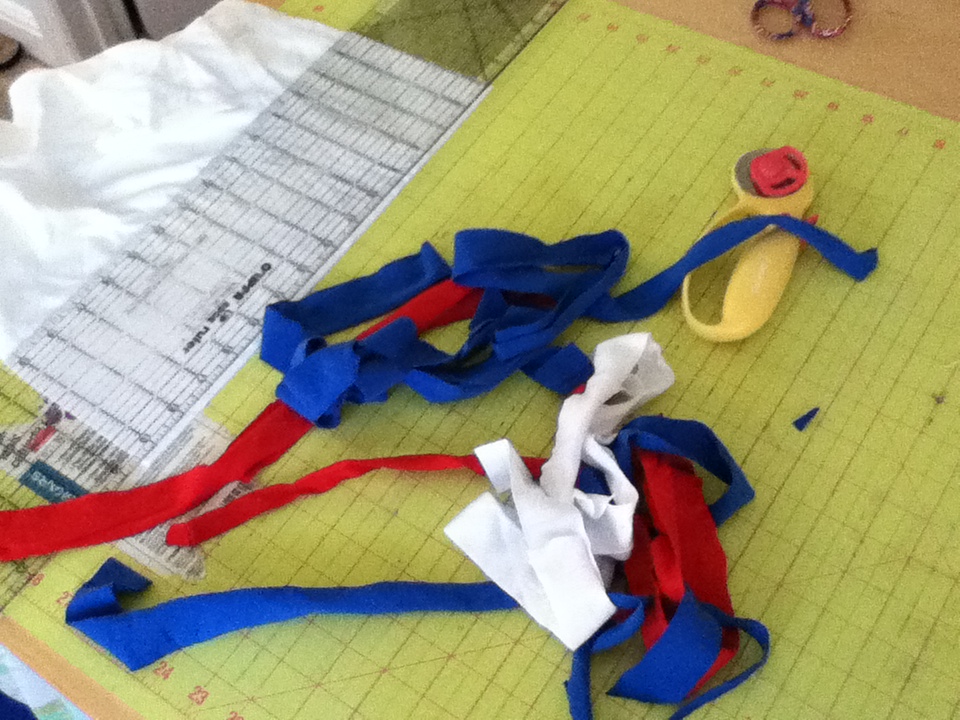
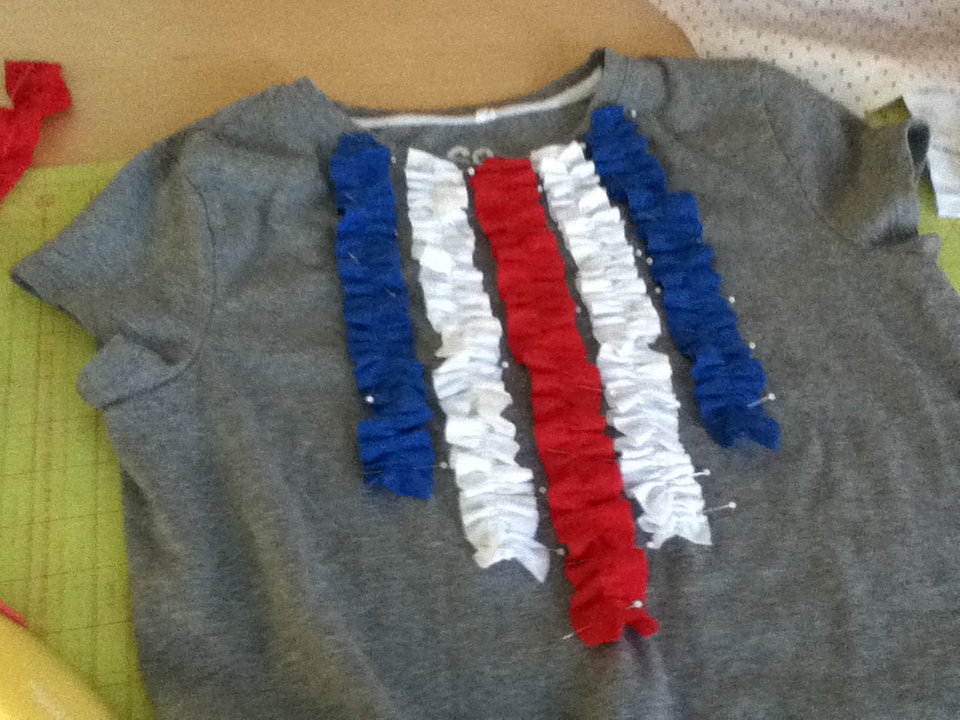
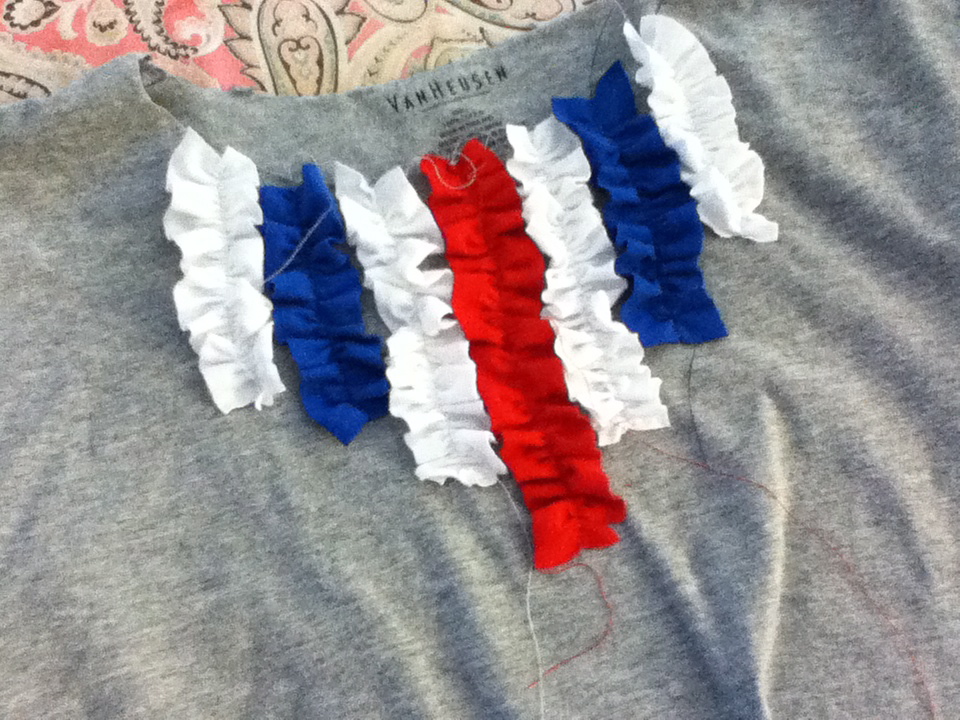
Once you have all your ruffles made, lay them on your shirt and pin in place. WARNING: You might want to try the shirt on at this point. I did not try the shirt on and just sewed the ruffles. I found they hit my chest in a weird place – so I UN-STITCHED them & made them shorter. Uggggh
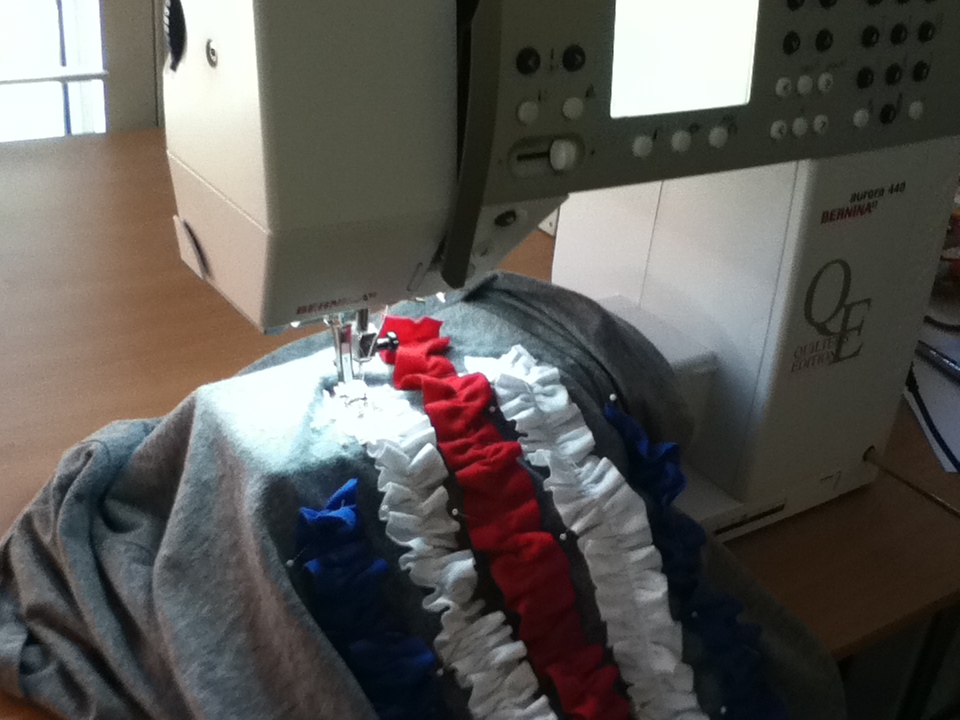
Sew the ruffles on following the stitching on the ruffle. I used matching thread so the stitches wouldn’t stand out so much.
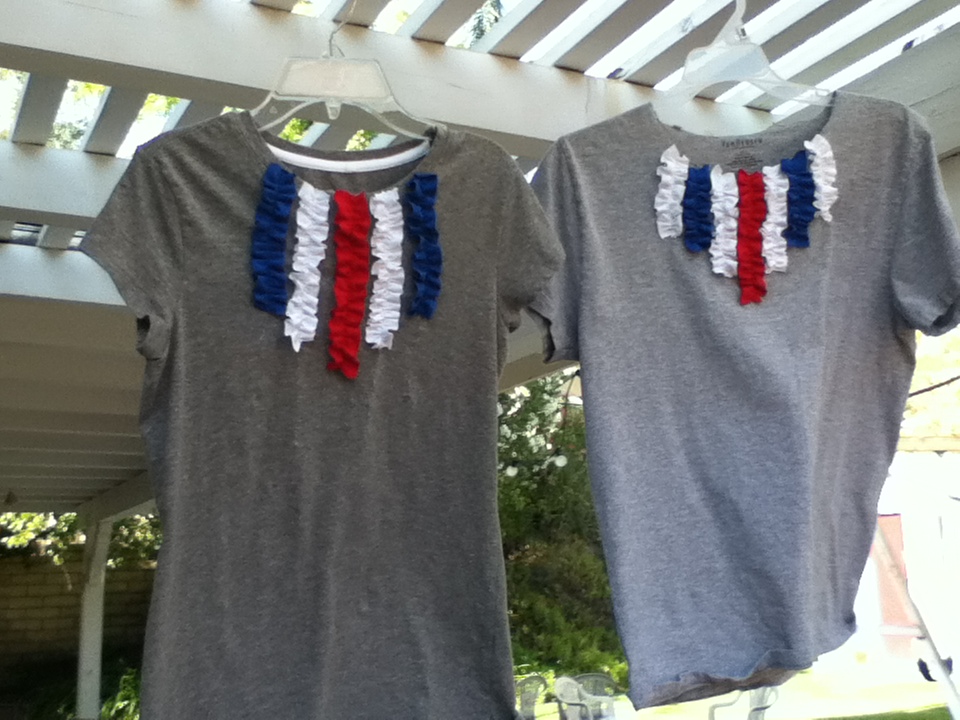
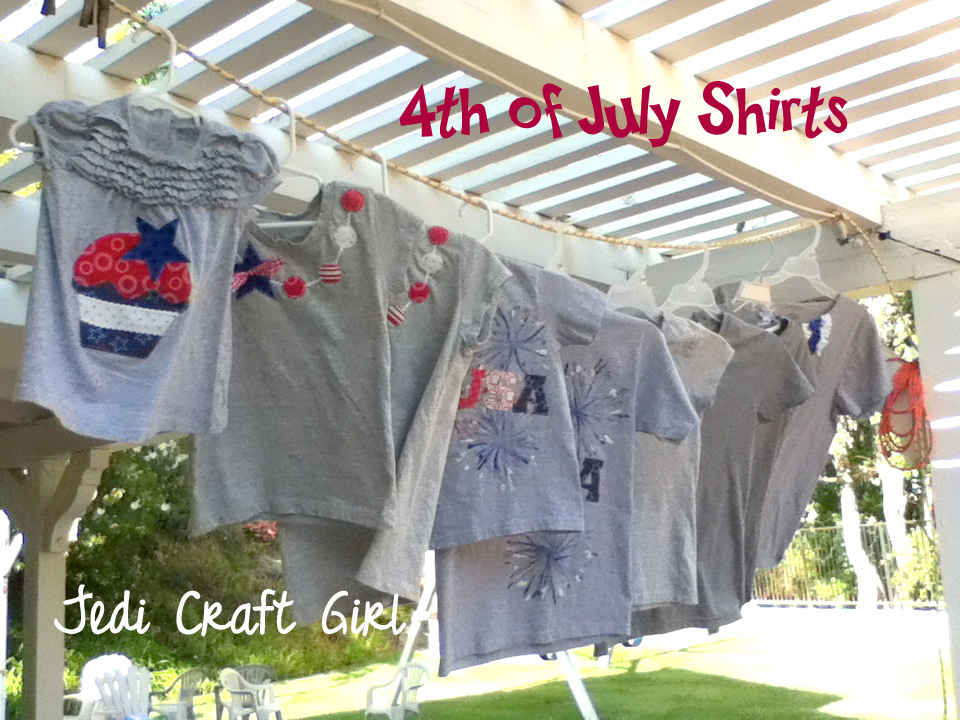
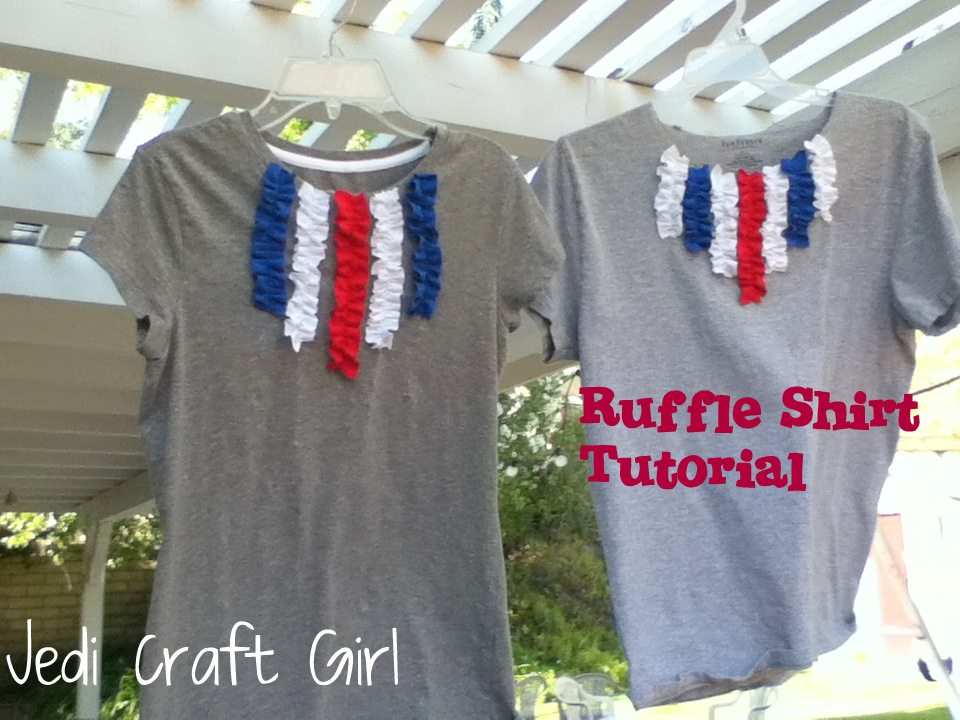
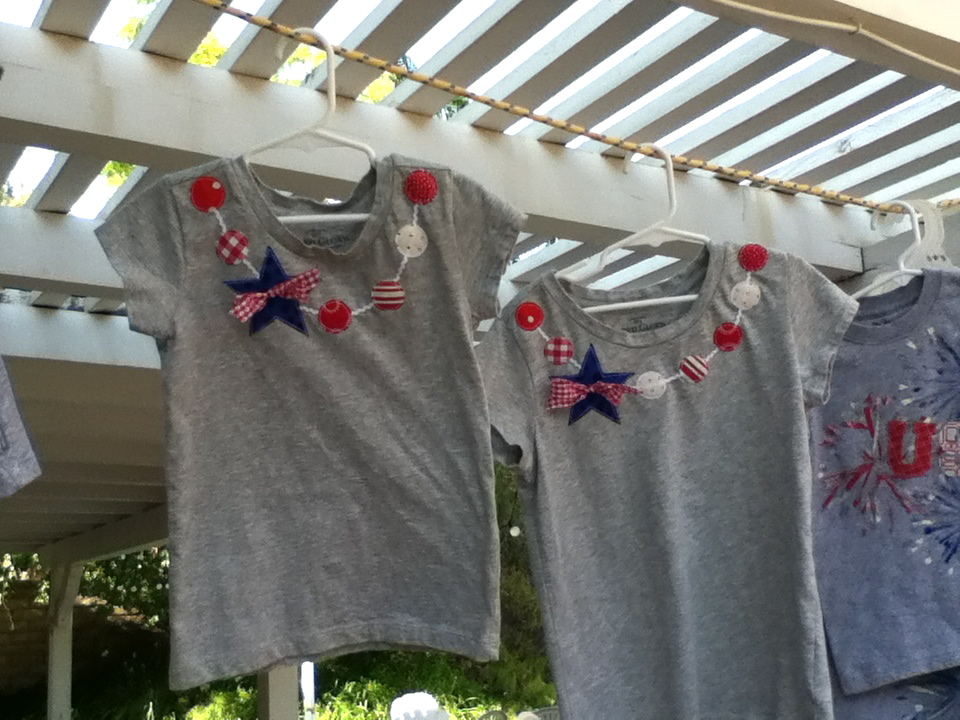
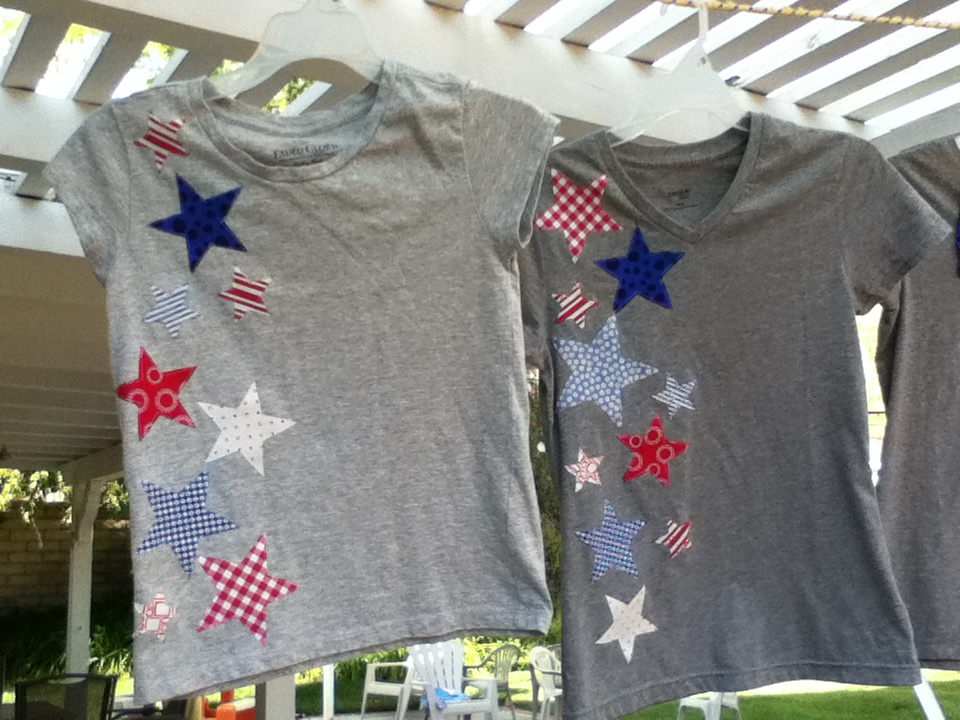
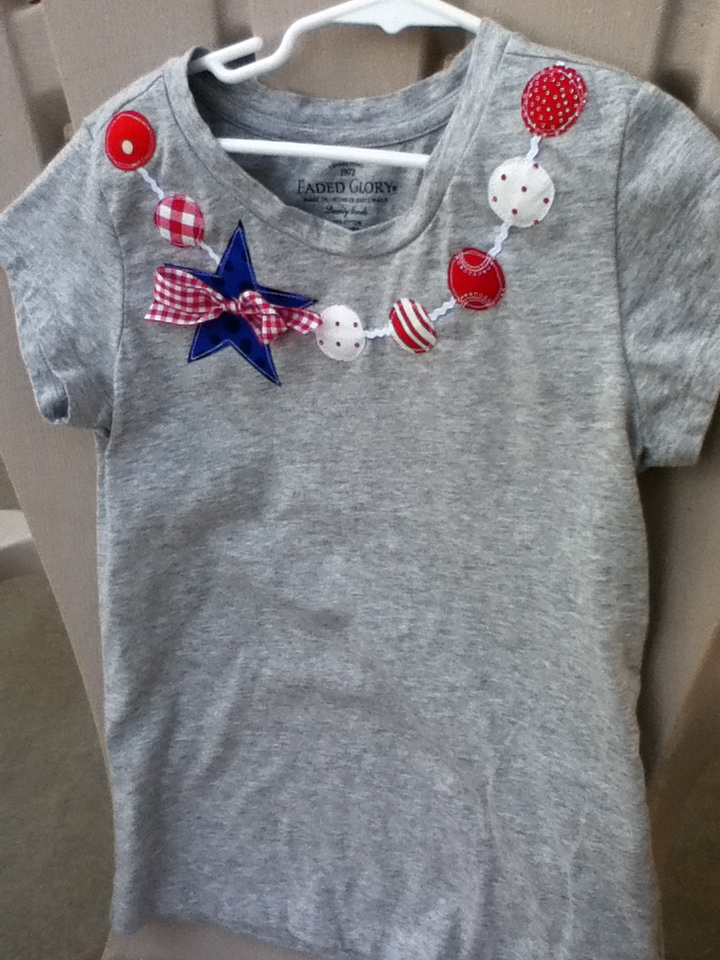
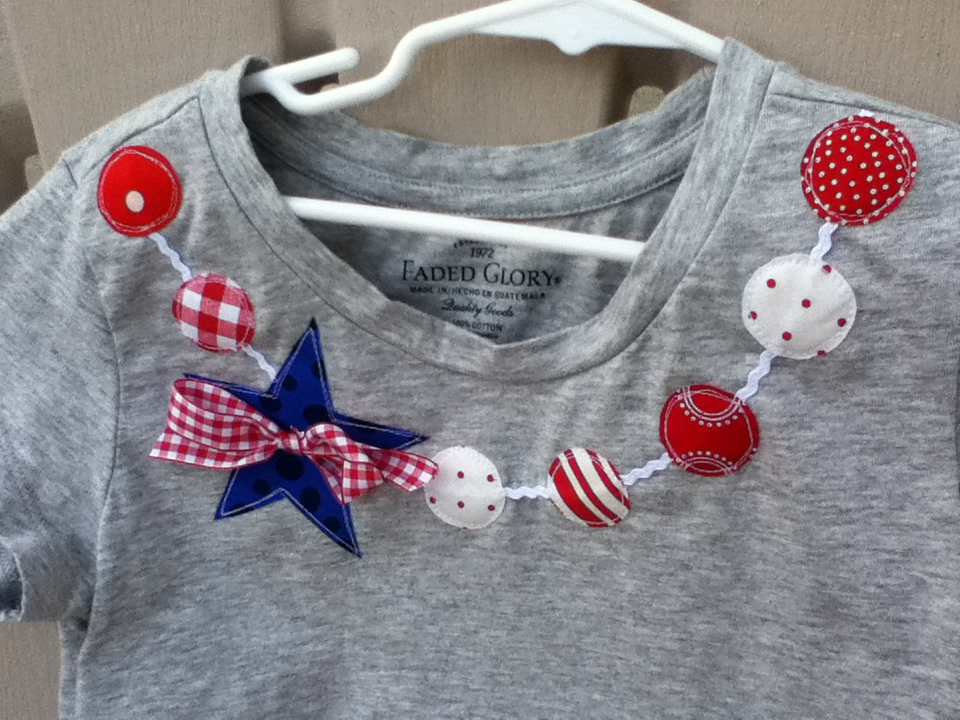
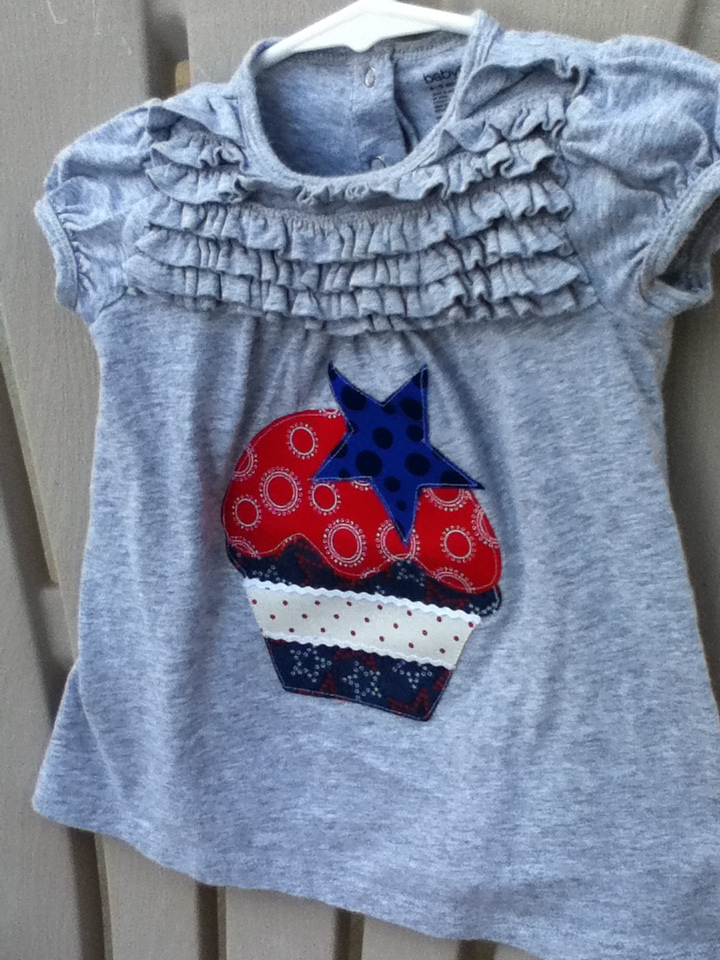
While my sister was here visiting we made nine 4th of July T-shirts. We decided to go with gray T-shirts so the Red, White & Blue would all stand out.
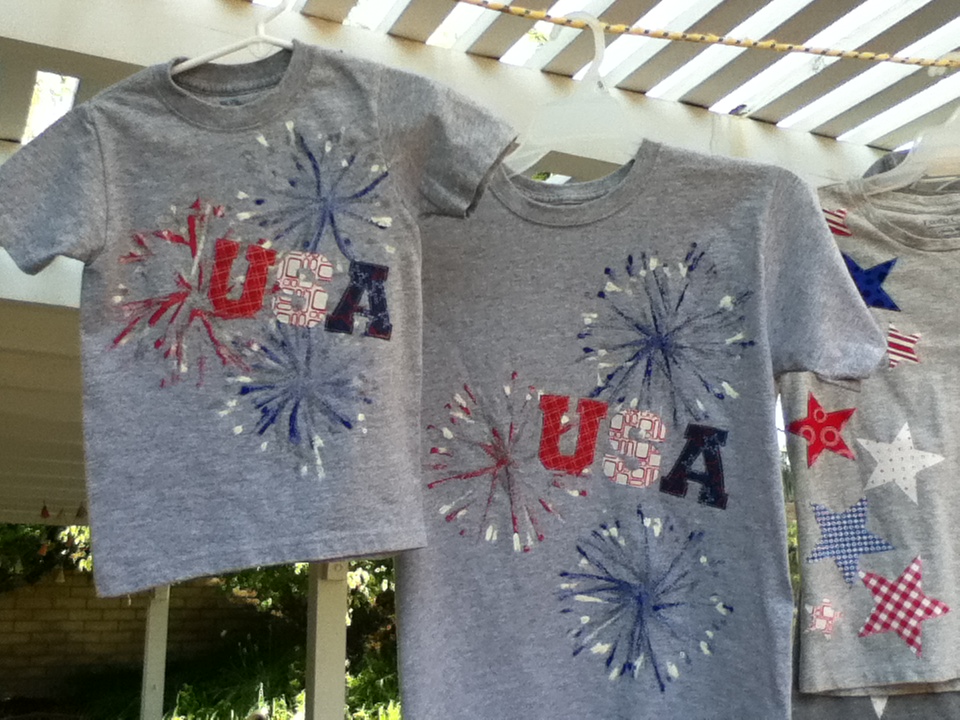
The USA shirts are for the boys age 3 and 8. I painted the fireworks on using THIS technique – it involves stamping with pipecleaners! Then I appliqued the USA letters on the shirts. We wanted it to look very “boy” – it’s challenging to make boy shirts without getting too cutesie! I think they worked!


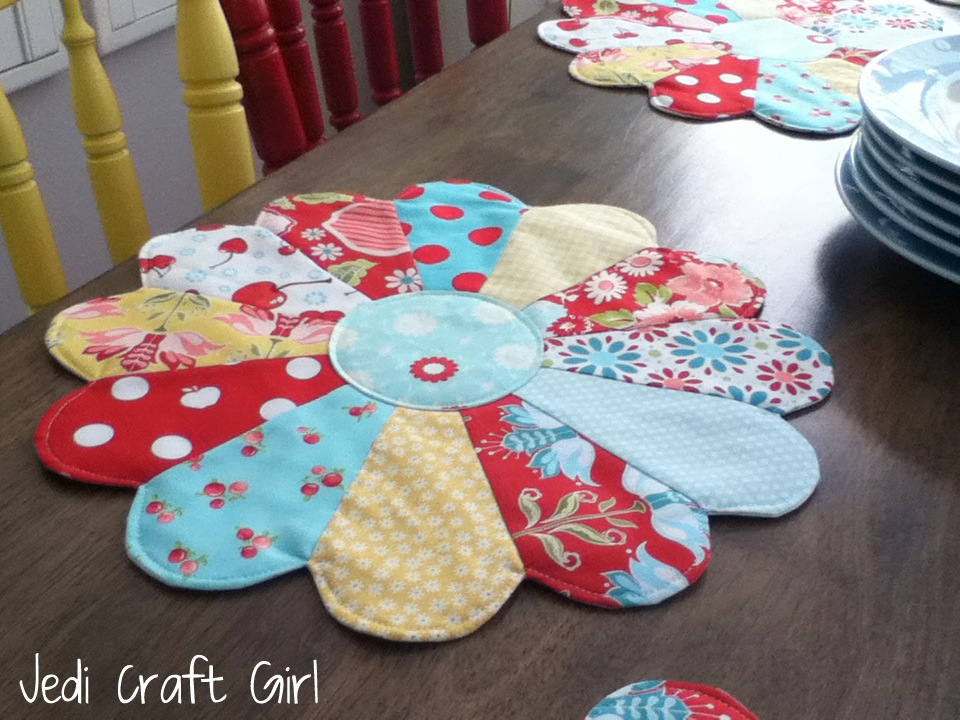
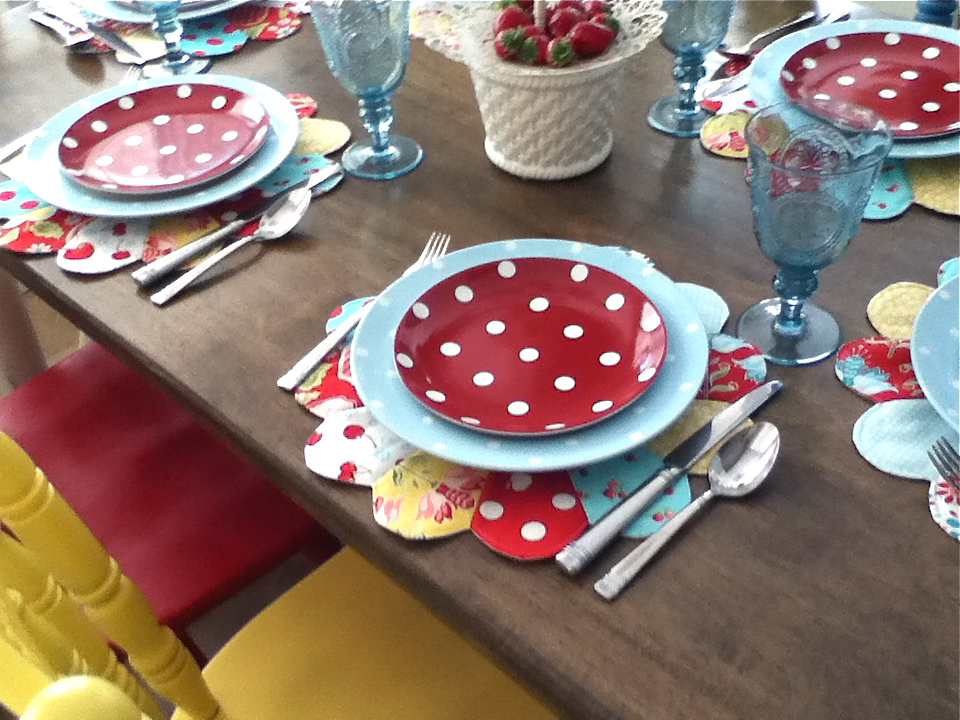
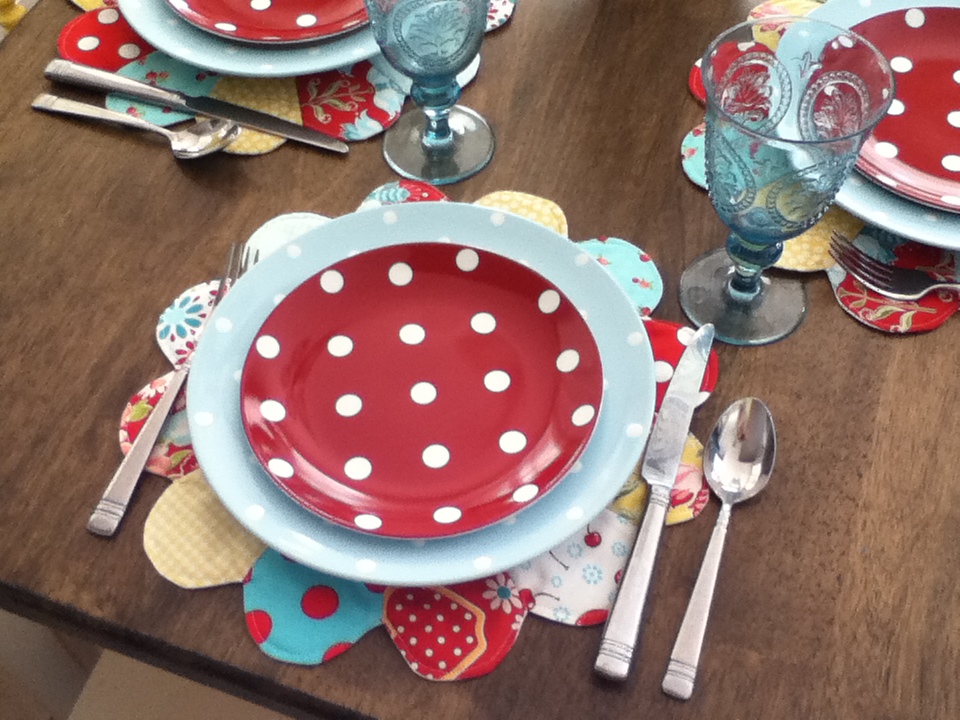
I just finished these placemats! I have been looking for new placemats for a long time now. It’s either I can’t find the right color/pattern or they are too expensive. I found this pattern in “Quilt Almanac 2012” and I knew these were the placemats for me! It’s such a fun project – you only need small pieces of fabric for each petal so it’s a great “stash” project. It is also perfect to use up all those small pieces of batting I save!!
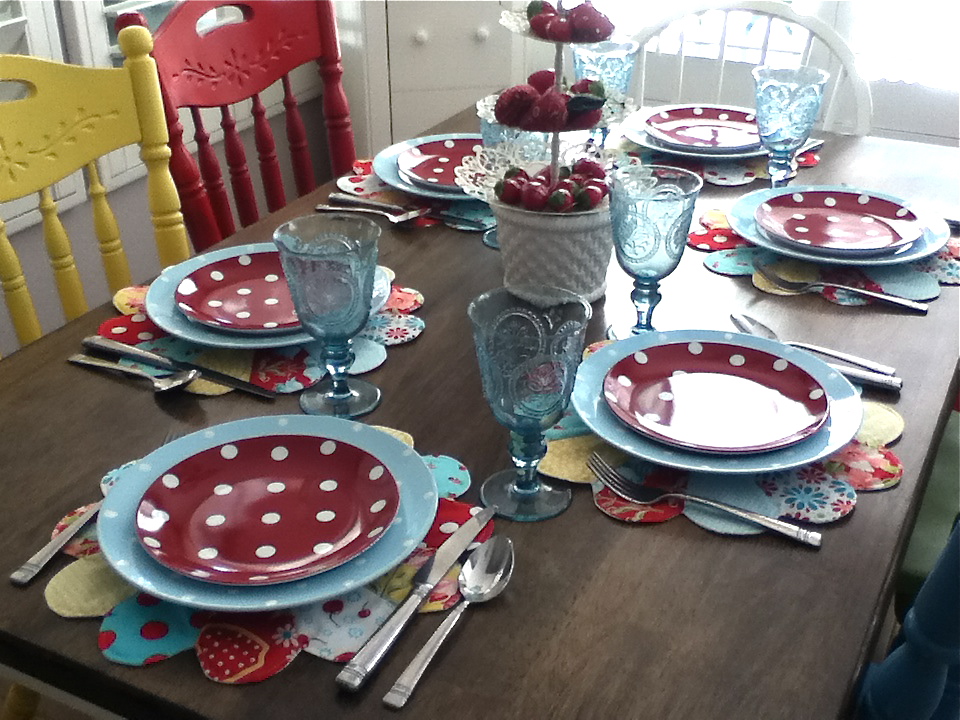
I love that the placemats are more like fabric chargers and really set off the dishes. Yes – I really like polka-dots!! And I think I am a colorful person 🙂
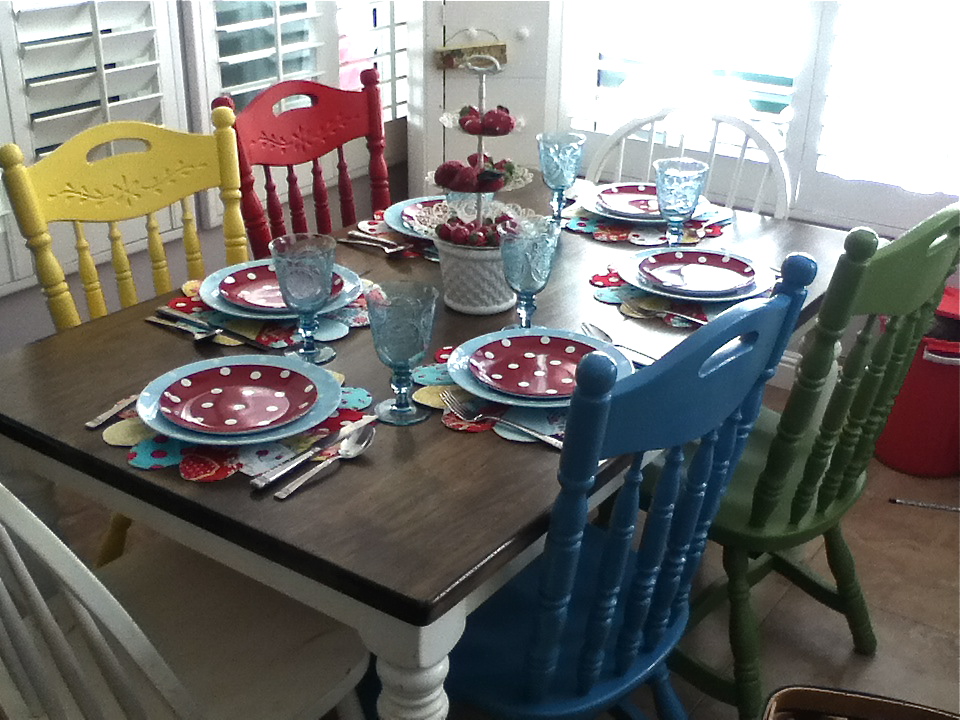
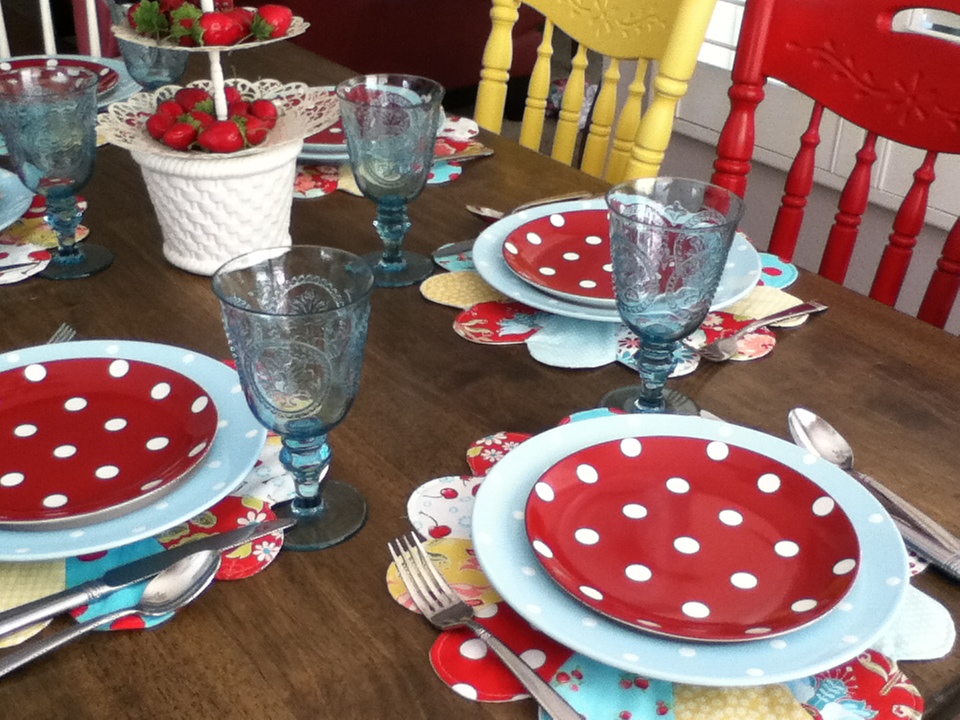
Thanks for stopping by! Want to join me for lunch? The table is all set 🙂
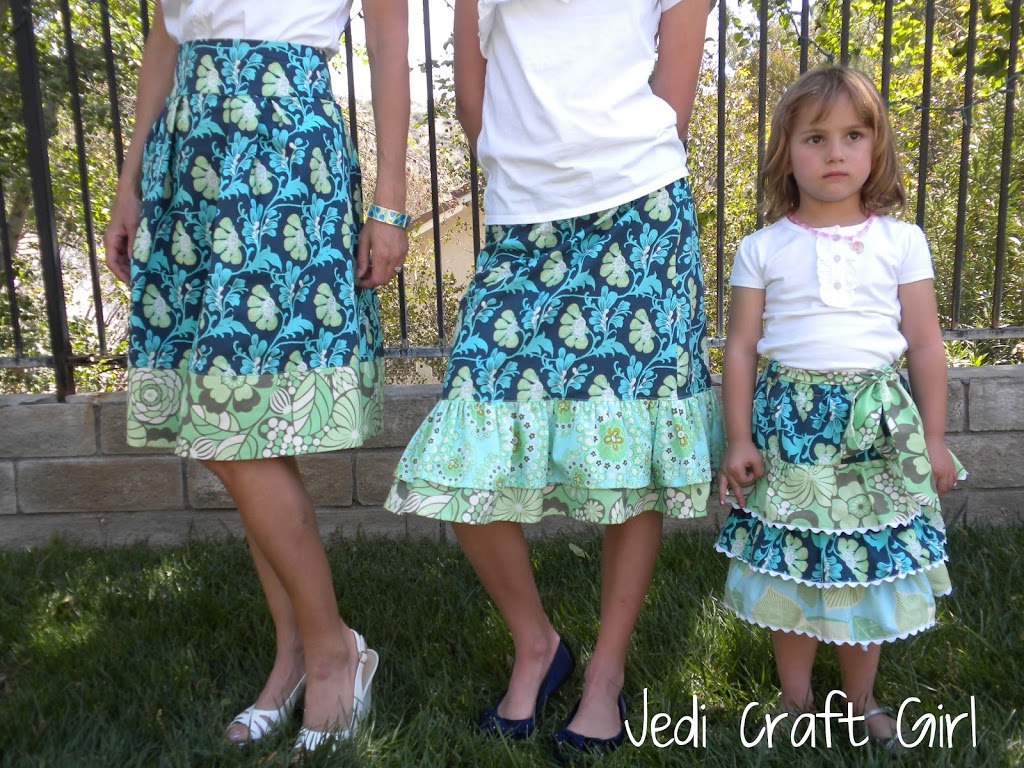
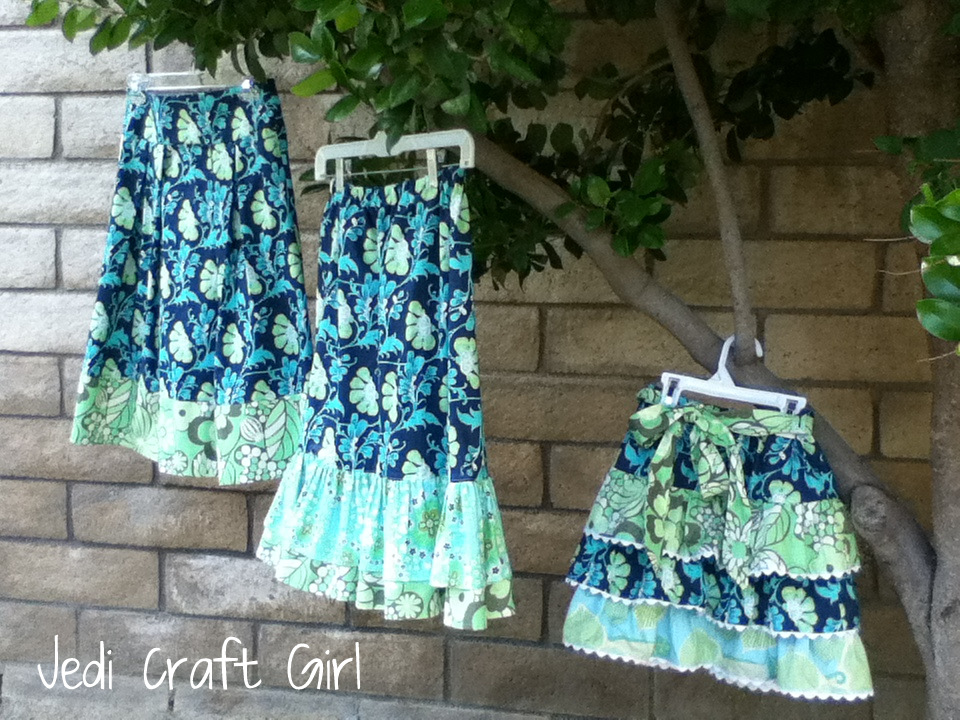
Ellison Lane Quilts (super fun & cute quilting & sewing website) is having a Summer Sewing Contest. This is my entry in the “Clothing” category:
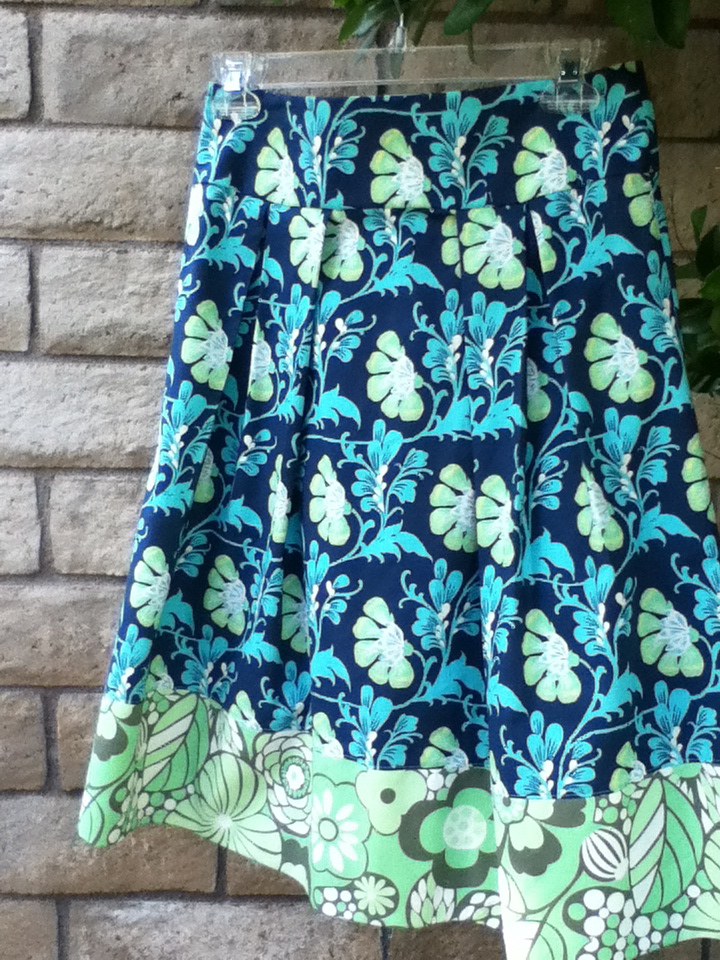
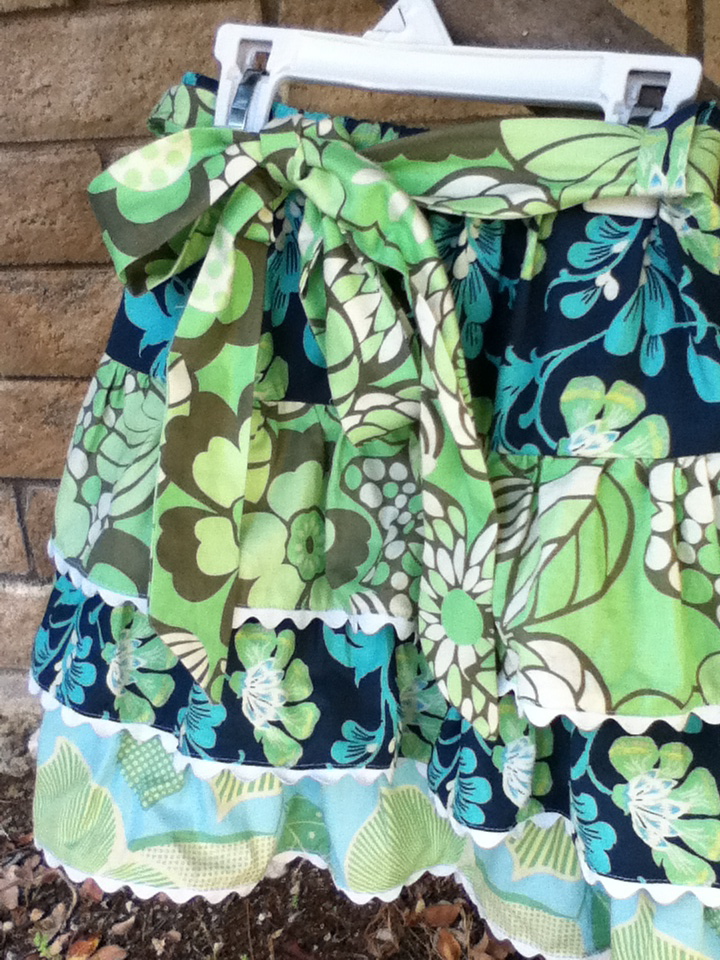
I love matching with my girls – I know it’s kind of nerdy. I must get it from my mom. When I was a child she would sew coordinating outfits for myself, my little brother, and little sister. For these skirts, I choose fabric that would all coordinate and then choose a style of skirt that reflects each of us. My skirt (below) has a waist band, zipper and pleats. I love that it lays nice and flat and as a bit of structure.
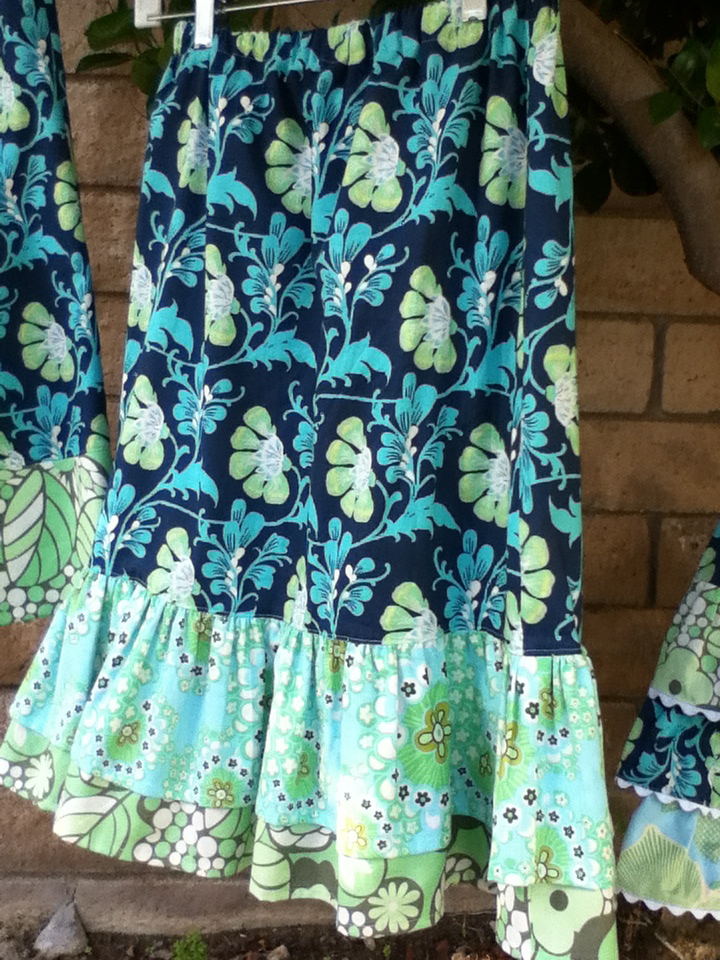
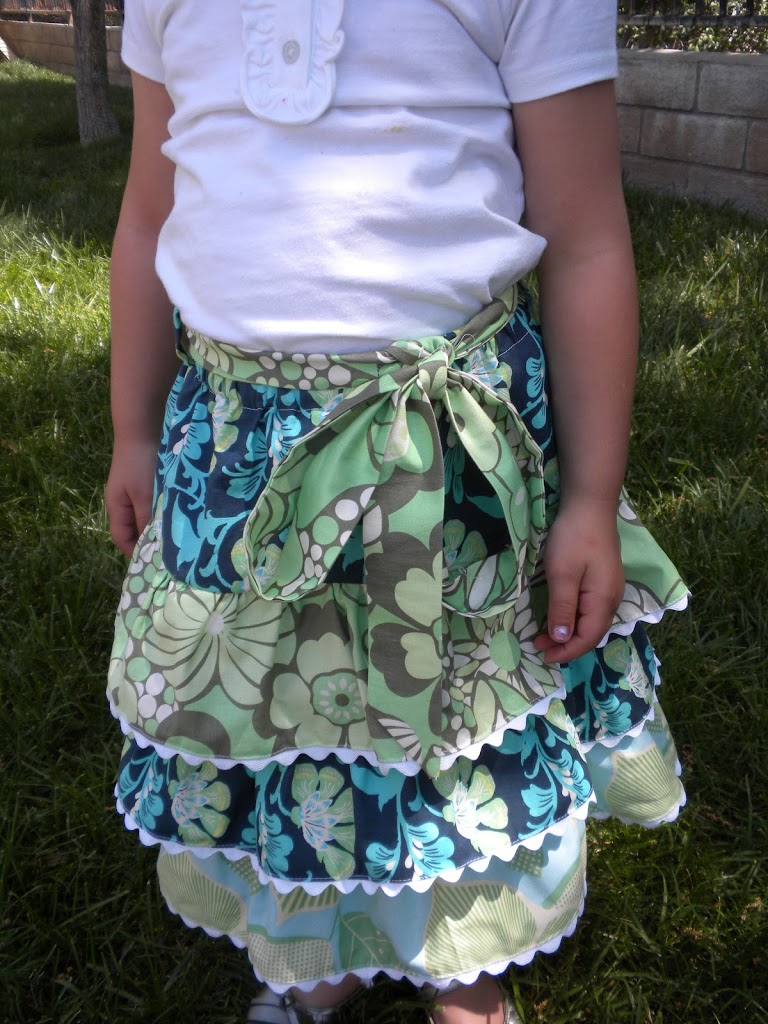
Ella’s skirt (below) looks more like a 12 year old. It has an elastic waist band for an easy fit, and two longer ruffles on the bottom. It is the perfect length for a 12 year old – not too short and hits just below the knee. I love that it has lots of flow.

Thanks for stopping by! Let me know what you think!!
What you need:
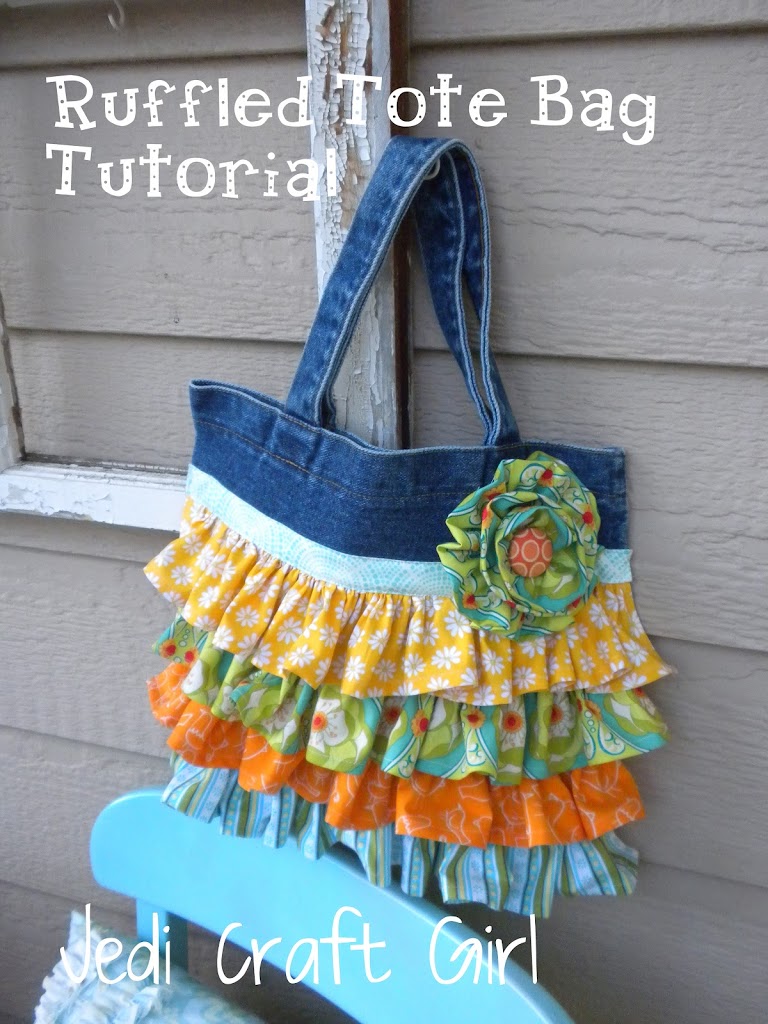
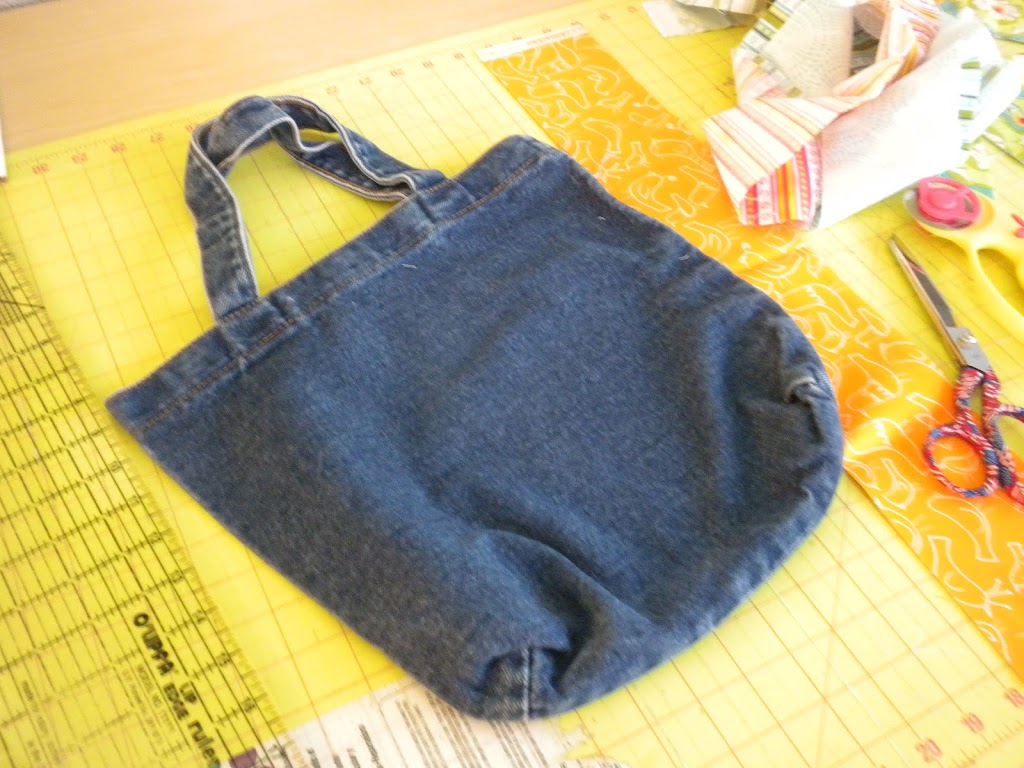
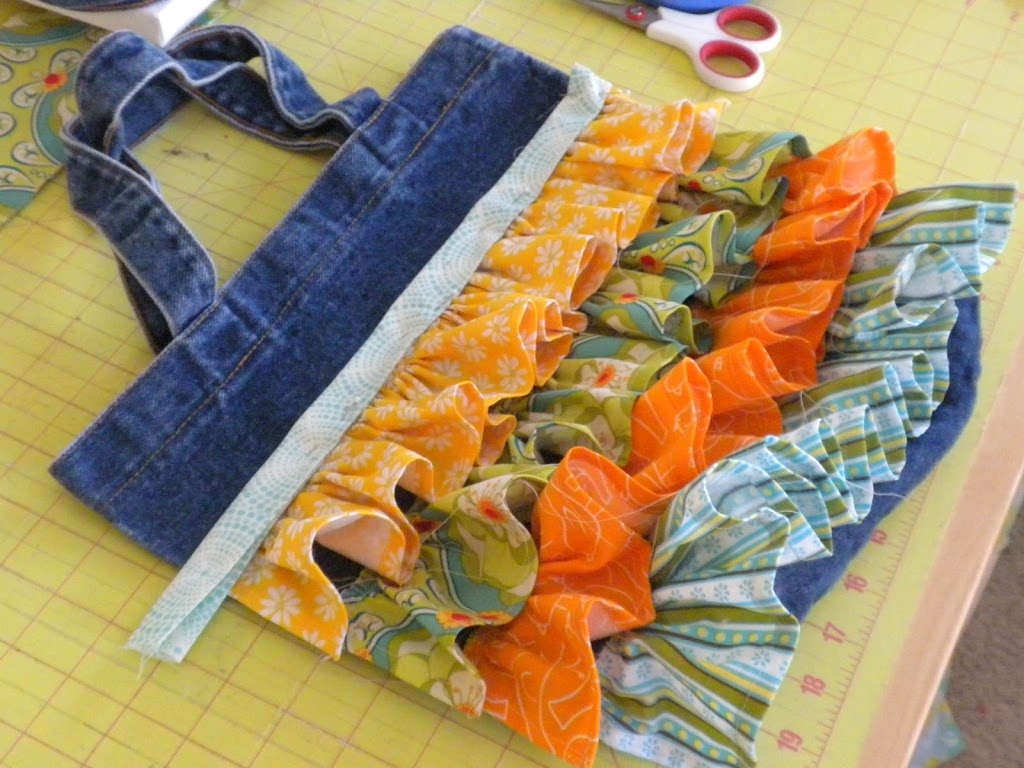
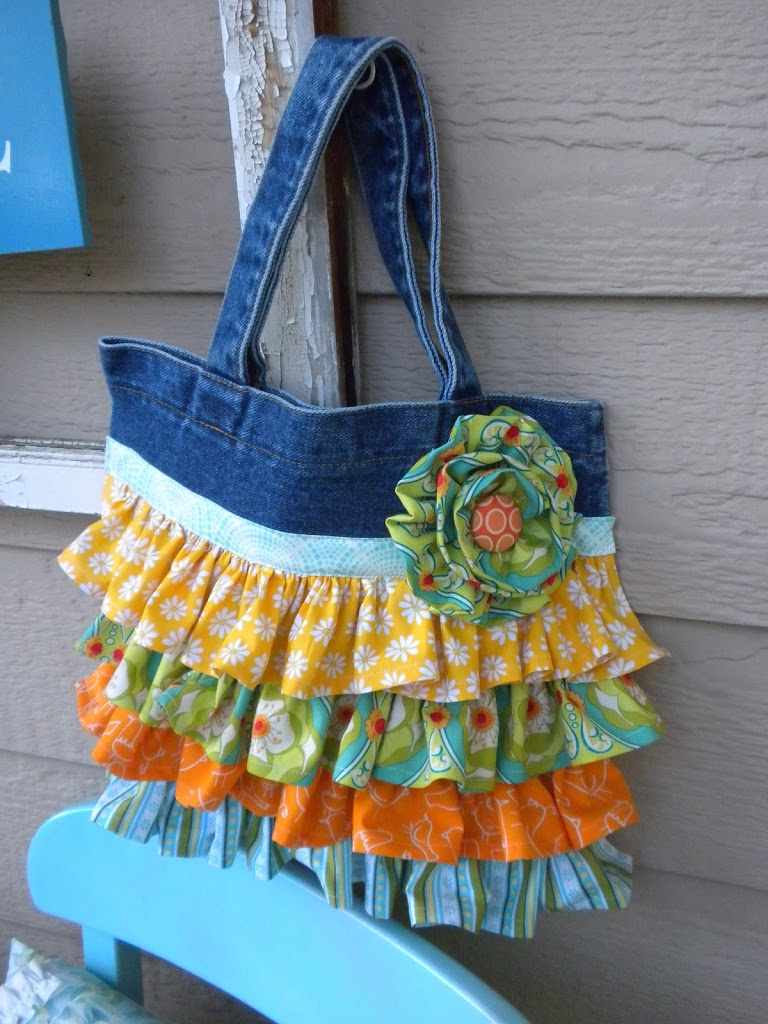
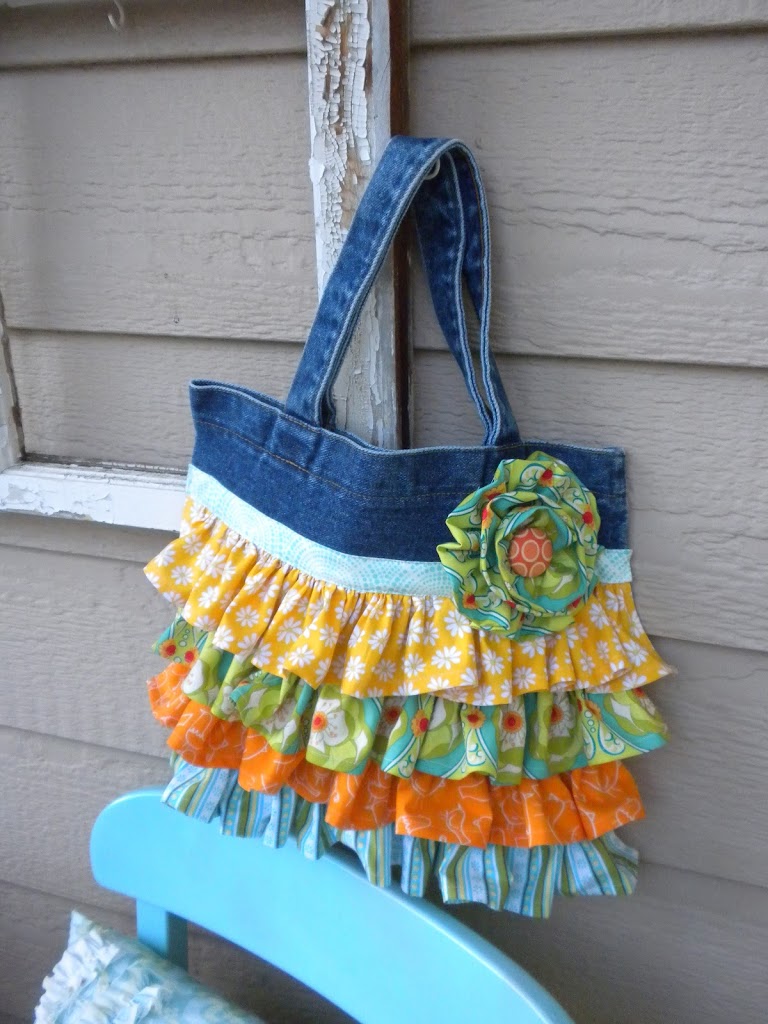
1 tote bag
6 strips of fabric 3.5″xWOF. 4 strips are for the ruffles, 1 strip for the trim, and 1 strip is for the flower. You can use ribbon instead of making the top trim.
1 button (I made a covered button)
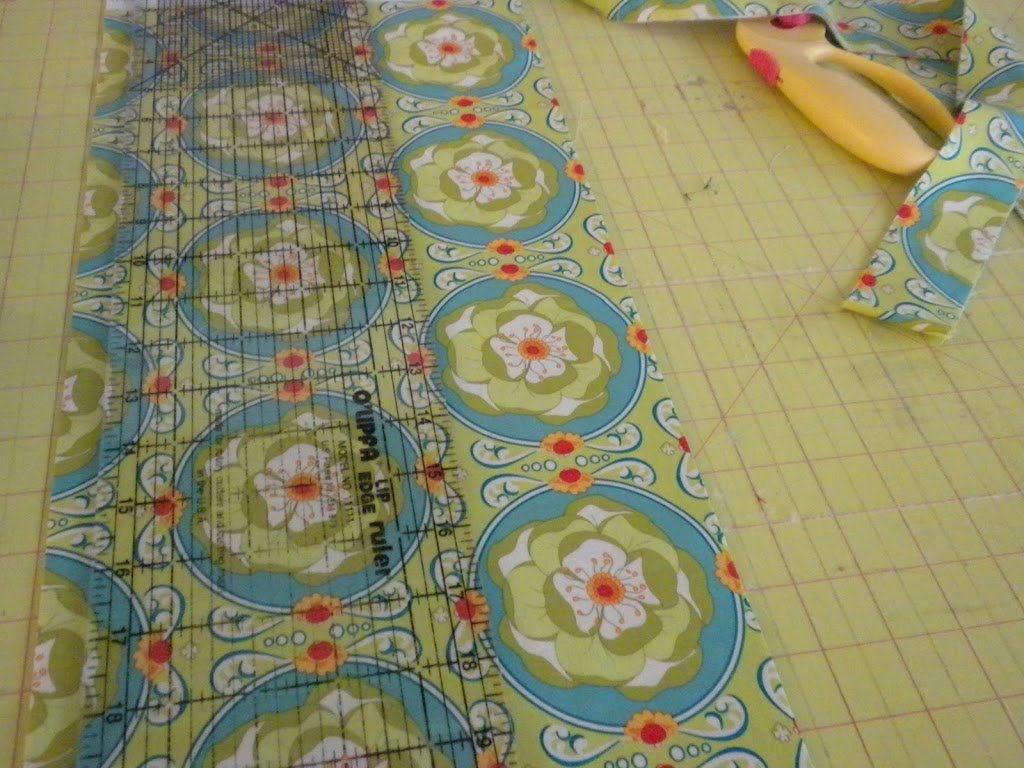
Cut your fabric into strips 3.5″ – this is a great Stash Buster project!!
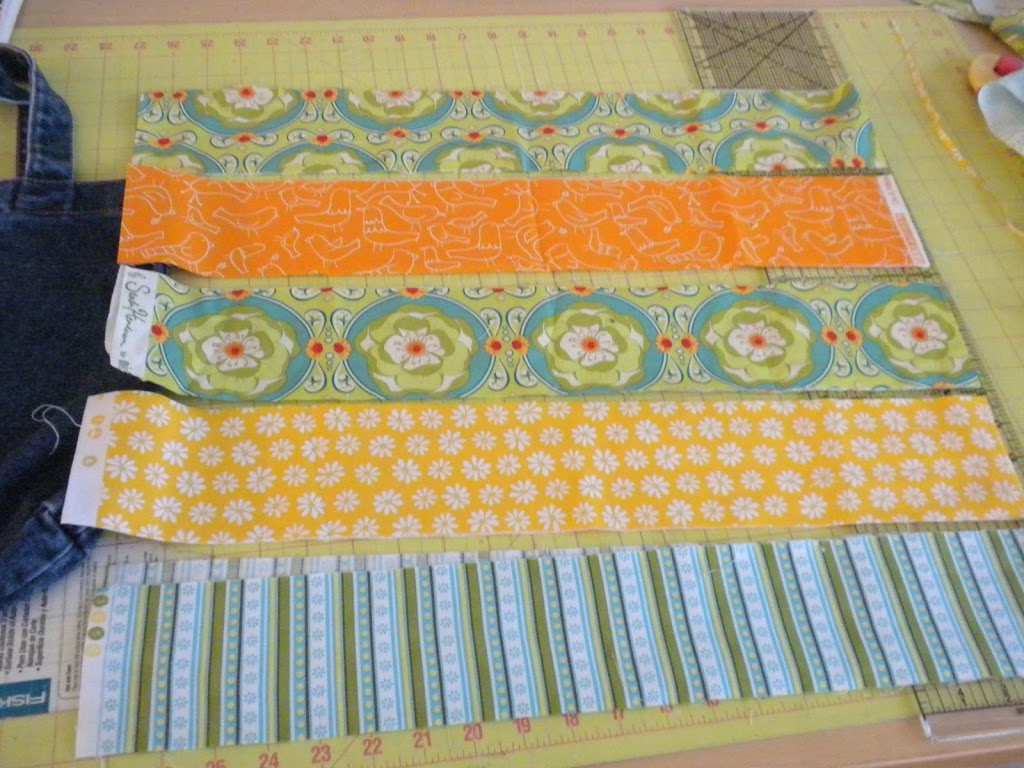
Do a narrow rolled hem along the 2 short sides of the 4 strips and the bottom of the strip.
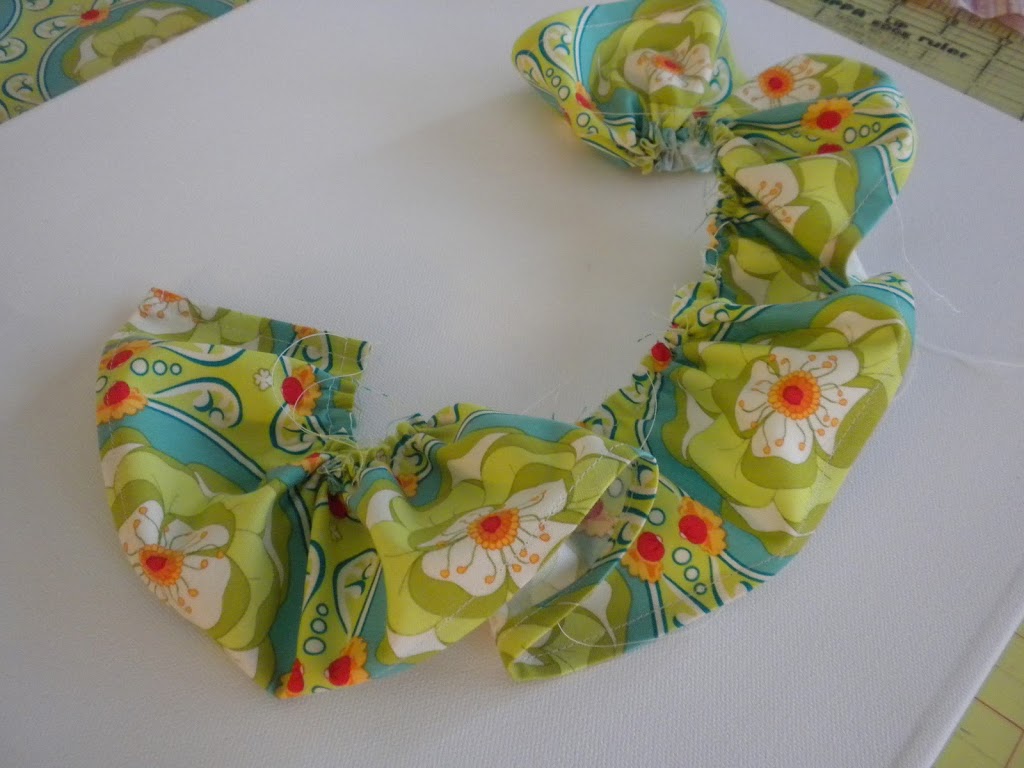
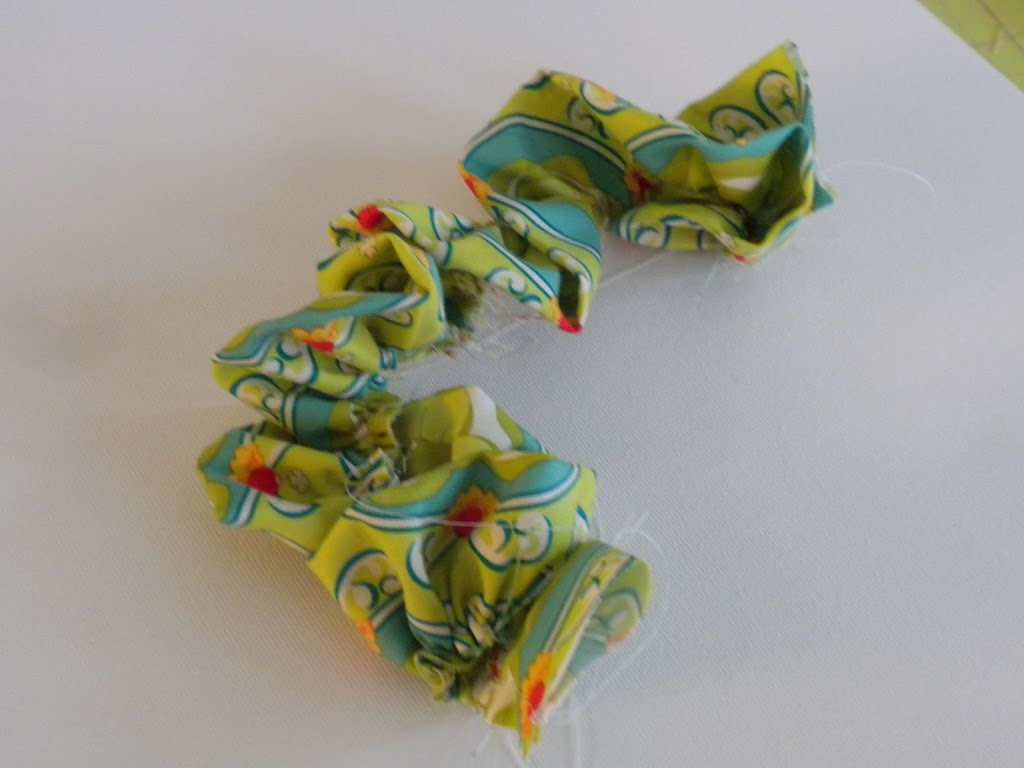
Turn your stitch length up to the maximum and sew 1/4″ gathering stitch along the raw edge of all 4 ruffle strips. Then pull strings and gather each ruffle like this:
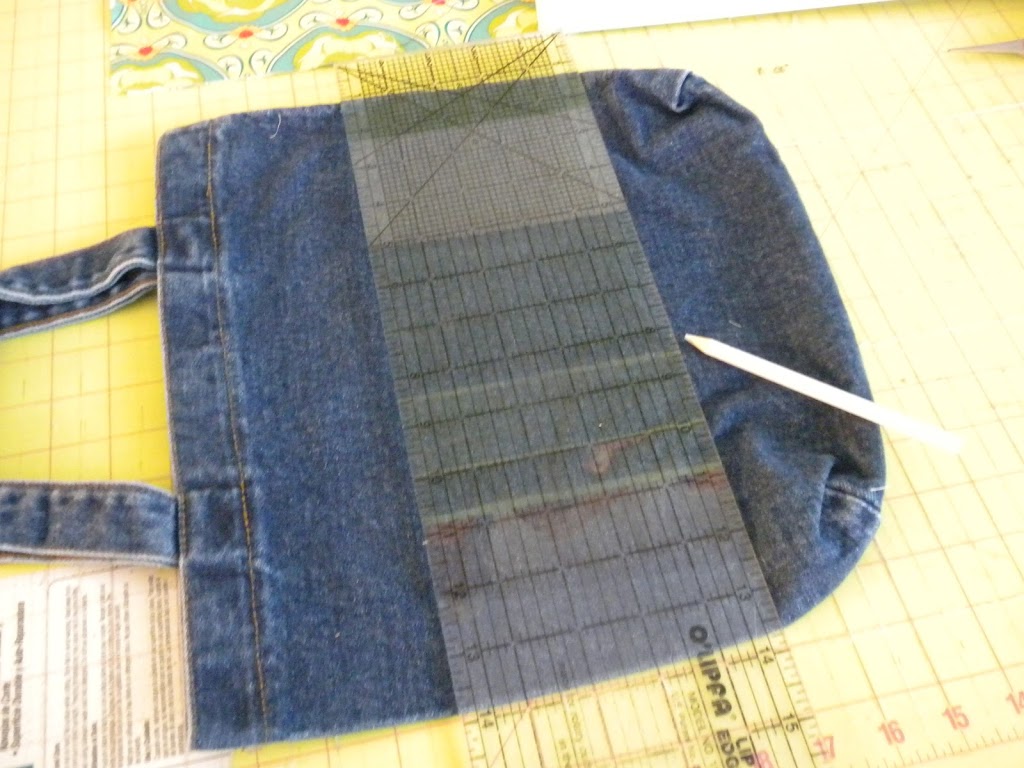
Take your tote bag and mark a line 3″ from the bottom.
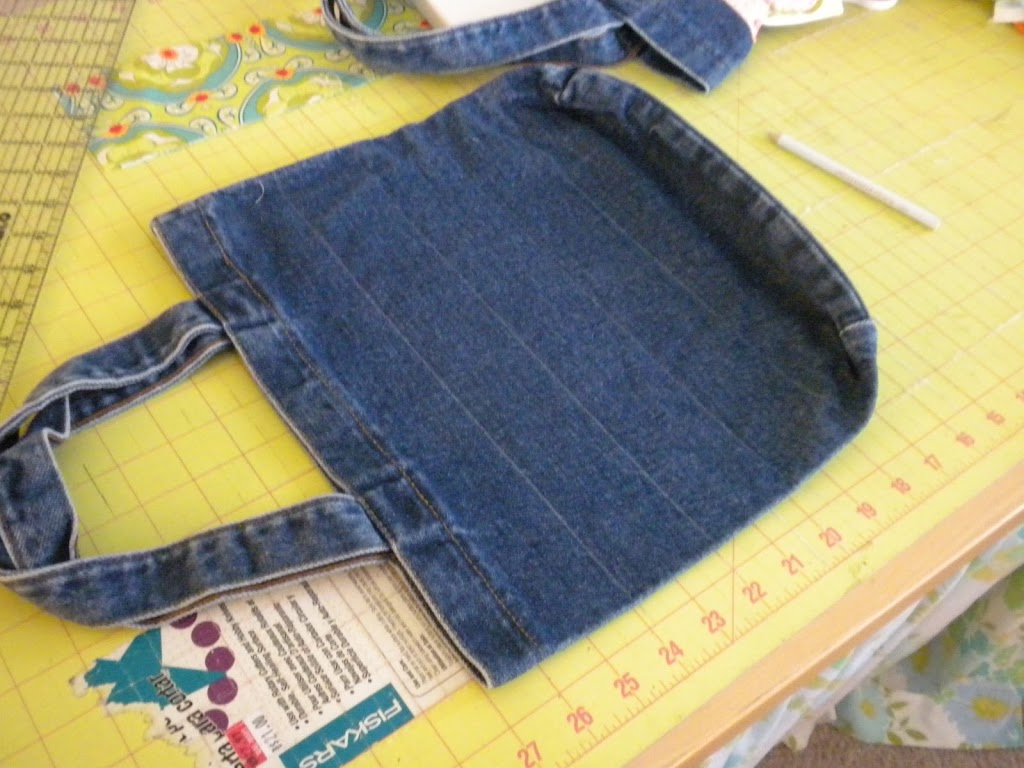
Then mark 2″ from your first line. Repeat every 2″ until you have 4 total lines drawn.
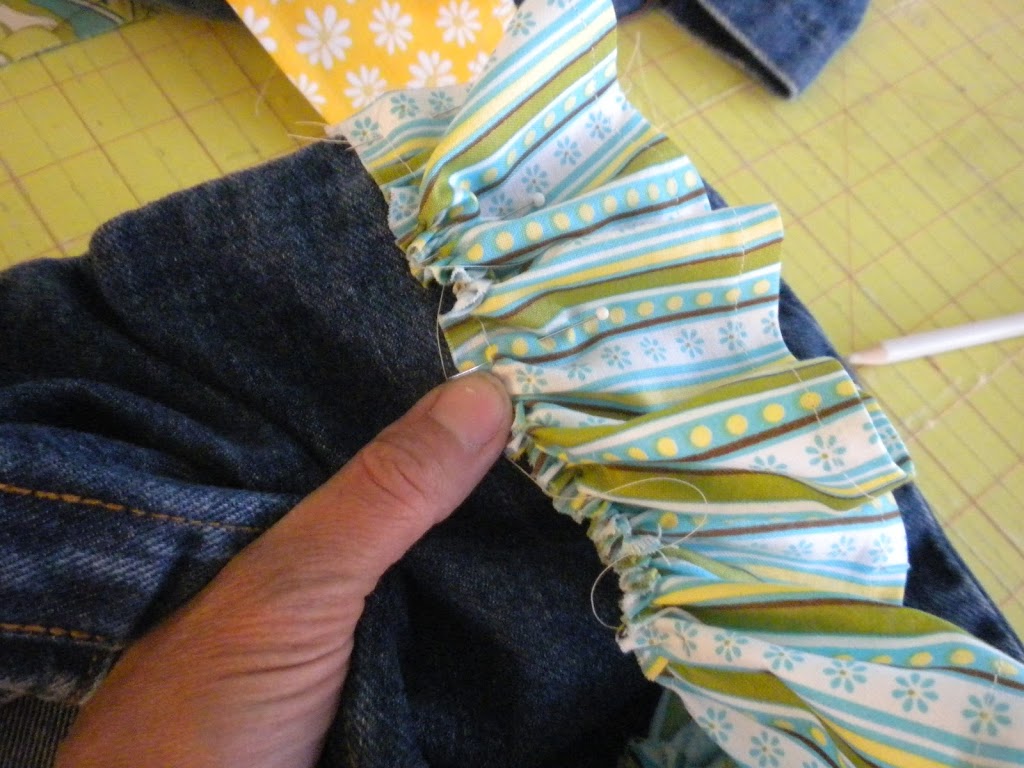
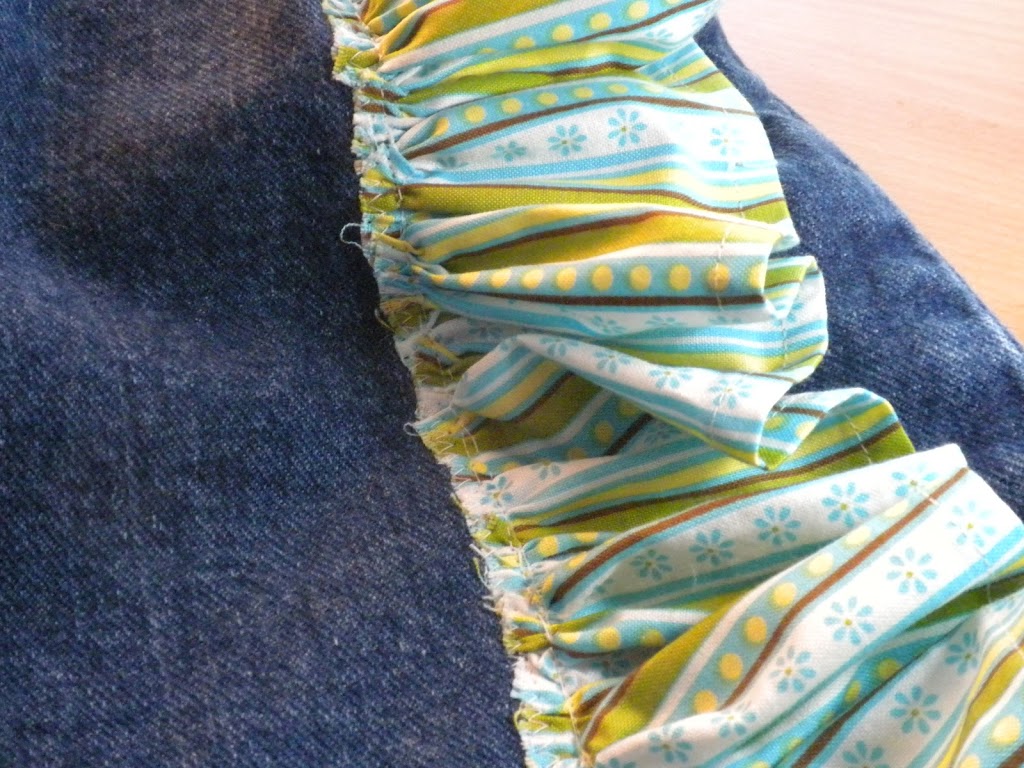
Pin your bottom ruffle to the tote bag matching the raw edge of the fabric to your first marked line. You kind of have to scrunch the bag to get it pinned. This one is the hardest. It SOOO doesn’t have to be perfect!
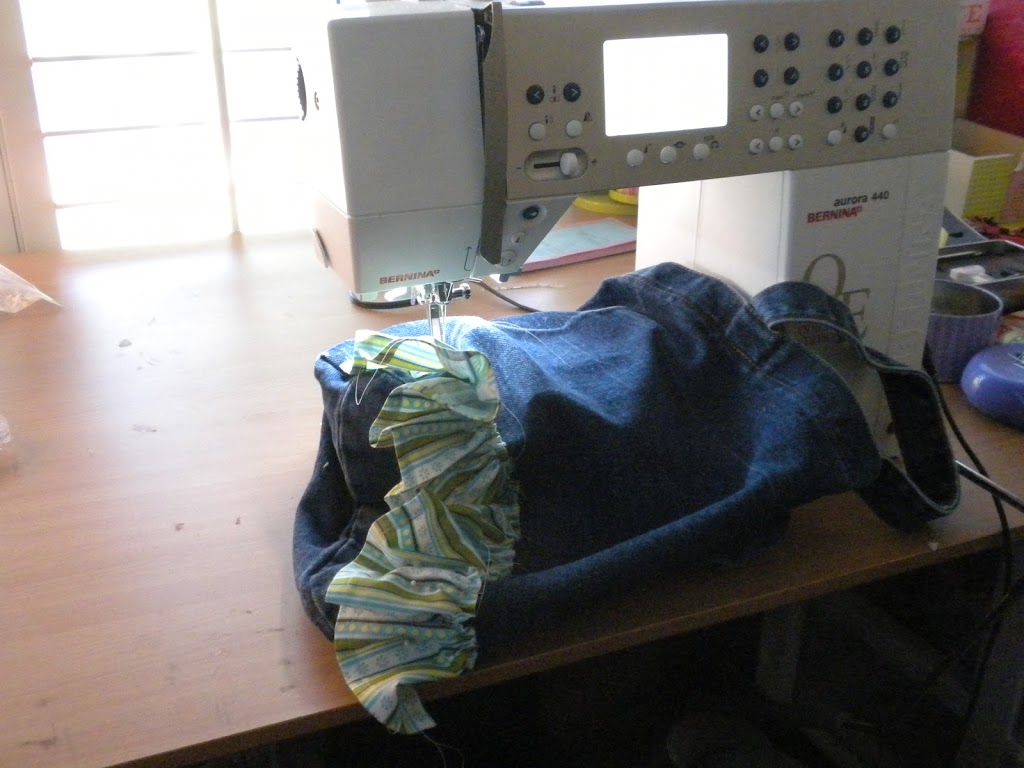
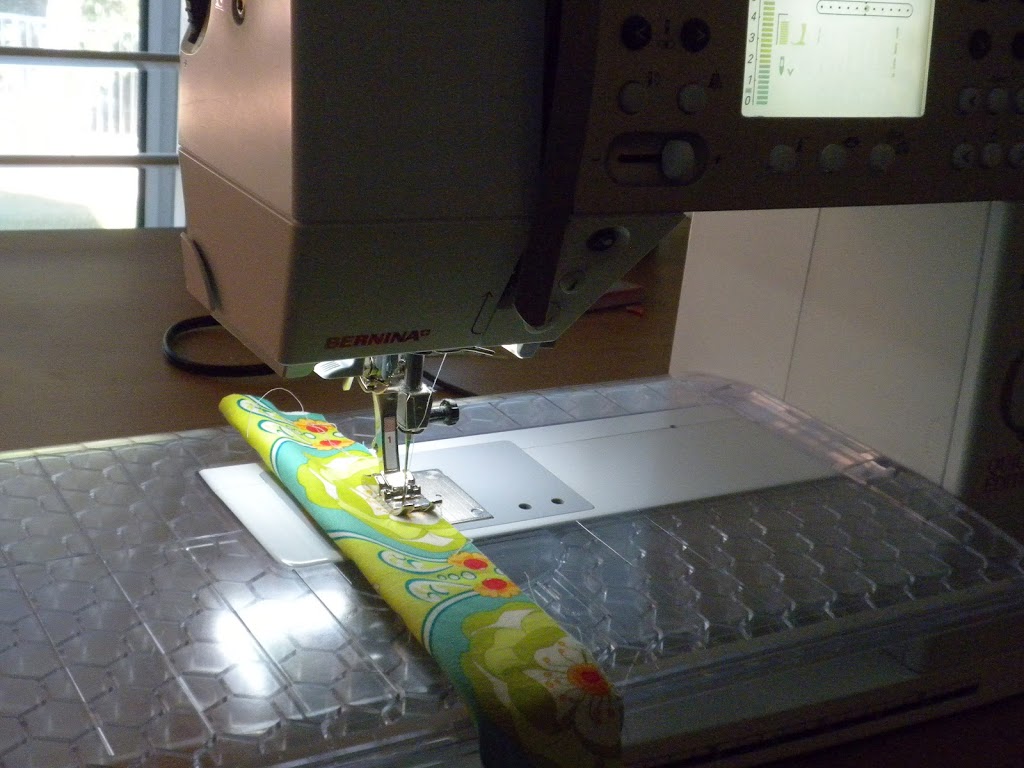
Sew along your gathering stitch. Again, this one is the hardest, the rest get easier. You have to bunch it around your machine – but it will work!
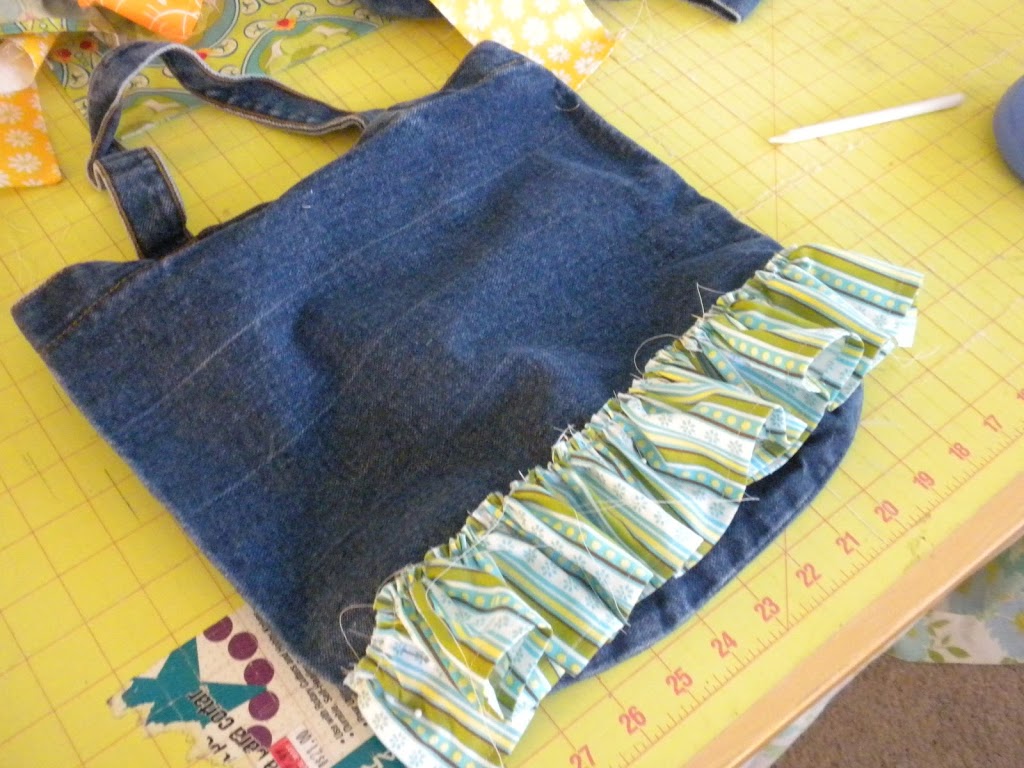
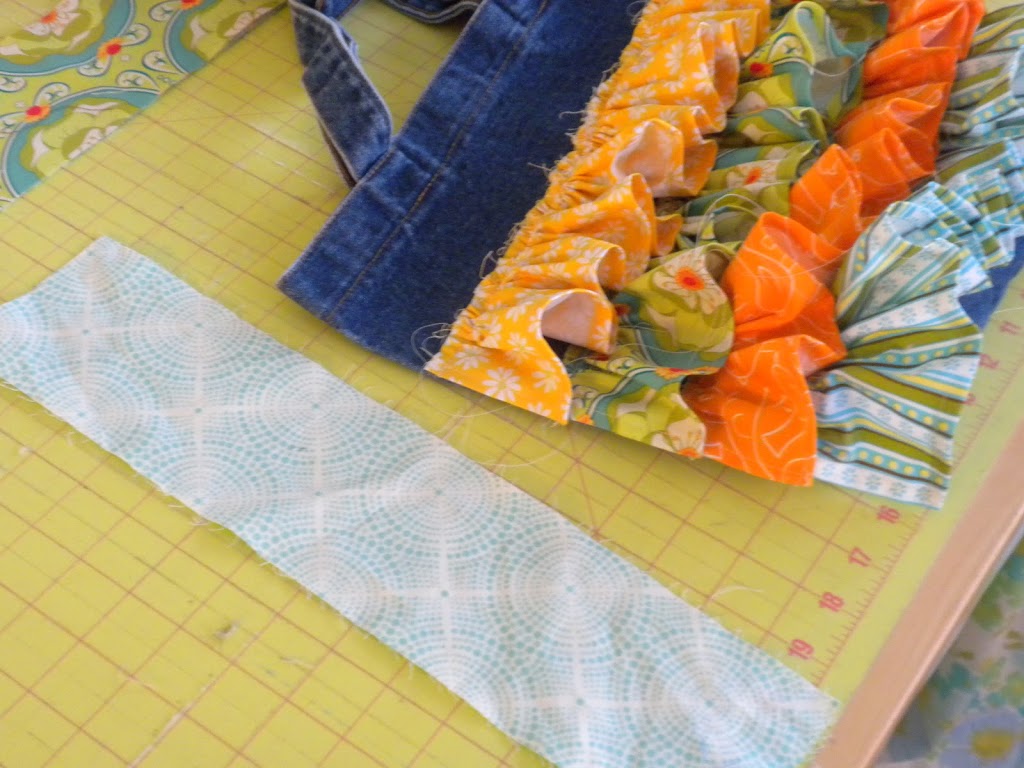
Take your “trim” piece of fabric and cut it so it is just slightly longer than your bag.
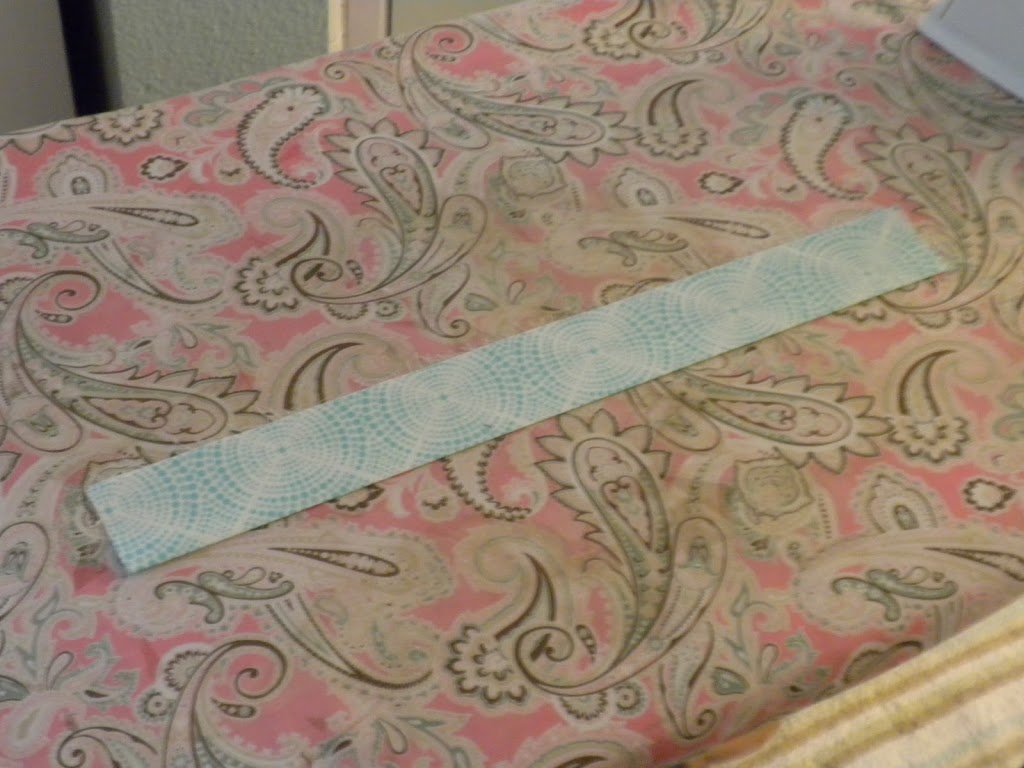
Press this piece in half
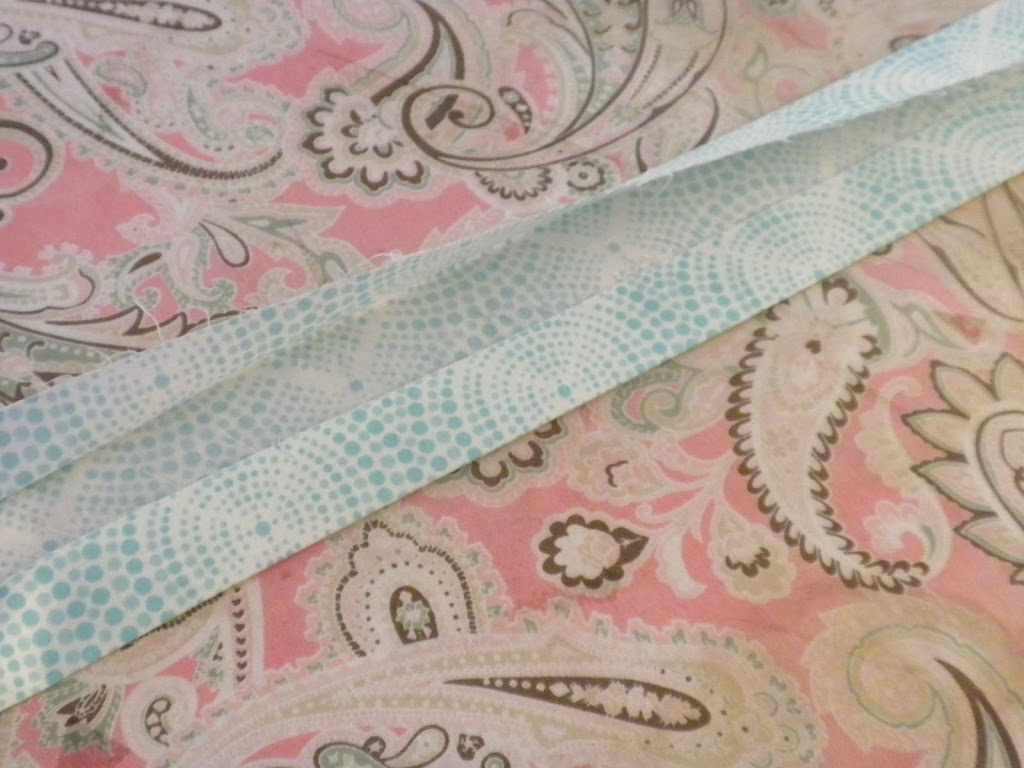
Then open it and press the two sides into the center fold. Then bring these two sides together to make a trim piece with no raw edges.
Fold one end in and pin in place. Adjust the length and trim if necessary. Fold the other end in and pin in place. Top stitch all the way around the trim piece. You can totally use pre-made trim, double-fold bias tape, or ribbon. Your bag is almost done!! Just the flower is left!
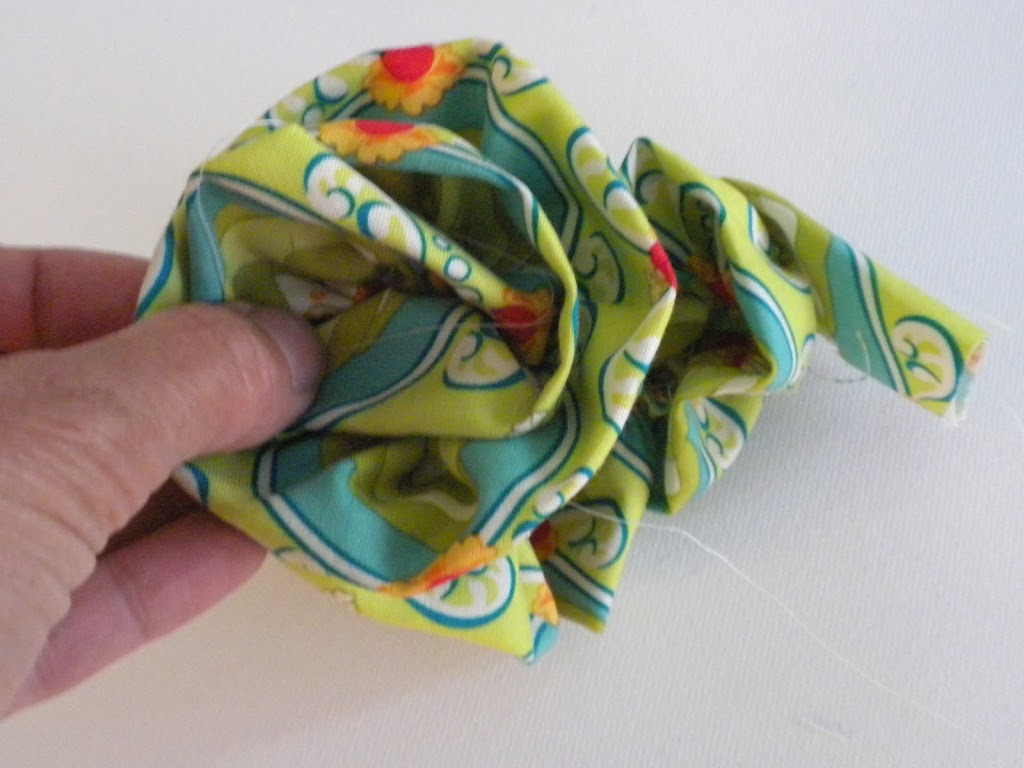
To make the flower, take your last 3.5″xWOF piece and fold in half – don’t press in half – you want it to puff a little. Use your gathering stitch again and run it 1/4″ along the raw edge.
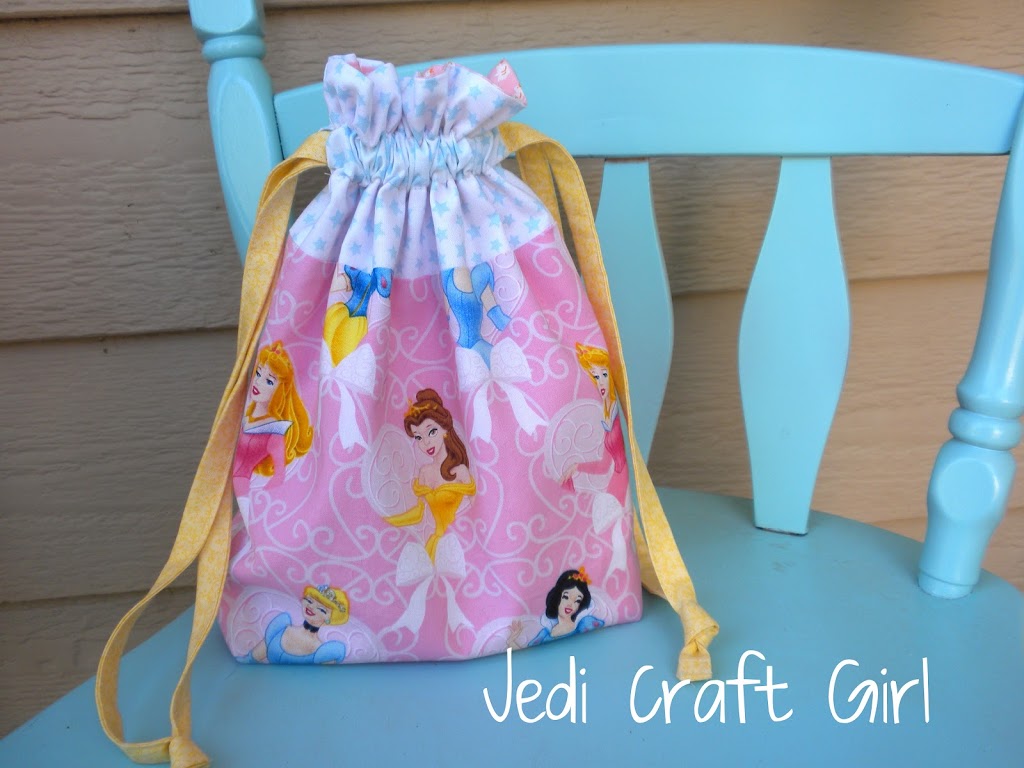
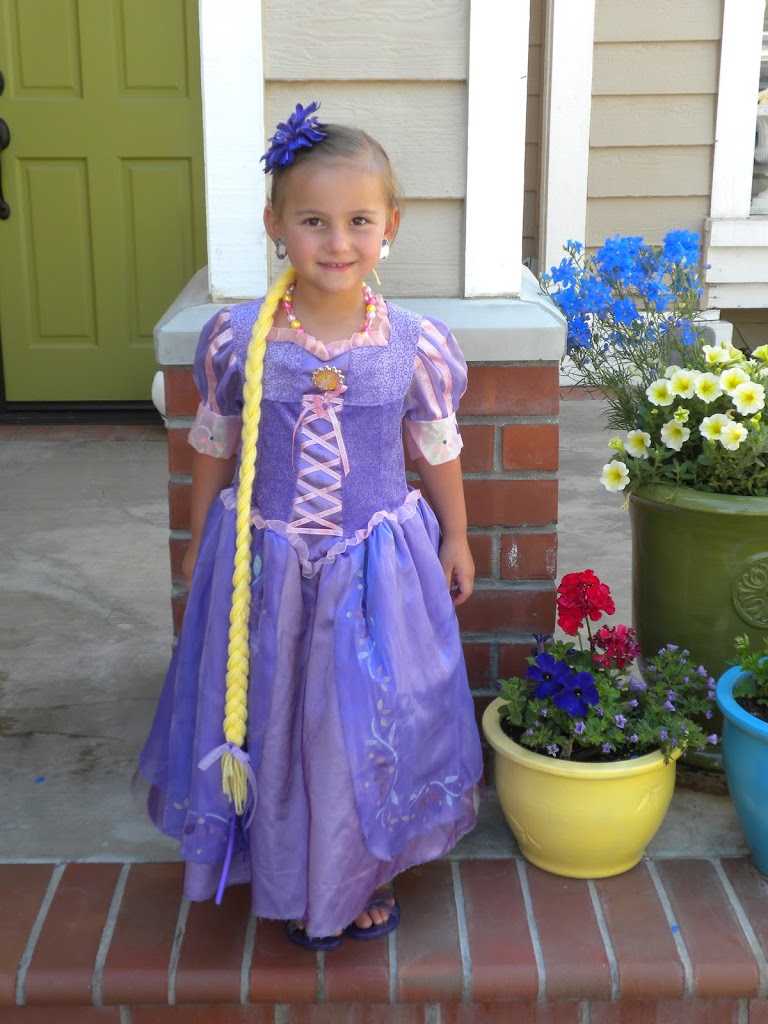
We were invited to a princess birthday party. I sewed this princess draw-string bag using this amazing tutorial again. I am telling you – you gotta make one! They are so much fun! I thought it would be the perfect birthday gift for a 4 year old. We included inside Bath & Body Works body spray & lotion and some princess sunglasses. We were so excited for the party! That’s my little Rapunzel!!!