Frozen Sketch Book Case

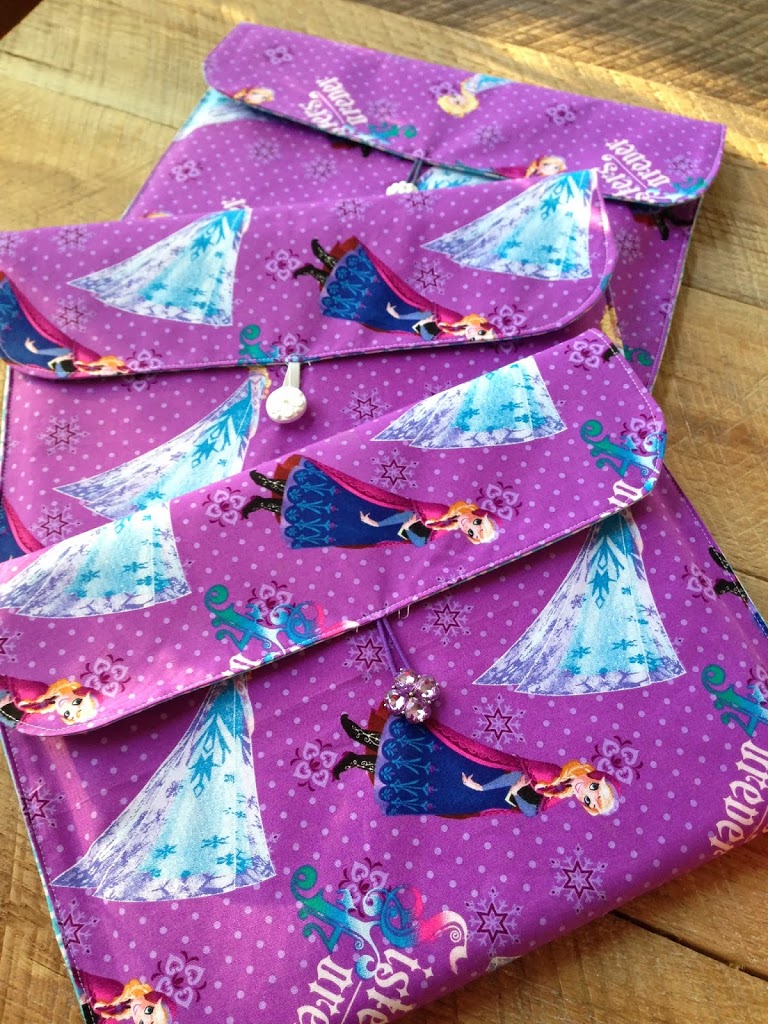
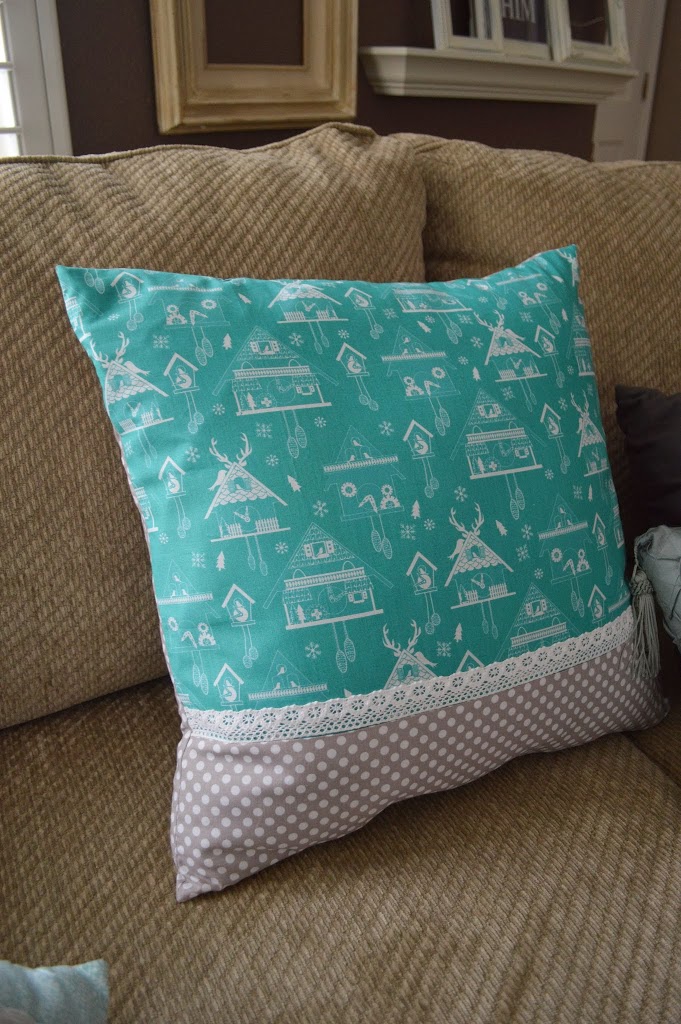
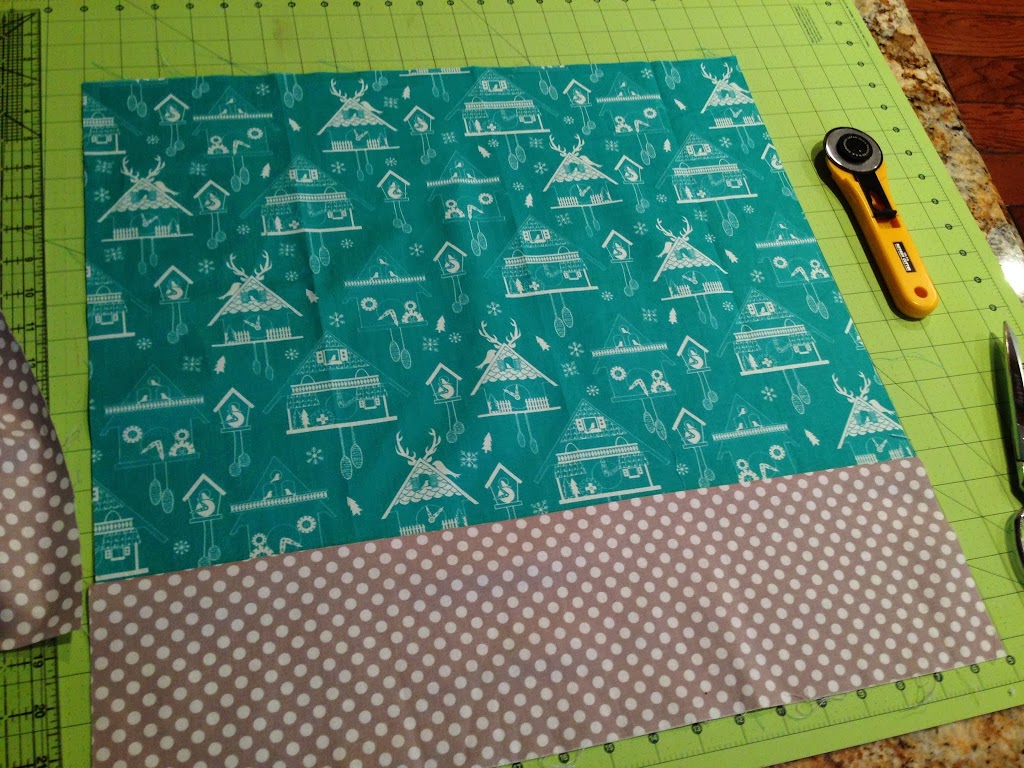
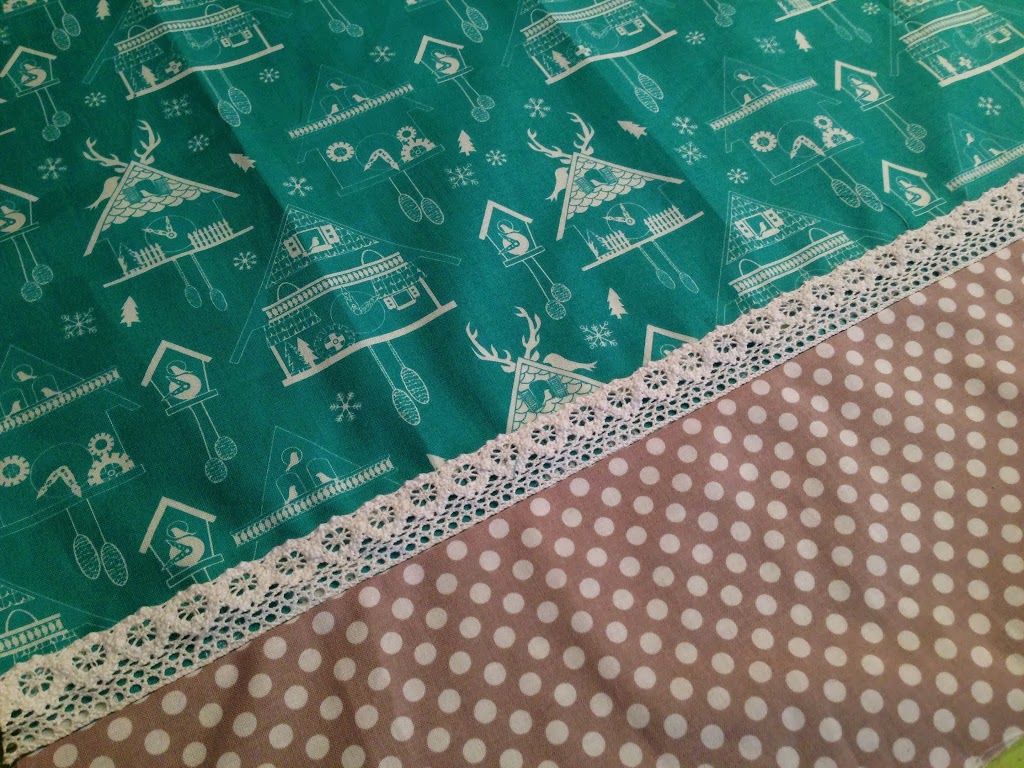
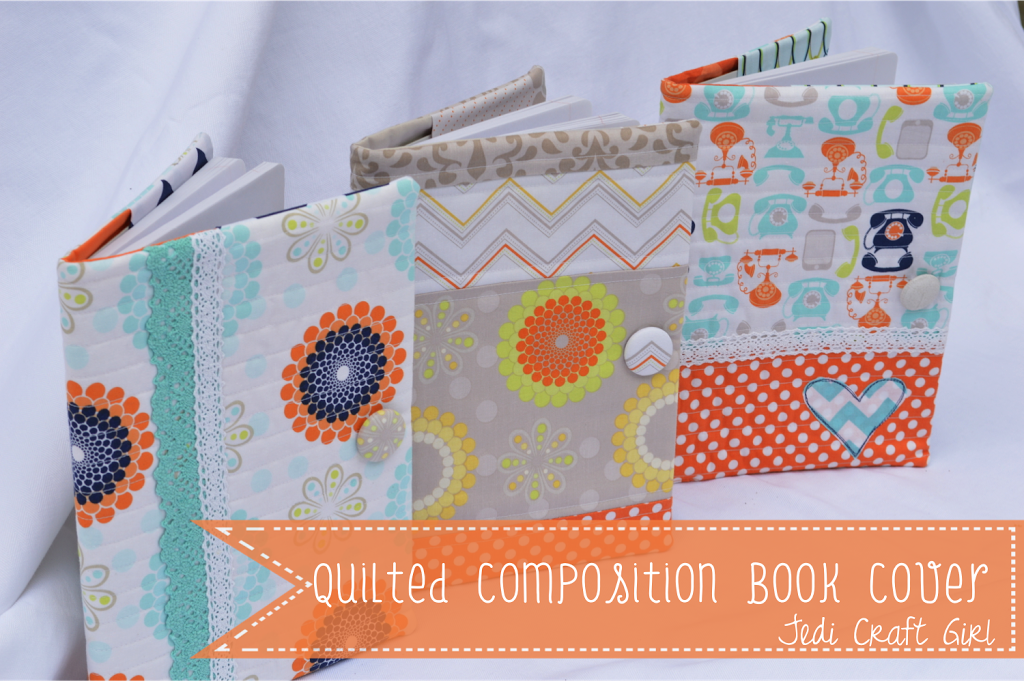
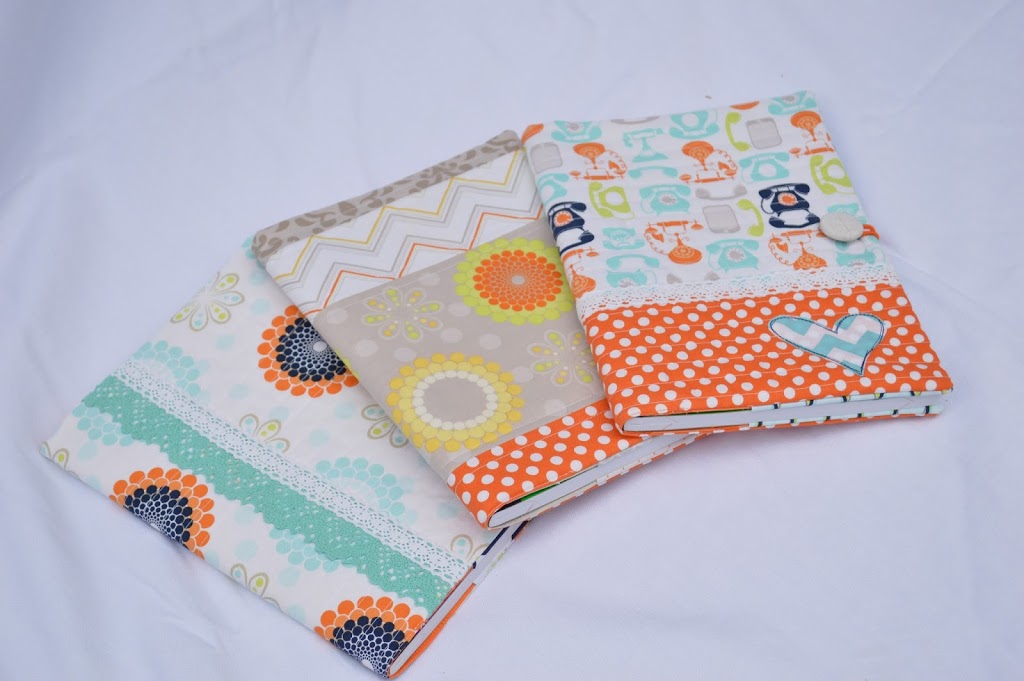
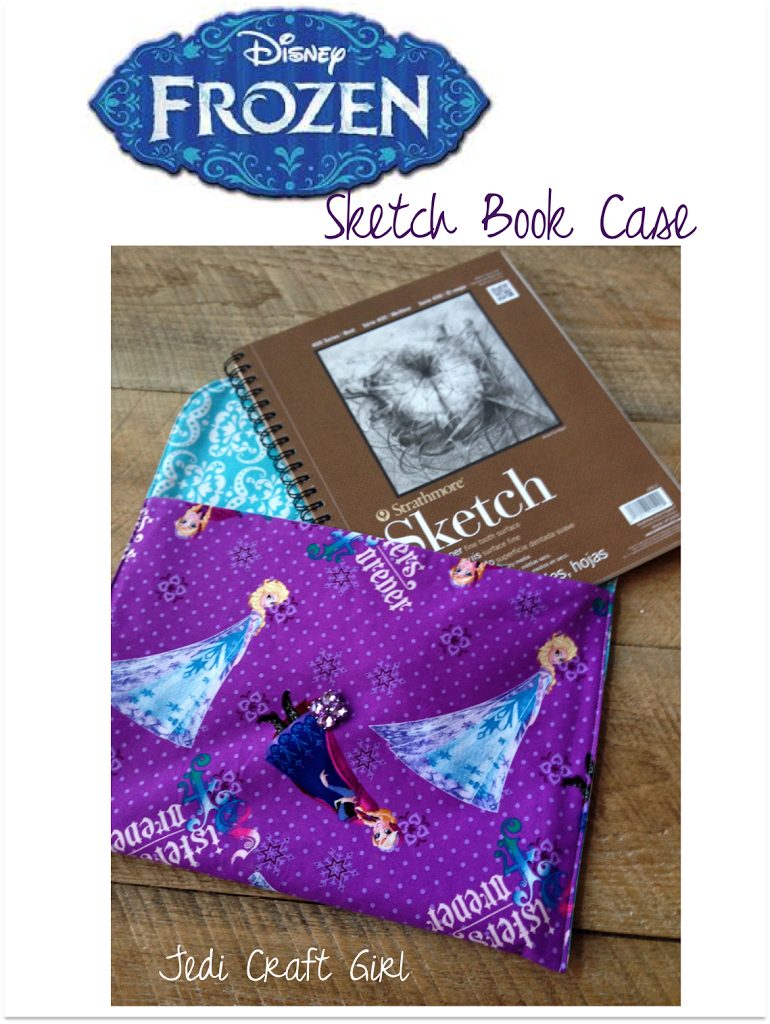
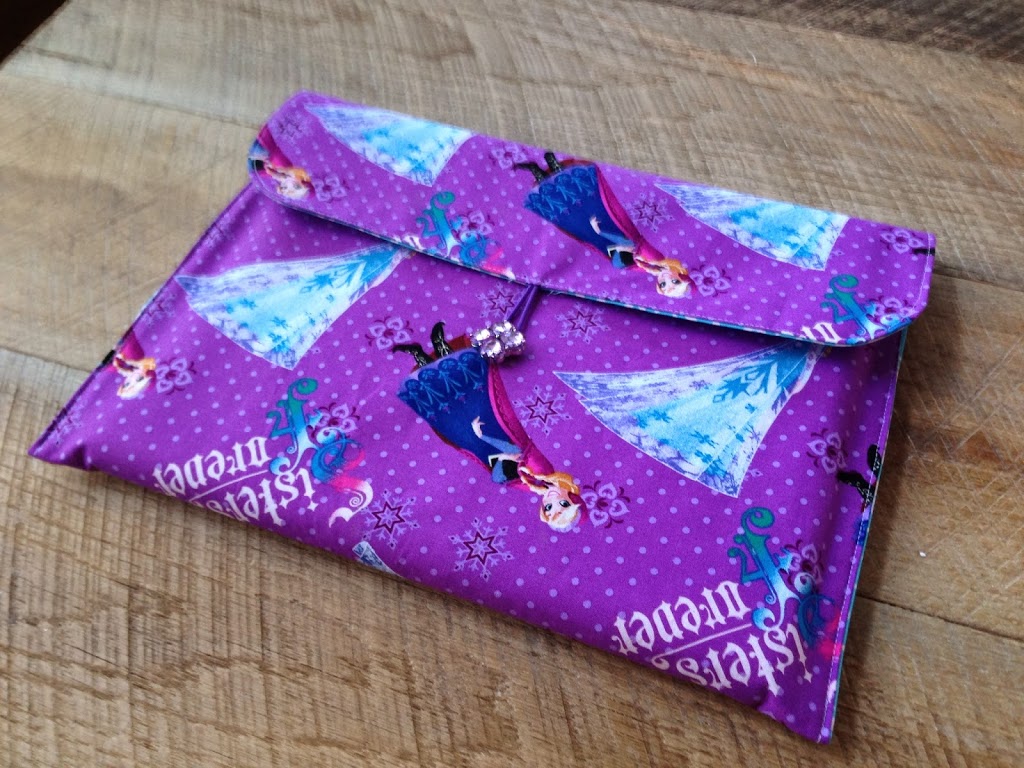
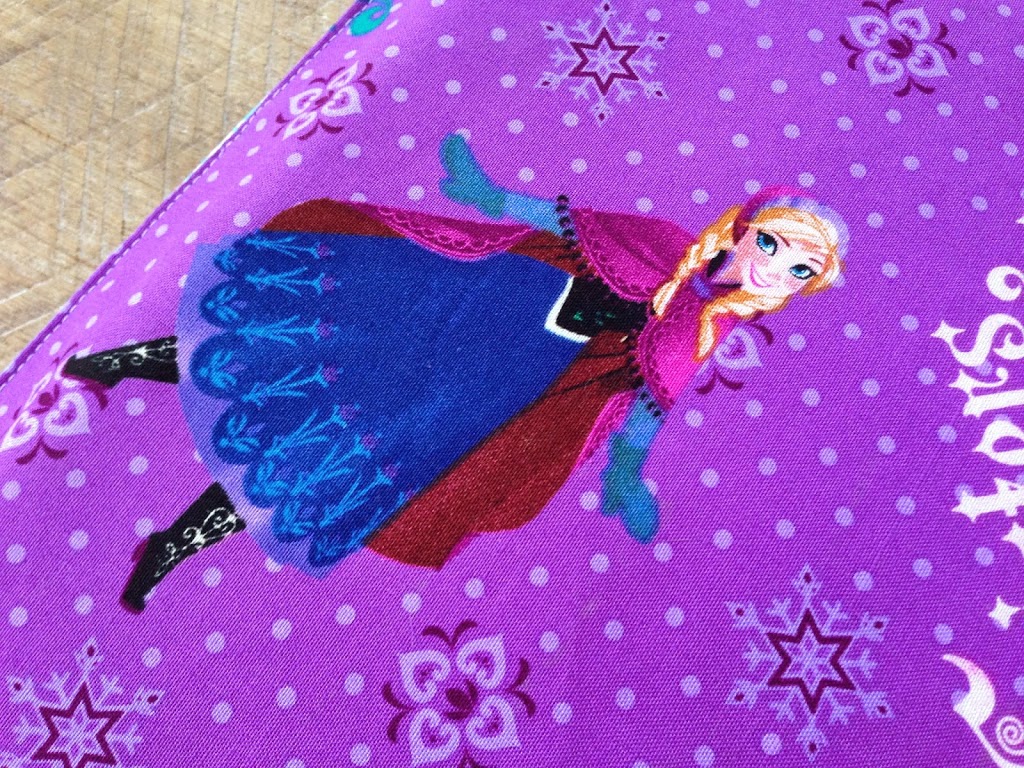
 My 14 year old and her friends are obsessed with the Frozen movie!  They have seen it 3 times, they spend all their time drawing images from the movie and listen to the songs over and over.  For Christmas I thought it would be cute to get them each a new sketch book and make a case for it out of Frozen fabric.  I am not big into “Character” fabric, but I really liked this print.

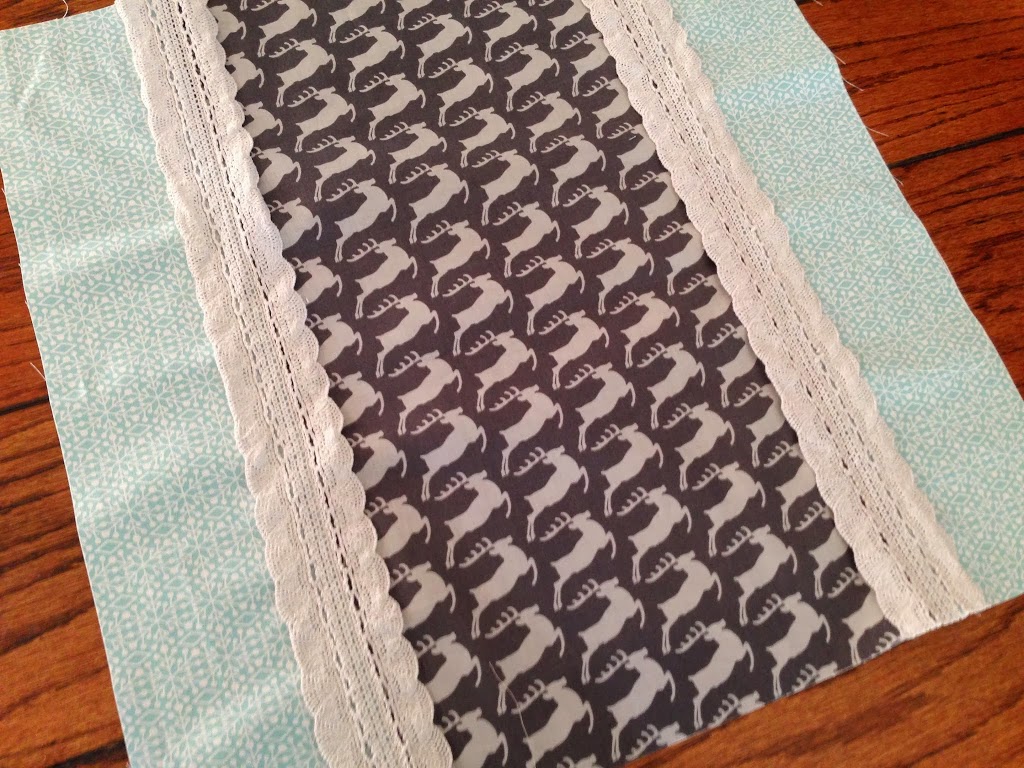
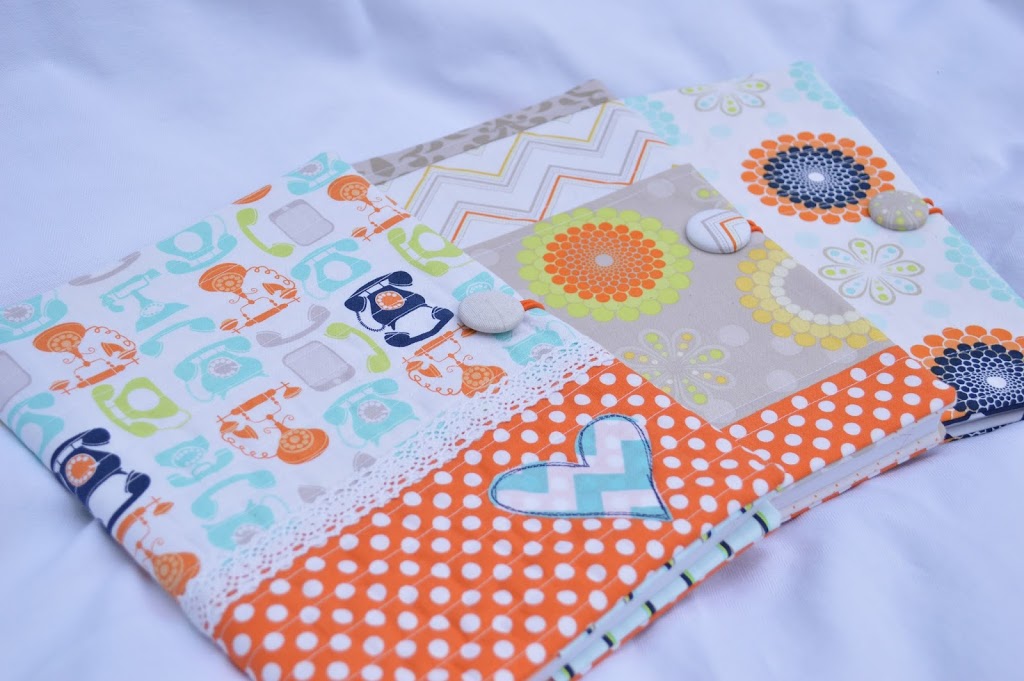
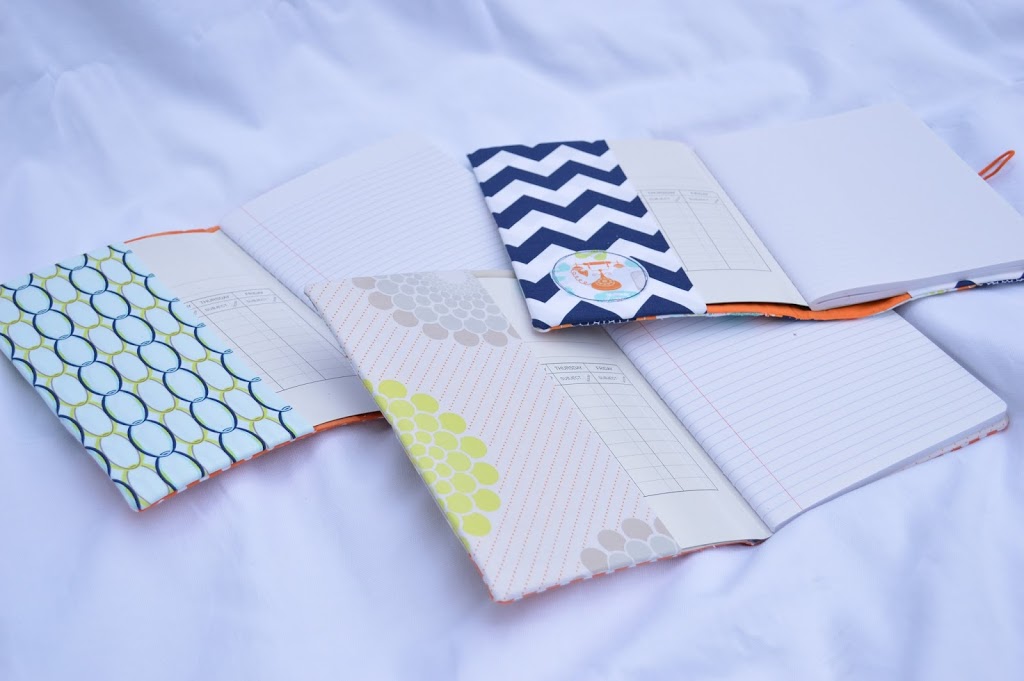
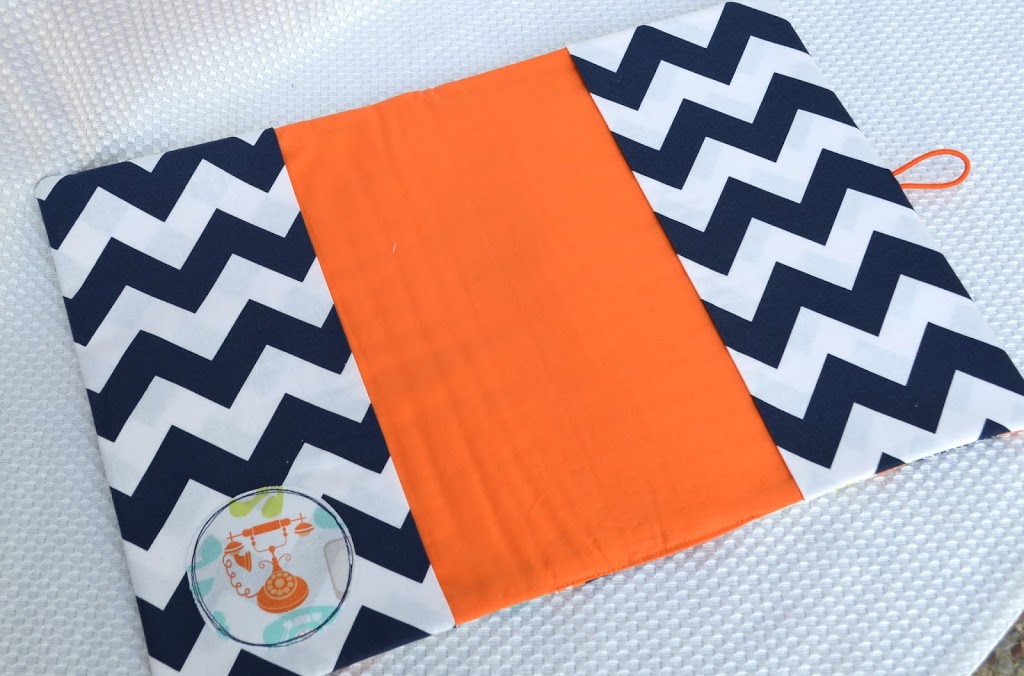
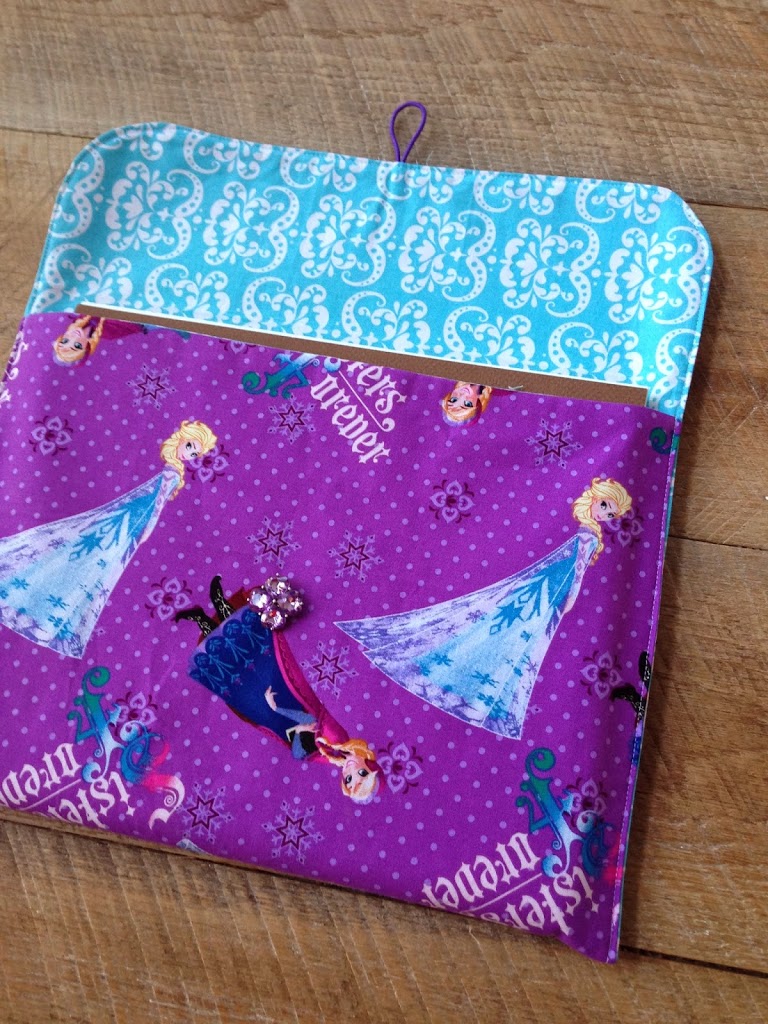
I used my Coupon Pouch Tutorial and changed the dimensions to 26″ x 15″.  Everything else is exactly the same!

They freaked out when they opened them today!

These are some of Ella’s latest drawings, I think they are so cute!

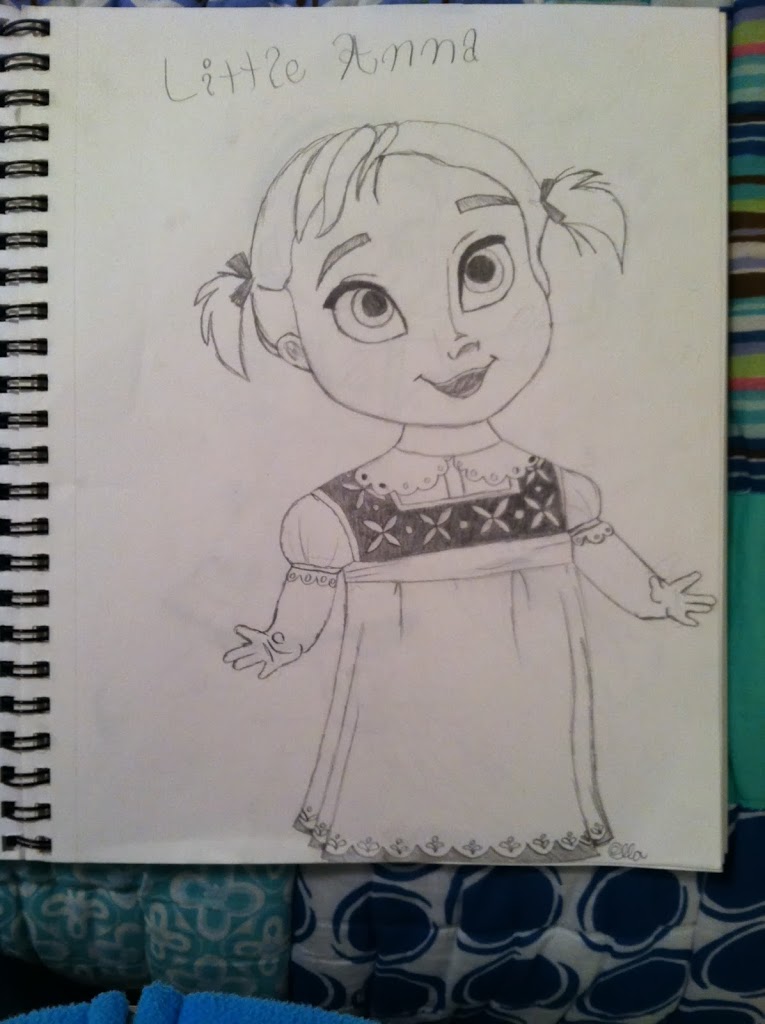
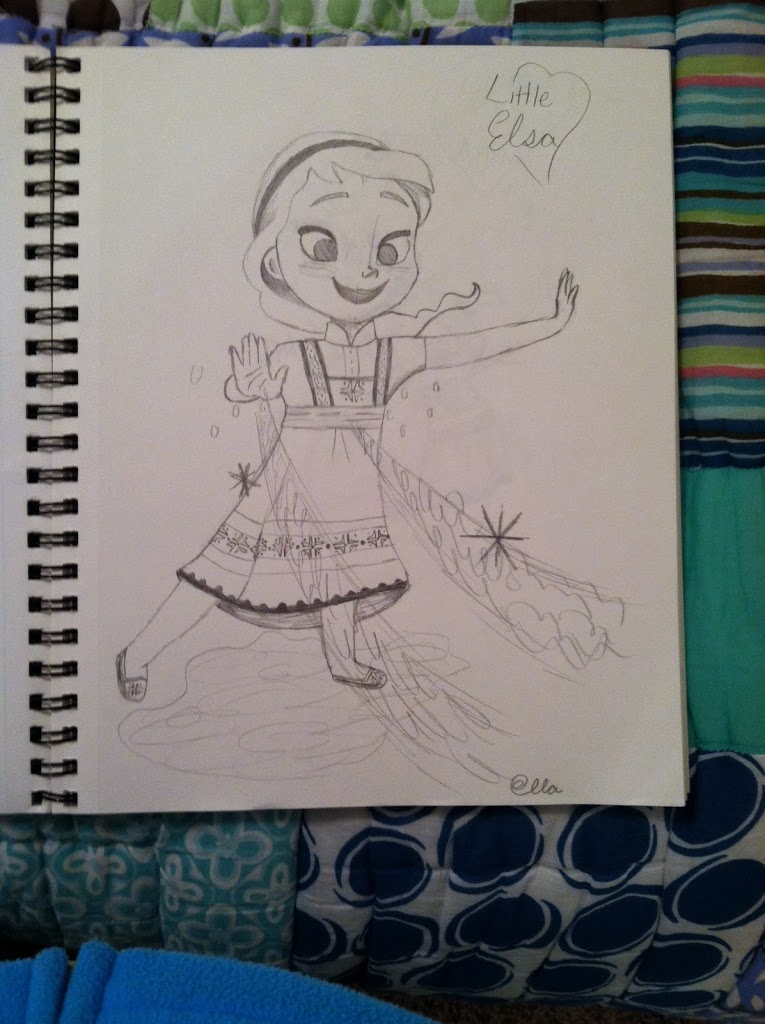
I kind of want one for myself 🙂

Amanda

Deer Friends, Christmas Deer Throw Pillow Tutorials

Do you like my new chairs?  I just ordered them from Amazon and they came in 2 days!  It was totally risky of me to just push a button and have chairs sent to my house, sight unseen!  But, I LOVE them!  They are exactly what I wanted and they are even comfortable!!!  The whole reason to buy new chairs is to sew new pillows, right?  I am obsessed with deer!  Deer throw pillows my chairs do need (a little Yoda verbiage!)
My friend and I got together and the children played and we sewed!!  An entire herd of deer throw pillows!
Here’s how to make the appliqué deer pillow: My pillow form is a 20″ square down pillow.  Down is a bit “squishy” so the pillows have a more casual feel. 
Appliqué Pattern, download HERE.  Print 2 of these and reverse one of the images.  The image is on 2 pages because it is larger than a piece of paper.
Print out the pattern and tape it together.  Trace the pattern onto Heat n Bond Lite fusible appliqué.  I used a wool blend fabric for the gray deer.  You can use any type of fabric.
Cut the chevron fabric 21″
Iron the deer to the center of the fabric and stitch around the deer.
I wanted a bit of an accent on the back of the pillow, so I put the zipper on the back with a decorative flap over the zipper….sounds hard but is super easy!!
To make the flap, cut your accent fabric 5″ x 20″ and press in half lengthwise.  
Cut your back pieces 4.5″x20″ and 16″x20.
Lay them out like this with your zipper placed as so (NOT invisible zipper)
I promise I ironed my pieces!!
Layer the top piece of the pillow back, the folded flap, and the zipper so all the raw edges align, like this:
Using your zipper foot, sew along the zipper.  For the other side with out the flap, sew the backing fabric to the zipper just as you would normally sew in a zipper.  Press the flap down to cover the zipper – super easy!!! Pin the pillow front and back with right sides together.  Make sure to open zipper so you can turn it.  Sew a generous 1/4″ seam around the entire pillow!

I couldn’t just have 2 deer pillows – I needed more.  This one is super quick!  It is for a 18″ pillow.

Cut the center deer fabric 10 1/2″ x 19″
Cut the aqua snowflake fabric (2) 4 1/4″ x 19″
Sew them in this order using 1/4″ seams

 I had this pretty light gray lace I top-stitched over the seams.  Now, cut the back of your pillow 19″ square and finish as desired.  I put an invisible zipper in the bottom.

Deer pillow #3 – this fabric doesn’t exactly have deer on it, but it has antlers atop the Cuckoo clocks!  And it’s teal!!!  Another quick pillow!!  This pillow form is 20″ but it is pretty floppy, so I decided to cut my pillow cover at 20″ so it would fit better.

Cut the teal print 15″ x 20″
Cut the gray dot 5 1/2″ x 20″
Sew using 1/4″ seams
Cut the back piece 20″ square.

Top stitch lace along seam.  Finish as desired – again another invisible zipper – those things are totally AWESOME!!!

Here are my friend’s cute deer pillows – she used a bolder chevron and a brown deer on an 18″ firm pillow.

I am so loving the zipper flap!
Sewing deer pillows makes me happy 🙂

Amanda

A little sewing…..

I have been a busy little sewer bee this week!!  I sewed these cute half aprons for my friends at Therm O Web to wear at Quilt Market.  Half aprons are my favorite!  And they are so fun to sew!
The theme of their booth is aqua, pink, black and white.  Super retro colors – love ‘um!
 

I also sewed 40 of these little ice cream cone key chains.  I used Heat n Bond fusible appliqué and Heat n Bond fusible fleece.  I used the Sizzix ice cream cone die to cut them out.  They are really fun to make!

Amanda

Halloween Applique Art

Today my Halloween Appliqué Art Tutorial is over on the Therm O Web Blog!  This project was super fast and super easy!  This would also be a fun project to let your children design!

Amanda

Halloween Table Square Tutorial

 Today I am a guest blogger over at Ginger Snap Crafts.  I am sharing this quick and easy tutorial for a cute Halloween table accent.  I can’t get enough of orange chevron!!!

Amanda

DIY Soccer Banner Tutorial

This is my first soccer banner ever!  I had no idea what I was doing and I was determined to use only materials I had on hand.  This is what I came up with! We are the Daisies (white) and there are 5 girls on our team.  So – 5 daisies on the banner!  Not too hard!!

Start with canvas or duck cloth.  I was happy I had bought this in the fabric district for $2 a yard!  Only it was a tan/cream color – not very 5 year old!  Luckily I had just purchased NEON pink spray paint!  I hemmed the edge of the canvas then spray painted it with the neon pink.

Neon pink does not photograph very well in bright sun.  I like how it finished kind of patchy, I have quilting fabric like this.  (it’s nice to know you can spray paint anything!!)

I got out my Therm O Web Heat n Bond and traced the block letters and daisies.

Iron the Heat n Bond to the wrong side of the fabric and cut out on the line.

Peel off the paper and lay out the words.

I was afraid to iron directly on the spray paint so I grabbed an old piece of fabric and laid it on top.  It took a few seconds to get the Heat n Bond to melt.

I put an old towel on the tile floor then laid out the rest of the banner.  I ironed it on the floor – I didn’t want to move it to the ironing board.

I sewed around all of the appliqué pieces in black thread.  On the daisies I sewed around 3 times.

If I would have time, I would have hand stitched the names, but I had 10 minutes left before team pictures, so a sharpie did the trick in putting the girls names on the flowers.

I love it!!!  The neon really makes it!

 My husband assembled a PVC pipe stand and we took it to our first game on Saturday!!

Amanda

Apple Keychain Tutorial

It’s that time of year again…..YIKES!!!  I can’t believe the children are headed back to school.  I am such a summer person!!!  I designed this keychain for Therm O Web.   They are super cute and easy to make – you can give them to your teachers or clip them on your child’s backpack!  Click HERE for the tutorial!

Amanda

Quilted Composition Book Cover

Today I am sharing my tutorial for these quilted composition book covers over at Riley Blake Designs Cutting Corners!  These book covers are so much fun to make.  They are perfect for gifts.  I use one for my journal, one for my sewing journal, one to carry with me to take notes or jot down ideas in.  My children each have one as well.  Don’t you love this fabric line?  It’s called Ashbury Heights.  You’re going to want to make one 🙂


Amanda

Patriotic Tote Bag Tutorial

Today my Patriotic Tote Tutorial is on the Therm O Web blog!  Click here to read how you can make one of these fun totes for summer!!  This tote is the perfect size for the beach, the pool, or the park.

Amanda

Summer Hoodie Tutorial

Today I am a Contributor over at Ginger Snap Crafts!  I love Ginger’s blog – she has such great crafts, ideas, and tutorials.  I am sharing this fun tutorial for altering a Hoodie Sweatshirt.  They are so much fun to make!  Click HERE to go to the tutorial.

Amanda