Archives for November 2012

Cotton Headed Ninny Muggins

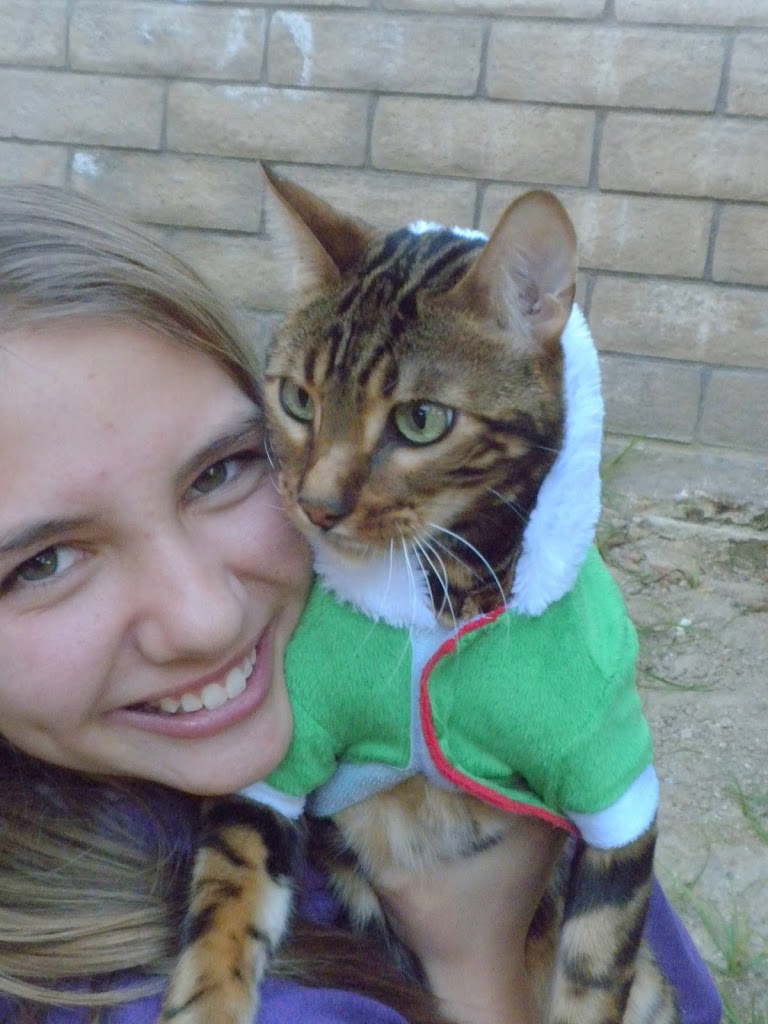
 For the past few months we have been calling Marbles a “Cotton Headed Ninny Muggins” from the movie “Elf”.  I couldn’t resist this elf costume!  In honor of the little Bengal I made this printable – perfect for your Christmas decor.  If you can’t download the printable, leave your email address in the comments & I will email you the original file.

 Sometimes we just call him “Ninny Muggins” for short.  It really suits him!!!

Home Improvement with Marbles!!

 We are fixing up our guest bathroom just in time for Thanksgiving!  Marbles has to be in the center of it all!!

 This is where our new vanity & counter top are going!  Yea!  No more 1989 mini-vanity!!

Gold Spray Paint

 My new favorite Christmas decorating tip is Gold Spray paint!  I have all these red berry balls that I use on my main Christmas tree.  This year I decided no red….but Gold!


 So I got out the Gold spray paint and went over each berry ball lightly and now I have berry ornaments I LOVE!!!  This technique works in silver too.  I have tried it on regular greenery and old Christmas picks… it just gives it an extra sparkle. 

 I am looking through all my Christmas boxes wondering what I can spray paint next!!!!


It’s Beginning to look a lot like Christmas

‘Tis the season for decorating, Christmas music, cookies & hot chocolate!  I know – it’s only November!!  My daughter has been bugging me about that fact all week.  The truth is this is the only week I have to devote to decorating.  So it’s Christmas at our house!!  Right now it looks like a Christmas hurricane hit as there are boxes, tissue, and glitter all over the house.  Once everything gets put away I will post more photos.

Kitchen Table Re-Do

I bought this kitchen table (and 4 chairs which will be used in a different project) on Craig’s List for $25!  I was so excited for a new project.

 Right away I got to sanding it.

 Then I primed it with a dark primer.

 I painted it black.

 Then I painted over the black with white paint.  I used the same chalk paint method as I used on my coffee table.  The technique comes from I Heart Naptime.  I mixed 5 tablespoons of Plaster of Paris with 2 Tablespoons water.  Then added 2 cups of white paint.

My plan was to have the white paint look aged & like it’s chipping off with the black showing through.  Only I got so excited to paint I forgot to add Vaseline to parts of the table to make the paint scrape off easier.  I would definitely not forget this step!!

 Anyway, I painted 3 coats of white paint to the table.

 Next I sanded the edges so the black paint would show through & the table would look aged.  This is where the Vaseline would have been nice.  I didn’t get the big chunky paint chips that I wanted.  I am sure they will come over time!!

This Minwax Finishing Wax is my favorite stuff!!!  It gives such an amazing feel to your furniture – different then polyurethane.  You rub the wax on and then in 20 minutes you buff it out with a clean cloth.  It makes the paint feel like it’s been there for a long time!!  I even used it on my table top.  It won’t protect it as good as polyurethane, but I want the table to age naturally.

 This is our first meal at the table.  I love how it fits the space in my kitchen better than my rectangular table.

 Yea!  Now what can I paint next??

Nominated!!

 It’s the Fall Blogger’s Quilt Festival at AmysCreativeSide.  My “Animal Taggie Baby Quilt” has been nominated in the Baby quilt category.  To vote for my quilt click Here.  Thanks!!! 

 To read more about this baby quilt click Here.

Thankful Owl Pillow

I can’t believe it is November!  I made this cute owl pillow out of a dish towel from Joann’s – 70% off!
I love the fall owls – but the fabric was canvas-like – not good for doing dishes…. better for a pillow!  I cut a piece of burlap and cut the word “Thankful” on the Cricut in vinyl.

 I removed the letters, leaving the background for the stencil.  Then I stenciled black paint & removed the vinyl when it was dry.

 I love stenciling on burlap!!  It is so fun & easy!

 I cut the dish towel into a 17″ square (it will fit at 16″ pillow form).  I top-stitched the burlap piece in place.  Then just sewed the pillow.  I added some trim in the seam.