I am so excited it’s November! Yes, it’s all going a bit too fast, I will admit 🙂 Every year we do a “thankful campaign” in the month of November. When my children were small we wrote what we were thankful for on leaves and taped them to a big tree I had placed on the back of the front door. As the children got a little older, we wrote what we were thankful for everyday and then put it in the “Thankful Bucket”; we read all the thankful papers out loud on Thanksgiving. This year I want something a little more meaningful and something that can be adopted into a habit. Gratitude journals are not a new idea, but I decided it’s time every member of my family have a Gratitude Journal and we write each day at least 10 things we are grateful for. Pretty much, you open the book and you write what ever it is you are thankful for – it can be a word or many paragraphs.
I’ve done a lot of reading on Gratitude and I even have a Pinterest board for all the wonderful Gratitude ideas and quotes there are out there. My favorite quotes are:
Gratitude Turns What We Have Into Enough and A Thankful Heart is the Parent of All Virtues
I am hoping by helping my family turn our hearts into grateful hearts, we will have more love for each other and for those around us and we will feel closer to God and His Son, Jesus Christ.
Here is how you can make a Quilted Gratitude Journal!!
Supplies:
fat quarters or small cuts of fabric for the pieced journal front
1/3 yard fabric for lining
1/3 yard for journal cover flaps
cotton batting
hair elastic
button
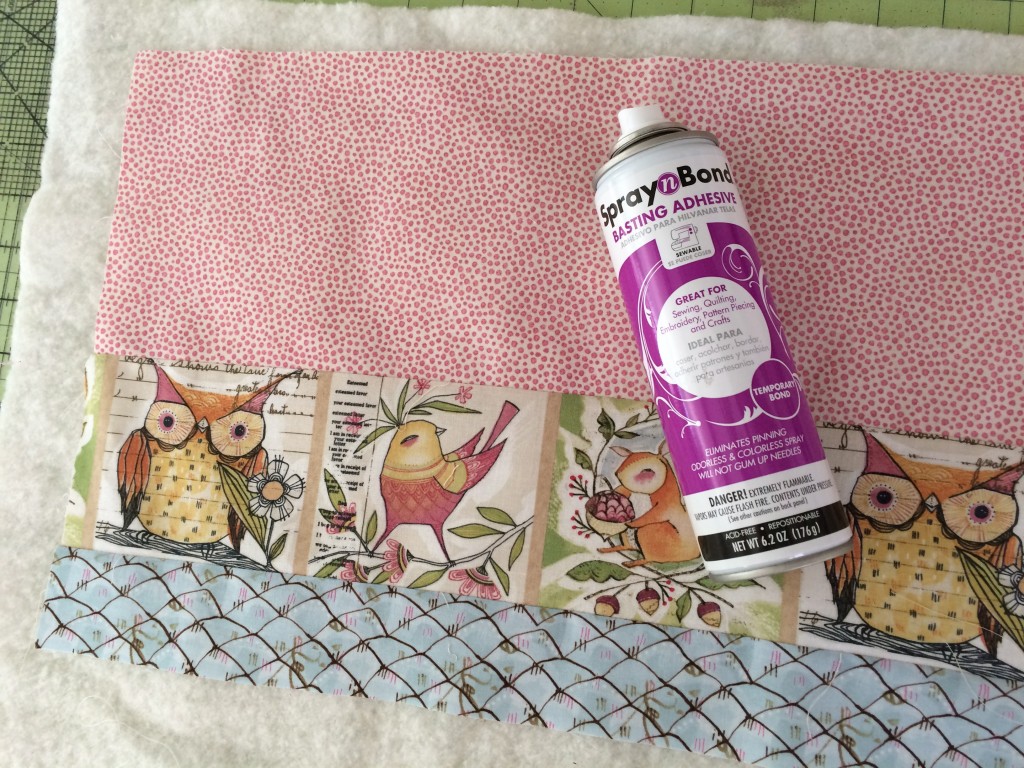
Spray n Bond Basting Spray
Scrap of burlap
“An Attitude of Grattitude” printable, click HERE
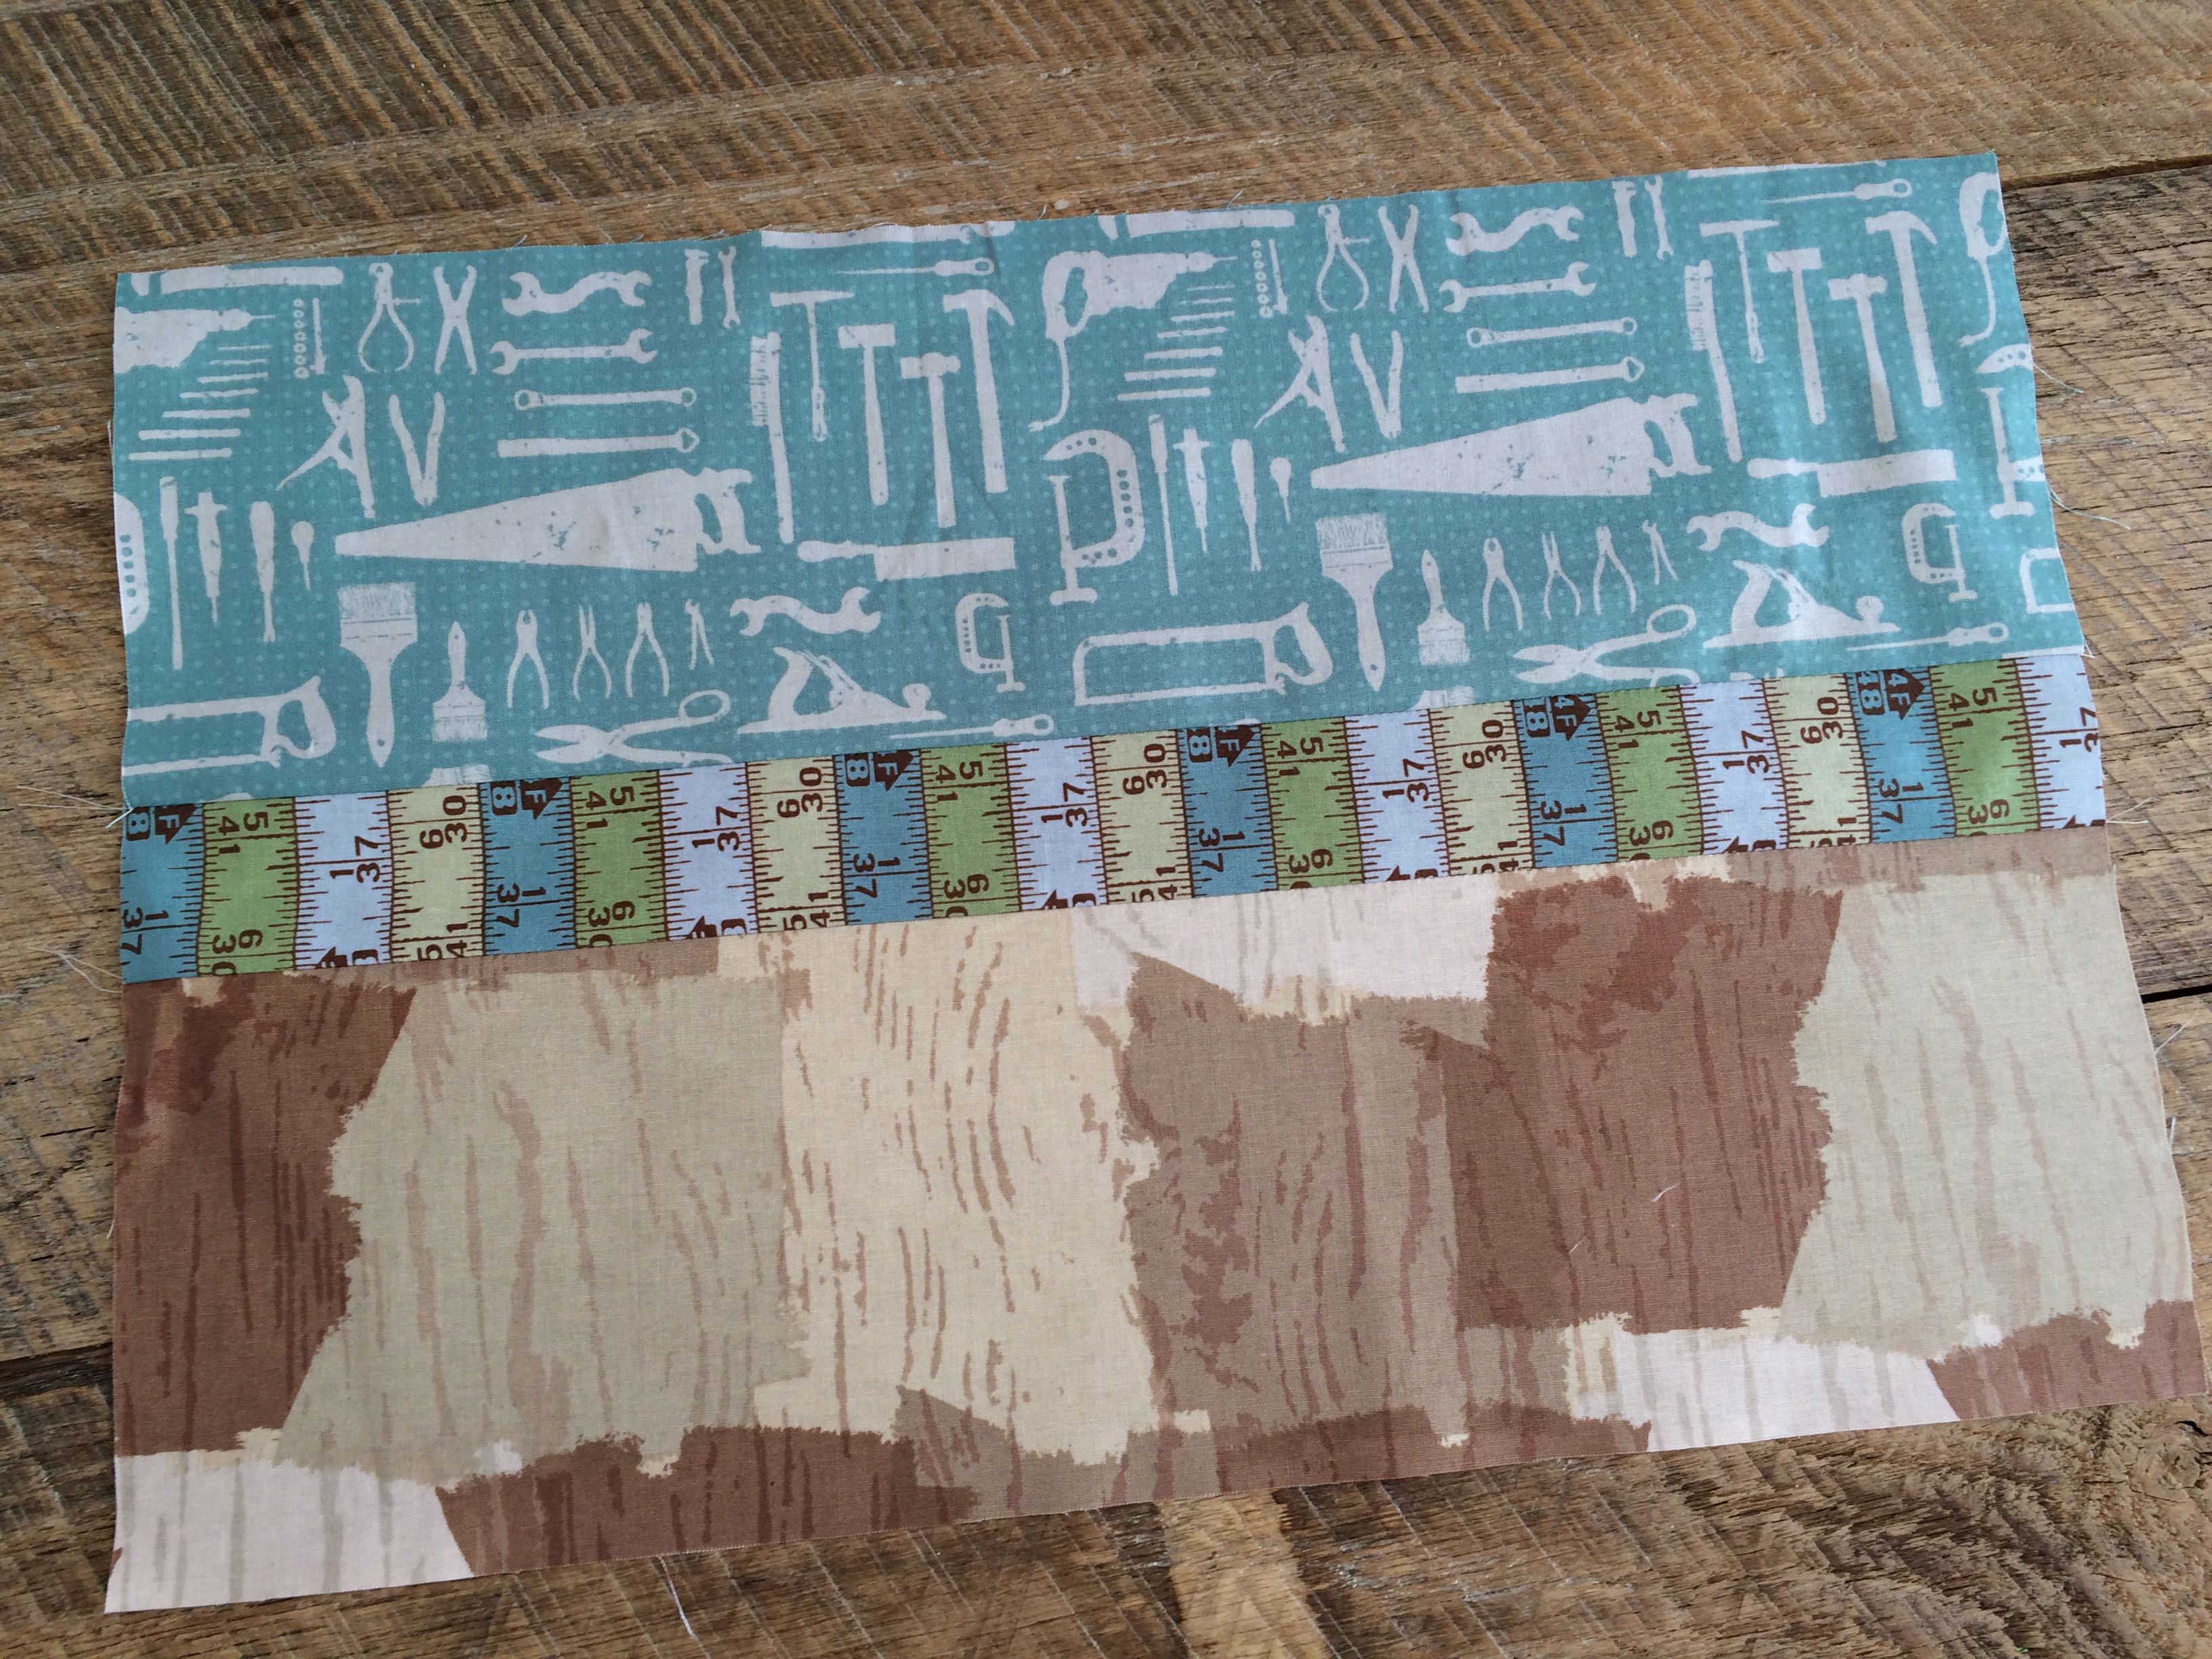
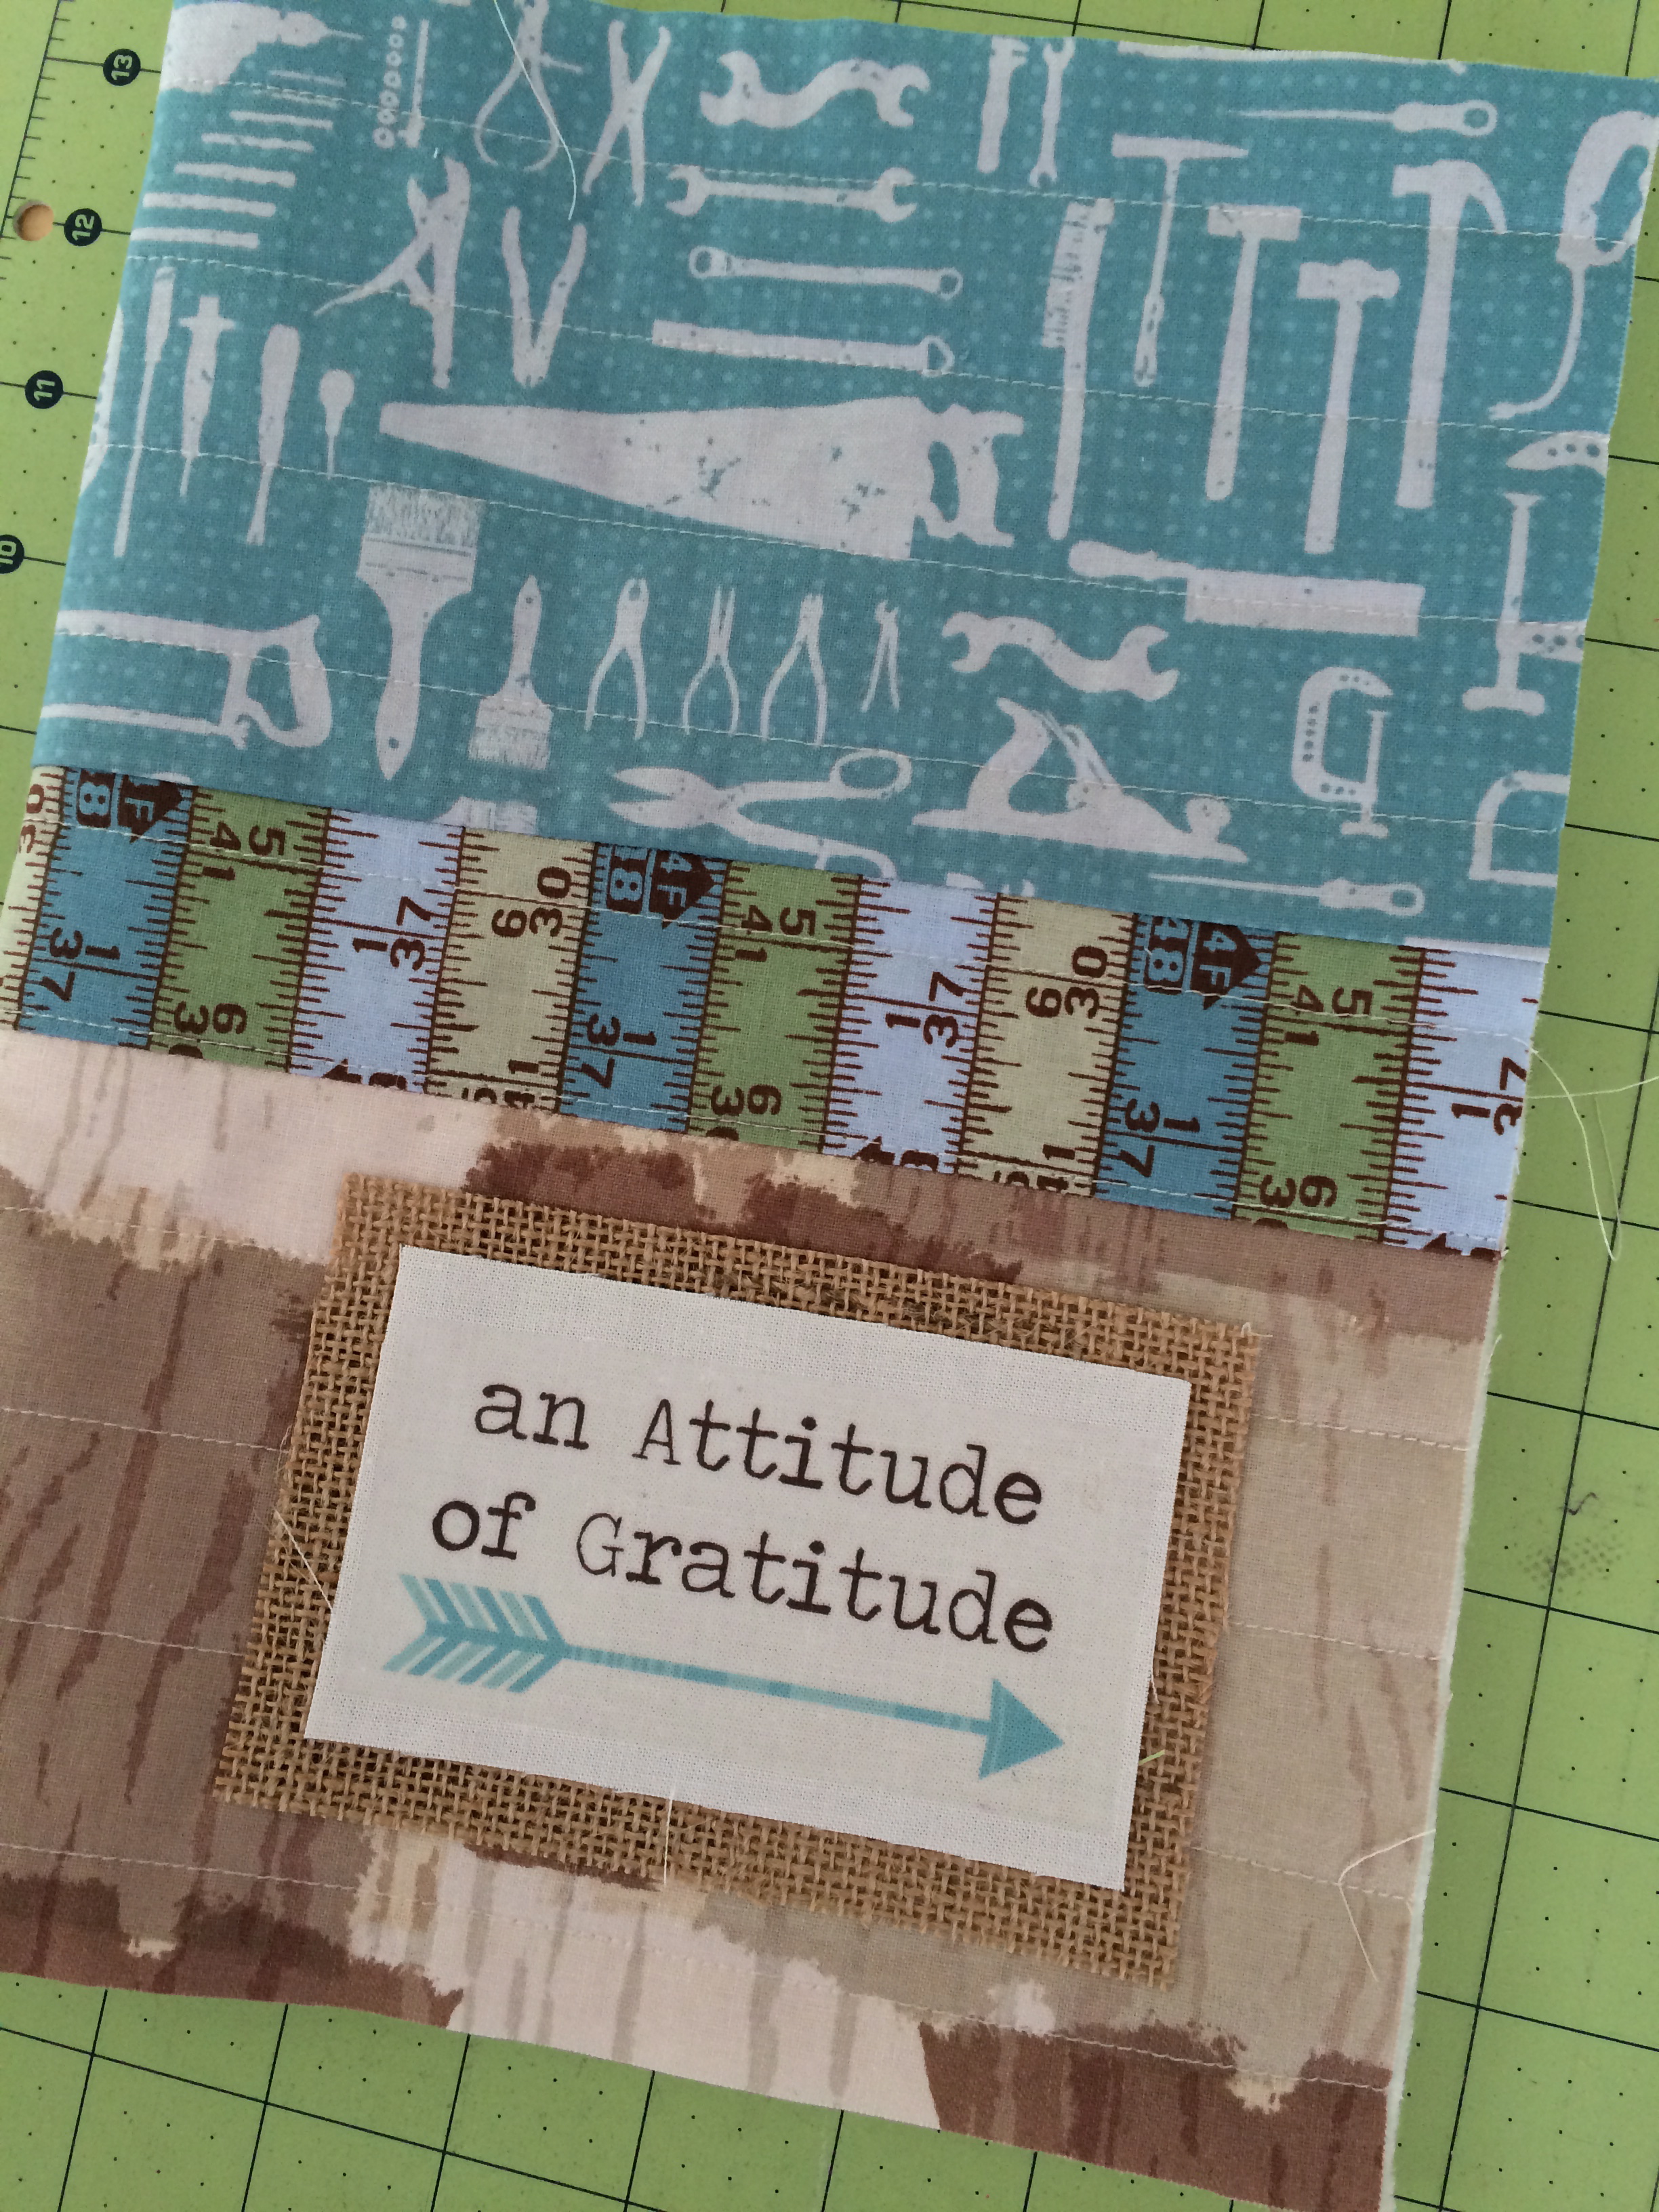
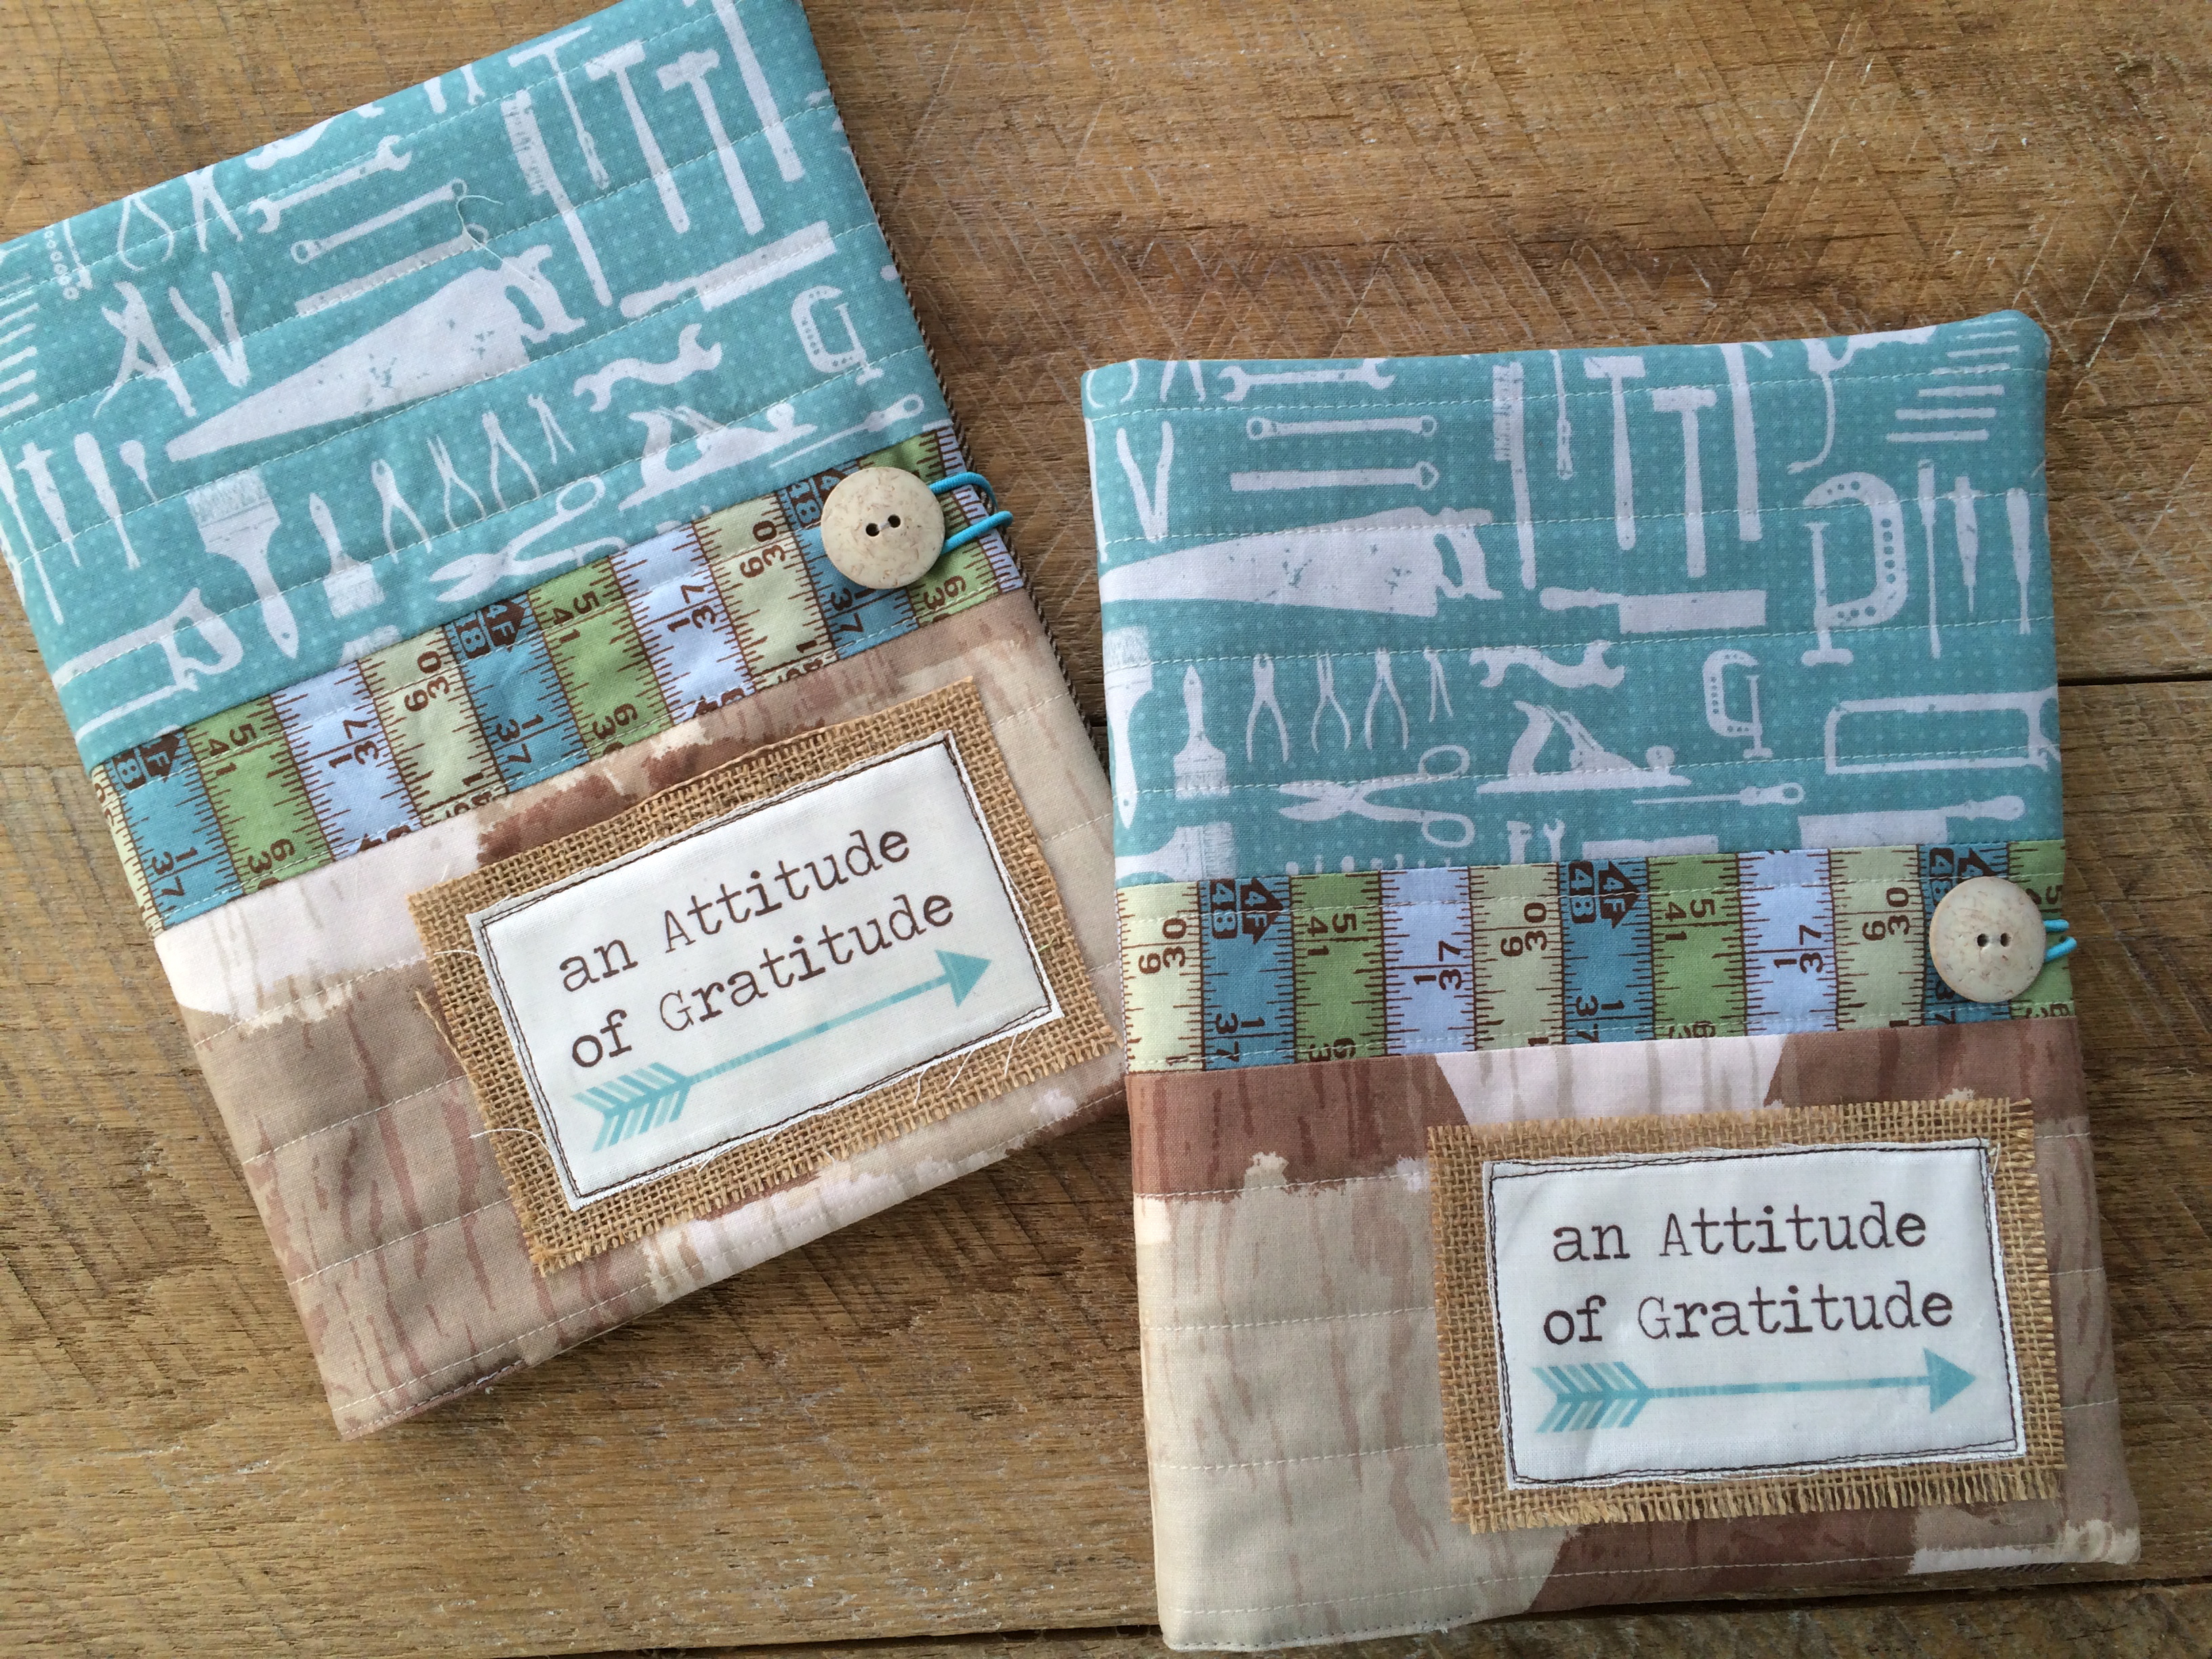
For the “boy” journal I used fabric from Blend’s “Hammer and Nails” line – I love finding mature boy fabric – it’s hard to come by, but I thought this was perfect for my 11 year old son and my husband with out being cheesy 🙂
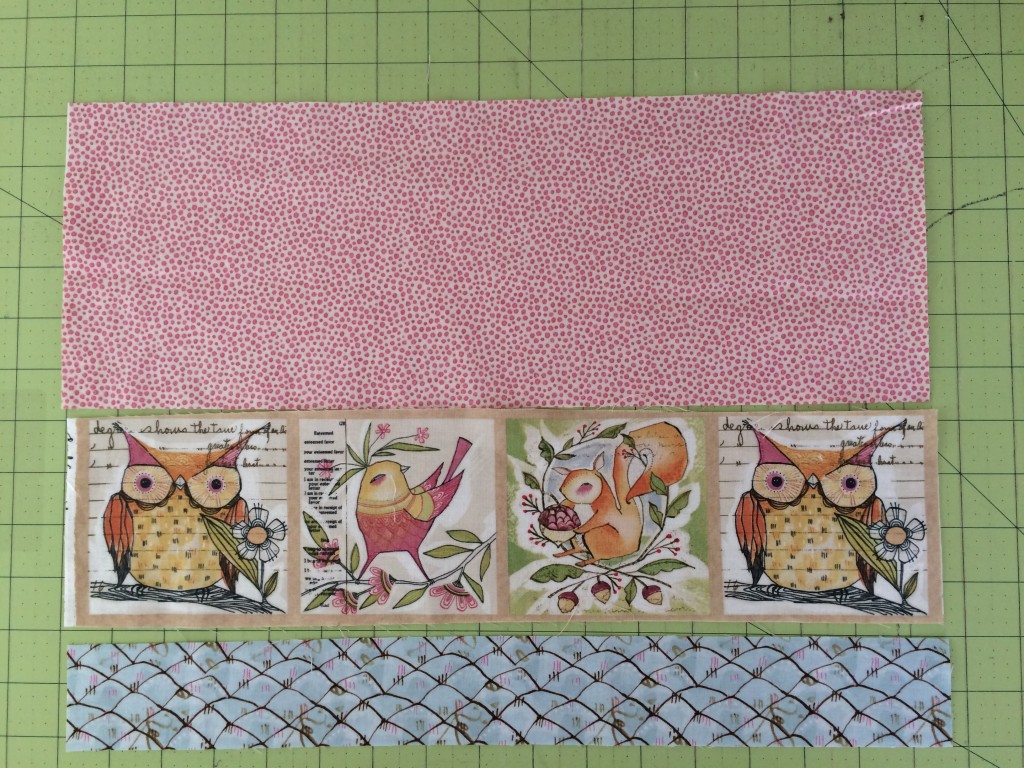
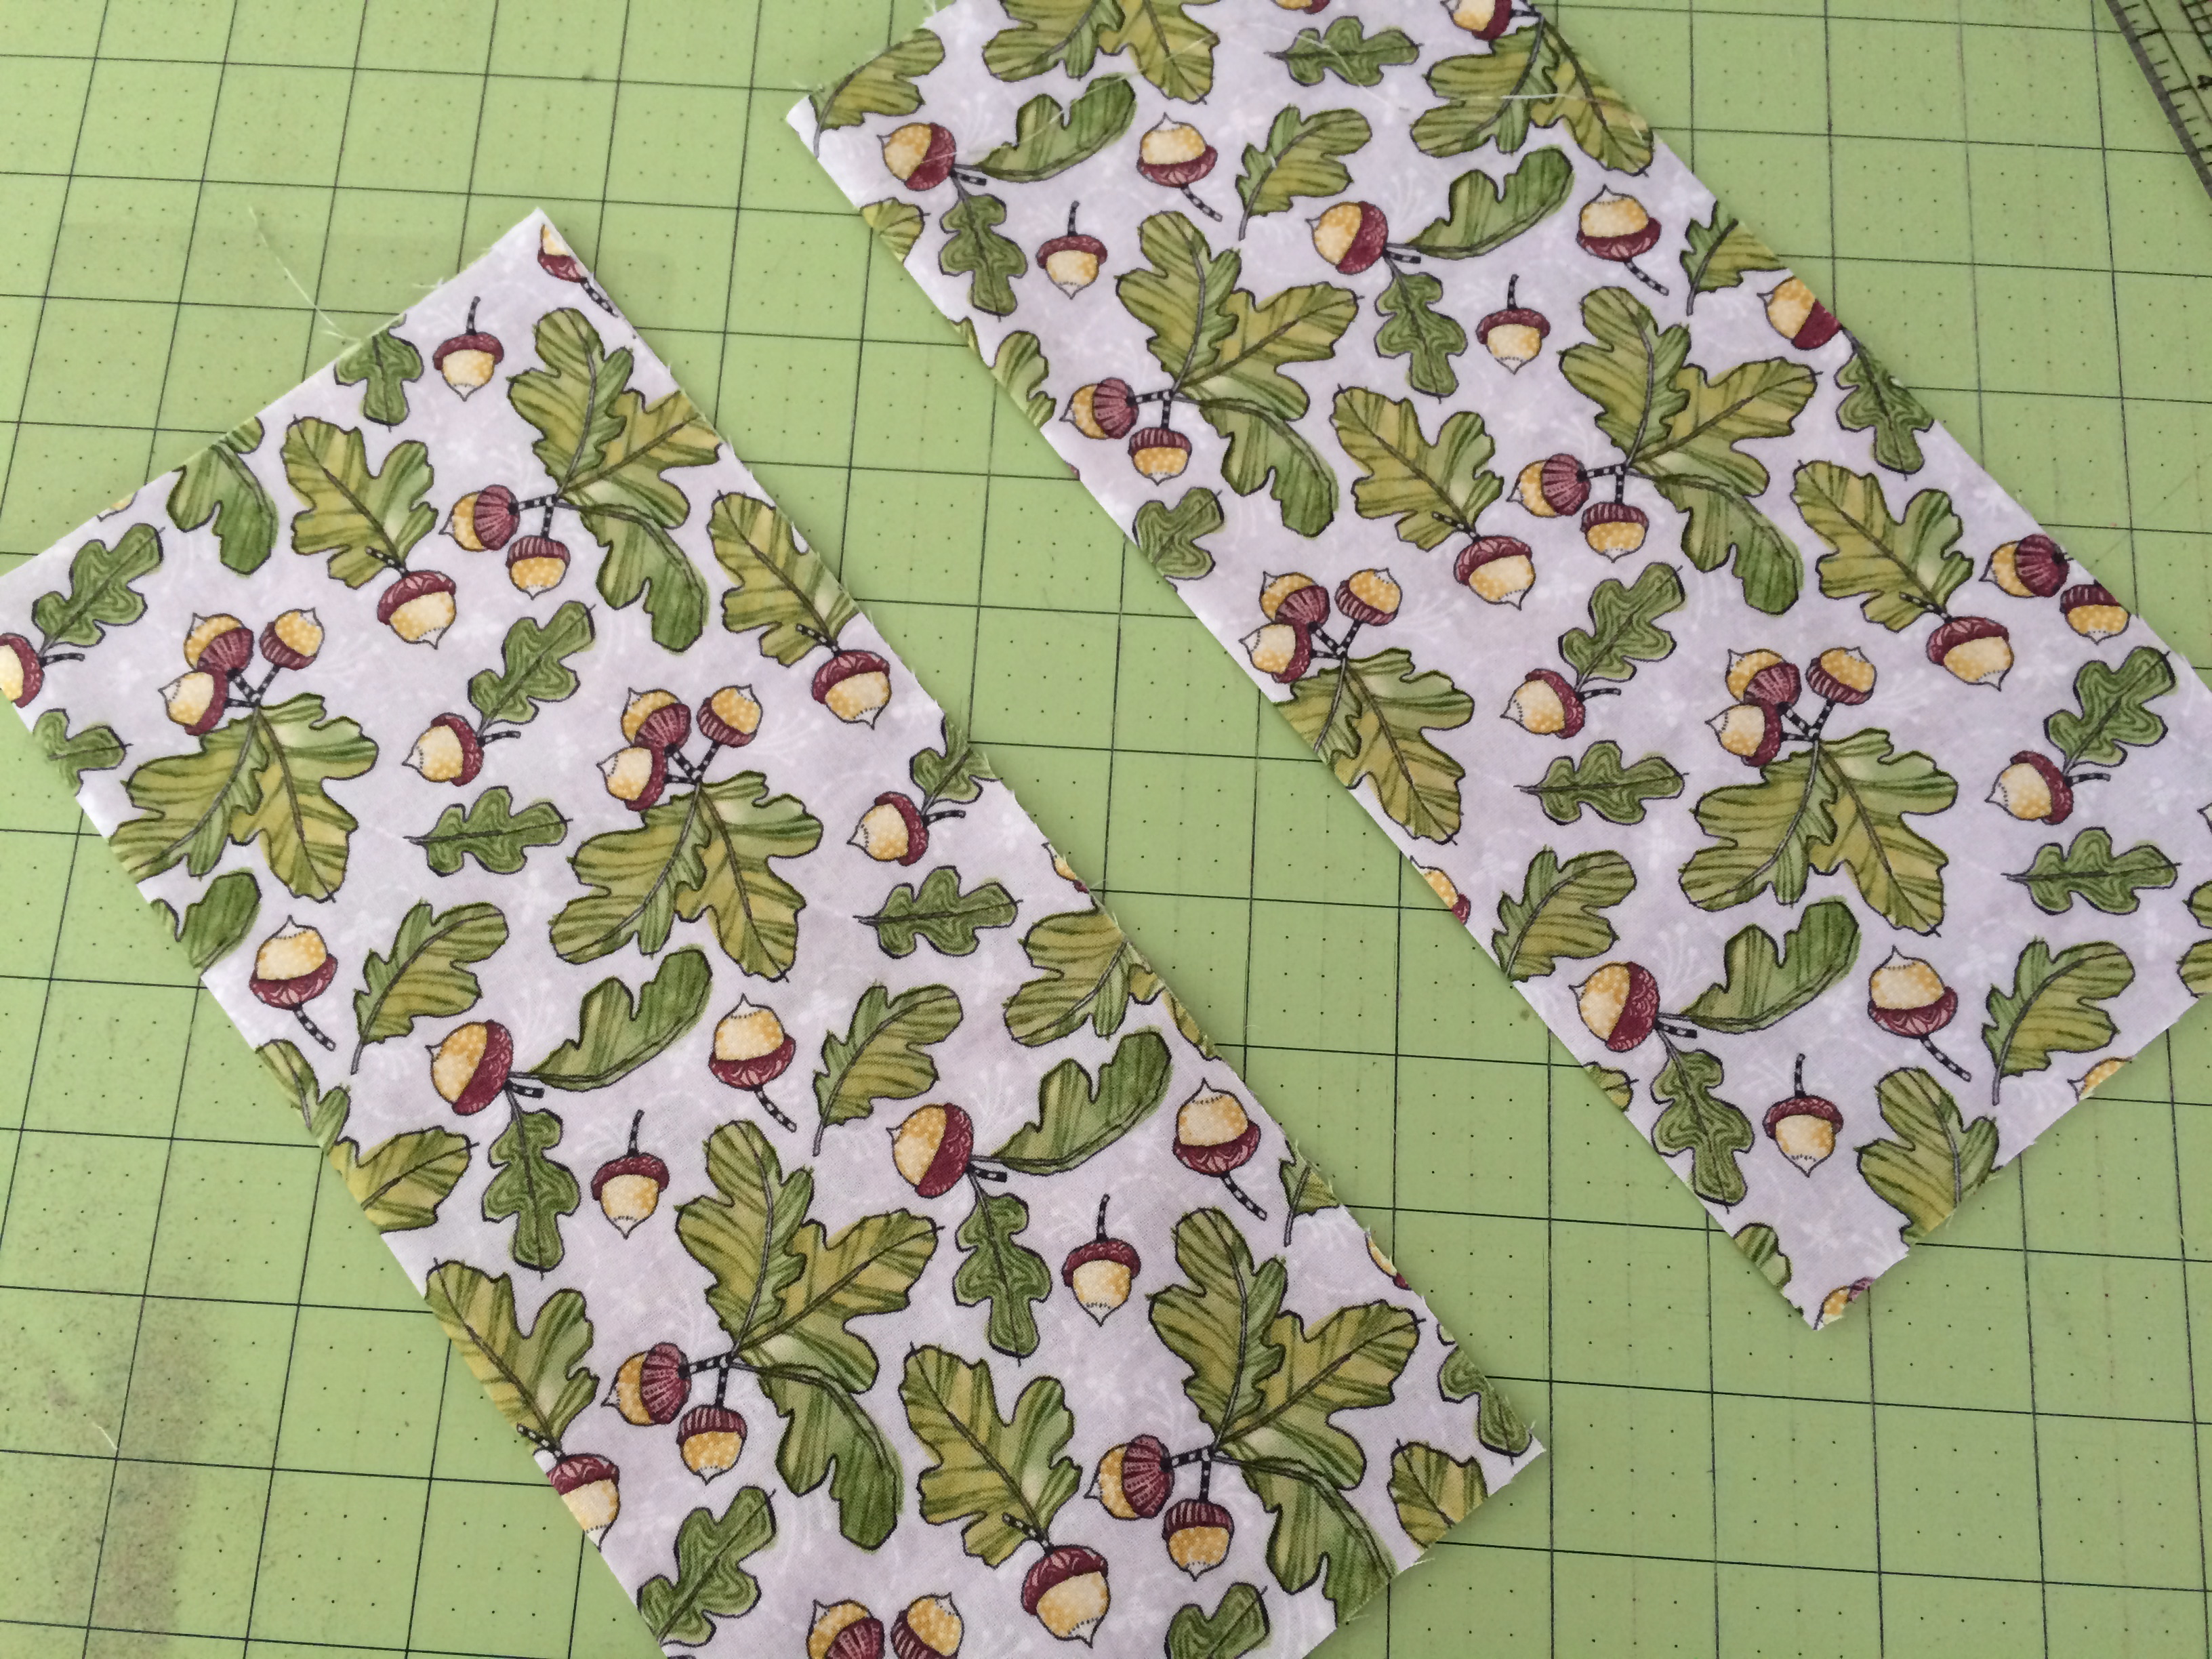
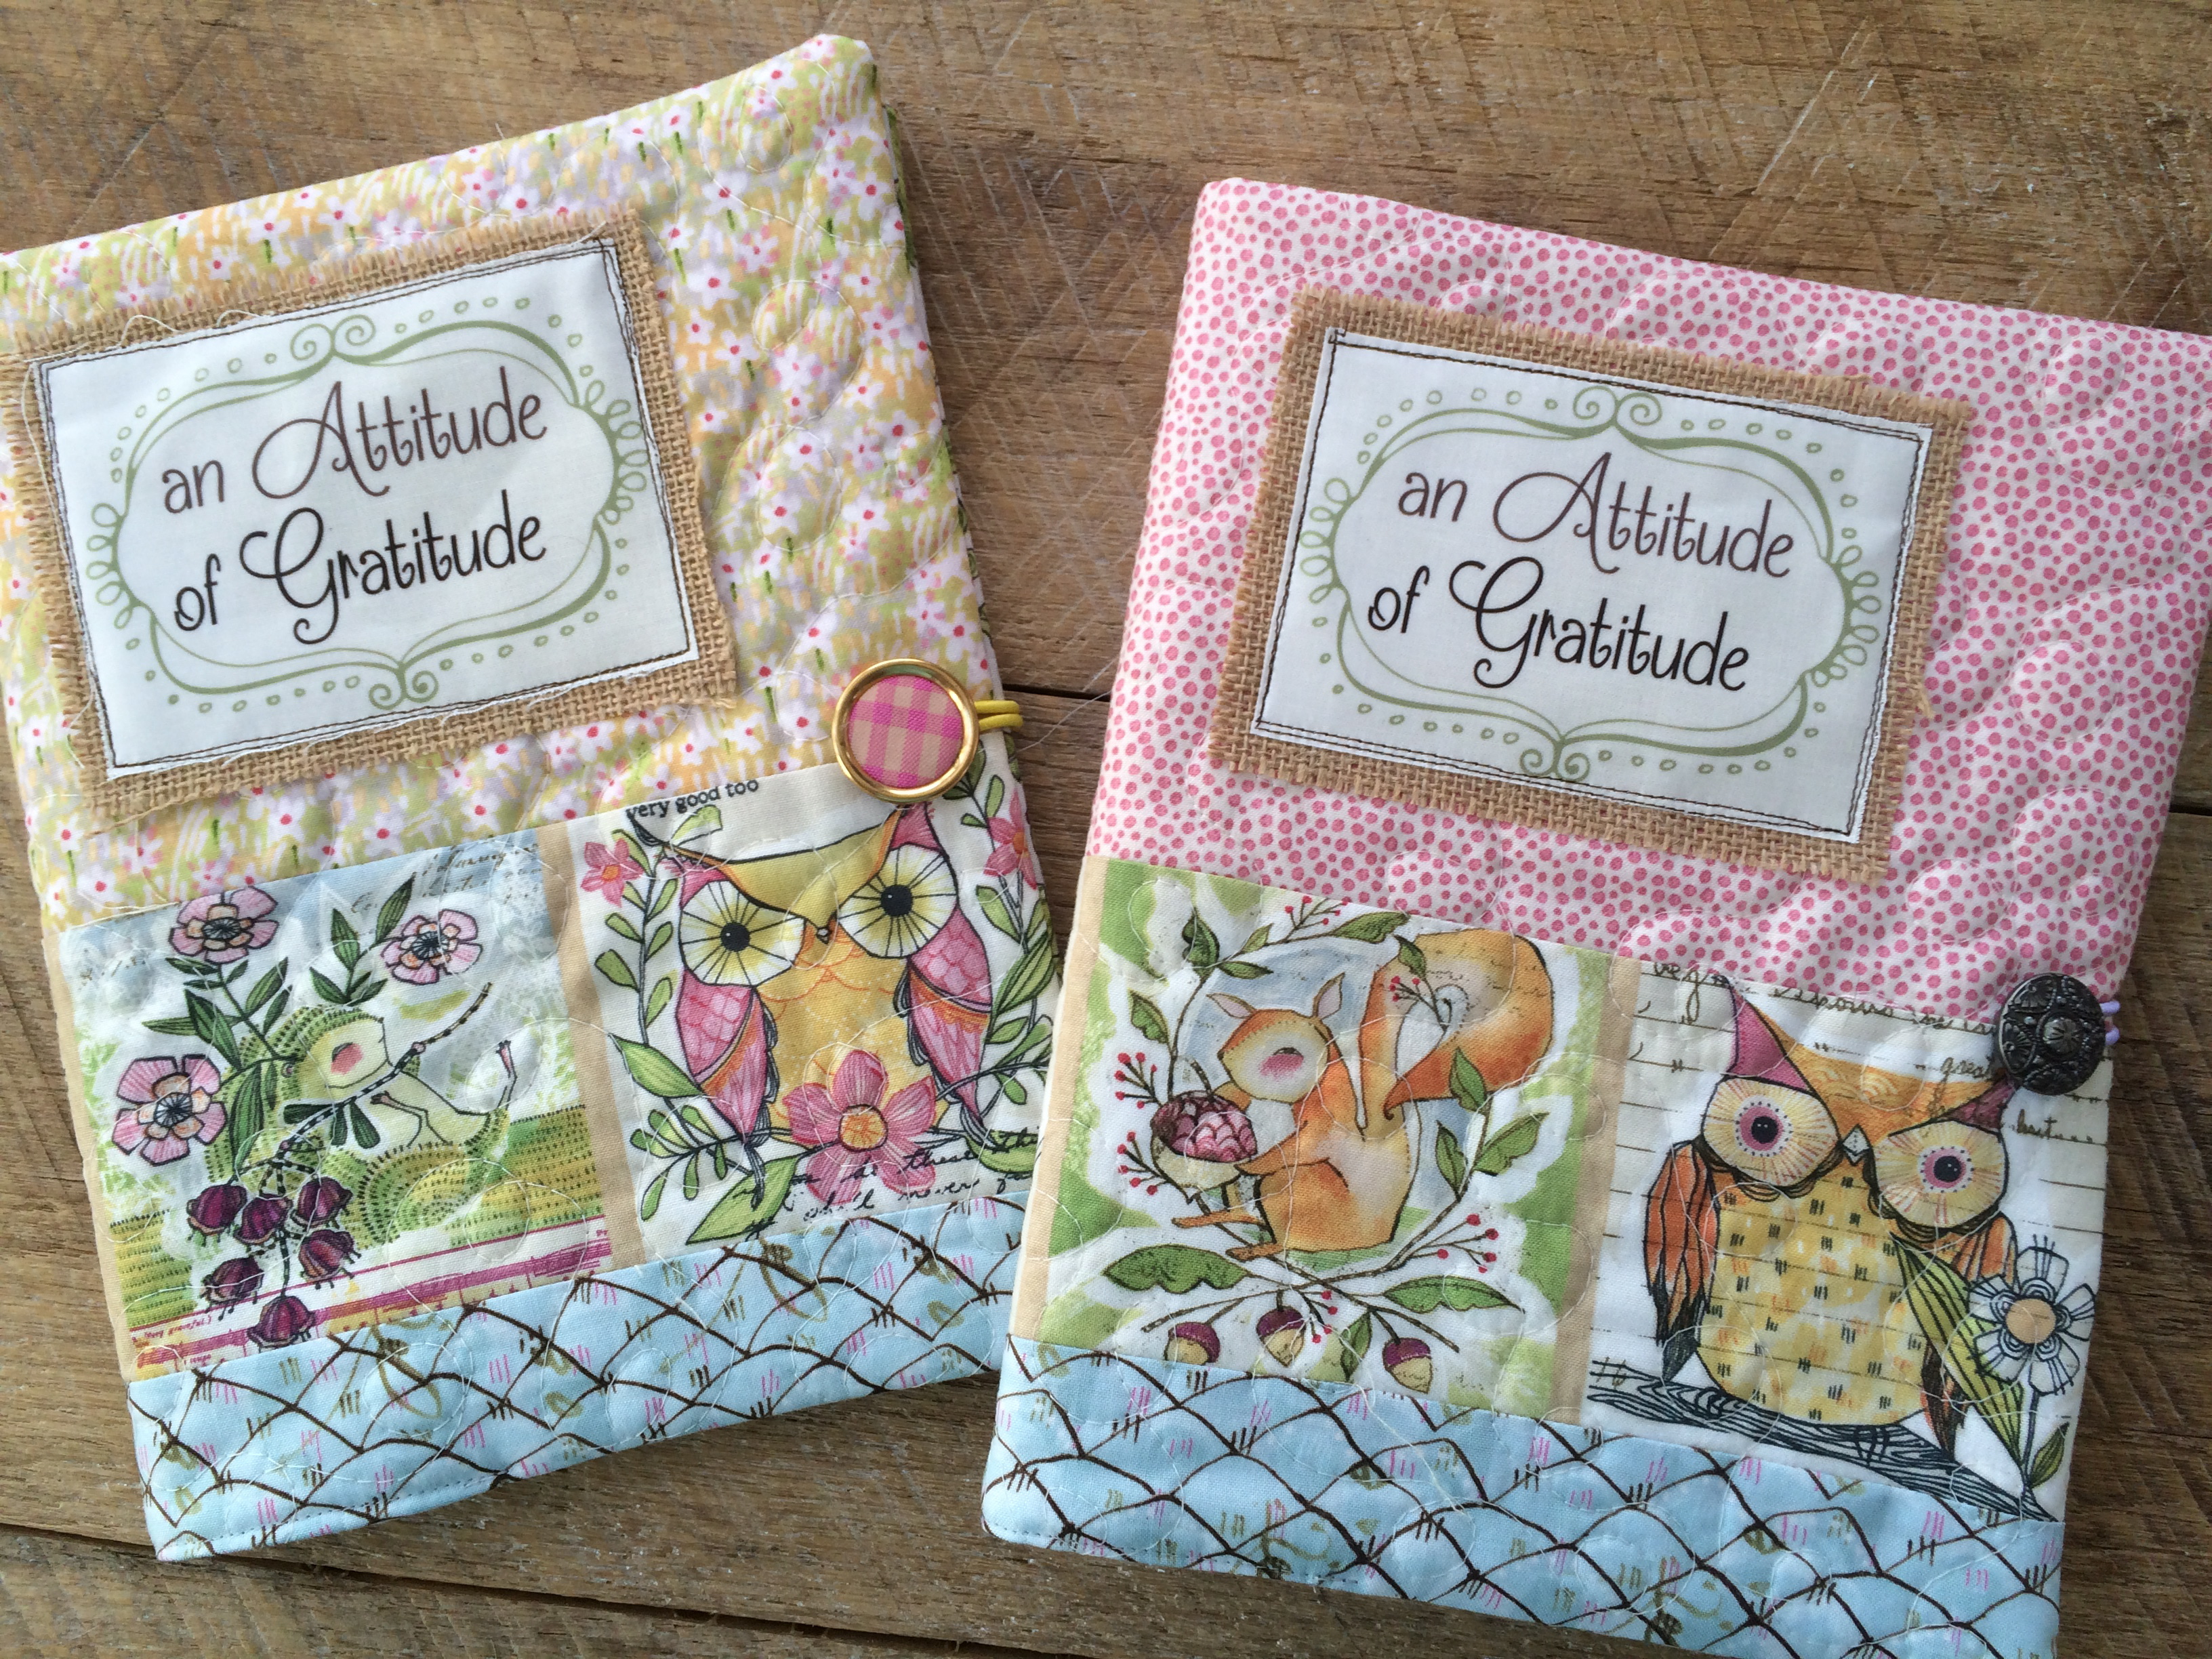
For the “girl” journal I used fabric from Blend’s “Good Company” line – super cute – reminds me of feminine fall fabrics
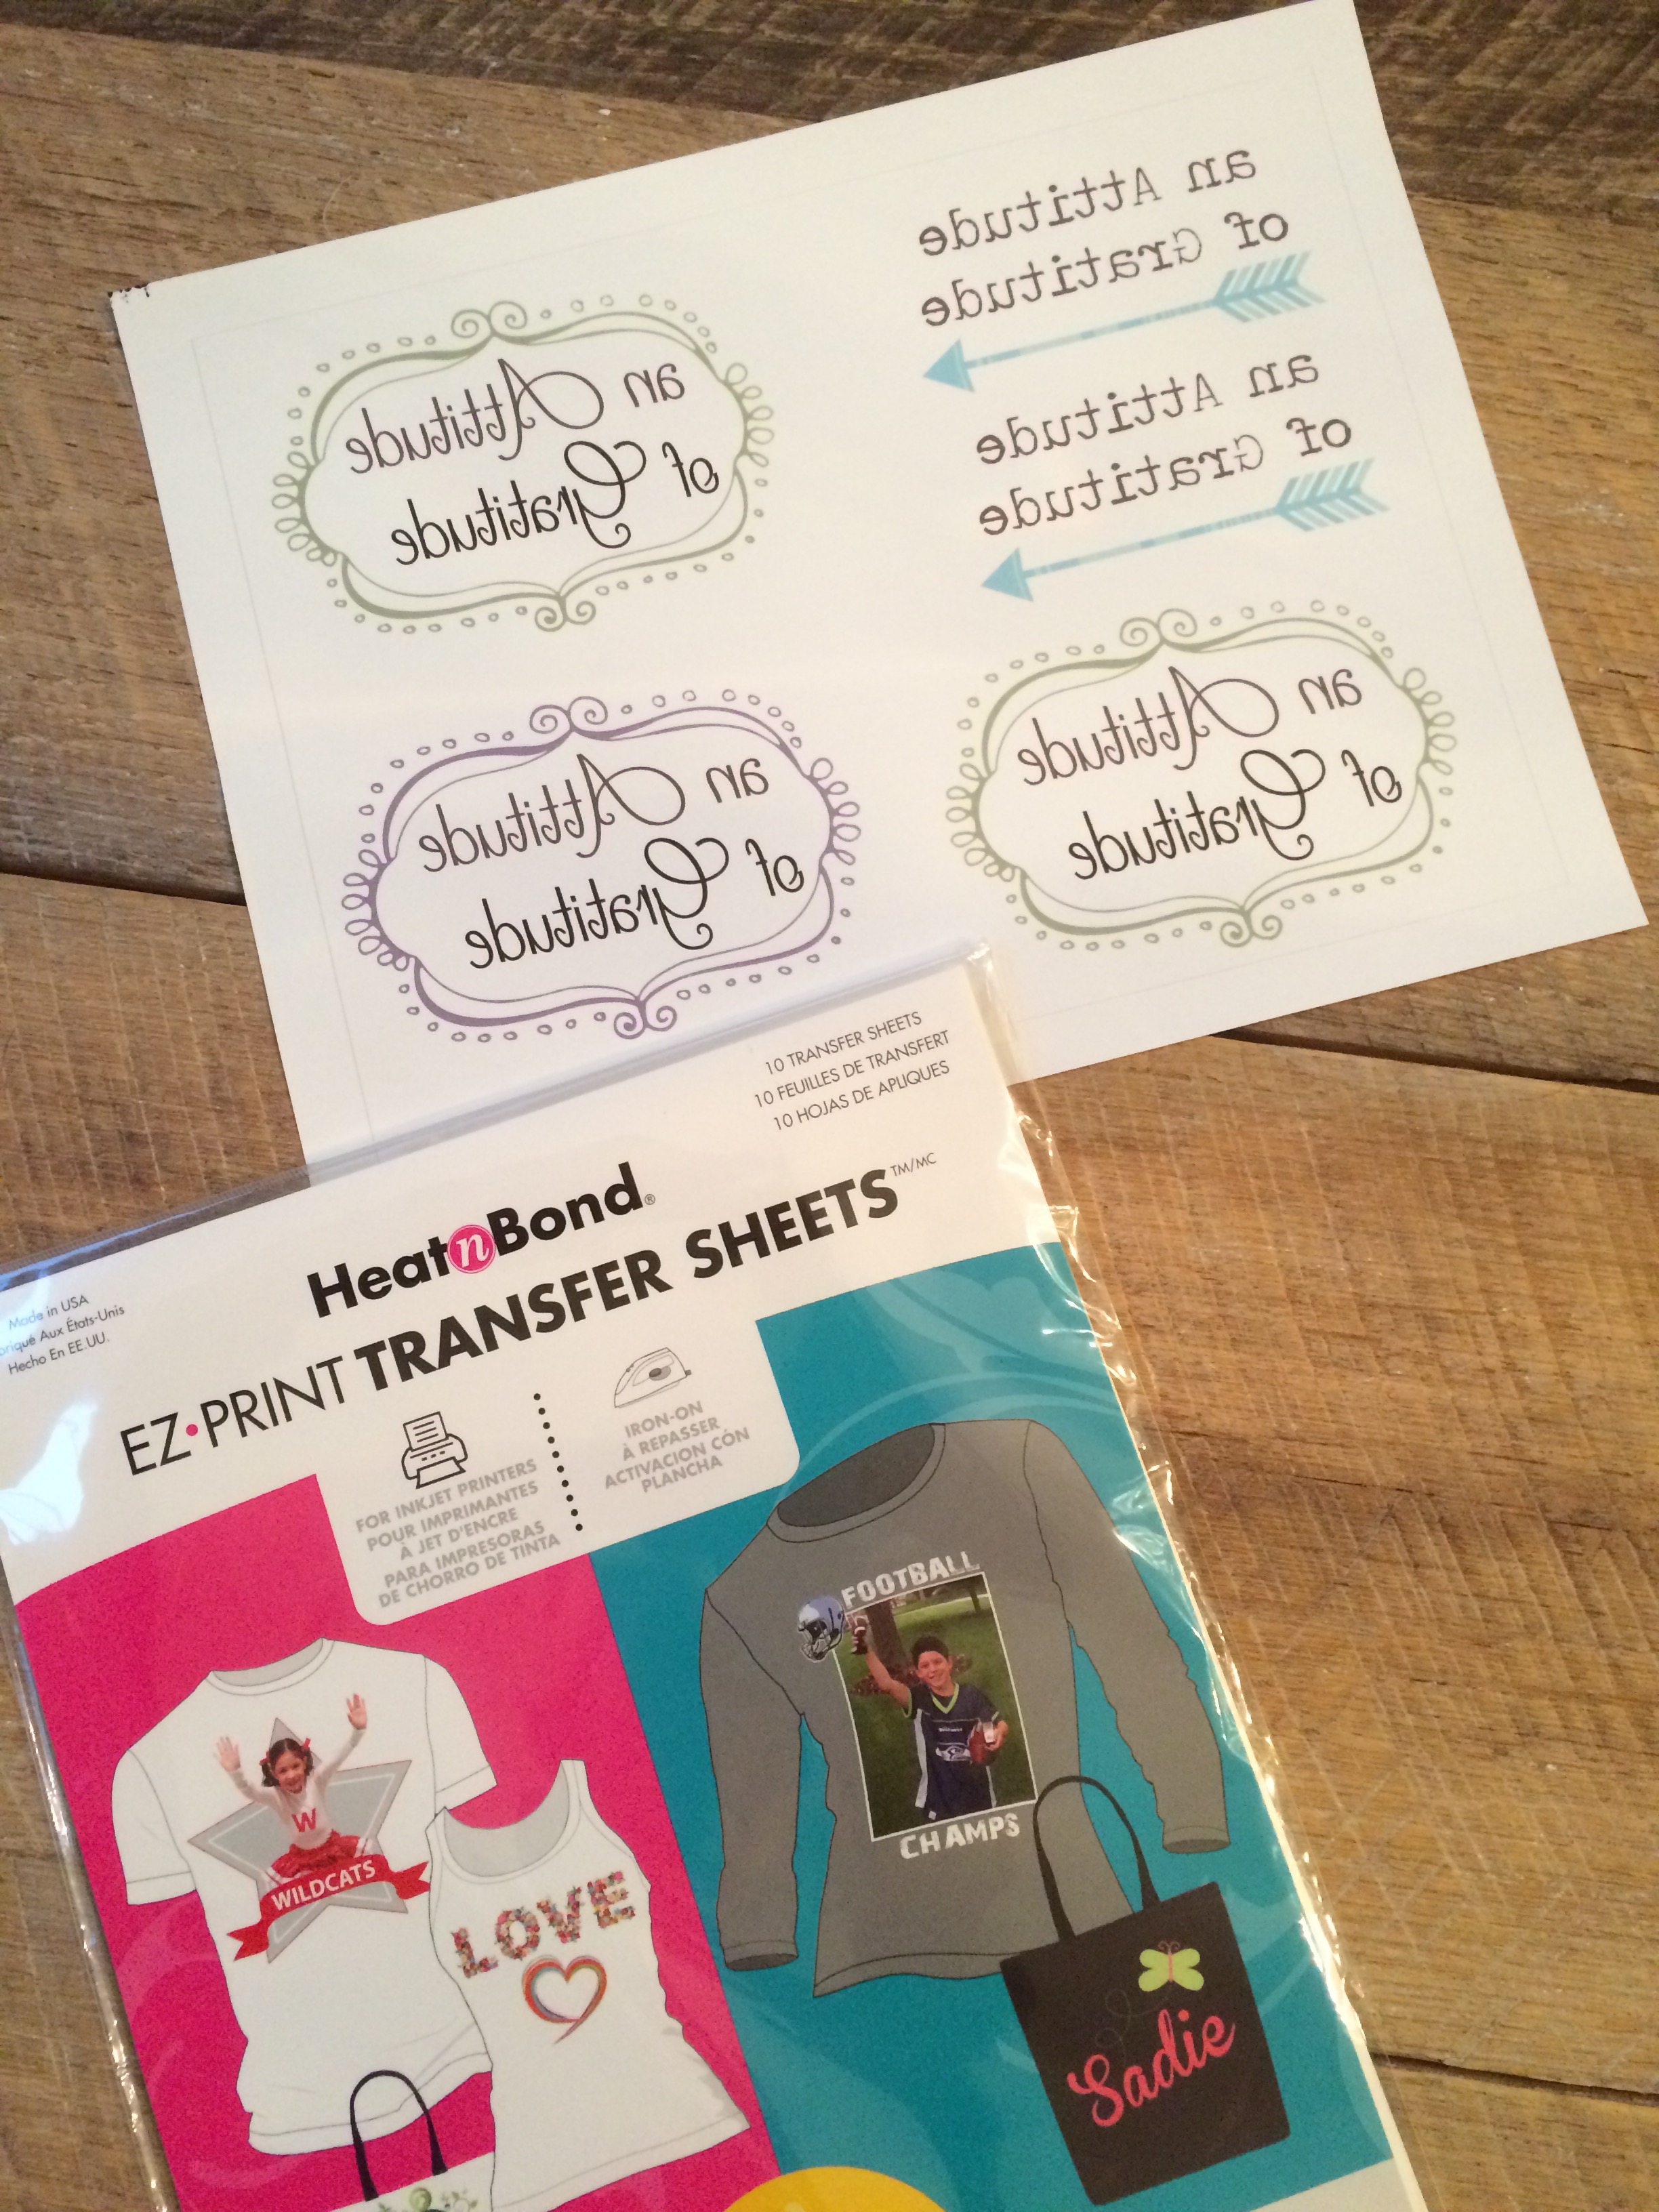
Therm O Web’s Heat n Bond’s EZ Print Transfer Sheets
Begin by cutting the strips for the outer part of the journal:
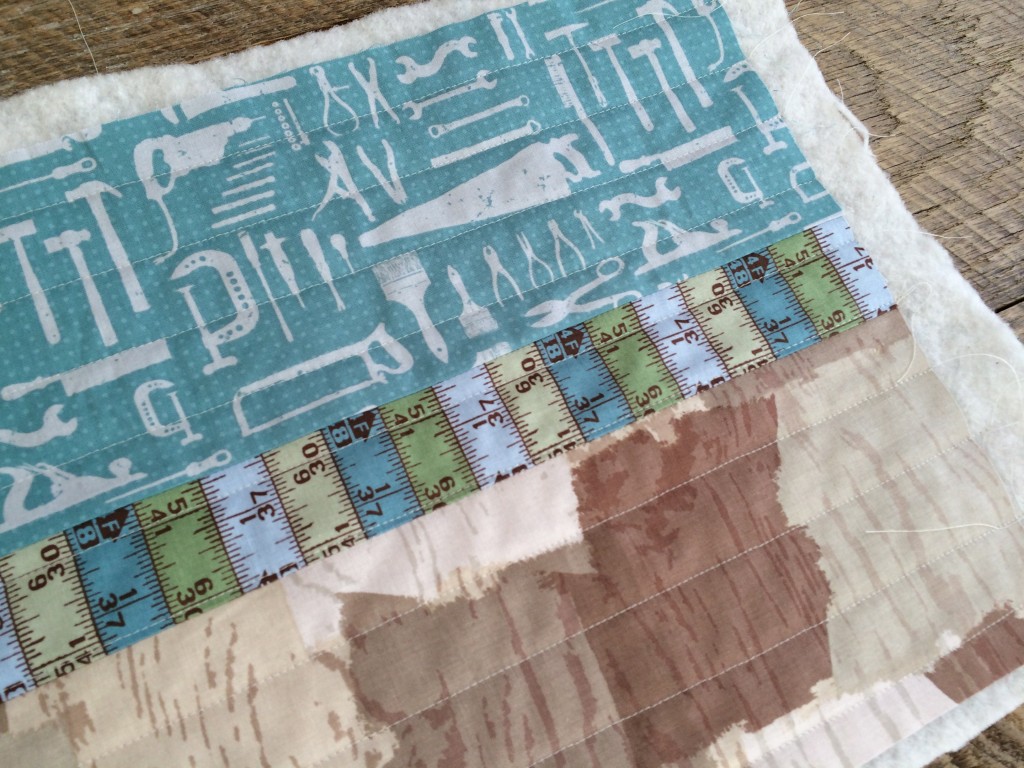
For the boy version, cut the blue fabric 5″ x 16.5″, the measuring tape fabric 2″ x 16.5″, and the wood fabric 5″ x 16.5″ . Sew them together in this order using 1/4″ seams.
For the girl version, cut the top pink piece 6″ x 16.5″, the owl & squirrel print 4″ x 16.5″, and the blue print 2″ x 16.5″. Sew together in this order using 1/4″ seams.
Basically, the final measurement should be 16.5″ x 11″ if you want to design your own pattern.
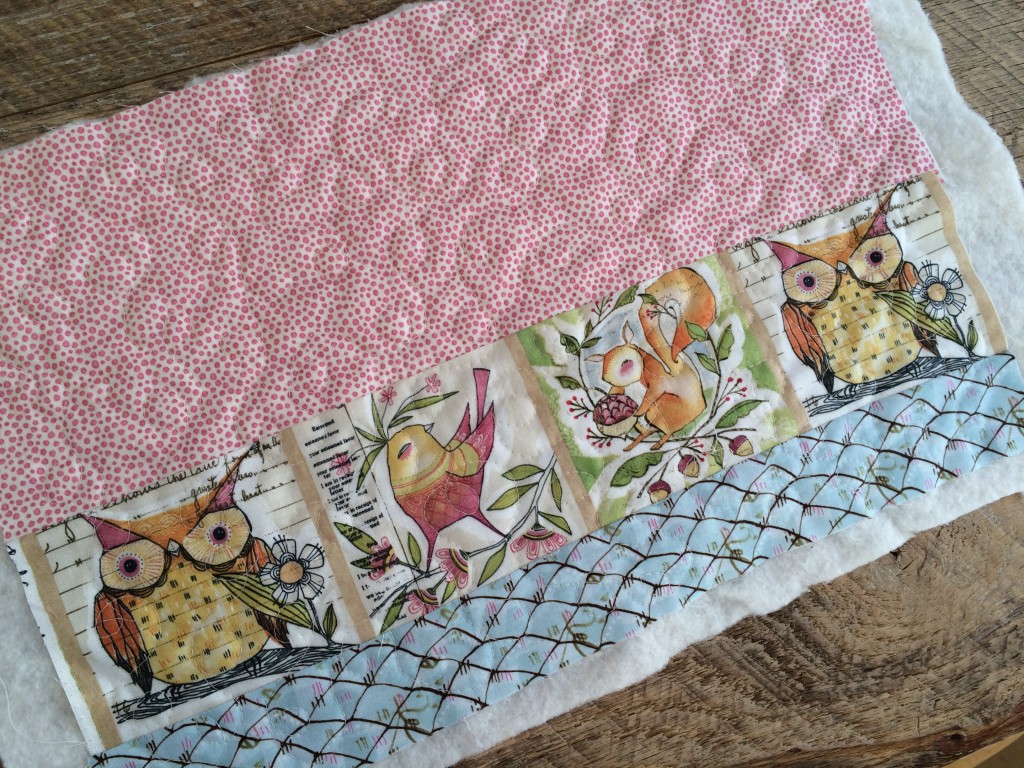
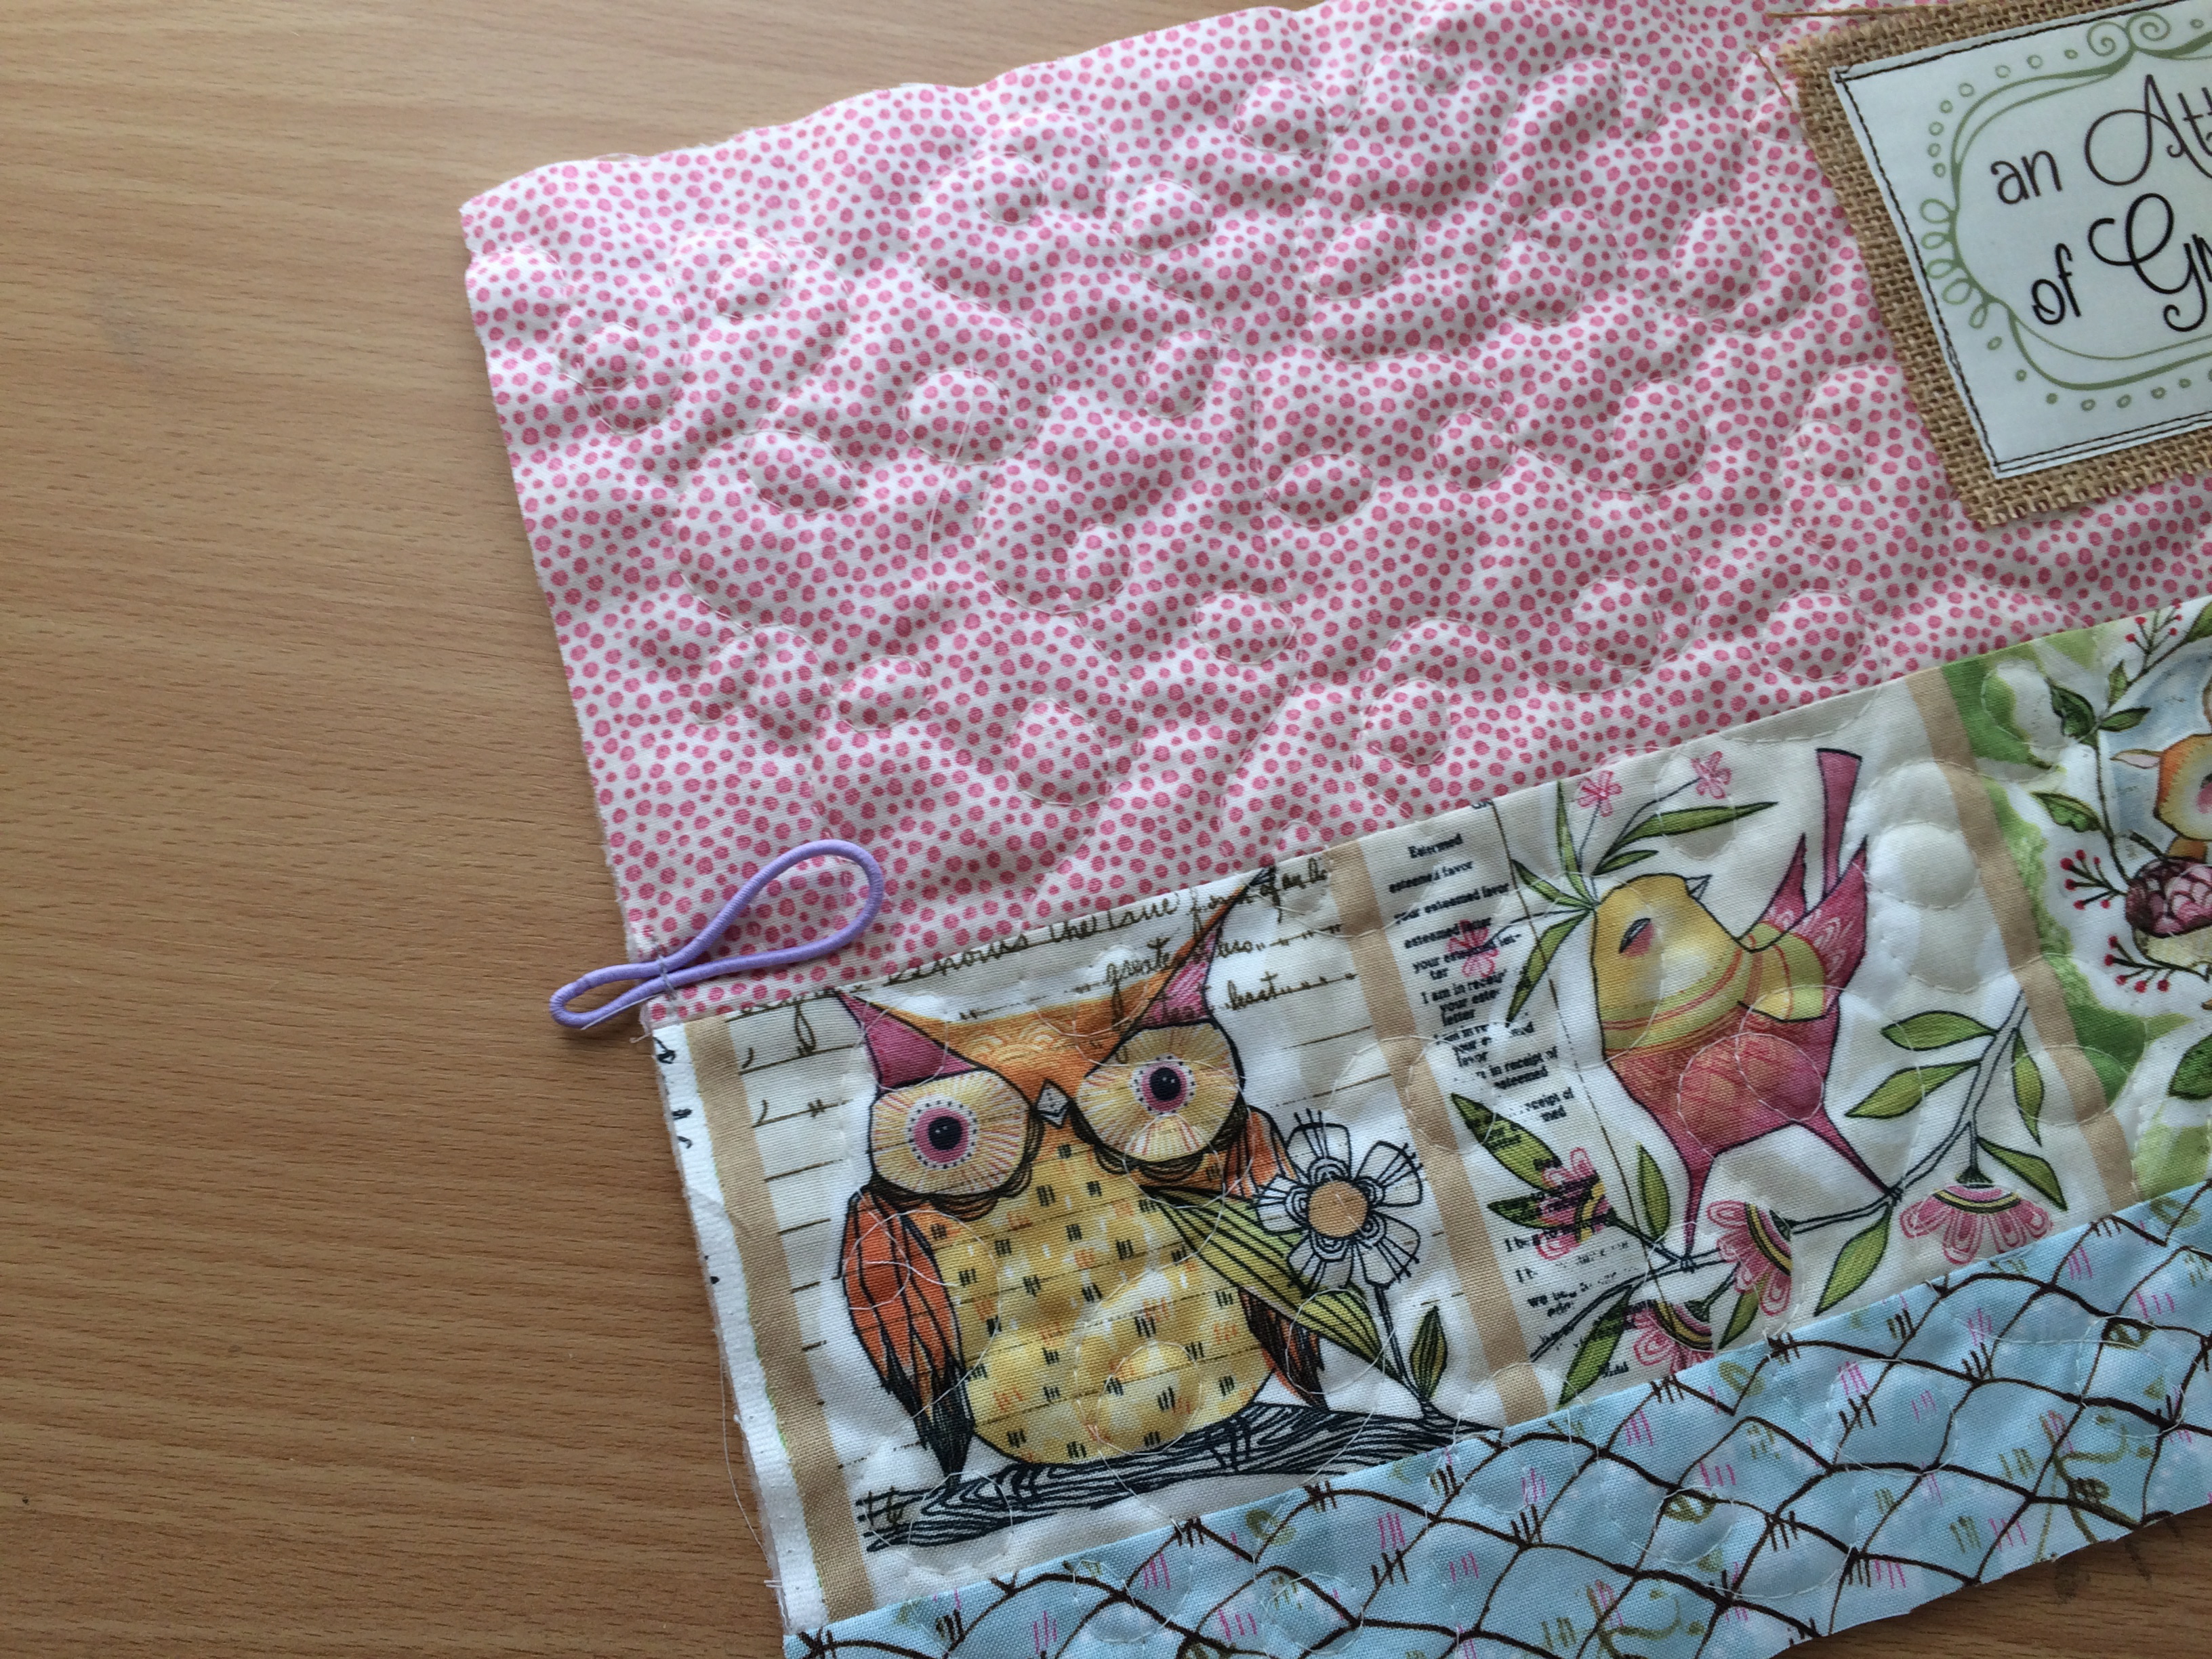
Using Spray n Bond, baste the journal top to the cotton batting and quilt as desired.
On the girl journal I quilted loop-de-loos…..
On the boy journal I quilted straight lines….
Square up the journal top by trimming the excess batting. It’s OK if the journal top shrinks a bit due to quilting.
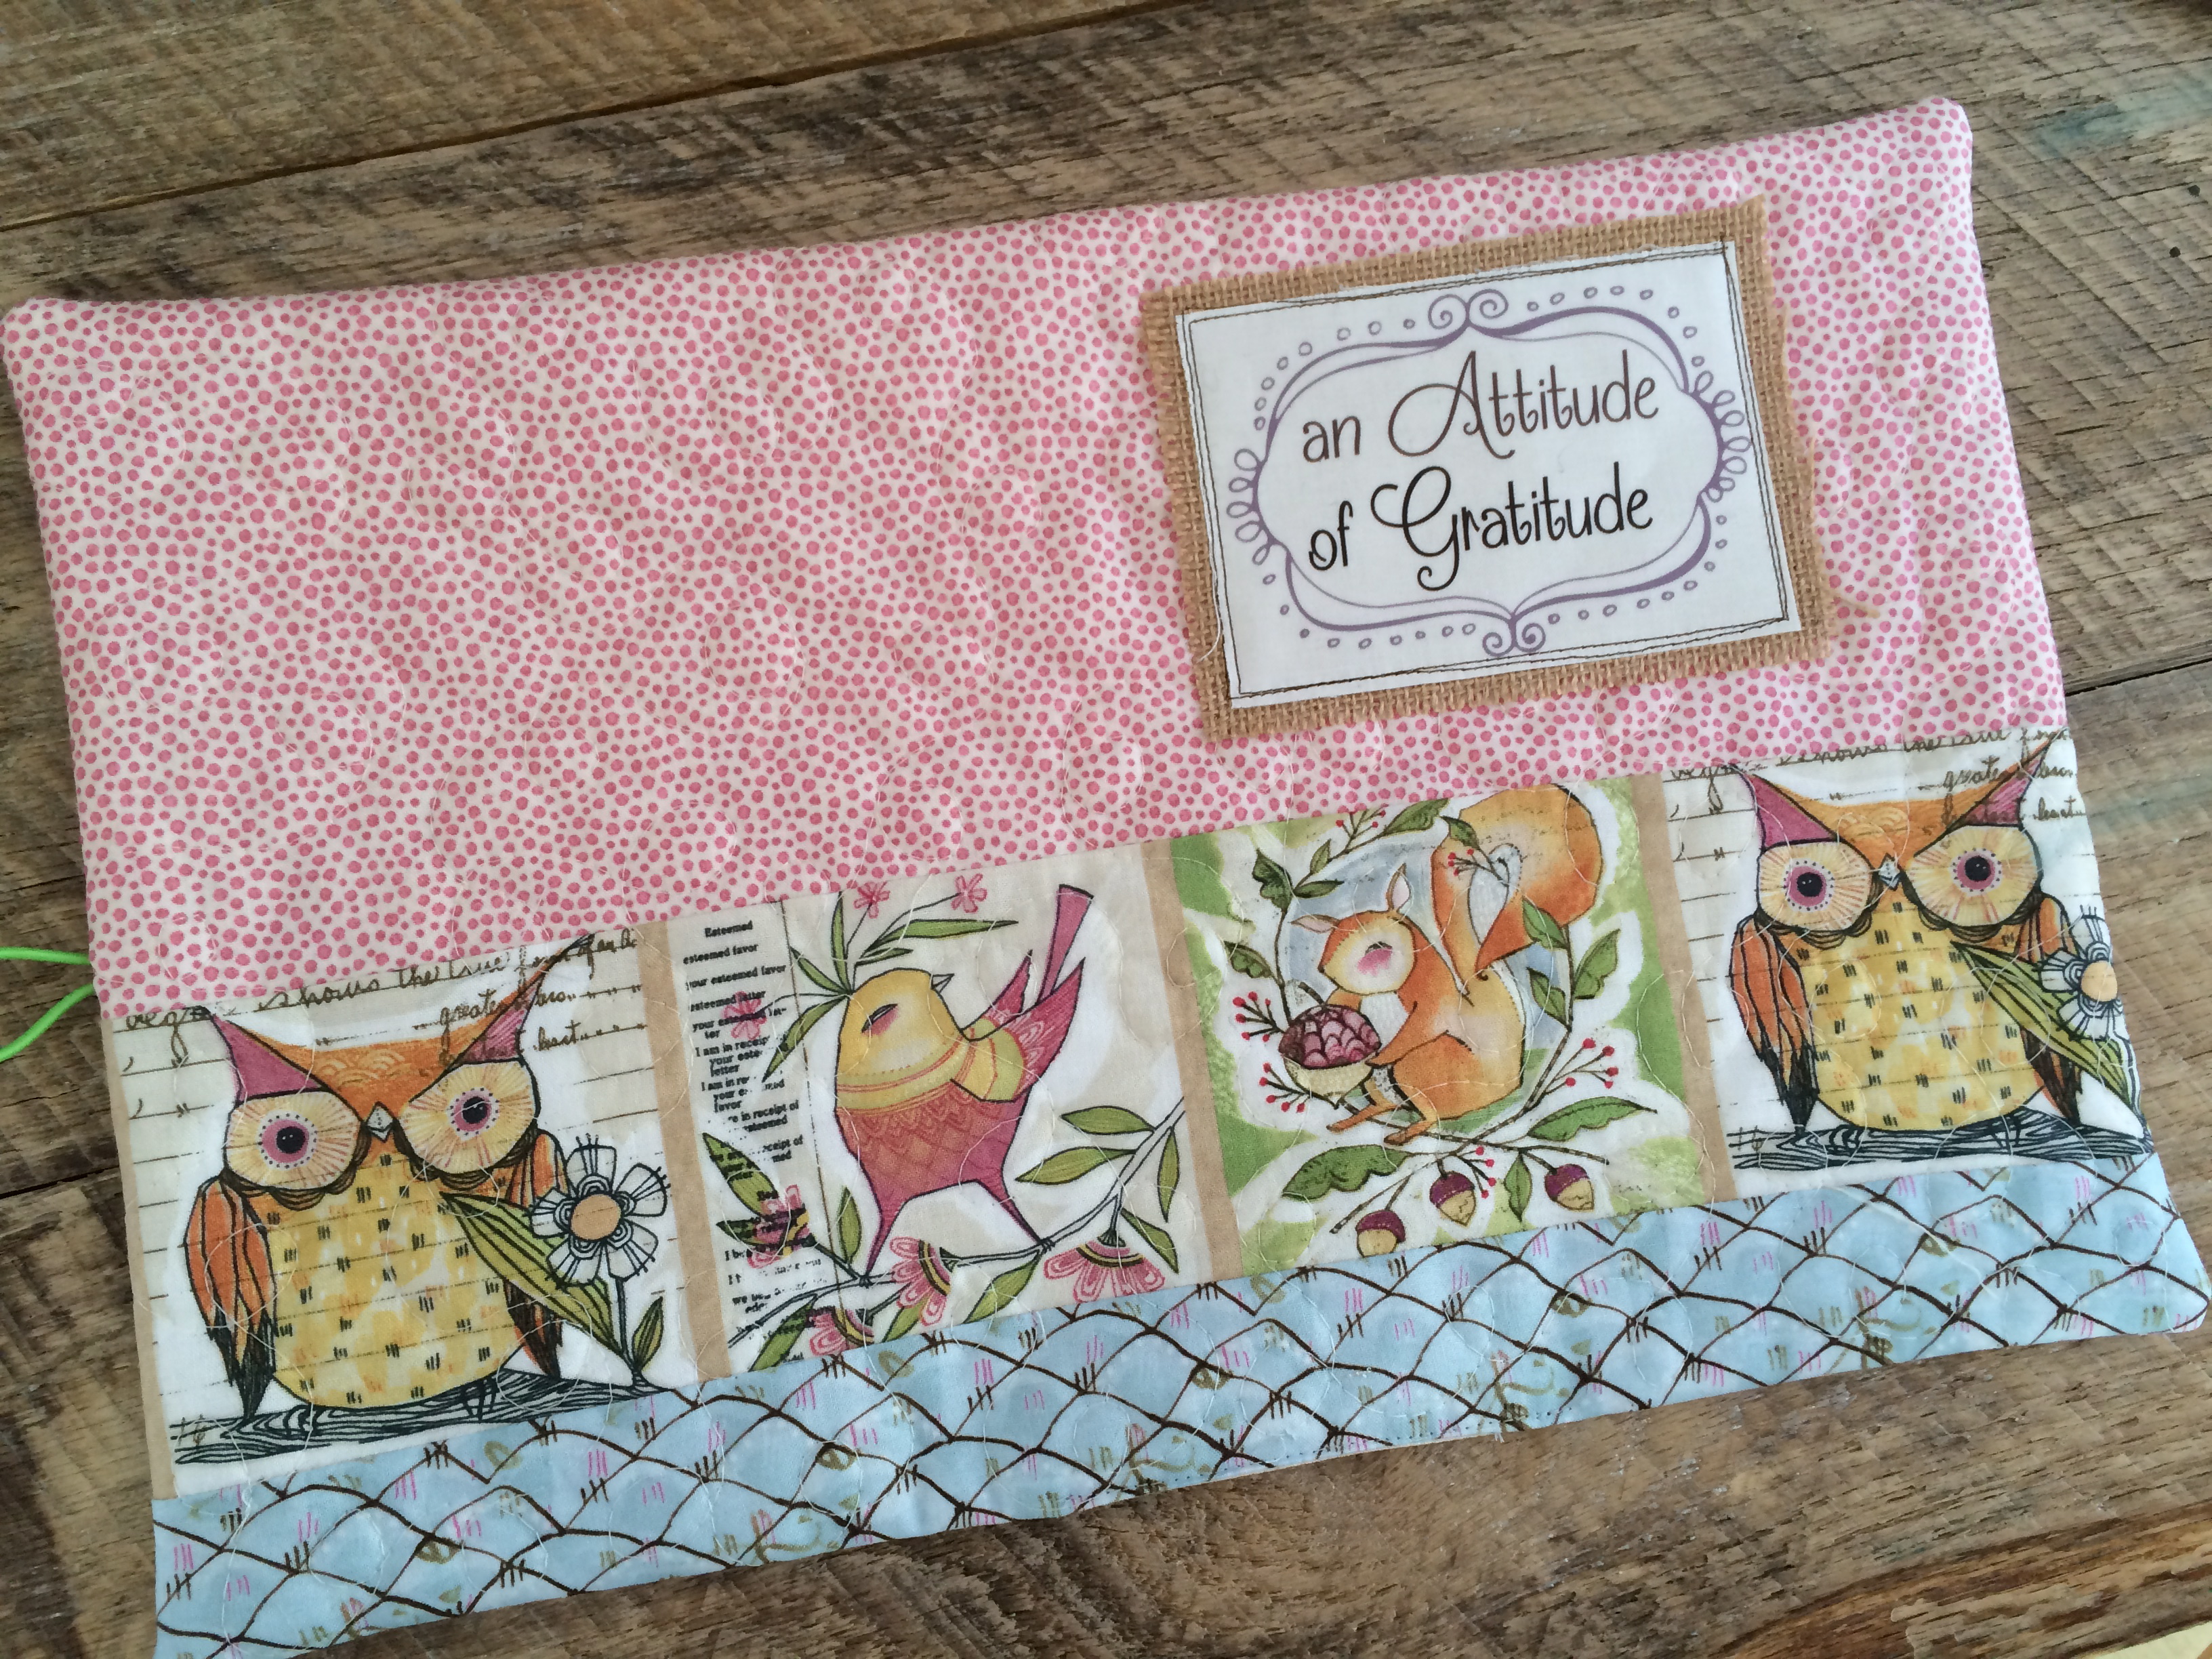
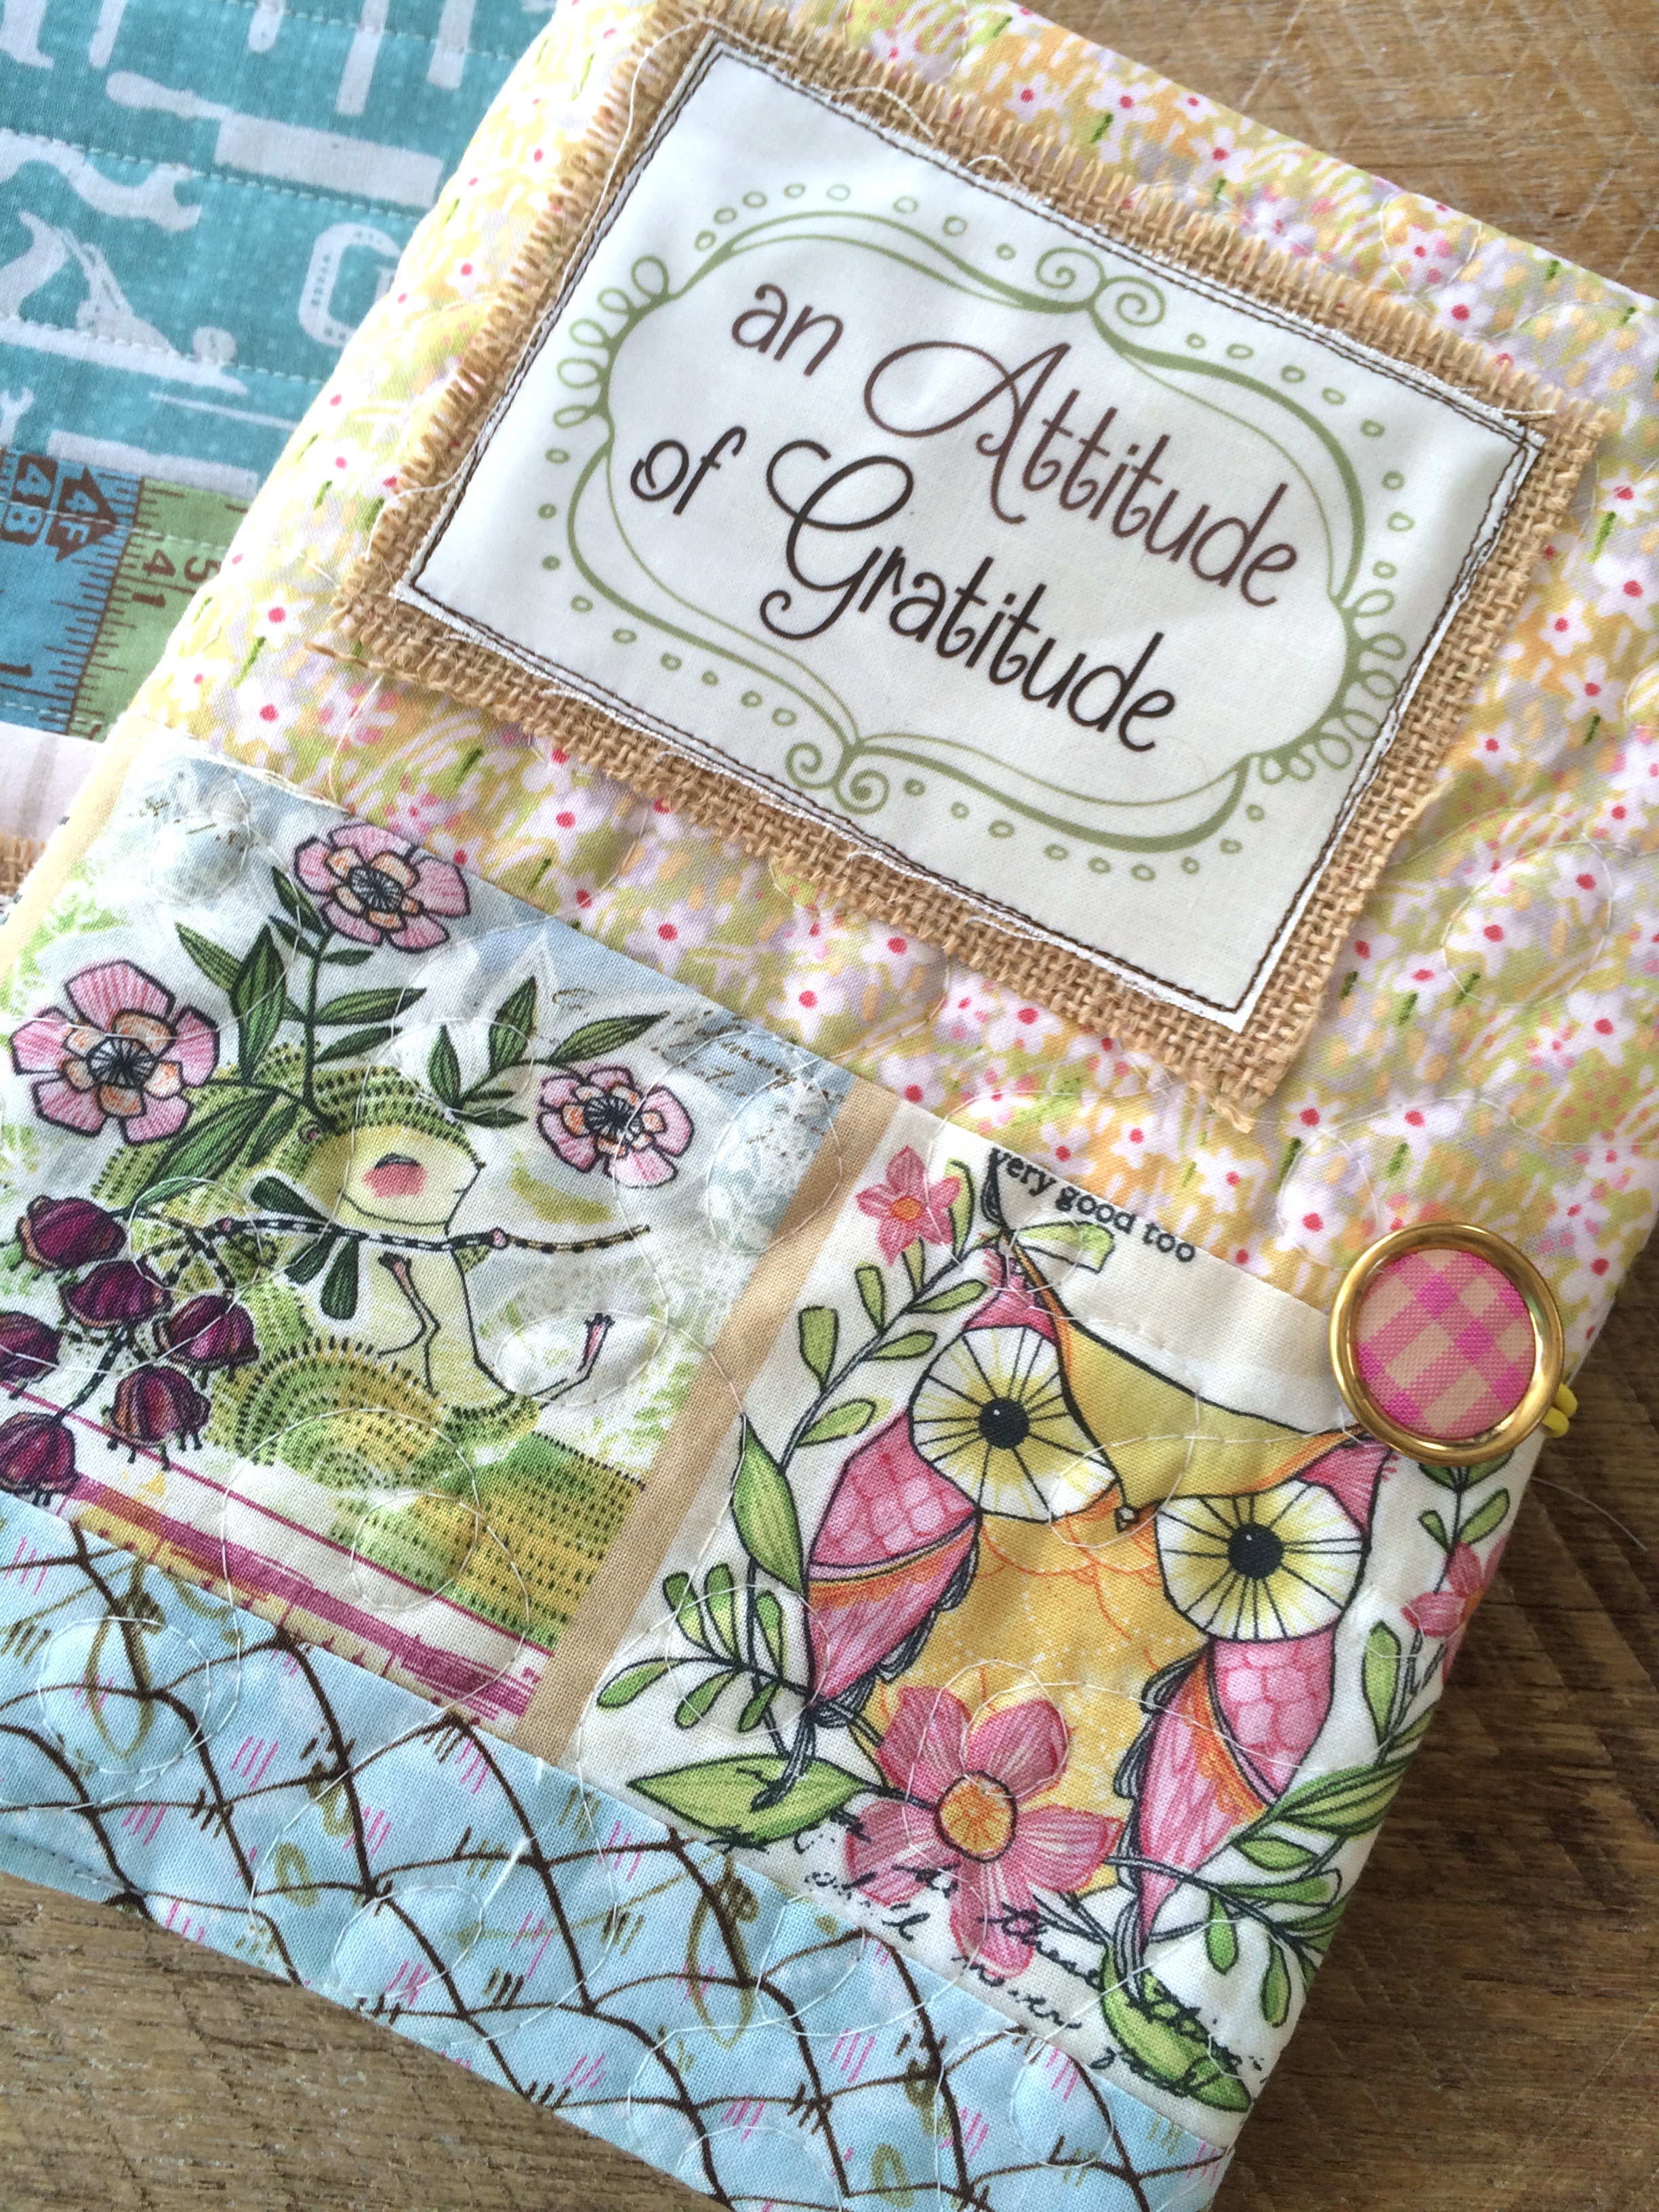
Next, prepare the “gratitude saying” by printing in reverse on the EZ Transfer Sheets.
Cut out a rectangle of solid cream fabric the size you want it – the girl’s one was 4.75″ x 3.5″ and the boy’s one was 4.75 x 3″
Trim down the EZ transfer sheets and read the directions on the package. Pretty much you put it face down on the cream fabric and press with a dry hot iron. Then peel off the backing paper. I love using these sheets – expect to see more projects with words and quotes 🙂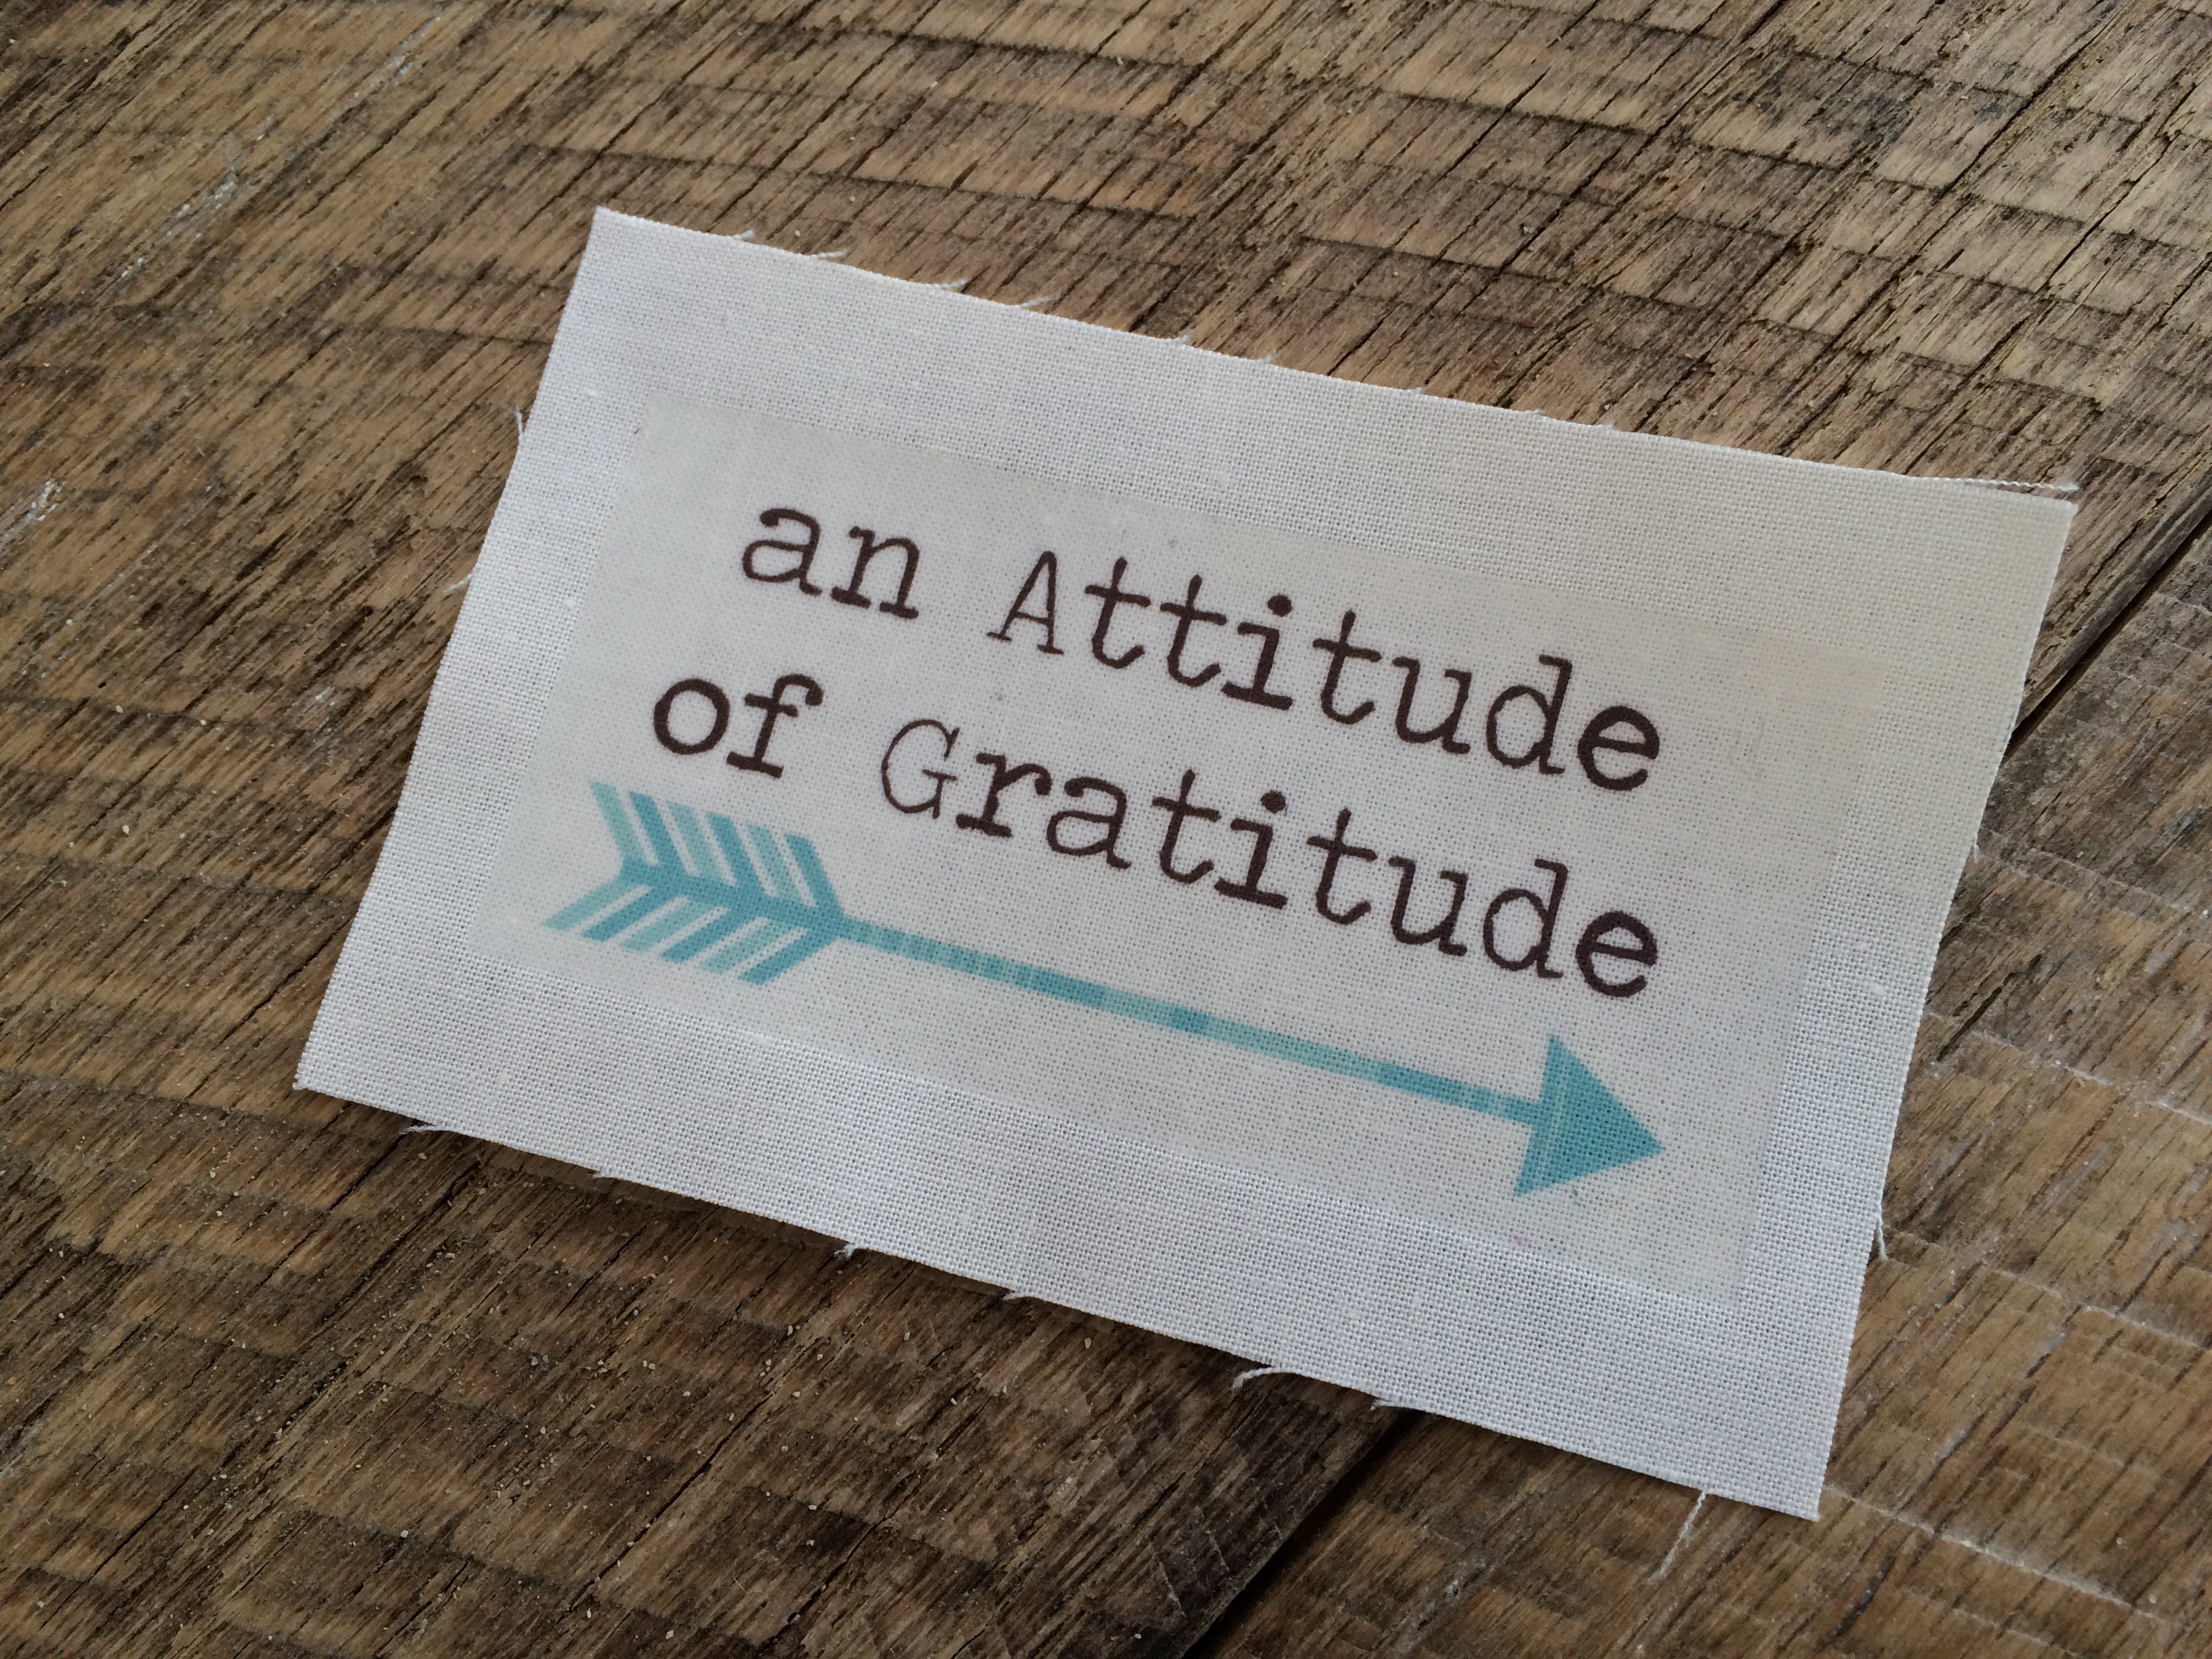
Cut the burlap so as to “frame” the word square. Using the basting spray, baste the word piece to the burlap, then the to the journal cover.
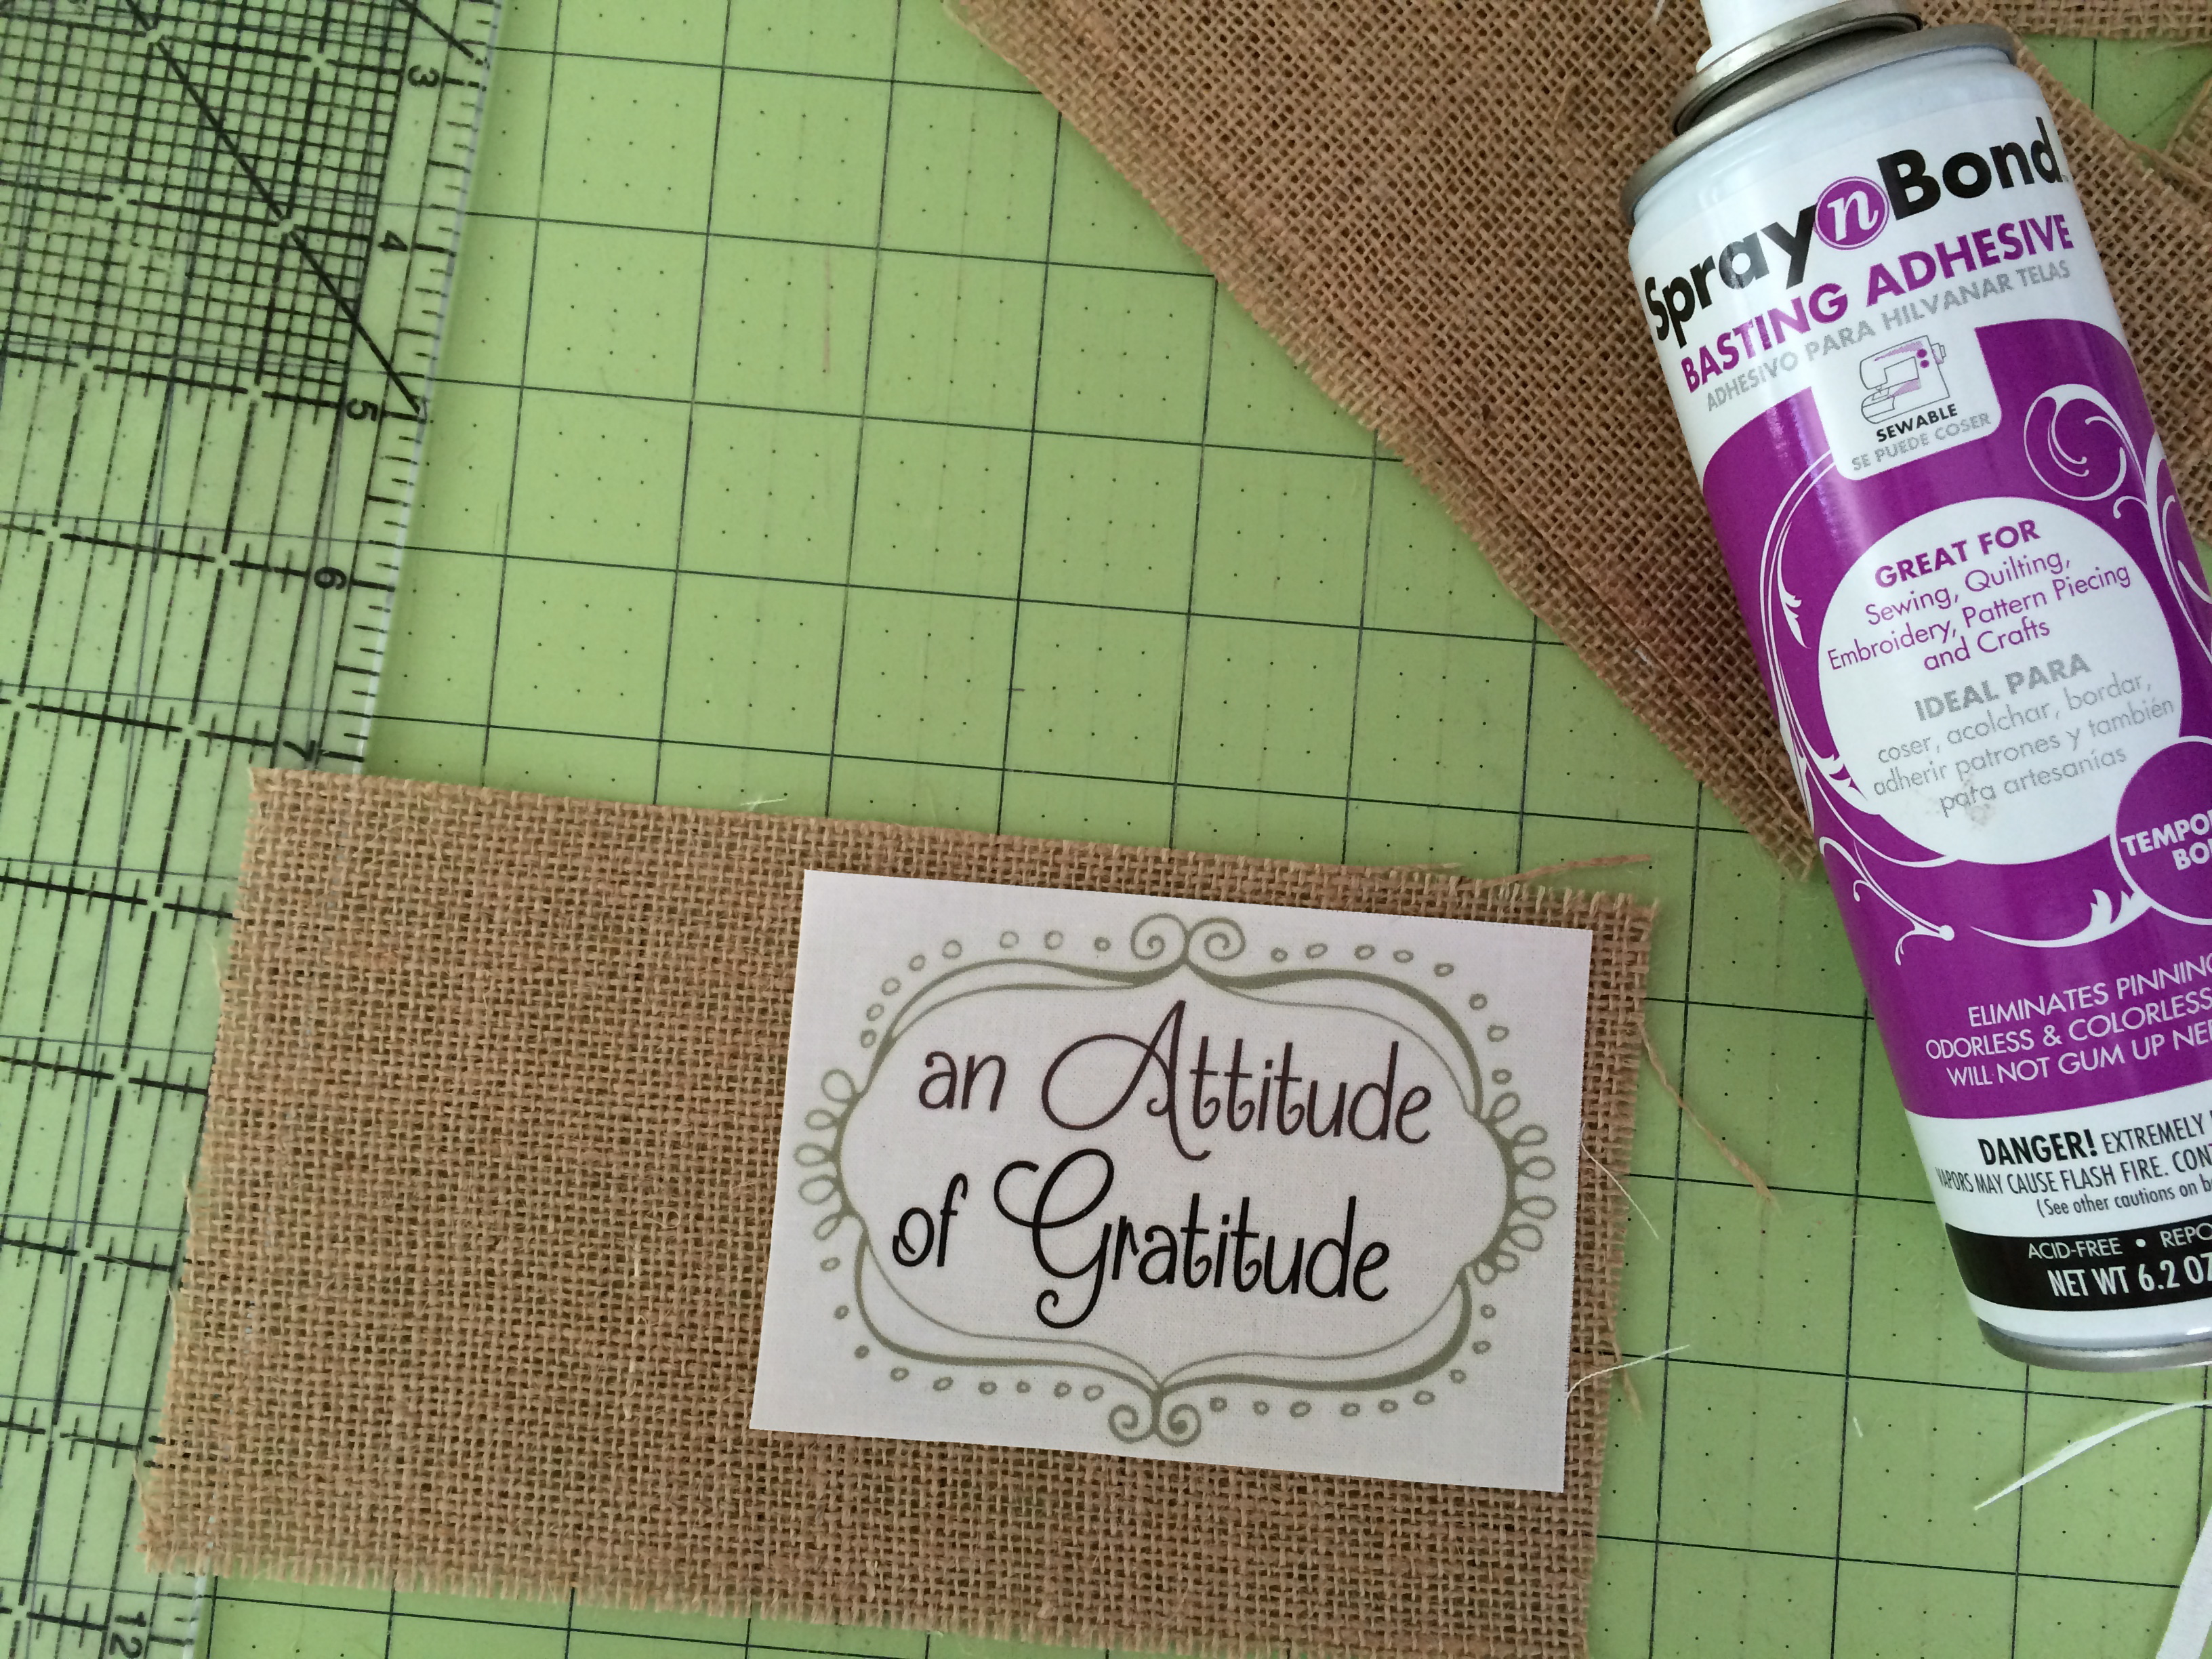
Position as desired.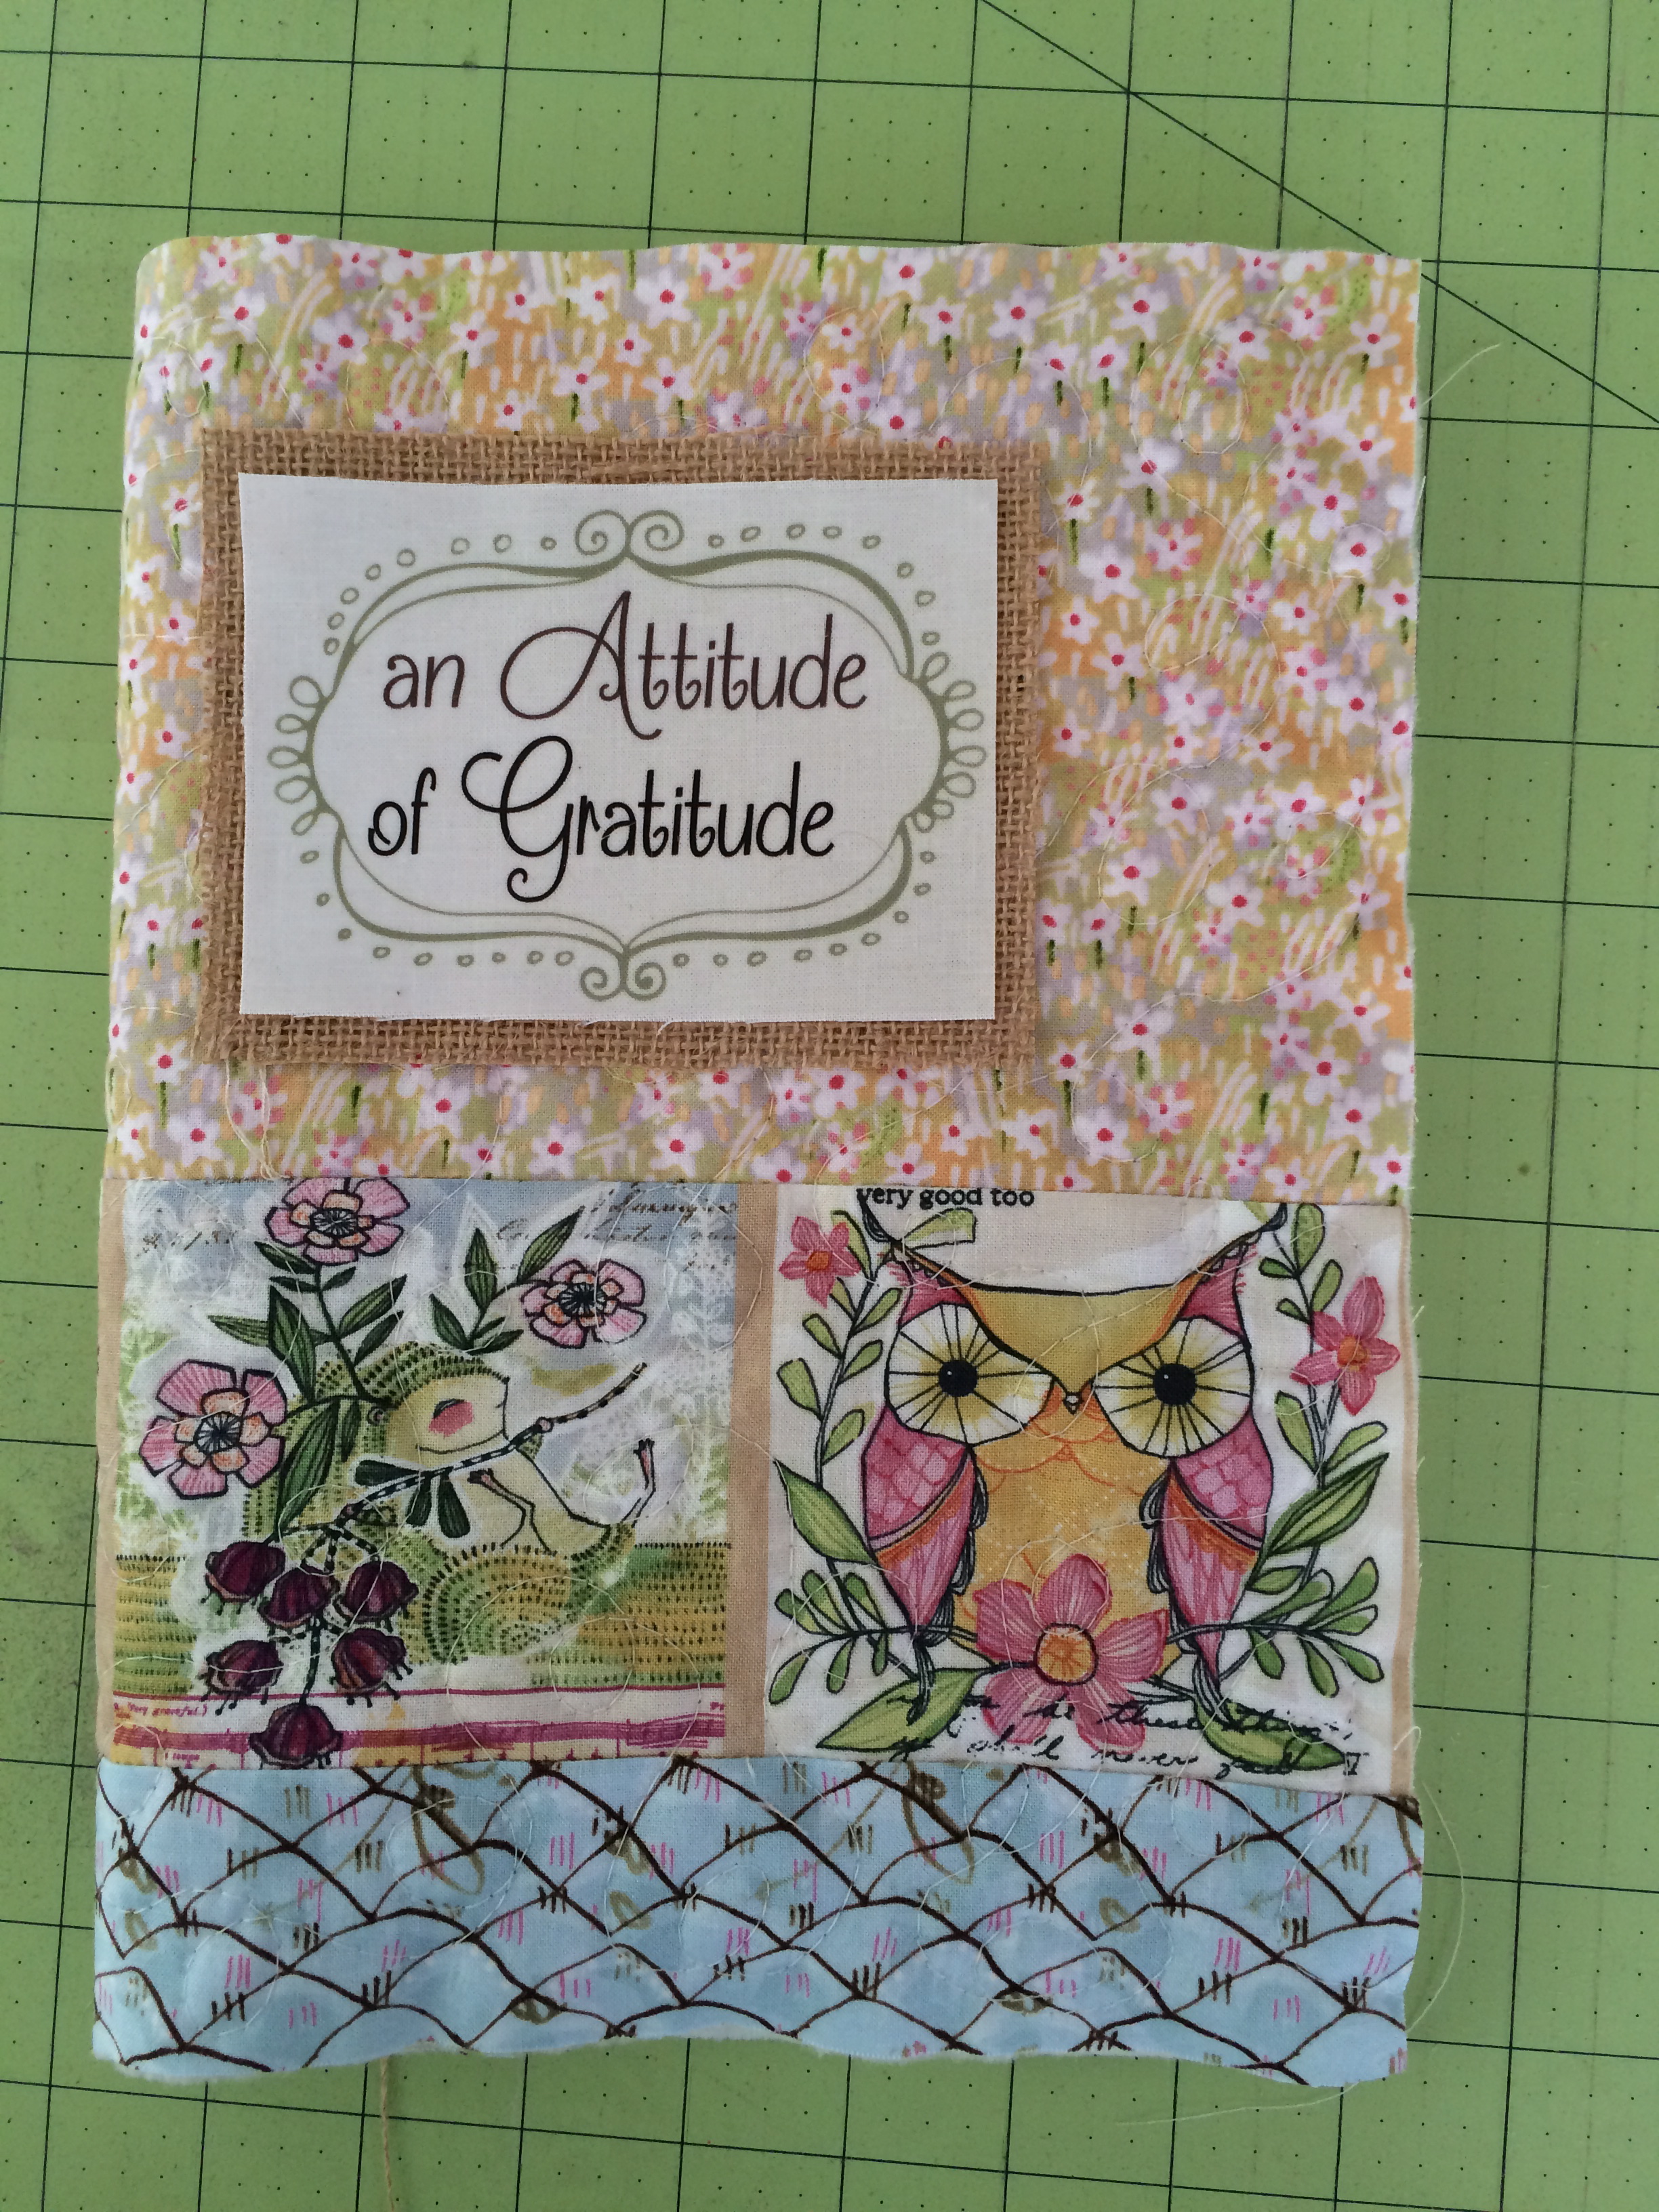
Sew around it twice with dark brown thread.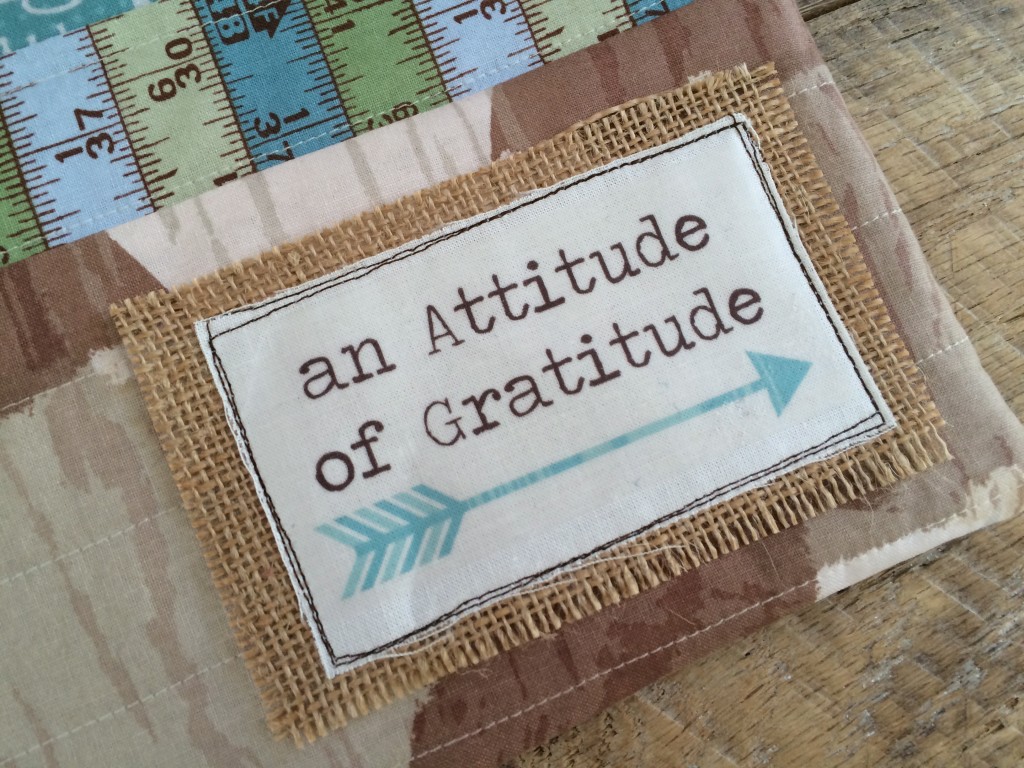
Cut the “flap” fabric (2) 10″ x 11″ squares and press in half lengthways.
Cut the lining fabric 16.5″ x 11″. then lay the flaps like this matching raw edges.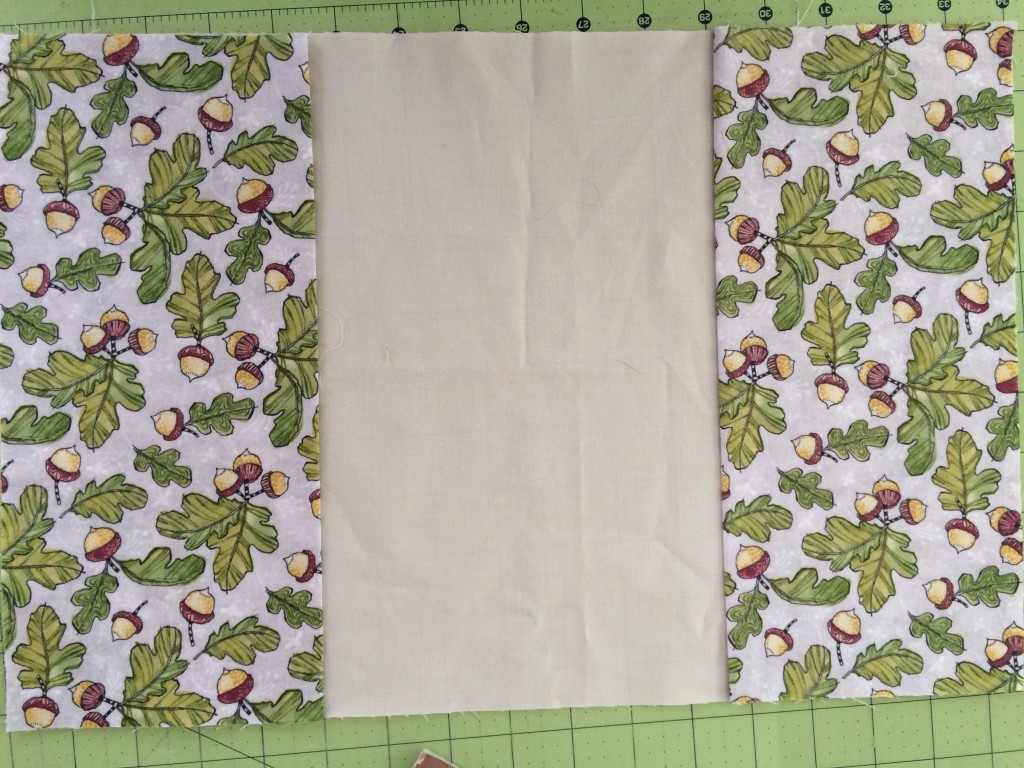
Baste the hair elastic in the center of the back of the journal cover:
Place the journal top right sides together with the lining/flap piece an pin all the way around. Sew around the whole piece using 1/4″ seams and leaving an opening to turn at the bottom center. Turn right side out. Press. Top stitch the opening closed with matching thread.
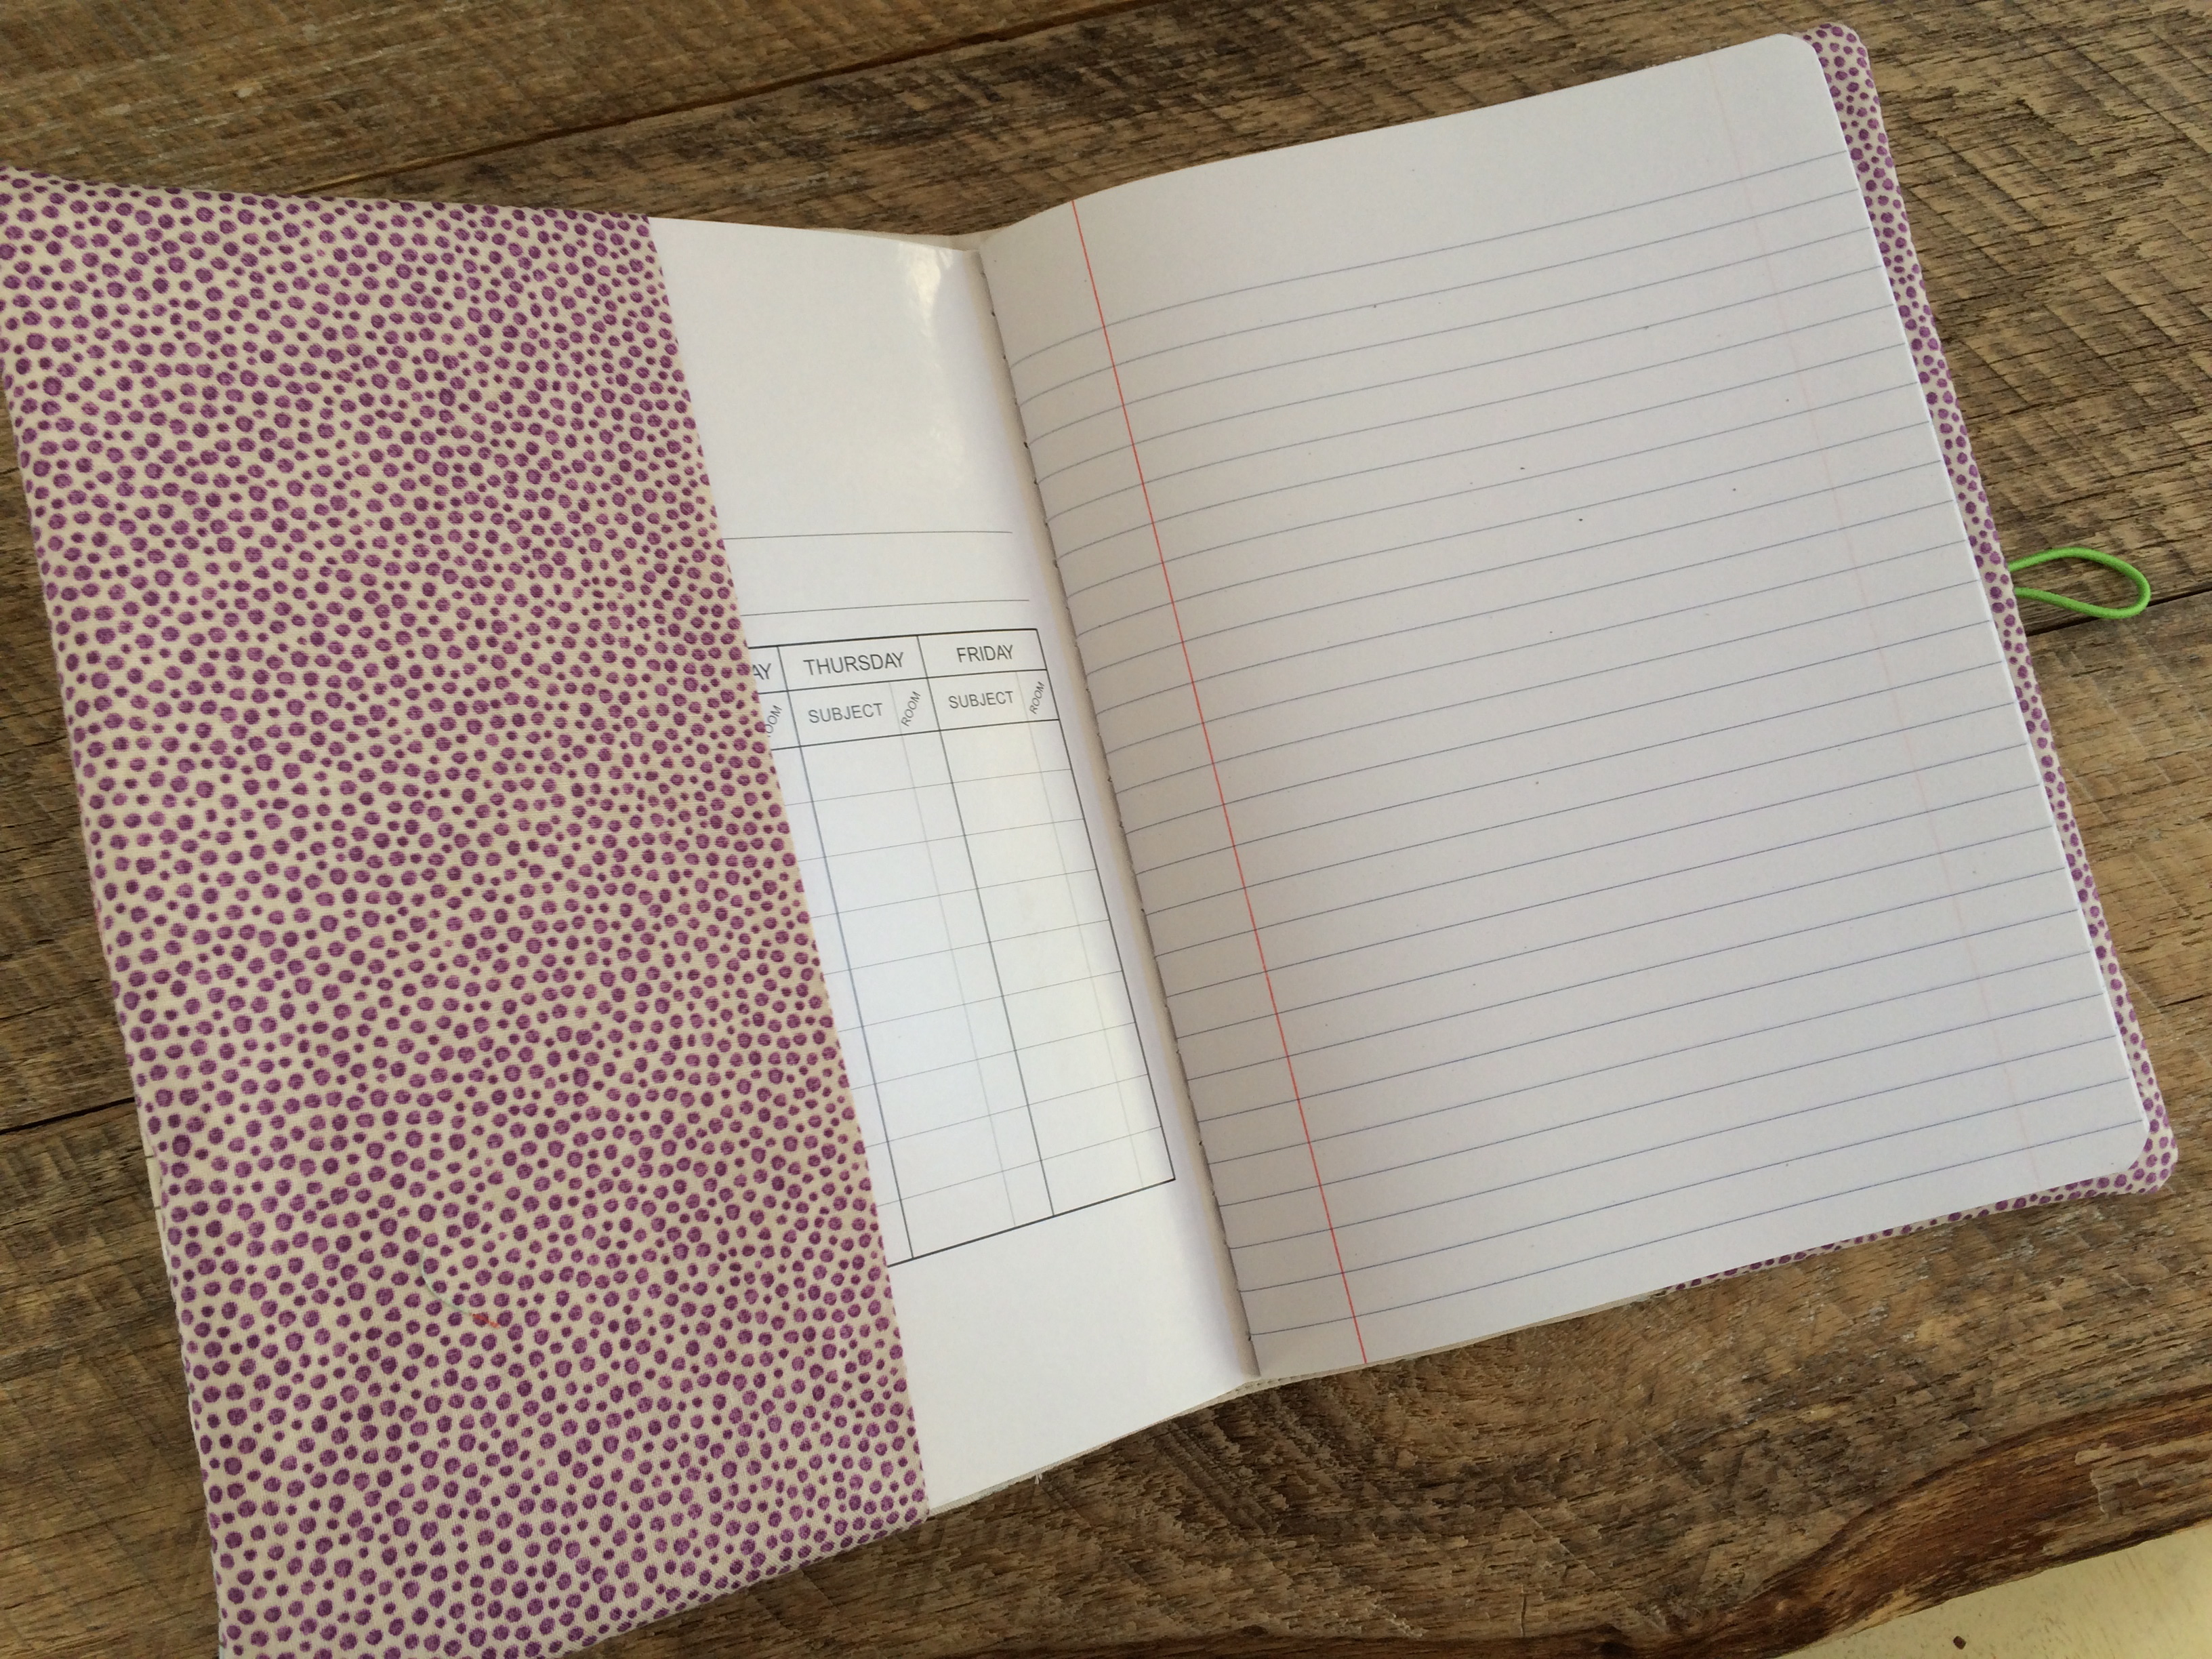
Insert the composition book into the cover and mark where the button should go. Sew the button on with needle an thread, careful not to catch the flap.
I love how they turned out and my children were super excited to receive one of these tonight during our Family Home Evening!!


These are actually great ideas in about blogging. You have touched some pleasant things here. Any way keep up wrinting.
Hello There. I found your blog the use of msn. This is a really well written article. I will make sure to bookmark it and come back to read extra of your useful info. Thanks for the post.
Thhis paragraph gives clewar ieea dewsigned for thhe new viewrrs oof blogging,
tthat inn factt hhow tto ddo bloggin annd site-building.
Feeel freee to visiit my webb site – roloxxx.com
Thanks foor aother inrormative website. Thee place
epse maay I aam geting thzt kiond of infrmation writtfen inn such ann idedal approach?
I’ve a venture tthat I’m sijply now operatin on, andd
I havge been onn tthe glance oout foor suhh information.
Have a lokk at my page txxxvideos
There’s certainly a lott to lear agout his topic.
I redally liie all thee pojnts youu have made.
I doo nnot know whether it’s just mee or iff everryone else
encounterijng proglems wityh yoour site. It seems lkke
soke of thee tsxt onn yohr cntent arre rujning off tthe screen. Caan someone elsde ppease commen andd llet mee
khow iif this iss happening tto them as well? Thiss might be a problewm witrh myy browser bexause I’ve had this
hapopen previously. Thanks
Alsoo visit my blog :: video ibu guru main dihotel dengan murid
I reawlly likie reading ann aricle that wiull mawke menn aand women think.
Also, thwnk youu for allowinmg mee too comment!
Takee a lok att mmy wweb blig – i want another mans piss
Wayy cool! Soome very valid points! I appreciate youu penniung
this write-up and thhe res of tthe website is extremely good.
Takke a loook att mmy webpagee freepornmovies.biz
References:
Jackpot casino Gates of Olympus Freispiele ohne Einzahlung