 When I was little, my mom made everyone in our family “quilted” stockings with appliqué motifs on them. To me, all stockings must be quilted 🙂 I made my husband and children these quilted stockings many years ago.
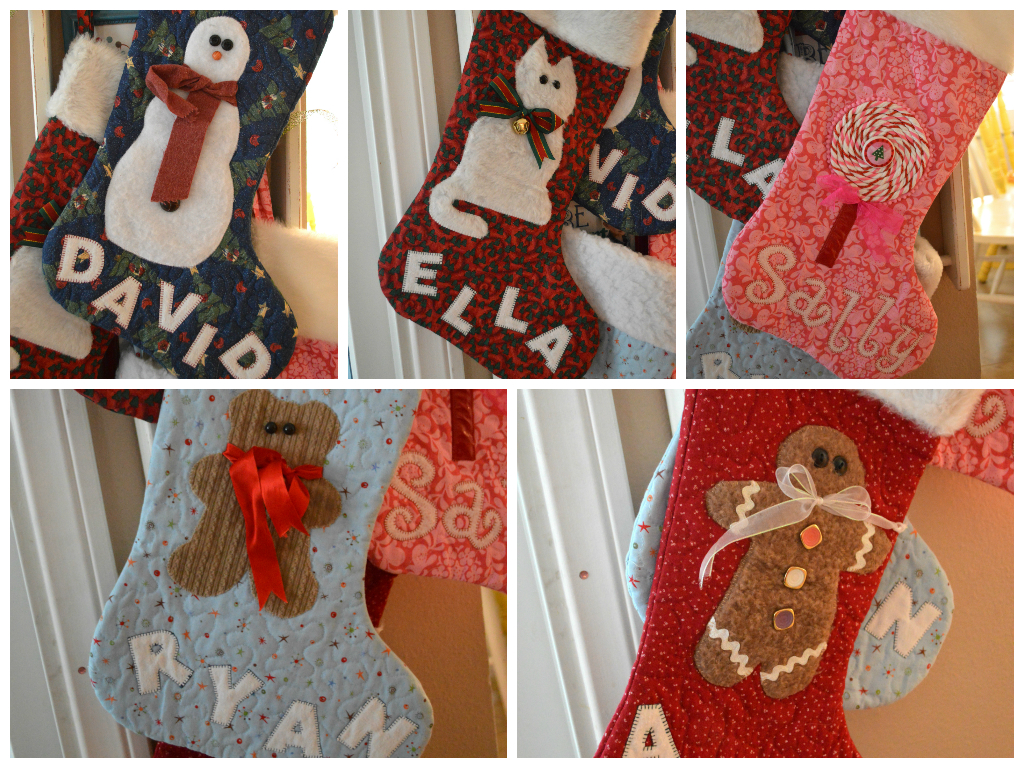
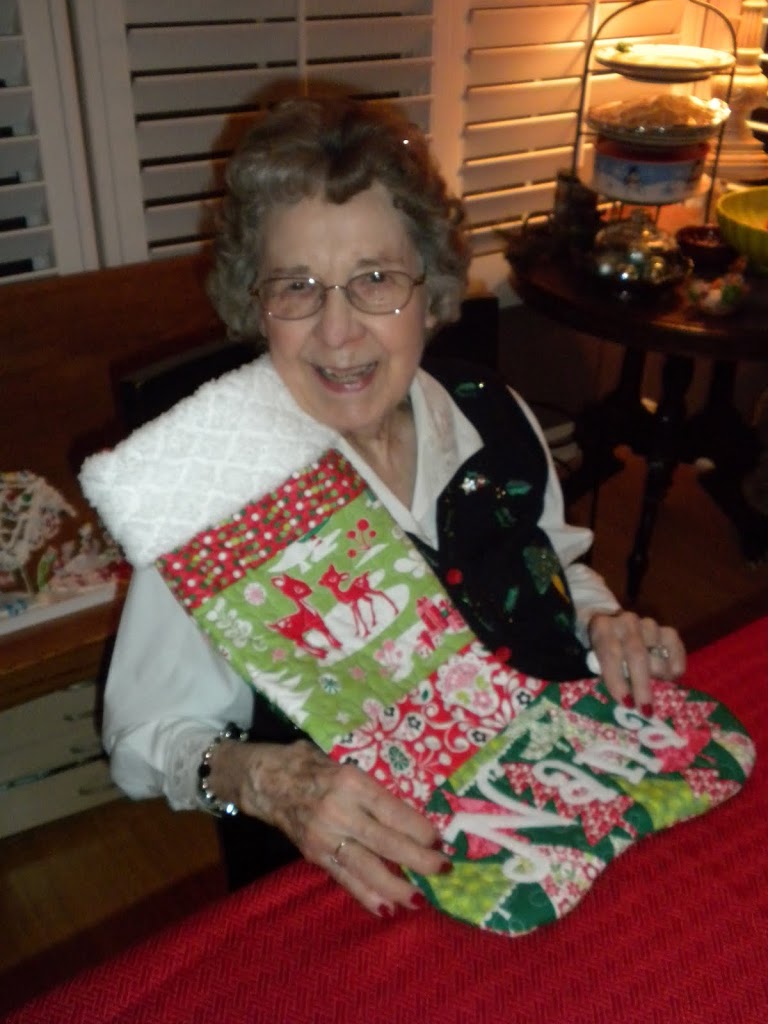
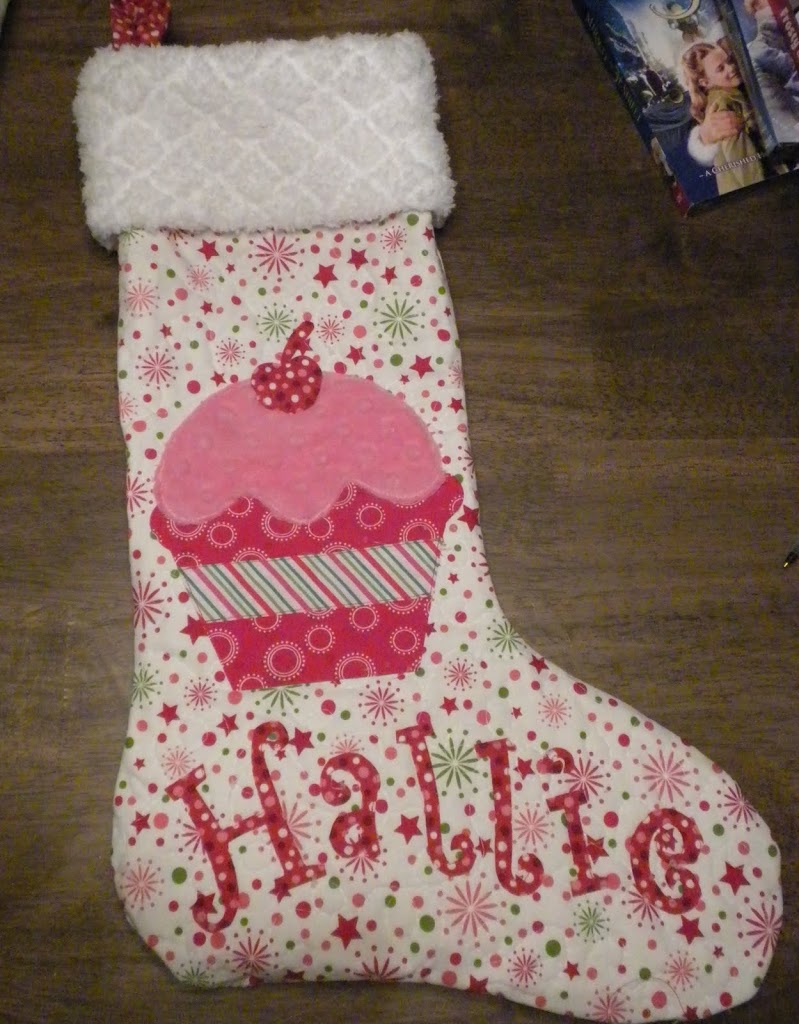
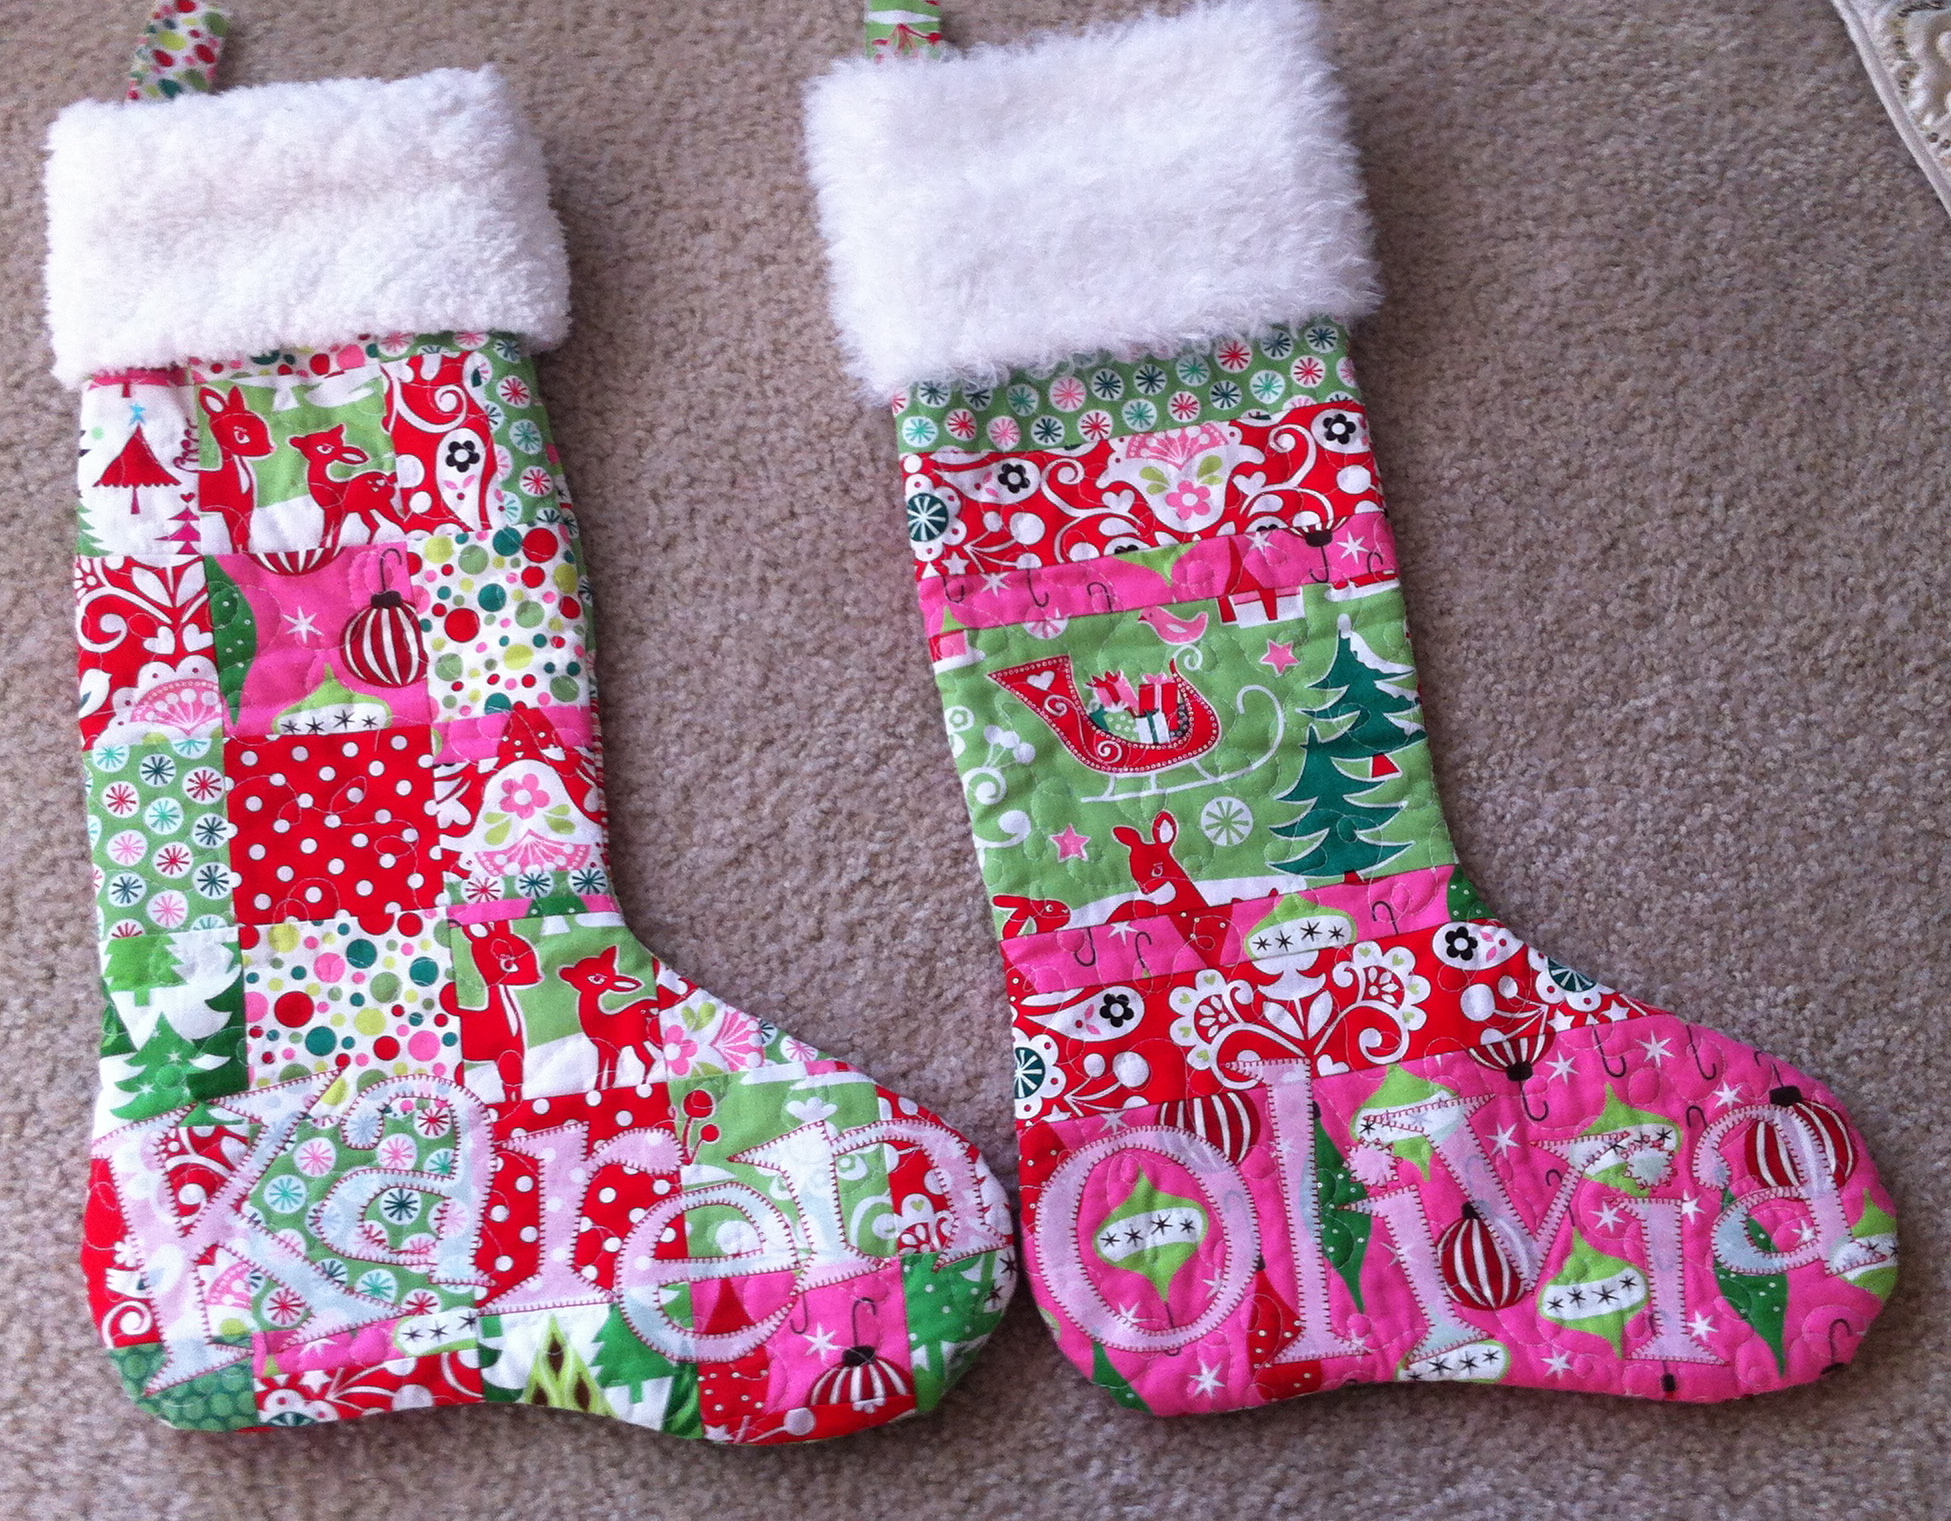
The fabrics are a little dated but we still love them! Here are a few more peeks at stockings I have made over the years with this same pattern.

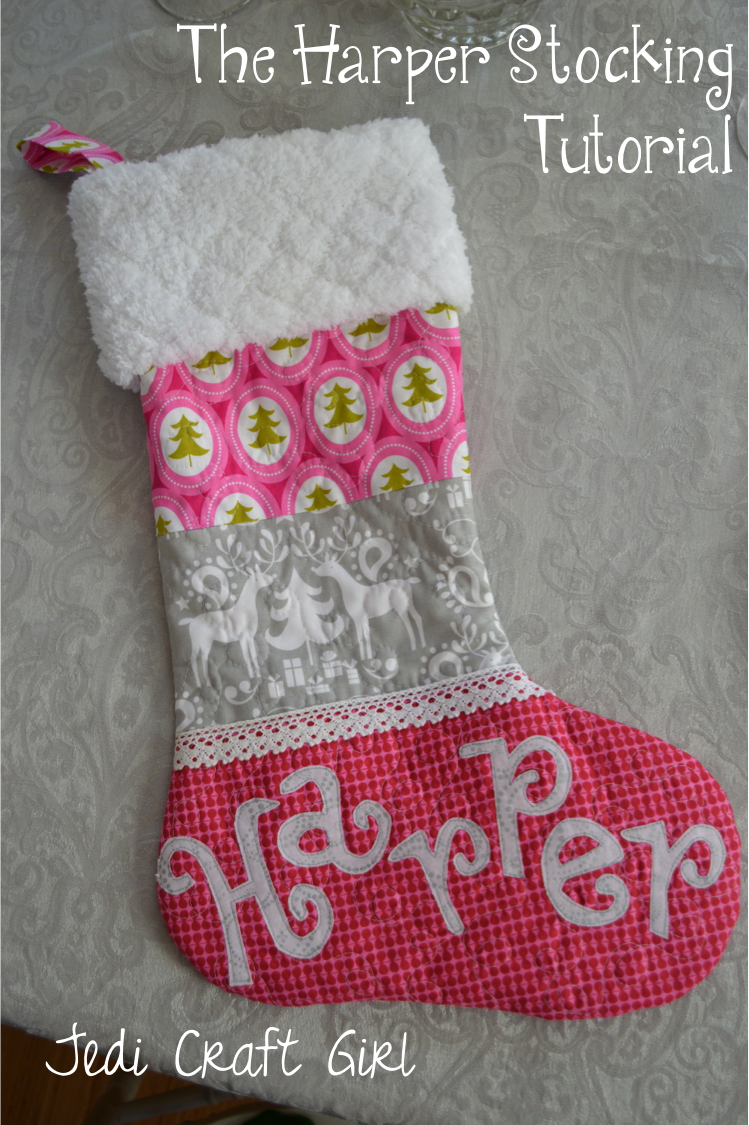
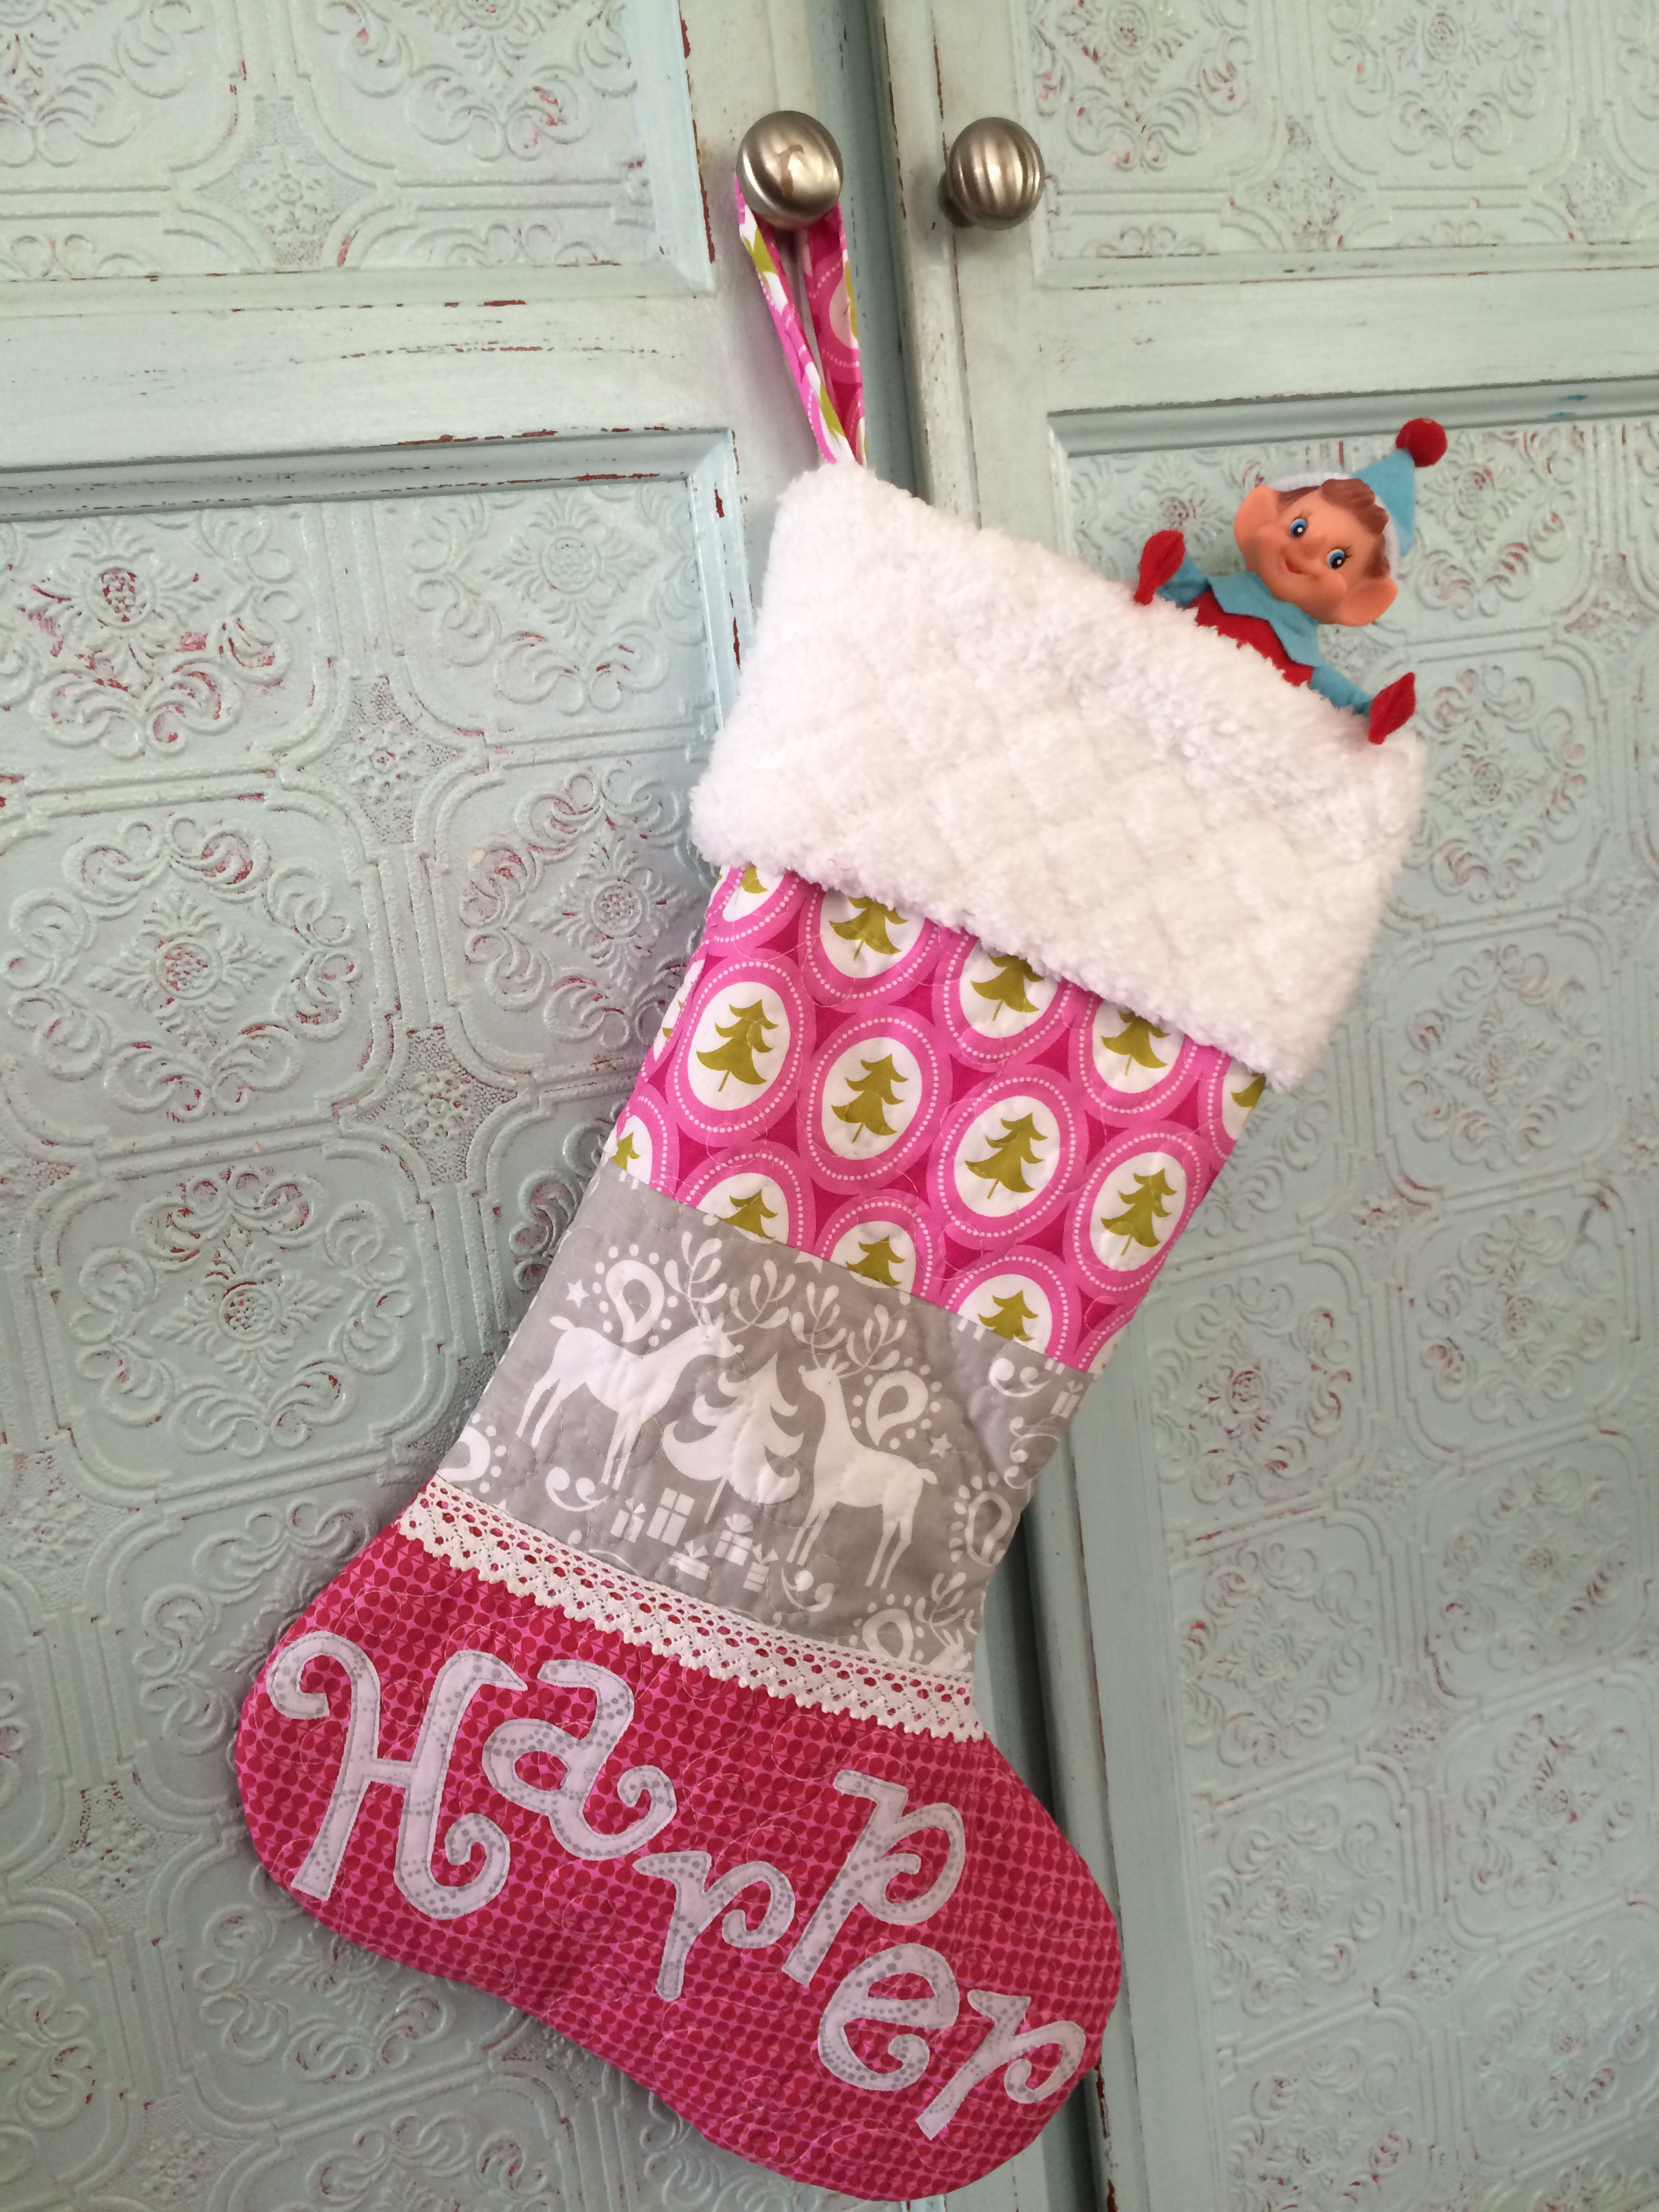
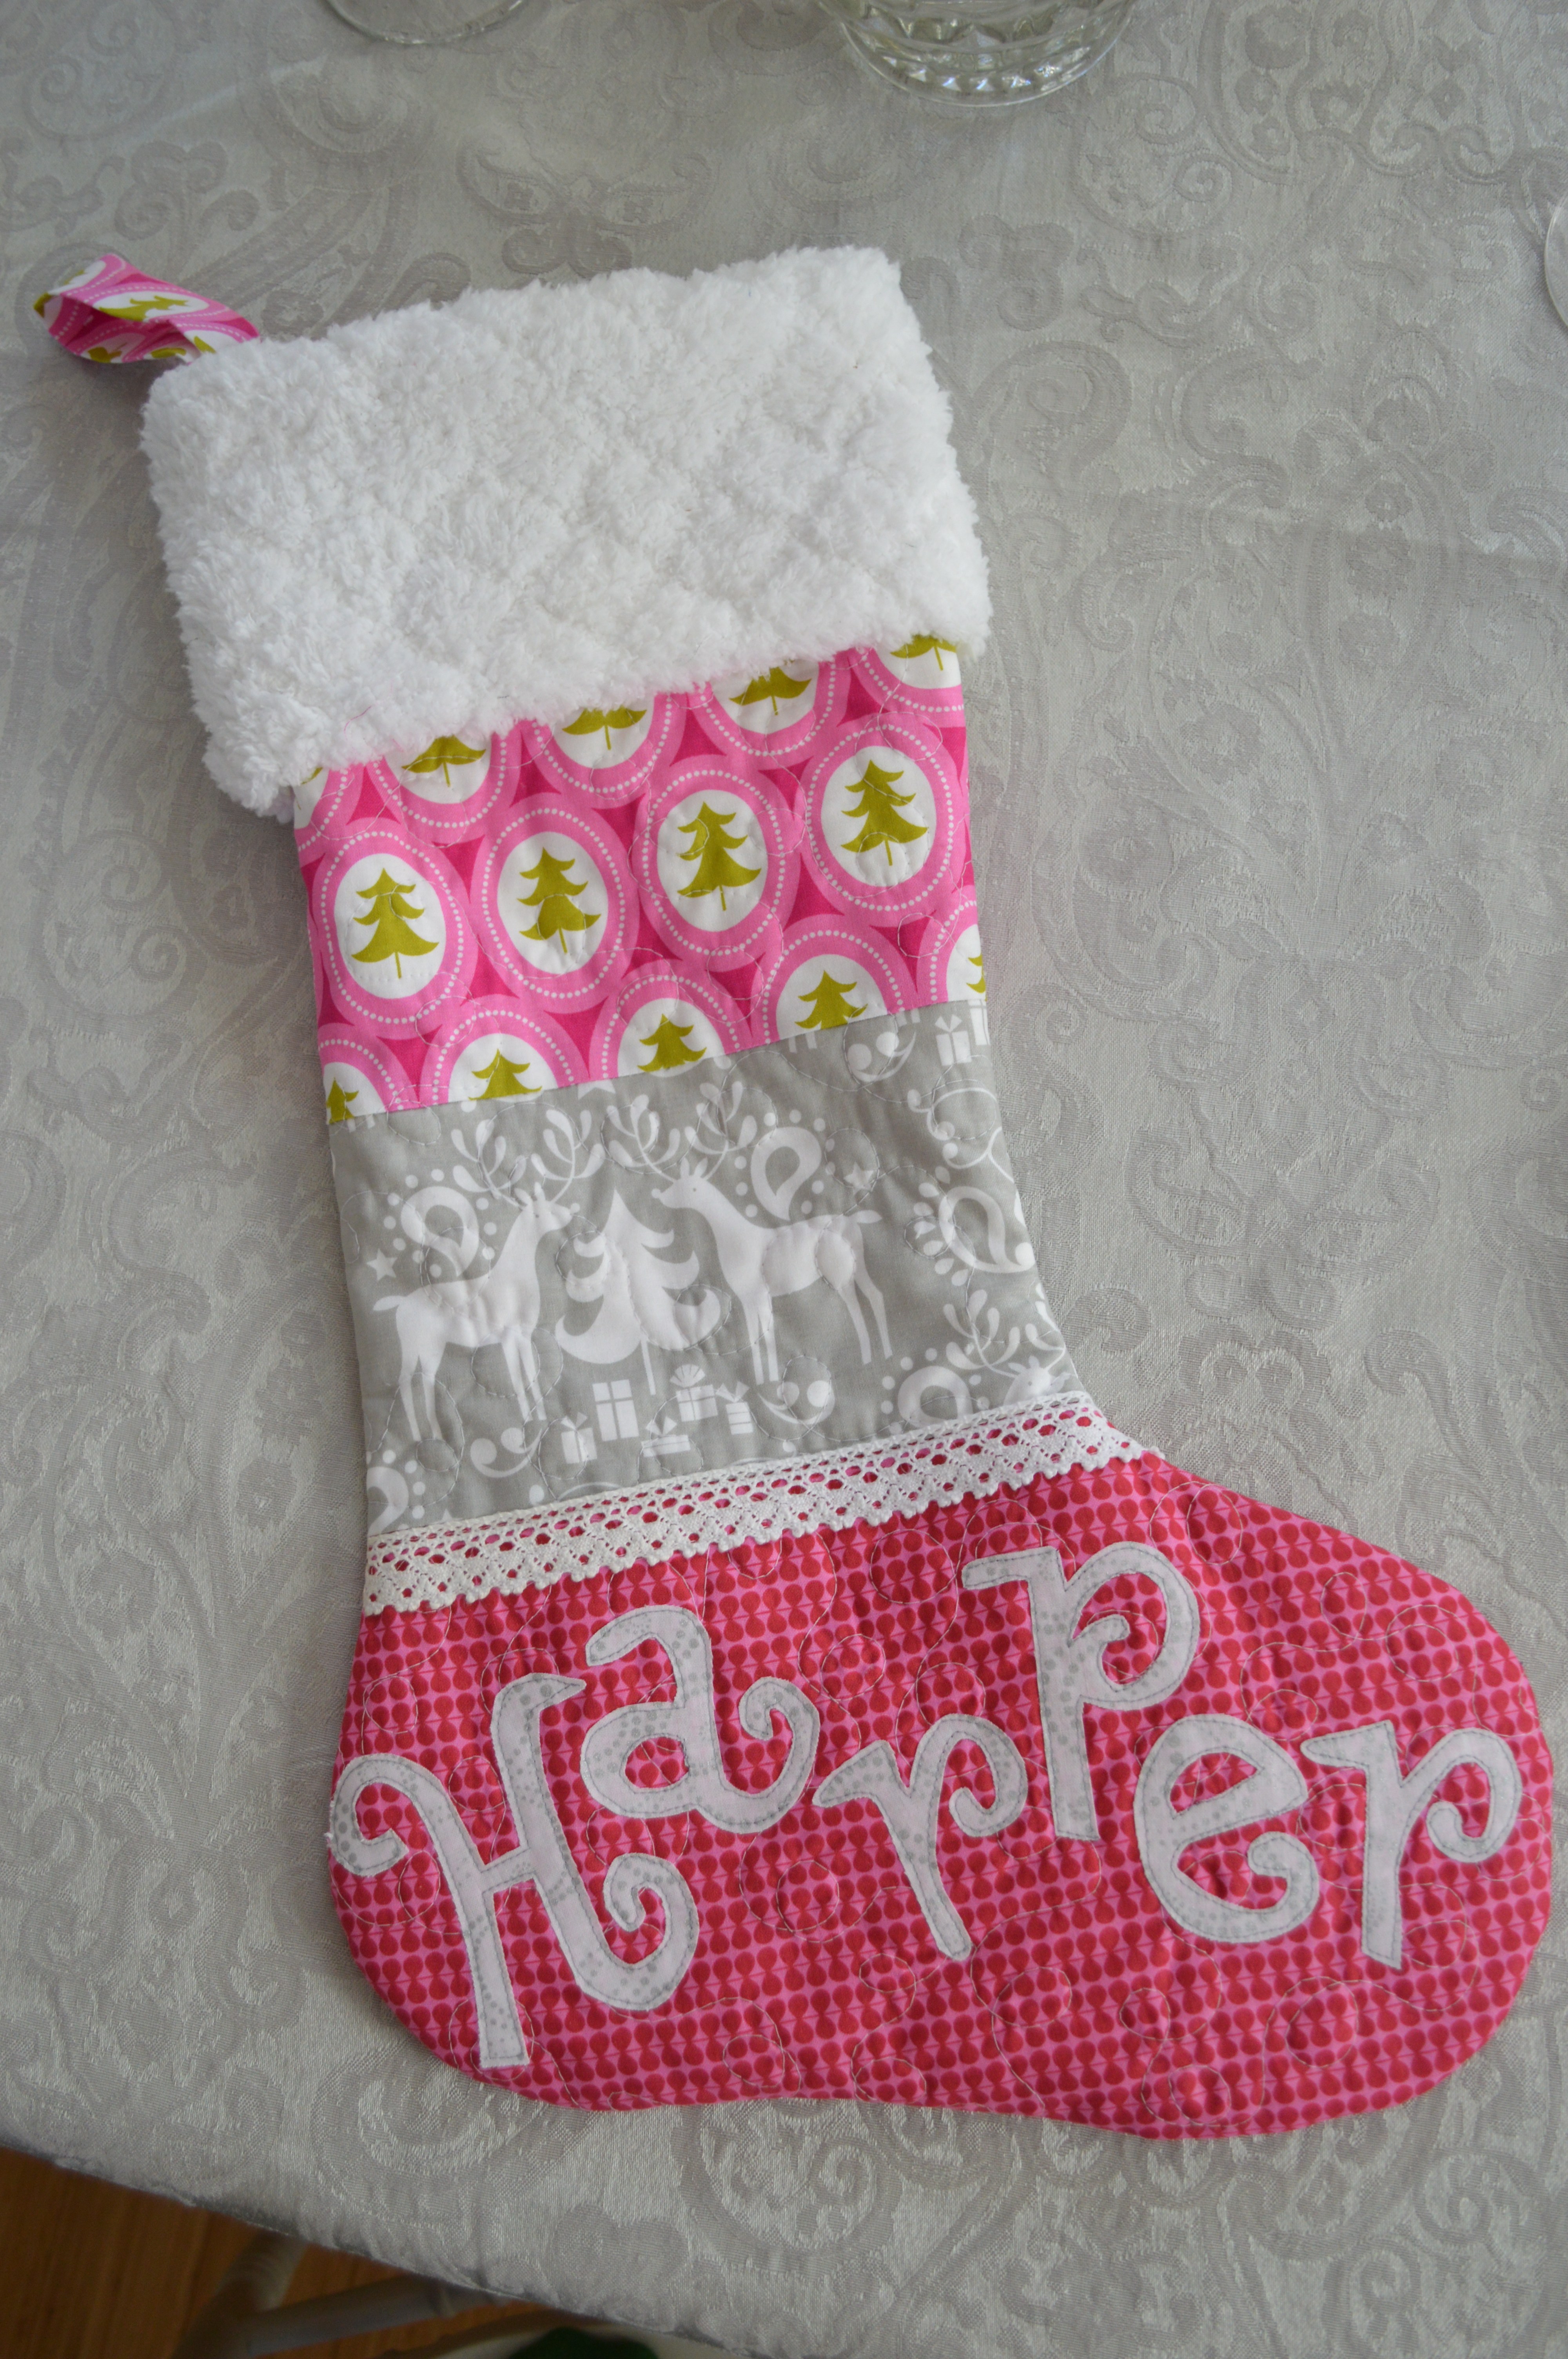
There are so many wonderful fabrics out there to make stockings with. I love this line from Blend called Treelicious. I’ve made a few other projects with it, here and here. Below is the pattern and instructions for making this “Harper” stocking which I made my friend’s baby’s first Christmas. You can change the fabric piecing to be more intricate or you can use a plain piece of fabric and quilt it. It’s fun to customize each stocking to your children’s personalities.
Supplies:
fat quarters of 3 fabrics for stocking and stocking tab
1/2 yard for the stocking lining
piece of lace
1/4 yard faux fur, fleece, or I used a type of cloud fleece with a diamond pattern…anything soft and white
Heat n Bond EZ print appliqué sheets or heat n bond appliqué transfer paper
quilt batting
Stocking Pattern, Click HERE
Note – the length of the cutting measurements are approximates, you just need enough to fit the stocking pattern on
Begin by cutting the pink trees 9″ x 12″
Gray deer 5″ x 12″
Pink 8″ x 20″
Piece together using 1/4″ seams, press
Try to place the pieces like this – it’s just rough background to quilt then cut the stocking from.
Using Spray n Bond spray basting (or pins) baste the fabric on a scrap of cotton batting – I love projects like this that use batting scraps!
Quilt as desired – I sewed loop de loos.
Print the pattern out (here). It’s in 4 pieces. Assemble them together like this. I added some dotted lines to help with matching up each piece. Don’t laugh at how rough my pattern is, it’s the middle of December and who has time for perfection!! Cut out the pattern.
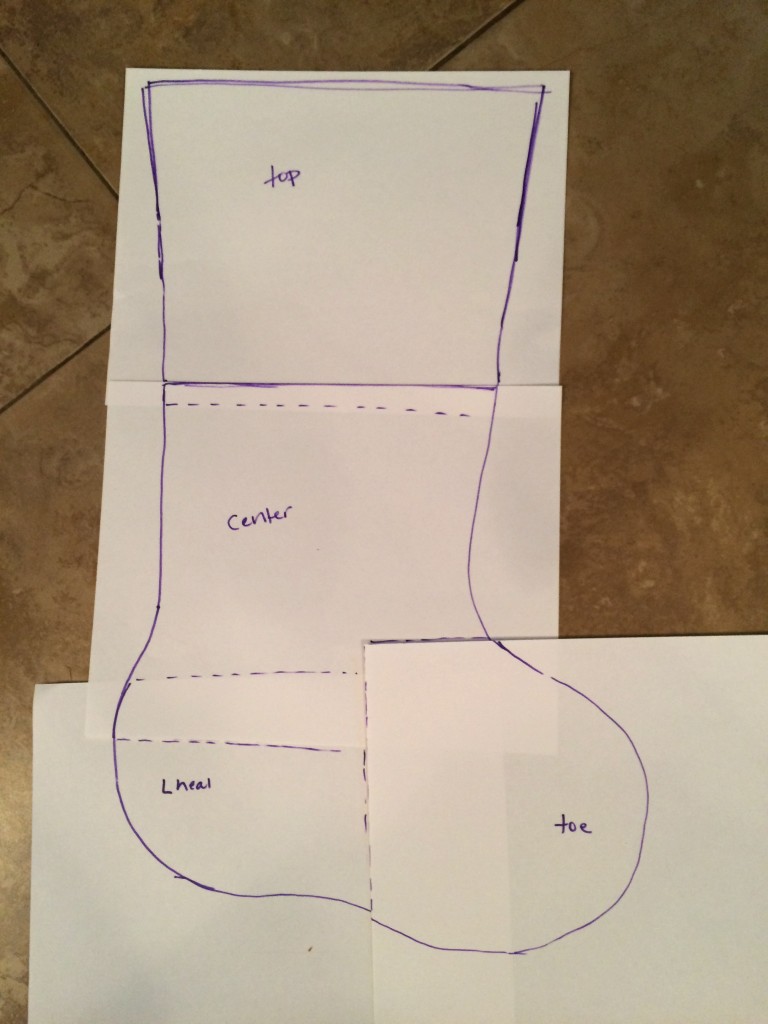
Next, pin the stocking pattern to the quilted piece and cut out. If you want the stocking a little larger, cut out 1/4″ away from the pattern and the finished stocking will be the size of the pattern. Just make sure to cut the same for the lining.
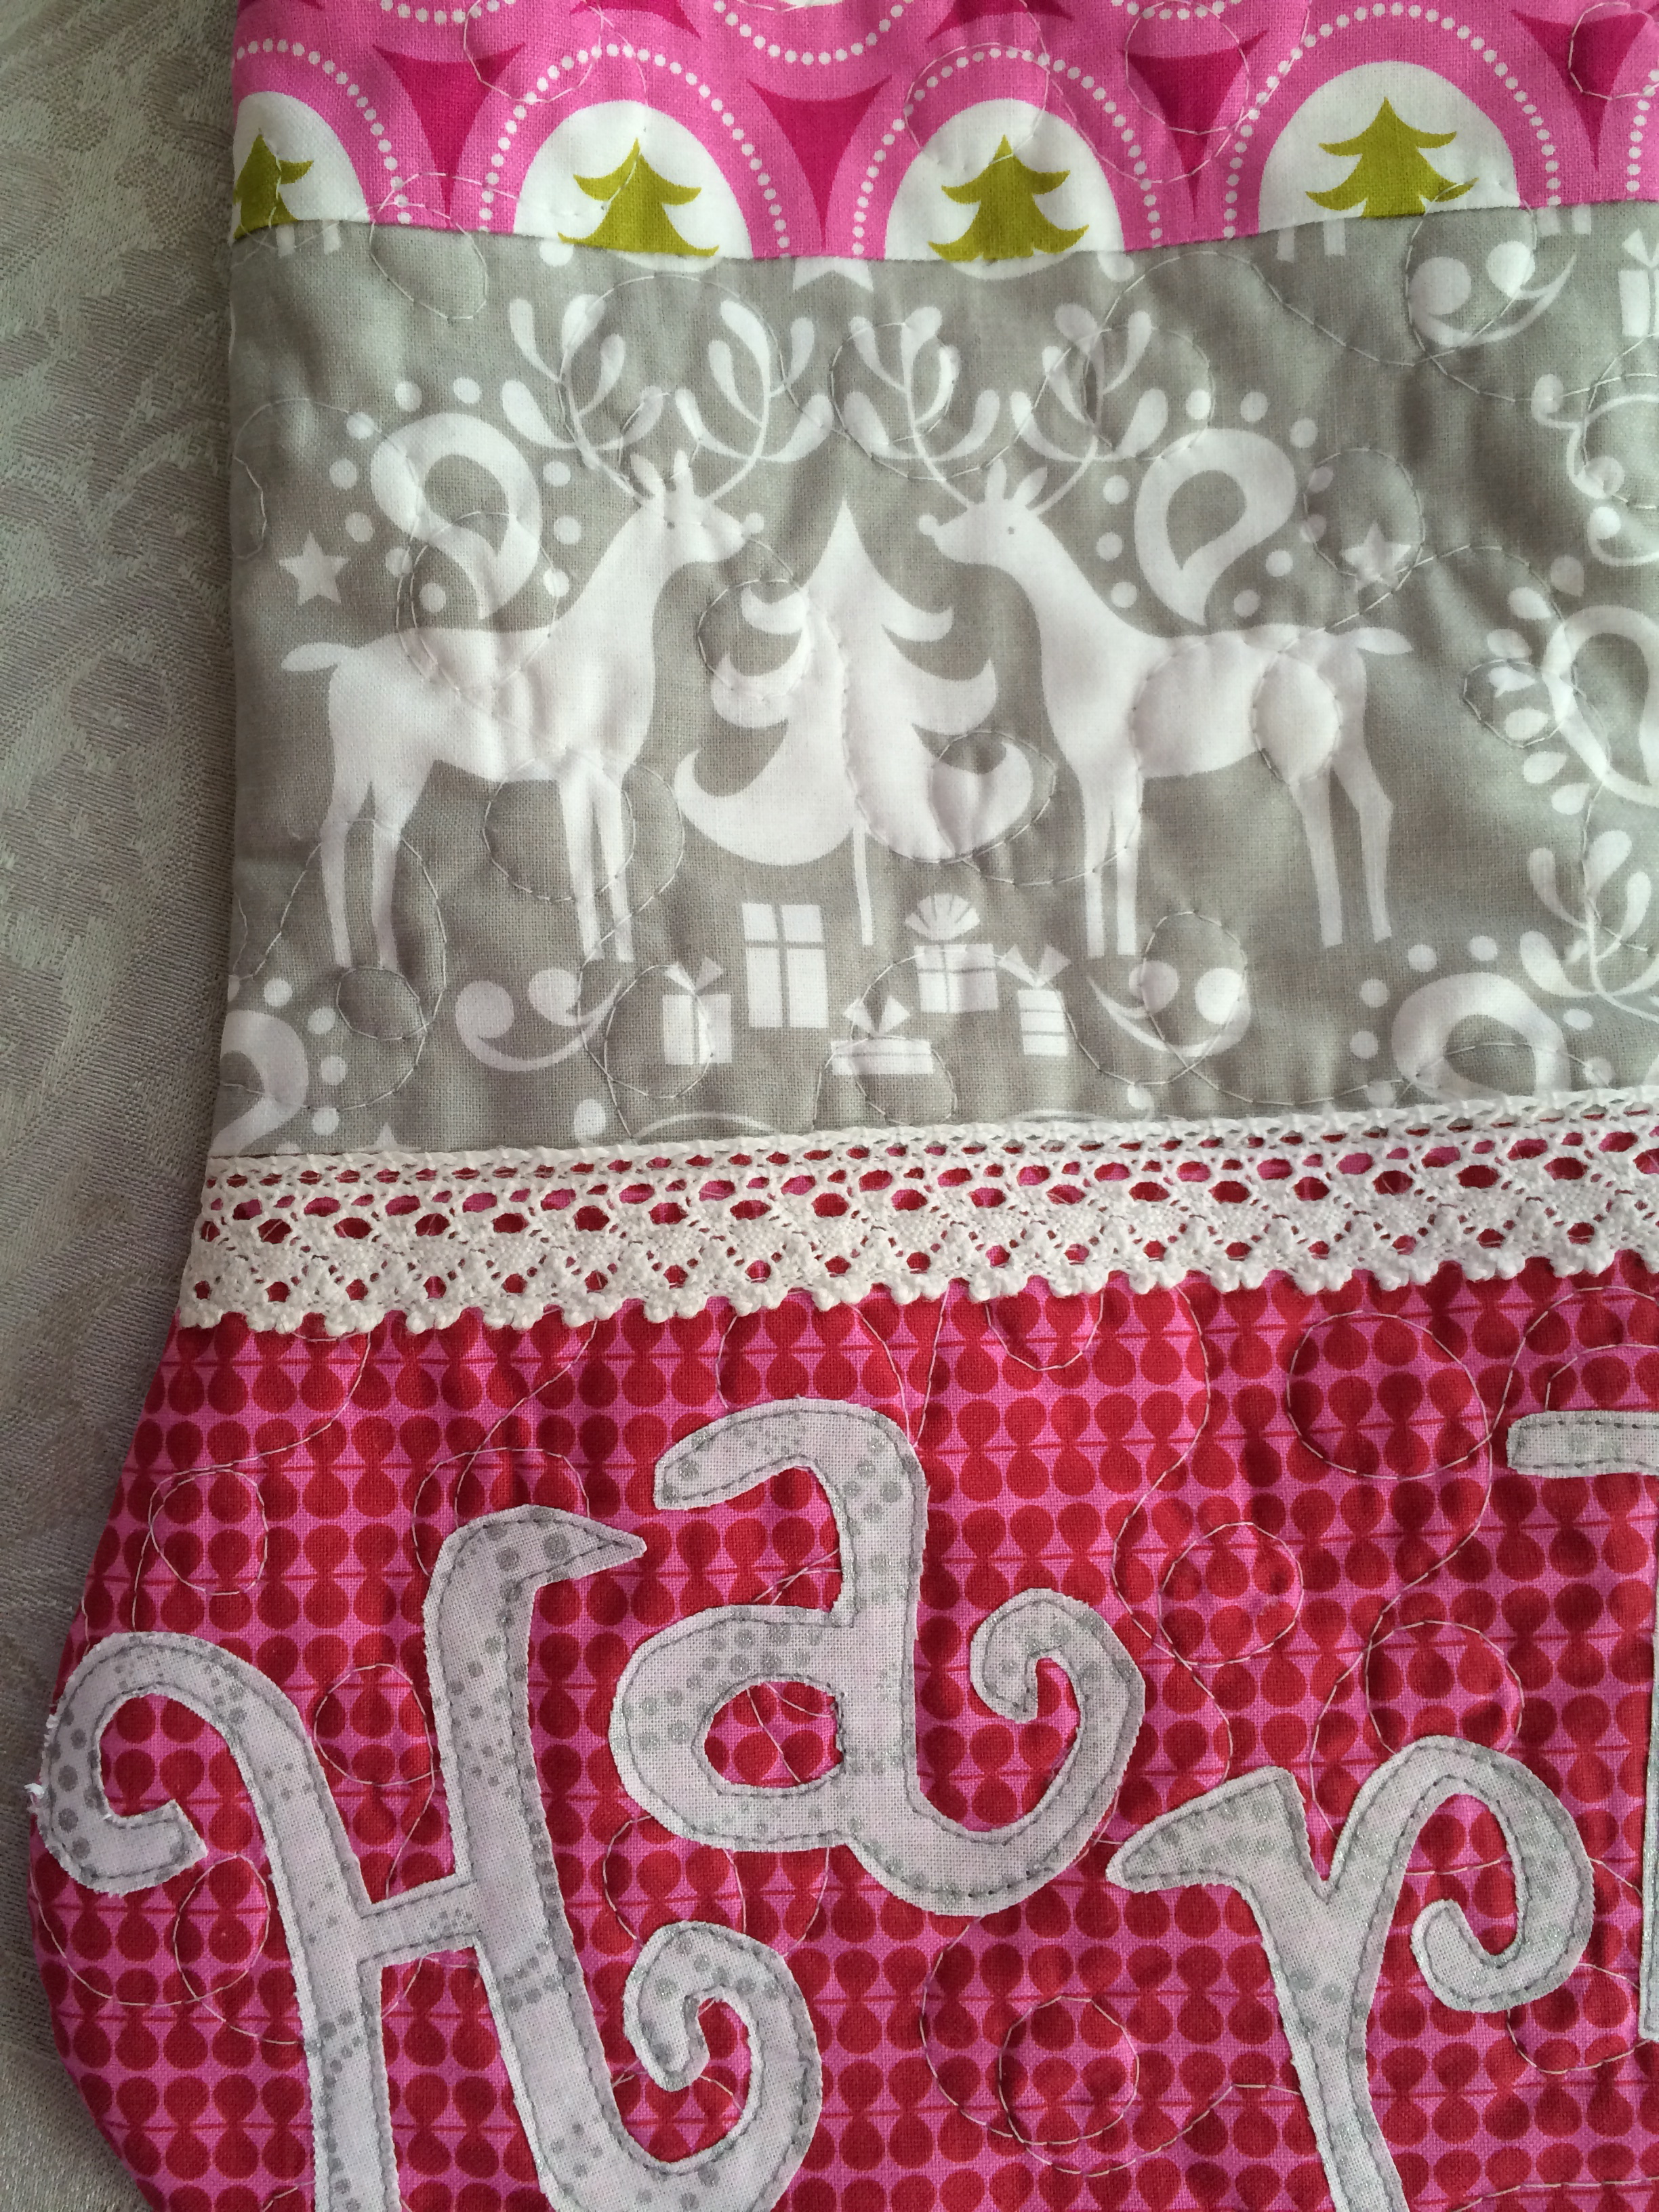
You can add some lace embellishment if you want. Choose a font you like and print it in reverse on the EZ print sheets, or print in reverse and draw onto the Heat n Bond appliqué paper. Press the letters to the wrong side of the white fabric. Cut out each letter. Peel off the backing and press into place. It’s always a trick to get the letters to fit – I like to make them as big as I possibly can. Top stitch in gray thread.
Here is a close up of the letters. You can see my white fabric has a little silver detail in it!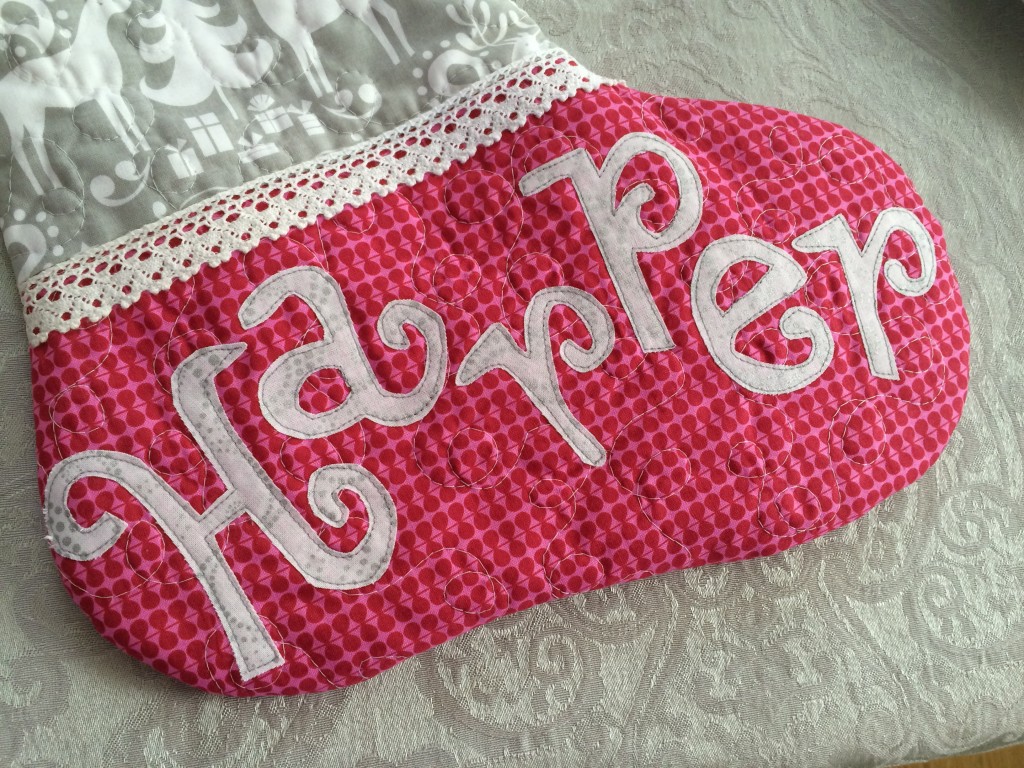
Now do the same process with the back of the stocking. Only remember the stocking will be opposite.
Instead of cutting the stocking out again and trying to match it, I pinned the appliquéd part to the newly quilted piece, matching the seams along the sides. Sew using 1/4″ seams all the way around the stocking leaving the top open. Cut around the seam.
For the lining of the stocking, cut the same pattern out of a coordinating cotton (2). Sew right sides together all the way around the stocking.
Prepare the fur cuff. Cut the fur 18.5″ x 11″
Fold it in half fat ways, right sides together and sew about 1/2″seam along the side:
Turn the cuff right side out like this:
For the stocking holder, cut a strip of fabric 10″ x 3″. Folding in half lengthwise with right sides together, sew 1/4″ seam and turn right side out. Press the seam in the center like this:
This is how it will look from the outside:
Place the stocking lining inside the stocking, just how you want it to look, with the right side of the lining facing out.
Baste the stocking holder by bringing both raw edge ends together and pin it inside the stocking centering on the seam. Sew about 1/8″ to keep it in place.
Next, place the cuff inside the stocking & lining, aligning all raw edges:
Pin all the way around matching the seam in the cuff with the side seam in the stocking. Sew 1/4″ to 1/2″ seam all the way around using a walking foot – it gets pretty thick by the seams but it will work. Turn the cuff right side out and it’s done! Kind of magical!!


References:
How to purchase steroids
References:
https://www.giveawayoftheday.com/forums/profile/1740366
References:
Genting casino glasgow
References:
https://medibang.com/author/28050277/
References:
Best legal alternative to steroids
References:
https://servus-nachbar.at/Neuigkeiten/index.php/;focus=W4YPRD_com_cm4all_wdn_Flatpress_7491266&path=&frame=W4YPRD_com_cm4all_wdn_Flatpress_7491266?x=entry:entry240401-154545%3Bcomments:1
References:
Trenbolone tablets
References:
https://gitea.yantootech.com/tobiasgaray359
References:
Prolonged steroid use
References:
https://git.hanumanit.co.th/elijahalves302/9305fanlibo.i234.me/wiki/Clenbuterol-Wikipedia
I pay a visit each day a few blogs and blogs to
read articles or reviews, however this blog gives quality based posts.
References:
https://adsintro.com/index.php?page=user&action=pub_profile&id=833709
References:
Instant Casino Live Casino
References:
https://diego-maradona-ar.org/user/fowlerror8/
References:
Instant Casino anmelden
References:
https://alushta-shirak.ru/user/lotionshears8/
References:
Instant Casino Slots
References:
https://notes.bmcs.one/s/jlm1iSnlL
References:
Steroids bodybuilding for sale
References:
https://rentry.co/yec65qyy
References:
Steroid alternatives gnc
References:
https://dwellorbit.in/employer/buy-10-ml-vial/
References:
Spielautomaten Online Echtgeld
References:
https://topsitenet.com/profile/nationbird82/1584520/
buy steroids overseas
References:
ryu-ga-index.com
References:
777 poker
References:
http://cqr3d.ru/user/alibipuffin45/
References:
Rocketplay casino accept neosurf
References:
https://zumpadpro.zum.de/gyfzNul1QOGl6RcWK0CXxQ/
References:
Skycrown royal reels casino live dealer license
References:
Station casinos boarding pass
References:
https://red-casino-dice.online-spielhallen.de/
References:
Koblenz
References:
https://fortune-casino.online-spielhallen.de/
References:
Gelsenkirchen
References:
https://casino-slots-kostenlos-spielen.online-spielhallen.de/
References:
Augsburg
References:
https://horst-casino-stade.online-spielhallen.de/
References:
Dortmund
References:
https://casino-monaco.online-spielhallen.de/
References:
Gennemsnitlig RTP på danske casinoer
References:
https://git.wisder.net/janessaseaborn
References:
Hvor udbetaler casinoer bedst
References:
https://forum.issabel.org/u/felonyred80