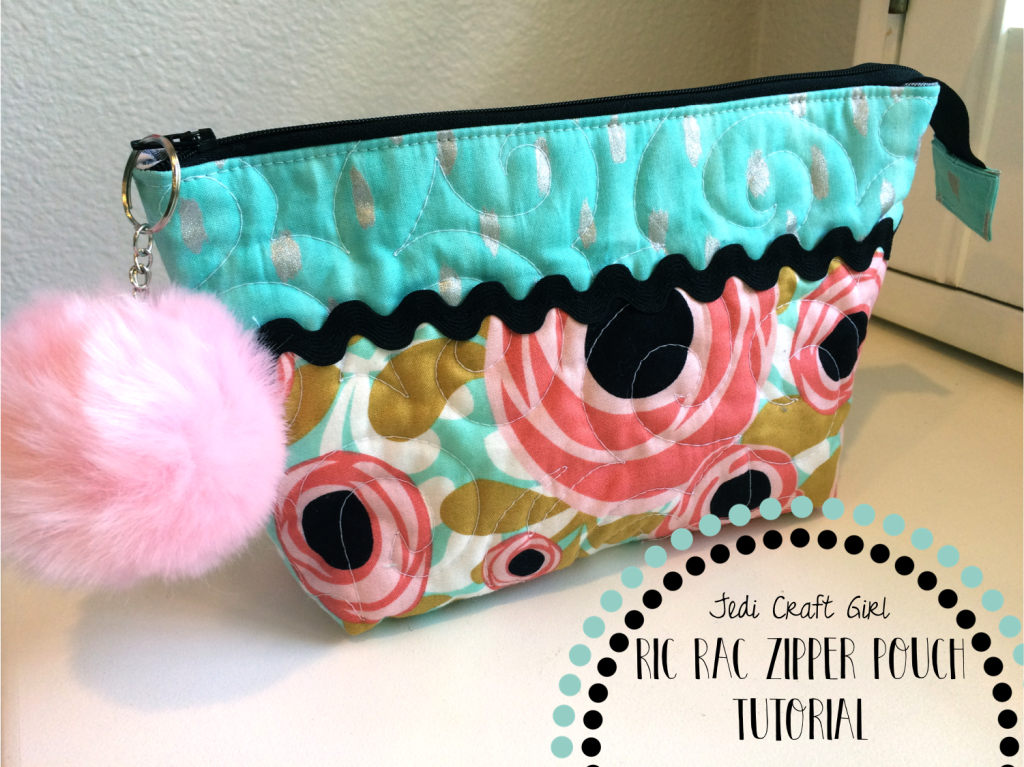
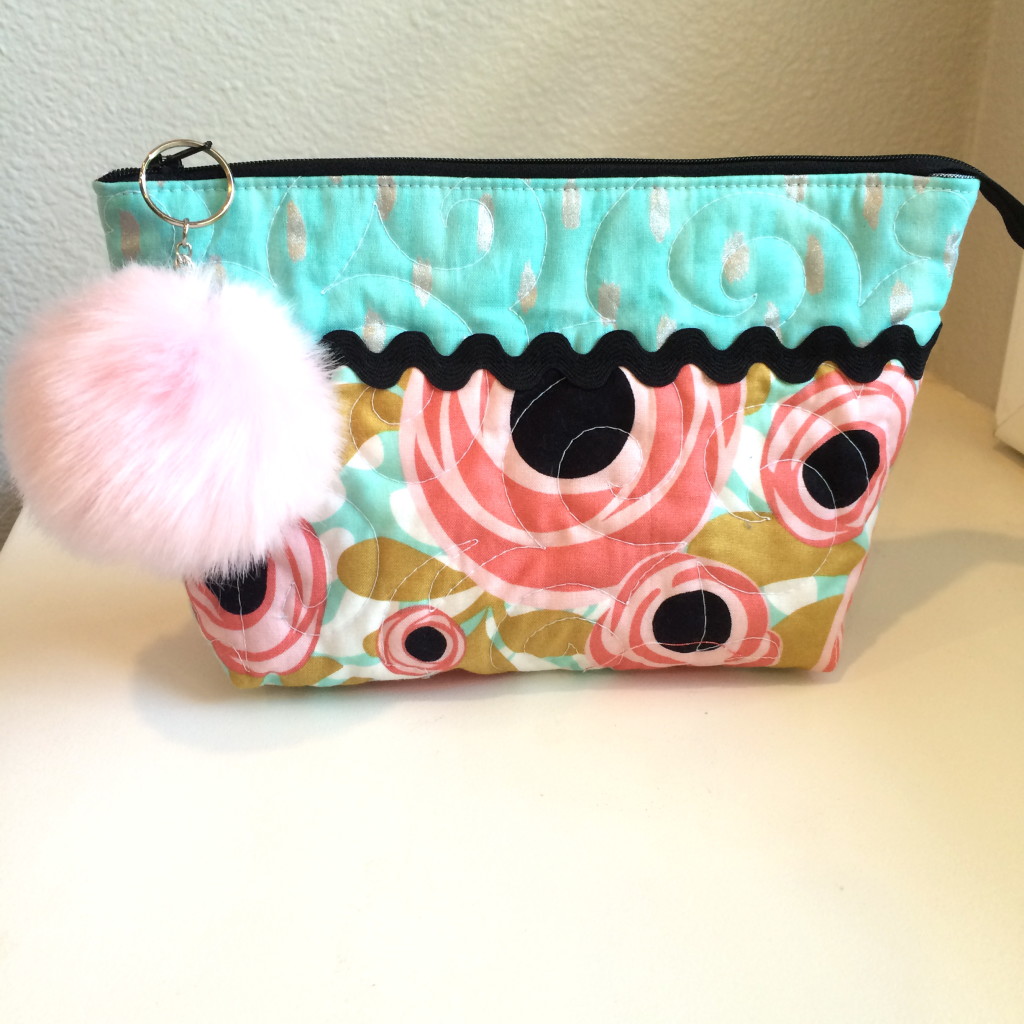
I love coming up with different versions of my favorite zipper pouch. I made this one for a friend and thought I would share the details with you! They really make the perfect gift! I hope to make one for myself to keep some day!!
Begin by cutting
(2) 2.5″ x 11″ accent strips
(2) 6″ x 11″ main strips
(2) 8″x11″ pieces for the lining
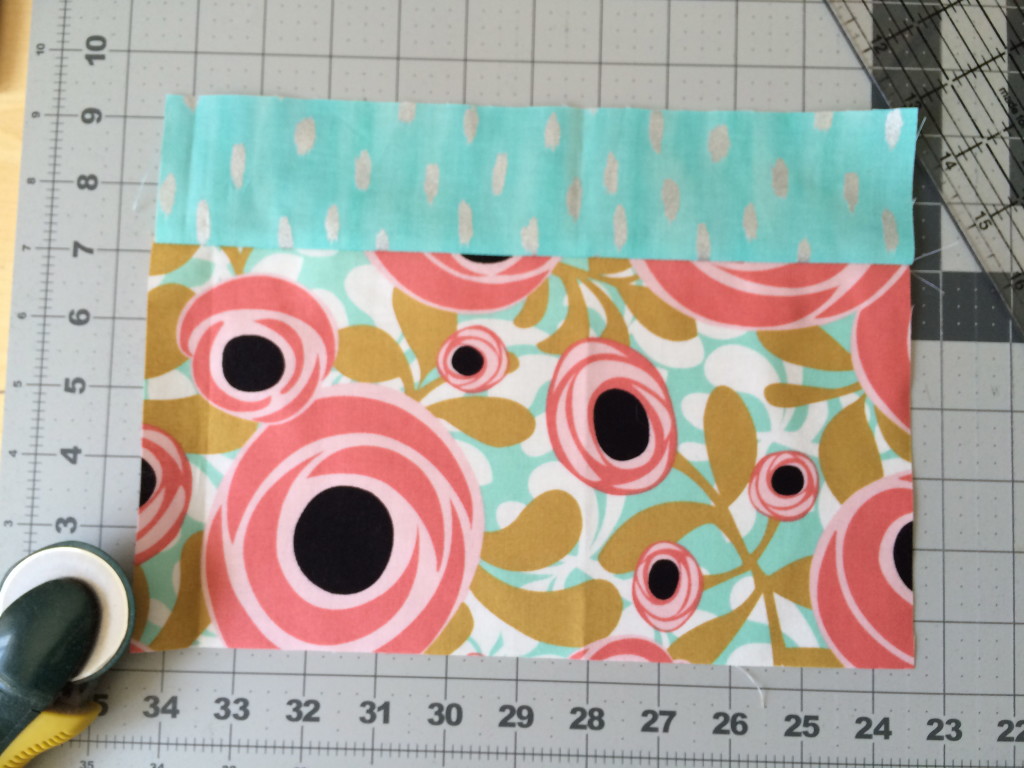
Sew the accent strip to the main strip as pictured above. Use 1/4″ seams and make 2 of these. Press.
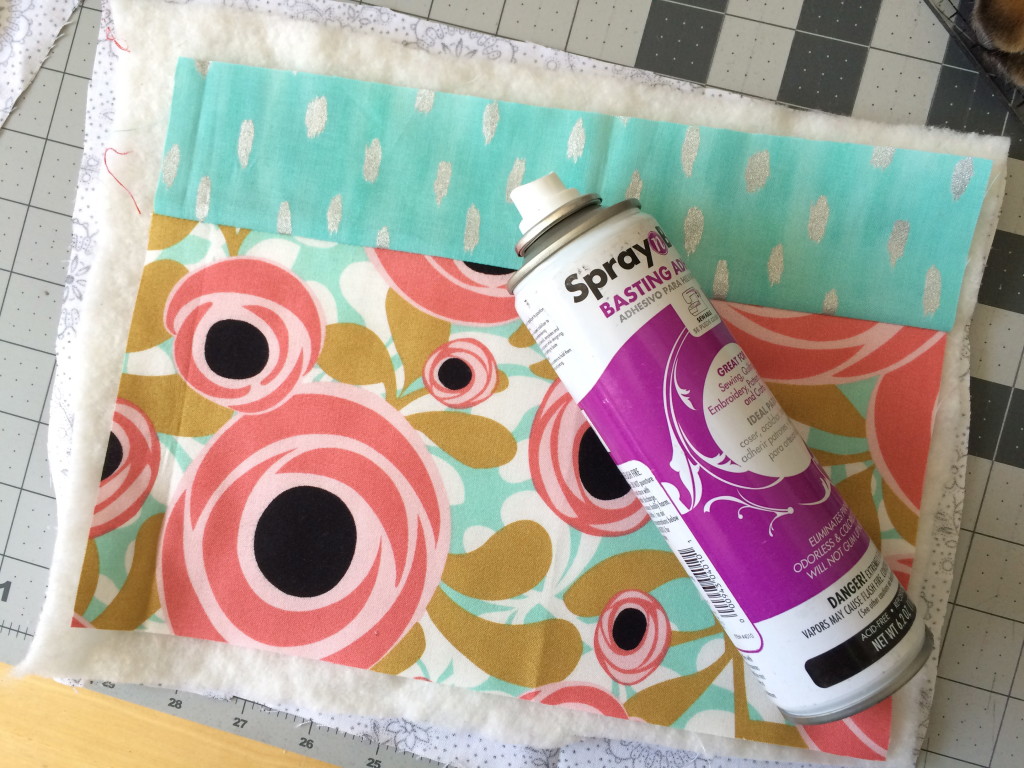
I tried something new on this one which I really like. Grab some old fabric and base the top, batting and the old fabric (backing) just like you would a quilt. I ALWAYS use Spray n Bond. It’s super fast! I normally just quilt the outer bag piece and the batting. By adding this extra piece of backing fabric (that won’t be seen) it makes the bag stiffer but still soft. I will always do this from now on!!
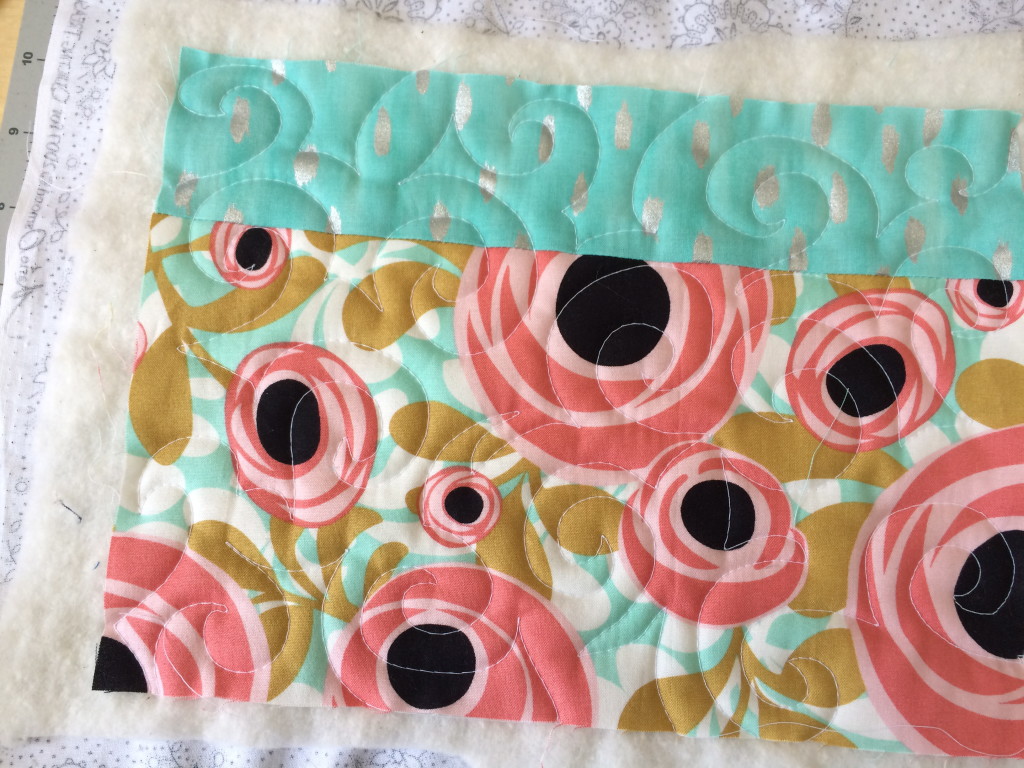
Once it is basted quilt the 2 pieces just like you would a quilt.
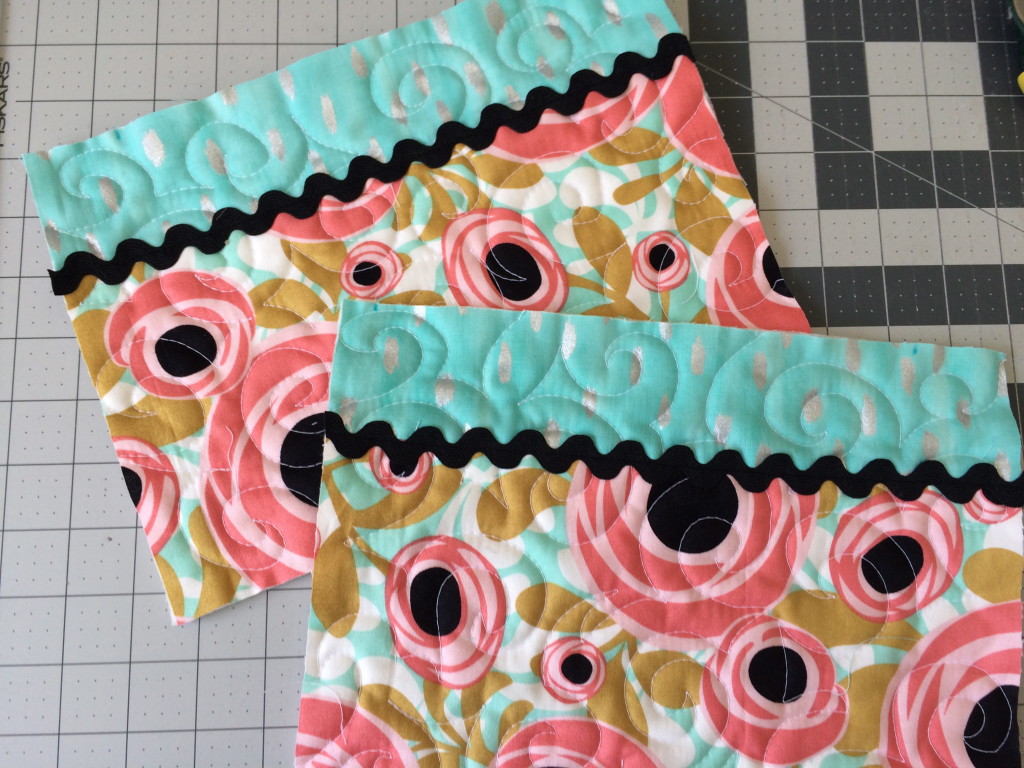
Sew the ric rac on with matching thread.
Square up each side. Measure the pieces again, they will shrink slightly with the quilting. Make sure to adjust the lining measurements so they are the same.
Follow THIS tutorial to insert the zipper and to complete the bag.
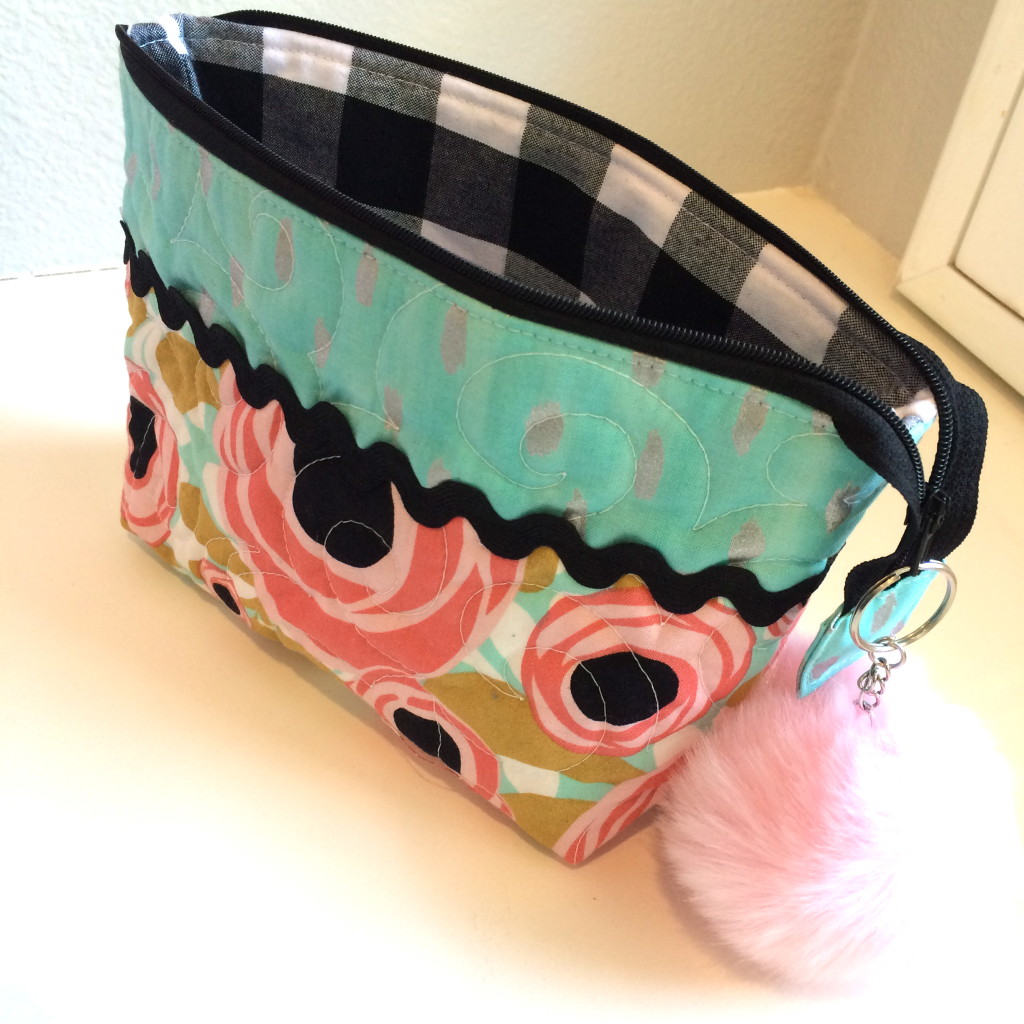
I love the big black and white gingham for the lining!


video poker machine
References:
quanmingfood.com
colusa casino
References:
cultivatinghealth.com
what are steroids for
References:
medibang.com
casino slot games download
References:
stroudfestival.co.uk
wild rose casino emmetsburg
References:
http://www.aulamusical.cat
References:
Casino technology
References:
jackiecycle.com
green valley ranch casino
References:
myspace.com
References:
Online slots for fun pbase.com