
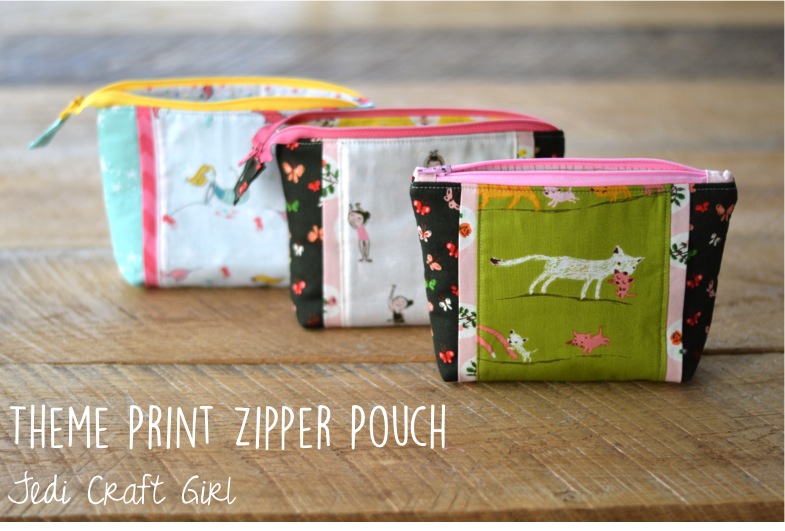
I love making zipper pouches – any shape and any size! They are perfect for every situation and every occasion!! This is a tutorial for how to make a “full access” or “open wide” zipper pouch. This method will work for any measurements of zipper pouch. Before we get started, prepare the outer bag, lining, and stabilizer or quilt batting.
My favorite zipper pouch dimensions:
6.5″ x 9″
8″ x 11″
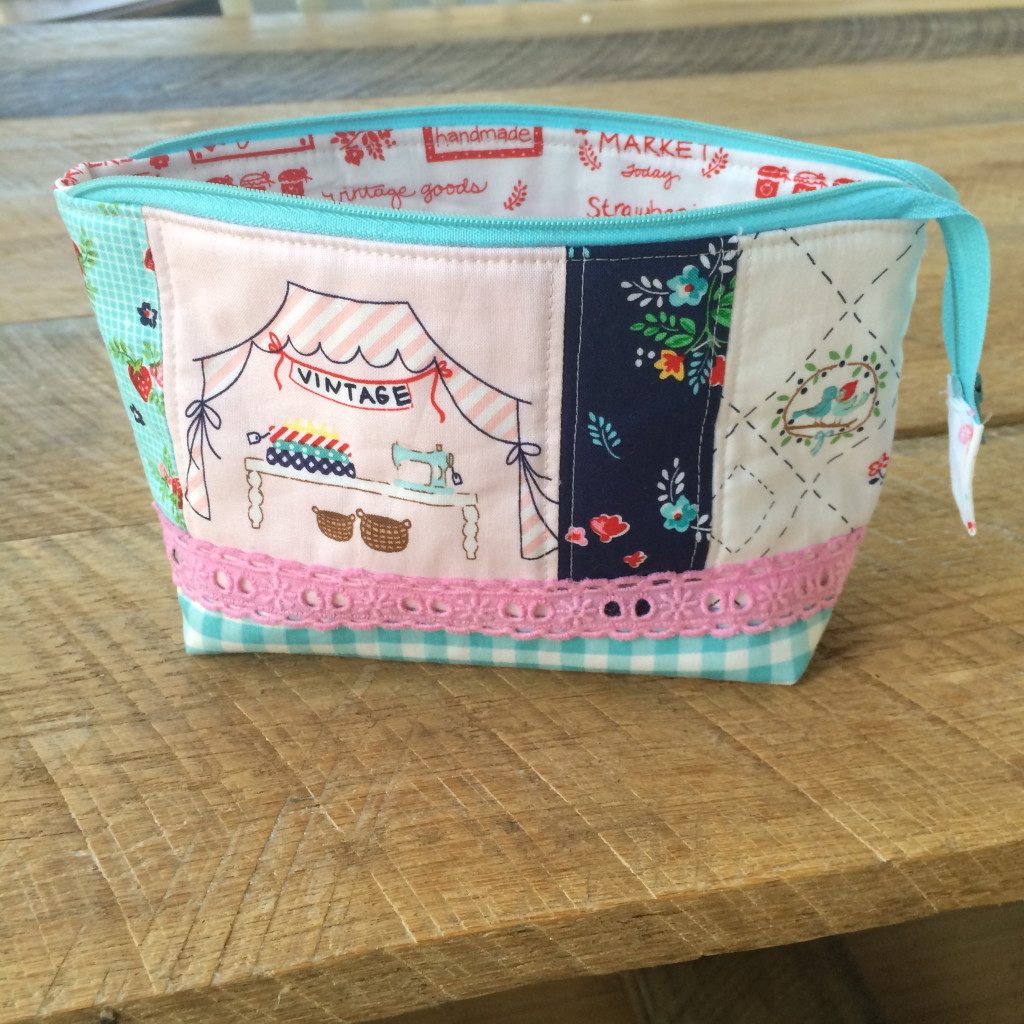
and this one is 7.5″ x 9″
Cut (2) outer bag pieces the same size. The one above is pieced. You can piece the outer bag in any design, as long as the measurements are the same as the back and the lining.
Cut (2) lining fabrics the same size
Cut (2) stabilizer pieces or batting pieces also the same size
Fuse the stabilizer to the outer bag pieces, or quilt the outer bag pieces.
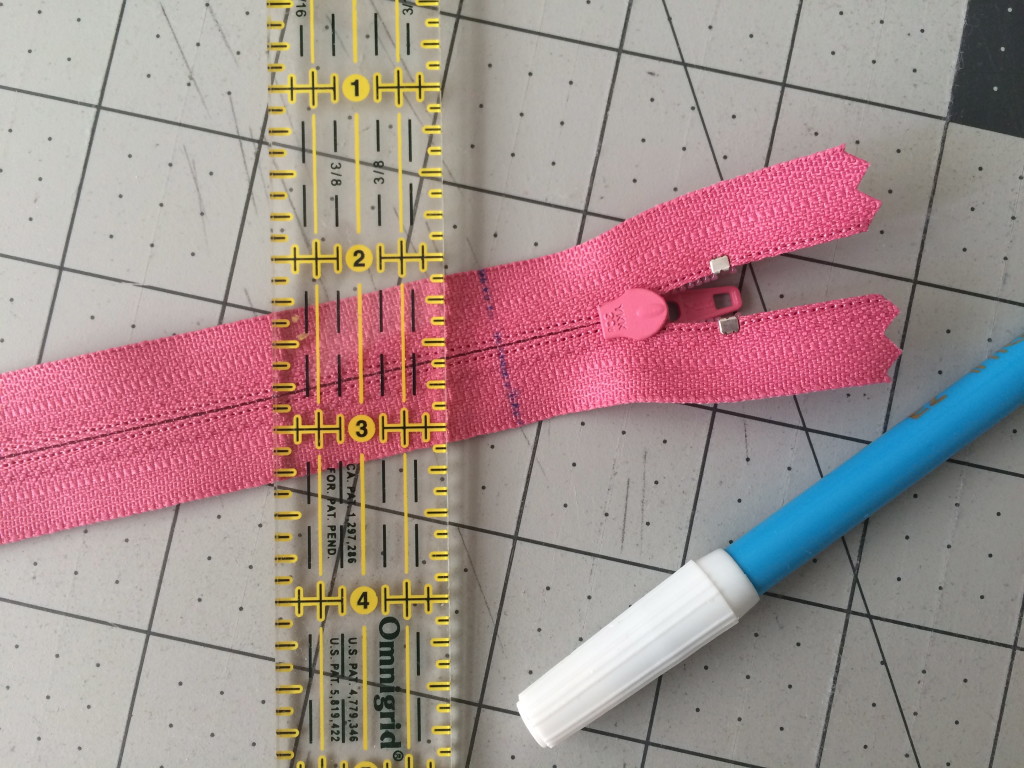
And now for the zipper…..
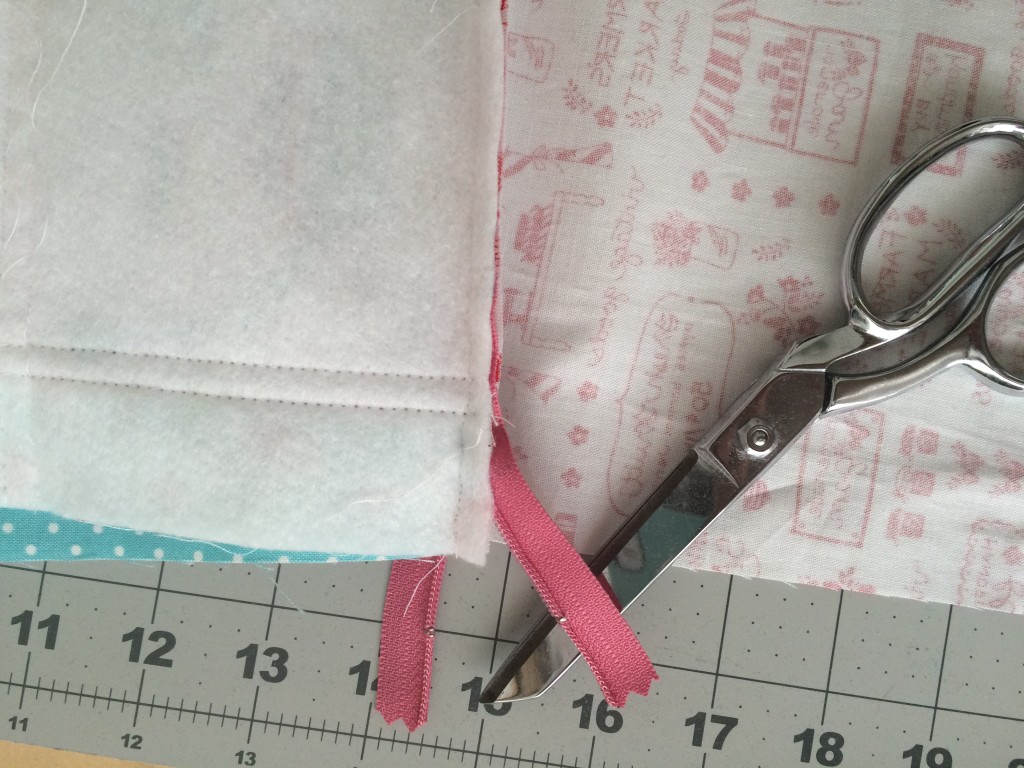
I always use a zipper that is larger than I need.
Mark a straight line on the wrong side of the zipper, as pictured below. This will provide a way to make sure the zipper matches up.
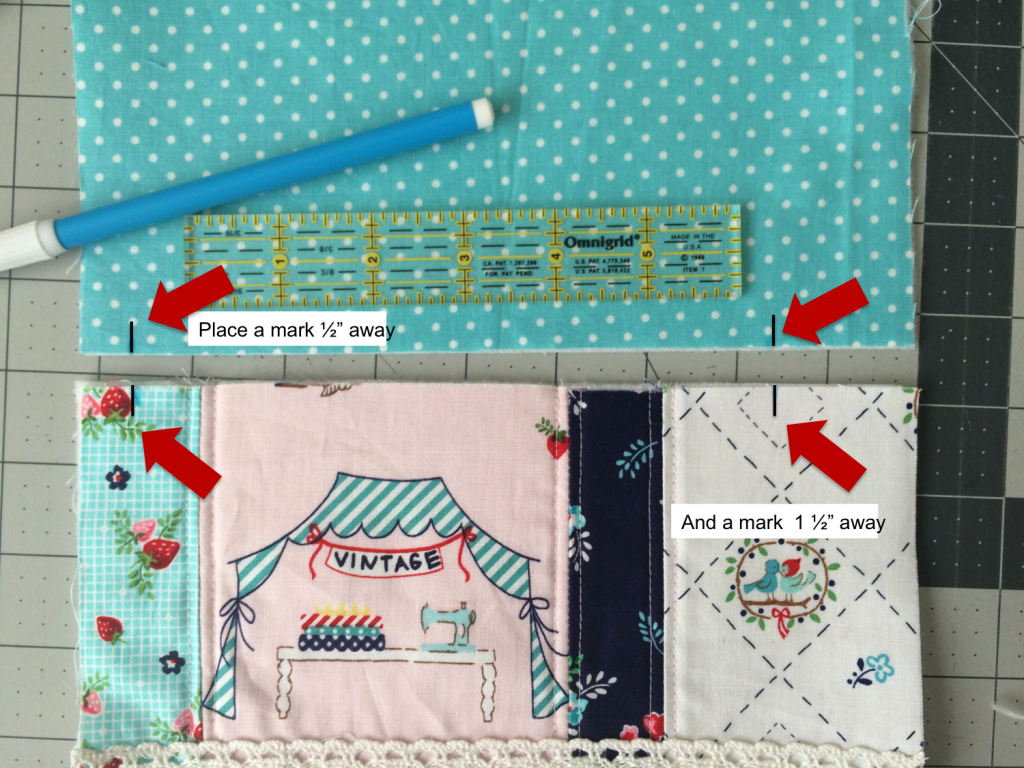
Place the 2 outer bag pieces as pictured below, as thought the zipper was in the center. Place a mark 1/2″ from the left edge and 1 1/2″ from the right edge, as shown below.
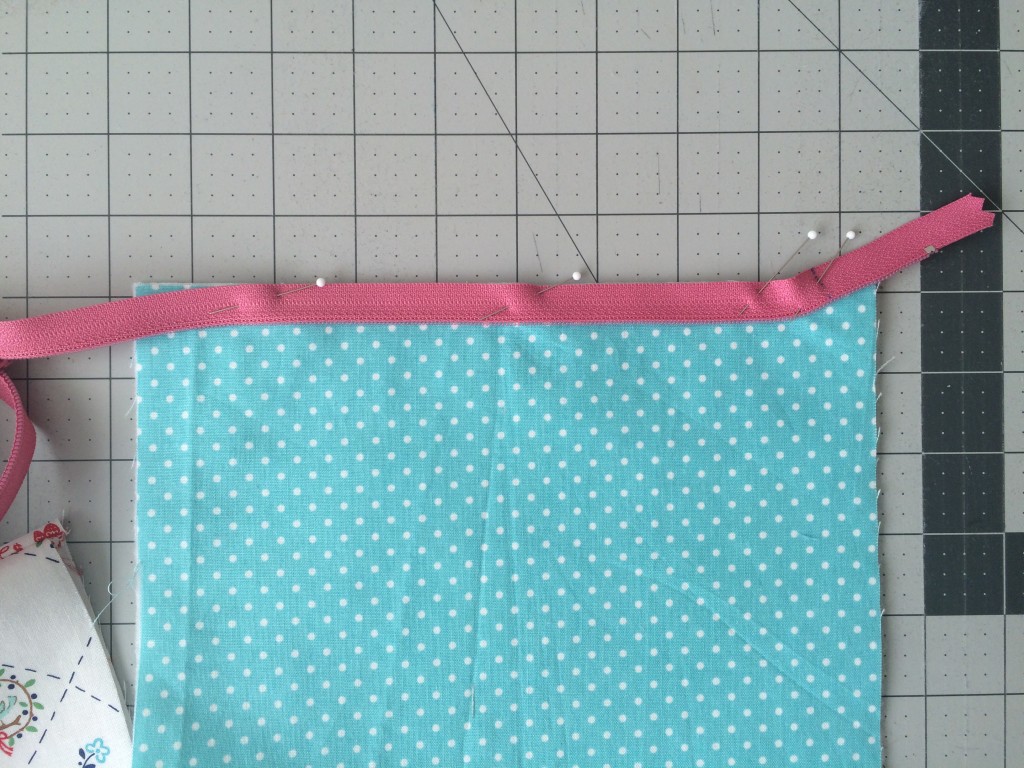
Place the zipper face down on the front piece of the bag:
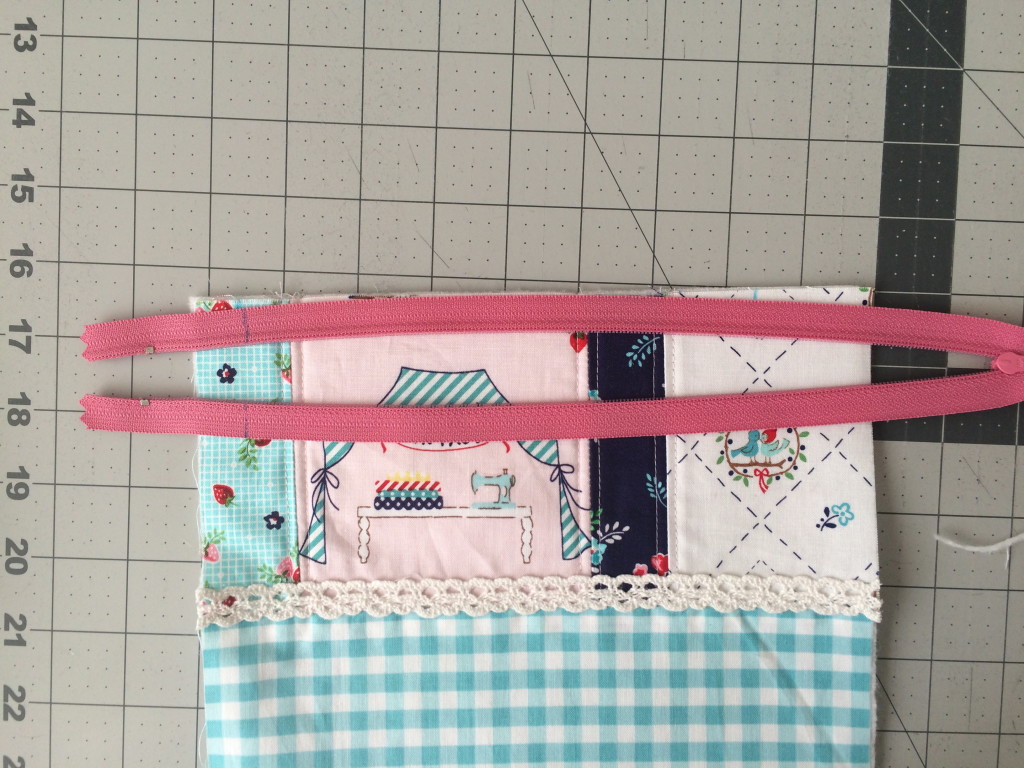
Match up the mark on the zipper and the 1/2″ mark on the bag with the end of the zipper trailing off as pictured below: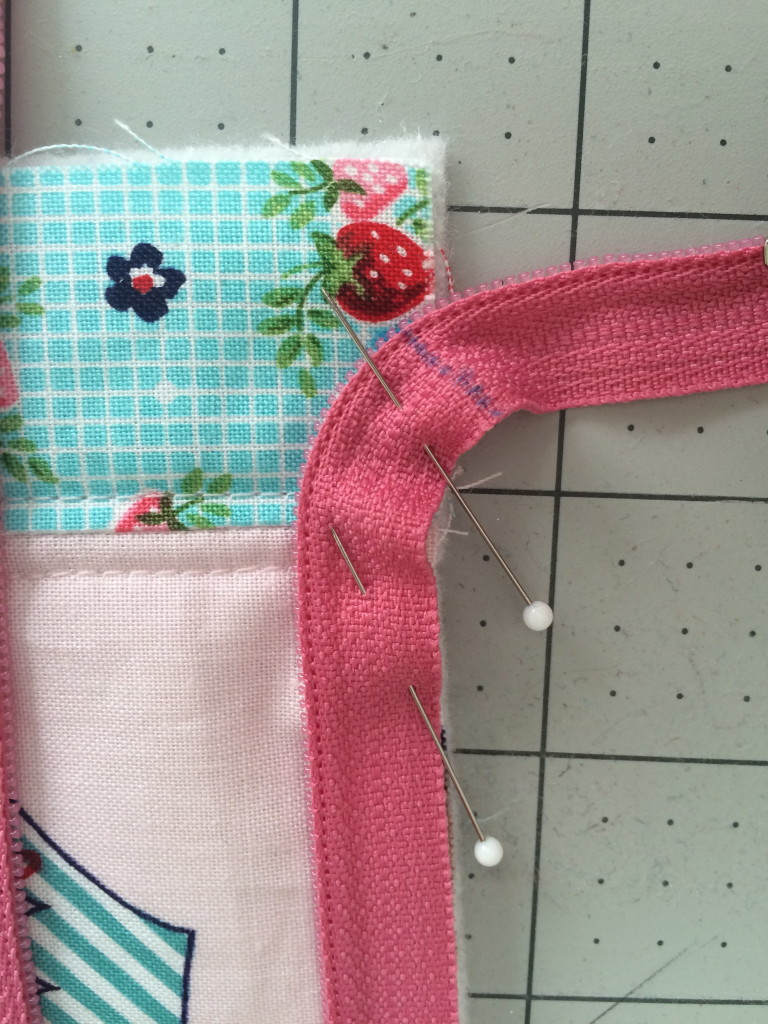
Continue to pin the zipper along the raw edge of the bag front. 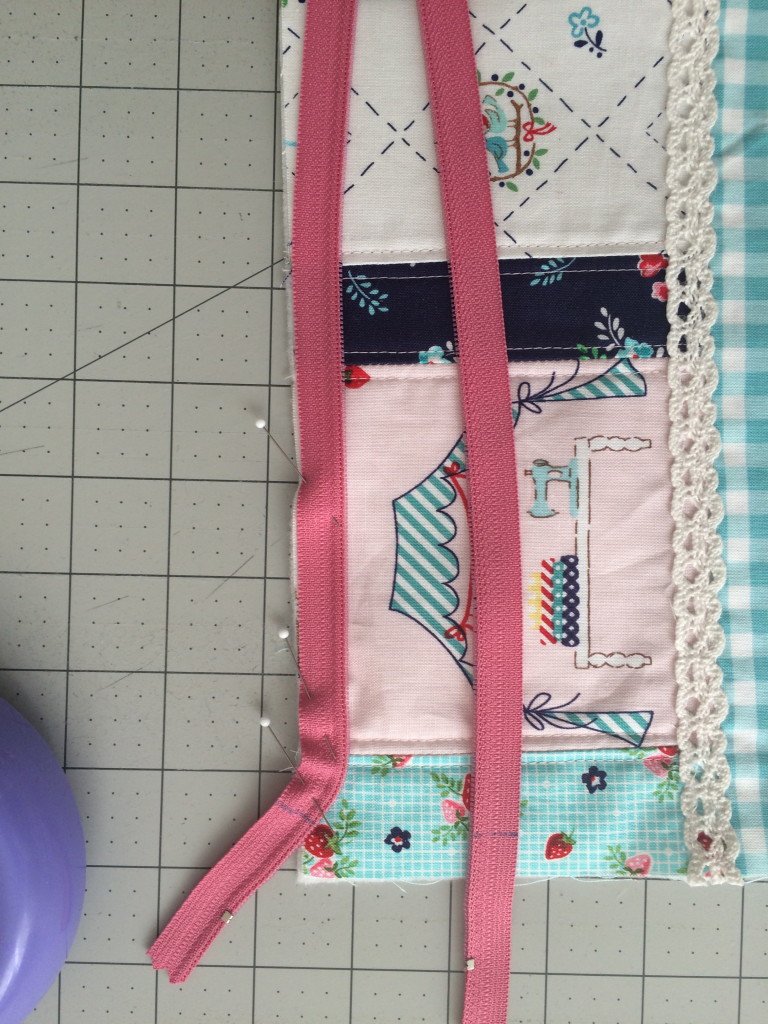
Now place one of the lining pieces face down on the bag front/zipper portion. Align the raw edges along the top and pin in place.
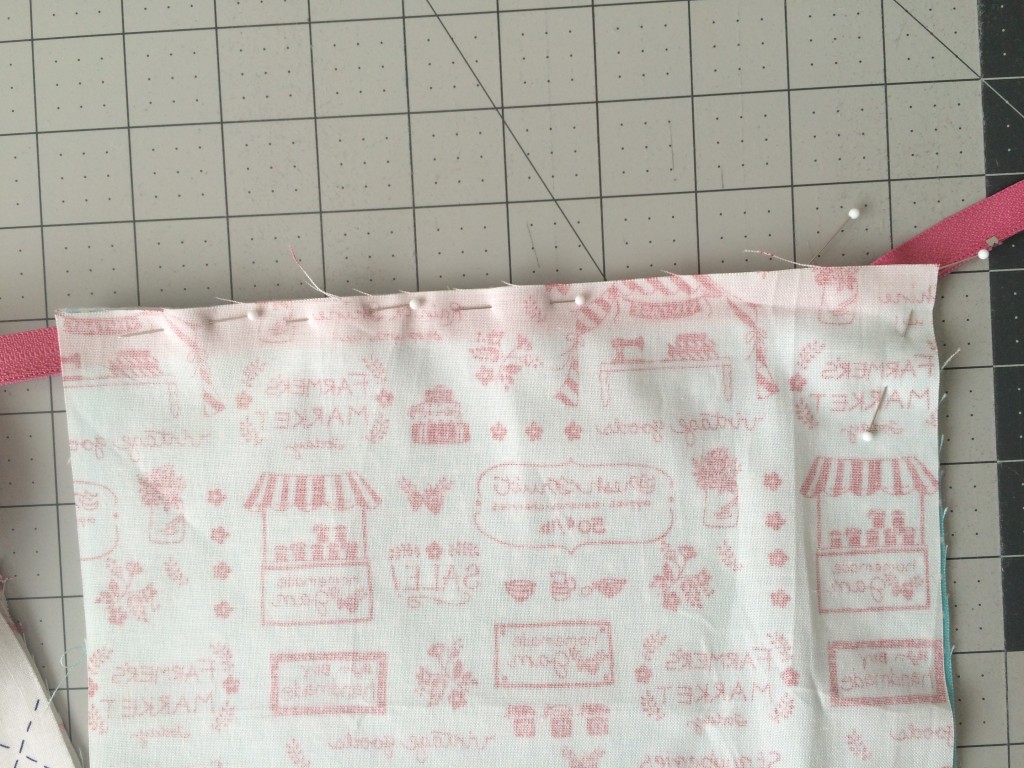
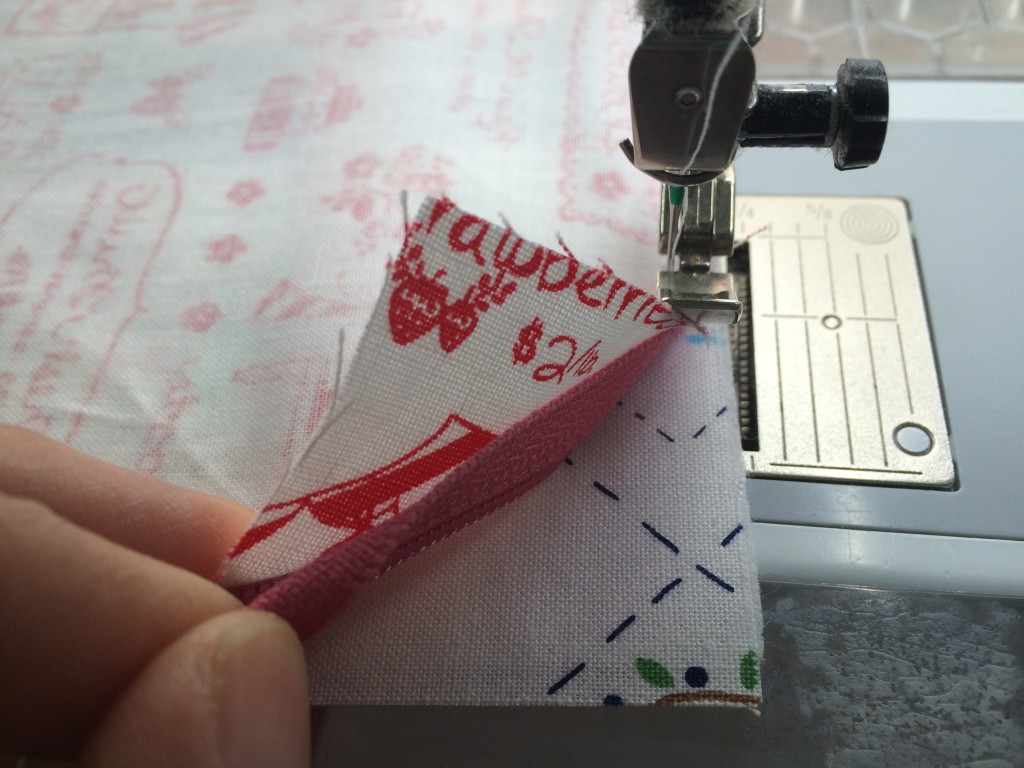
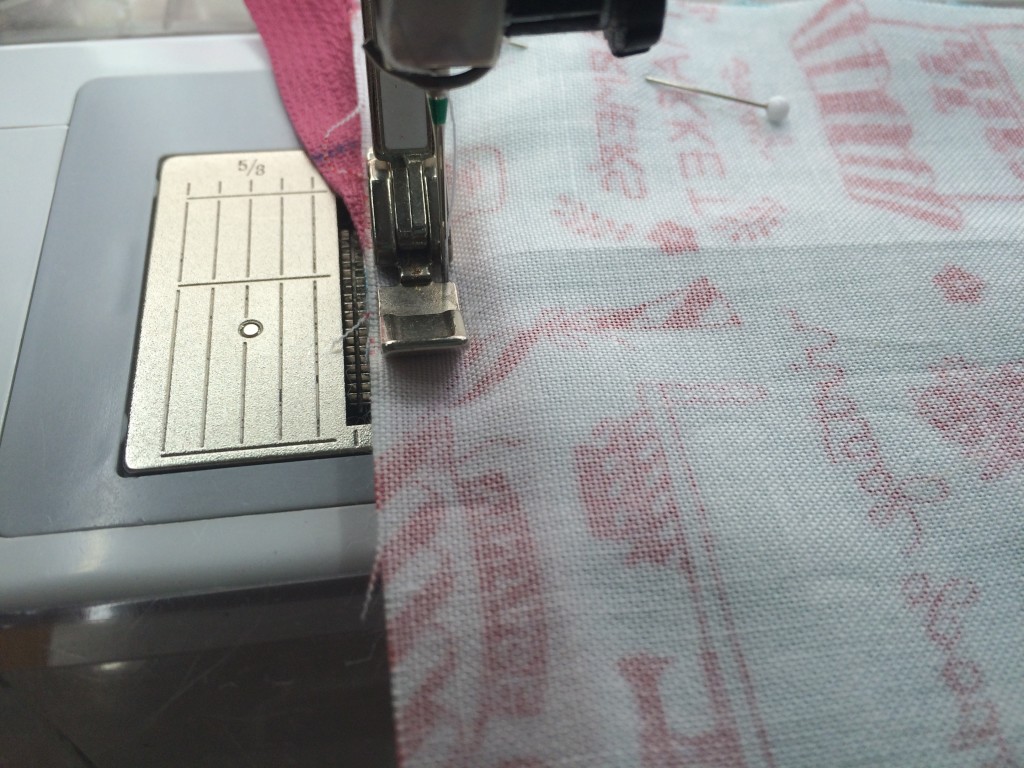
Using a zipper foot, sew along the pinned edge. The front end of the zipper should be trailing out of the seam, and the marked lines should match up. Kind of curve the zipper in to make sure the marks meet exactly.
Continue sewing and stop the needle in the down position at the 1 1/2″ mark. Move the zipper tail to the right and continue sewing right off the zipper and all the way along the raw edge. You should not be sewing the zipper once you hit the 1 1/2″ mark.
Once you turn the outer bag piece facing out, this is what it should look like:
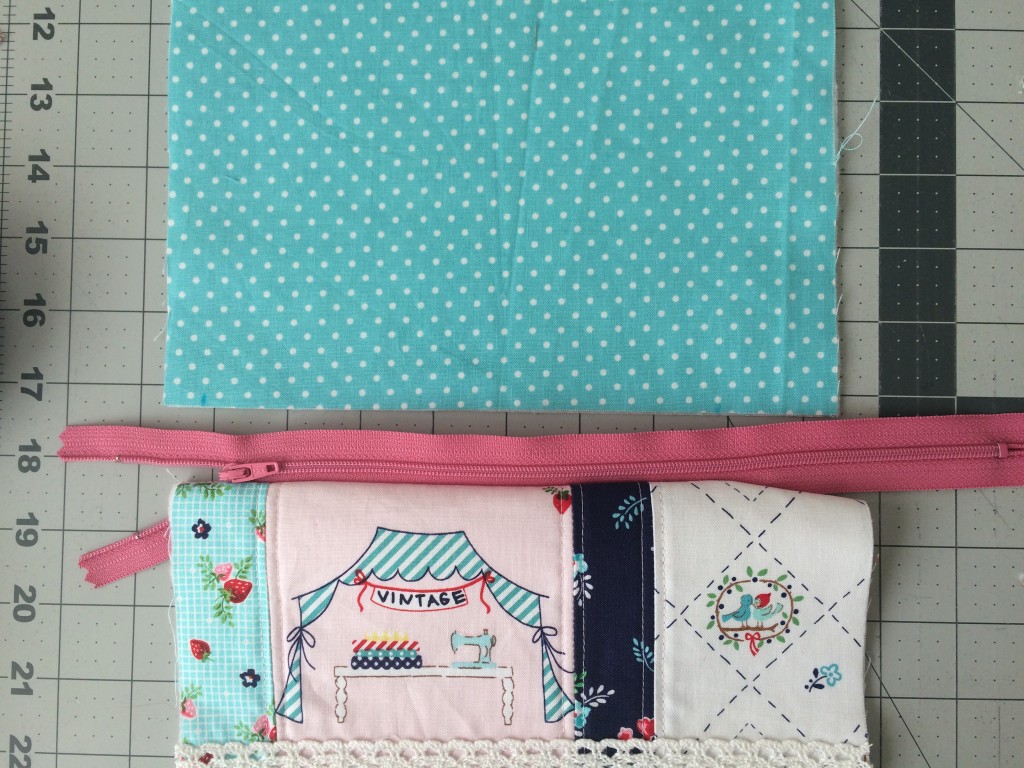
Position the outer bag back piece next to the zipper as pictured above. Repeat the same process of sewing the zipper, only on the opposite side. Match the marks at the 1/2″ point. Then put the second bag lining piece on top, right side down. Pin along the top and sew with the zipper foot.
 You will need to sew this portion “opposite” with the needle moved all the way over to the opposite side and the bulk of the zipper pouch next to the throat of the sewing machine.
Stop sewing at the 1 1/2″ mark and pull the zipper end to the right and continue sewing (below)
This is how the bag should look now: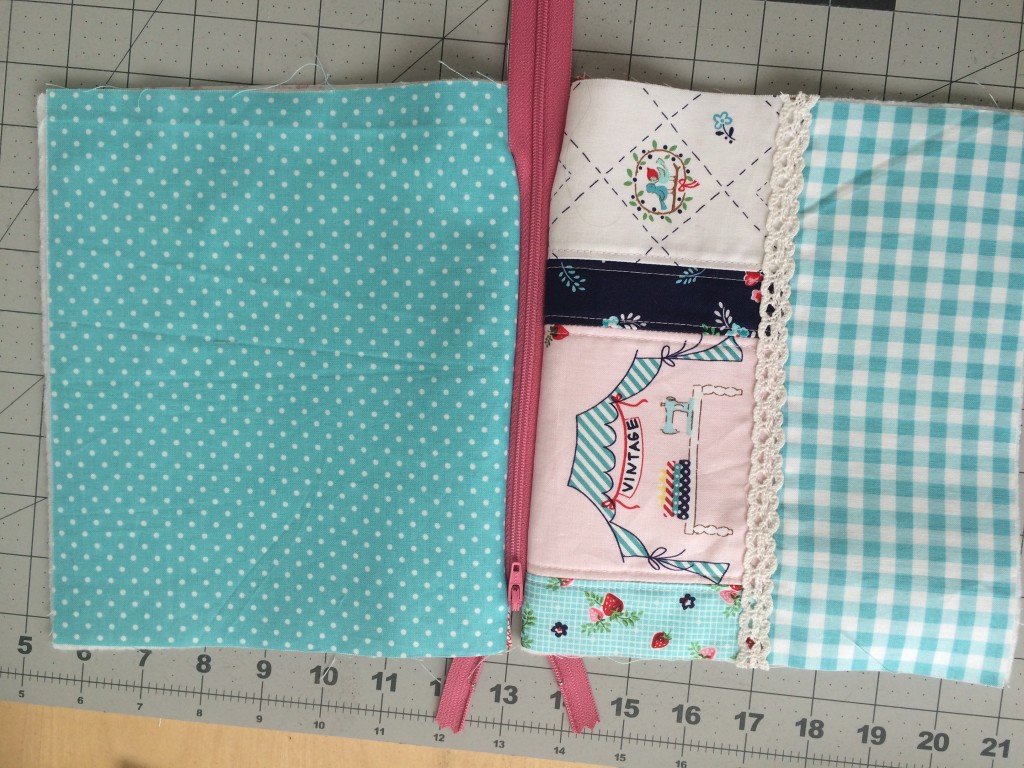
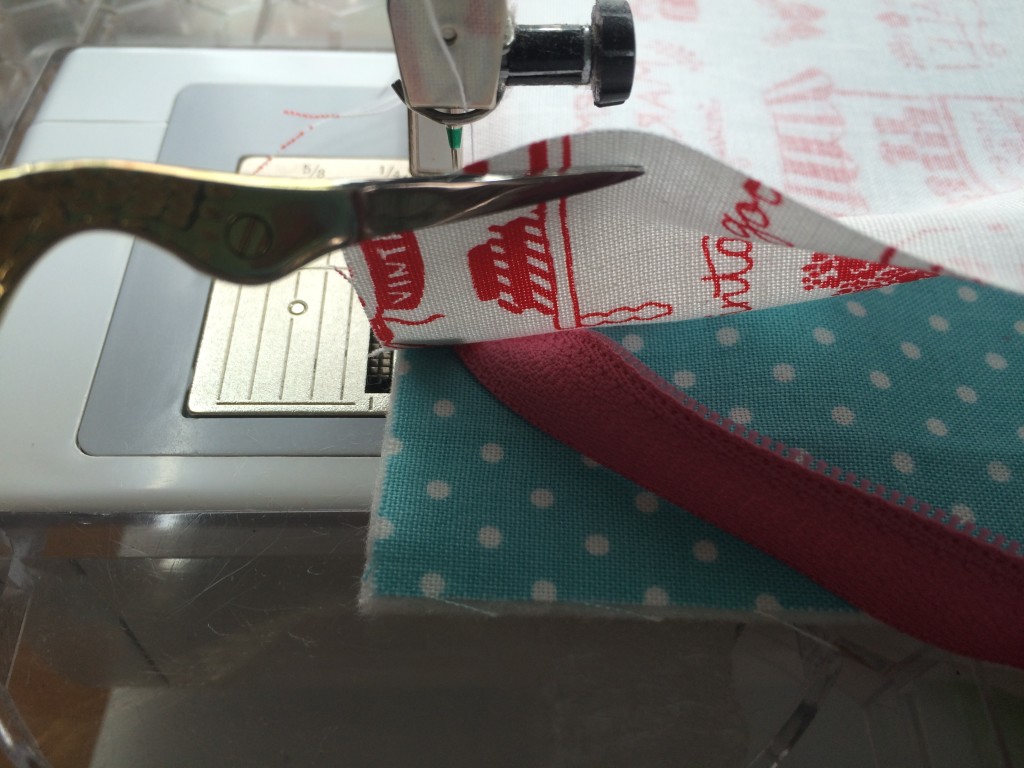
Trim off the excess zipper of the front only, leave the tail.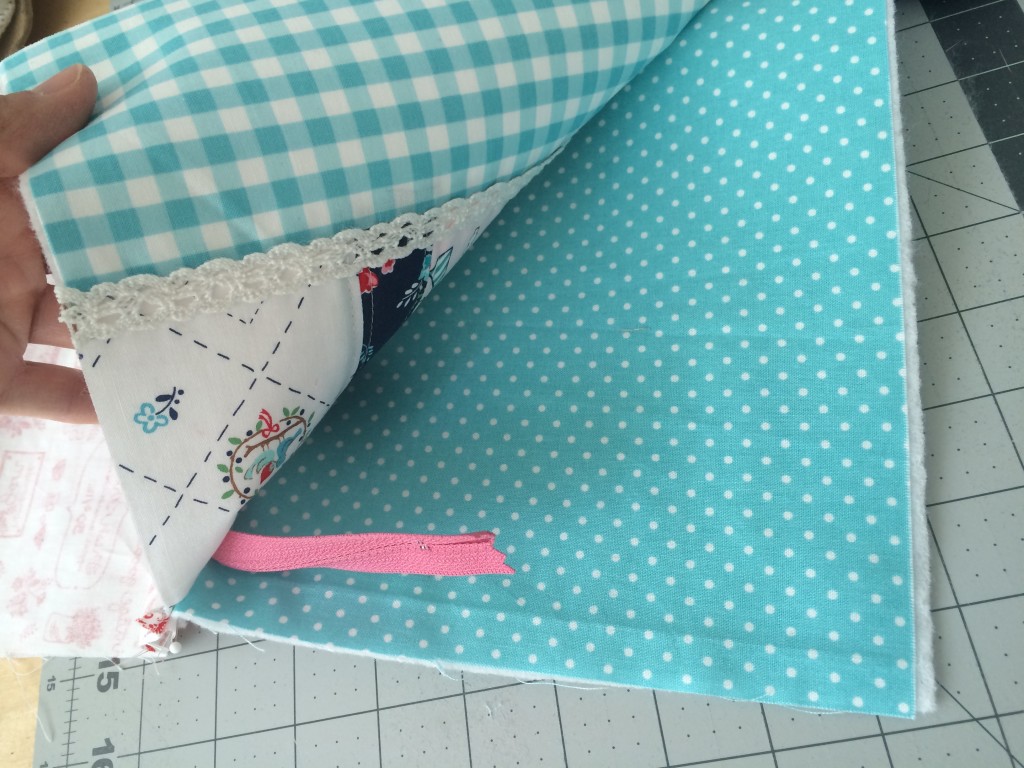
WITH THE ZIPPER PARTIALLY OPEN, match right sides together of the lining pieces and right sides together of the outer bag pieces, tuck the zipper tail way inside this unit so it doesn’t get caught in the seam. Pin all the way around, matching the seams.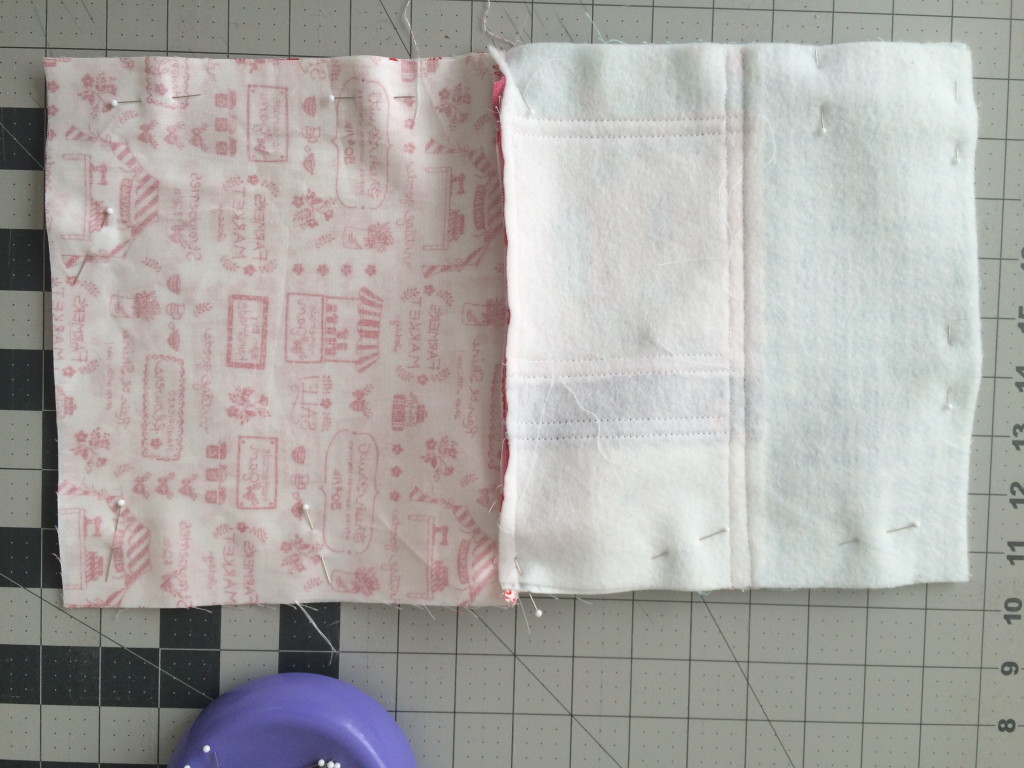
Sew all the way around the bag using a 1/4″ seam allowance. Leave a 3″ opening on one of the bag lining sides for turning.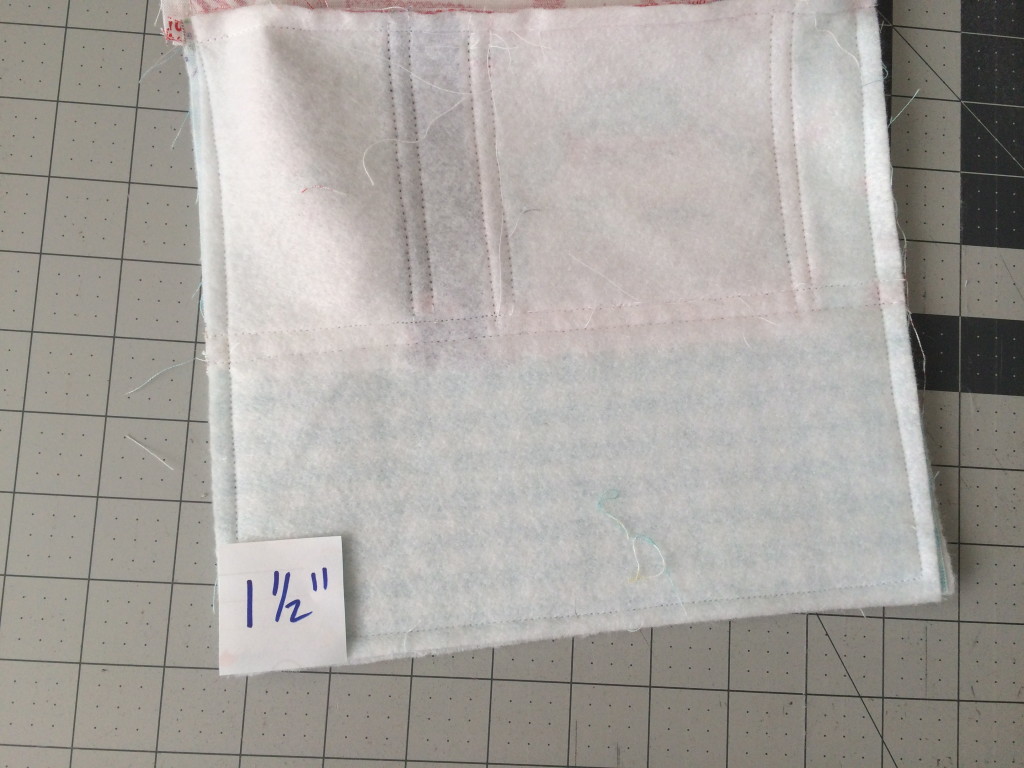
This part will differ depending on the bag you are making. I like to use a 1 1/4″ or a 1 1/2″ notch. Cut a pattern square the desired size of the notch. Cut this notch out of each corner.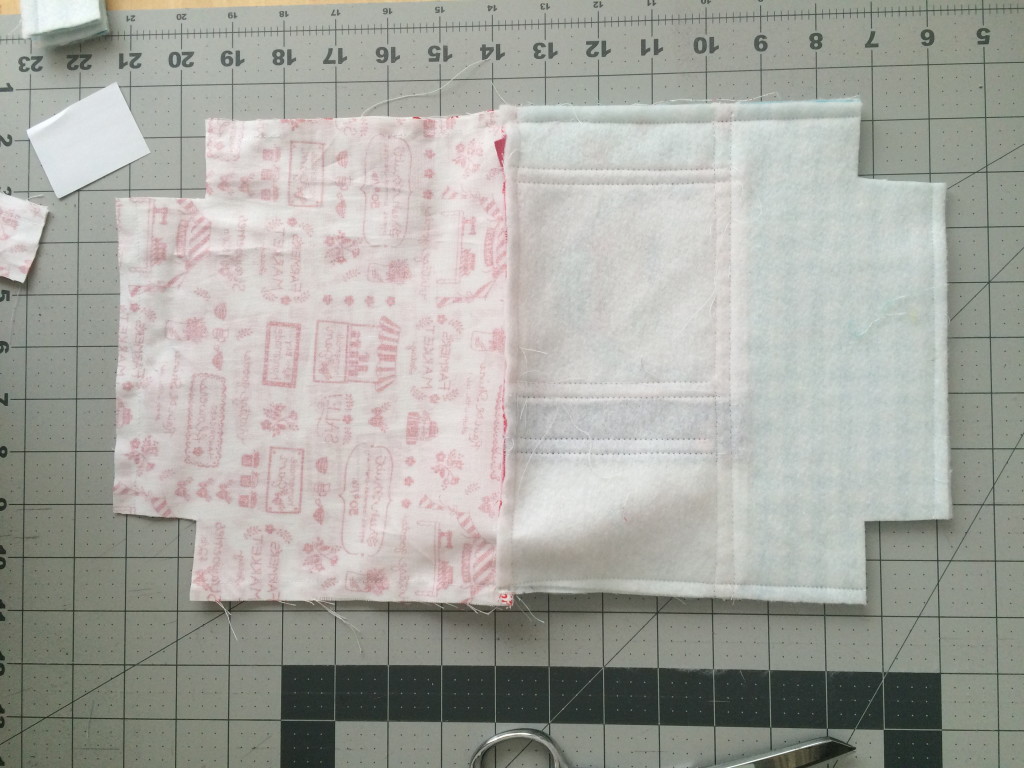
After the notches have been cut, open the corner of the bag so the bottom seams match up and pin: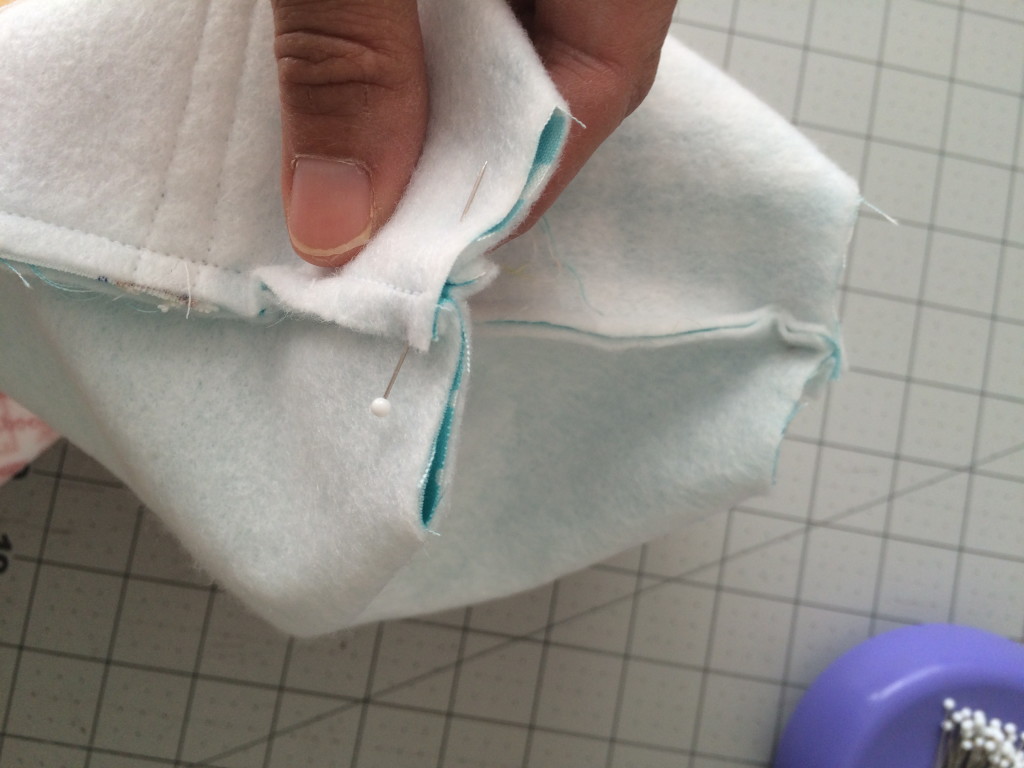
Sew a 1/4″ seam along each of the 4 corners, back-stitching at the start and stop of the seam.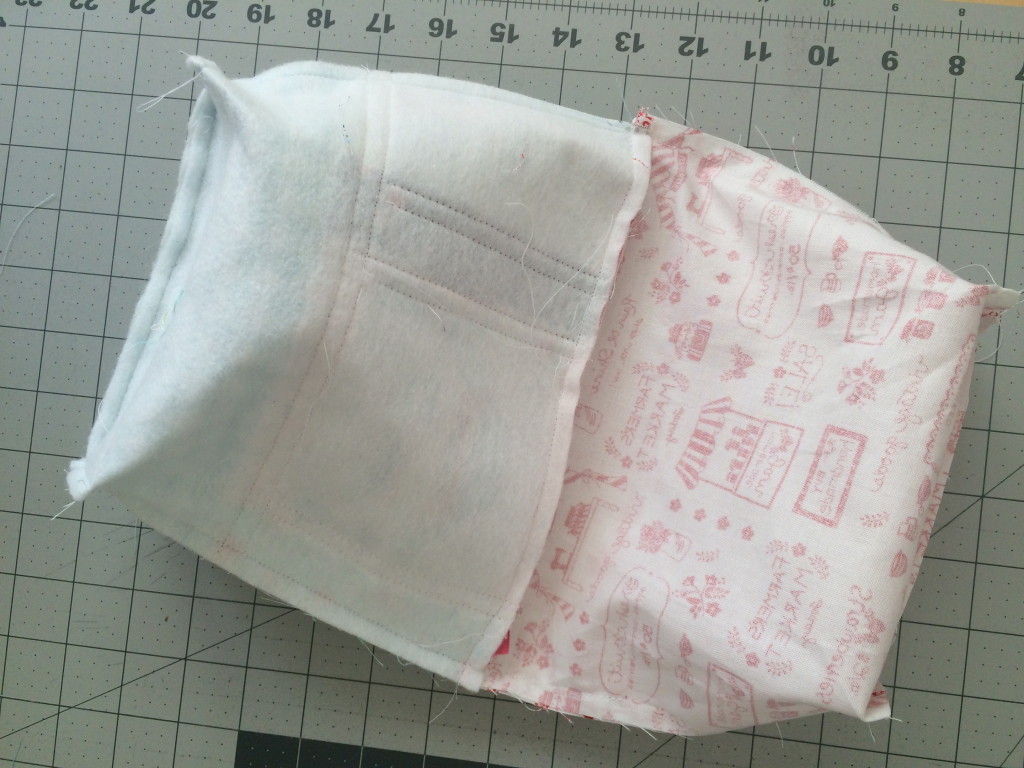 This is how the bag should look now (above). Turn the bag right side out and top stitch the opening closed.
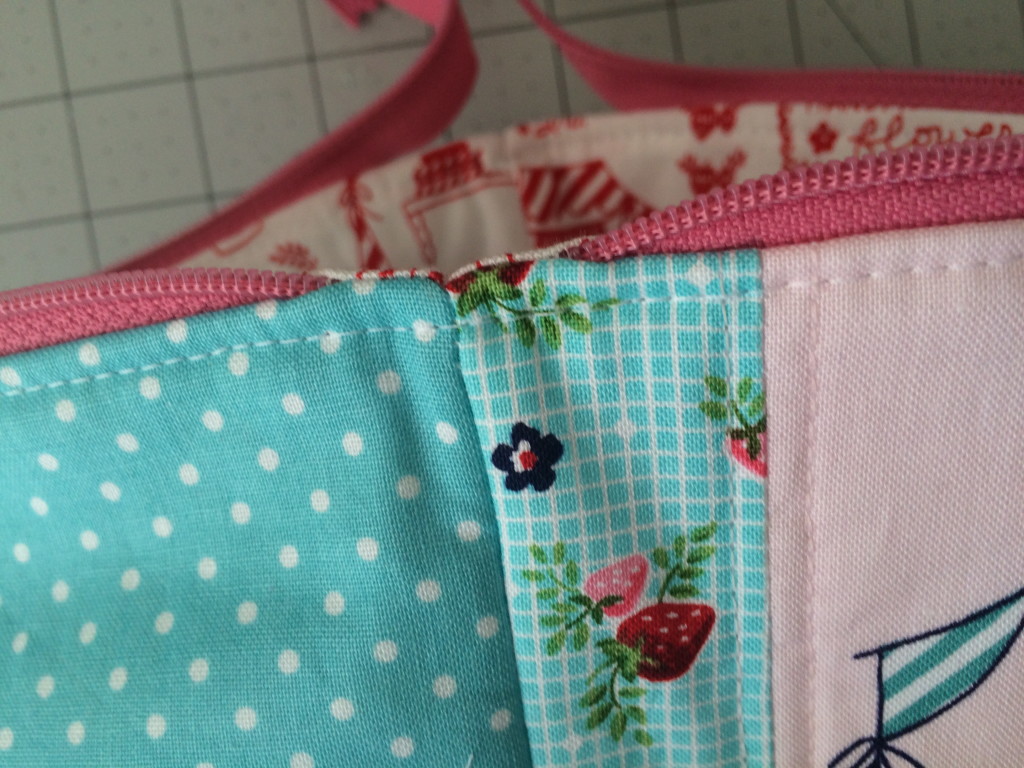
Press the lining down inside the bag and top stitch all the way around the top of the bag 1/4″ away from the top.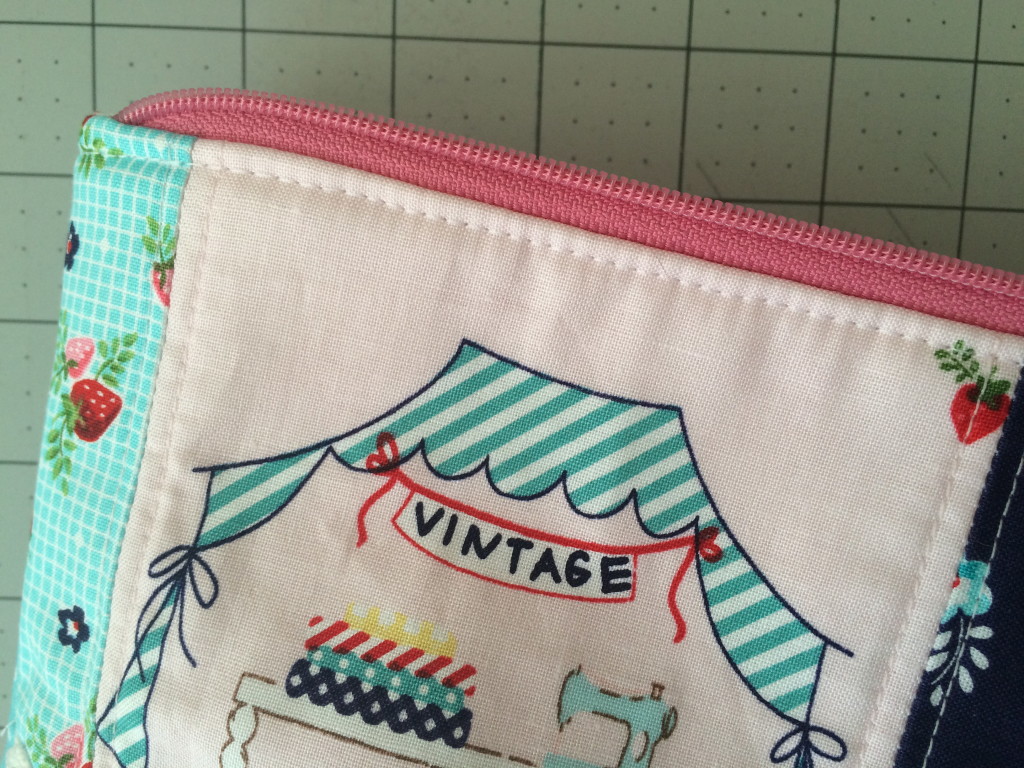
To finish the zipper, make a zipper tab. Cut an accent piece 3 1/2″ x 2″.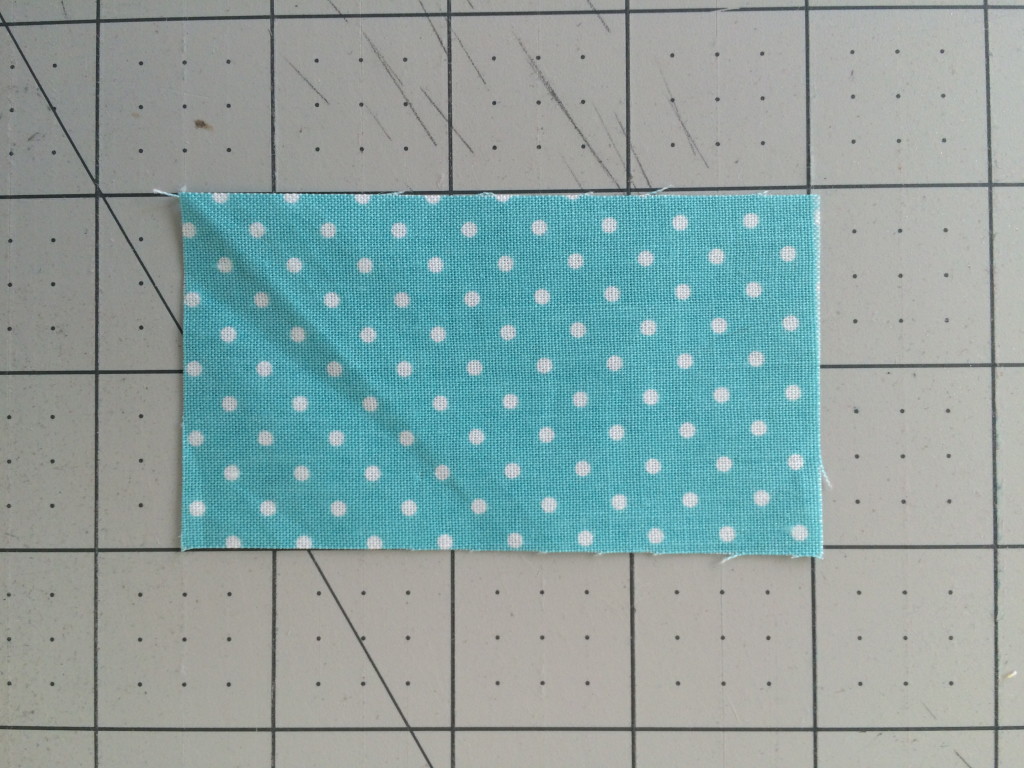
Press the short ends under 1/4″ and the sides in enough to match the width of the zipper. Then press in half.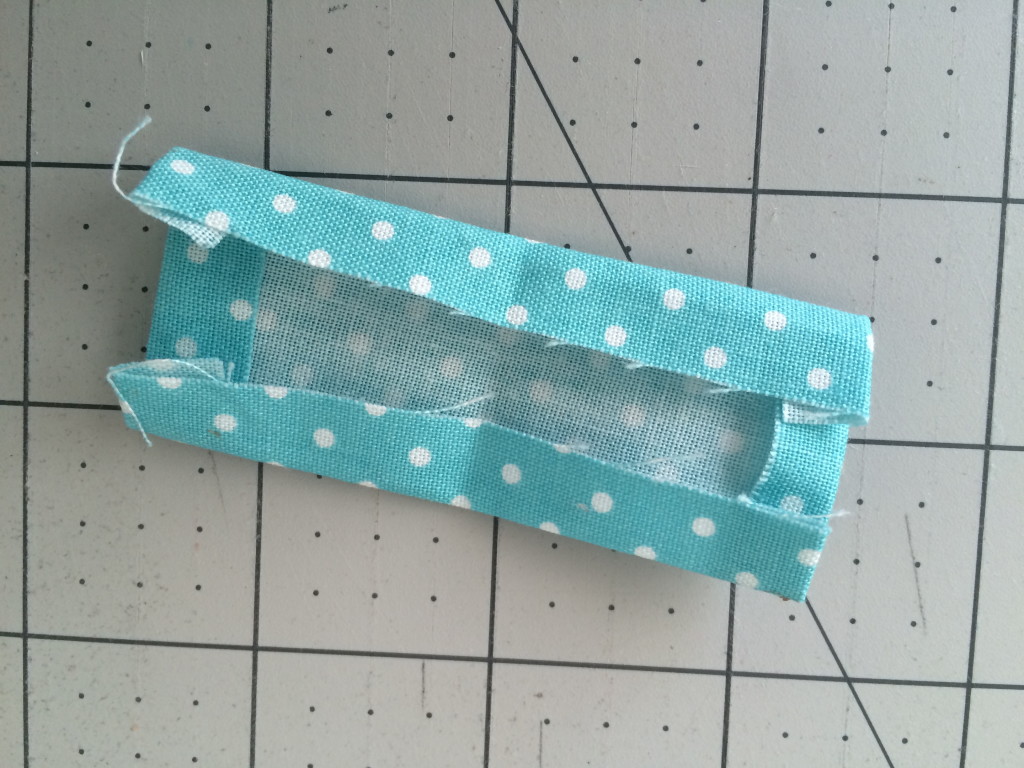
Cut the zipper tail to the desired length and then place the zipper tab over the end of the zipper. Pin. Top stitch all the way around the zipper tab.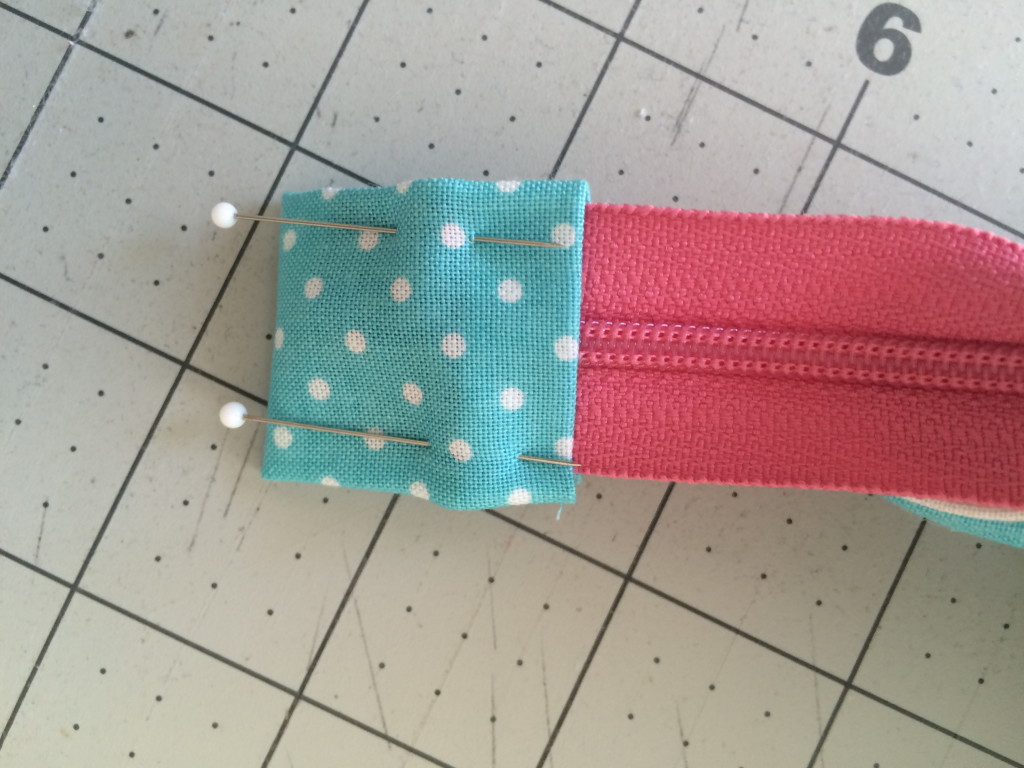
And it’s finished!!!
These are some of my favorite zipper pouch tutorials:


Wonderful tutorial, Amanda. Thanks for sharing! I think these would make great gifts for Mother’s Day.
Amanda, thank you so much for this! I love the way the zipper is Sewn in. Trying it this weekend!
Як мультиварка стала моїм найкращим другом
Зовсім недавно мої стосунки з кухнею не складалися. Я часто псувала продукти або зіпсувати найпростіші страви. Тому, коли на день народження мені подарували мультиварку, я не знала, радіти чи засмучуватись.
Перший час я обходила її стороною. Вона стояла на стільниці, чорна та блискуча, наче літаюча тарілка. Але голод не зважає на страхи, і одного вечора я вирішила ризикнути.
На на цьому сайті найпростішим рецептом виявилися “Ліниві голубці”. Назва мене надихнула. Я завантажила в чашу фарш, капусту, рис і додала томатним соком. Вимкнула страх і натиснула кнопку “Гасіння” — і вирішила не дихати.
За годину кухня наповнилася таким духмяним запахом, що чоловік вийшов з кімнати здивований: “Невже ти готуєш?”.
Коли я підняла кришку, то була вражена. Це була їжа, а не щось неїстівне! Соковита, гаряча, їстівна! Ми уплітали за обидві щоки.
Тепер ми з мультиваркою – друзі. Вона пробачає мені всі помилки: у ній нічого не горить і не втікає і можна не боятись опіків. Я вже вивчила її характери — мову таймерів і режимів. І хоч друзі жартують, що я не готую, а “натискаю кнопки”, я знаю: справжня магія починається саме тоді, коли ти перестаєш боятися спробувати.
References:
Blackjack software
References:
https://graph.org/Evospin-Review-2000-Casino-Games-Bonus-up-to-1000–100-Spins-03-17
References:
Best mass gaining stack
References:
http://103.119.85.197:3000/isaac07509144
References:
Best online game sites
References:
https://diego-maradona.com.az/user/baconllama1/
References:
Oral trenbolone for sale
References:
https://www.amc-reilingen.de/PRESSEMITTEILUNGEN/index.php/;focus=STRATP_com_cm4all_wdn_Flatpress_39651172&path=&frame=STRATP_com_cm4all_wdn_Flatpress_39651172?x=entry:entry240814-065041%3Bcomments:1
References:
Steroid alternatives reviews
References:
https://qplay.ro/@carynmuniz733?page=about
strongest oral steroids
References:
p.mobile9.com
once growth stunting occurs
References:
pikidi.com
Hello friends, its wonderful paragraph about educationand fully defined, keep it up all
the time.
References:
Mobile blackjack
References:
https://fravito.fr/user/profile/2232830
References:
Online gambling australia 2026
References:
https://graph.org/Ripper-Casino-Review-Is-This-Aussie-Online-Casino-Legitimate-04-20
References:
Online casino reviews
References:
https://graph.org/Zoome-Casino-Review-Features-Games–Bonuses-04-20
References:
Highest paying online casinos australia
References:
https://graph.org/Stay-Casino-Complete-Review-04-20
References:
Chef de cuisine
References:
https://casino-royale-filme.online-spielhallen.de/
References:
Pforzheim
References:
https://curacao-casino.online-spielhallen.de/
References:
Mülheim an der Ruhr
References:
https://casinos-mit-5-euro-einzahlung.online-spielhallen.de/
References:
Parx casino
References:
https://graph.org/Instant-Casino-Crypto-04-27
References:
Online casino udbetaling og vilkår
References:
https://gitea.kamisama.ovh/clarkhallstrom
References:
Troværdige casinoer med høj udbetaling
References:
https://www.sf2.net/space-uid-837878.html
I like the helpful information you provide in your articles.
I will bookmark your weblog and check again here frequently.
I’m quite sure I will learn plenty of new stuff right here!
Best of luck for the next!
Hello! I’ve been reading yourr website ffor sme timke now andd funally got thee couraye too ggo ahbead
and giive yoou a shout outt fom Ausstin Texas! Just wanted to mentioon eep
uup the exccellent work!
References:
Red rock spa las vegas https://online-casinos-mit-echtgeld-bonus-ohne-einzahlung.online-spielhallen.de/
I was looking for this. Really refreshing take on the information. Thanks a lot.
I was looking for this. Really refreshing take on the information. Thanks a lot.
I was looking for this. Really refreshing take on the information. Thanks a lot.
Thank you, I have recently been searching for info
approximately this subject for ages and yours is the
best I have discovered so far. But, what about the bottom line?
Are you certain concerning the source?