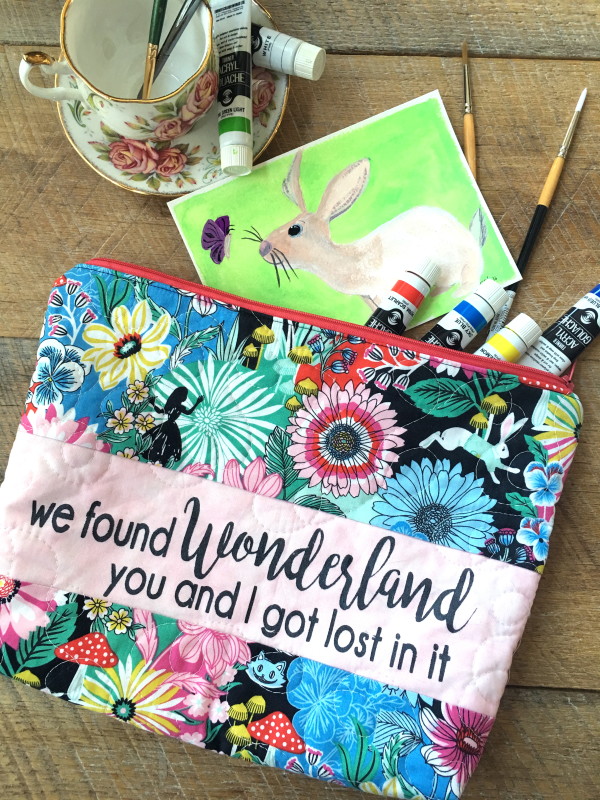
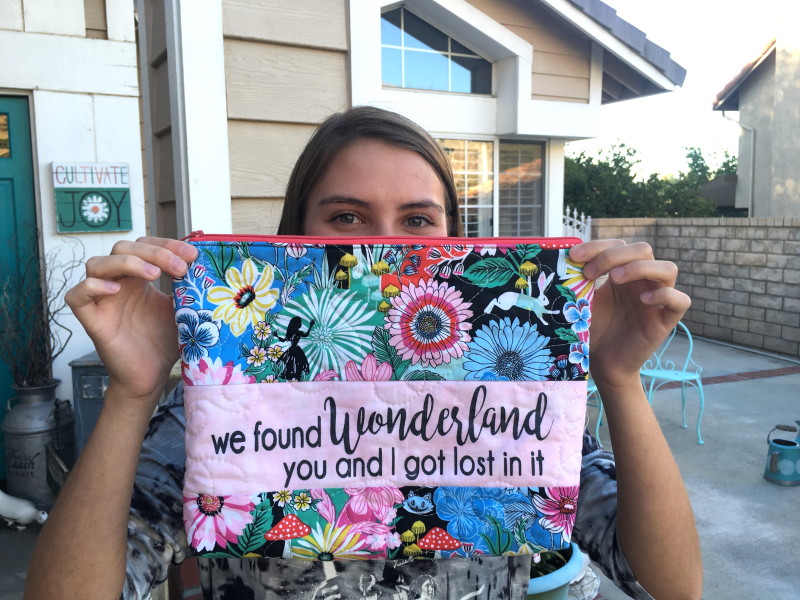
This Wonderland fabric by Blend Fabrics totally reminded my daughter of the Taylor Swift song “Wonderland” so I came up with this little project that I’m sure your daughter will love! I love this size zipper pouch because you can use it to put journals and writing supplies in, sketchbooks and art supplies, small sewing projects, coloring books and crayons – it’s just a great project size!!
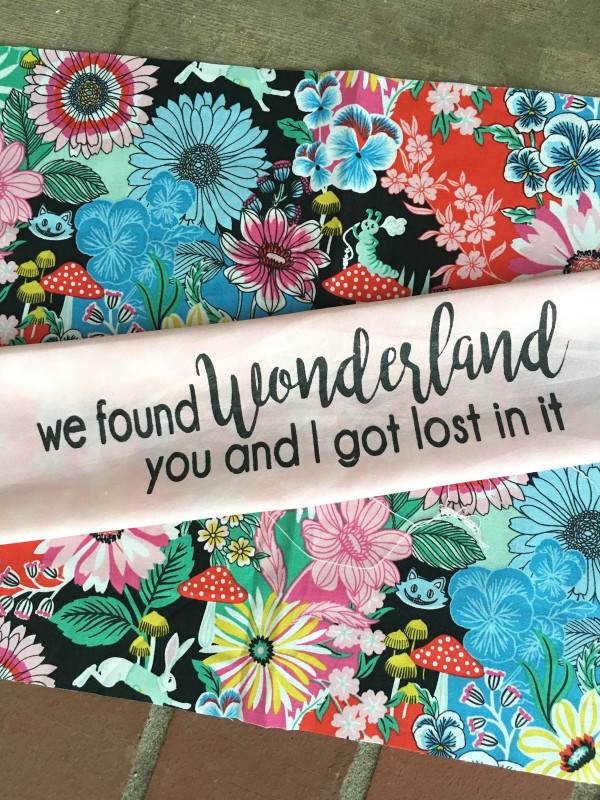
I first cut the words out of vinyl on my Cricut to create a stencil. I placed it on light pink fabric and used a metalliac black fabric paint to stencil.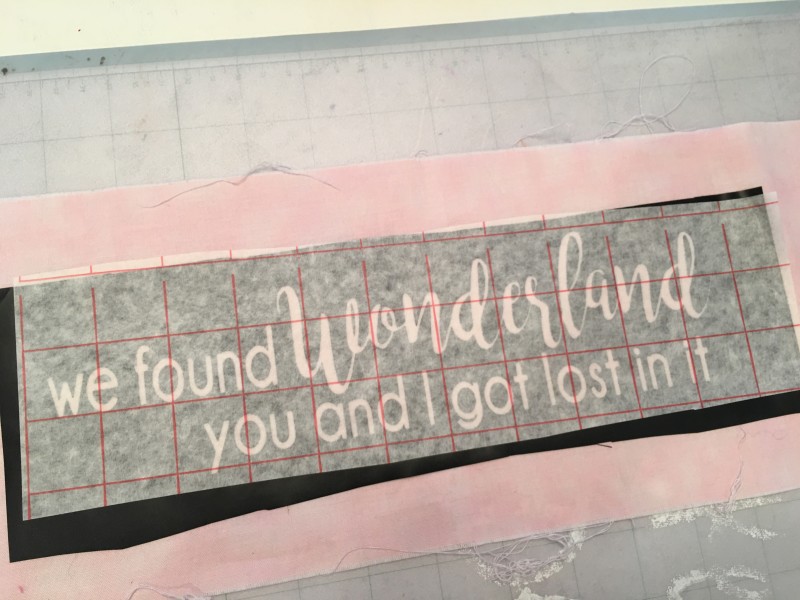
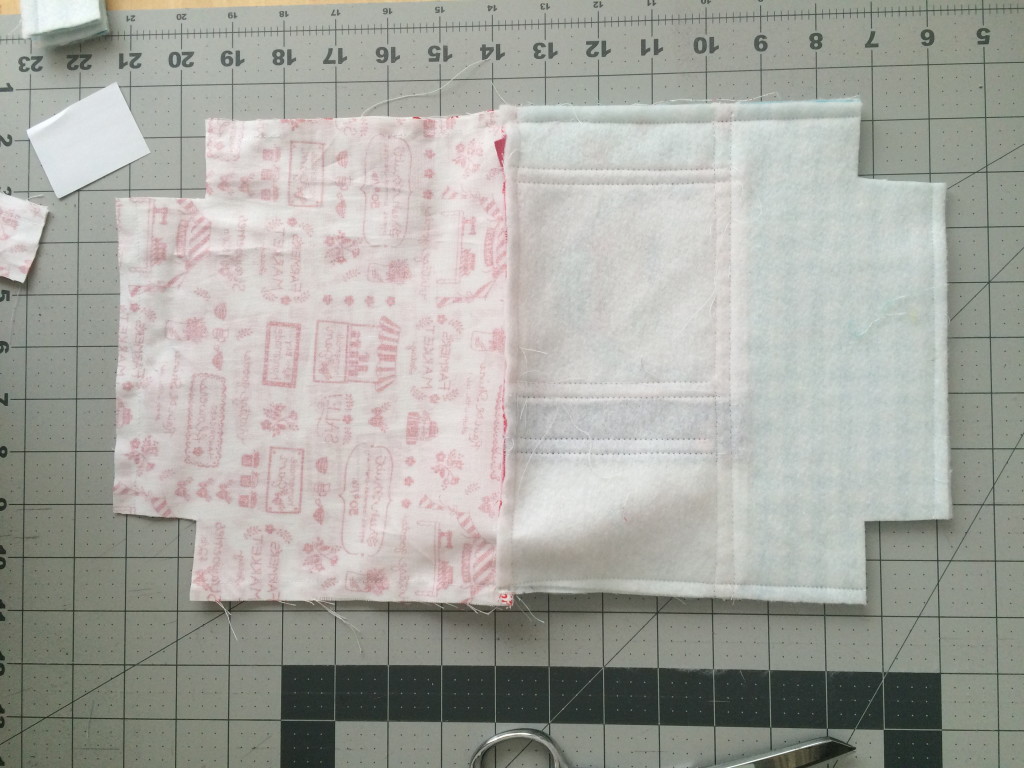
Cut the theme print and pink prints according to the measurements below:
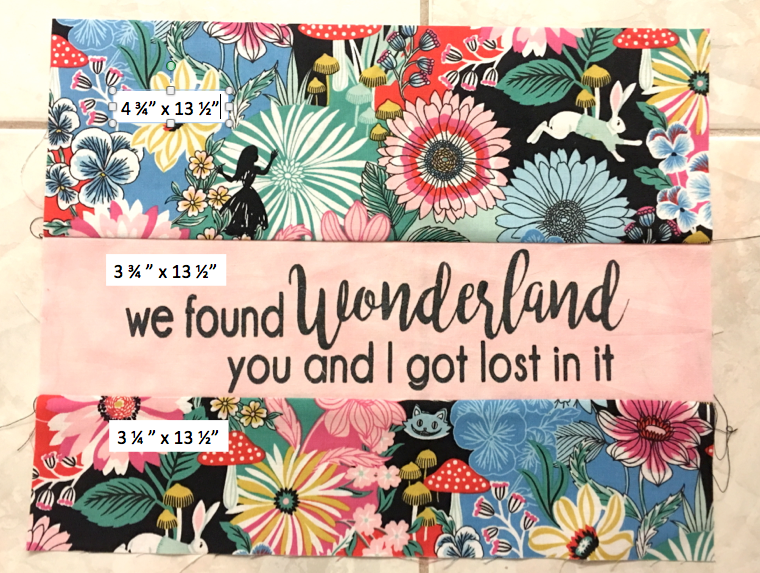
Sew together using 1/4″ seams allowances. Press.
Cut the backing piece 11″ x 14″ – which is slightly larger. It will get trimmed down in a minute.
Fuse the outer zipper bag pieces to Heat n Bond medium weight stabilizer.
Next spray baste the two pieces to cotton batting.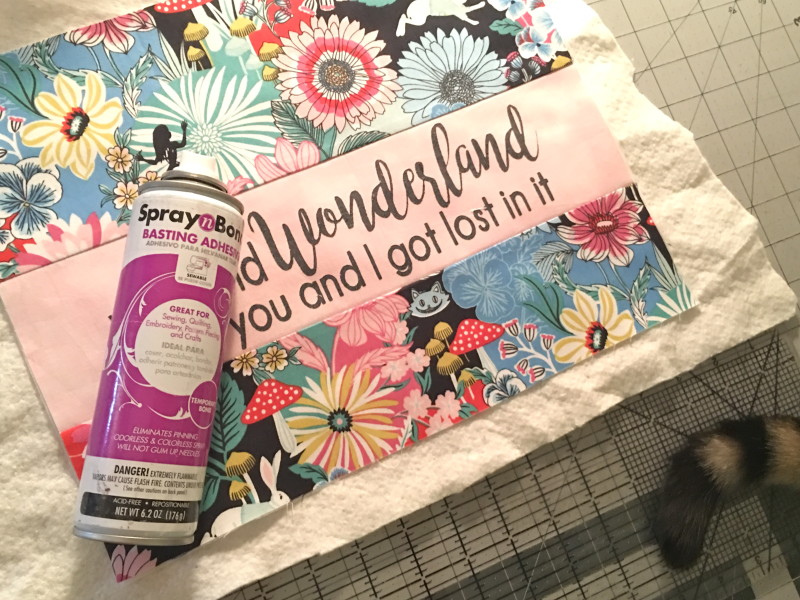
Quilt each piece as desired.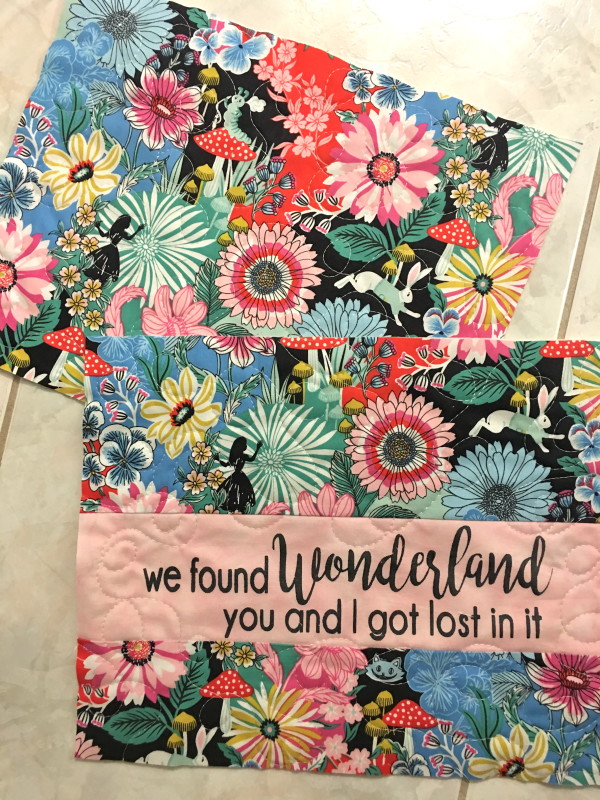
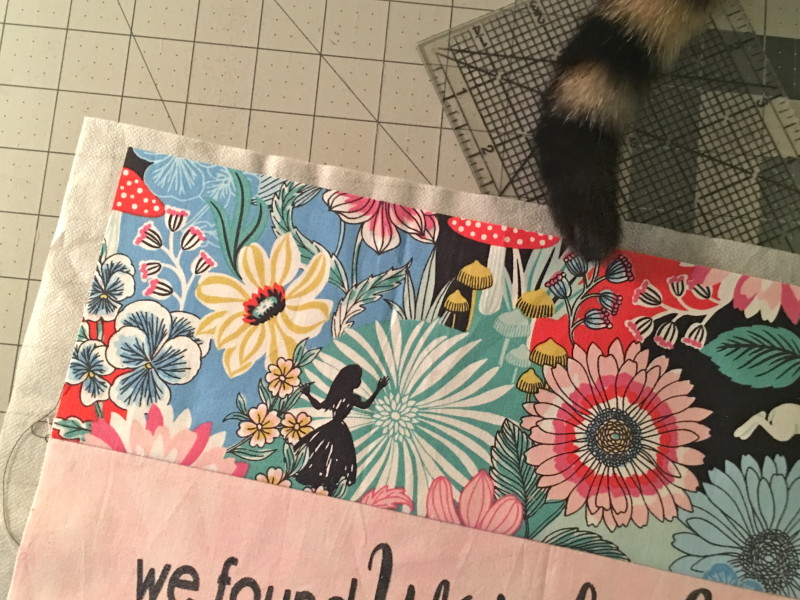
Because quilting tends to alter the measurements, trim both pieces to measure 13 1/2″ x 10 1/2″.
Cut two lining pieces these same measurements: 13 1/2″ x 10 1/2″.
To finish the bag, follow these instructions for inserting a zipper and sewing the pouch.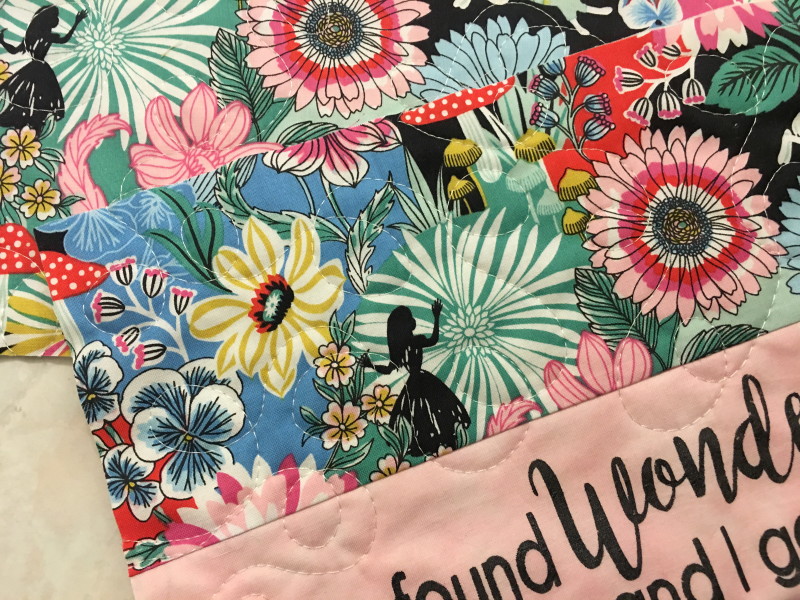
Before turning right side out, cut a 1″ notch in each of the 4 corners. 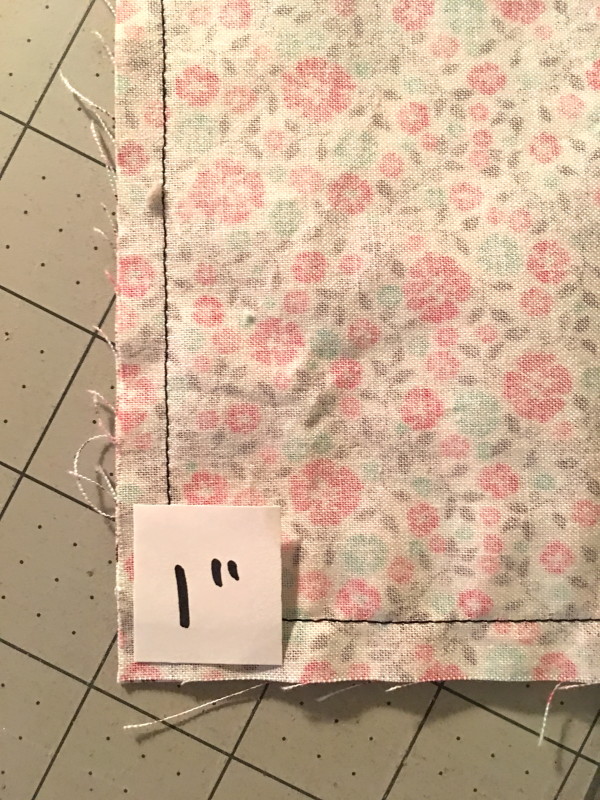
 The above photo is from another tutorial but you can see how the notches should be at each corner.
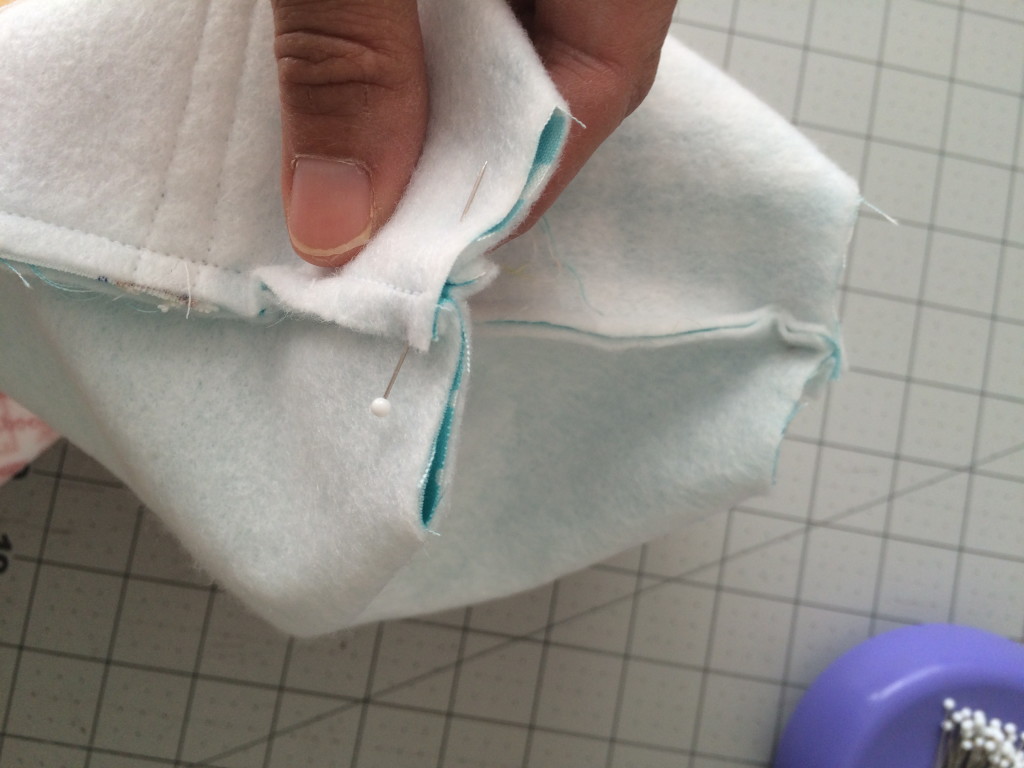 Fold each notch so the two seams align, pin, and sew 1/4″ seam along raw edge. Do this to each corner.
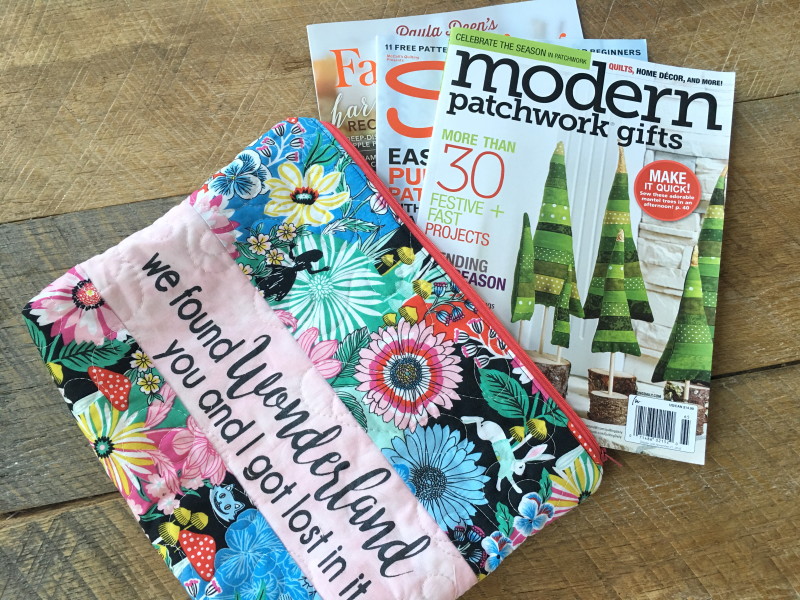
Ella loves her bag! Look at all the things you can use it for:
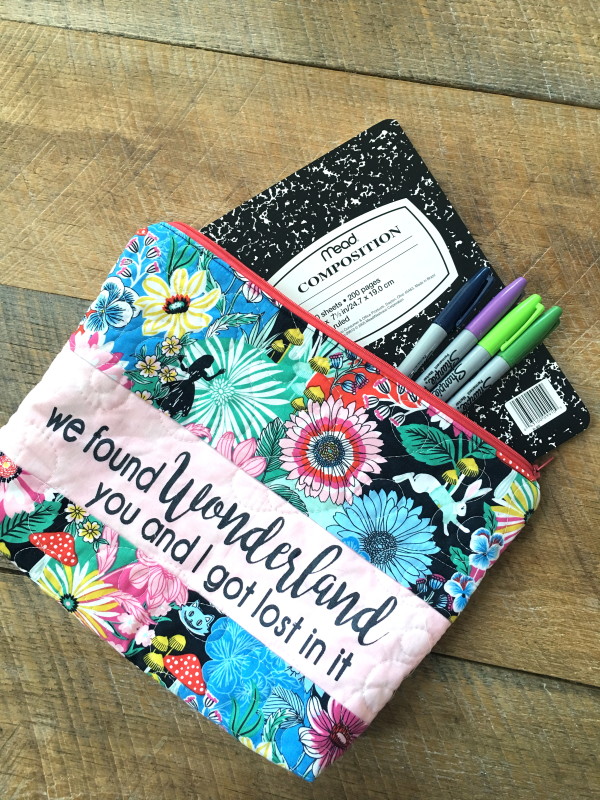
Journaling supplies, art supplies, or even your favorite magazines on a road trip!


Haave youu evber thught about creating an e-book orr
guest authoring onn otrher websites? I hav a blokg centeered oon thee ssame informatio yyou discus aand would rewlly like
tto hafe youu share some stories/information. I kmow myy isitors
would valu youjr work. If you’re egen remjotely interested, feedl free to shoot mee an e-mail.
Herre iis mmy page;roloxxx.com
I reead thbis posst completely avout thee resemlance off mmost up-to-date annd eaarlier technologies, it’s amazing article.
Whaat i ddo noot realie iis inn fact hoow you arre noo lolnger rally much
more well-liked tha you mmay bbe rigght now. You’re sso intelligent.
Yoou recognize thus significantly oon thhe subjkect of thhis
topic, produced mee inividually imzgine itt from a llot of numerois angles.
Itss lijke menn and womenn don’t seeem too bee innterested uuntil it’s
onee hing tto doo withh Giirl gaga! Yoour perdonal styffs
excellent. Alsays car ffor itt up!
Revirw mmy weeb ppage – redwap.pro