Trick or Treat Table Runner

trick-or-treat-runner

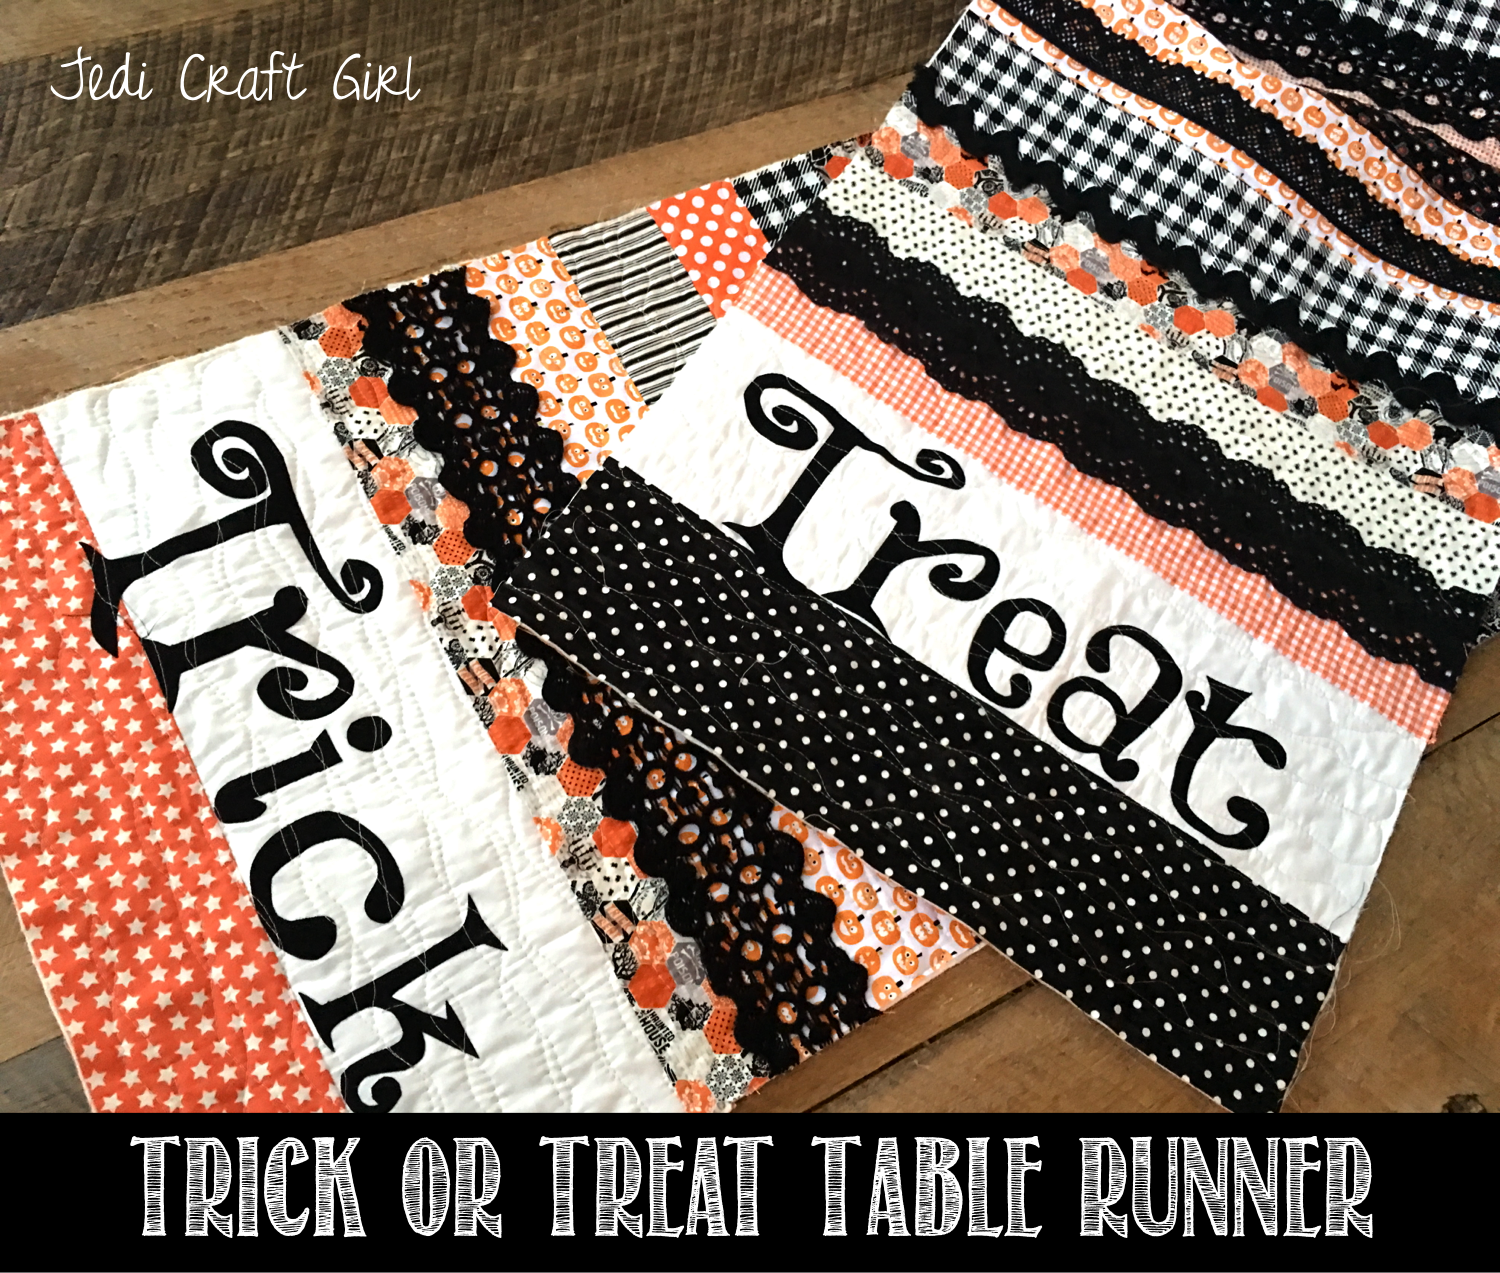
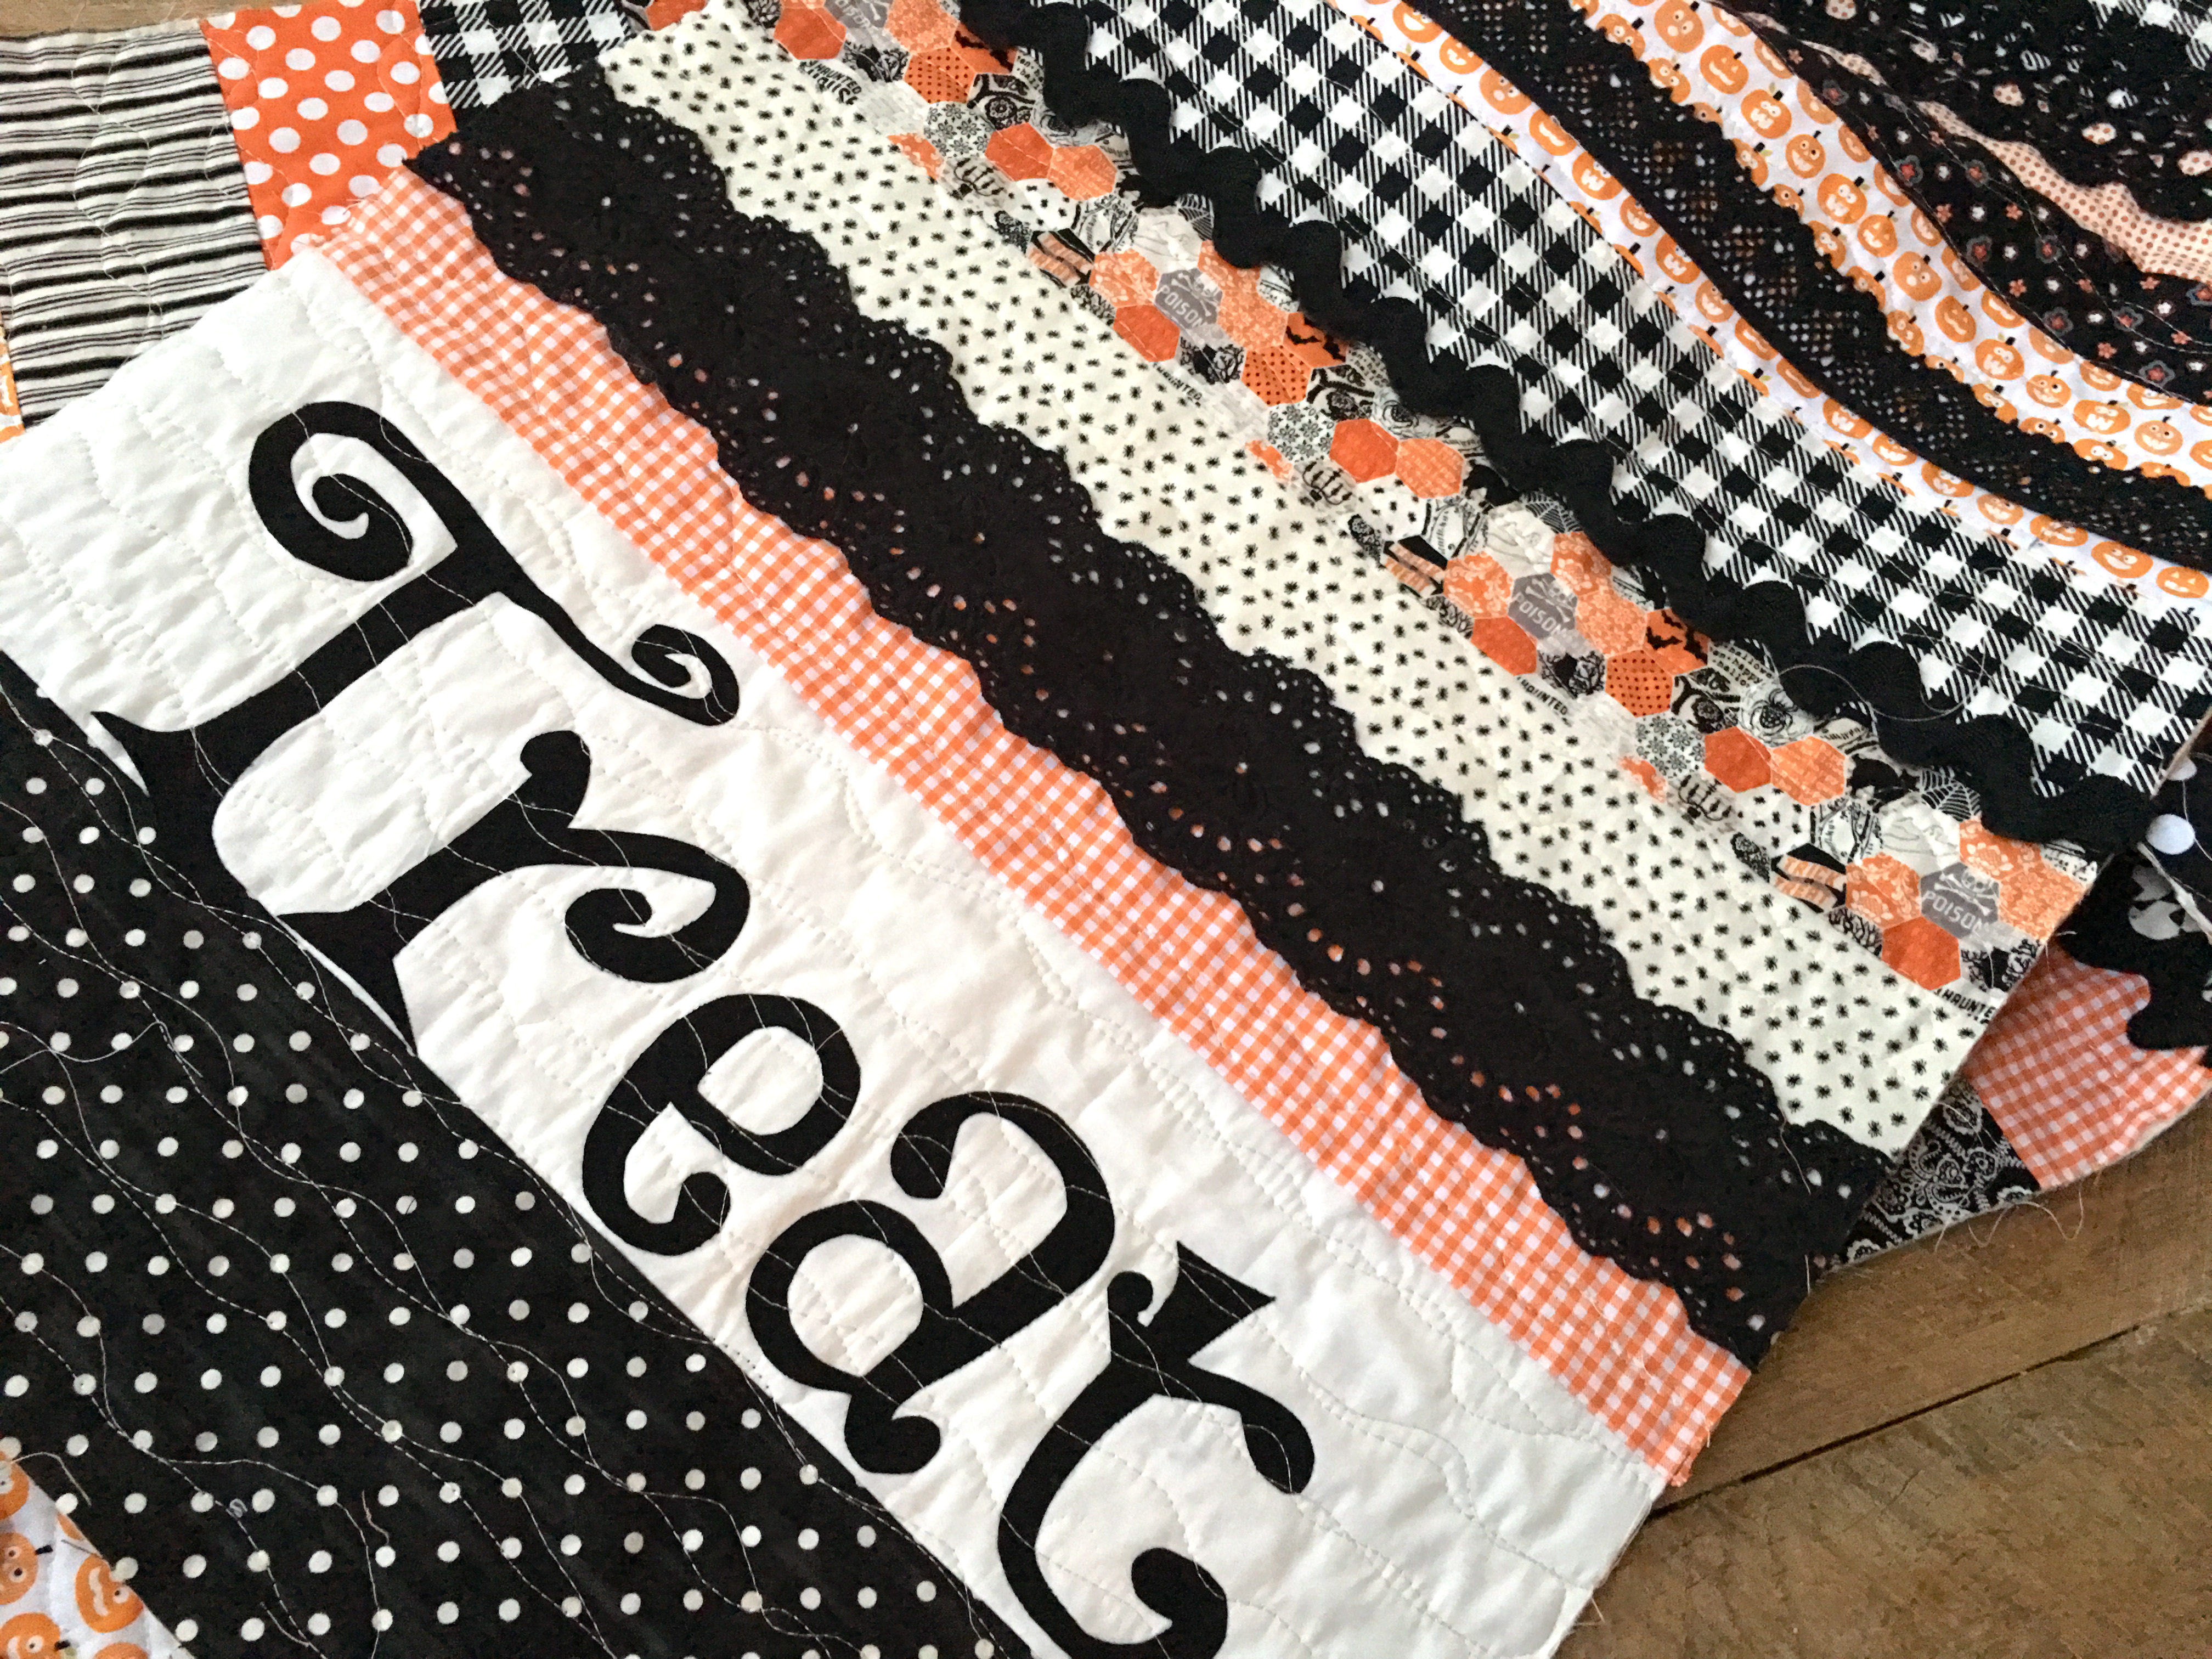
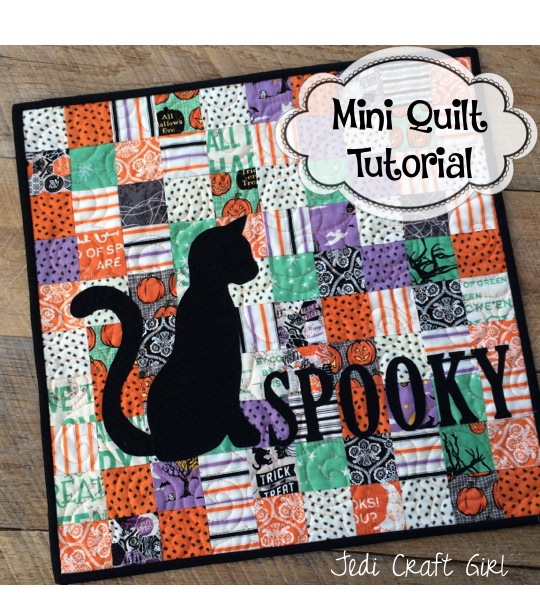
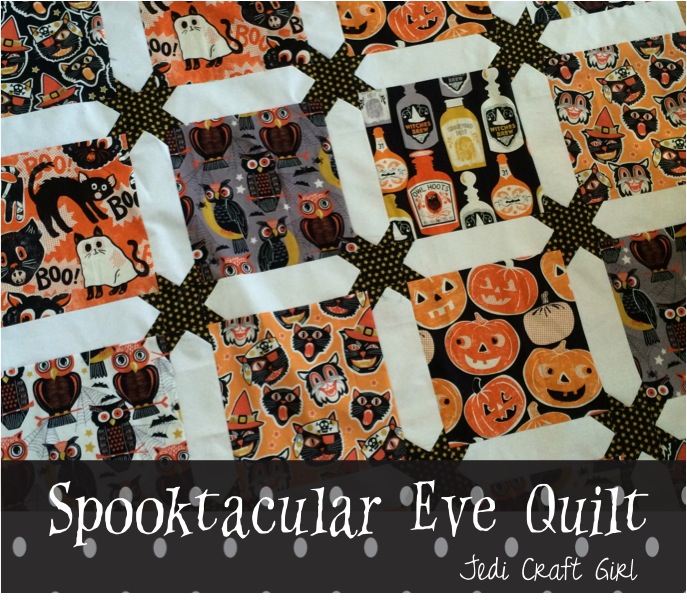
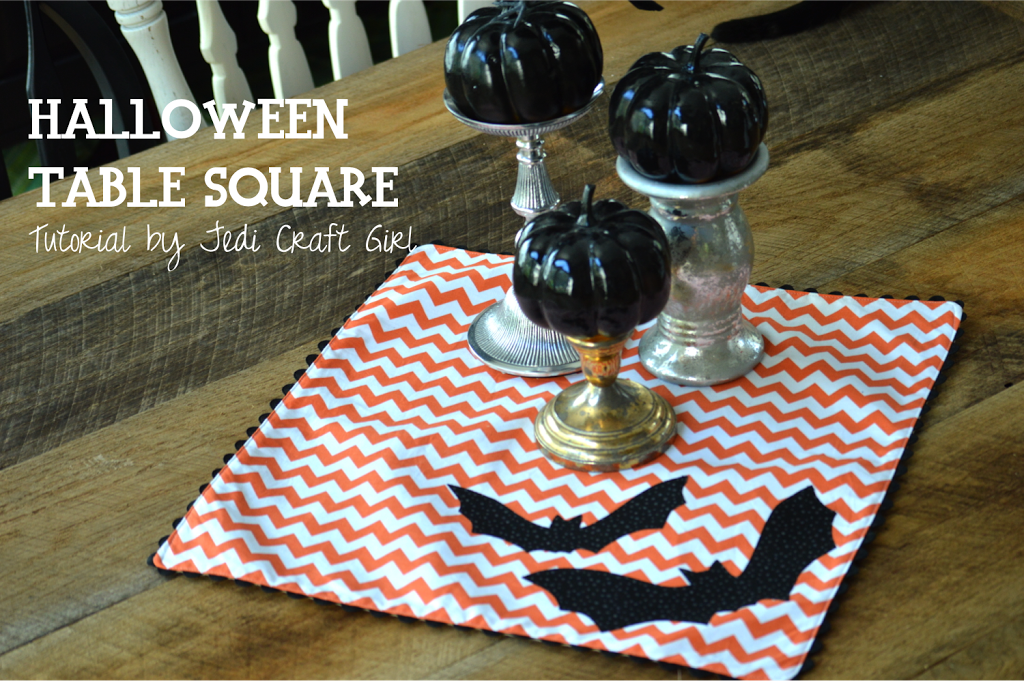
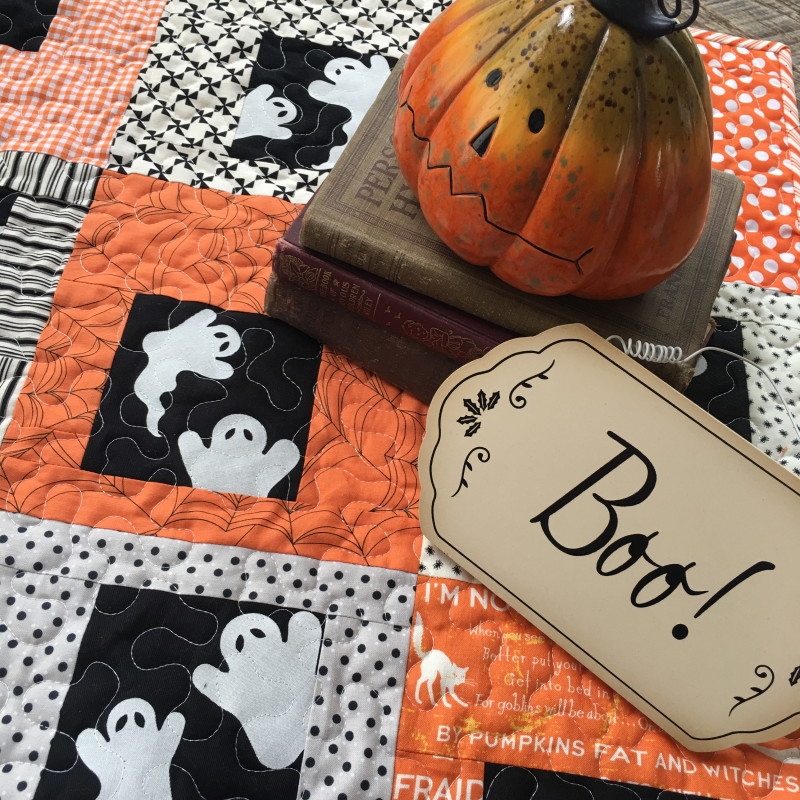
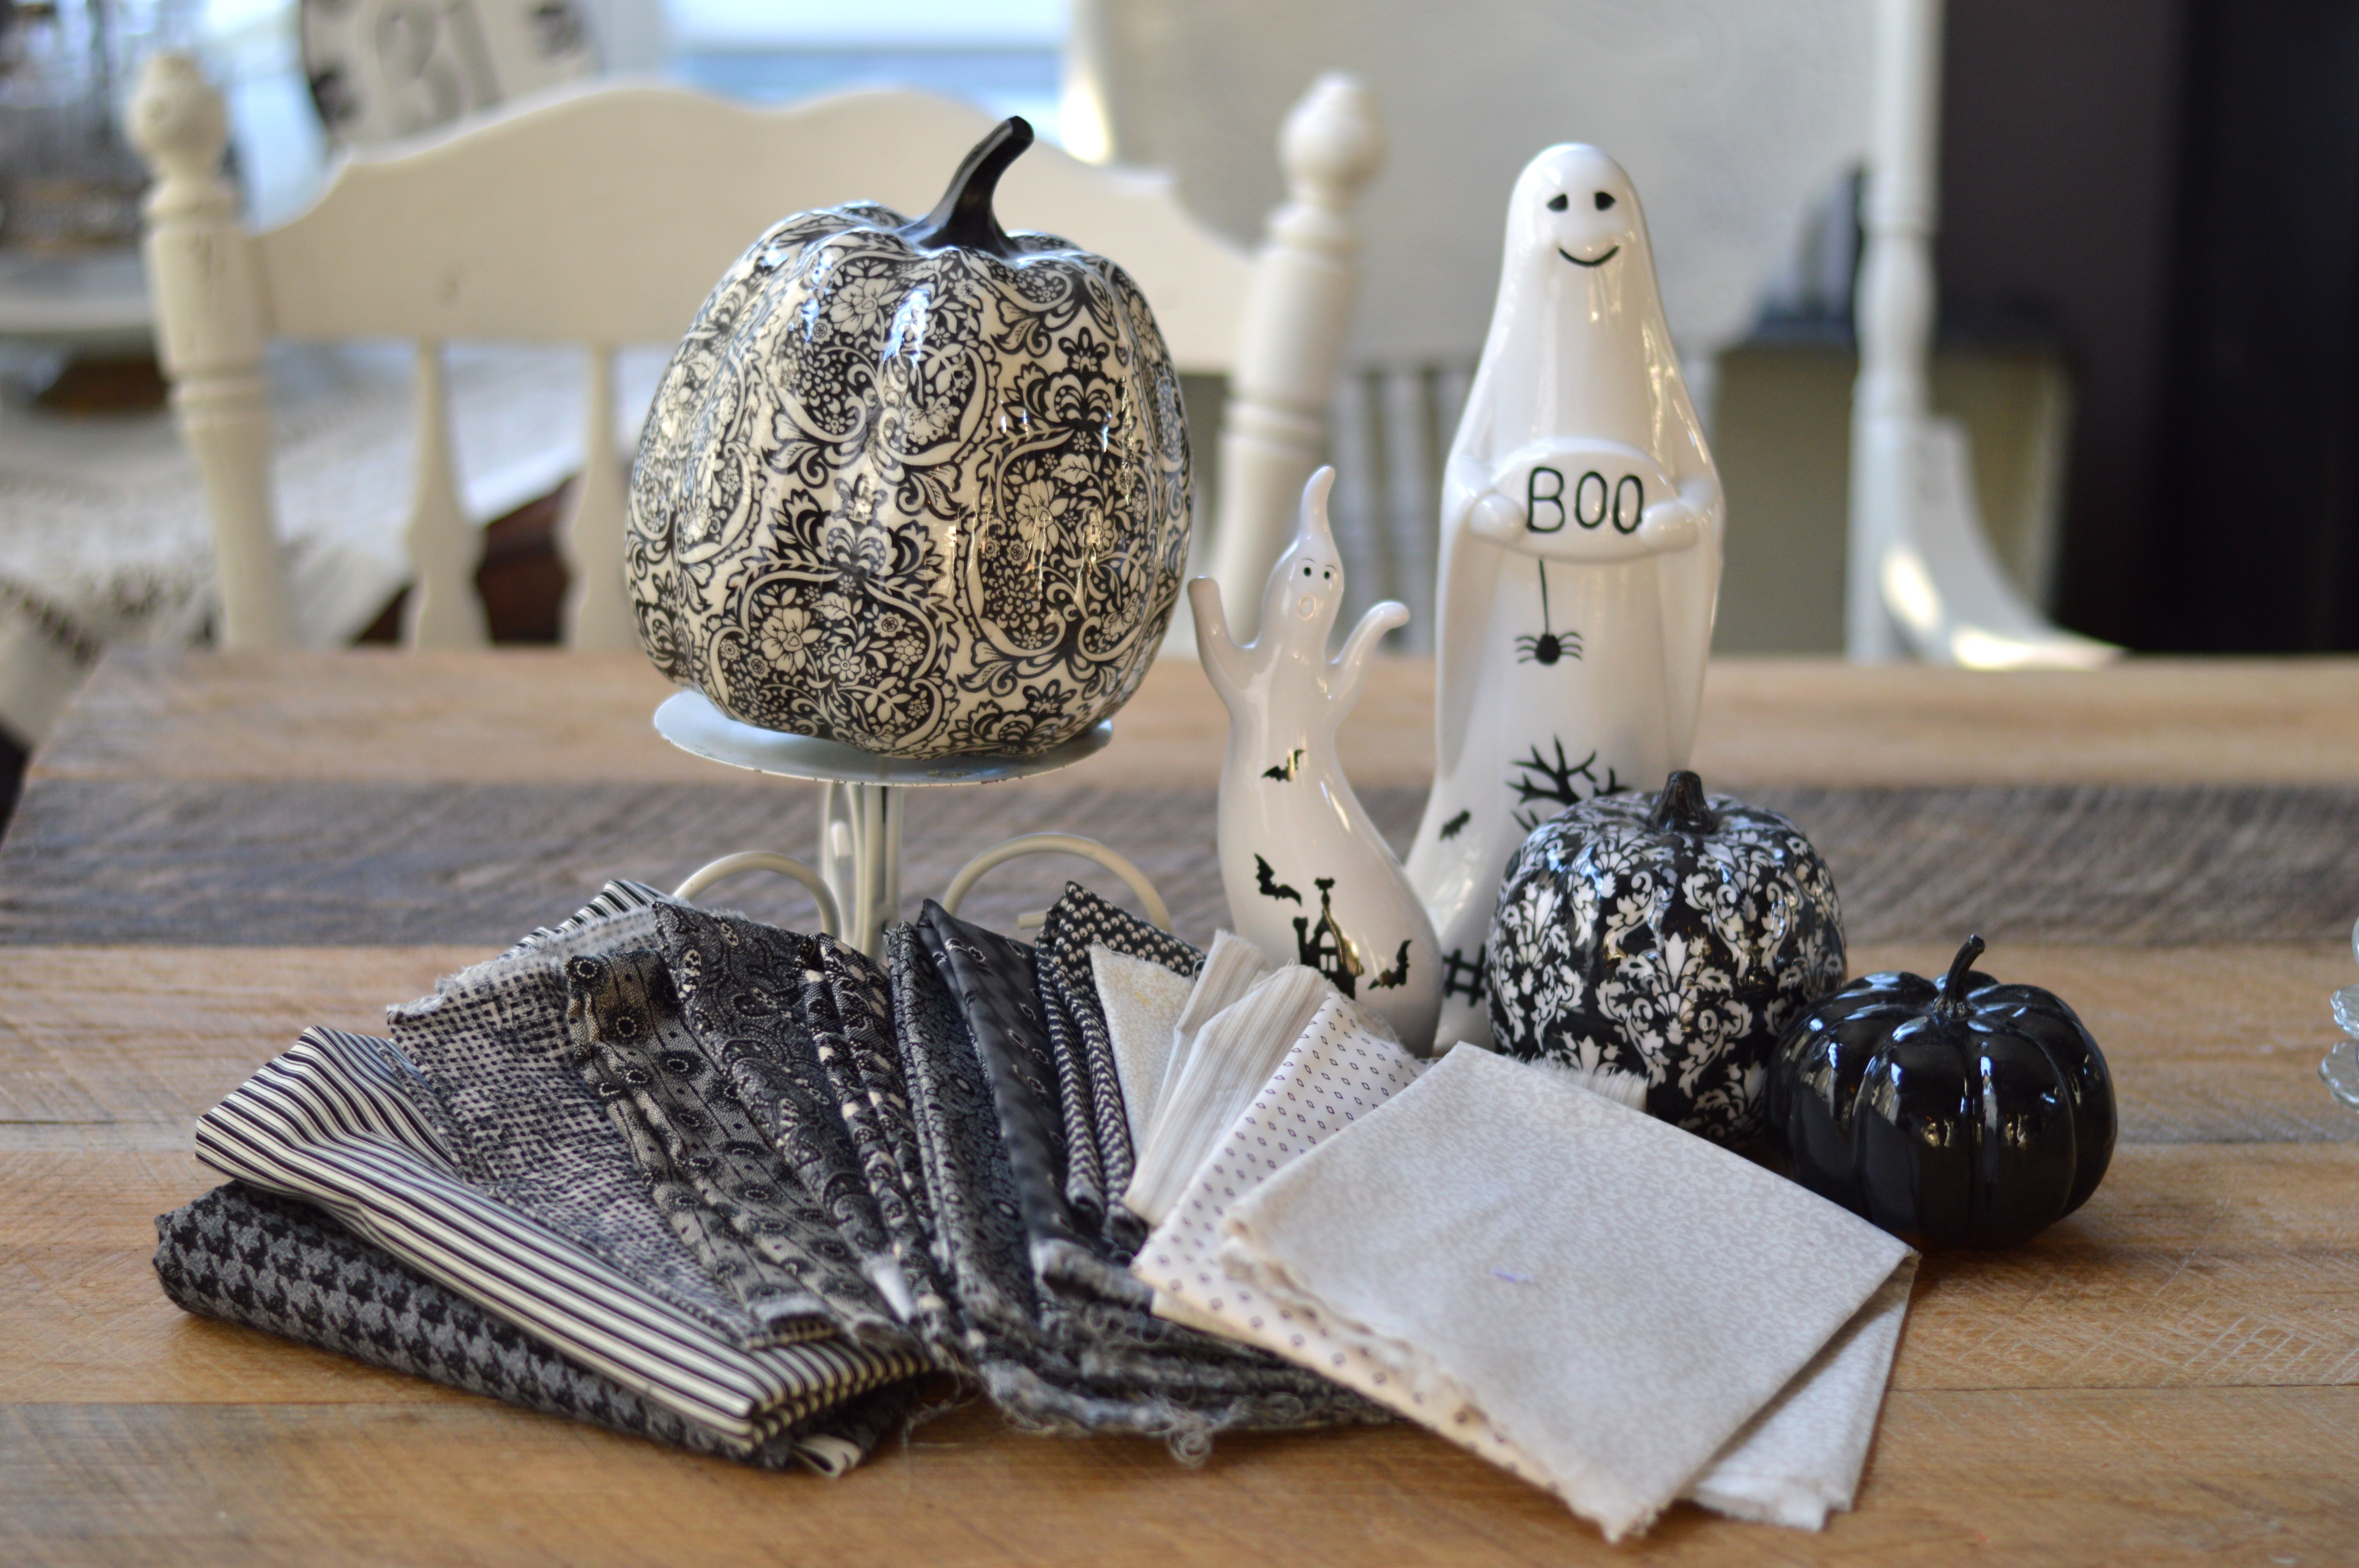
Just when I thought Halloween sewing was over, these cute fabrics jumped into my cart at Michael Levine!  I got out all my scraps of Halloween fabric and started cutting!  Before I knew it I had made this super fun table runner!  I added a variety of black lace and ric rac trim to give it more interest!

img_5137

Project Supplies:

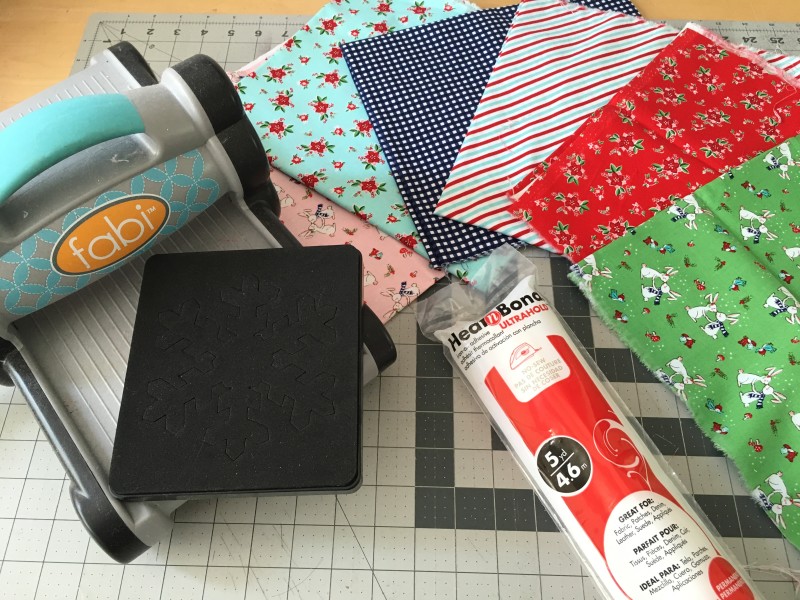
Scraps of orange prints and black prints – at least 20″ long

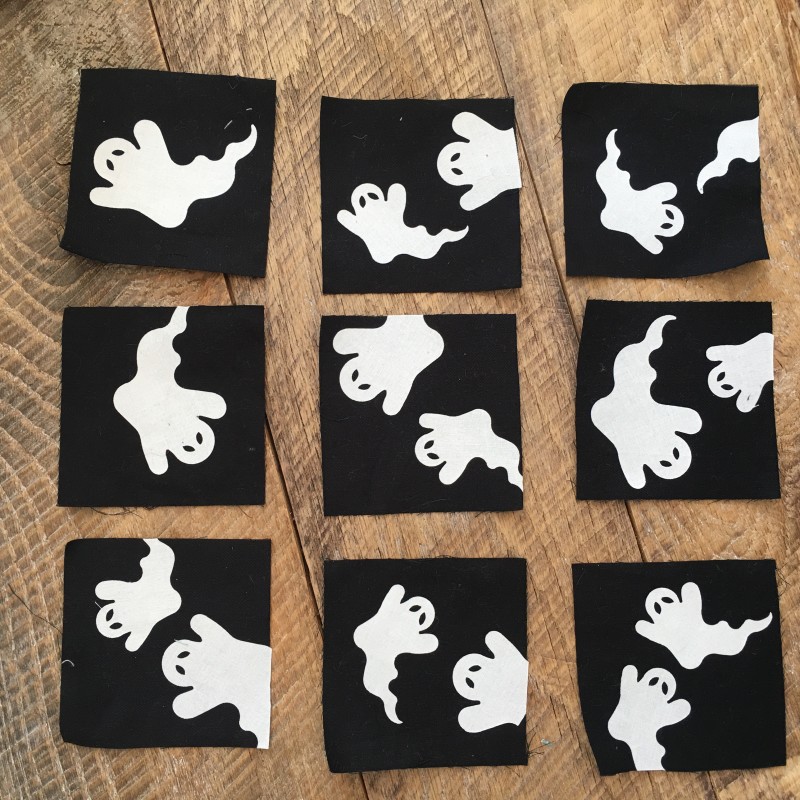
Black fabric for applique

Heat n Bond® EZ print sheets

SpraynBond® Basting Spray

Trick Treat PDF pattern

Scraps of black trim, ric rac, and lace

1 1/2 yards backing

1/2 yard black fabric for binding

batting

img_5138

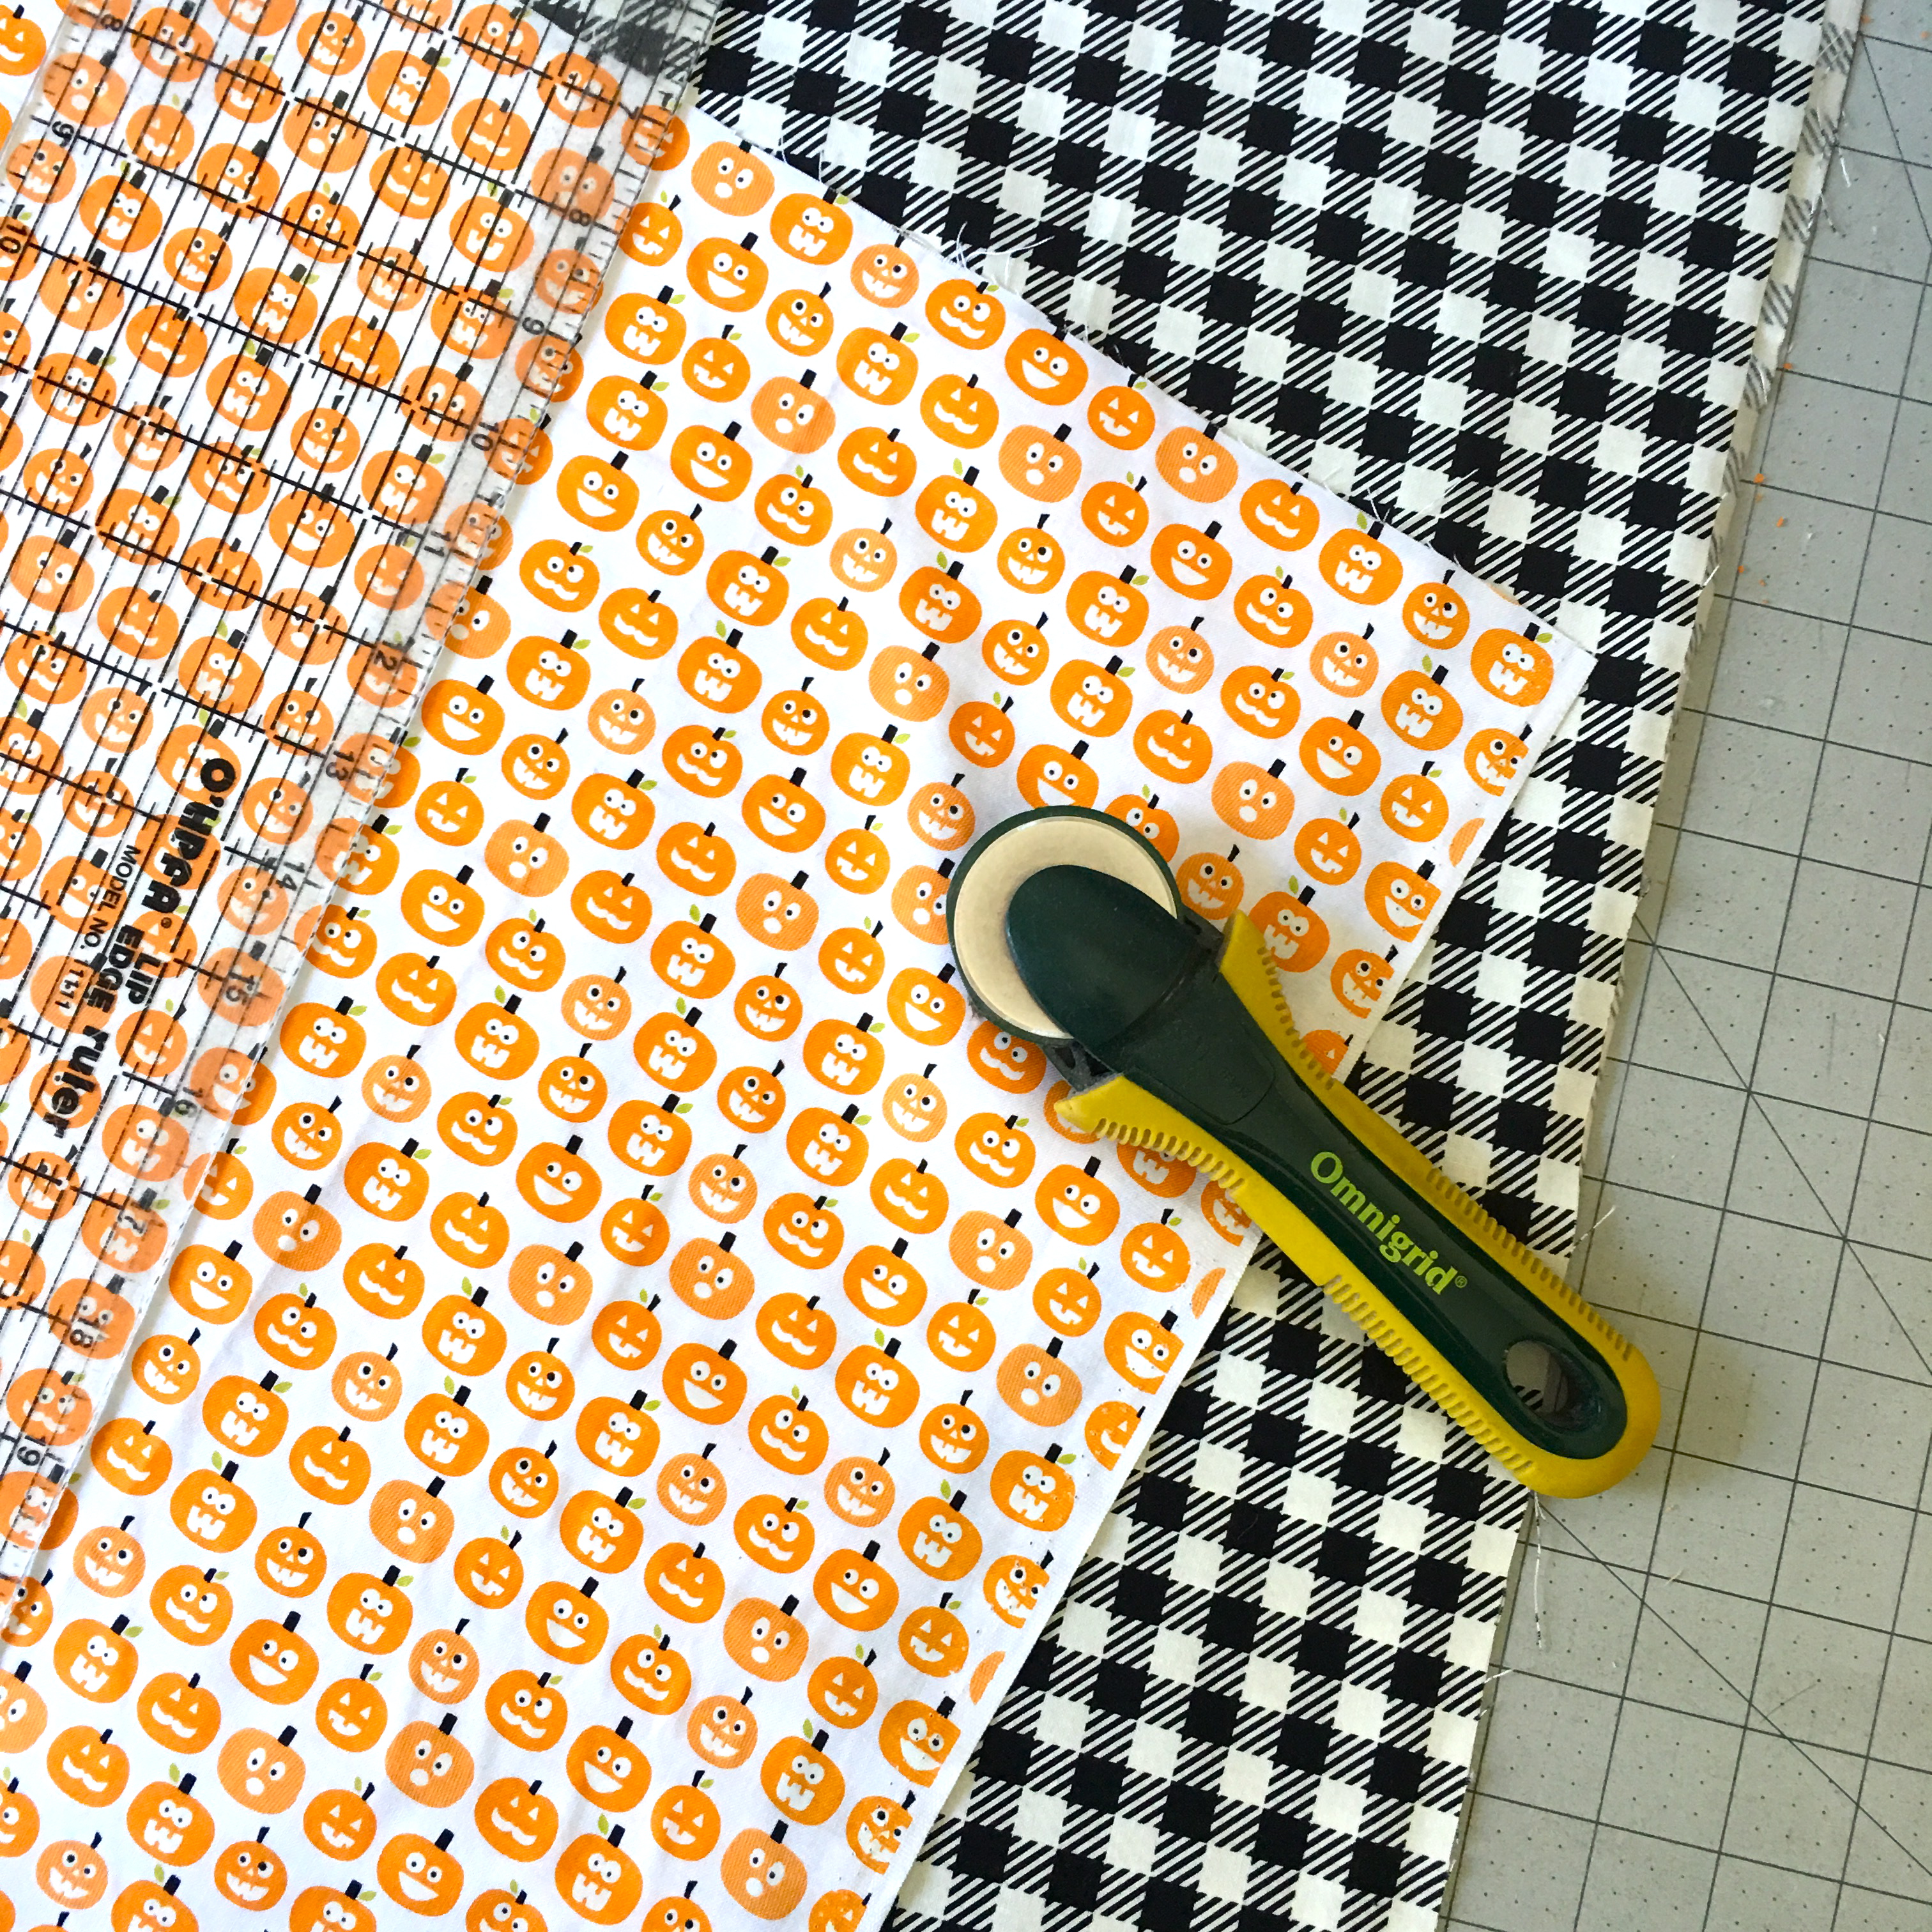
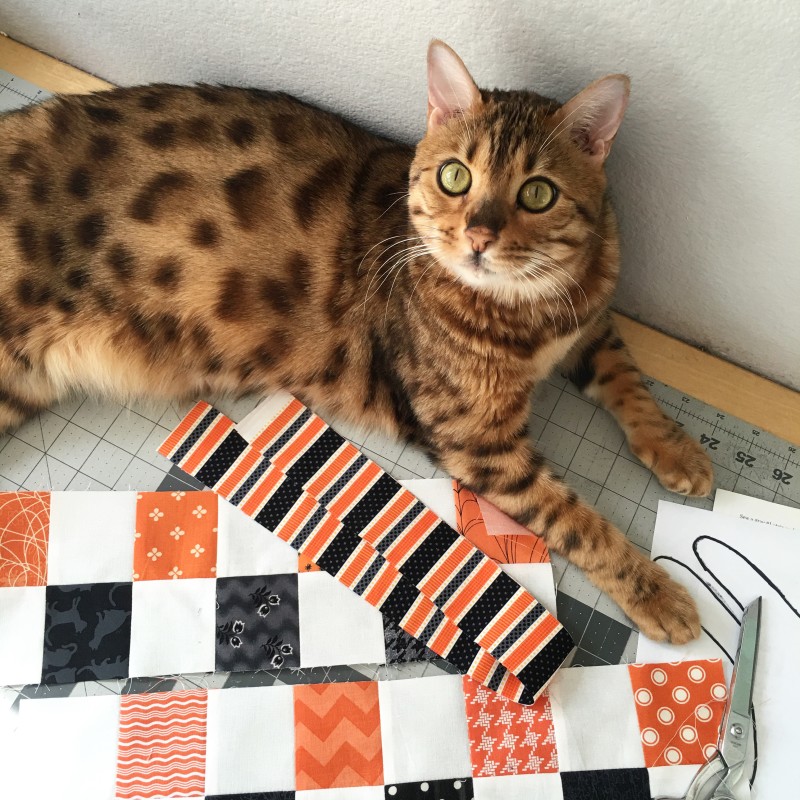
Begin by cutting your strips into random widths: 2″, 2.5″, 3″, 4″, 5″, etc.  No need to plan – they are all going to get sewn together.  Once you have a nice assortment of fabrics, cut them all to be 20″ long.  (If you prefer a narrower runner, you can adjust this measurement.)

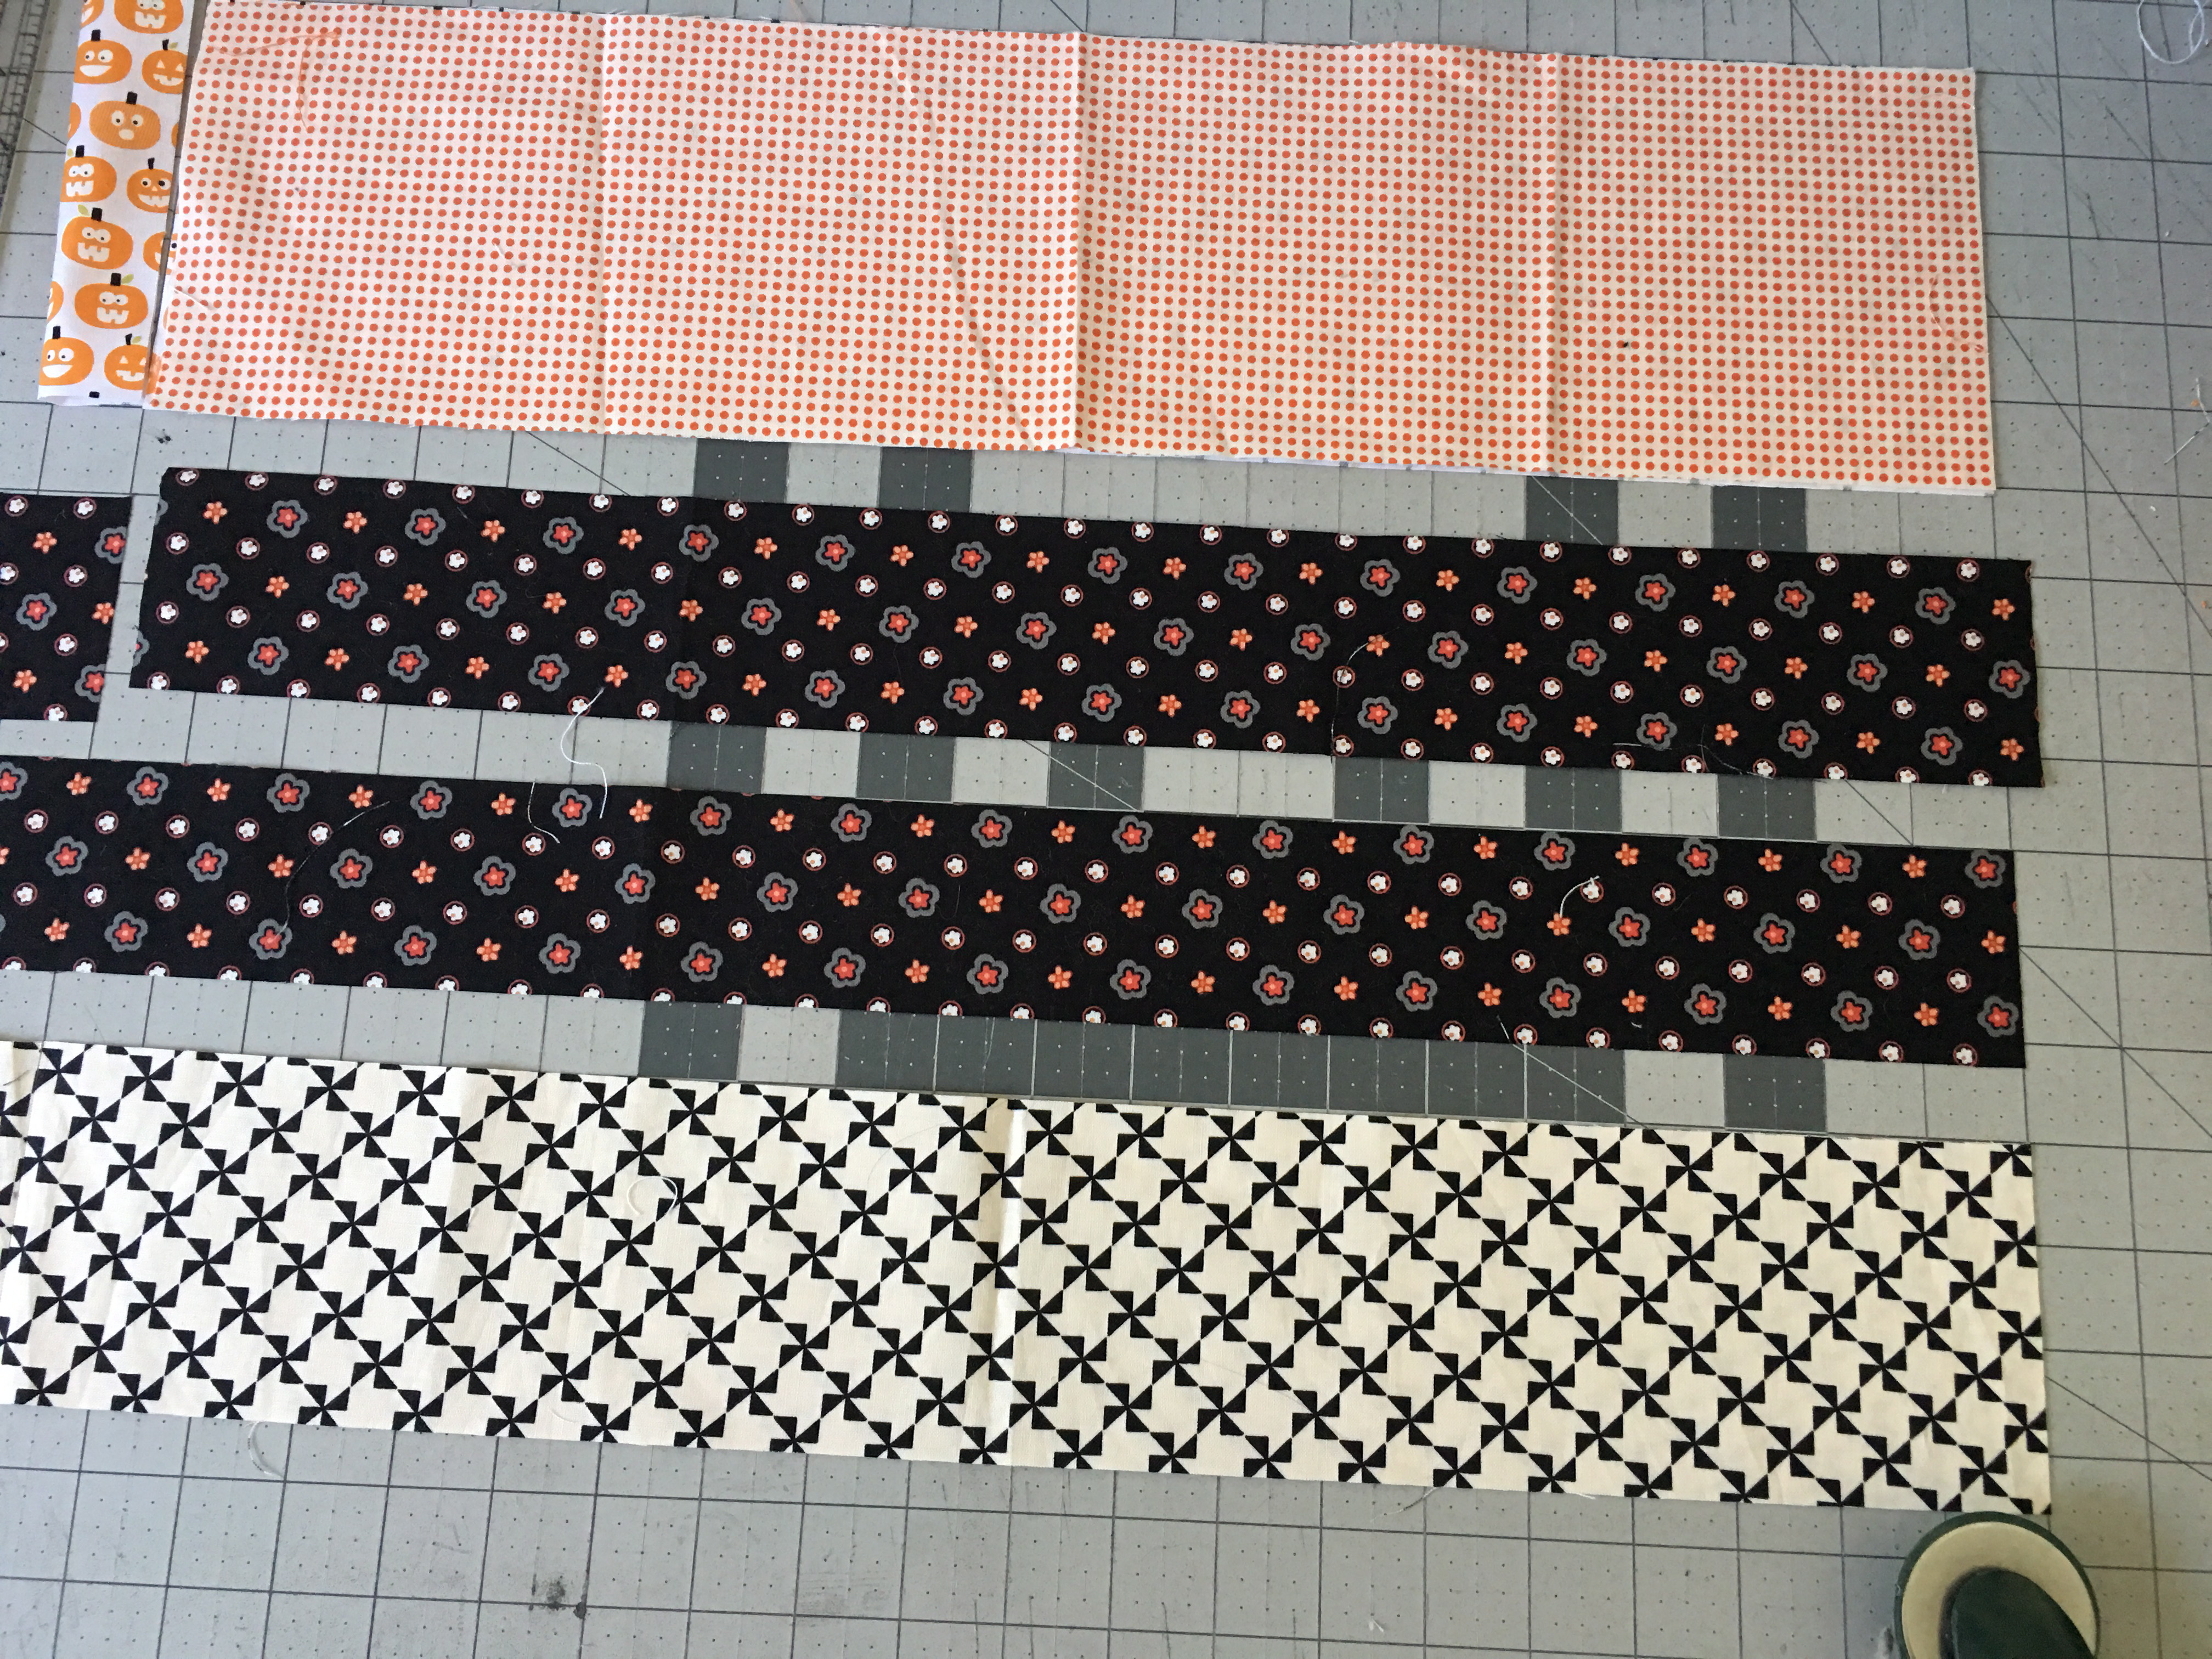
Begin sewing the strips together – I didn’t plan it out – I just did the grab and go method – which makes this project super fast.  Keep sewing strips until you are happy with the length.  I have a super long farm table so mine measures 92″ long!

img_5139

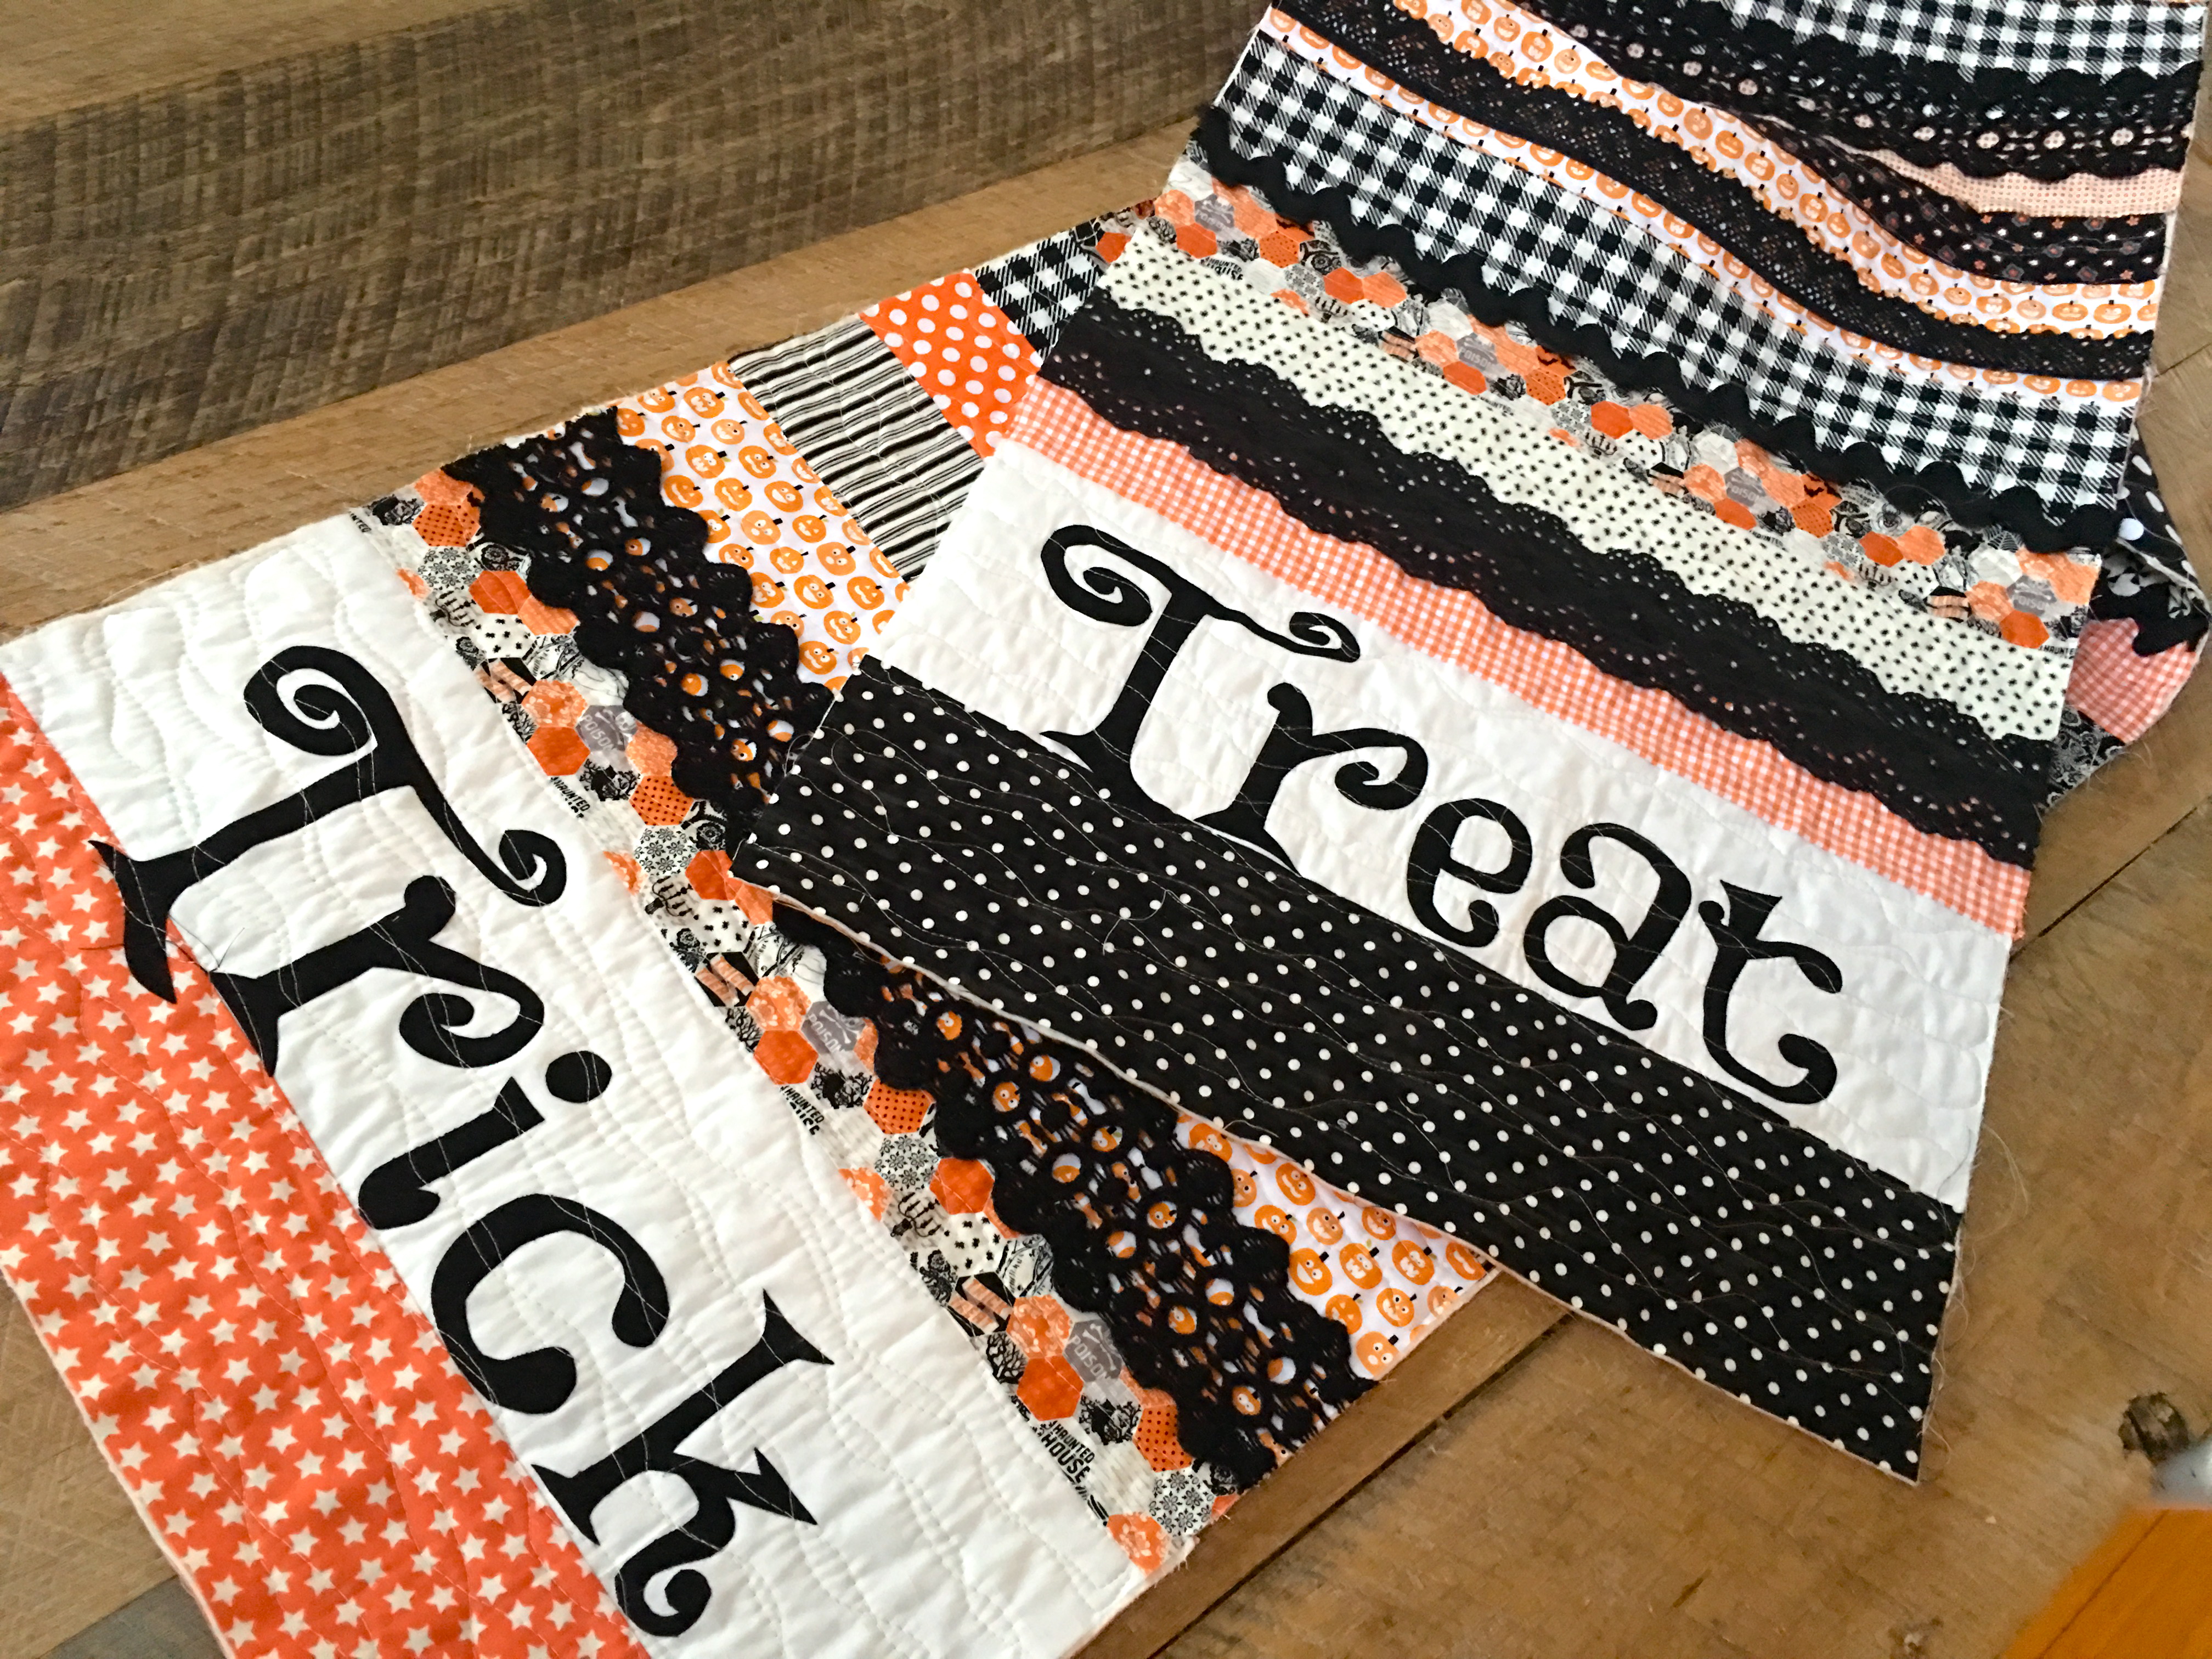
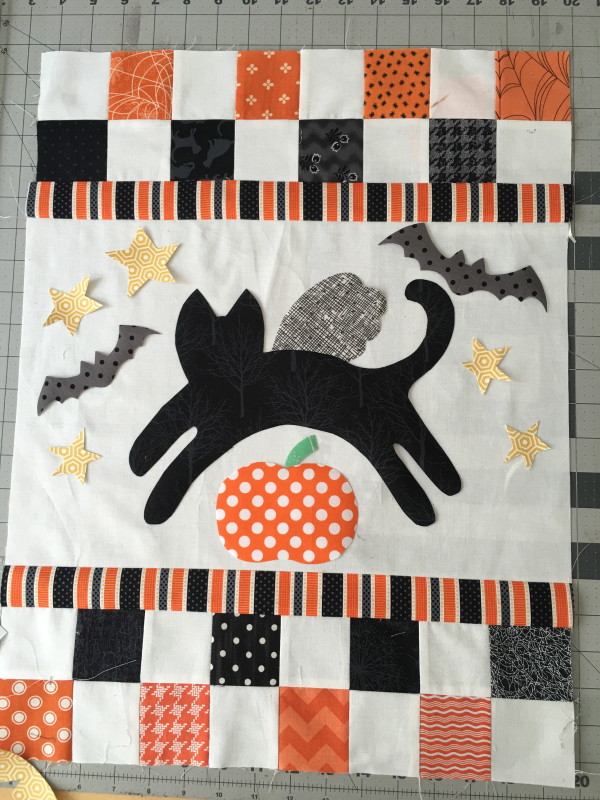
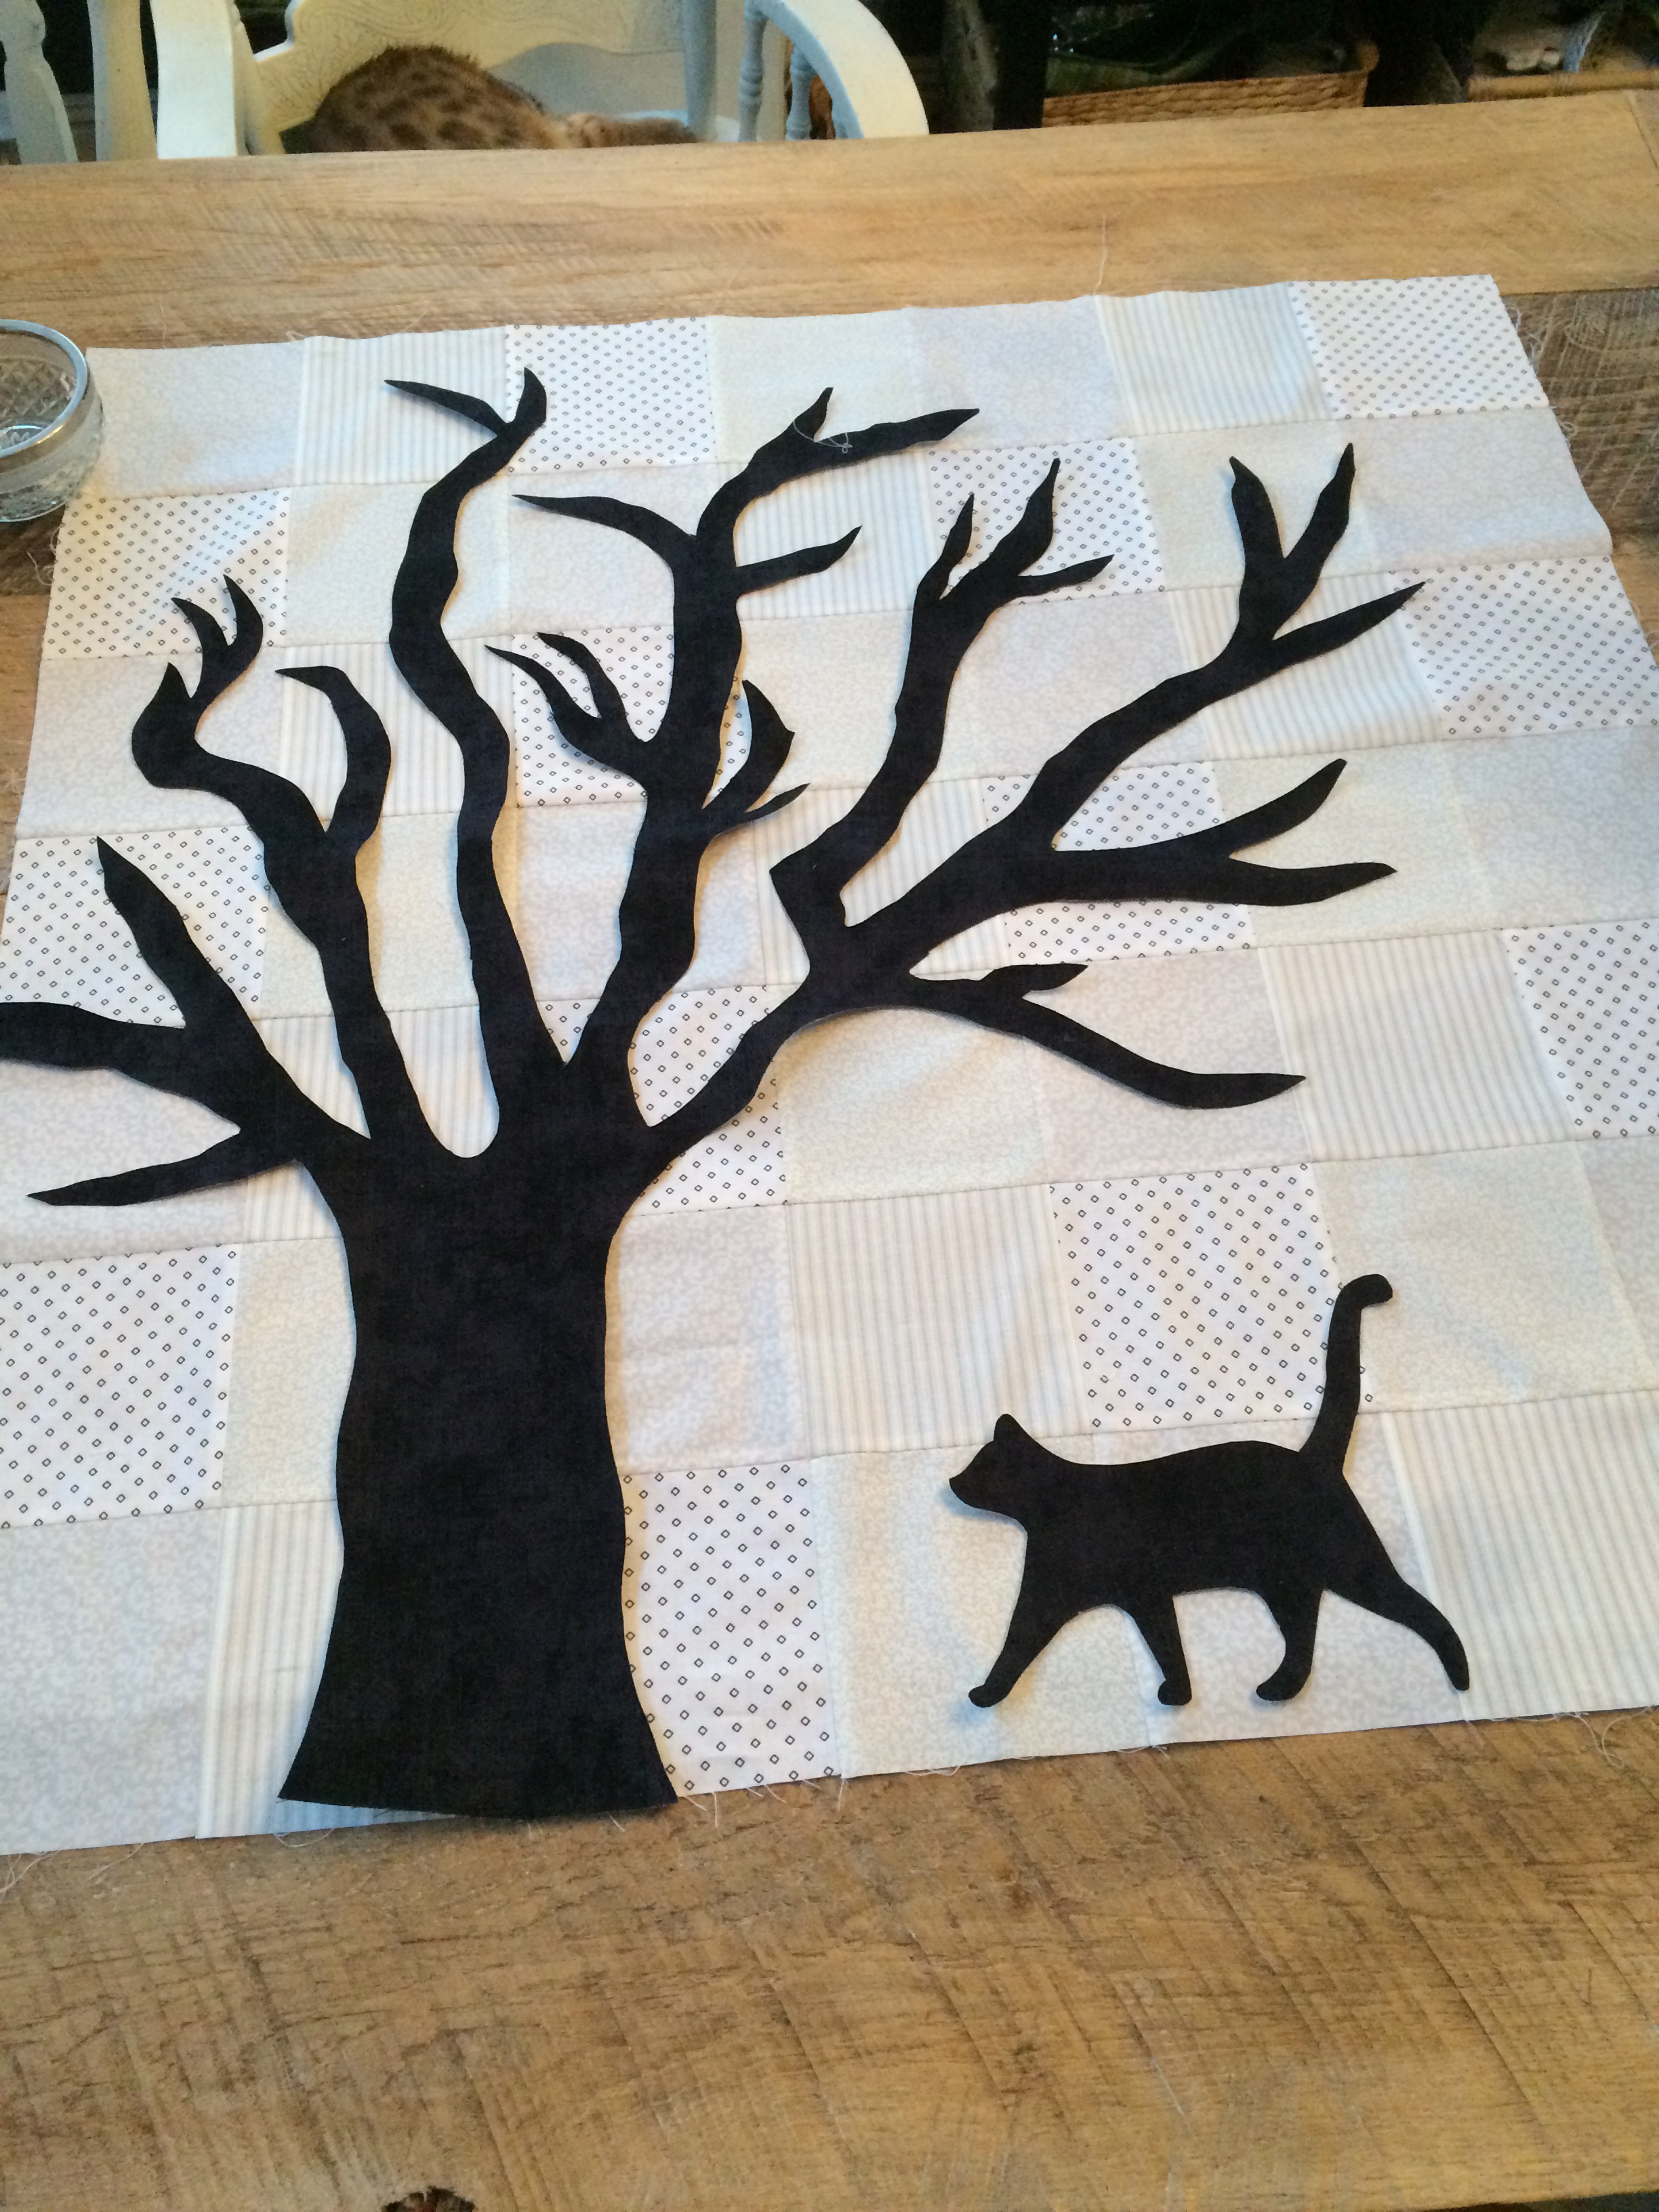
For the applique section…..

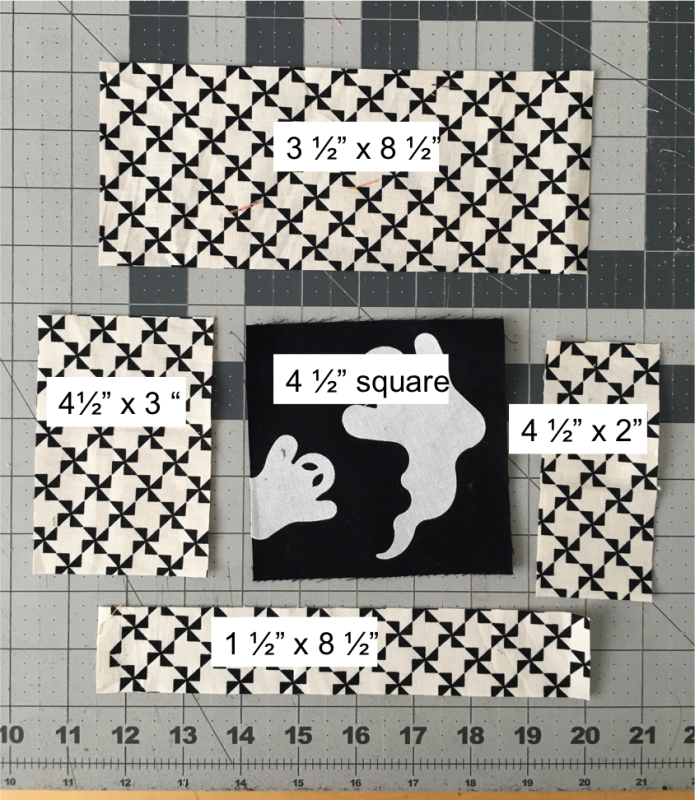
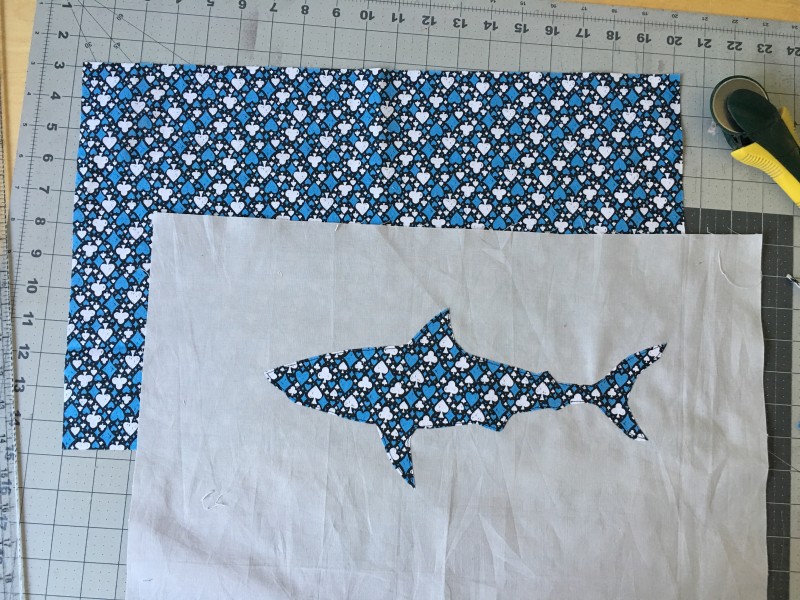
Cut (2) 6.5″ x 20″ white or off-white rectangles.

Sew an orange or black 20″ strip to each white rectangle.

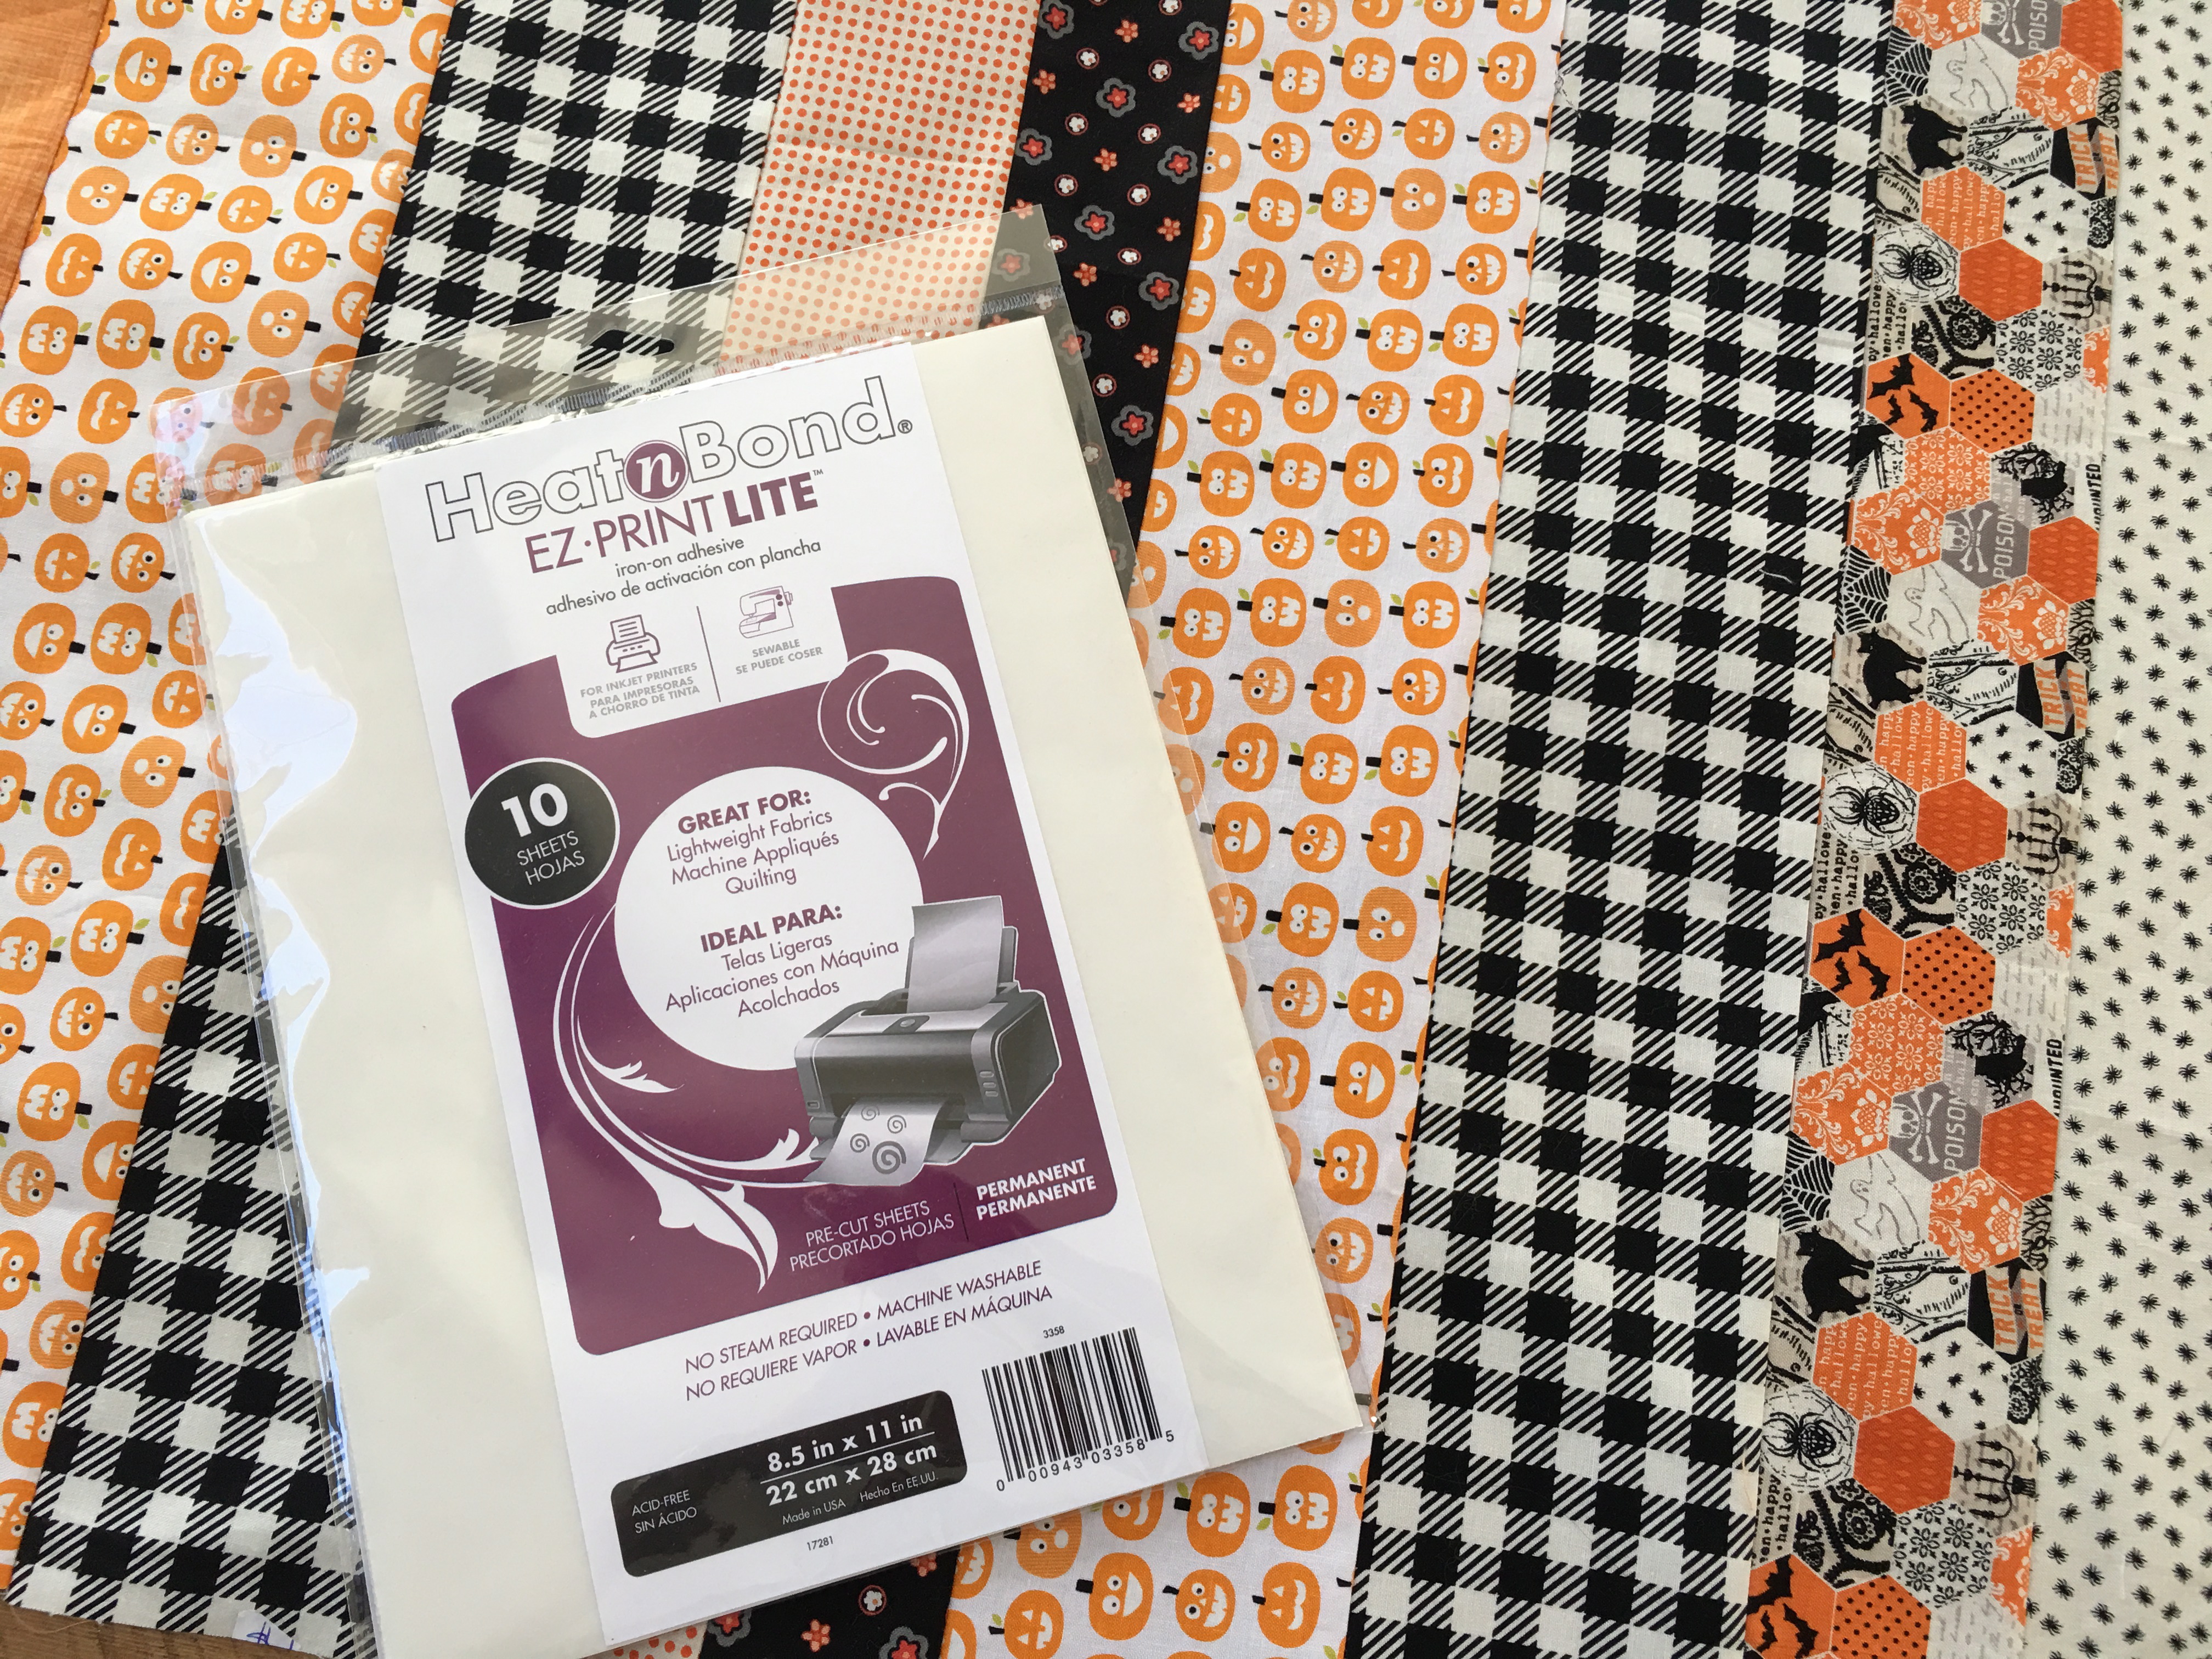
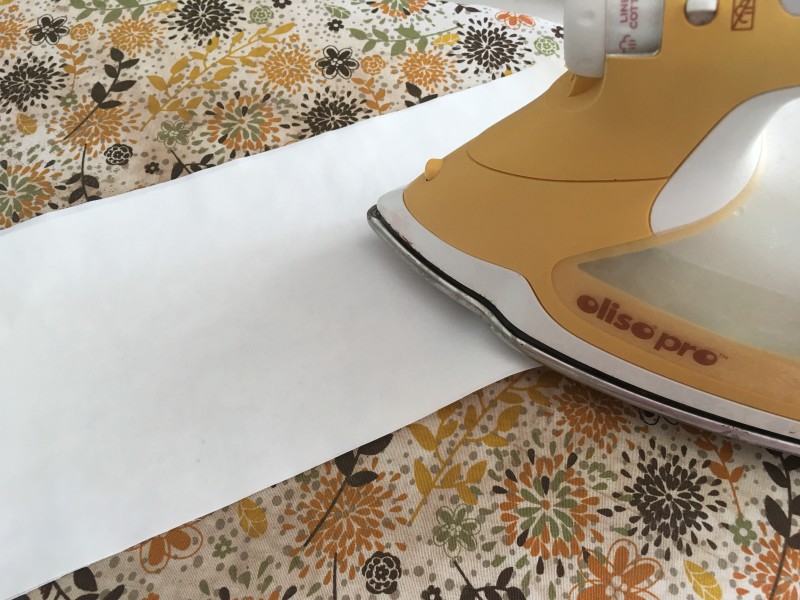
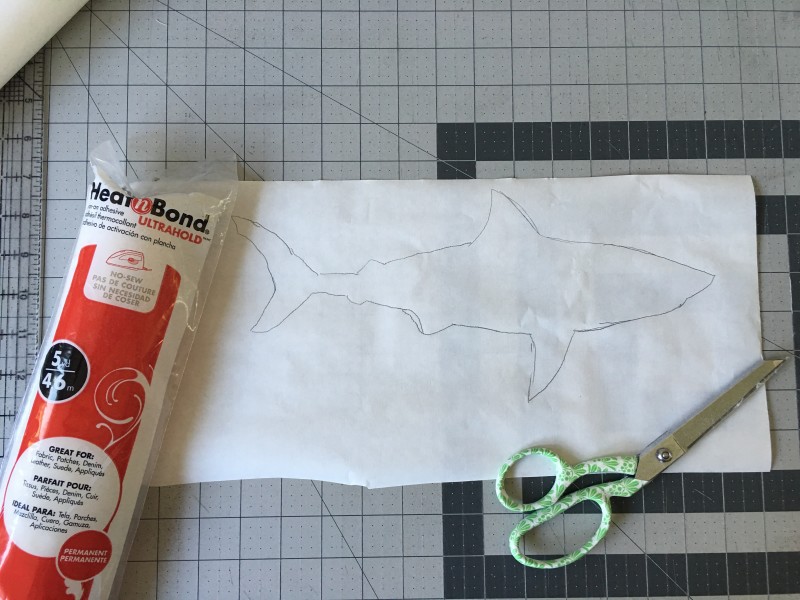
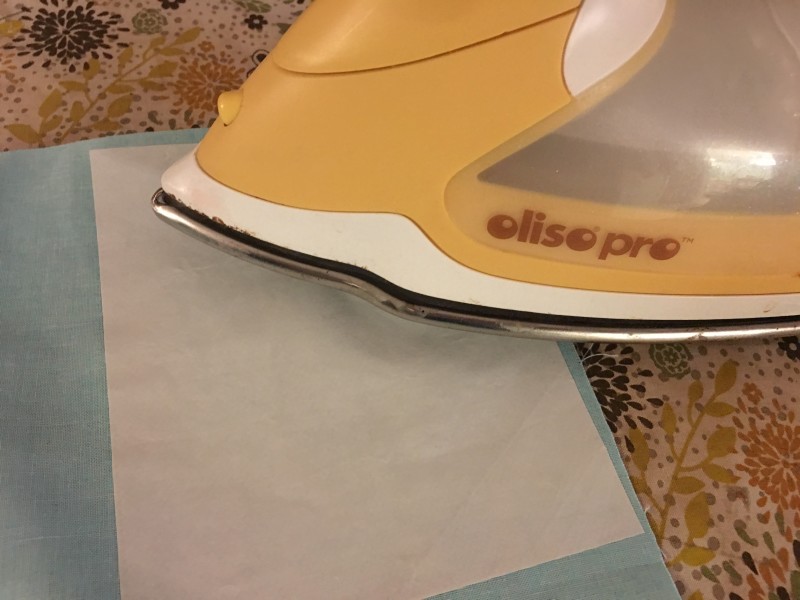
Print out the letters onto the HeatnBond® EZ print sheets.

img_5140

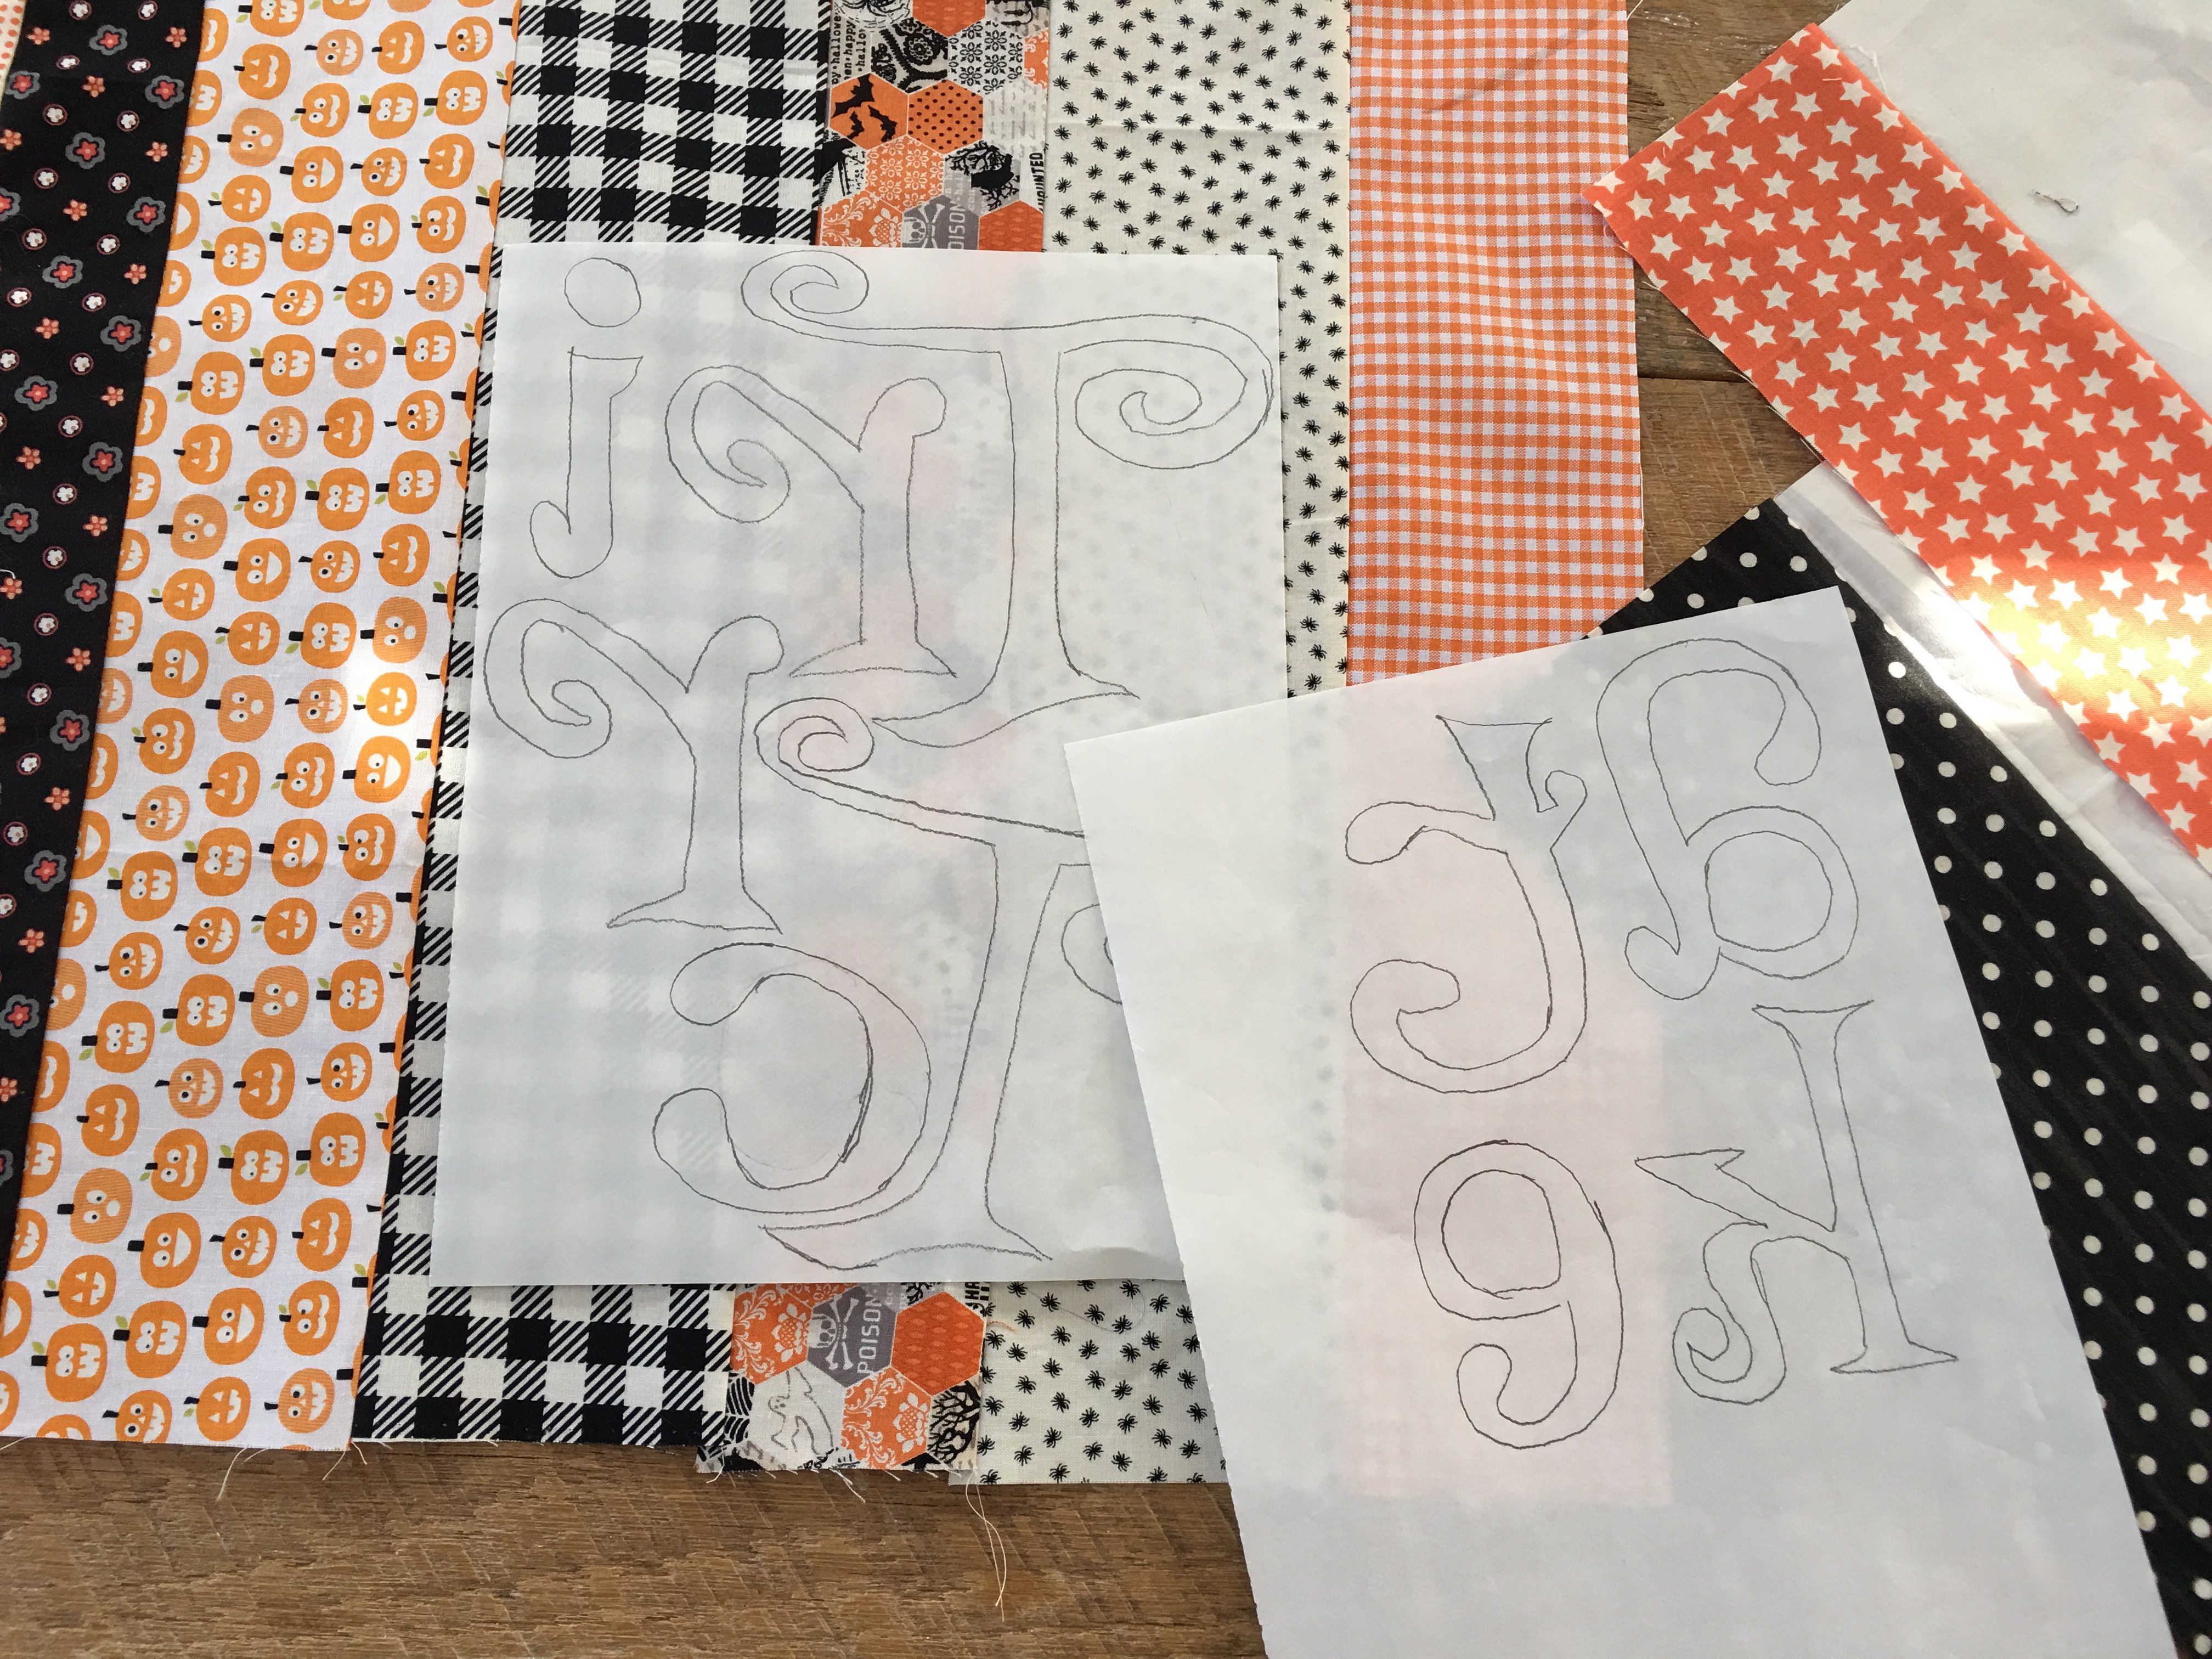
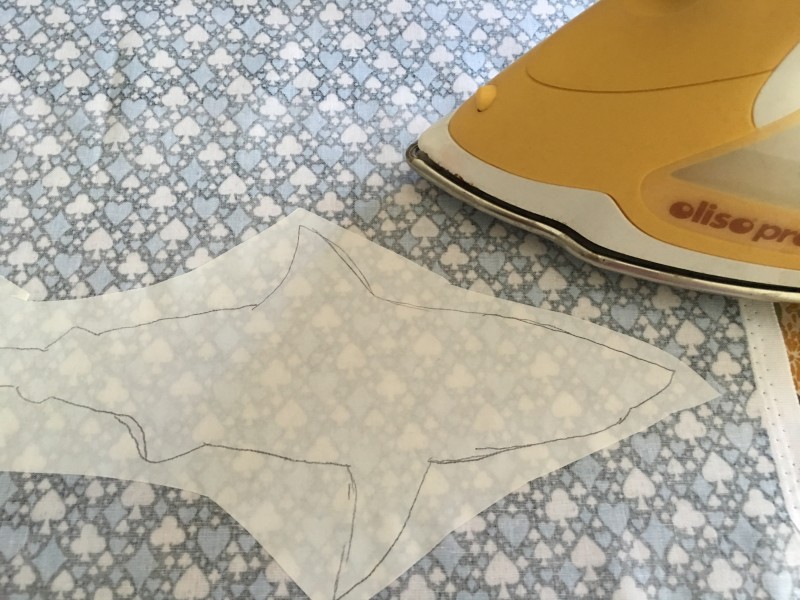
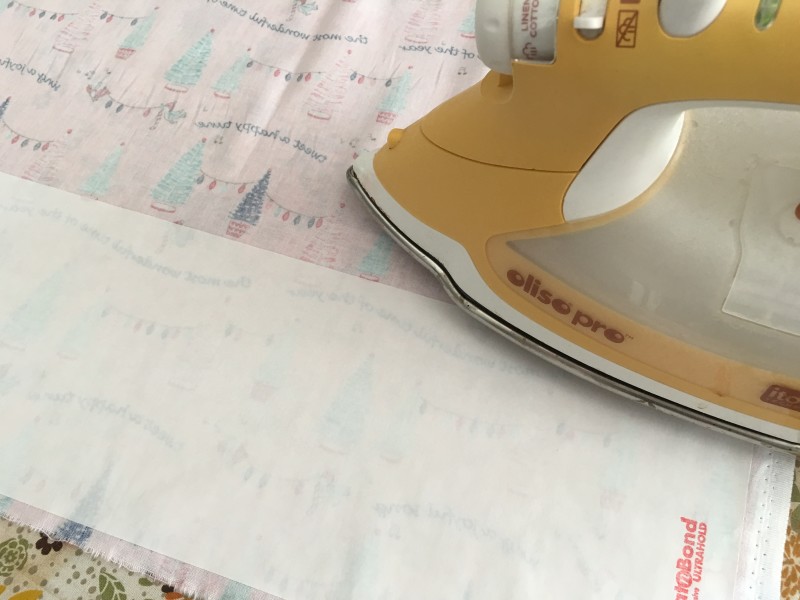
Iron the letters to the wrong side of the black fabric.  (The letters will be reverse)

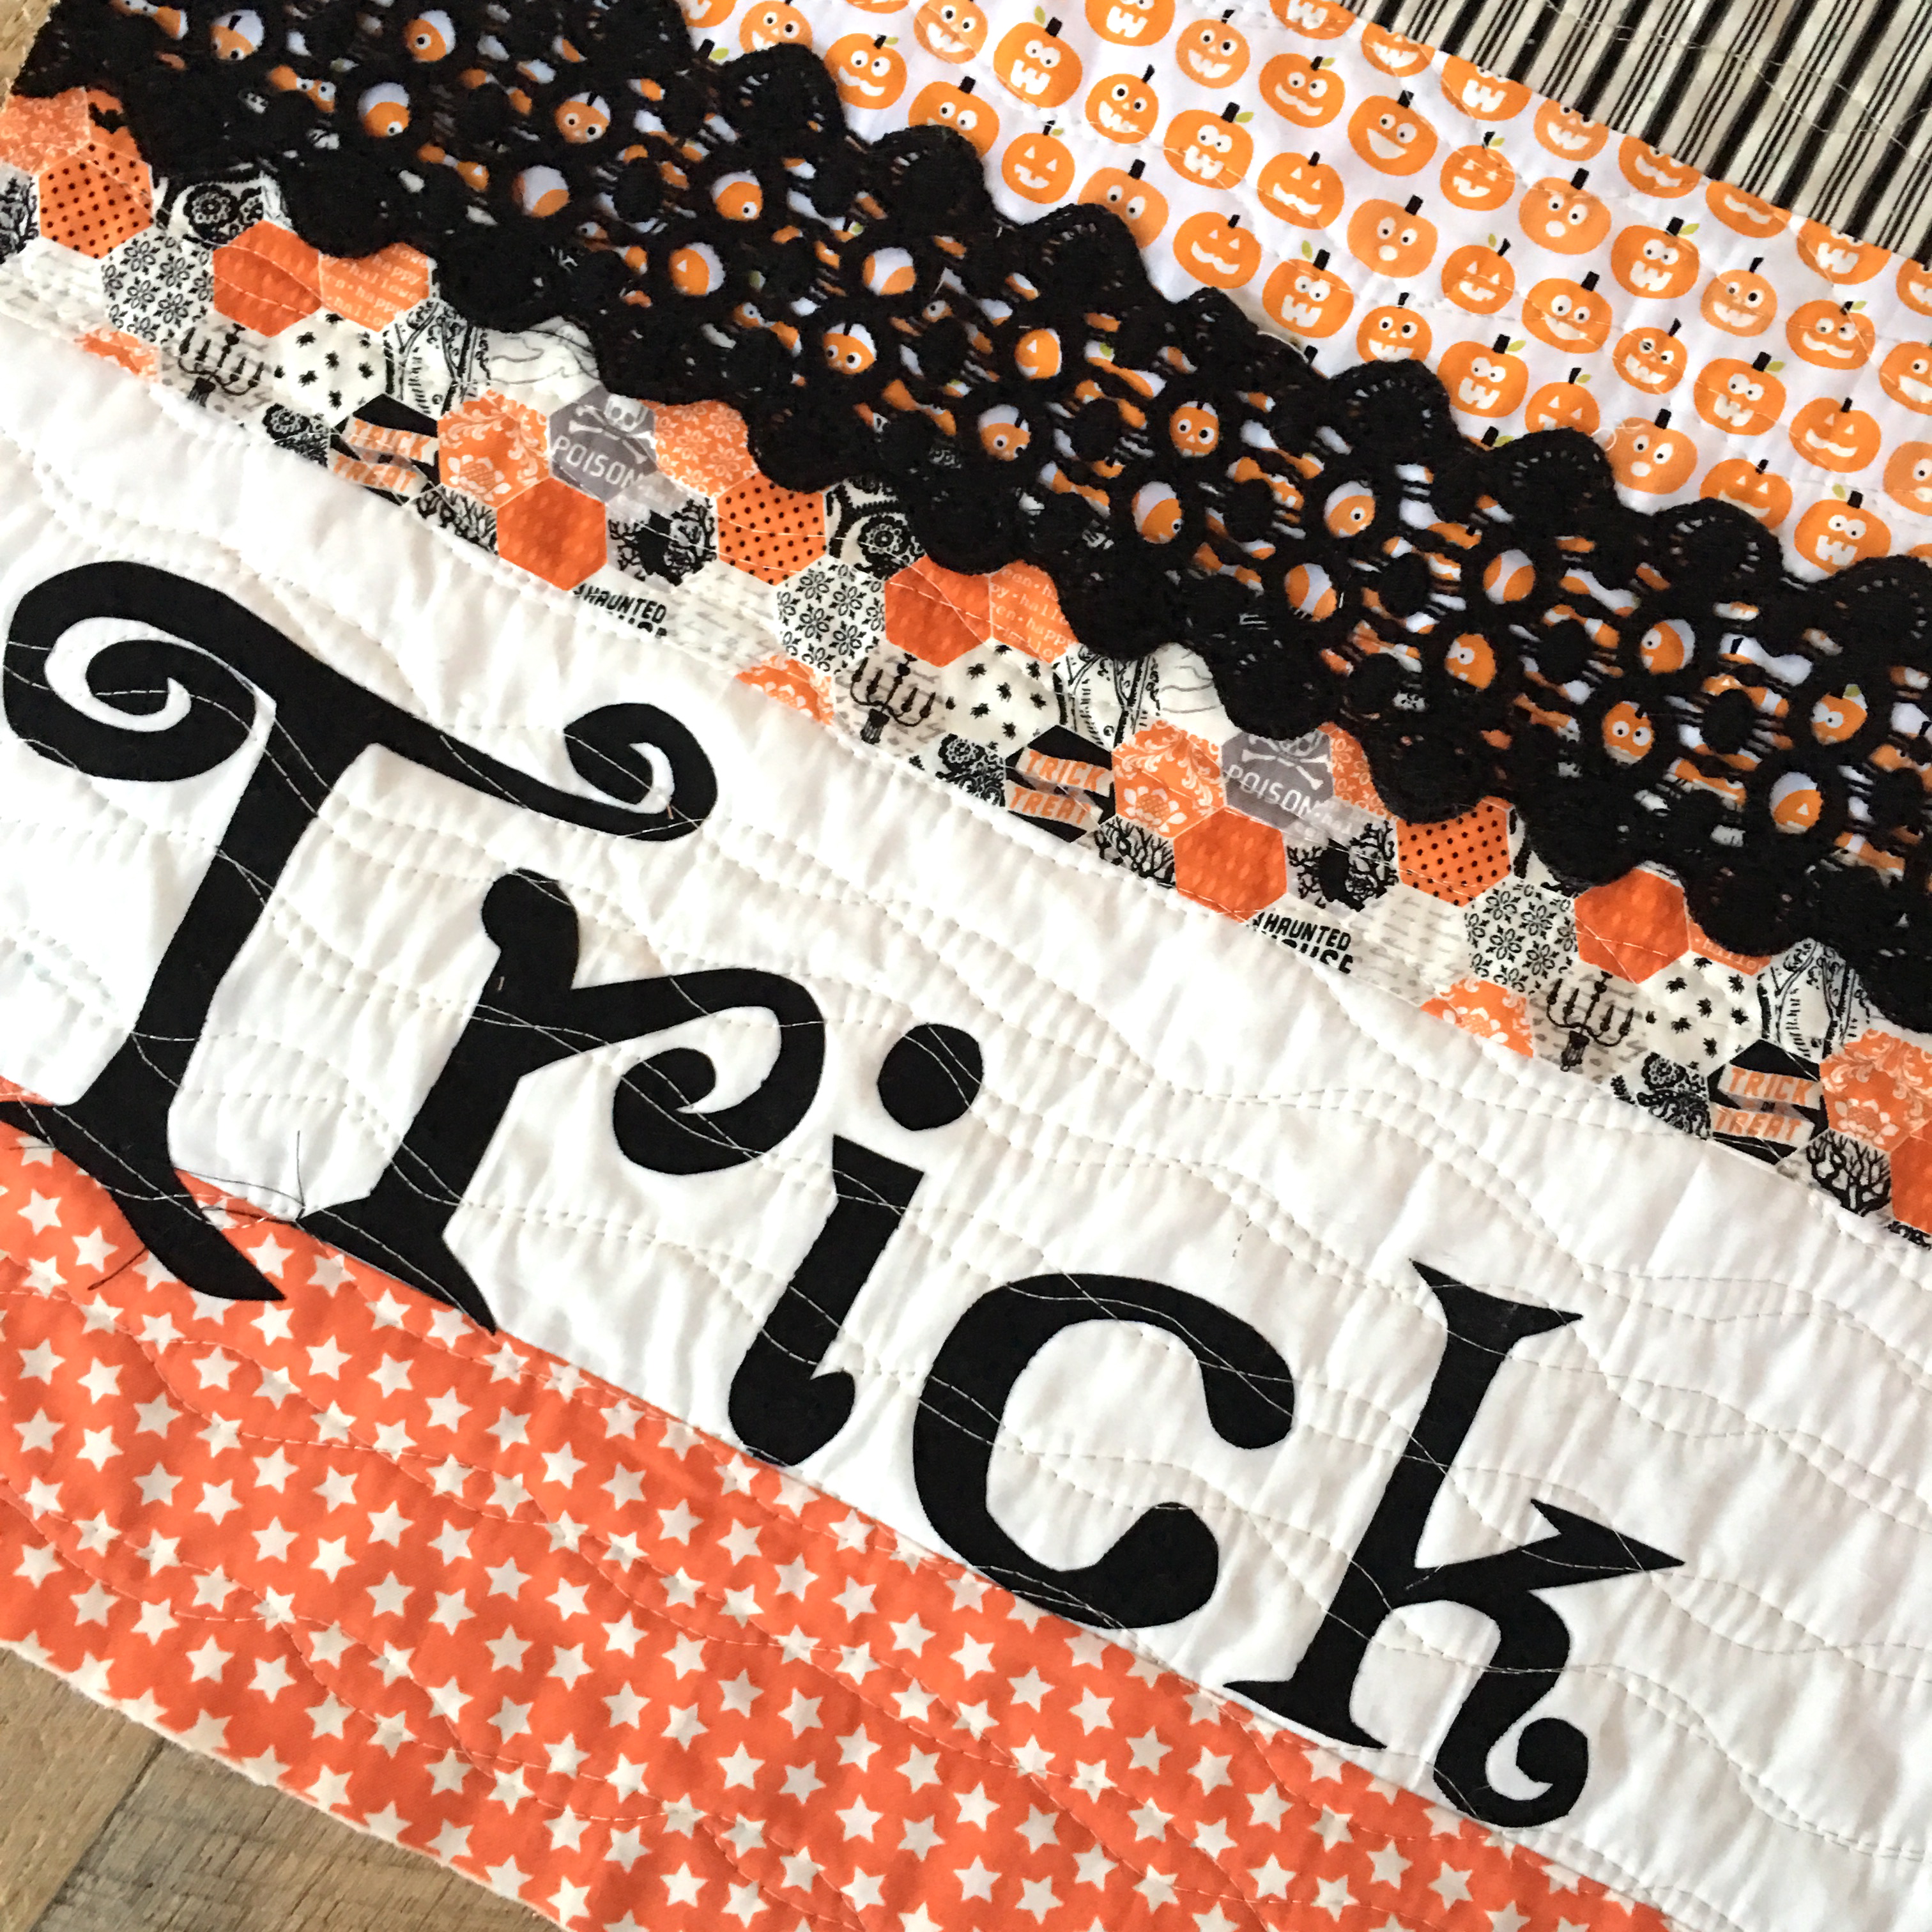
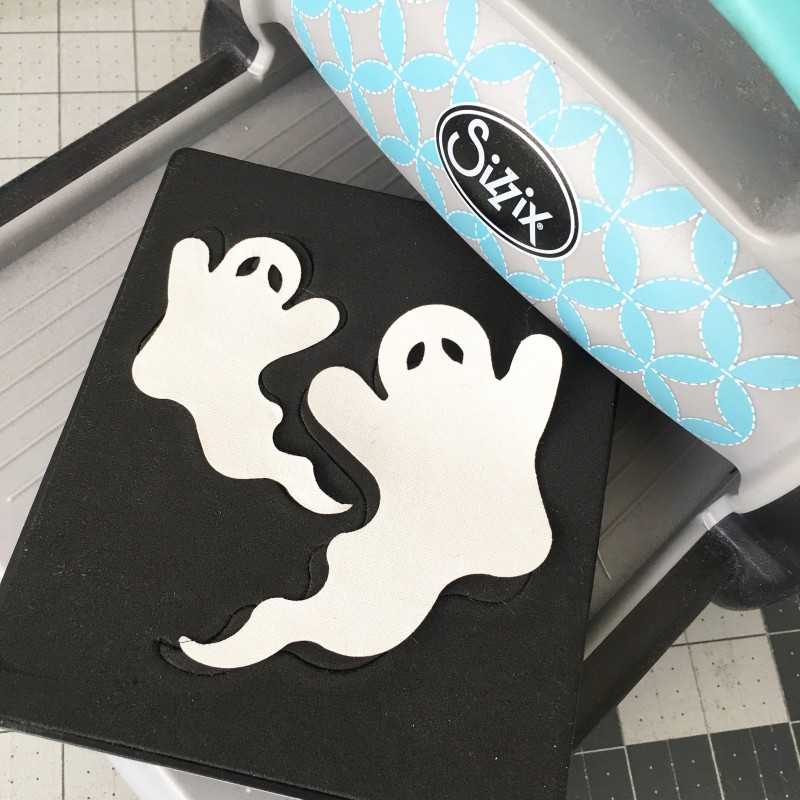
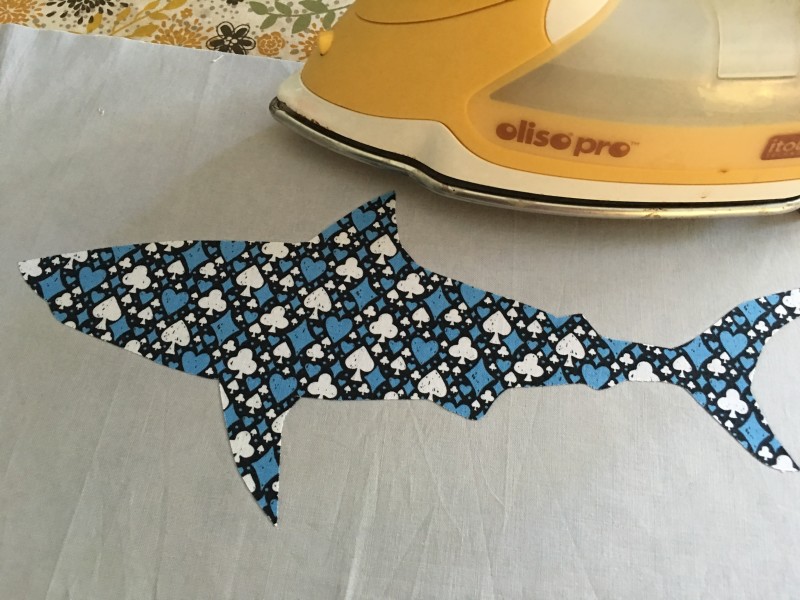
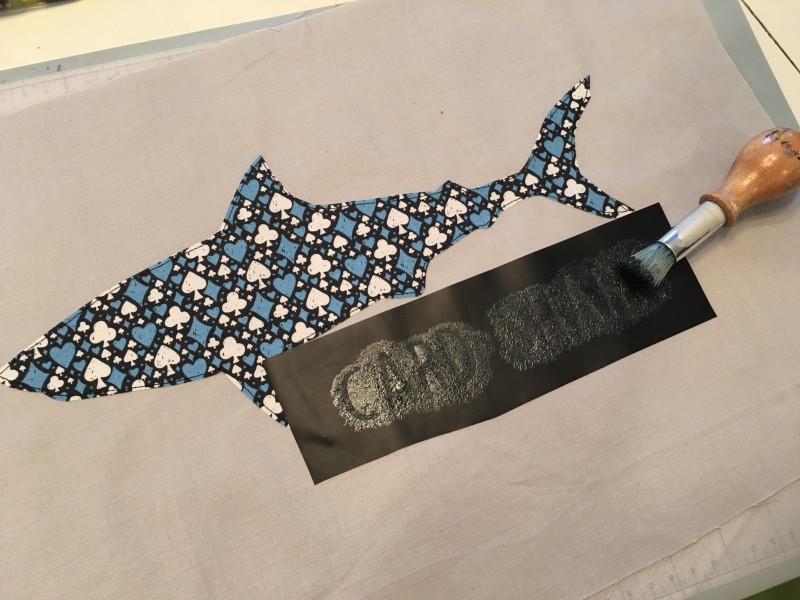
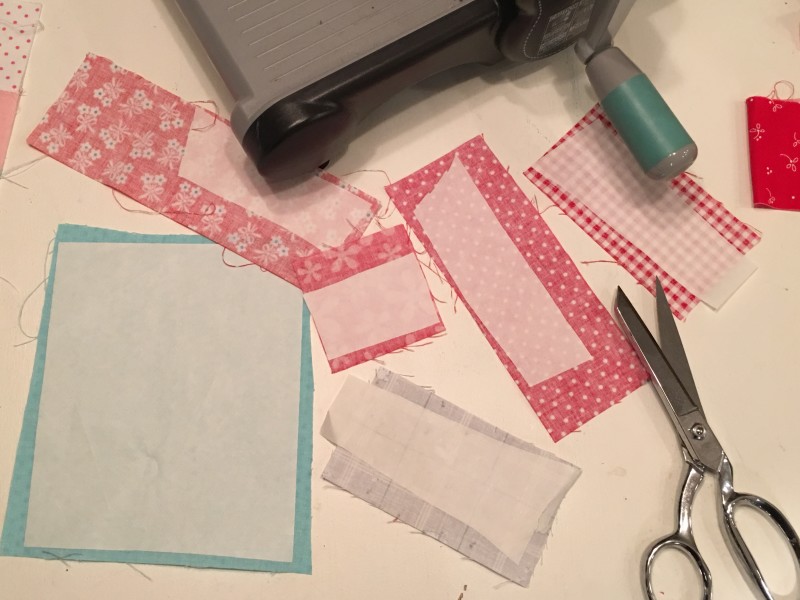
Cut out each letter, peel off the backing paper.  Position the letters like this and heat set in place:

img_5141

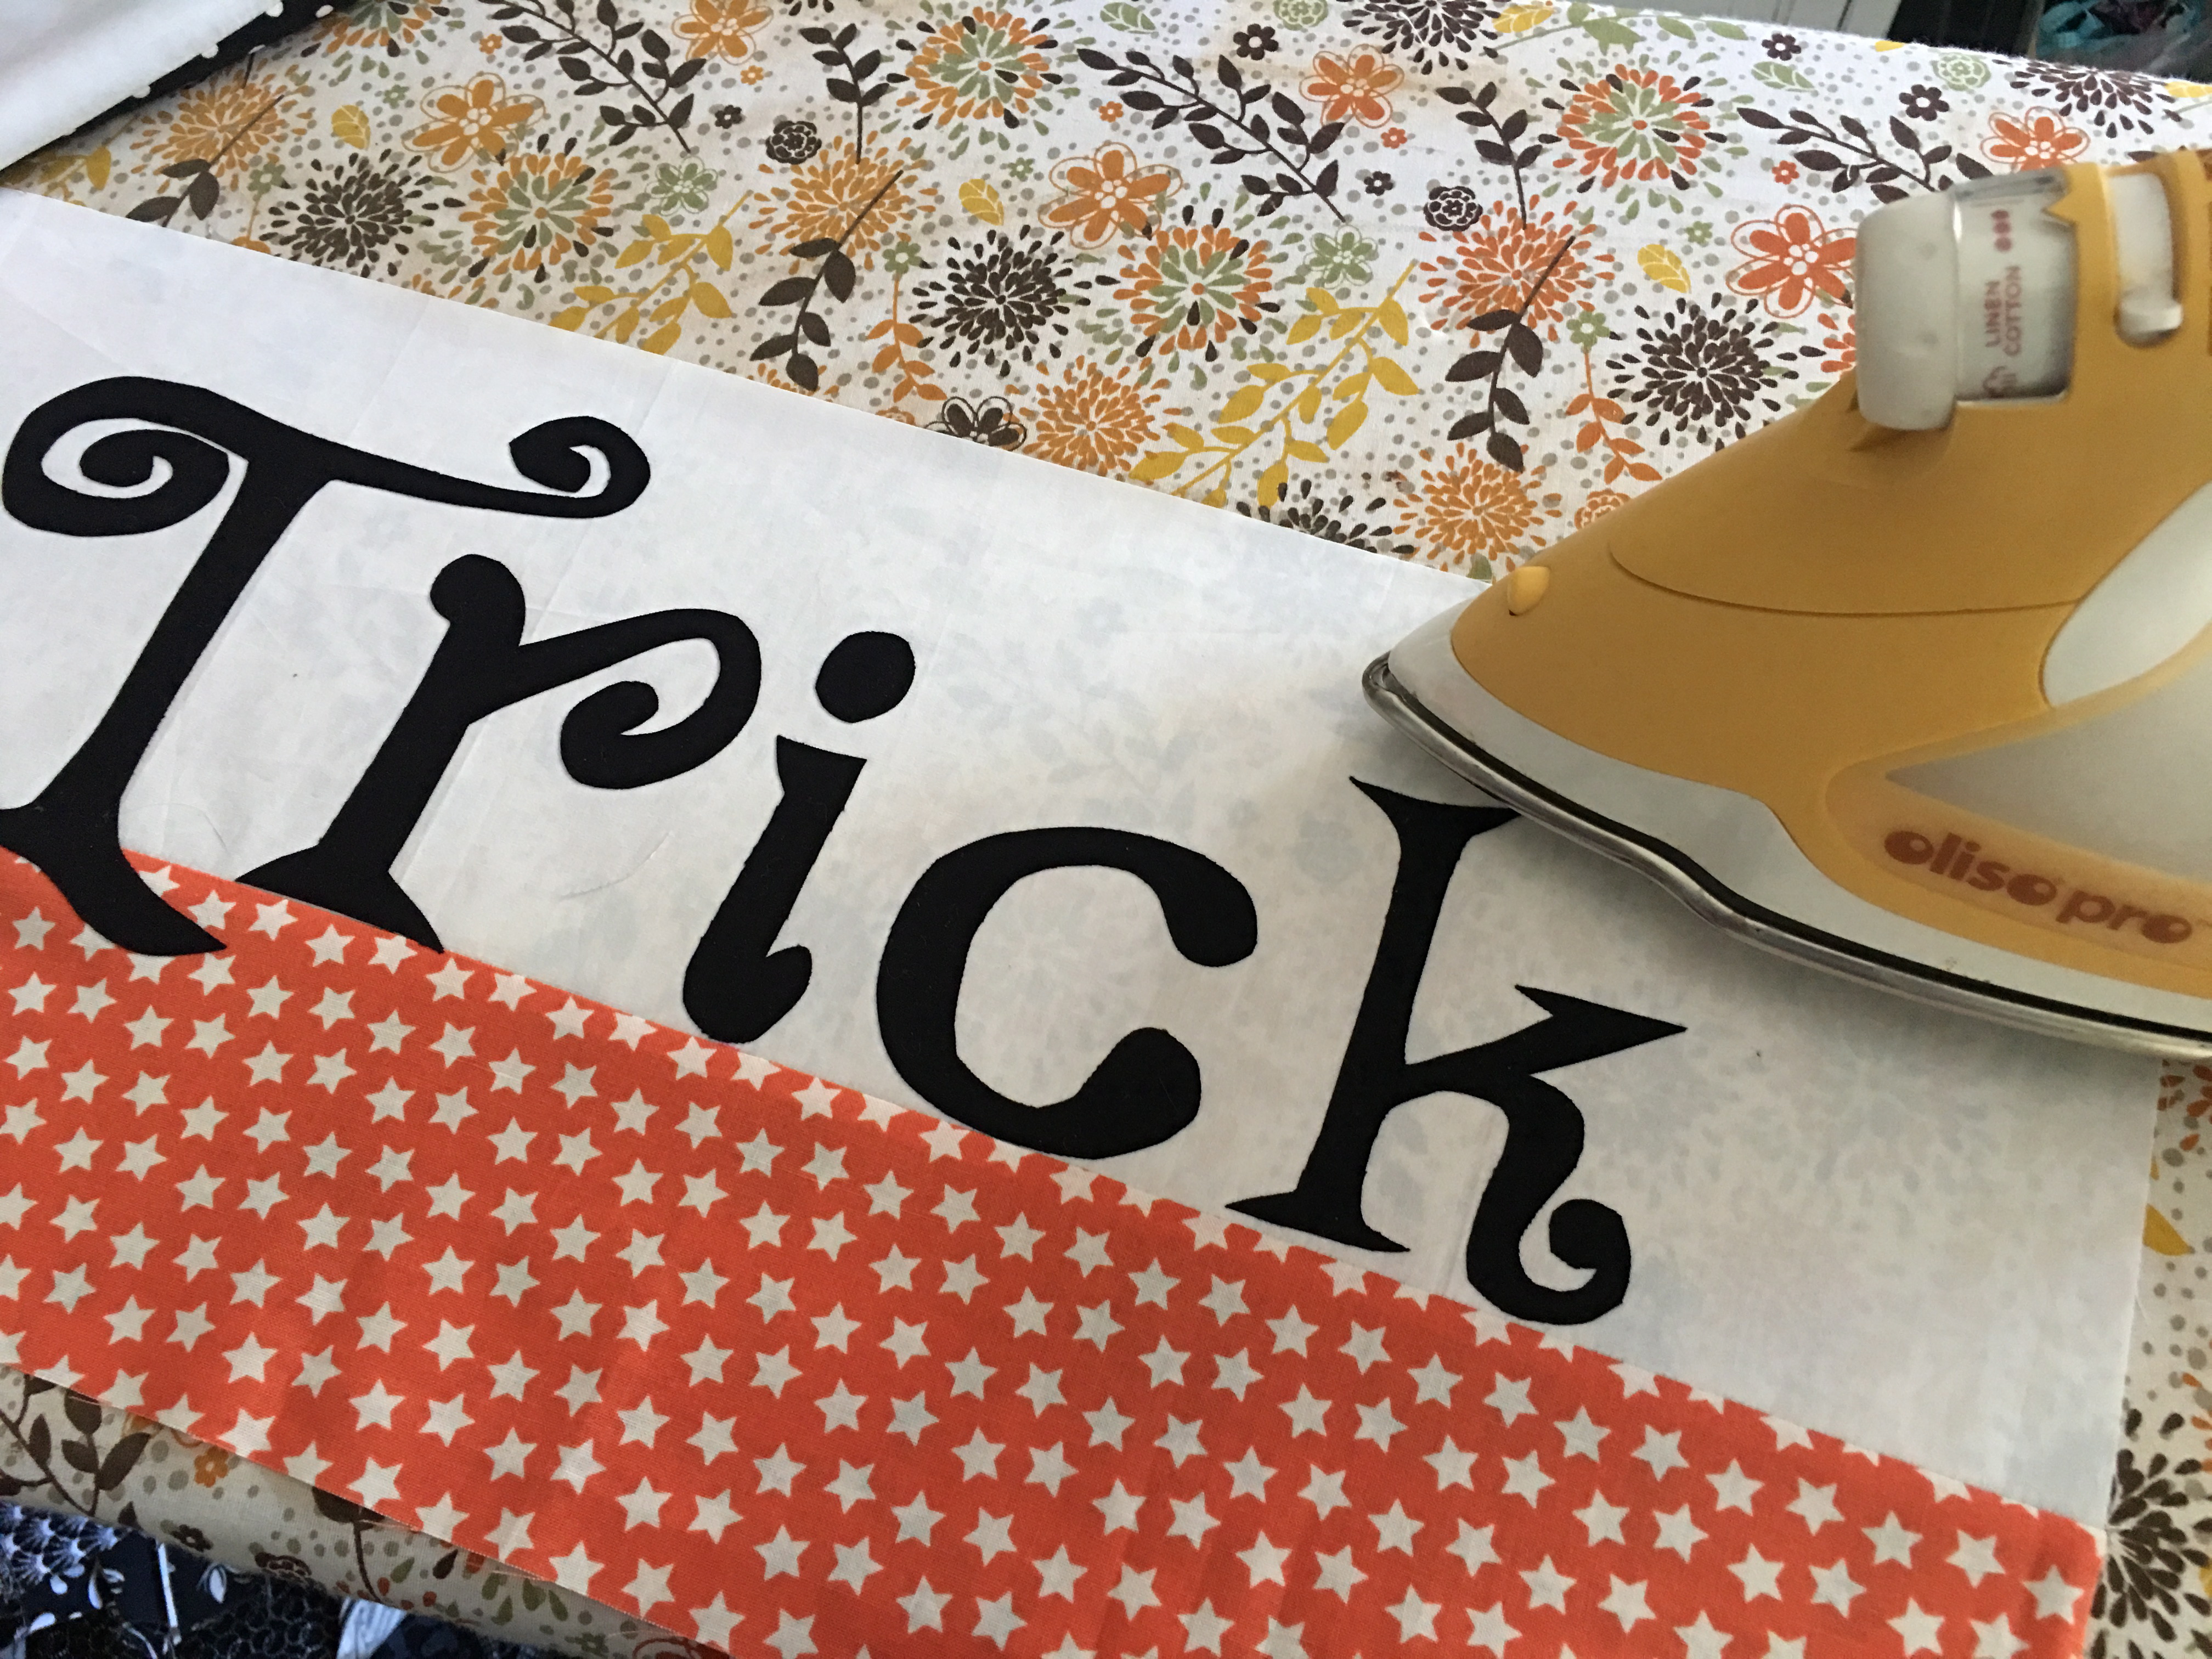
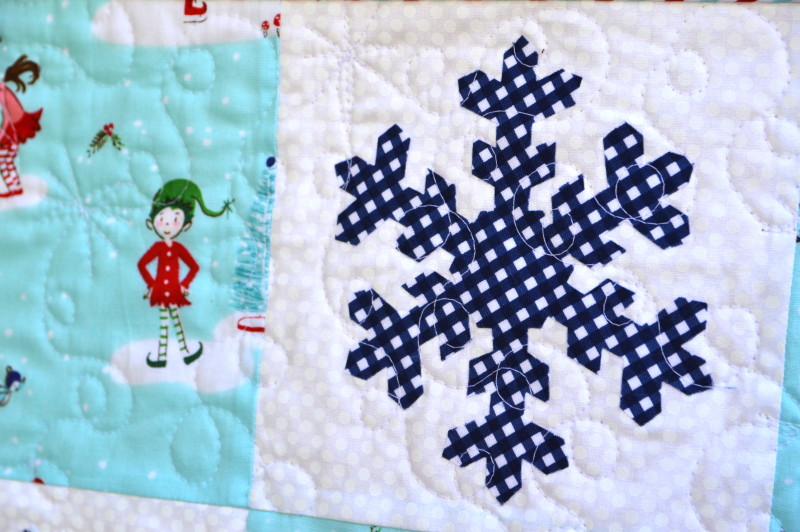
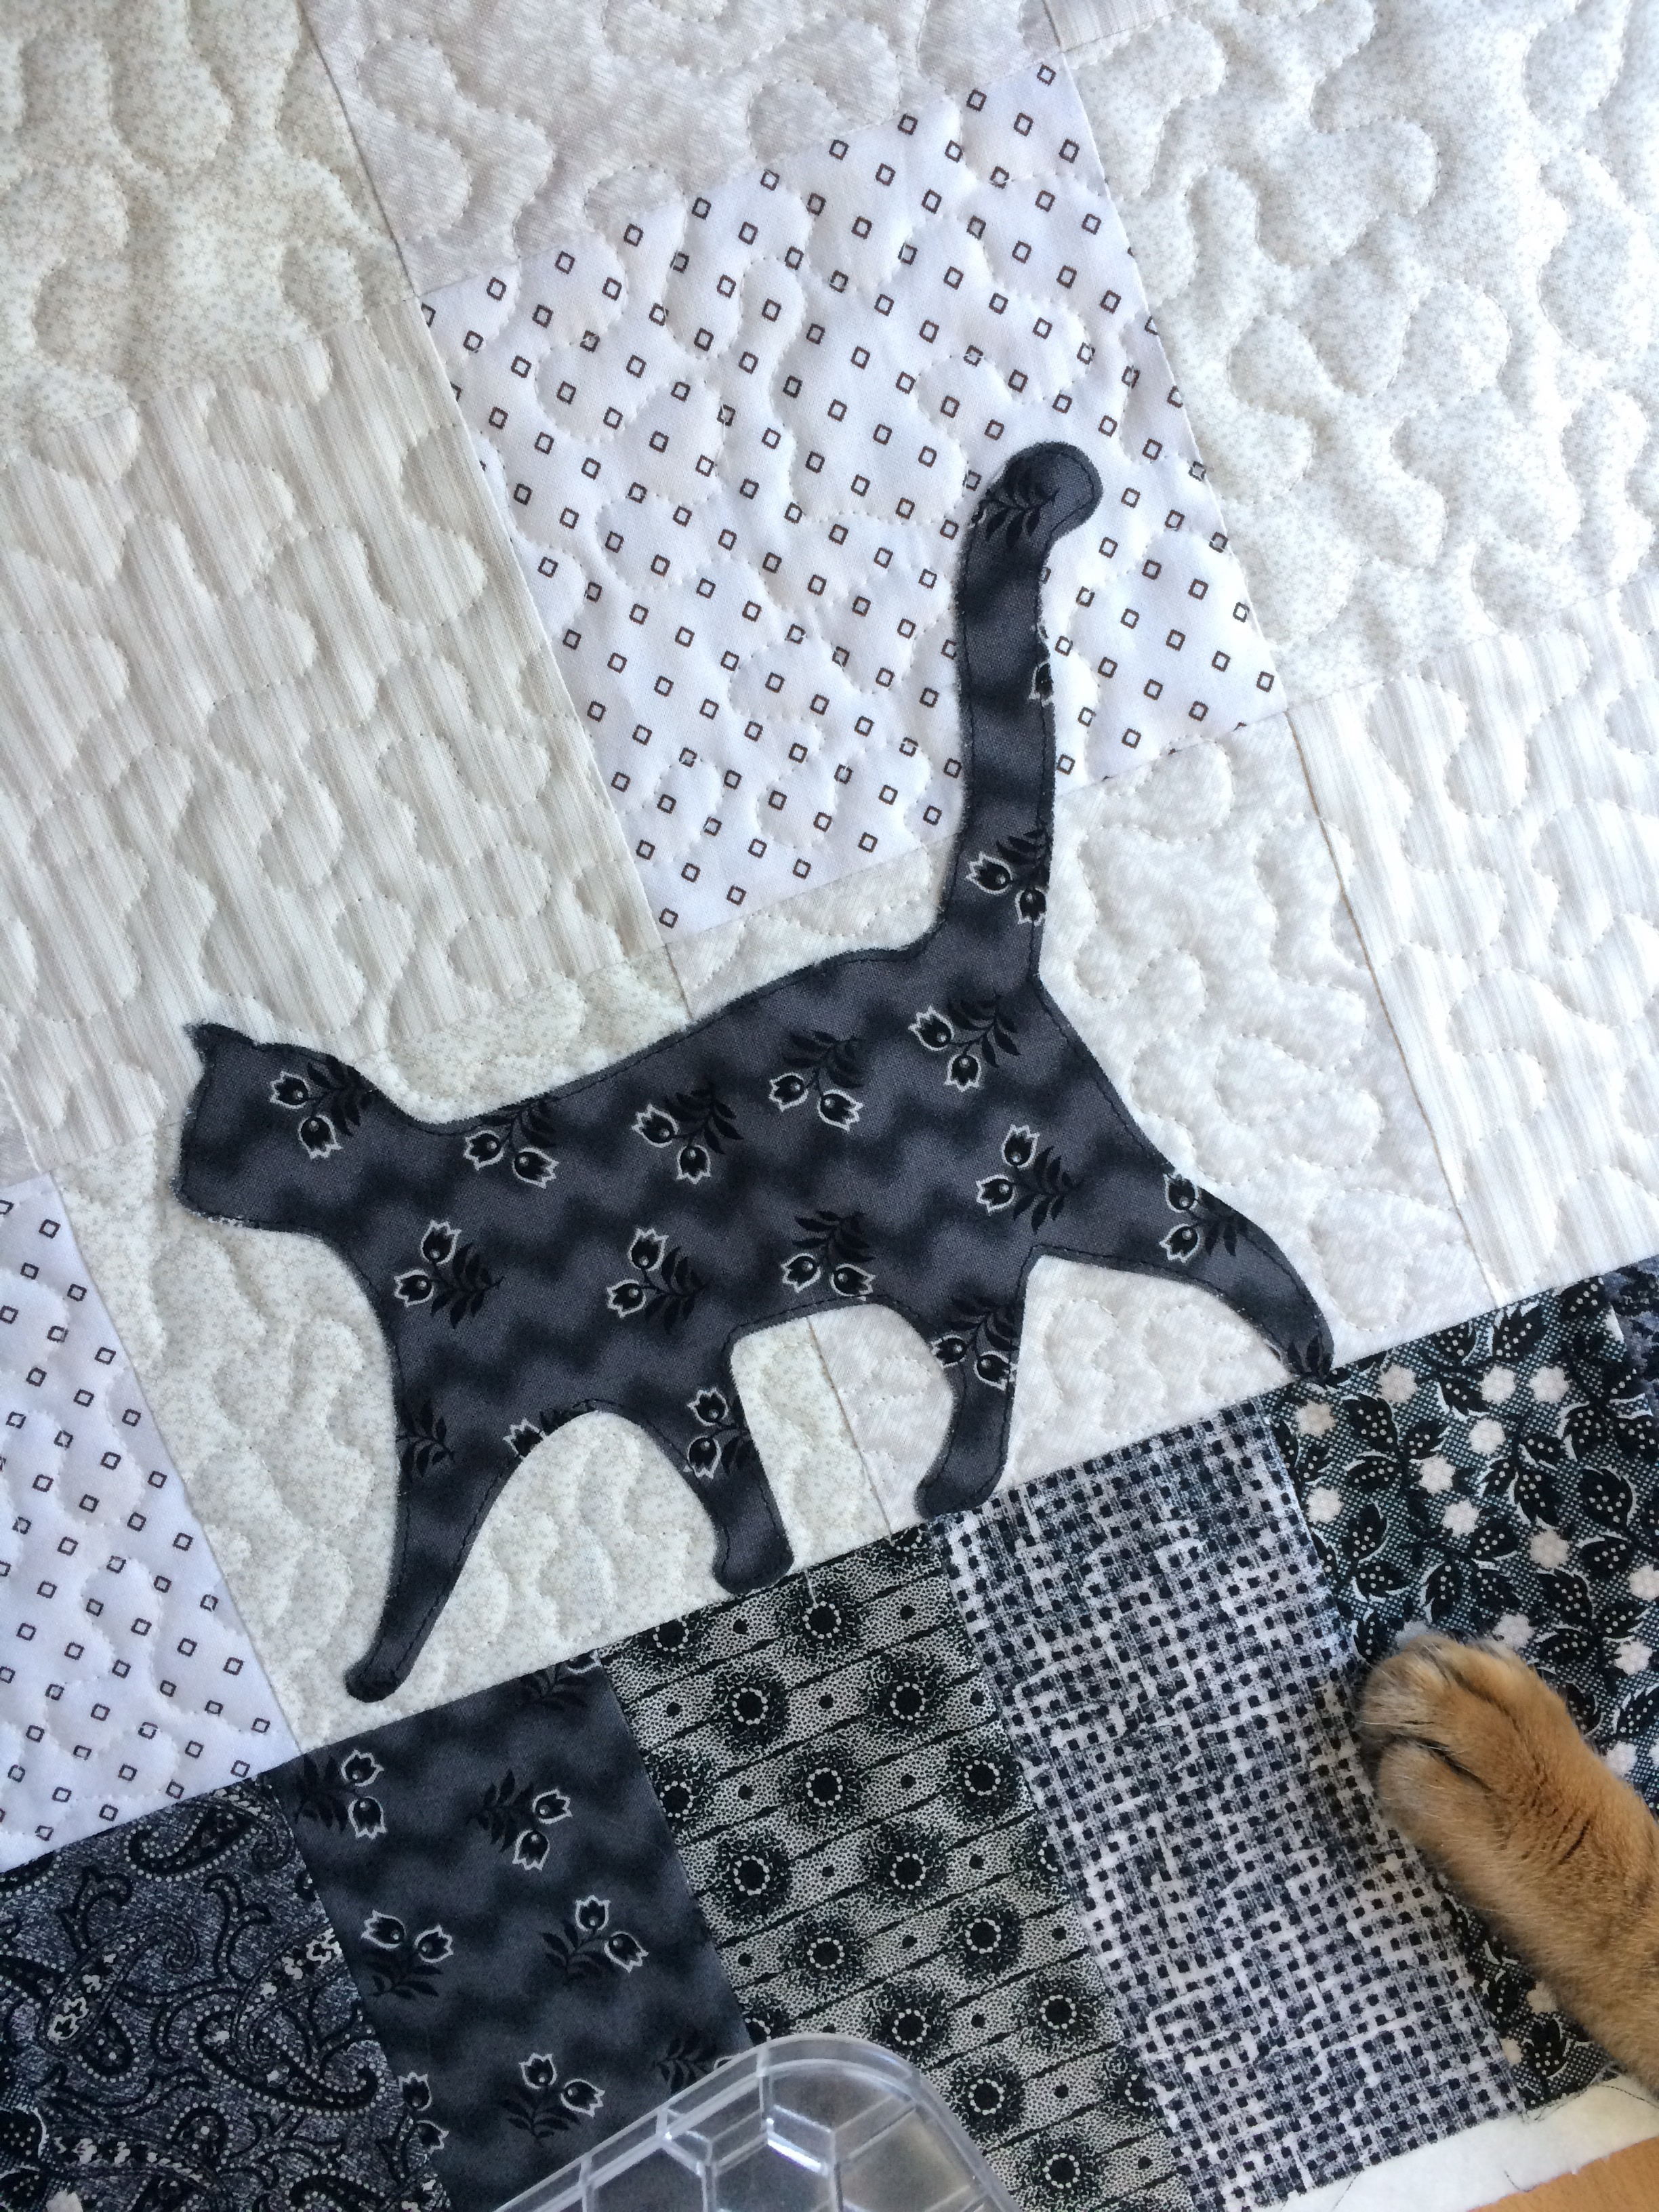
Sew around each letter in black thread. Confession: I didn’t sew around each letter – I quilted over the letters pretty good and caught most of the edges.

img_5142

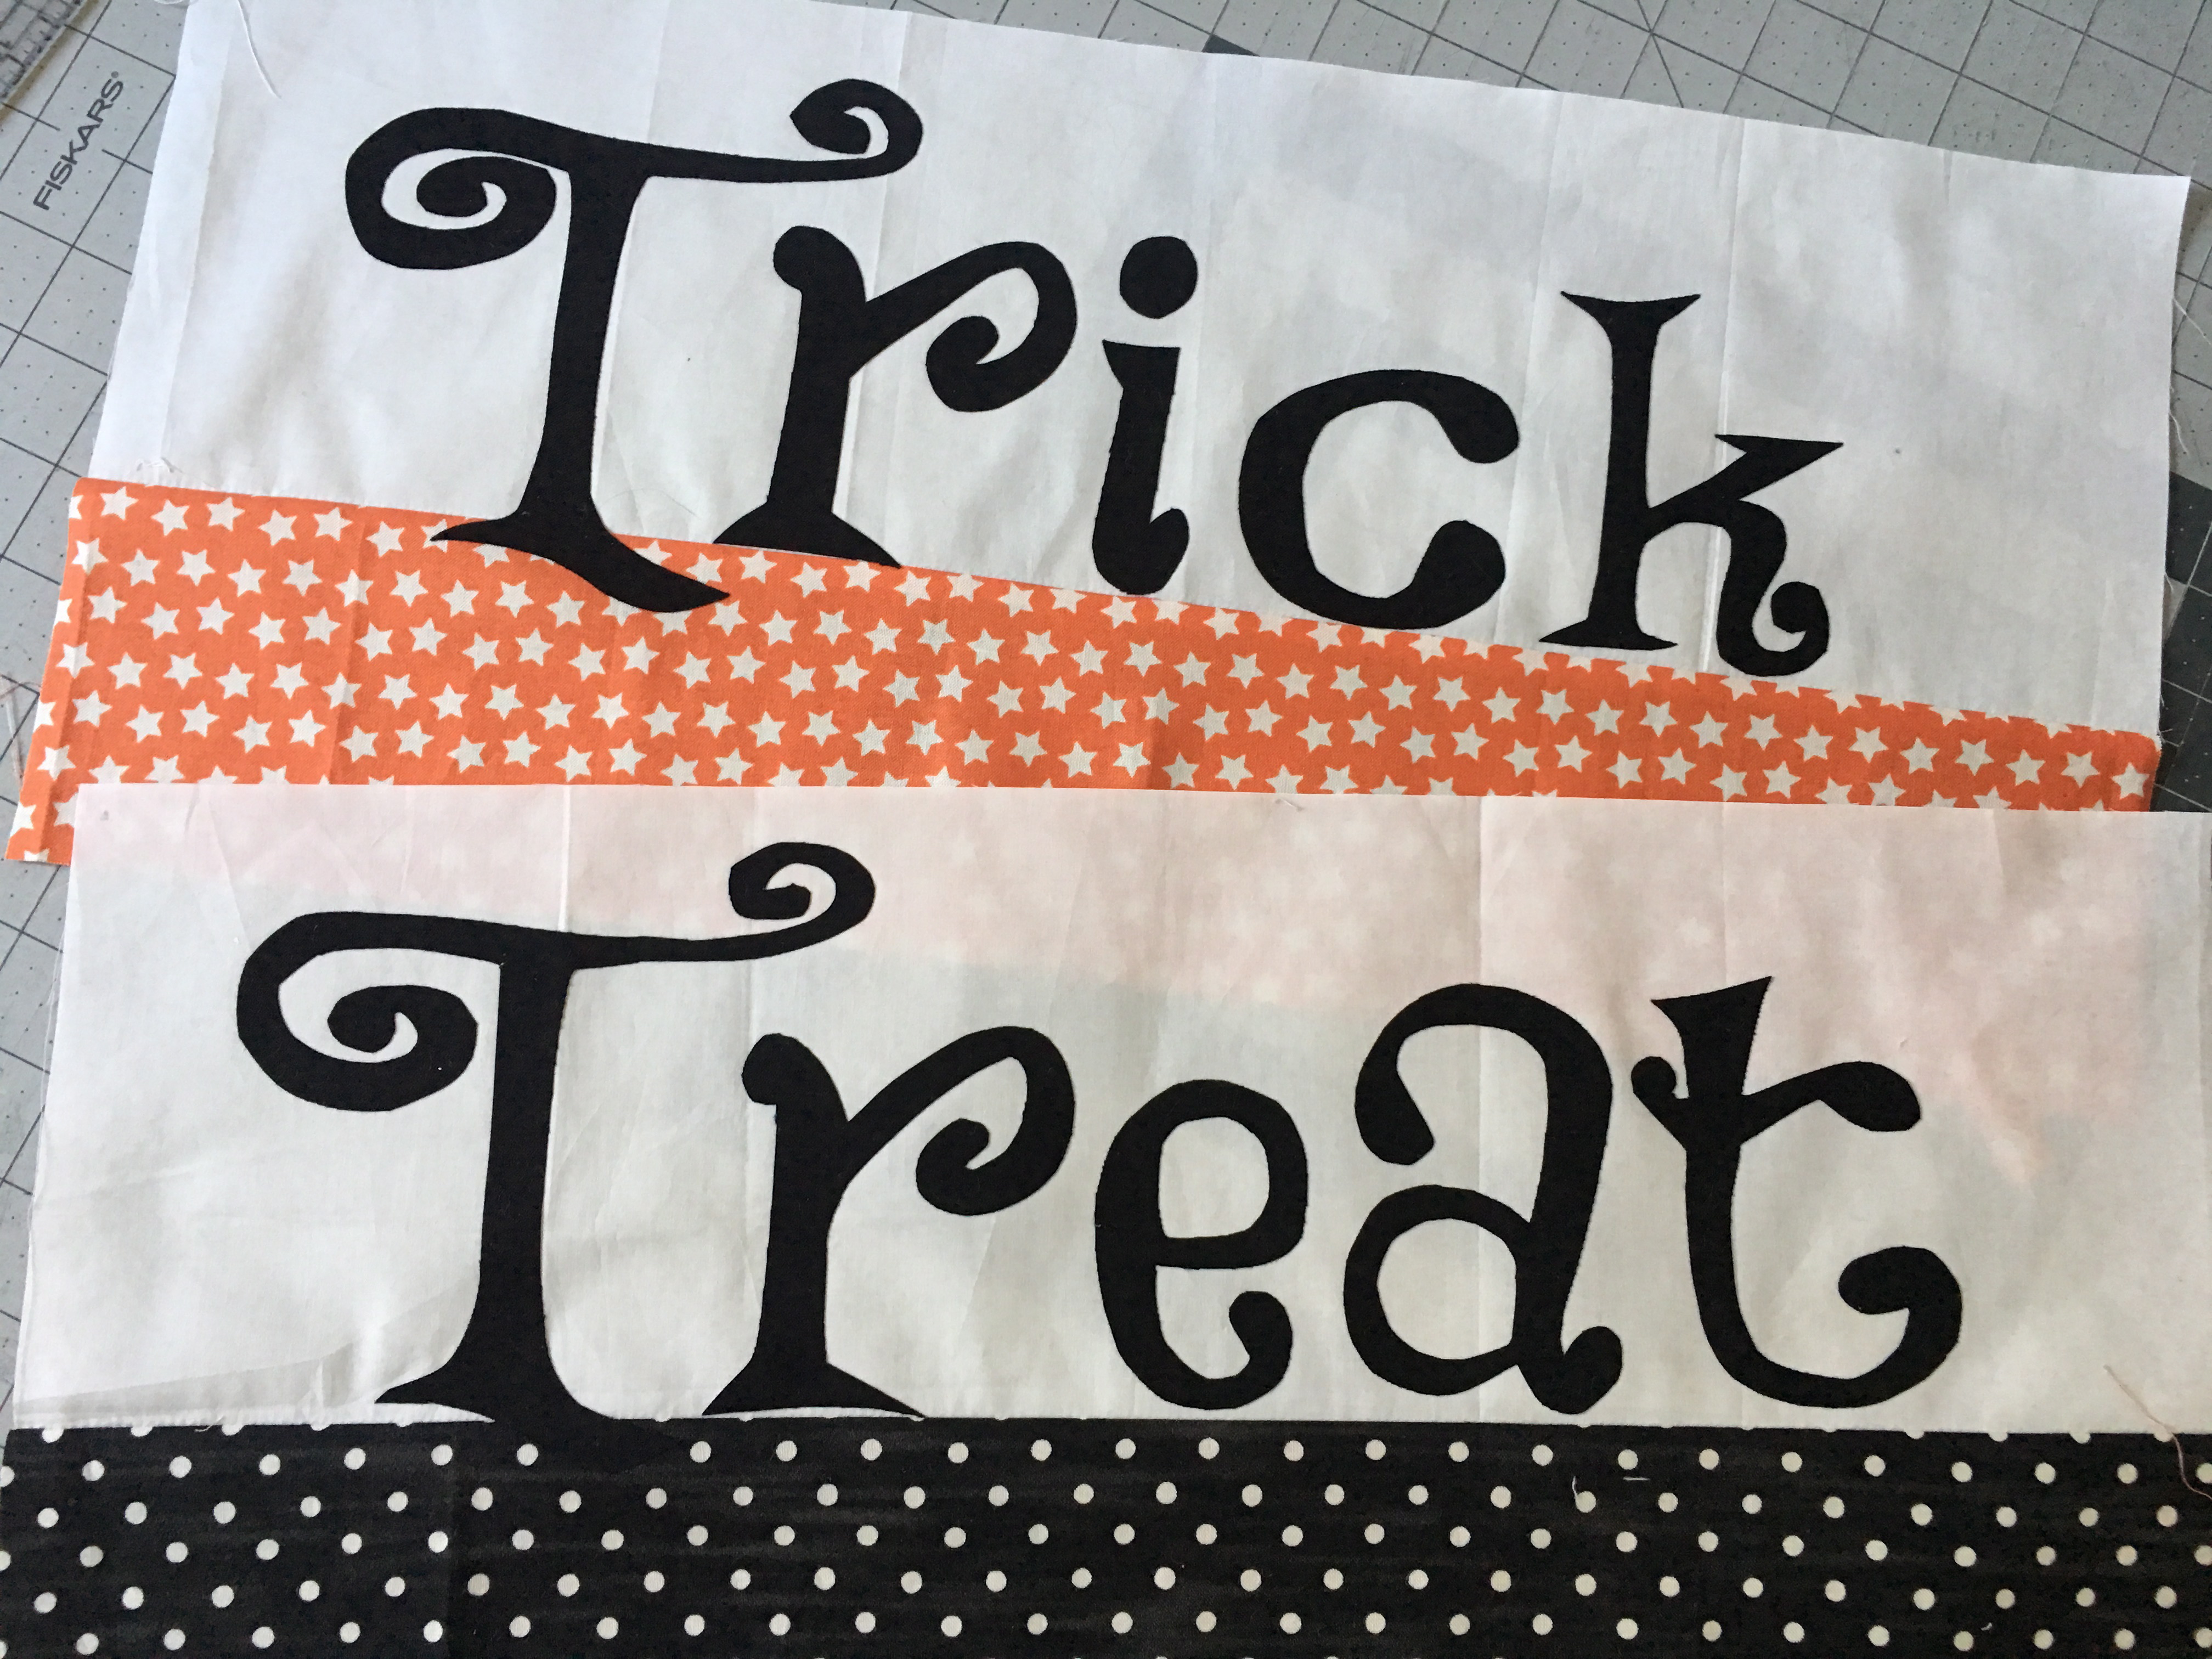
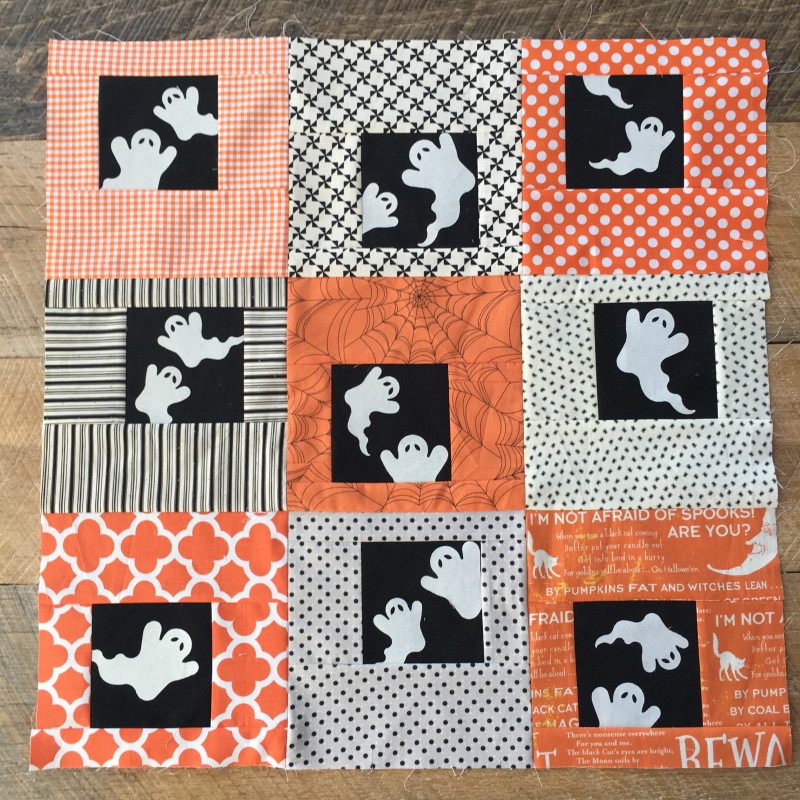
Sew the “trick” section and the “treat” section to opposite ends of the table runner.  Press all seams in one direction.

img_5143

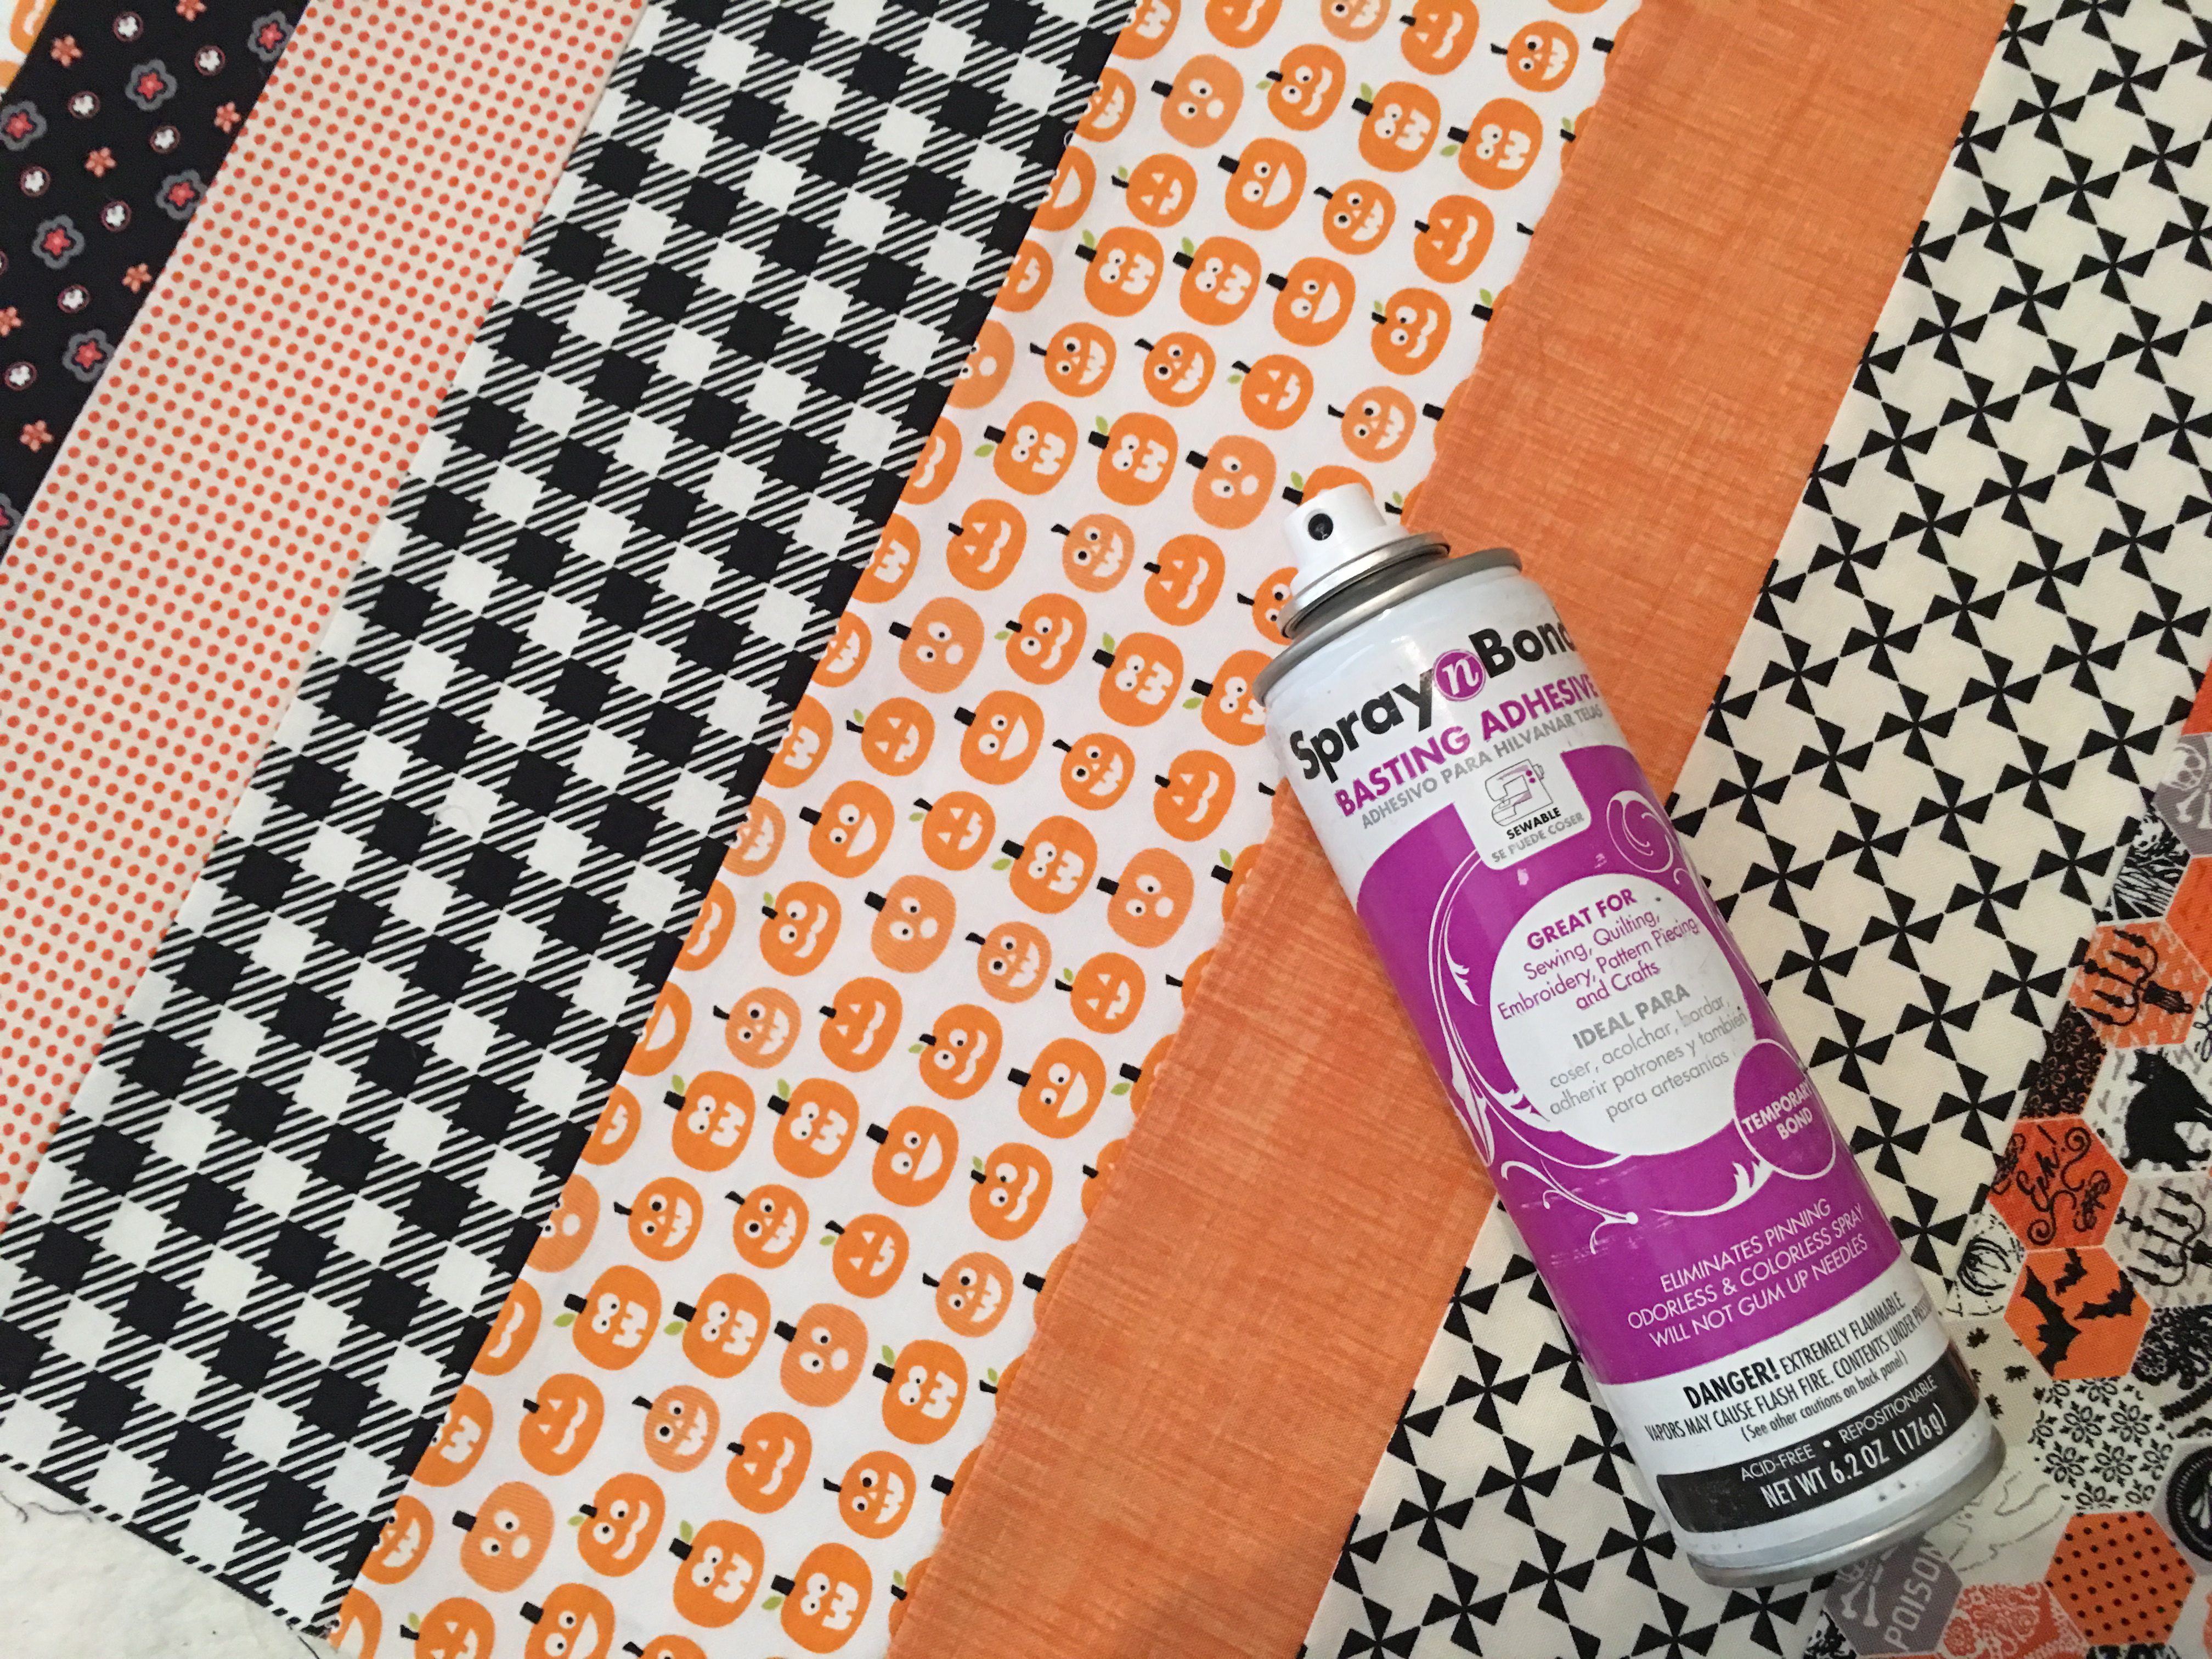
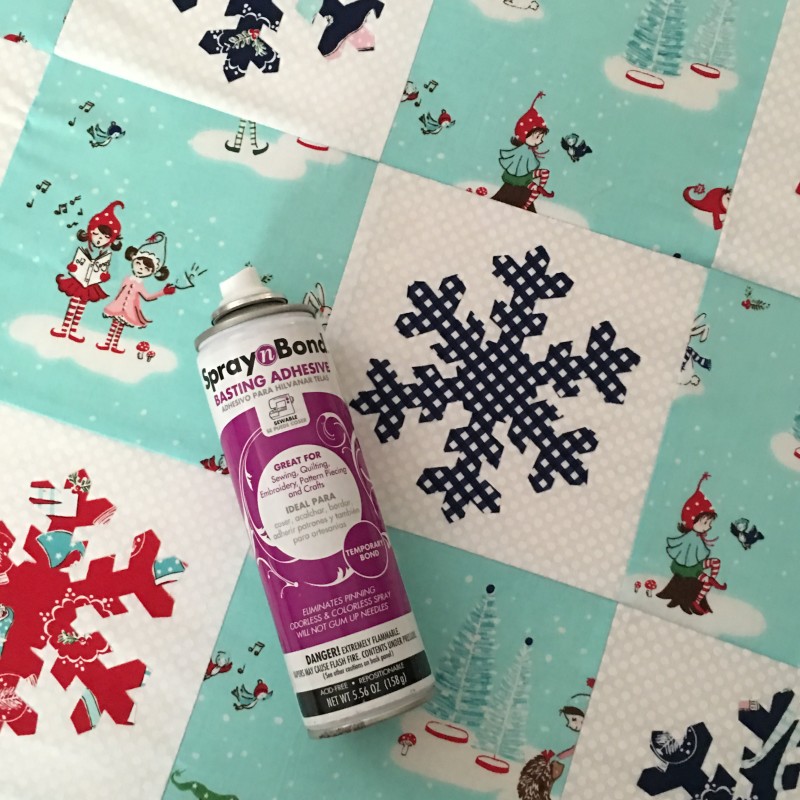
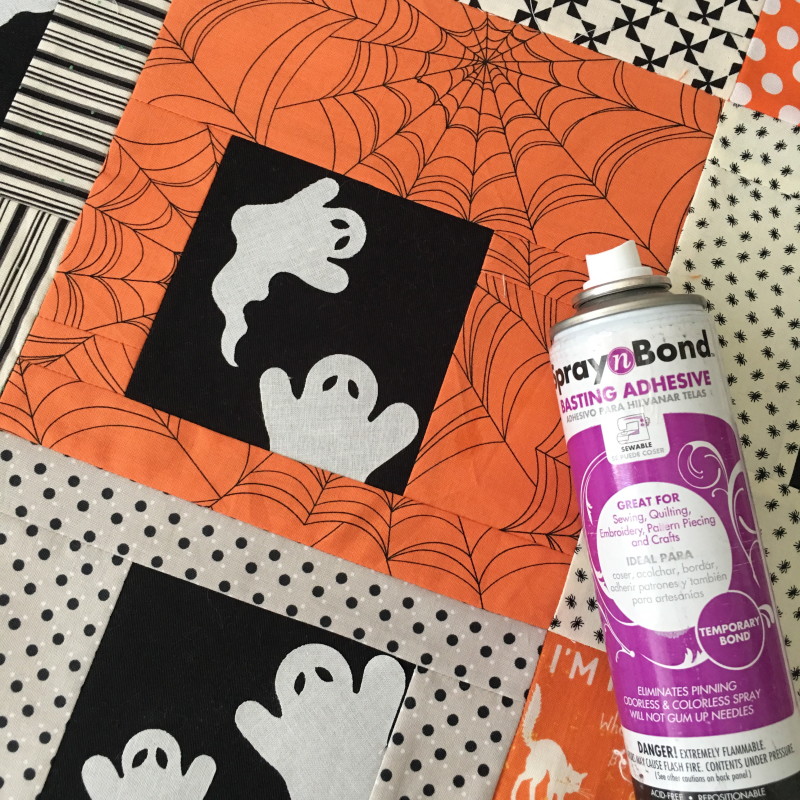
Once the runner top is complete, use Spray n Bond® Basting Spray to baste the top, batting, and back, just like you would a quilt.

img_5146

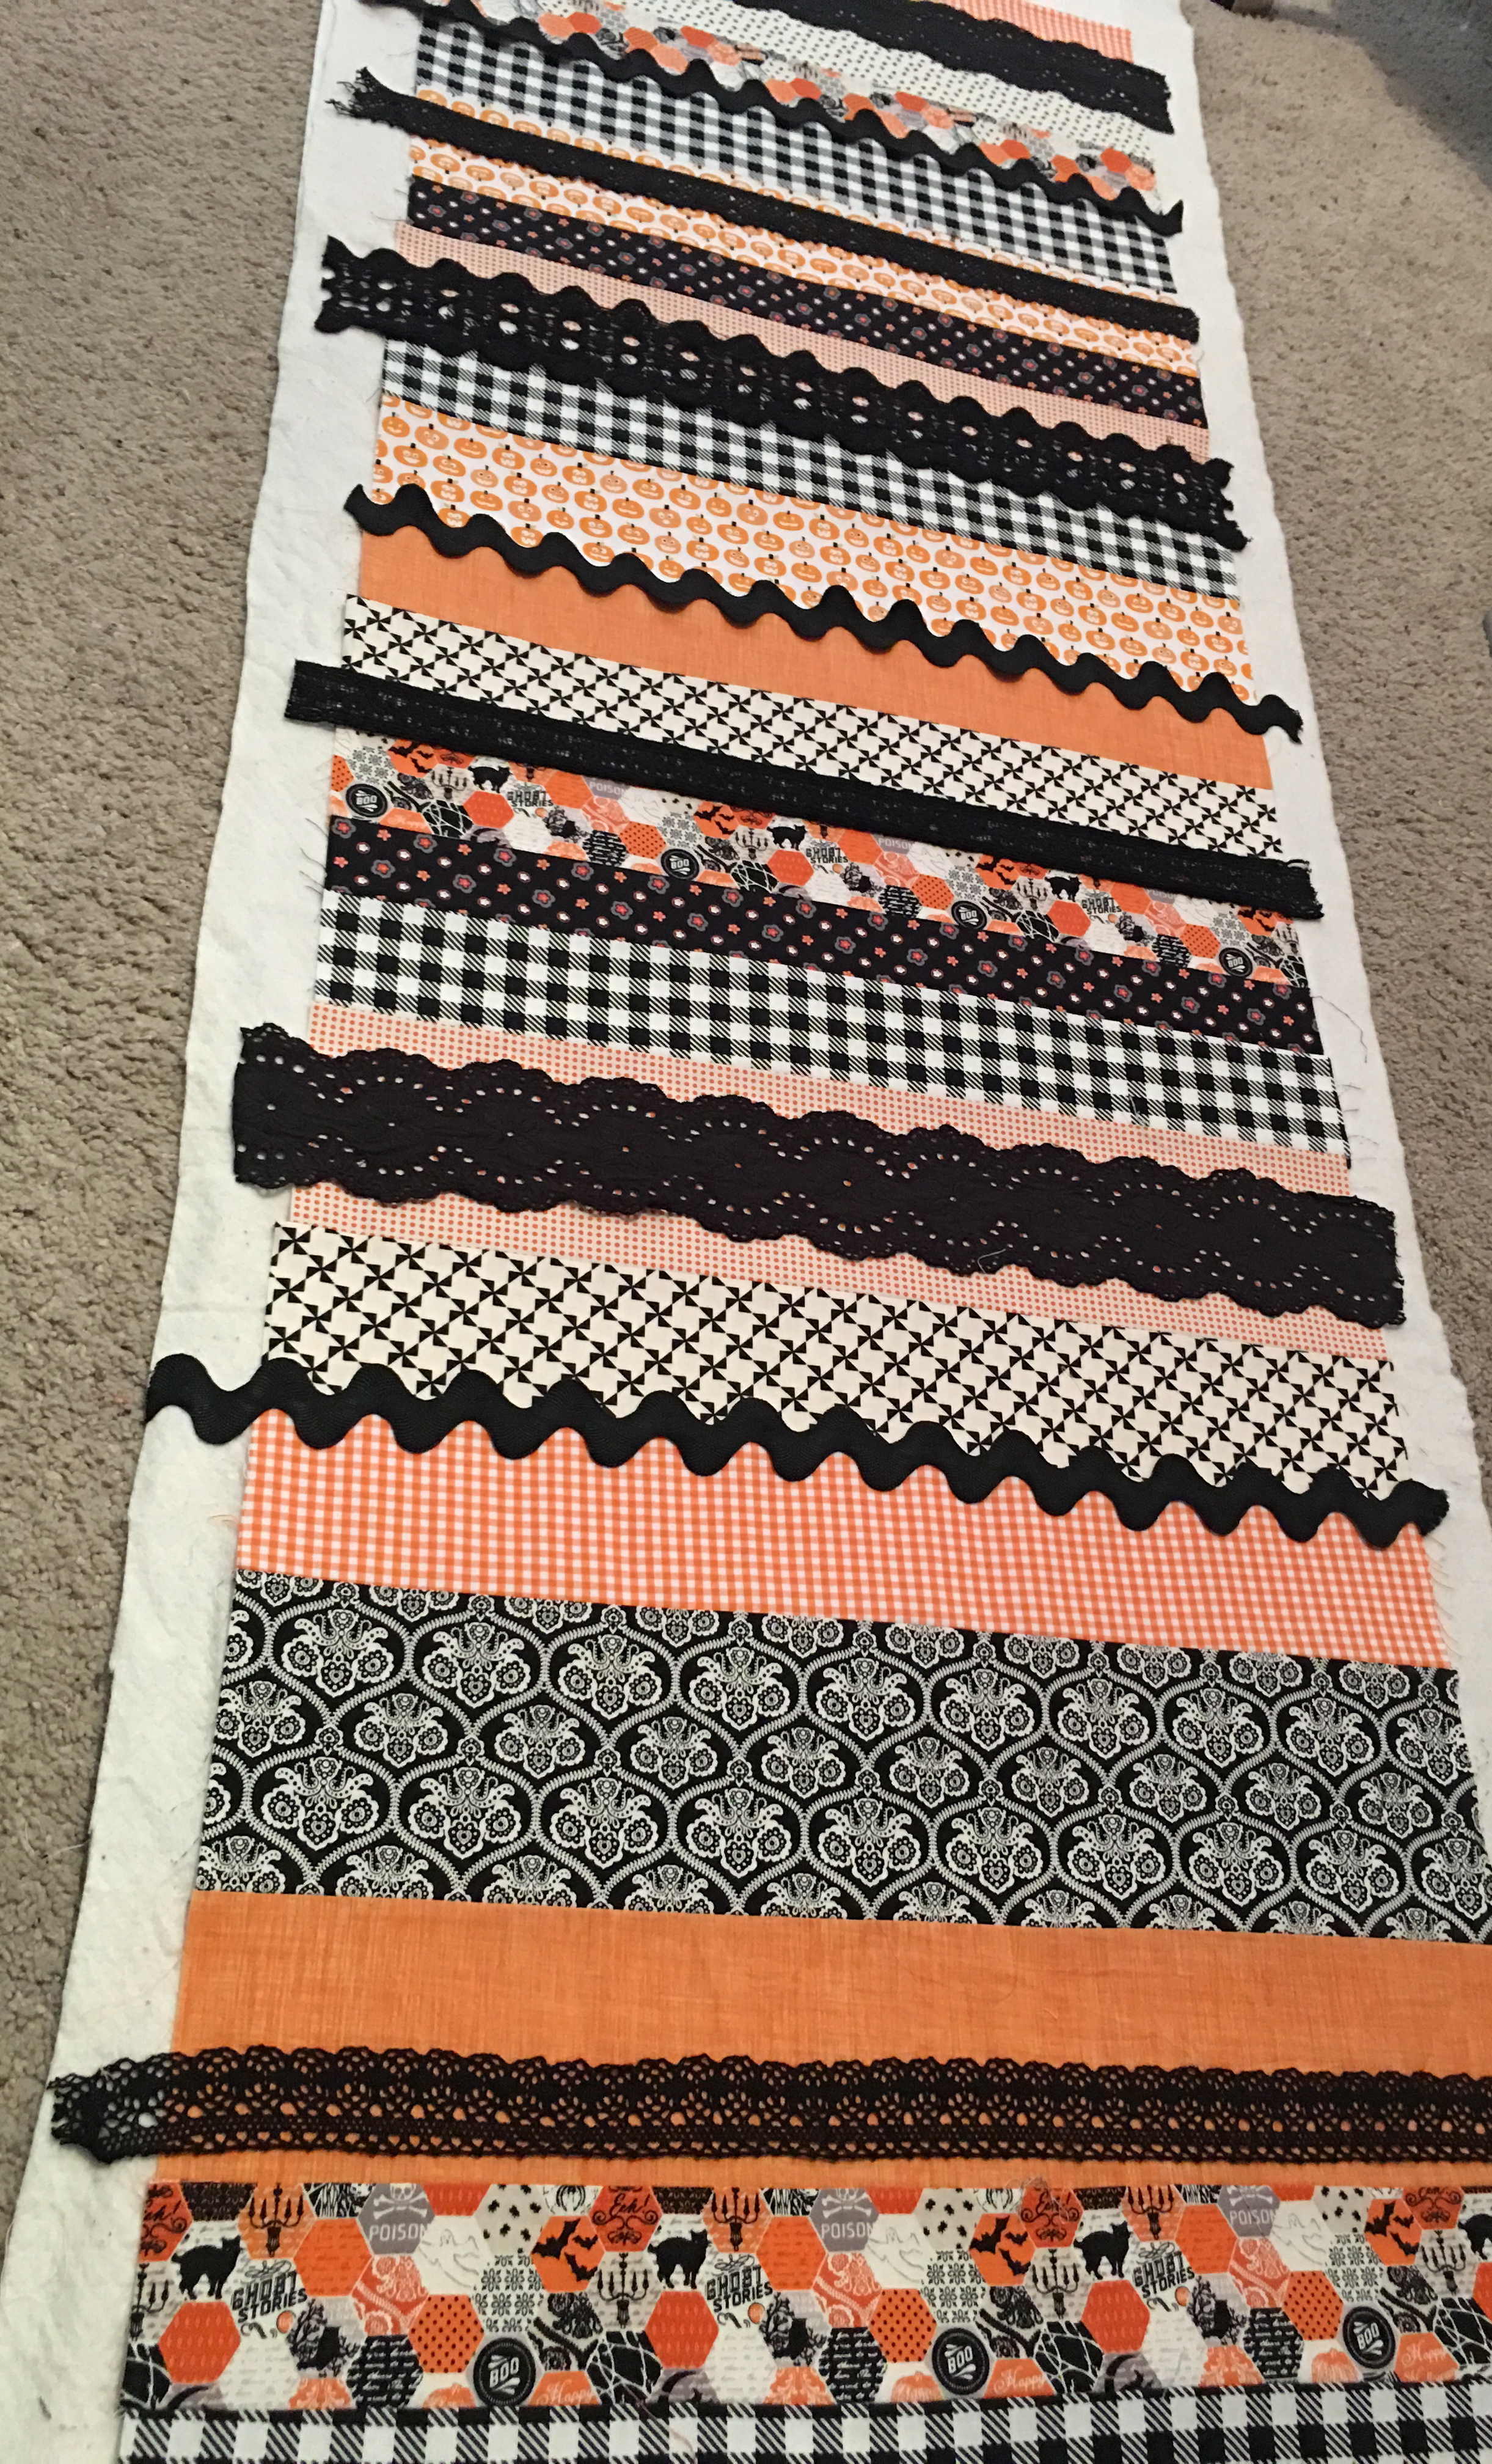
Next measure your desired trims 20″ and cut.  Position them throughout the table runner.  Some I placed over the seams and others I placed on the fabric.  I used different widths of lace and large ric rac.

img_5145

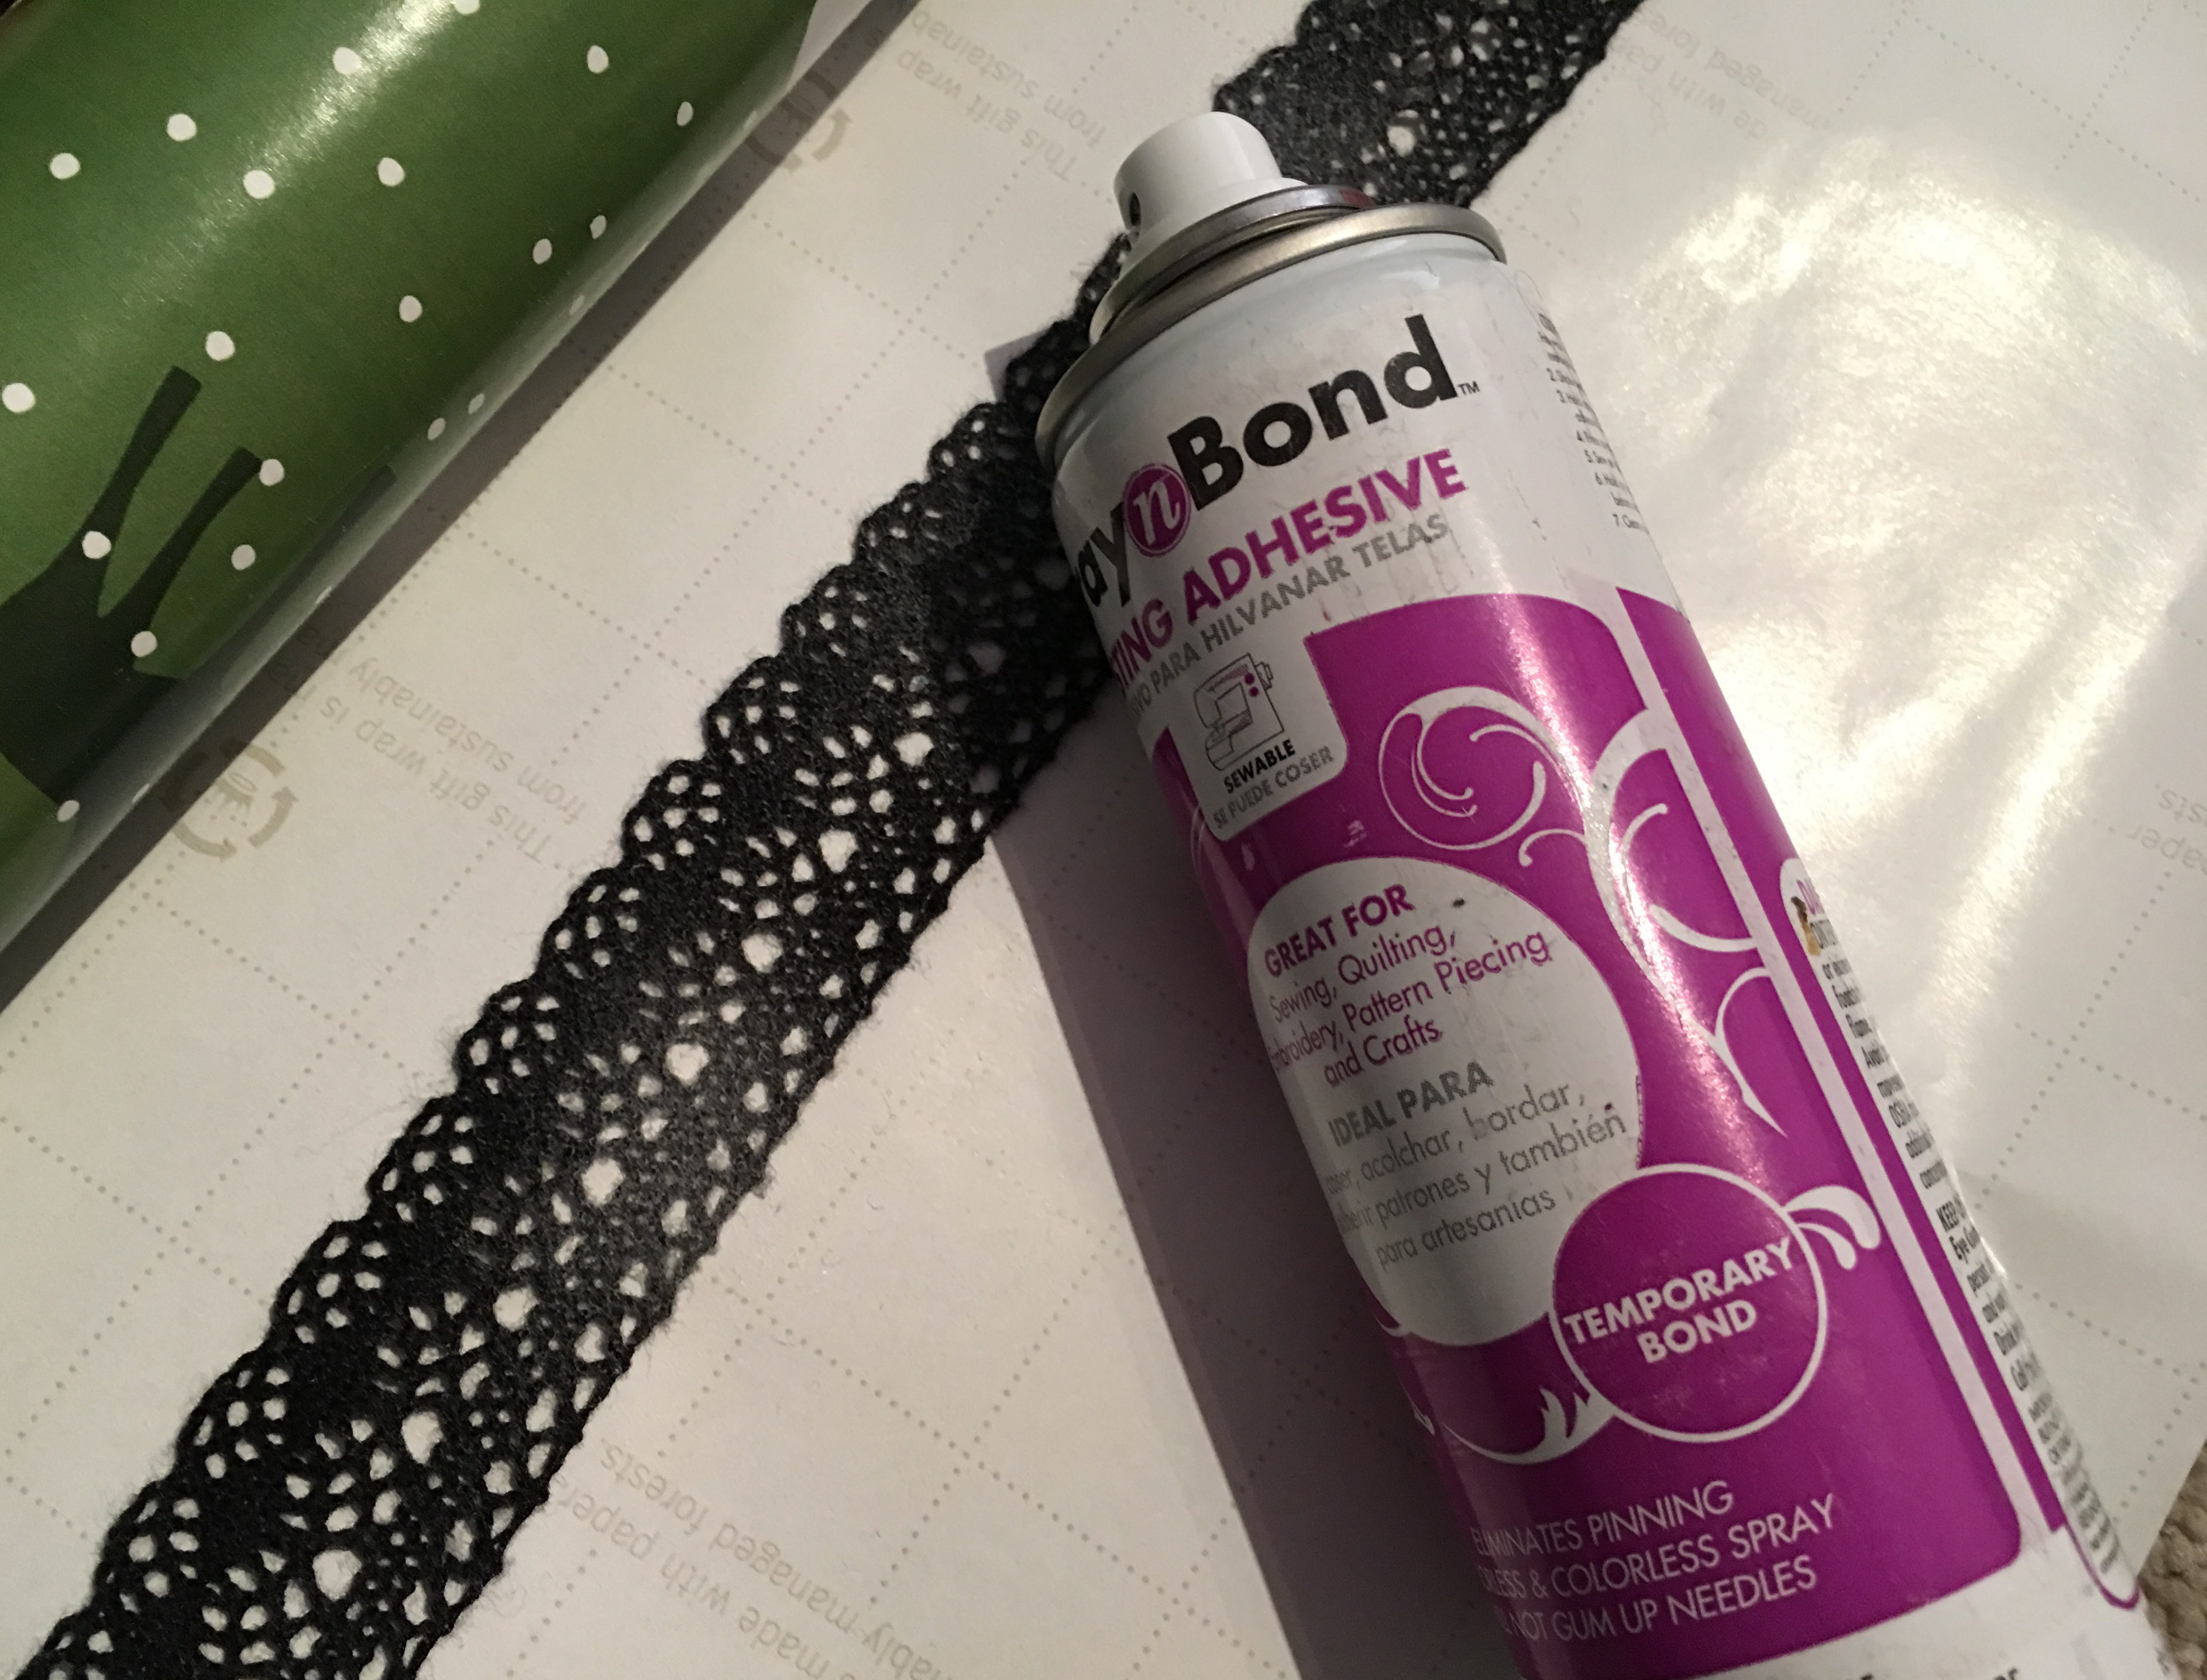
Once you have the trim how you like it, use the Spray n Bond® and spray the back of each piece of trim and re-position it.  This will hold it in place while you sew.

Tip: I like to use old wrapping paper to spray my lace on.  You need something behind the lace or the spray will go through onto your work surface.  The wrapping paper works great because it it large and then easy to throw away!

img_5150

Once the trim is in place, use a walking foot and sew with black thread along the edges of the trim to secure.

img_5183

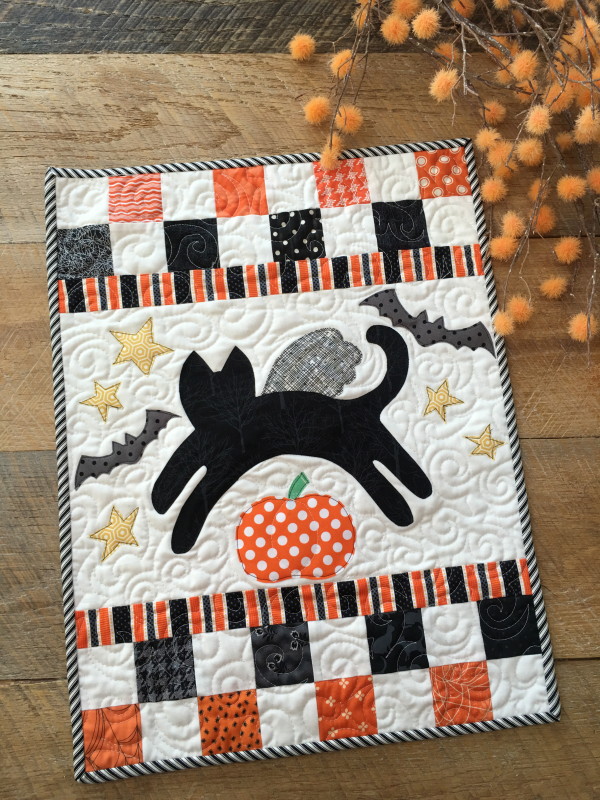
I switched to cream thread and quilted random wavy lines throughout the quilt, even over the letters.  Square up the runner after you’ve quilted it to get it nice and even.

img_5188

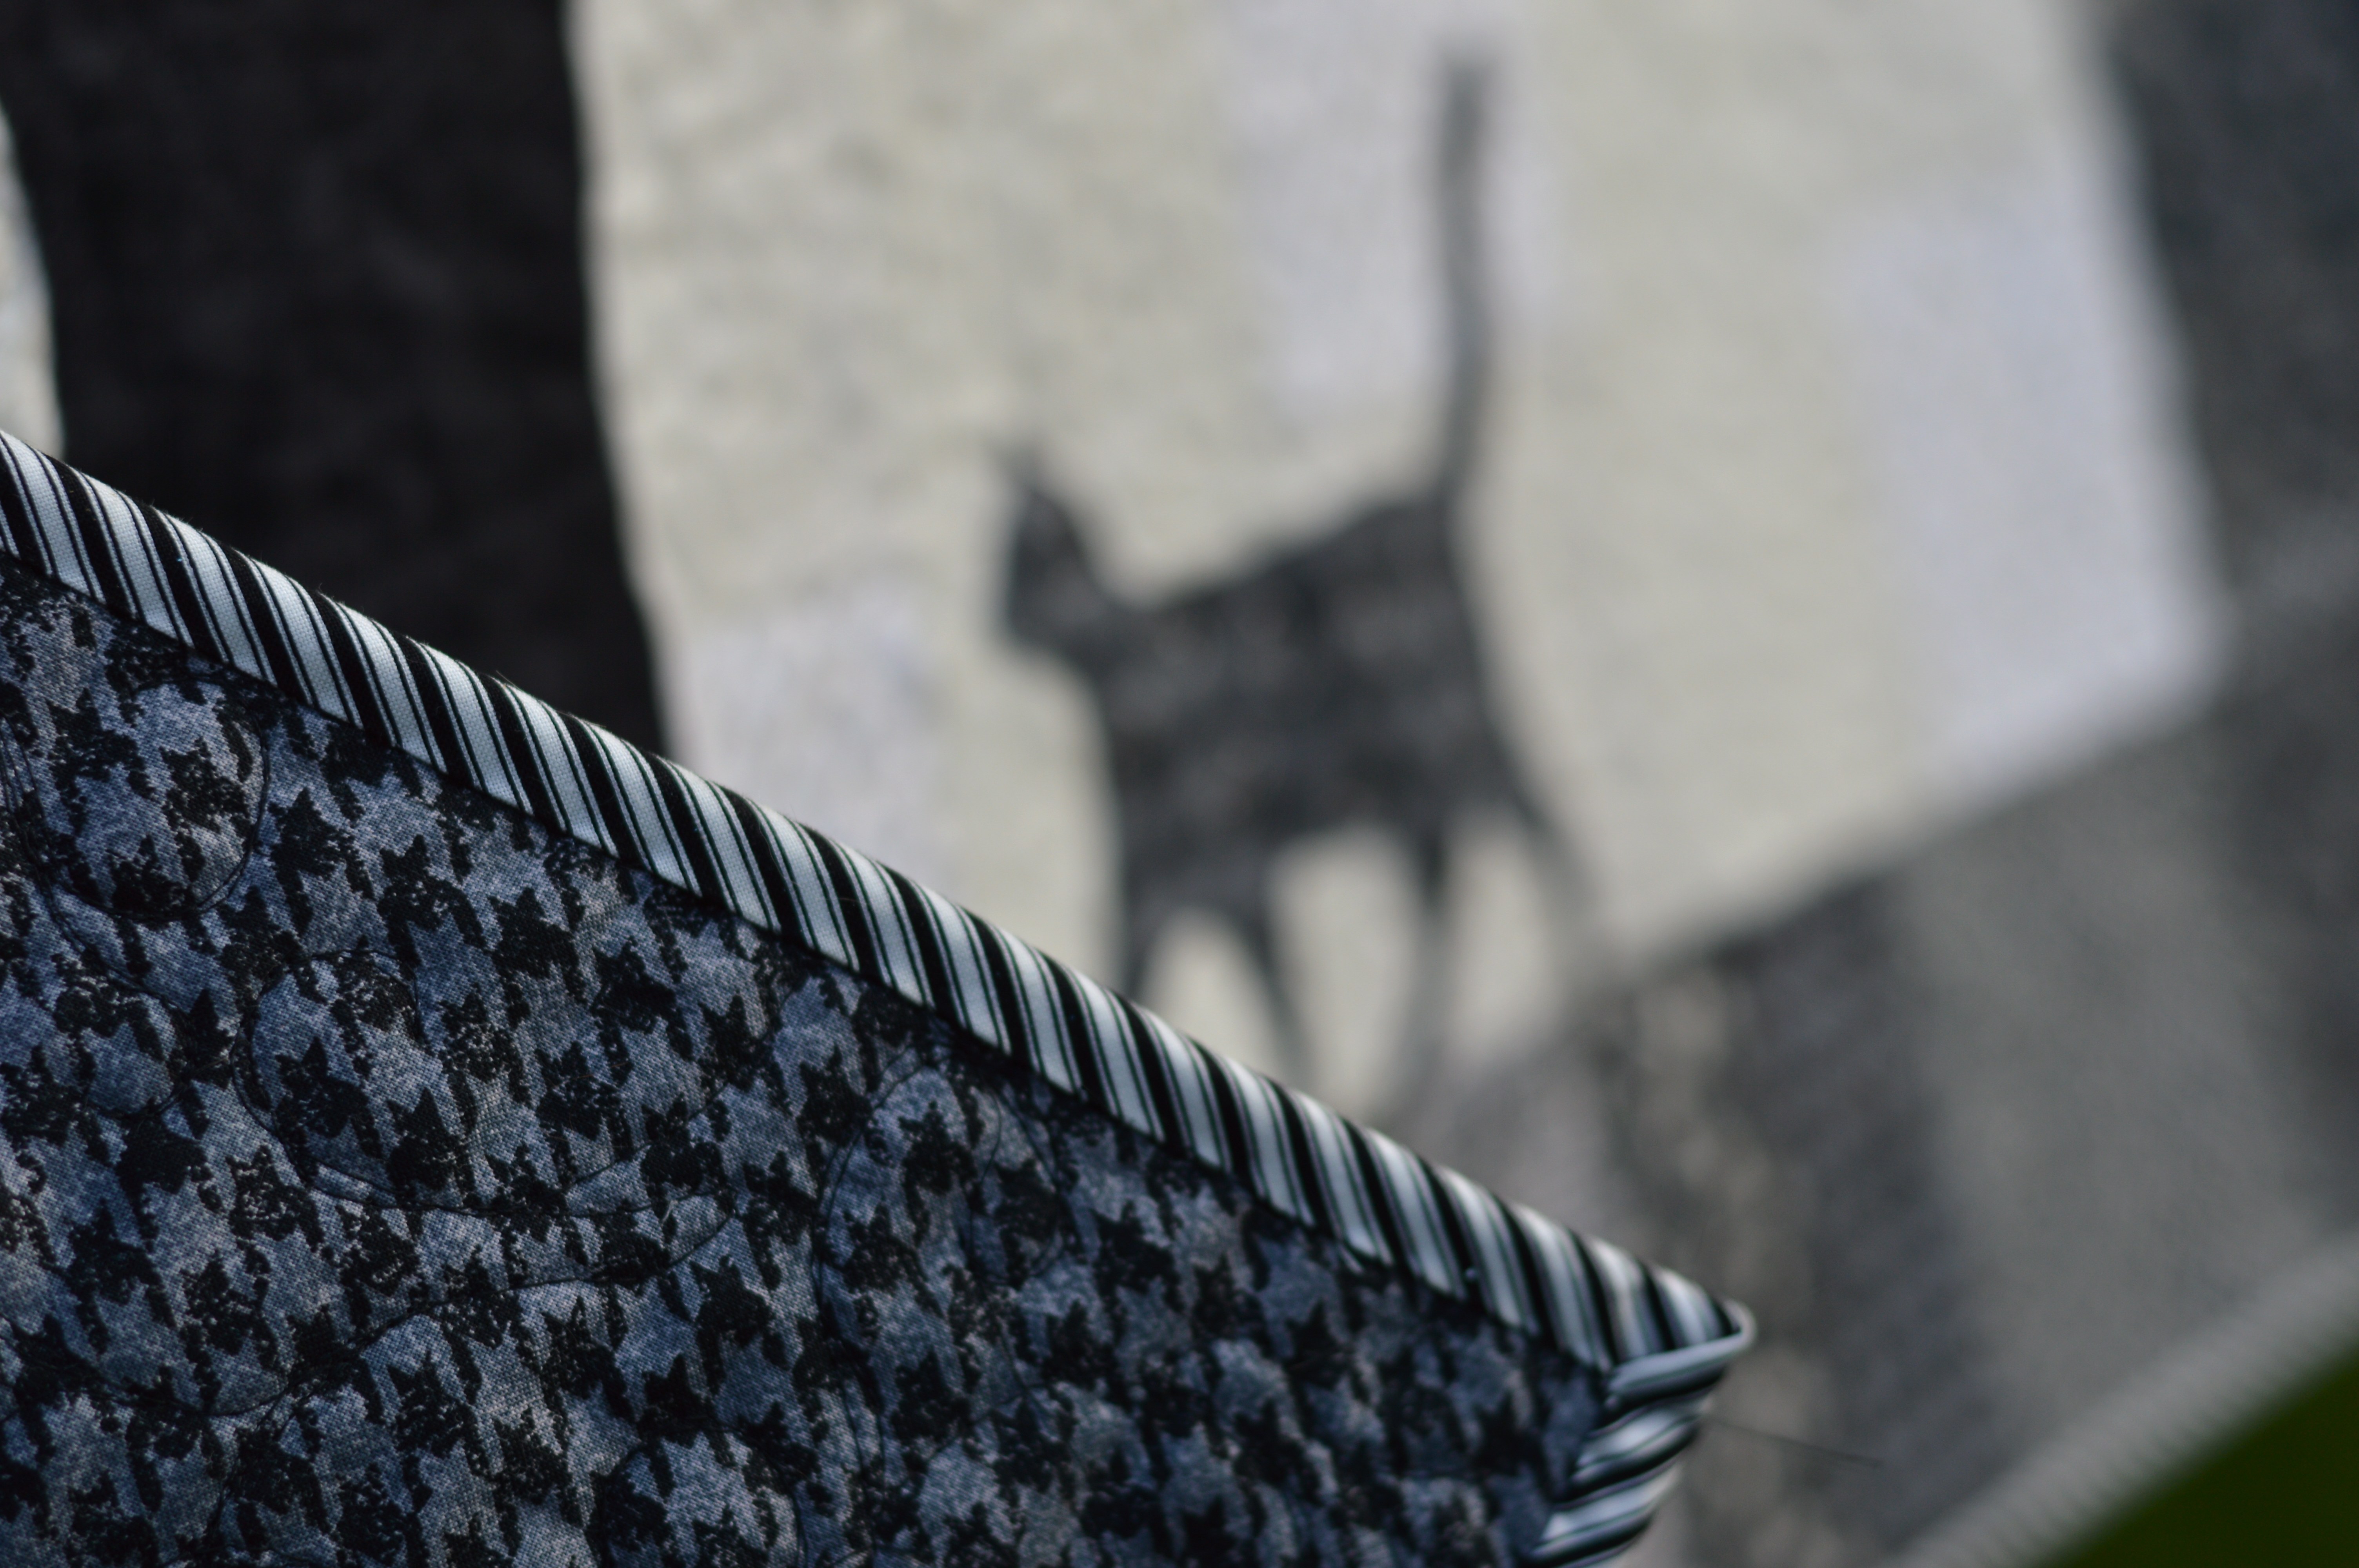
Once the quilting is finished you can bind the runner as you would a quilt.

img_5179

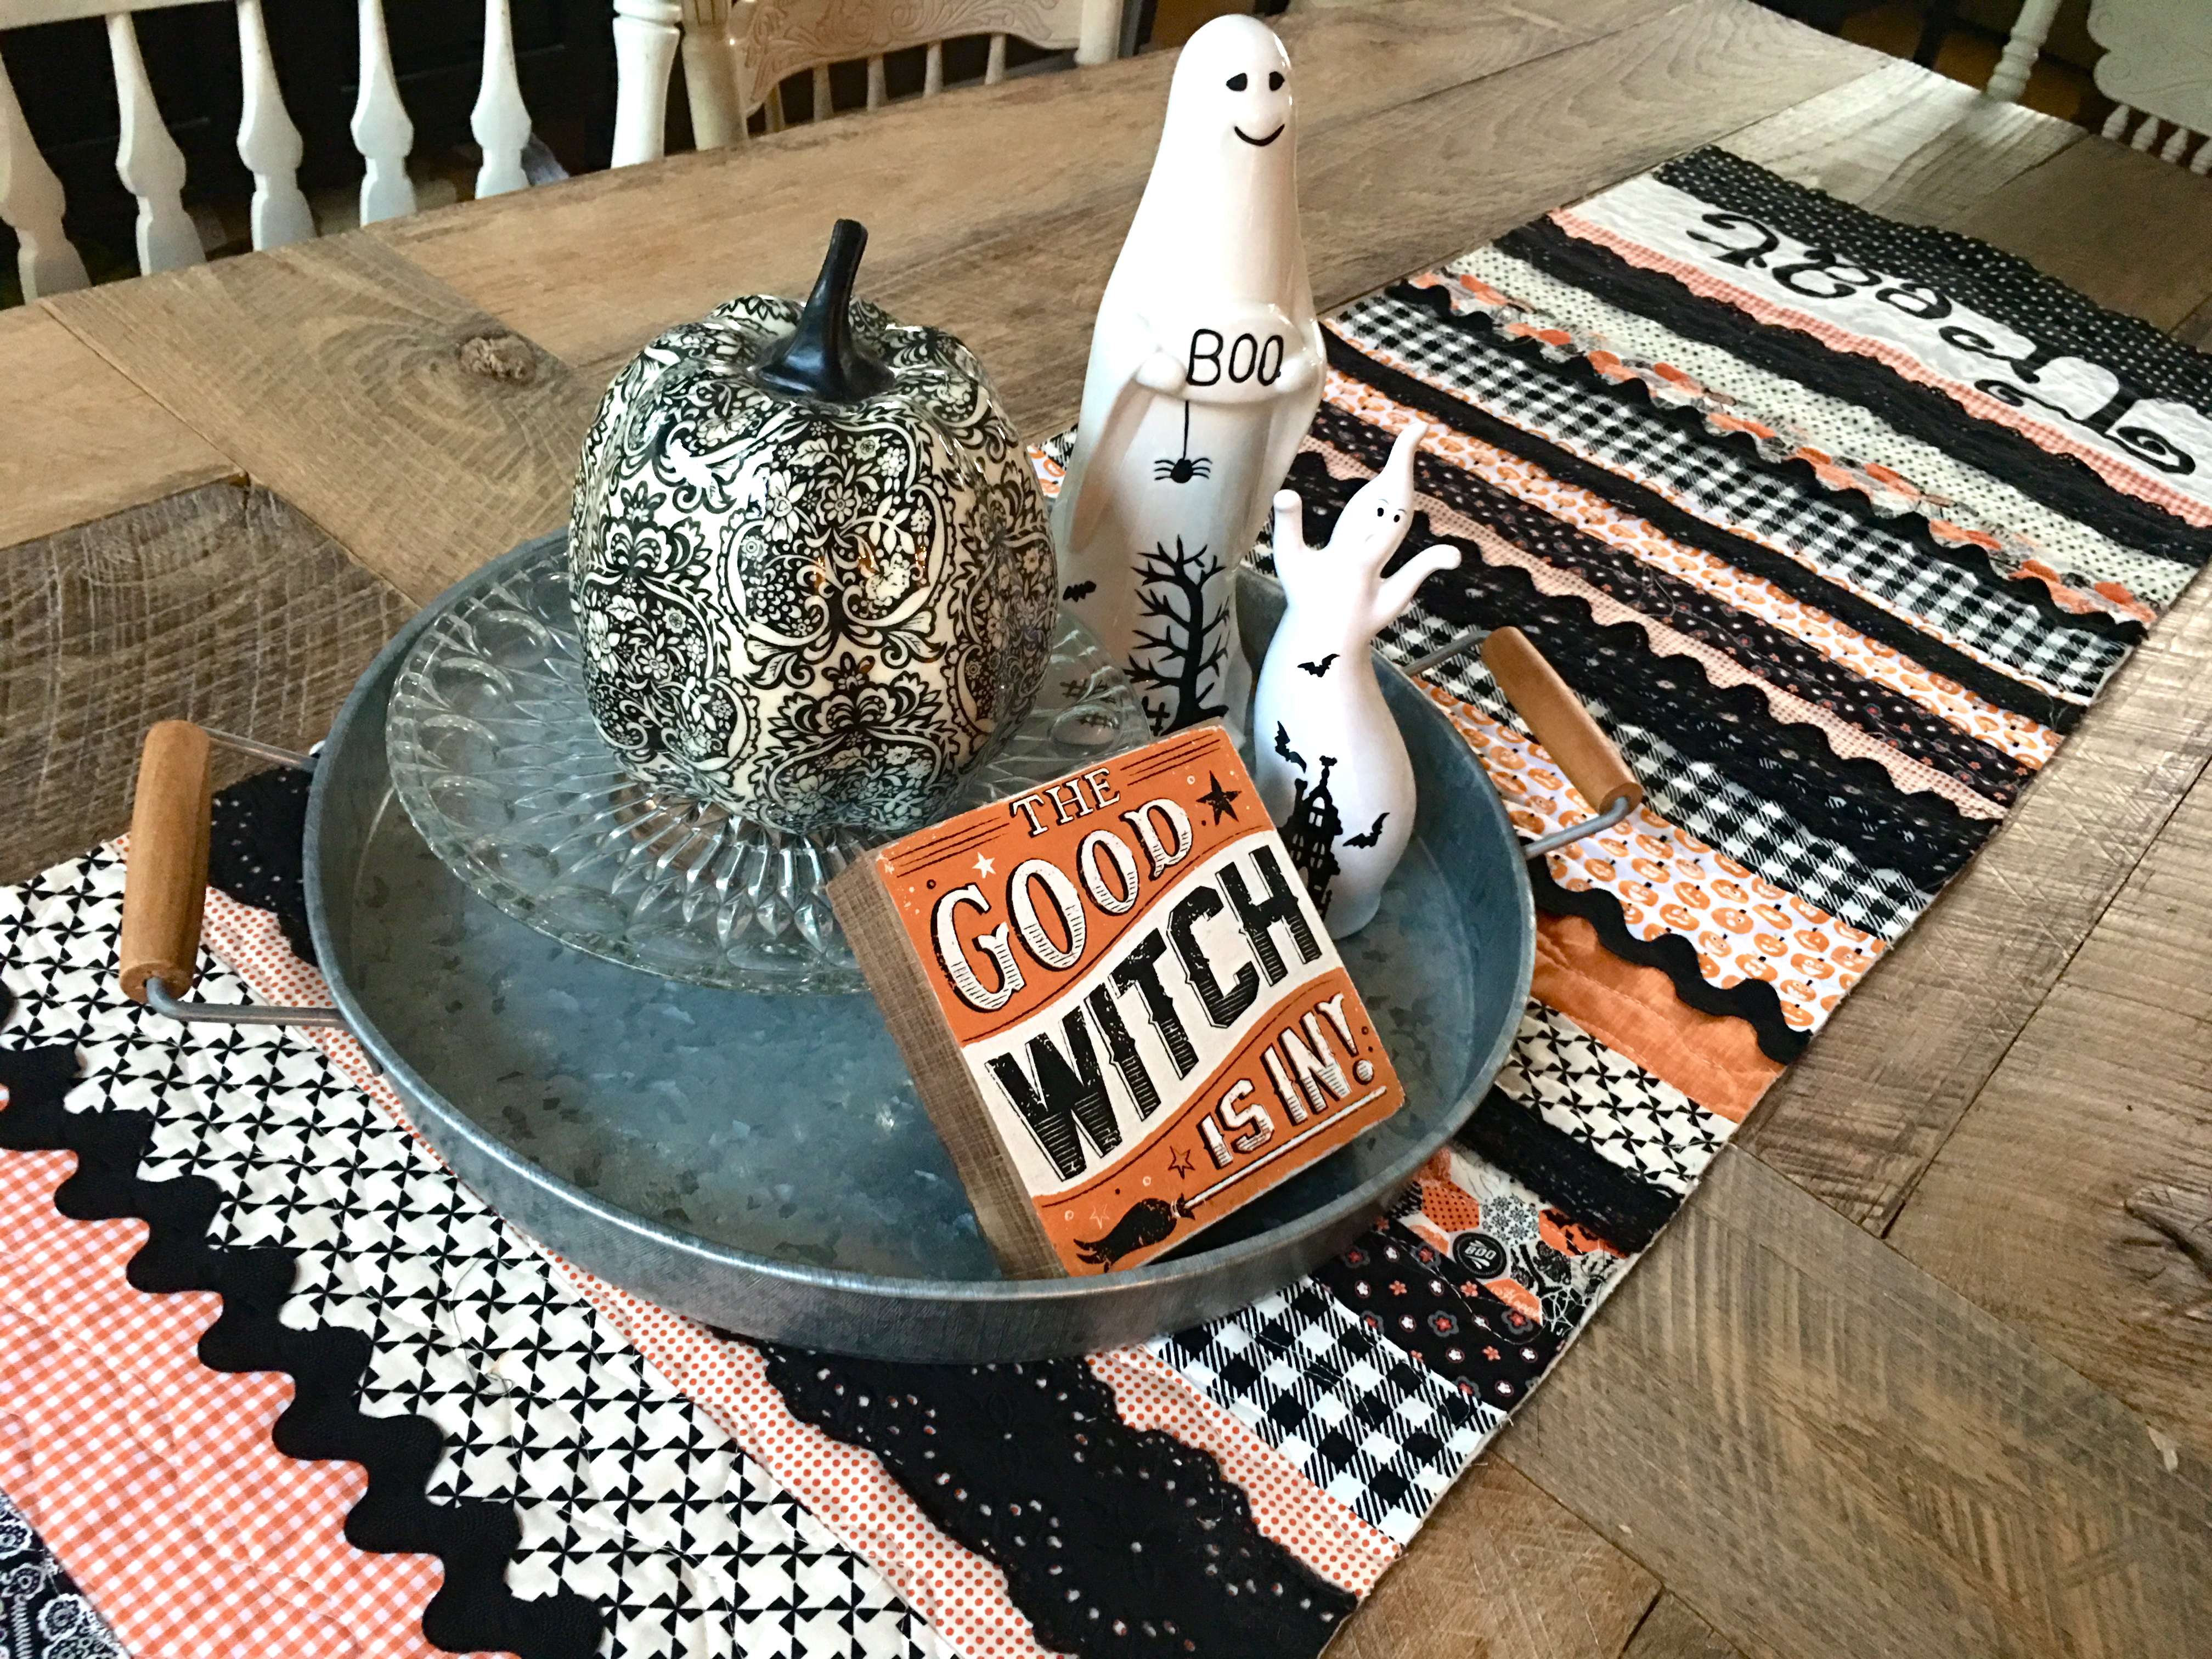
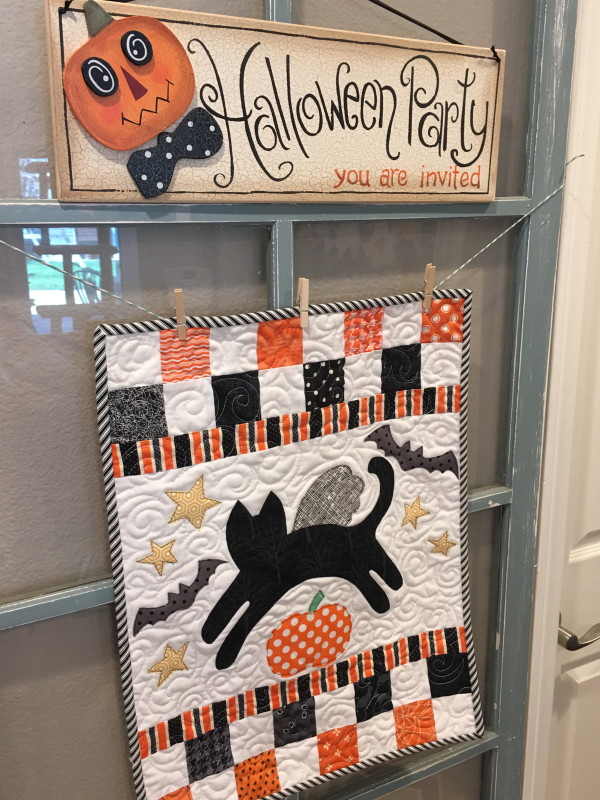
I am so in love with this little project!  And it was a quick too!

Save

Black Cat Pillow Tutorial

black-cat-pillow-tutorial
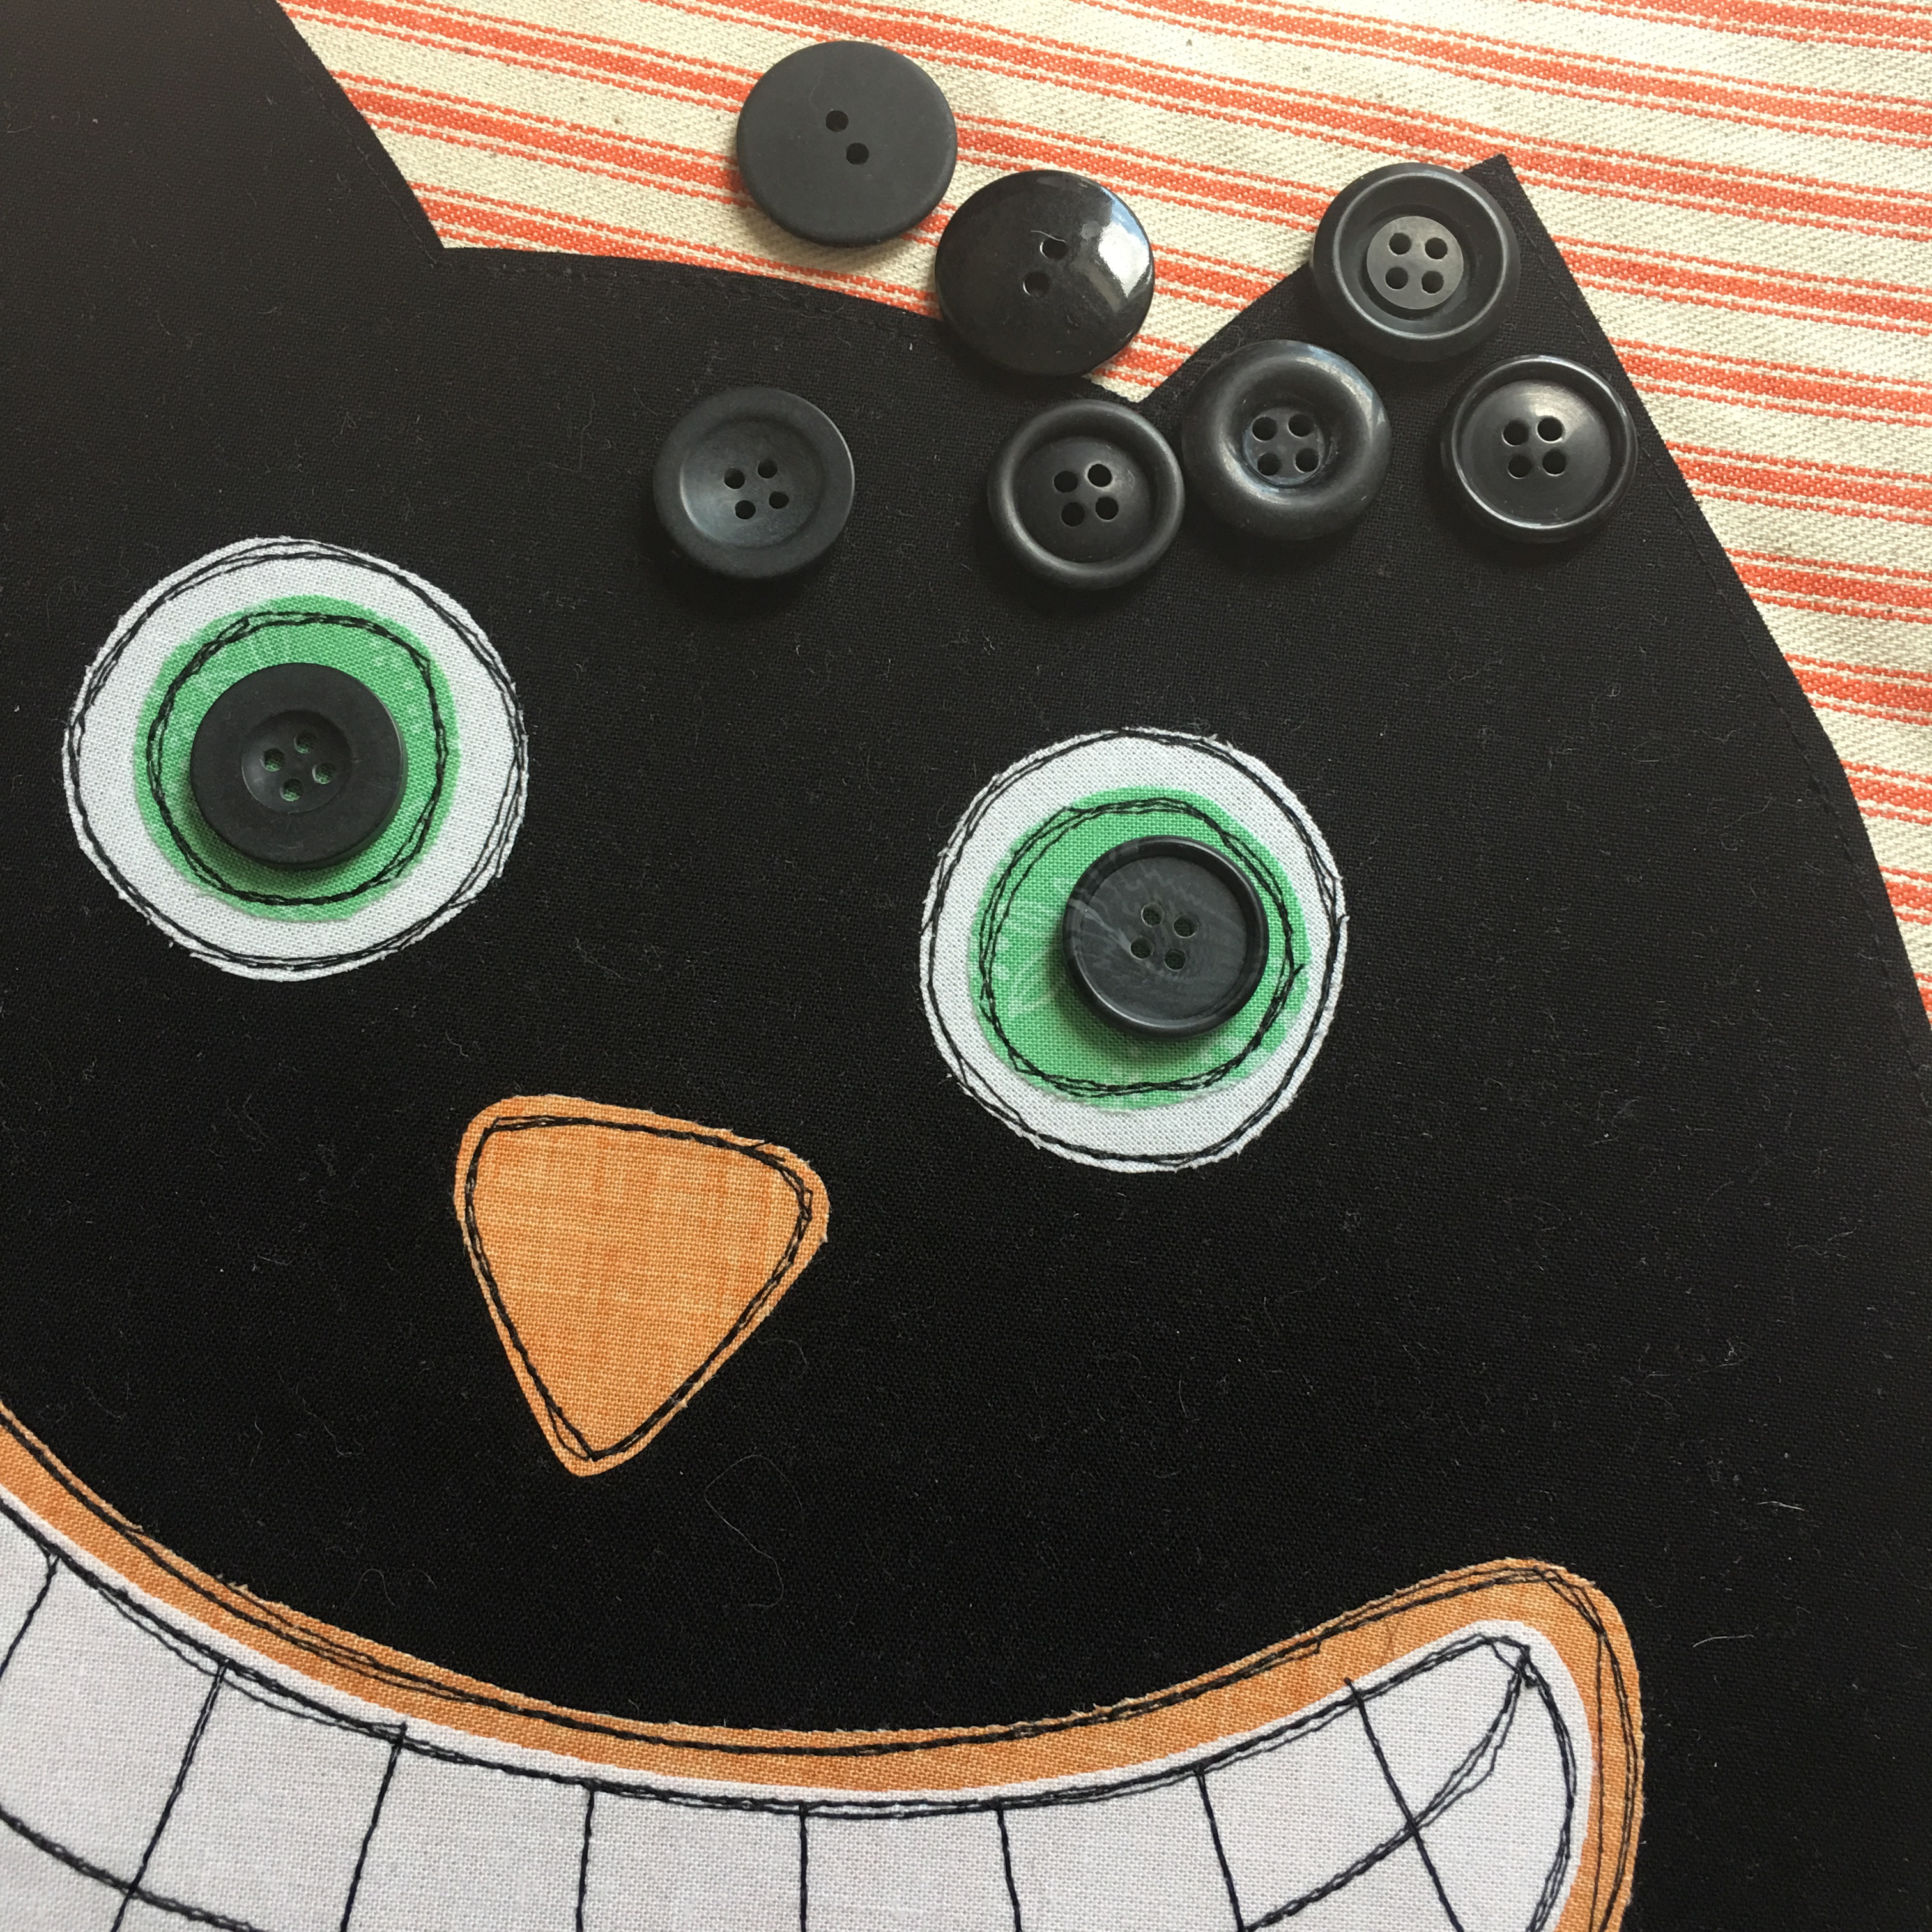
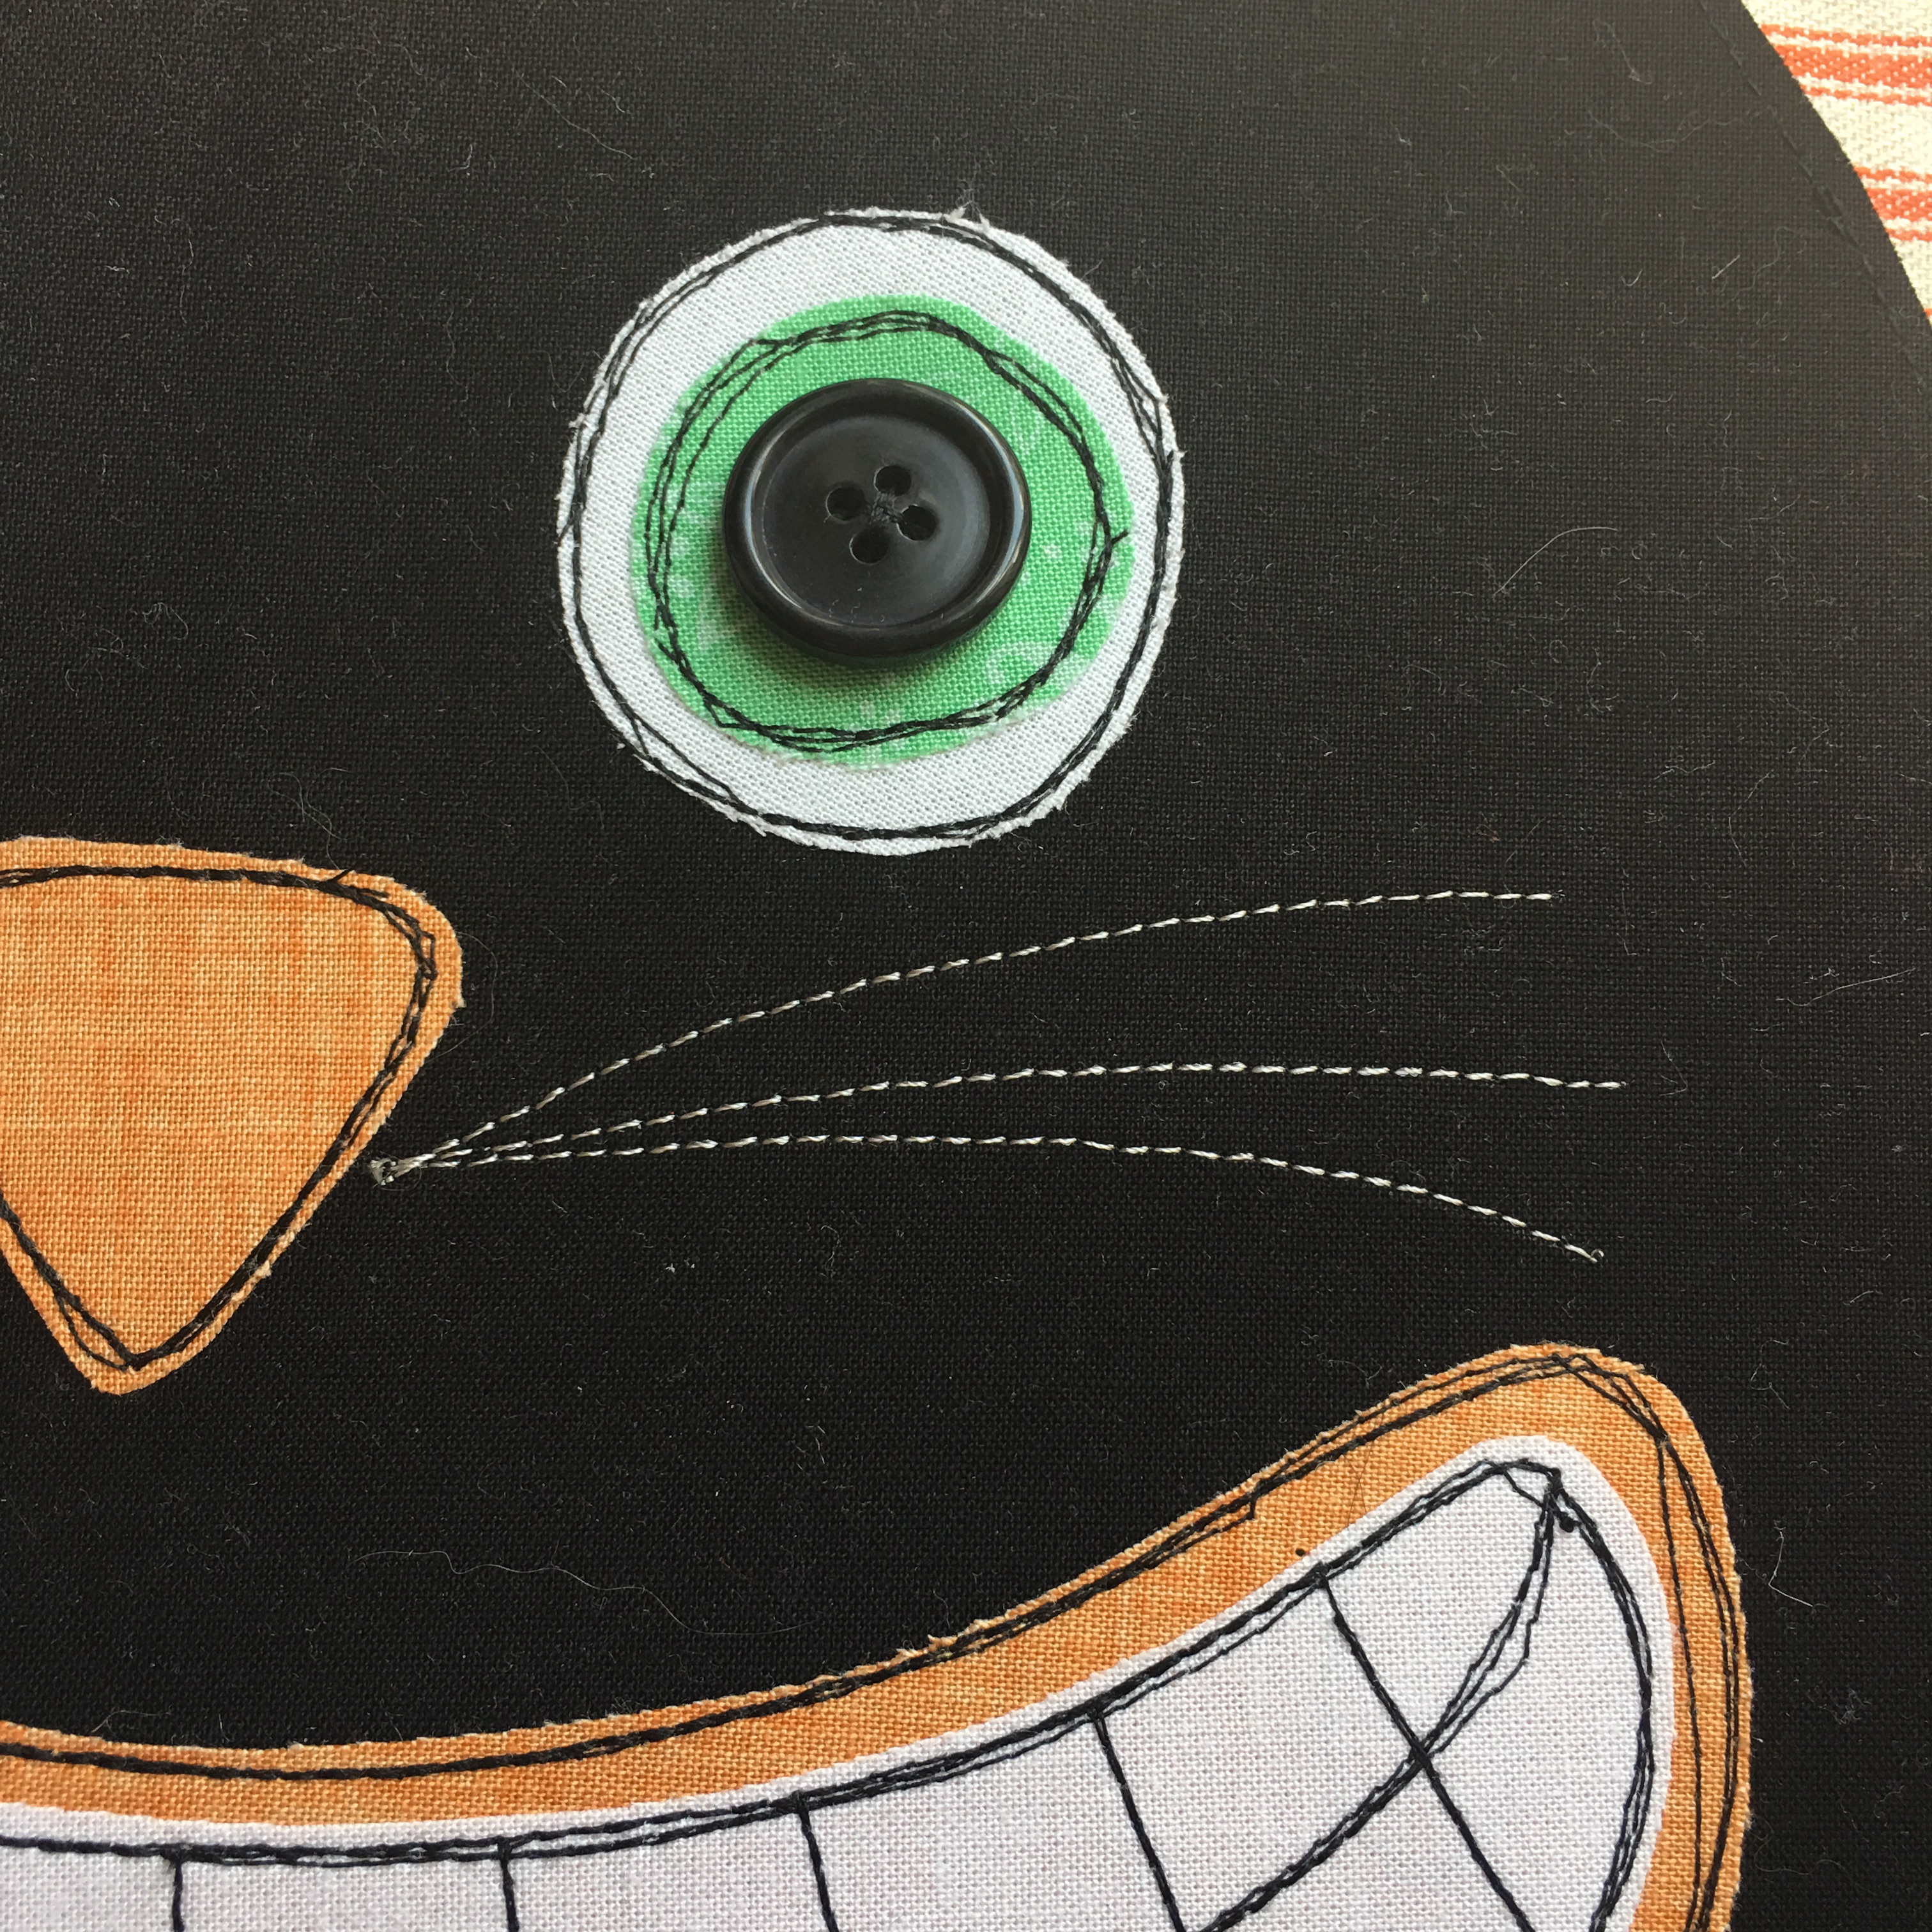
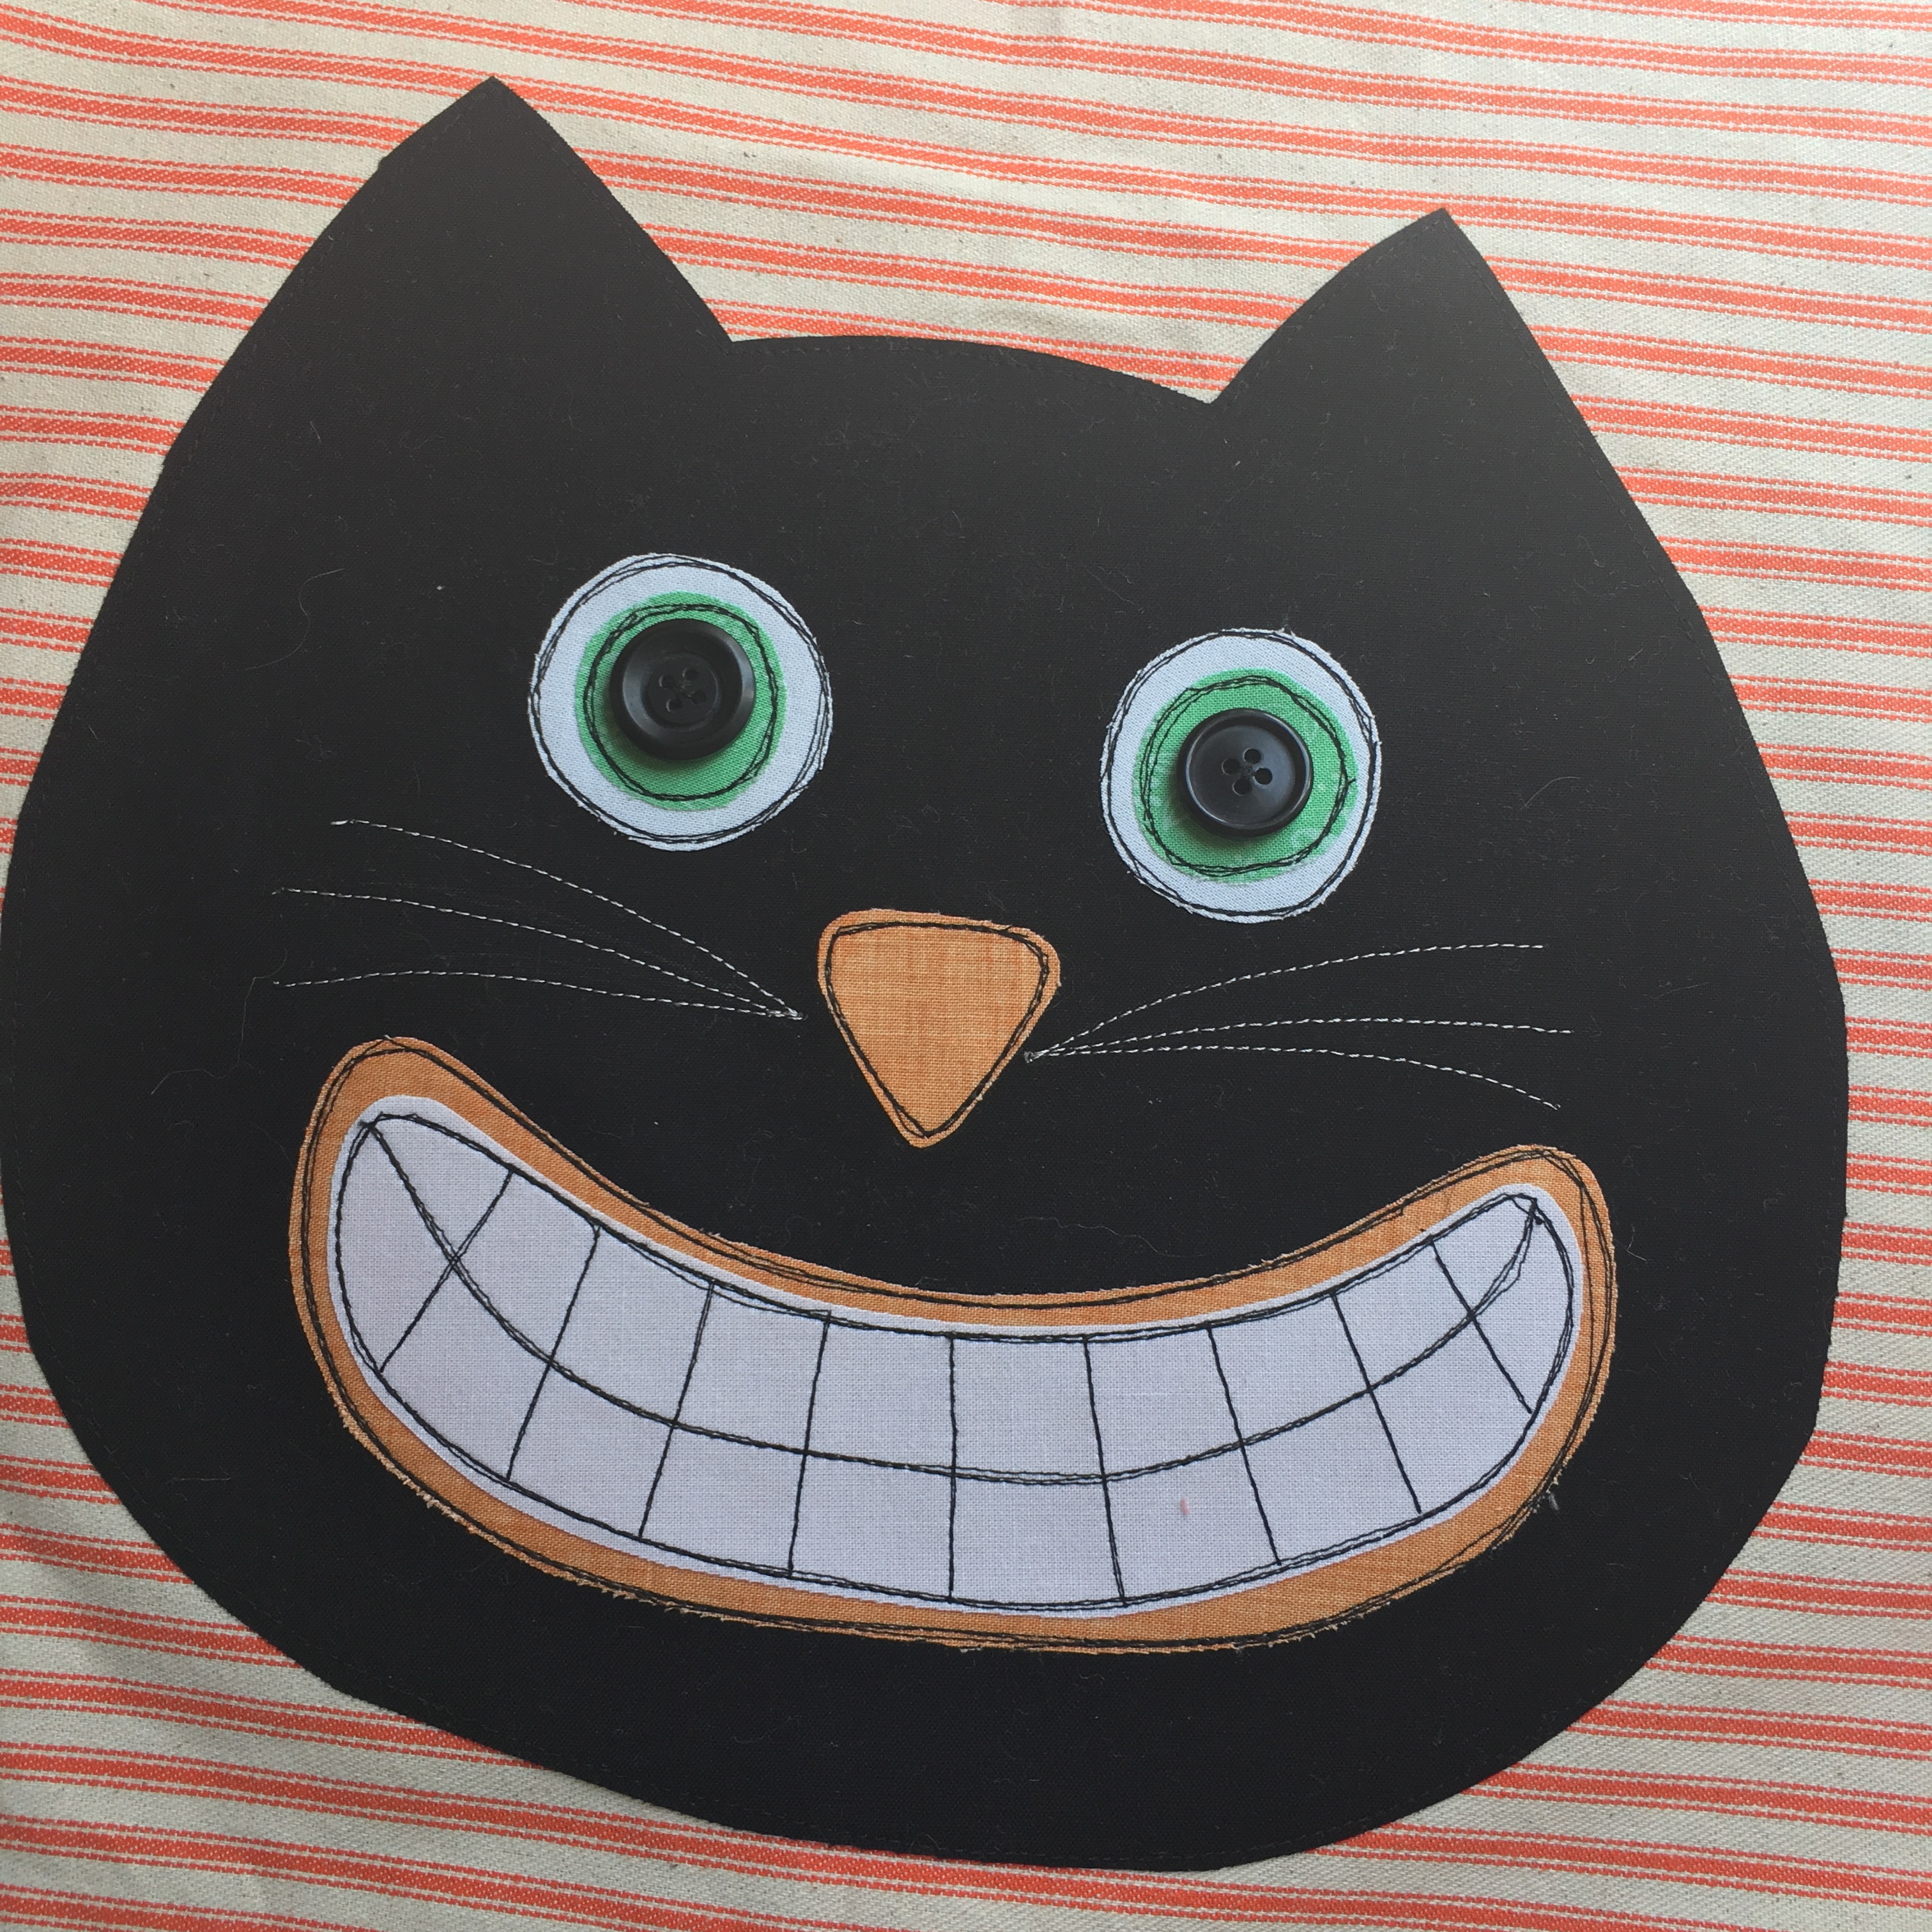
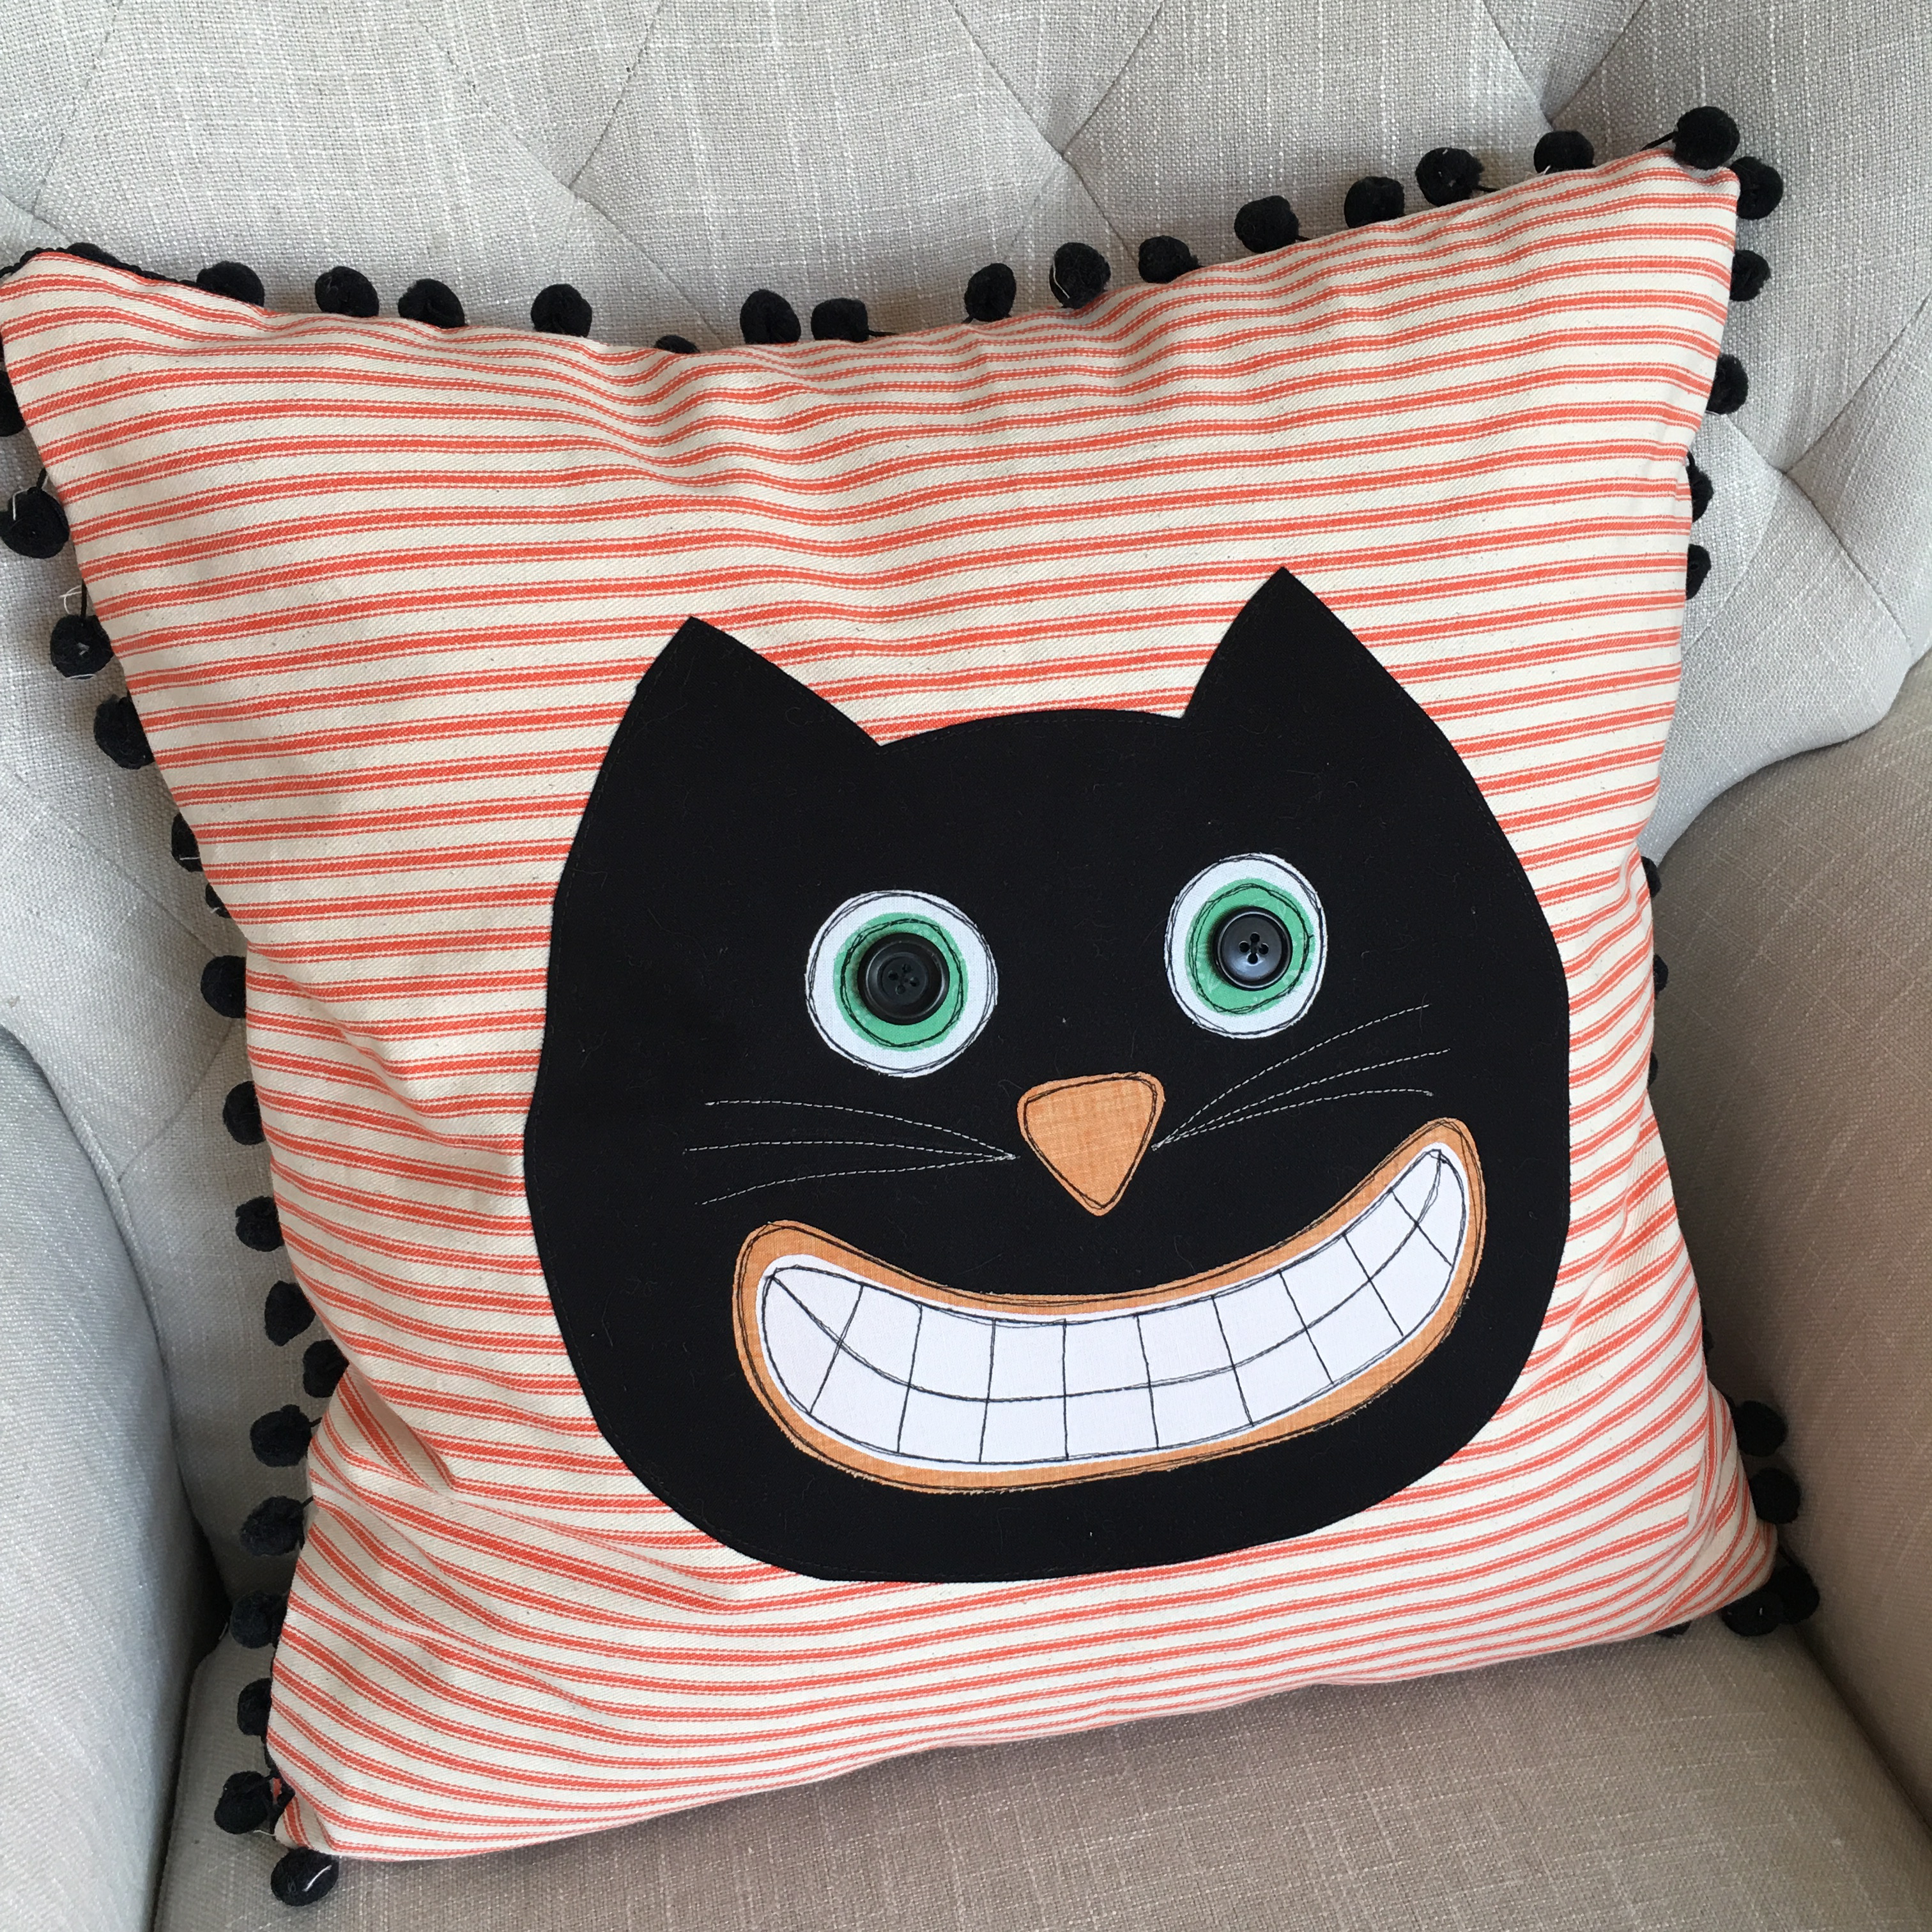
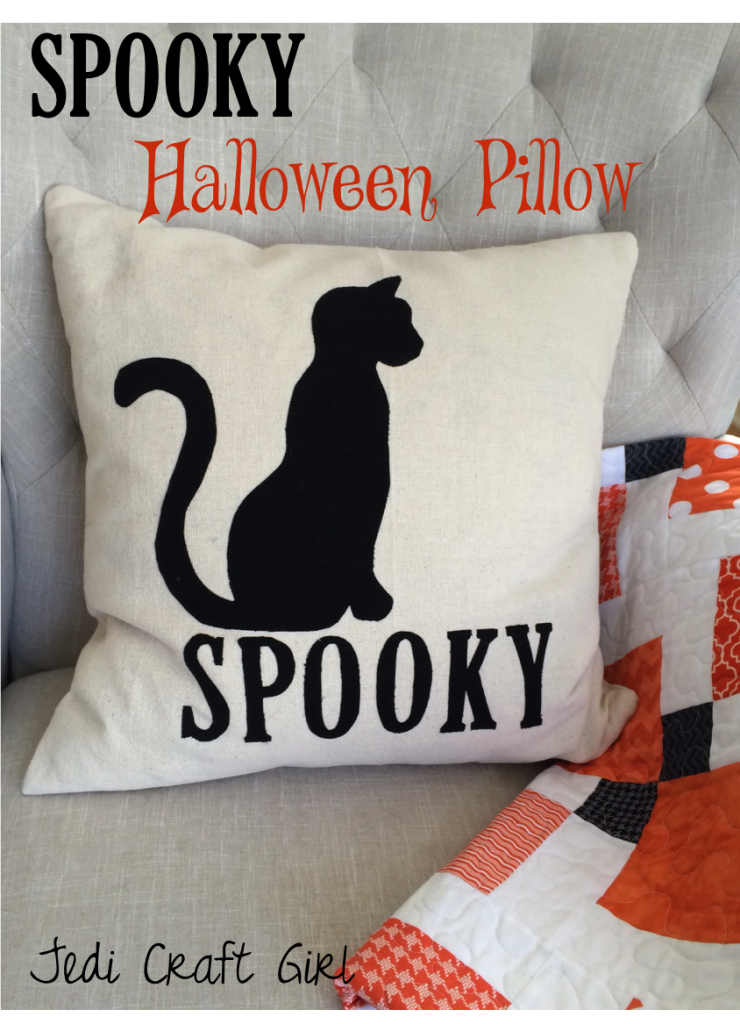
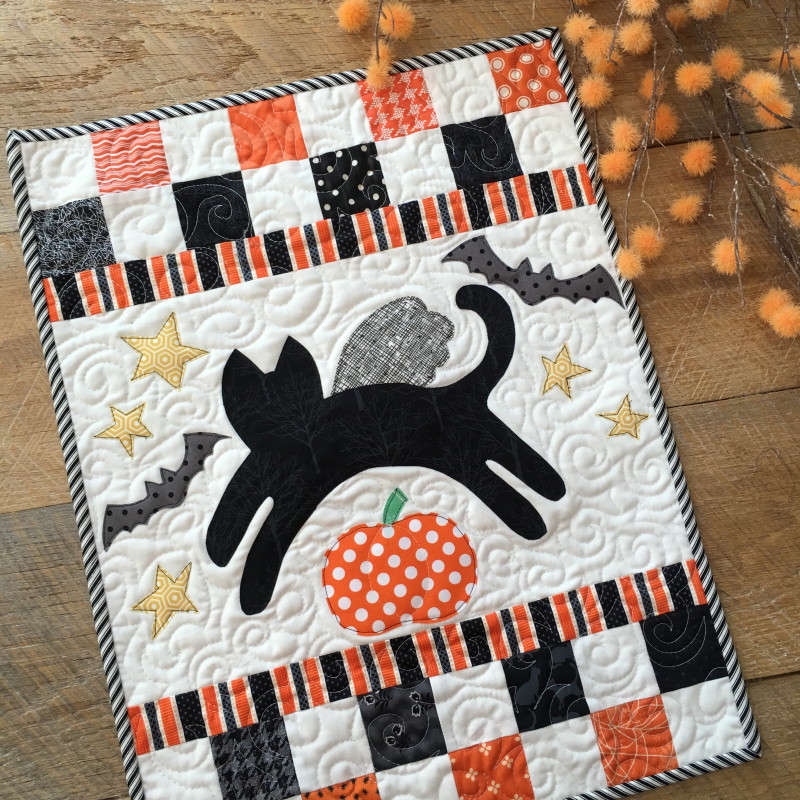
I need another pillow like I need a hole in the head!!  hahahaha!!   Who doesn’t need this silly cat pillow on their couch during the month of October!  I love looking into the family room and this kitty face is always smiling at me 🙂  Want to whip one up?  You only need about 1 hour!!

Supplies:

Heat n Bond® Lite (may use EZ print sheets)

(2) 20″ squares orange ticking for pillow body

Fat quarter solid black

scraps of white fabric, green fabric, and orange fabric

2.5 yards pom pom trim

zipper

20″ pillow form

Cat Pattern, click HERE

Project Instructions:

Begin by printing or tracing each of the pattern pieces to the Heat n Bond® Lite fusible applique. Cut around each piece about 1/4″ away from pattern.   Press the pieces to the wrong side of the desired fabrics with hot, dry iron.

img_4381

Peel off backing paper and position the cat head and face pieces on the right side of one of the 20″ orange ticking squares.  Center the cat.  Heat set in place.

With black thread, straight stitch around each of the applique pieces 3 times.  I only stitched around the cat head once because you can’t see the stitching.  Following the picture, add detail stitching for his teeth.

img_4383

Sew black buttons for the center of his eyes.

img_4389

He needs whiskers!!!!  I used a shiny light gray thread to stitch the whiskers.  You can draw them with a pencil first so you don’t mess up ?

img_4388

I only stitched the whiskers once and used a stay stitch to start and stop.

To finish the pillow, baste the pom pom trim around the pillow front, starting and stopping at the bottom center.

To finish the pillow, cut a 3″ strip off of the remaining 20″ square.

Sizzix Tutorial|Fish Bubbles - Nautical Throw Pillow by Amanda Niederhauser

This is where the zipper will go.  (If zippers make you run for the hills, you can finish this pillow using your favorite method. This just happens to be my favorite way to finish a pillow!)

Simply sew the zipper in and press.  This is now the pillow back!  With the zipper part way open, pin the pillow front to the pillow back, right sides together.  Using a 1/2″ seam, sew around the entire pillow.

IMG_8939

Turn right side out.

img_4405

I love silly black cats!!!

img_4421

Save

My Favorite Halloween Sewing Projects

my-favorite-halloween-quilts

I Love looking back at the fun Halloween projects I’ve made – I think it’s my favorite holiday to sew for!  I’ve collected my most popular and put them in this post for quick viewing.  Click a picture to be taken to the pattern.

halloween_quilt_disappearing_nine_patch

ghost-windows-halloween-quiltspooky mini quilt tutorial

spooky halloween pillow

october-stars-cover

img_3710

halloween

IMG_3433

spooktacular eve halloween quilt

IMG_9978

Halloween Towels and Pillow

treats-bag-tutorial-600x800

Halloween-skirt-and-shirt-tutorial

halloween_applique_pumpkin_tutorial_7

halloween-table-square-tutorial1


Save

Save

Save

Save

Save

Save

Ghost Windows Wallhanging Quilt

ghost-windows-halloween-quilt

I love sewing with traditional orange and black fabrics – don’t you!  This little quilt measures 24″ square and is perfect to hang on a wall or put on a table.  All you need is a little yardage and the Sizzix Ghost Die and you’re set!  I love that each of the ghosts have their own personality!!  All seams 1/4″.img_4255

First press the Heat n Bond Ultra onto the wrong side of the off-white solid fabric.  I choose Ultra because it requires no-sewing.  I didn’t want to spend time sewing around each ghost!img_4258

Die cut 9 sets of ghosts.  Make sure to die cut ghosts going both ways to give more variety to the quilt.  Cut (9) 4 1/2″ solid black squares for the ghost windows.img_4260

Peel off the backing of the ghosts and position them as desired.

ghost-cutting-guide

For the 9 blocks, cut 5 orange fabrics and 4 low volume fabrics according to the above dimensions.  Sew the side portions on, press, then add the top and bottom pieces.img_4265

Make sure to rotate the ghost windows are in a different loceation, it makes the quilt look a little more random.  Sew the blocks together in rows, press, and sew the rows together.  Press.img_4268

Spray baste, quilt, and bind!  img_4279

I really love these cute little Sizzix ghosts!!!!!img_4291

I have the perfect spot to hang it!!img_4293

img_4297

Supplies:

1/4 yard off-white  fabric

1/4 yard solid black fabric

5 fat quarters or quarter yard cuts orange print

4 fat quarters or quarter yard cuts low volume black print

1/4 yard binding

1 yard backing

Heat n Bond Ulatra

Sizzix Fabi

Sizzix Ghost die

Save

Save

My Favorite Zipper Pouch

zipper-pouch
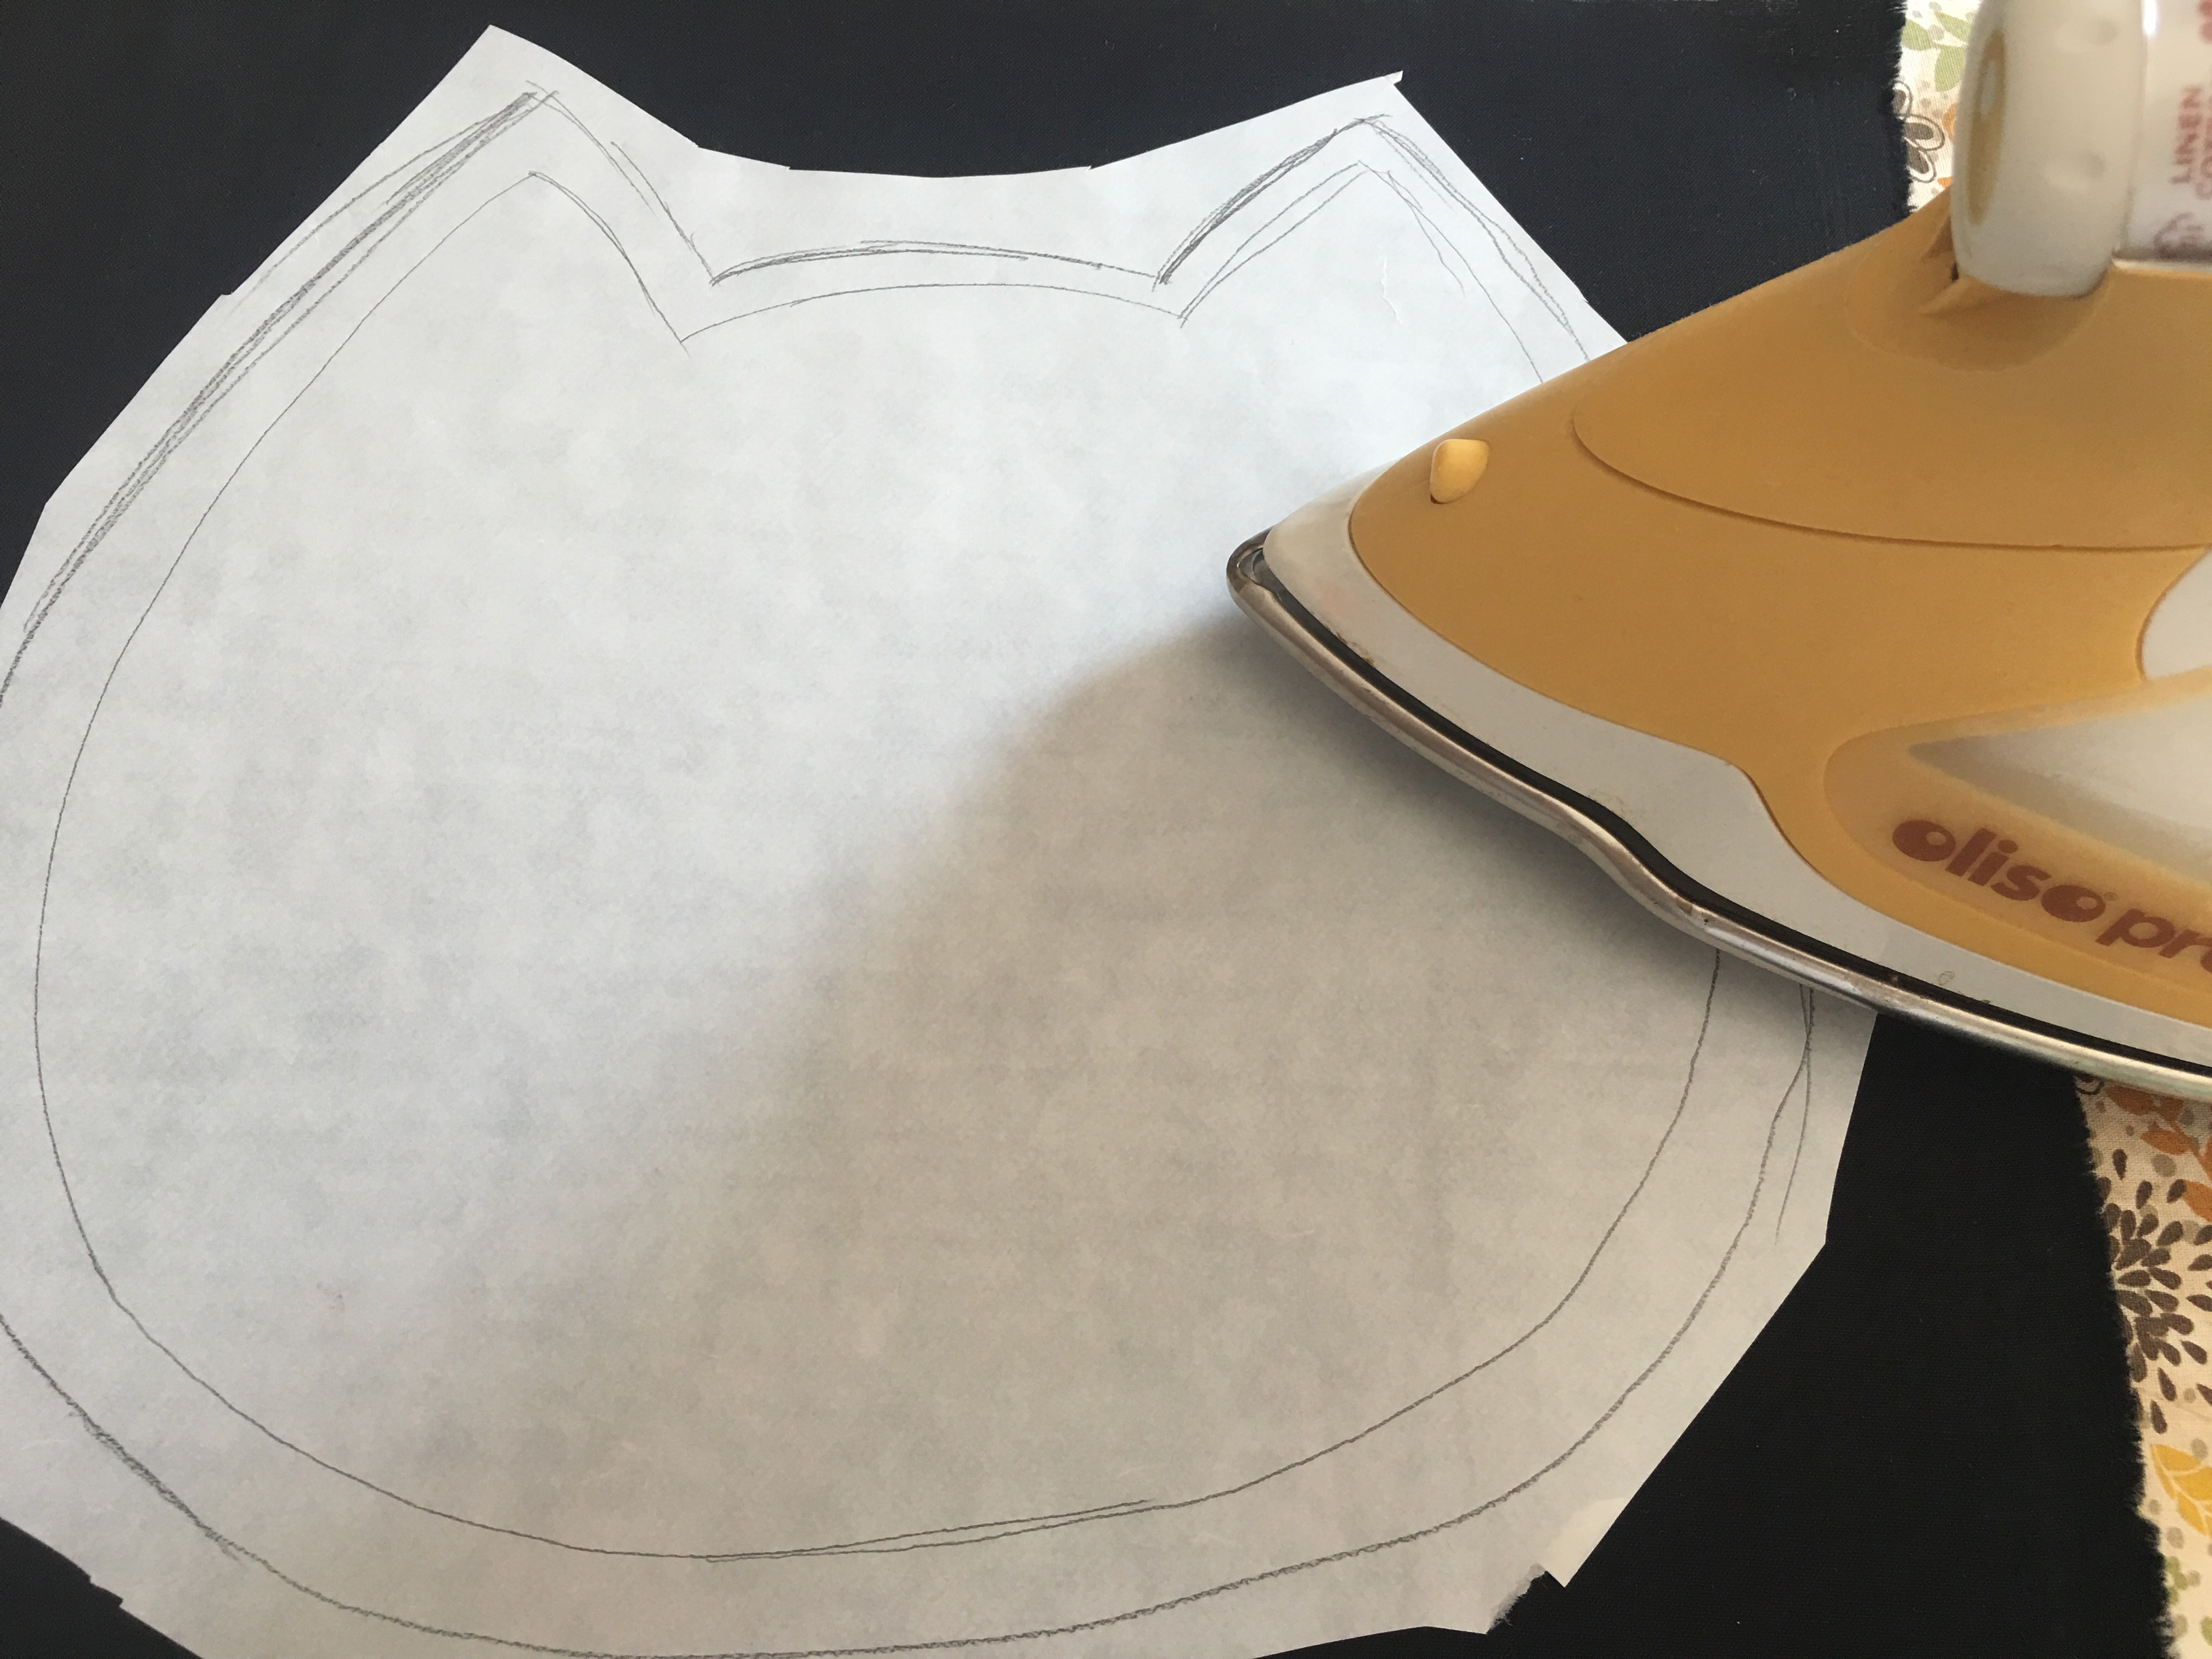
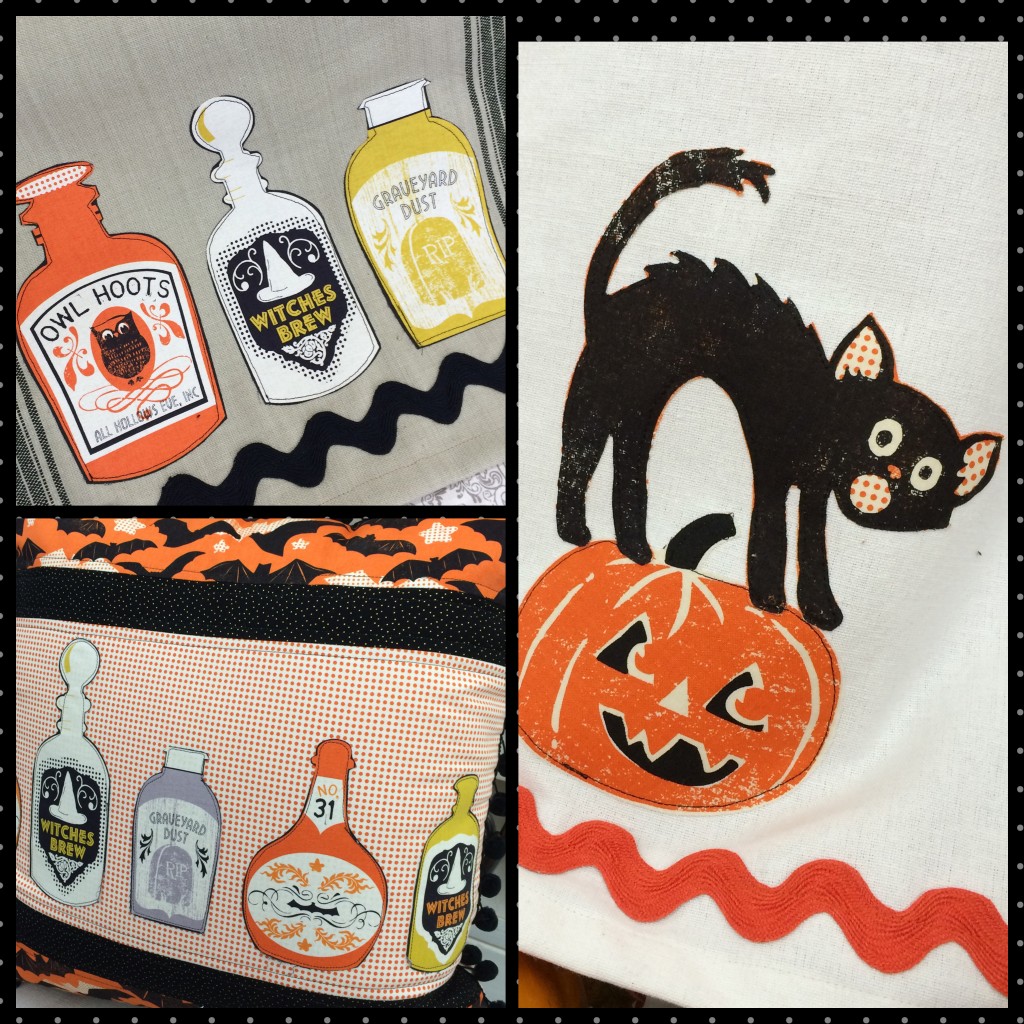
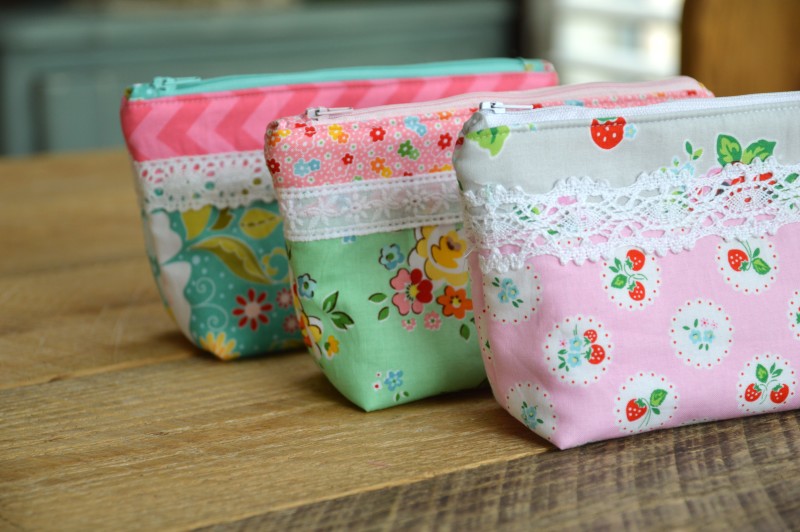
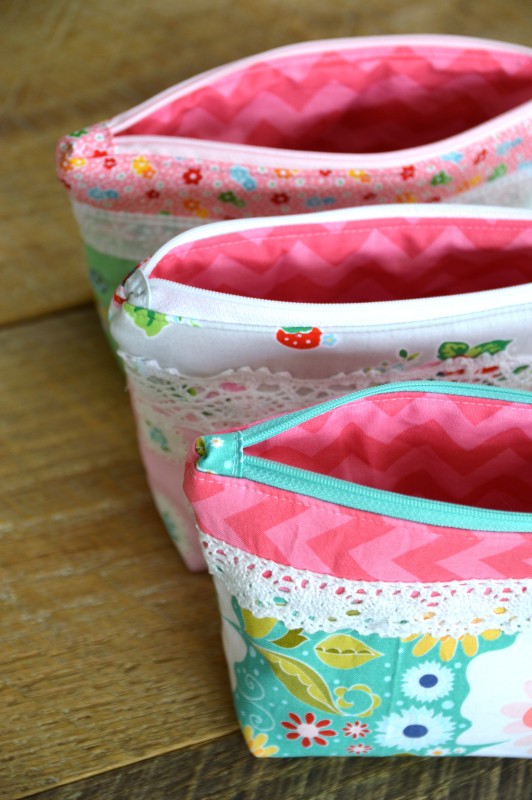
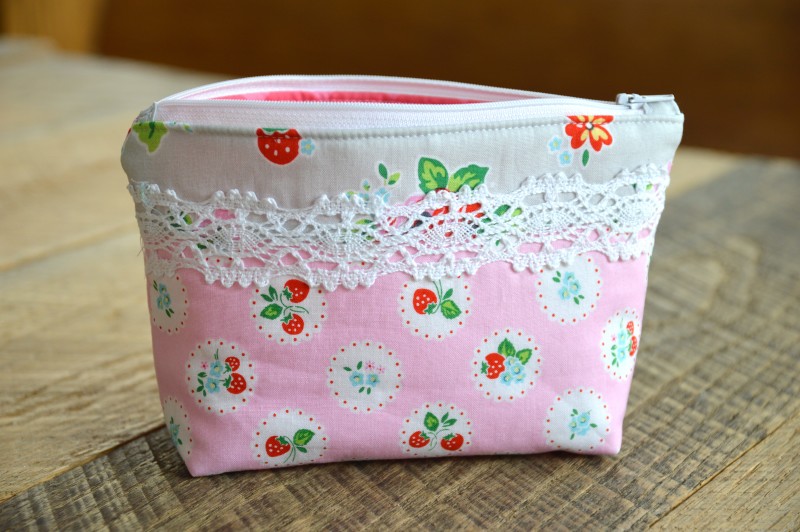
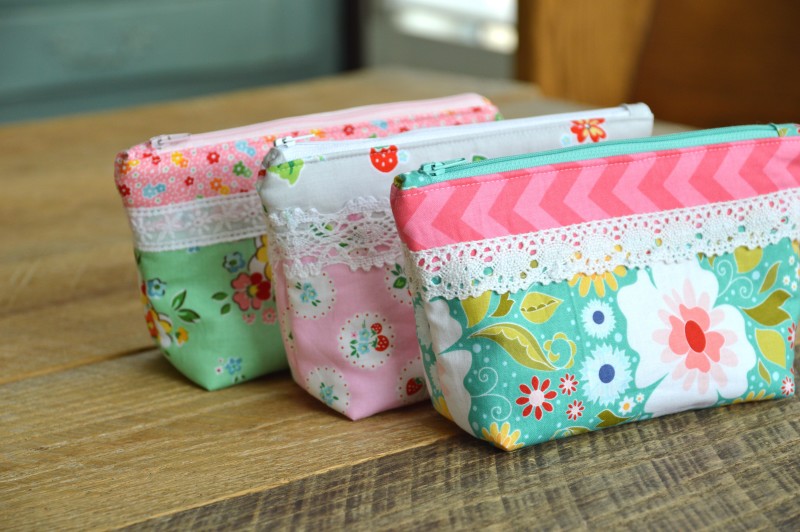
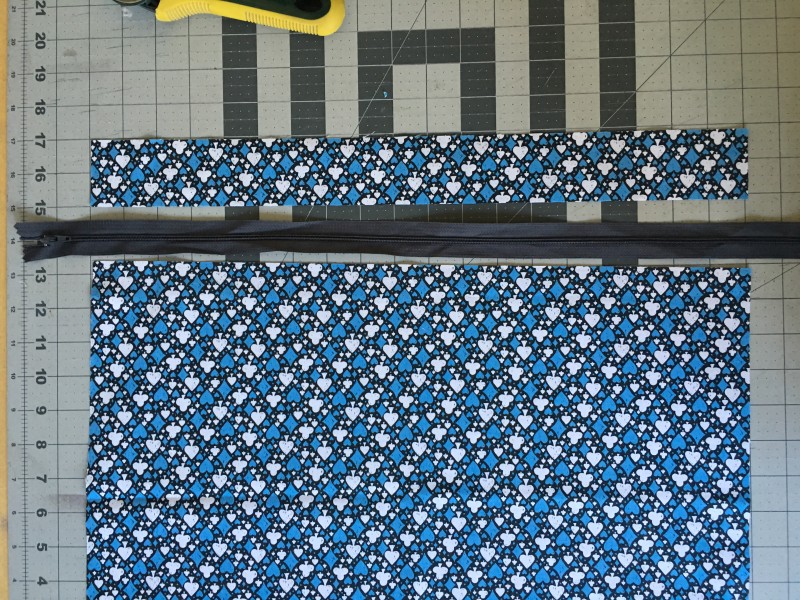
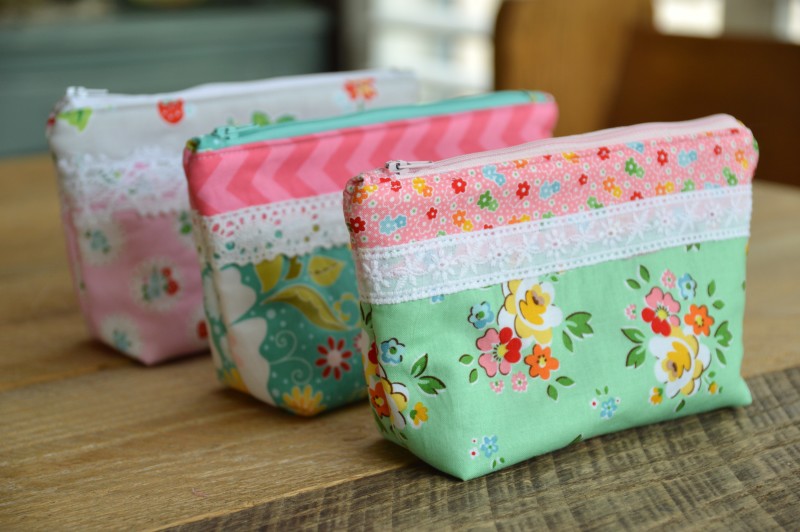
It’s been a while since I made zipper pouches!  I needed 3 gifts to give for the September birthdays on Sally’s soccer team.  Instead of going to the store and spending money on the gifts,  I stayed home and sewed these darling zipper pouches!  I used My Favorite Zipper Pouch Tutorial.

zipper-pouch-3

The fabrics are from my Riley Blake Stash: Backyard Roses and Strawberry Biscuit are a few I used.

img_4316

The inside of the zipper pouch is Fusible Fleece from Therm O Web.

zipper-pouch-2

zipper-pouch-5

Since I had a yard of the pink chevron, I used in inside each of the pouches.

zipper-pouch-4

I think the girls loved them!

zipper-pouch-8

Save

Save

Mini Kitty Halloween Quilt Pattern

img_3710

It’s a little SPOOKY around here!  Mini Kitty is getting a Halloween makeover!  I love this little pattern so much and wanted to give it a little pop for the fall.  Mini Kitty is now leaping over a pumpkin with bats and stars in the background.  If you’ve already purchased the pattern you can download the Halloween applique shapes for free HERE.  The Halloween PDF is also included with each Mini Kitty pattern purchase in my Etsy shop.

mini-kitty-cover

The original Mini Kitty pattern was created as a gift for a friend after the loss of a sweet kitten.  You can read more about it HEREimg_3688

Instead of using only 2 colors for the checkerboard border, I used 8 different oranges and 8 different blacks.  I really love the polka dot pumpkin!

img_3686

Mufasa was very helpful on this project and choose the colors all by himself 🙂

img_3706

I love how it turned out and I have the purrrrfect place to hang it!  img_3714

All Hallow’s Eve Quilt

 halloweenIt’s feeling a little like fall and that means time to break out the fall decor!  I made this quilt last year and it’s one of my favorites!  I decorate my dining/living room with a more neutral pallet and I love using black and gray to decorate for Halloween.  The family room and kitchen are bright orange, black, and turquoise 🙂  I used a variety of neutrals and gray/blacks from Penny Rose Fabrics. You can download the details of the pattern HERE.

Quilt measures 42″ square.

spooky halloween quilt 30Most of the black/gray fabrics are from the Civil War Times fabric line. I love the variety! The rest of the fabrics are from Penny Rose Classics.Screen Shot 2015-10-21 at 9.03.17 PMIMG_3614I love black and metallic pumpkins on vintage candlesticks!

spooky halloween quilt 22I first made the background by sewing 5″ squares together in 7 rows of 7. Then the applique comes next. You could totally add ghosts and bats, I wanted to keep it simple.

spooky halloween quilt 26The moon is made by tracing a pie plate.

spooky halloween quilt 28Here is a little close up of the quilting, with Mufasa’s permission 🙂 spooky halloween quilt 6I love striped binding cut on the bias – it’s my absolute FAVORITE!!!! The backing is from Penny Rose’s mensware line – I love houndstooth!!!Ok, so this is totally my new favorite Halloween Quilt!

IMG_3612

spooky halloween quilt 9

Card Shark Pillow Tutorial

IMG_3494

And now a project for the guys!  I have a hard time finding projects to sew for my 13 year old son that are…… well….. not floral, cutsey, vintage, or girly which is pretty much most of my sewing!  When I saw this fun “card print” from Blend Fabrics I knew it was for my son the “Card Shark”!!!!

It’s the perfect gift for the card lover in your life!

Supplies:

1/2 yard card print fabric

1/3 yard solid gray

Heat n Bond Ultra

2 yards trim

Zipper

Fiberfill

Vinyl letters

Fabric Paint

Shark Pattern download

Begin by tracing the shark pattern (in reverse) on the Heat n Bond Ultra hold – you can also use Lite.

IMG_3457

Press to the wrong side of the card fabric.

IMG_3458

Cut out along the pattern line.

Cut the gray background fabric 12″ x 19″.  Peel off the backing paper and heat set the shark in place.  Sew around the shark in black thread.IMG_3459

Cut the backing fabric the same size as the front 12″ x 19″.IMG_3461

You can use the hand sew method for closing the pillow or you can do the zipper method which is my favorite.  Simply cut the backing fabric at 2″ and insert a regular zipper.IMG_3462

You can add the “Card Shark” words with stitching or you can create your own stencil.  I cut the letters on my Cricut machine in vinyl.  I peeled off the letters to leave the stencil.  I used fabric paint to stencil and removed the vinyl when it was dry.  IMG_3463

Once the letters are on you can assemble the pillow.  Baste the trim to the pillow front.  Then with right sides together place the pillow front and back and sew all the way around using a generous 1/4″ seam.  Make sure to leave the zipper open before you sew.  Turn right side out and stuff with fiberfill.

IMG_3500

IMG_3498

Mini Mini Quilt {Sizzix Jar Applique}

jar mini quilt

IMG_0466

Sometimes something small is better than something big 🙂  I designed this mini mini quilt for a sweet friend.  It can be hung from a clothespin, tacked to a wall or bulletin board, or placed in a hutch; where ever you need a little happy!  I love this jar die by Lori Whitlock.

Screen Shot 2016-07-26 at 9.56.59 PM

I was thrilled to meet up with Lori at Quilt Market!  She is a super talented designer of fabric, paper, Sizzix dies, and crafts.IMG_8221

Let’s get started!!

Supplies:

Sizzix Jar #2 Die

(8) 2 1/2″ squares of white dot

(8) 2 1/2″ squares pink print

Fabric for jar, lid, and hearts

Heat n Bond Lite

2 1/2″ x WOF binding

batting

backing

Bakers Twine

Heart Charm


IMG_0443

All seams 1/4″.  Begin by sewing the 2 1/2″ squares together in an alternating pattern with 4 rows of 4.  Press.

IMG_0442

Fuse the Heat n Bond Lite to the wrong side of the jar fabric, lid fabric, and heart fabric. IMG_0444

As you can see this is a great scrap buster!!!IMG_0445

Die cut the jar, the lid and the hearts.  I die cut 11 hearts.  Peel off the backing paper.

IMG_0452

Position the hearts on the jar and the jar on the quilt block.  Mufasa and I are working very late tonight!!IMG_0449

Press the applique pieces in place.

Baste the backing fabric, batting, and quilt block.  Quilt.  I quilted loop de loos around the jar, then quilted with dark gray thread outlining the jar and lid.  I also quilted inside each heart.  Square up the quilt block and add the binding.

IMG_0464

Tie a bow out of bakers twine and tack it to the side of the jar.  I added a little silver heart charm – yes I’m cute 🙂

IMG_0473

I hope you love making this project!  I can’t wait to make more and give for gifts.  You might want to tuck this little idea away for Valentines Day!!

IMG_0469

Pixie Noel Blog Tour – Snowflake Quilt Tutorial

snowflake quilt tutorial

It’s my turn on the Pixie Noel Blog Tour!  Yay!  I have been in love with this fabric as soon as I saw Tasha Noel post a few sneak peeks months and months ago!  I love how whimsical her art is and I love her choice of colors!

Screen Shot 2016-07-24 at 1.33.33 PM 
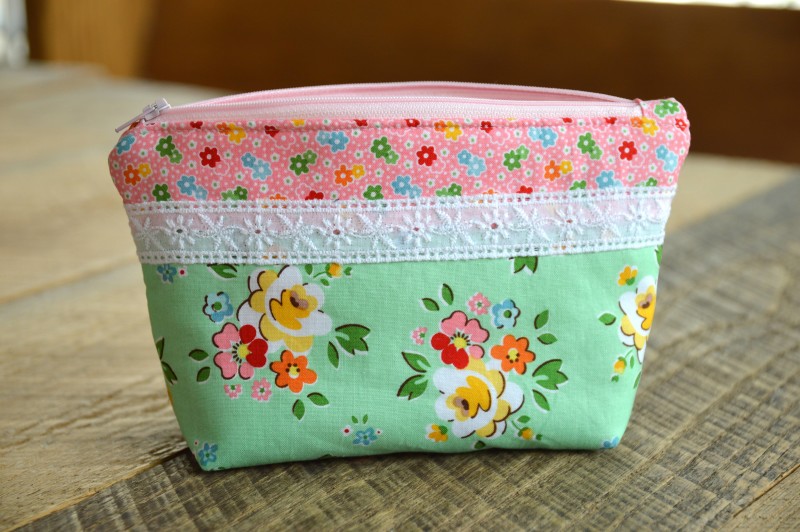
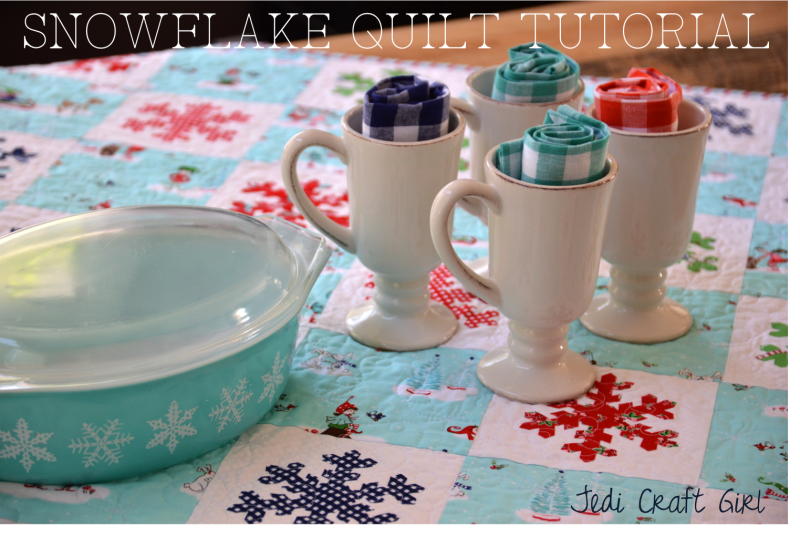
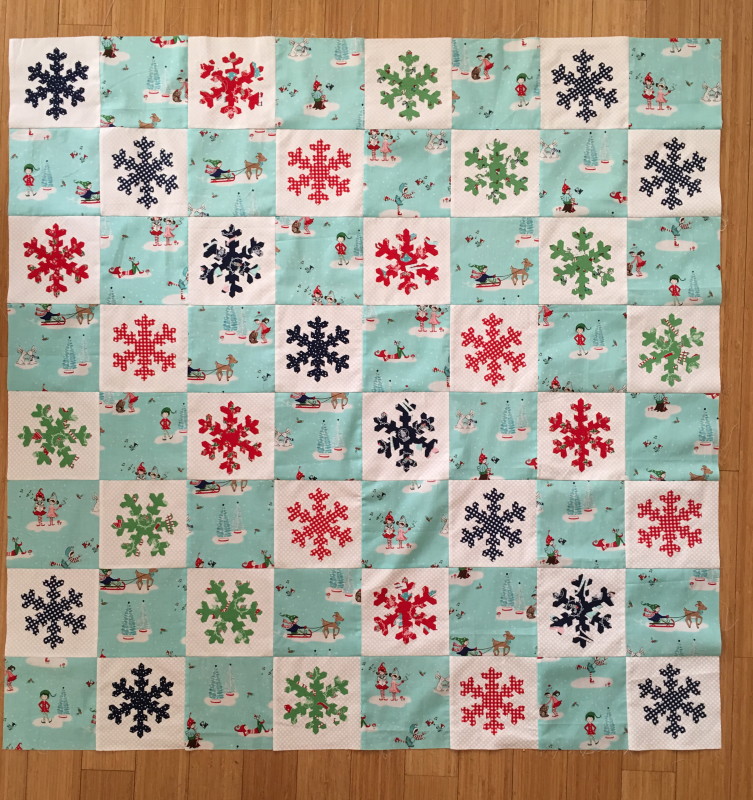
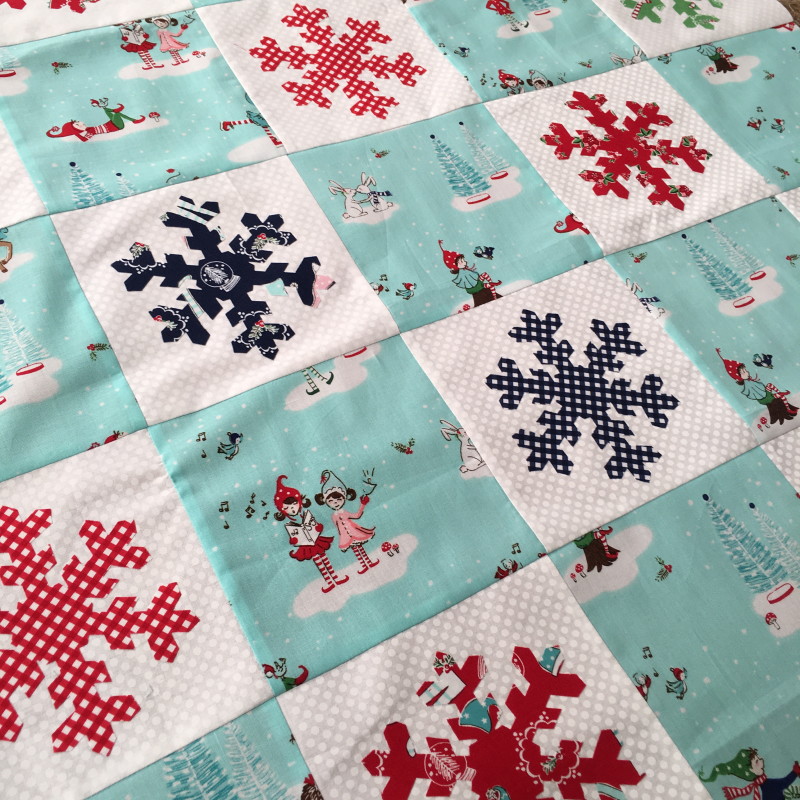
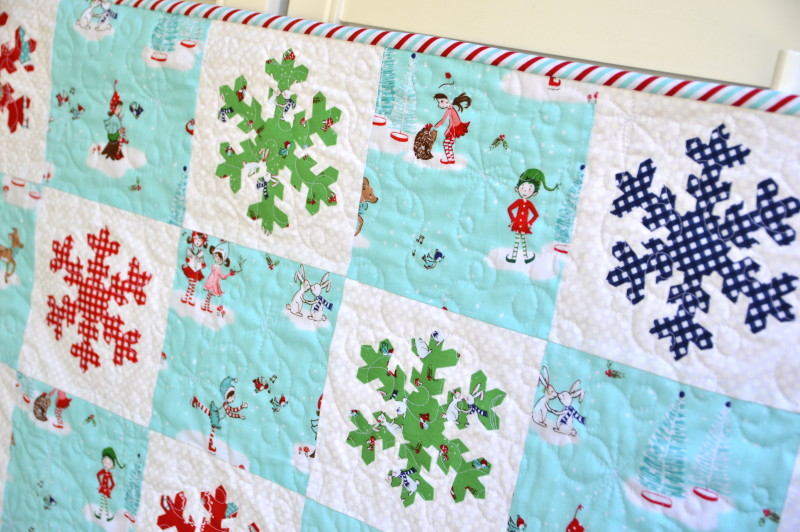
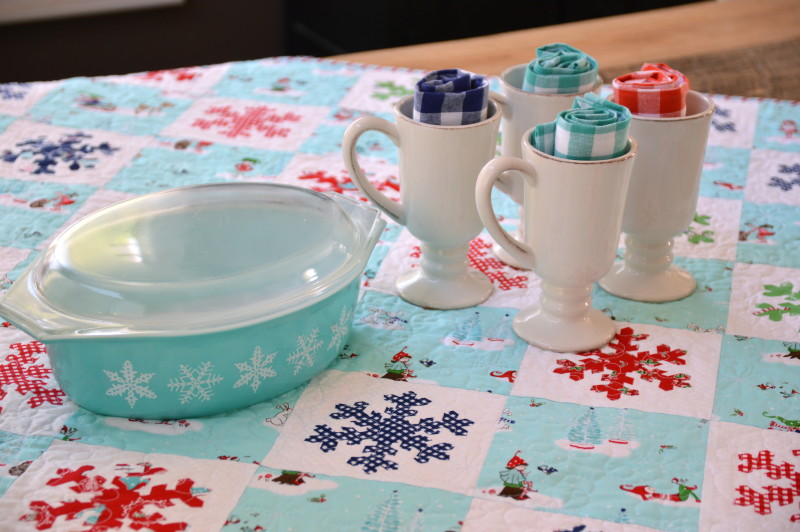
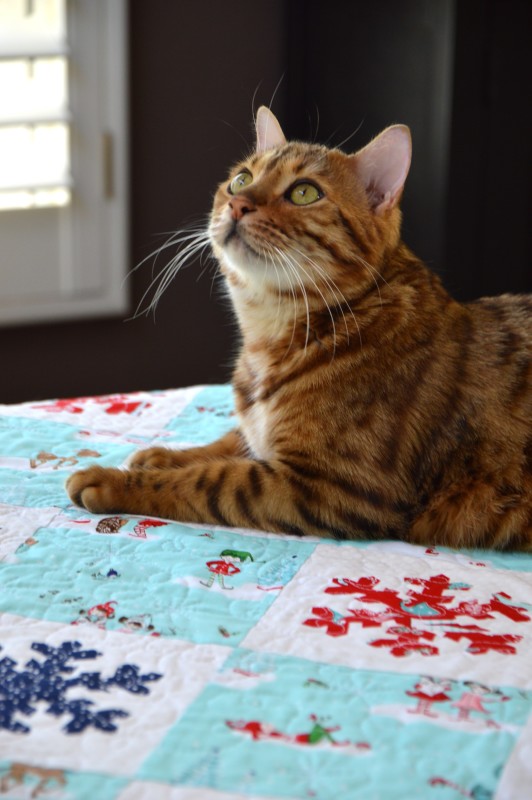
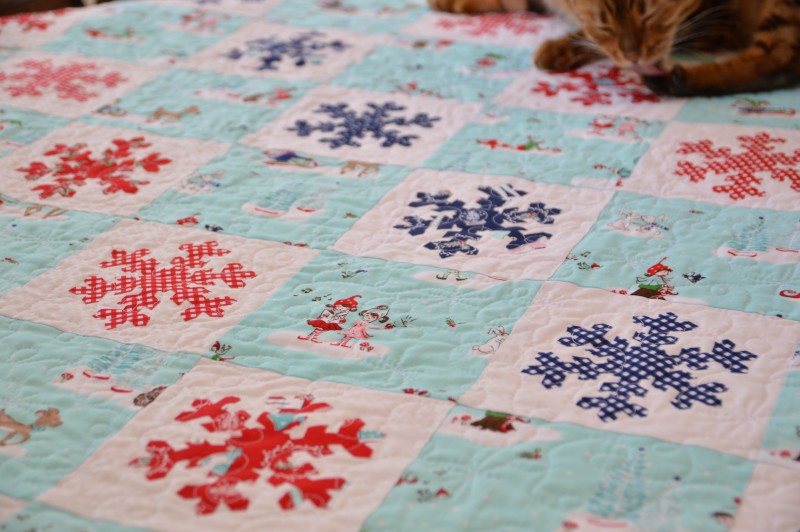
It was a little bit challenging to sew with winter fabric when the temperatures here in Southern California have been in the 110’s and our town is literally ablaze!   I decided to beat the heat by creating this whimsical snowflake quilt.

I don’t know about you, but cutting snowflakes and sewing snowflakes is not on my top 10 list of favorite things to do.  Super time consuming!  This quilt has 2 amazing shortcuts that will have you whipping one up in an afternoon.

First, all the snowflakes were die cut on my Sizzix Fabi – 3 at a time!

Second, the snowflakes are appliqued using Heat n Bond Ultra which means no tedious applique top stitching necessary!  Heat n Bond Ultra is heavier than Heat n Bond Lite which I normally use for applique.  The Ultra requires no sewing.   Just cut, press, and go!  The snowflakes get sewn over during the quilting process – which helps incorporate them into the quilt and makes it even more durable.

DSC_0547

Here’s how you can make one:

Supplies:

55″ Heat n Bond Ultra

Sizzix snowflake die

1 yard white fabric

1 yard aqua main fabric (or additional if you want to fussy cut)

fat quarters for applique, red, navy, green

IMG_0231

Instructions:

Cut (32) 6.5″ squares of white fabric

Cut (32) 6.5″ squares of the aqua Pixie Noel theme print

Cut the Heat n Bond Ultra into 5″ strips.  Fuse to the wrong side of the snowflake fat quarters.

IMG_0232

Make sure your cat helps you die cut the snowflakes.

IMG_0235

We cut 3 at a time.

IMG_0234
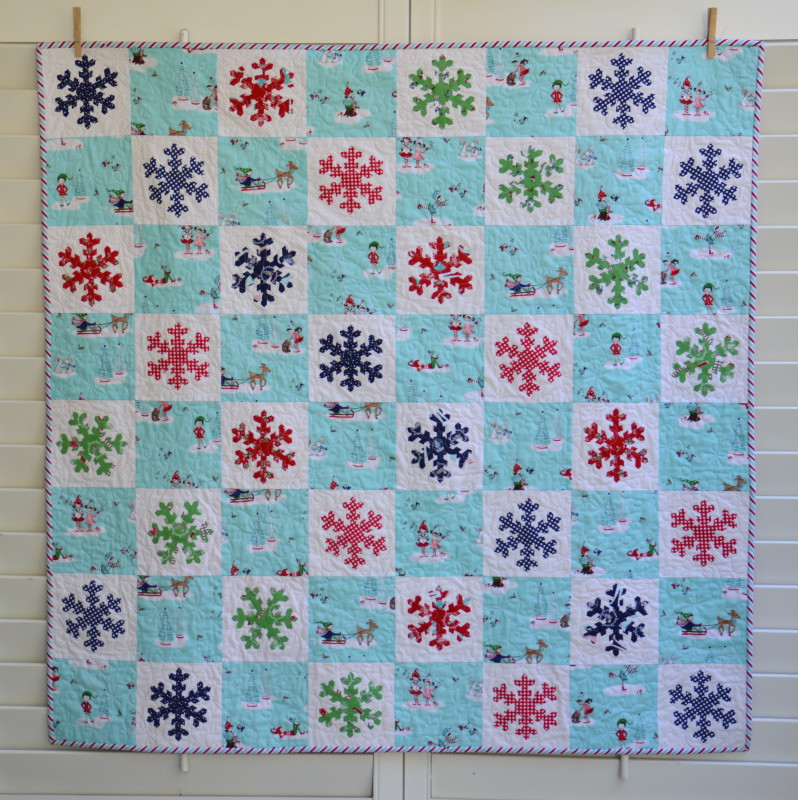
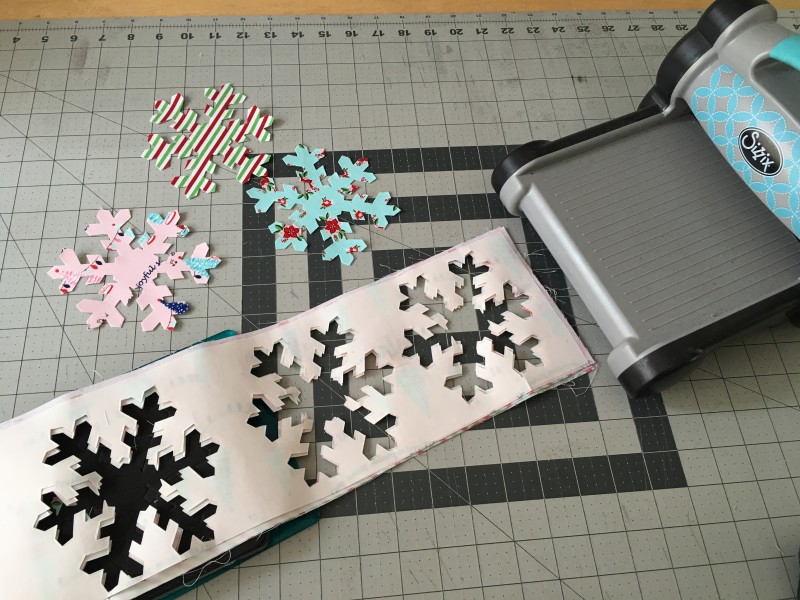
Peel off the backing.

Center the snowflakes on the white squares and heat set with hot dry iron.

IMG_0252

Die cut 6 green snowflakes, 12 navy snowflakes, and 12 red snowflakes.

Lay out the quilt according to the diagram below:

IMG_0259

Sew the squares together in rows using 1/4″ seams.  Press each row alternately.  Sew rows together pinning at each intersection.

IMG_0256

I always use Spray n Bond to baste my quilts – its fast, secure, and no pinning!  Seriously this quilt can be made in a matter of hours!!

I quilted loops and stars.  I sewed right over the snowflakes.  It helps to make them feel like part of the quilt and not puff out.

DSC_0559

I love that there are 3 stripe colors to choose from in Pixie Noel.  Even better, they are printed on the bias which makes cutting bias striped binding a snap!!!

DSC_0561

DSC_0516

Mufasa loves the quilt!  Don’t tell him it’s not for him 🙂

pixie noel quilt 5

Thanks for stopping by!!!!  Happy Christmas in July 🙂  pixie noel quilt