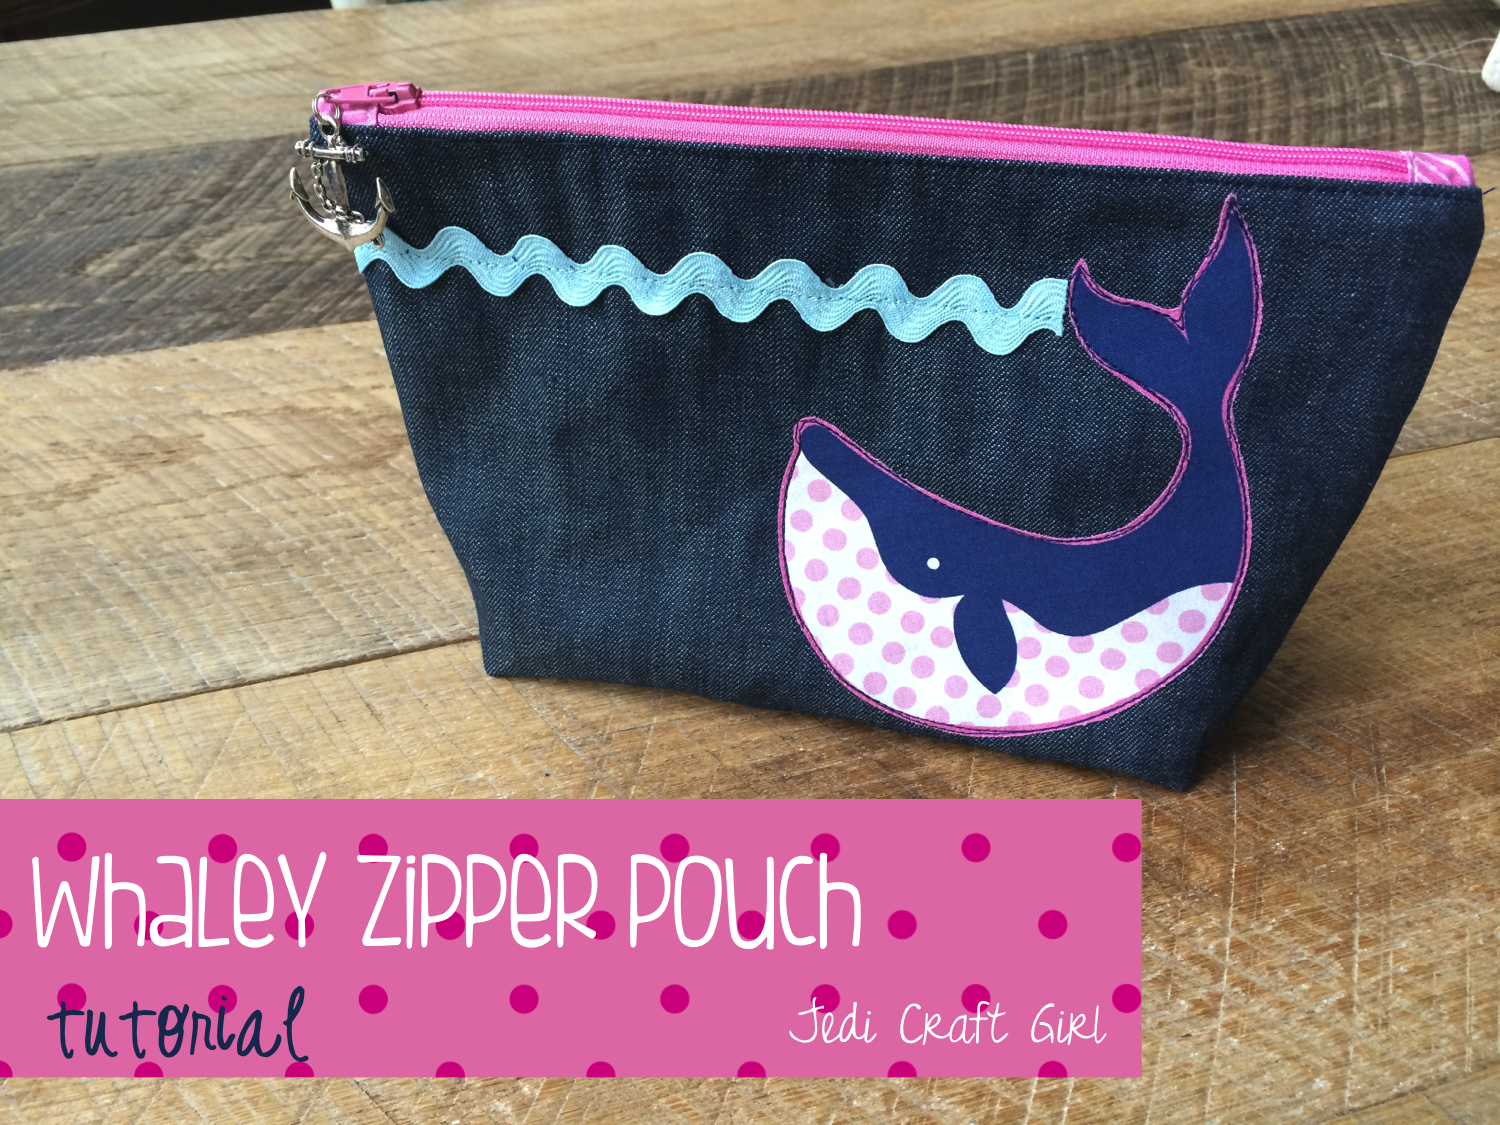
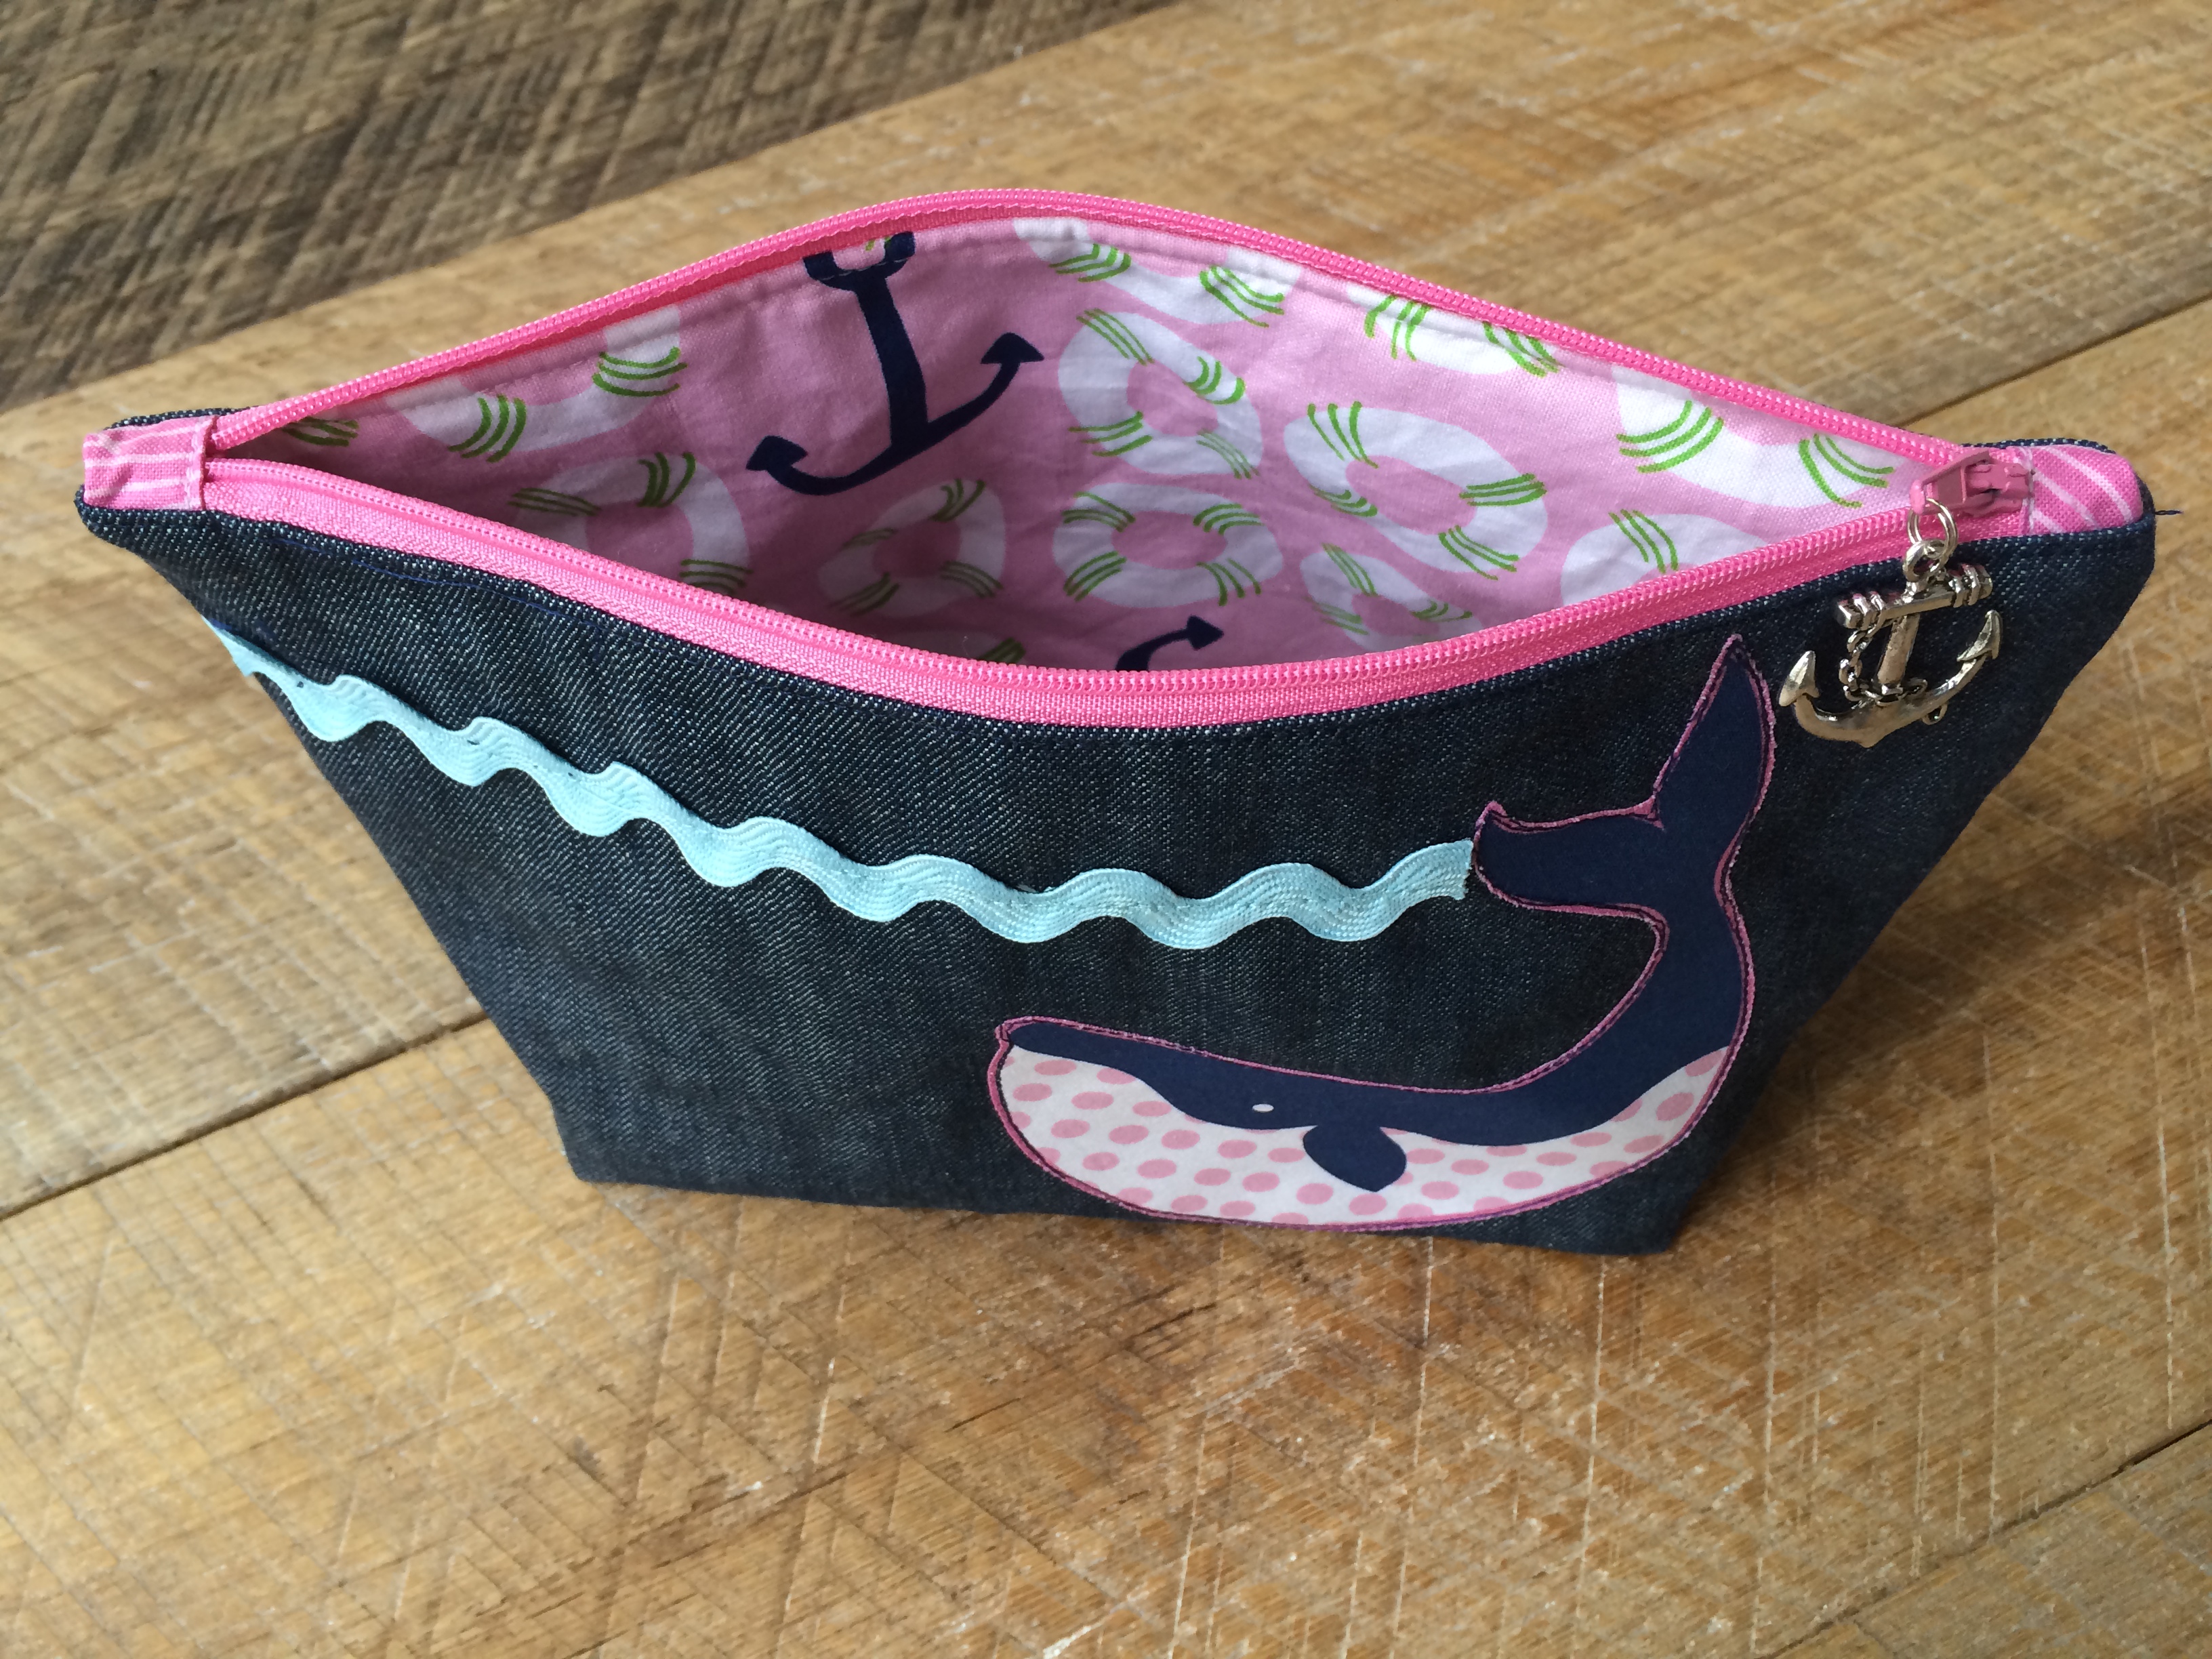
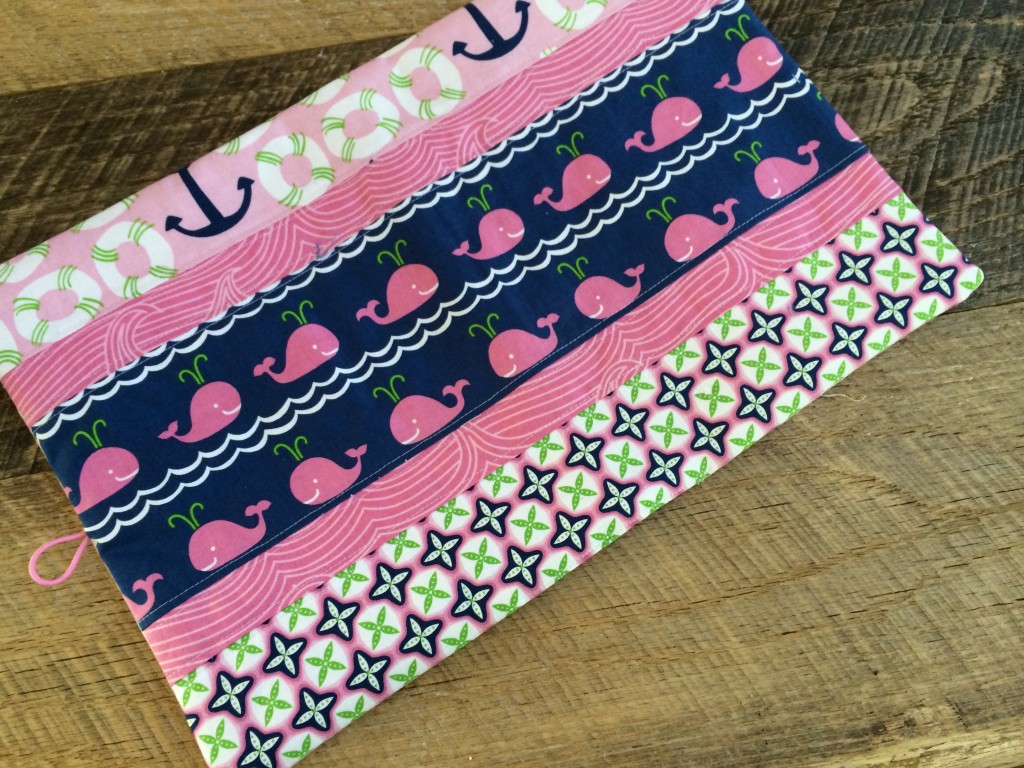
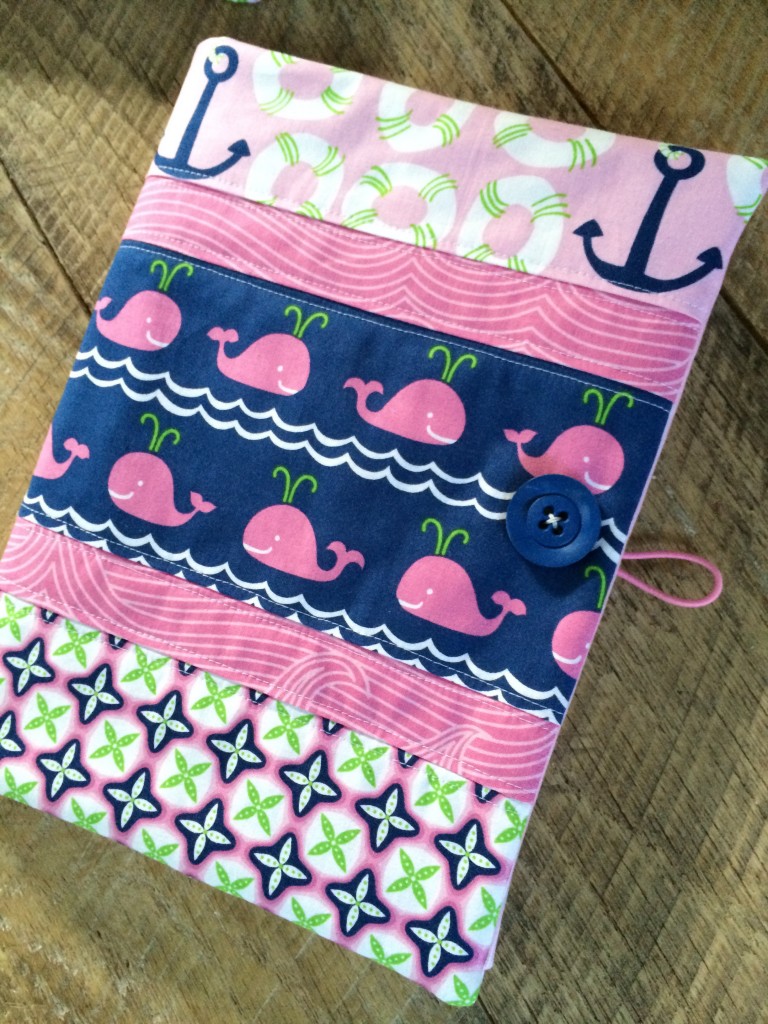
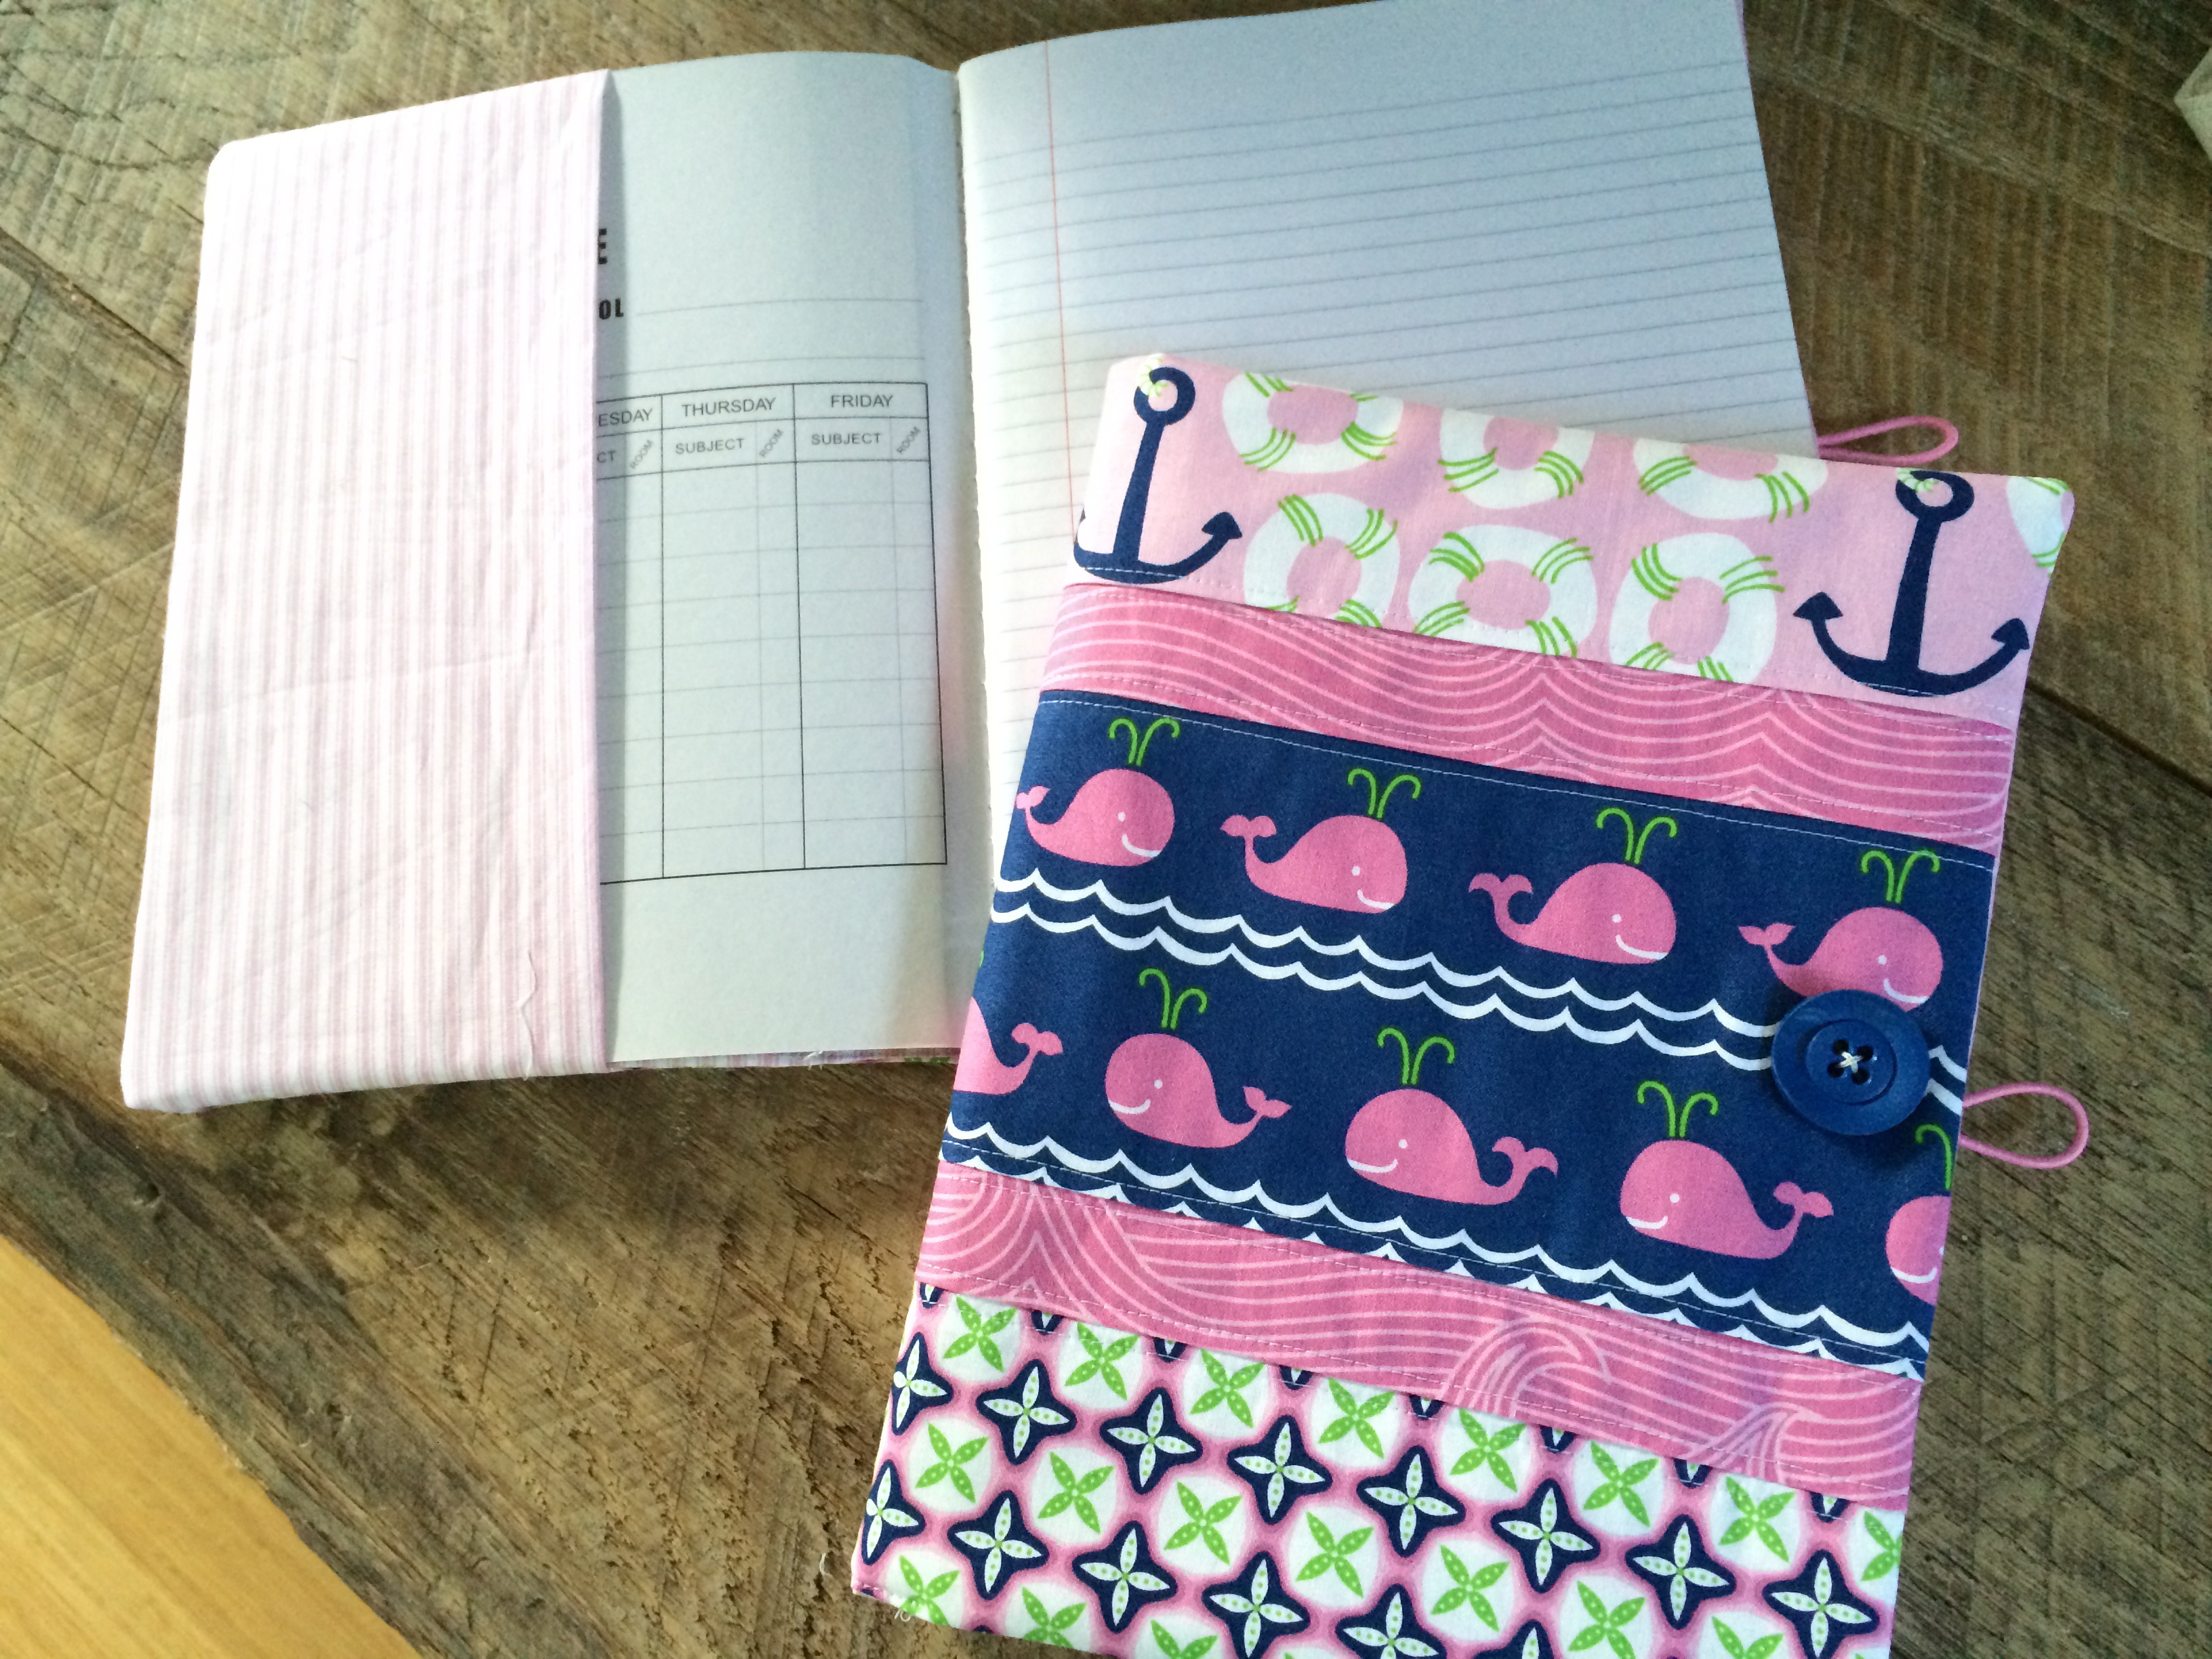
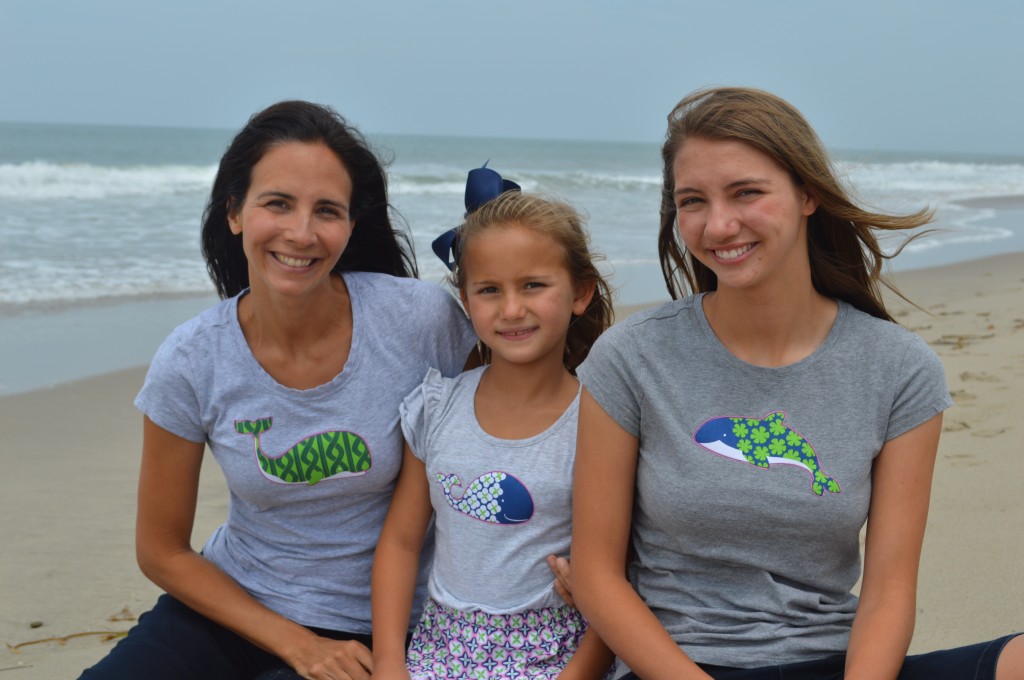
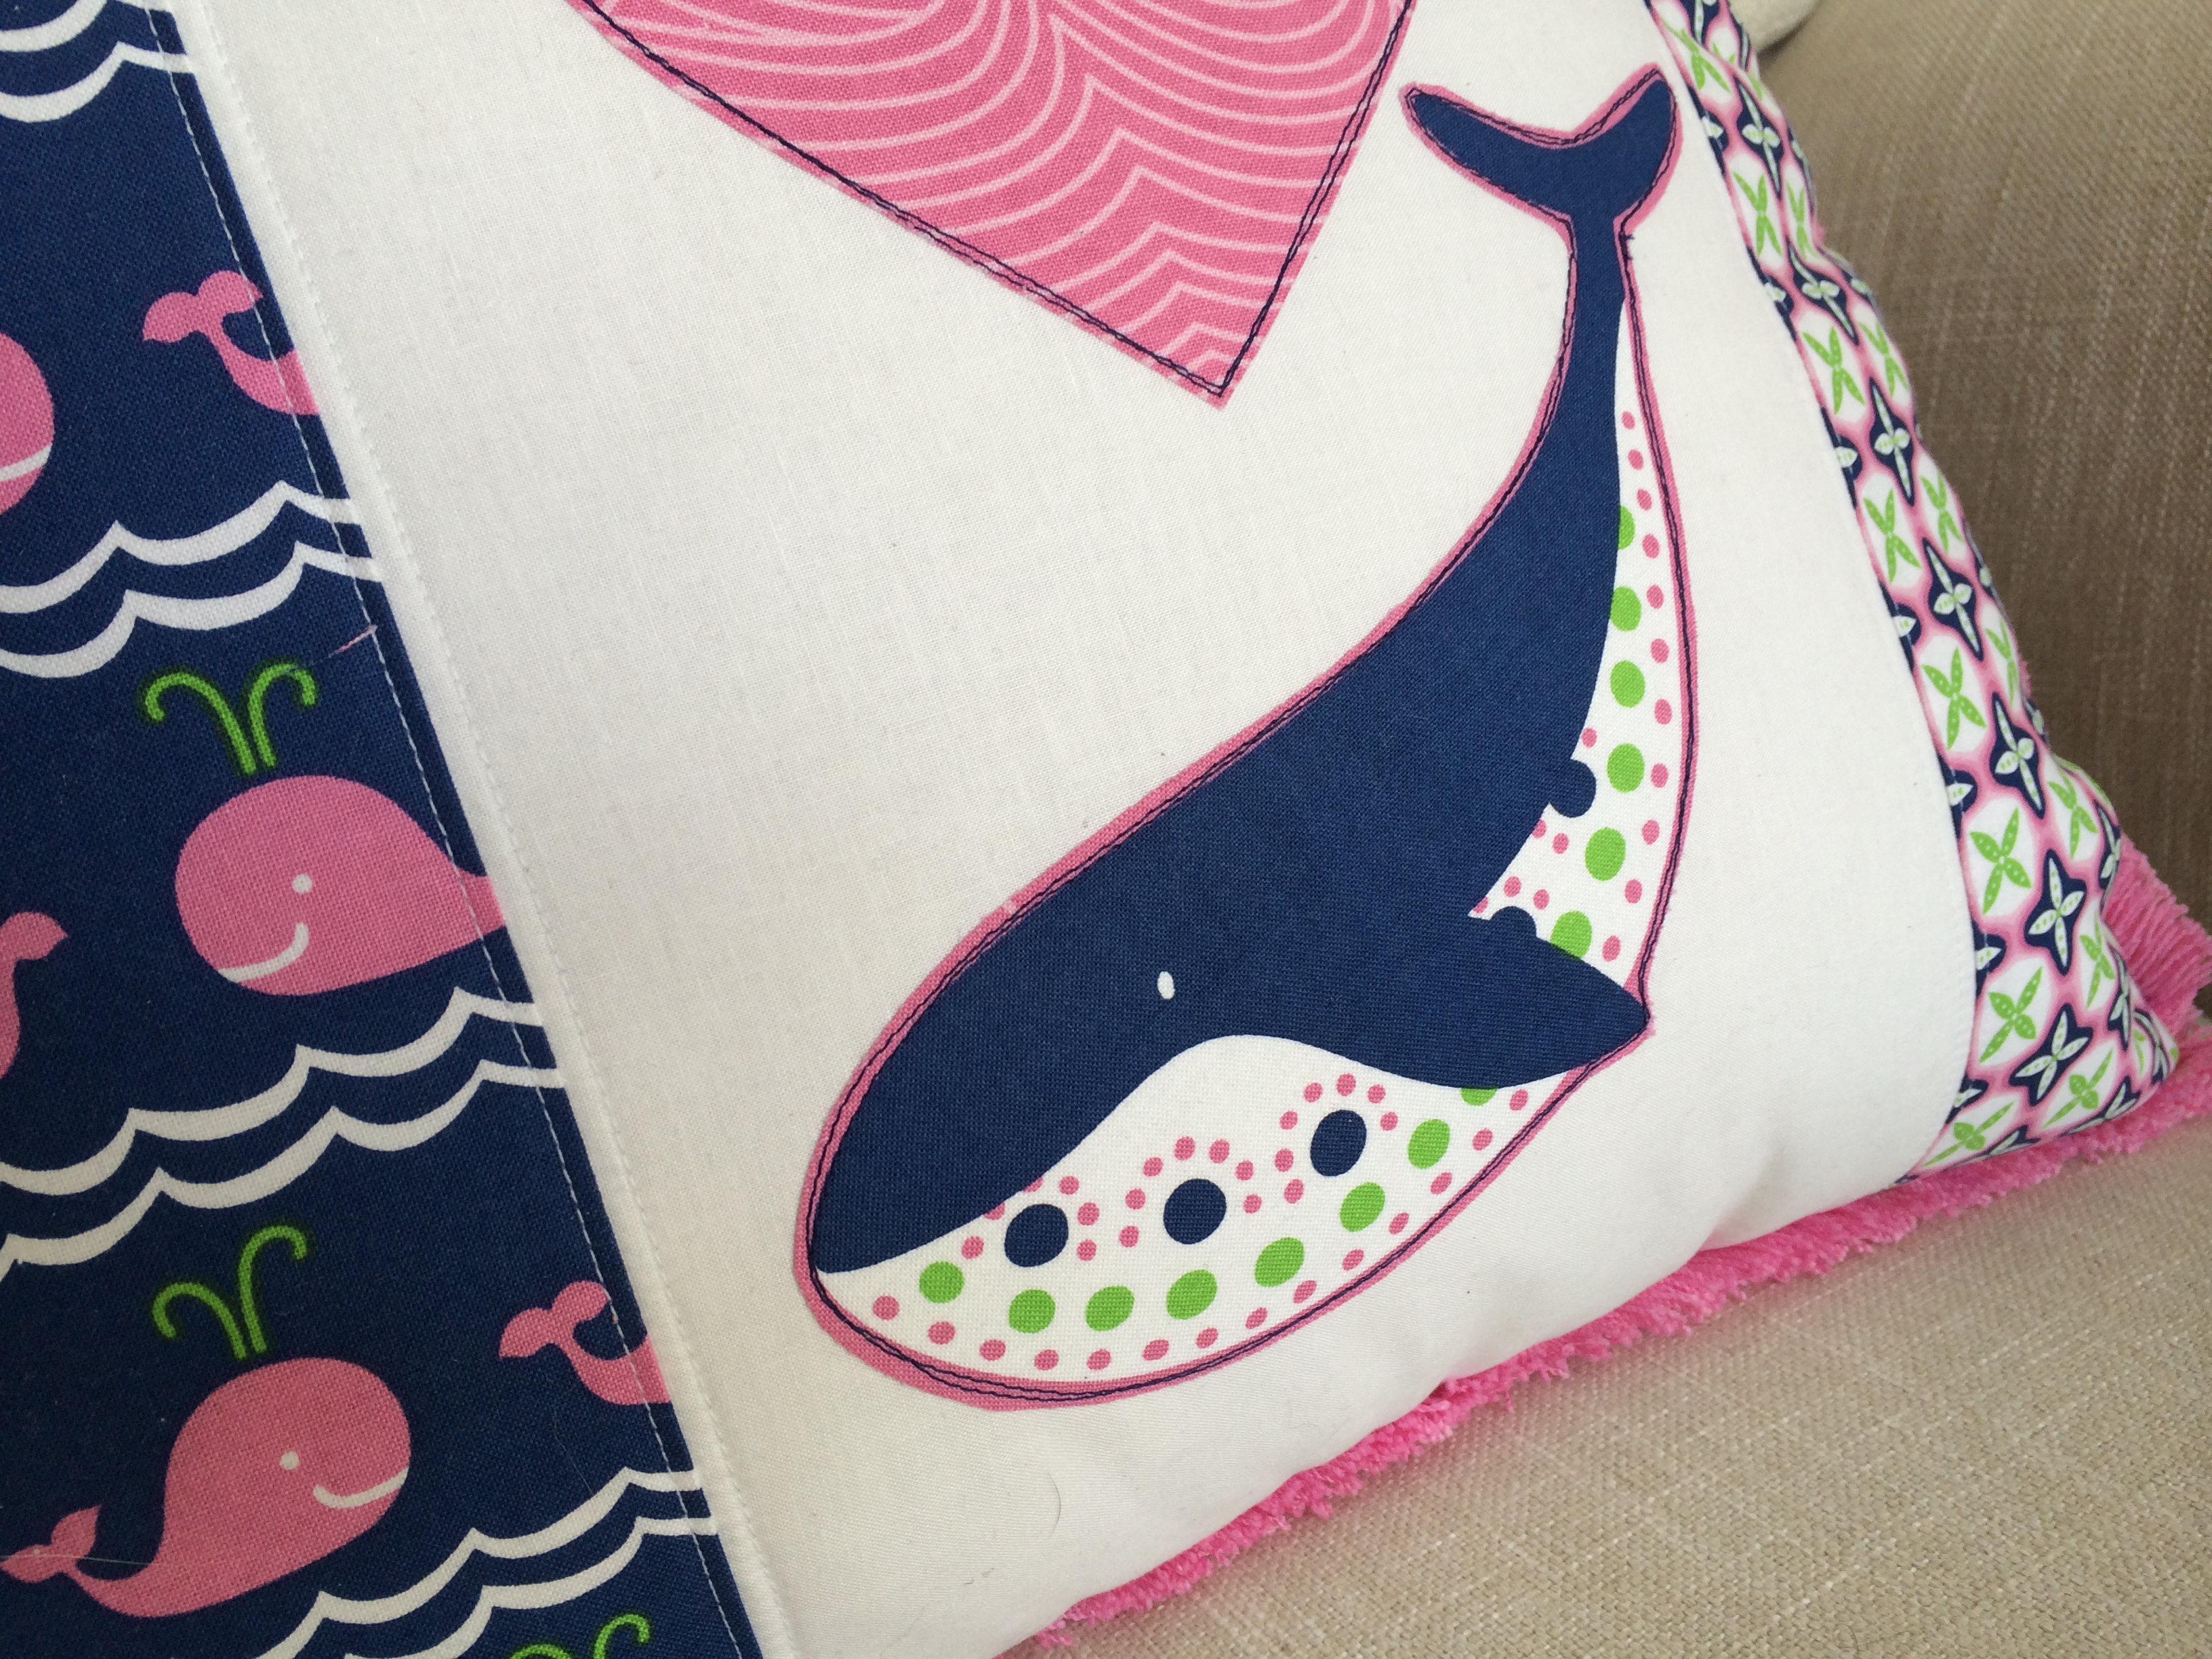
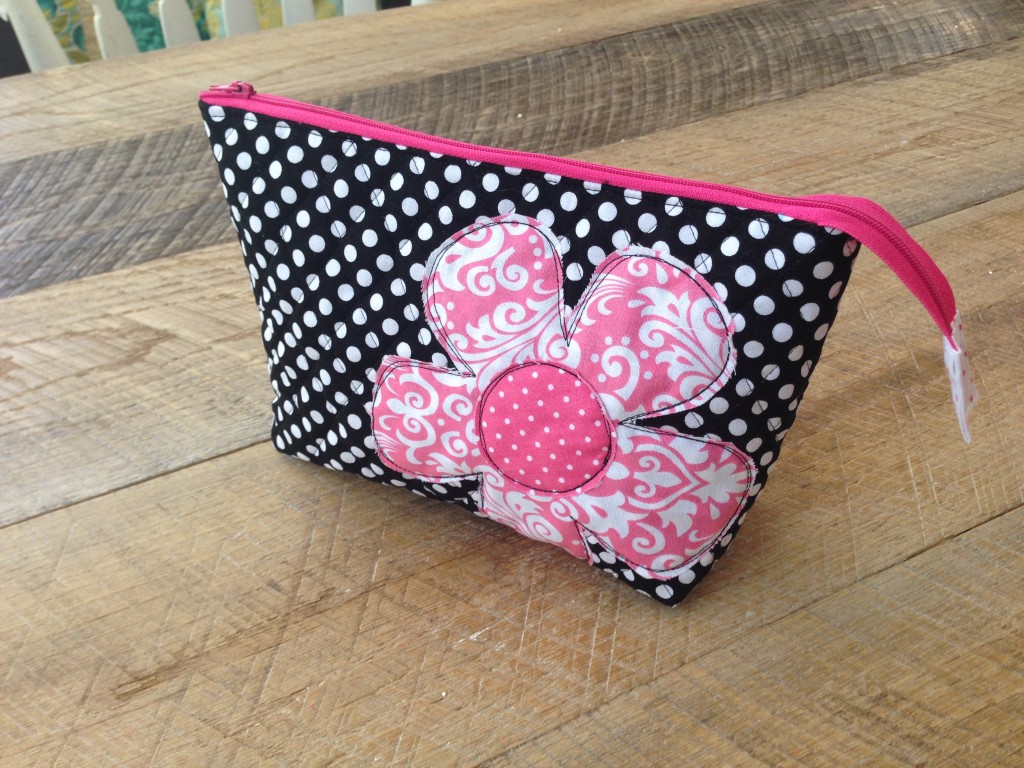
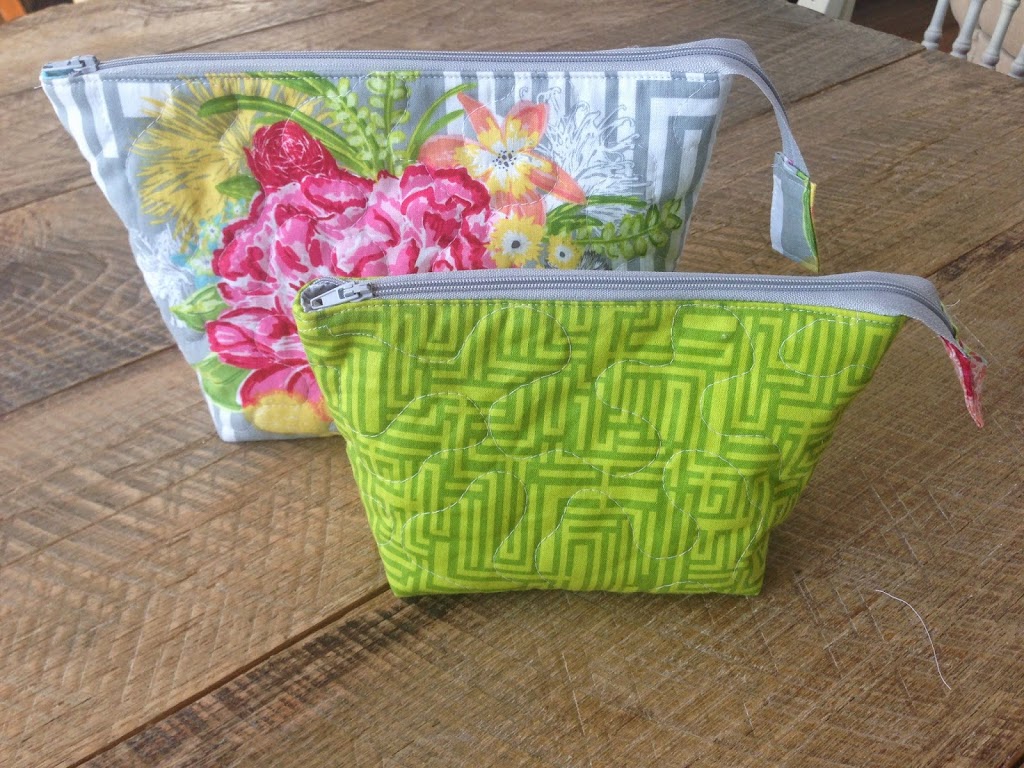
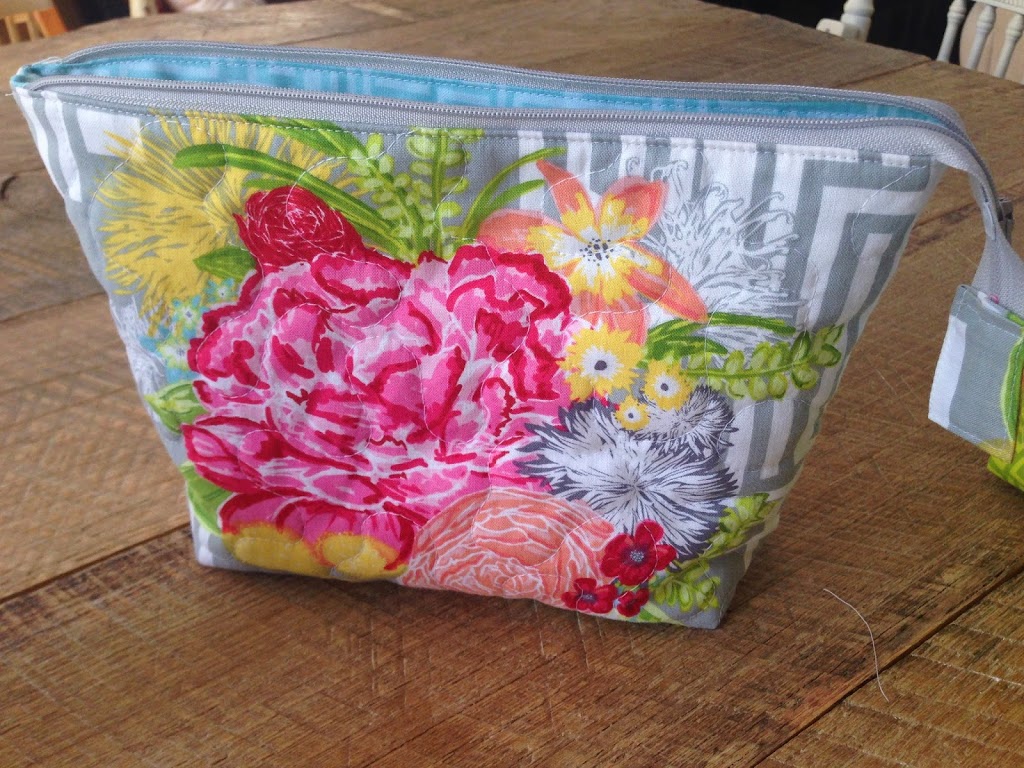
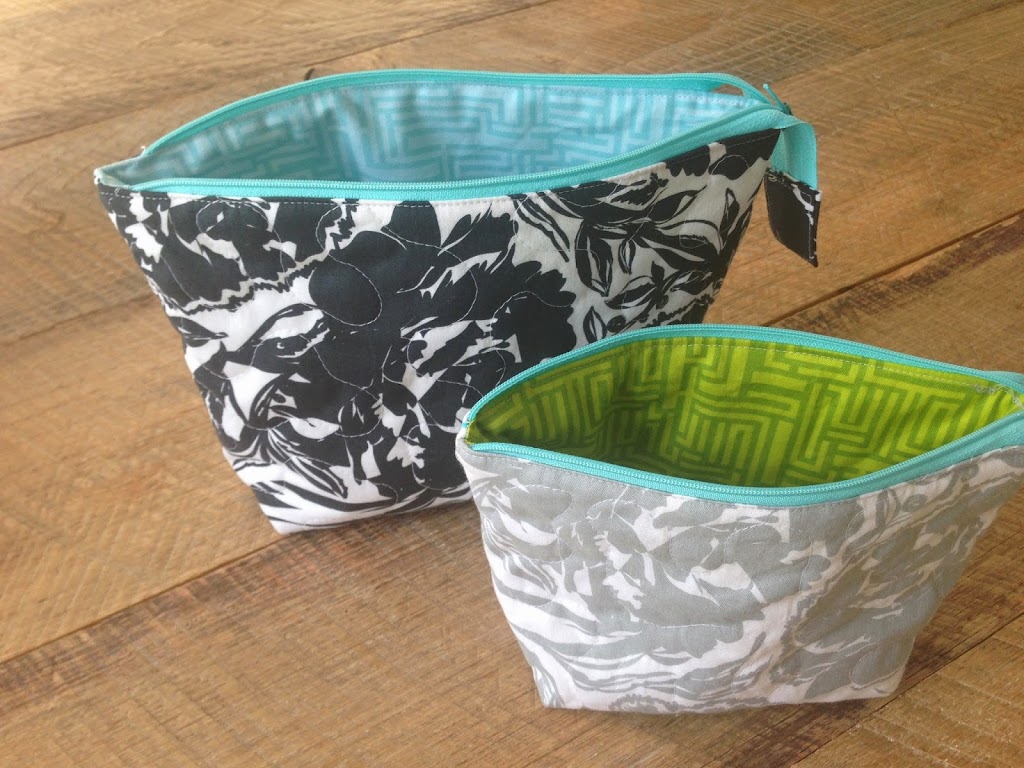
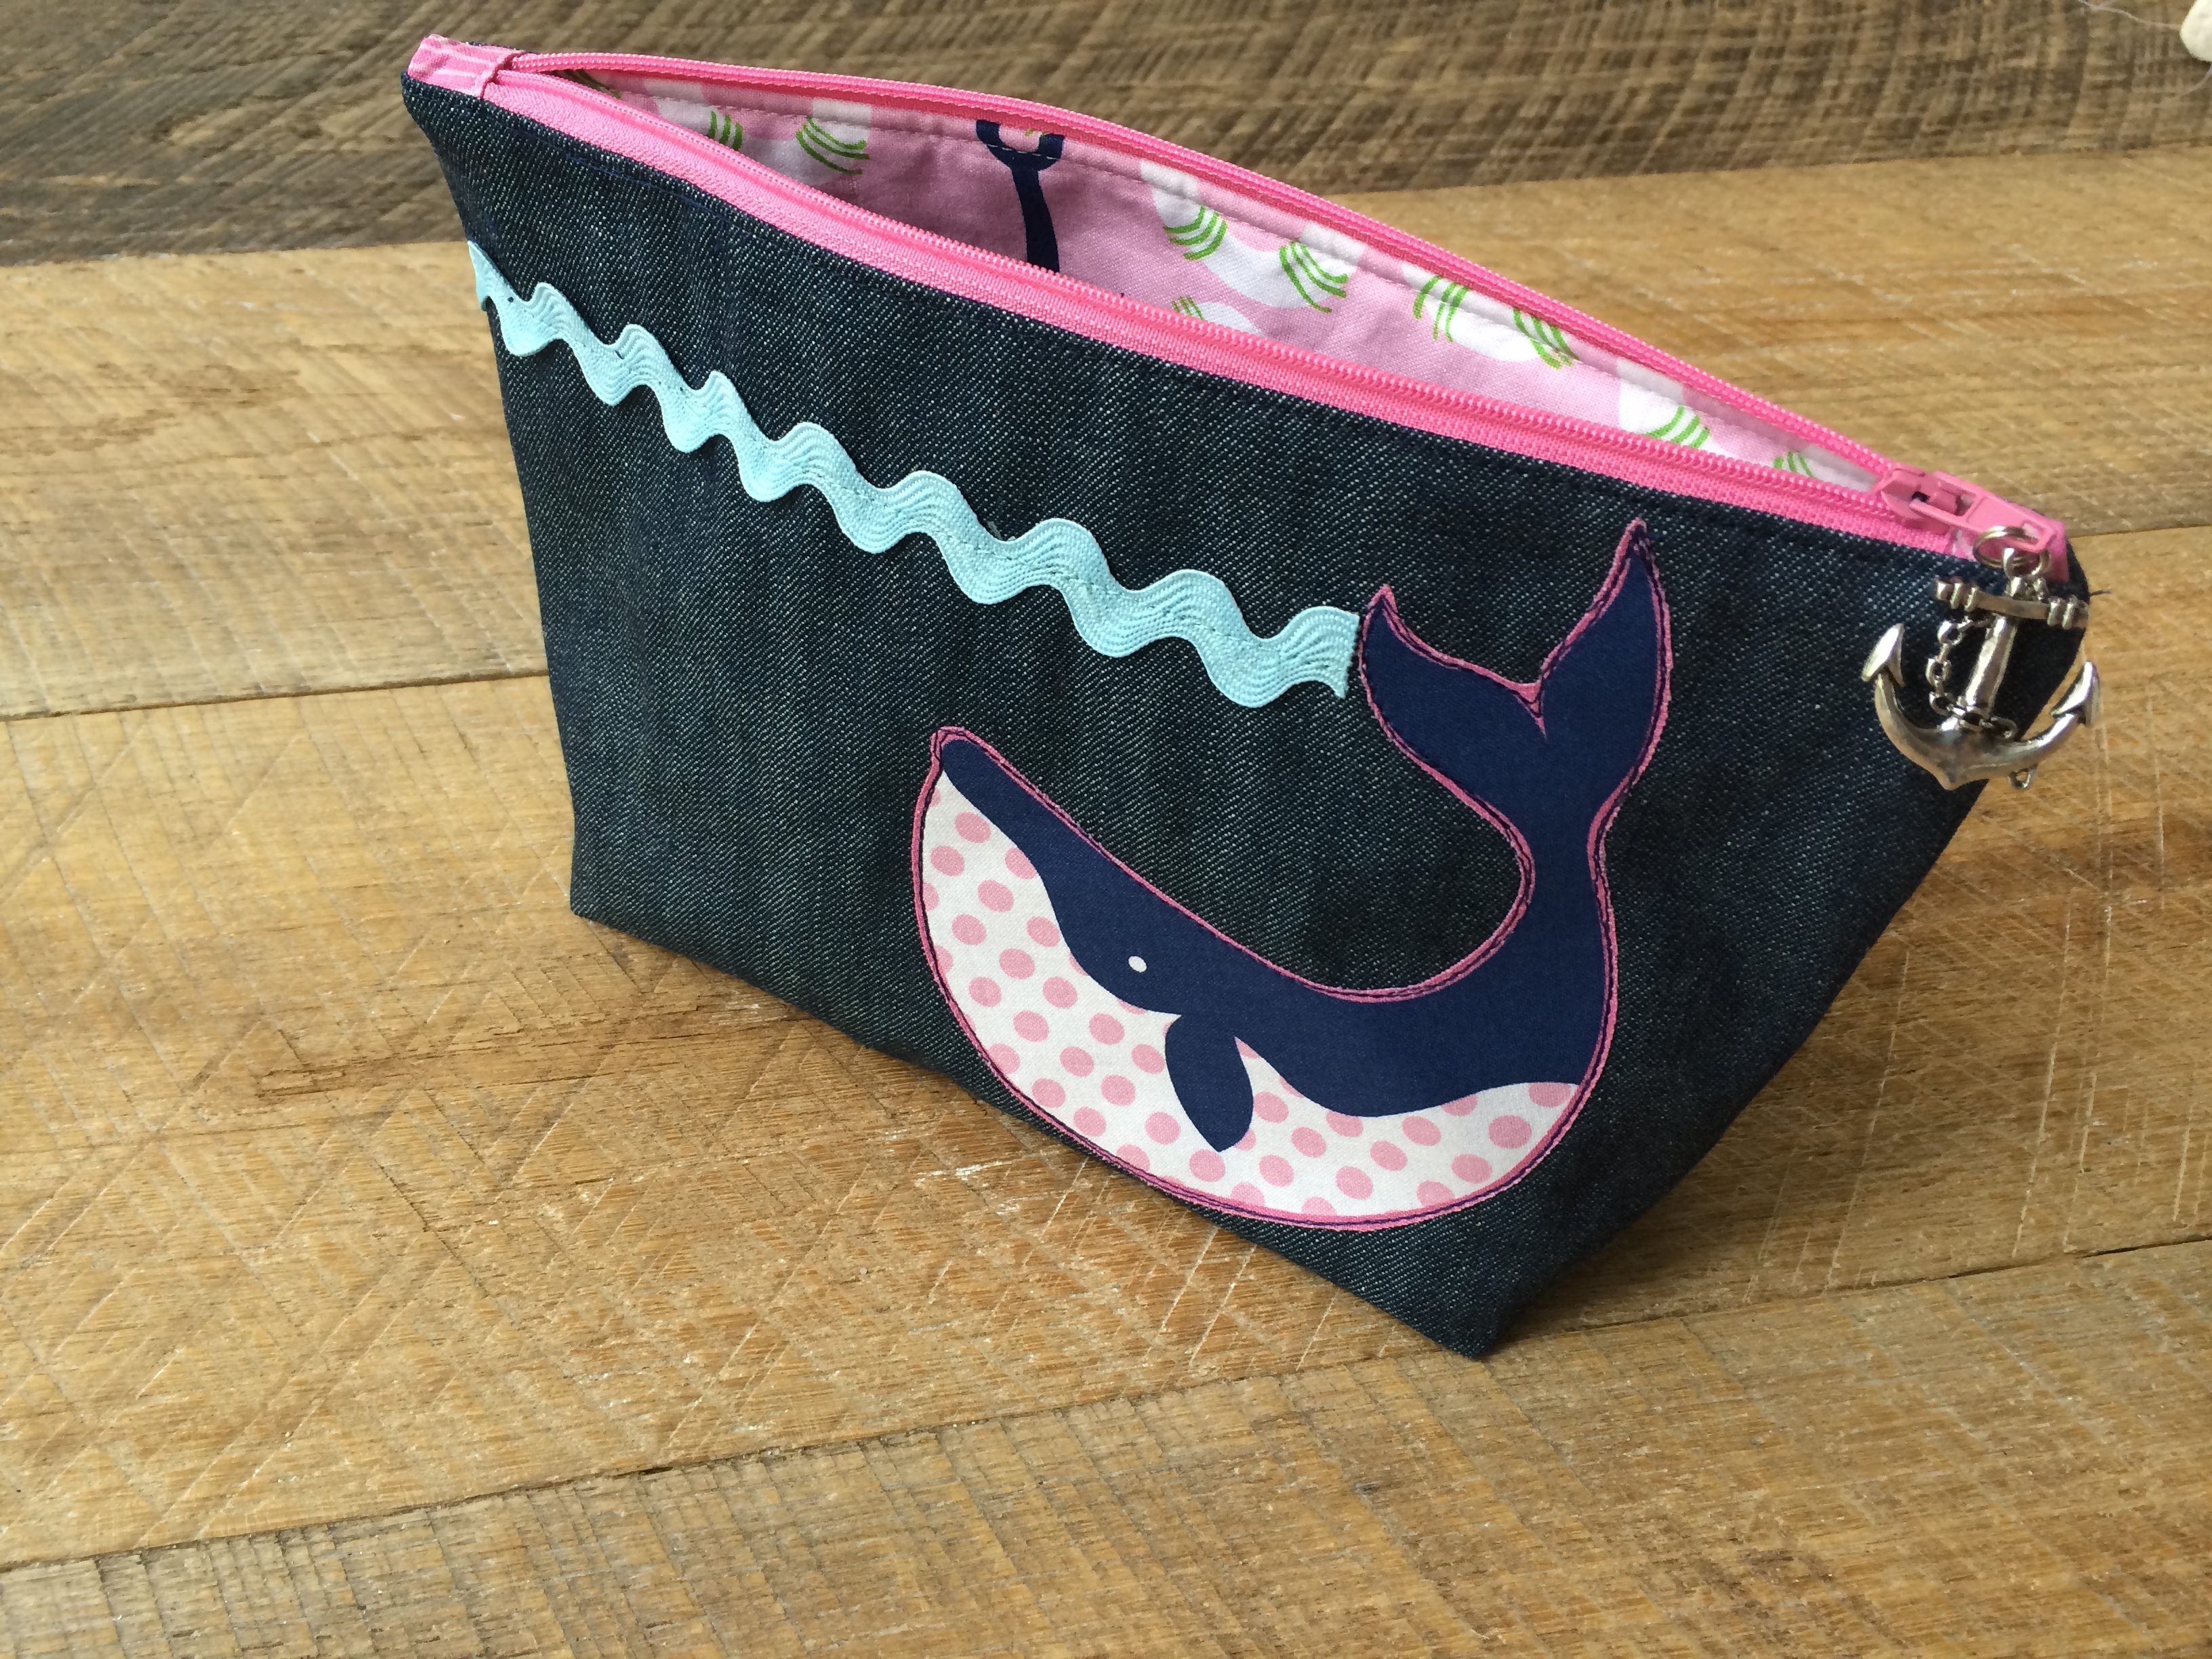
If you know me at all, you aren’t surprised that a whale zipper pouch would be apart of “Whale Week”! I have gotten so much use out of my 1/2 yard of True Blue Whales fabric by Blend!!! I love the little anchor charm I found to use as the zipper pull. The lining of the bag is super cute with lifesavers and anchors on it!!
This tutorial is more of an overview, if you want extra details and you are new to making zipper pouches, check out My favorite zipper pouch tutorial.
Supplies:
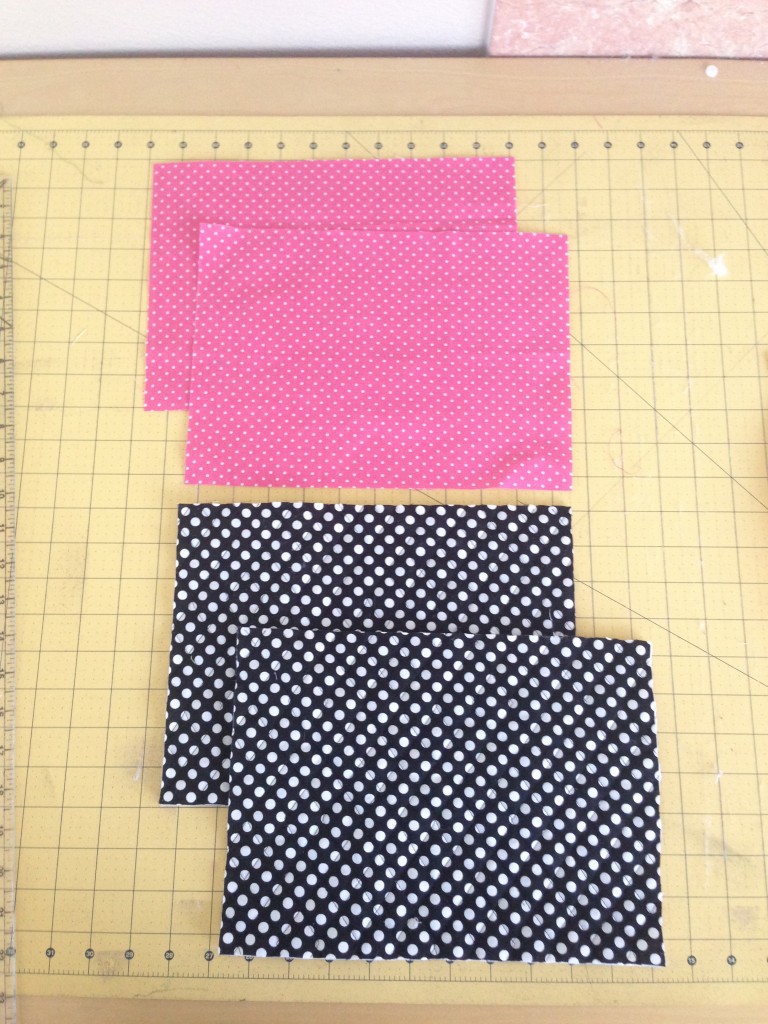
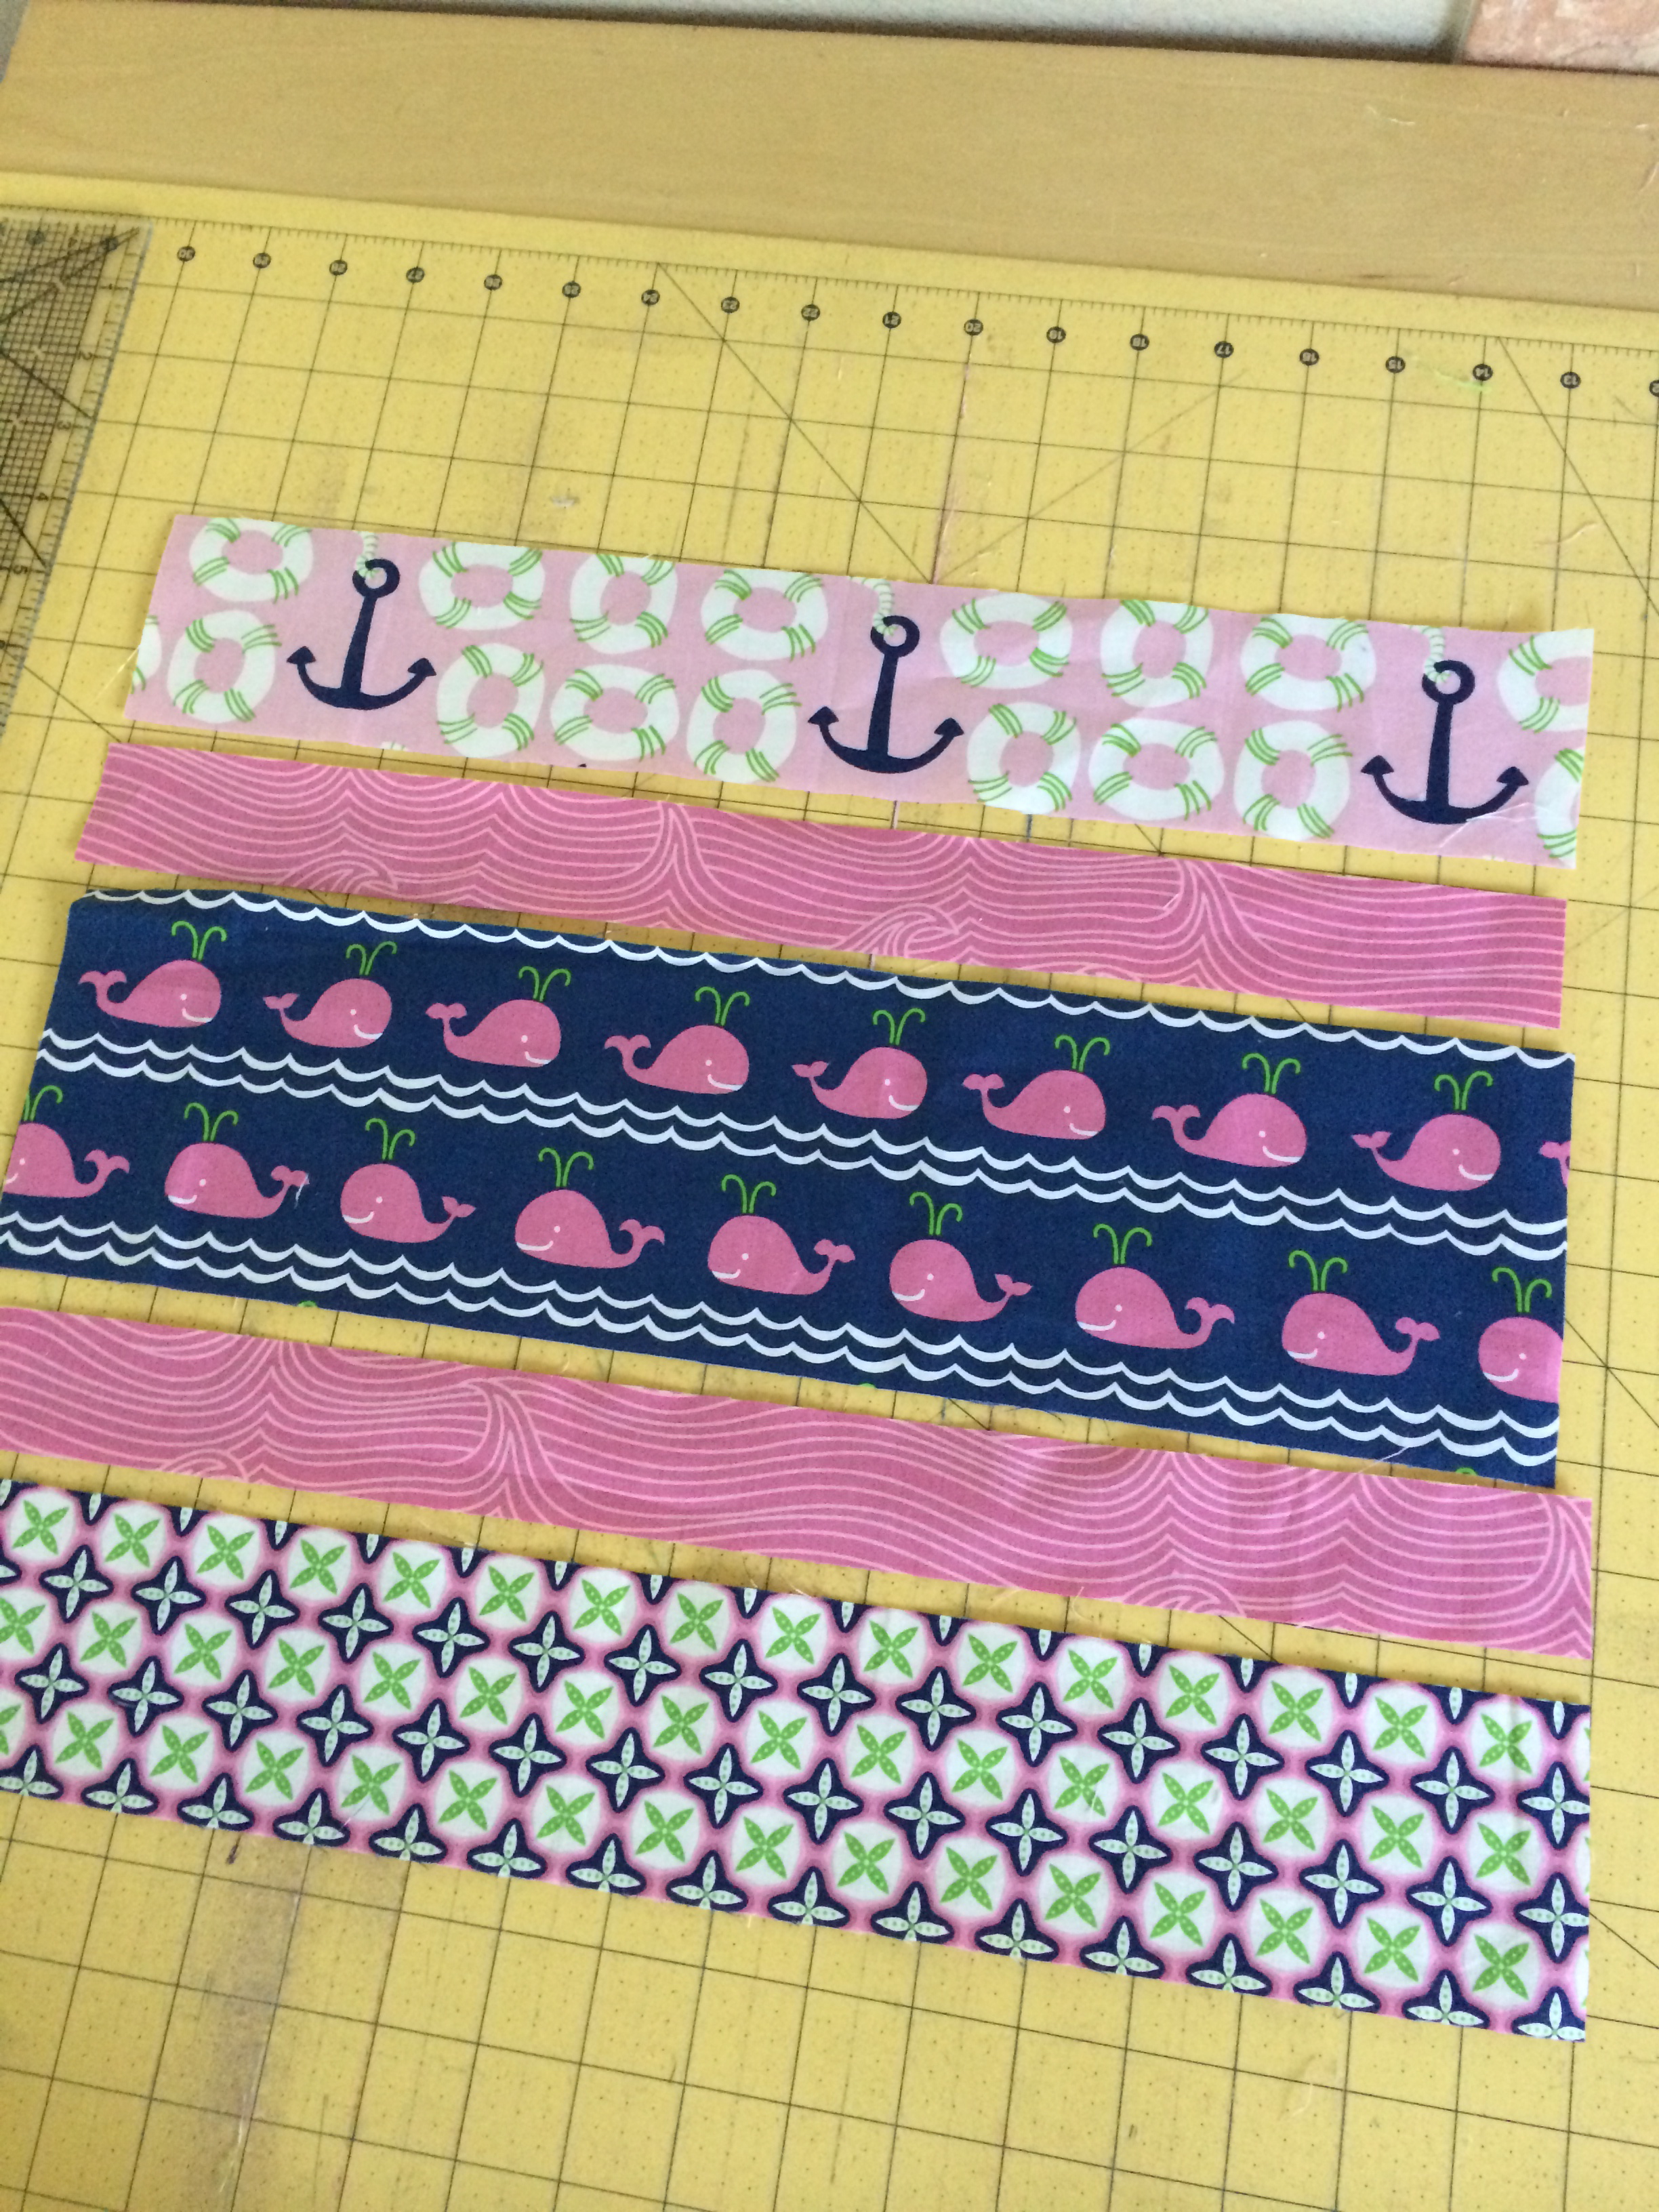
Fat quarters or large scraps for the outer bag and lining
scraps for zipper tabs
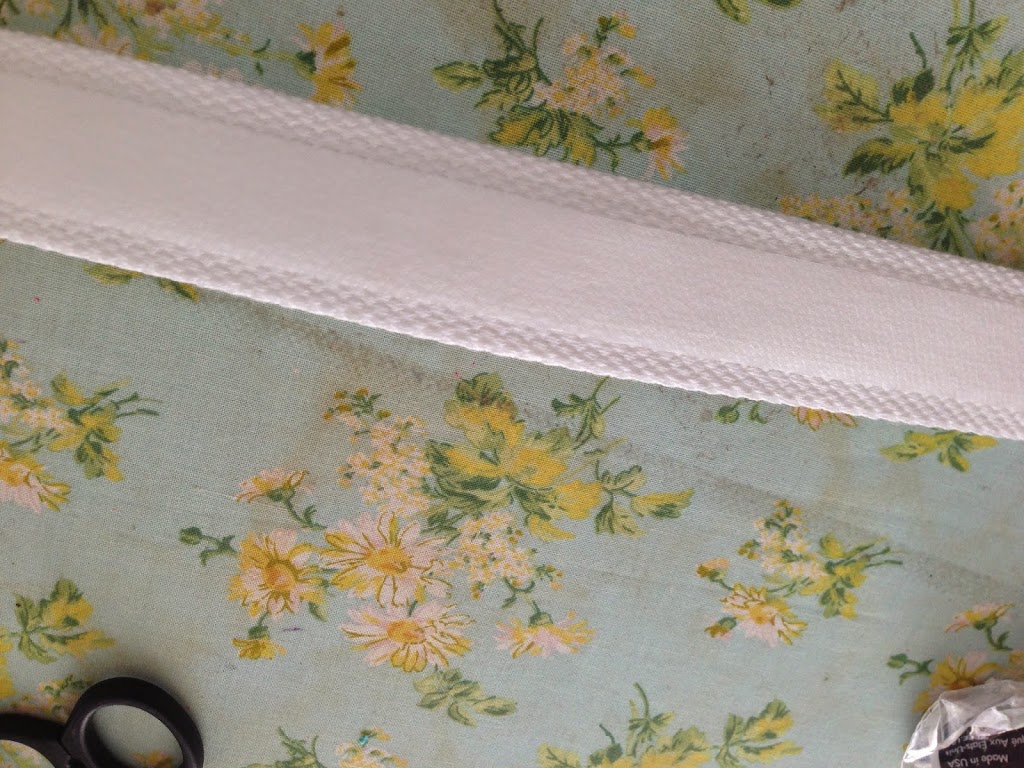
Medium or light weight fusible stabilizer
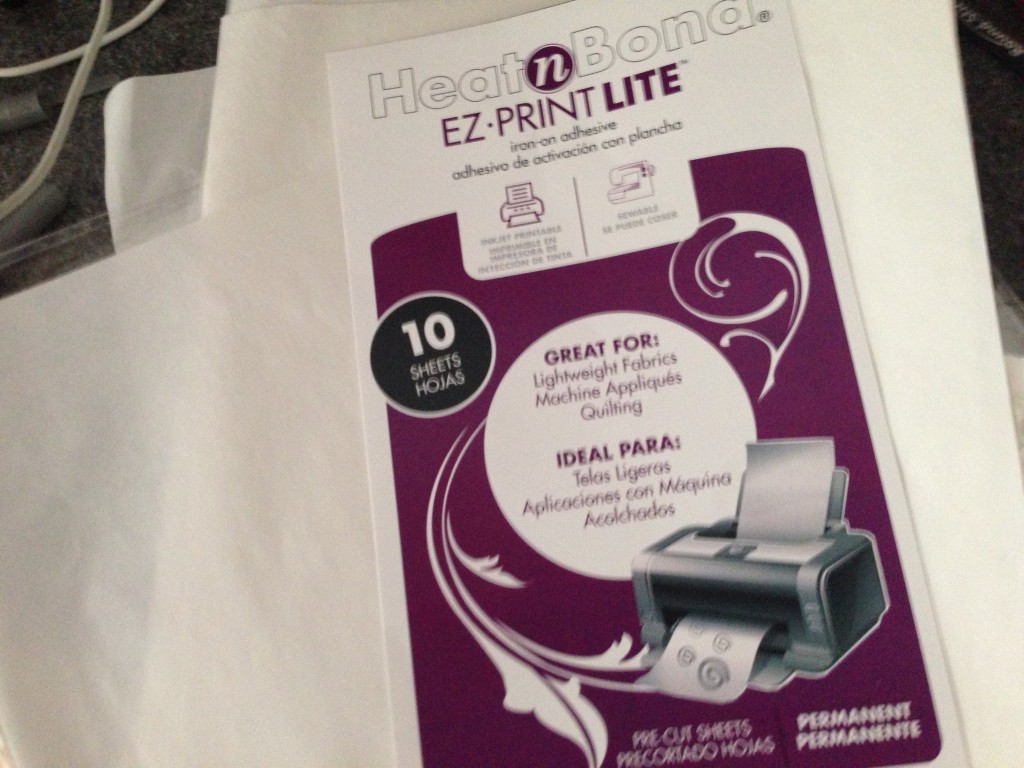
Heat n Bond LIte
zipper
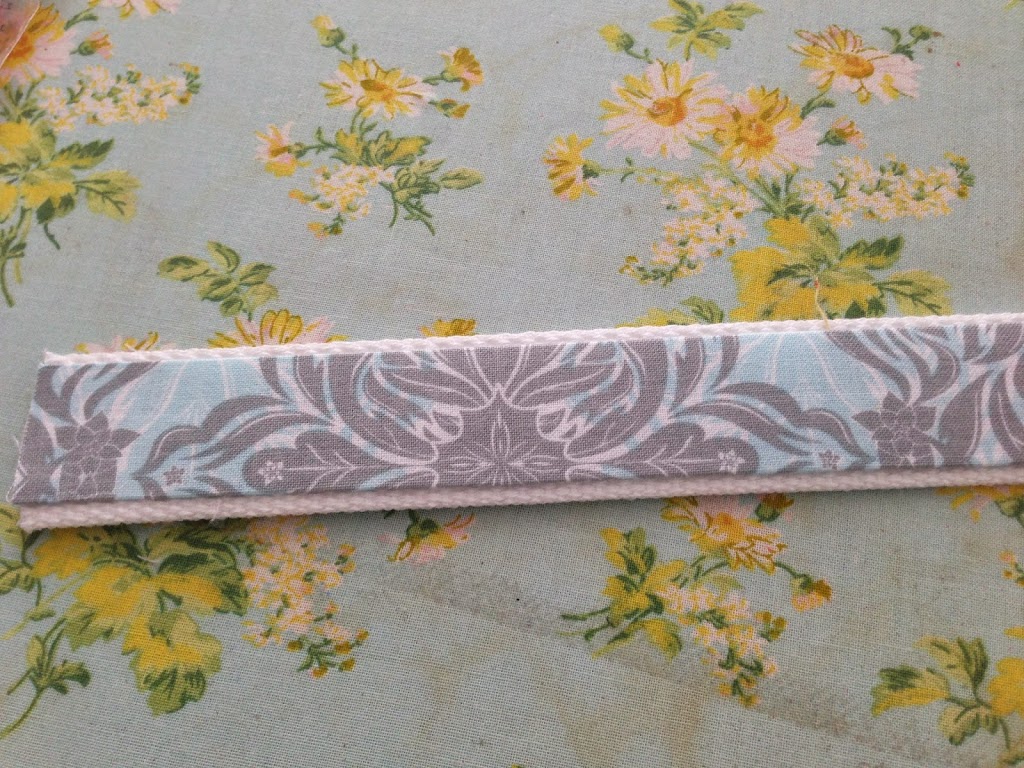
scrap of ric arc
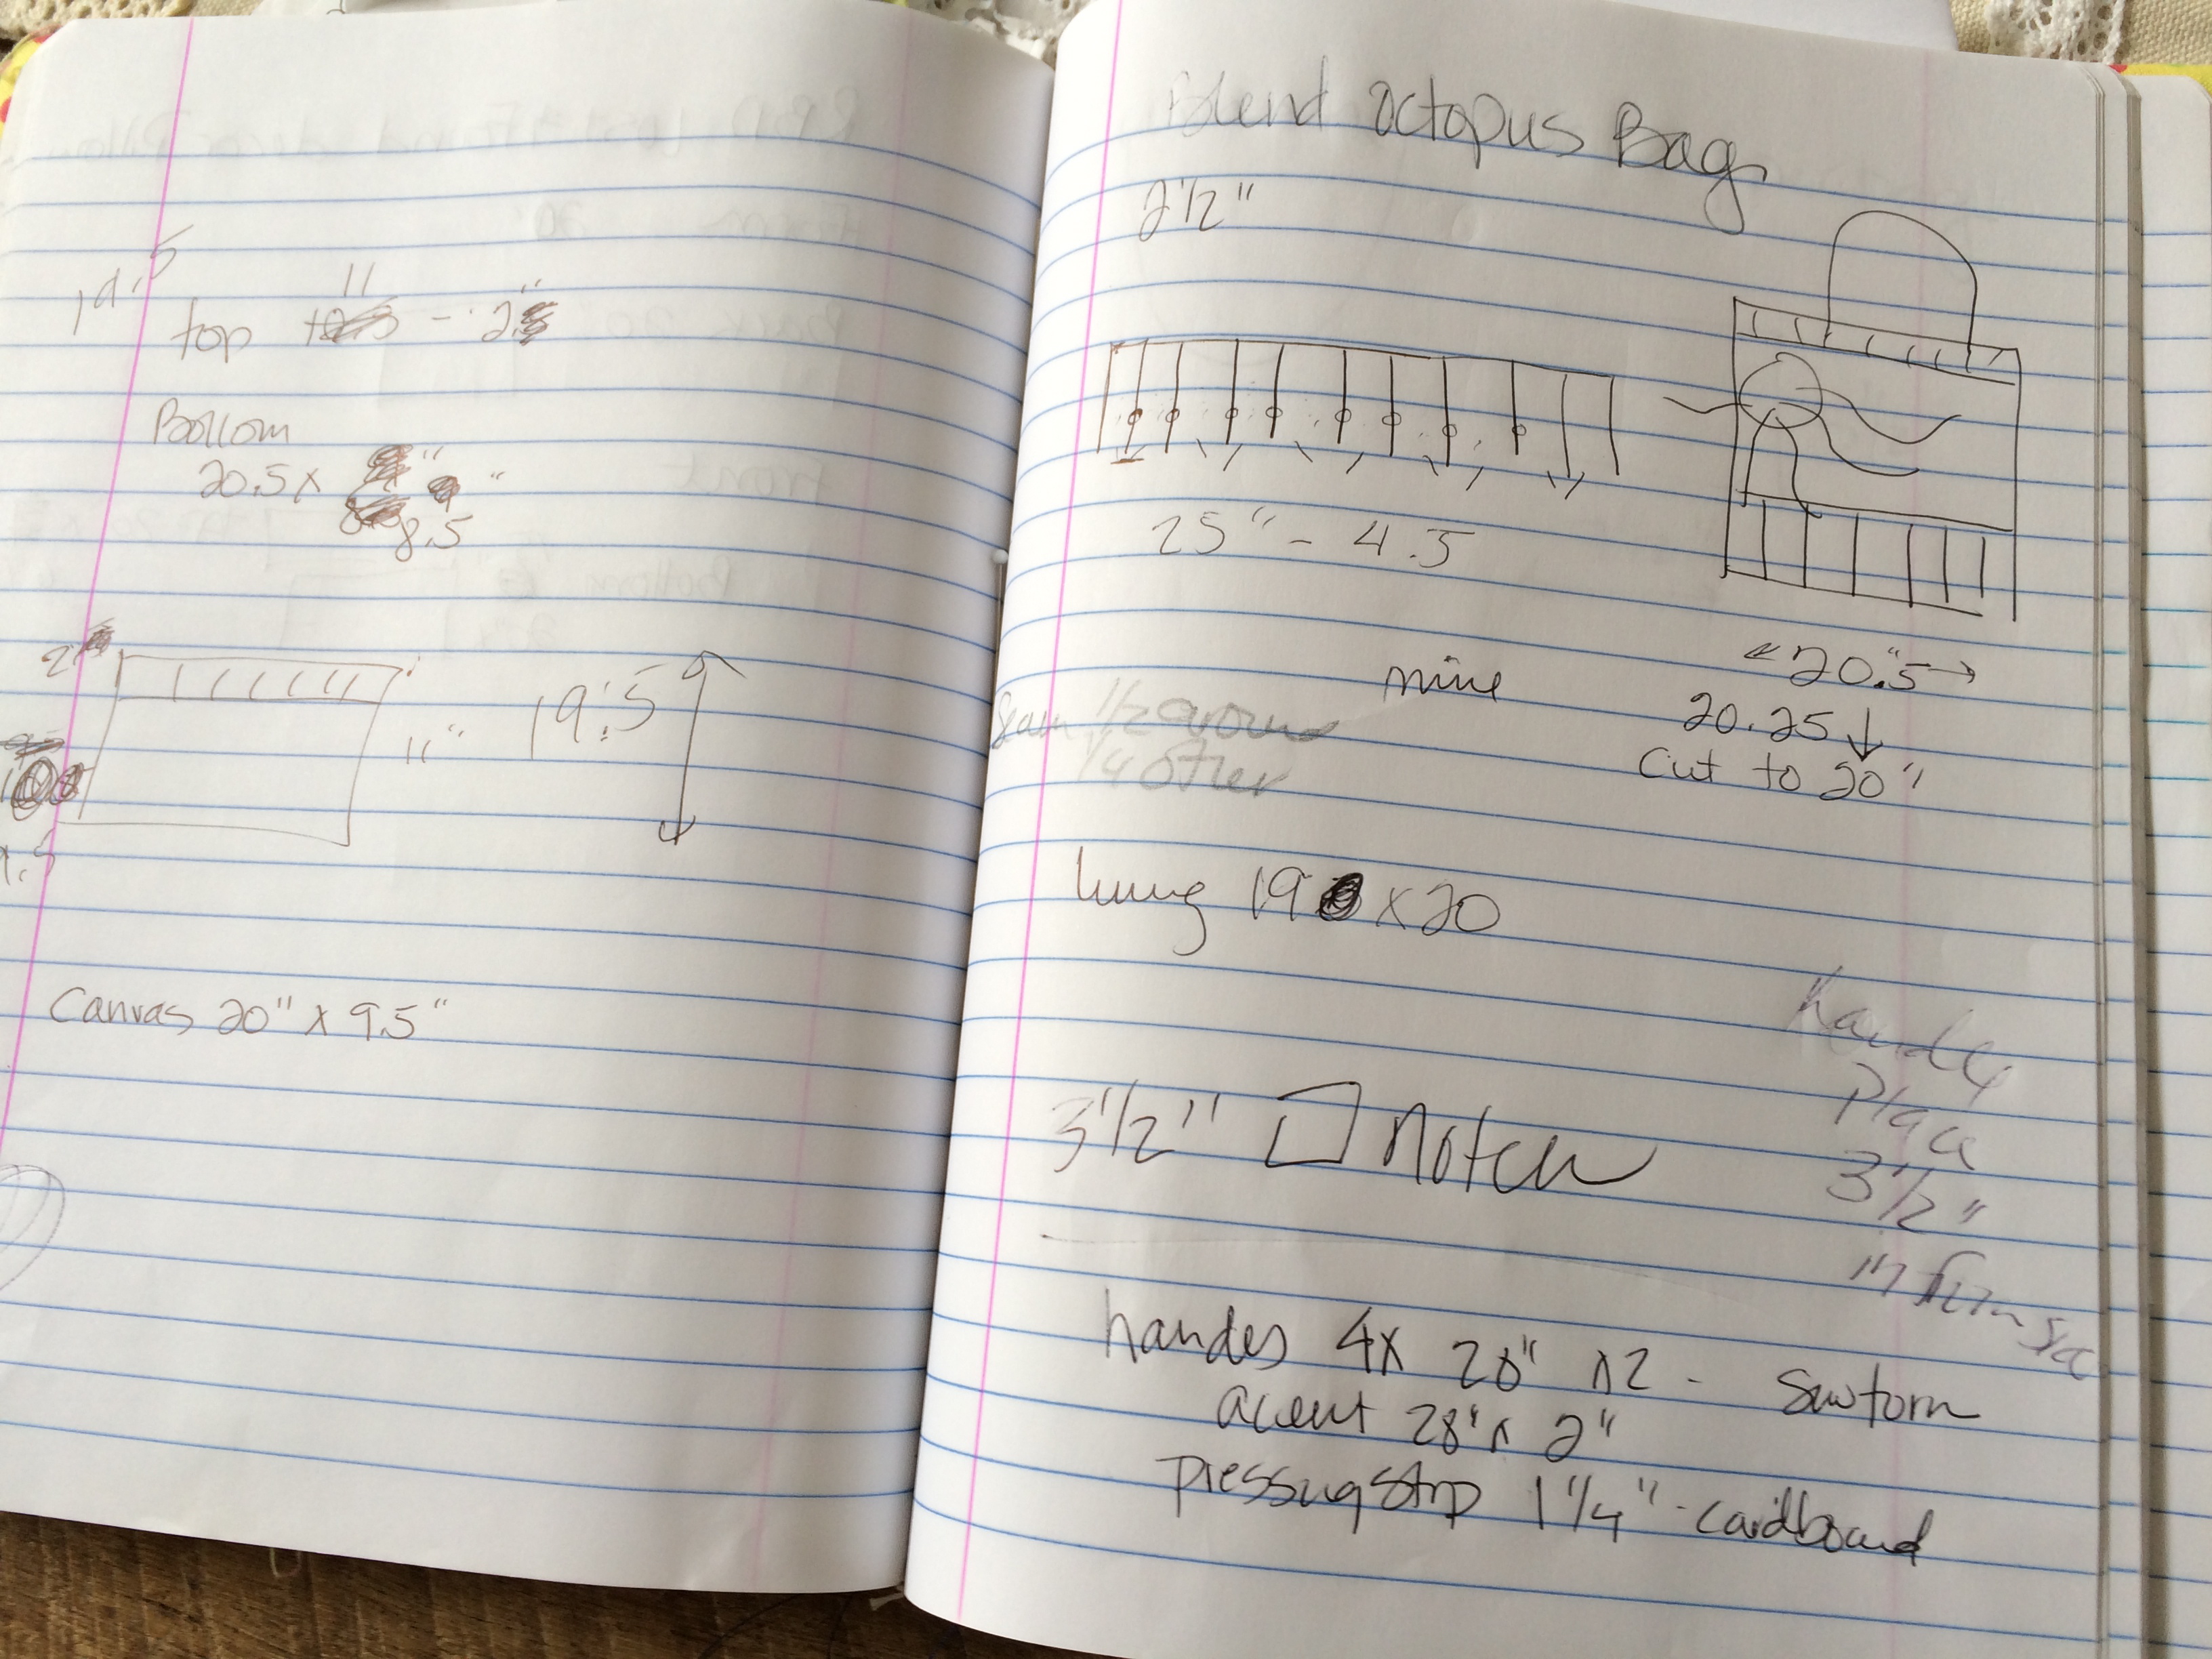
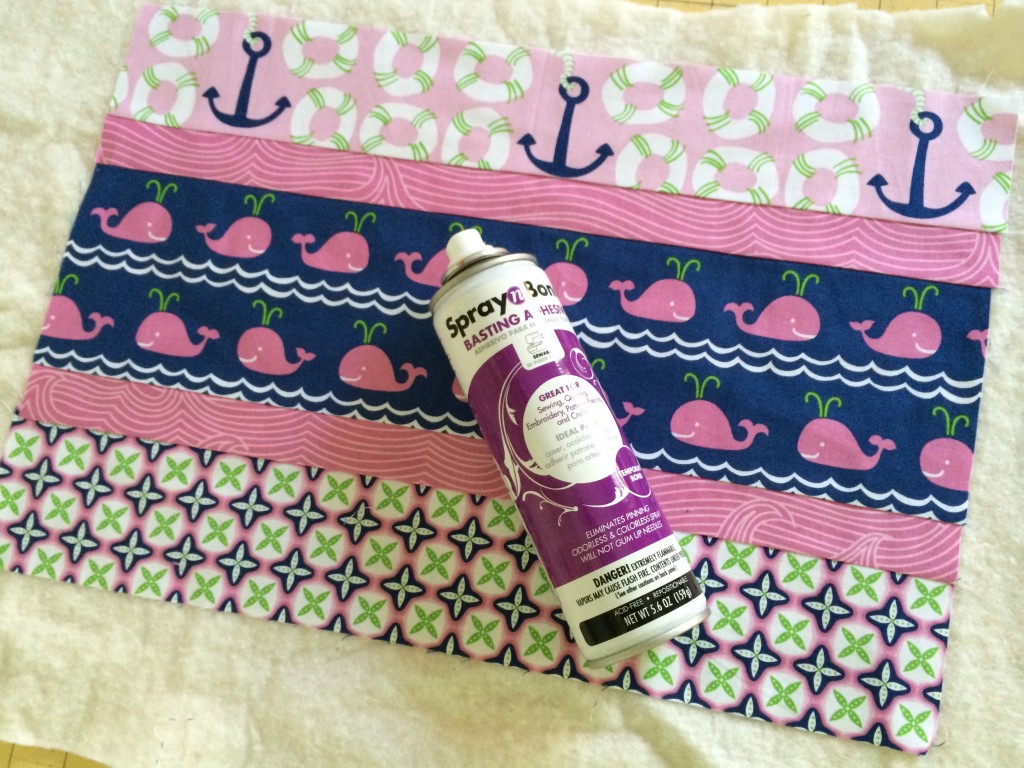
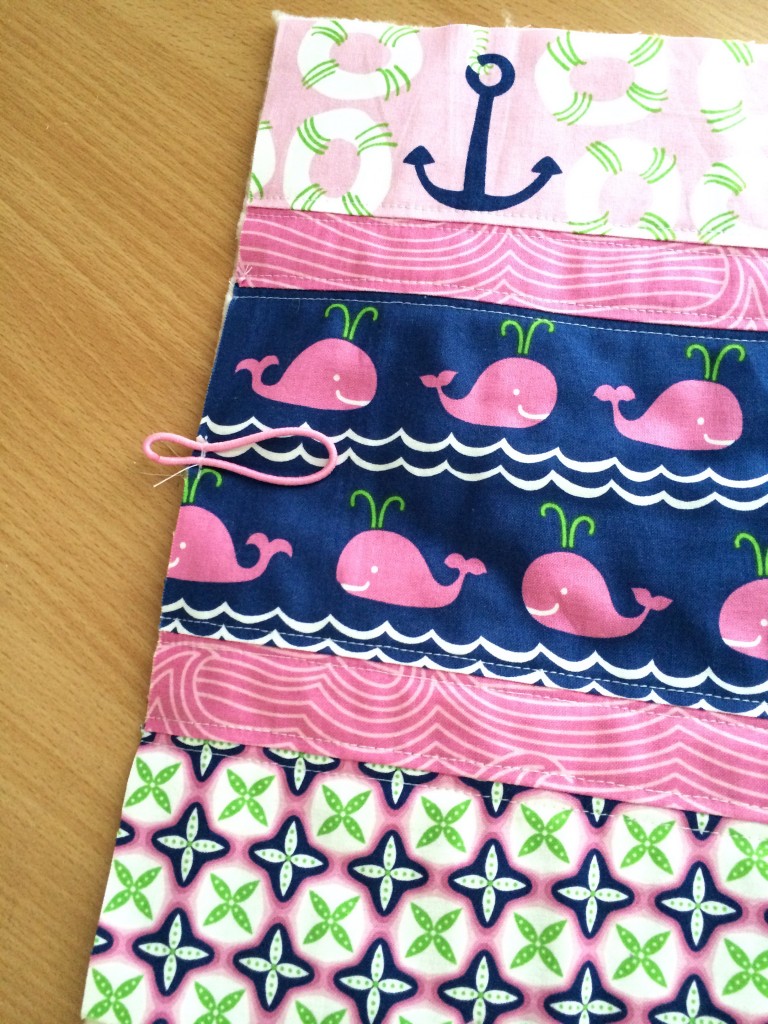
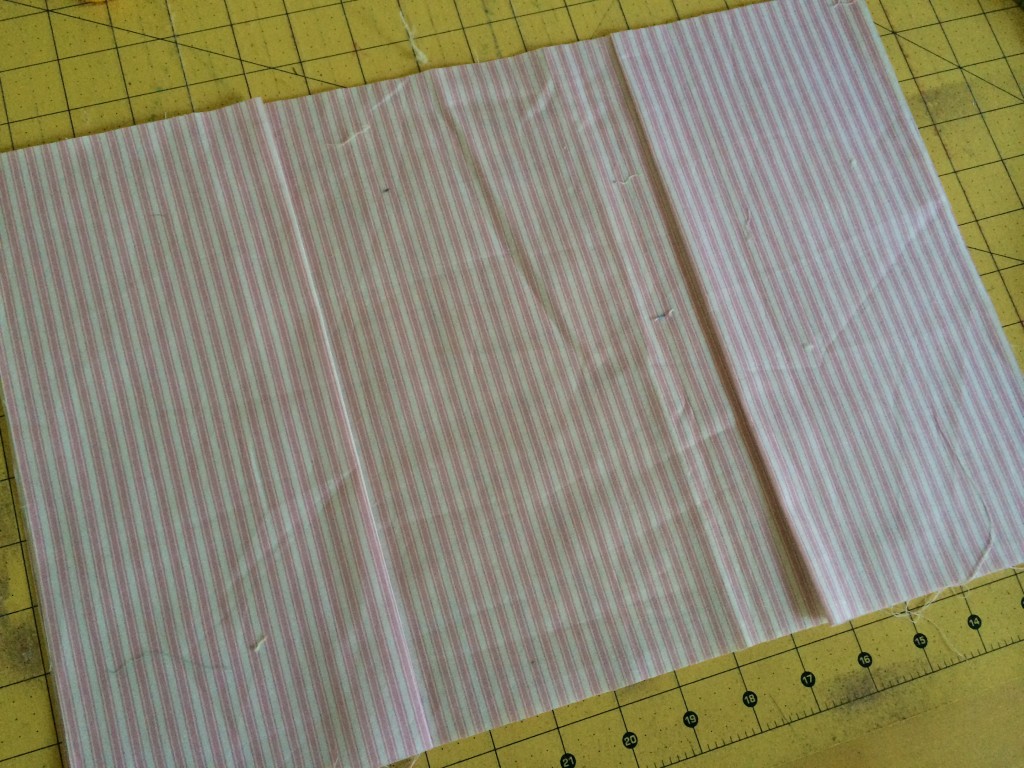
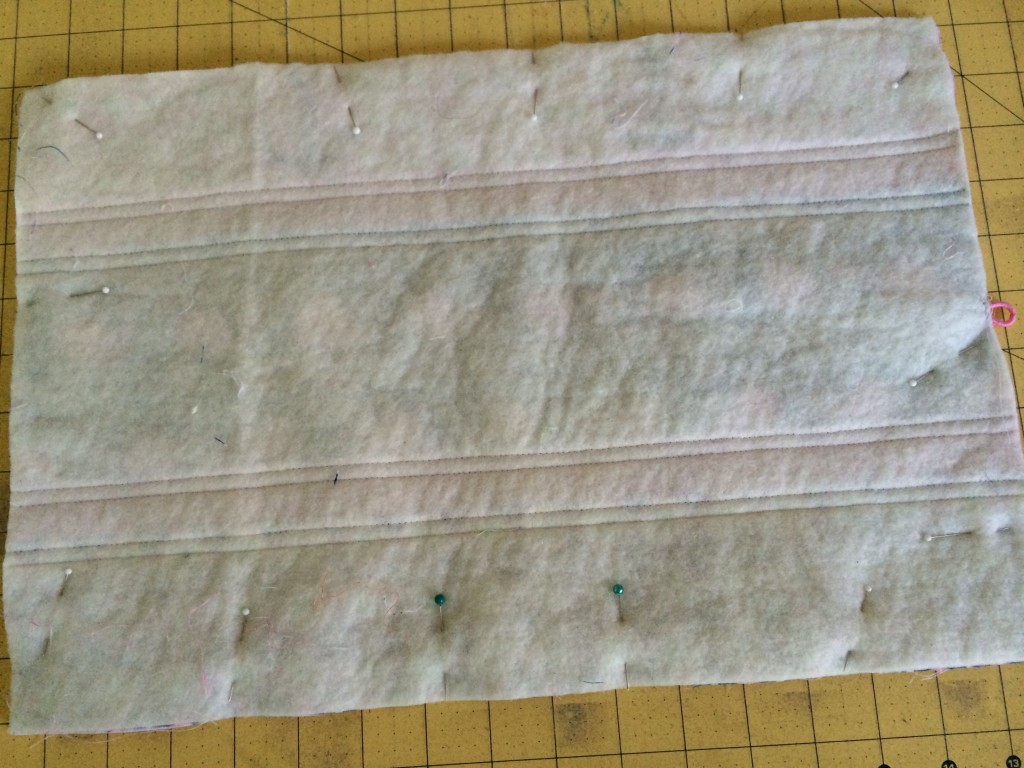
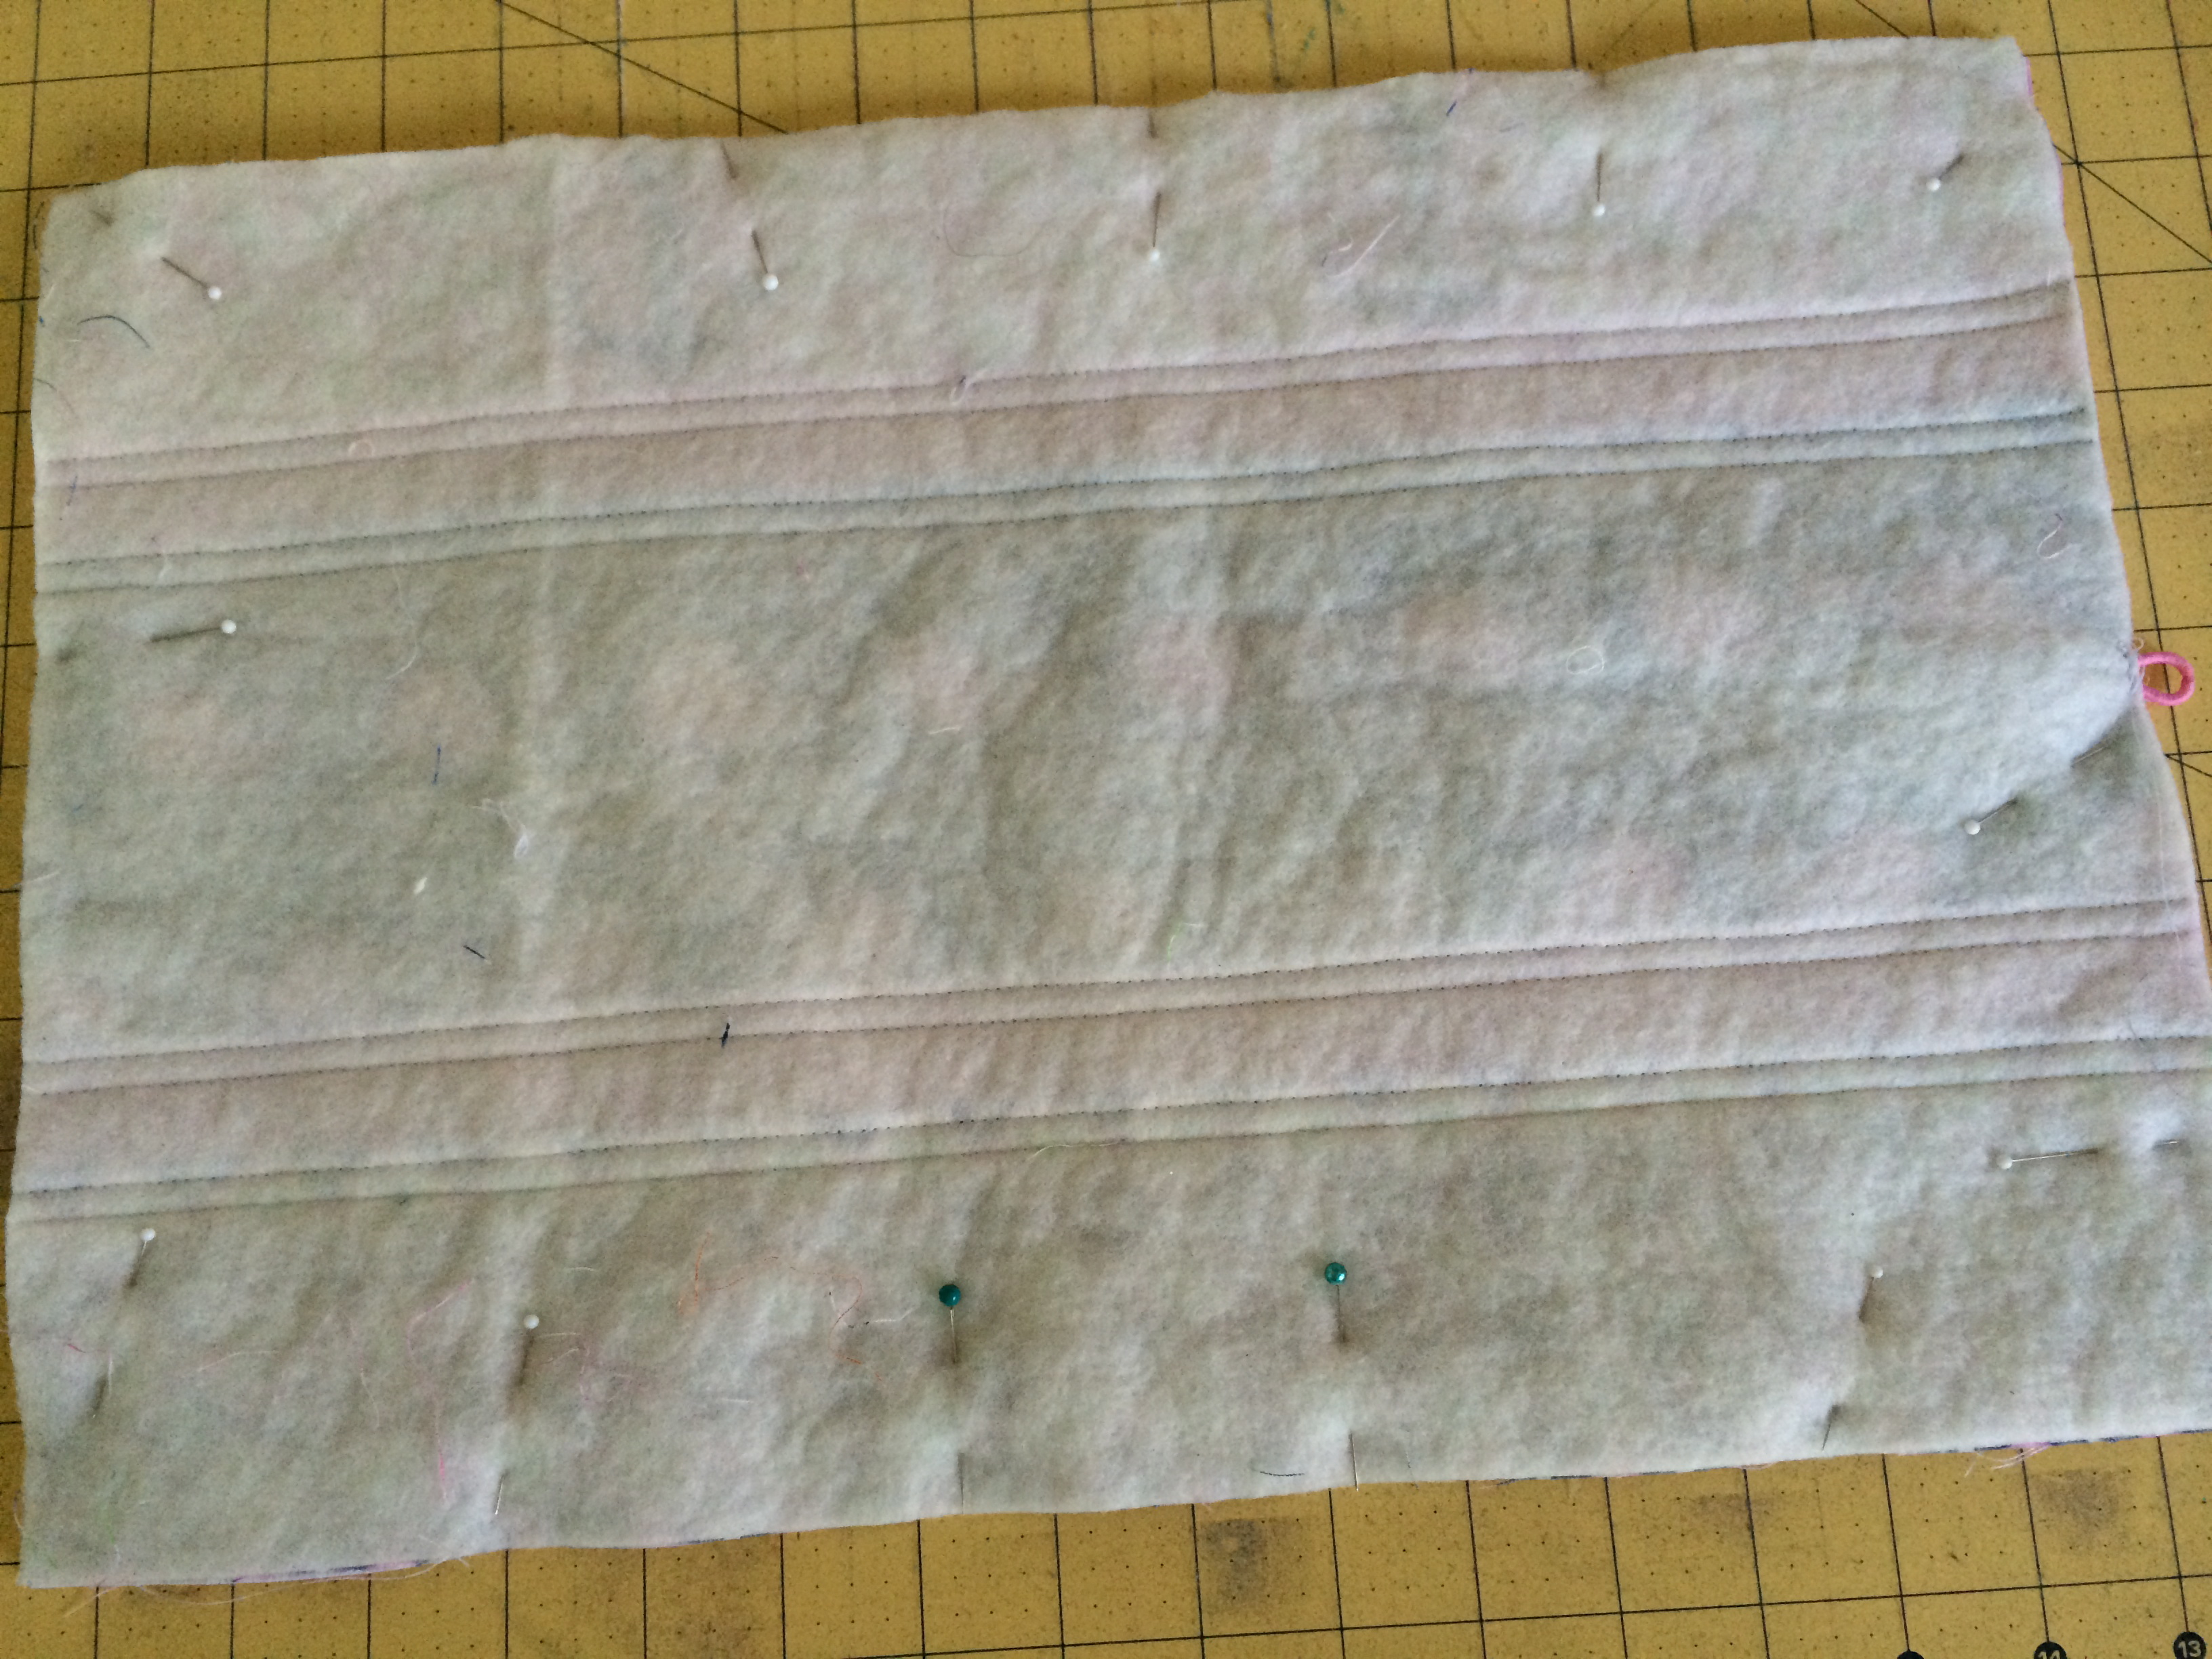
Cut the denim outer bag, bag lining and stabilizer 8″ x 11″ (2) of each. Fuse the stabilizer to the wrong side of the lining fabric.
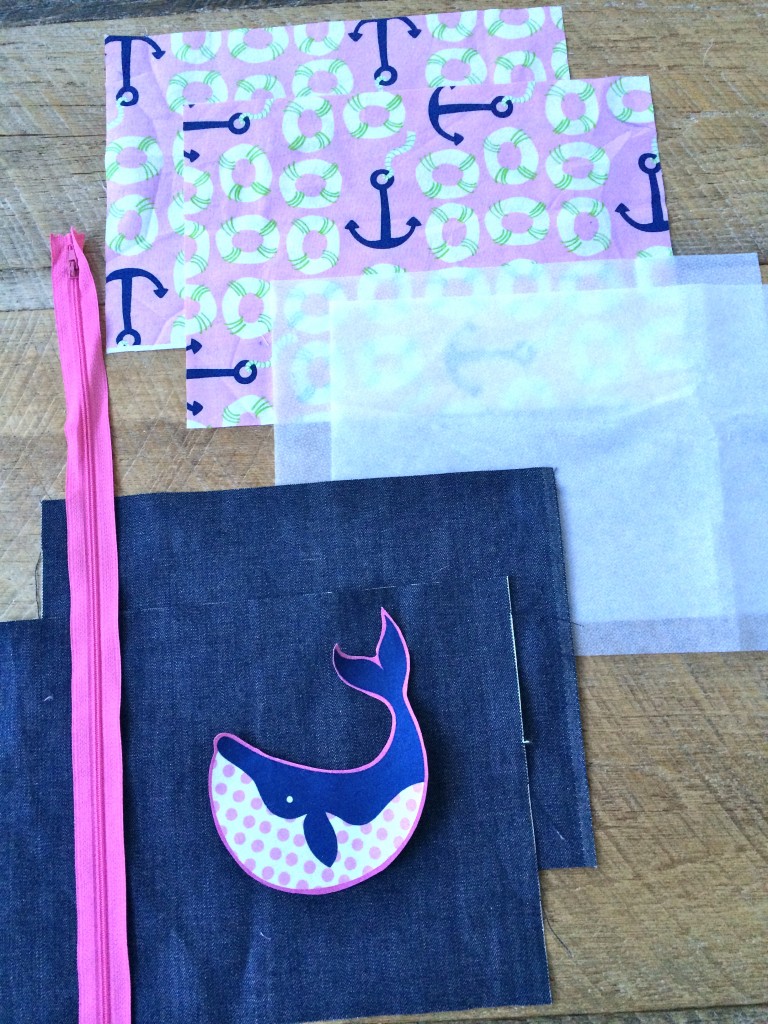
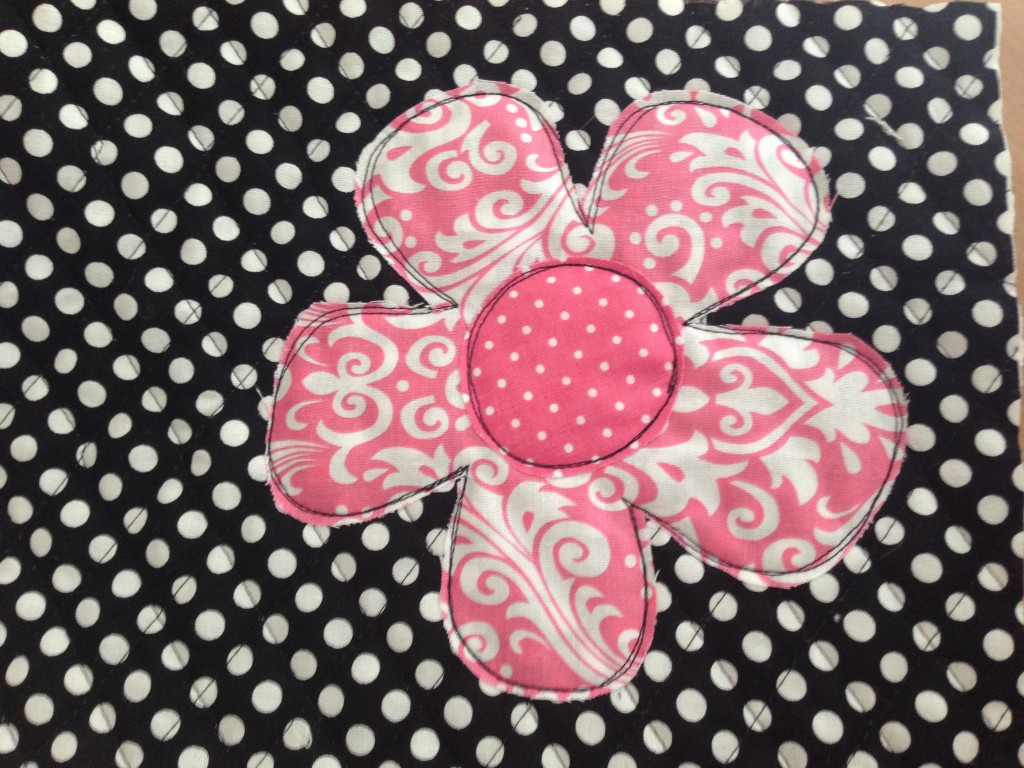
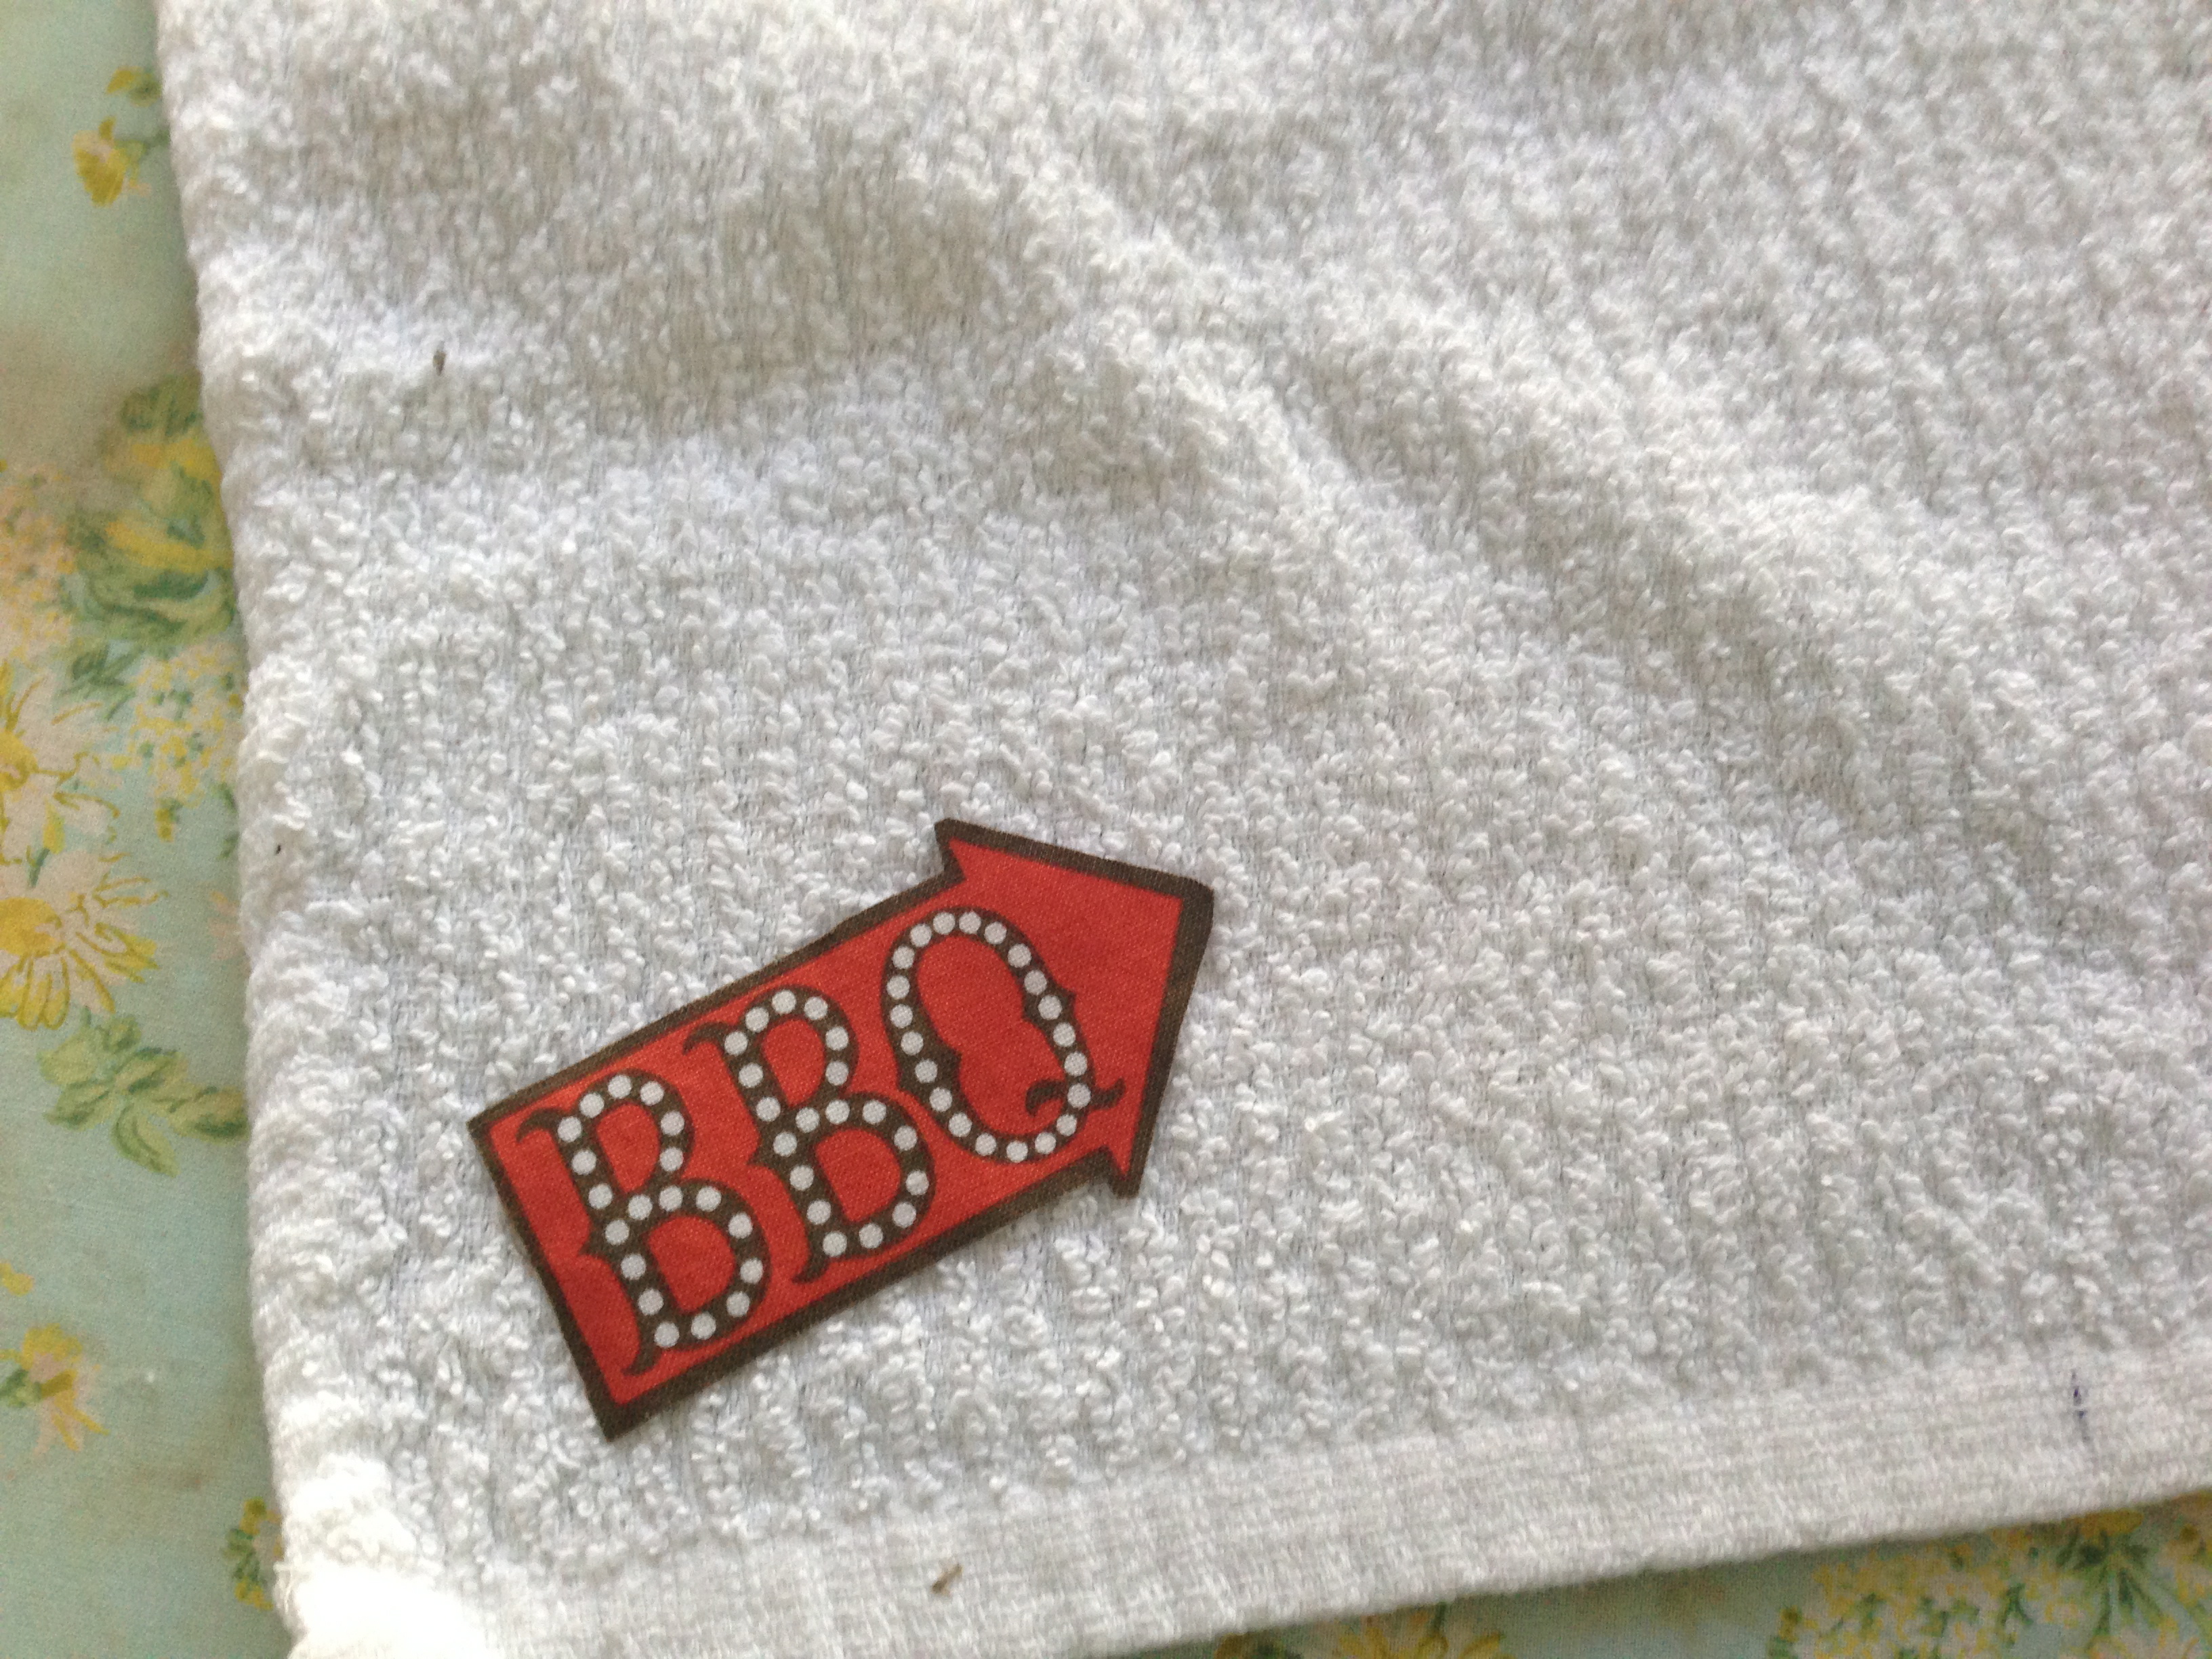
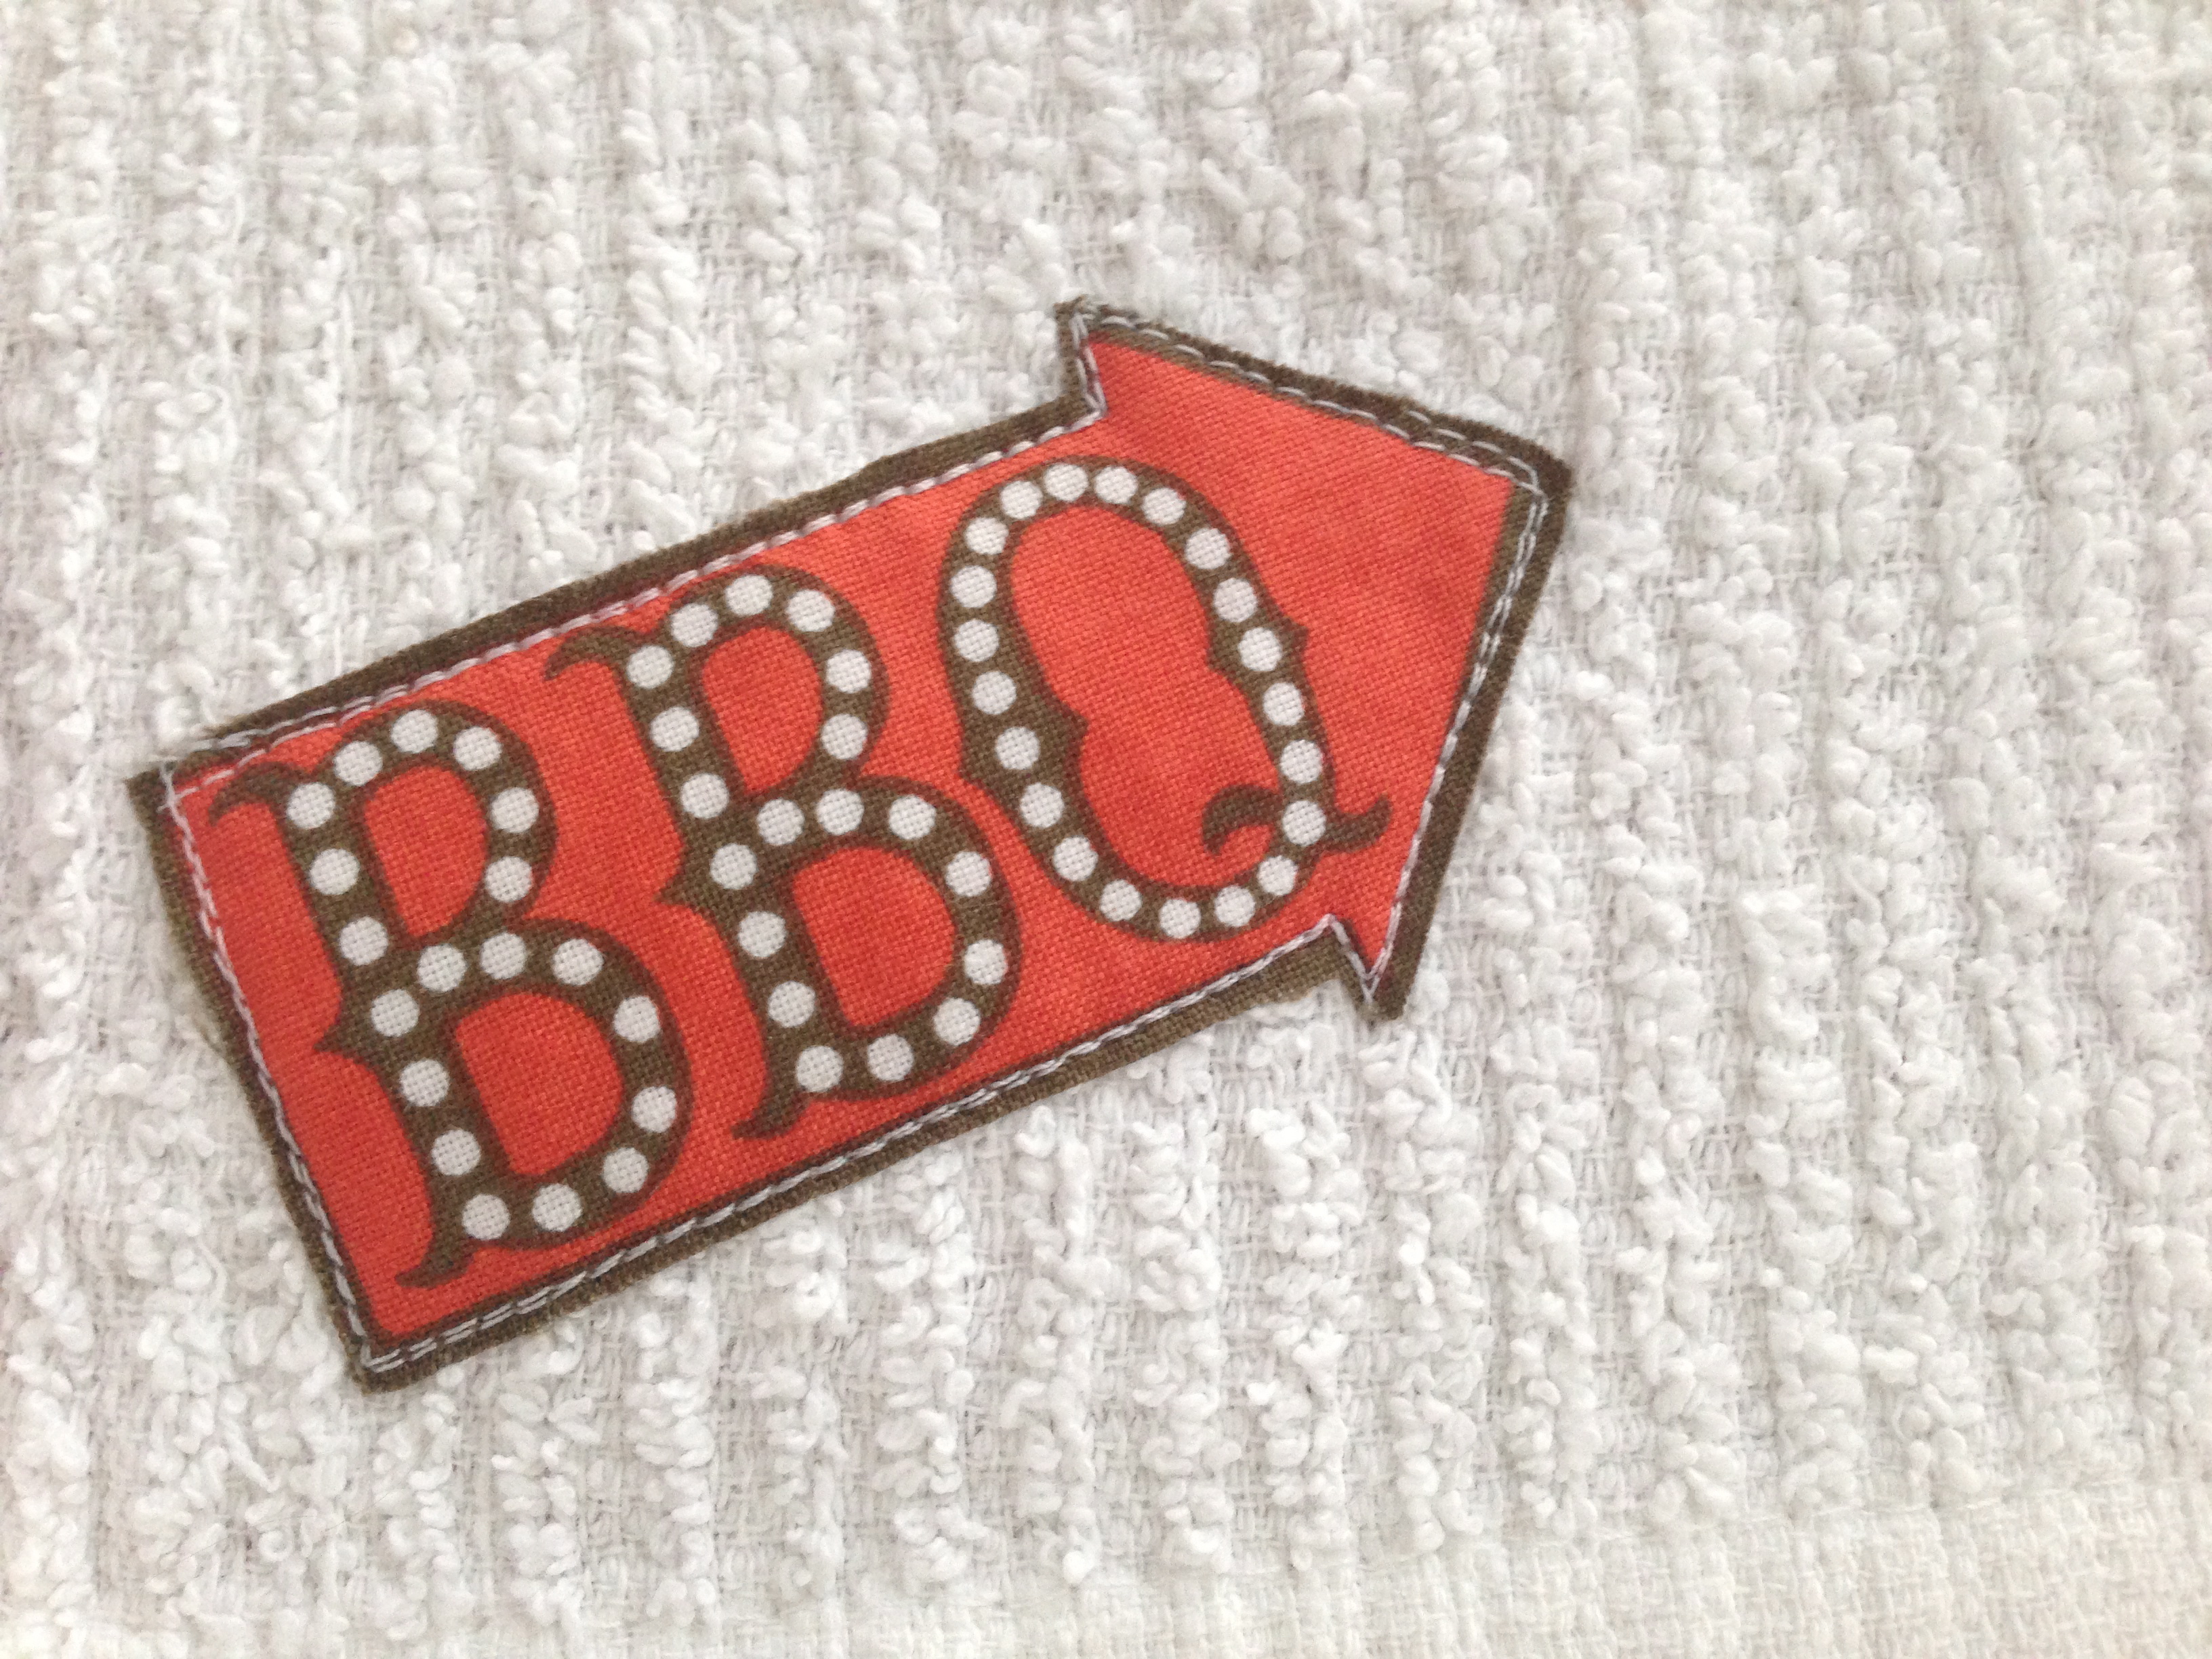
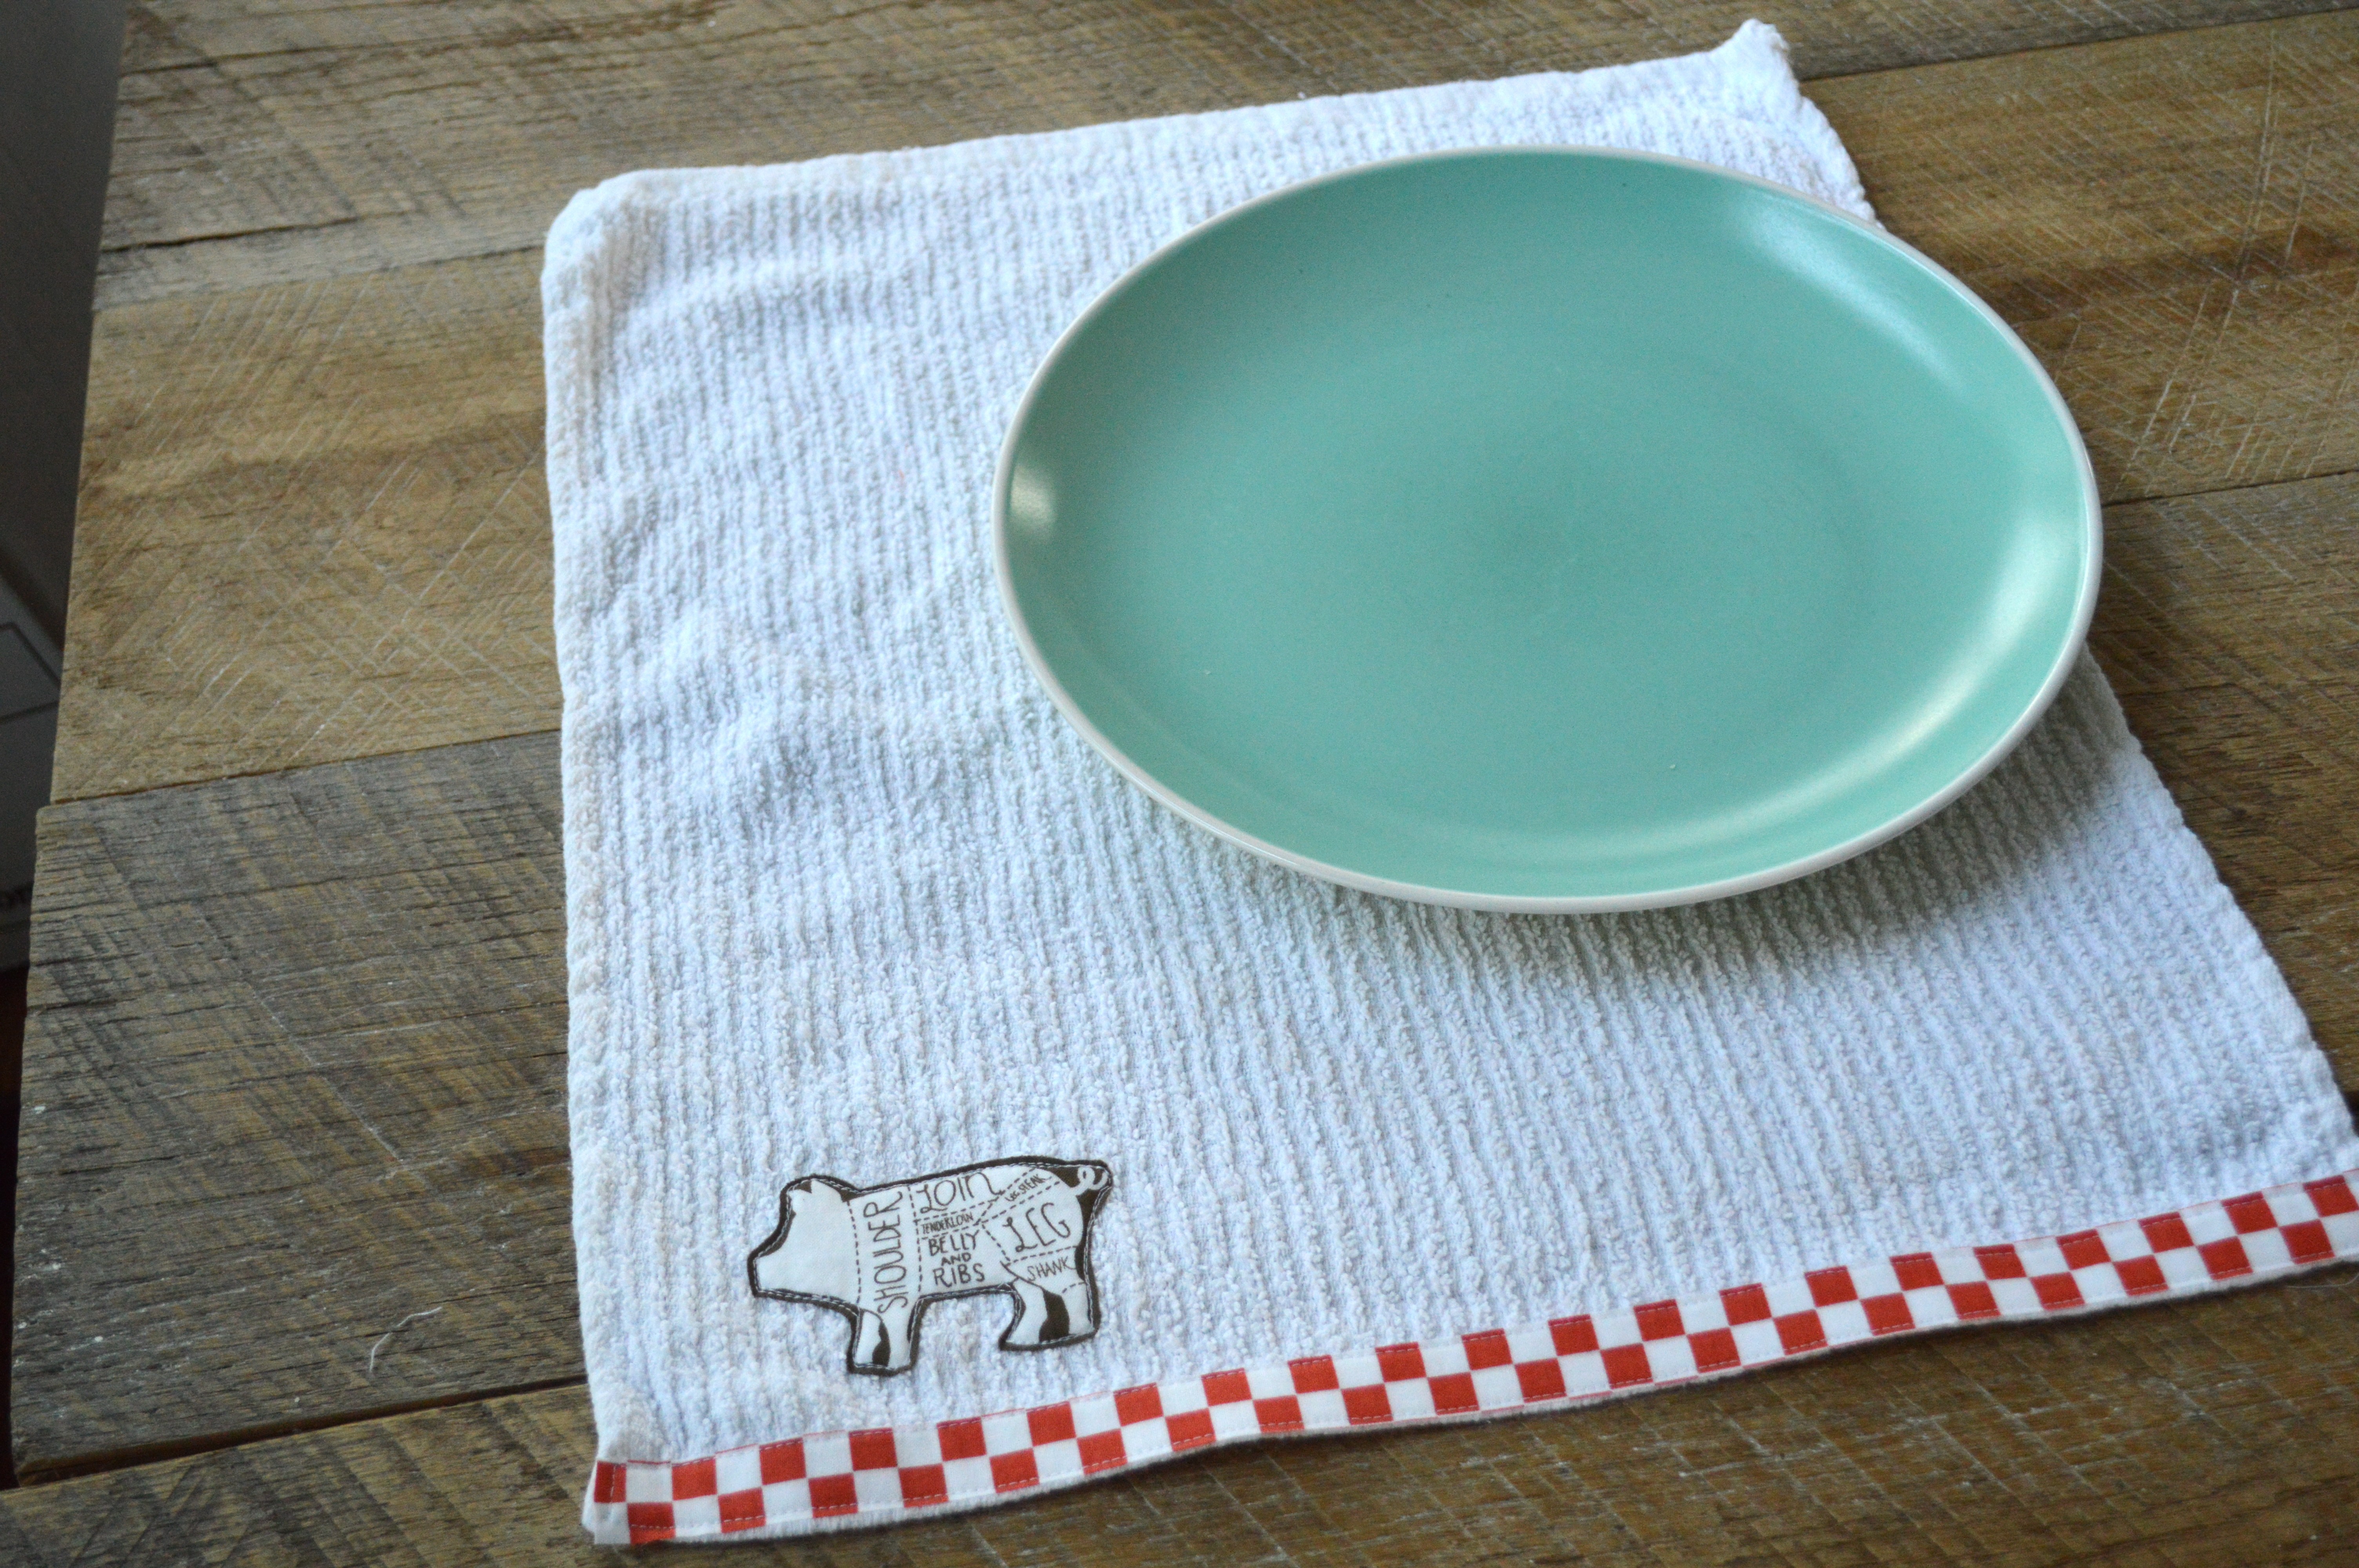
Iron the heat n bond lite to the wrong side of the desired whale. Fuse and cut the whale out. Position the whale as pictured below. Sew an accent piece of ric rac.

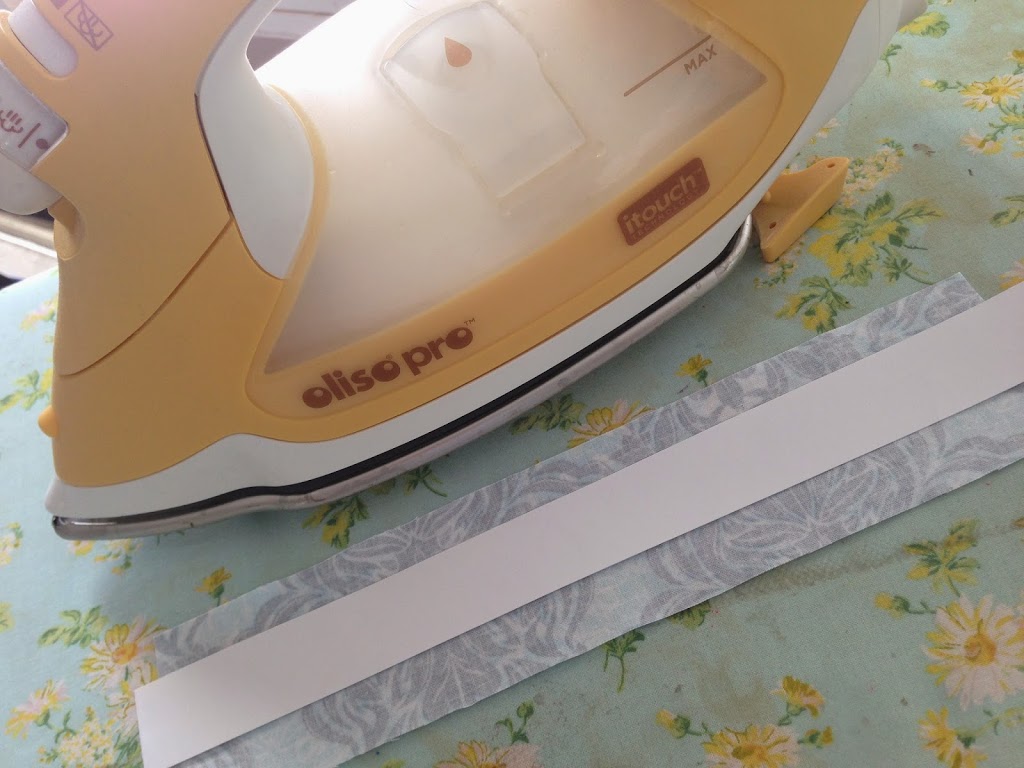
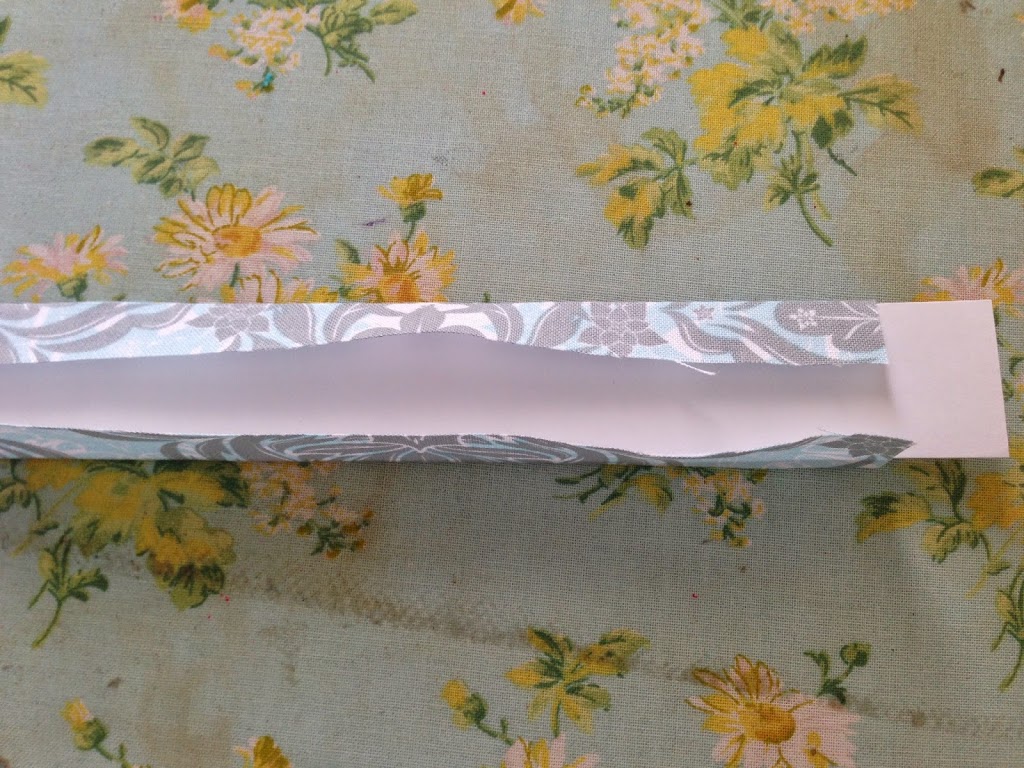
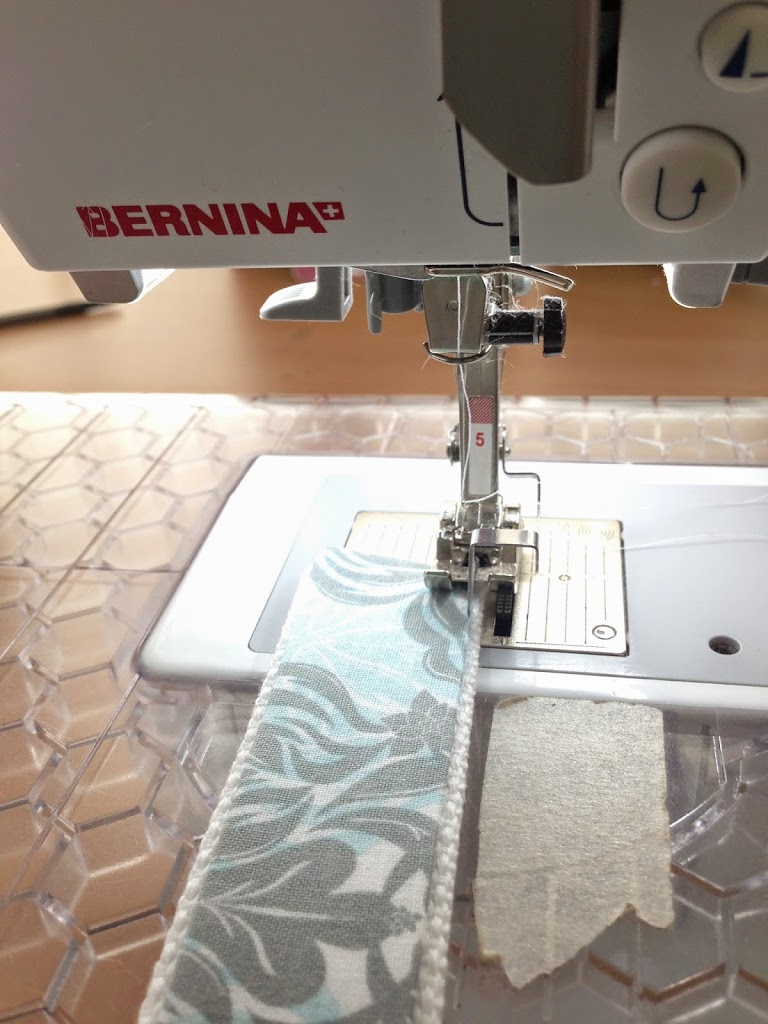
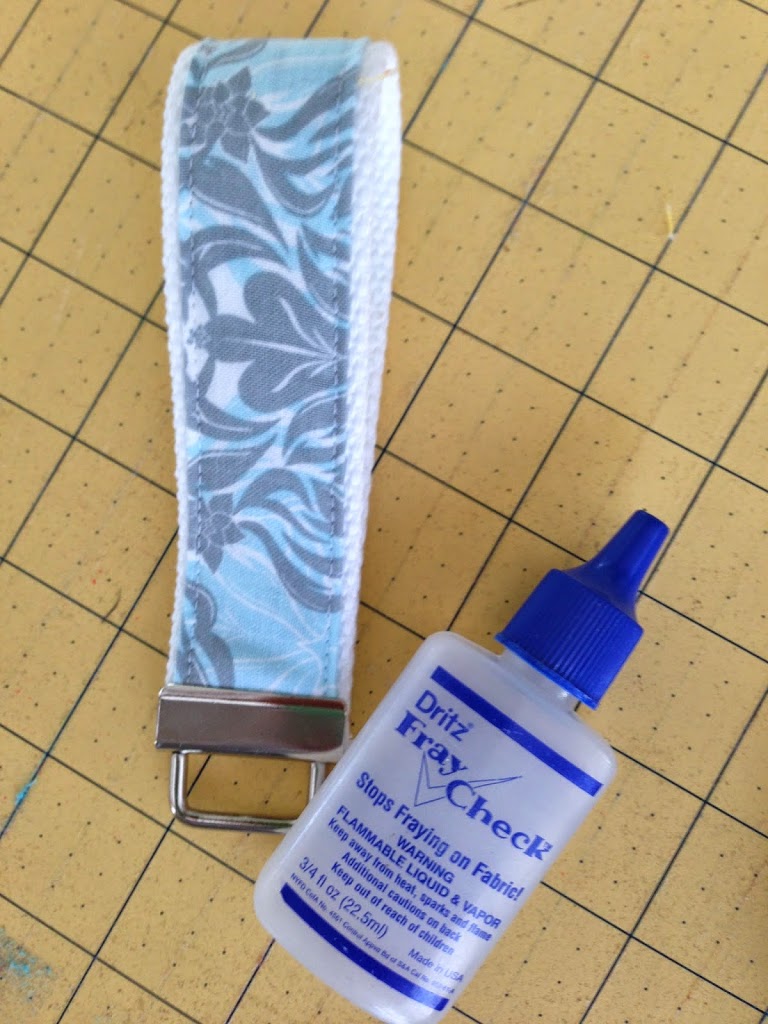
Cut 2 zipper tabs 1.5″ x 4″. Pres the ends under 1/4″ and then press in half.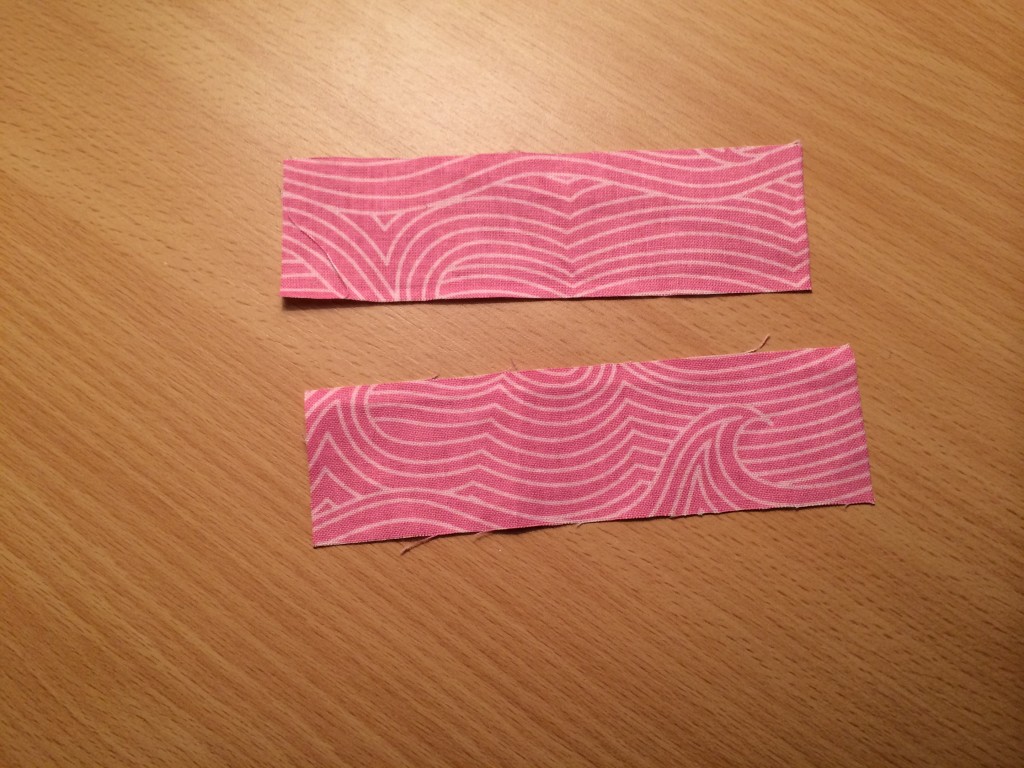
Here you can see the 2 zipper tabs. (Sorry about the lighting, it was 11:00 pm).
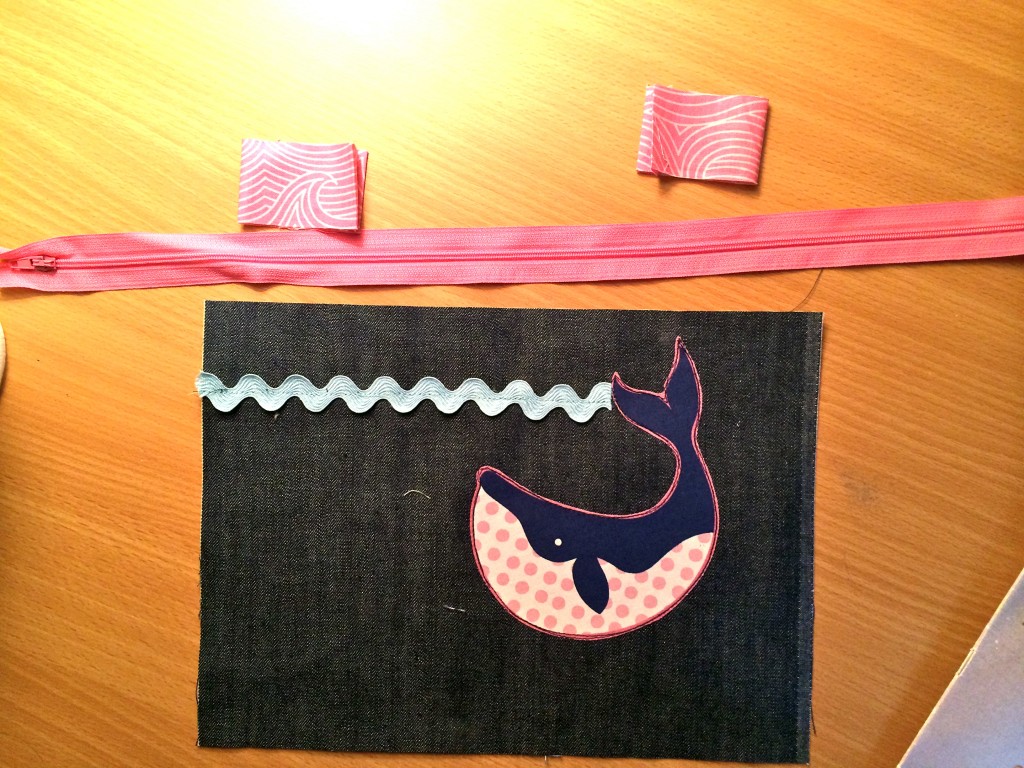
Measure the zipper and the tabs so you have 1″ on each side of tabs (there will be extra). Sew the tabs to the ends of the zipper. Again, click HERE for more details on this process. Cut the folded piece of the tab and cut out the excess zipper. The goal with this is to reduce bulk in the seams.

Flip the zipper over and match with the top edge of the whale piece. Place one of the lining pieces right side down and align all the edges. Don’t worry about the zipper tabs, we will even them up in a minute.
Sew using a zipper foot. Press and do the same thing to the other side of the zipper so it looks like this: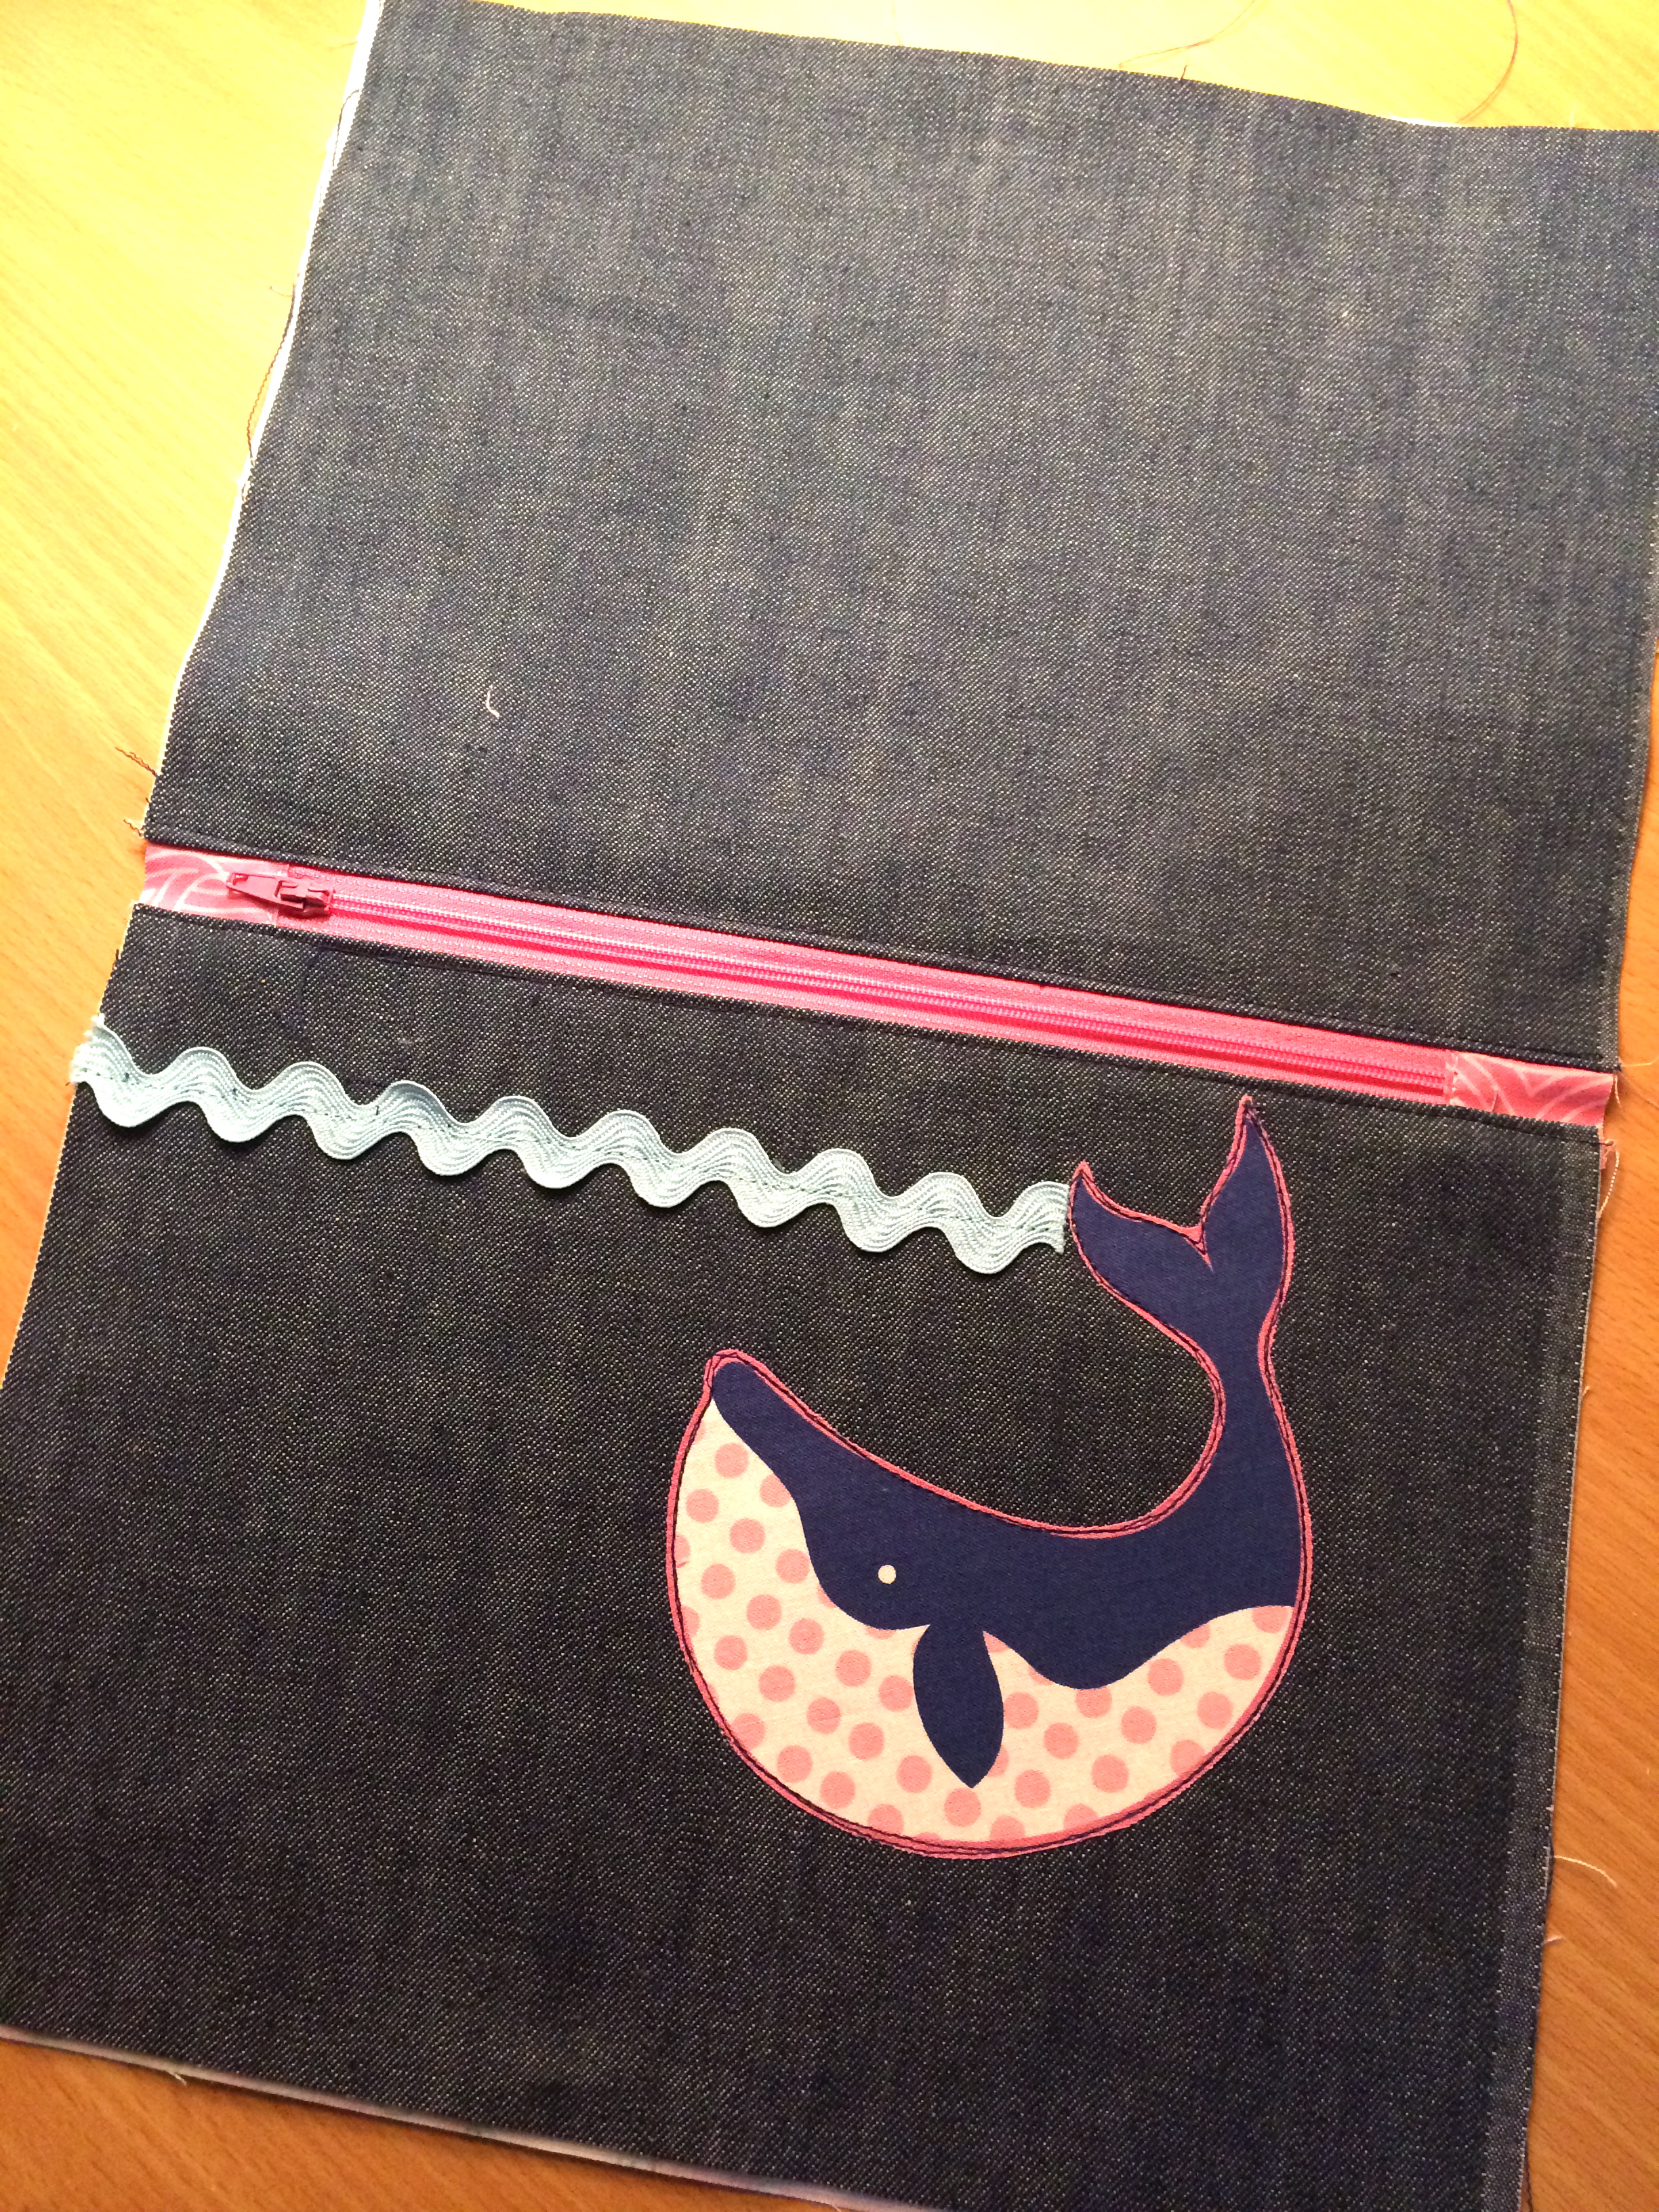
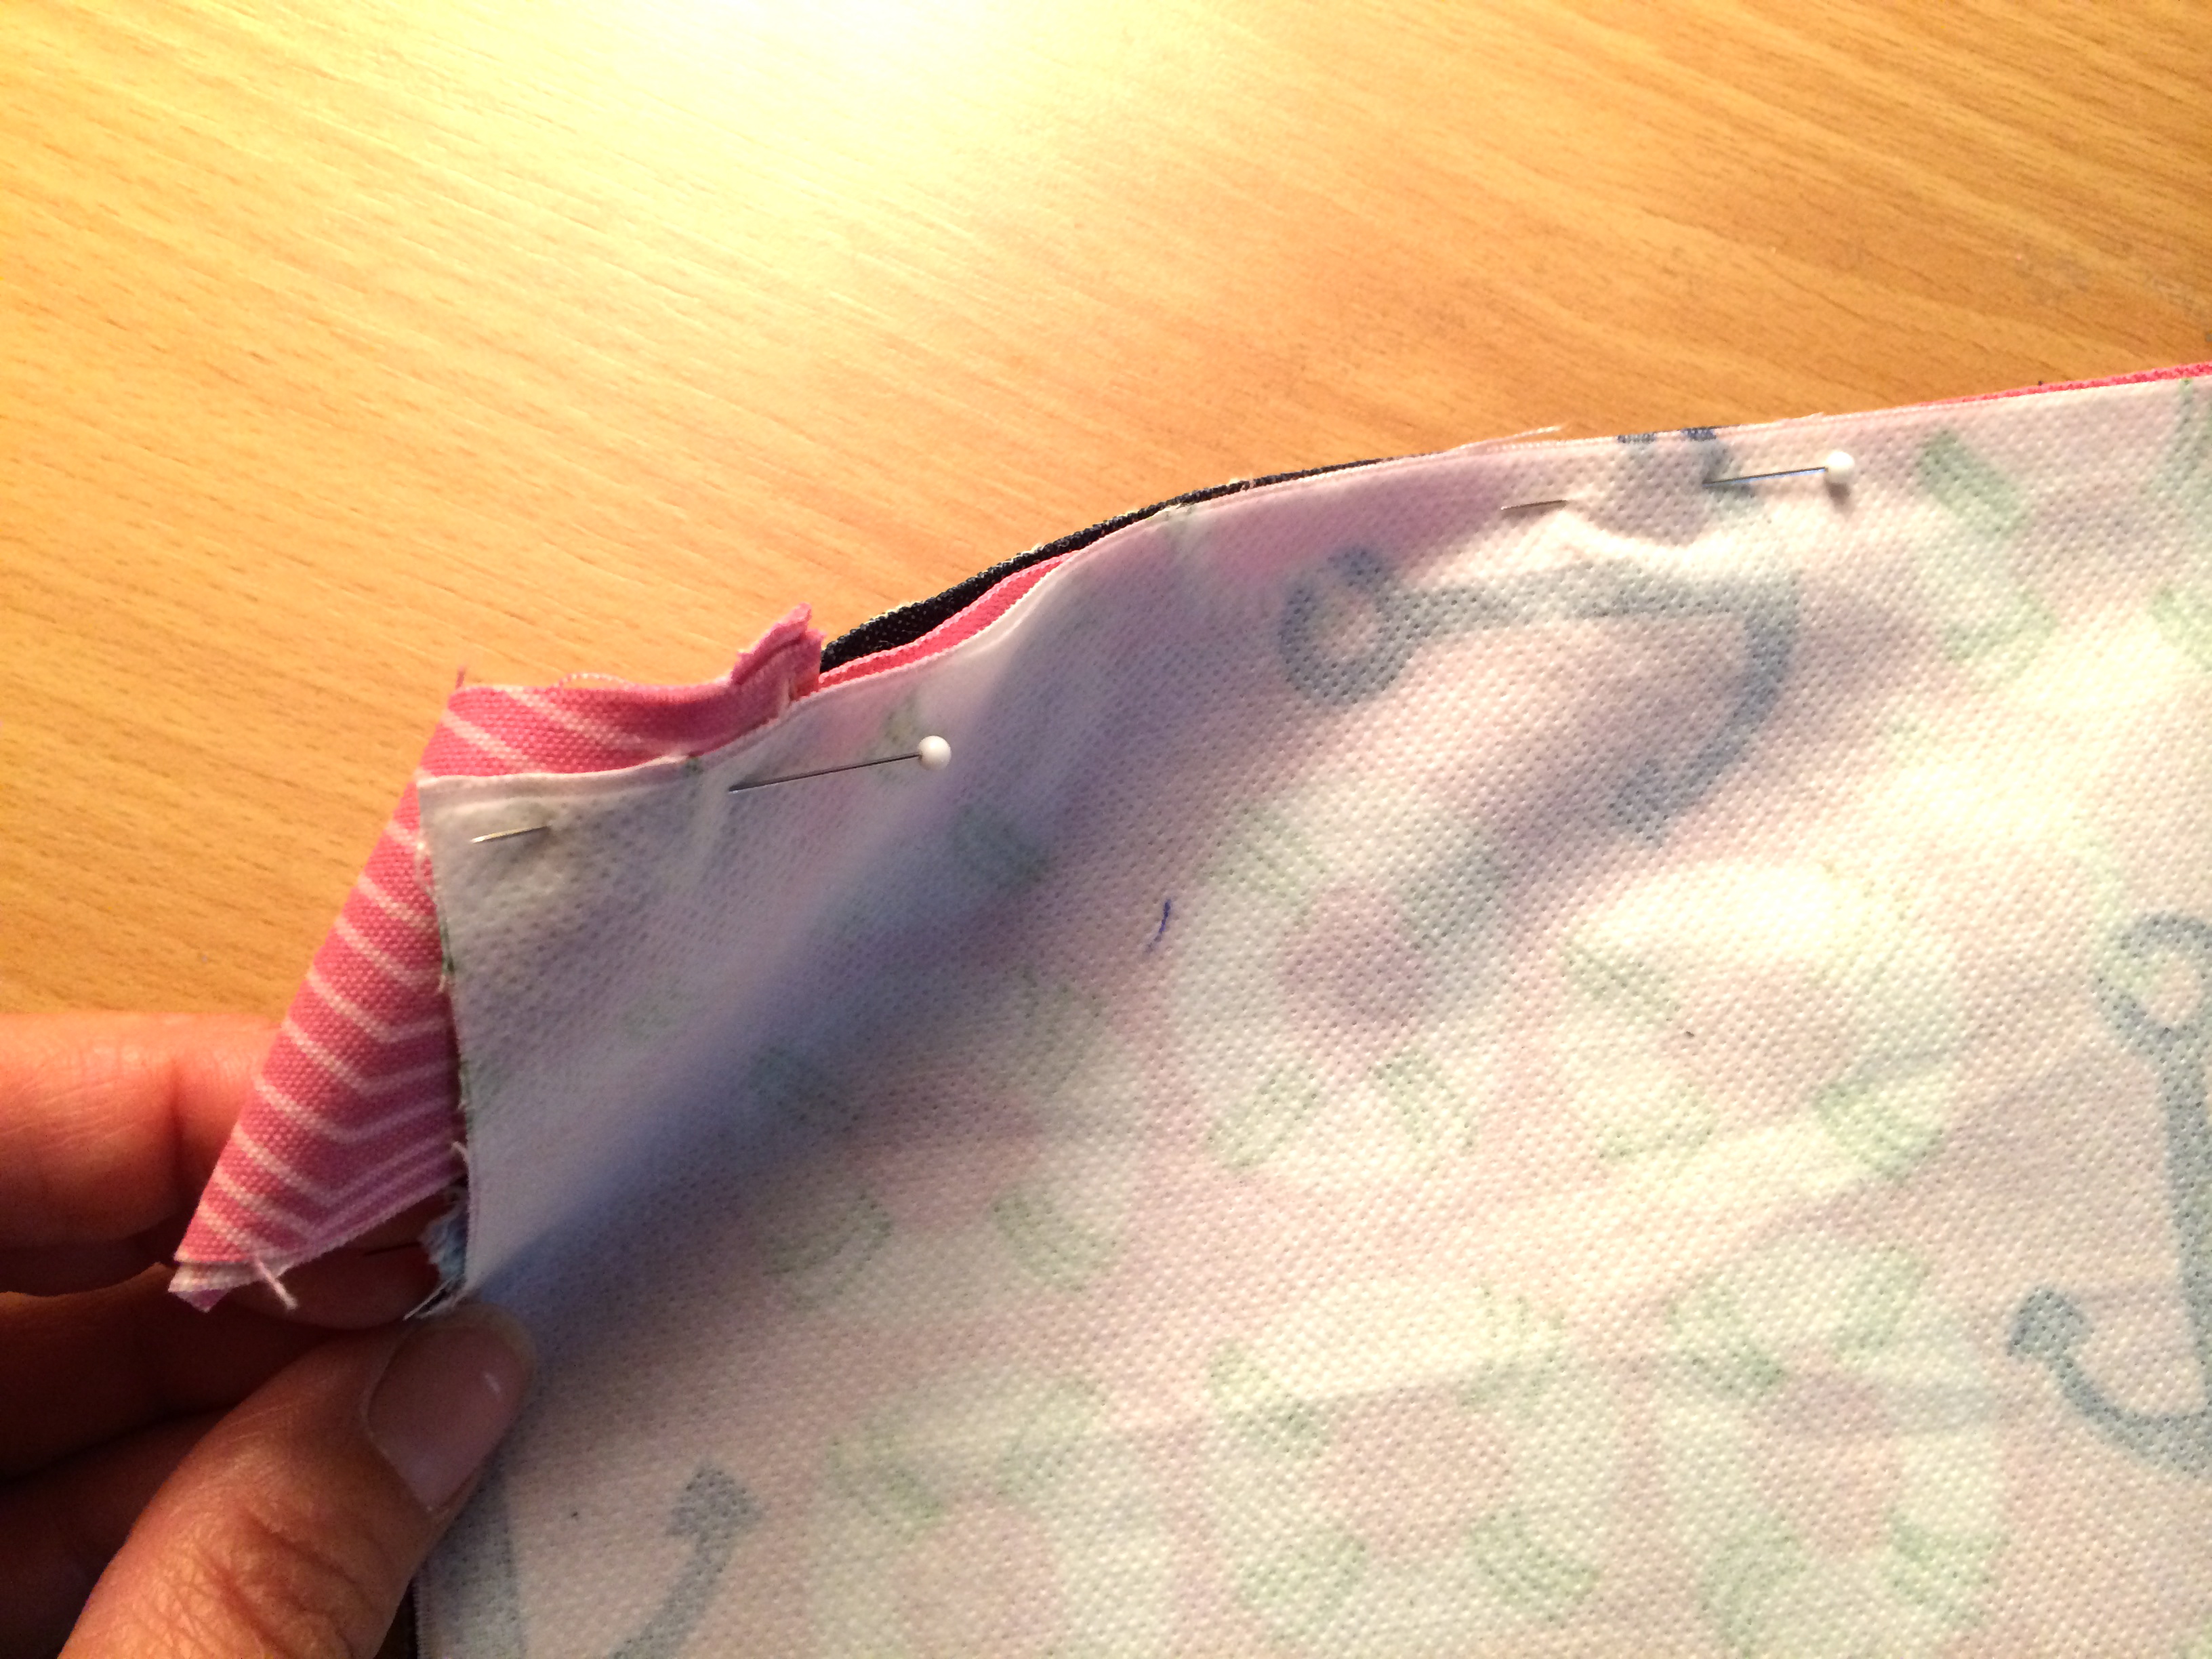
Top stitch 1/8″ along the zipper. Trim the excess tab fabric. Match right sides with right sides and pin all the way around. MAKE SURE ZIPPER IS OPEN Sew using 1/4″ seam leaving a 2.5″ opening on the side of the lining fabric.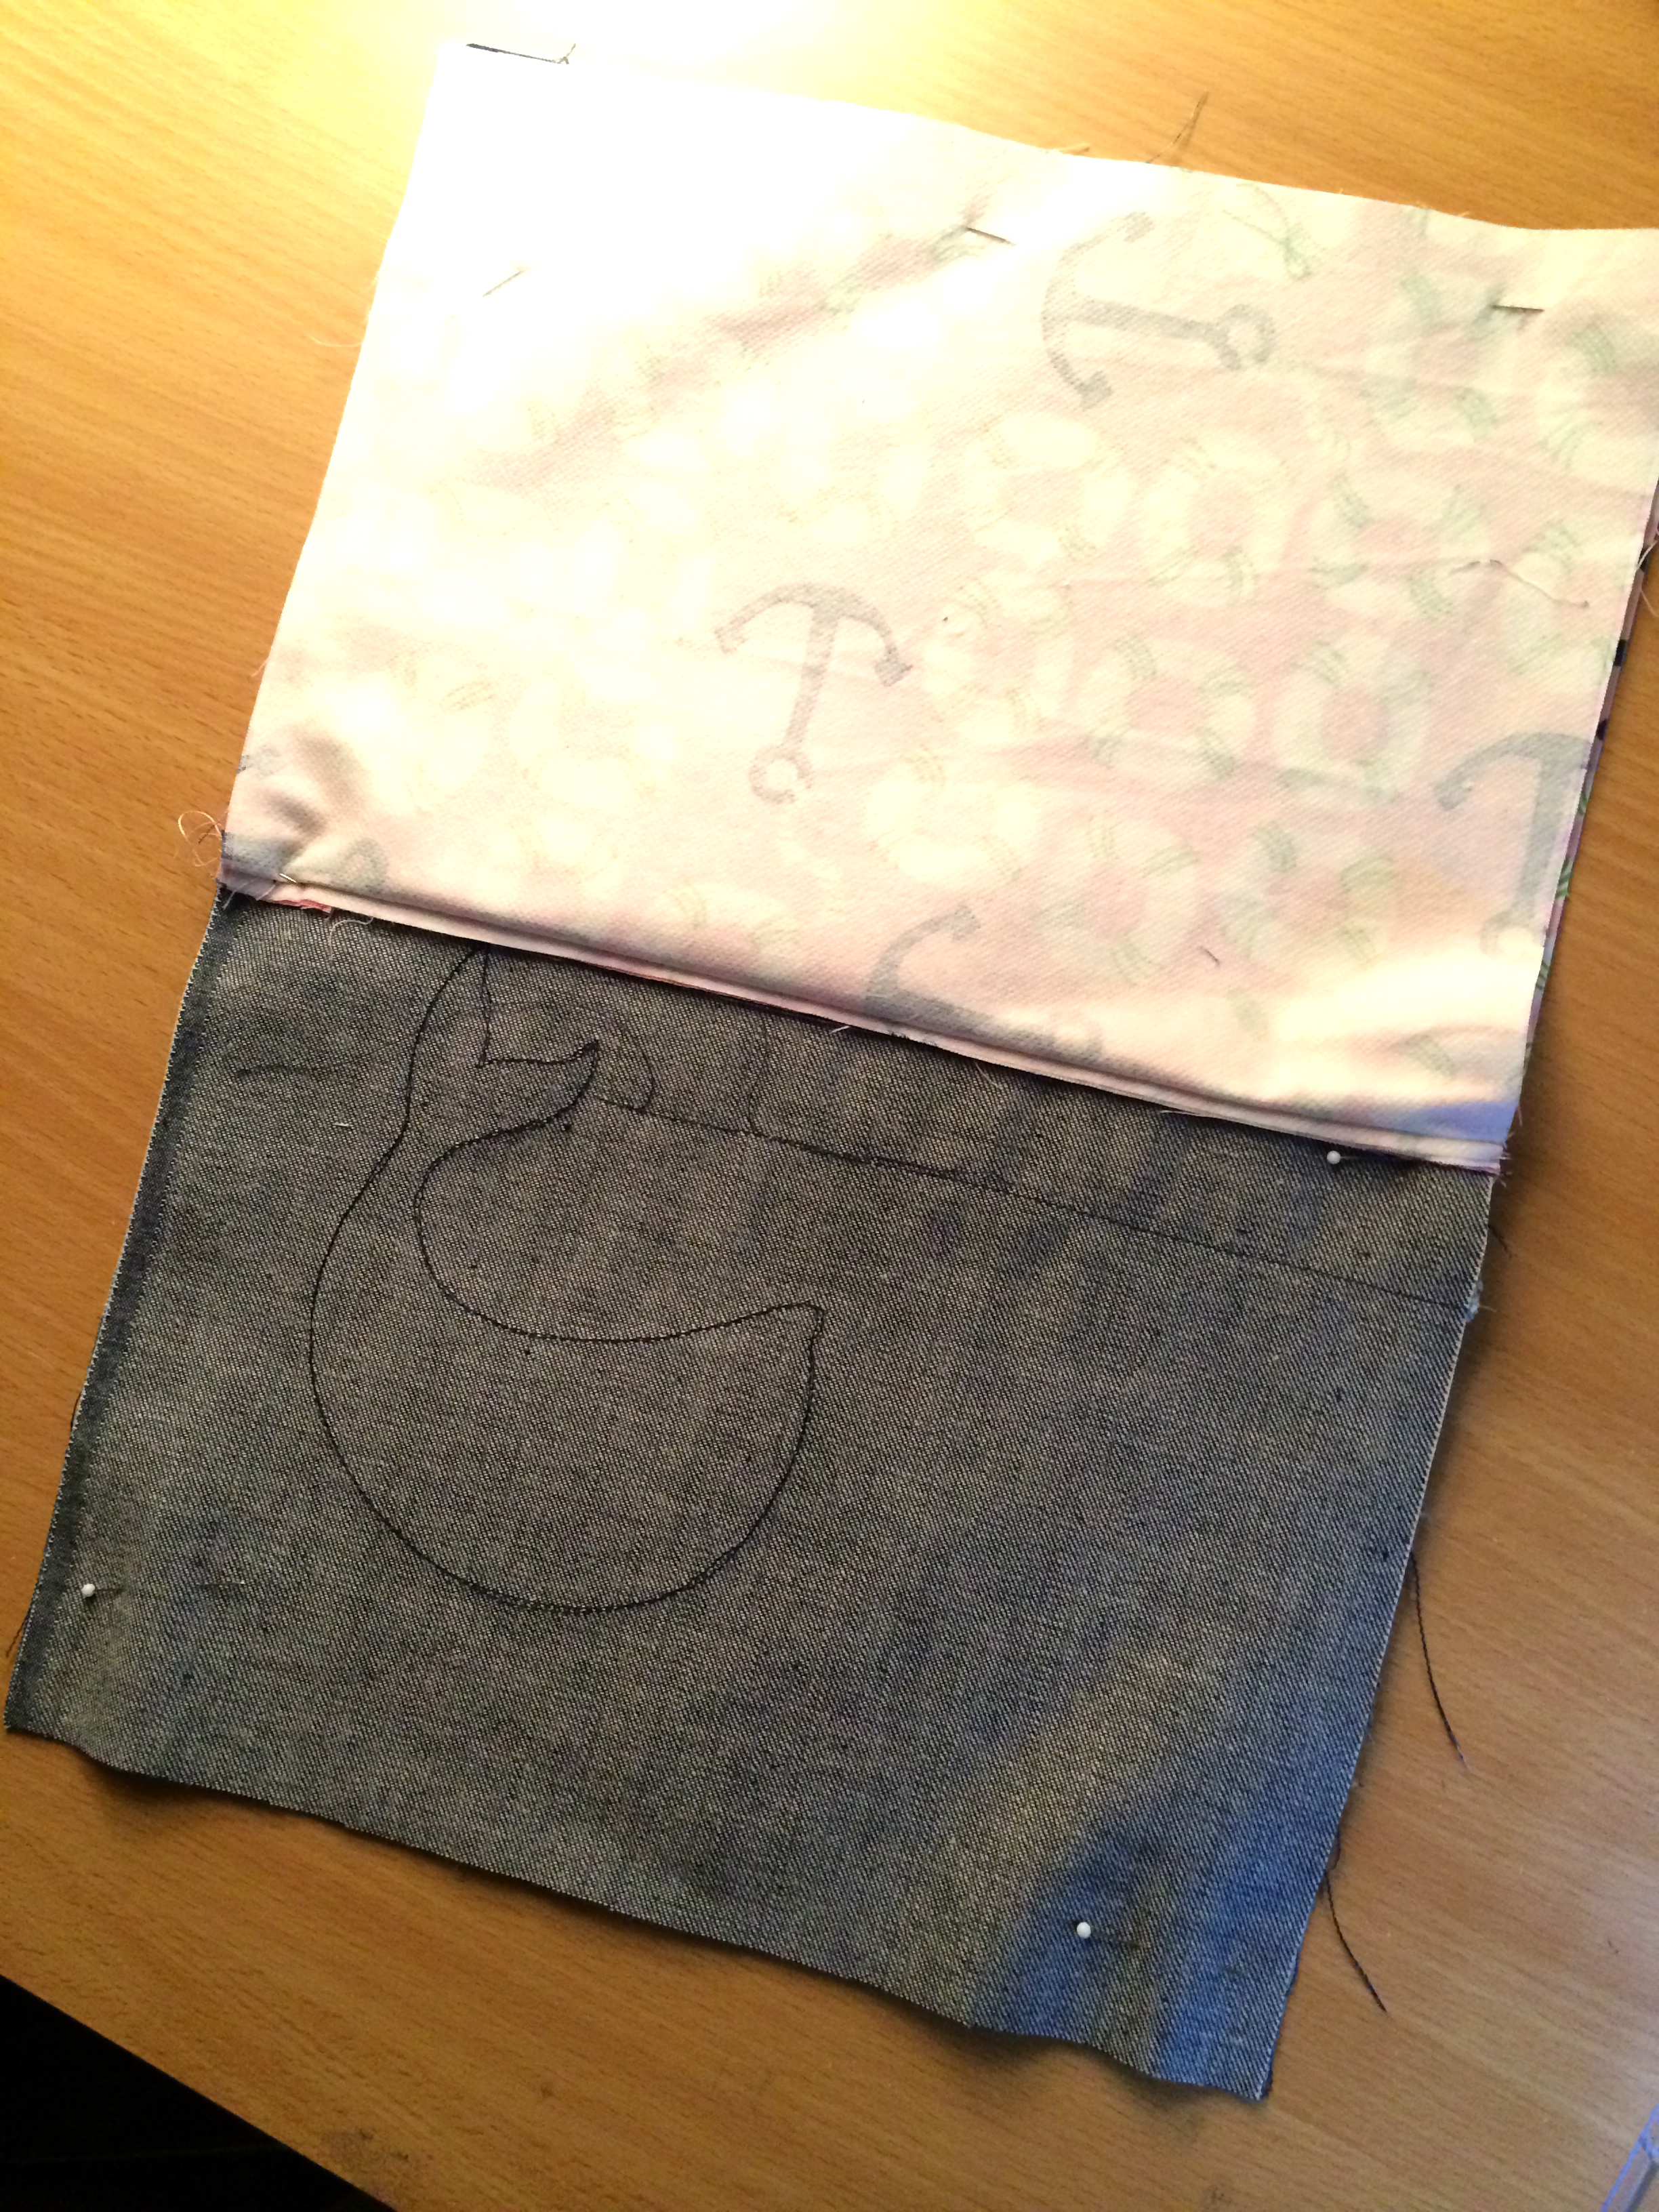
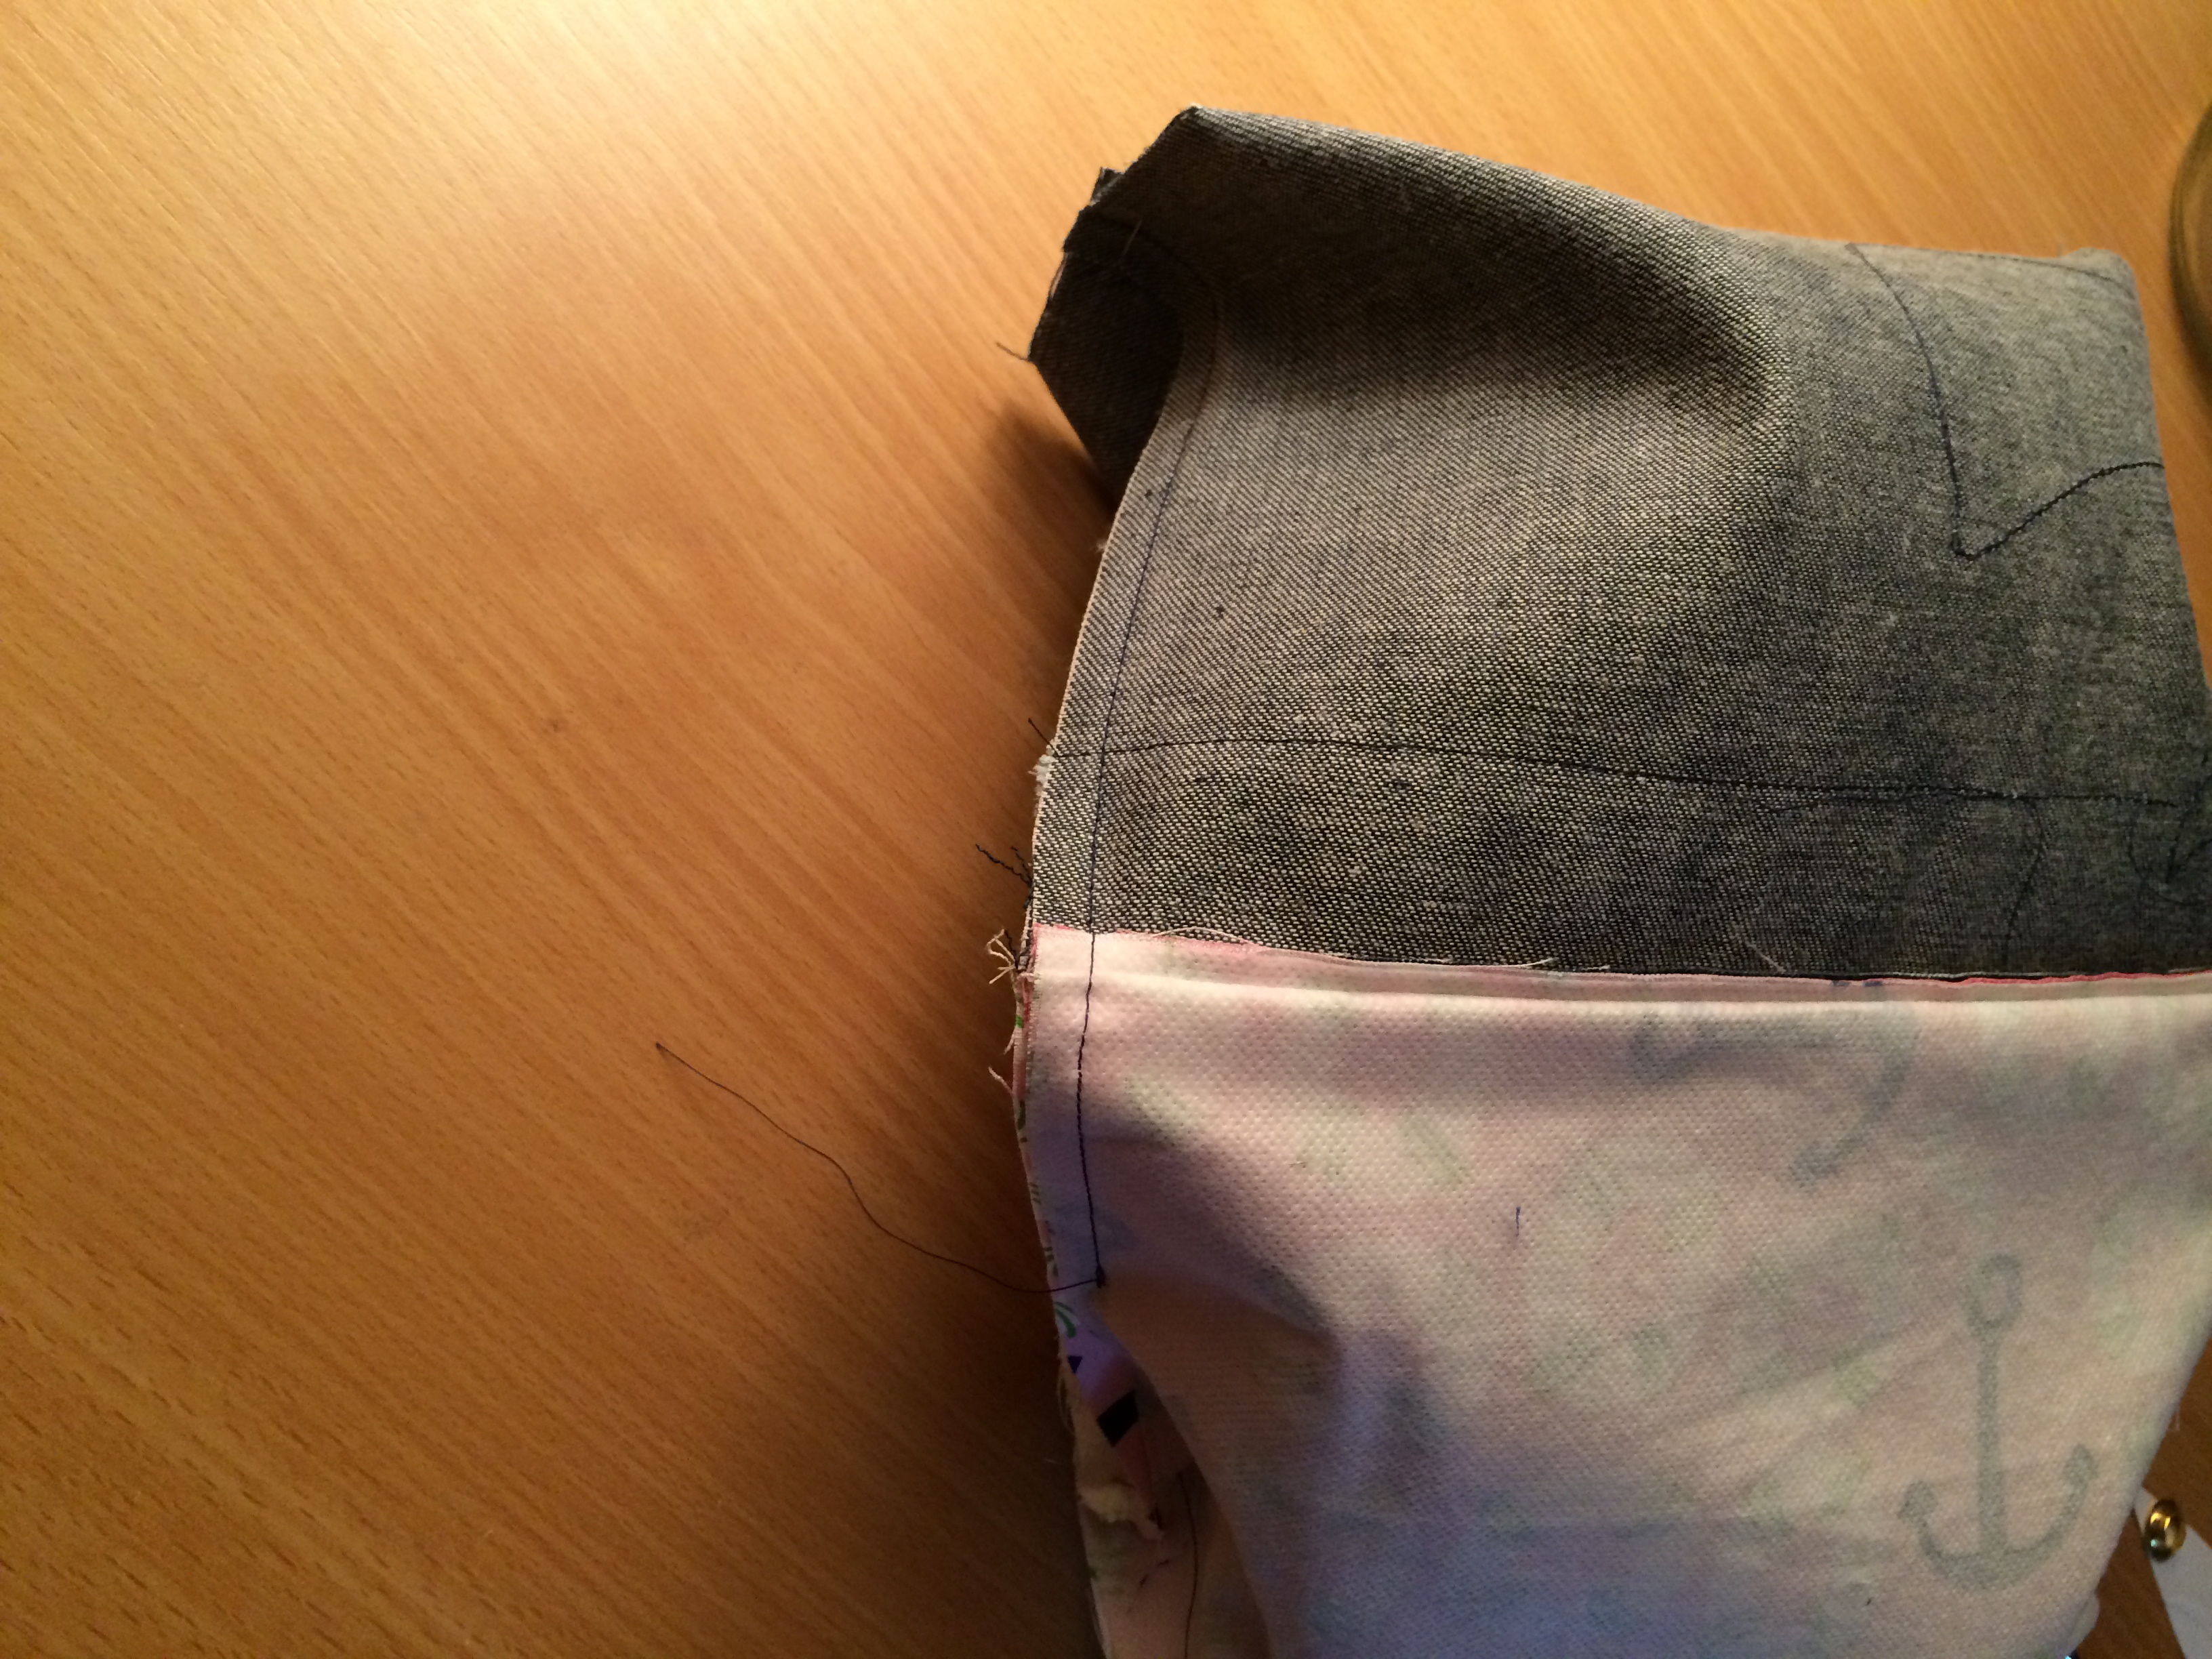
After you’ve sewn all the way around cut a 1.5″ notch out of each corner of the bag.
Match bottom seams and sew a 1/4″ seam:
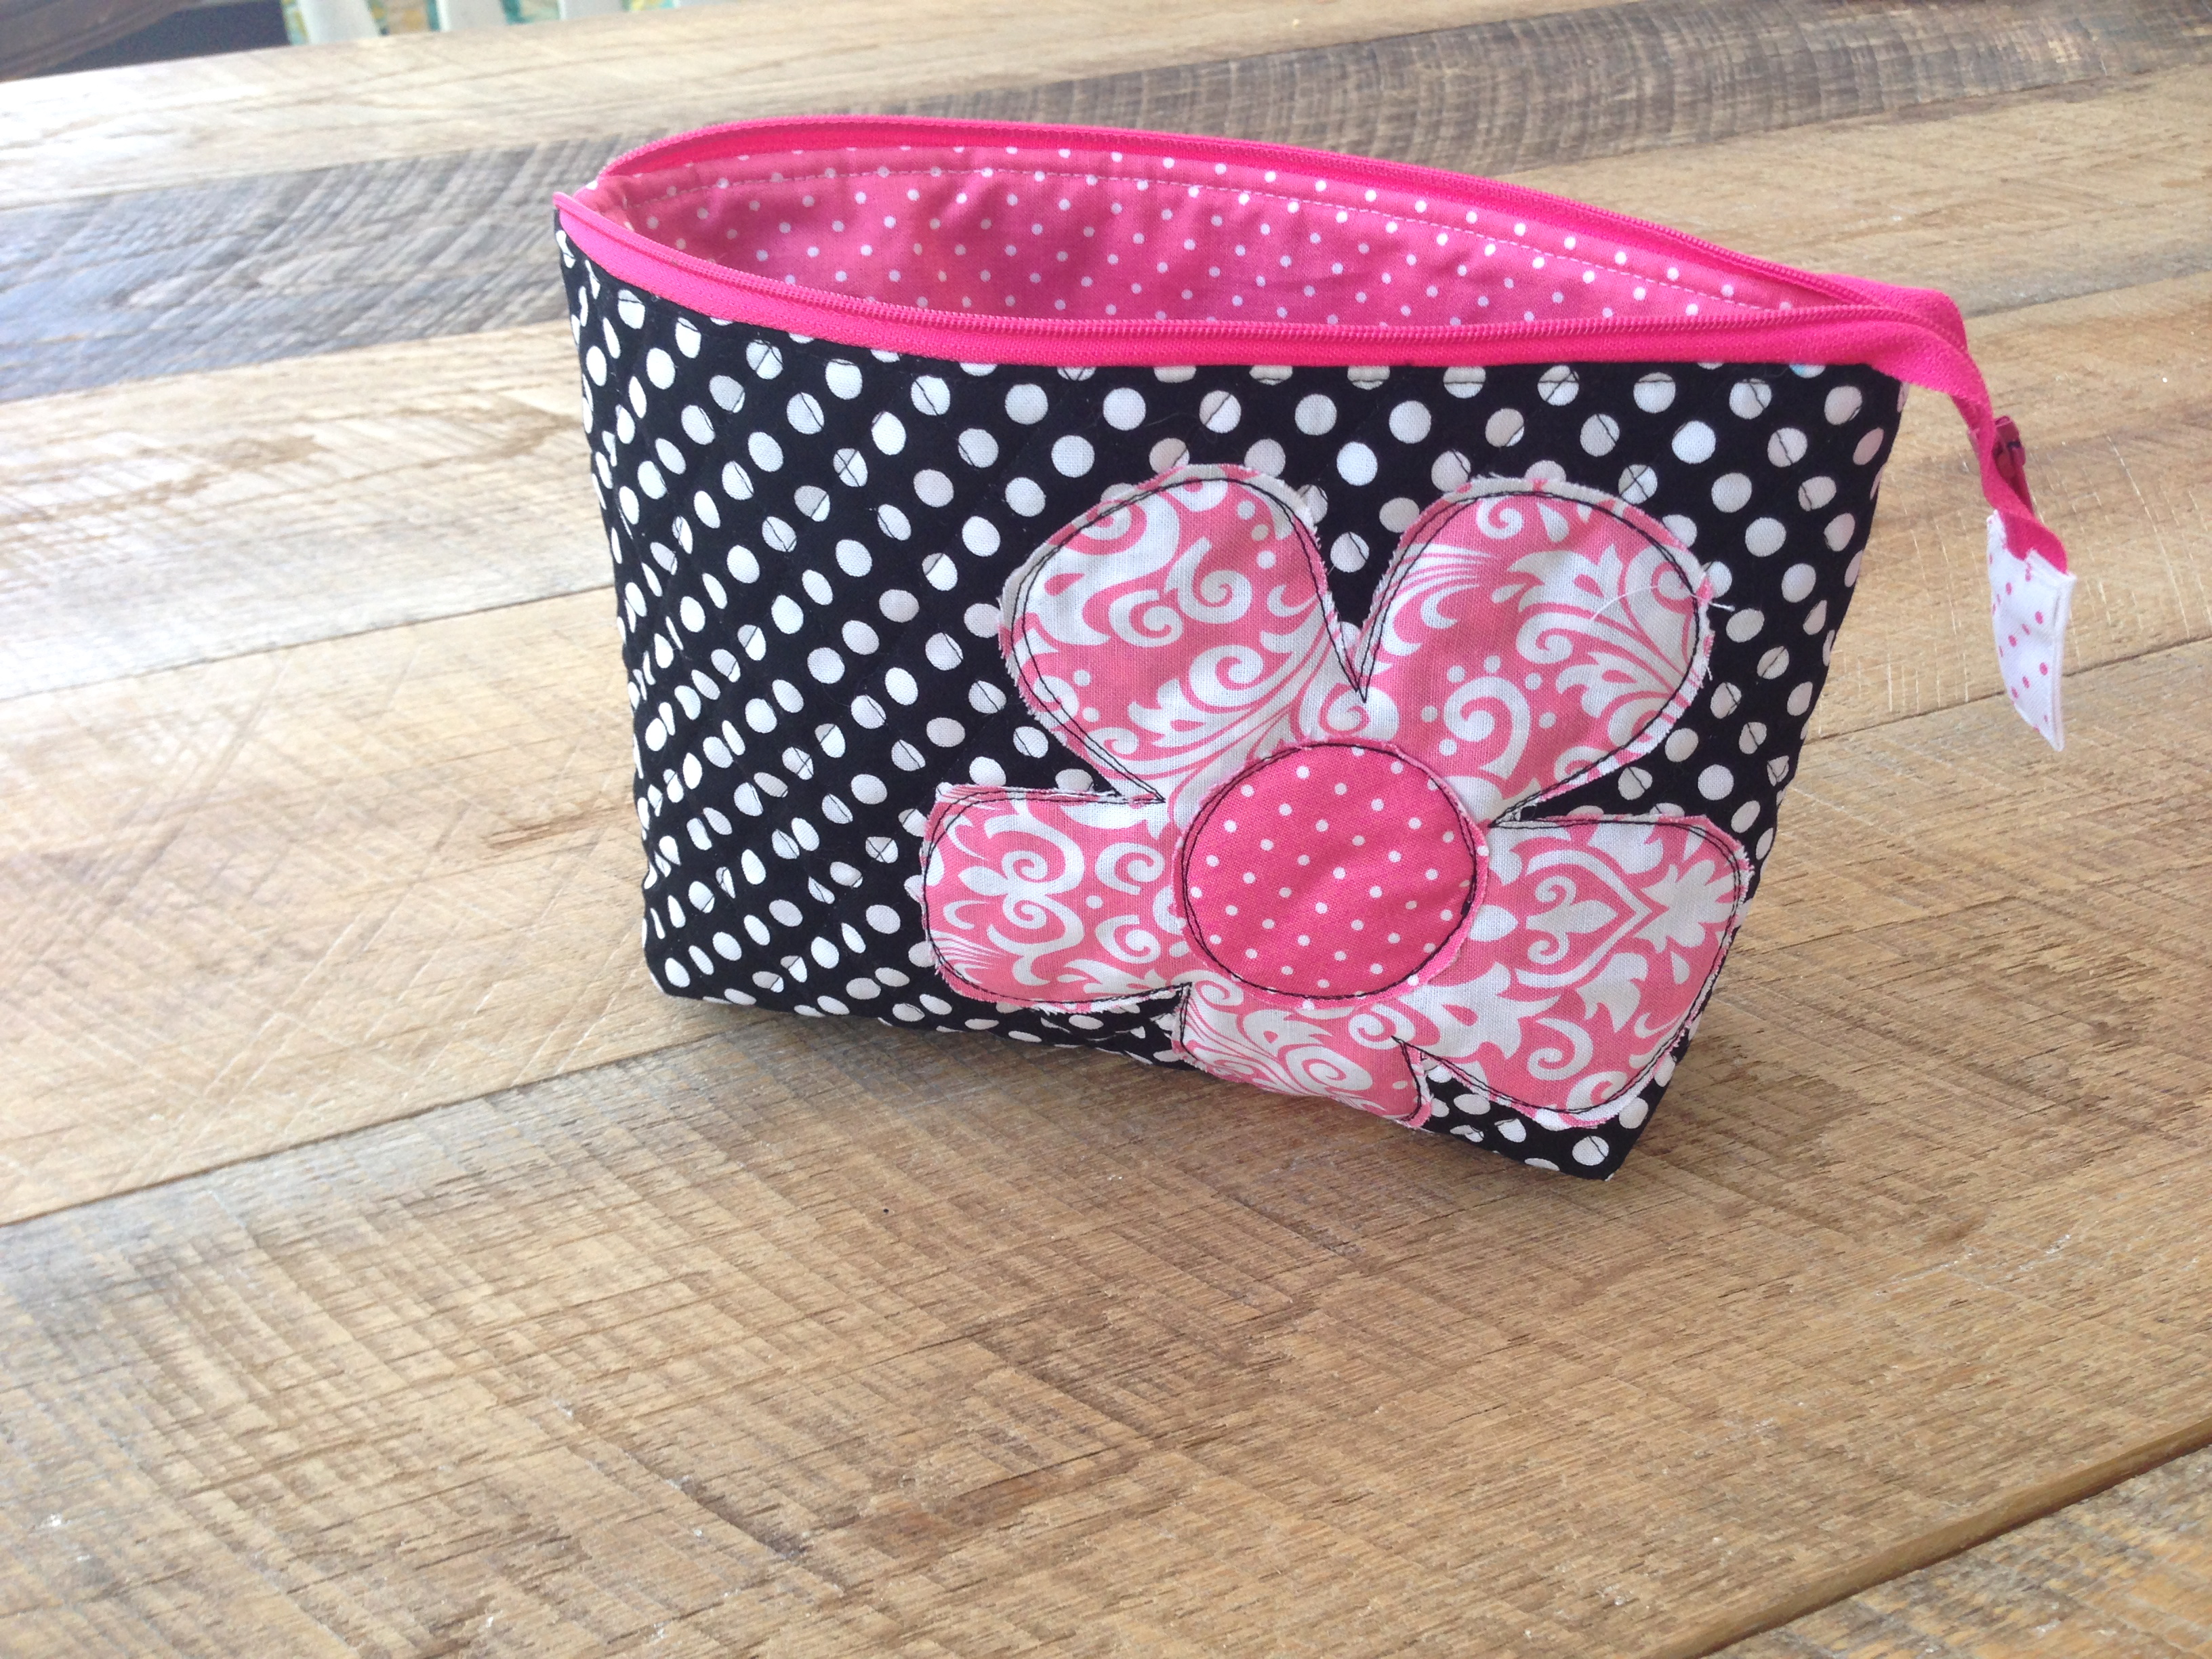
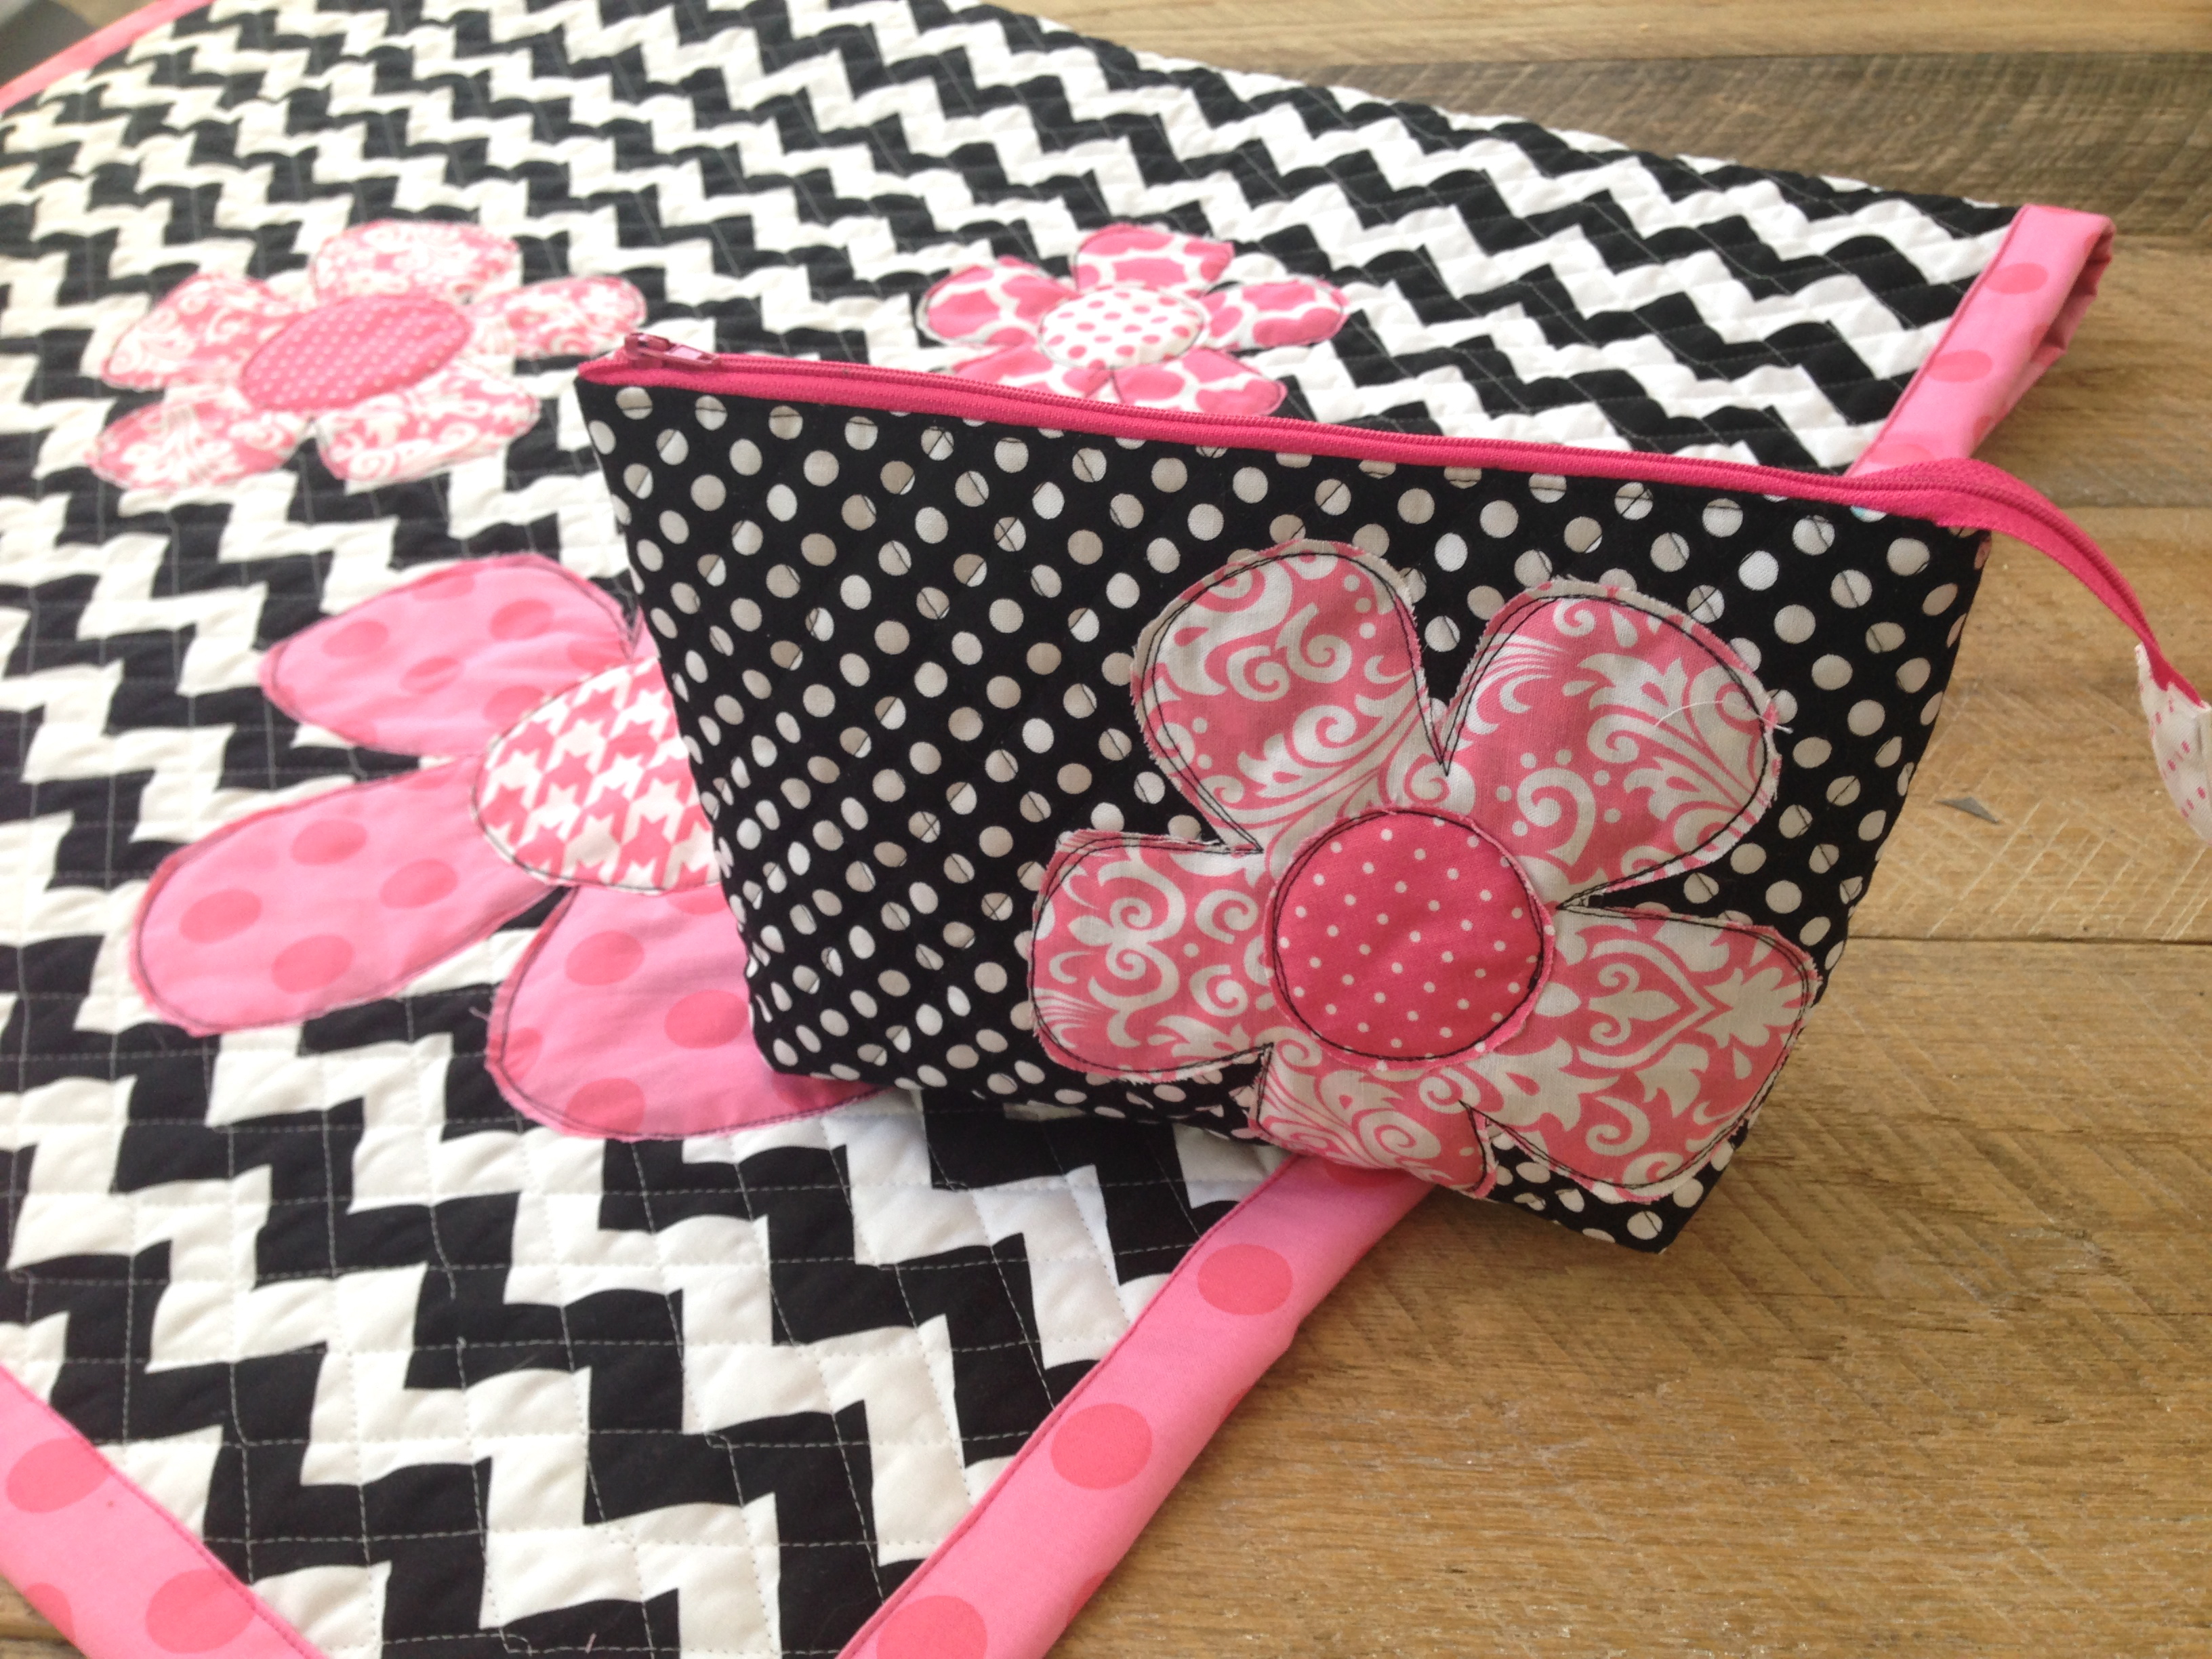
Turn right side out and top stitch side opening. Yea! It’s done!

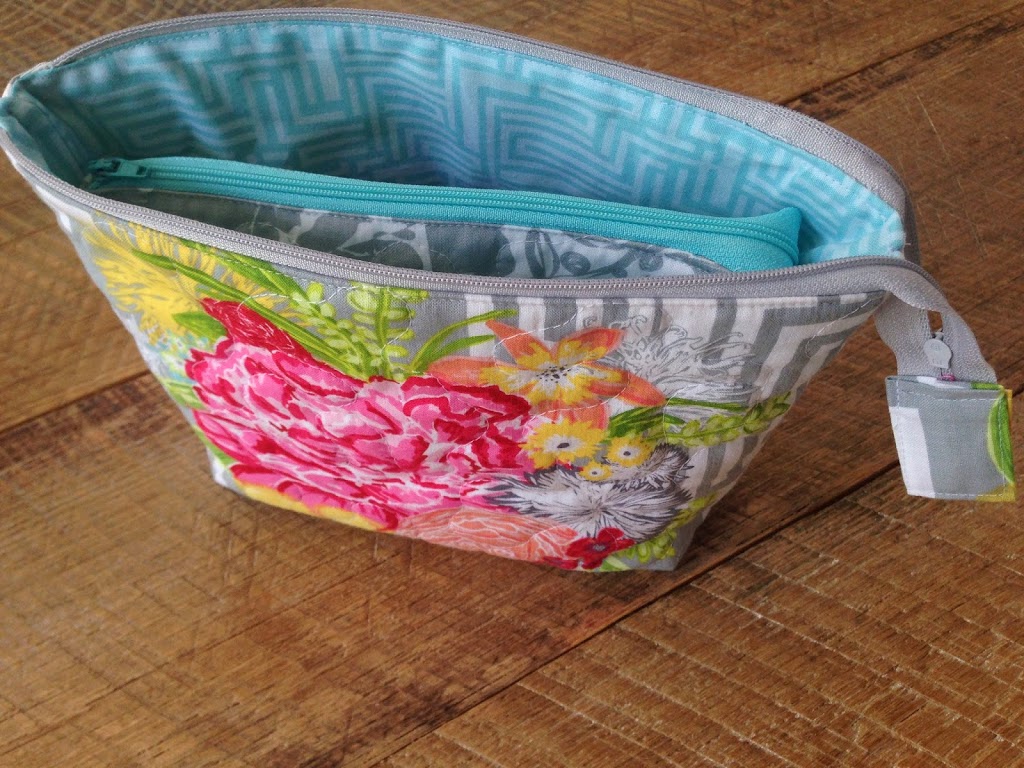
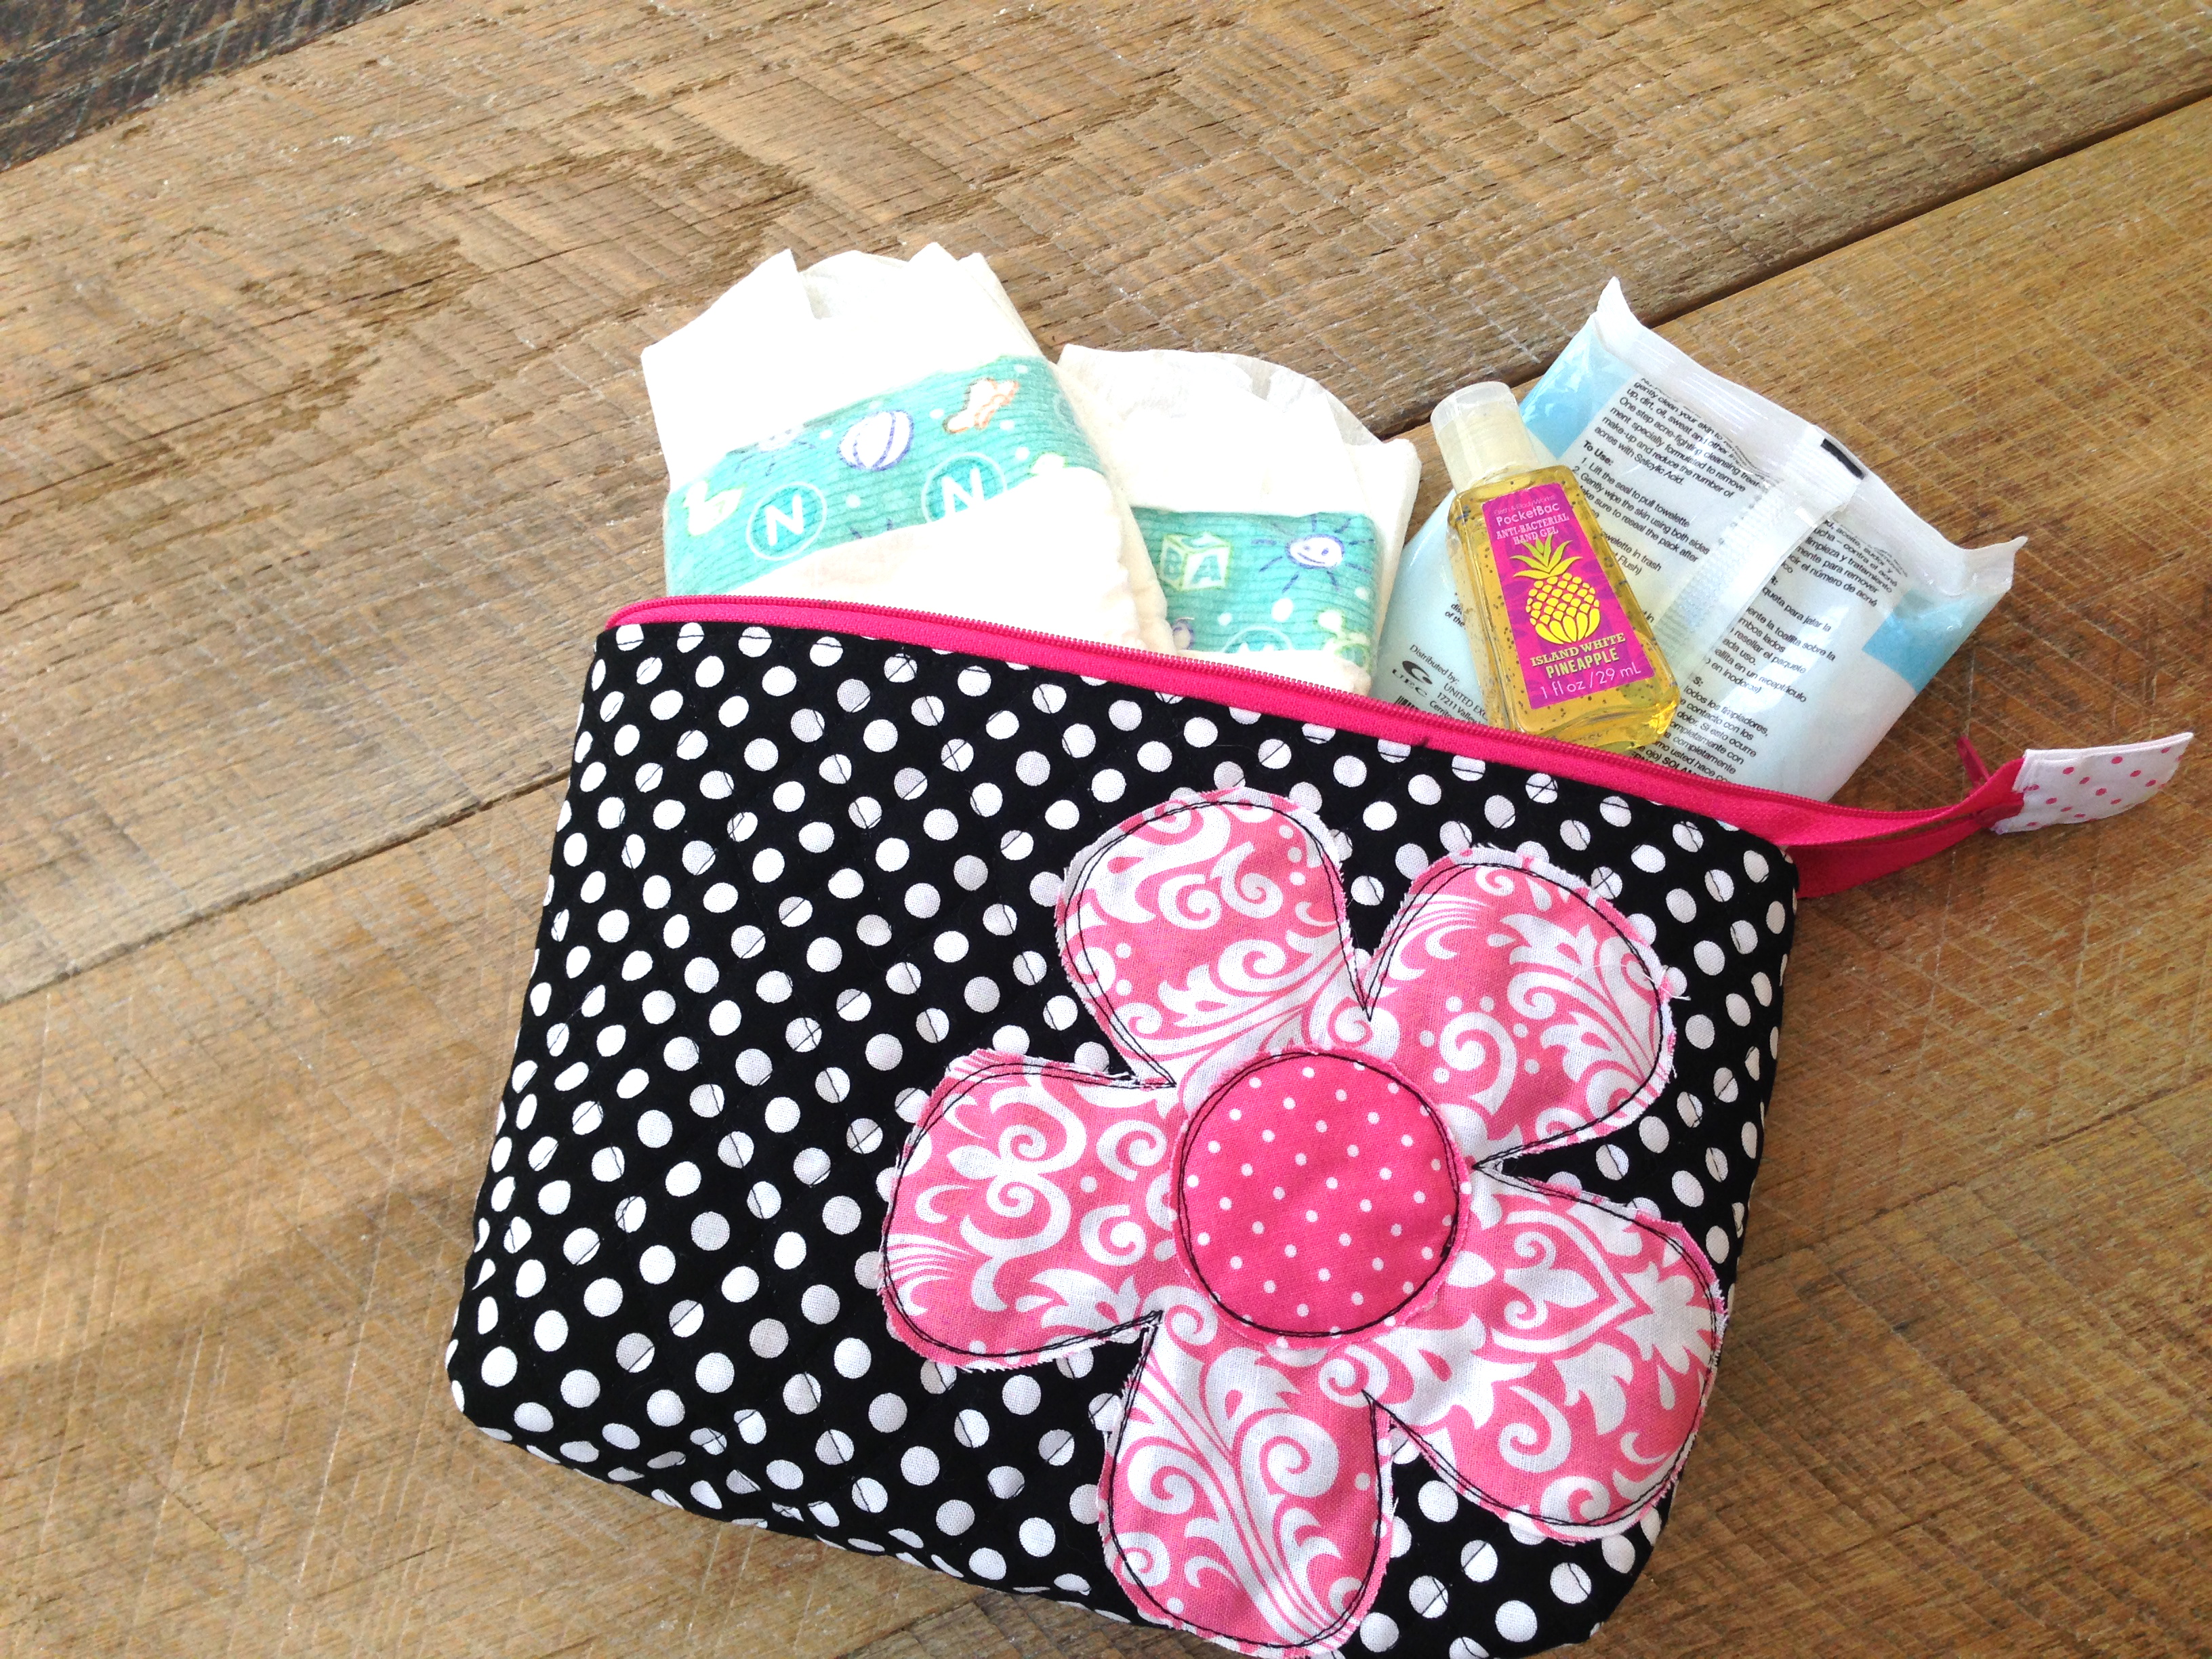
It’s the perfect little pouch to tuck inside a beach bag with all the little stuff that might get lost.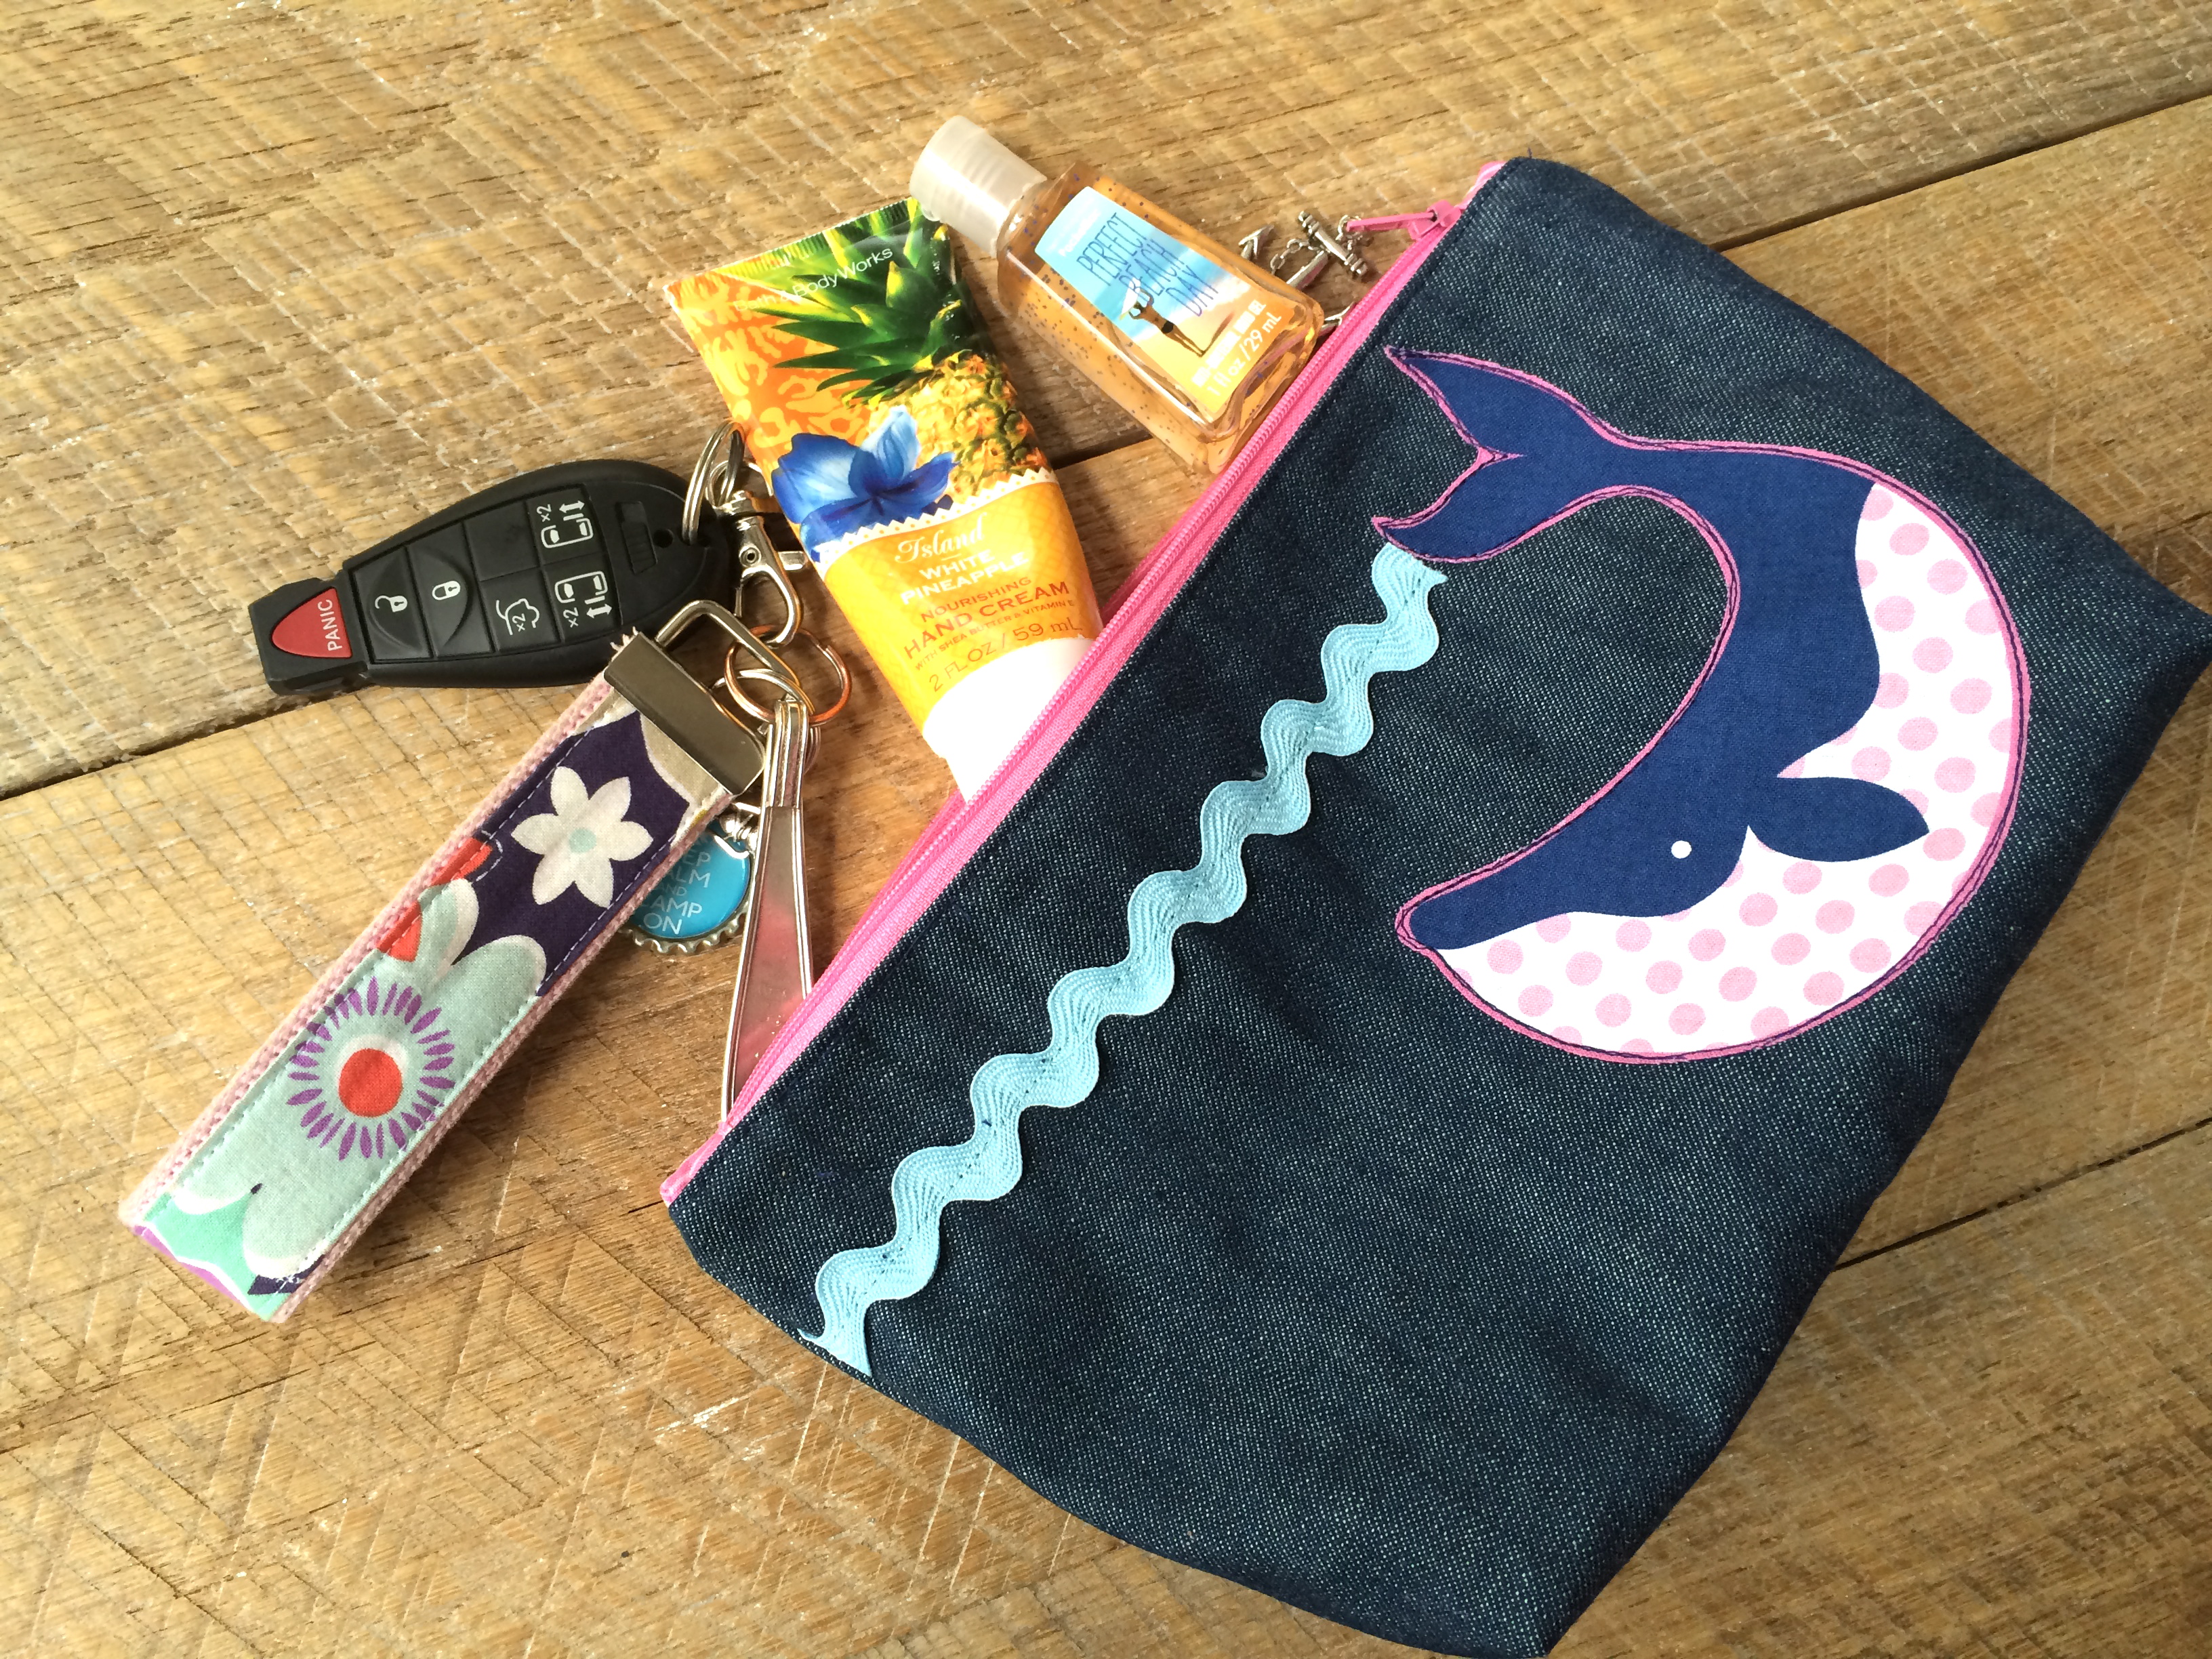


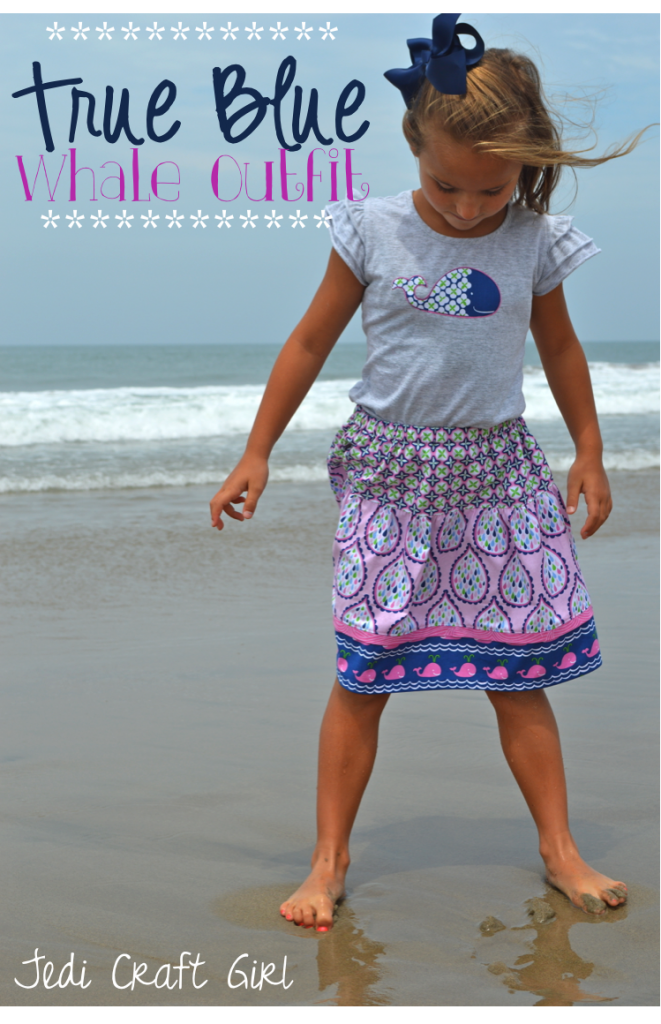

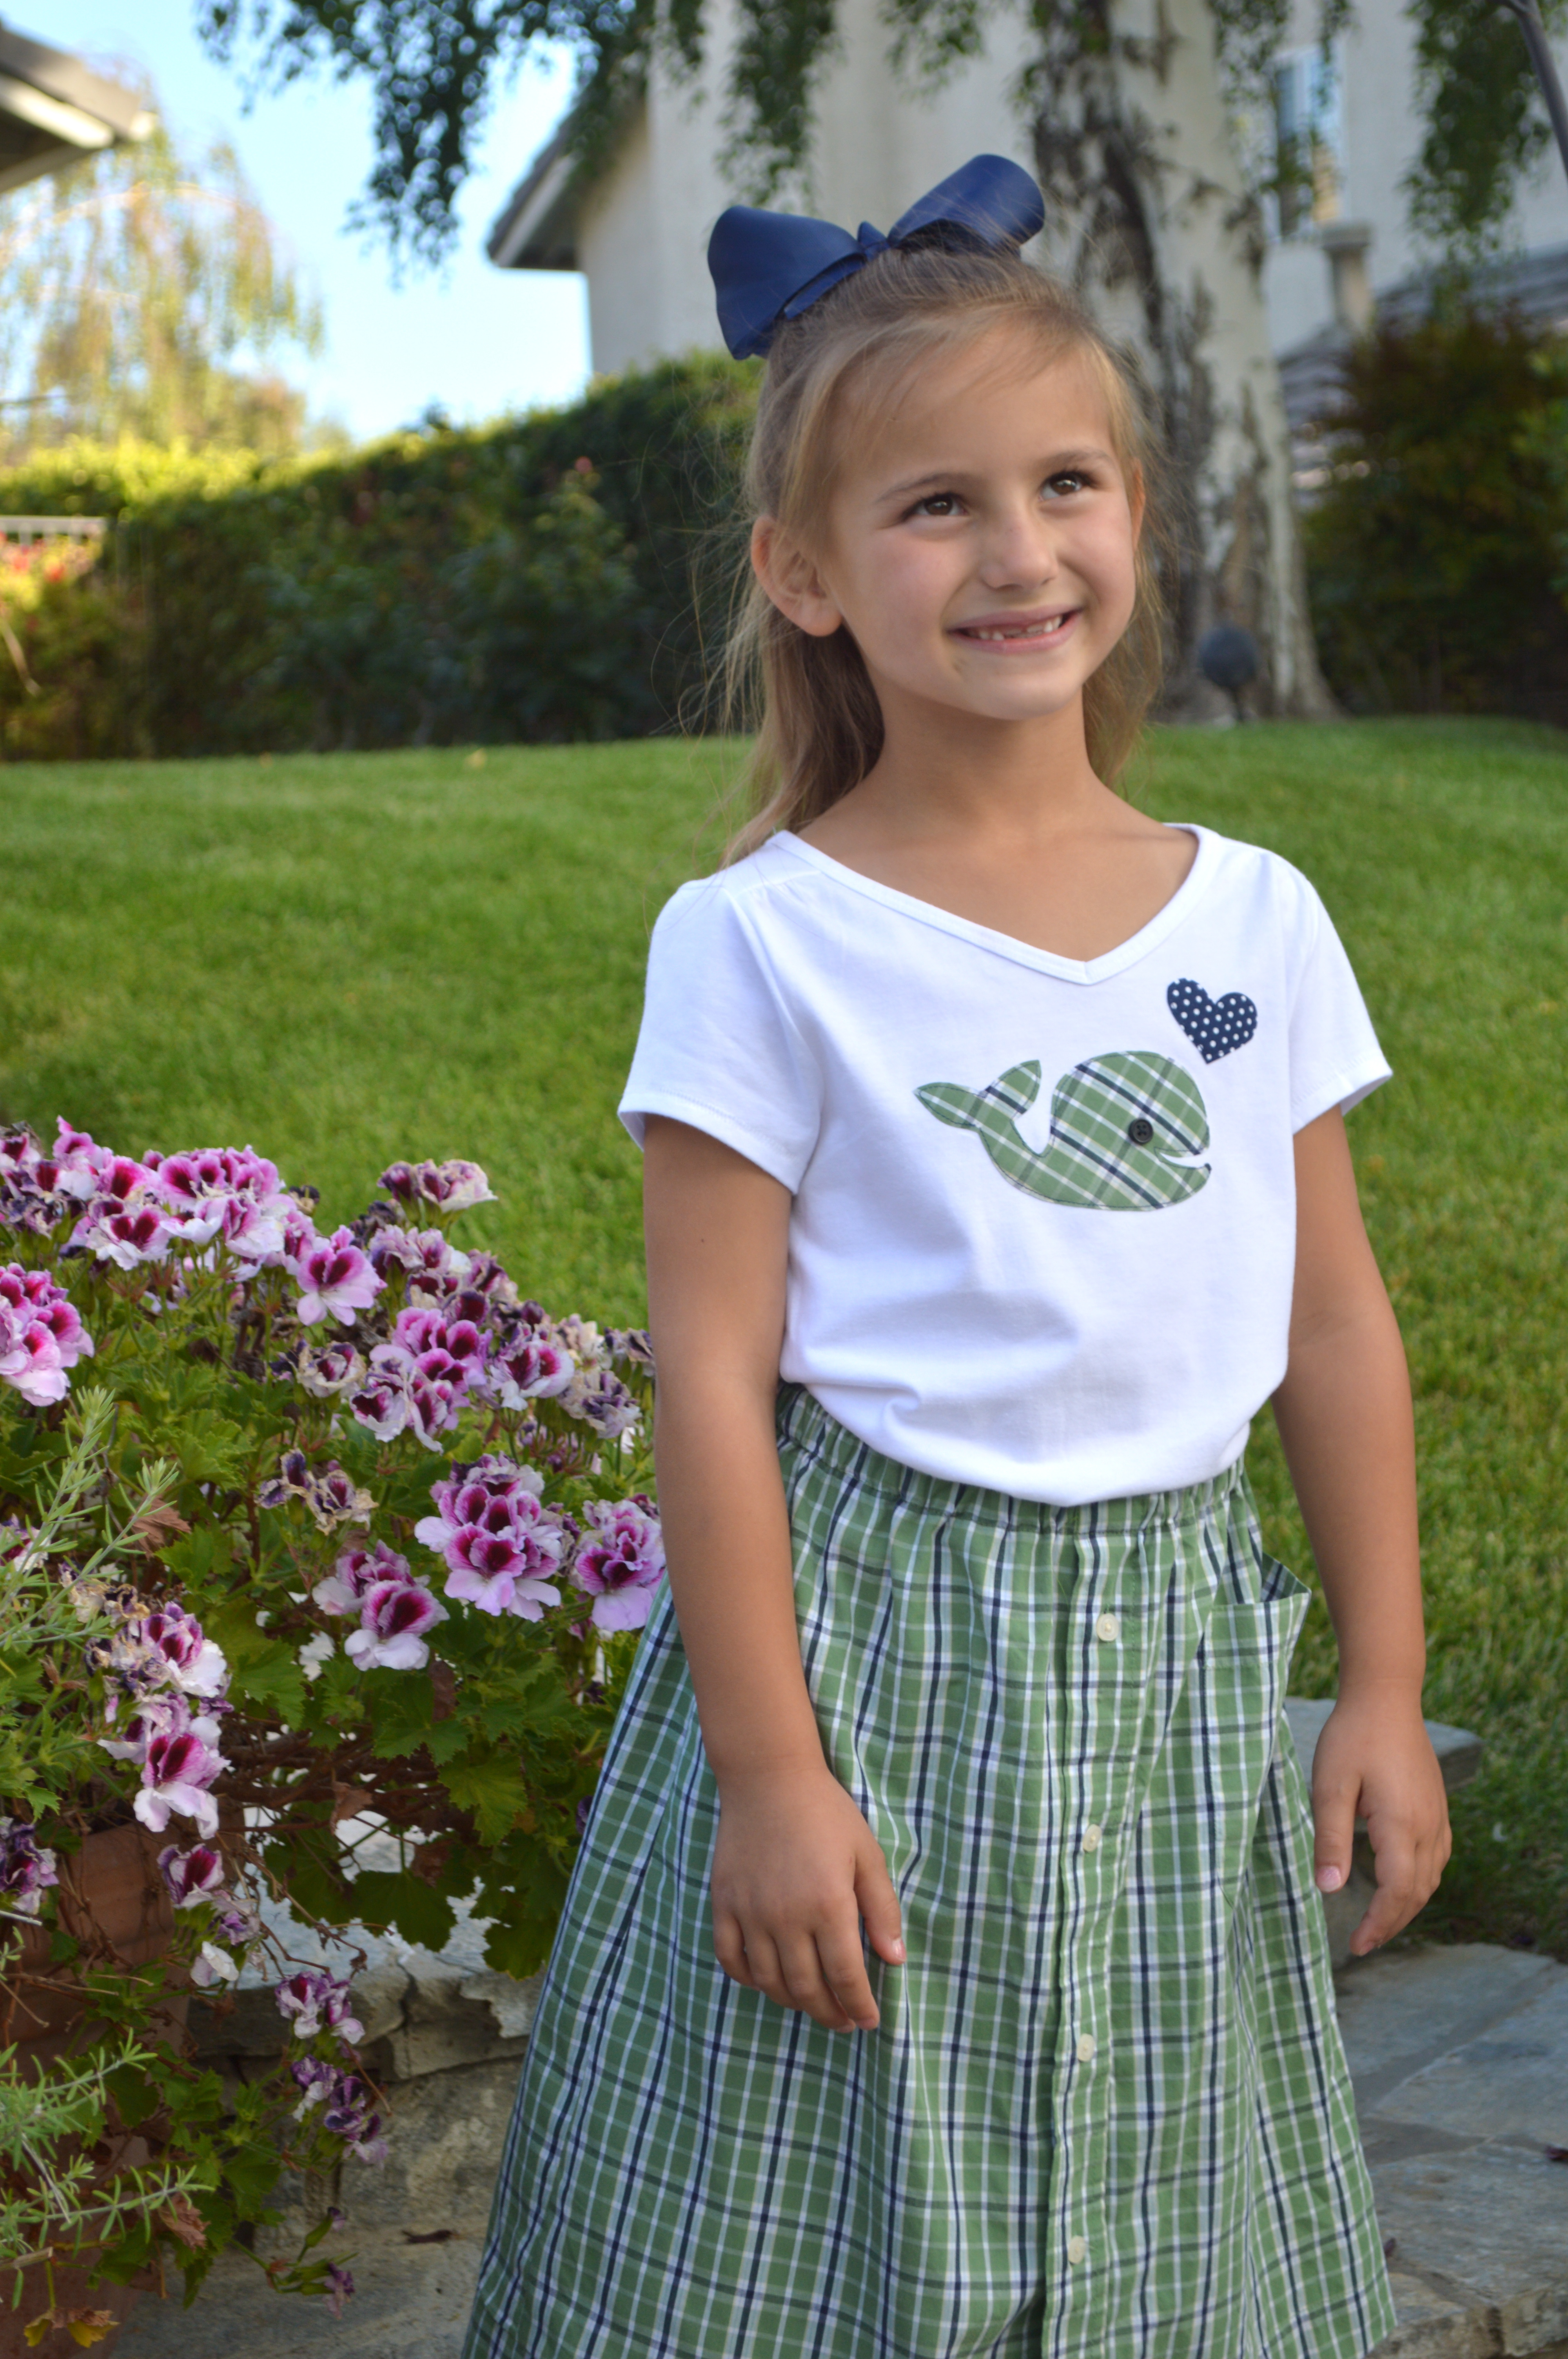
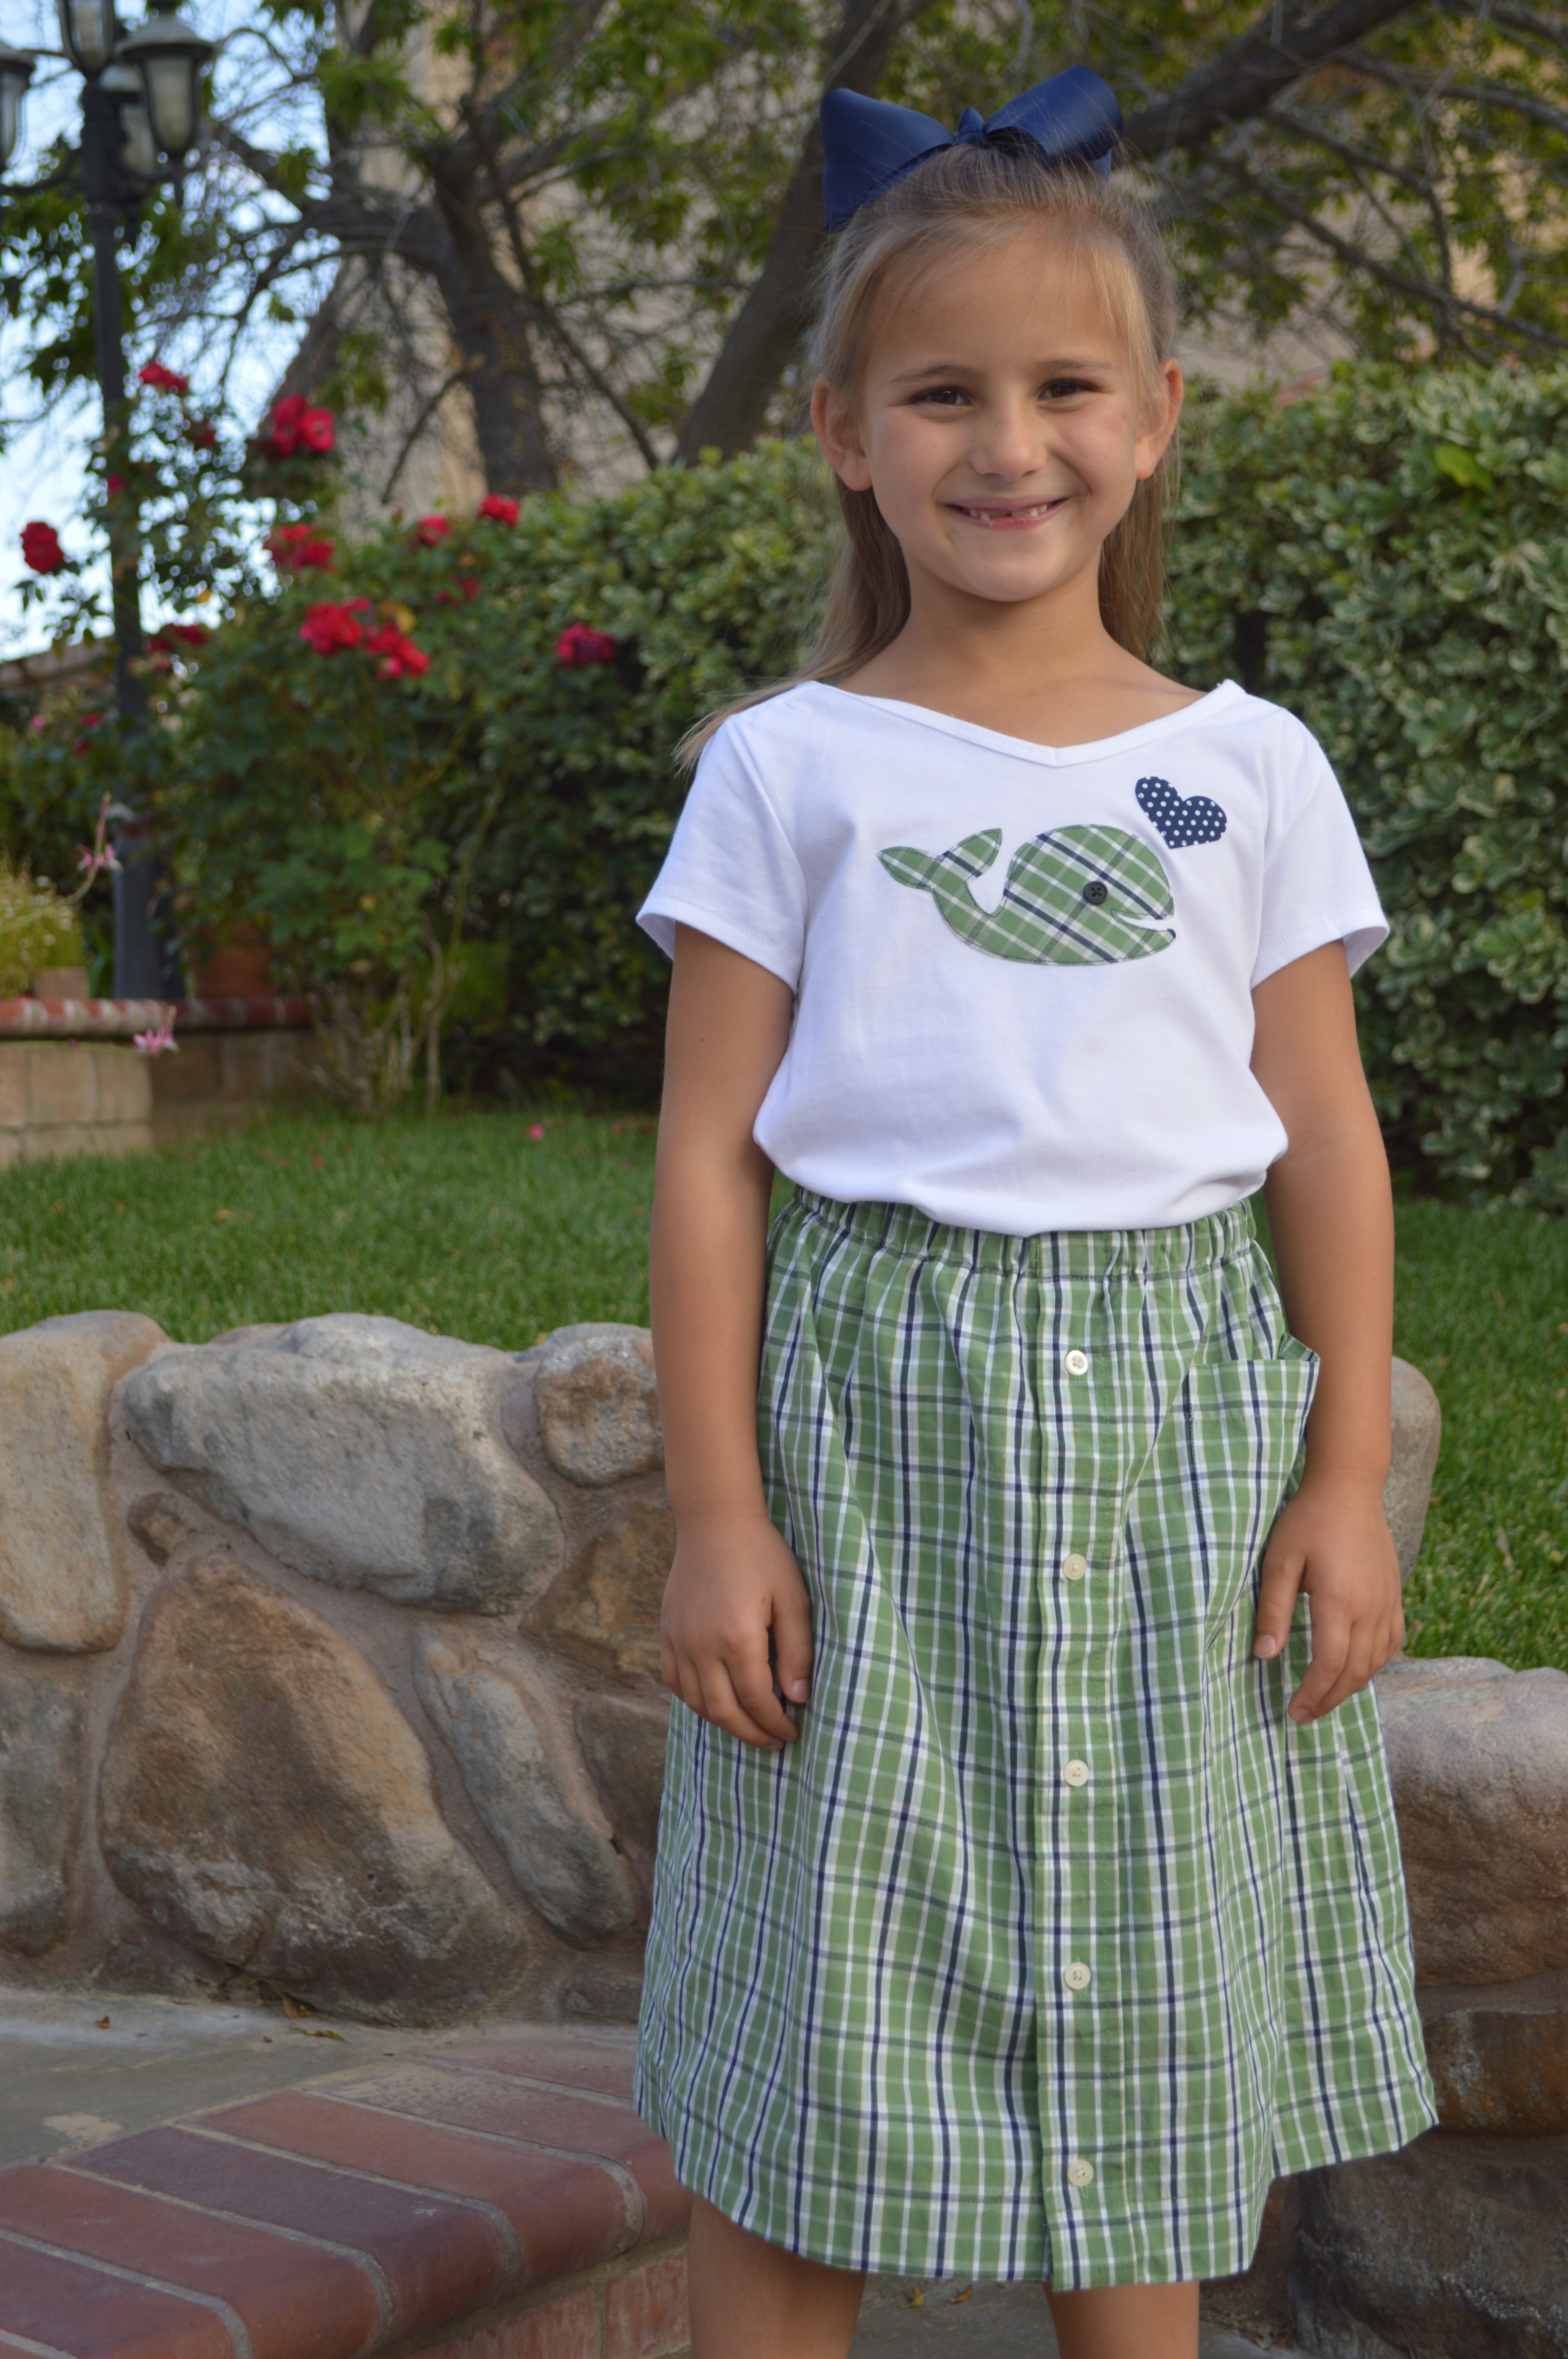
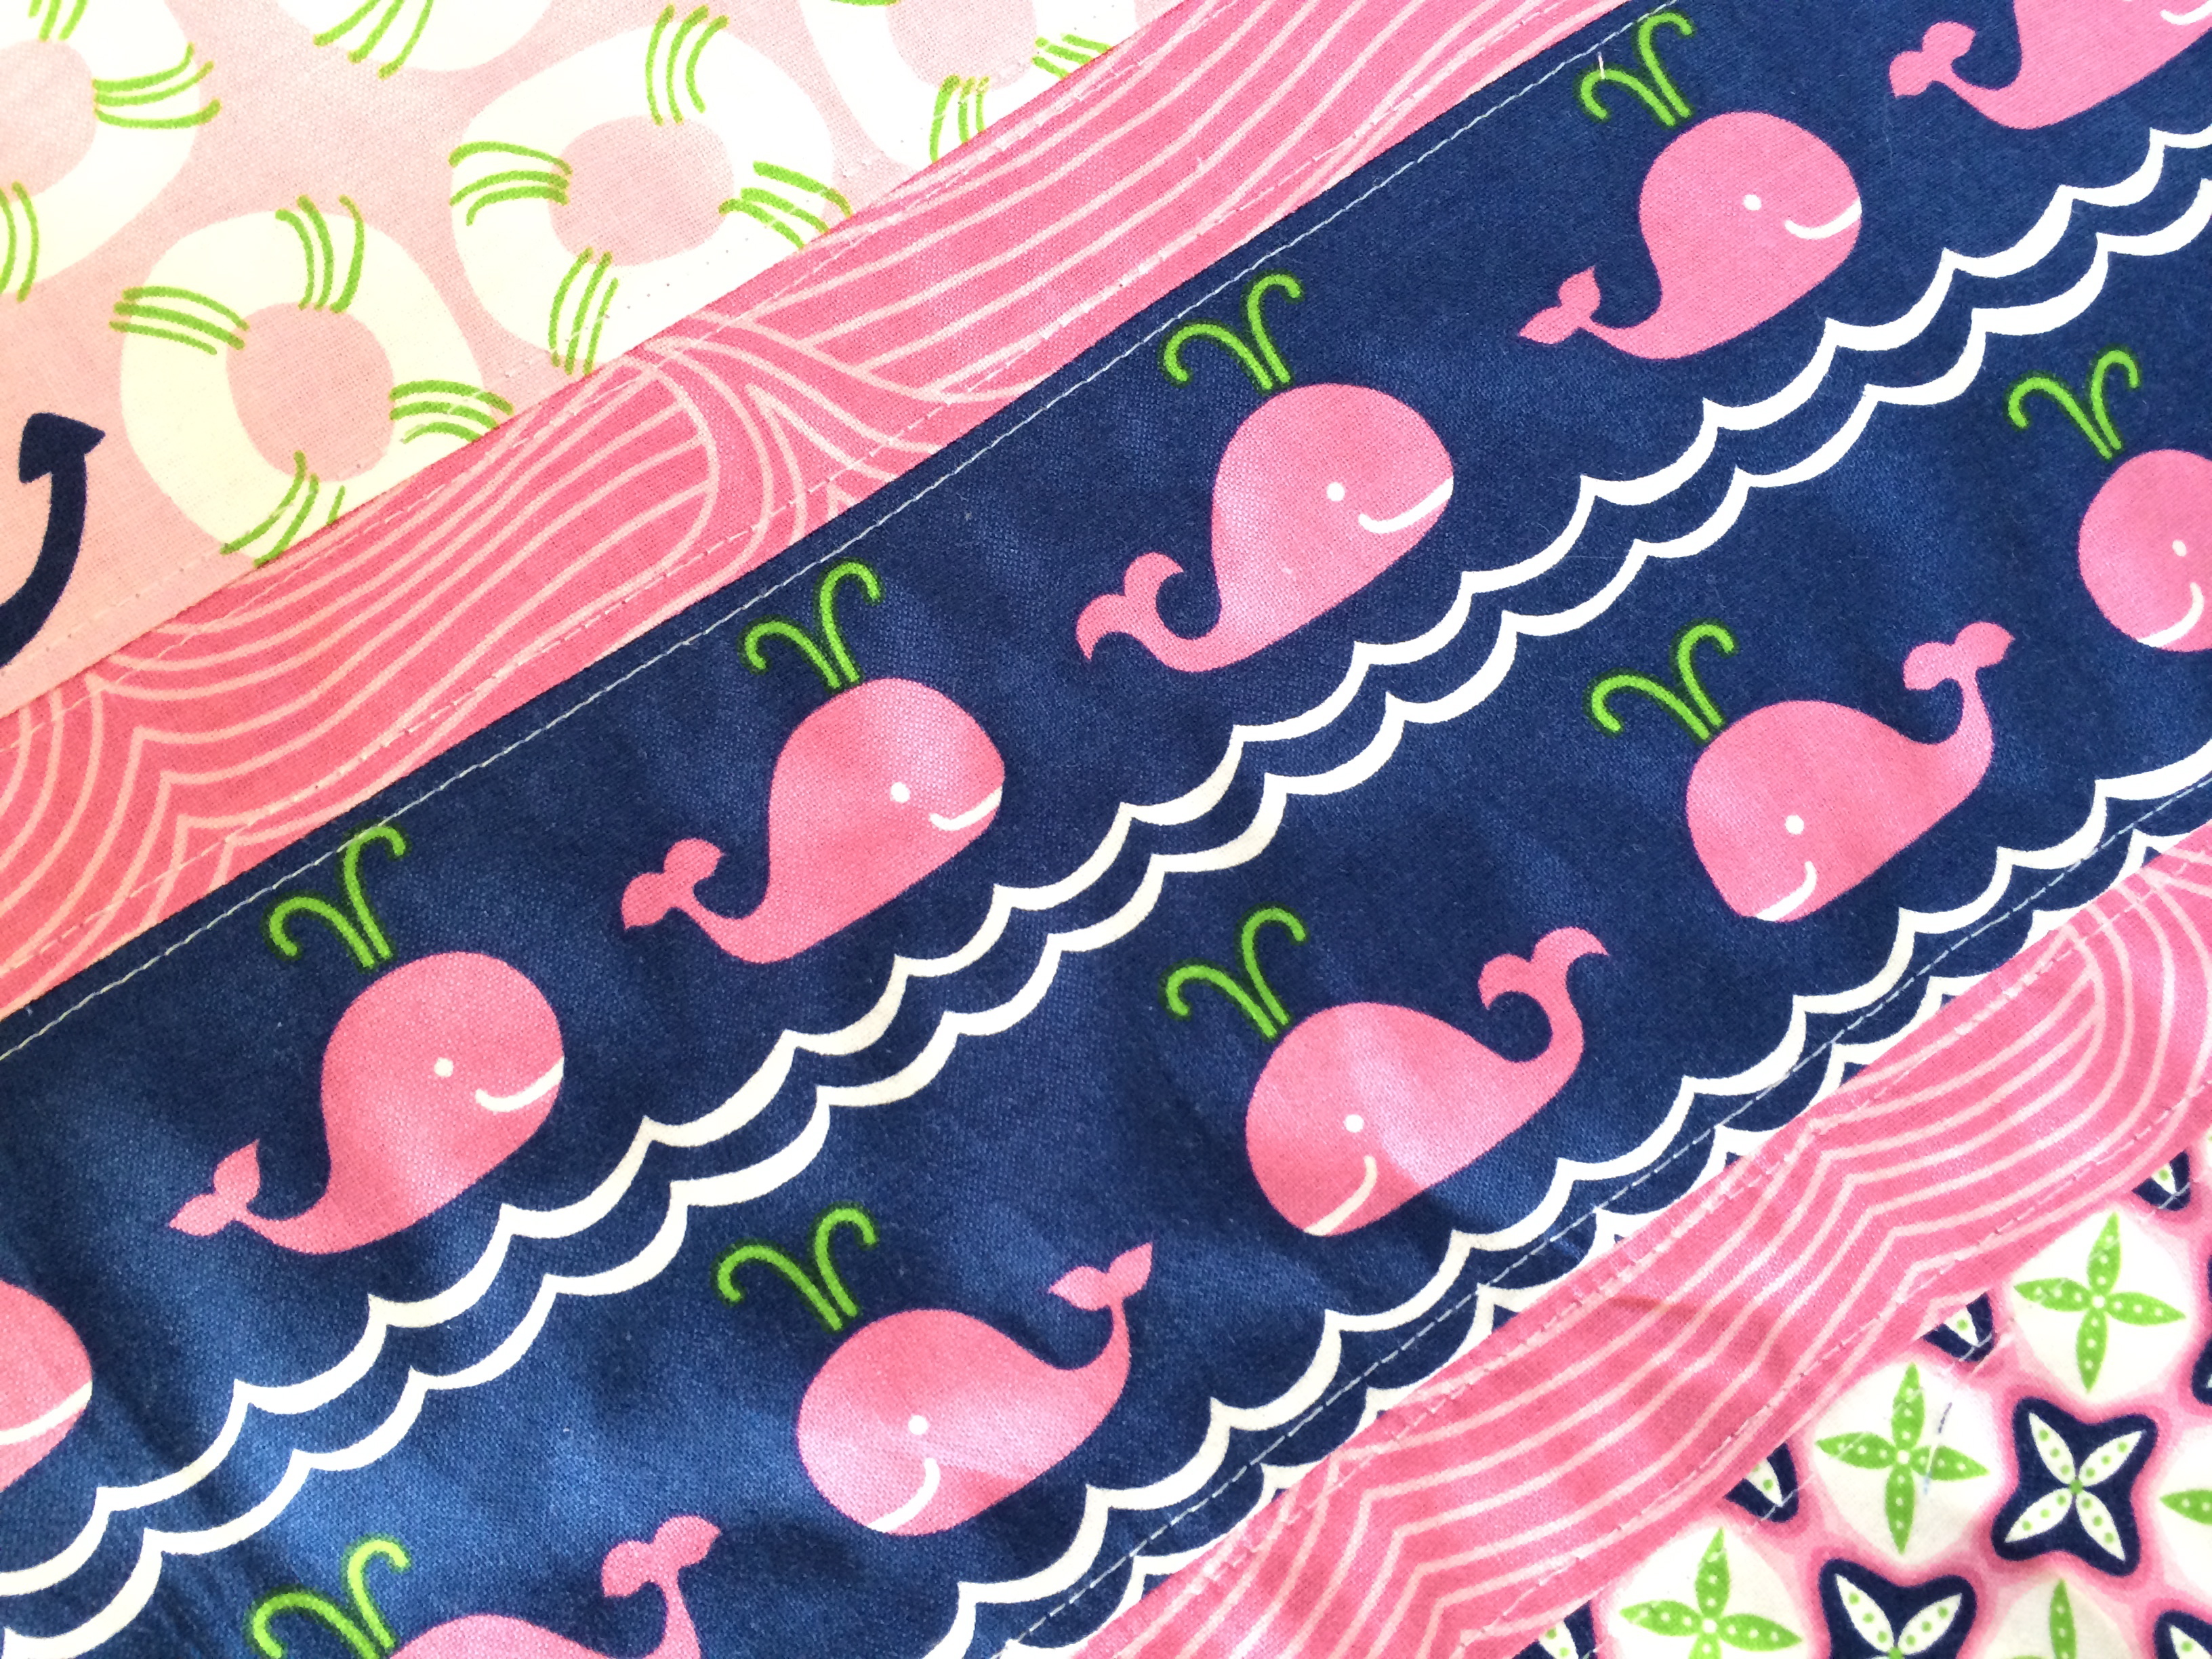
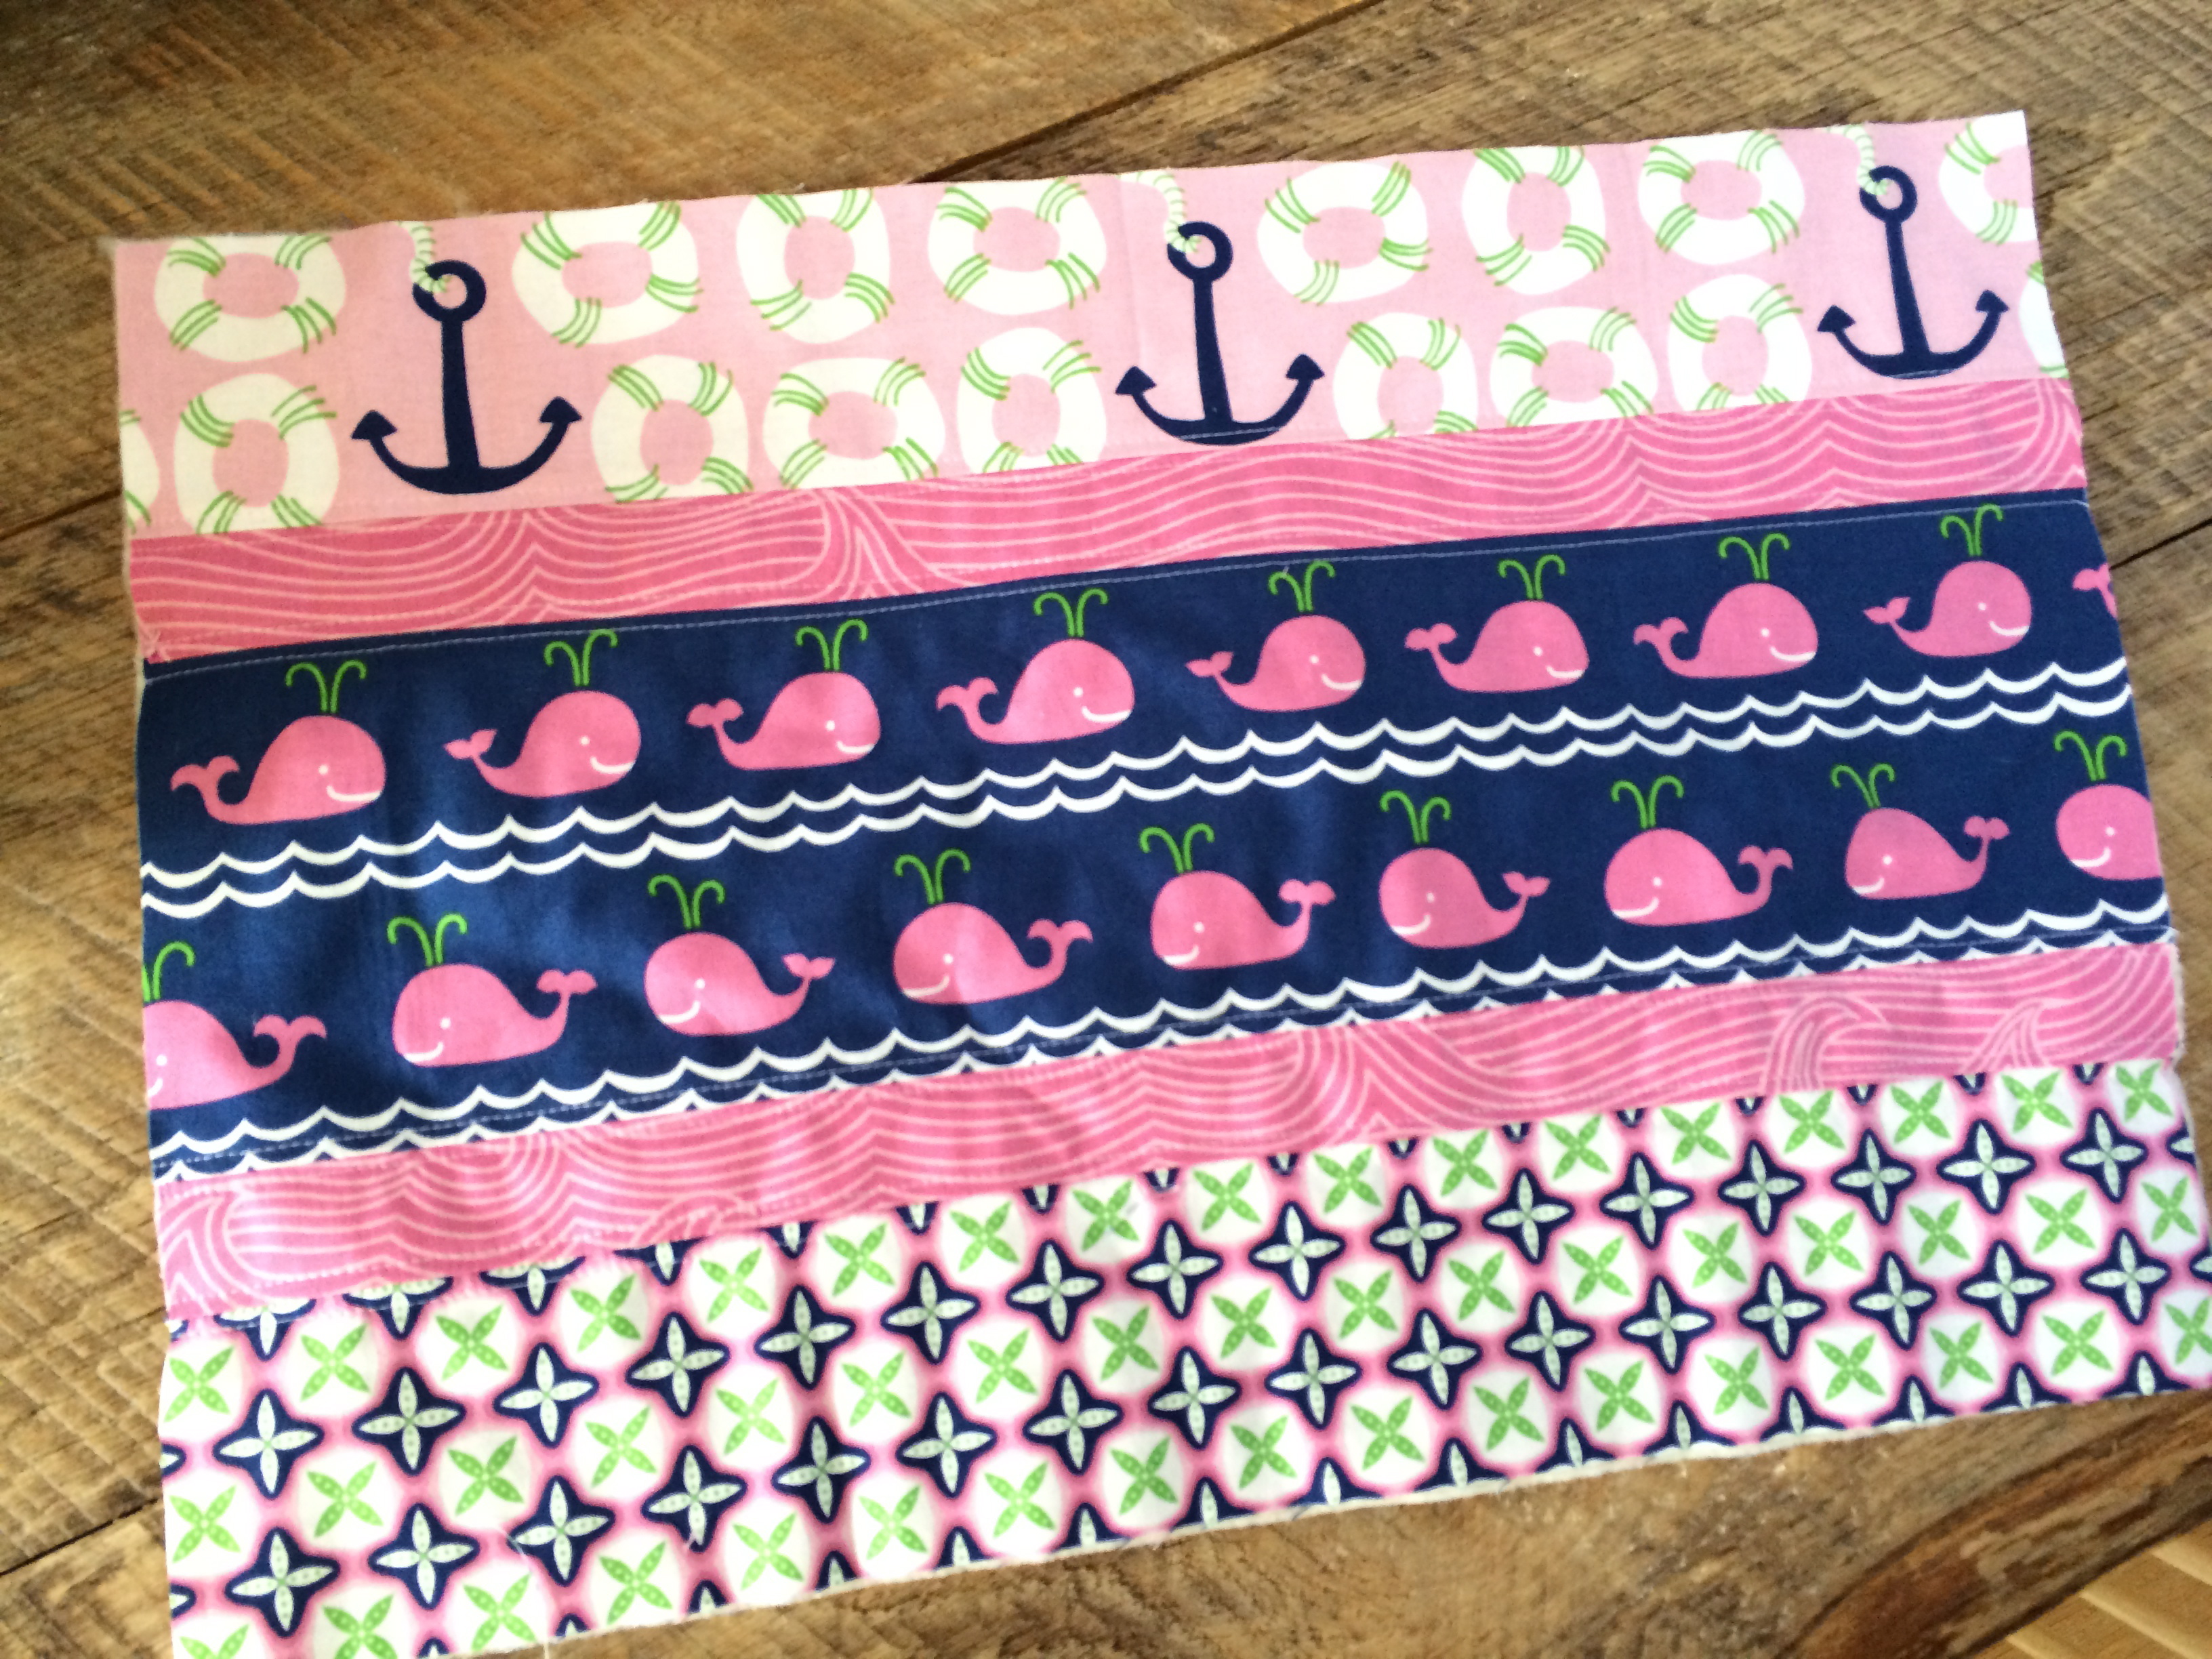
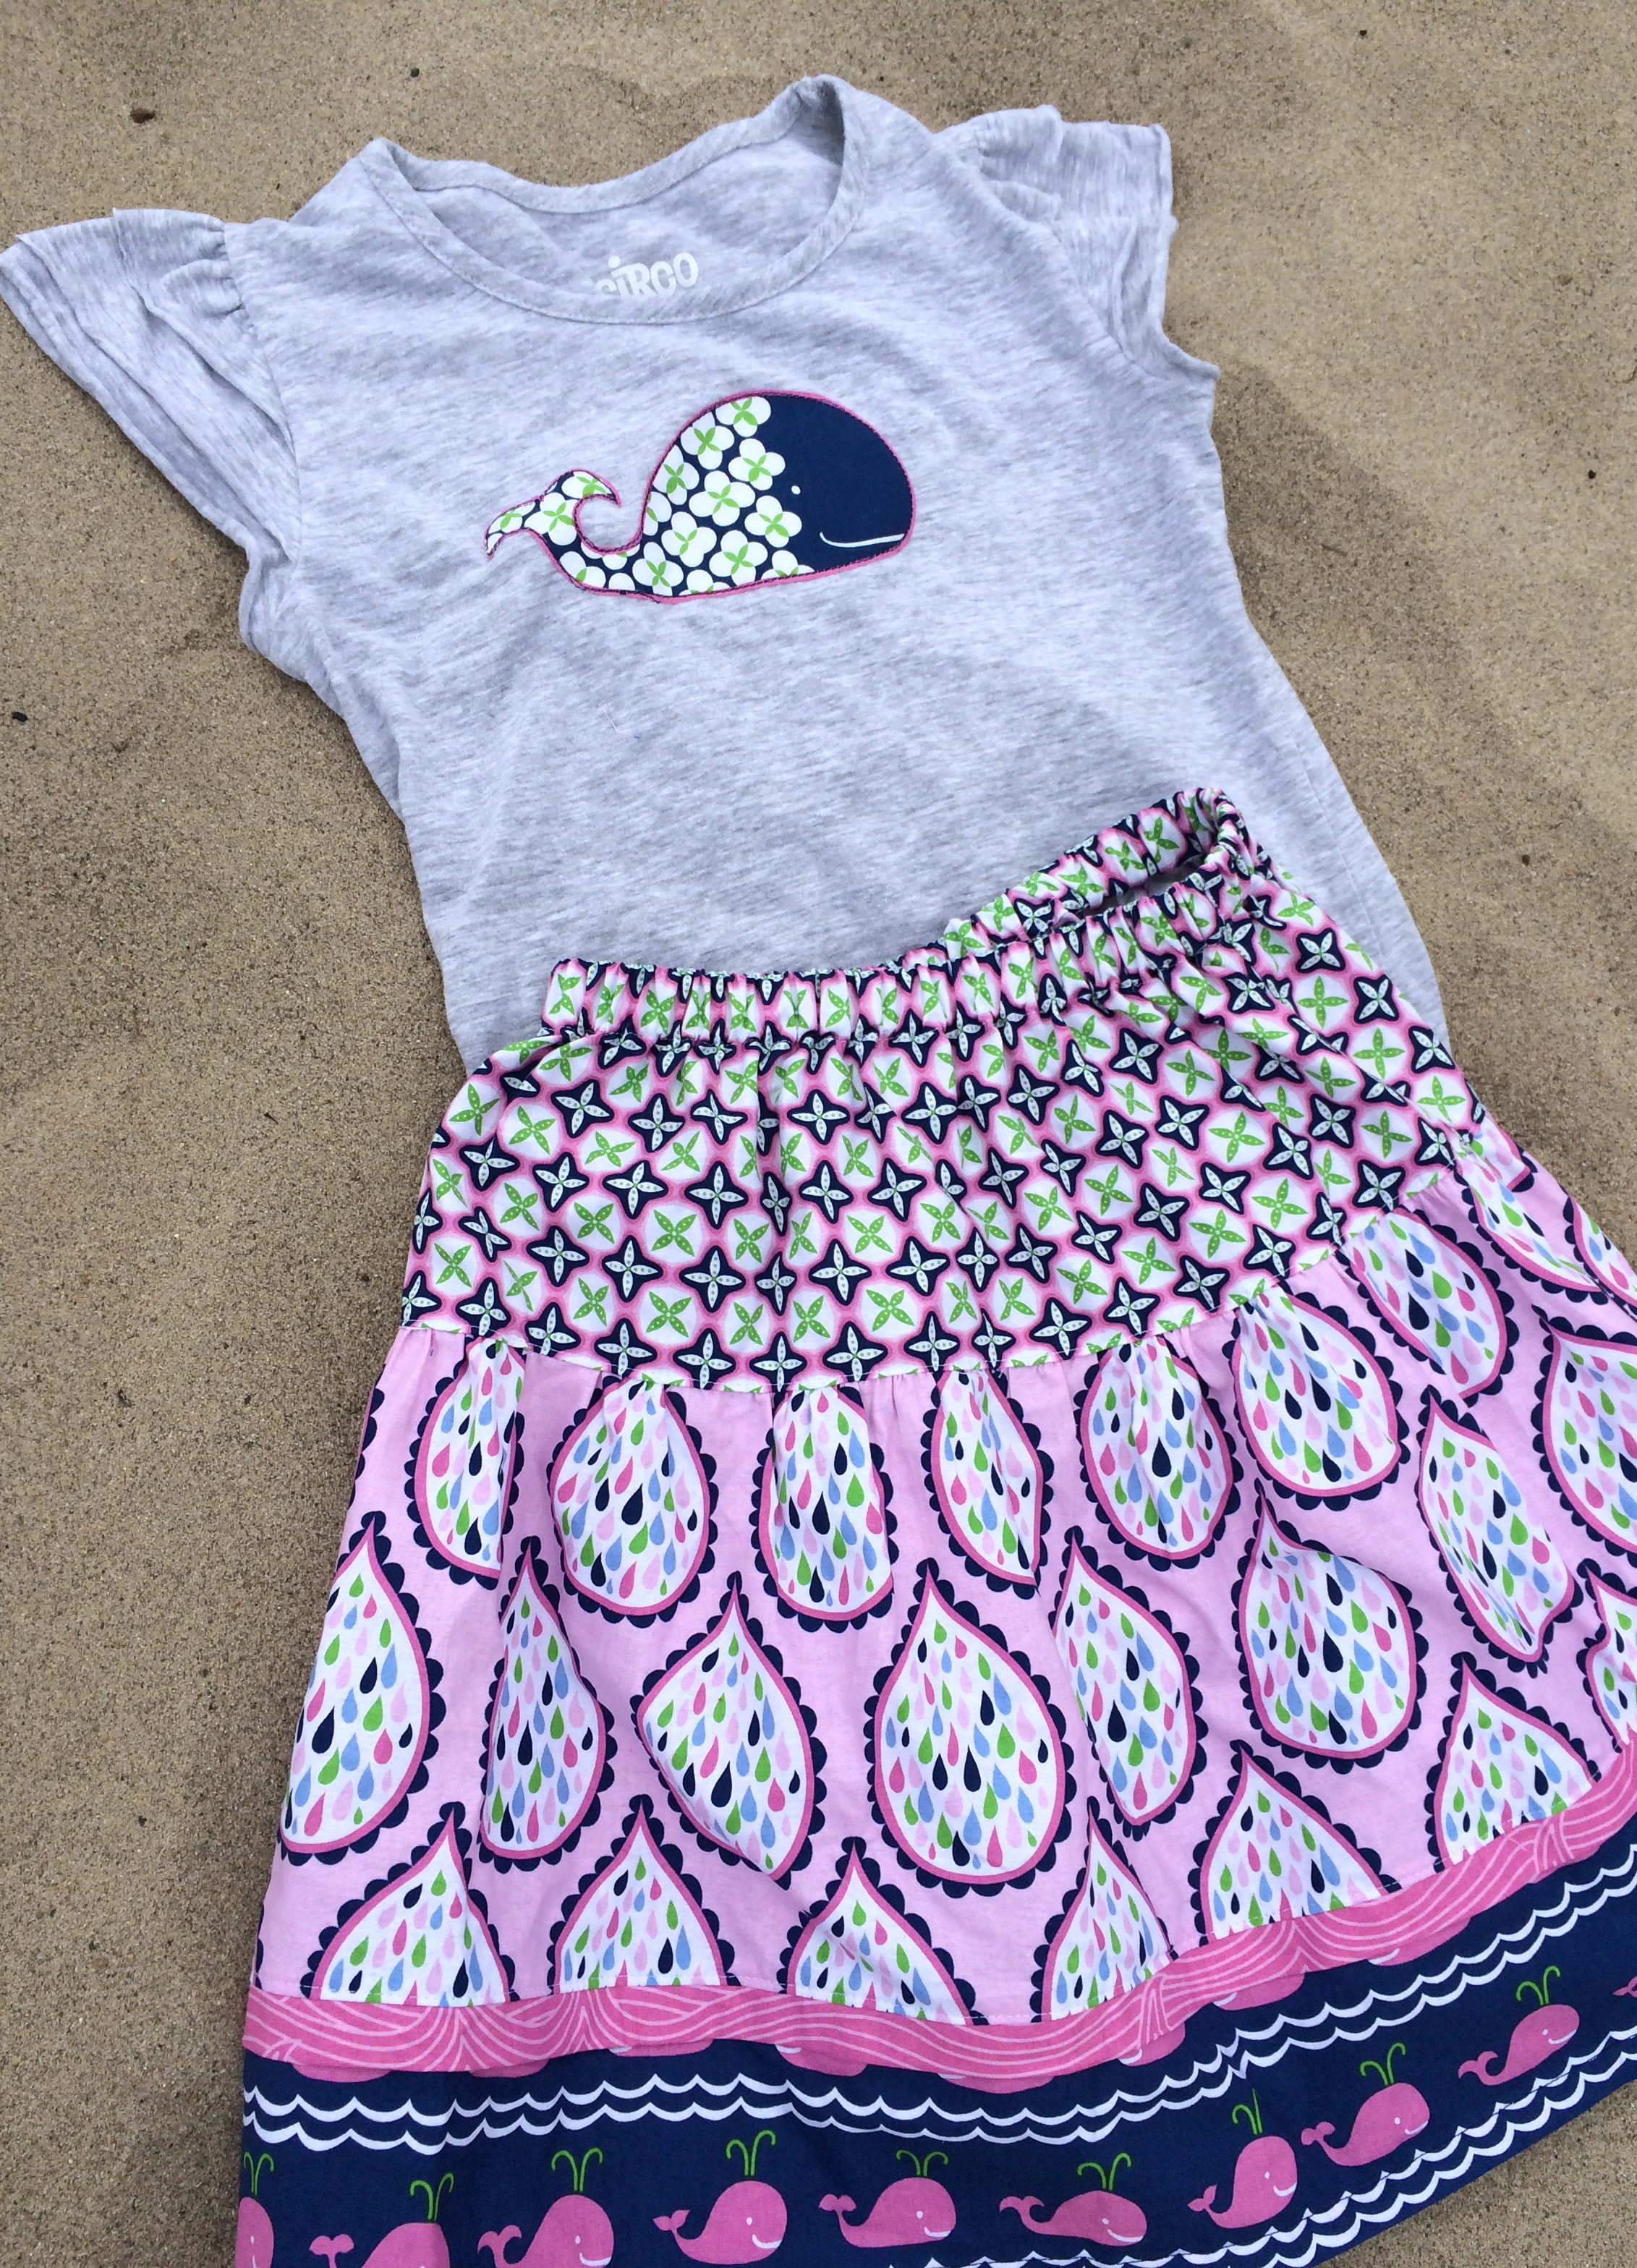
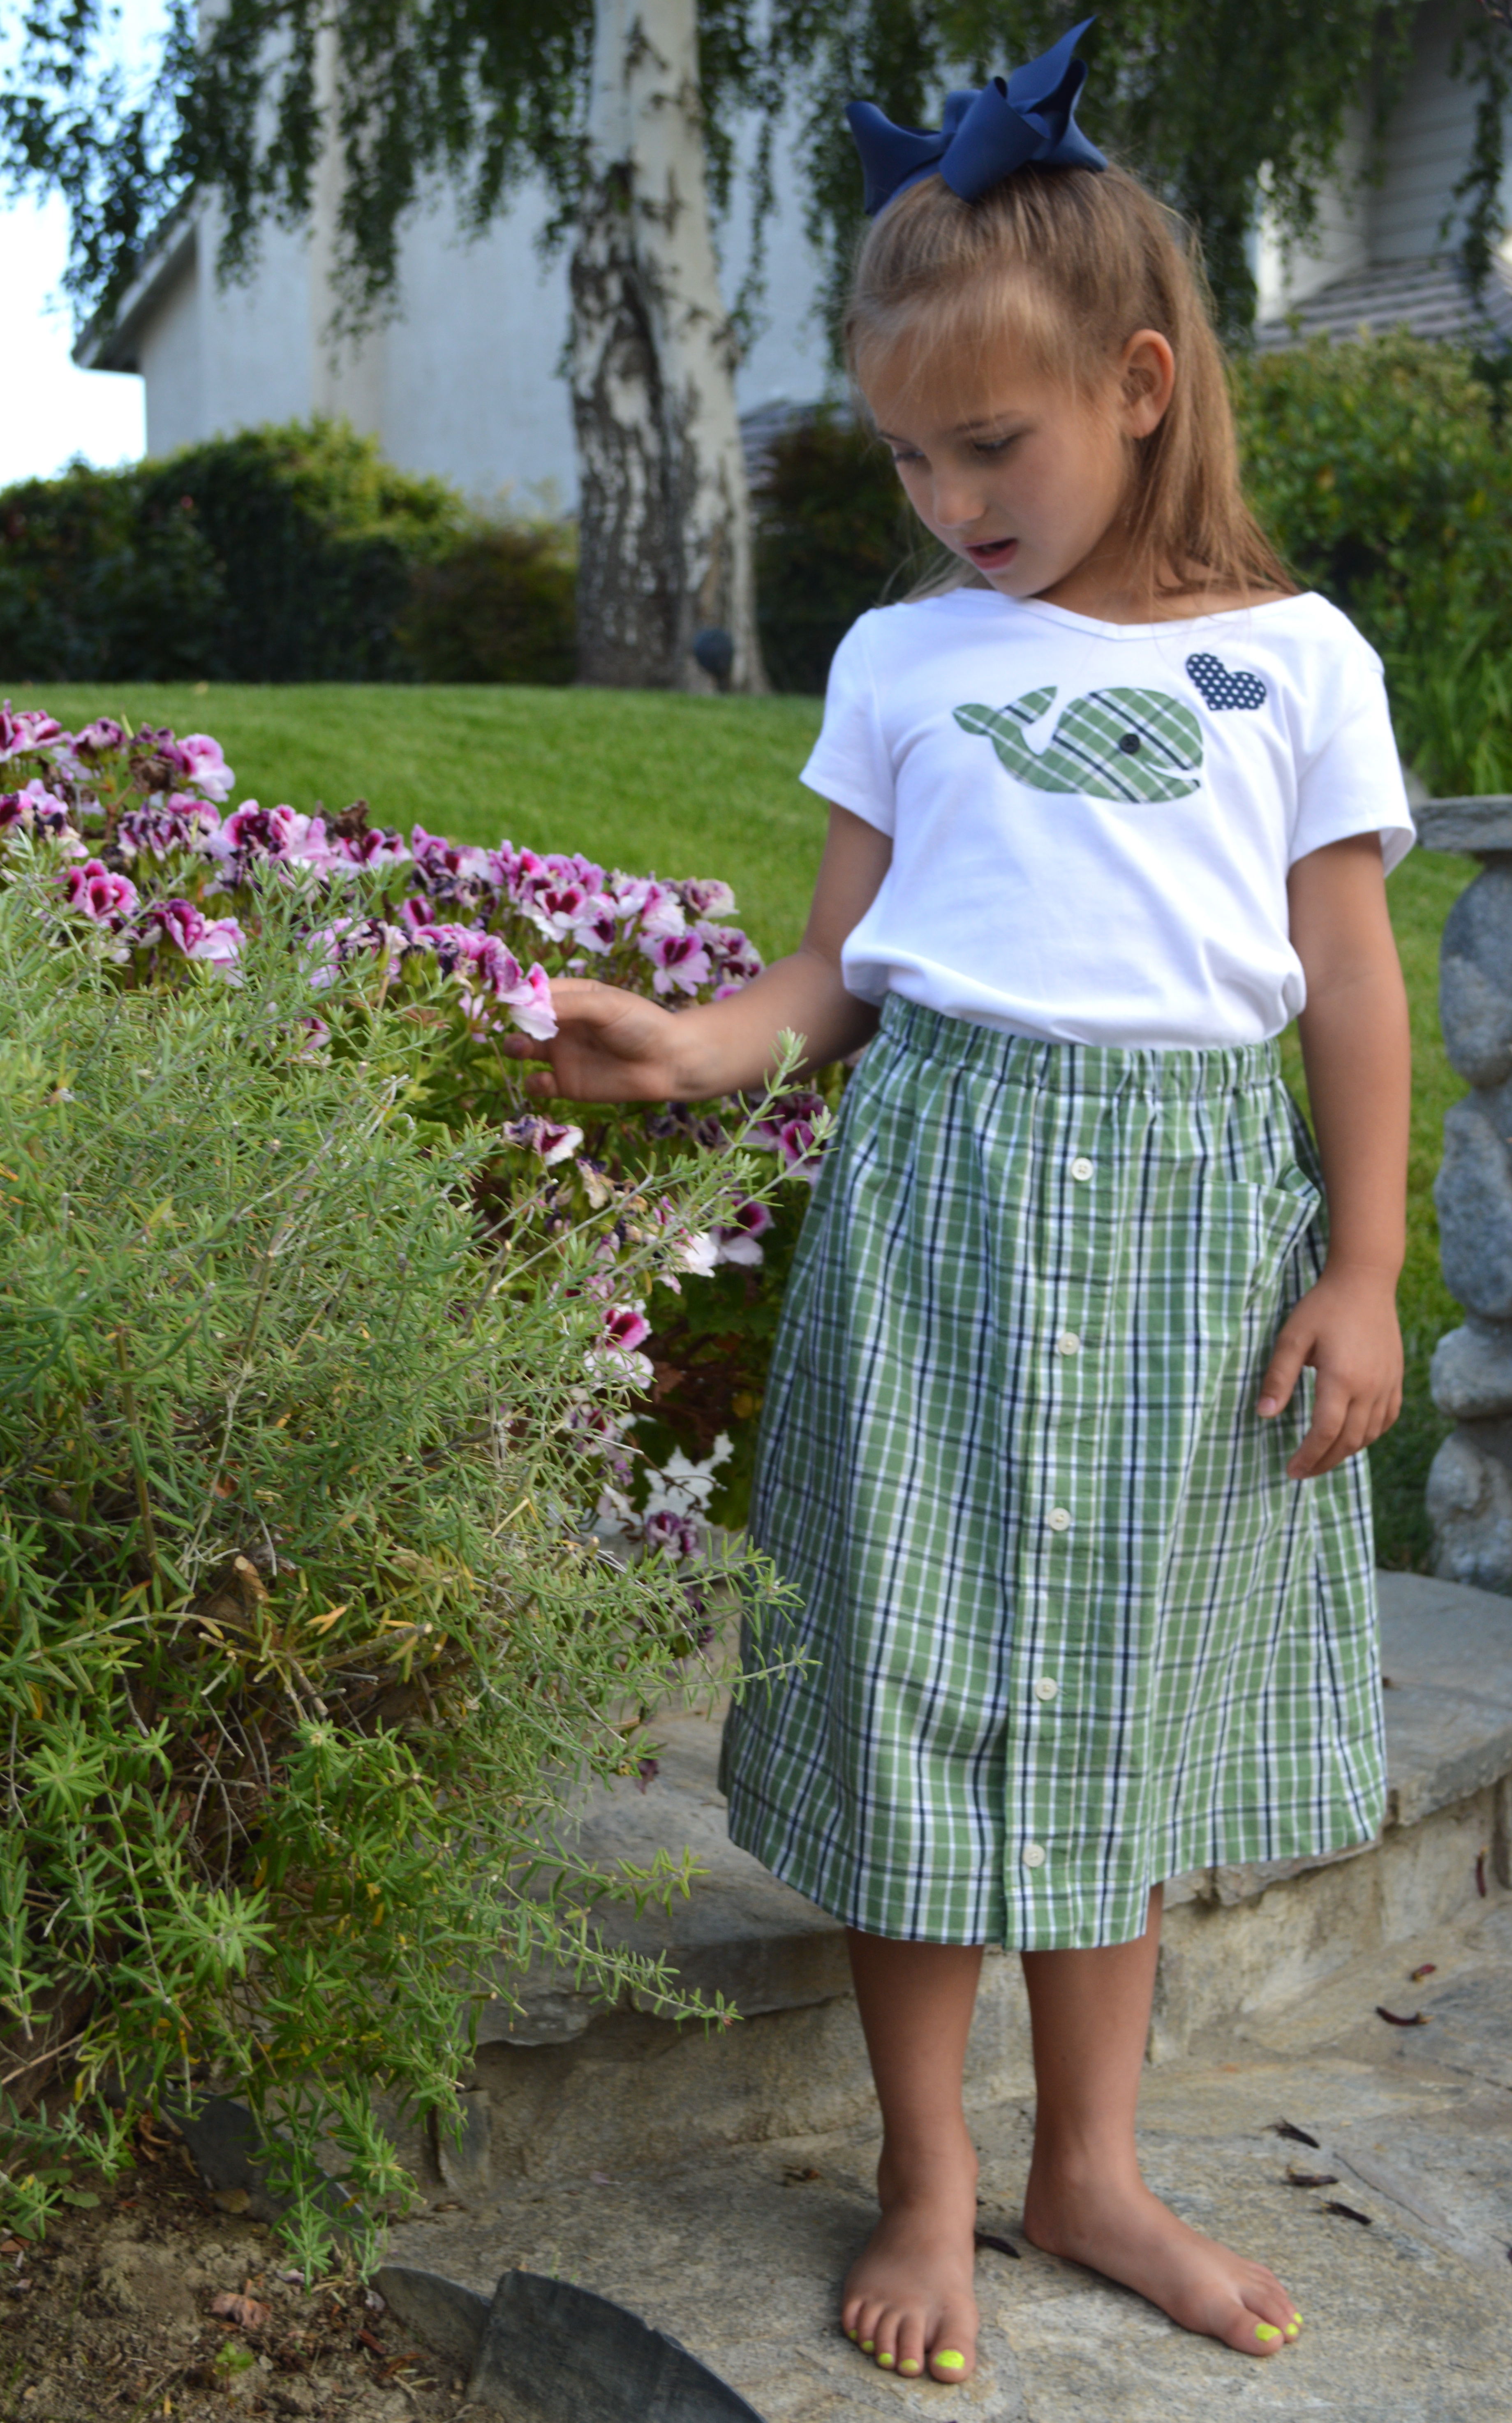
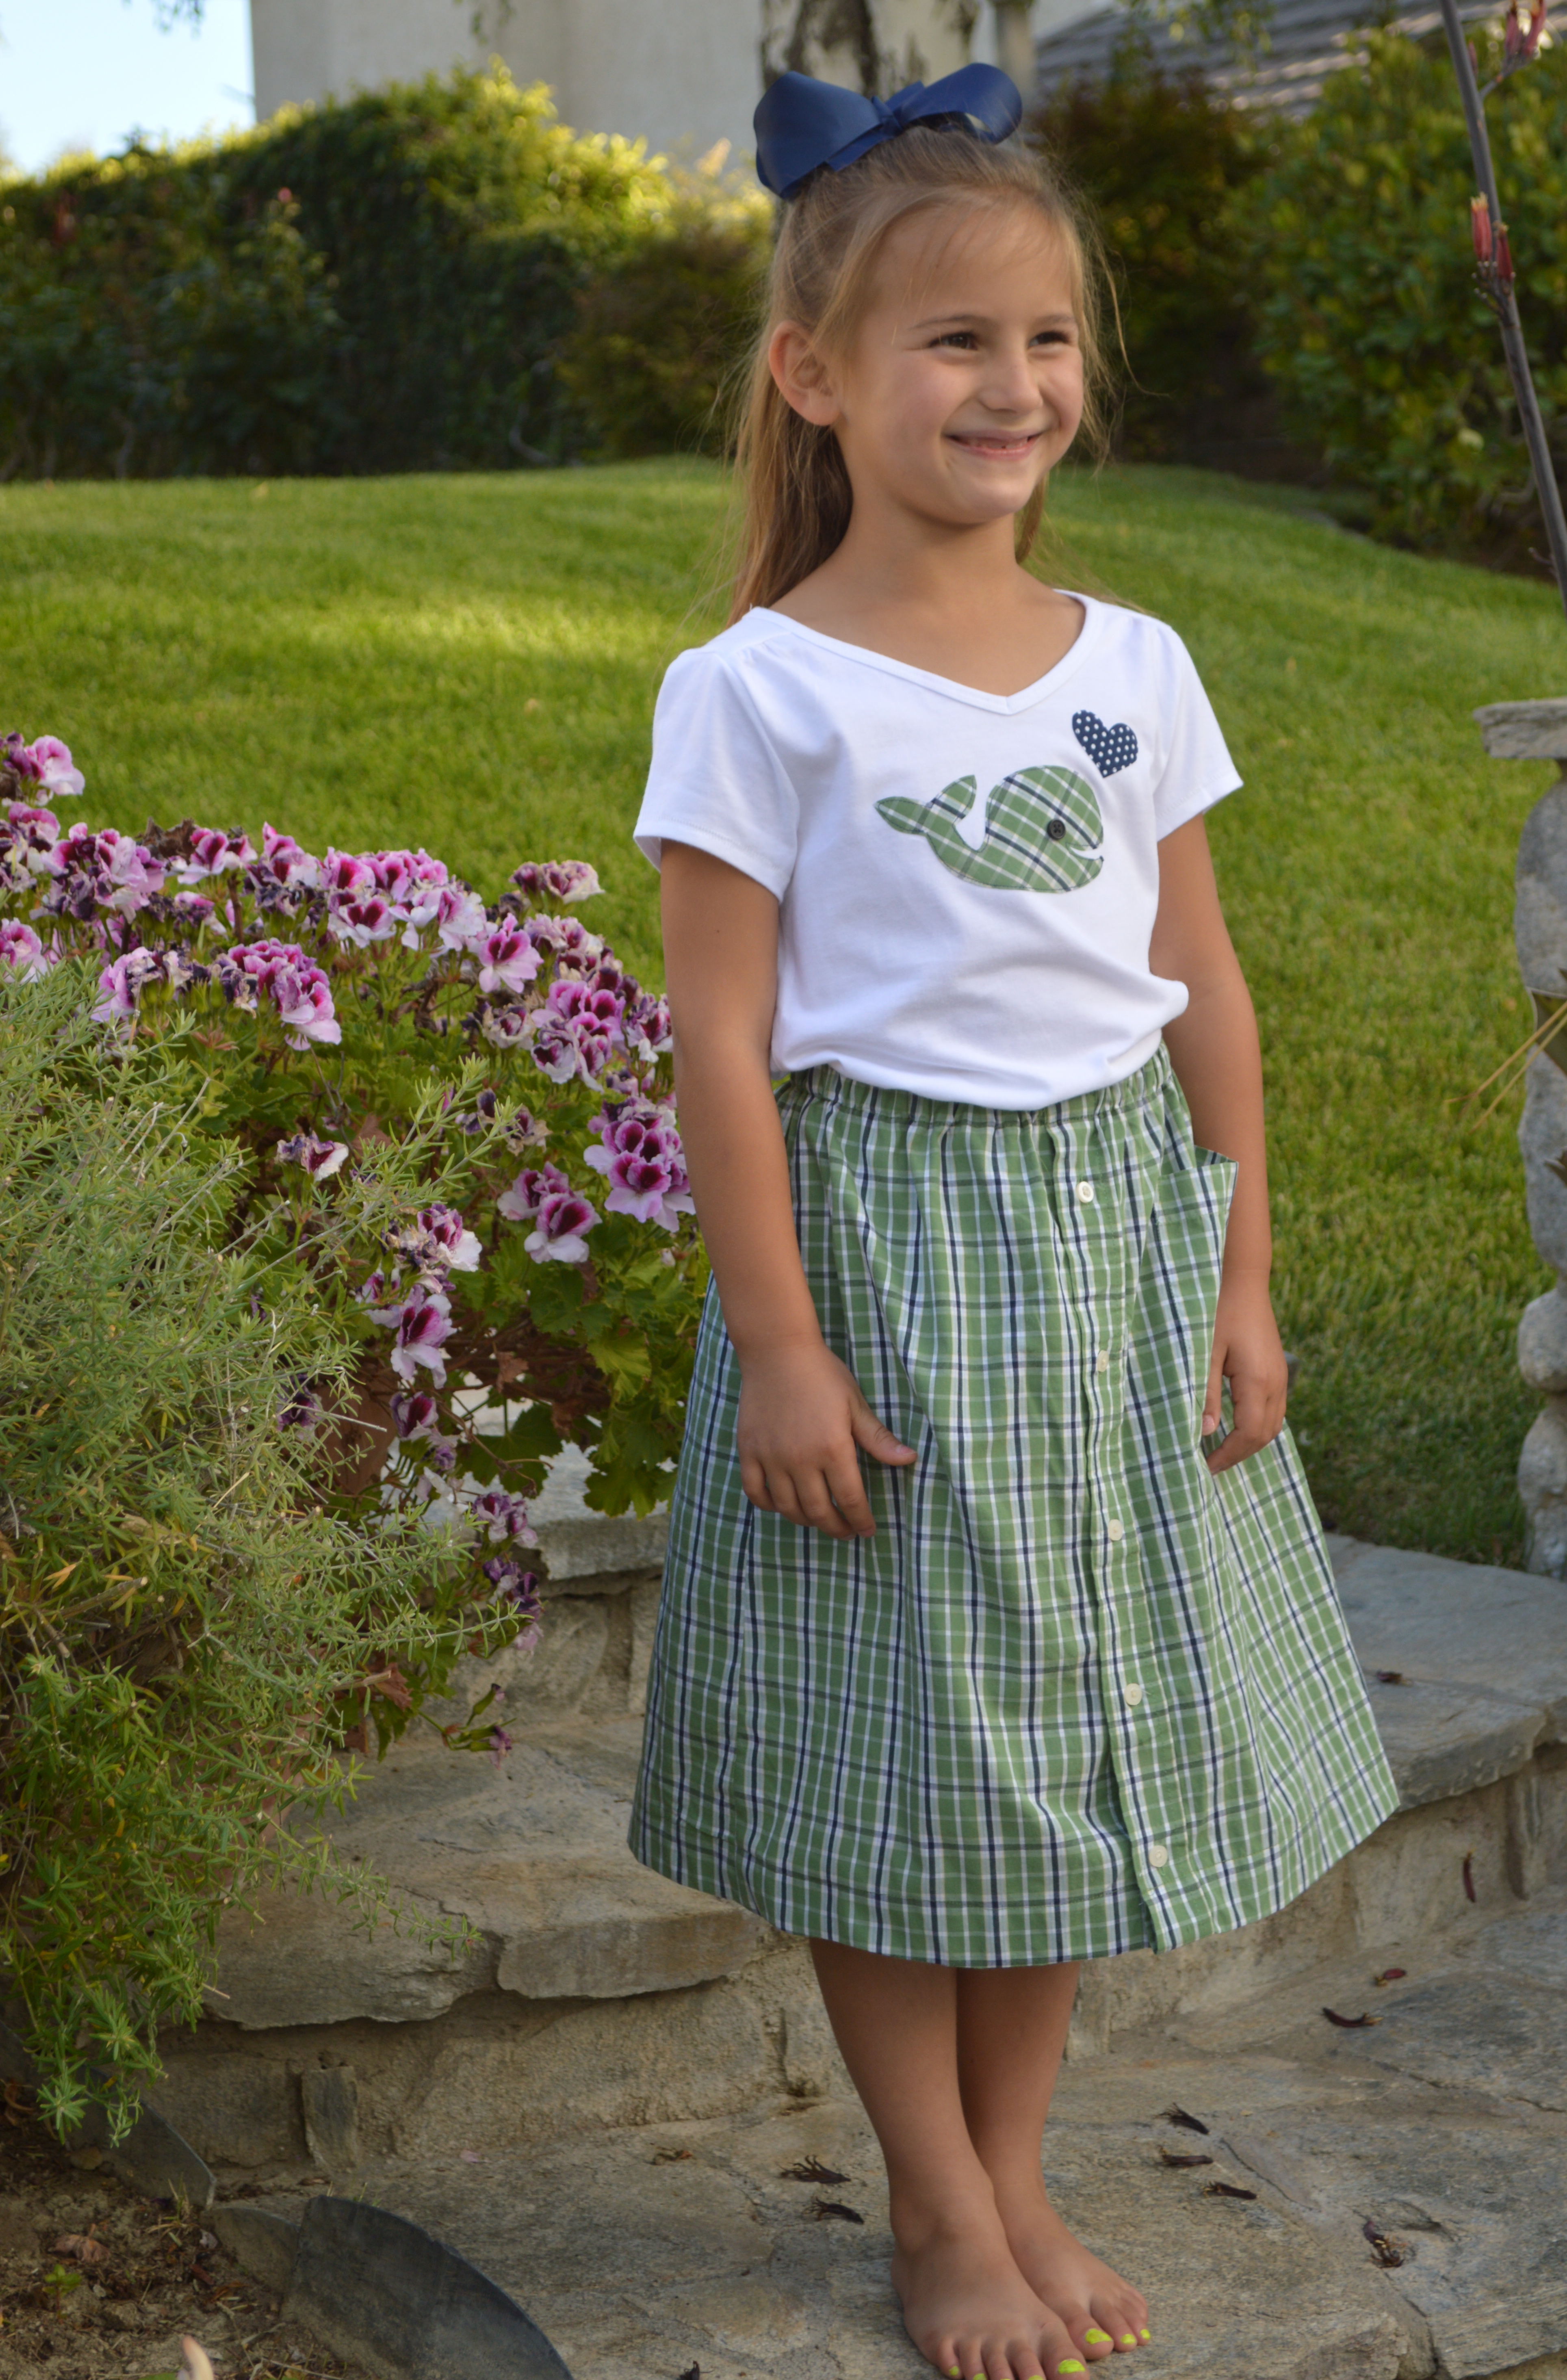
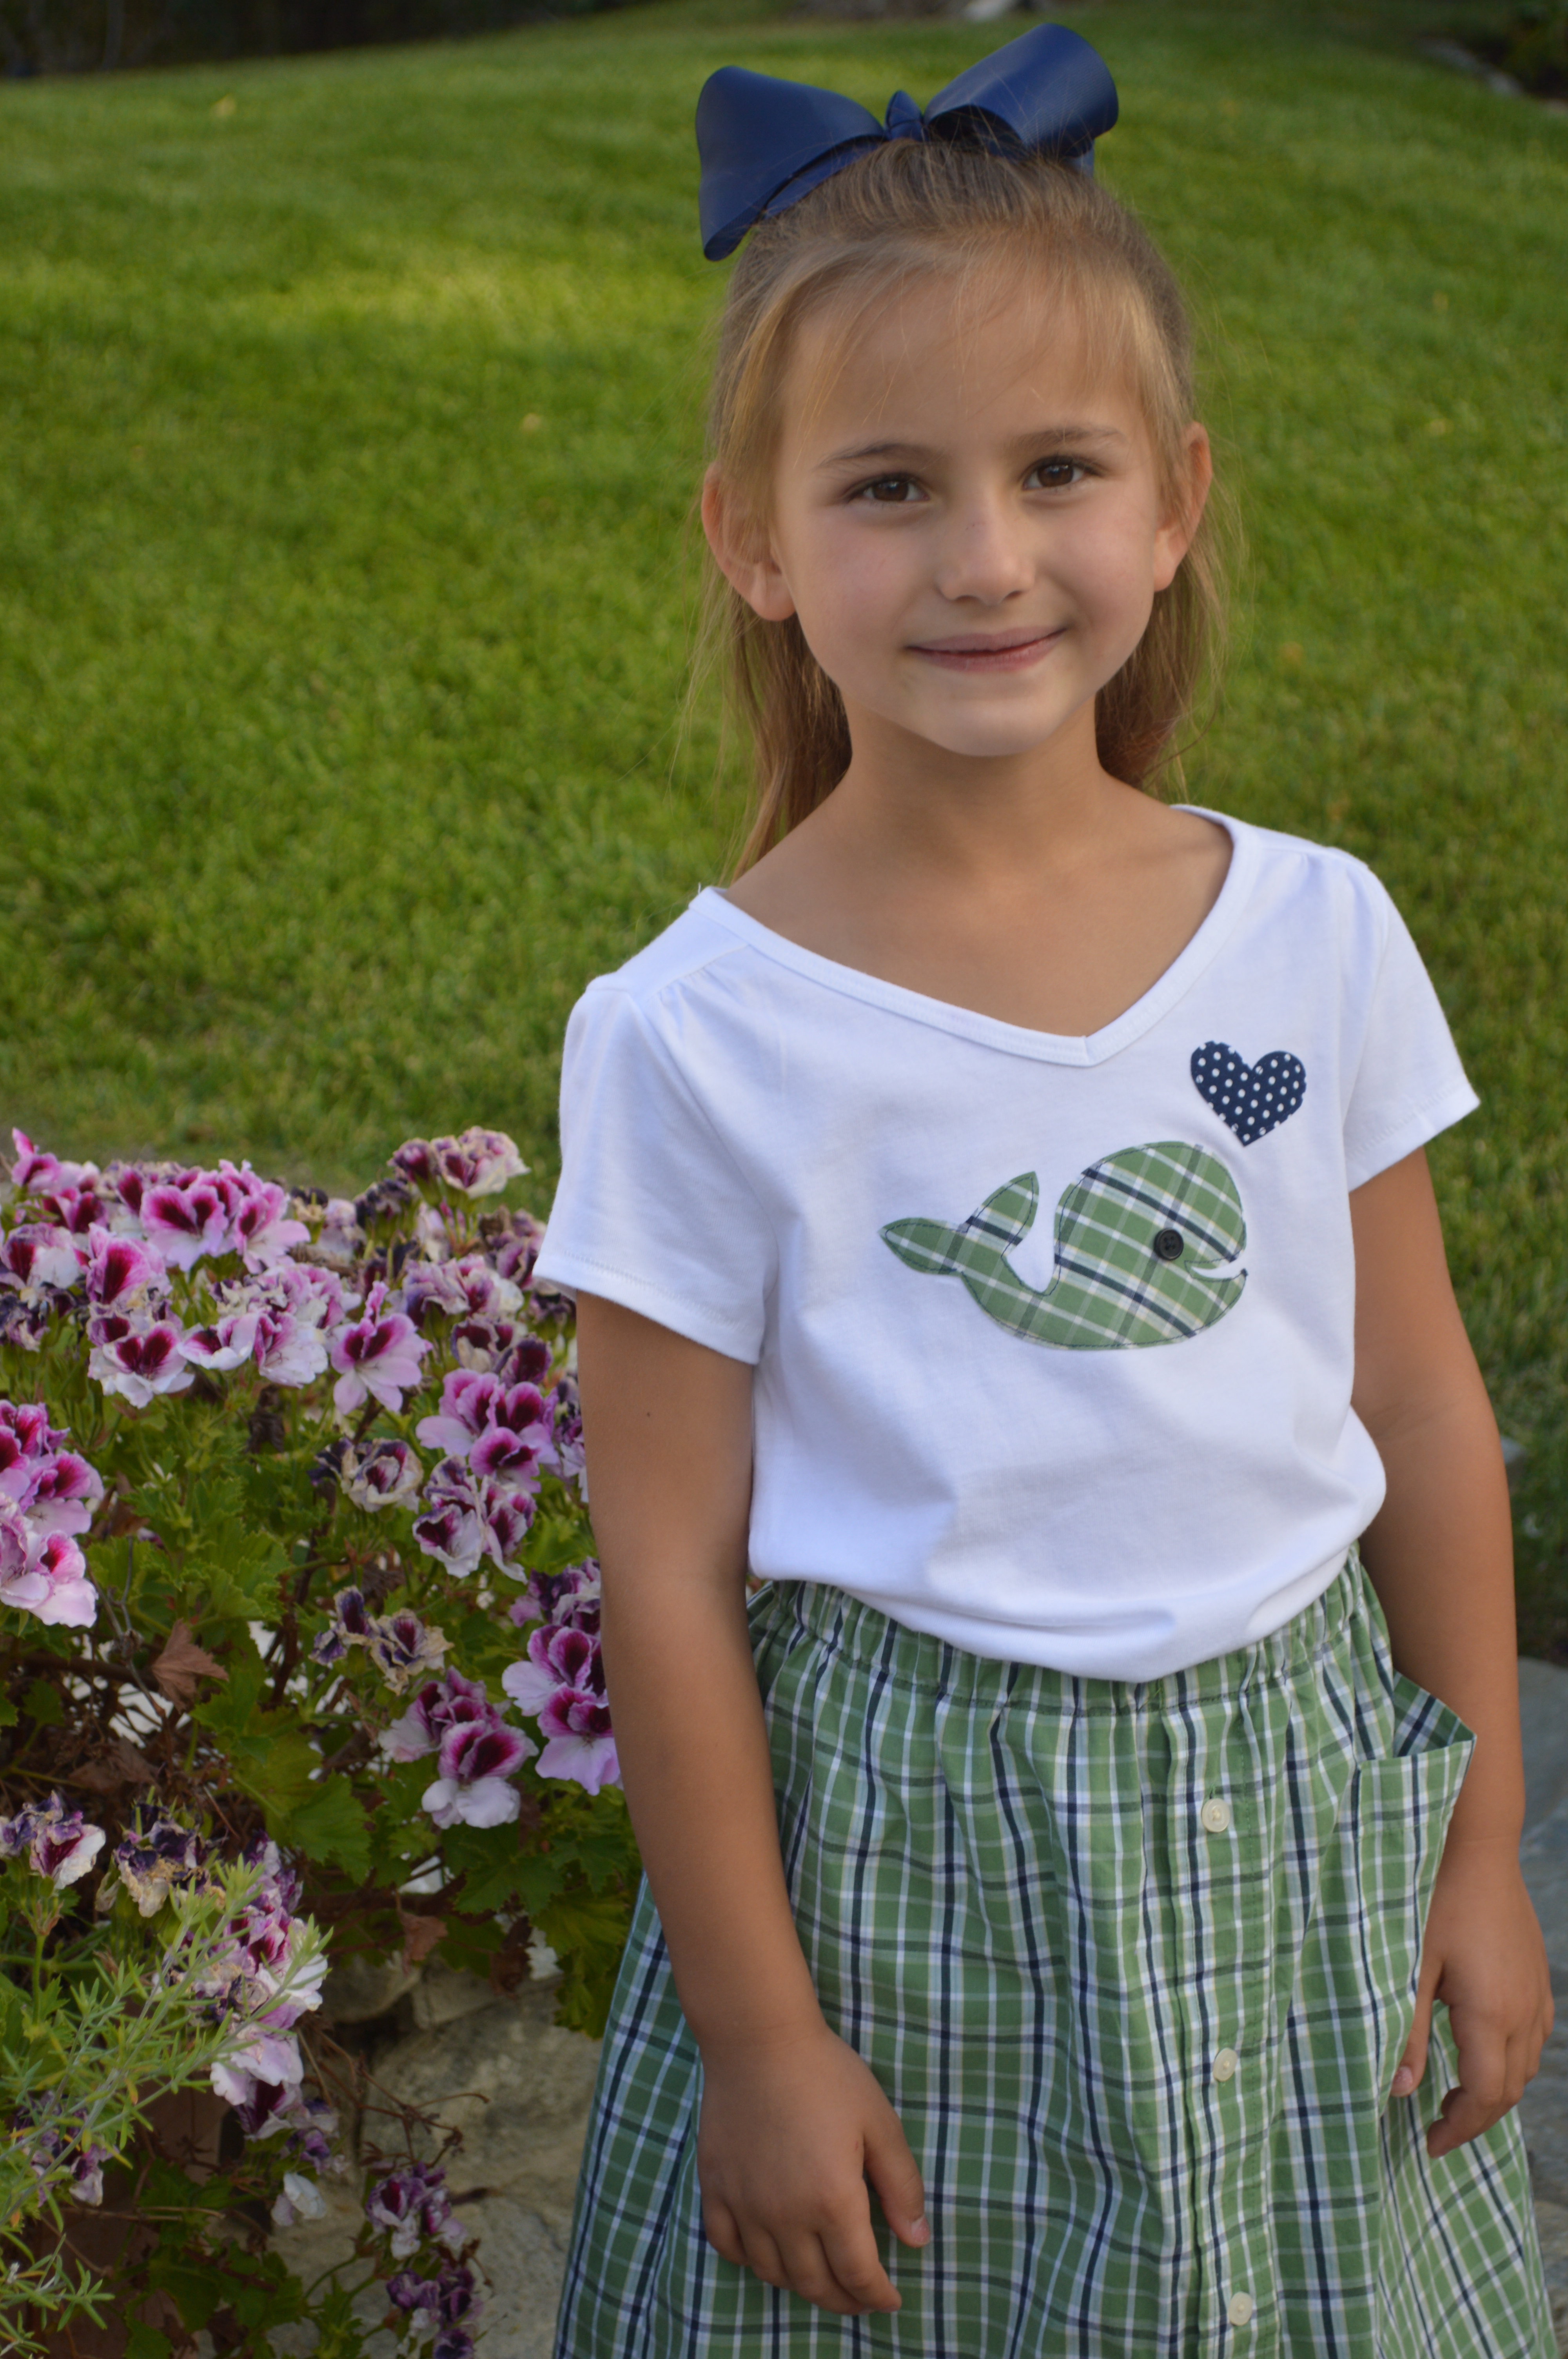
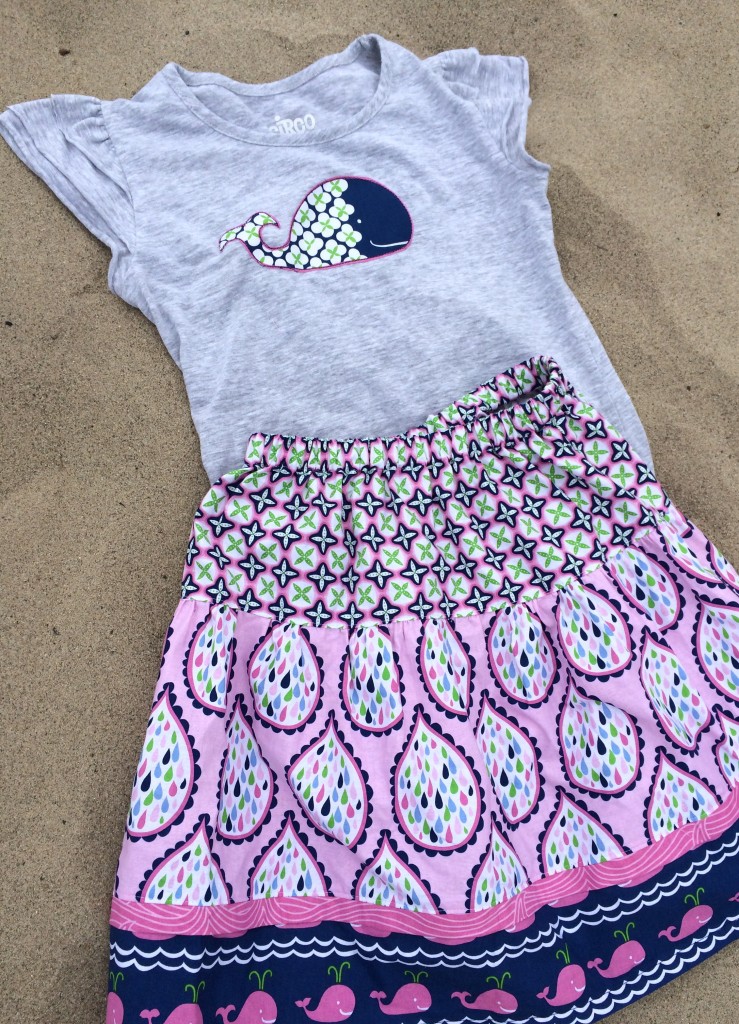 I used skirt “A” from the pattern book Little Sassy Skirts.
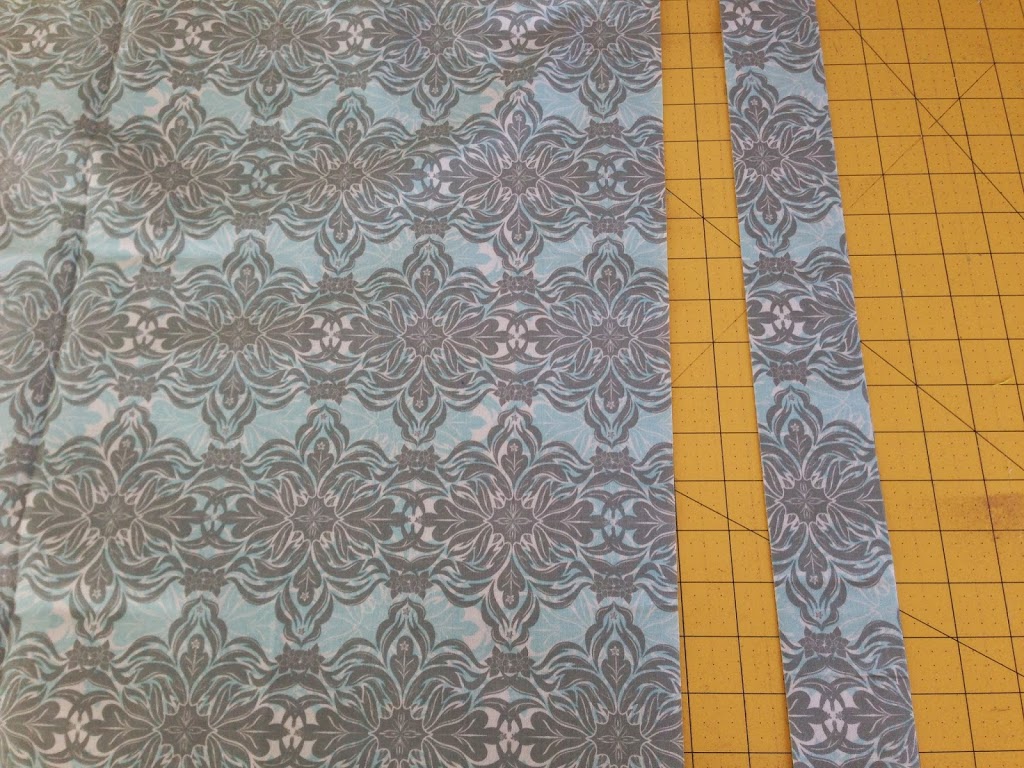
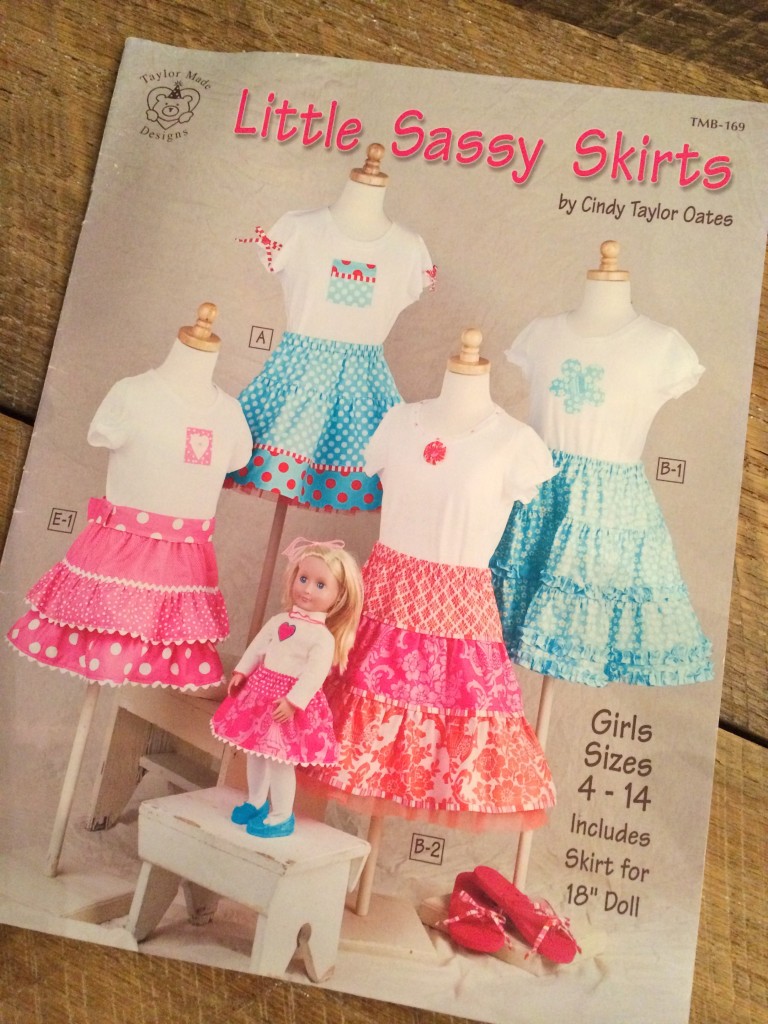 I have made these skirts over and over. The patterns are easy to follow and everything is done with rotary cutter measurements (a quilters dream!). This skirt is fun because you don’t have to have a lot of yardage, I only had half yards of the
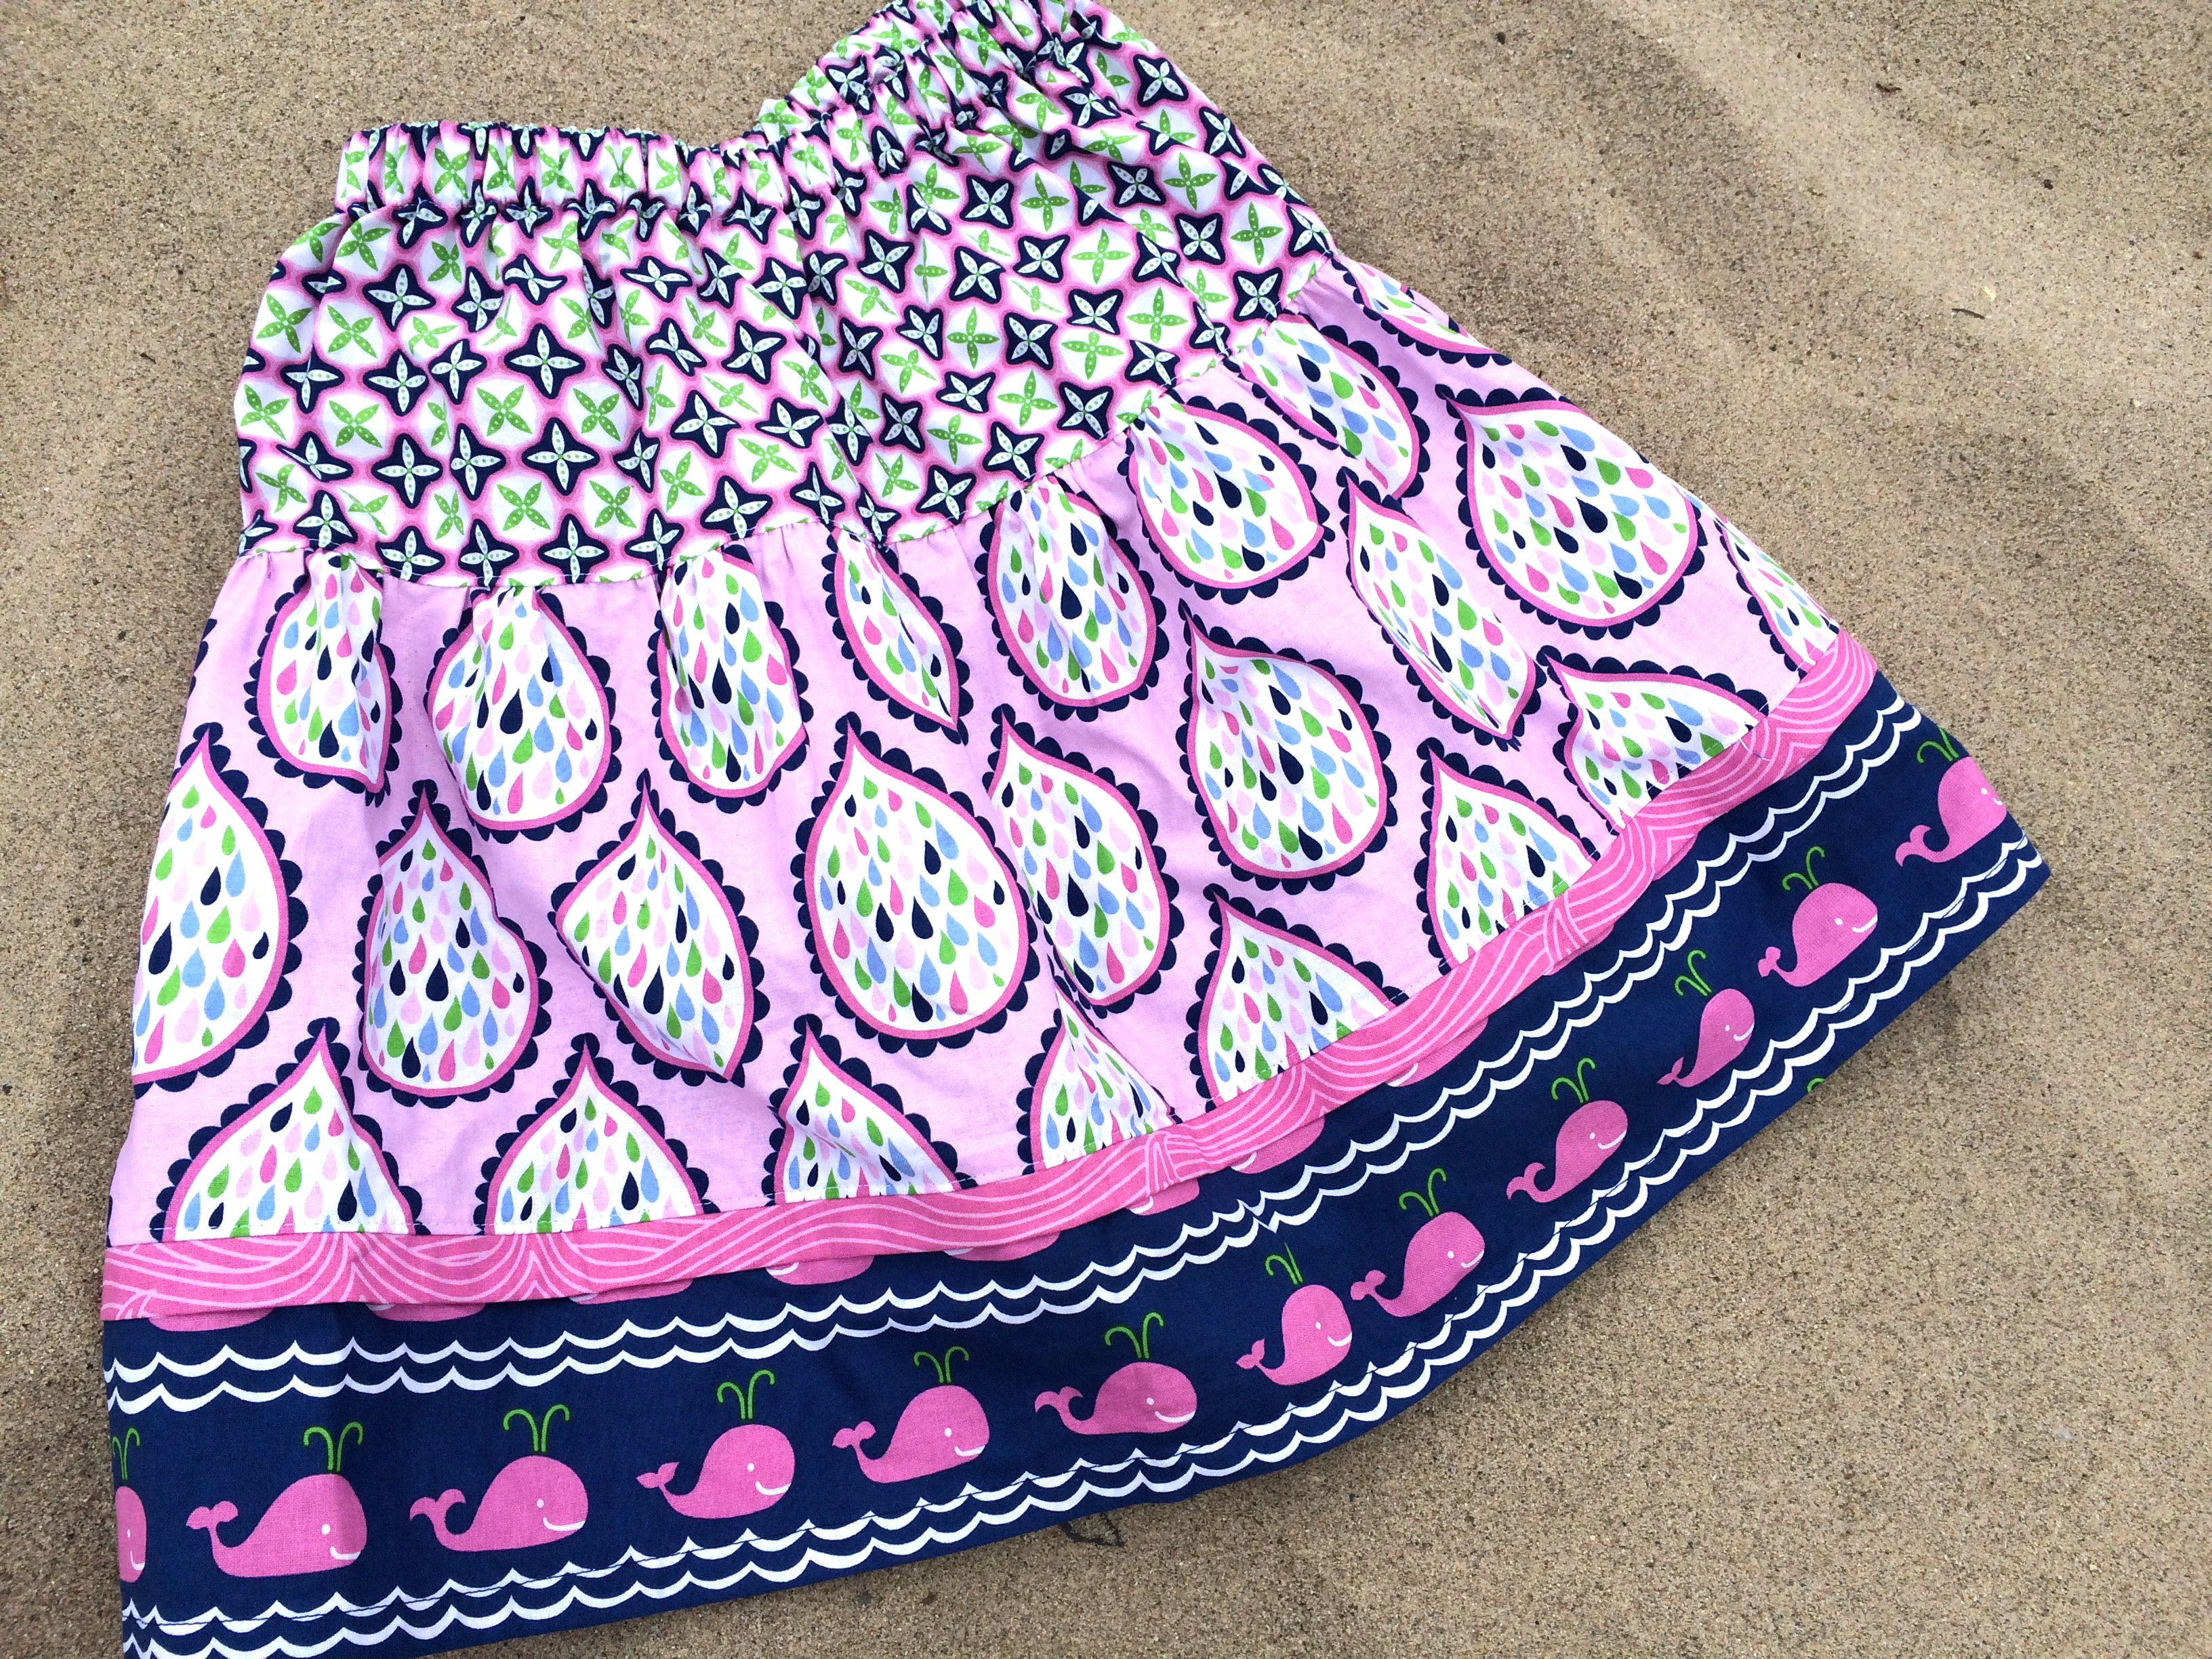
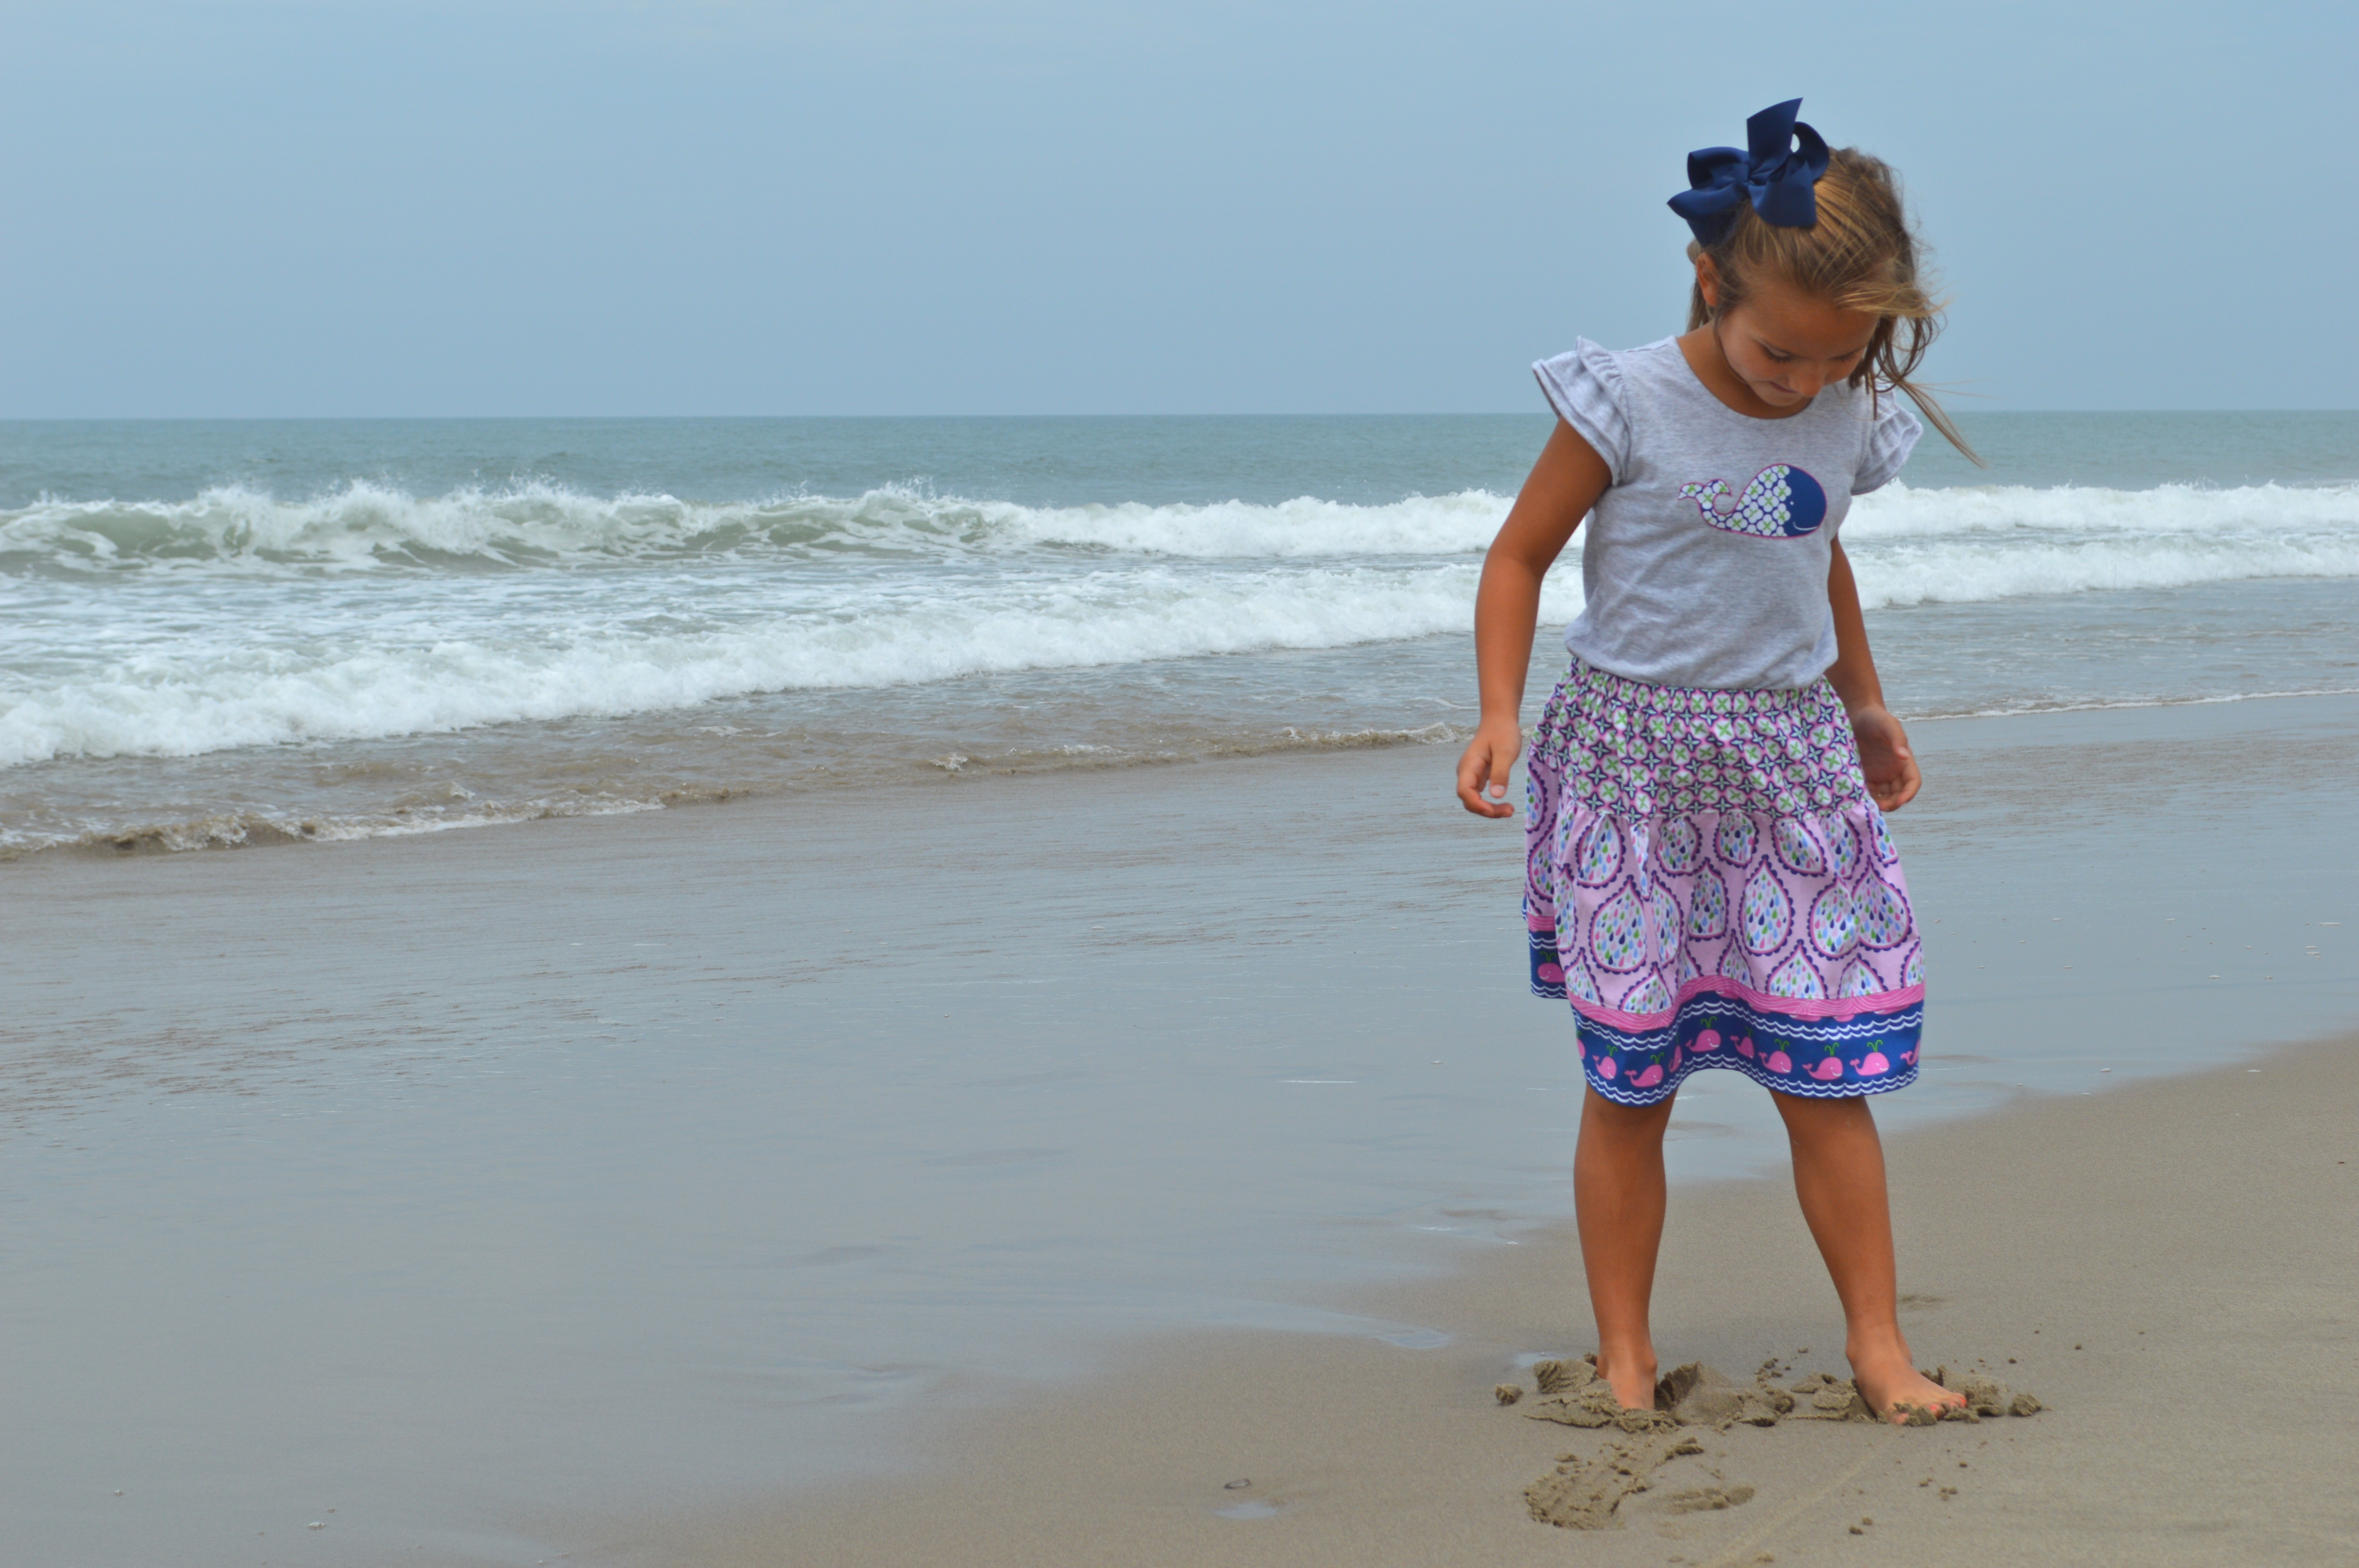
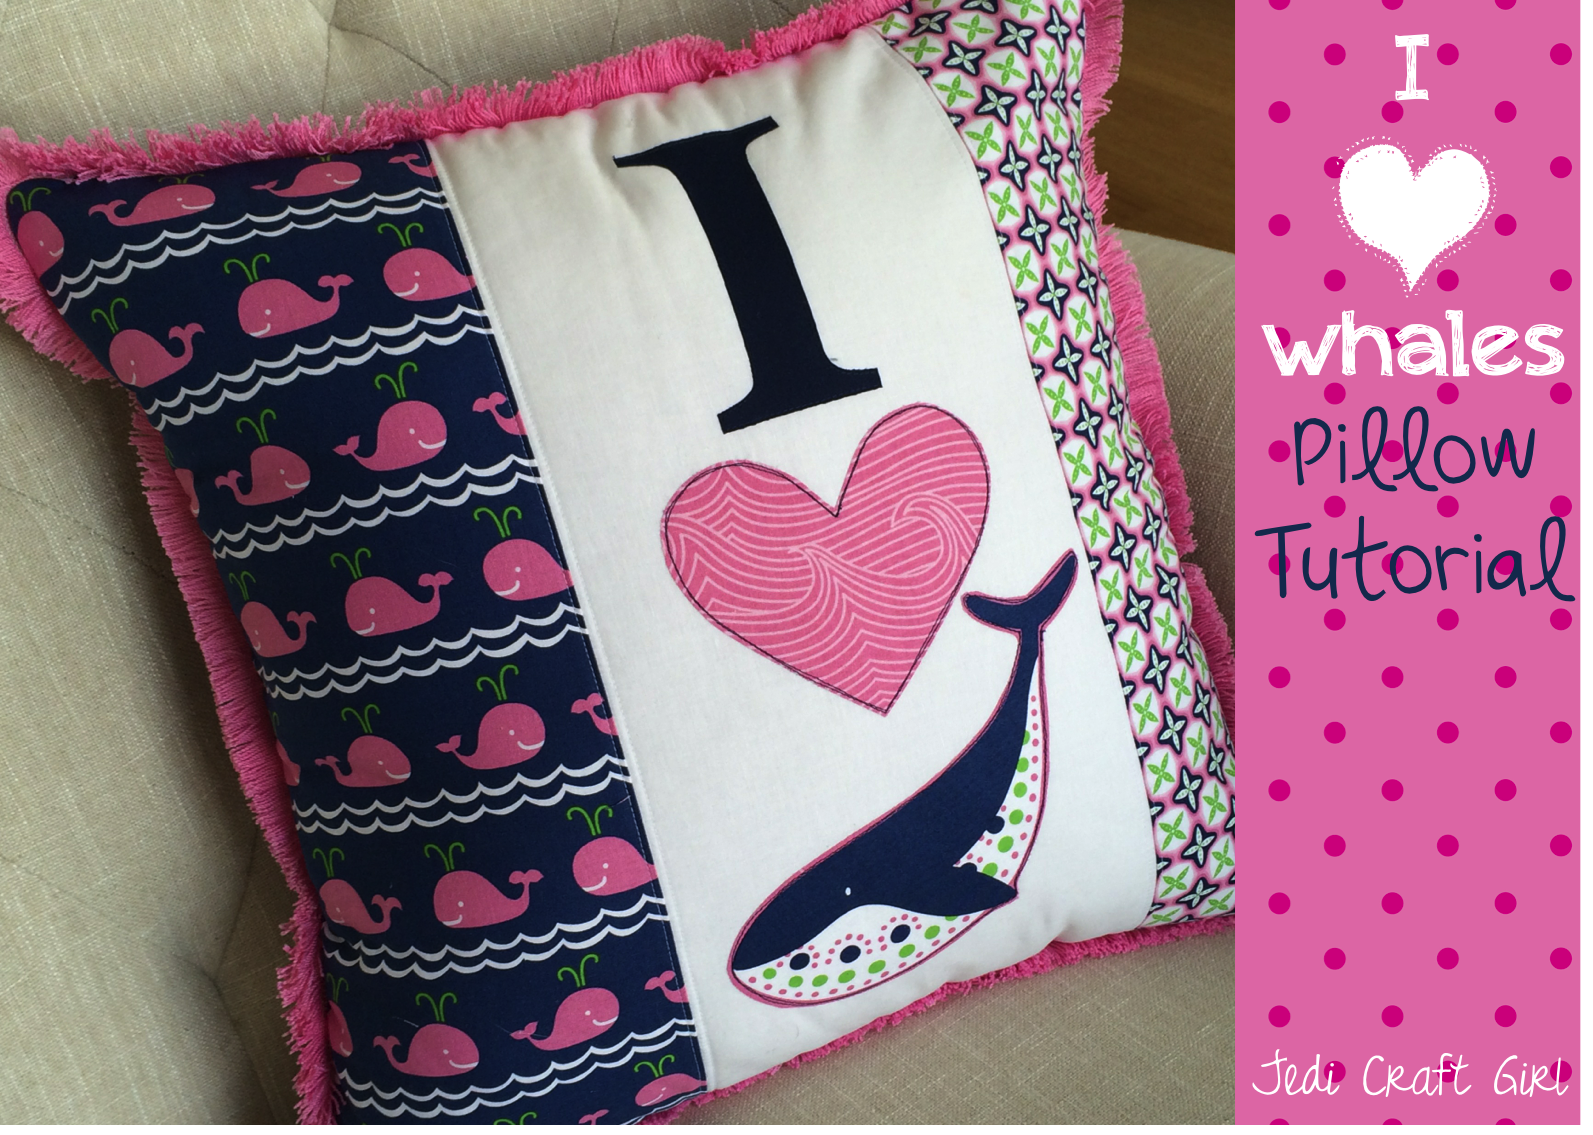
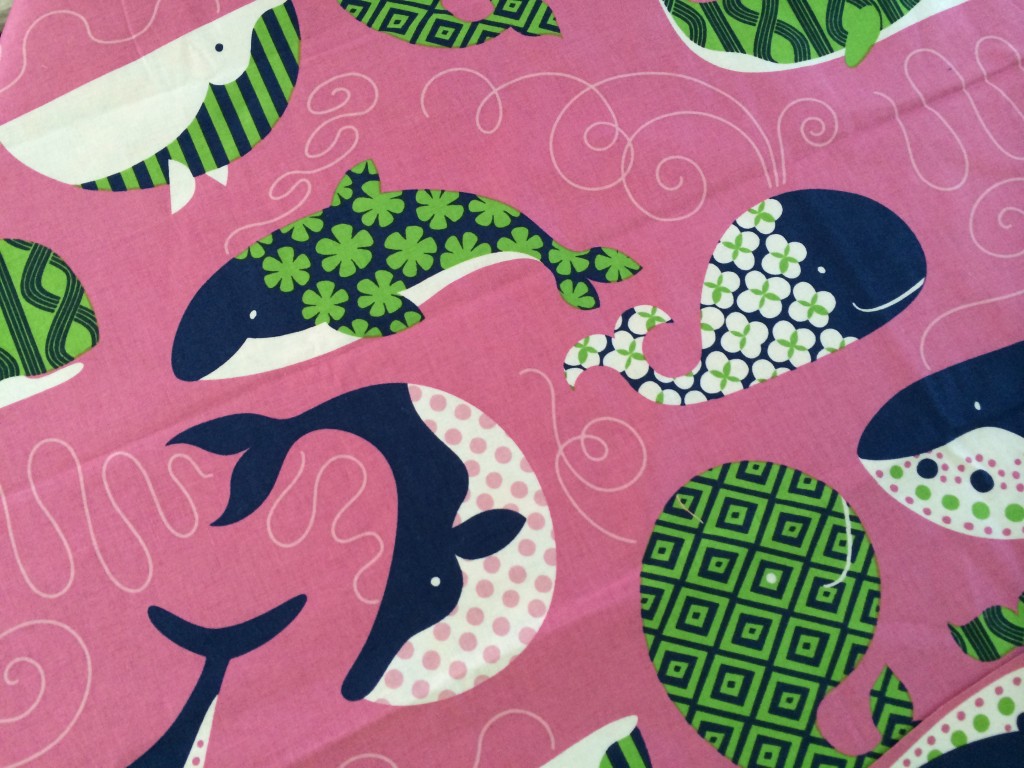
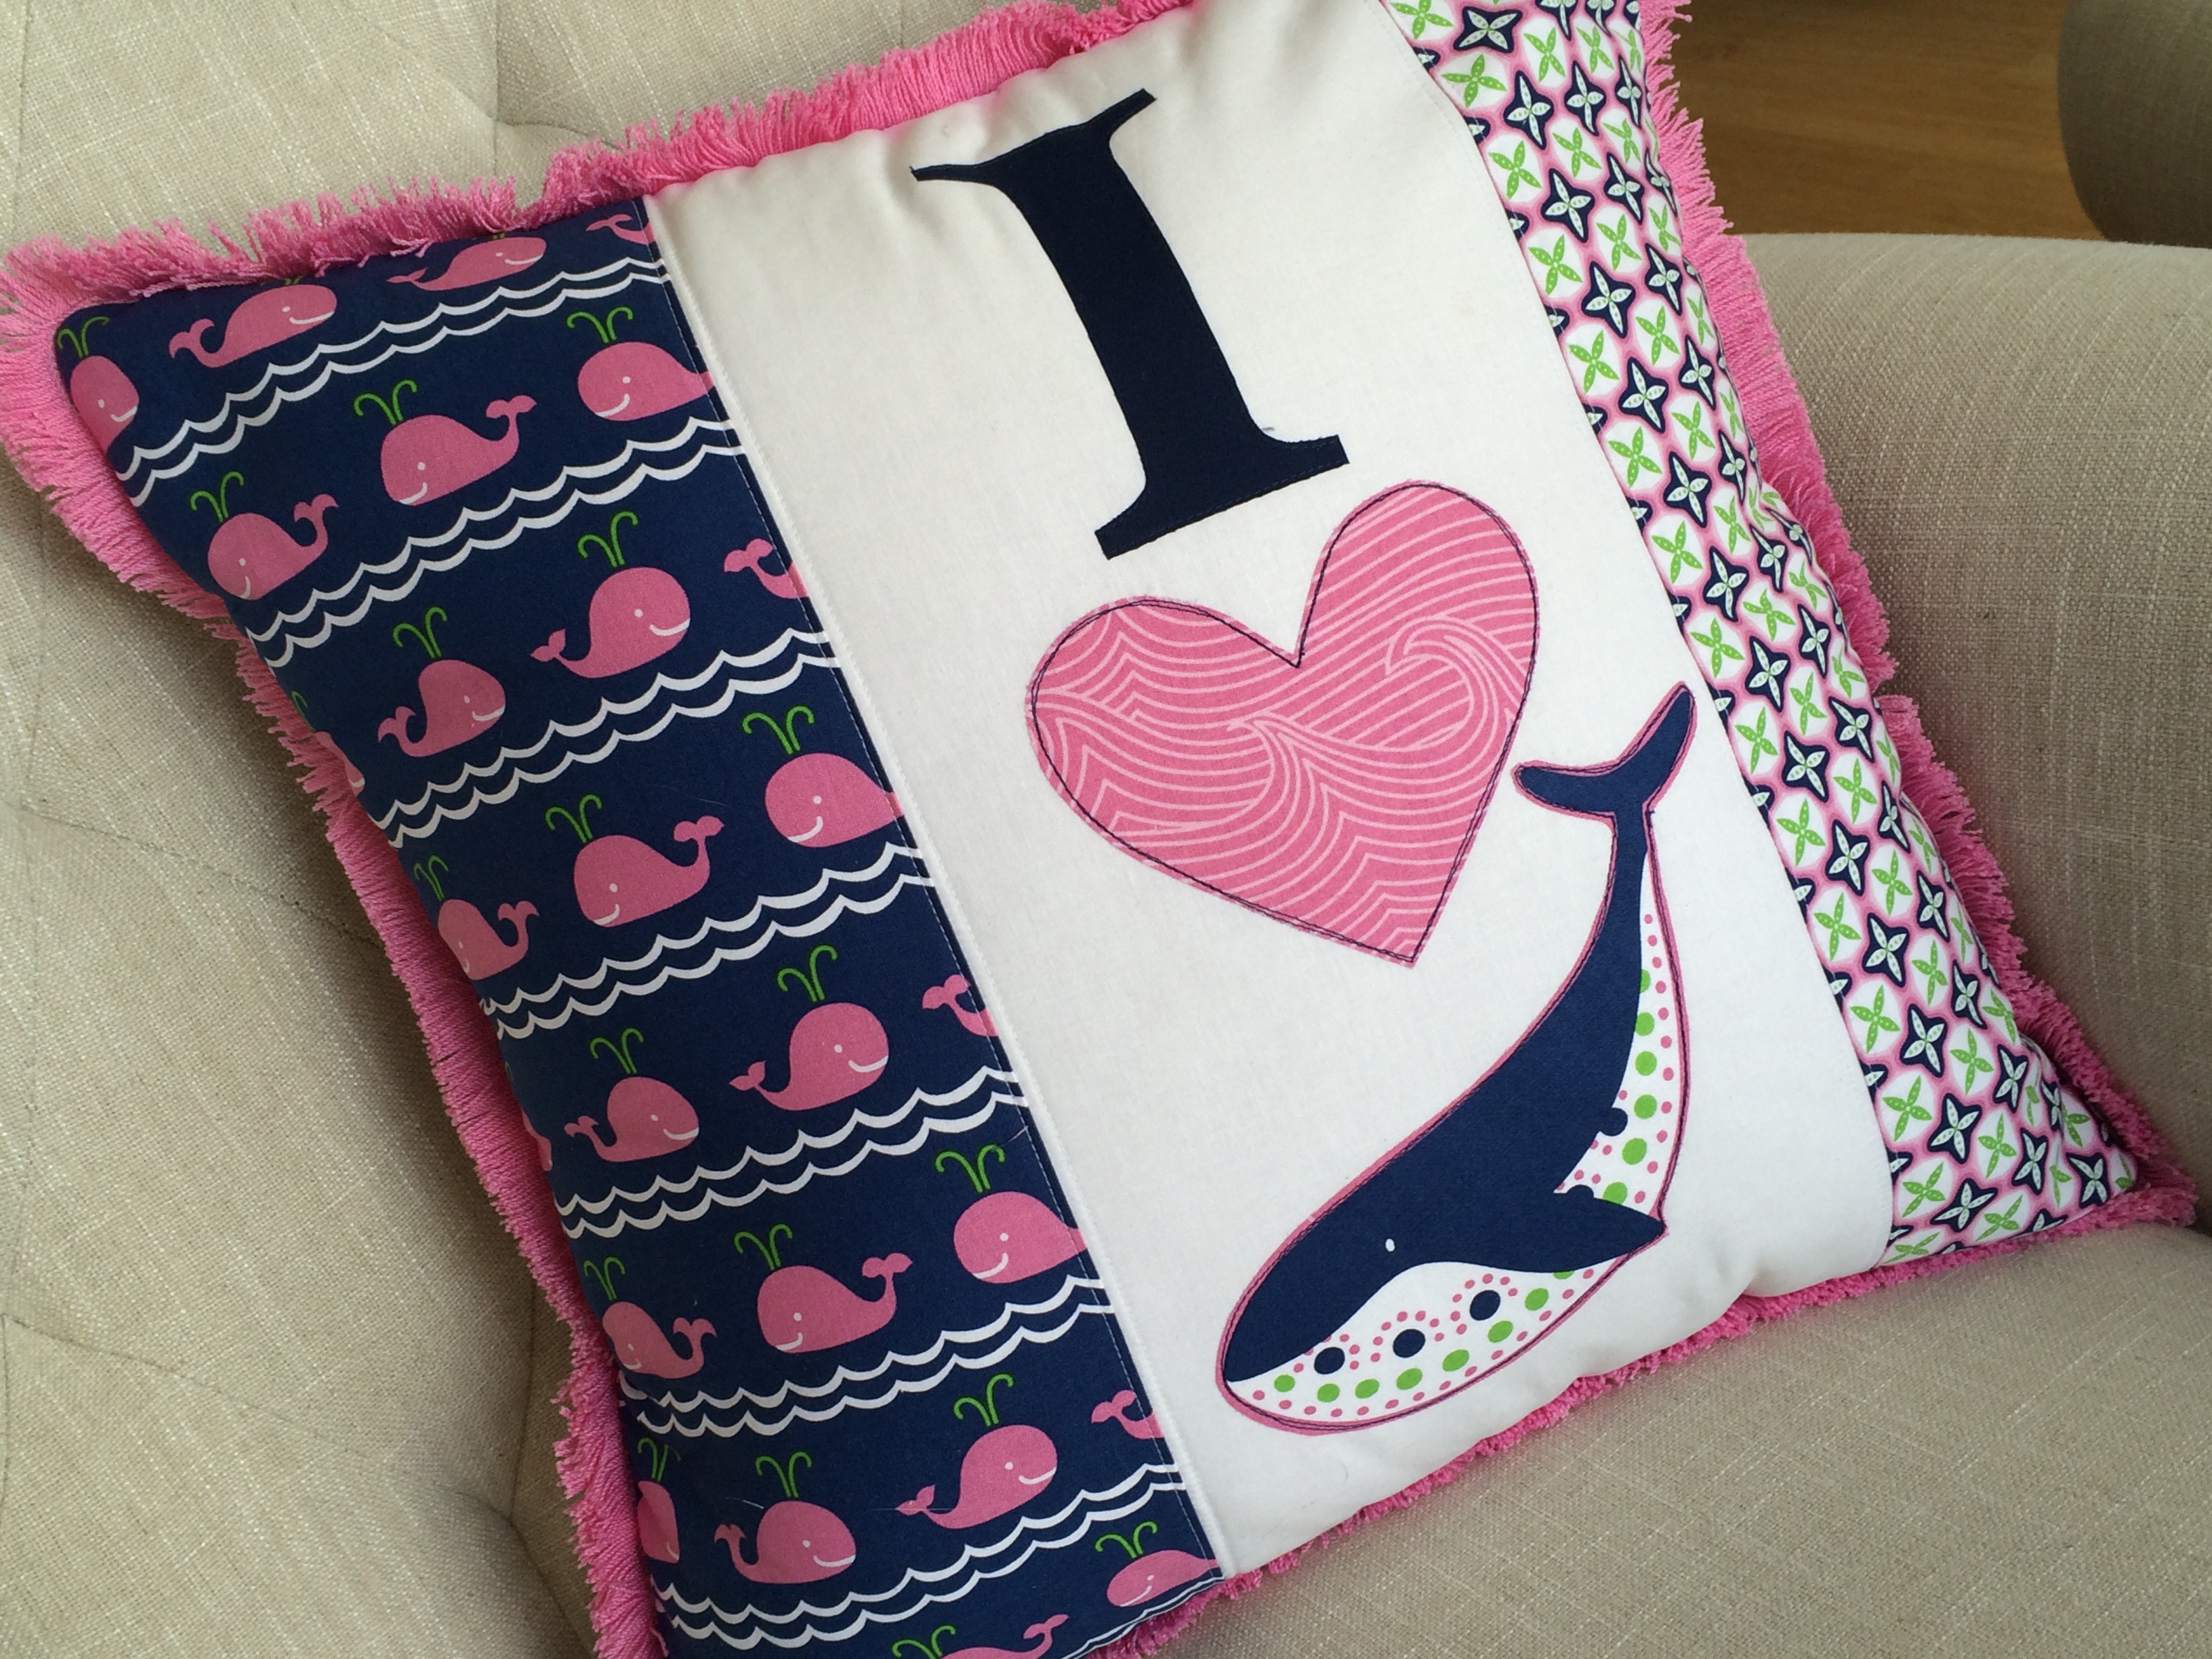


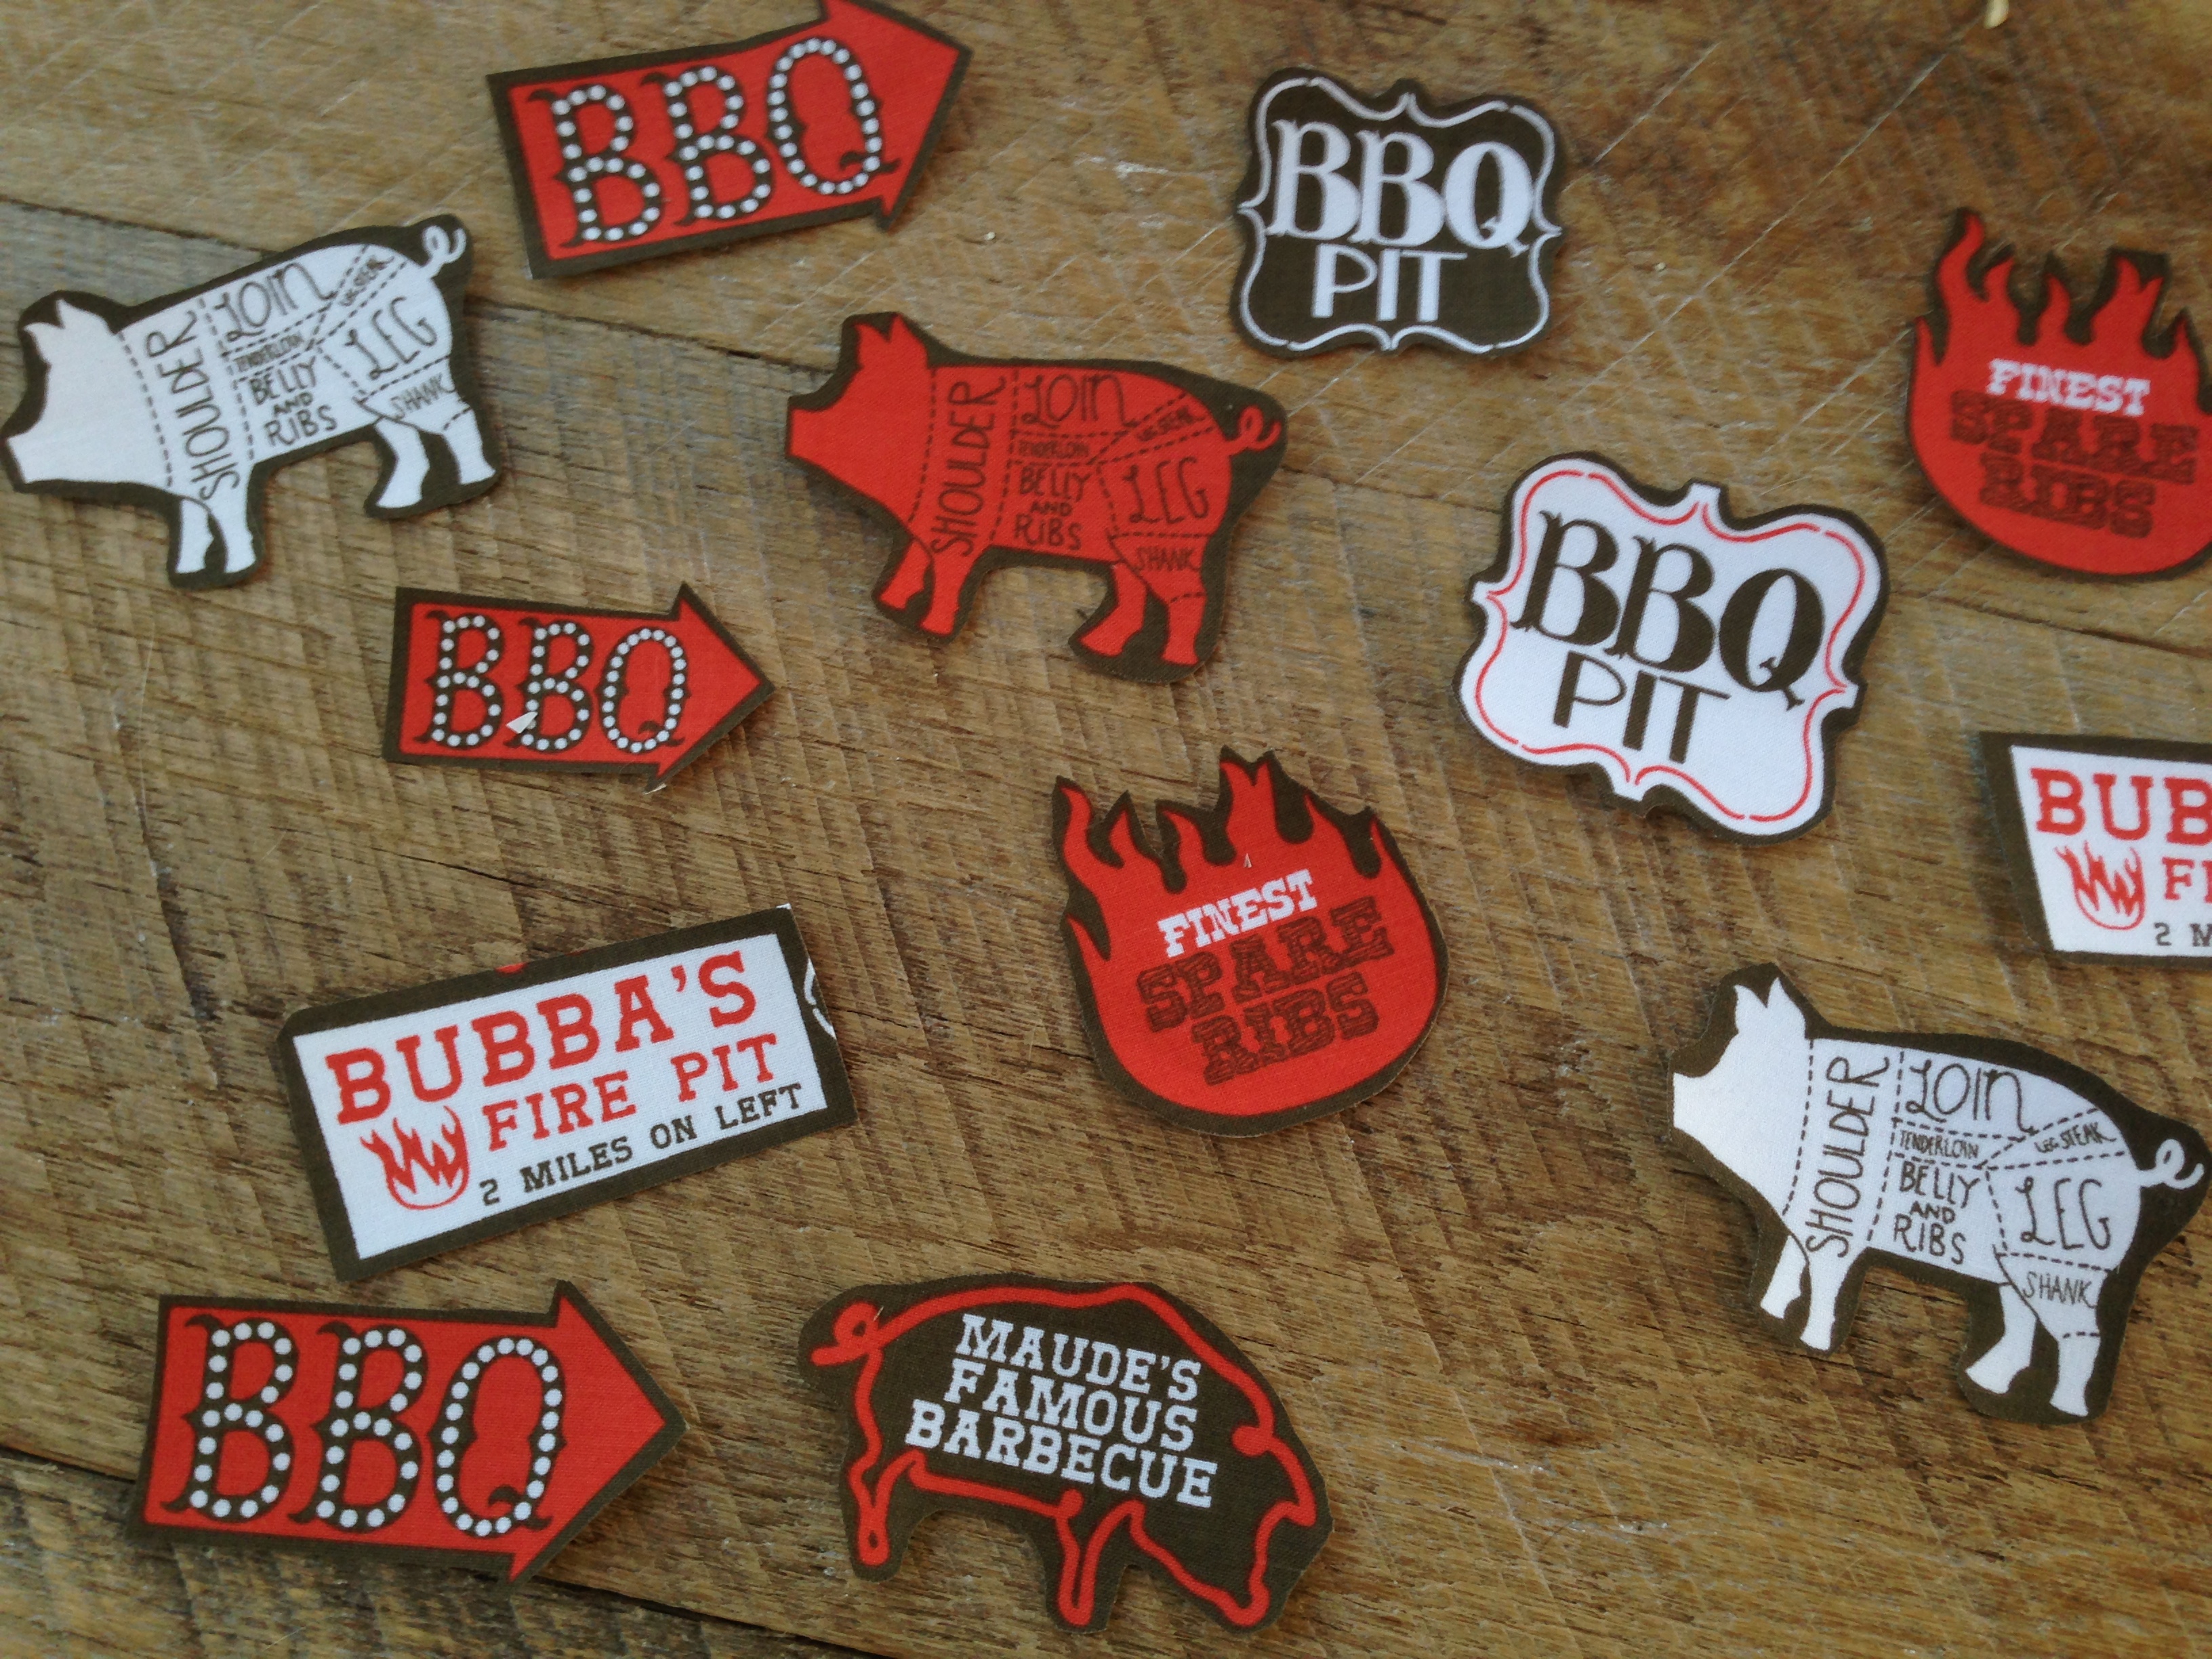
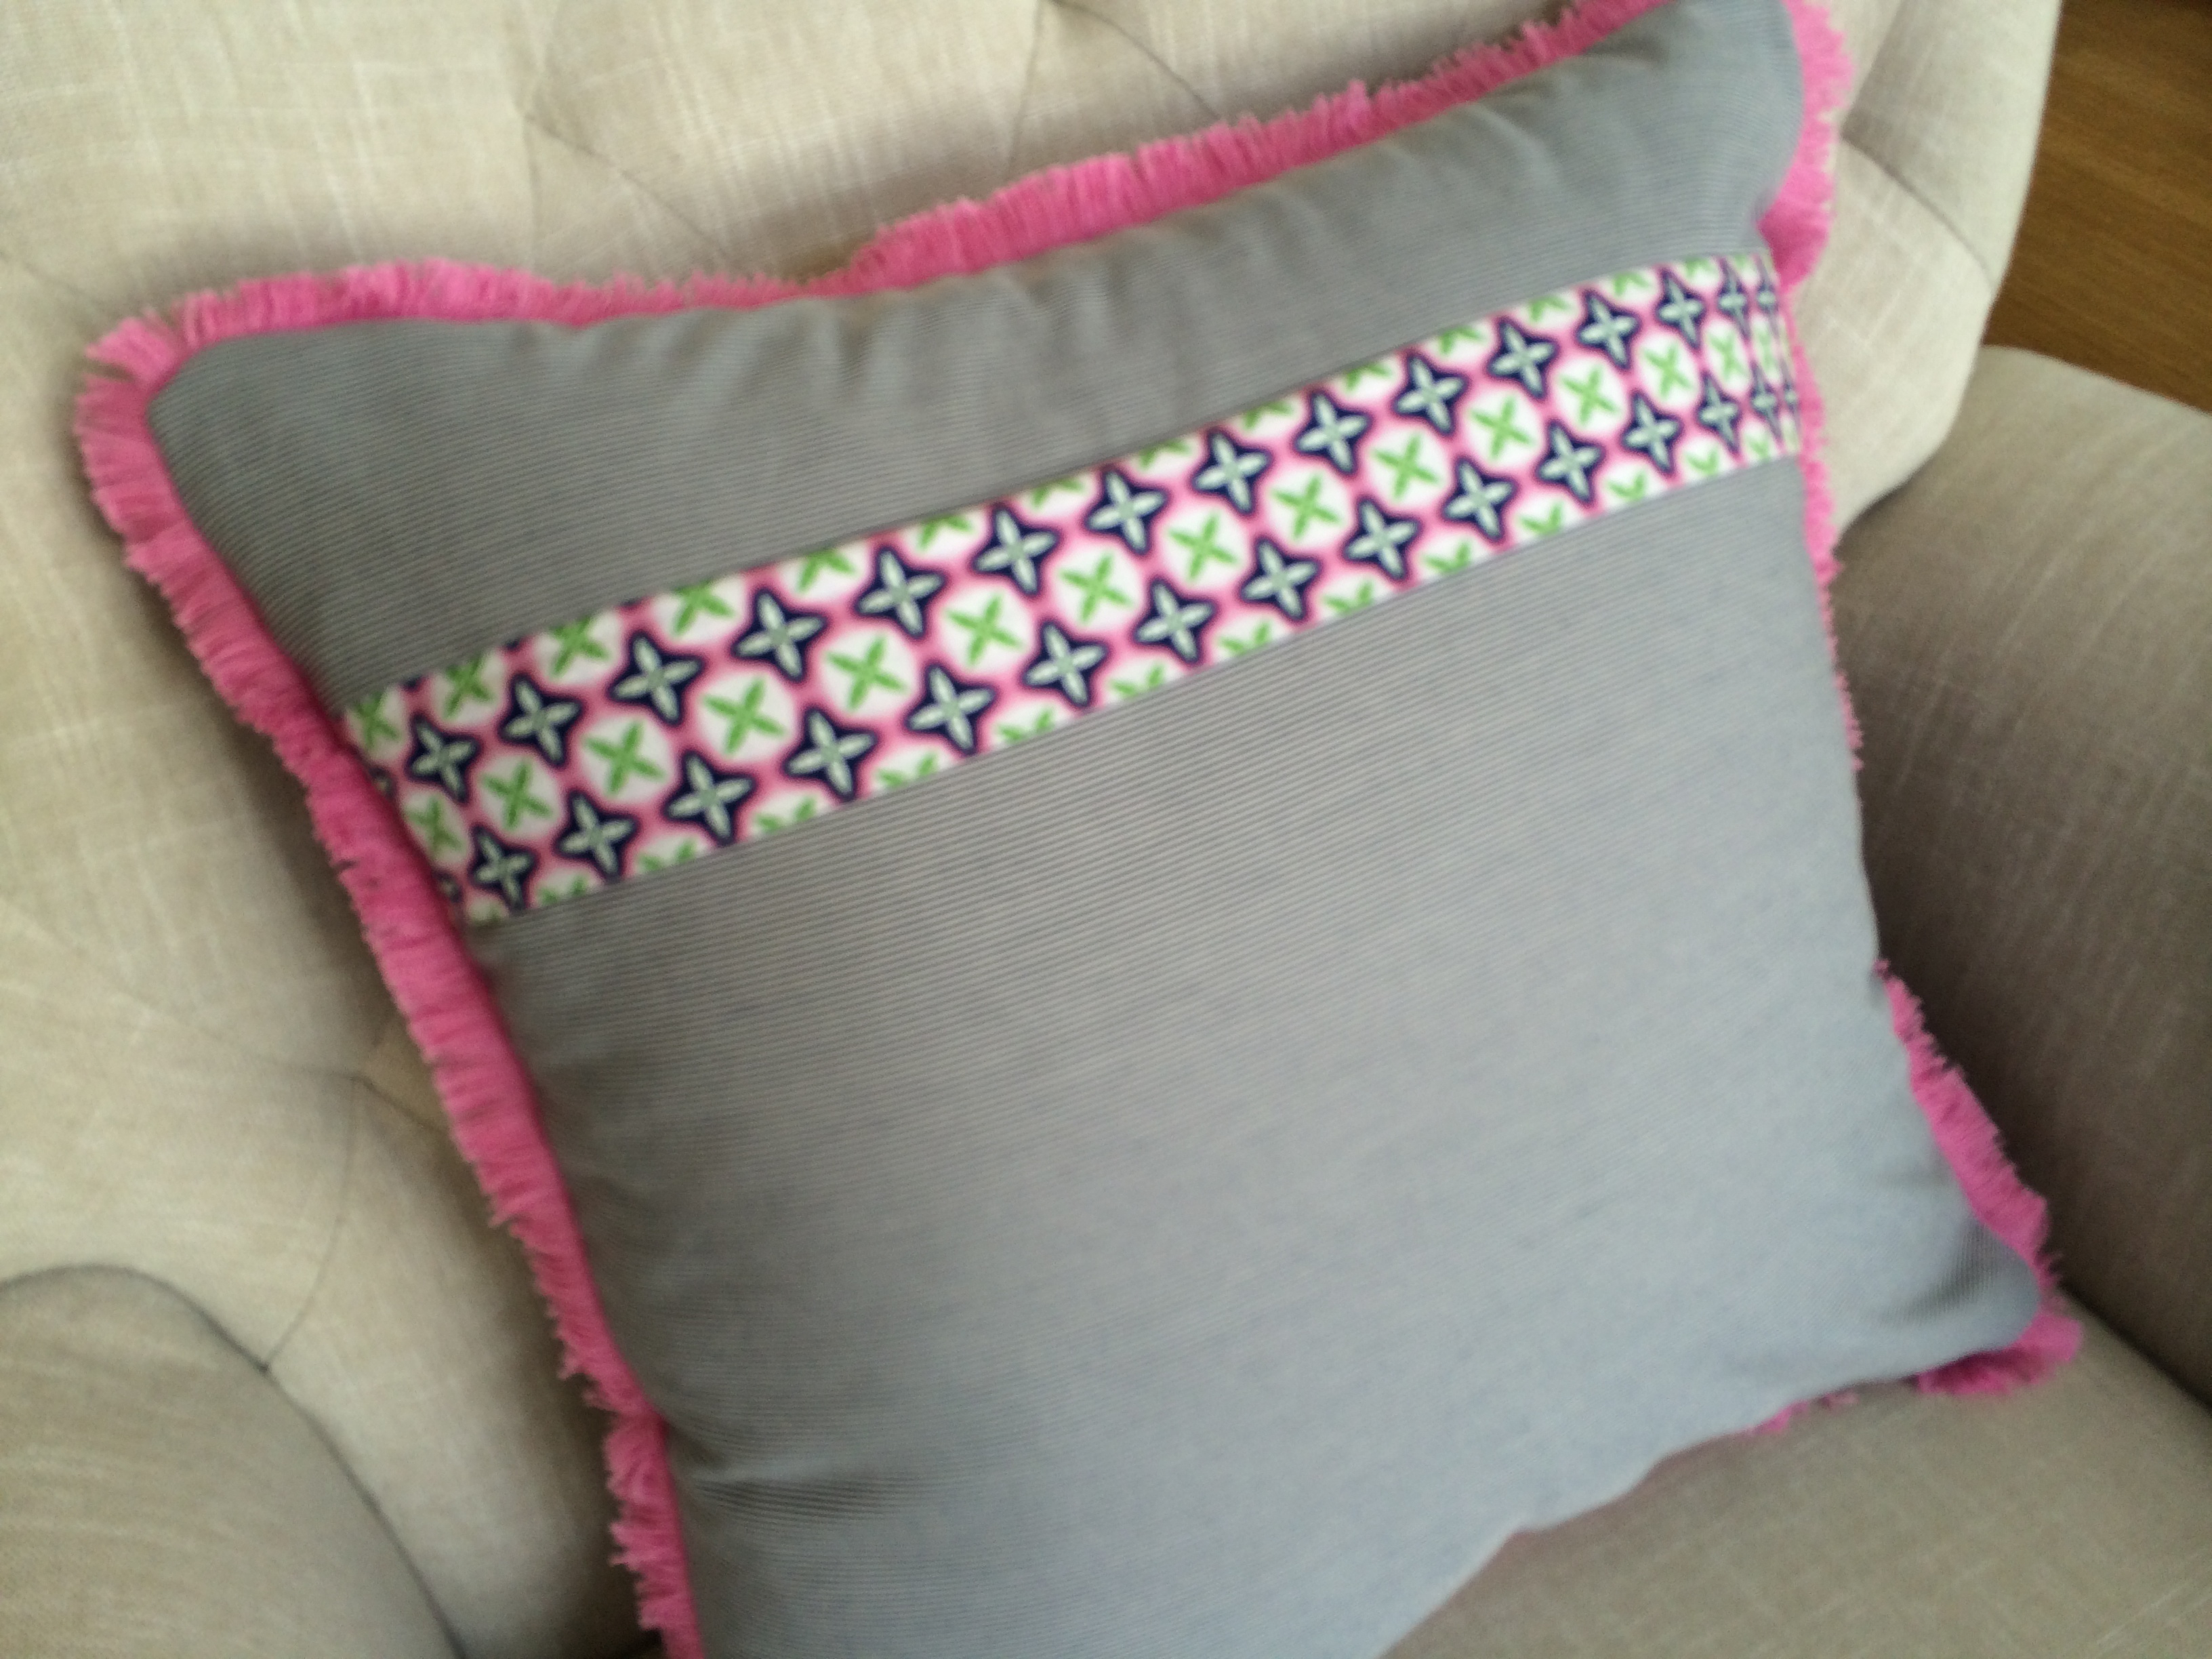
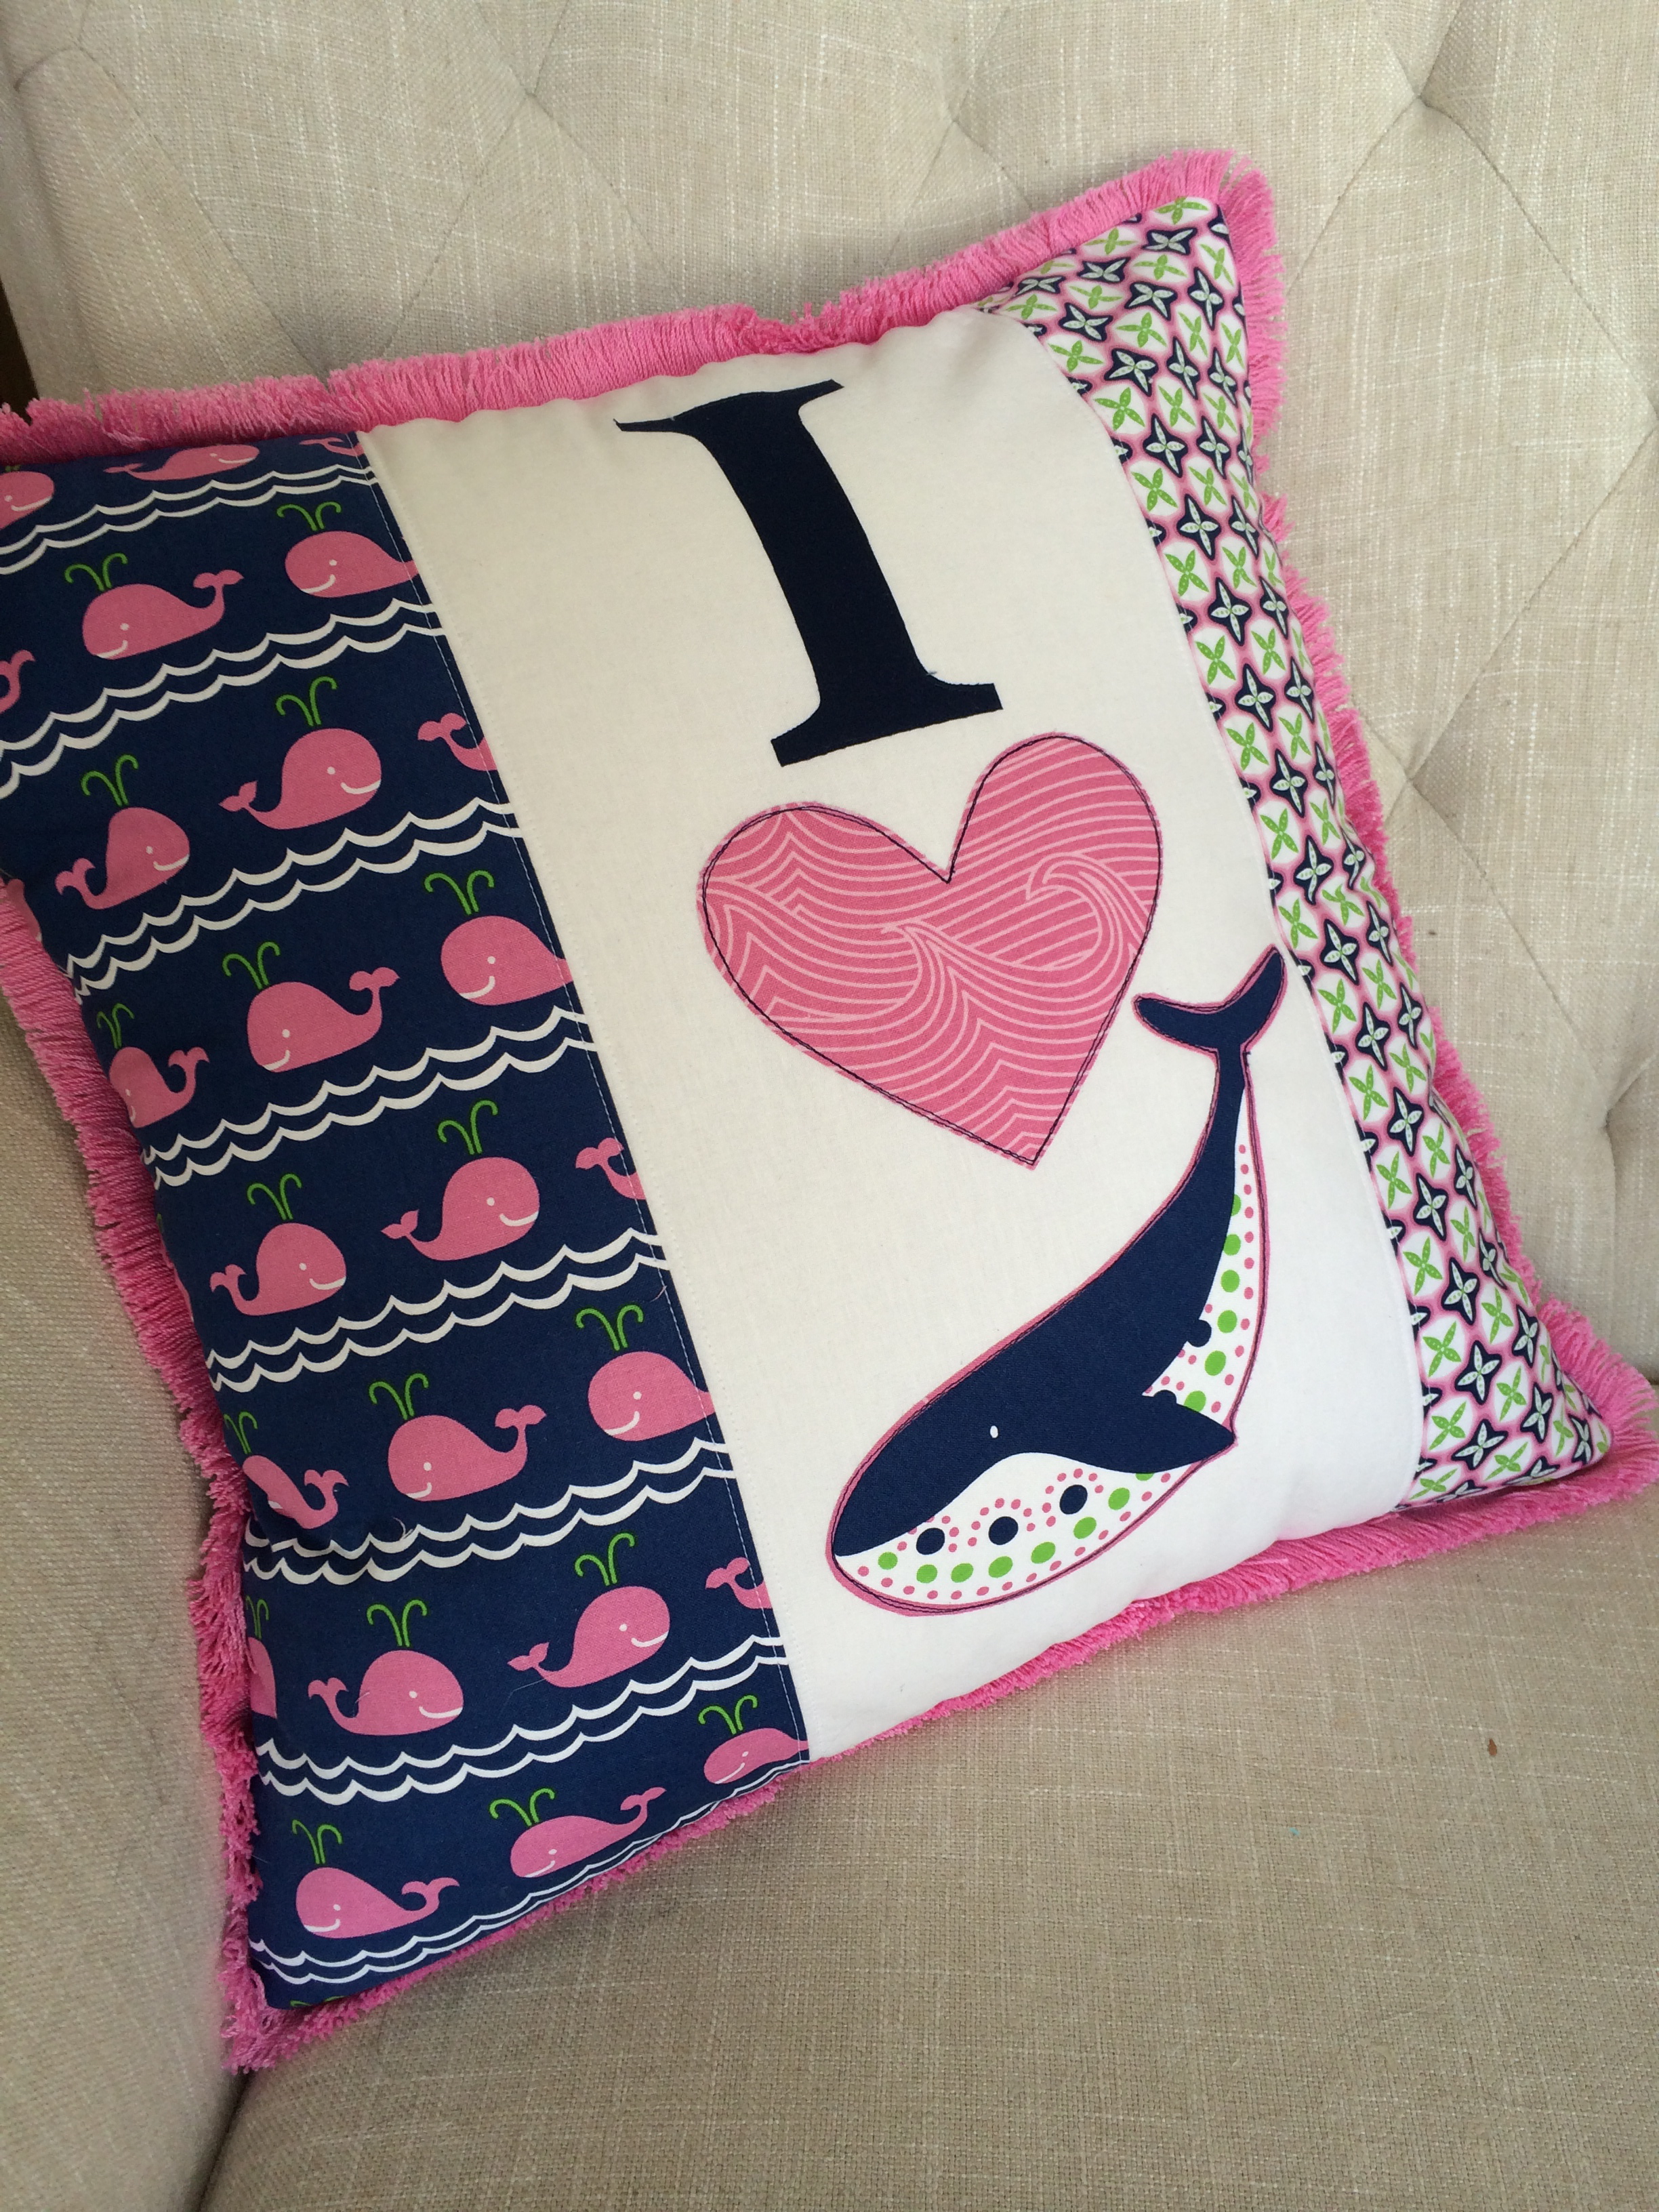
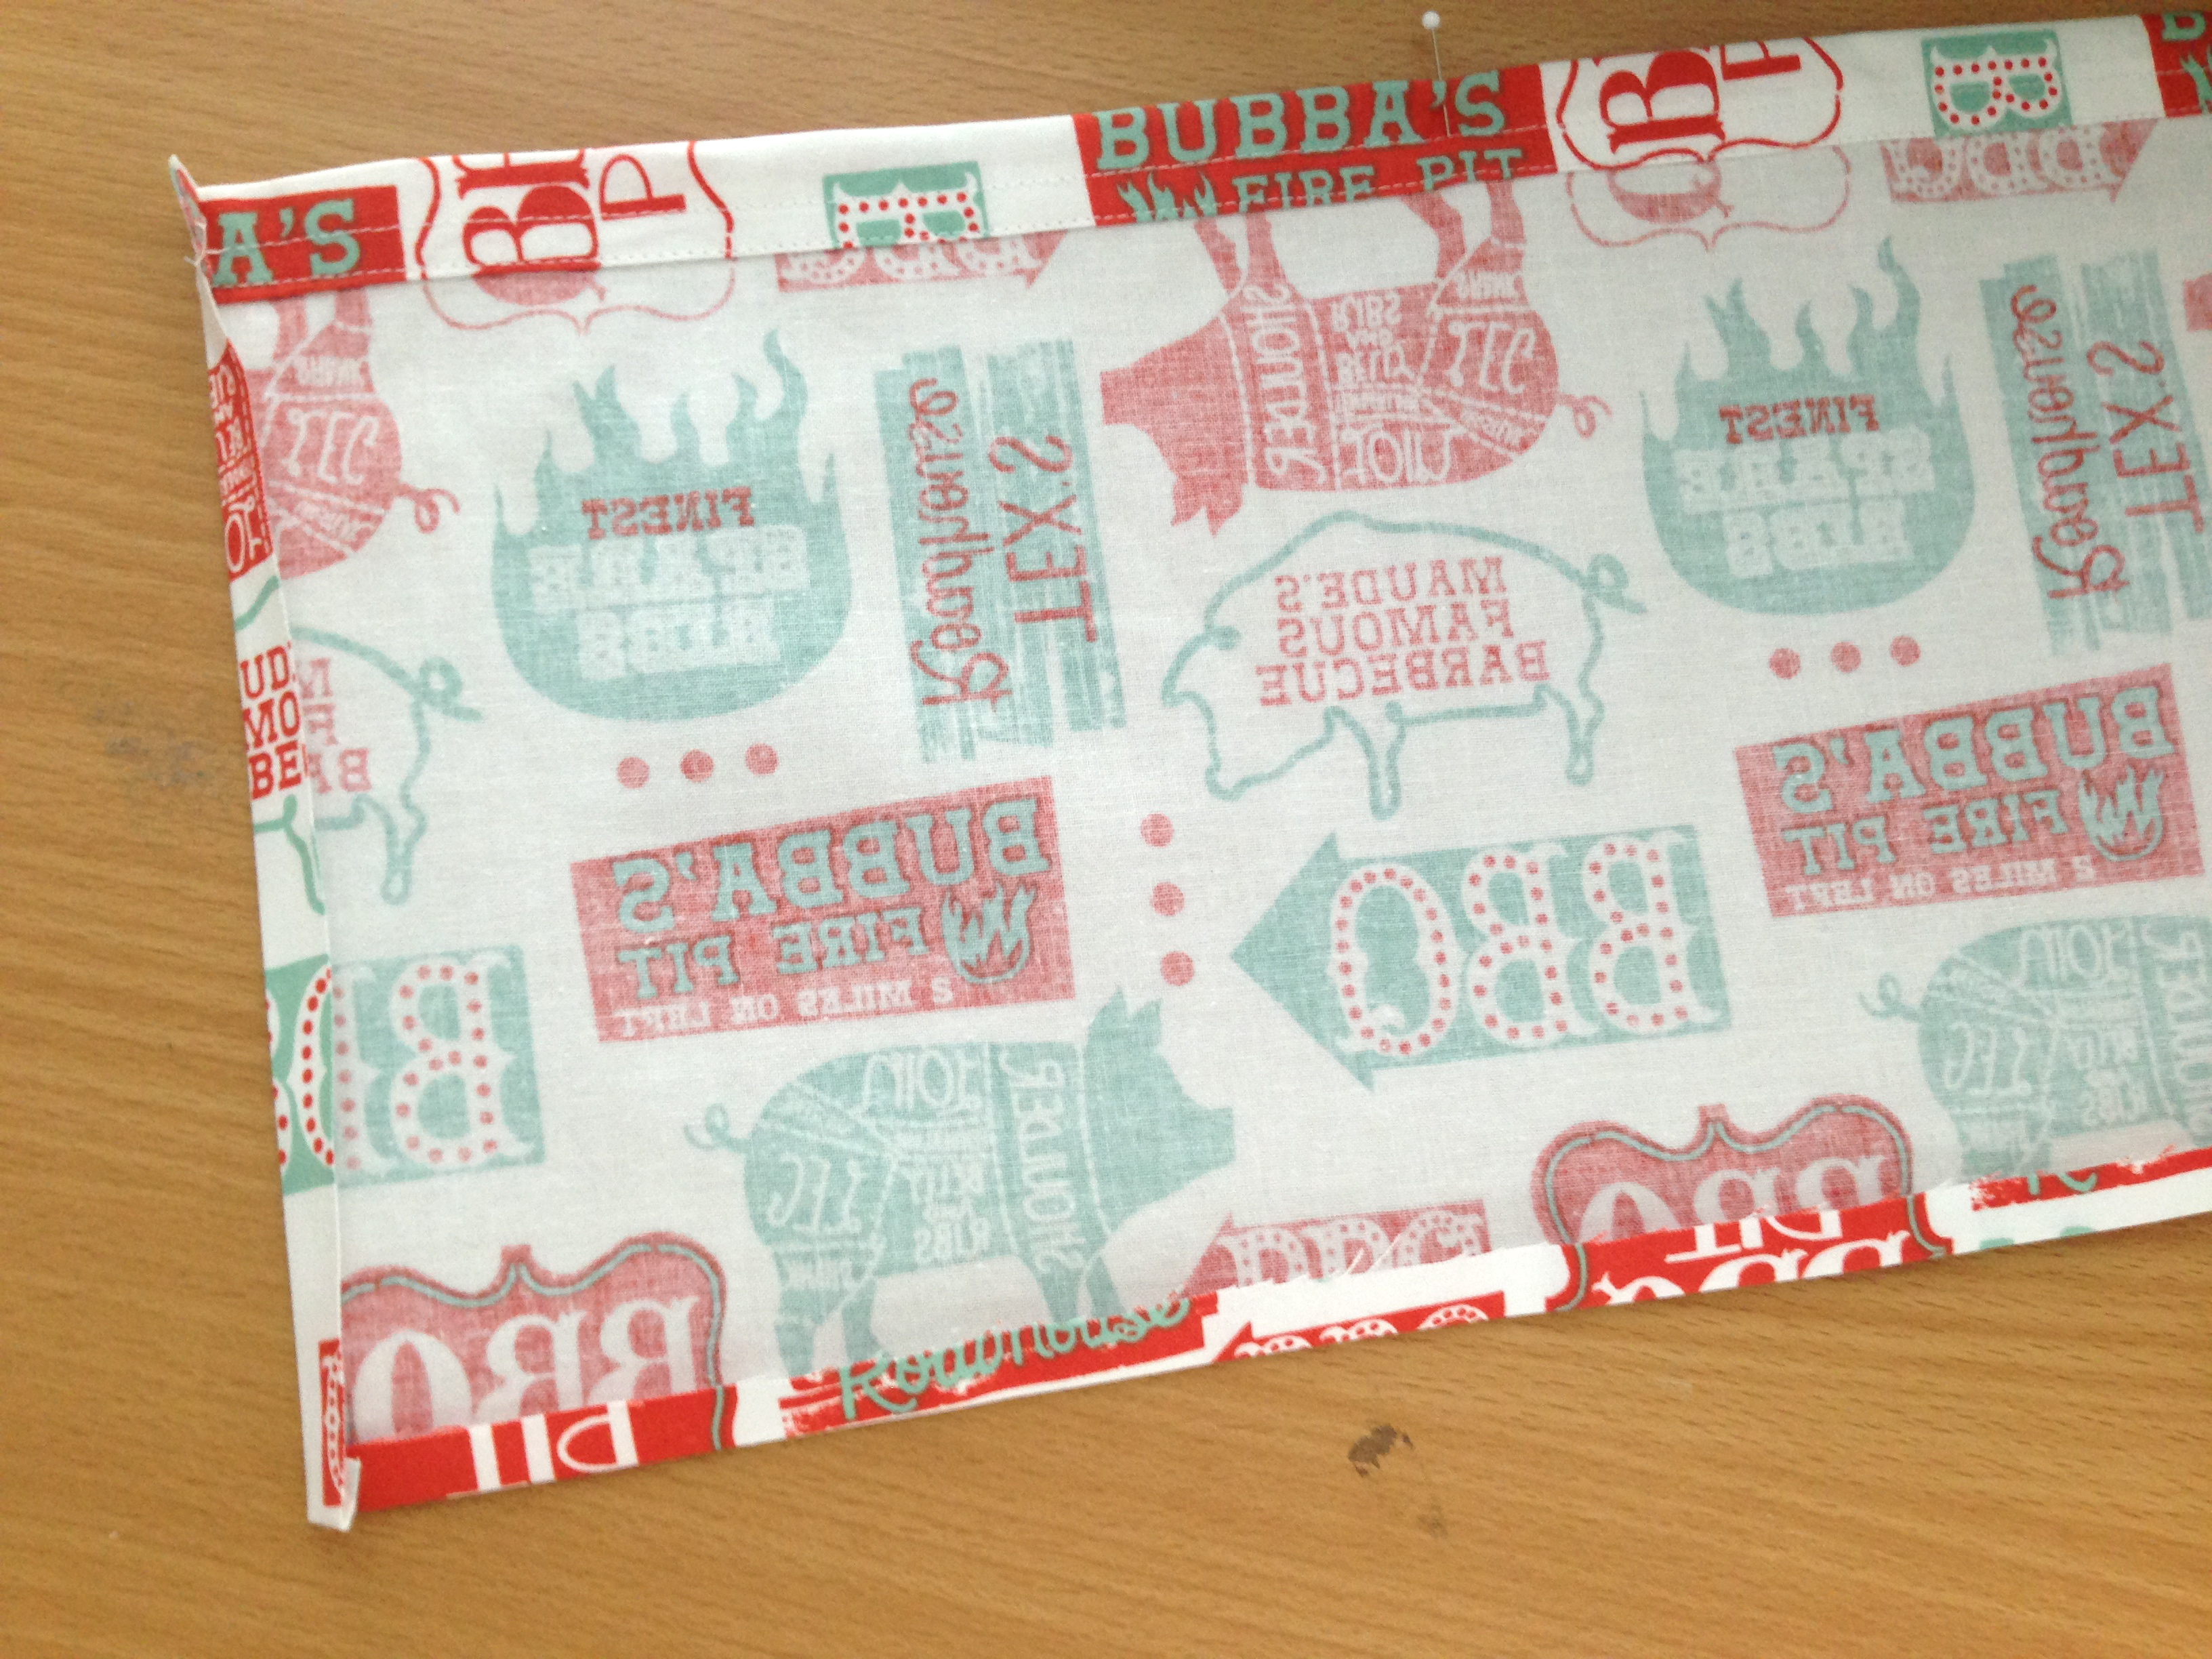
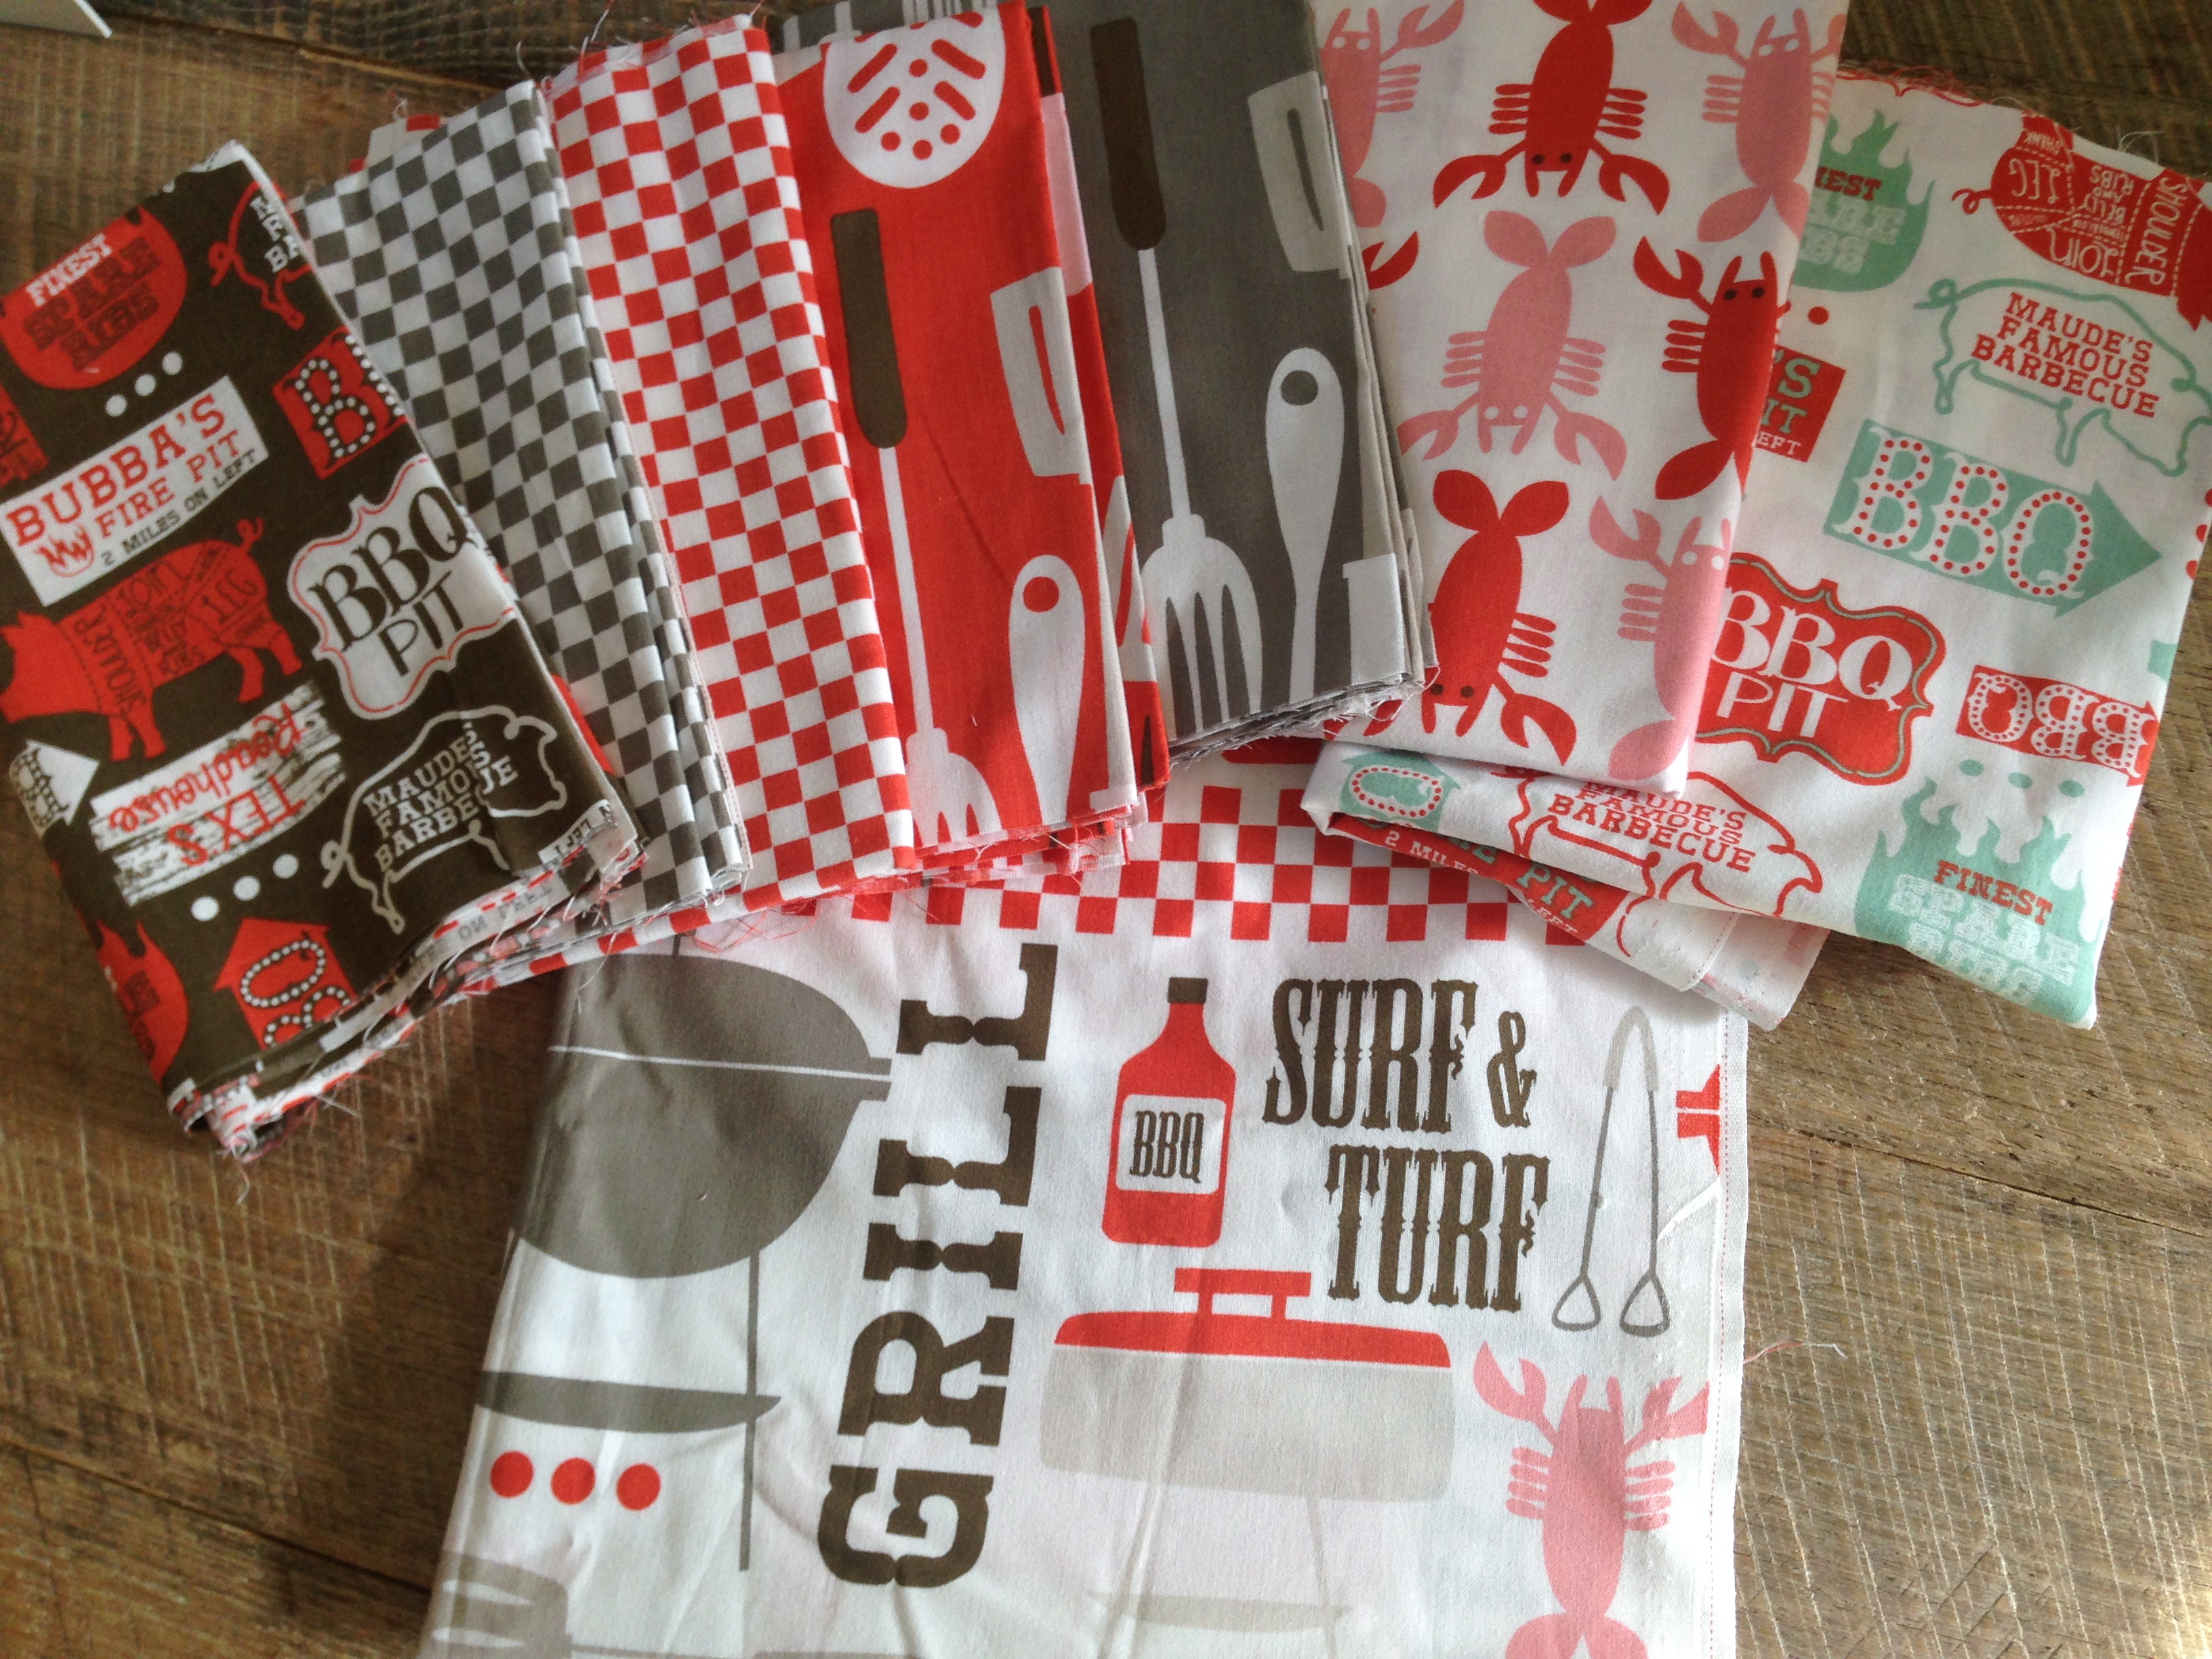
 I am so in love with this fabric line from Blend designed by Maude Asbury called
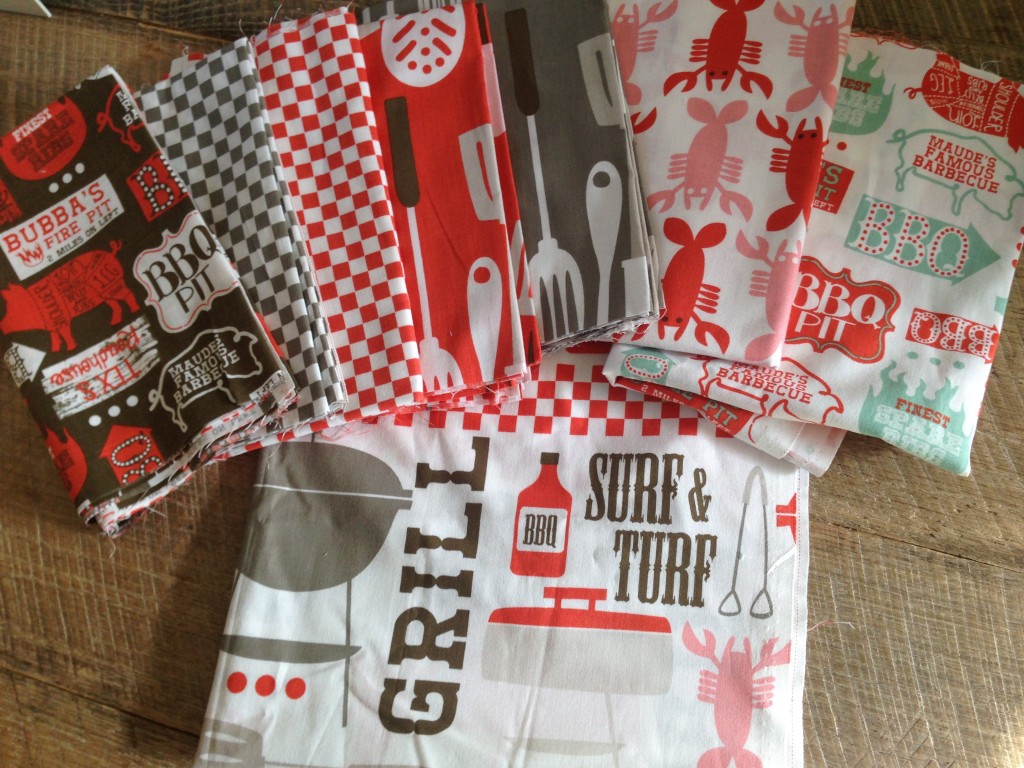


