Lucky Pillow – Version 2.0

lucky pillow tutorial

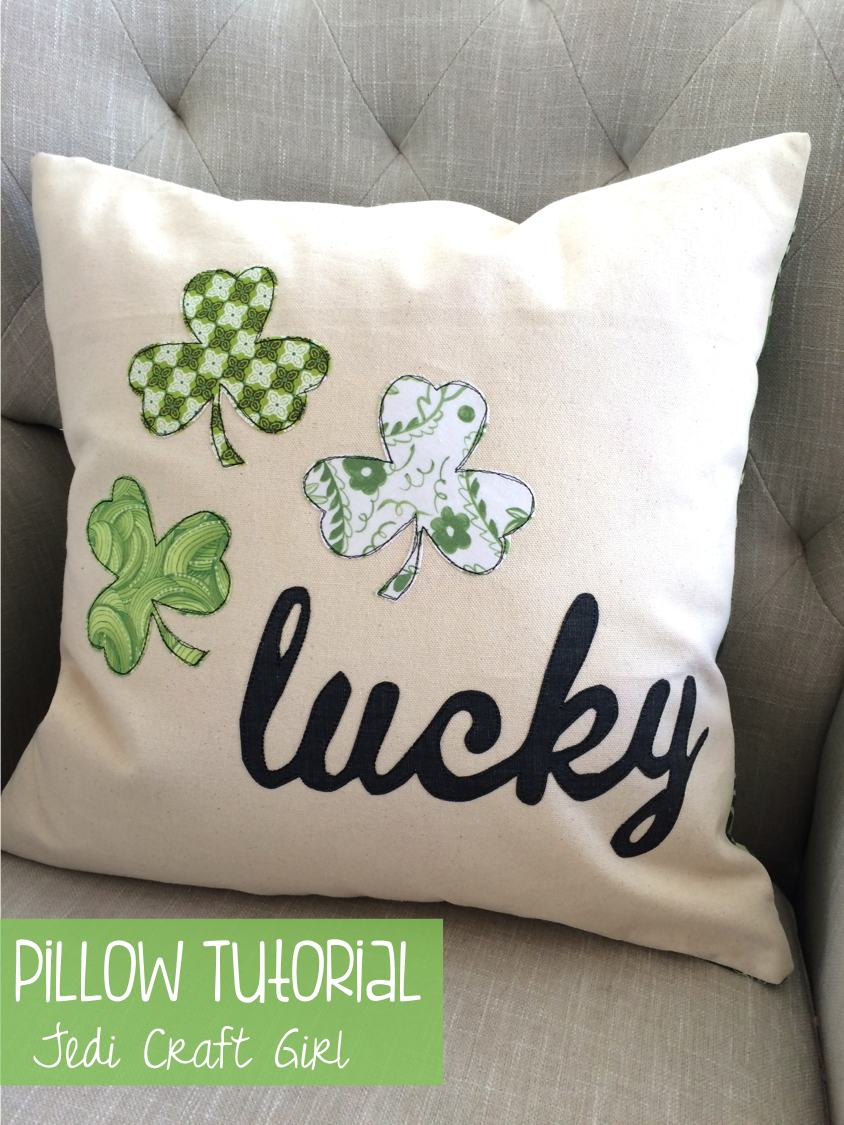
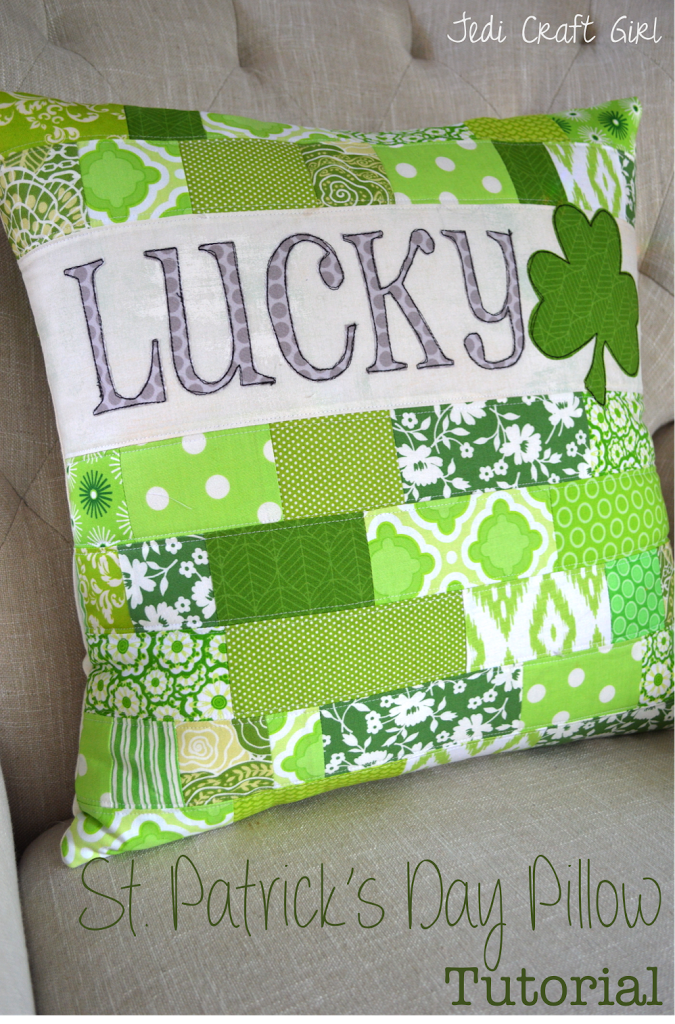
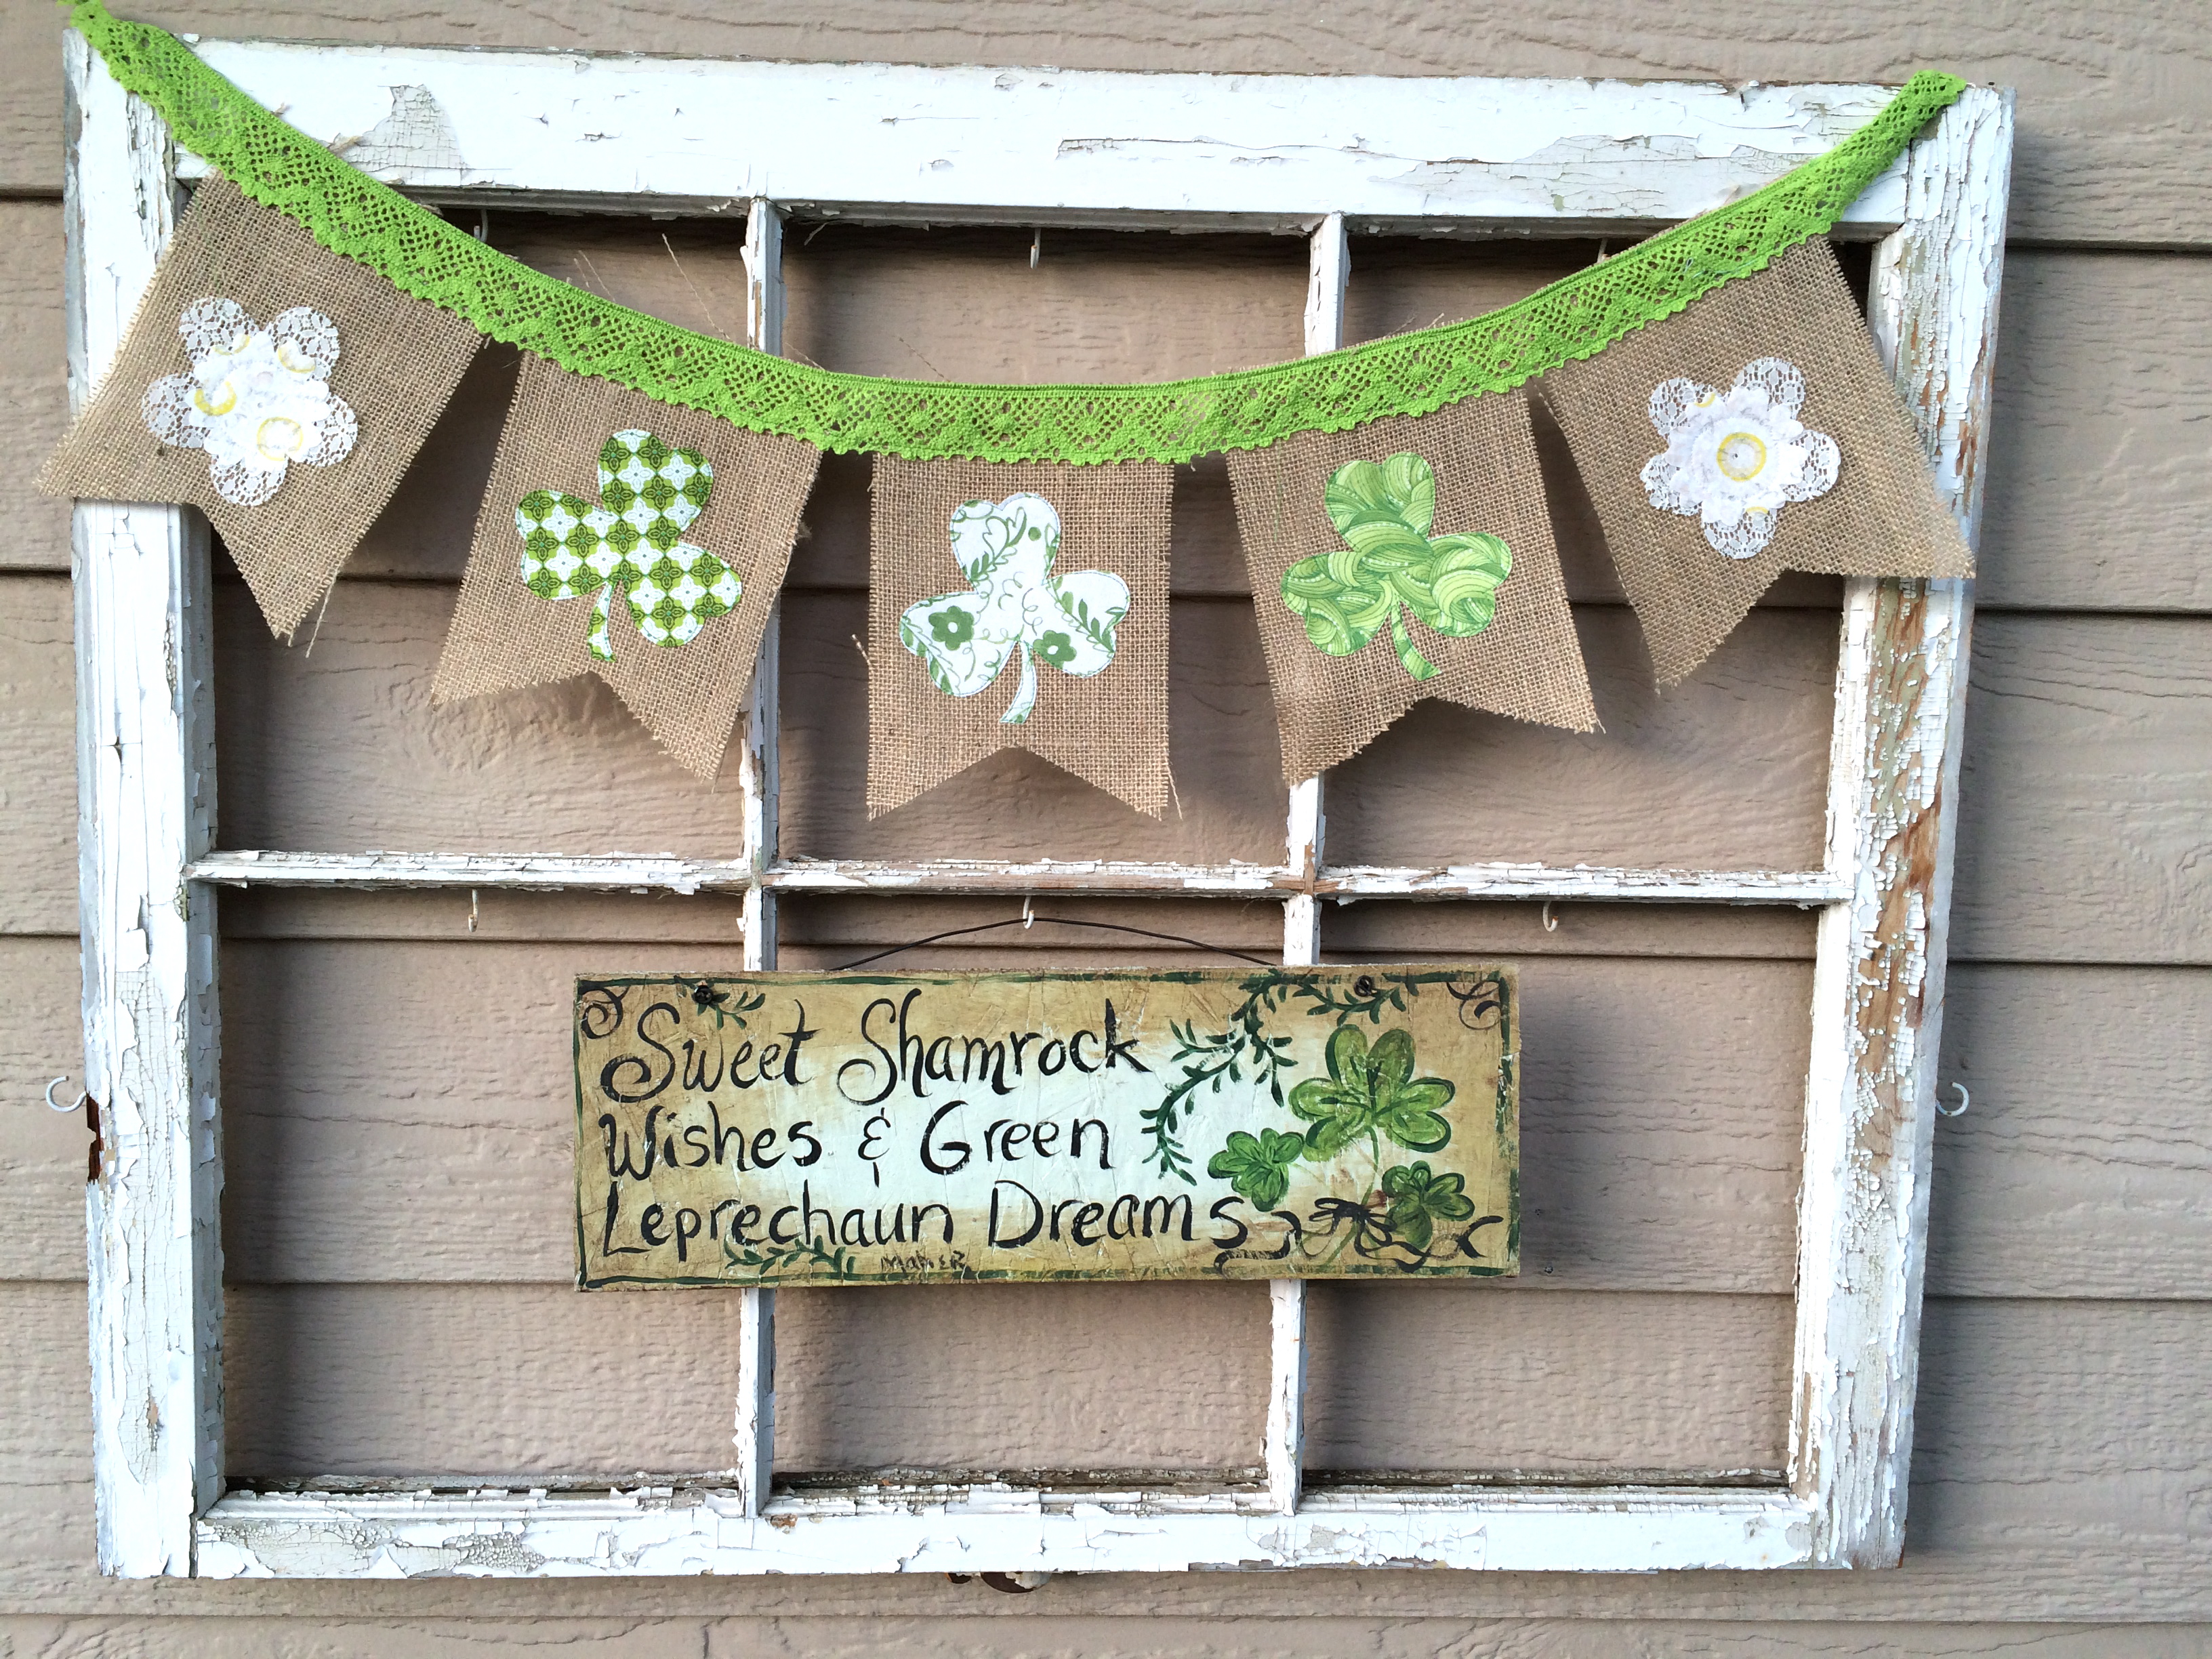
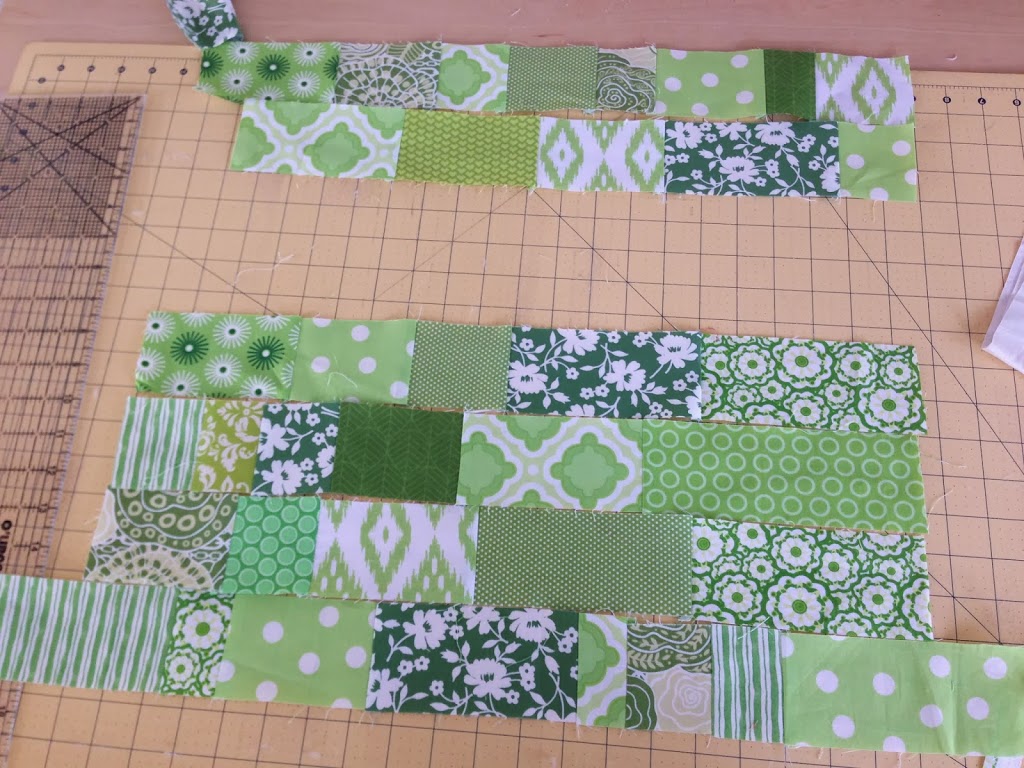
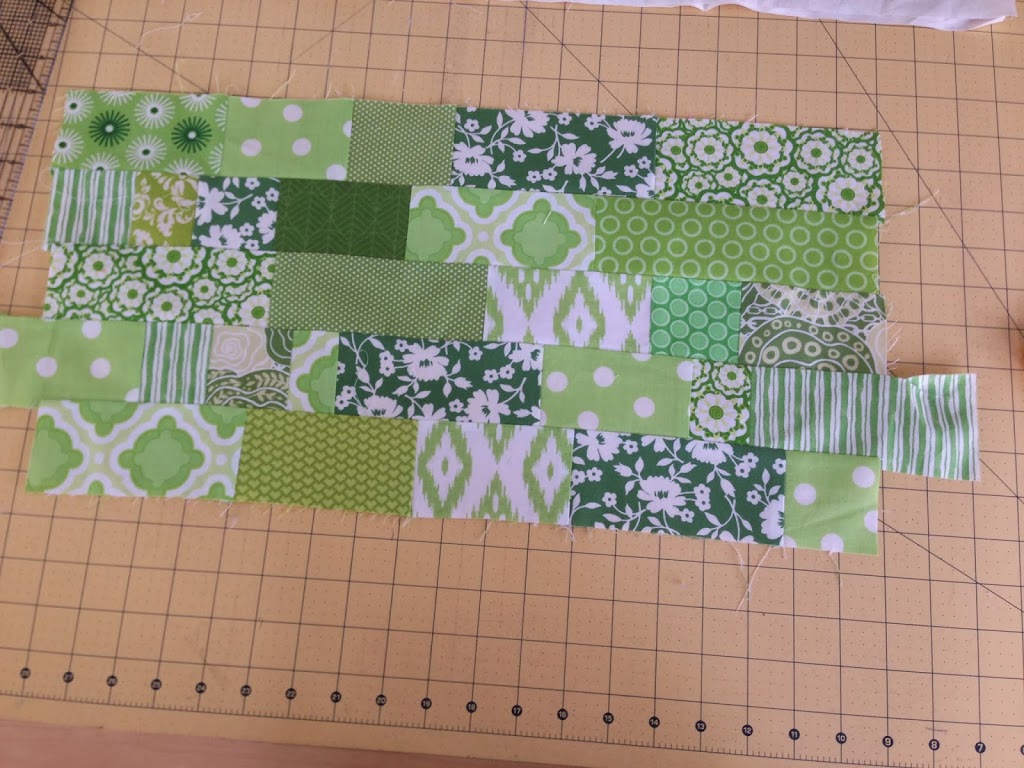
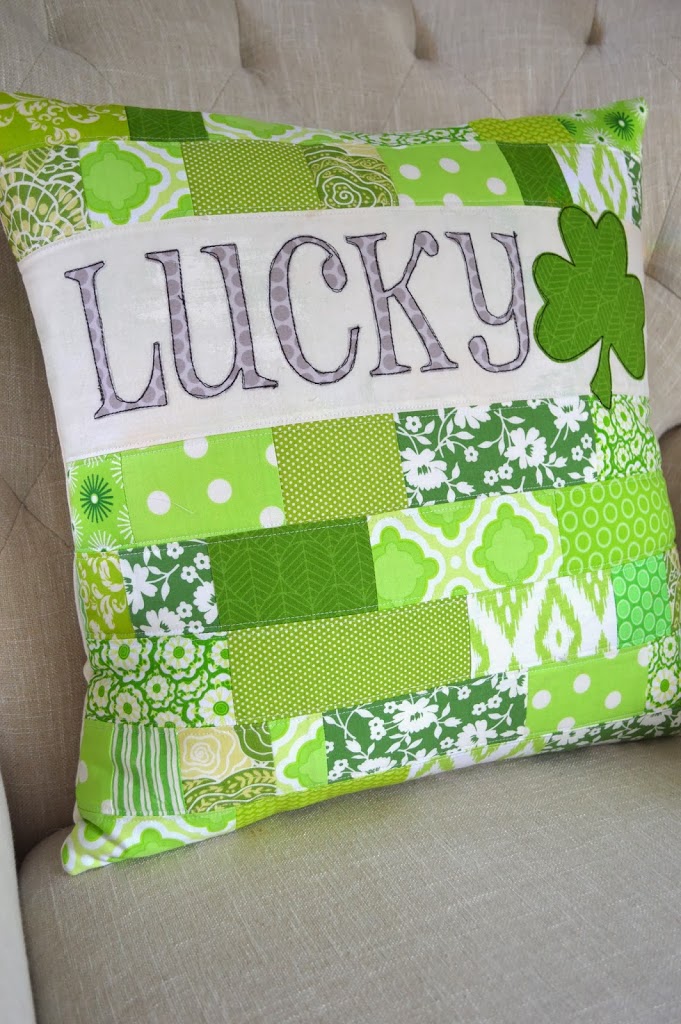
Since I was already in the St. Patrick’s Day sewing mode after sewing a banner, I thought I would whip up a throw pillow!  I’m sure you know by now that I love throw pillows!  Last year I also made a “Lucky” patchwork pillow, so I am calling this one version 2.0.

St-Patrick-s-Day-Pillow-Tutorial1Here’s how you can make one!

Supplies

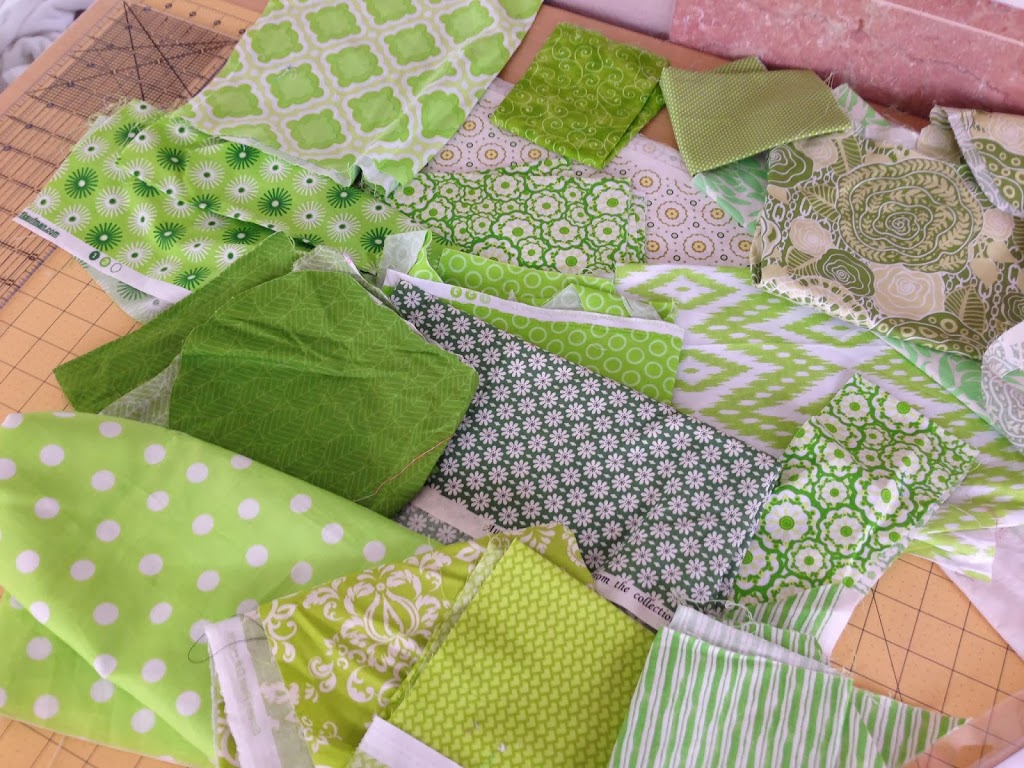
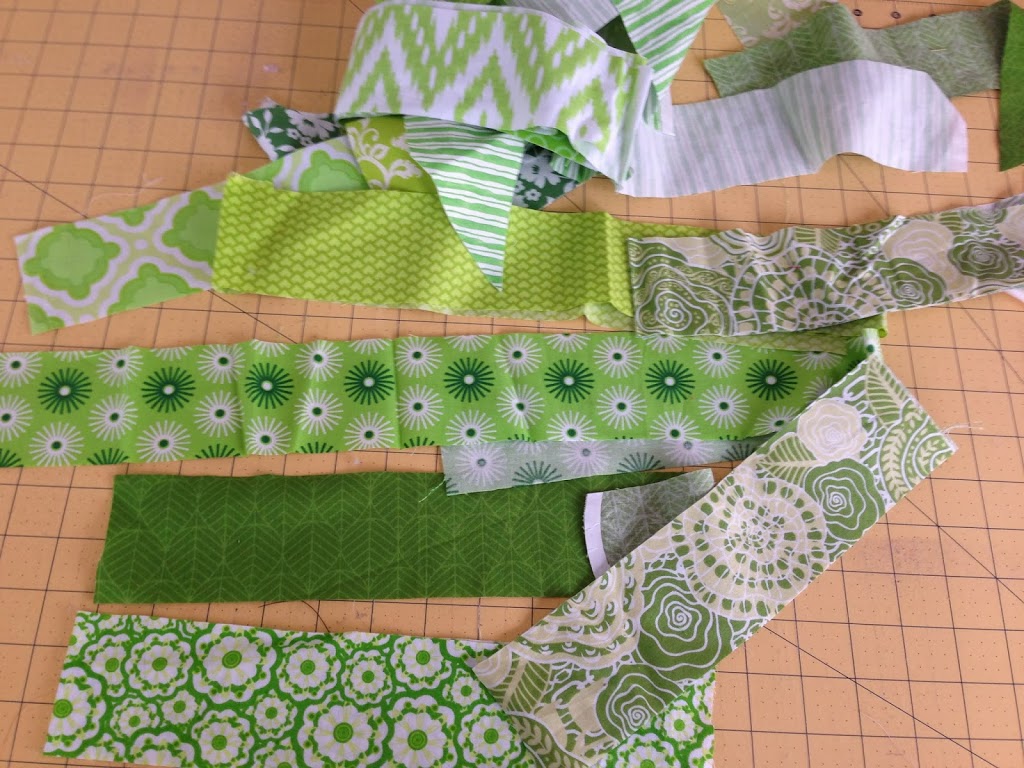
Scraps of green fabric – I used fabric from Blend: Tea Garden, Turkish Delight, and the Makers

blackish/grayish denim or other fabric for lettering

Heat n bond Lite

Heat n bond EZ print sheets

Sizzix Shamrock Die

Lucky words, click HERE – print in reverse

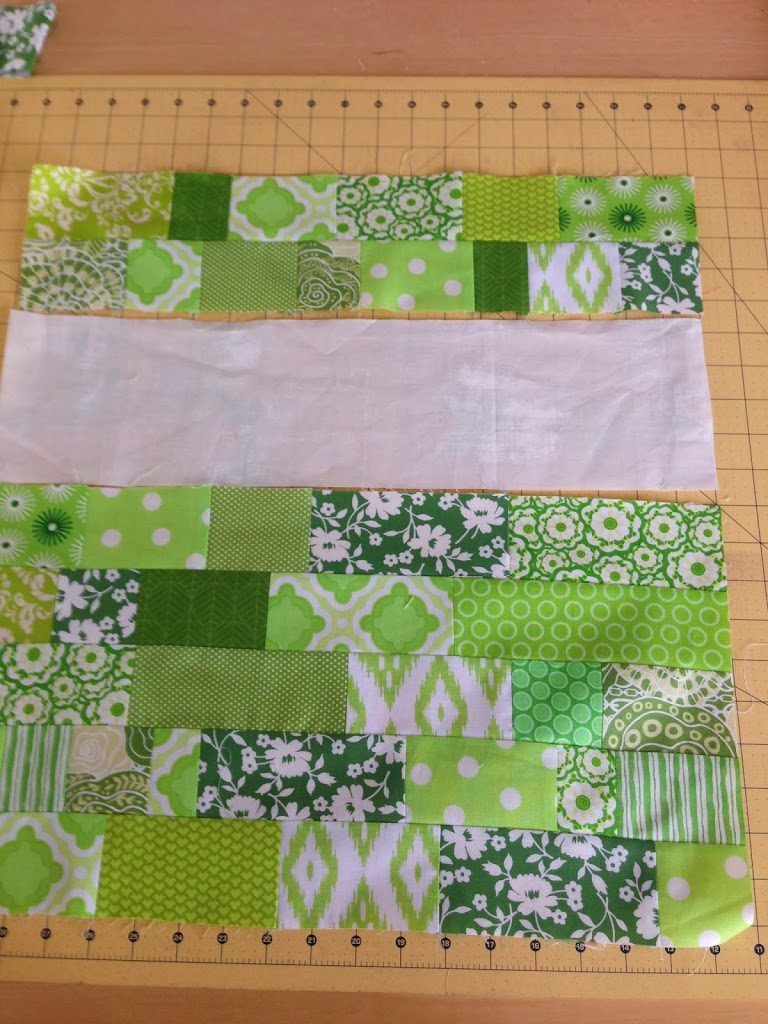
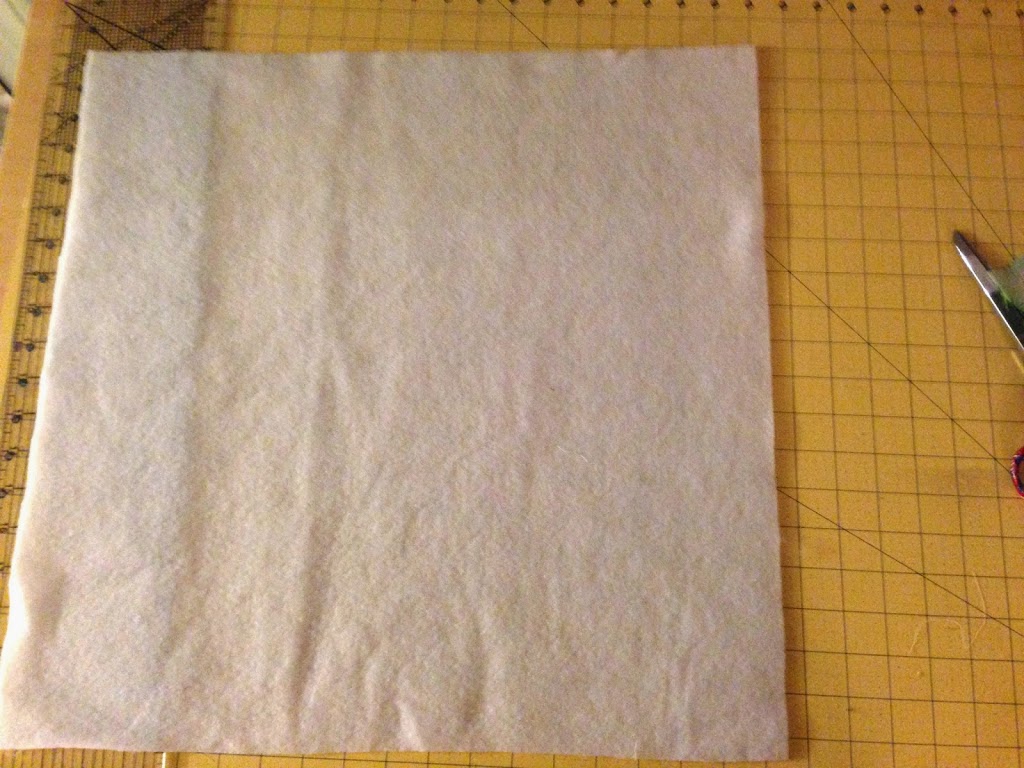
20″ square natural canvas

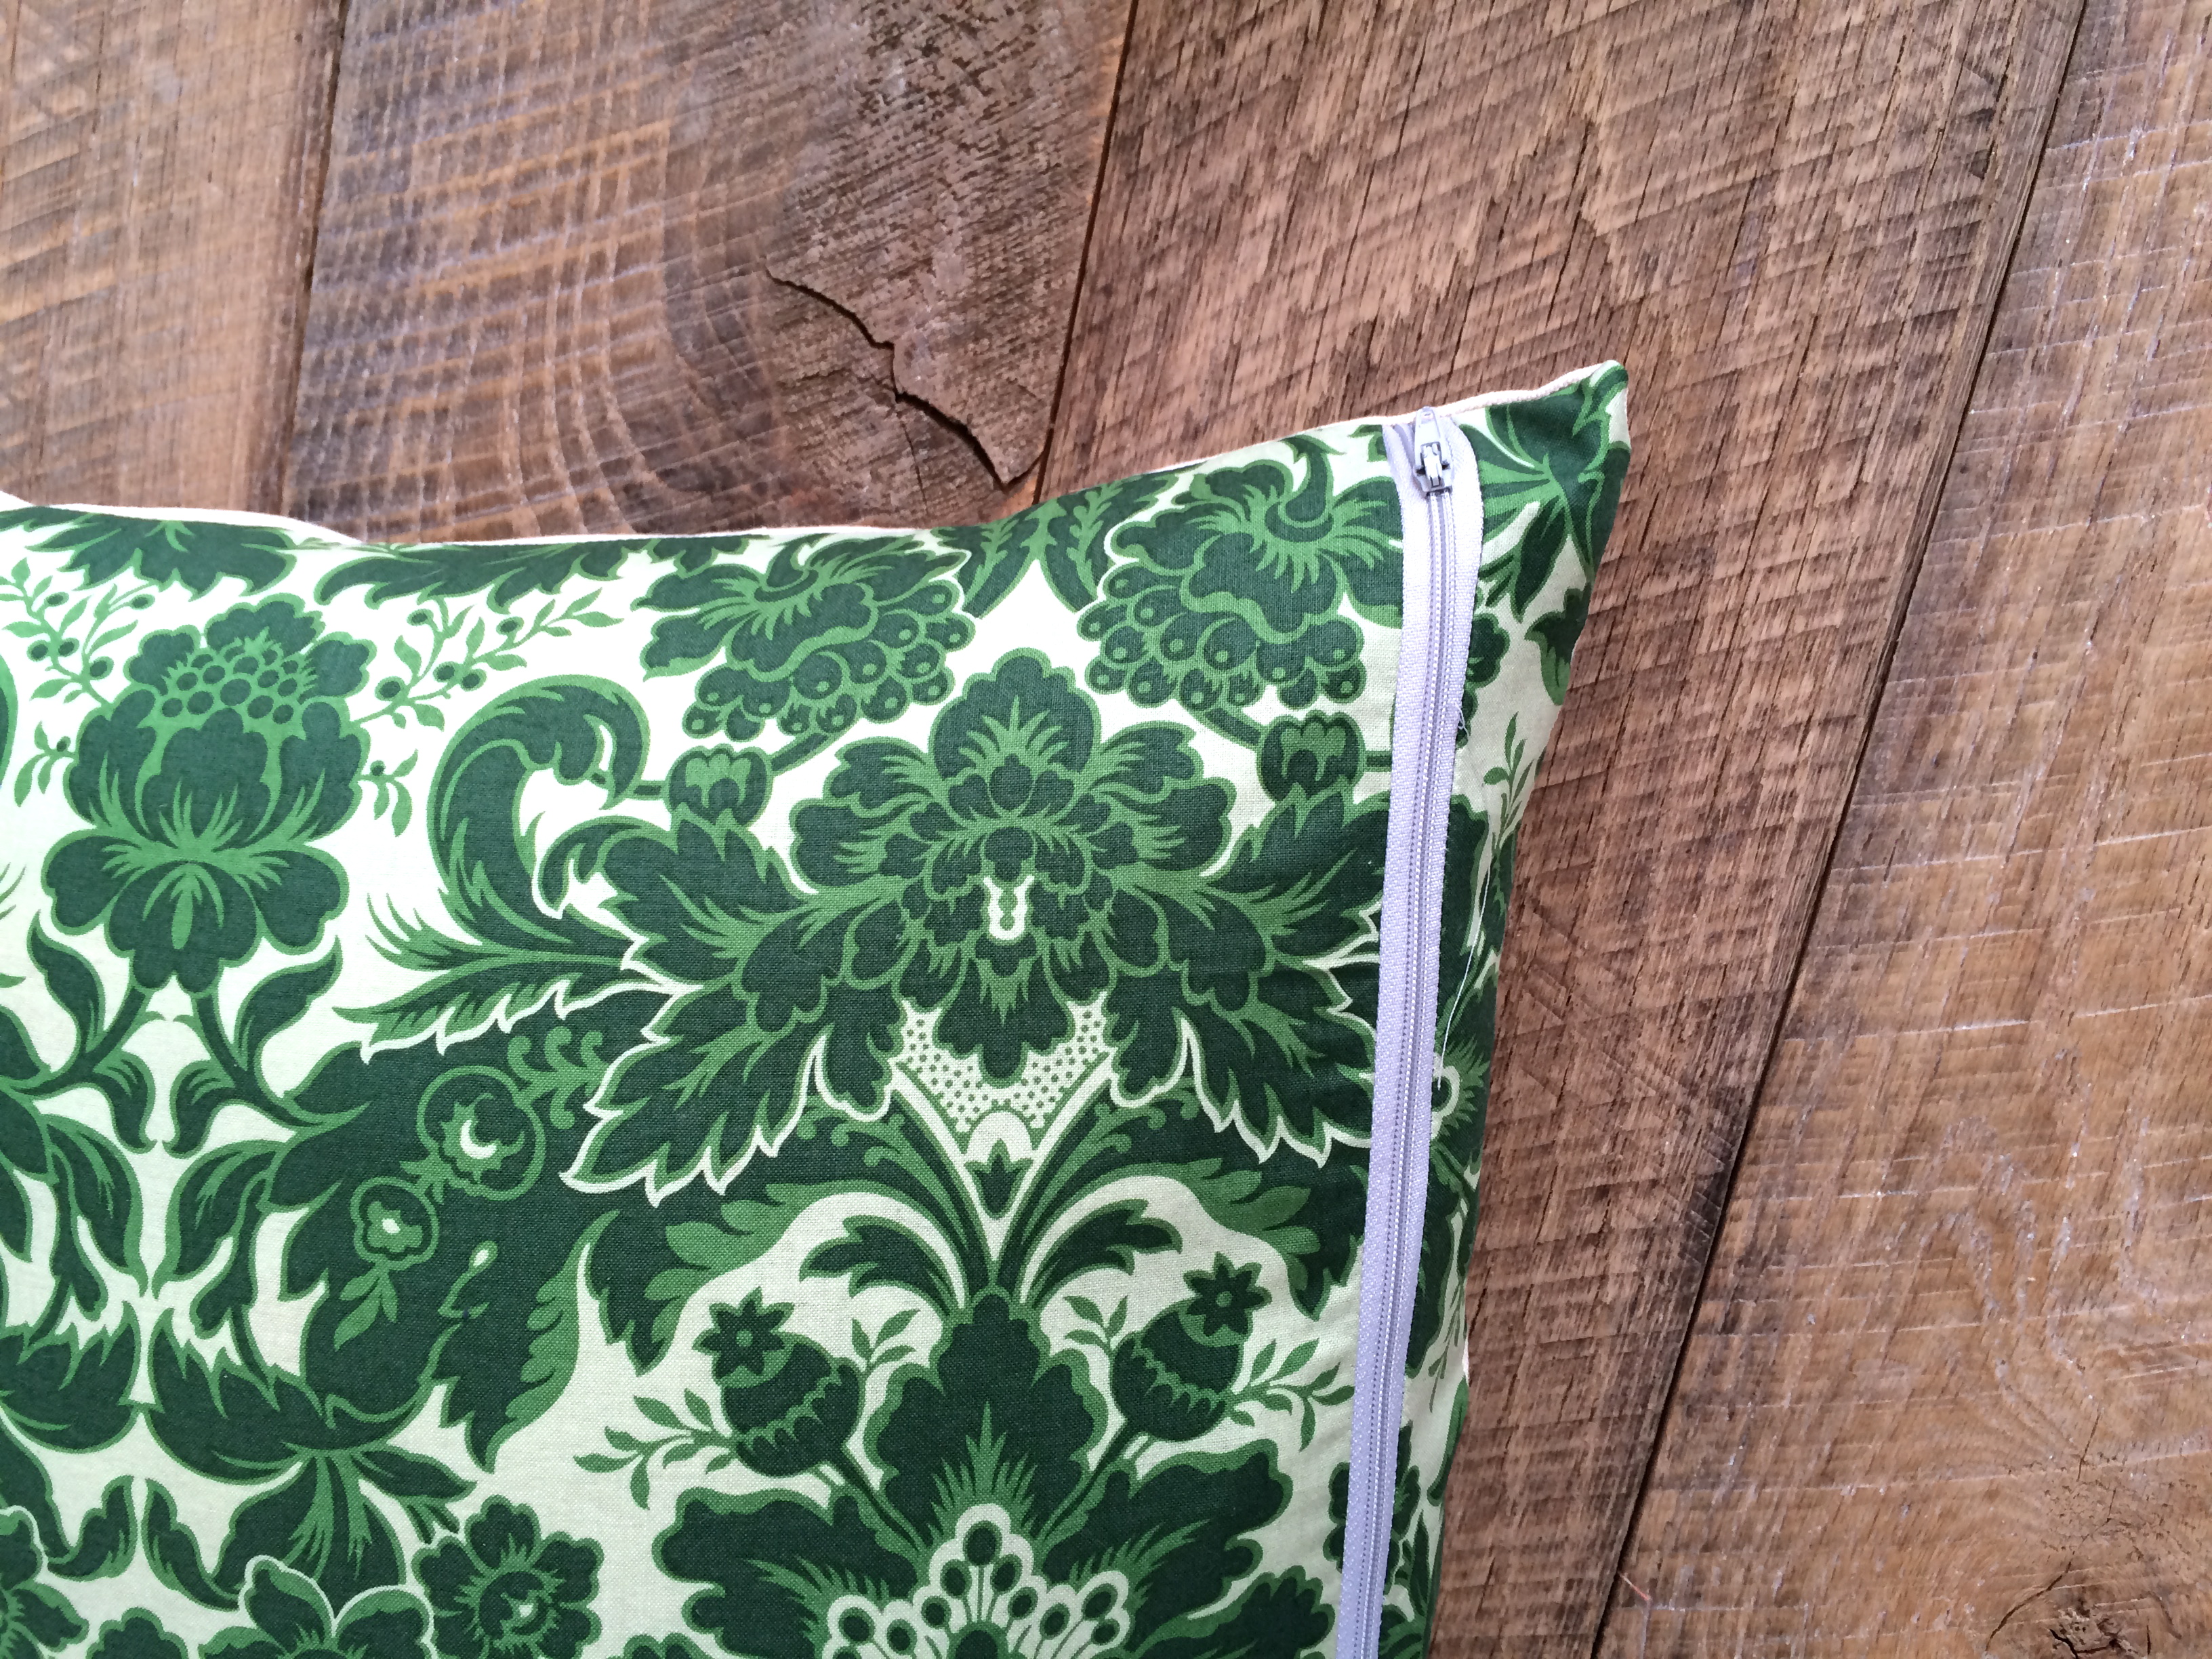
20″ square green print for back, I used Yuletide Greetings by Anna Griffin

22″ zipper

20″ pillow form

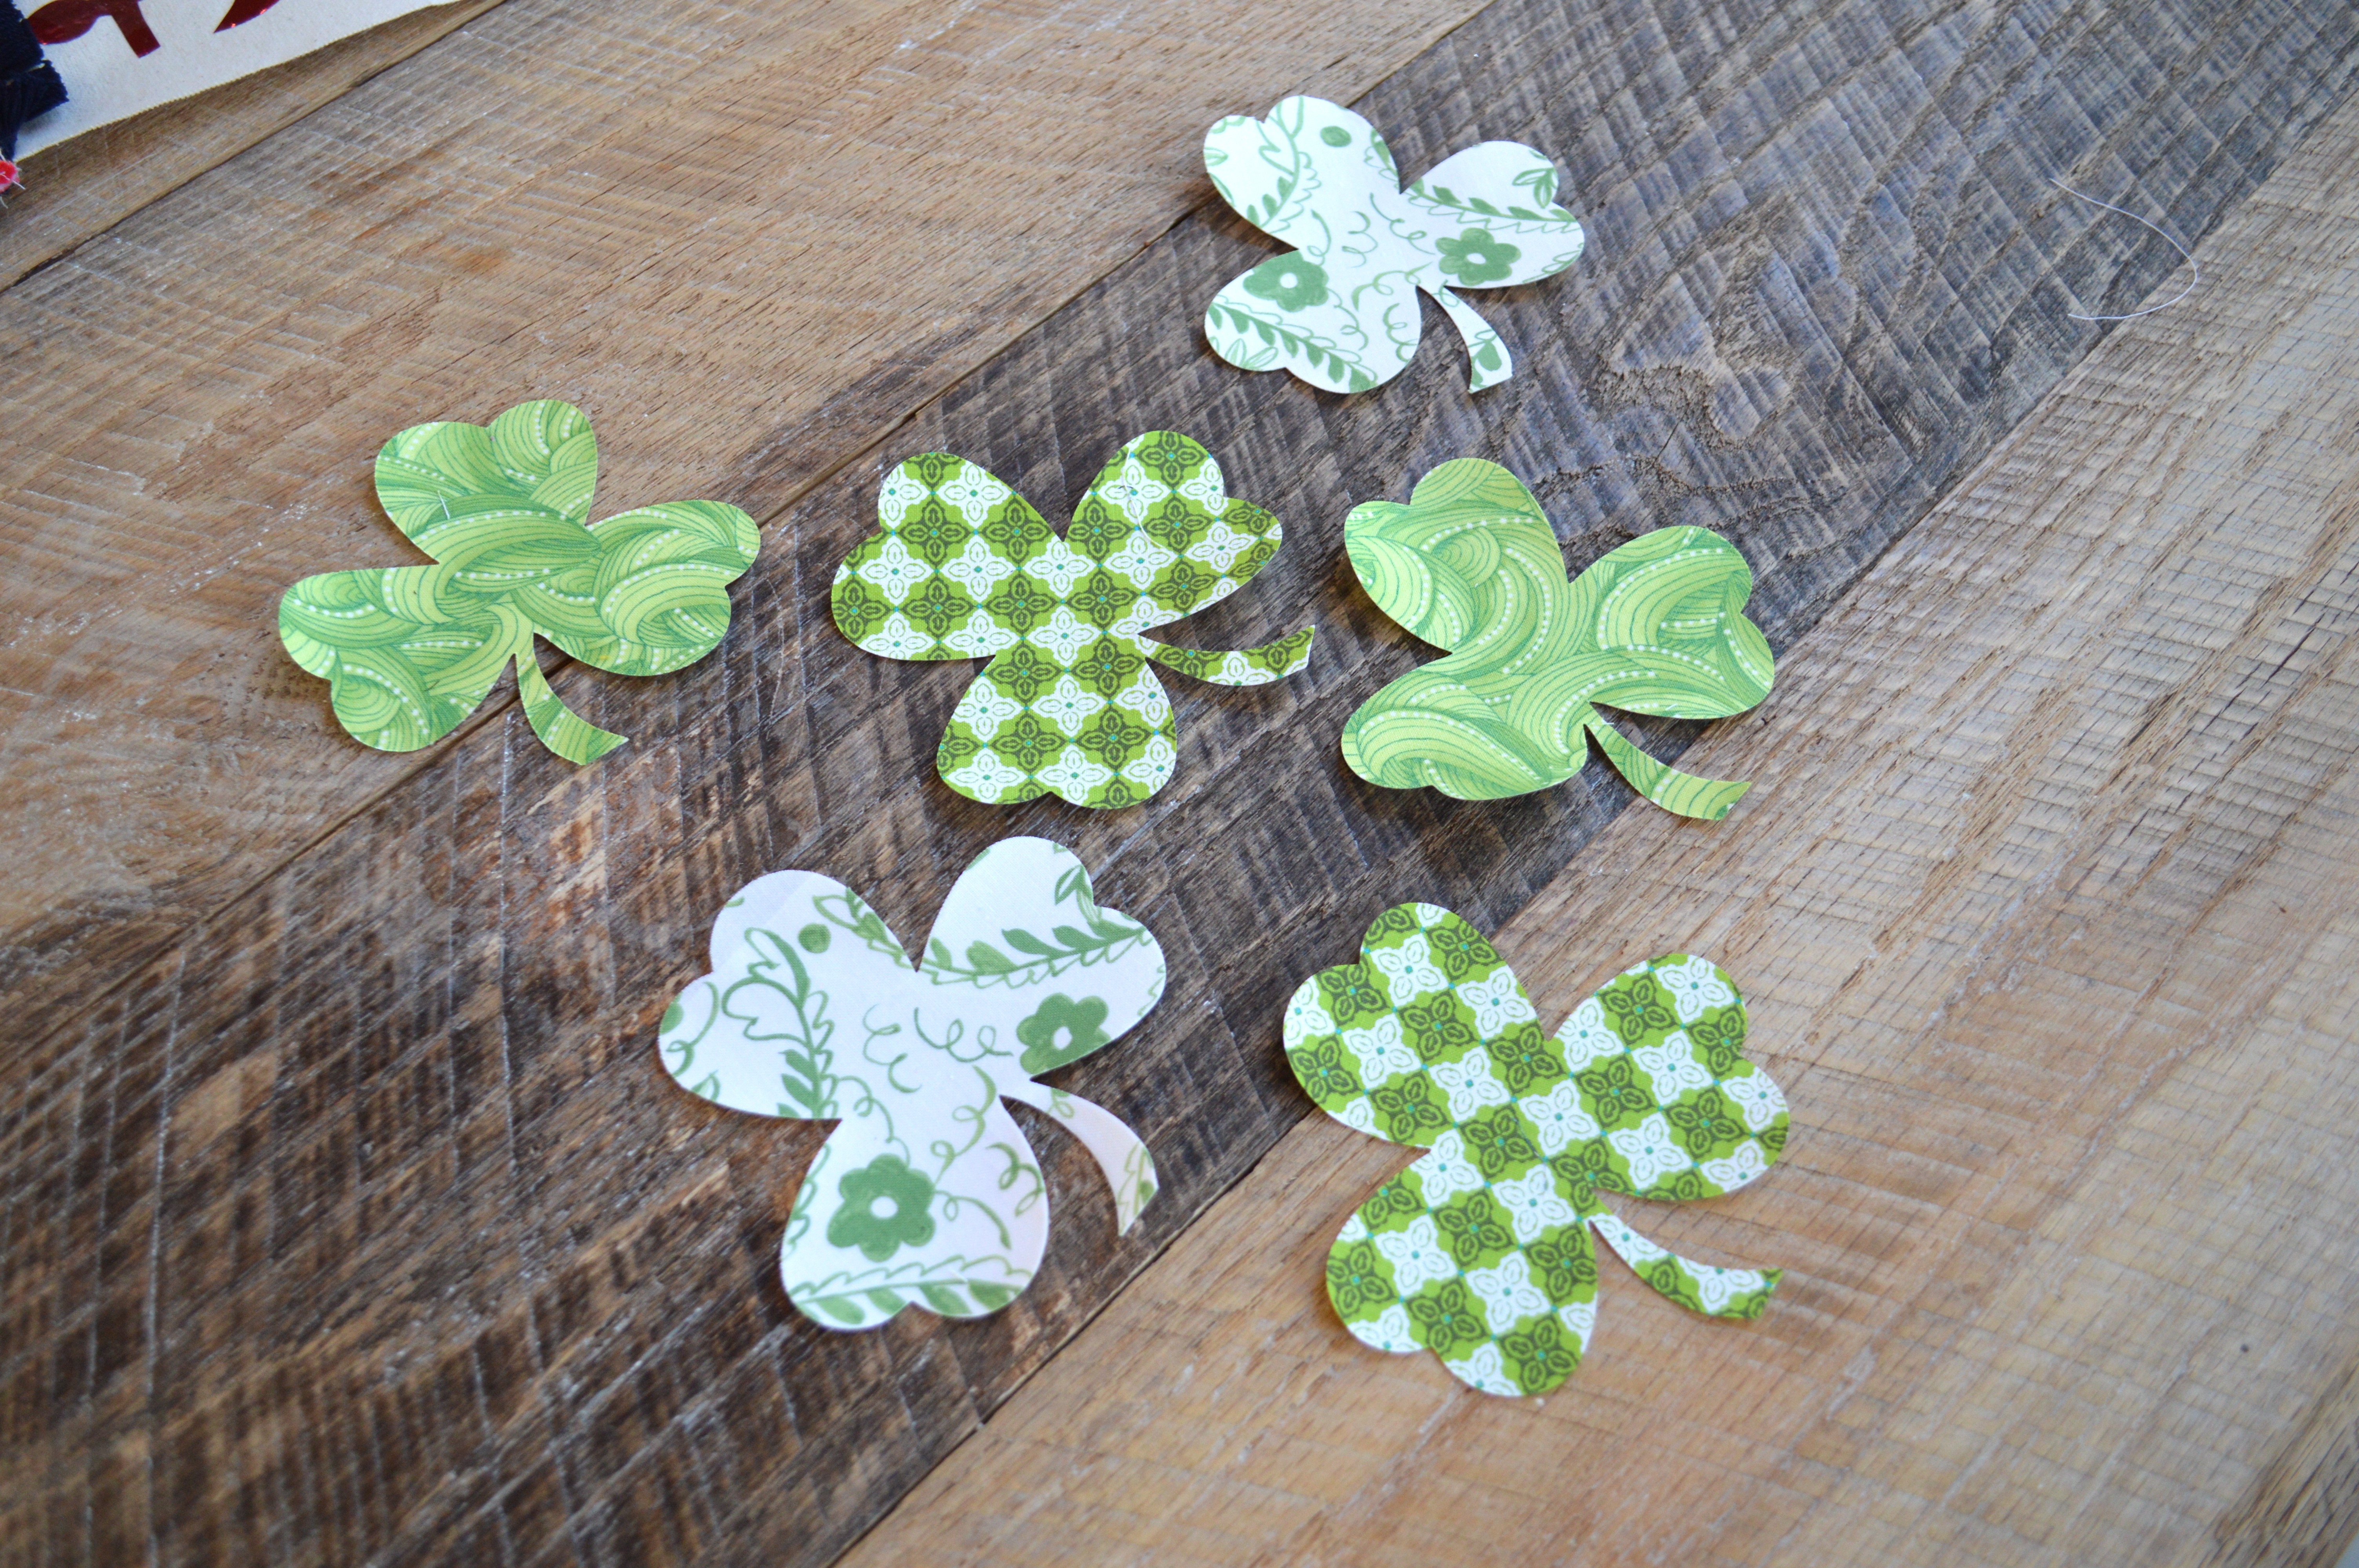
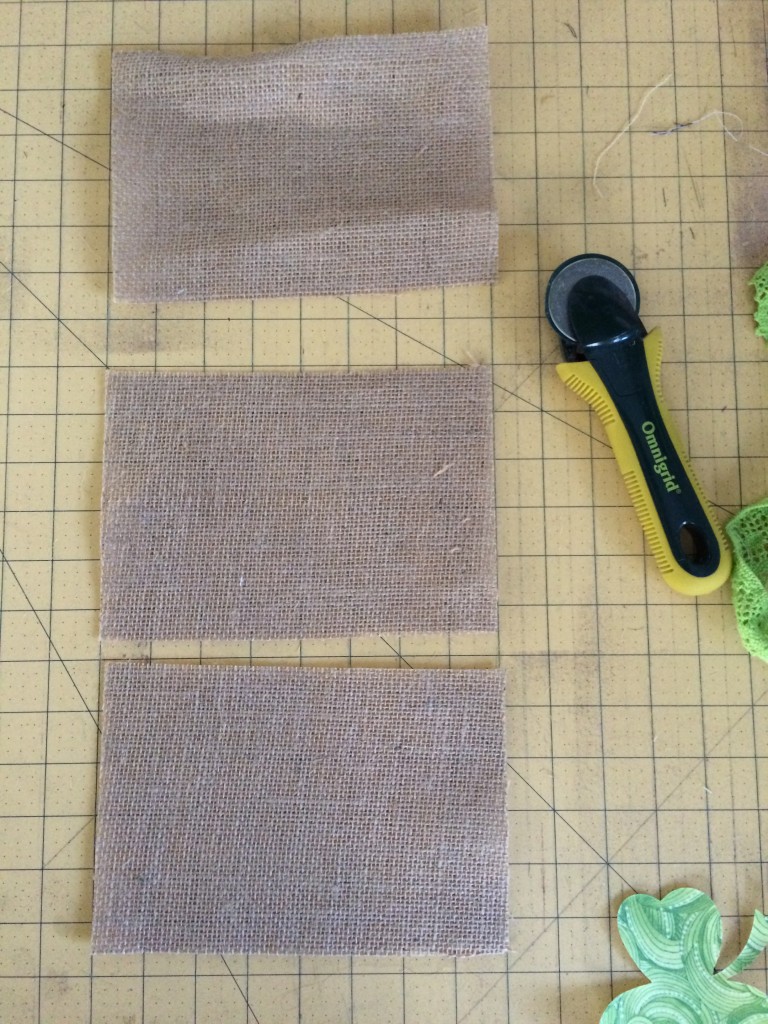
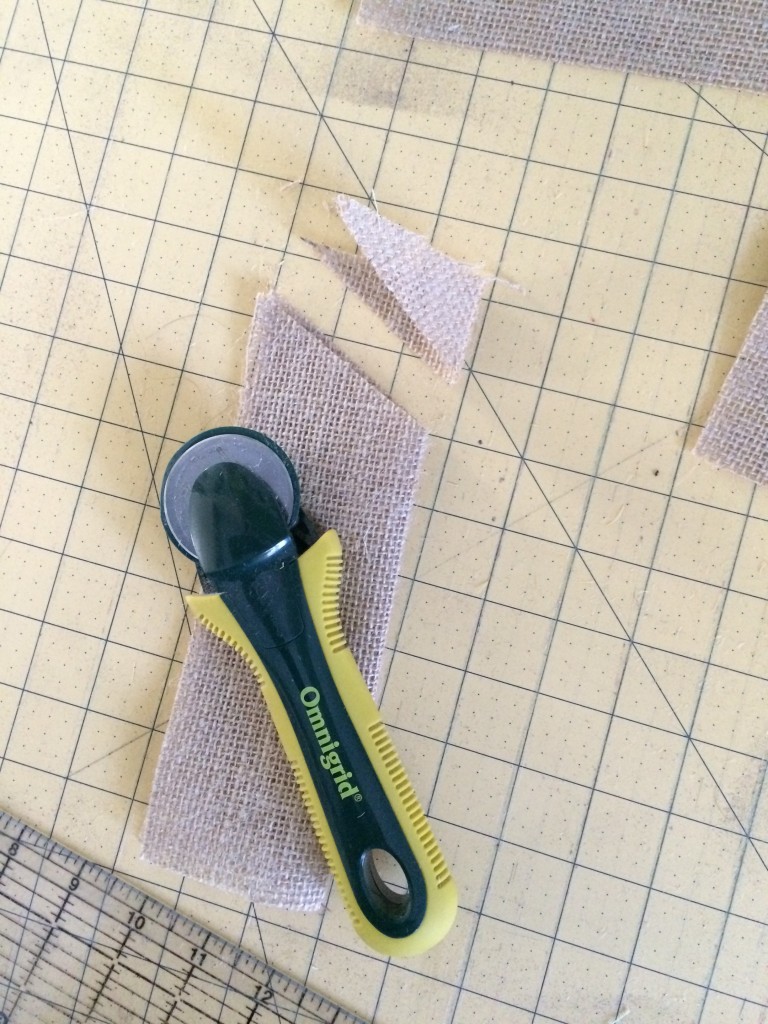
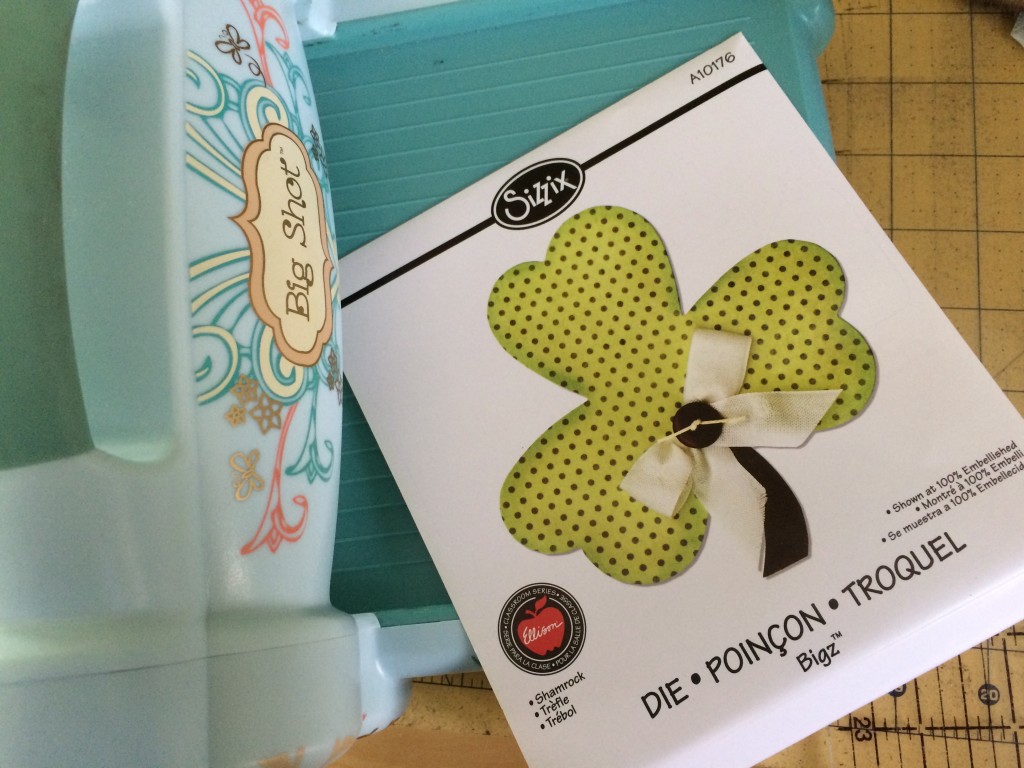
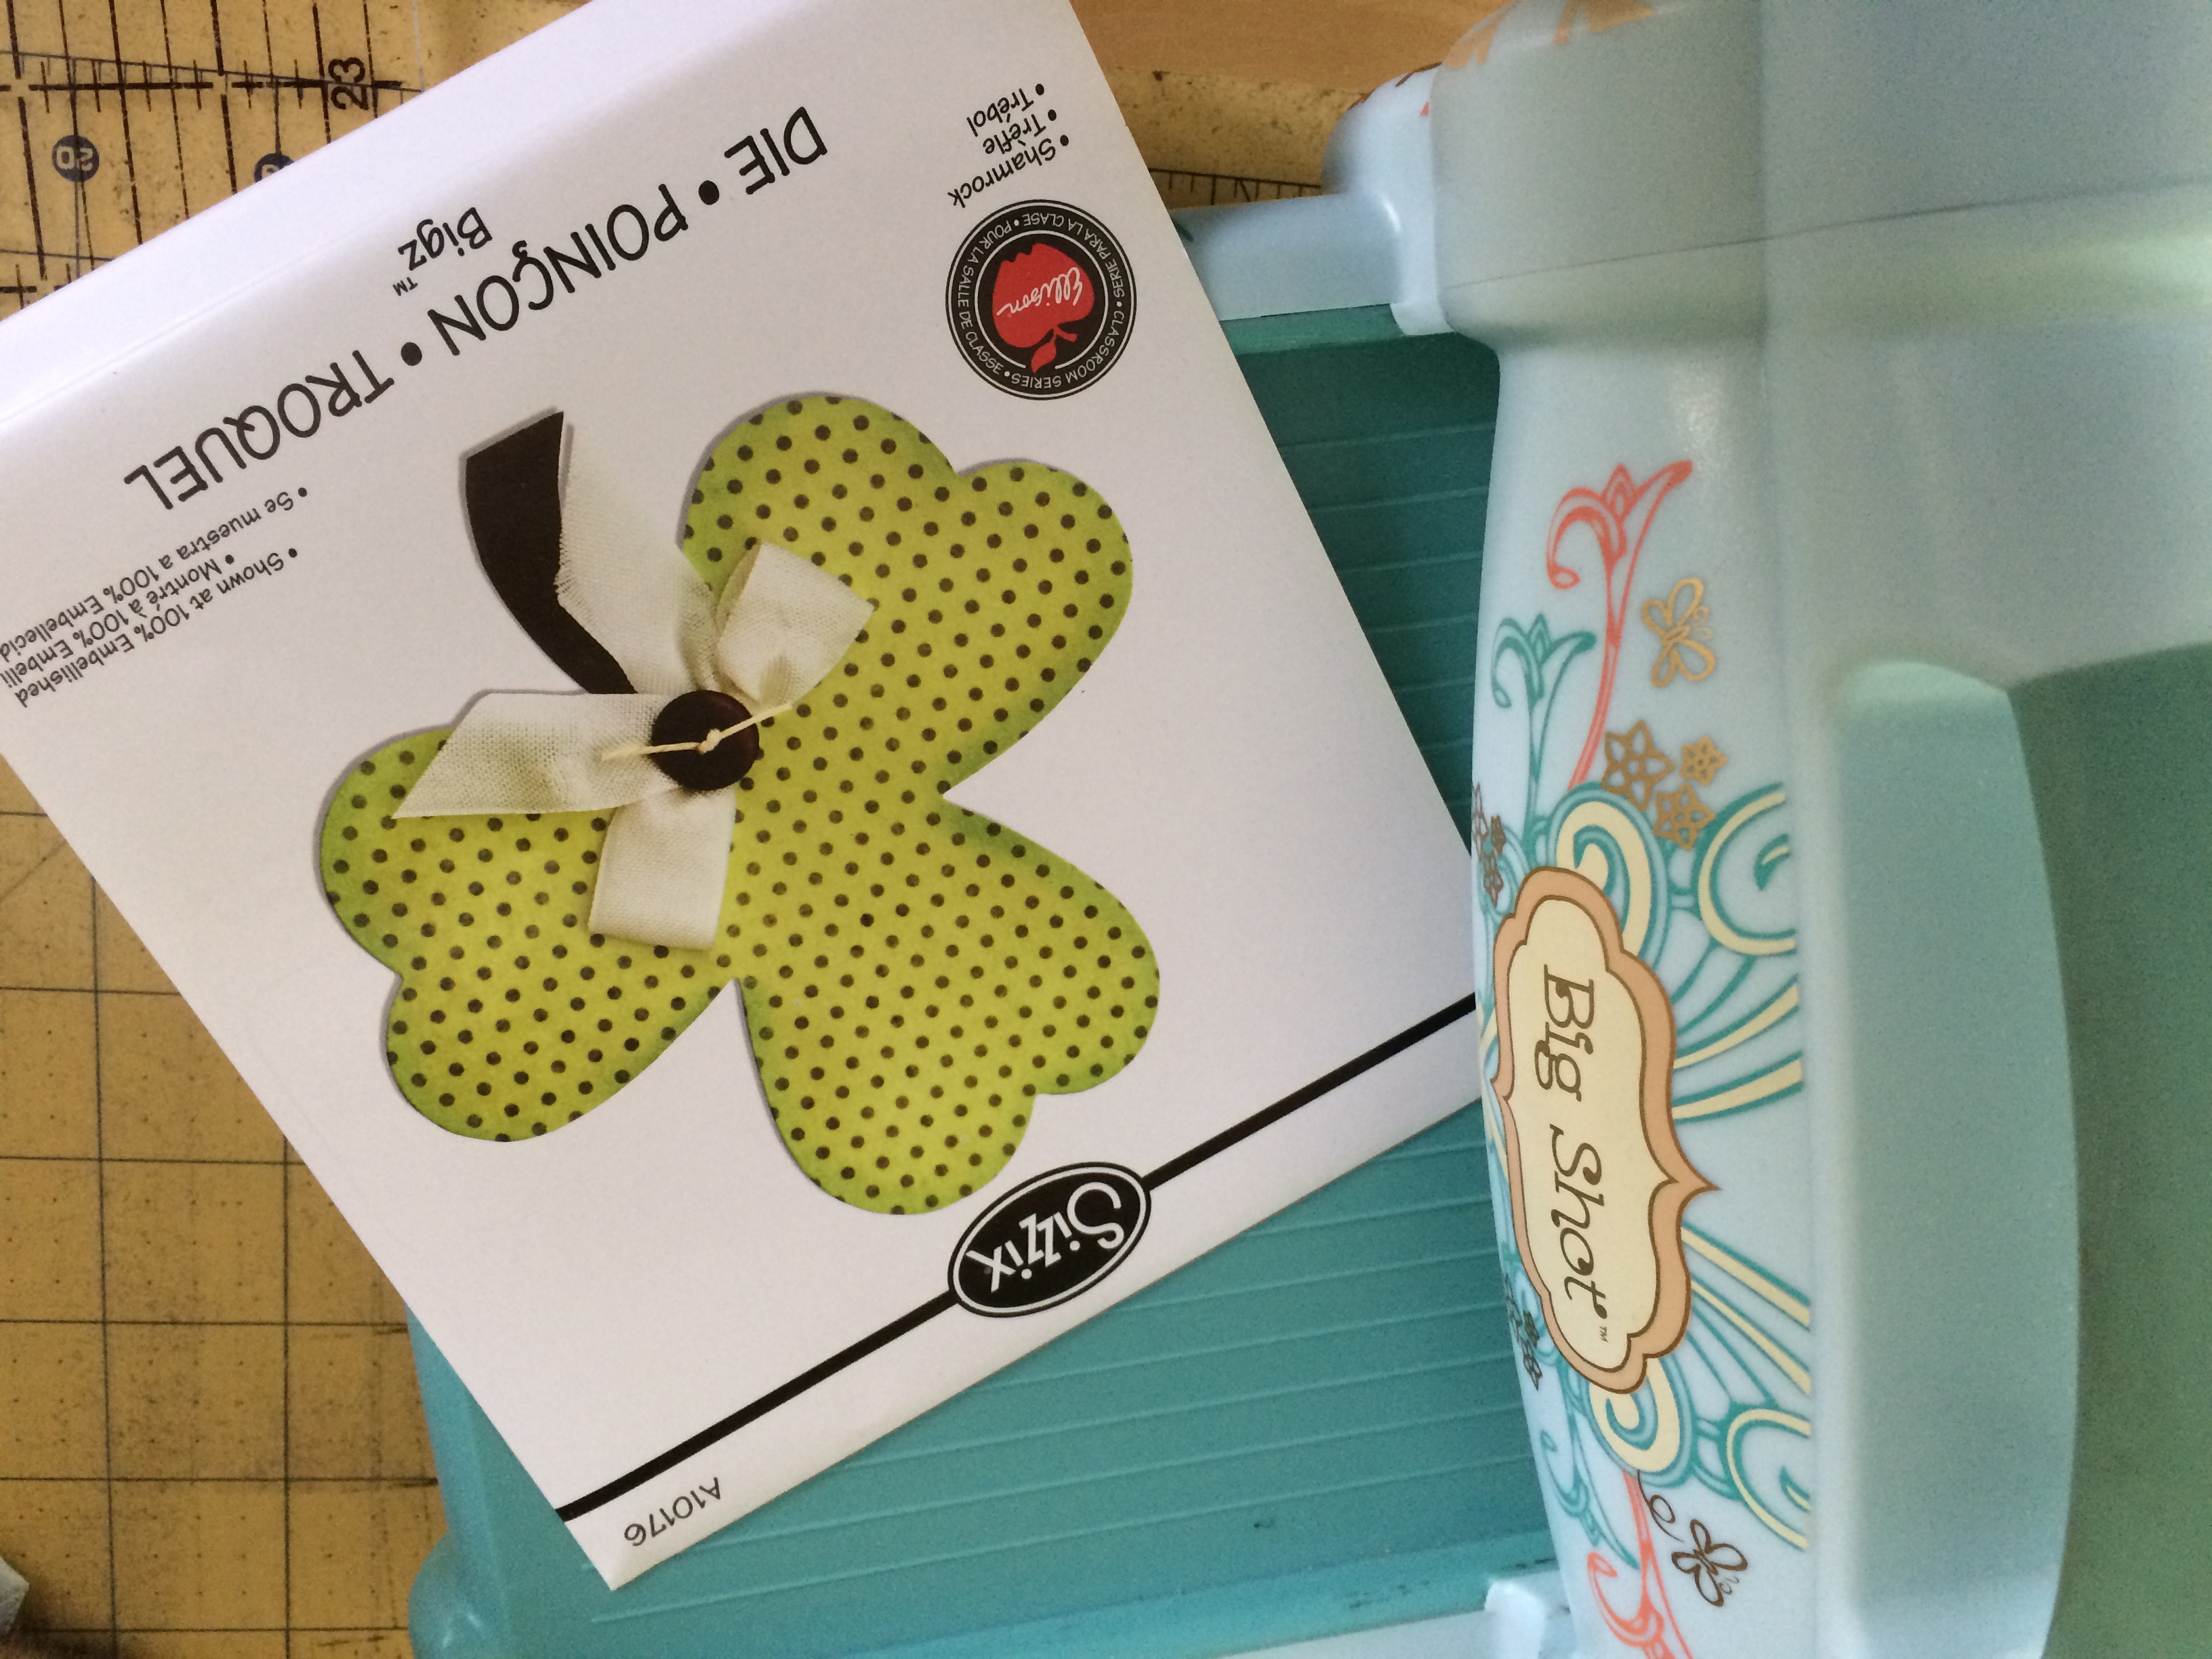
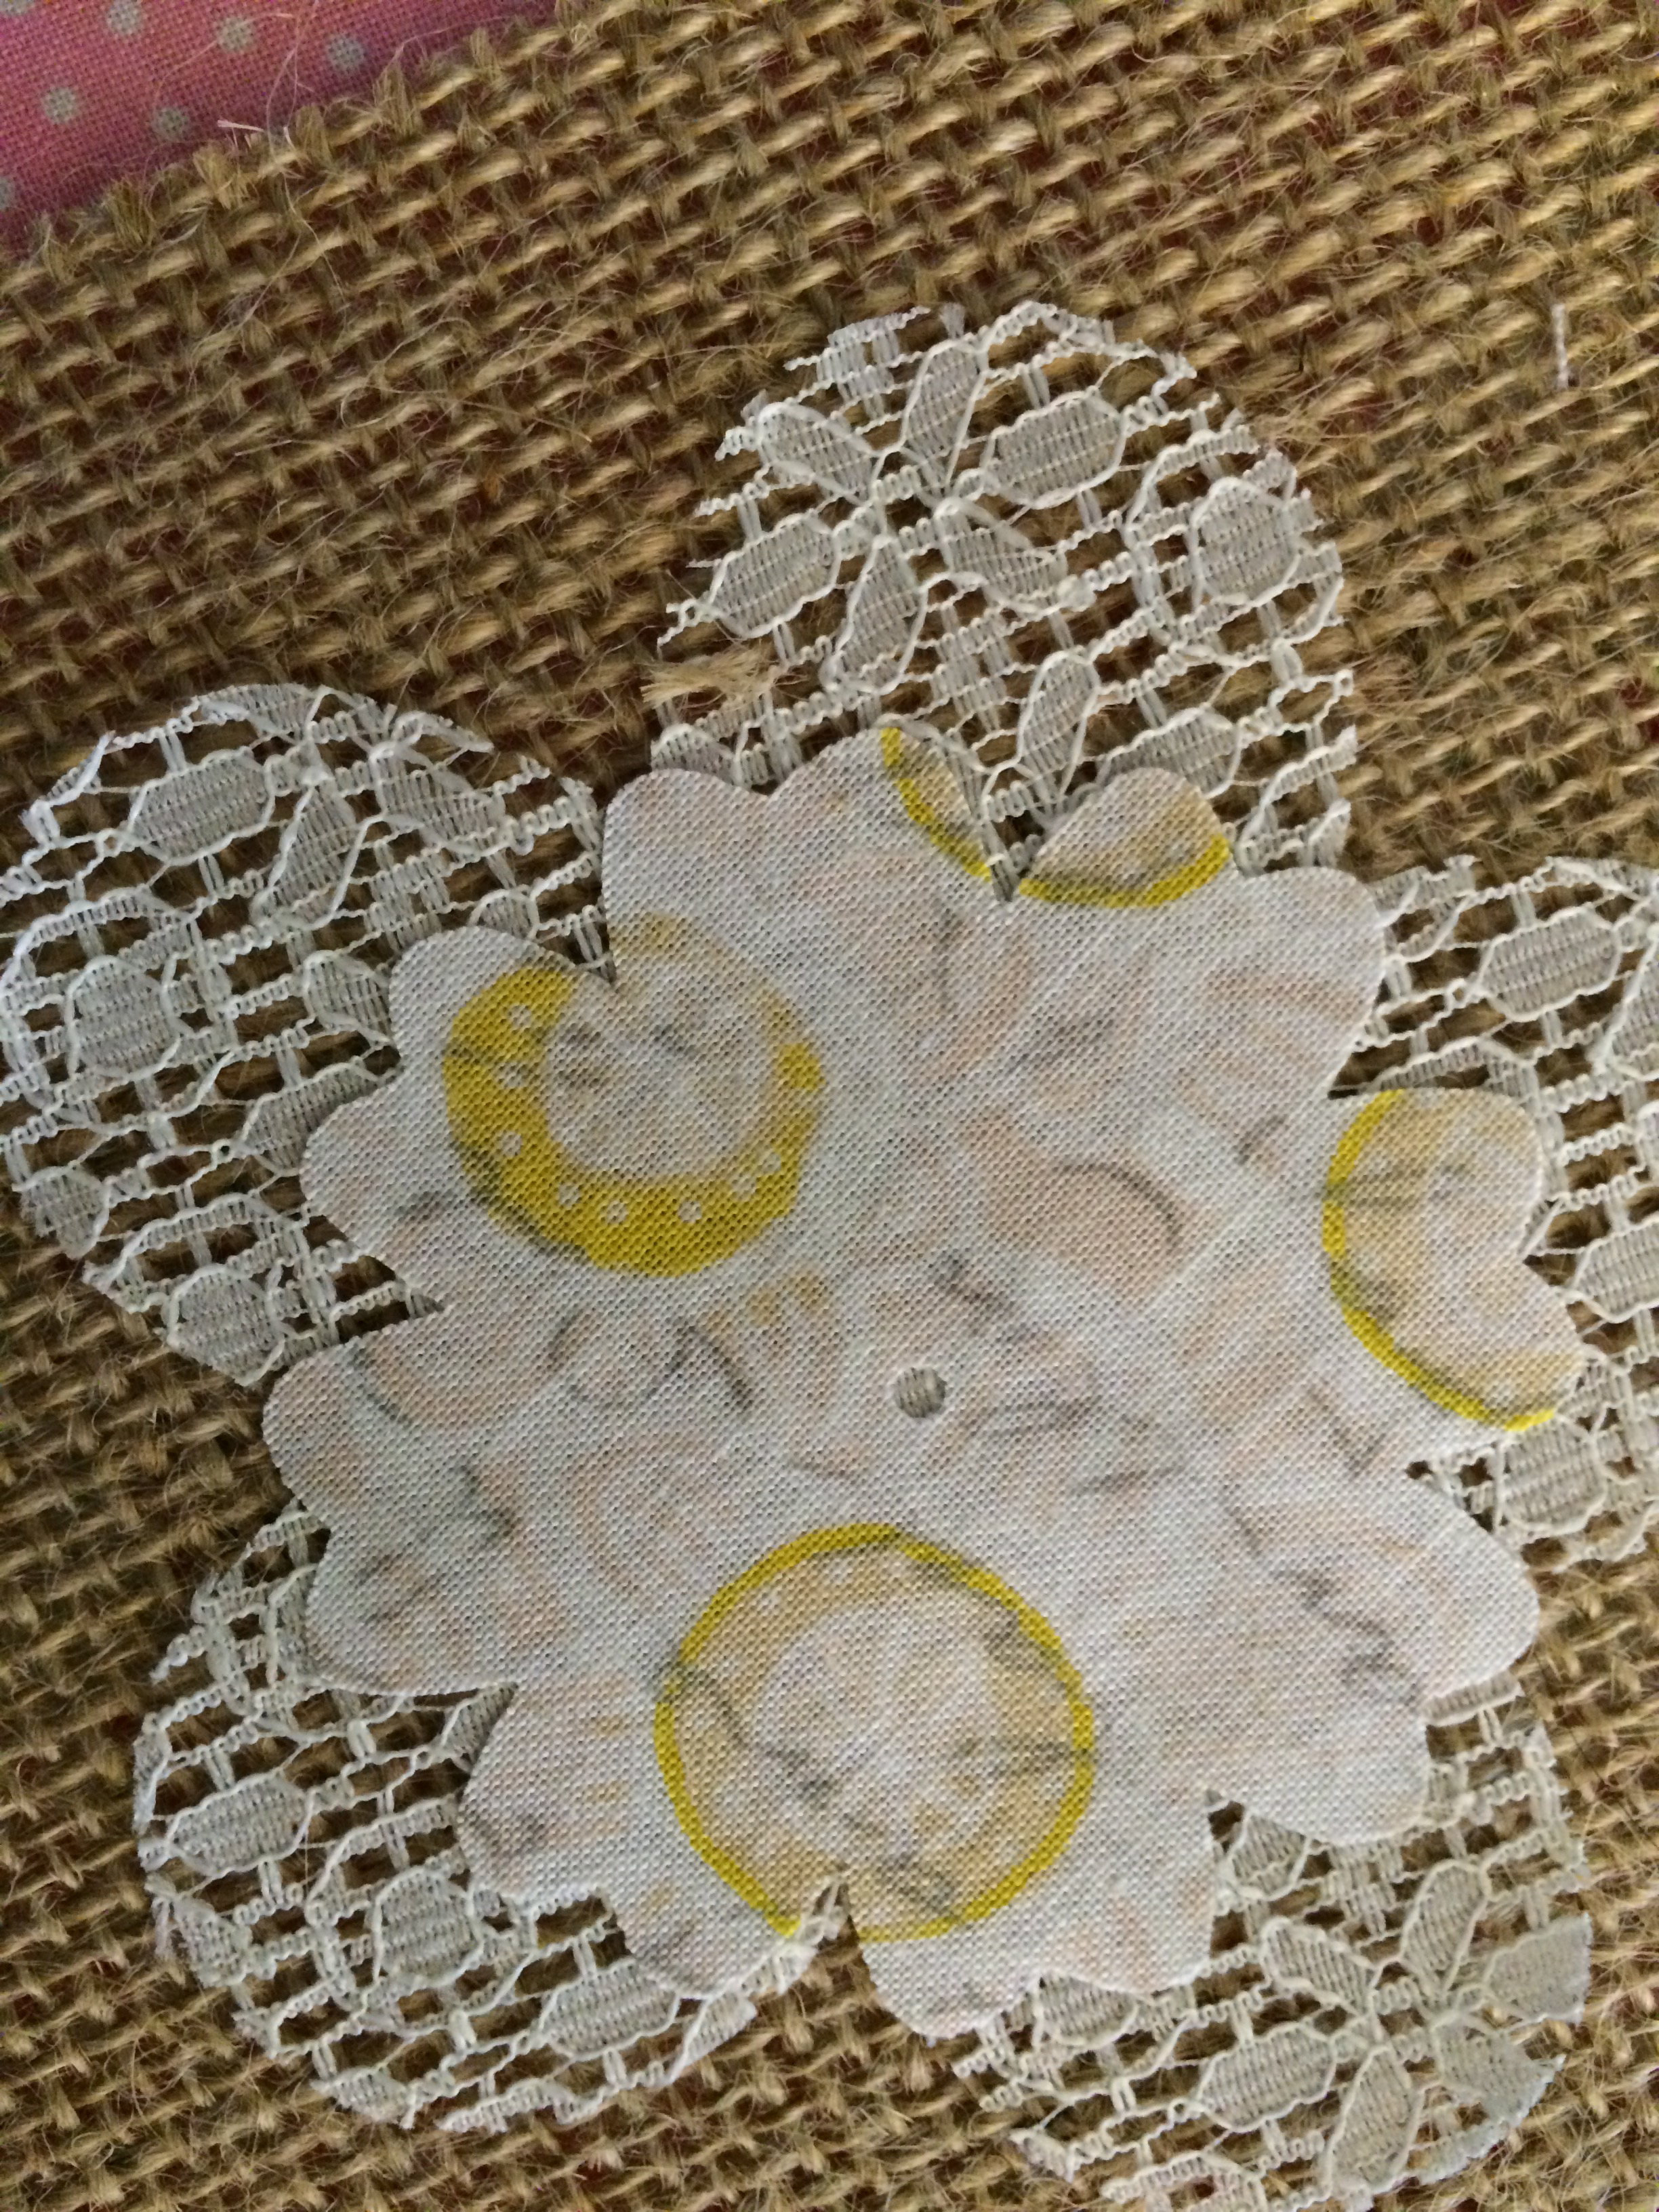
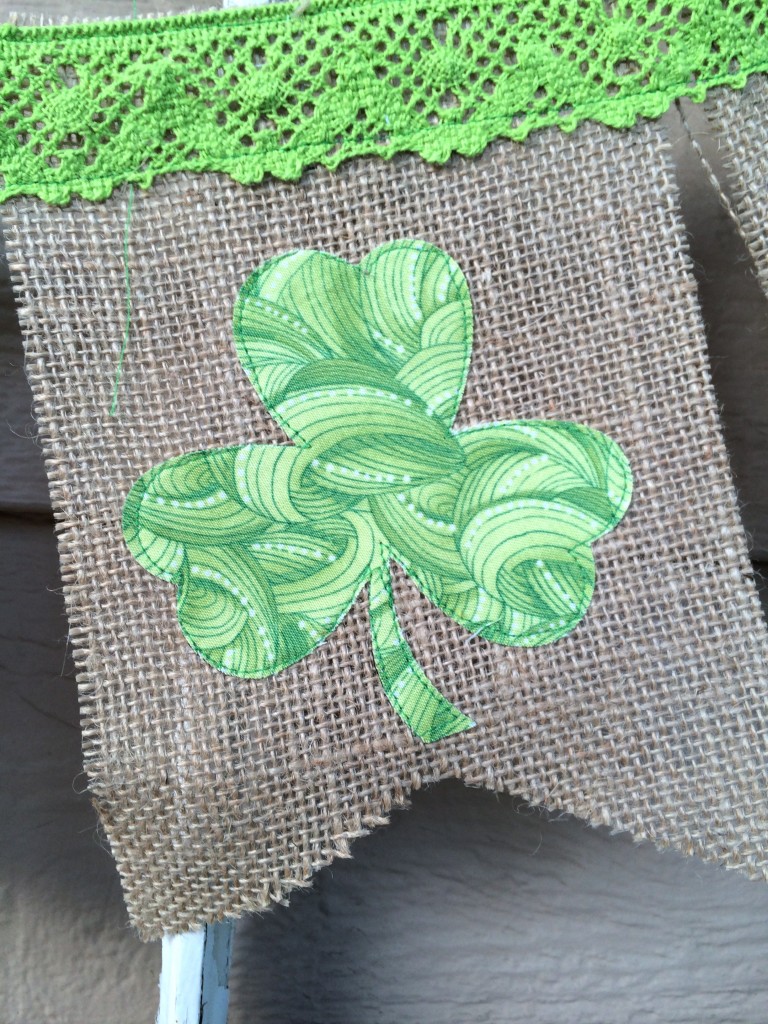
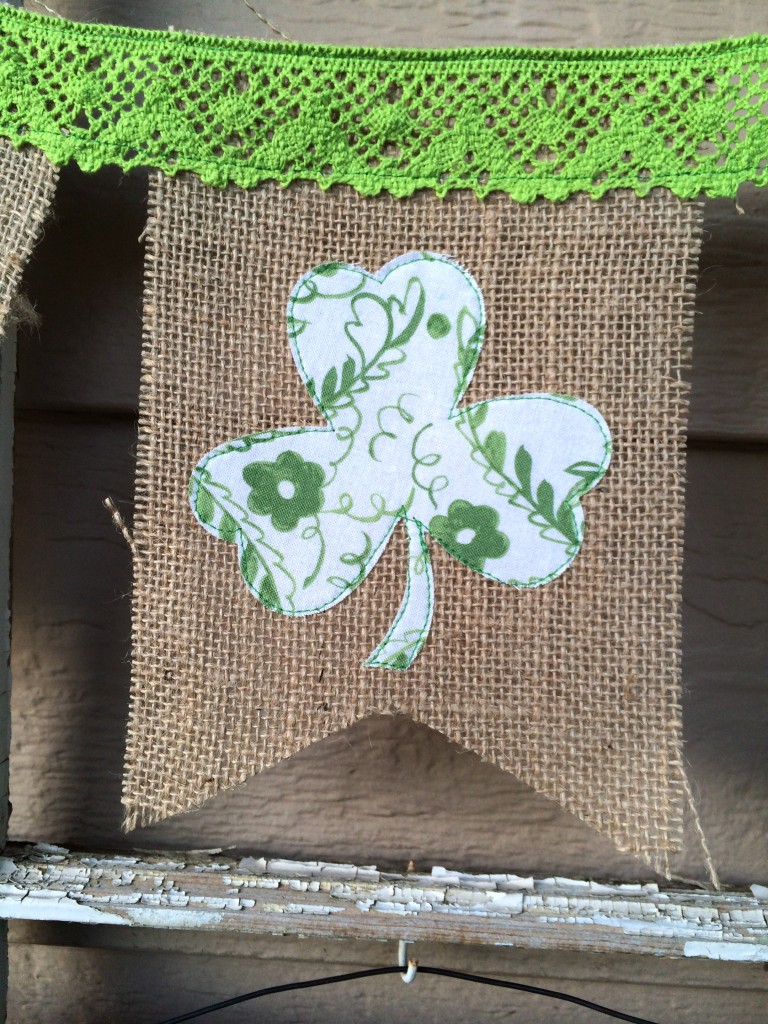
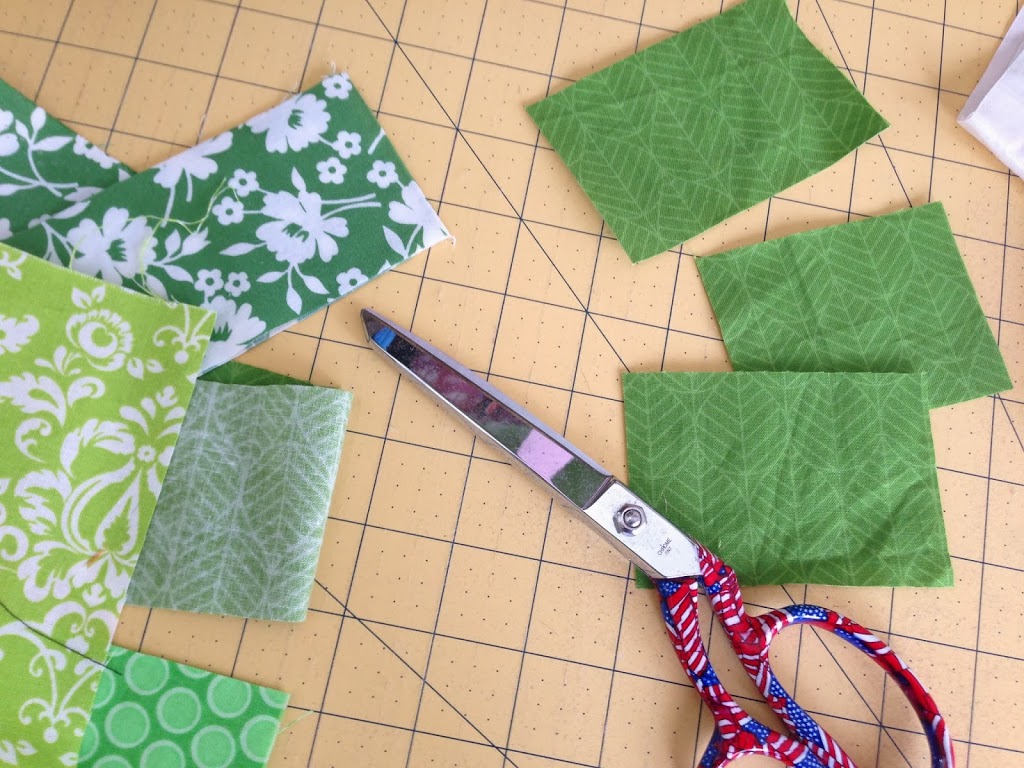
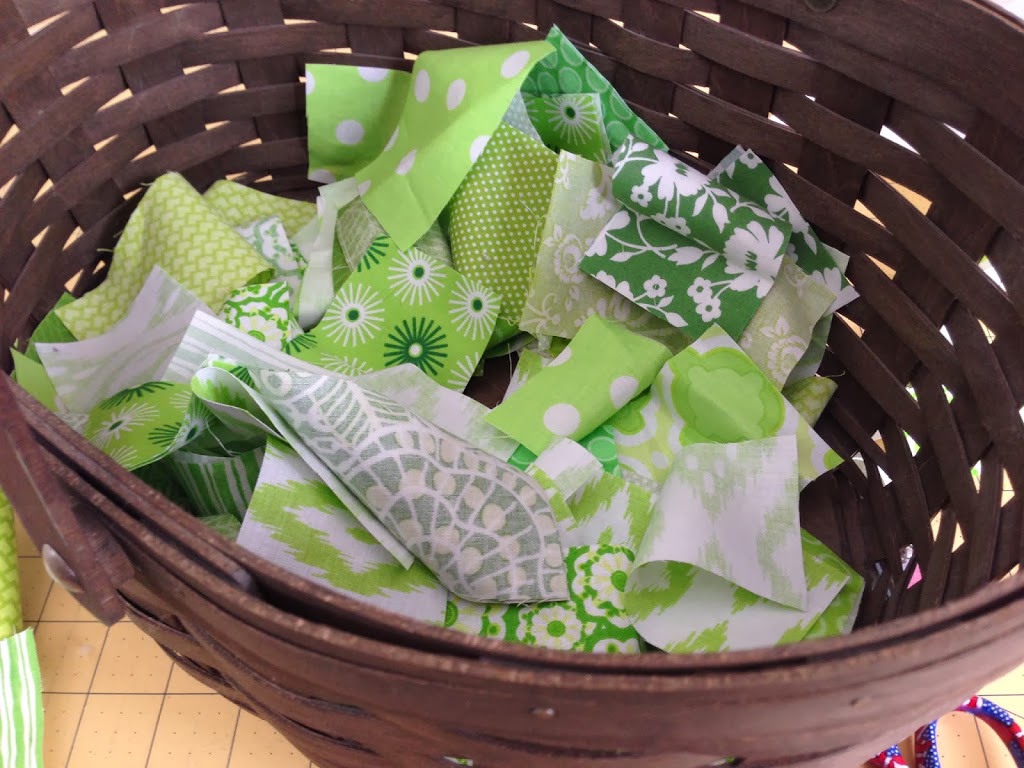
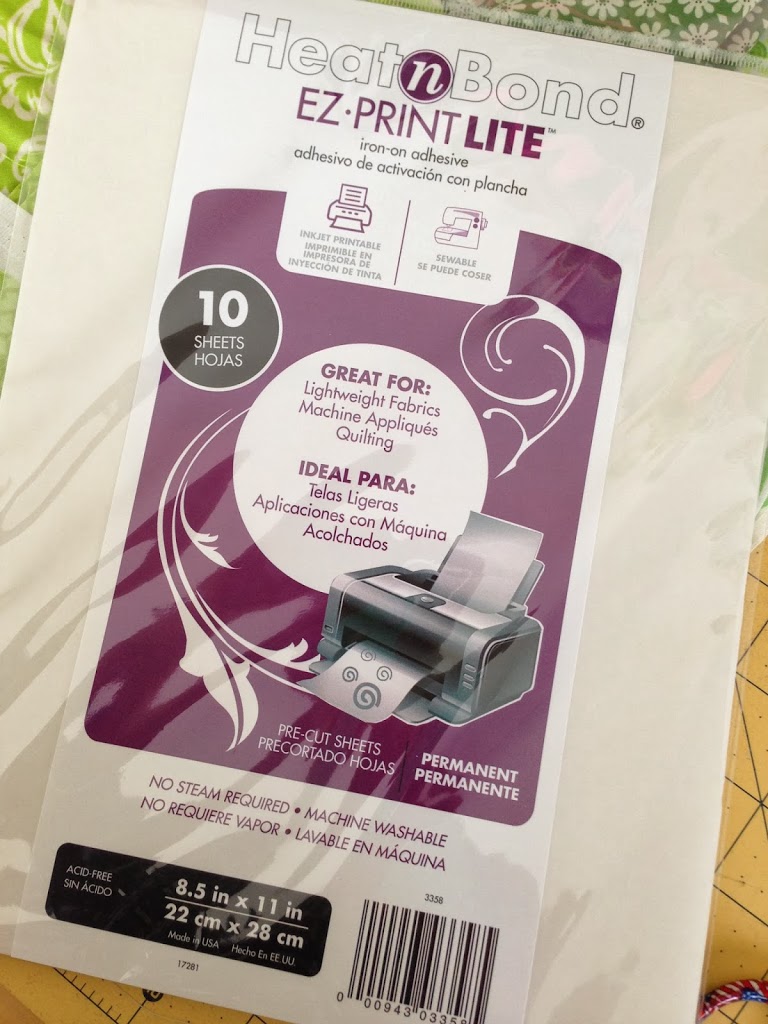
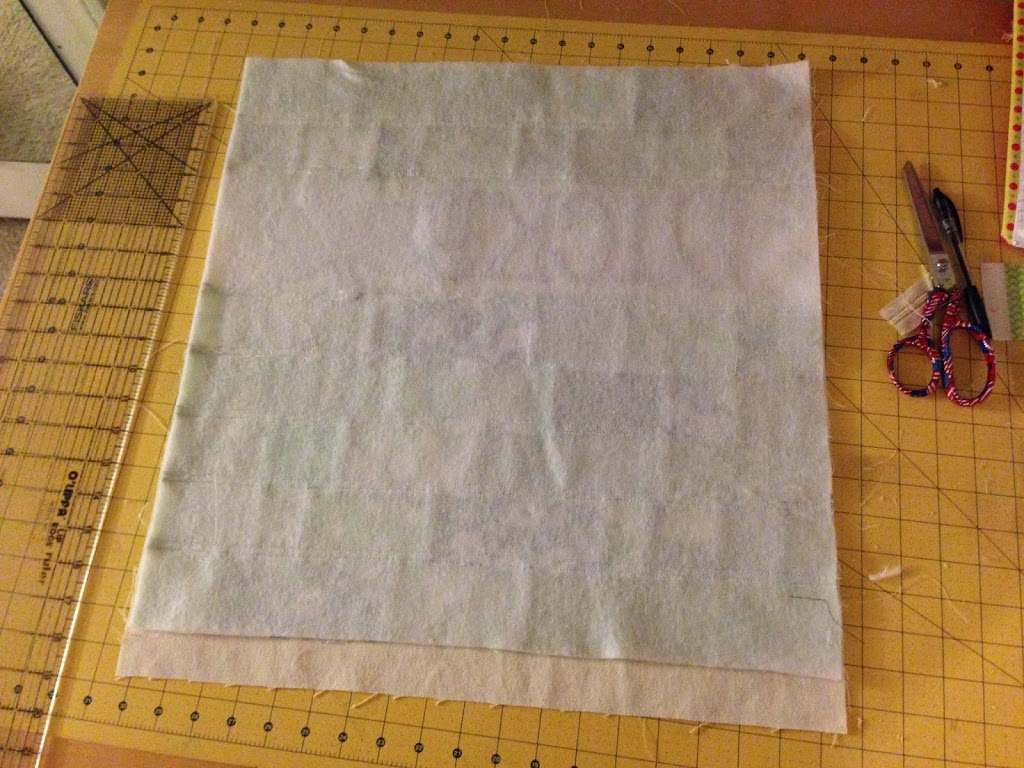
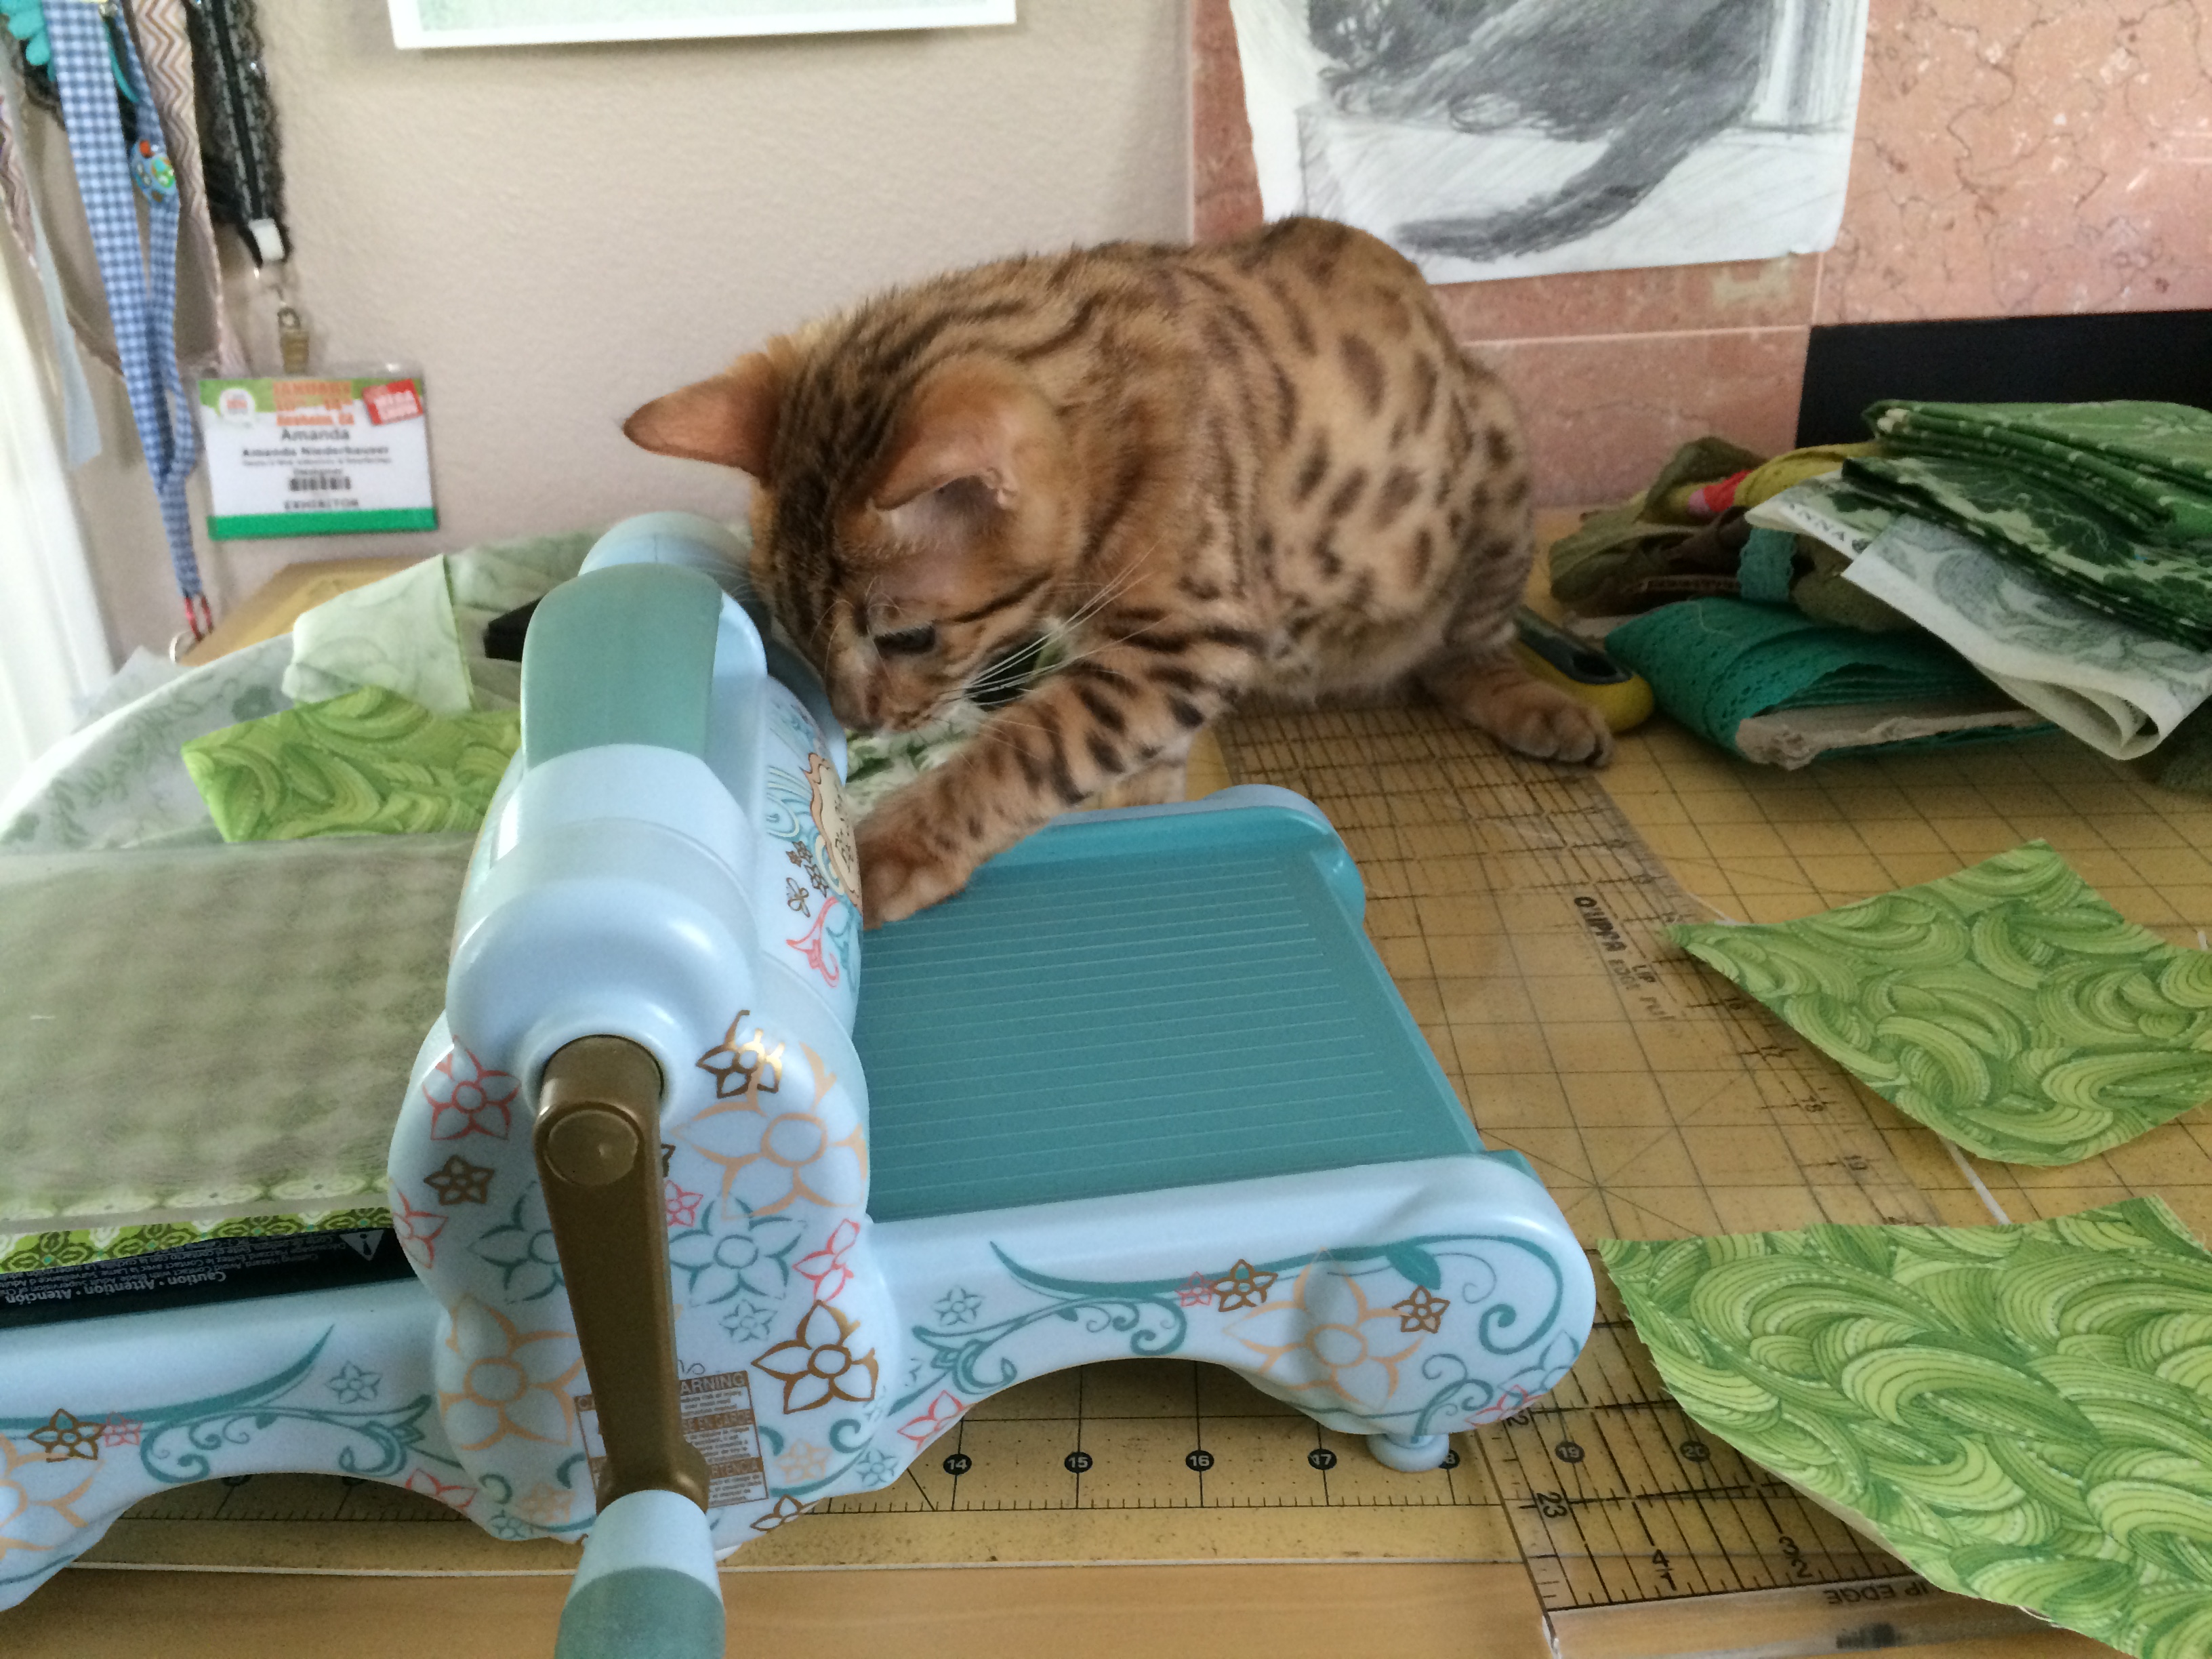
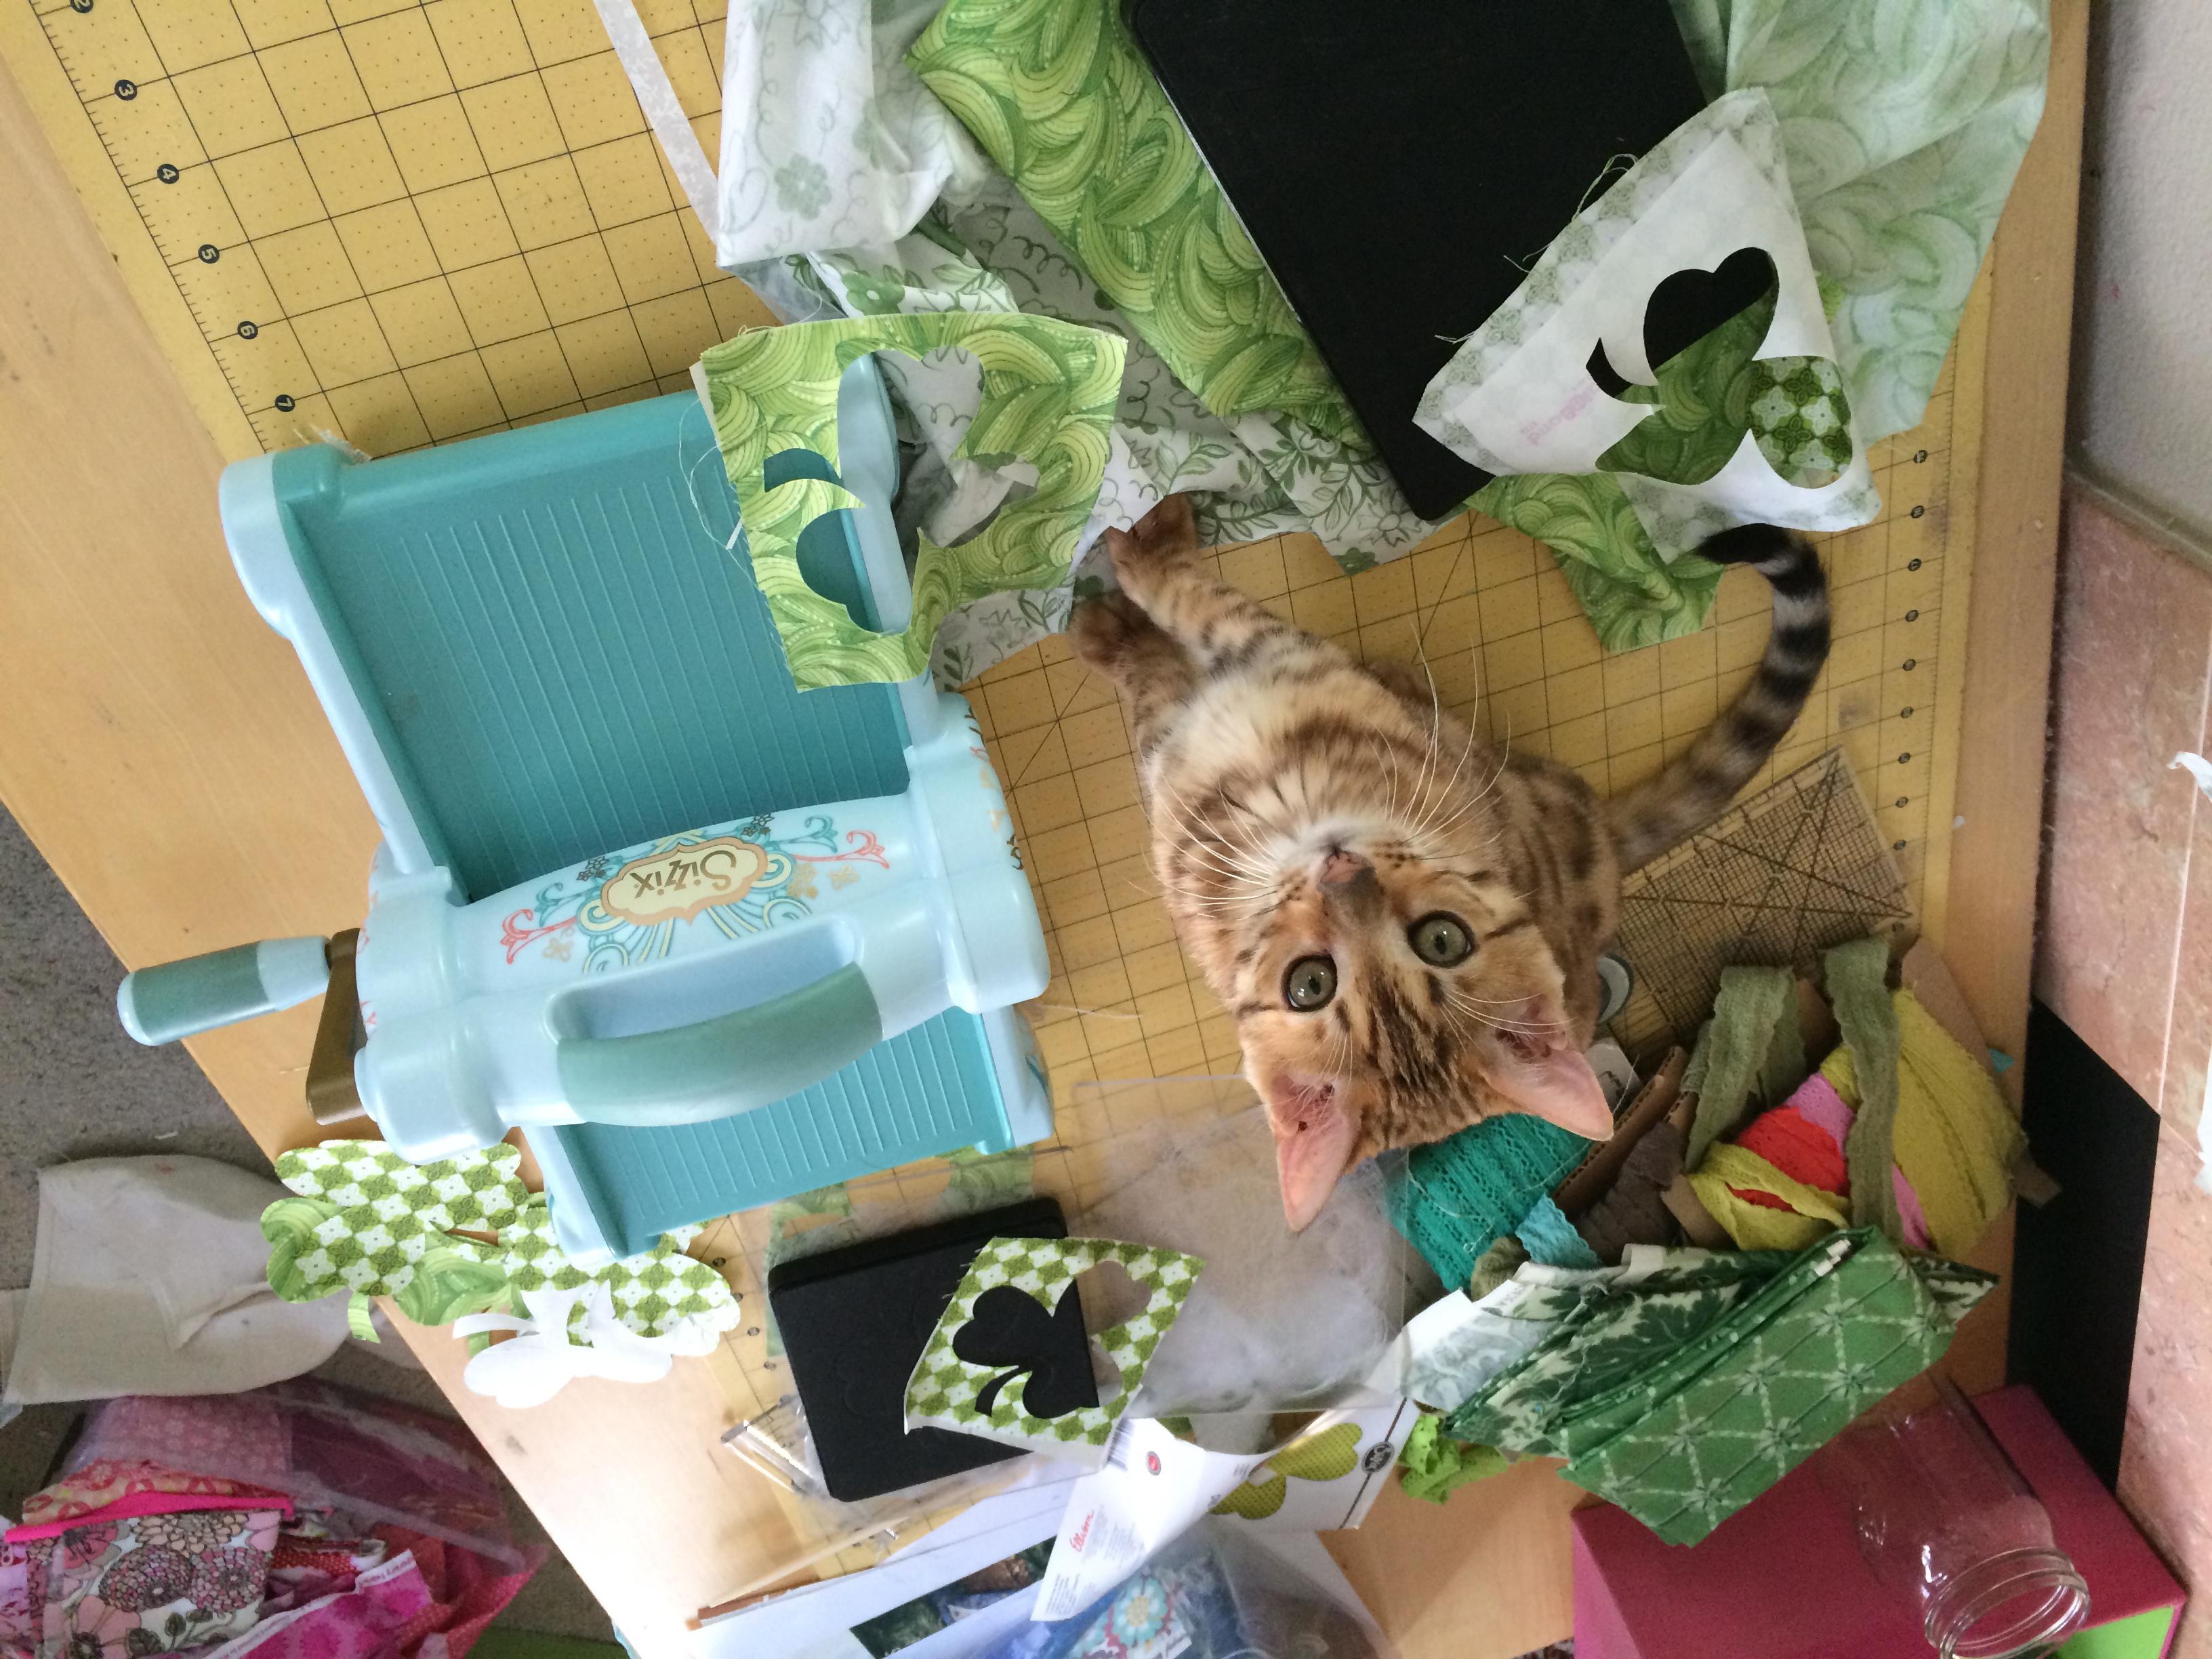
Begin by ironing the Heat n Bond Lite to the wrong side of the green fabrics and the “lucky” fabrics.  Run the green fabrics through the Sizzix Big Shot.  If you don’t have a Big Shot machine, you can hand cut the shamrocks.

lucky pillow
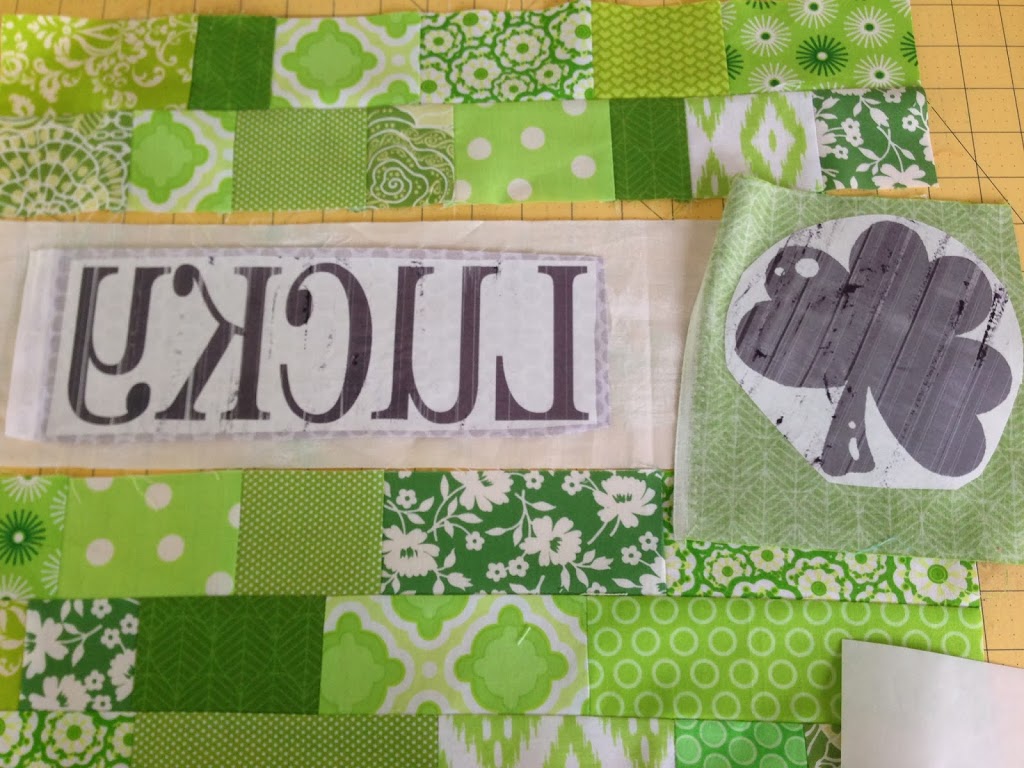
Print off the “lucky” letters and iron them to the wrong side of the fabric.  Cut with scissors.  This takes a little bit of patience 🙂 IMG_4173
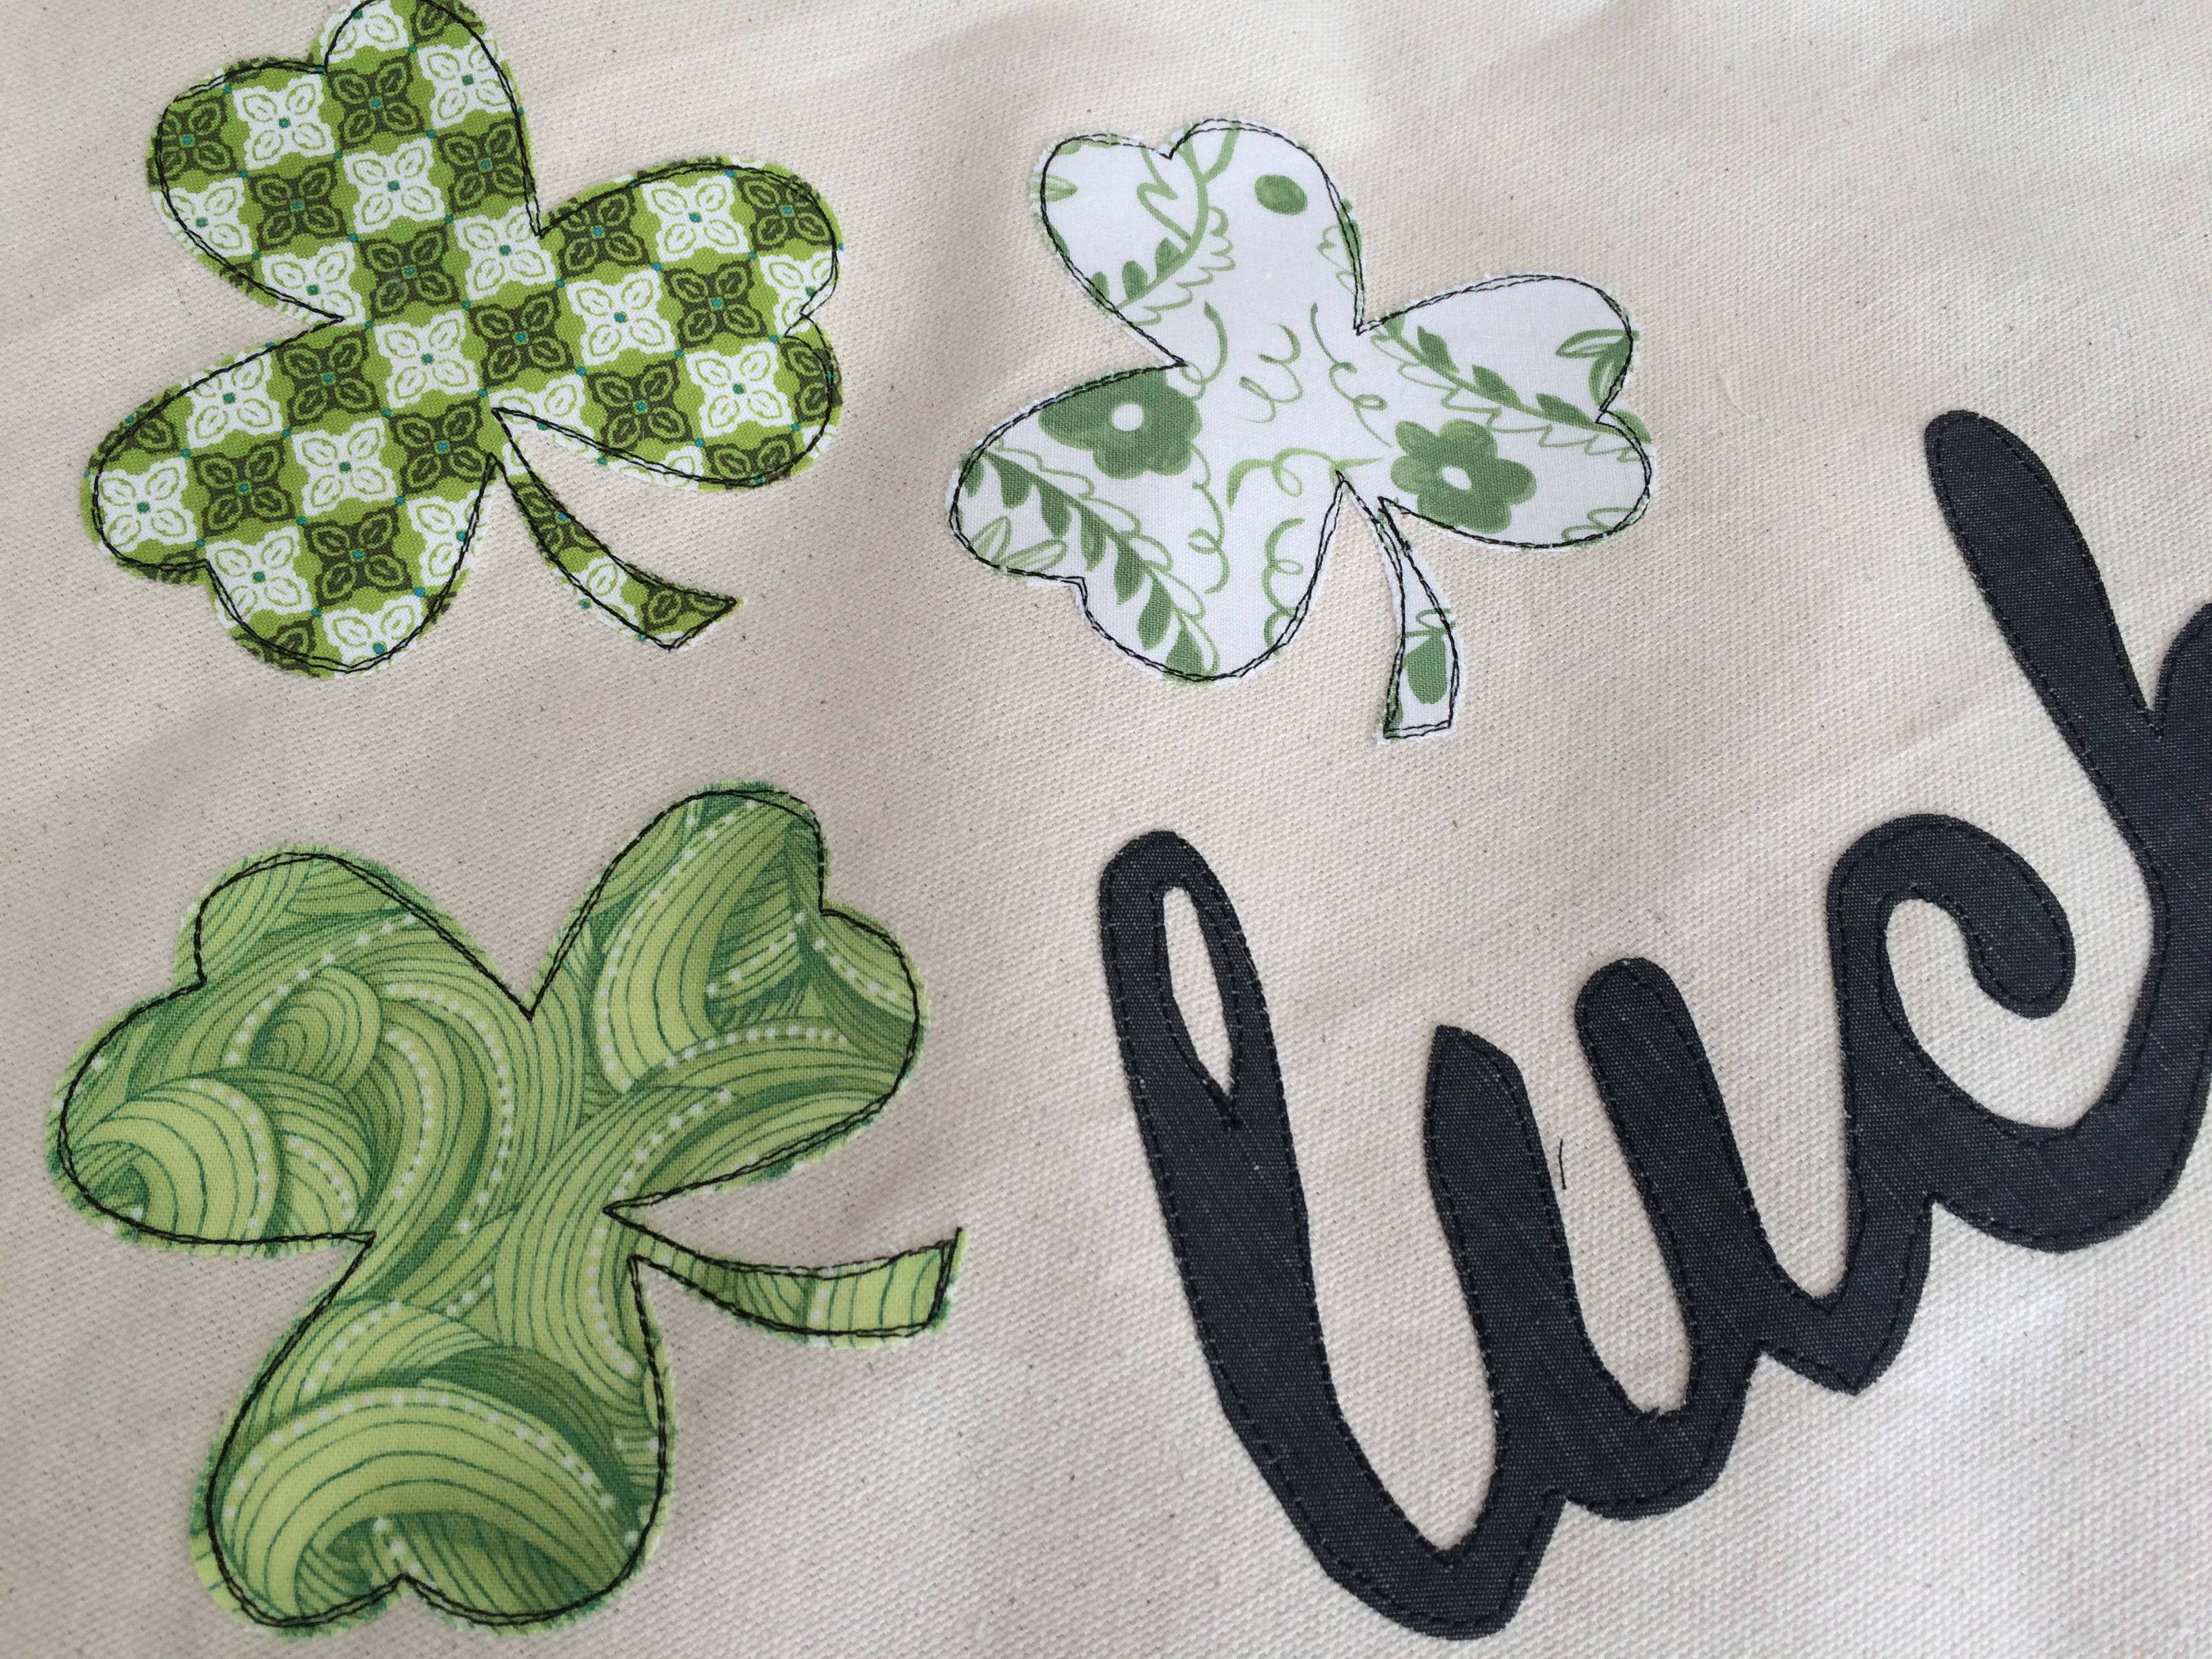
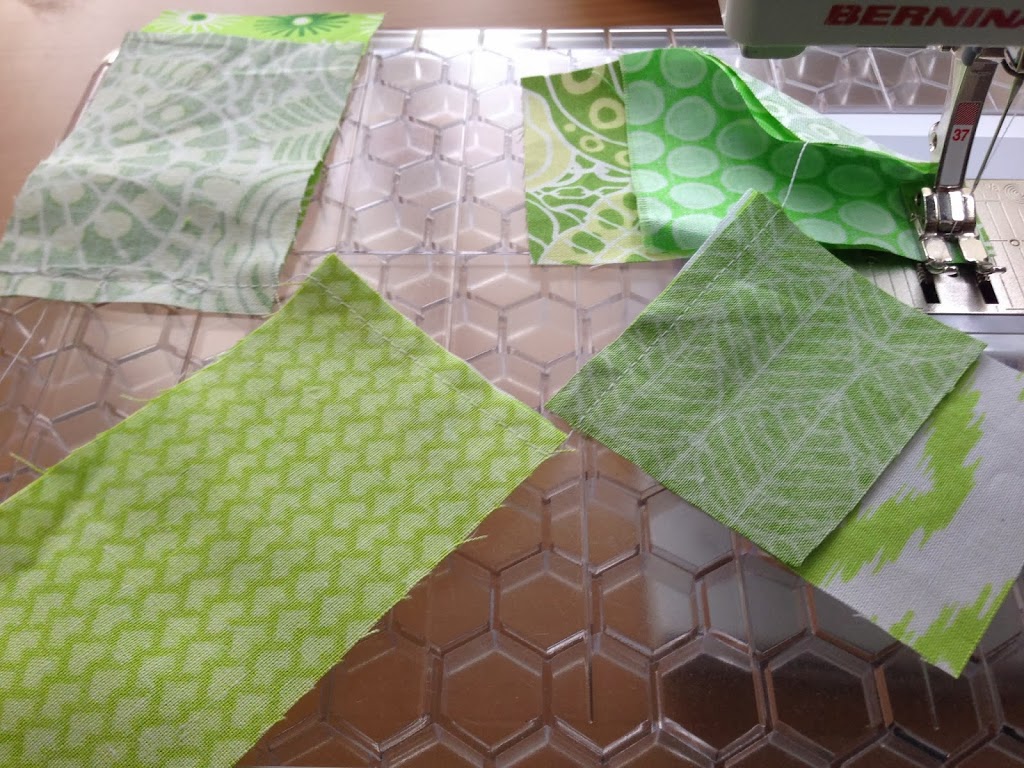
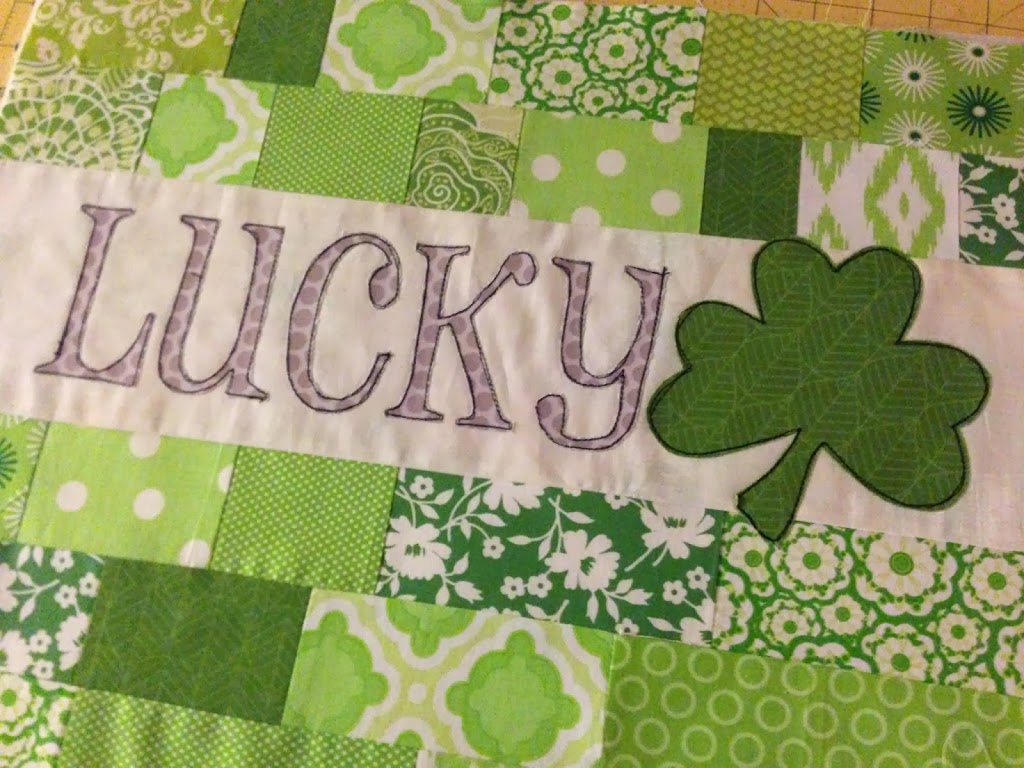
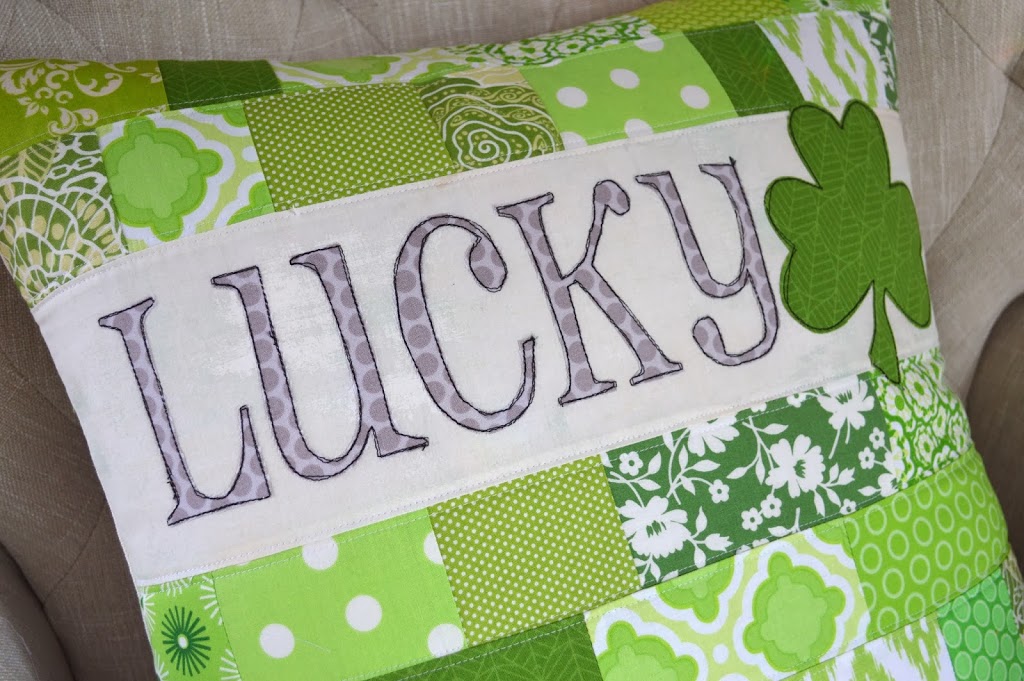
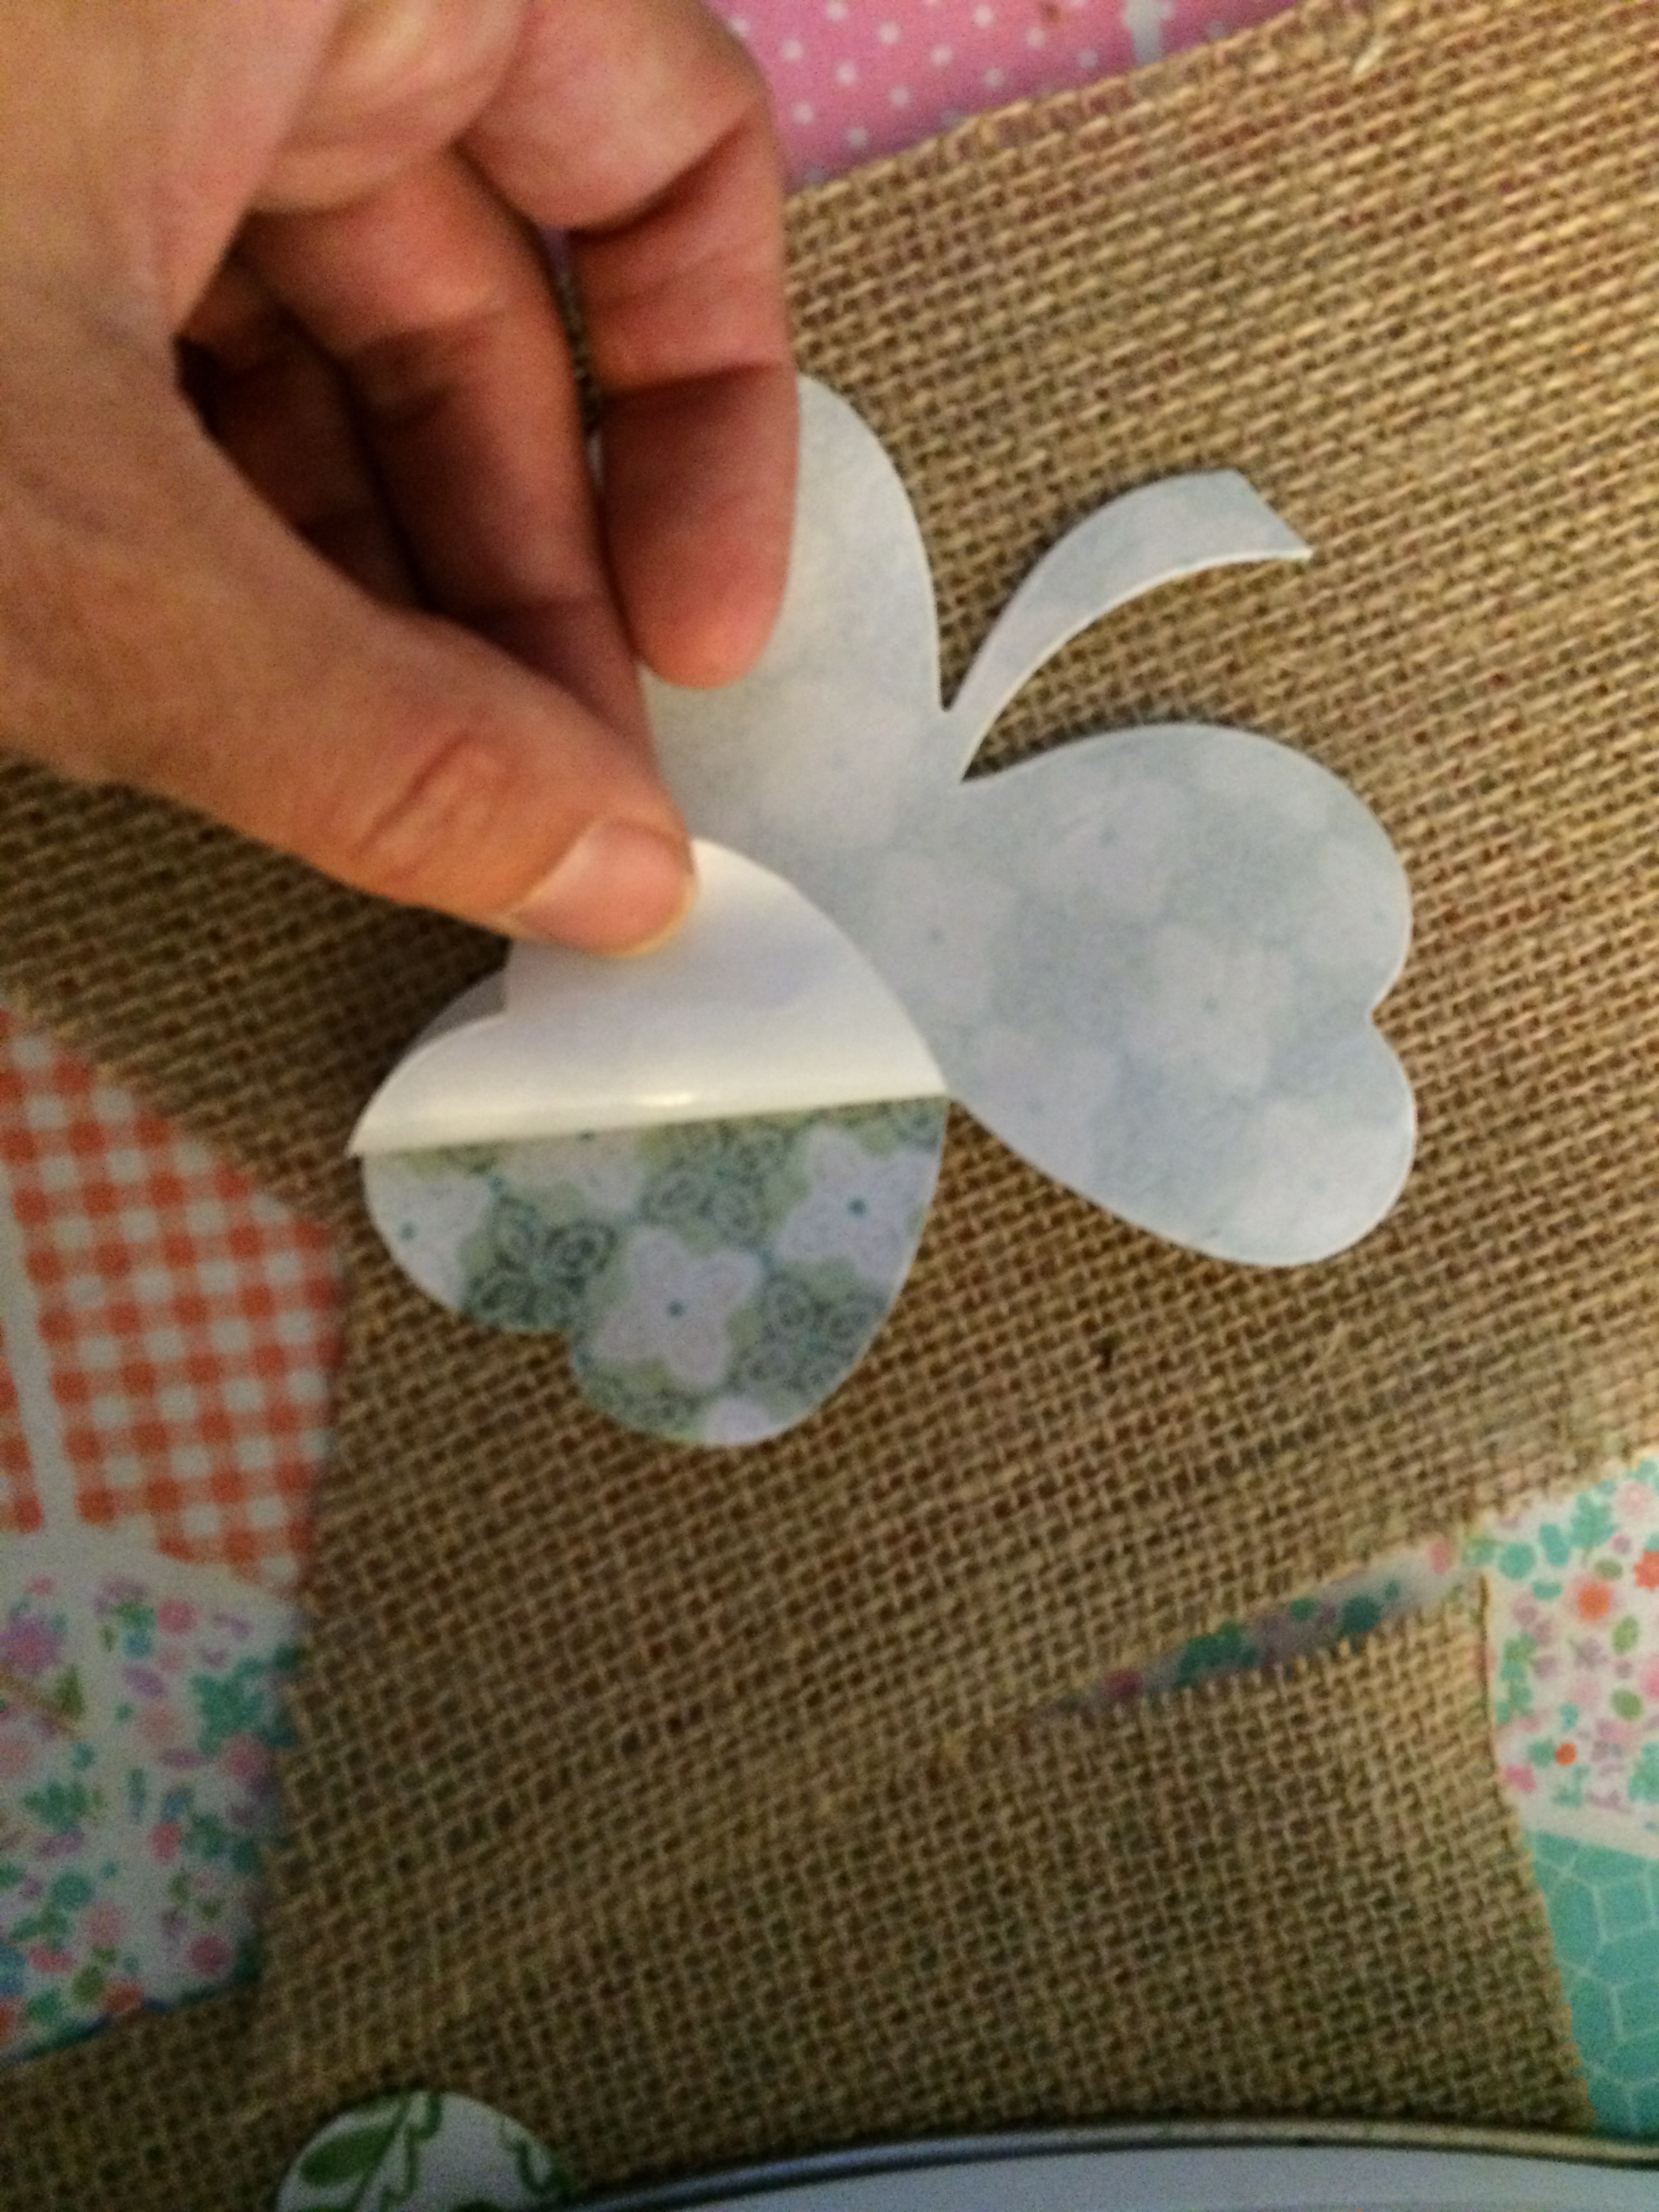
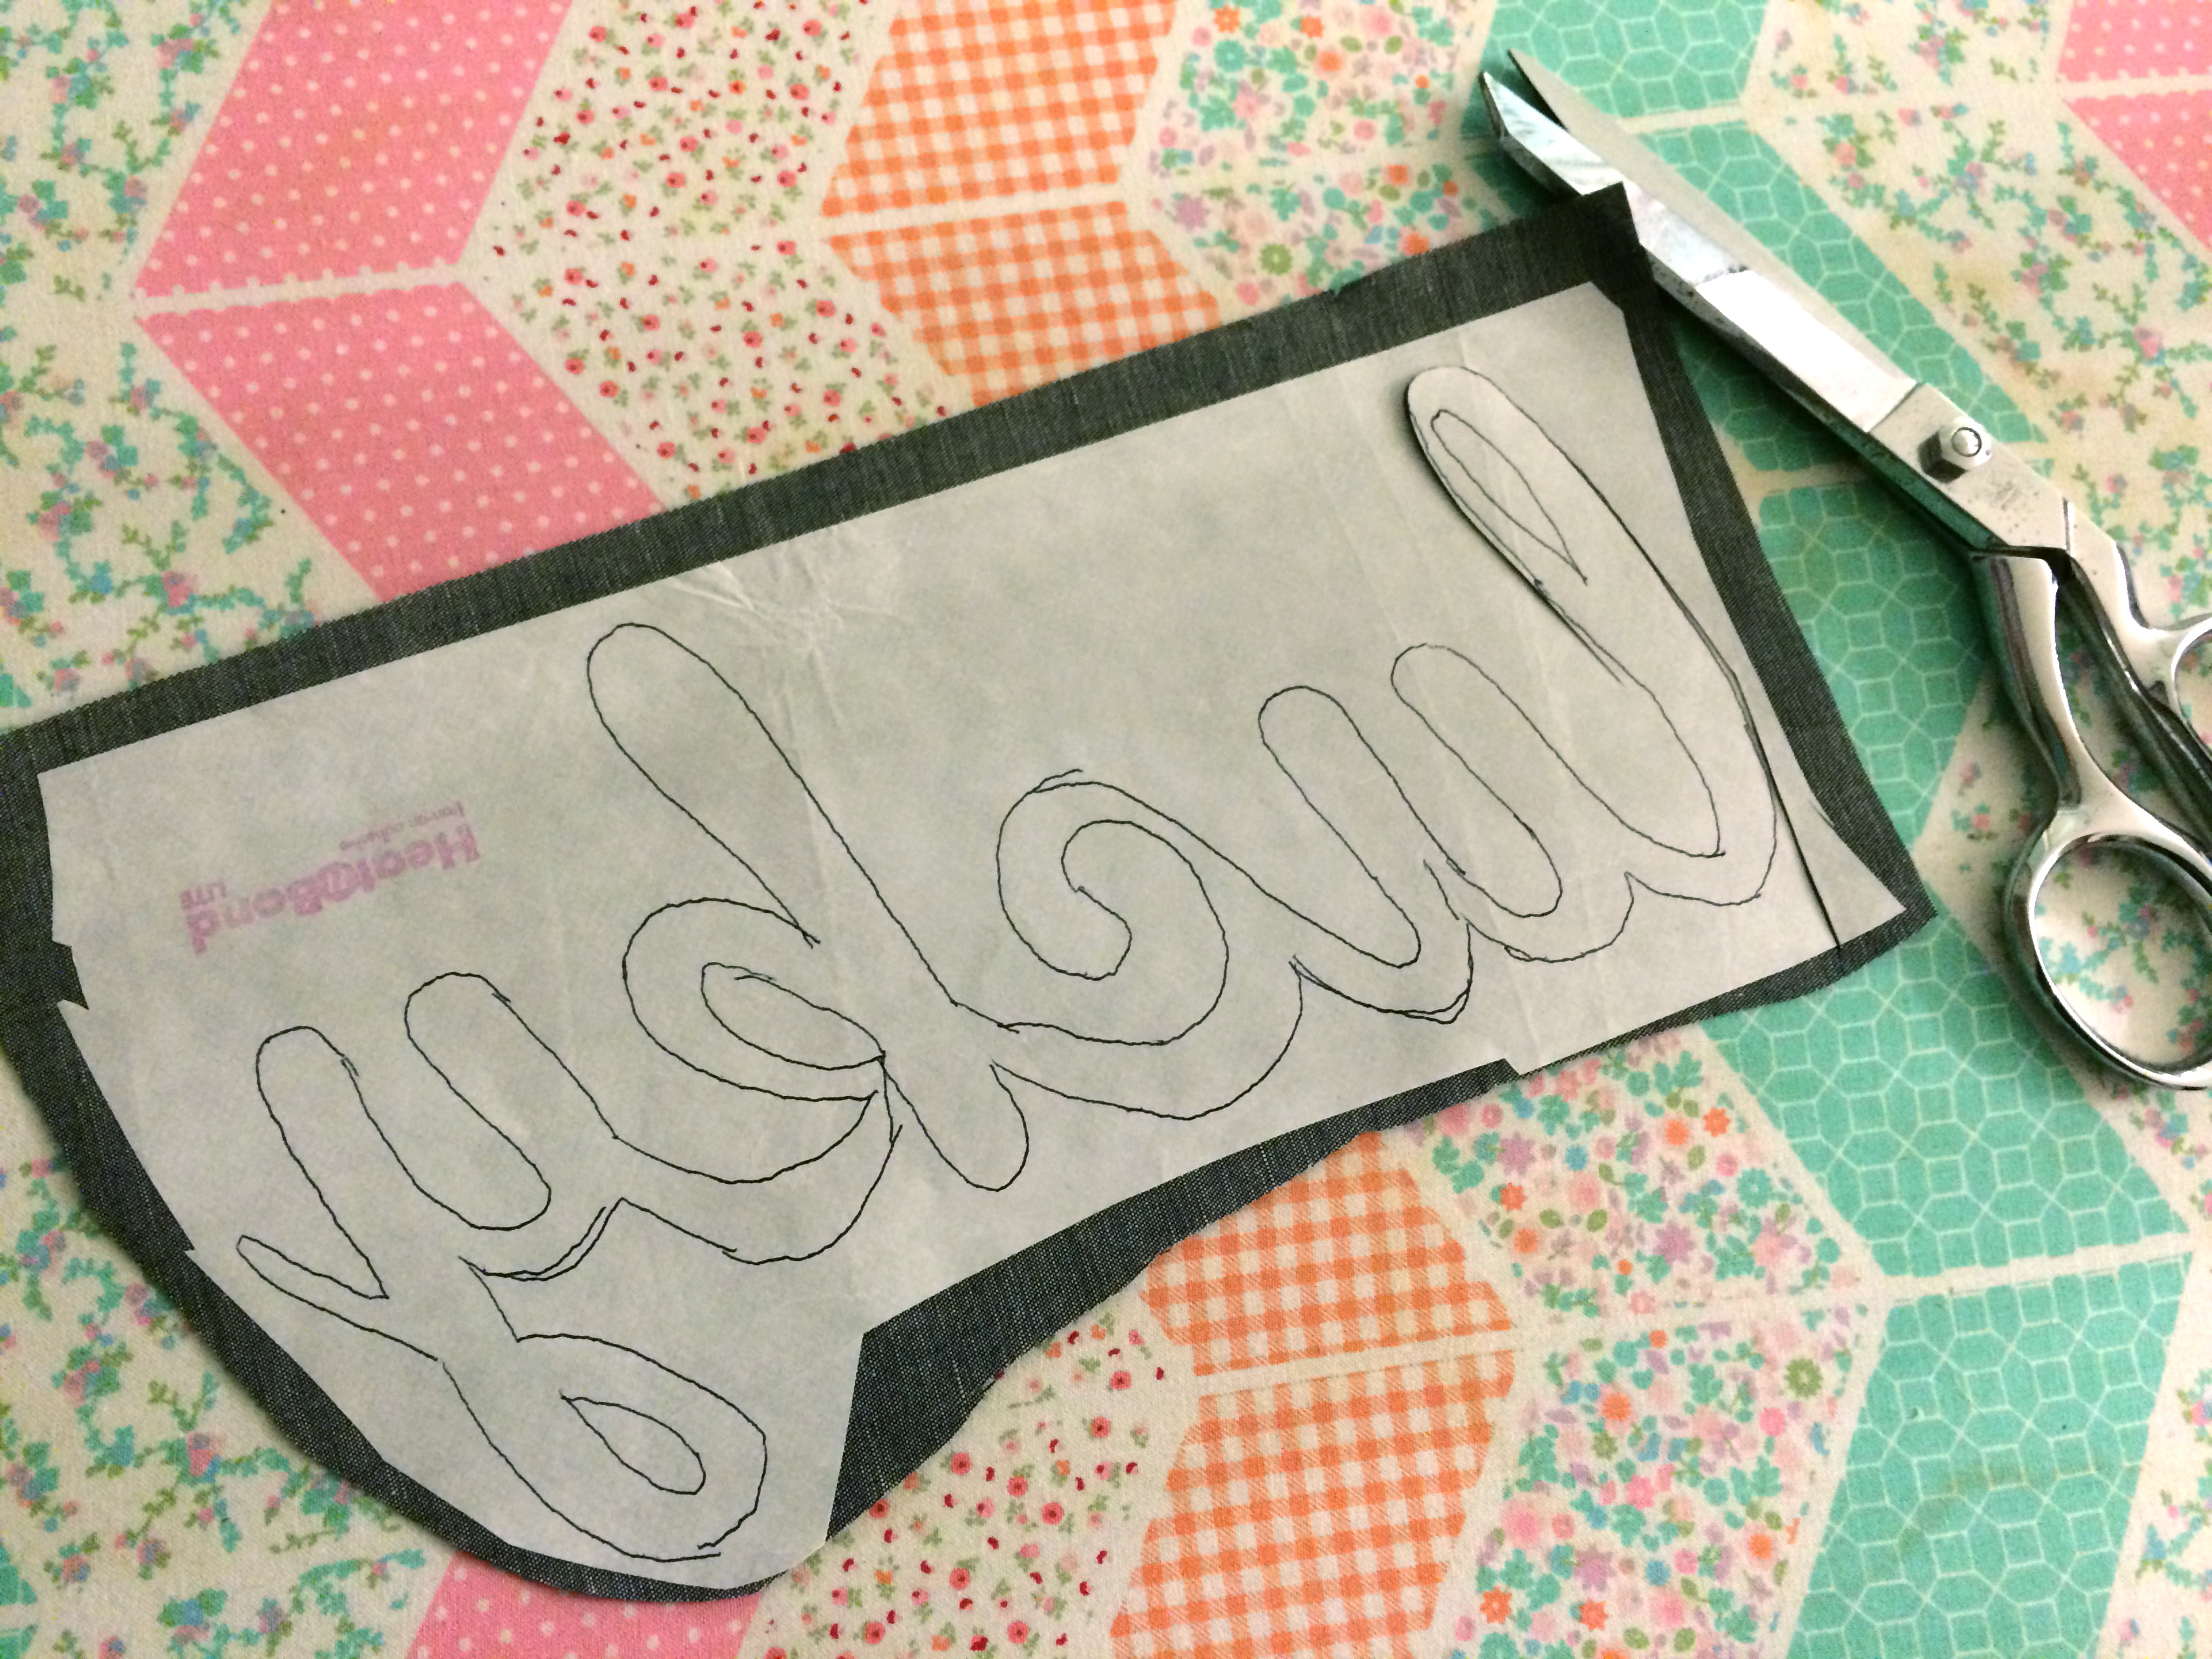
Peel off the backing paper and position the word and shamrocks as desired.  Outline stitch around each shamrock 2 times in black thread.  There was no way I was sewing around the cursive letters more than once!!

lucky pillow 2 3
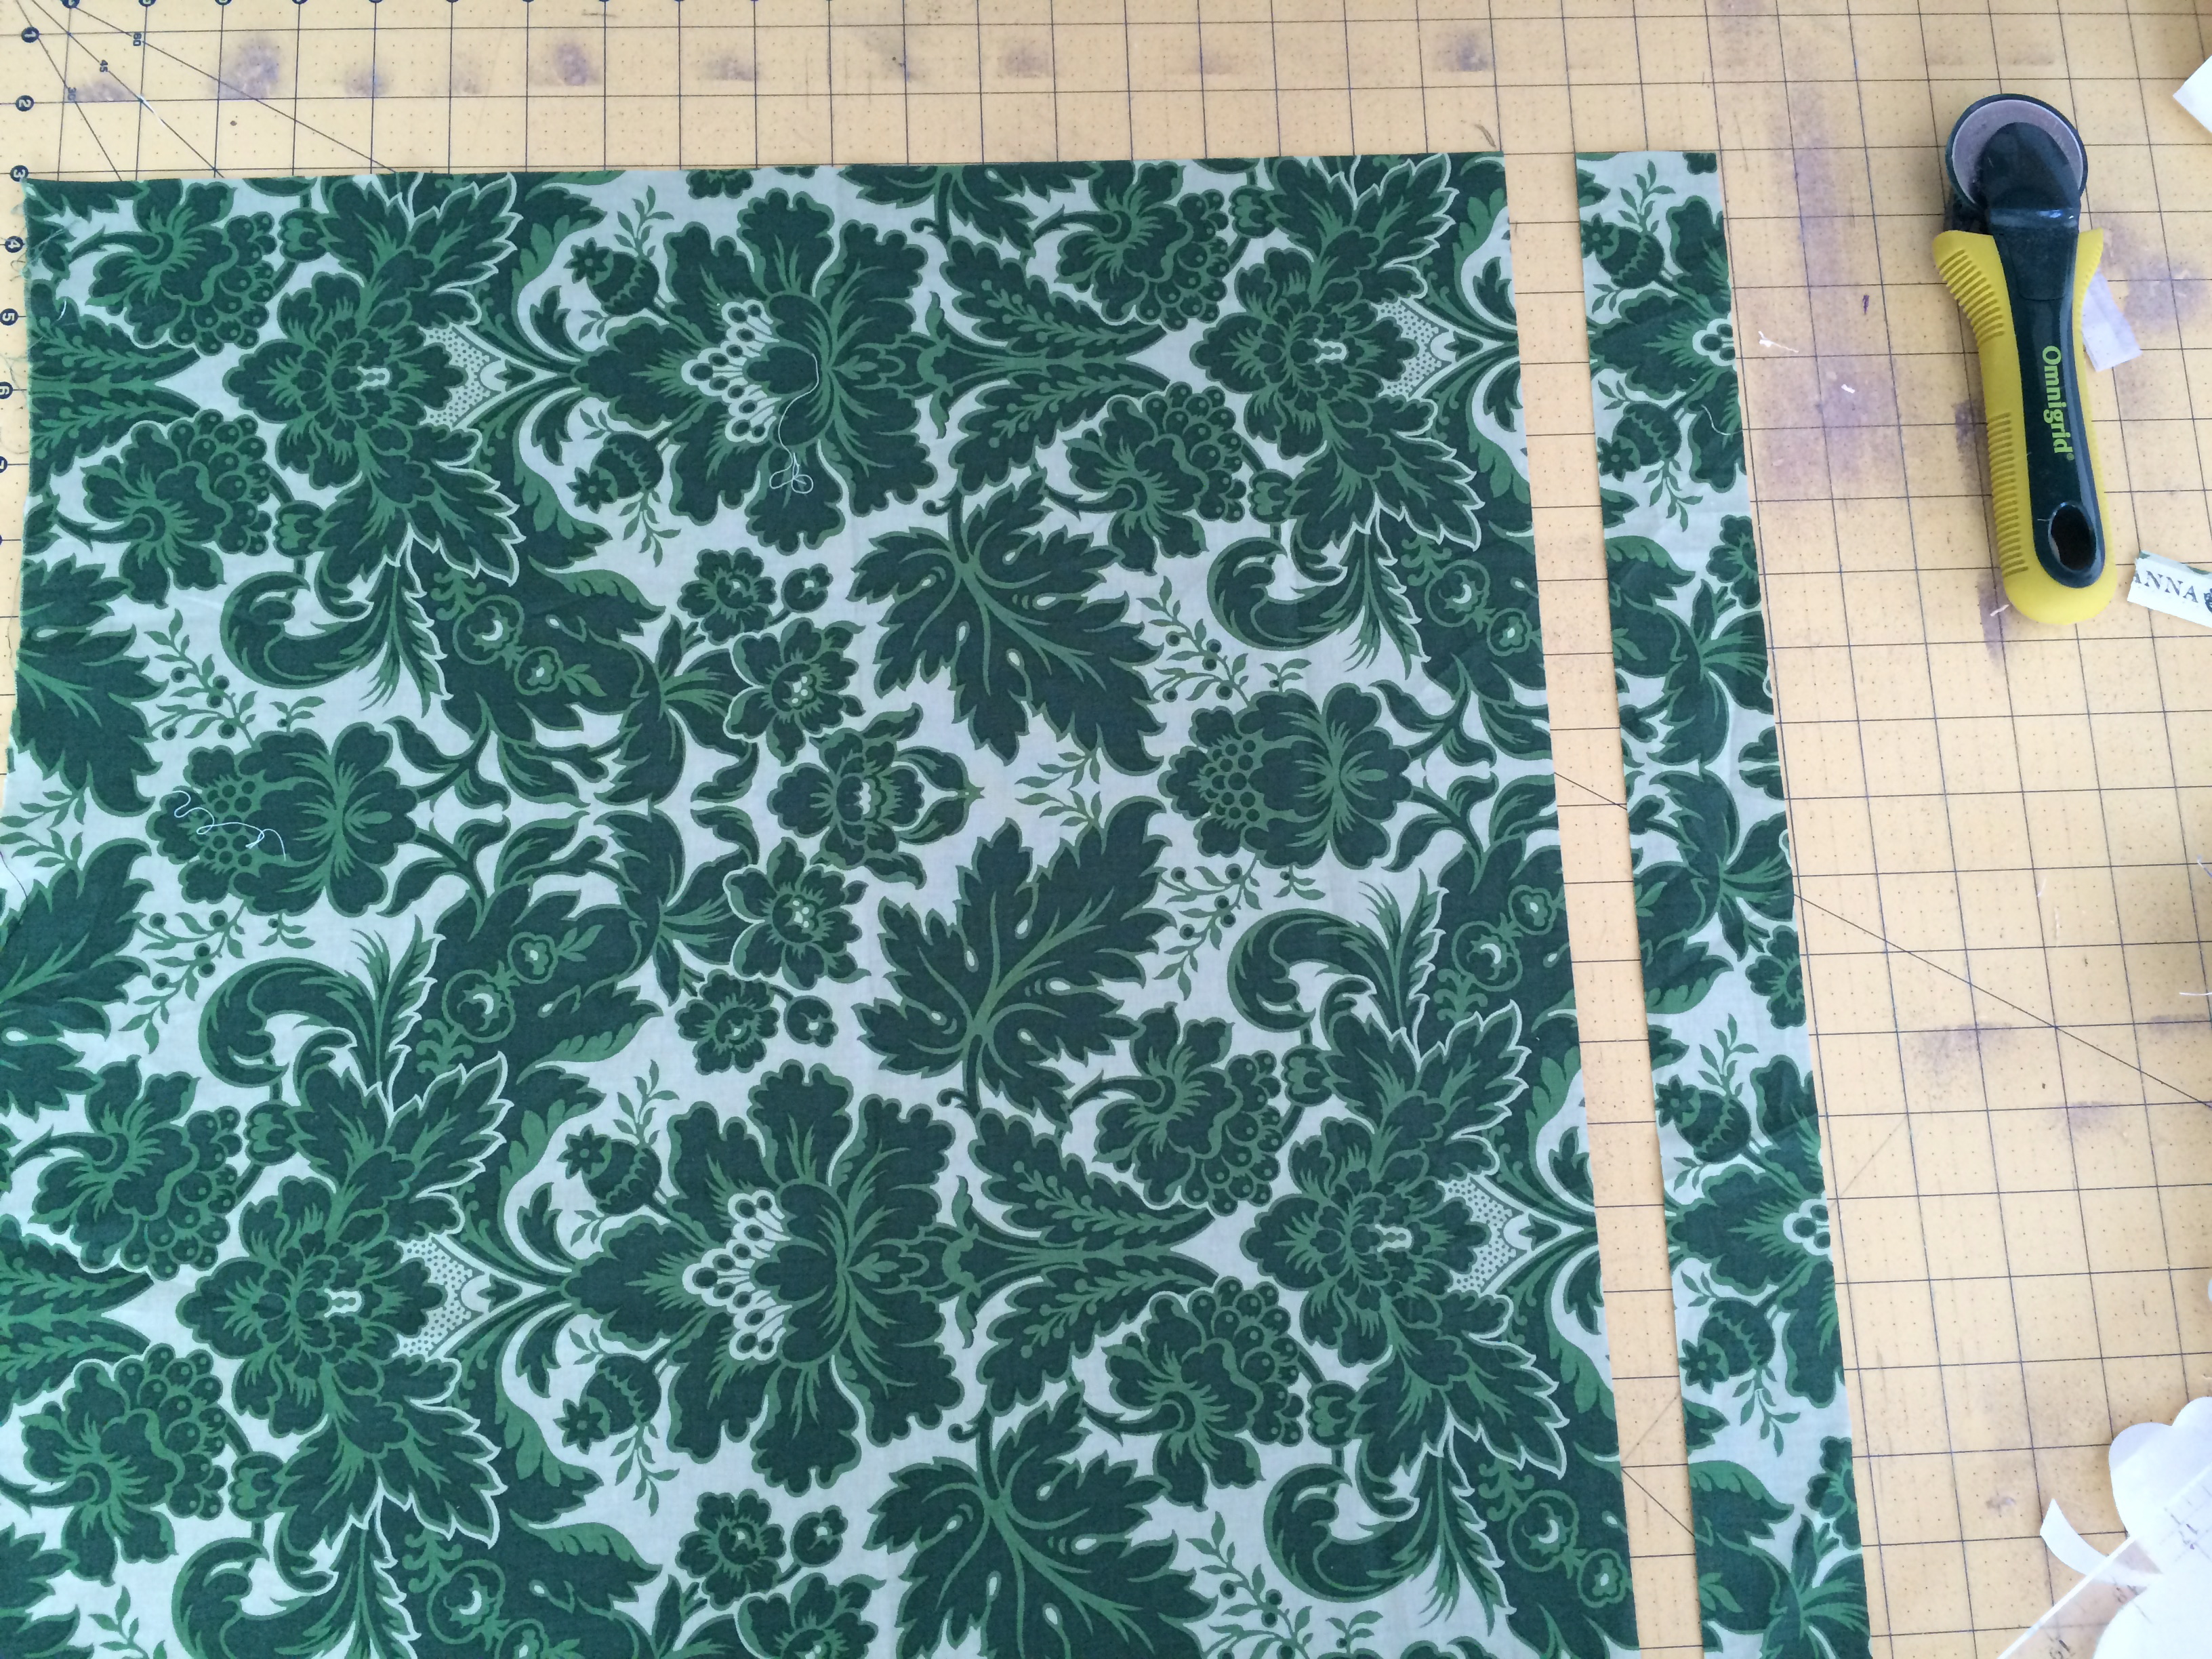
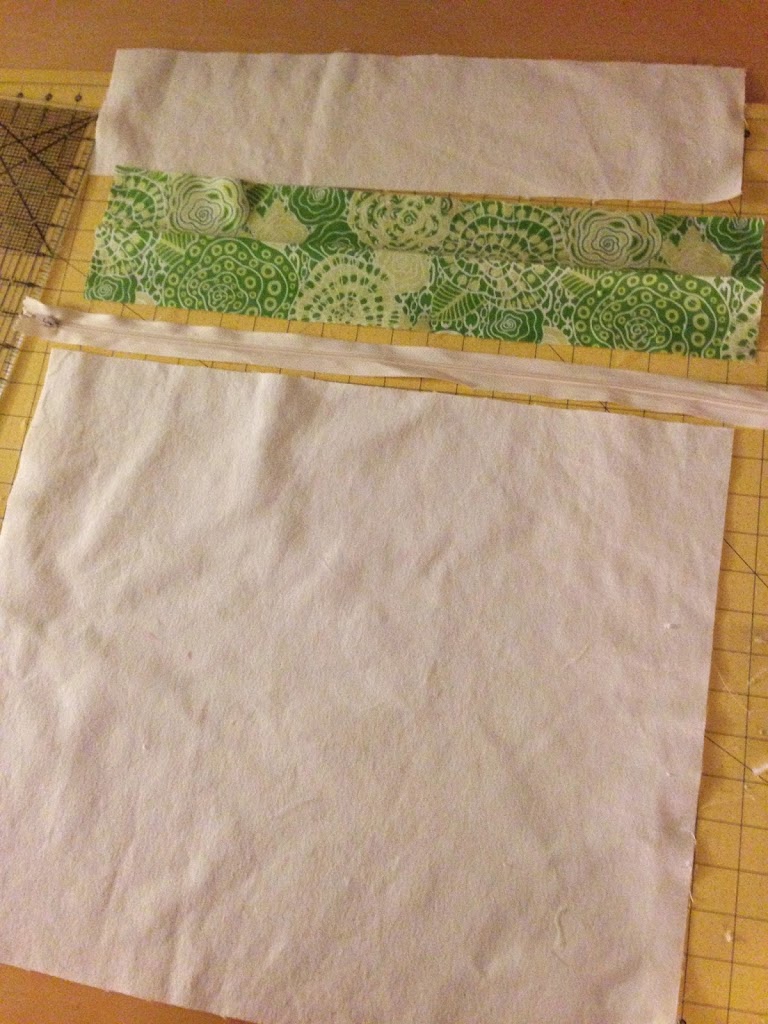
Prepare the back of the pillow by cutting a 20″ square.  Make a cut at the 2″ mark for the zipper.  You can put the zipper where ever you like, or you can insert an invisible zipper.

lucky pillow 2
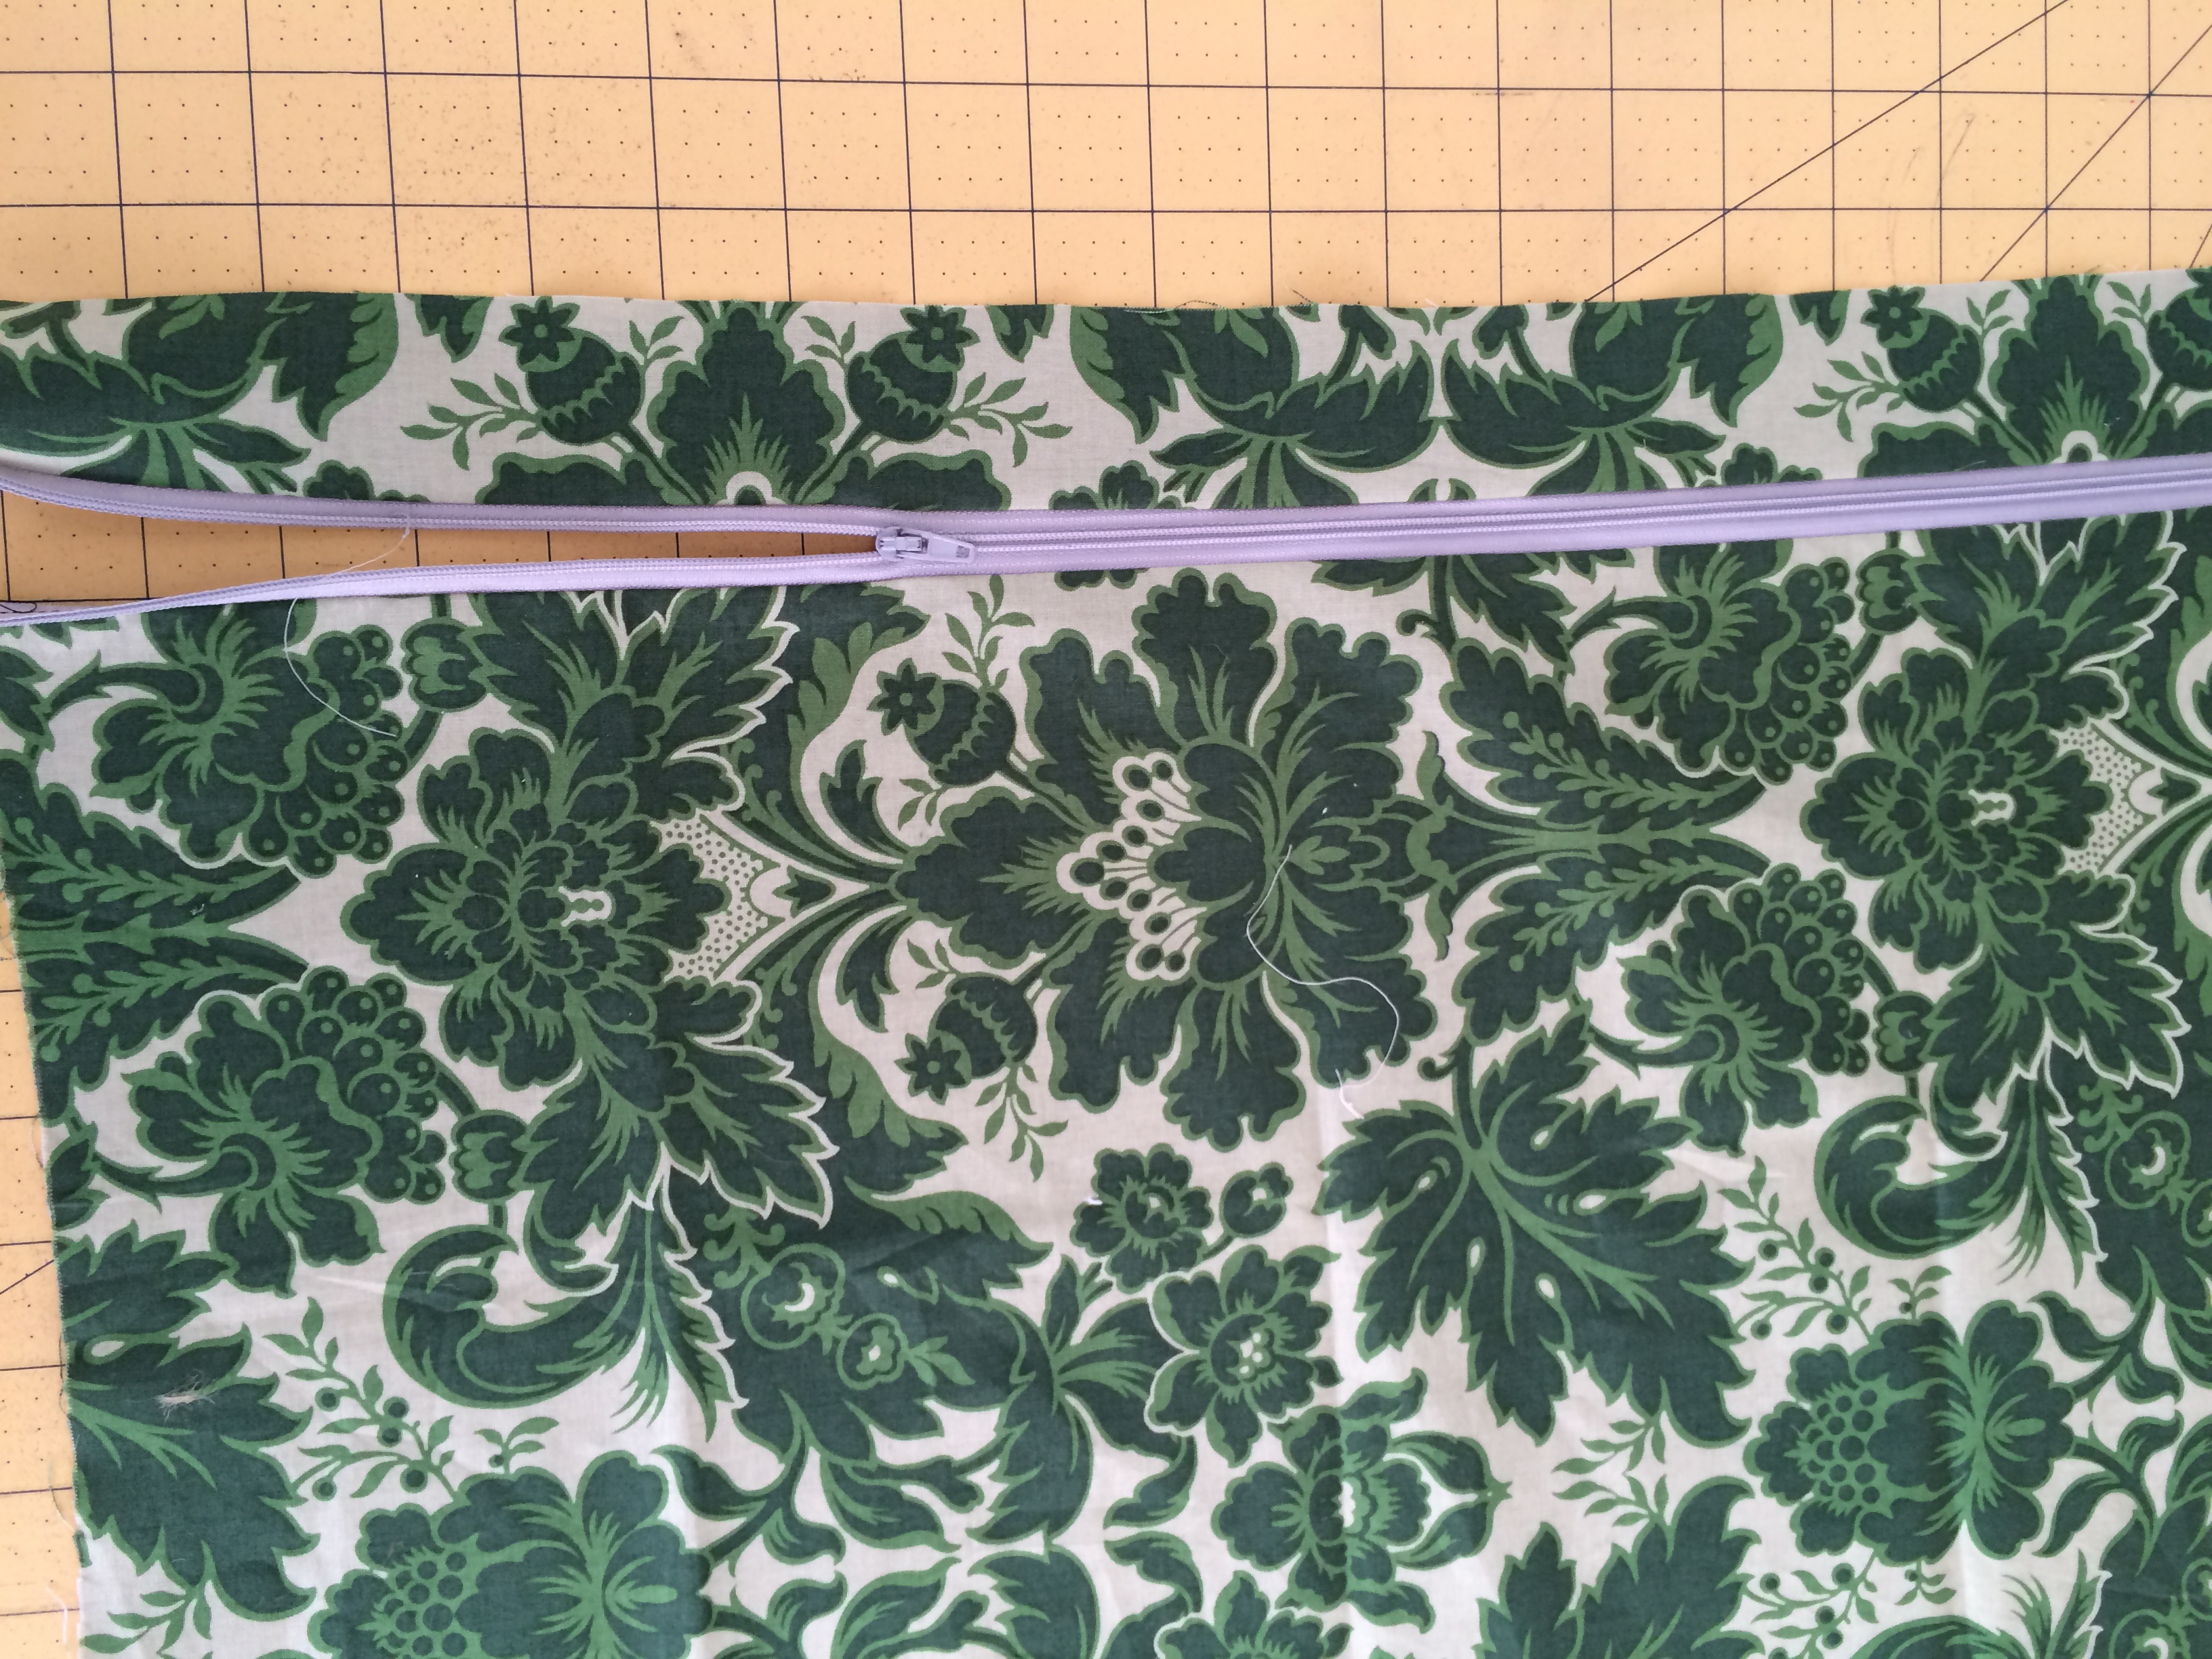
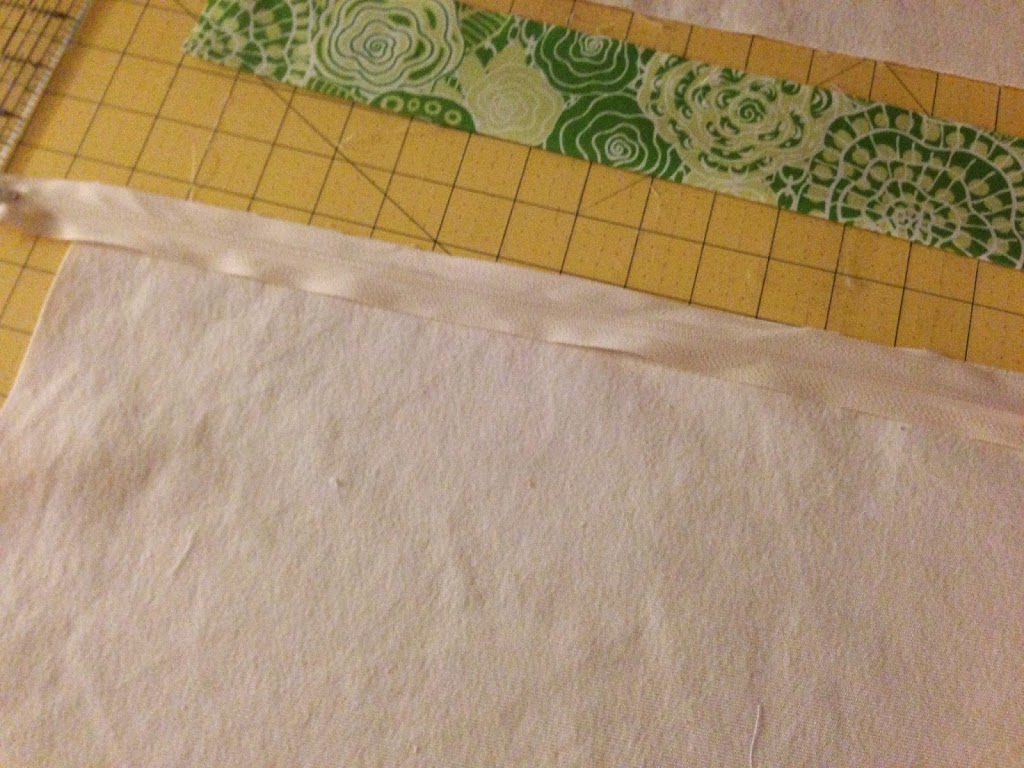
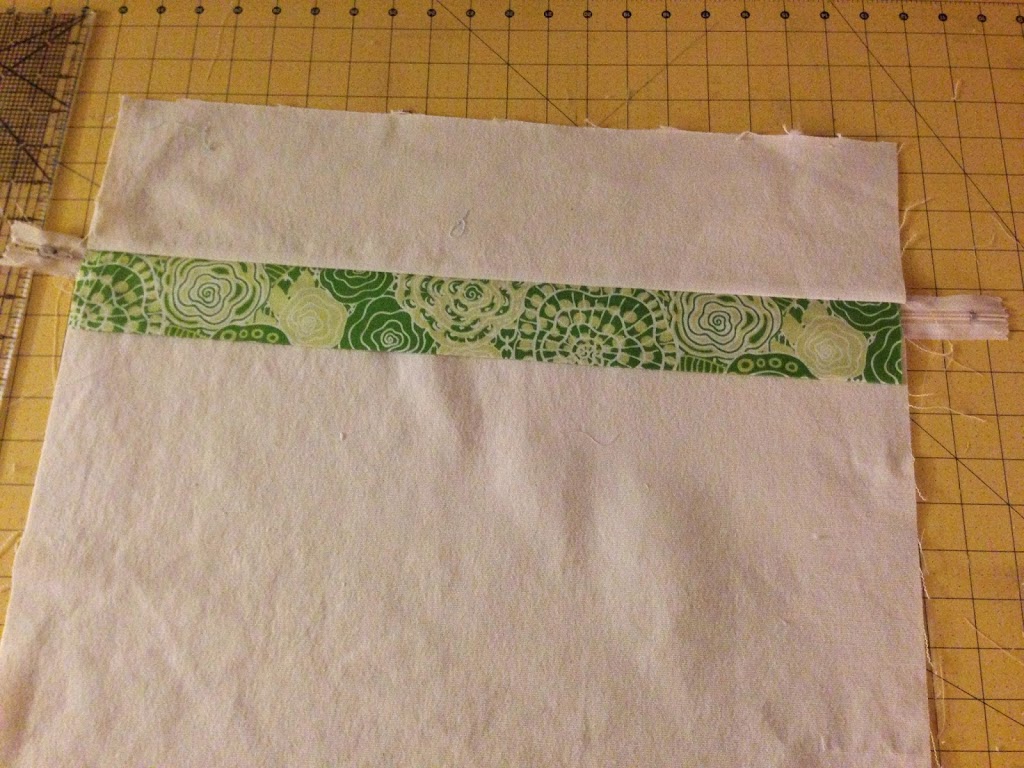
Sew the zipper in just like you were piecing a strip of fabric in between the two pieces – only use a zipper foot.lucky pillow 4
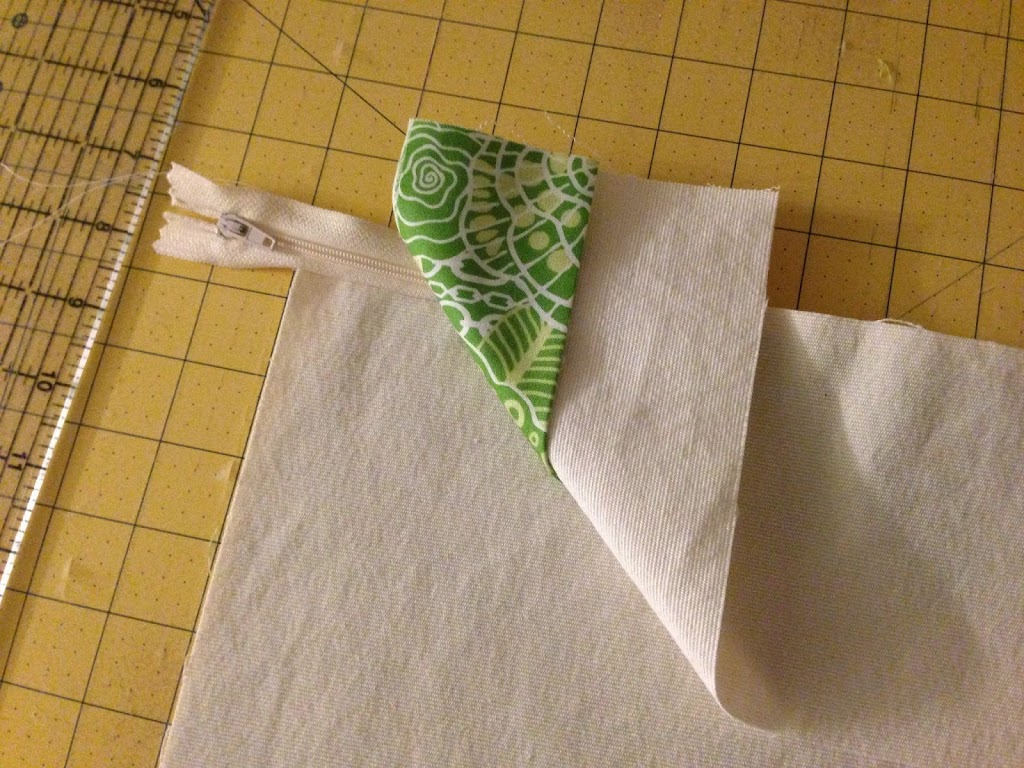
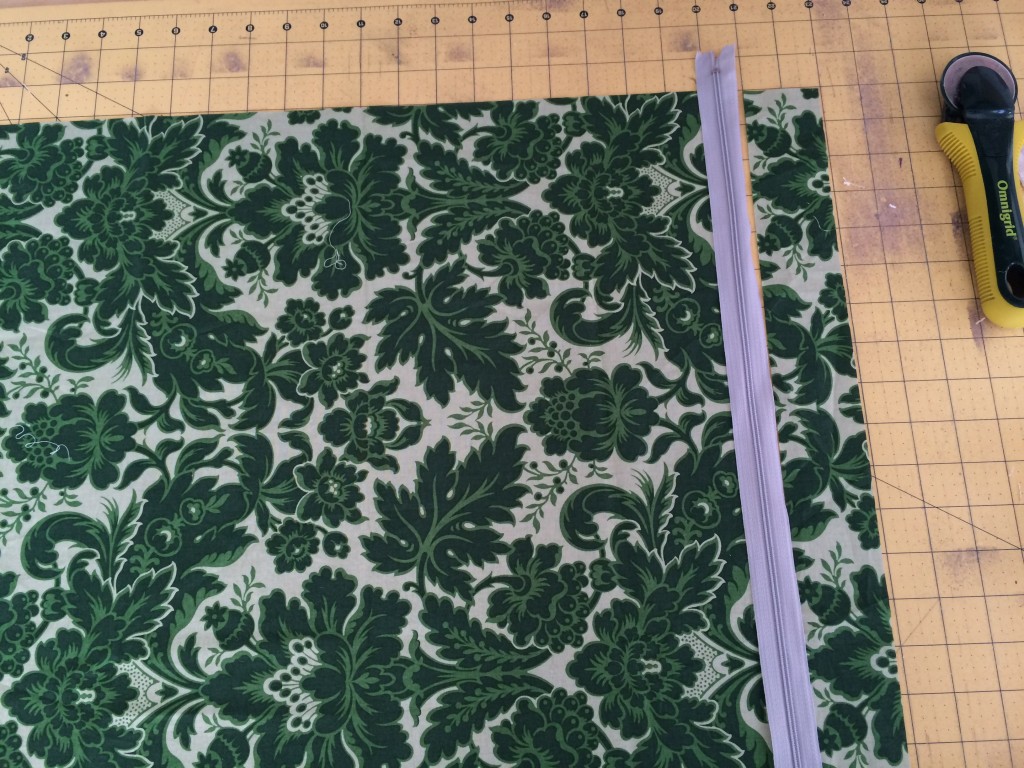
Cut off the excess zipper ends.  Partially open the zipper and place the pillow top and the pillow back, right sides together. matching and pinning all edges.  Sew 1/4″ all the way around the pillow.

lucky pillow 5

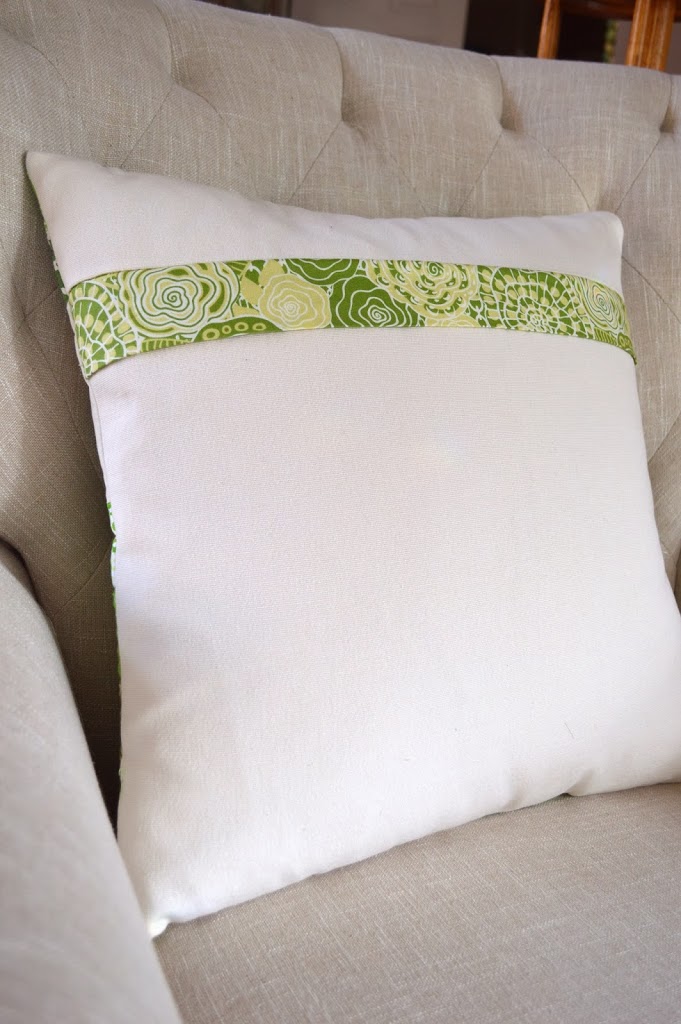
Turn the pillow right side out and insert the pillow form.lucky pillow 9
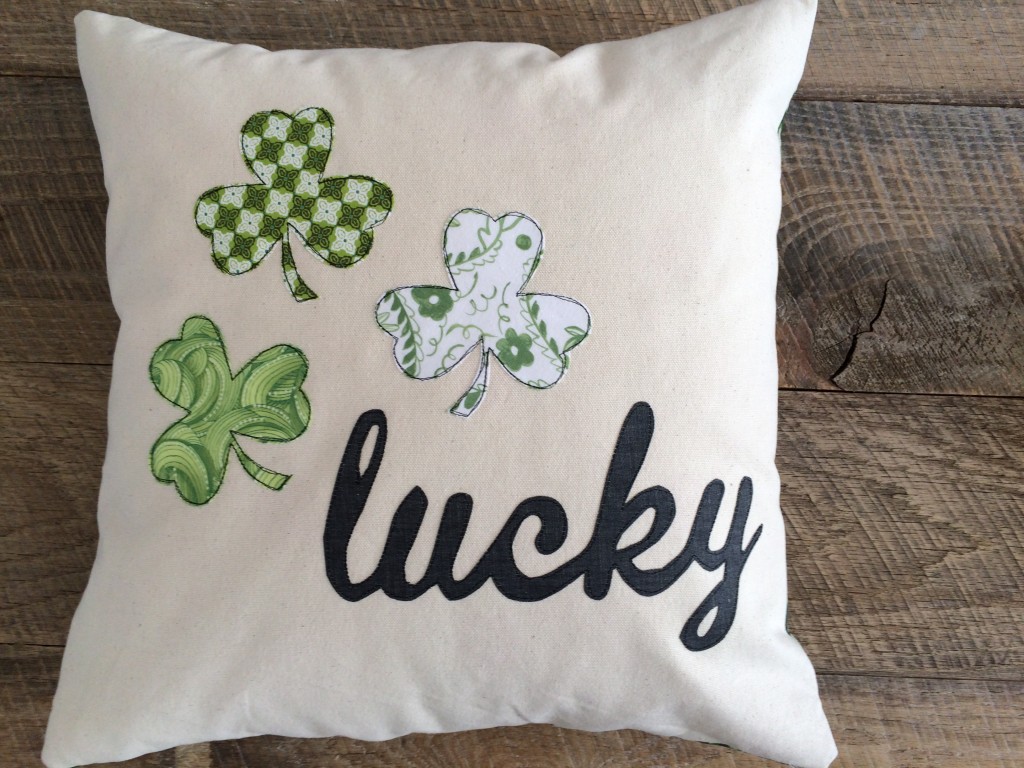
I put the zipper in the bottom portion of the pillow.  I like that you can see the zipper.

lucky pillow 10

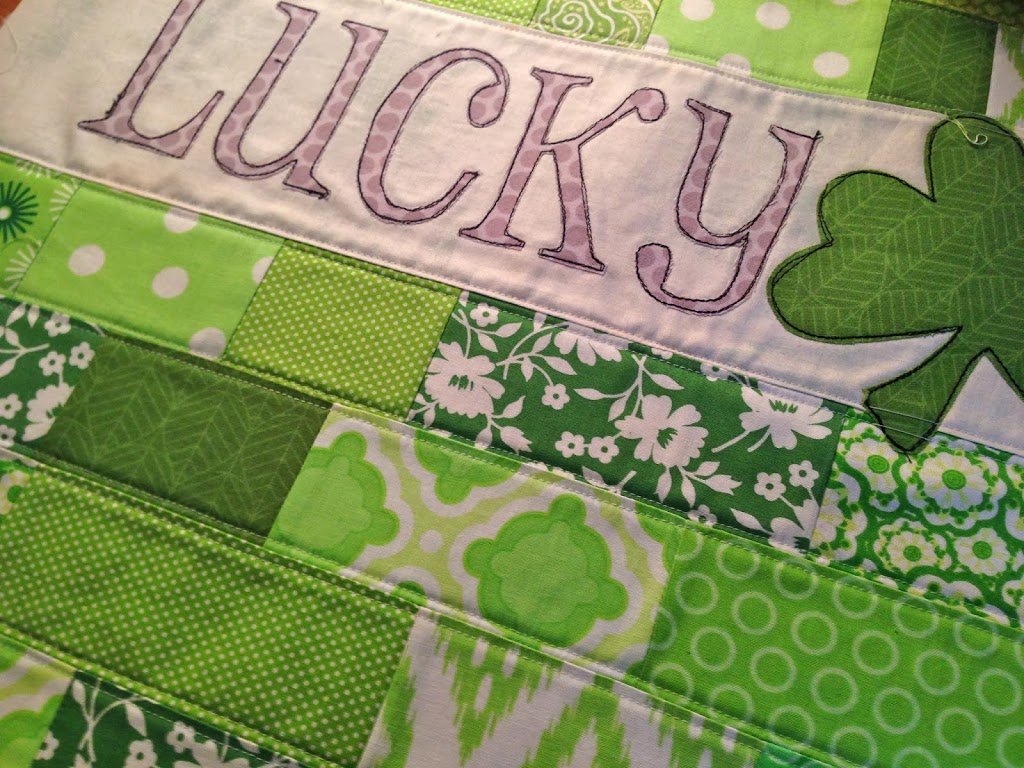
You’re done!  Aren’t you LUCKY!!!!!
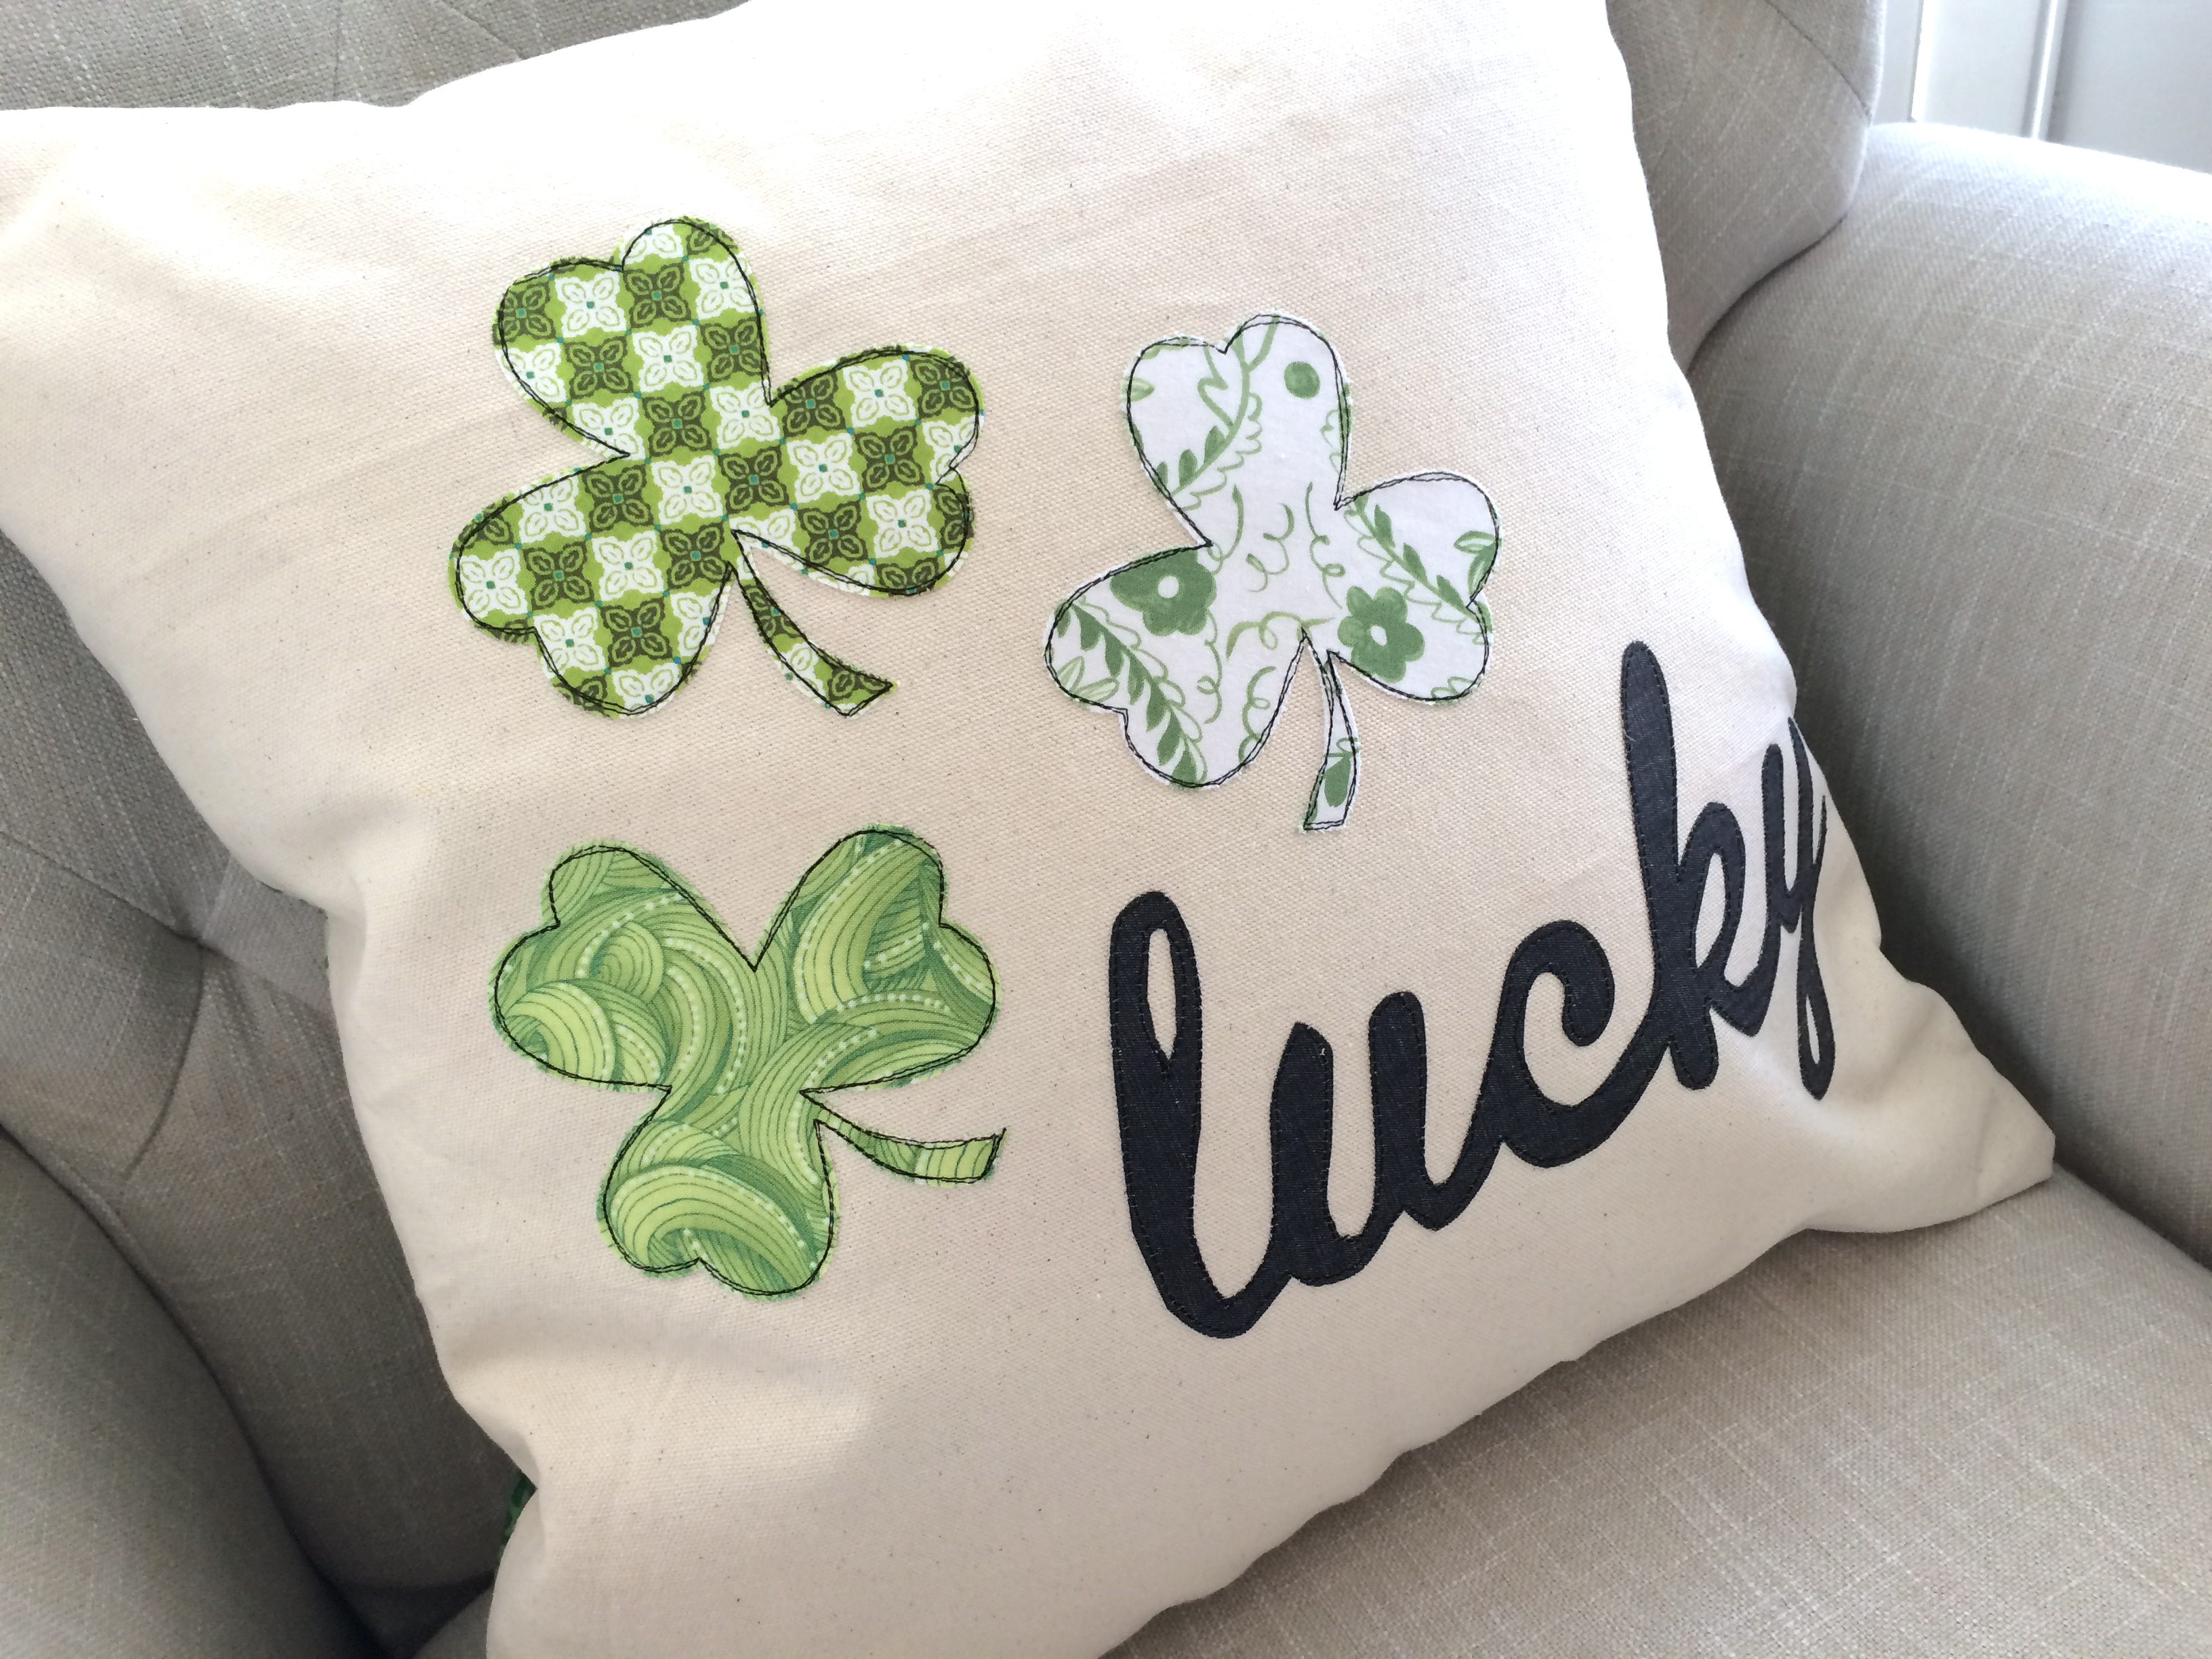
lucky pillow 6

St. Patrick’s Day Banner

st. patricks day bannerI love sewing quick little banners!  This one can be made in 1 hour, or less if you’re speedy!  It’s the perfect size to hang in a window, on a frame, or a chalkboard.  I rummaged through my stash of fabrics and found these darling green prints from 3 different lines of Blend Fabric: Turkish DelightTea Garden, and The Makers.  I ironed Heat n Bond Lite to the back of the fabric and used my Sizzix Big Shot to cut out the shapes. Here’s how you can make one:

Supplies

1/3 yard burlap

1.5 yards green lace

scraps of green fabric for shamrocks

scraps of lace & white/yellow fabric for flowers.

Heat n Bond Lite

Sizzix Shamrock Die , flower die, and Flower Layers Die
shamrock banner st. patricks day


Cut (5) burlap rectangles 8″ x 5.5″shamrock banner st. patricks day 5

Fold the rectangles in half lengthwise and cut a 1.5″ angle off the bottom. 

shamrock banner st. patricks day 6

Iron the Heat n Bond Lite to the back of the appliqué fabric.  Then have your cat run it through the Sizzix Big Shot.

IMG_4084

IMG_4071

Peel off the backing fabric of the shapes and press it to the burlap flags.
shamrock banner st. patricks day 9
Cut the lace out with the flower die cut.  Don’t put Heat n Bond on the lace.  Put the Heat n Bond on the center flower instead.  I was going to put buttons in the center of the flowers but totally forgot!

shamrock banner st. patricks day 8


Sew around each image using a straight stitch.  Then line them up and sew the lace to the tops.shamrock banner st. patricks day 14

shamrock banner st. patricks day 15
It’s done!  Go hang it somewhere fun!!!

shamrock banner st. patricks day 12


Mine is on my front porch 🙂shamrock banner st. patricks day 11


LUCKY St. Patrick’s Day Pillow Tutorial

I can’t believe it’s almost St. Patrick’s Day!  Of course a St. Patrick’s Day pillow is in order.  I hope you get a chance to make one – you will be so LUCKY!!!
Supplies:
19″ pillow
Assortment of green fabrics
1/8 yard white fabric
Scrap of Gray fabric for letters
3/4 yard backing fabric
zipper – 20″ or longer
Heat n Bond EZ Print appliqué sheets
Heat n Bond Fusible Fleece
Dig out all your green fabrics and toss it into a pile!!

Cut into 2.5″ strips – it doesn’t matter how long they are, just get a nice assortment.

Cut the strips into random lengths – using your scissors, gasp!!  You can use a rotary cutter – I am all about speed when I sew and the scissors seemed faster!

Put all the pieces in a basket.  Pull out 2 pieces and sew them together (1/4″ seams) end to end, continue doing this by grabbing 2 pieces at a time.  I dare you to not even look at the fabrics and just be totally random!!!
Here is the chain piecing.  Once you have a fair amount of pairs sewn, pair up the pairs, then pair up those strips.  The goal is to have 7 strips that are 19″ long.

I went pretty random and did not pay attention to the pattern – I like how it’s scrappy.

Once you have laid out the strips, sew them together using 1/4 inch seams.  There are 5 strips on the bottom and 2 strips on the top.  Don’t worry about the fact they don’t line up.  Sew them together, then square them up to 19″ long.

Cut a piece of white fabric 5″ x 19″.  This is for the appliqué.  Sew all pieces together like this:
Prepare the appliqué by downloading the pattern HERE.  I used these EZ print sheets from Therm o Web.  You put them in your printer and then you don’t have to draw the pattern by hand!  They are great!  Make sure to print it in reverse.
Once the pattern is printed, cut around the words and shamrock.  Iron to the WRONG side of your fabric.   I choose to use a gray dot for the letters.  Then cut out the letters and shamrock.  The letters are a little bit tedious, I was almost tempted to try the Cricut, but me and the Cricut don’t get along very well!


Sew using a straight stitch in black thread twice around the letters and the shamrock.

Cut a piece of fusible fleece 19″ square and iron it to the wrong side of the lucky pillow top.


Sew straight lines 1/8″ from each seam.

Prepare the pillow back….
From your backing fabric cut (1) 4.5″ x 19″ and (1)16″ x 19″
Cut a 4.5″x 19″ strip from a green fabric
Lay the pieces out like this with the zipper.  Press the green piece in half lengthwise.

Turn the zipper over, align with the top of the large back piece and sew using a zipper foot along the edge:

Sew the opposite side of the zipper adding the green strip, layer like this:

My backing fabric was a heavy woven fabric, I choose to zigzag my seams because they were already starting to fray.  Press the seams away from the zipper.  Put the zipper pull in the center of the pillow and cut the excess zipper off both edges.

Place the pillow front on the pillow back with right sides together.  Pin all the way around.  Make sure the zipper is open so you can turn it after it’s sewn.  Sew all the way around the pillow using a generous 1/4″ seam.

Notice there is about an inch of extra backing hanging out – don’t freak out!!!!  I added a little extra in the measurement to account for variances in zippers.  Just cut it to size, making sure you line up the tops.  Turn and place the pillow inside!!!  Aren’t you LUCKY!!!!

Amanda

St. Patrick’s Day Peasant Dress


I stayed up till way past midnight sewing this little dress for Sally.  Being the pink and purple princess that she is, she has NOTHING to wear on St. Patrick’s Day!  I wanted to make something she could wear again – not a dress covered in shamrocks 🙂 …of course, that was my first instinct!

 I came up with this peasant dress.  I was pretty much making it up as I went.  It looks much cuter on than it did last night at midnight!  Sally was not thrilled with it and I had to bribe her to even try it on.  She turned up her nose at it big time.  Again, it’s not pink or purple or anything like Rapunzel would wear!

 I think it is sweet and it will keep her from getting pinched on Sunday!!

Amanda

Pinch Proof

 Thought these were fun little St. Patrick’s Day gifts.  I follow Familyeverafterblog and she has this cute “Pinch Proof” printable you can download.

Amanda