Vintage Keepsake Valentine Garland

DSC_0518

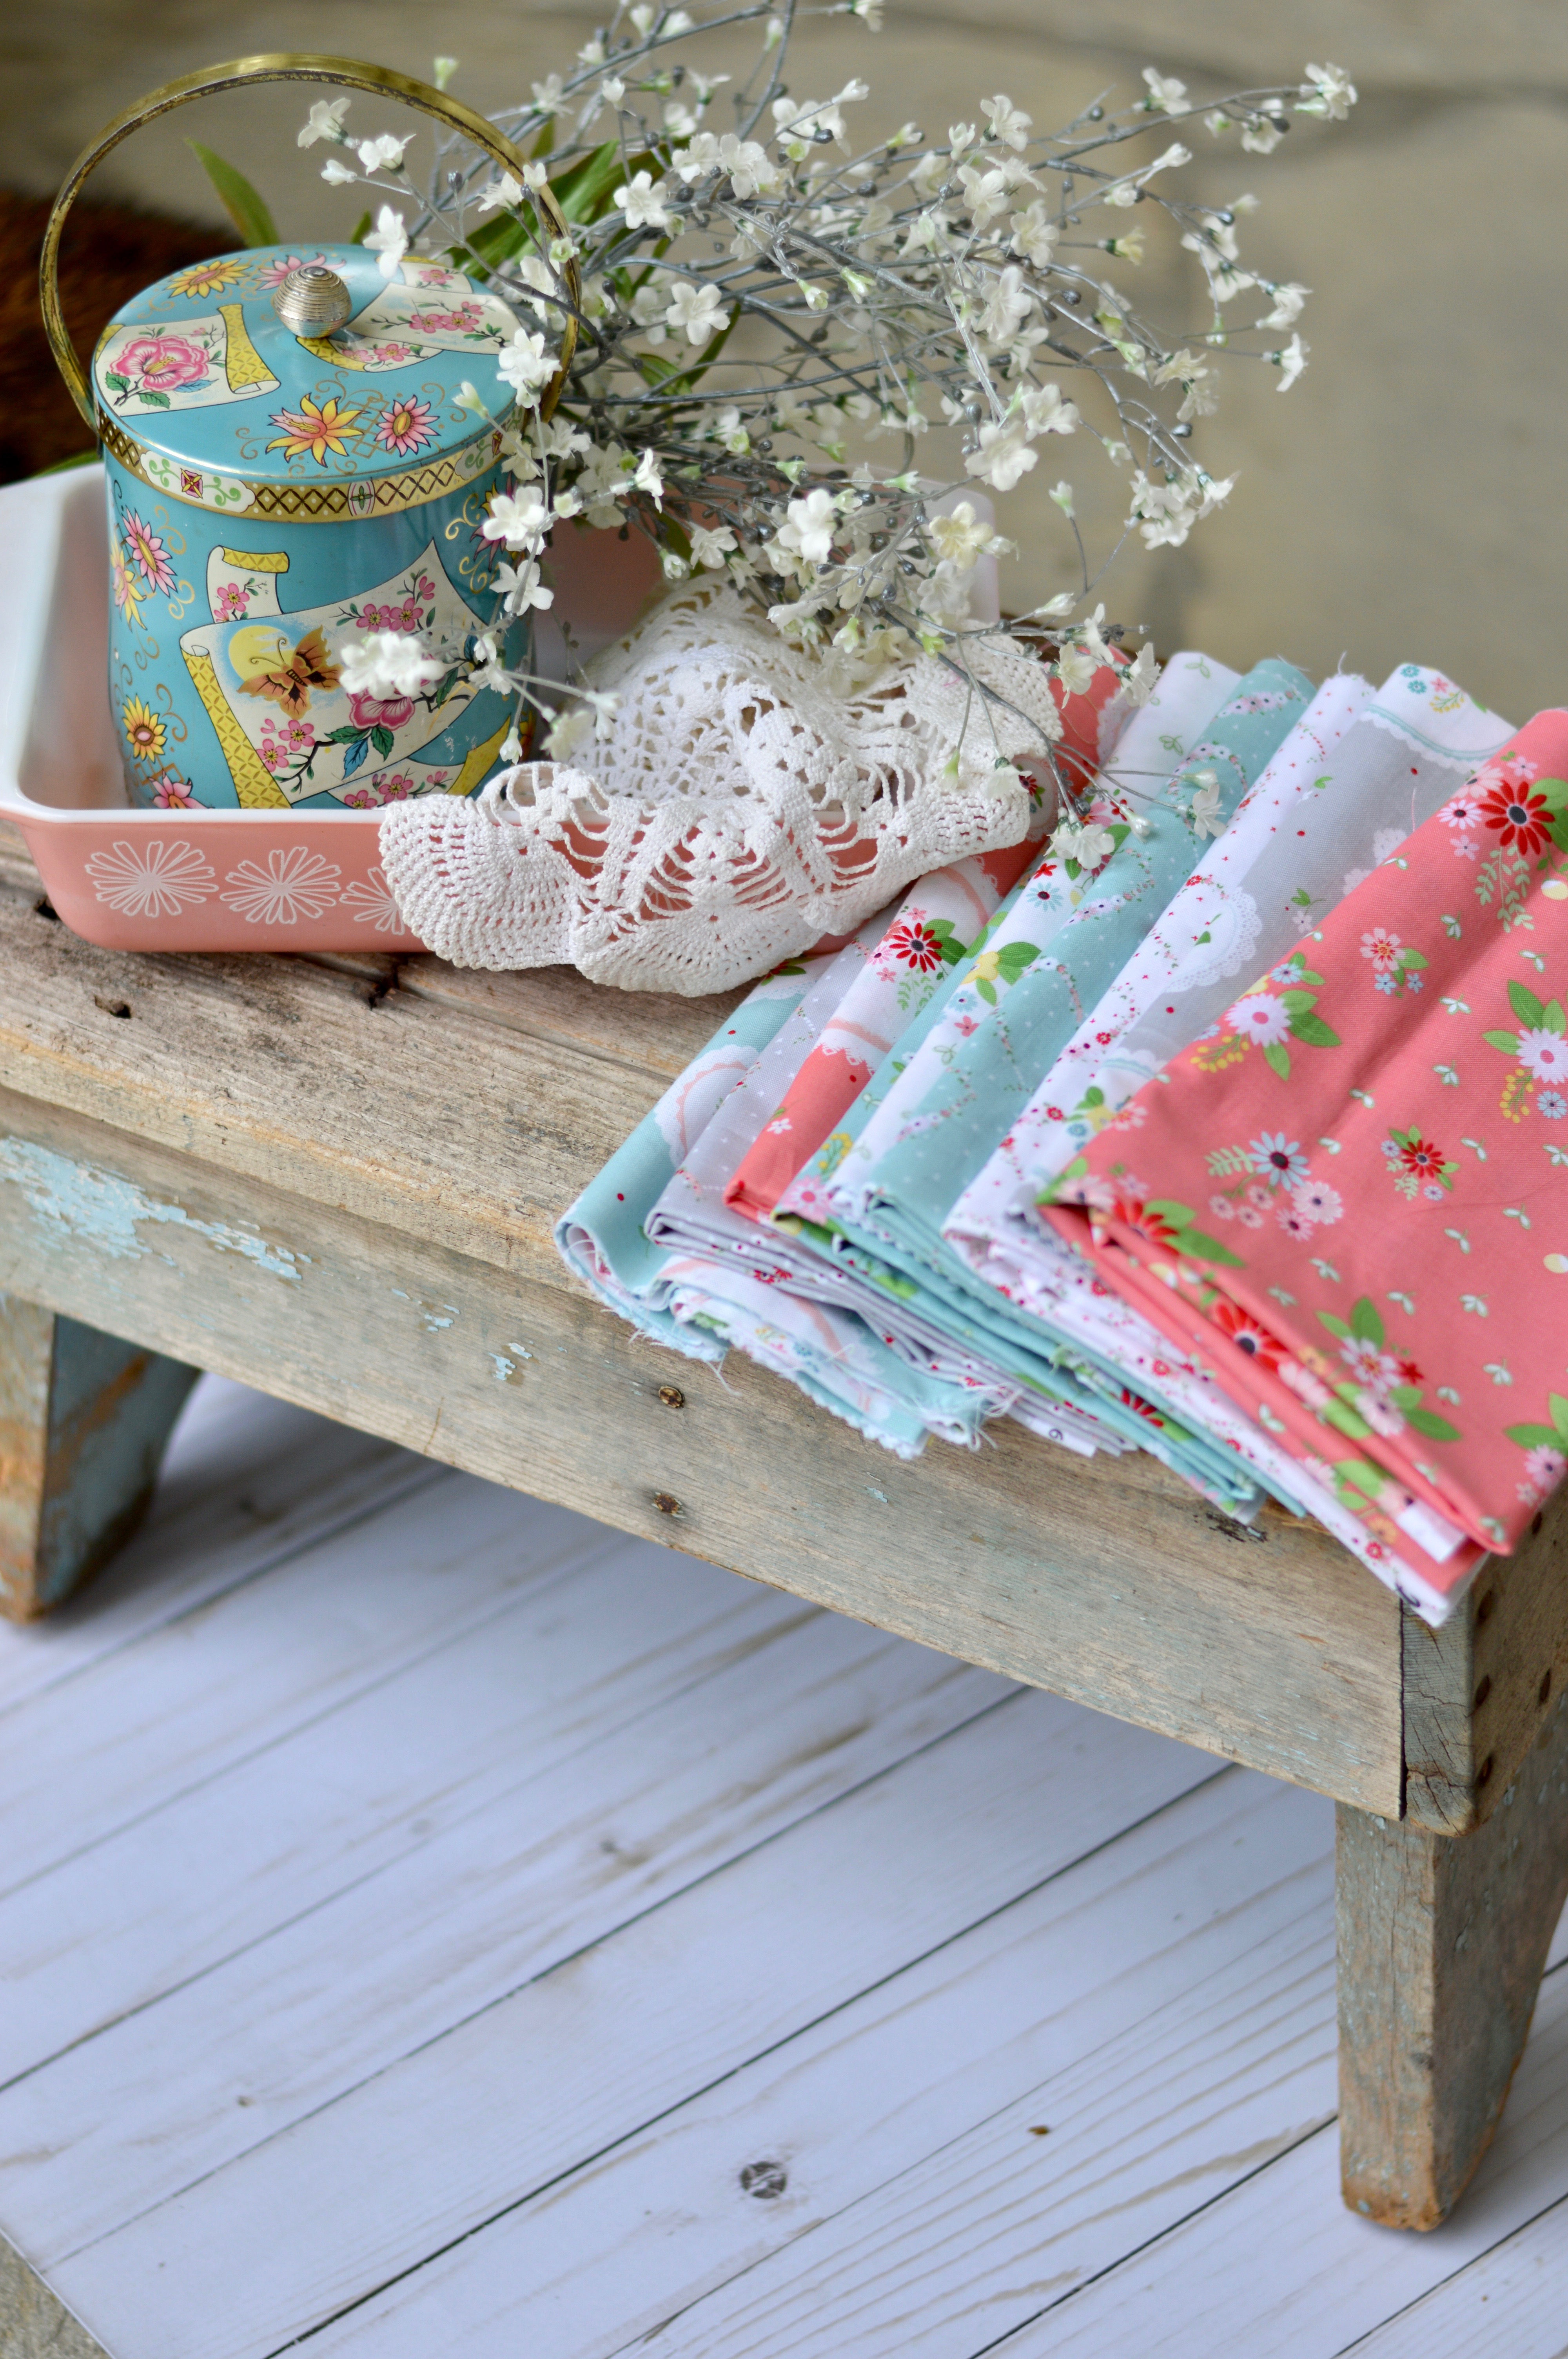
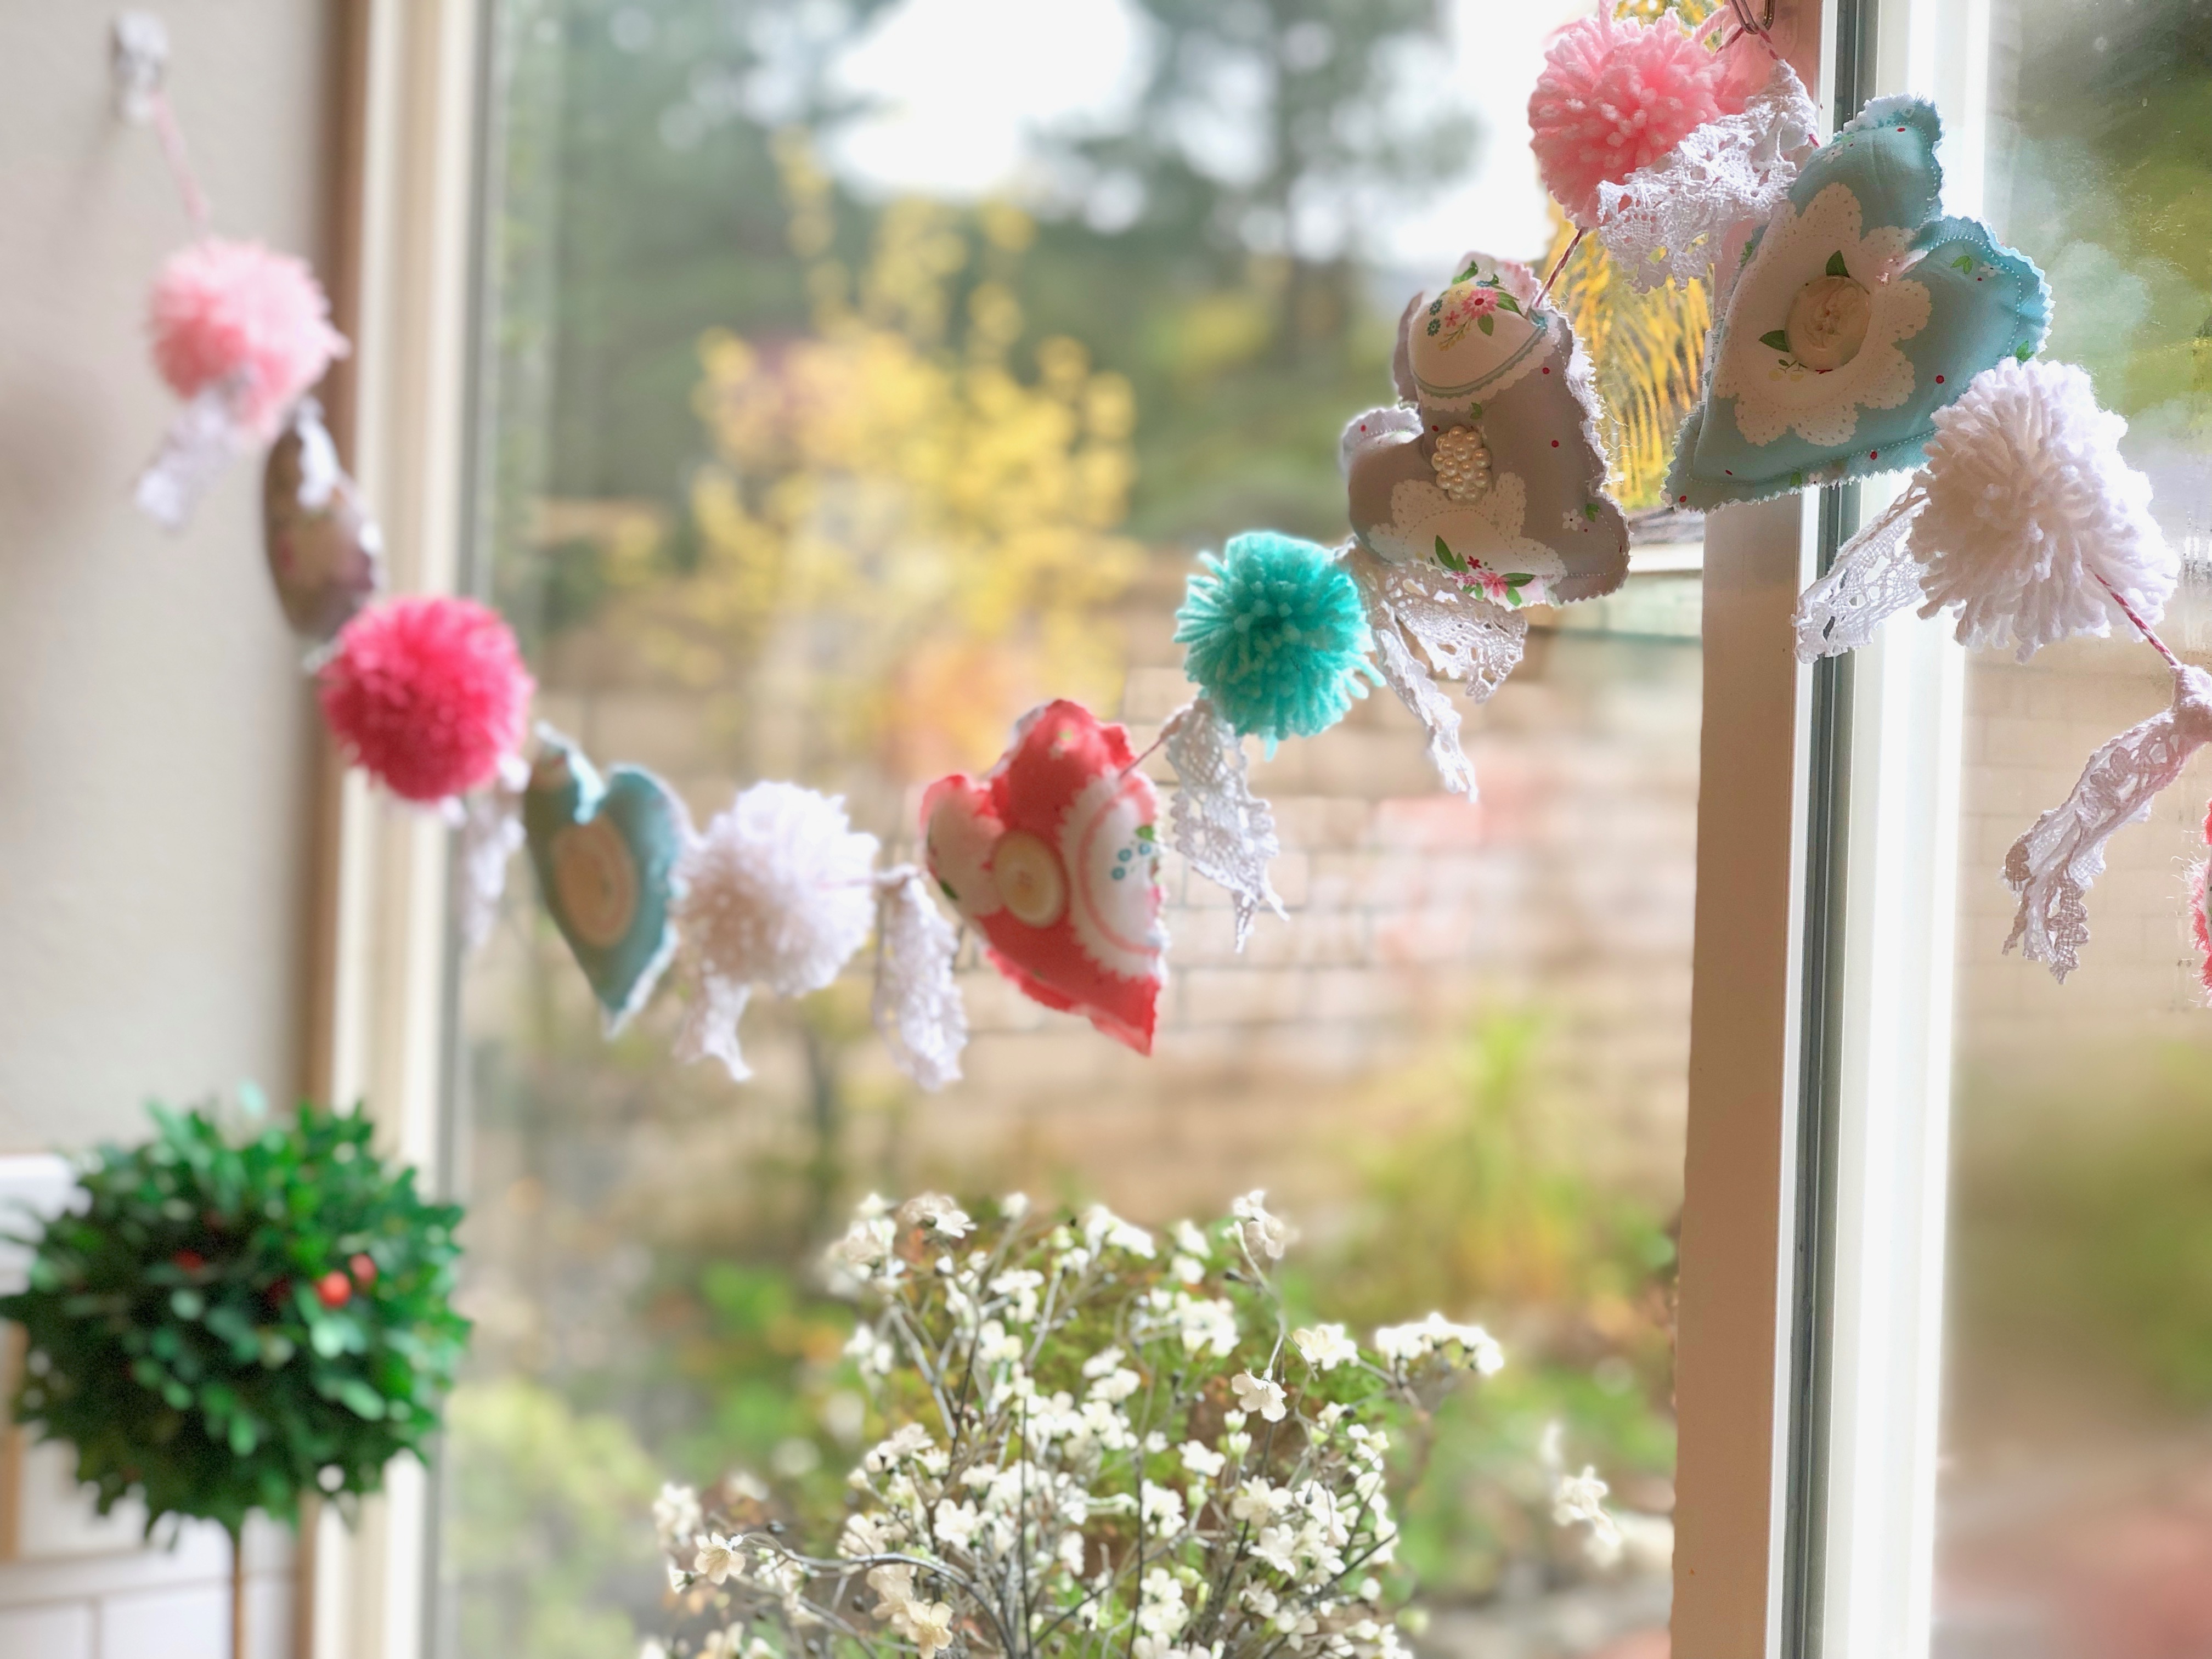
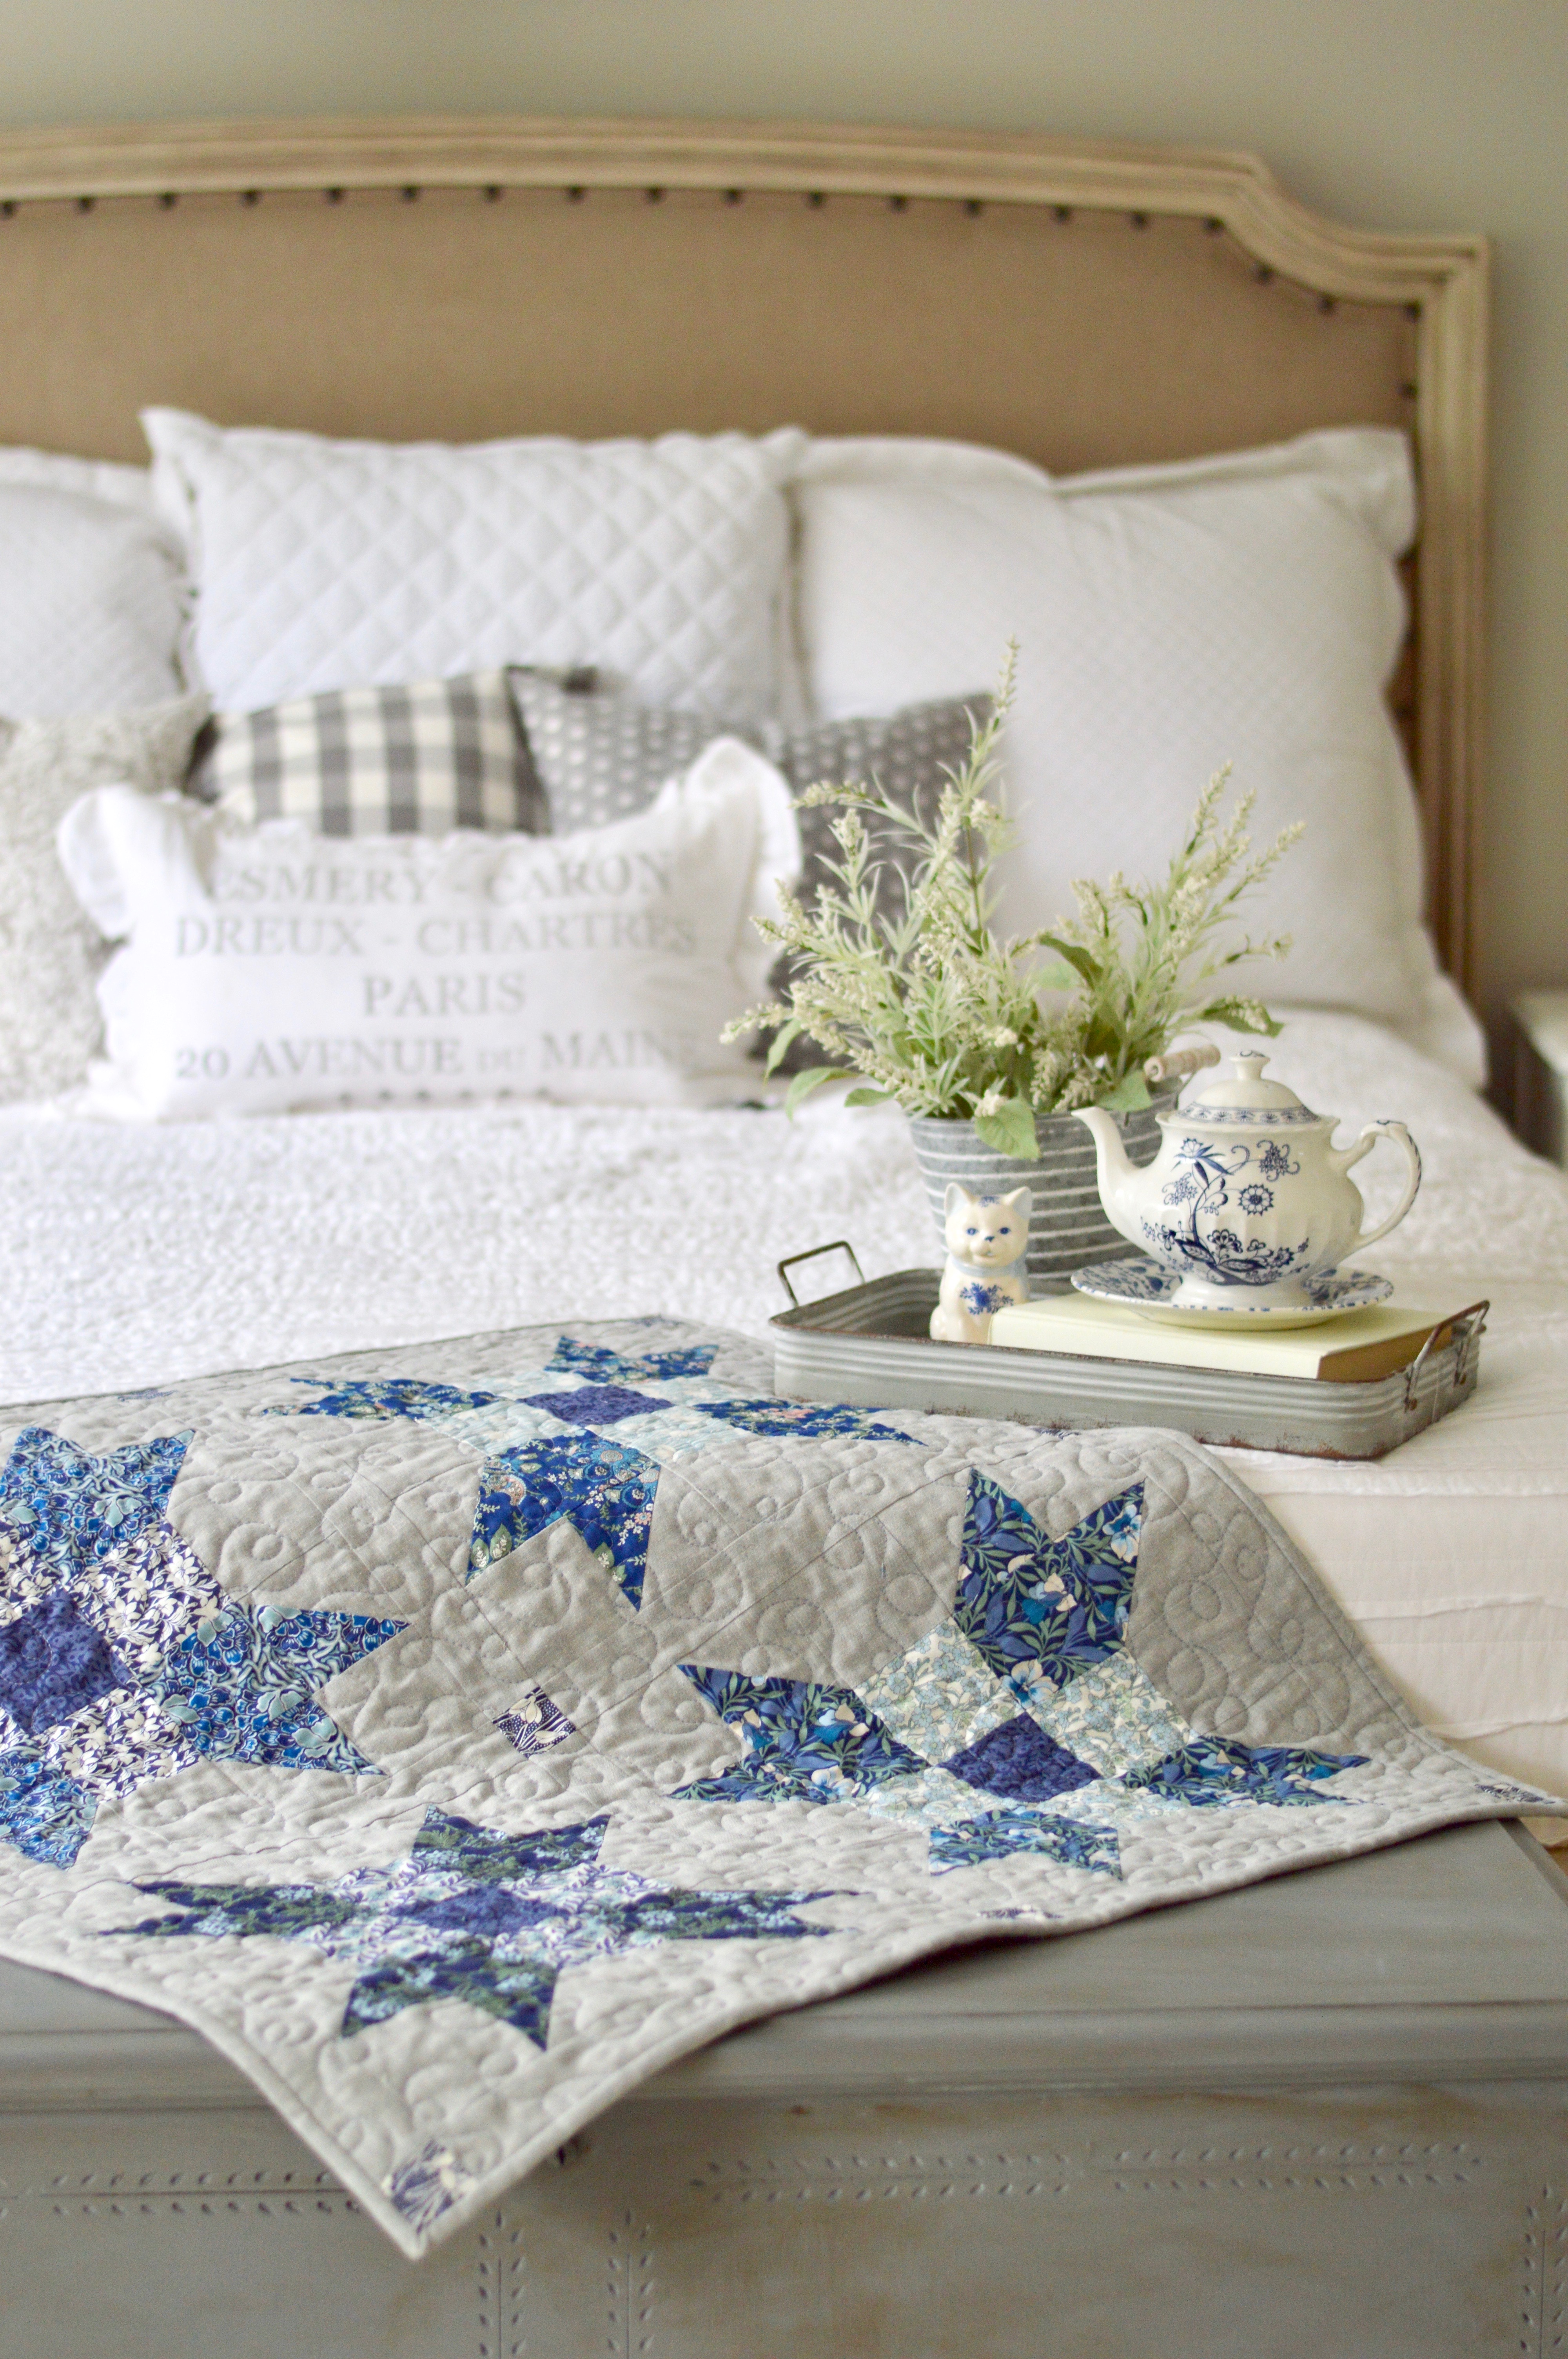
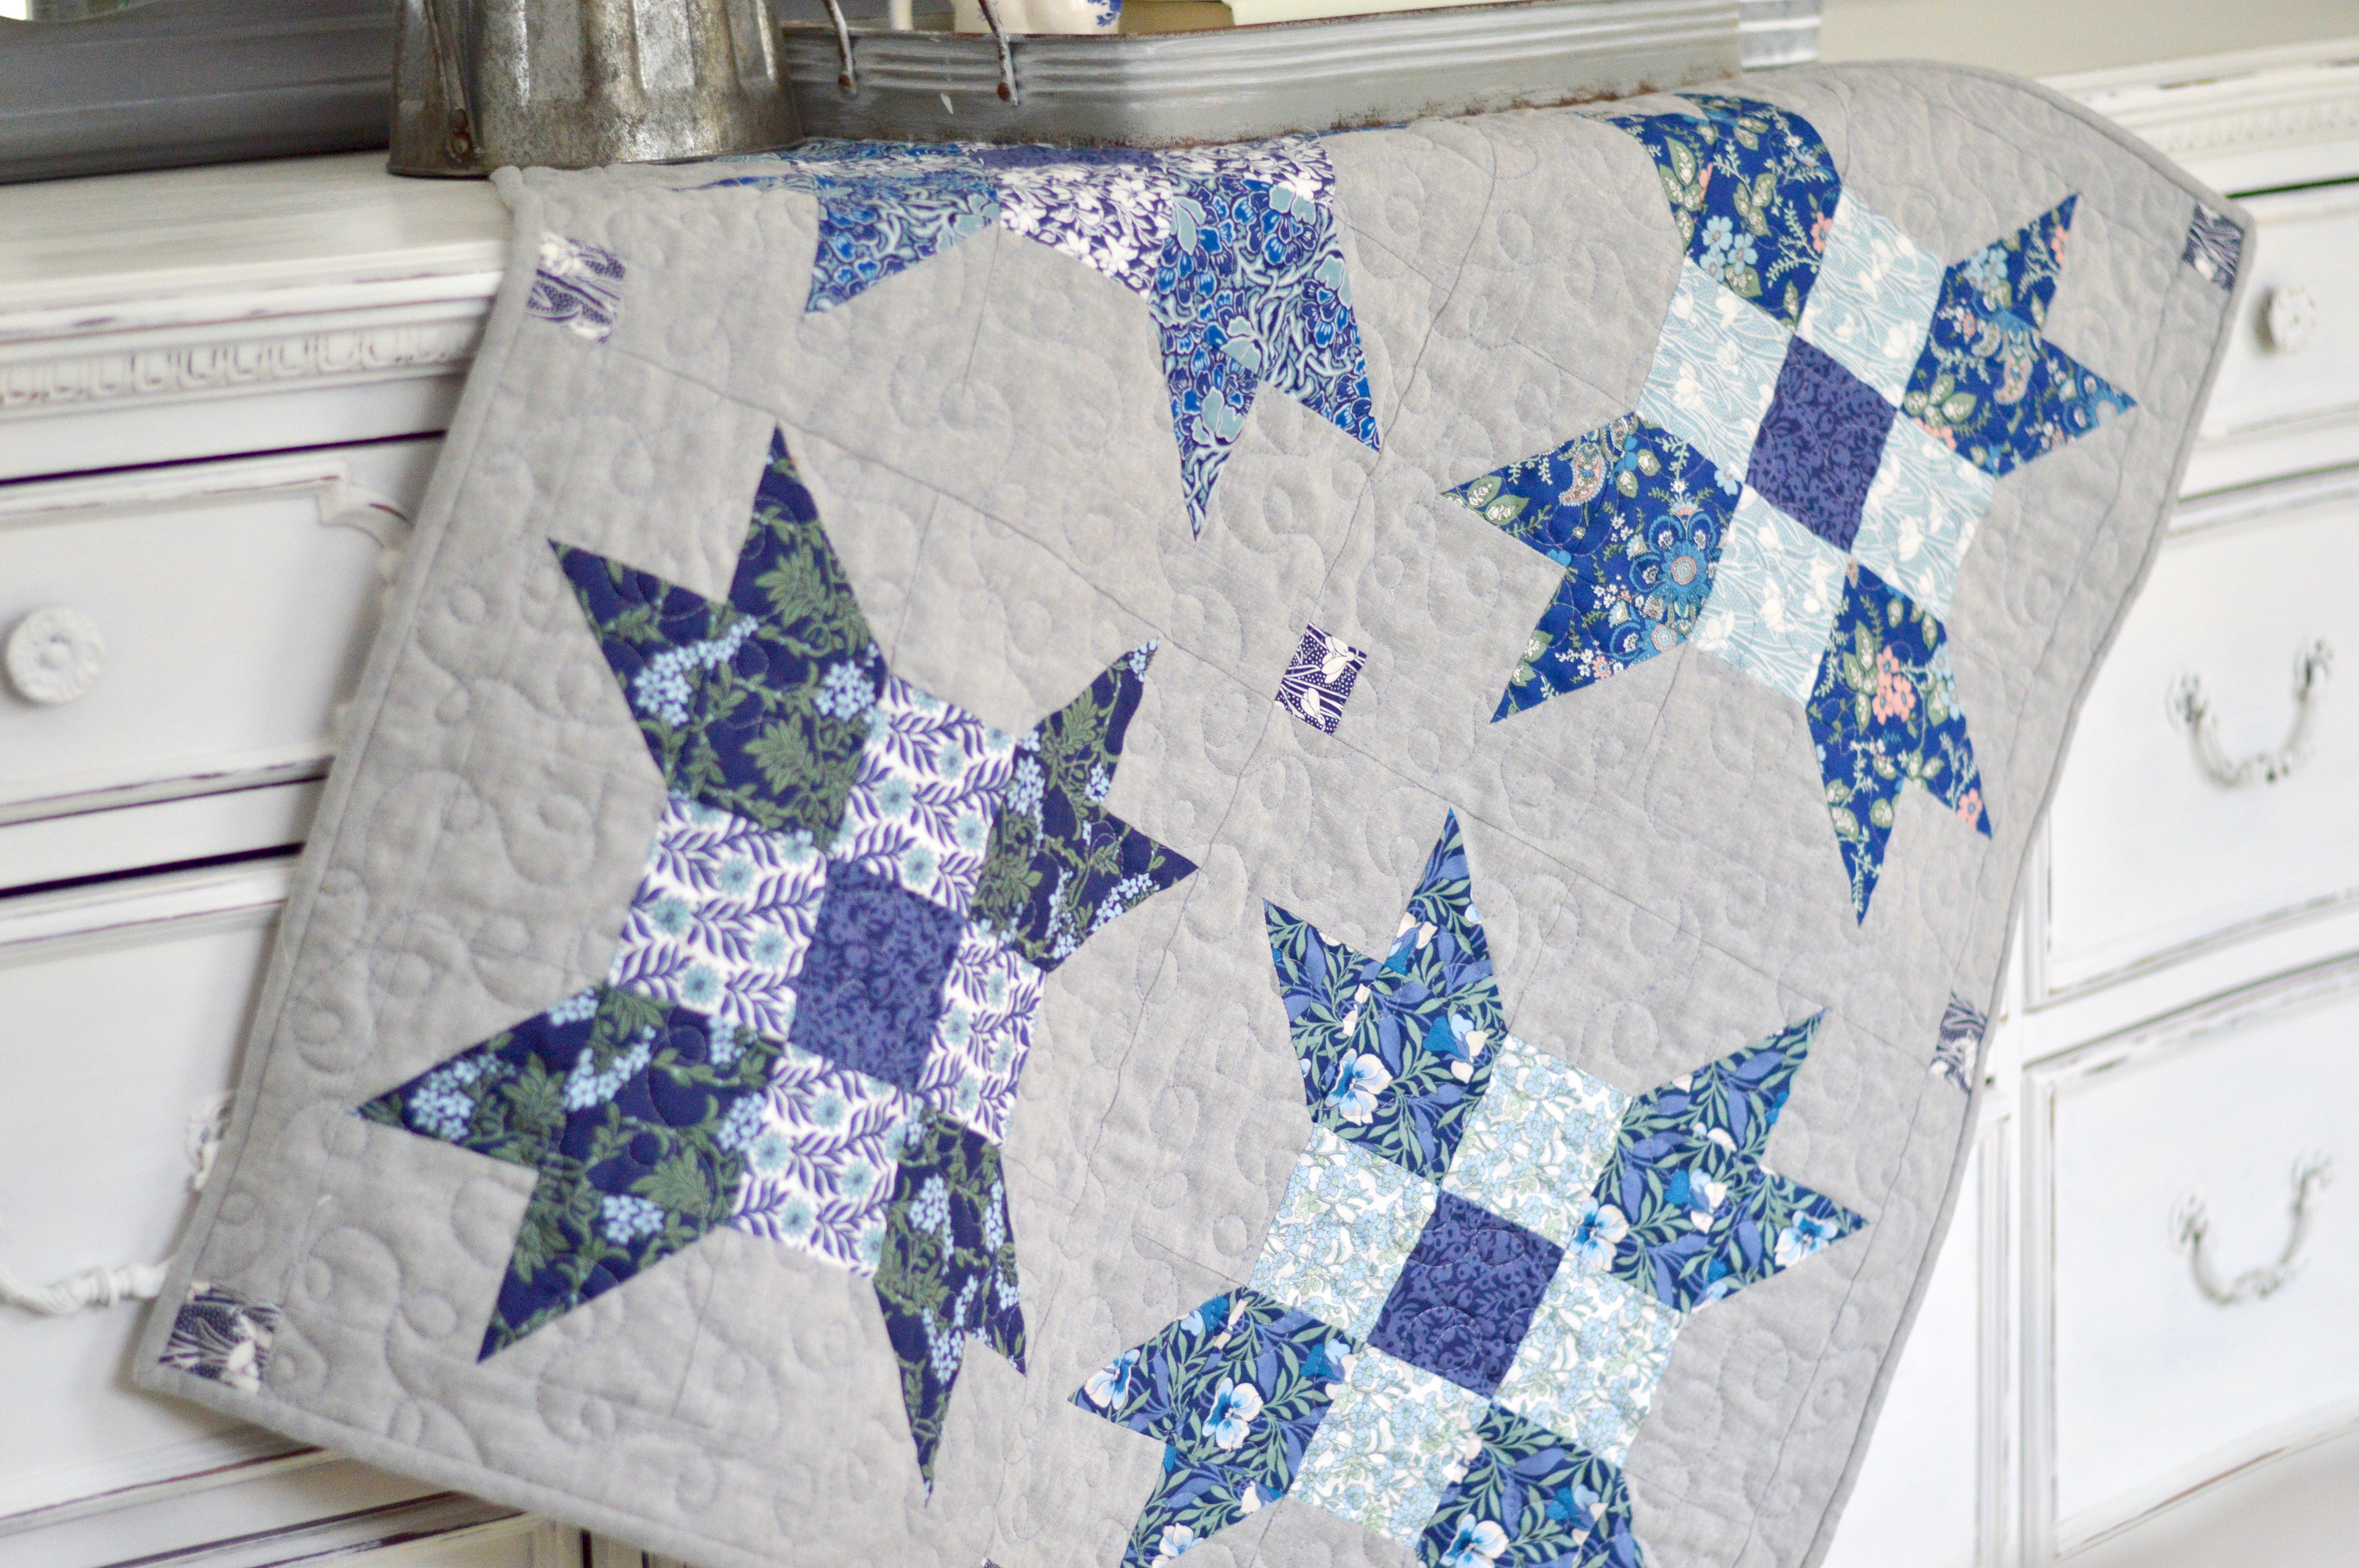
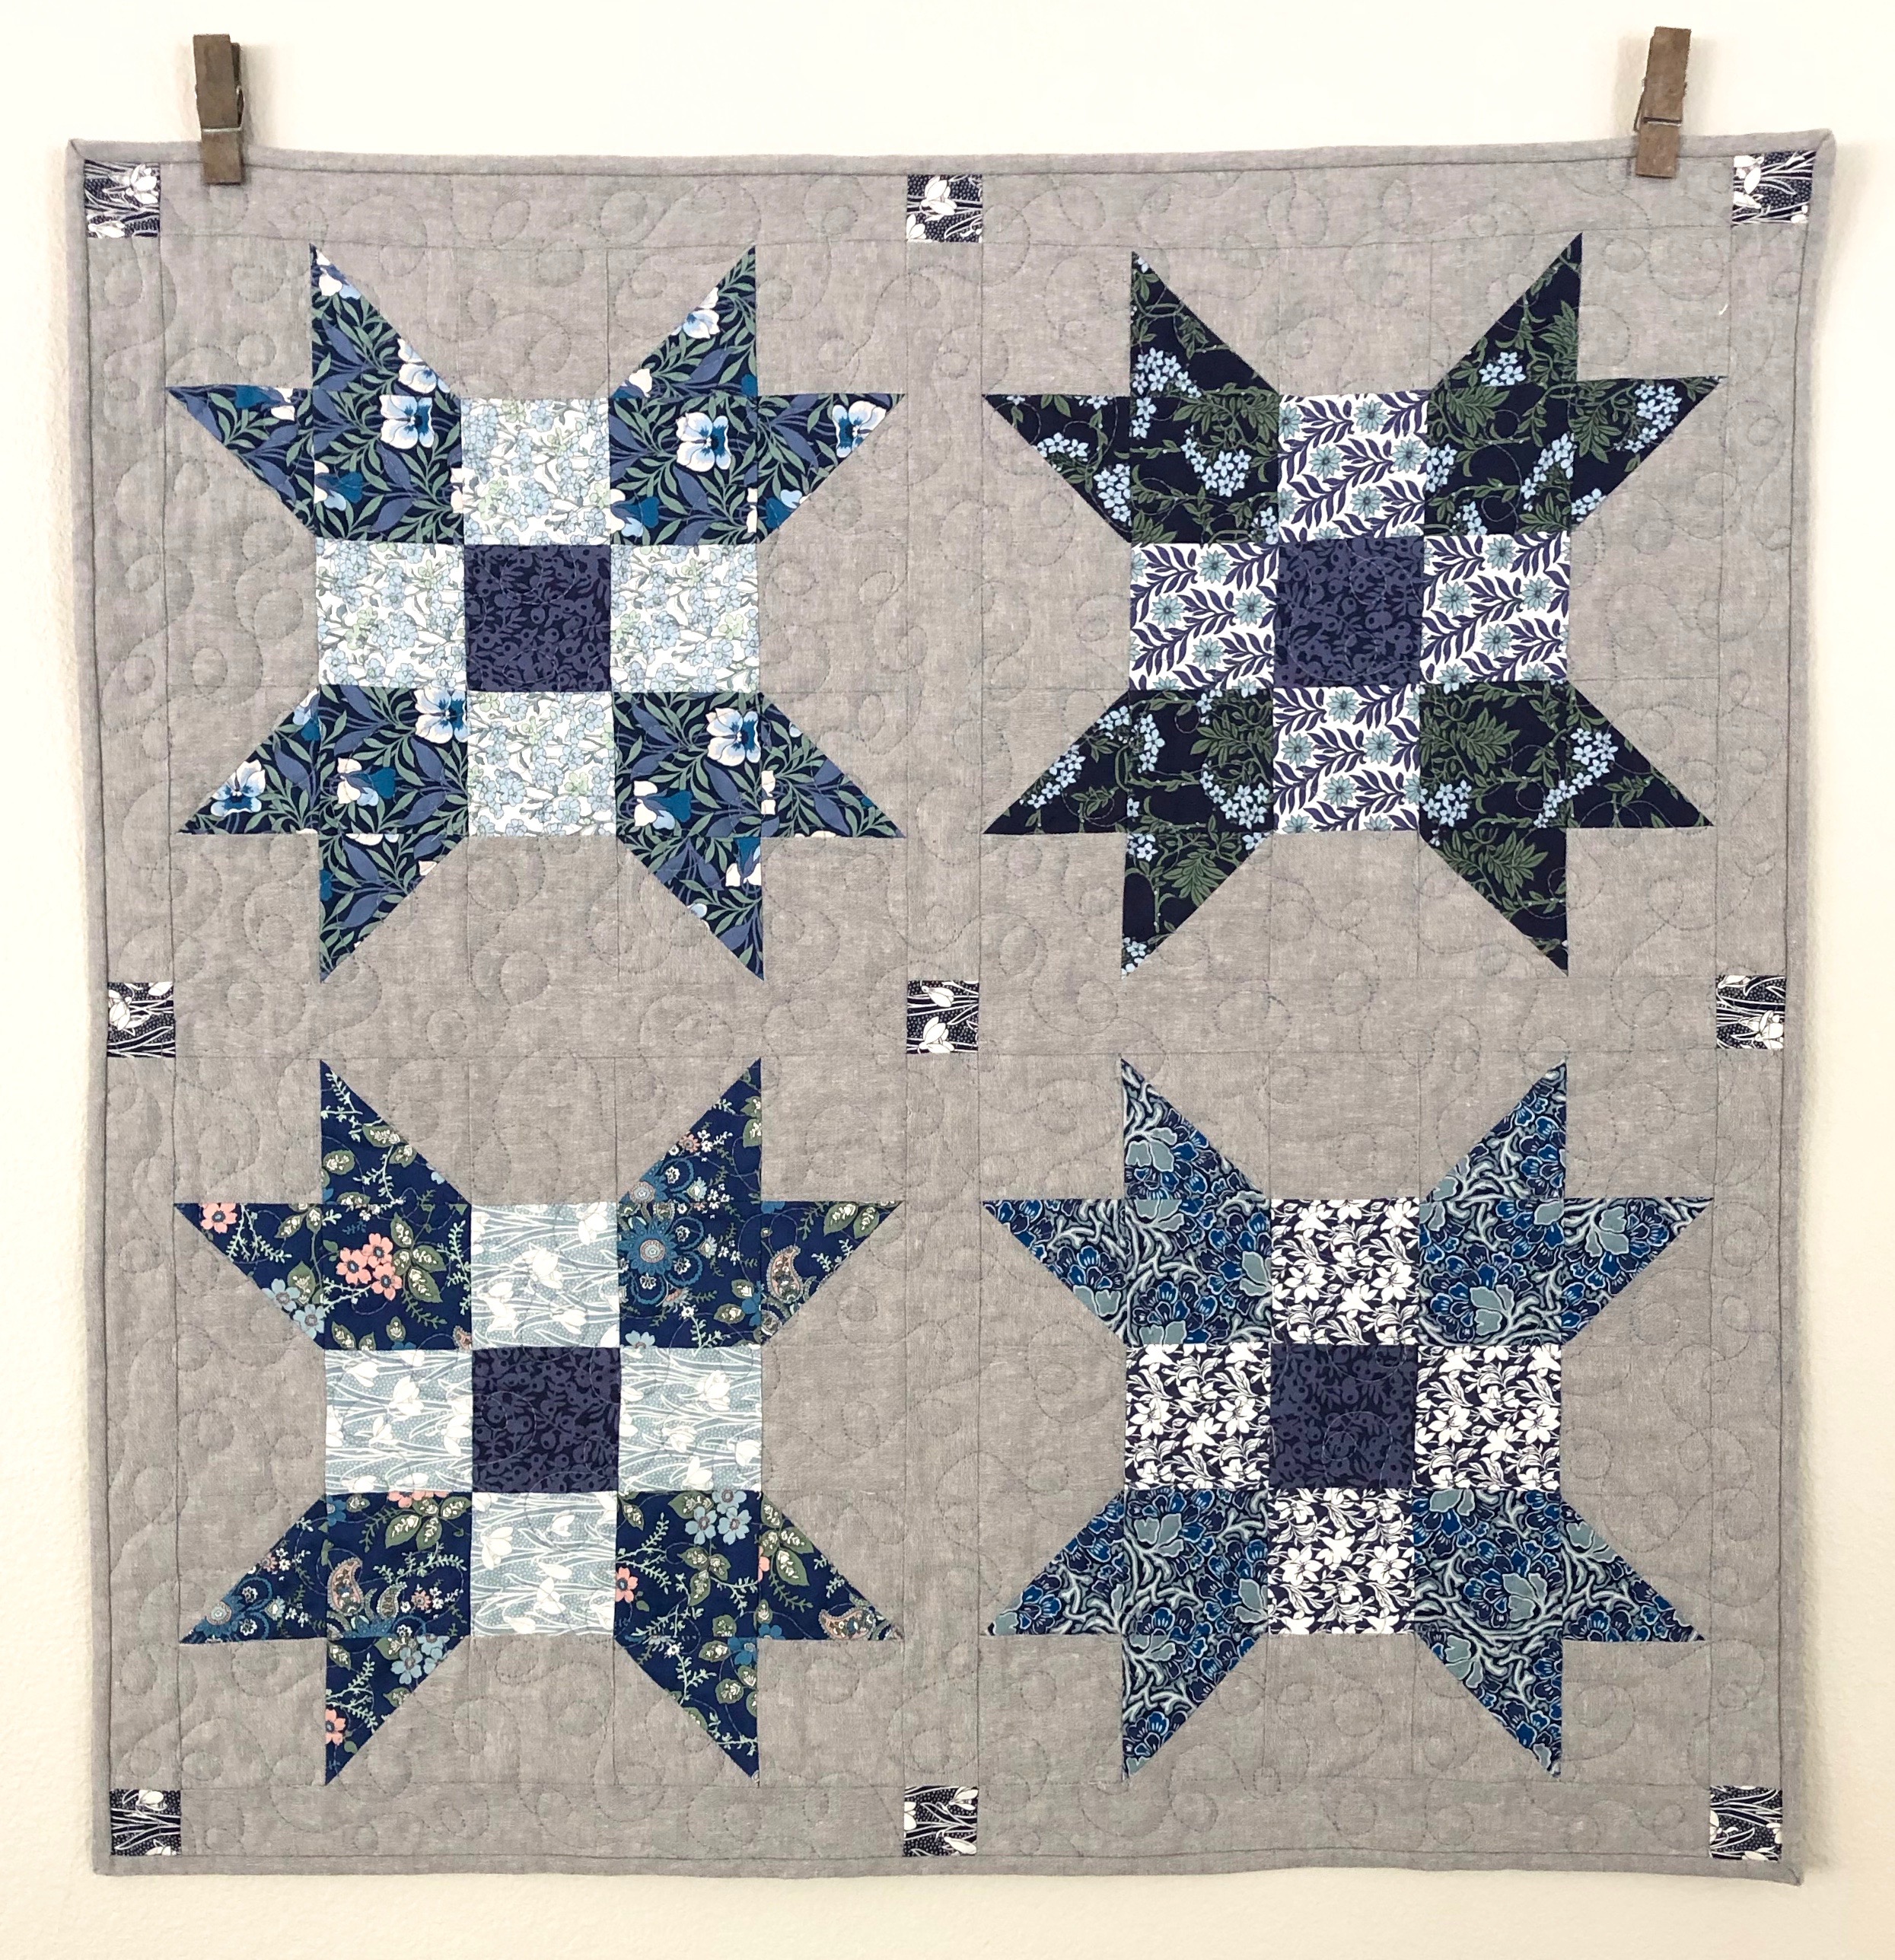
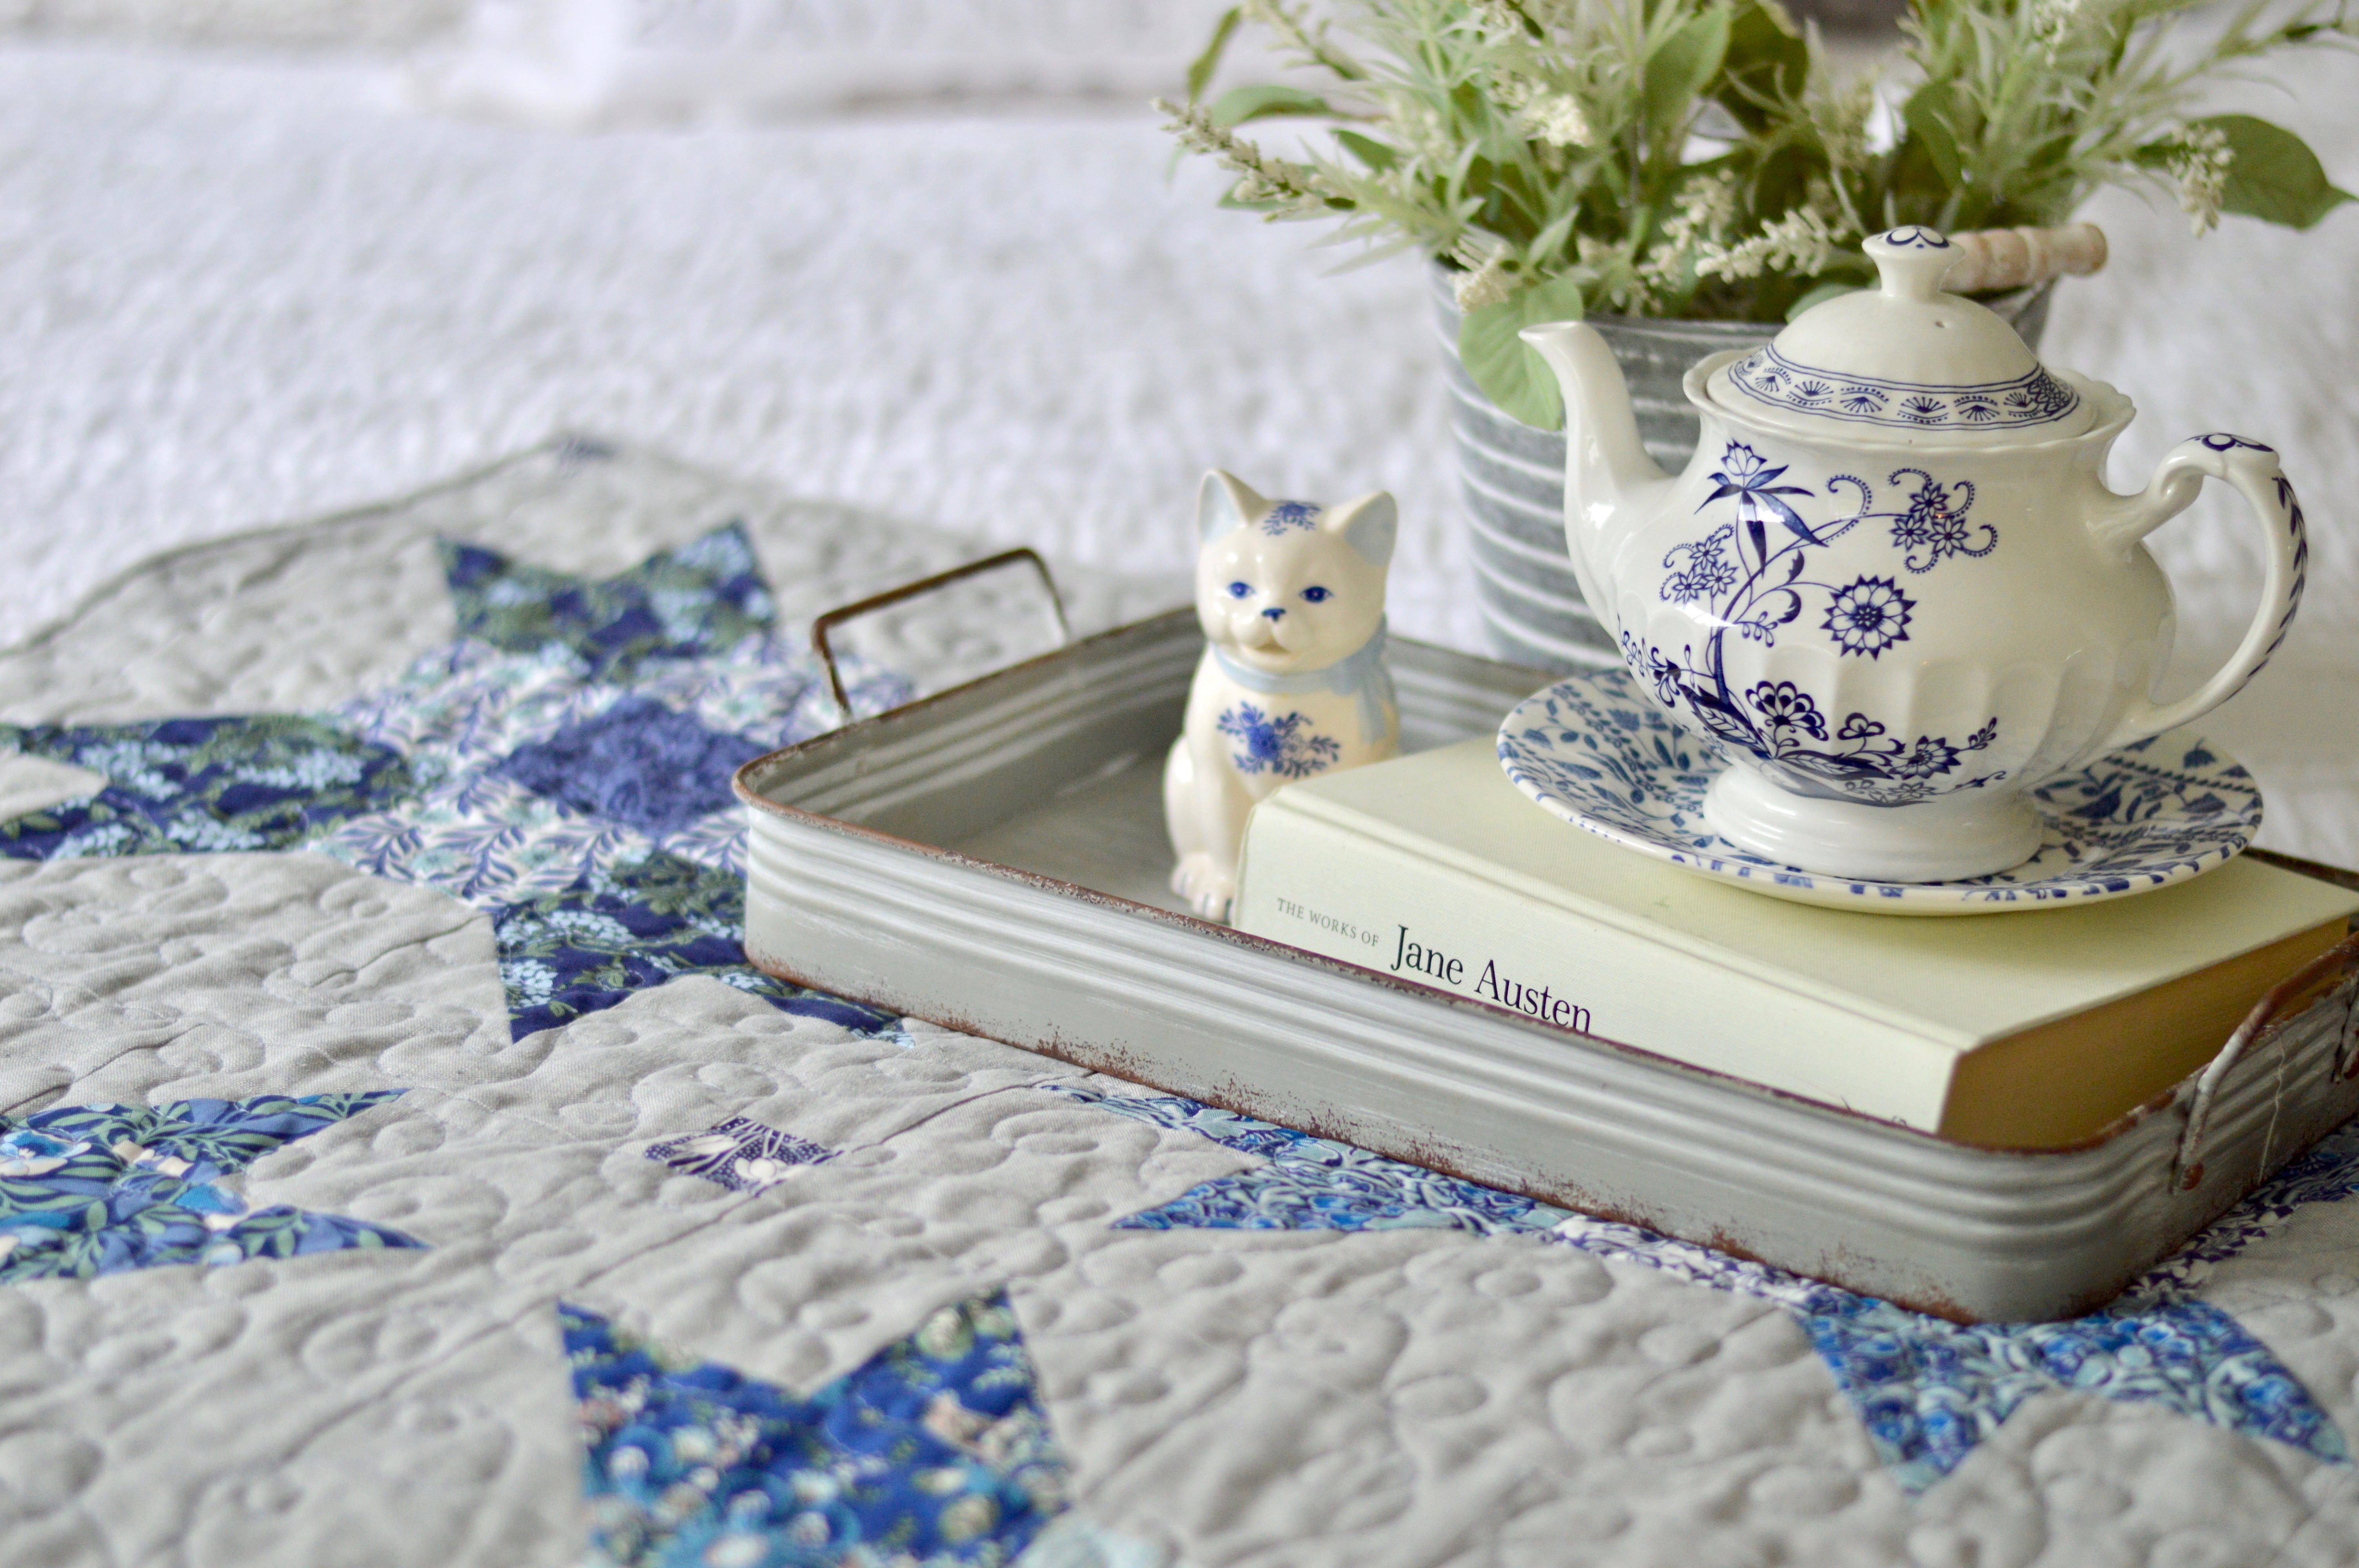
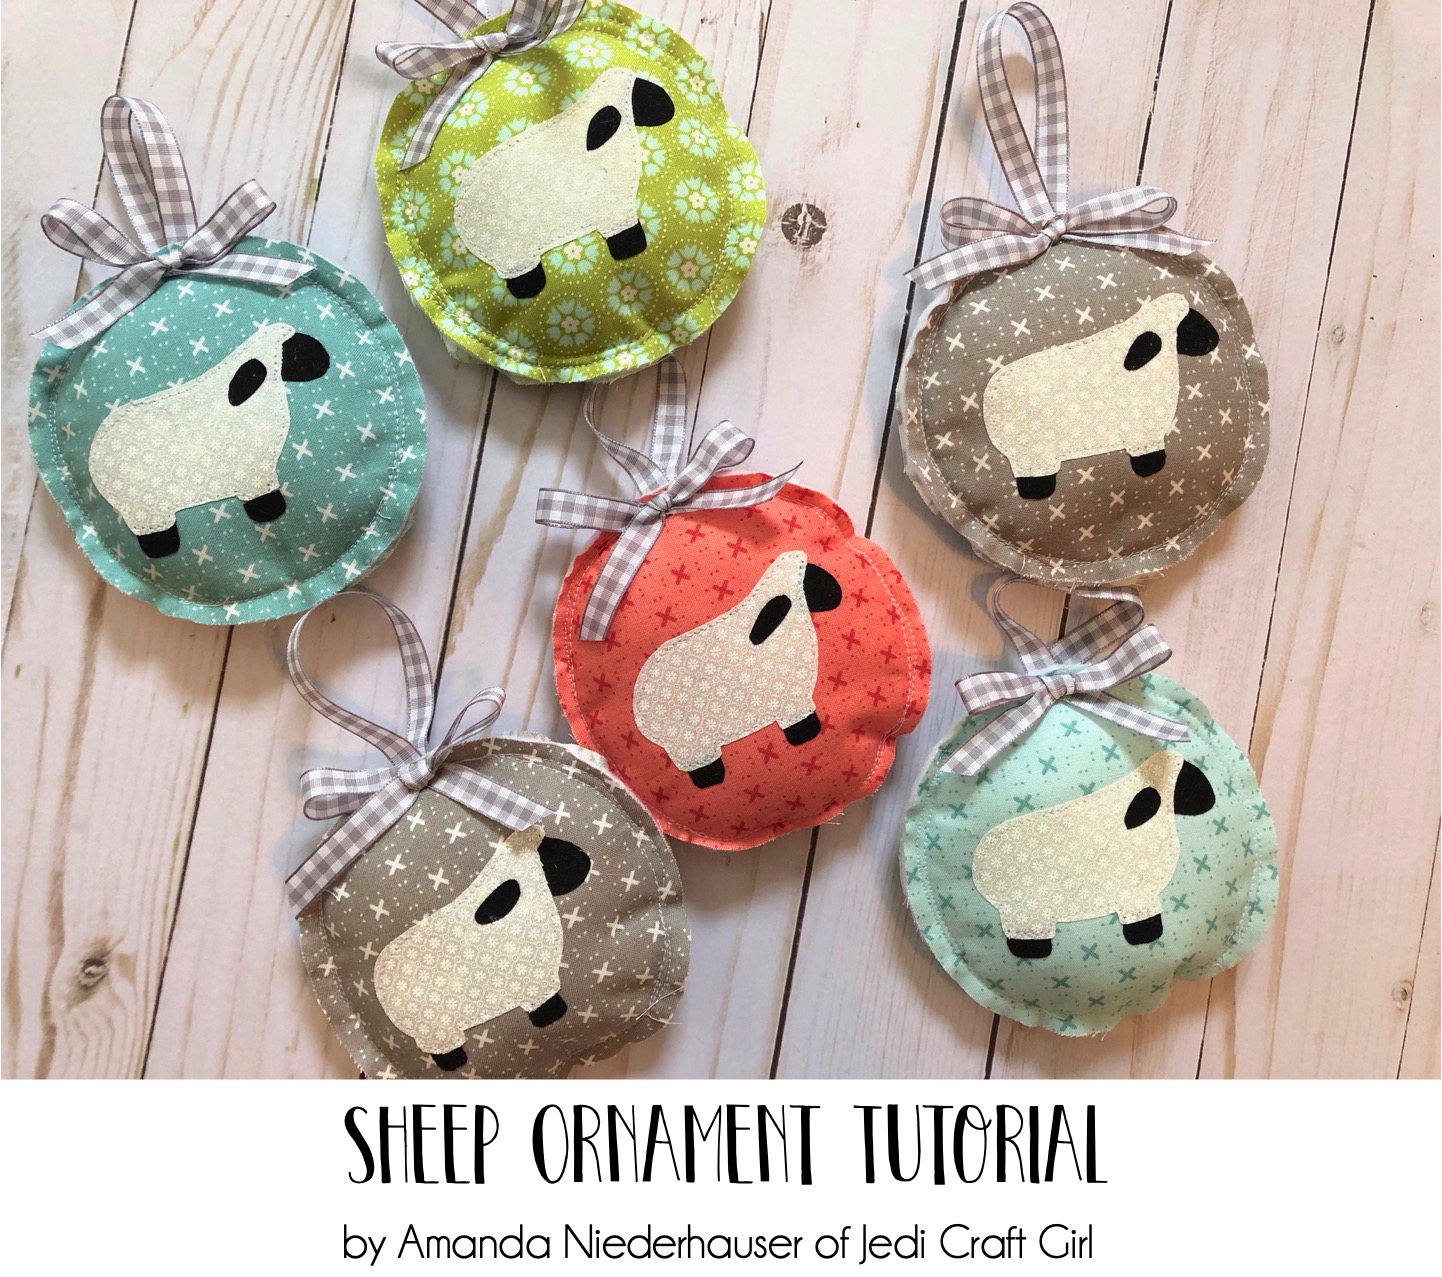
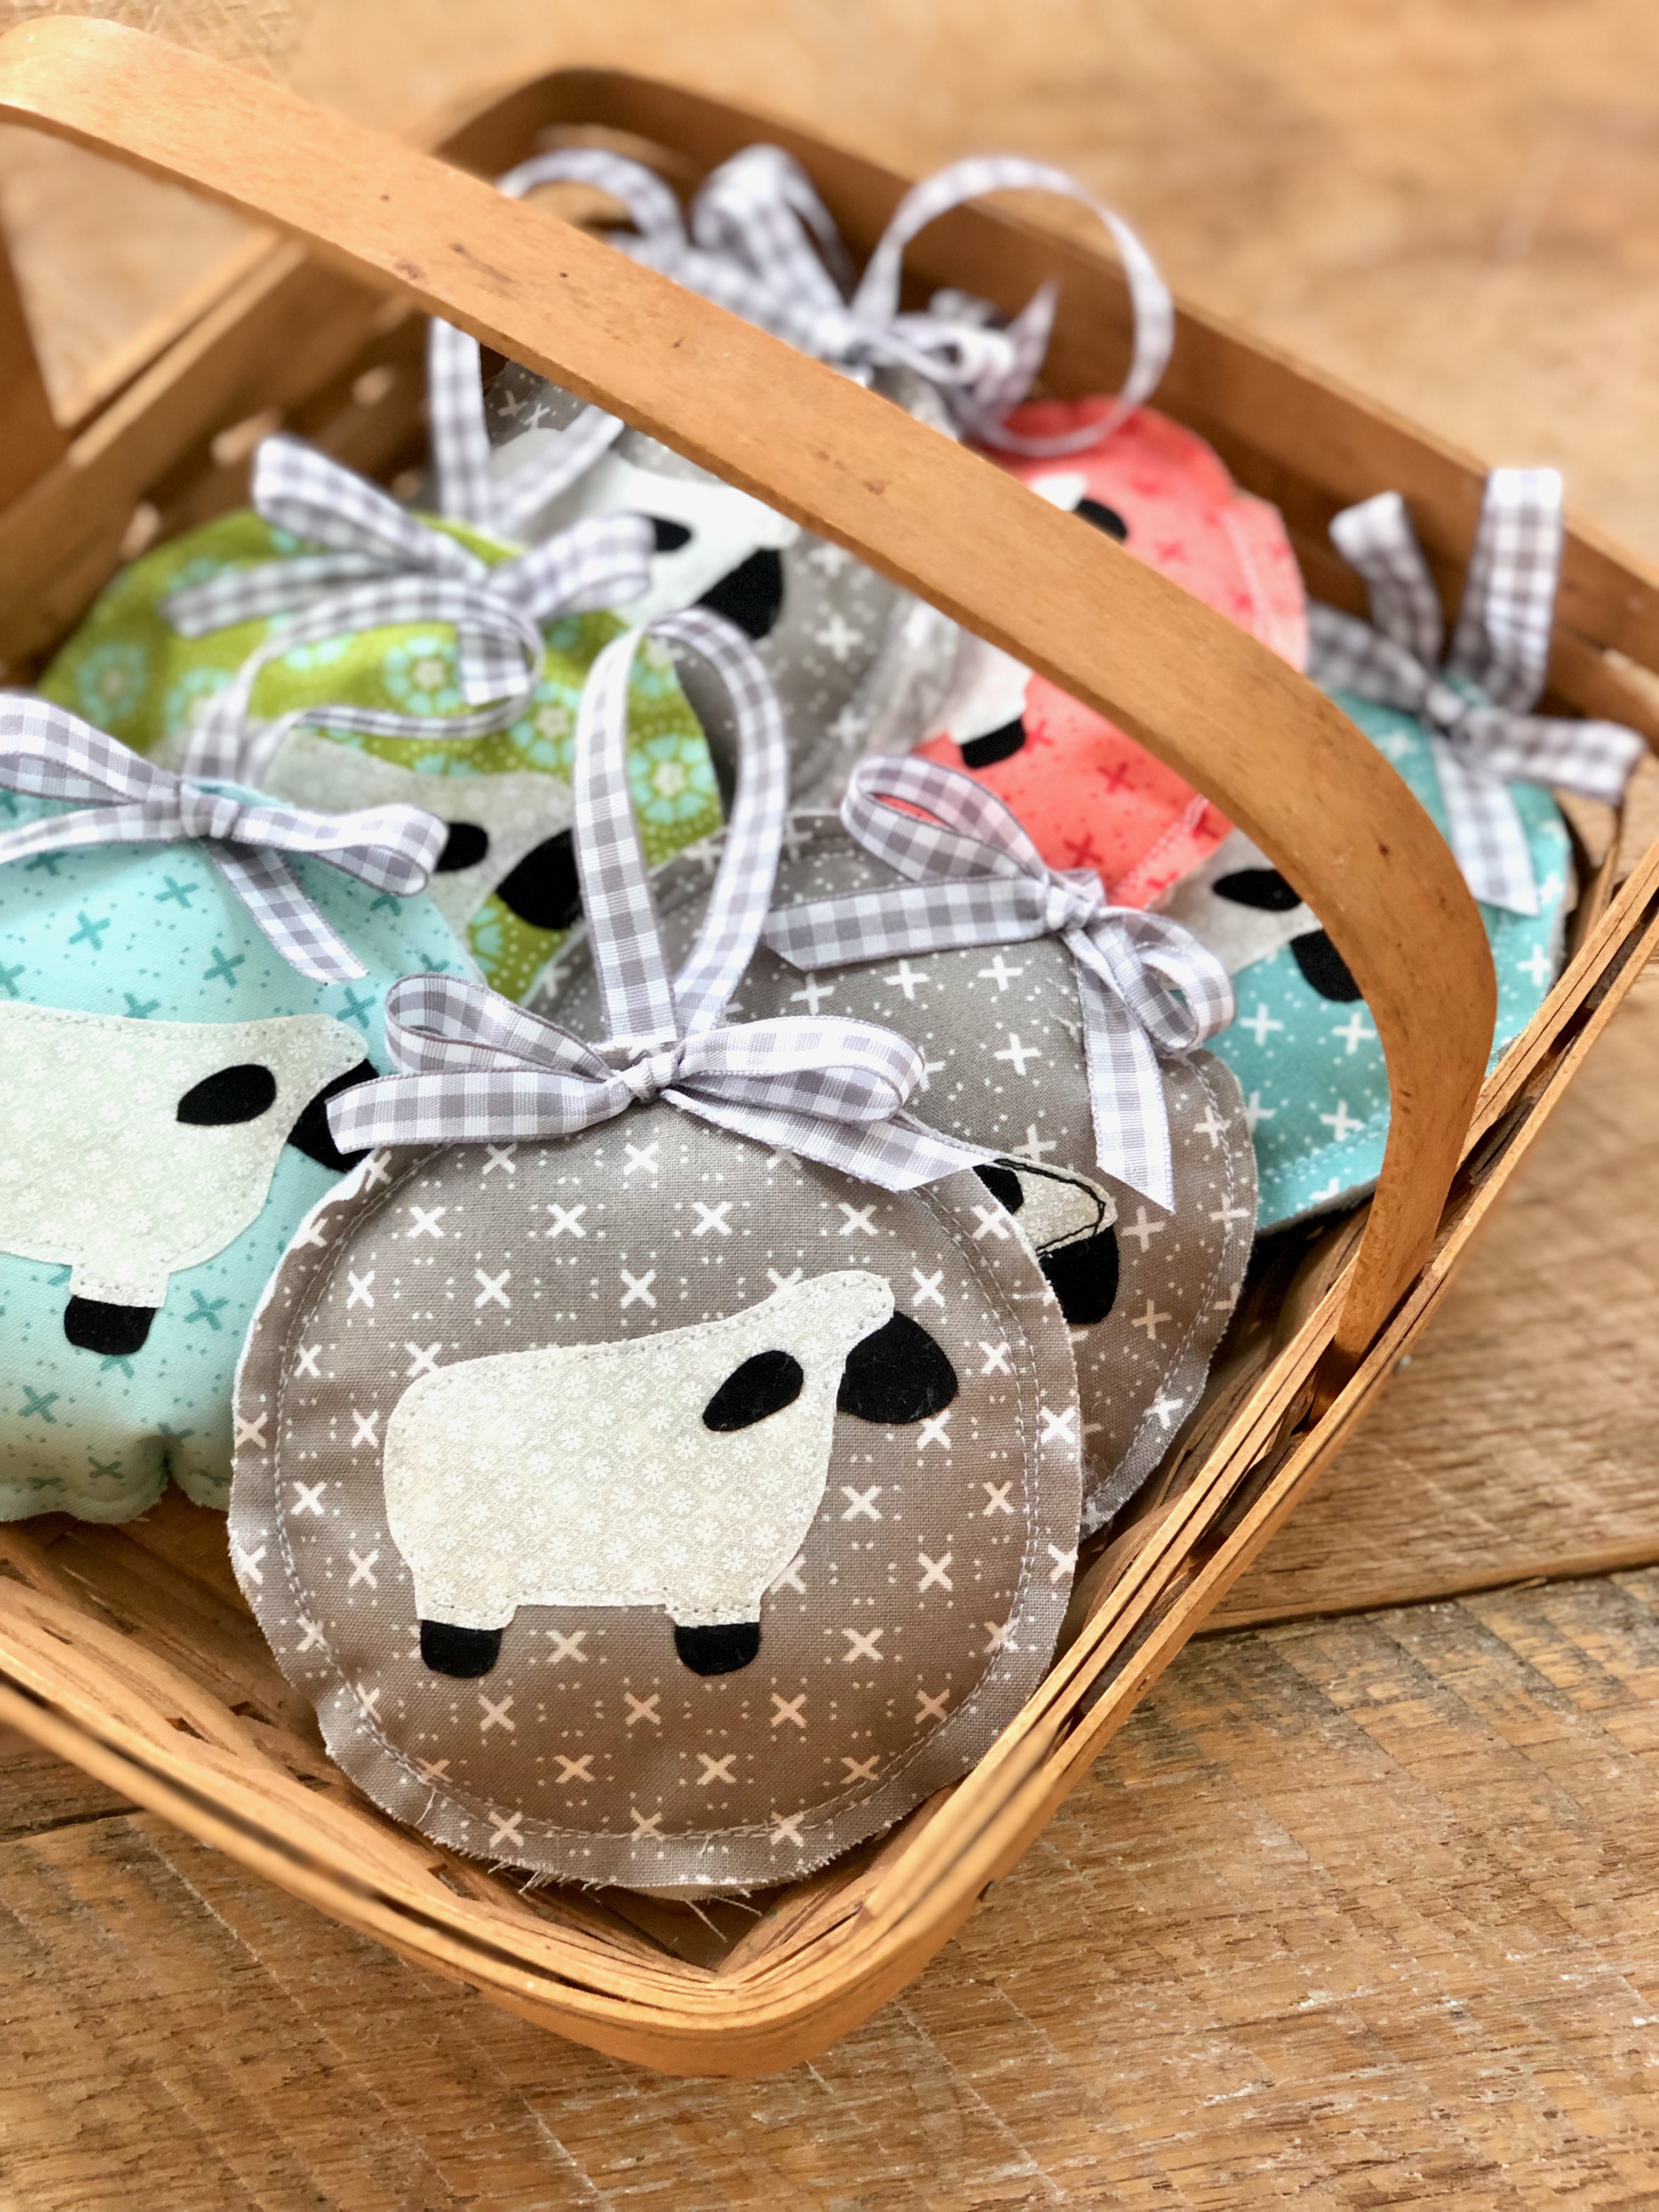
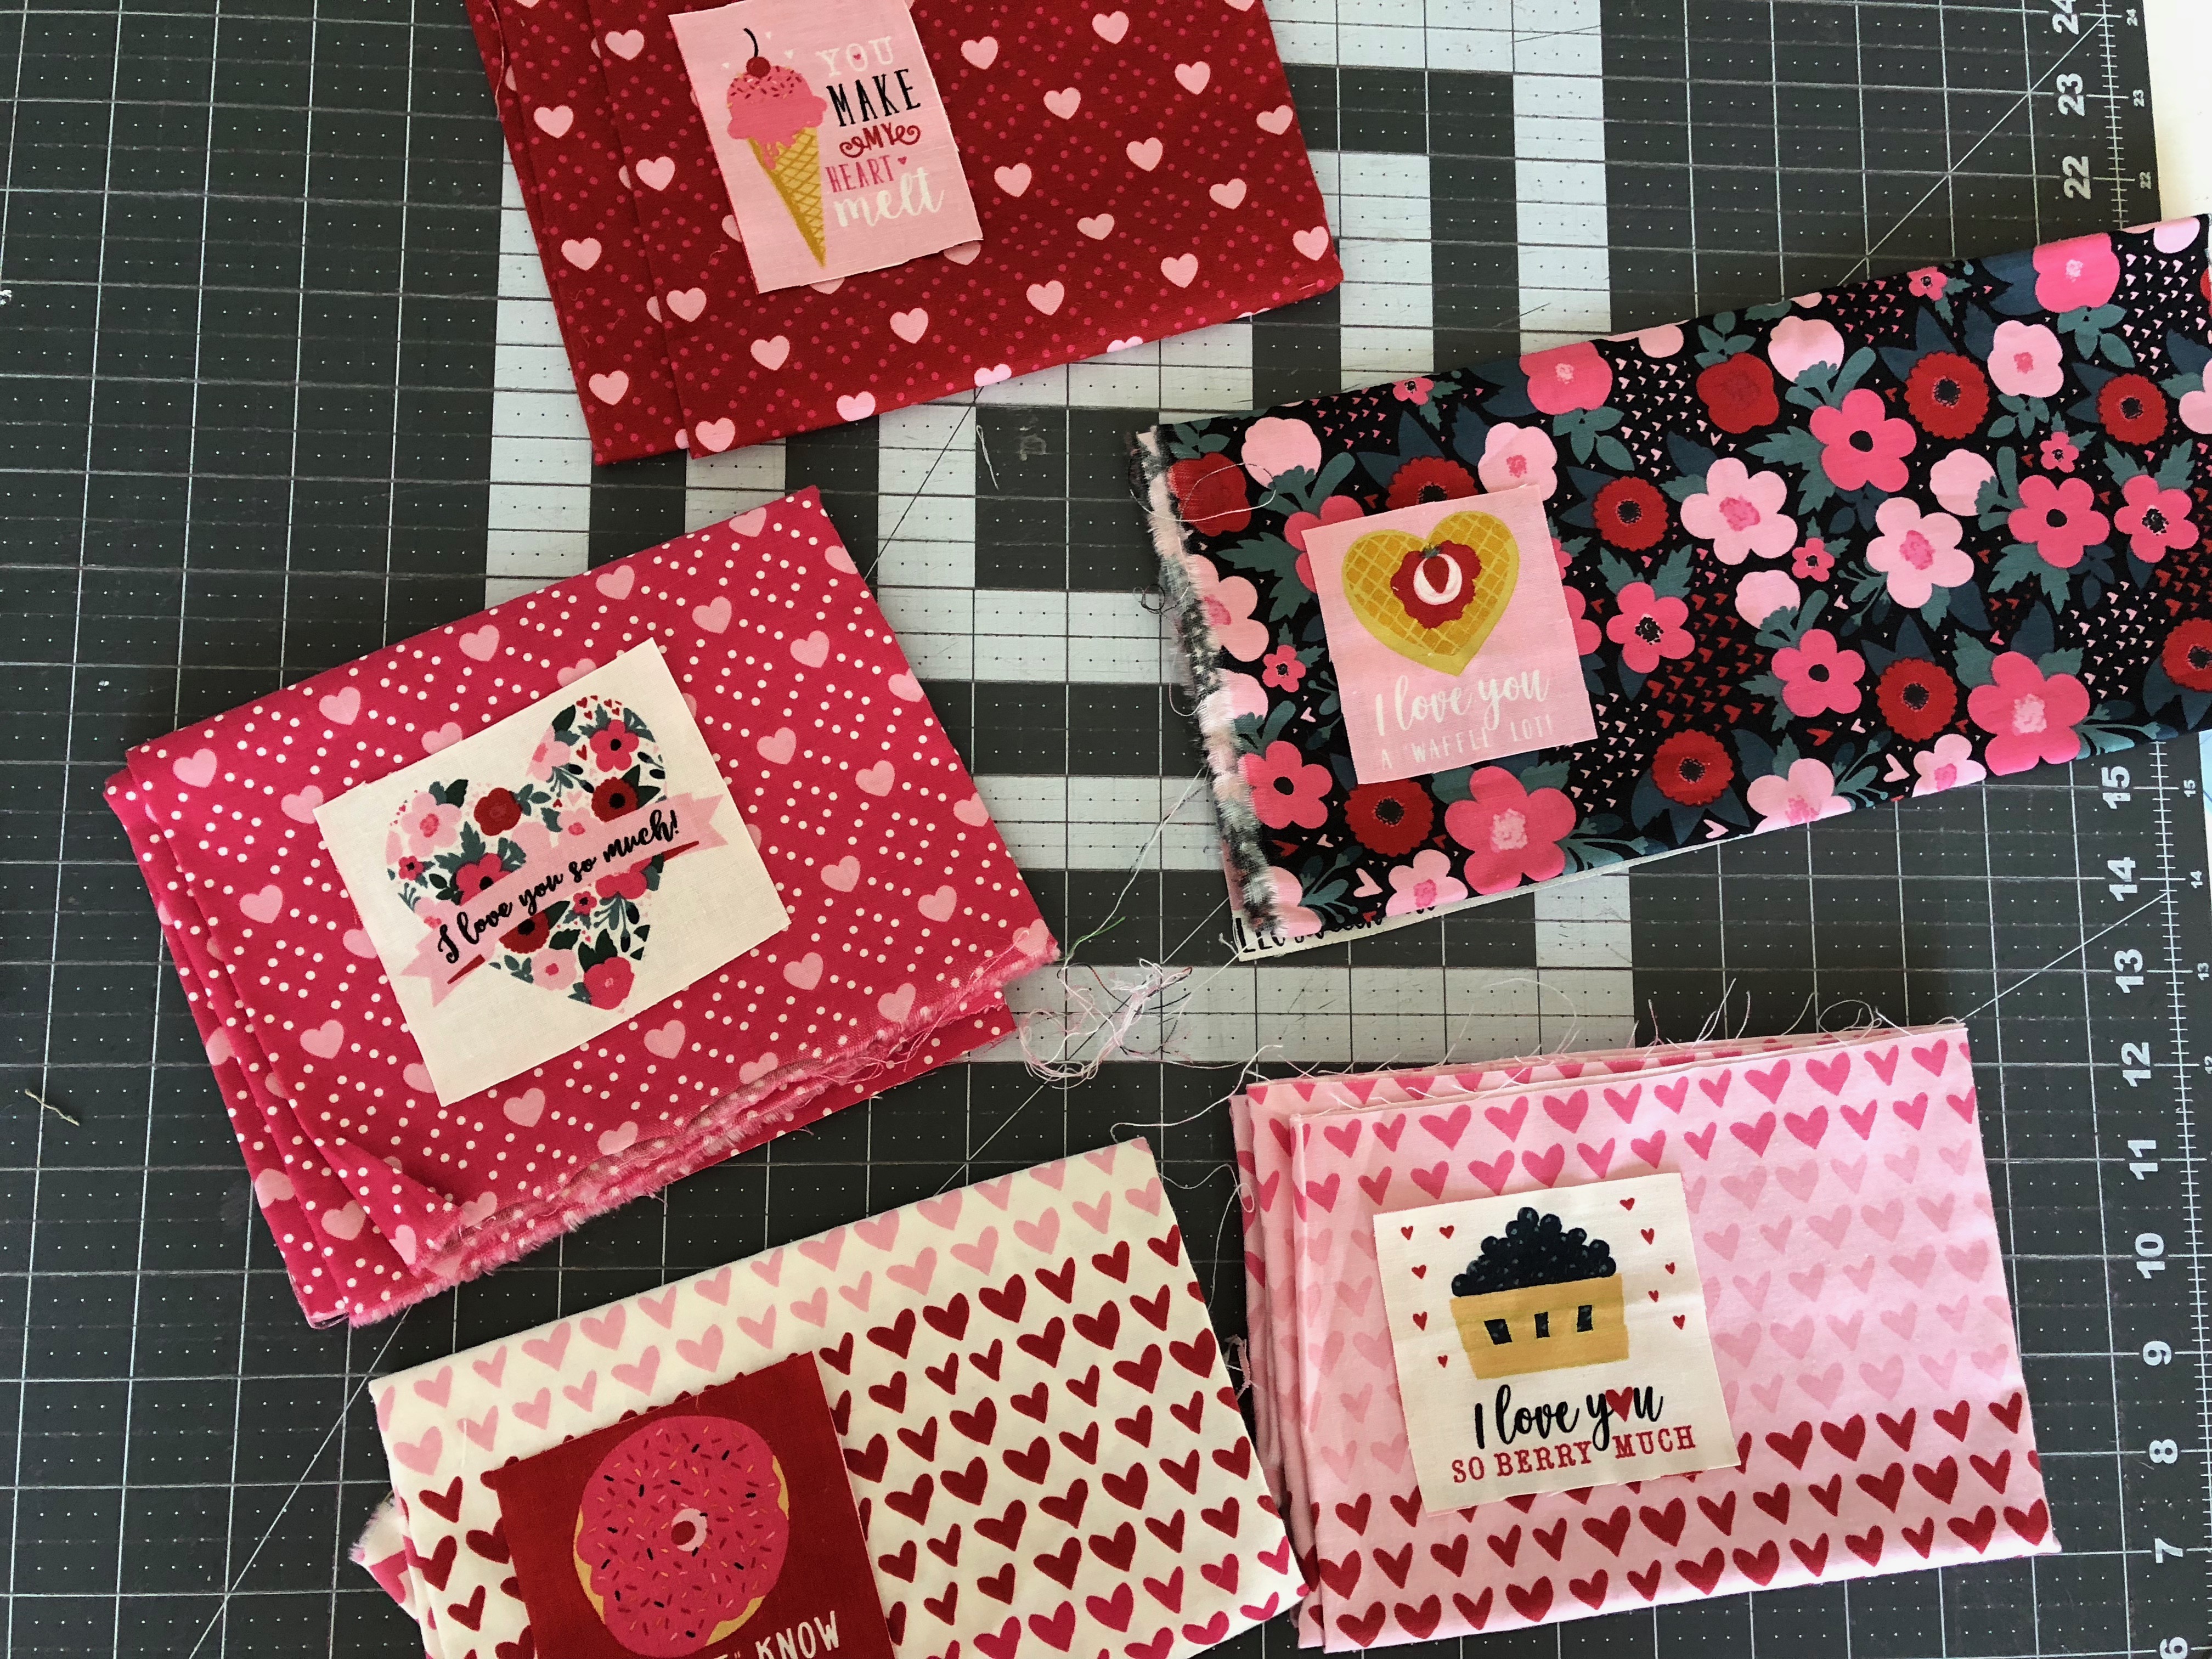
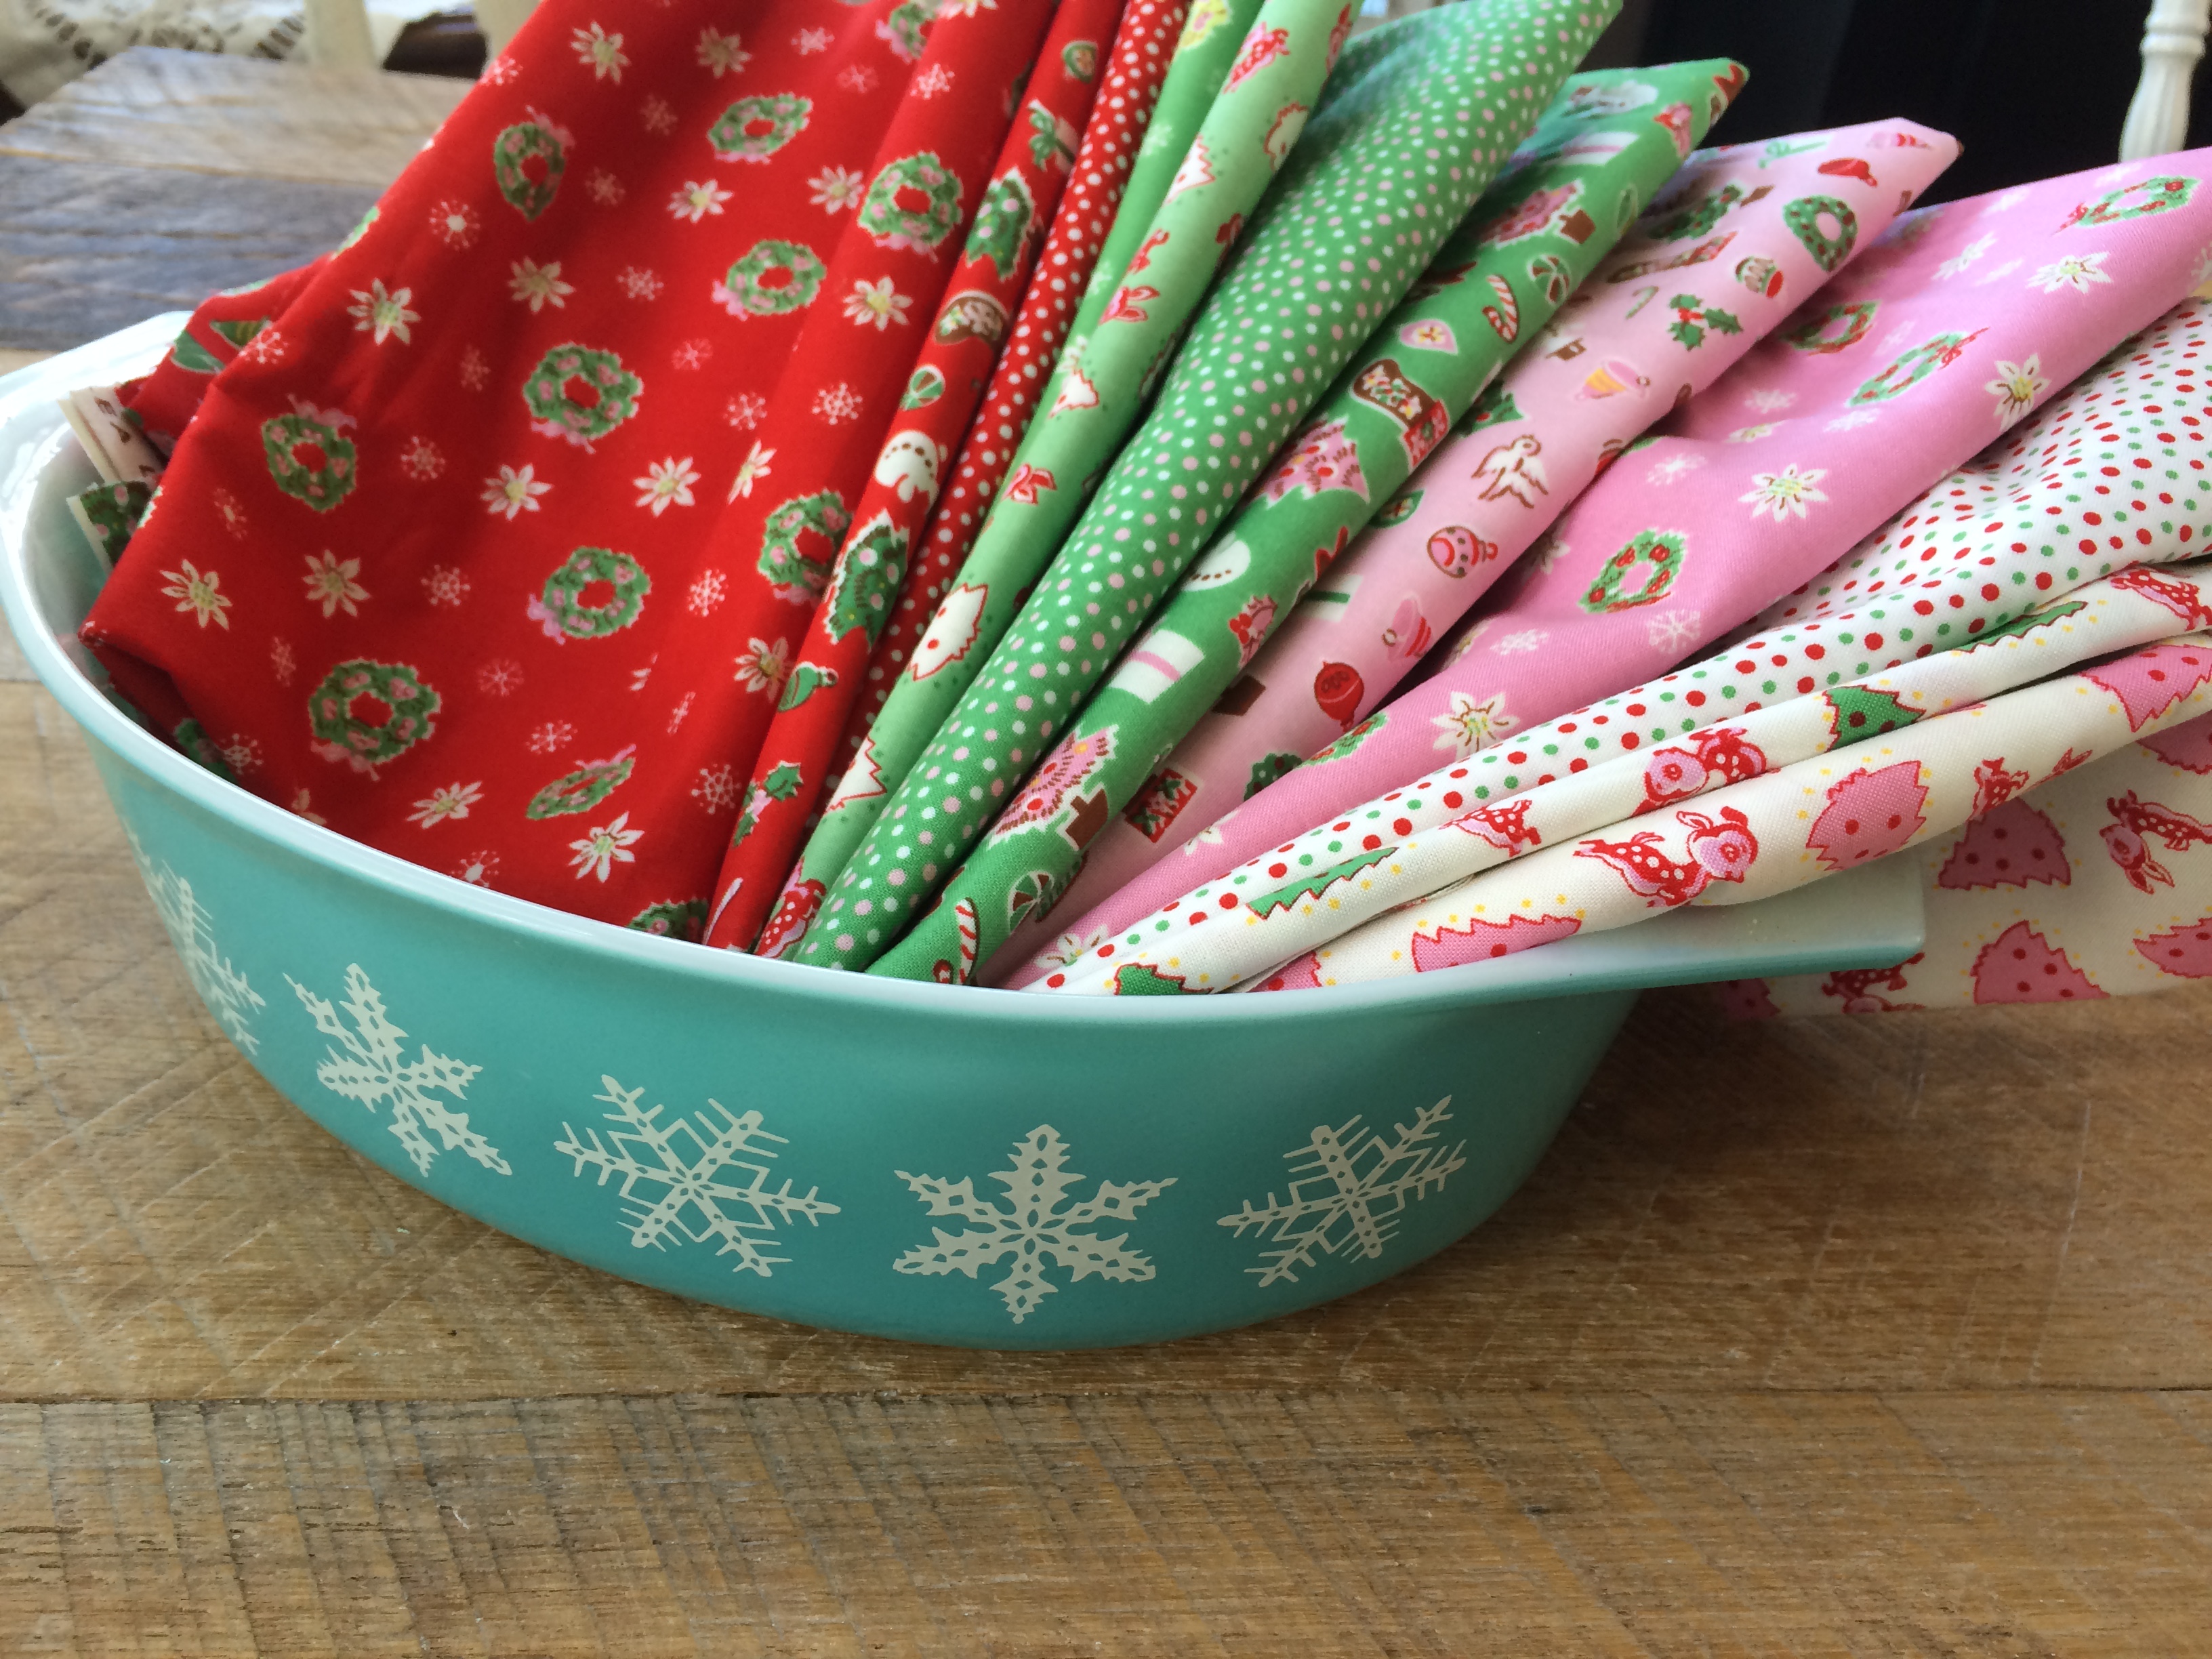
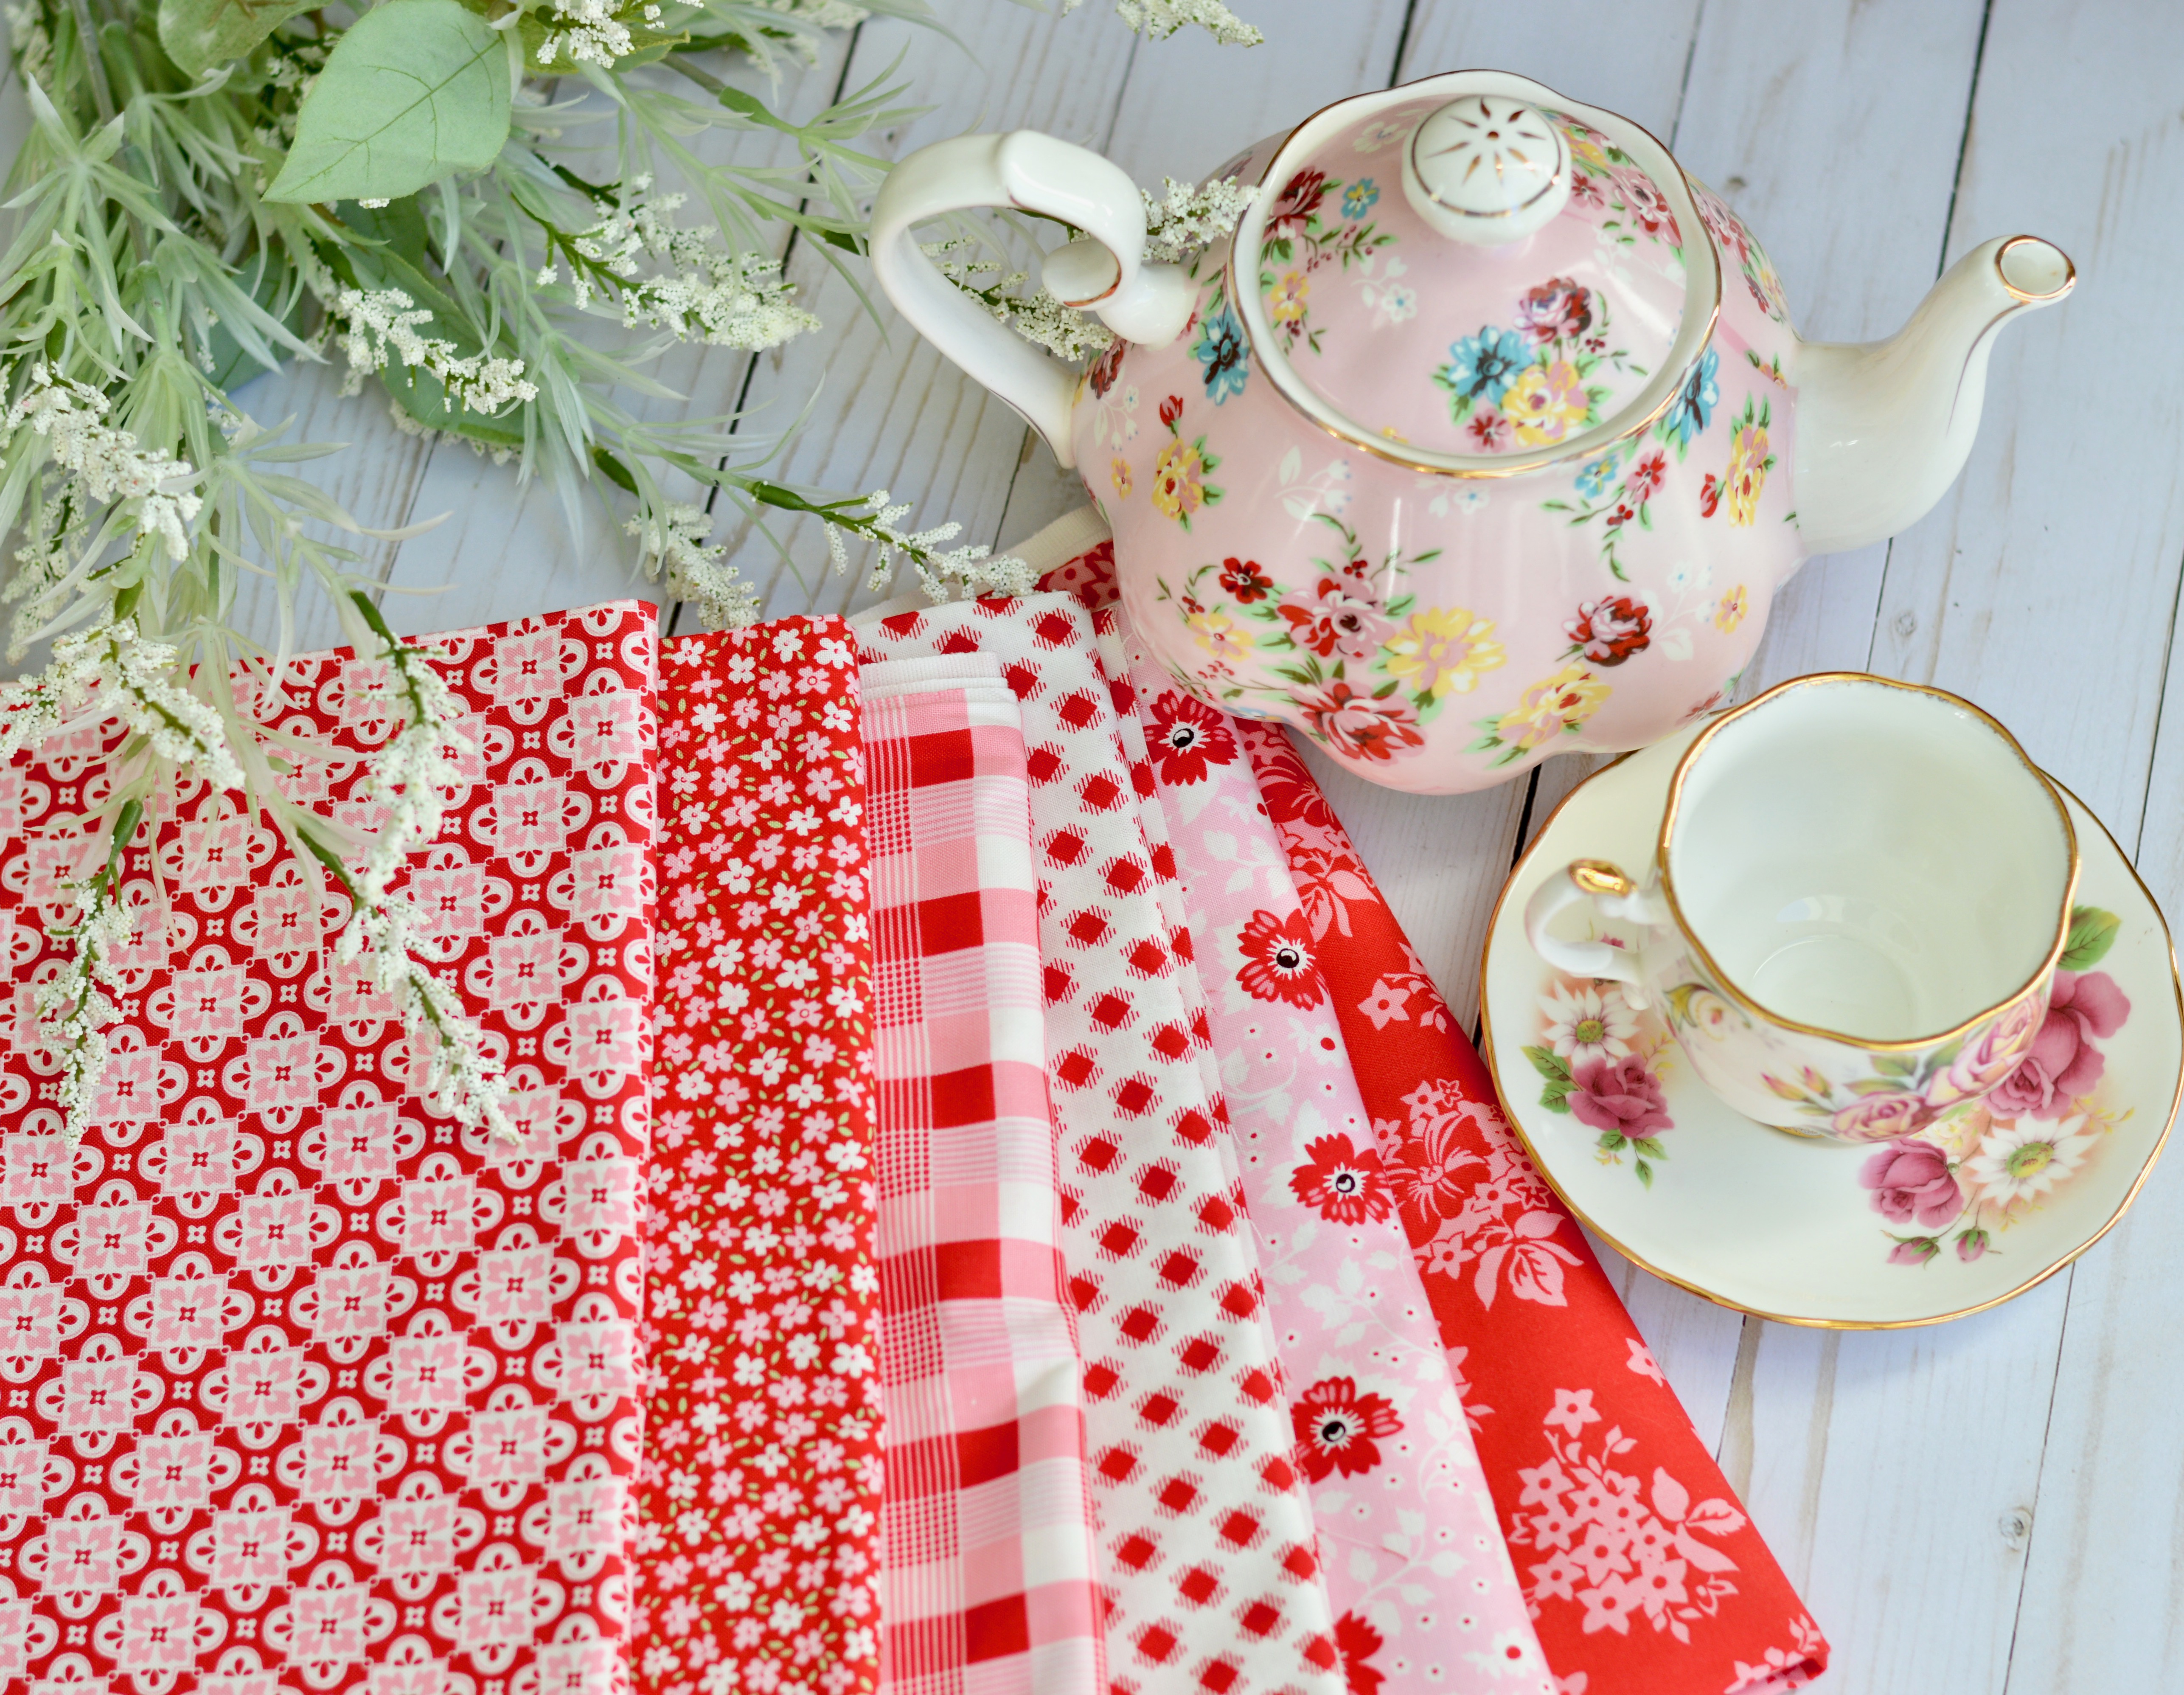
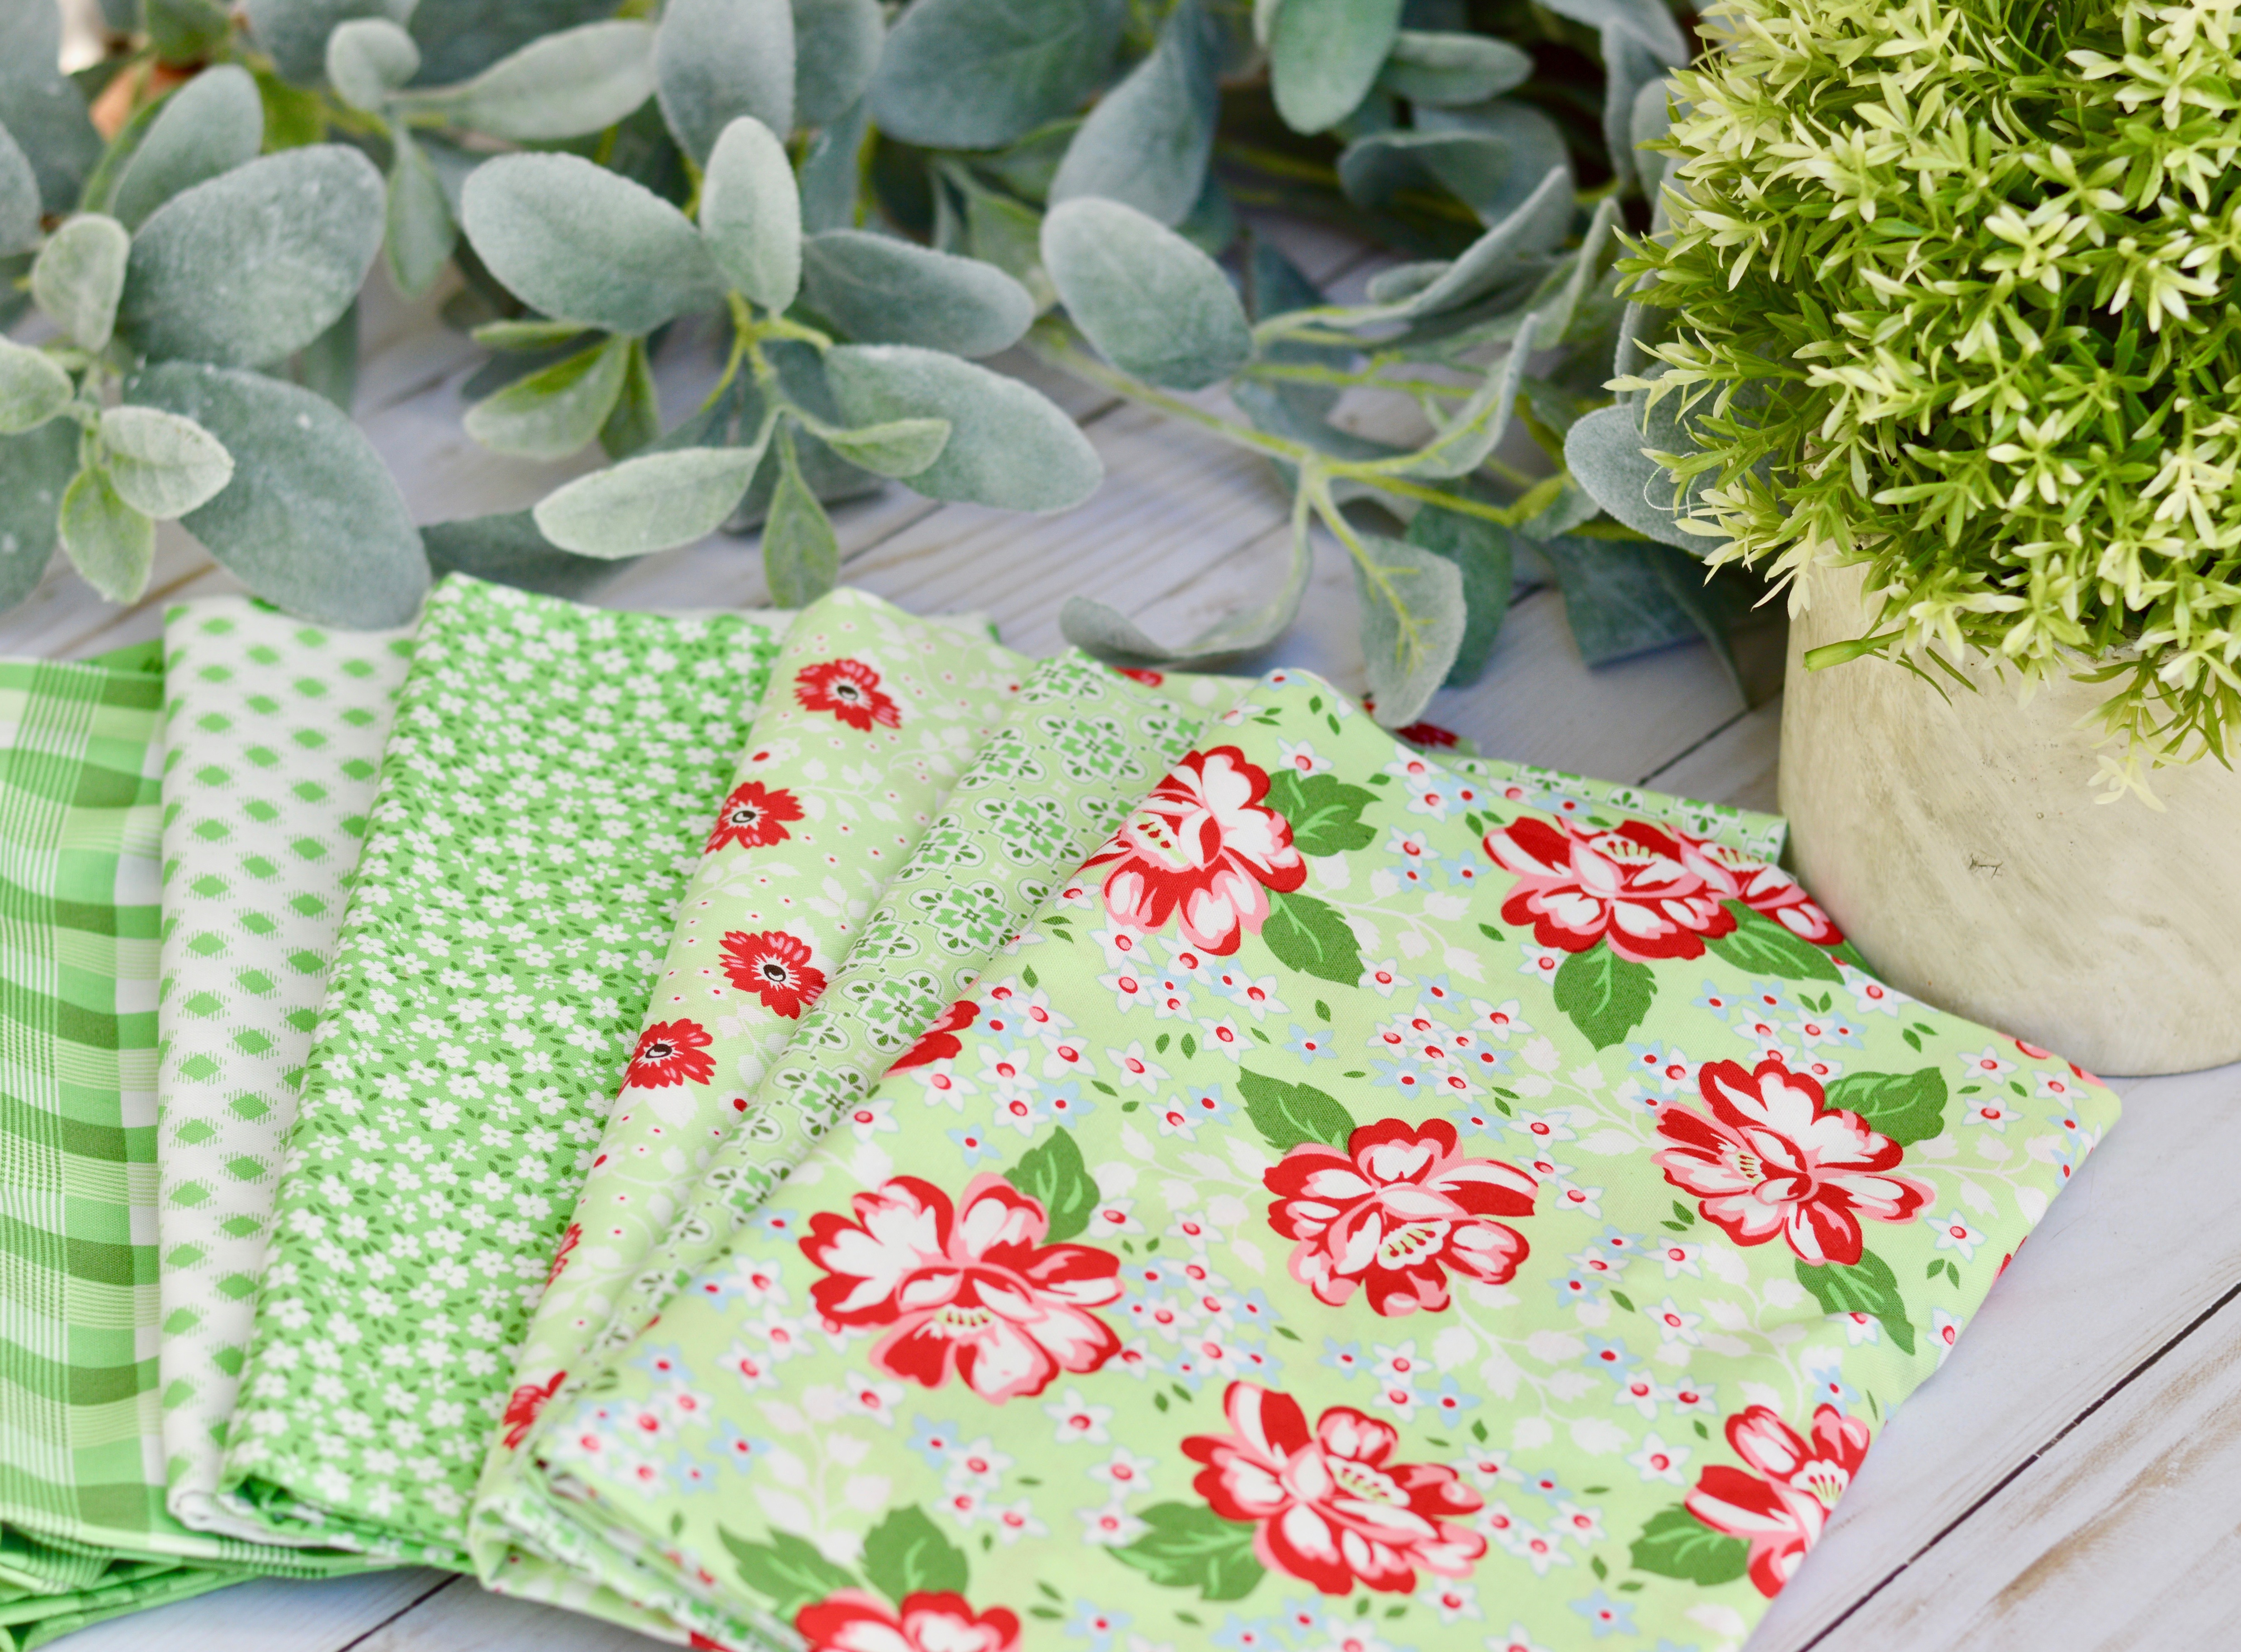
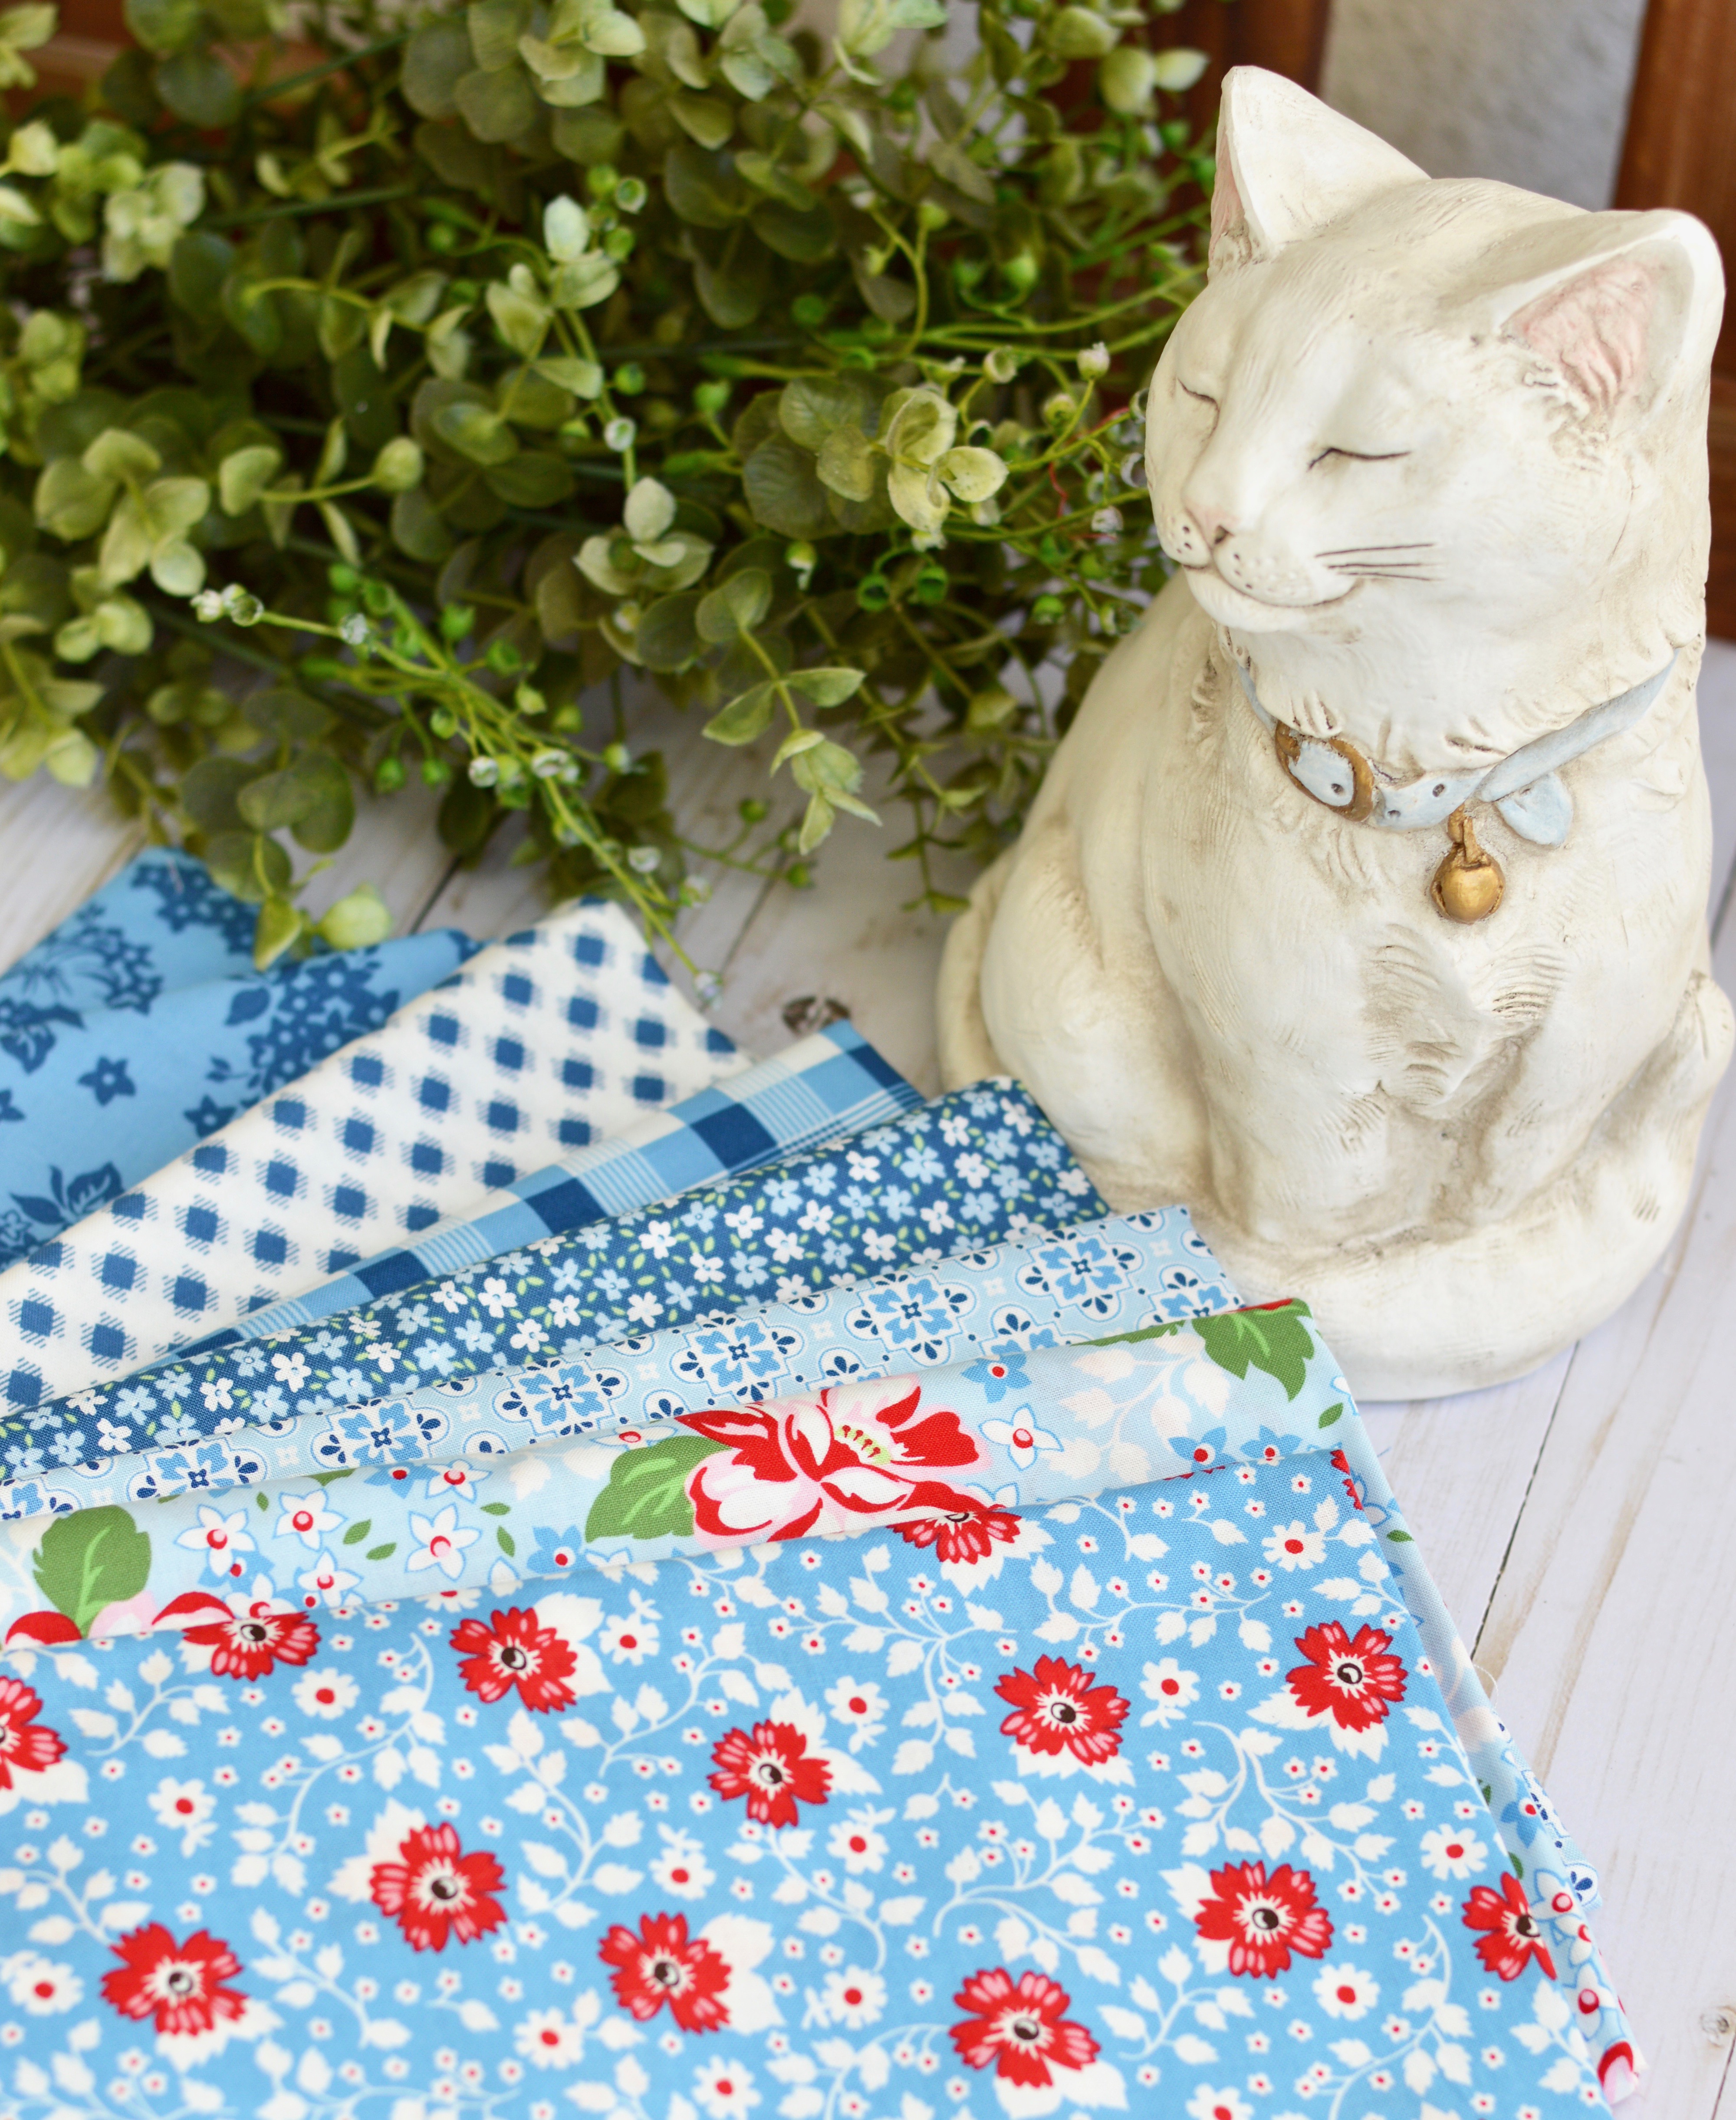
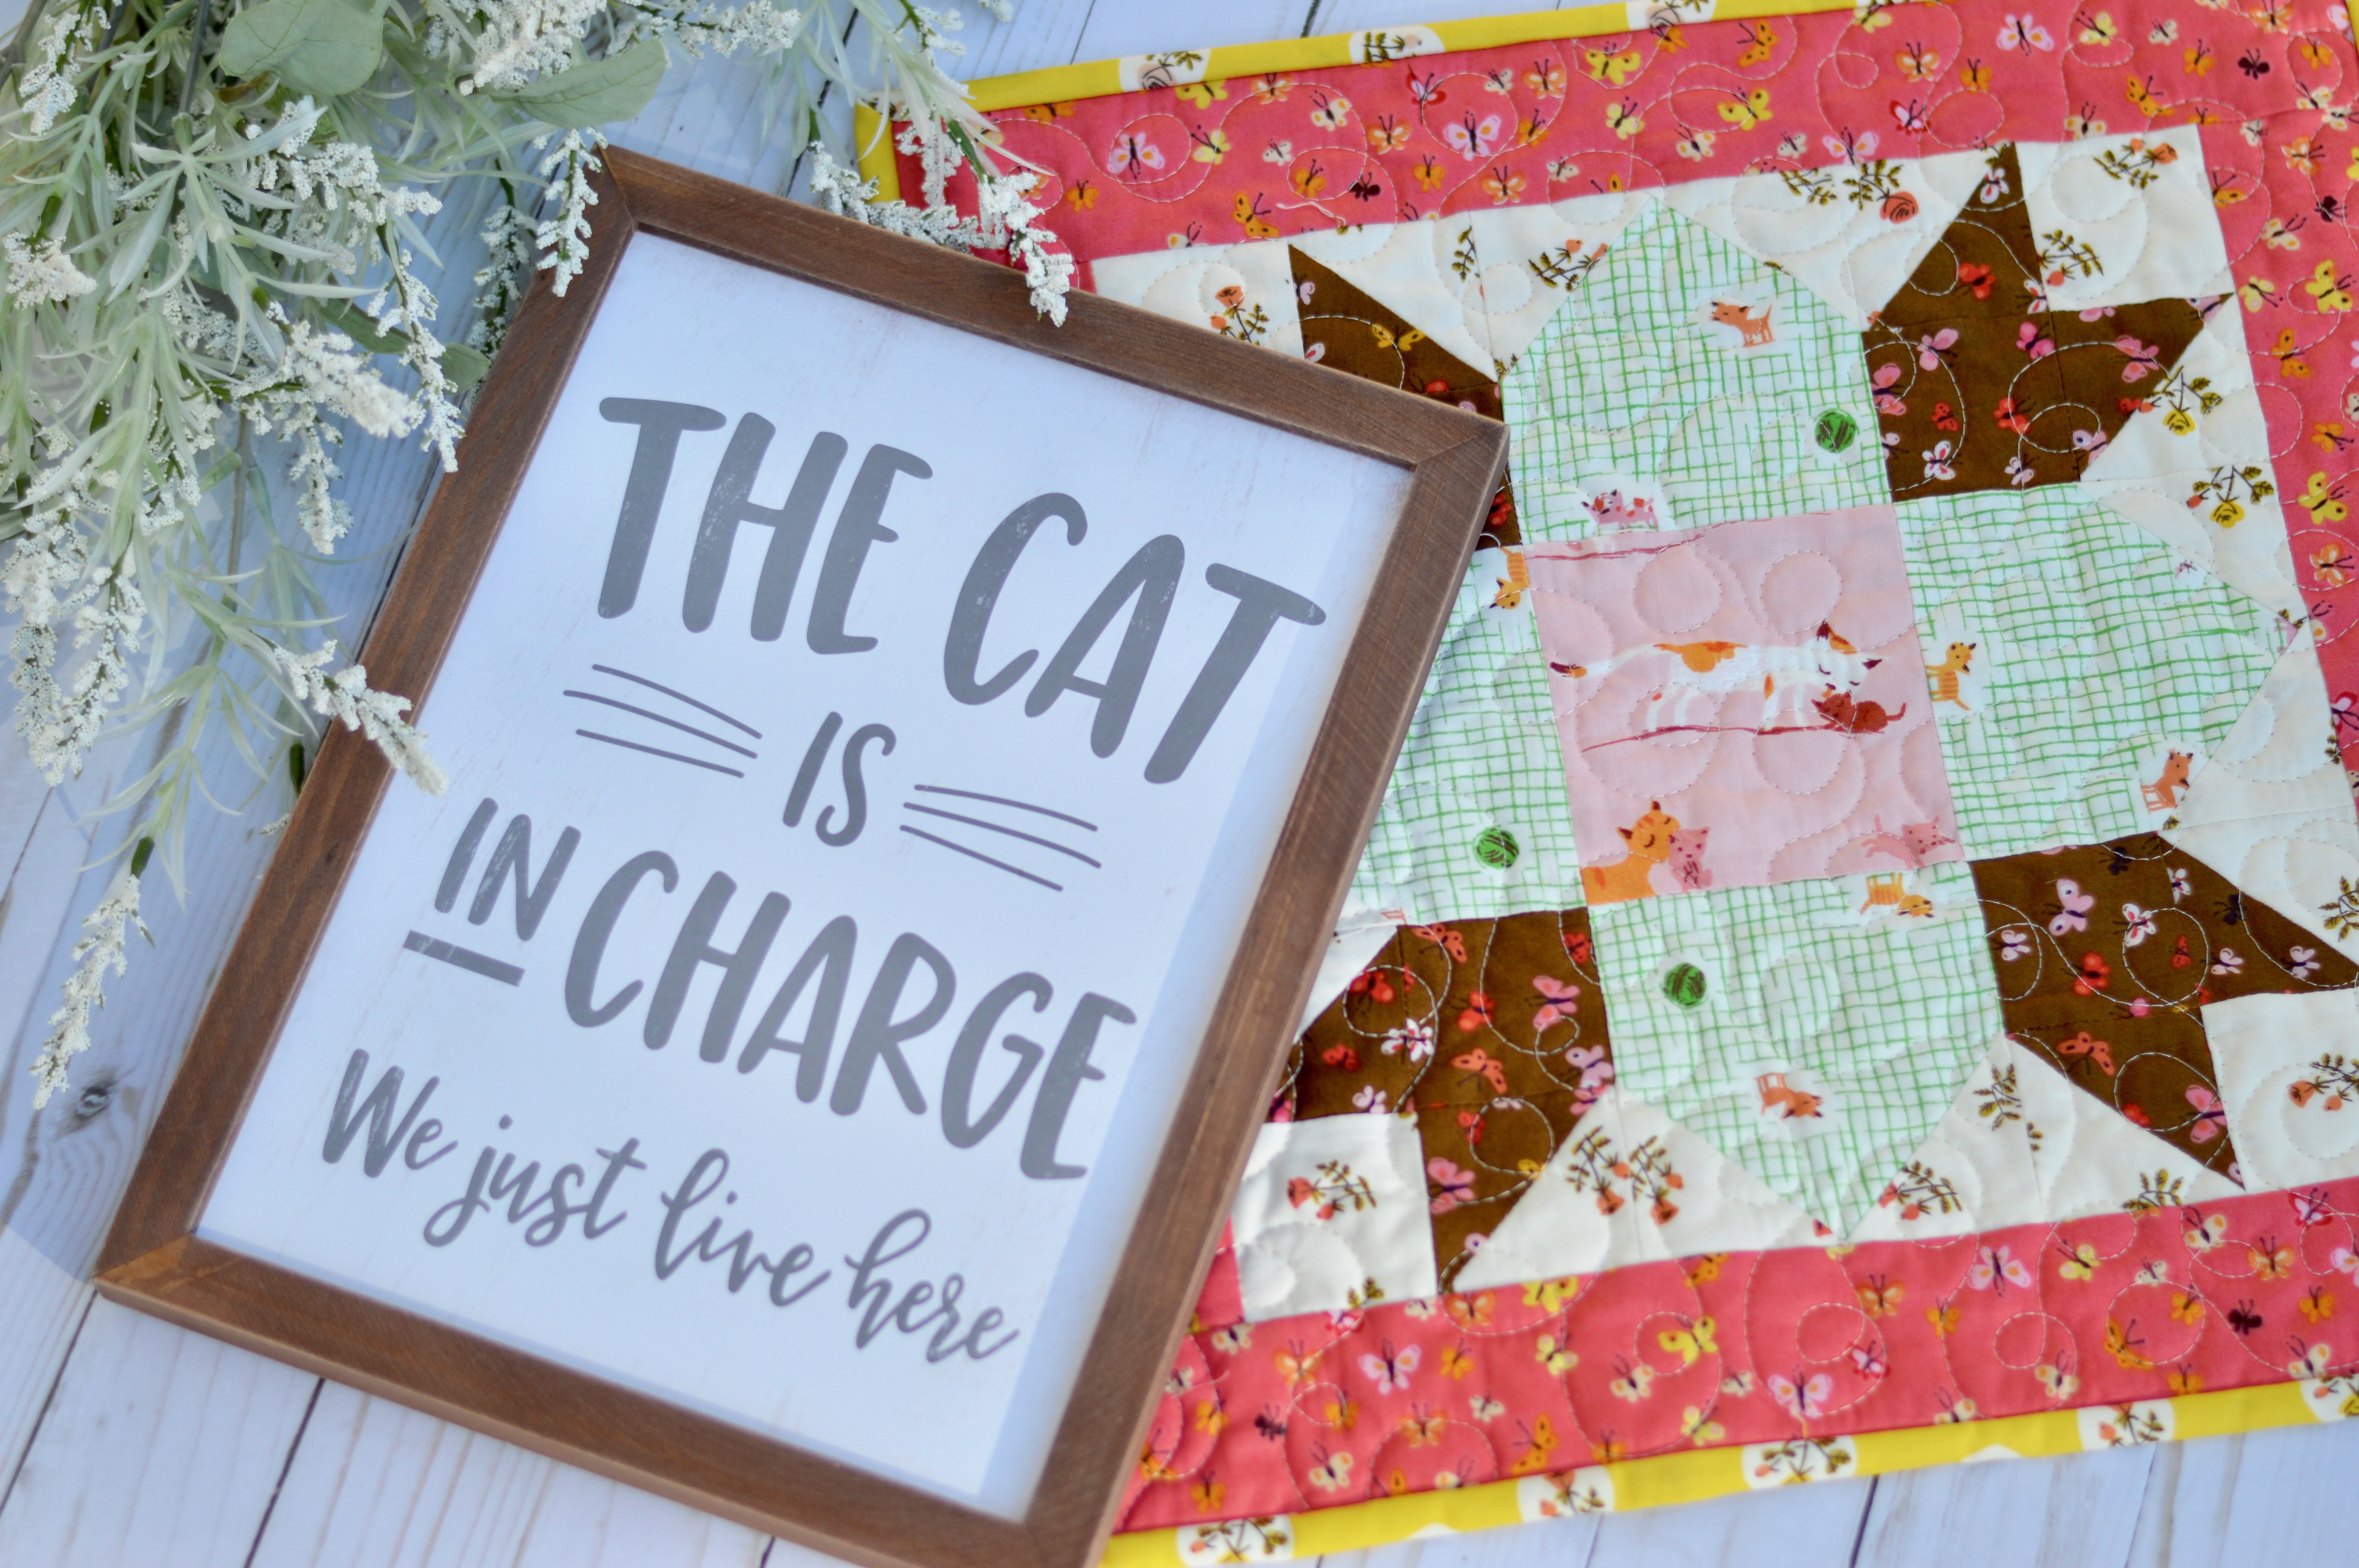
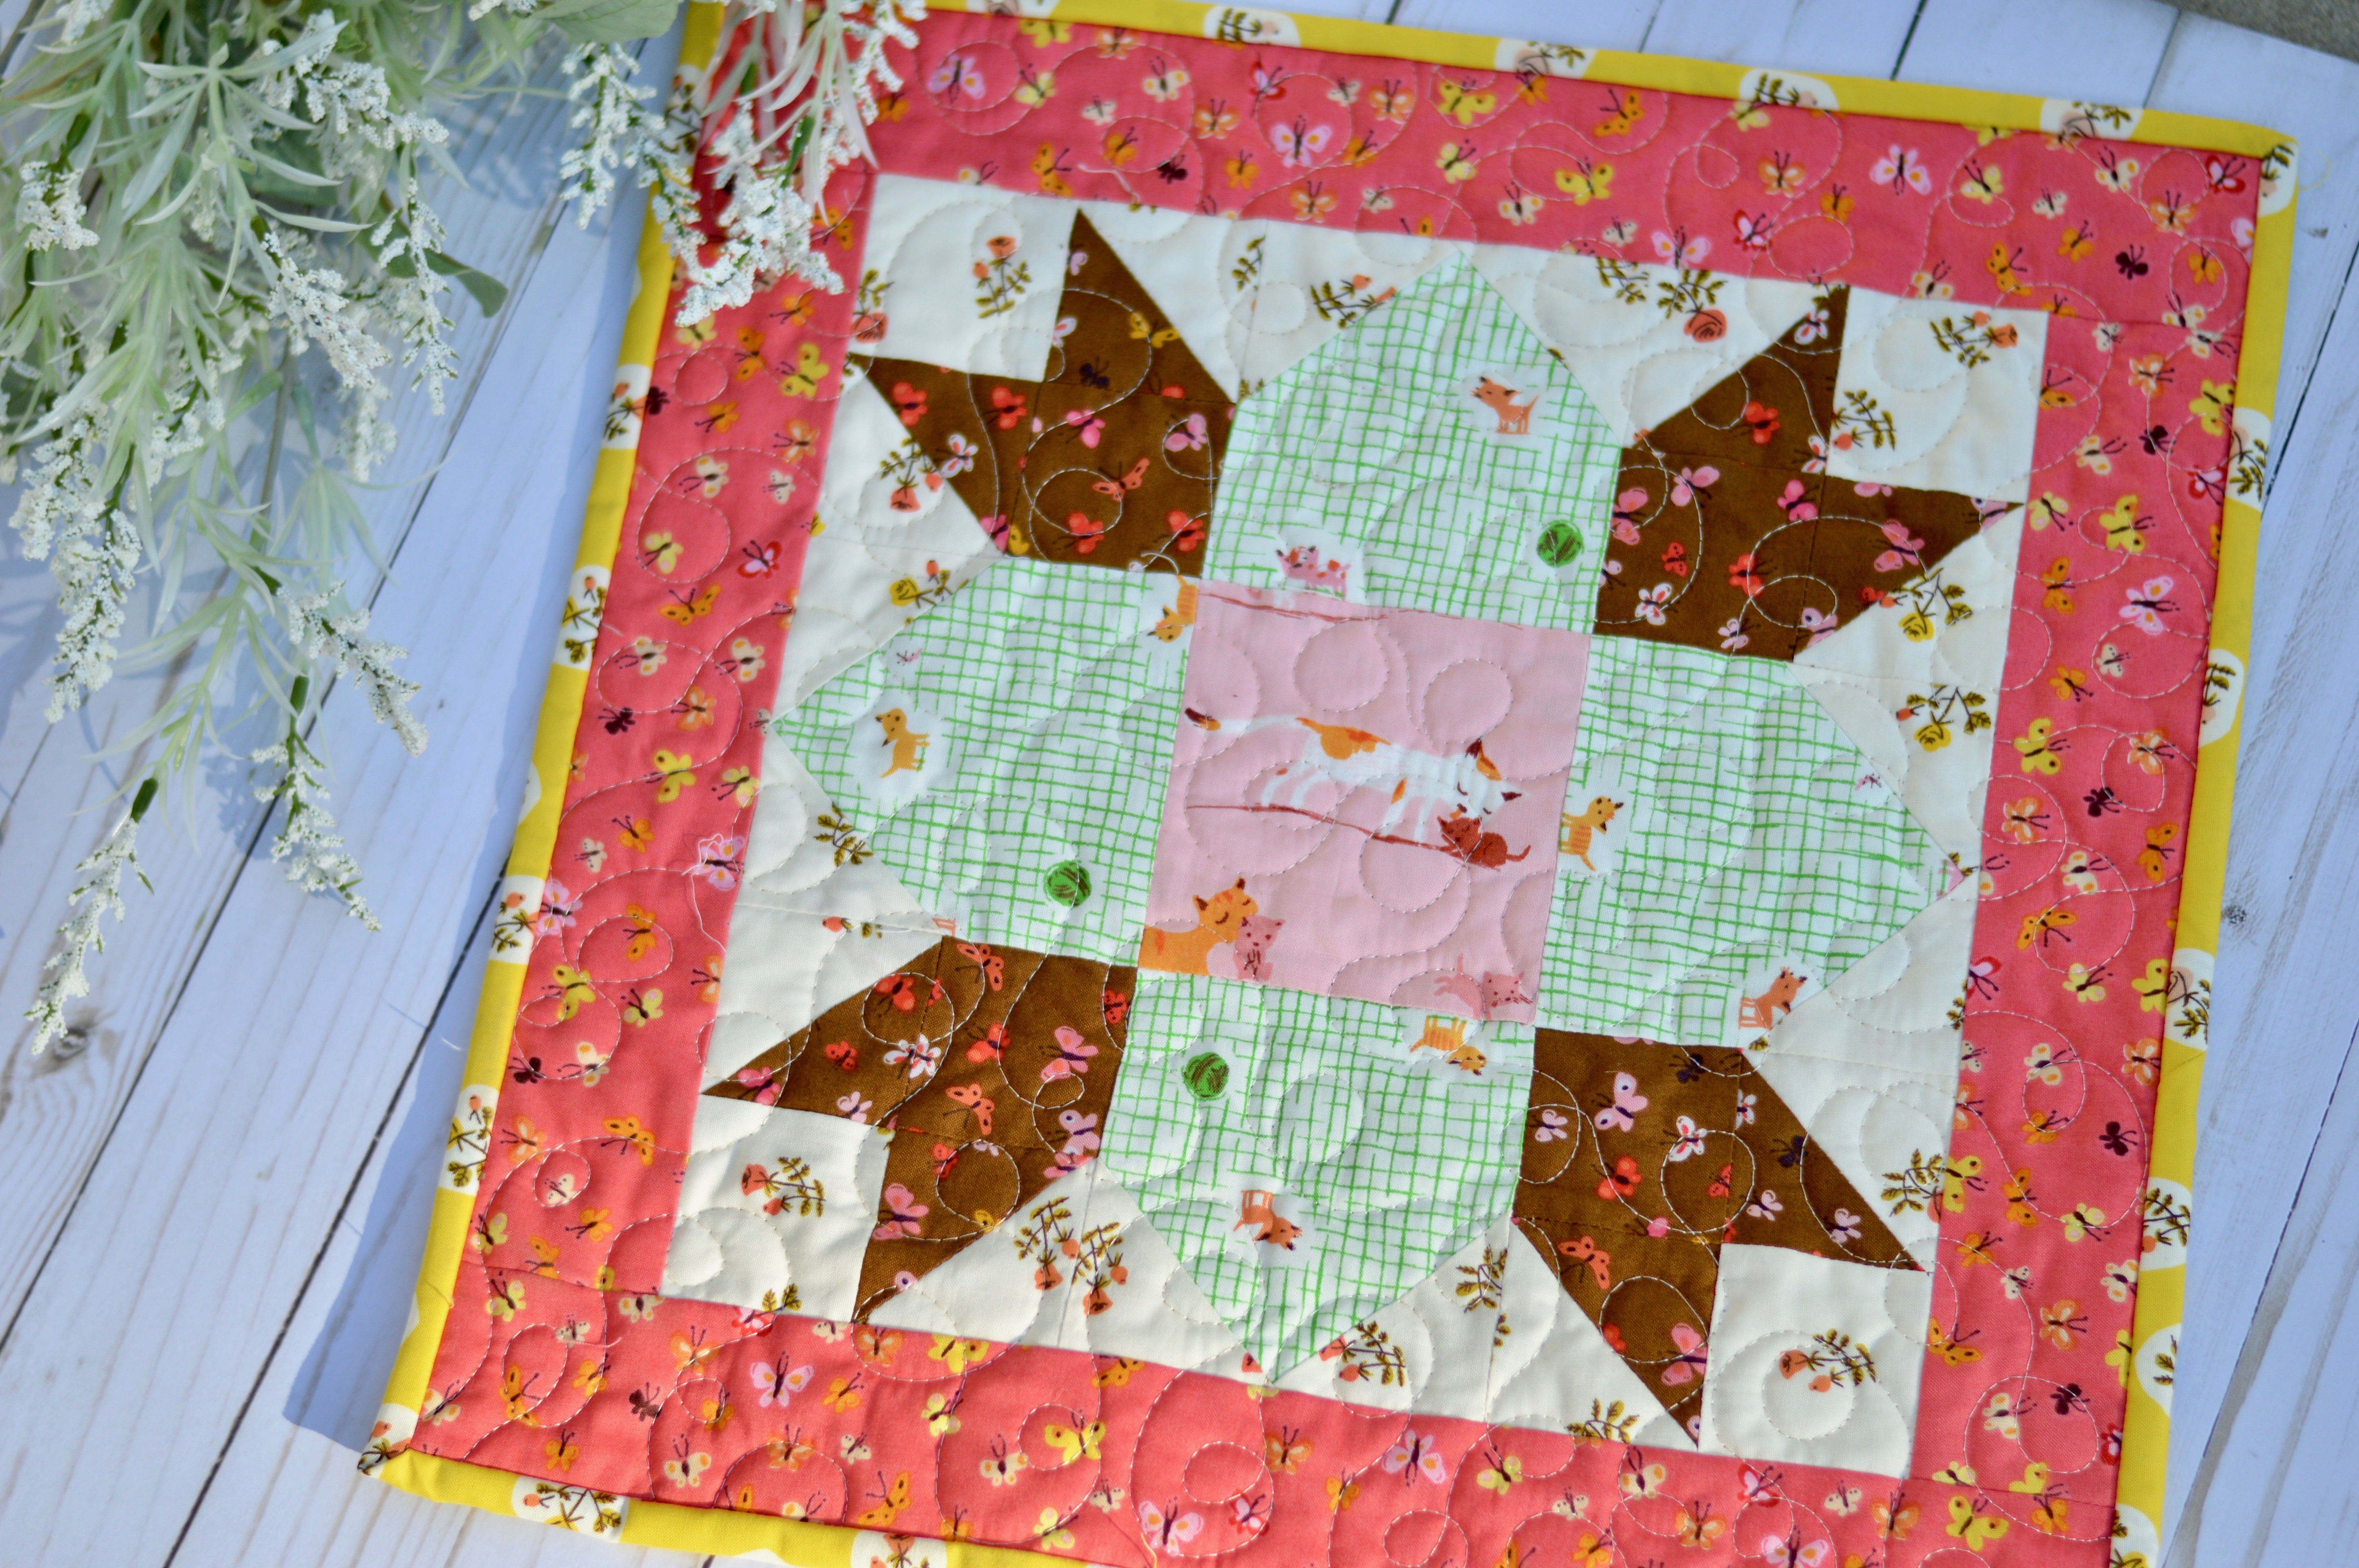
My darling friend Bev from Flaming Toes has a new fabric line out with Riley Blake Designs called Vintage Keepsakes!  The fabric has a wonderful vintage – whimsical feel!  I love decorating with these colors and so I knew I wanted to make something to hang in my kitchen! (The colors match perfect with my collection of vintage Pyrex!)
IMG_2892

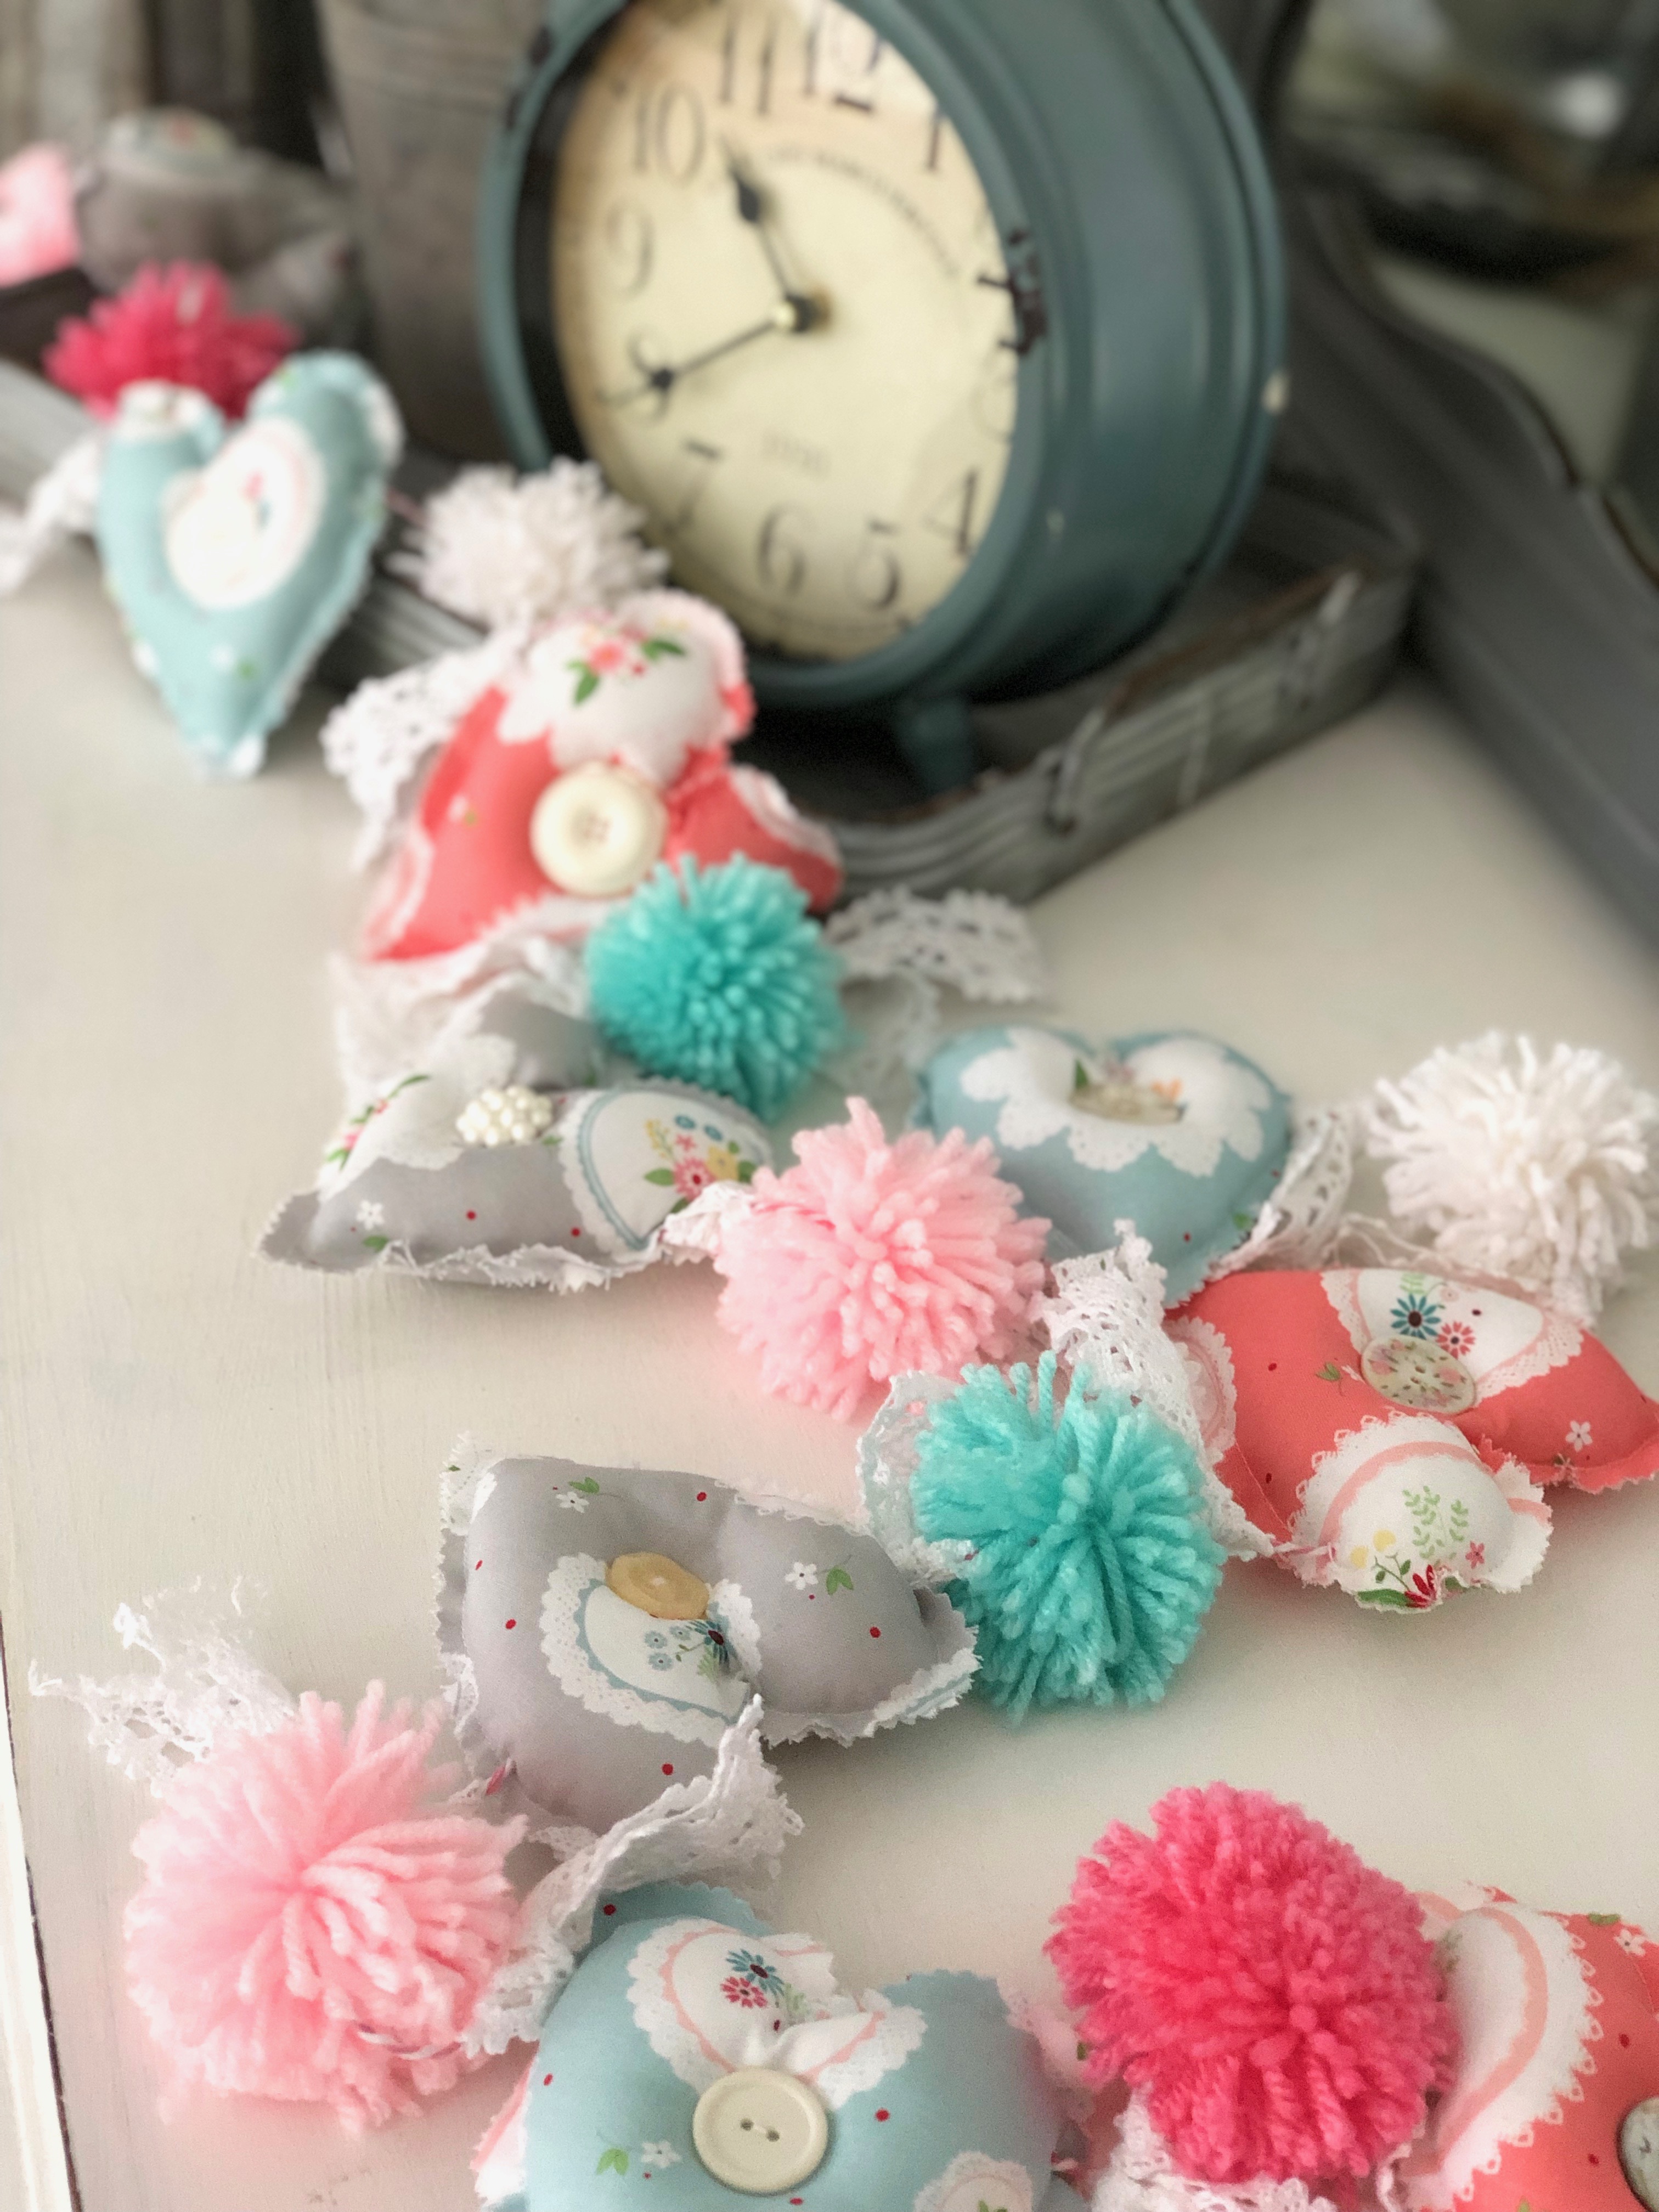
I came up with this fun little heart garland.  It’s a quick project that you can make in an afternoon!  Yay!

DSC_0528

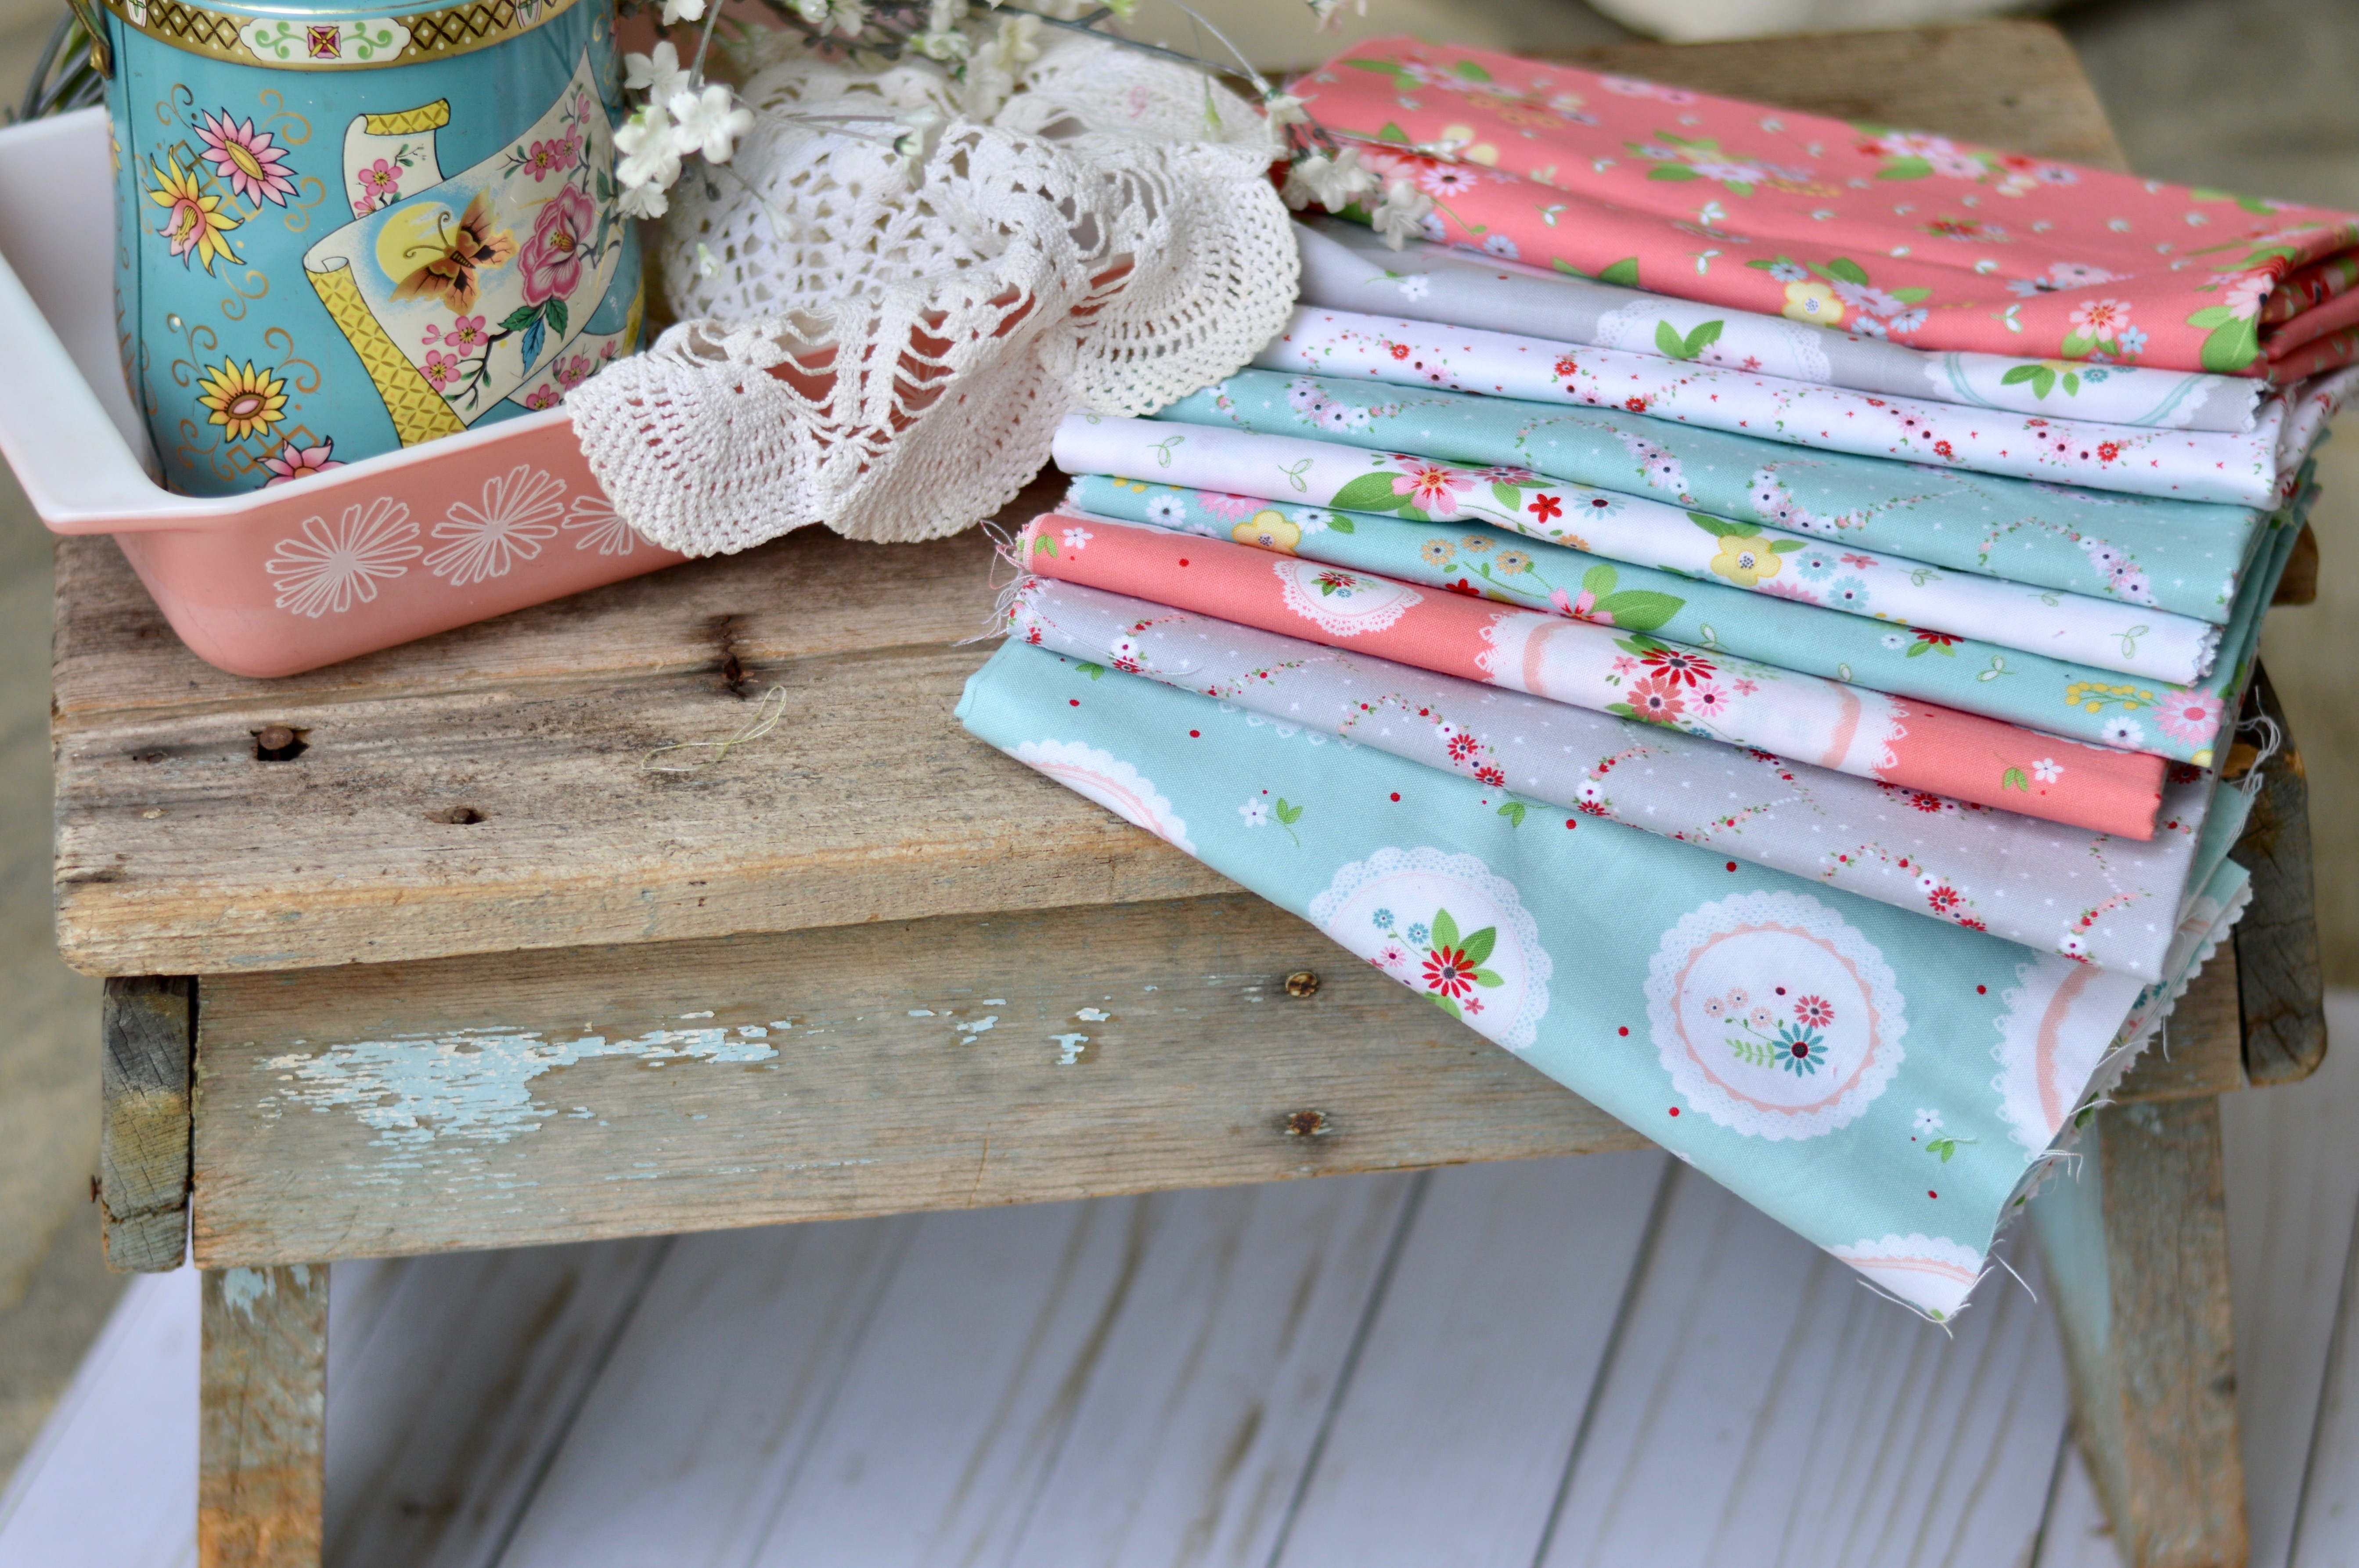
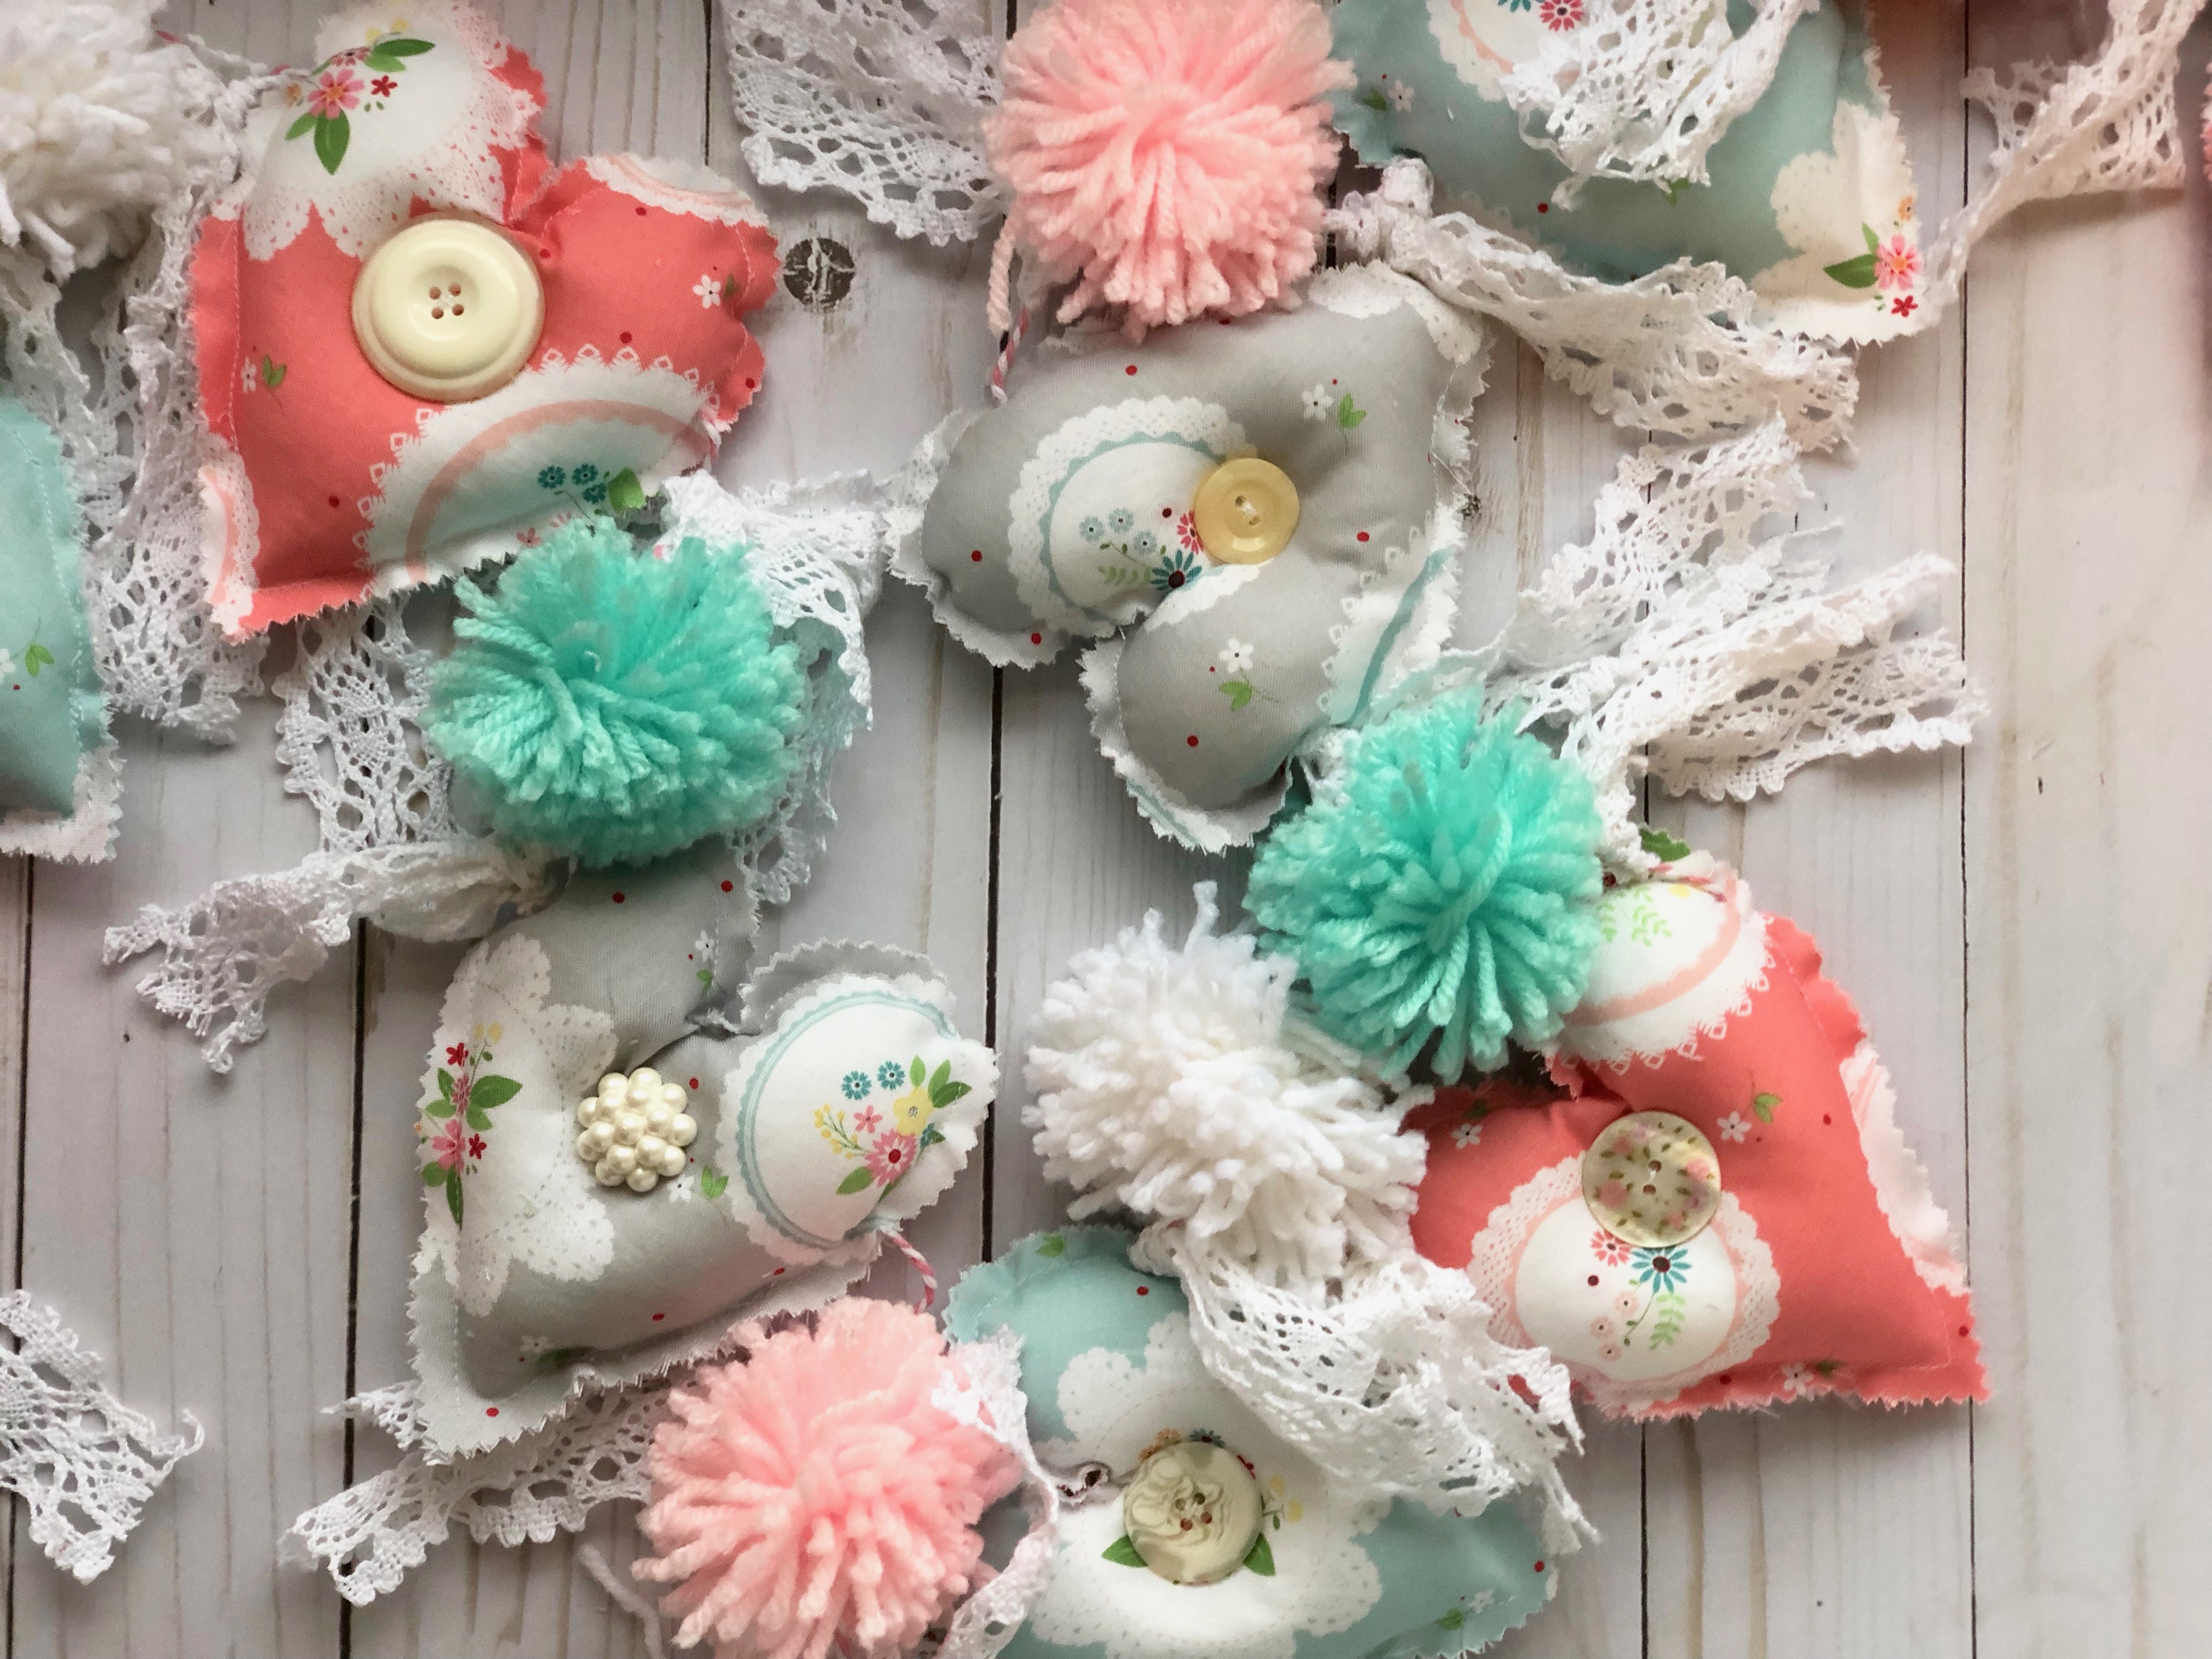
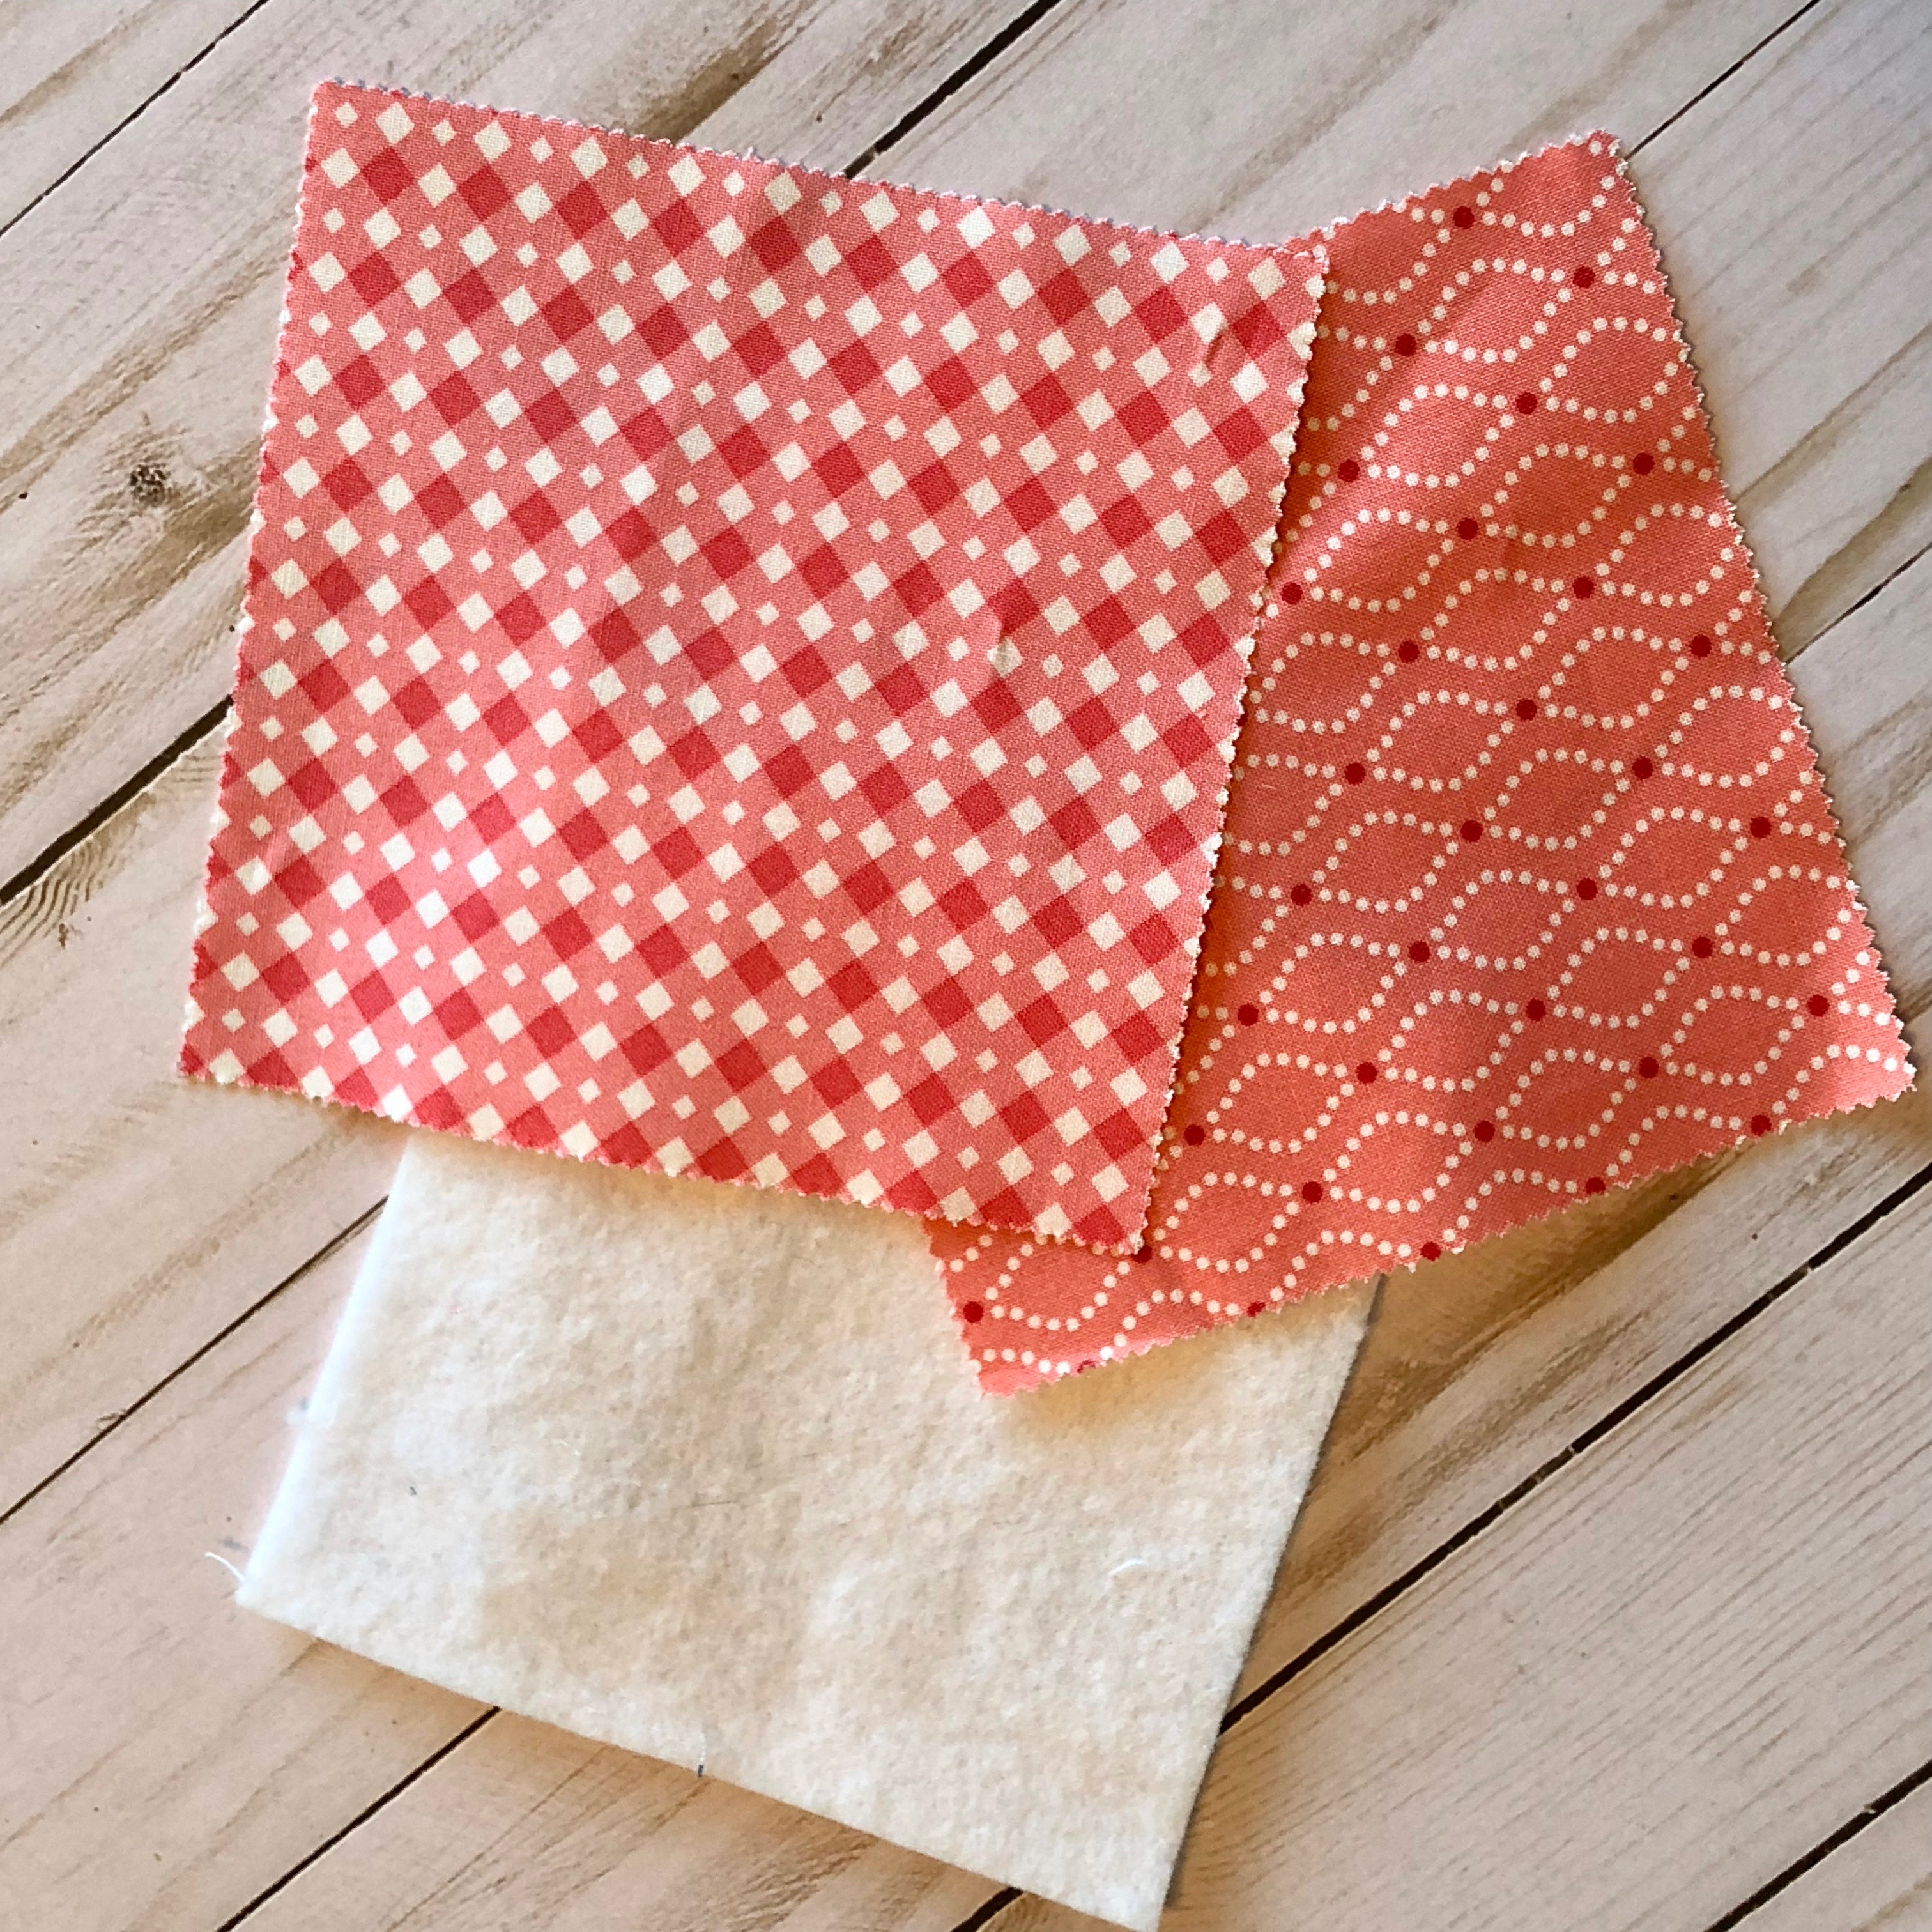
I choose the pink, aqua, and gray fabrics from the collection.  Let’s get started!
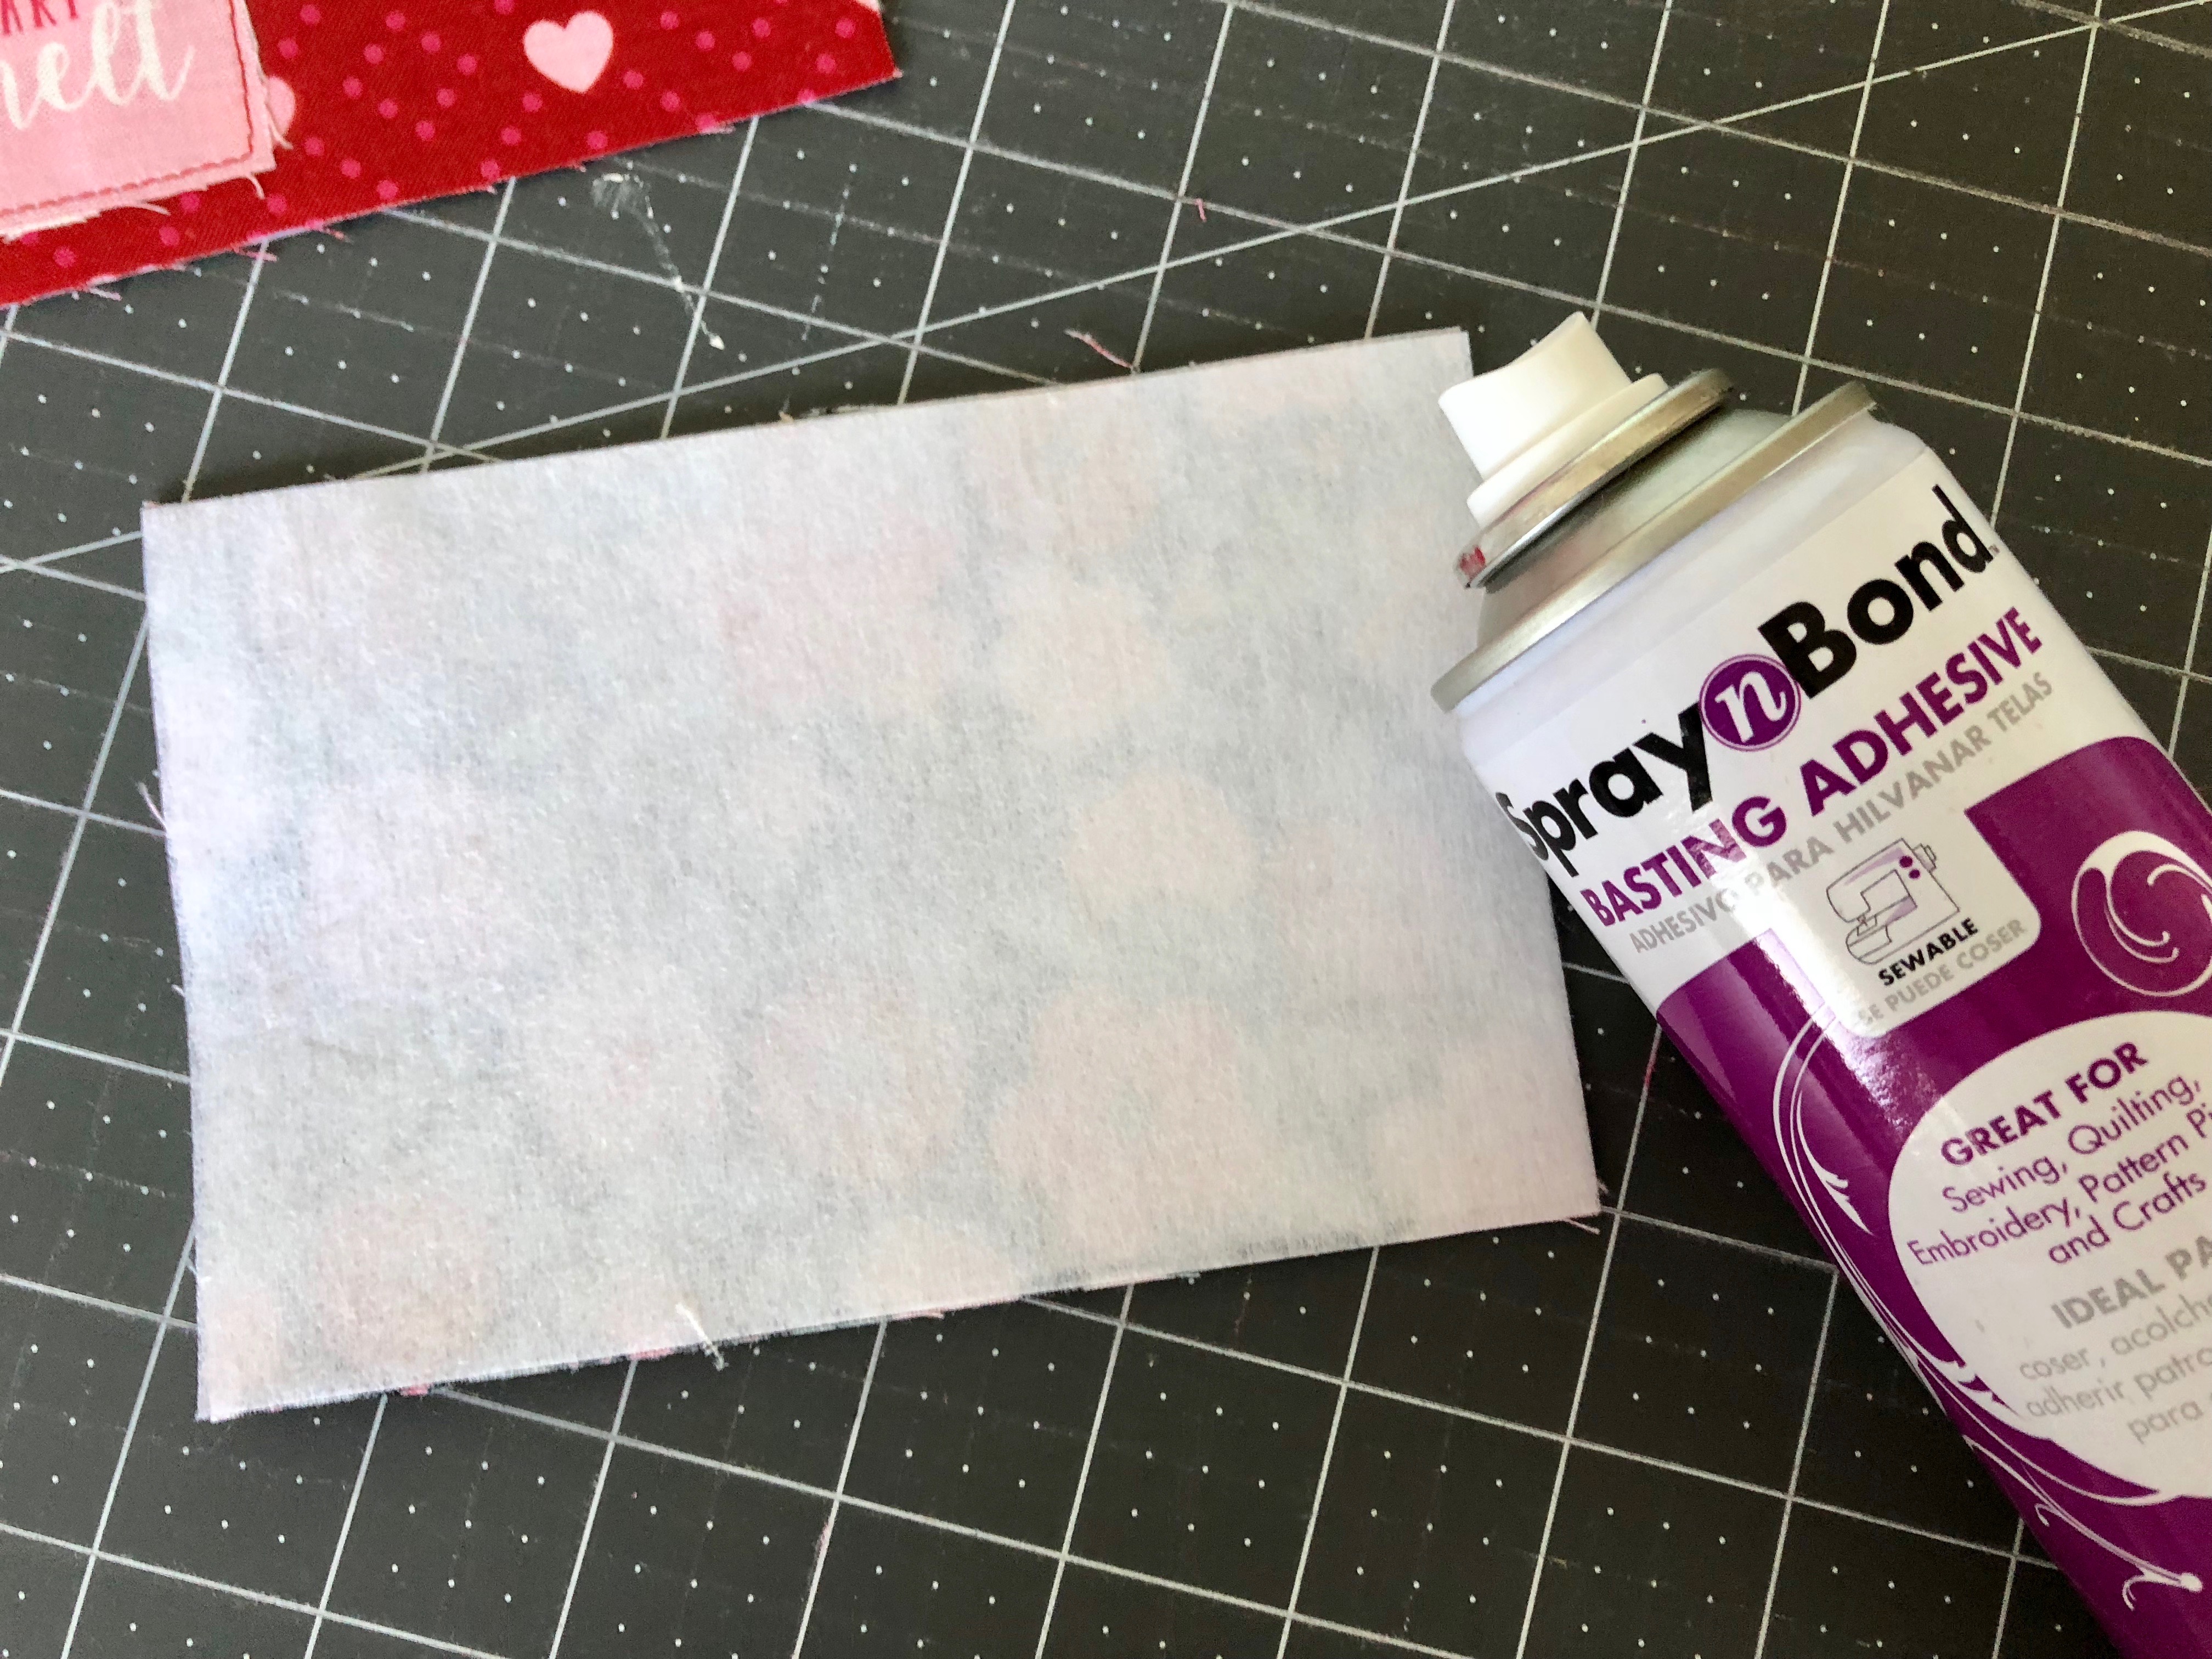
Supplies:

Fat quarters of a variety of fabrics

Fiber Fill

Buttons

Yarn Pom Poms

Bakers Twine

Large Needle
IMG_2833

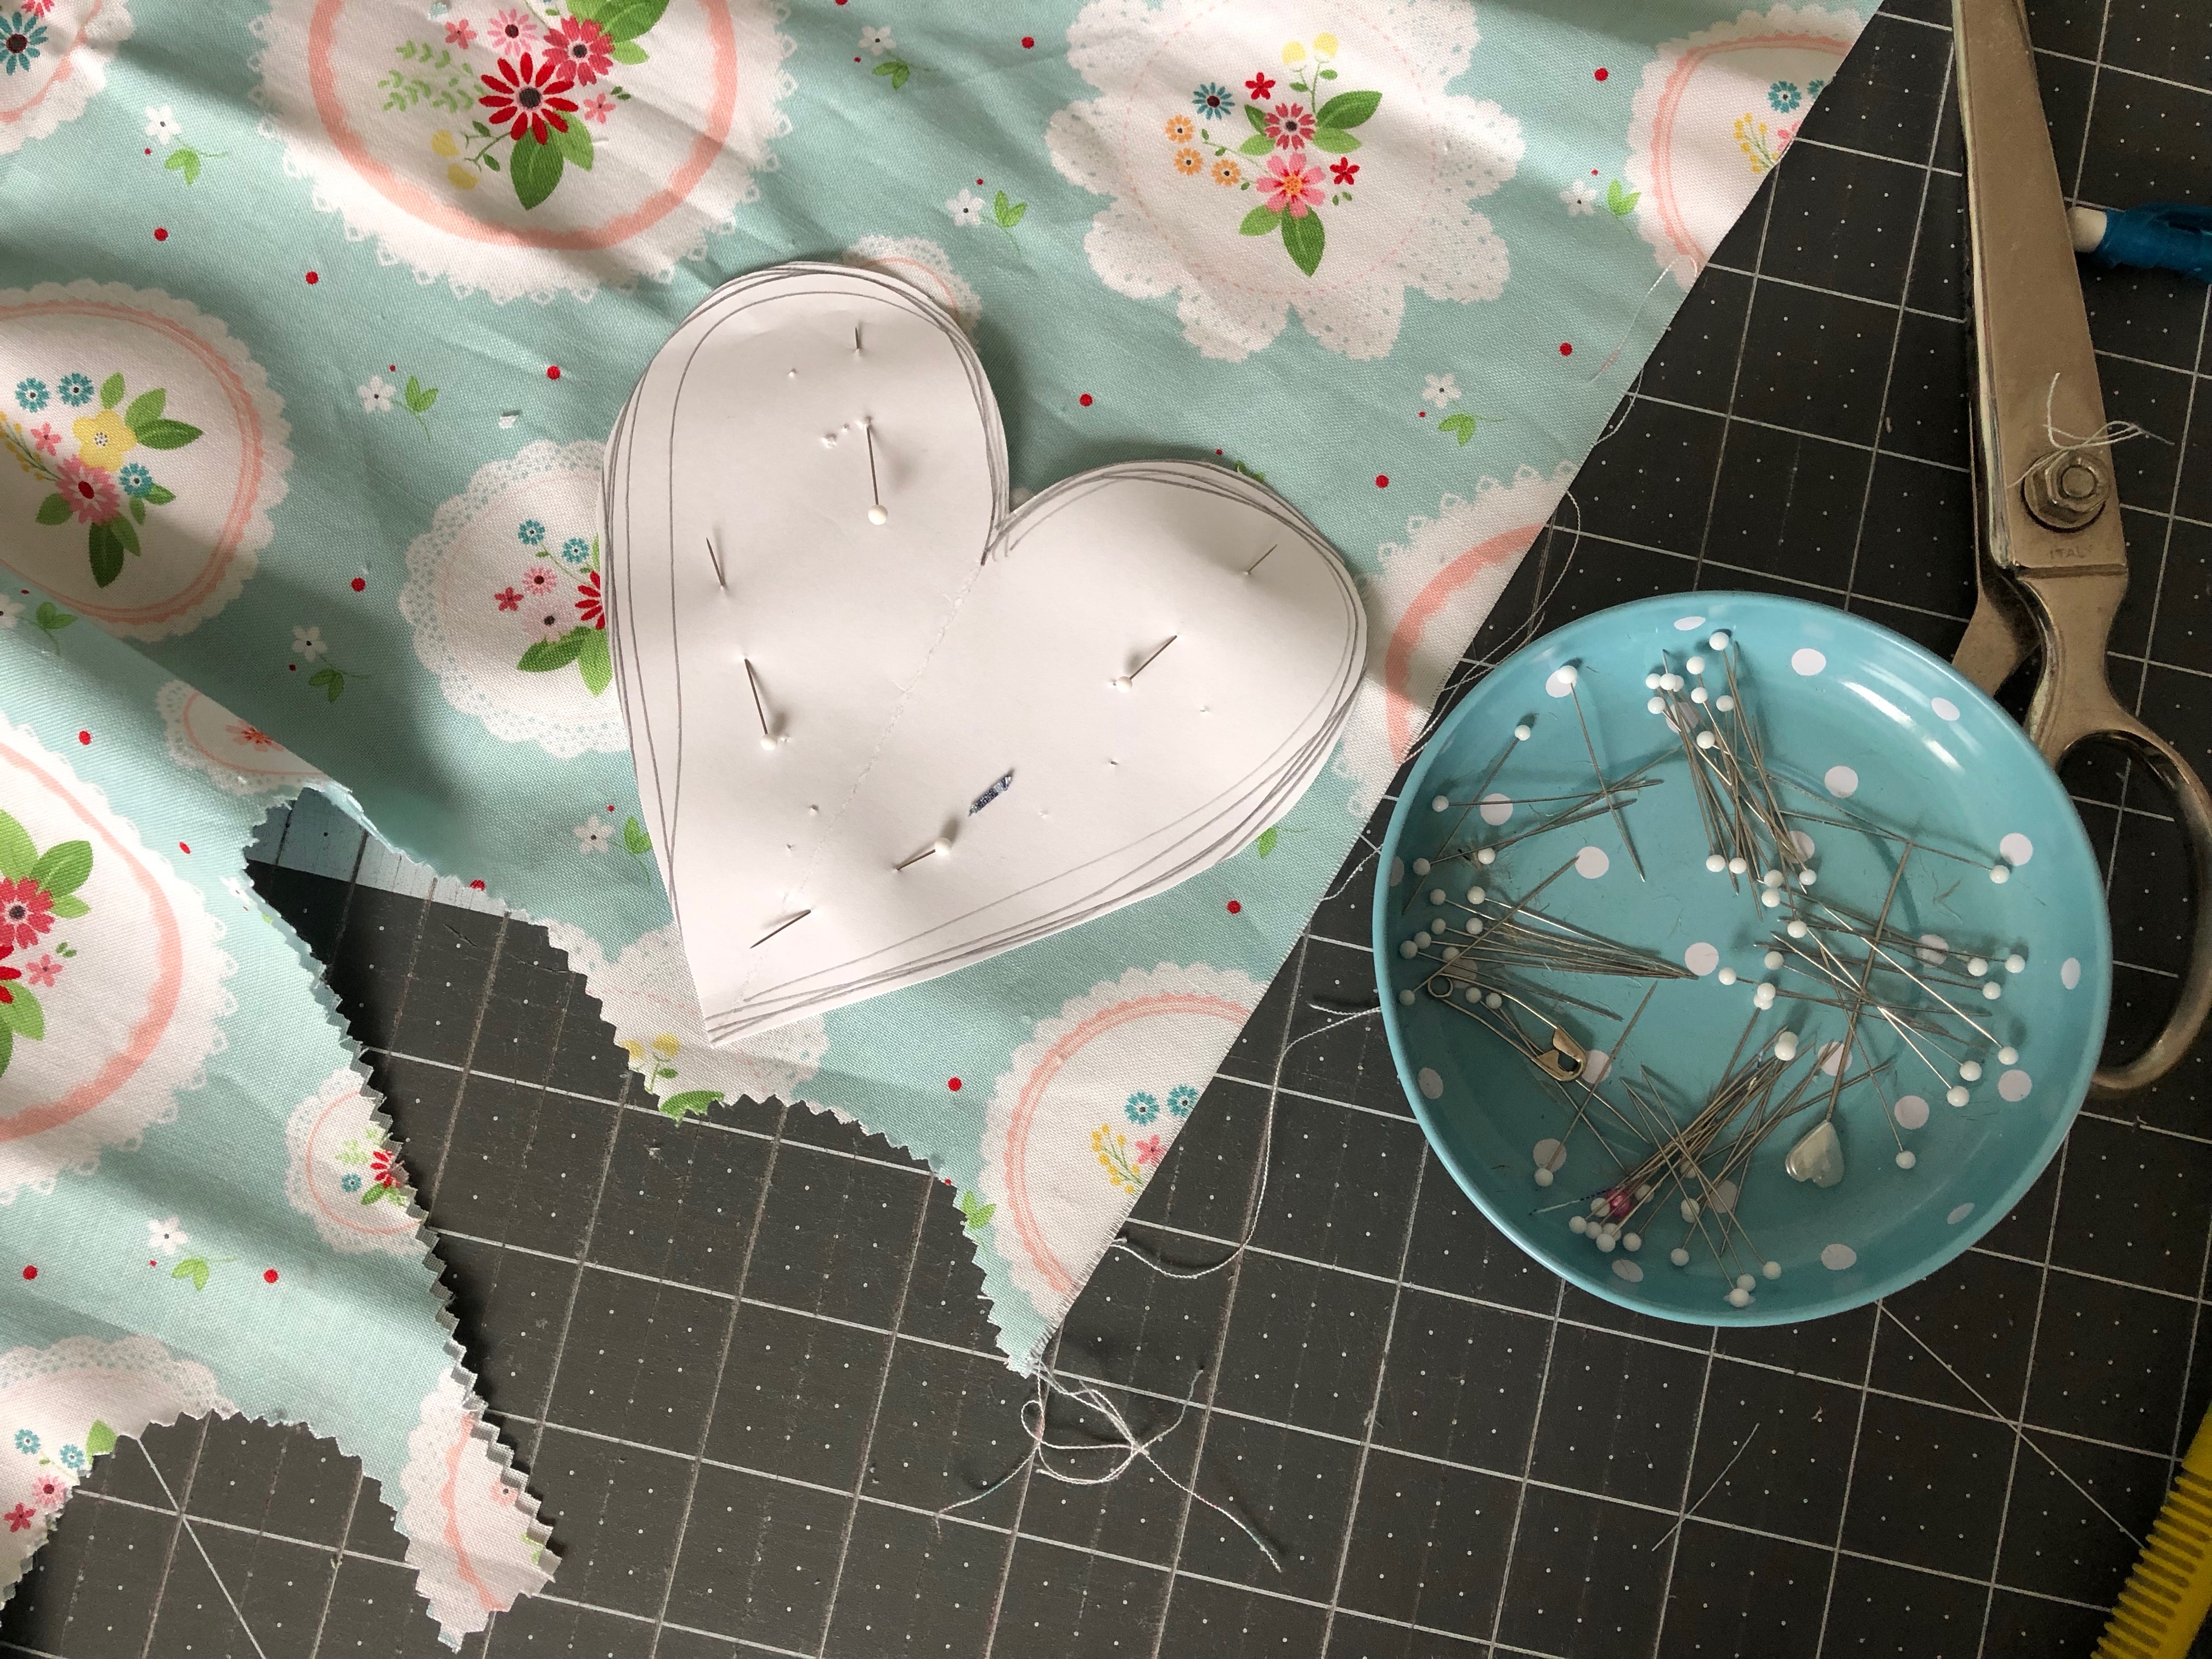
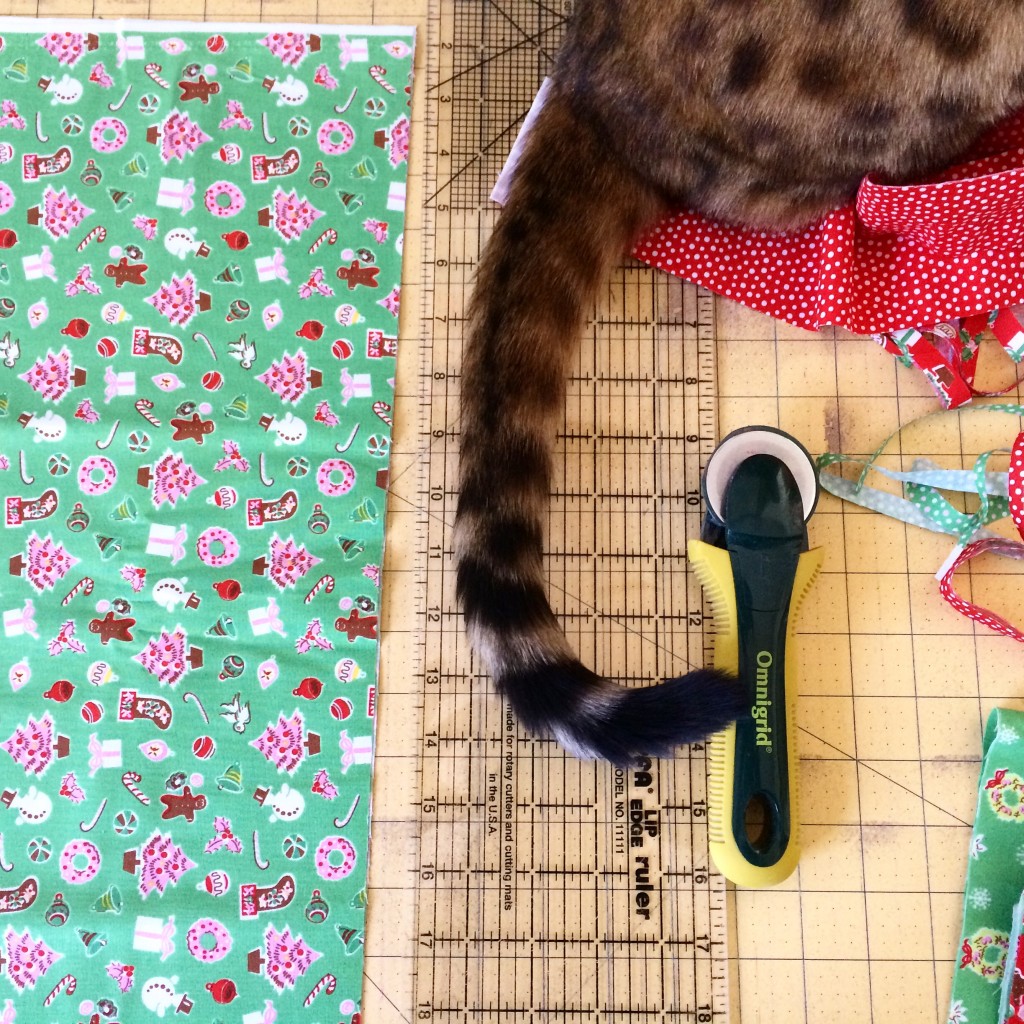
Cut  a 5″ heart out of paper to be your pattern.  Using pinking shears, cut out 9 sets of hearts.
IMG_2834

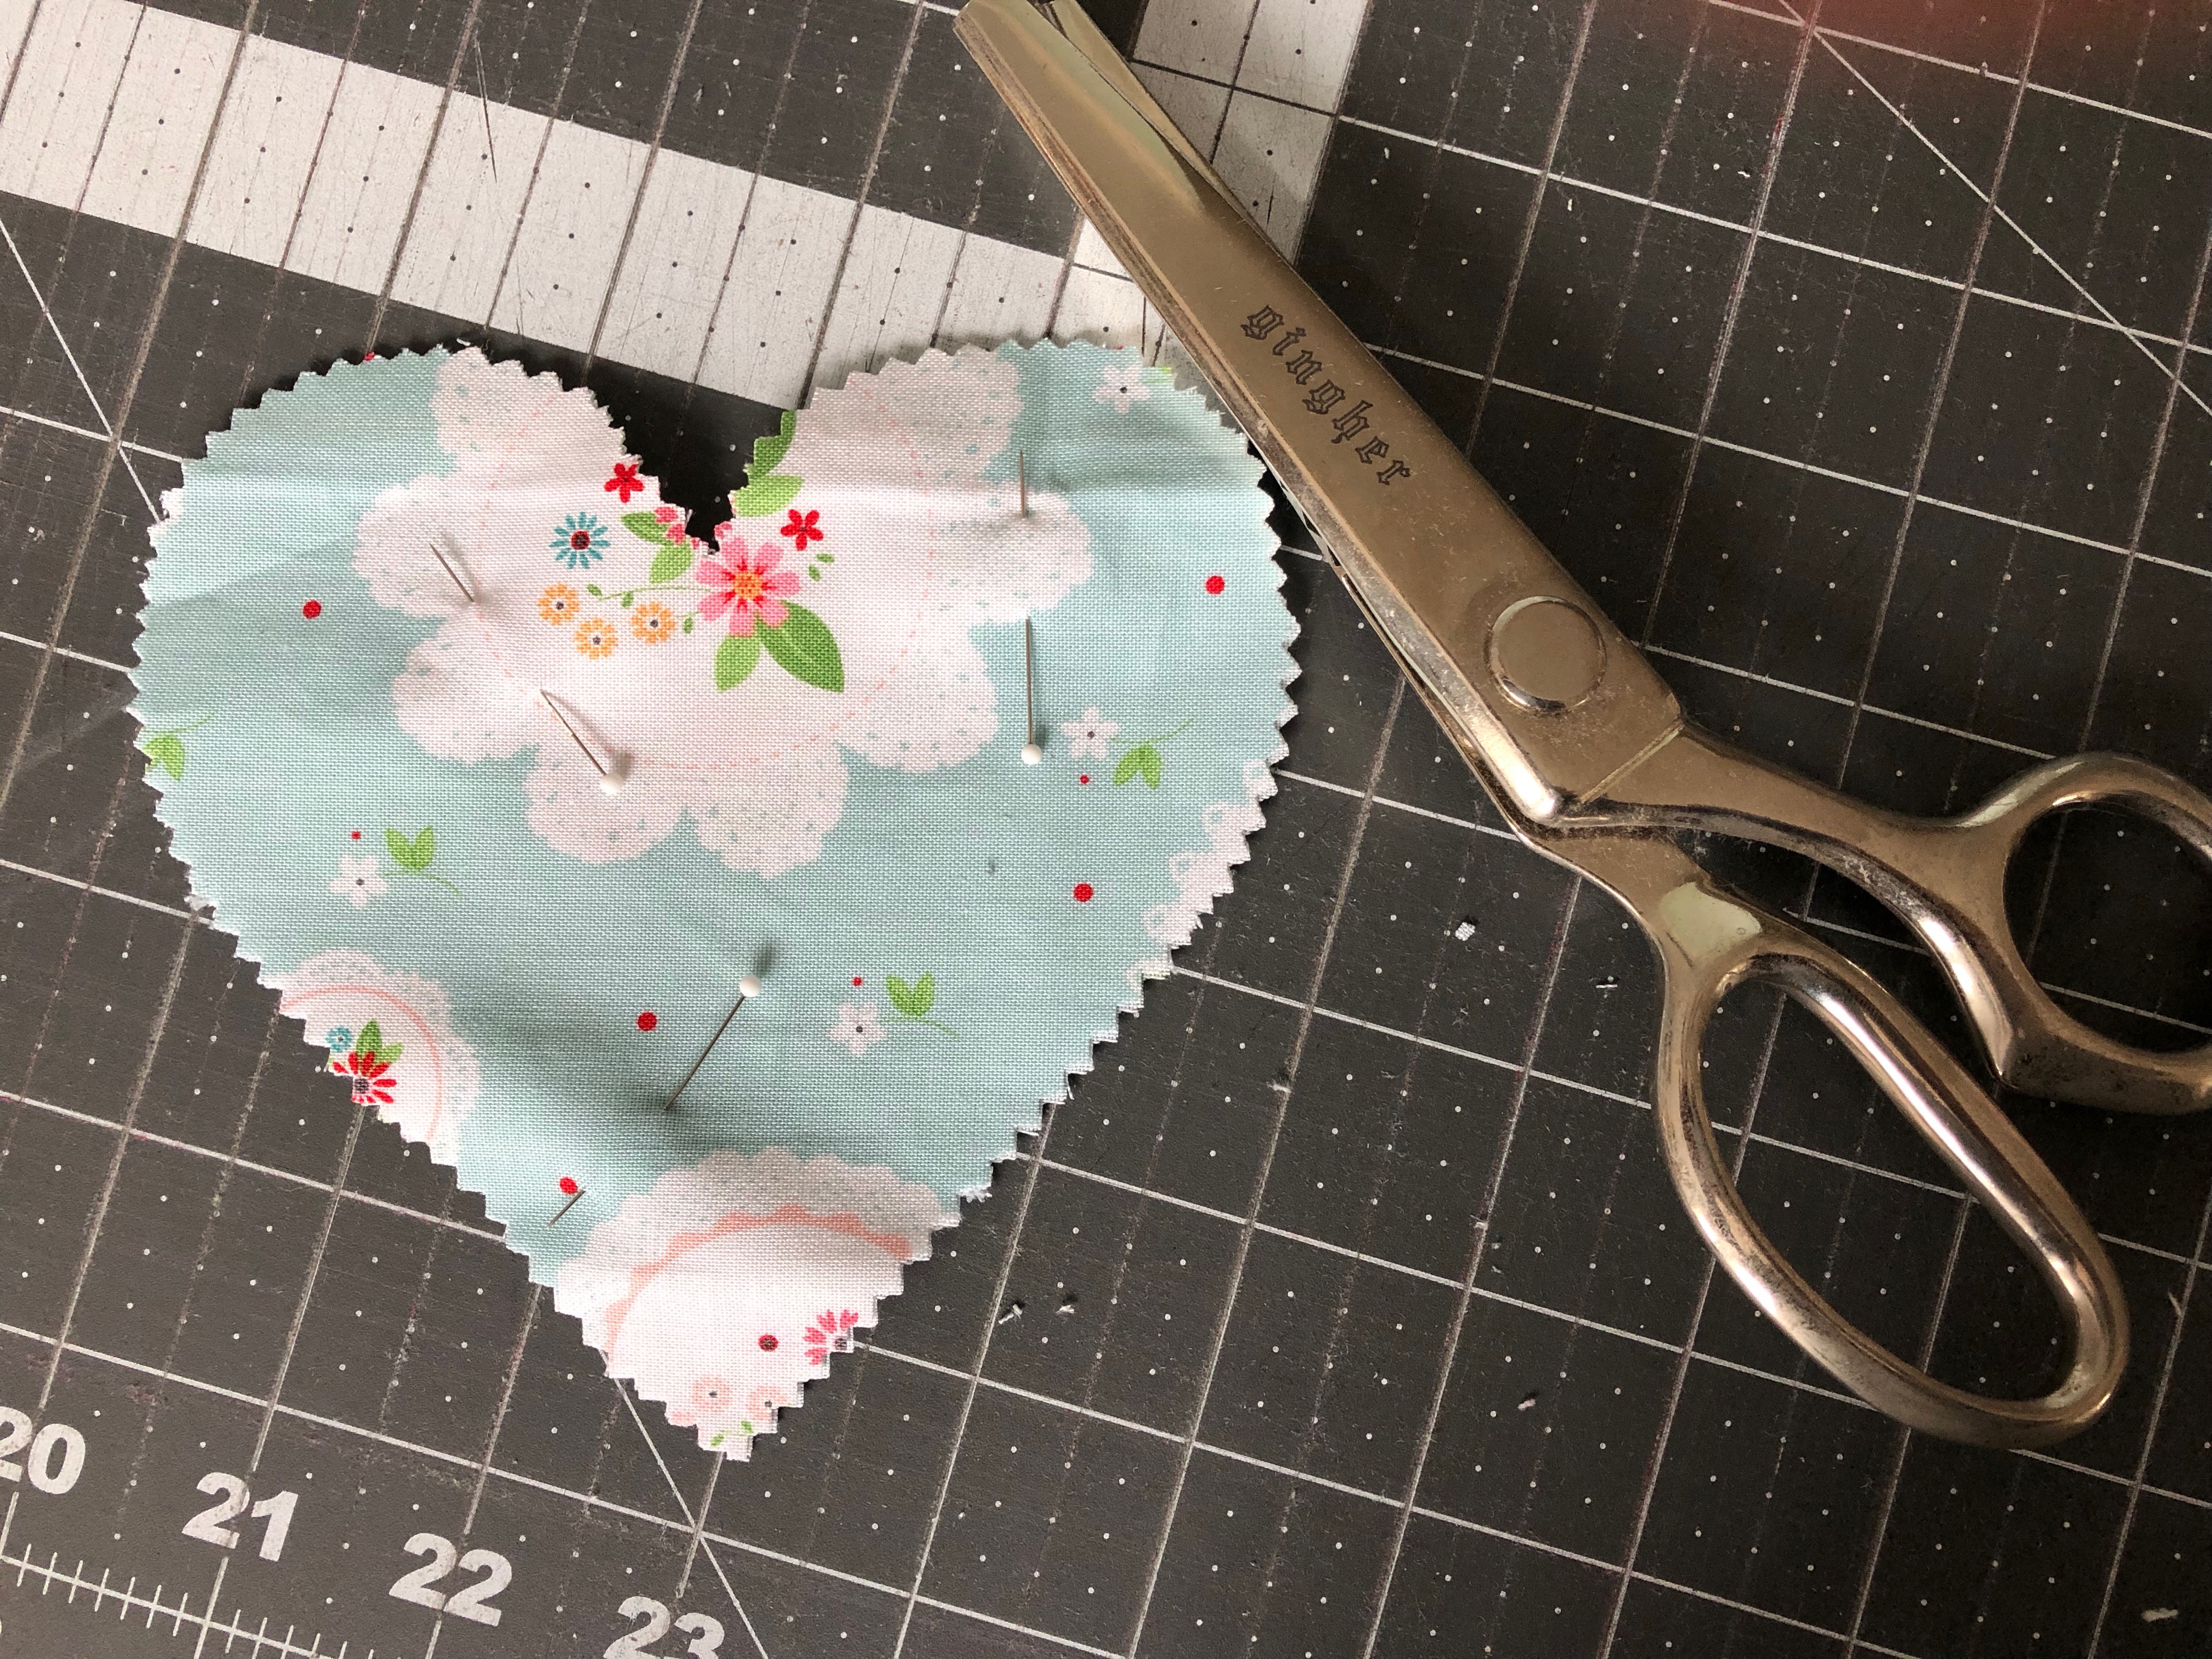
Pin each set together, wrong sides together.  Sew 1/4″ around the heart, leaving a 2″ opening along one side.IMG_2836

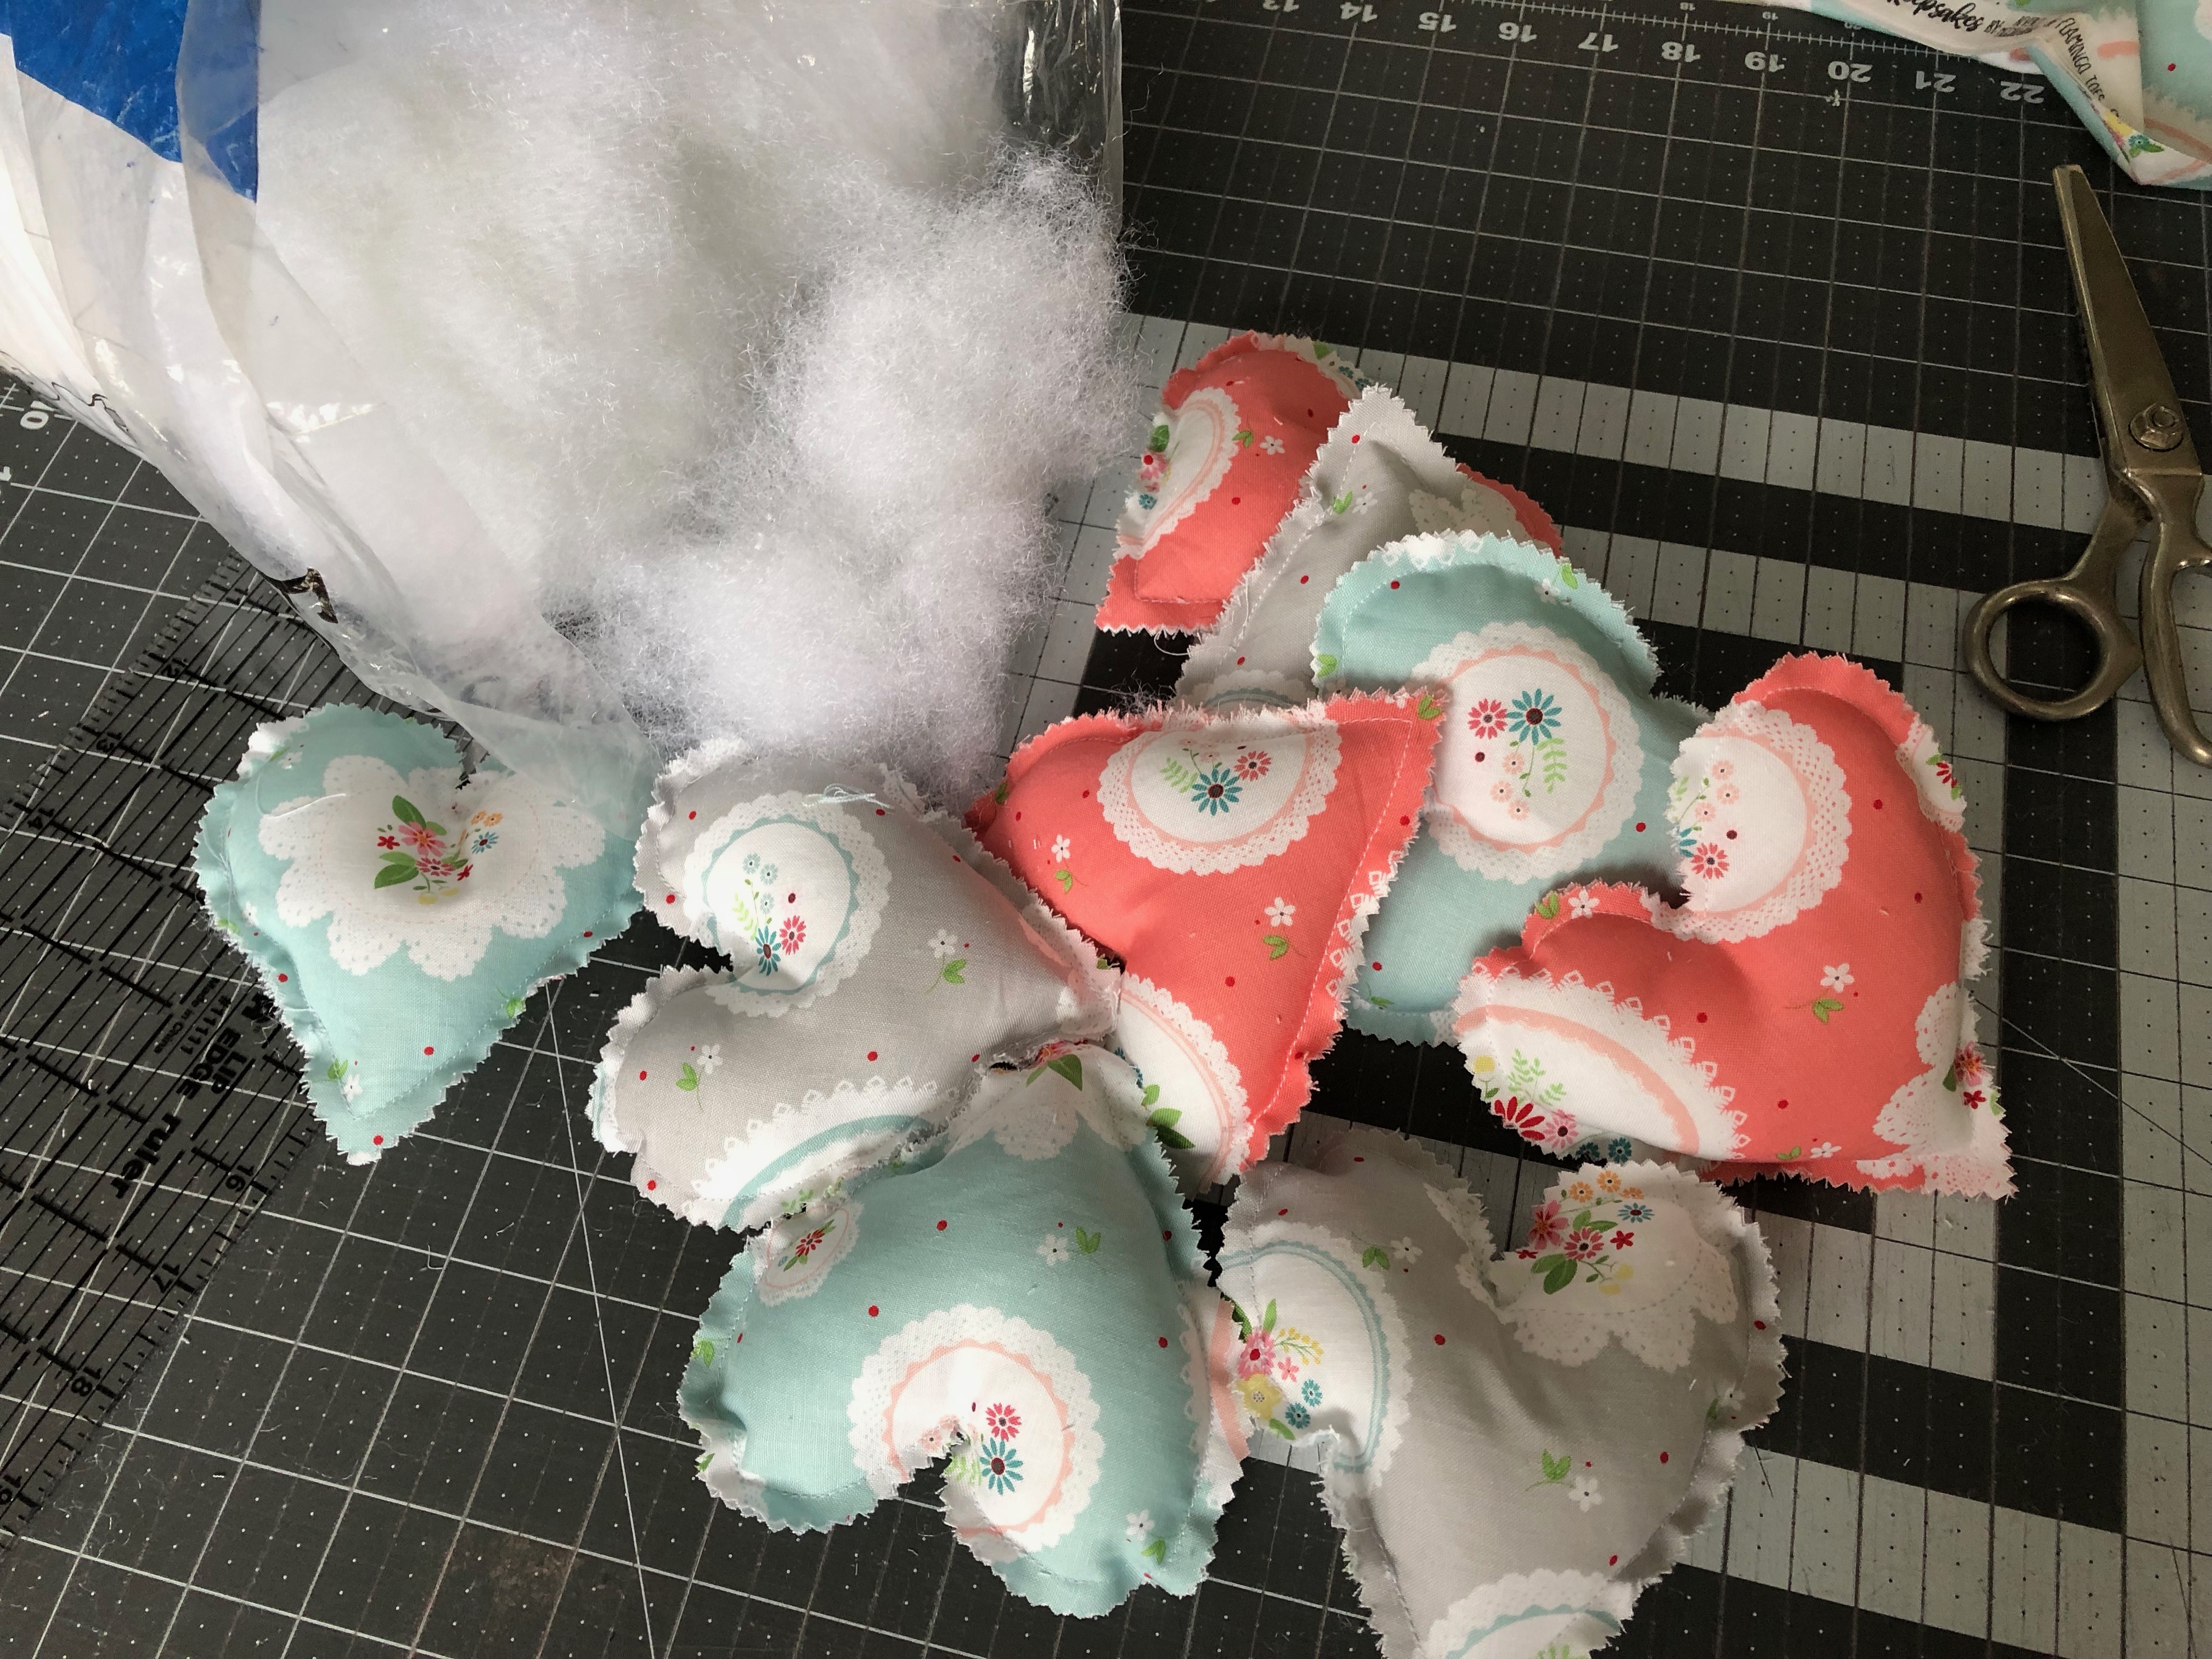
Lightly stuff the hearts with fiber fill and sew the opening closed.
IMG_2838

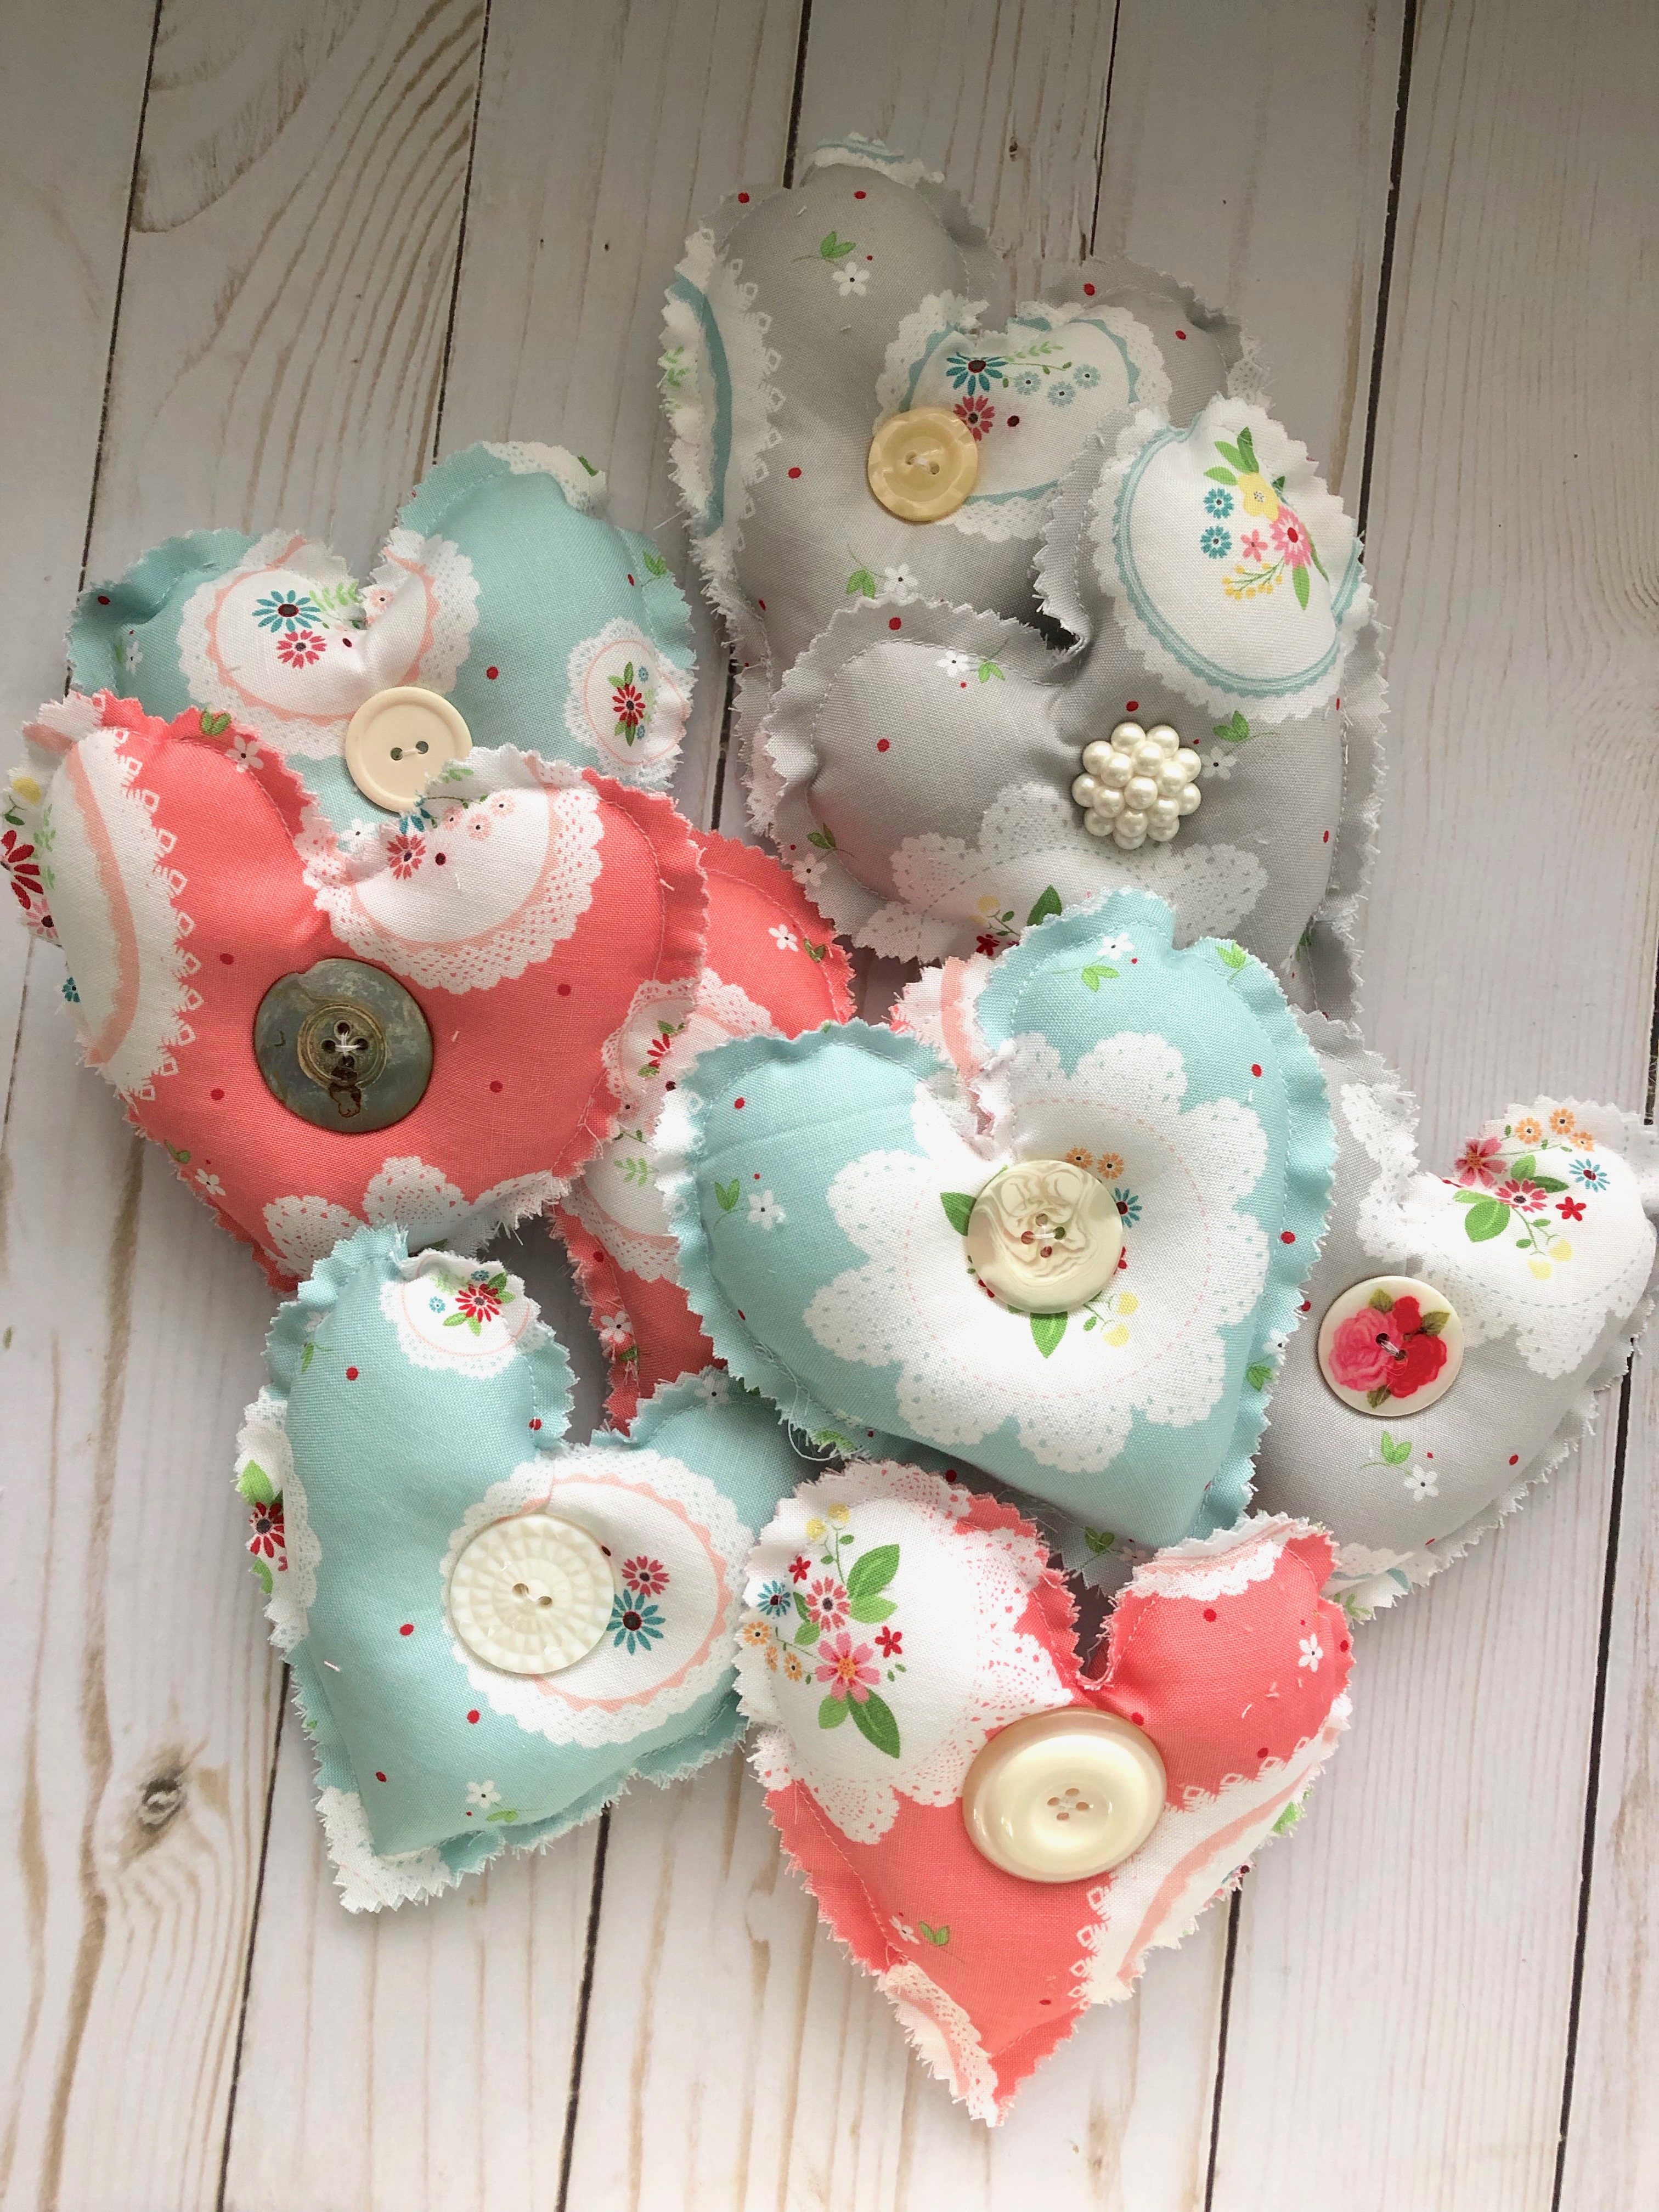
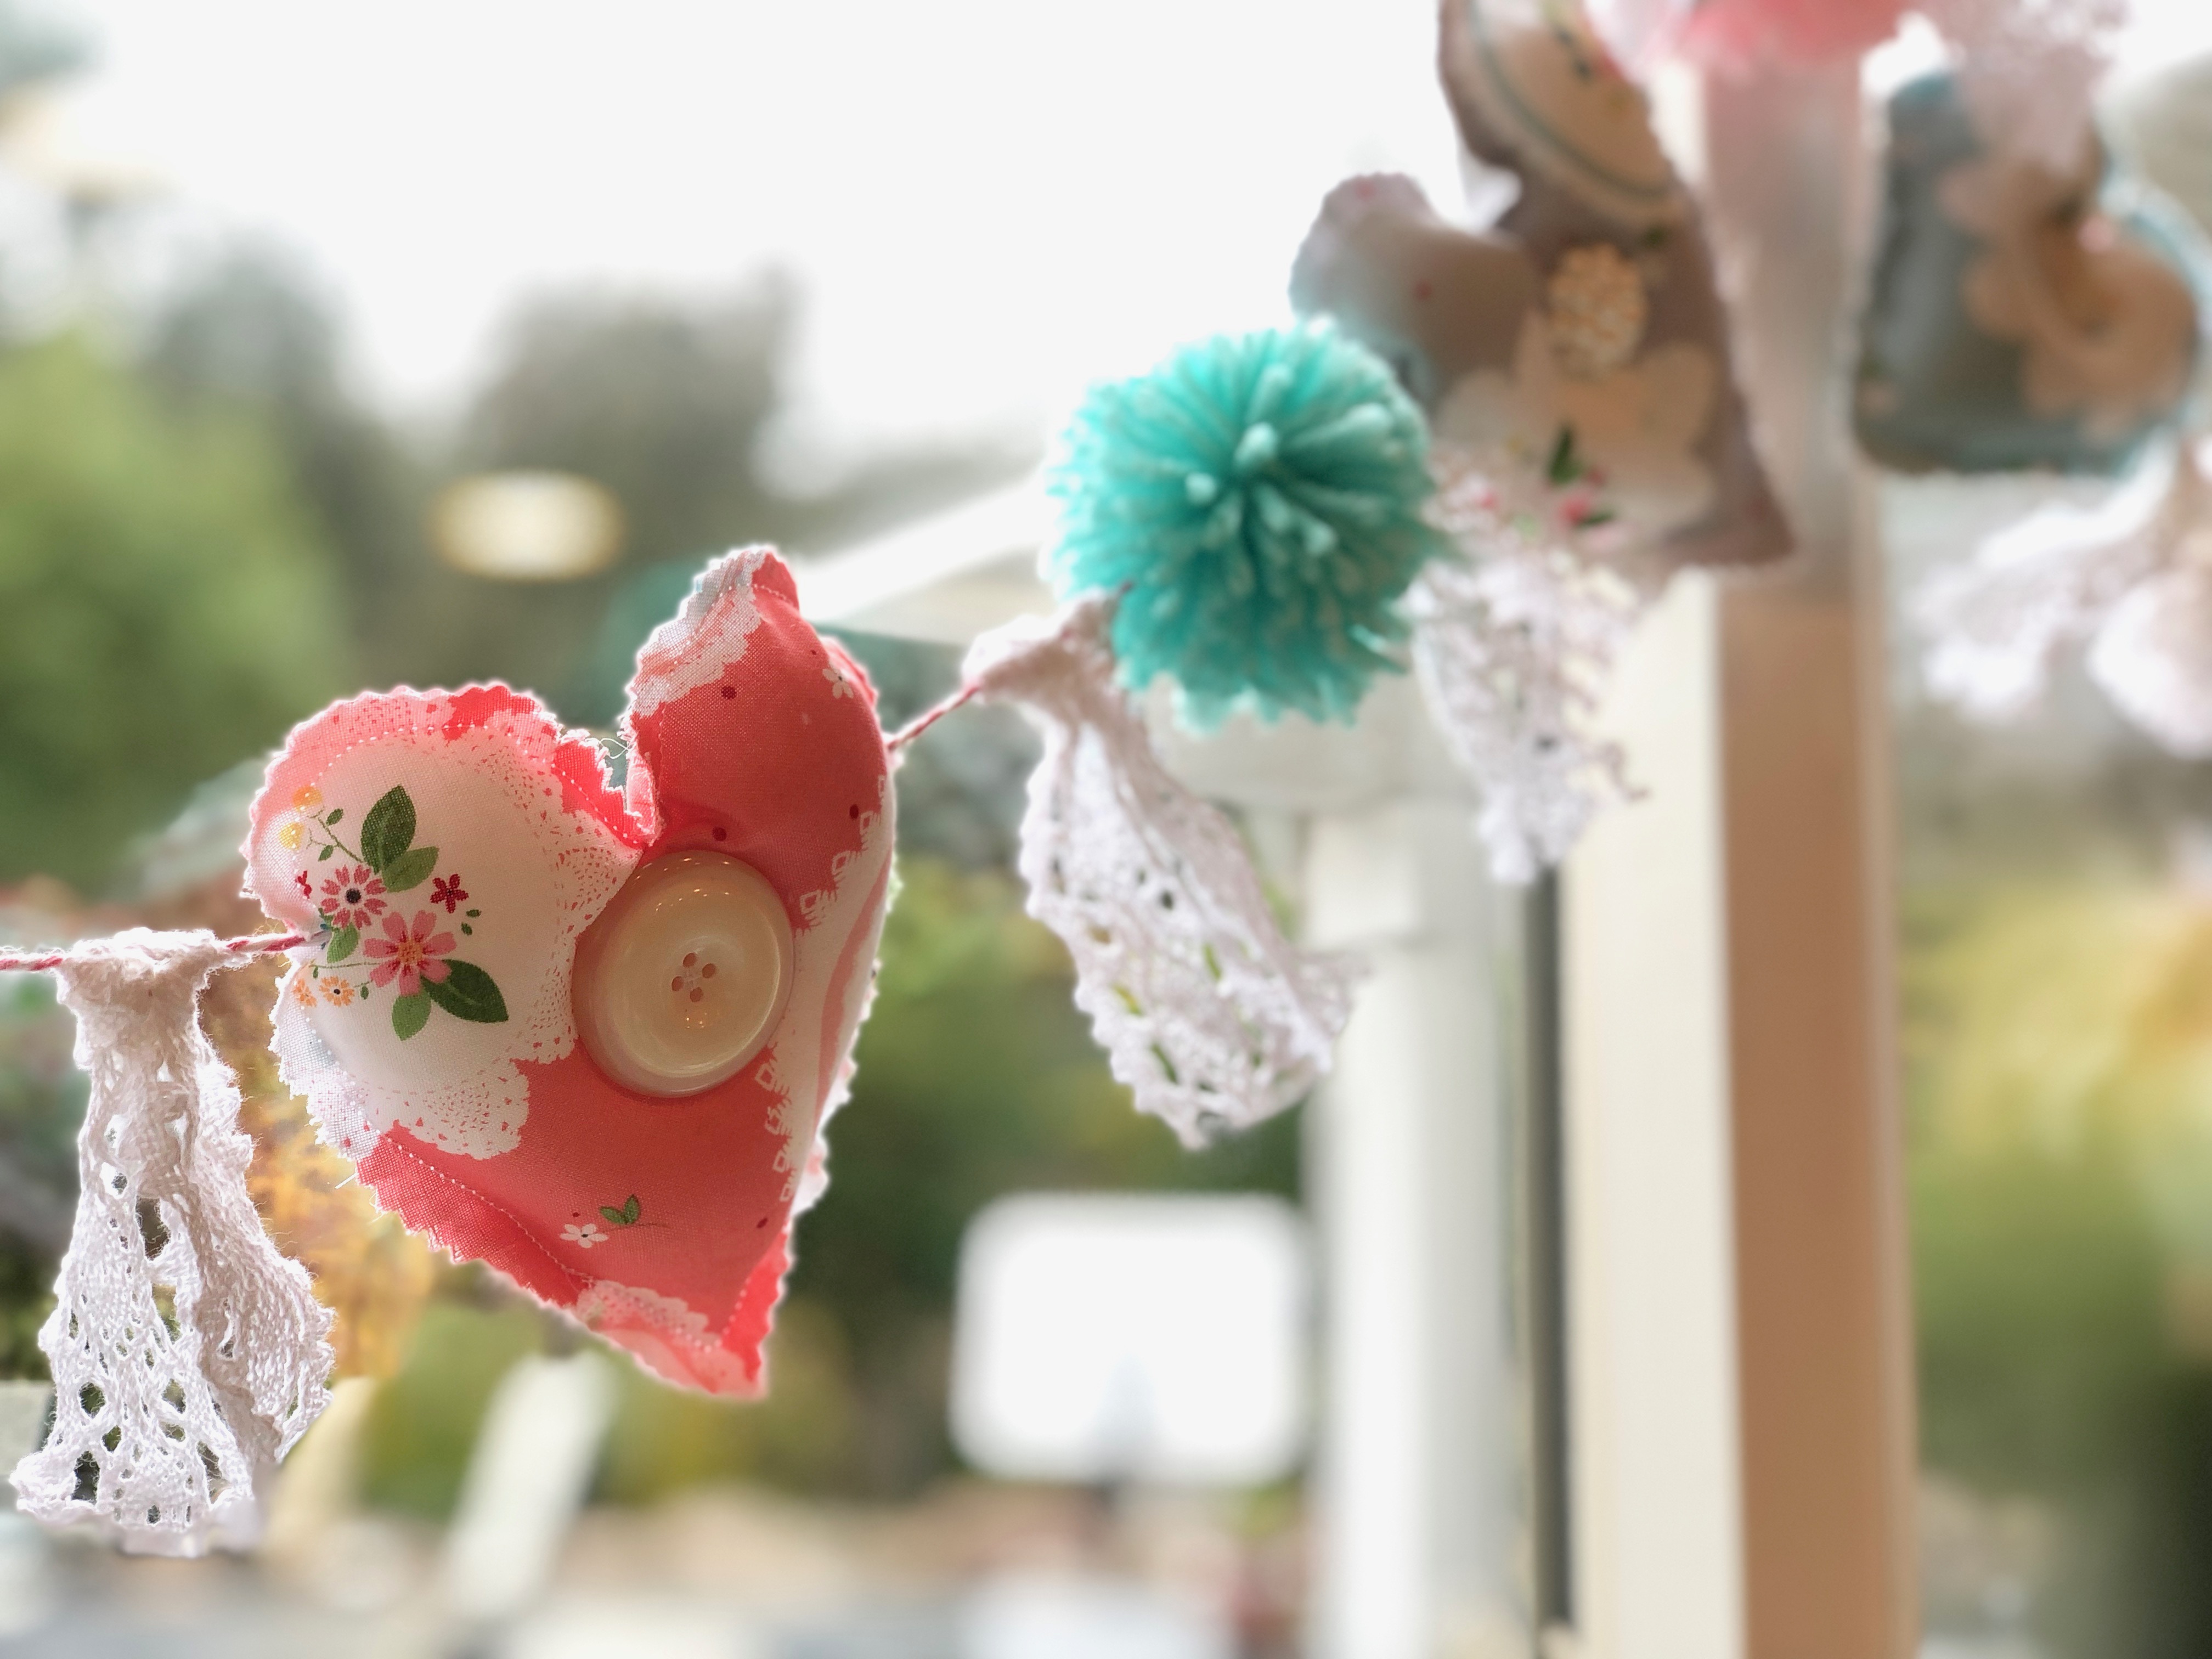
Sew a button in the center of each heart.  Wouldn’t be cute to have a basket of these?  When friends came over you could give them a heart!

IMG_2840

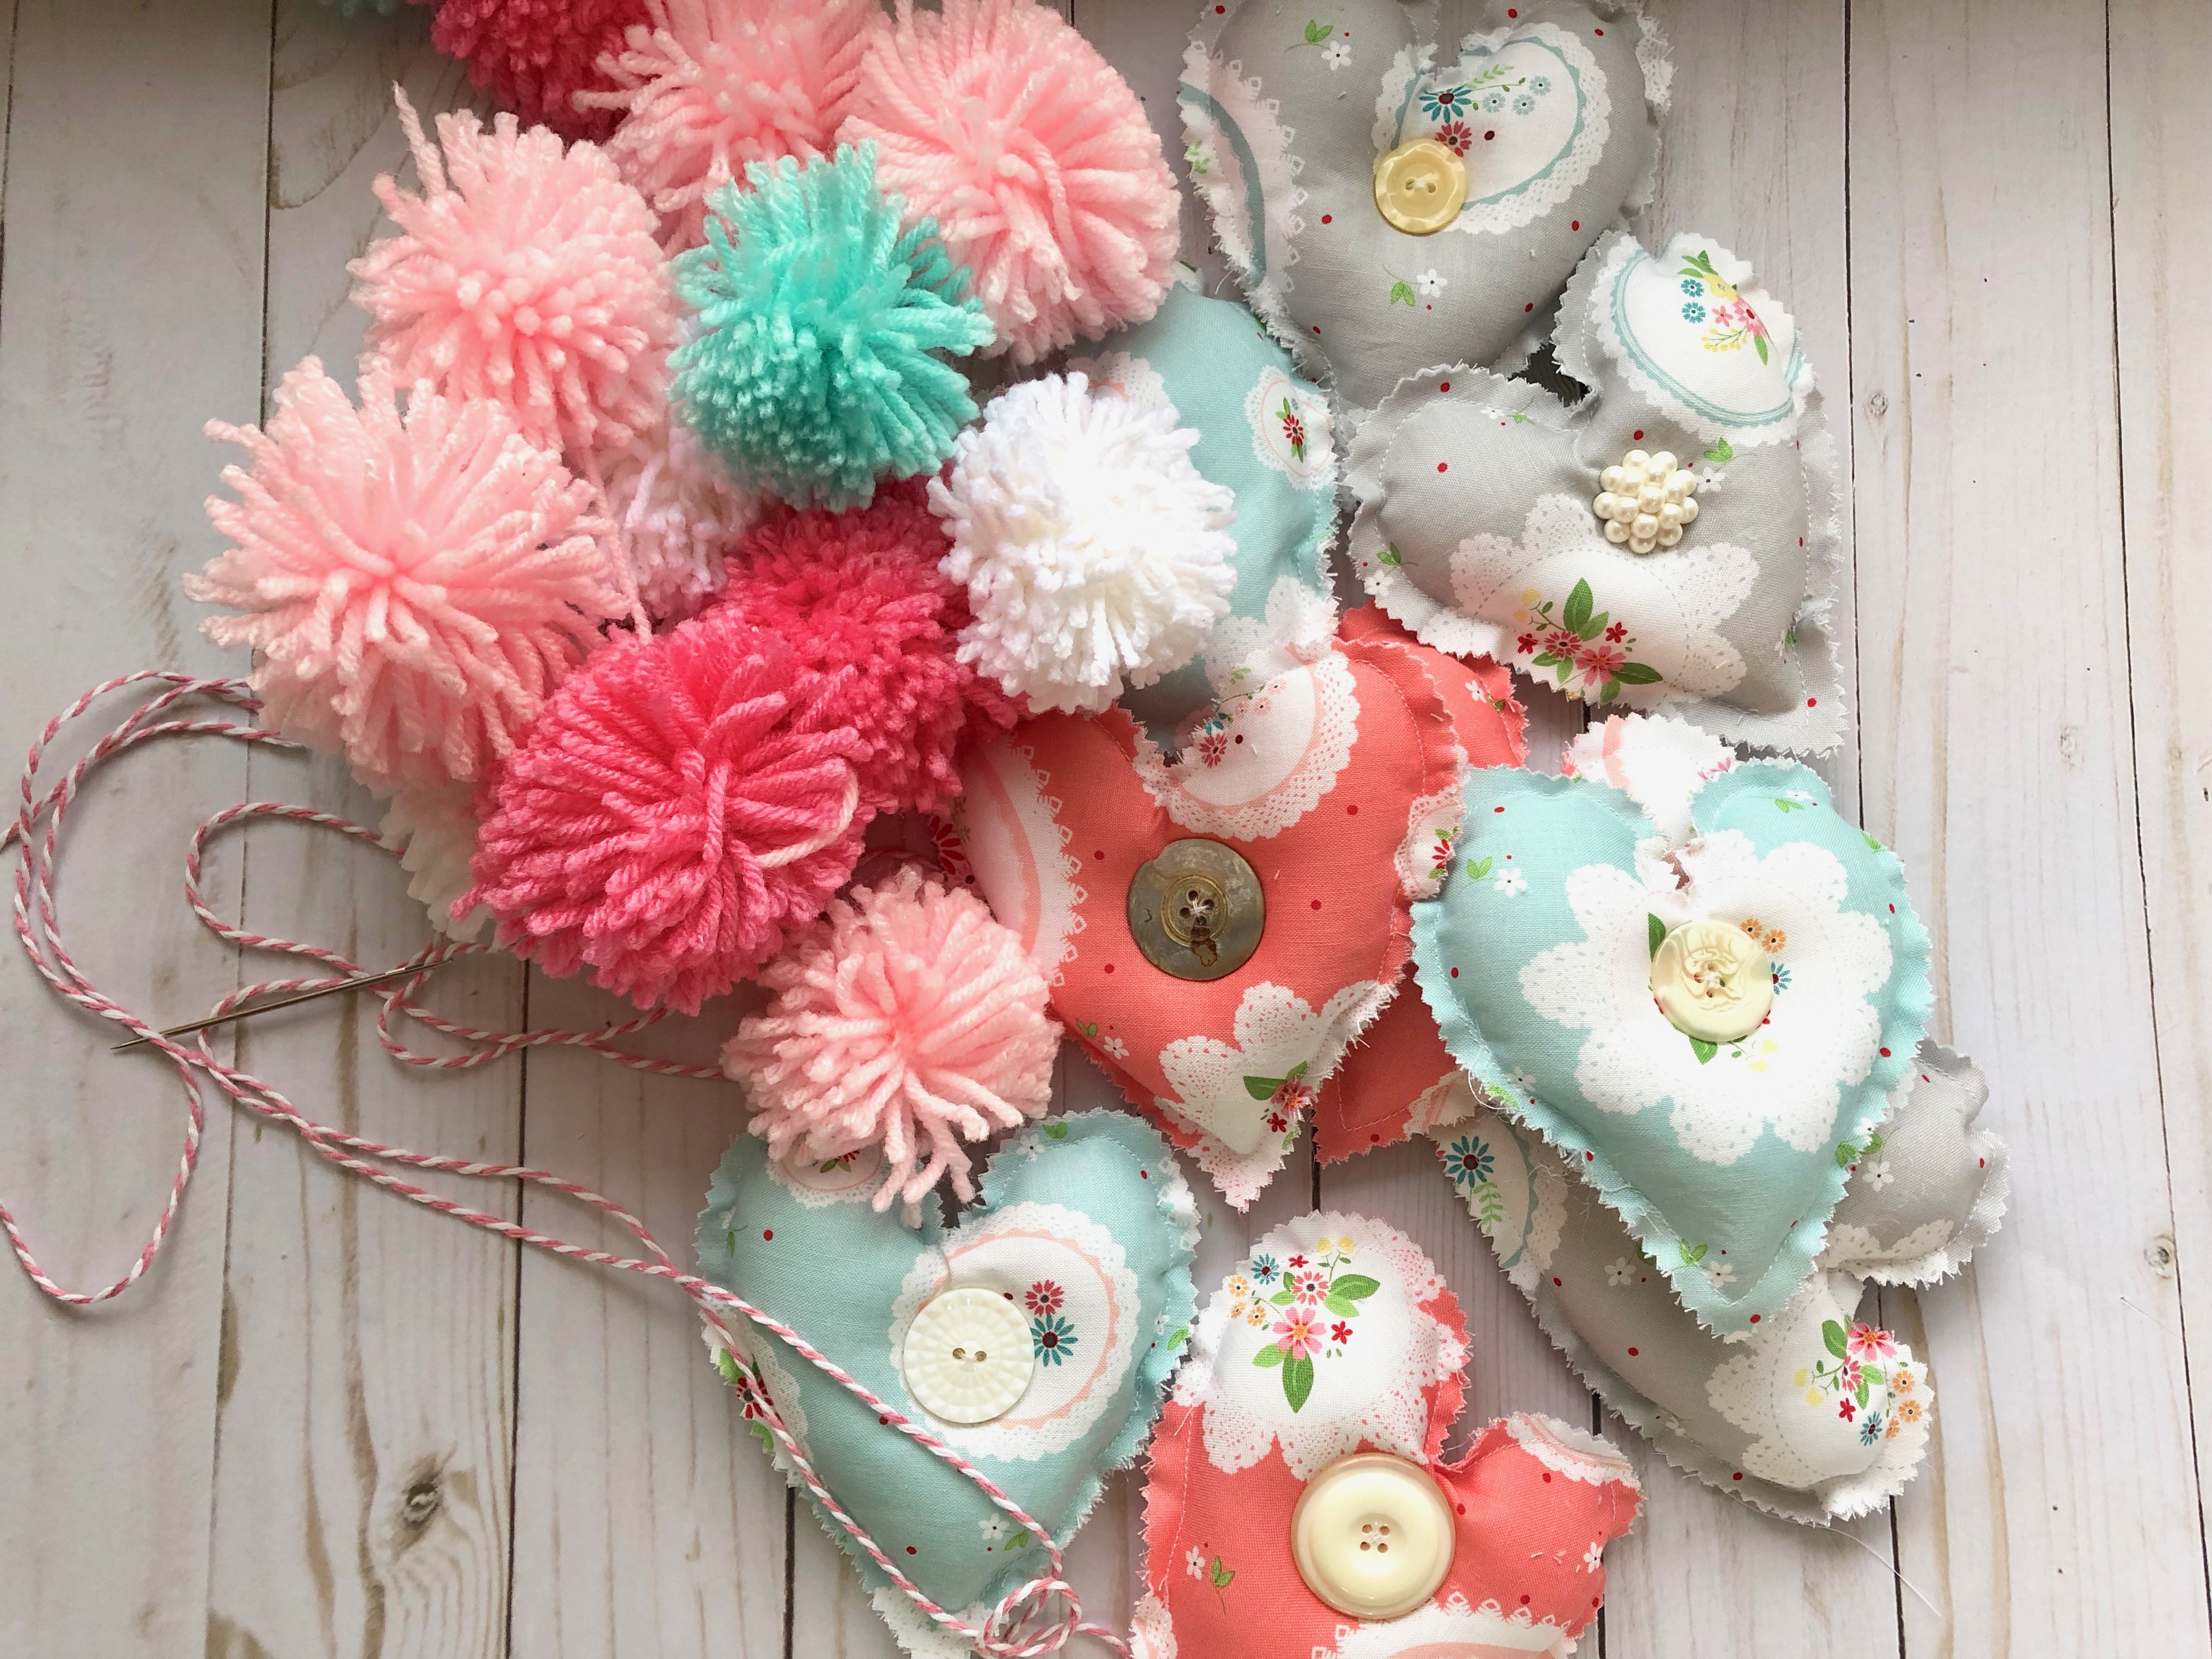
I made my own pom poms with yarn, but you can use purchased ones if you like.  Measure the bakers twine the length you want and then add a little extra.  Using a large needle, thread the hearts and pom poms onto the bakers twine in the desired order.  Tie lace in between each heart and pom pom.
IMG_2842

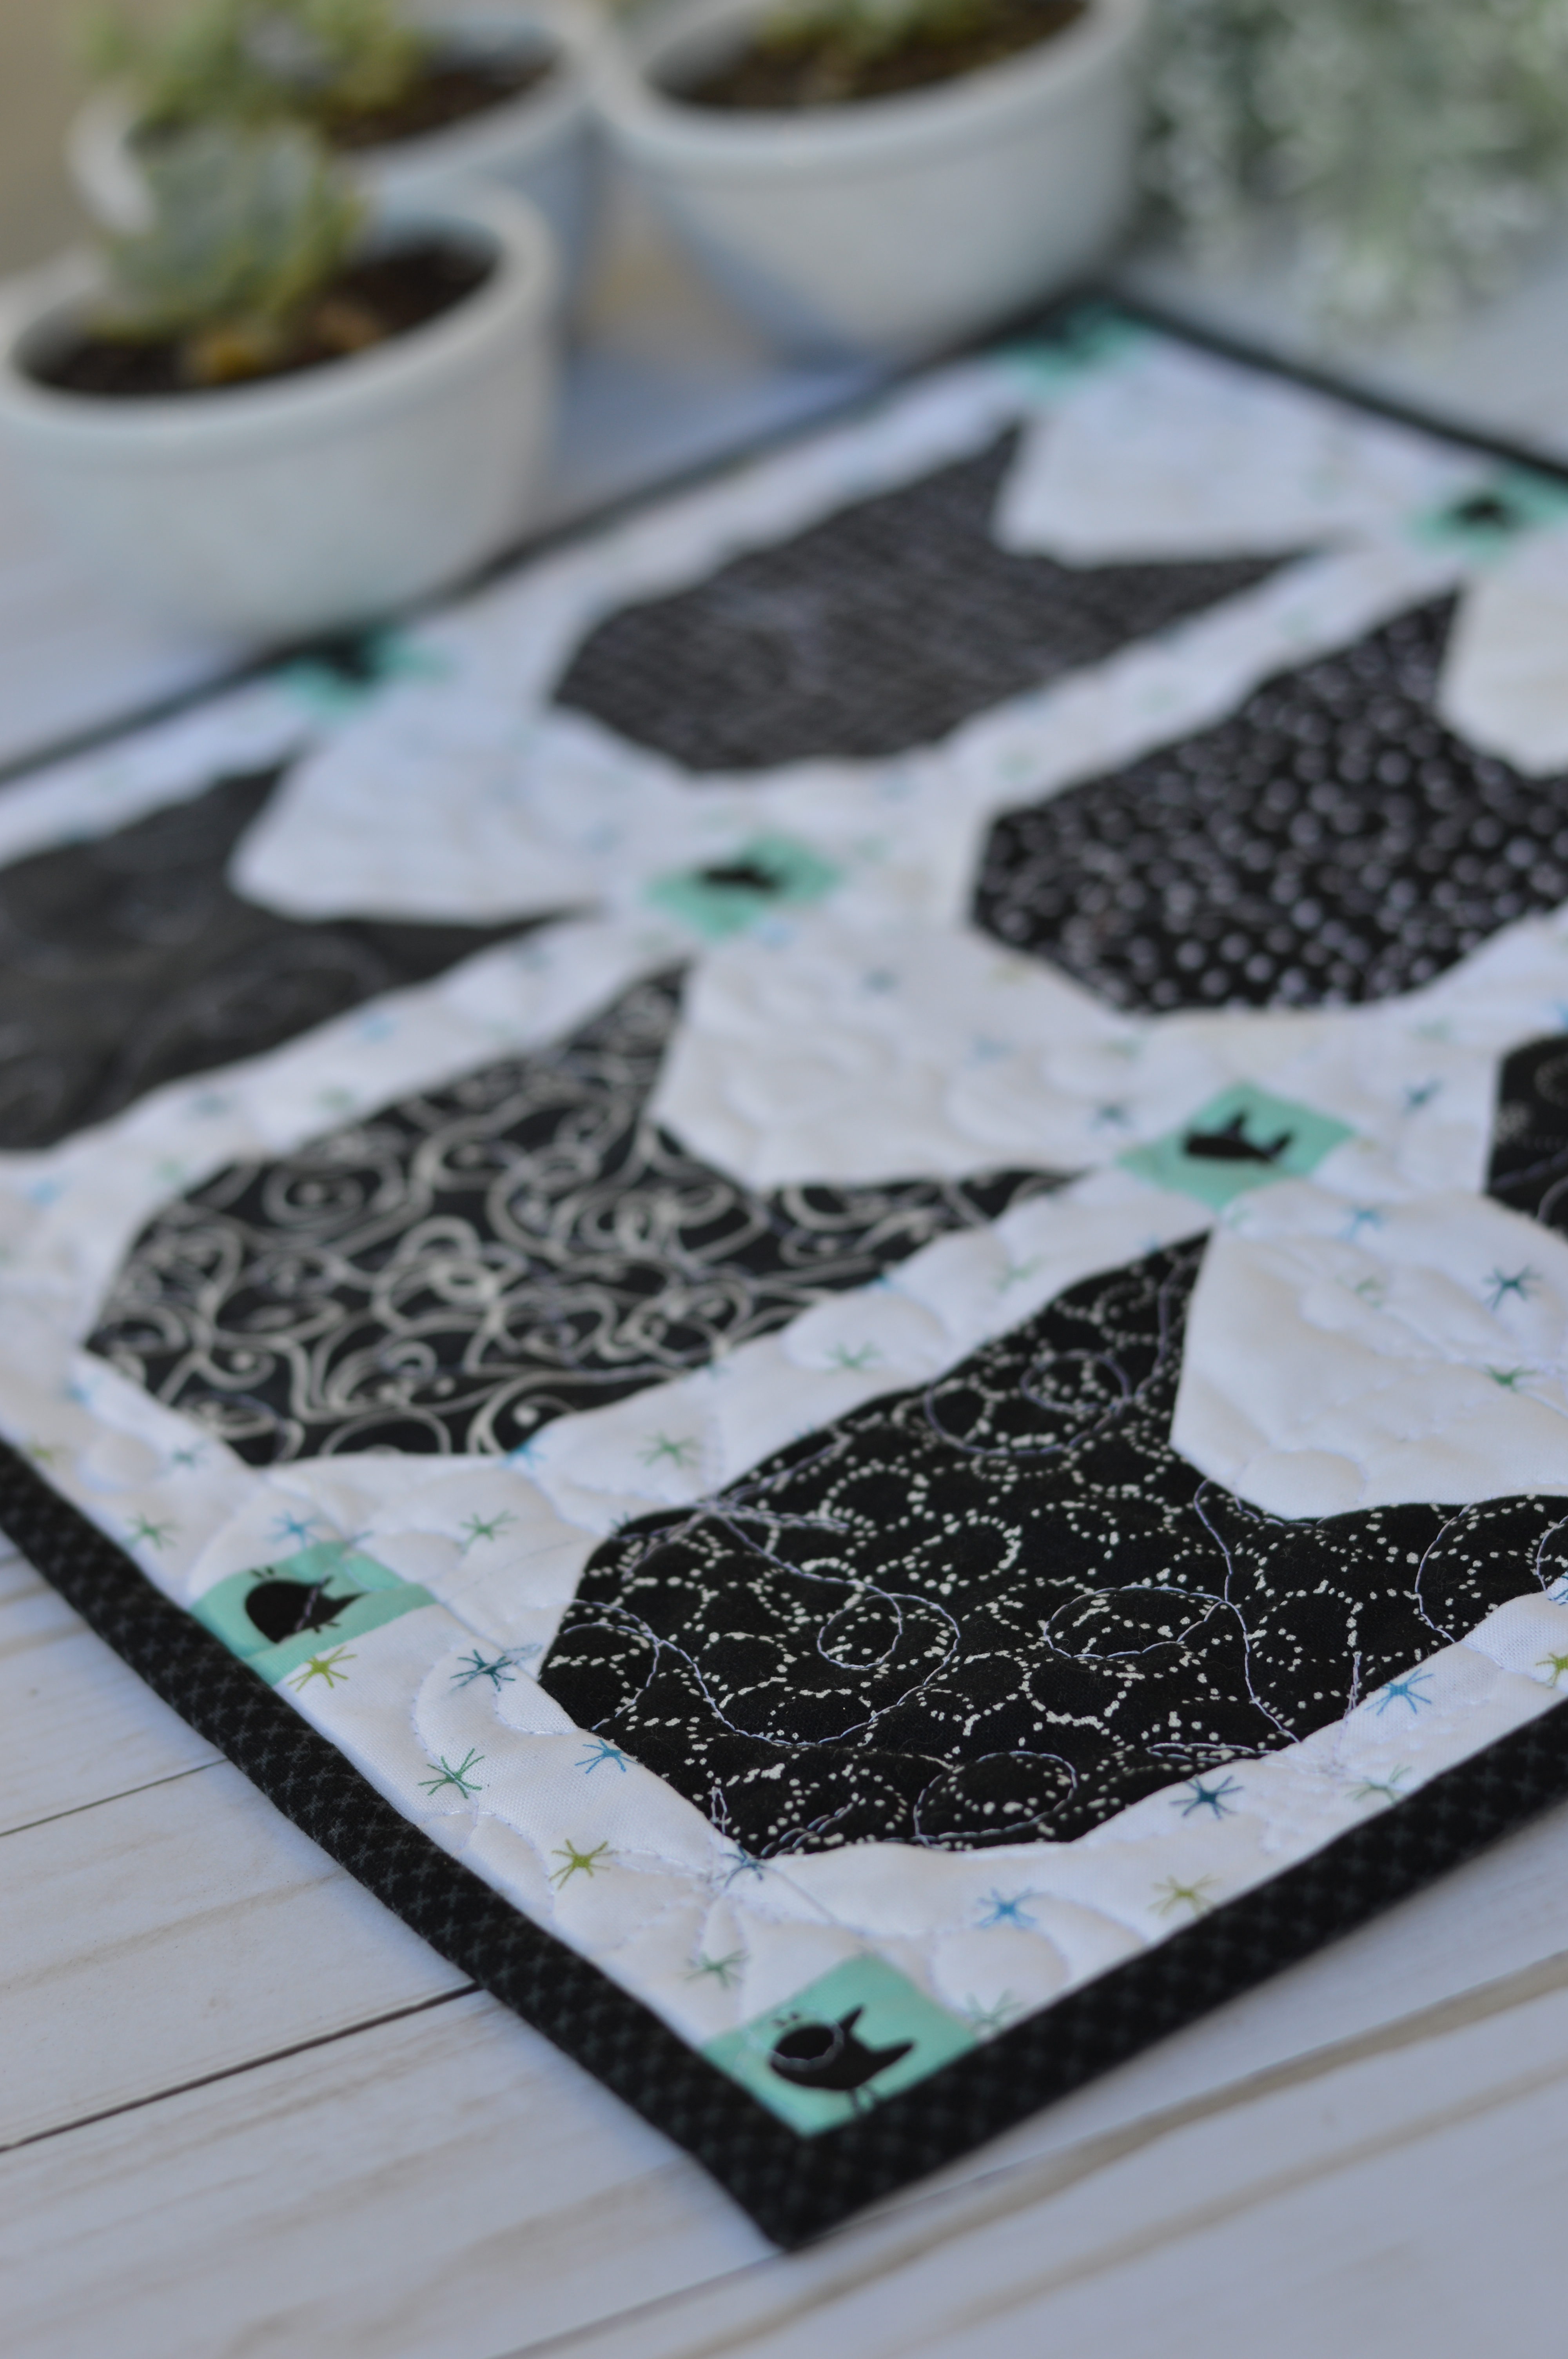
It’s hard to capture the entire garland because it’s so long!  Here’s a little section 🙂

DSC_0583

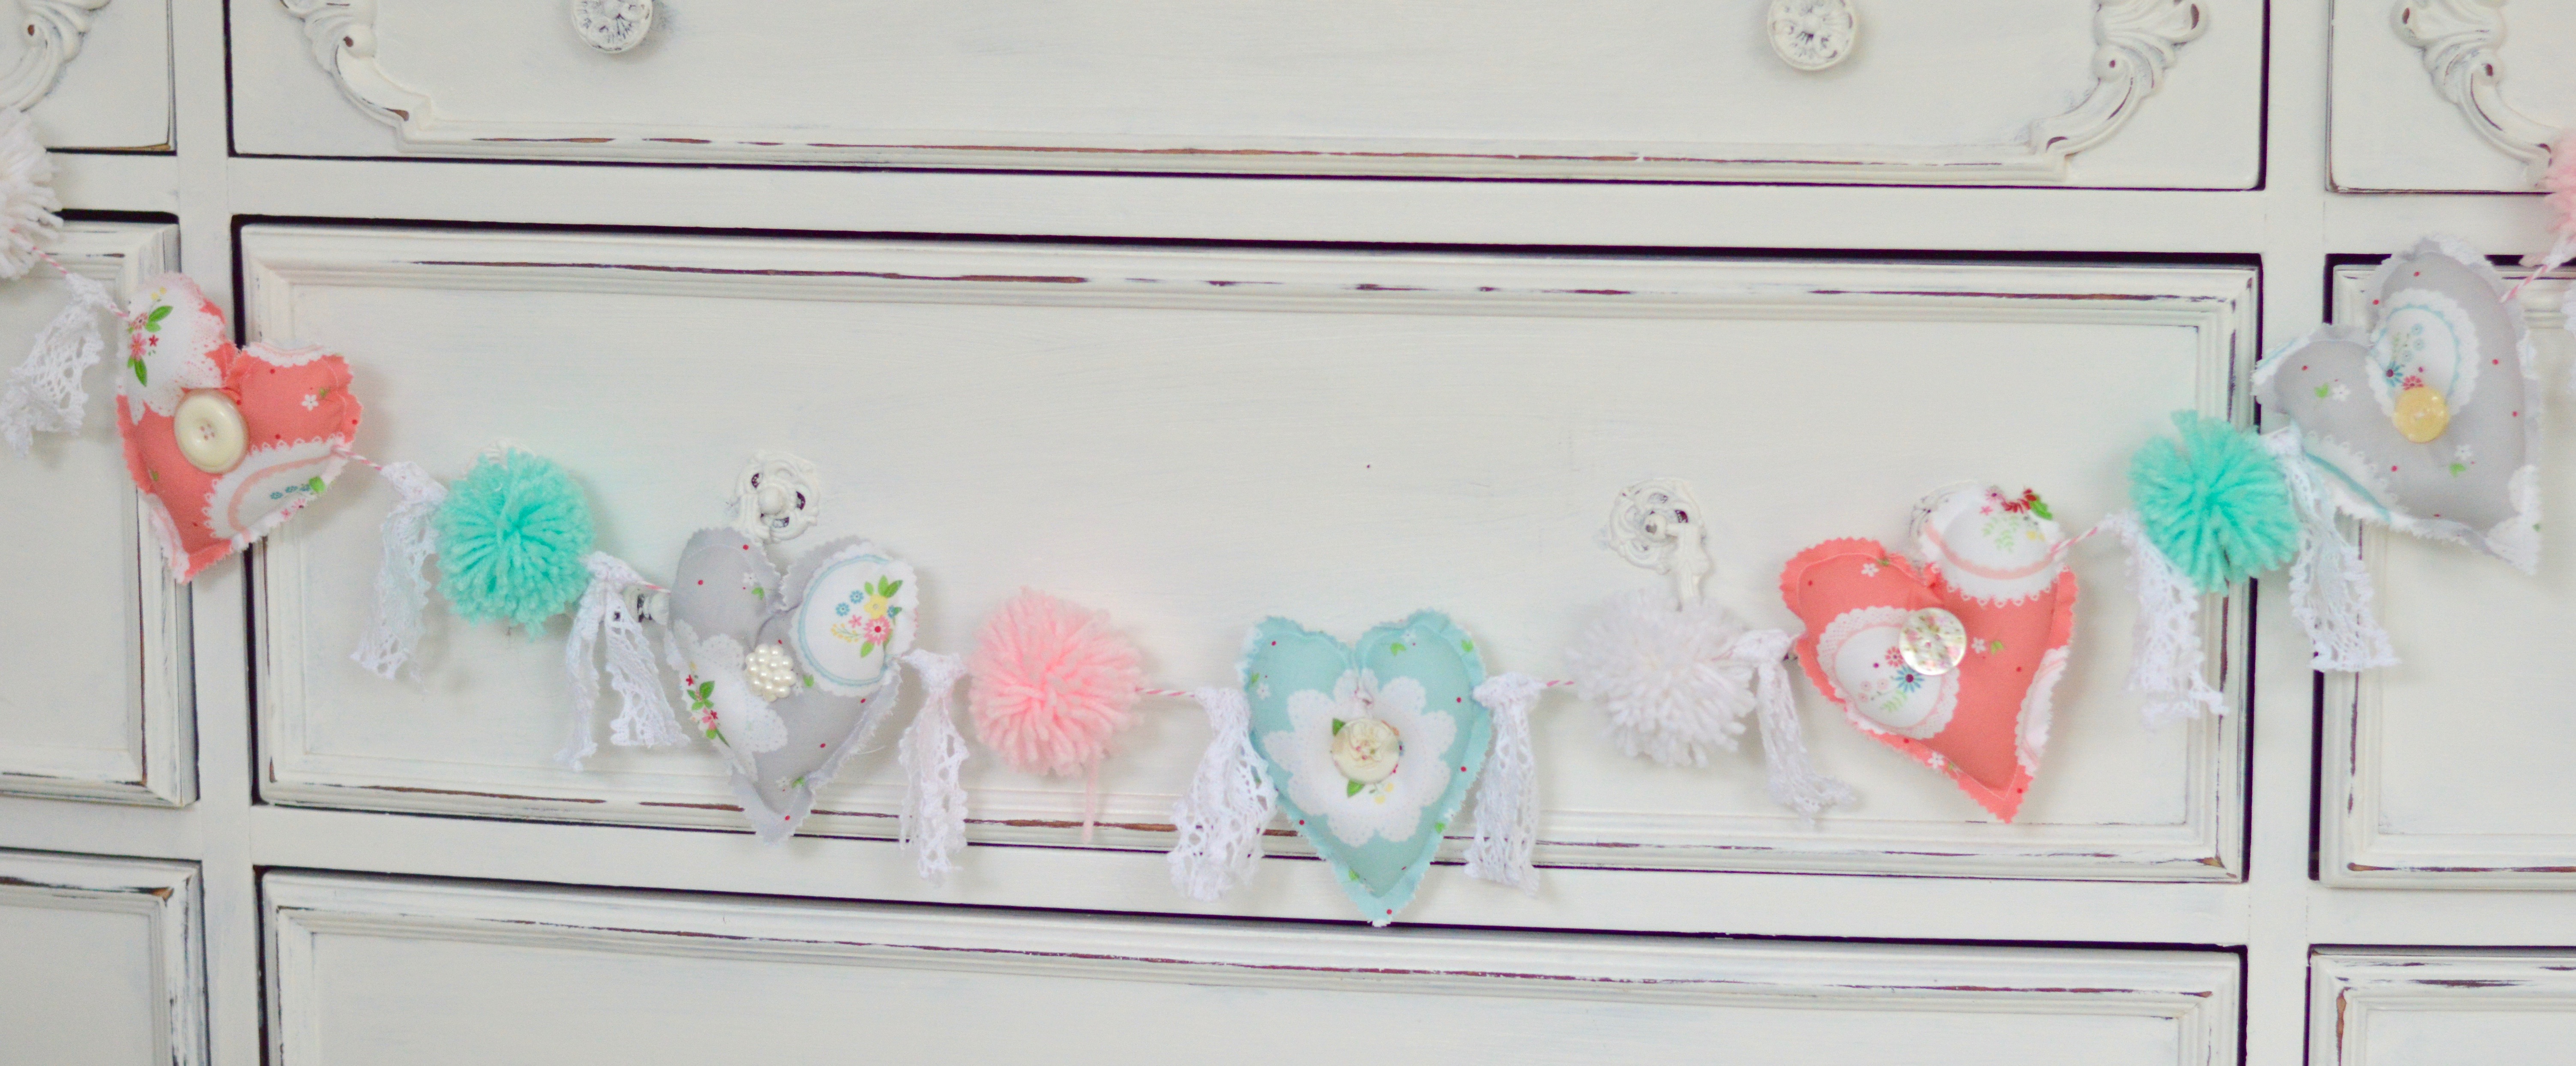
I made mine long enough to hang in my kitchen window.  It looks so cute with my vintage dishes and hankies!IMG_2845

IMG_2848

IMG_2847

Hesketh House by Liberty Fabrics Mini Quilt

DSC_0508

I love Liberty fabrics!!!!

IMG_2769

I love everything British!  British cars, British bands, British history, British dramas, British accents, and this amazing fabric that is coming out from Liberty Fabrics called “Hesketh House”.  It screams British countryside!!

IMG_2746

And do you want to hear some AMAZING news???  Riley Blake will be carrying Liberty Quilting Cottons and they are the official distributor of Liberty Cotton in the US!!!!!  Seriously, I’m so excited!  The fabrics are a lovely quilting cotton weight, not “lawn” weight.  These fabrics will be arriving in stores in March!!!!!  I got to play around with this fun bunch of blue from Hesketh!  I wish I had yards and yards – I’m thinking vintage dress pattern!!

DSC_0444

I sewed this fun little quilt using my “Fresh Eggs” Five Fat Quarter Fun pattern (which is a free PDF download, click link.)  I had 10 fat eights to work with and it was just enough!
DSC_0414

I used a grayish tone of some quilters linen for the background – it’s very texture-y which plays nice with the soft florals!

IMG_2806

Here’s what you need to make this quilt:

10 fat eights (5 dark, 4 lighter and 1 for sashing squares

1 1/2 yards of background fabric, binding fabric

1 yard backing fabric

I followed the instructions from the Fresh Eggs pattern, only using a fat eights instead of fat quarters.  I also used background fabric for the sashing as well.  The rest is the same as the pattern.  It was really fun to sew!  You can also check out my IG highlights for some tips on making the half square triangles in this quilt.

DSC_0438

I quilted it with loops which turned out pretty cute!
DSC_0427

It feels so English Garden-y!

DSC_0450 2

DSC_0472

Of course it is Mufasa approved!!!

DSC_0494

DSC_0502

Sheep Ornaments

sheep ornament

IMG_1706

I am in a few scripture study groups and I wanted to make something meaningful for all the ladies. The theme of Jesus as our shepherd comes up so much – we are his sheep!  So I knew I wanted to make a sheep ornament (plus I love sheep!). I began to make THESE ornaments, only to realize I made the sheep to big!  The sheep would not fit in the jar lids!  It was midnight so there was no turning back!  This is what they turned into!  And I love them!  Here’s how you can make them:

Supplies:

2 charm squares (5″)

5″ square Heat n Bond Fusible Fleece

Scraps of white and black fabric for the sheep

Heat n Bond Lite

Heat n Bond Ultra

Fiber Fill

Ribbon

Sheep pattern

IMG_1799

Begin by selecting your charm squares – I love projects that use up what I have on hand!

IMG_1802

Trace the sheep body on to Heat n Bond Lite.  Trace the sheep ear, head, and feet onto Heat n Bond Ultra.IMG_1801

Heat set the pieces onto the wrong side of the fabrics.  Let cool.  Cut out each piece.  Peel off backing paper.
IMG_1803

Position the sheep pieces onto the center of one of the charm squares.  Heat set into place.IMG_1804

Sew around the sheep body with a straight stitch.  I used the ultra heat n bond for the feet, ear, and head – which require no sewing.  Of course you could sew around each piece – I had to make a lot and now it was 1:00 am!IMG_1805

Heat set the sheep square to the fusible fleece.  Then layer them together as pictured above.IMG_1806

Cut a template out of cardstock of a circle just under 5″ in diameter.  You can see how it fits right inside of the charm square.  Pin and cut the circle through all 3 layers.IMG_1807

Pin all the layers together and tuck a little hanger in the top.IMG_1808

Sew a scant 1/4″ seam around the circle, leaving a 2″ opening to stuff.  Add a little fiber fill and then sew the opening closed.  Sew around the ornament a second time – I like how it looks when the two seams are a little off – it also helps round out any areas that aren’t perfect!IMG_1809

Tie a little bow and sew into place (or in my case, 1:30 am, hot glue that thing and then go to beed!)IMG_1693

Now go and sew a pasture of sheep! And don’t forget that Jesus loves you 🙂IMG_1694

IMG_1700

Fabric Postcard Tutorial Featuring Hello Sweetheart by Riley Blake Designs

fabric postcard tutorial

I love this adorable valentine inspired fabric called Hello Sweetheart by Riley Blake Designs!  Seriously the cutest valentine fabric ever!!!hellosweetheartfabric

I was so inspired by the clever little valentines that I wanted to turn them into actual valentines you can mail!  These are super easy and would be fun for your kids to help make!

Supplies:

Hello Sweetheart valentine panel by Riley Blake Designs

4″ x 6″ pieces coordinating fabric

Heat n Bond heavy weight fusible stabilizer

Spray n Bond basing spray

Paper postcard (see download link)

Thread

fabric postcard tutorial

Using scissors, cut out the valentines you want to use.  There are so many cute ones!!!fabric postcard tutorial 2

Cut each background fabric 4″ x 6″

I had fun mixing and matching the valentines with the background fabric.  This is what I choose.
fabric postcard tutorial 3

Using Spray n Bond basting spray, spray the wrong side of the valentine and position it on the 4″x 6″ fabric.  Sew around the valentine.

fabric postcard tutorial 6

Cut (2) 4″ x 6″ pieces of  Heat n Bond heavy weight fusible stabilizer.  You will use 2 pieces per postcard.

fabric postcard tutorial 6 9

Fuse the first stabilizer to the wrong side of the fabric postcard.  Let cool.  Then fuse a second piece.  Let cool.fabric postcard tutorial 4

Download the postcard template by clicking here.  Cut on the gray line – it should measure 4″ x 6″.
fabric postcard tutorial 6 10

They are so cute!

fabric postcard tutorial 11

Once they are all stabilized, spray a little basting spray on the wrong side of the stabilizer and position the paper postcard.  This is to hold it in place while sewing.

Now that the postcard is assembled, you may need to trim up the edges if the stabilizer of paper are showing.  Using a zigzag stitch, sew around the postcard 2 times, sewing near or off the edge.

fabric postcard tutorial 6 12
fabric postcards. 2

Now start writing notes to the people you love!!!

Little Joys Quilt Tutorial Updated

little-joys-quilt
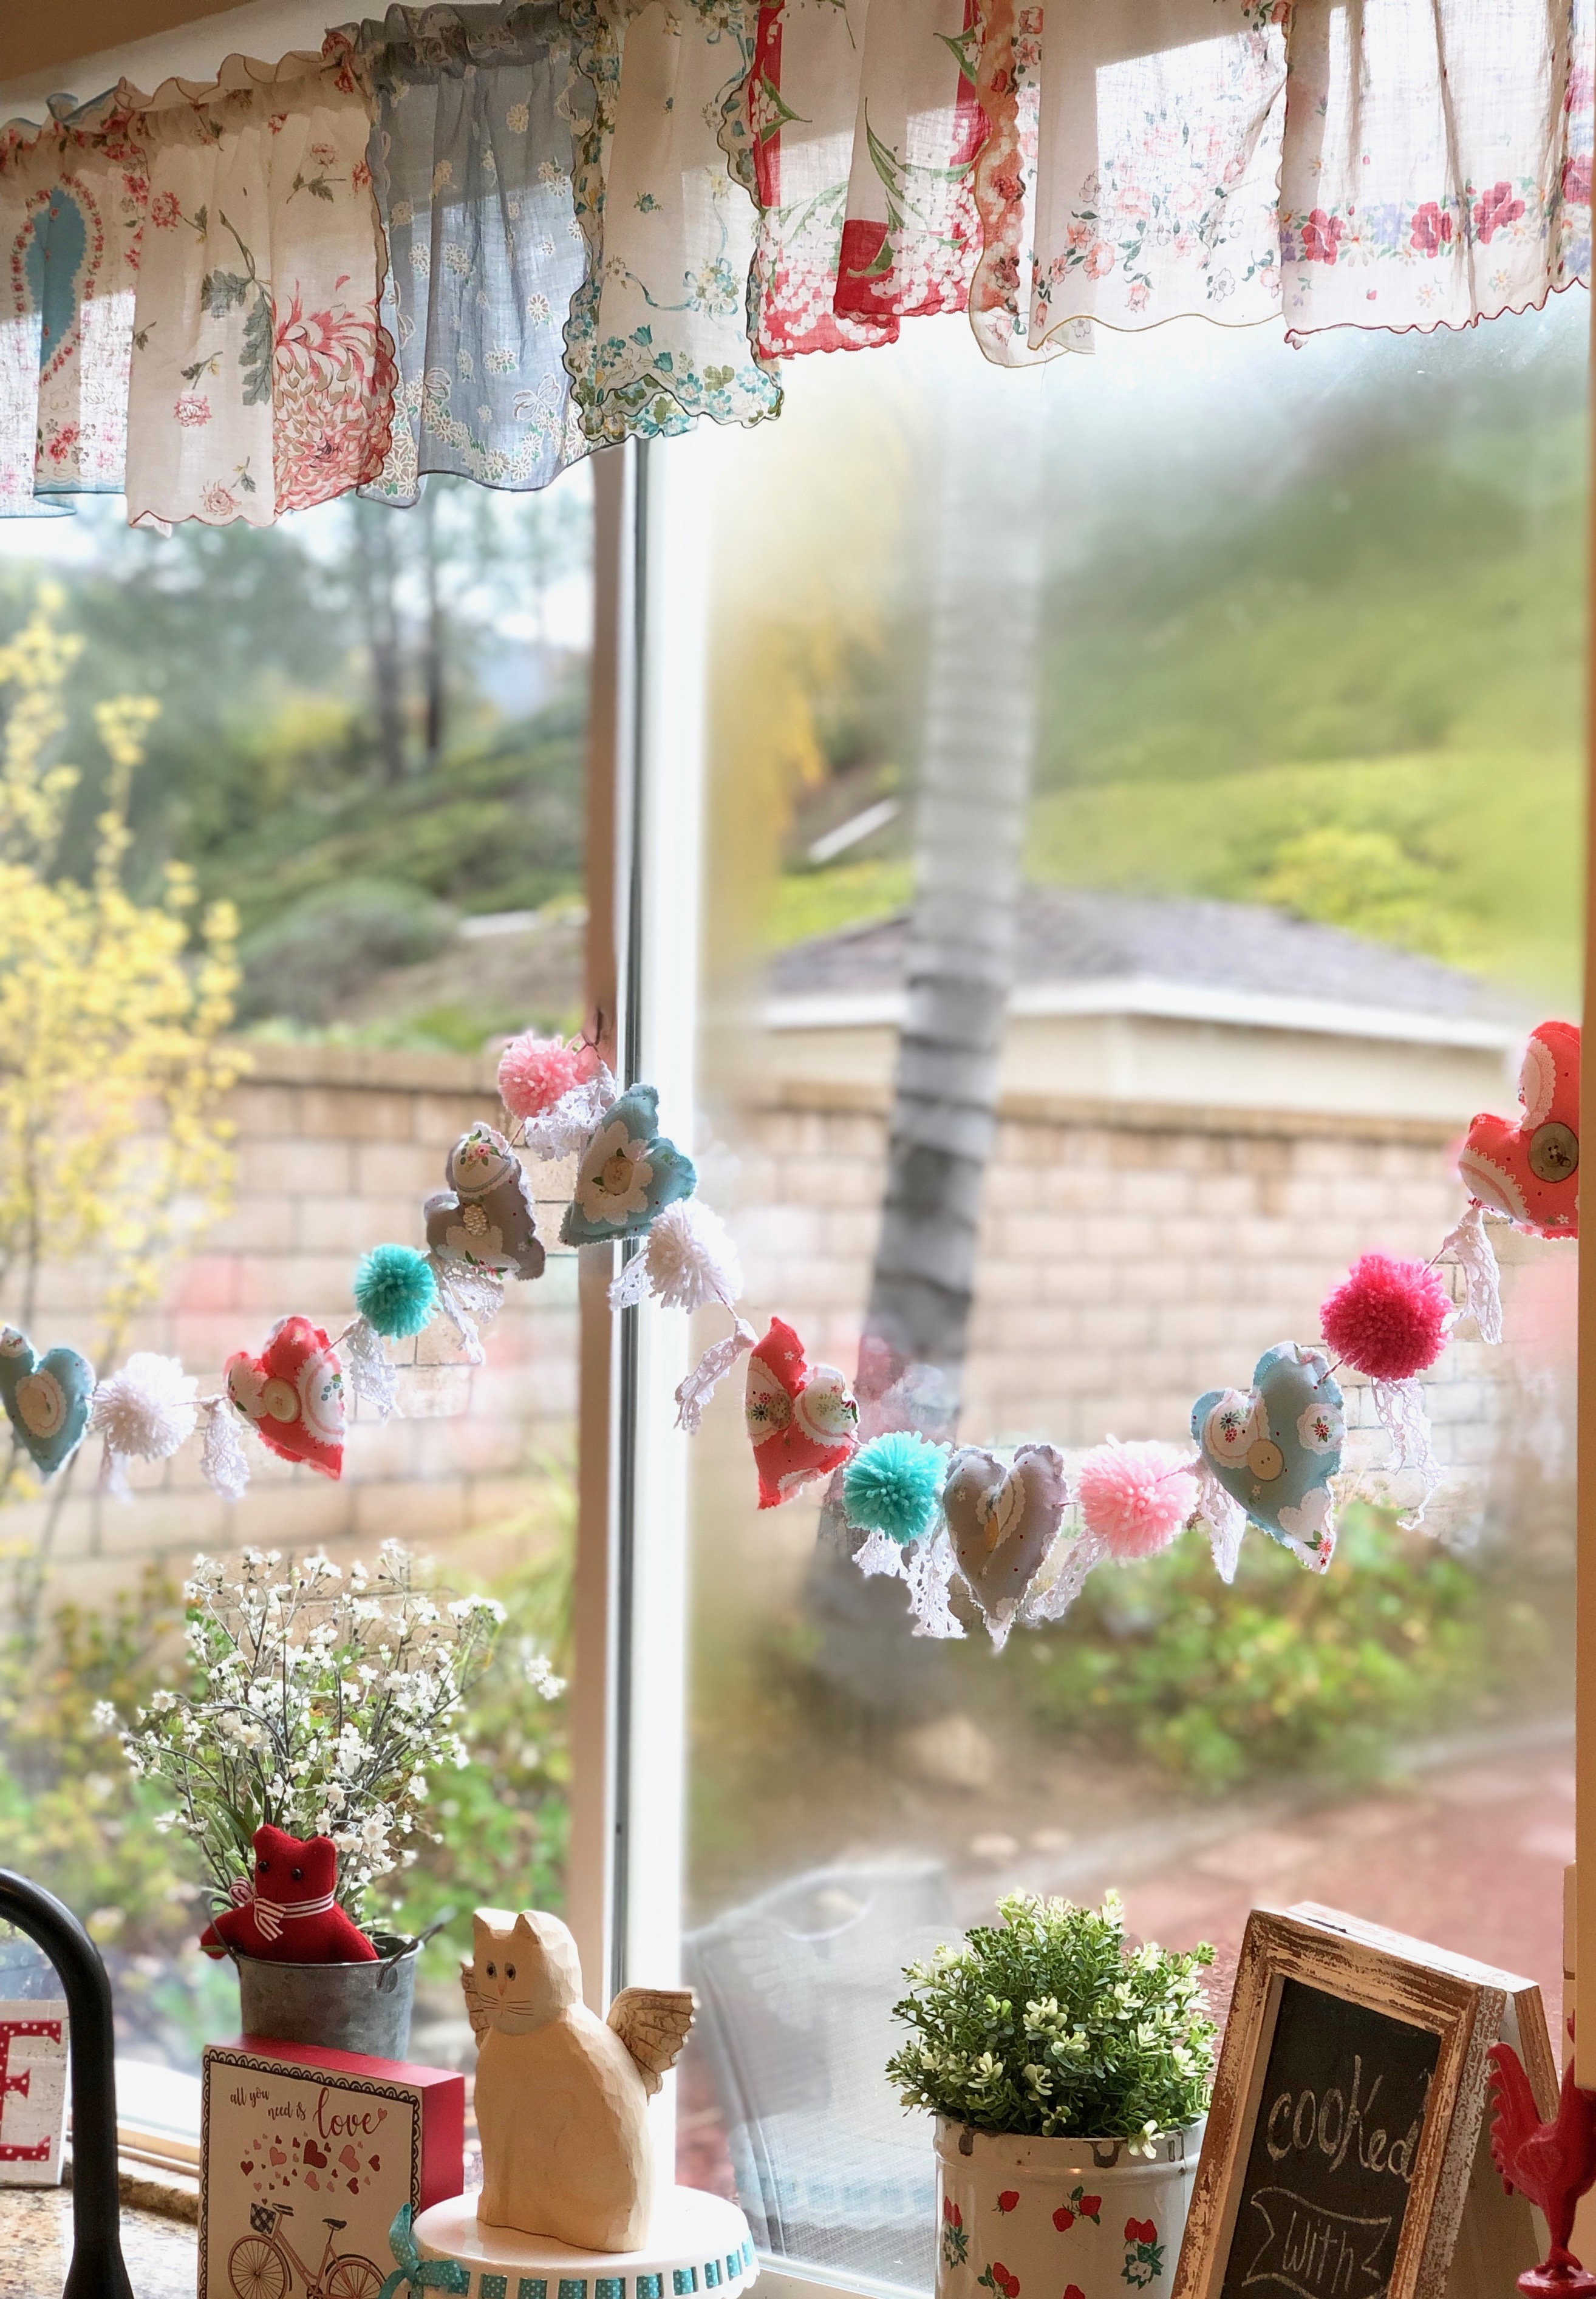
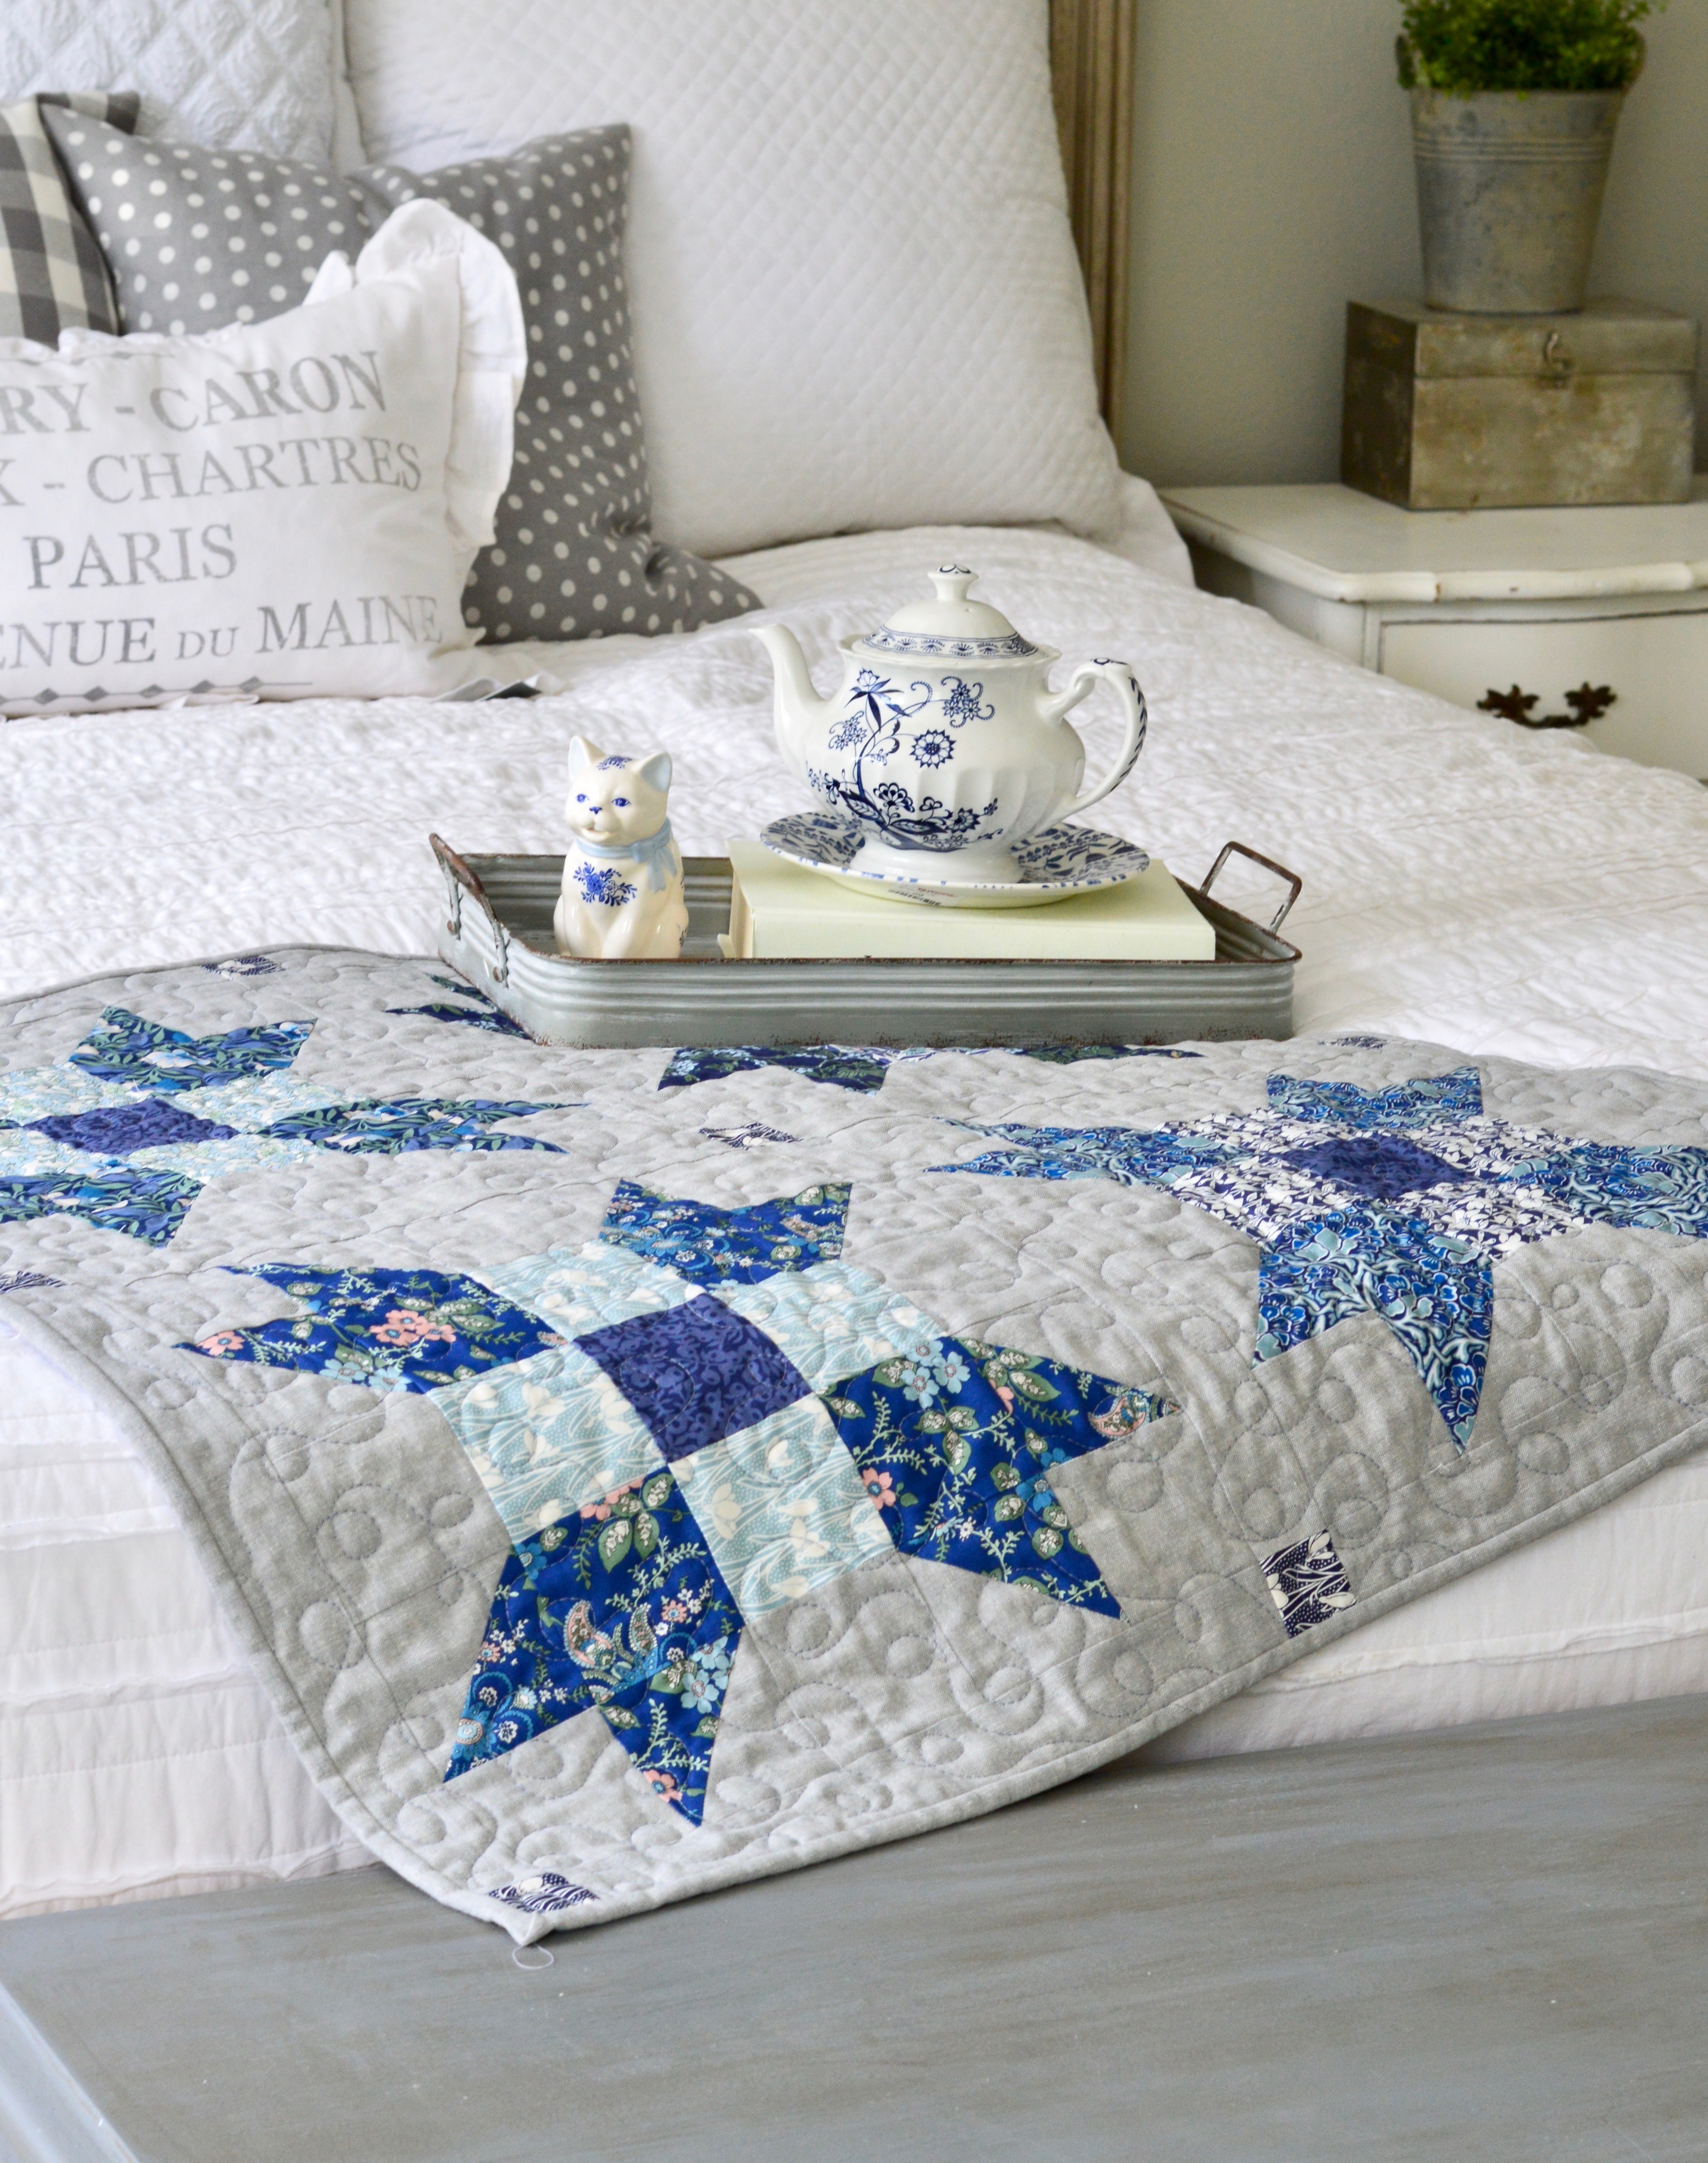
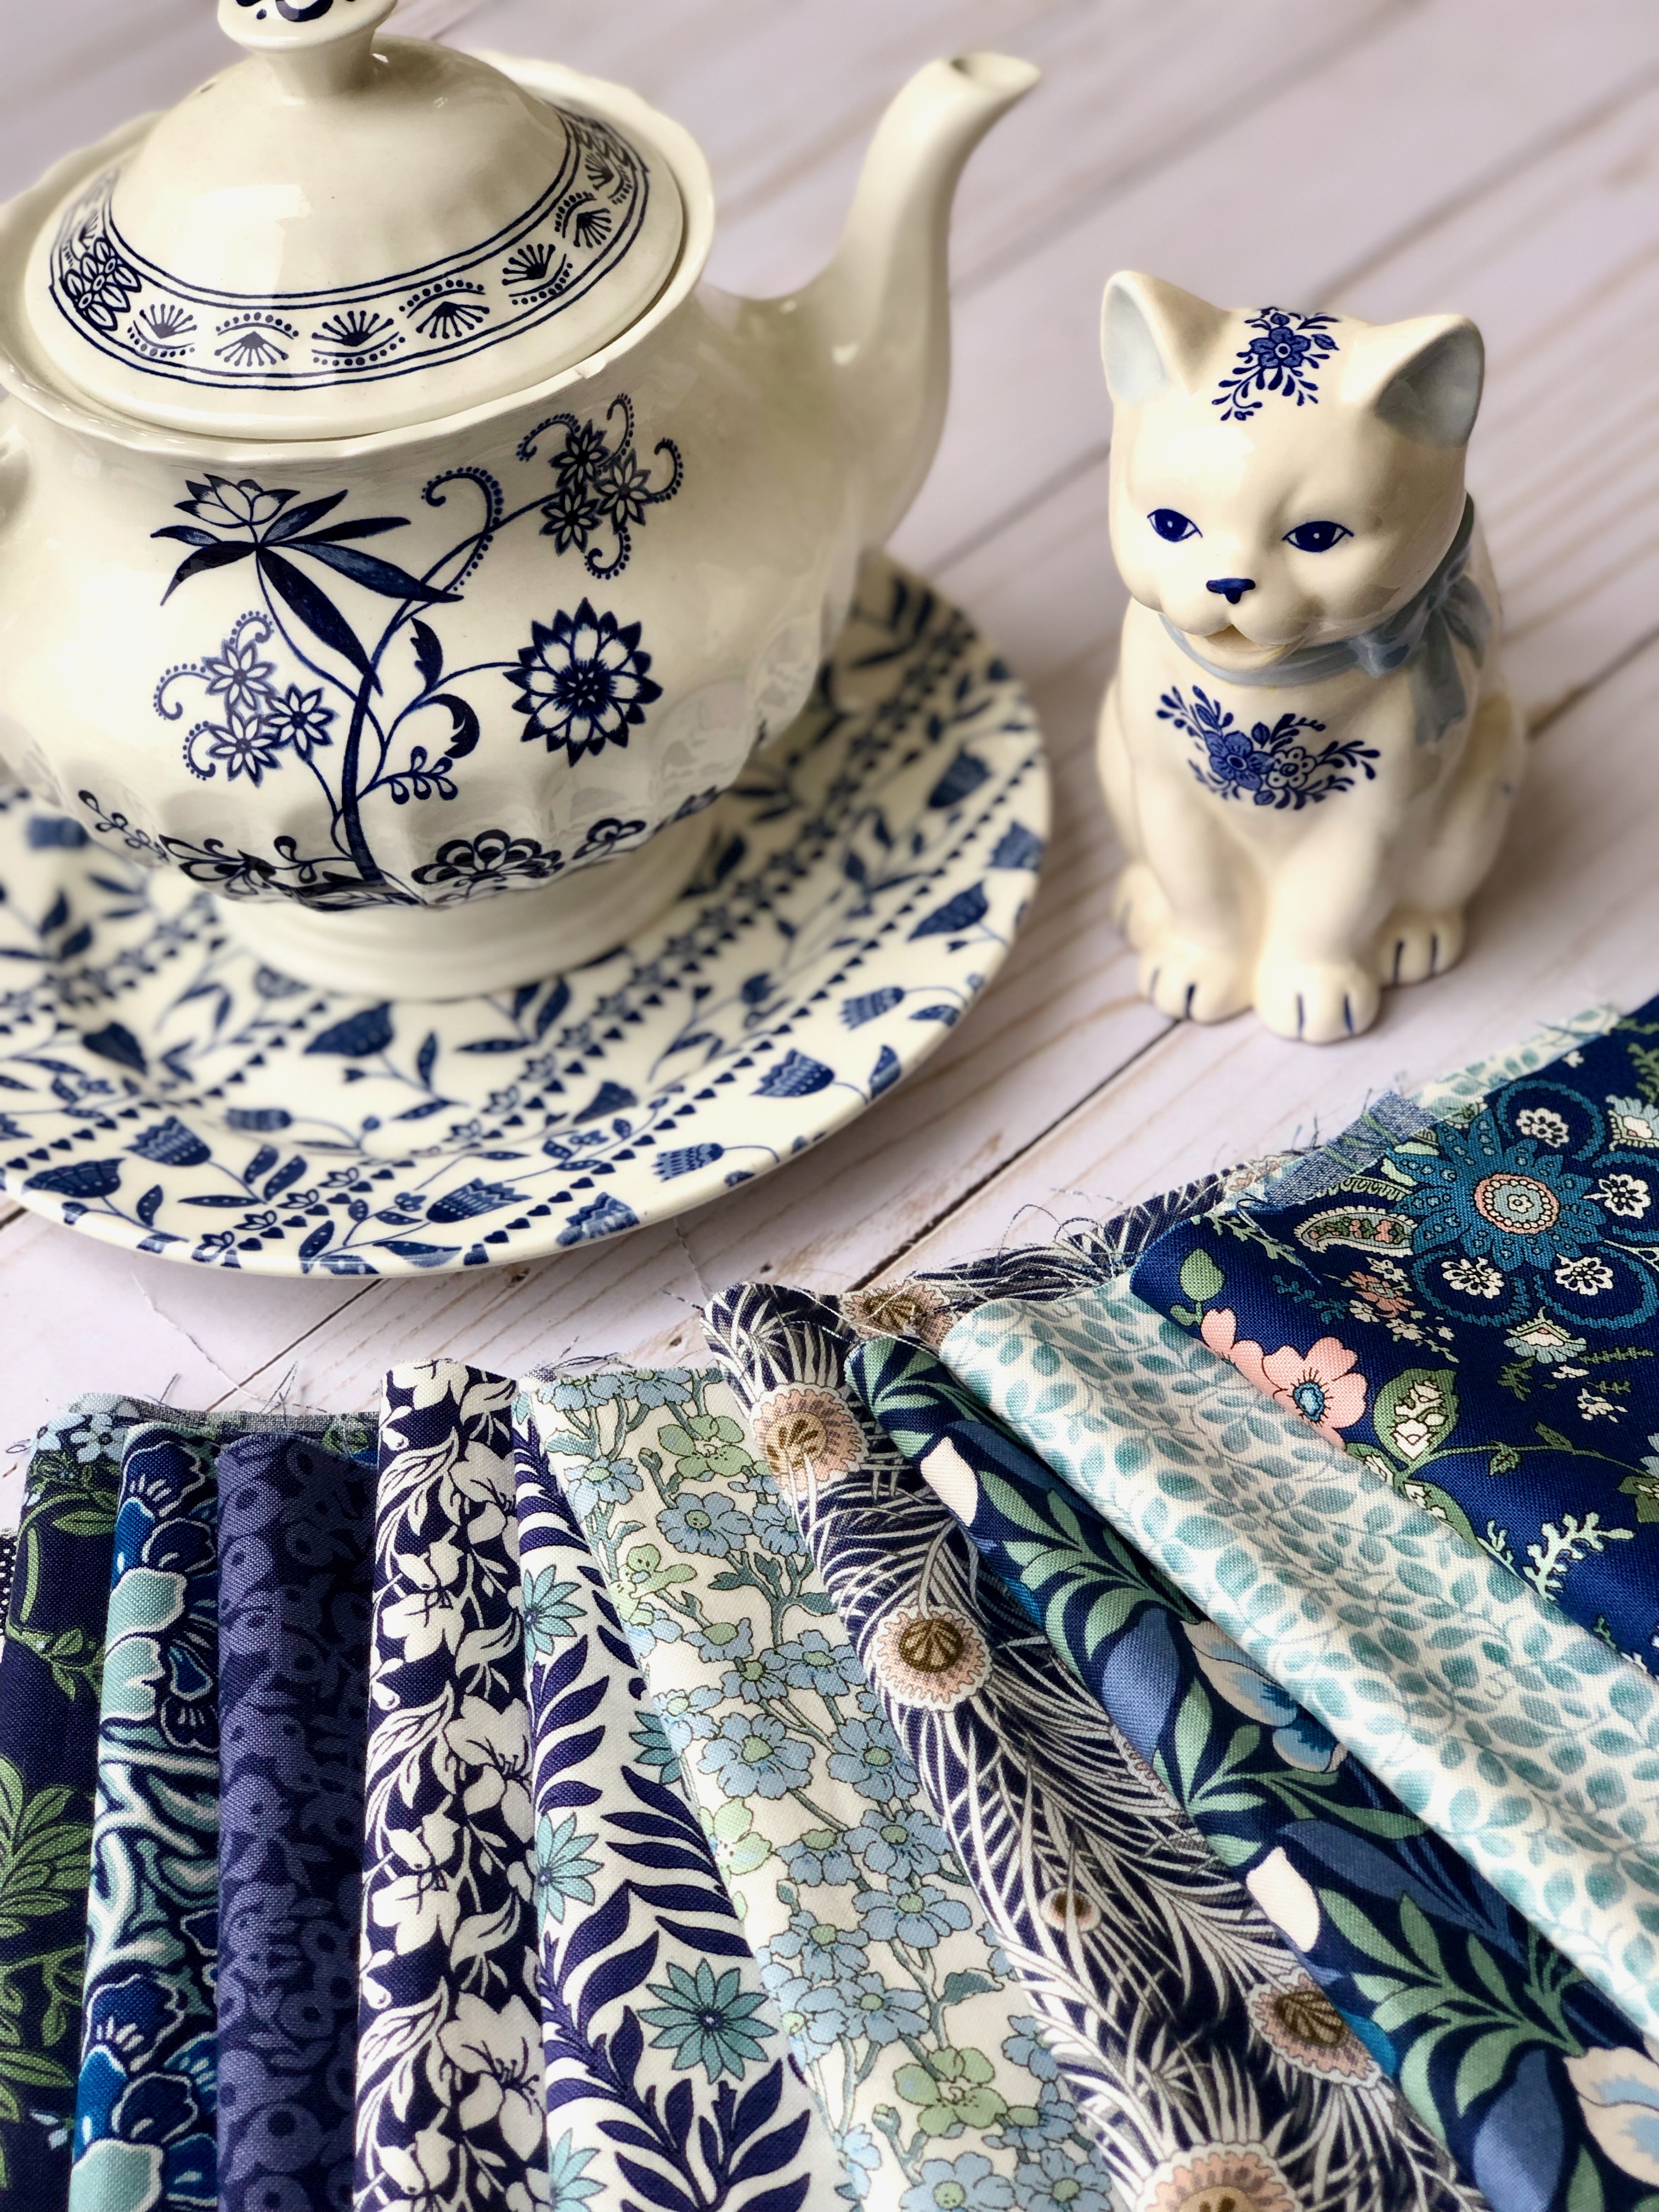
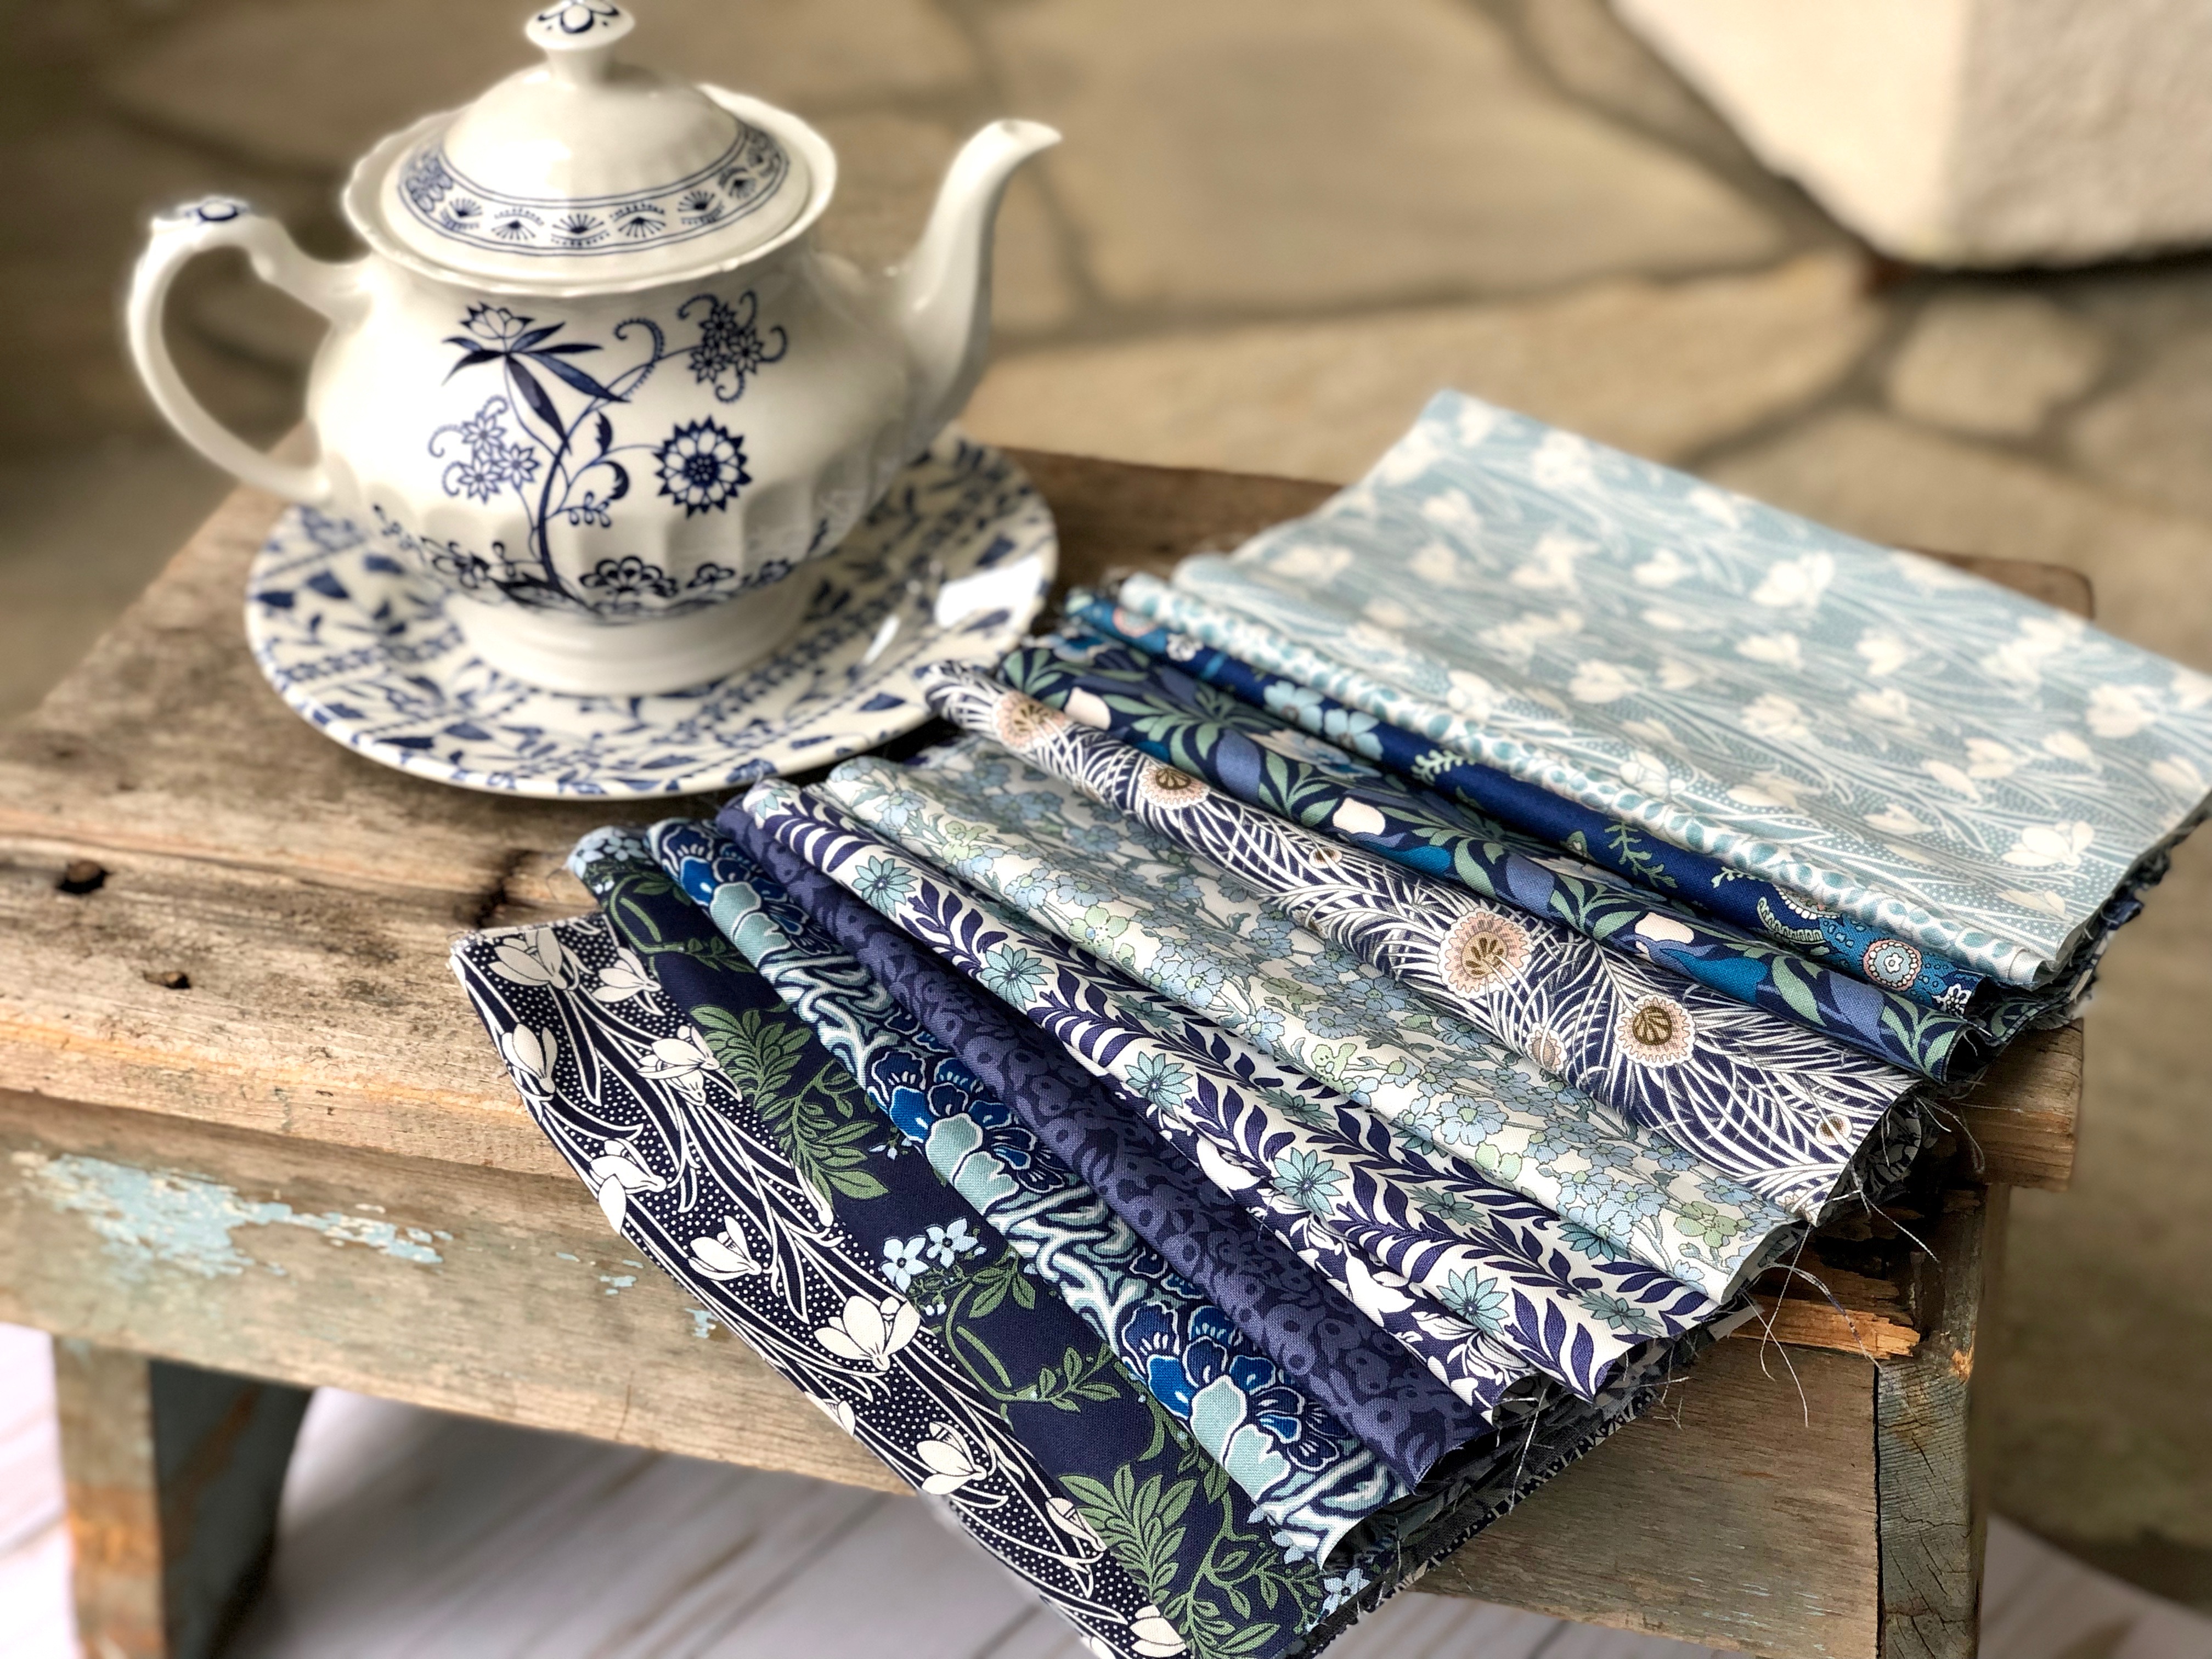
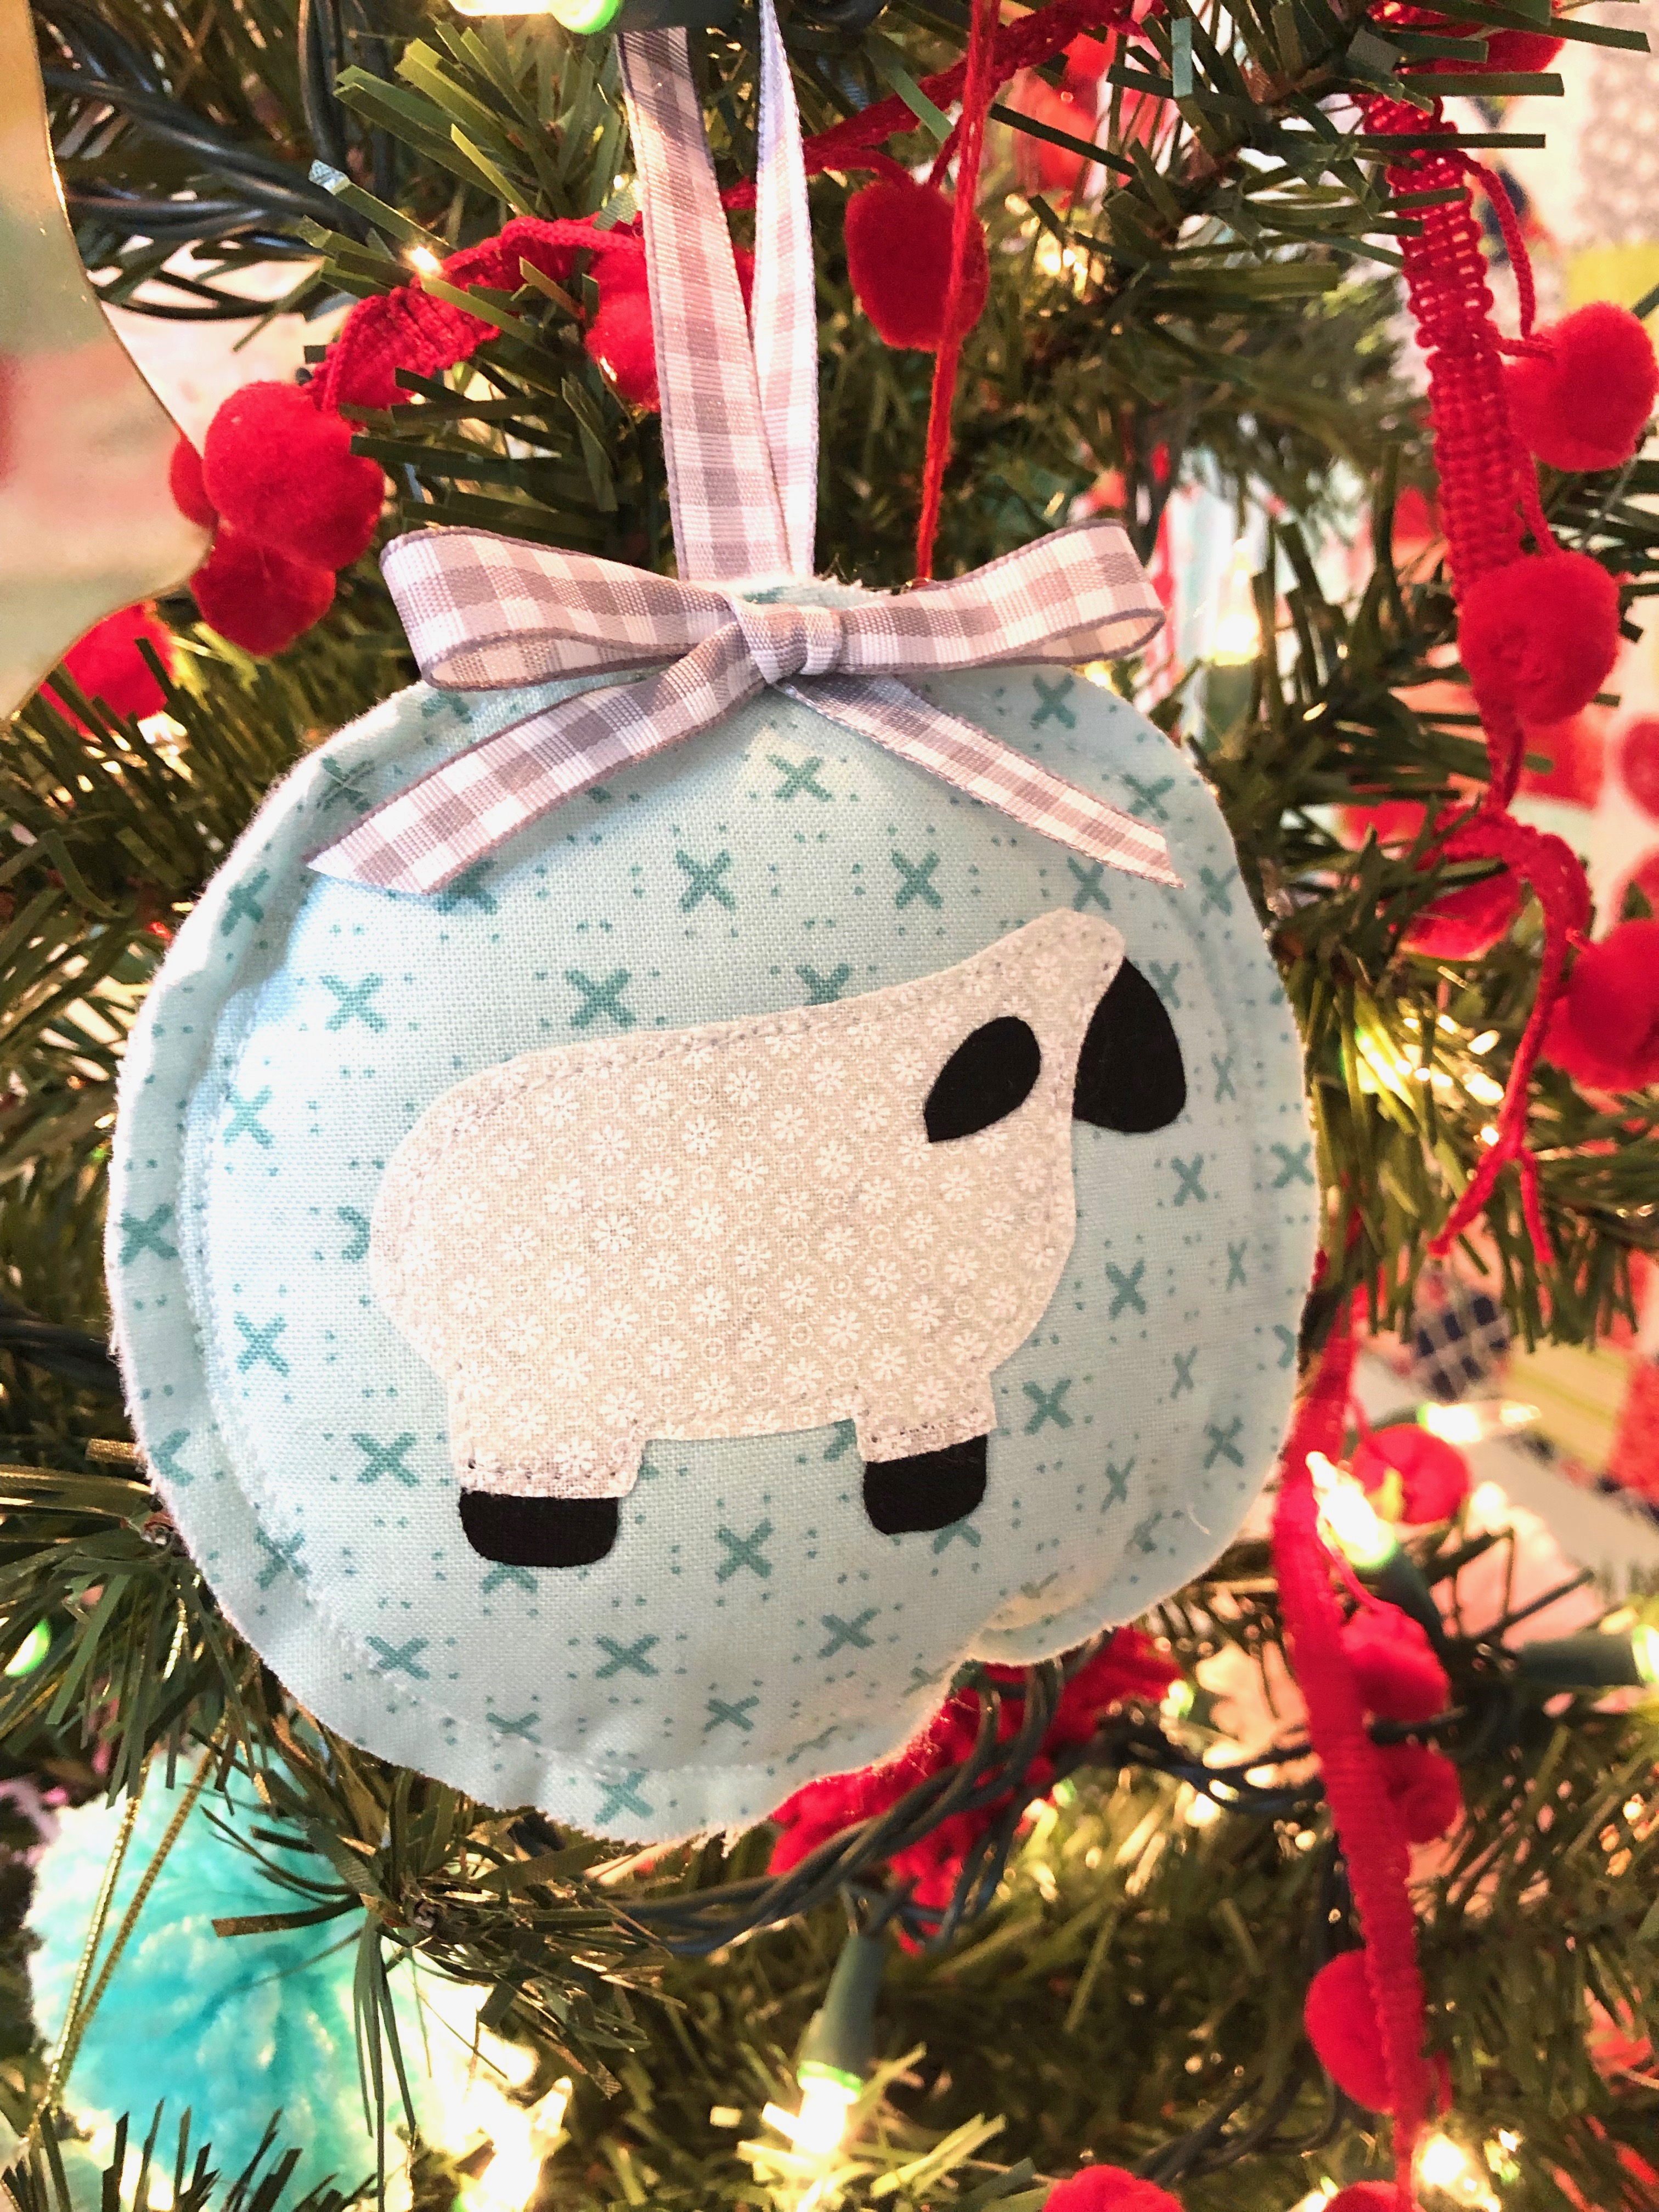
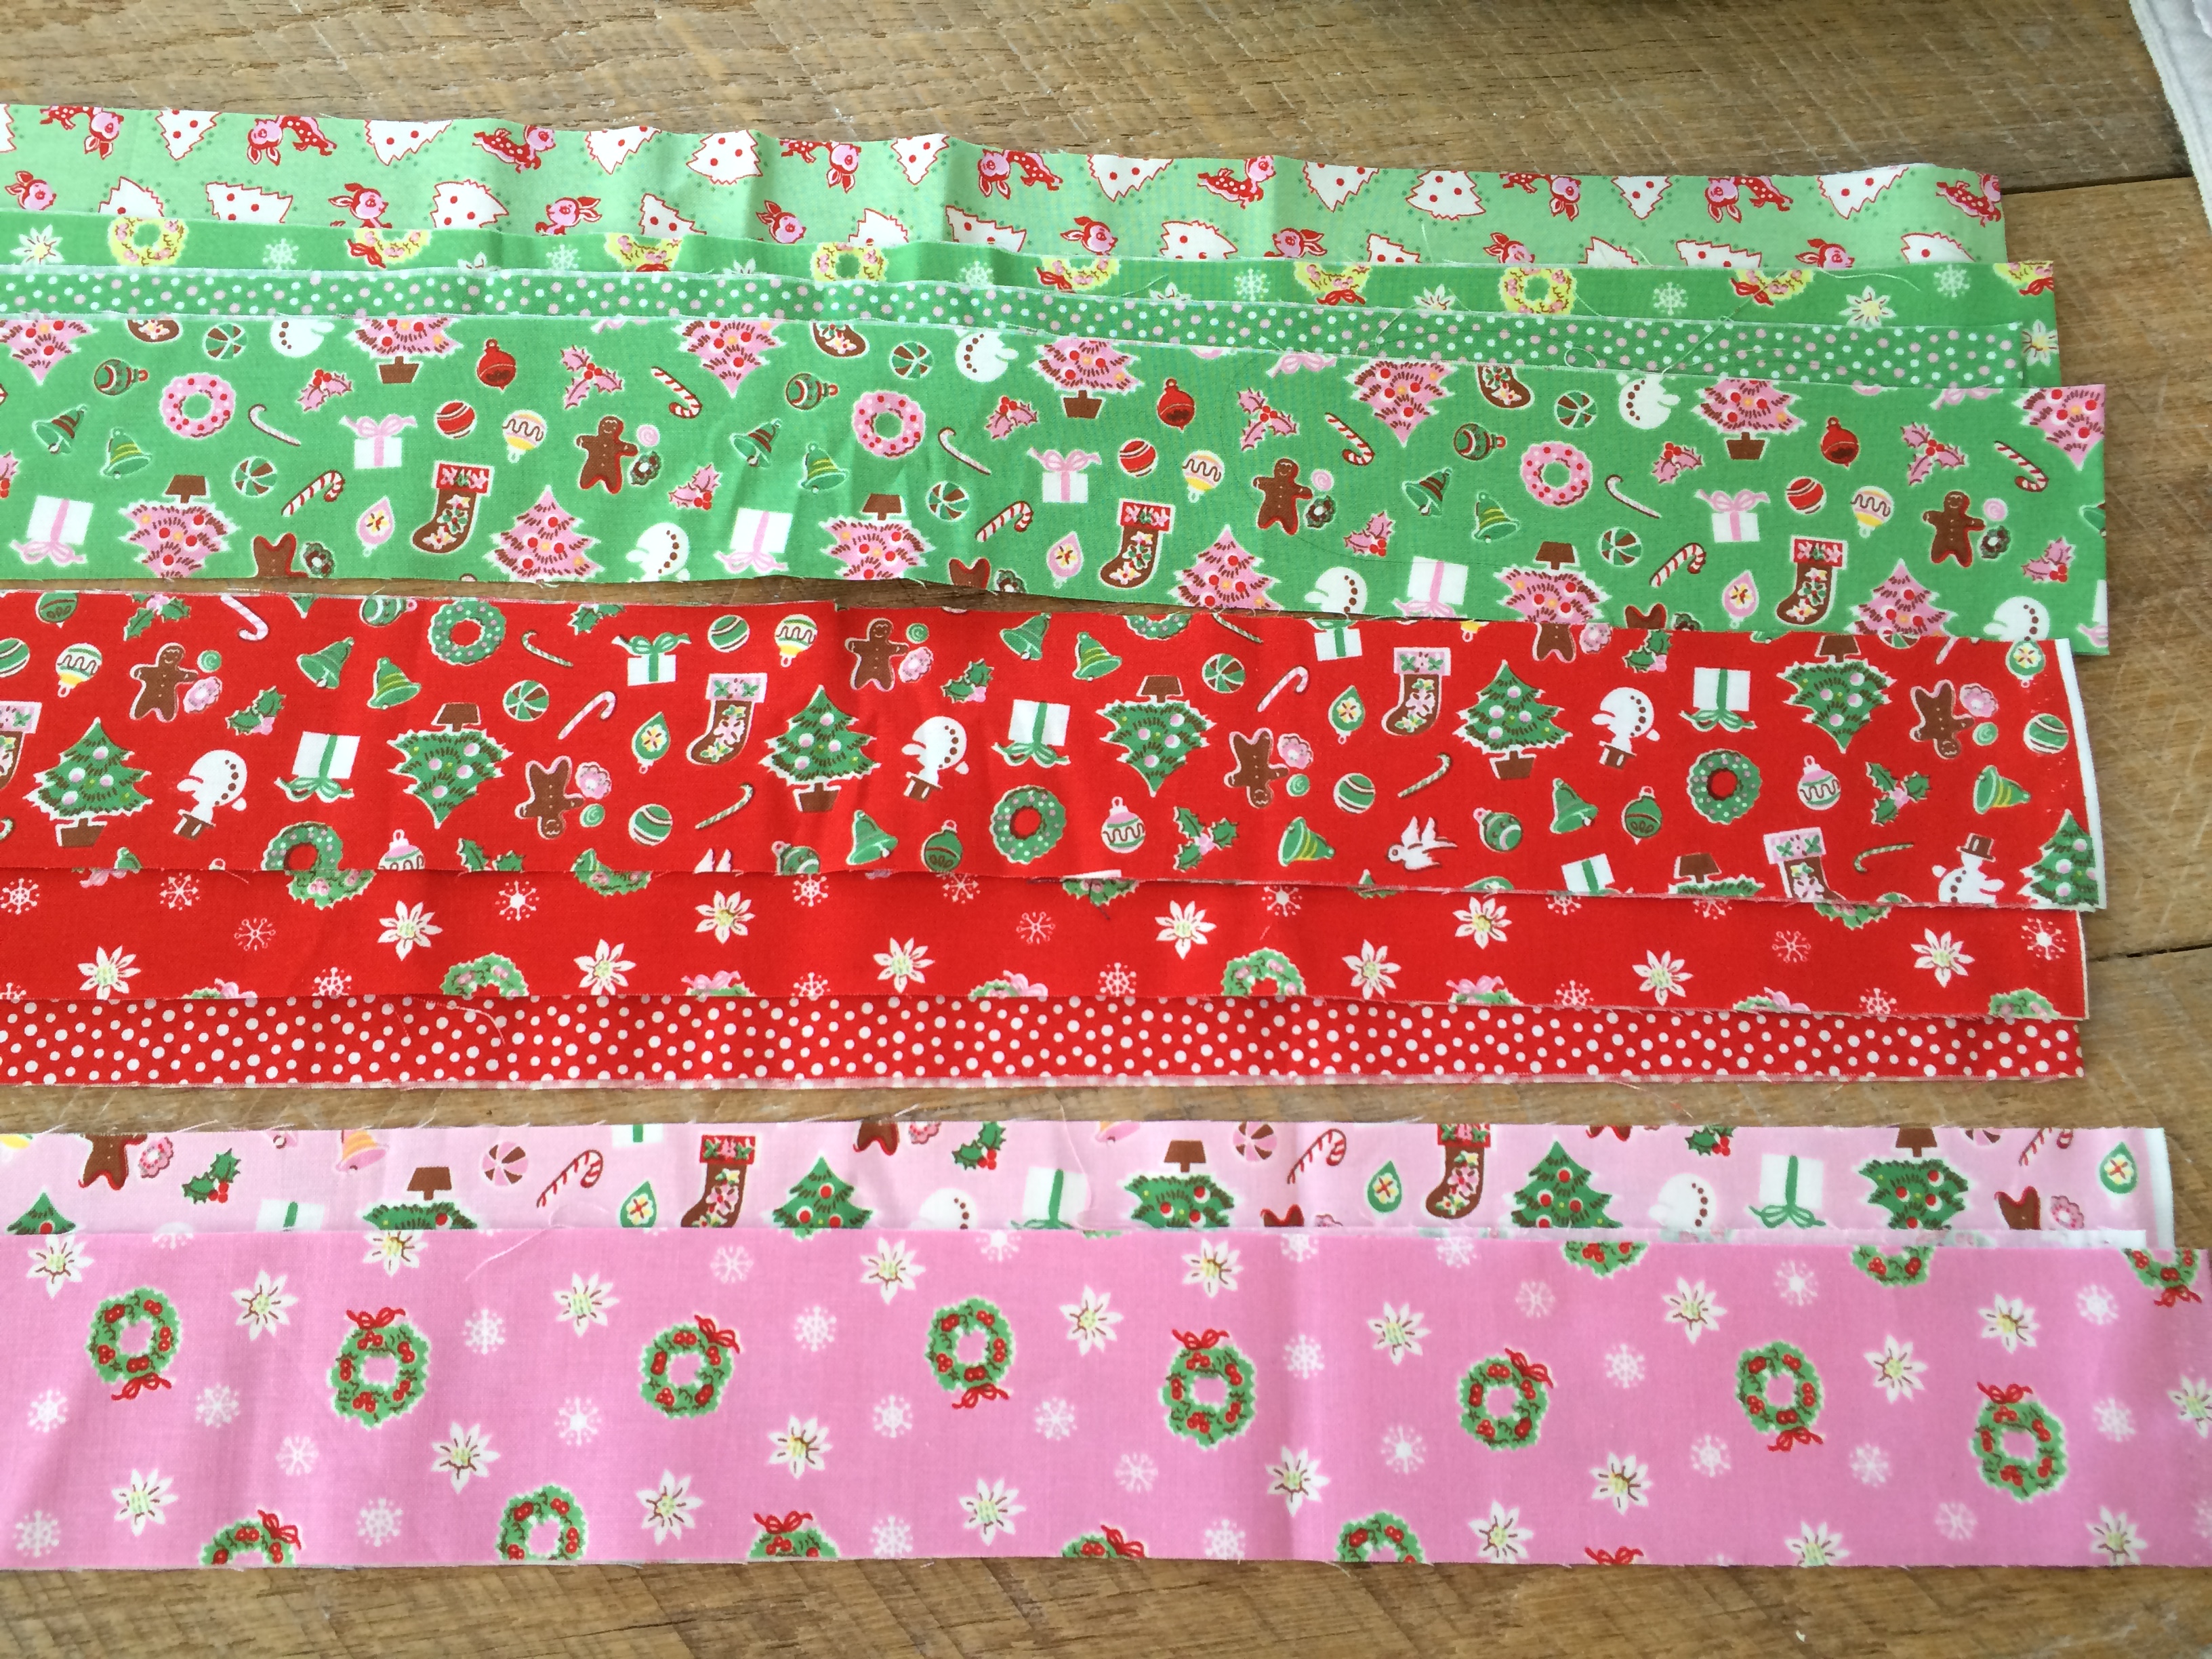
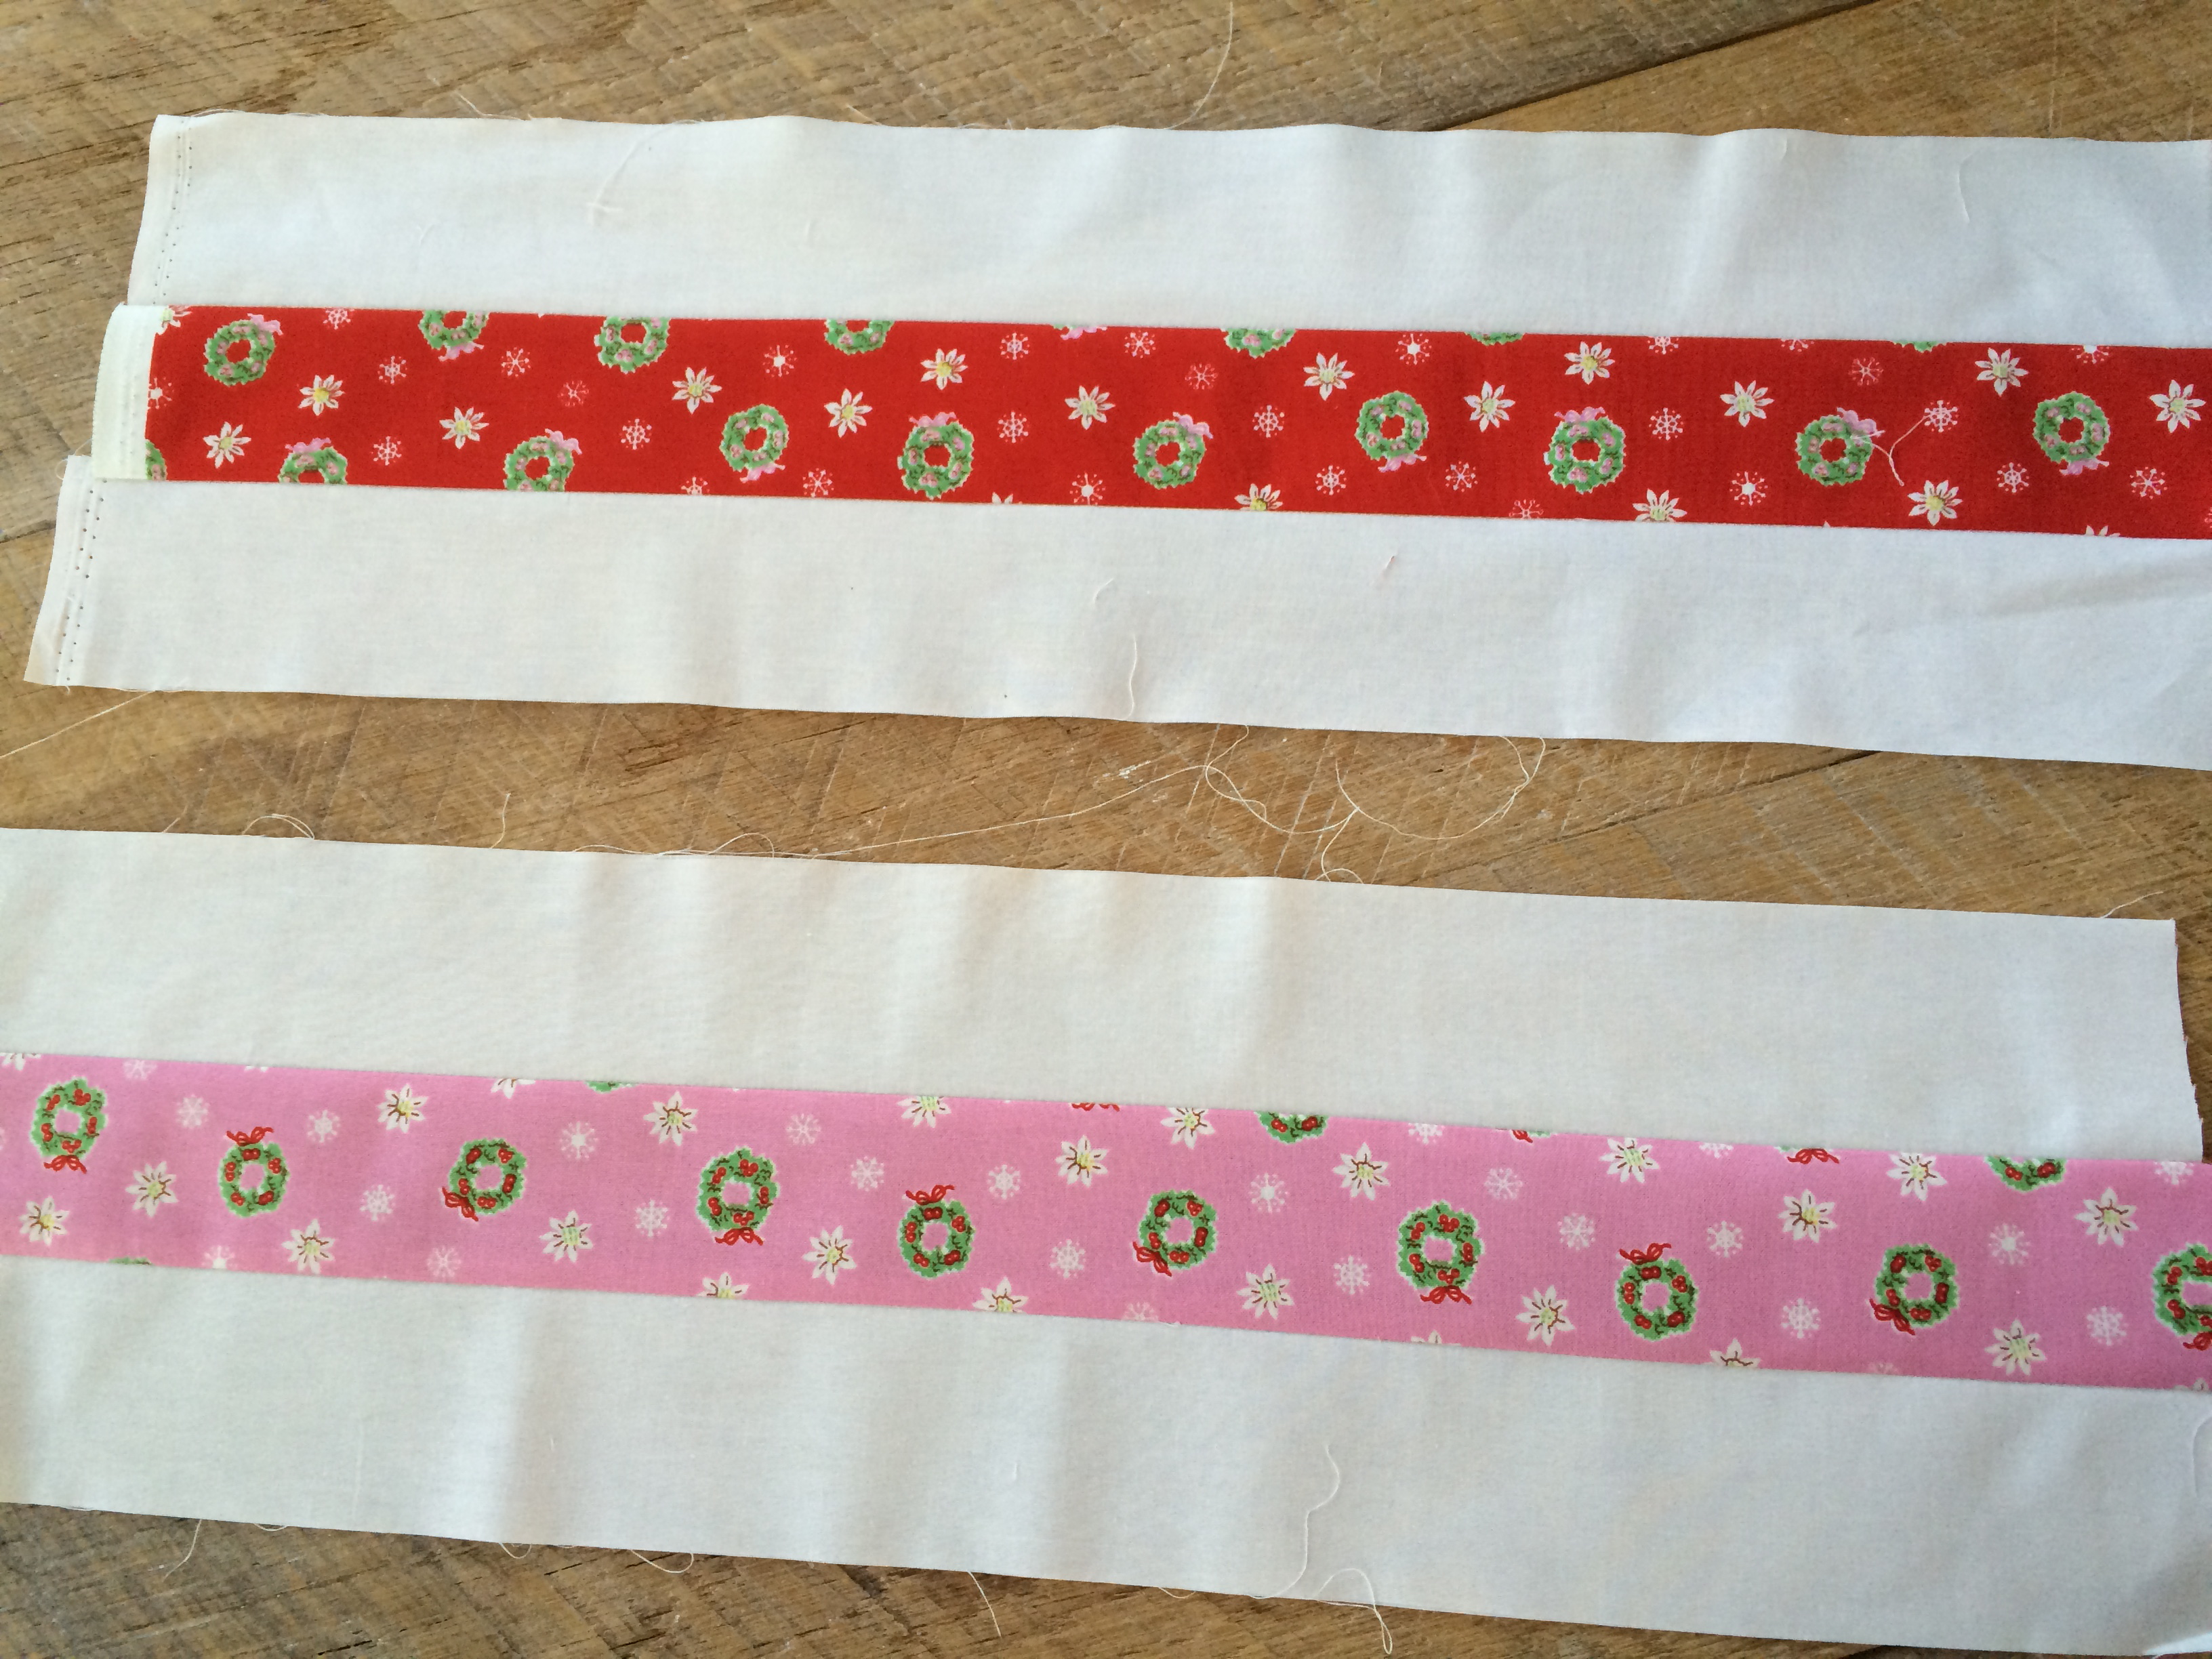
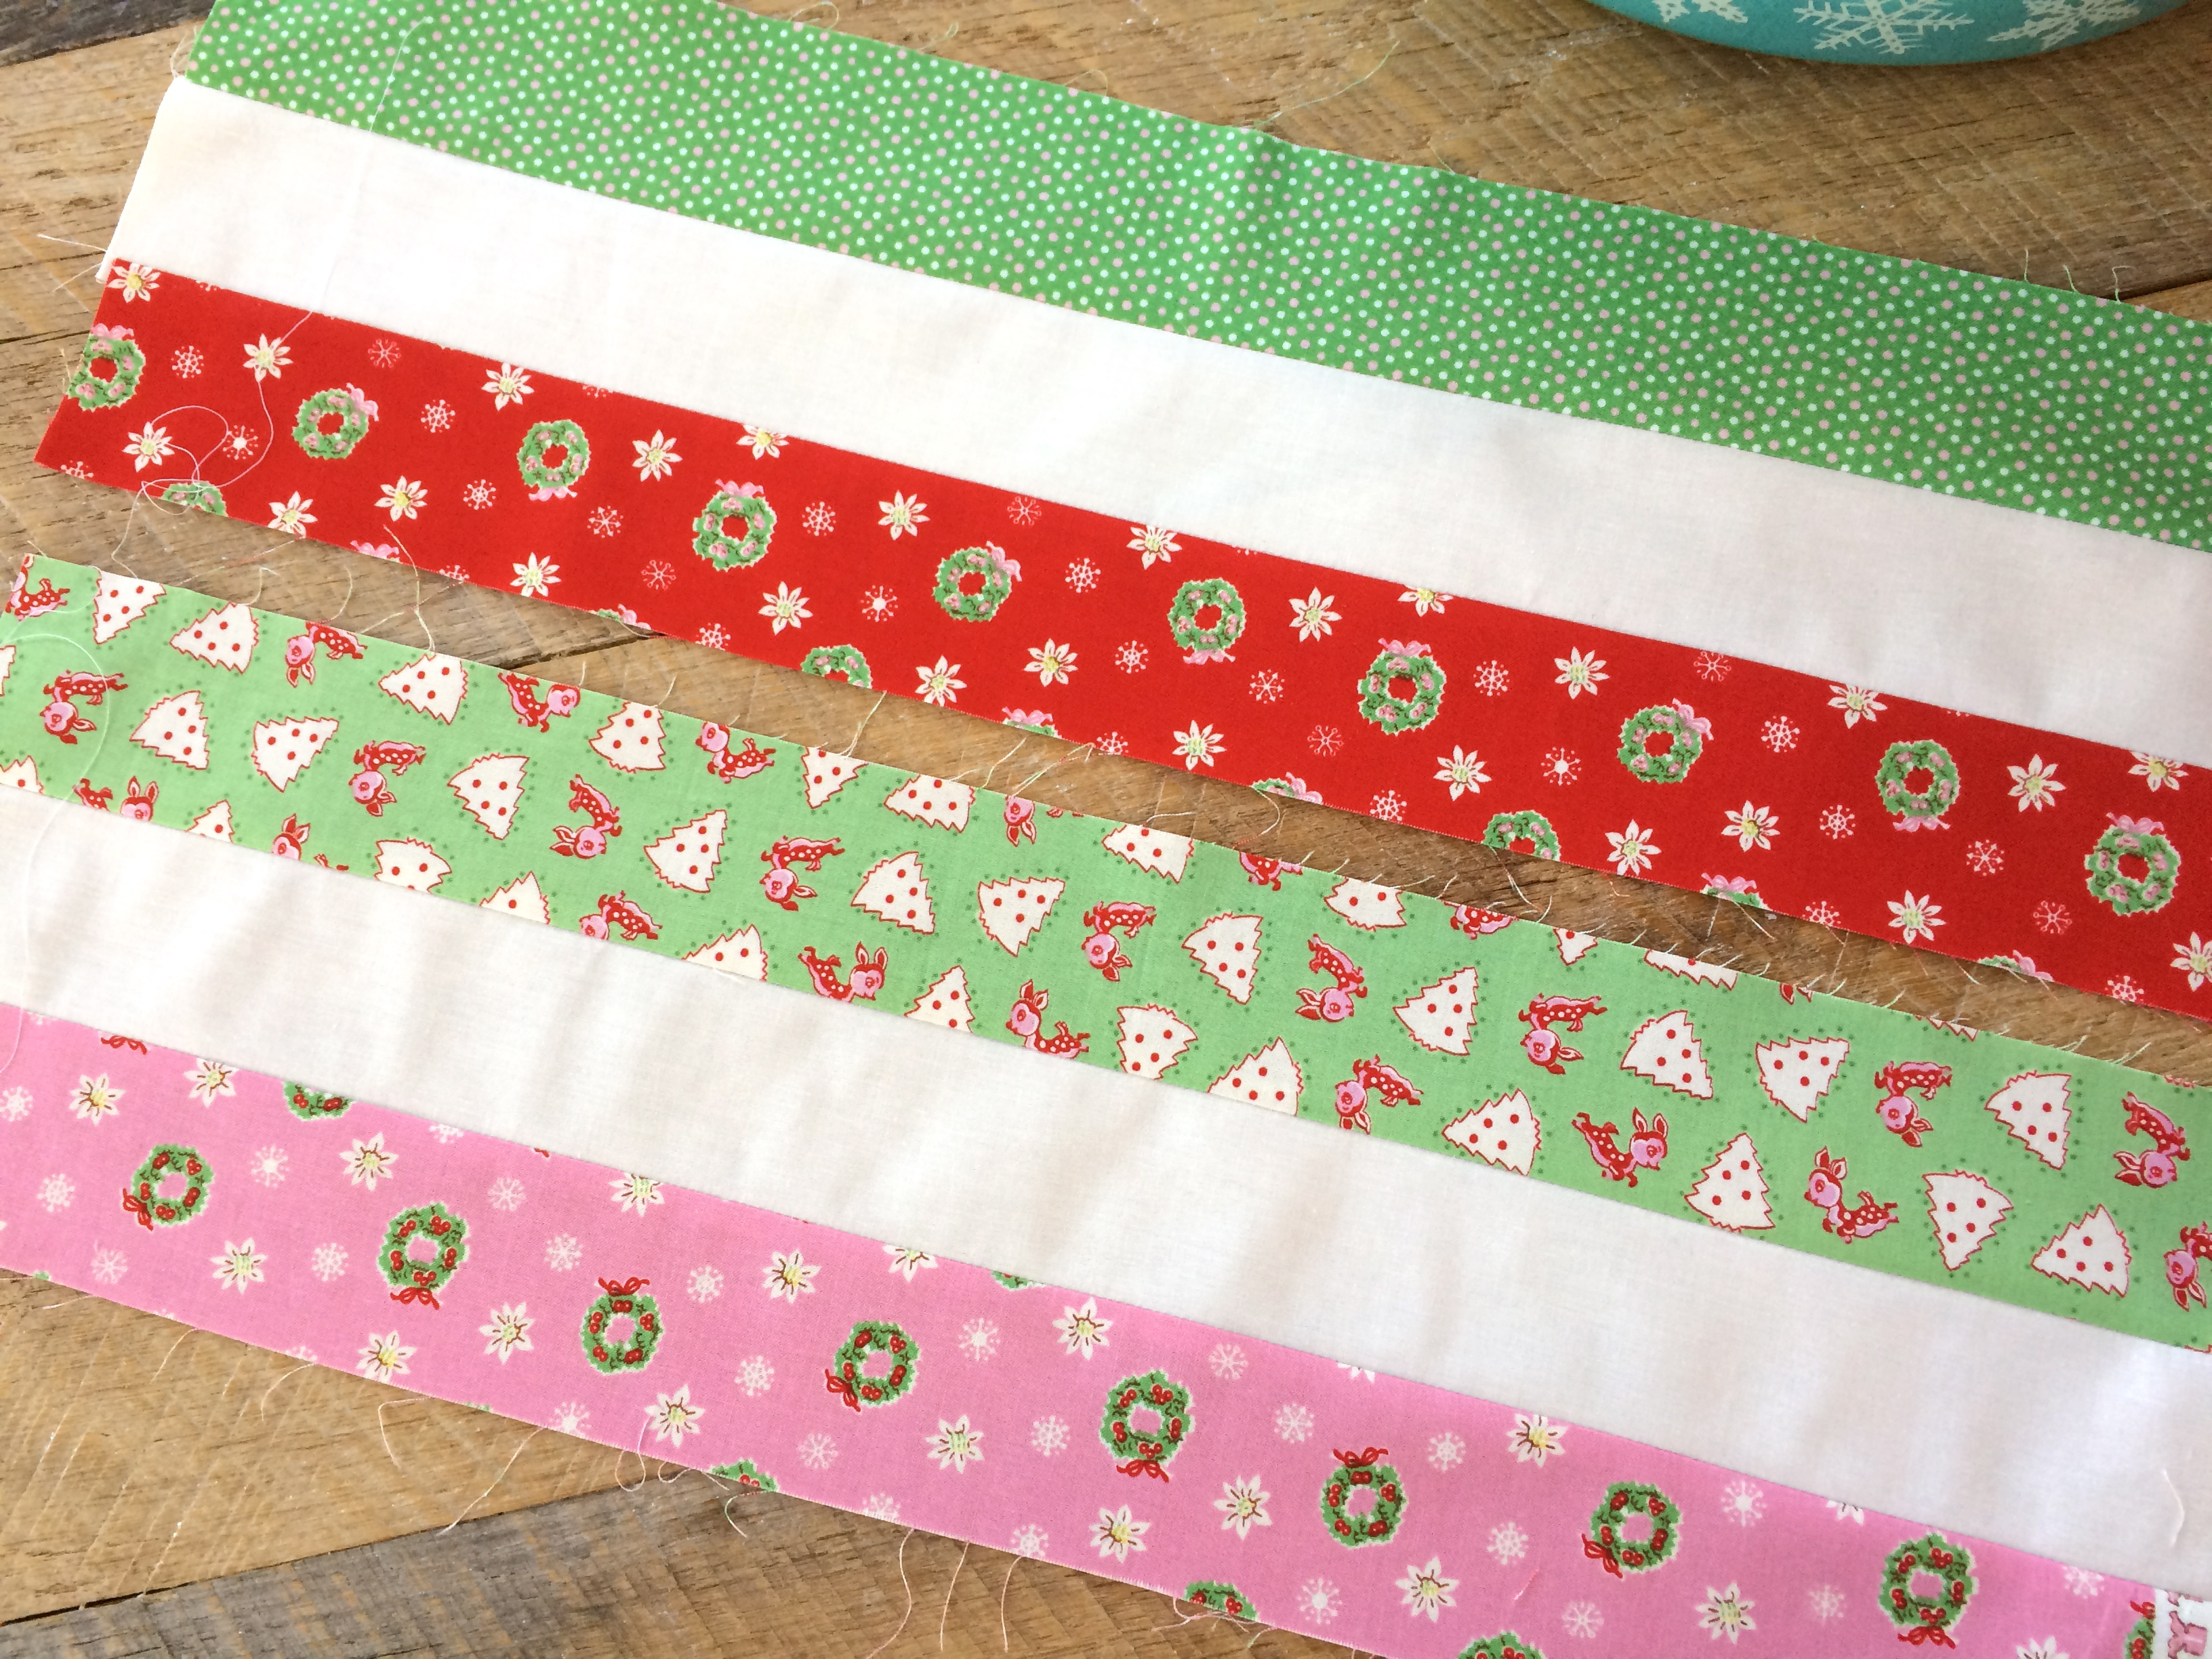
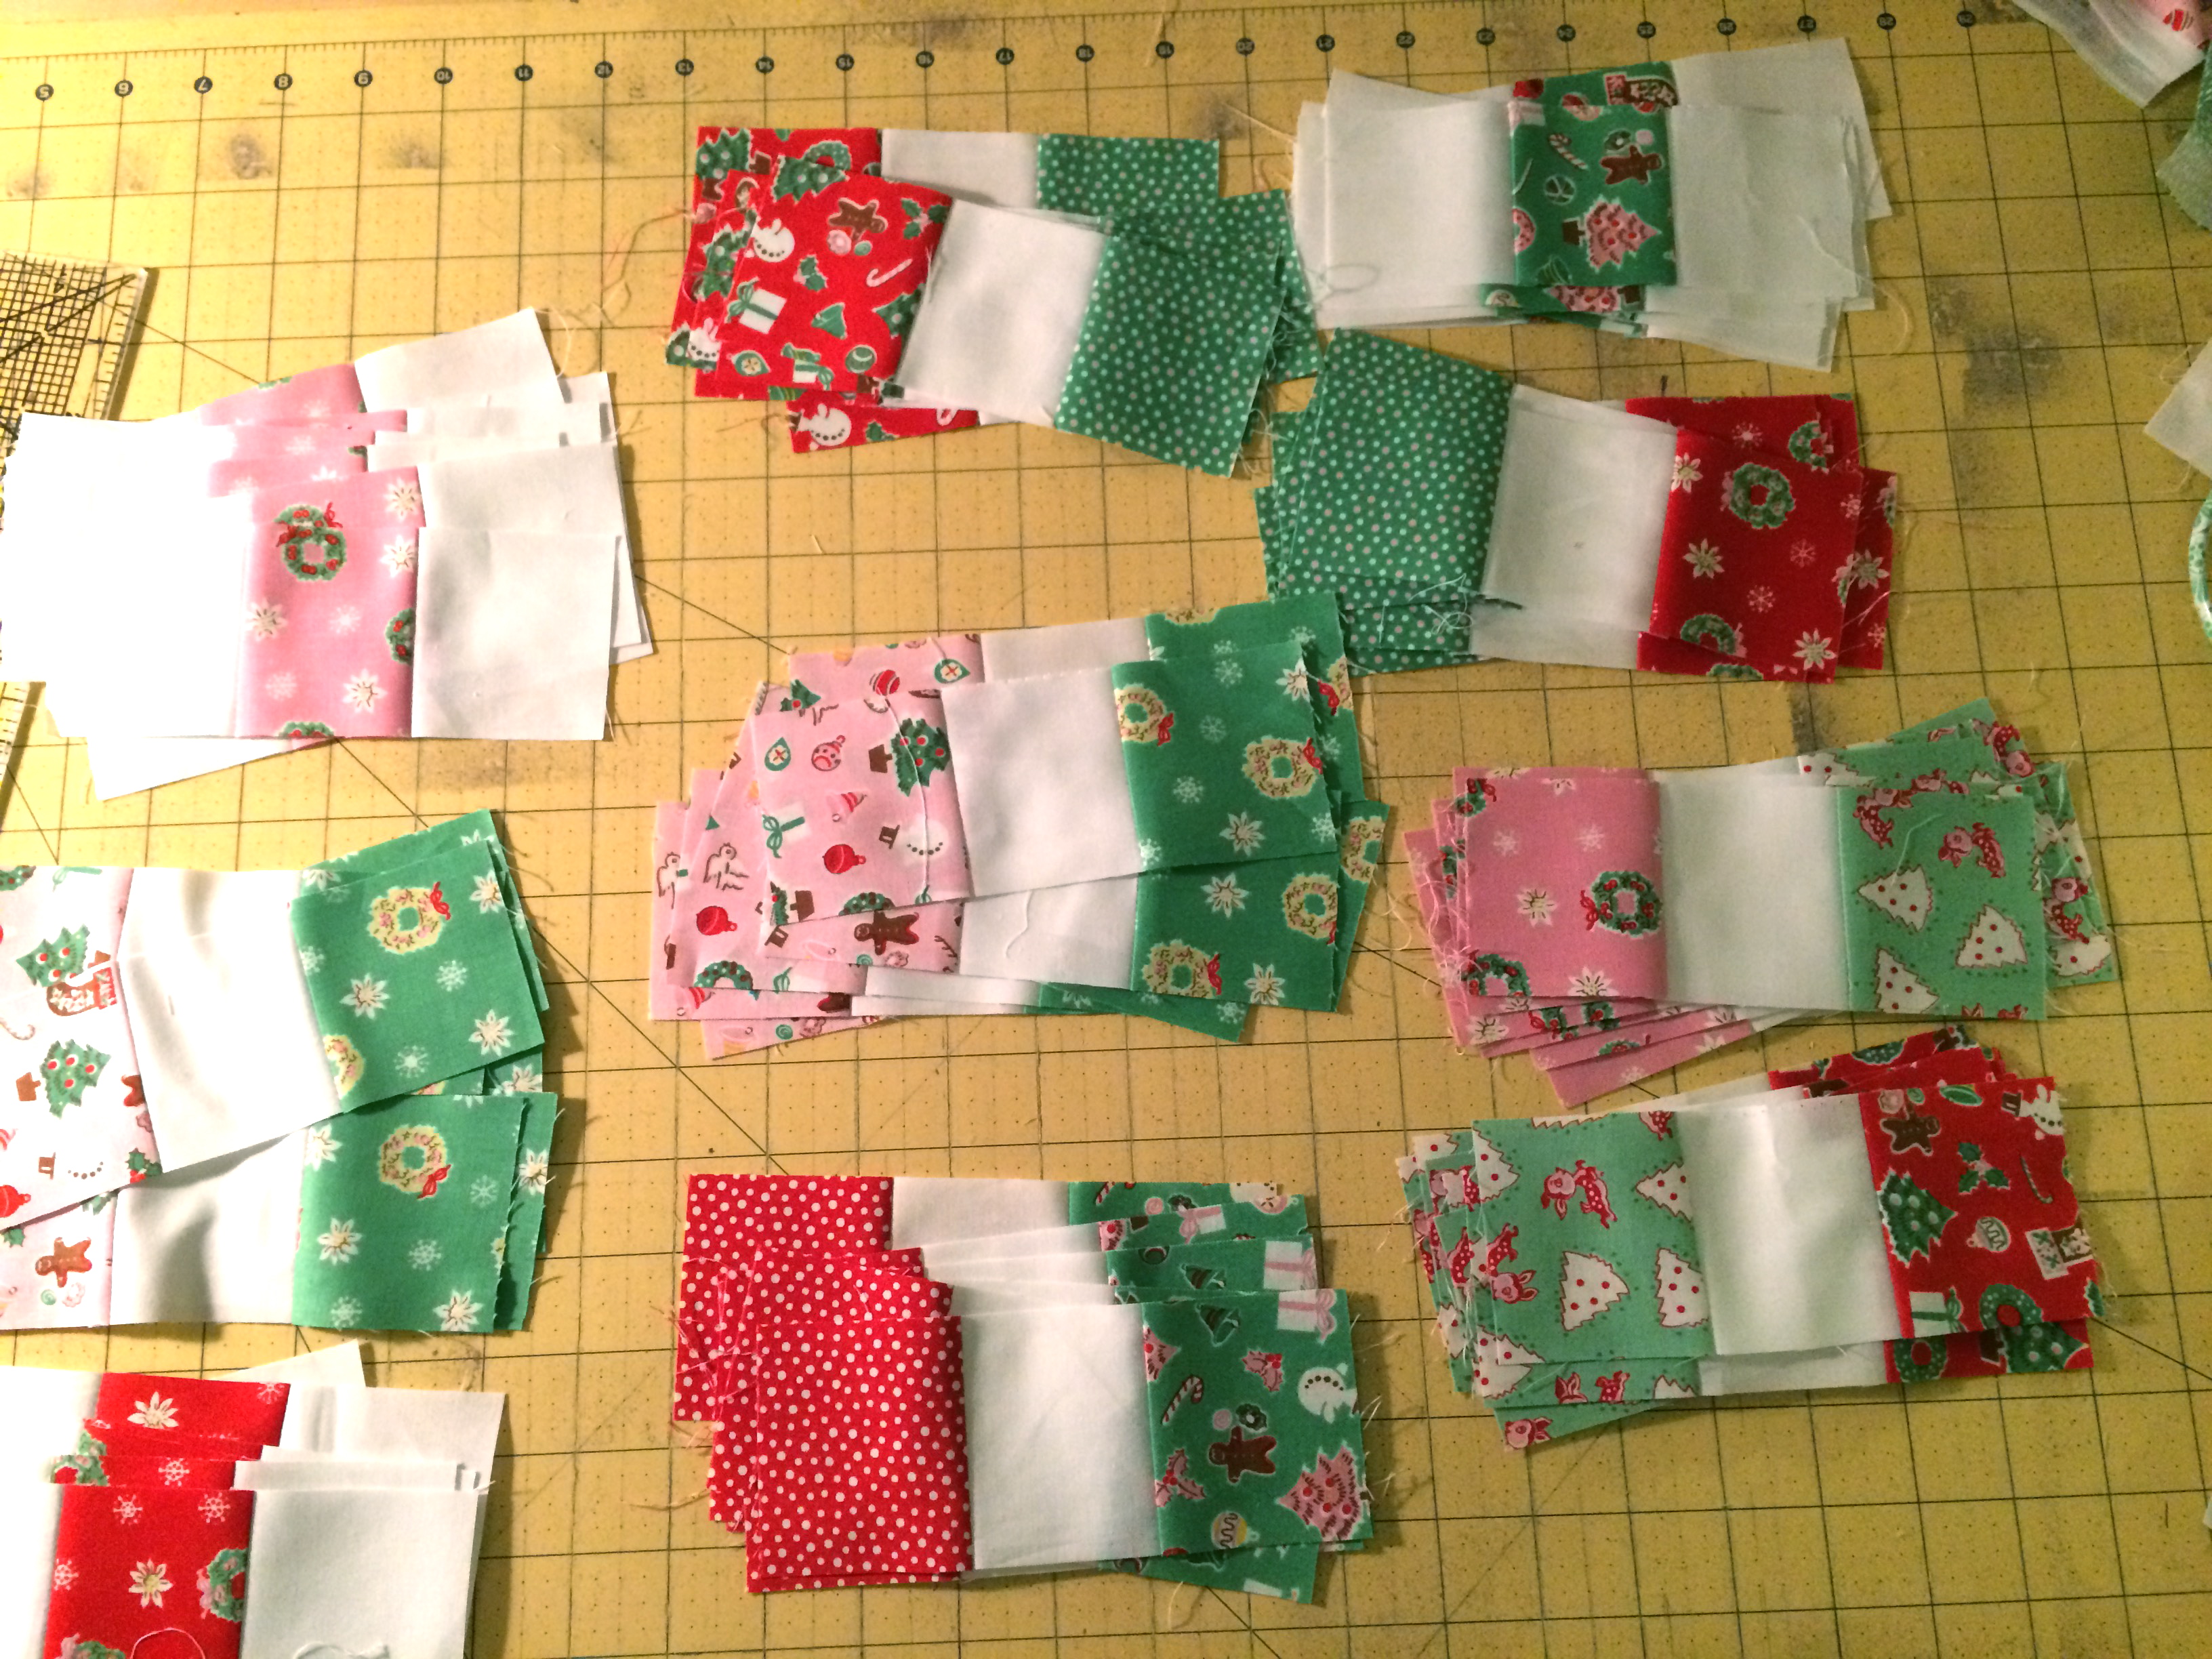
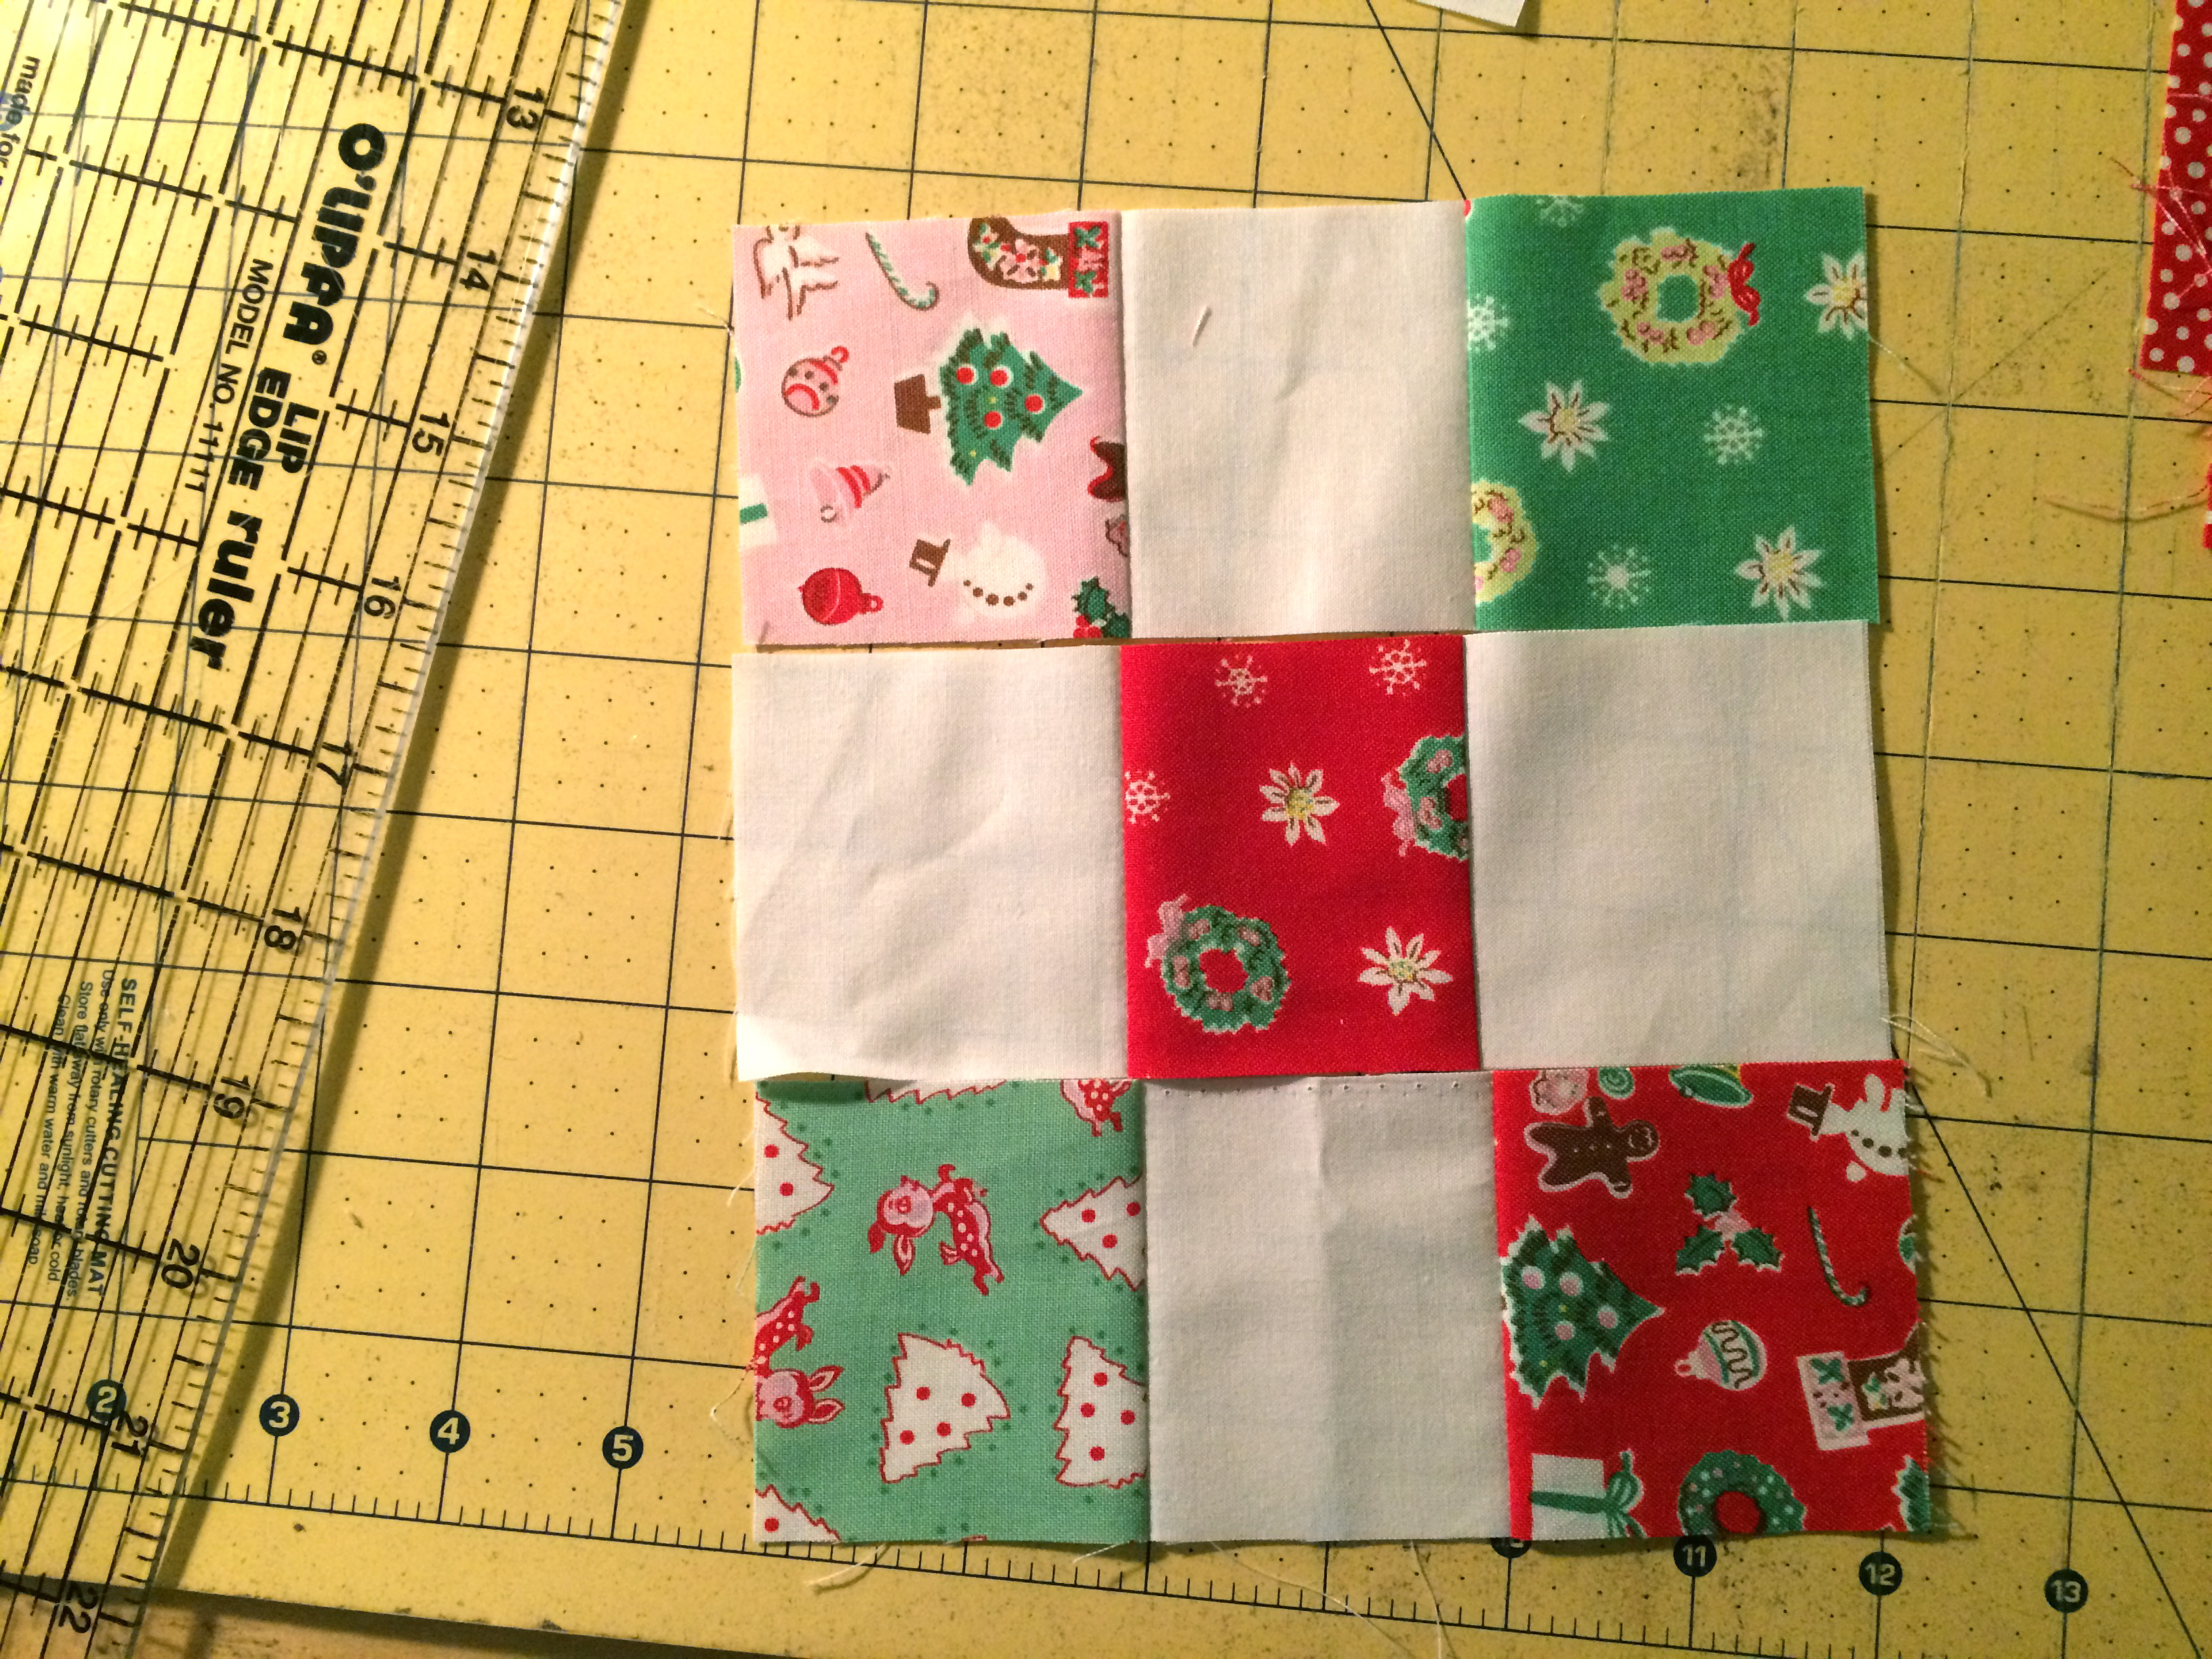
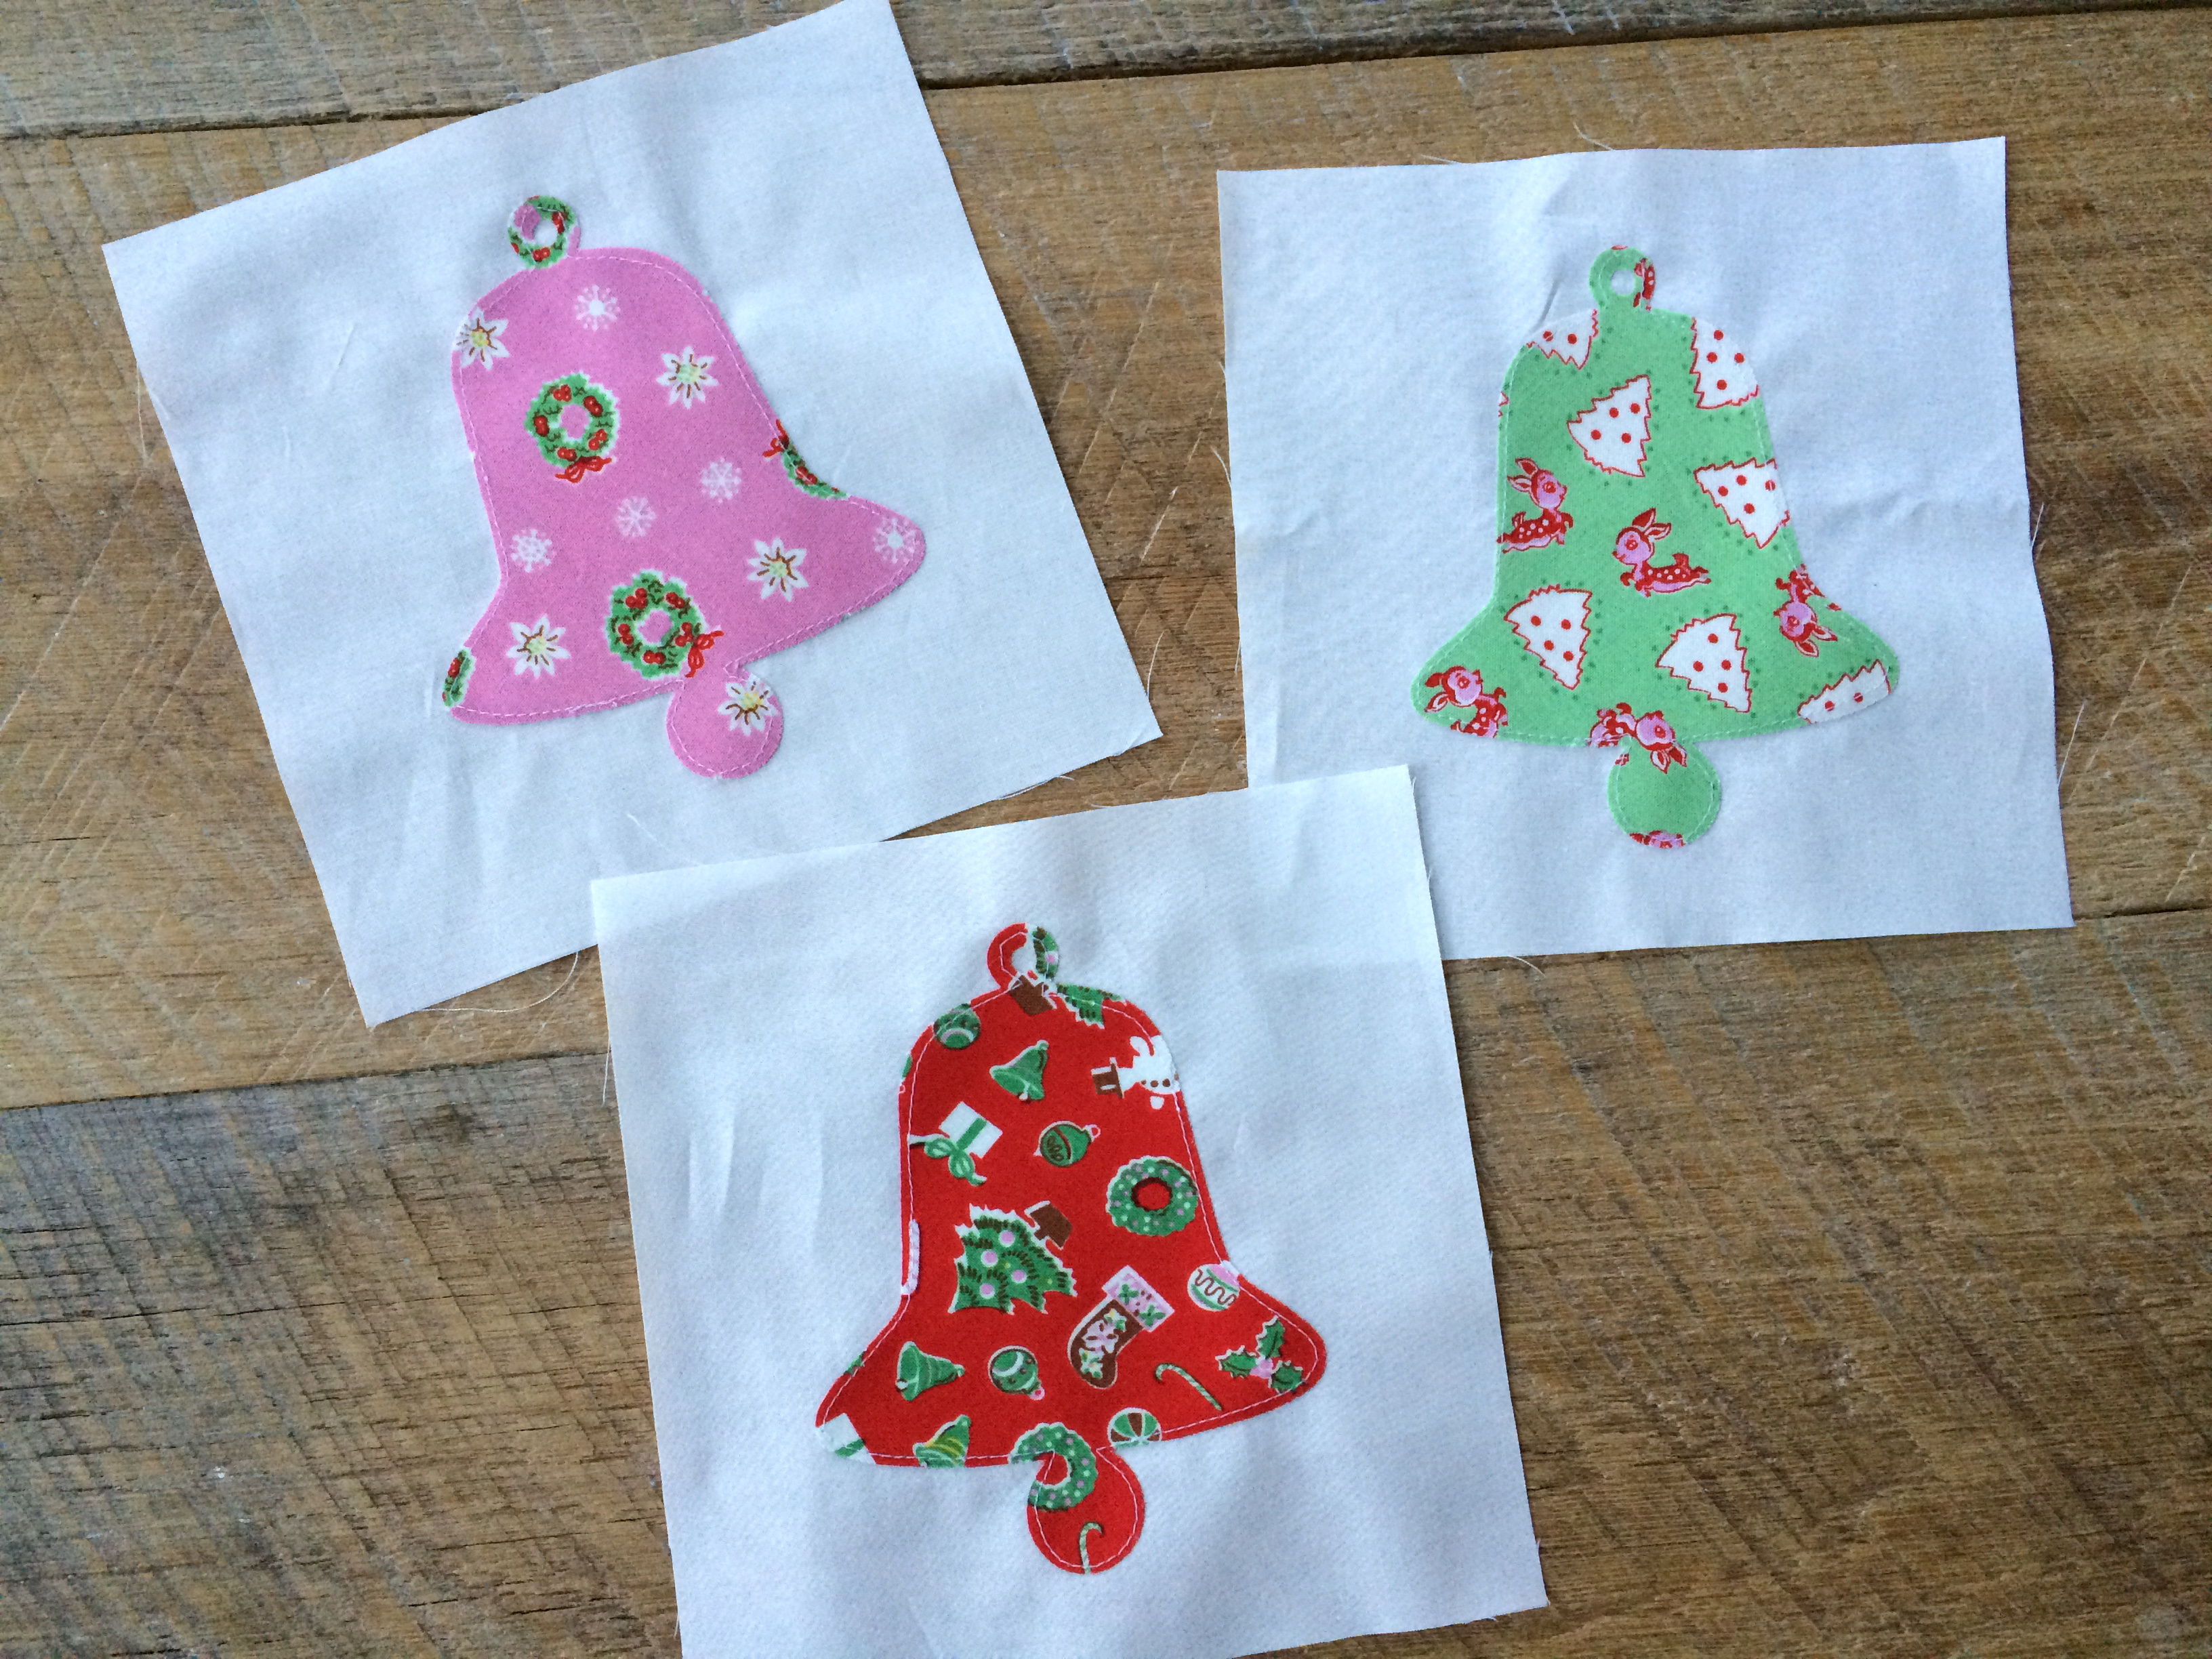
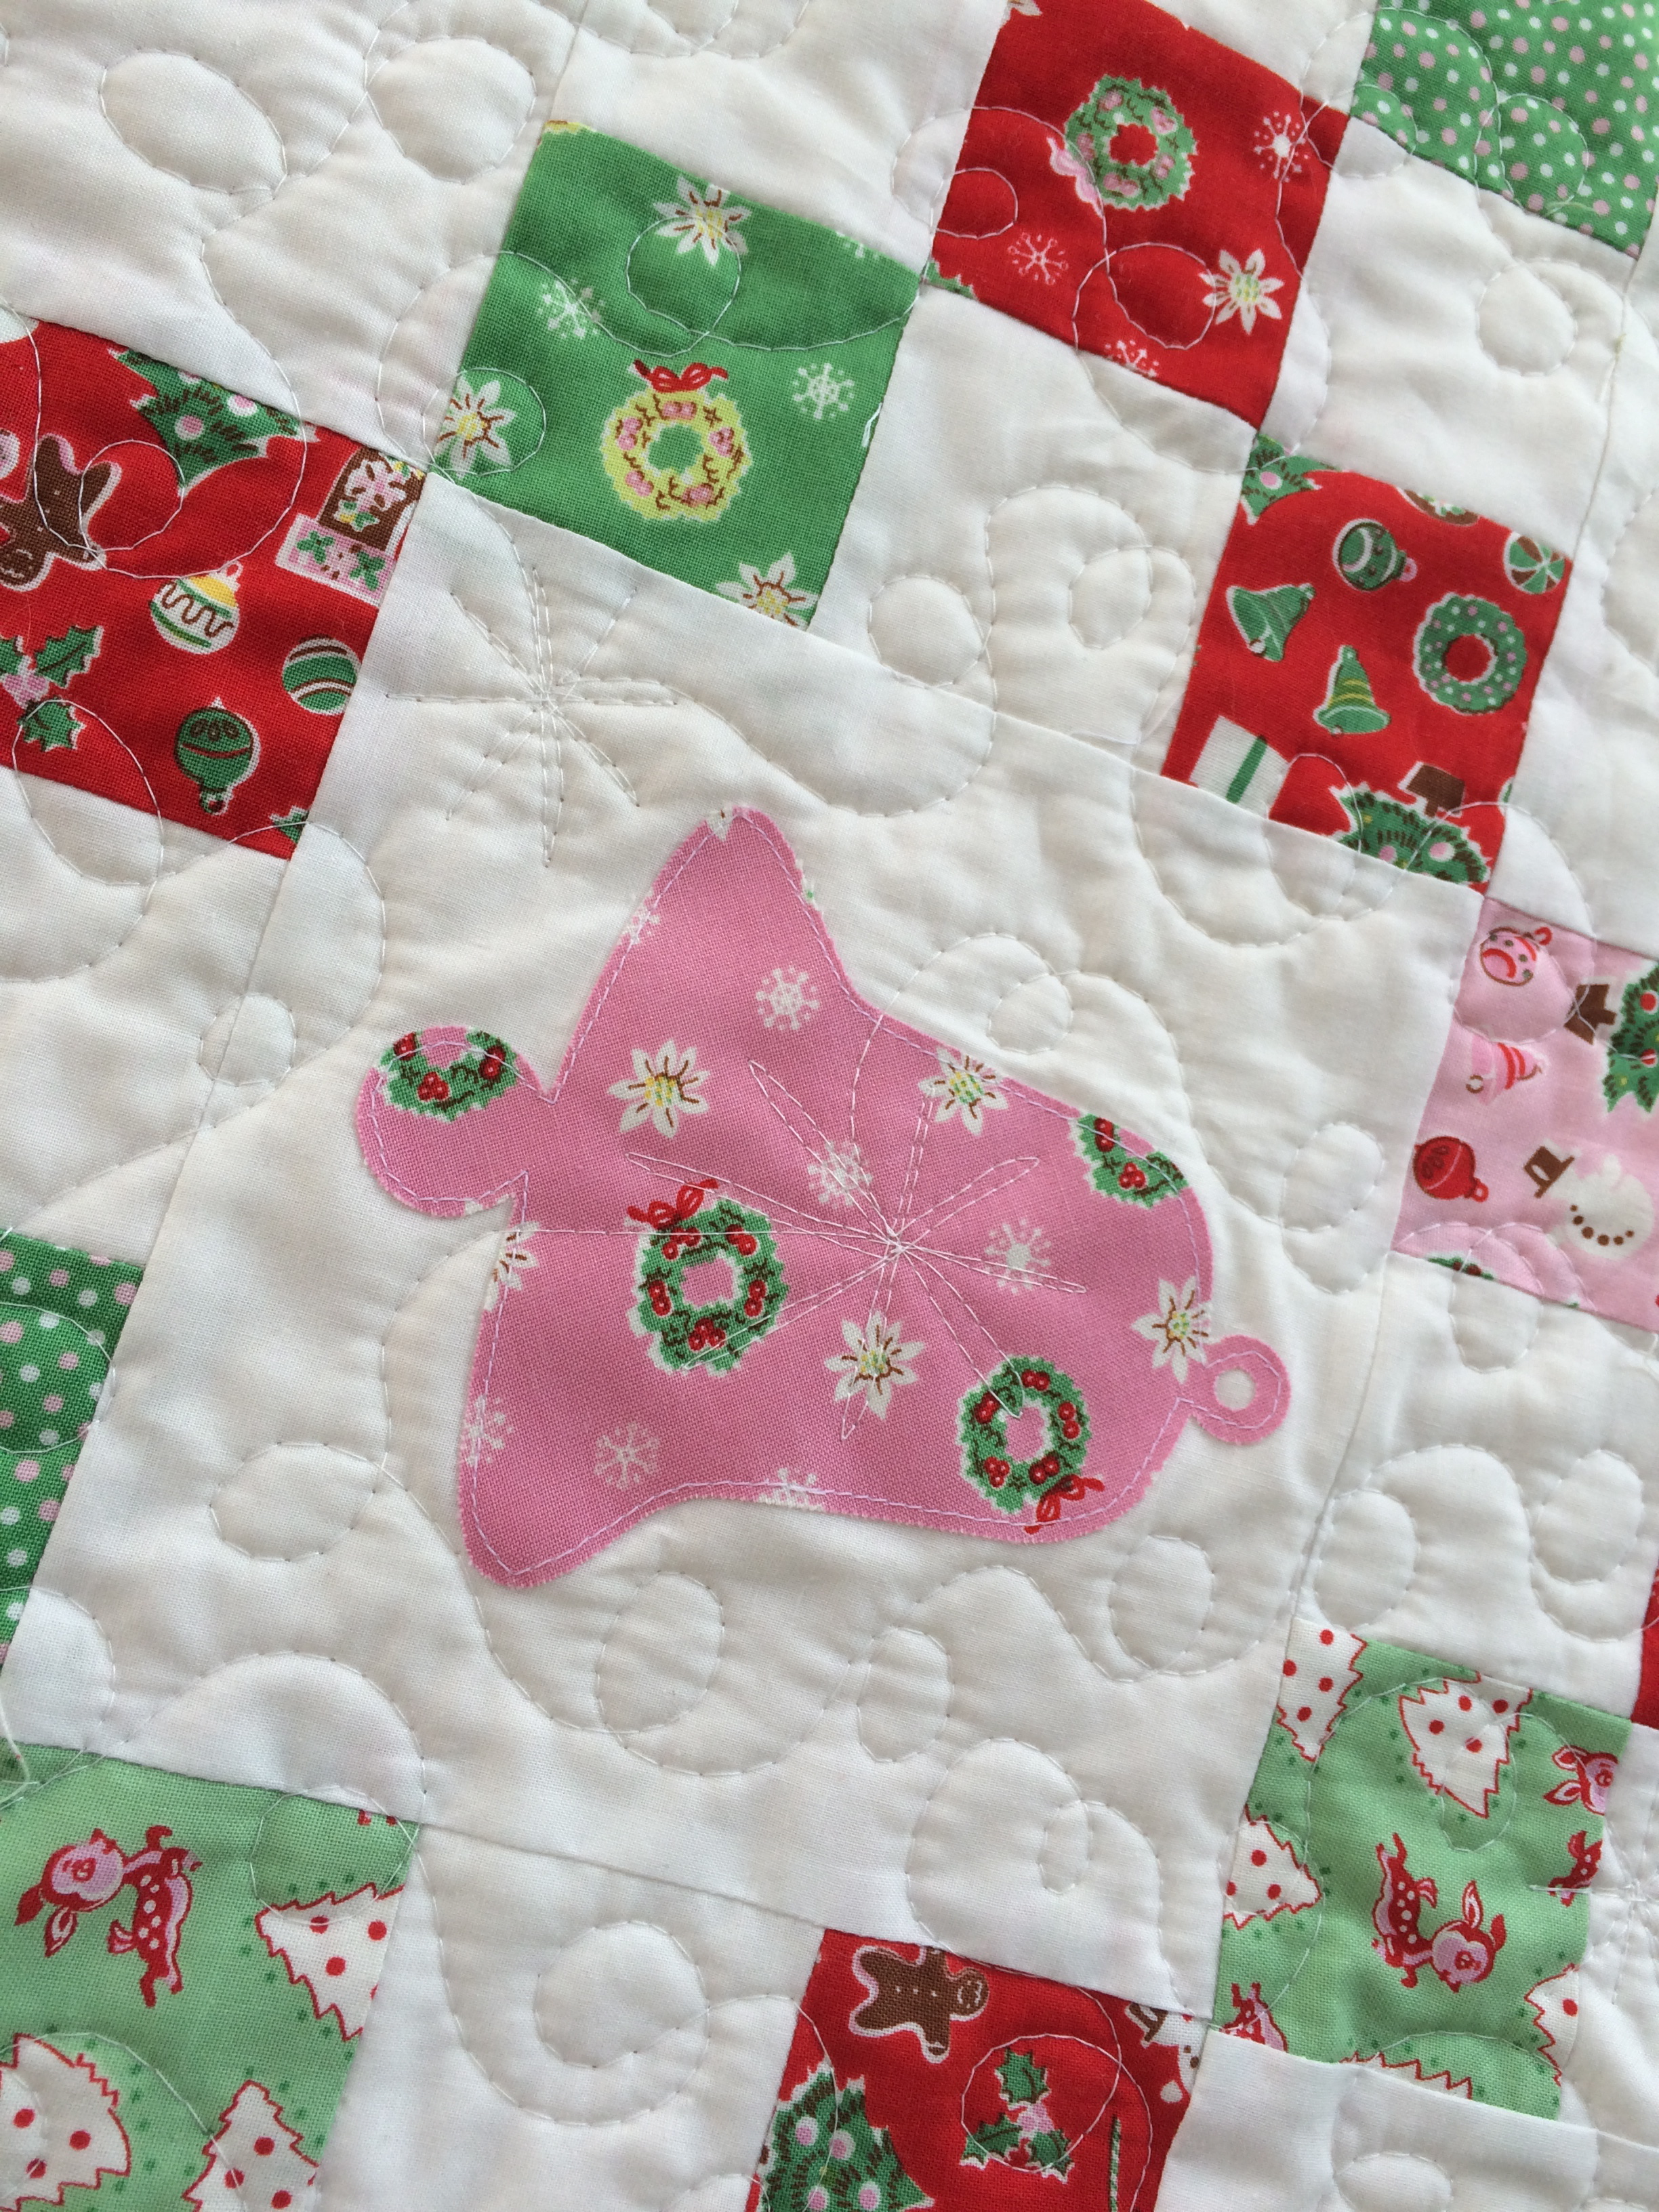
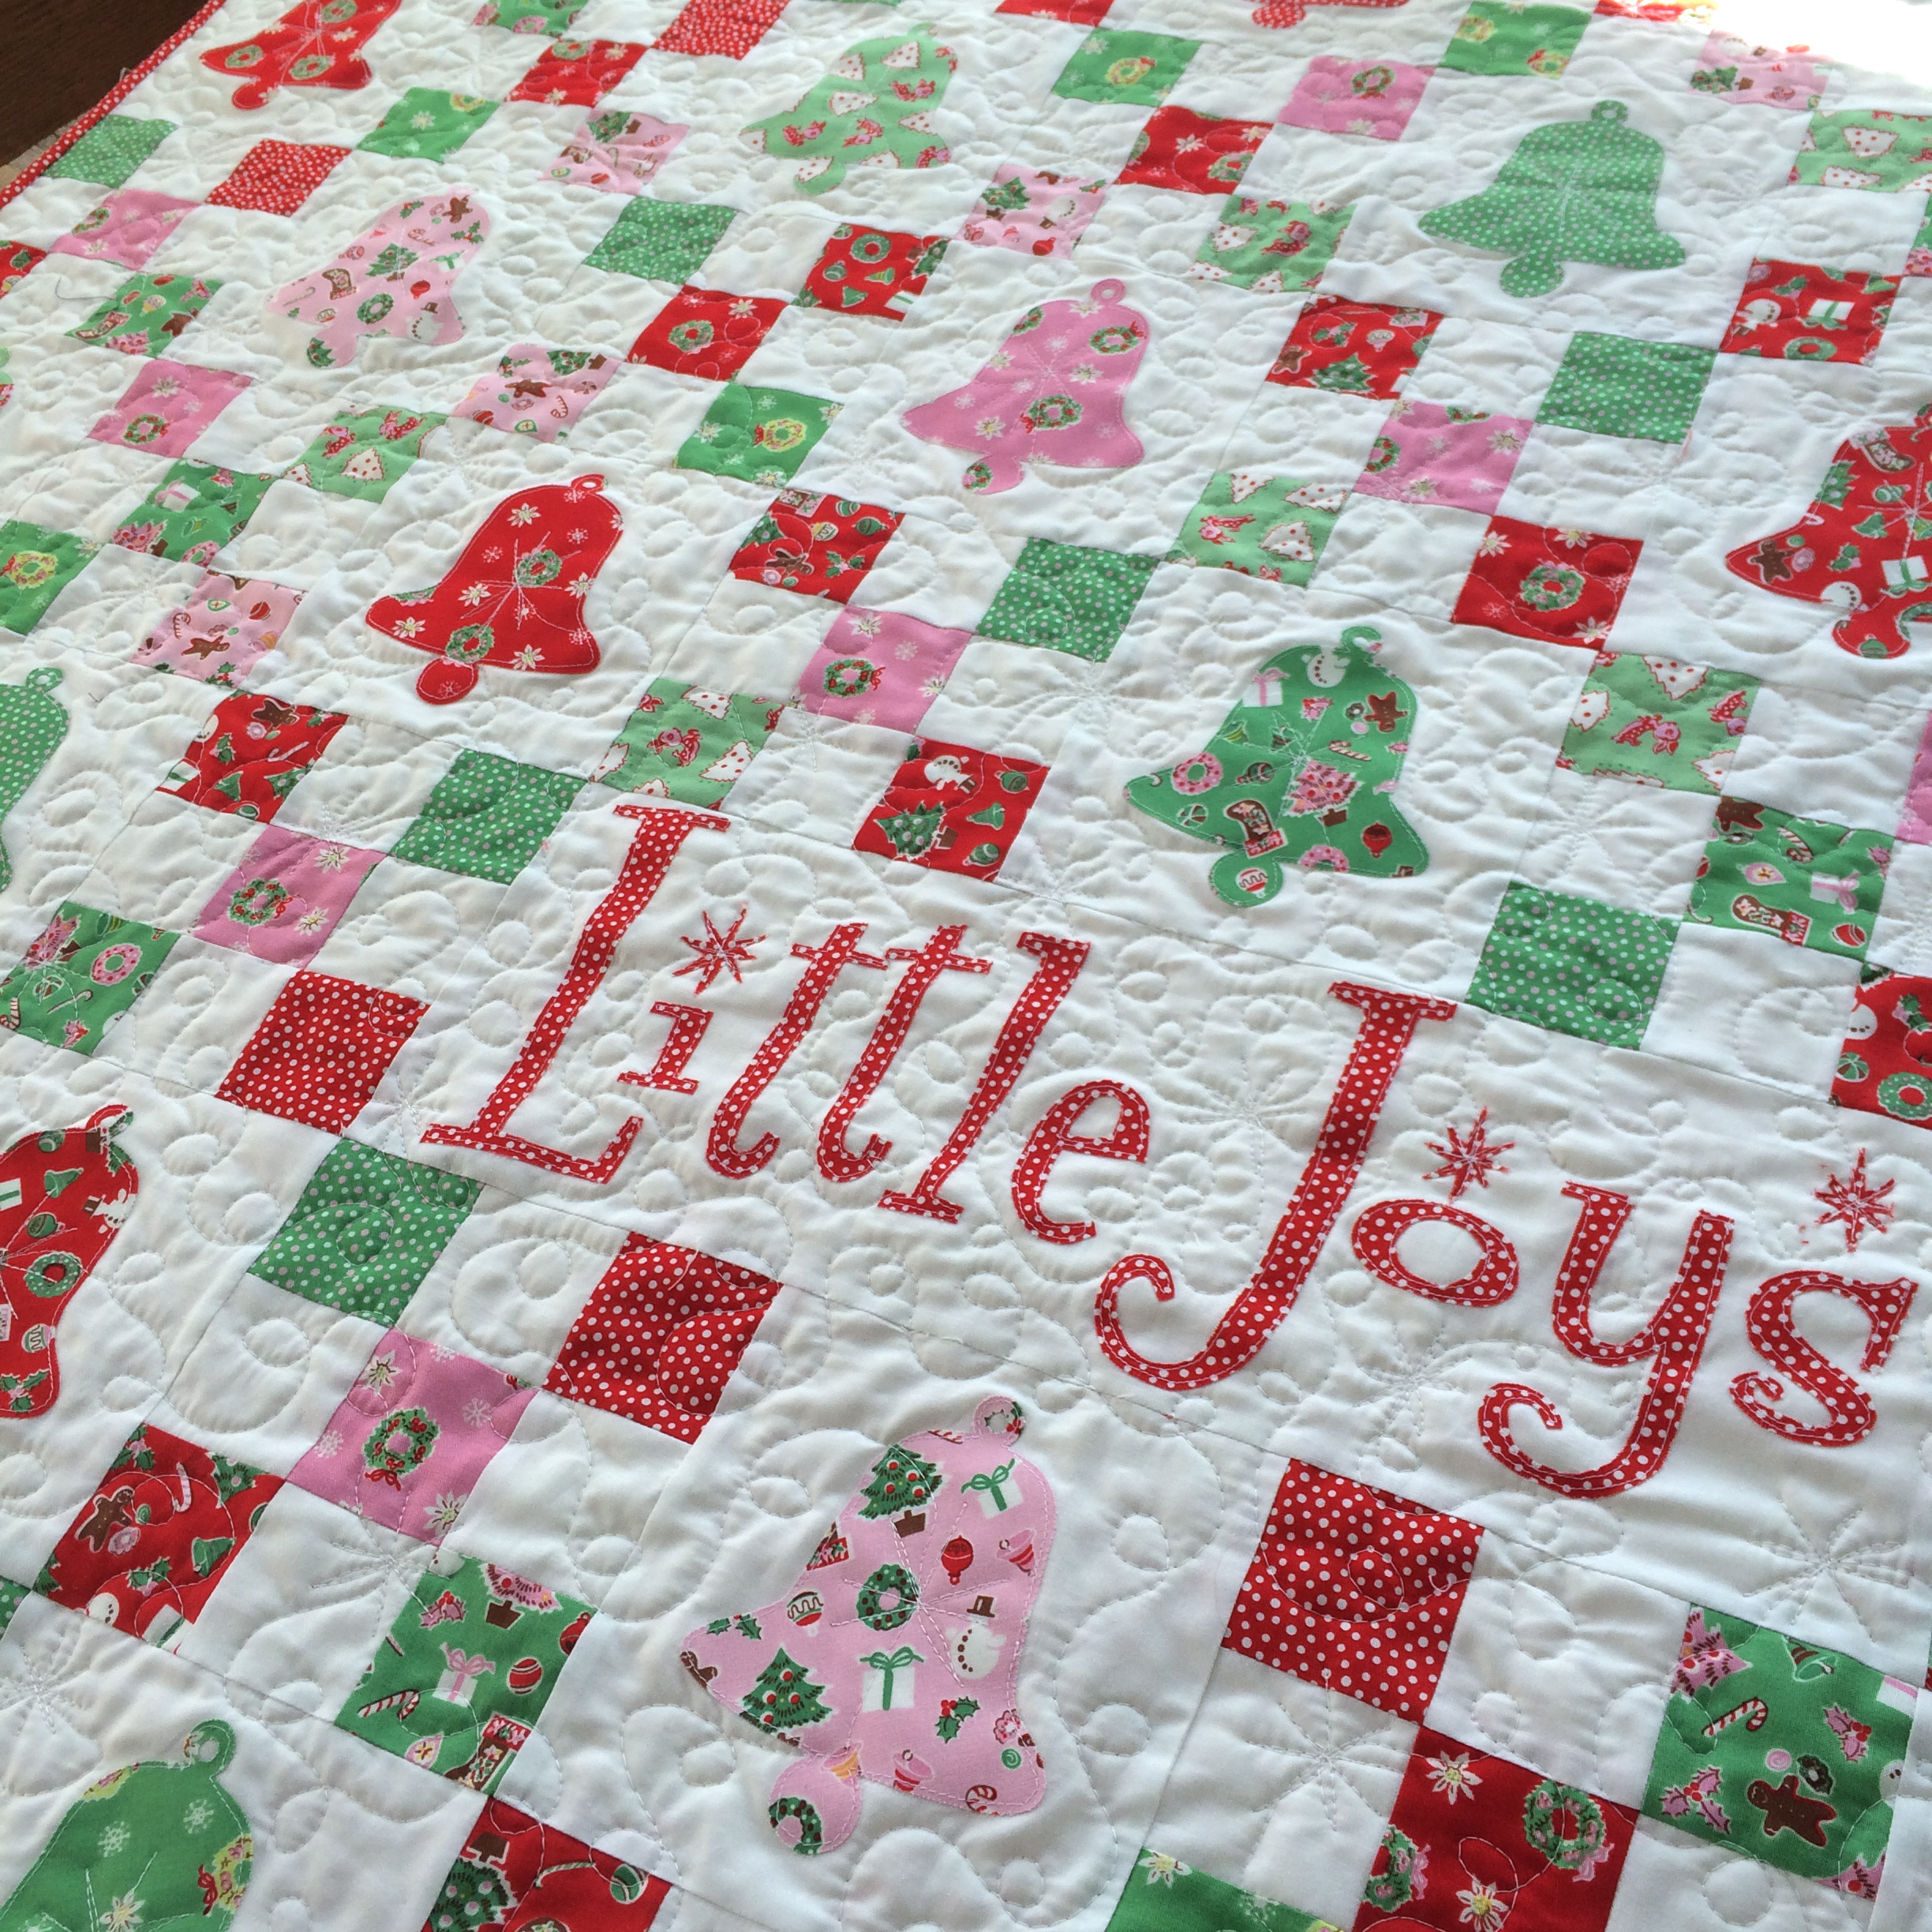
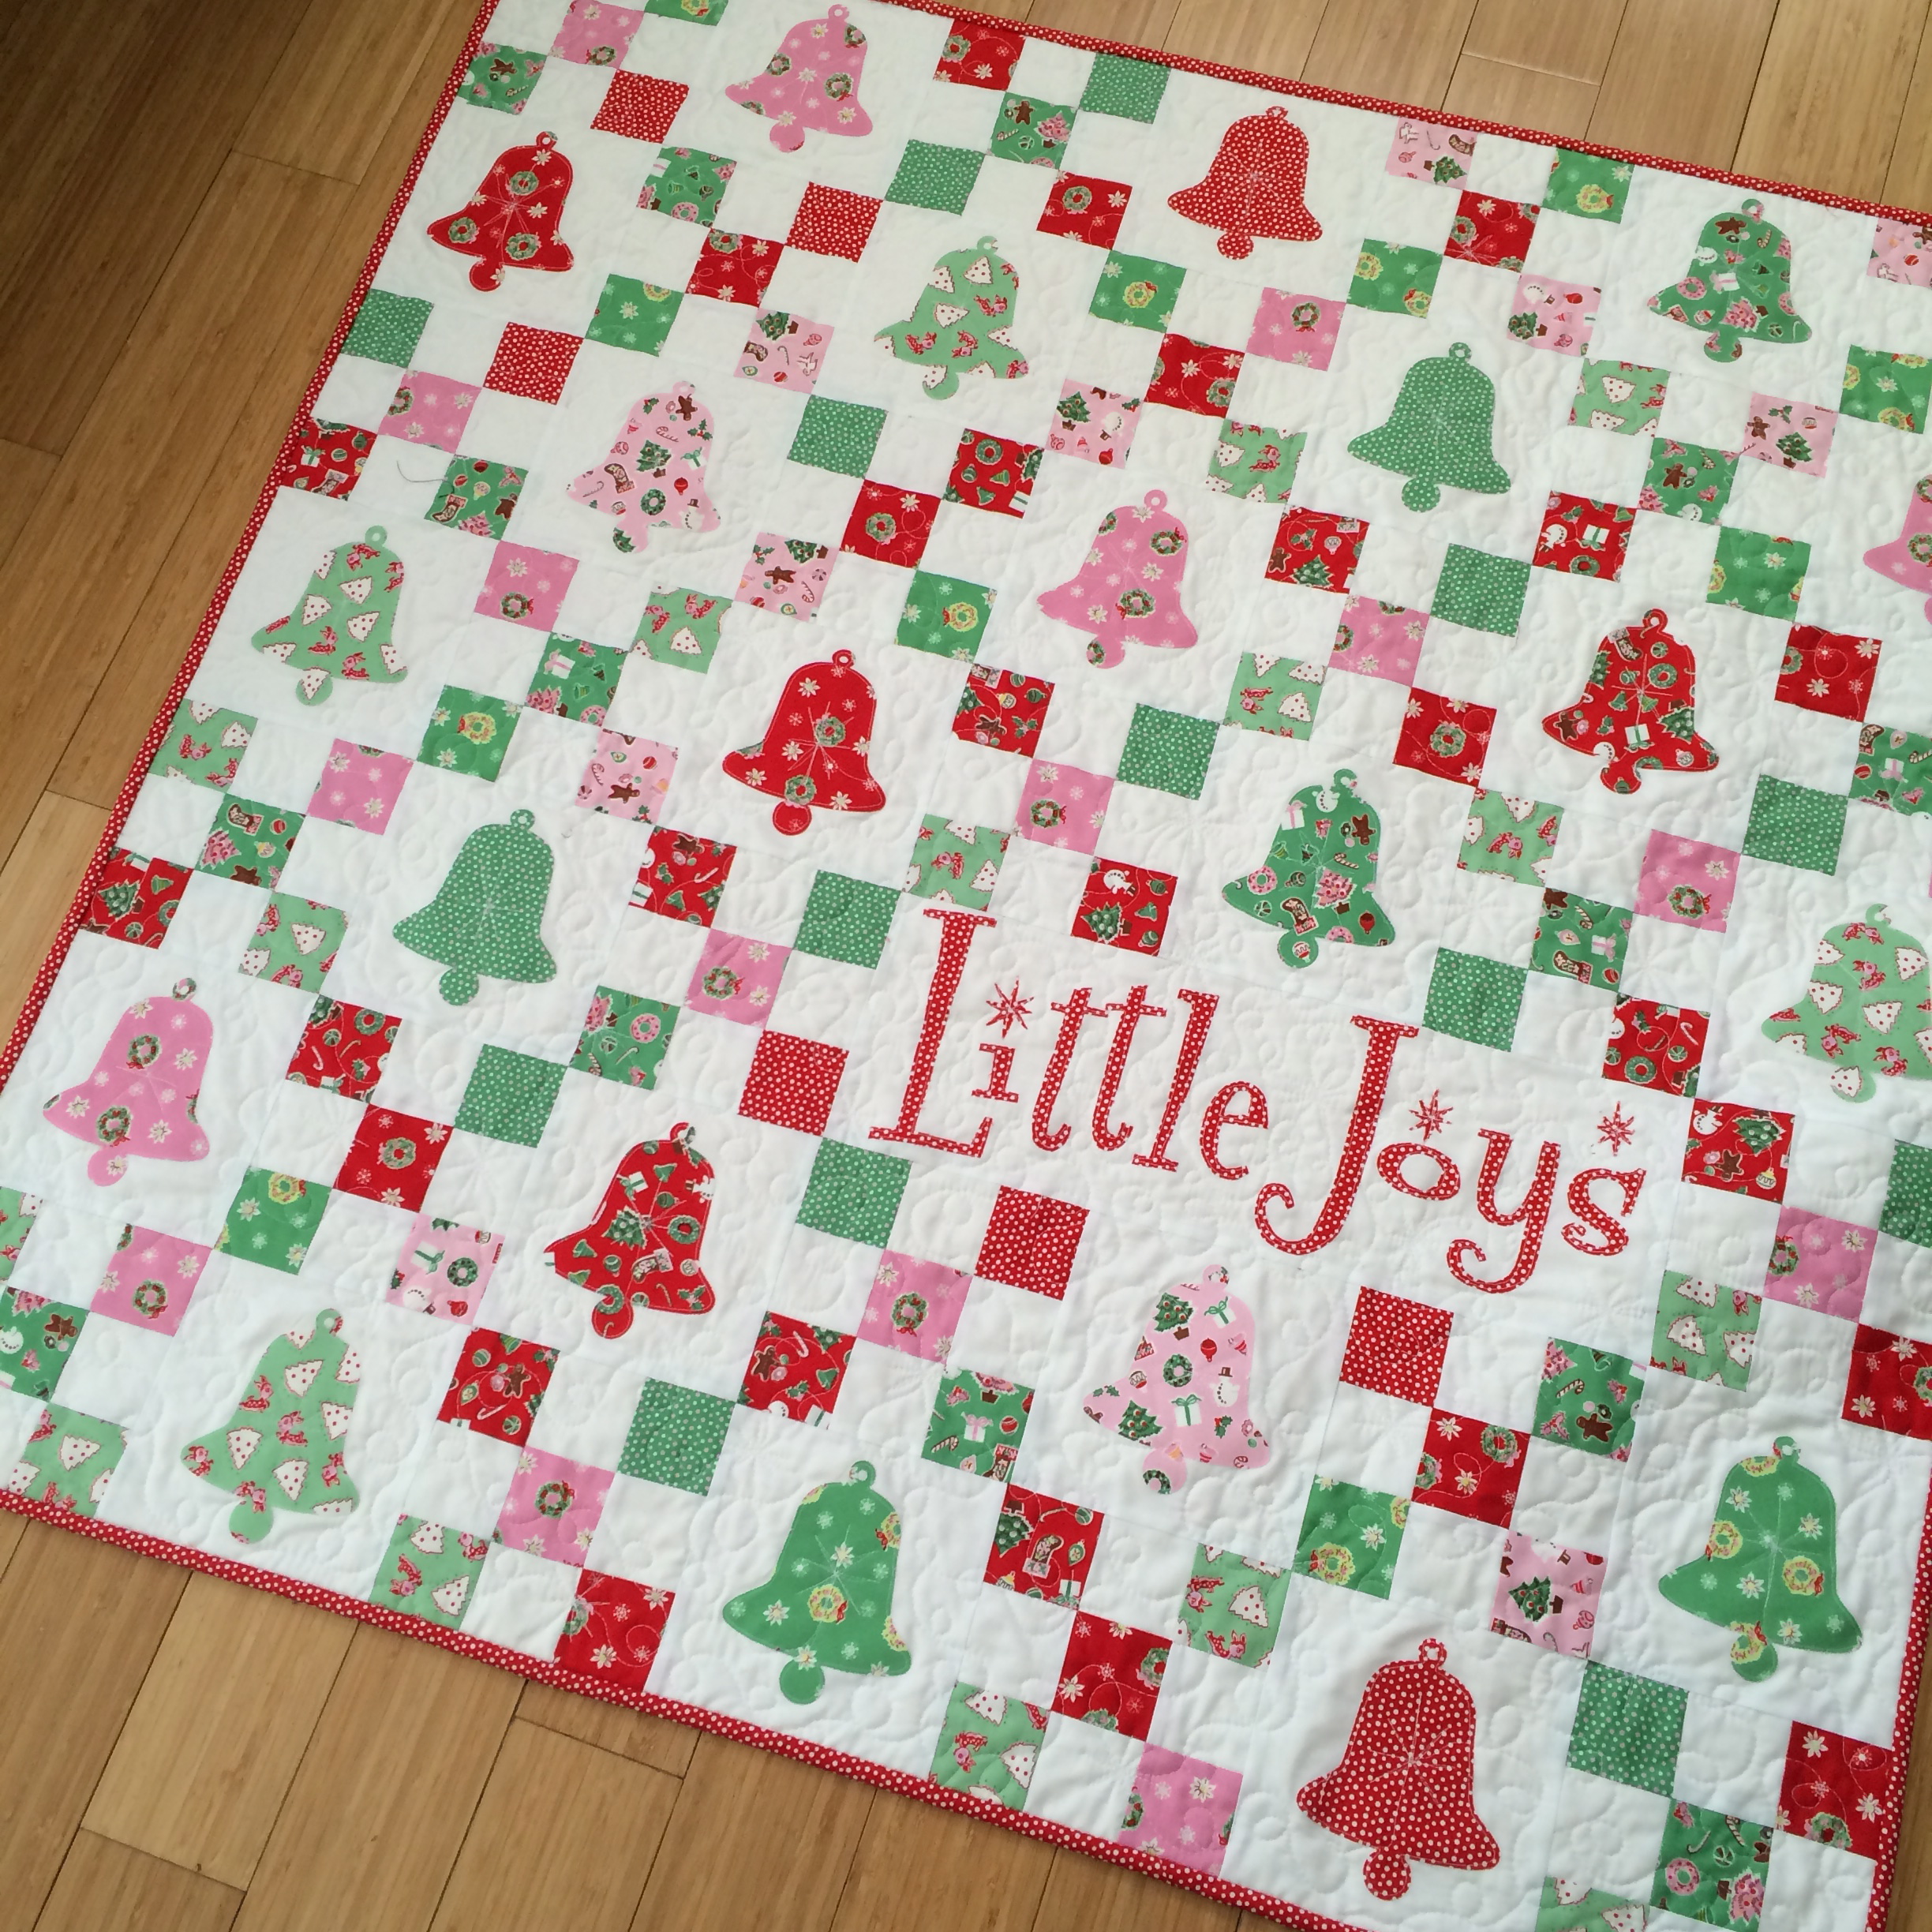
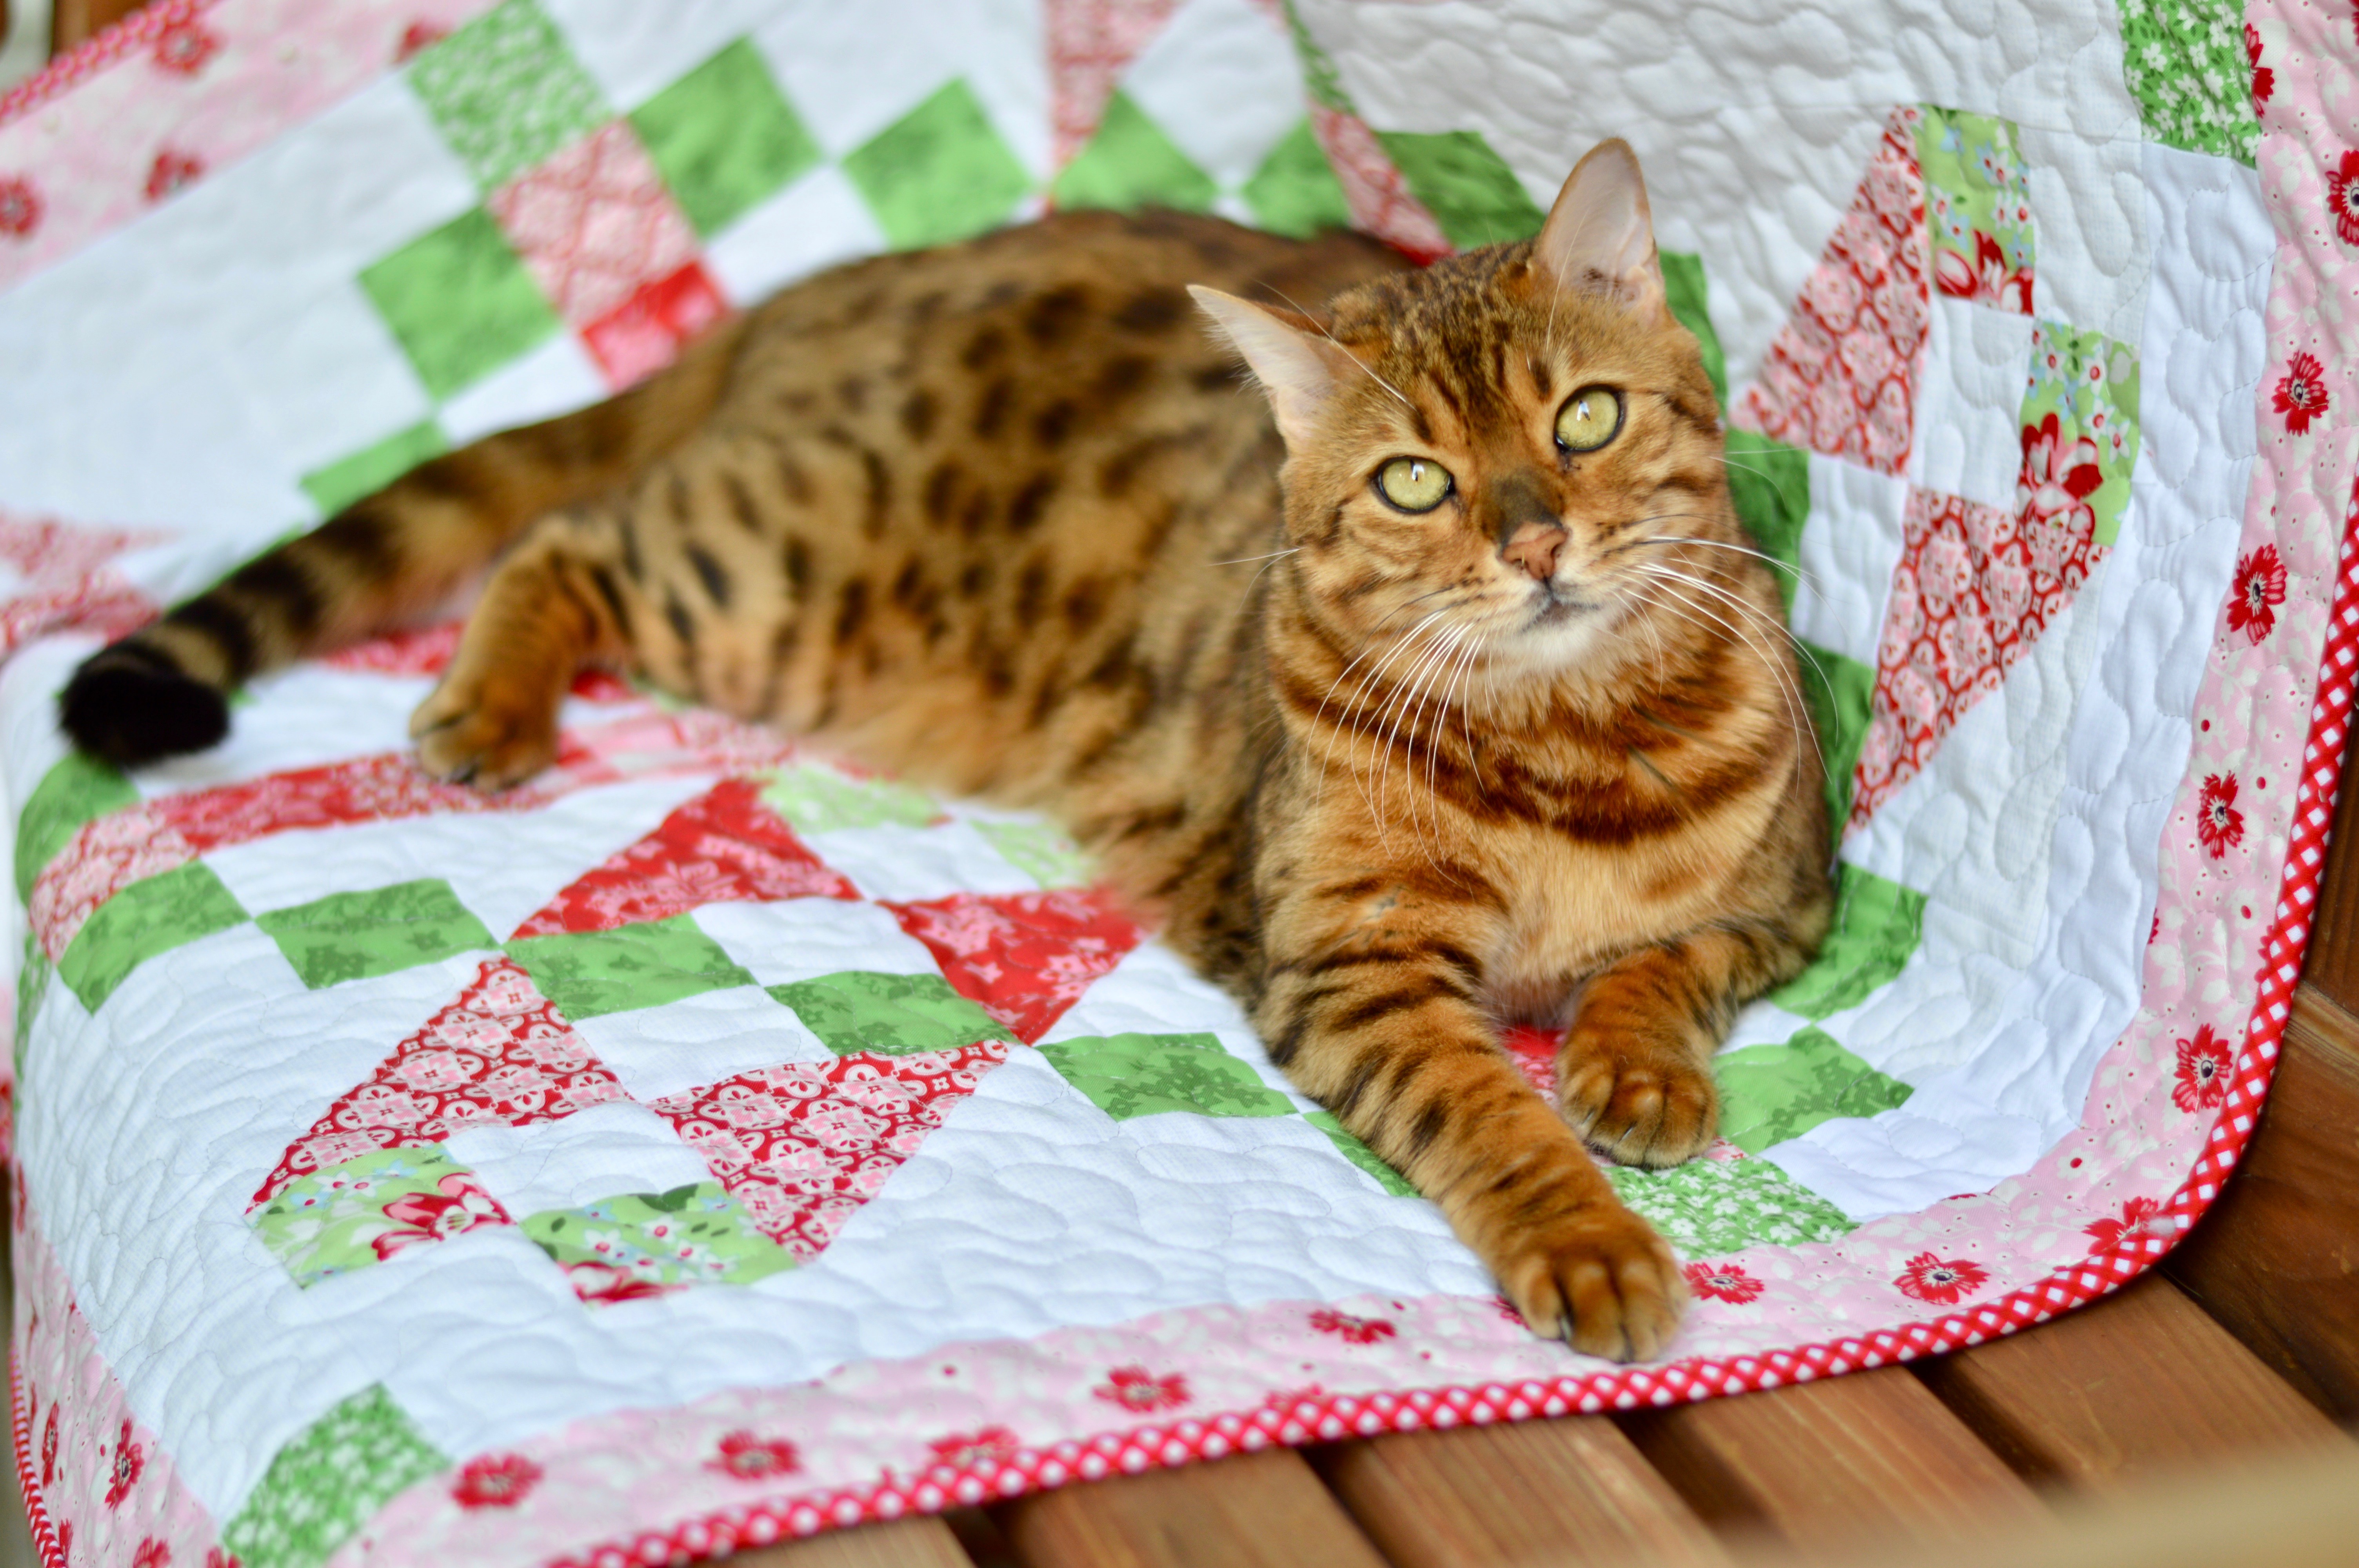
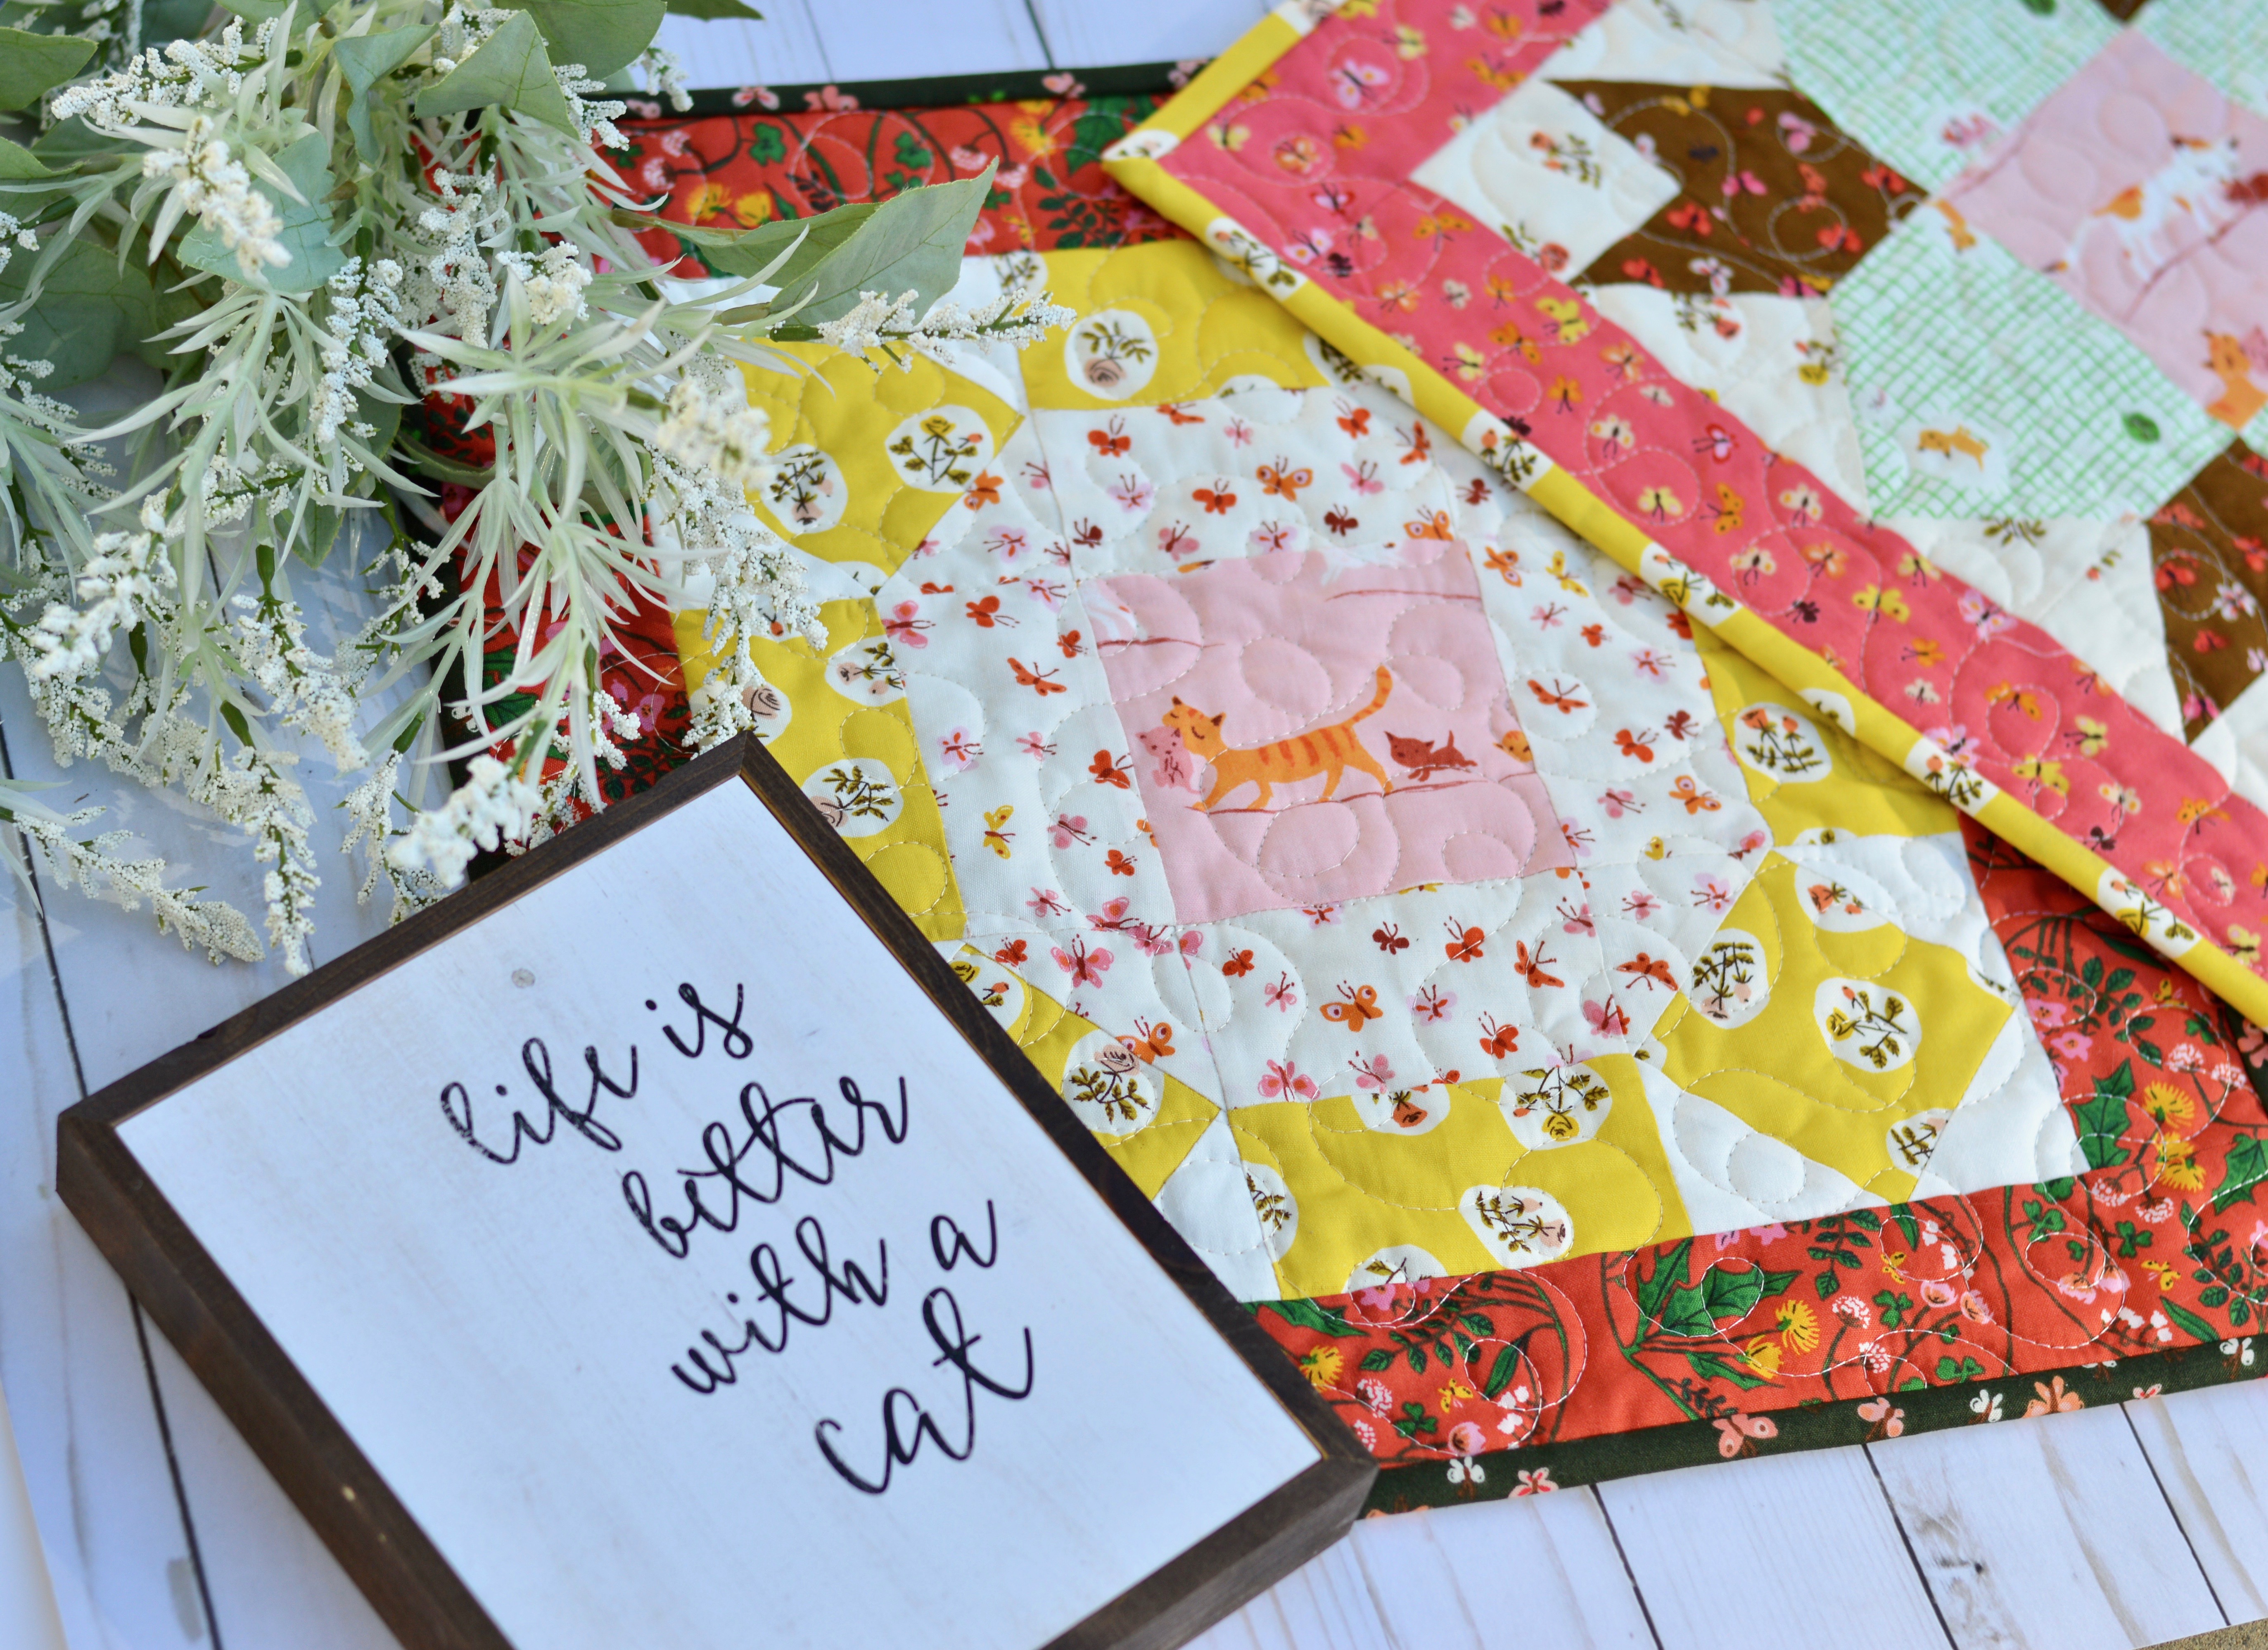
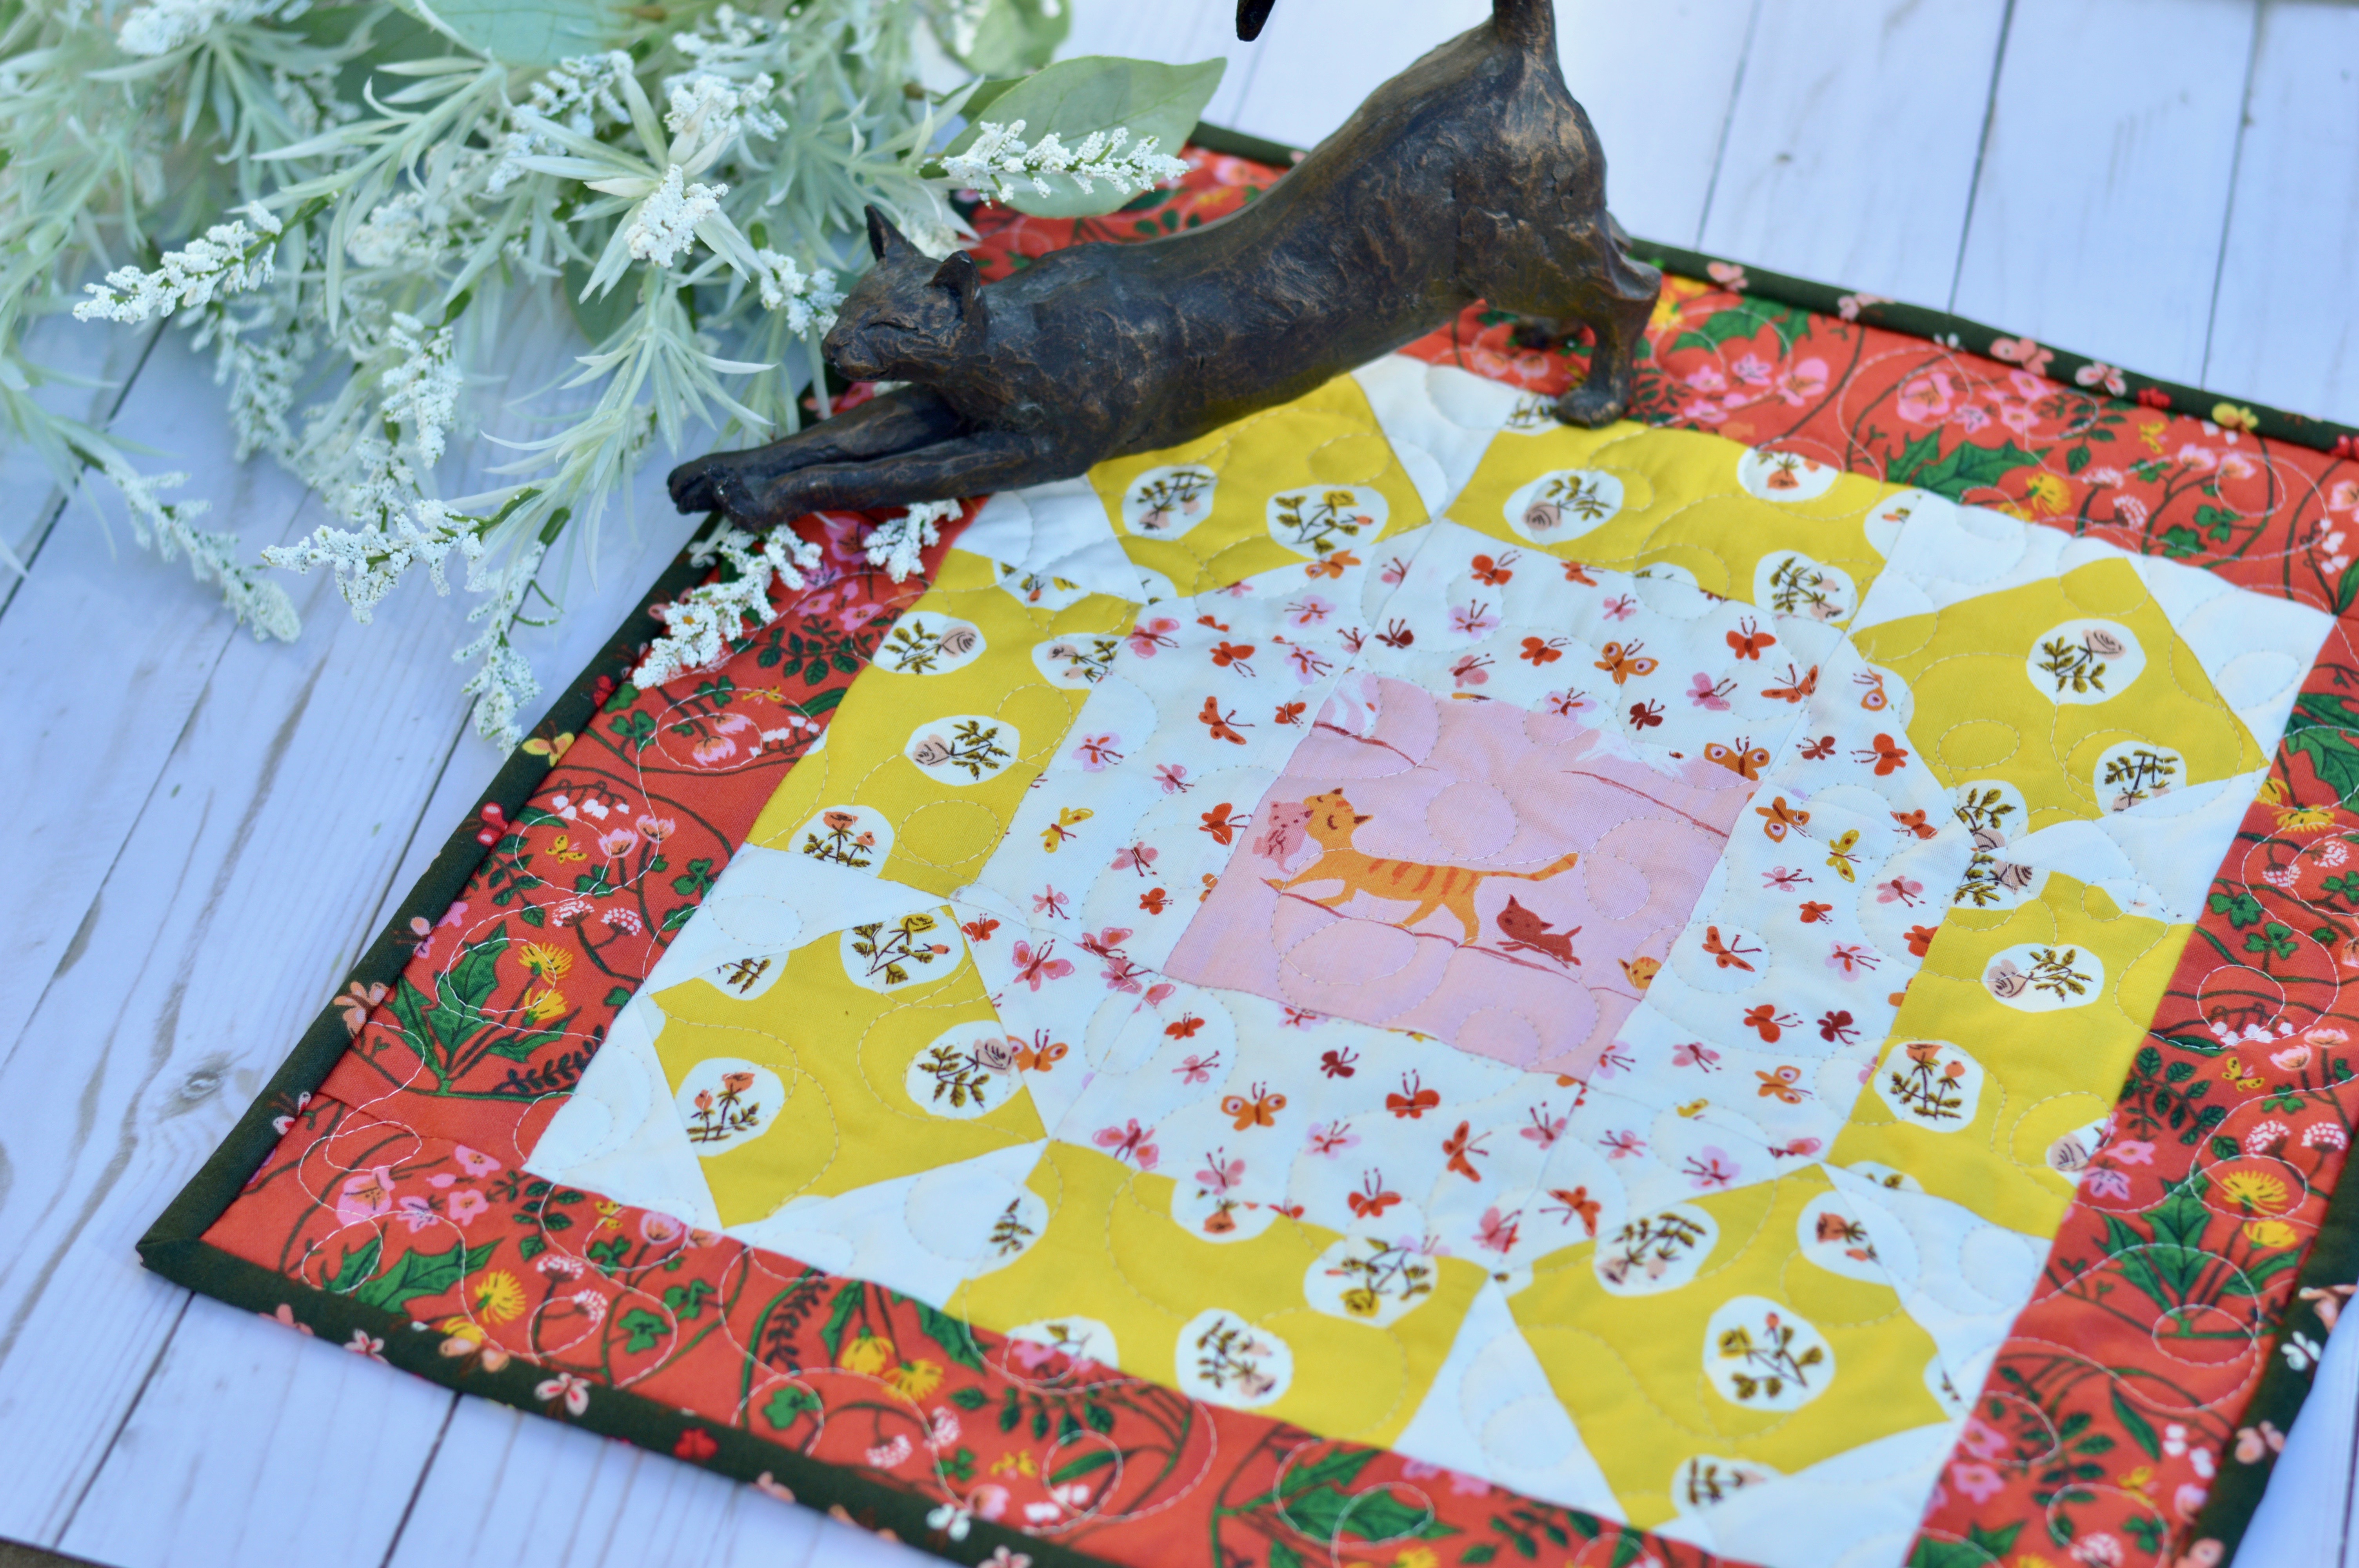
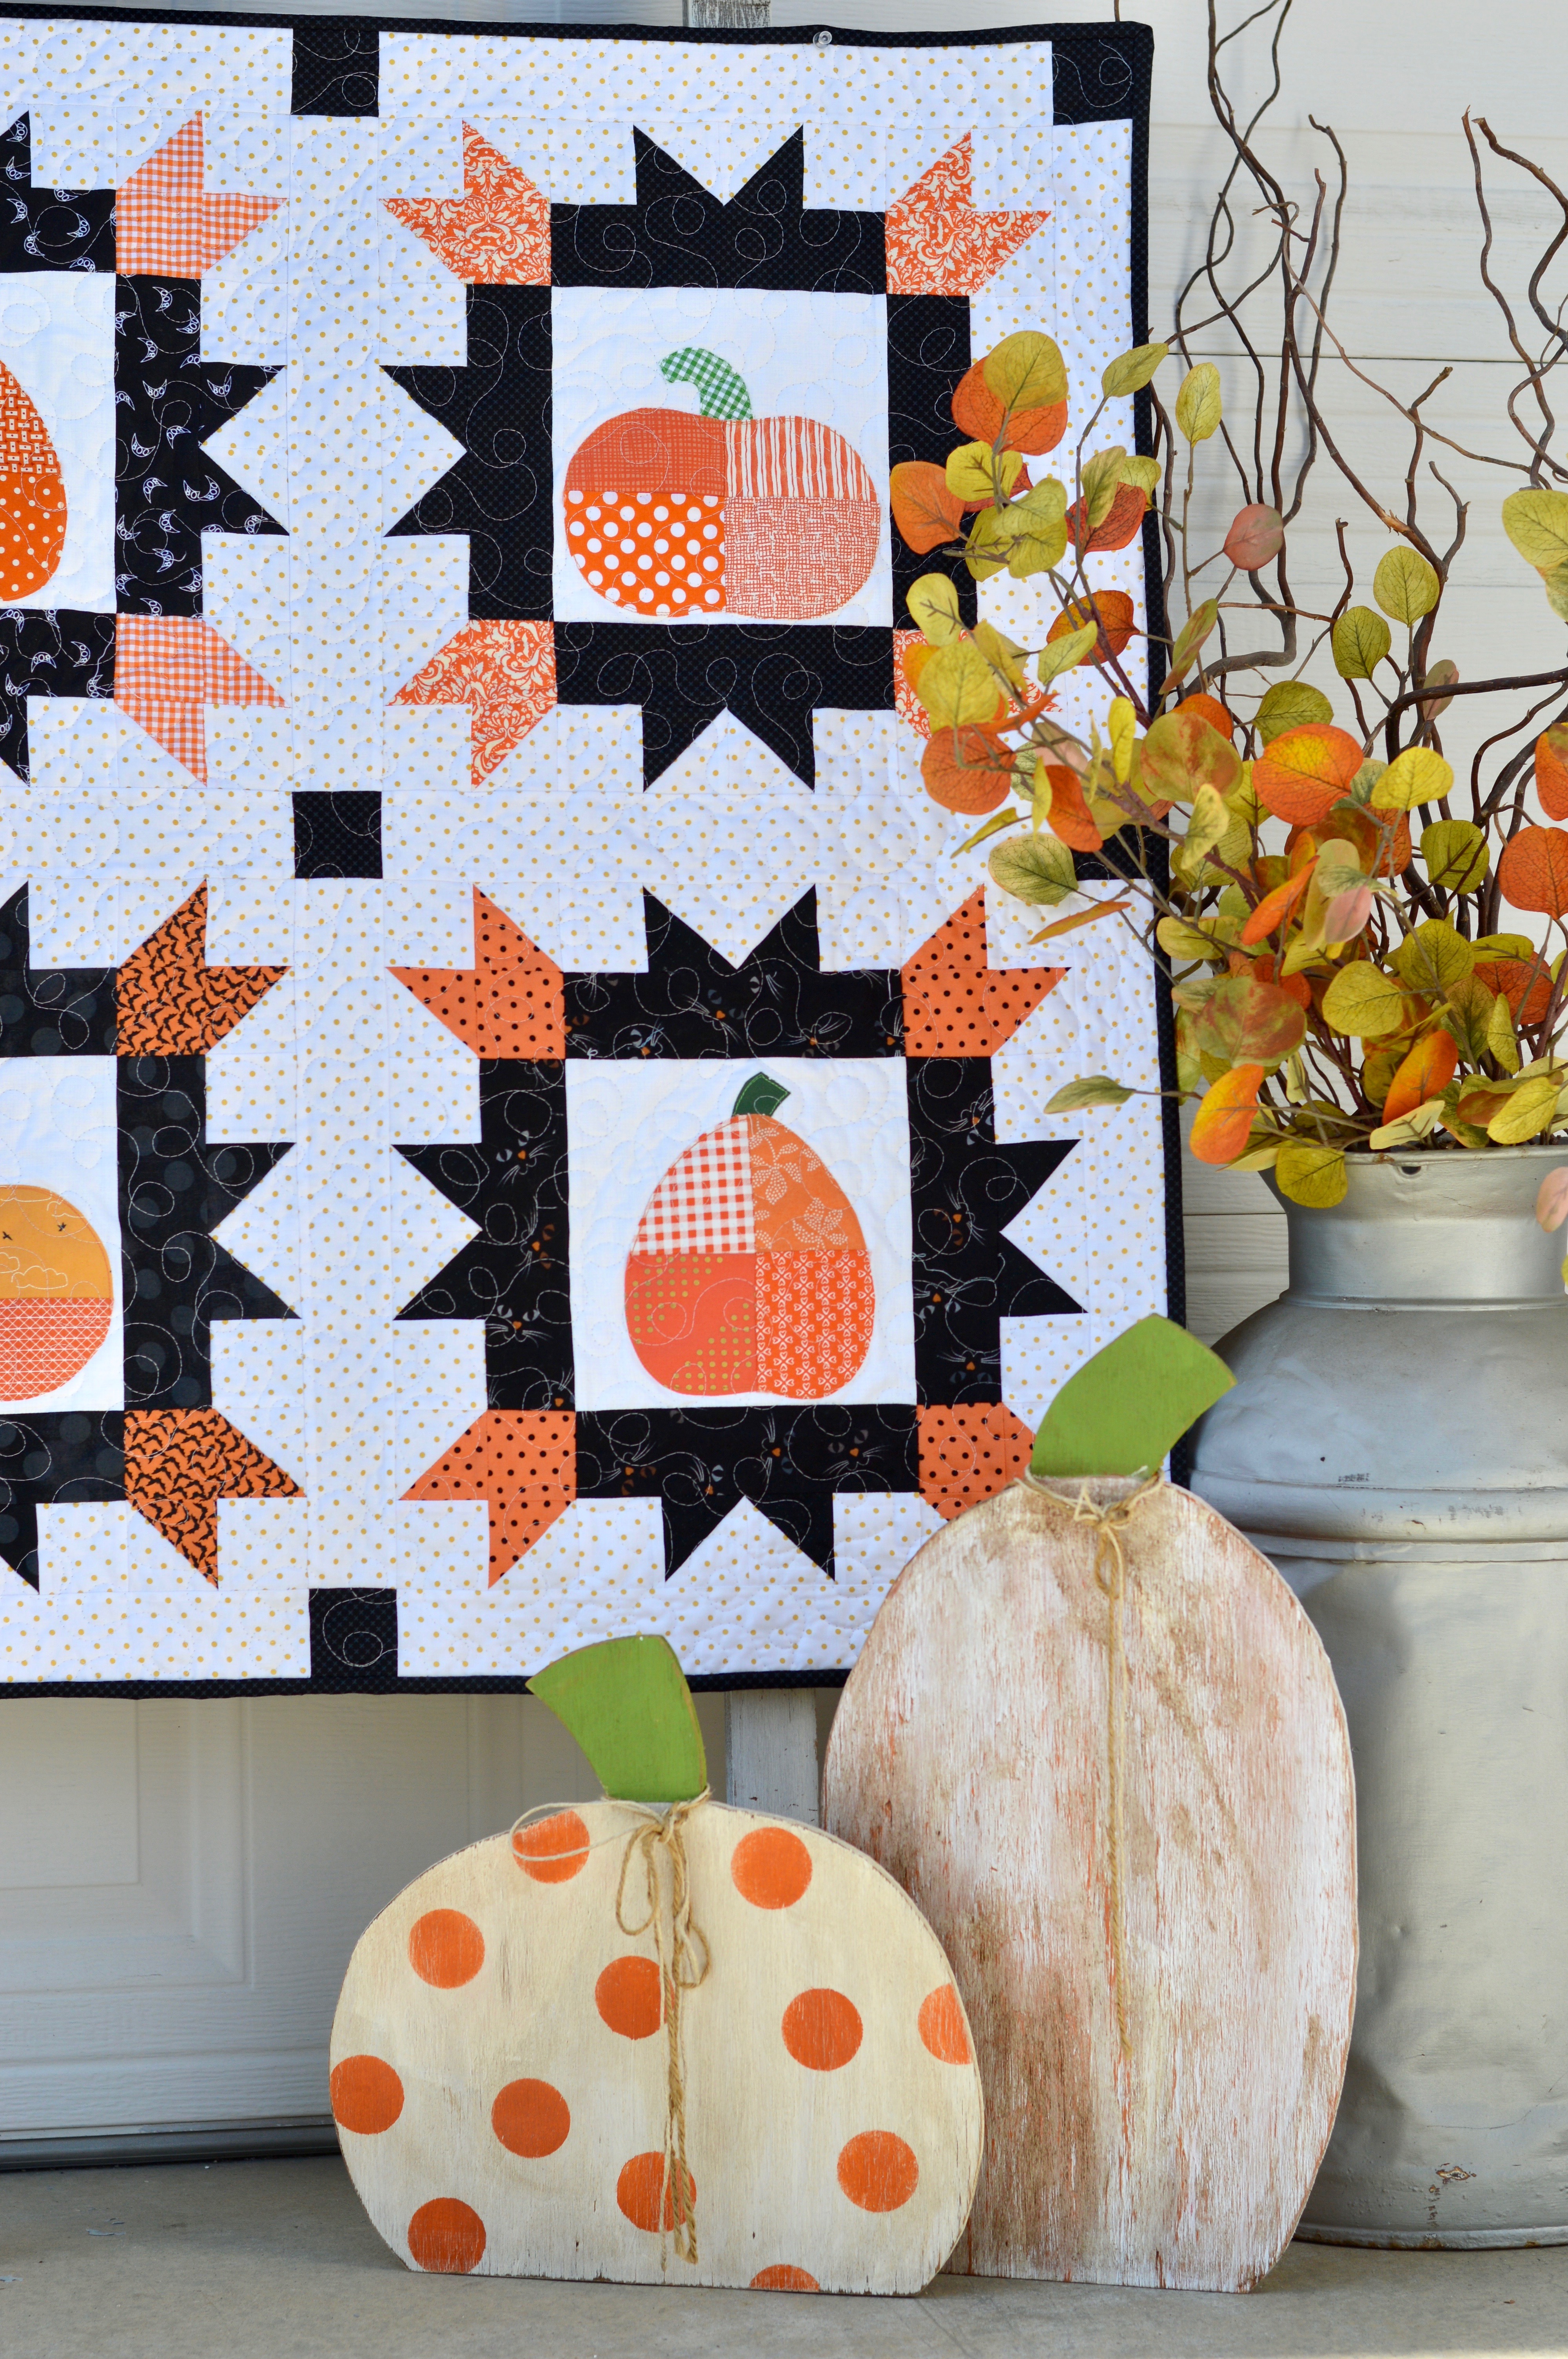
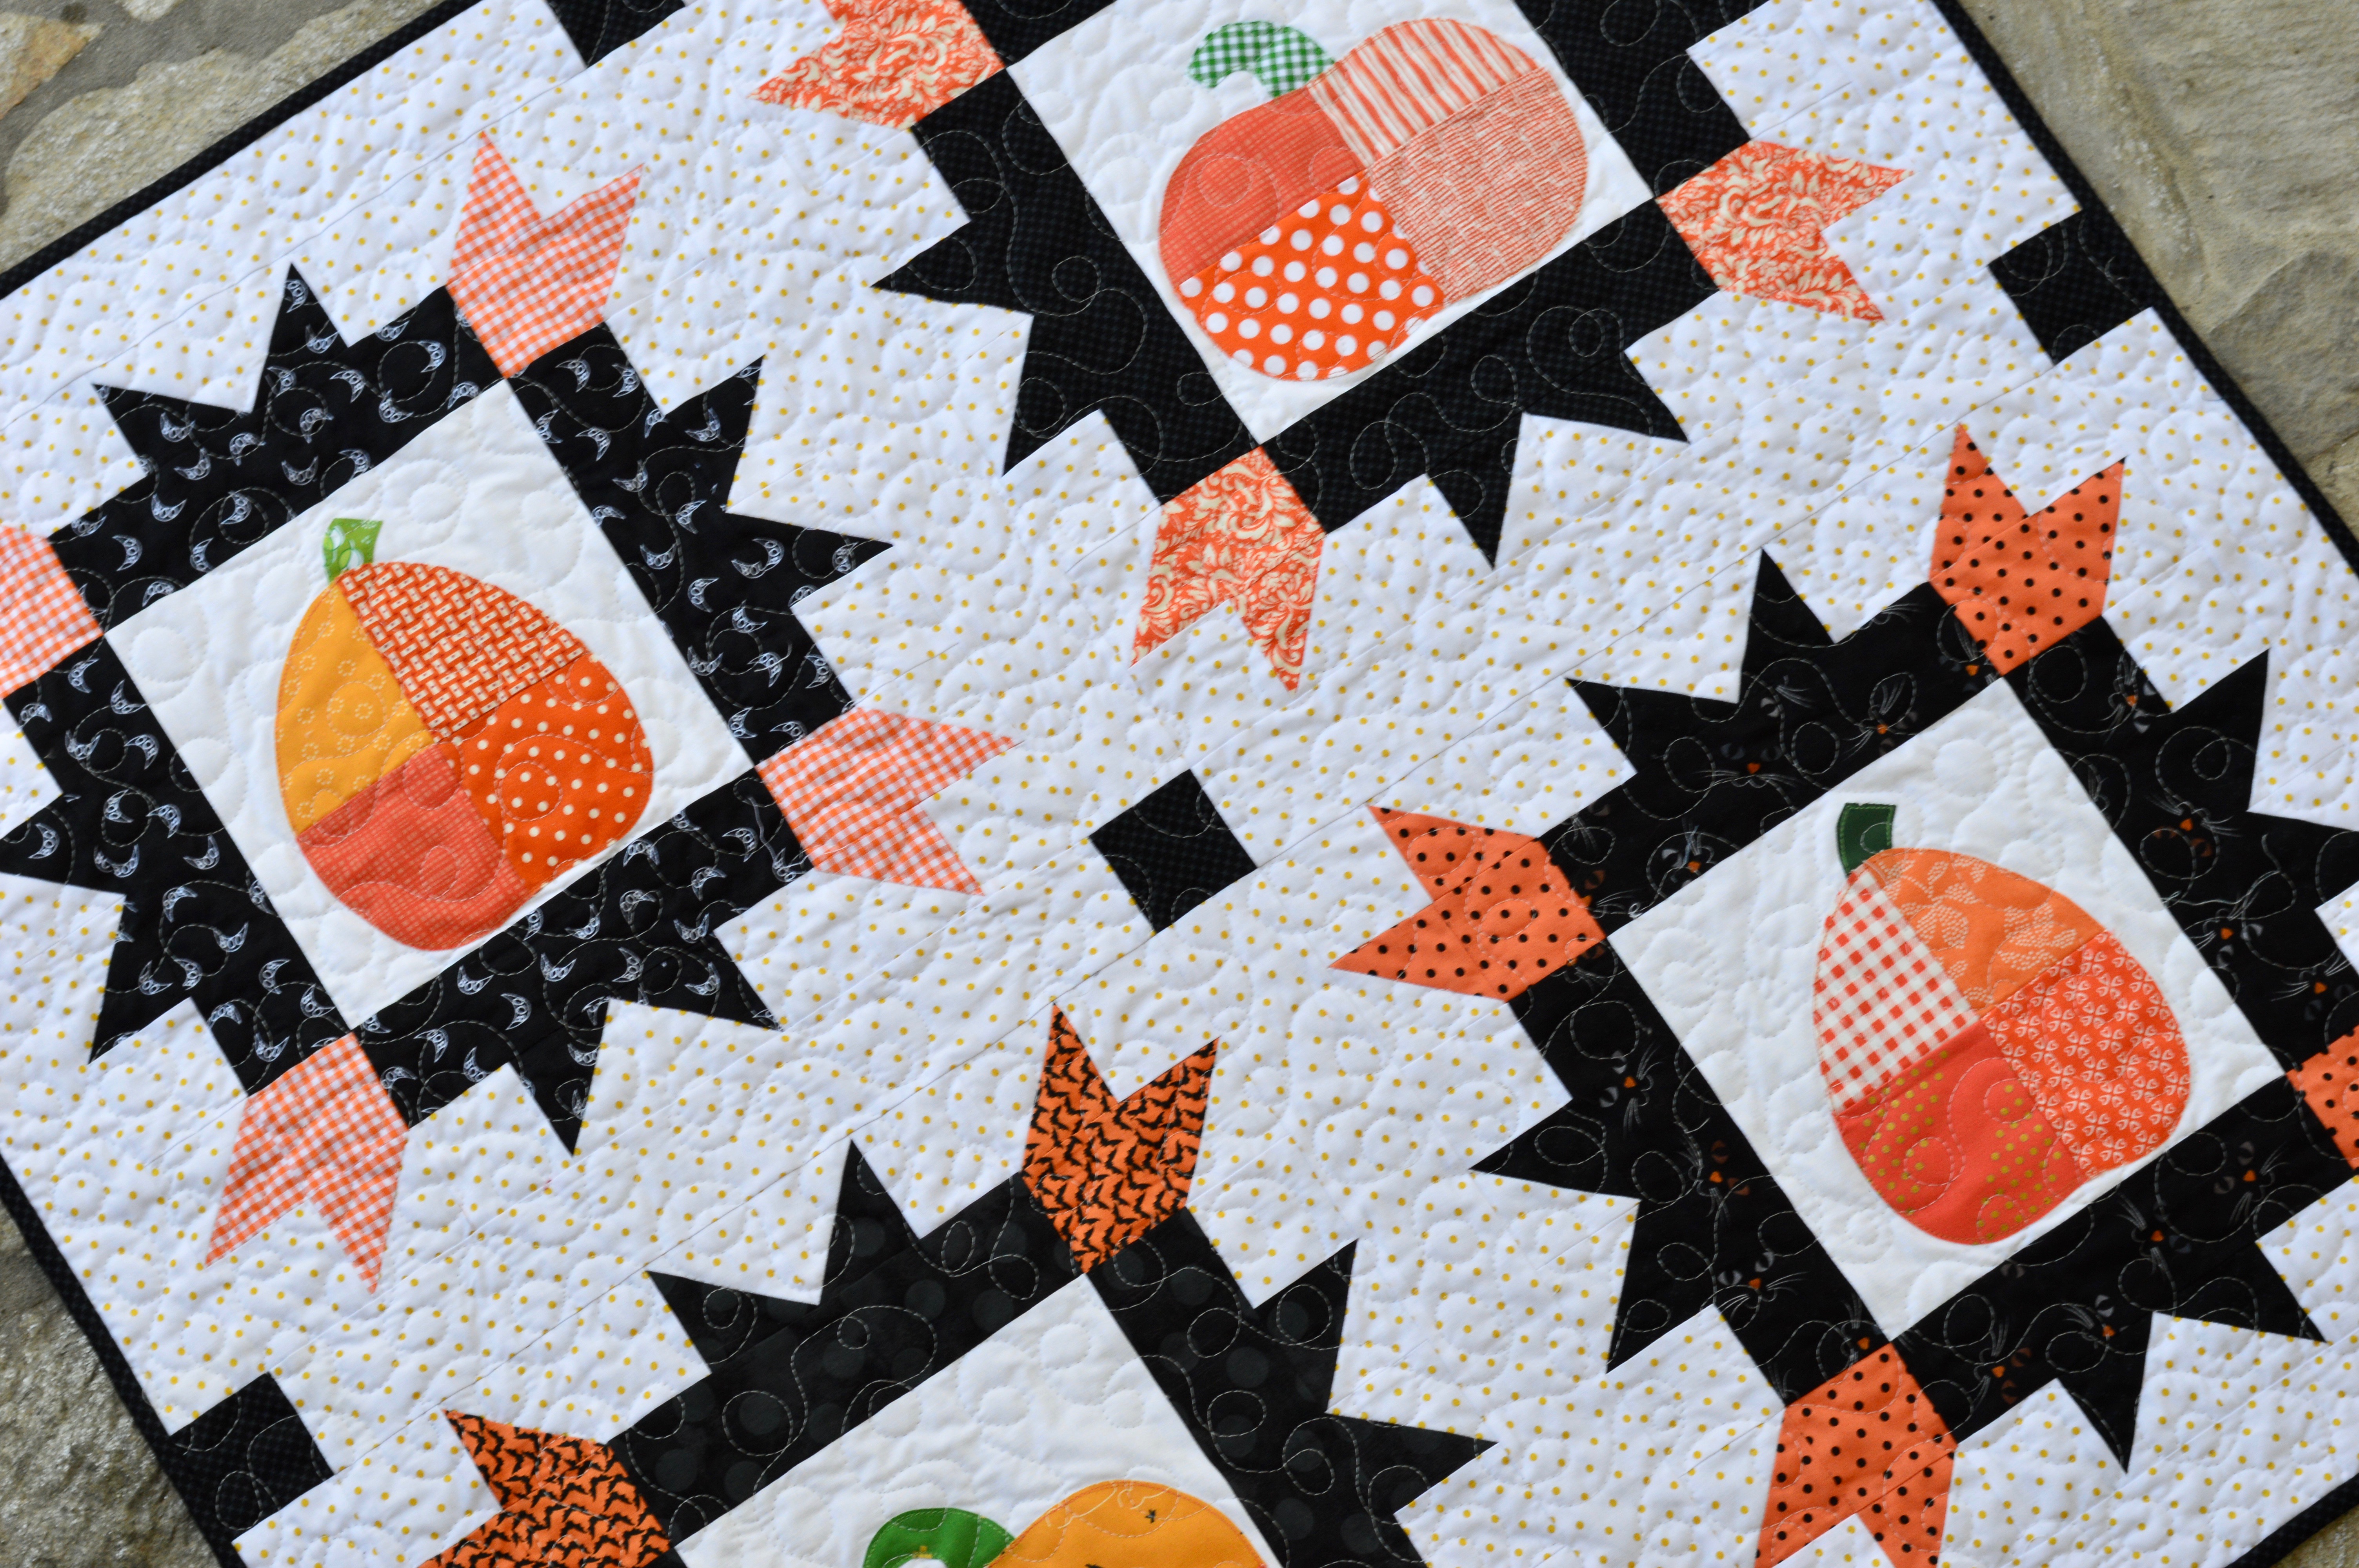
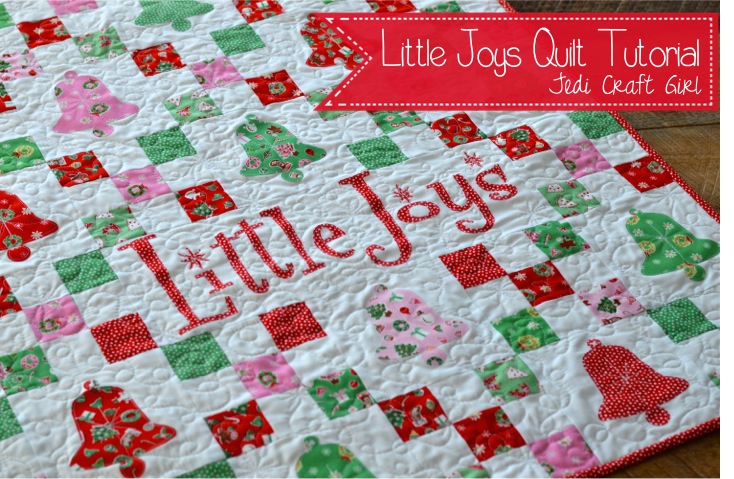
I wrote this pattern a few years ago for Penny Rose Fabrics.  I updated it and have the full tutorial available here!  I have always loved the Penny Rose “Little Joys” Christmas fabrics!  These sweet vintage prints make me think of a simpler time.  I love collecting vintage Christmas ornaments and decorations; this quilt is sure to fit into the mix!

little joys quilt pattern christmas 35This quilt measures 42″ square and is a perfect size to hang on a wall, put at the end of a bed, or center on a table.  The quilt is made up of 6″ solid blocks with bell applique and  6″ nine-patch blocks that form a chain.

Screen Shot 2015-11-30 at 8.08.25 AMI used this Bell from Sizzix.  It is such a versatile die!

little joys quilt pattern christmas 15

Mufasa was all over this project because it involved the Sizzix Fabi – his FAVORITE toy!little joys quilt pattern christmas 20

Fabric Requirements:

9 fat quarters (green, red, and pink) – this is a scrappy little quilt so there are different amounts of each color – the colors don’t form a pattern in this version, but if you would like a pattern it would be easy to do!

1 1/2 yards solid white fabric

Heat n Bond Lite for appliqué

1/2 yard binding

1 1/4 yard backing (the fabric needs to measure at least 43″ wide or you may need to piece it)

Cutting Instructions

Fat Quarters:

Cut (2) 2 1/2″ x WOFQ strips from each fat quarter. You will have a few extra.

Use remaining fabric for bell appliqué and letters

Solid White:

Cut (6) 2 1/2″ x WOF strips, cut them in half to give you (12) 2 1/2″ x 21″ strips.

Cut (5) 6 1/2″ x WOF strips, subcut into (22) 6 1/2″ squares and (1) 6 1/2″ x 18 1/2″ rectangle

little joys quilt pattern christmas 7

2 1/2″ strips are cut from each of the 9 fat quarters.

little joys quilt pattern christmas 3

6 white 2 1/2″ x WOF strips are cut and then cut in half to equal the width of the fat quarter strips.

little joys quilt pattern christmas 16

Sew white, dark, white strip sets together, making 3 strip set units.  Press toward the dark.

little joys quilt pattern christmas 5

Sew 6 strip units of the dark, white, dark pattern (above).  Press toward the dark.

little joys quilt pattern christmas 13

Sub cute each strip set in 2 1/2″ increments.  You should have 8 per strip set.

little joys quilt pattern christmas

Lay out blocks making a checkerboard pattern.  Sew together, matching seams.  Press seams in one direction.  Continue this process making 24 total checkerboard blocks.

little joys quilt pattern christmas 11

Cut the remaining fat quarters into 5″ squares and fuse Heat n Bond Lite to the wrong sides of the fabric (above).  Using the Sizzix Bell die, die cut 22 bell shapes.  Peel off backing paper and heat set to the centers of the 6 1/2″ white squares. Sew around each bell with a straight stitch.

little joys quilt pattern christmas 6

little joys quilt pattern christmas 12For the Little Joys word block I cut the letters by hand.  Download the Little Joys pattern HERE.  I printed the letters on Heat n Bond EZ print sheets.

little joys quilt pattern christmas 17You can also trace onto iron-on transfer paper.  The letters are in reverse.  Iron the heat n bond to the wrong side of the letter fabric.  Cut out by hand around each letter.  Peel off the backing and position on the white rectangle.  Heat set in place.  Sew around each letter.

little joys quilt pattern christmas 19

Now you’re ready to lay out the whole quilt!  Use the above photo as your guide.  Again, my colors are random but you can make a color pattern!

Sew each block together creating rows, pressing toward the applique blocks.  Then sew the rows together, pinning at intersections so seams match up.  Press all seams in one direction.

Baste, Quilt, Bind!

IMG_2019Mufasa also loves the sewing machine!  No animals were harmed in the quilting of this project!


little joys quilt pattern christmas 9Make sure your cat approves 🙂

little joys quilt pattern christmas 2I free motion quilted this with loop de loos and retro style stars.  I love how it turned out!  Add the binding and you’re finished!

little joys quilt pattern christmas 10

little joys quilt pattern christmas 14

Vintage December Quilt Pattern

DSC_0084

I can’t believe how fast the time is flying and that we are already well into November!  I thought making a fun little Christmas quilt would get me excited for the holidays even though it’s been 80+ degrees outside!

DSC_0018

My friend, Jodi, from Pleasant Home, just released this new fabric line called May Belle for Penny Rose Fabrics!  I am so totally excited!  It is such a versatile fabric line! I love the vintage feel of the prints, I need to get some more just to have in my stash!

DSC_0980

There are the reds,

DSC_0990

the greens,

DSC_1005

and the blues!!

For this little project I choose to use the reds and greens for a very vintage feeling Christmas quilt!
DSC_0030

I designed this fun little quilt pattern”Vintage December” that measures 34″ square and is made using 5″ charm squares!  It’s such a fun pattern and you can make it in an afternoon (or late at night while watching Netflix!)

You can purchase the PDF pattern by going to my Etsy shop.  This would make a darling gift for a friend or sister!

DSC_0011
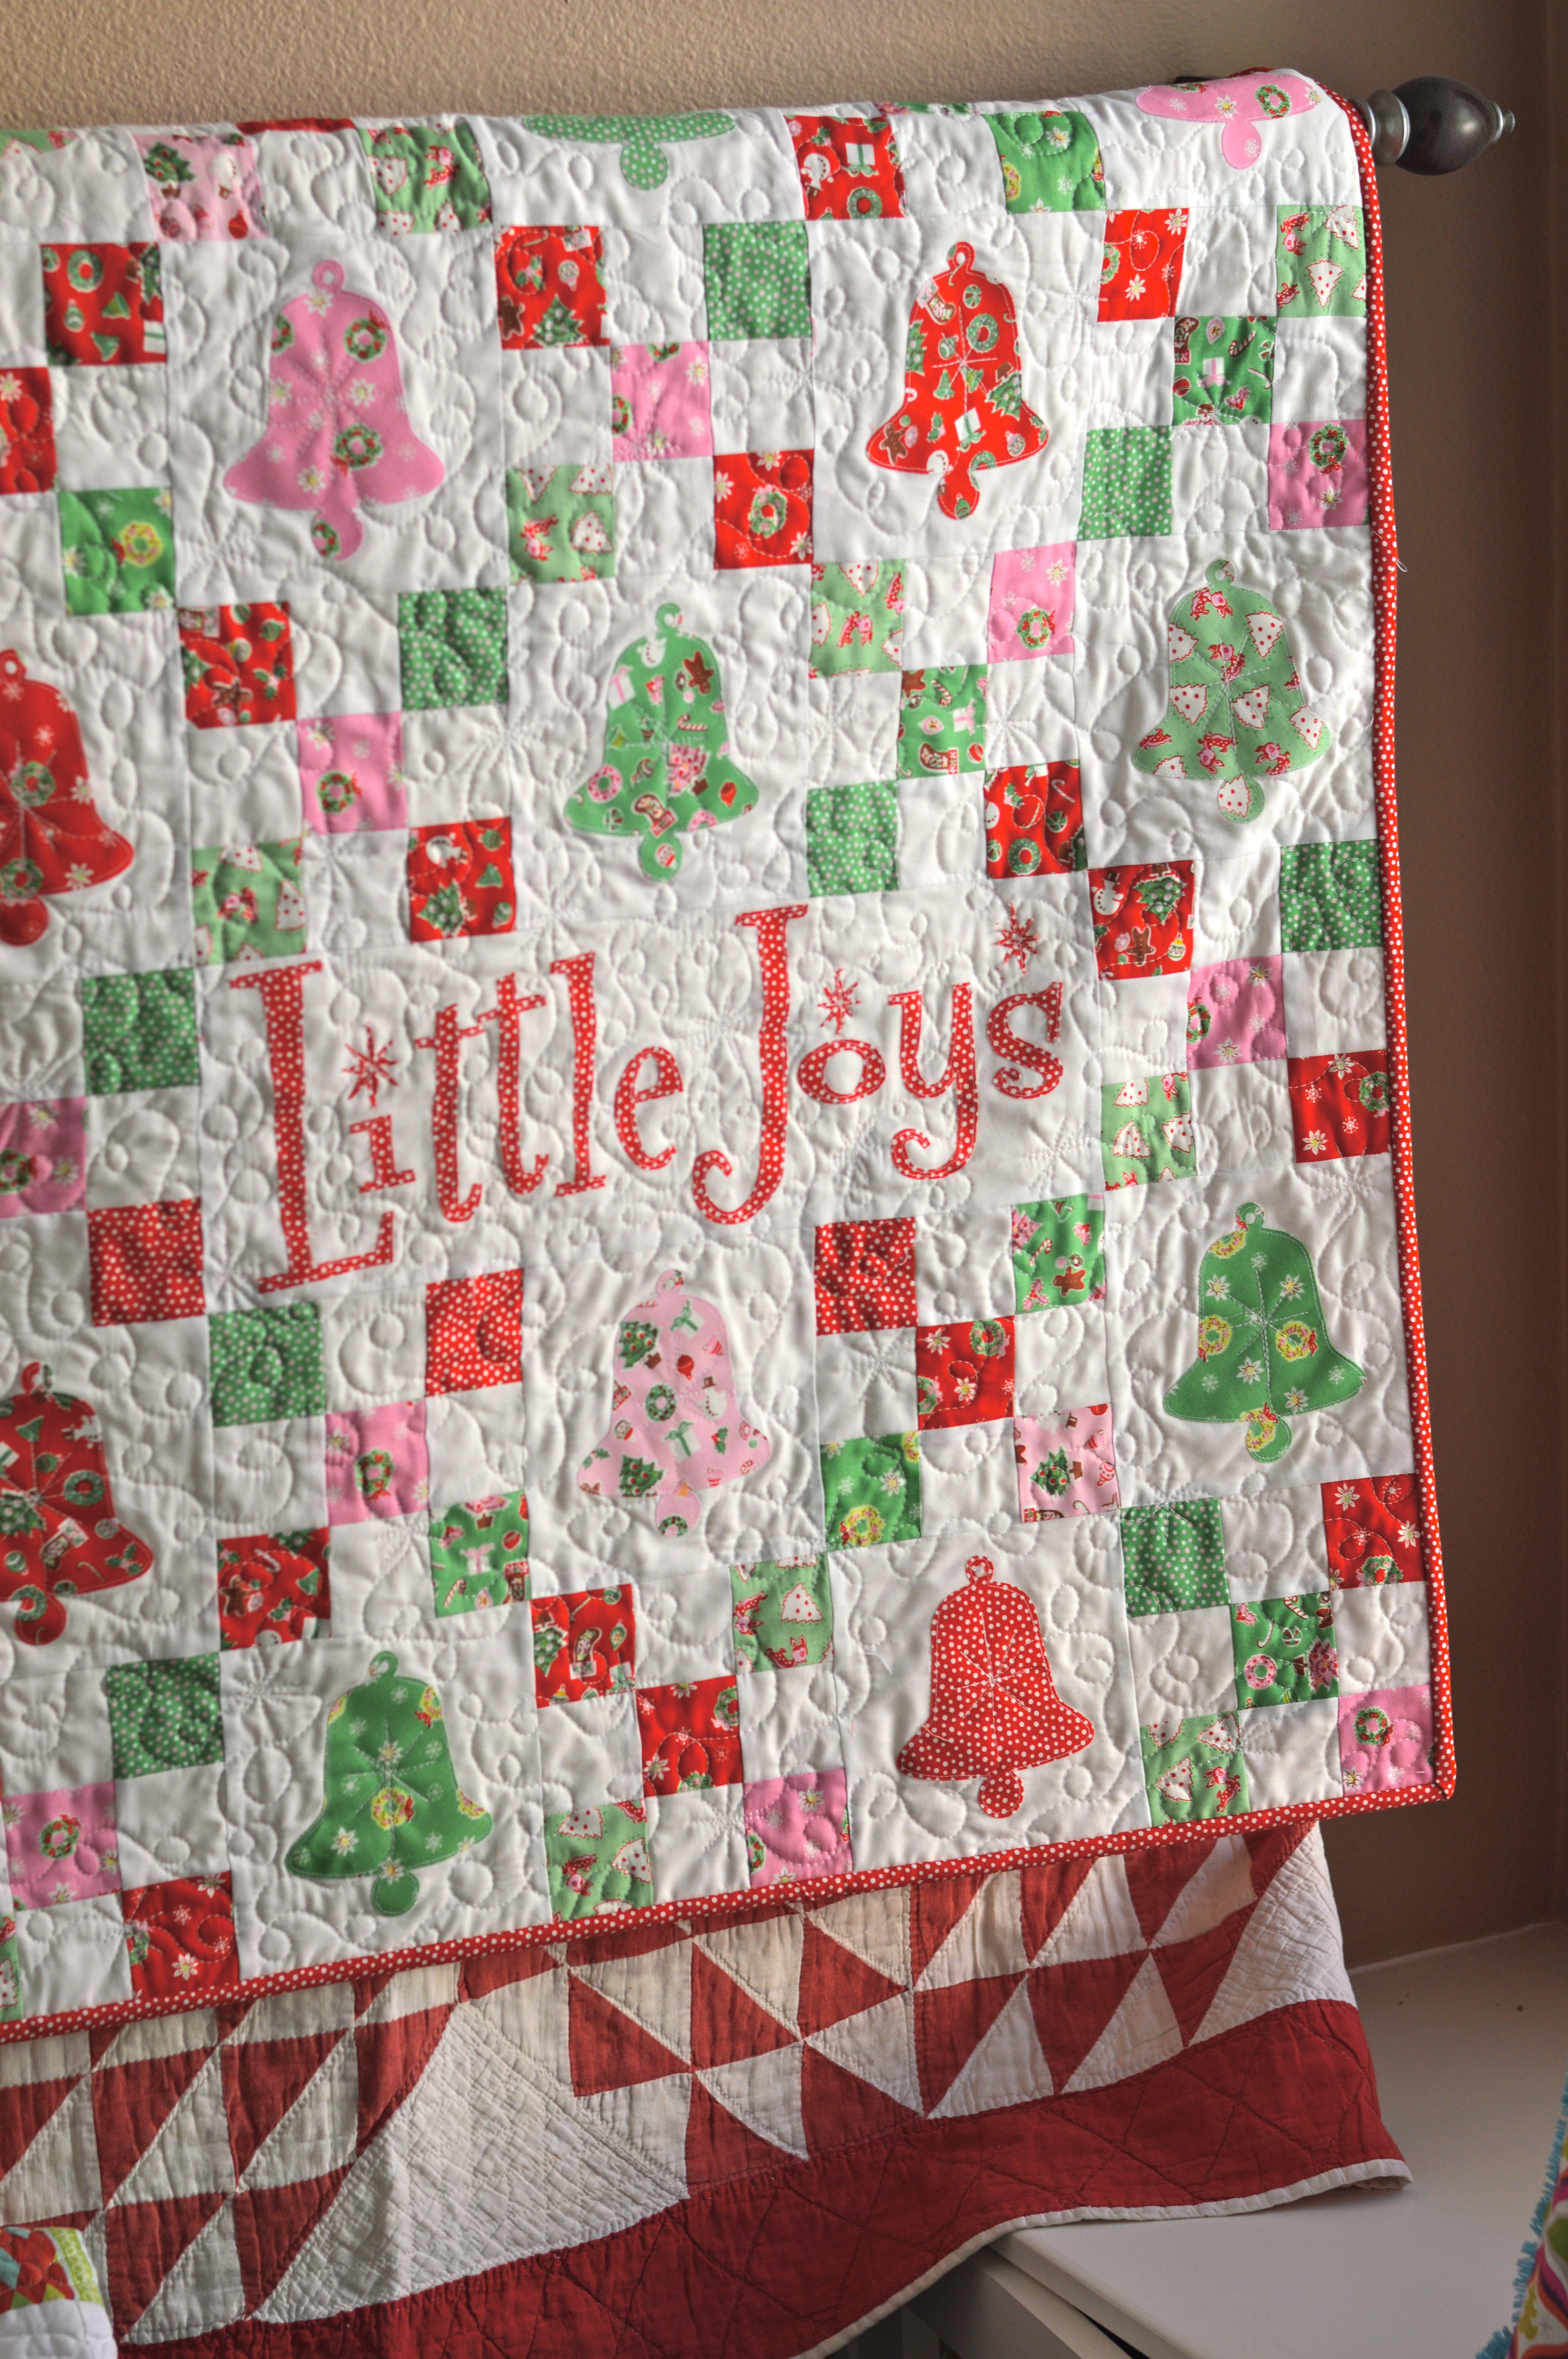
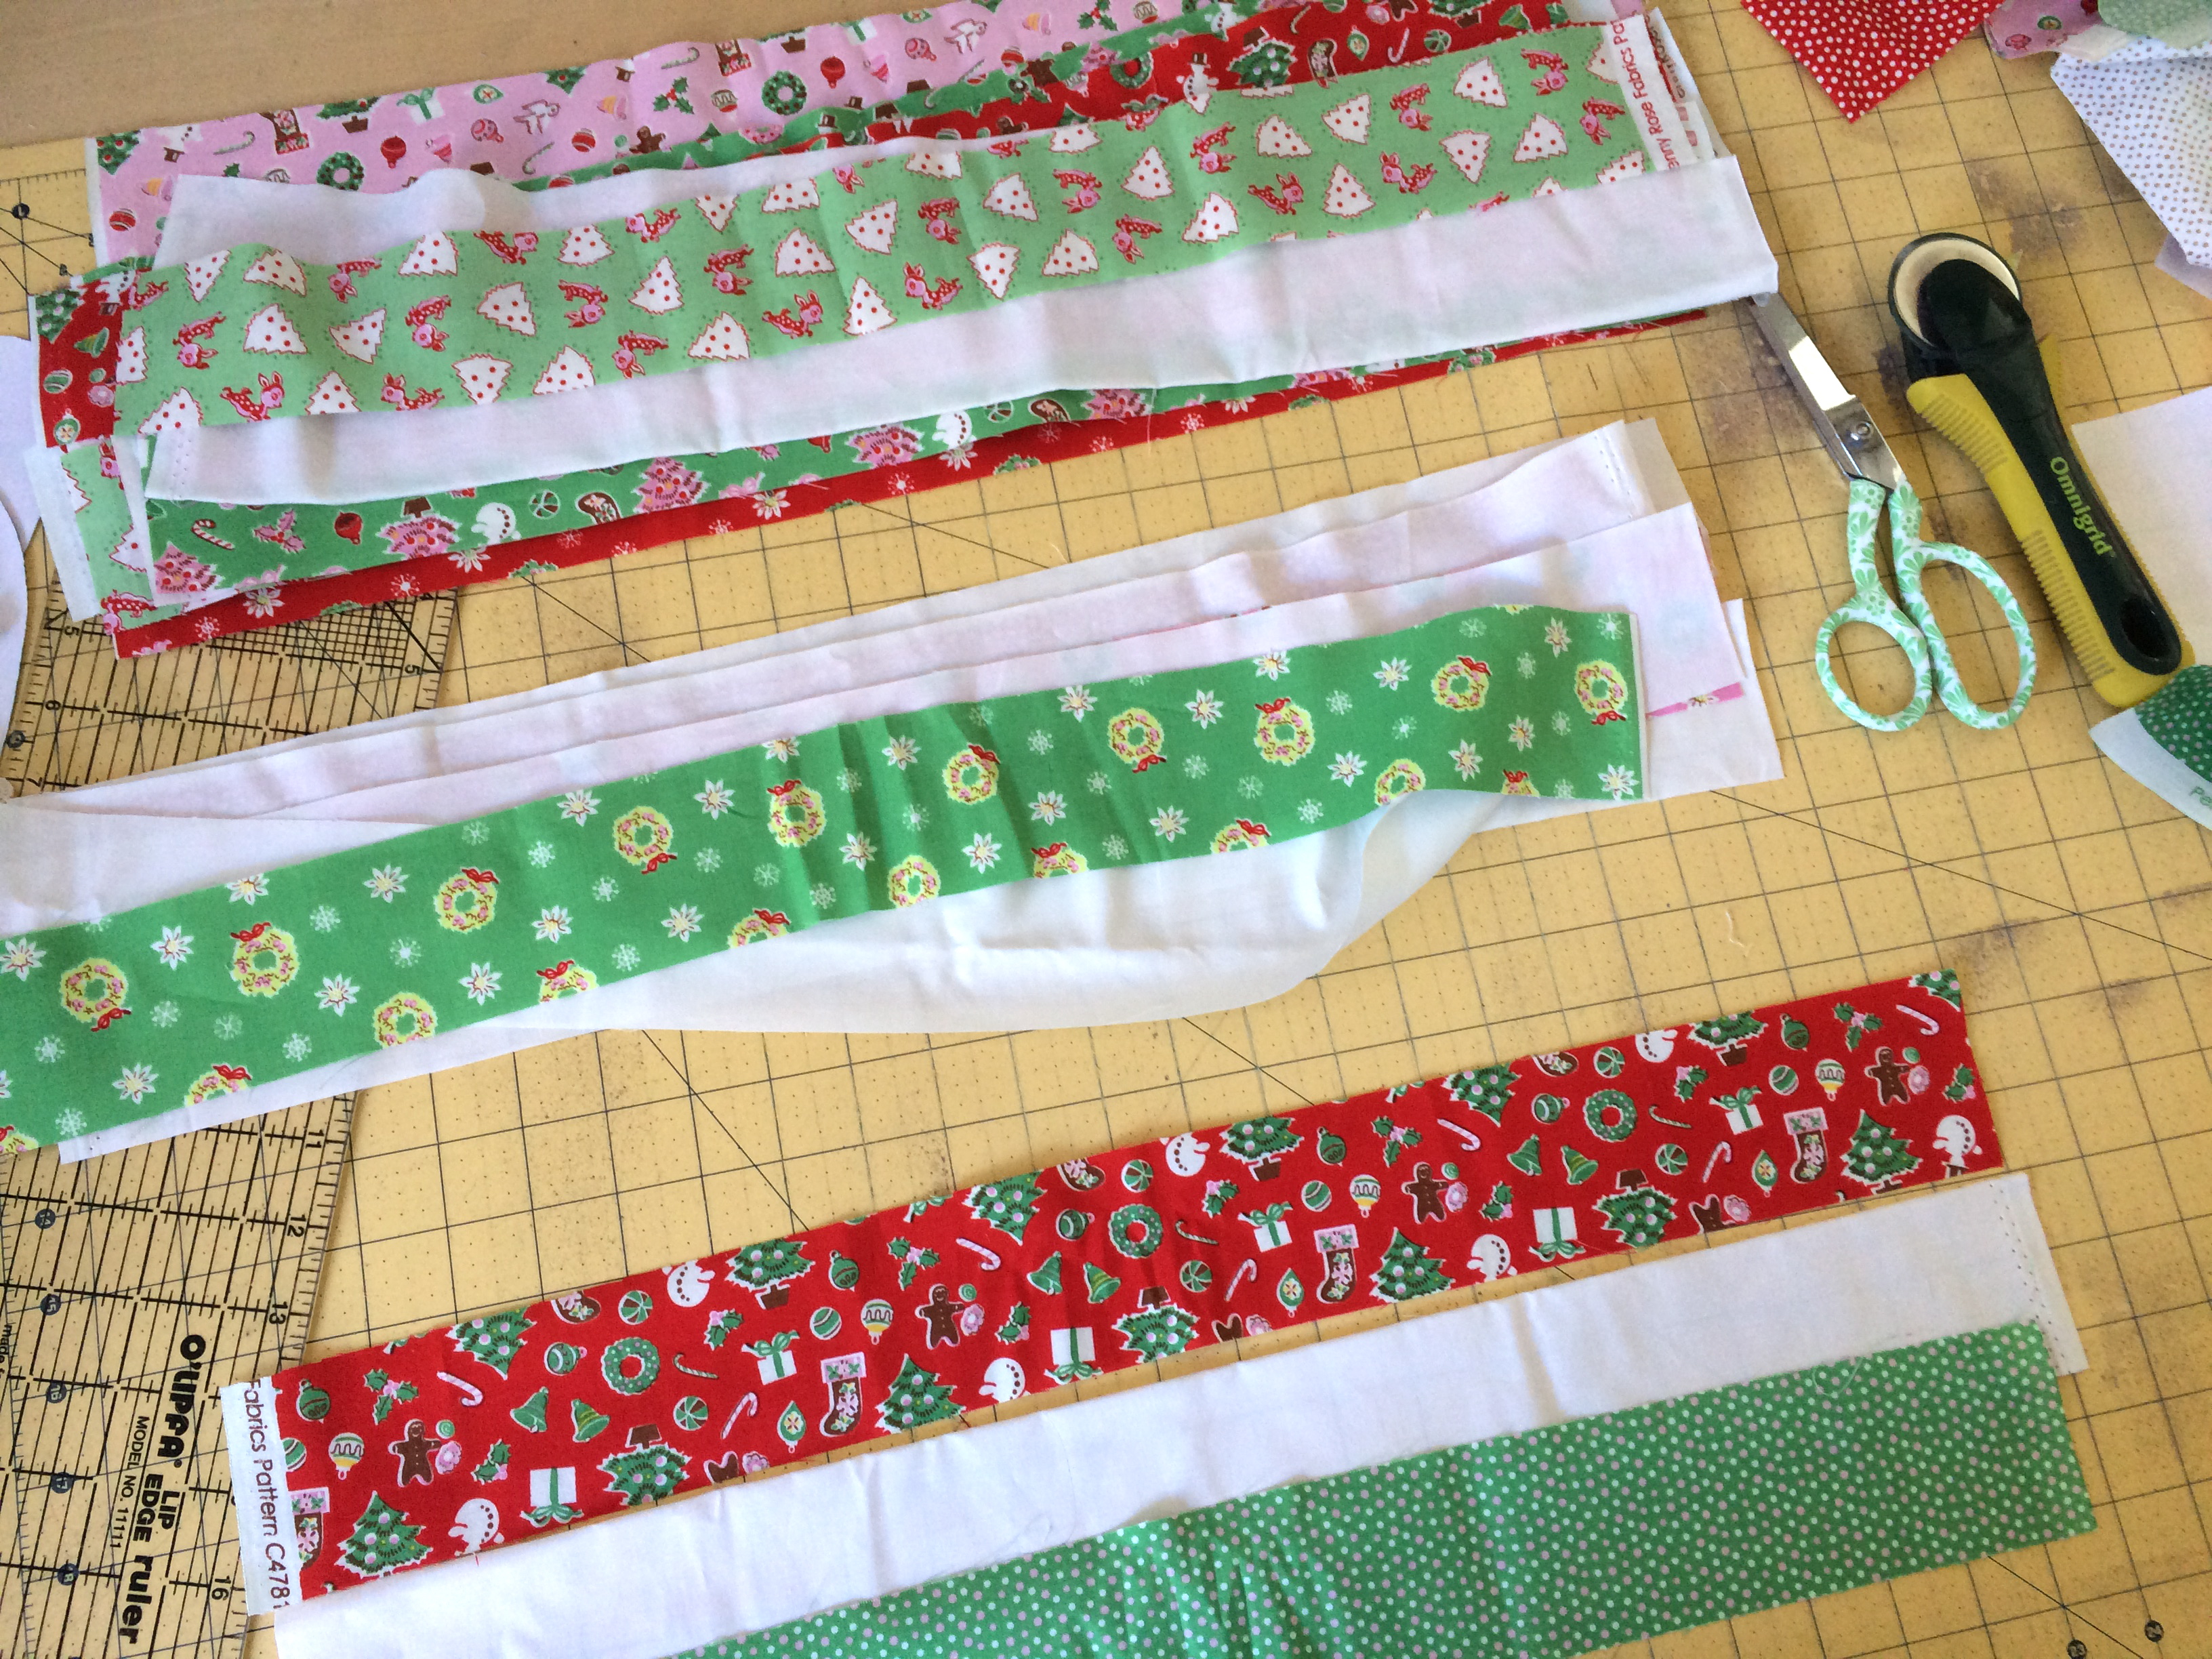
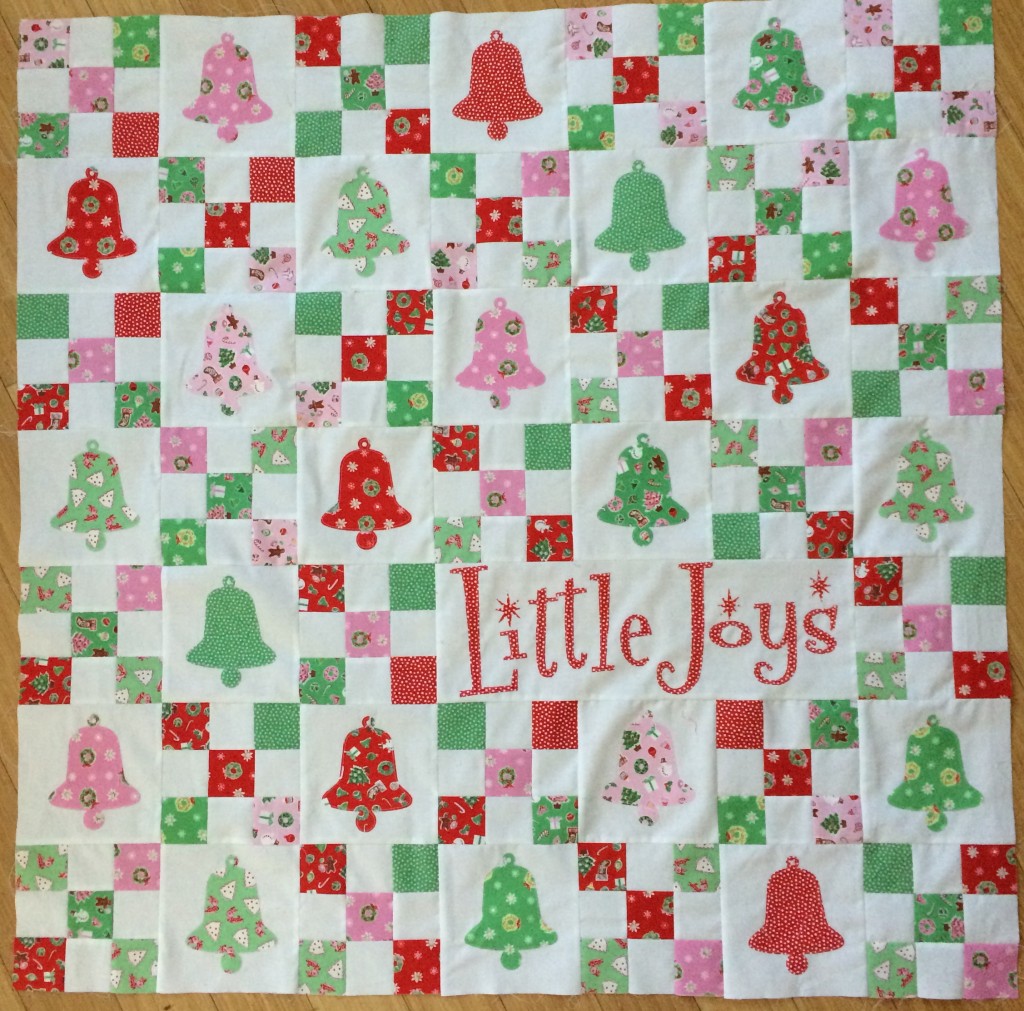
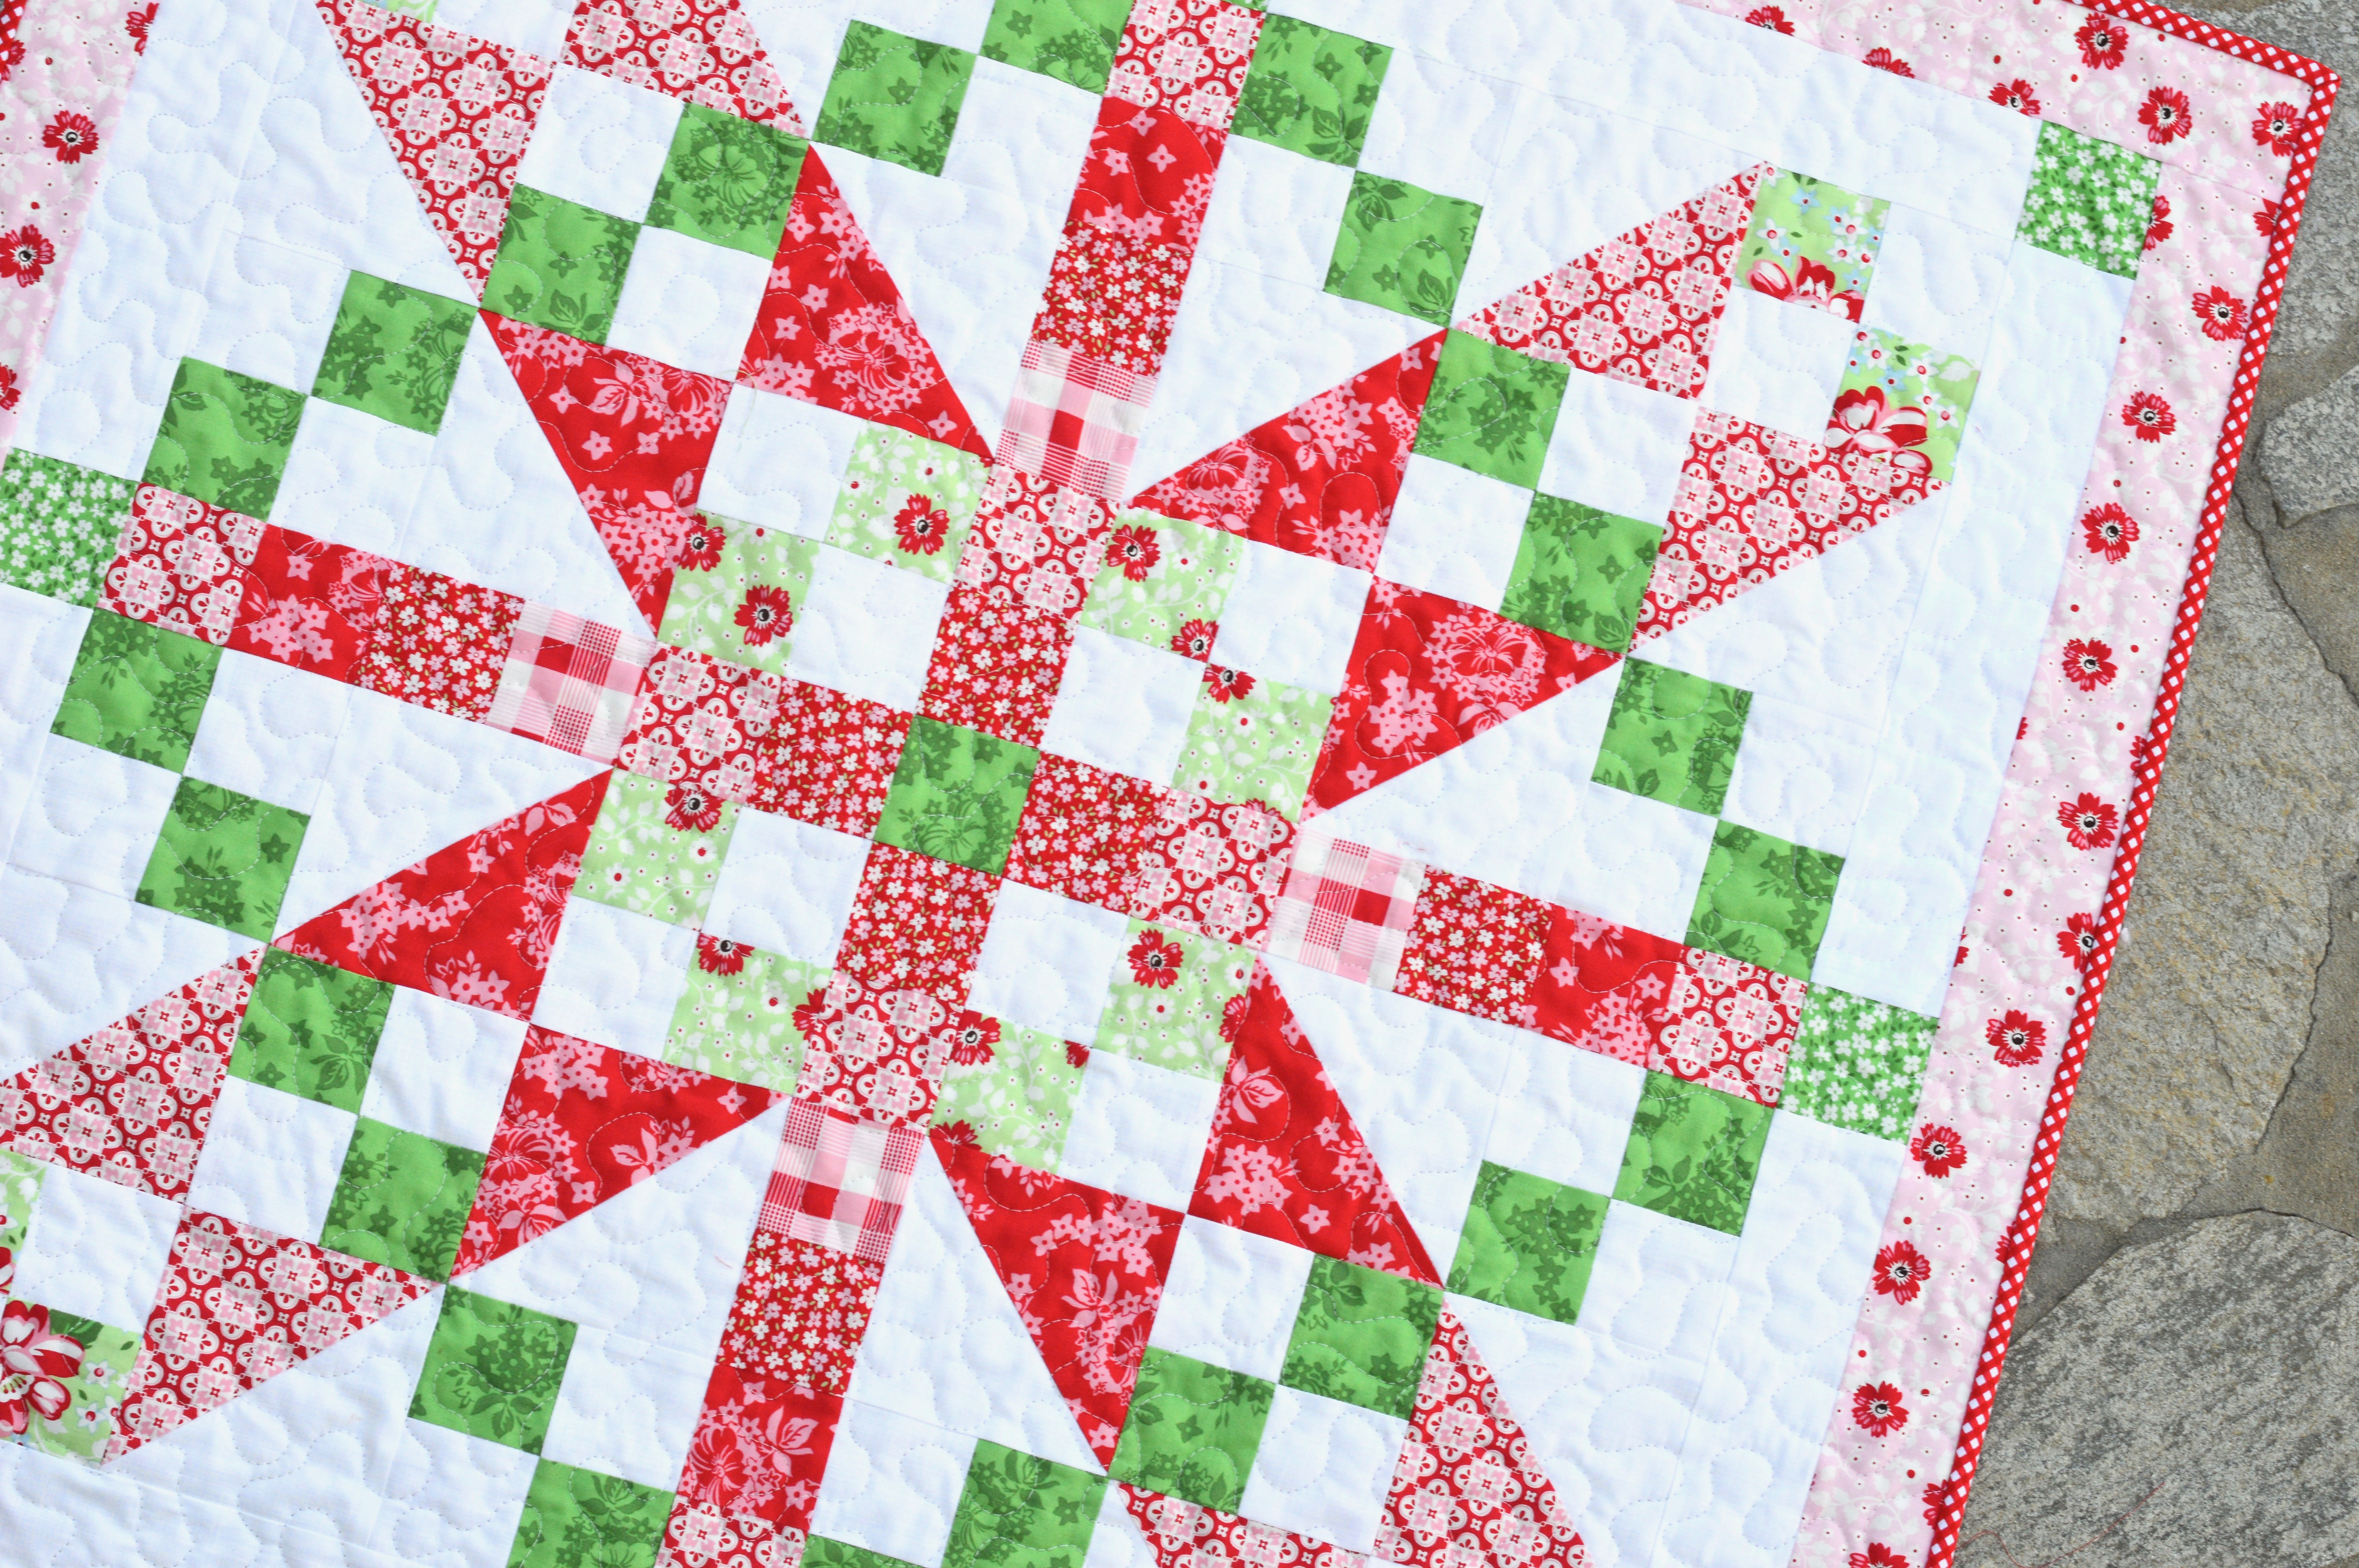
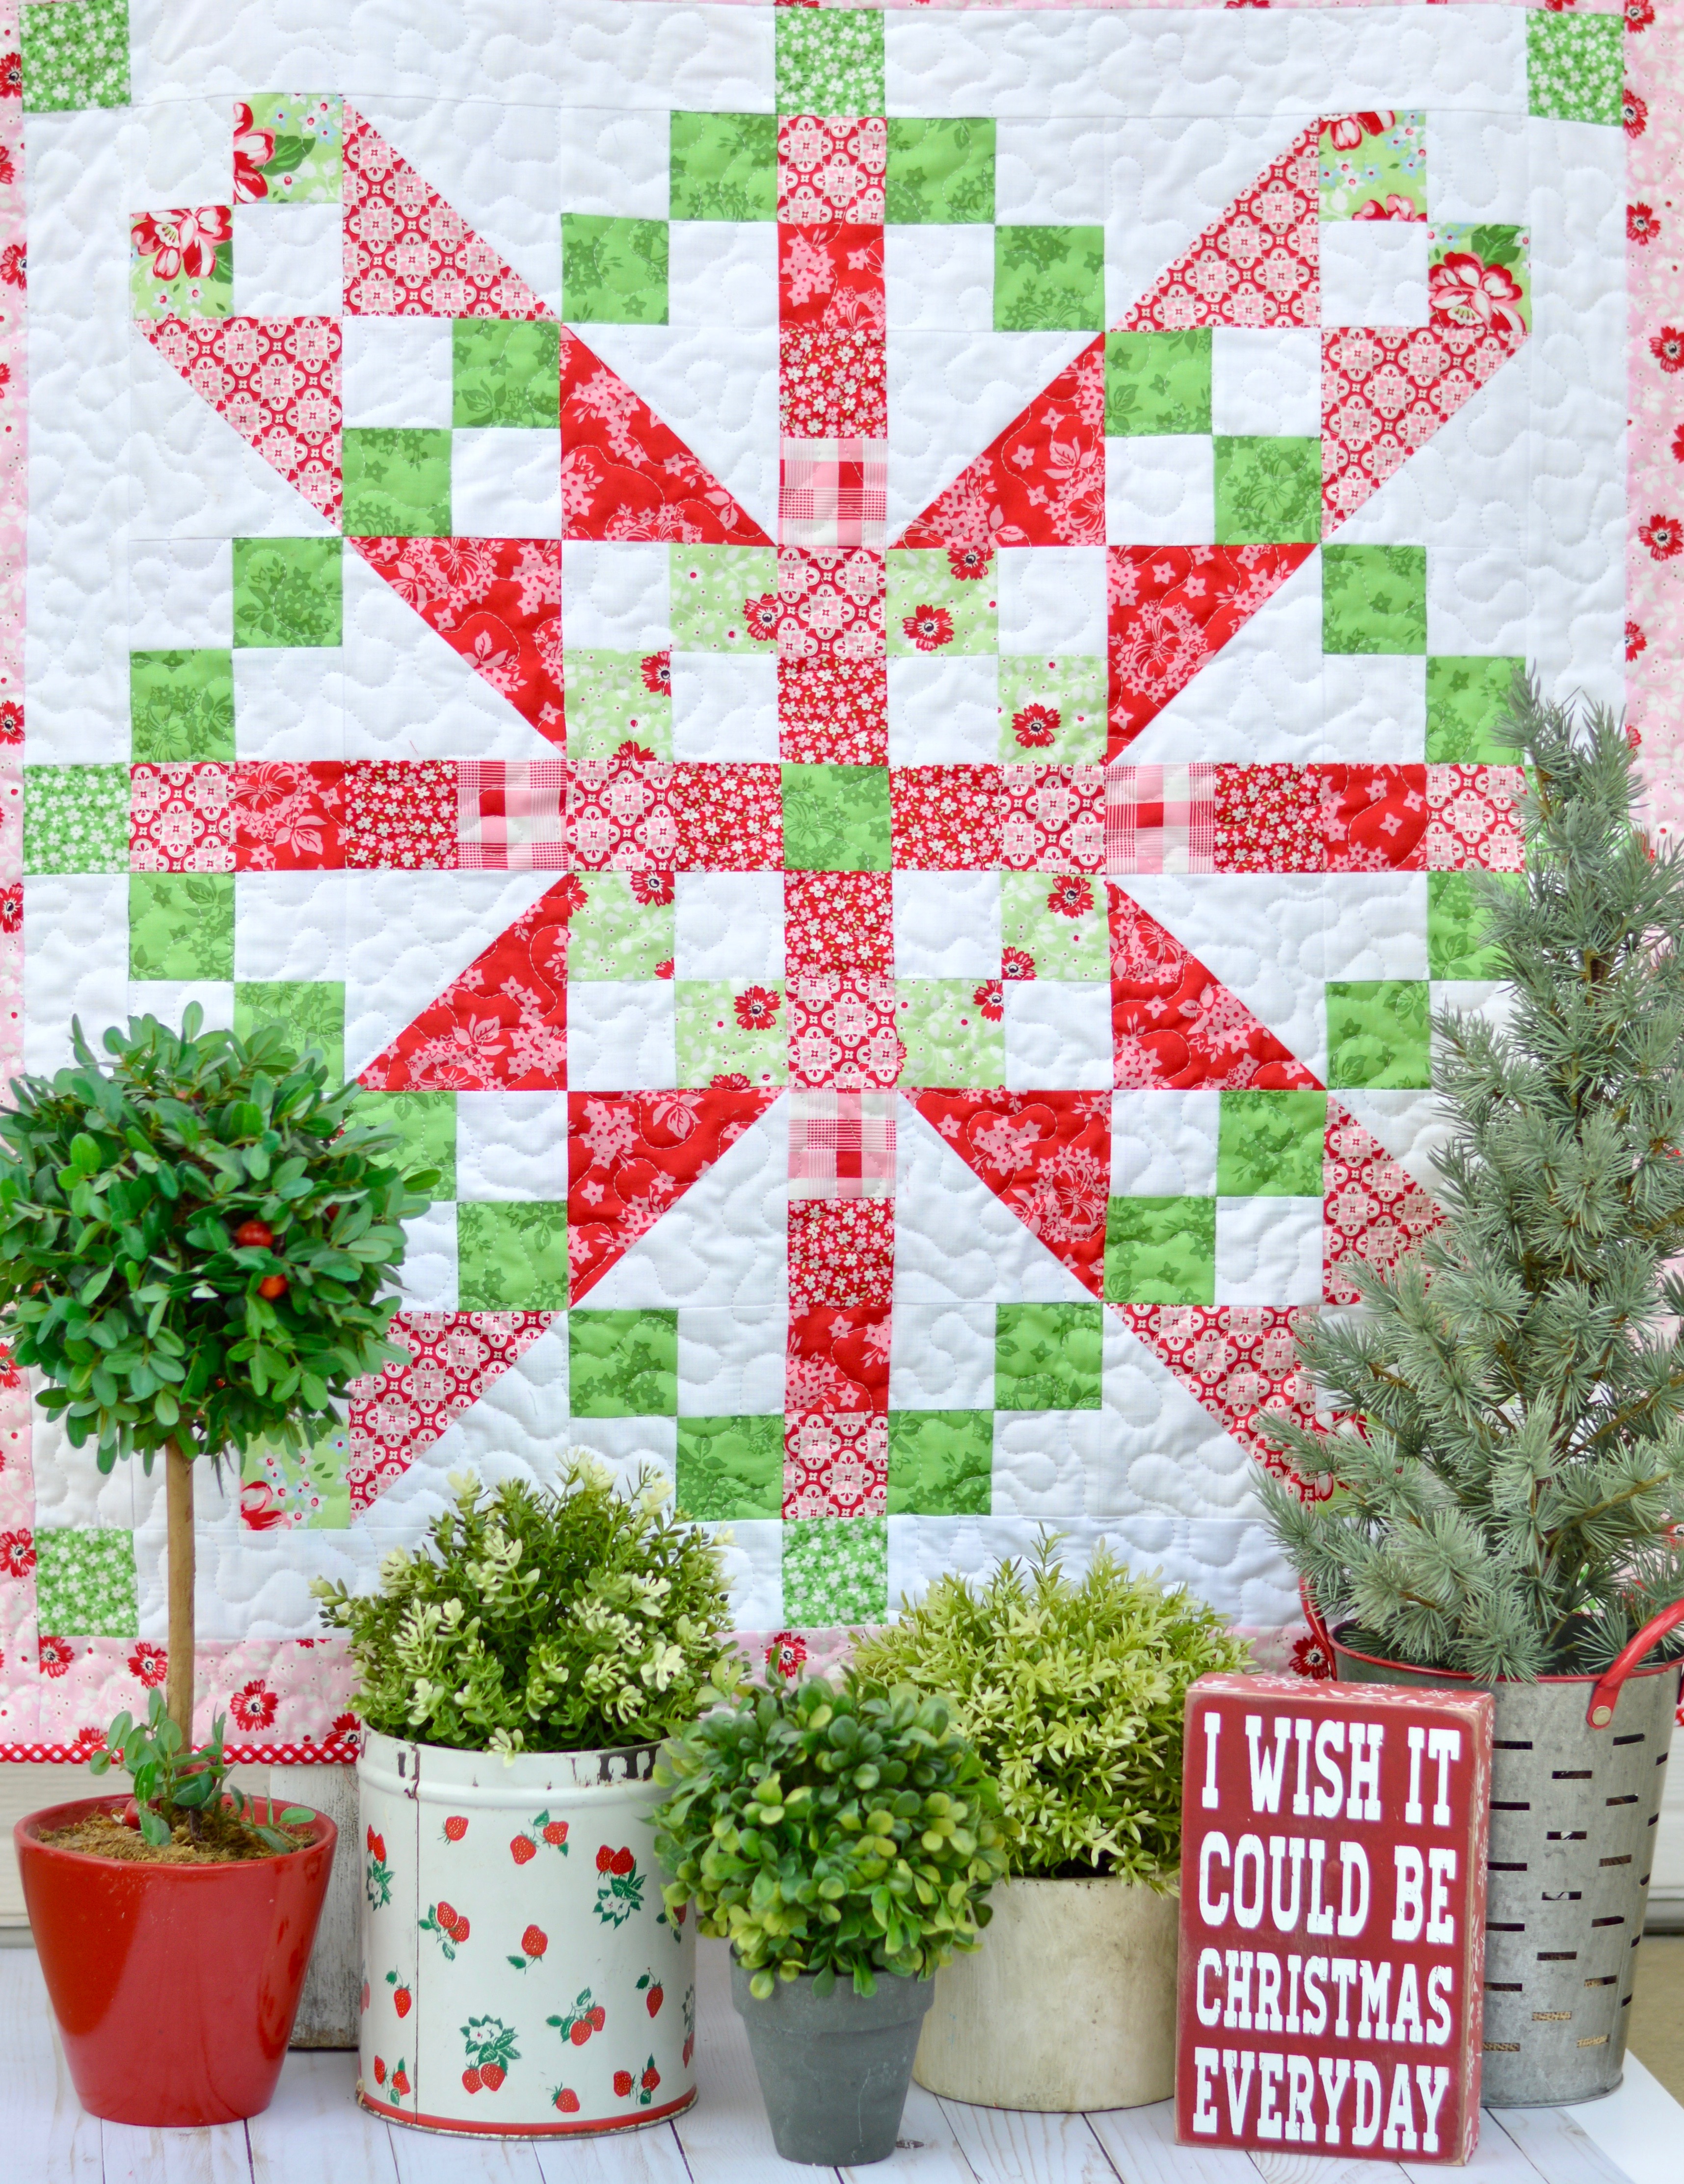
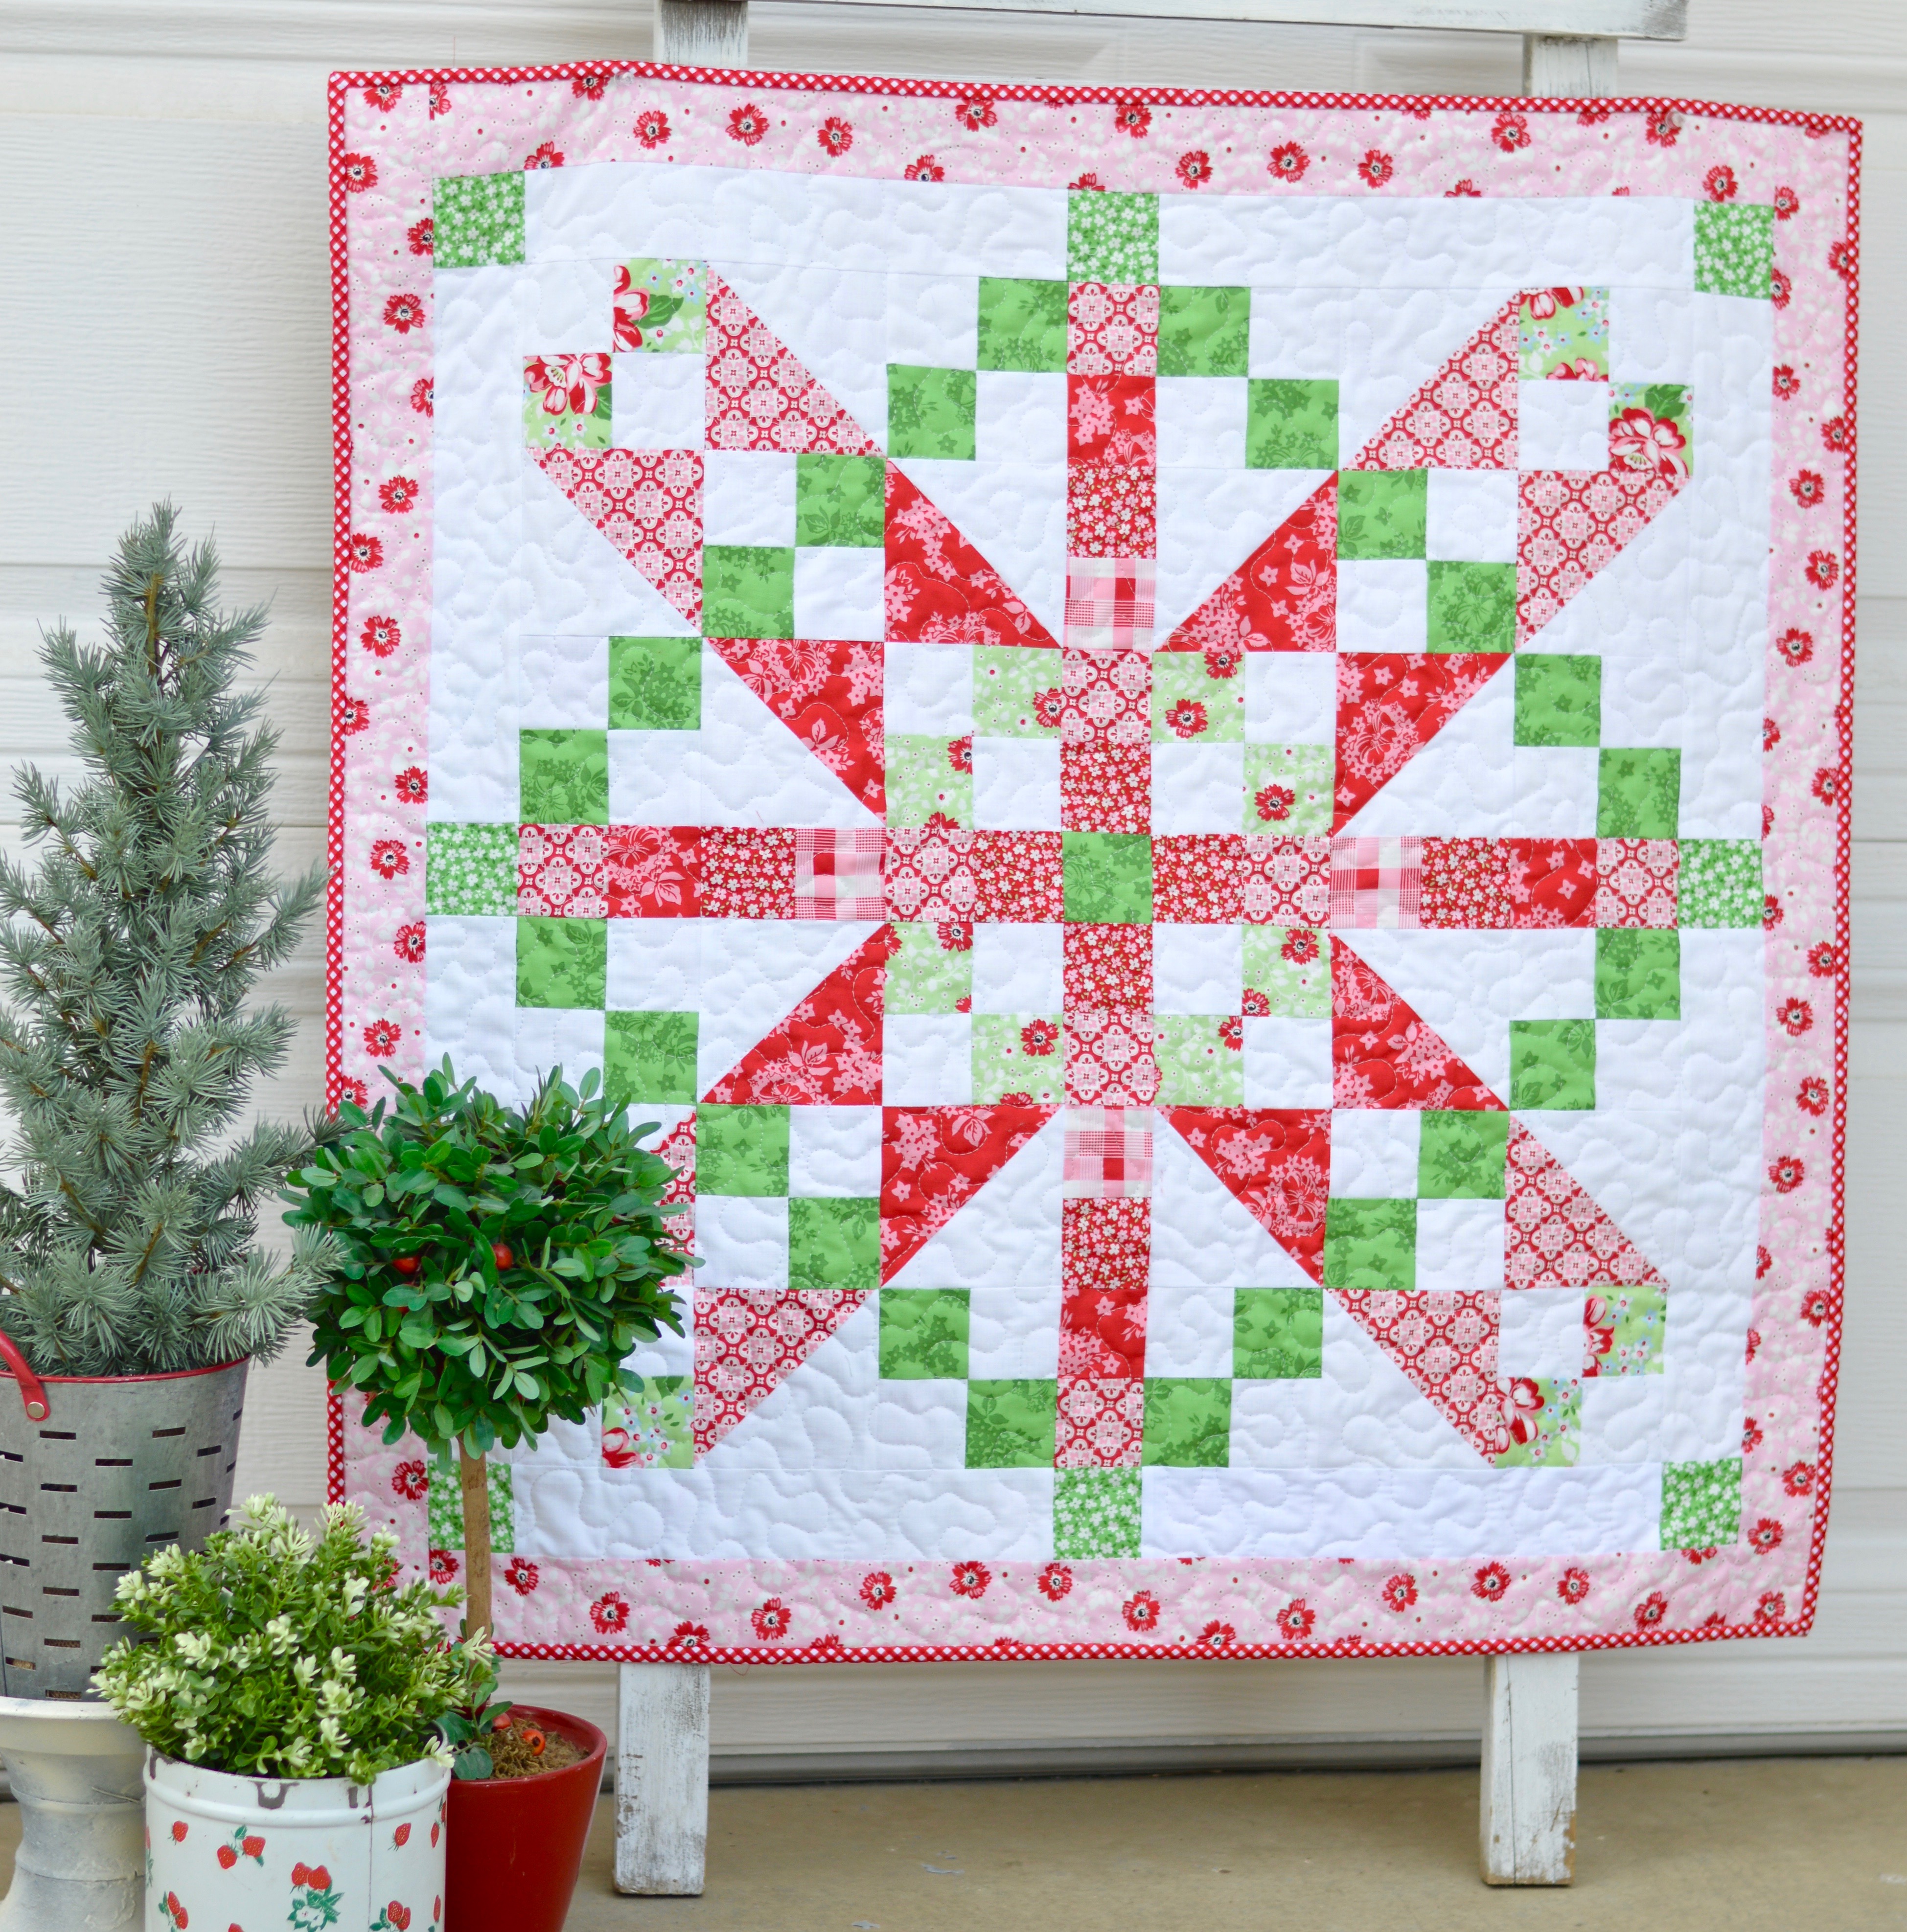
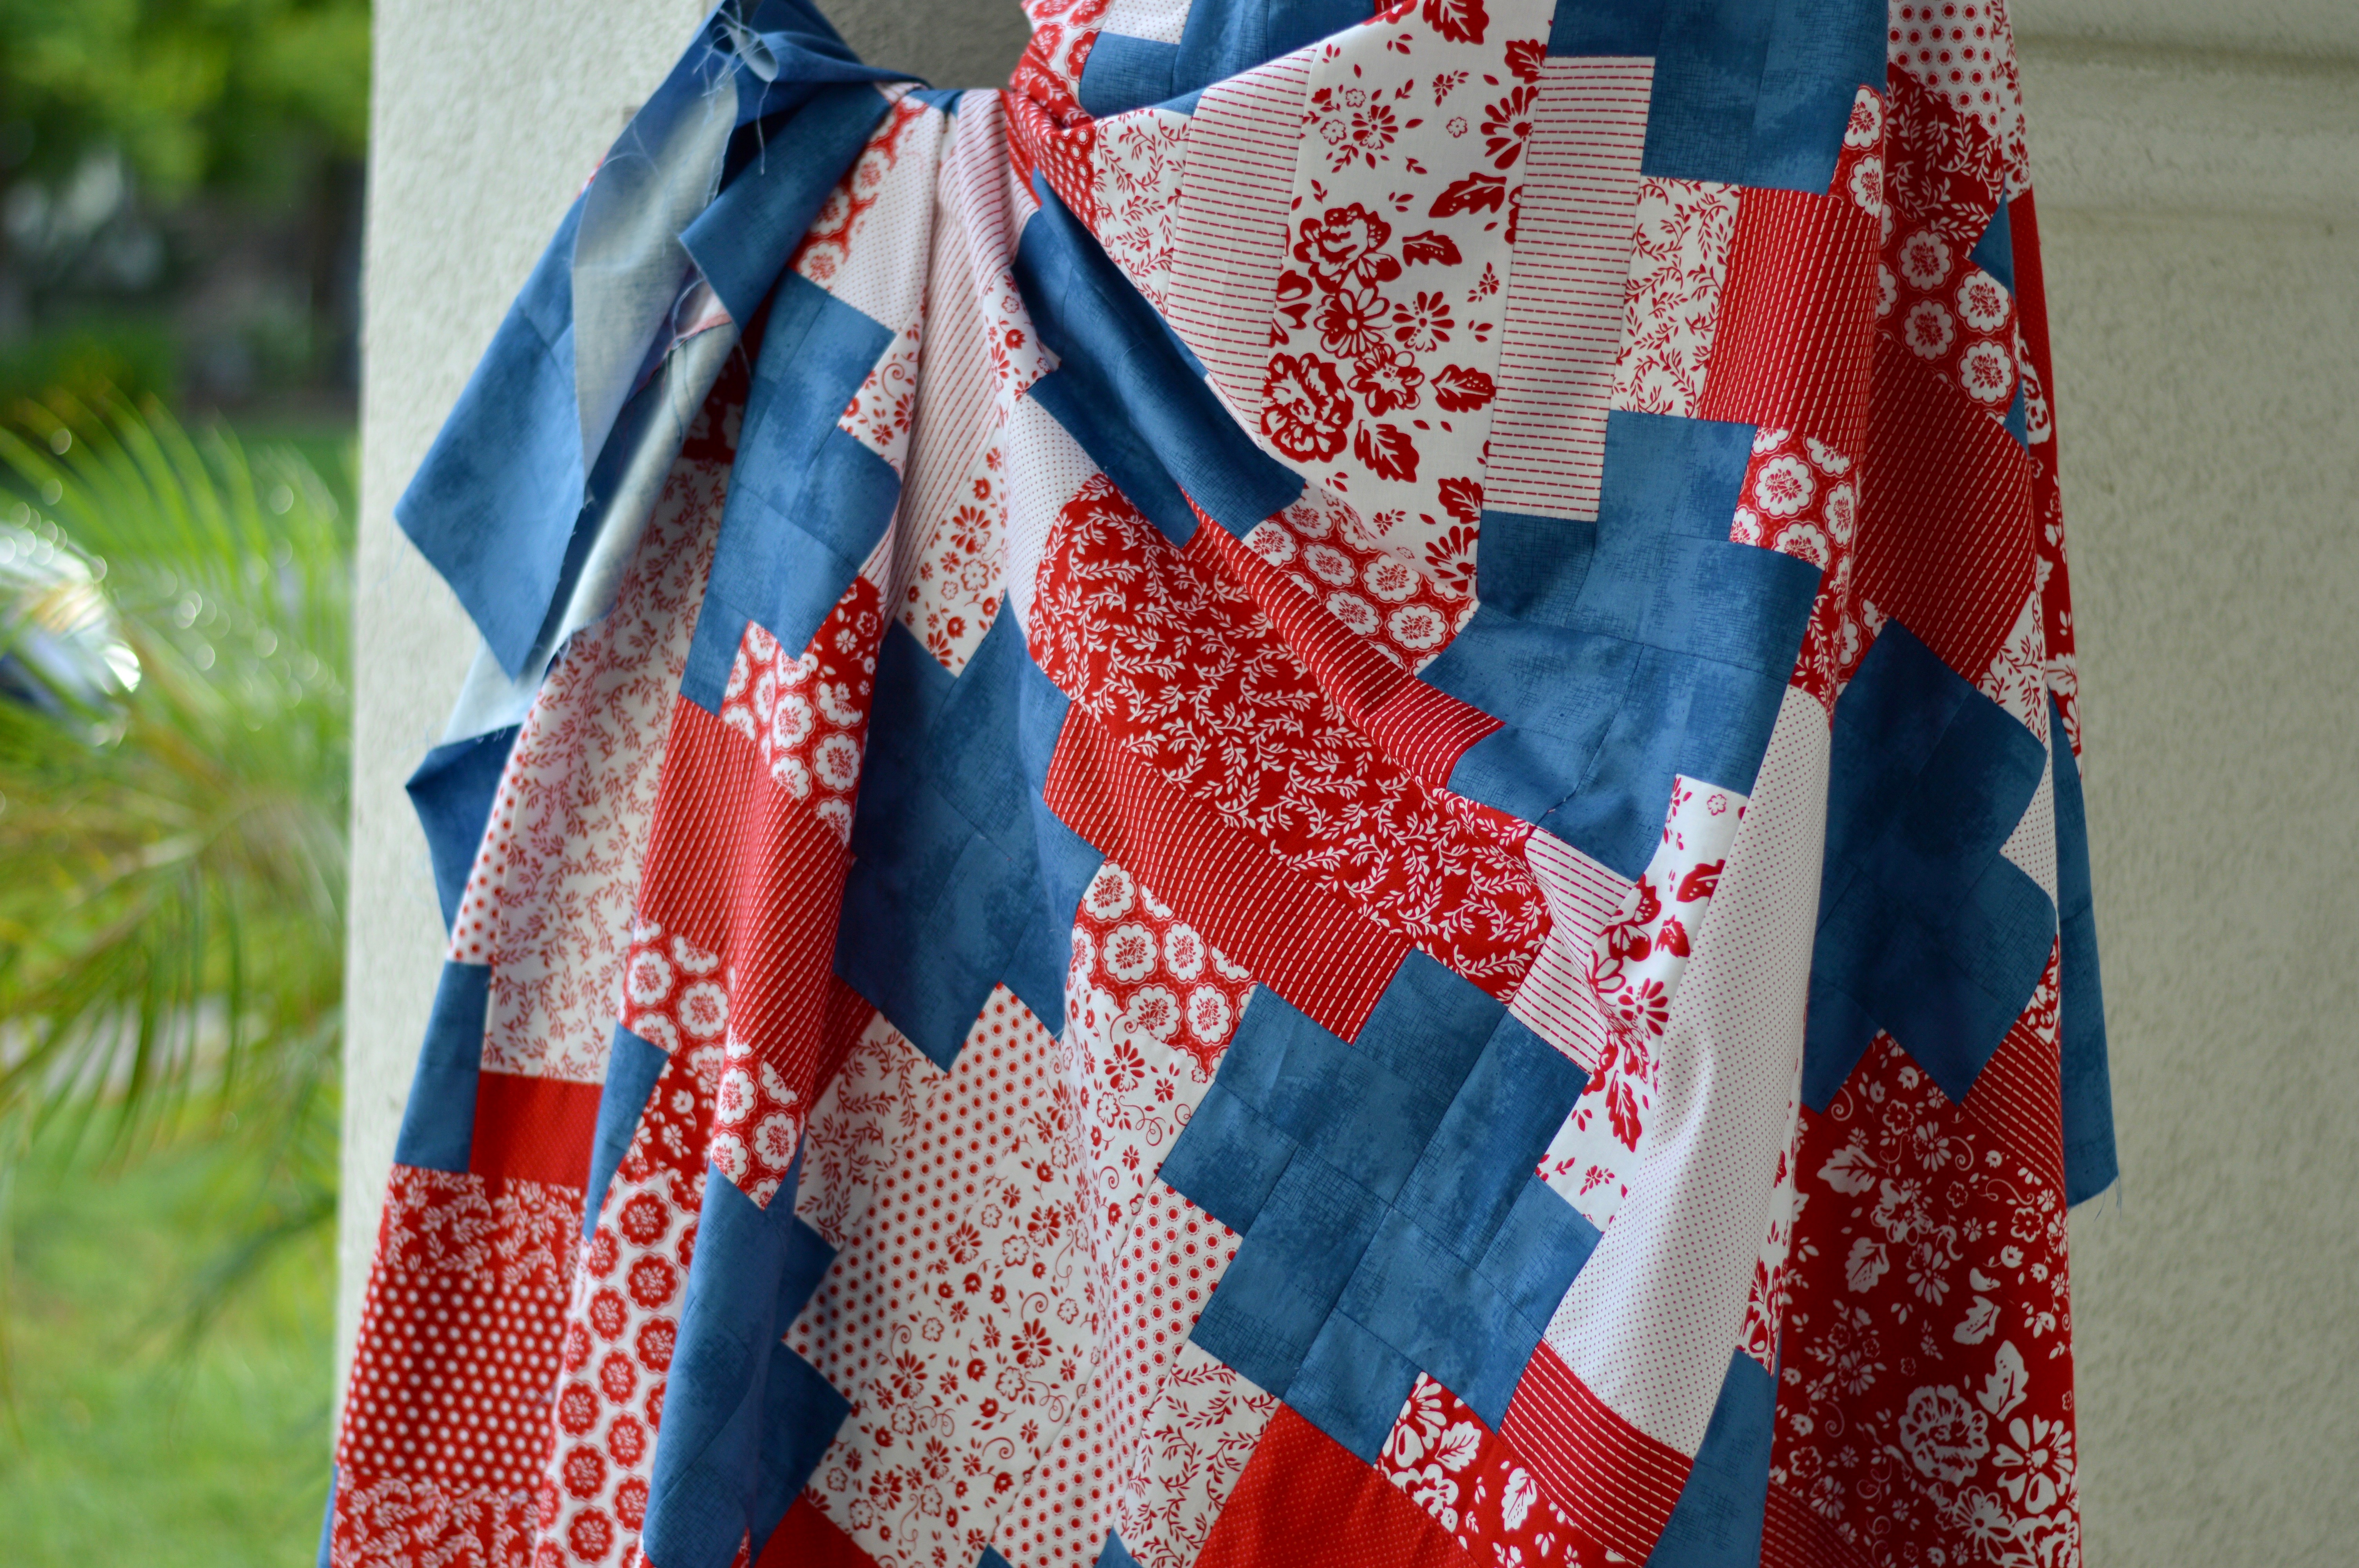
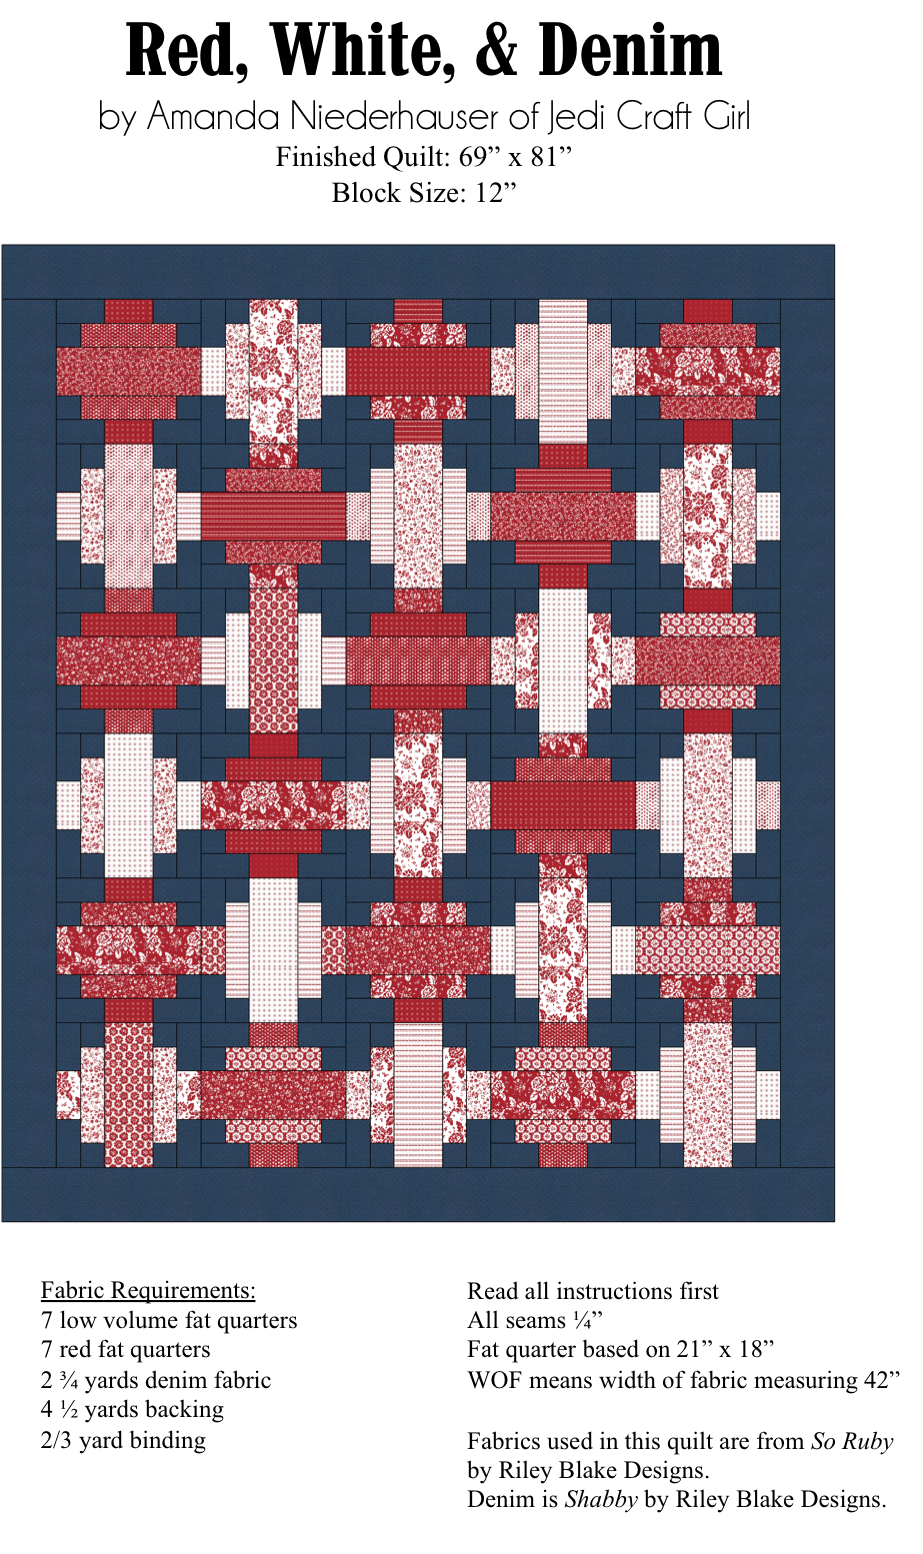
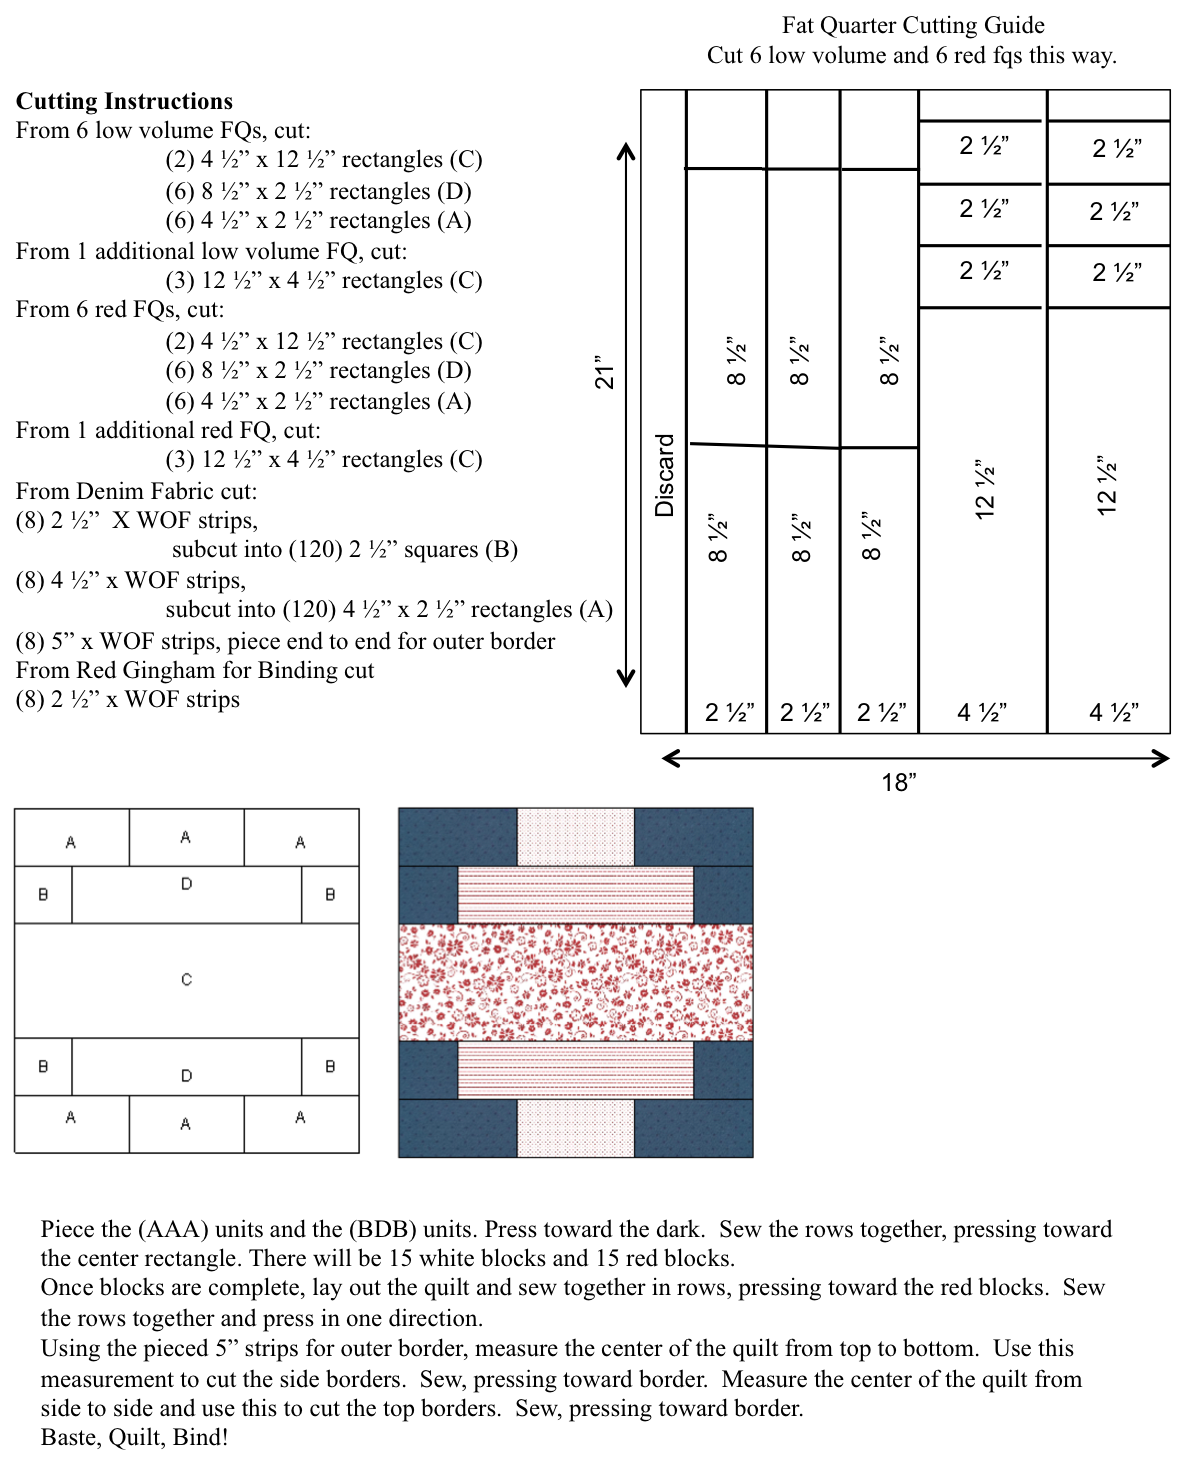
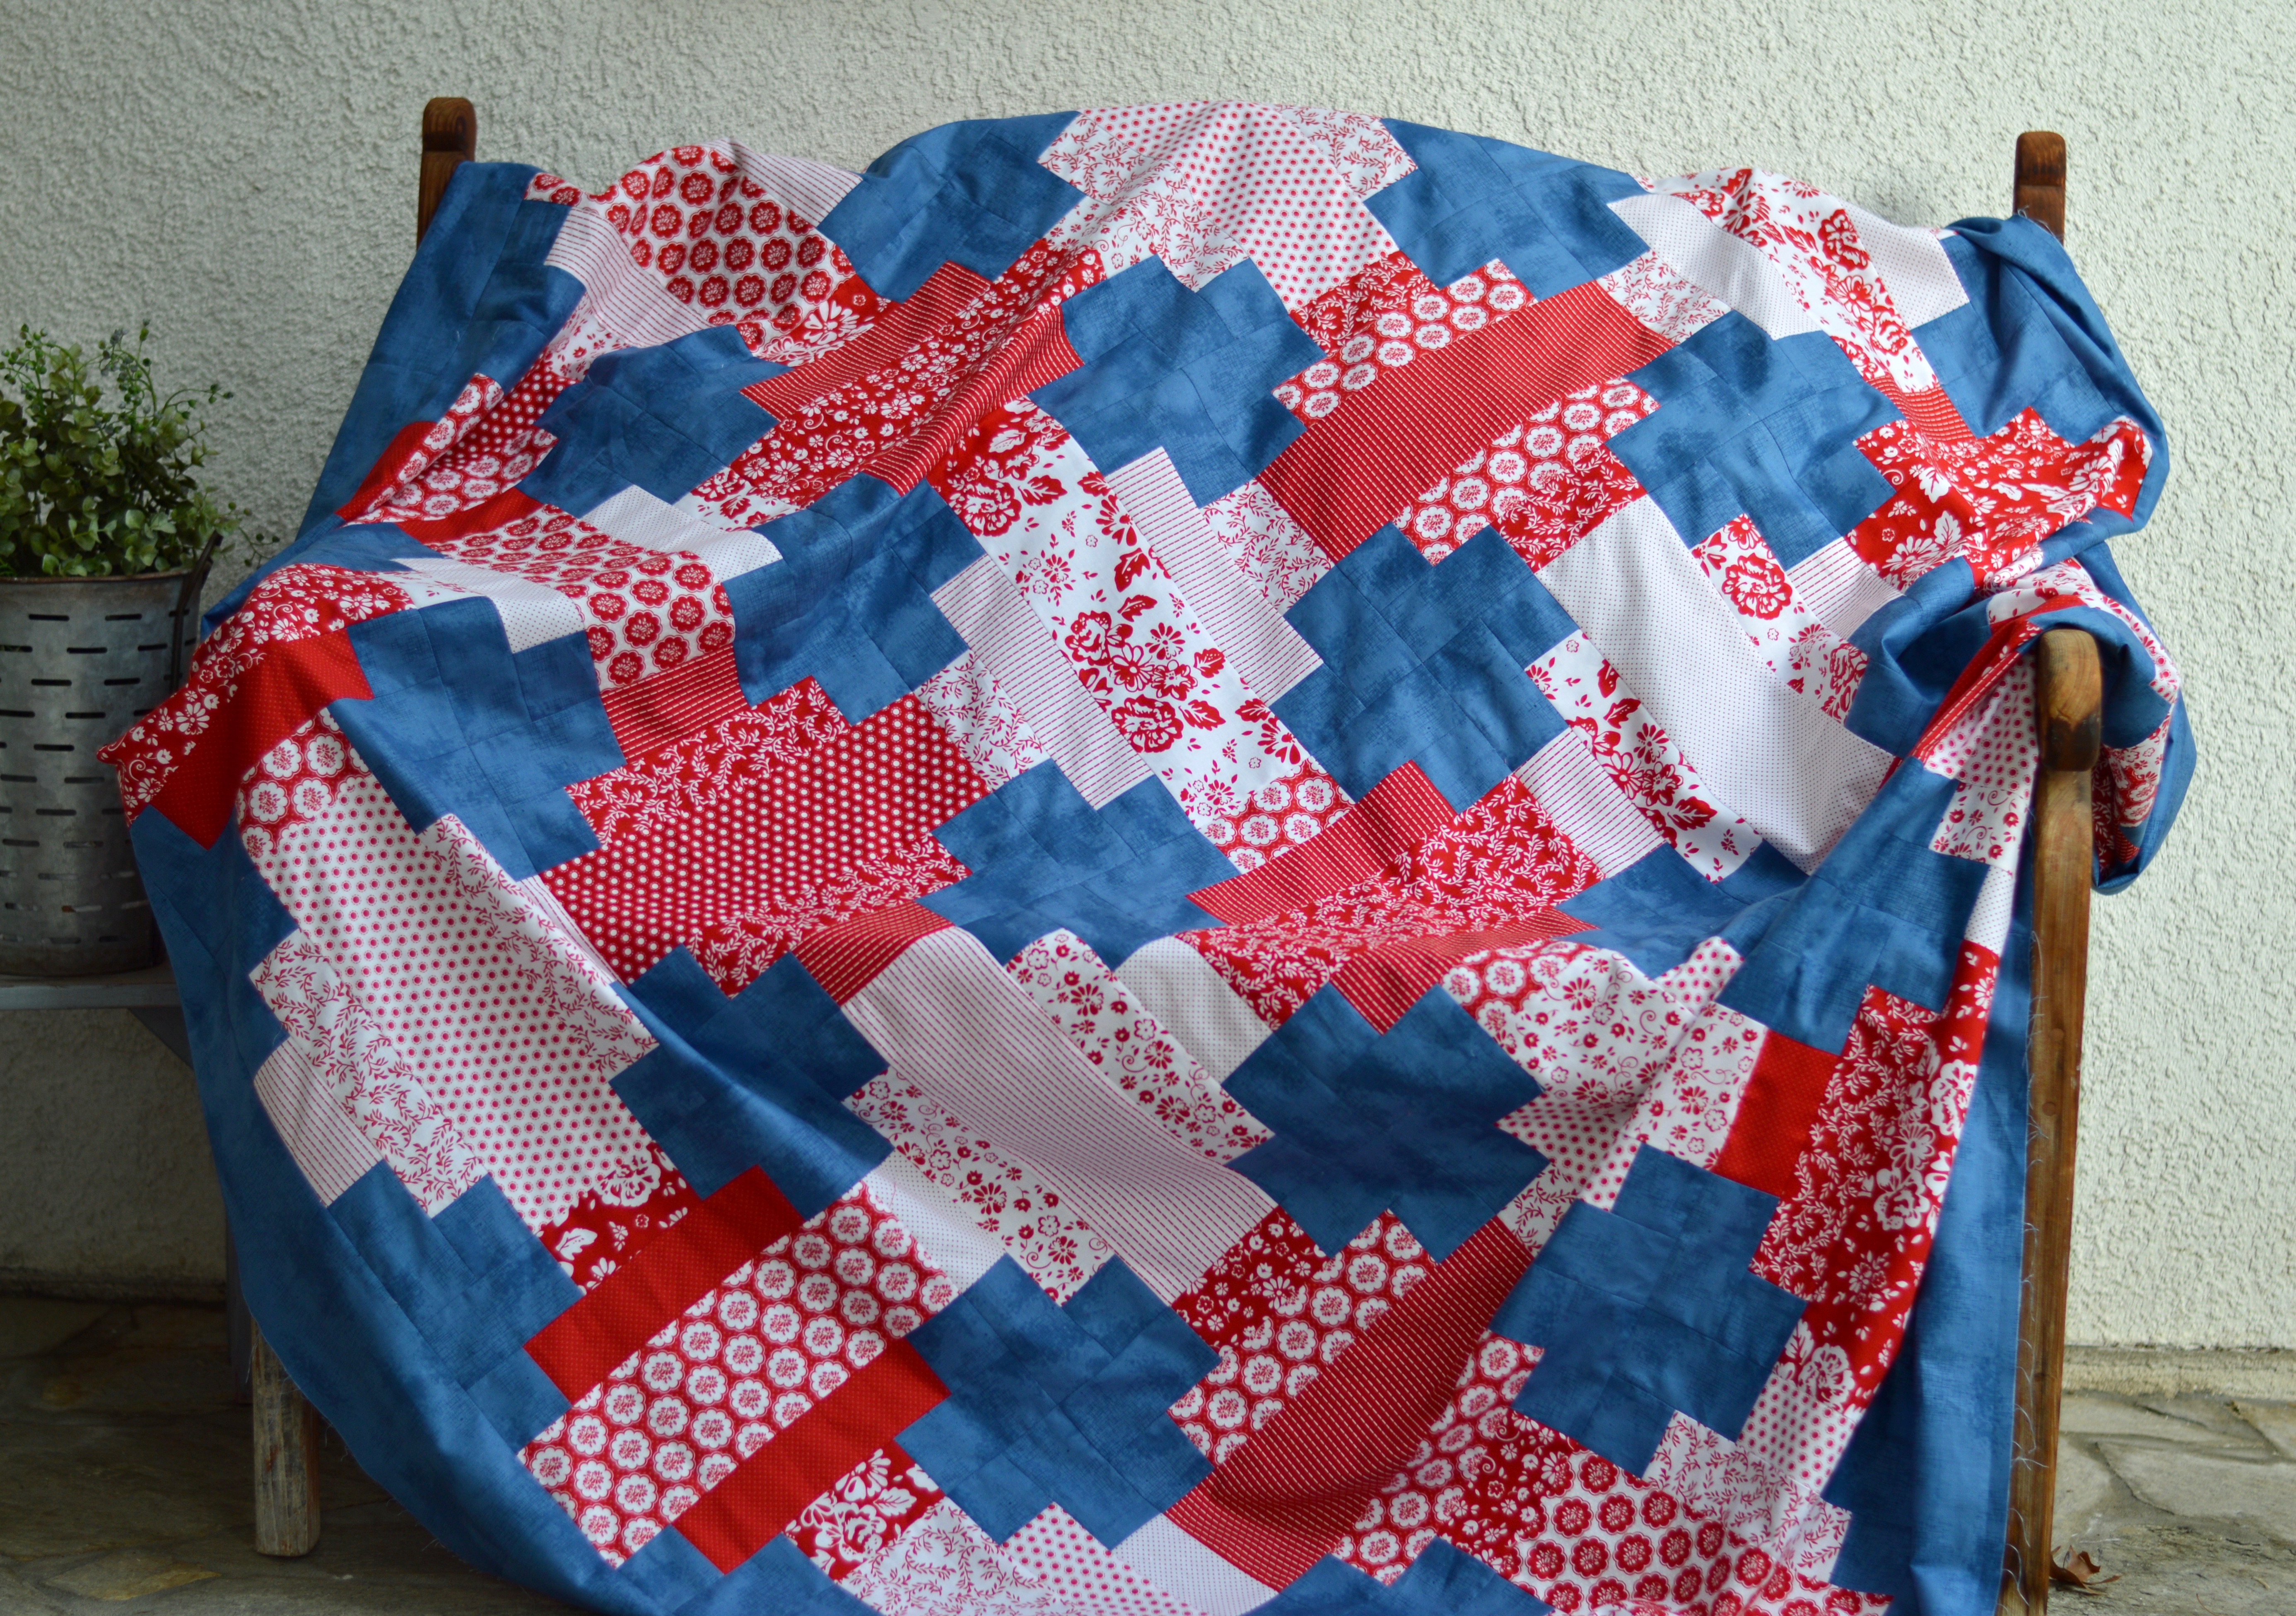
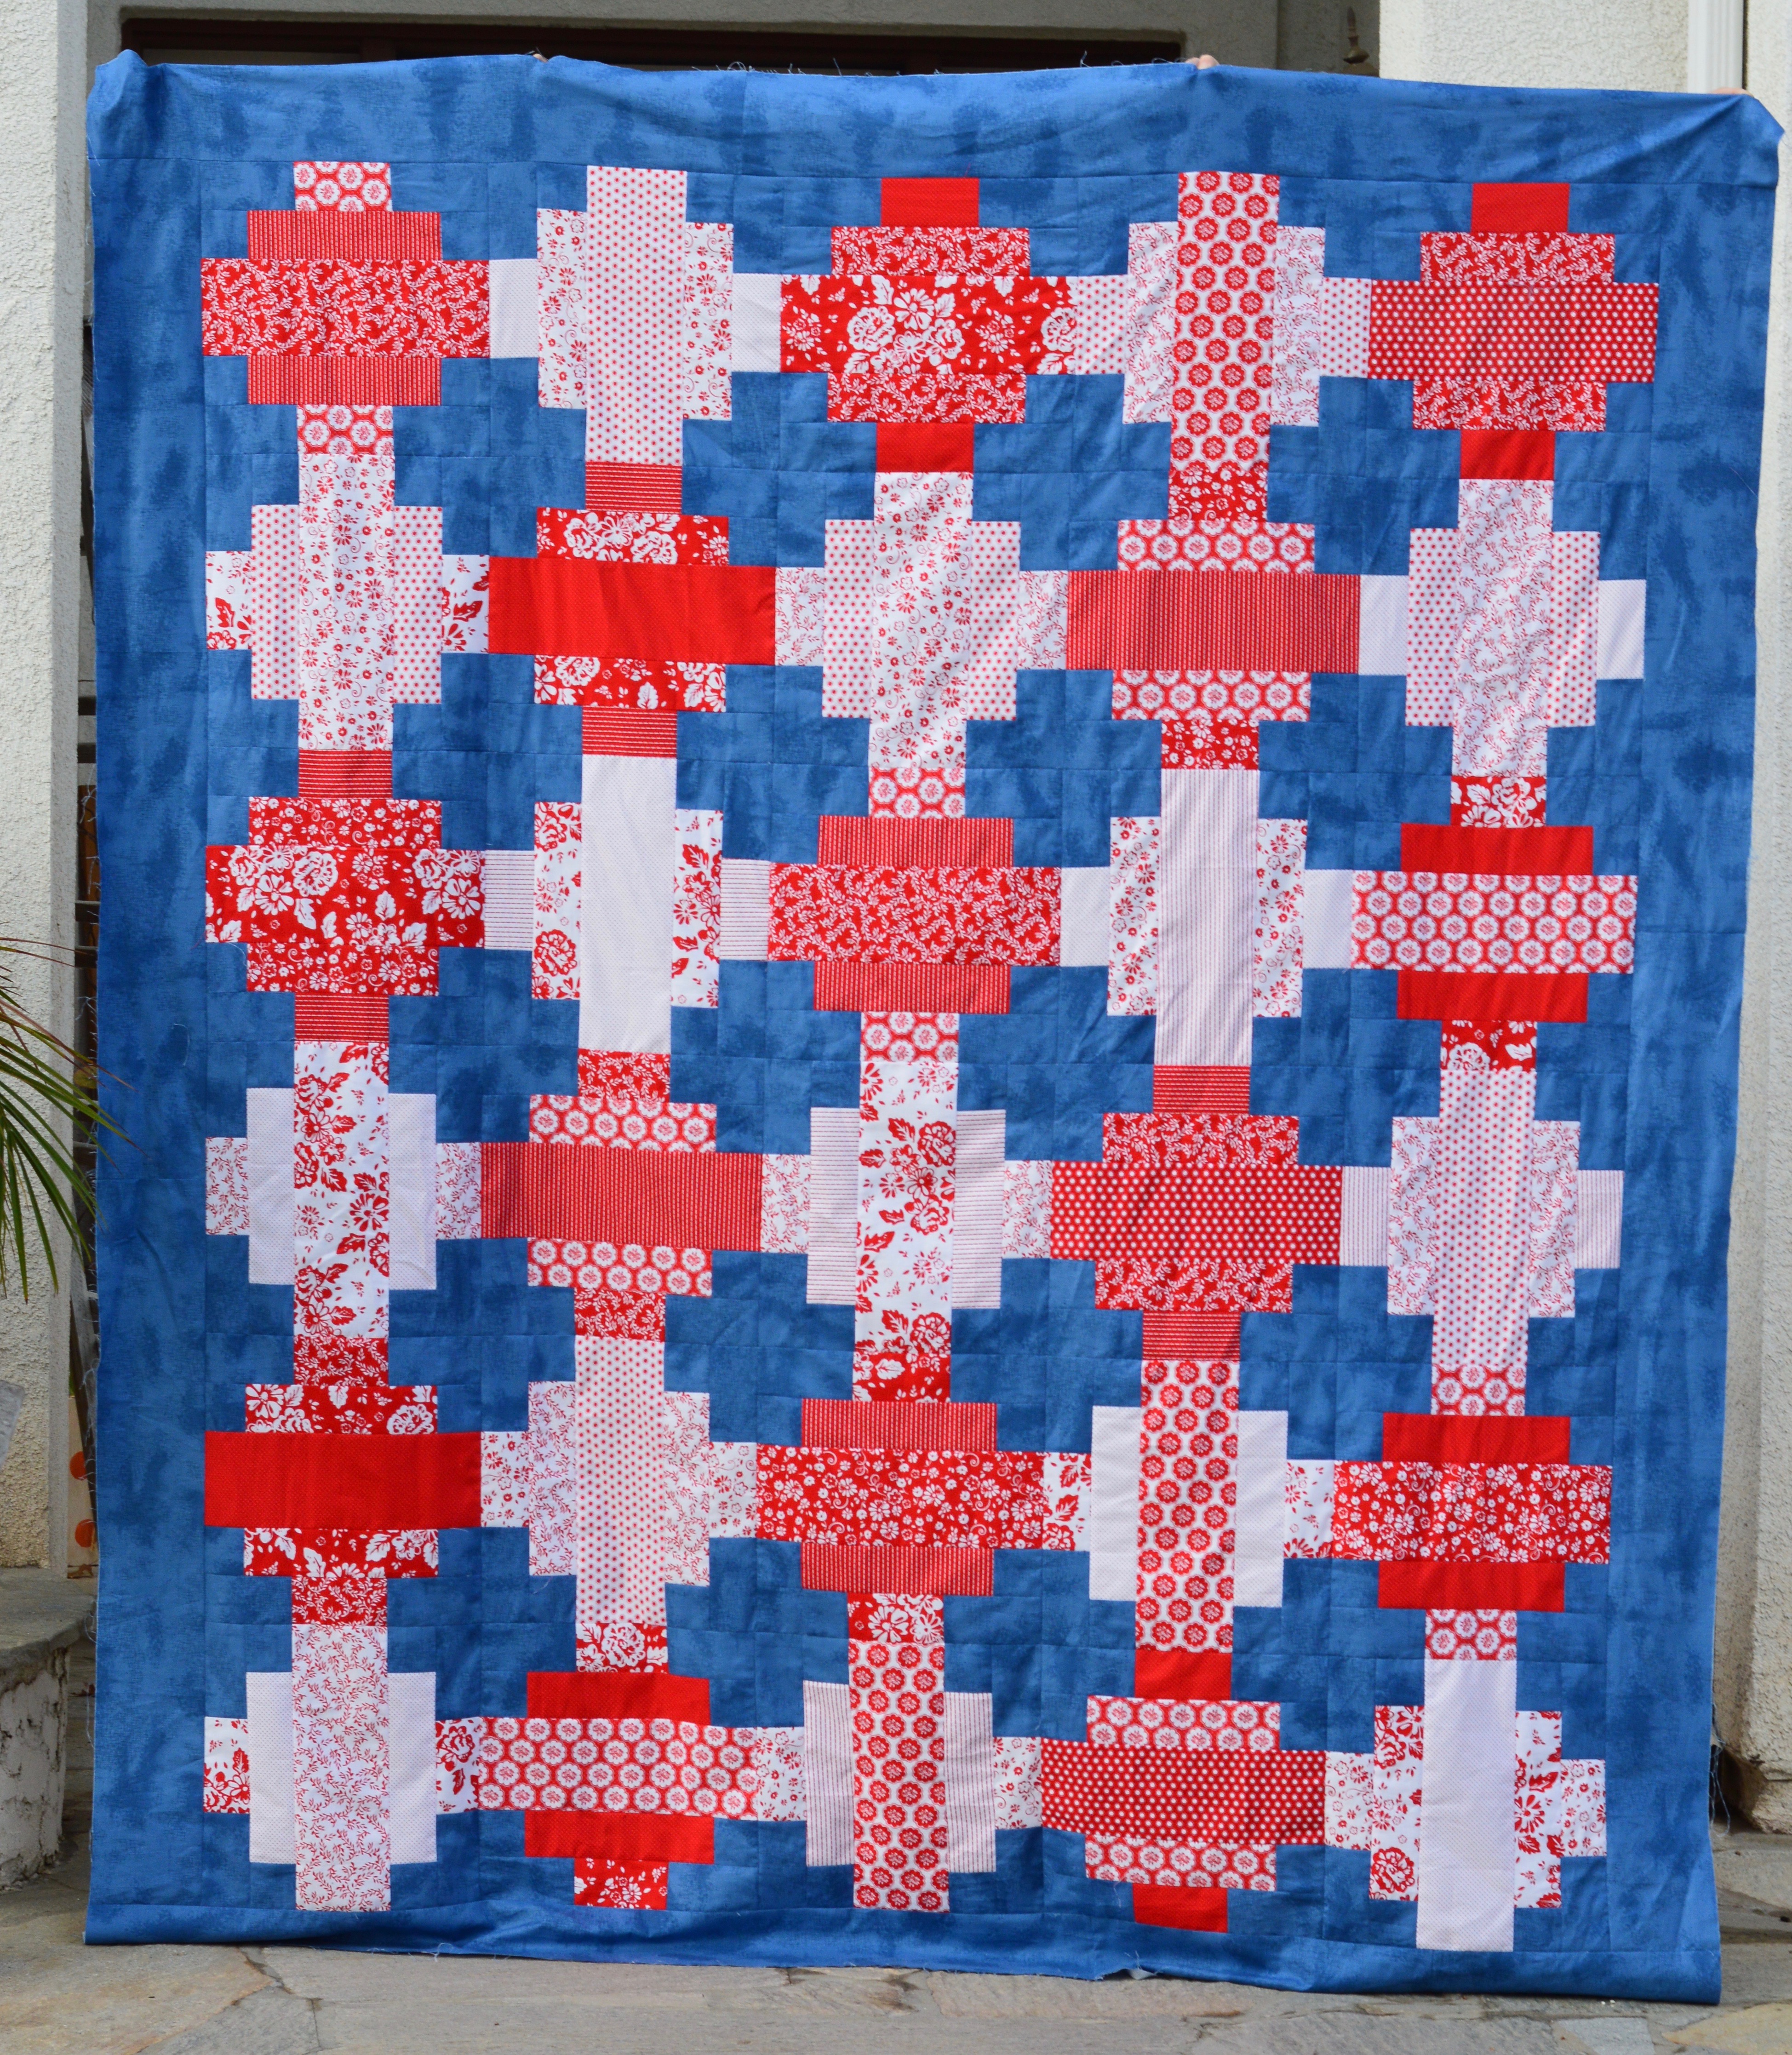
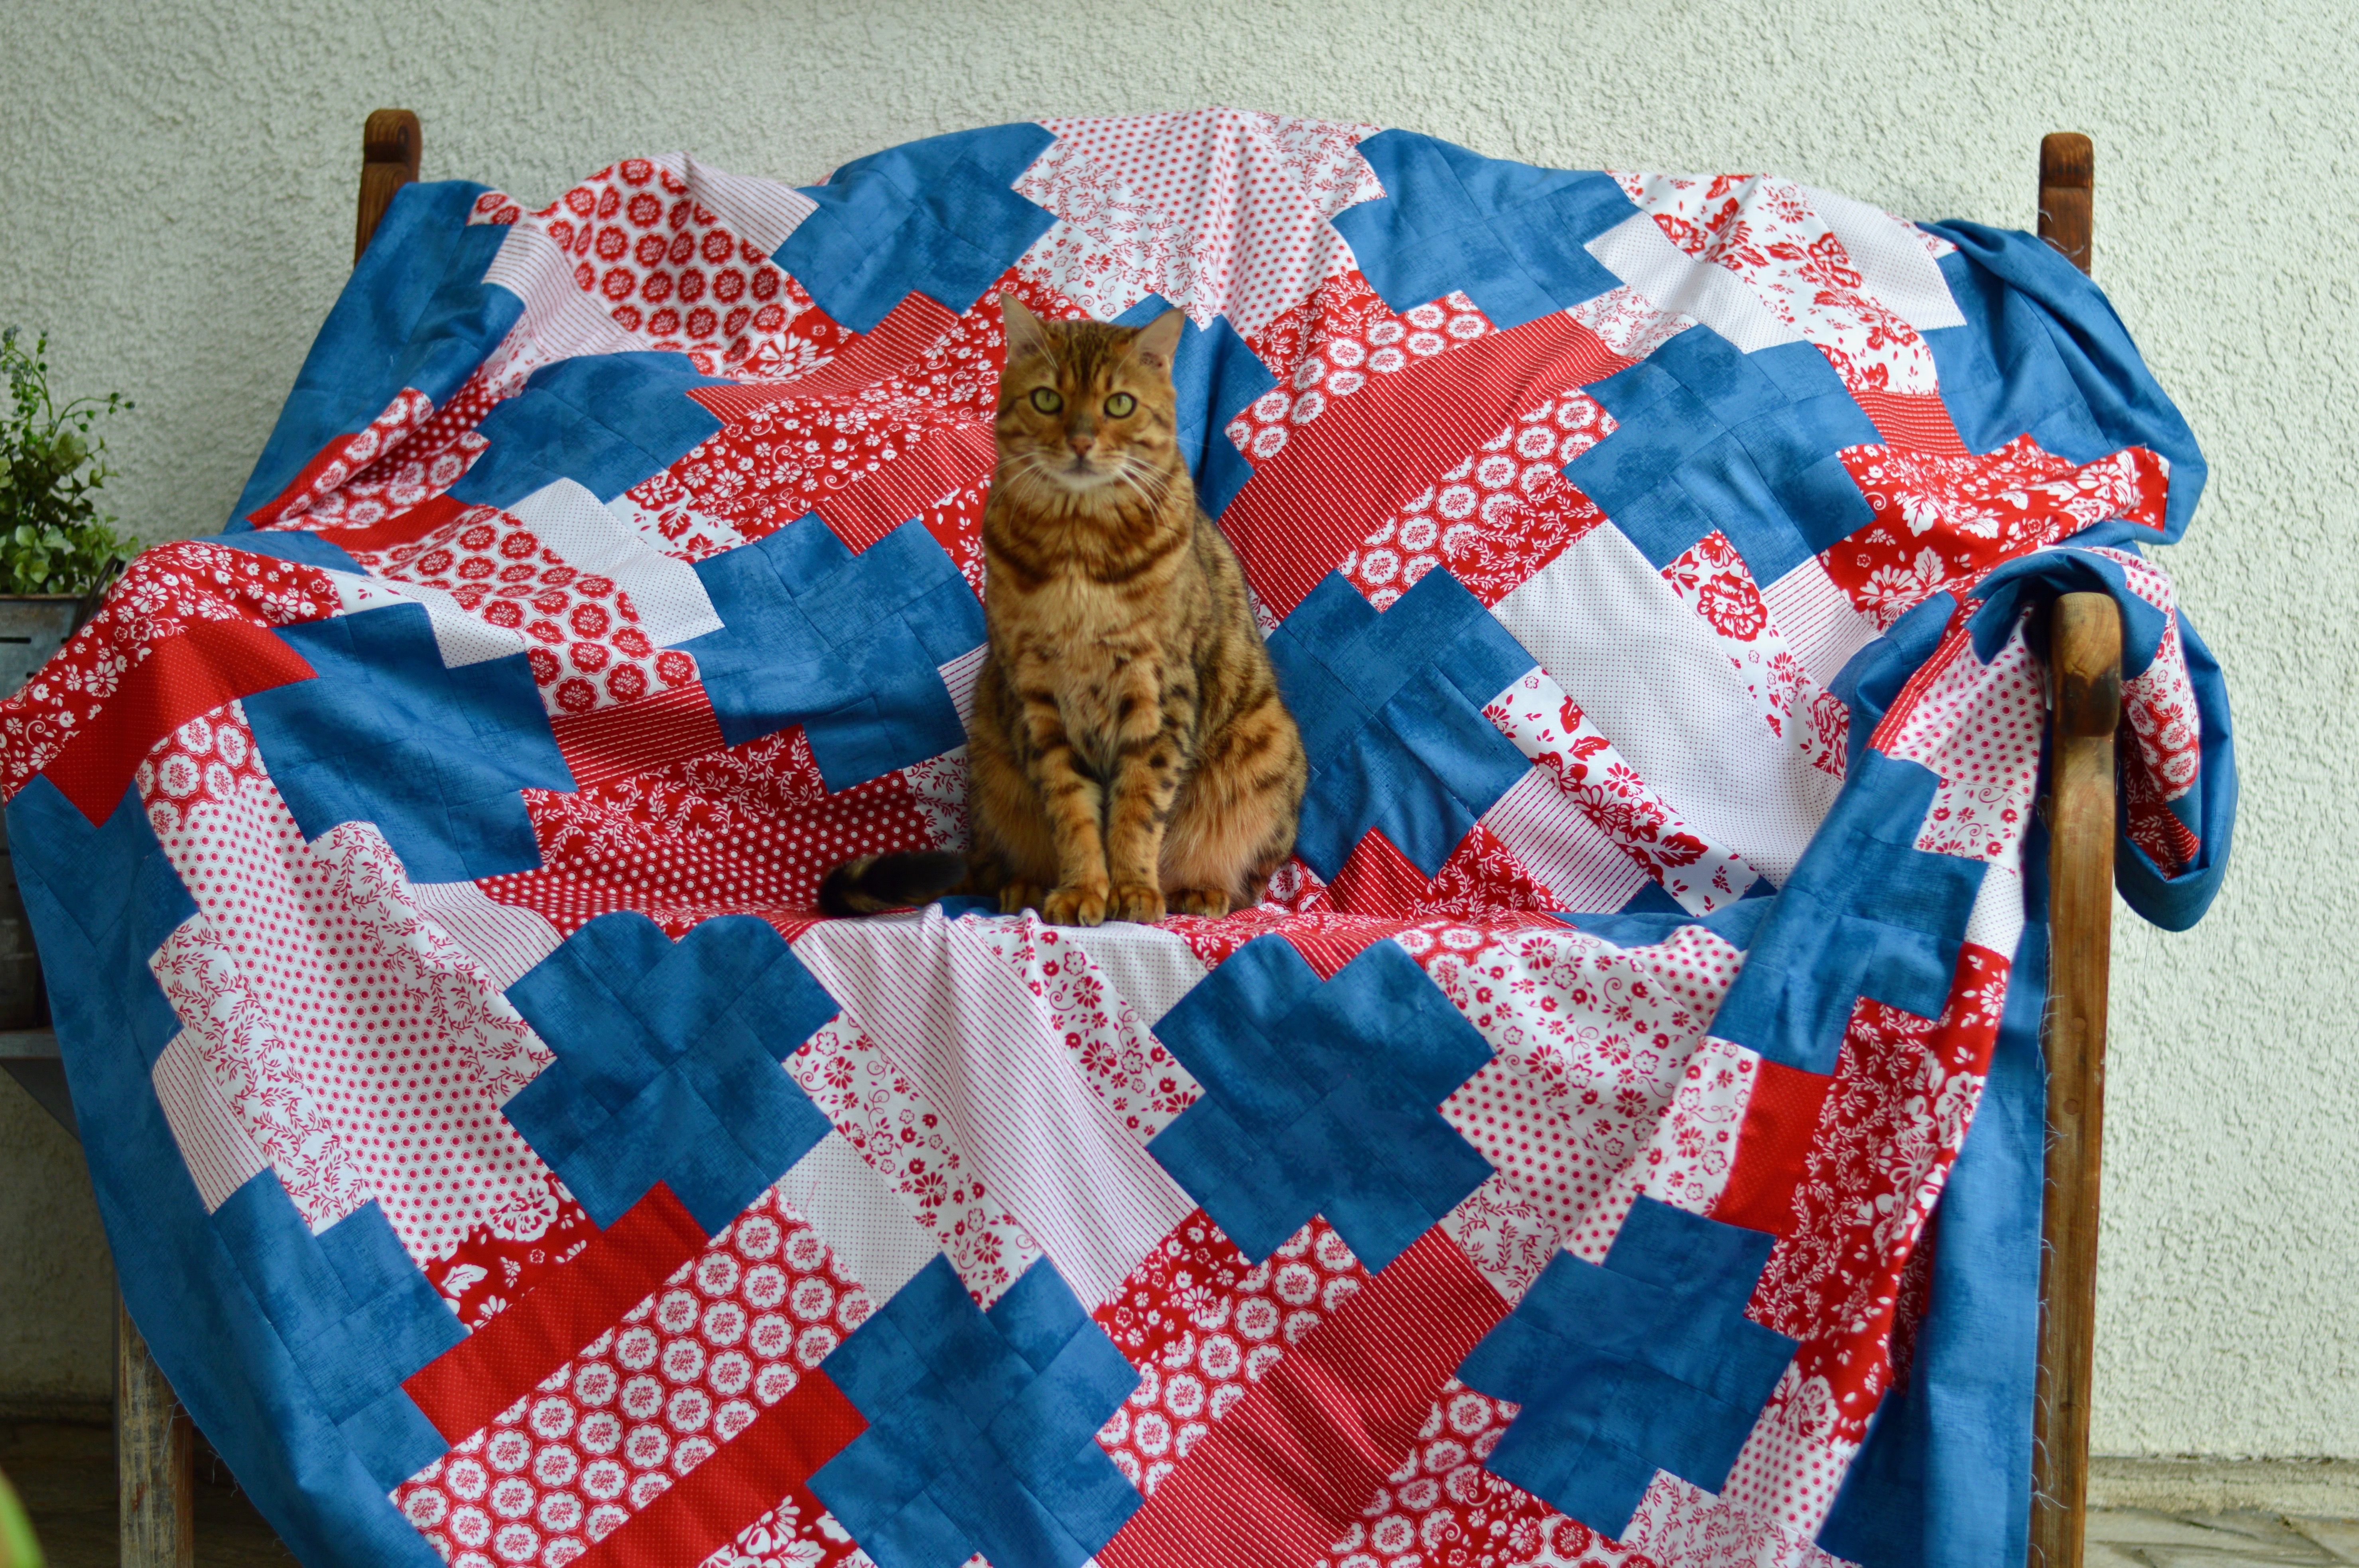
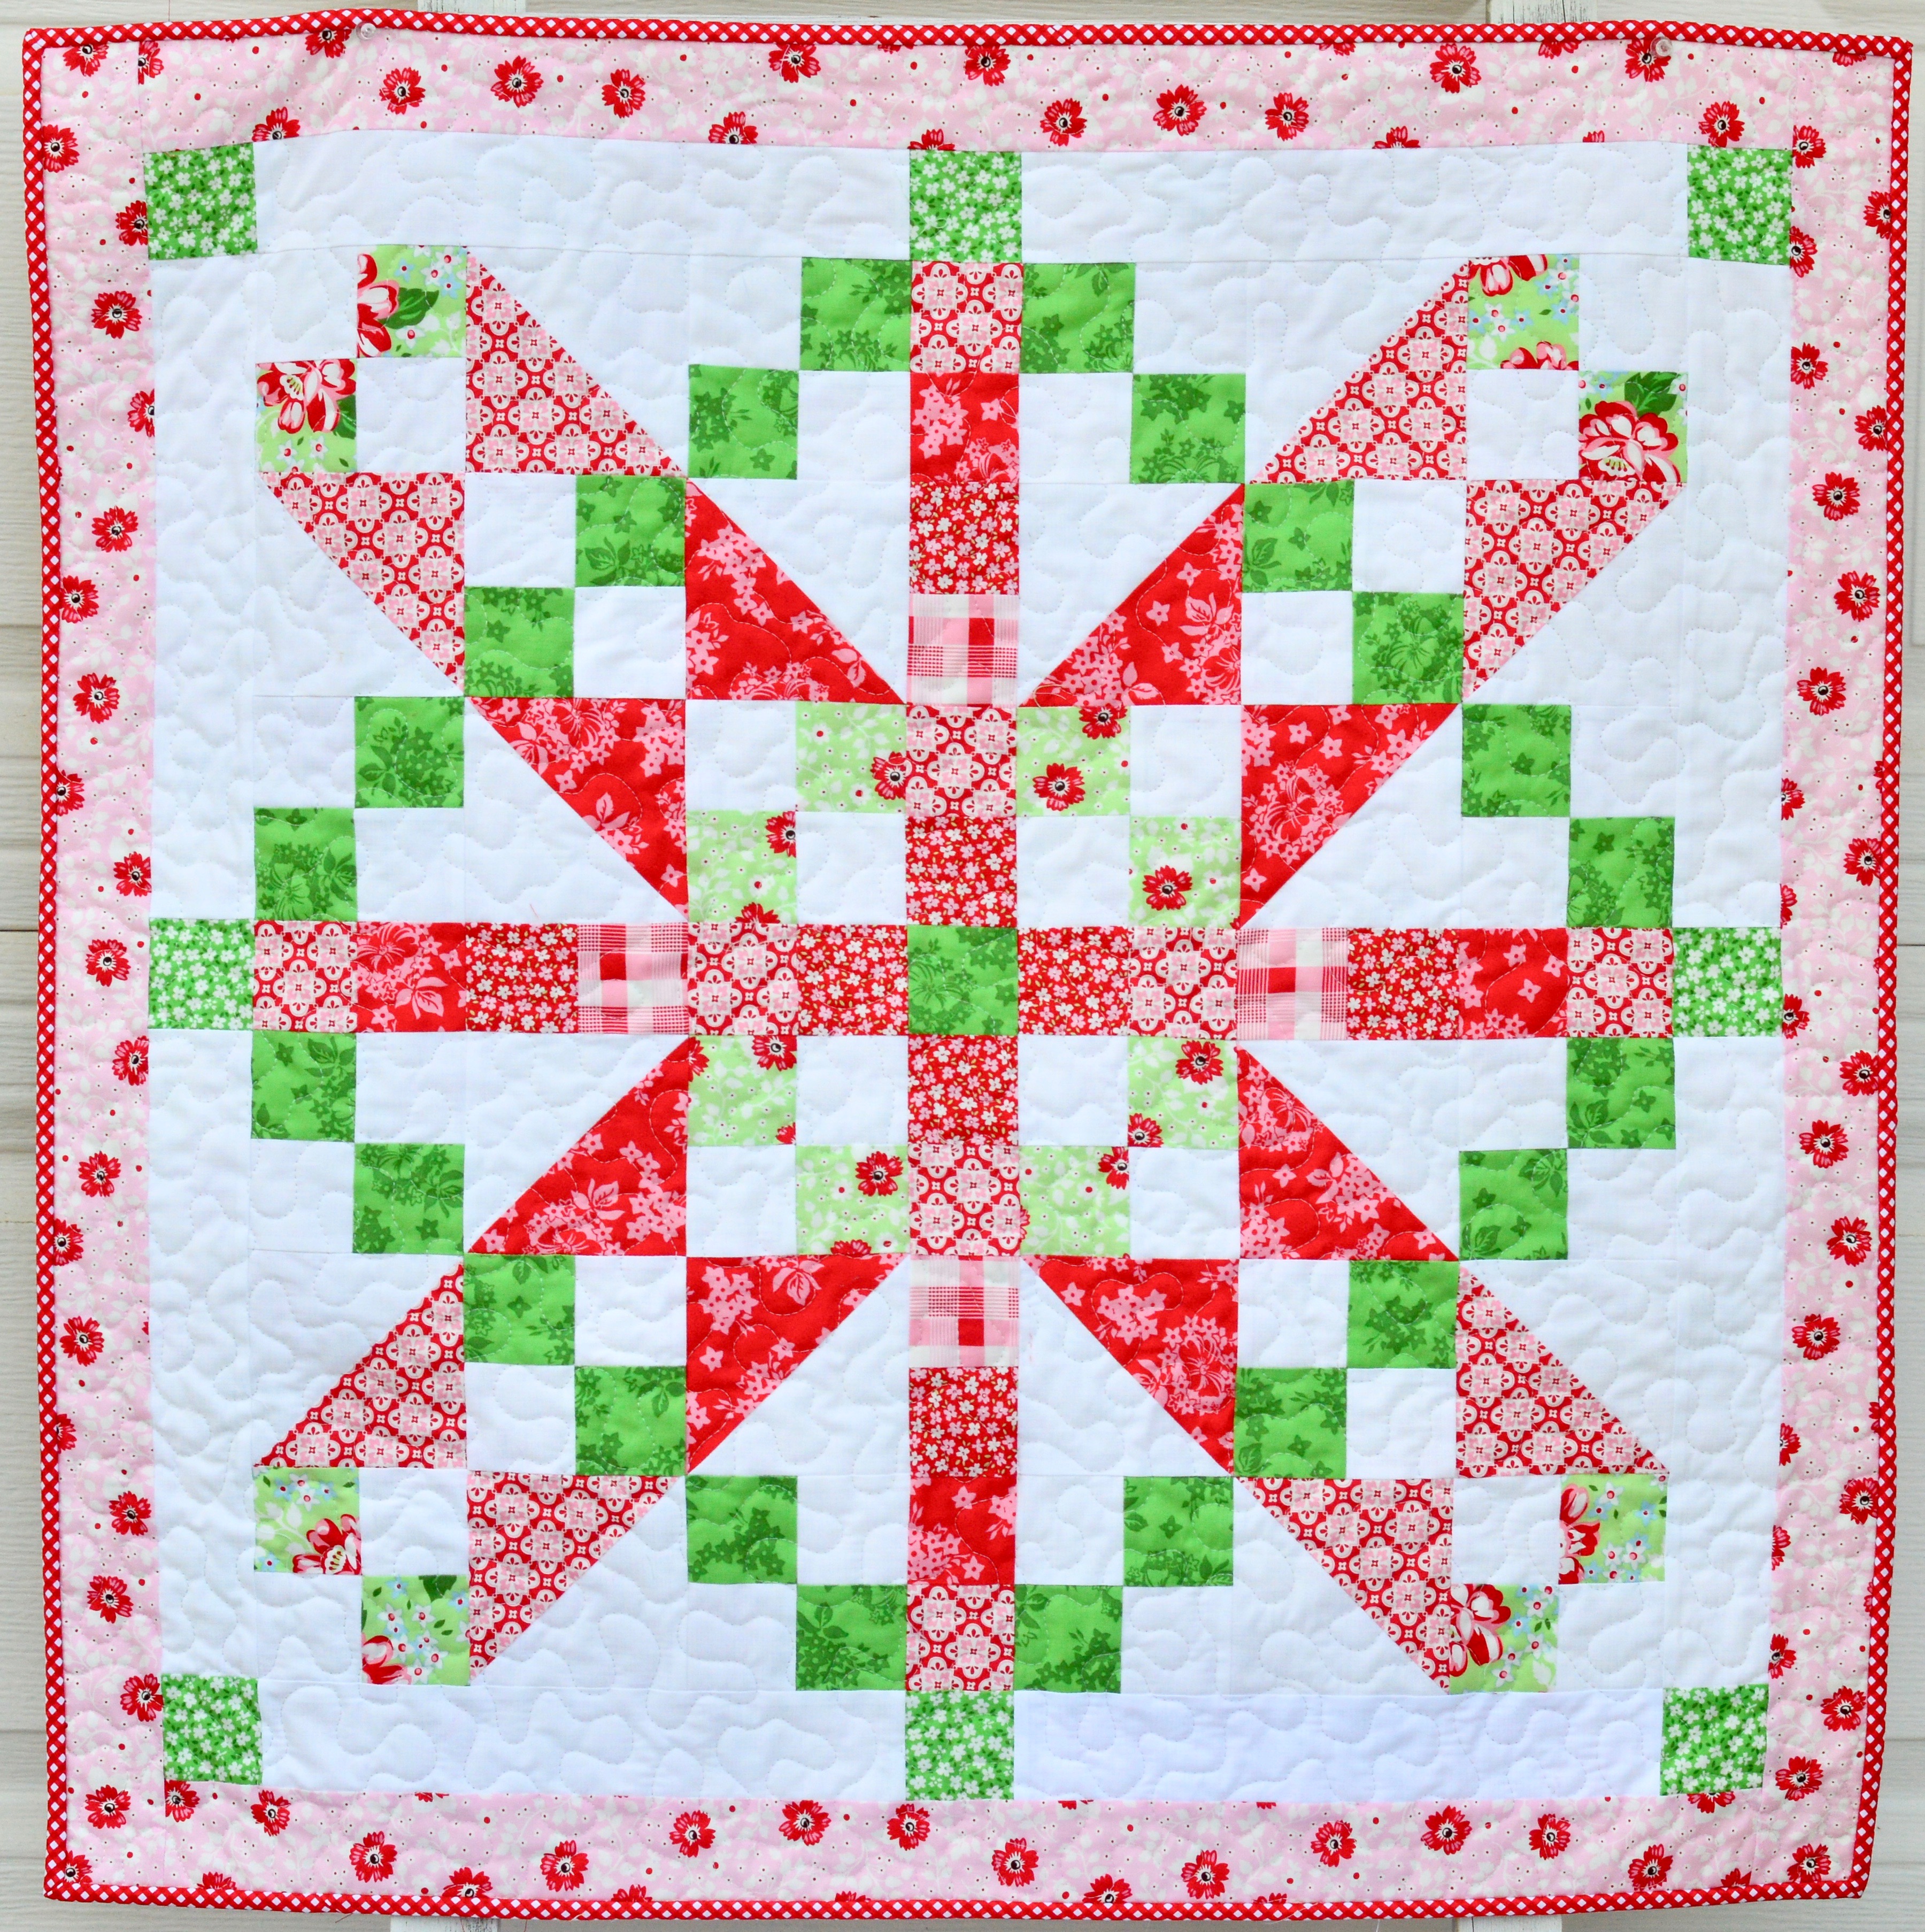
I can’t wait to make this quilt using different colors!  I think a red and blue version would be amazing!
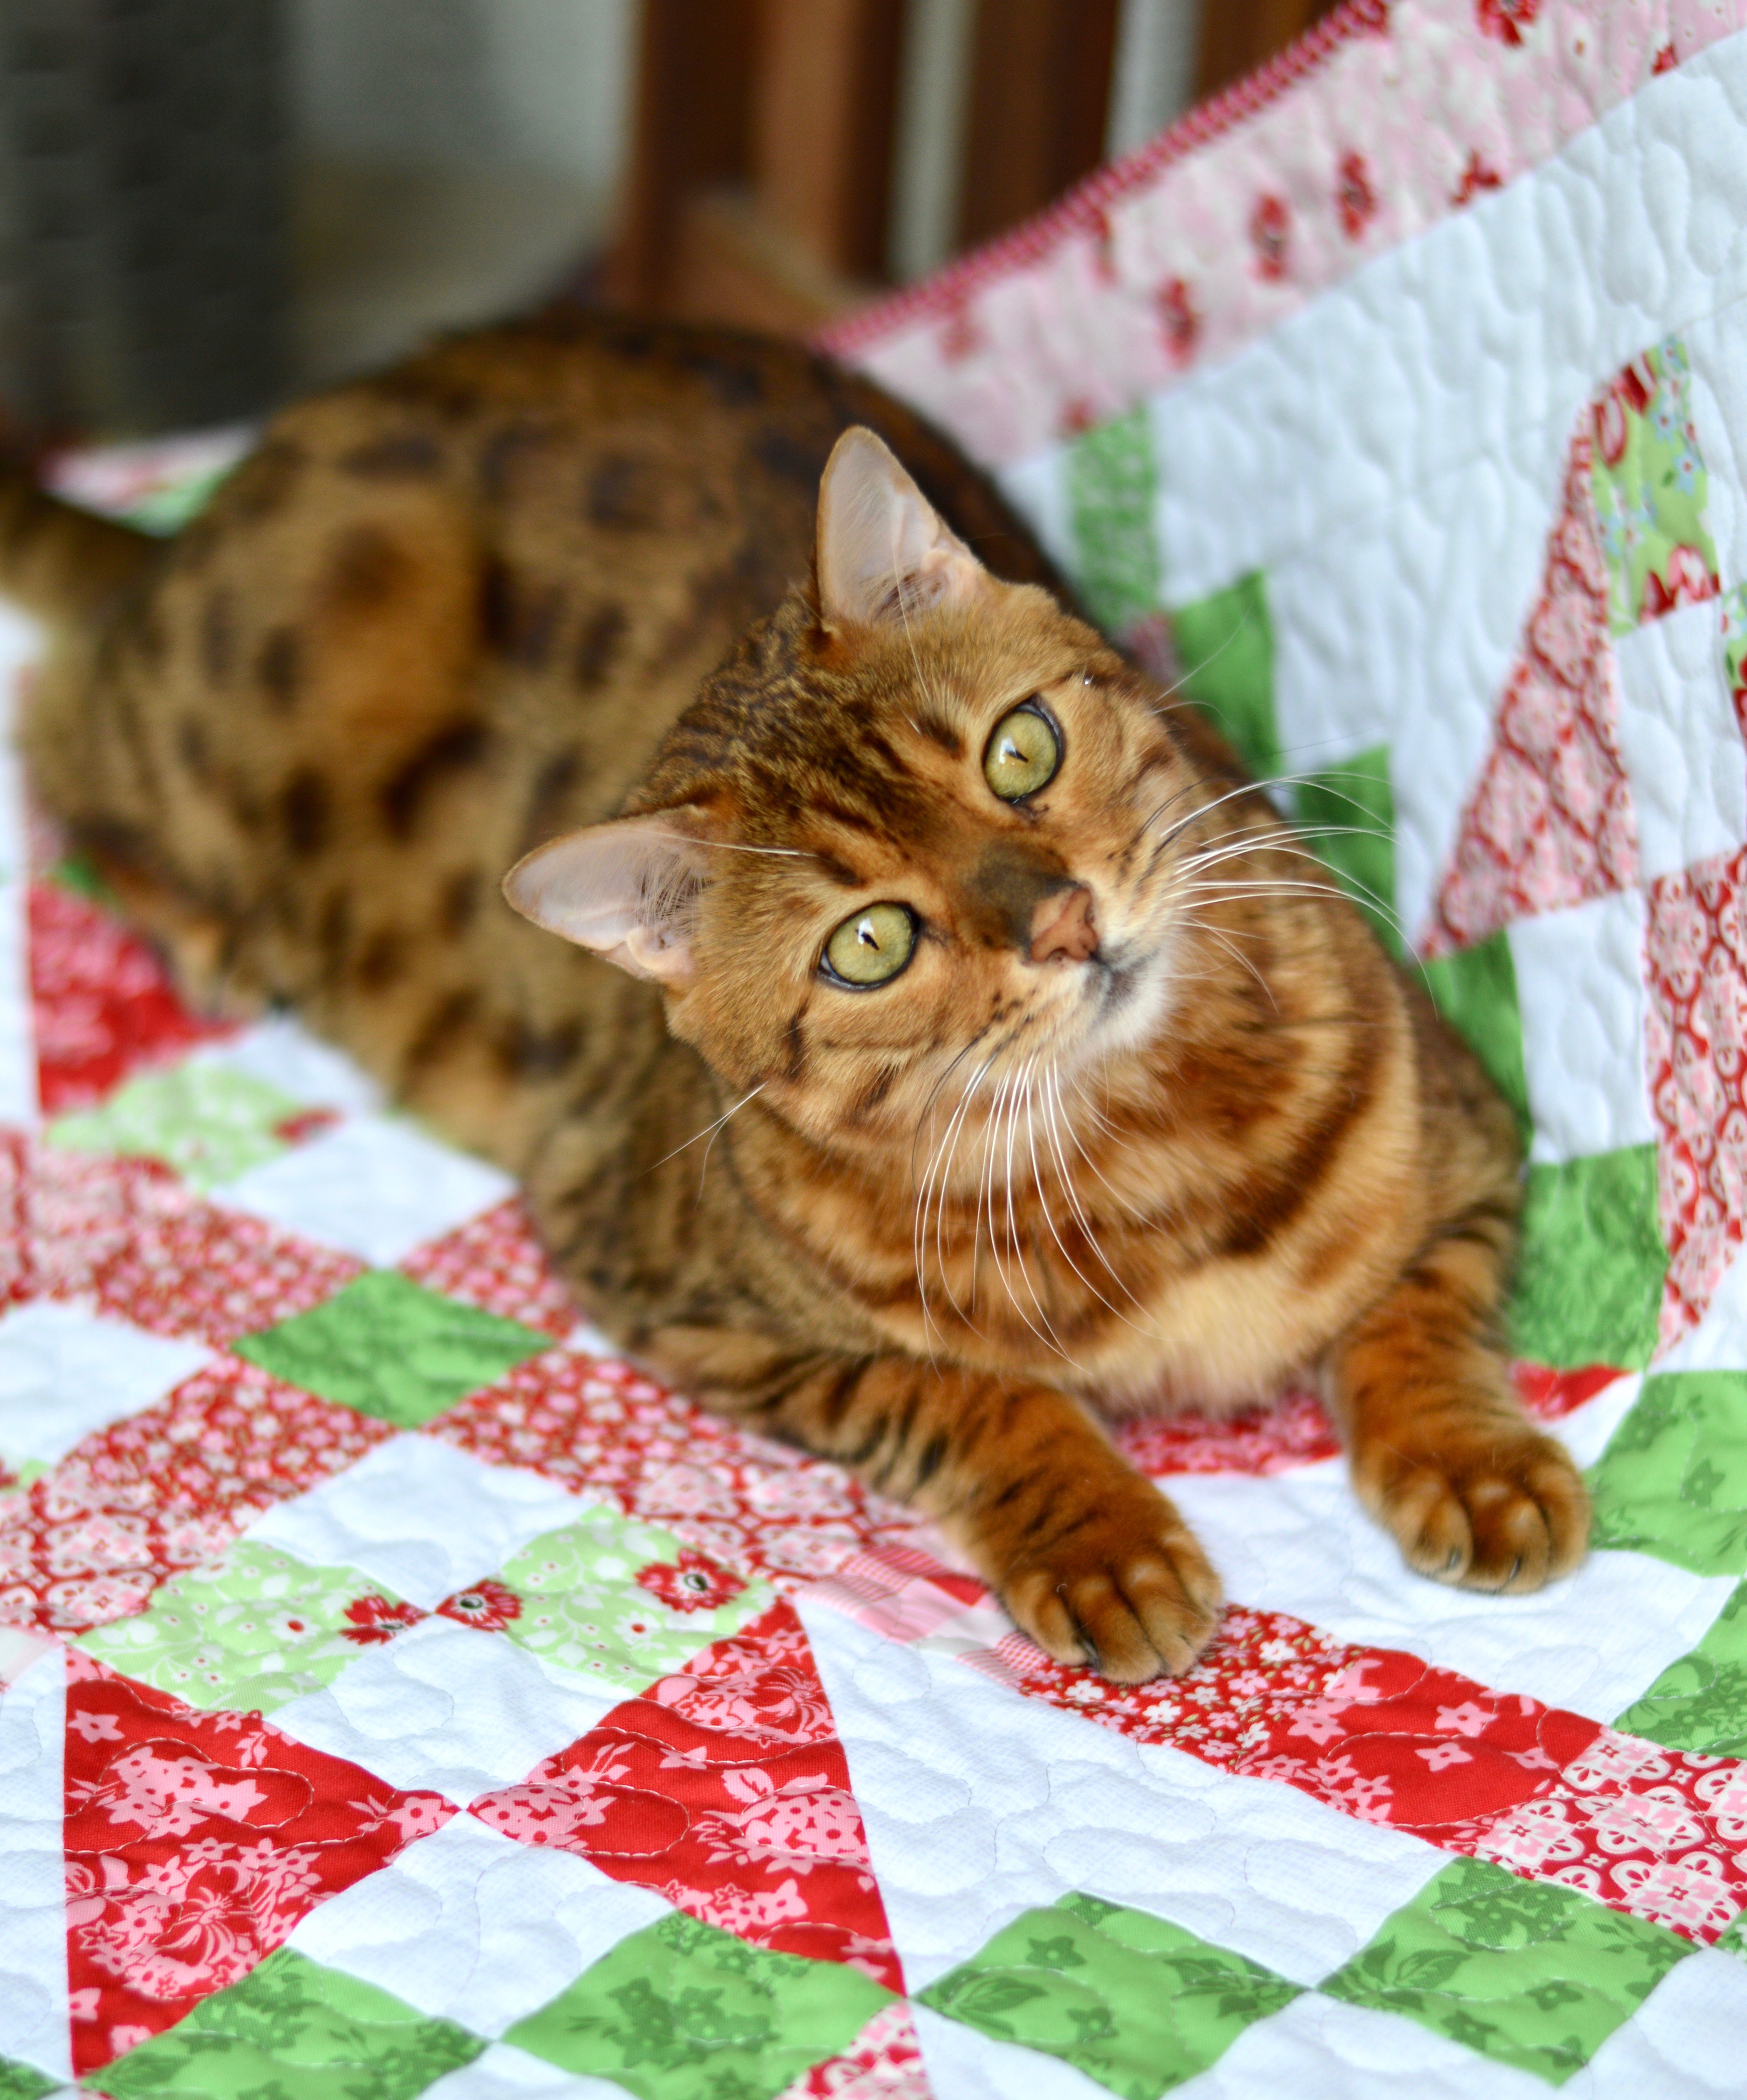
DSC_0054

Mufasa is back at work as the quilt model – doing a fabulous job I might add!!!

DSC_0065

Thanks for stopping by!

Cat Head Quilt Block Mini Quilt

cat mini quilt

I recently went off social media for 10 days as a challenge.  Don’t get me wrong, I love me some Instagram!  However I completely enjoyed having no outside influences coming into my brain throughout the day!  I was able to let my own mind decide what I wanted or needed to do.  I found myself spending time finishing little projects and catching up on family photo albums.  Several years ago I made a Halloween Cat Head Block quilt and I recently found 6 stray cat blocks!  I put them together in a little quilt to hang in my sewing room.

cat head quilt

I love the retro feeling the pop of aqua gives!  It’s by Camelot and is perfect for the little 1″ setting squares!
cat head mini quilt

I’m so not a plant person but we are trying to grow these cute little succulents!  So darling!

Do you think I am turning into a crazy cat lady?  Maybe I’ve passed up crazy!!!

Mini Quilts Featuring Tiger Lily

tiger lily cat quilt block

I’ve spent the last week puttering around my sewing room finishing up odds and ends.  It’s such a good feeling to finish things!  Over 3 years ago I made these darling quilt blocks using one of my most favorite fabric lines ever “Tiger Lily”.  The patterns for the blocks are from Lori Holt’s book “Vintage Farm Girl.”  I’ve had the blocks tucked away for so long!  I’m working on my sewing room mini quilt gallery wall and these blocks are a must!tiger lily mini quilt

I sewed a border on each of the 12″ blocks and then quilted and bound them!  They are so darling!!!  tiger lily quilt block mini quilt

Did you know I love cats?  The cute signs are from Hobby Lobby recently!tiger lily quilt block

Now to hang them up!!!

Patchy Pumpkin Quilt

DSC_0456

I love sewing for Halloween and Fall!  Orange and Black are so amazing together!!!  I created this fun little quilt to get my orange and black sewing fix!  And you can make one too!!

DSC_0527

The quilt measures 38″ square and is a perfect size for hanging on a wall or putting on a table.  You could always make more blocks and turn it into a throw quilt!!  How fun!DSC_0473 2

I used fabrics from my stash which is also fun!  Some fabrics I’ve had for years and some are newer additions!  You can use all different shades of orange and black!DSC_0466

Fabric Requirements:

(4) black fat quarters

(4) orange fat quarters

(16) orange charm squares (5”)

4 small scraps of green

(1)white fat quarter
(2) 1-yard white dot background fabric

Heat n Bond Lite Fusible Adhesive 

or

HeatnBond EZ Print Sheets – Lite

1 ½ yard backing fabric

2/3 yard binding fabric

You can download the free pattern by clicking HERE.

Patchy Pumpkins Fall Quilt with Heat n Bond Lite Instructions:

To make the patchy pumpkins sew (4) charm squares together like a 4-patch

Trace the pumpkin pattern onto the Heat n Bond Lite.

Cut out around each pumpkin and stem about 1/4″.  Heat set to the wrong side of the 4-patch.  You can center the 4-patch or have it off center – you can even rotate it so it’s on an angle!

Let it cool and then cut out the pumpkin along the pattern line.  Peel off the backing paper.

Heat set the pumpkin in the center of the quilt block.  Straight stitch around the pumpkin and stem two times.

DSC_0517
DSC_0452

Red, White & Denim {Free Quilt Pattern}

DSC_0379

I love red and white quilts and I love this new fabric line by Carina Gardner called So Ruby!!! I have known Carina for a few years and she is the most delightful person and such a talented designer! I love this new fabric line because you get red and white prints all in one fabric collection!!!  I knew I wanted to pair it with Riley Blake’s new denim look fabric called “Shabby”.  So I created this fast and fun quilt pattern that is perfect for a picnic or a soccer game!

category7406

The pattern is FREE!  Just click HERE to download the PDF.


pattern page 1

pattern page 2

DSC_0385

The quilt is made up of only 1 block with alternating white and red prints.  I am super in love with it!!  I can’t wait to send it to the quilter!

DSC_0438

DSC_0401

Baby Mufasa also had to get in on the quilt testing!  He totally approves!

DSC_0419

He’s just so handsome!!  I think I make quilts so I can photograph him 🙂

DSC_0425

DSC_0381