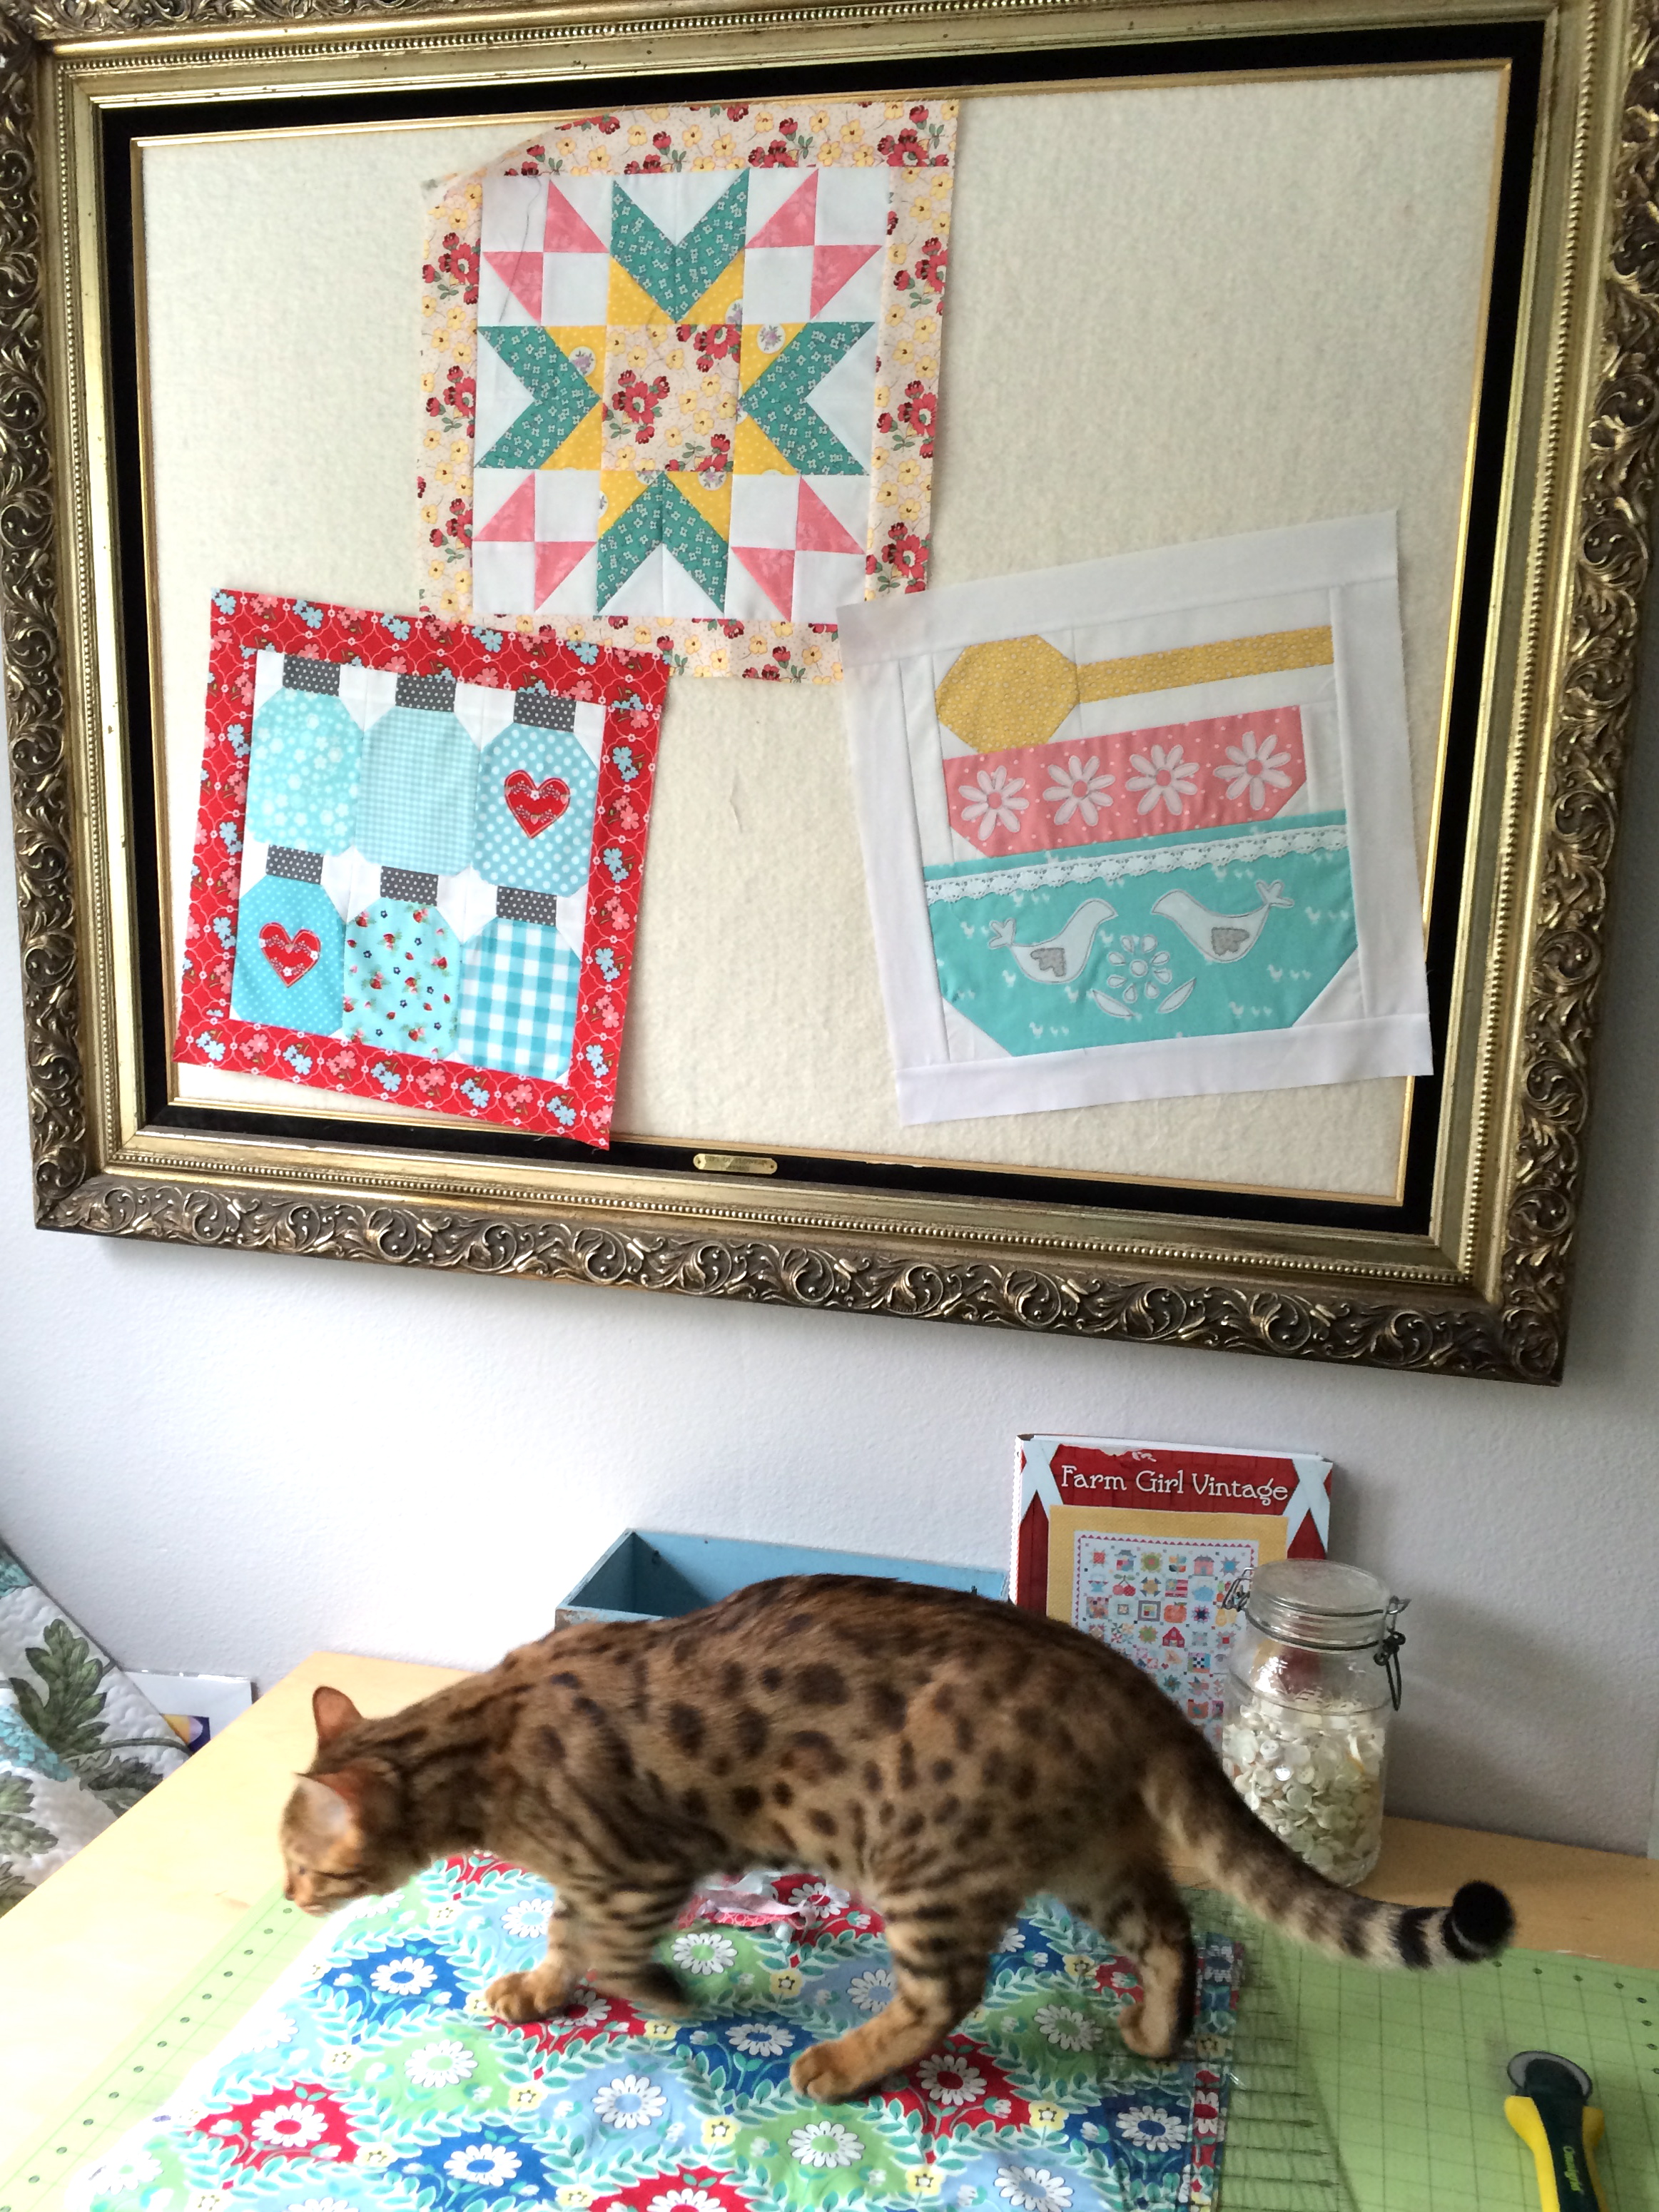
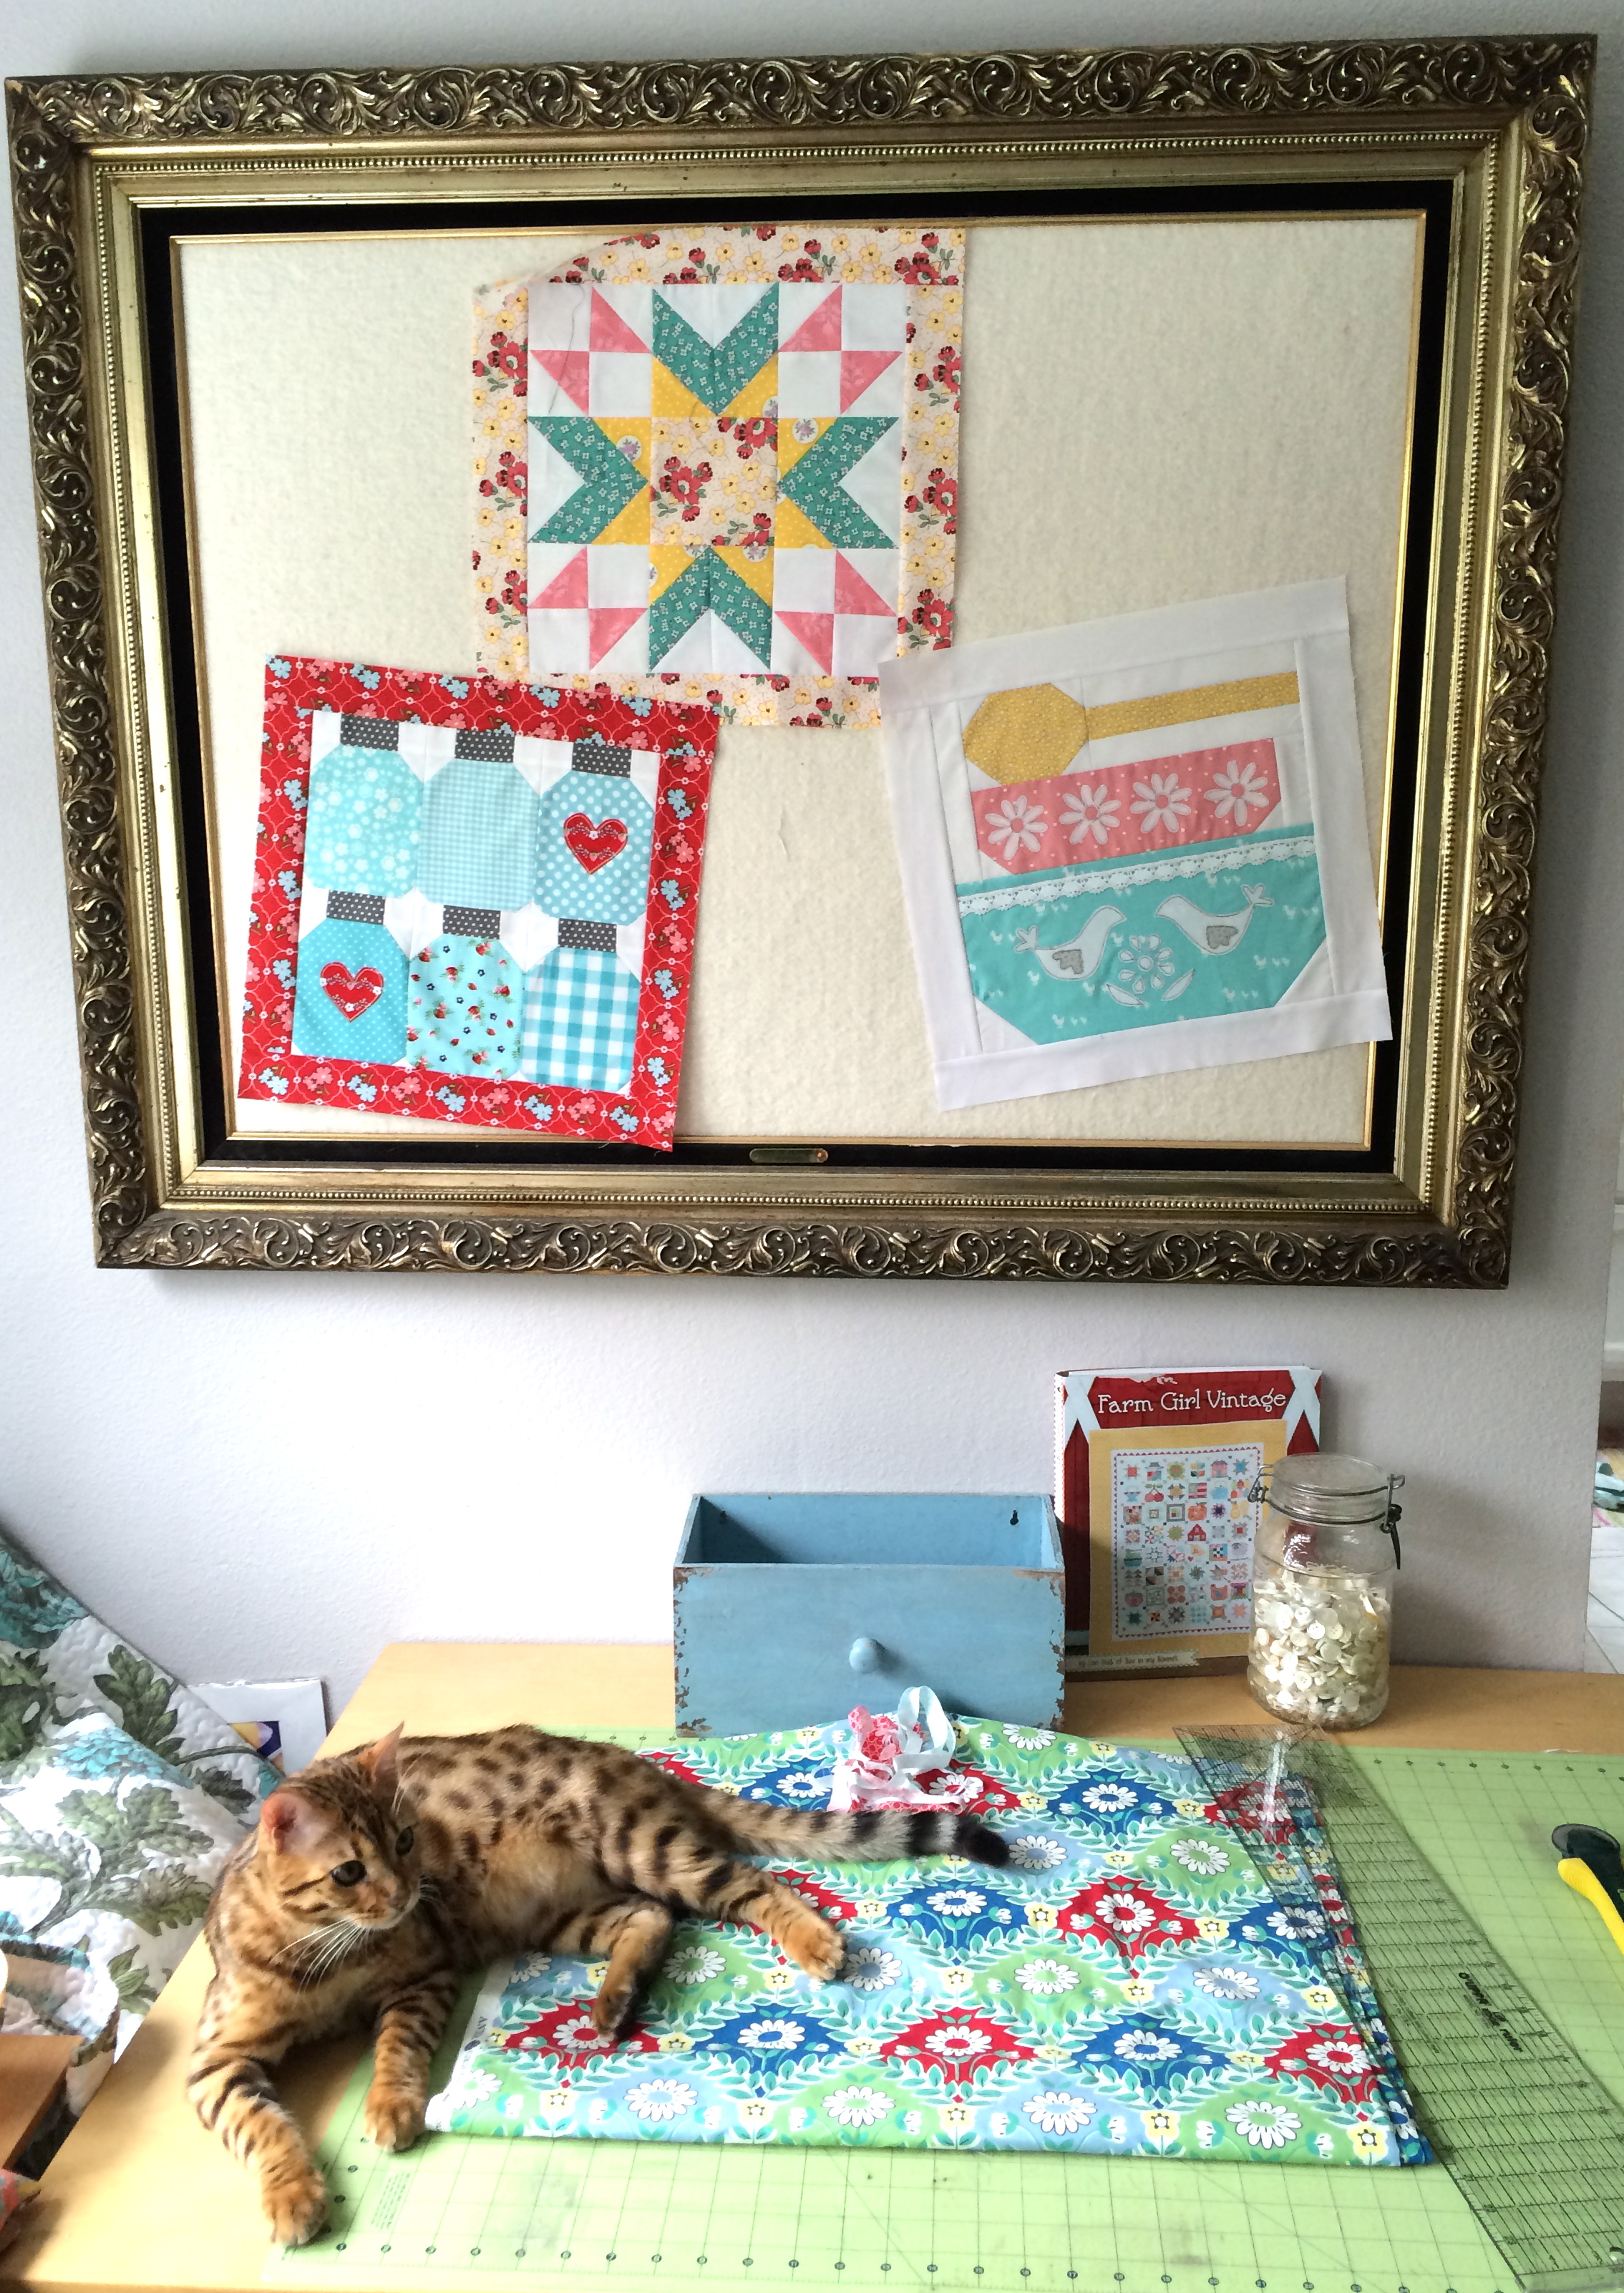
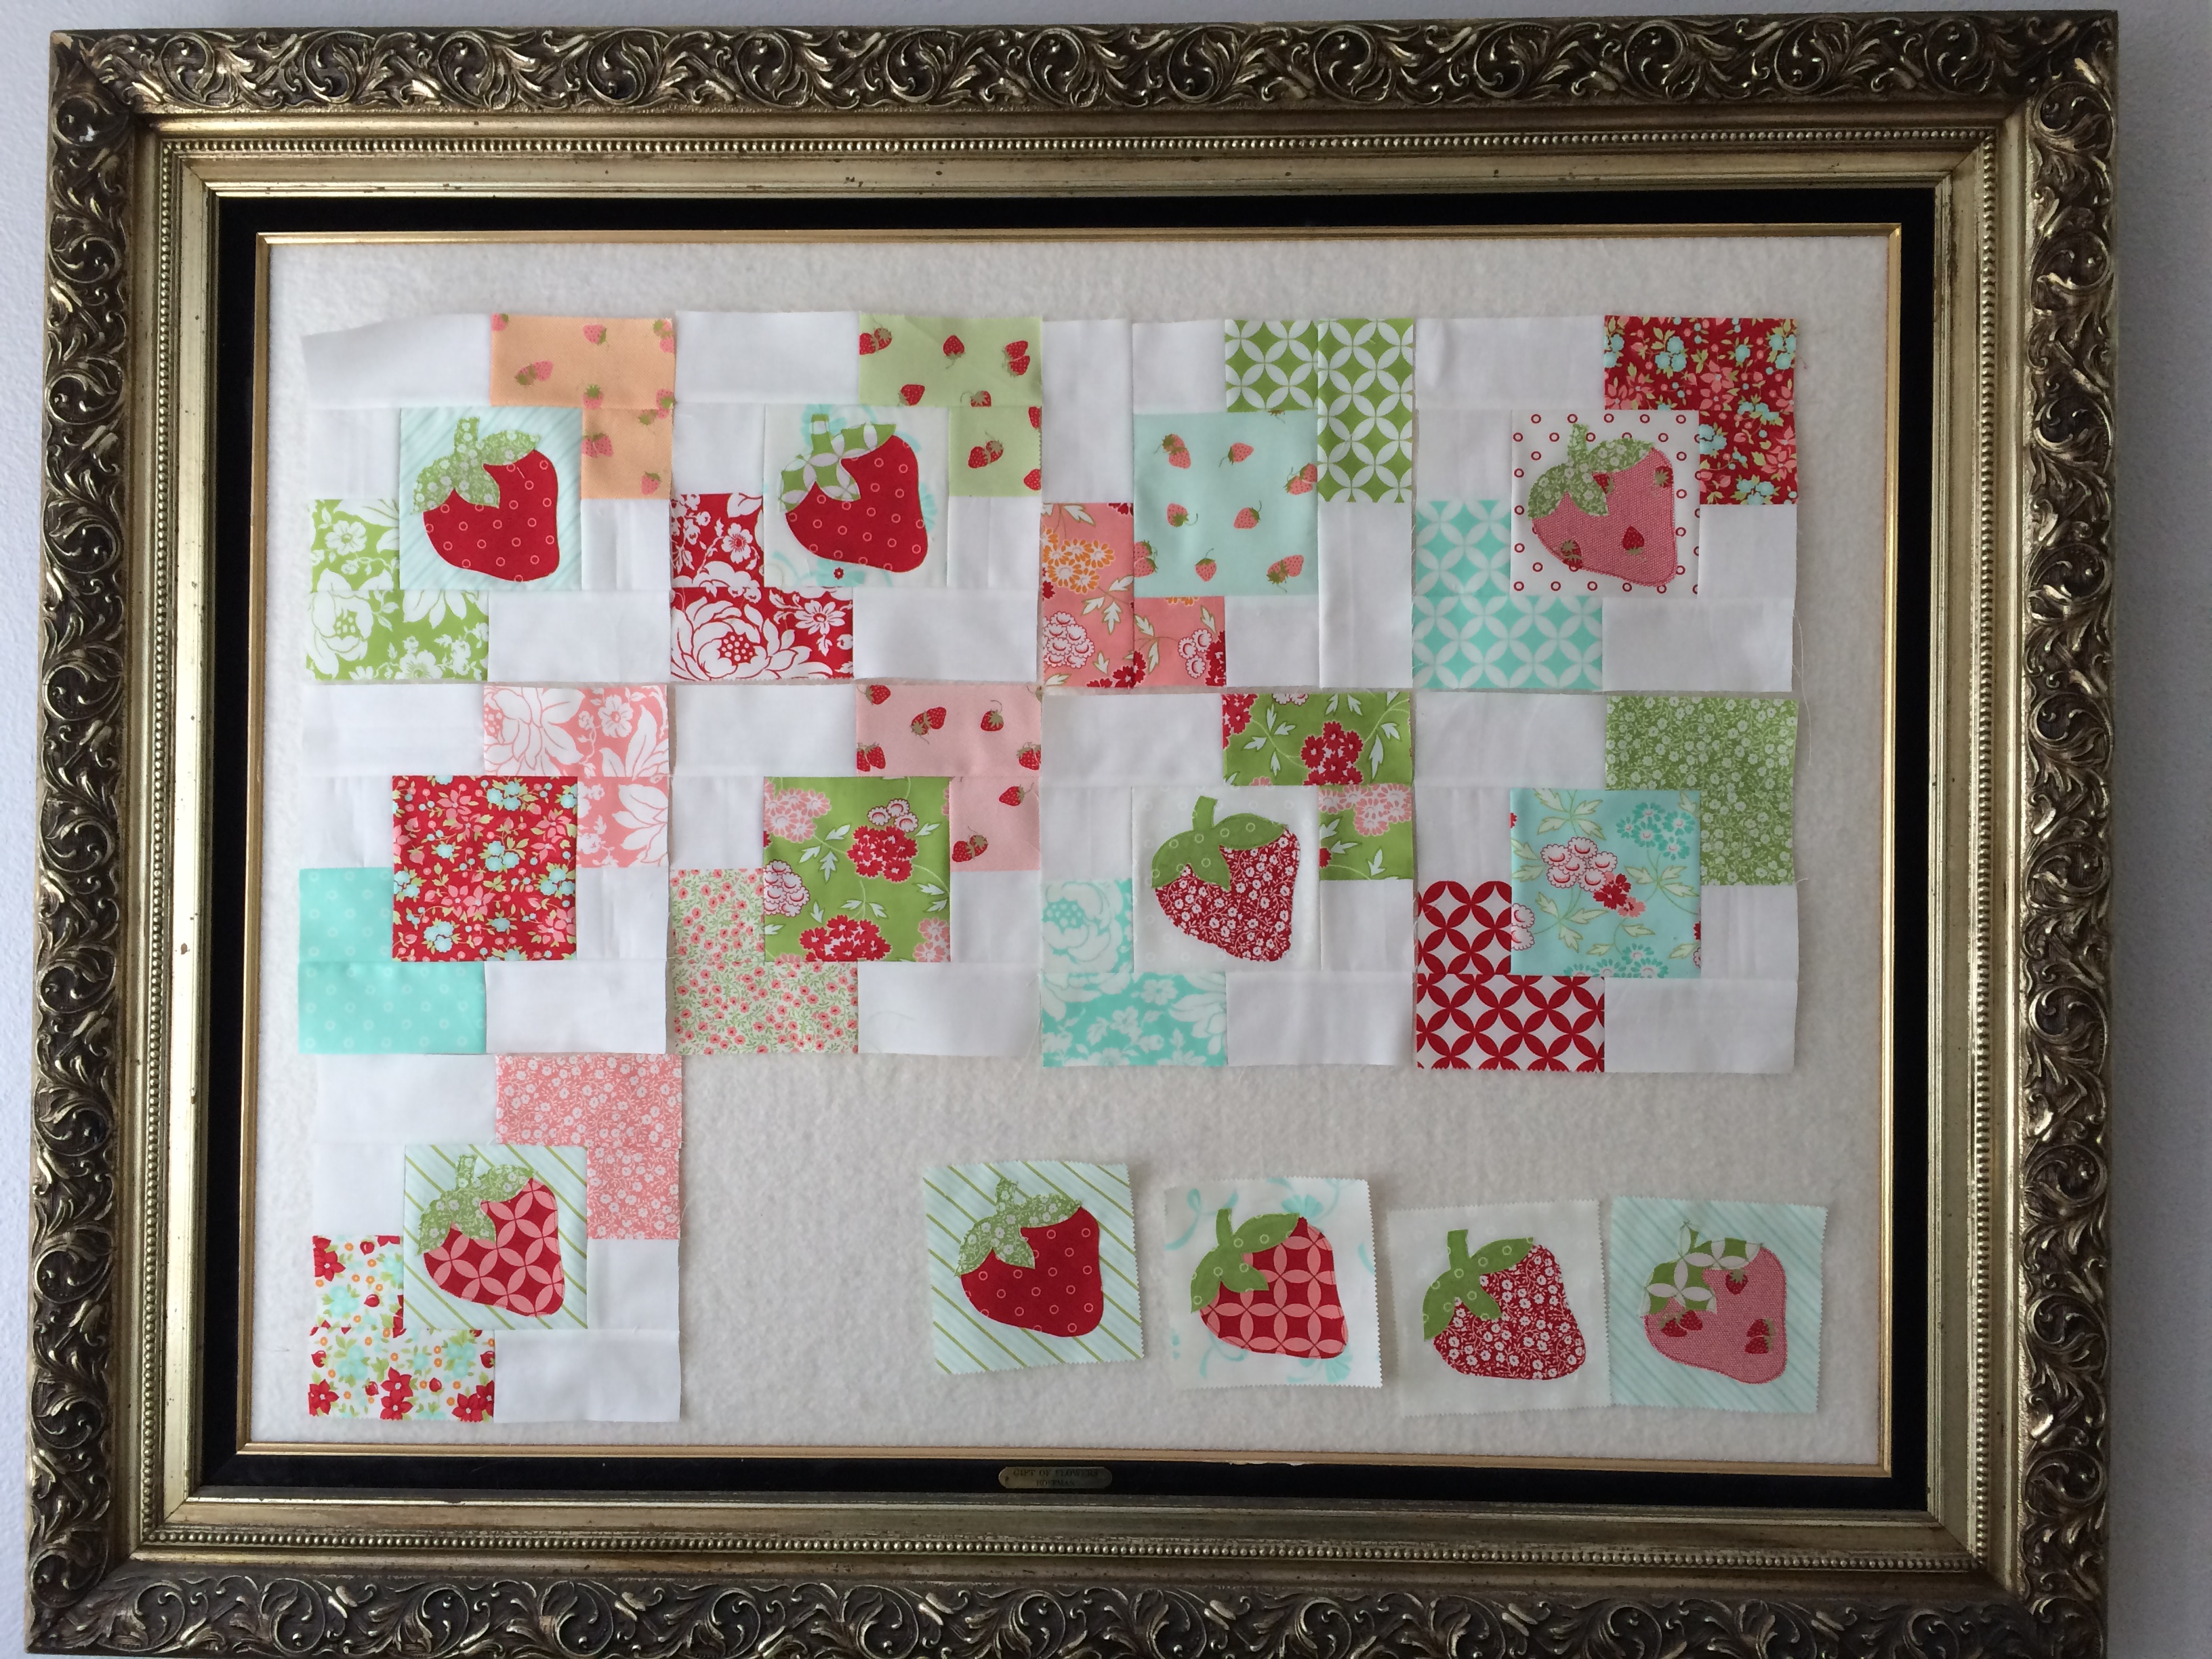
I purchased this rather large frame off of Craigslist last year. It’s been sitting in my garage and I didn’t know what to do with it. The other day I though, “Gee it would be nice to have a quilt block design board!” The hamsters in my brain began spinning their little wheel and I put 2 and 2 together! Here’s how you can make one!
Supplies:
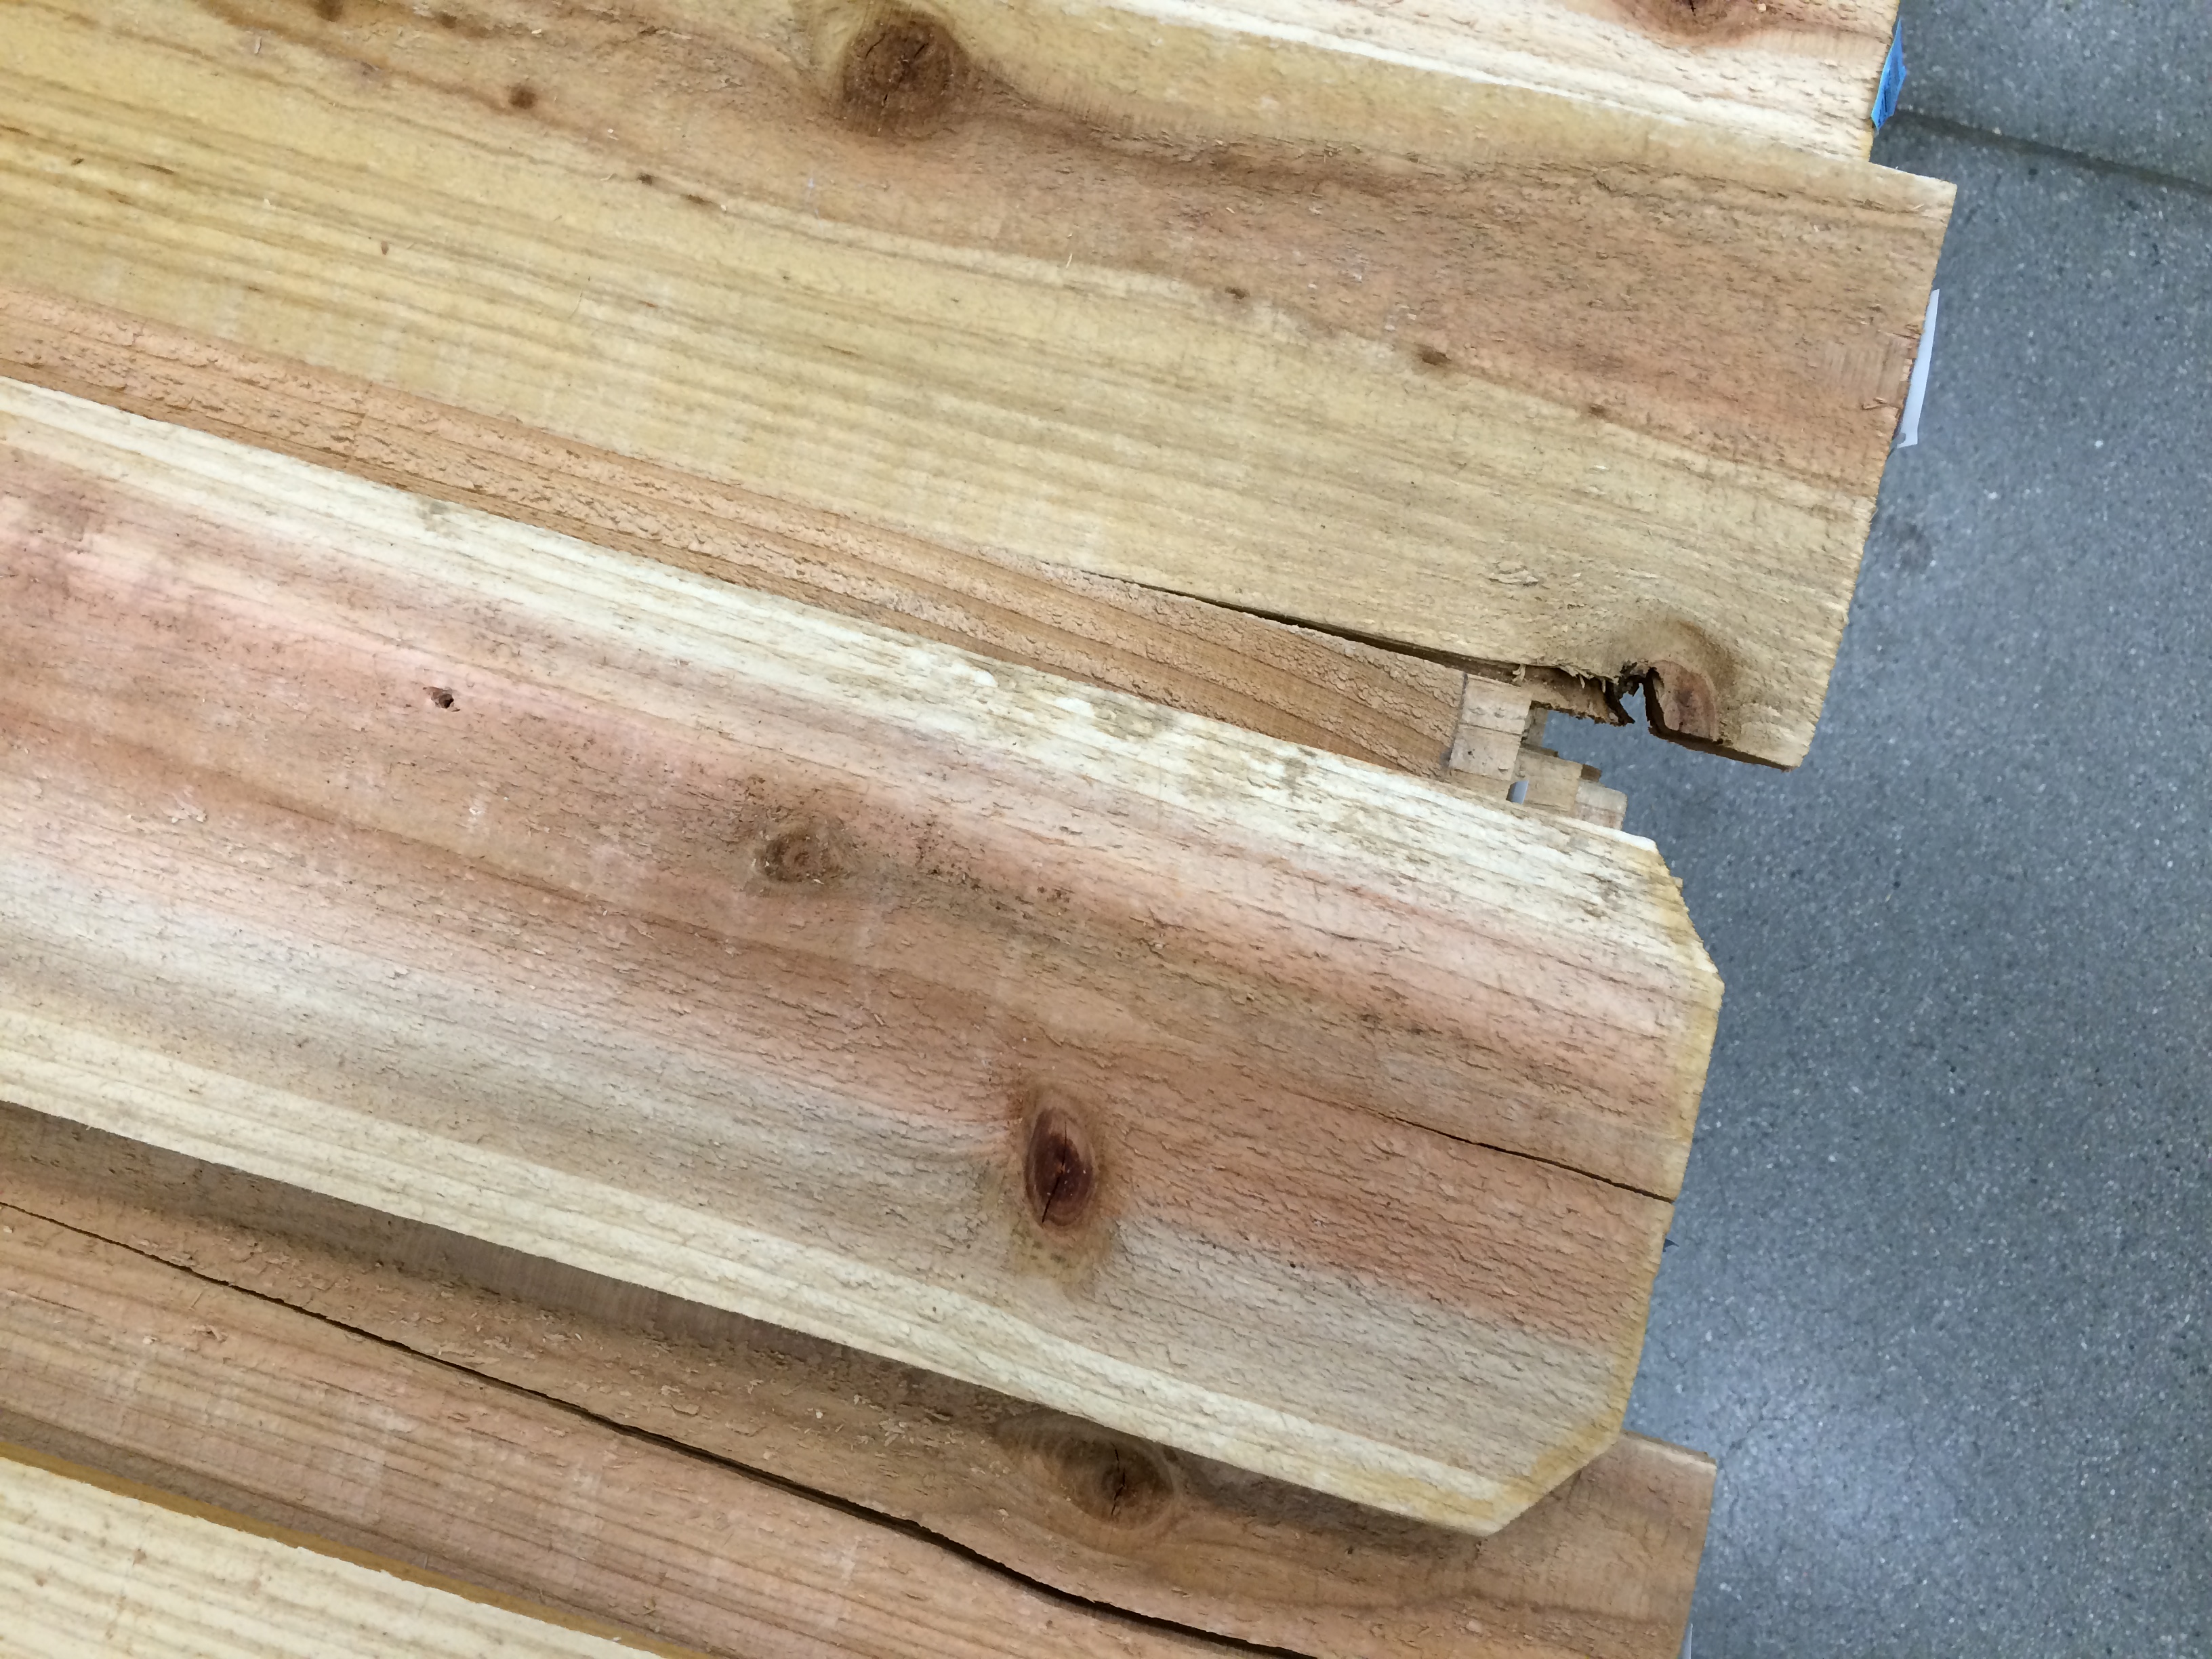
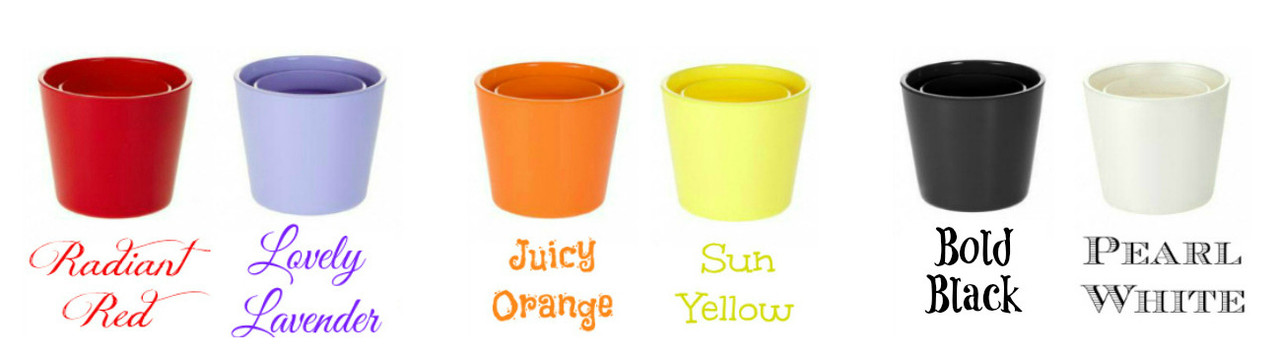
a large frame with an ugly picture 🙂 – you can totally paint the frame, I liked the vintagey metallic of this frame
If your frame is empty, you will need a piece of 1/4″ plywood that is cut to fit inside the frame
Batting, enough to fill the frame plus 2.5″ on each side 2 times
Hot glue
Nails

Begin by laying the picture or plywood on the cotton batting. Cut around the picture leaving about 2.5″ on each side. Then cut another piece of batting the same size.
Place the picture or plywood in the center of the first piece of batting. Begin hot gluing around the edges and adhering the edge of the batting – pulling so the batting is taught. Continue gluing all the way around. Then repeat this process with the second piece of batting, pulling and gluing and burning your fingers.
I was a little worried the picture with 2 layers of batting would be too thick for the frame, but it fit perfectly, it almost didn’t need to be secured. Insert the batting covered board into the frame. Hammer a few nails around the frame to secure. Then add picture hanging wire, making sure it’s the proper weight for the frame. Tada – done in about 5 minutes!!!
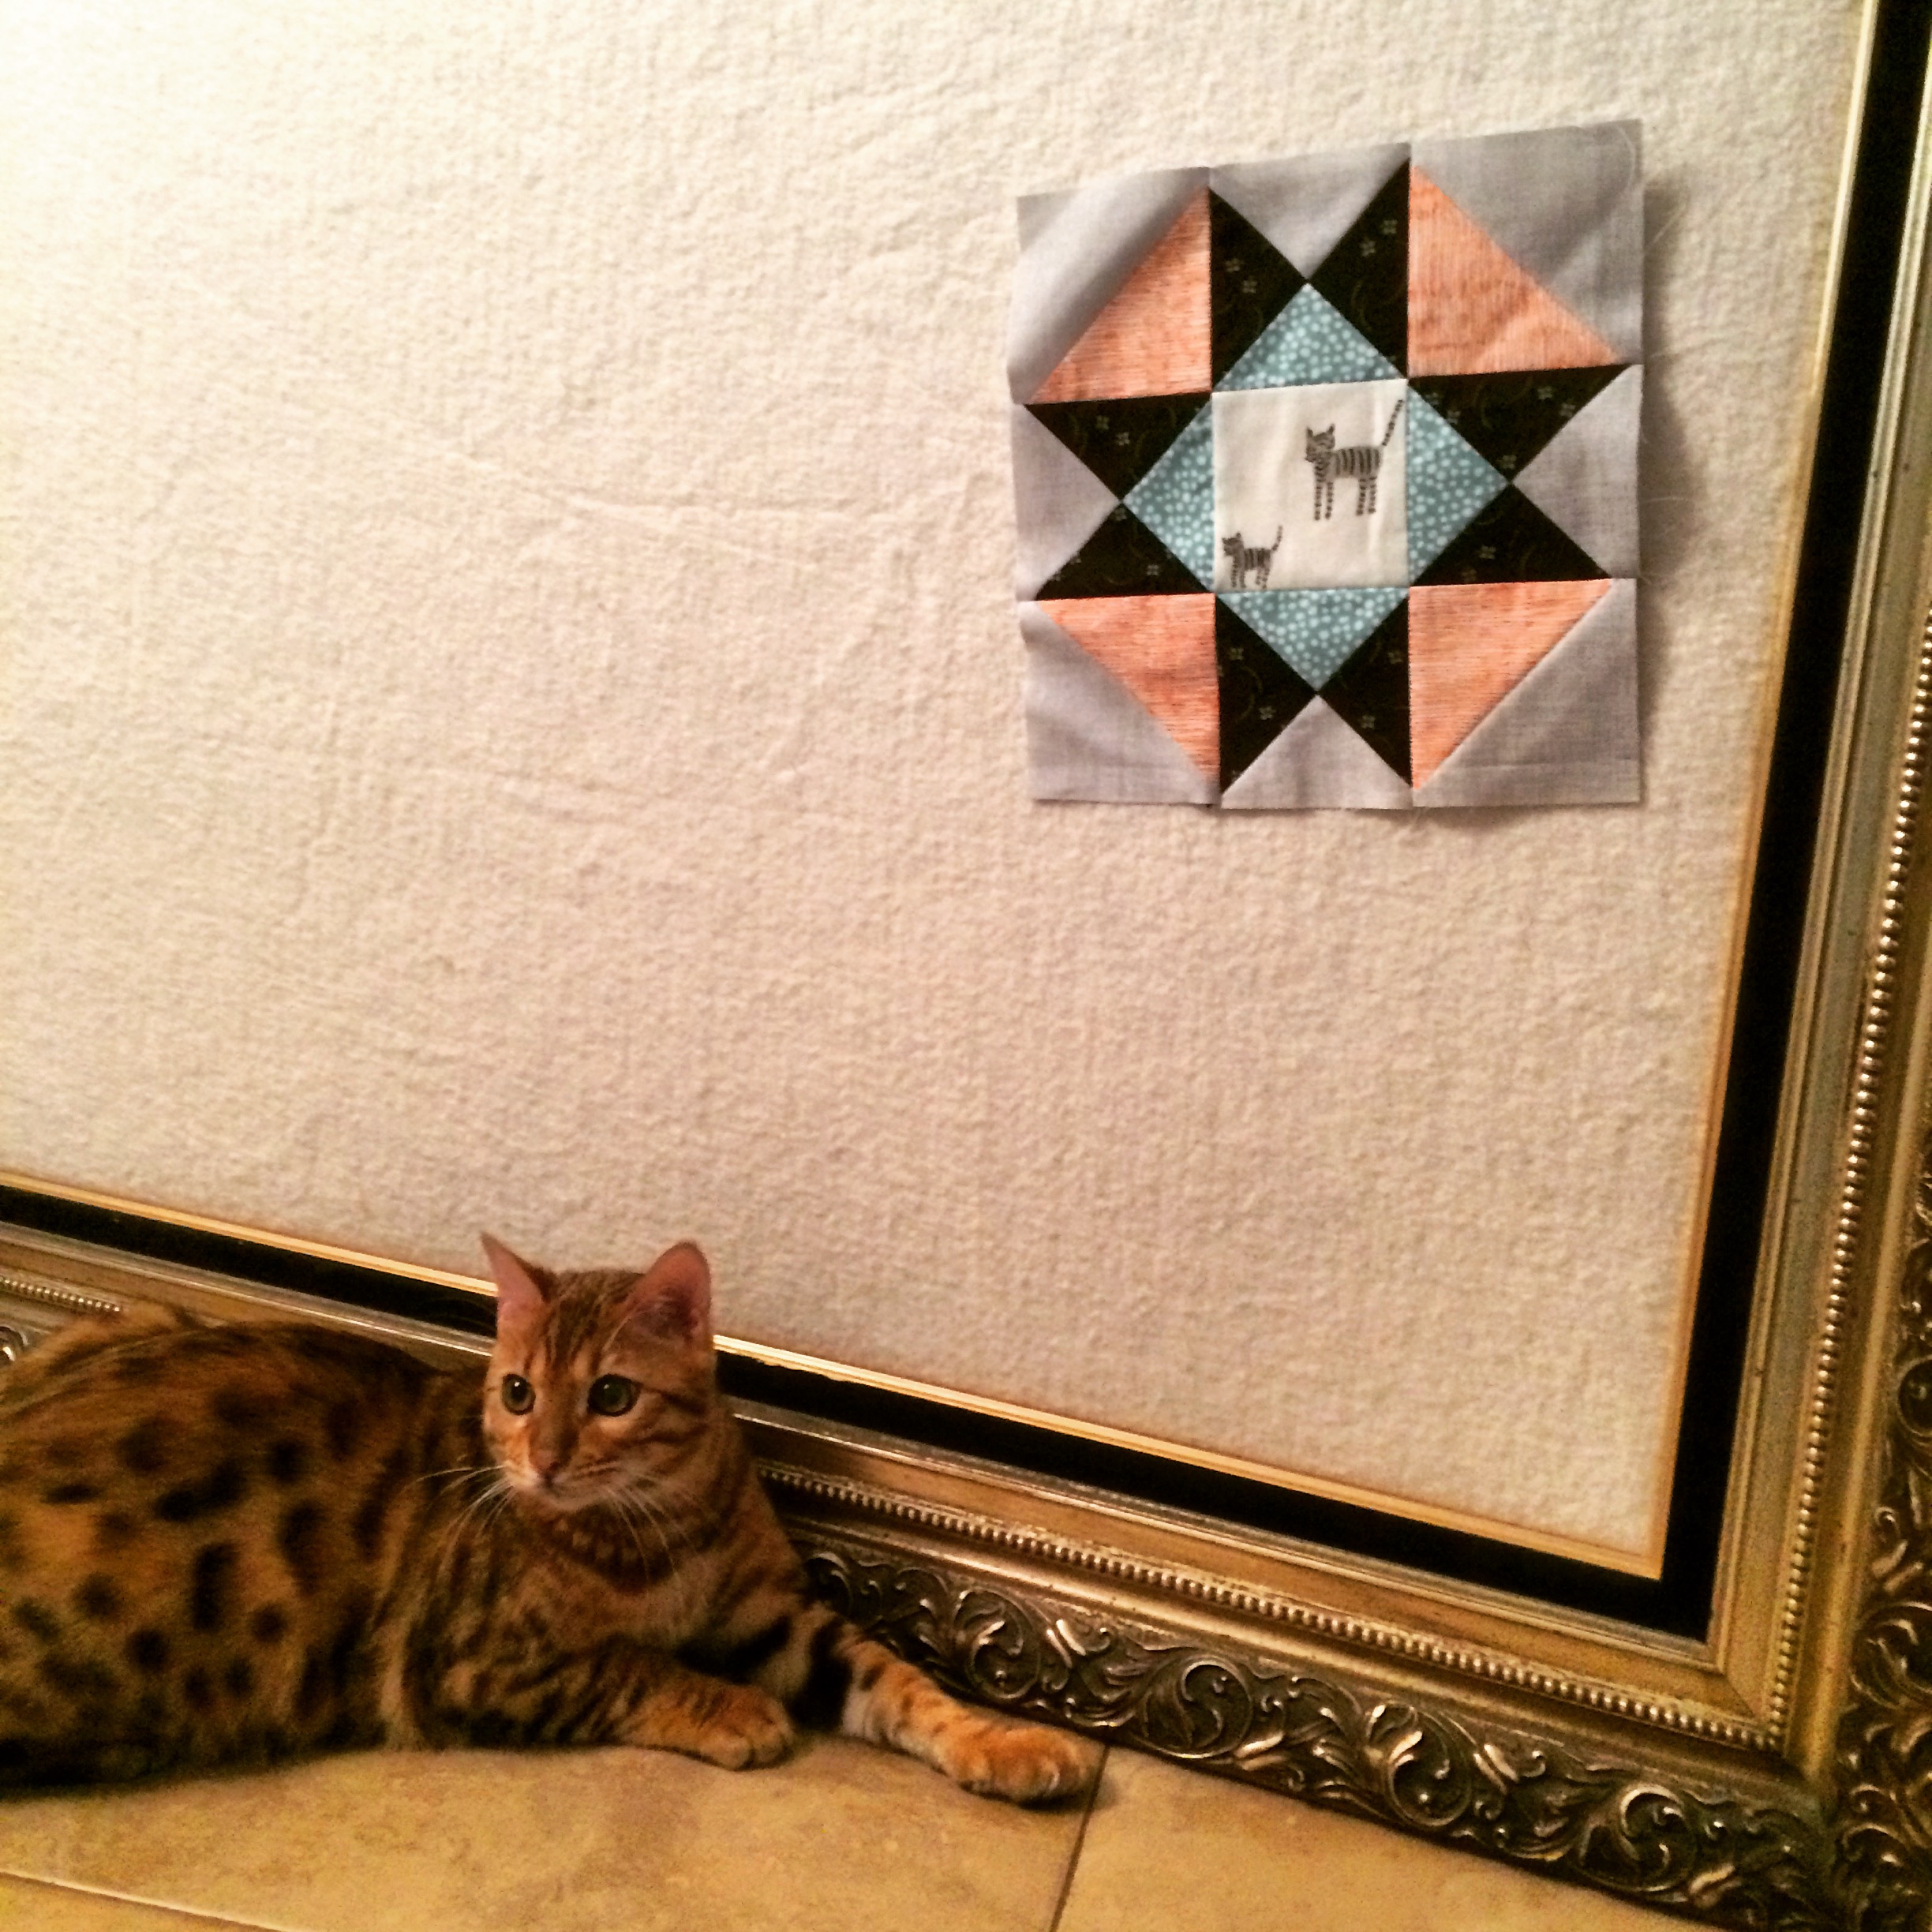
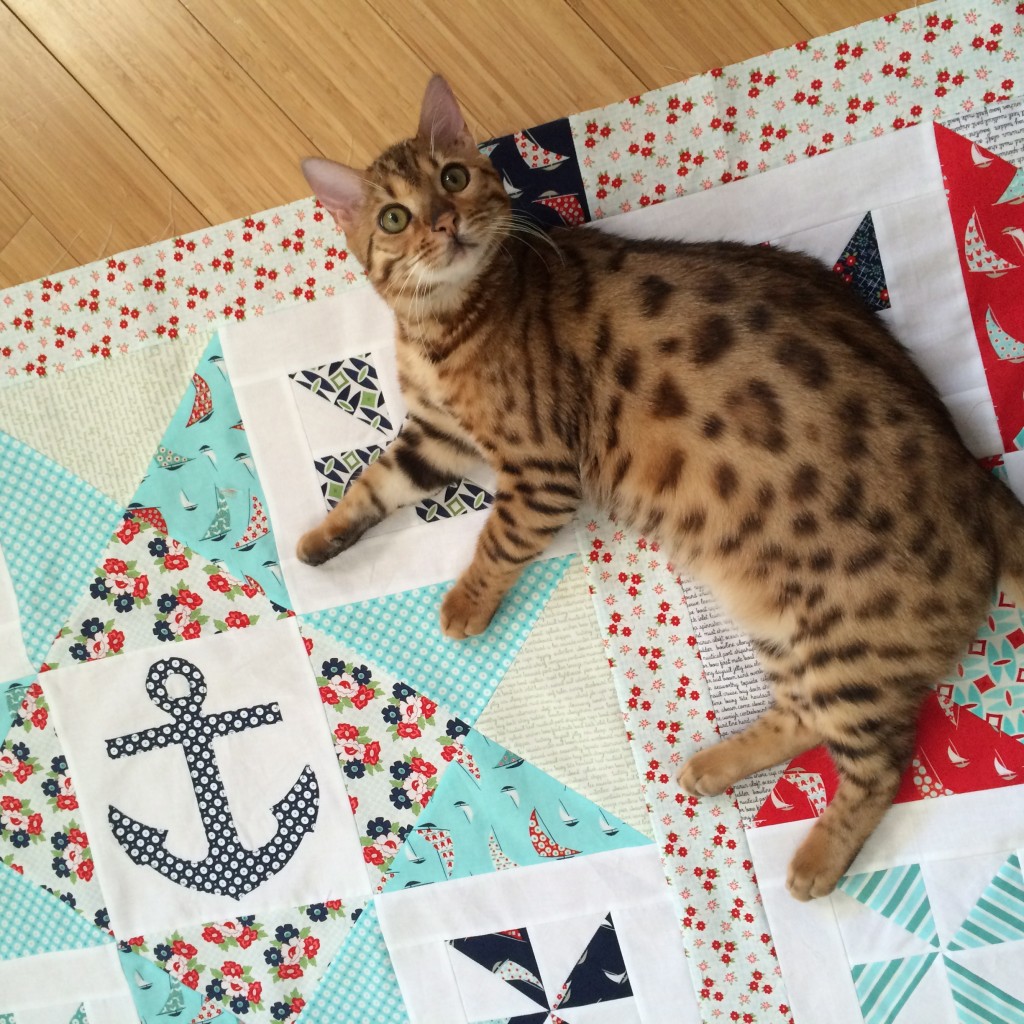
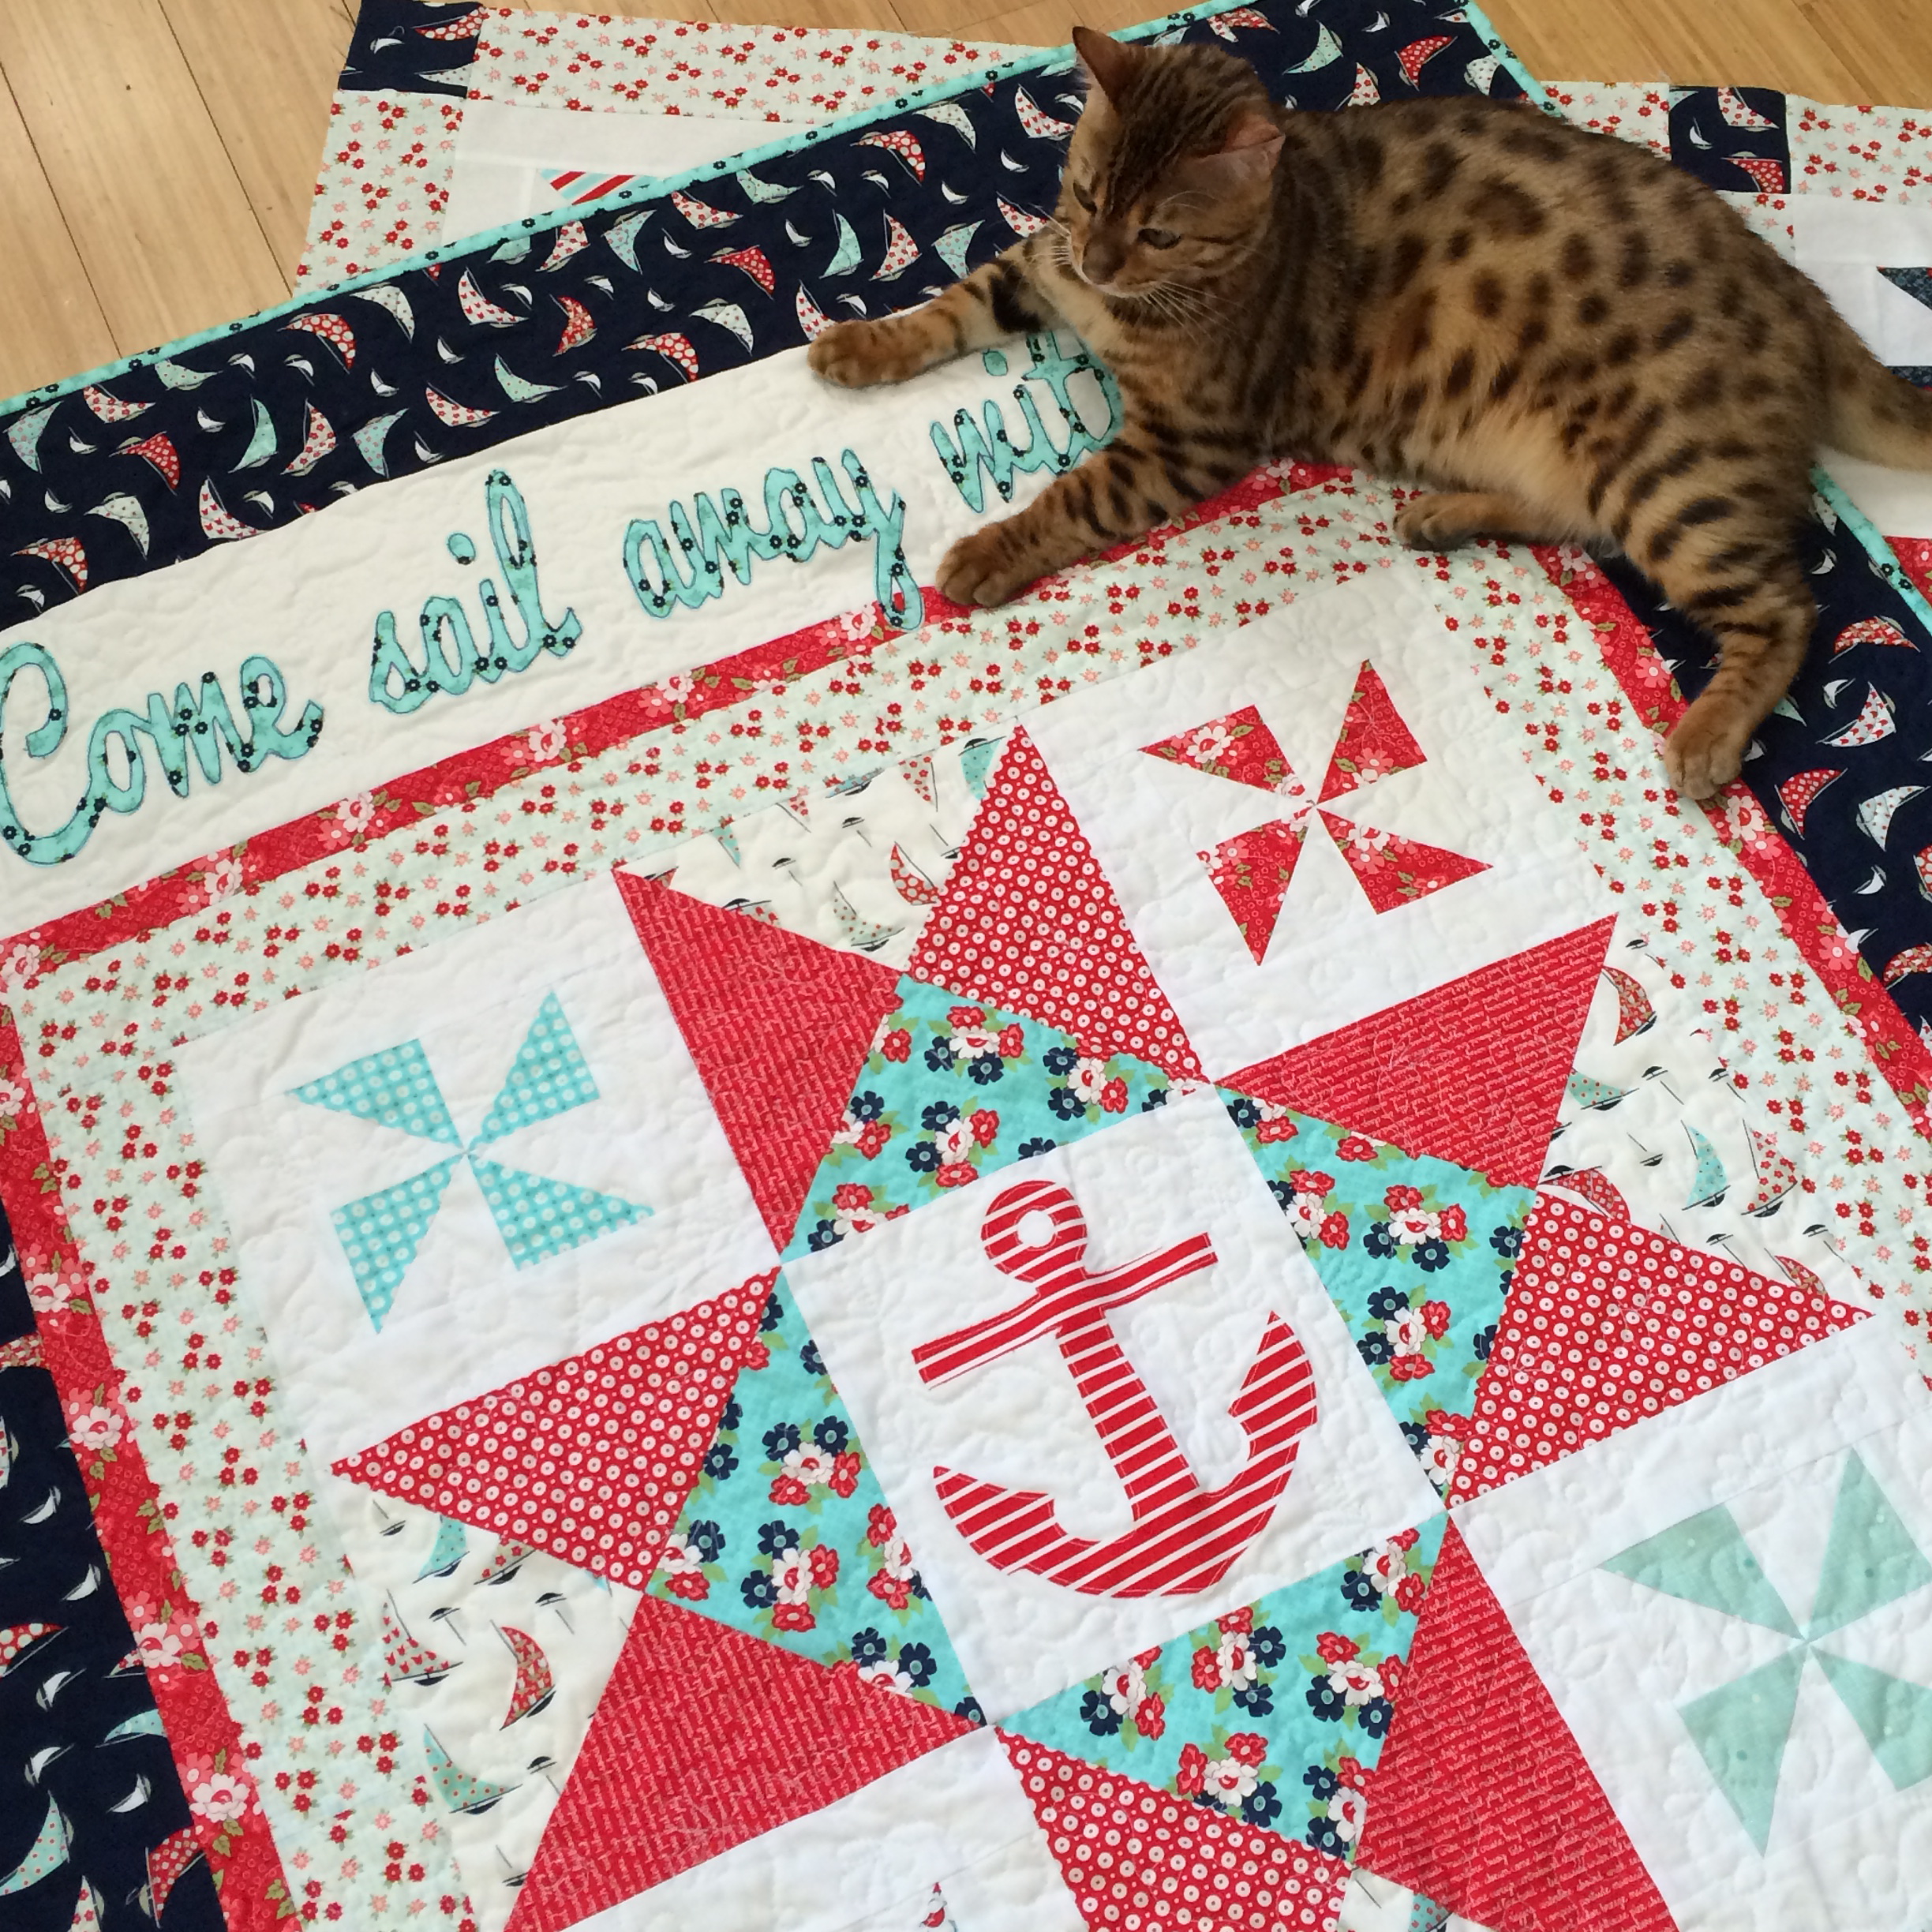
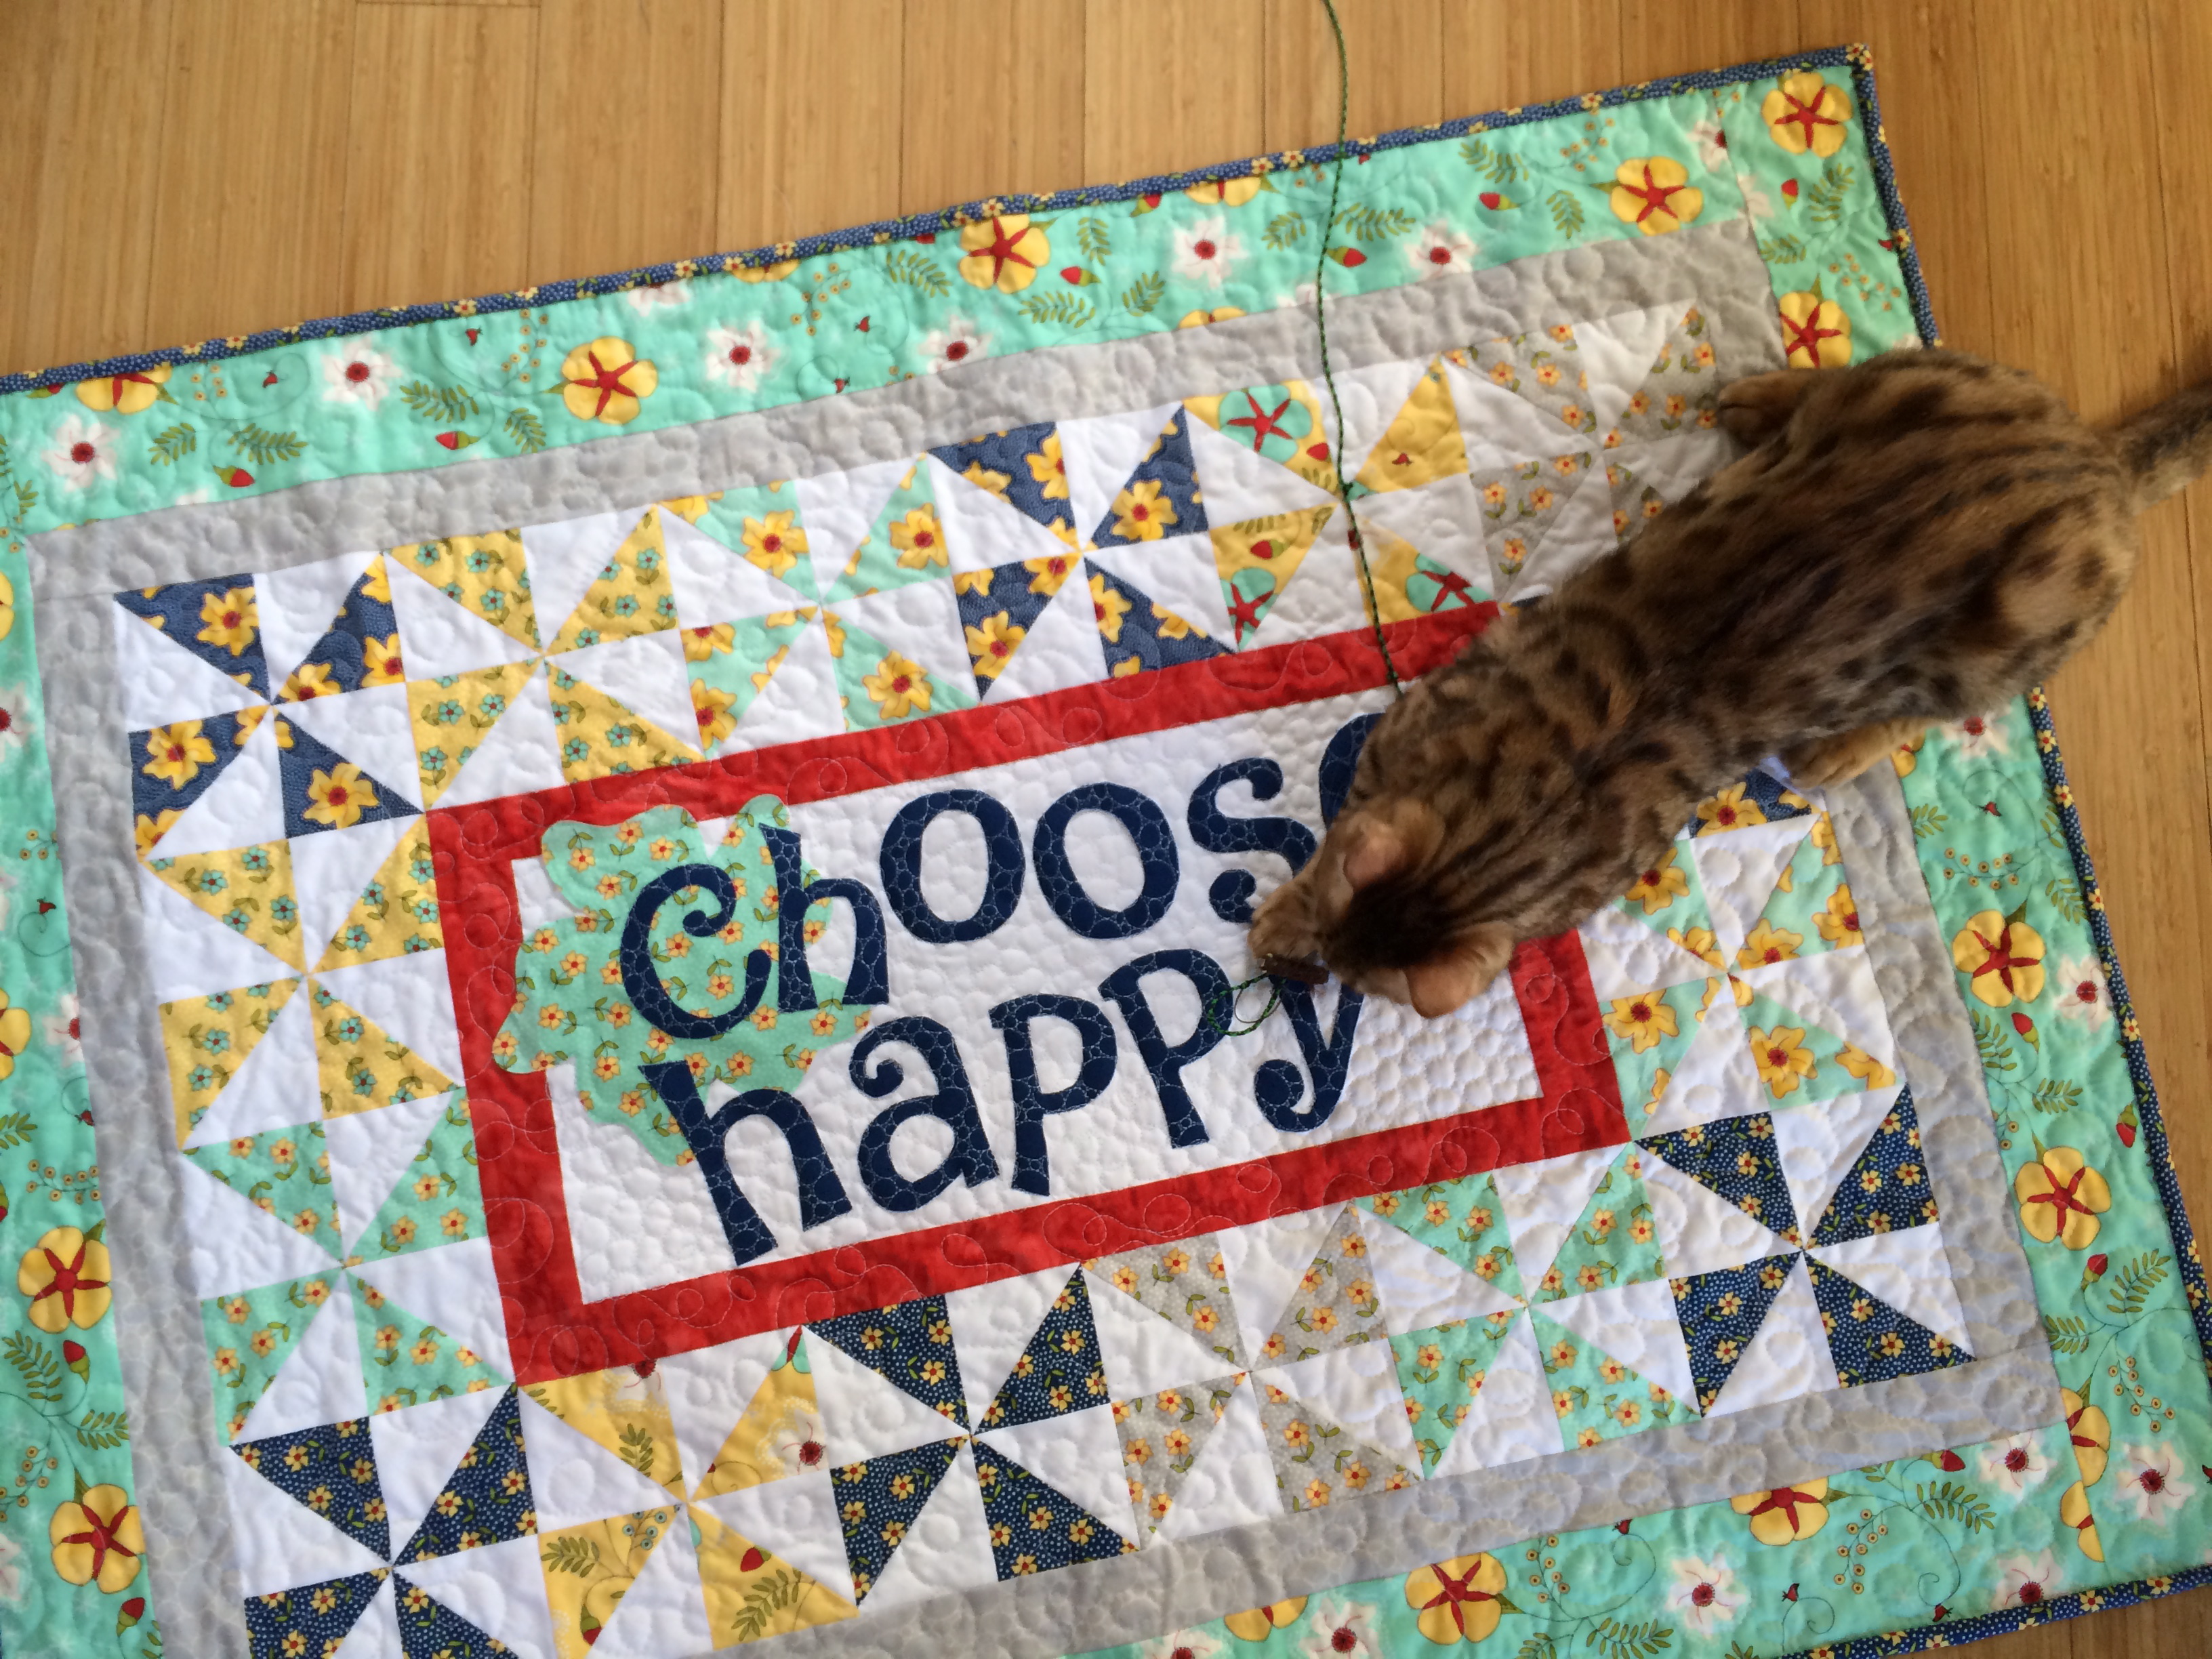
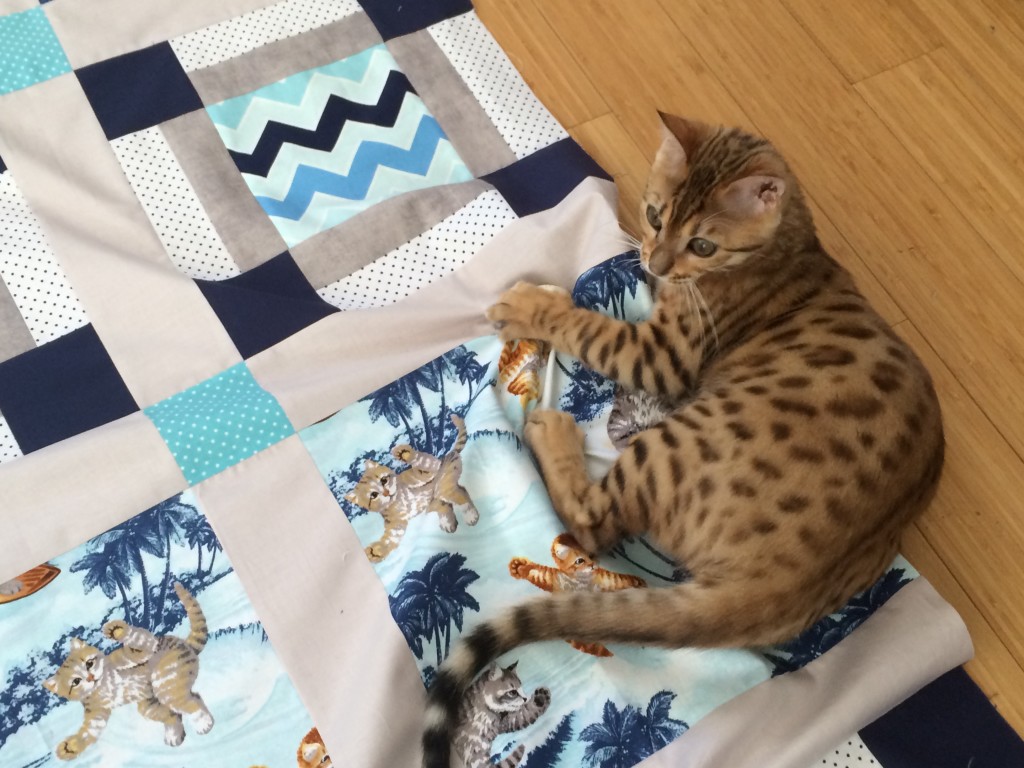
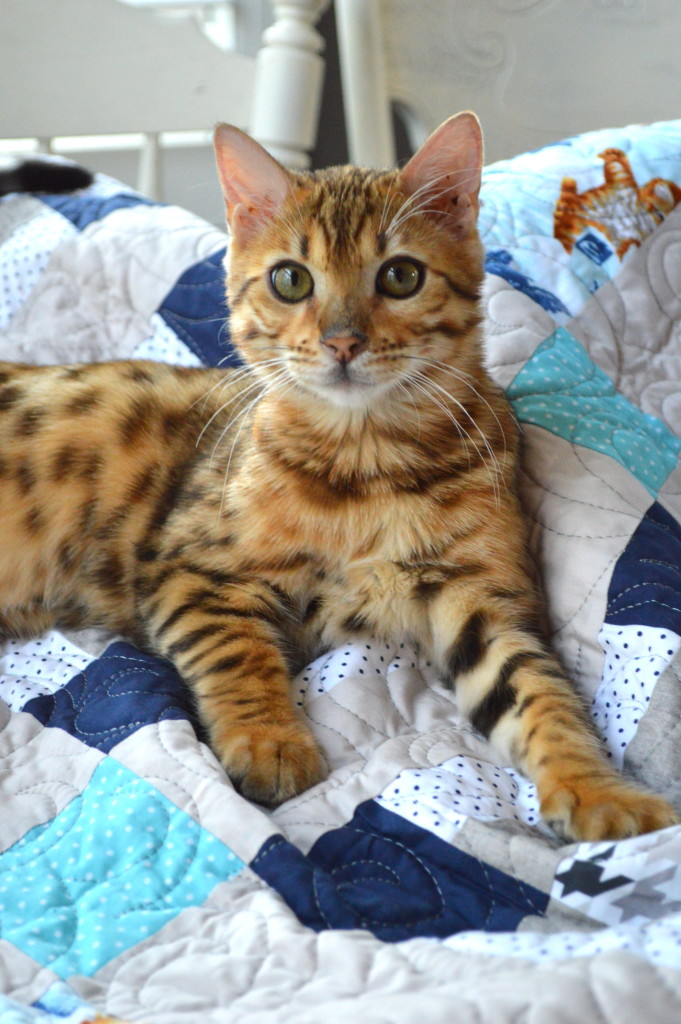
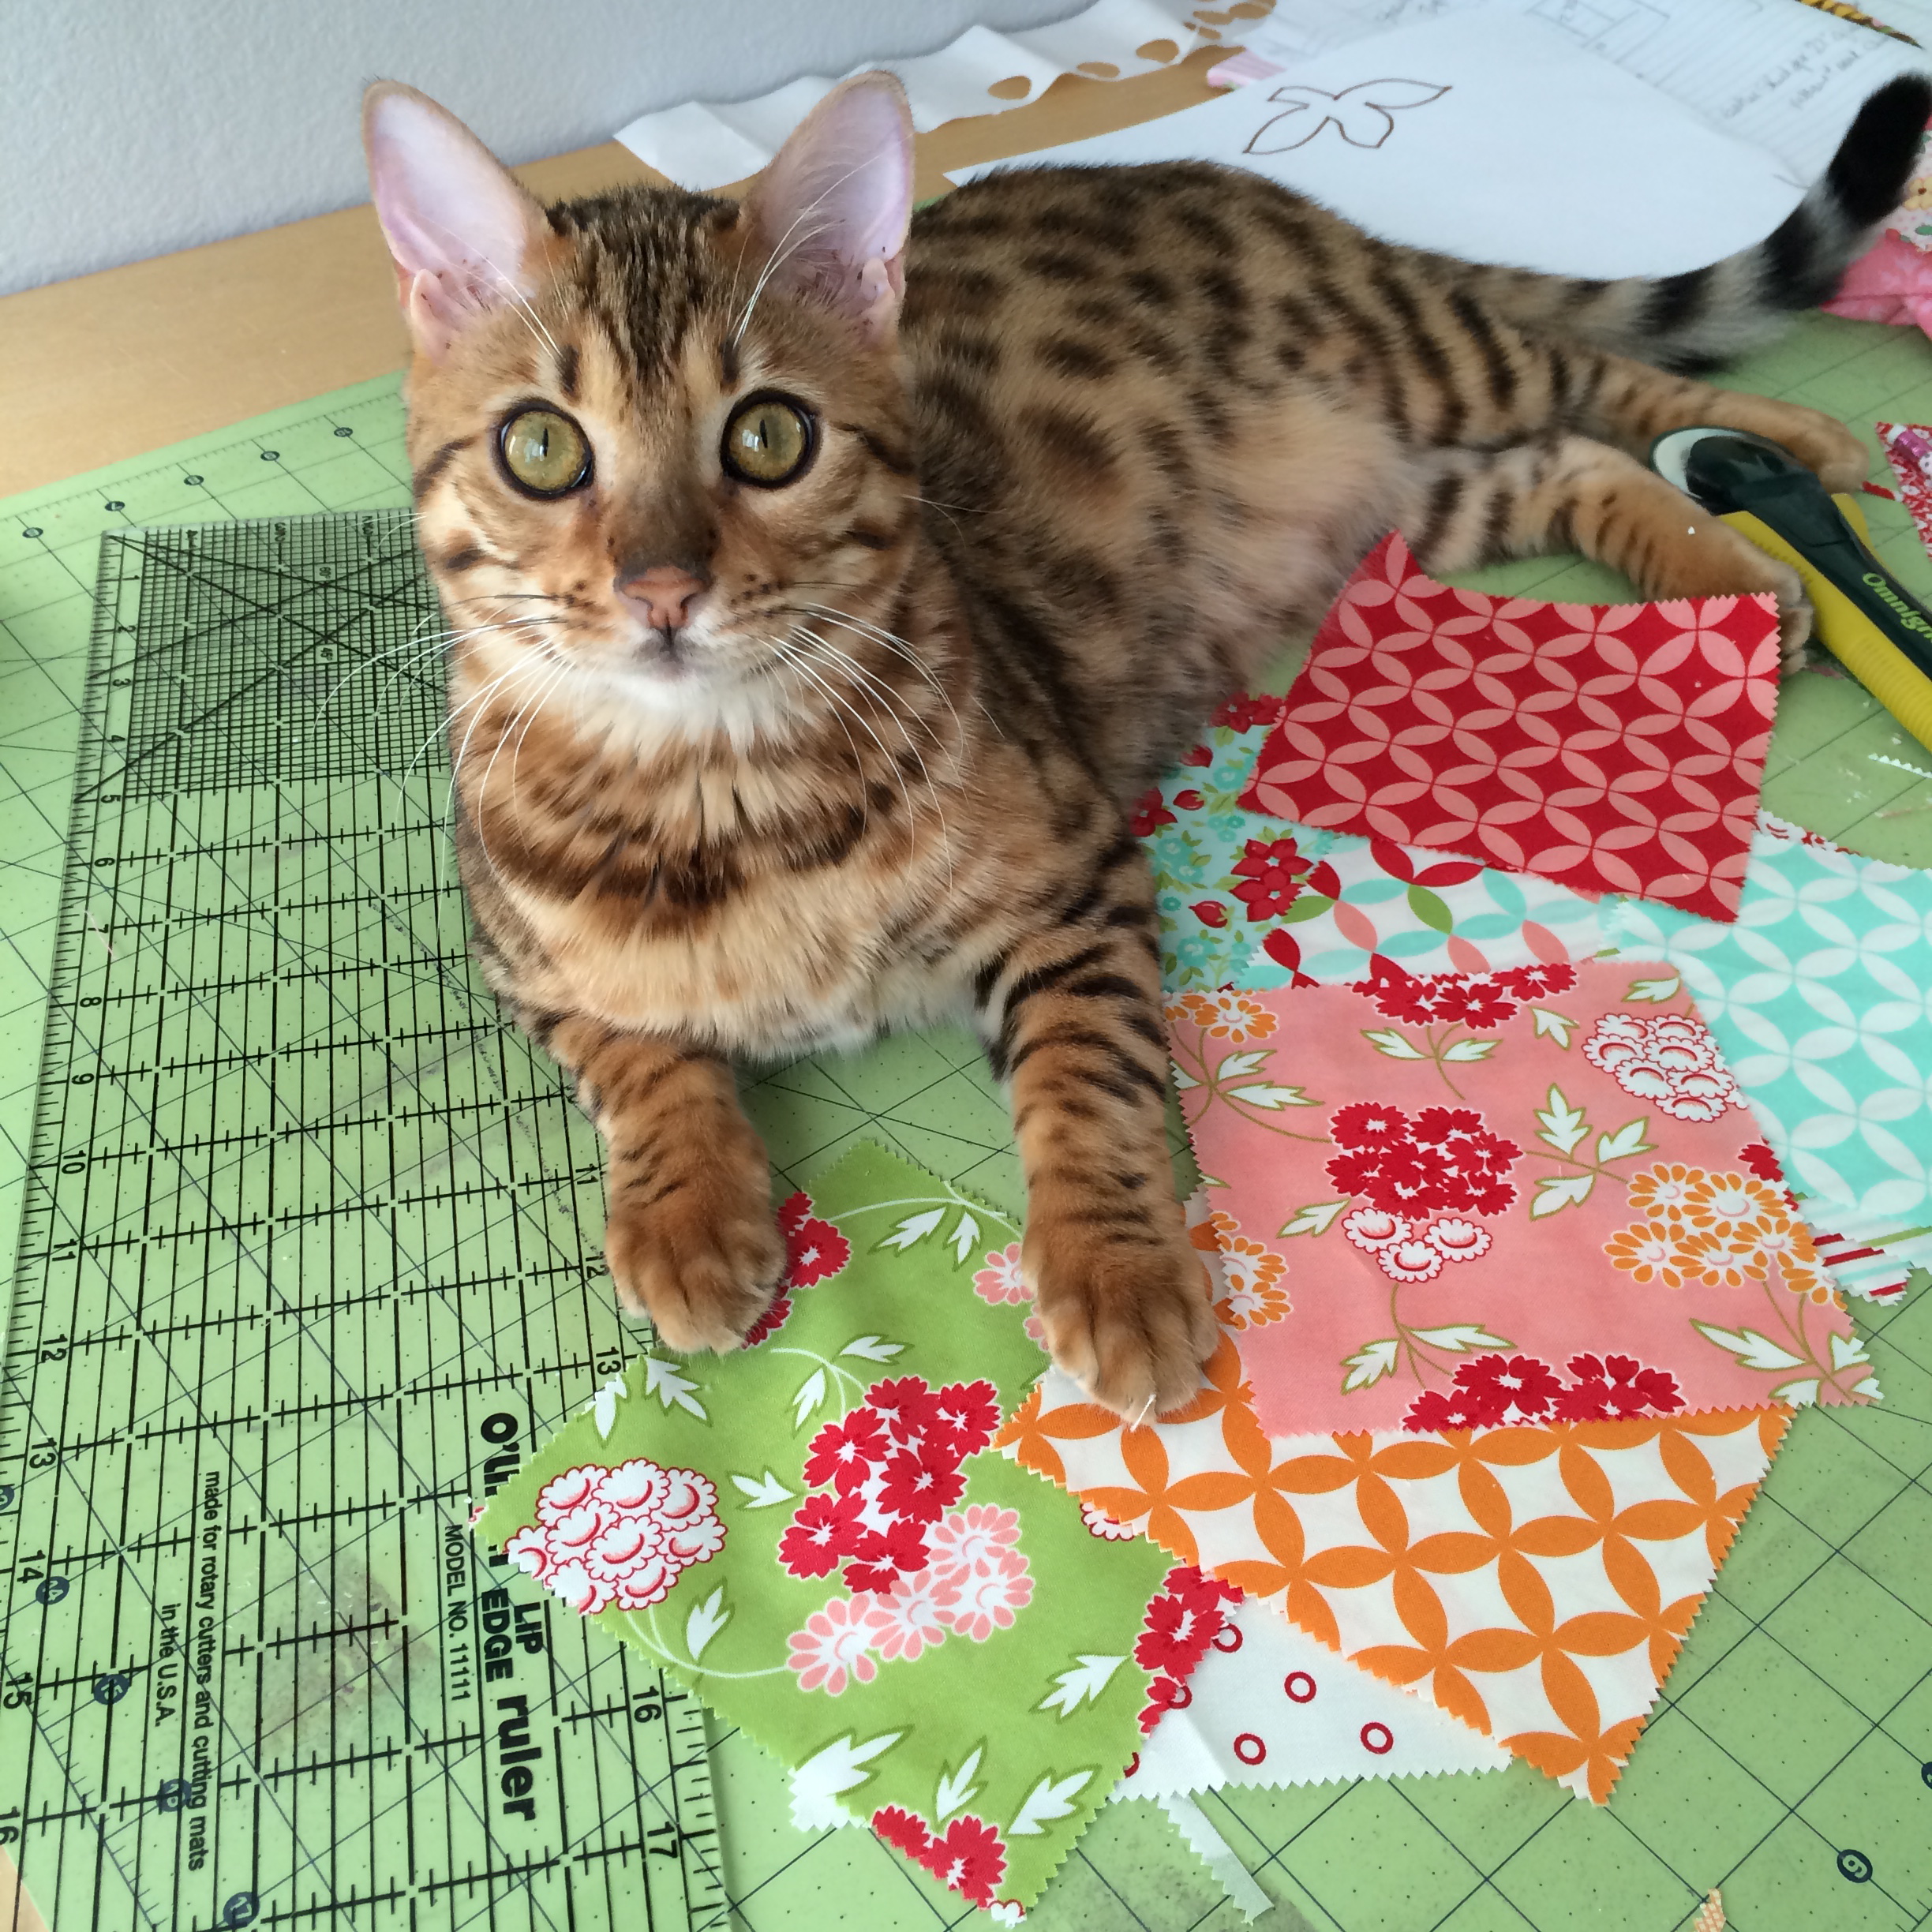
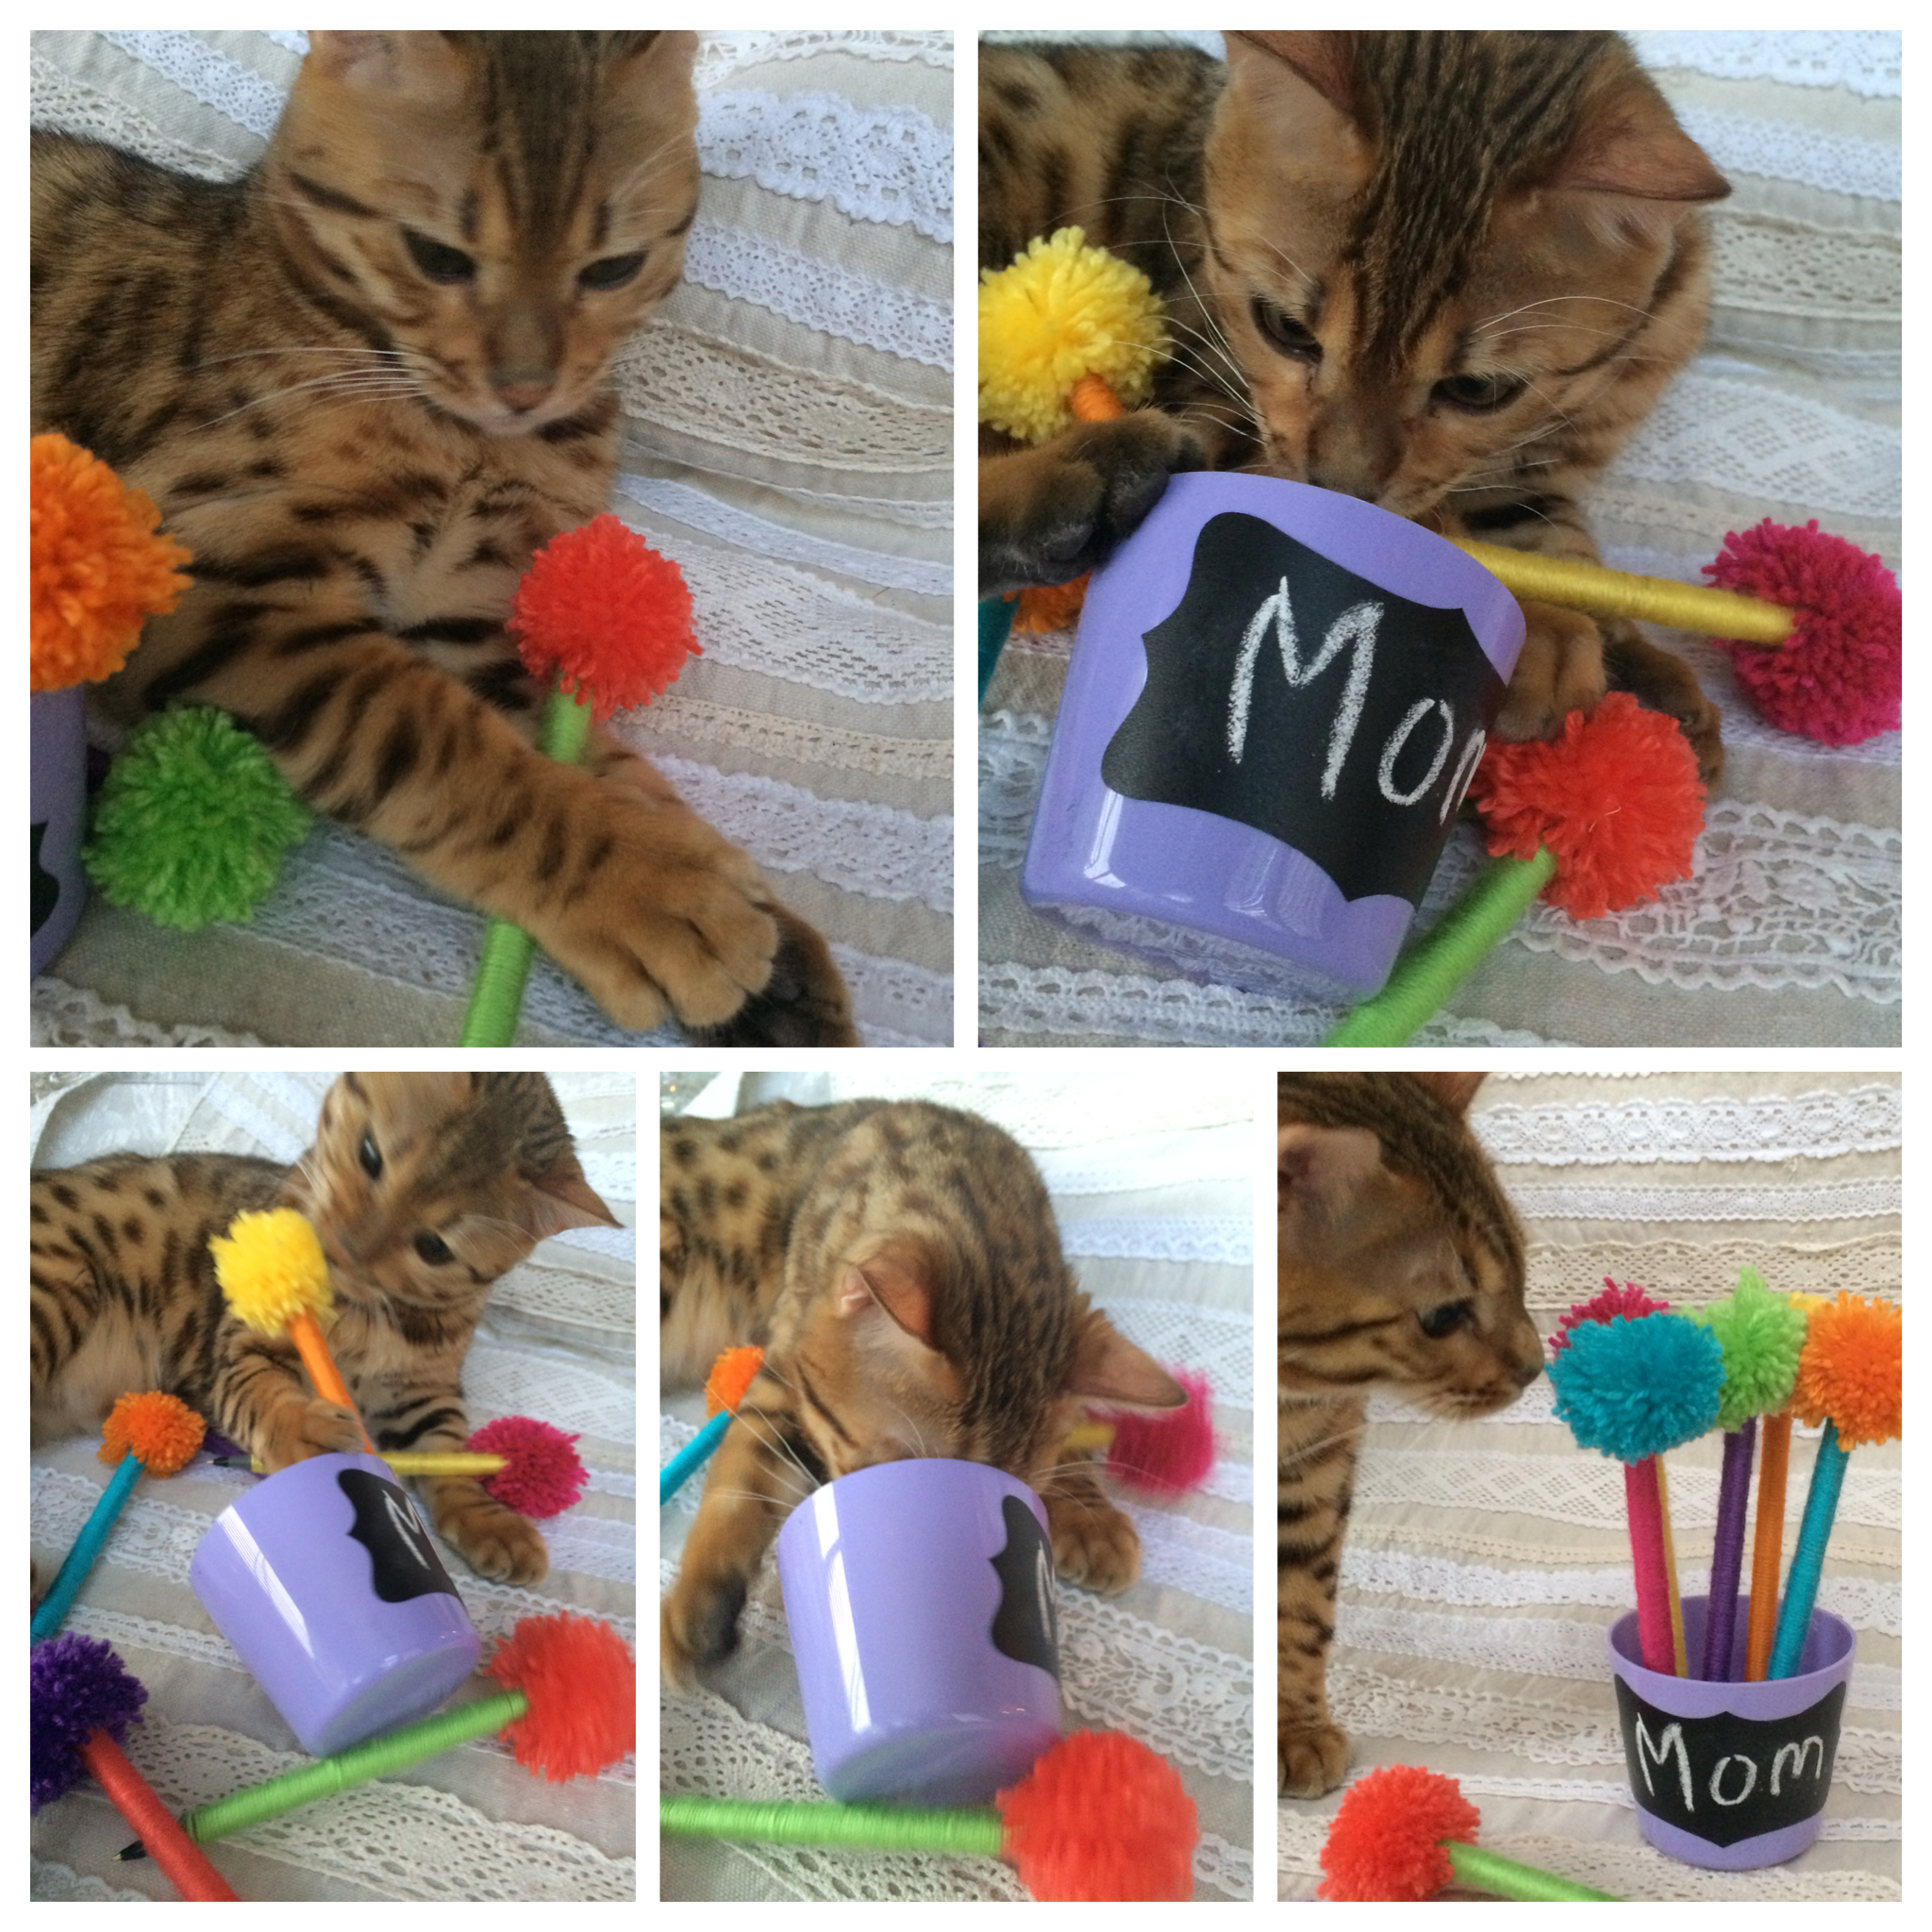
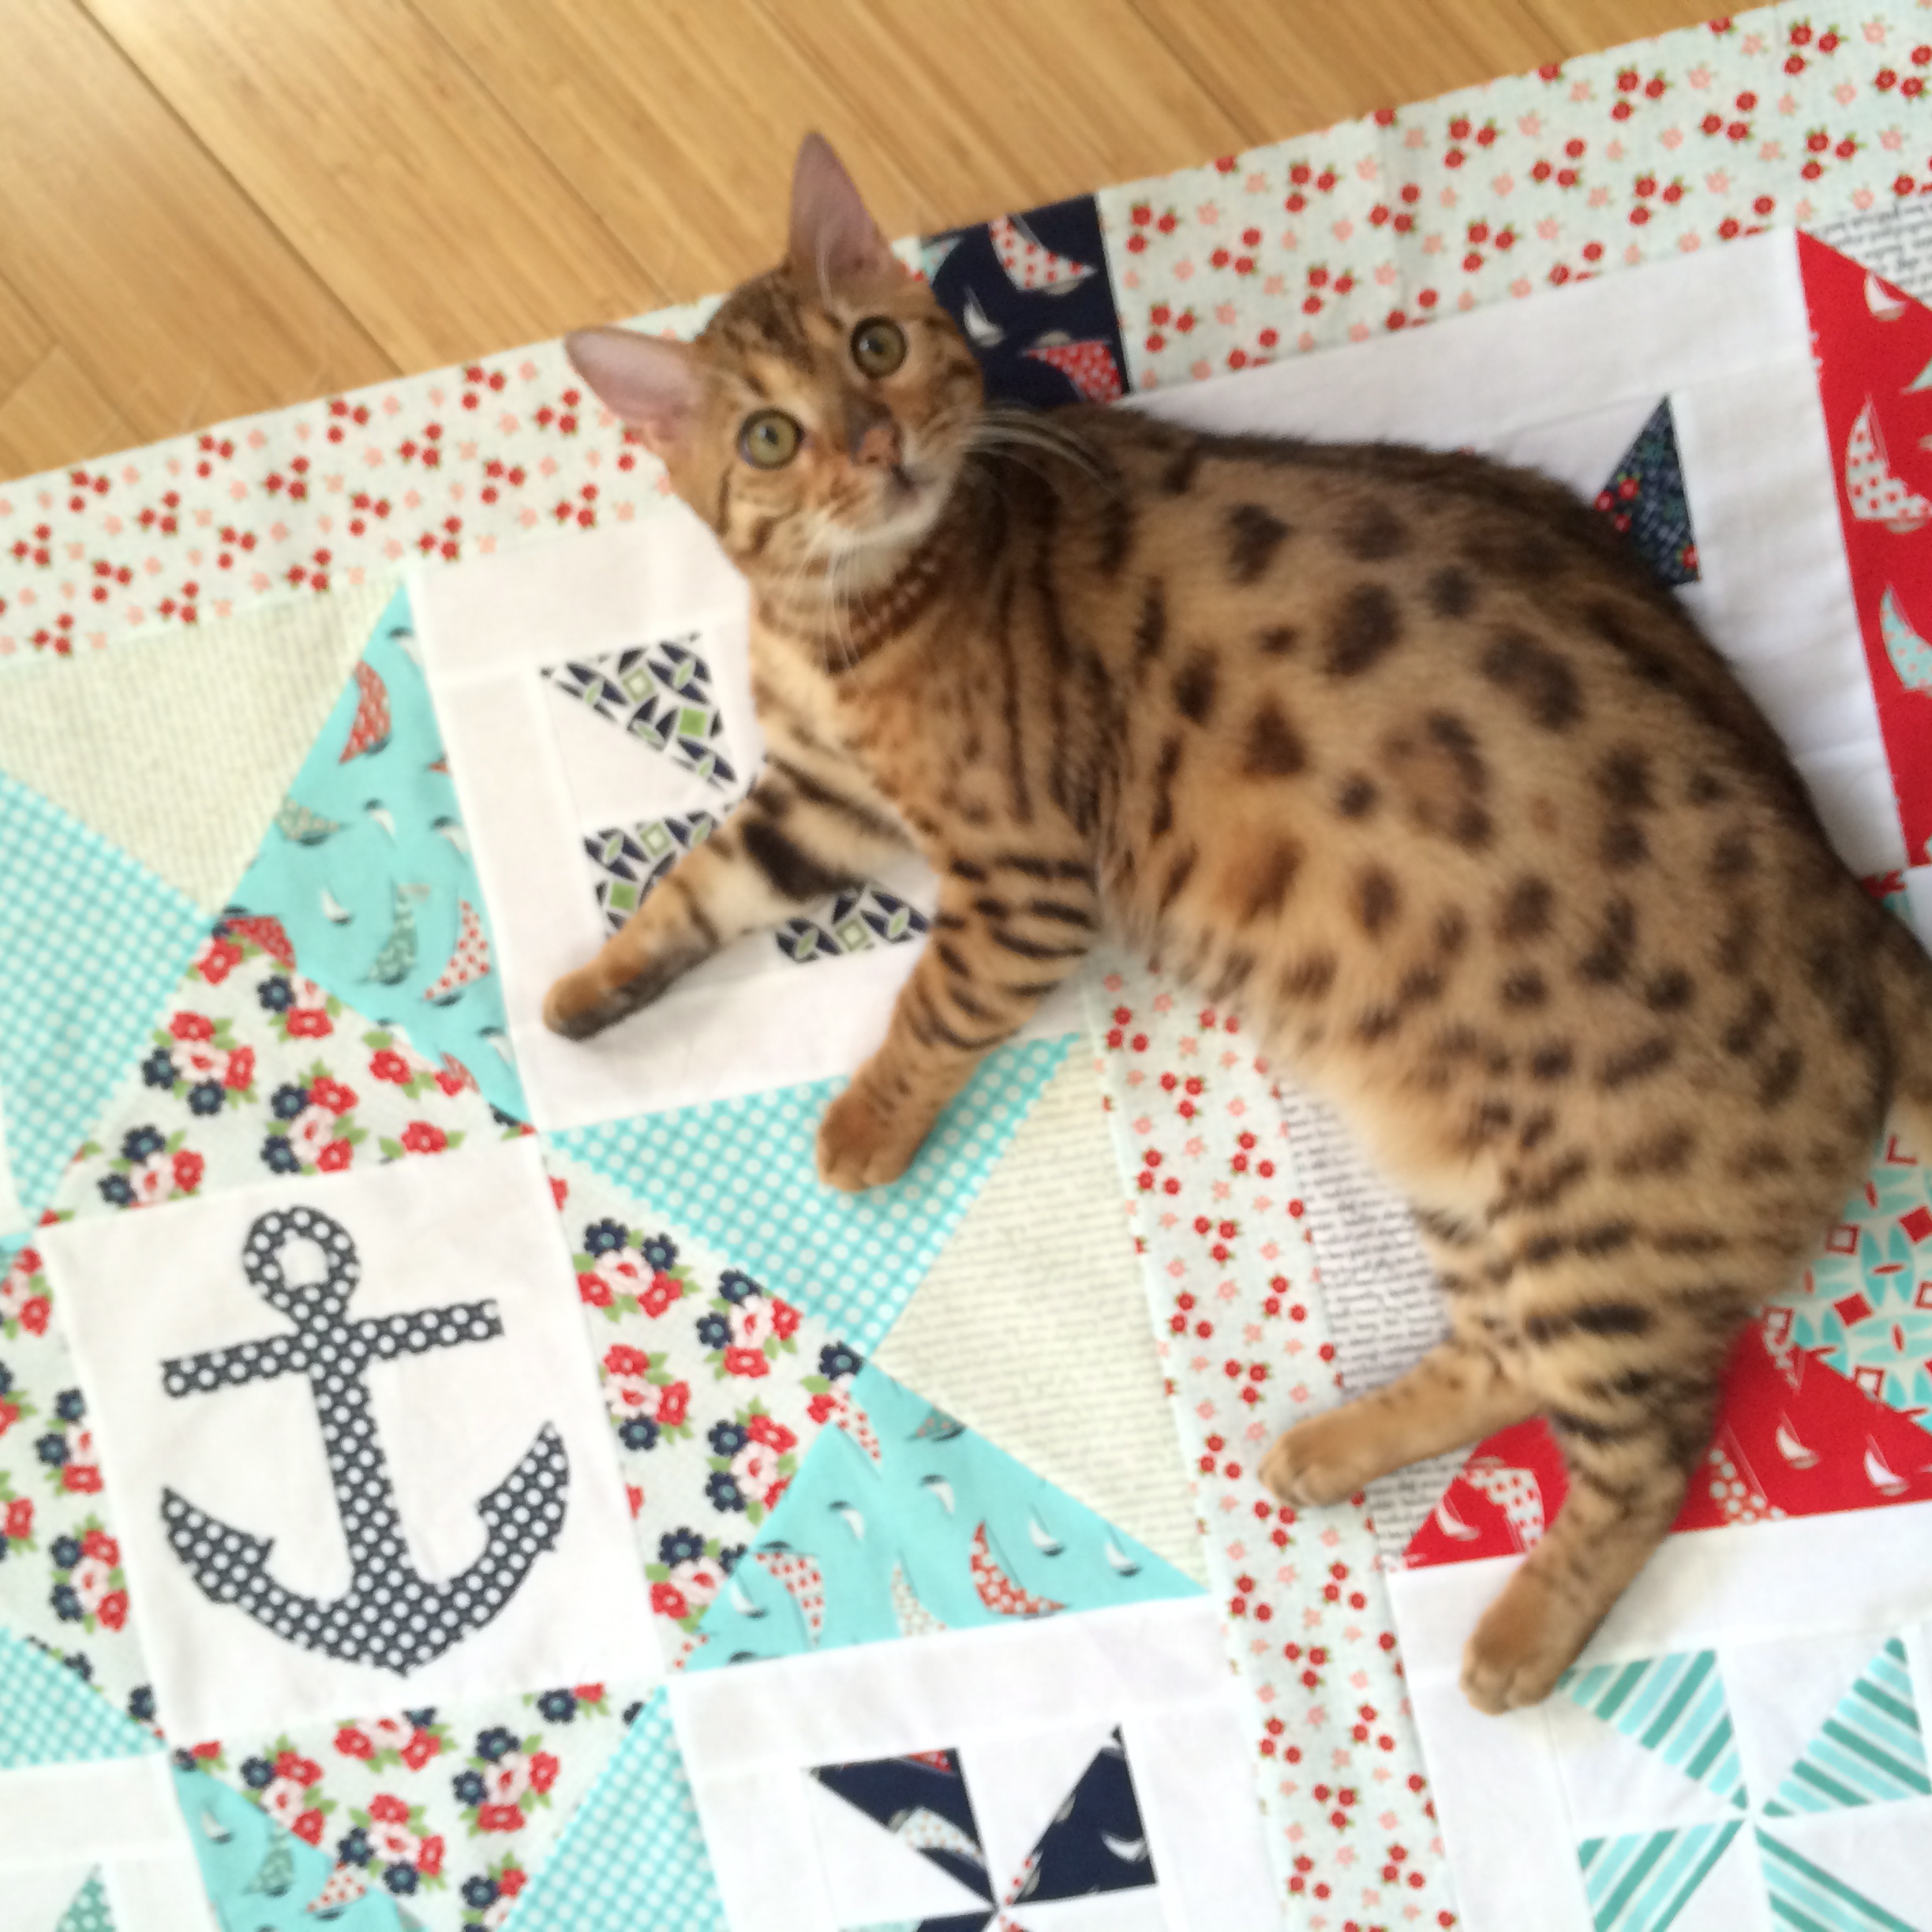
 Baby Mufasa approves! I had to hurry and hang it so he wouldn’t claw it!!
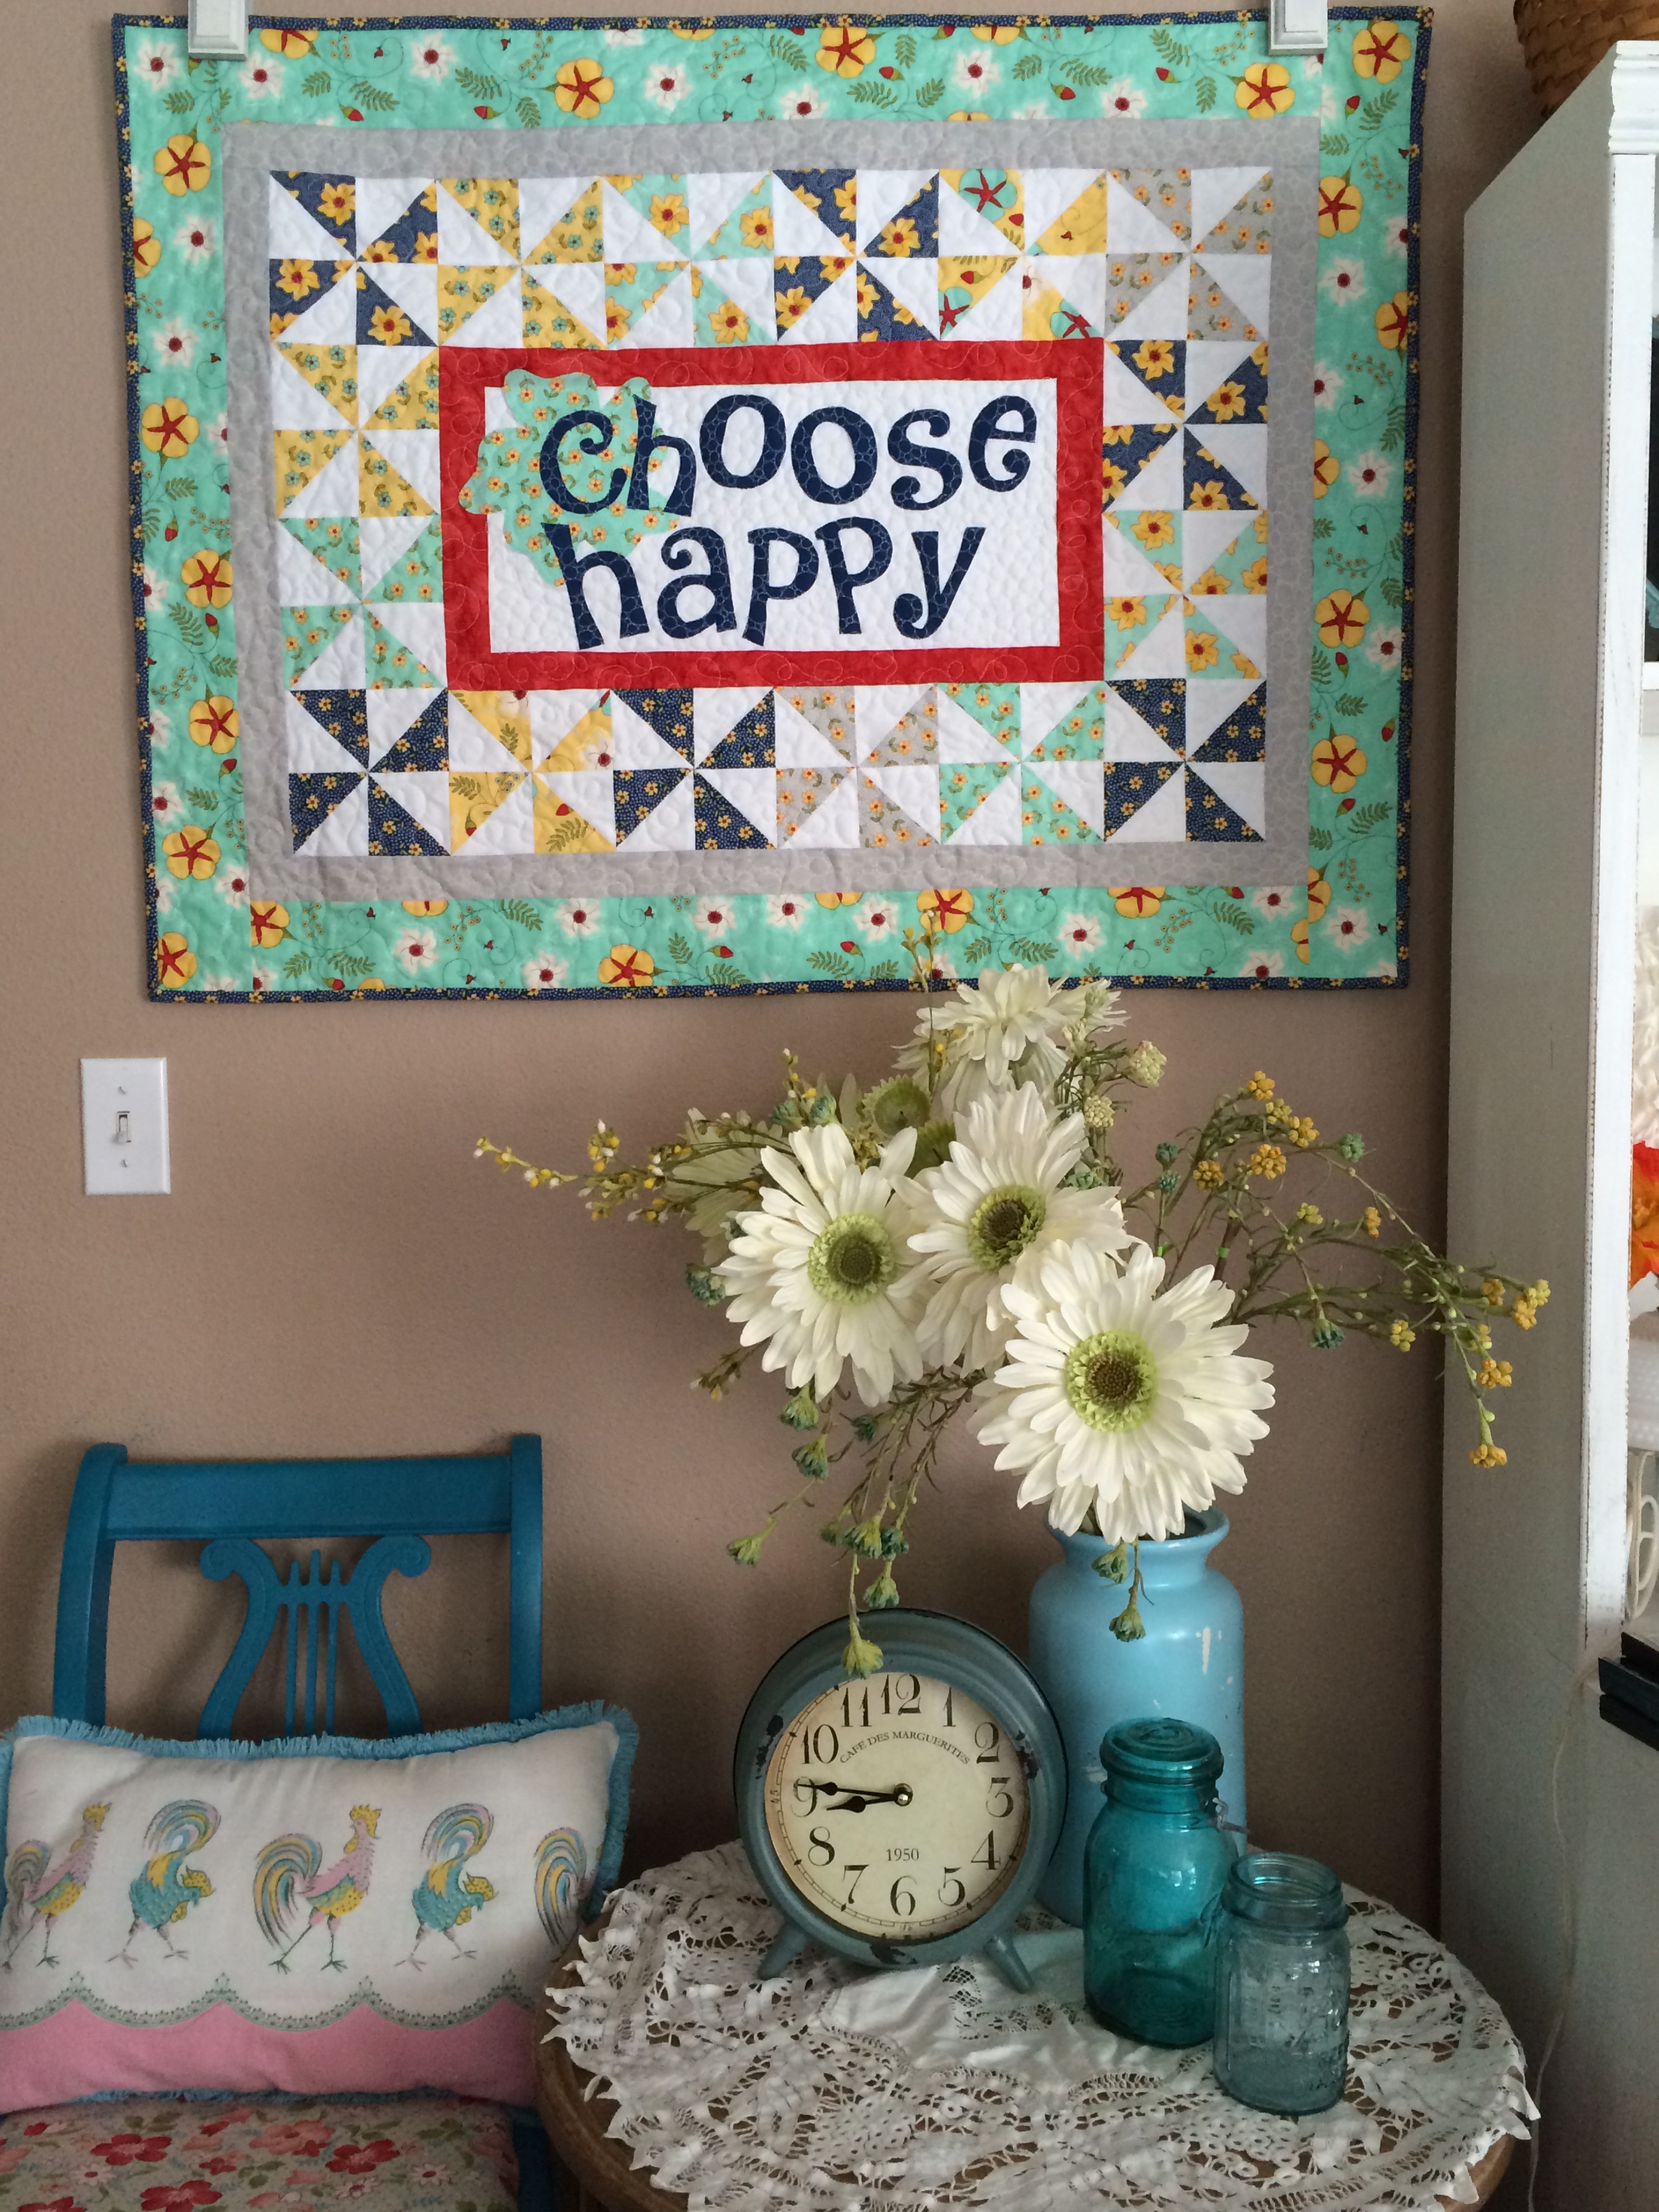
It’t perfect to display all your blocks in progress. I like that mine is always different depending on what I’m working on. It’s like having a new picture everyday!

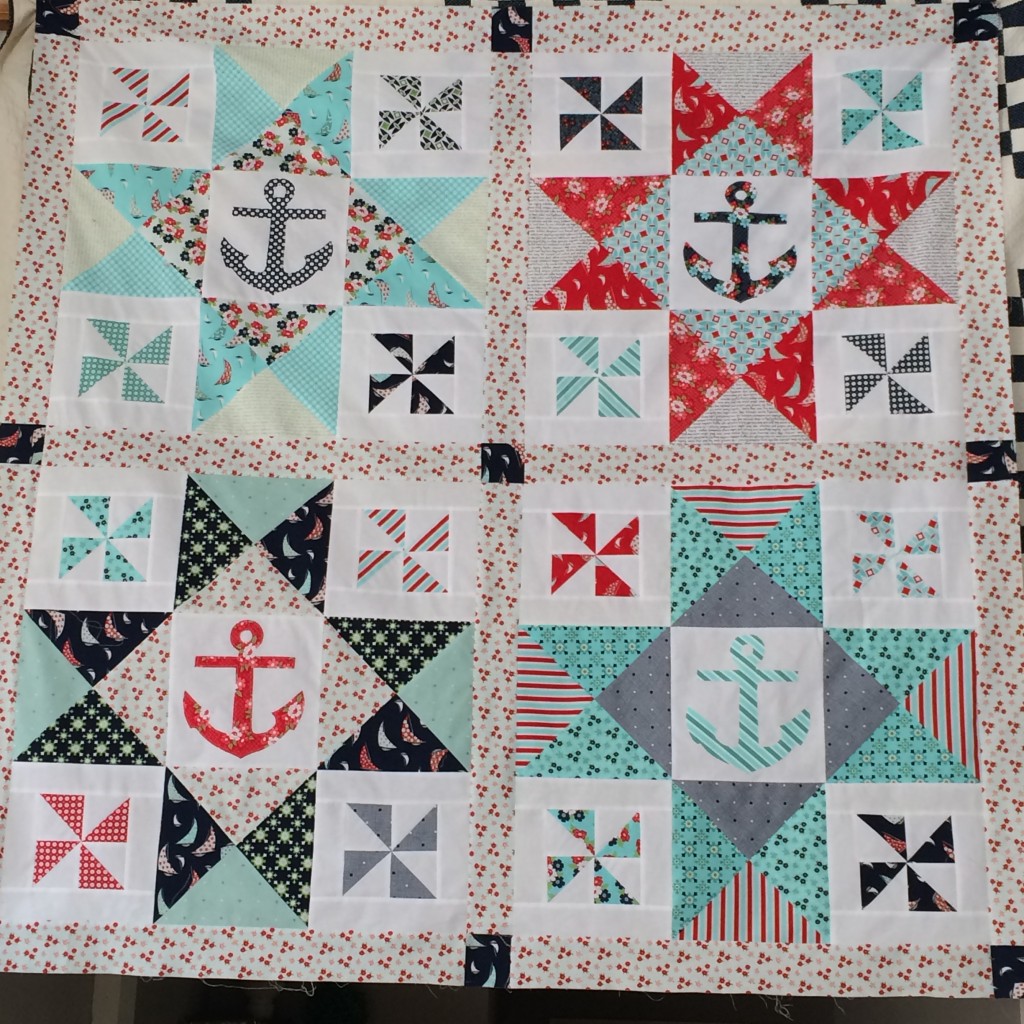
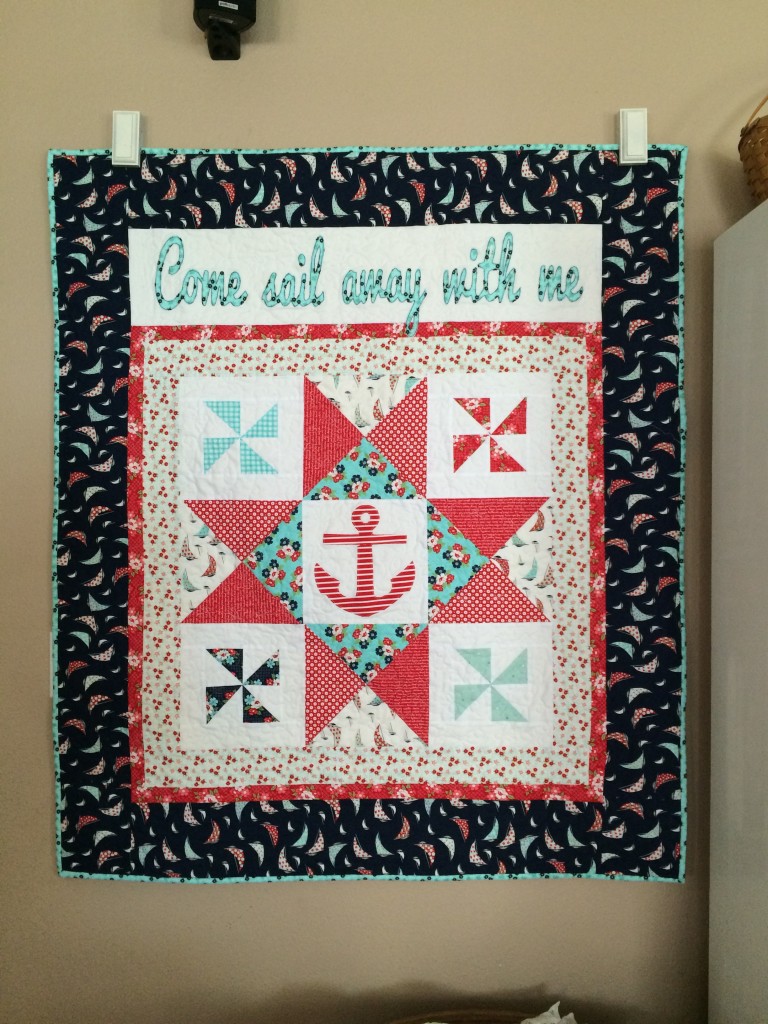
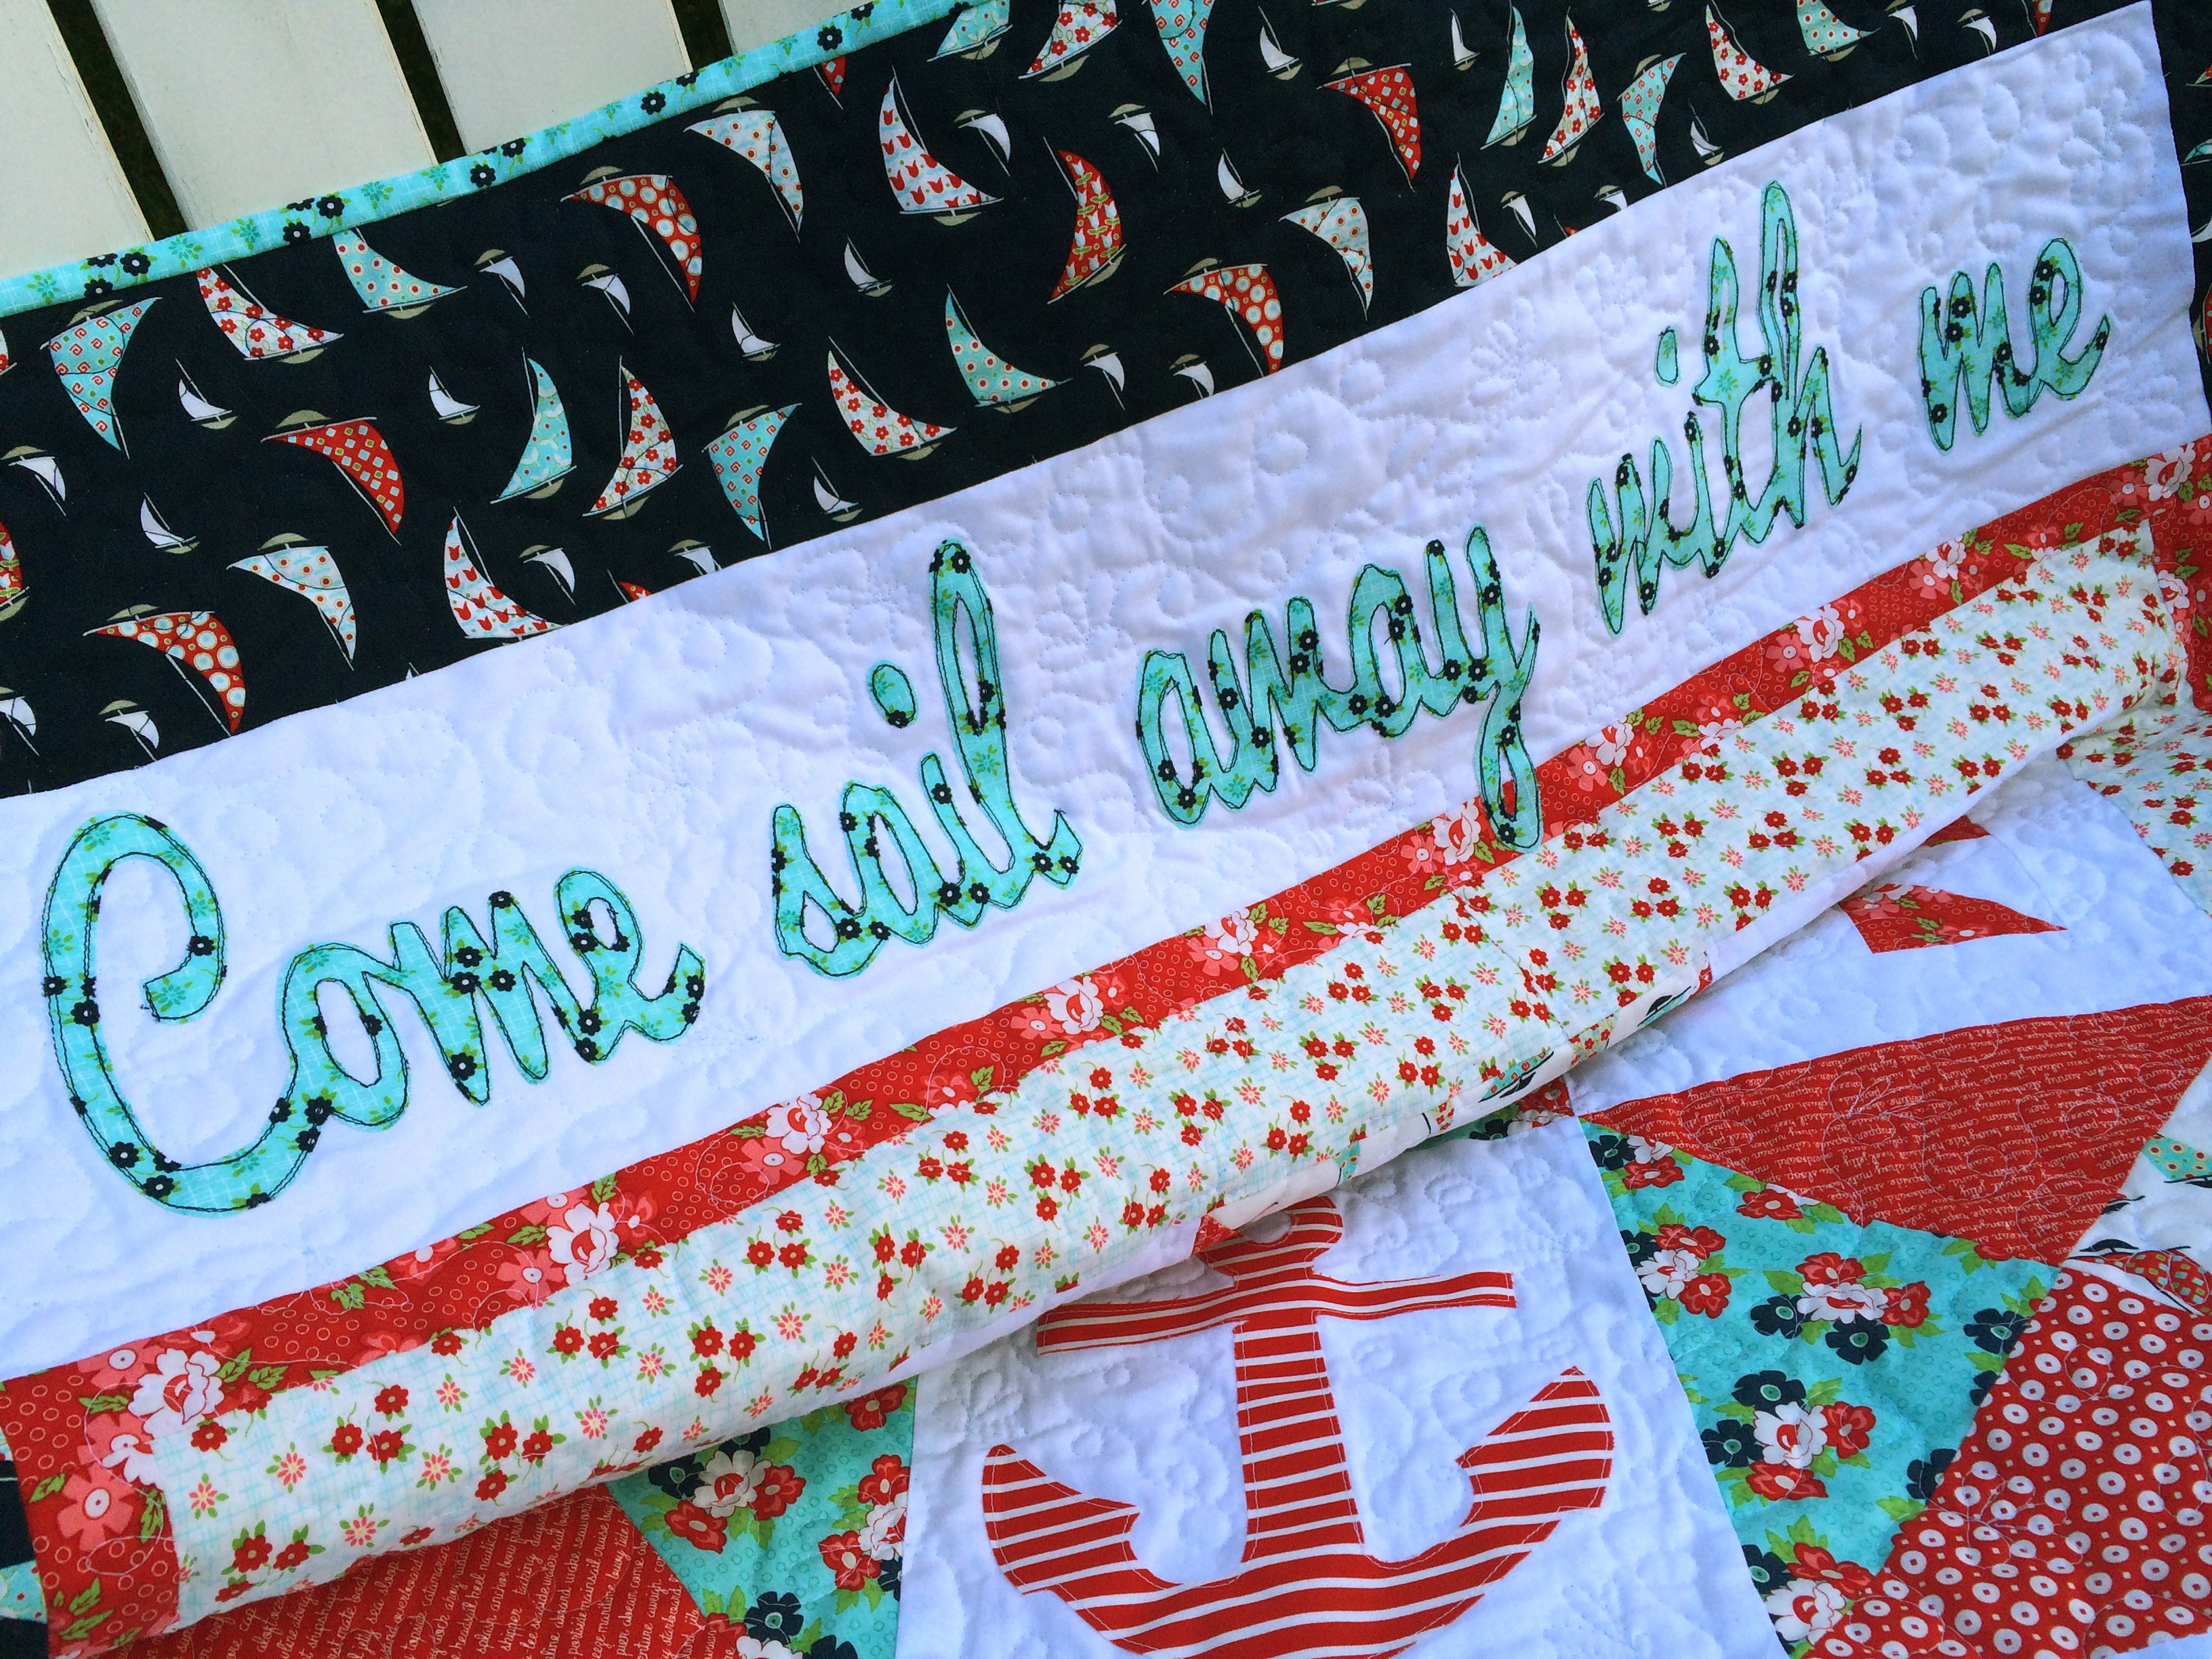
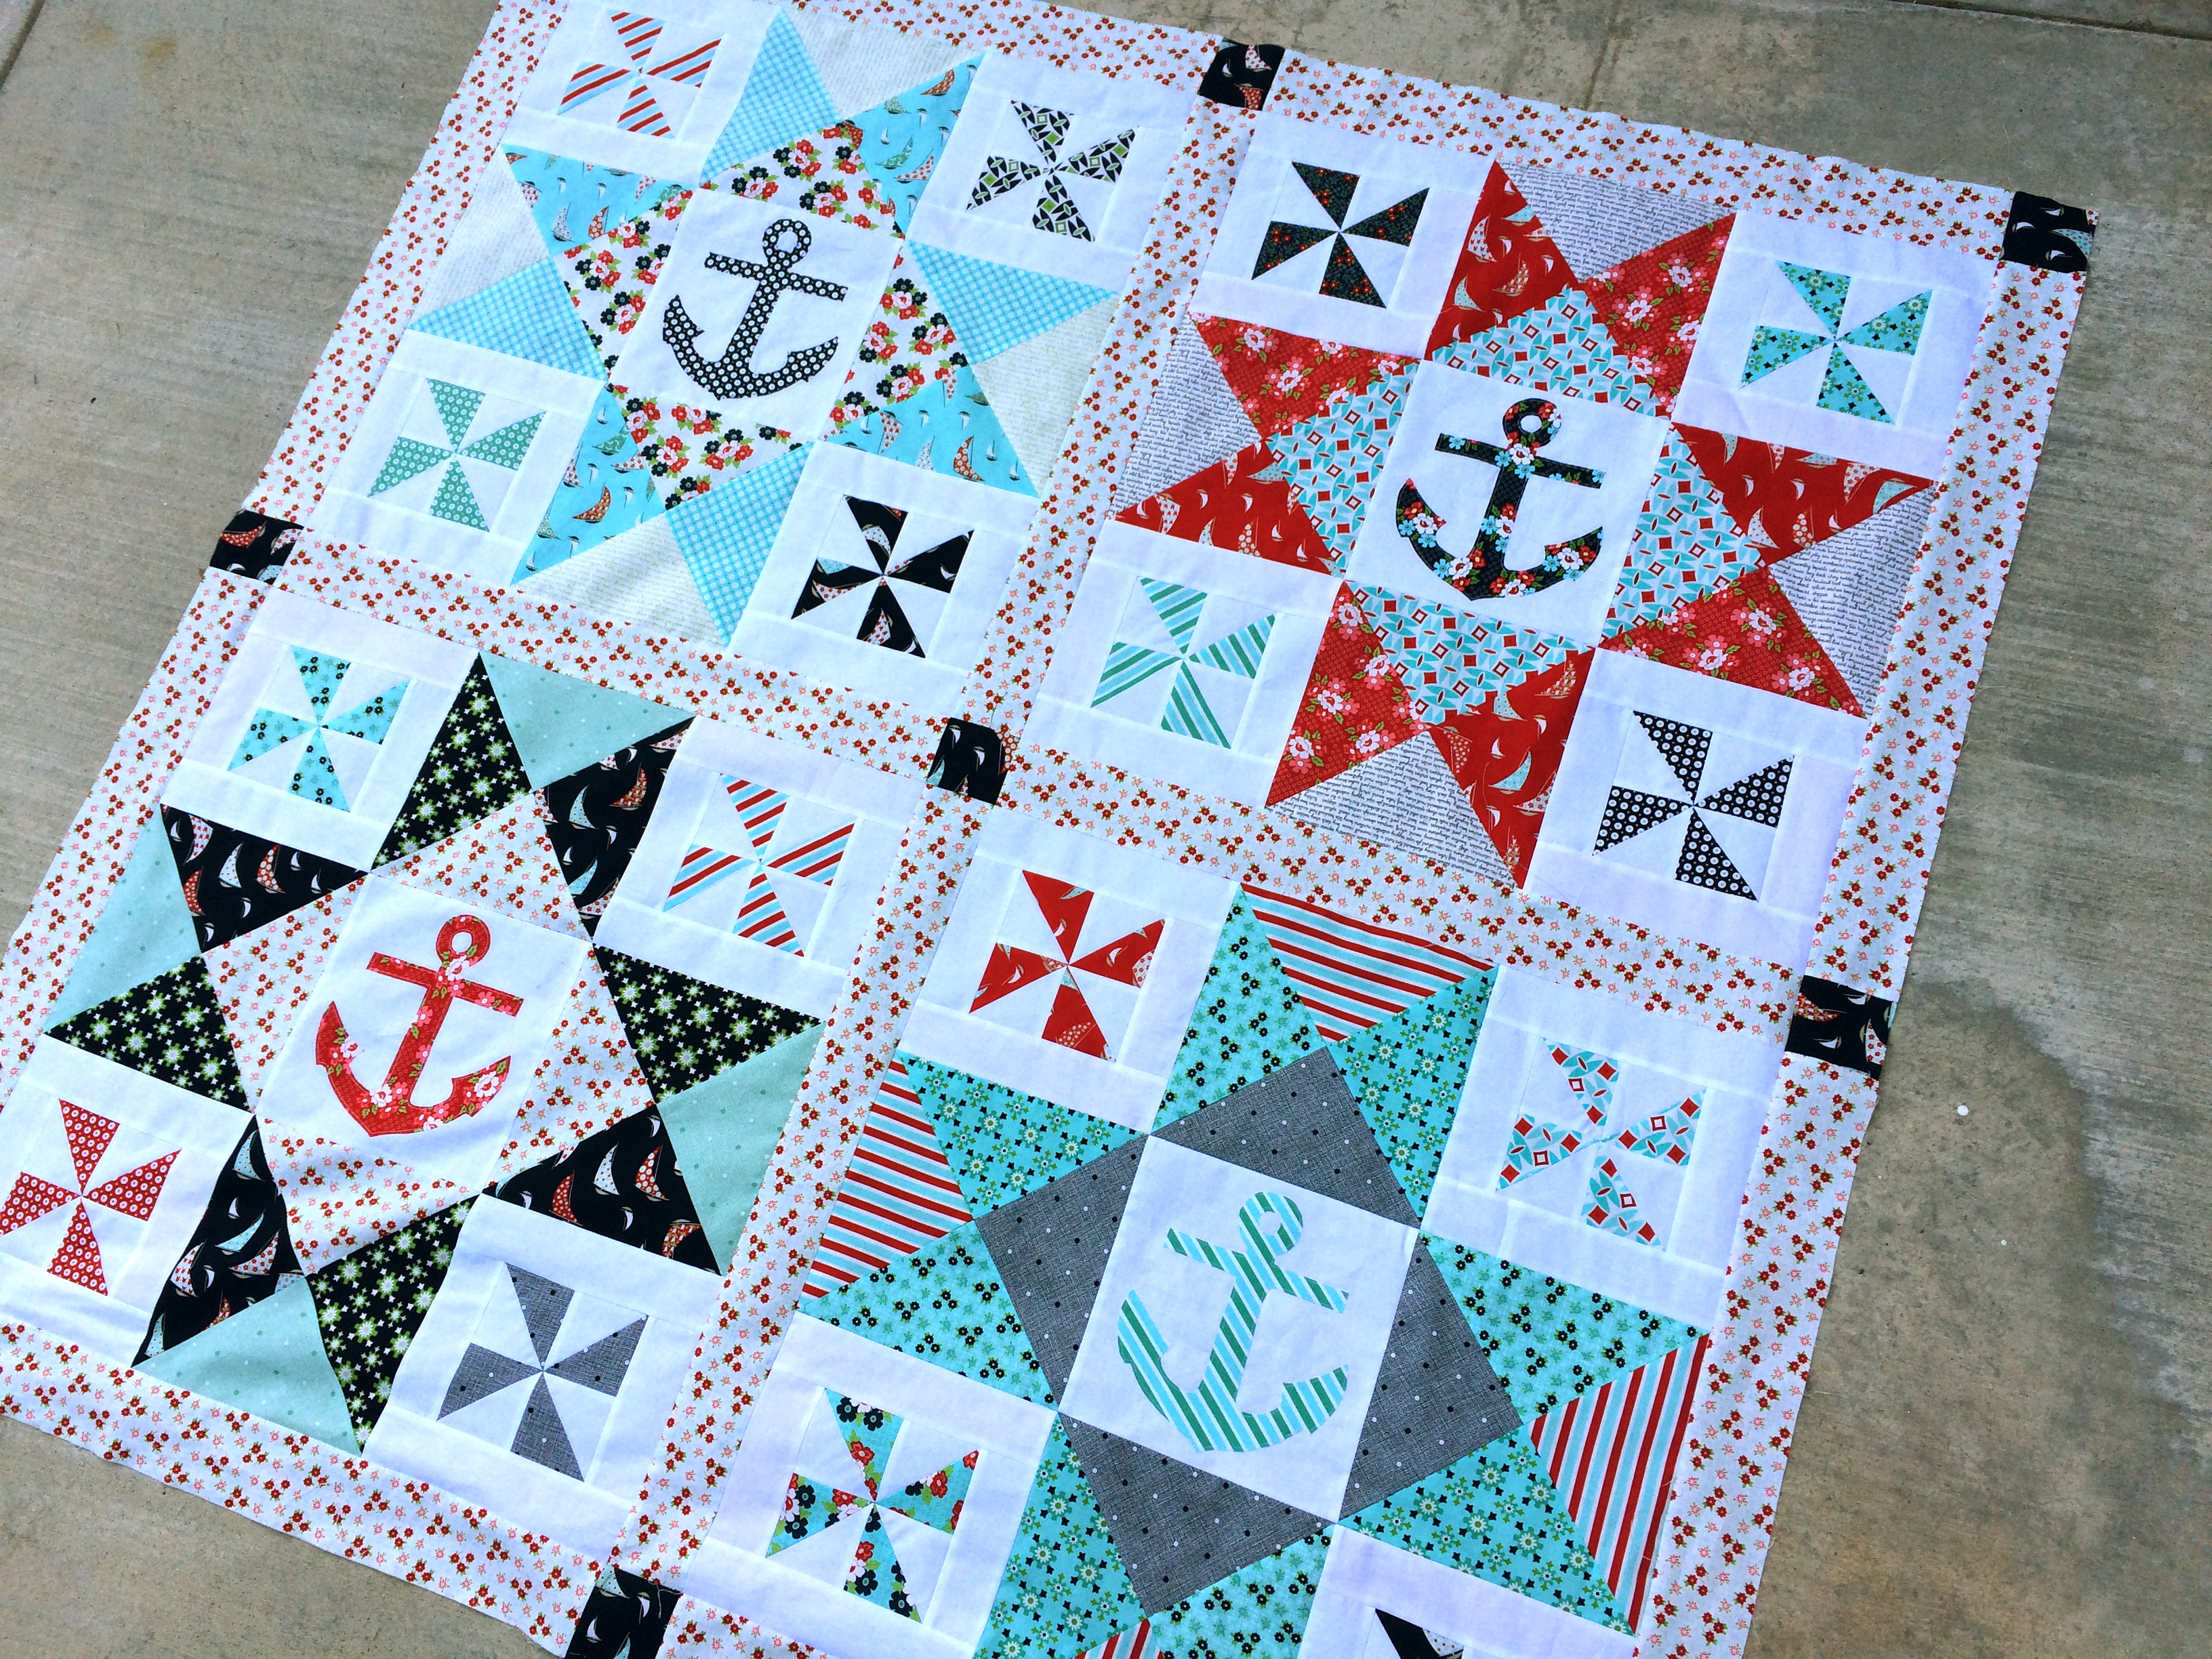
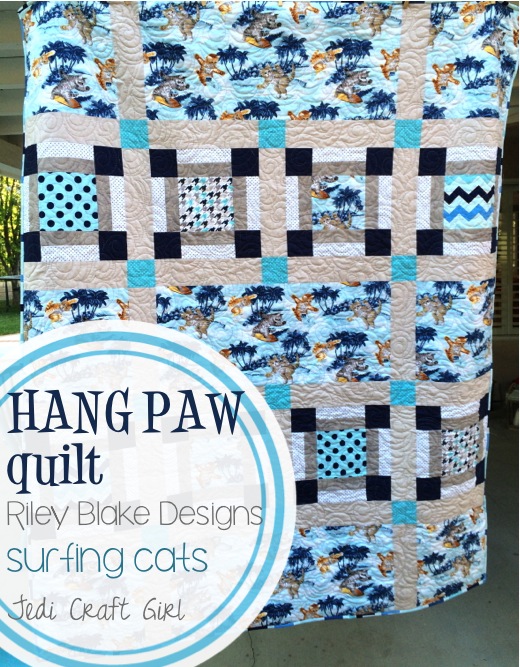
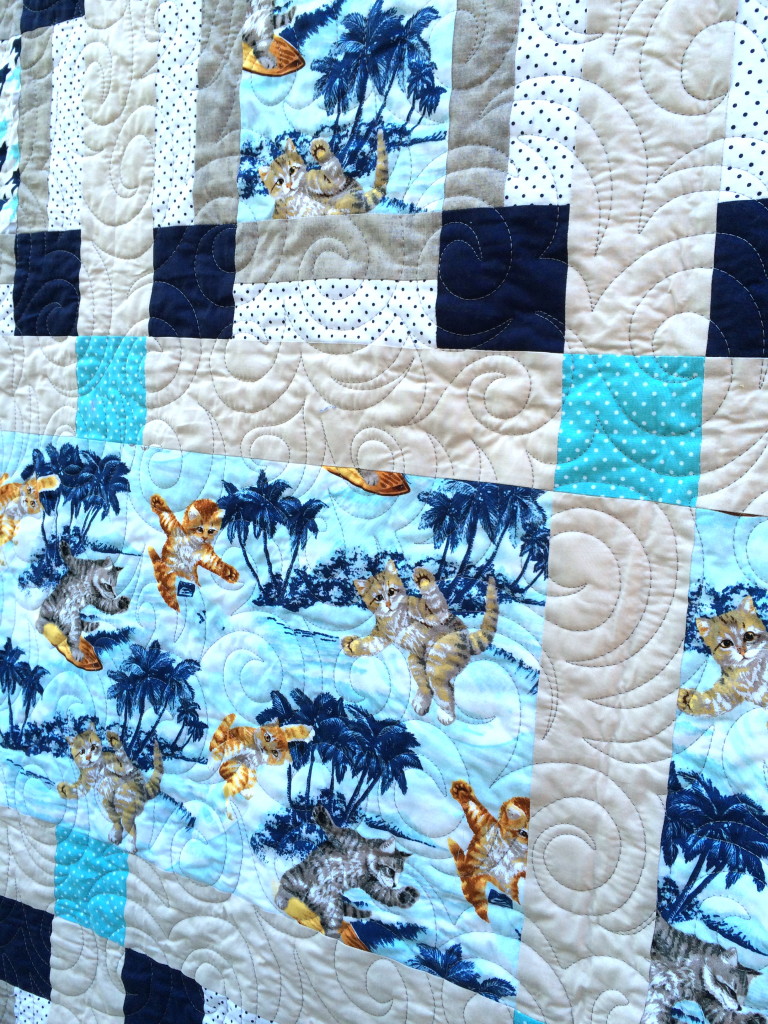
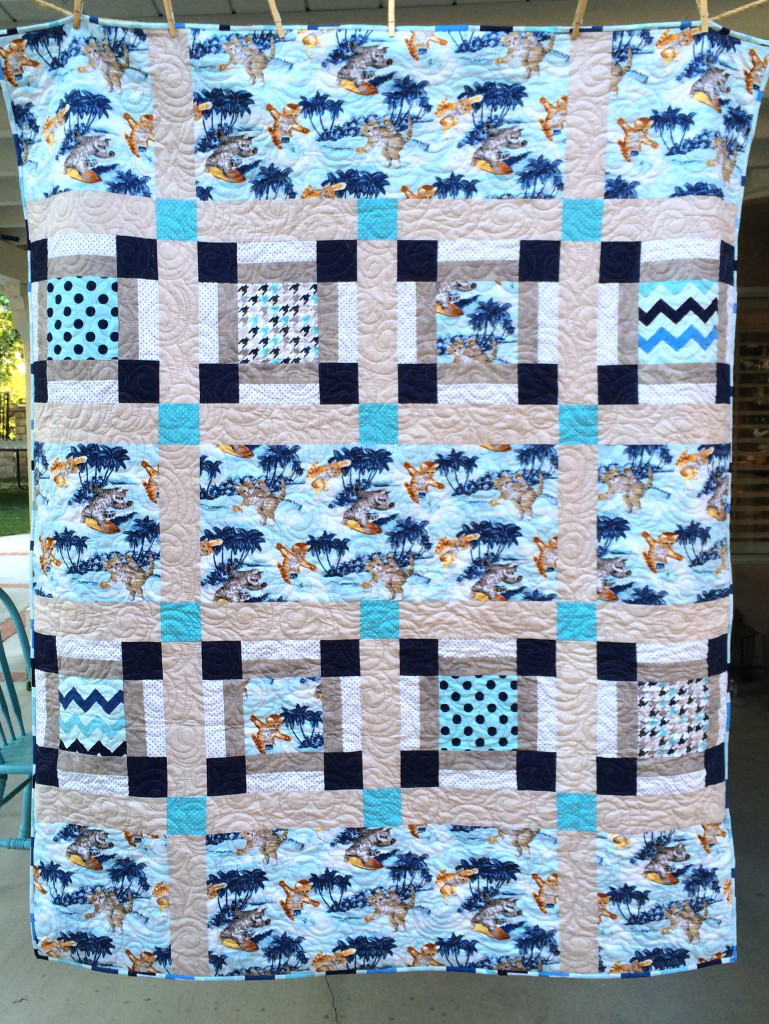
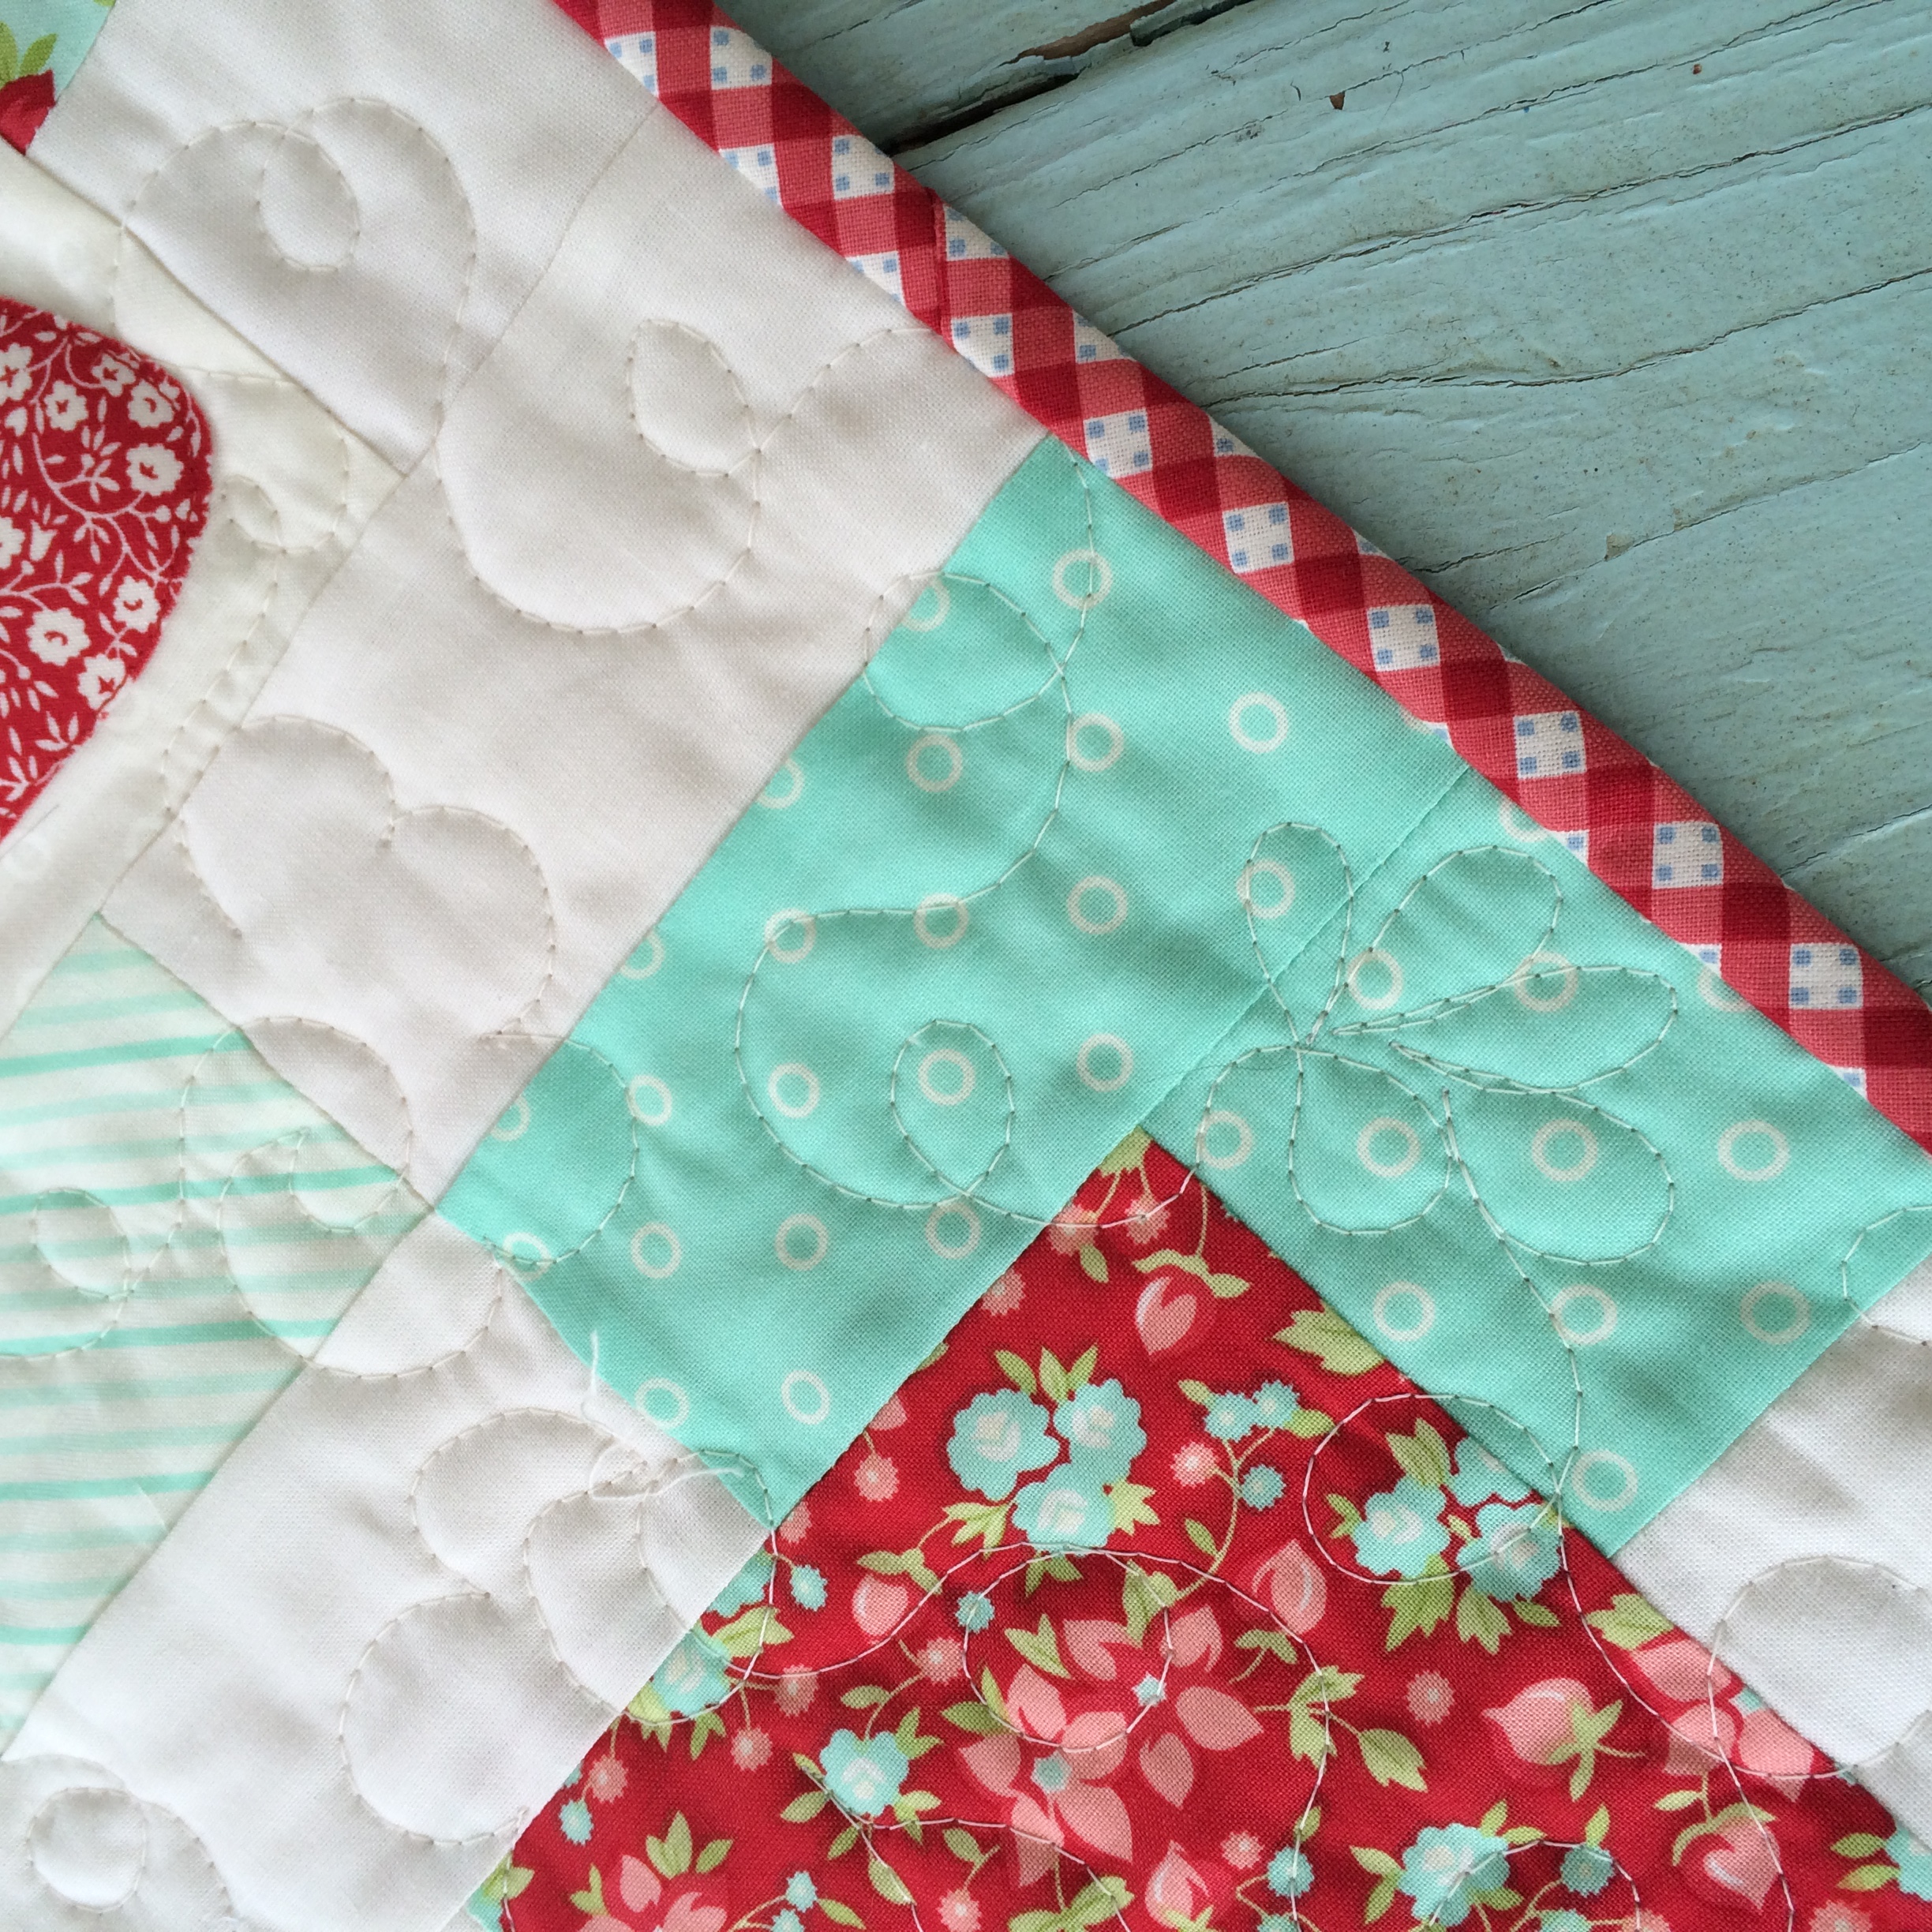
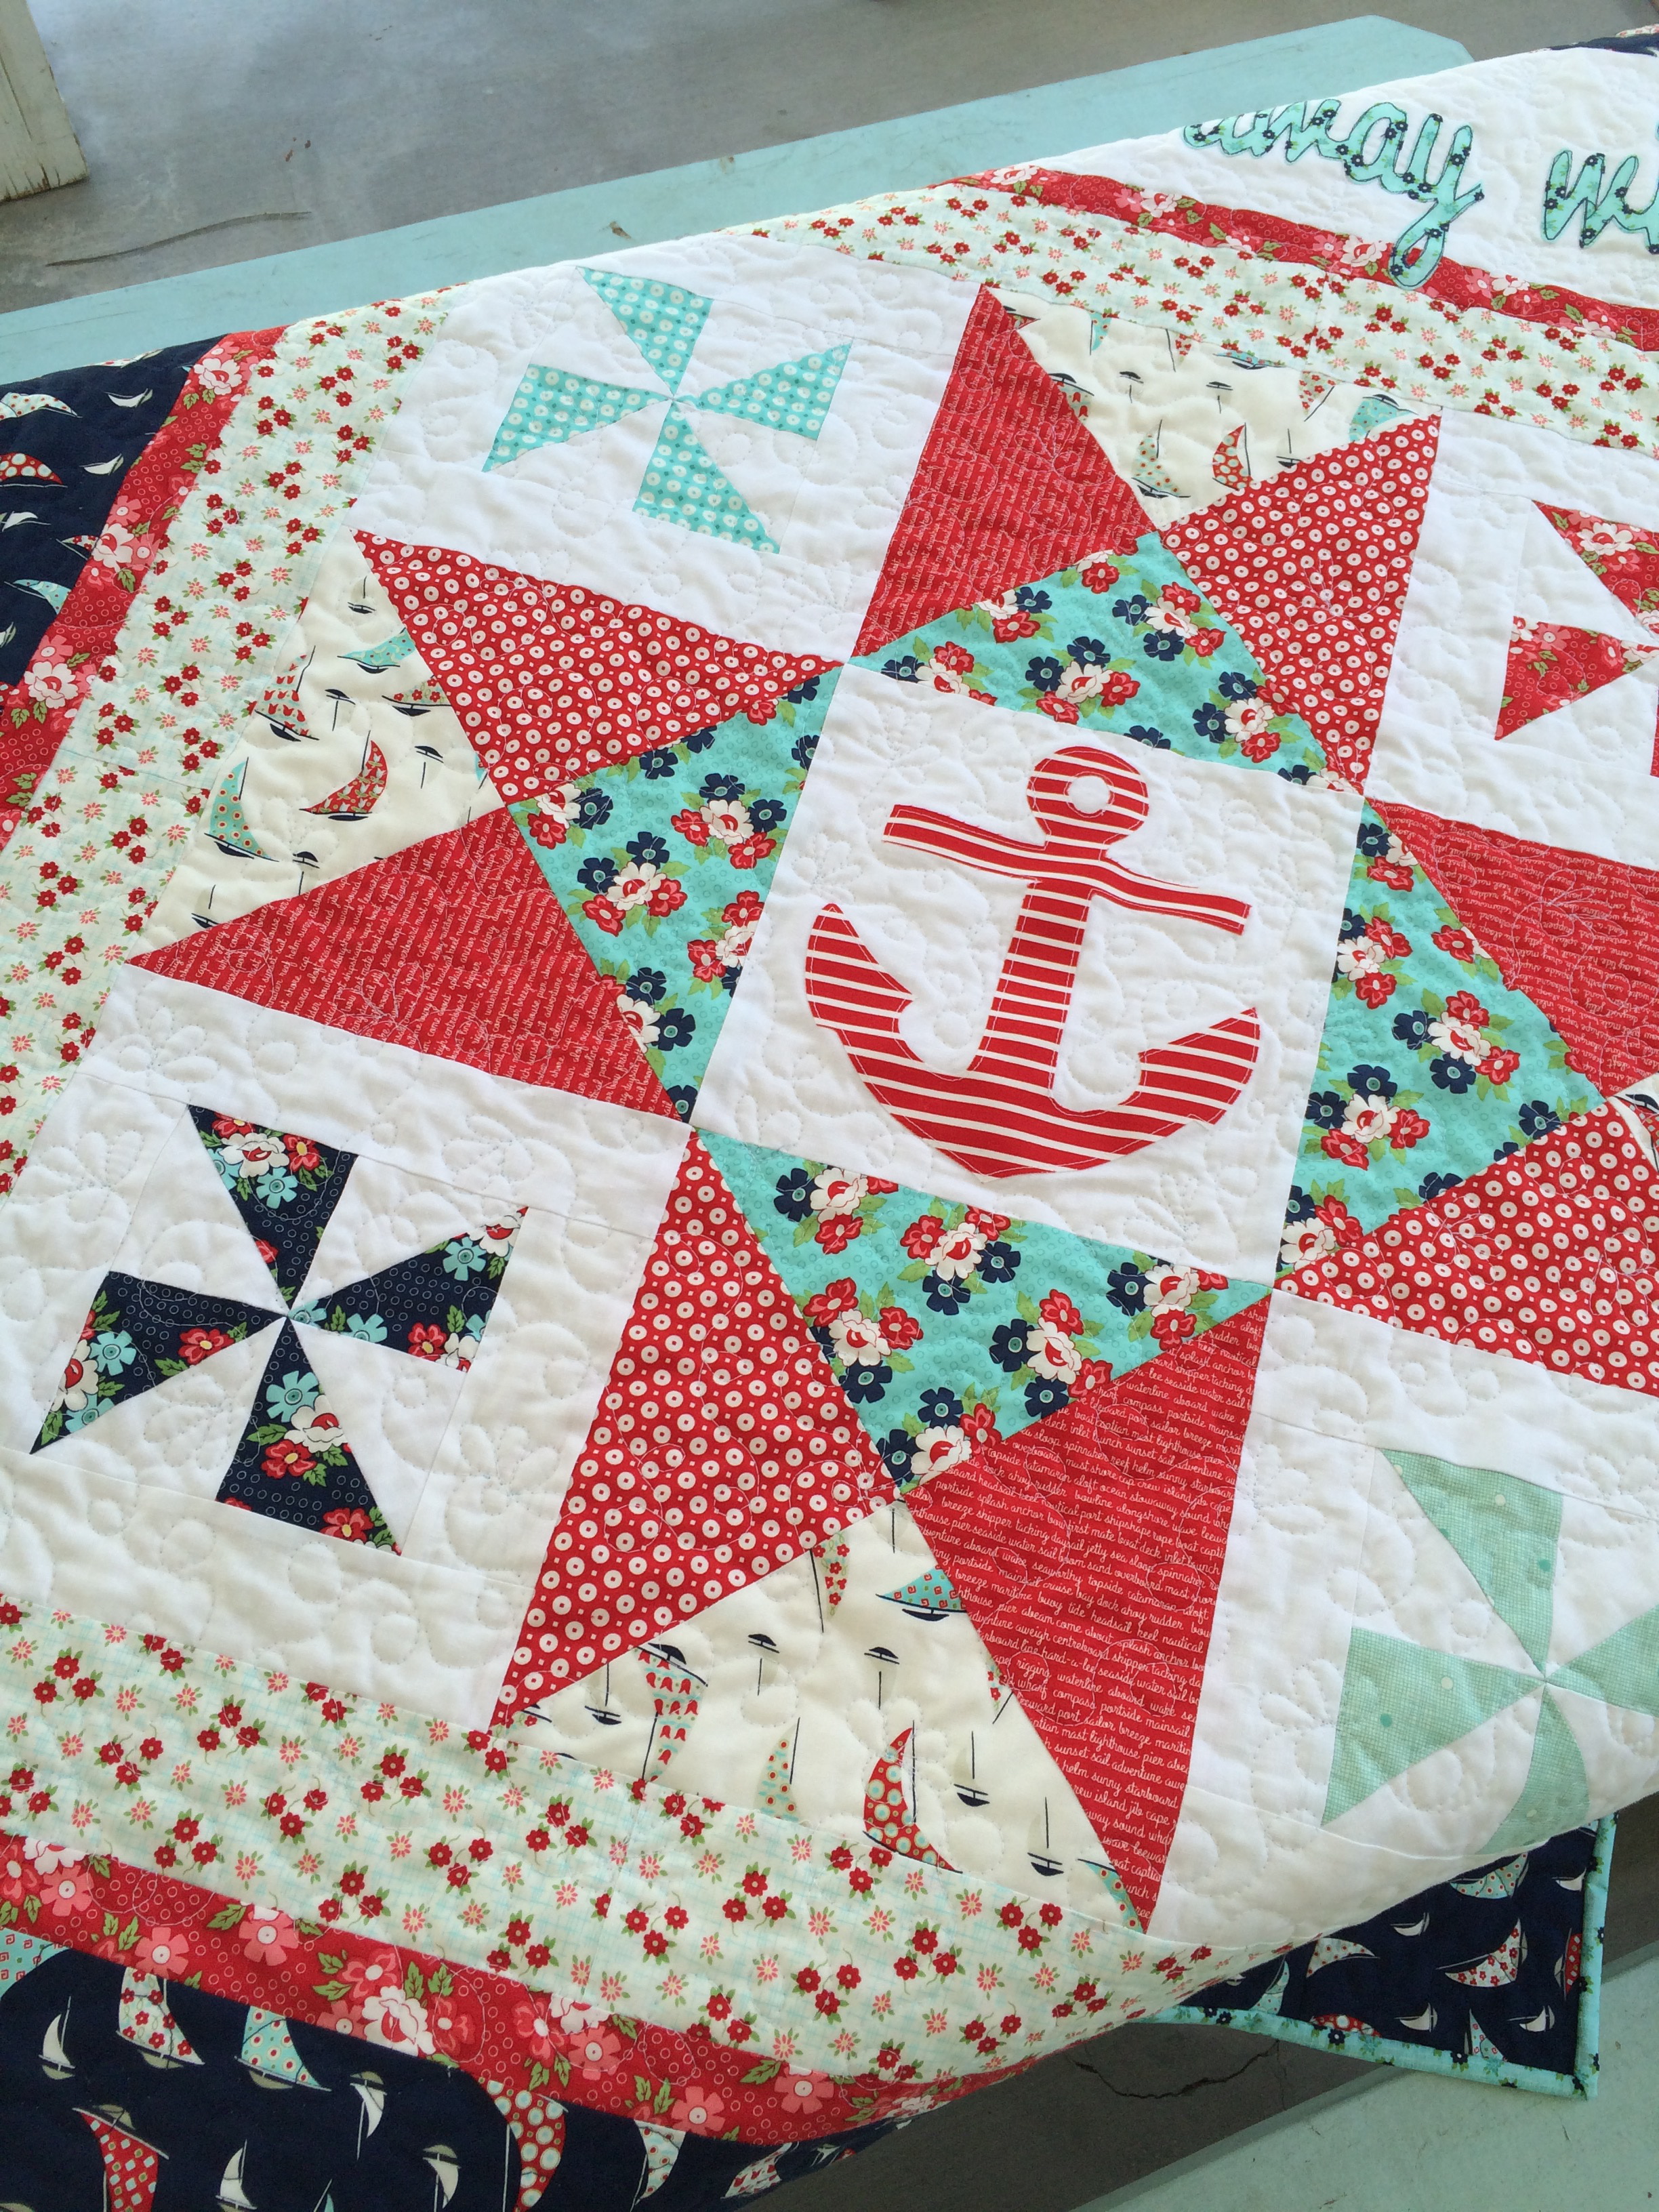
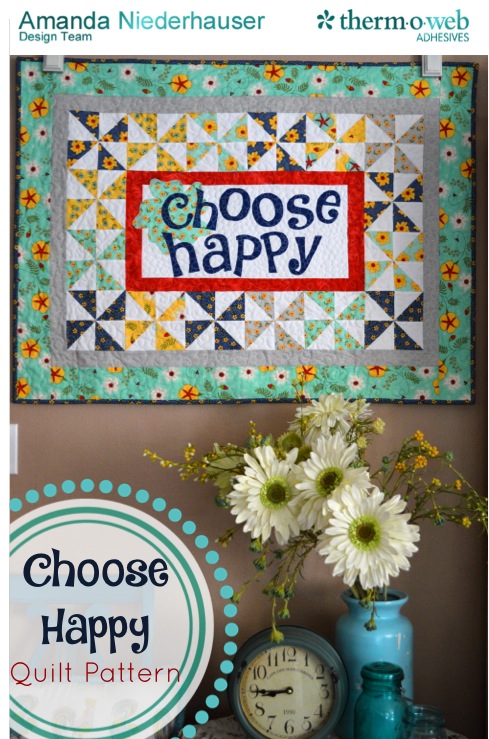
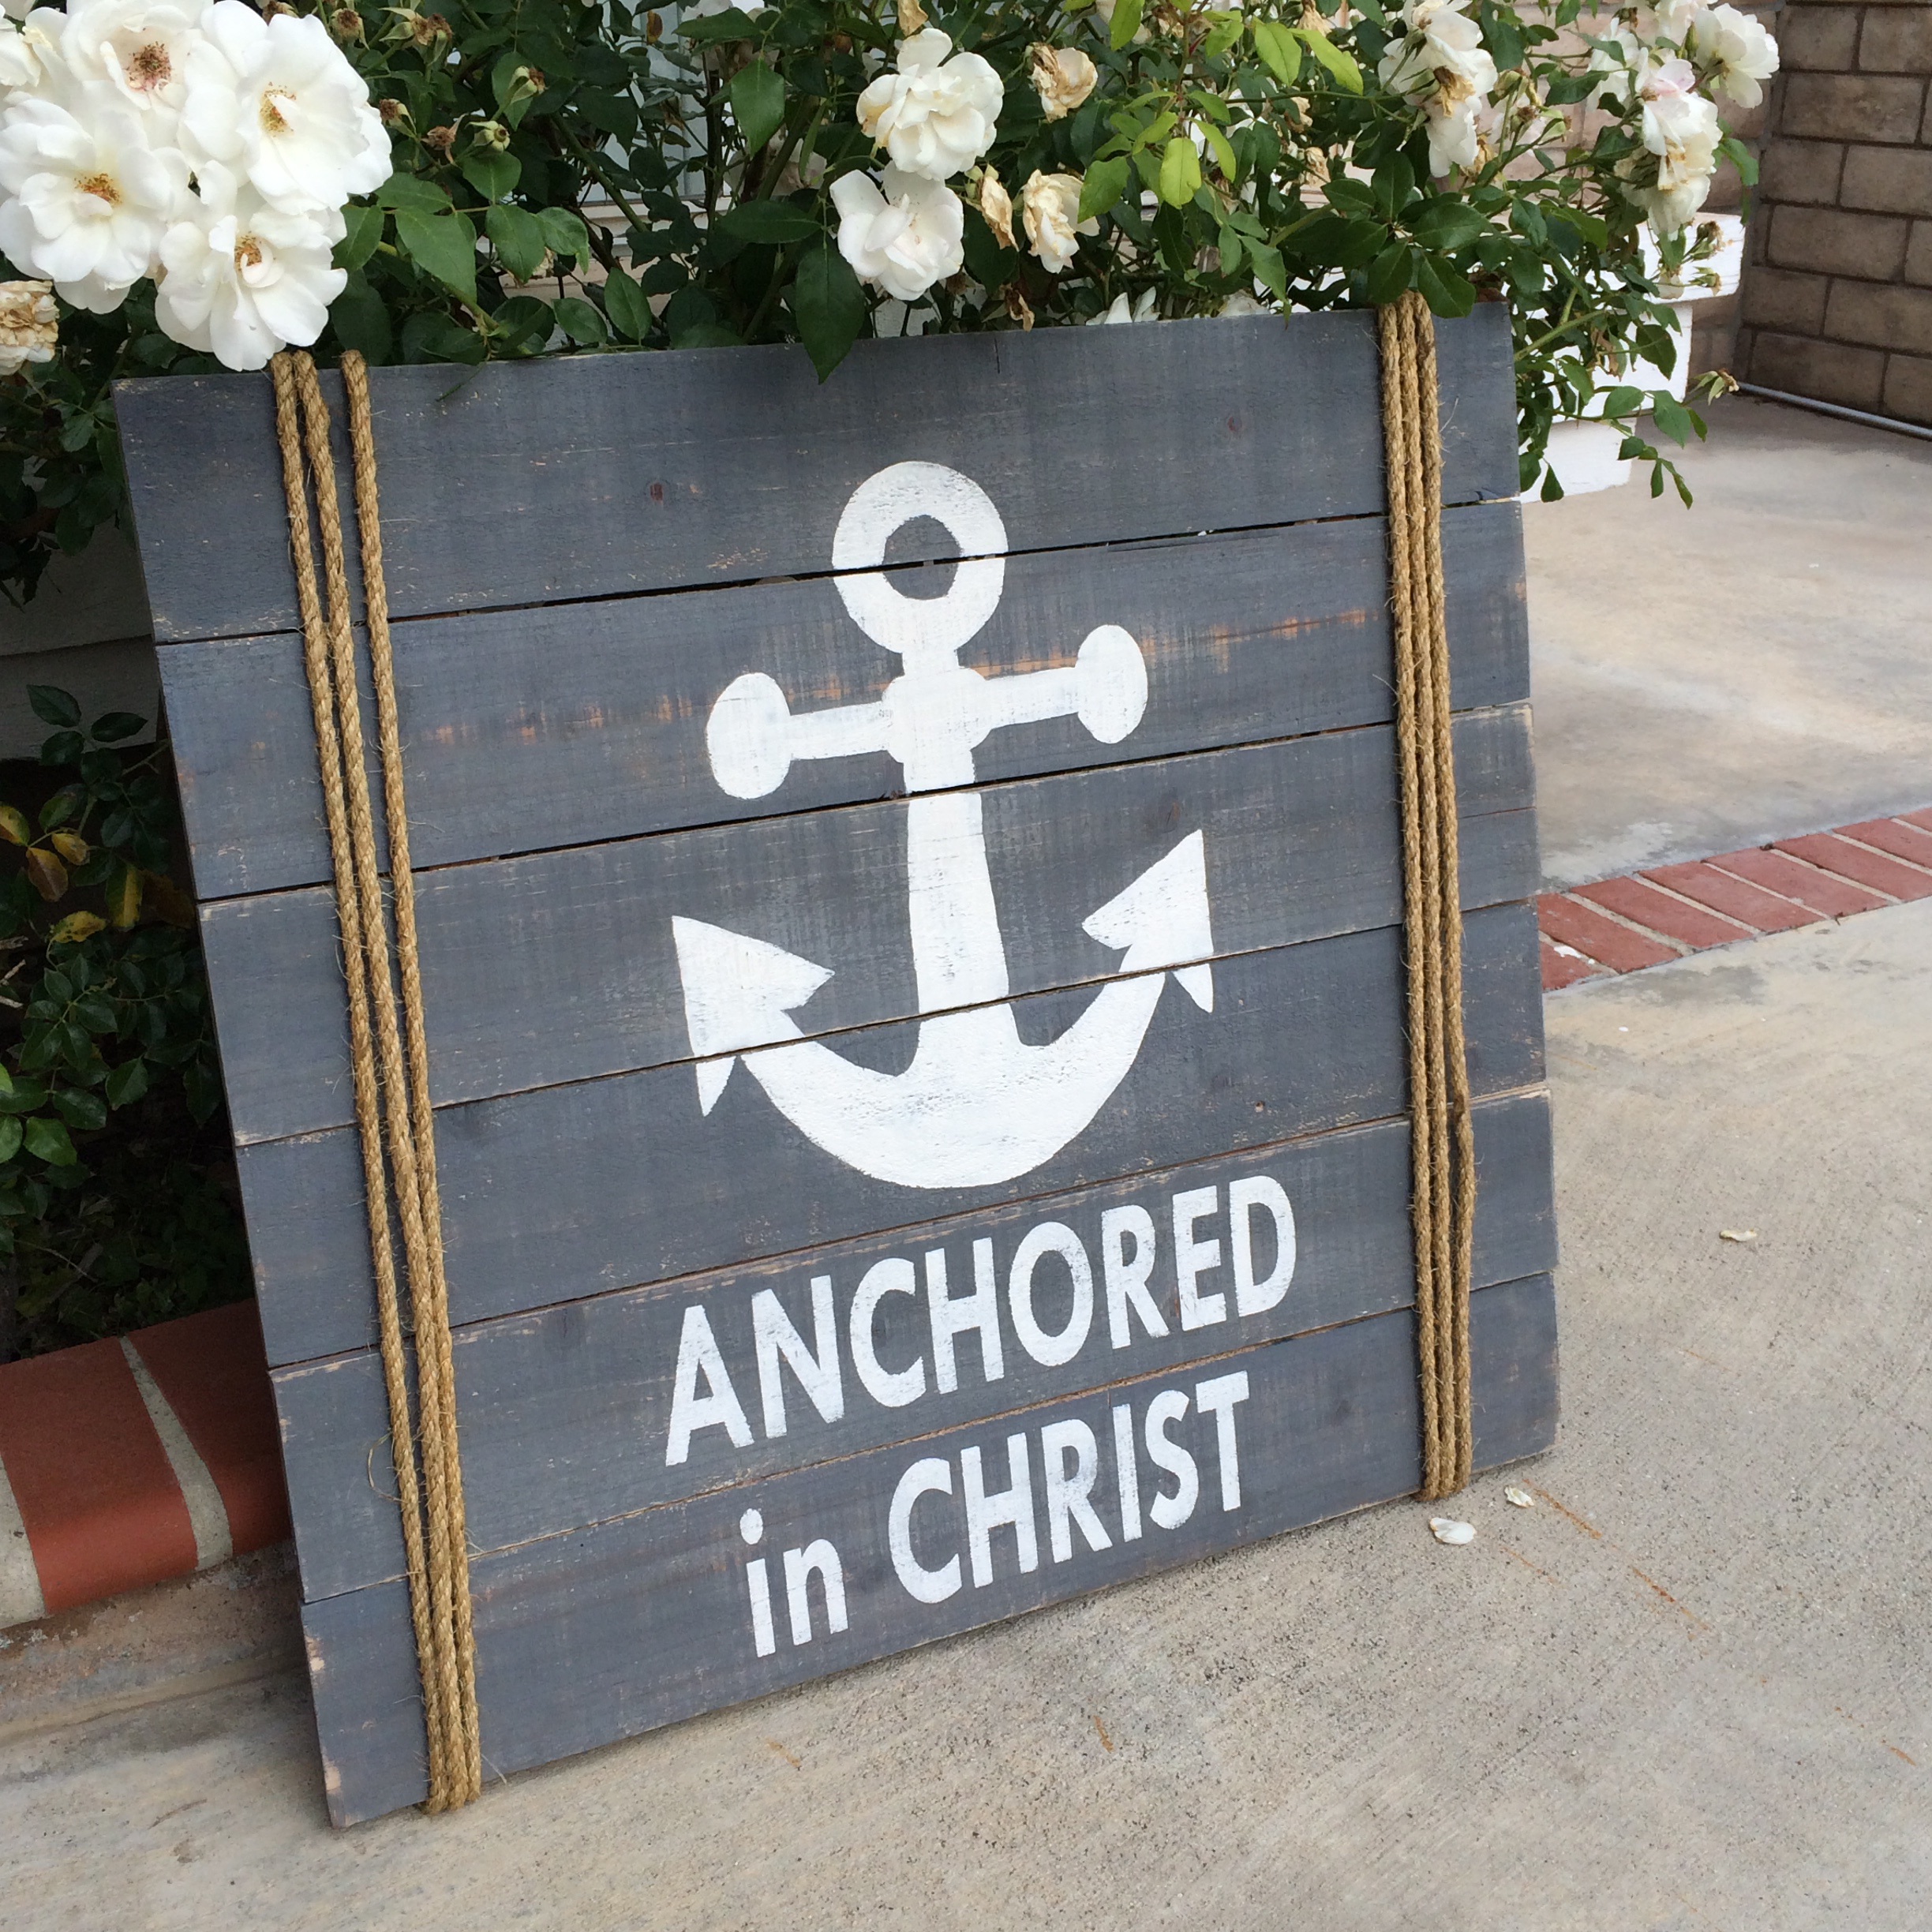
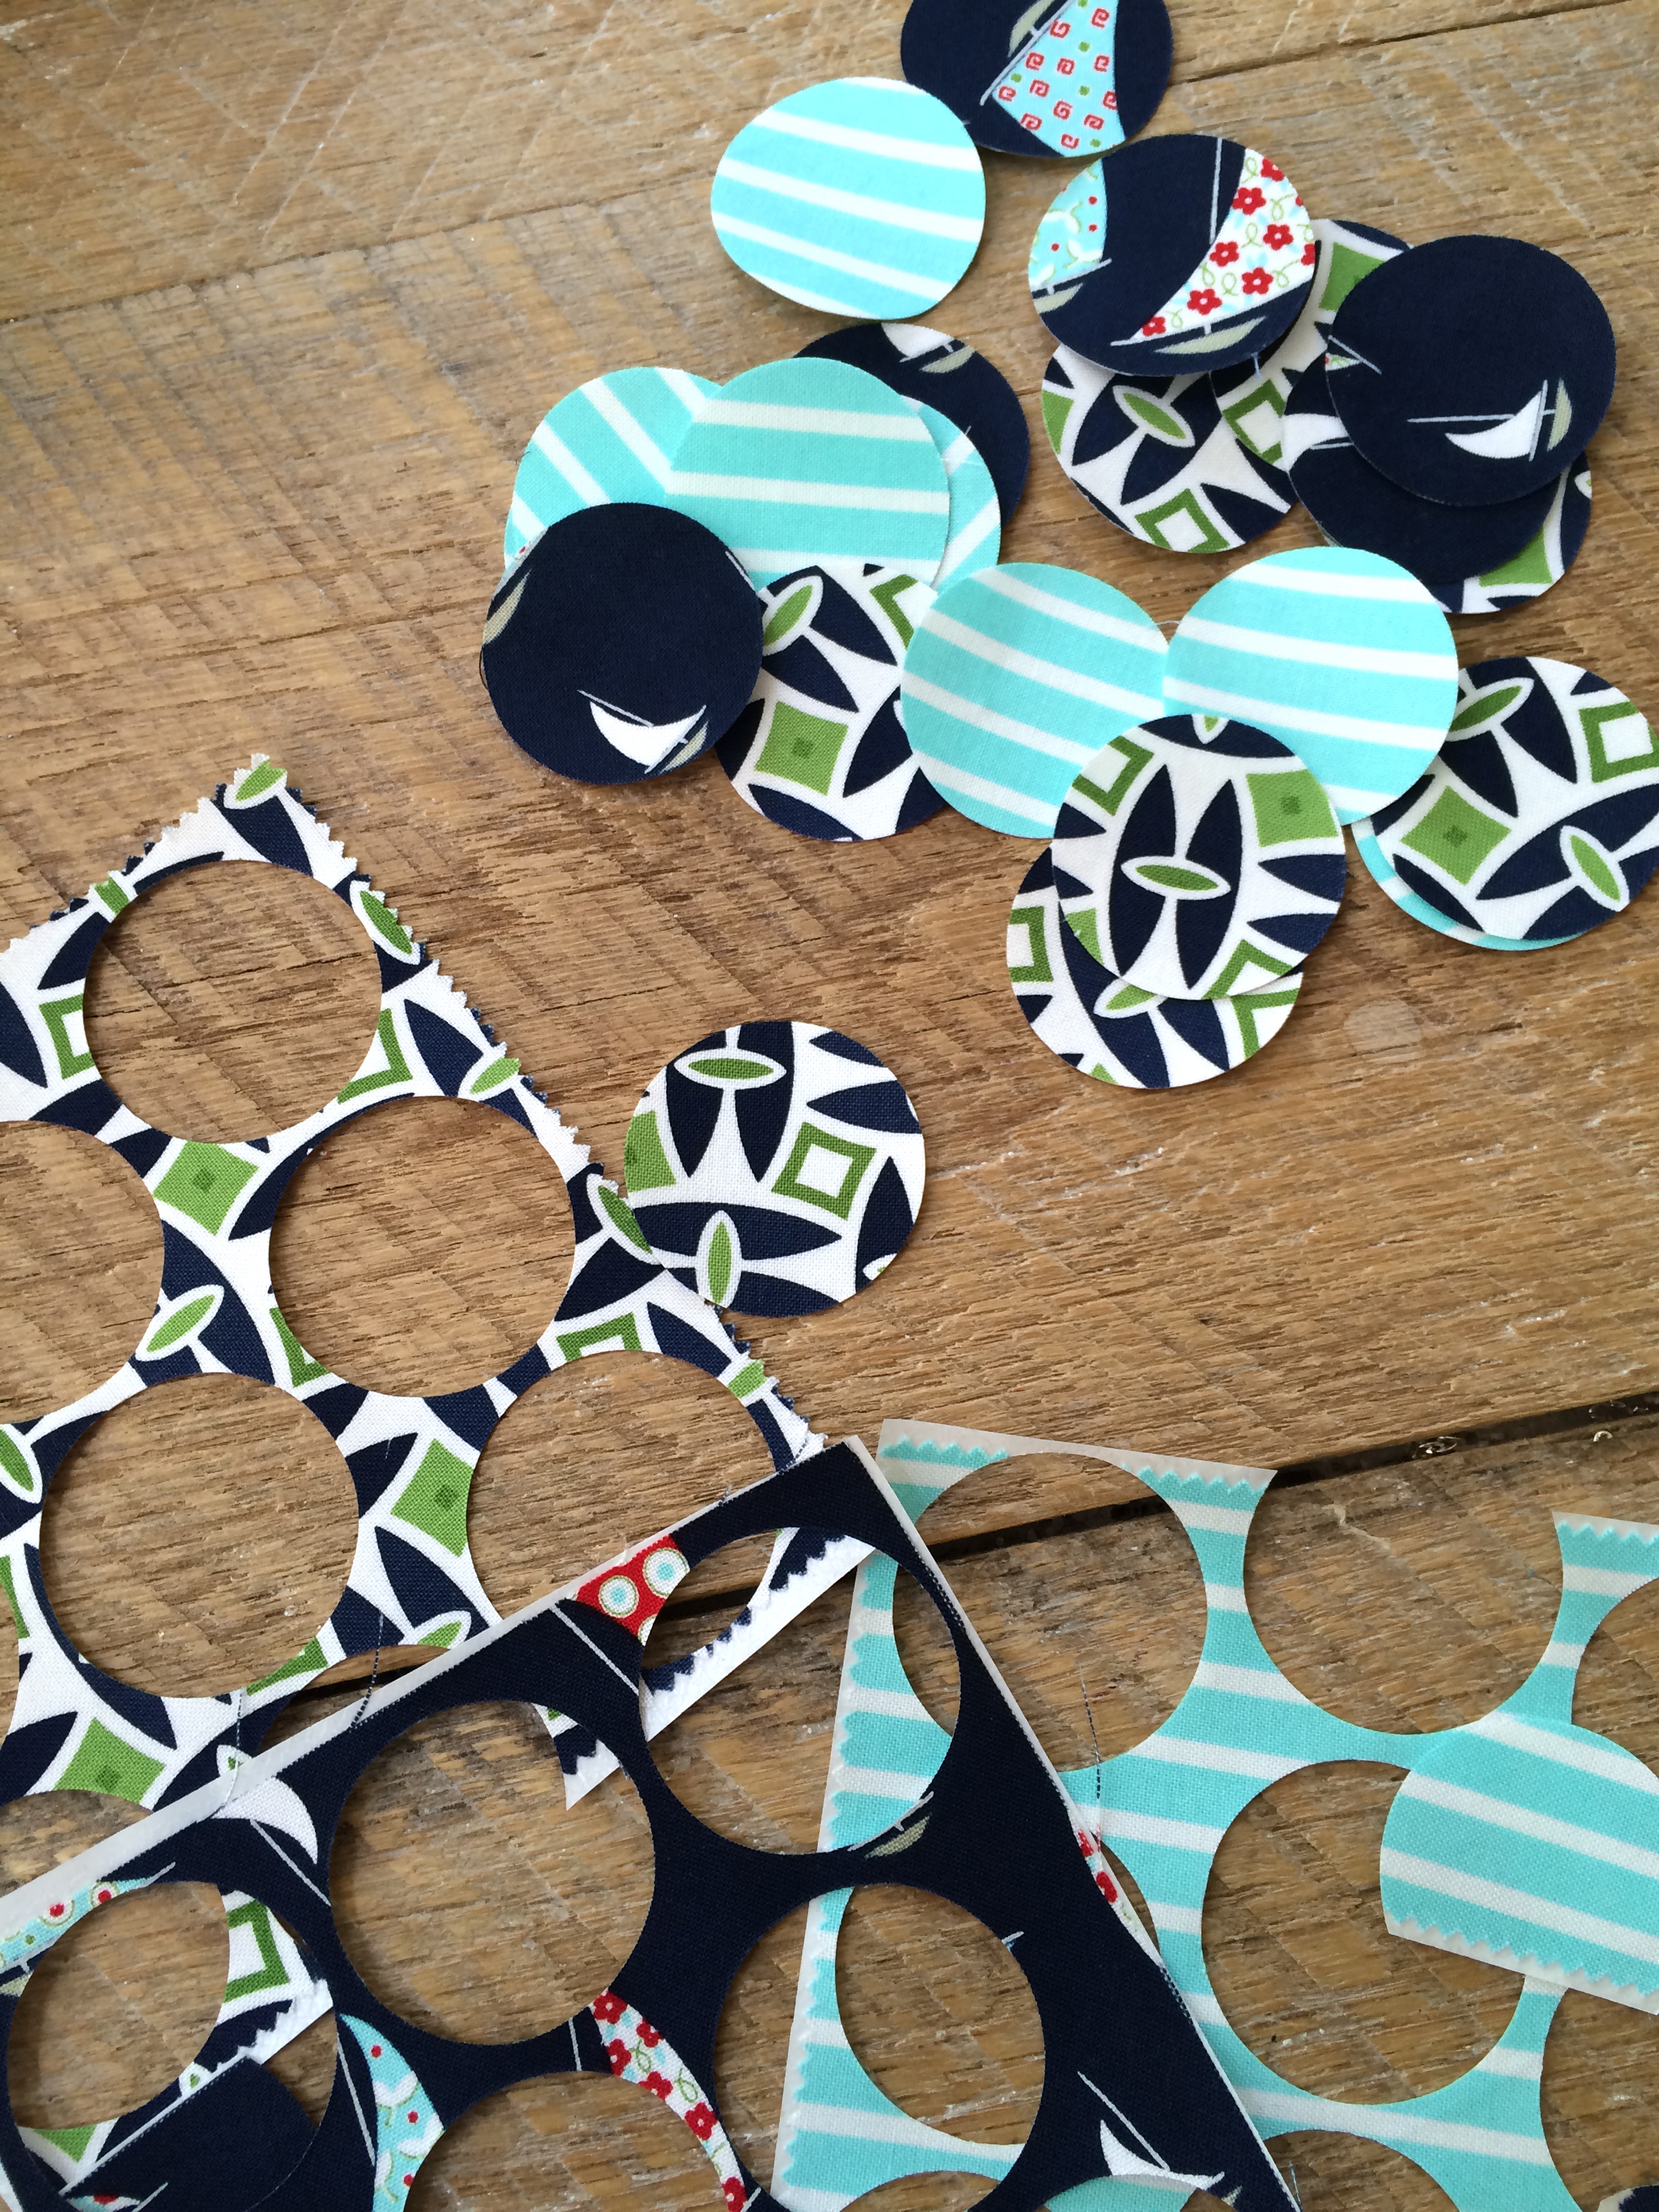
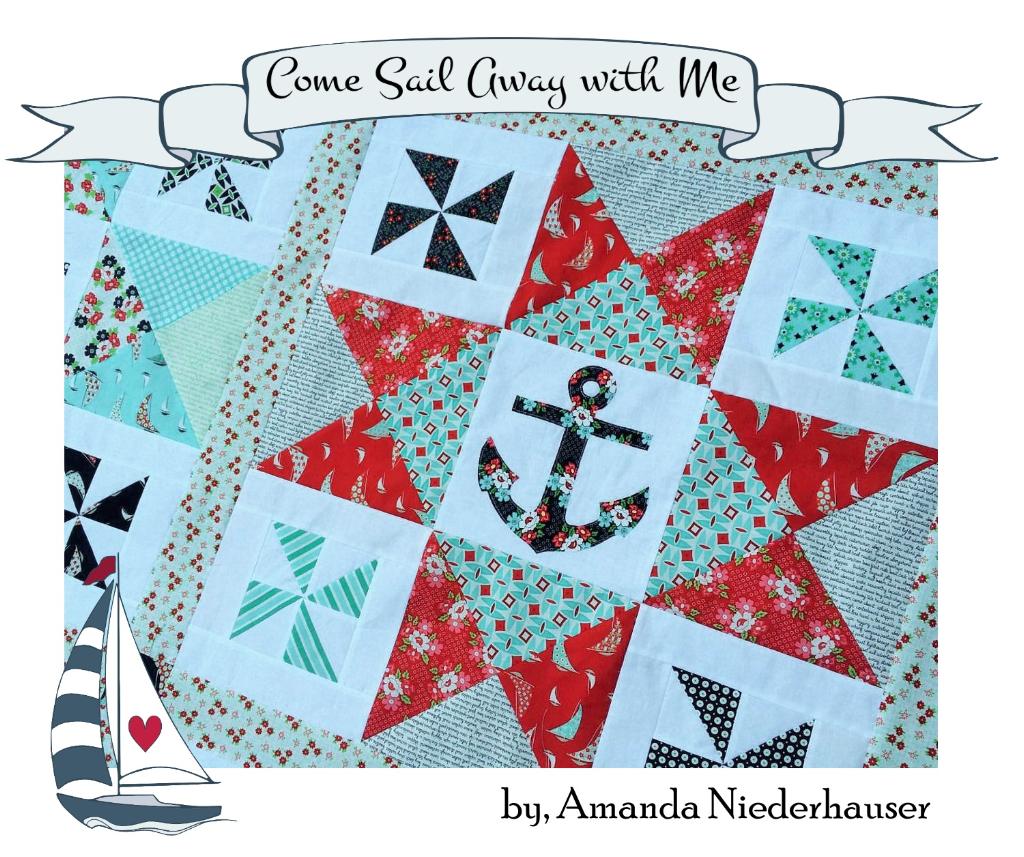 I am sooooo excited to announce the release of my new pattern! I had so much fun creating it. I was inspired by all the wonderful prints in the Day Sail fabric line by Moda. The fabrics are AMAZING! I didn’t want to cut it up into tiny pieces, I wanted the fabrics to shine! I feel like they do in this quilt. I love all things nautical and I NEEDED a nautical quilt! So meet Come Sail Away With Me!!


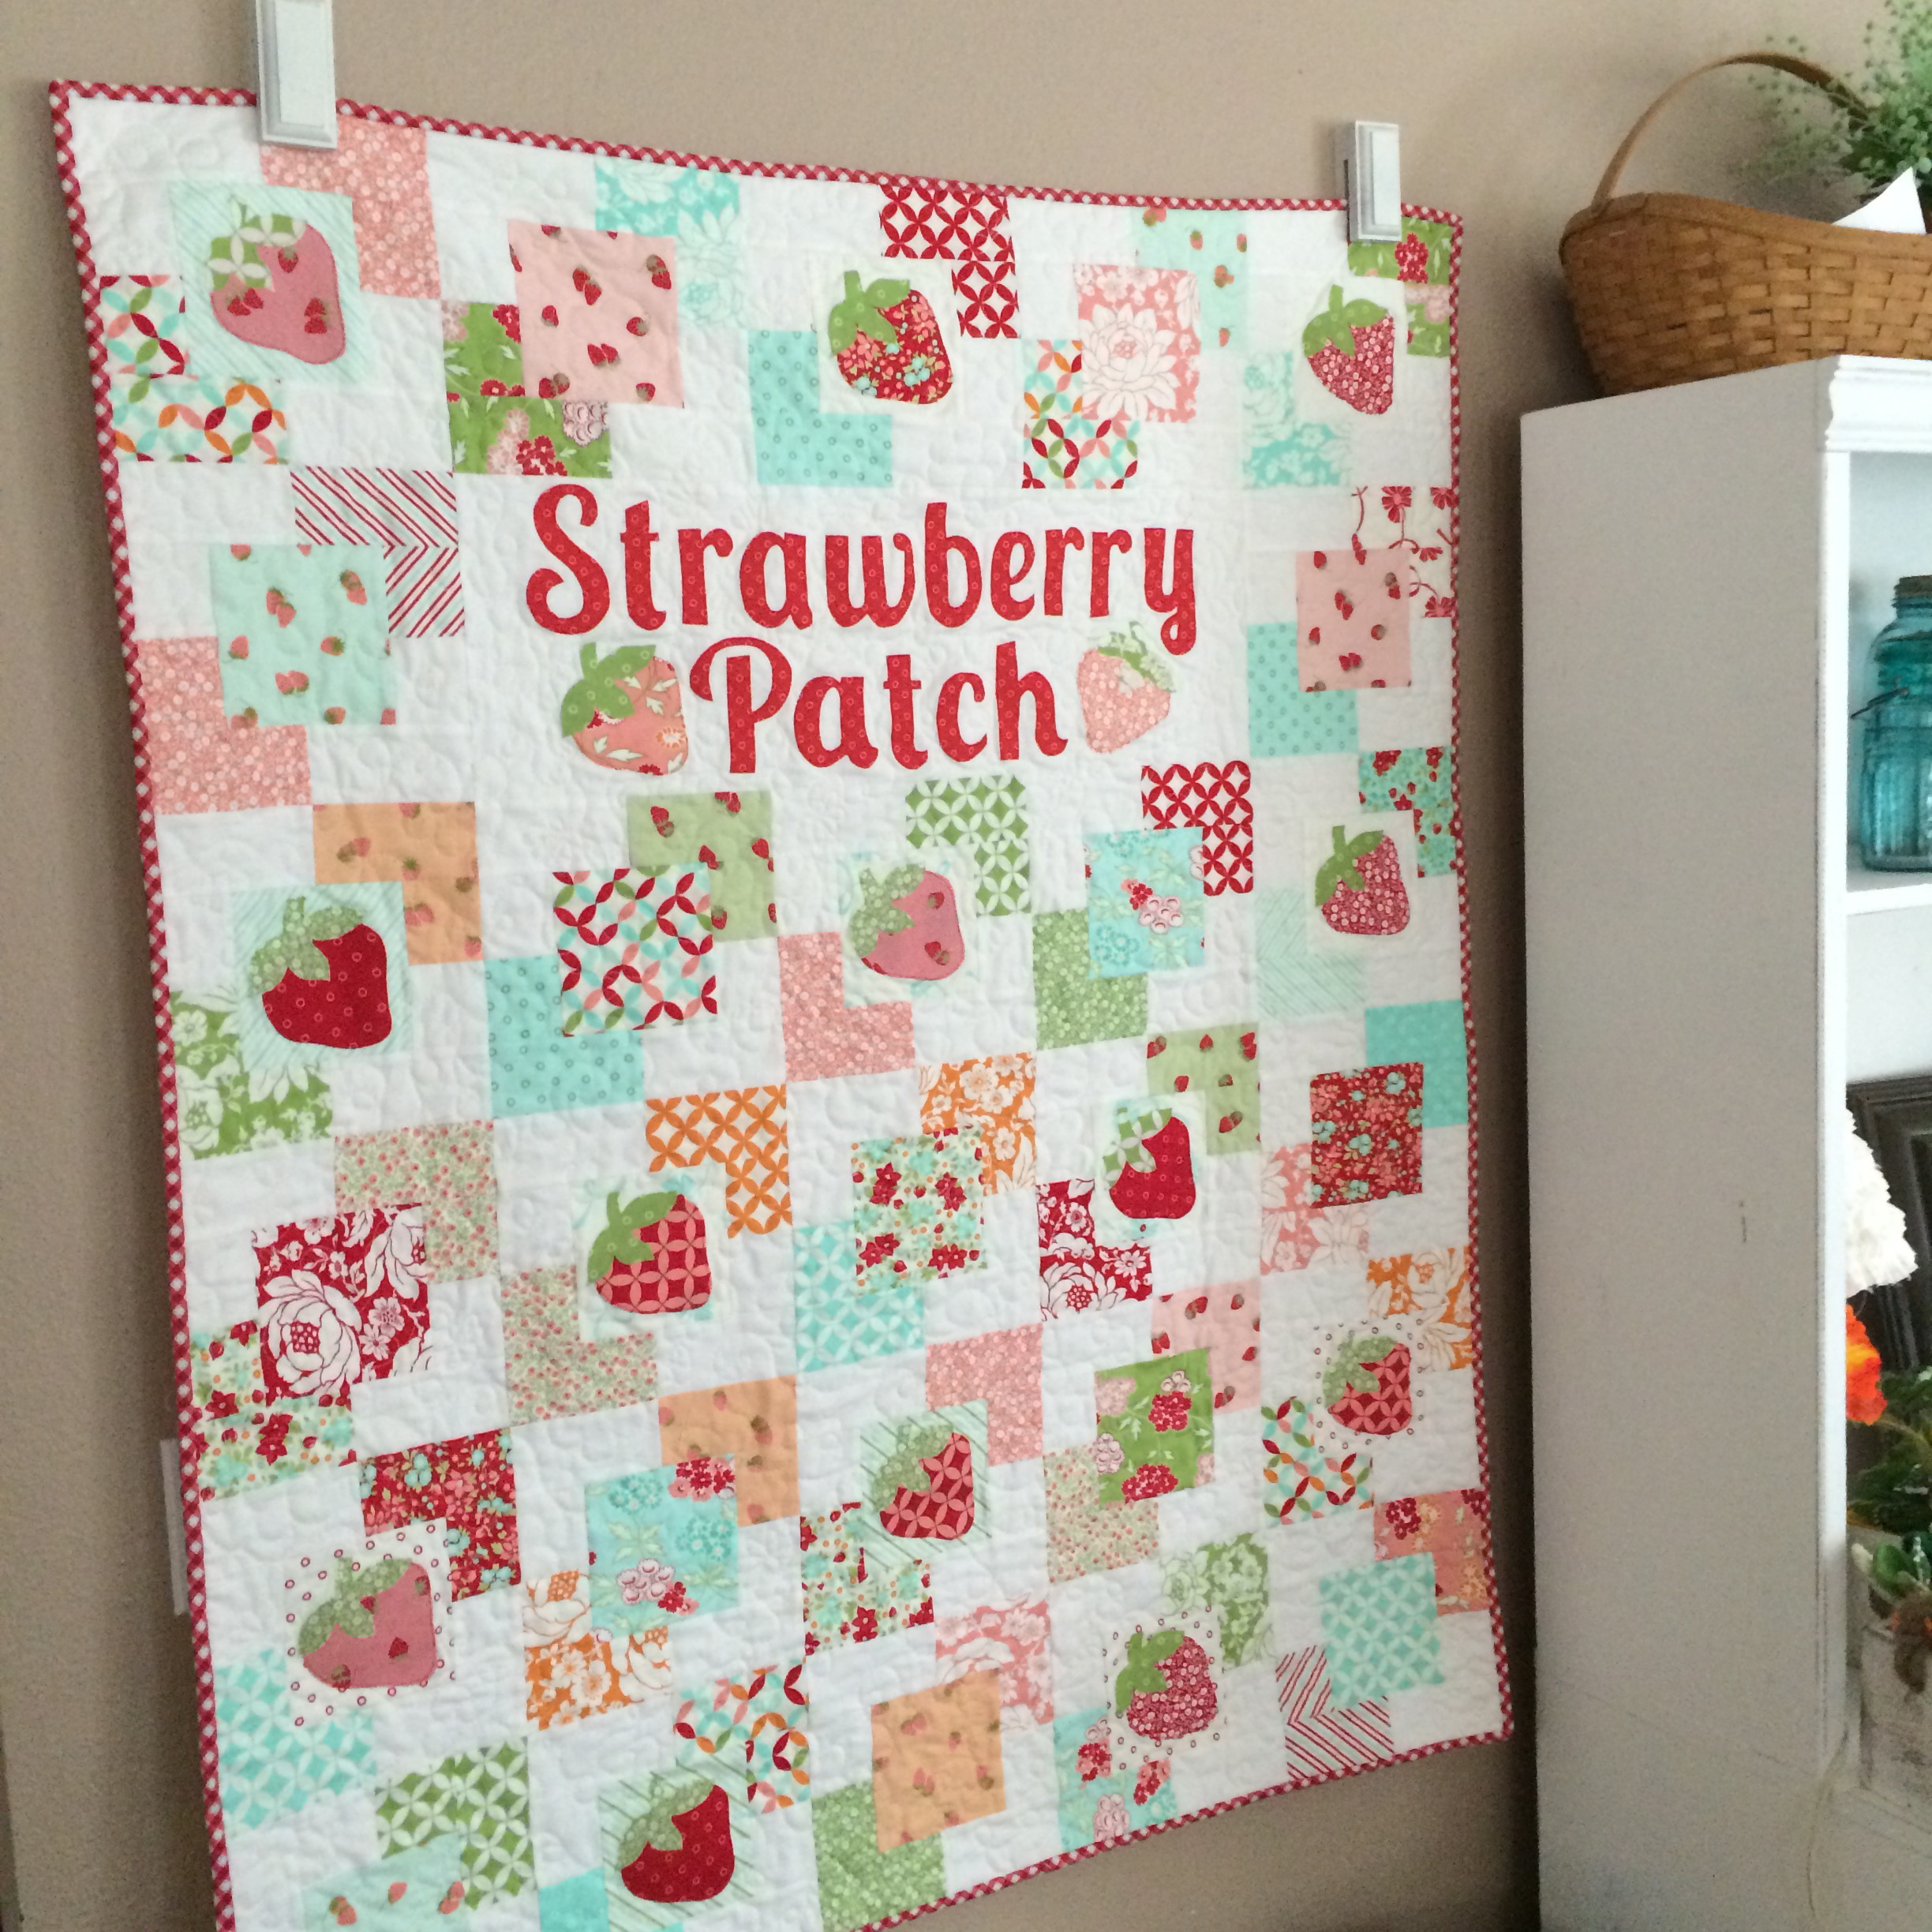
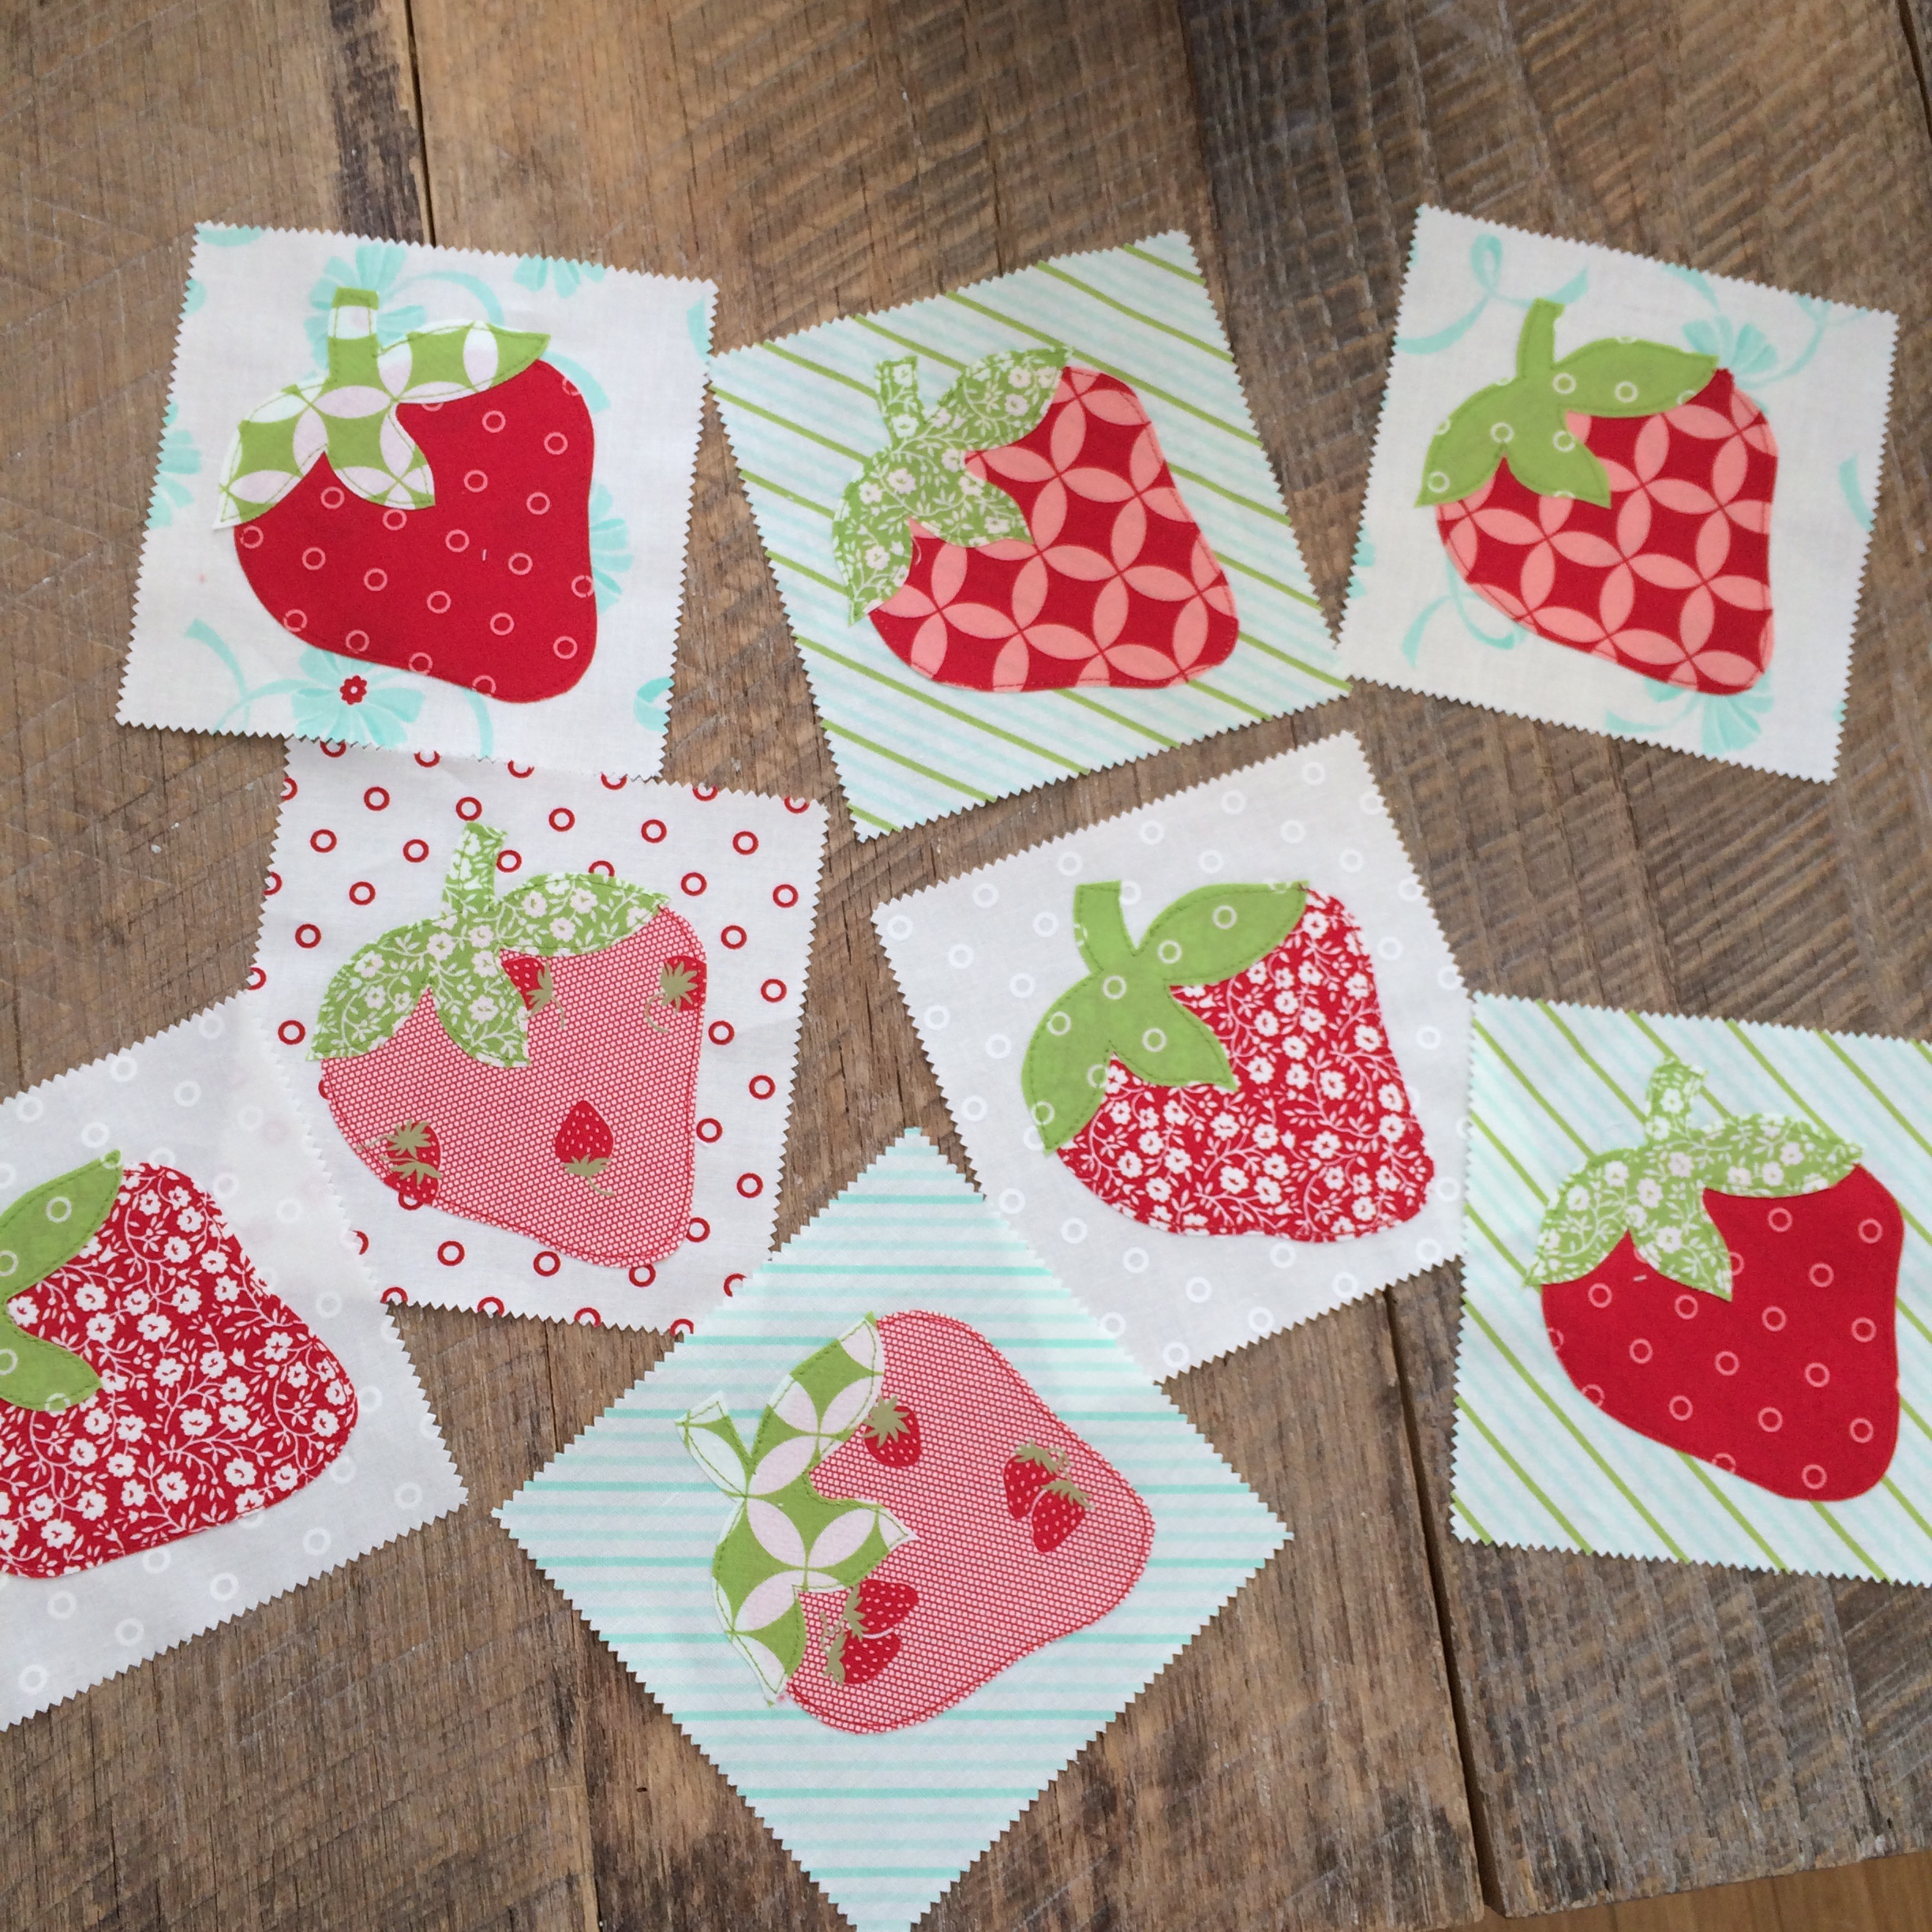
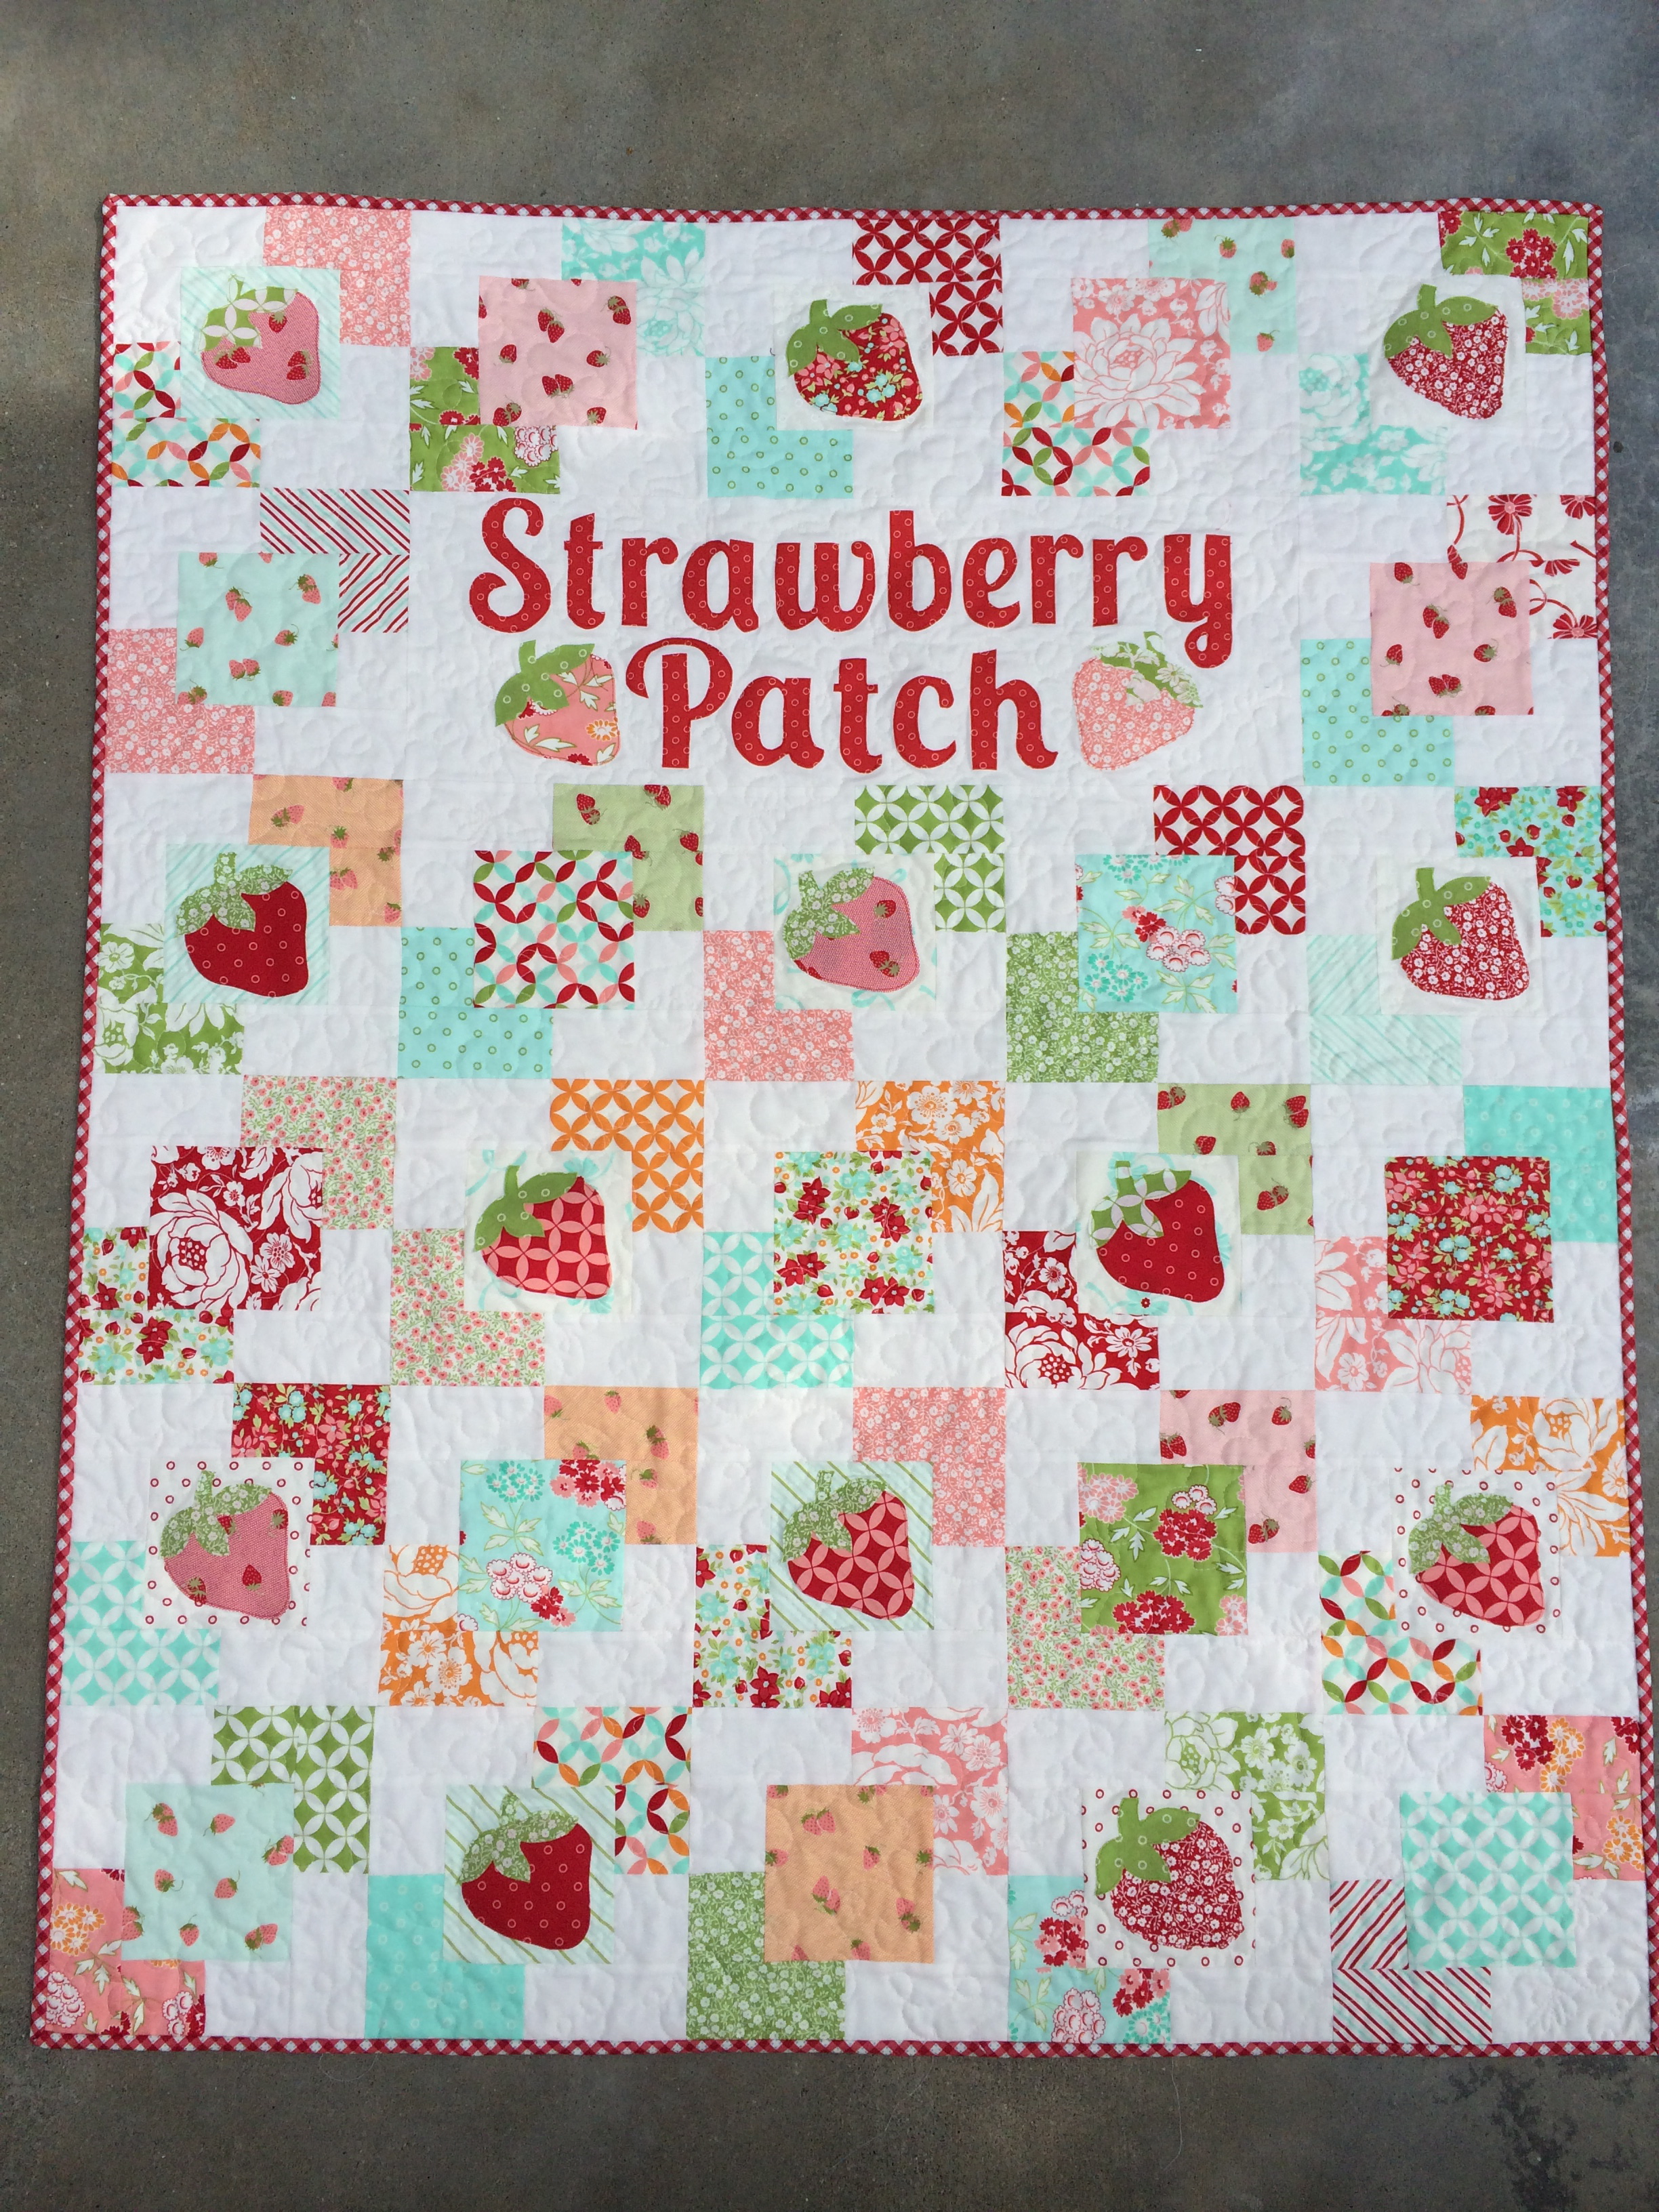
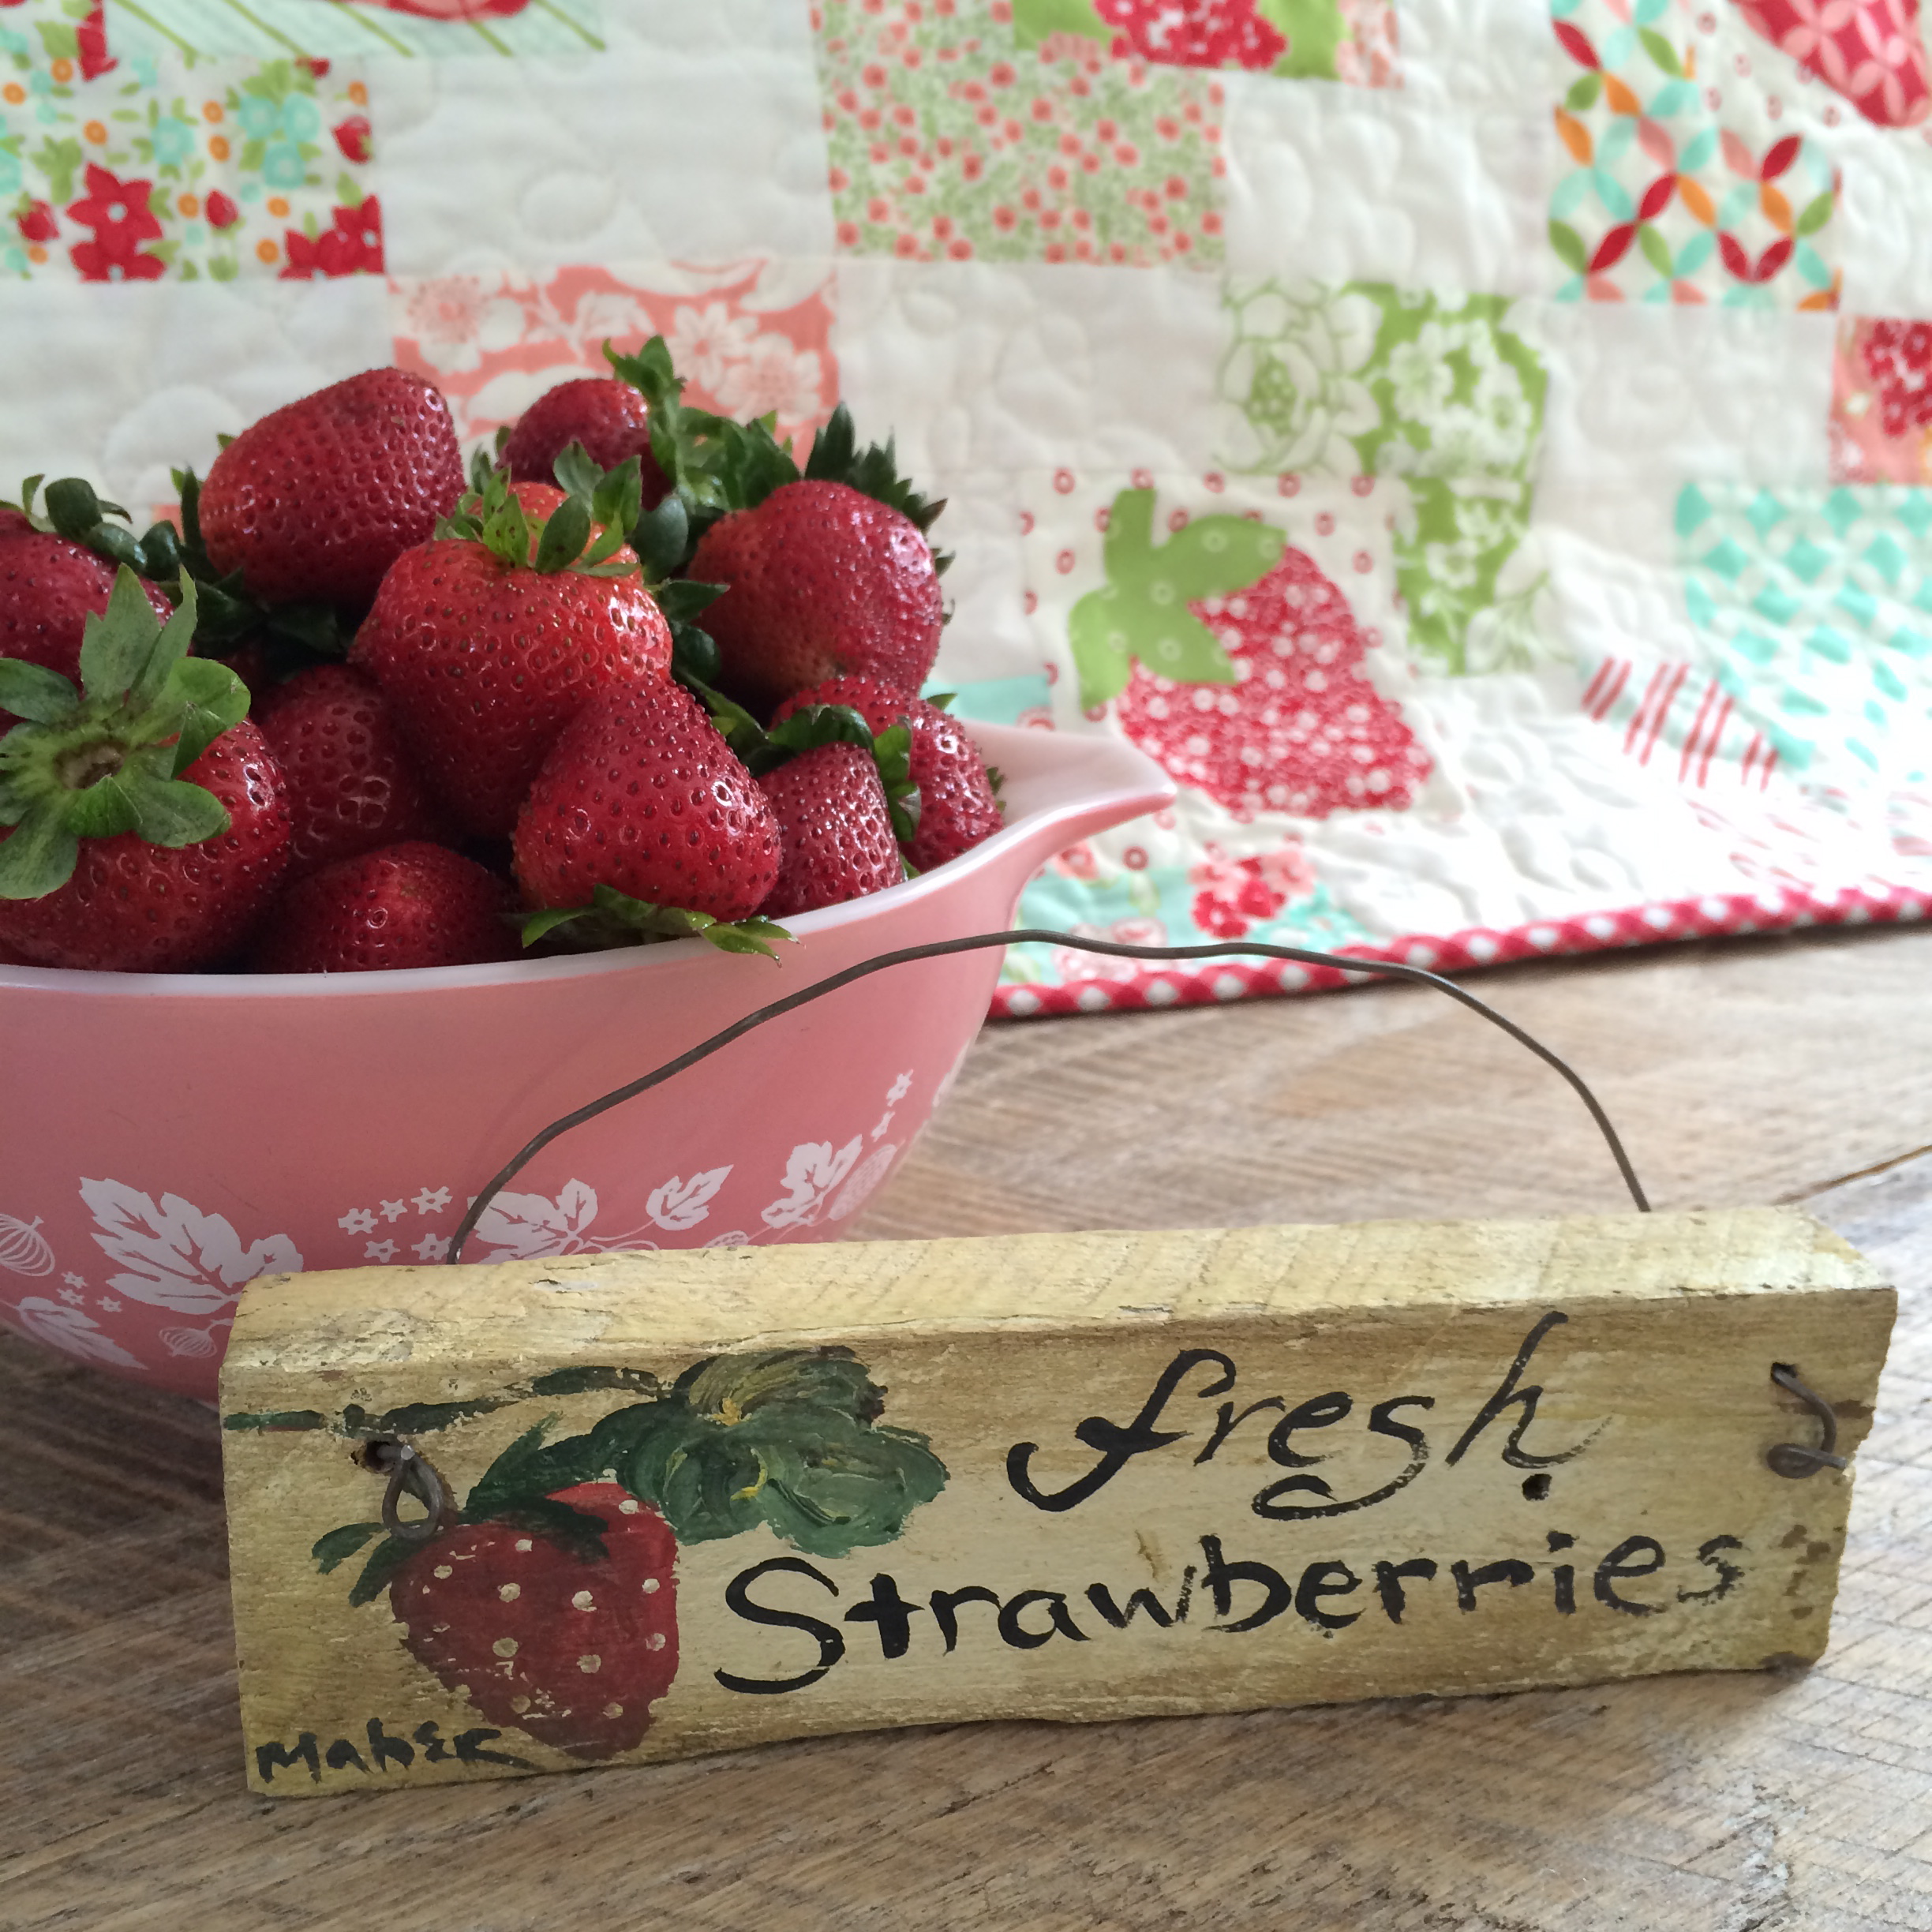


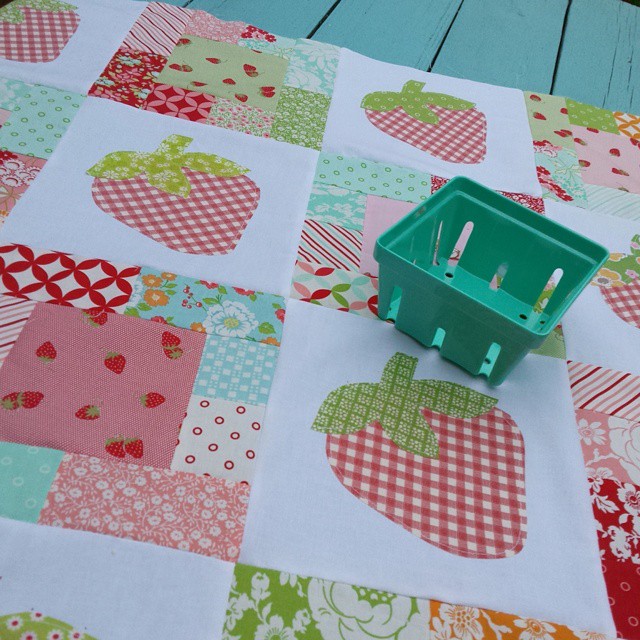
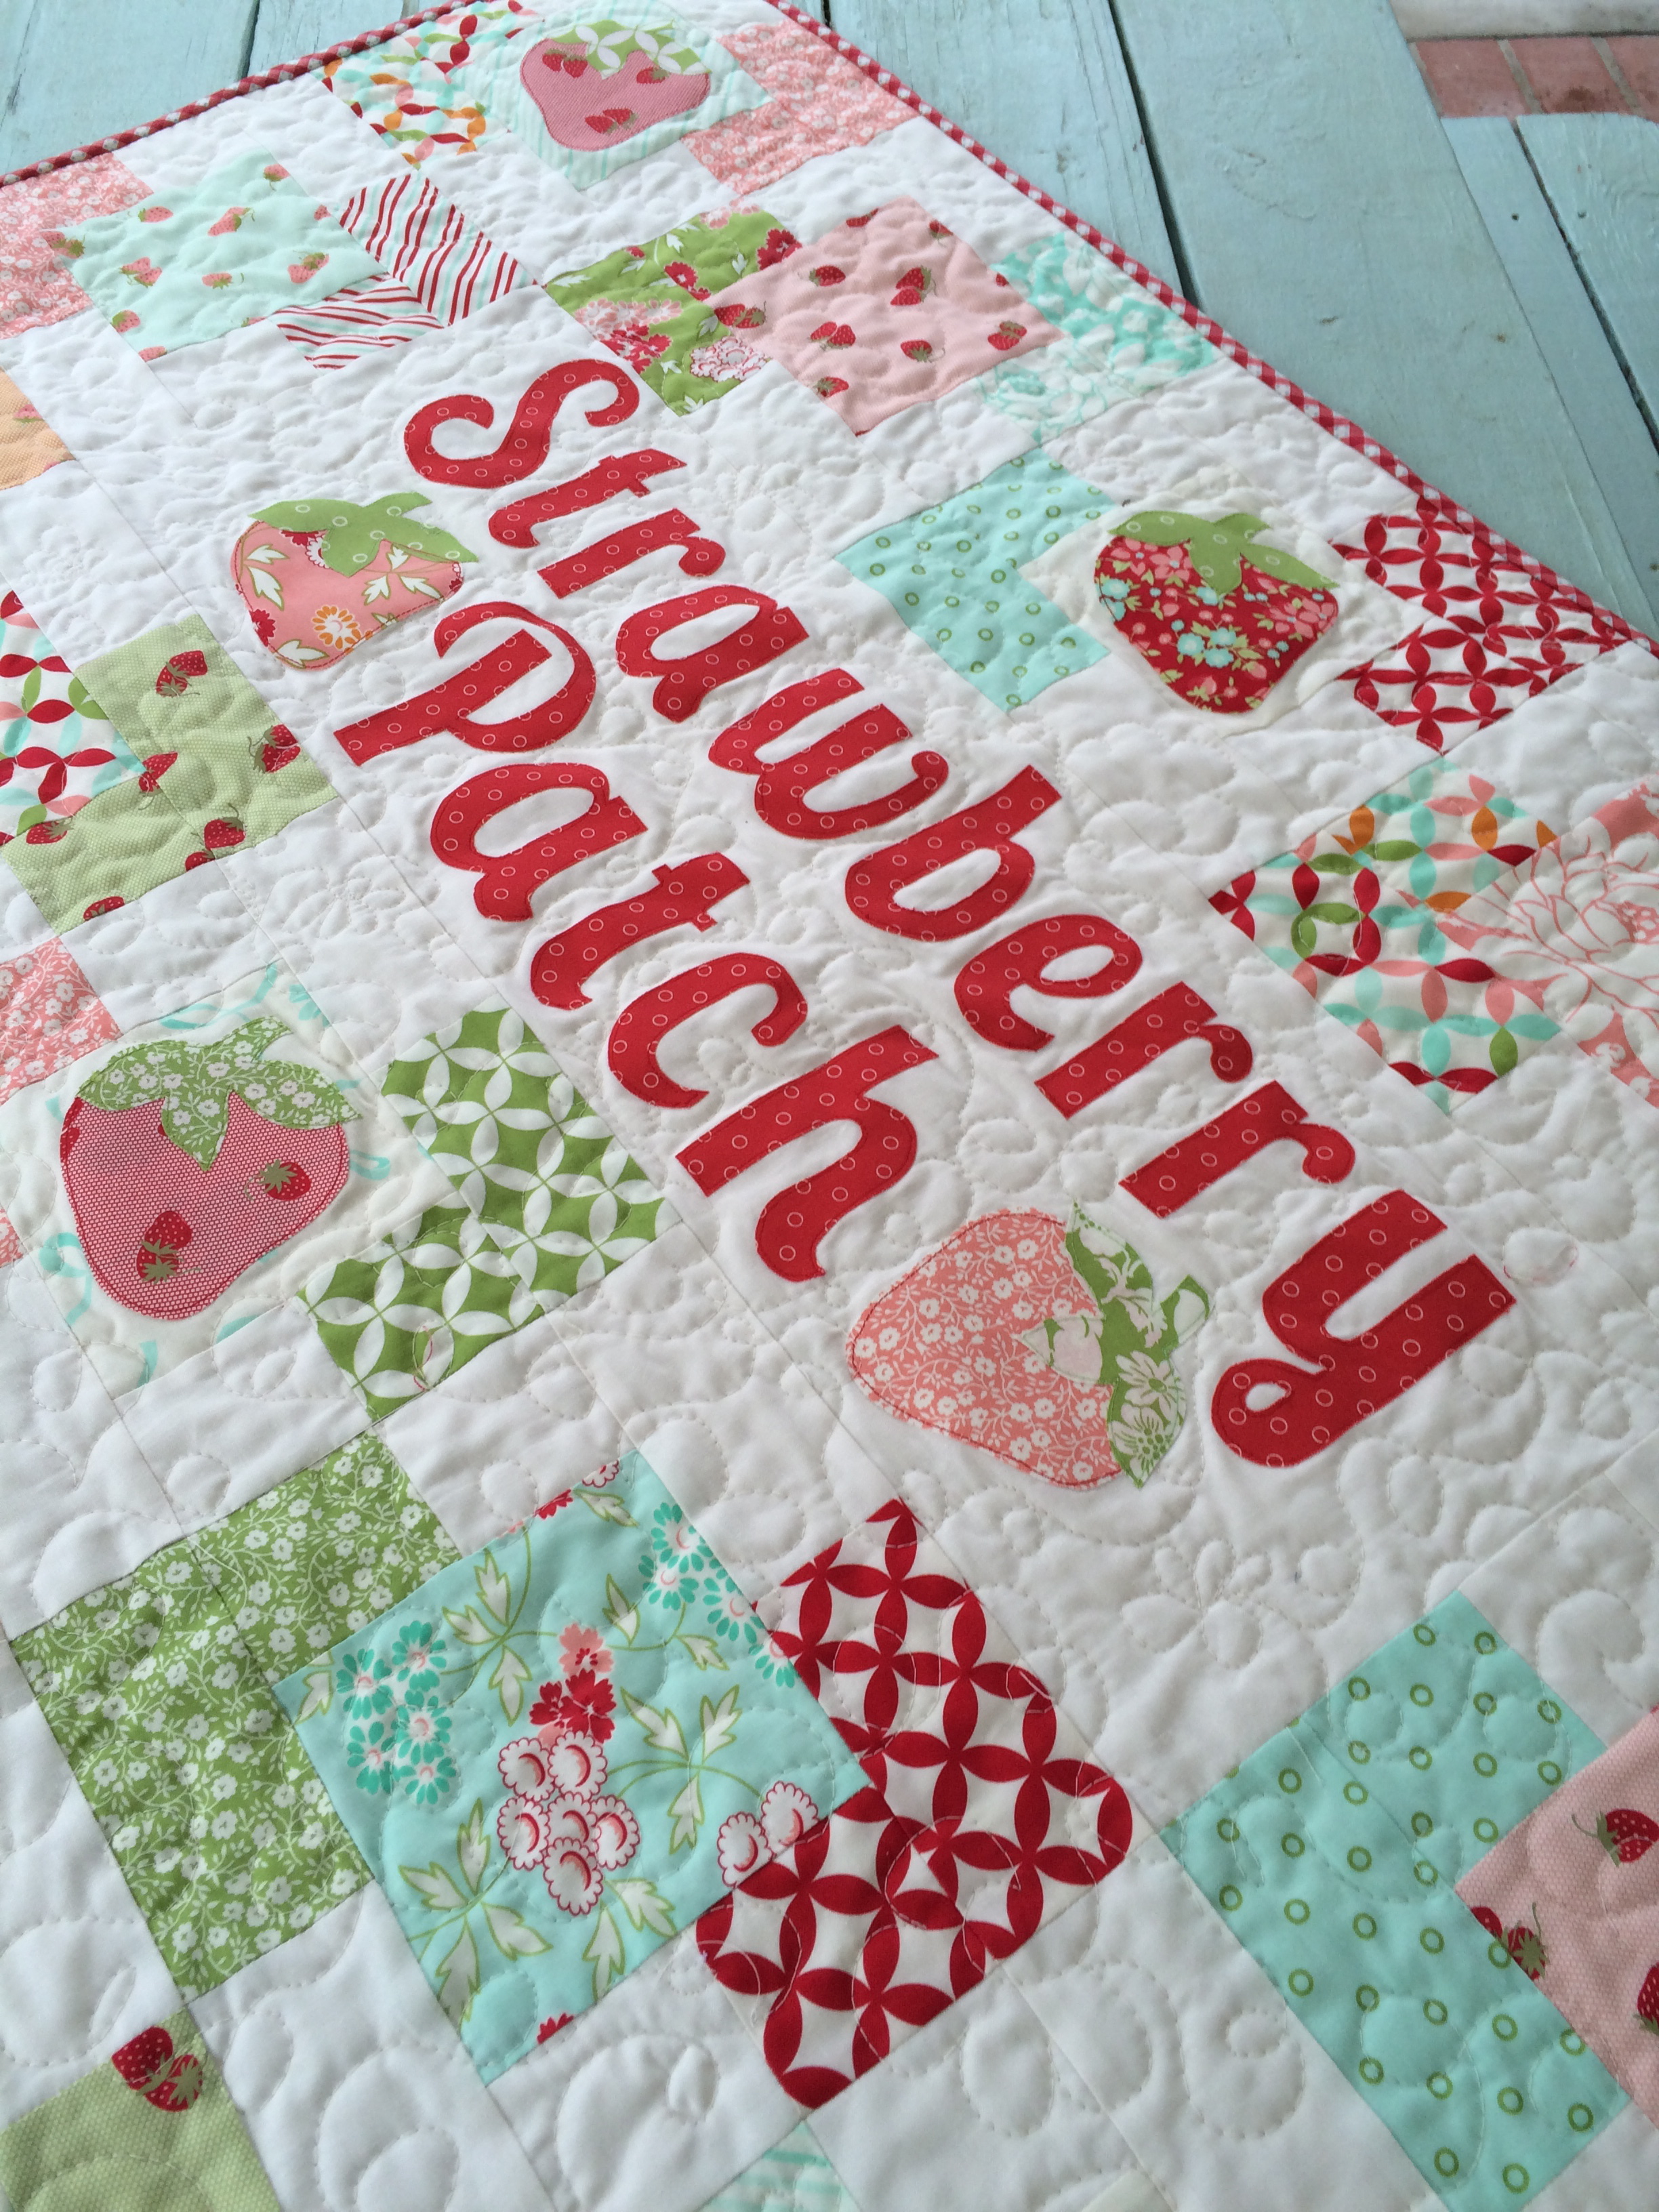
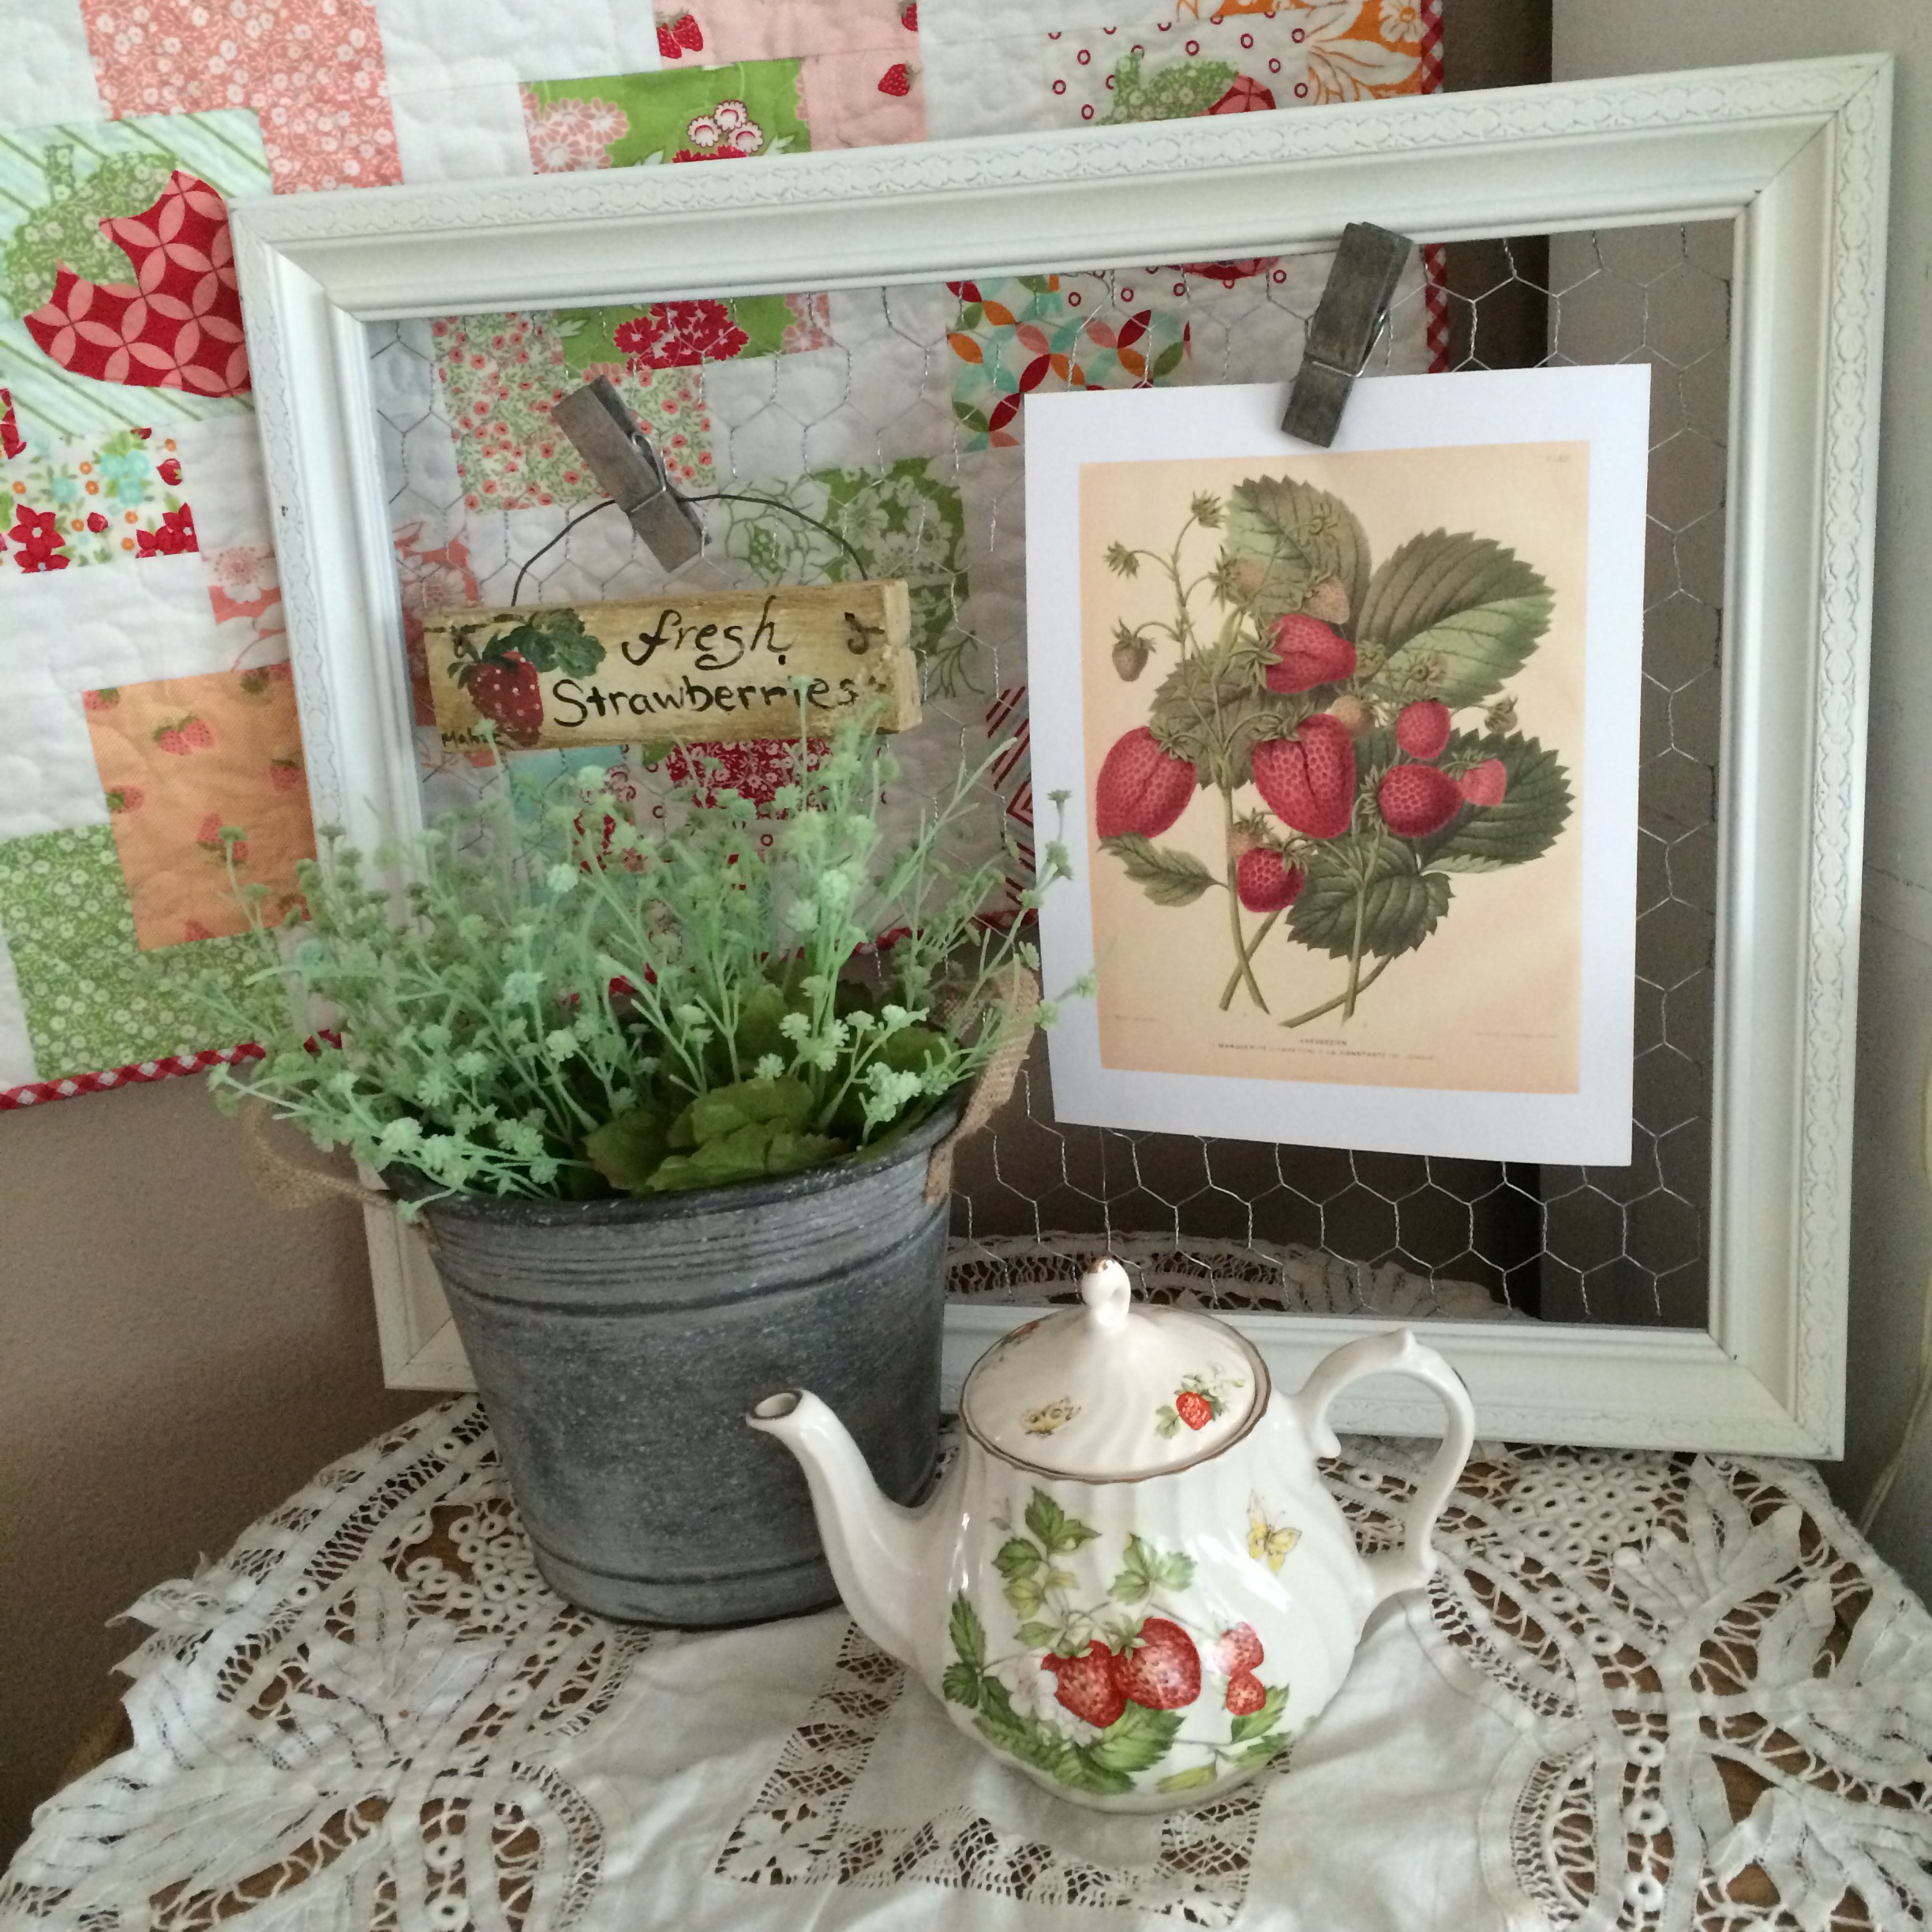
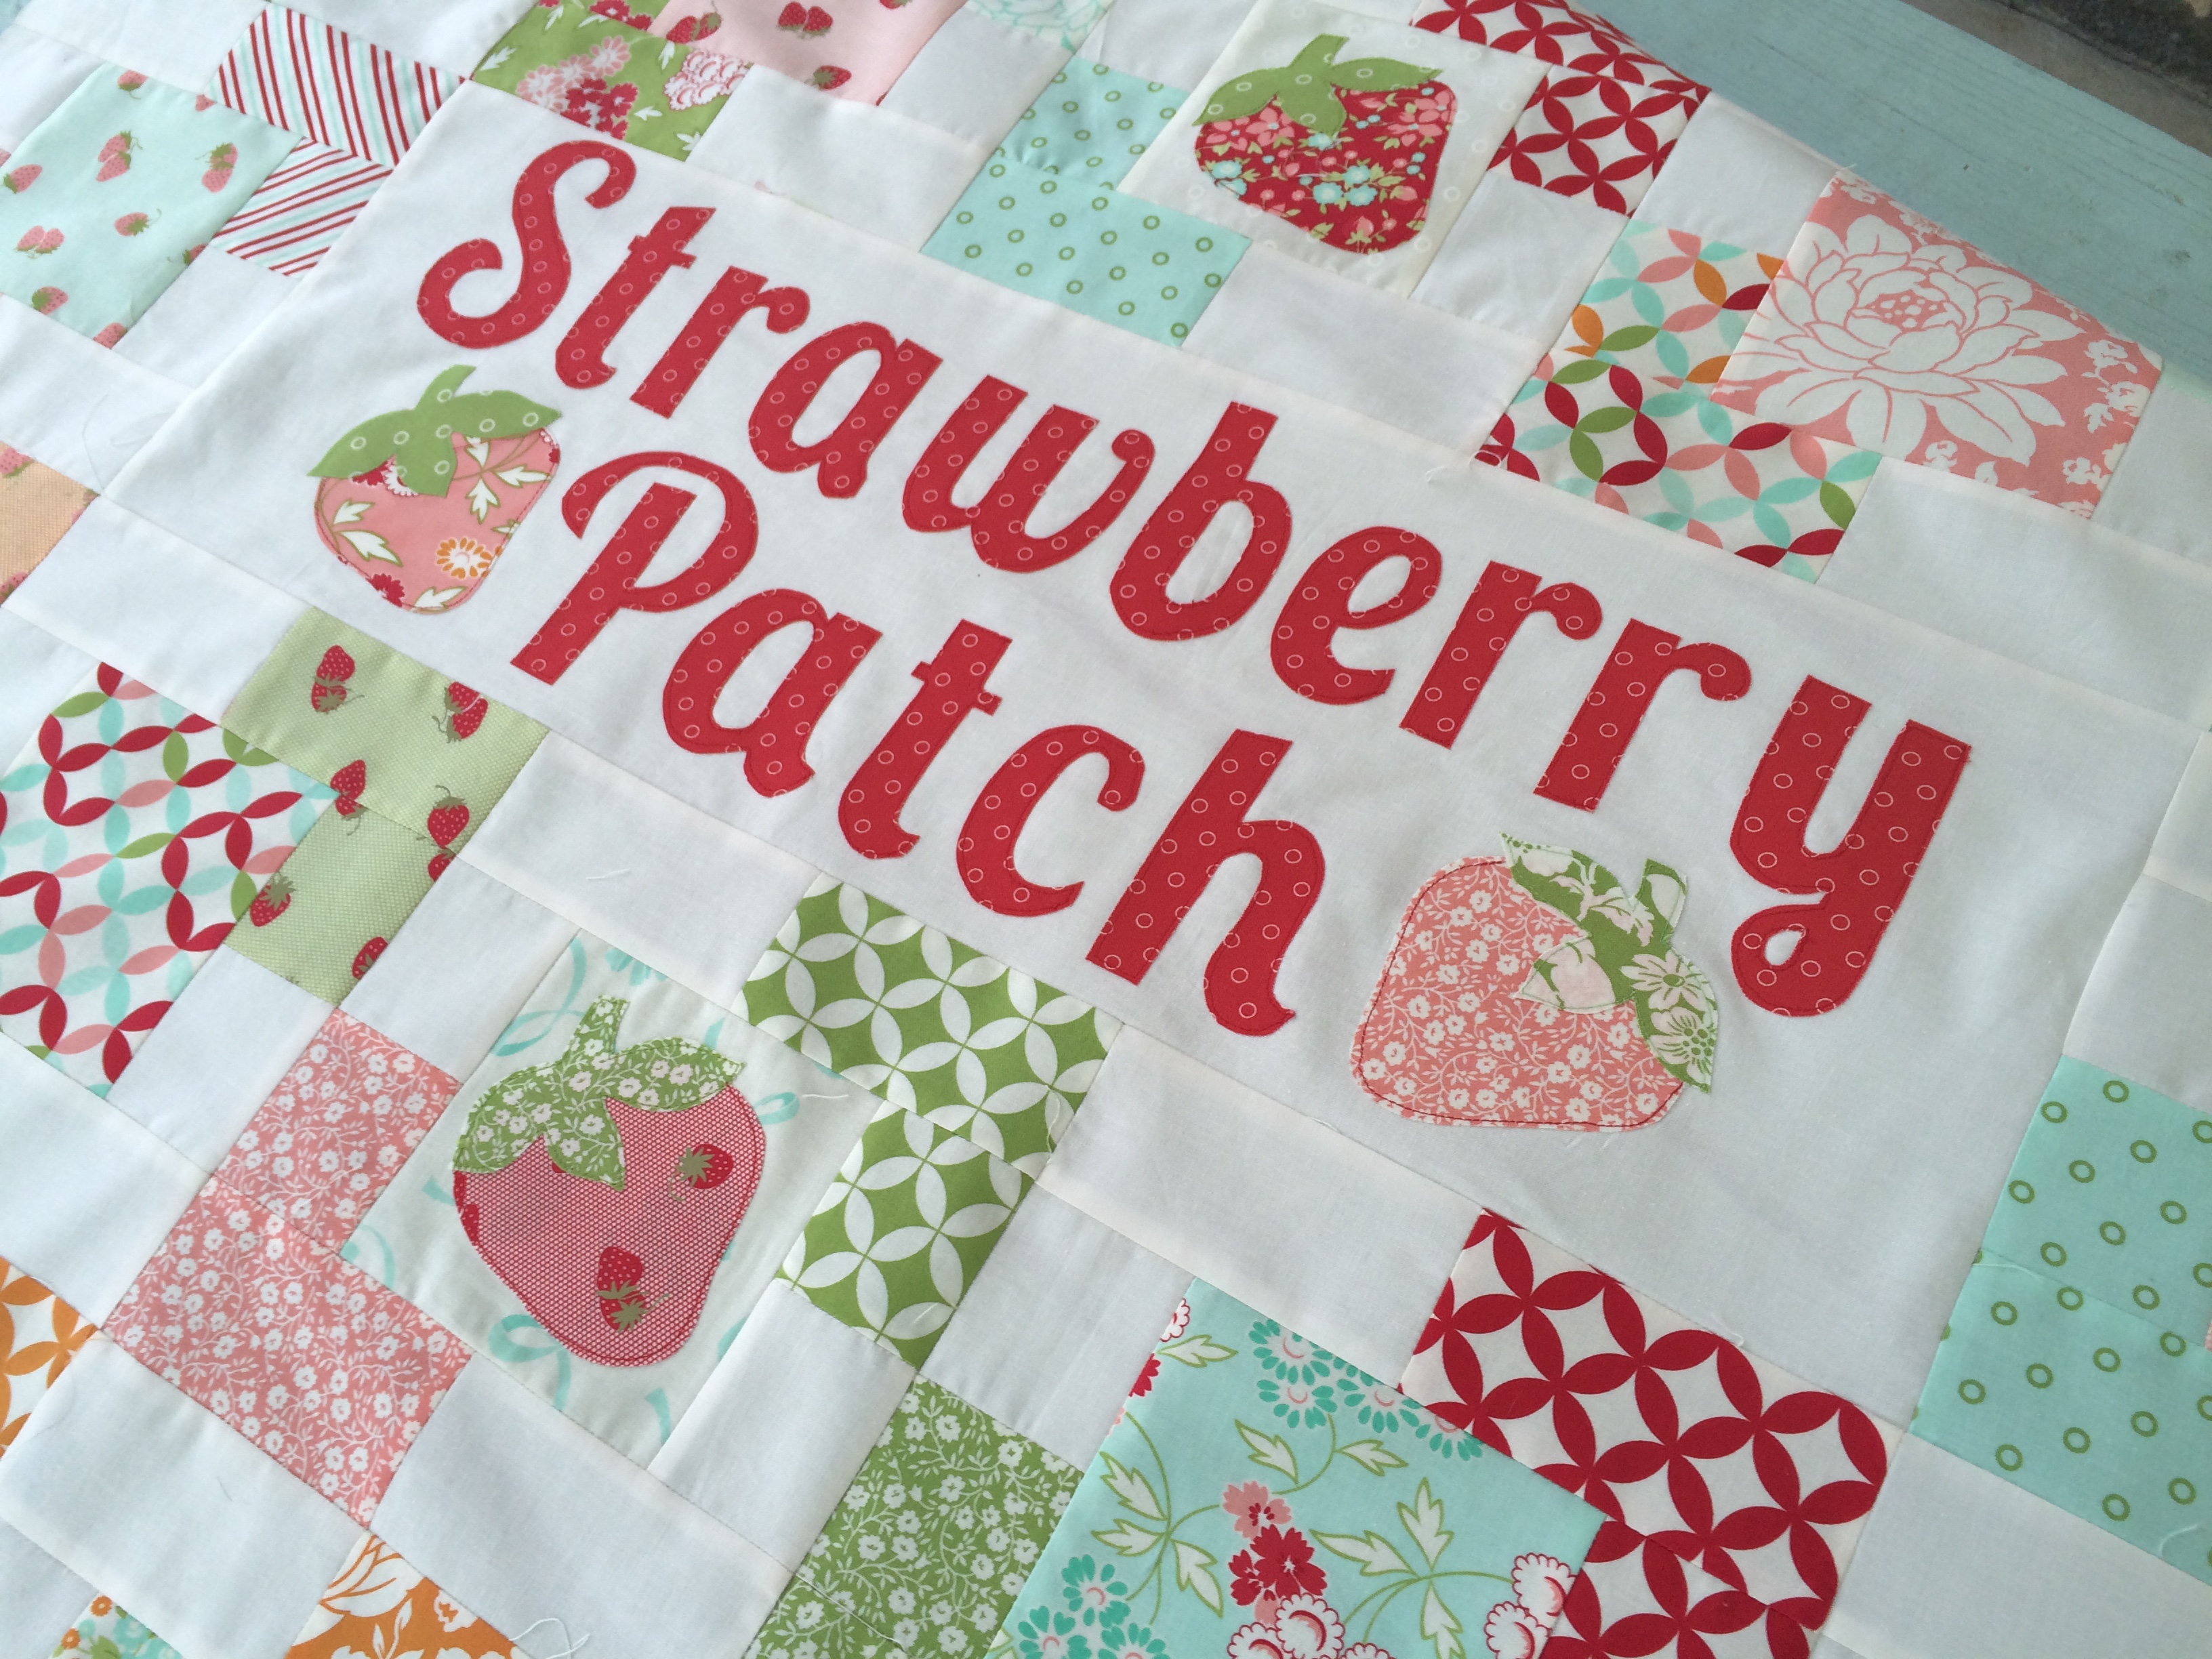
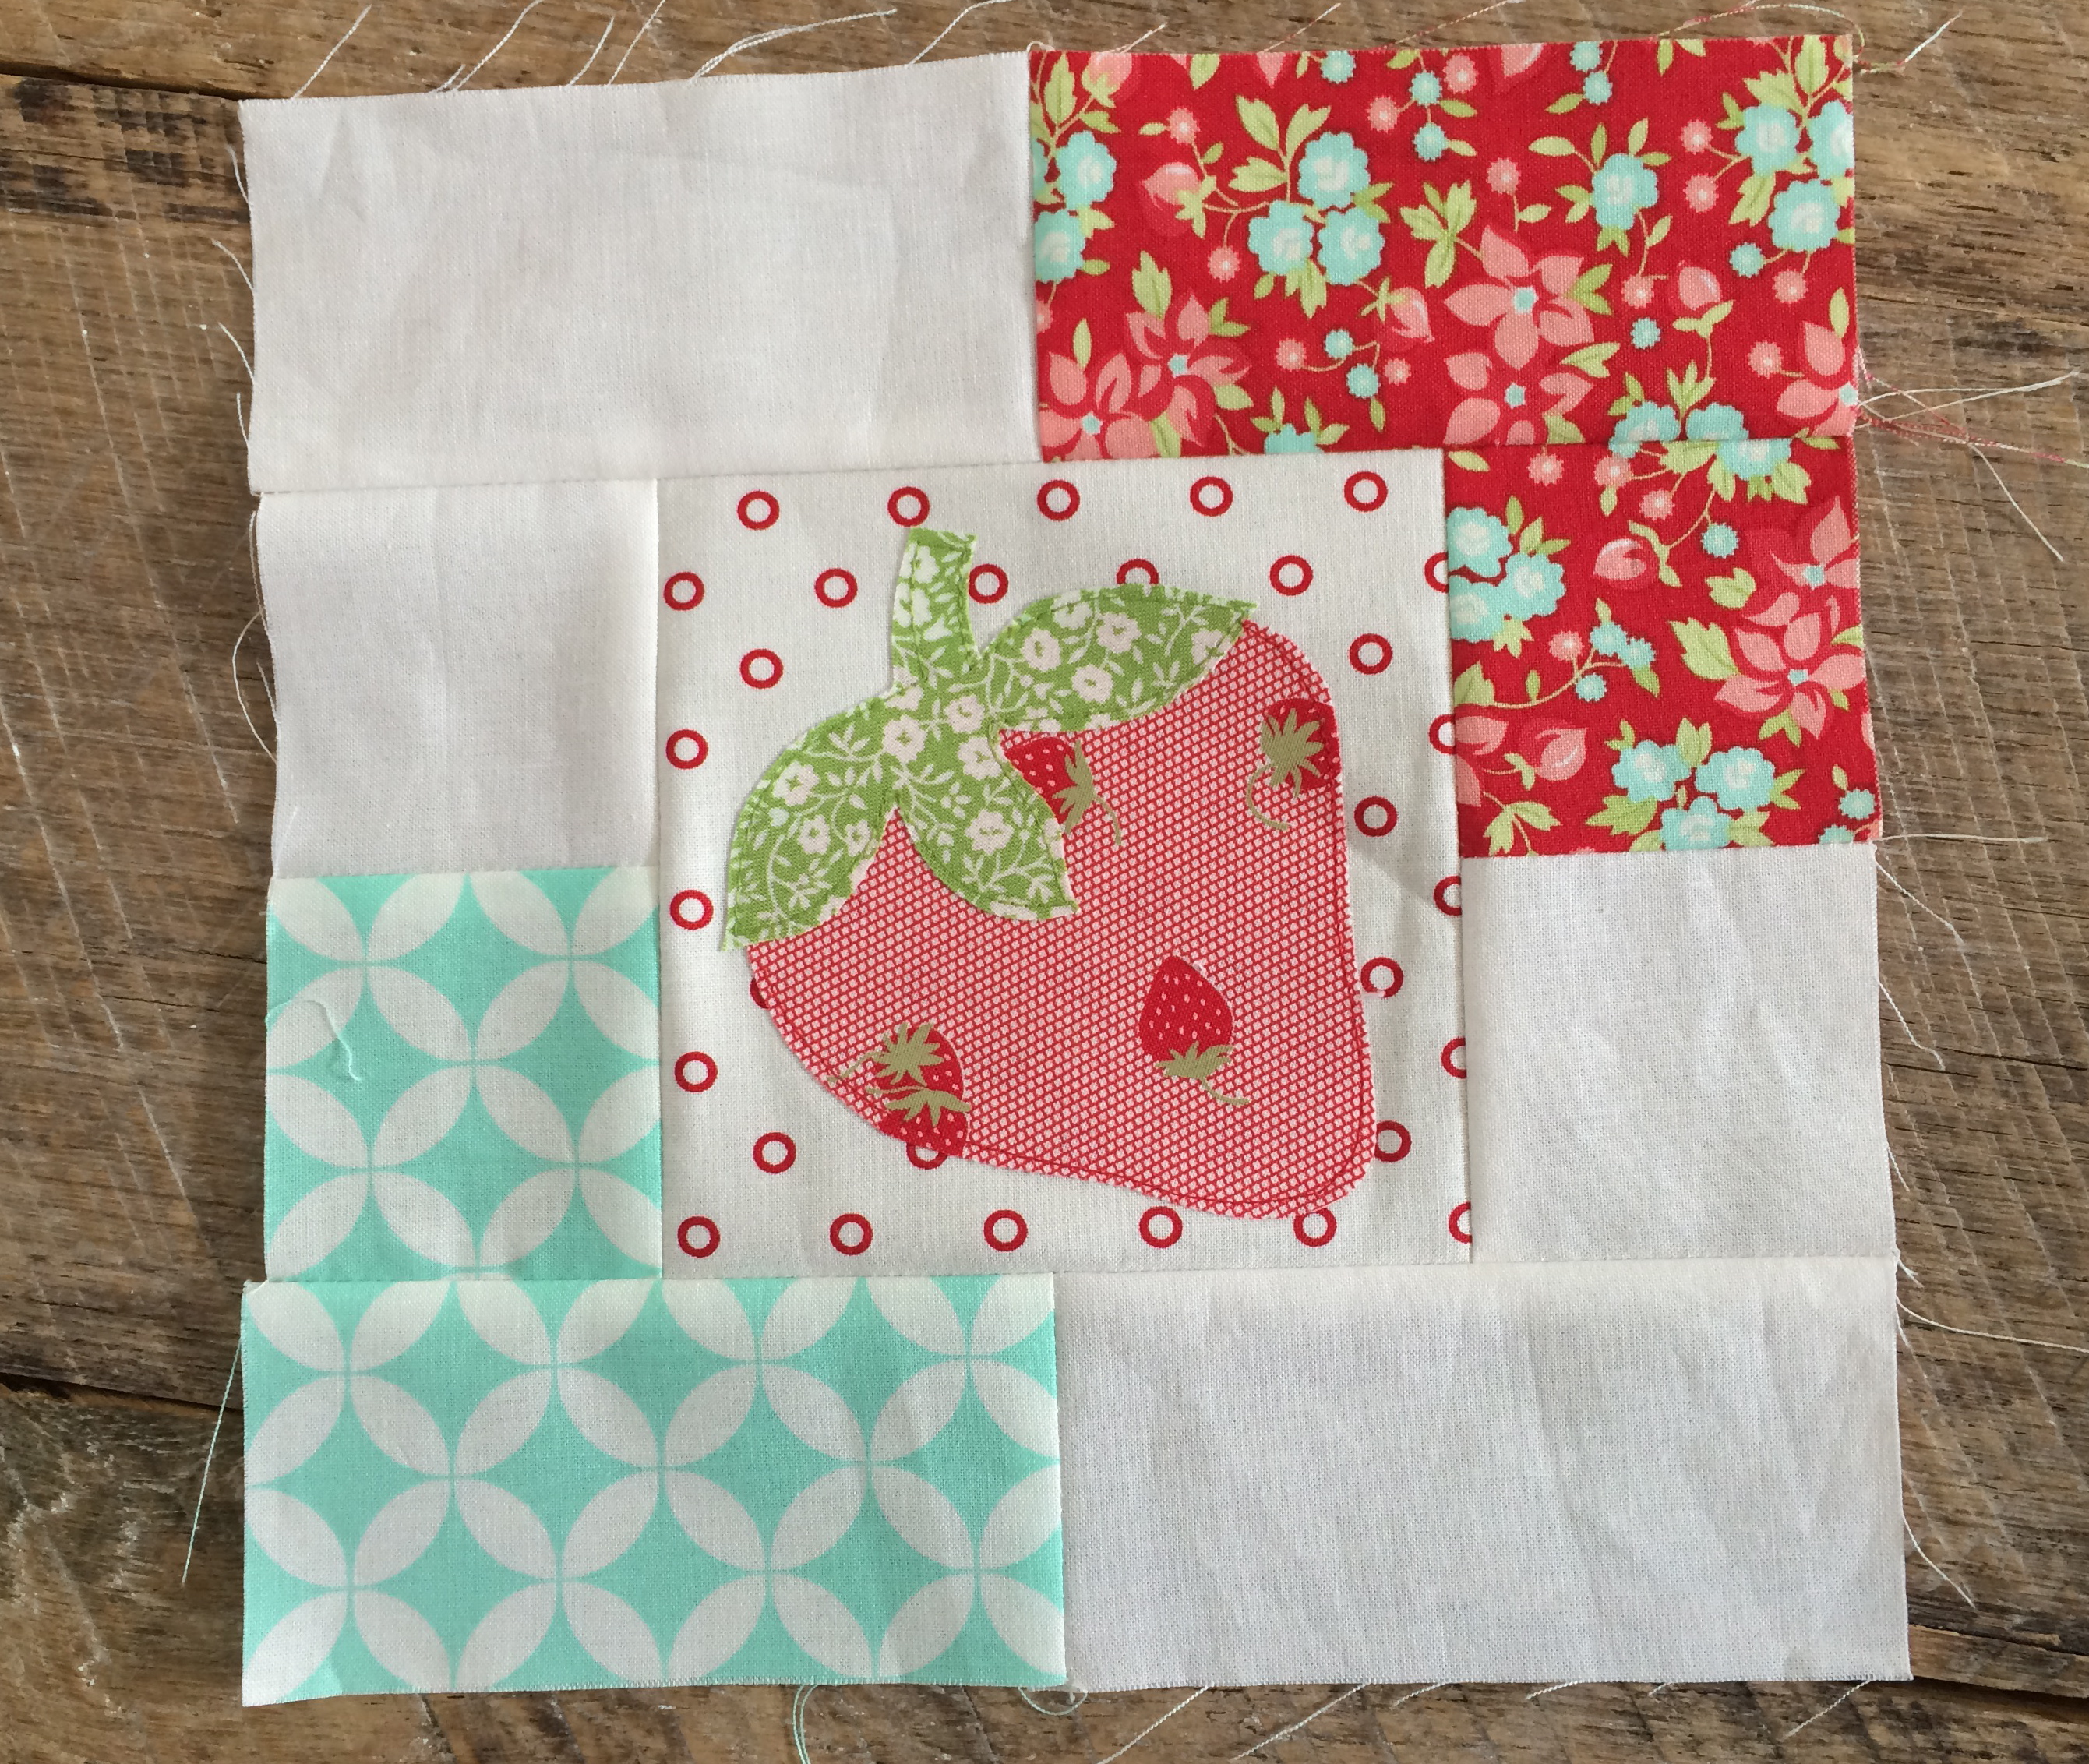
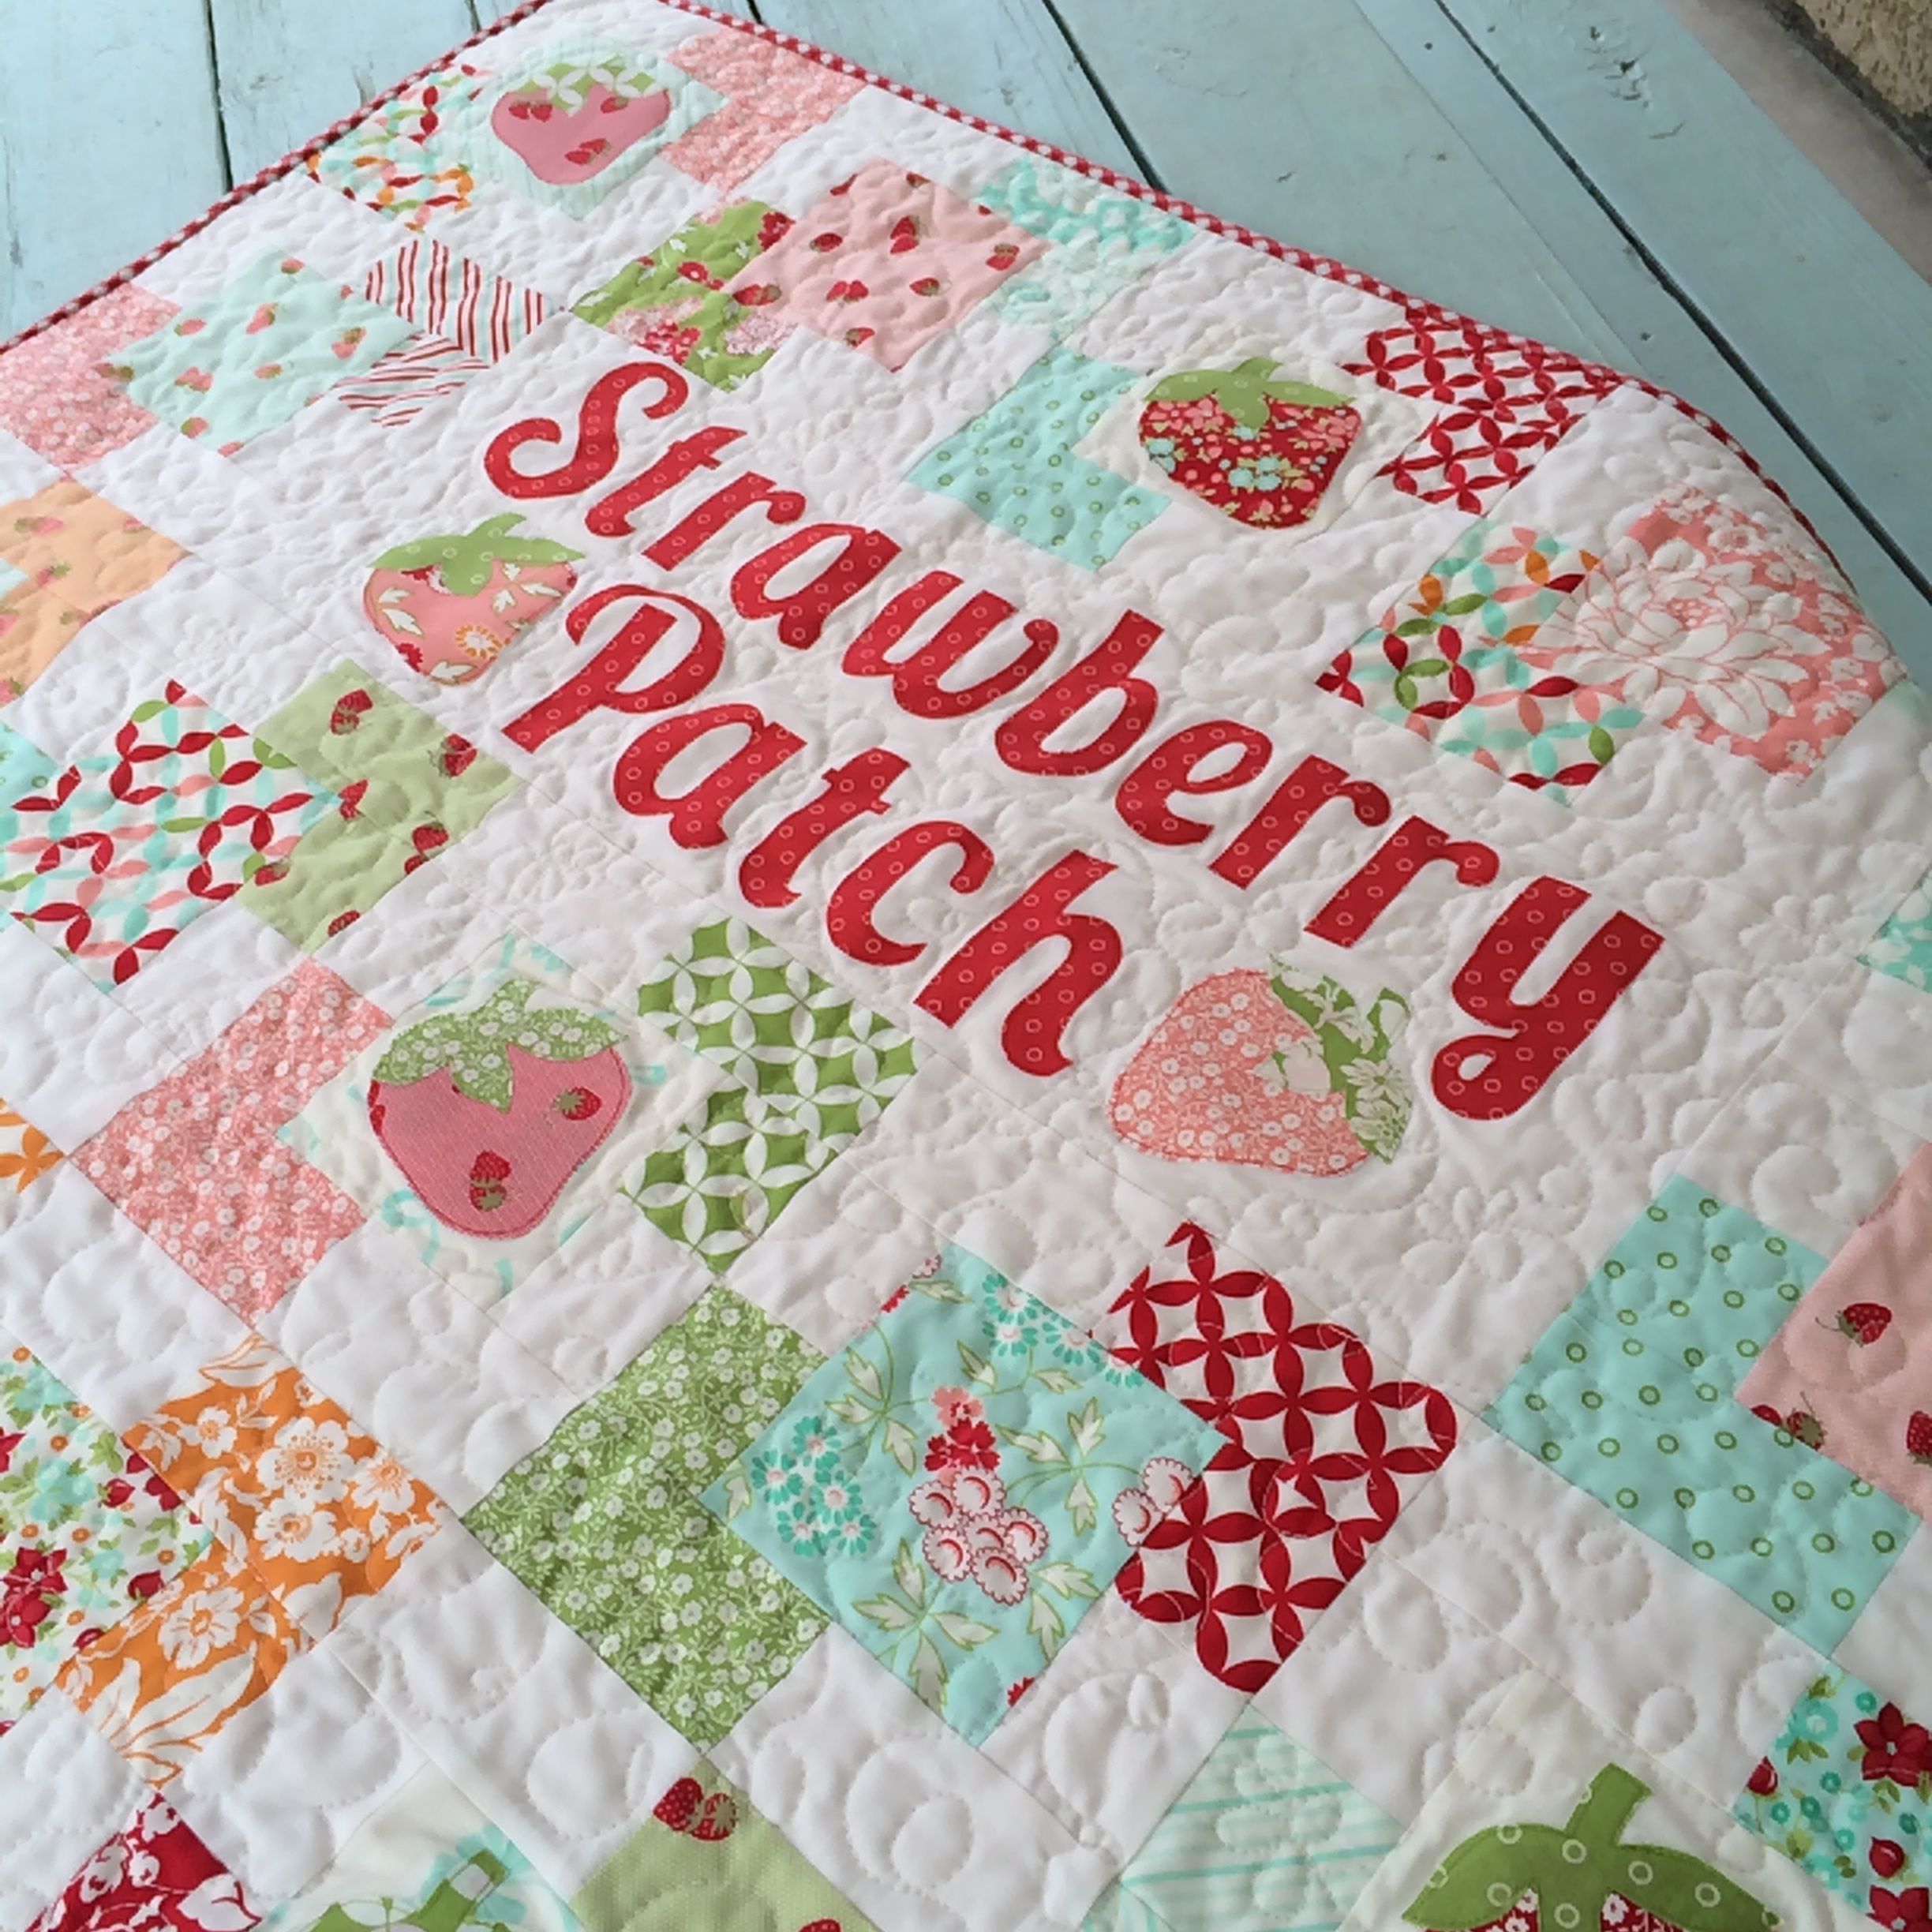
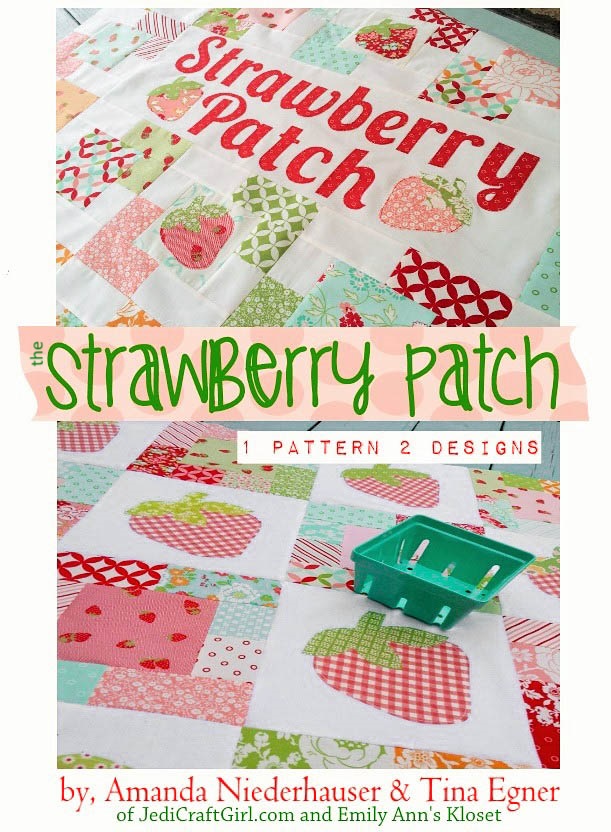 Homegrown strawberries in a New Jersey backyard, berries being grown all year round in Sunny California and two friends who lives miles apart….came together to design these yummy strawberry quilts…. JUST FOR YOU! Tina from Emily Ann’s Klsoet and I had so much fun making these quilts – we know you will love the pattern as well! It’s one pattern but there are 2 versions you can choose from! The Strawberry Patch pattern is available in
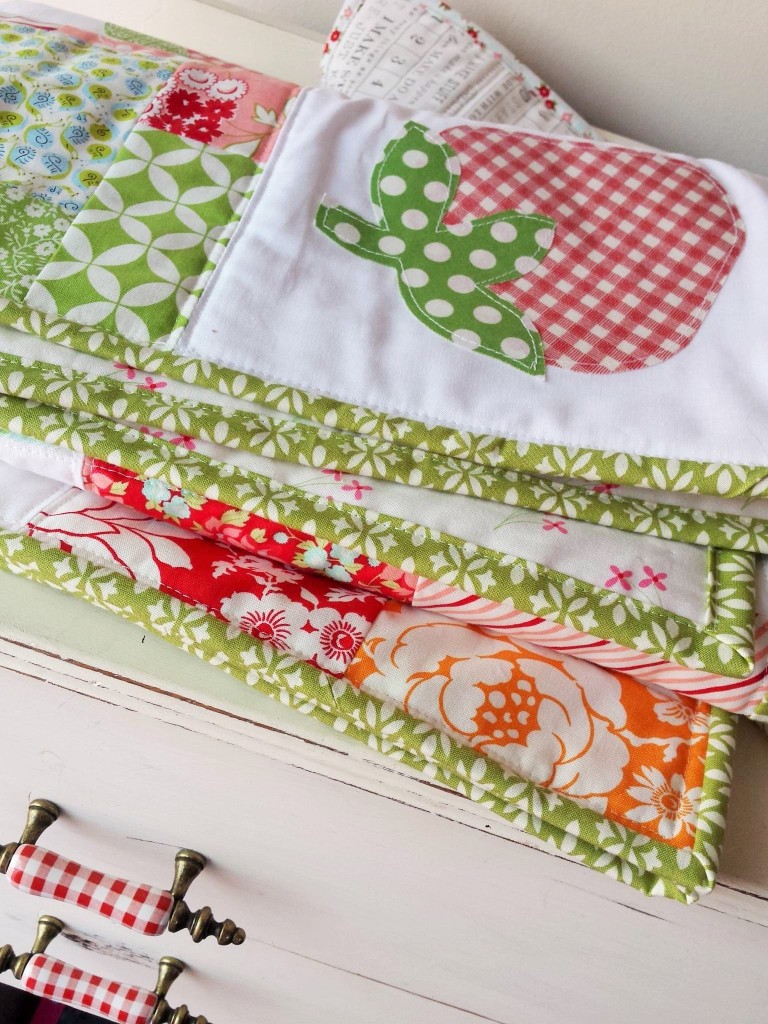

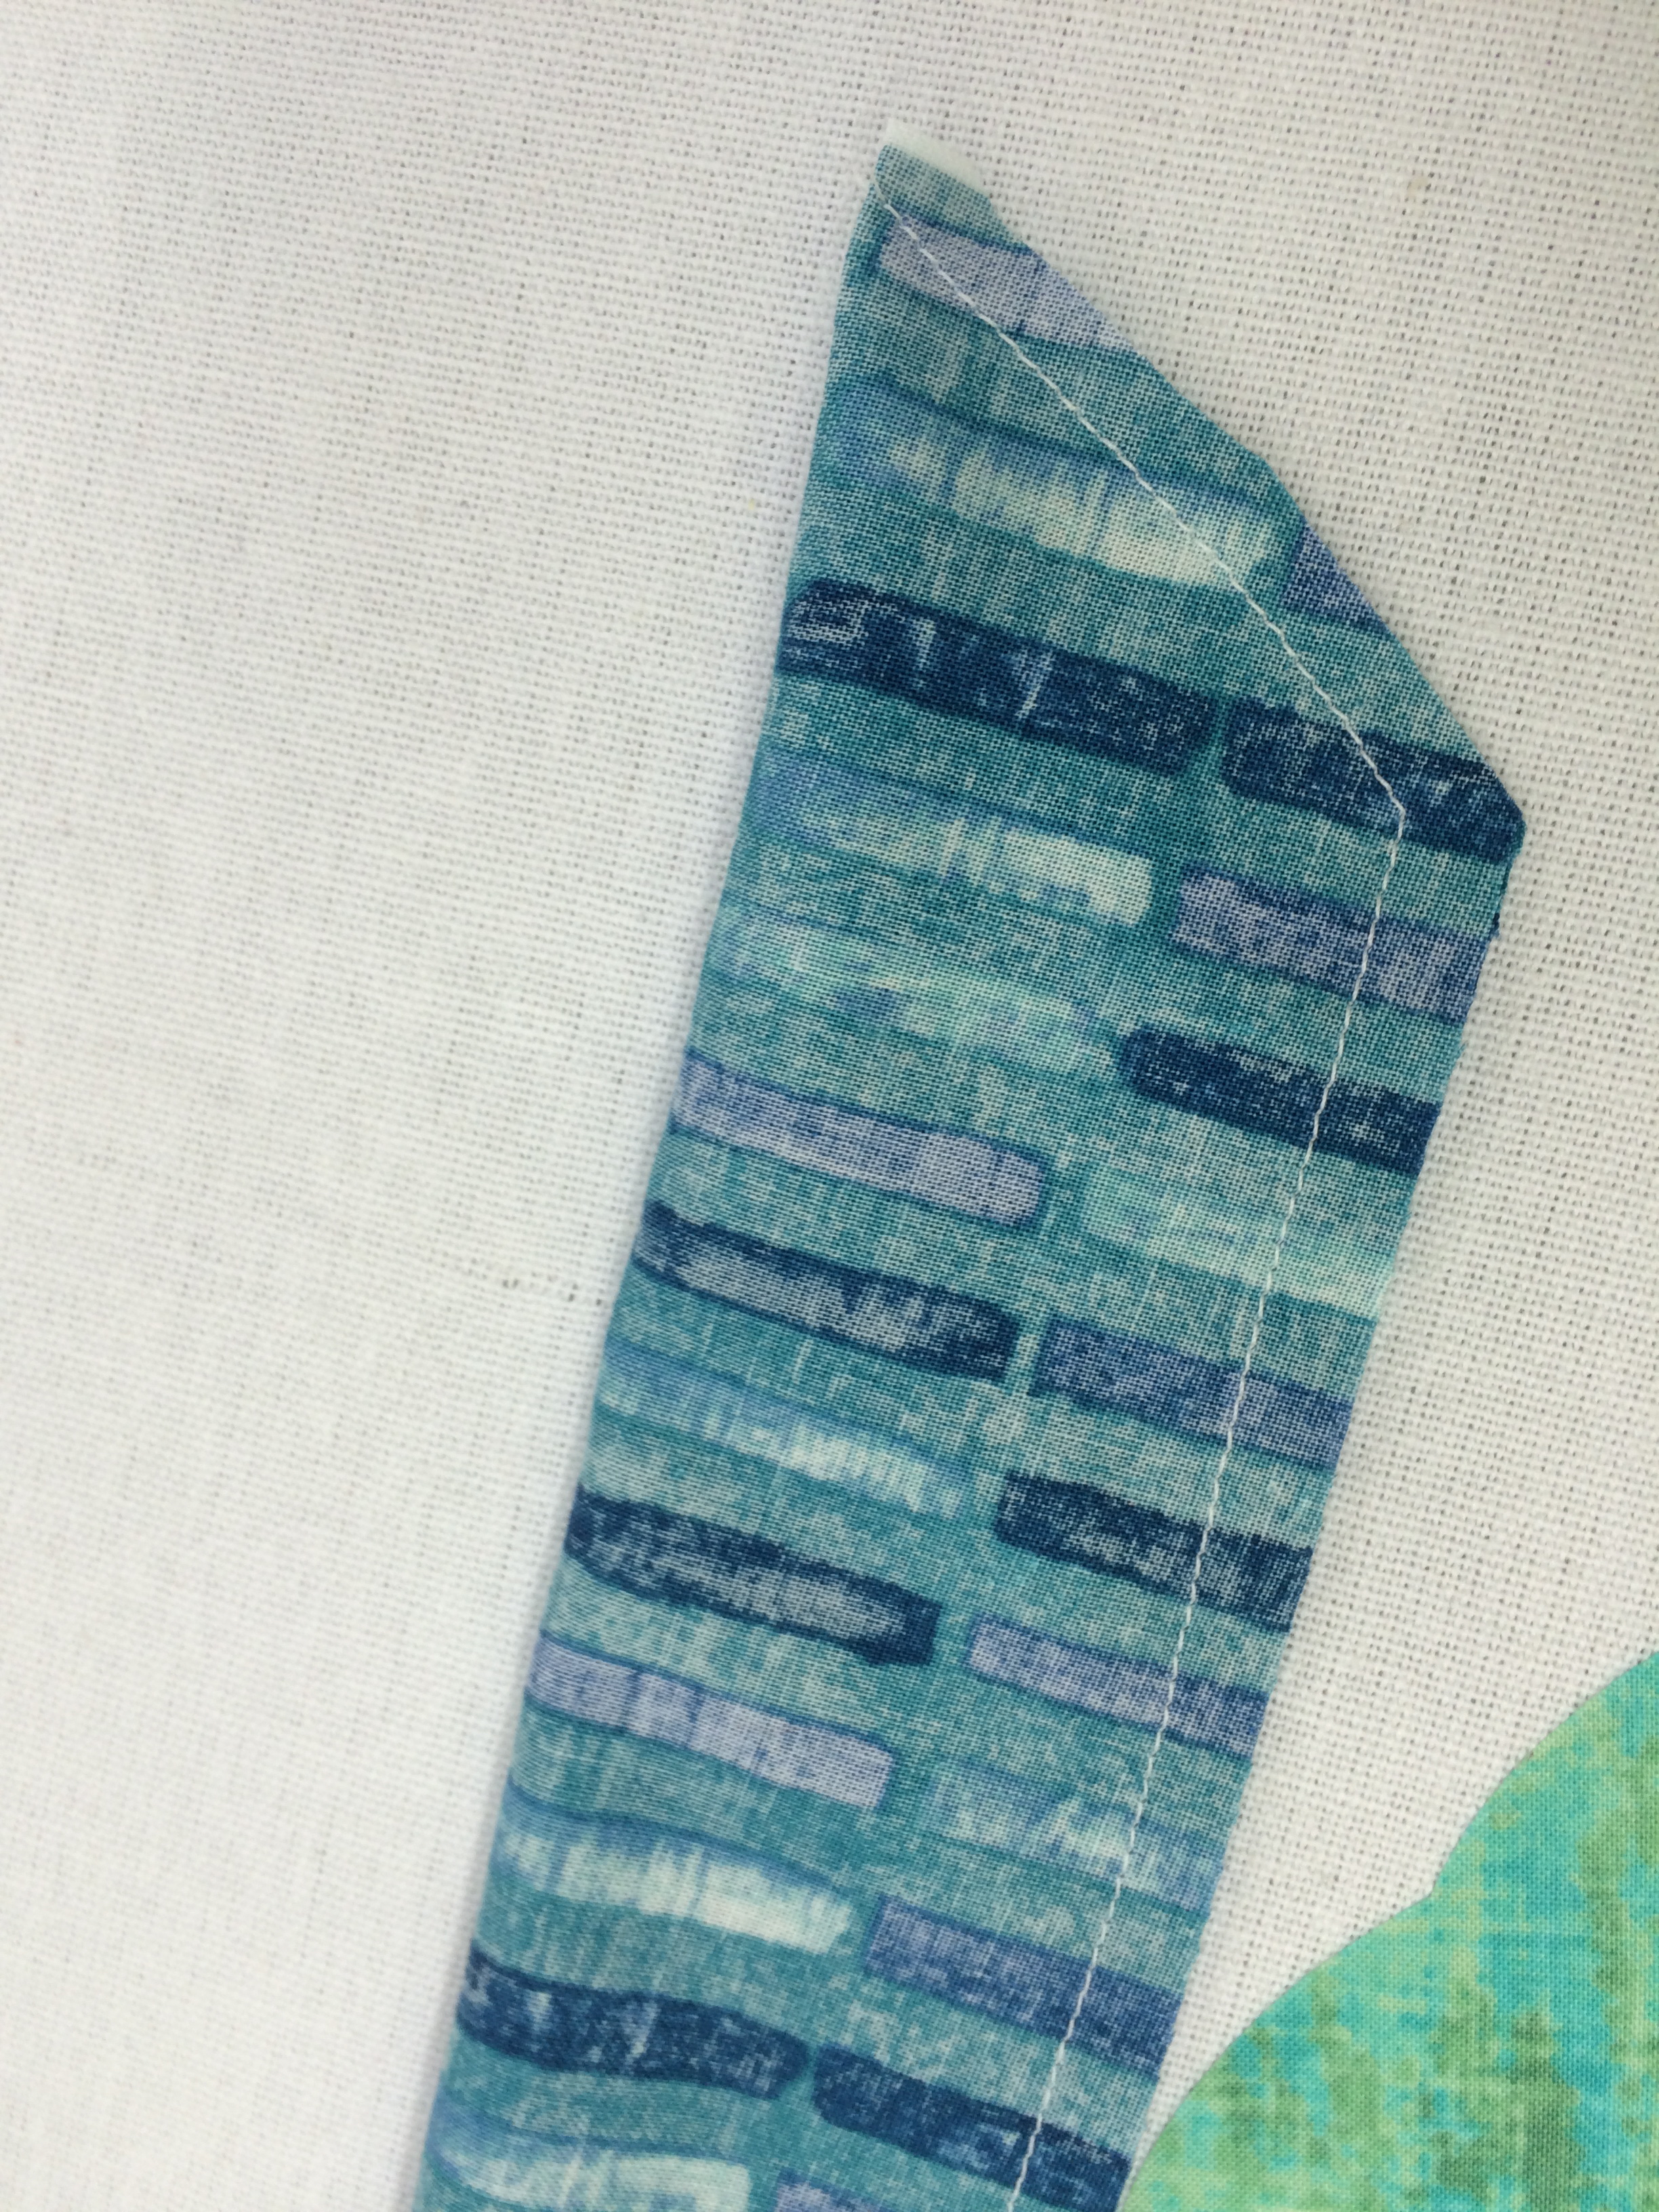
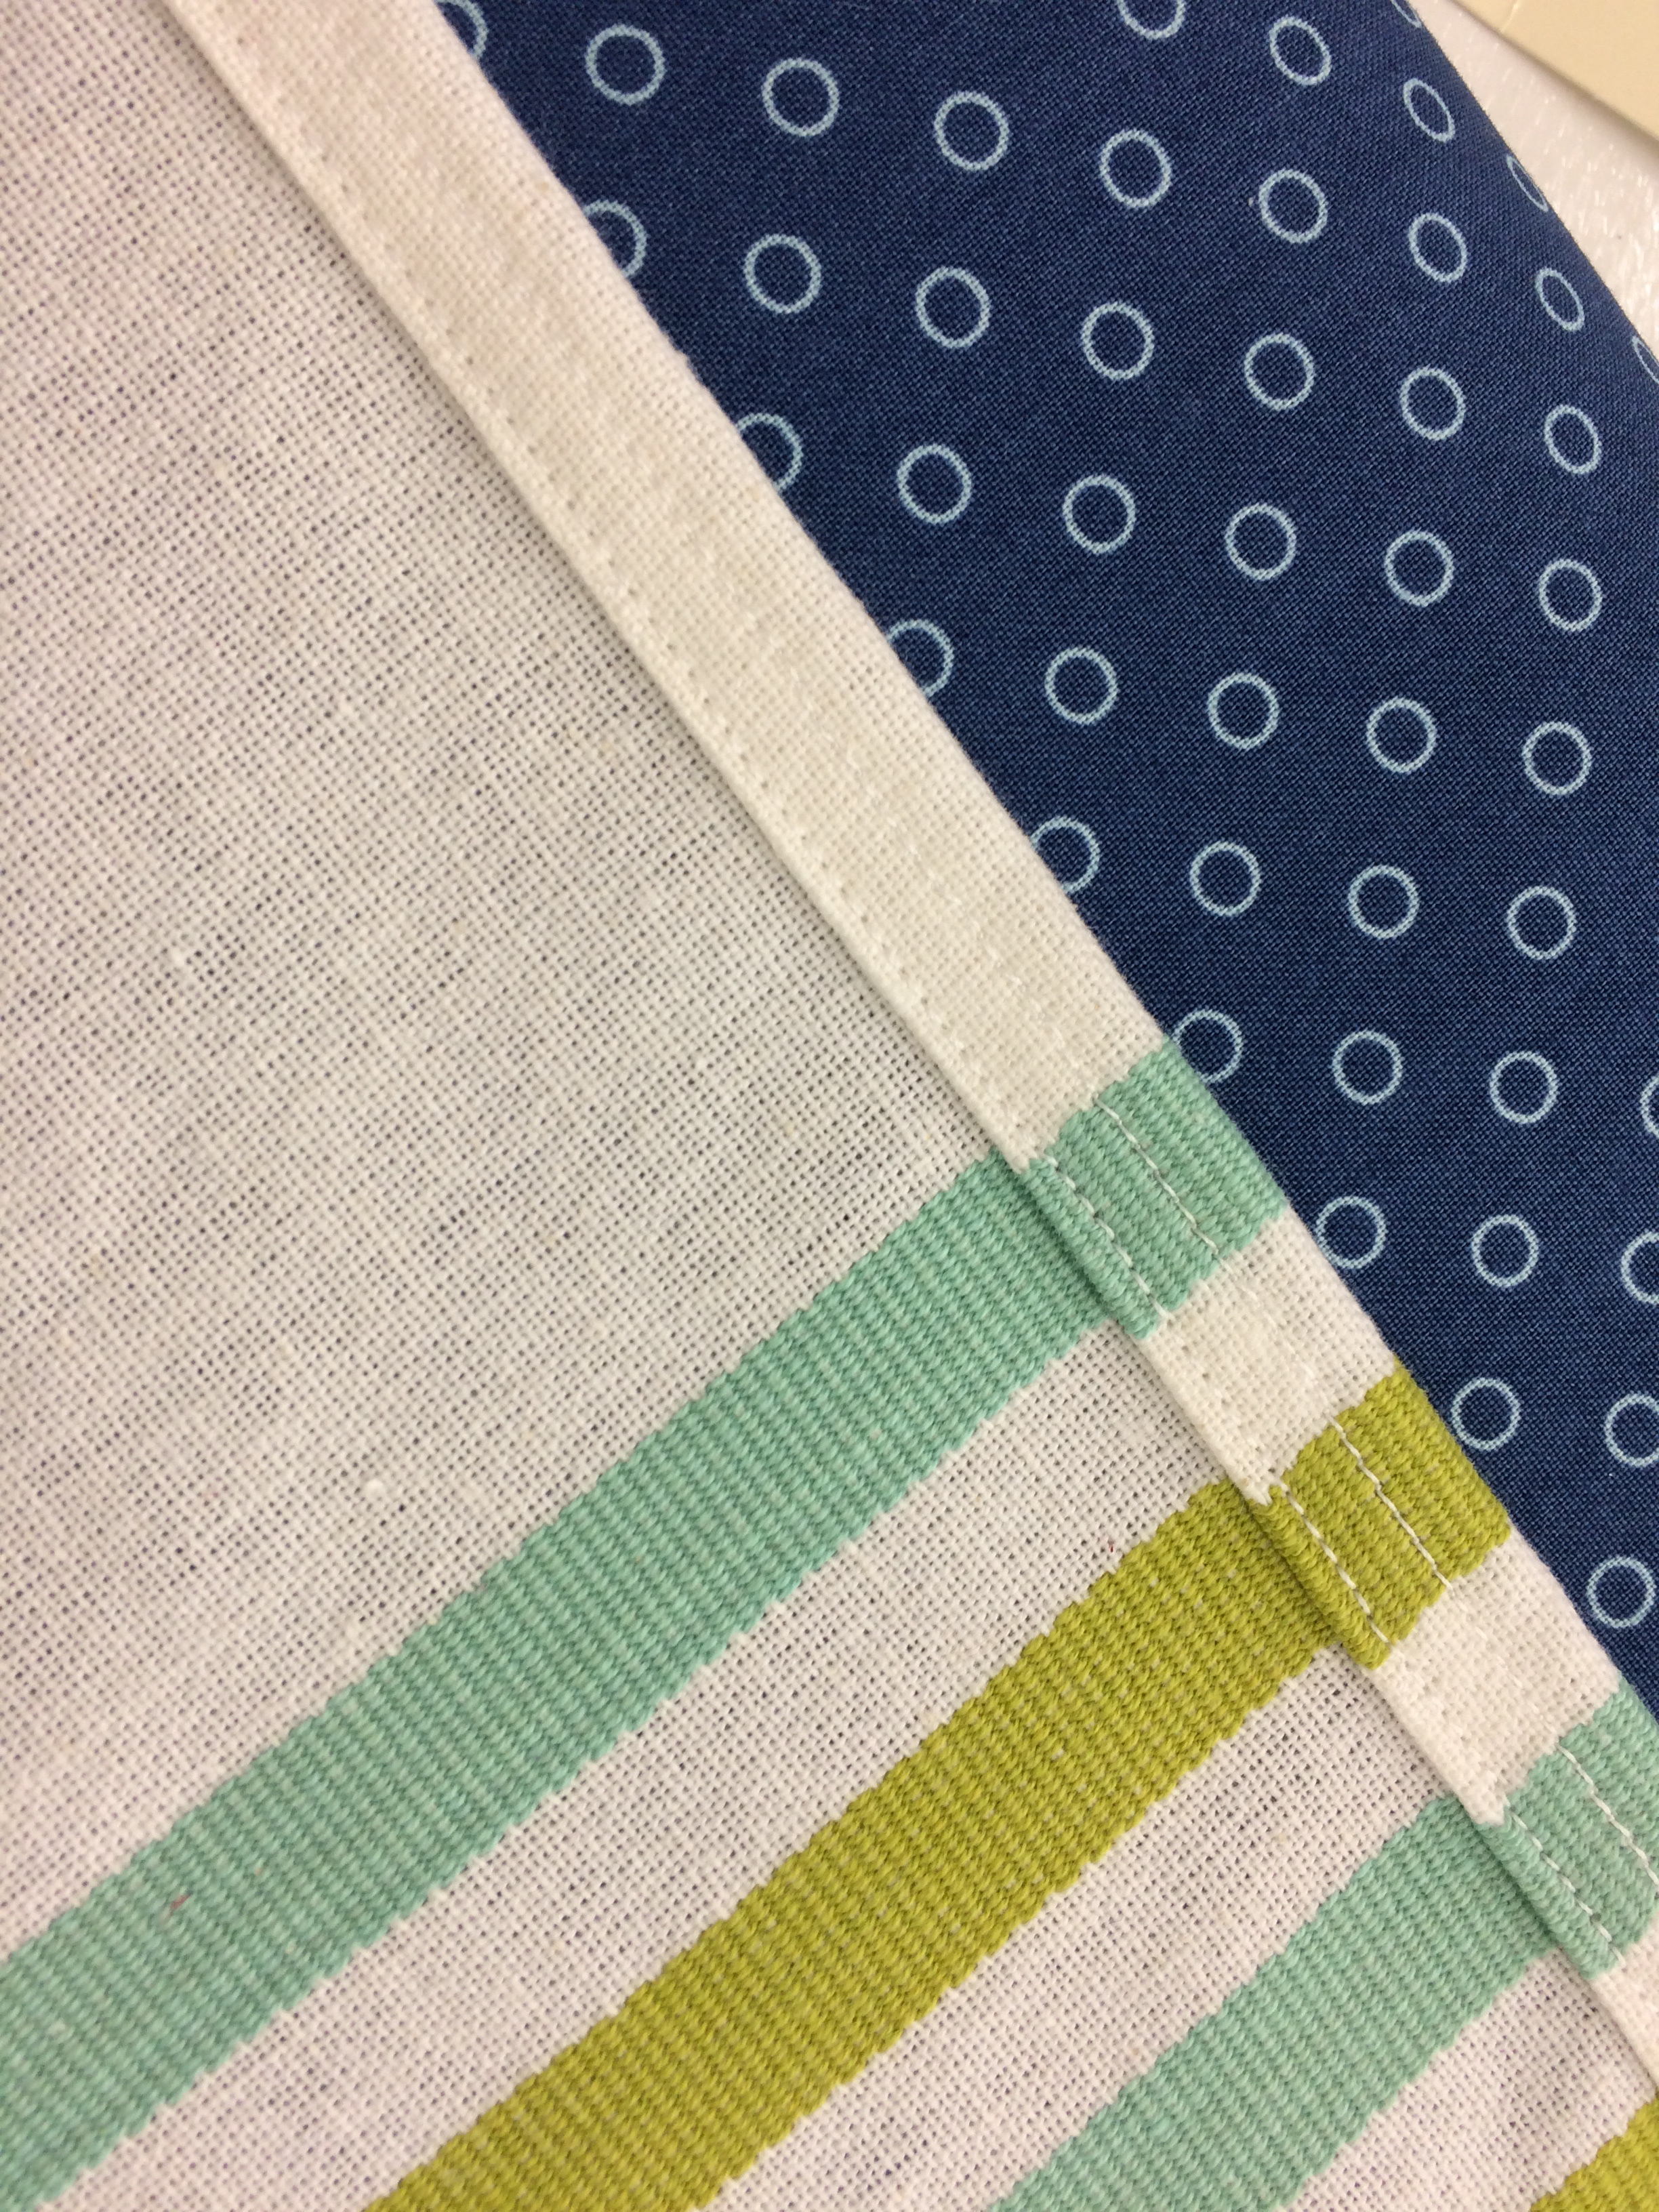
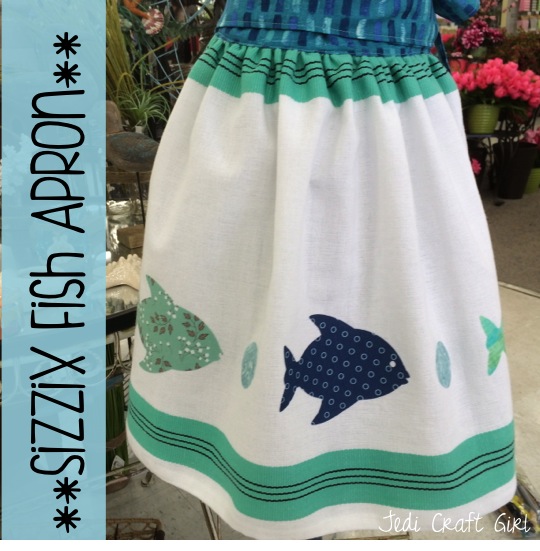 I had so much fun sewing my
 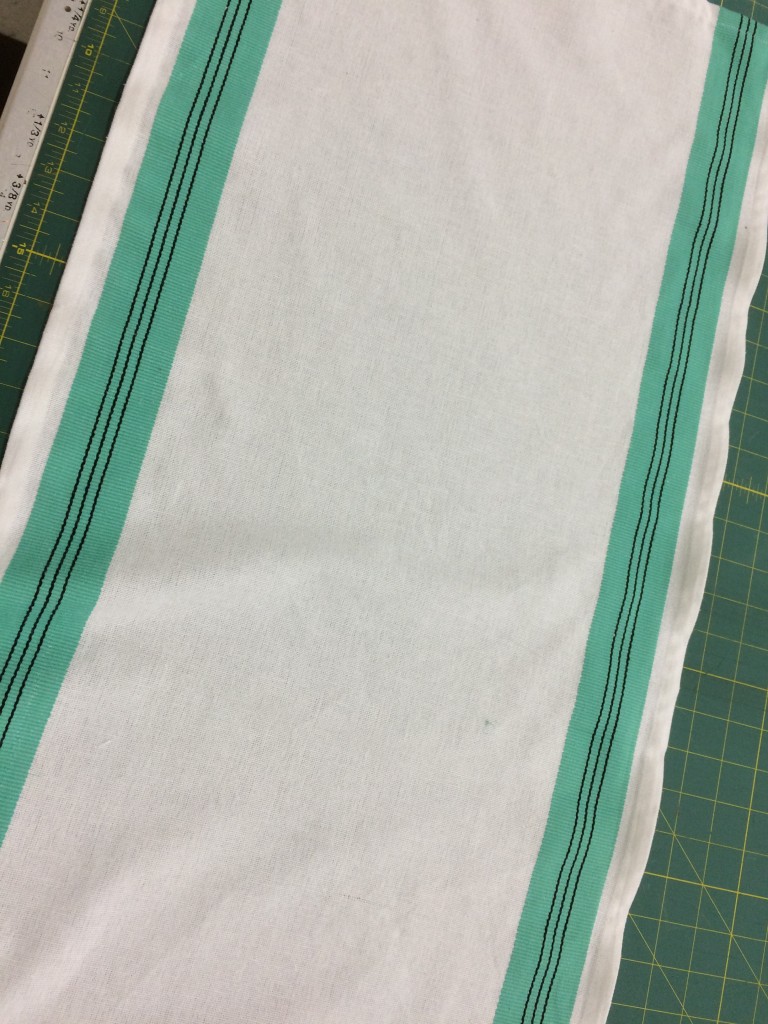 Hem the cut sides of the toweling by turing under 1/2″ and again 1/2″ and sewing close to the fold.
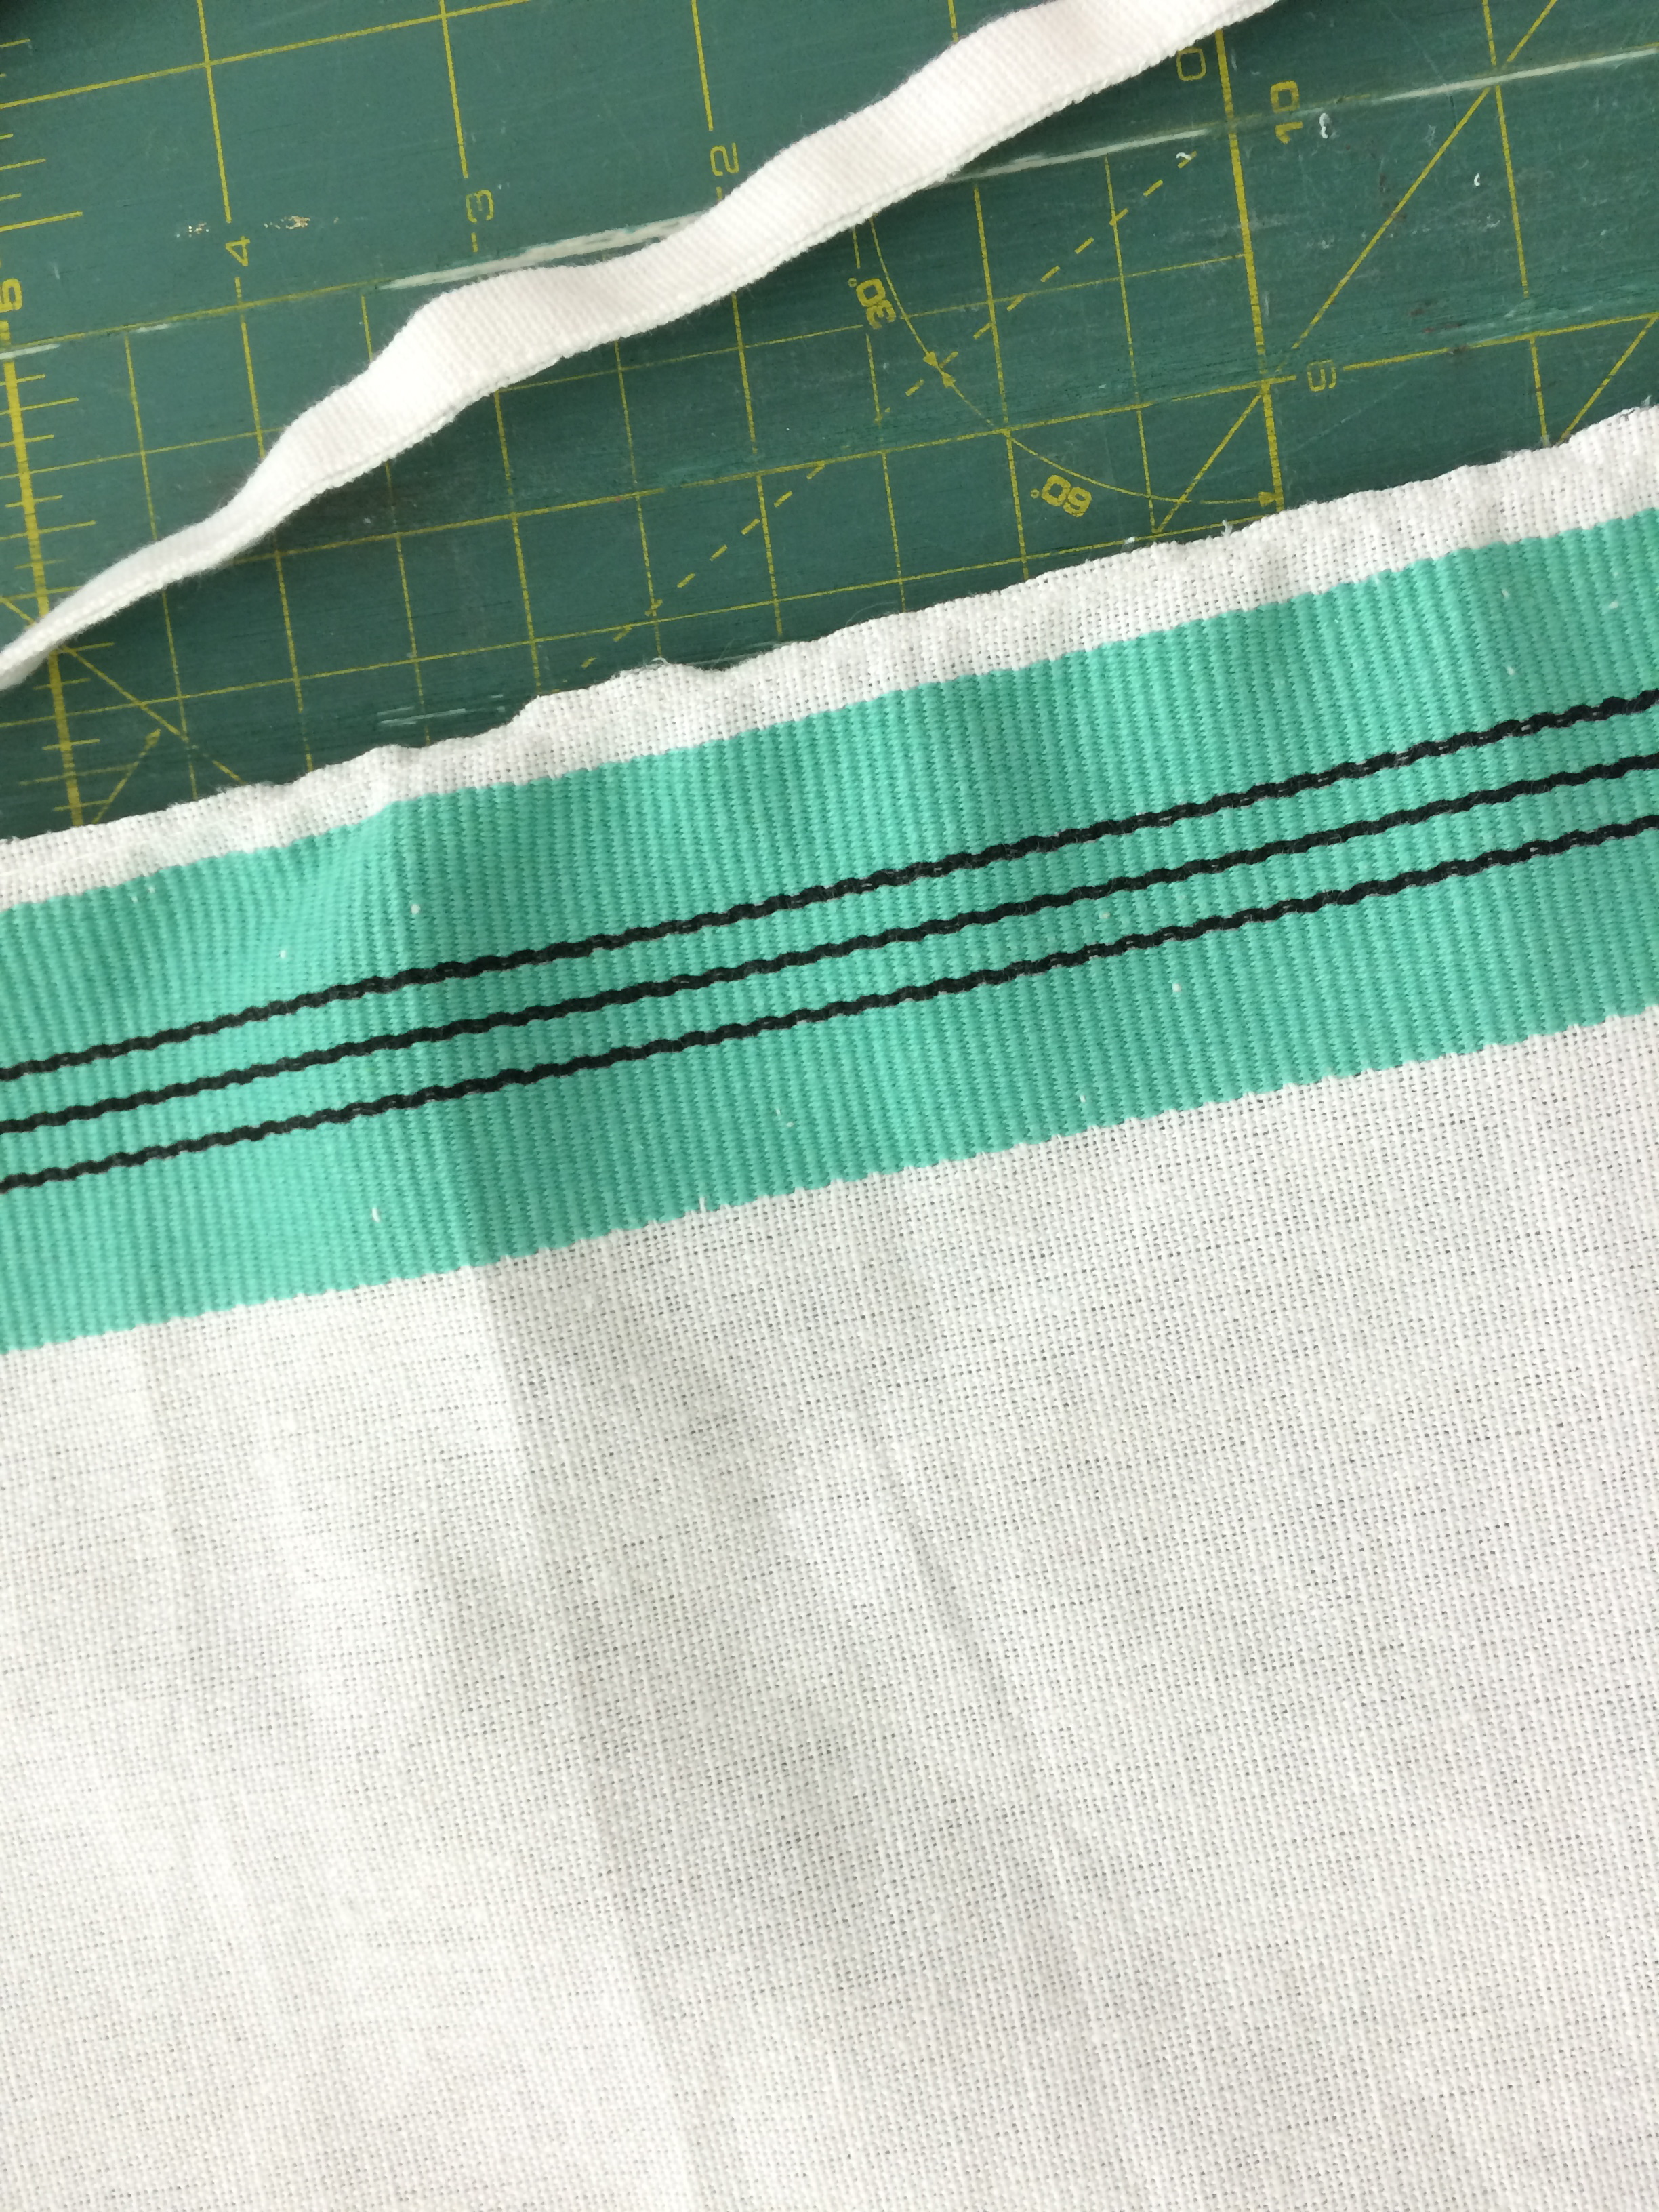
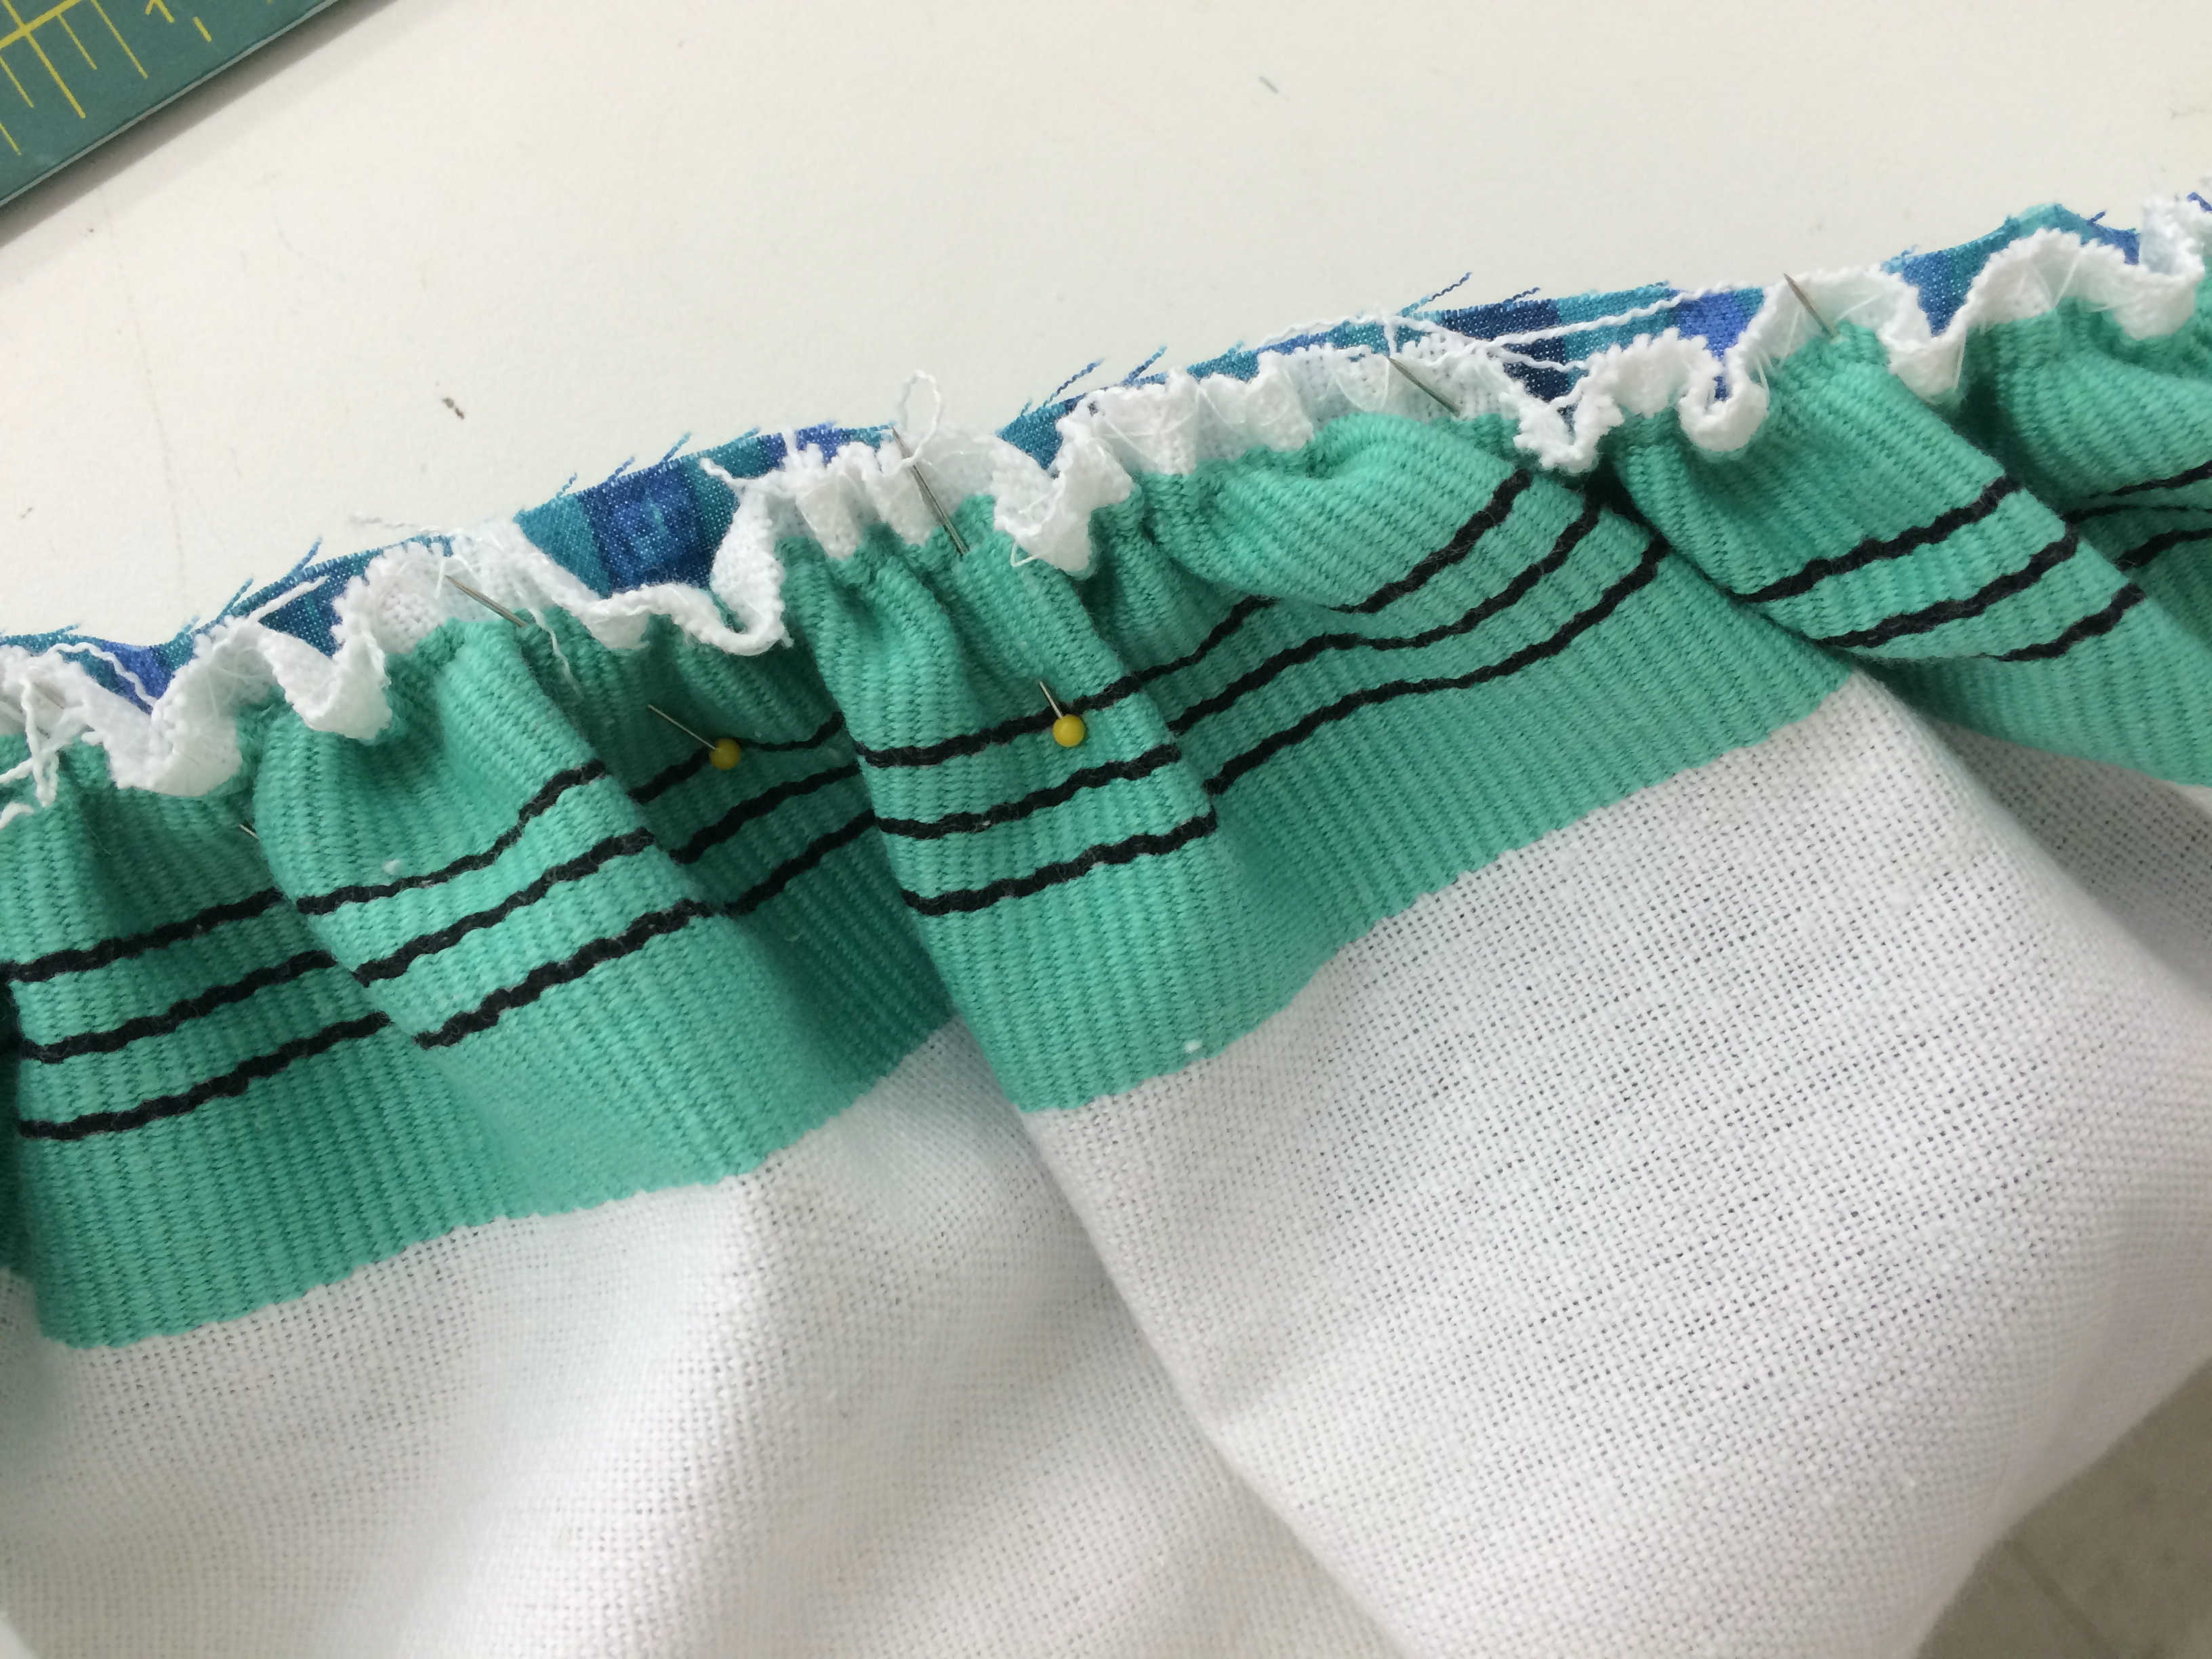
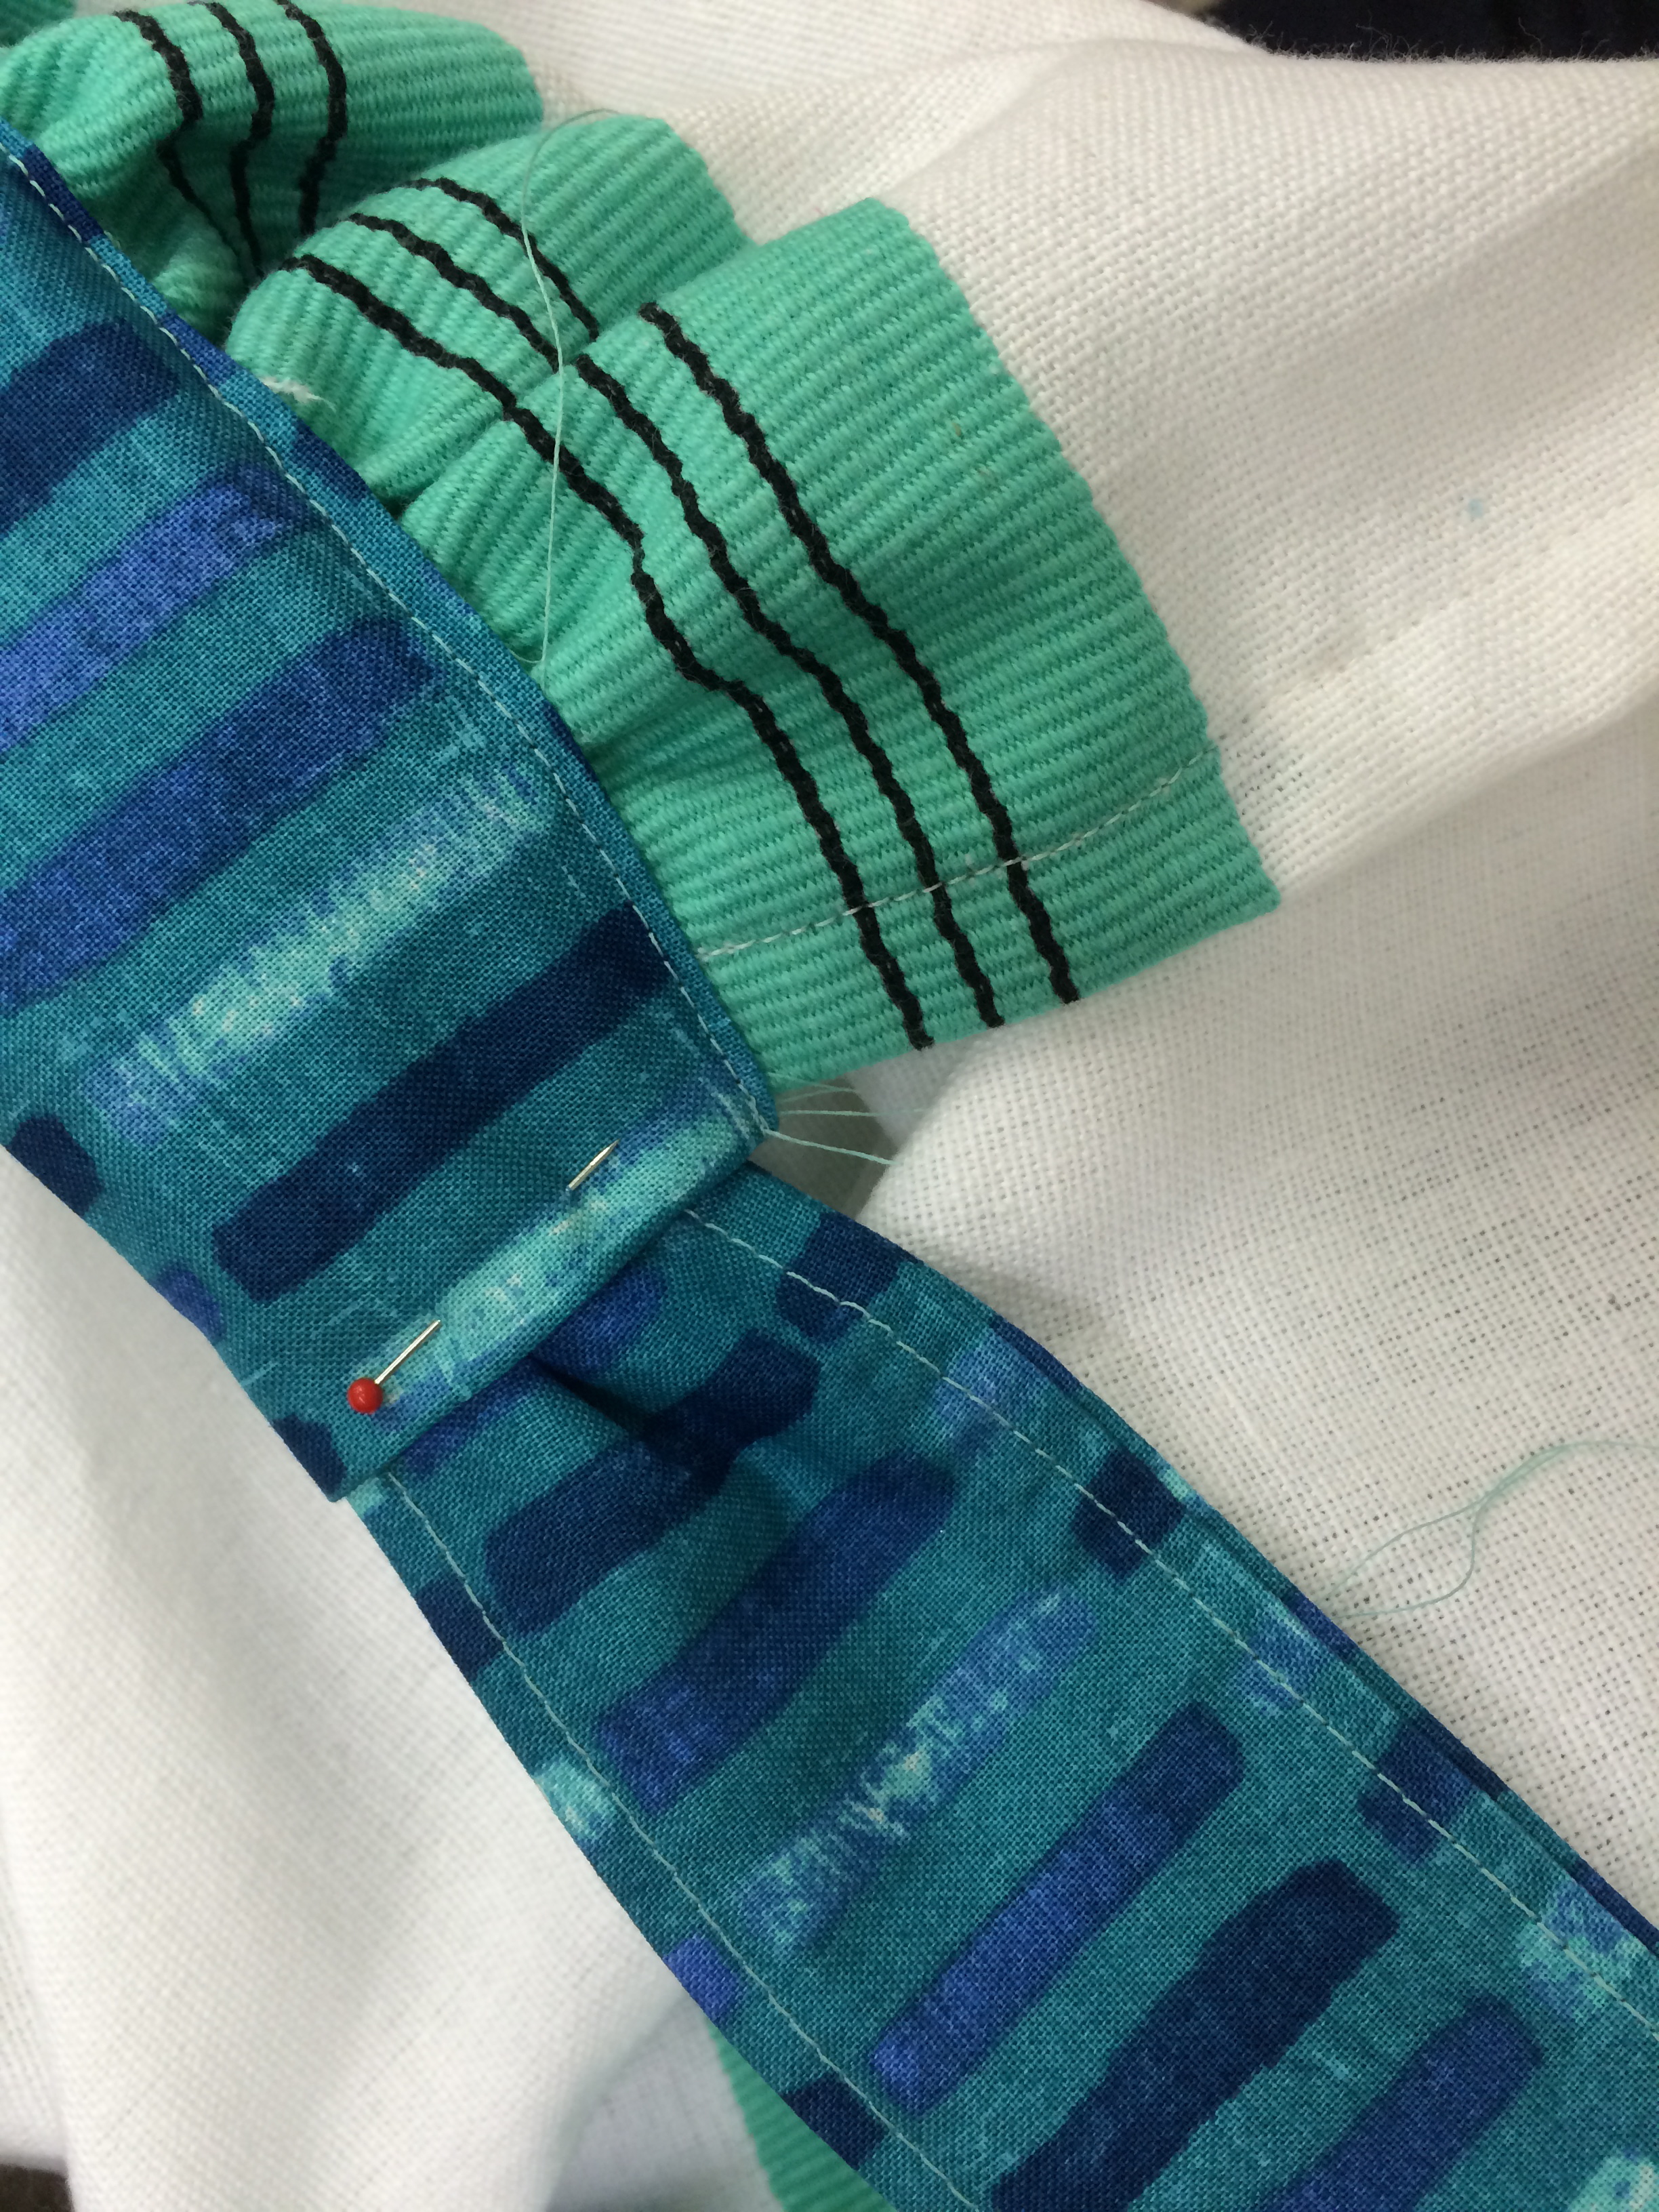
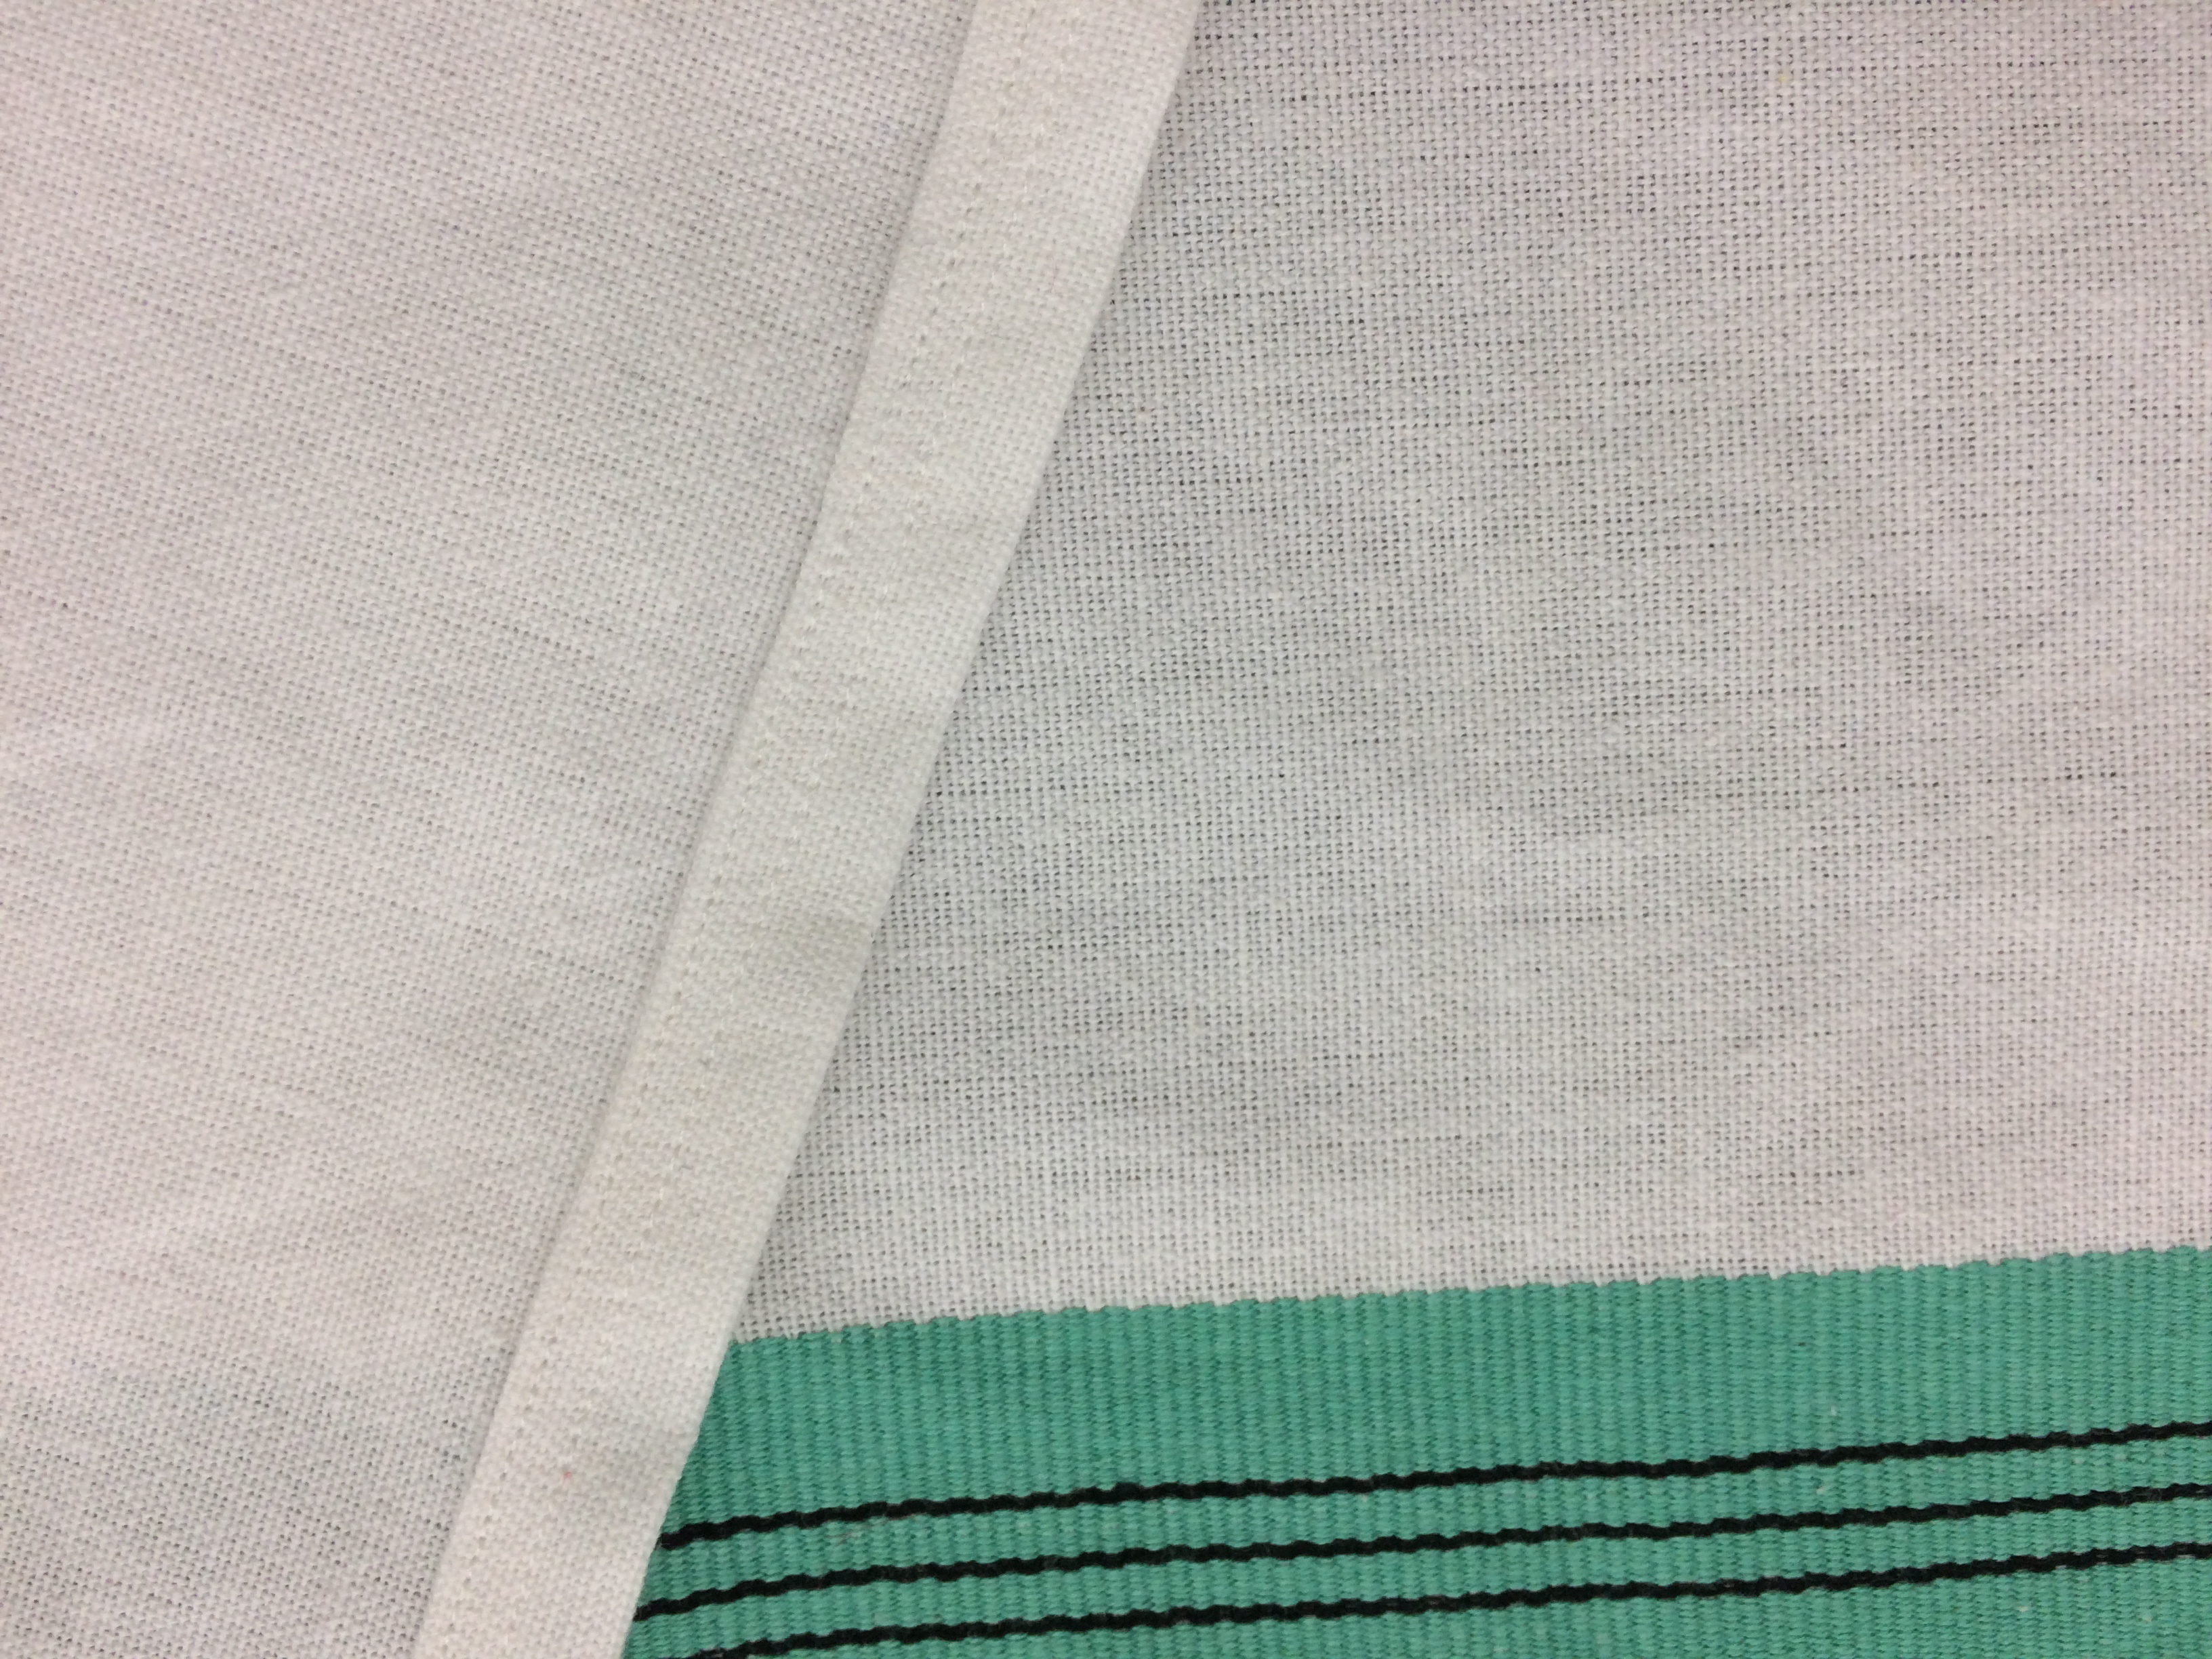
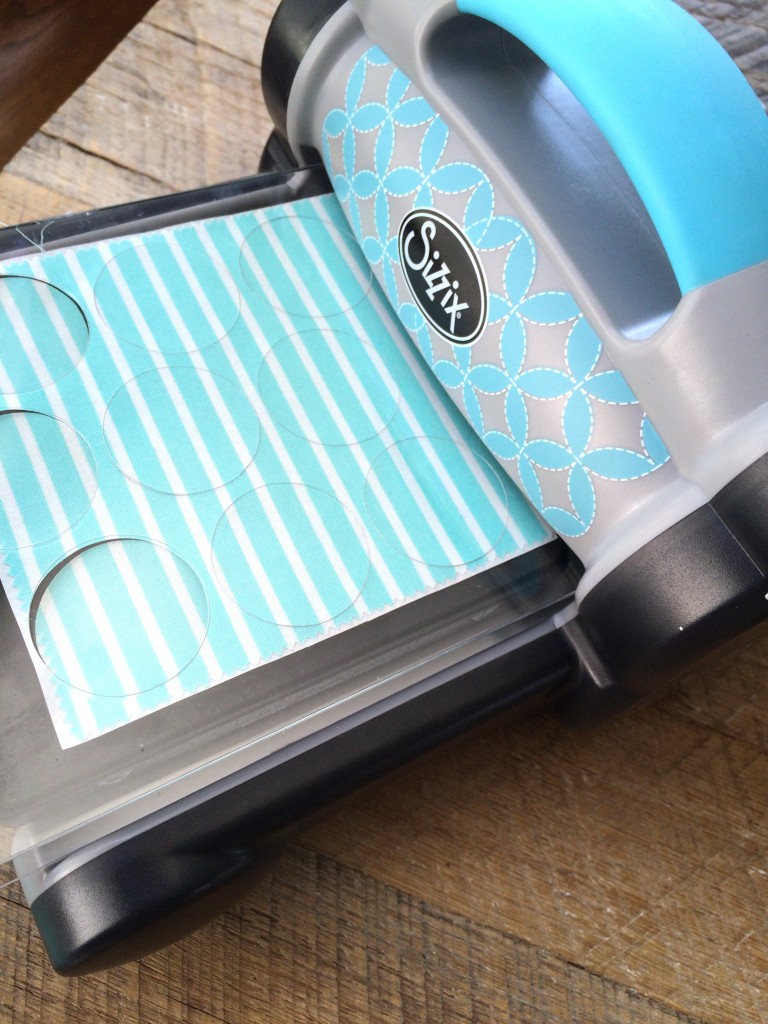


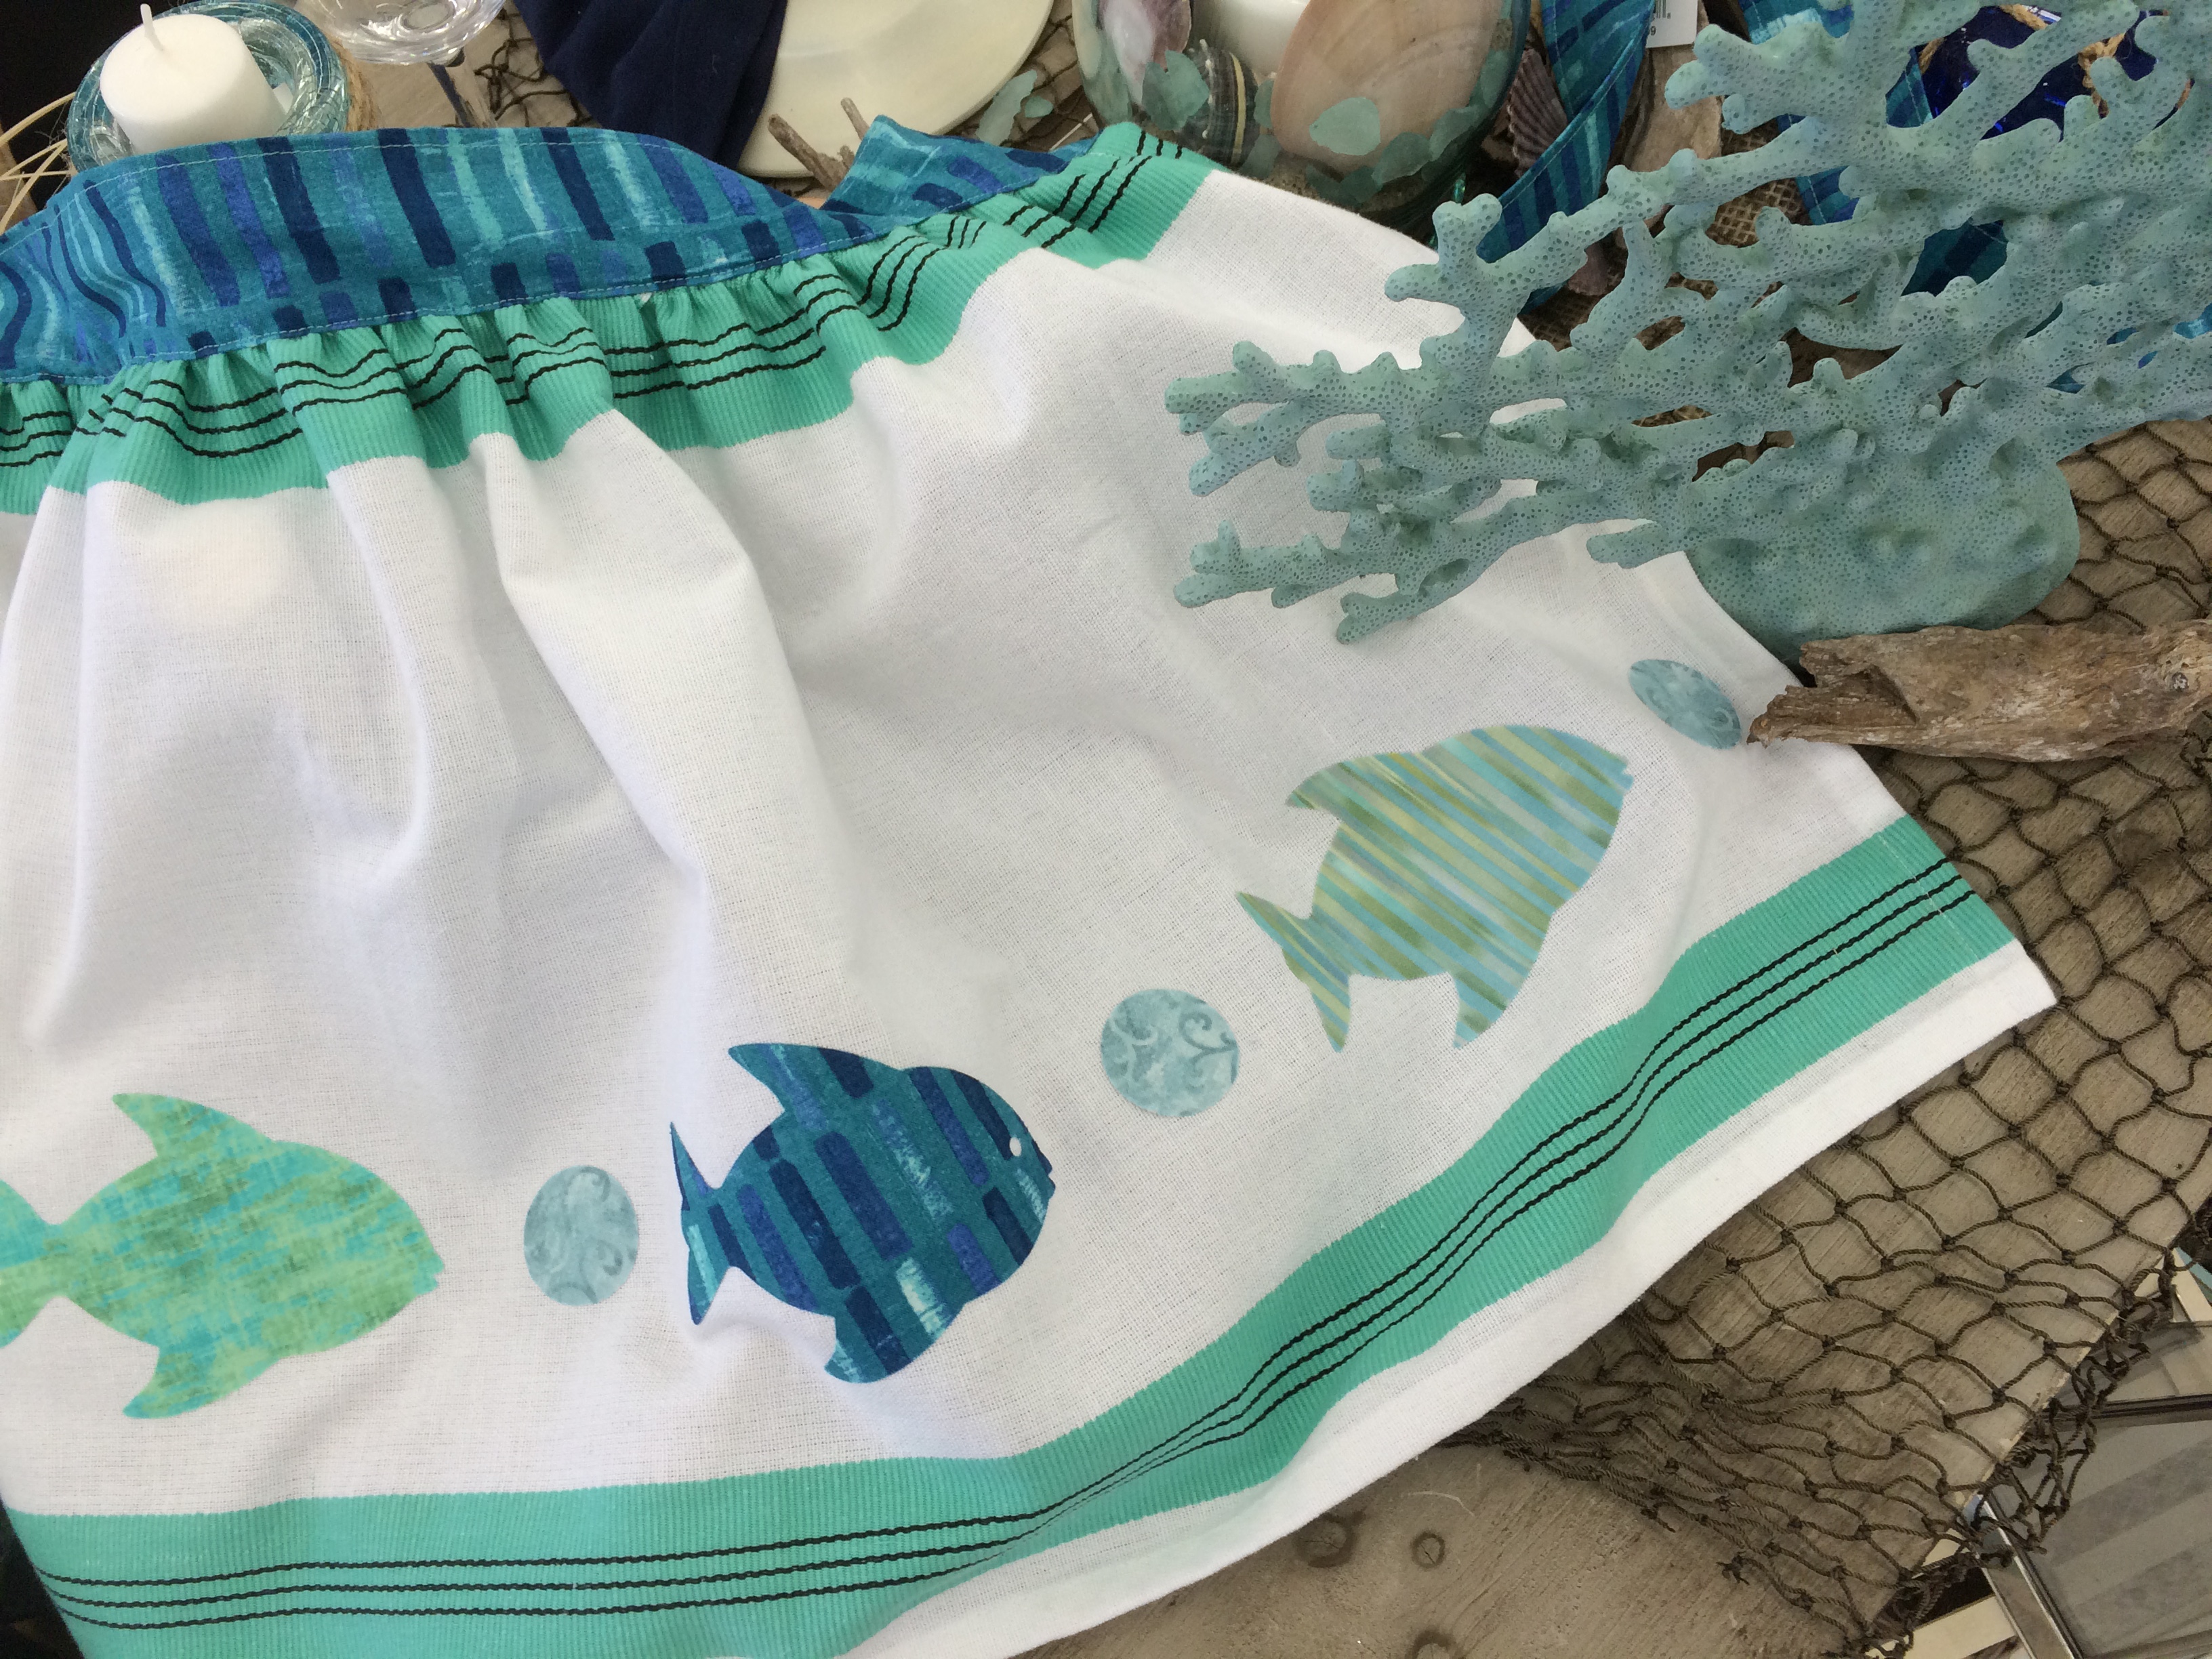
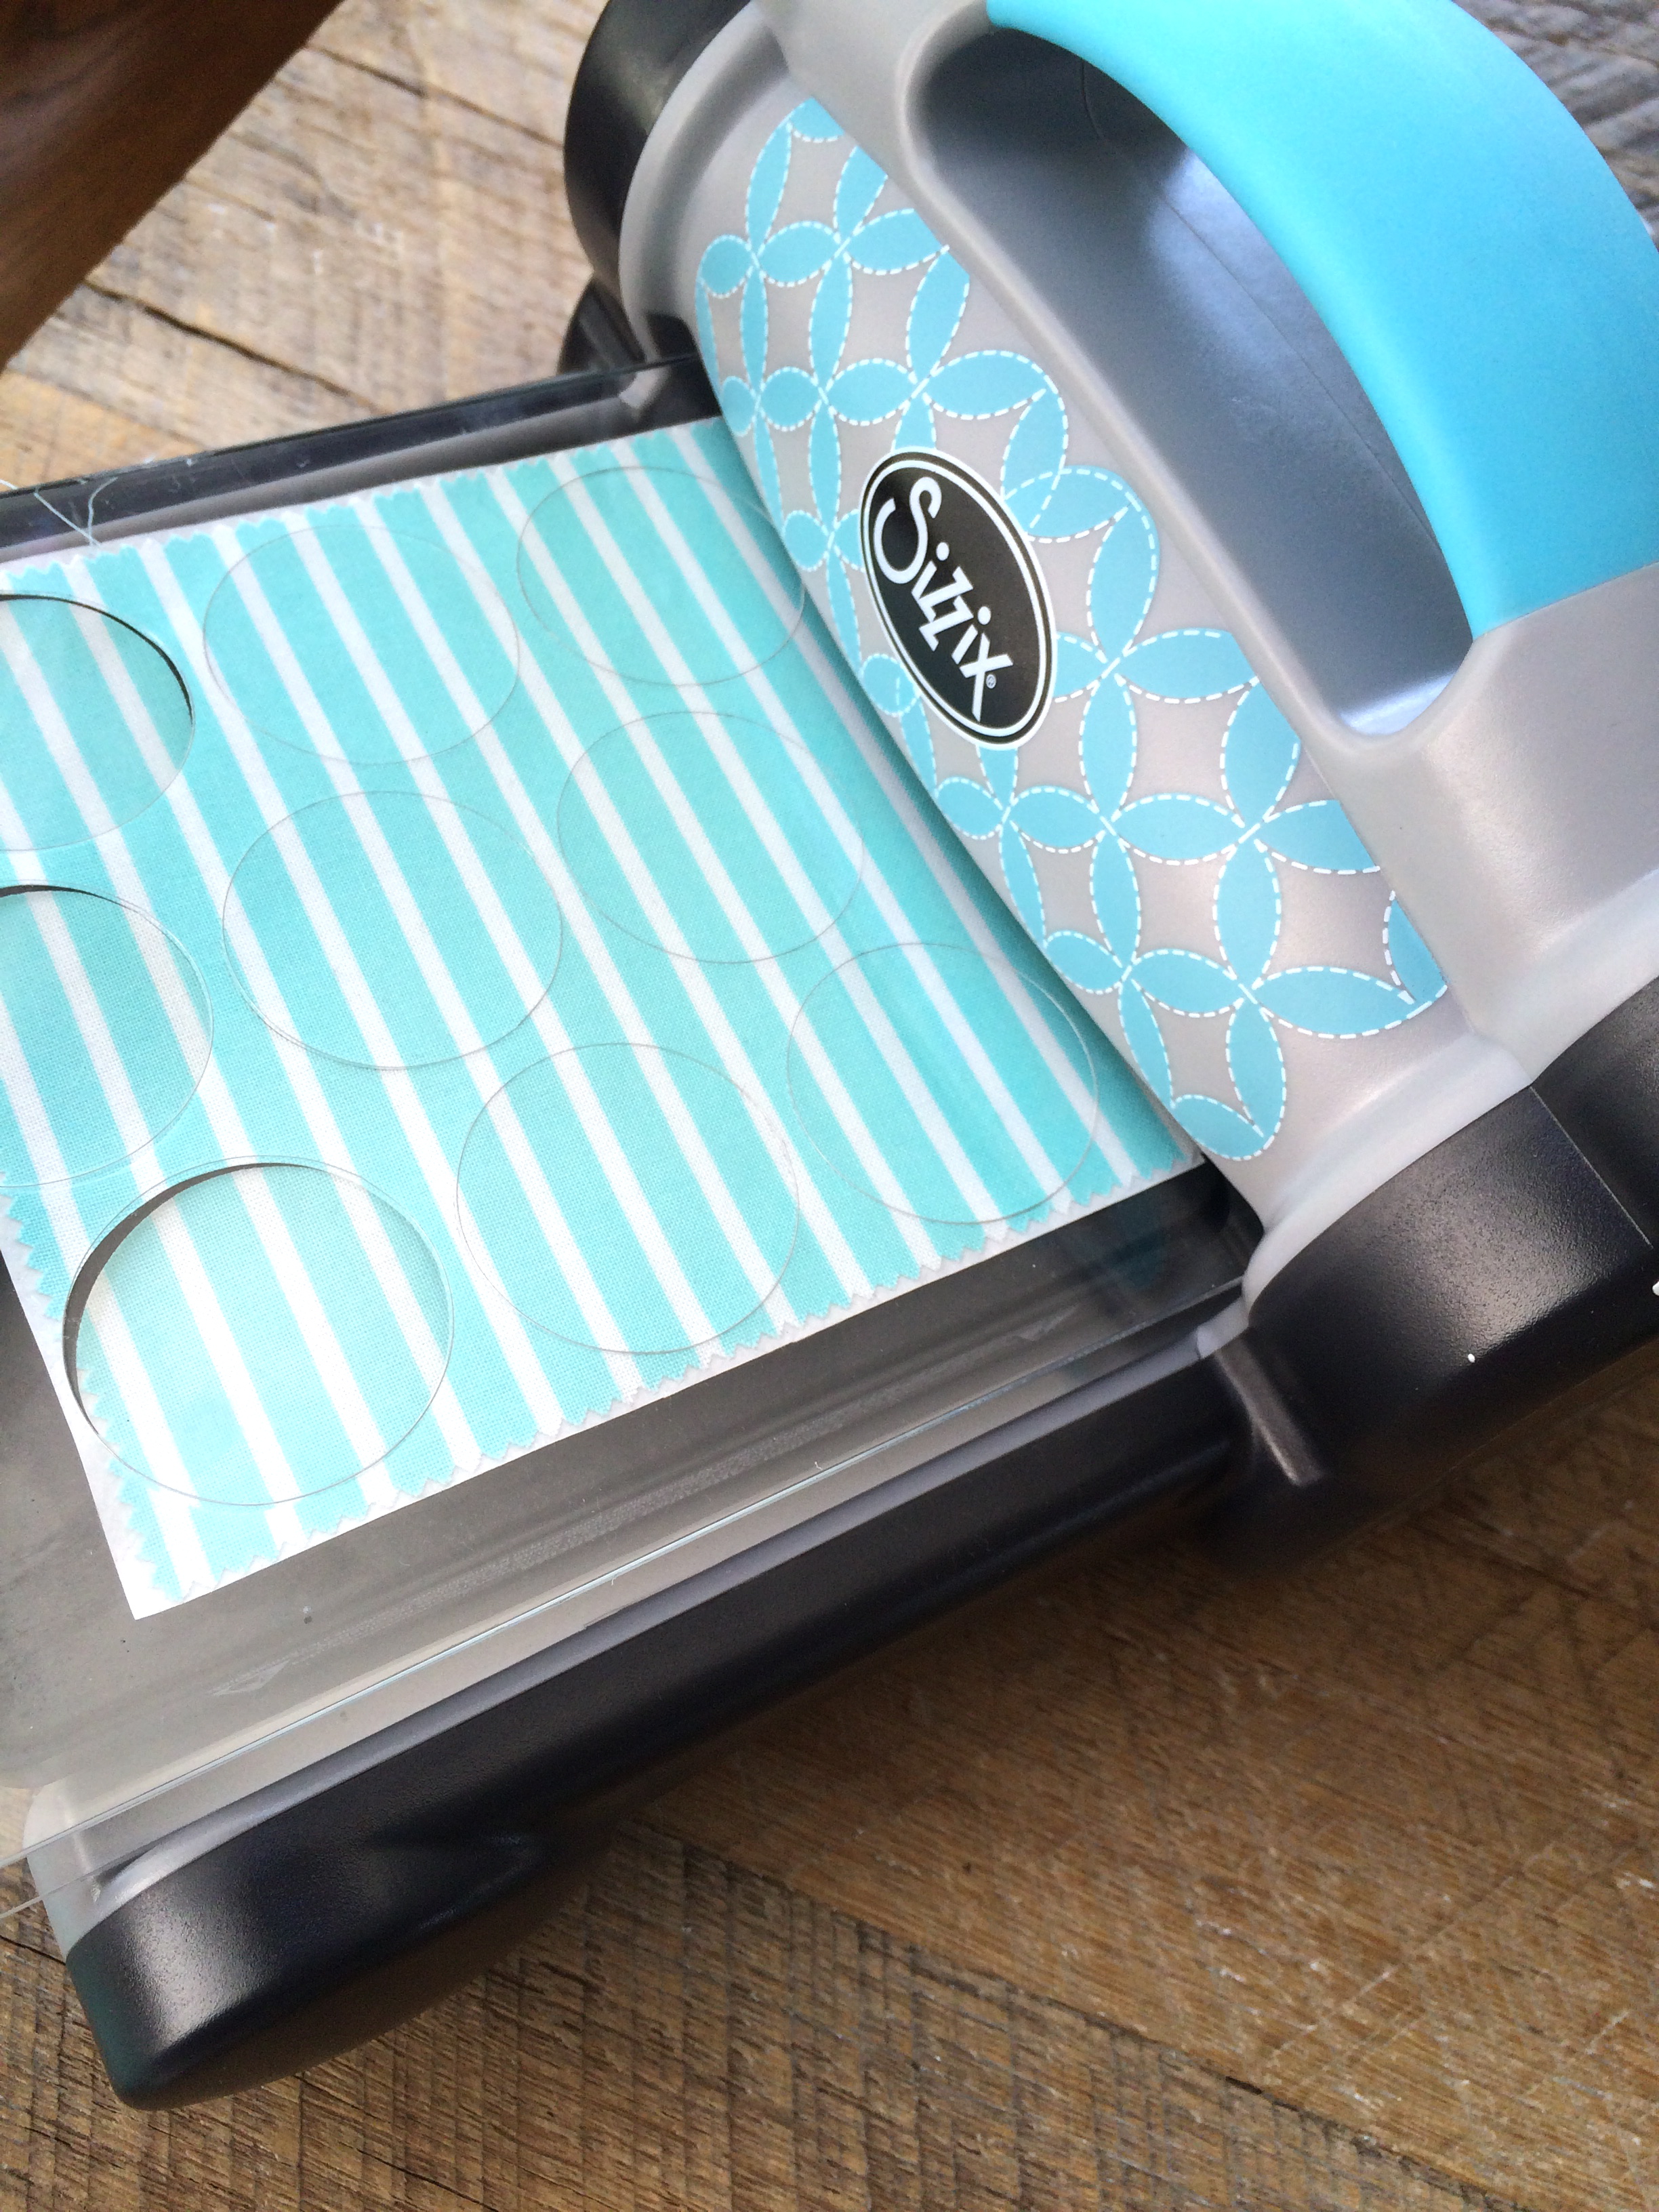
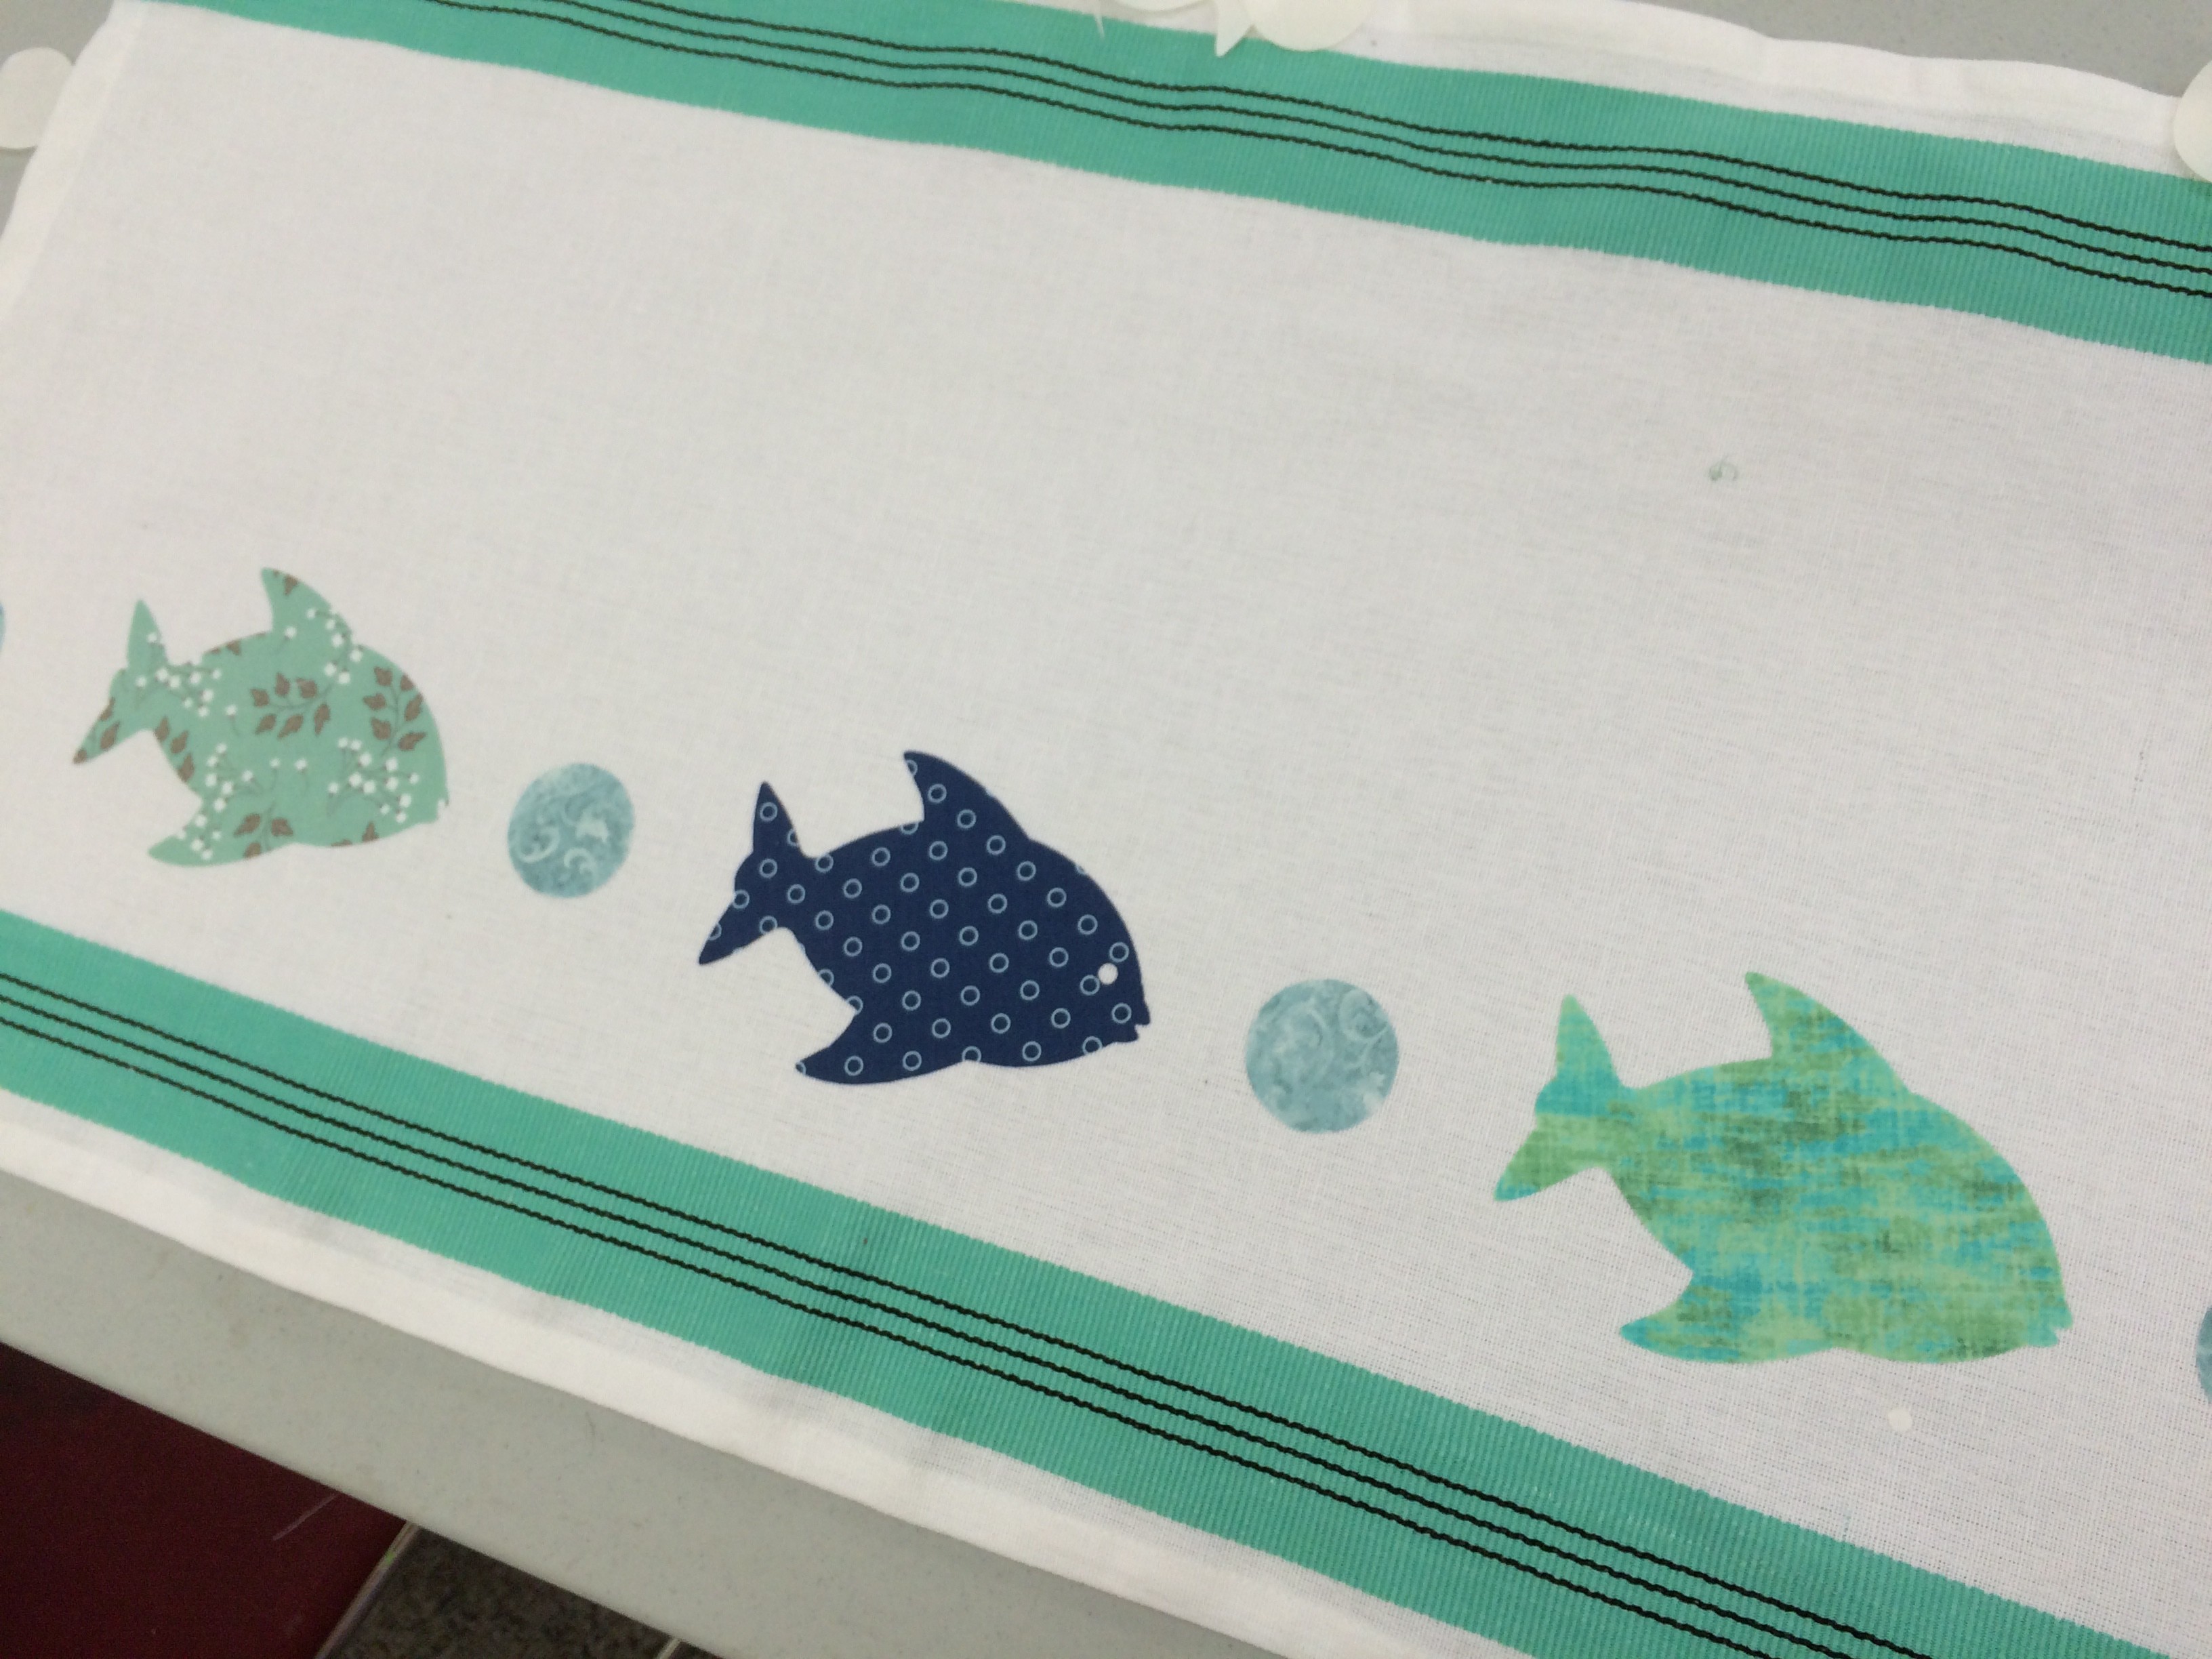
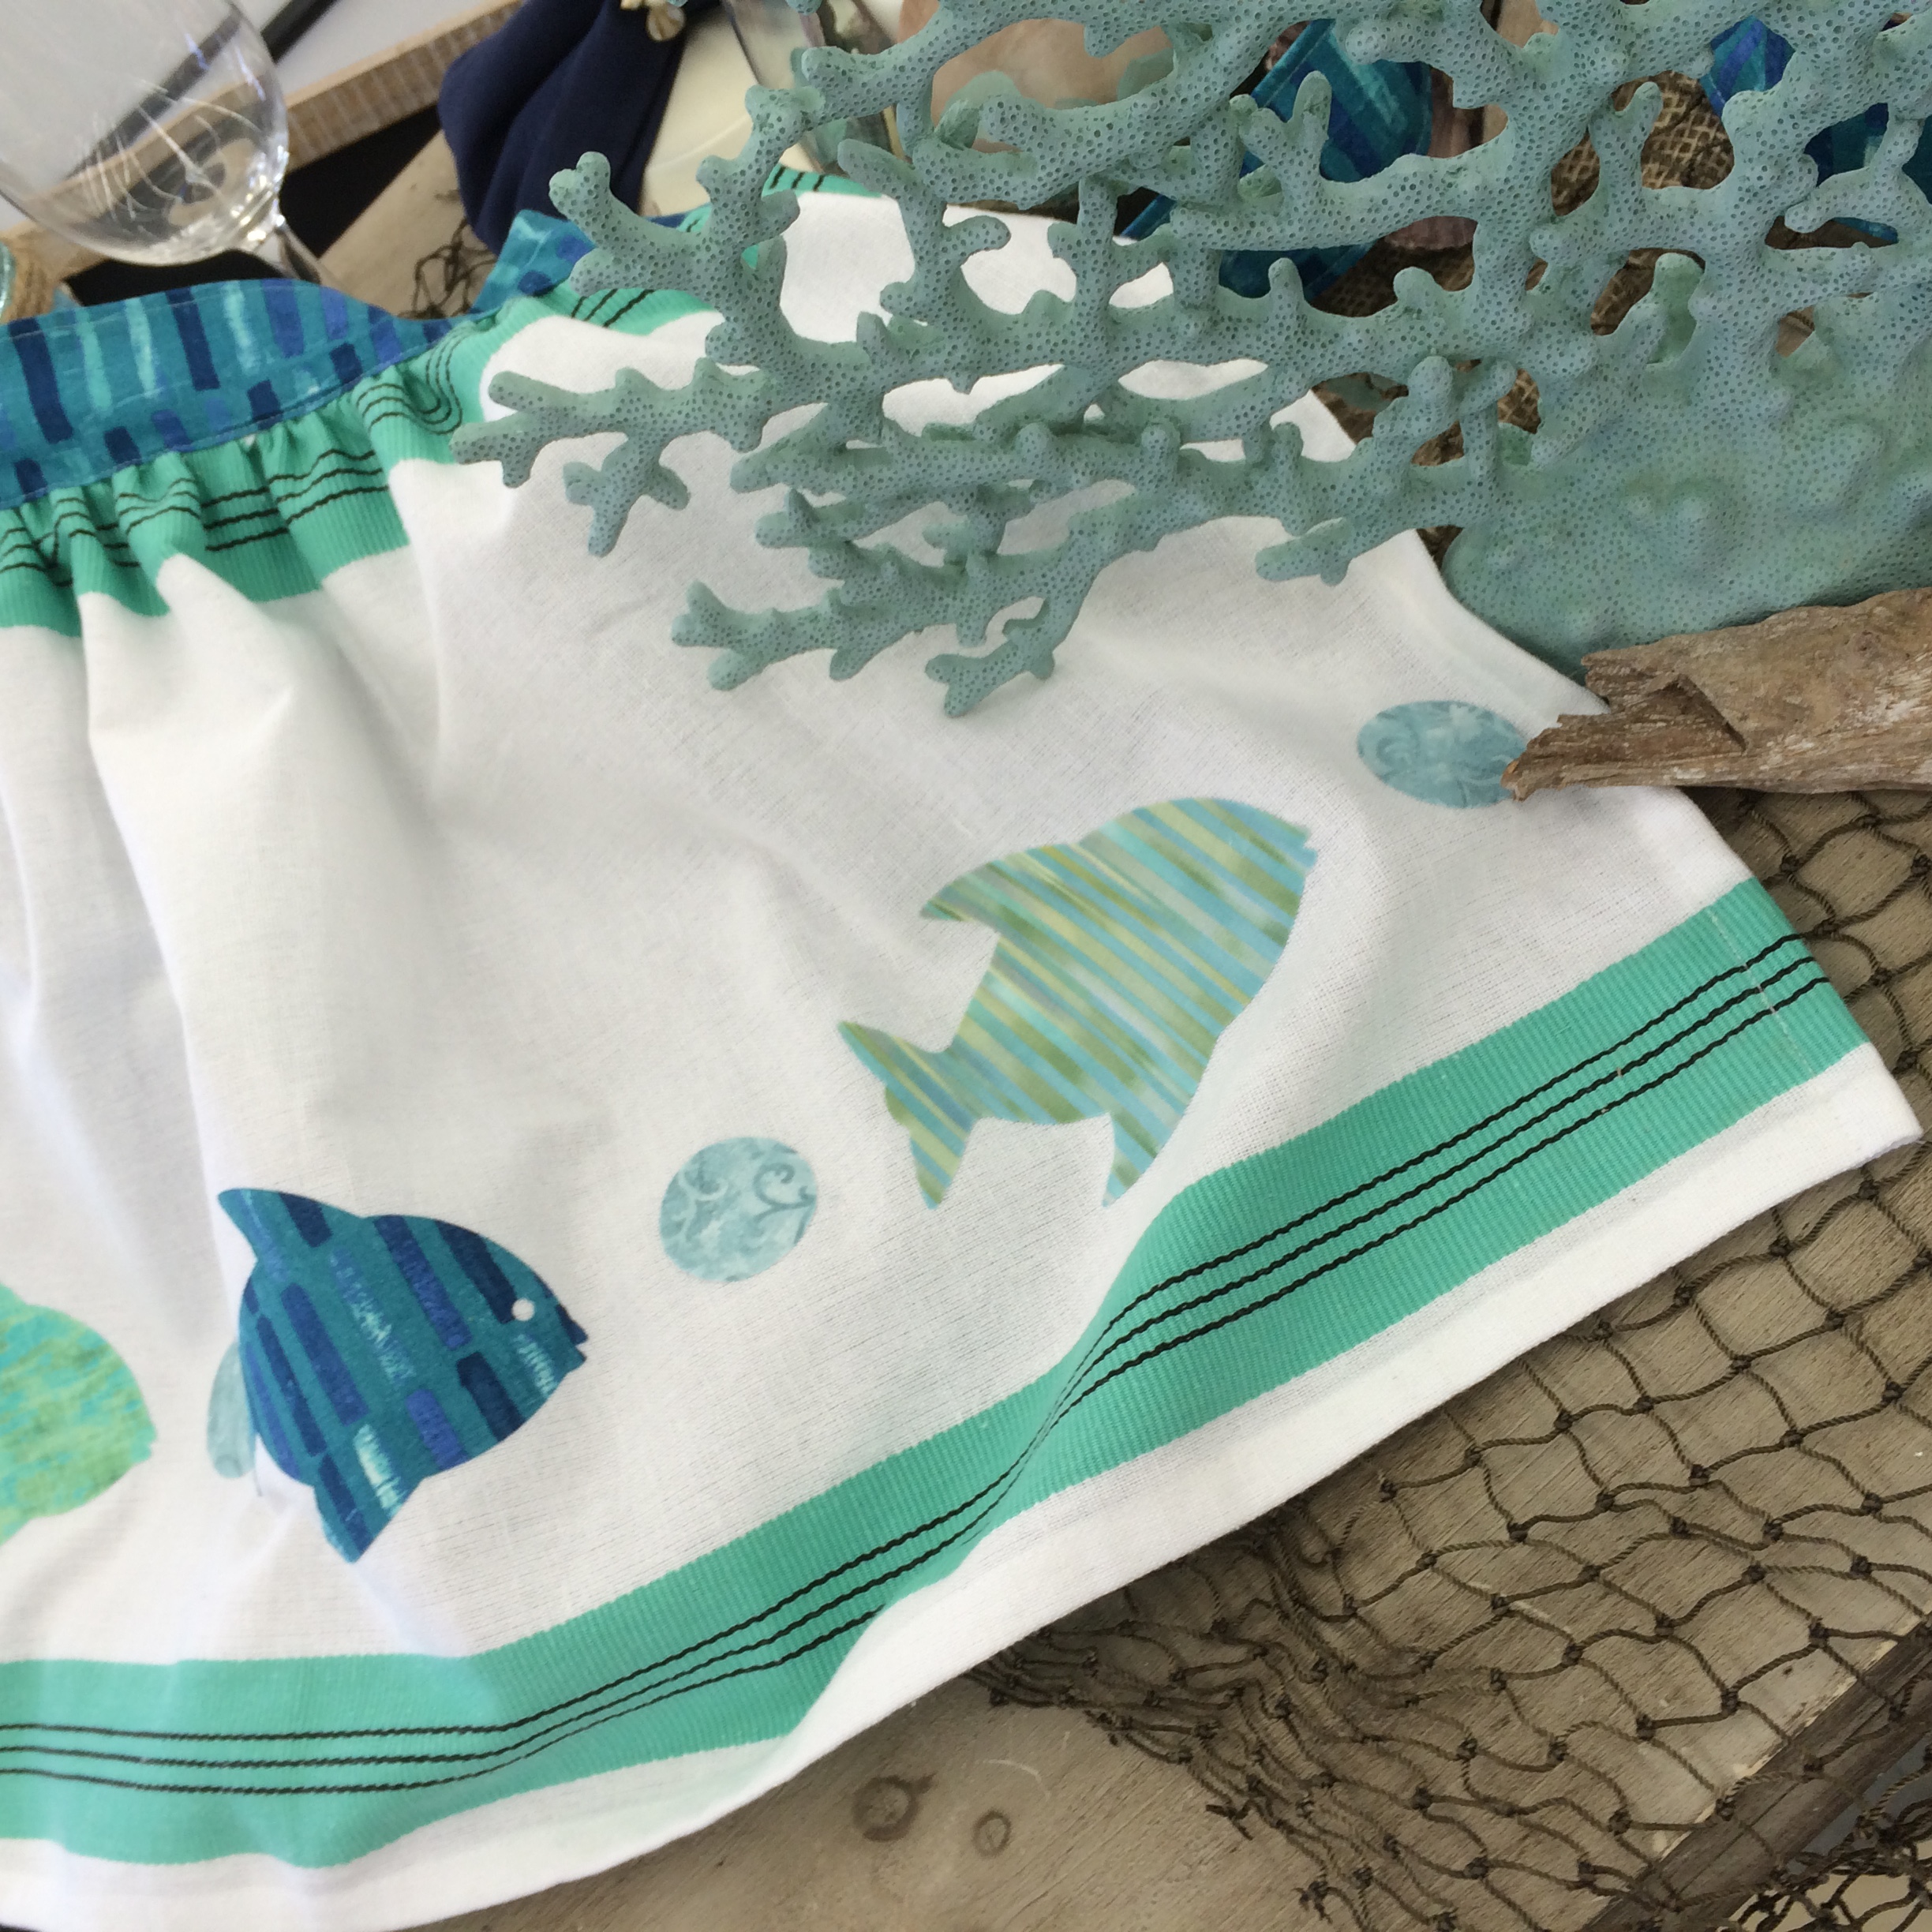
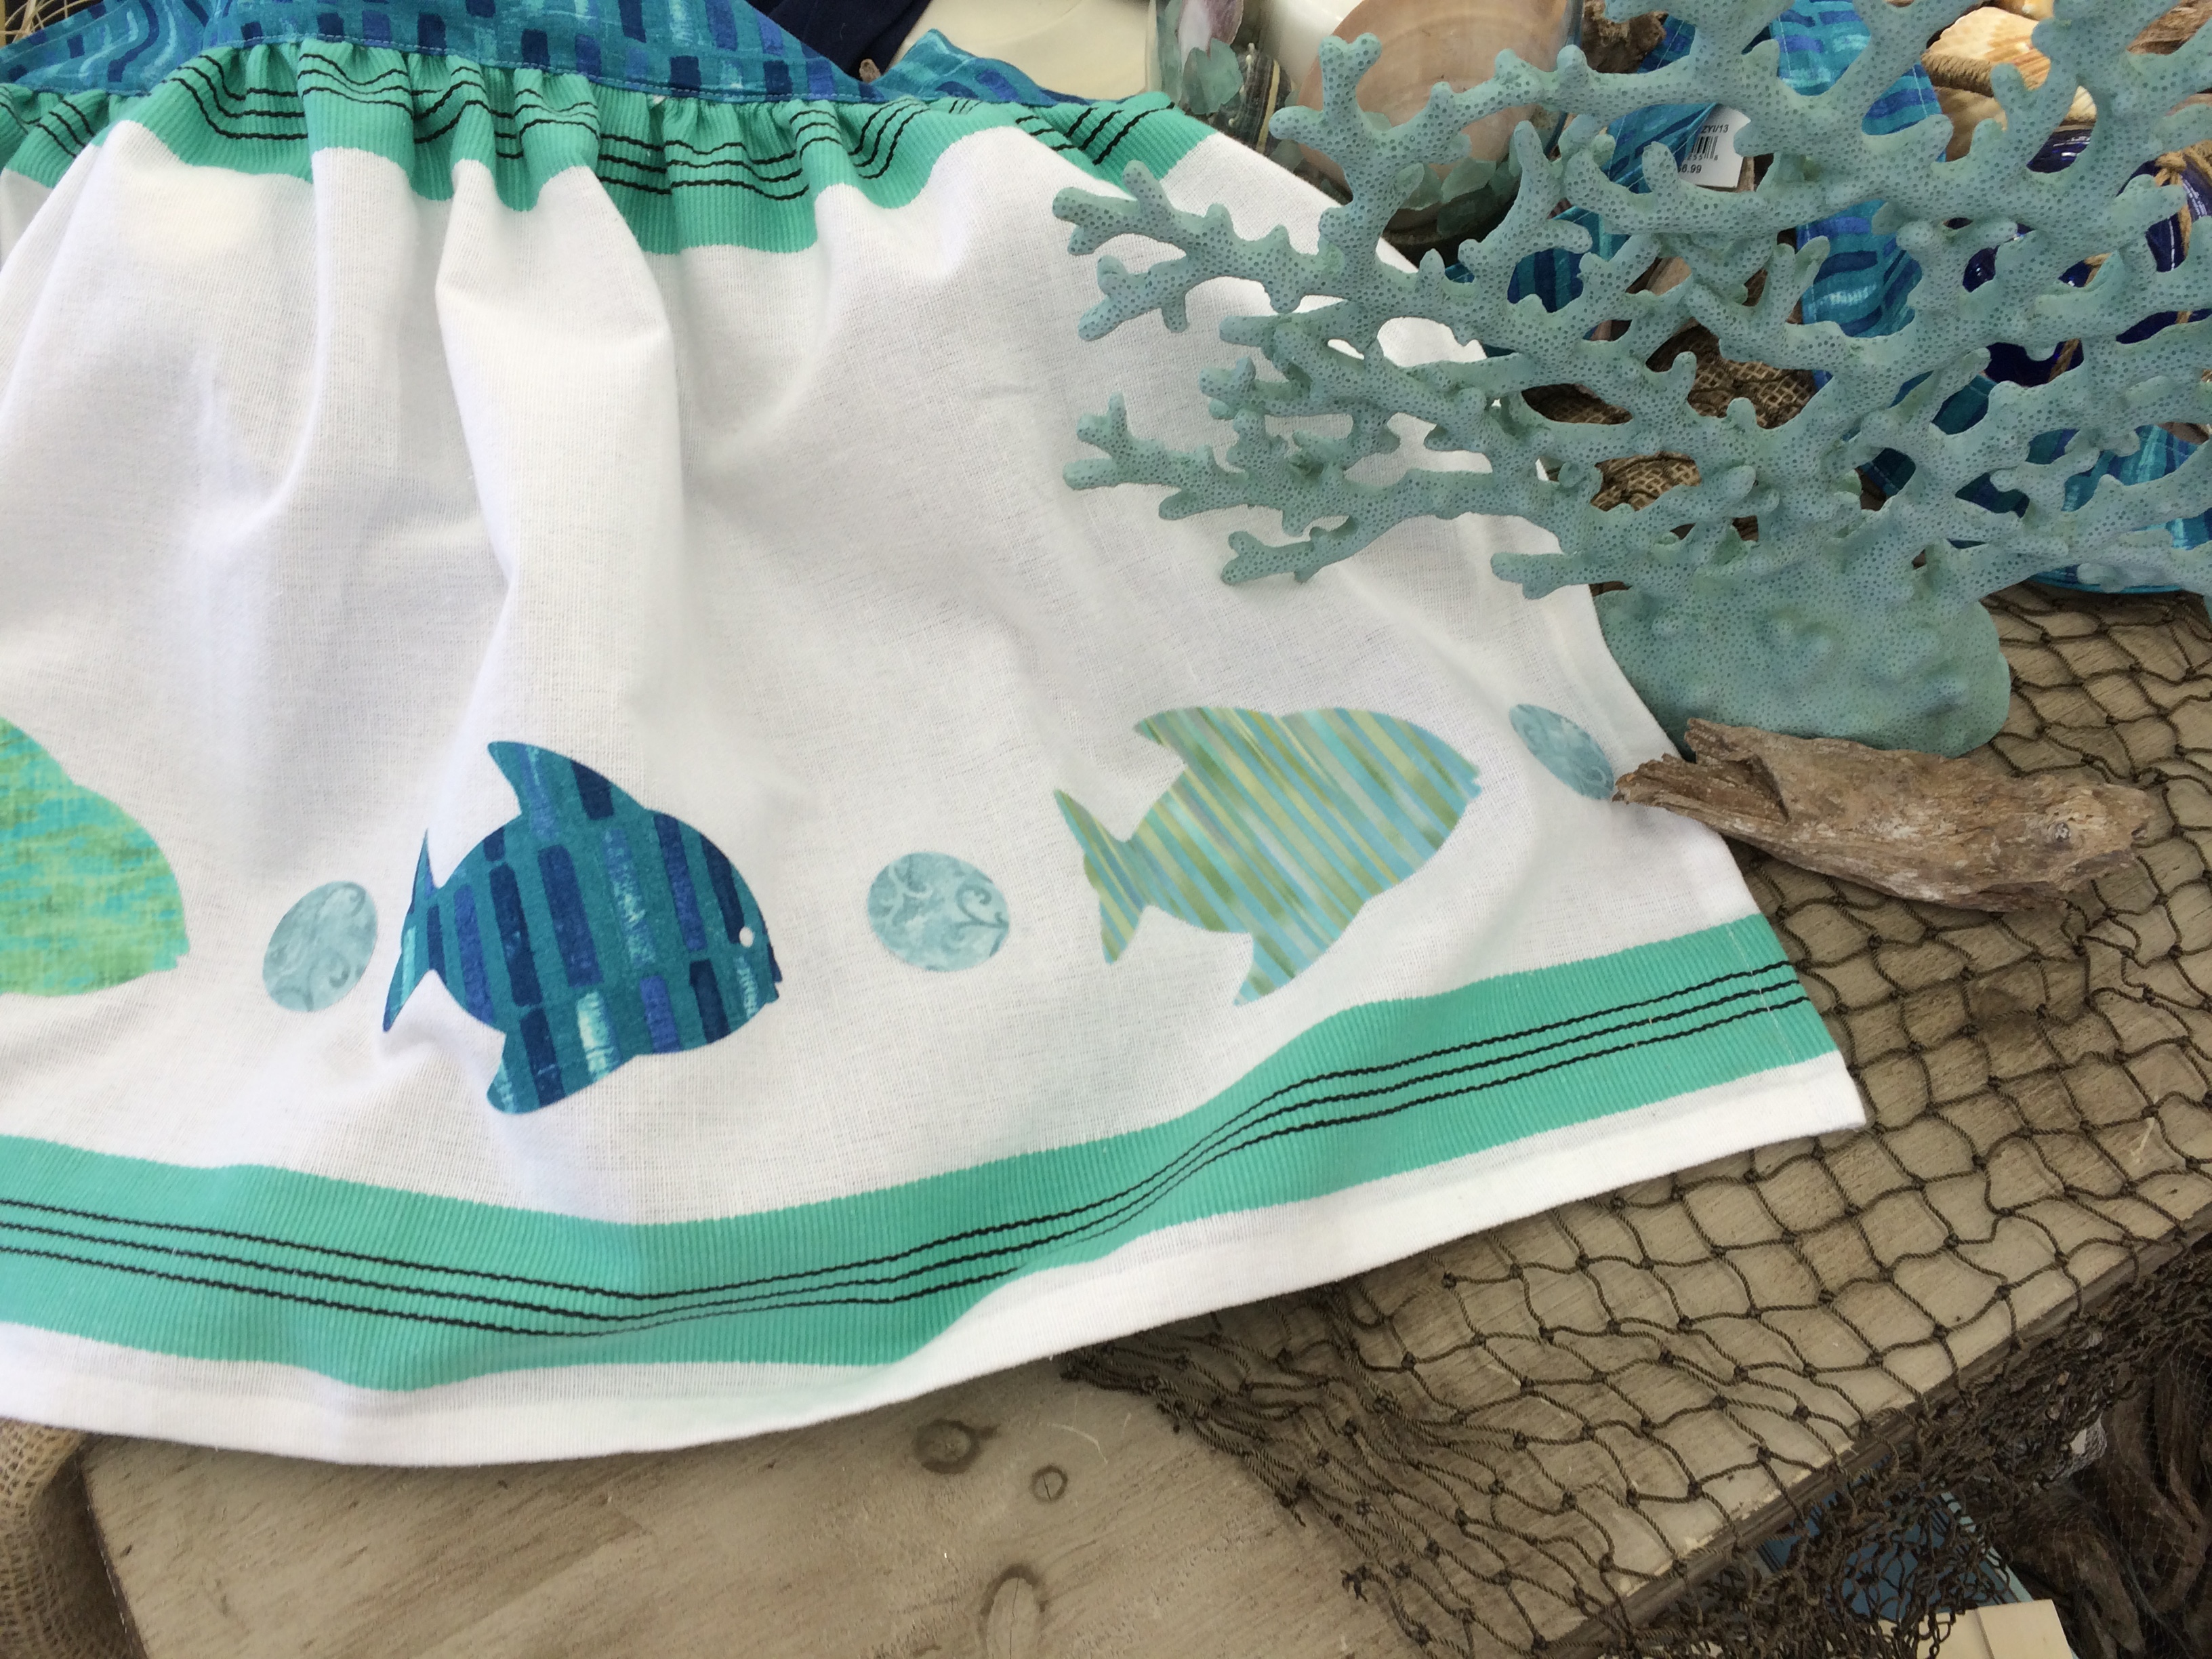
 Cut the fish and circles using the Sizzix Fabi with Ultra Hold. Then Iron the fish and bubbles in place! This project is great because it adds a nice pop of color and doesn’t take much time at all!!
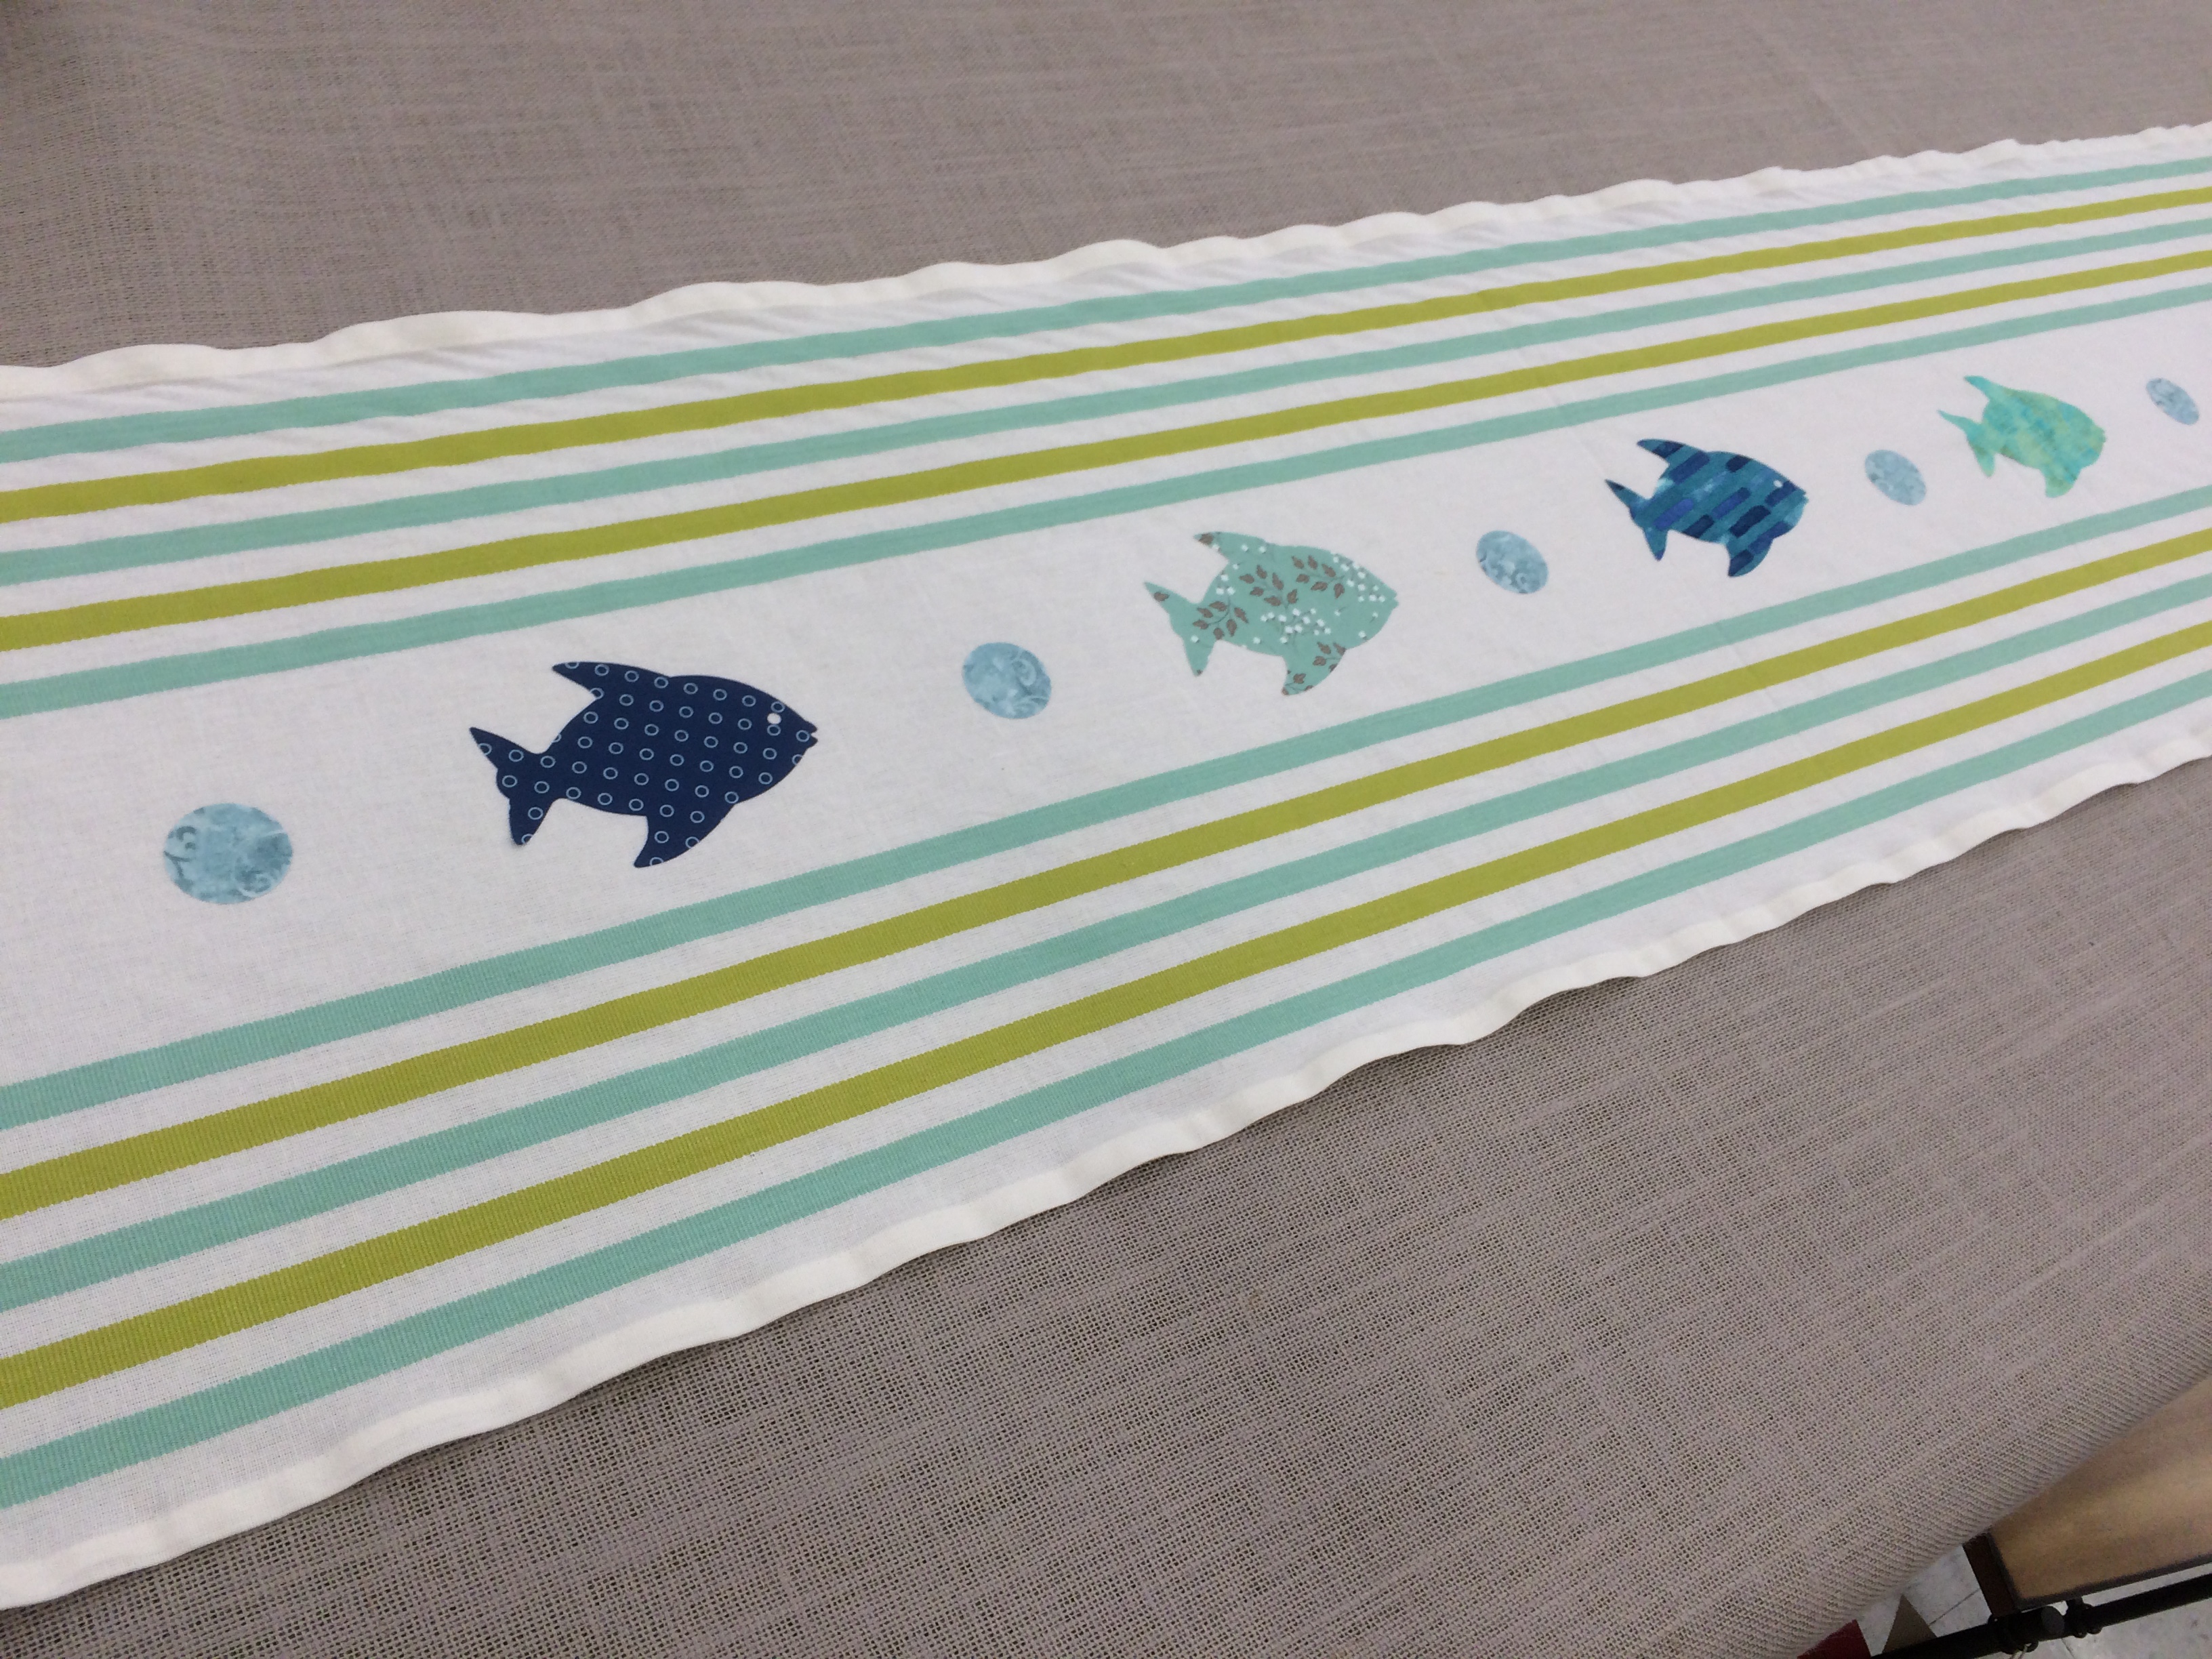


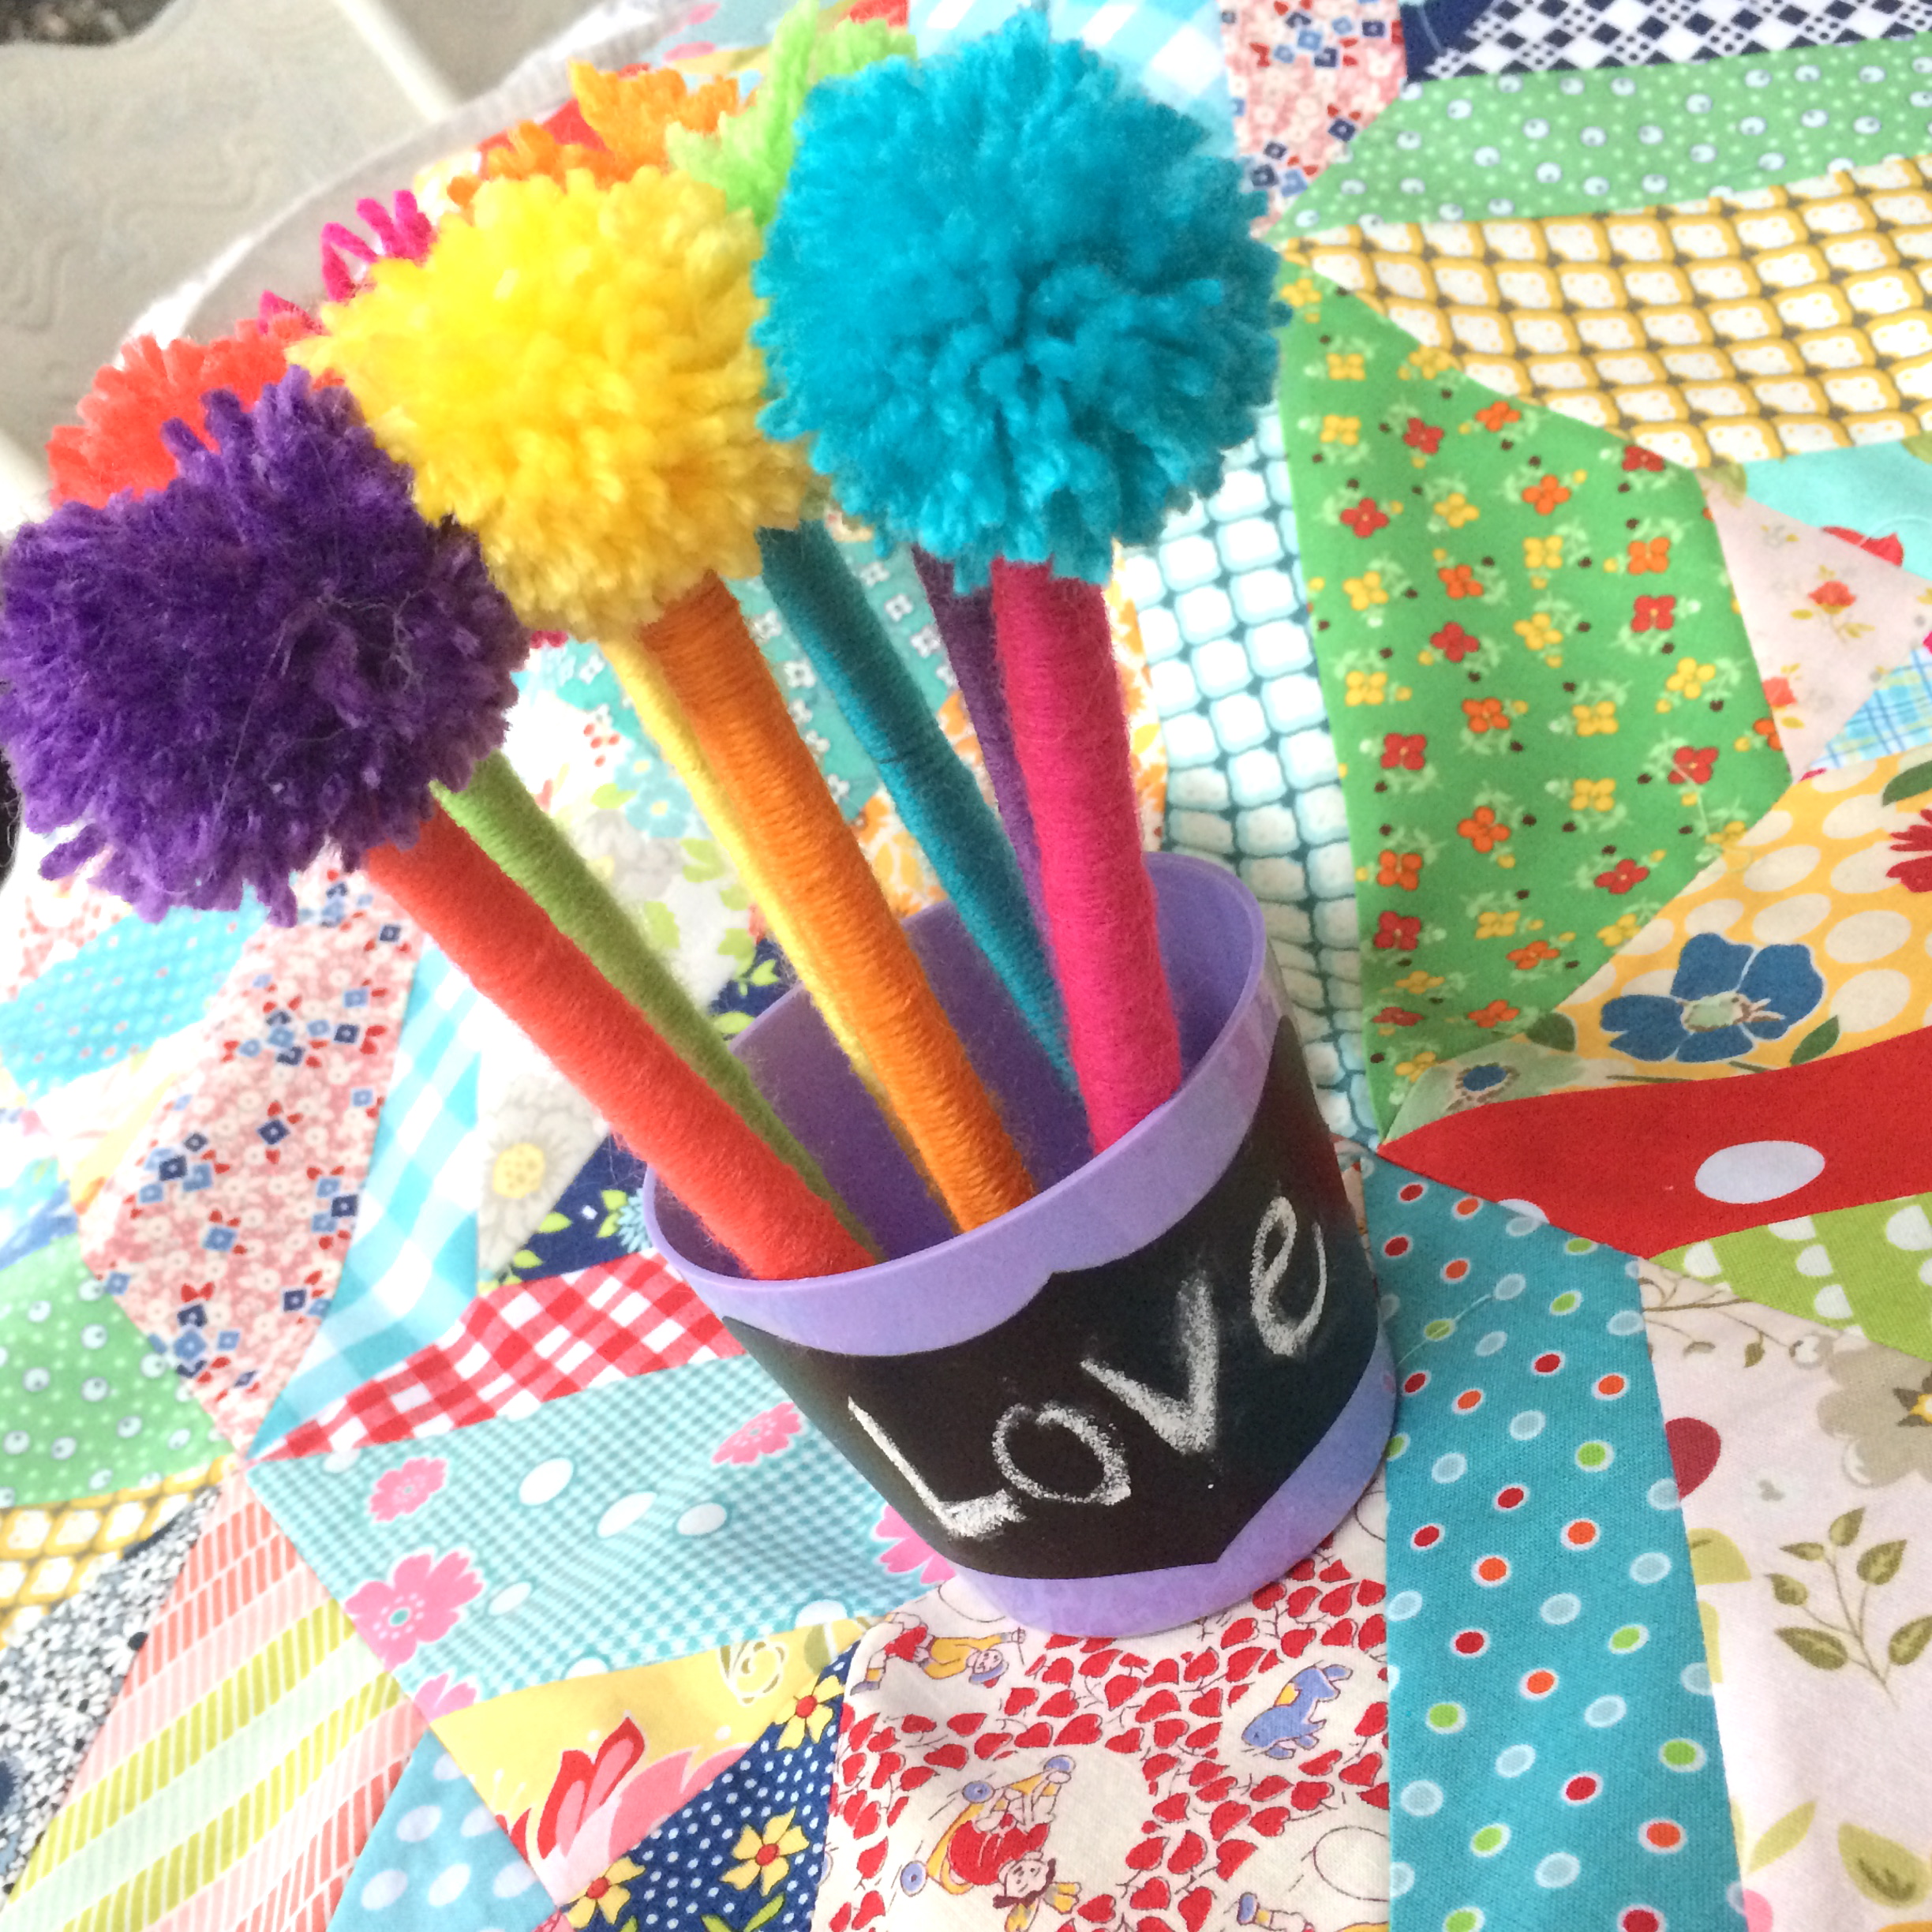
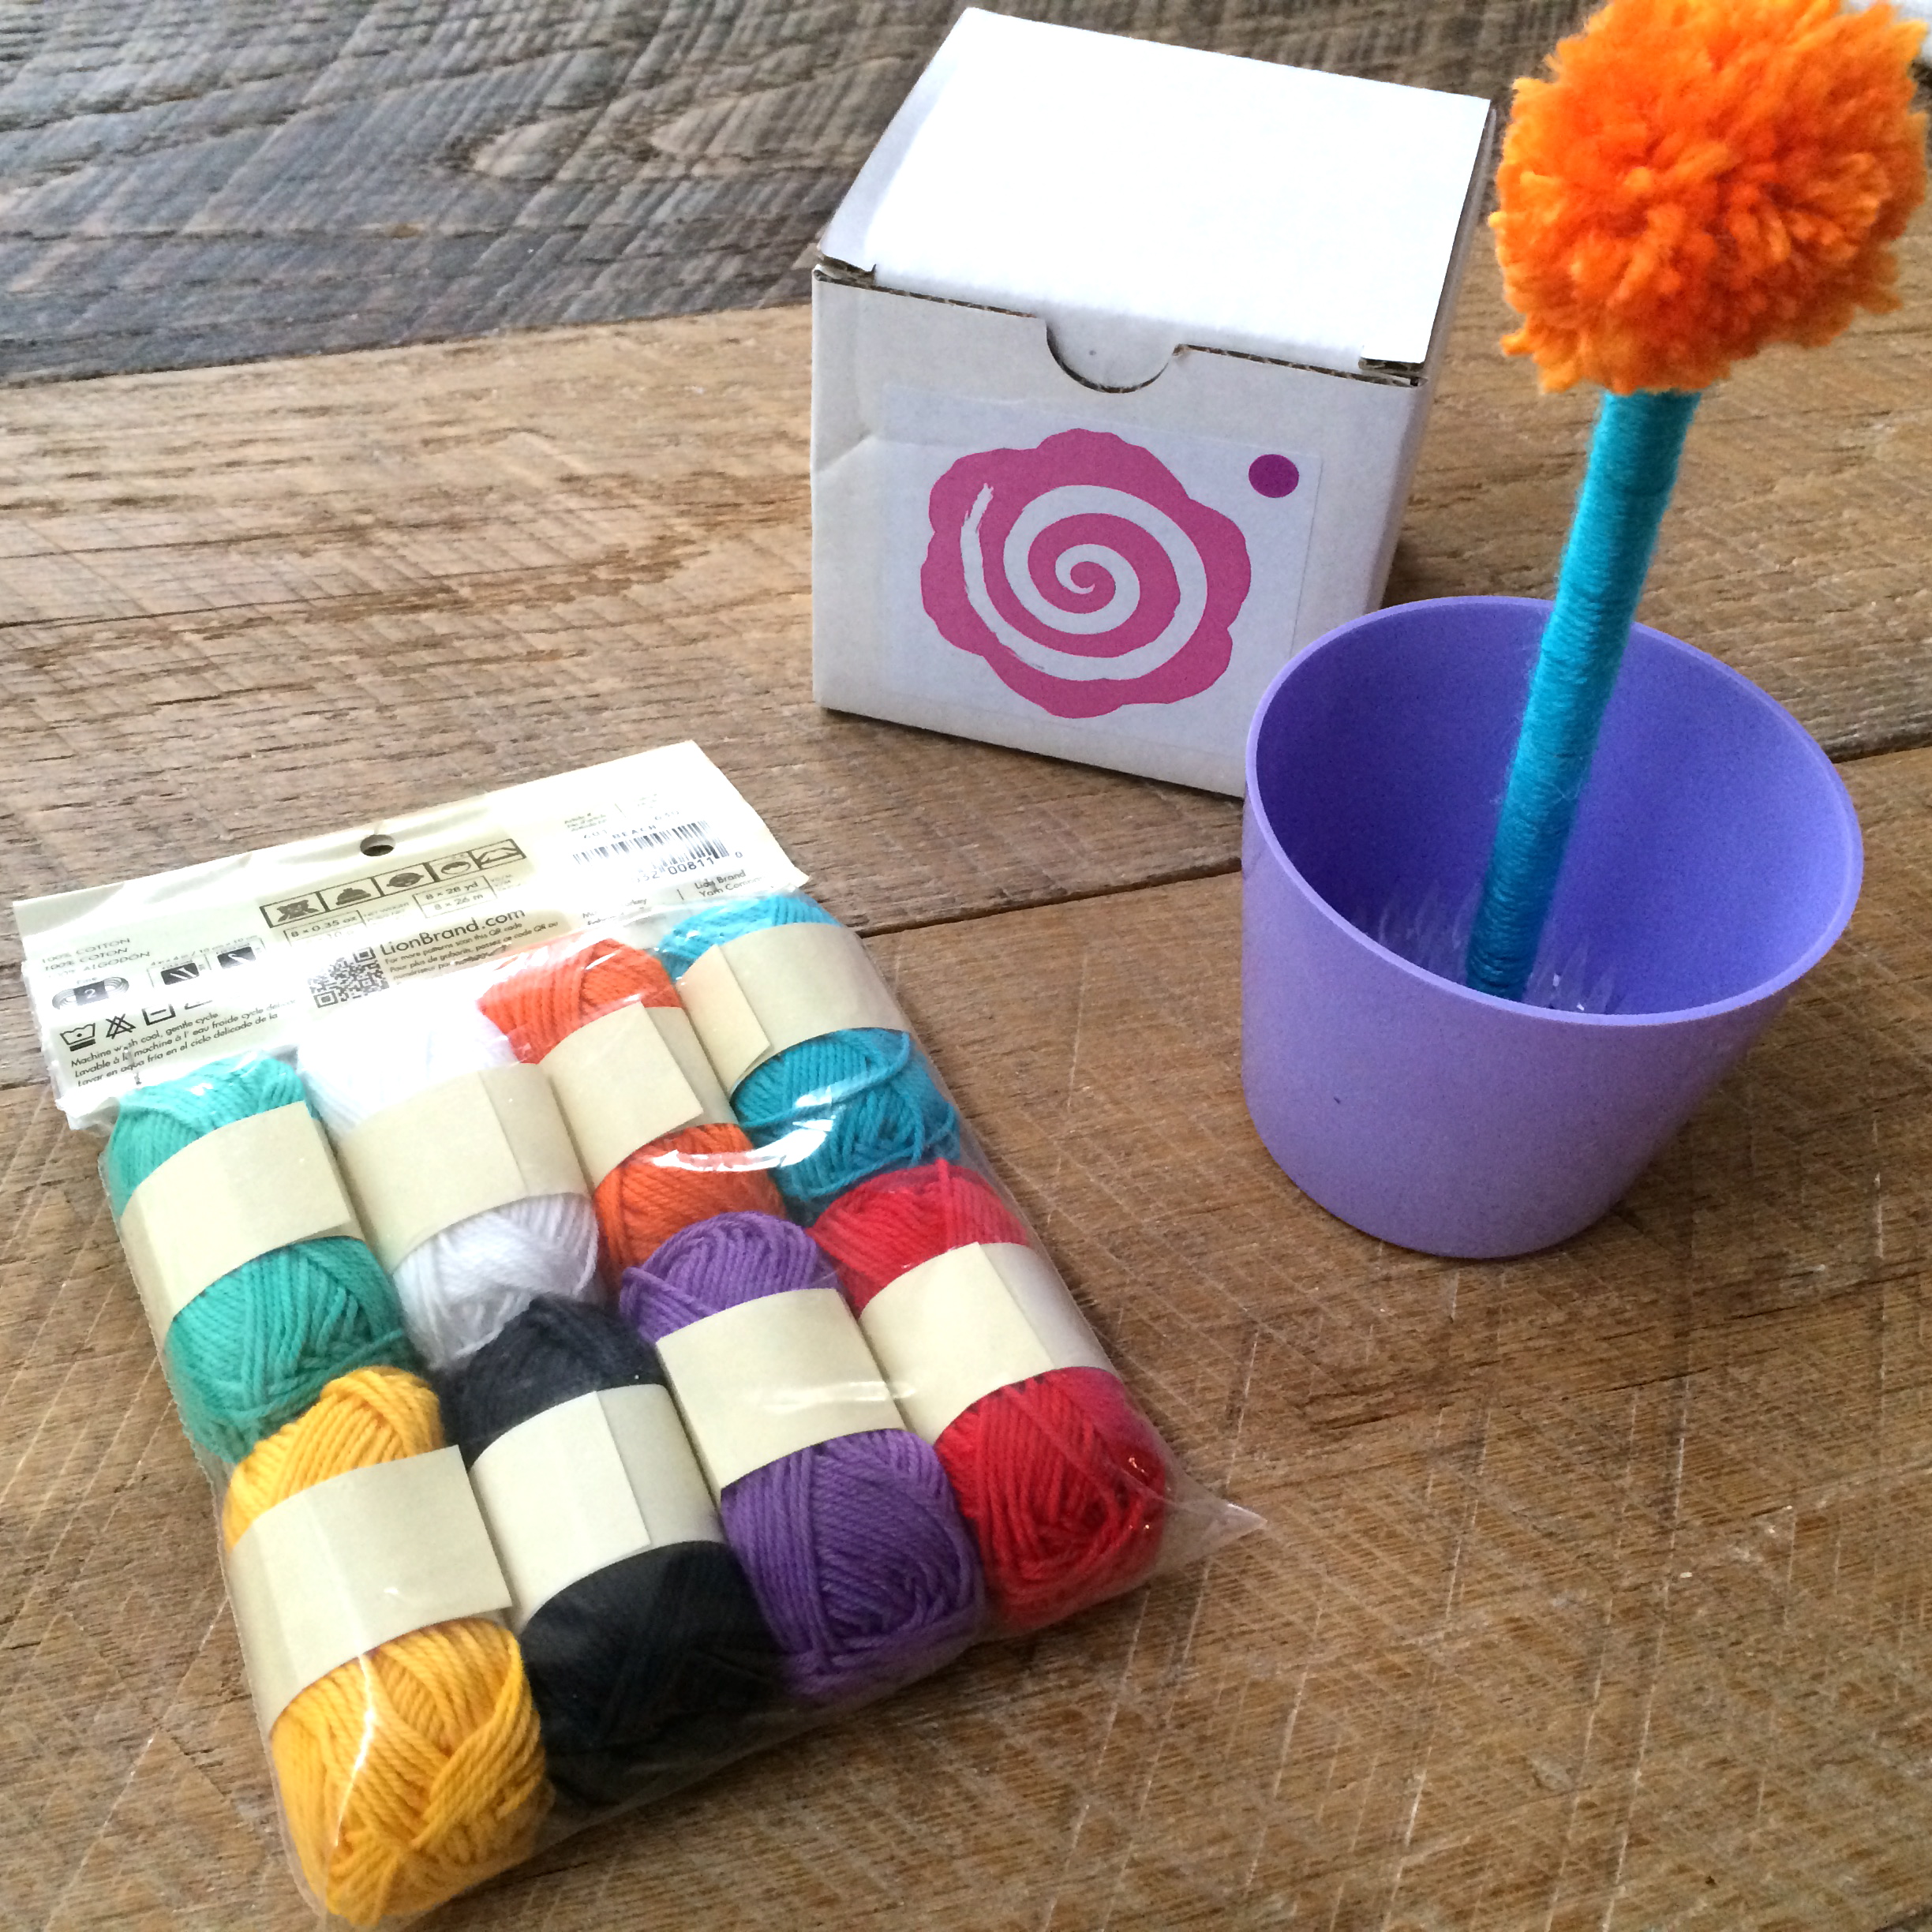
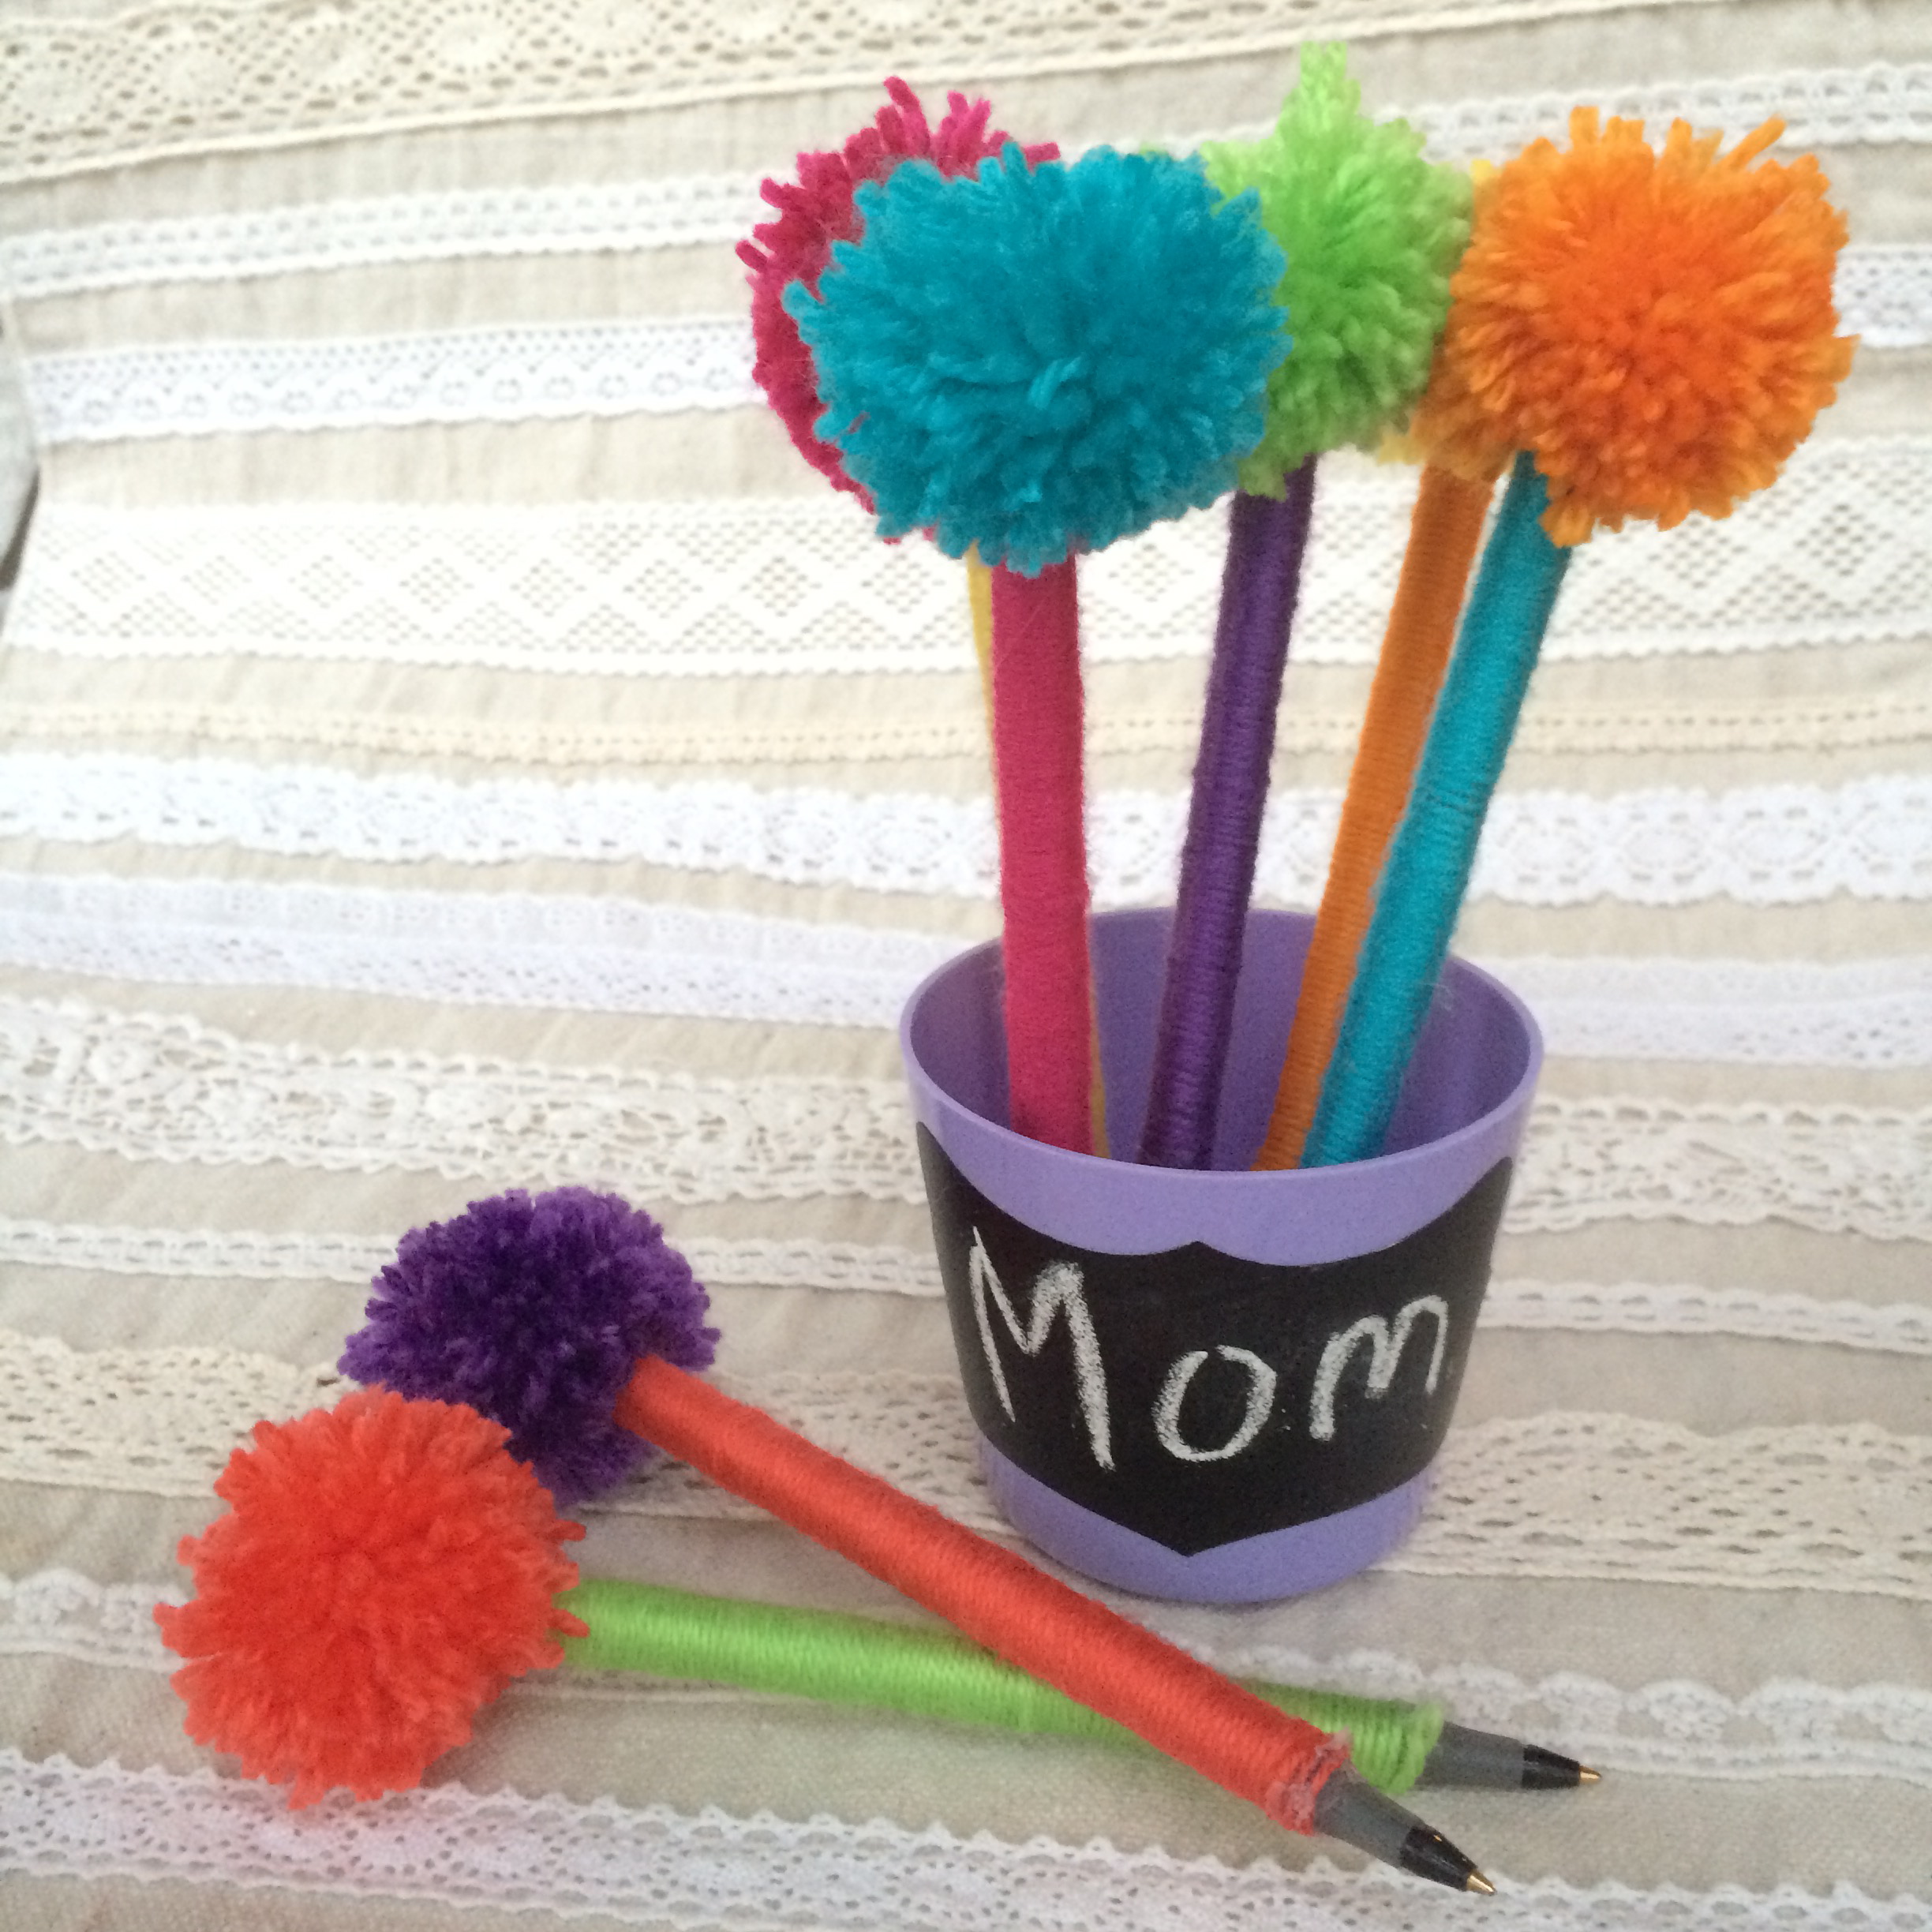
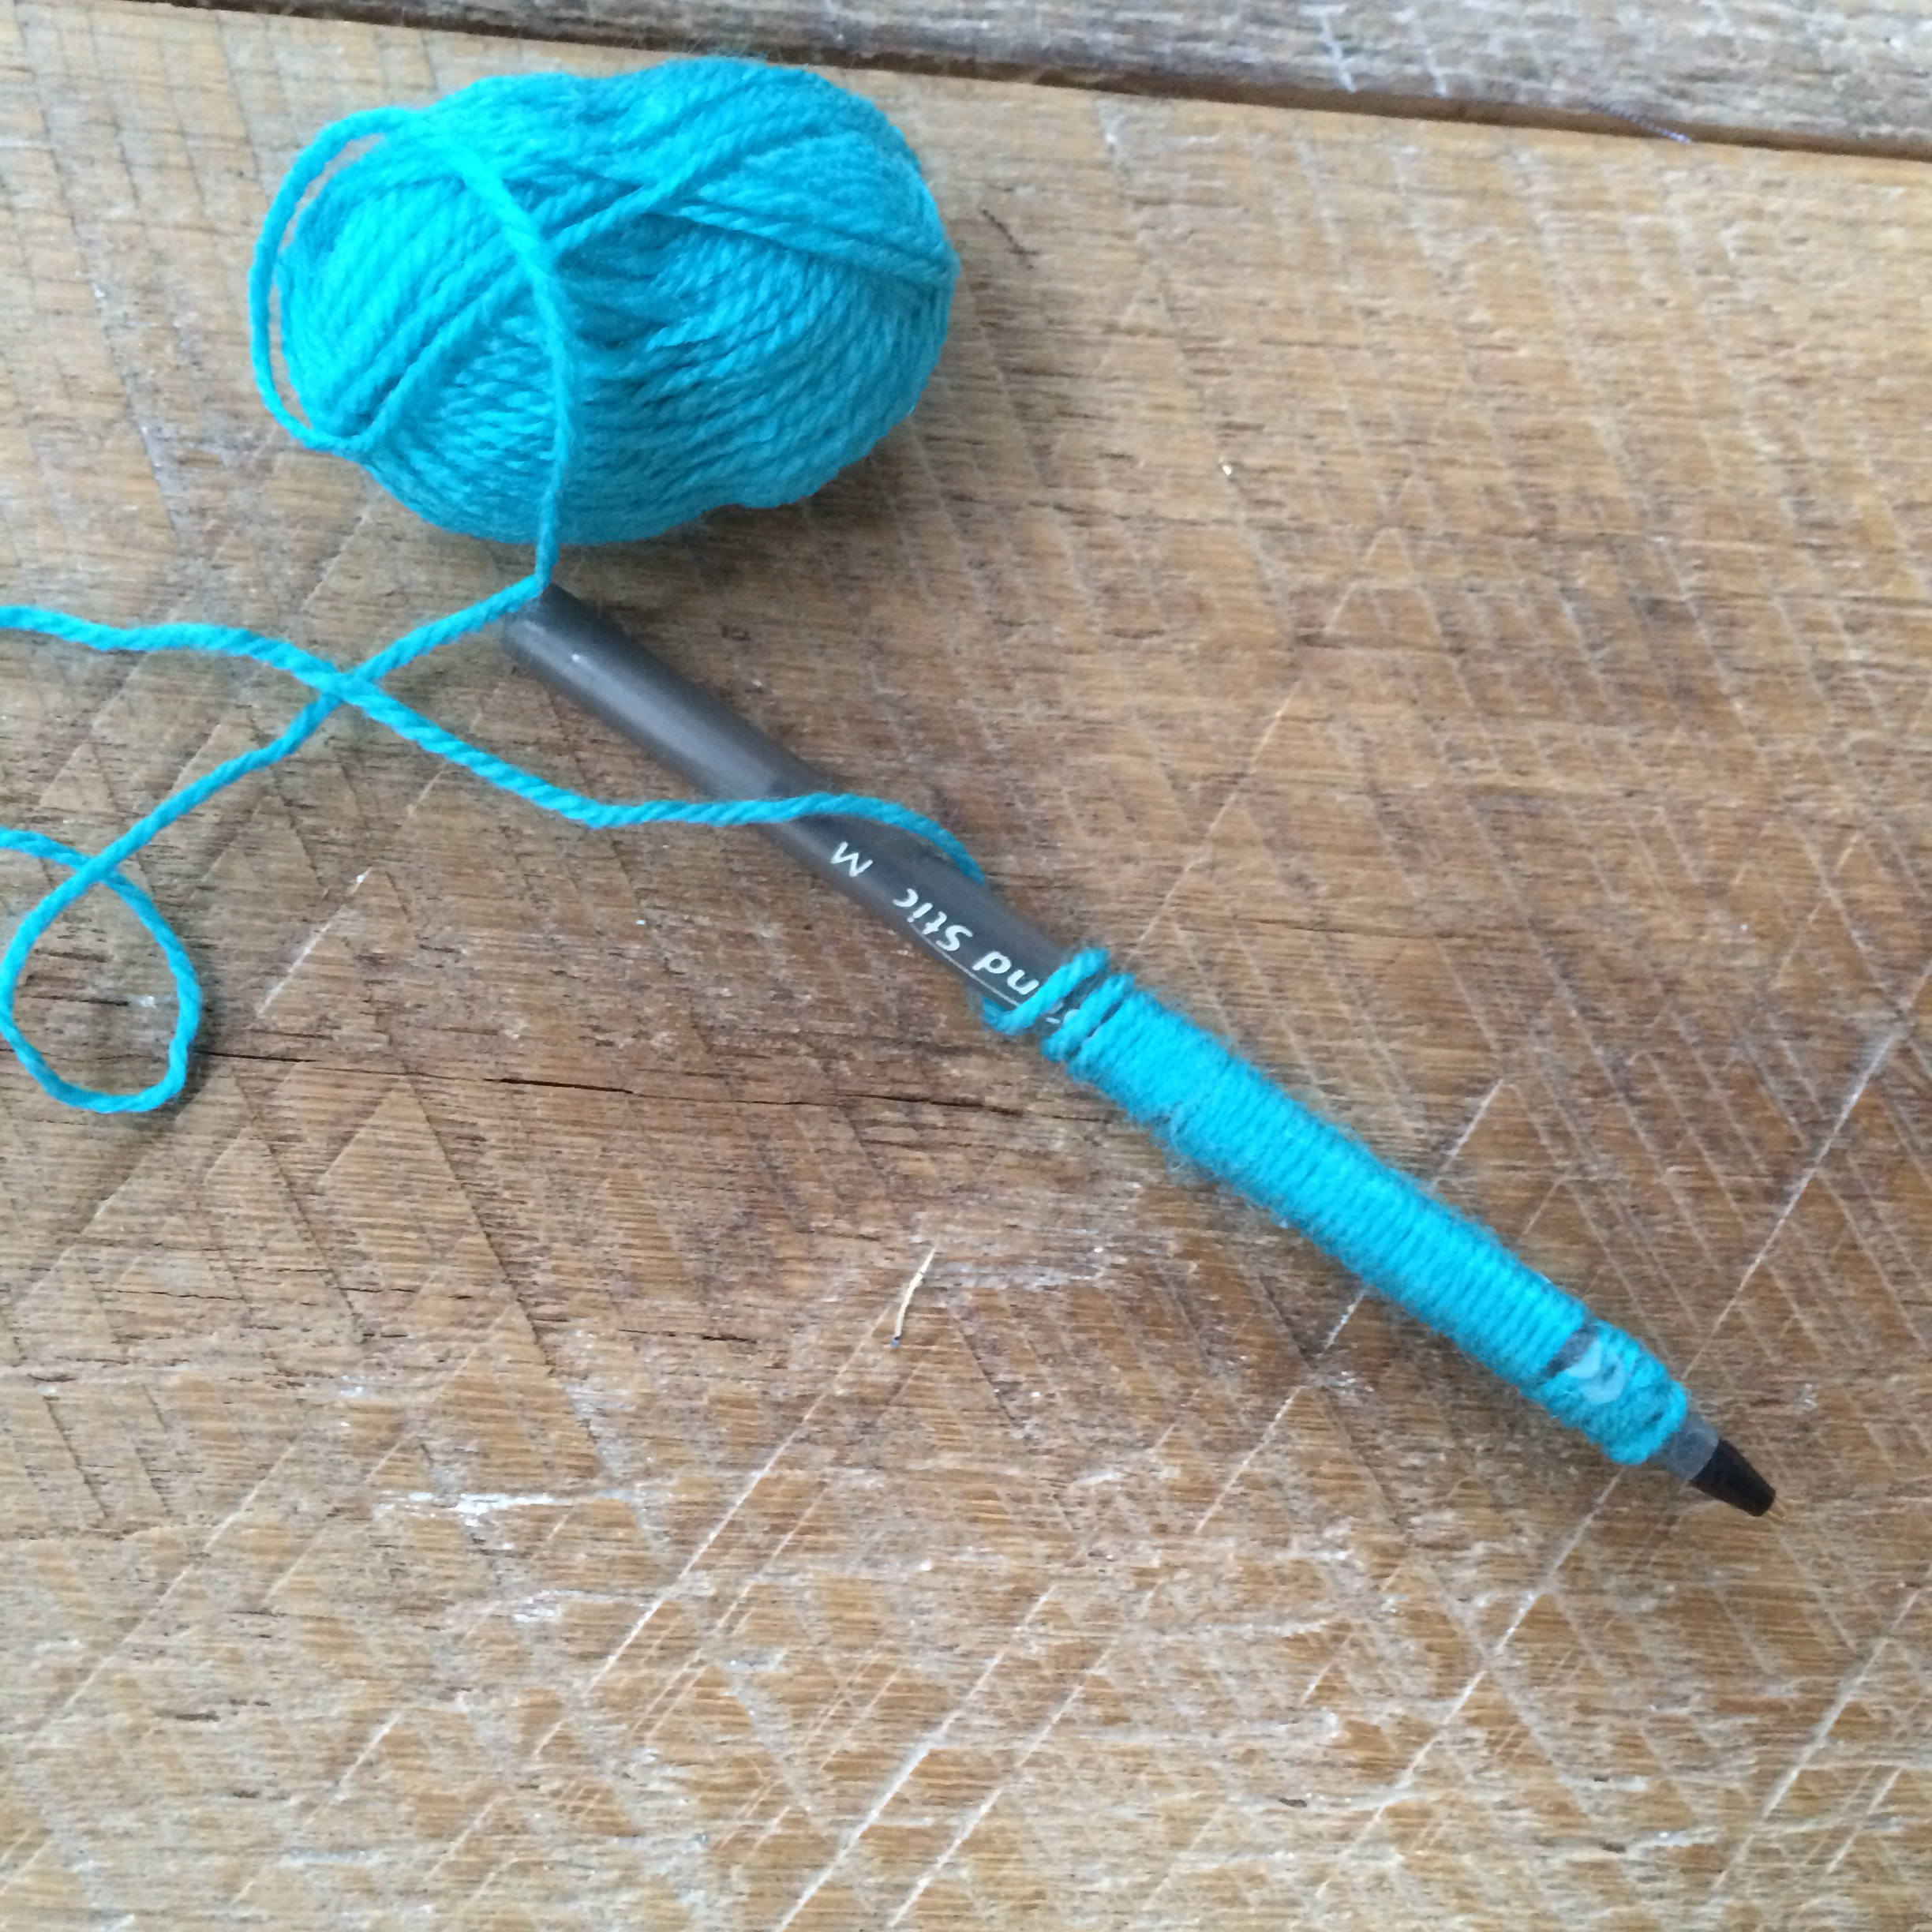
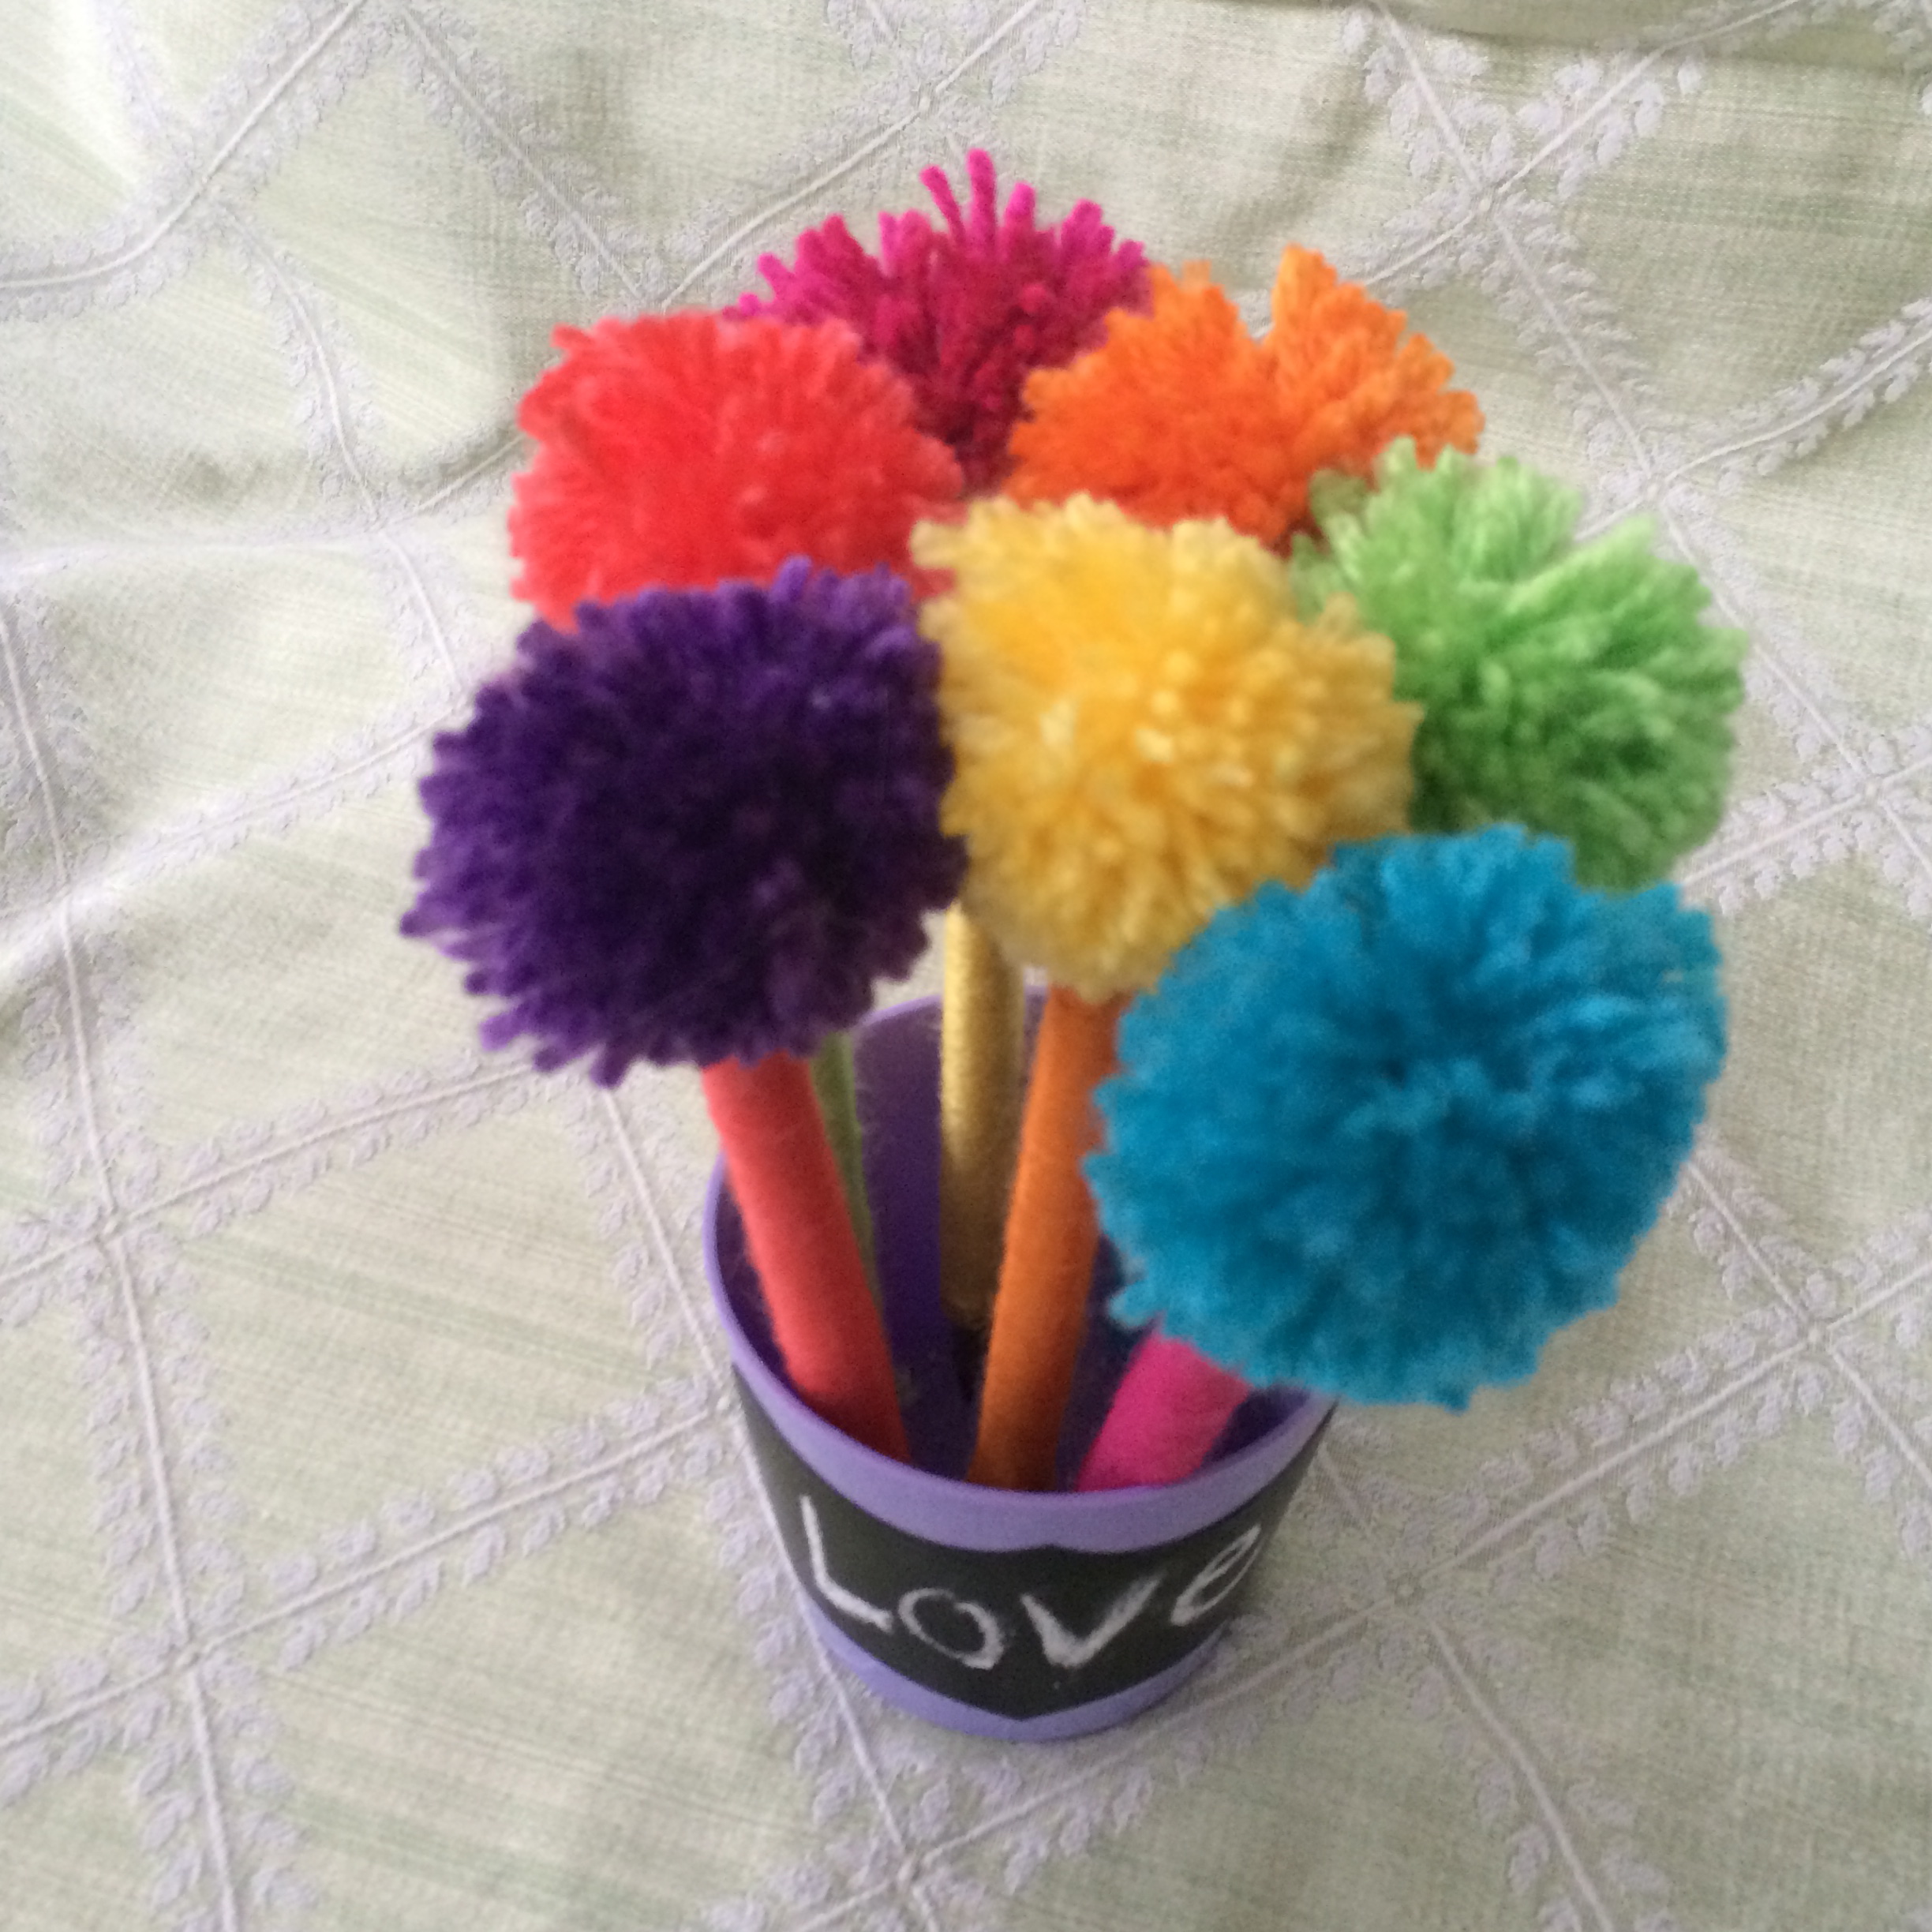
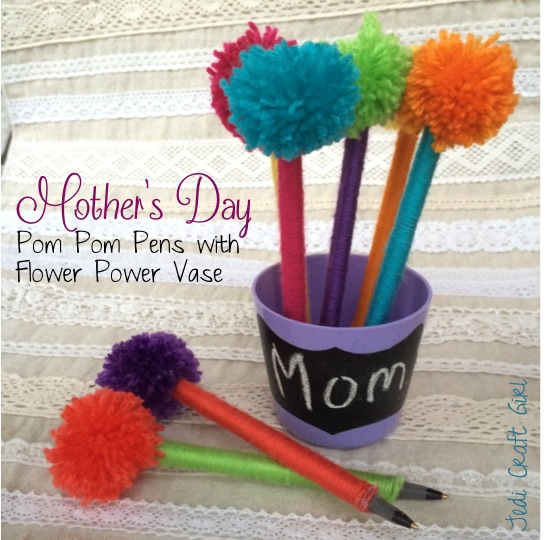
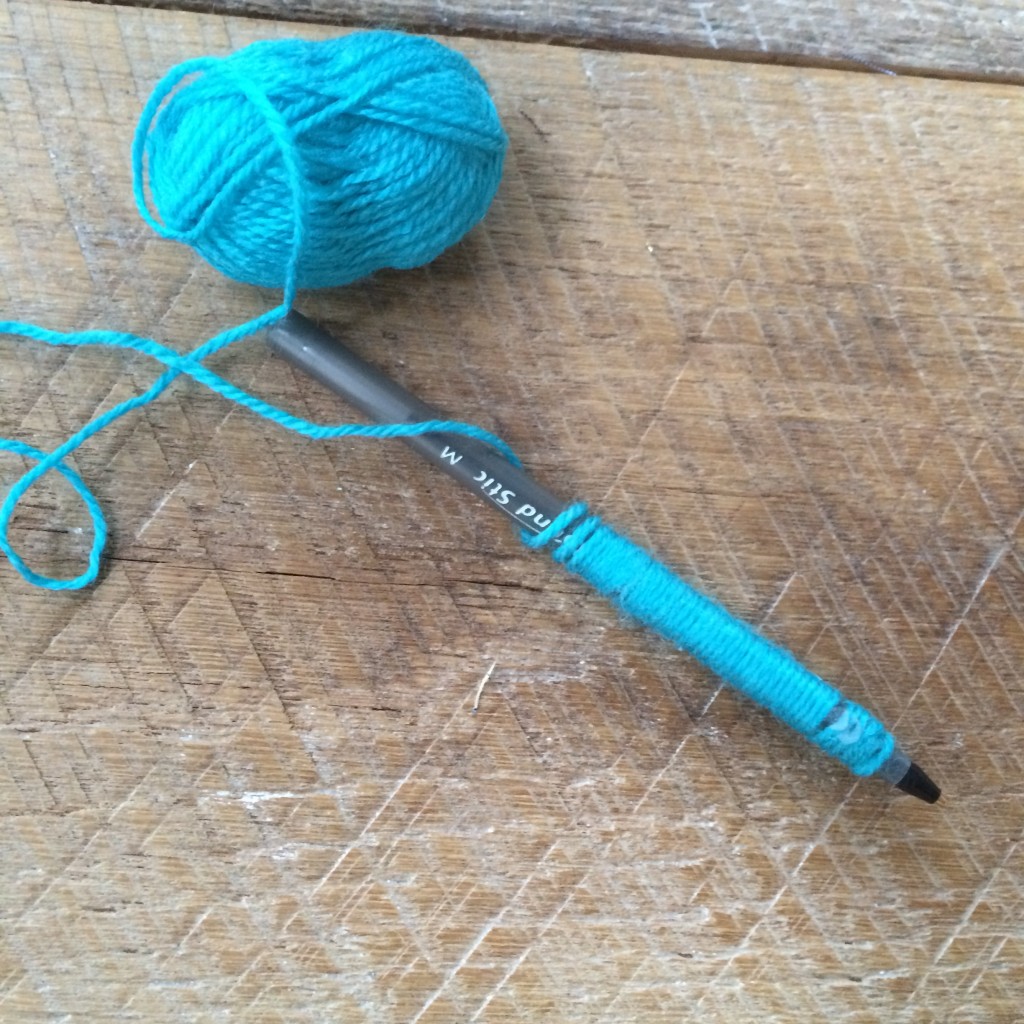 Take the yarn and make a small pom pom. I love the pom pom makers you can buy at craft stores. My daughter made all of them for me….easy peasy! Hot glue a pom pom to the end of the pen. Continue this process until you have 7 or so pens.
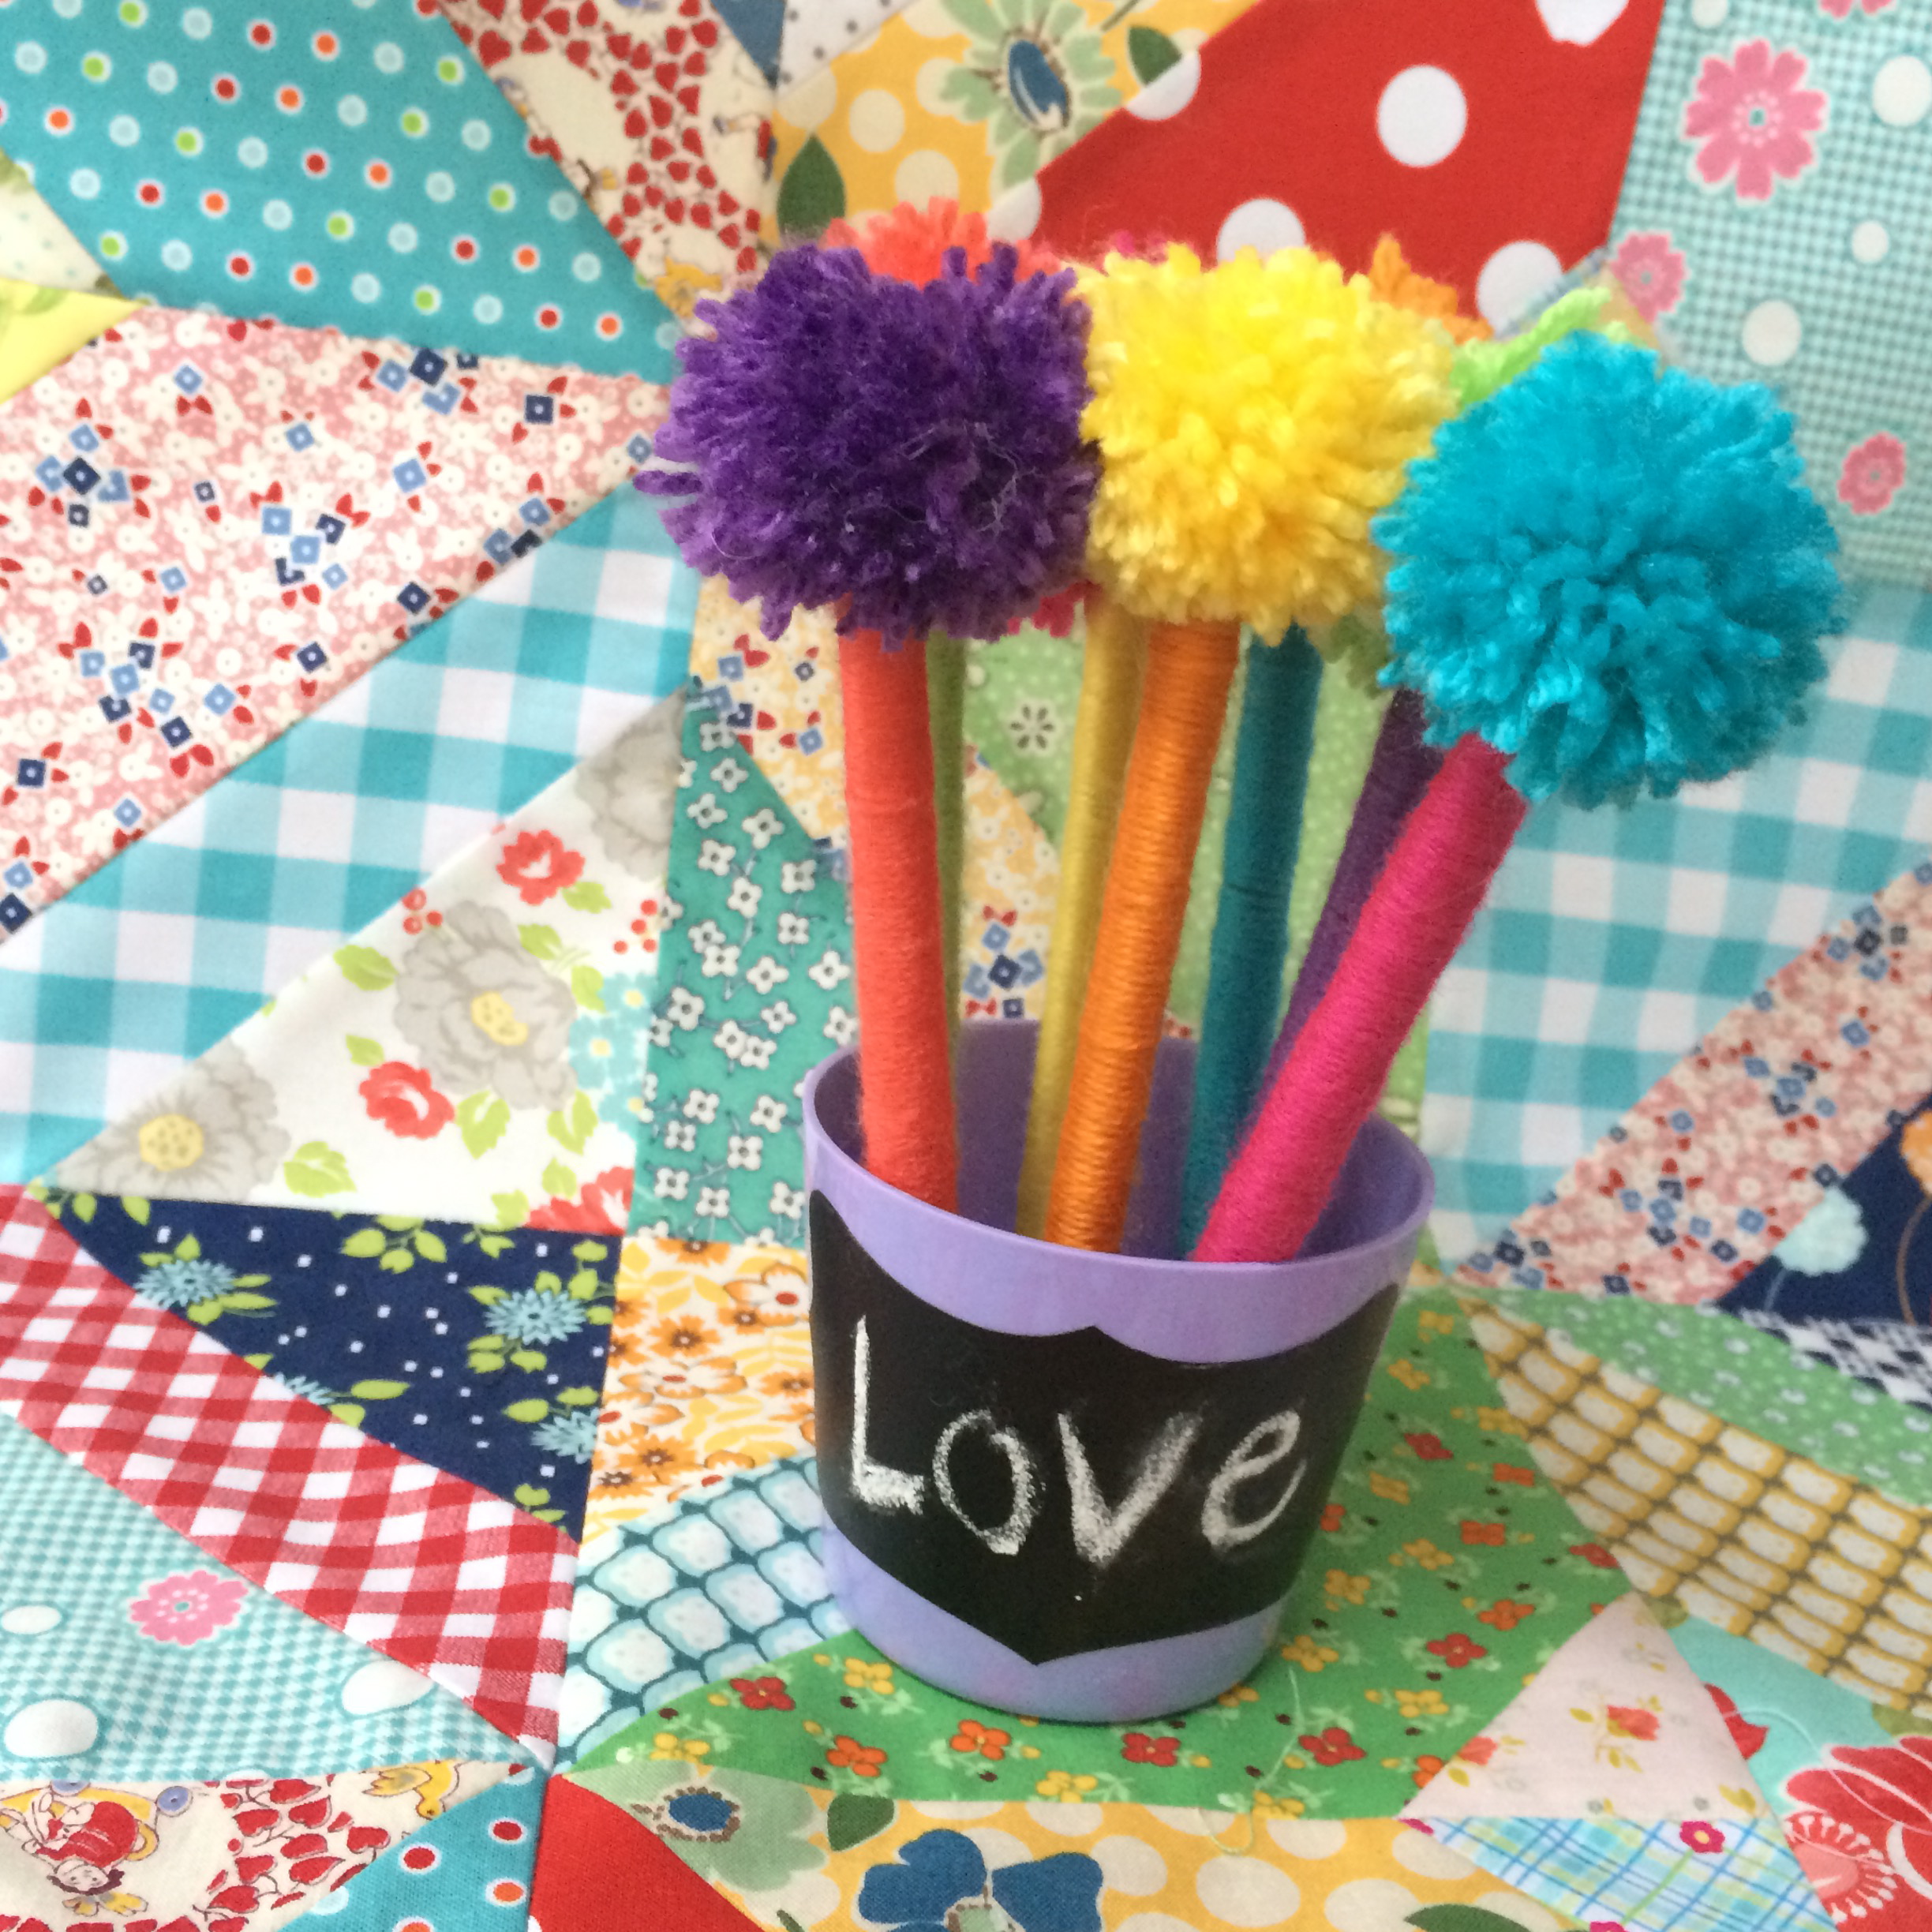


