Star Wars Sewing Projects

I love May the 4th!  I had too much fun sewing Star Wars projects!     IMG_6713

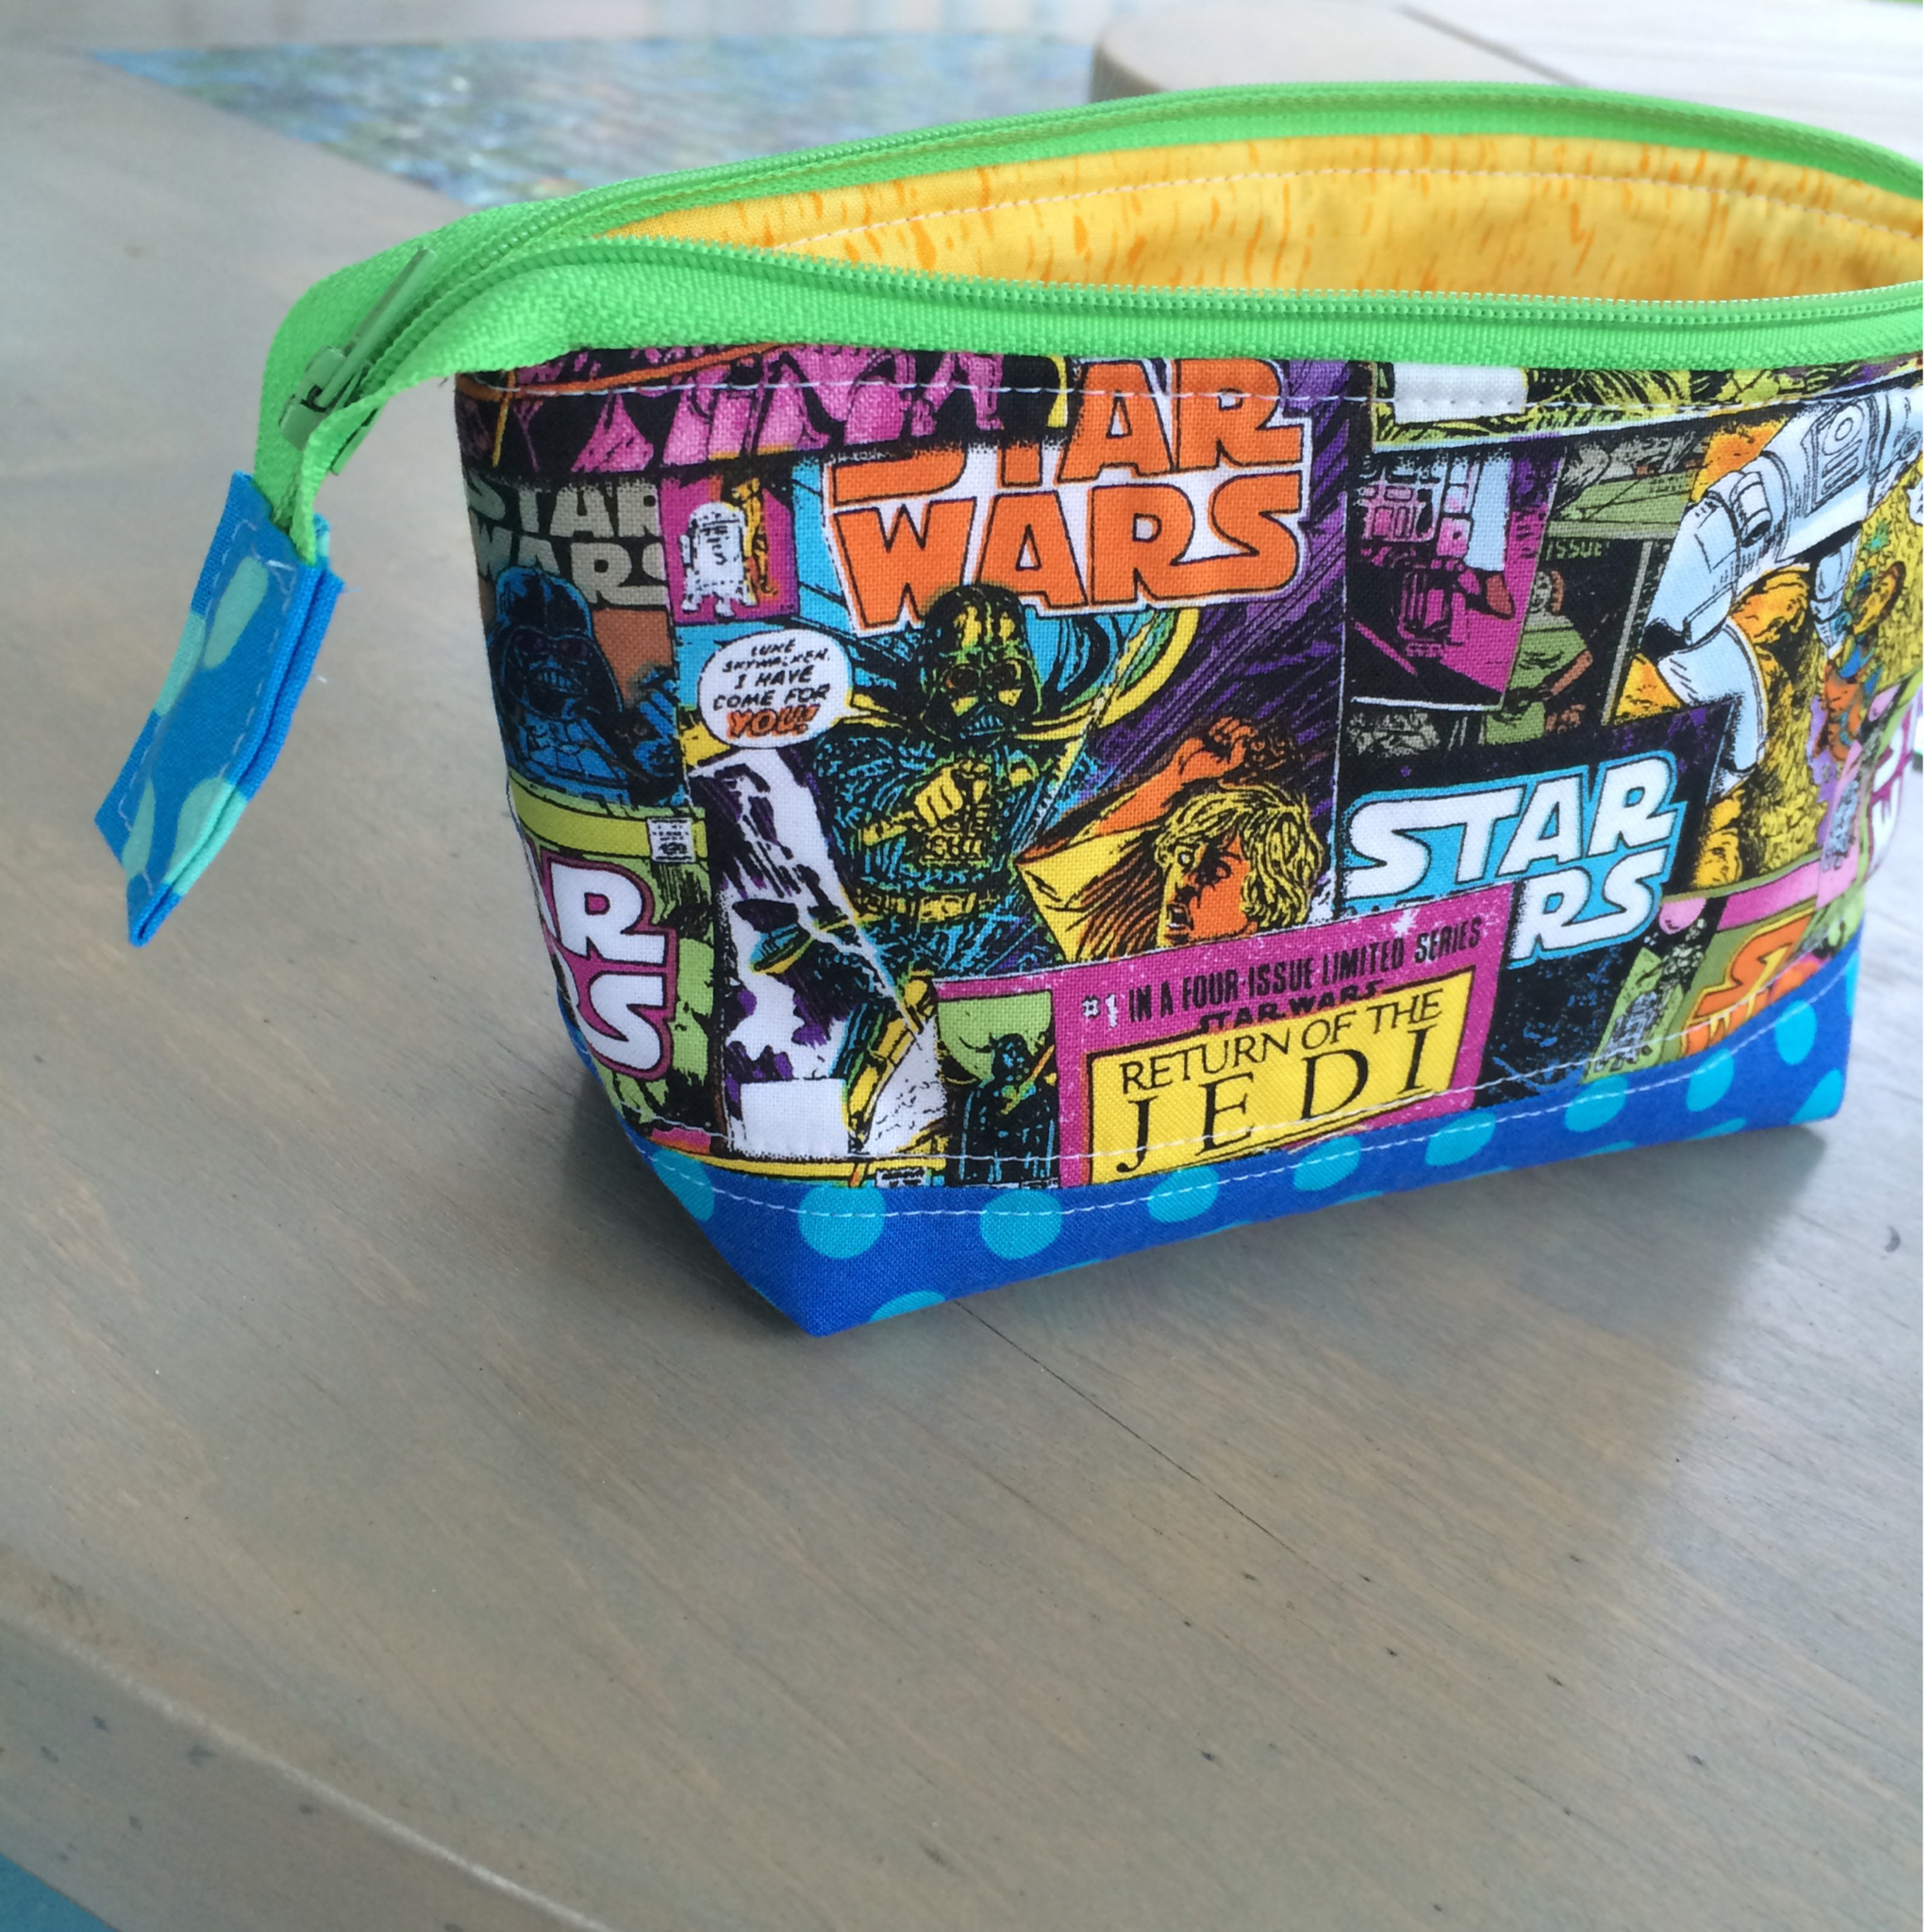
This cute comic book Star Wars  zipper pouch was made using this tutorial – I omitted the lace trim.  I just can’t get enough of this fabric!!  I used Heat n Bond fusible fleece and added some topstitching along the seam.

IMG_6621

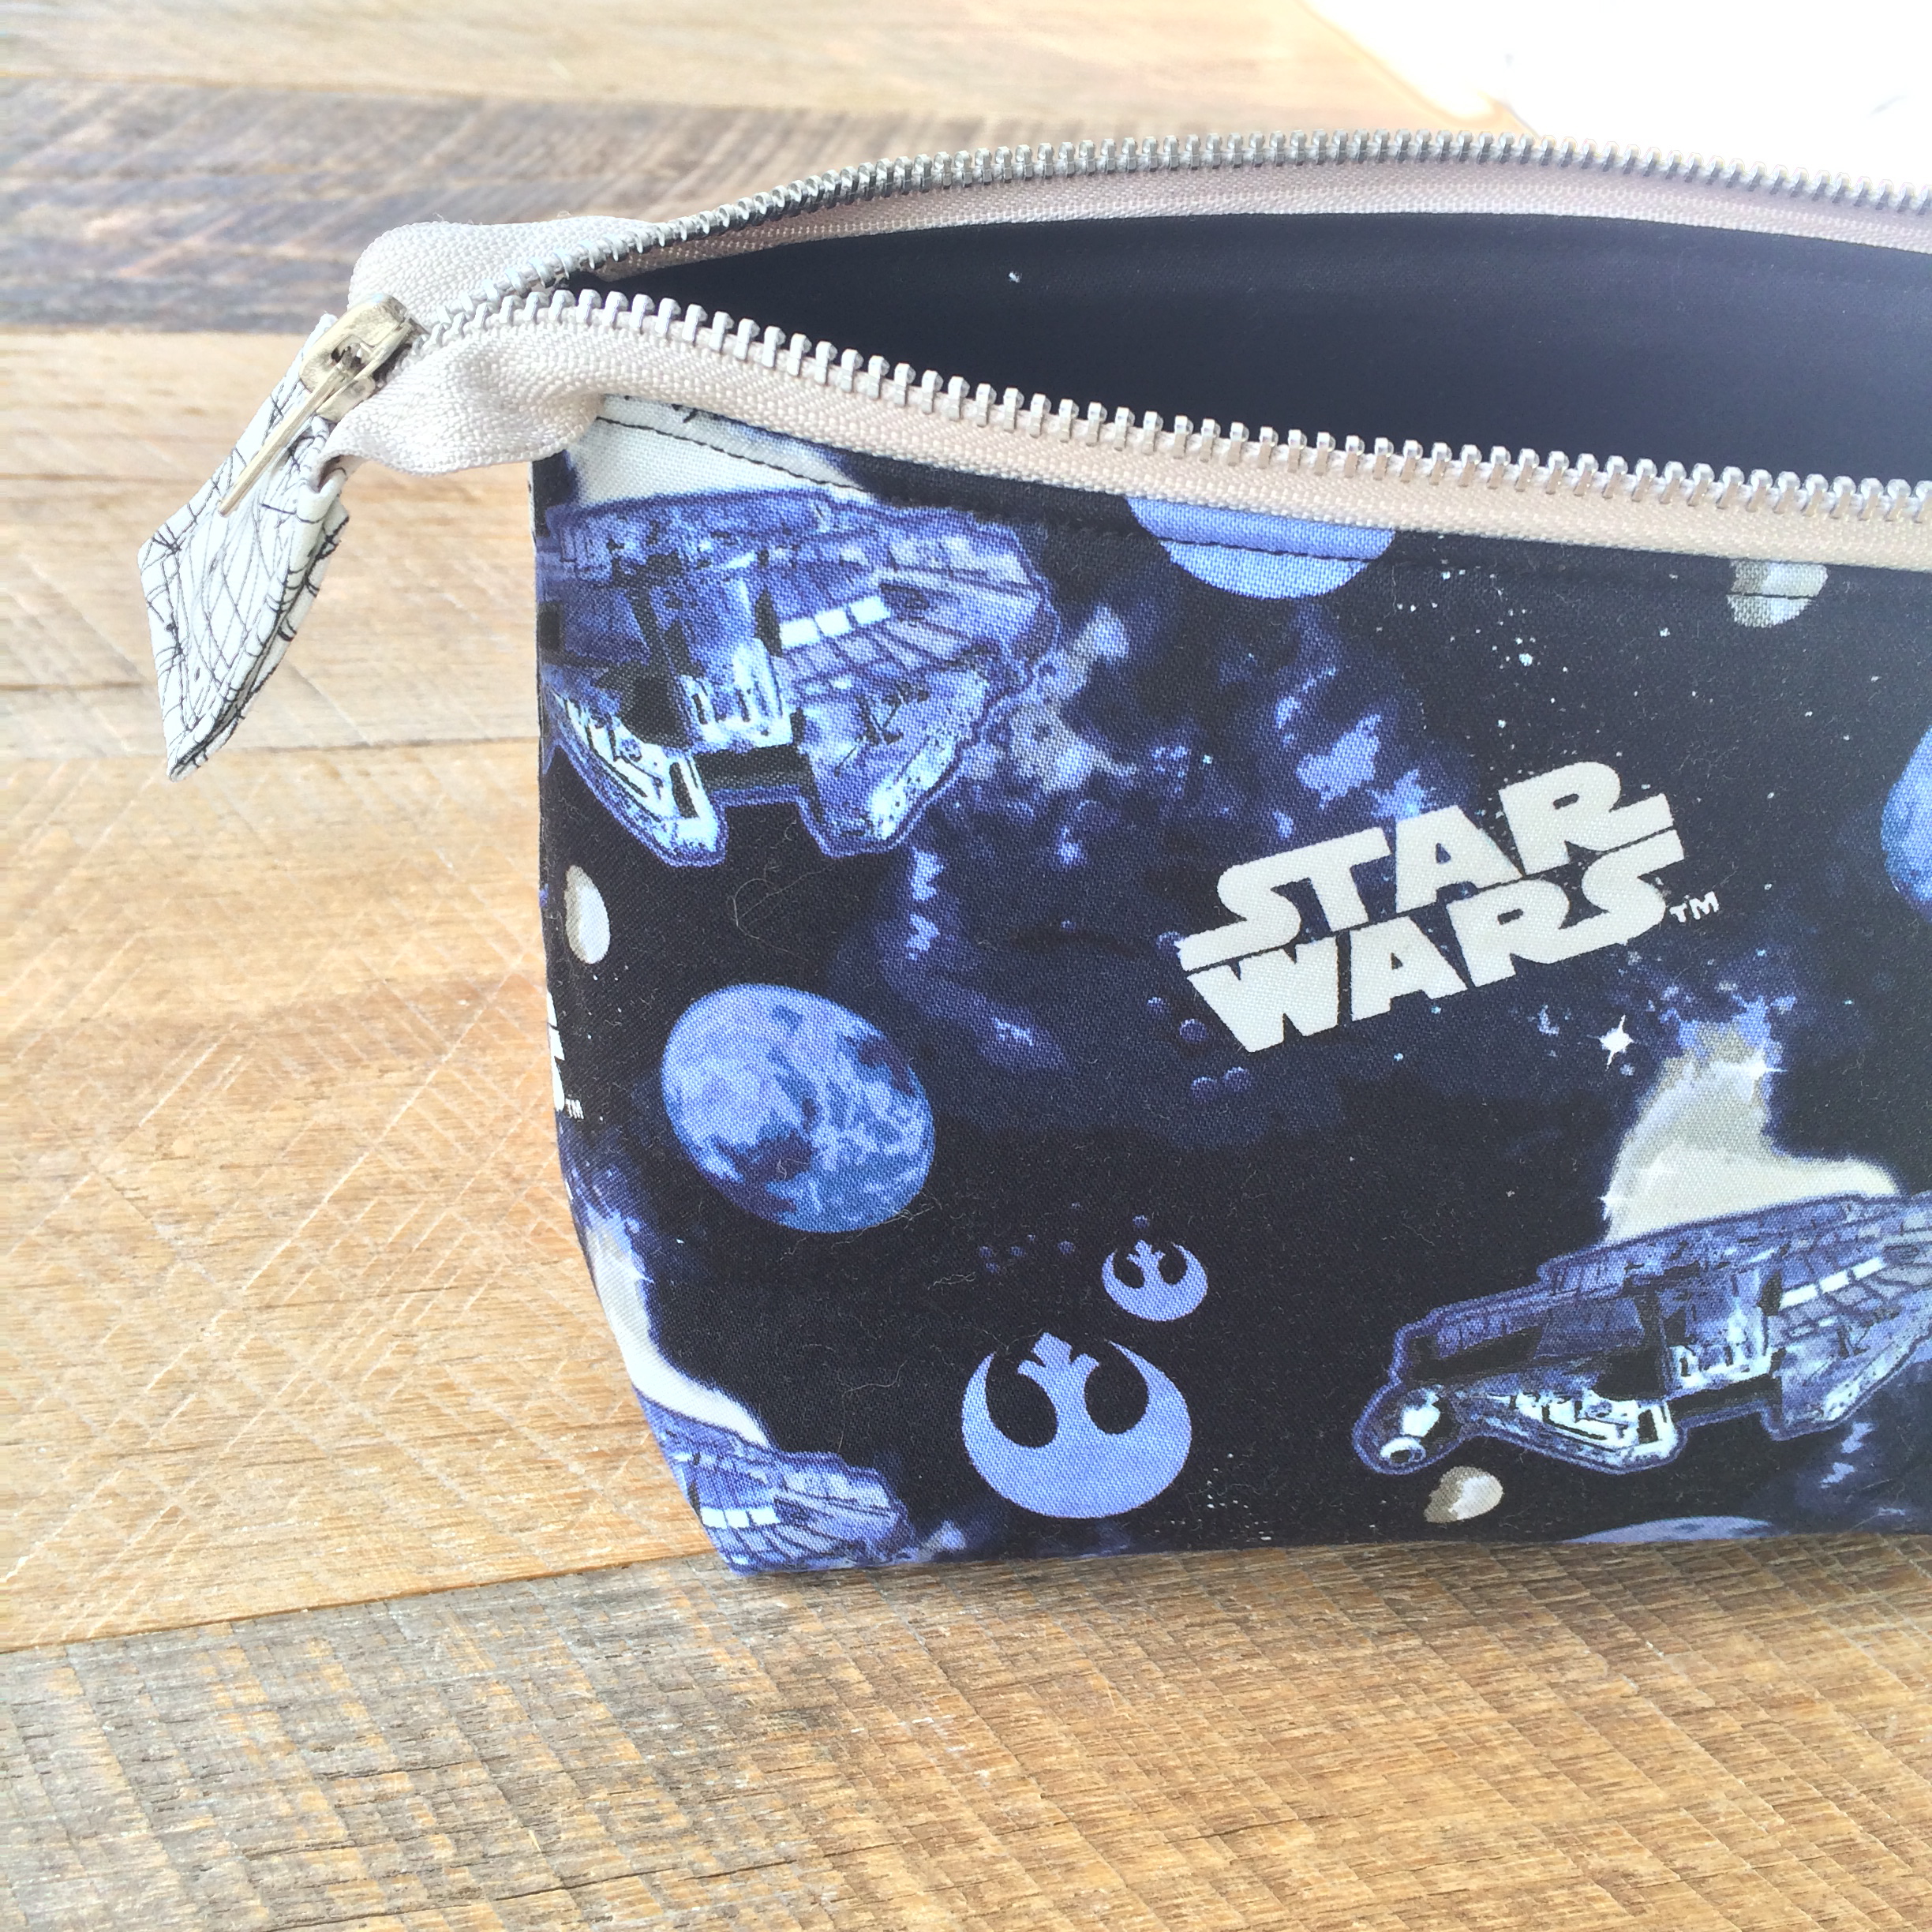
My brother’s birthday is May the 4th!  I made his this more “manly” zipper pouch using this tutorial.  I also used Heat n Bond fusible interfacing AND fusible fleece.  It has a really nice feel to it!IMG_6549
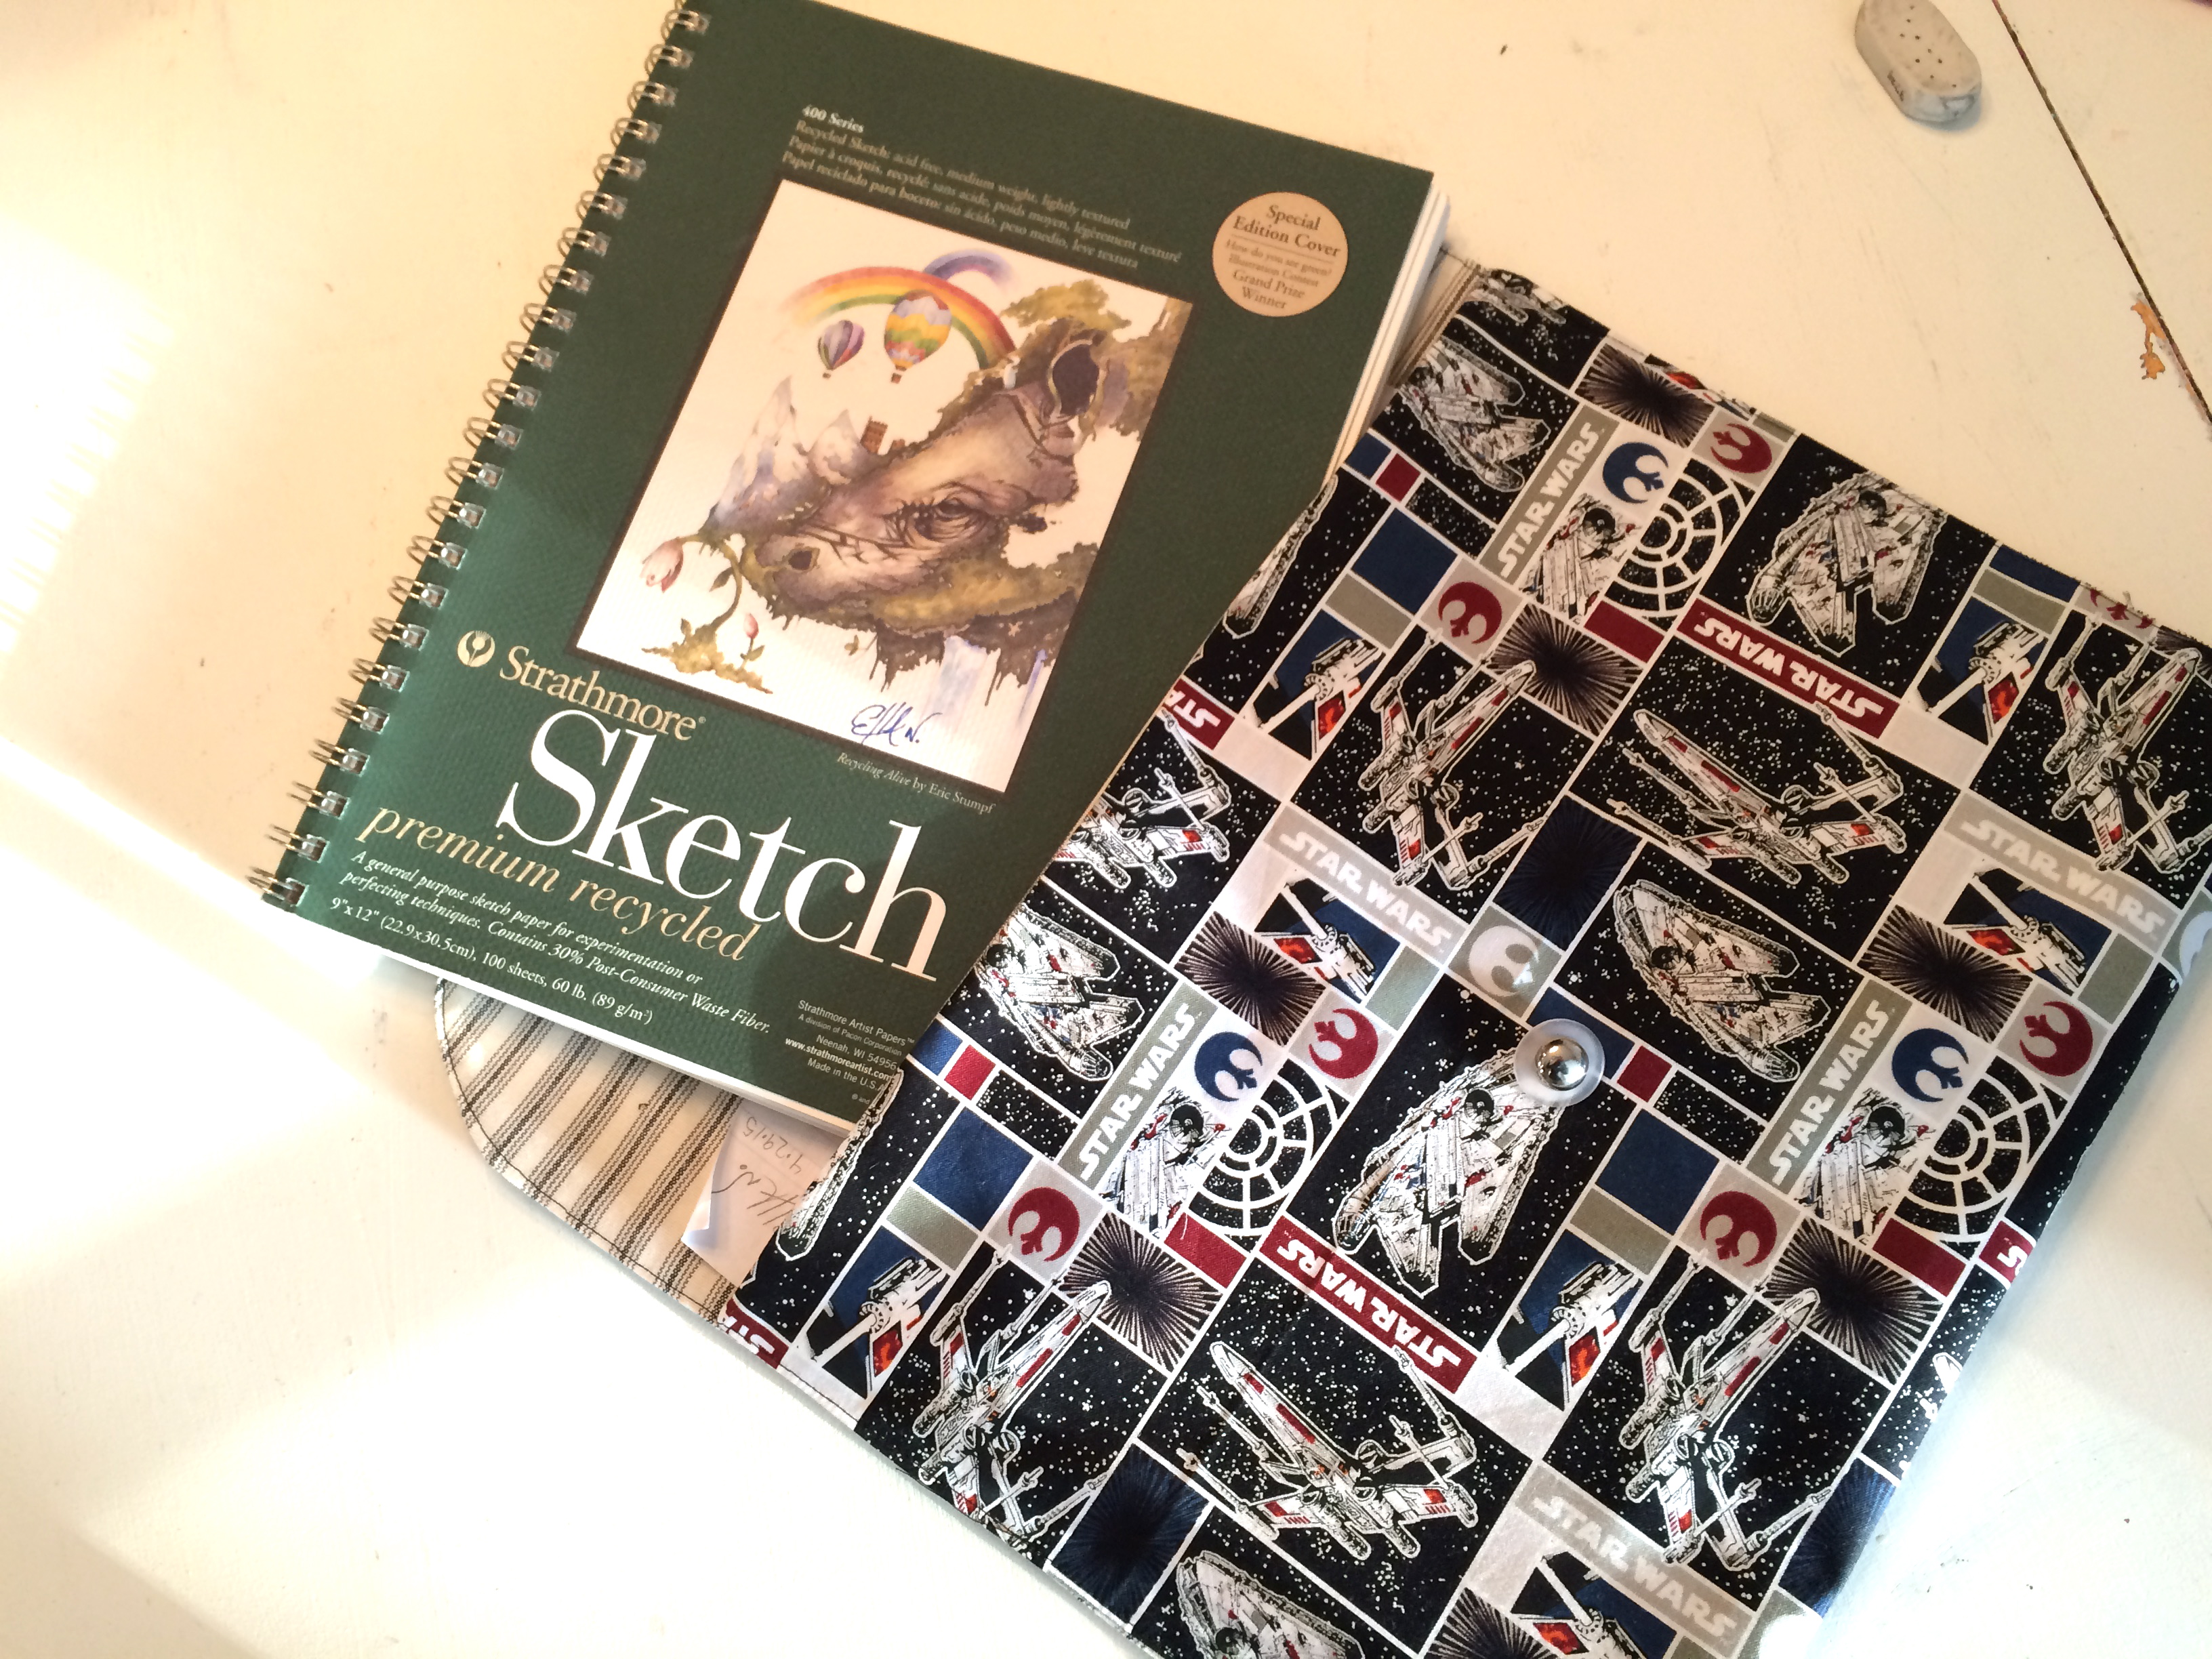
My daughter takes a sketch book with her everywhere she goes!  She was in need of a new case.  To make this follow these instructions, but change the measurements to 26″ x 15″.  For this pouch I used Heat n Bond fusible stabilizer to give it a nice weight.


May the Fourth Be With You

star wars skirts. 13
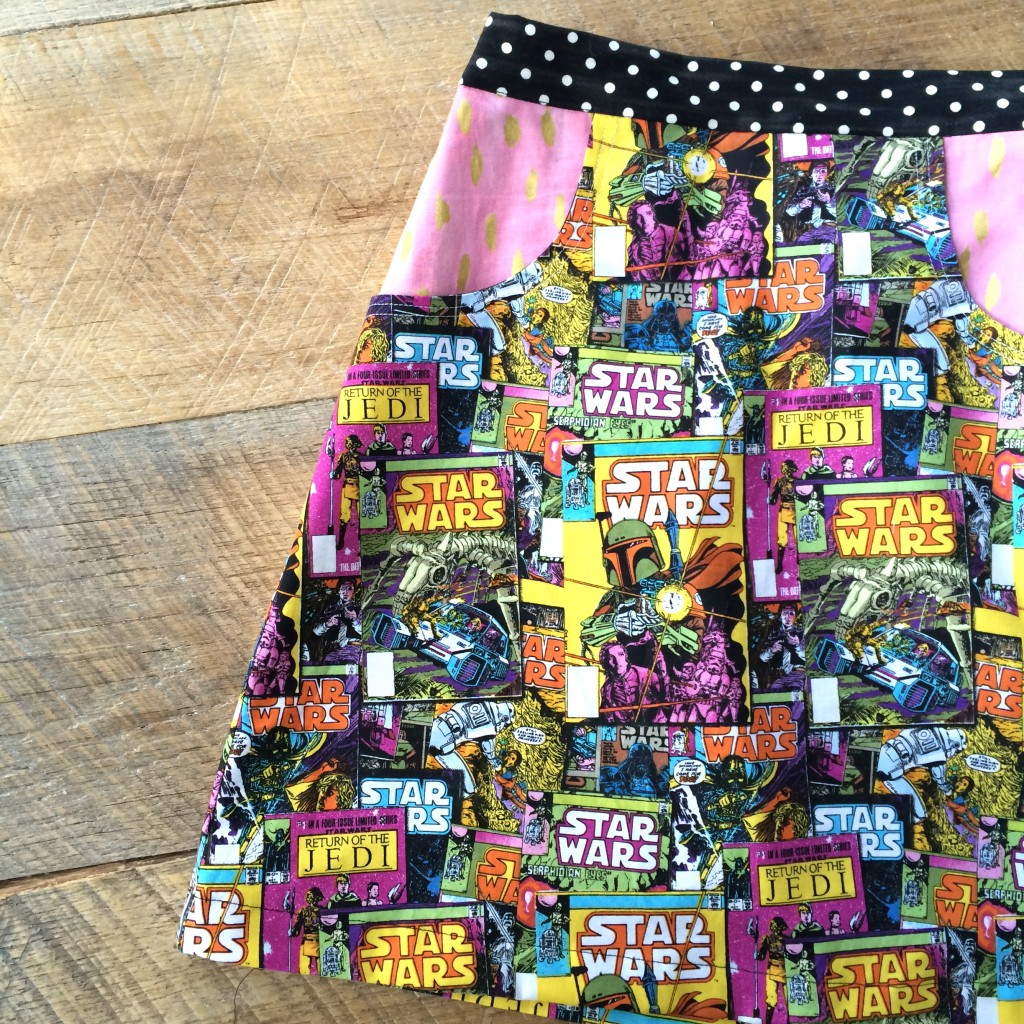
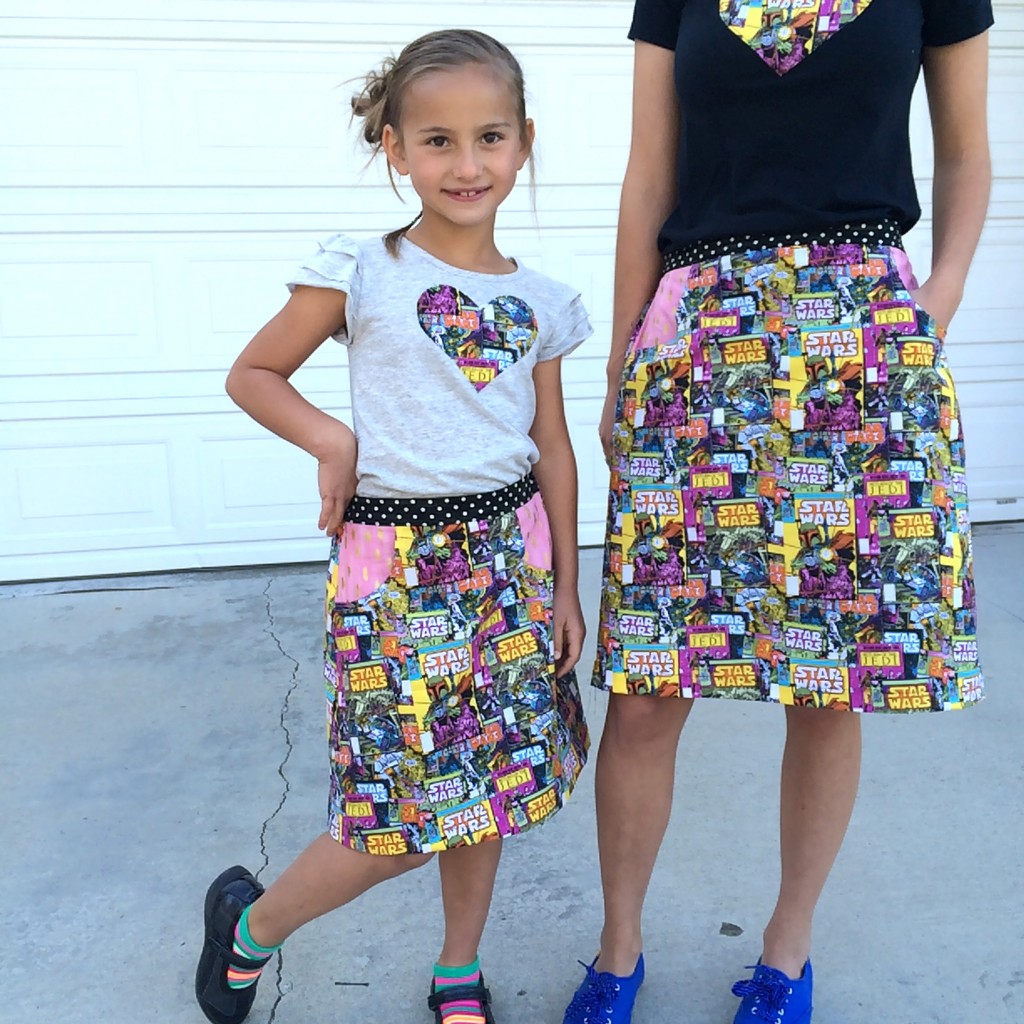
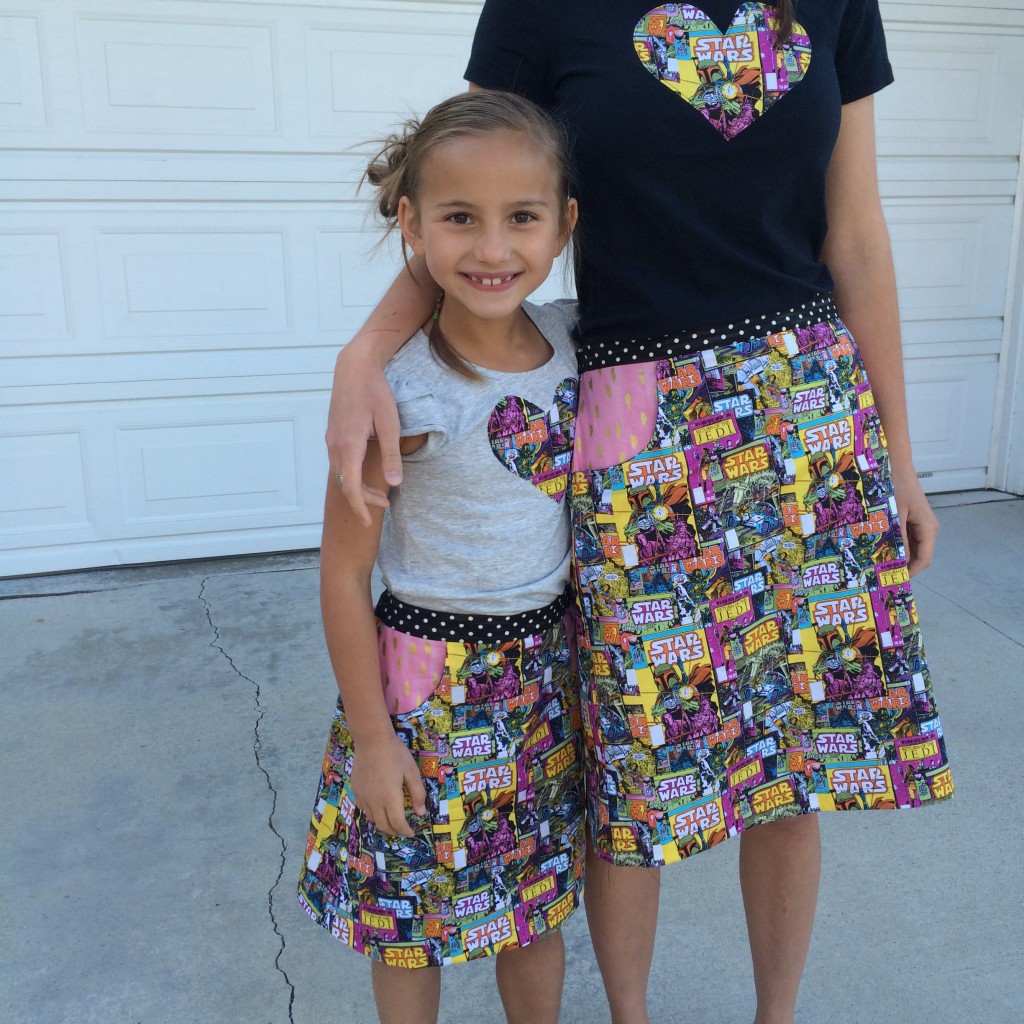
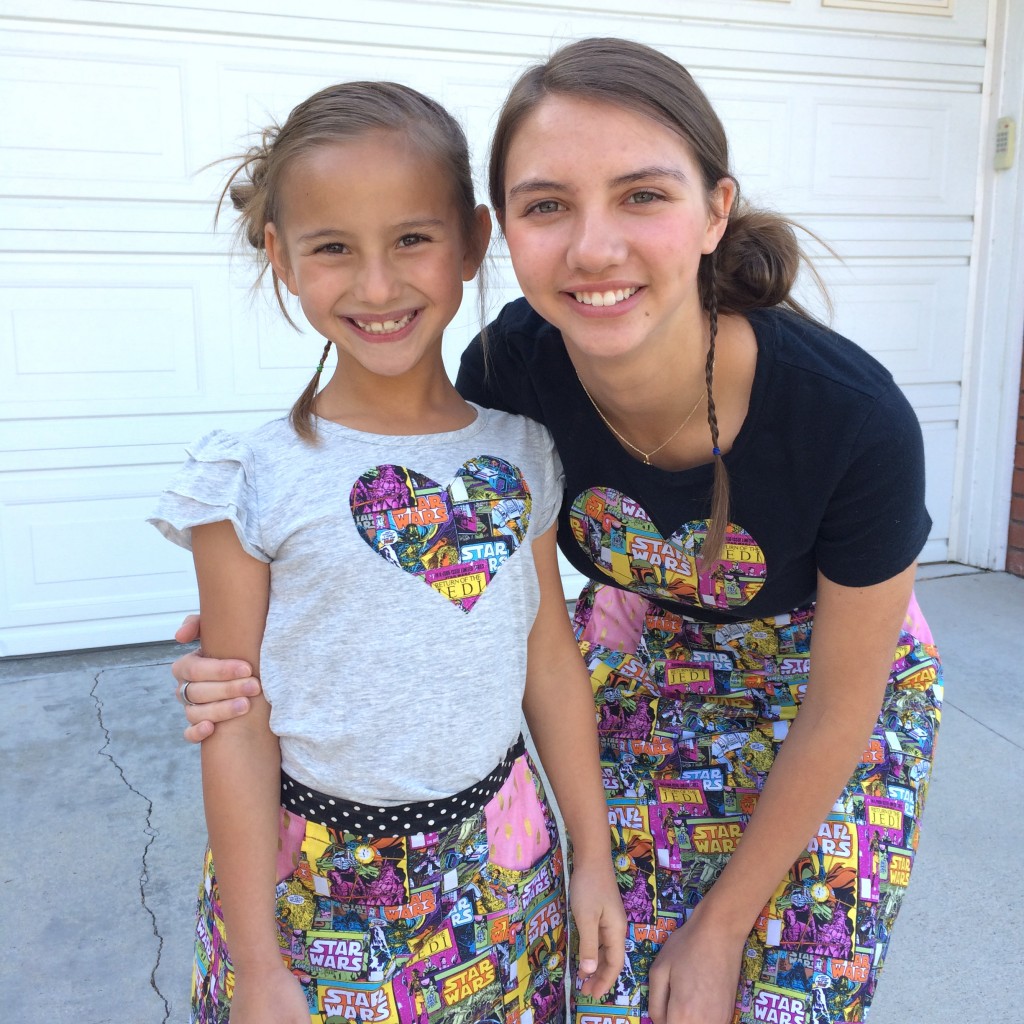
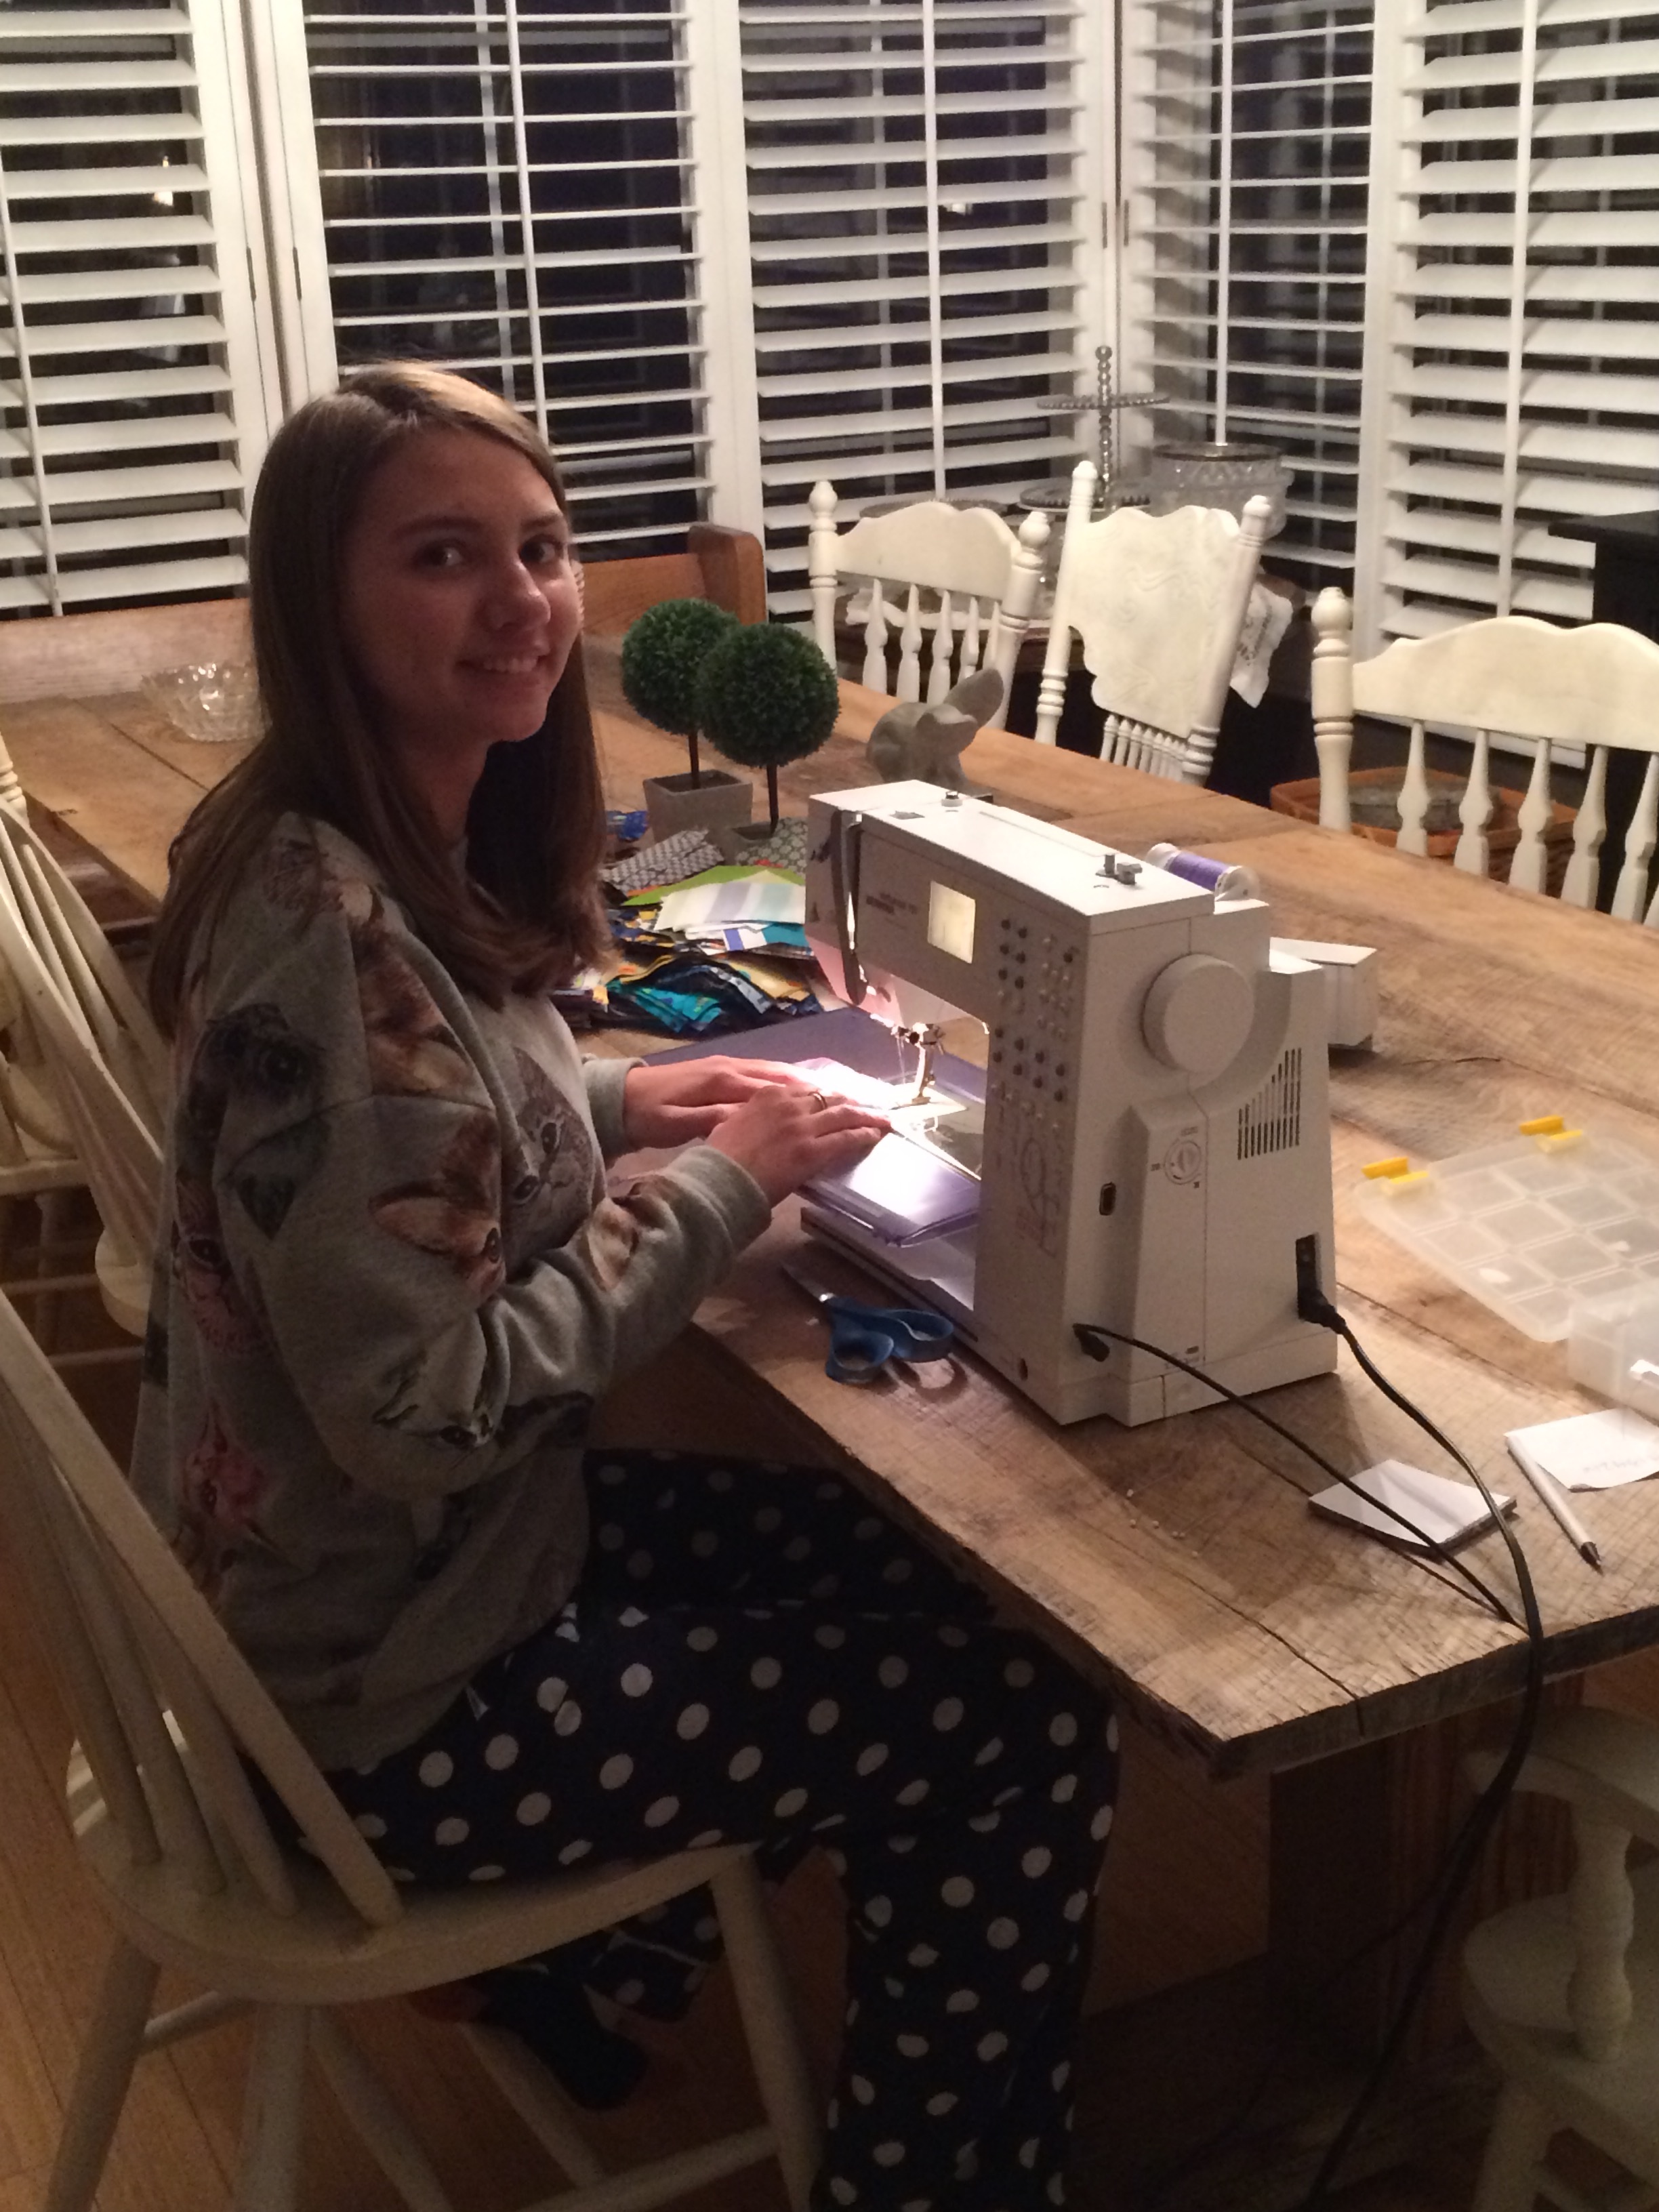
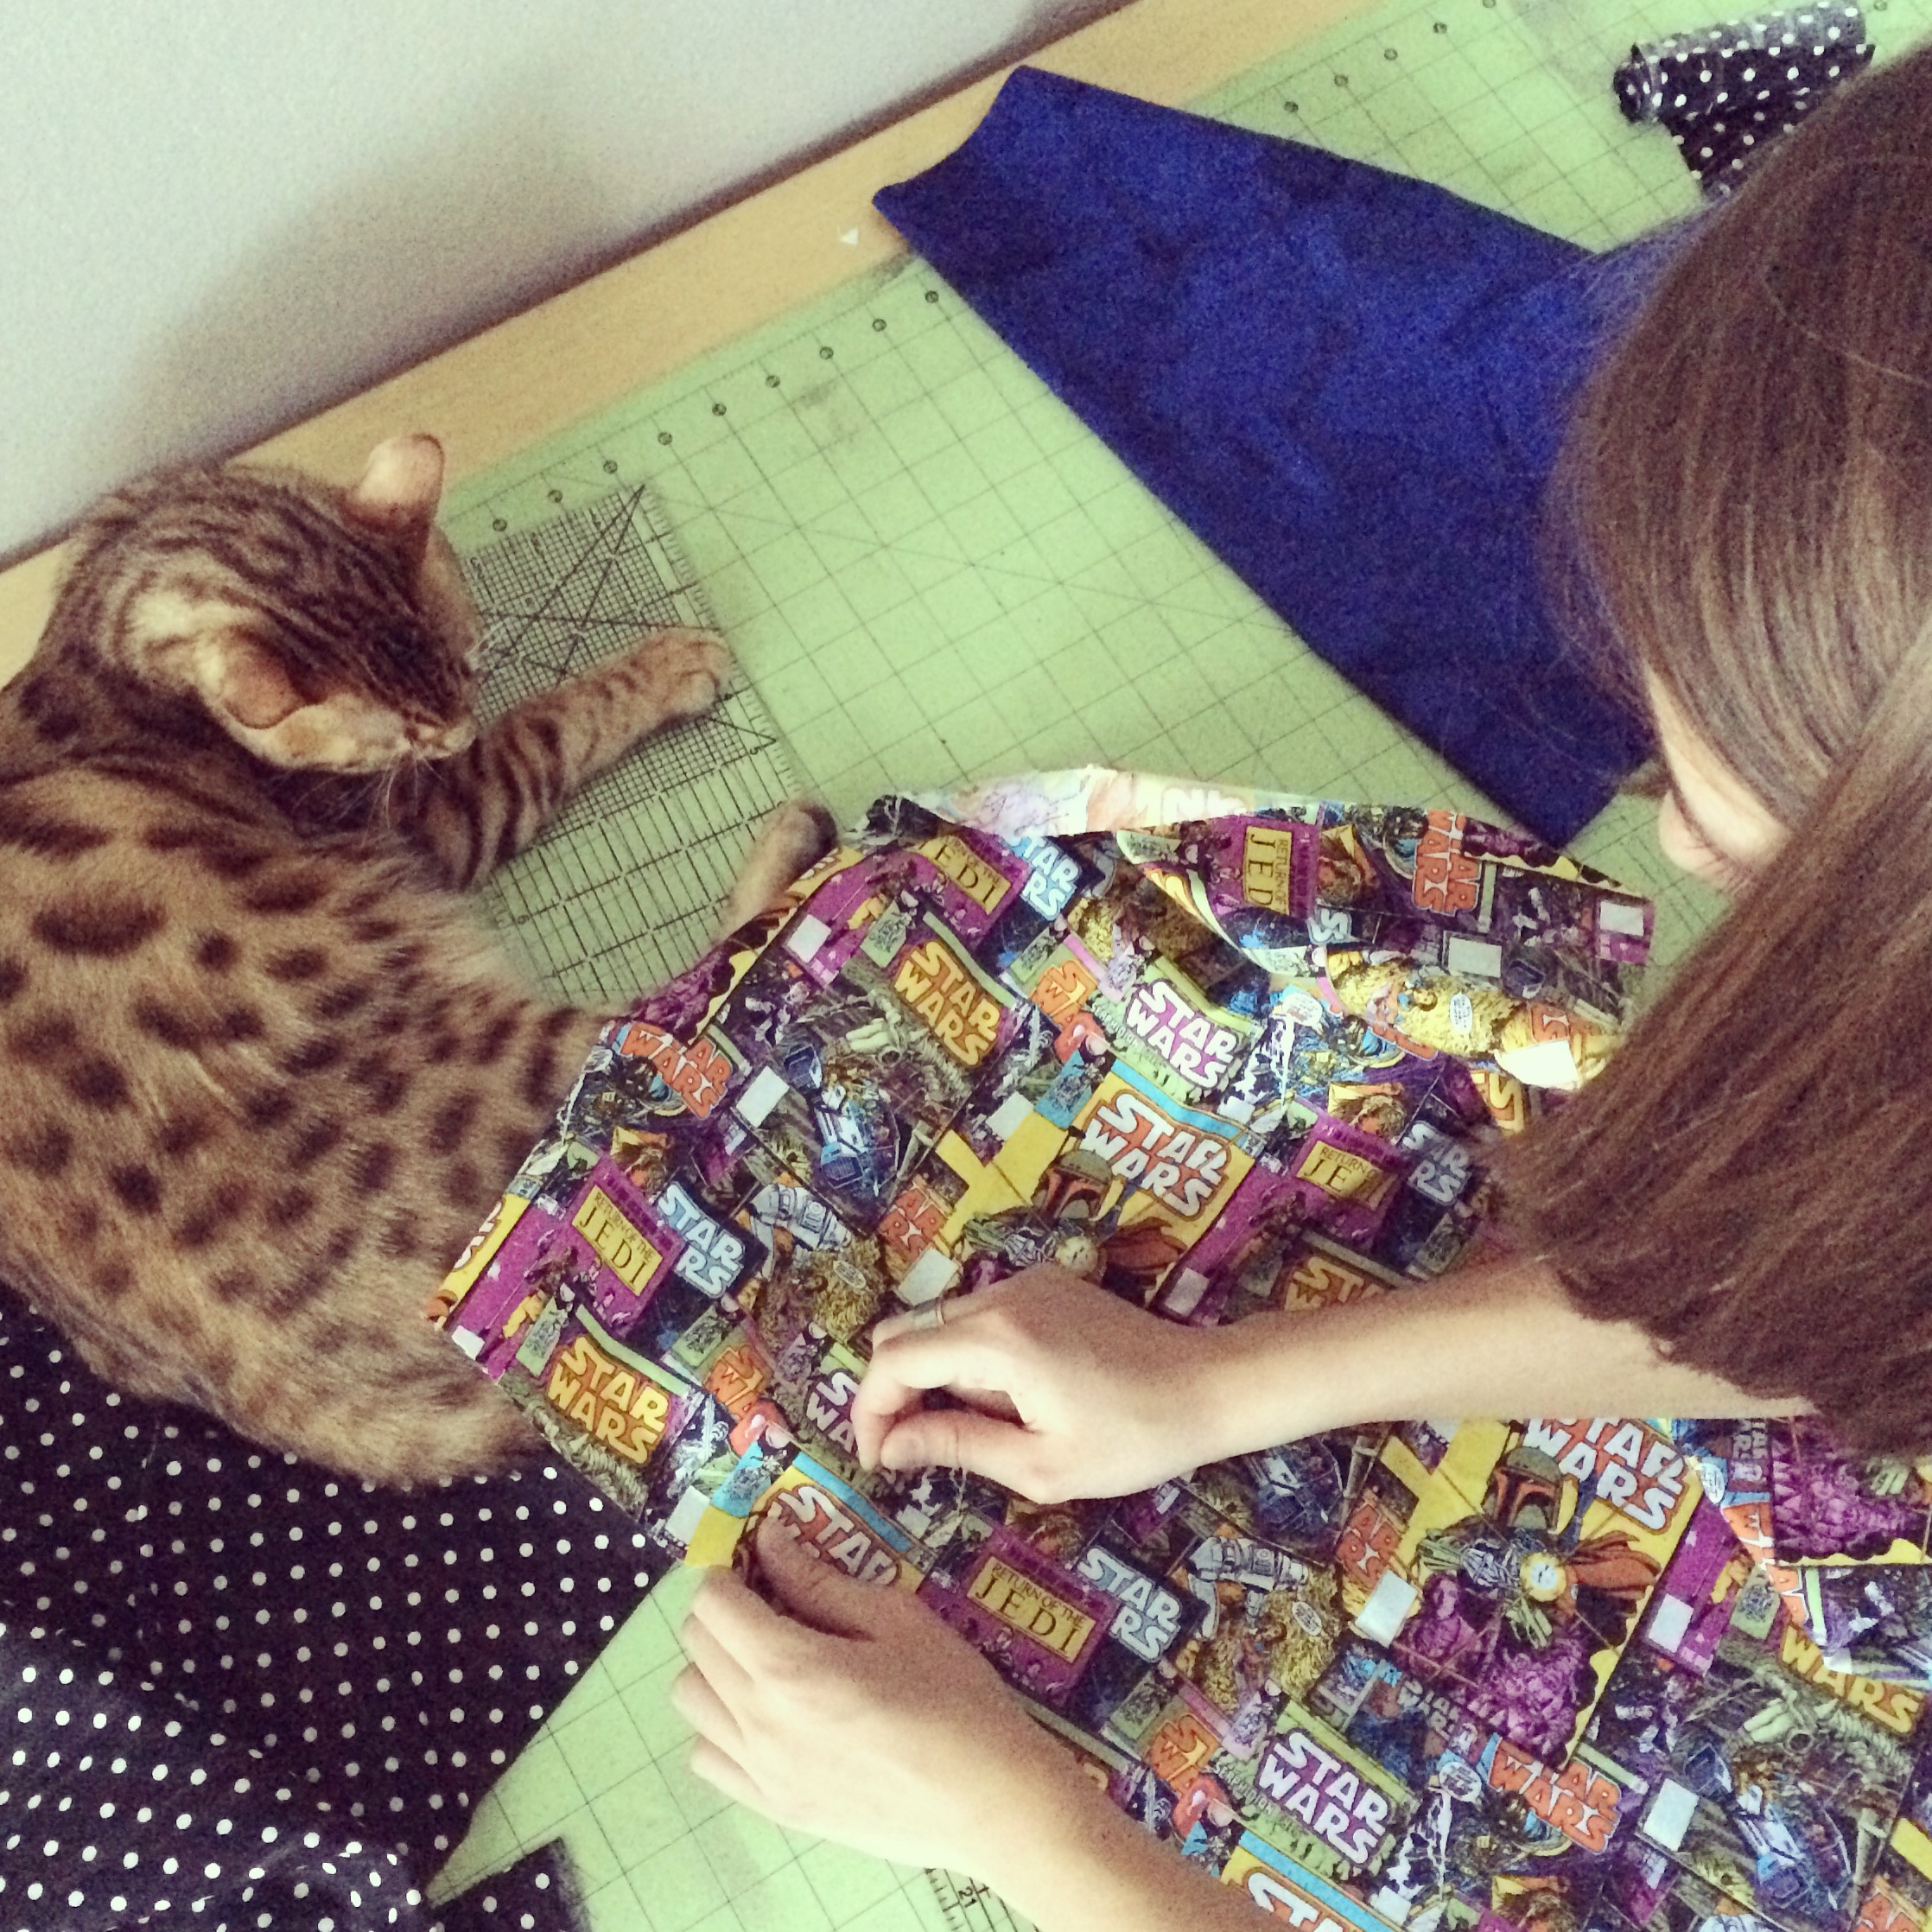
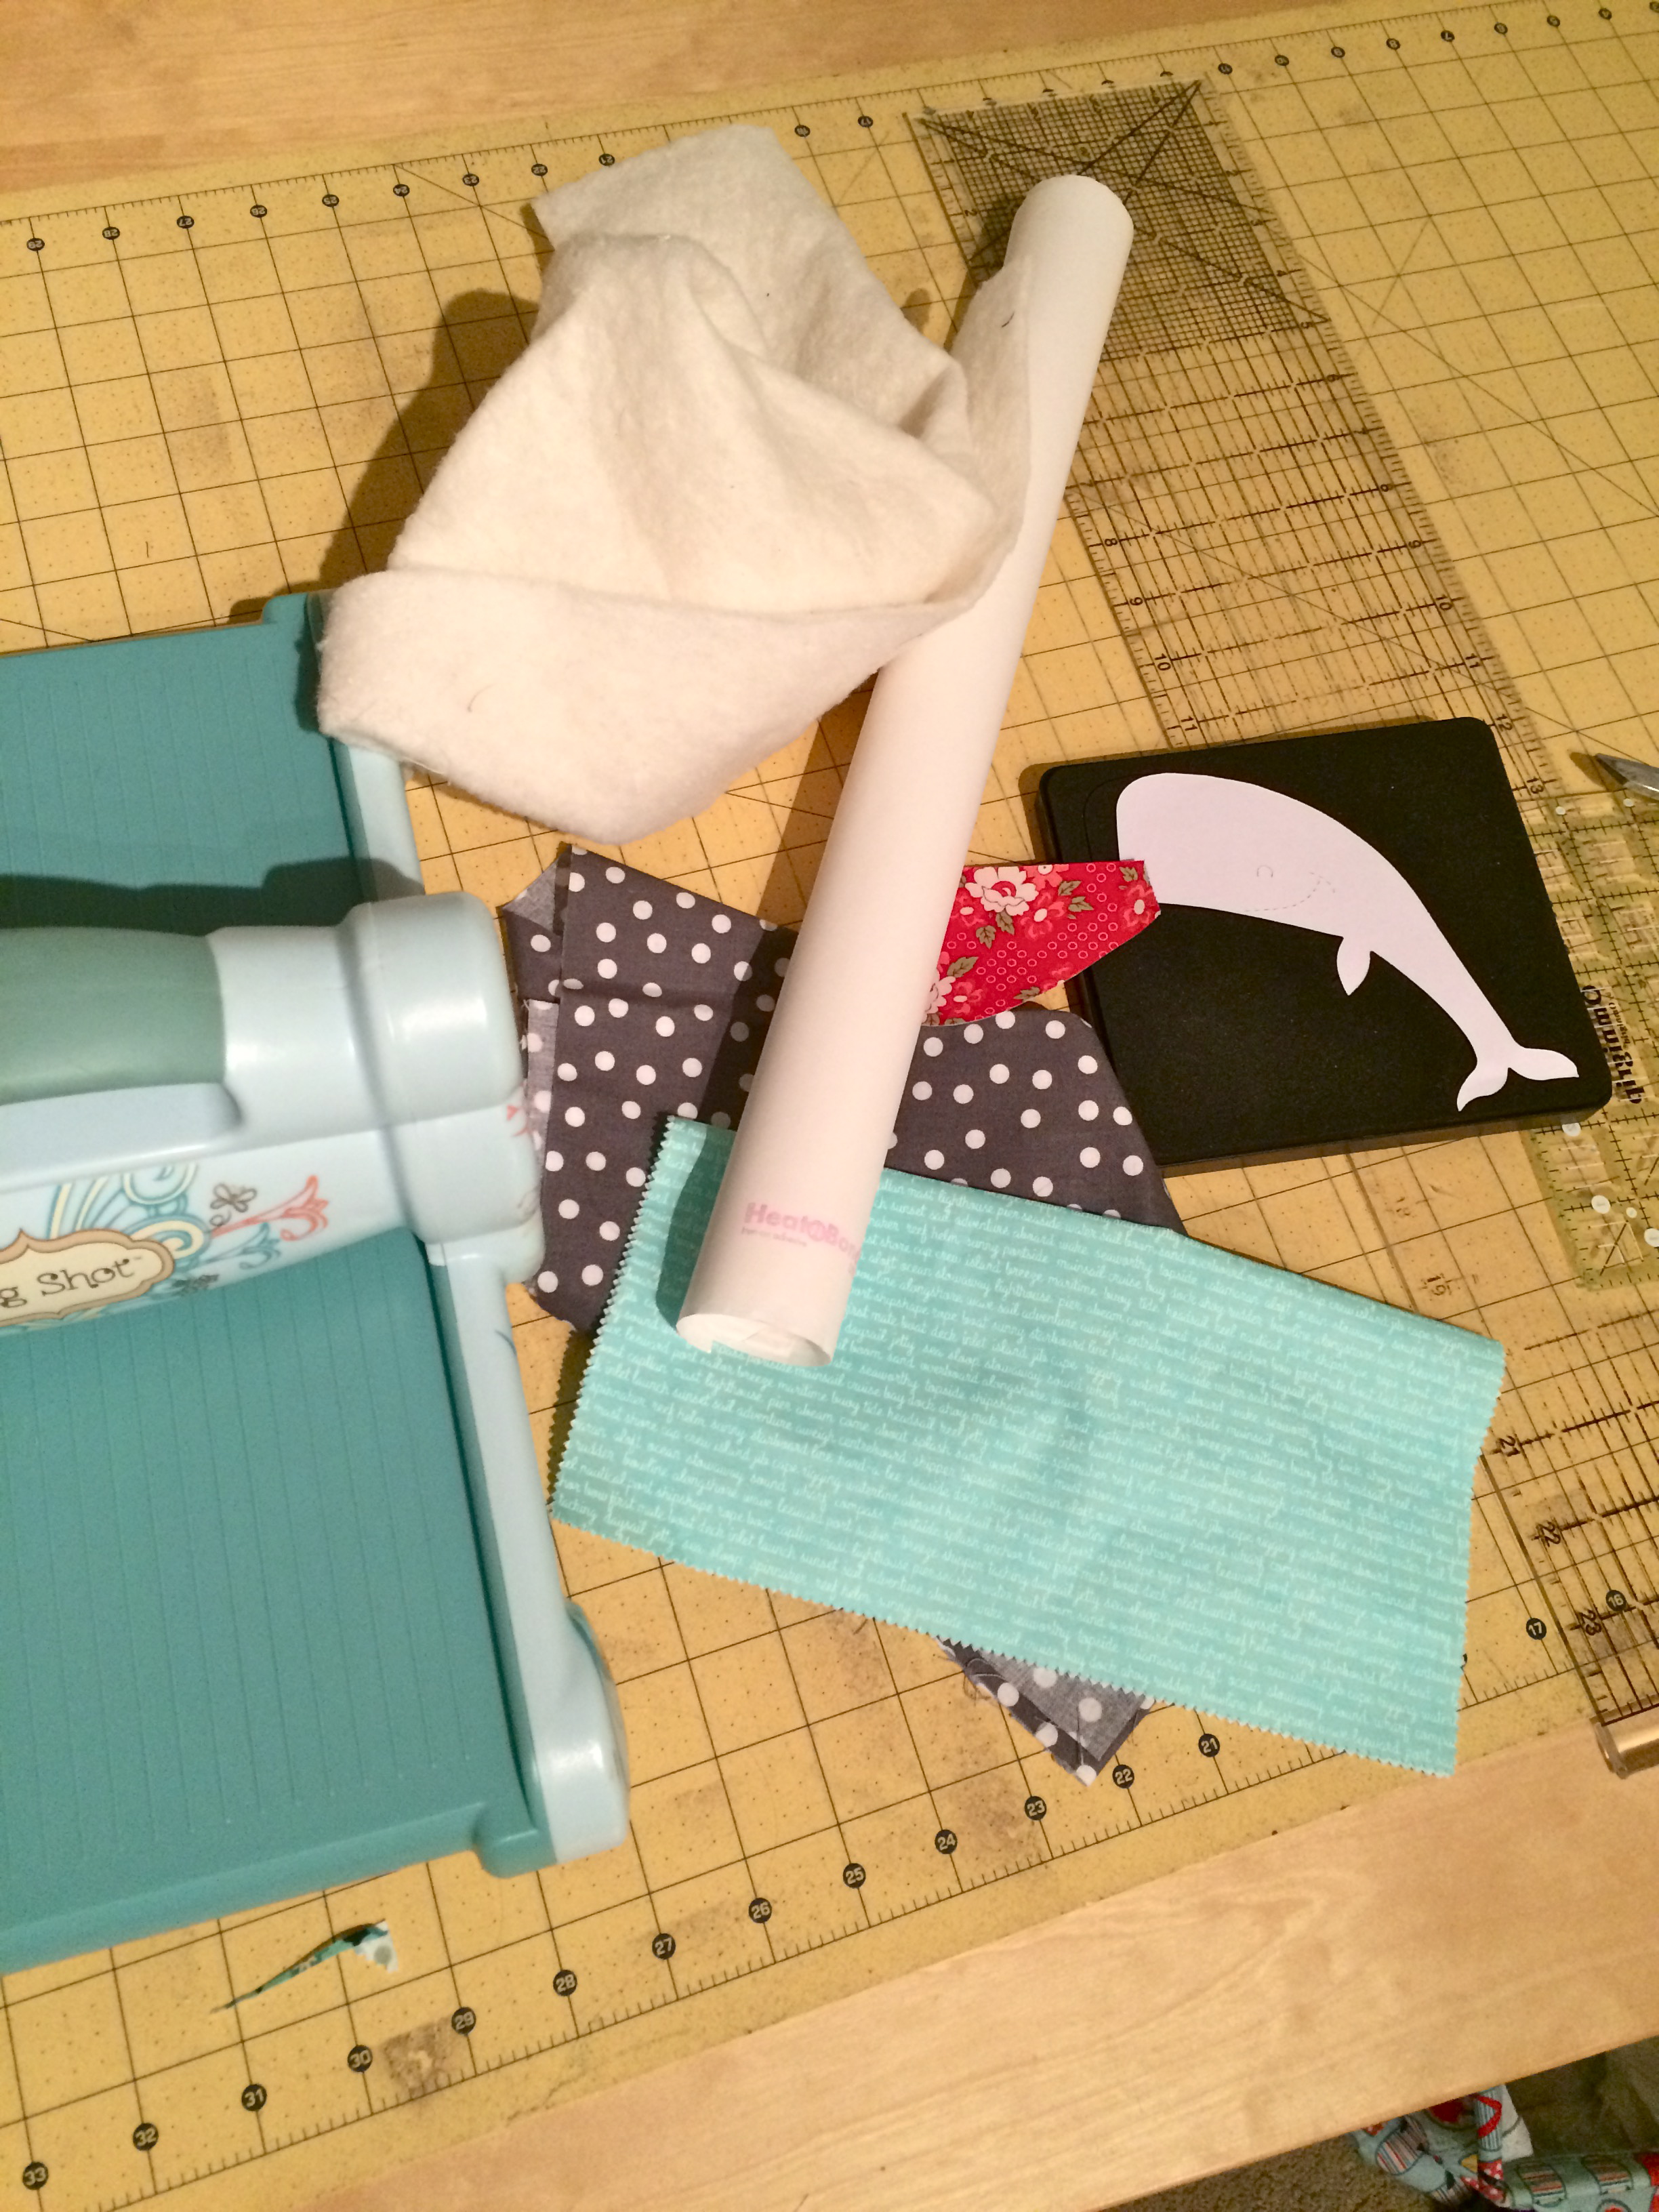
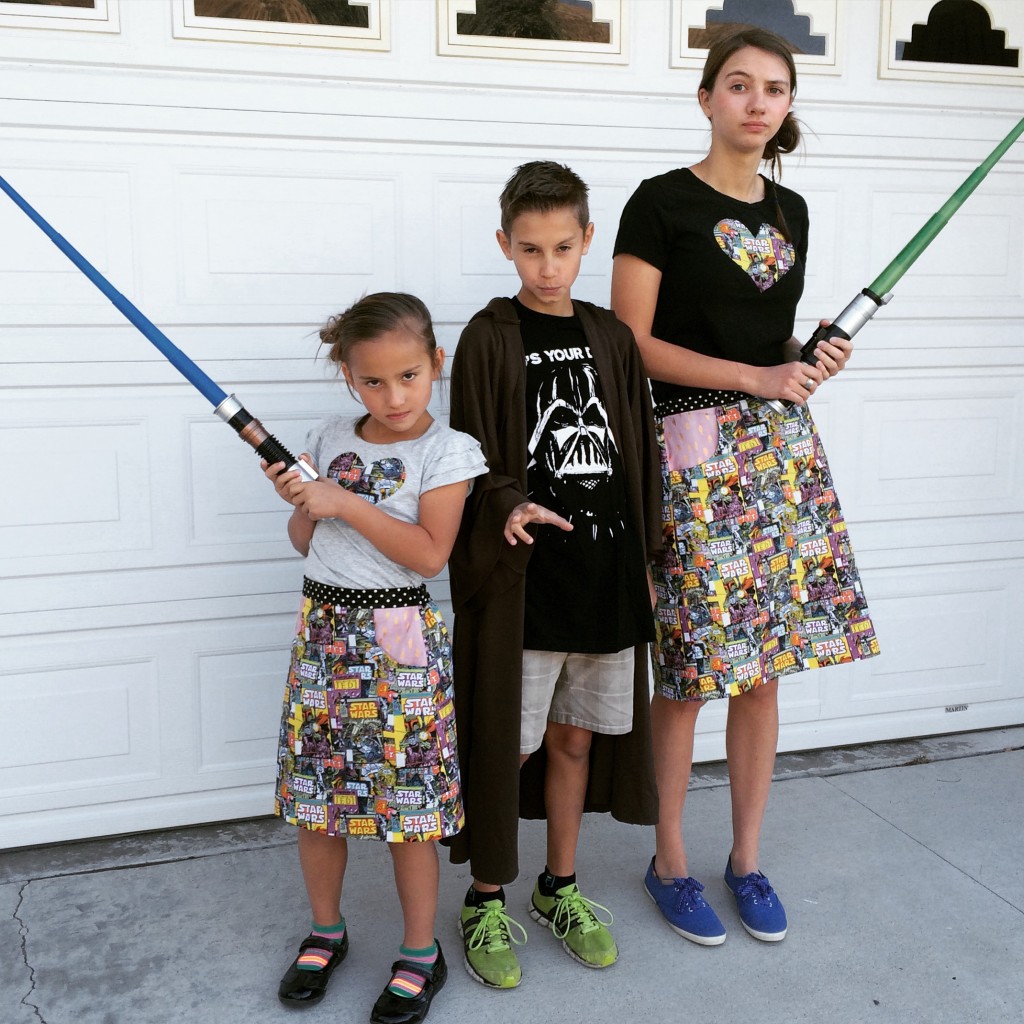
May the 4th is a HUGE holiday in our family – yes I said holiday!!!!!  For some reason we are all Star Wars Nerds!    We needed to do a little sewing to celebrate this totally awesome day and to show our true level of nerdiness!  When I saw this fabric I knew it was perfect for skirts for the girls – I love that there is pink and aqua in it!

star wars skirts
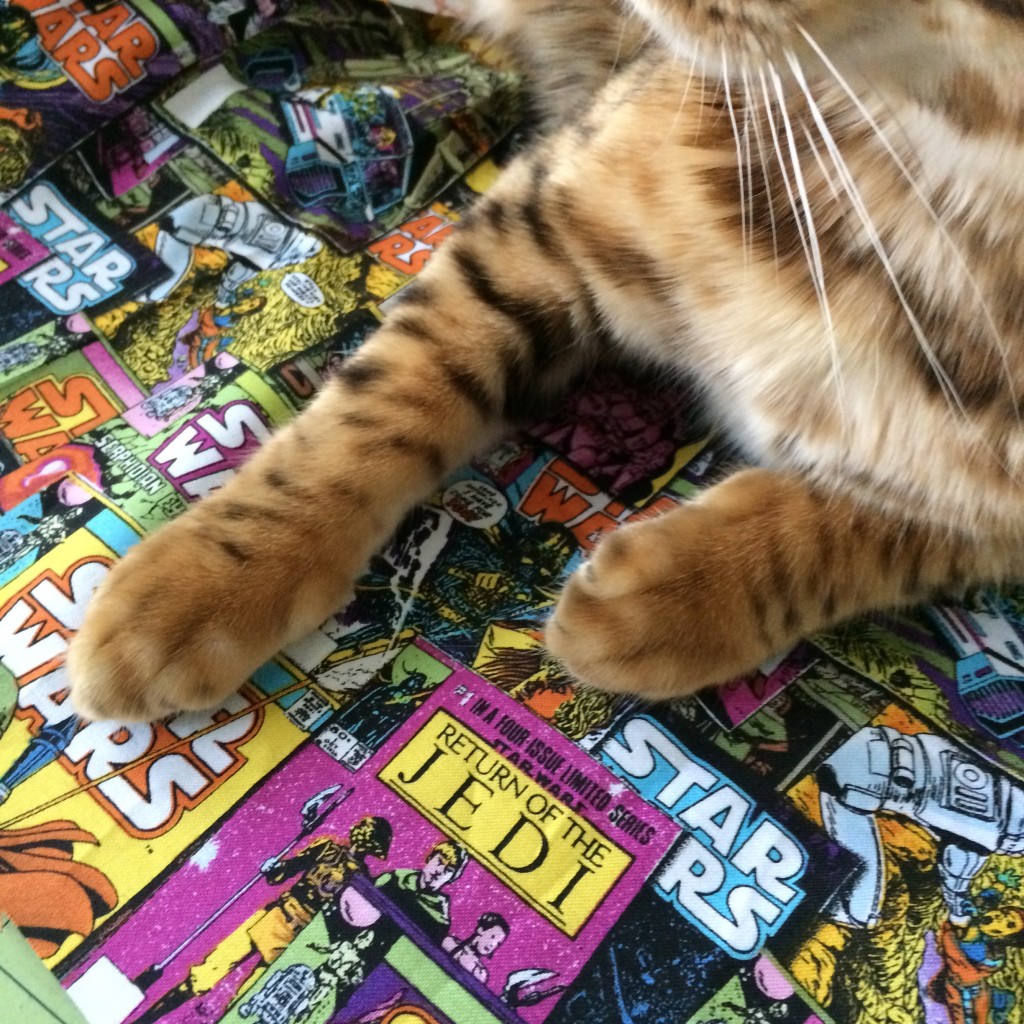
I immediately went to my Potato Chip Skirt and Chocolate Chip Skirt patterns from Tie Dye Diva.  They are FUN to make!  In fact, Ella sewed her entire skirt by herself!

star wars skirts. 3

Mufasa slept on the cutting table the entire time!IMG_6517


I LOVE how they turned out!  The girls were both up extra early this morning so excited to wear their new outfits!star wars skirts. 14

star wars skirts. 12


I put Ella in charge of the T-Shirts.  She drew the heart, applied the Heat n Bond Lite and ironed it on.  We did a little top stitching to secure.  star wars skirts. 9

Of course we needed some Jedi hair styling!!  I love the Jedi Braids!!!

star wars skirts. 10

Jedi Master Mufasa also wishes you a Happy May the Fourth!!!

star wars skirts. 5

Through the Woods to Grandma’s House {Quilt Pattern}

through the woodscover-2
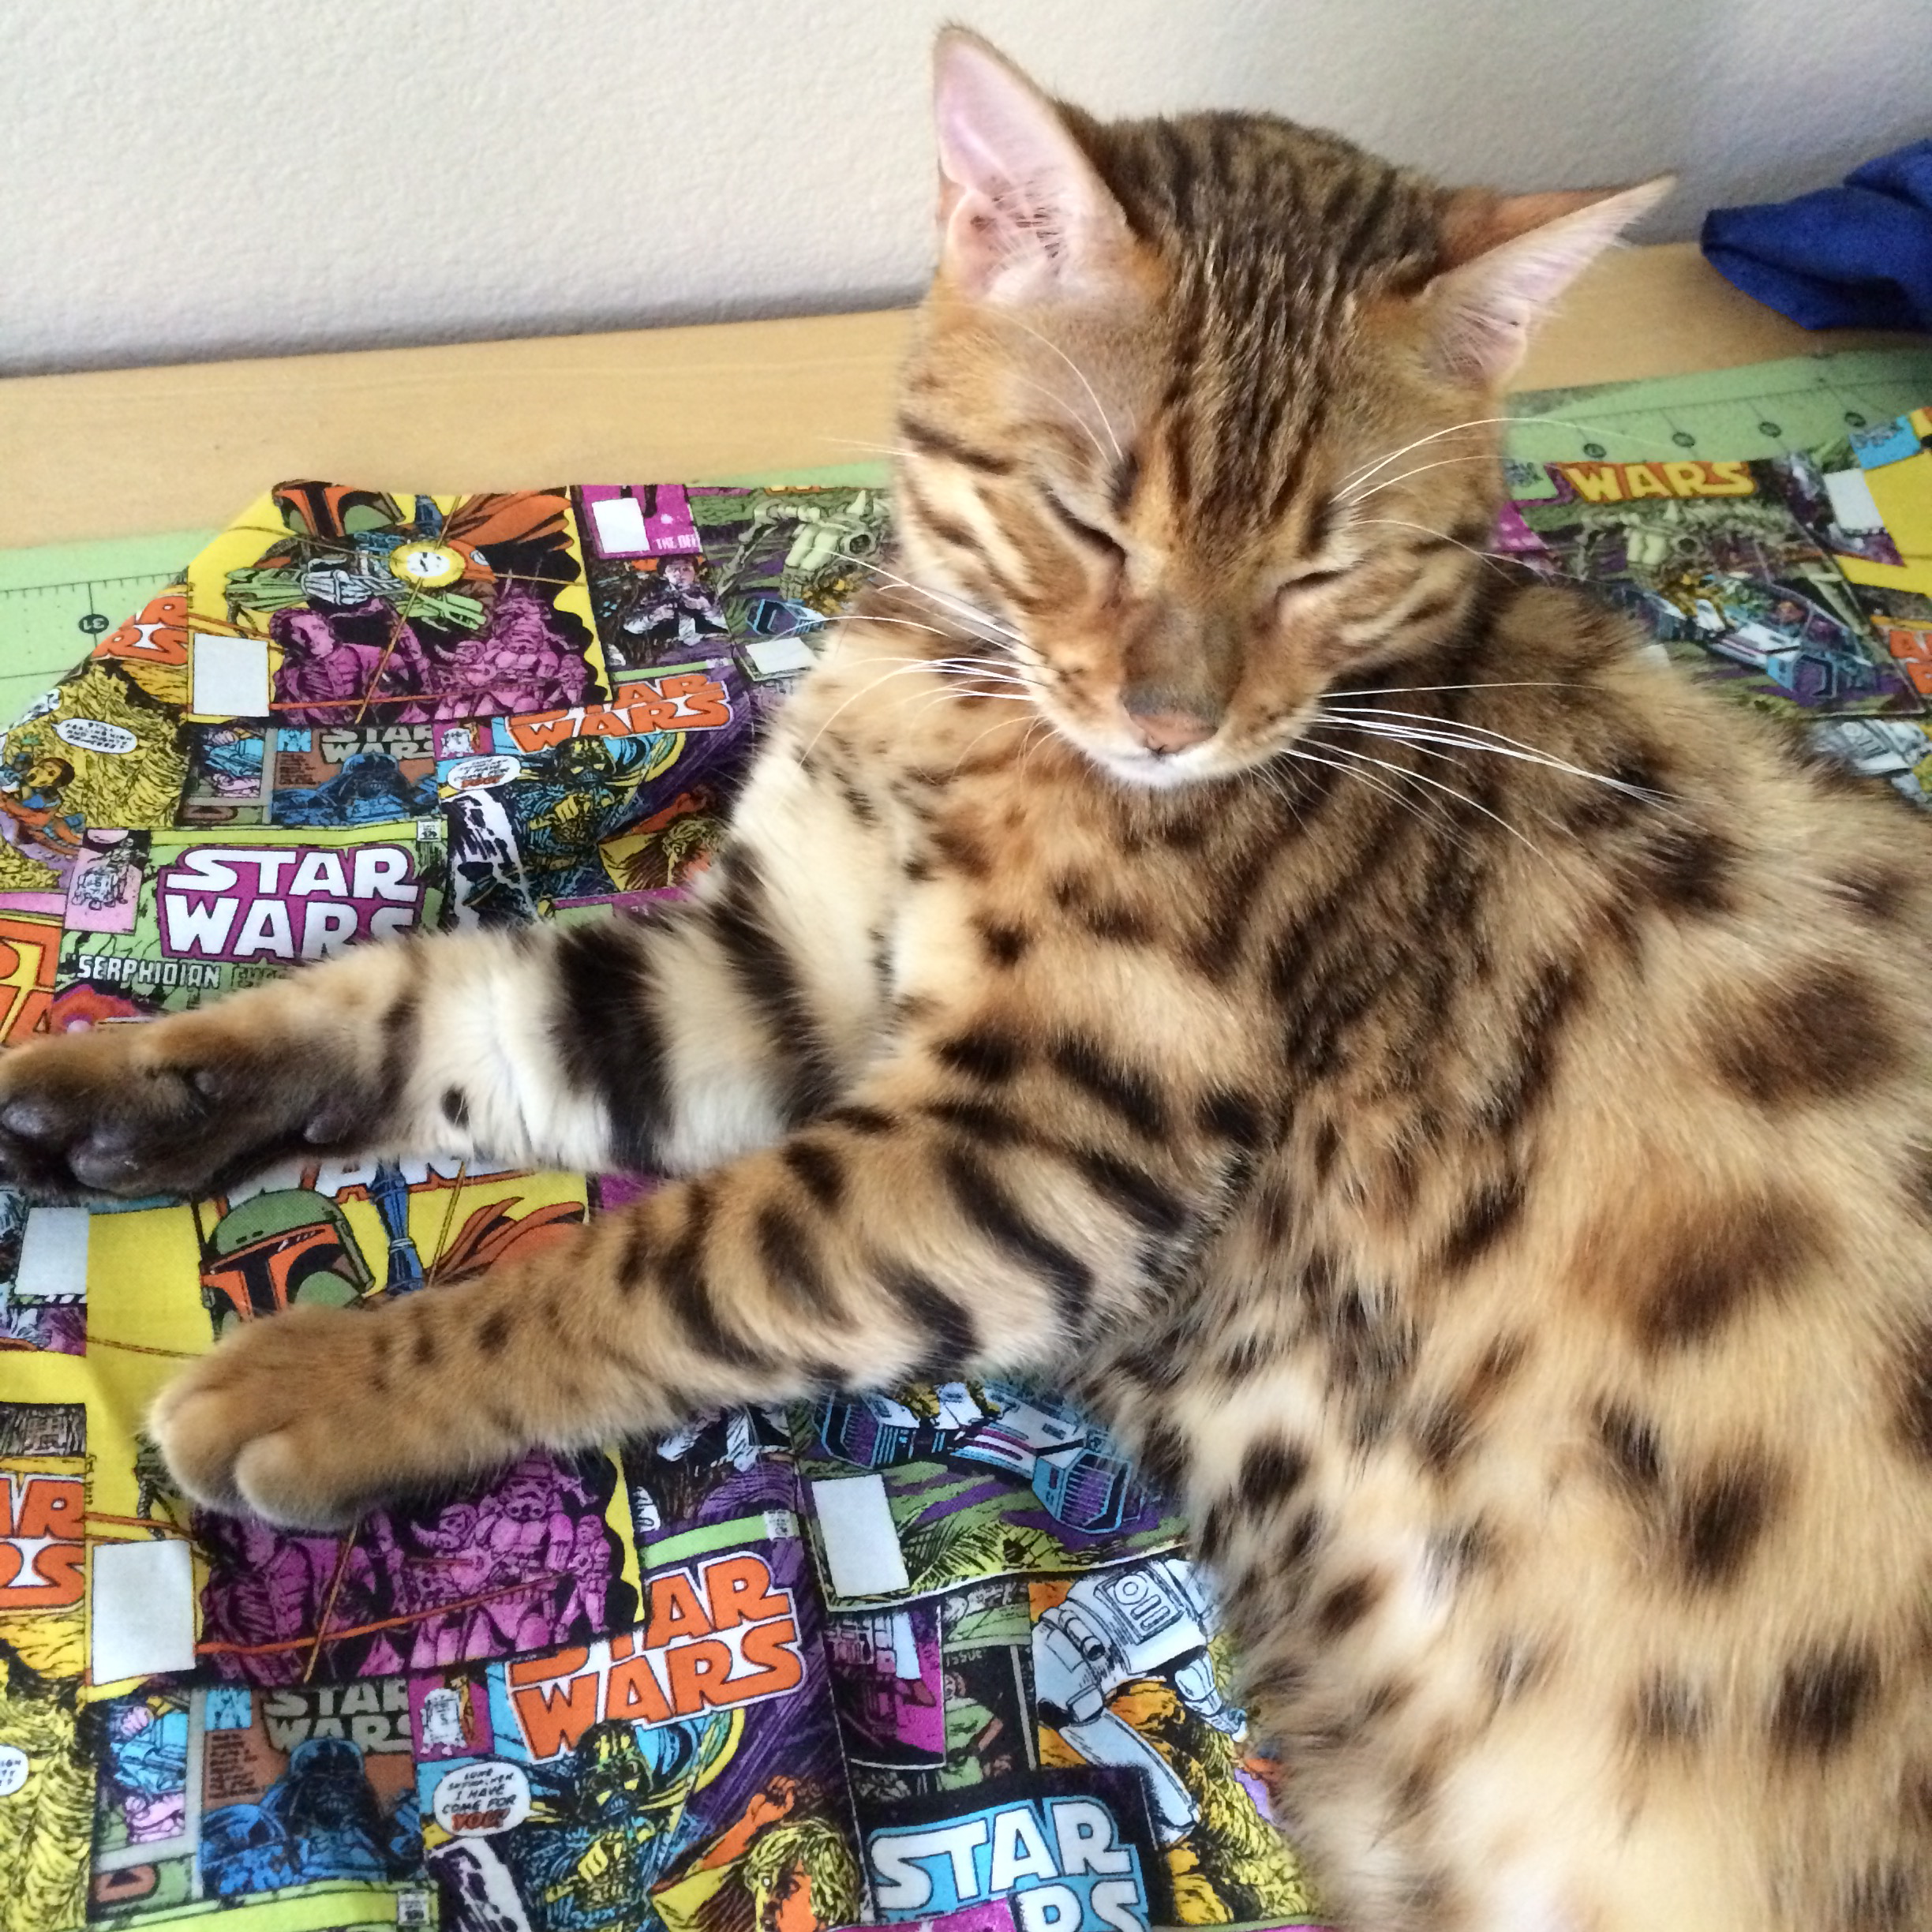
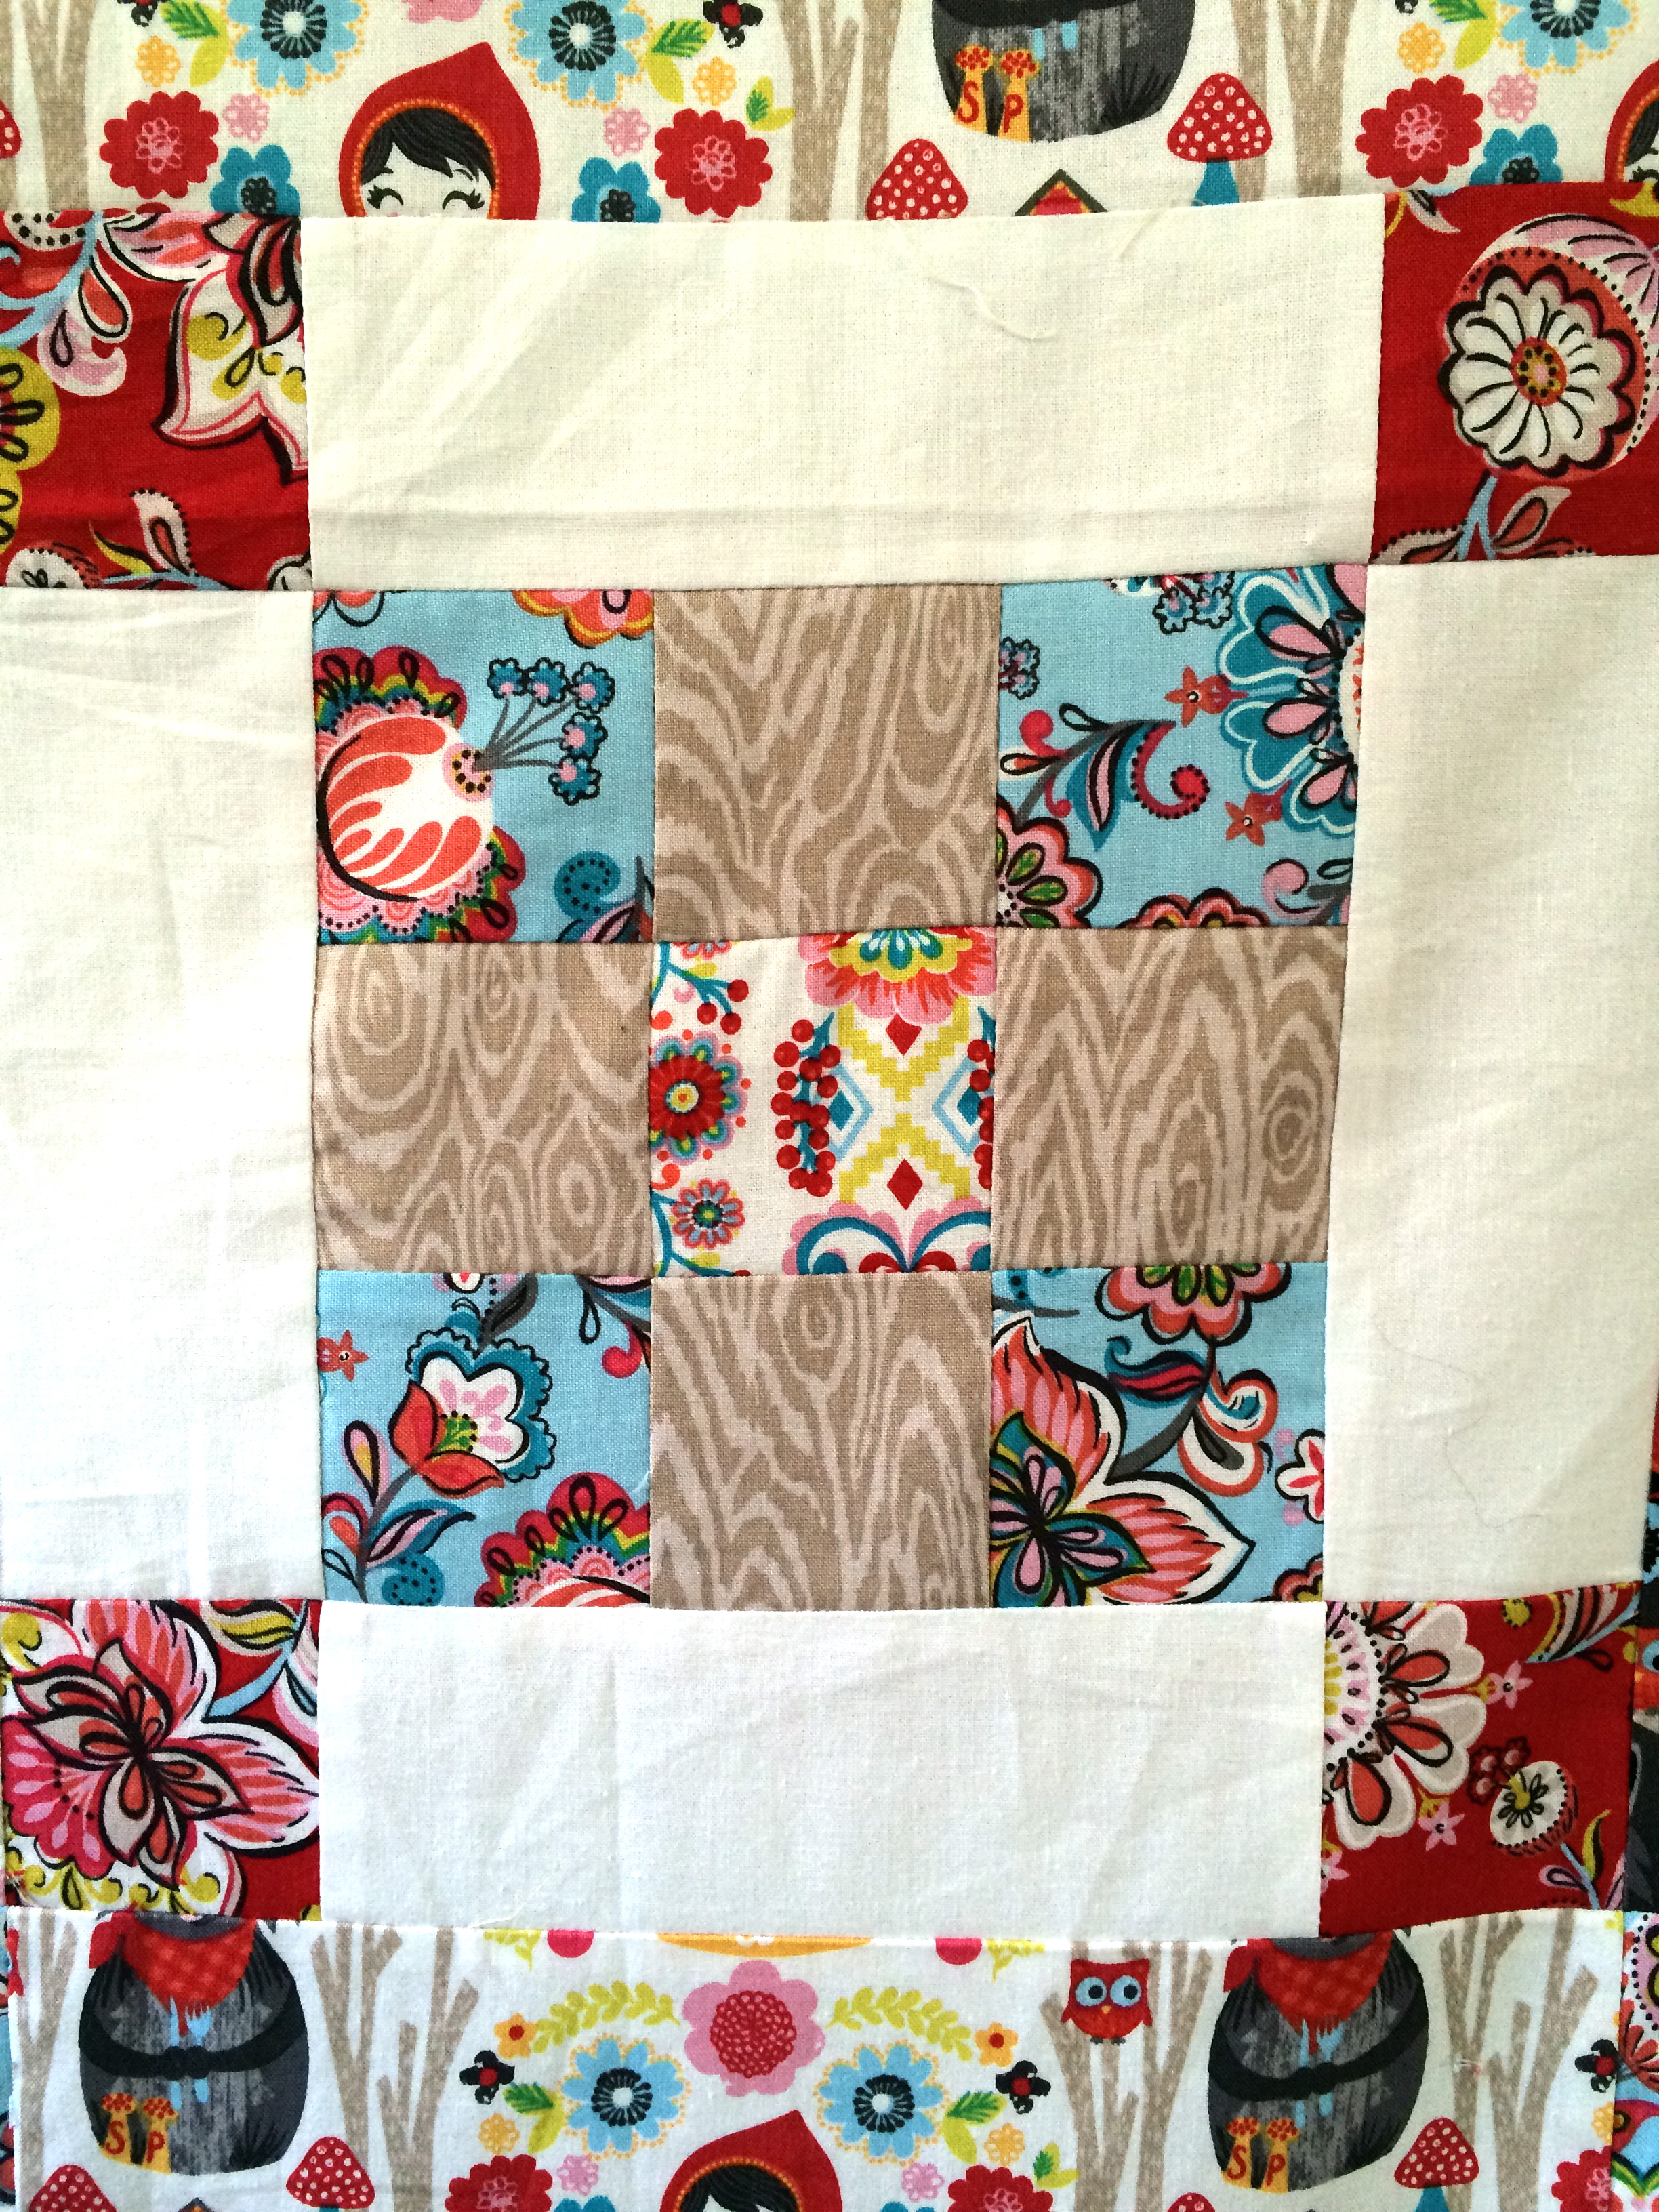
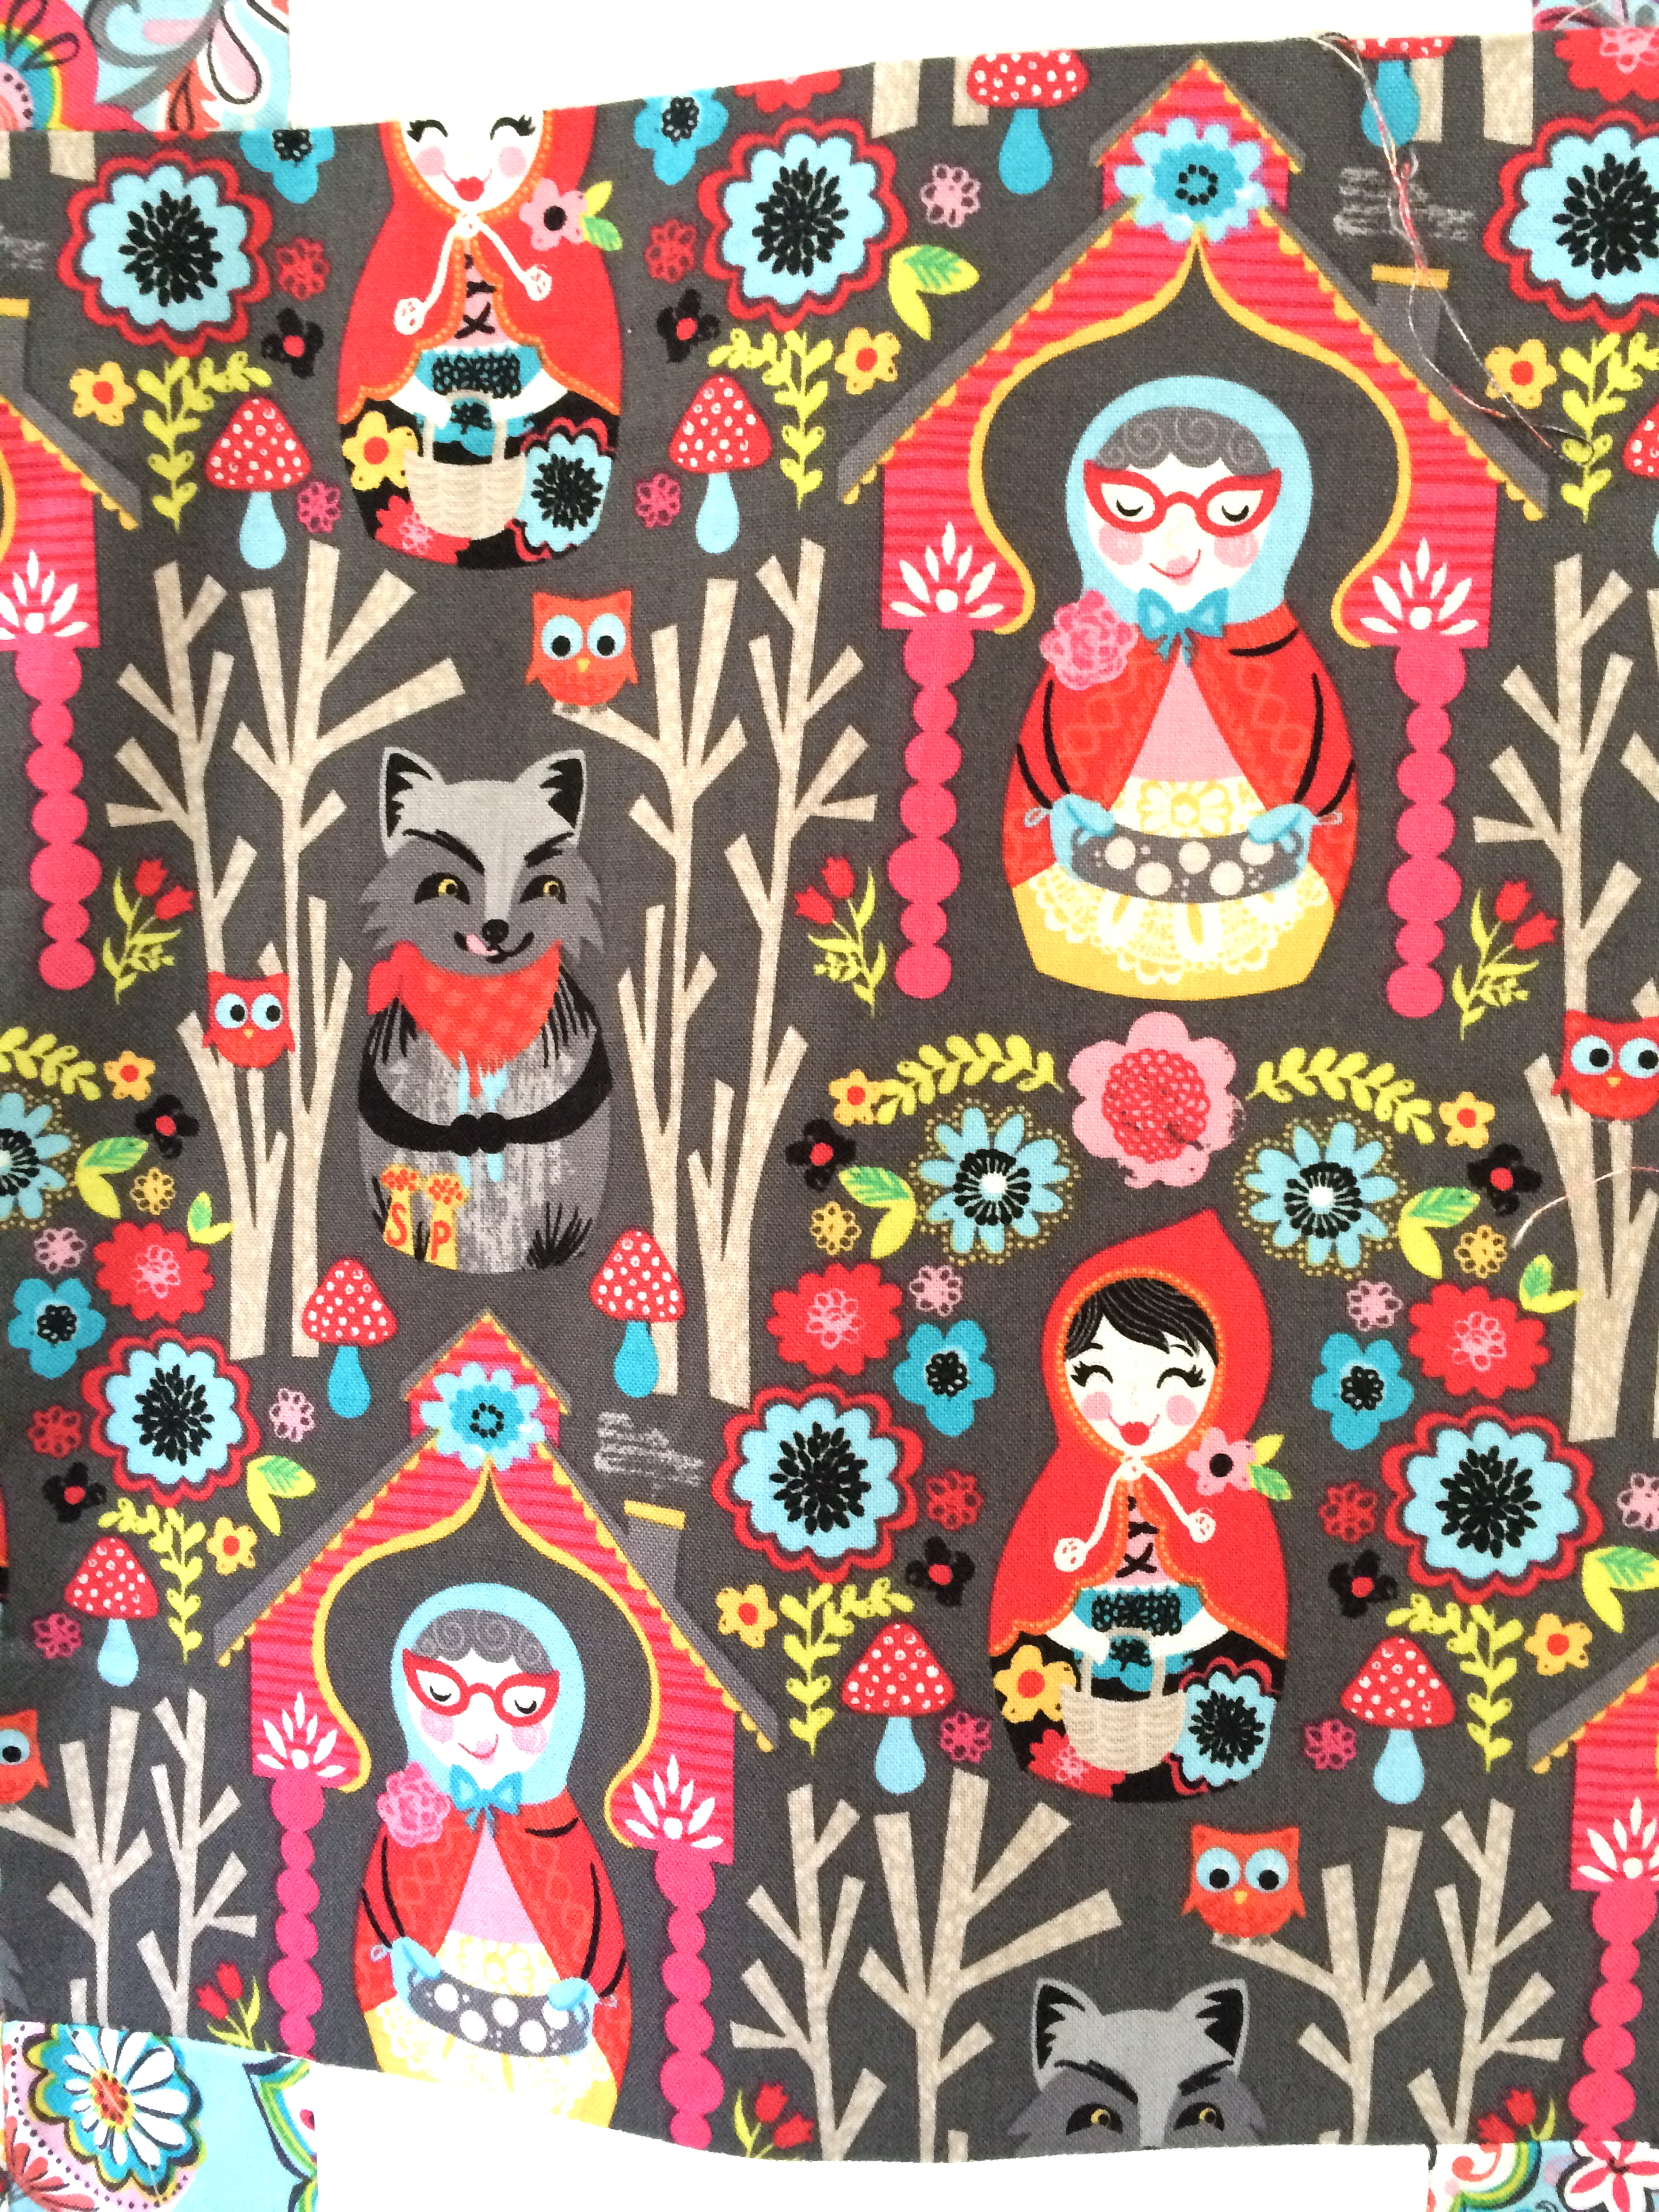
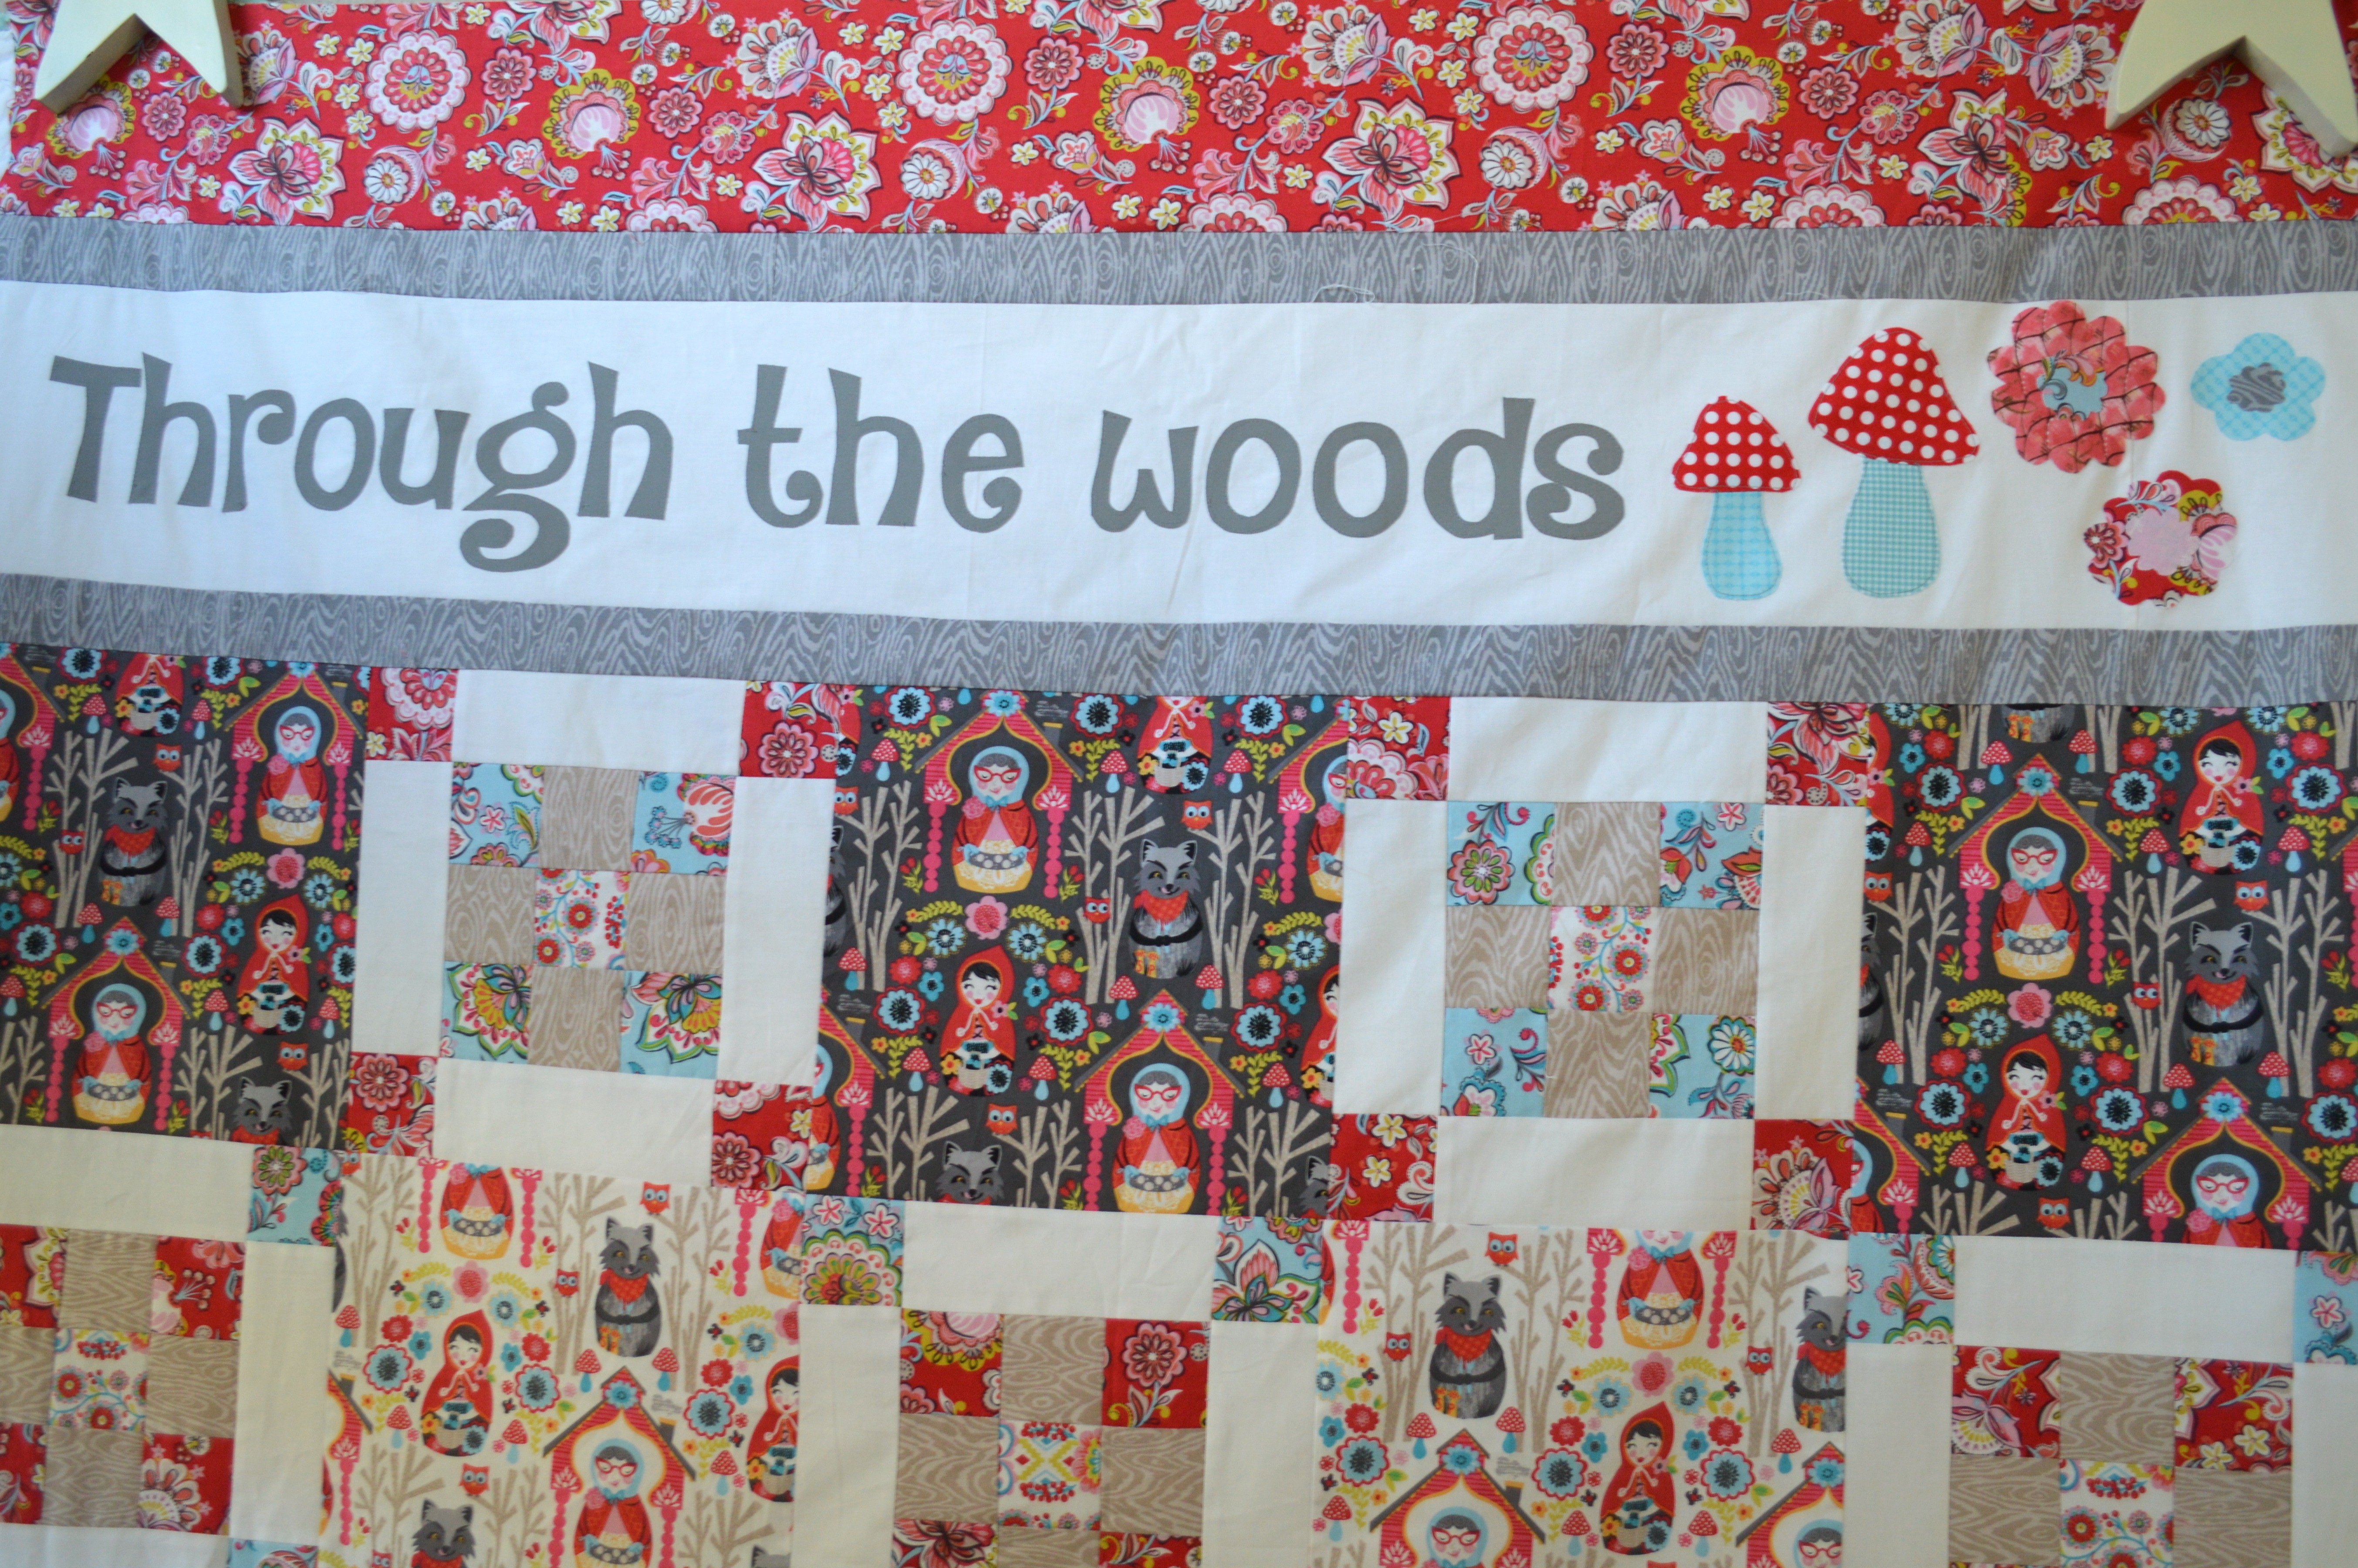
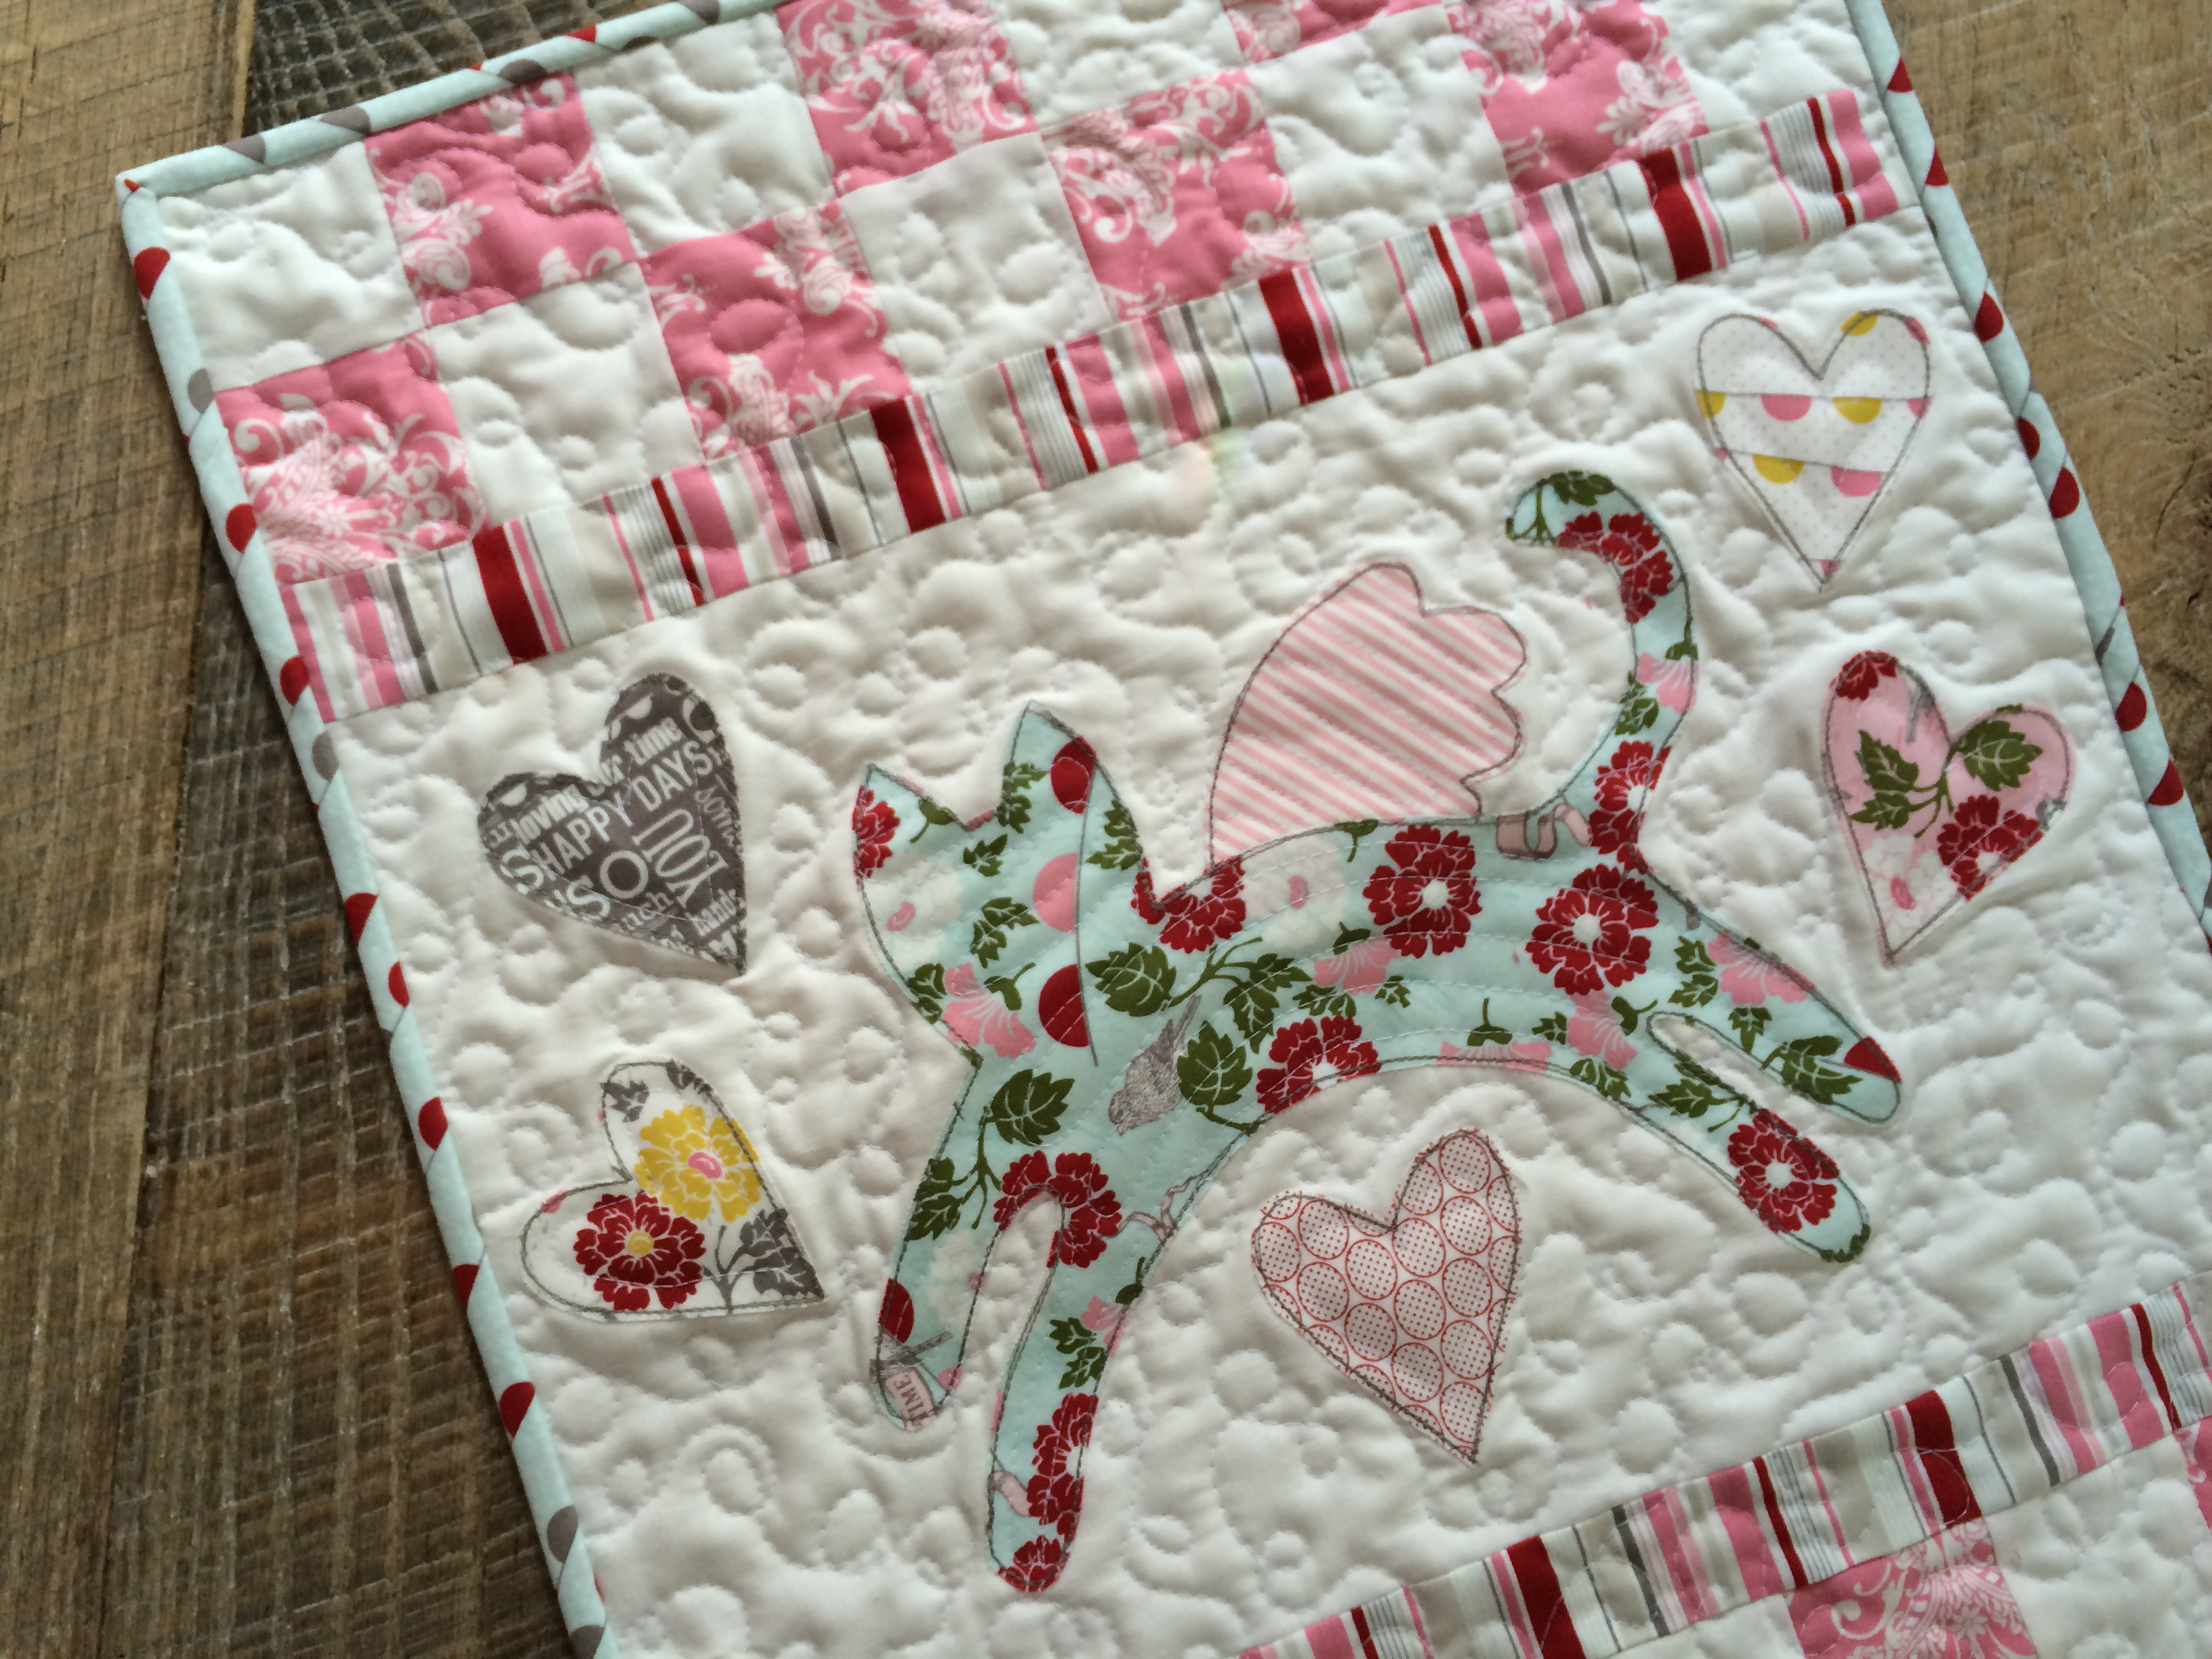
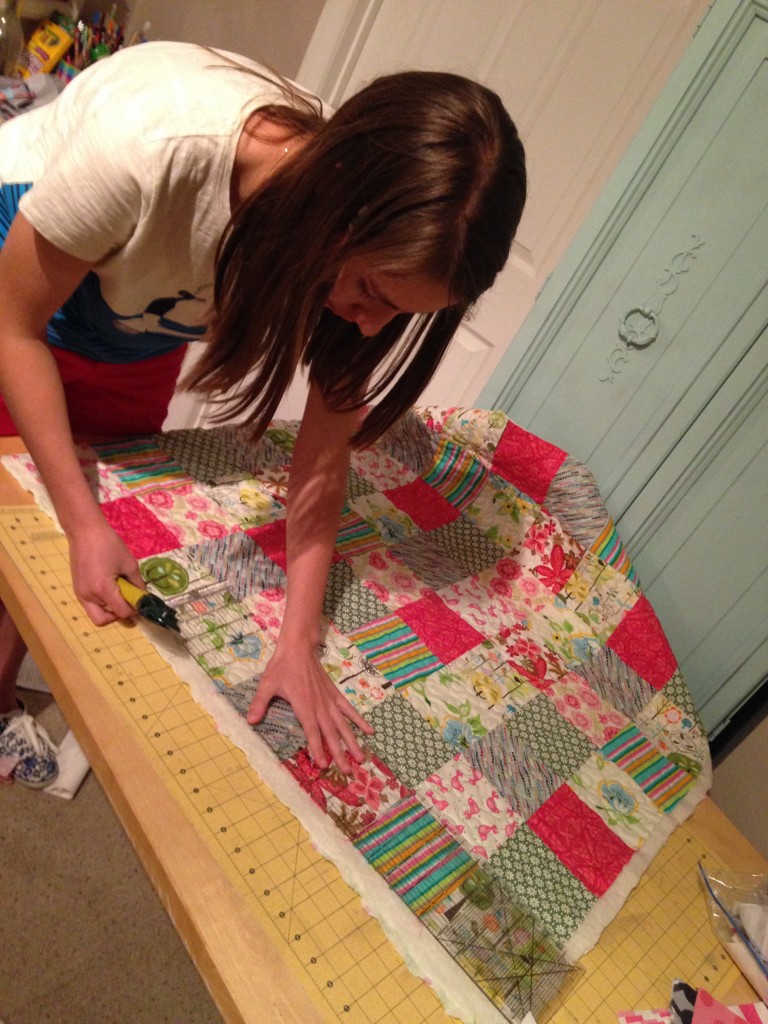
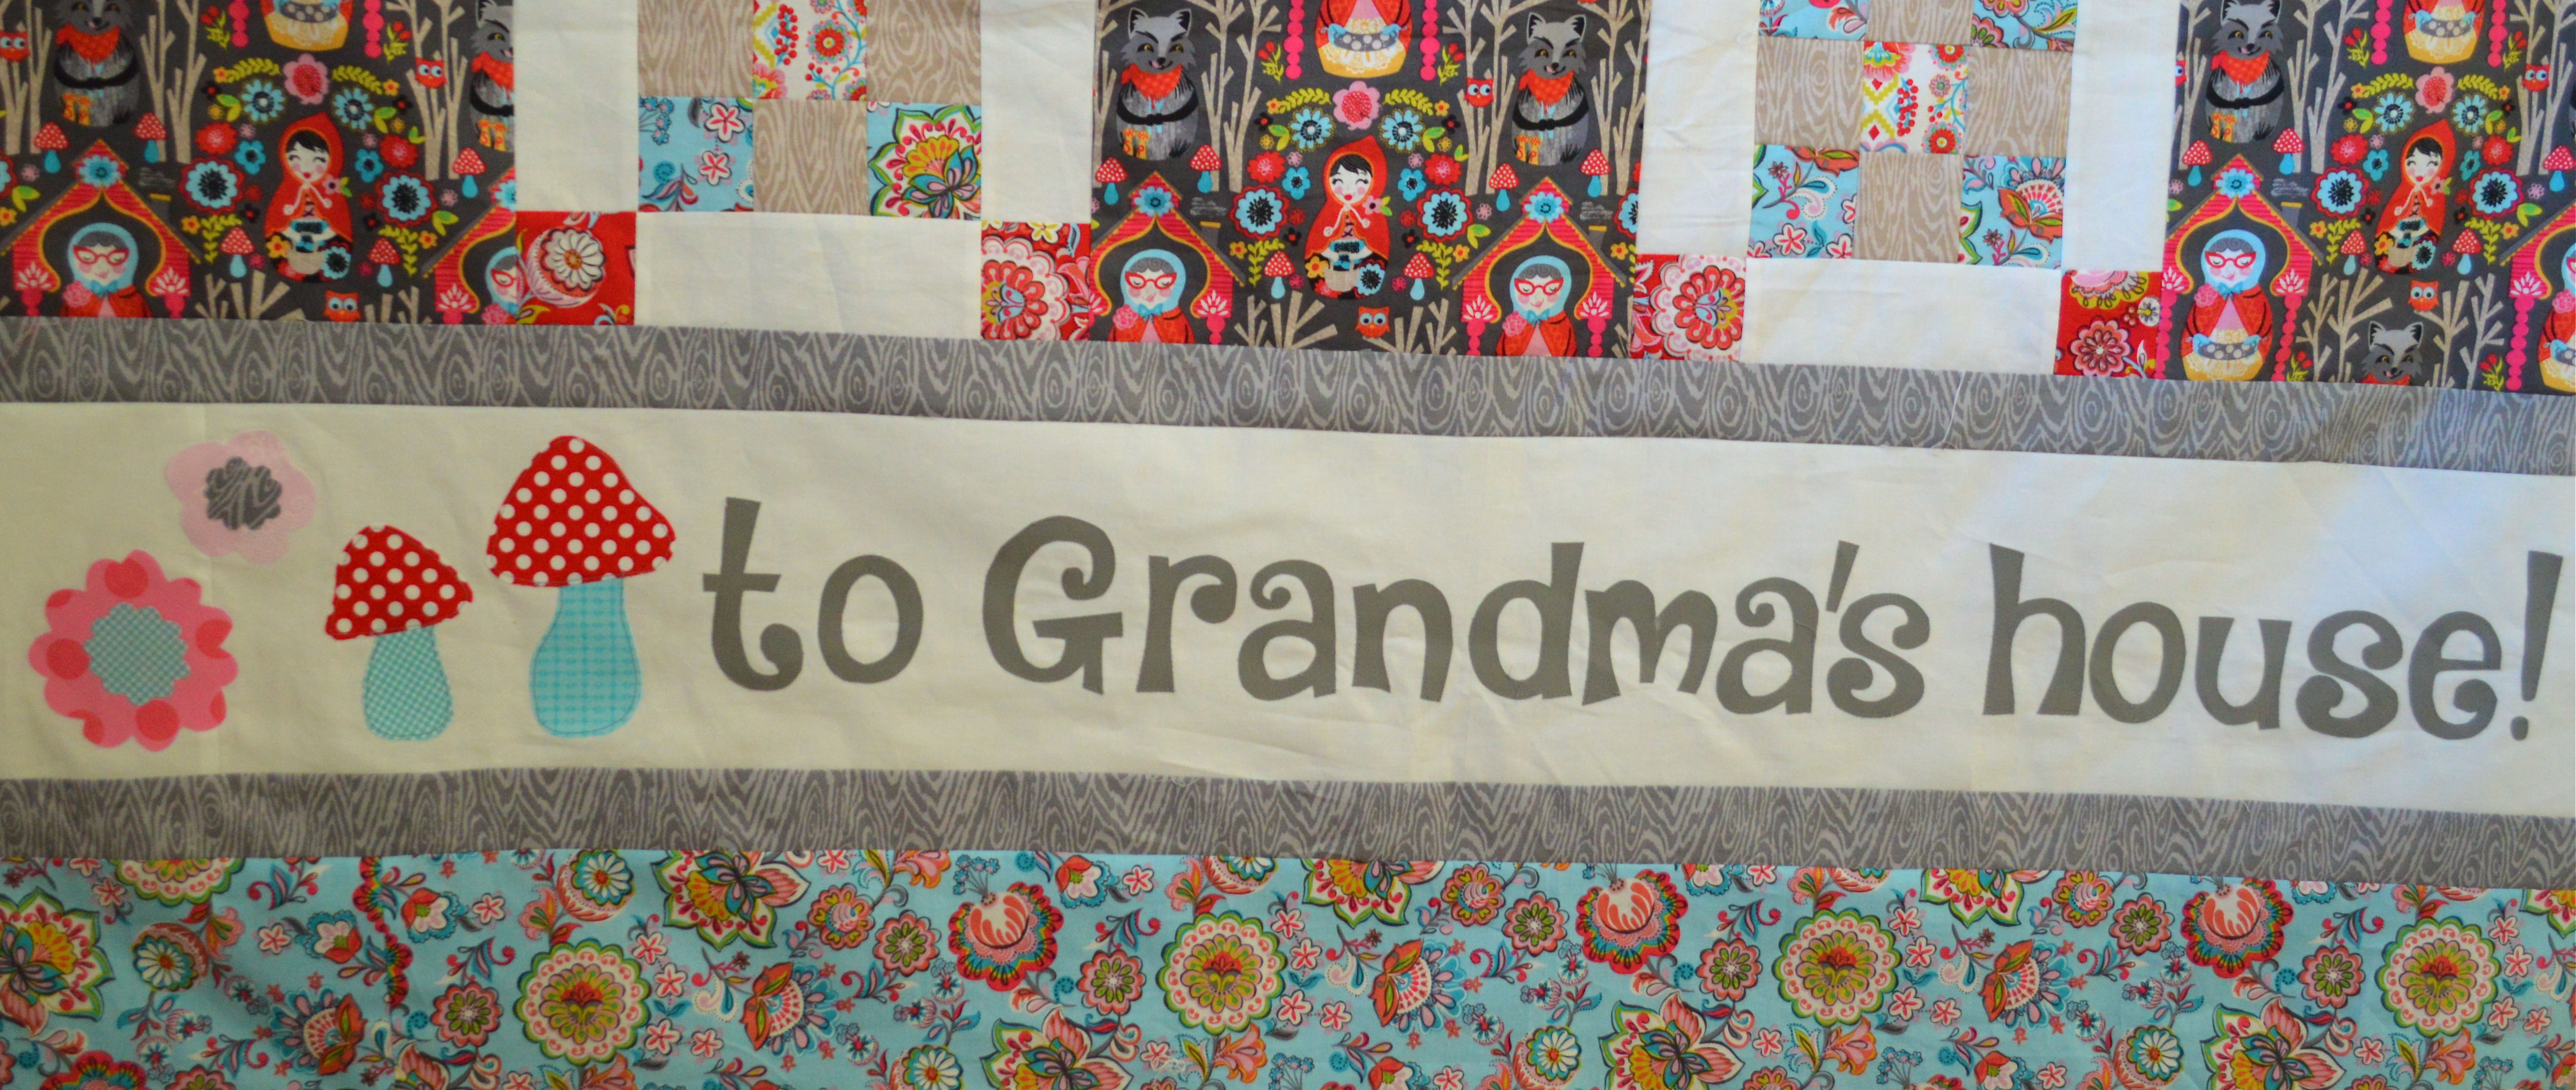
Through the woods to Grandma’s House! This Little Red Riding-hood inspired quilt is perfect the perfect size to take to Grandma’s house or the perfect size to keep at Grandma’s house for special little visitors. With optional “Nana” version, it would also make a lovely gift. Try this pattern with your favorite woodland animal or nature prints. This whimsical quilt features traditional block piecing alternating with a theme print block. Finished block size: 10″ Finished quilt size: 50″ x 78″through the woods quilt

The fabrics are from Blend Fabrics’ “Riding Hood ” line.  Aren’t they the cutest!  You can purchase this quilt pattern PDF from my Craftsy shop or from Emily Ann’s Kloset.IMG_6198

IMG_6199

through the woods quilt 3

Sizzix Whale Bookmark Tutorial

whale bookmark tutorial

In celebration of Earth Day, today, I thought I would share this fast and fun tutorial for a whale bookmark using the Sizzix Whale Die.  I have loved whales my whole life.  I remember as a little girl saving up my money to buy a $5 gold colored whale necklace; I was so excited because a portion of the money would go to the “Save the Whales” fund.

sizzix whale bookmark 8

Here’s what you need to make the bookmark:

scrap of aqua, gray dots, and red fabrics

Heat n Bond Fusible Fleece

Sizzix Whale Die

Heat n Bond Lite fusible applique

Grommet or large eyelet

scraps of ribbon/trim

Instructions

Begin by cutting the aqua fabric (2) 4″ x 10″

Cut the Fusible Fleece the same size, 4″ x 10″

(sorry for the photo quality, I do my best work late at night!!!!)
sizzix whale bookmark 2

Draw an angle in the upper corners to form the shape of a tag.  Notice where I positioned my lines in comparison to the grid:

sizzix whale bookmark 4

Iron the fusible fleece to one of the aqua pieces on the wrong side.  Plaace right sides of the bookmark pieces together. Sew around the bookmark,using a generous 1/4″ seam.  Leave an opening along the side for turning.  Trim the edges close to the seam and clip corners.  Turn right side out, press.  Top stitch.

sizzix whale bookmark 5

For the whale and heart appliqué pieces, iron the Heat n Bond Lite to the wrong side of the gray fabric.  Cut out a rectangle roughly the size of the Sizzix Whale Die.  Run it through the Big Shot or Fabi Machine.  For the heart, I cut it freehand.  Peel the backing paper off.sizzix whale bookmark 3
Position the appliqué pieces as desired.  Iron in place.  Top stitch around the whale and the hart.
sizzix whale bookmark 6

When you are finished, add a grommet or eyelet and tie ribbons through it.

sizzix whale bookmark 10

It also doubles as a cat toy!!!sizzix whale bookmark 7

I think it’s the cutest and I totally needed an new bookmark!!!
sizzix whale bookmark 9
sizzix whale bookmark 11

Choose Happy {quilt pattern}

choose happy cover

Meet my newest quilt pattern “Choose Happy”!!!!!  Its a free pattern available on the Therm O Web Blog.  The fabrics are from Pat Sloan’s newest Moda line called “The Sweet Life”.  They are so bright and cheerful and HAPPY!!!

choose happy quilt 25

Of course my #kittyquilter Mufasa had to get his paws on the project 🙂  The letters and flower are appliquéd using Heat n Bond Lite EZ print sheets.  You can print the patterns from the Therm O Web Blog.  I love pinwheels and I thought they were perfect to use with this fabric!  The center quilting is “pebbles” and the main part of the quilt is loop-de-loos.choose happy quilt 24

This would quilt would be darling on your sewing room wall or as a sweet gift for a friend.  I’m going to sew up another one soon!!!
choose happy quilt 26

Mini Kitty Quilt Pattern Now Available!

minikittycover

Meet Mini Kitty – my very first published quilt pattern!  This little mini quilt has brought me so much joy in my life!  I was inspired to make it as a gift for a friend.  Since then, it has been recreated over and over as gifts, and has even been the inspiration for our #kittyquilter group on Instagram!  I love connecting with friends who love quilting and their fur-babies!!!  My pattern is available to purchase on Etsy at Emily Ann’s Kloset and on Craftsy.  I hope you like it!!!kitty love mini quilt 18

IMG_5464_2

I love all the combinations and variations you can make with this one pattern!!20150404_183528-1024x576
IMG_5462_2

IMG_4660

I really should make one for Baby Mufasa instead of always giving them away 🙂

IMG_4690

IMG_4913

IMG_4925

IMG_4922

Sew News Placemat & Napkin Set

IMG_4974

I I have a hard time keeping secrets!  Especially since August 2014!  My quilted bunny placemats and reversible bunny napkins are in the April/May 2015 issue of Sew News!  I still giggle a little when I see my name in print.  I am very grateful to Sew News for liking my pattern ideas 🙂  The fabrics I choose are from the Grace line from Blend.  They scream Spring to me!!!IMG_4978

IMG_4975

Mufasa thinks they make a nice new napping spot for him!DSC_1765

I love the texture the quilting gives the placemats.  The added lace and the pieced floral fabrics makes it seem a little vintage!bunny placemat

I love the addition of this ecru lace trim to the napkins.  I also love that they are reversible – no exposed seams!  If you like this project, pick up copy of Sew News and read all about it!
IMG_4980

Day #14 Happy Easter


grace


I hope you and your family have a wonder Easter.  It has been so meaningful for our family to focus our 14 Day Walk With Christ on serving others.  I would love to hear your experiences.  Every Easter our family makes Resurrection Rolls, recounts the Easter story by reading scriptures from our Resurrection Eggs, and shares our feelings about Jesus.  Thanks for joining us!!!gateway-11-616x800


Day #13 Just Serve

good in others

I am so proud of my daughter Ella.  She is working on her IB Personal Project.  She choose to make baby quilts and donate them to our local hospital.

IMG_5469

These quilts are made 100% by her: choosing the fabrics, cutting the squares, laying out the design, sewing, basting, quilting, and binding.
IMG_4890

IMG_5474

IMG_5475
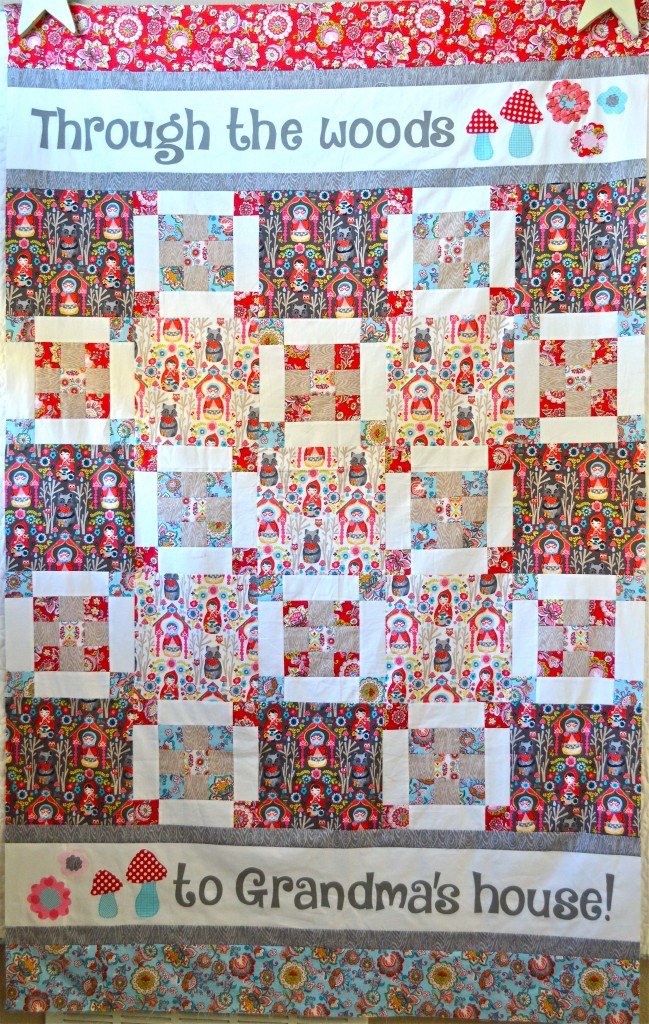
There are so many charity organizations that need our help – sometimes it’s hard to decide which to help with or to find something that fits with our talents.  For today’s service activity, I am not suggesting you drop everything and sew baby quilts!  Rather, take this time and visit JustServe.org.  It’s a website designed to connect volunteers with opportunities to care for others and improve our communities.  You enter your city, state and zip code and it searches for opportunities to serve in your very own community!  When I searched my town, there were over 20 opportunities for service.  I think this is fantastic!

Day #12 {Guest Post} Create it. Go!

Hi! I”m Robyn from Create it. Go! and I’m so excited to be here today and be part of Amanda’s 14 Day Walk with Christ. I was thrilled that she asked me to join in on this 2015 service edition.

 I immediately wanted to follow along with all of the great ideas she was going to post, but also wanted to include a little something more personal to our family as well. So, I put up this simple banner in front of our fireplace. I had already made the fireplace mantle Christ centered for Easter, but now we had an extra reminder to try and focus our daily lives on Christ, especially in the days leading up to Easter. Then I took these little canvas bags and placed vinyl letters on each one. How perfect was it that the days “Walk With Christ” are exactly 14 letters too!

Then we had a family night, where we all came up with ideas of service that we could individually, or as a family, perform. We talked about how Christ’s life was full of service and that he never turned anyone away. We likened that to us today, and came up with ways that we could also be like Christ, and serve.

 We all participated in coming up with ideas, all 5 of my kids, from my 3 year old to my 15 year old, and my husband and I. After we came up with some ideas, we wrote them down, and then rolled up the papers and placed them in each little bag. Then each day, we pull one out and we all perform that act of service.

 I love seeing my children’s handwriting and seeing what they came up with each day, as we pull out the service for the day. I also love the way it fills their hearts as they perform that service. You can see it reflected in their eyes, in their prayers, and in their actions.
These are the service ideas that collectively, our family came up with:
1- Pick flowers and give them to someone. (3 yr AND 5 year olds’ suggestion)
2- Help plant a garden
3- Leave notes of appreciation for each member of the family, for something they do today.
4- Send cards to Grandma and Grandpa (or friends/family)
5- Take an Easter treat and message to friends/teachers.
6- Make something out of wood (like Christ did as a carpenter) and give it to someone.
(My 12 year old son came up with this one. I loved the thoughts of Christ behind it.)
7- Mow someone’s lawn for them.
8- Make food for my family in bed.
(That one made me laugh a little, coming from my 9 year old daughter.)
9-Color with the little girls…
Translation: Spend time with a family member, doing something that the other enjoys.
10- Walk the dogs.
11- Do another person’s chores for them for the day.
12-Donate clothes and toys to others in need.
13- Show more love.
14- Pick up trash at the park.
The one that I wanted to share with you today is #5. I create this simple word art printable below. We have the same quote on a wood plaque on our fireplace mantle. I love the simplicity of it and the reminder that Christ is still with us, every day. He is with us wherever we go, because he still lives.

 We printed this out and then delivered it to some friends with some little Easter goodies one night as one of our acts of service.
 For the snack, we just used the recipe for rice crispy treats, but substituted the rice crispy cereal with chow mein noodles, and added little Robin eggs, to make these cute little nests. They were quick and easy and so fun!
My kids also have thought of giving one of these printables to each of their school teachers with an invitation to an Easter program our church is holding soon. It may not be the kind of service where we are out raking someone’s yard, but we are still serving each other, and our friends and families, by thinking of them, and by helping to bring them closer to Christ,
One thing I love about this whole 14 Day Walk With Christ Service Project, is that it doesn’t have to be done in just the two weeks leading up to Easter. If we truly celebrate the real meaning of Easter, and celebrate Christ’s life and his resurrection, then we should be trying to be more like him all year long. I don’t plan on taking this down anytime soon, because I love the reminder it is to our family, to always strive to Walk with Christ.