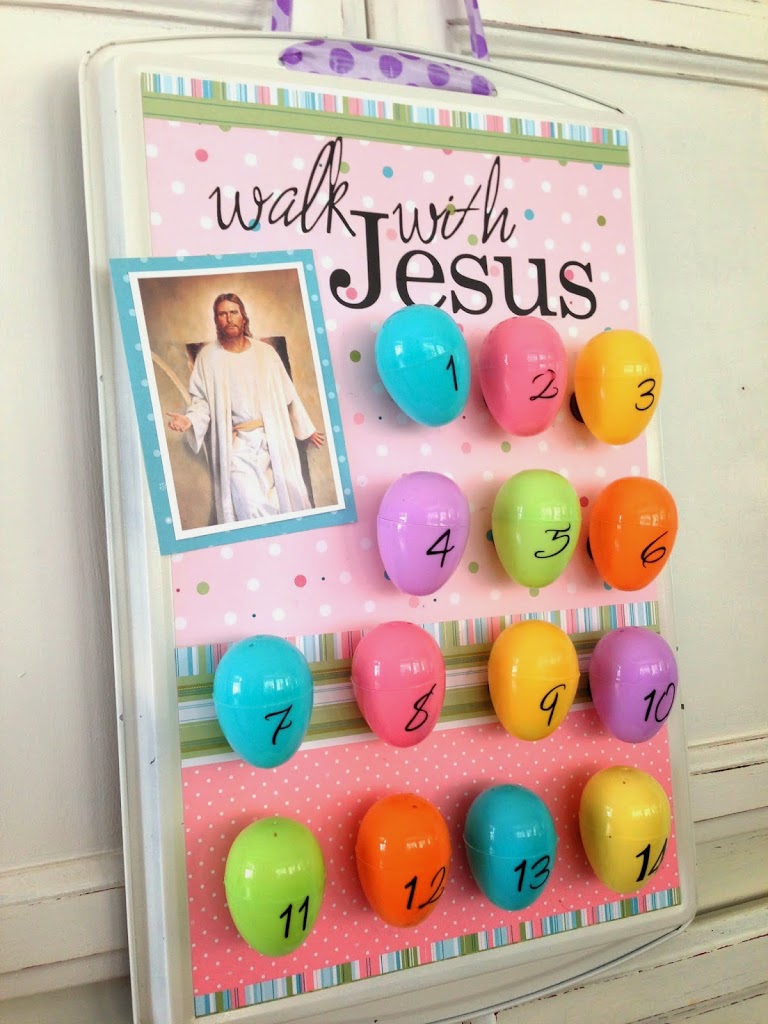
Welcome to the first day of our 14 Day Walk with Christ. I hope you and your family enjoy these lessons and take time to Come unto Christ as we anticipate the wonderful celebration of Easter.
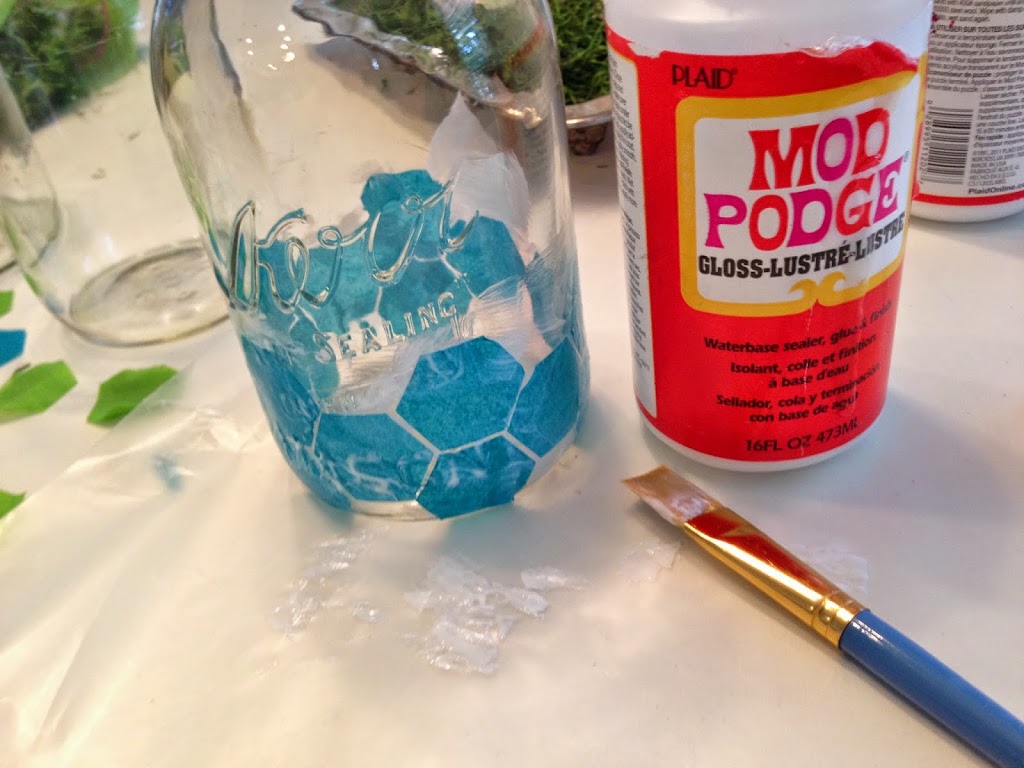
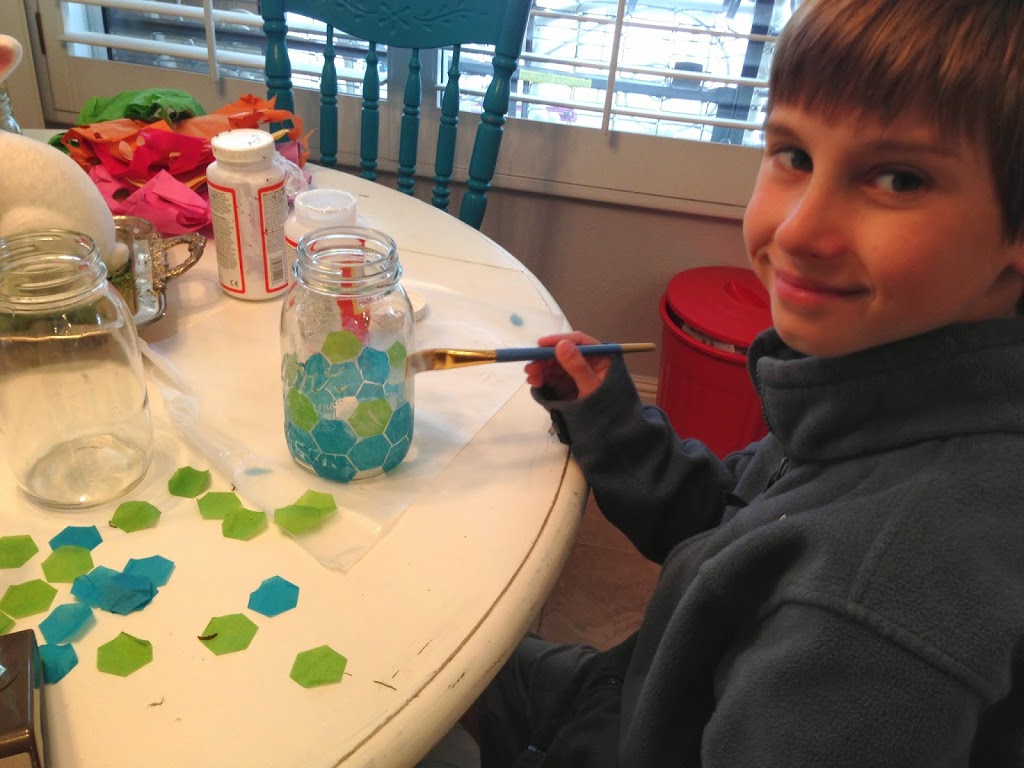
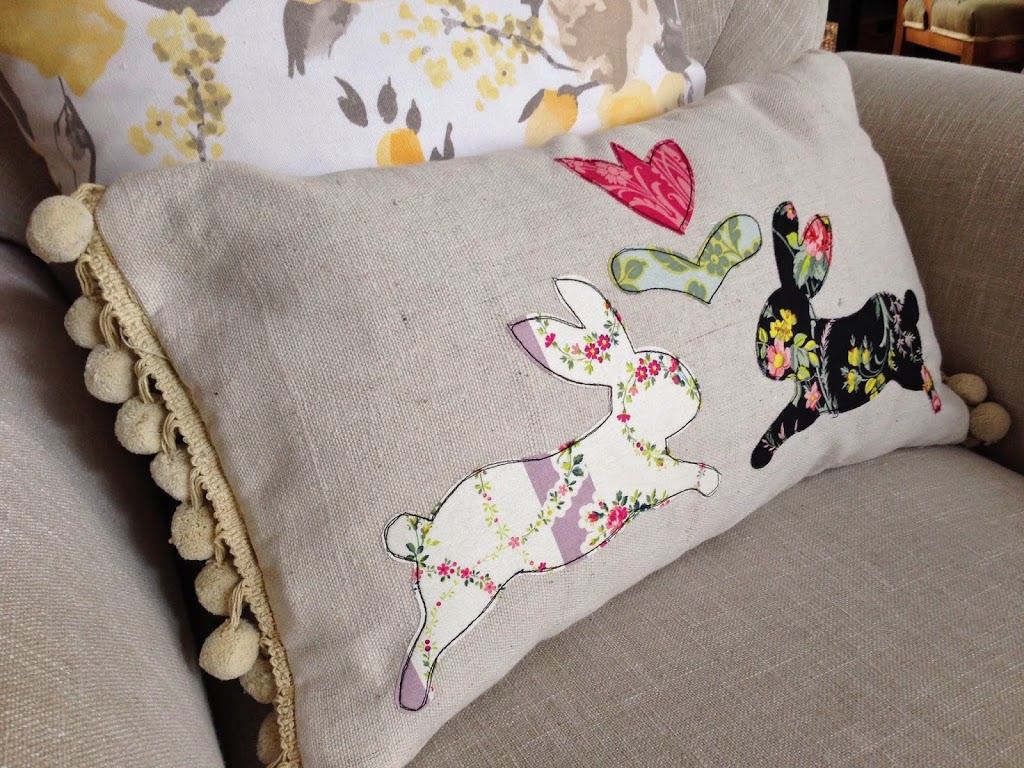
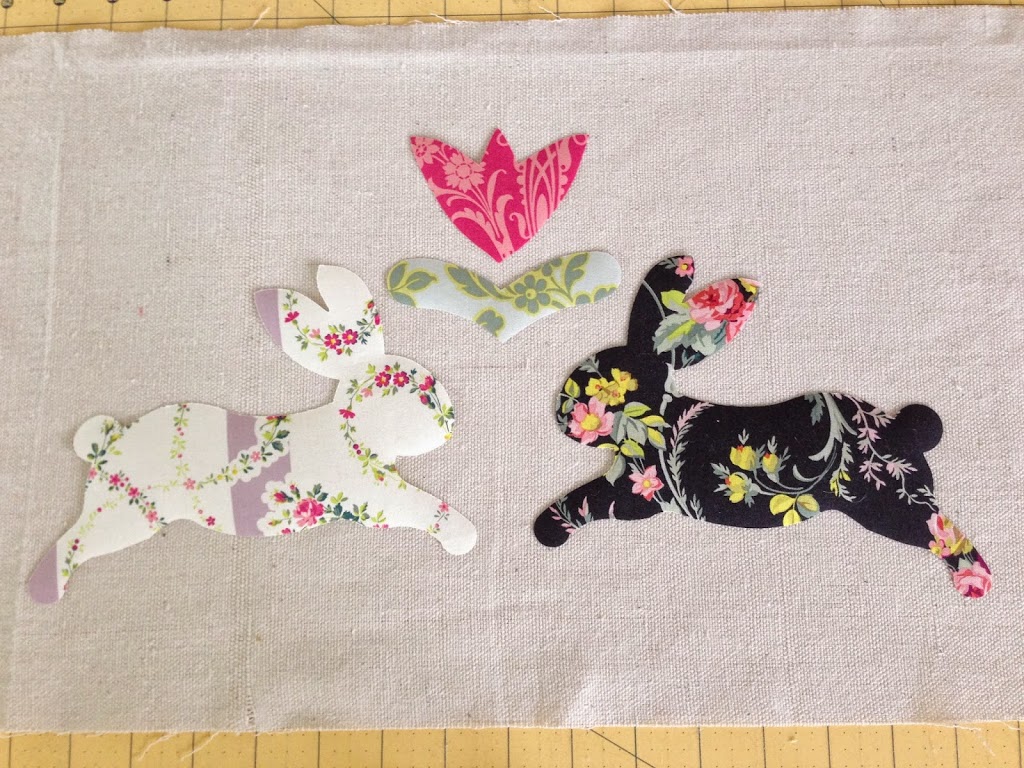
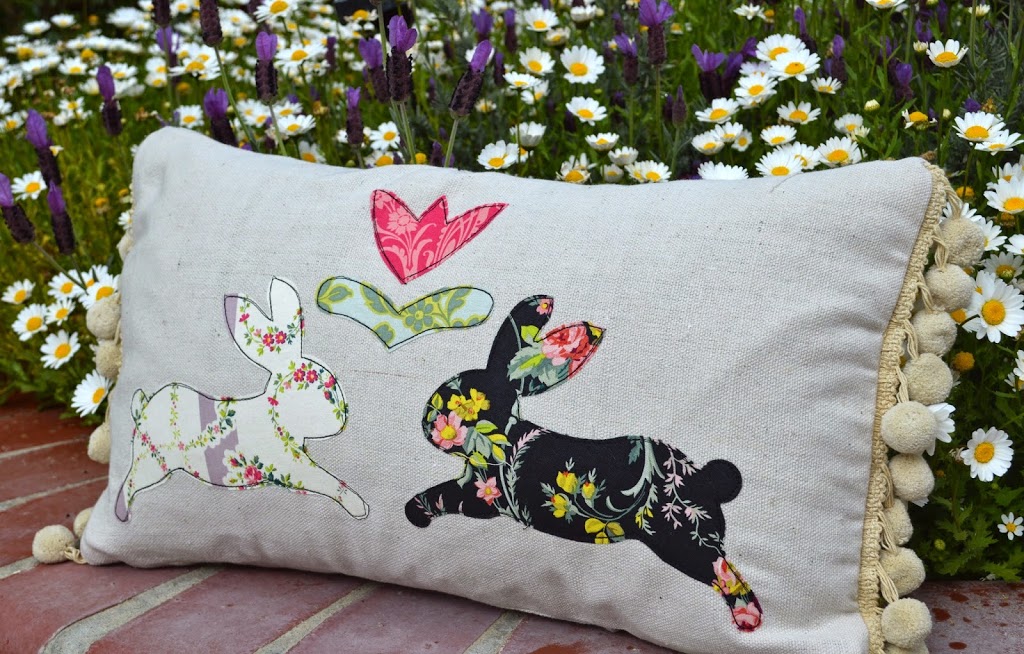
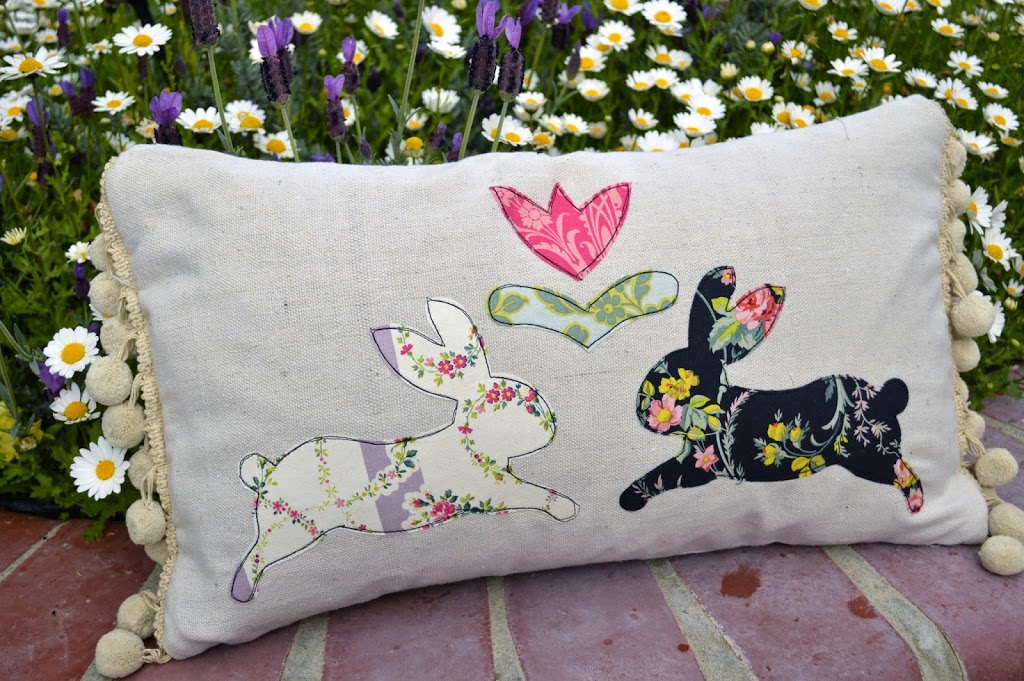
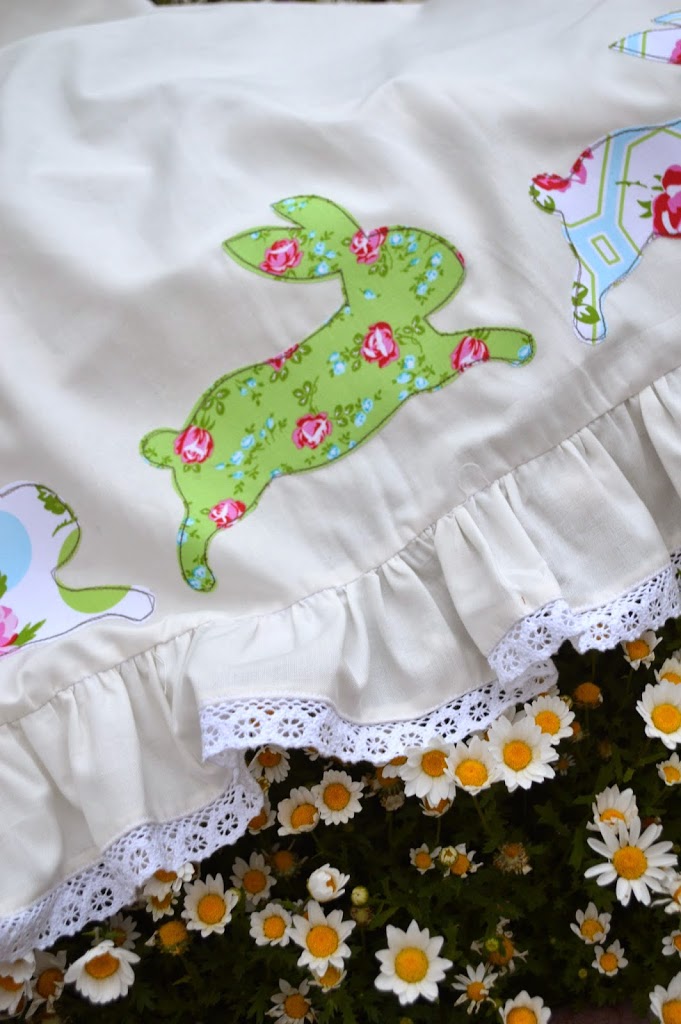
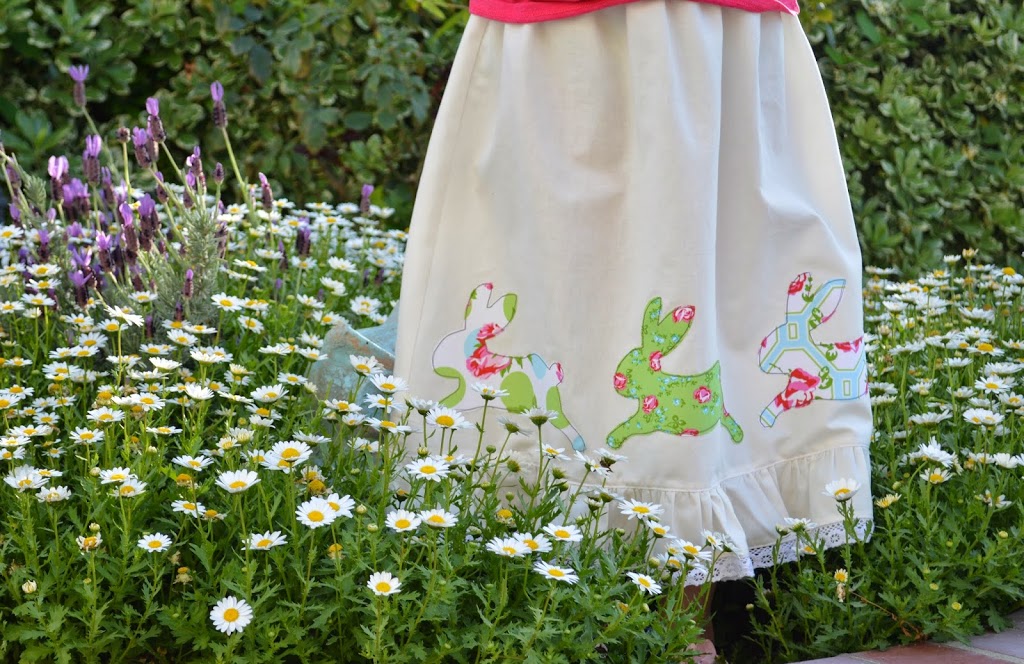
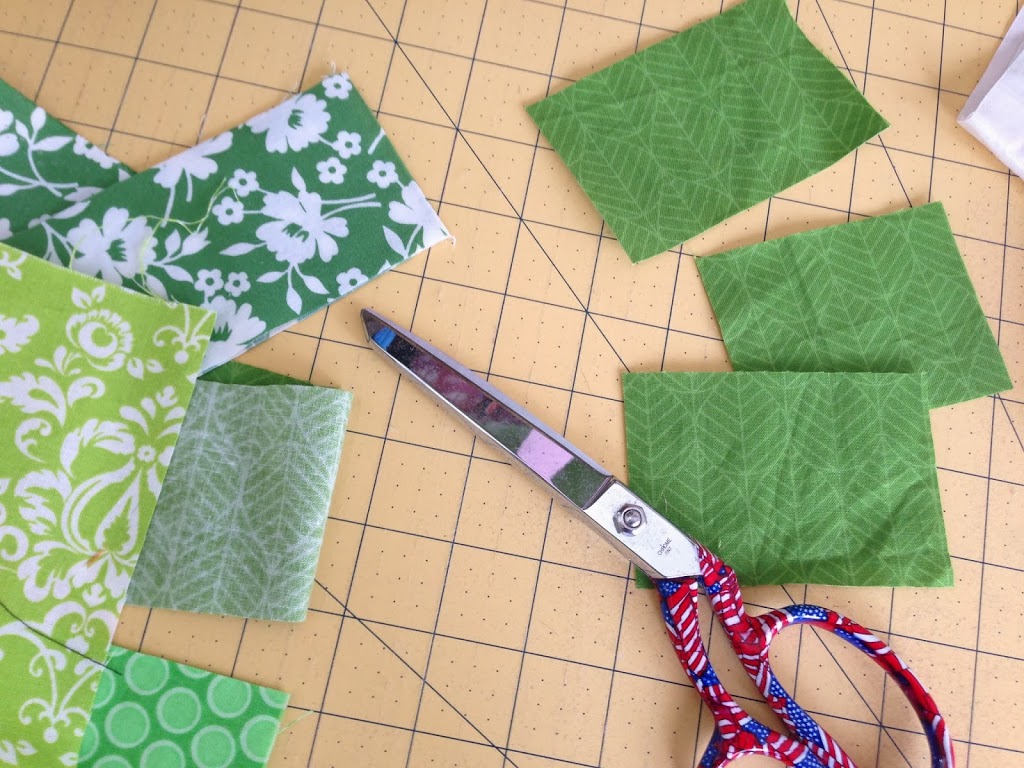
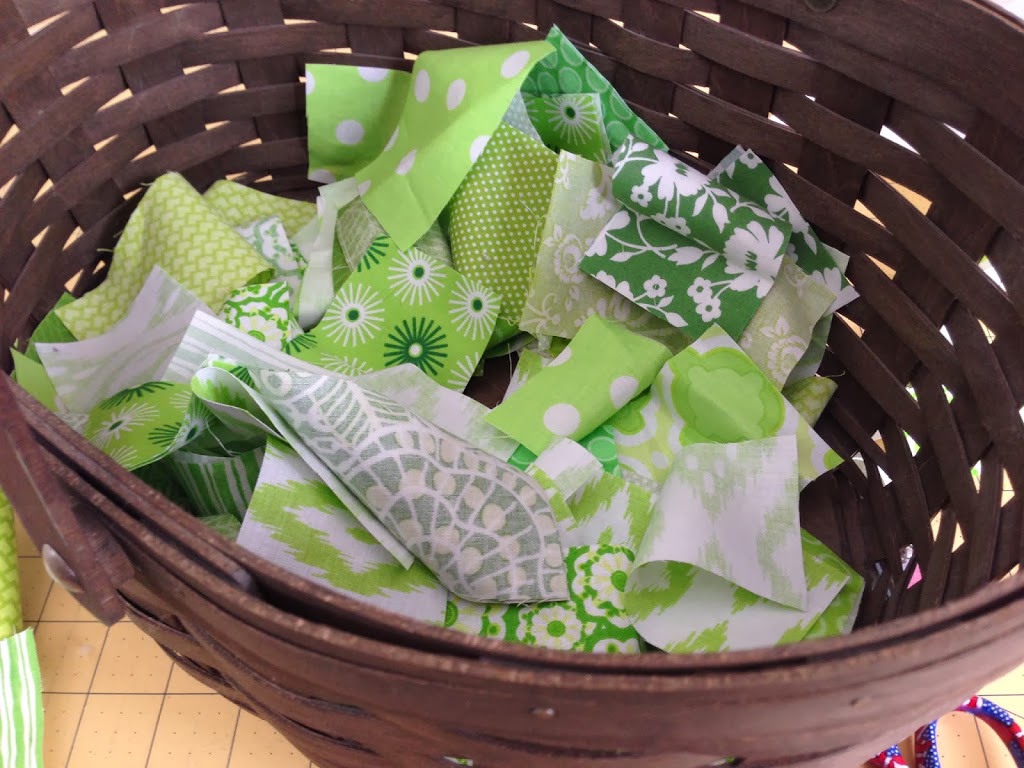
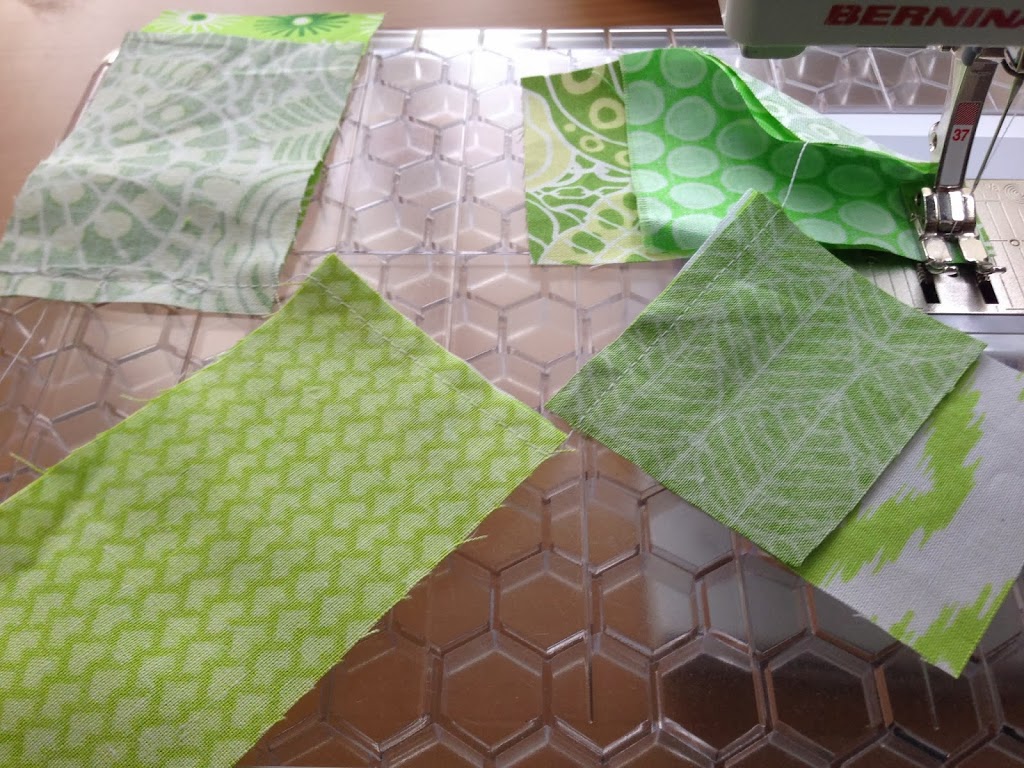
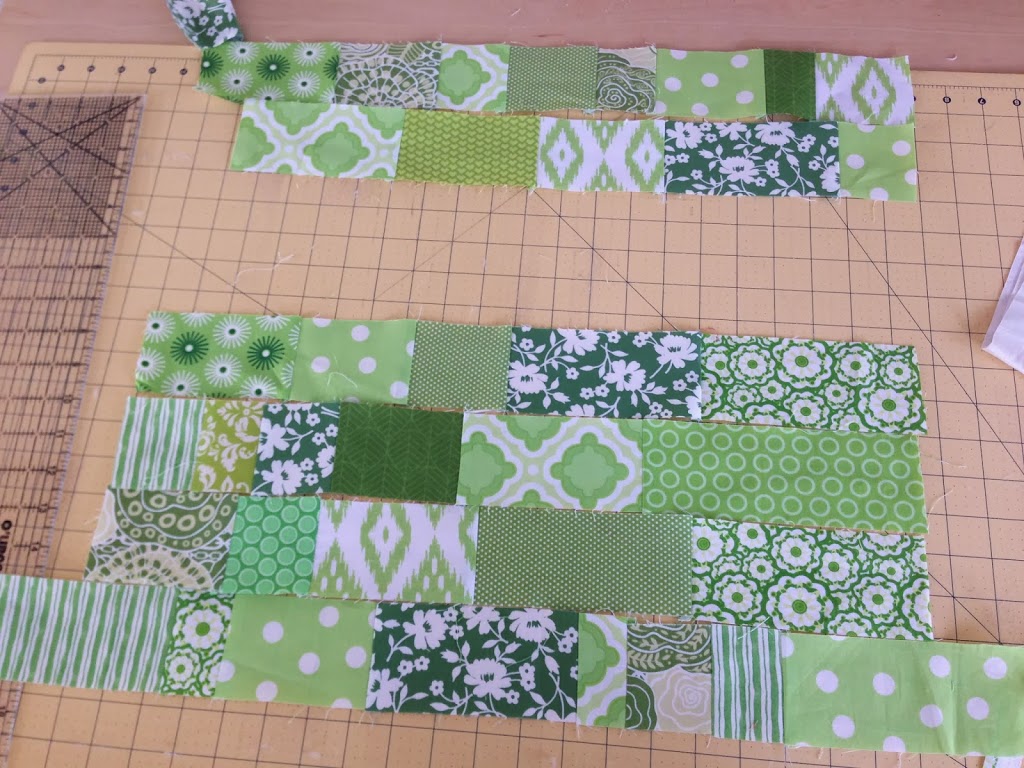
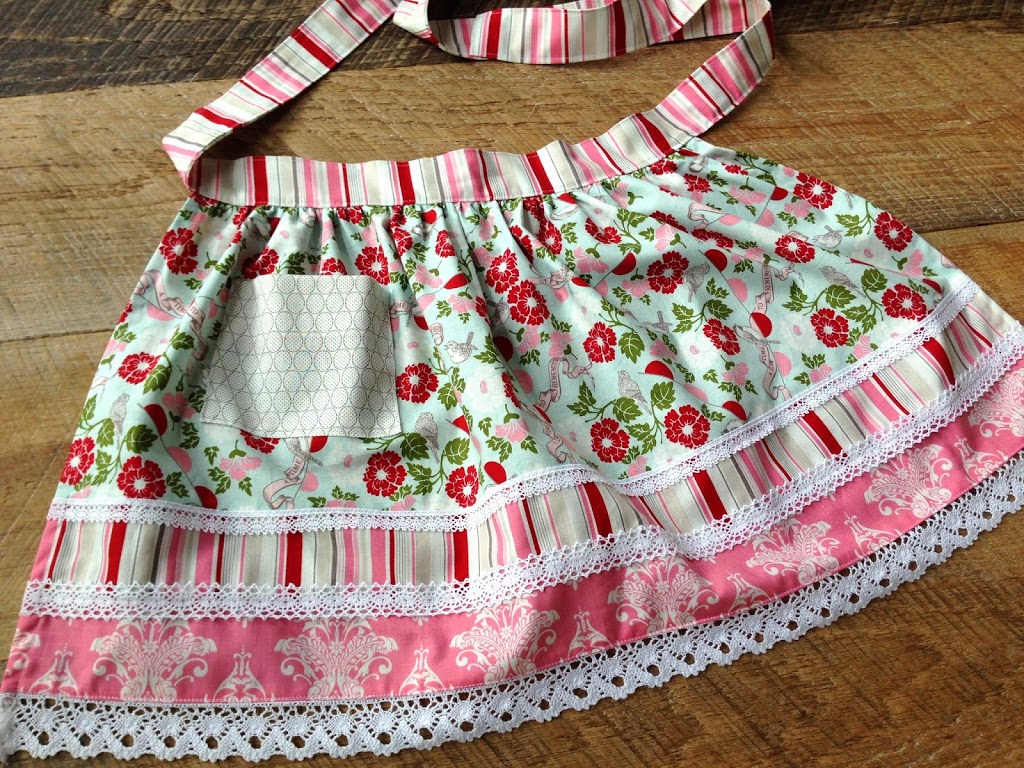
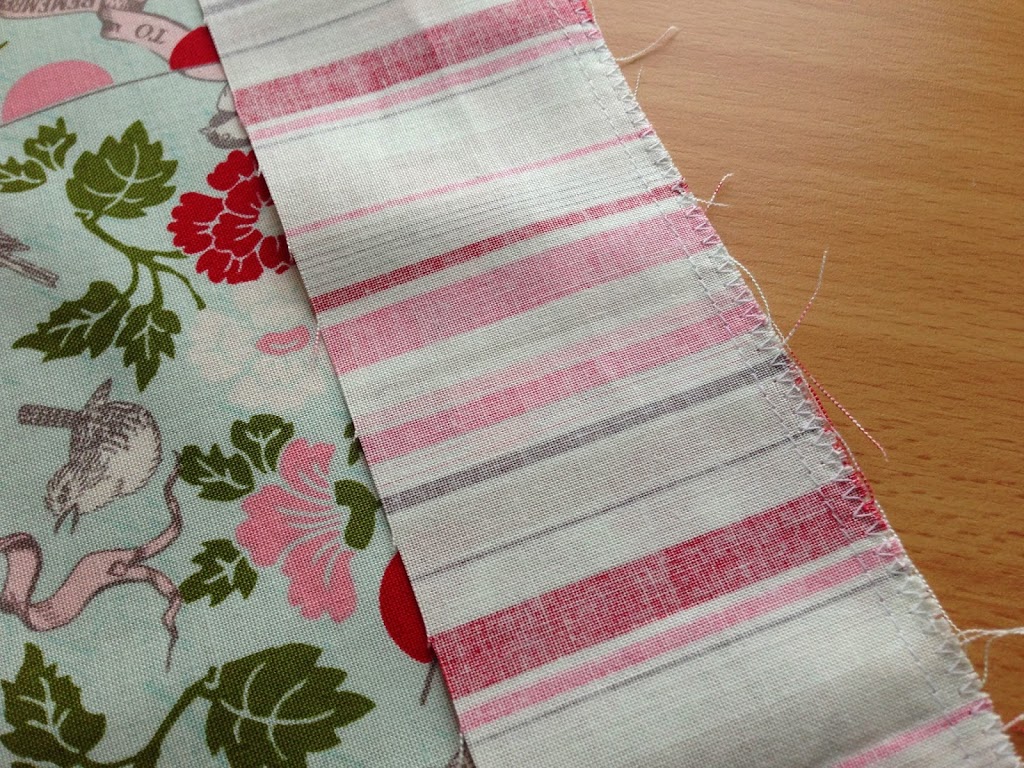
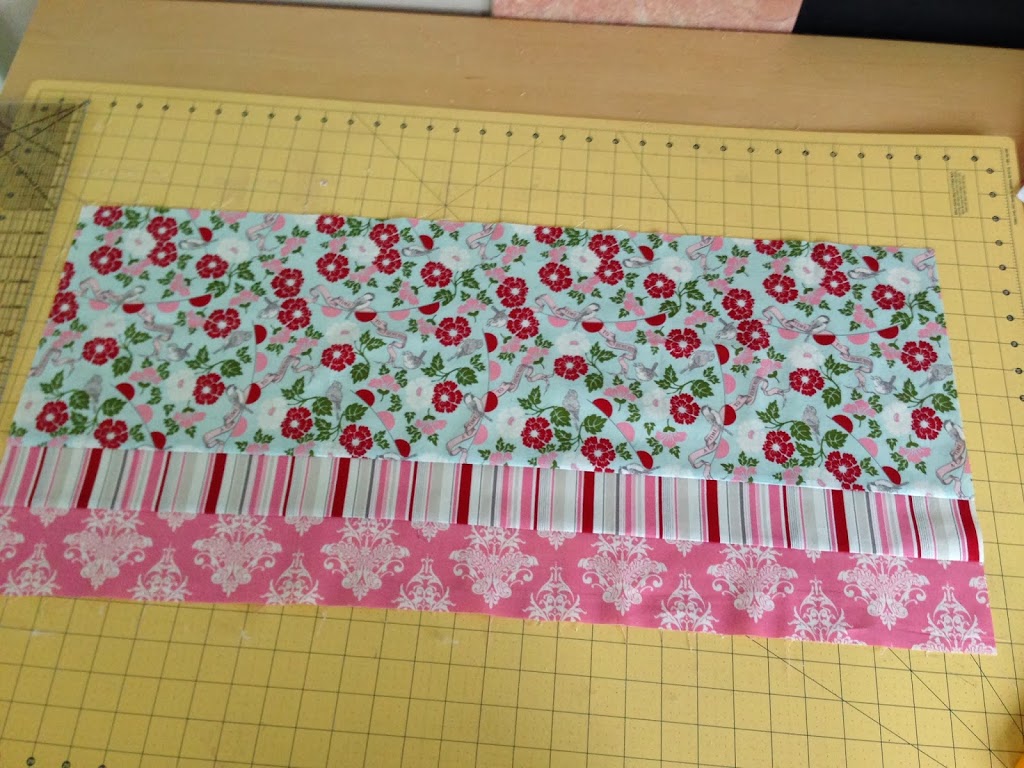
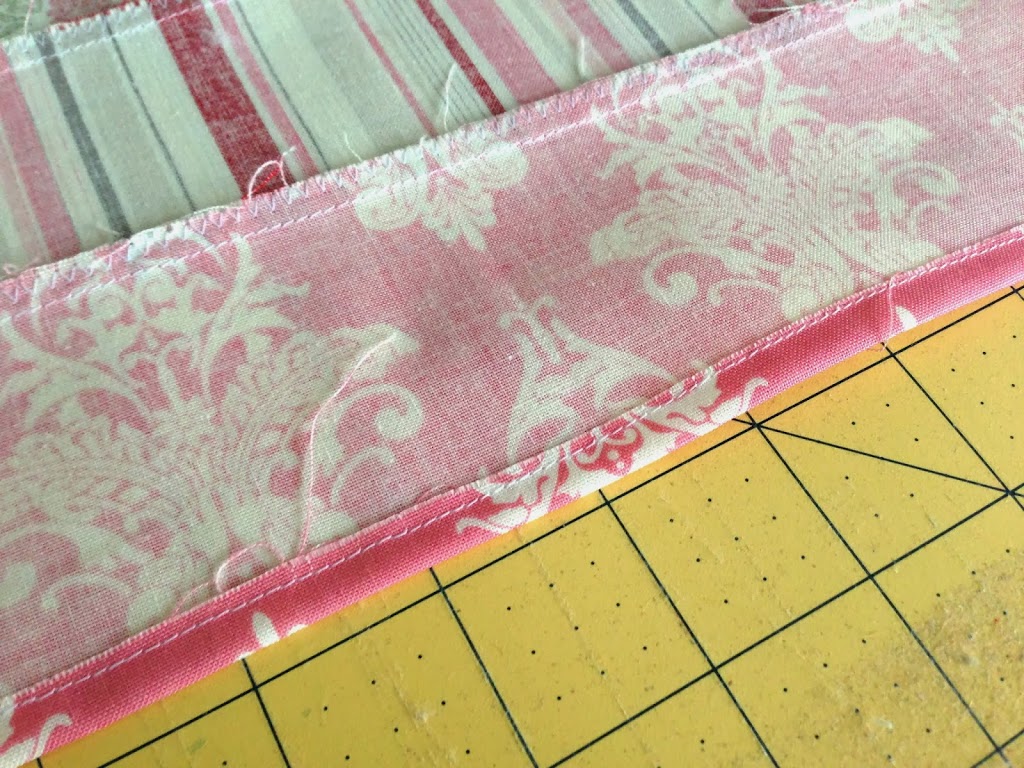
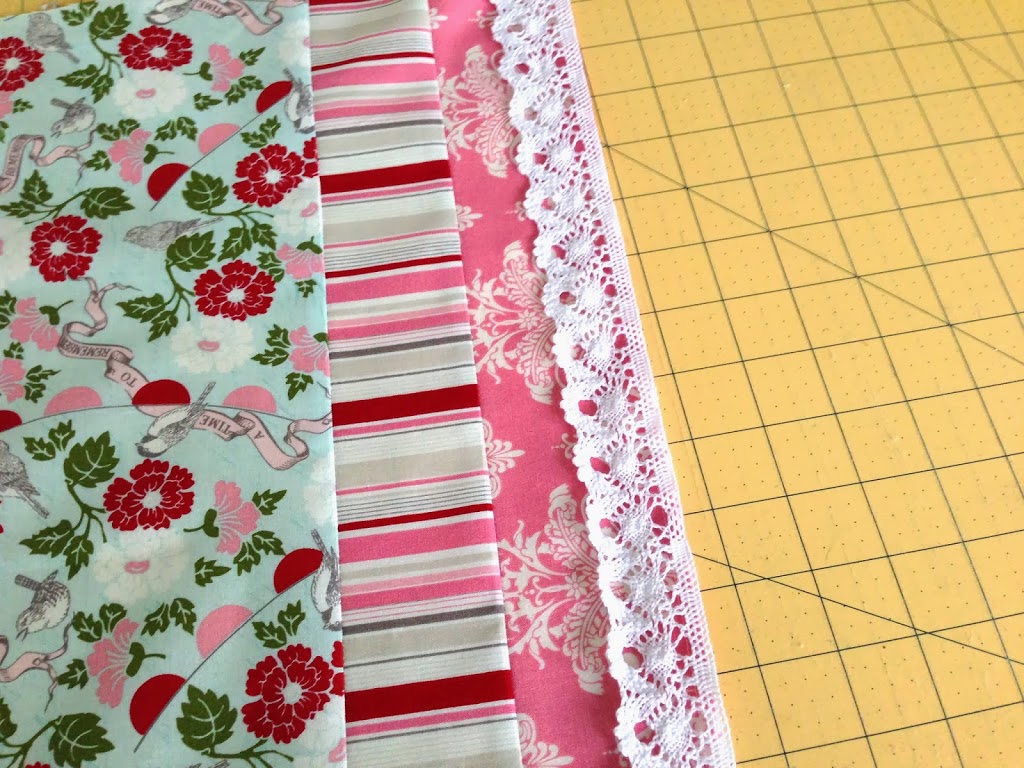
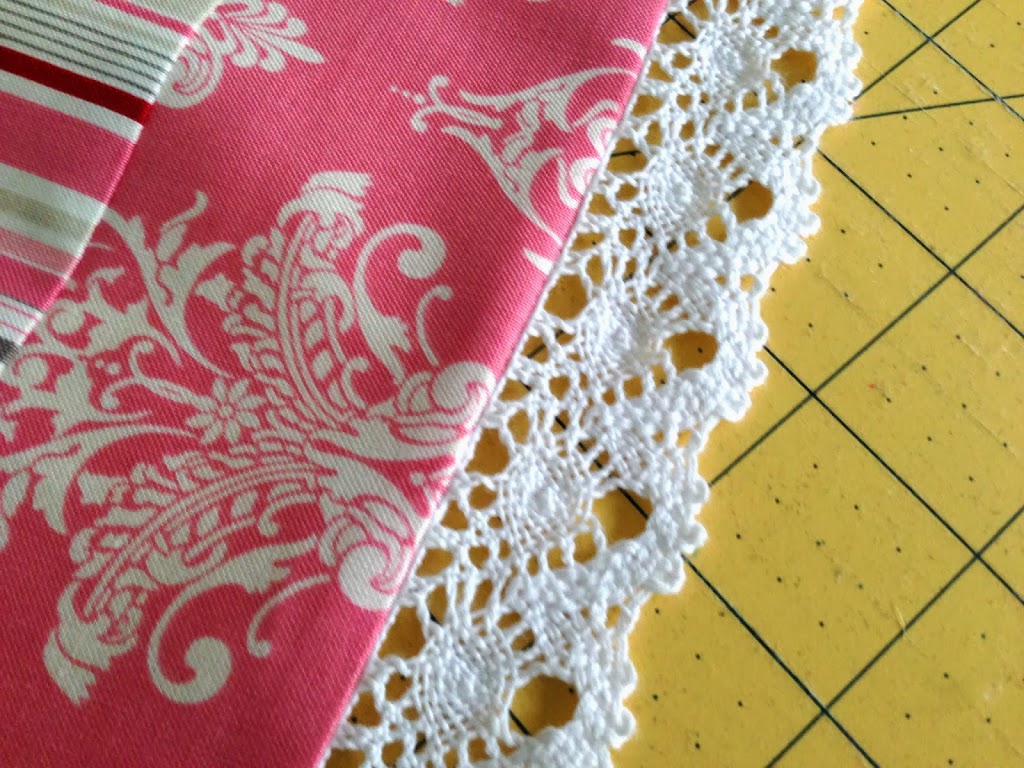
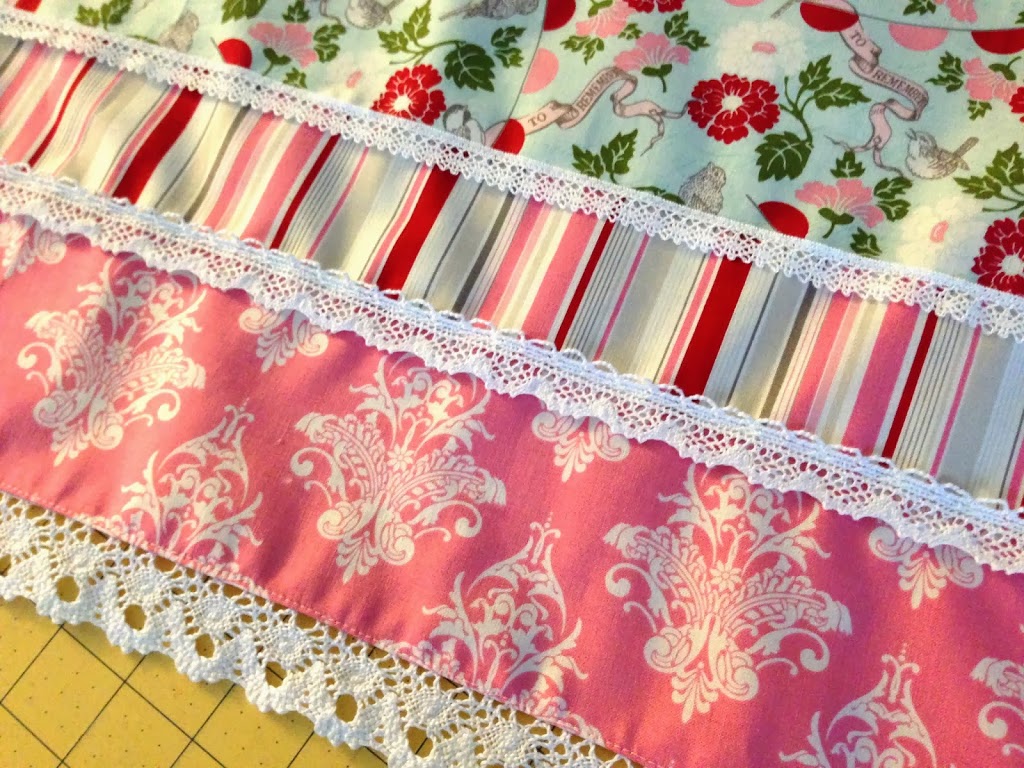
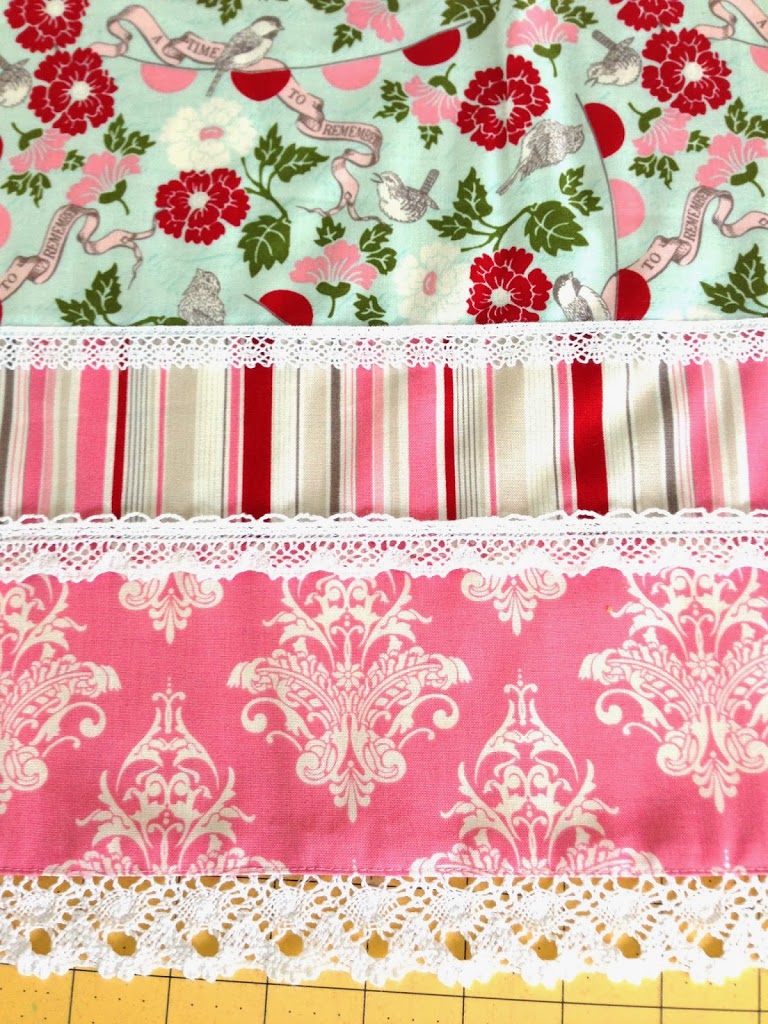
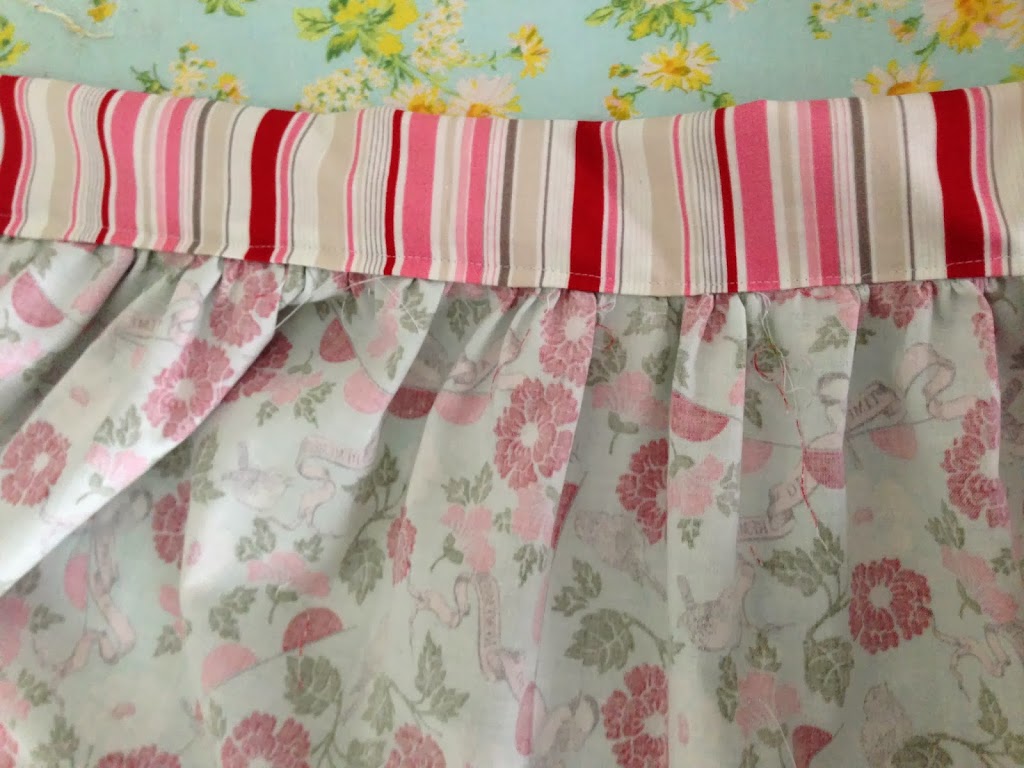
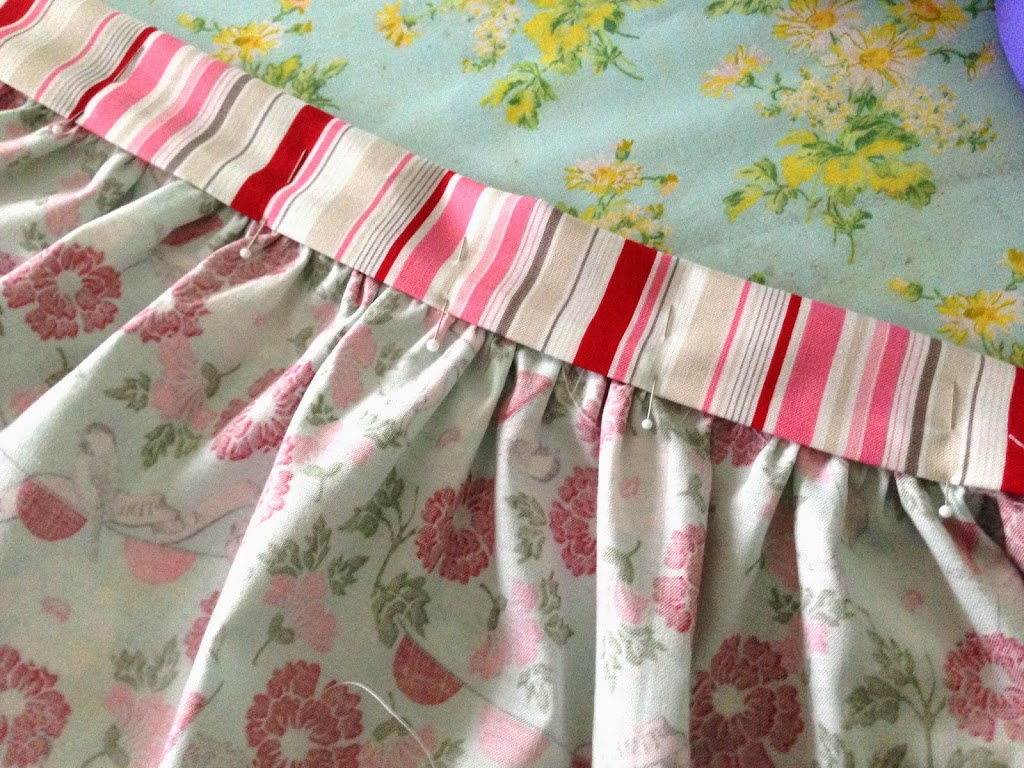
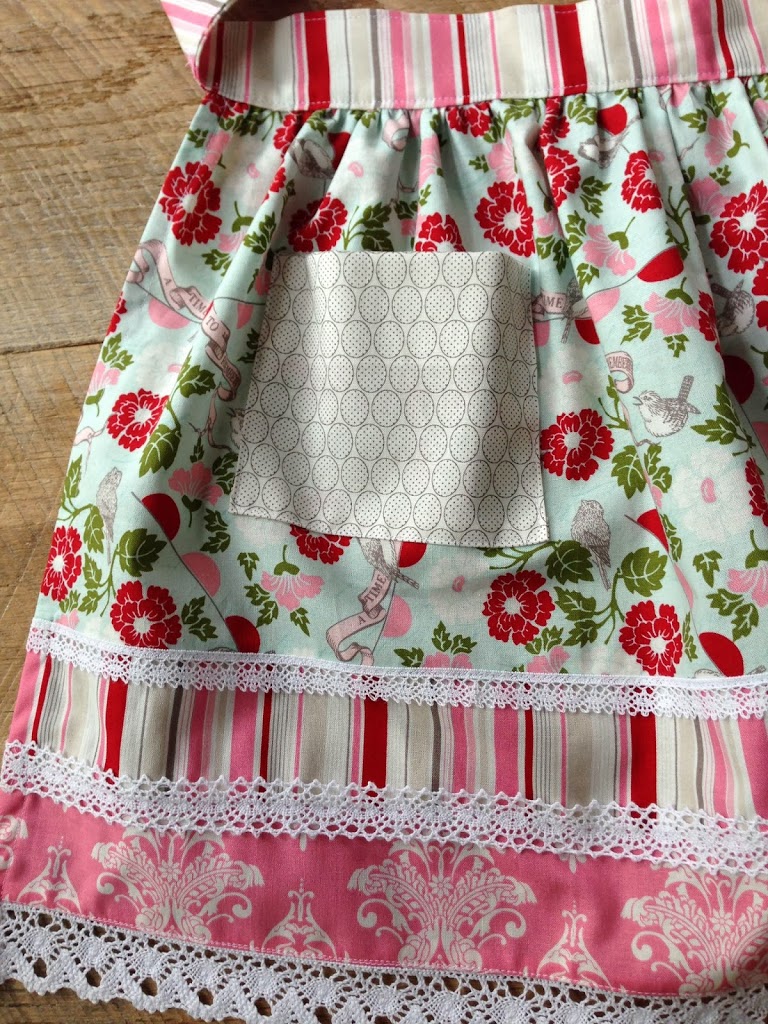
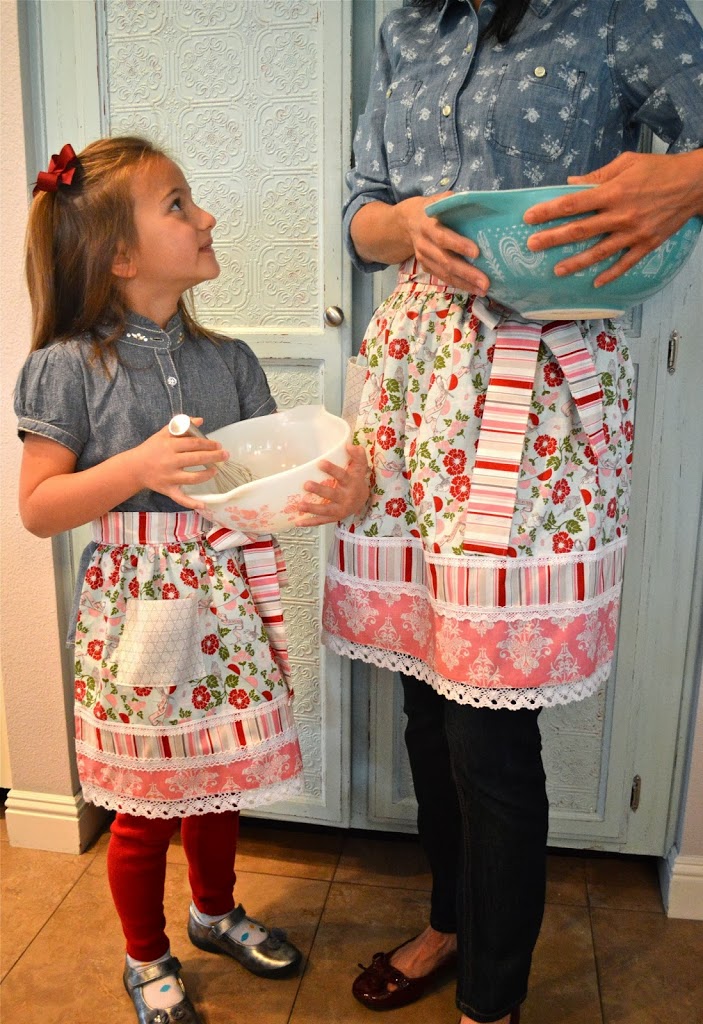
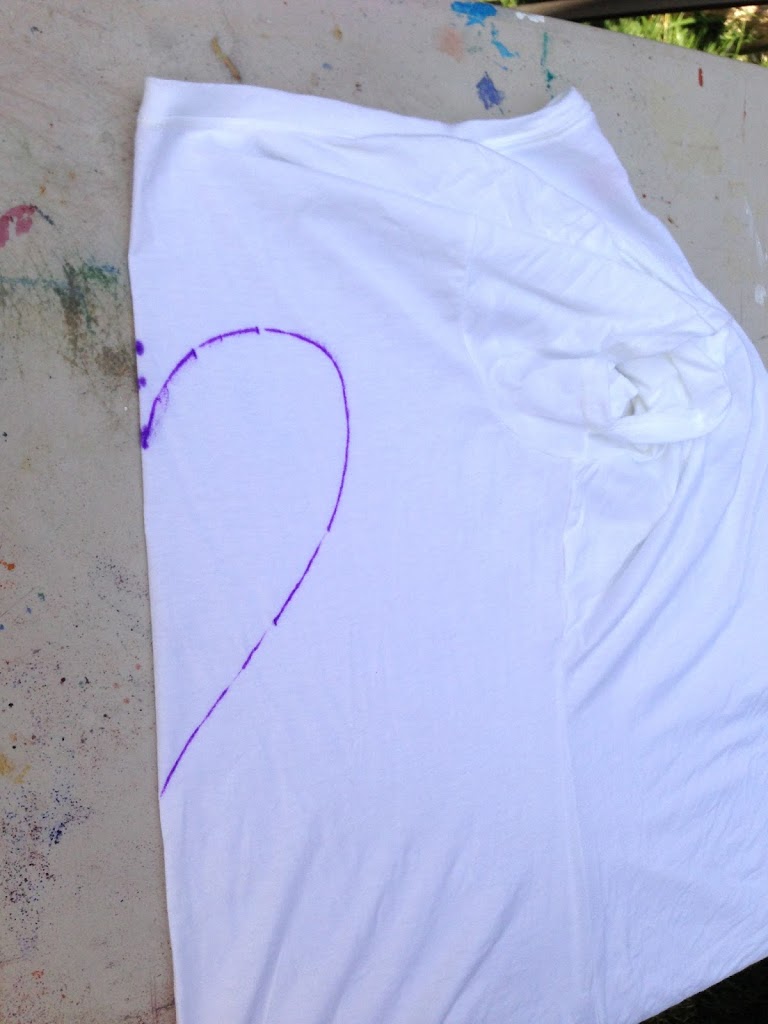
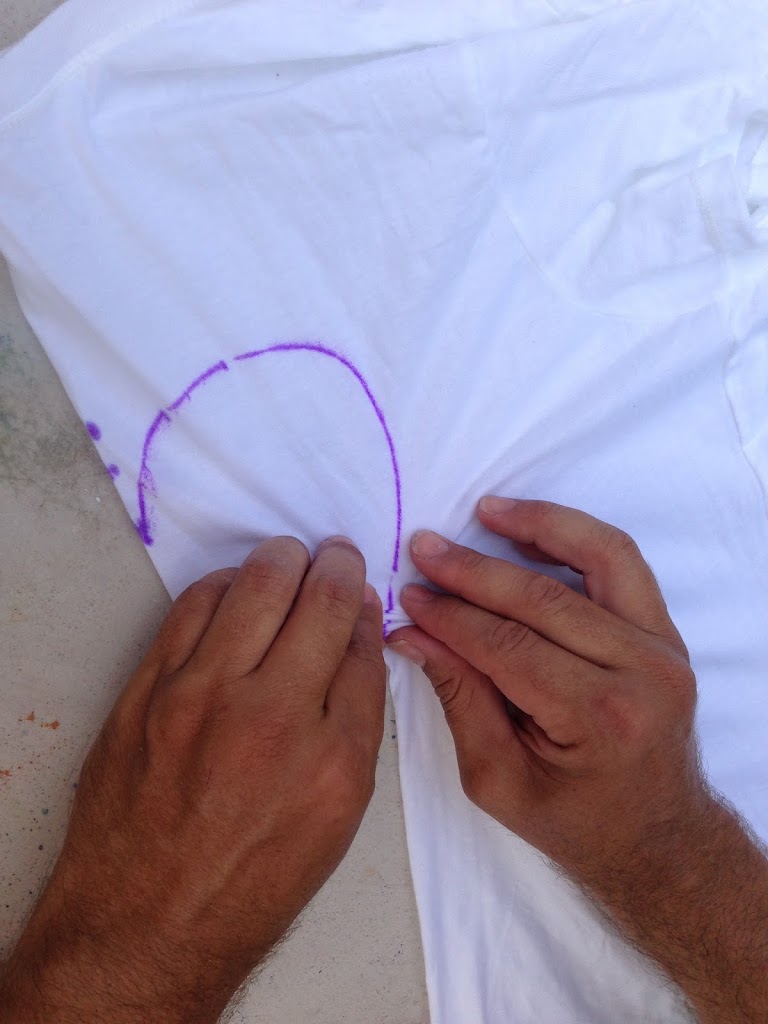
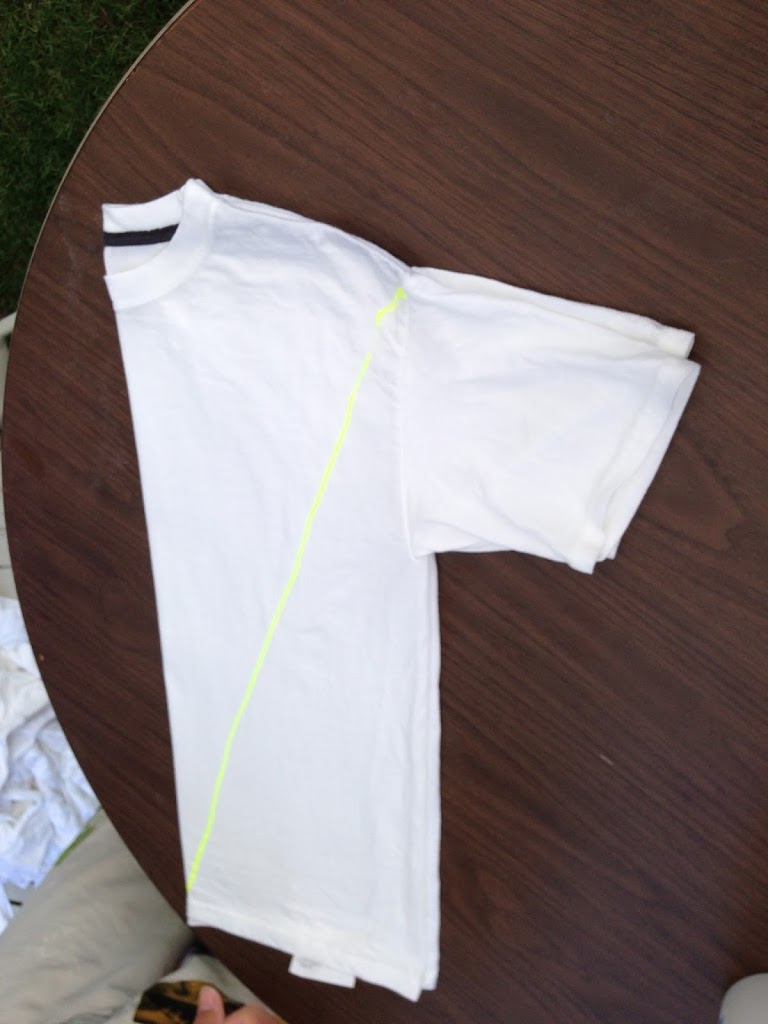
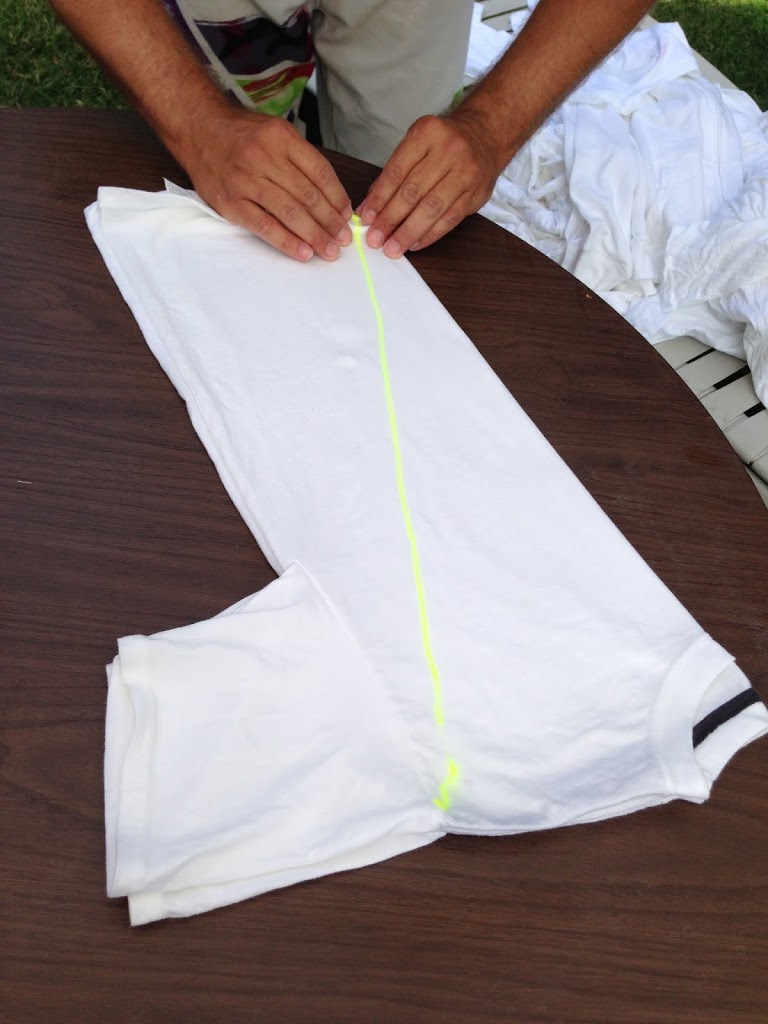
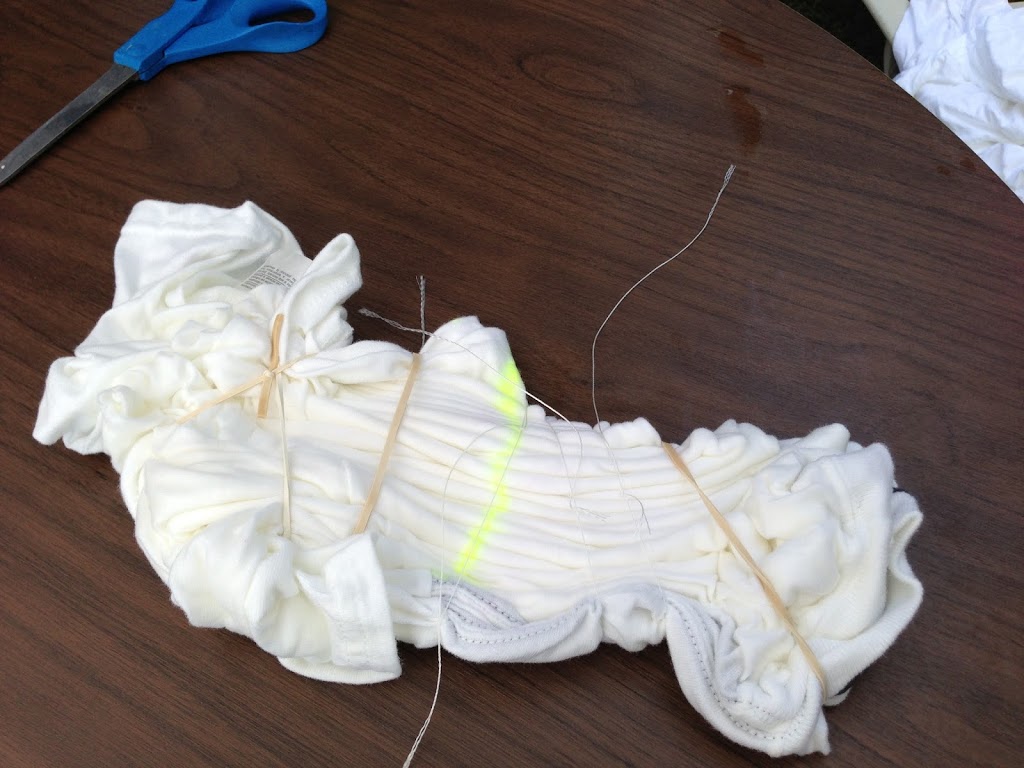
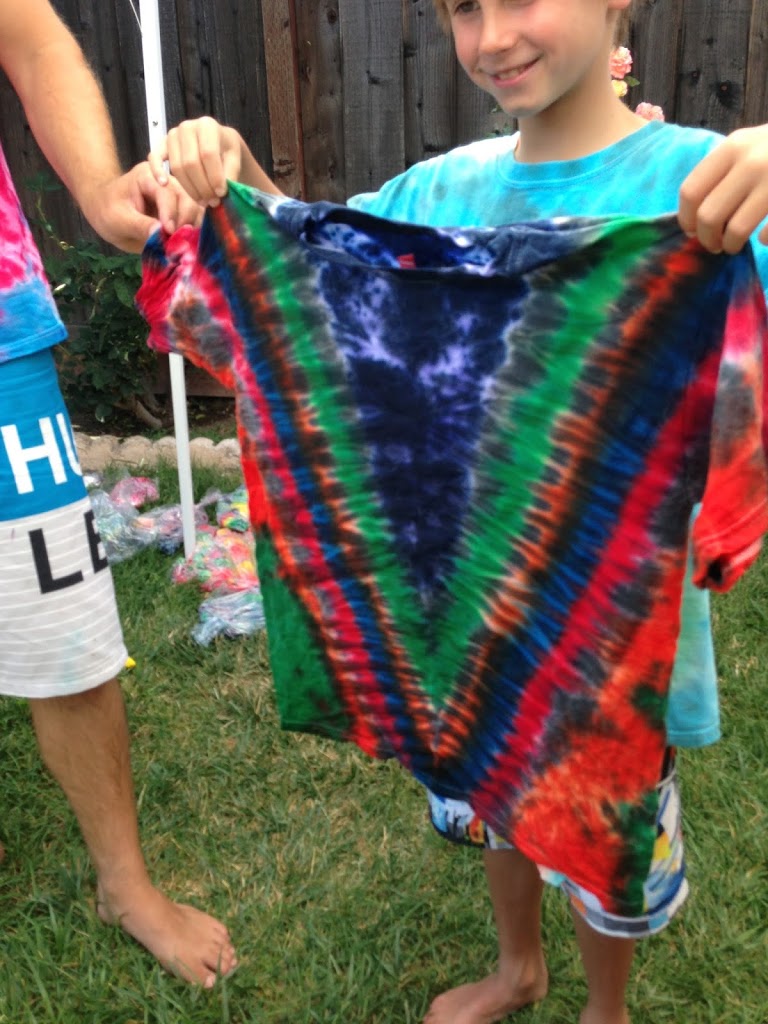
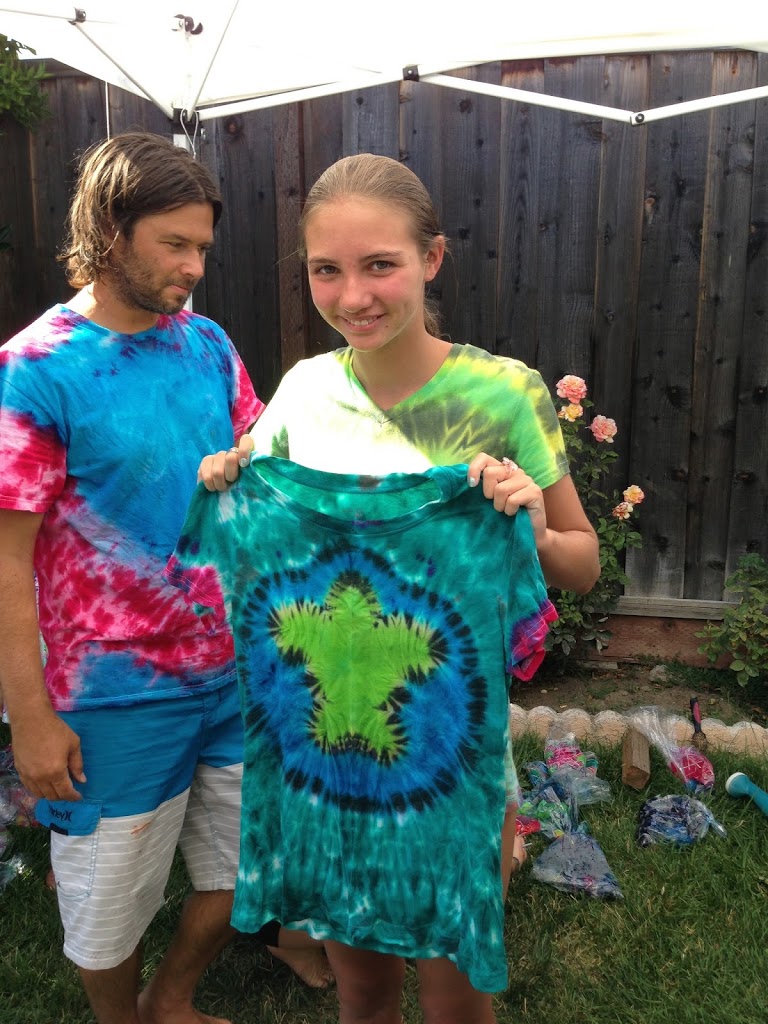
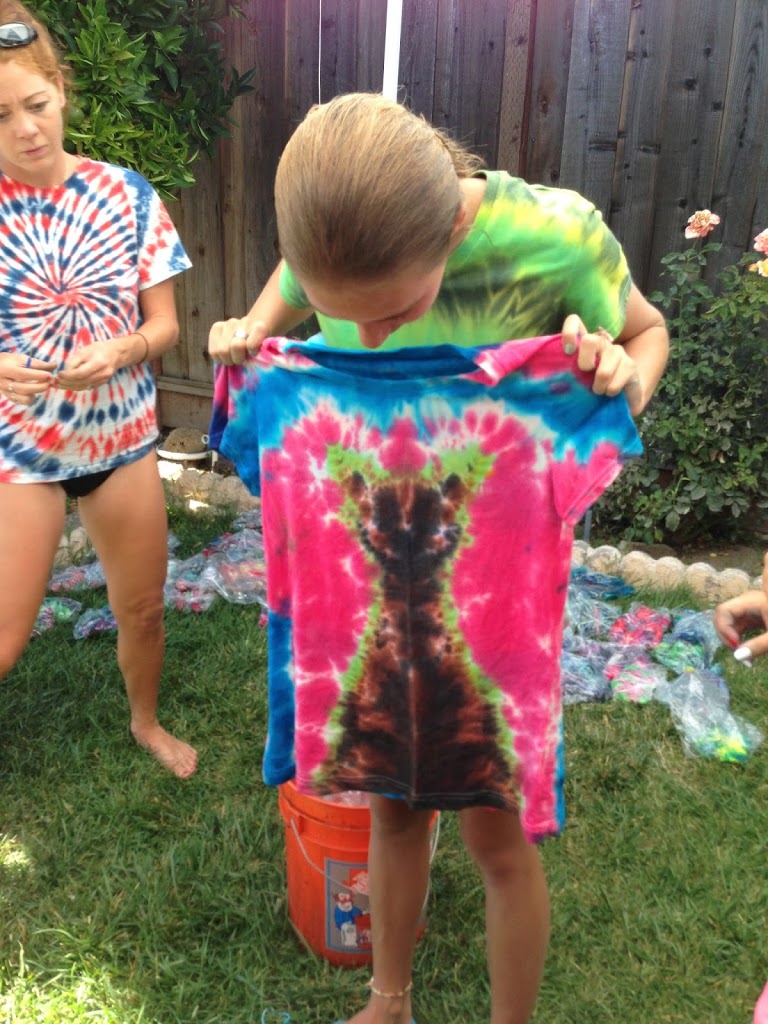
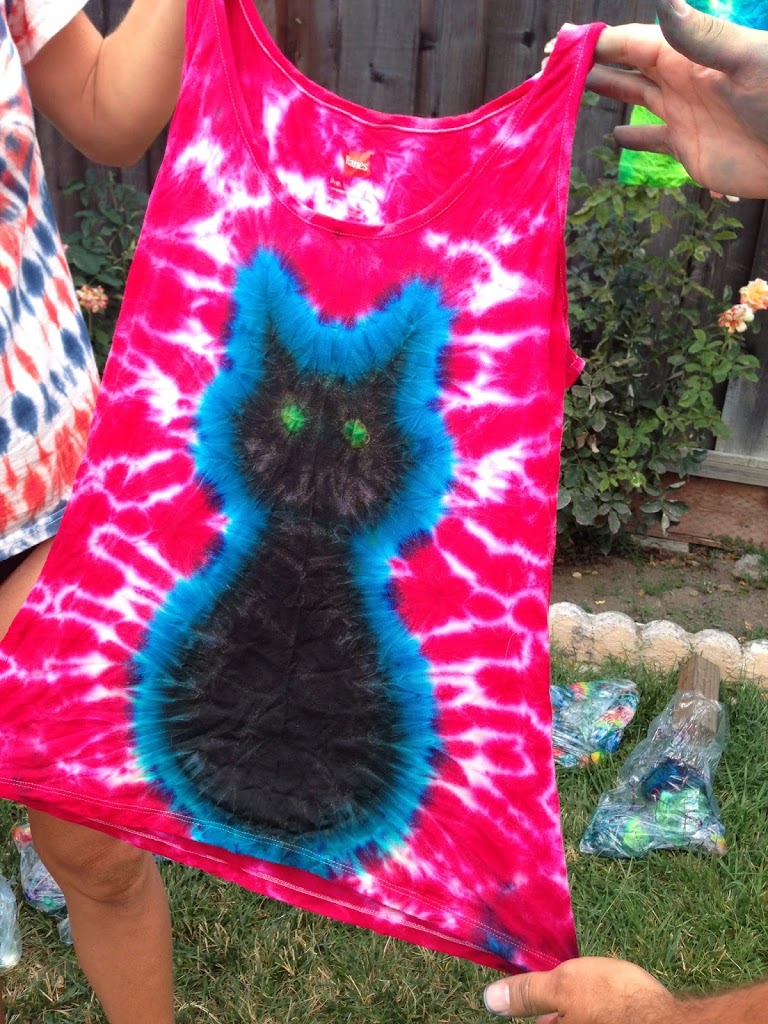
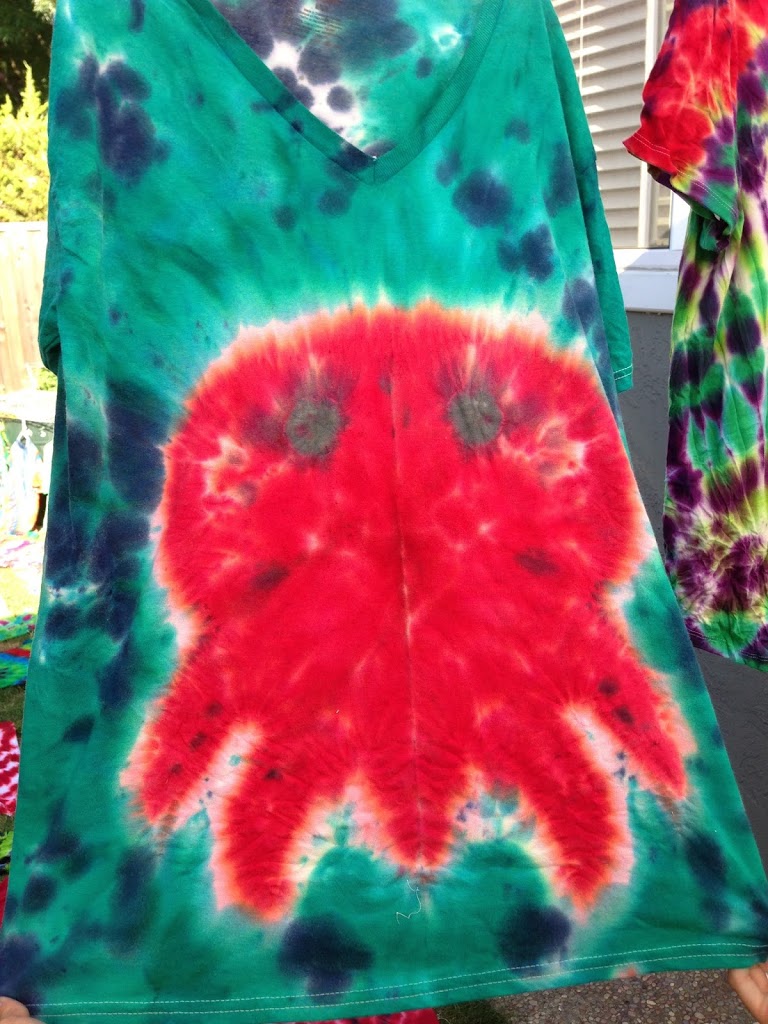
Have everyone design their own pattern – you can’t mess them up! They all turn out cute!!

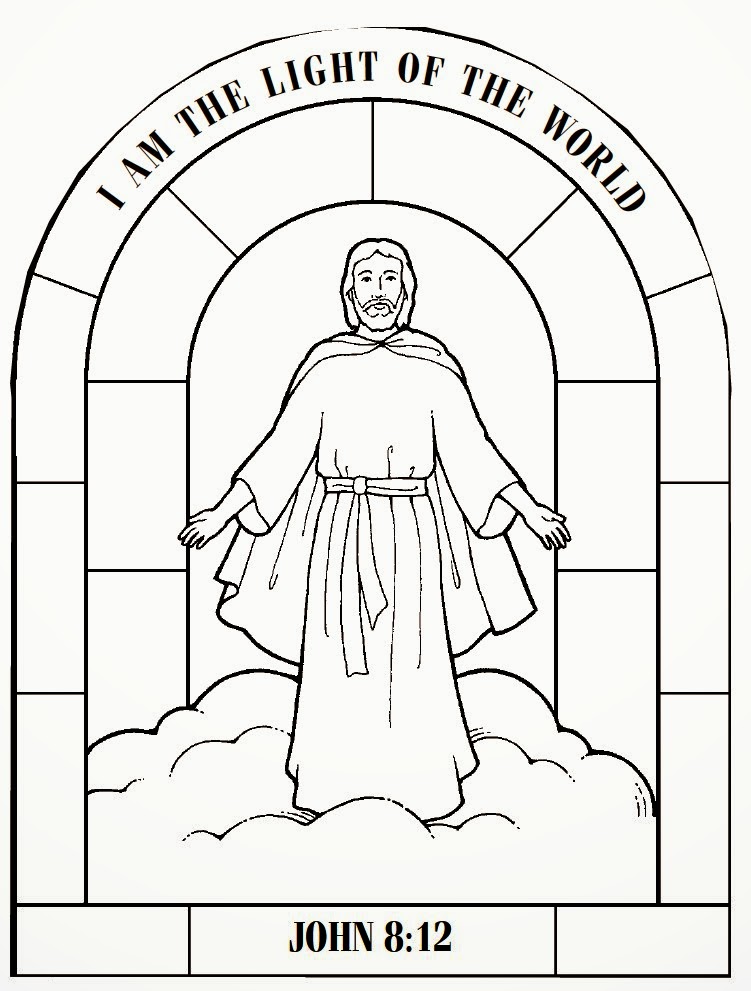
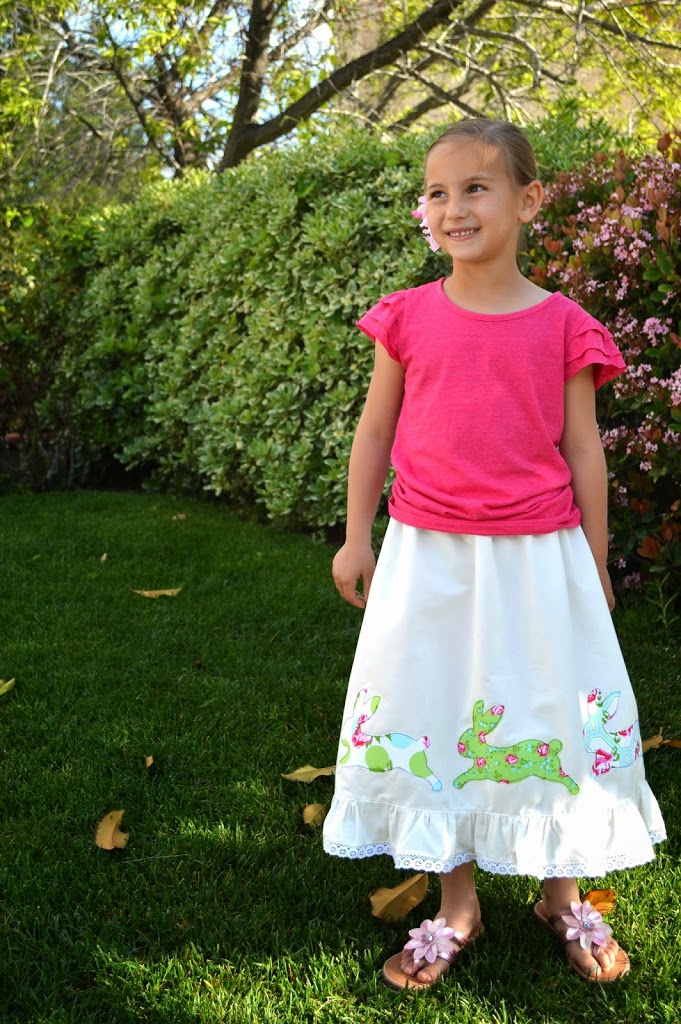
If you have little ones who have a hard time writing in a journal, they might enjoy coloring this picture: