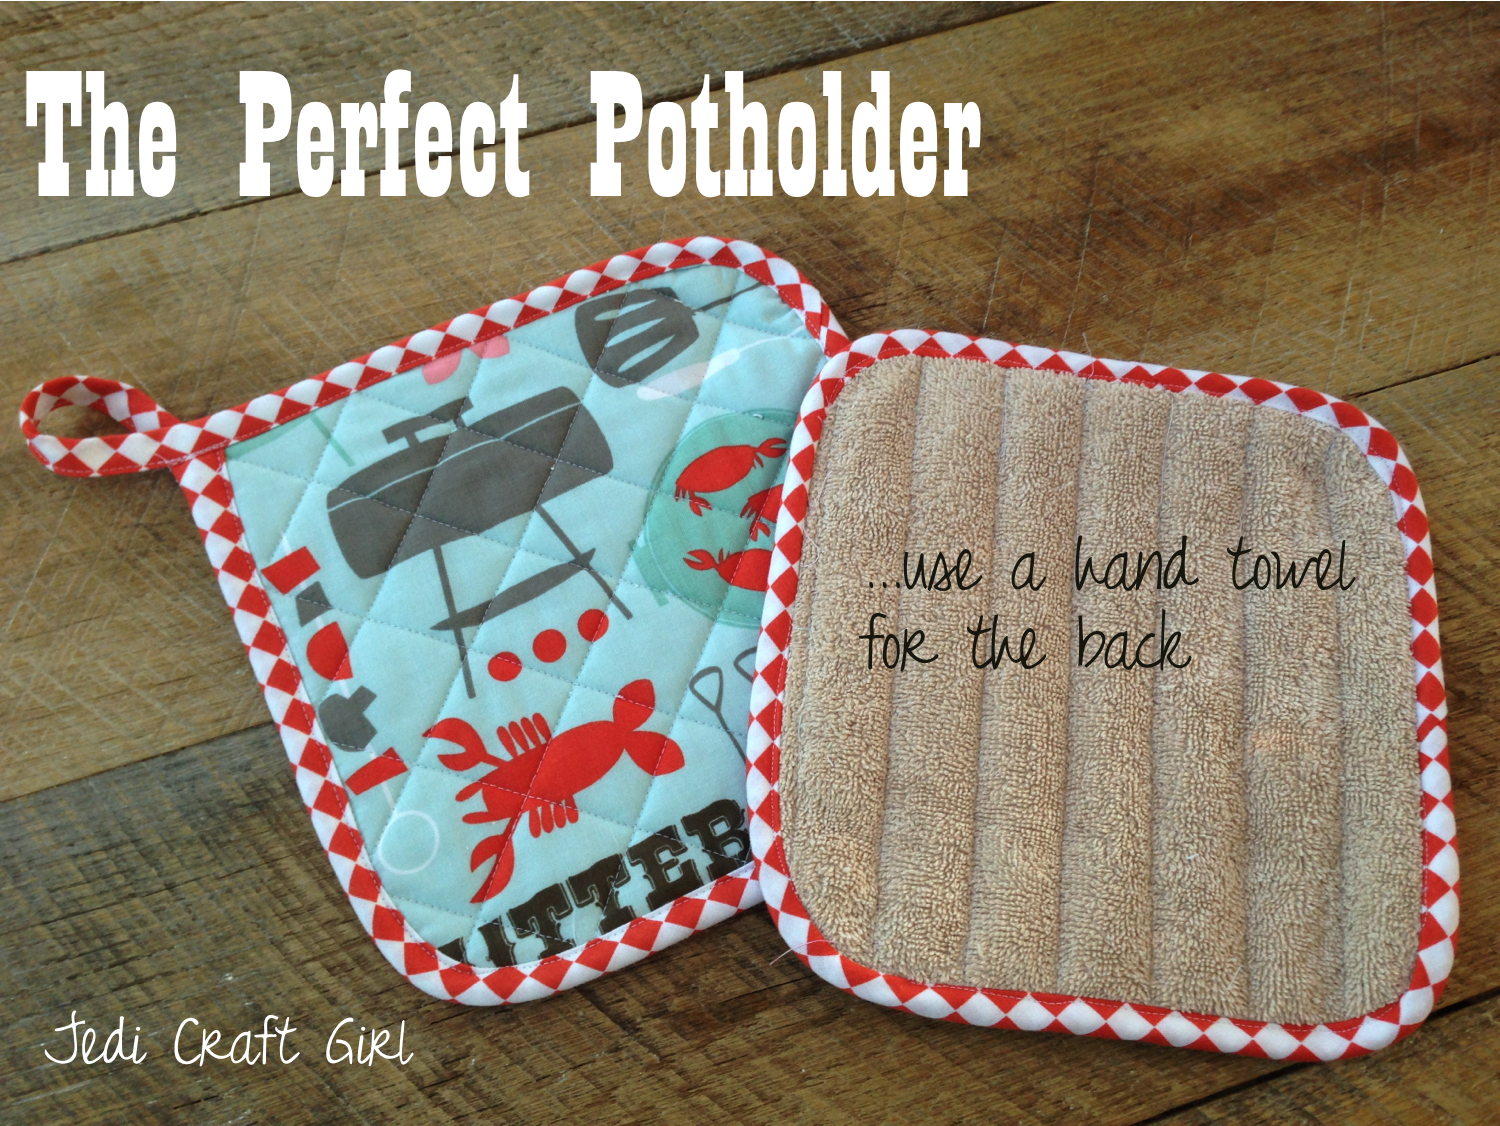
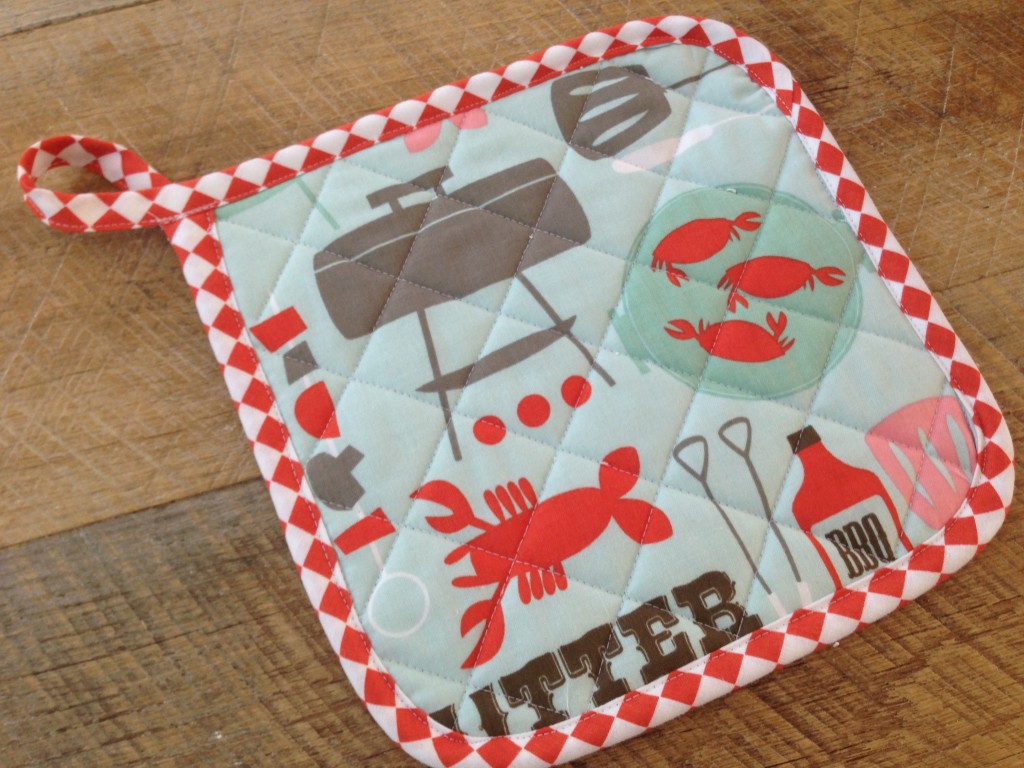
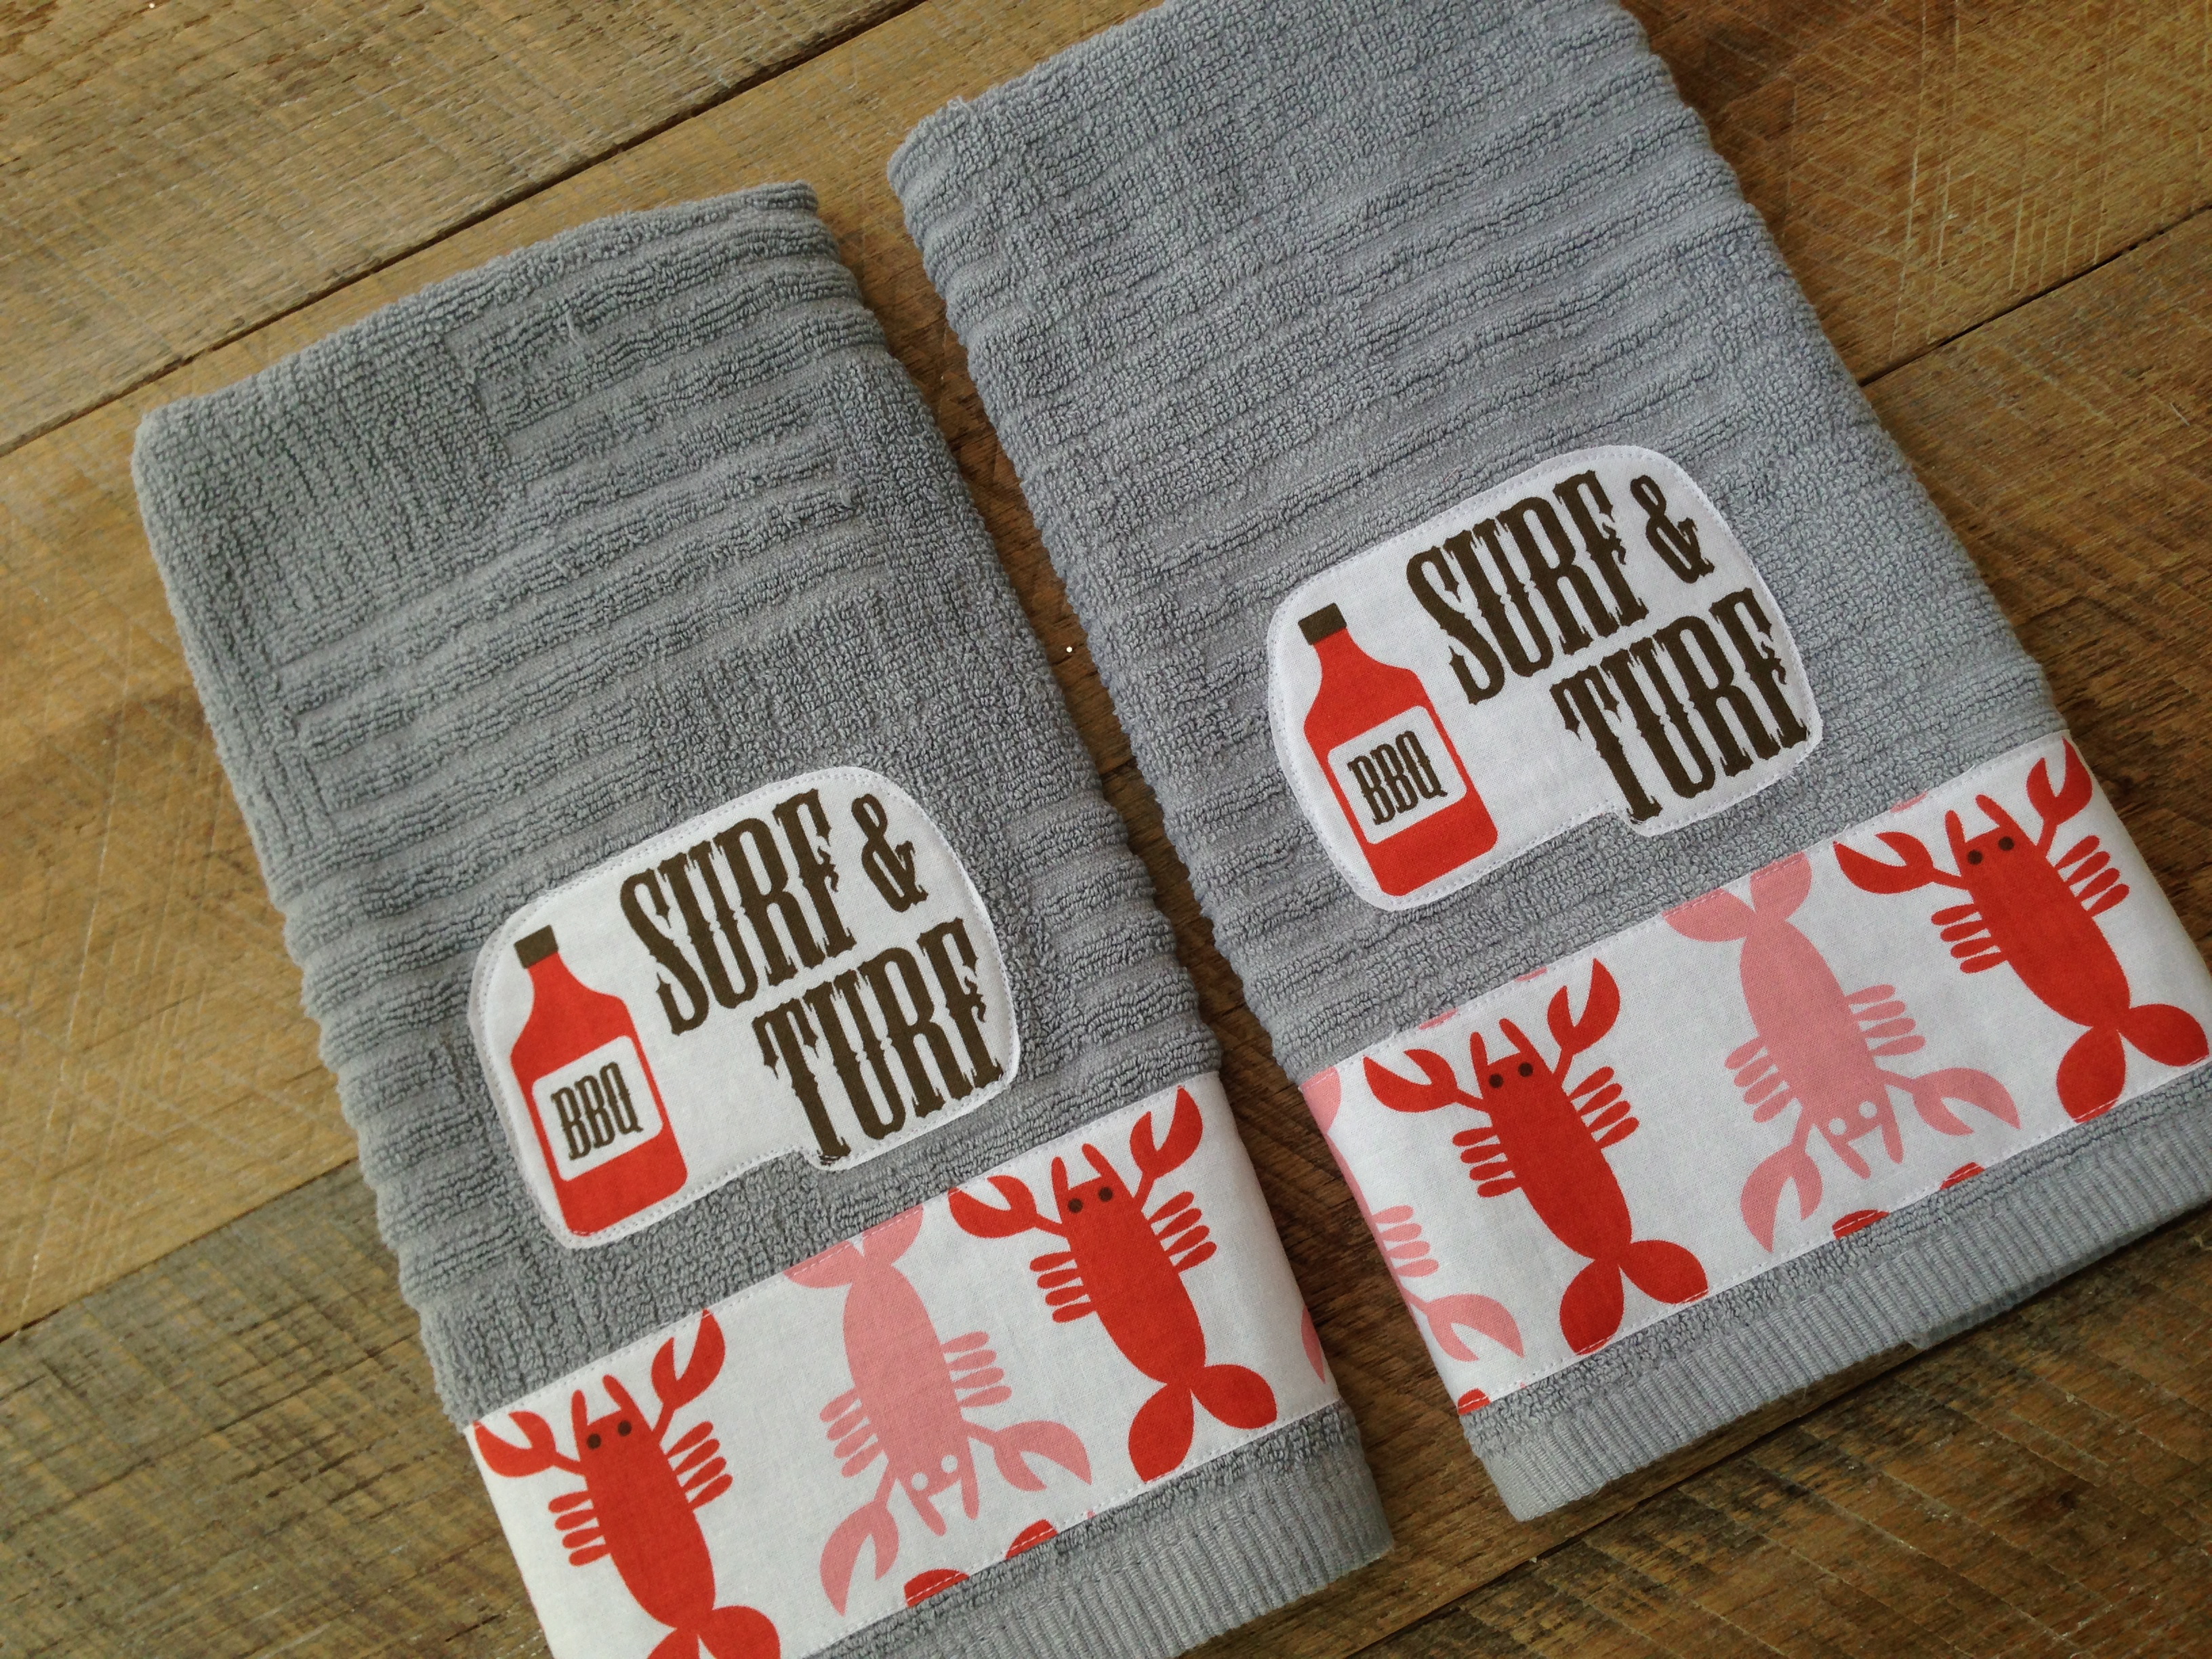
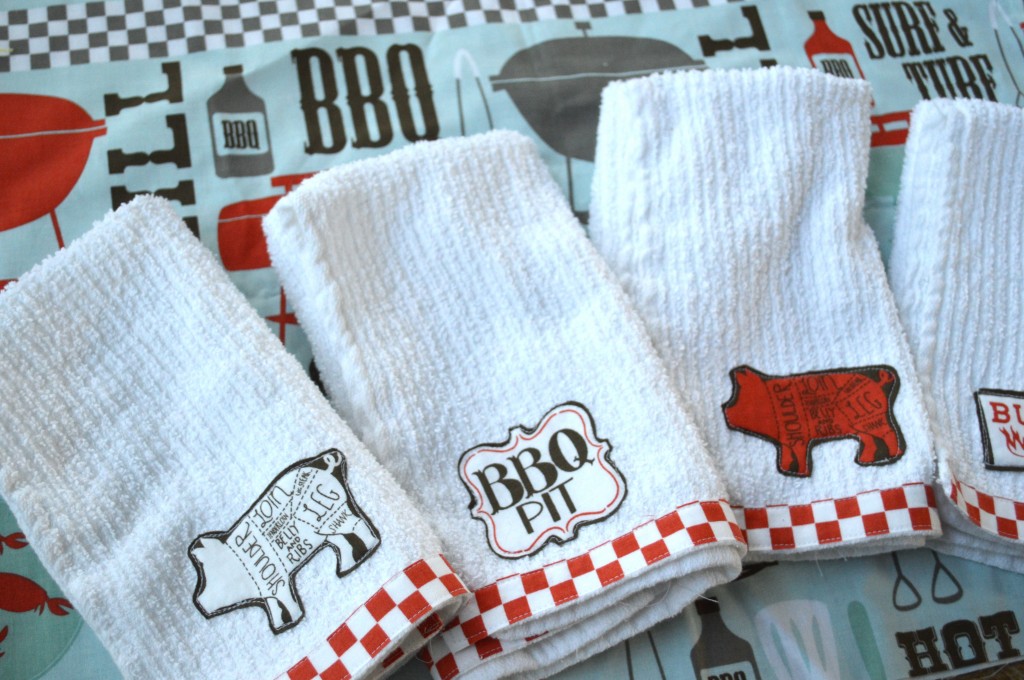
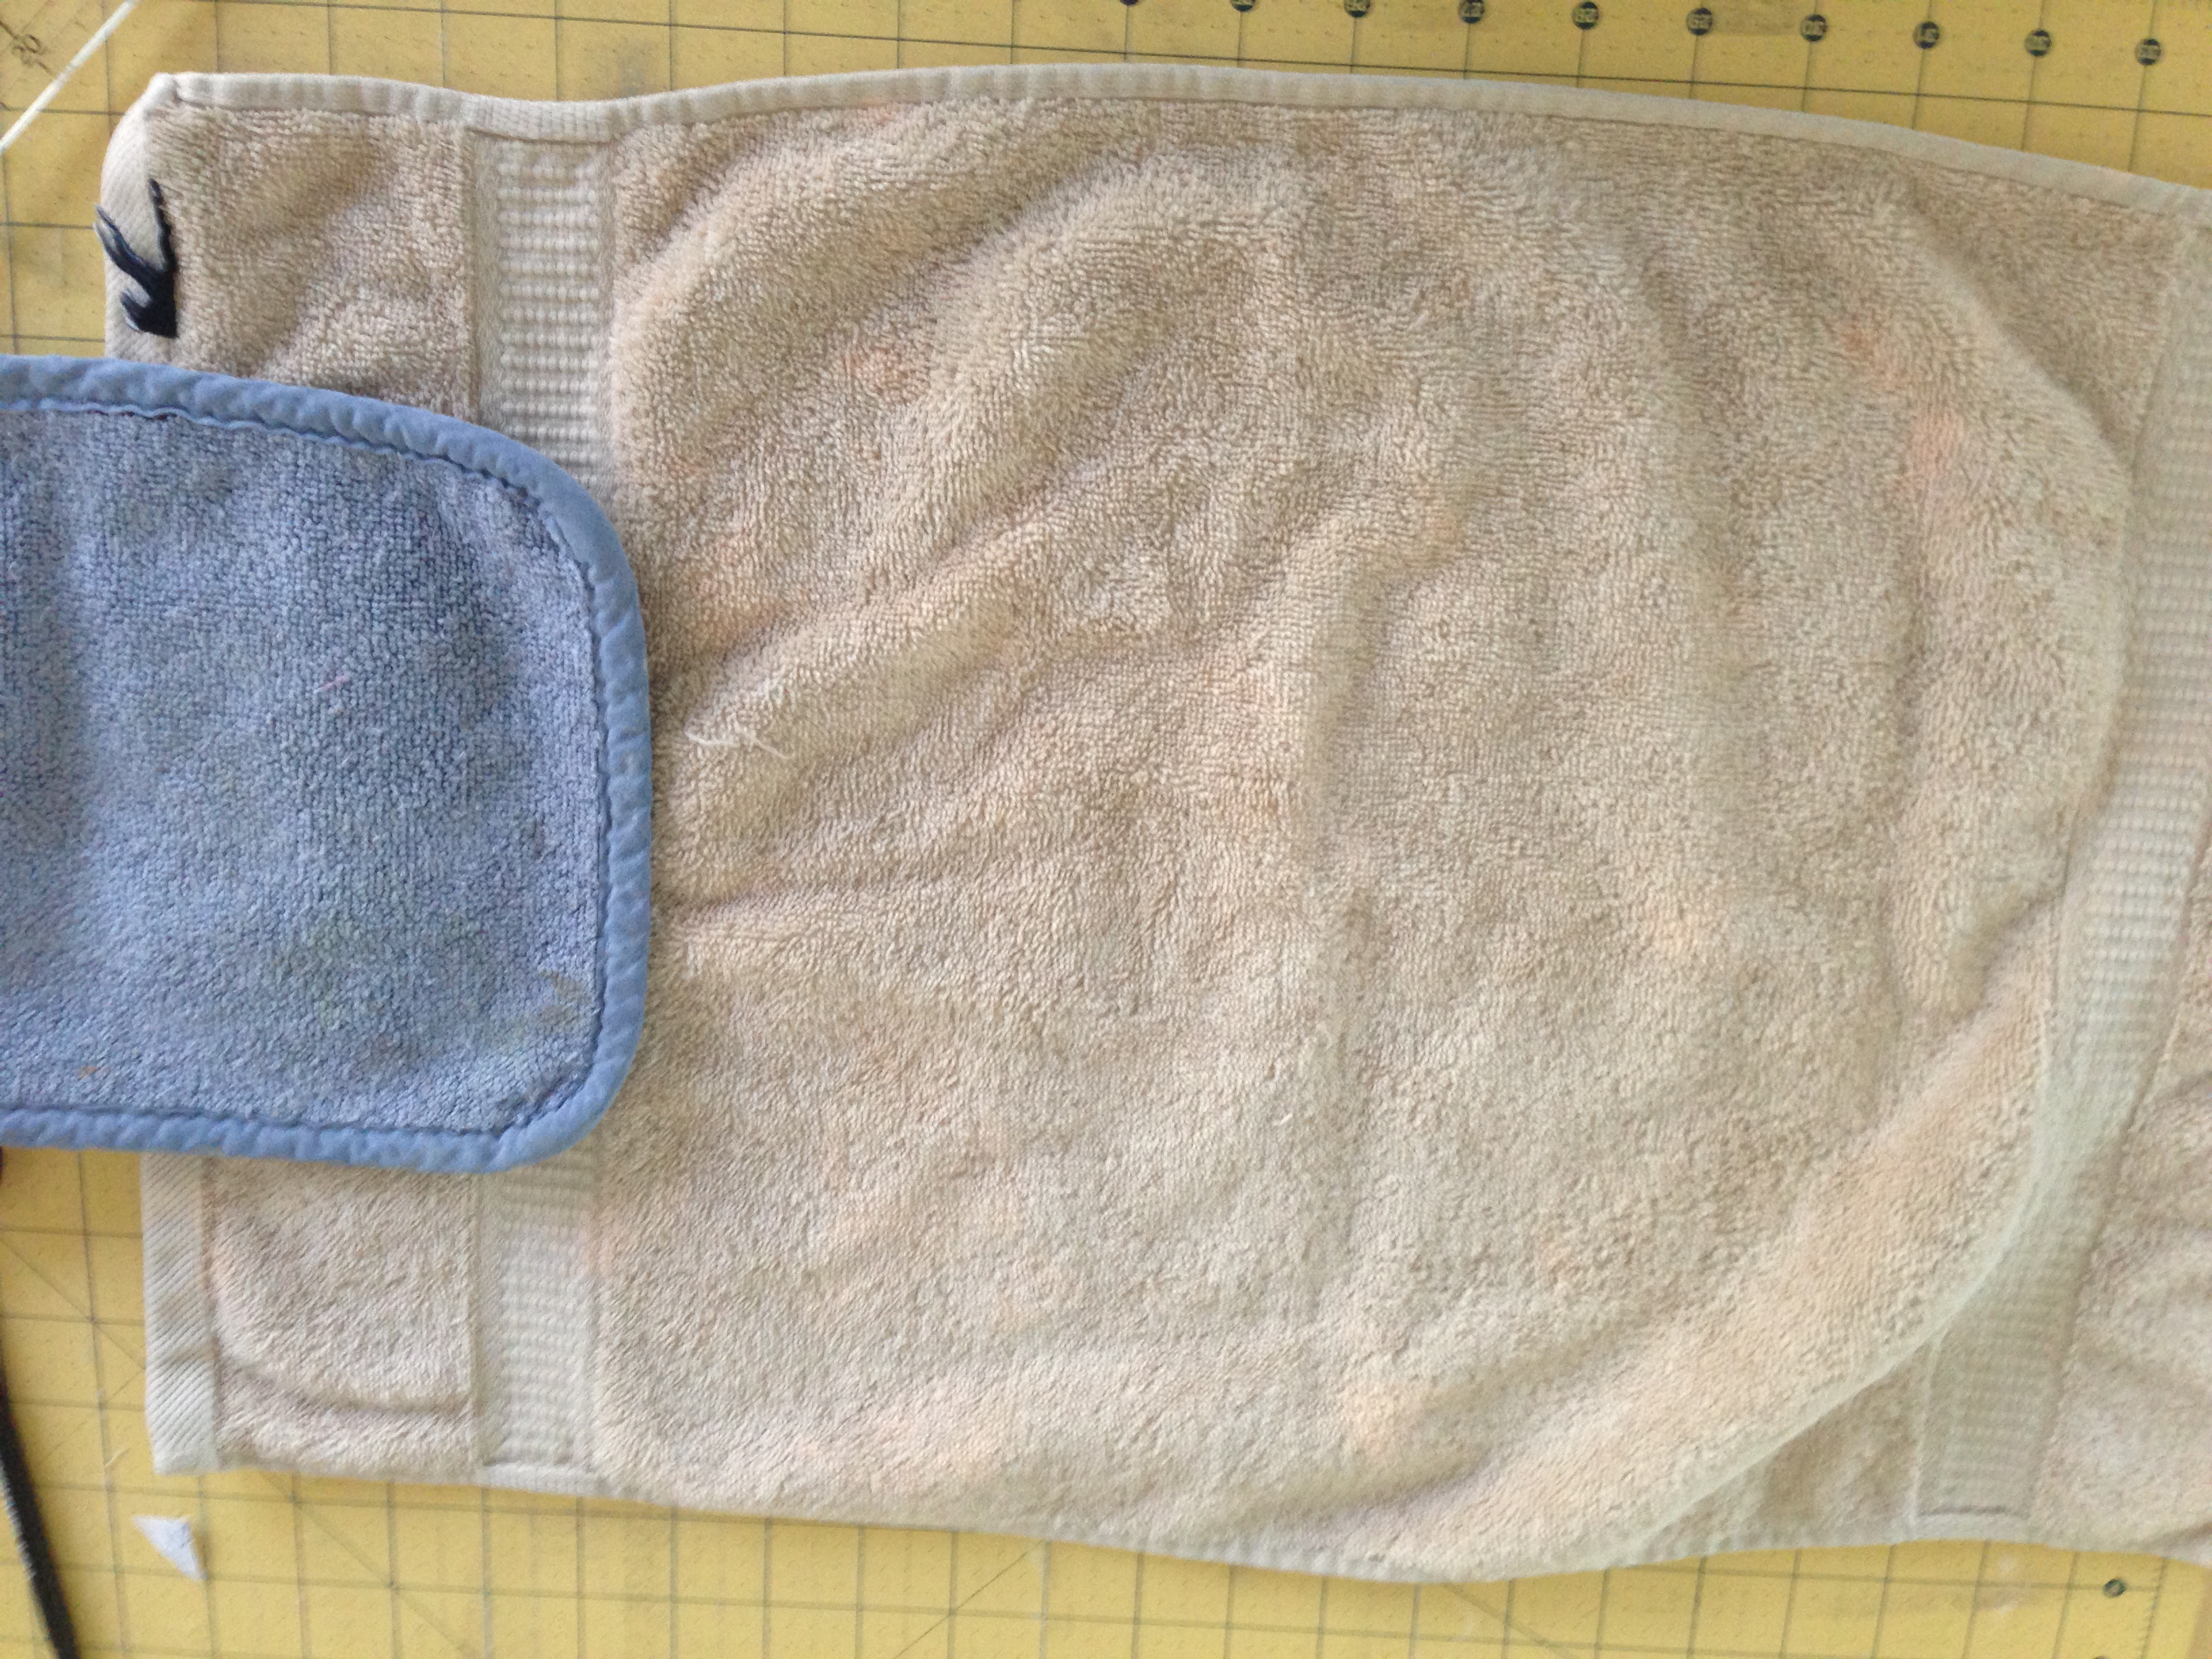
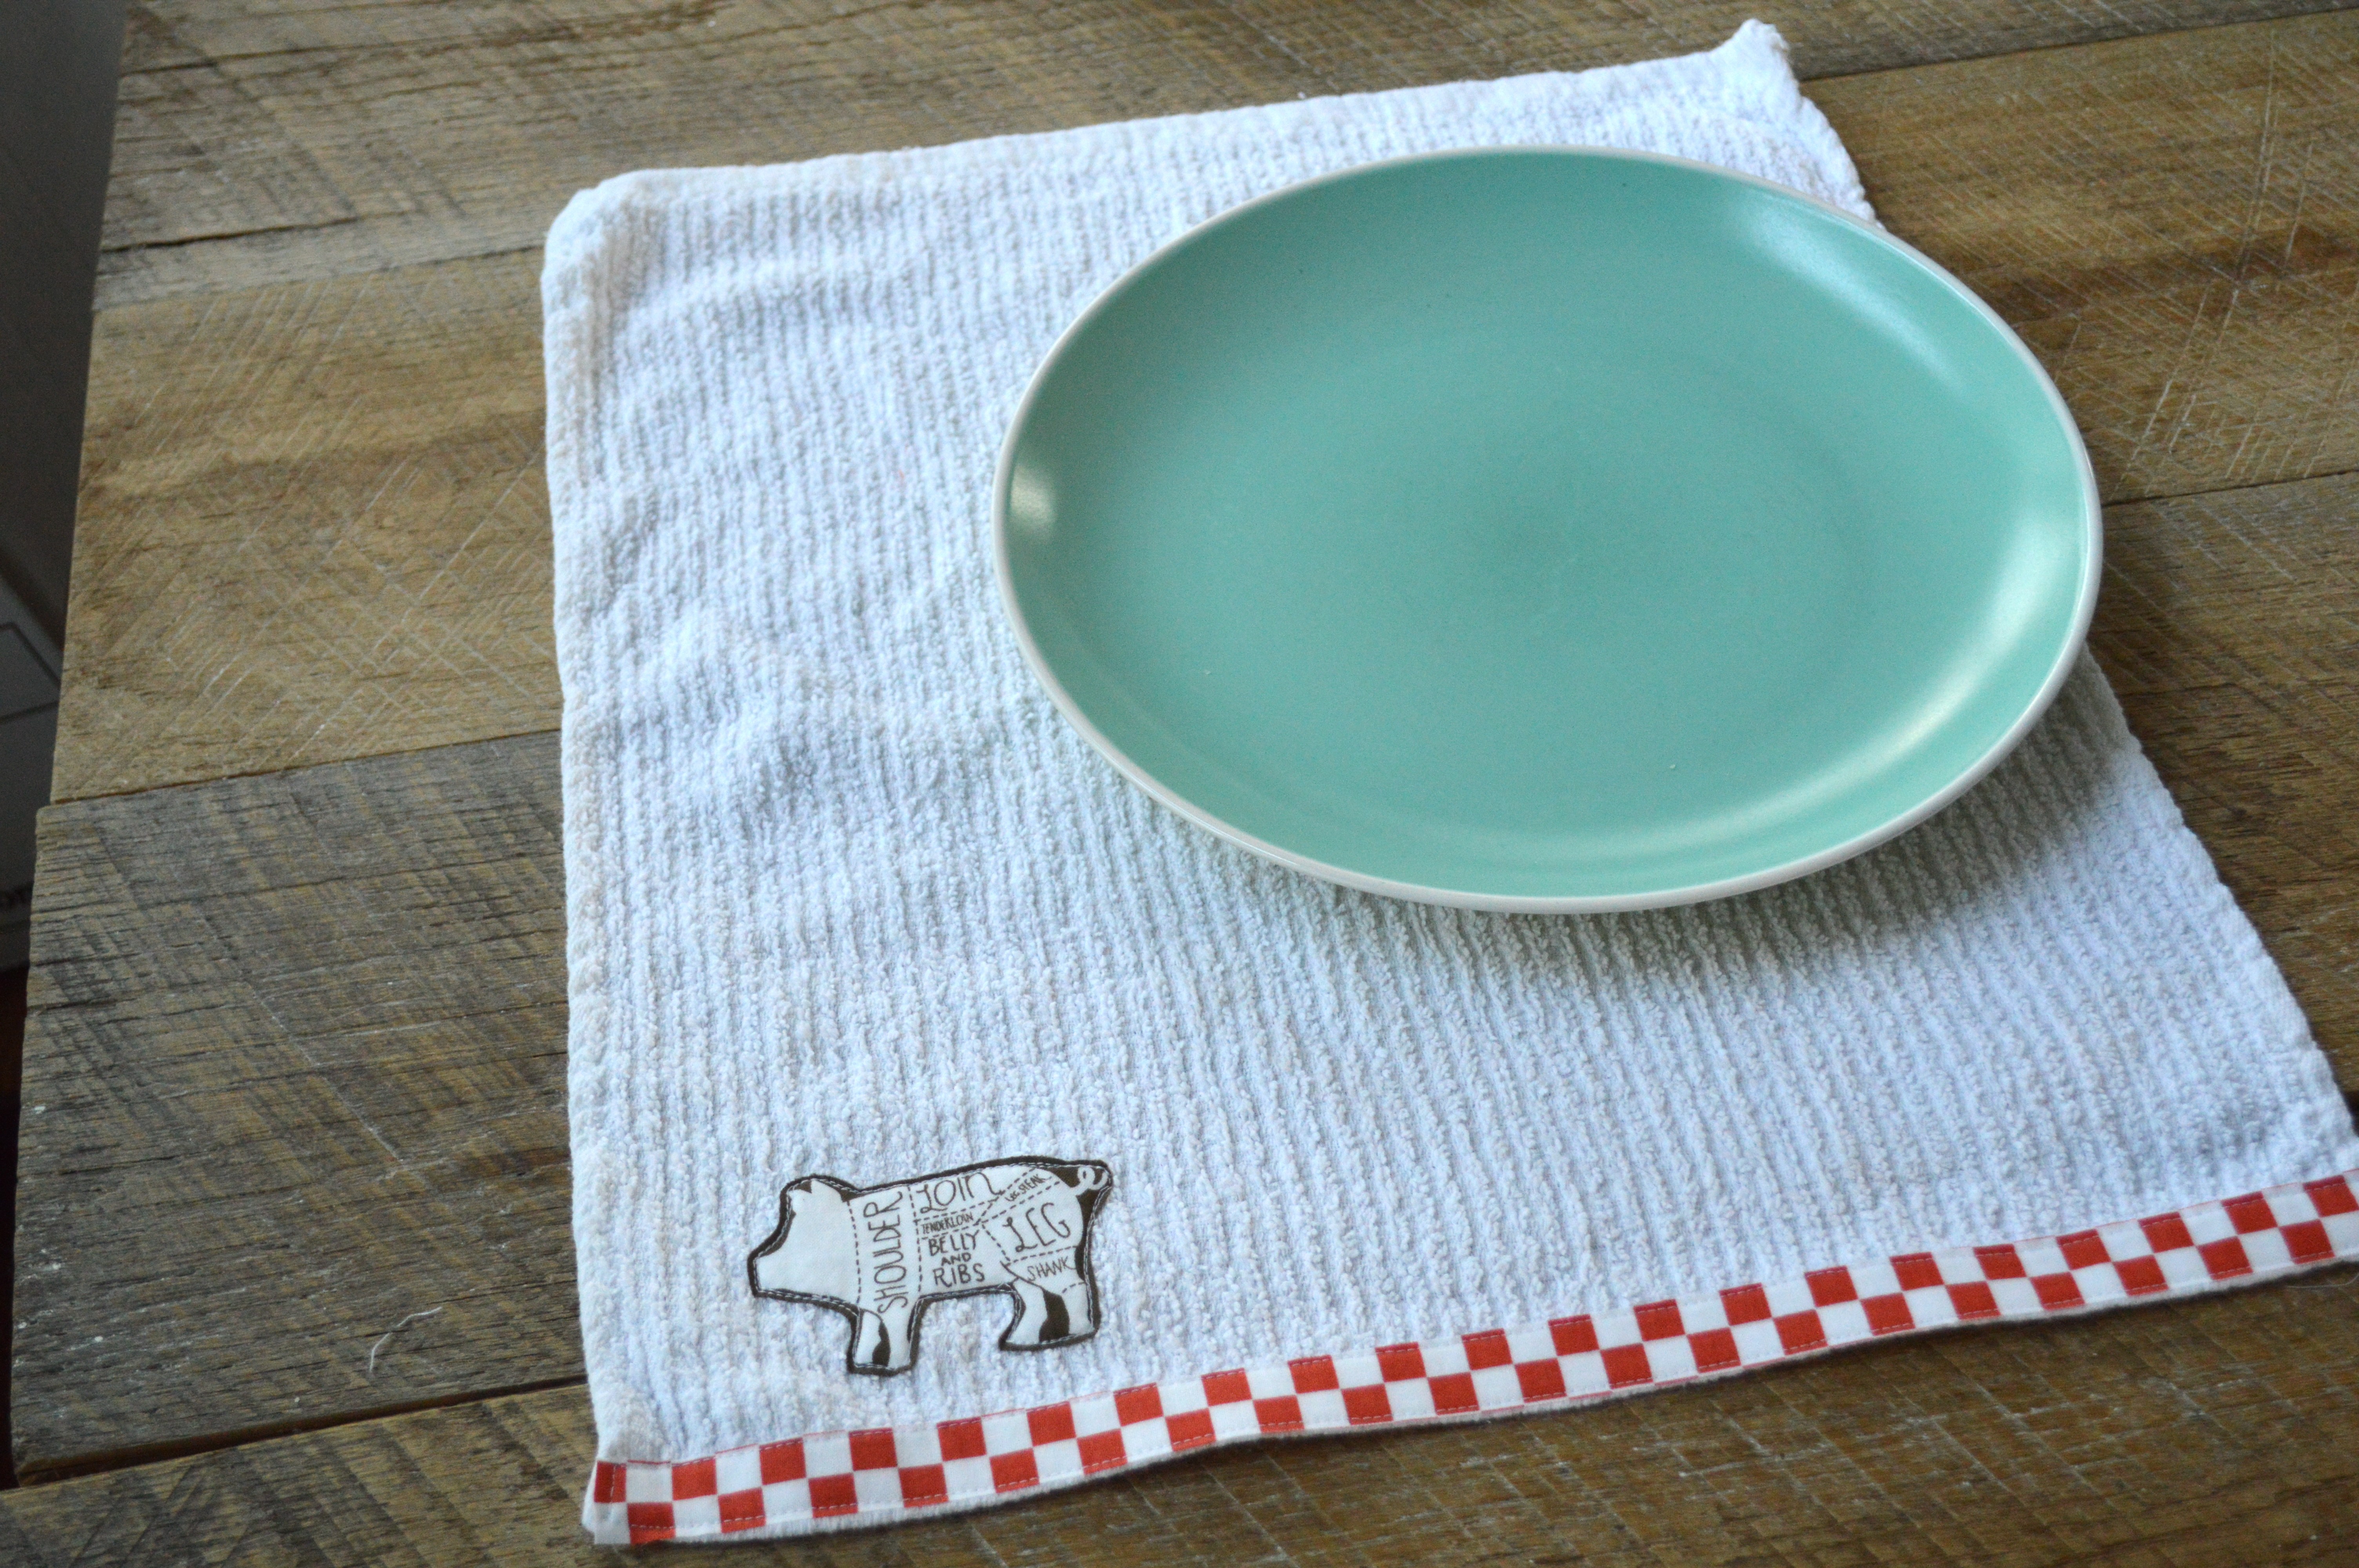
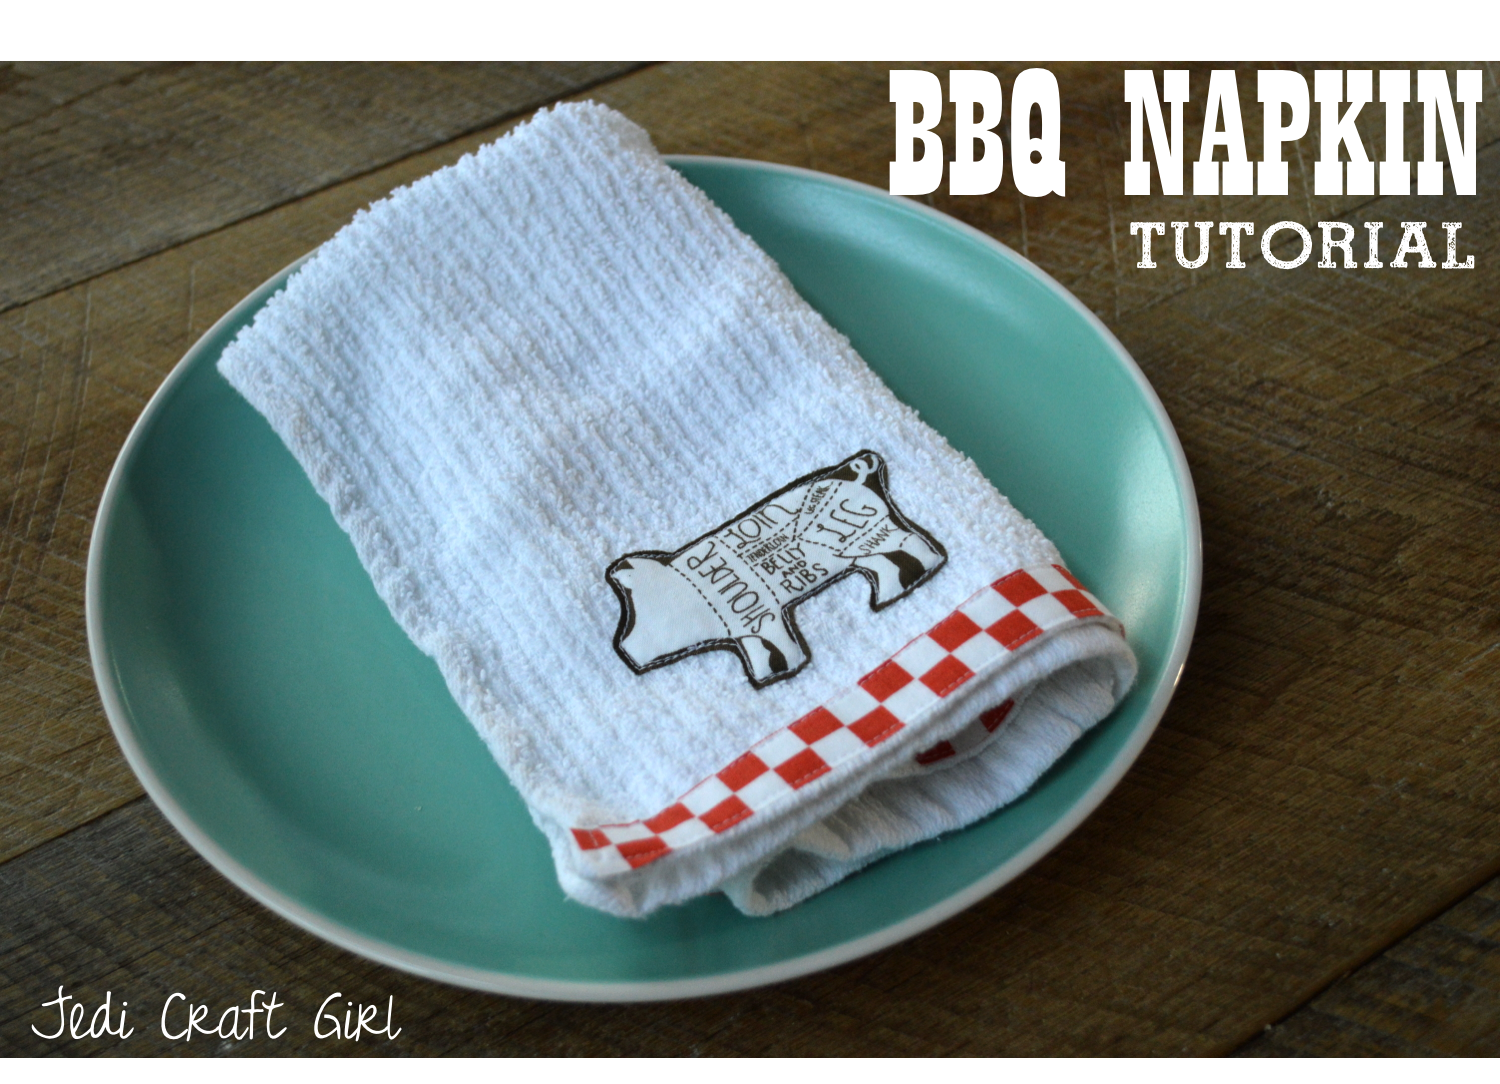
I know the claim “The Perfect Potholder” is pretty bold!! I am a bit of a potholder snob. I can’t stand silicone ones, I don’t like them if they are too stiff or puffy, I also don’t like them if they are too thin. I love the cute quilty ones, but I am always afraid to use them. So I resort to my trusty terrycloth potholders…..behold:
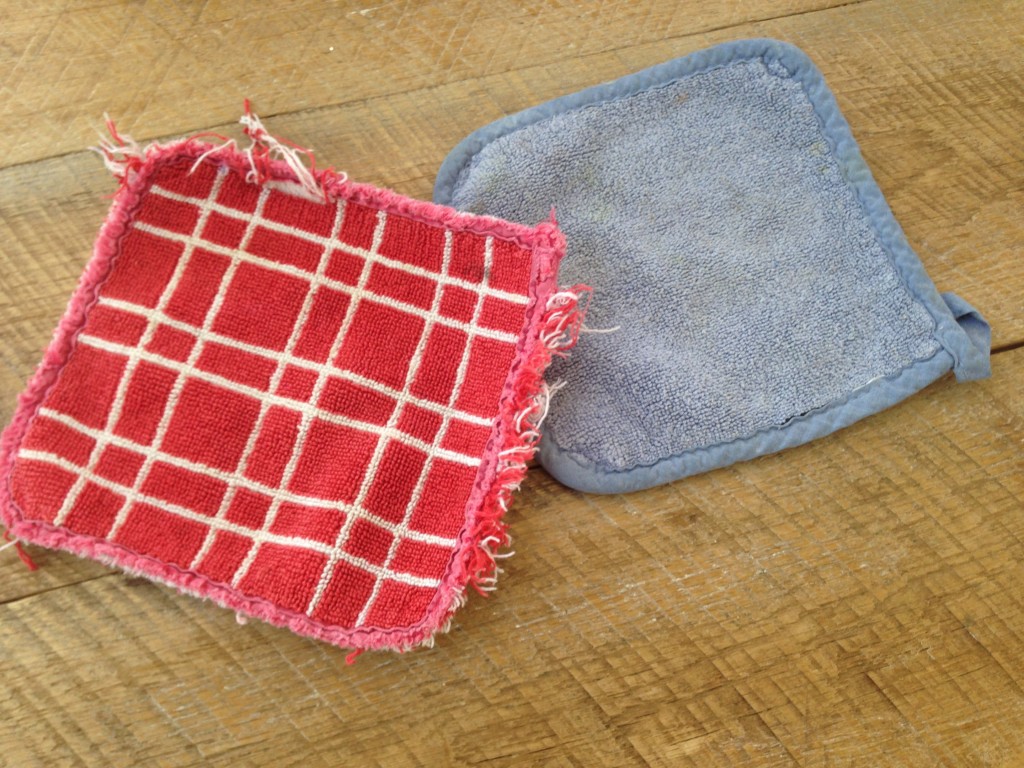
Aren’t they beautiful! haha!! They’ve been used and washed at least a million times and I can never give them up…..until TODAY when I came up with a homemade version that is just as functional yet much more stylish. The trick is that I cut up a hand towel (or bath towel), layered with batting and quilted it. Are you ready for the tutorial? Here we go:
Supplies:
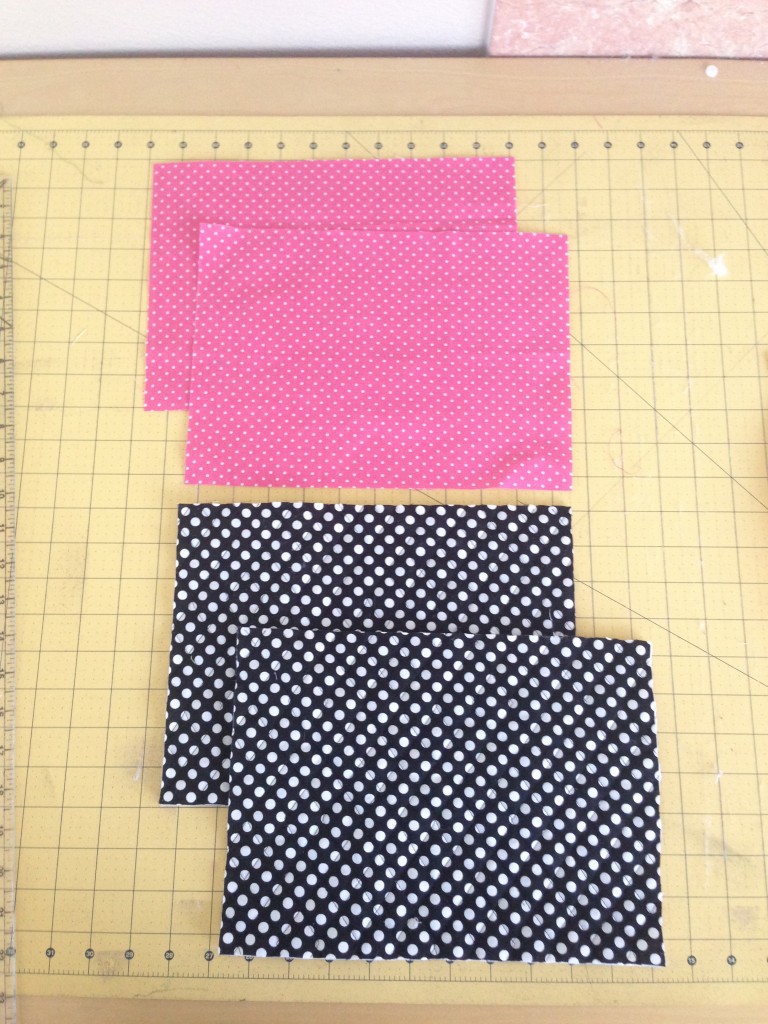
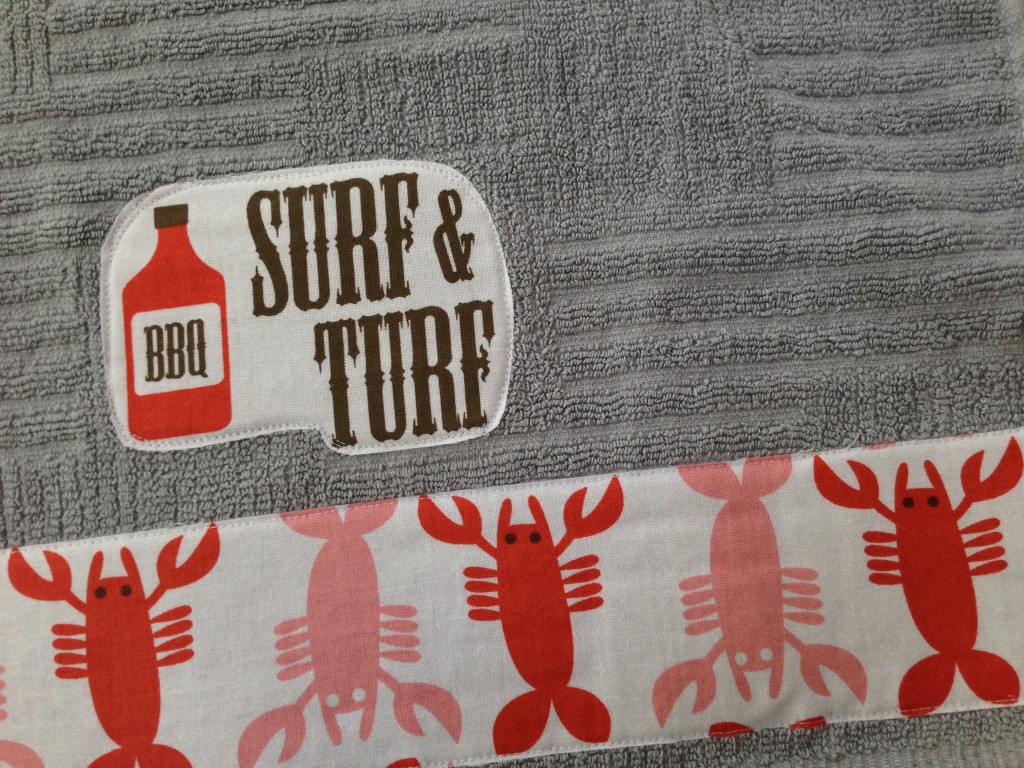
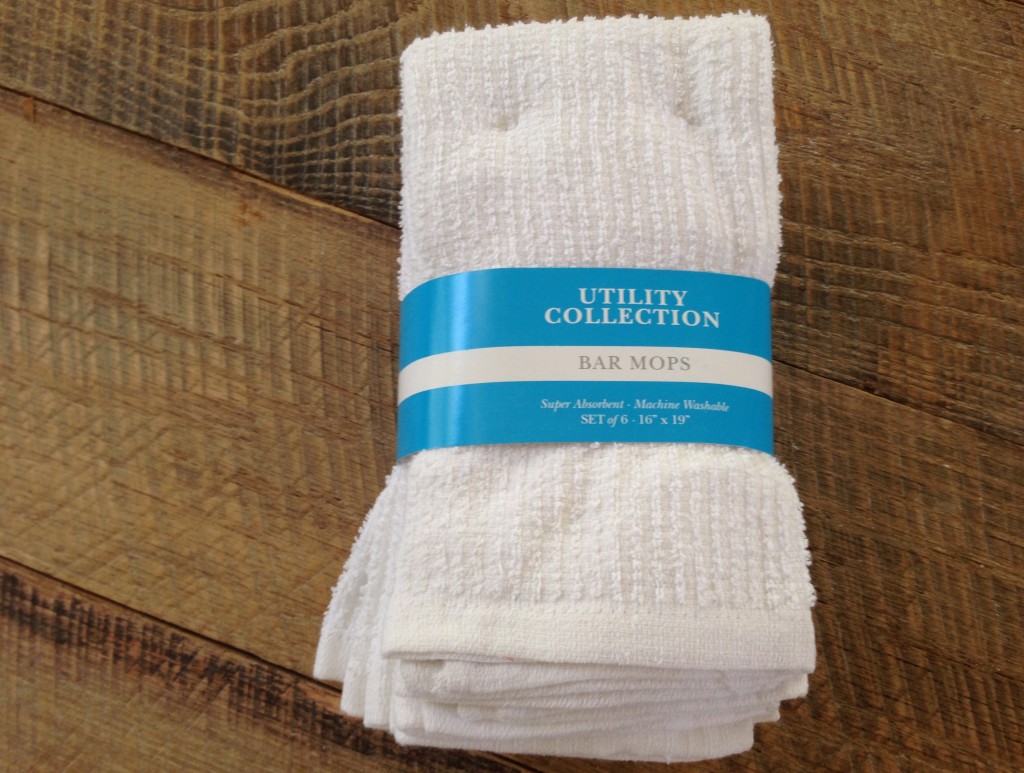
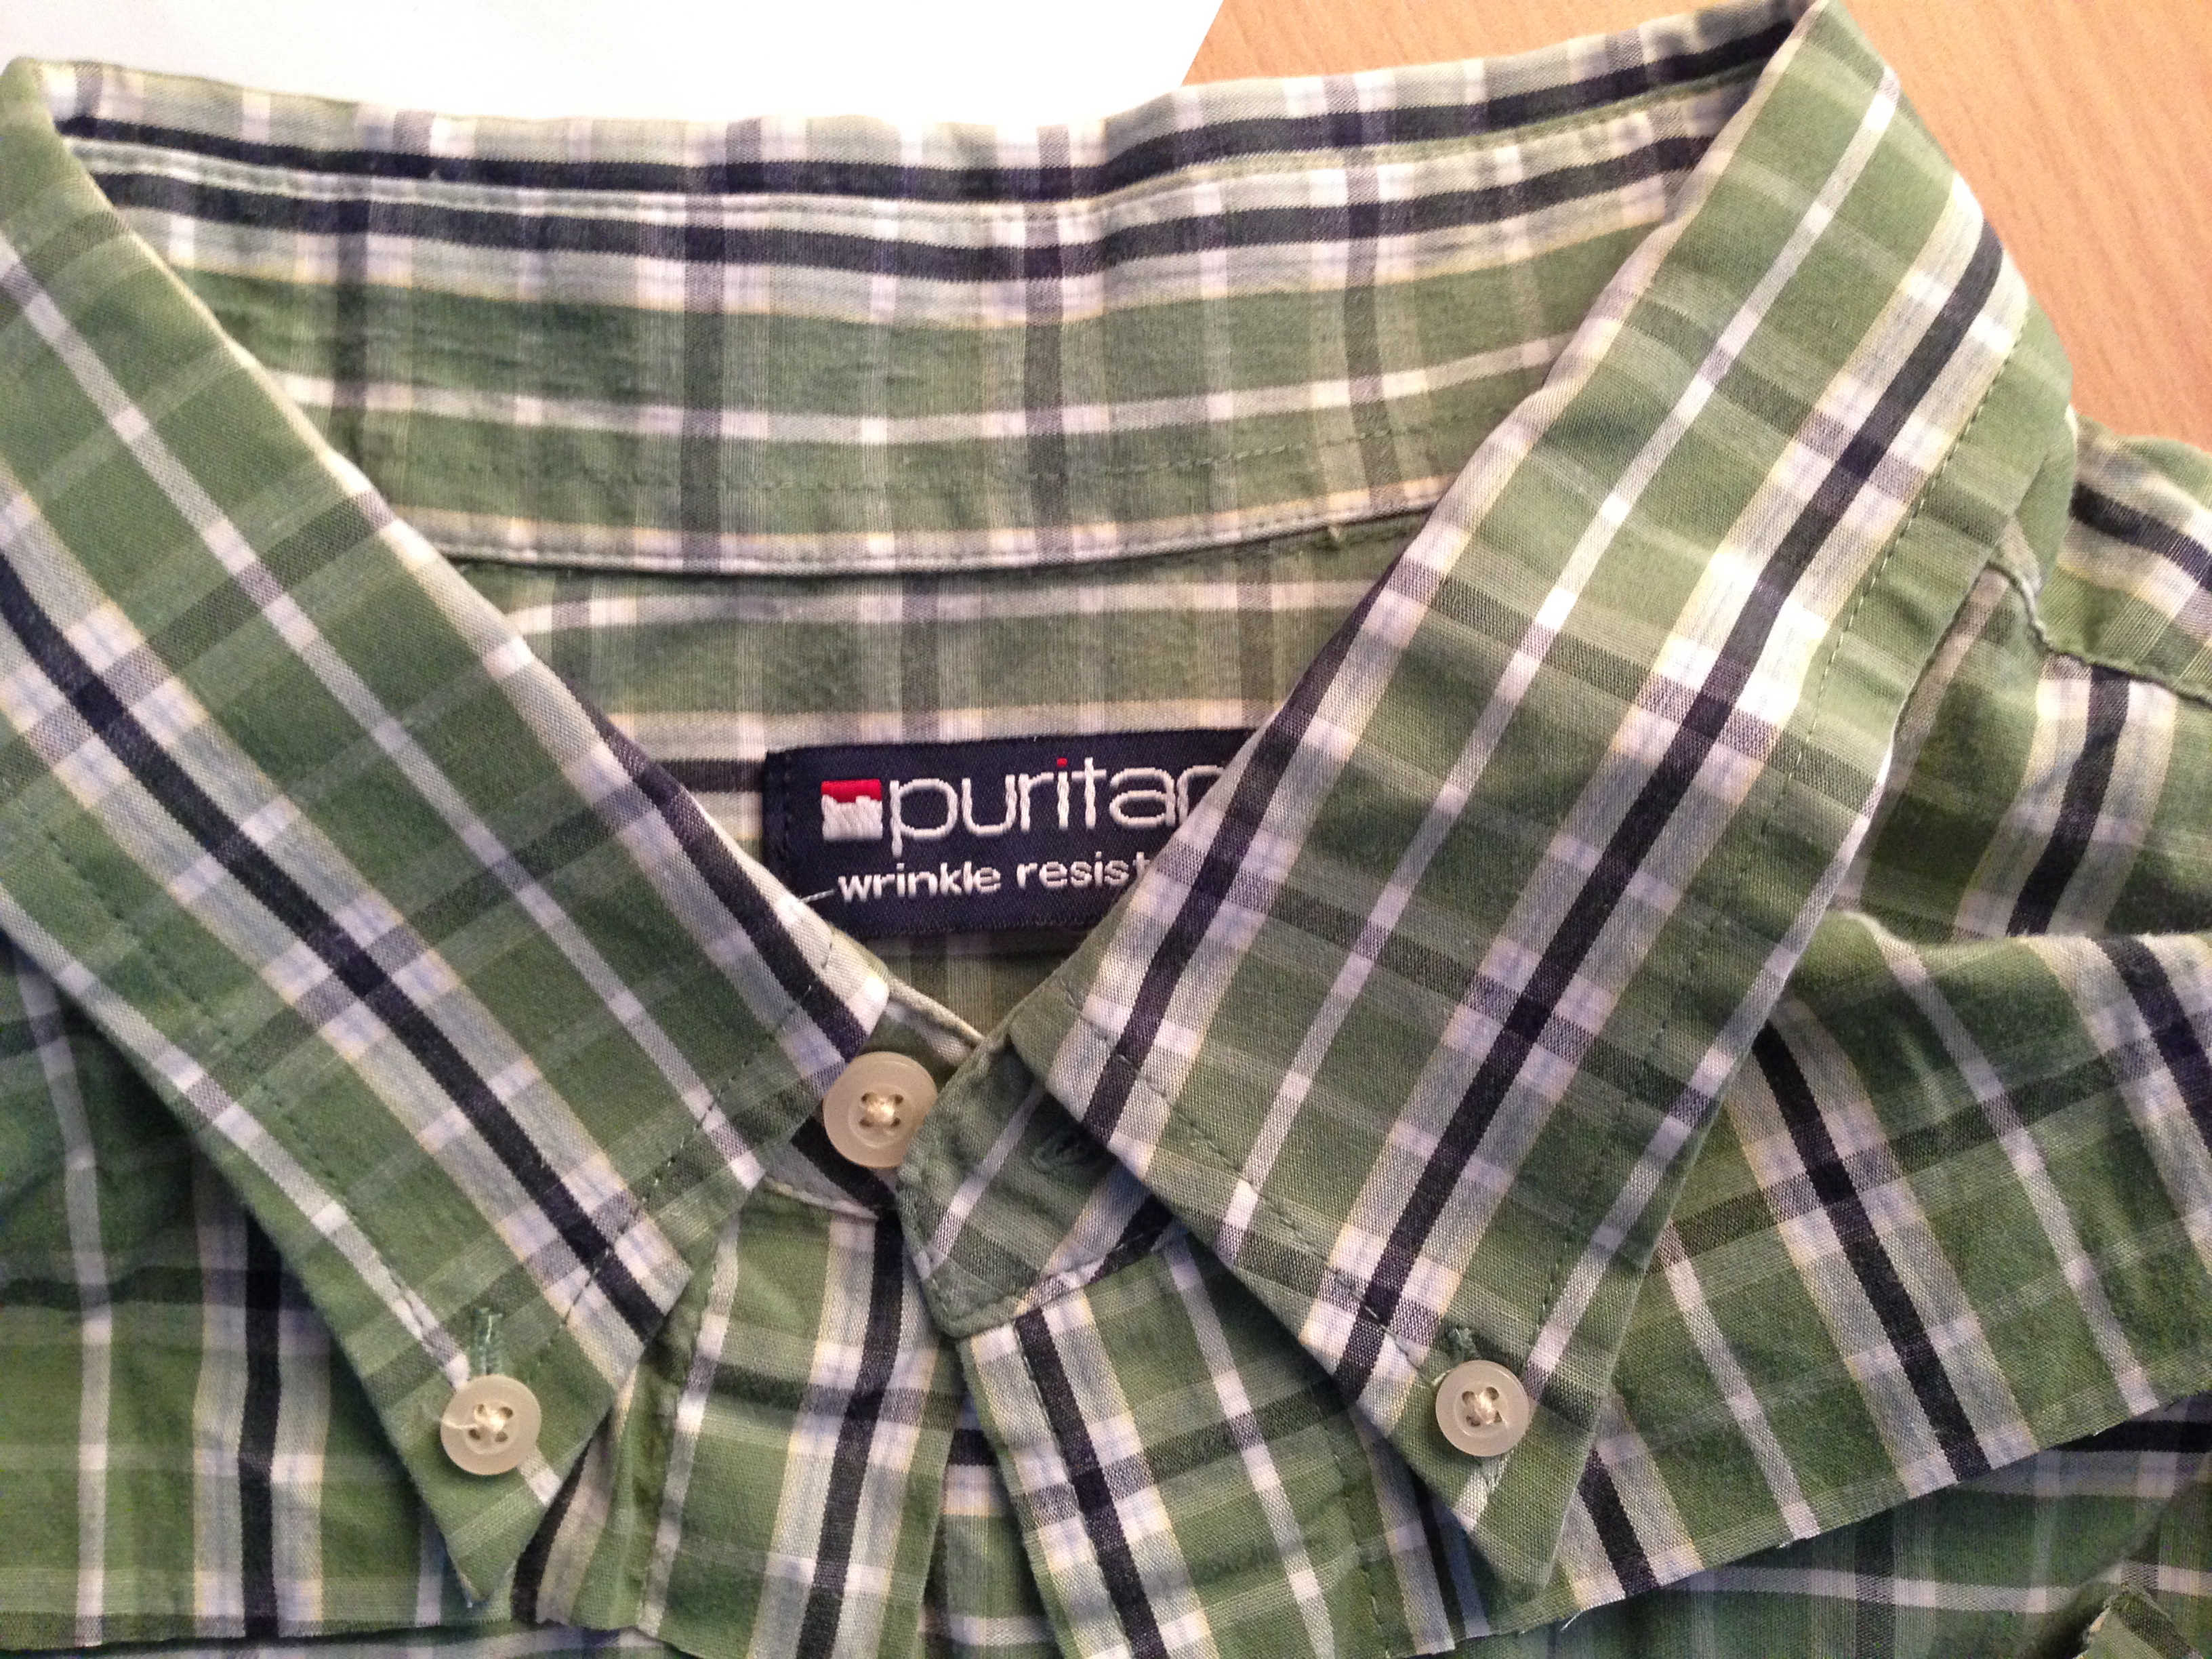
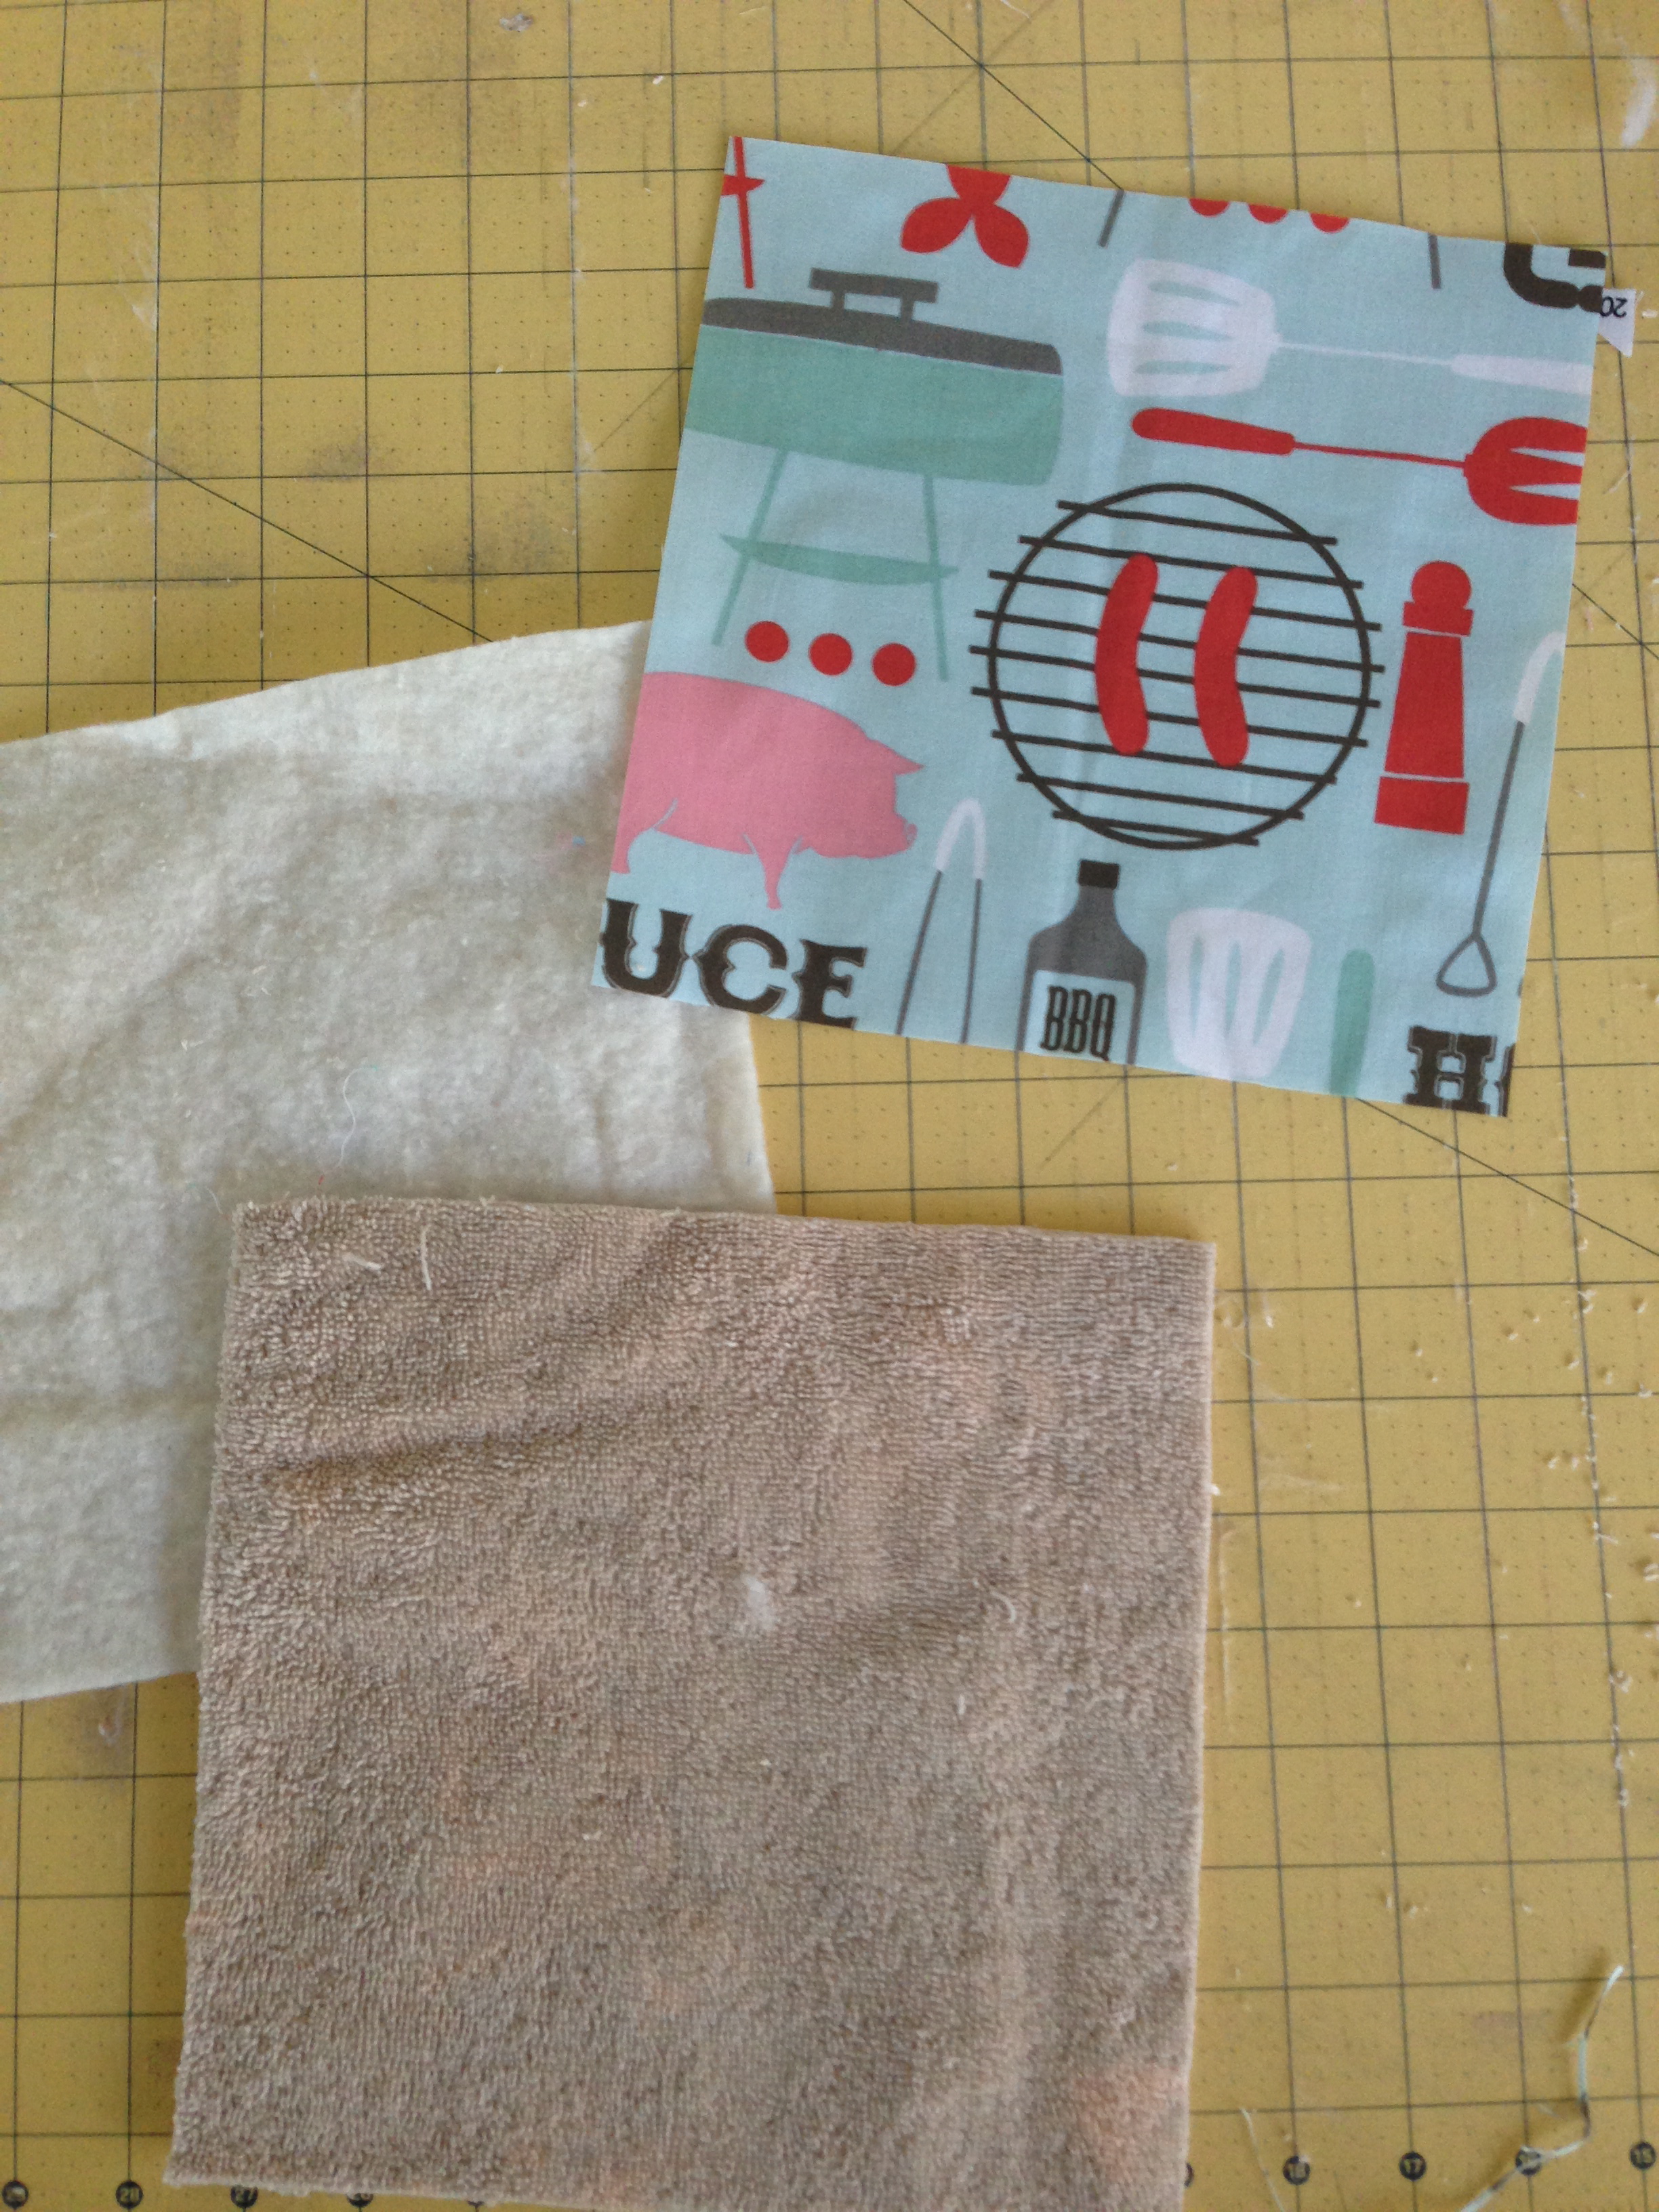
1 bath or hand towel (not kitchen) the thicker the better!
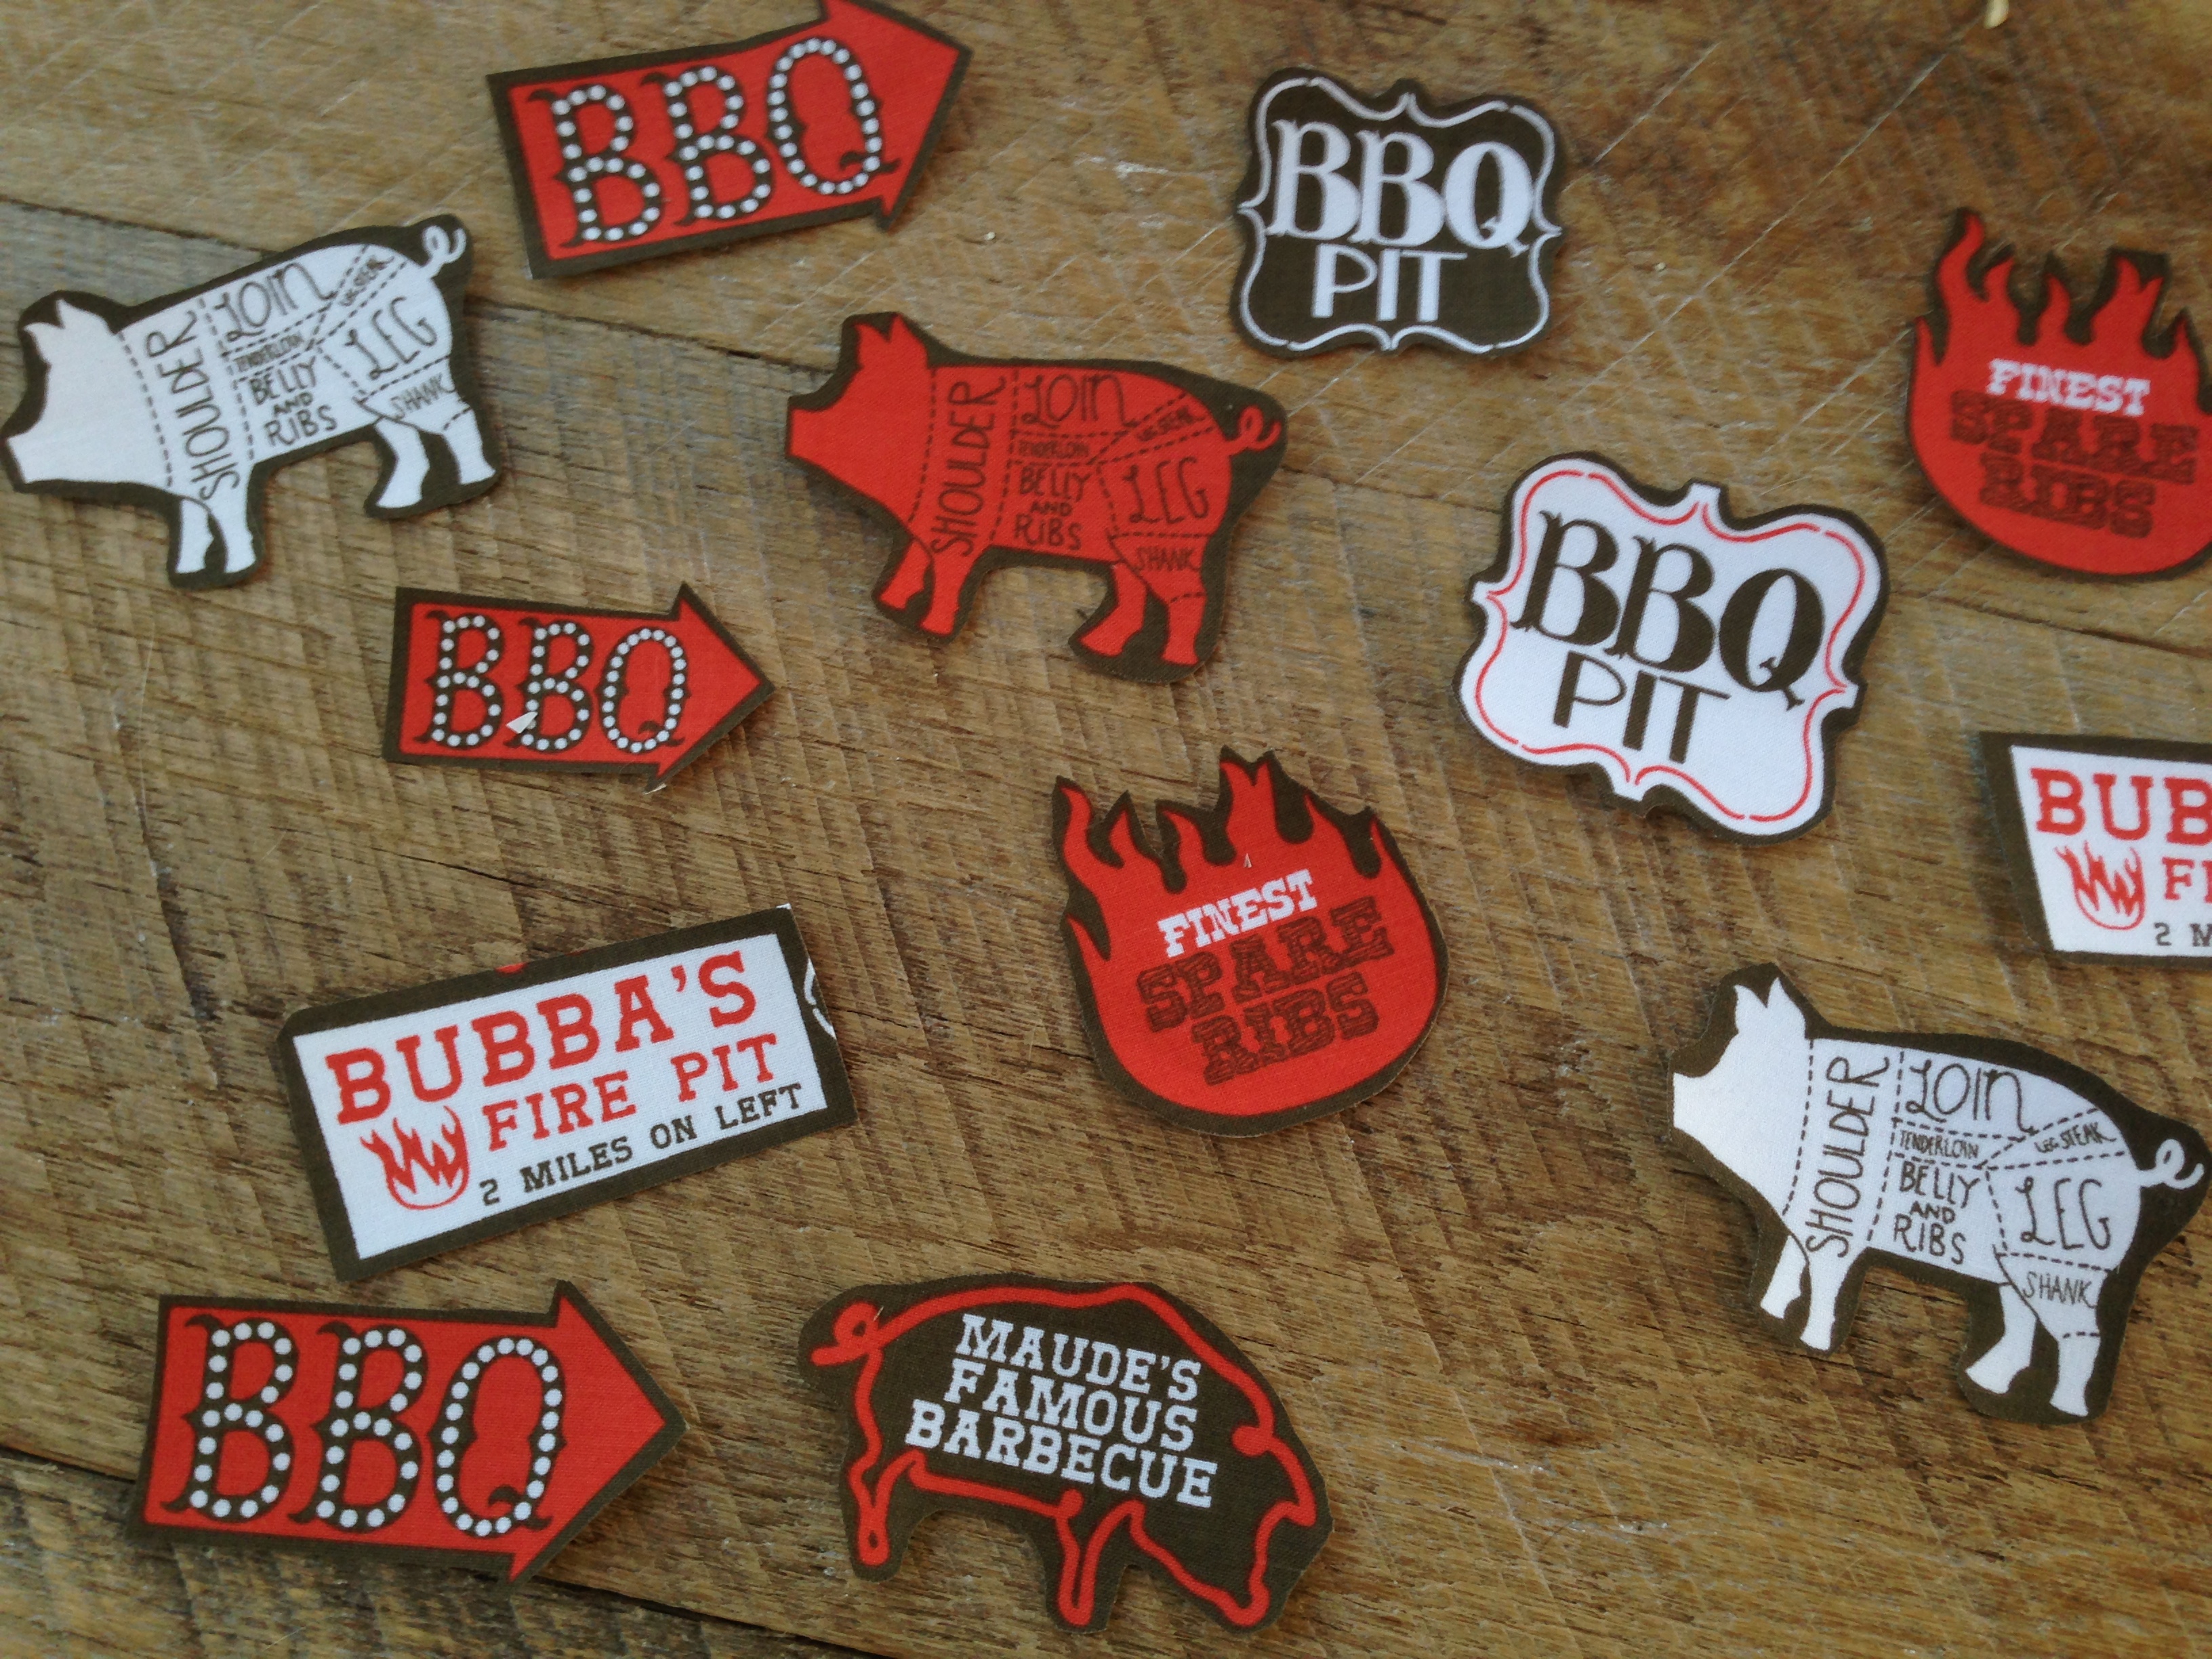
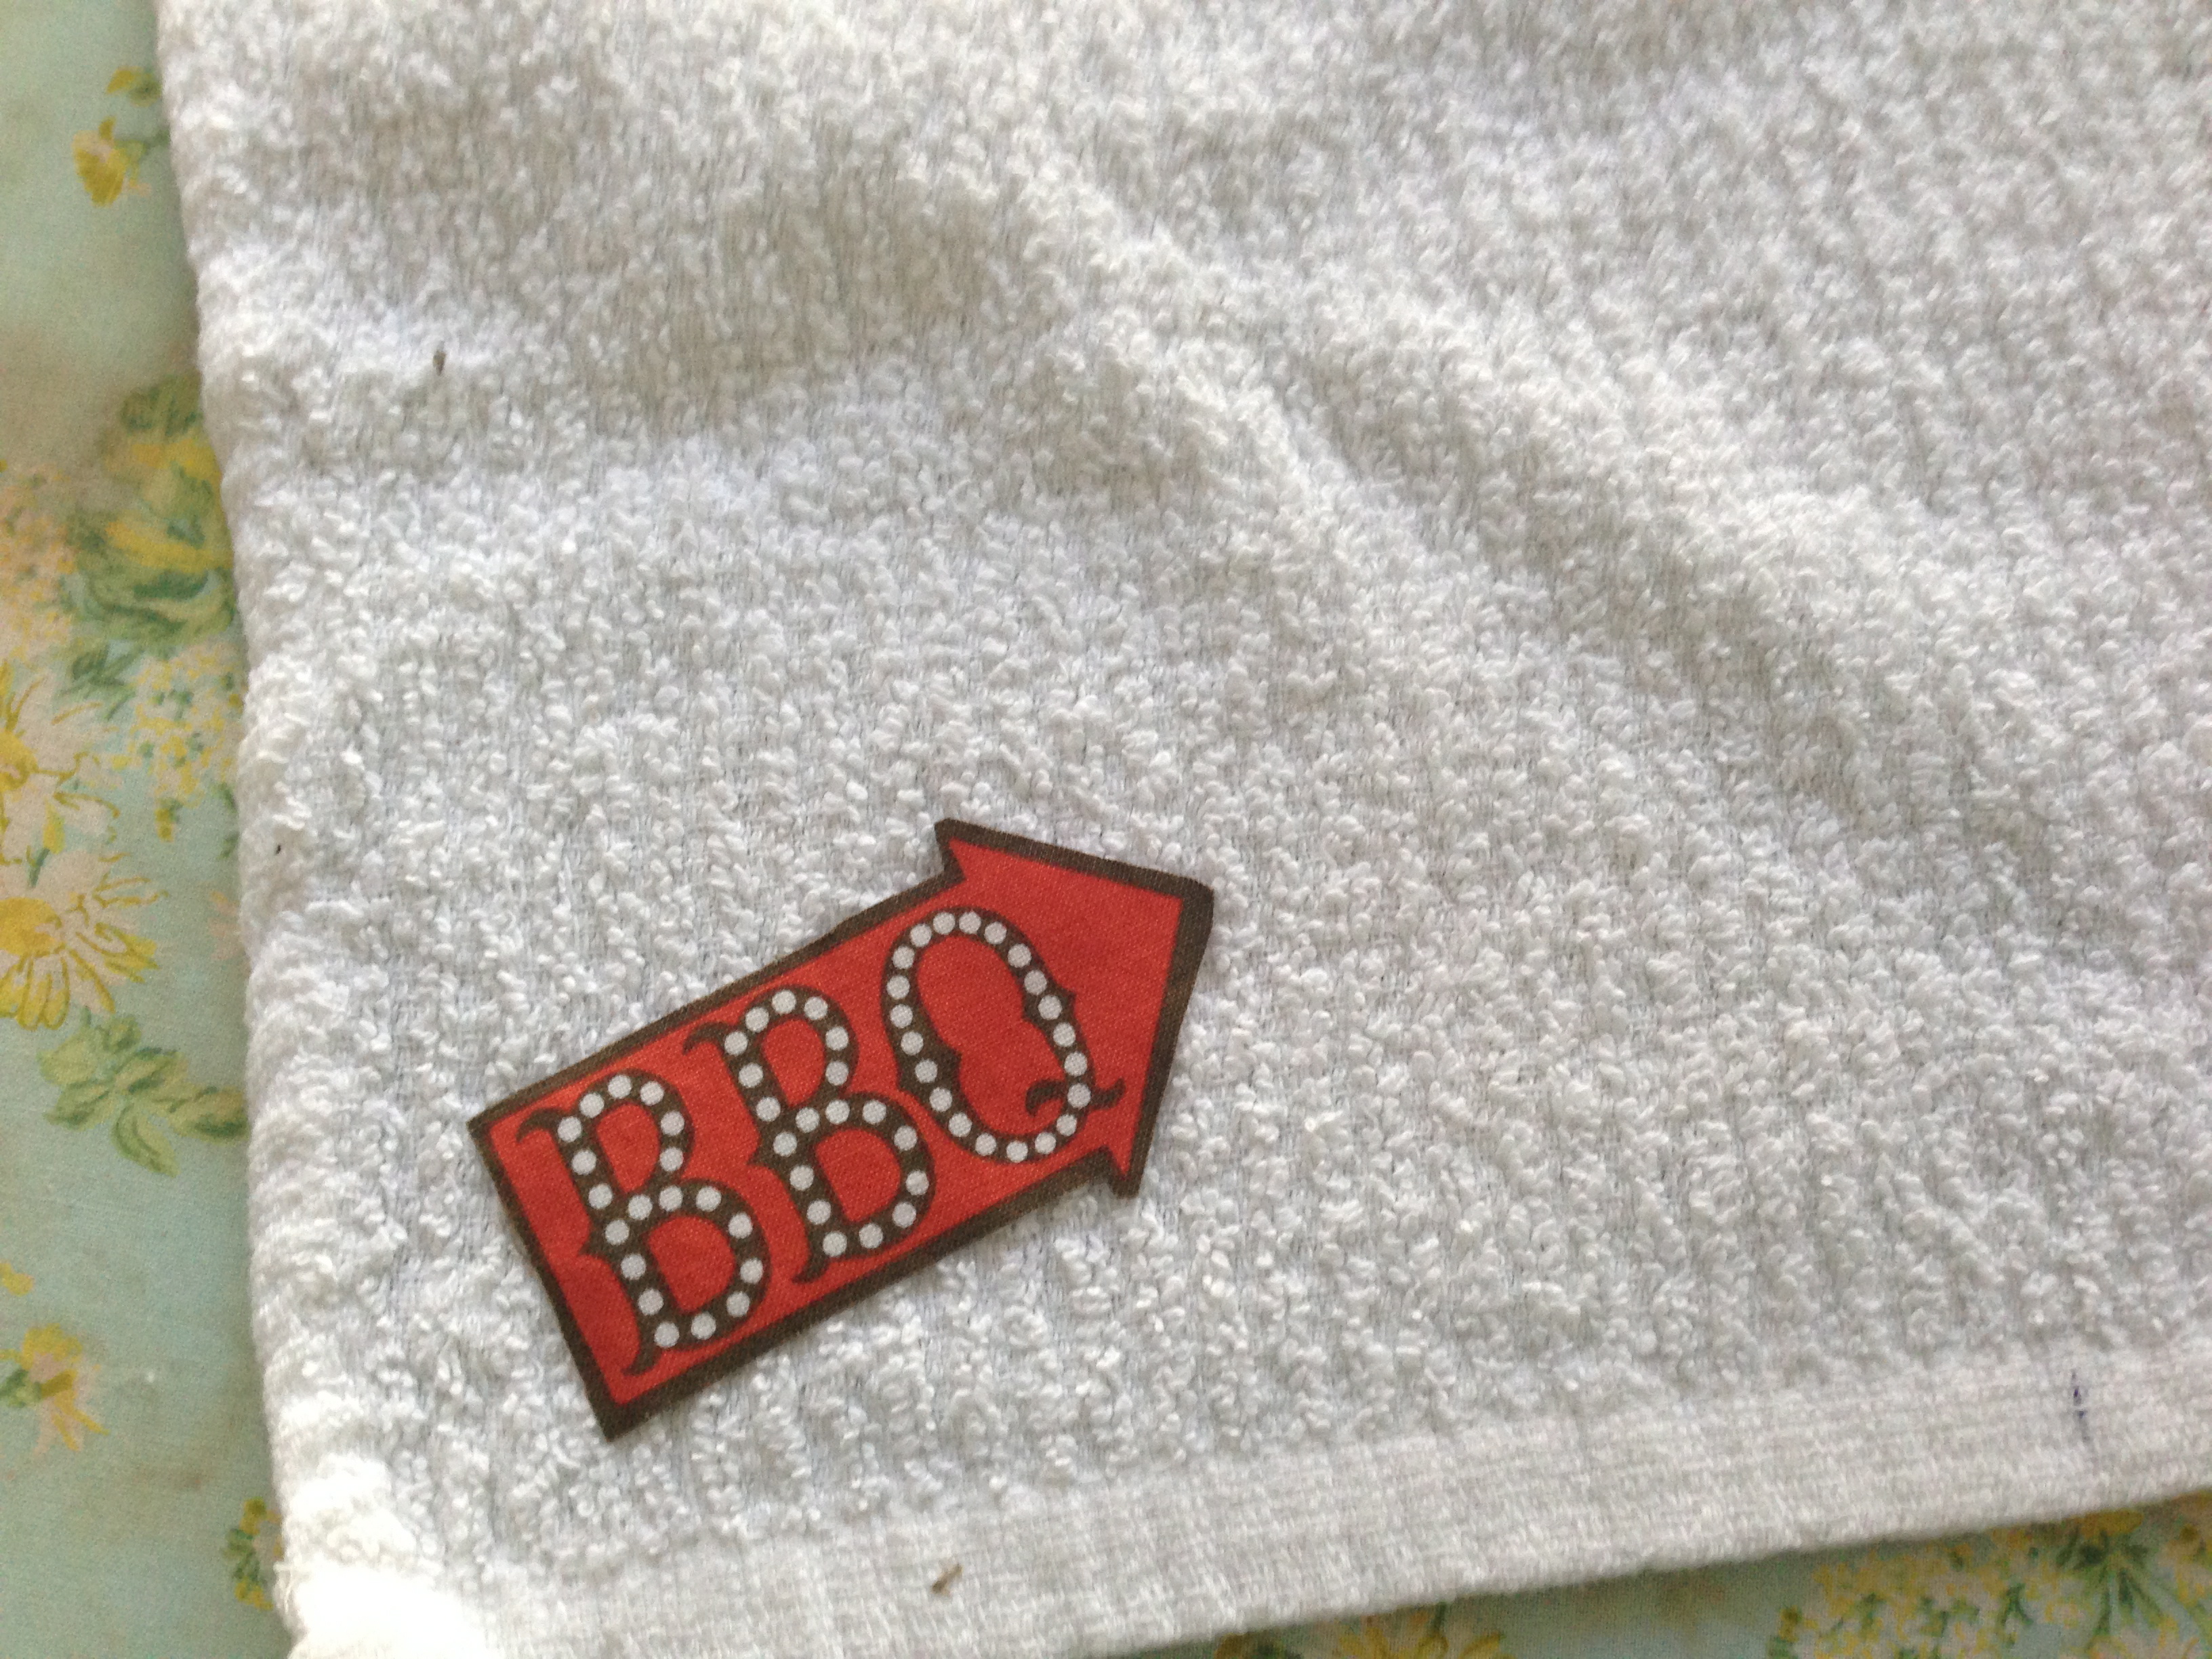
Fat Quarter Bibs and Ribs fabric – still loving it!!
Scraps of cotton batting
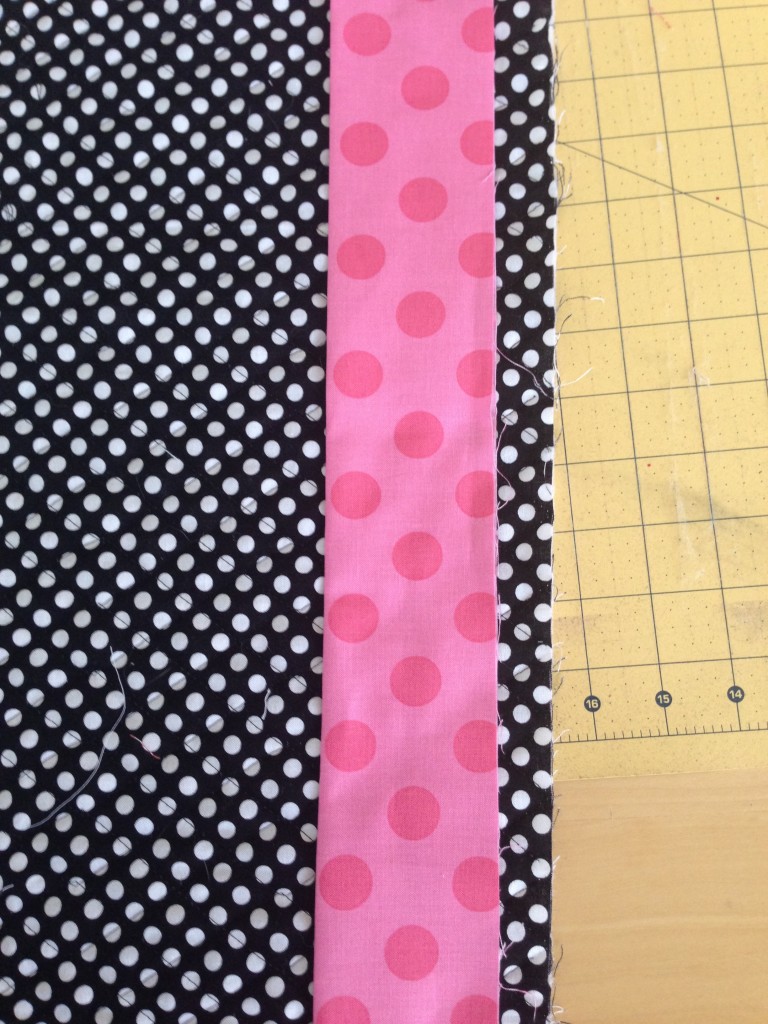
fabric for the binding
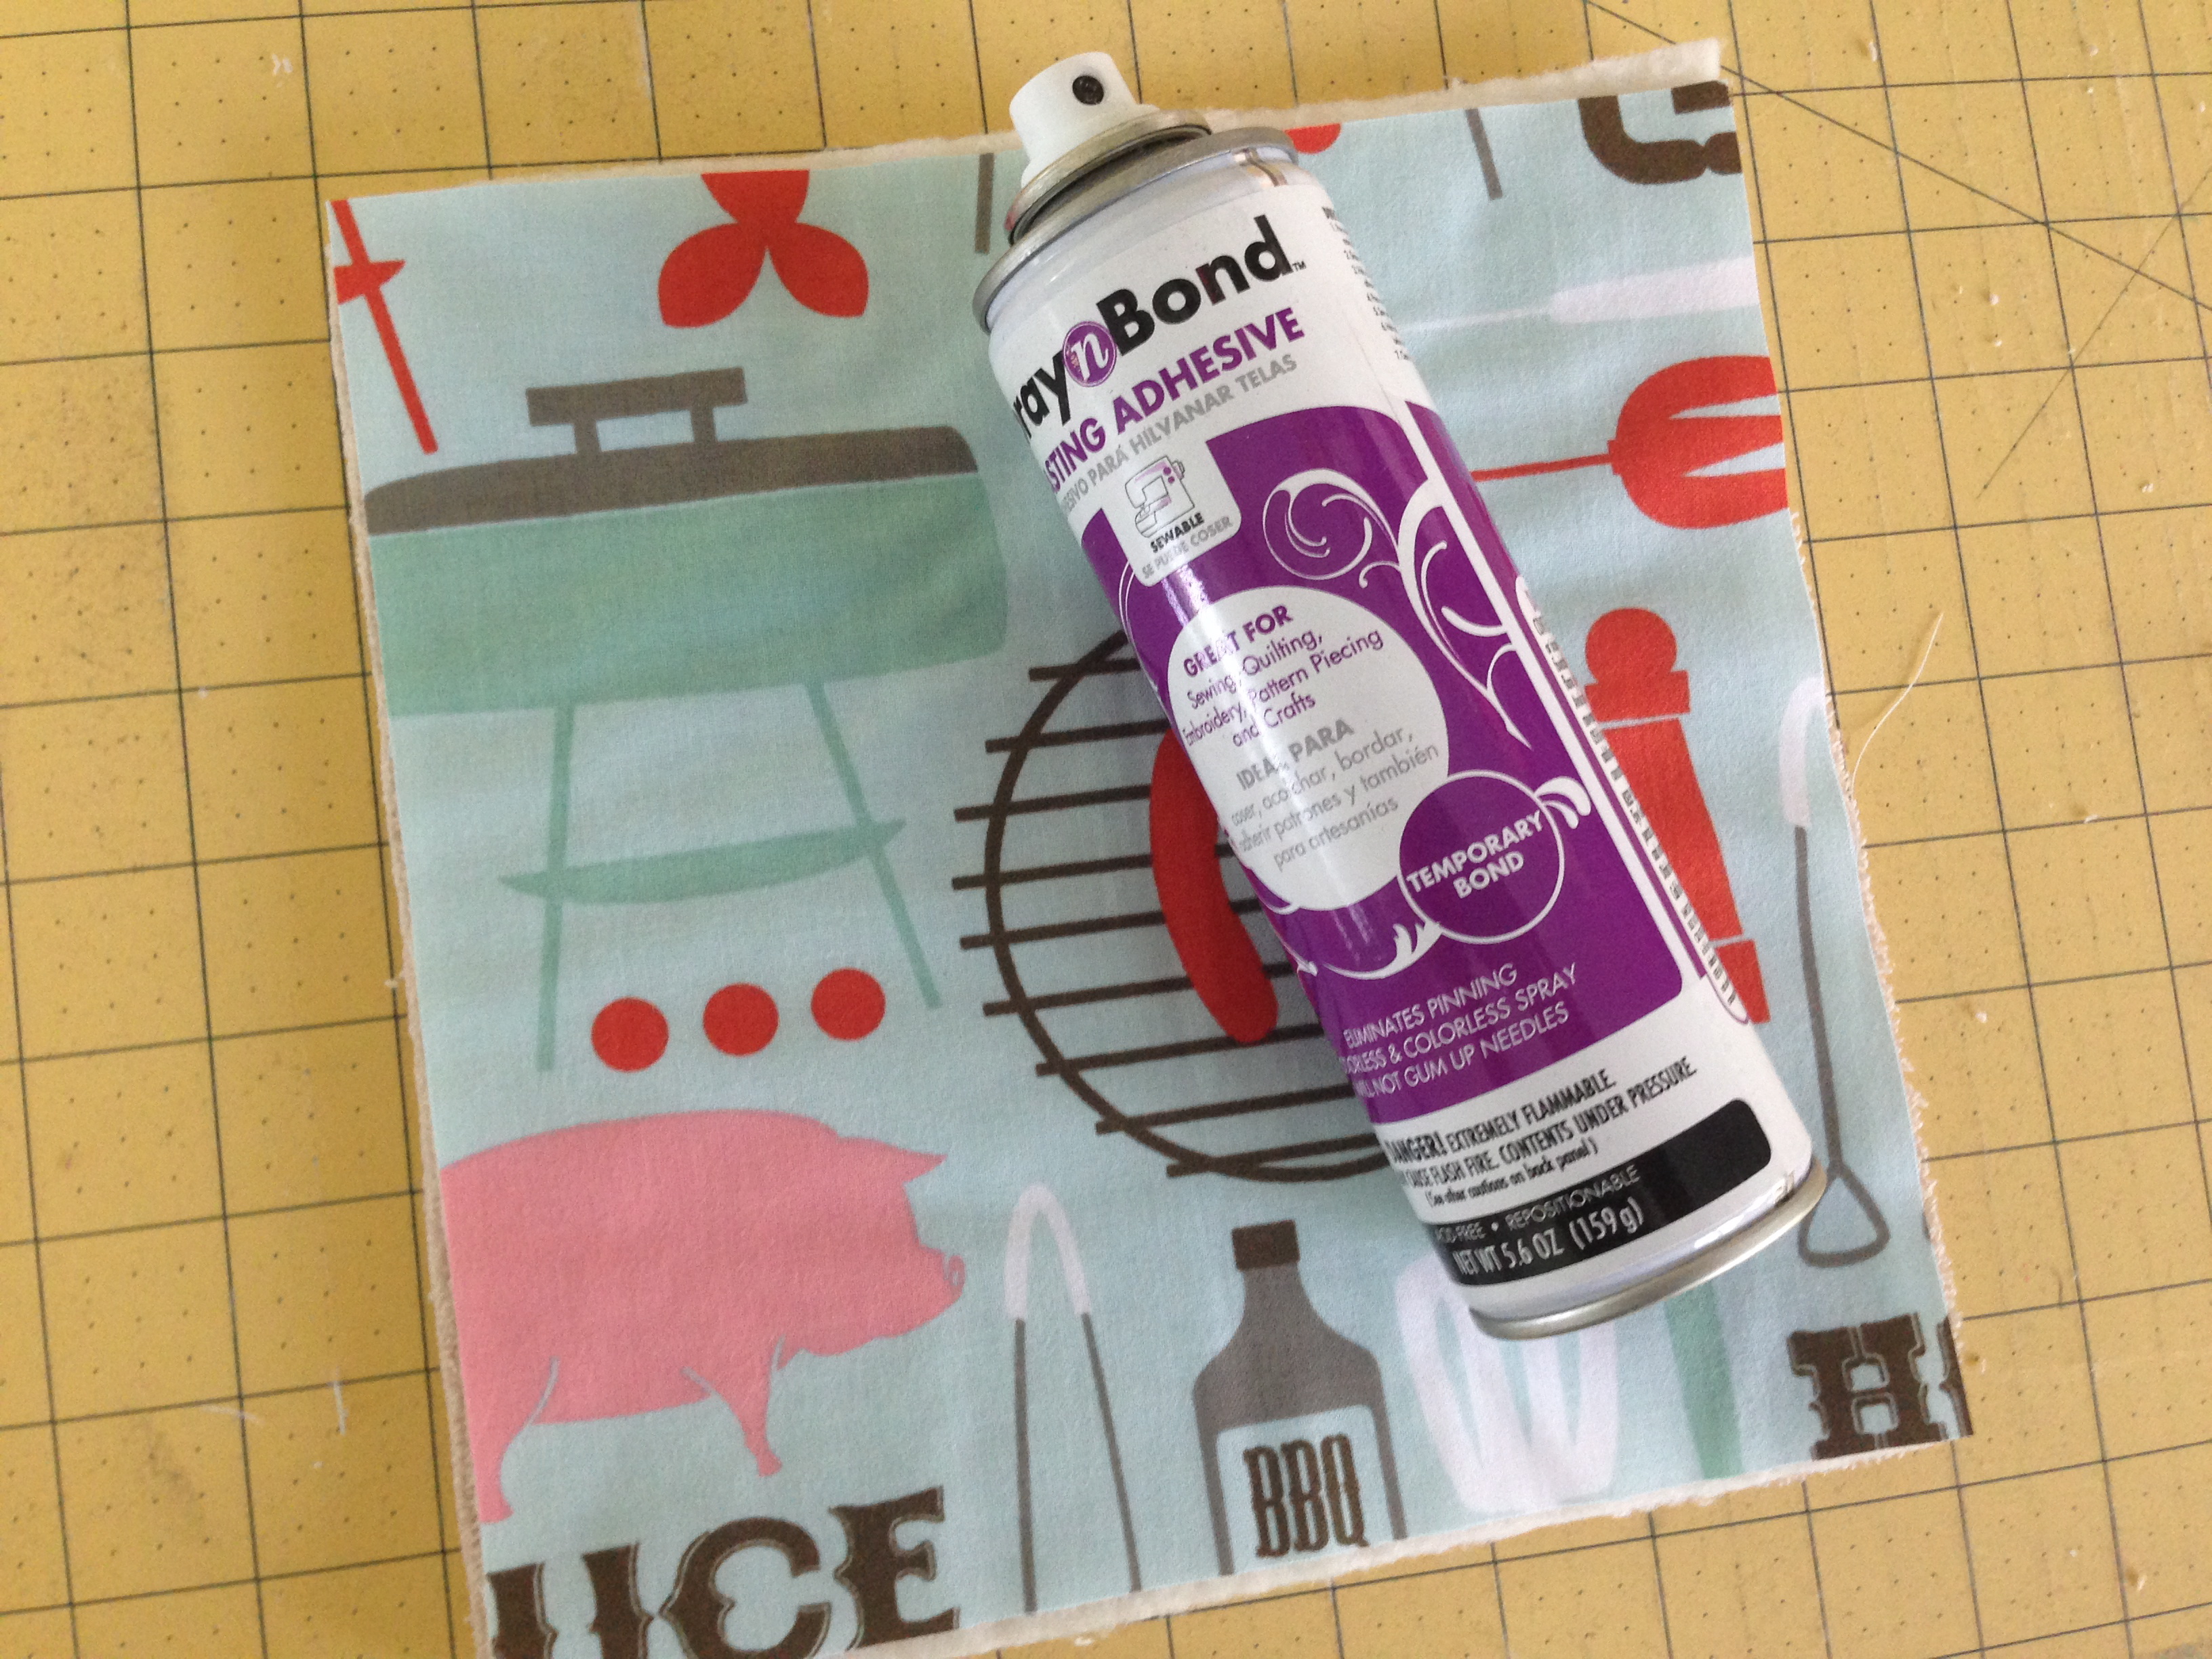
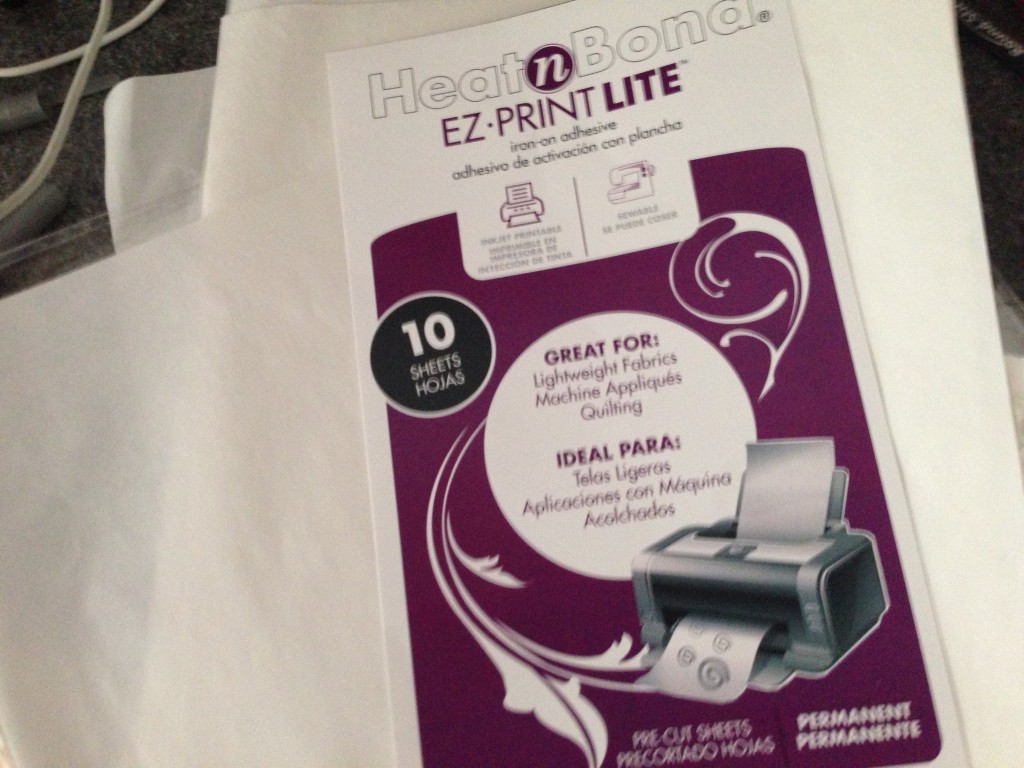
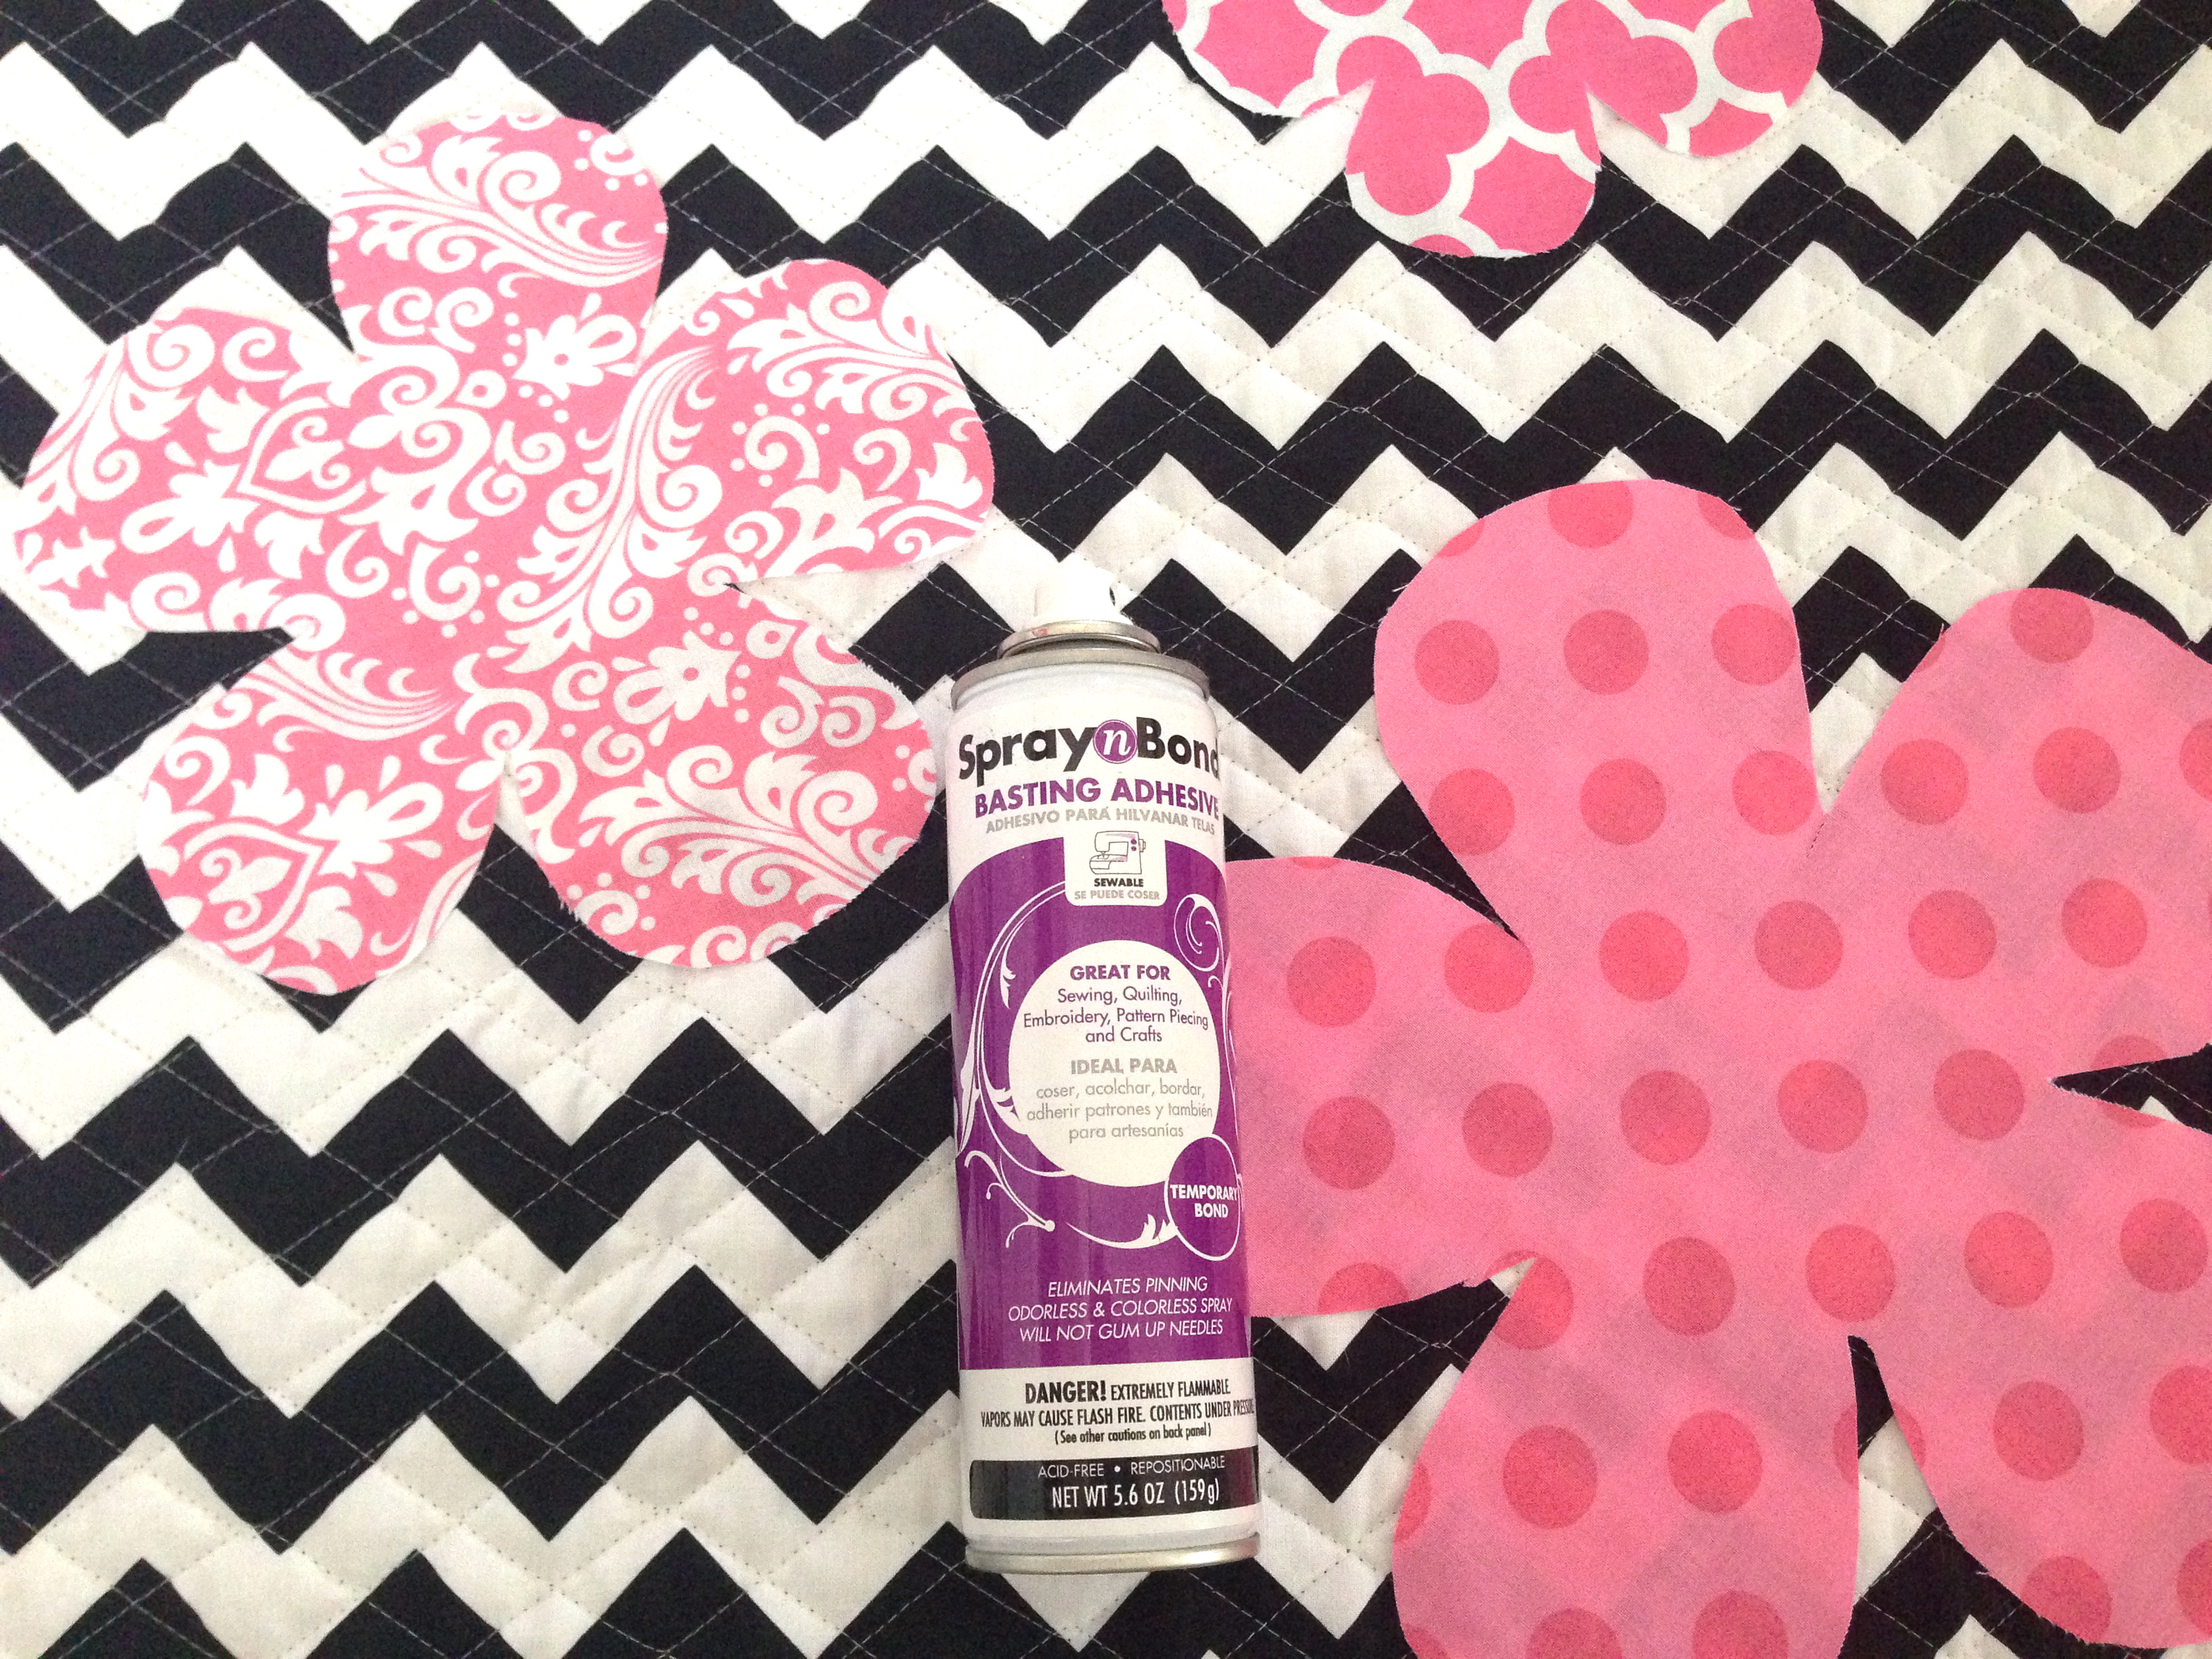
Therm O Web Spray n Bond
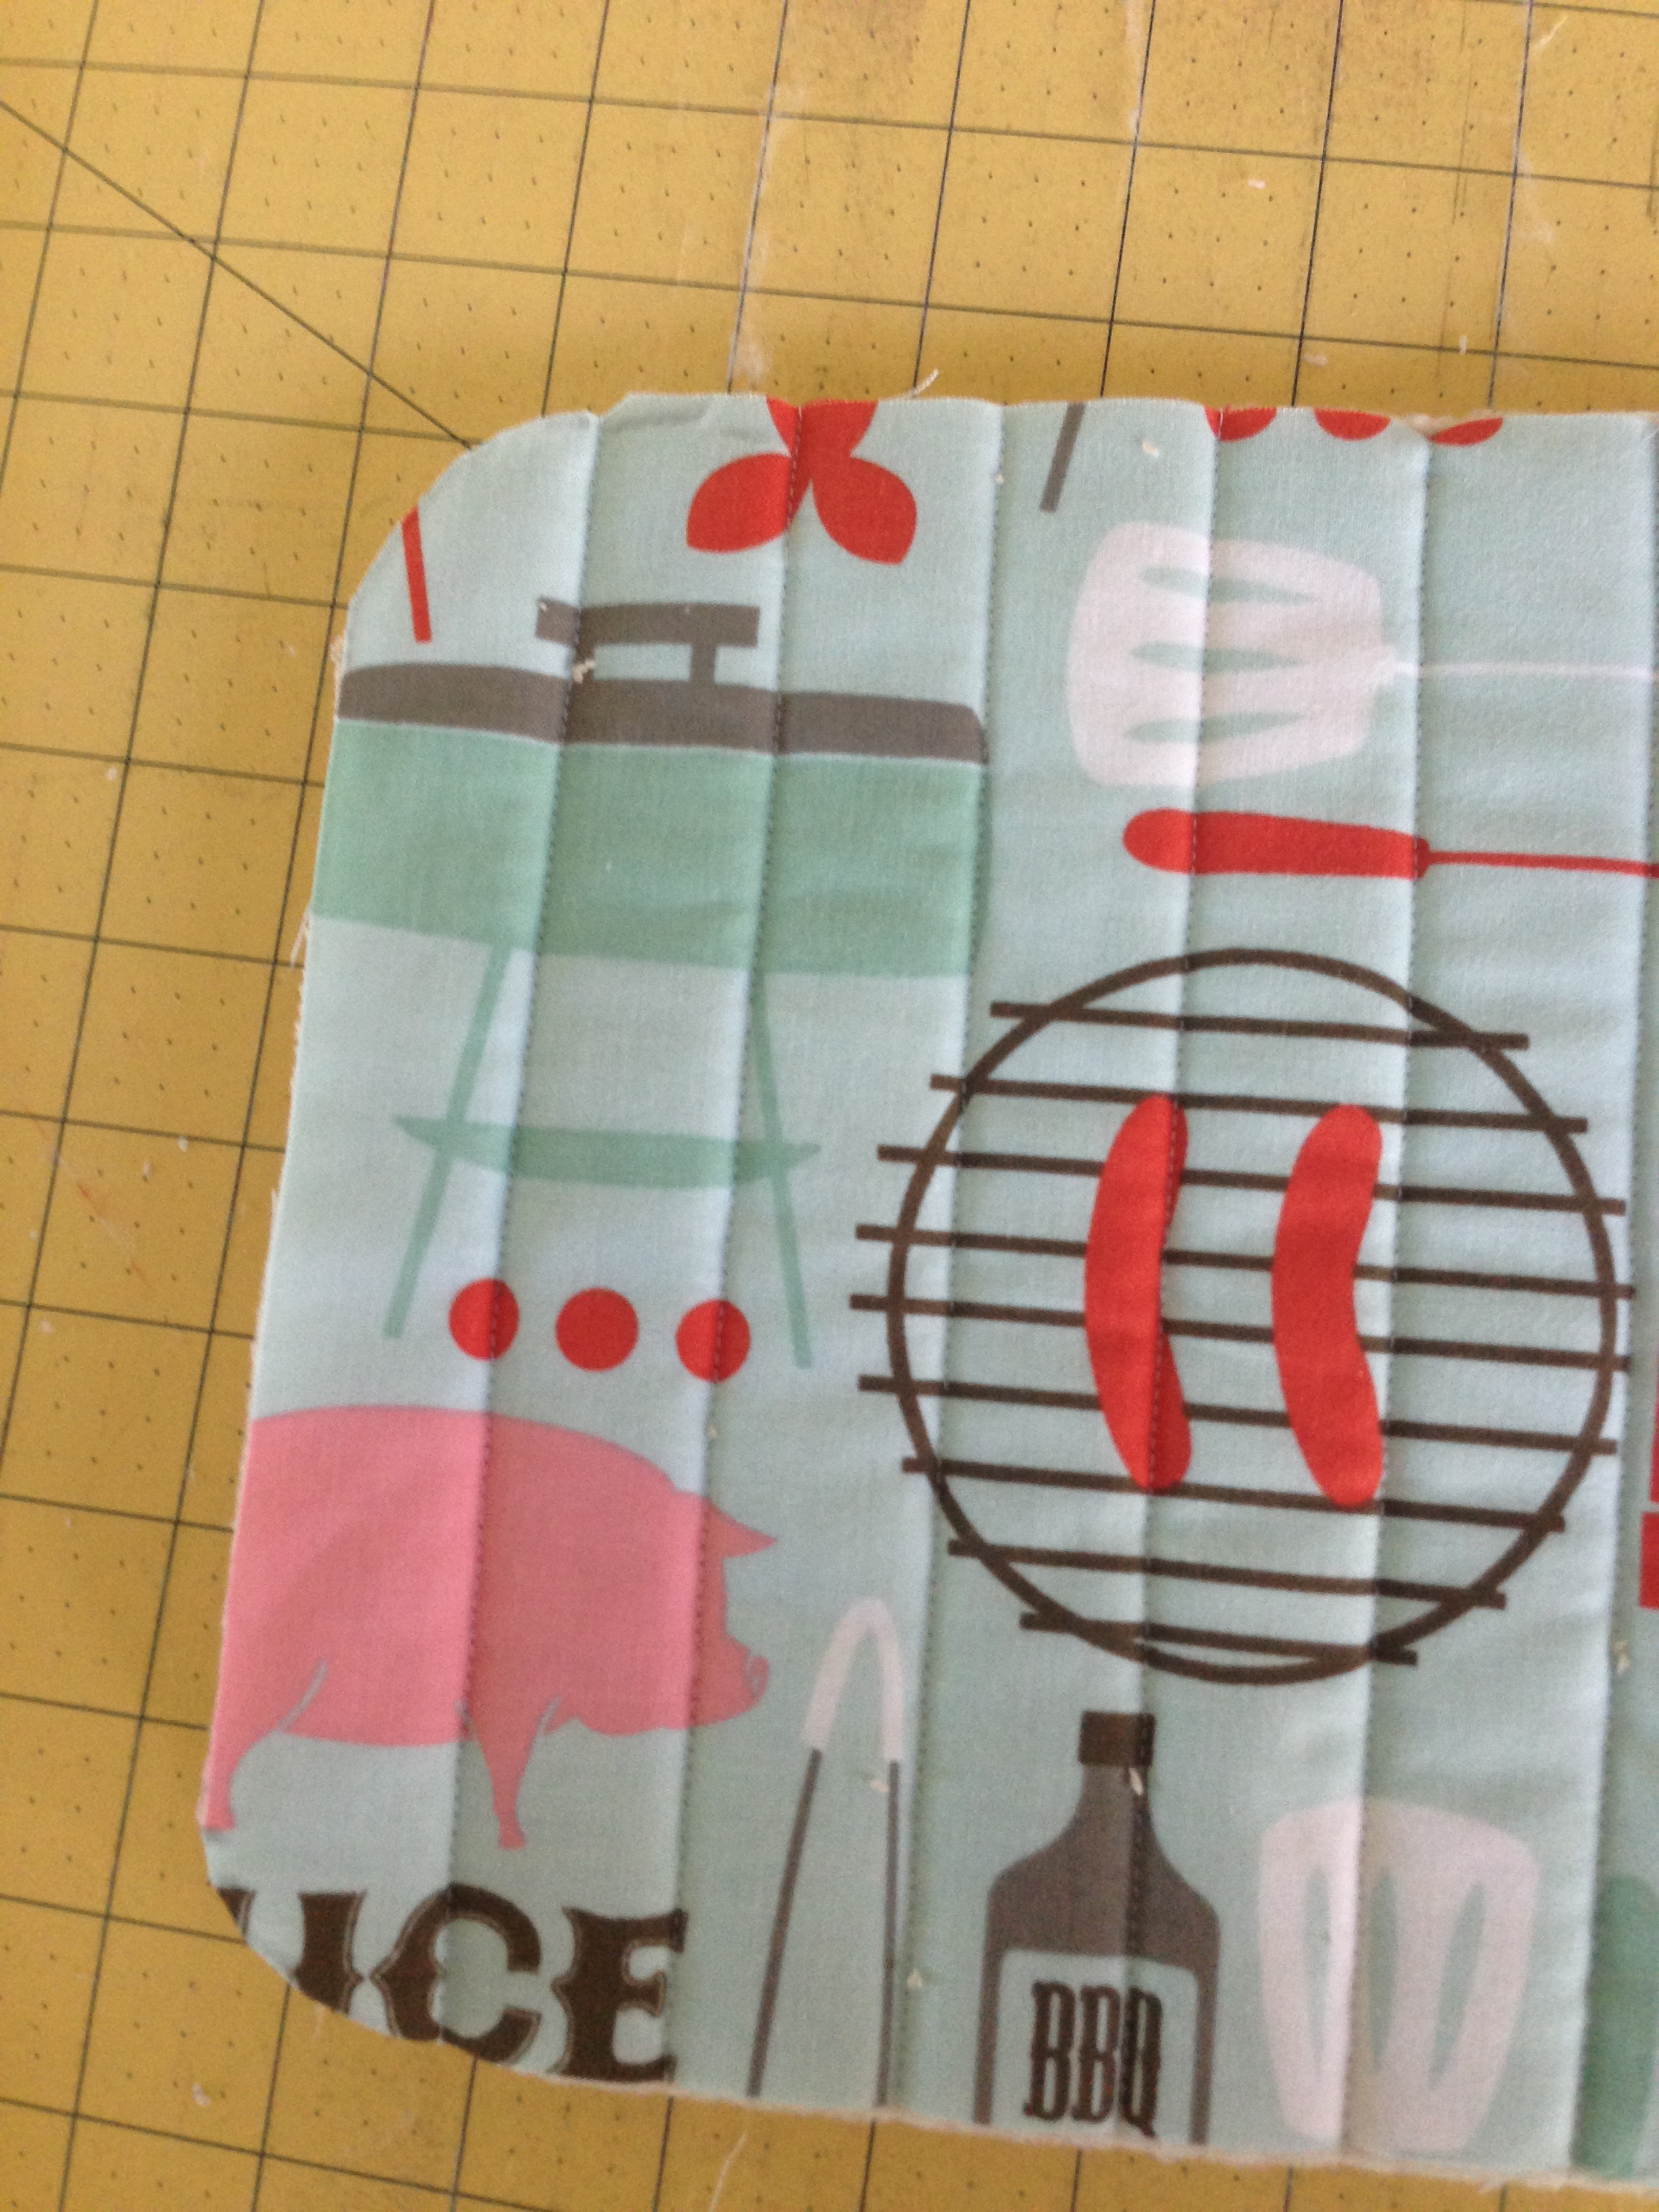
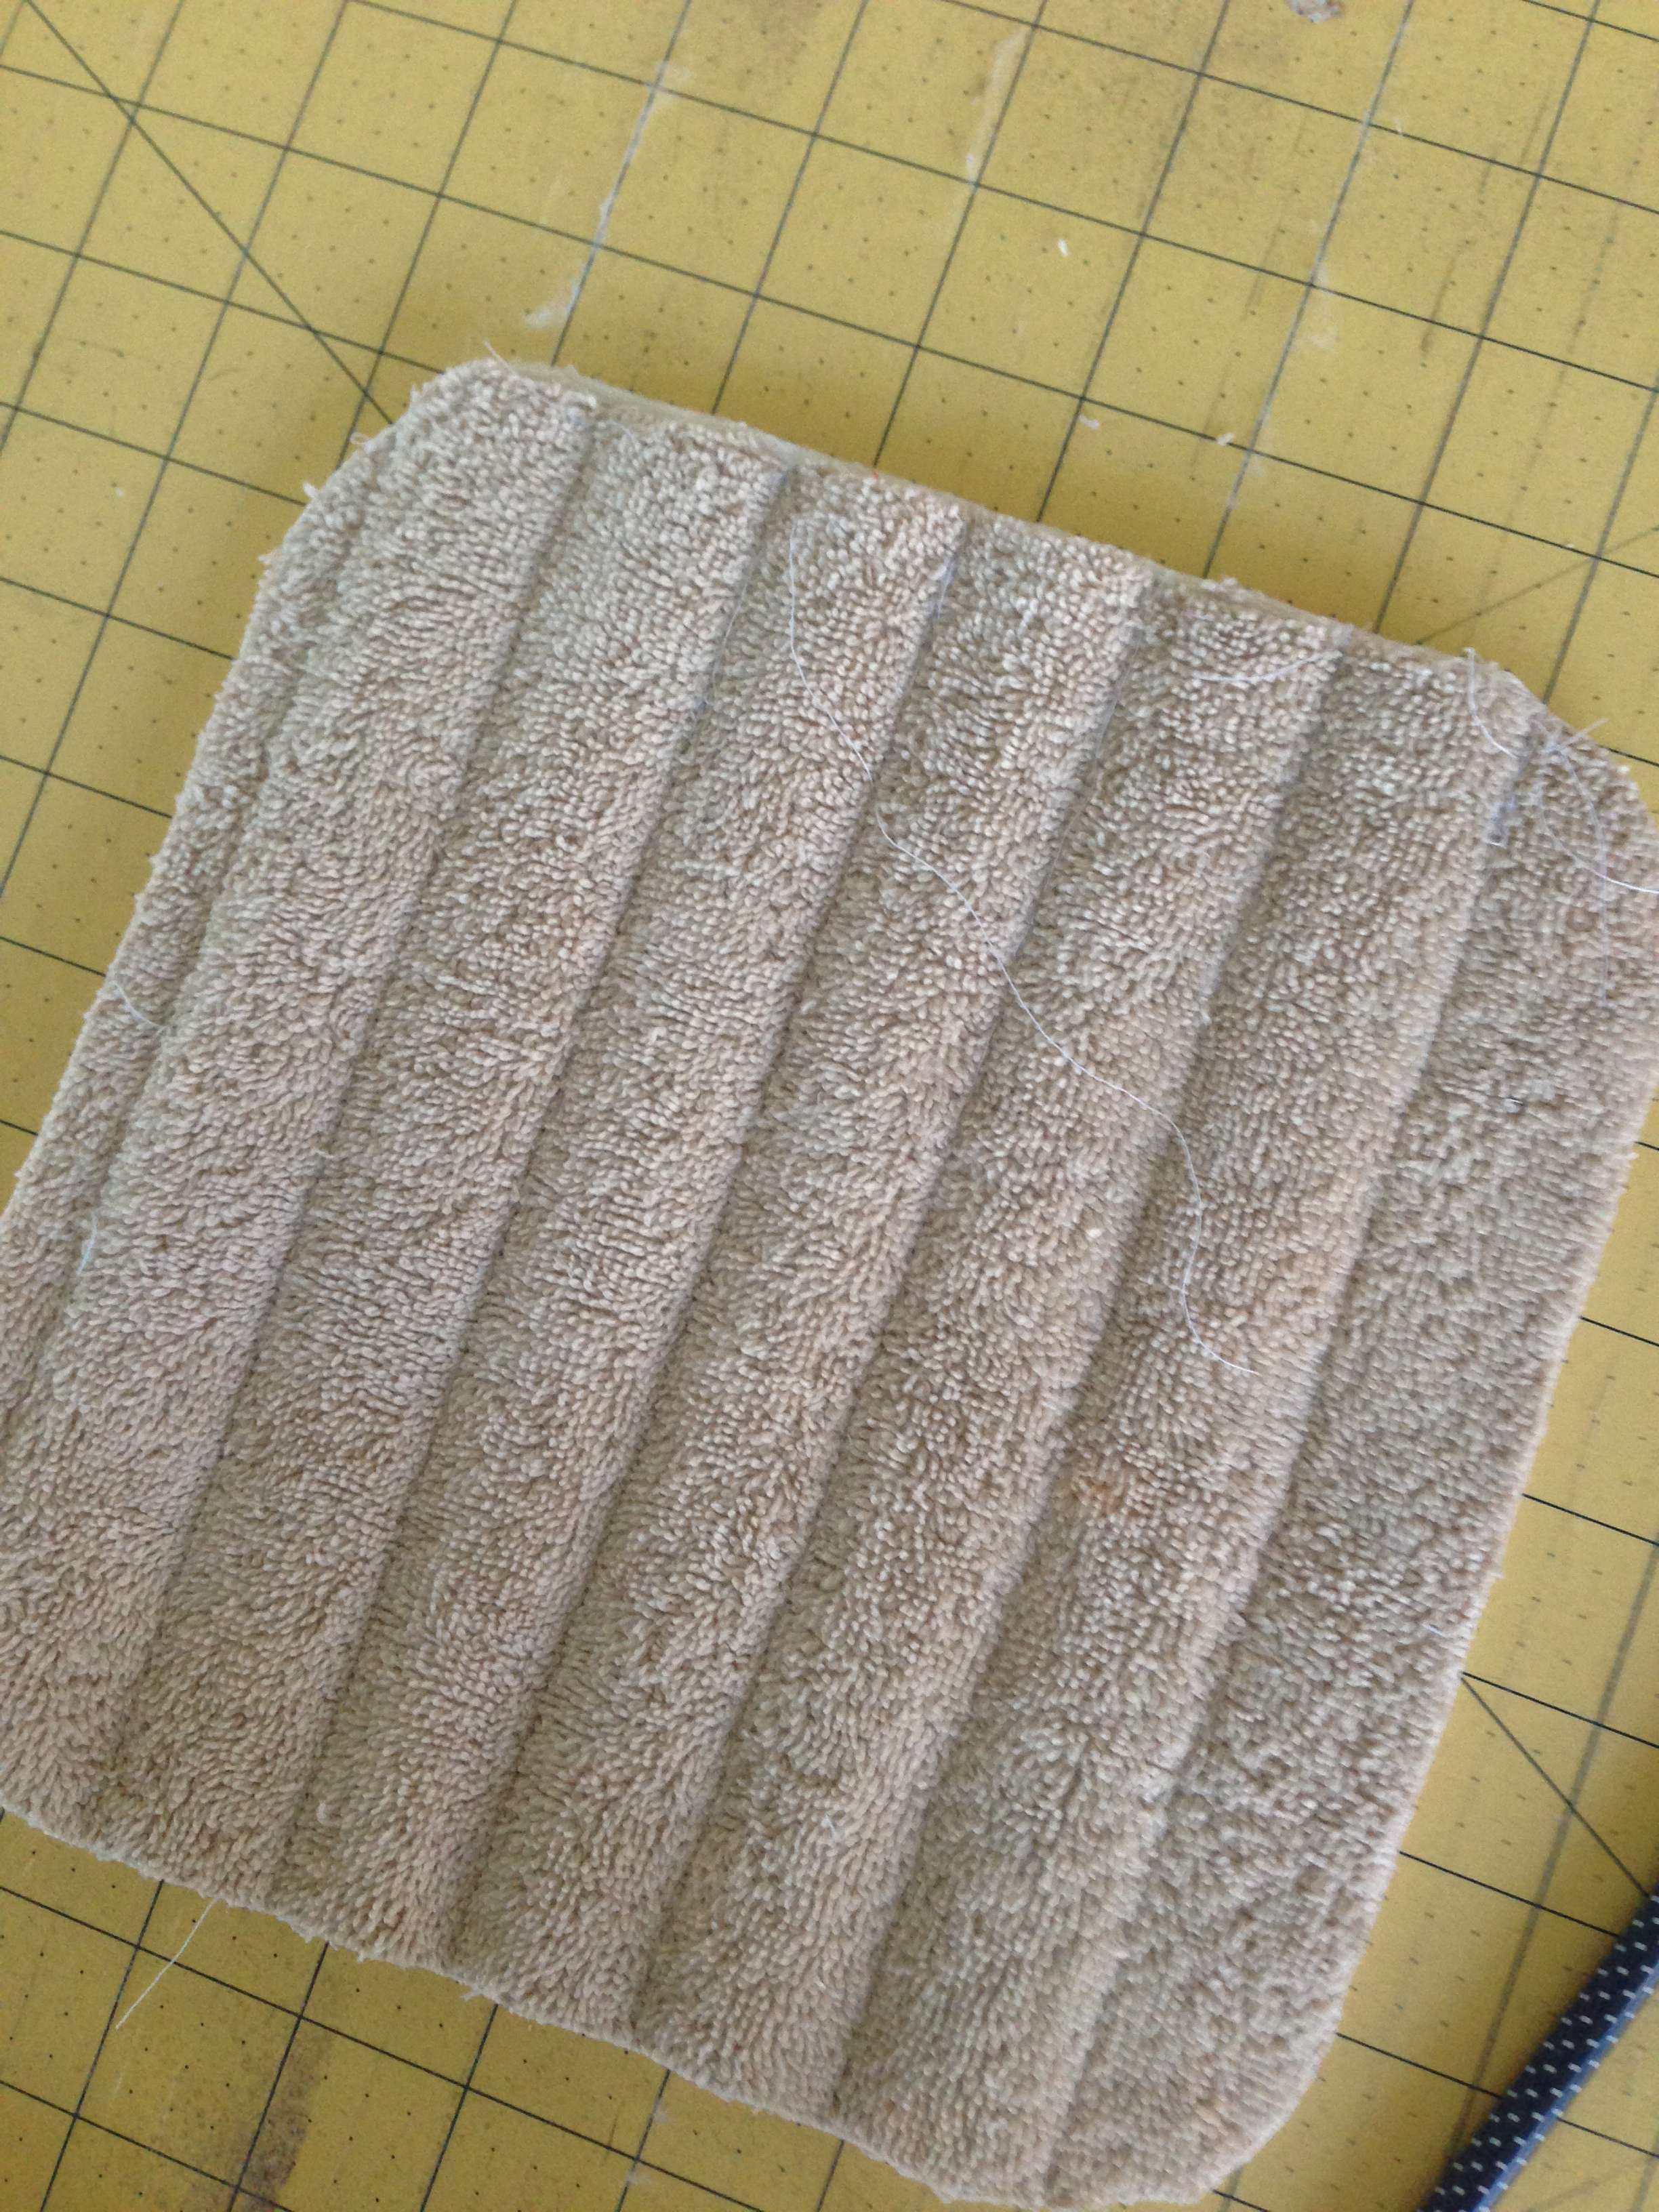
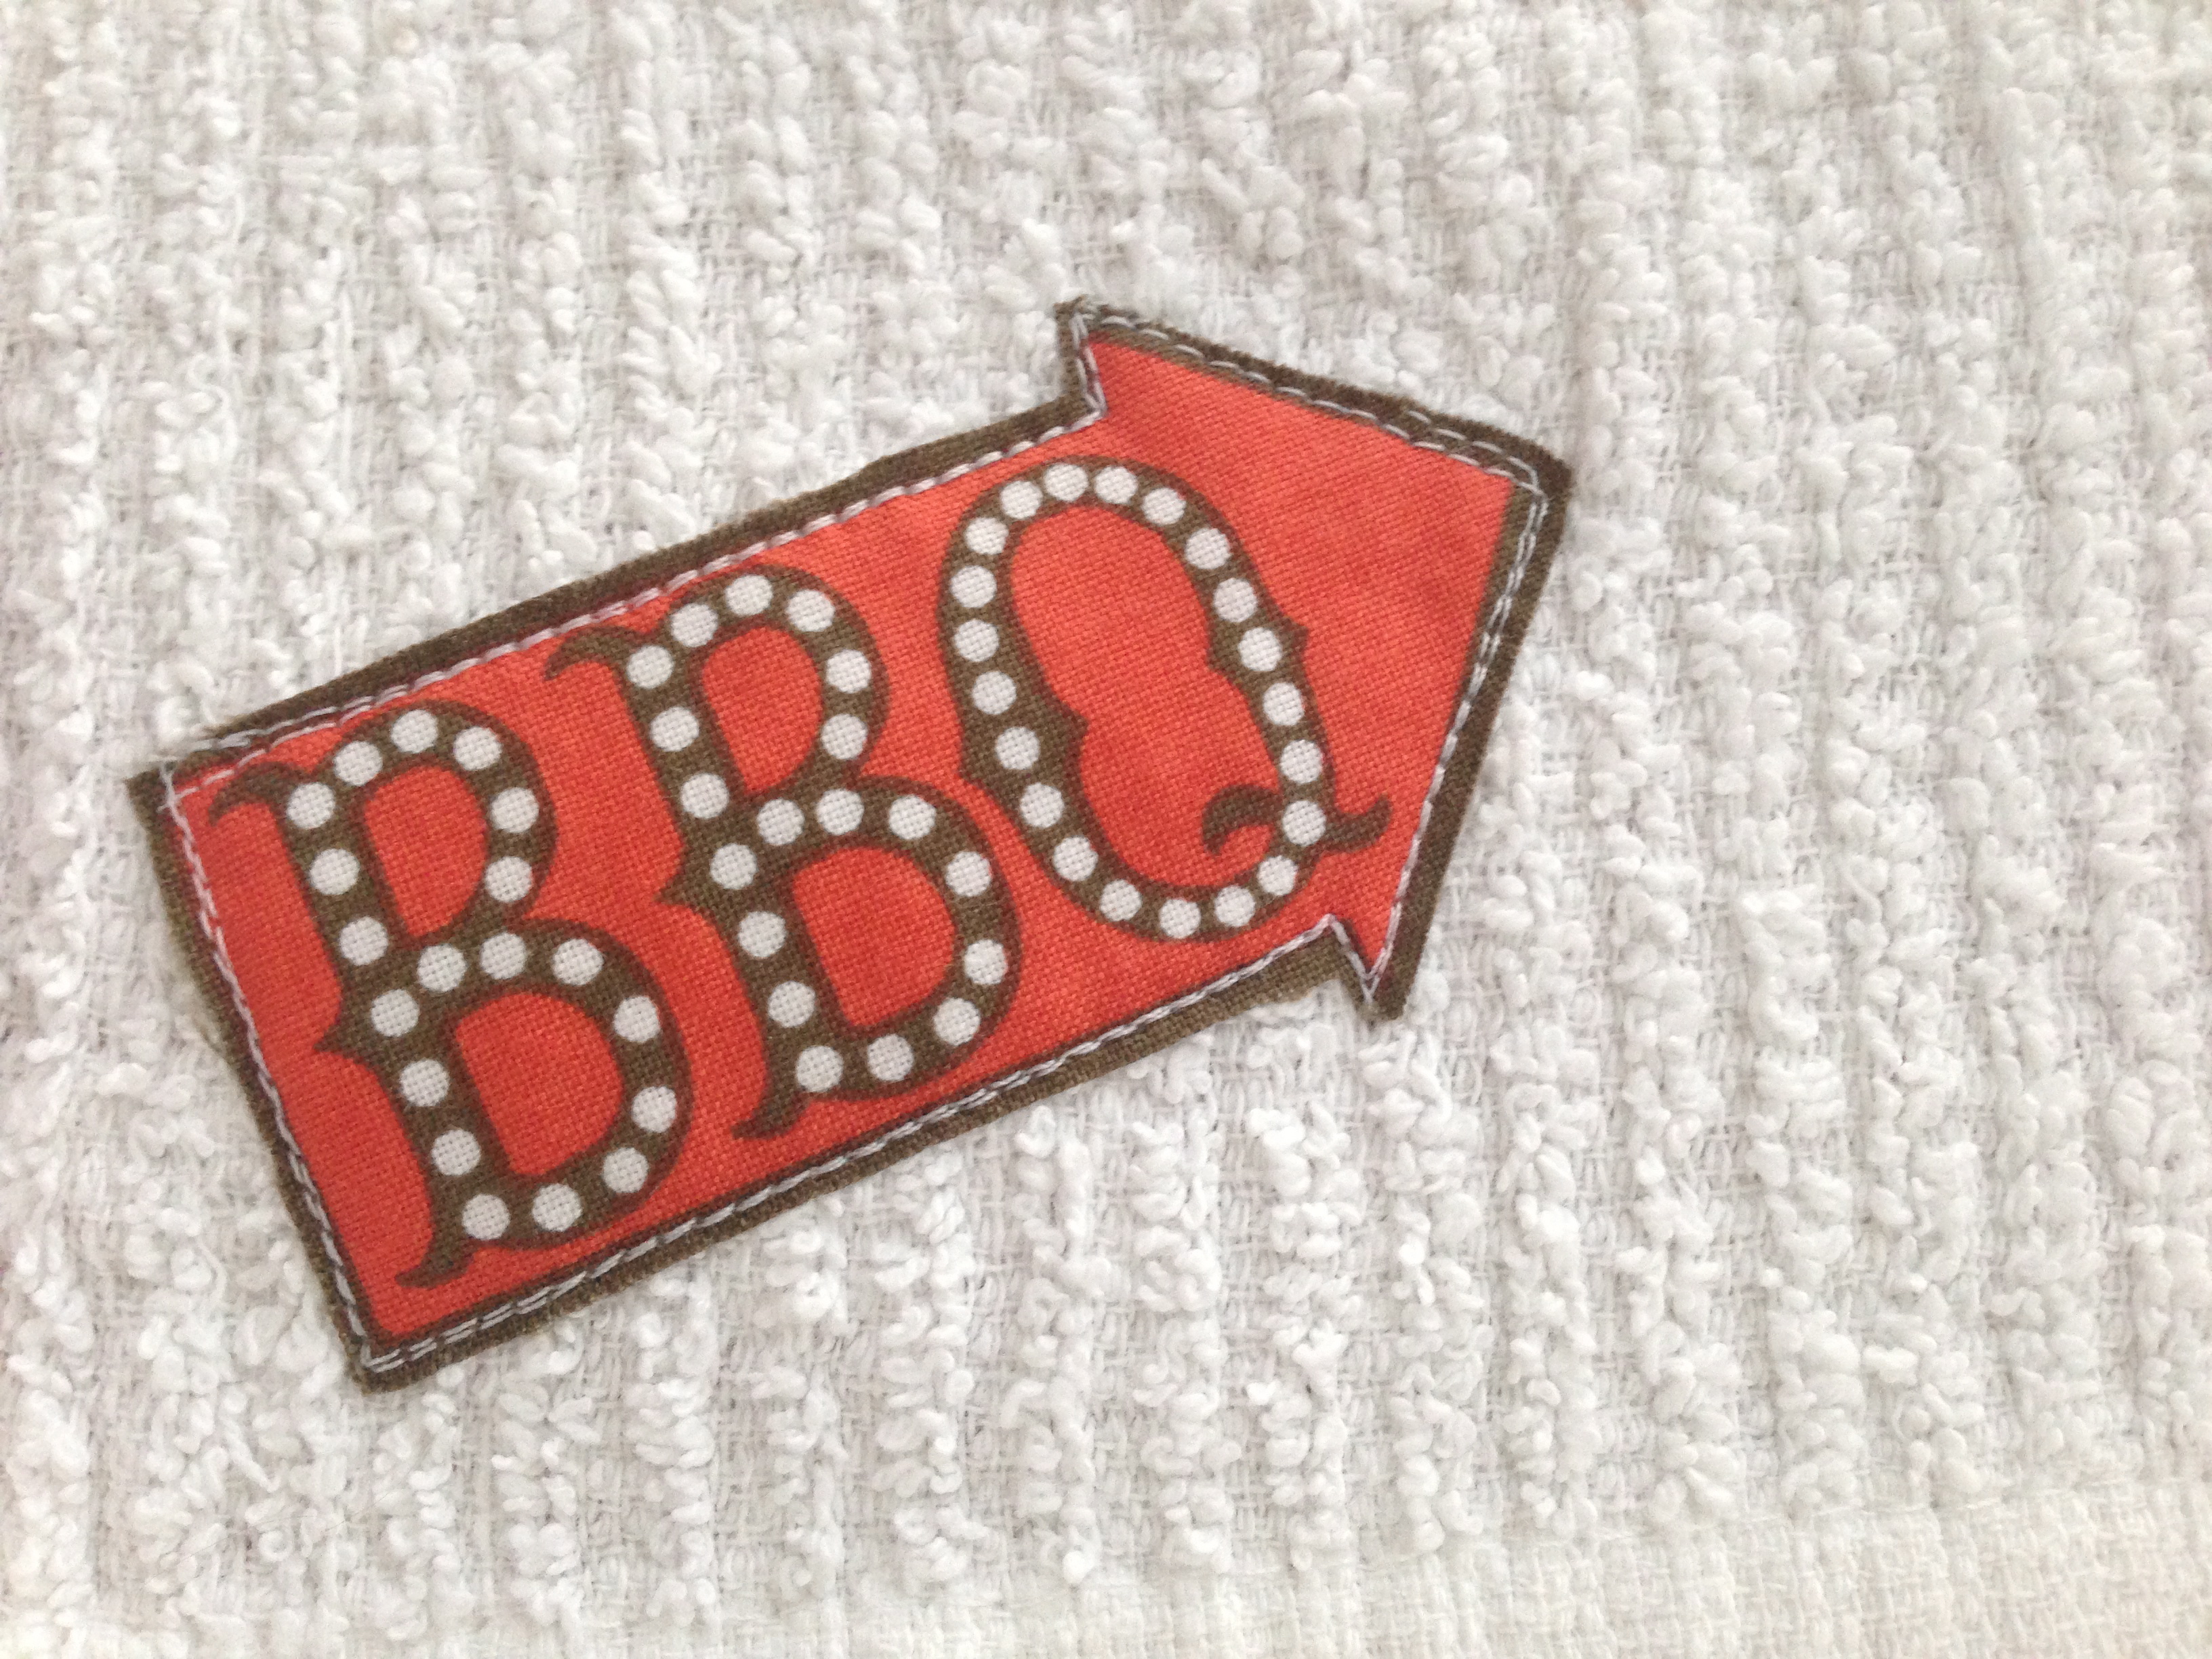
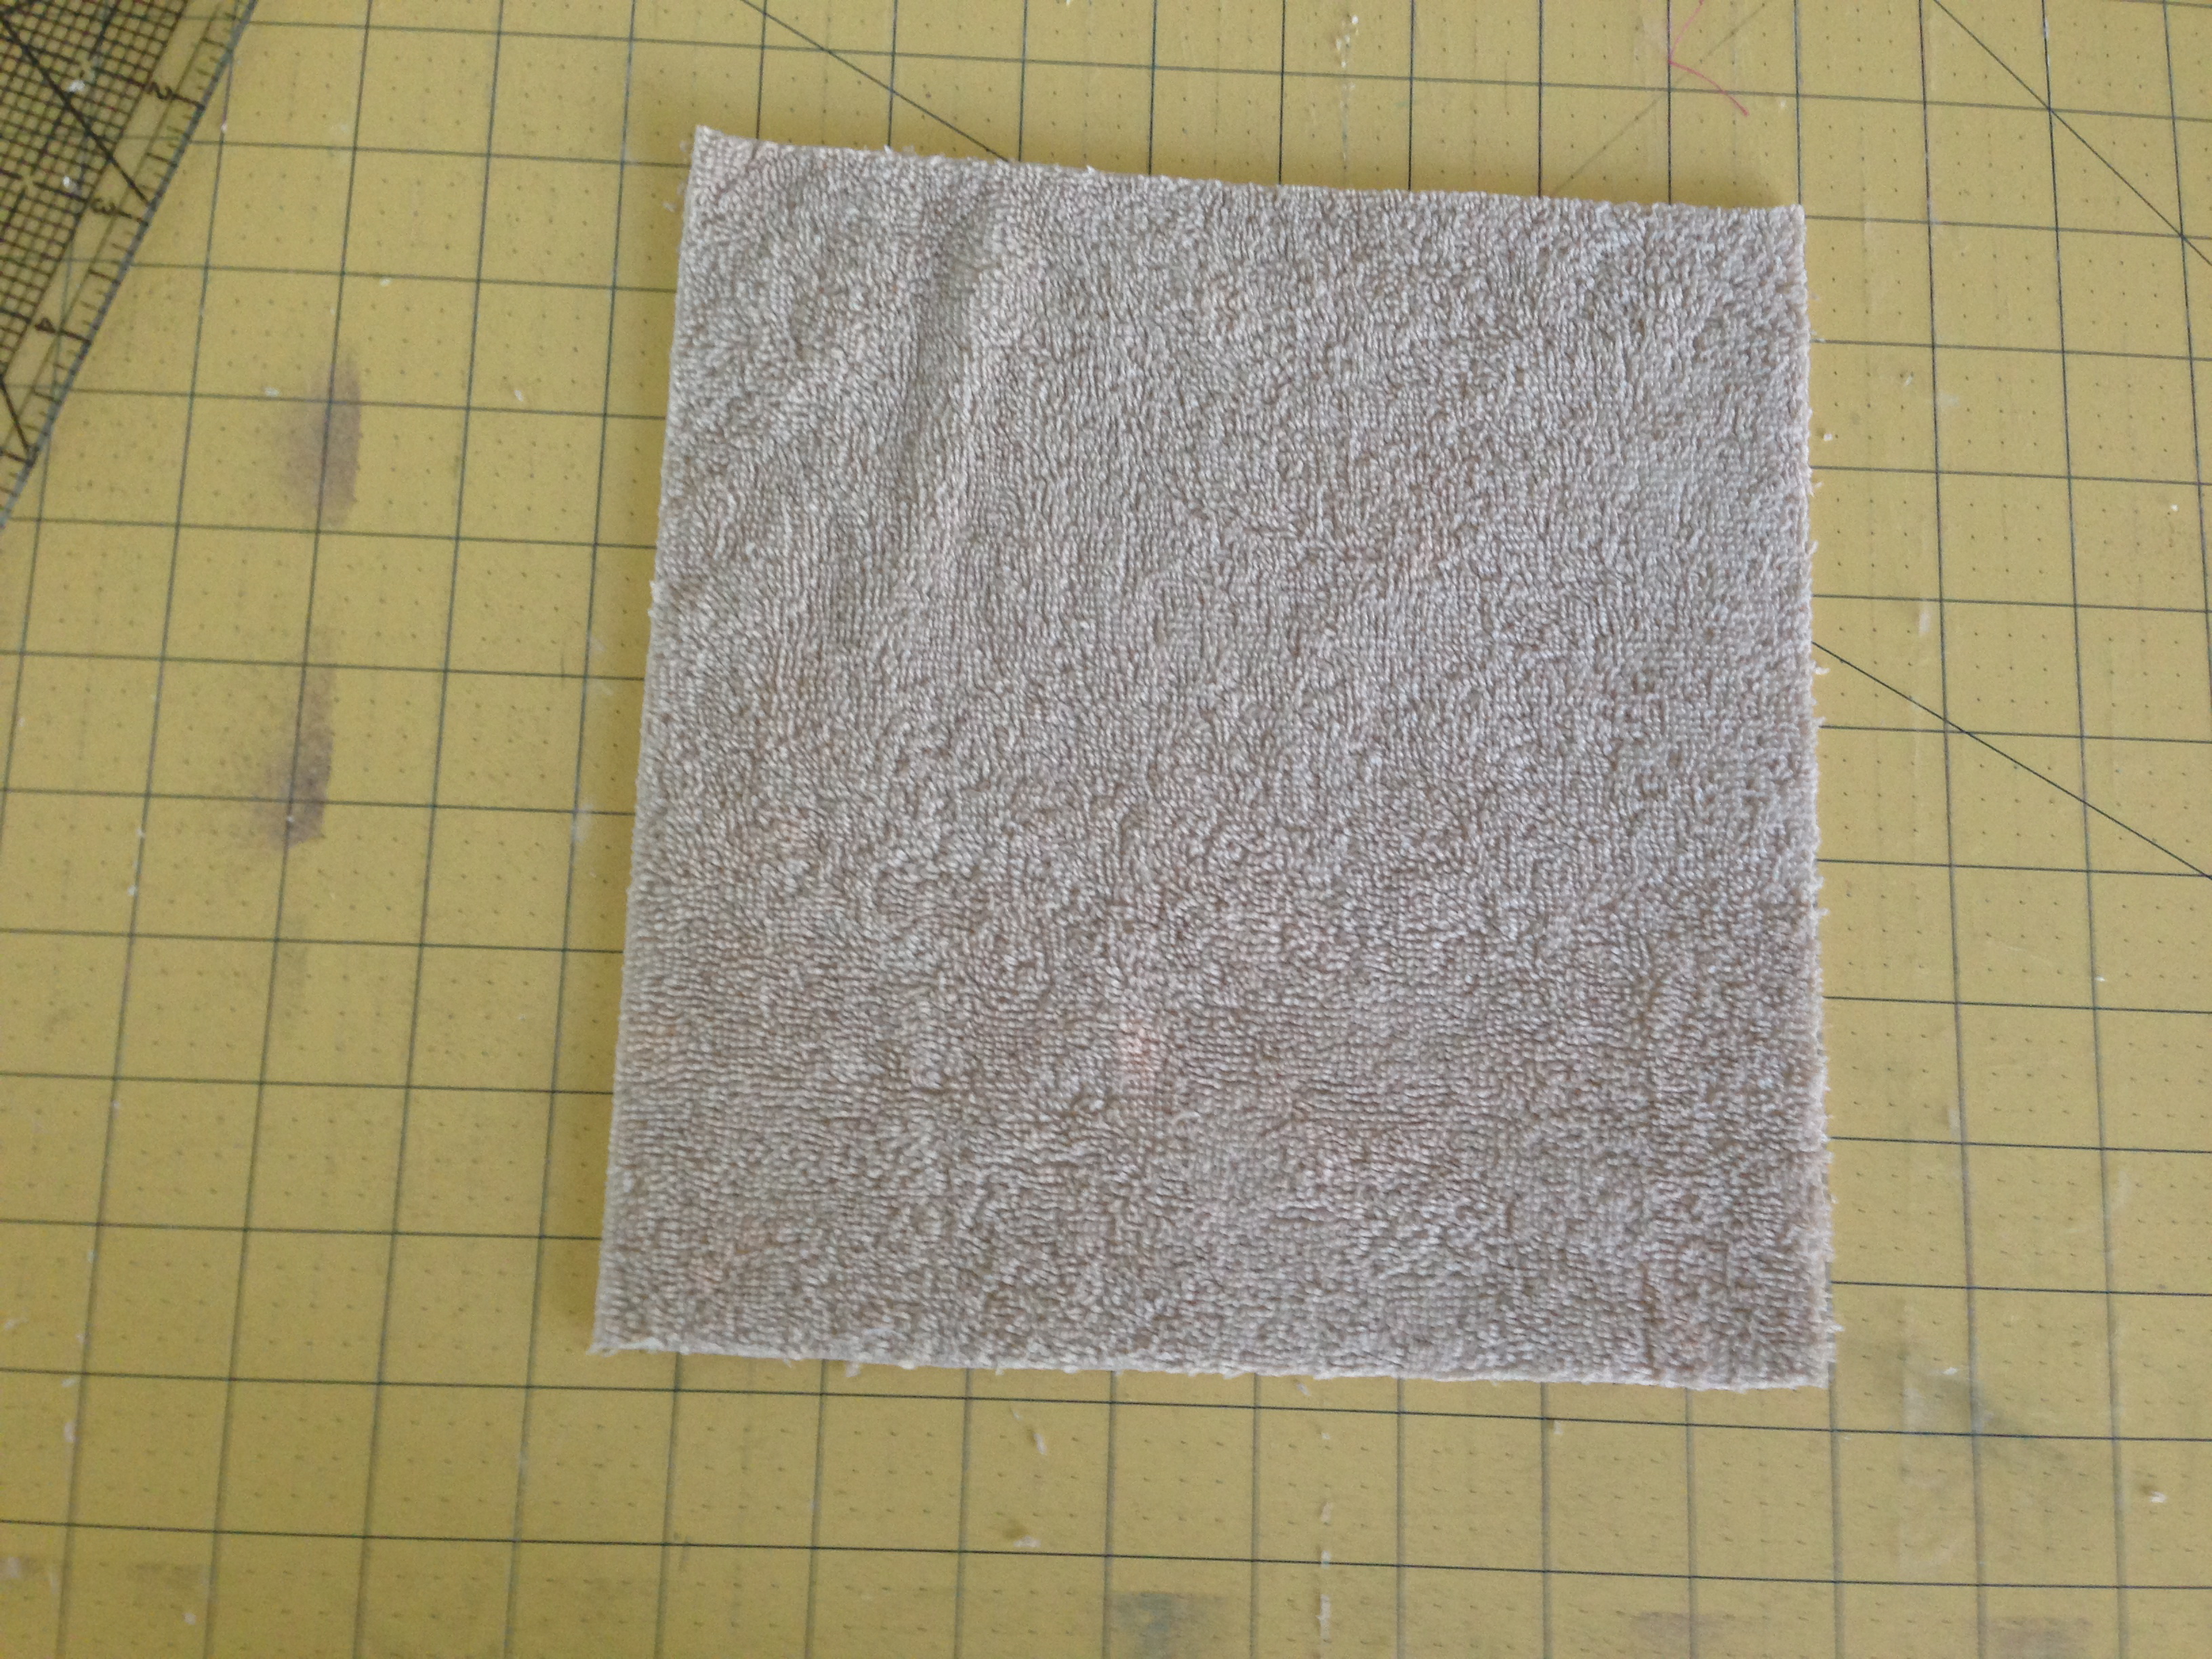
Begin by cutting the towel 8.5″ square

also cut the batting and fabric the same size, 8.5″ square.

Use the basting spray to baste all the lawyer together with the batting in the middle.
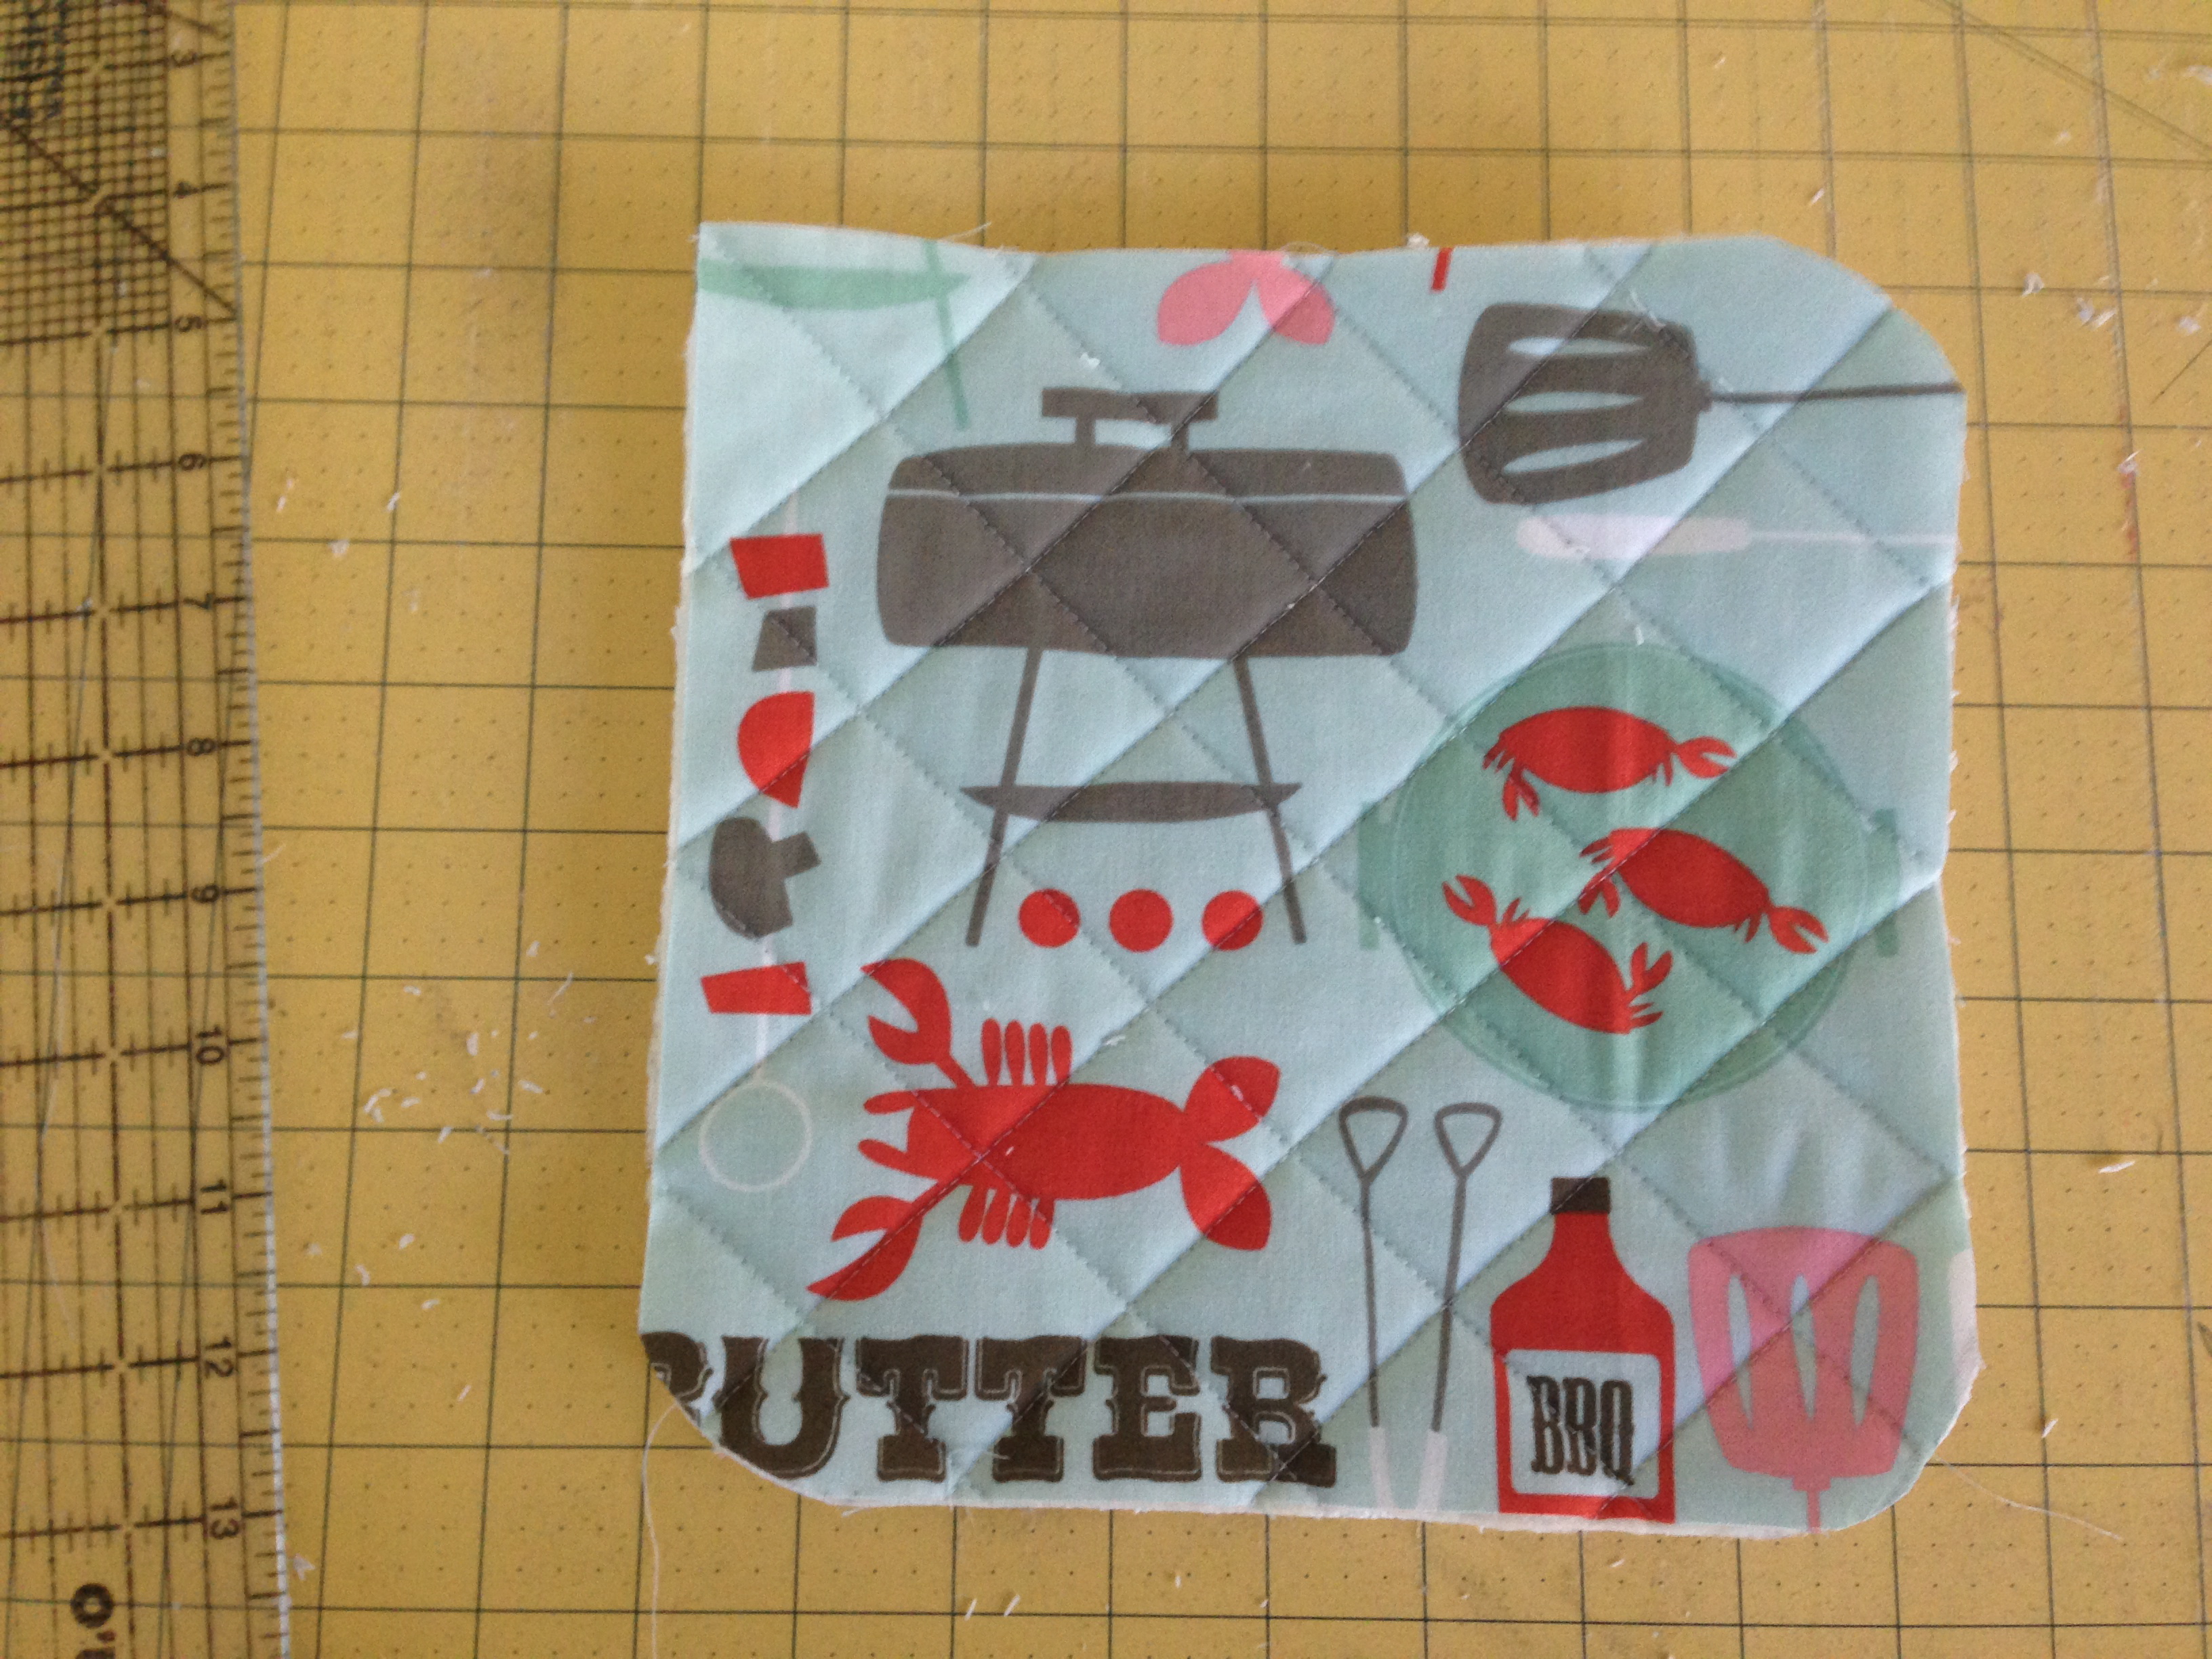
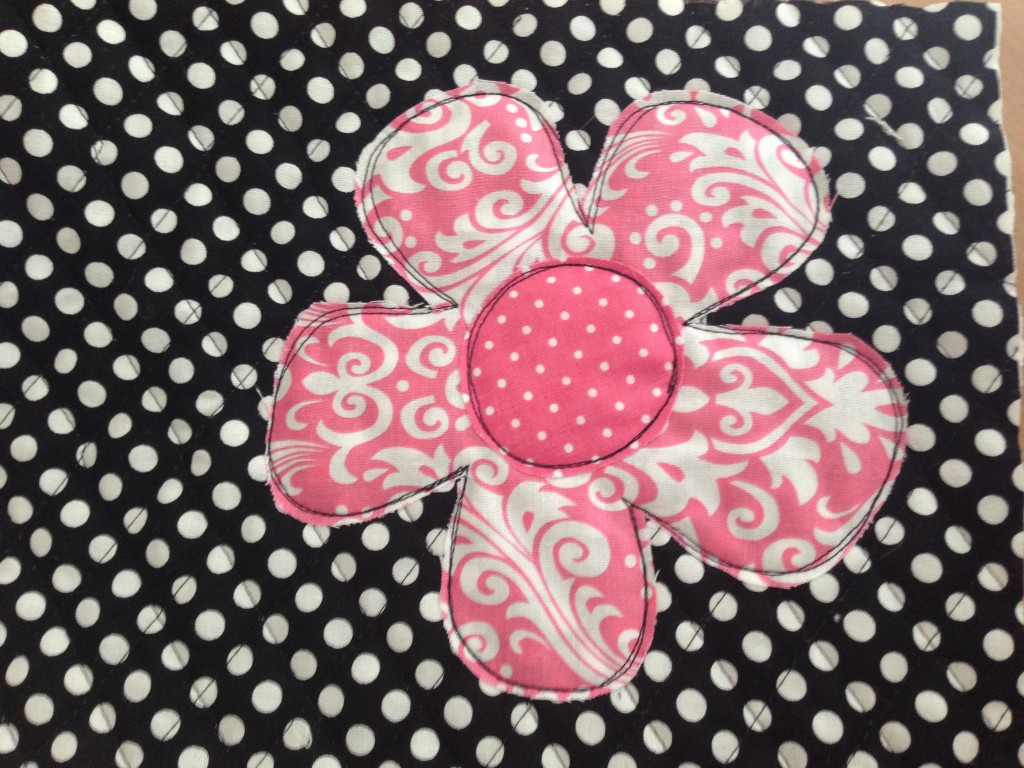
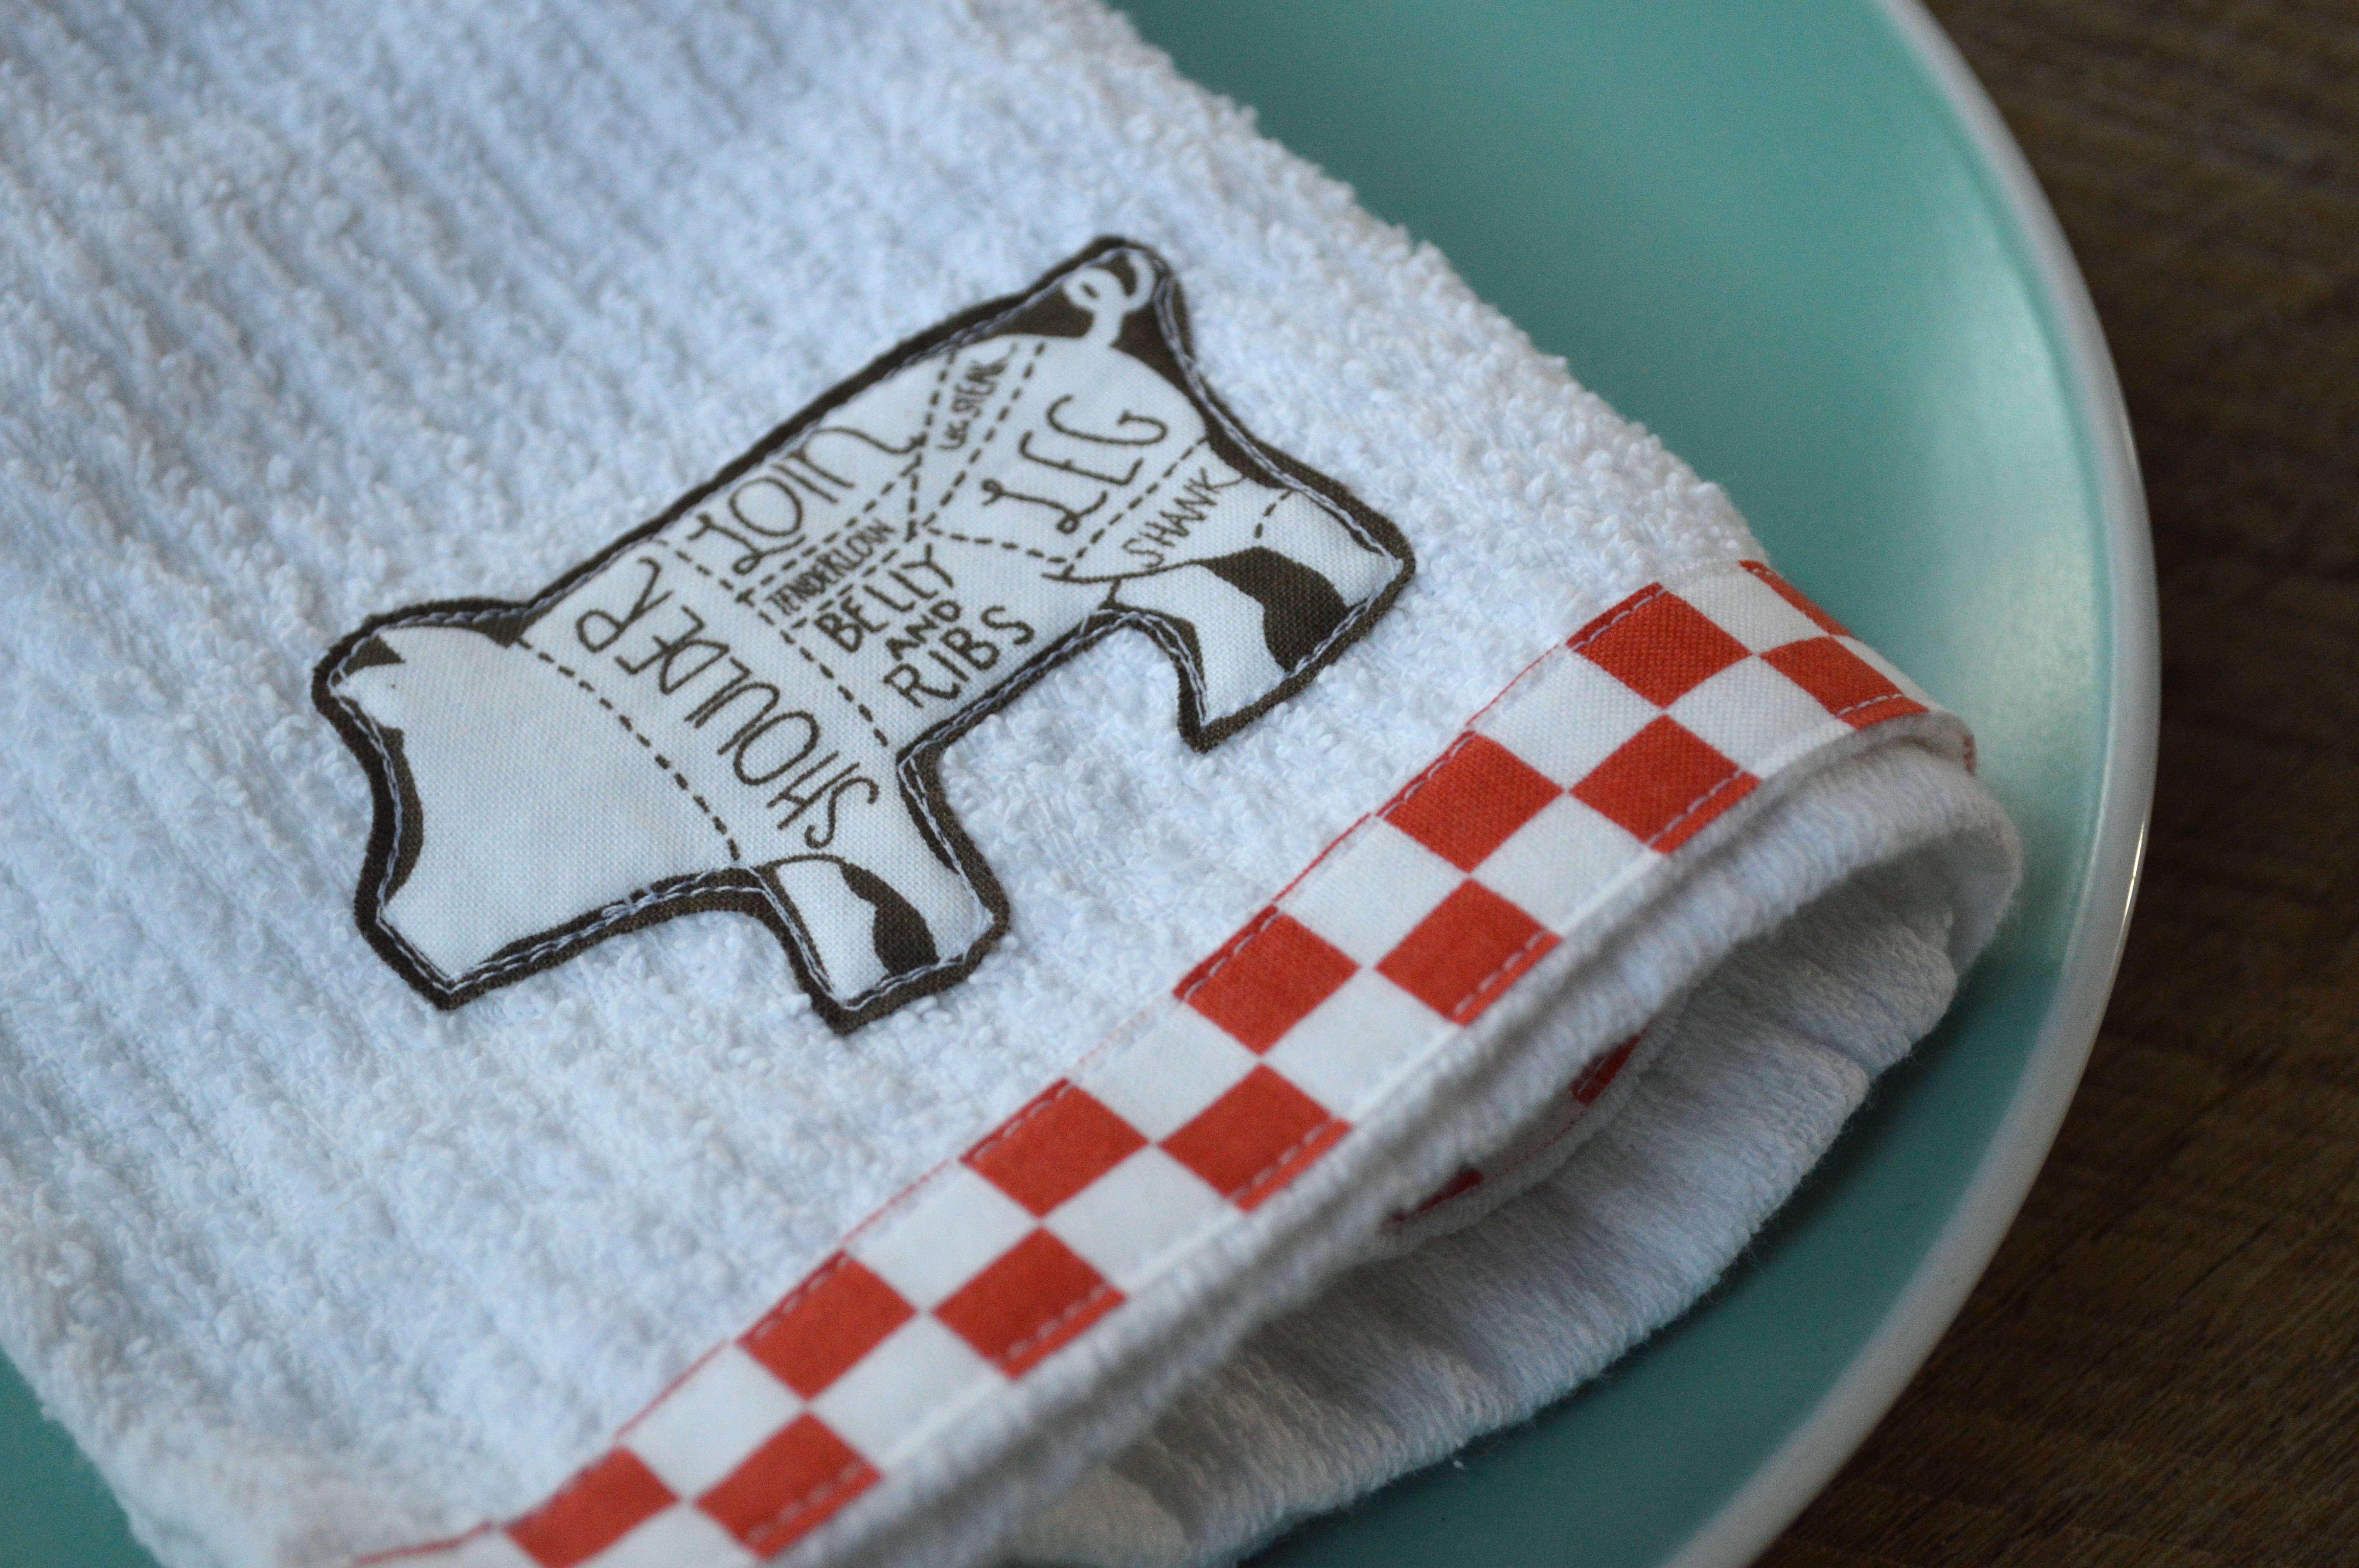
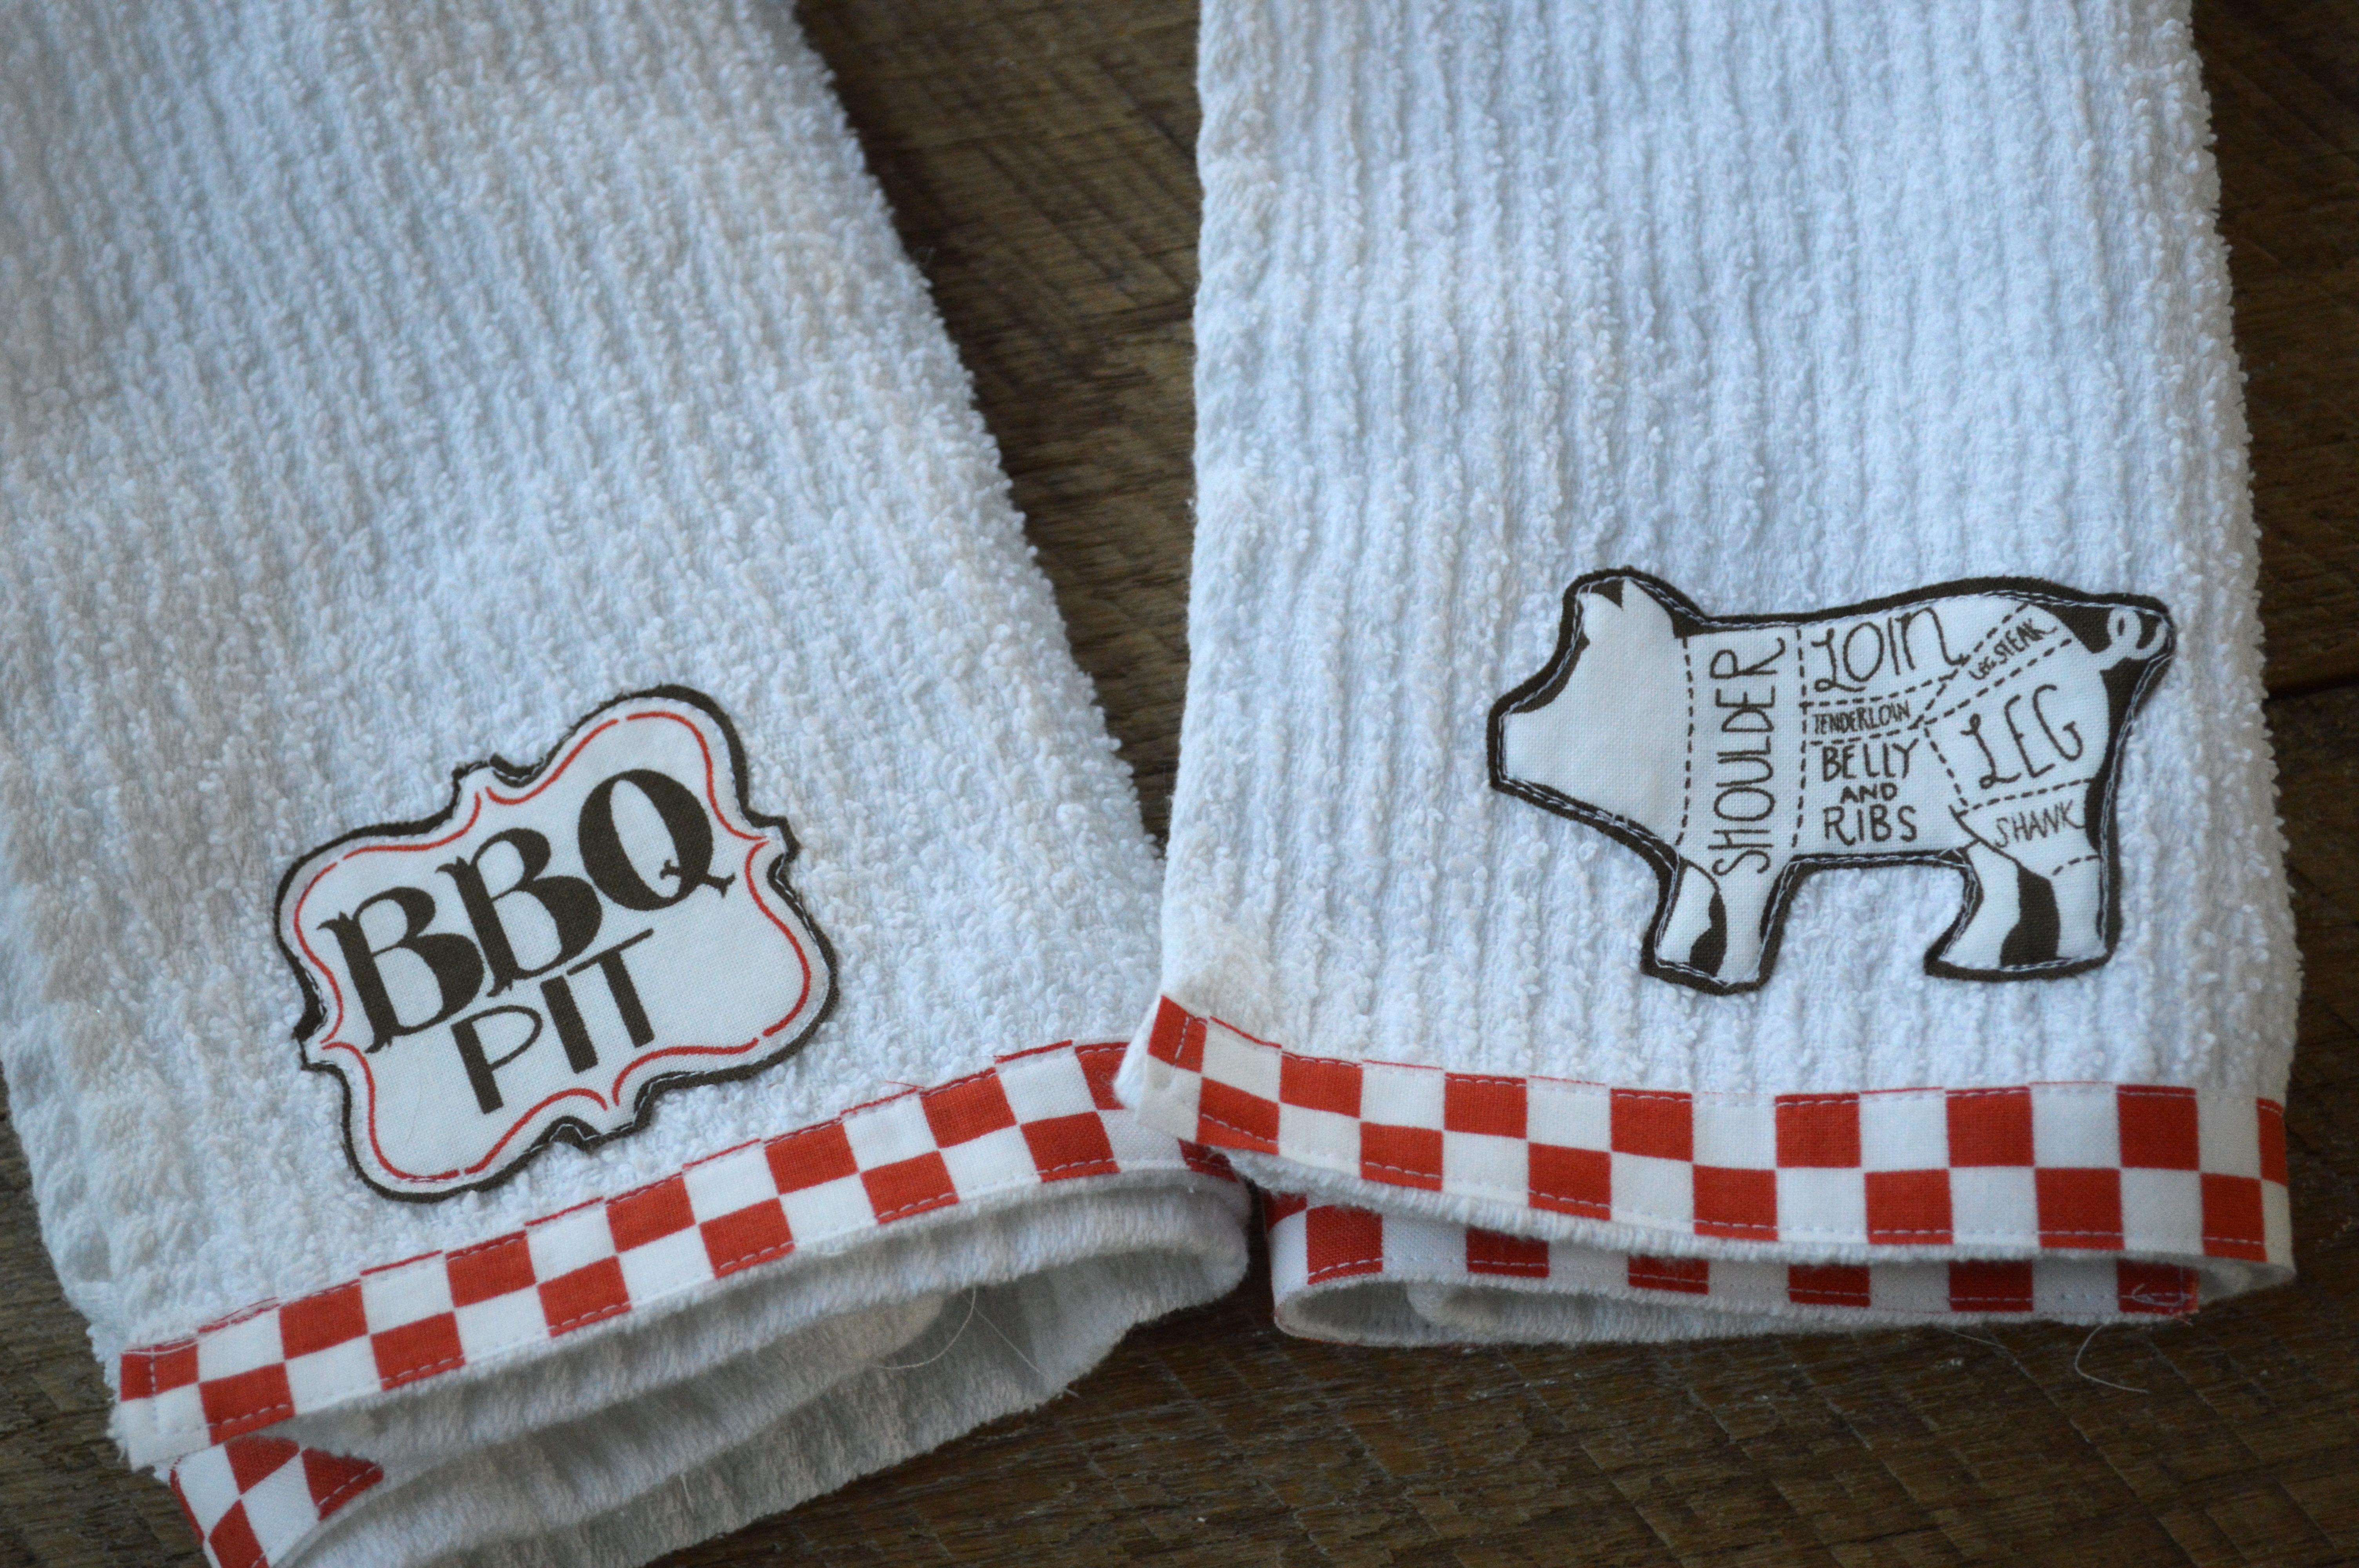
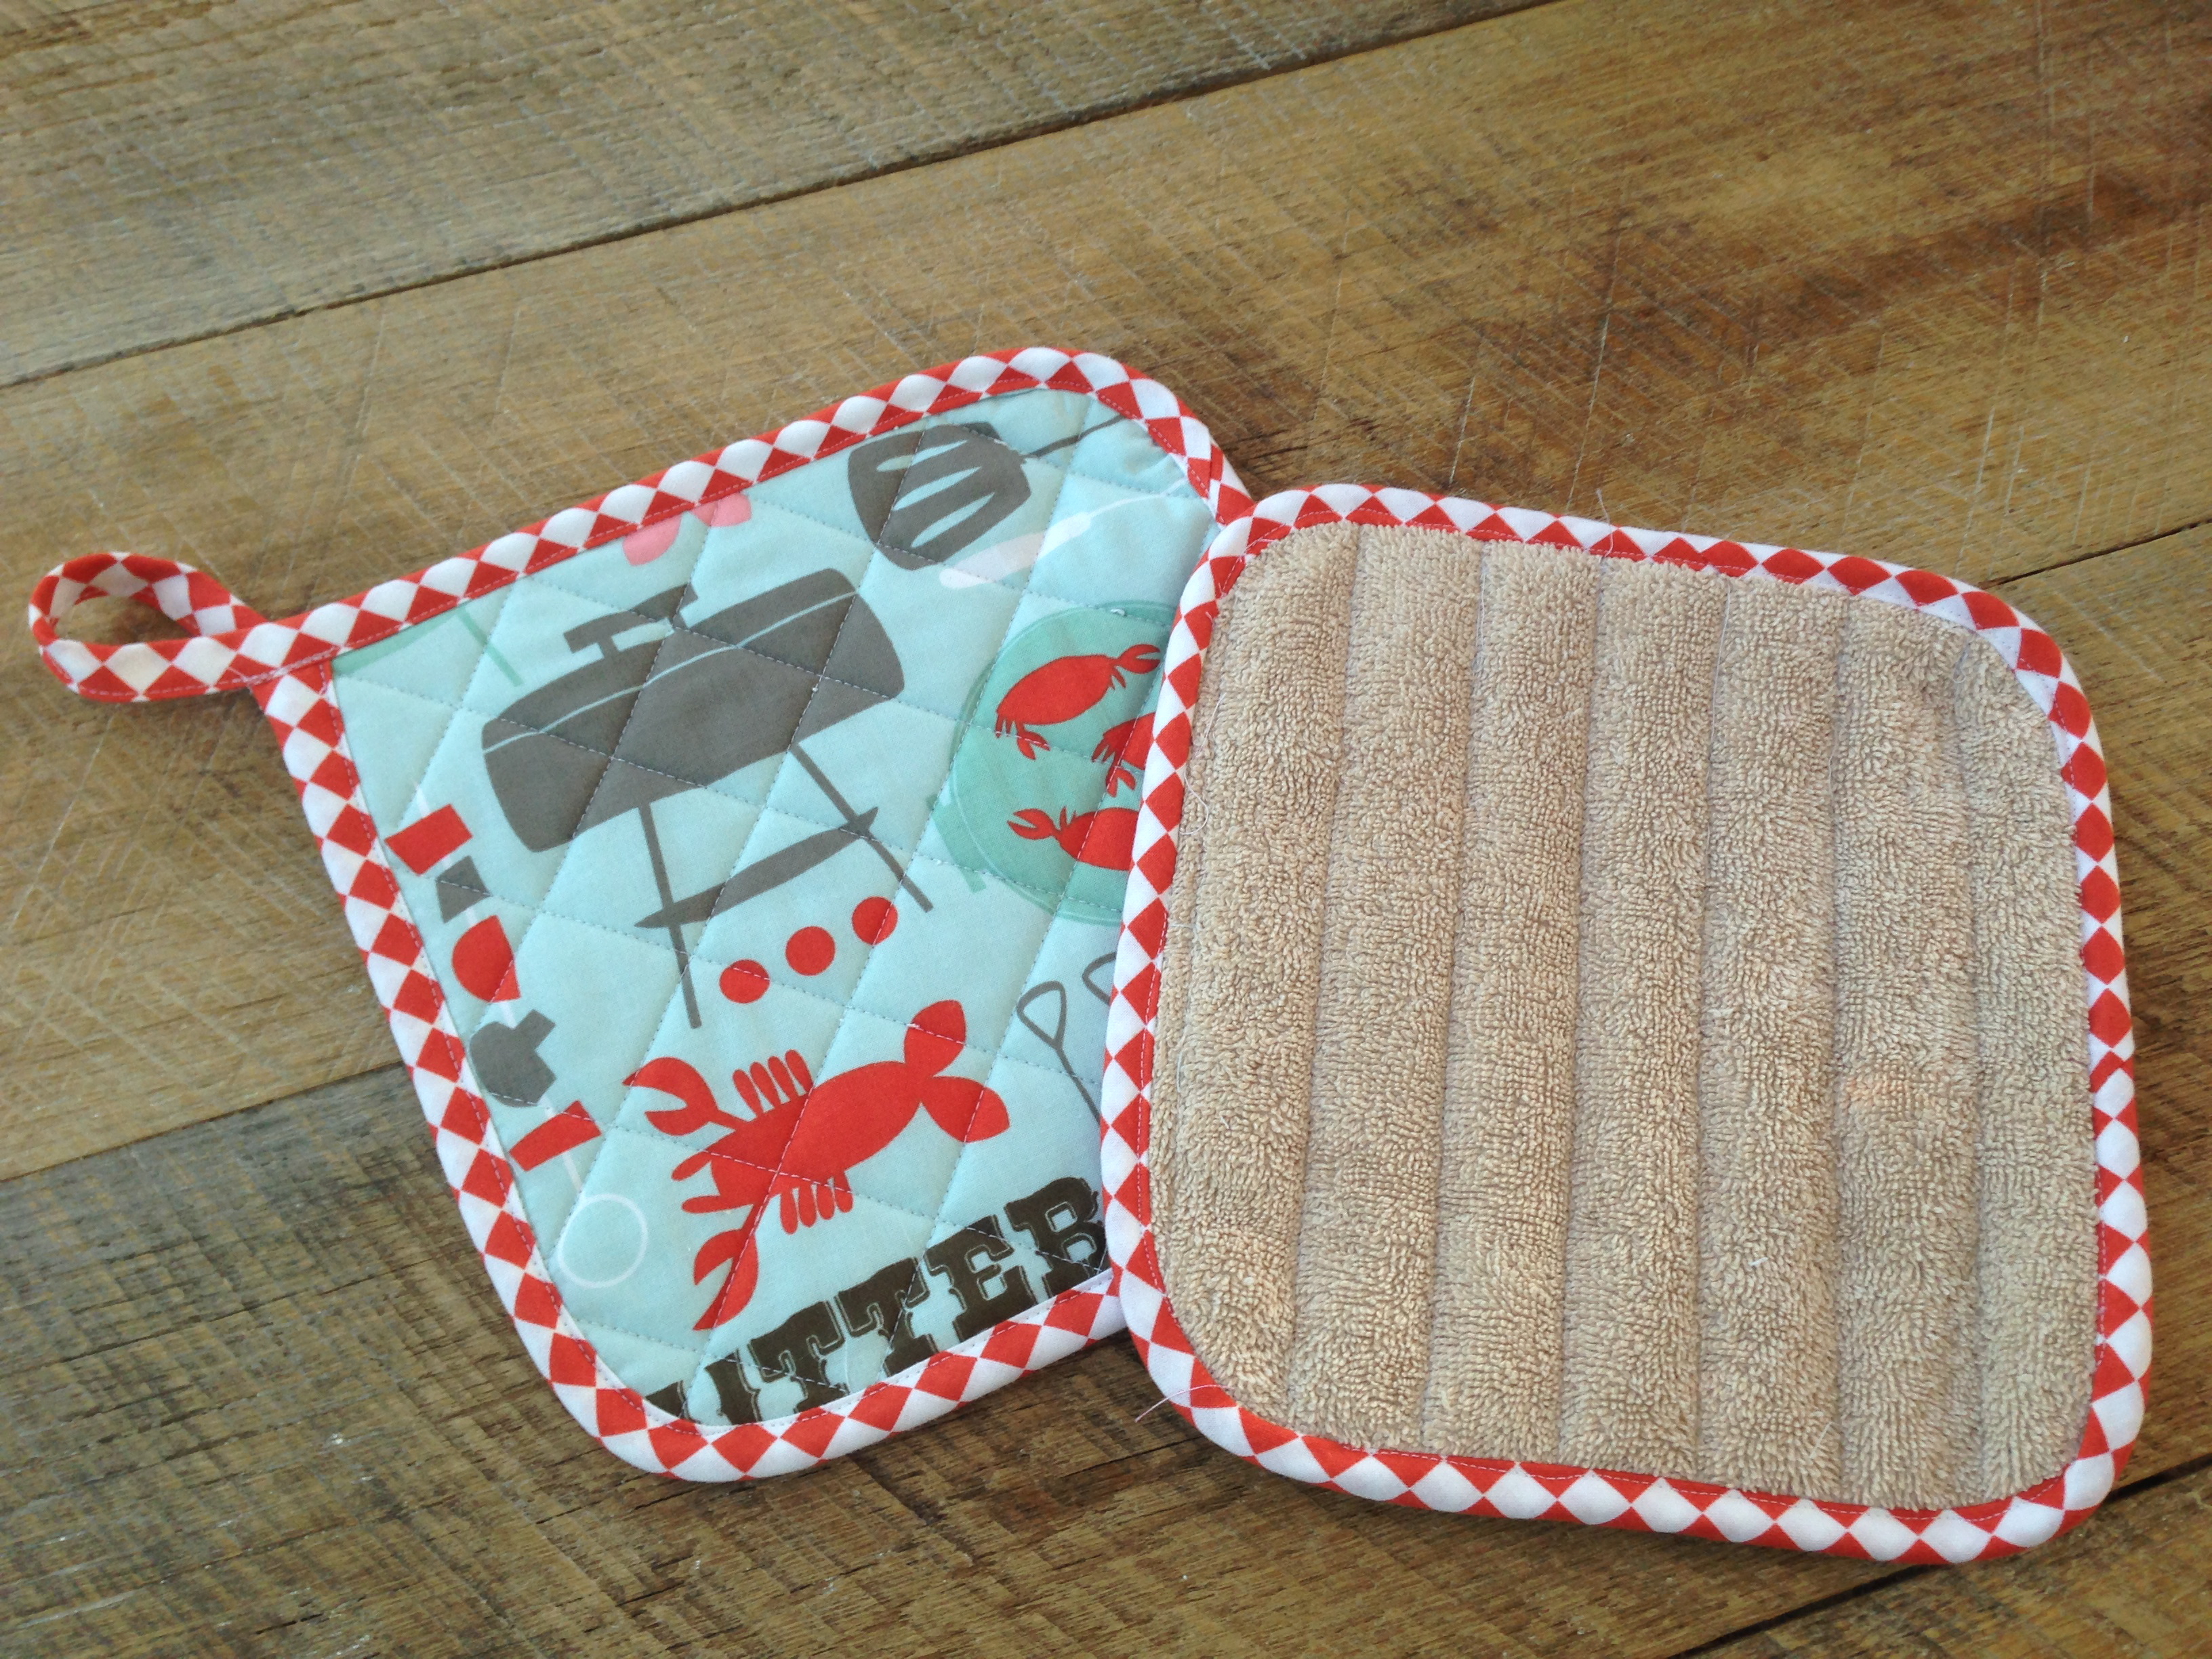
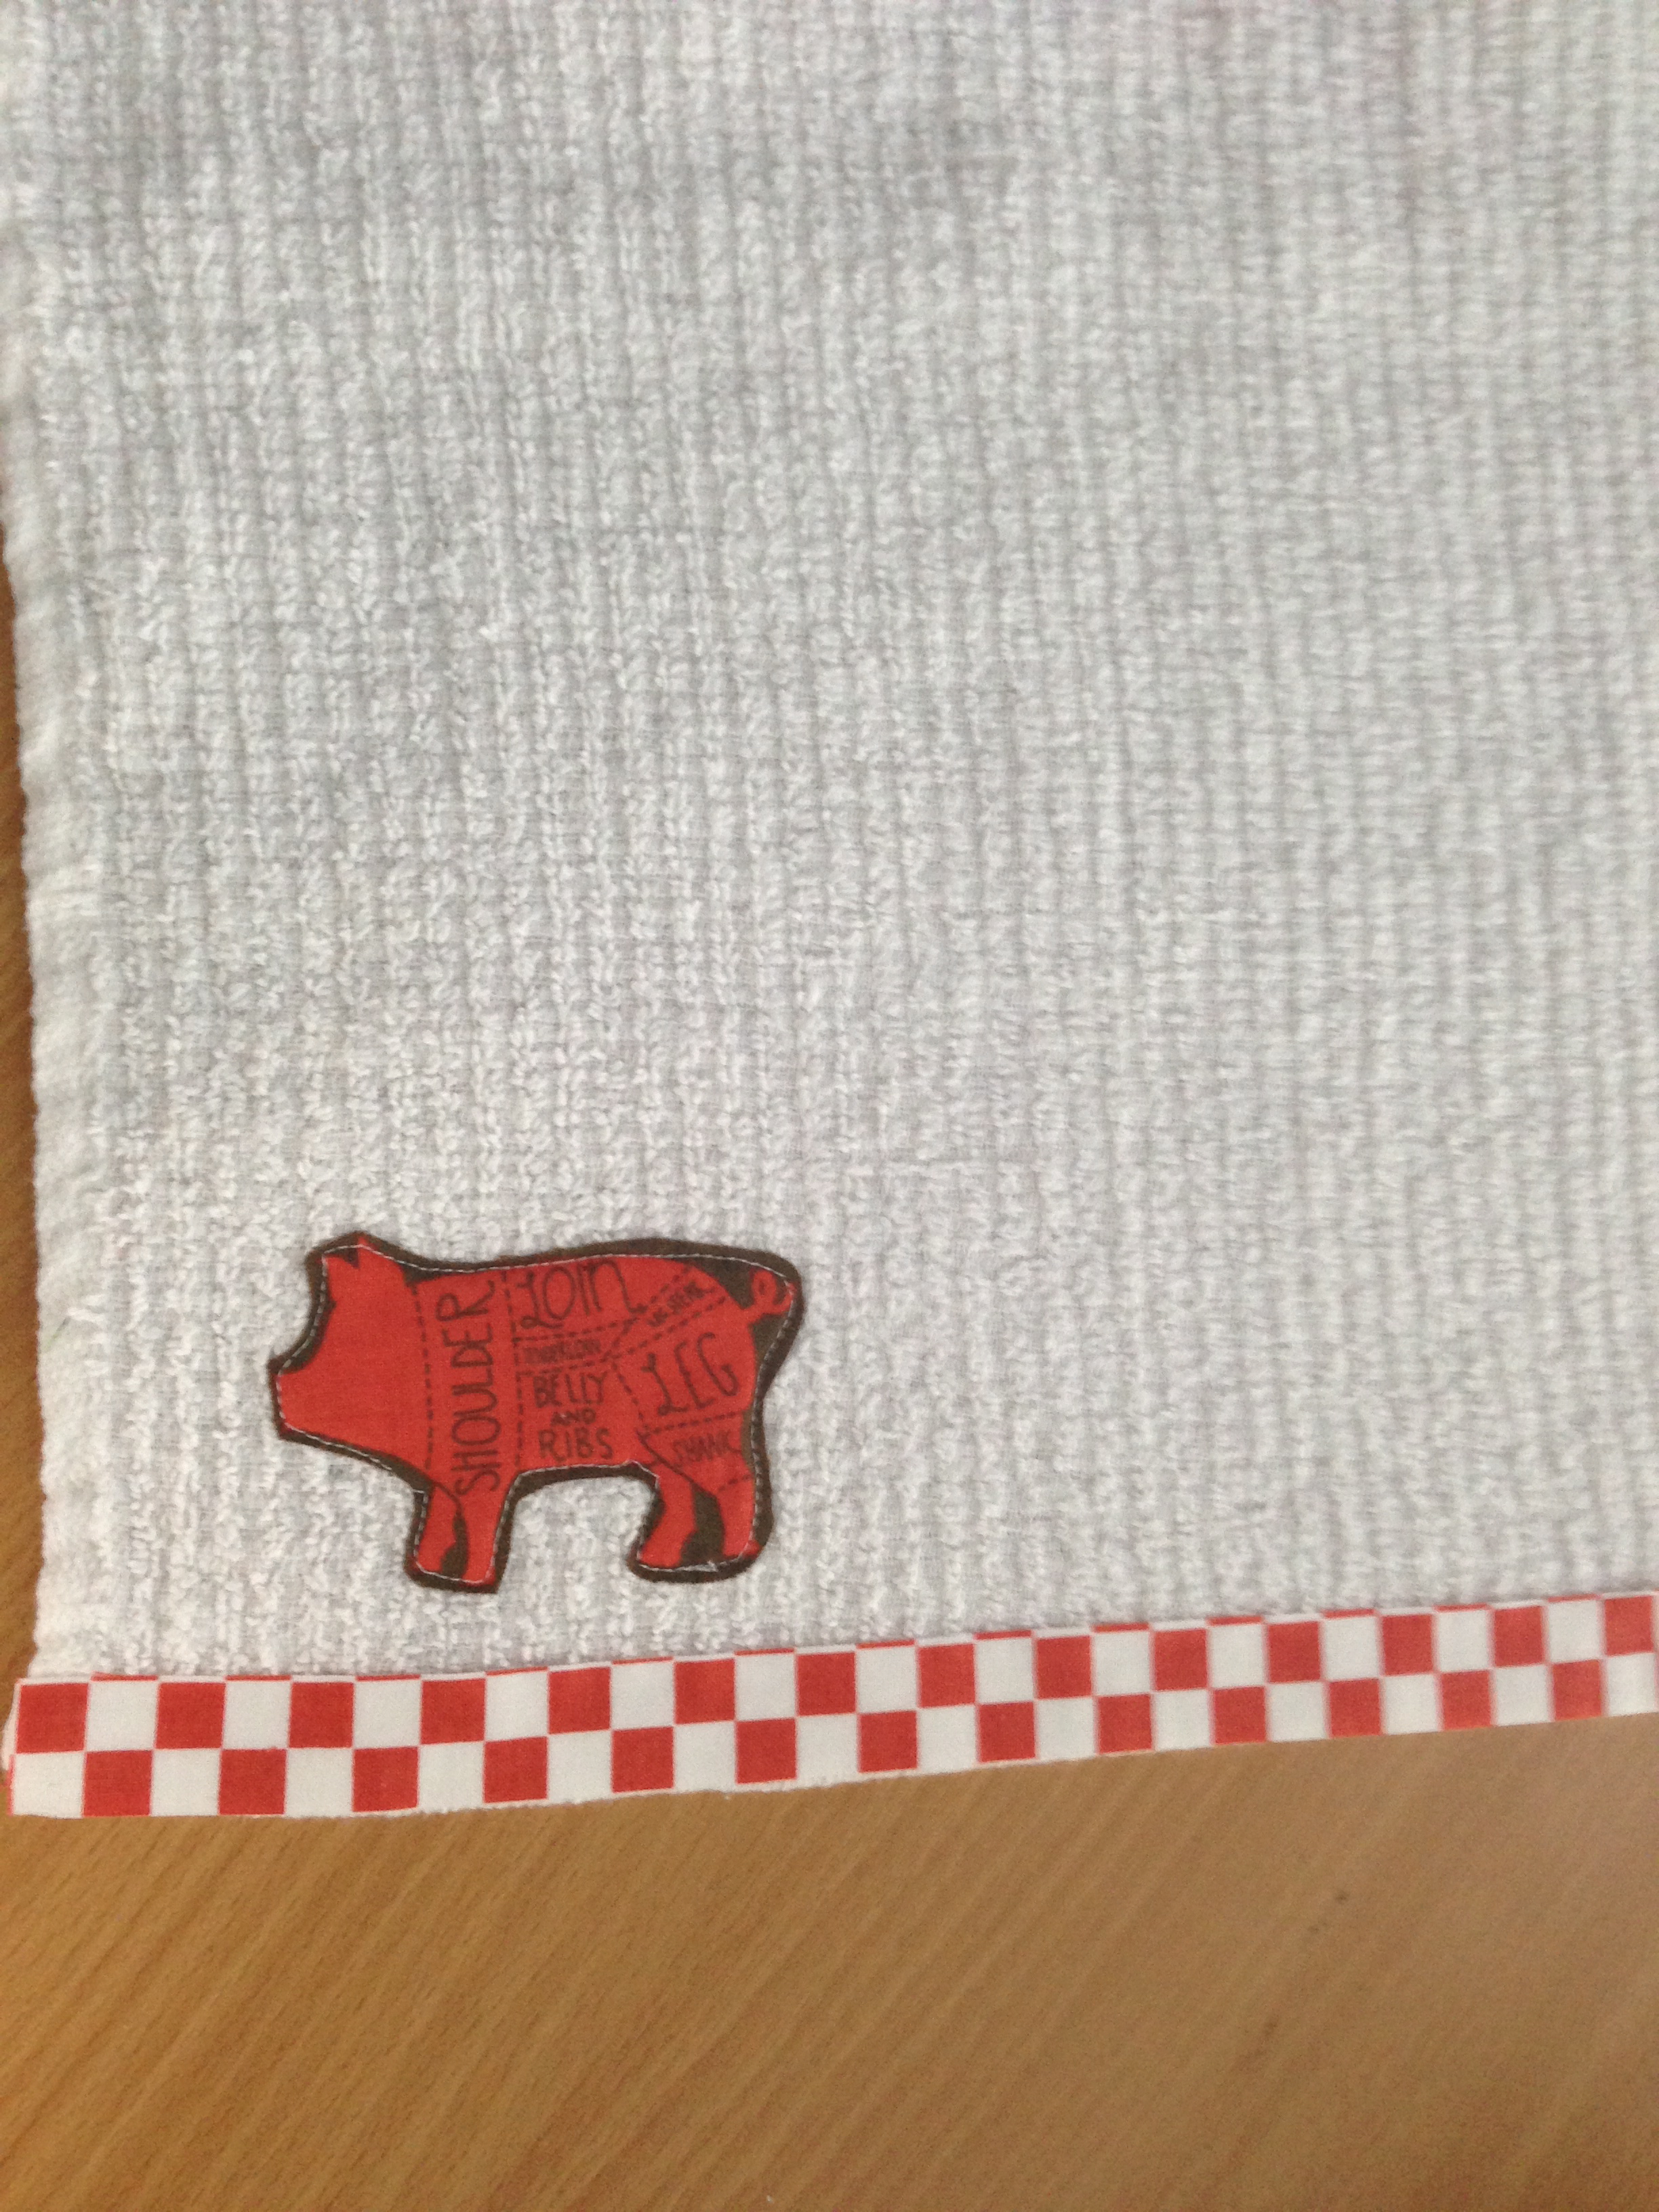
Quilt as desired. I made 4 of these and did vertical lines, diagonal lines and then criss cross. Using a cup, draw a rounded corner on each of the corners and trim along the line.
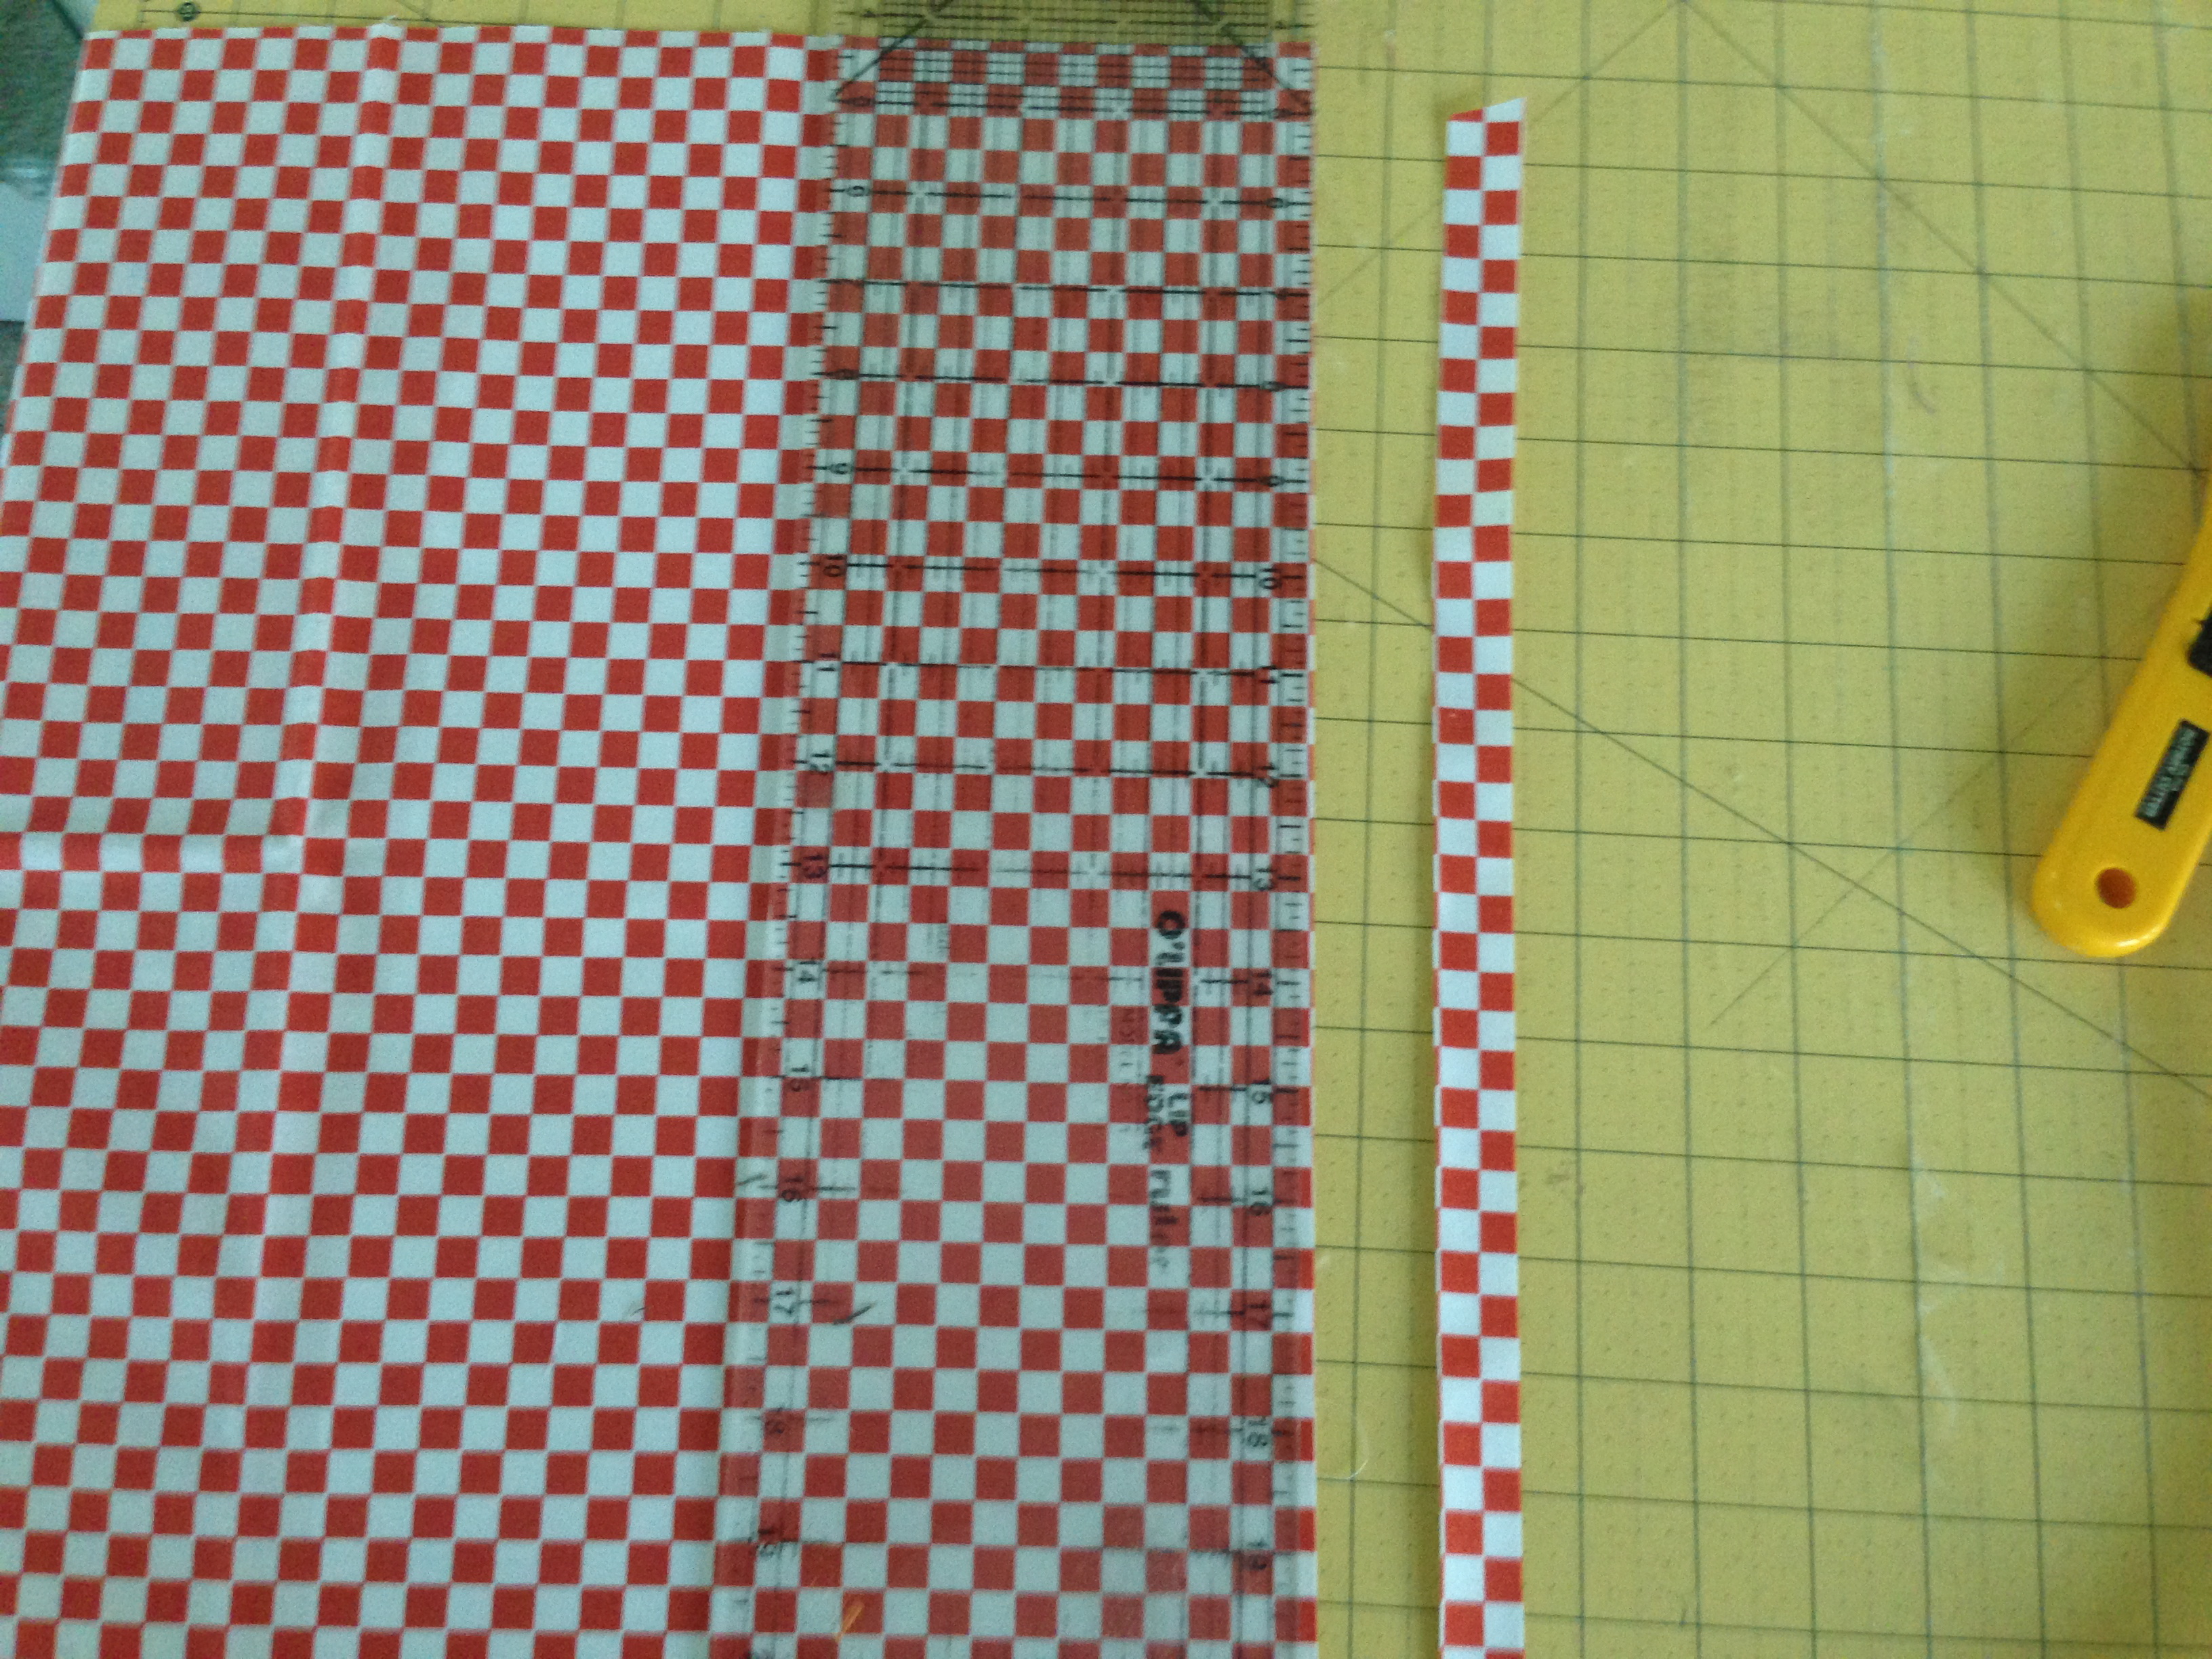
Cut the binding on the bias 2.5″ x WOF, or enough to sew around the potholder. Sew the binding to the back of the potholder then pull the binding around and machine sew the top of the binding down.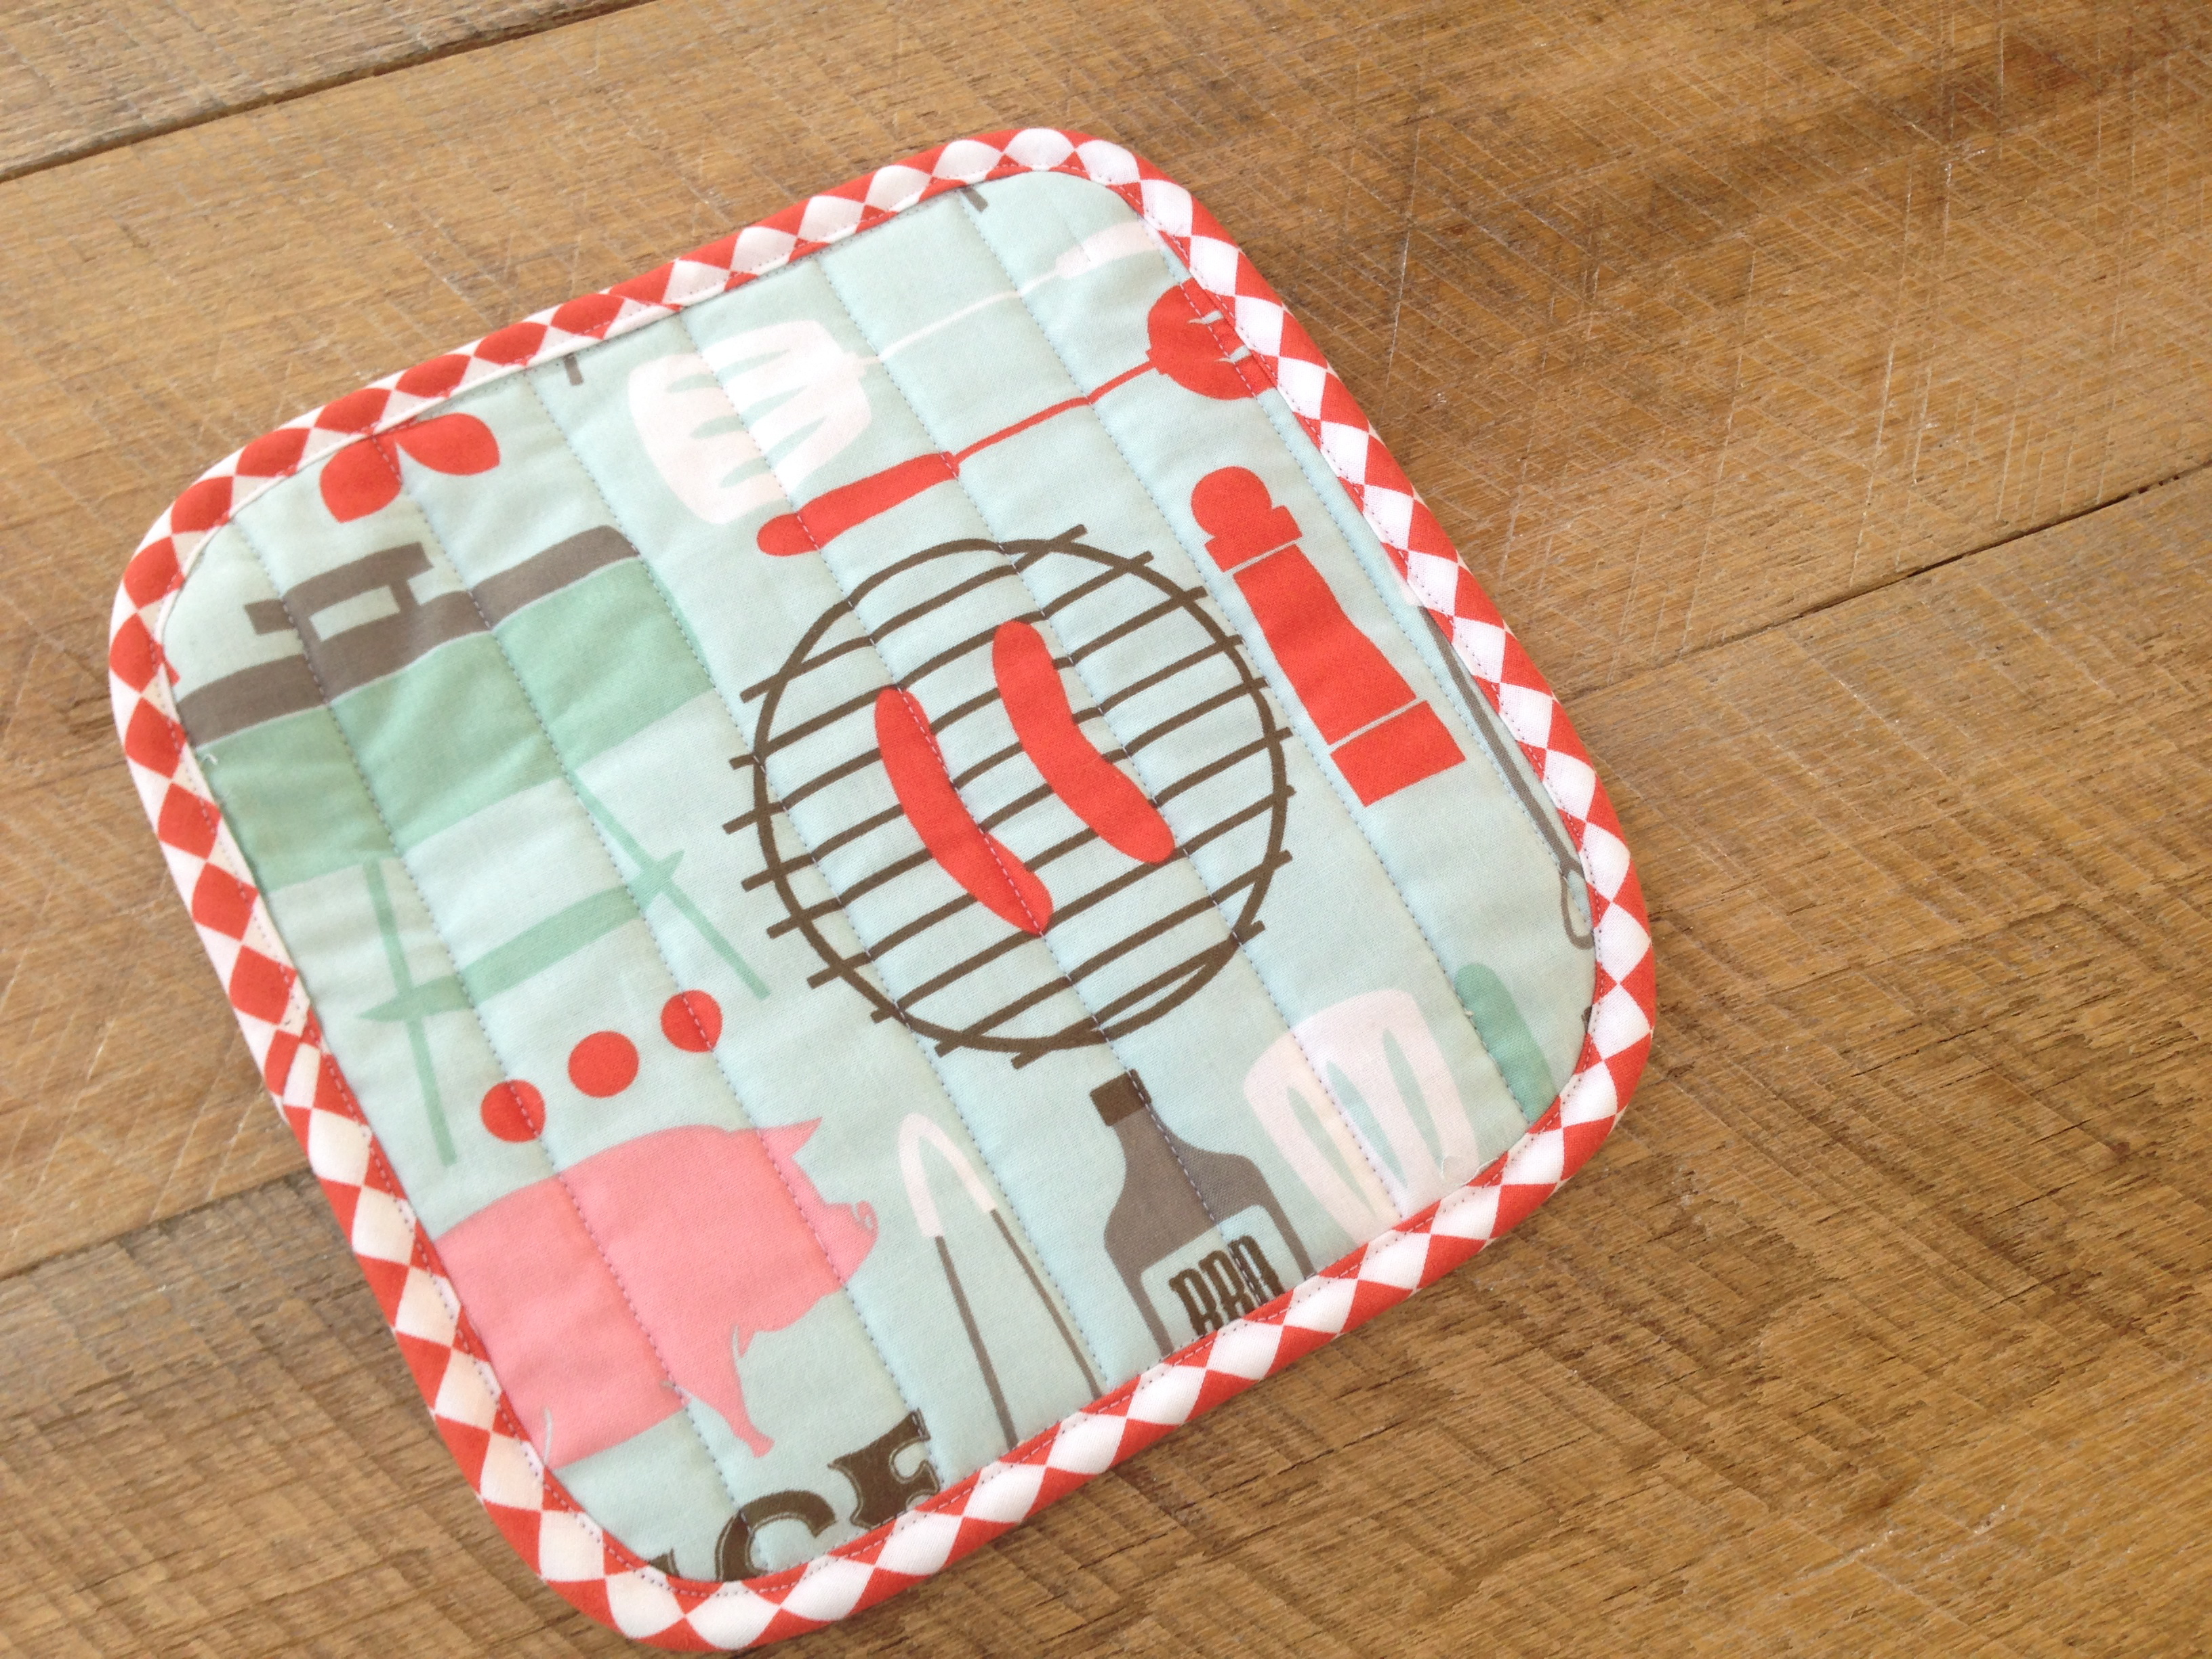
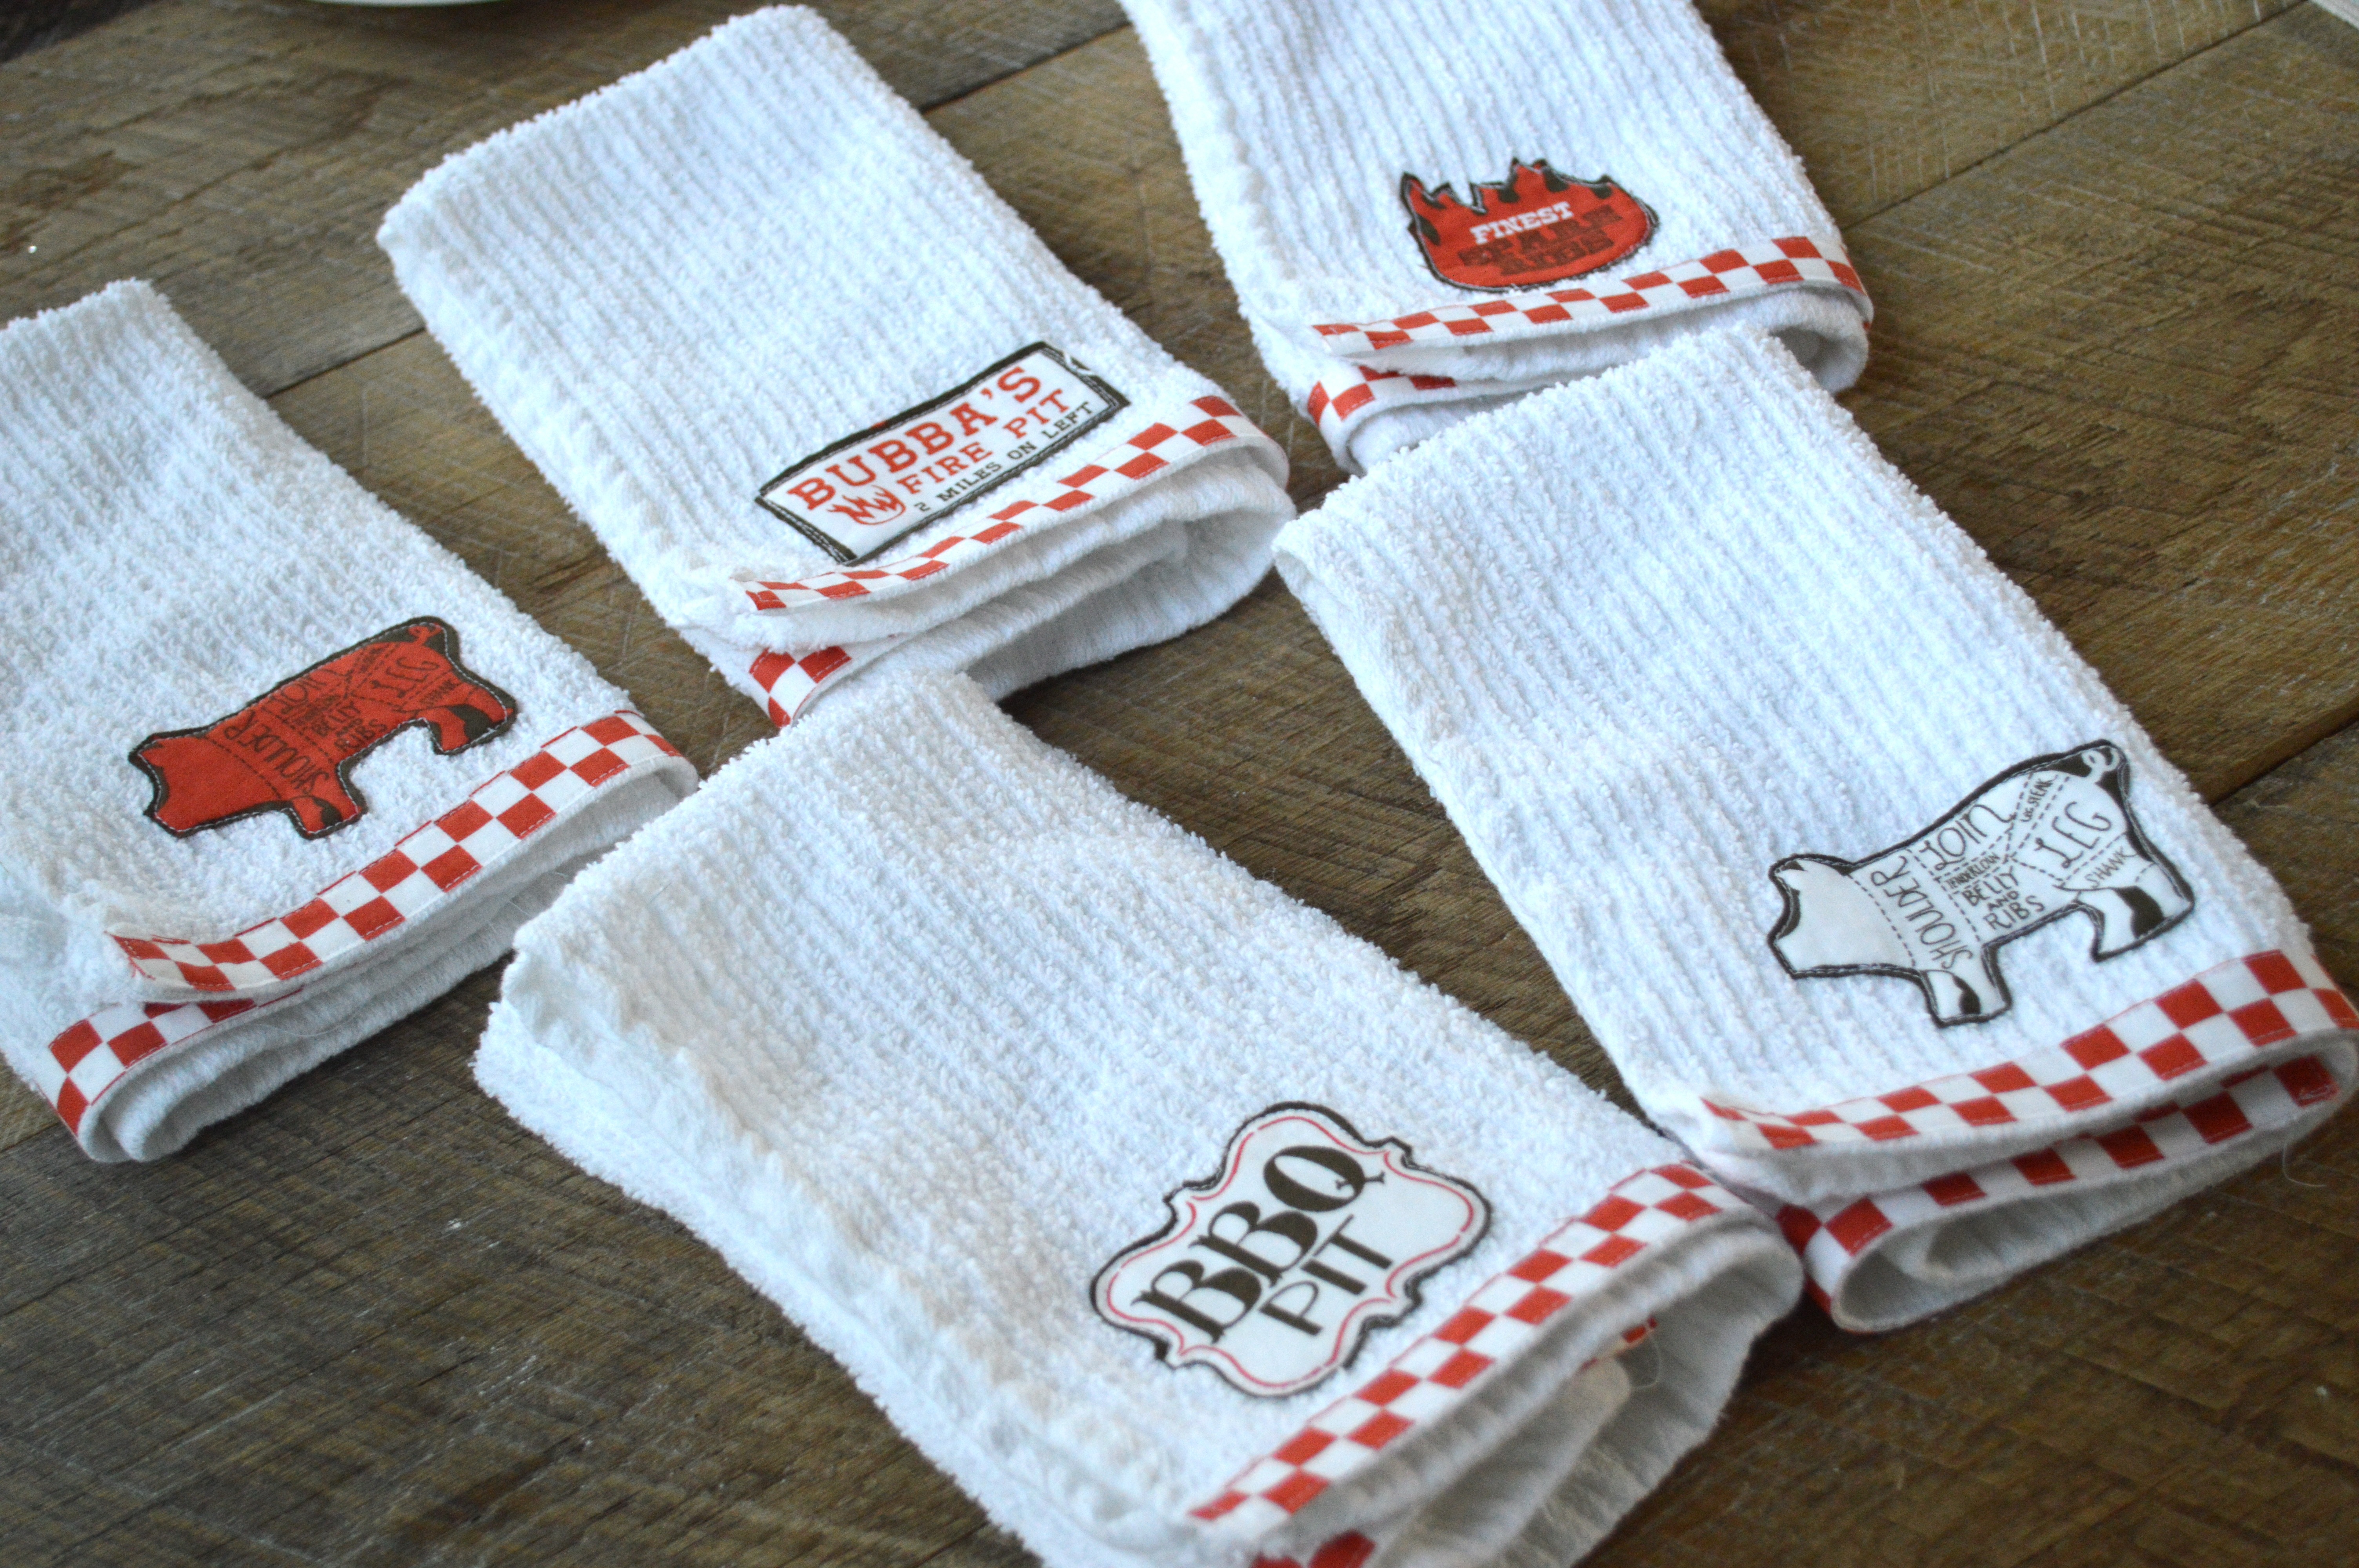
Seriously, tears of joy were shed over this project. I cannot contain my excitement!! It actually feels just like my old trusty potholders – YIPPEE!!!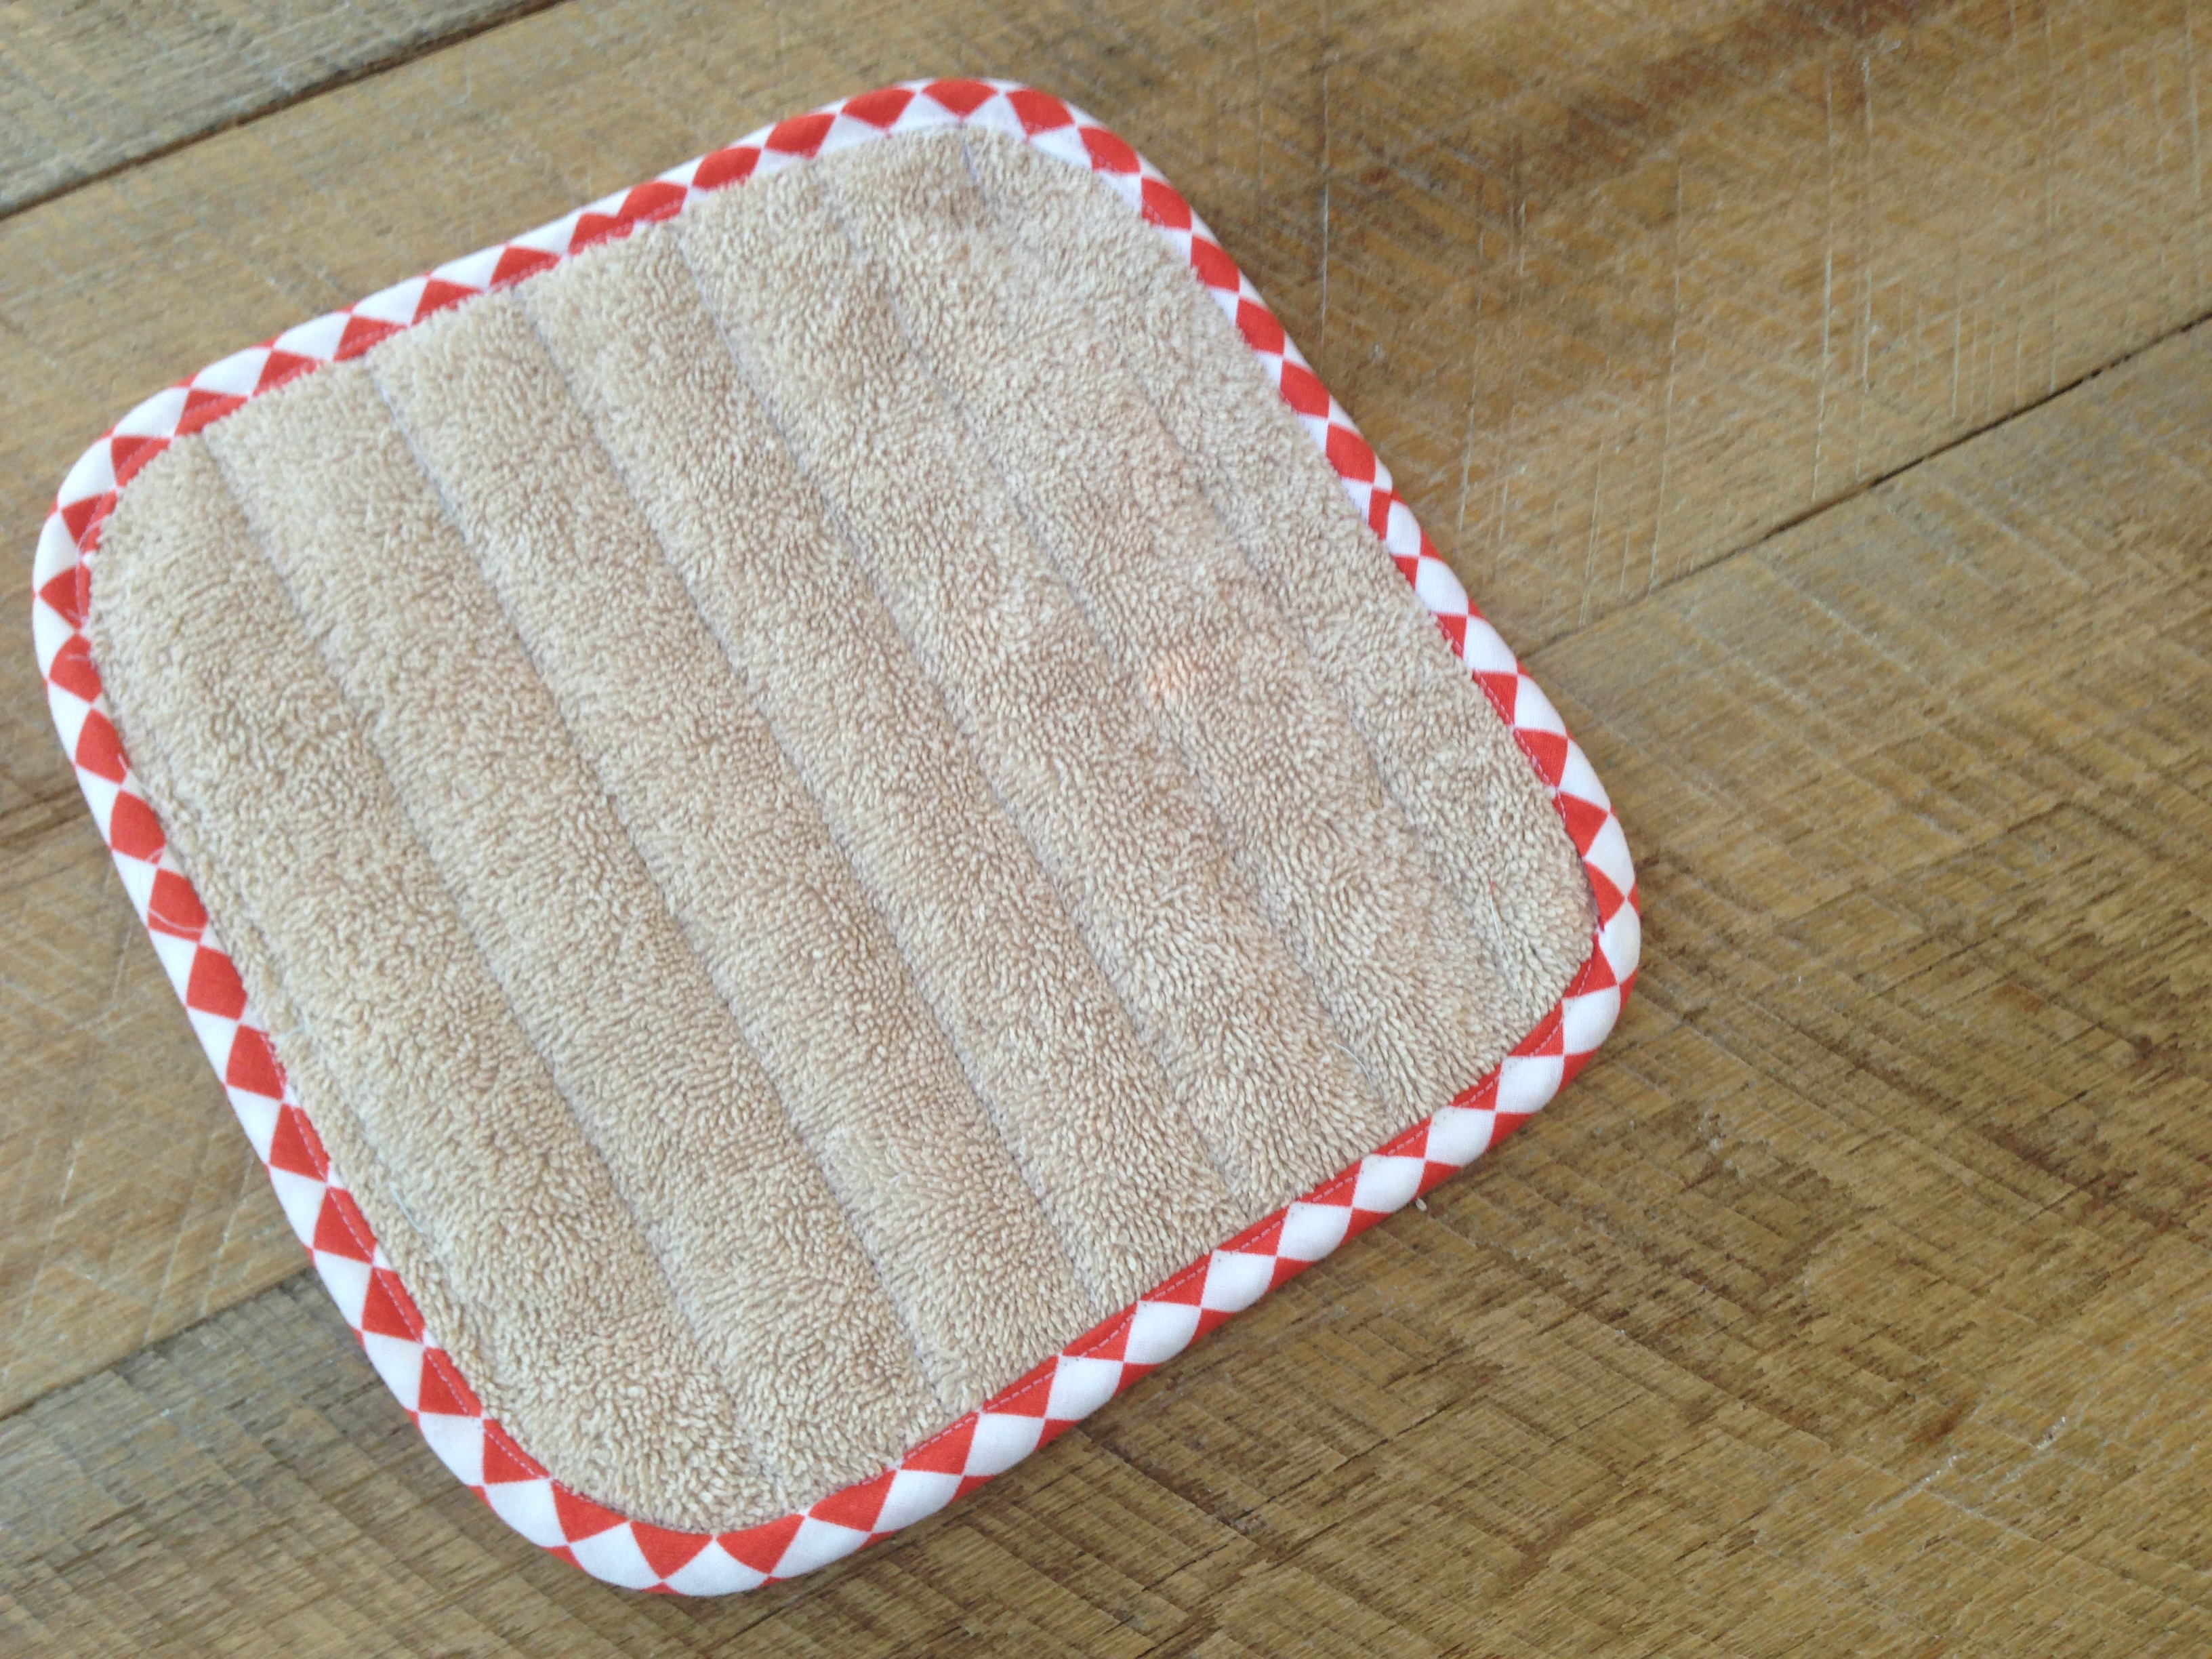
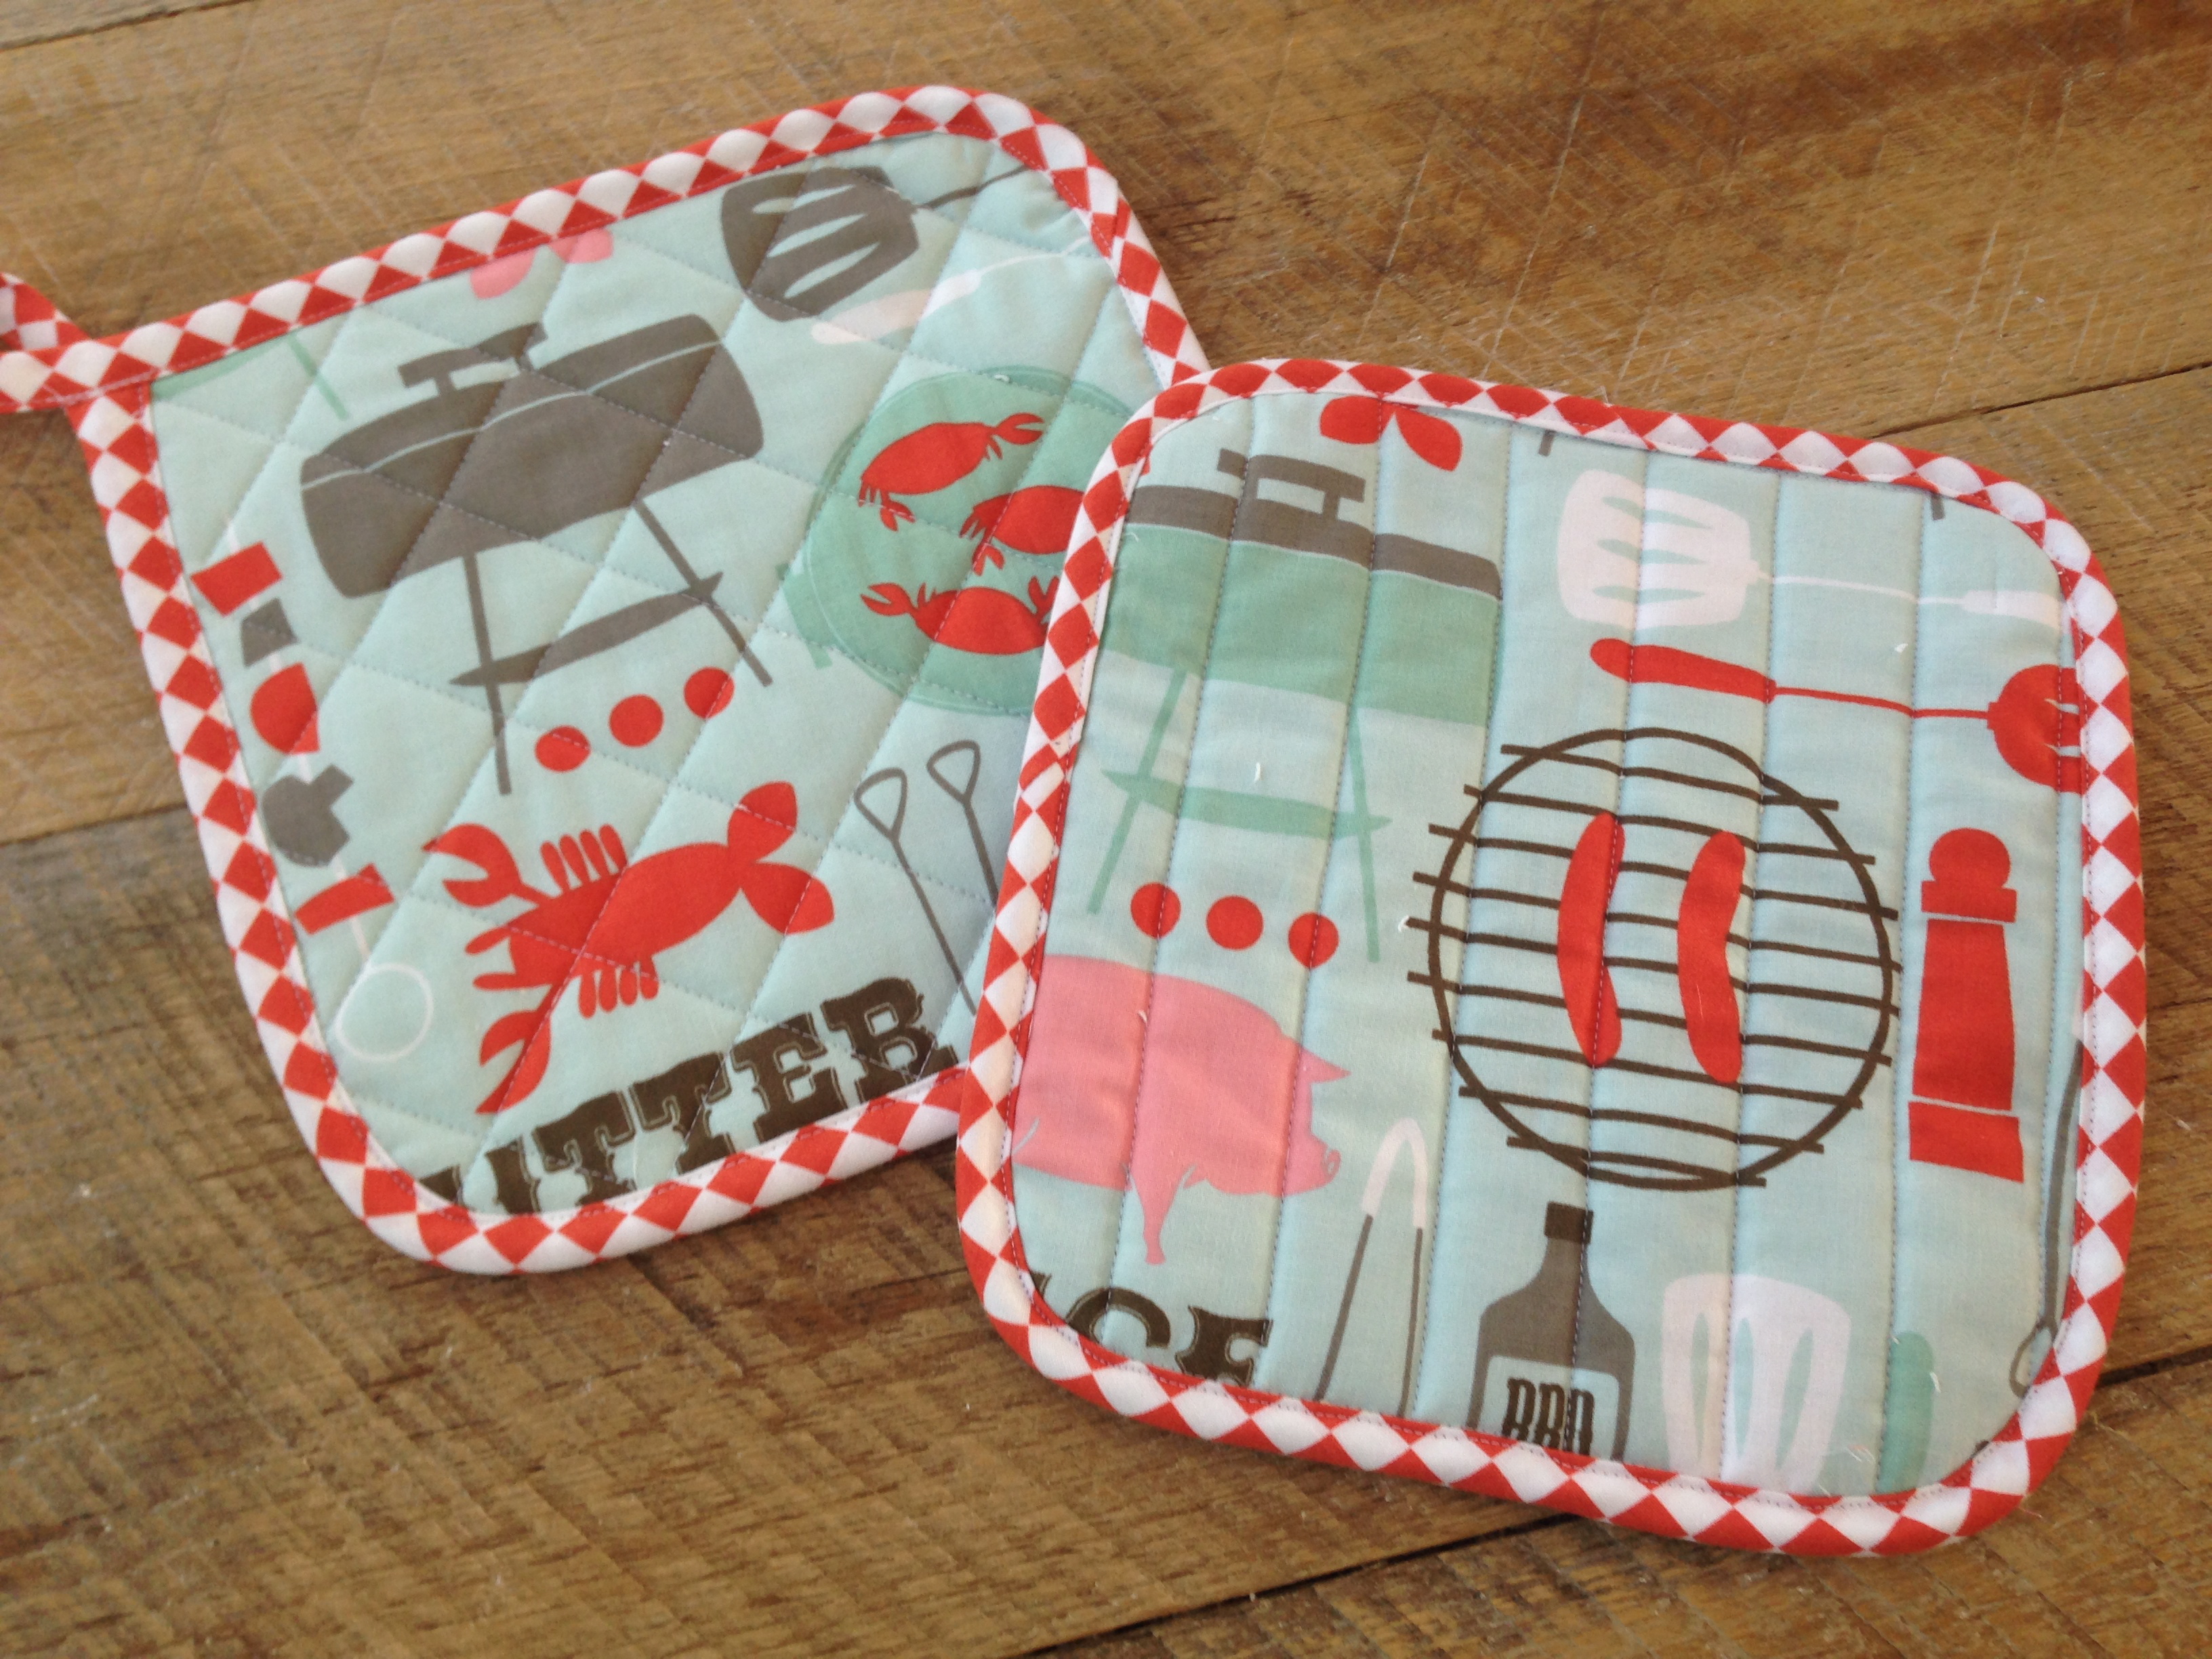
Now that I knew they were a success, I got a little creative. Try rounding all the corners but the top left corner like this:
Then sew the binding like this:
Take the little tail and give it a twirl to make a loop to hang or to just be decorative or to just finish the binding nicely.
They are the perfect addition to my collection of Father’s Day Gifts!!


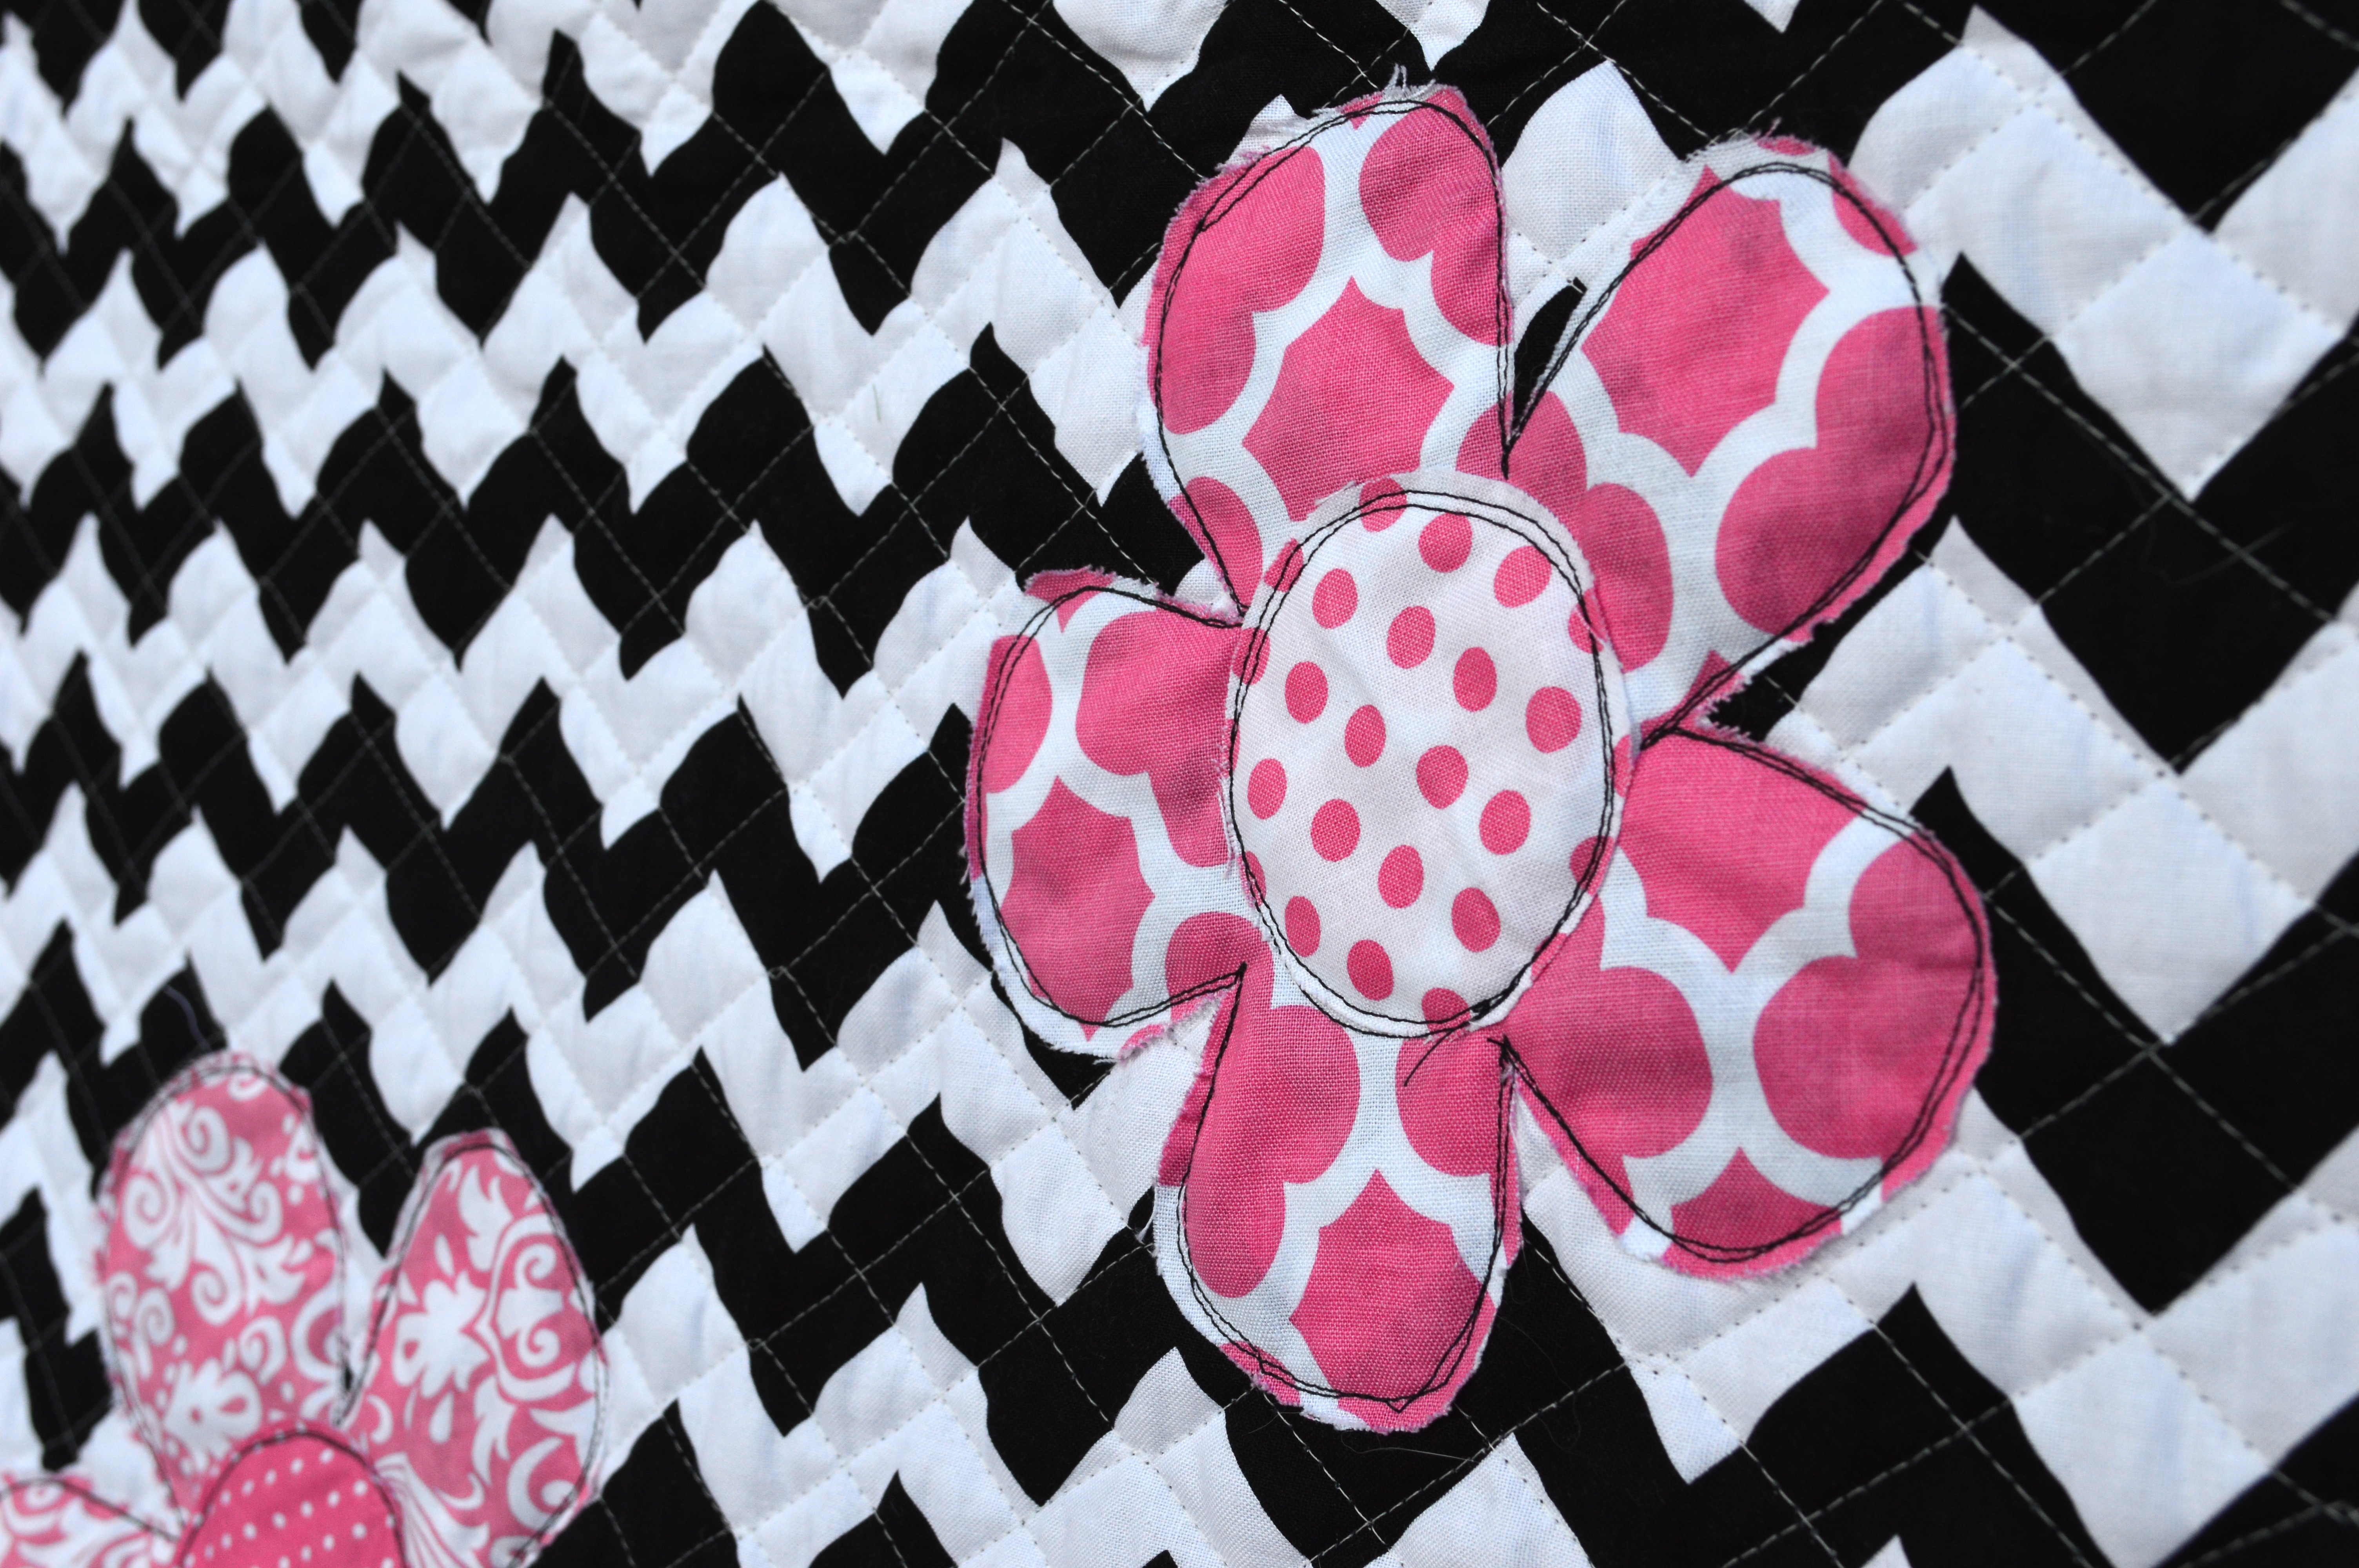


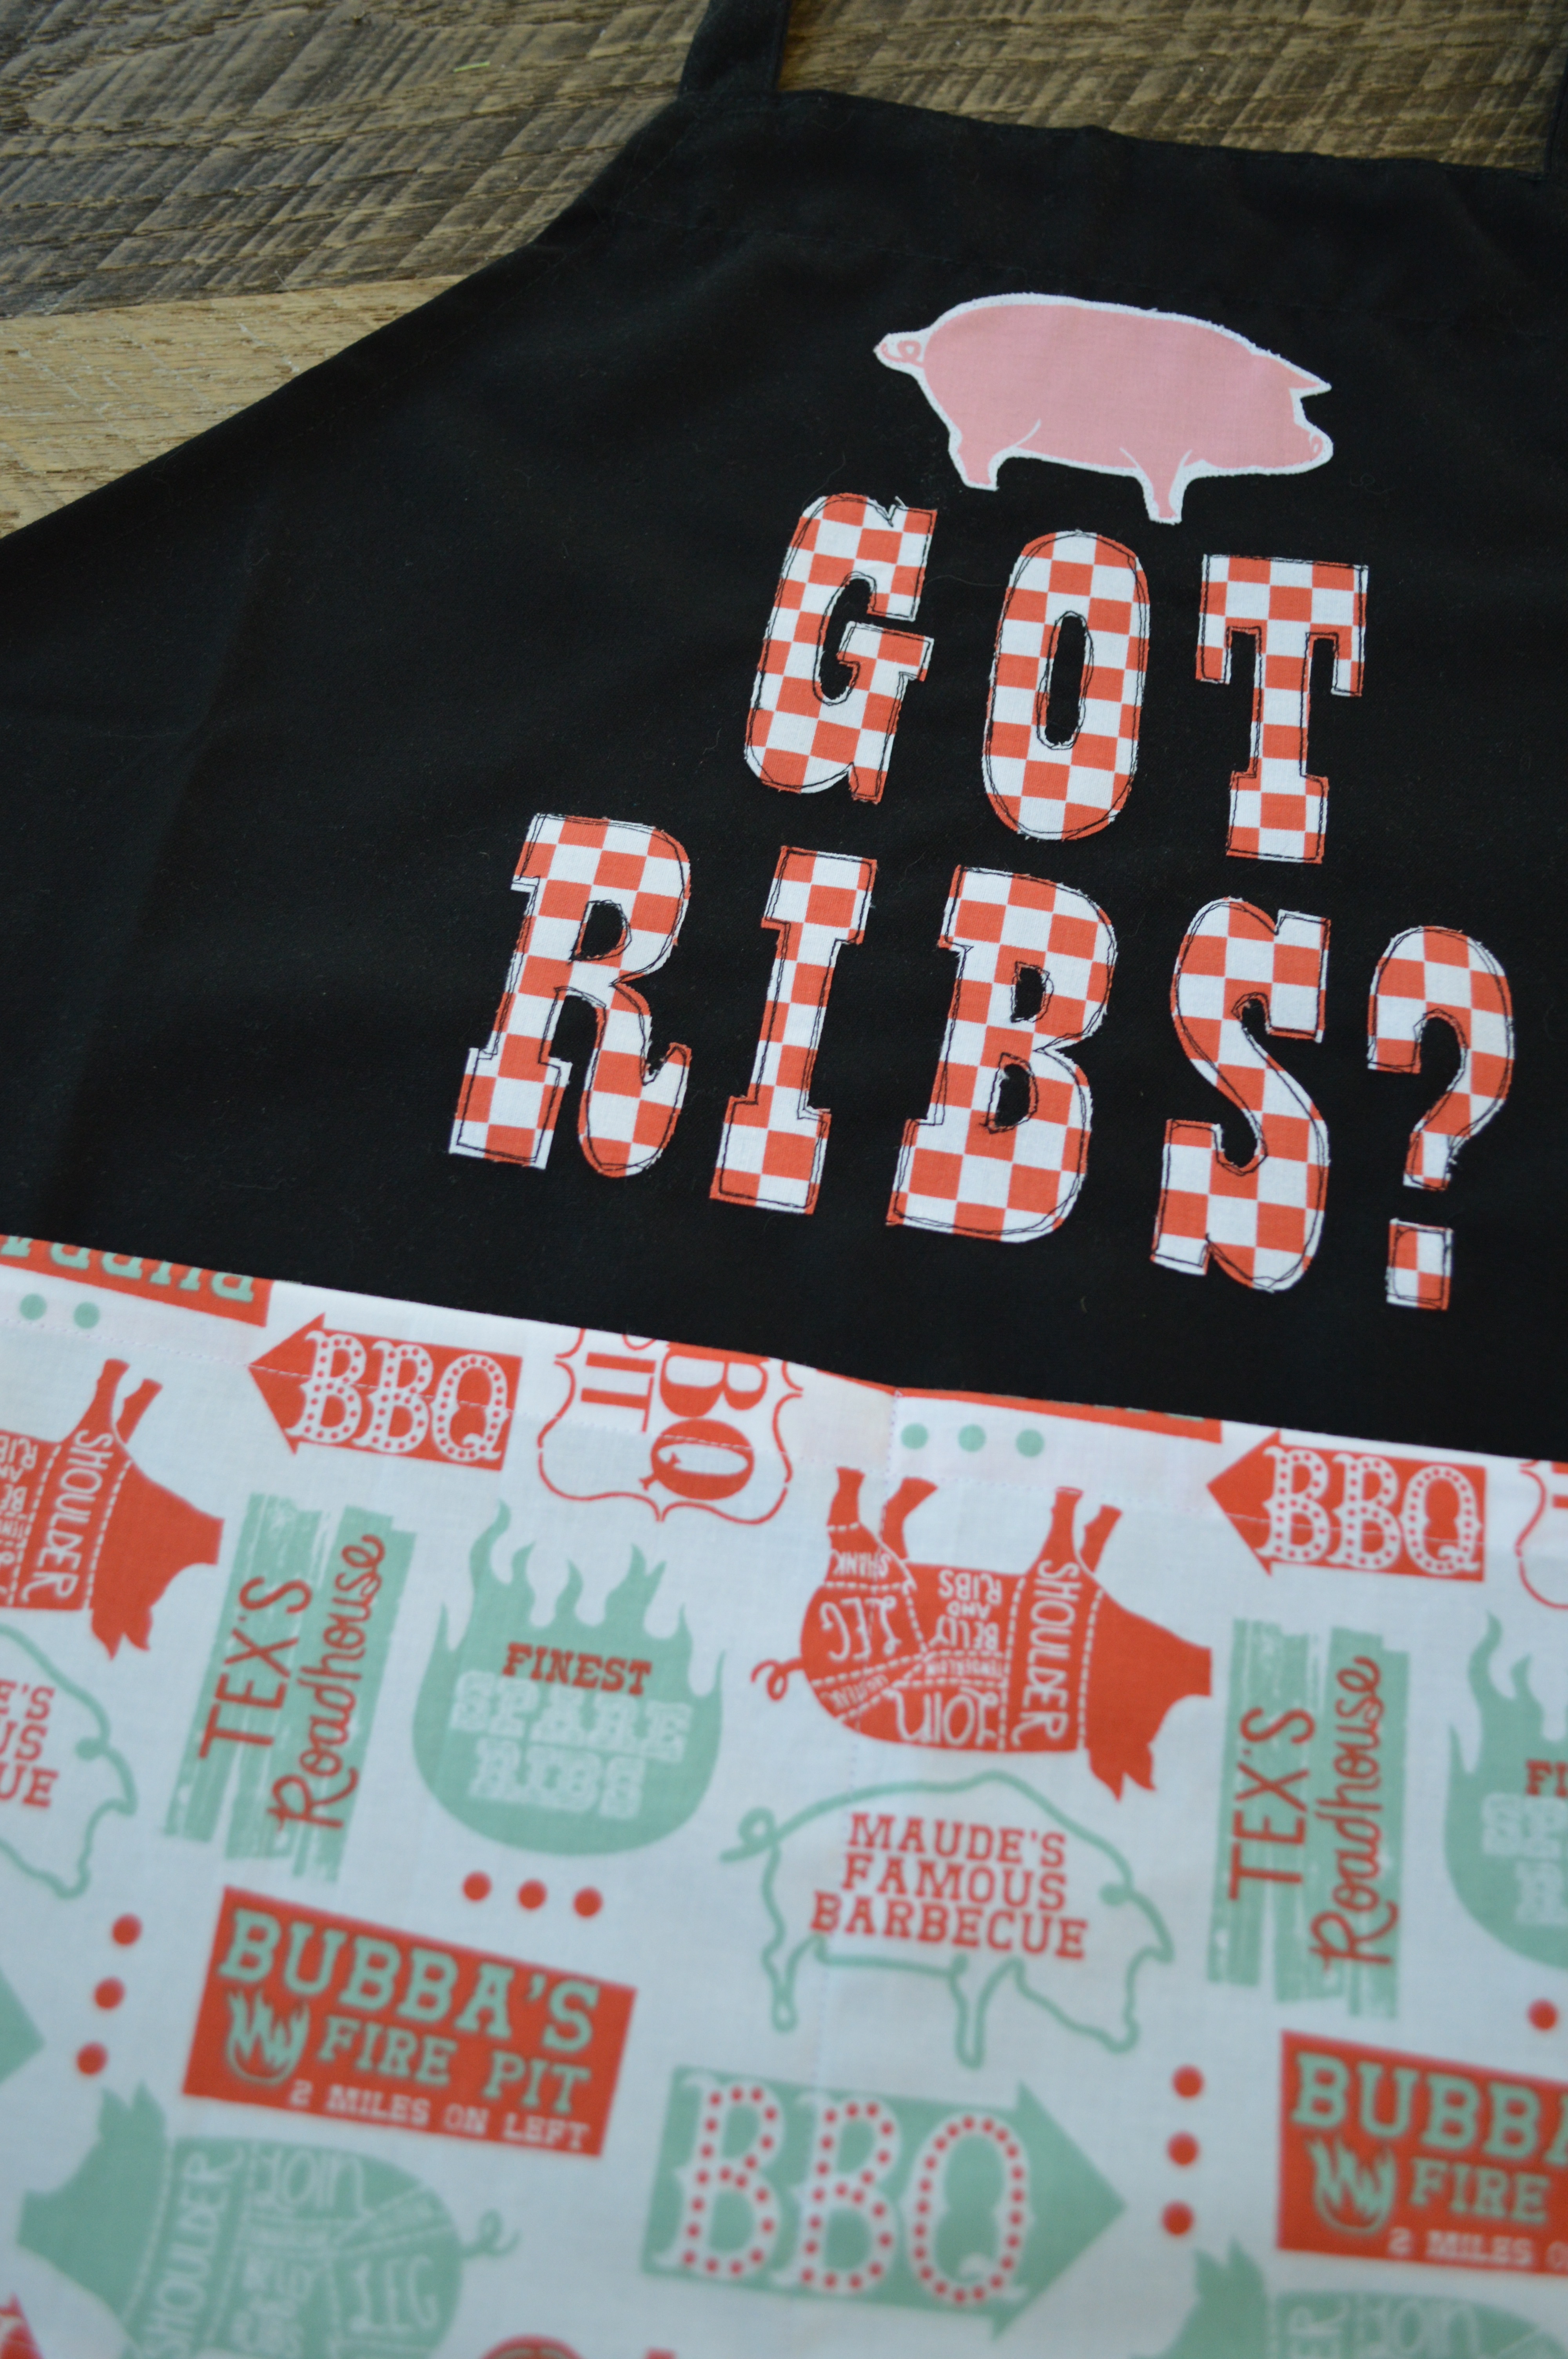


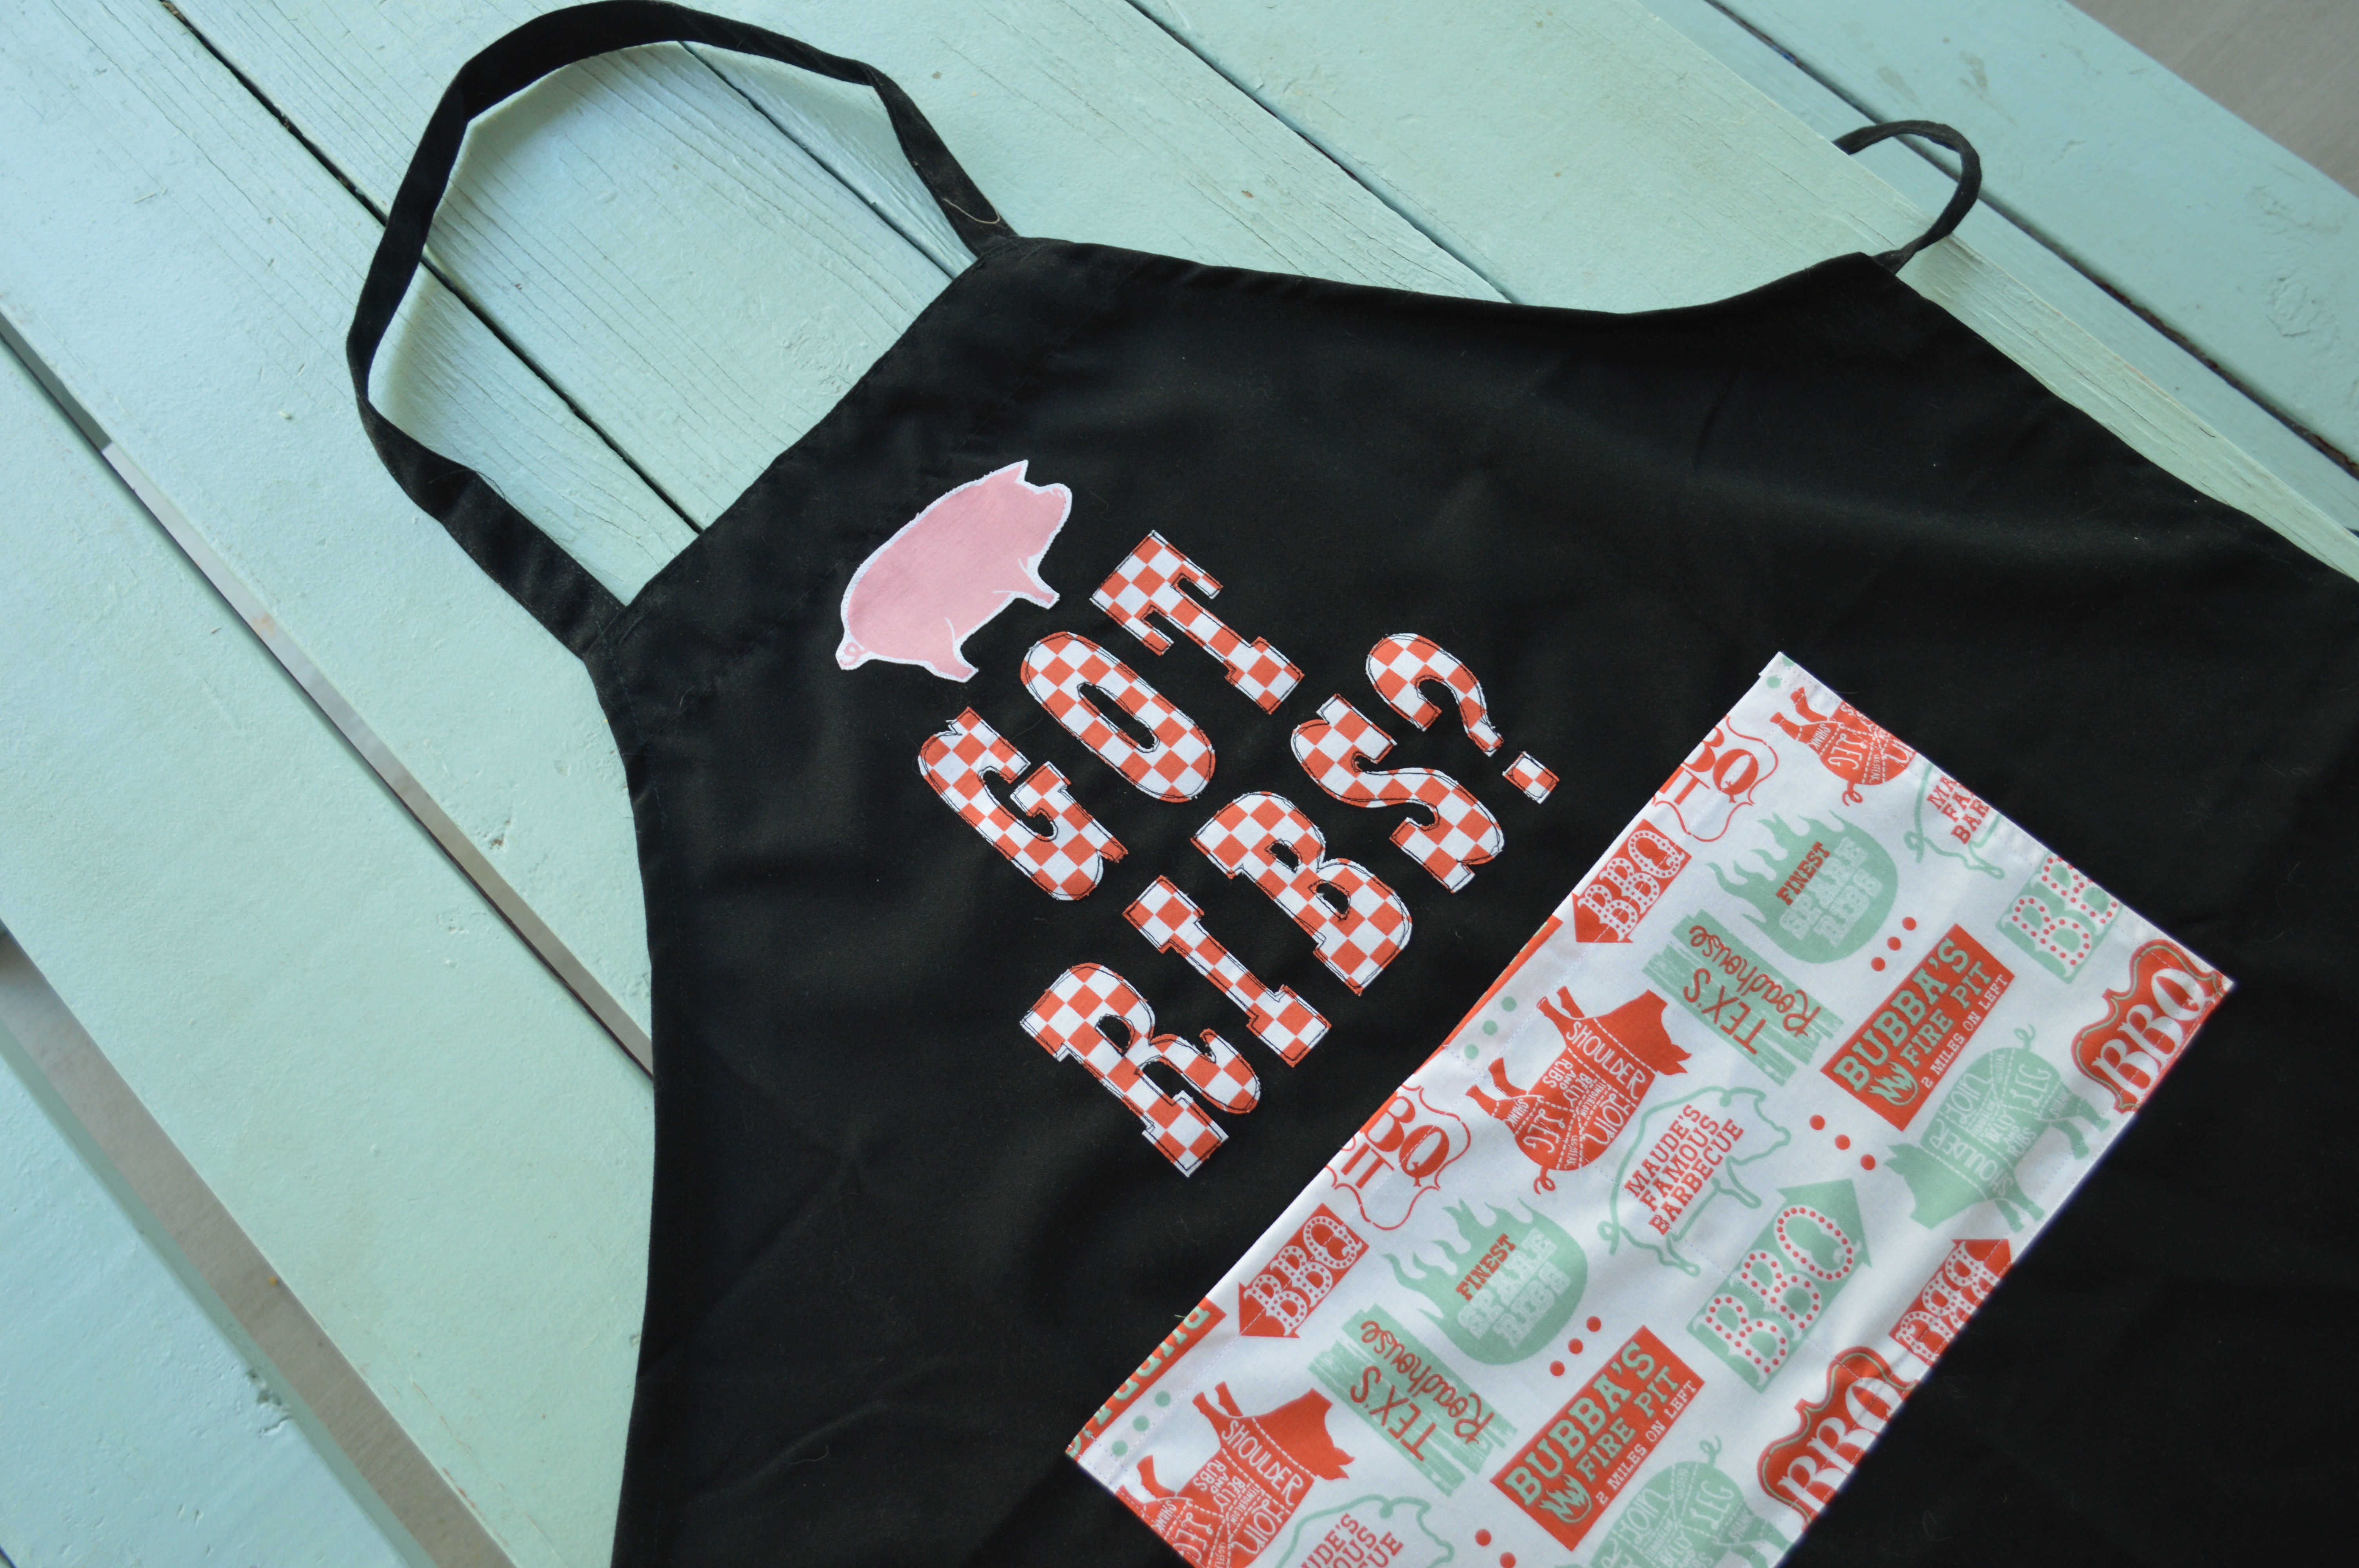
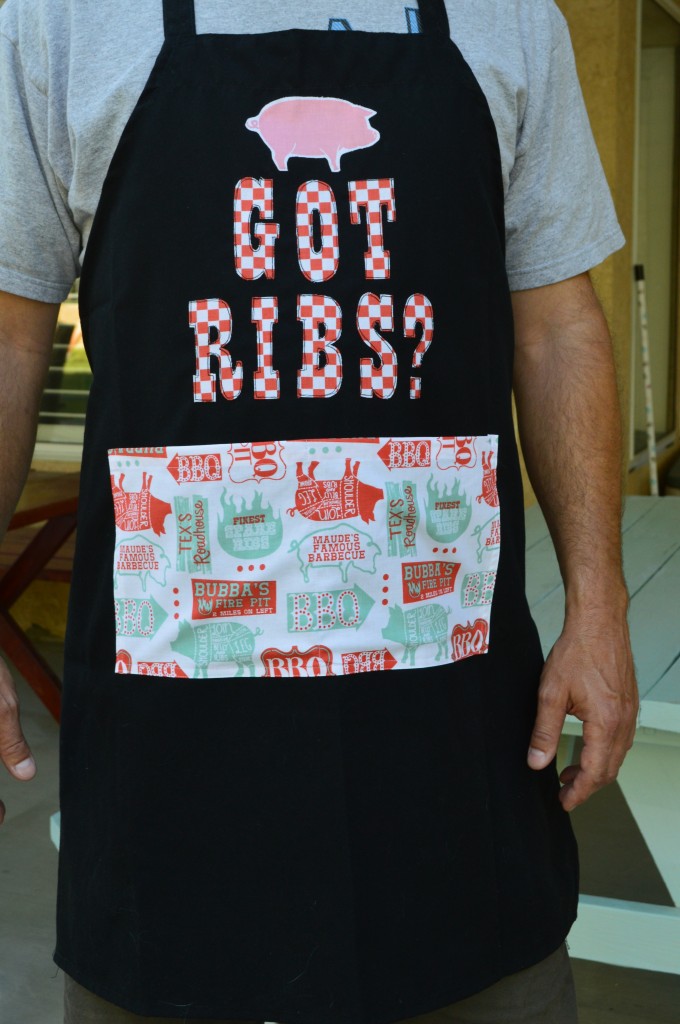
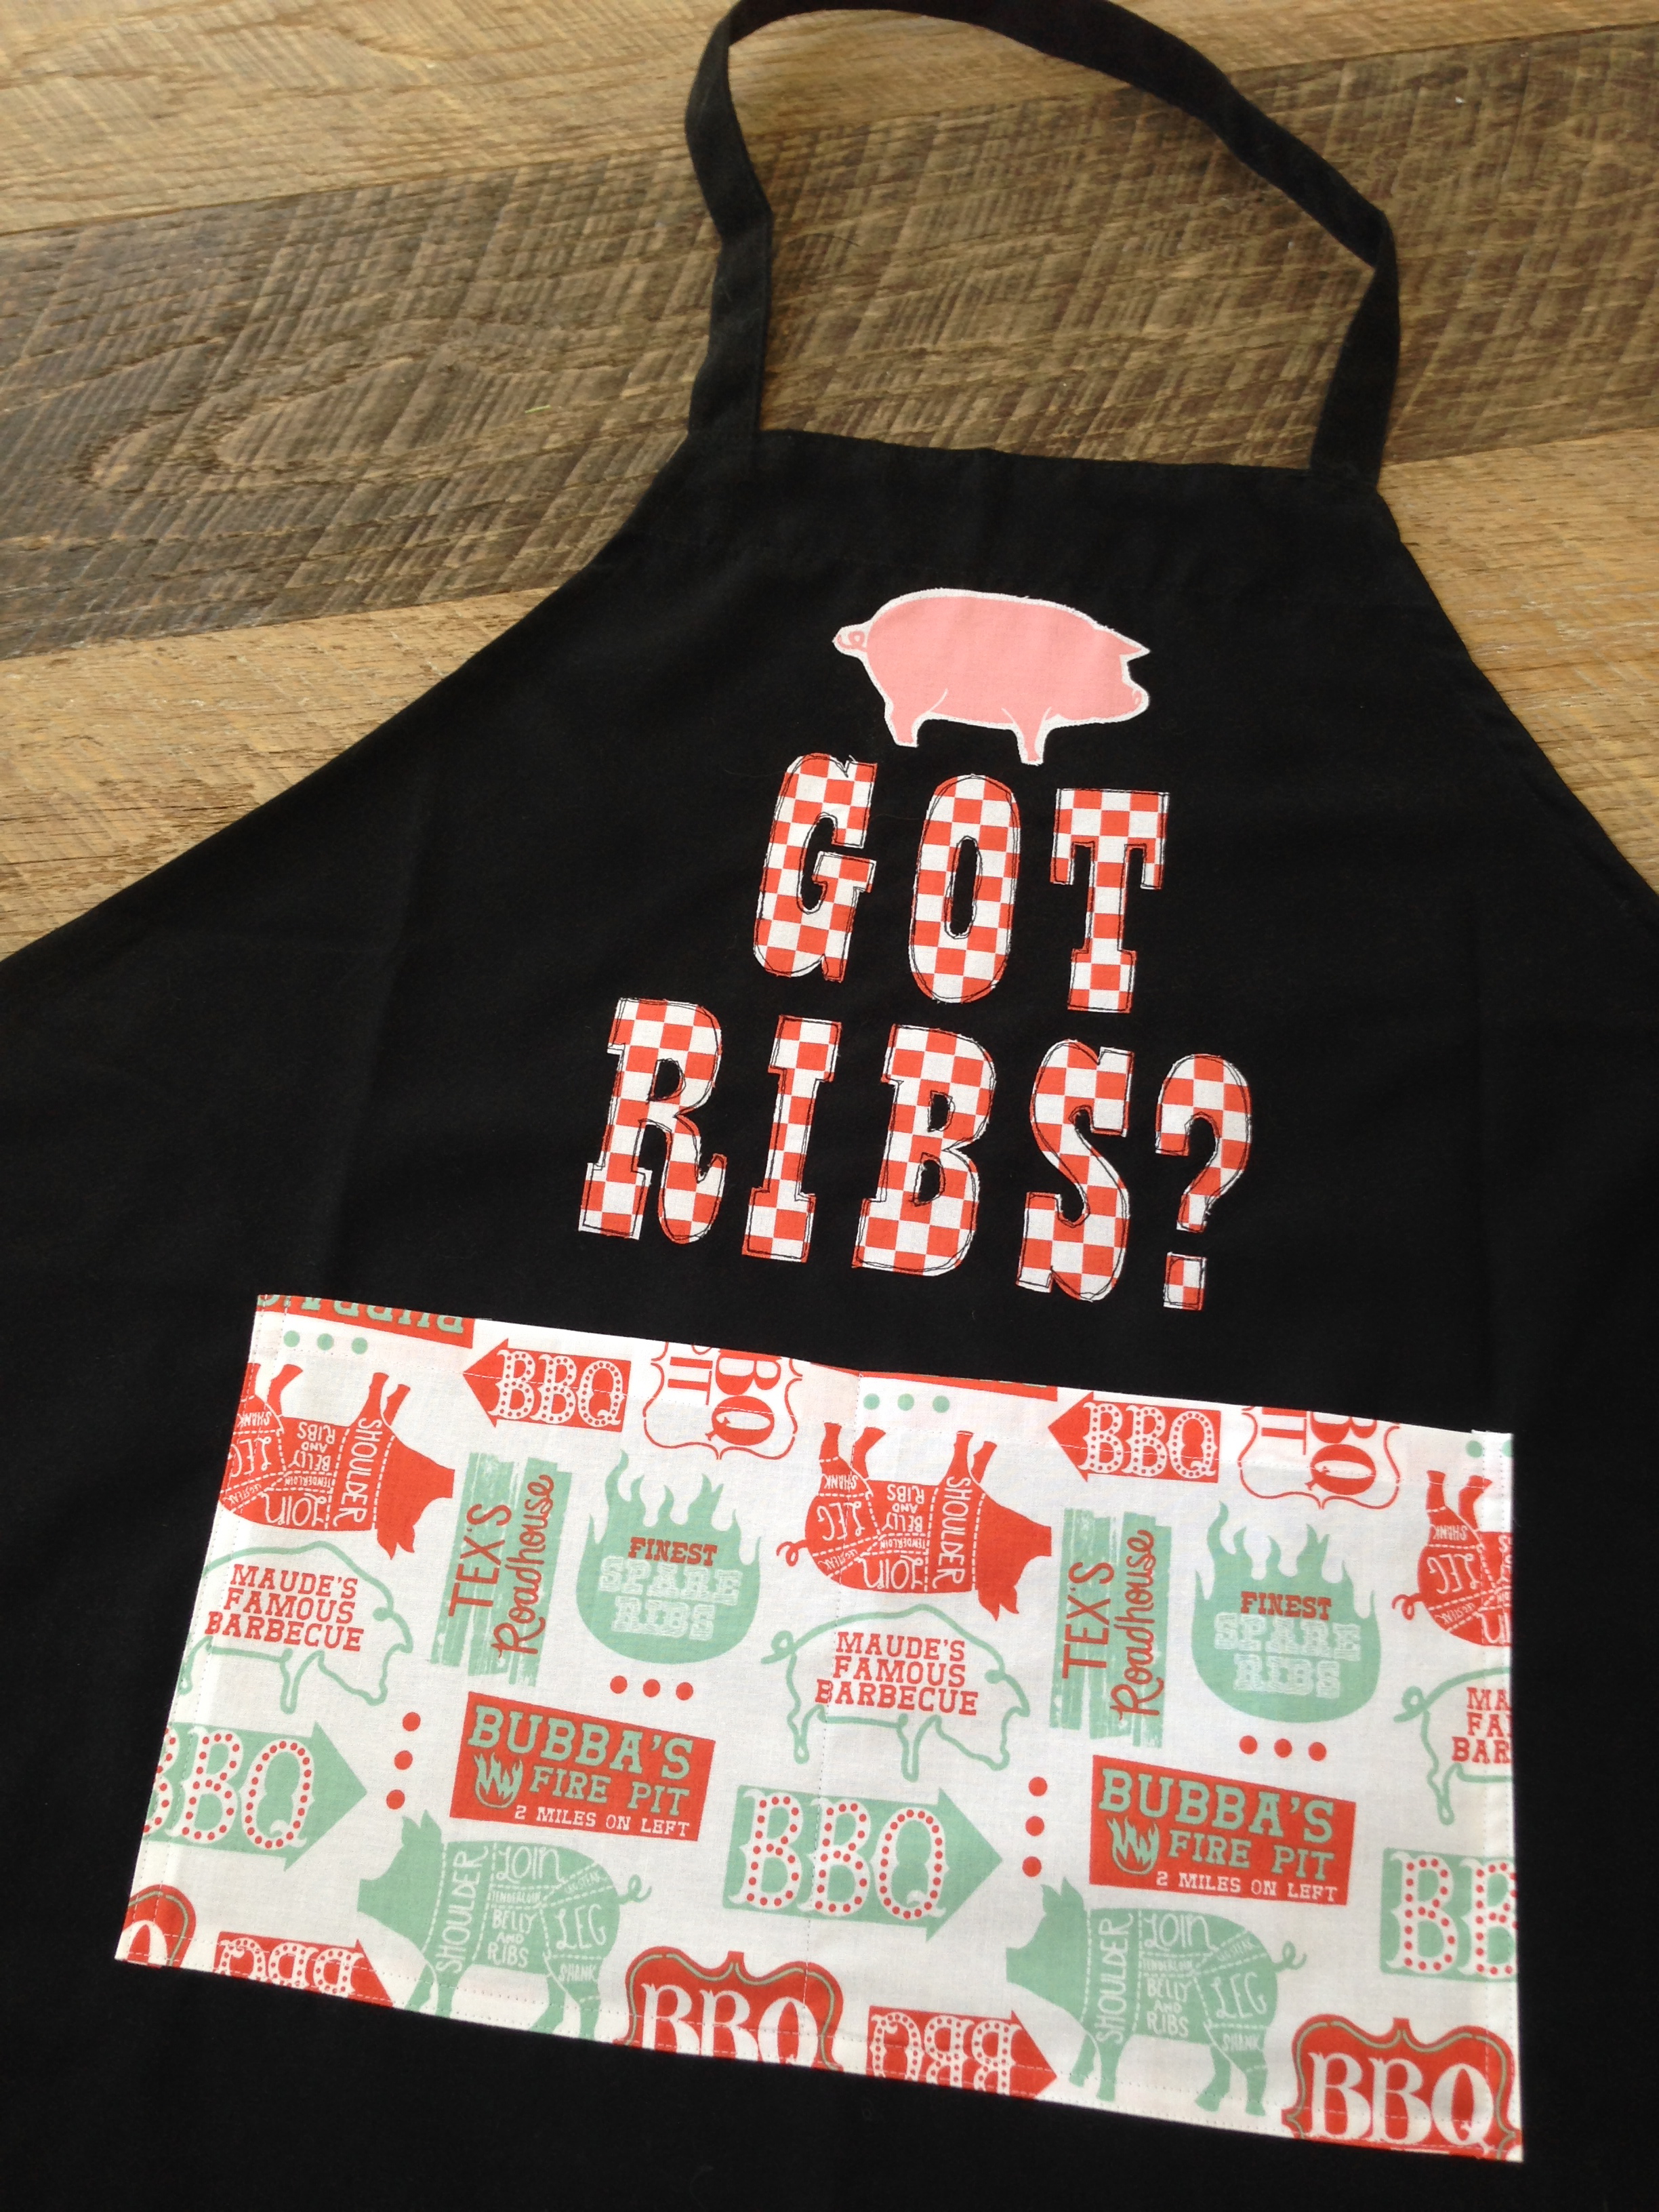
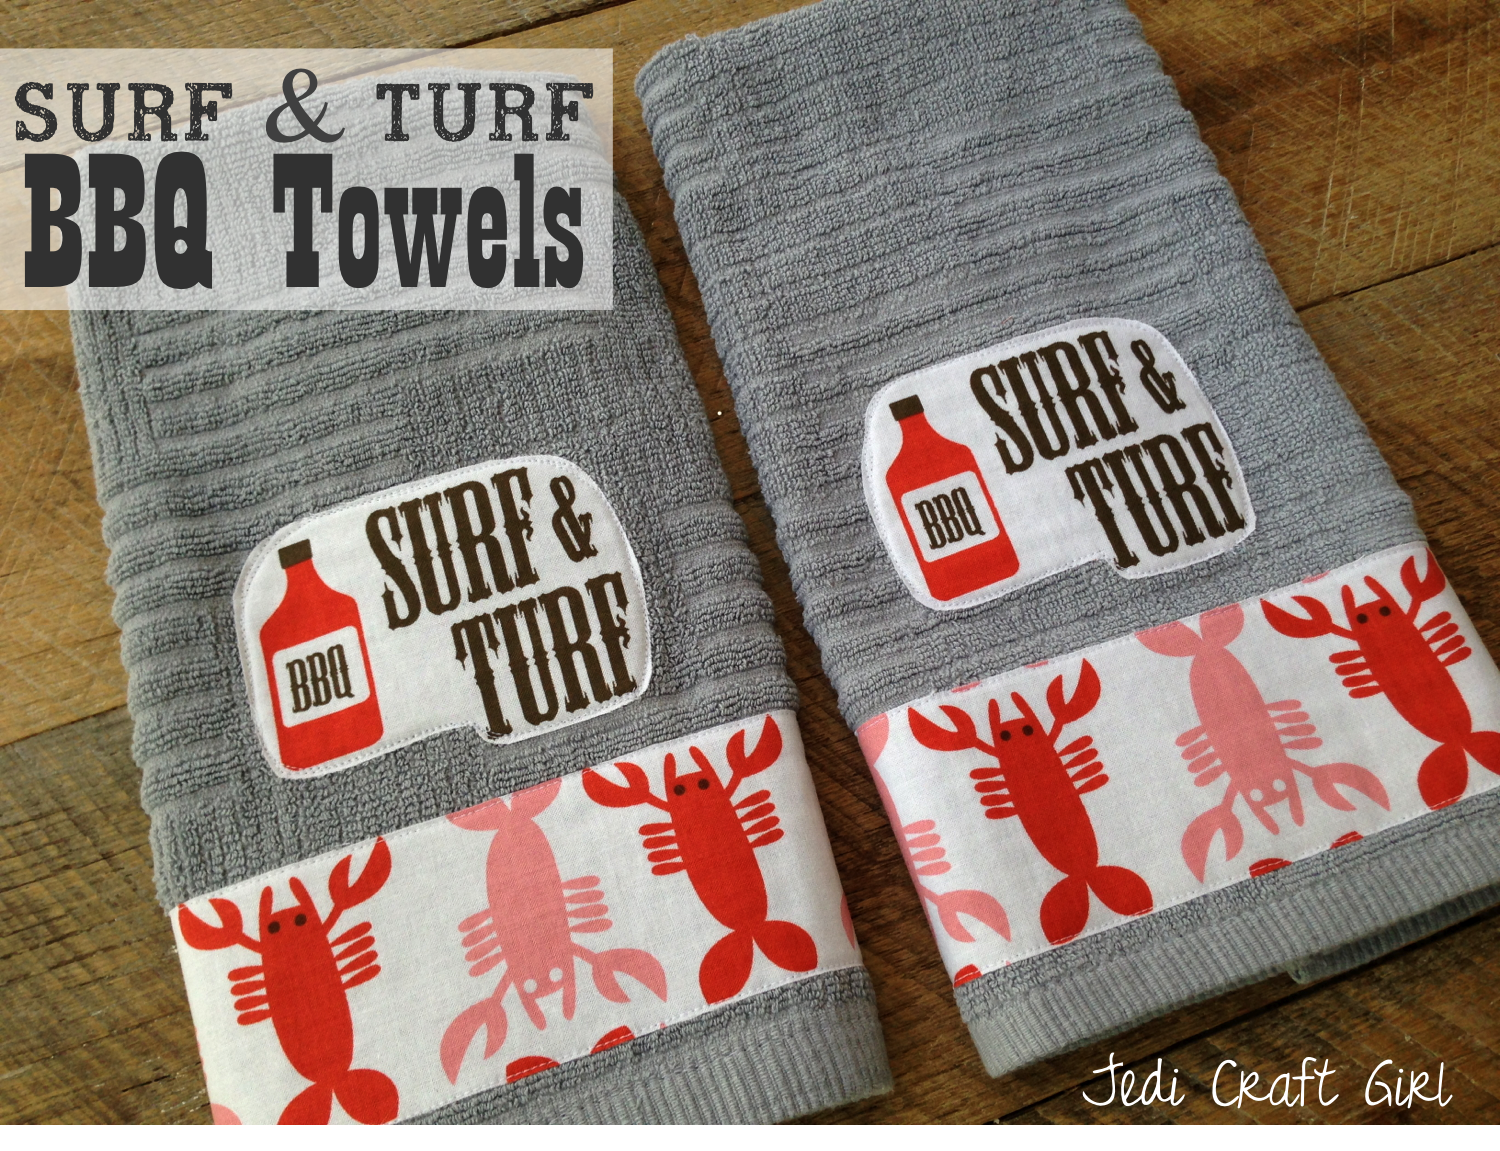
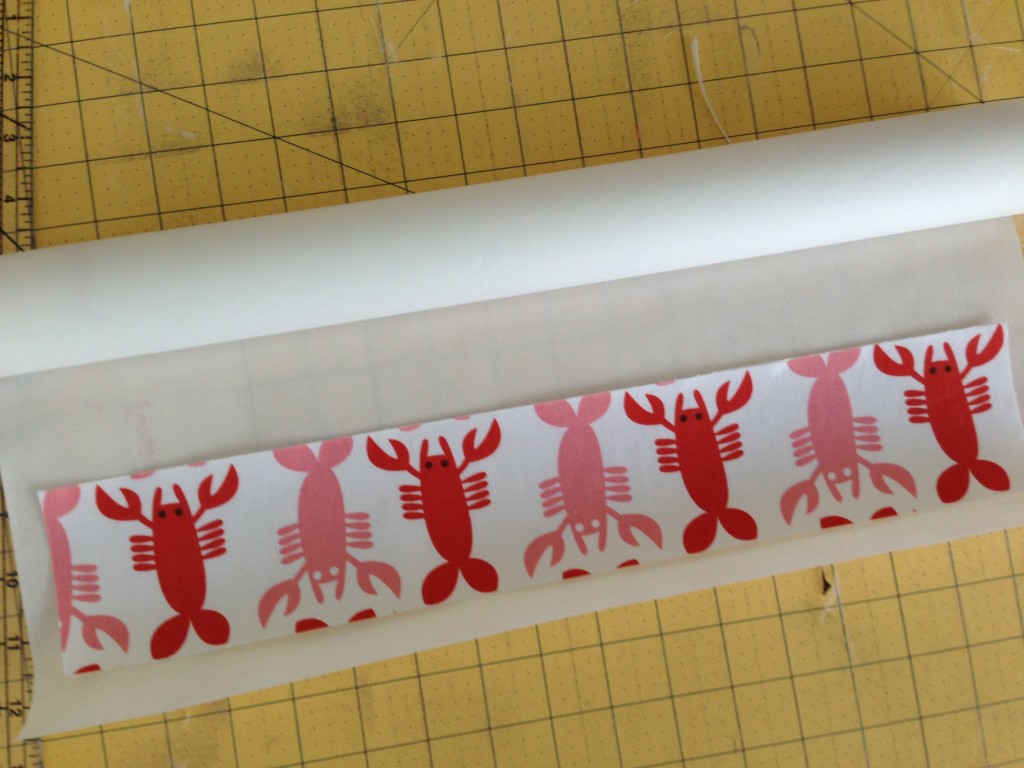
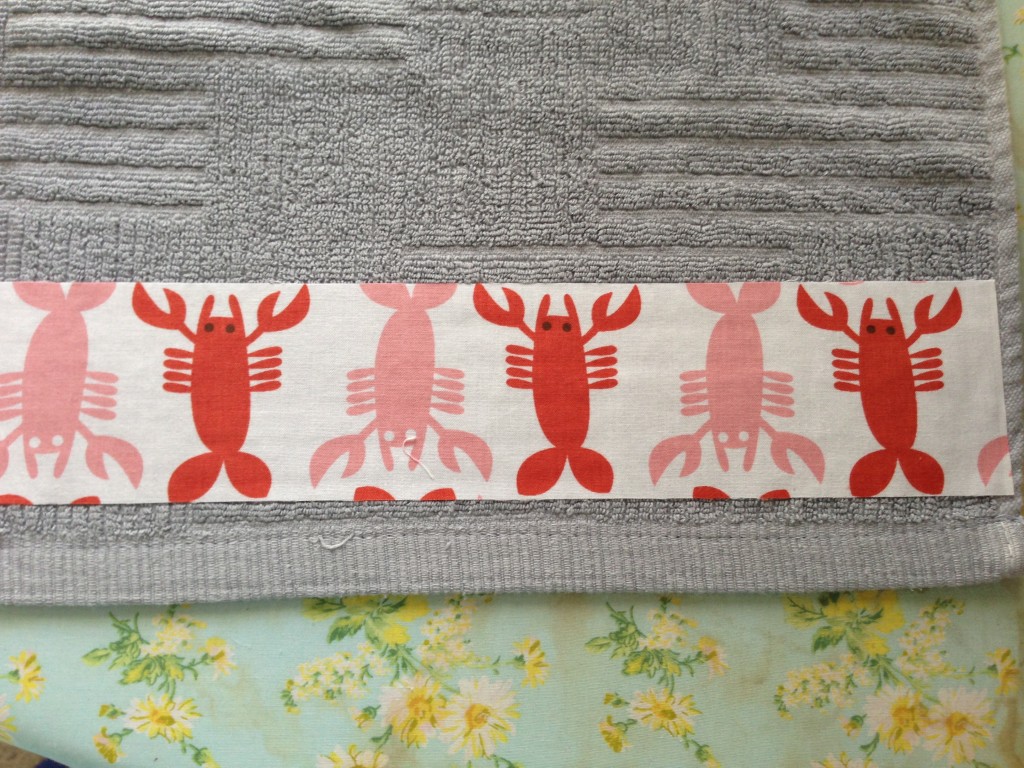
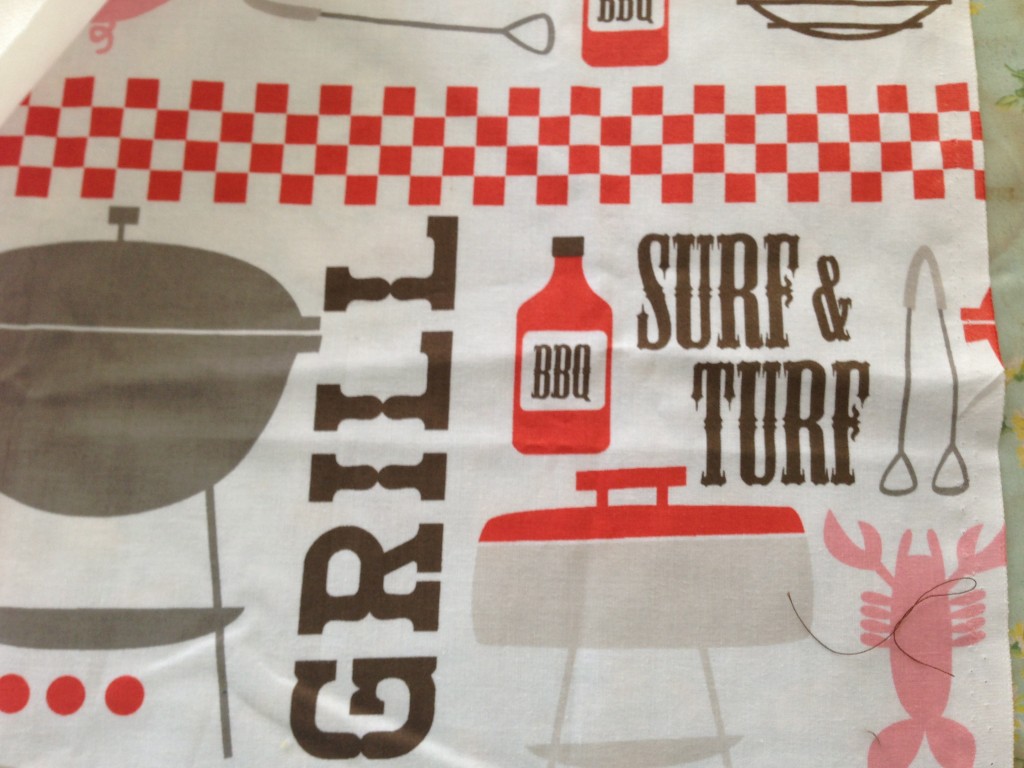
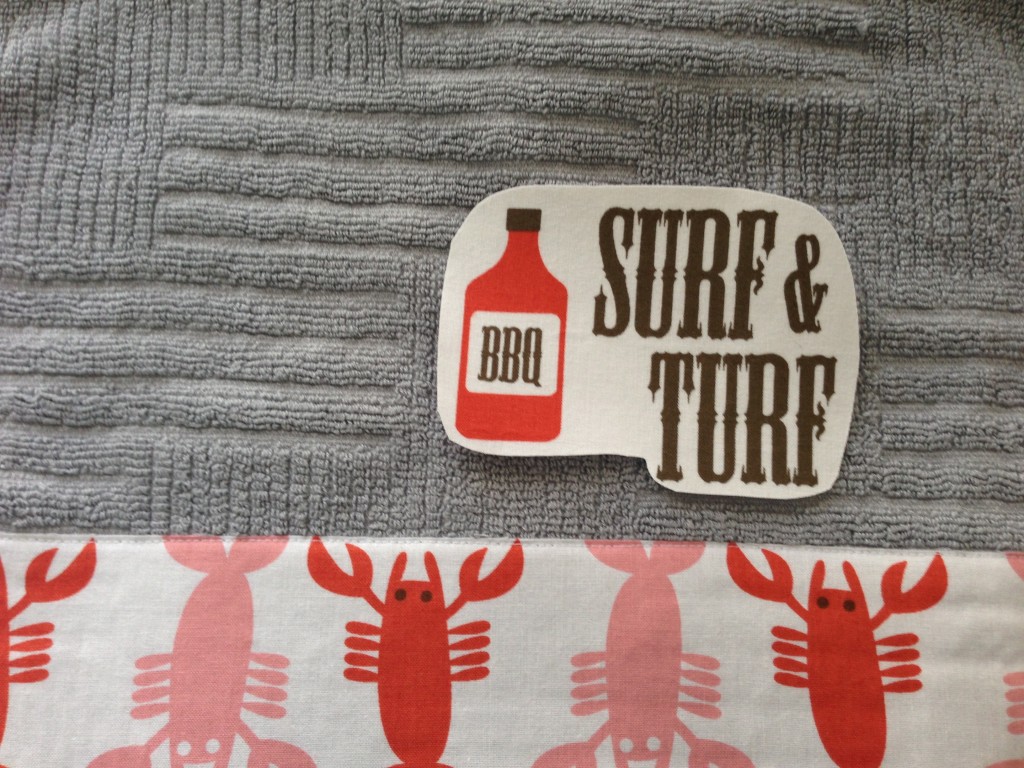
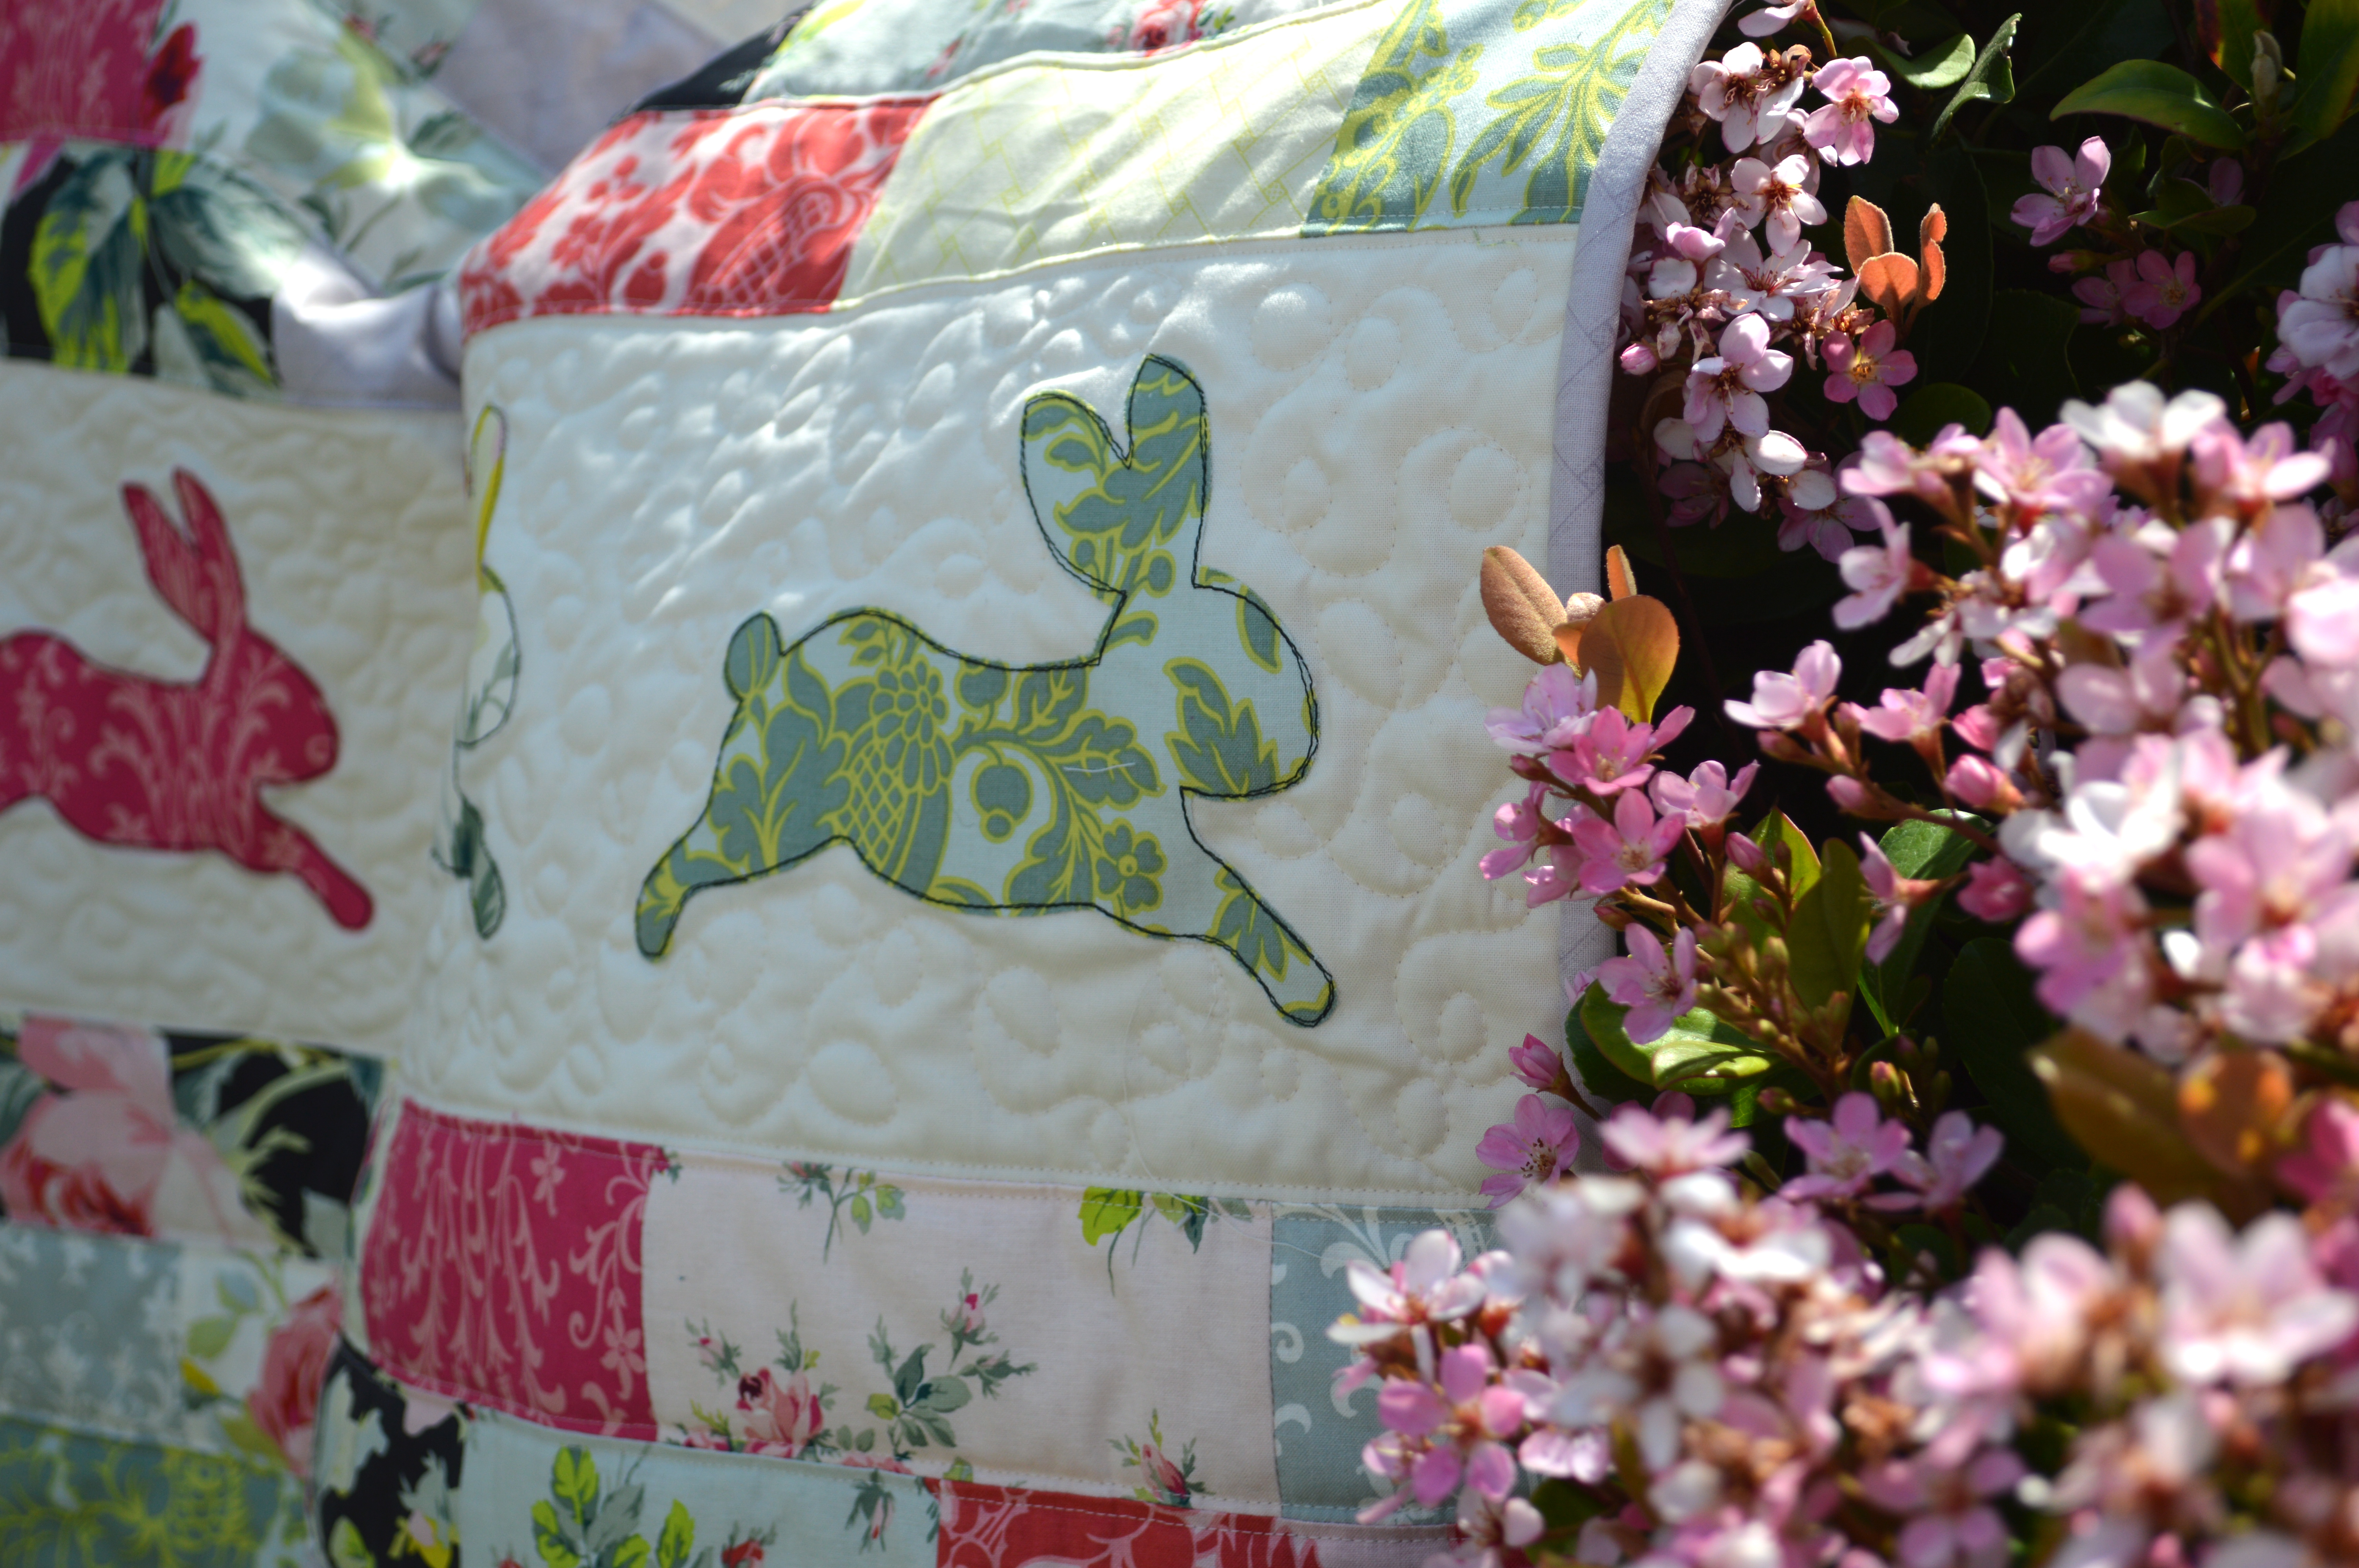
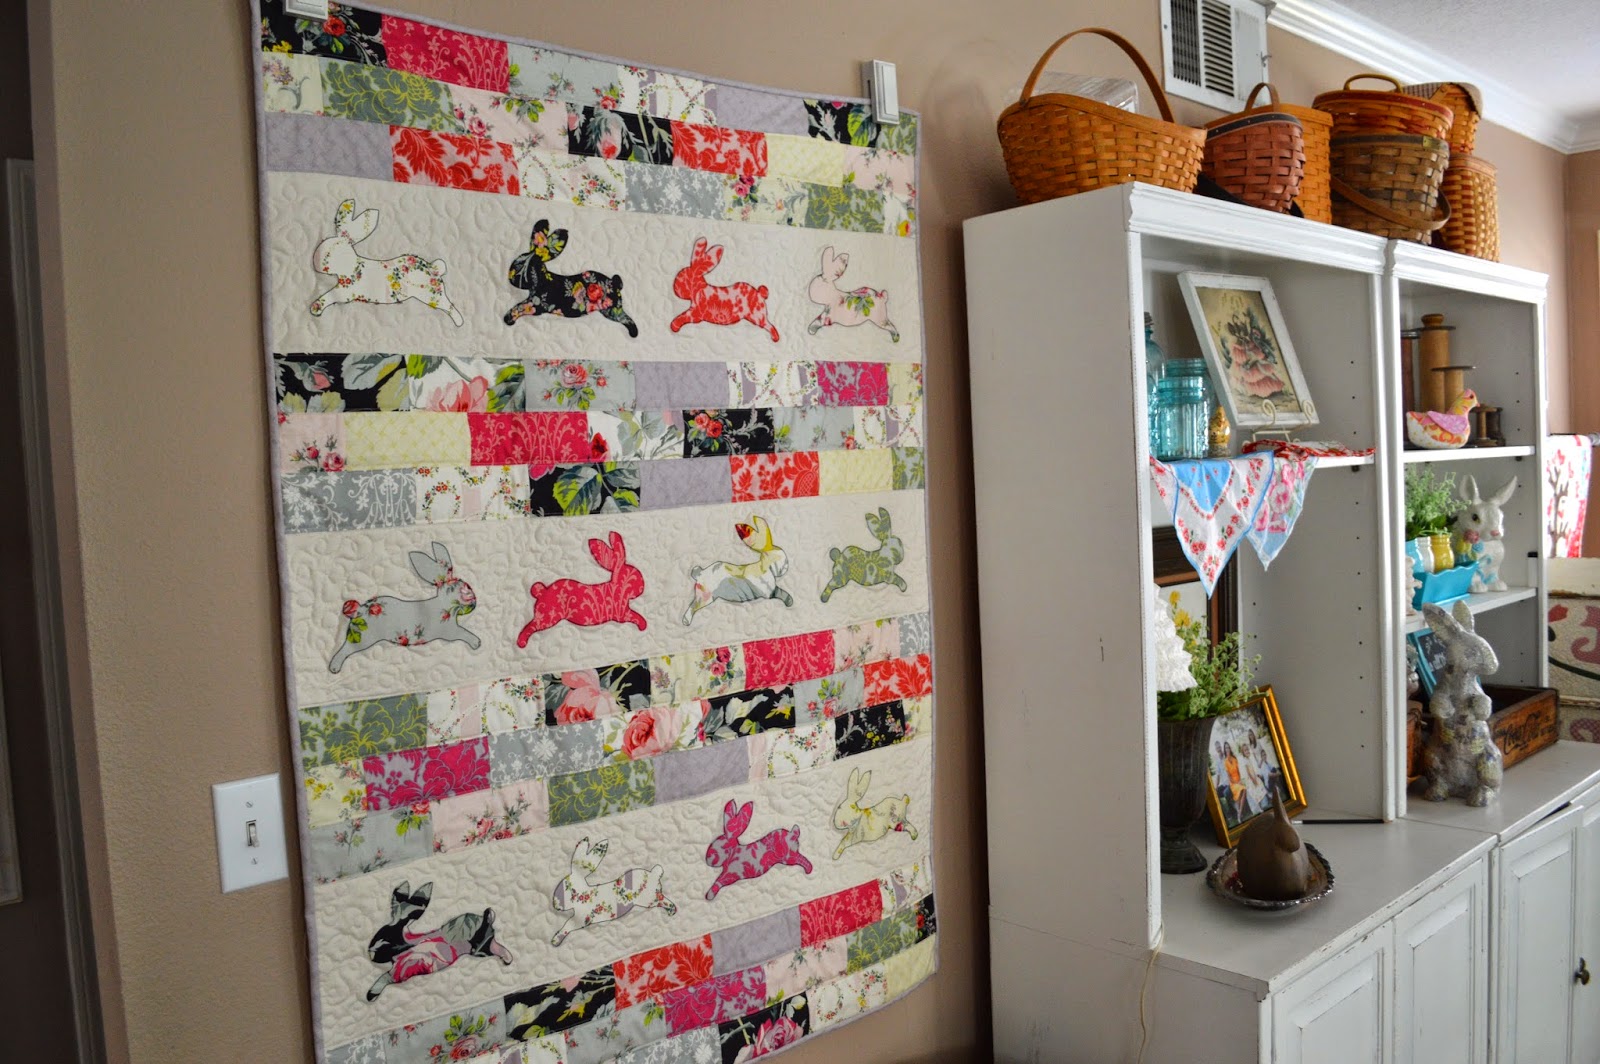
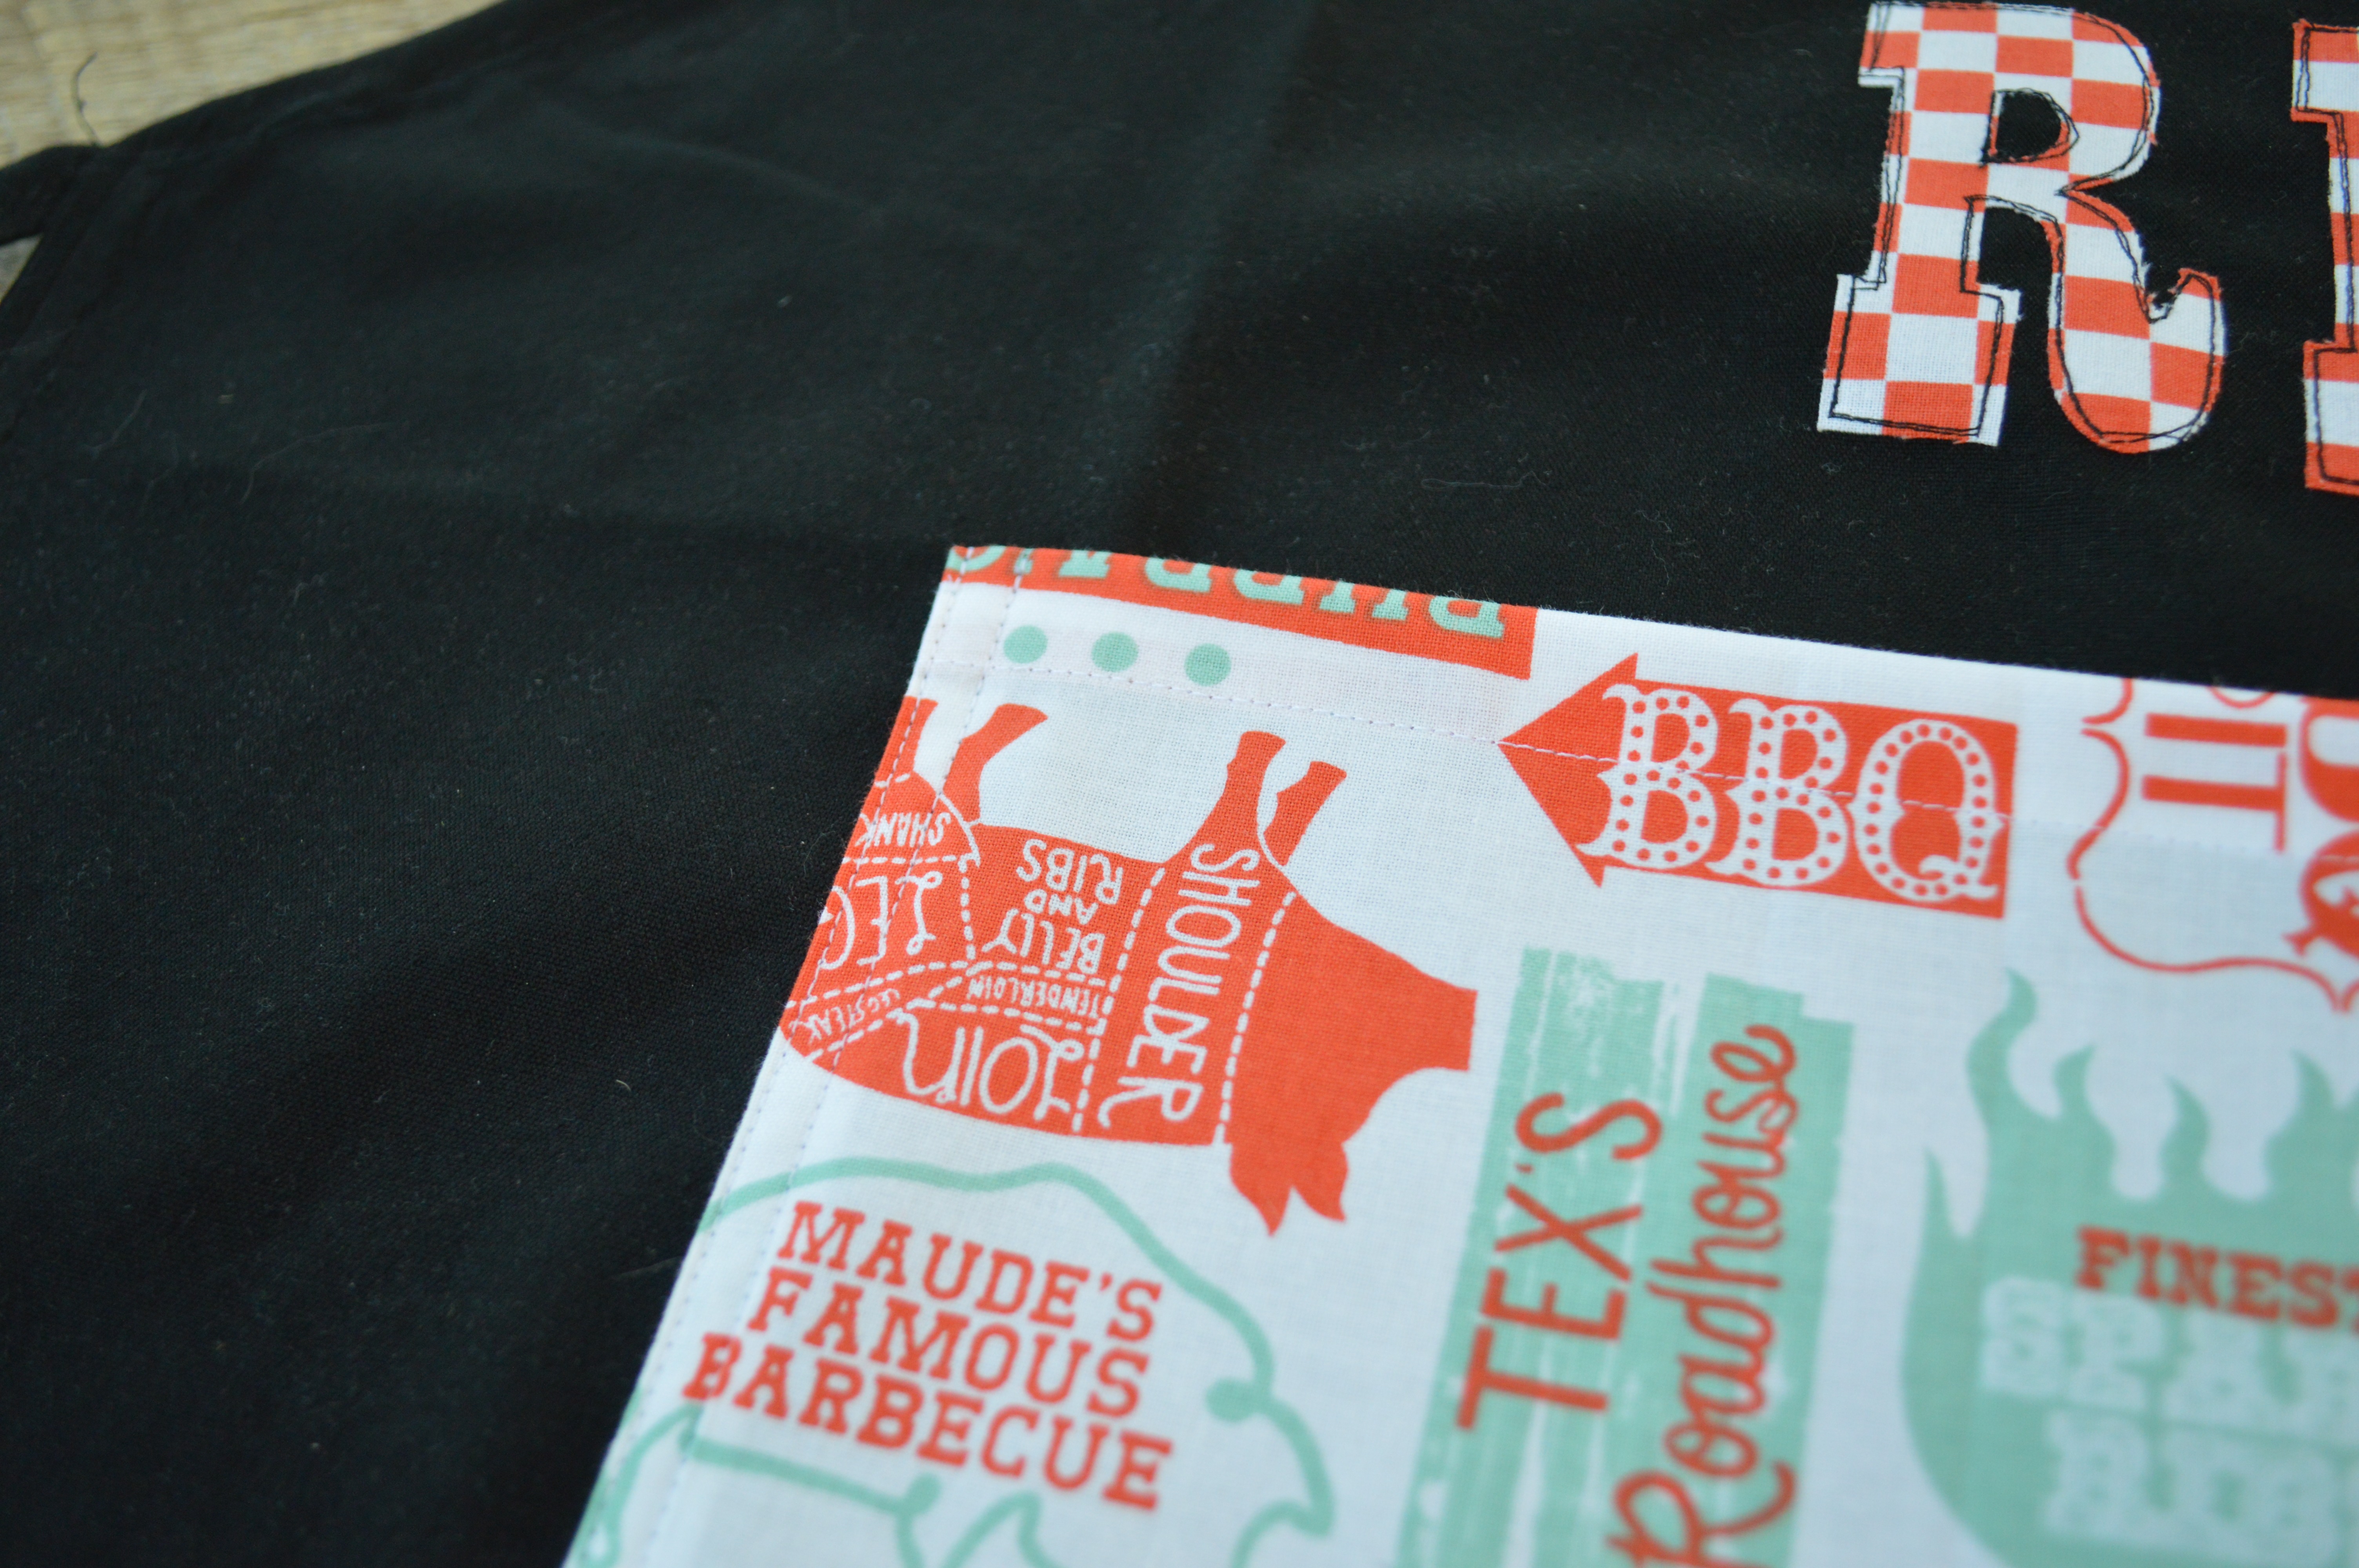
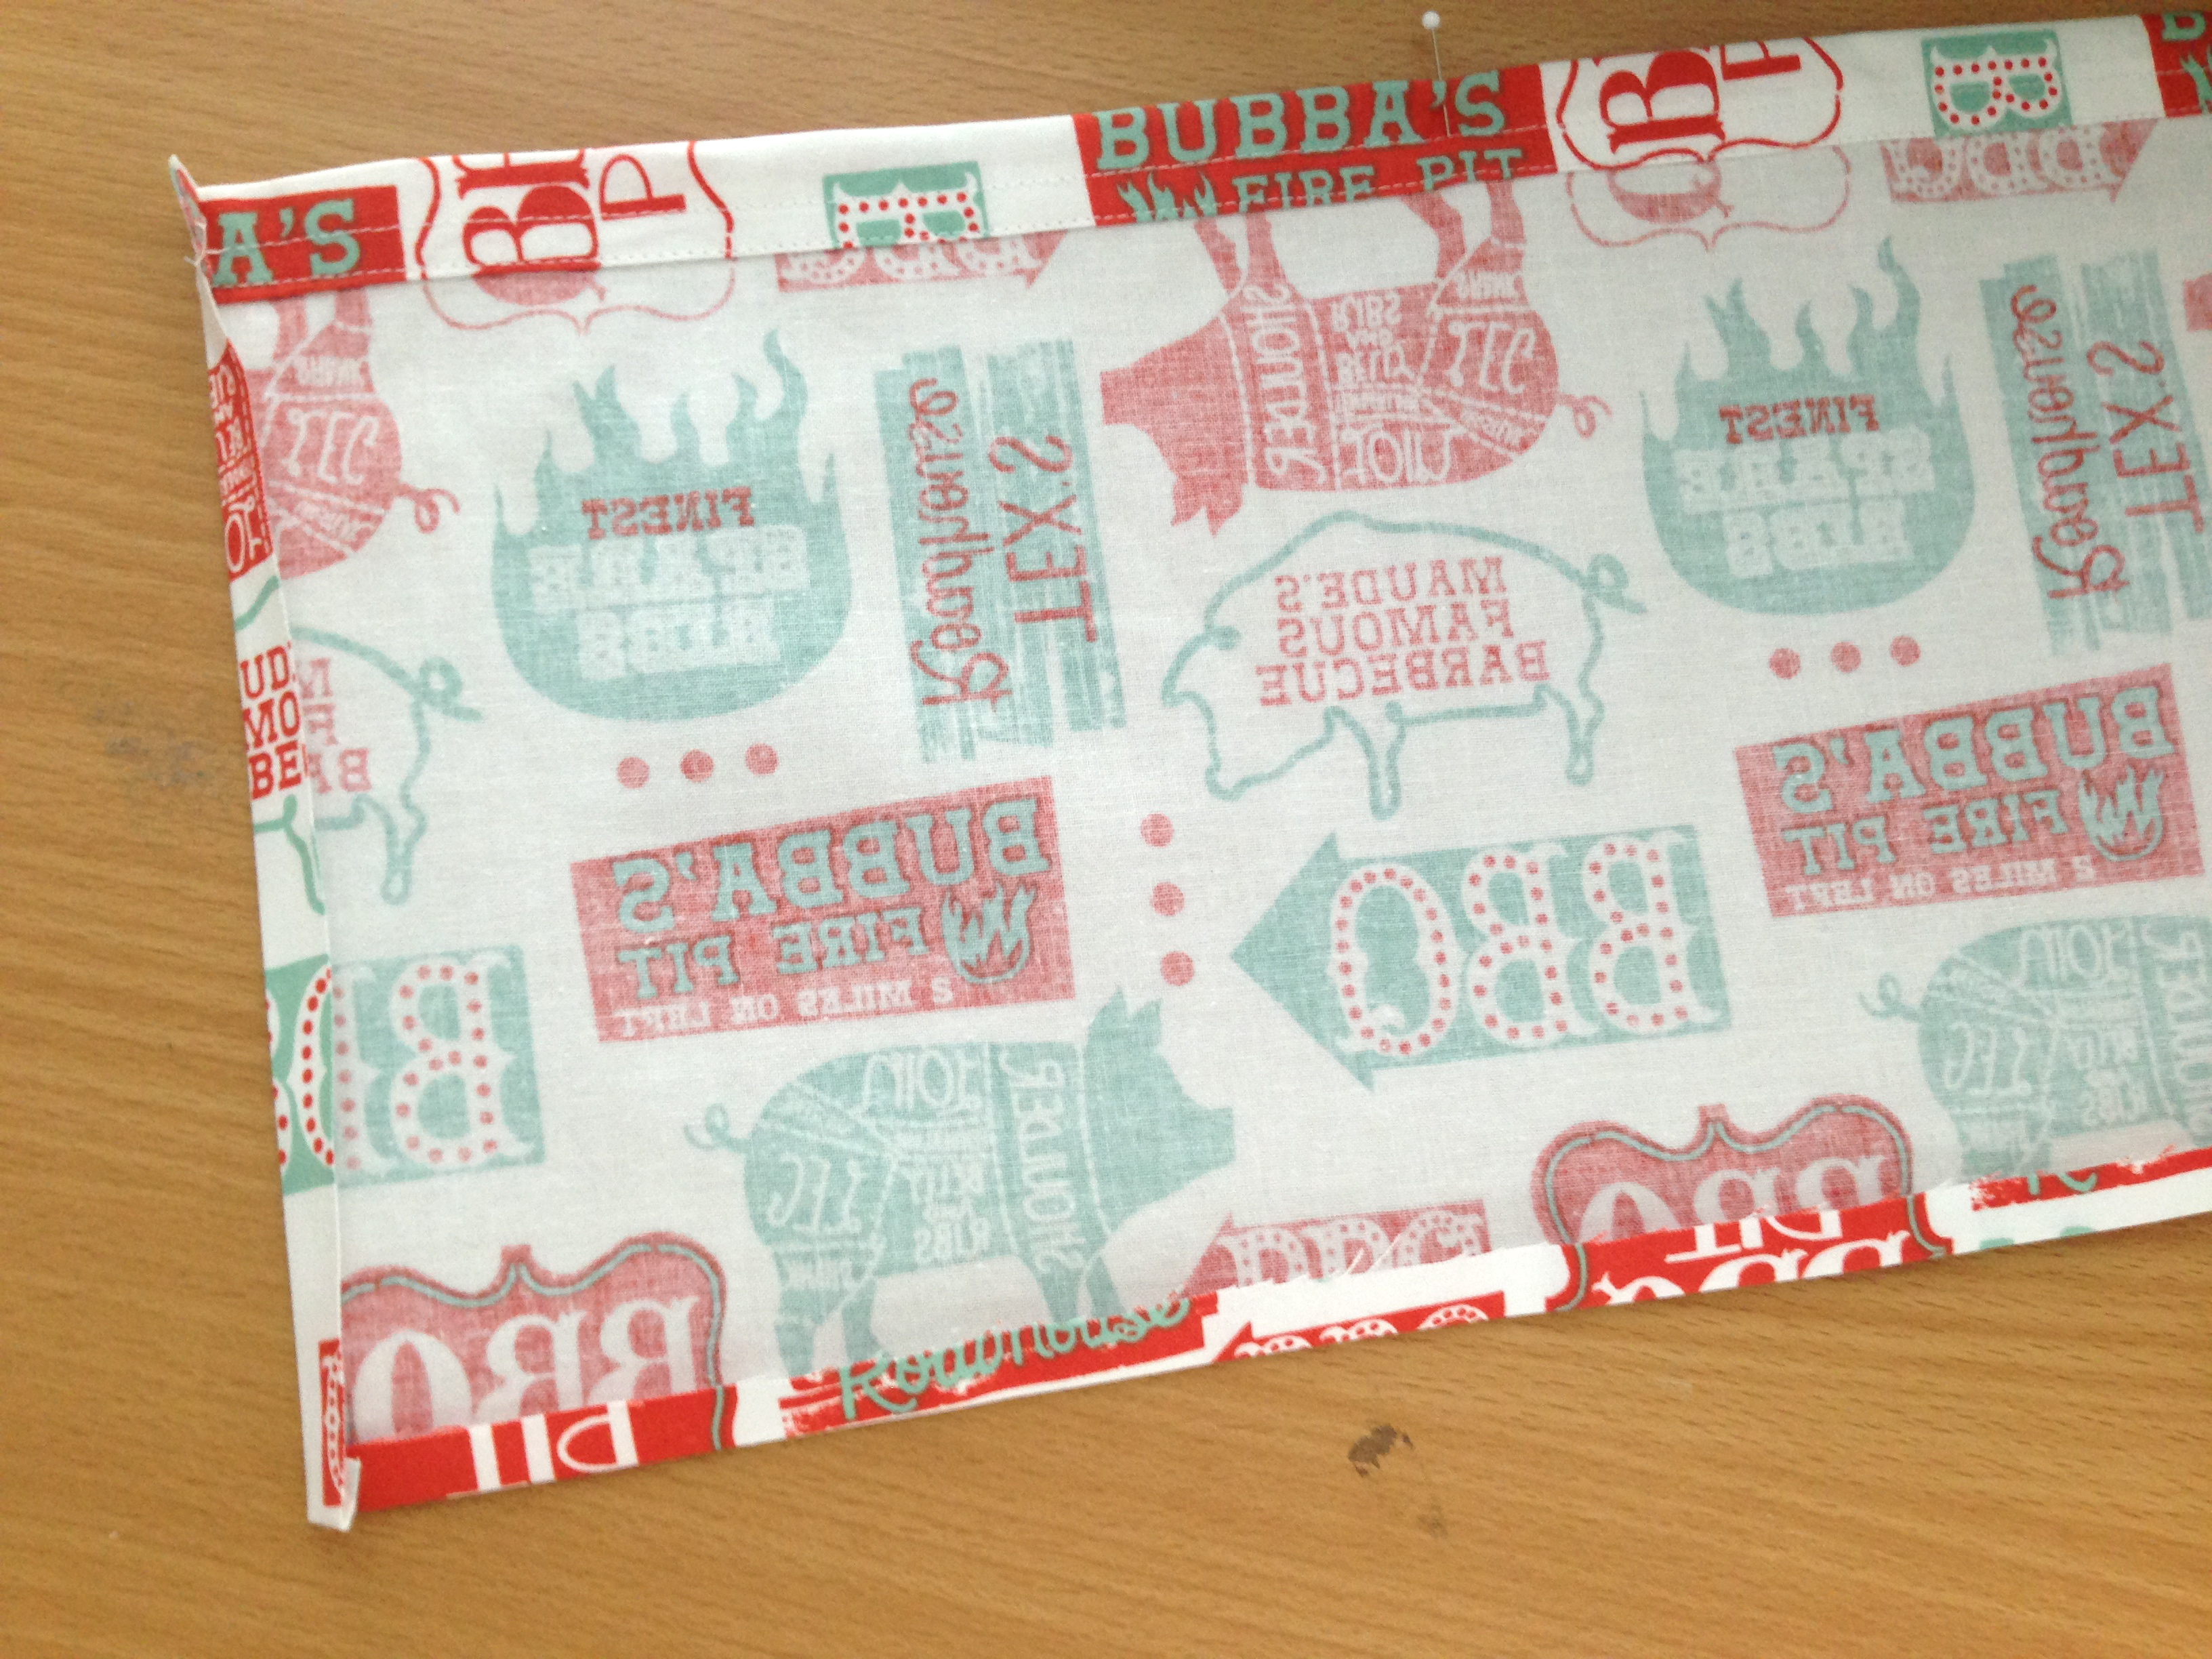
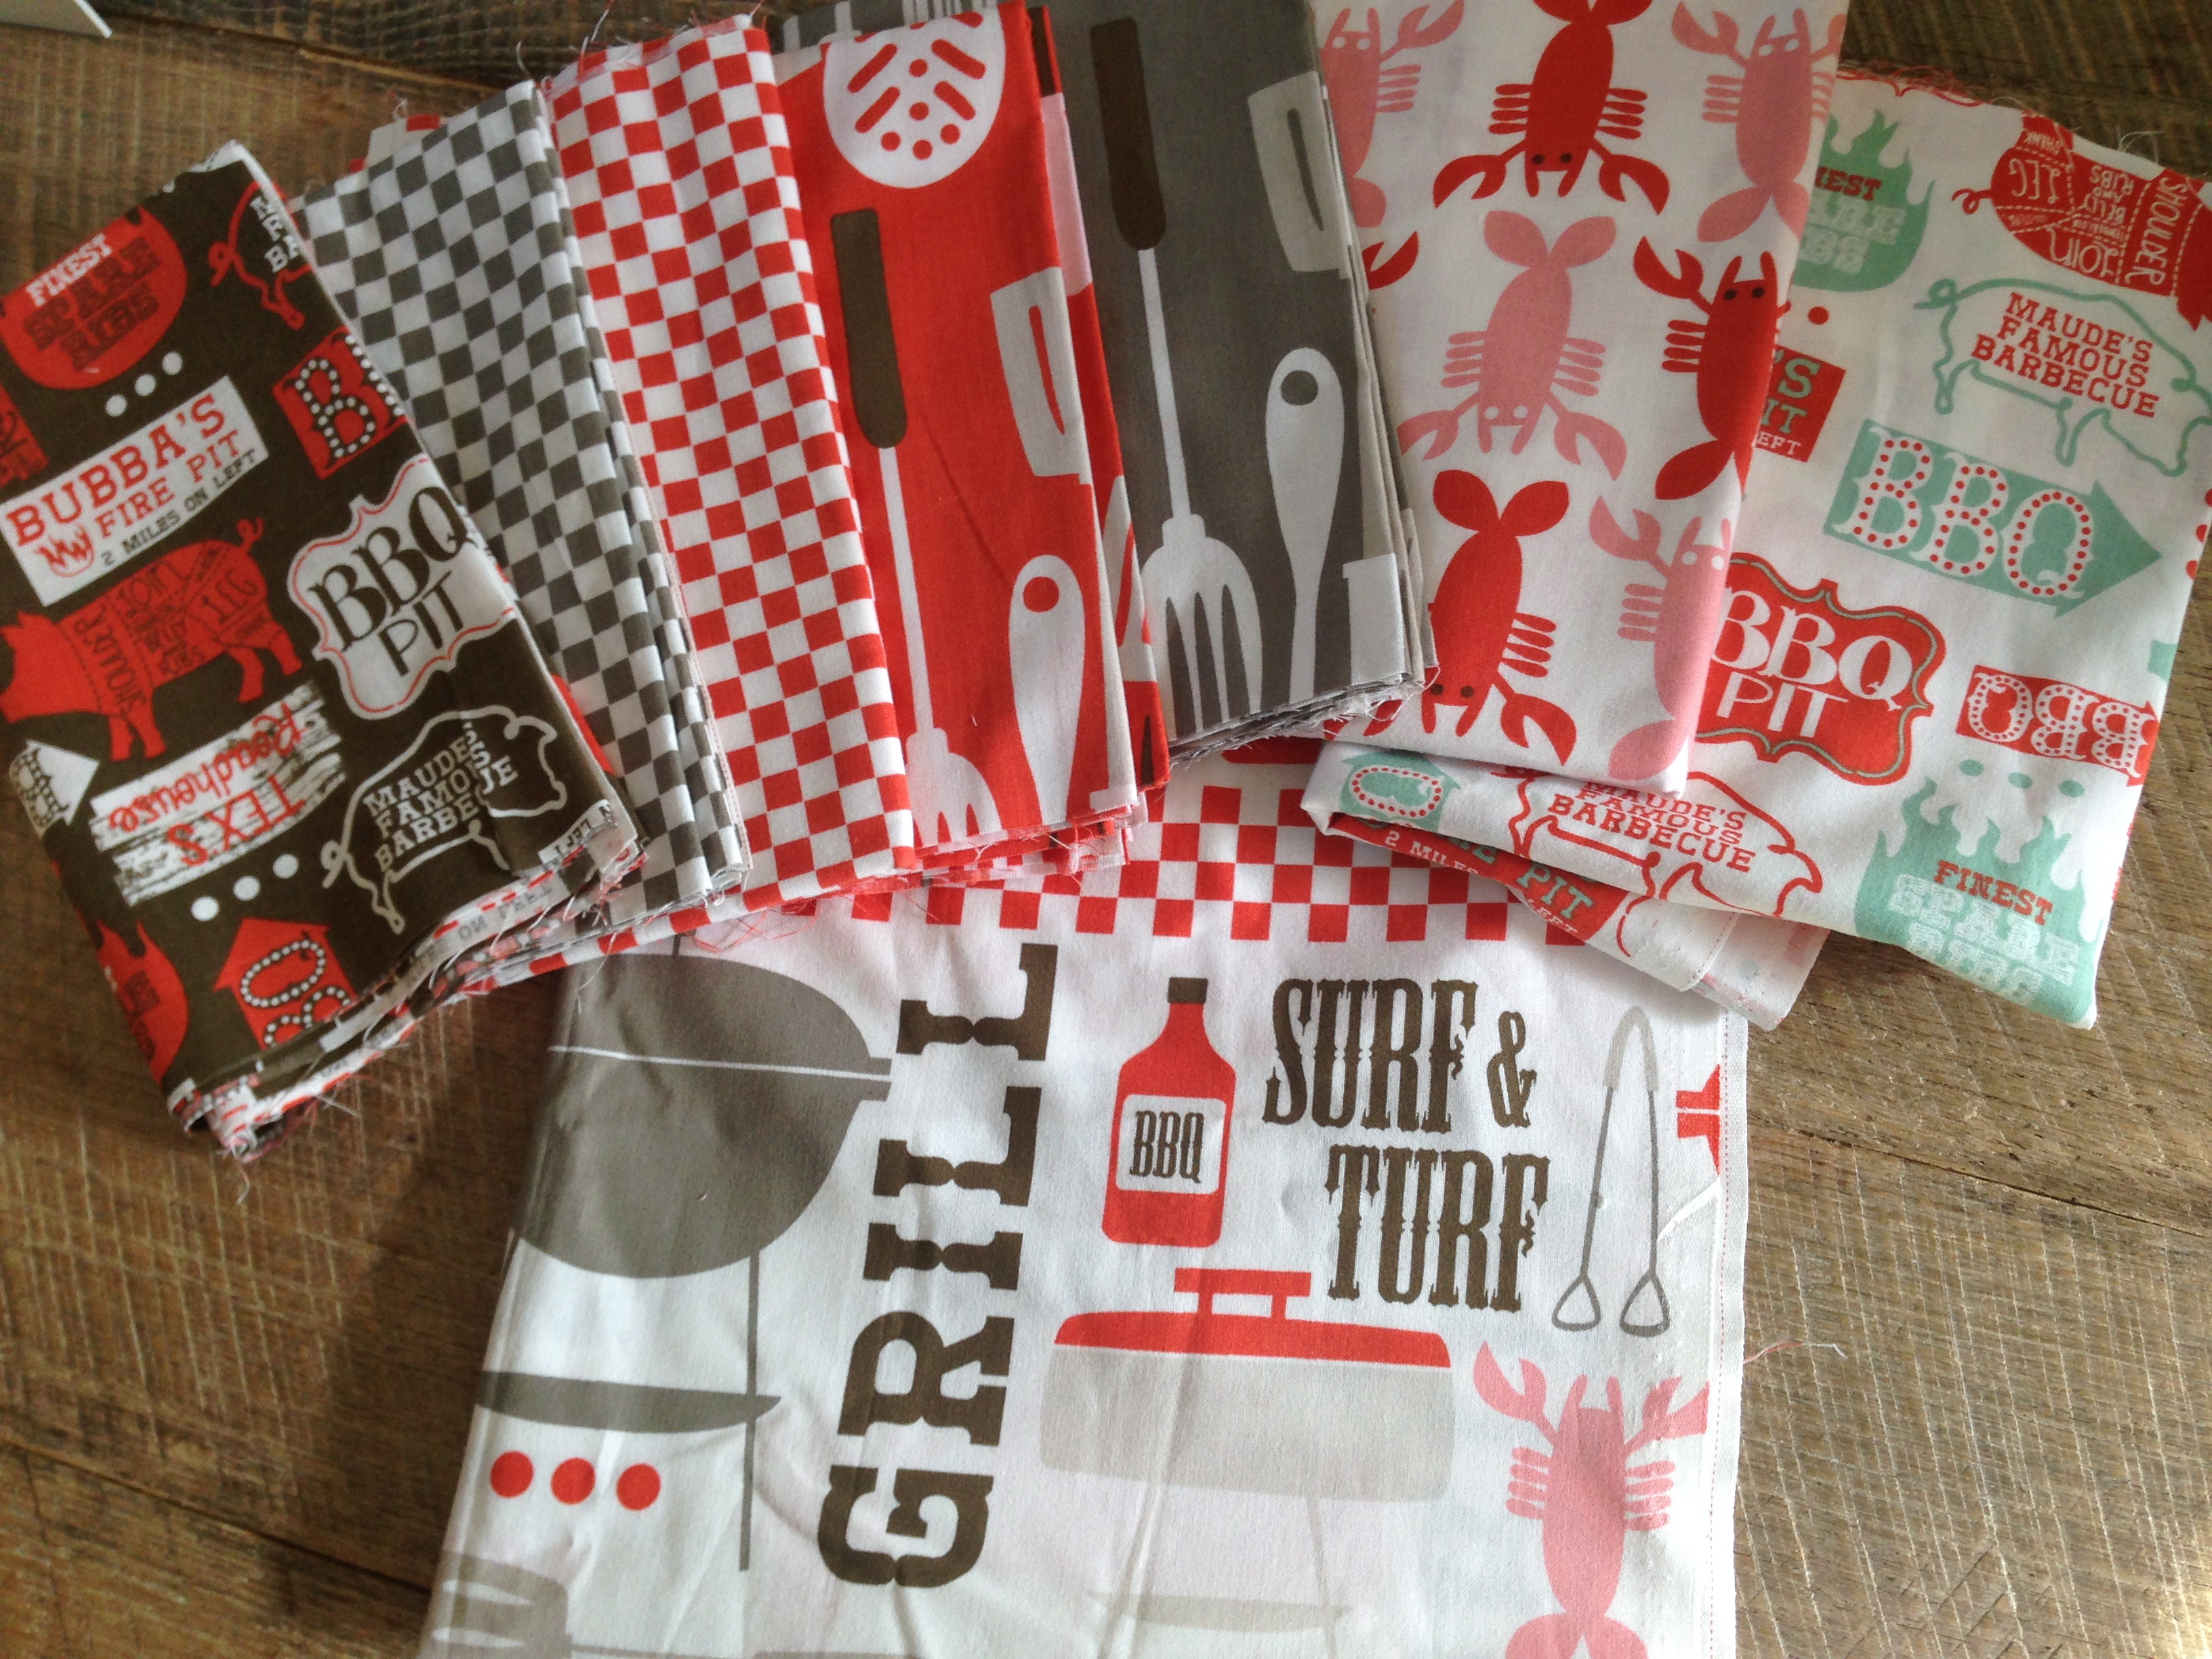
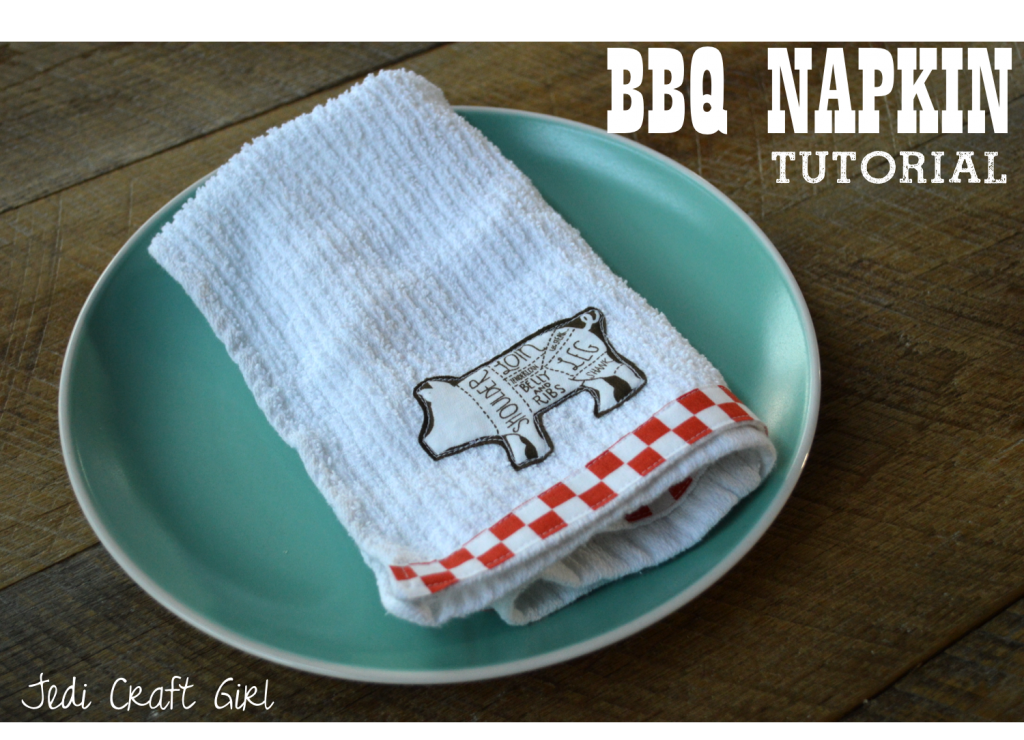 I am so in love with this fabric line from Blend designed by Maude Asbury called
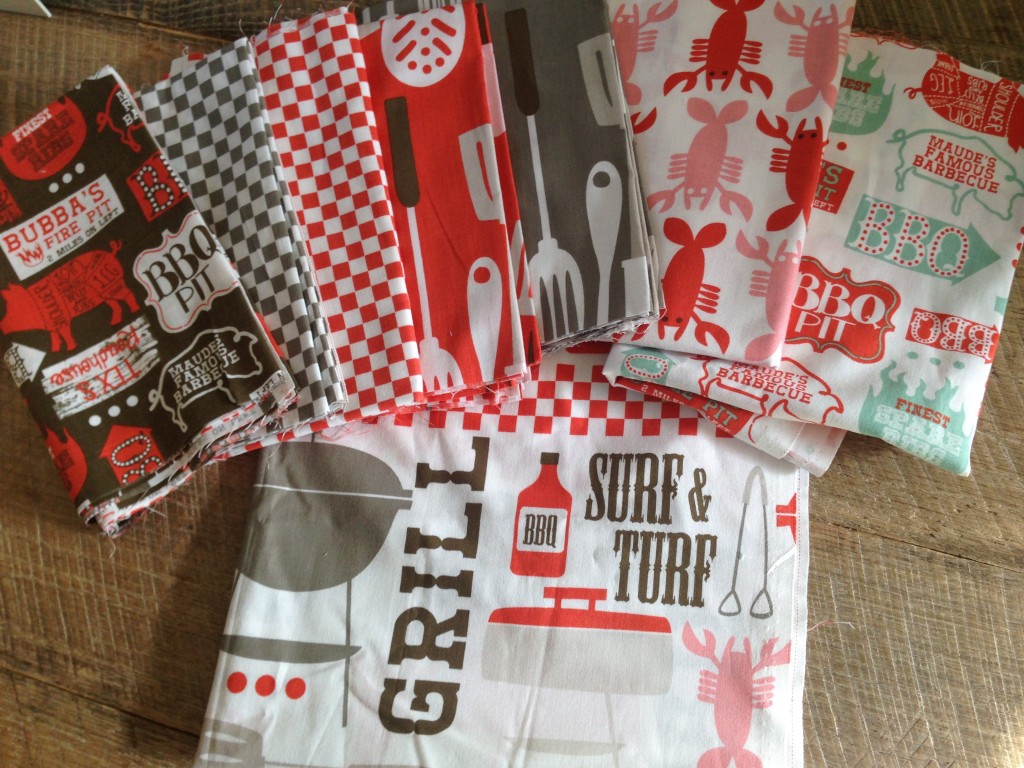


