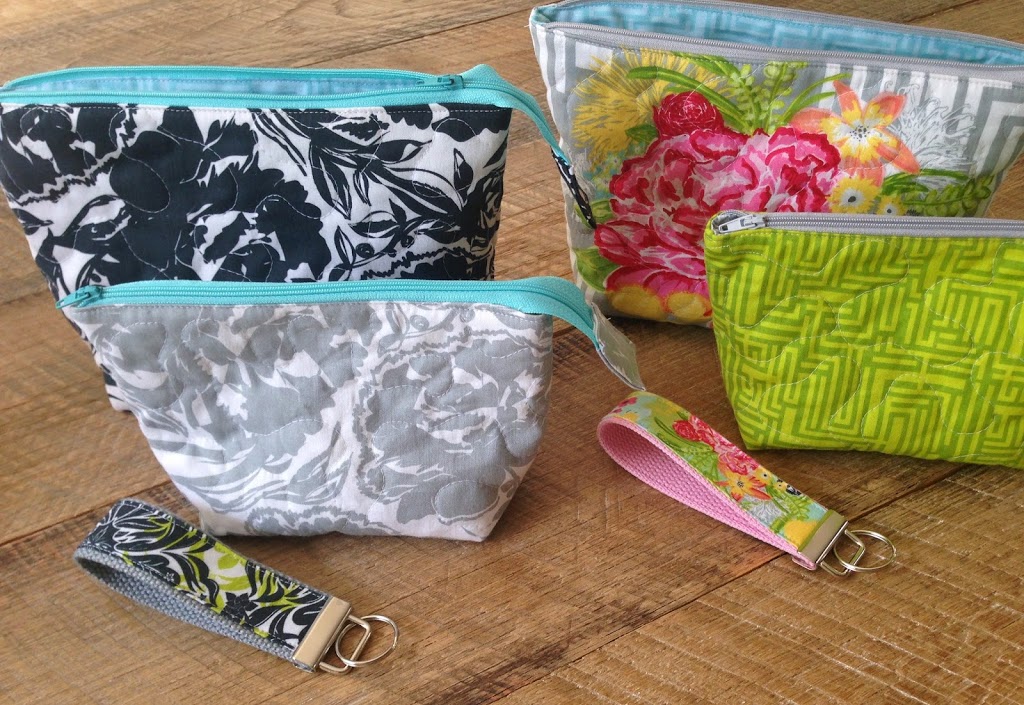
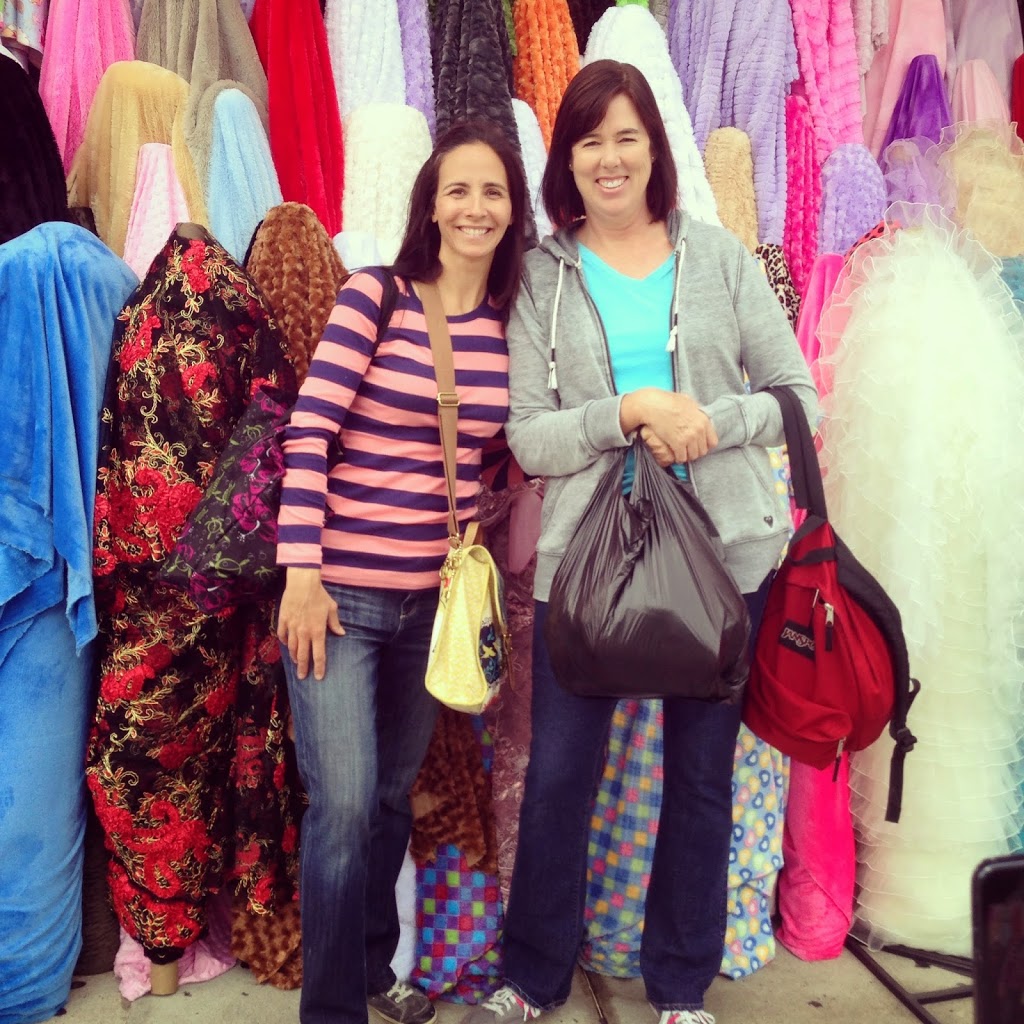
These cute zipper pouches are a darling gift to give someone special this Mother’s Day. This tutorial is written by my good friend Jennifer. Jennifer is the one who takes me on crazy adventures to find fabric all over Southern California. She is an amazing sewist and writes a blog called Jennifer Sews Again.
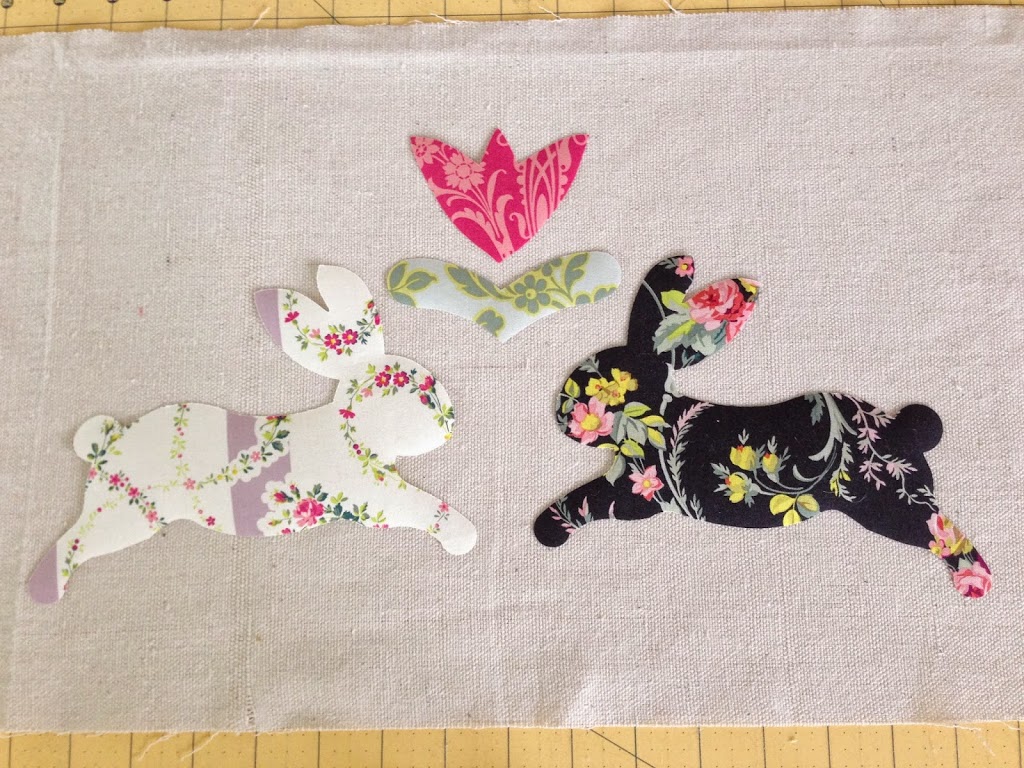
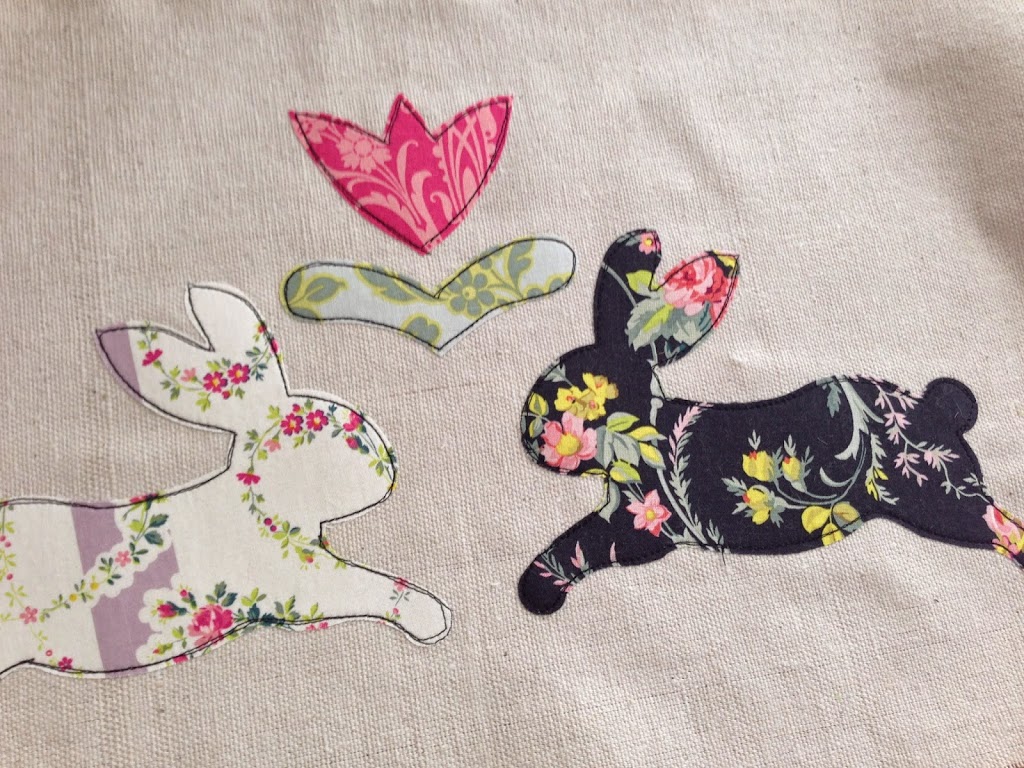
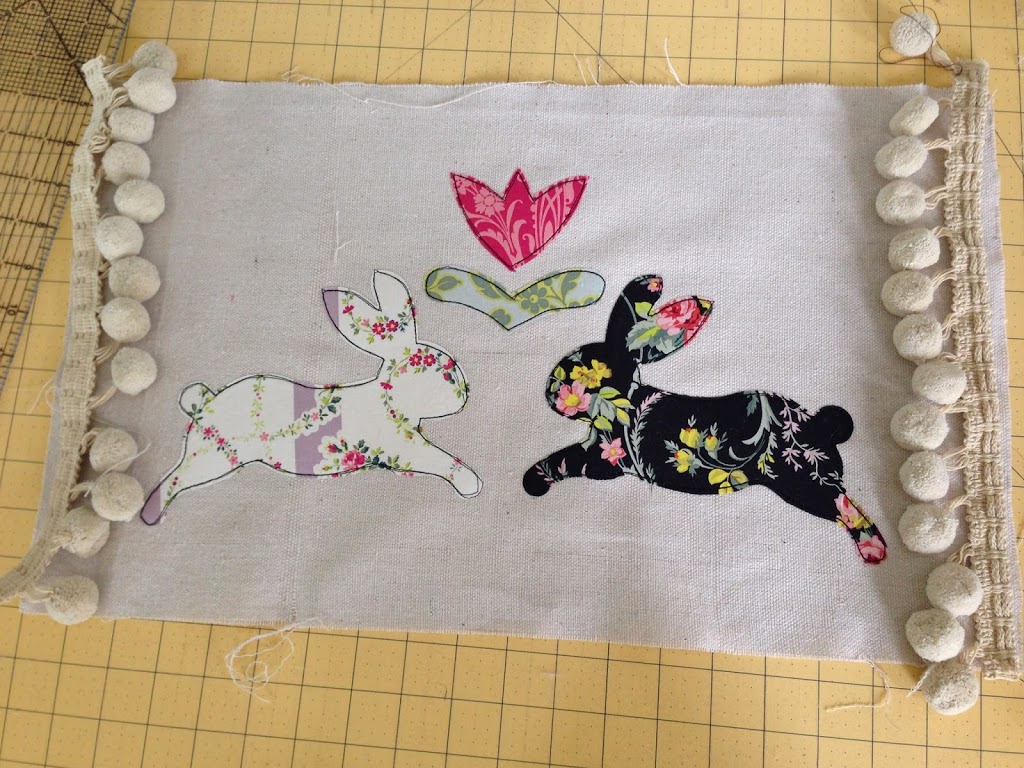
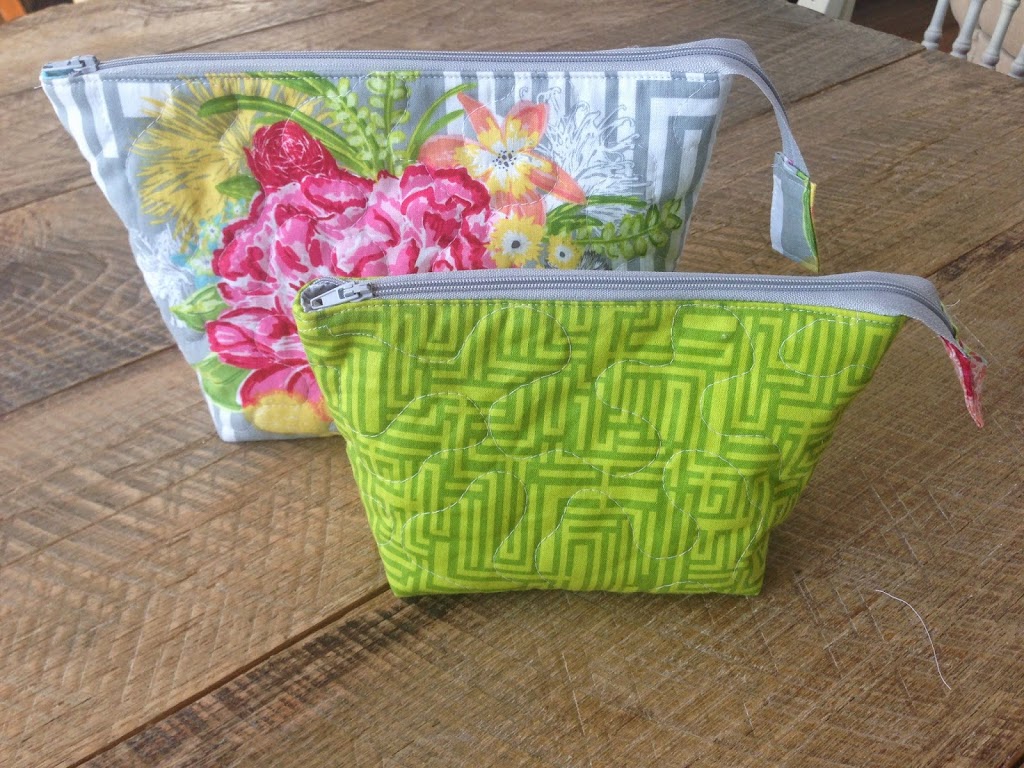
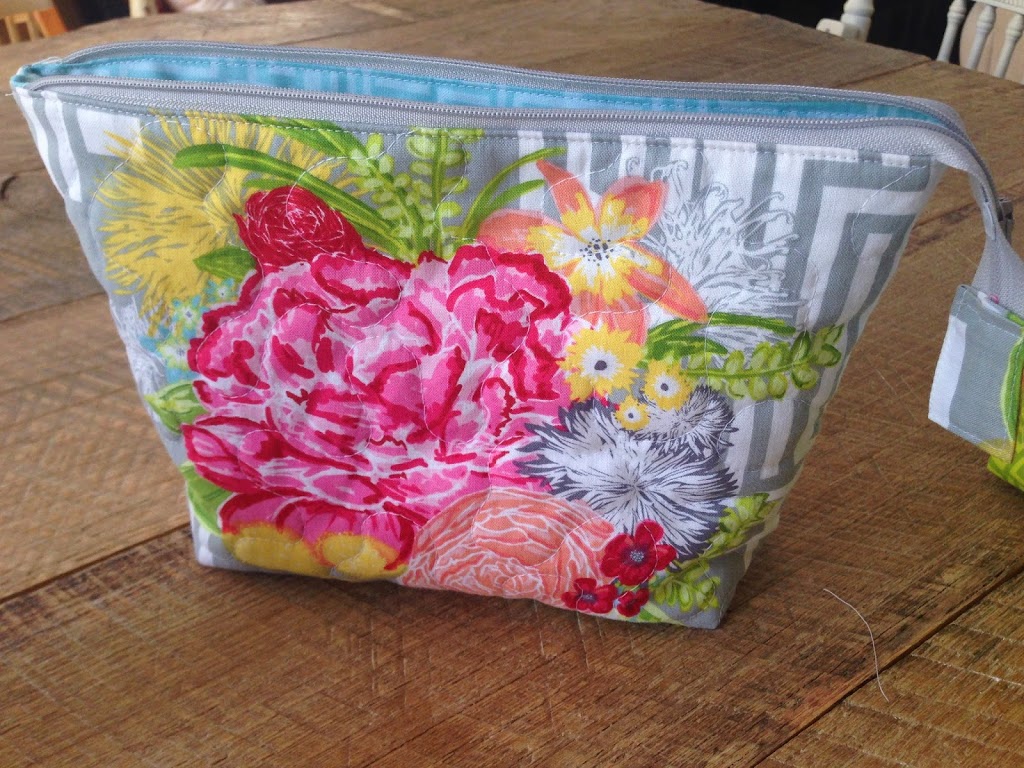
Her tutorial for these zipper pouches is great – I followed each step and my pouches turned out perfect! These amazing fabrics are from Blend’s Modern Eclectic line. I love the prints!!!
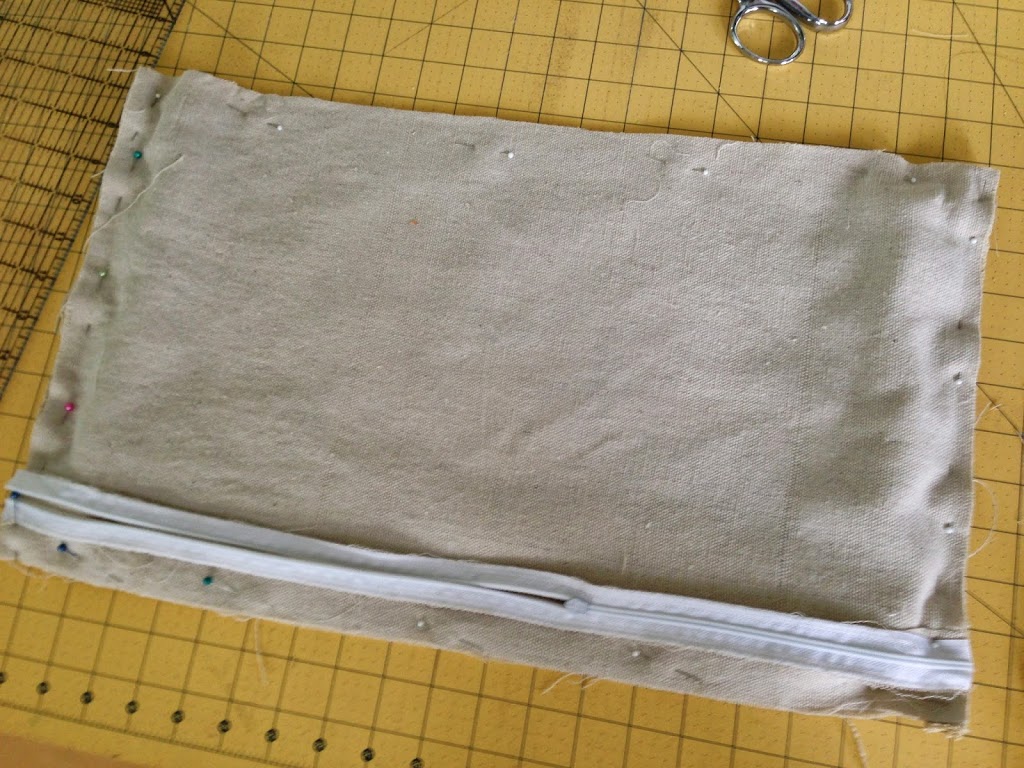
I love the lining! What’s great about these zipper pouches is they unzip all the way so you can have full access to your items. I always take mine when I travel.
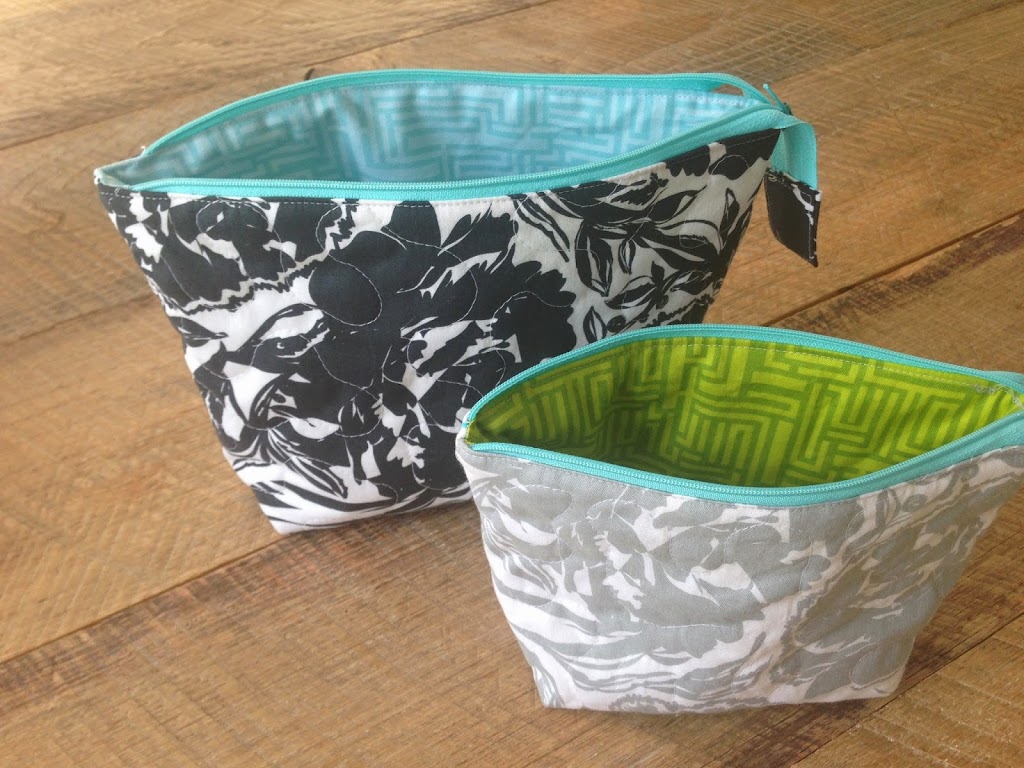
I love that they nest too!
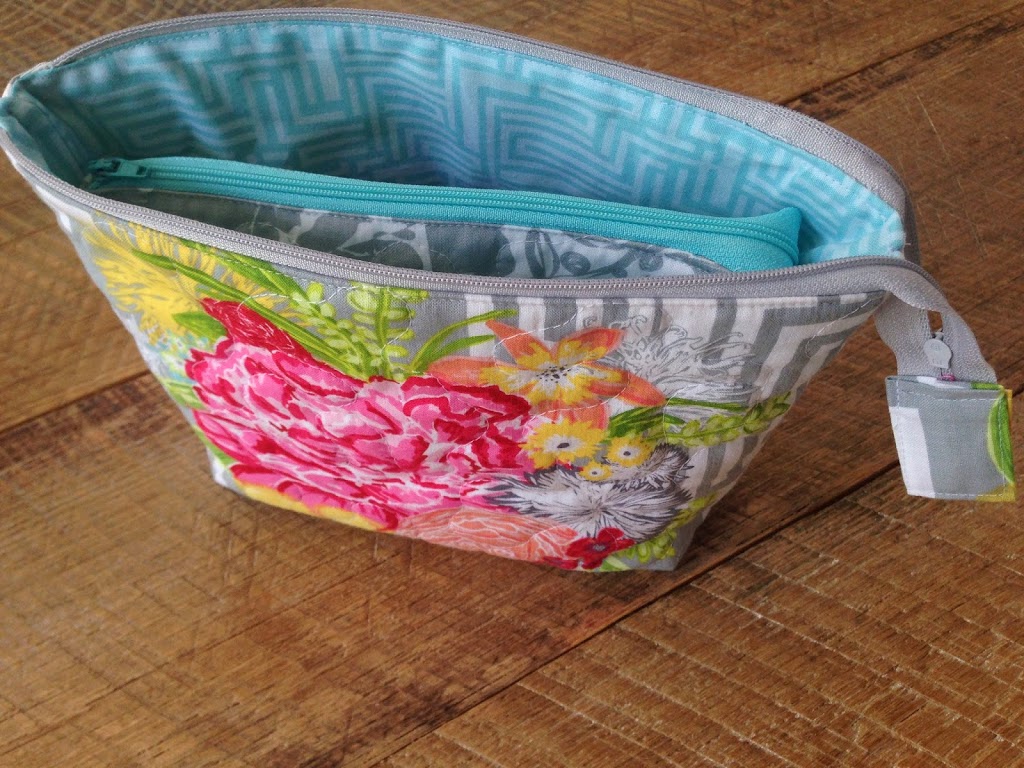
And they make a nice set when paired with a fabric keychain!