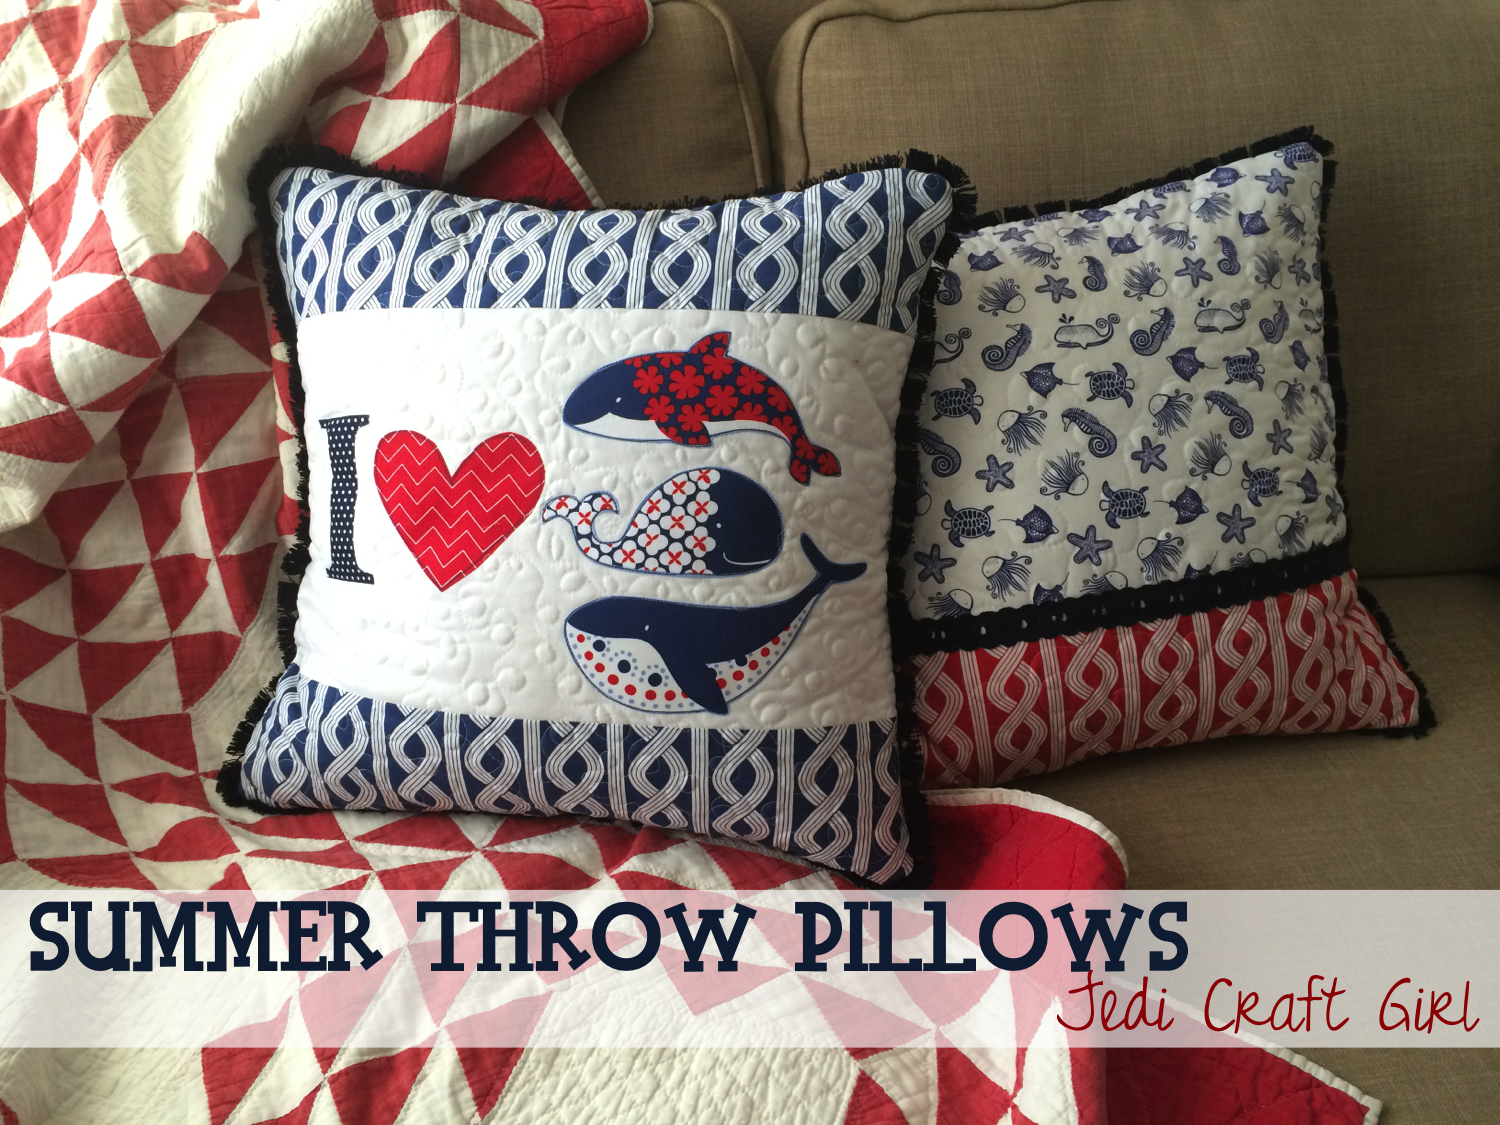
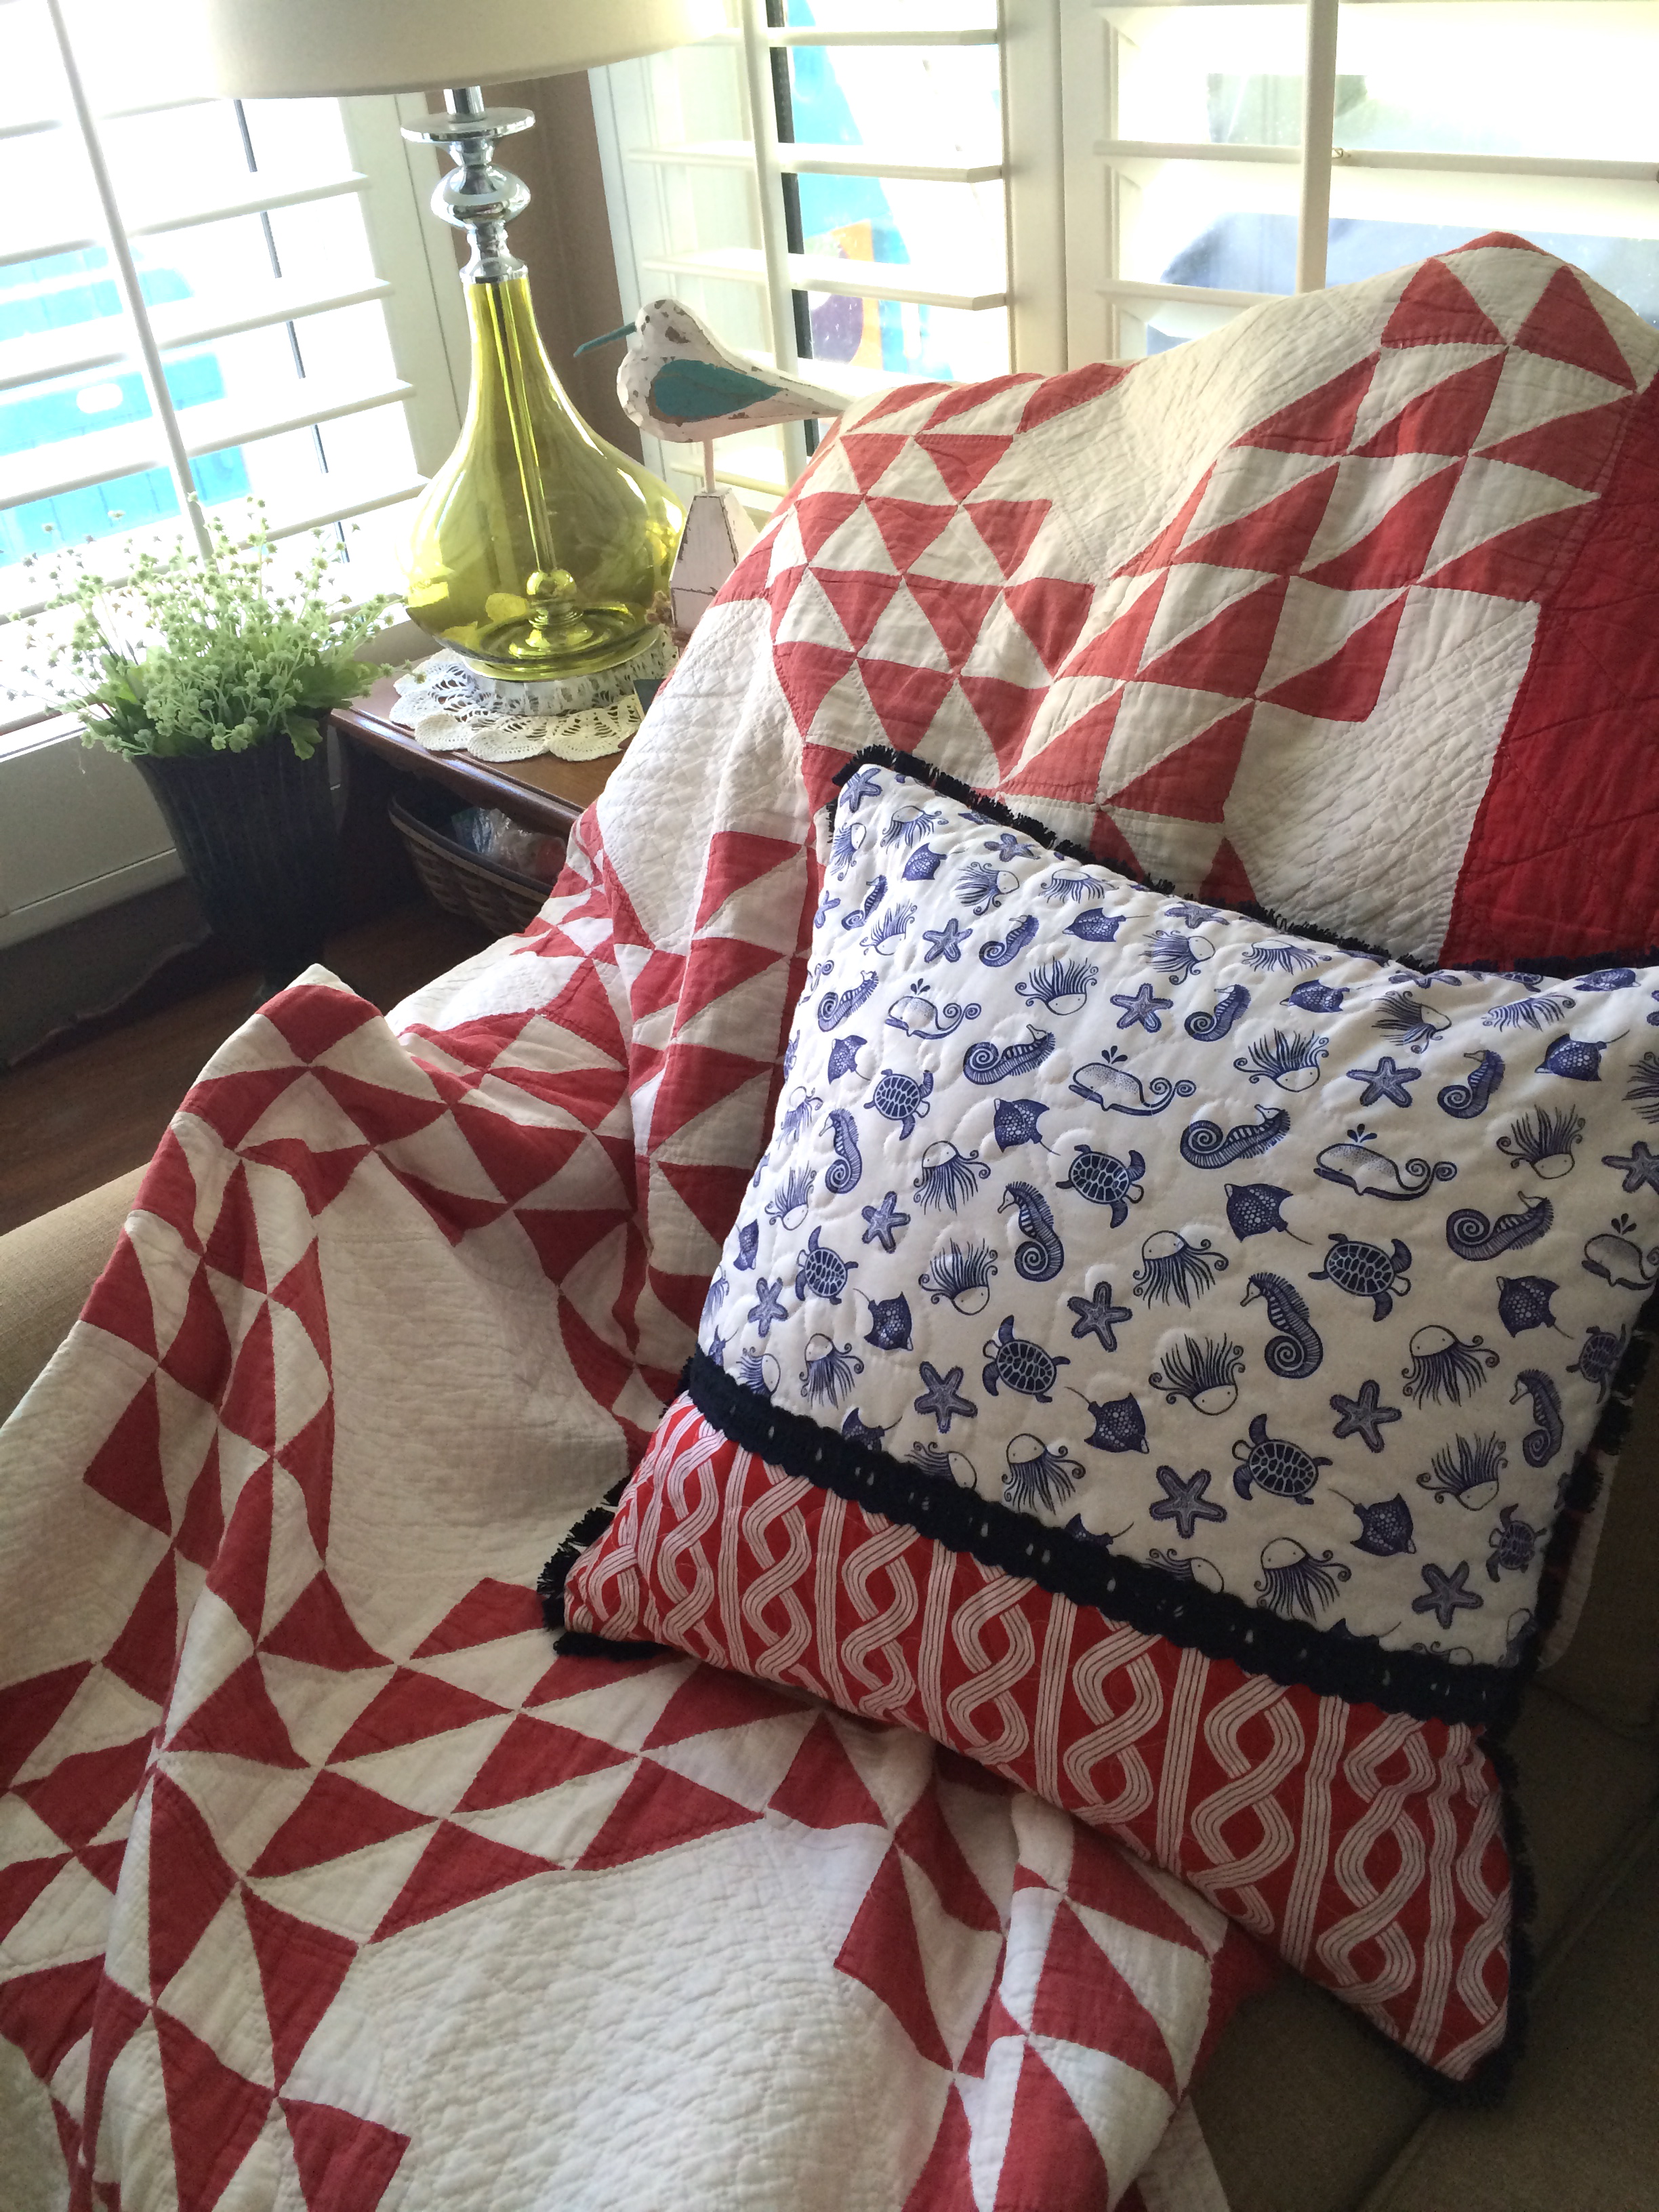
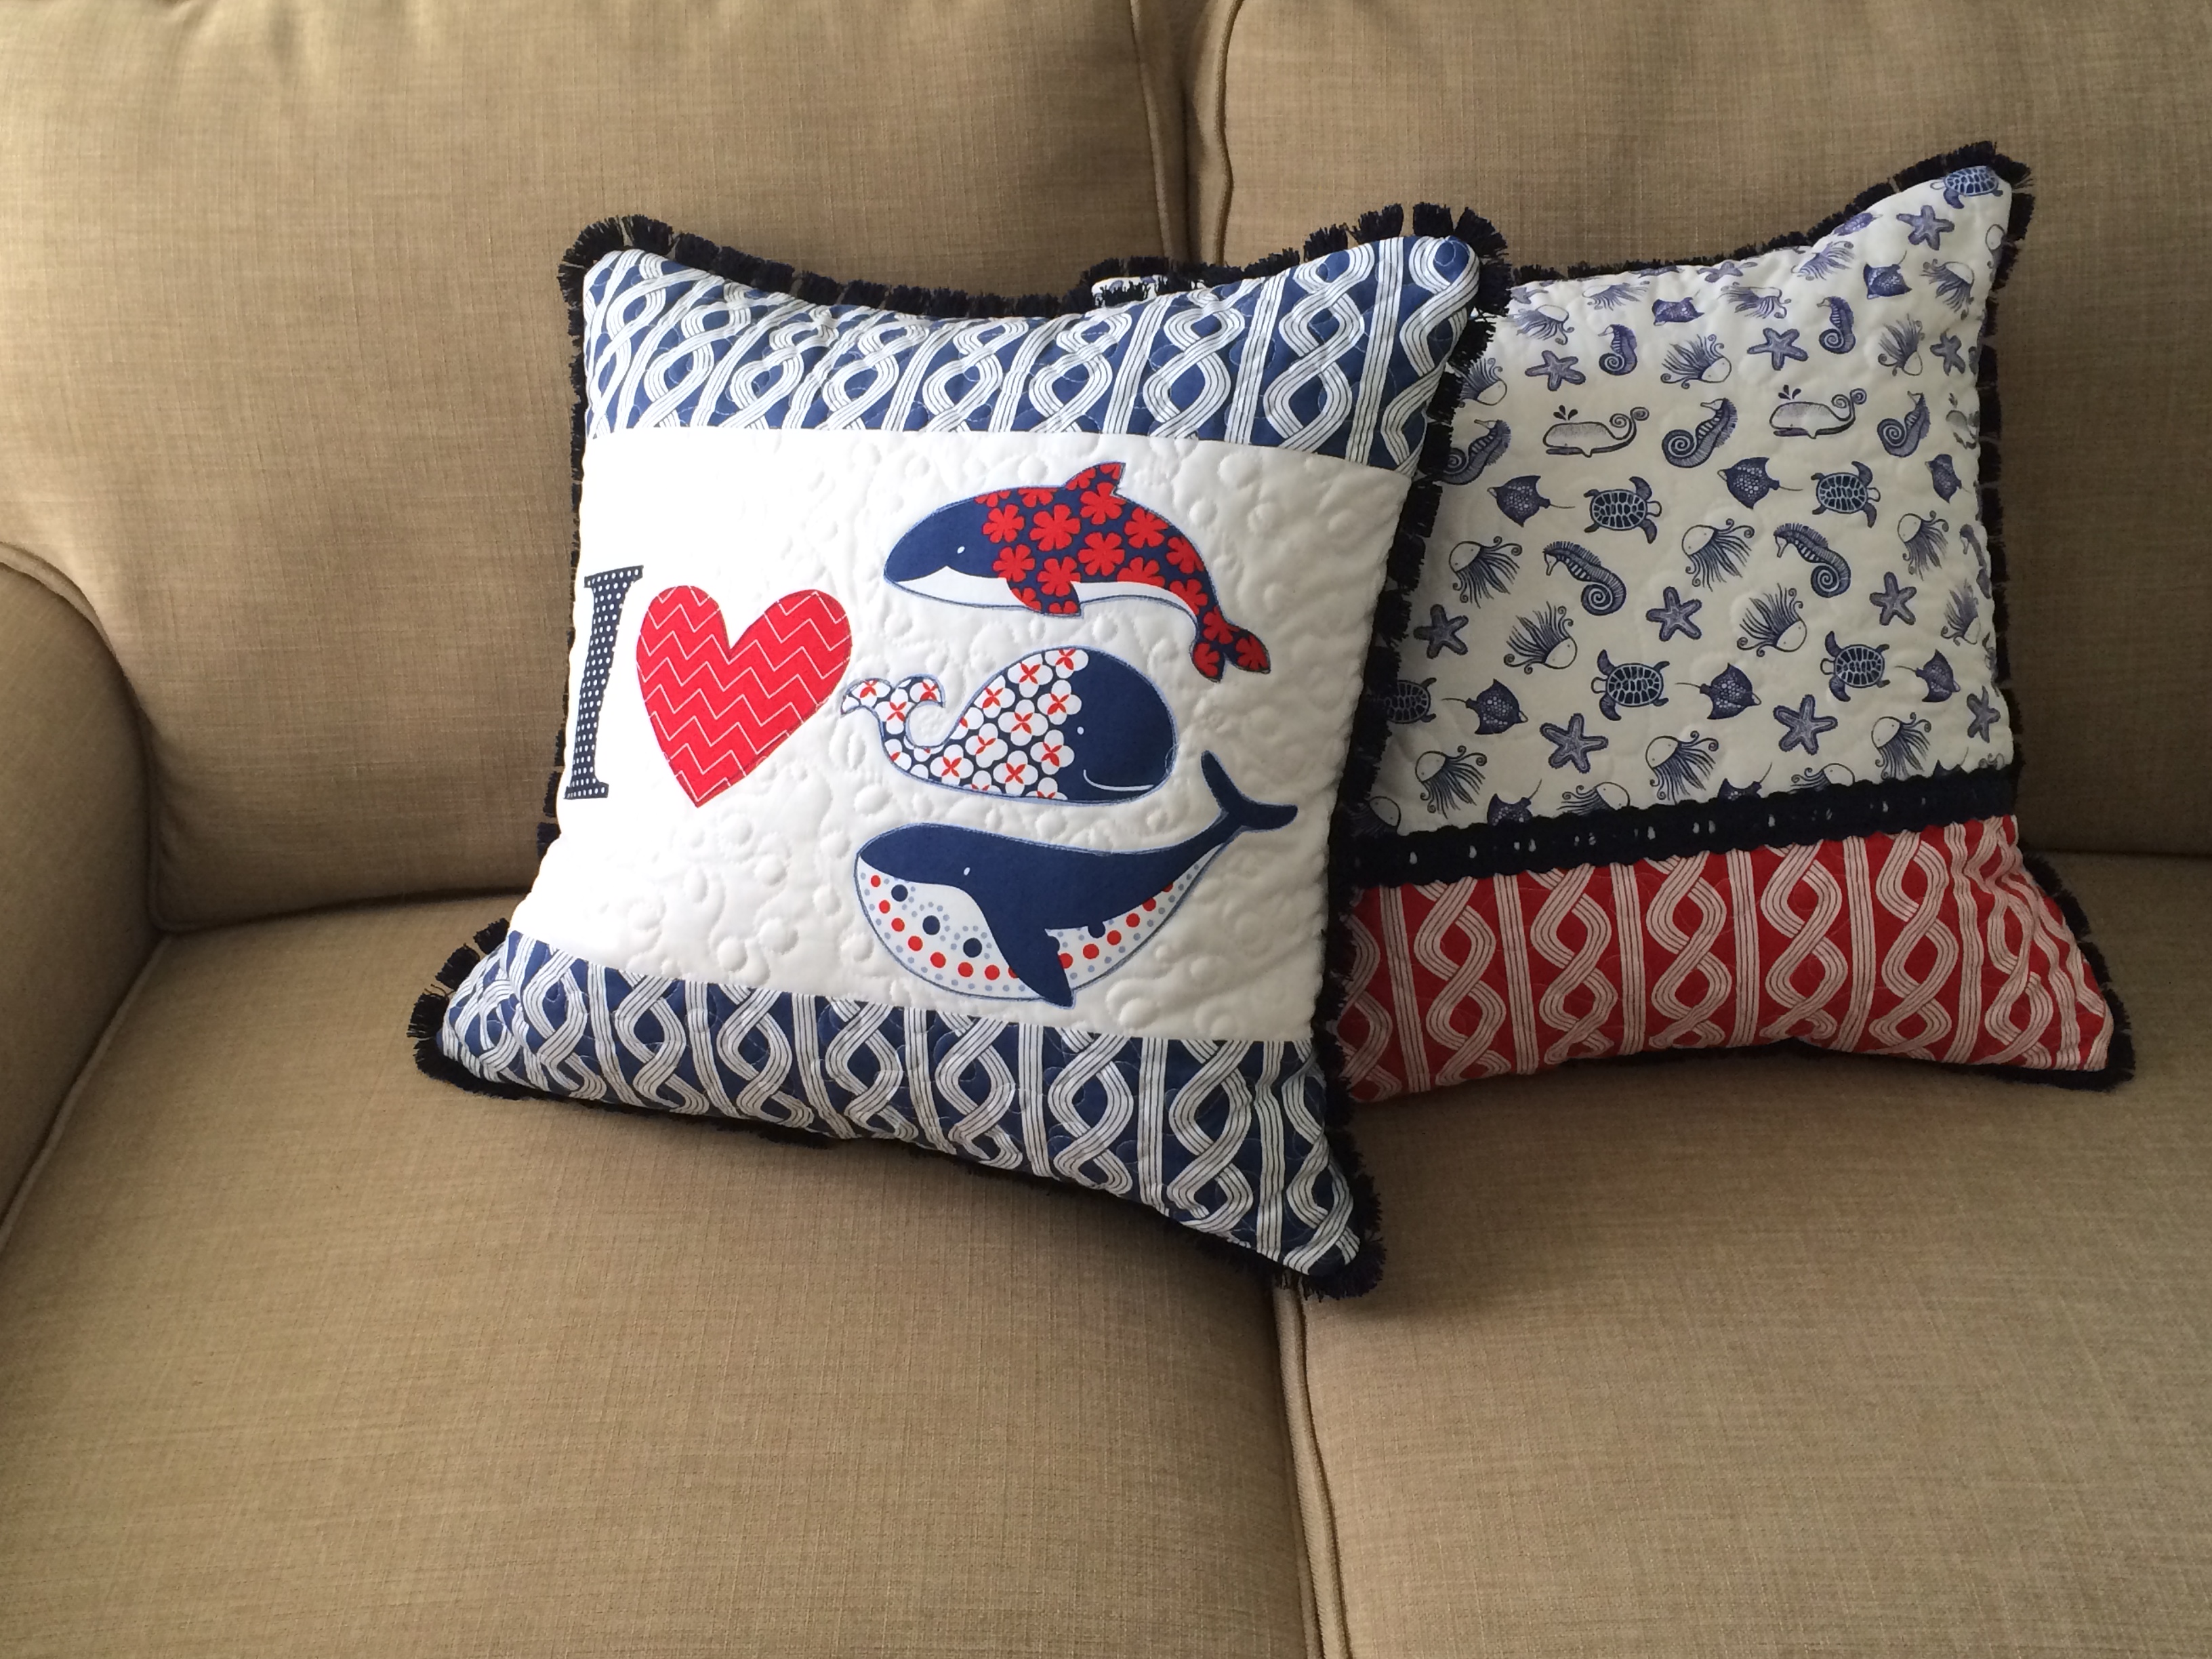
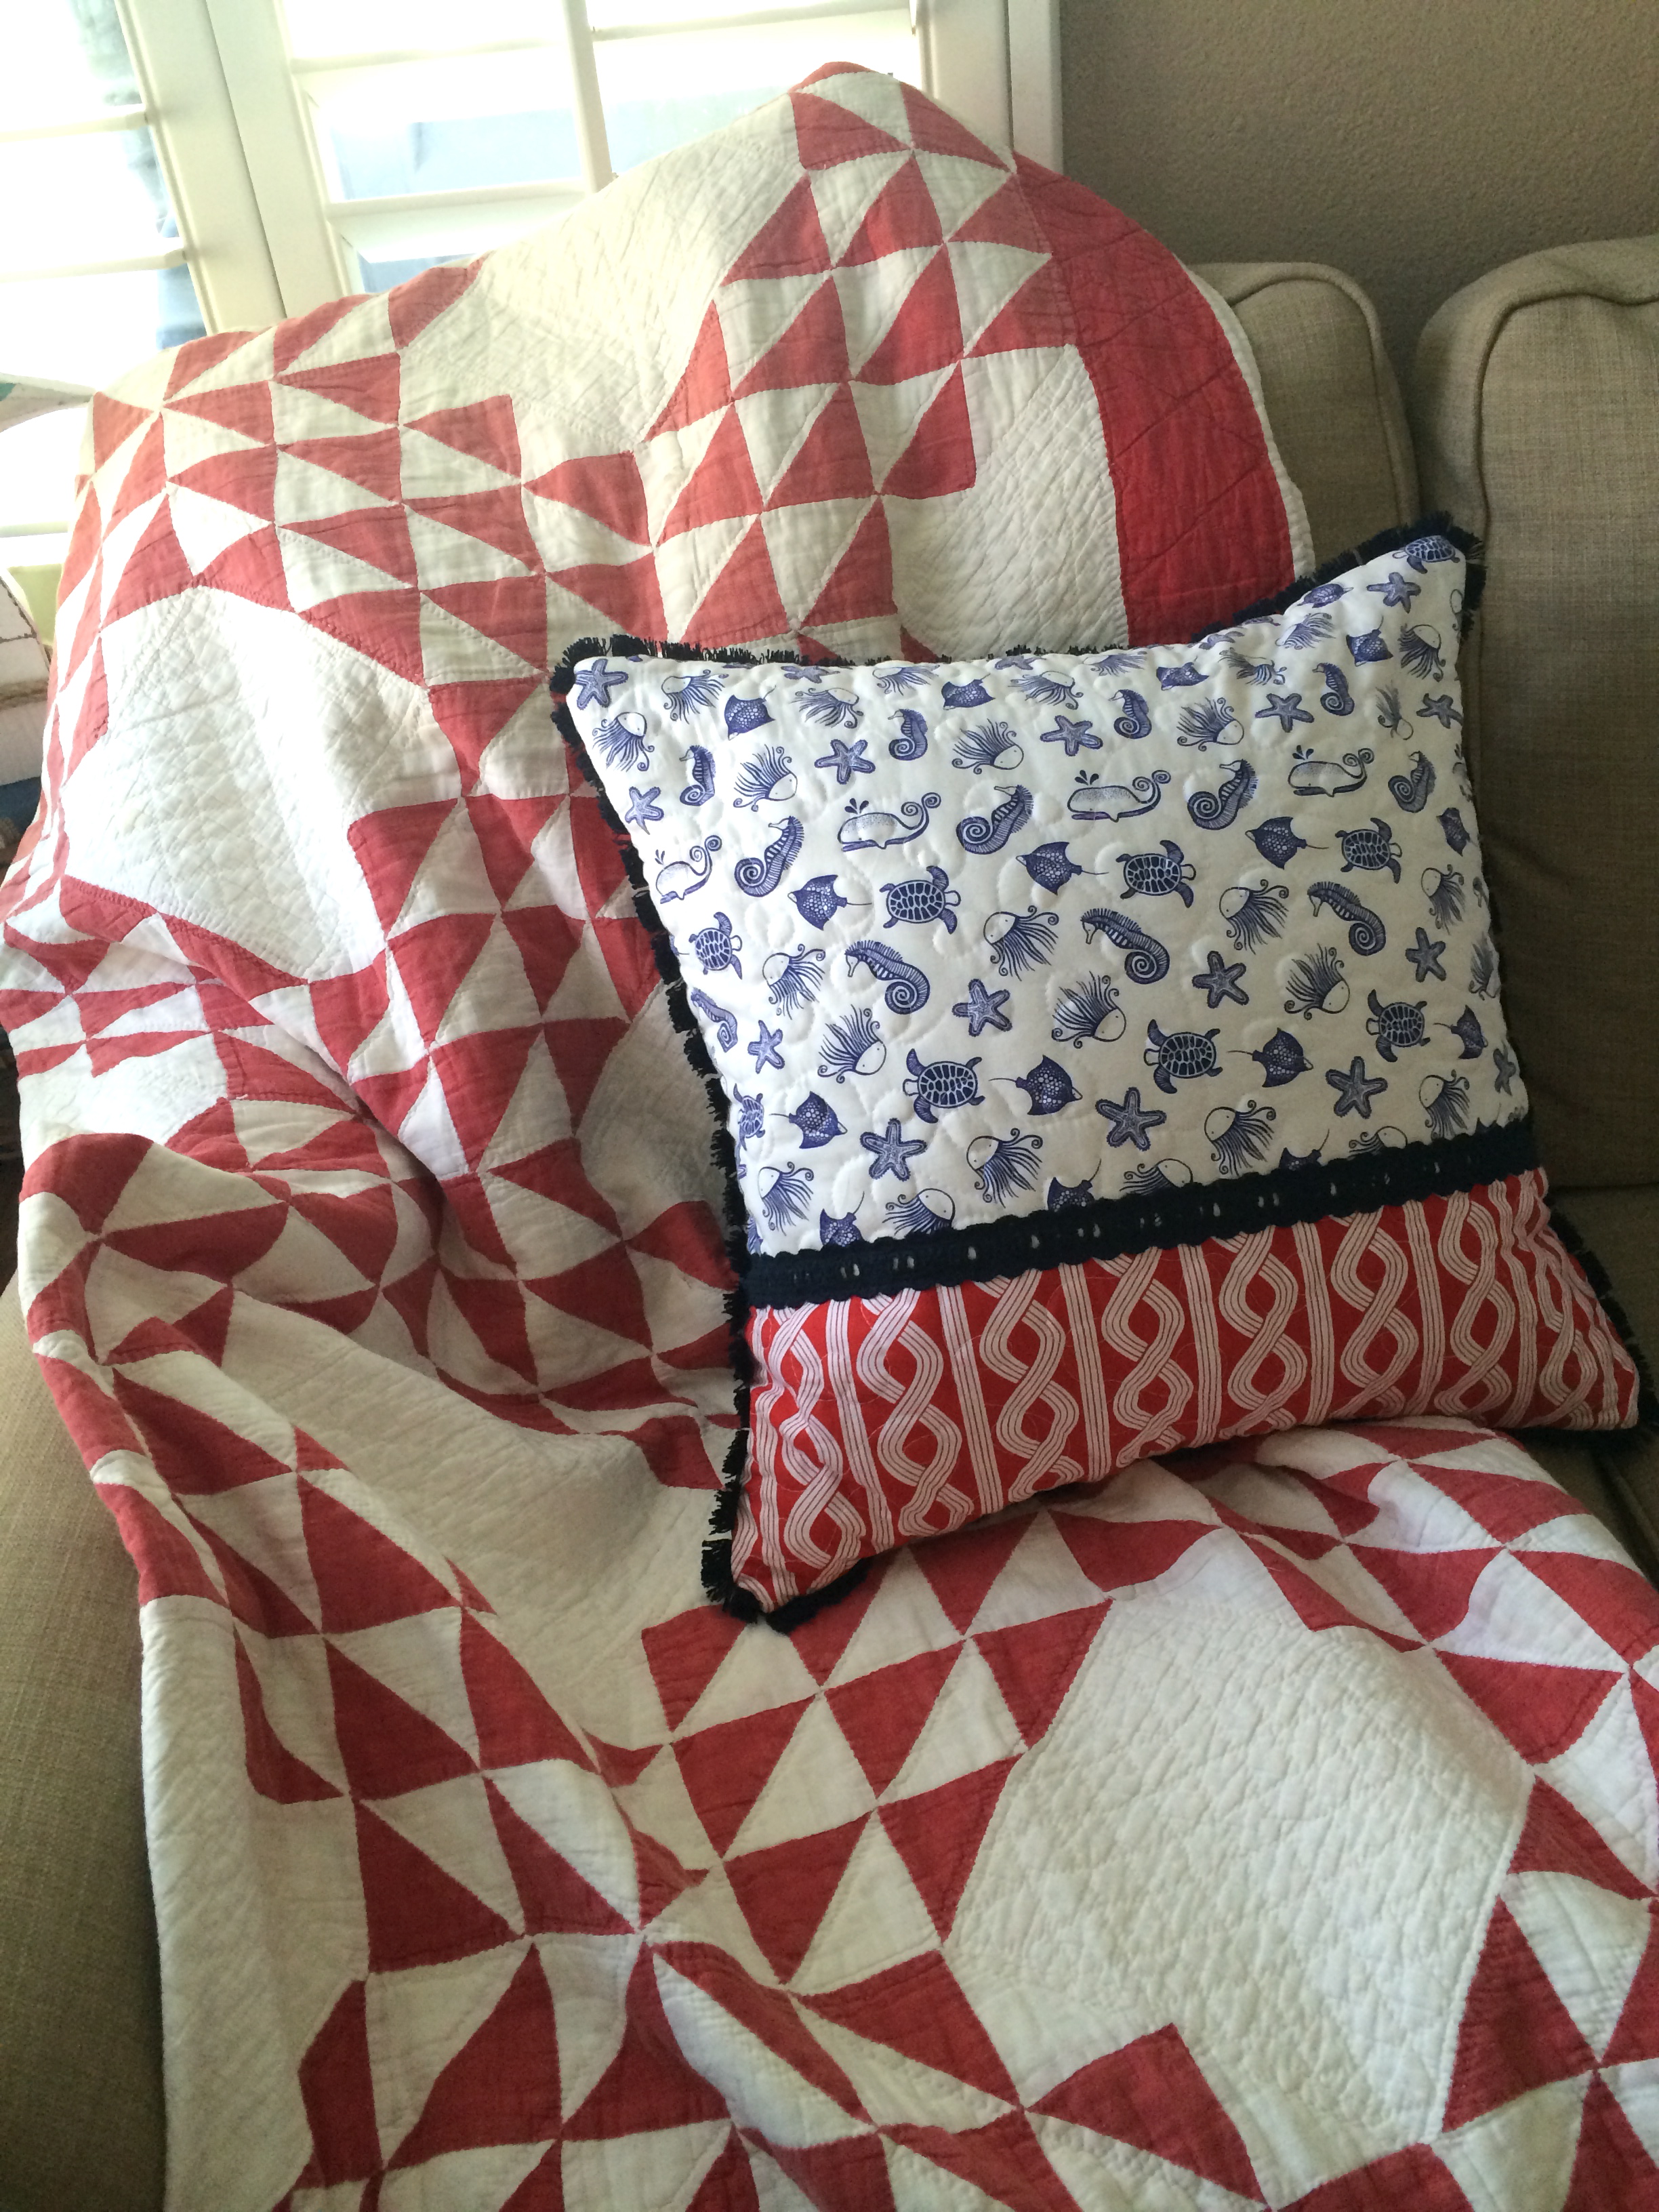
 I know most of the stores have their fall and even Christmas decorations out on the shelves, but we still have one more week of summer vacation left and I am embracing every minute of it! Summer is my favorite! I love being with my children all day and just being FREE!!!!! I had to get in one more summer sewing project. I decorated my family room with a few nautical pops here and there and my couch was begging for some nautical pillows! These sew up in a snap!
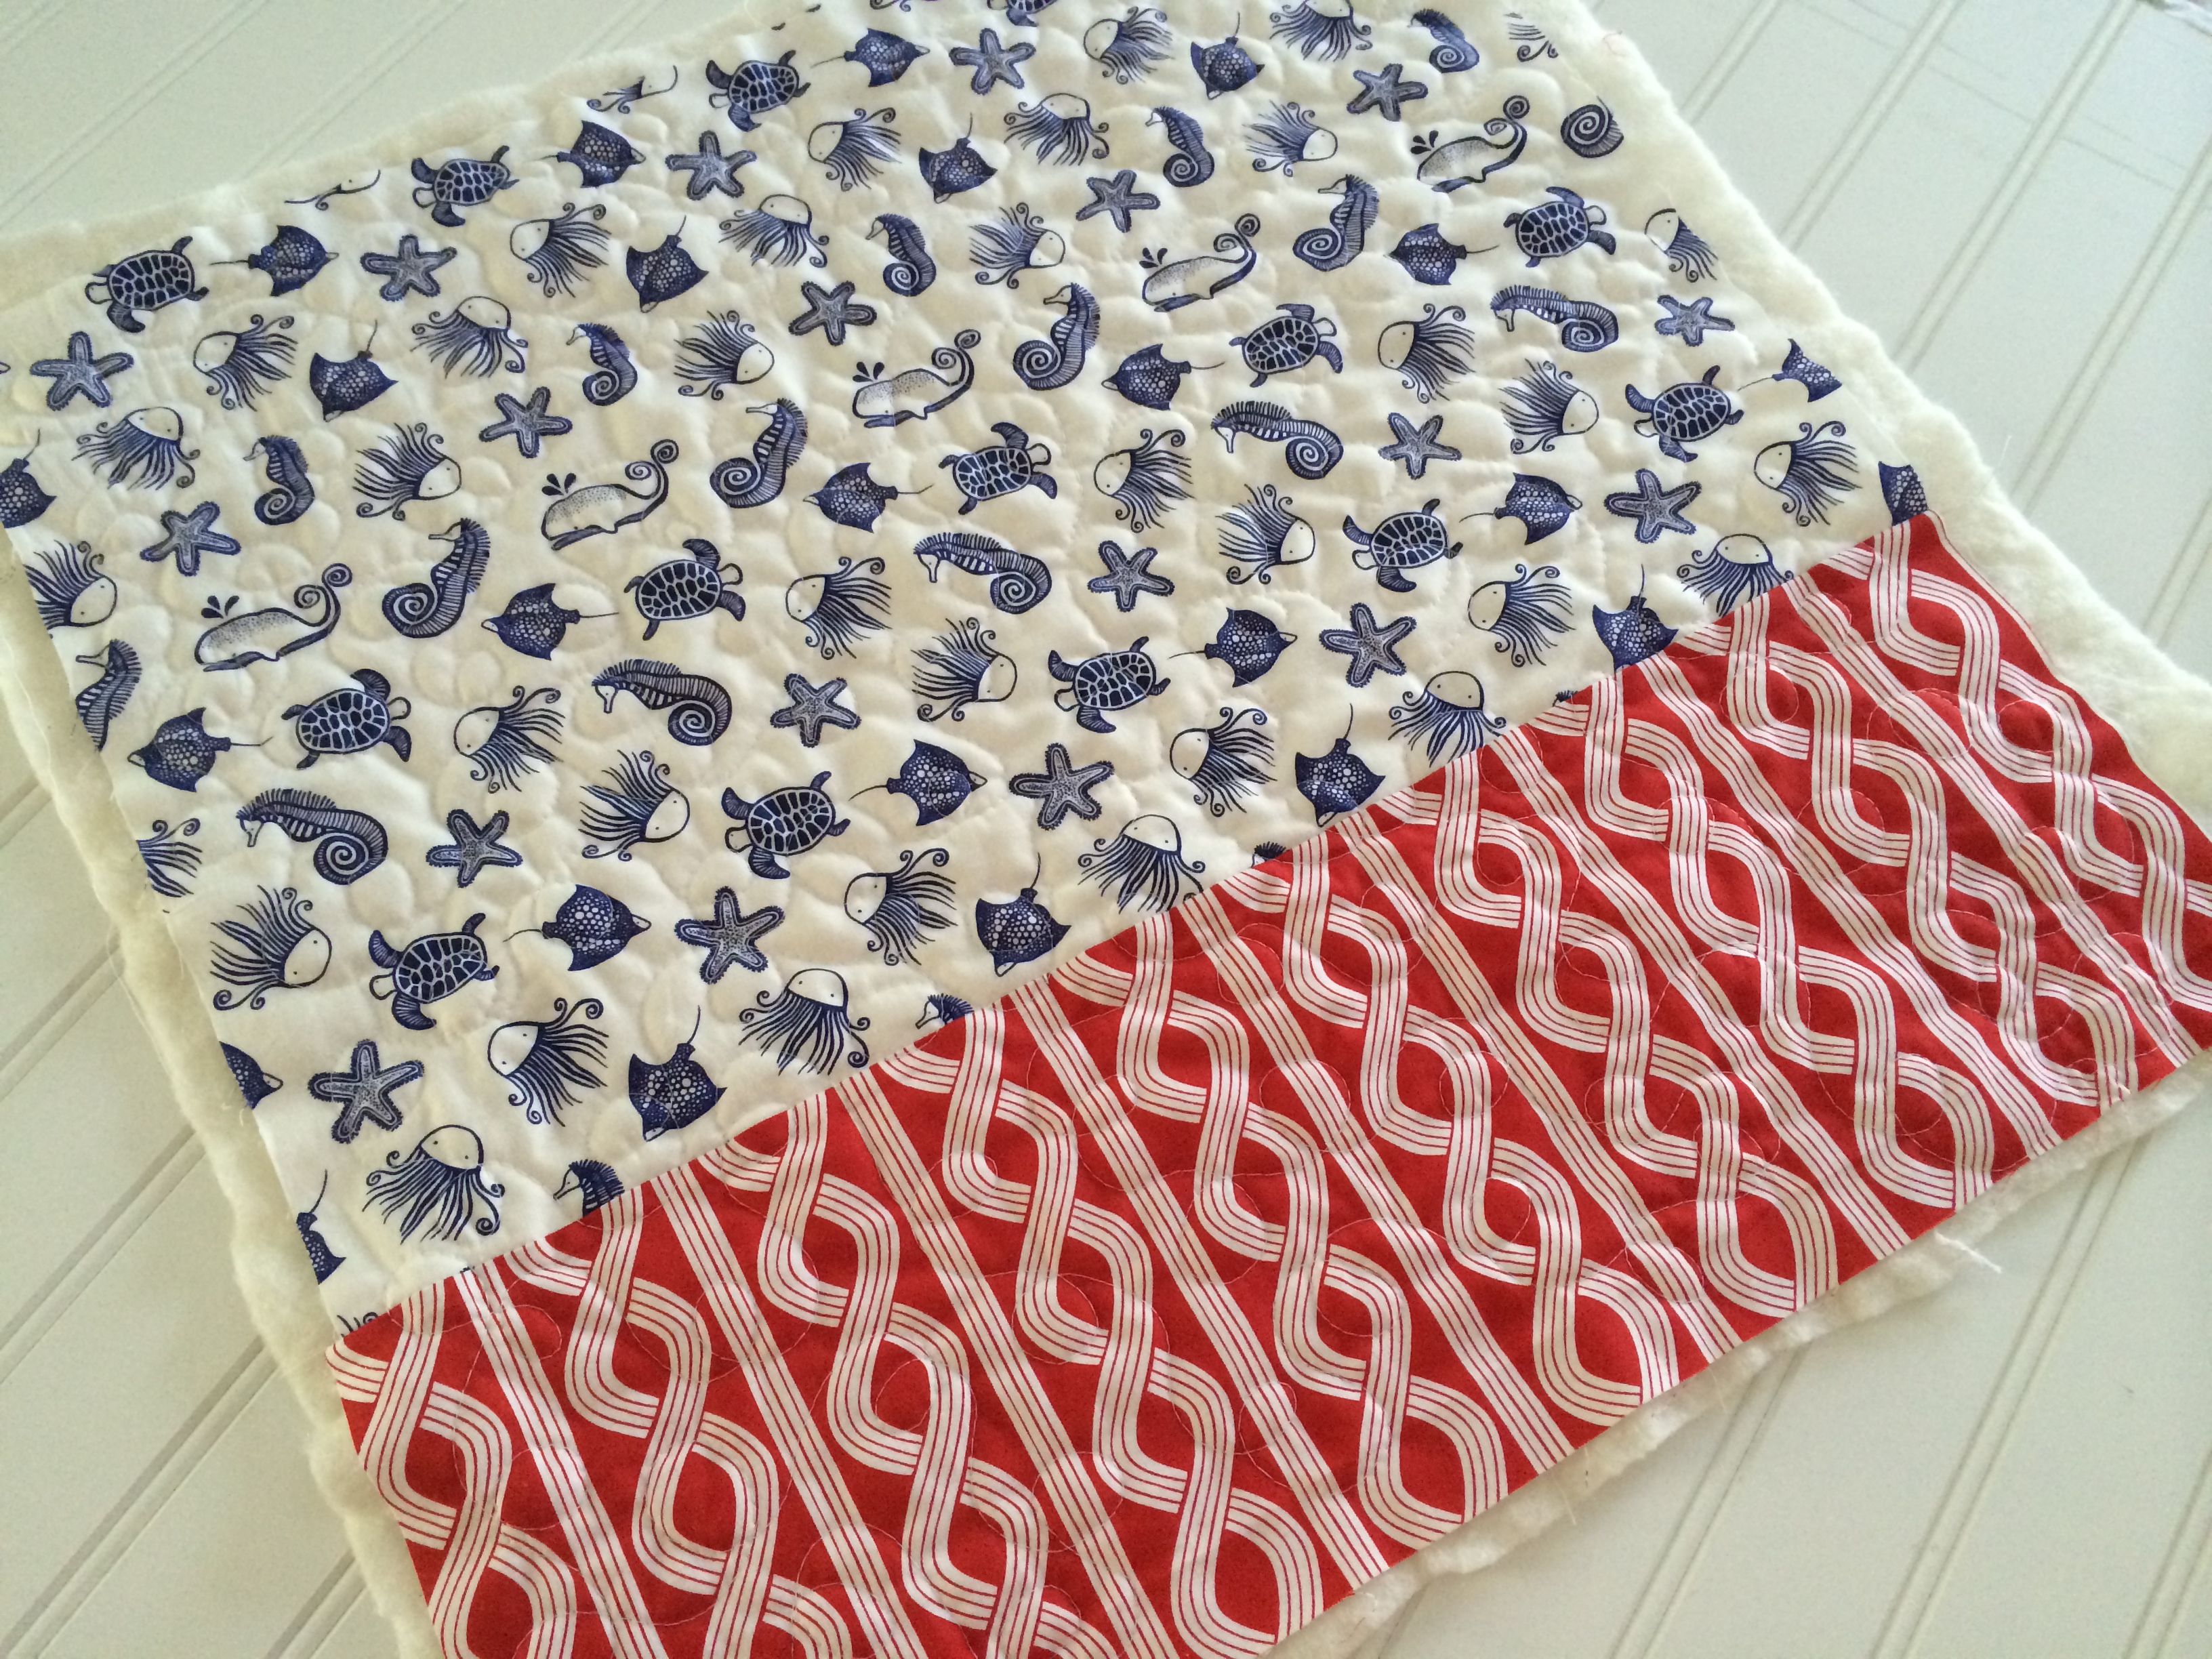
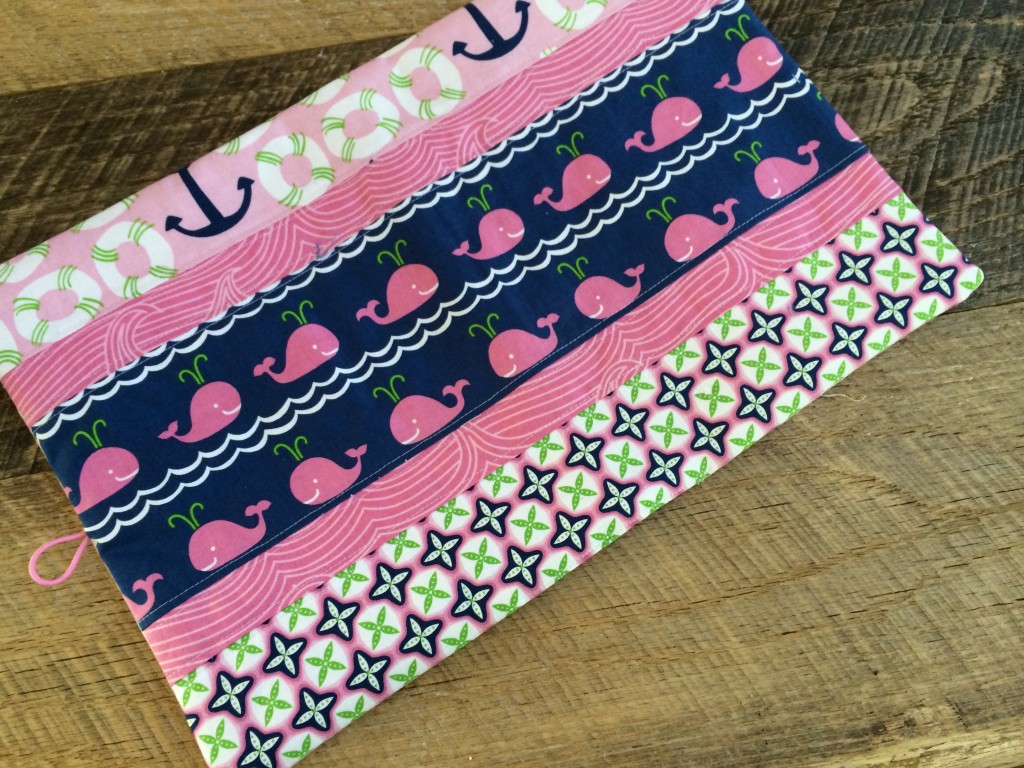
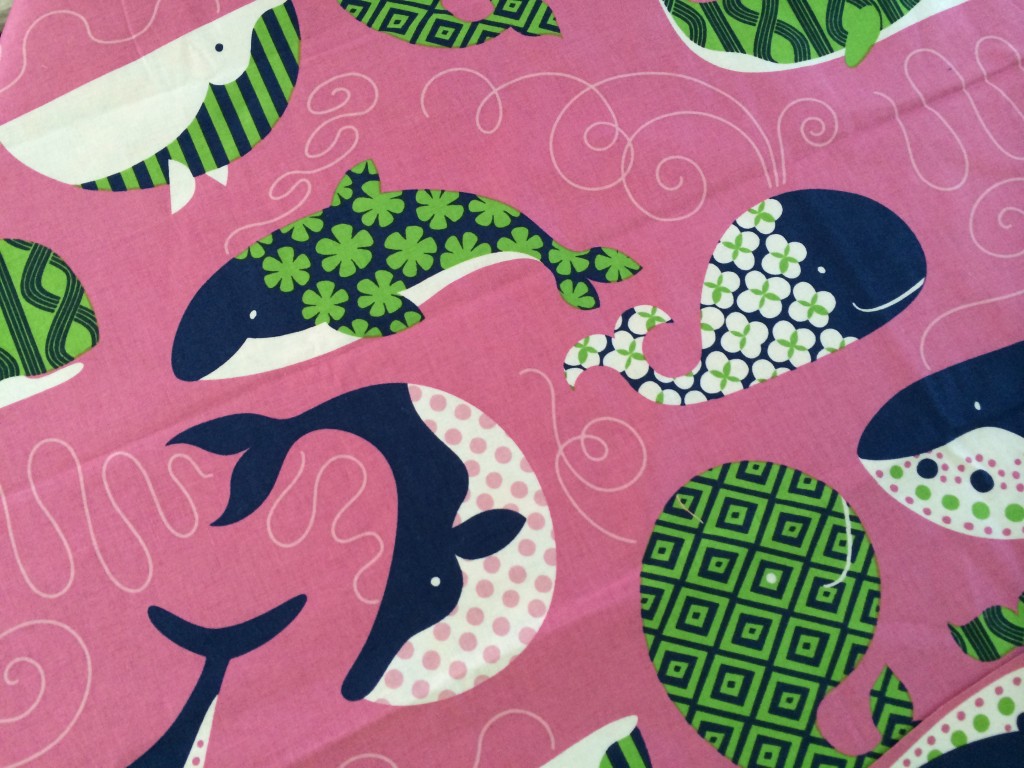
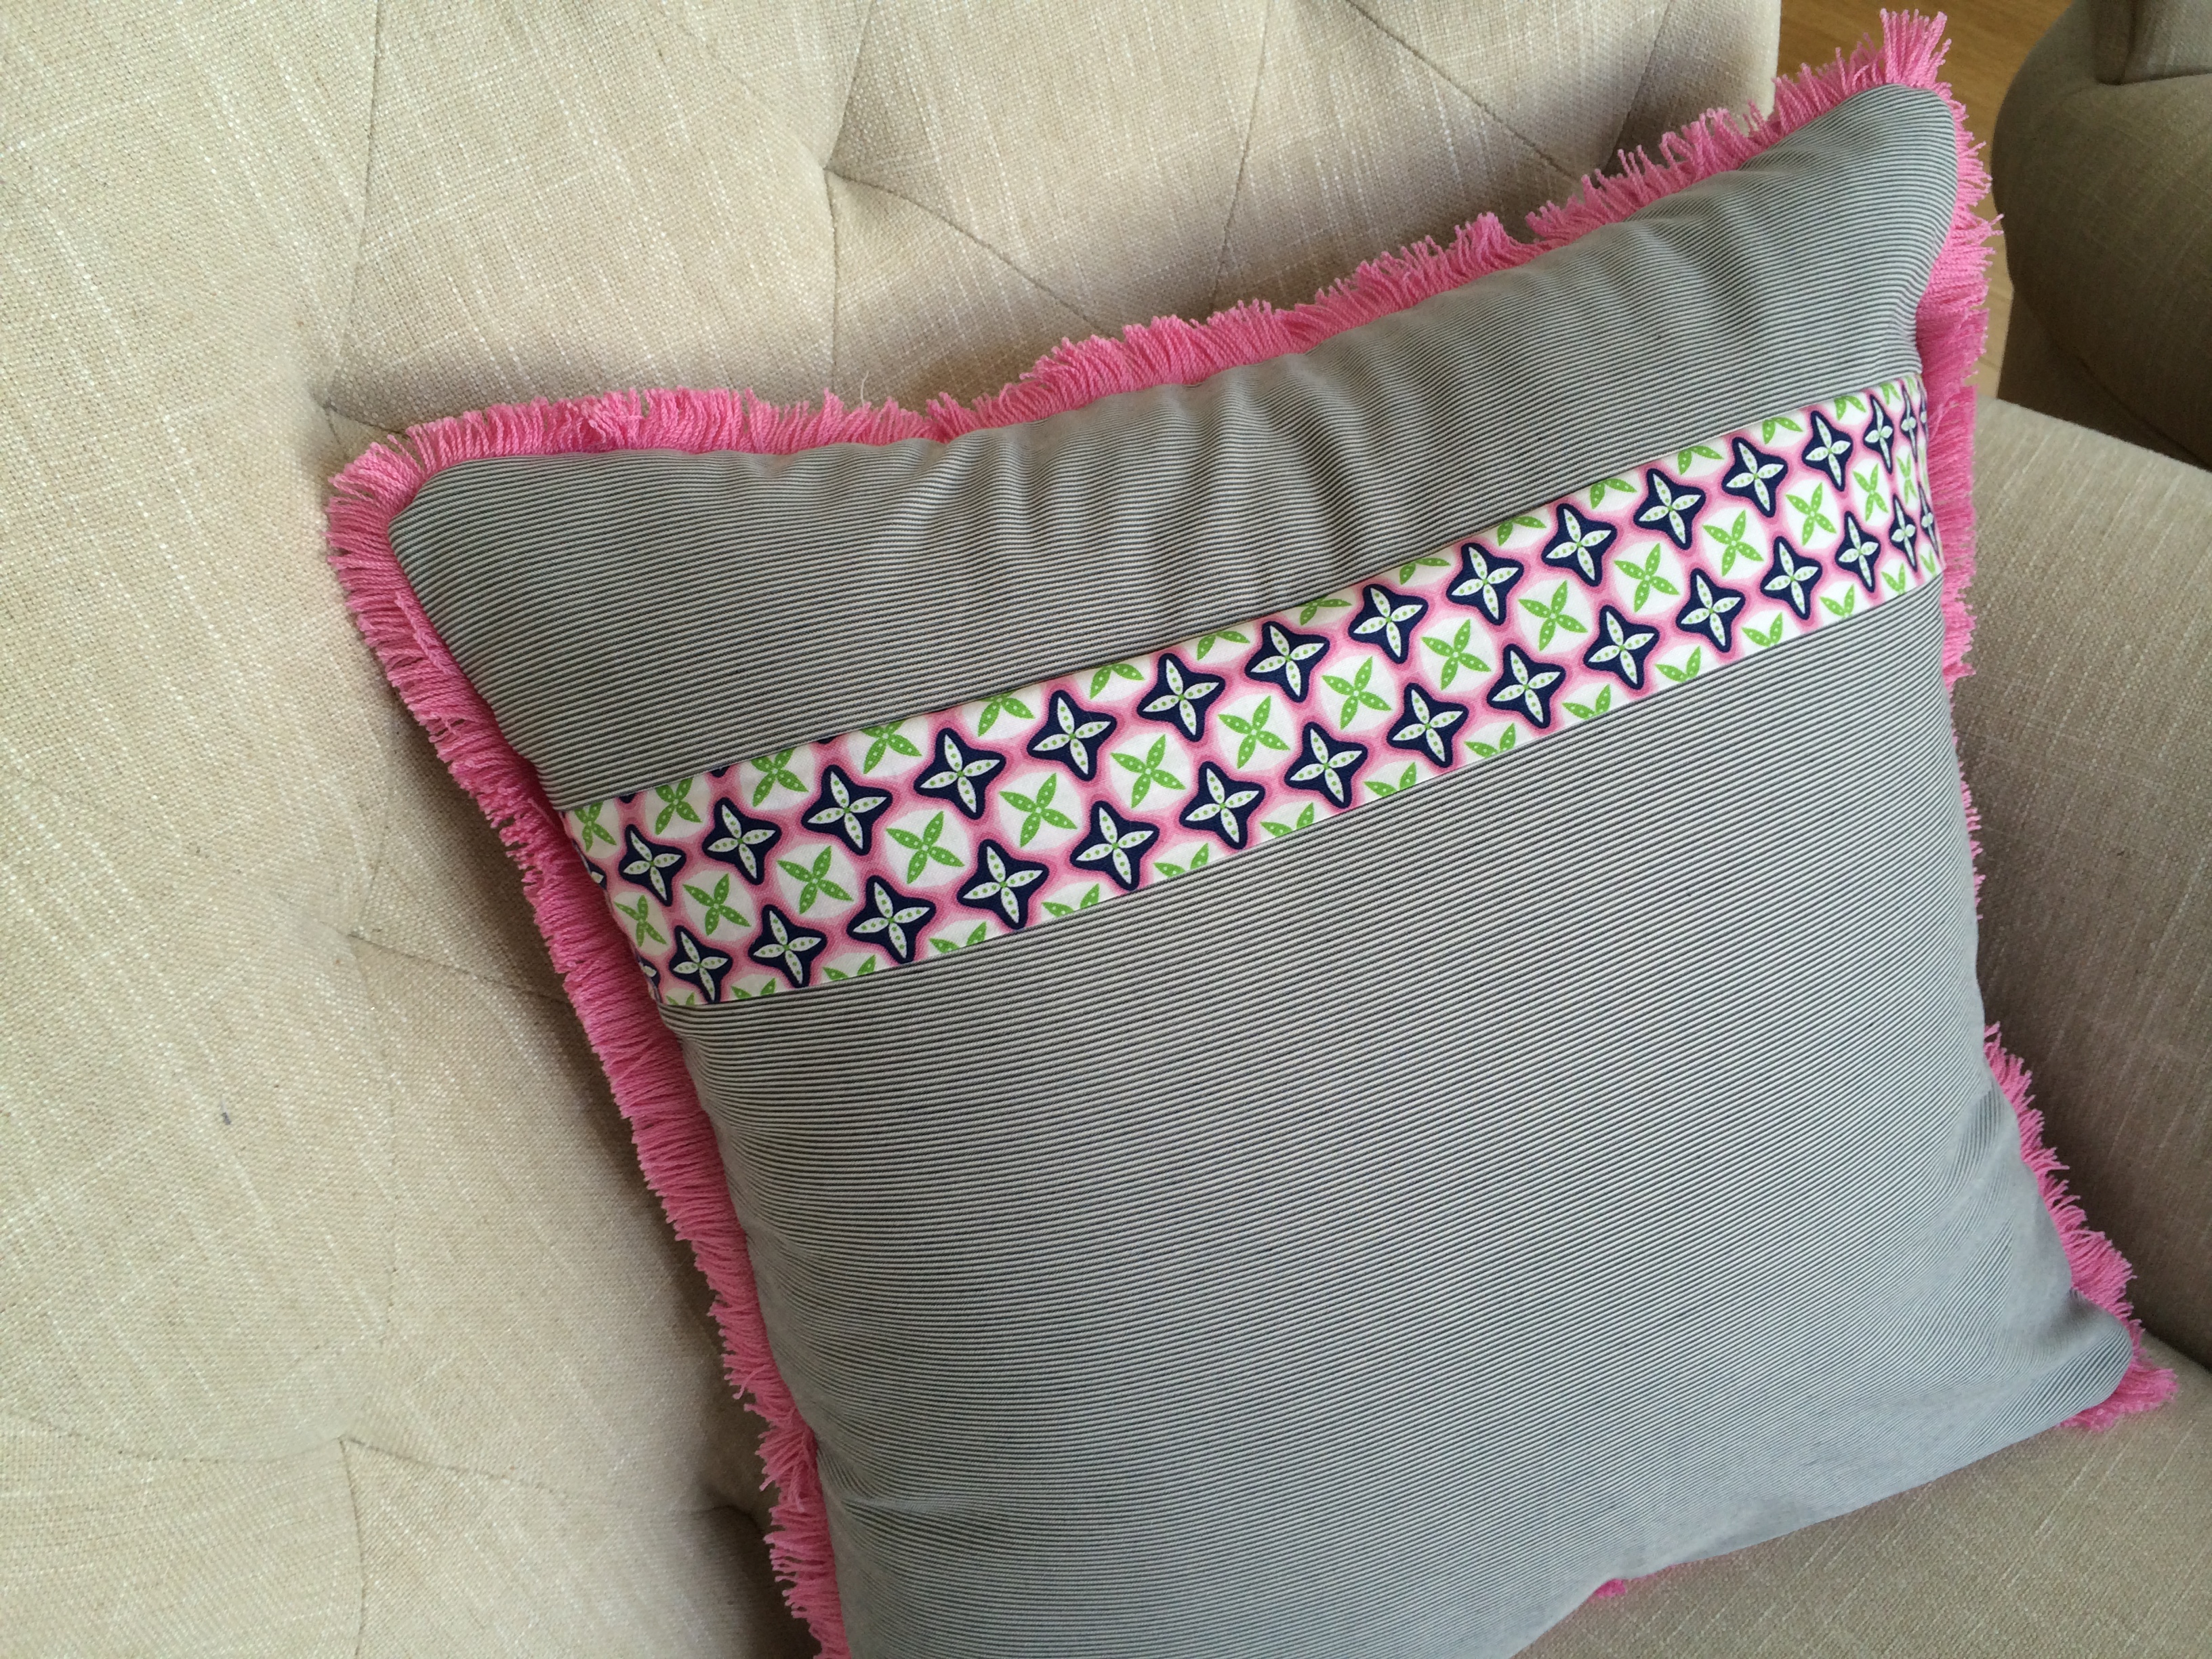
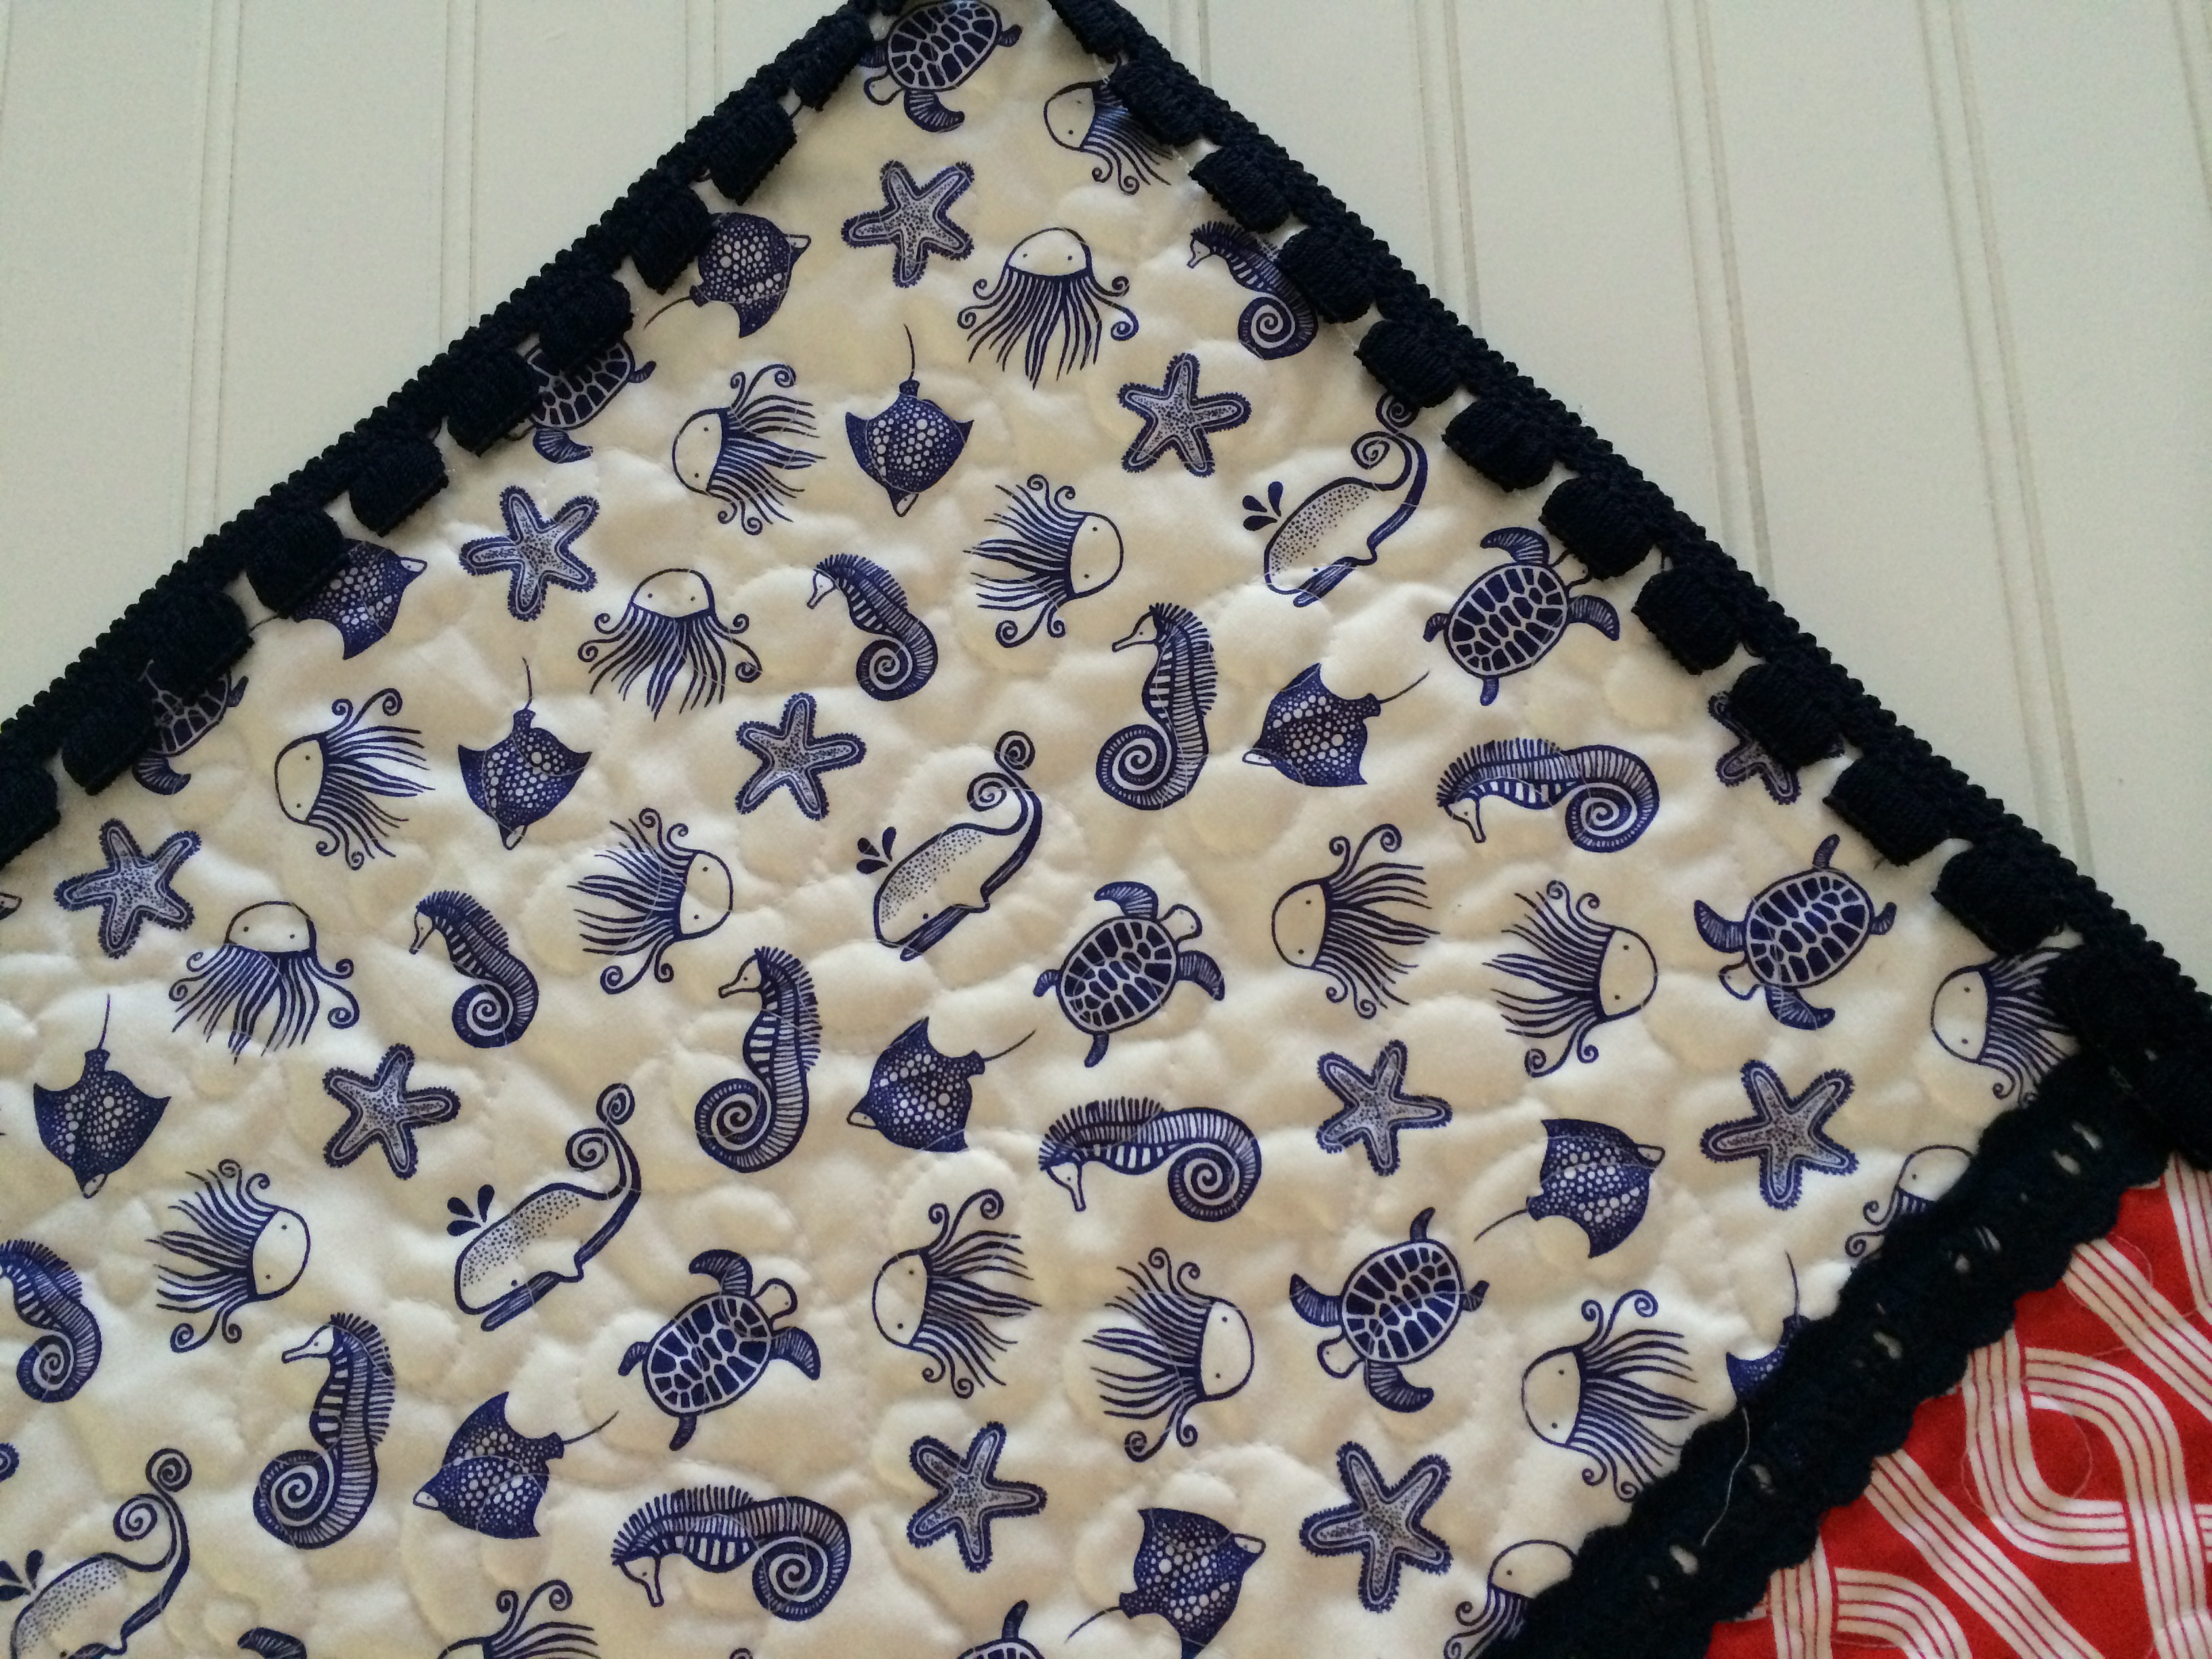
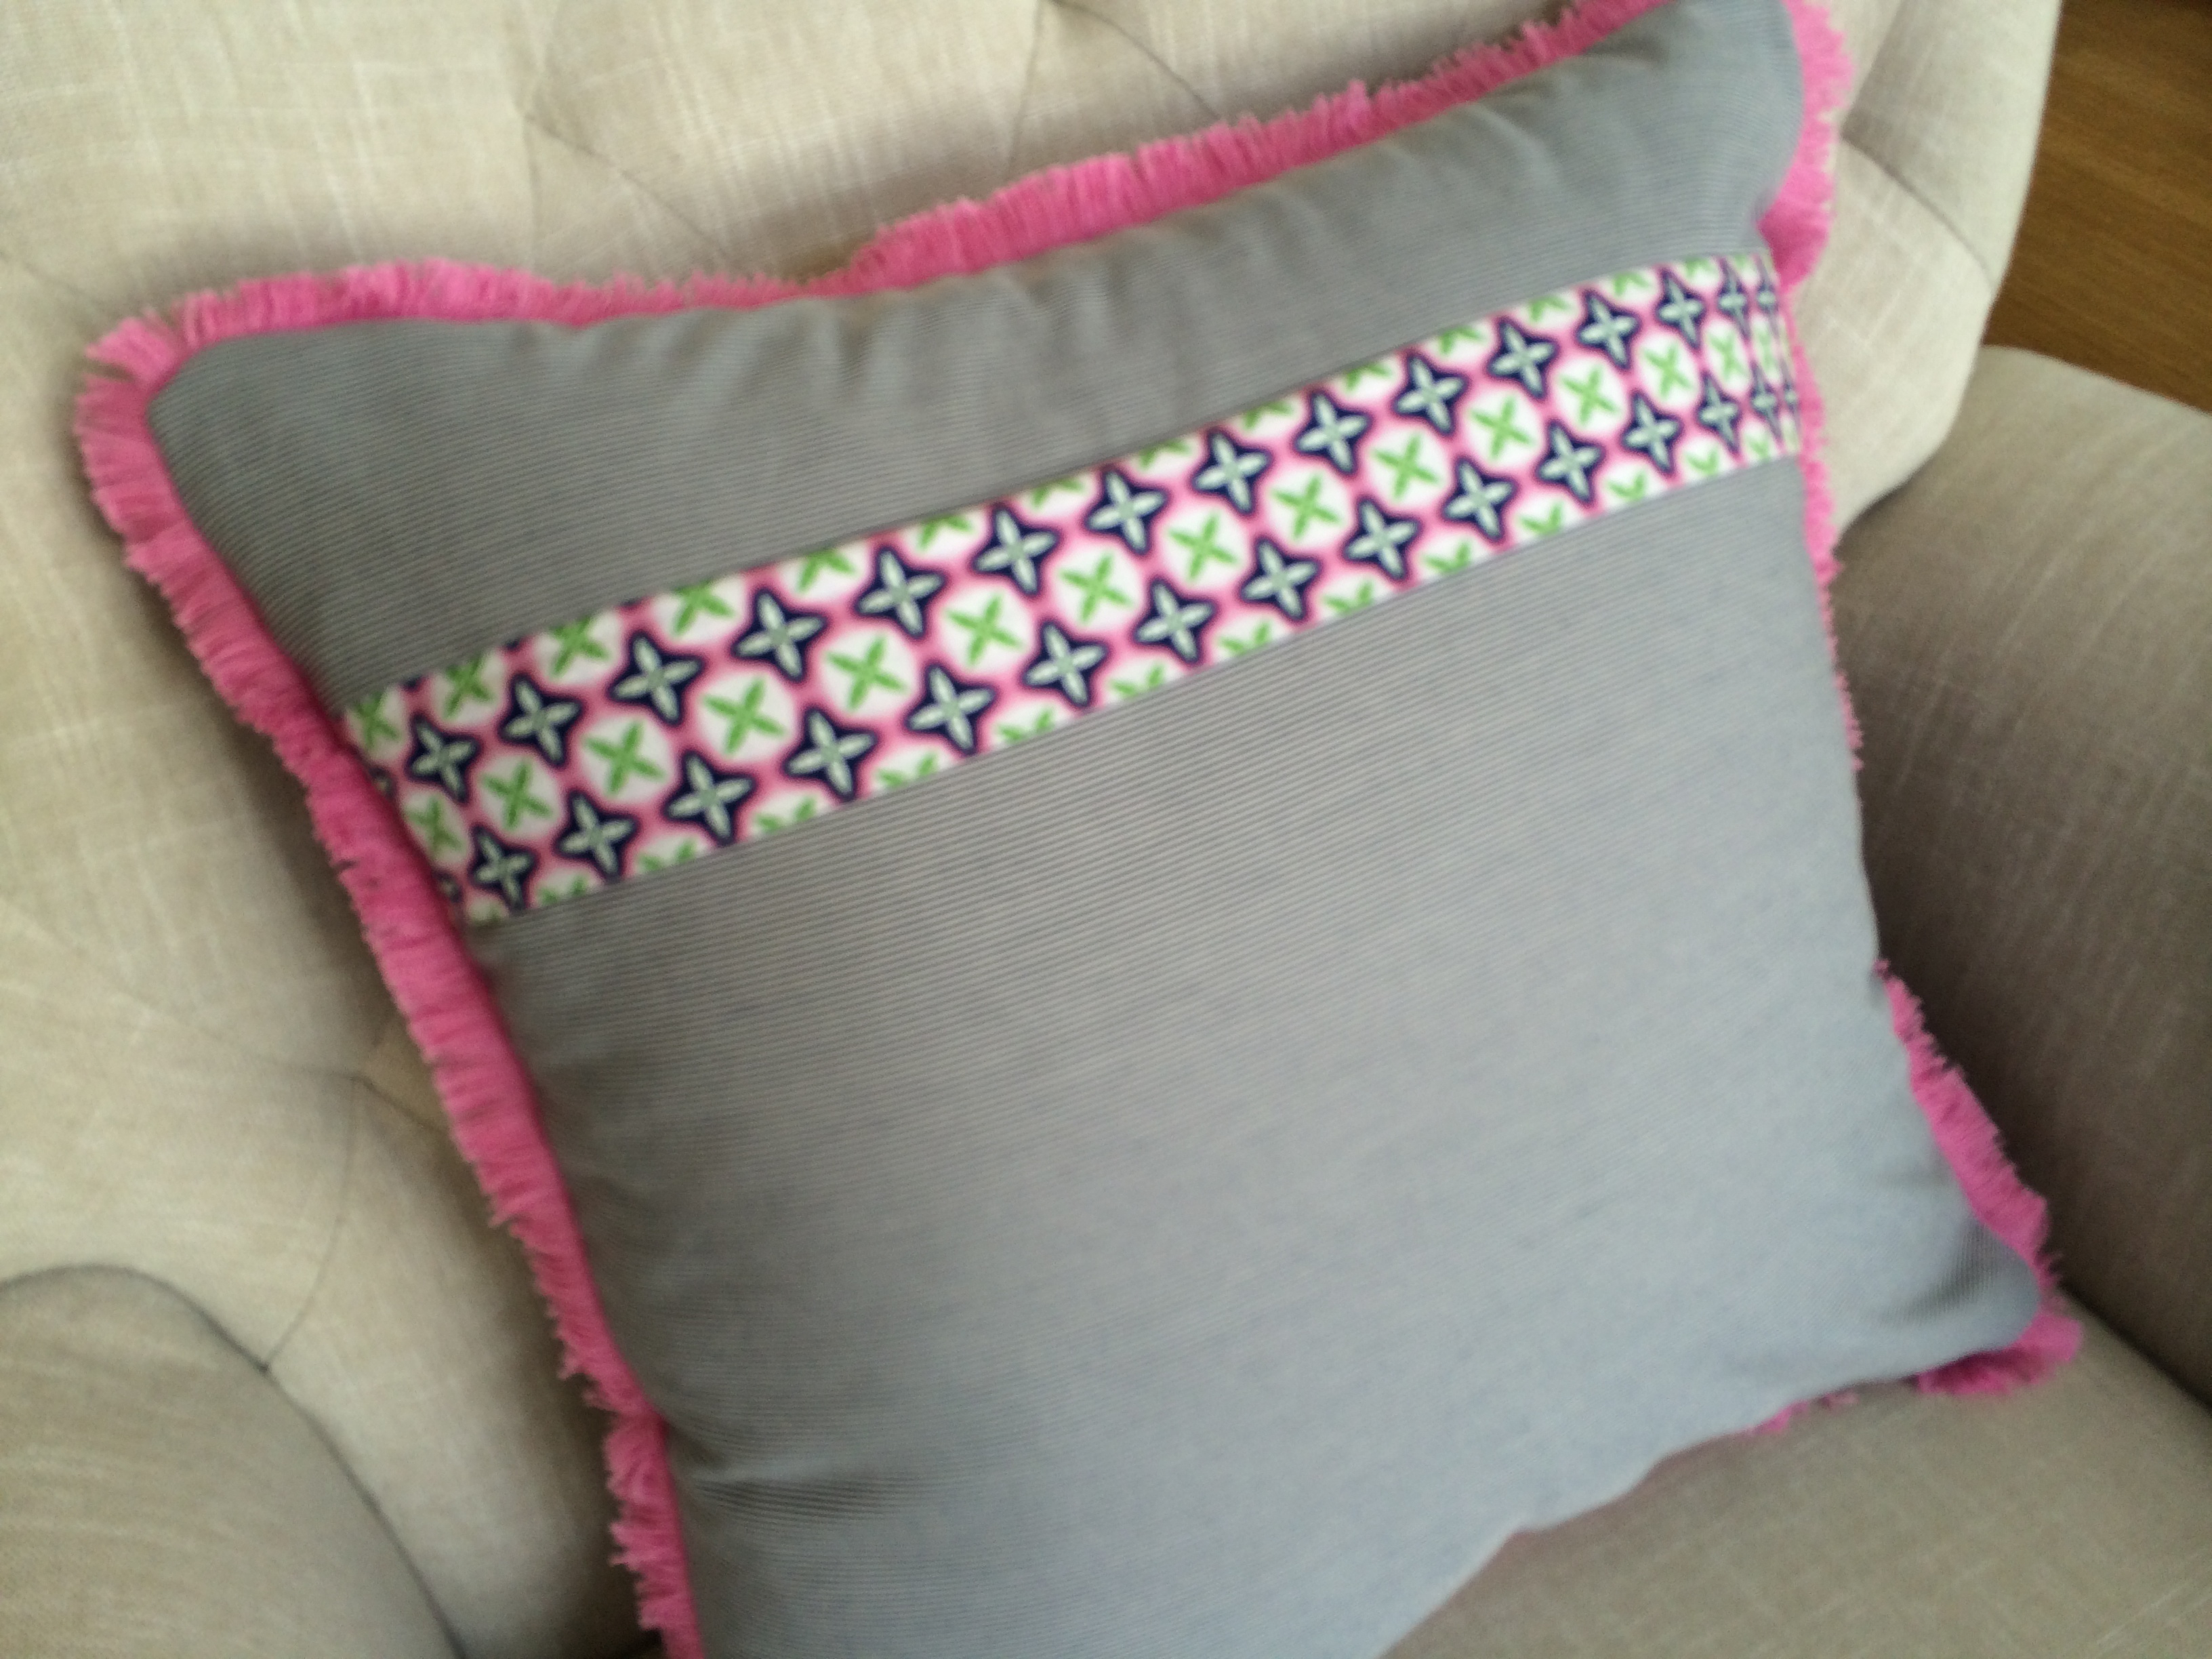
Sea Critters Pillow (20″):
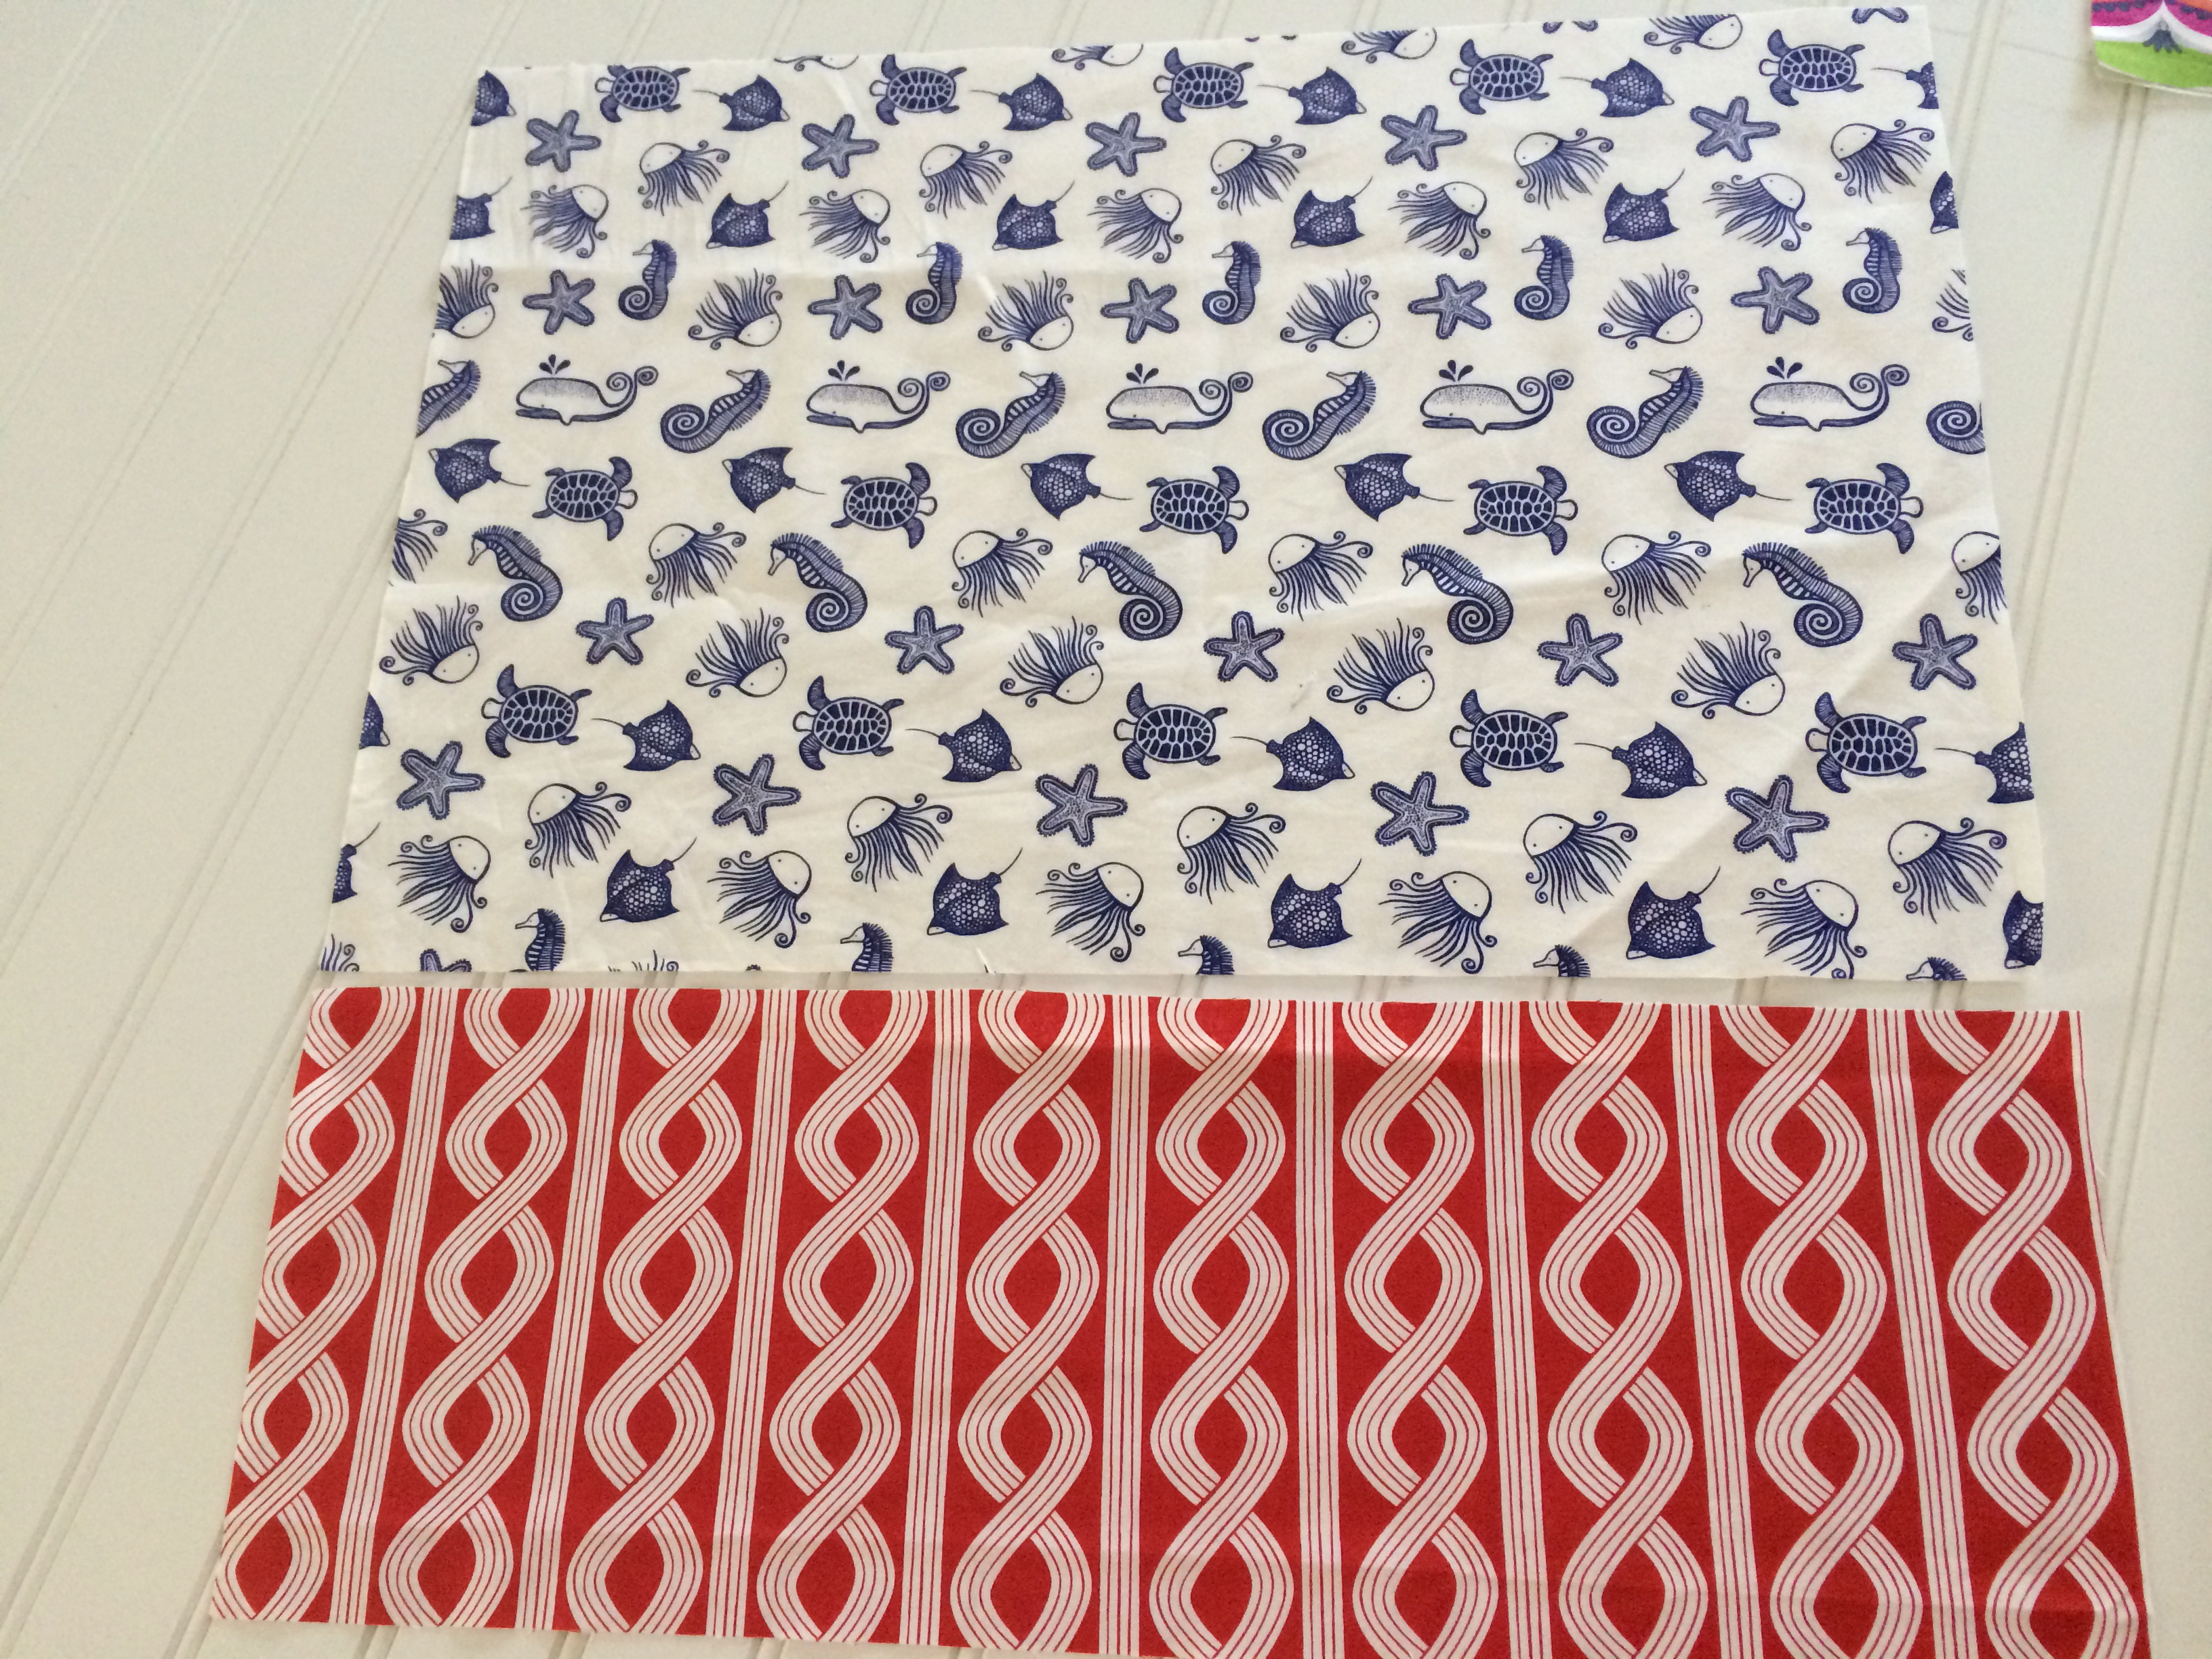
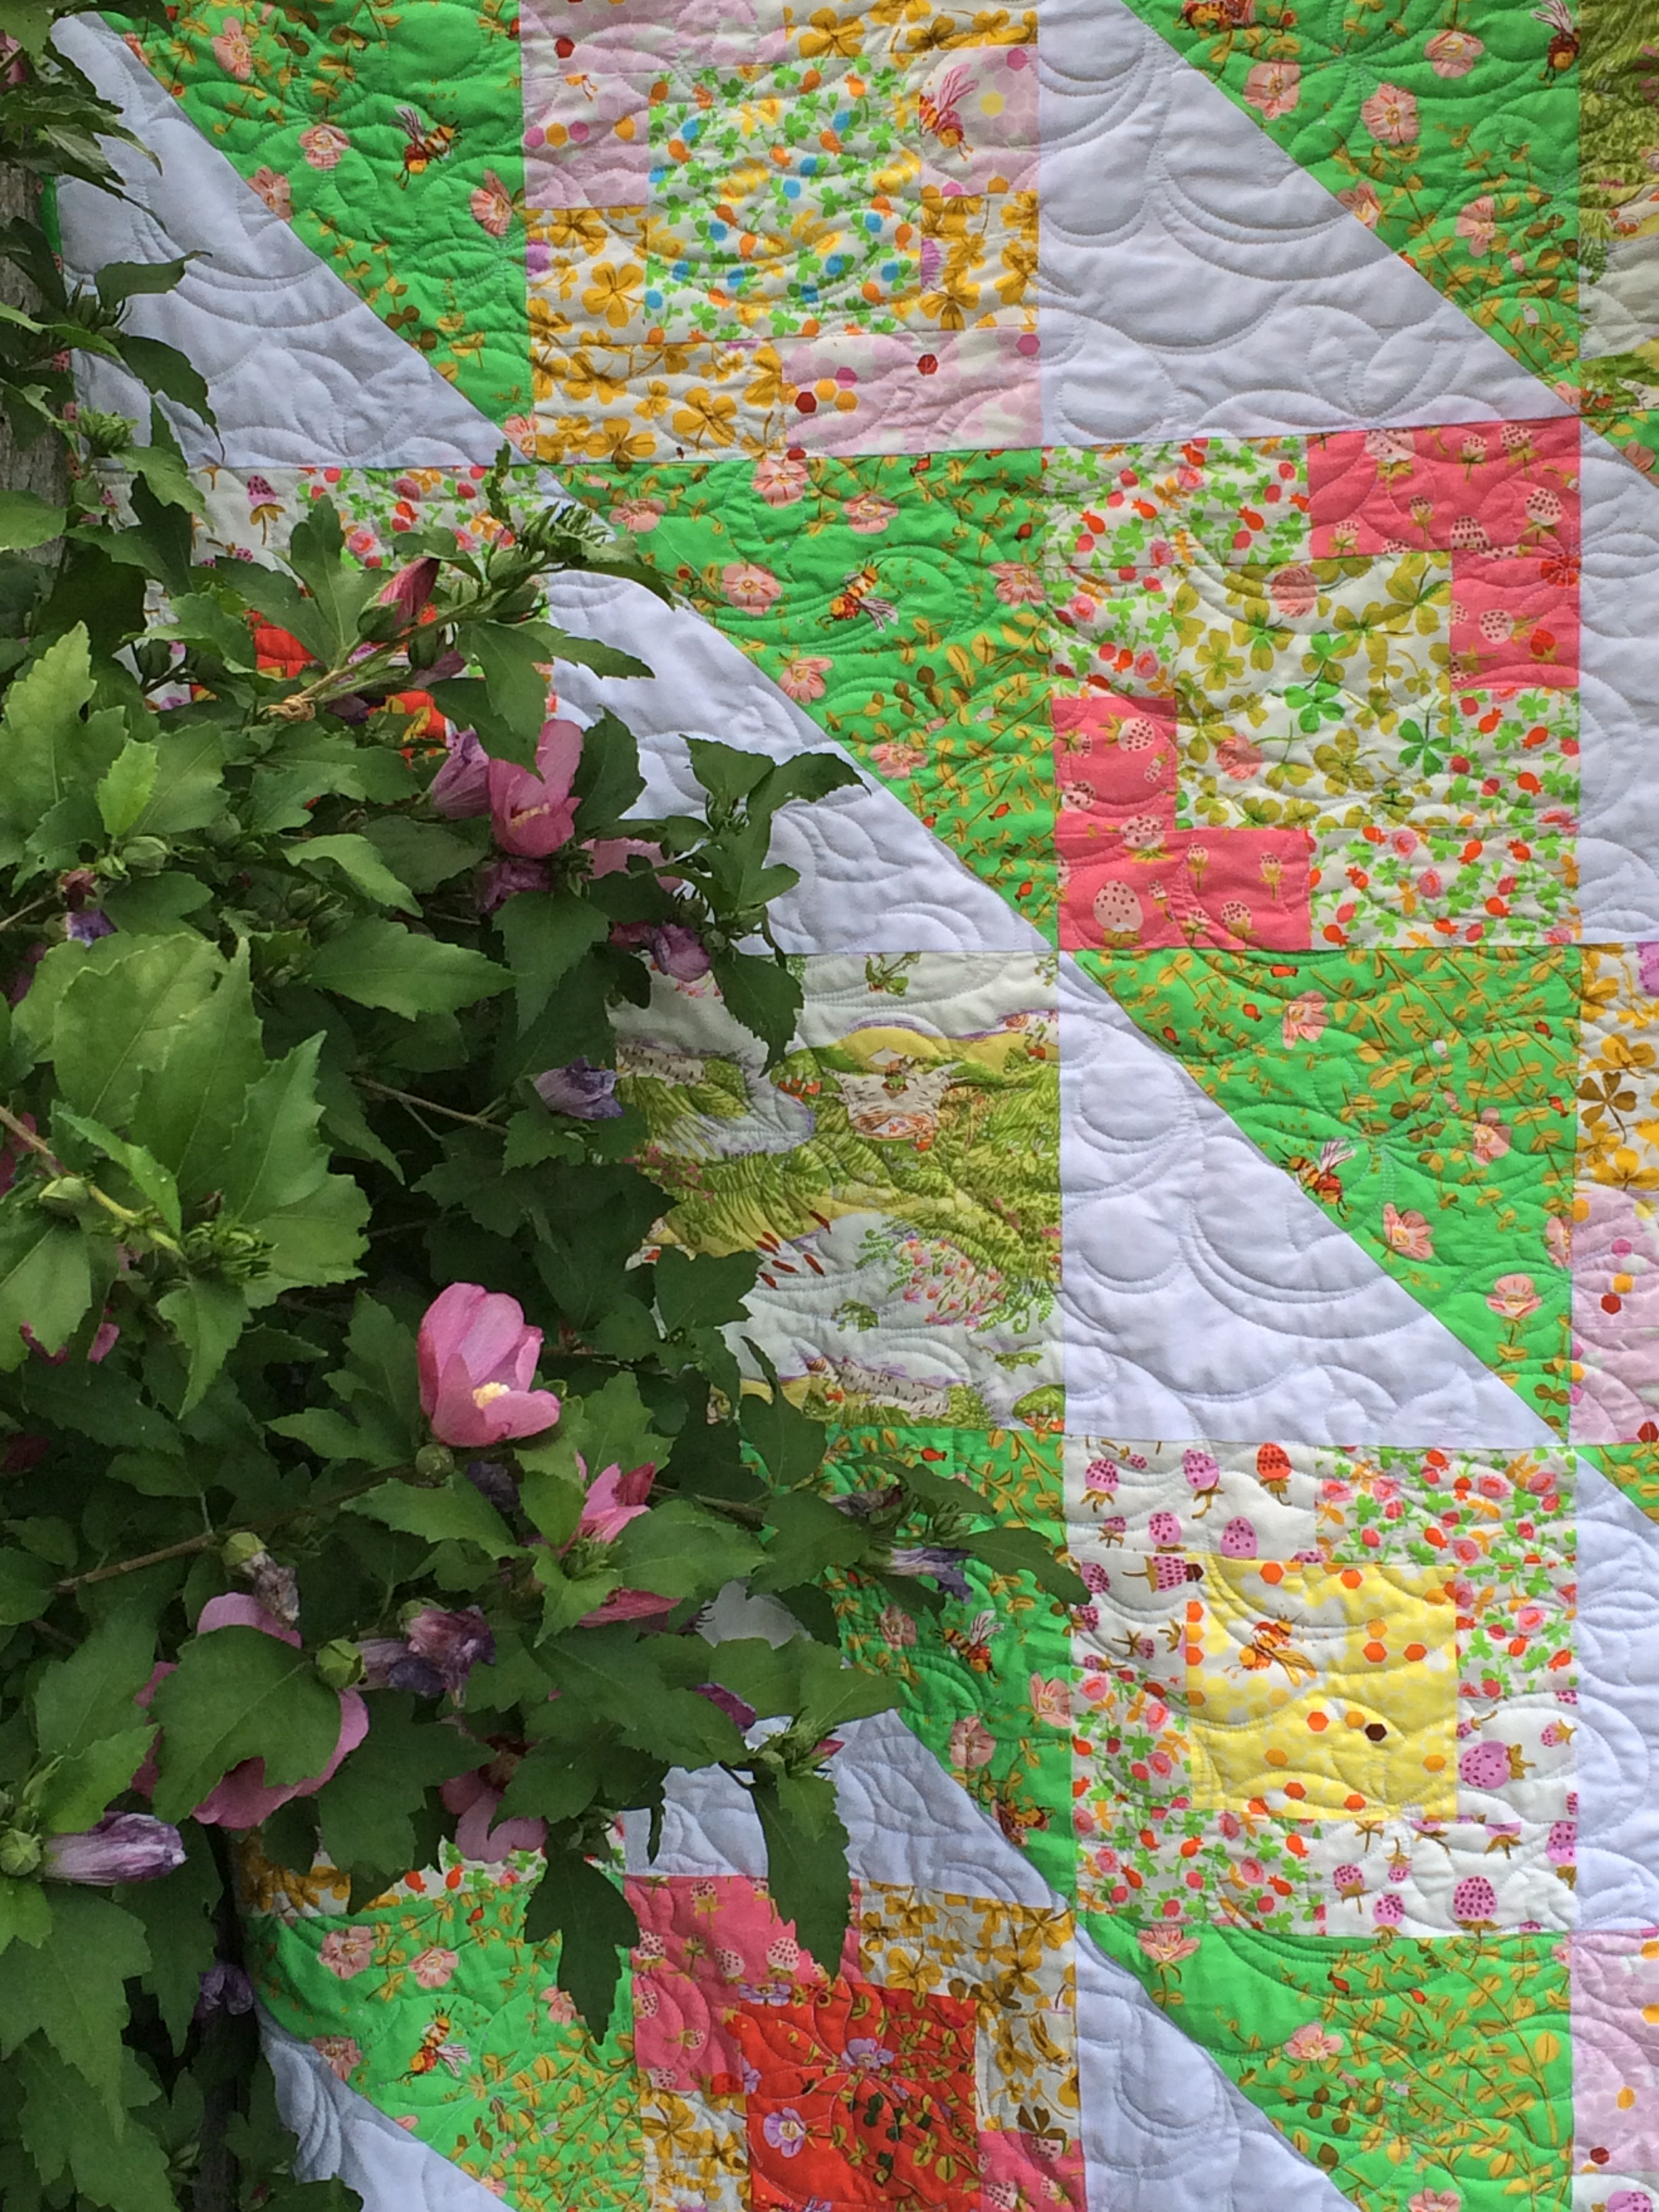
Don’t you just love this fabric from Dear Stella? We love sea critters at our house!
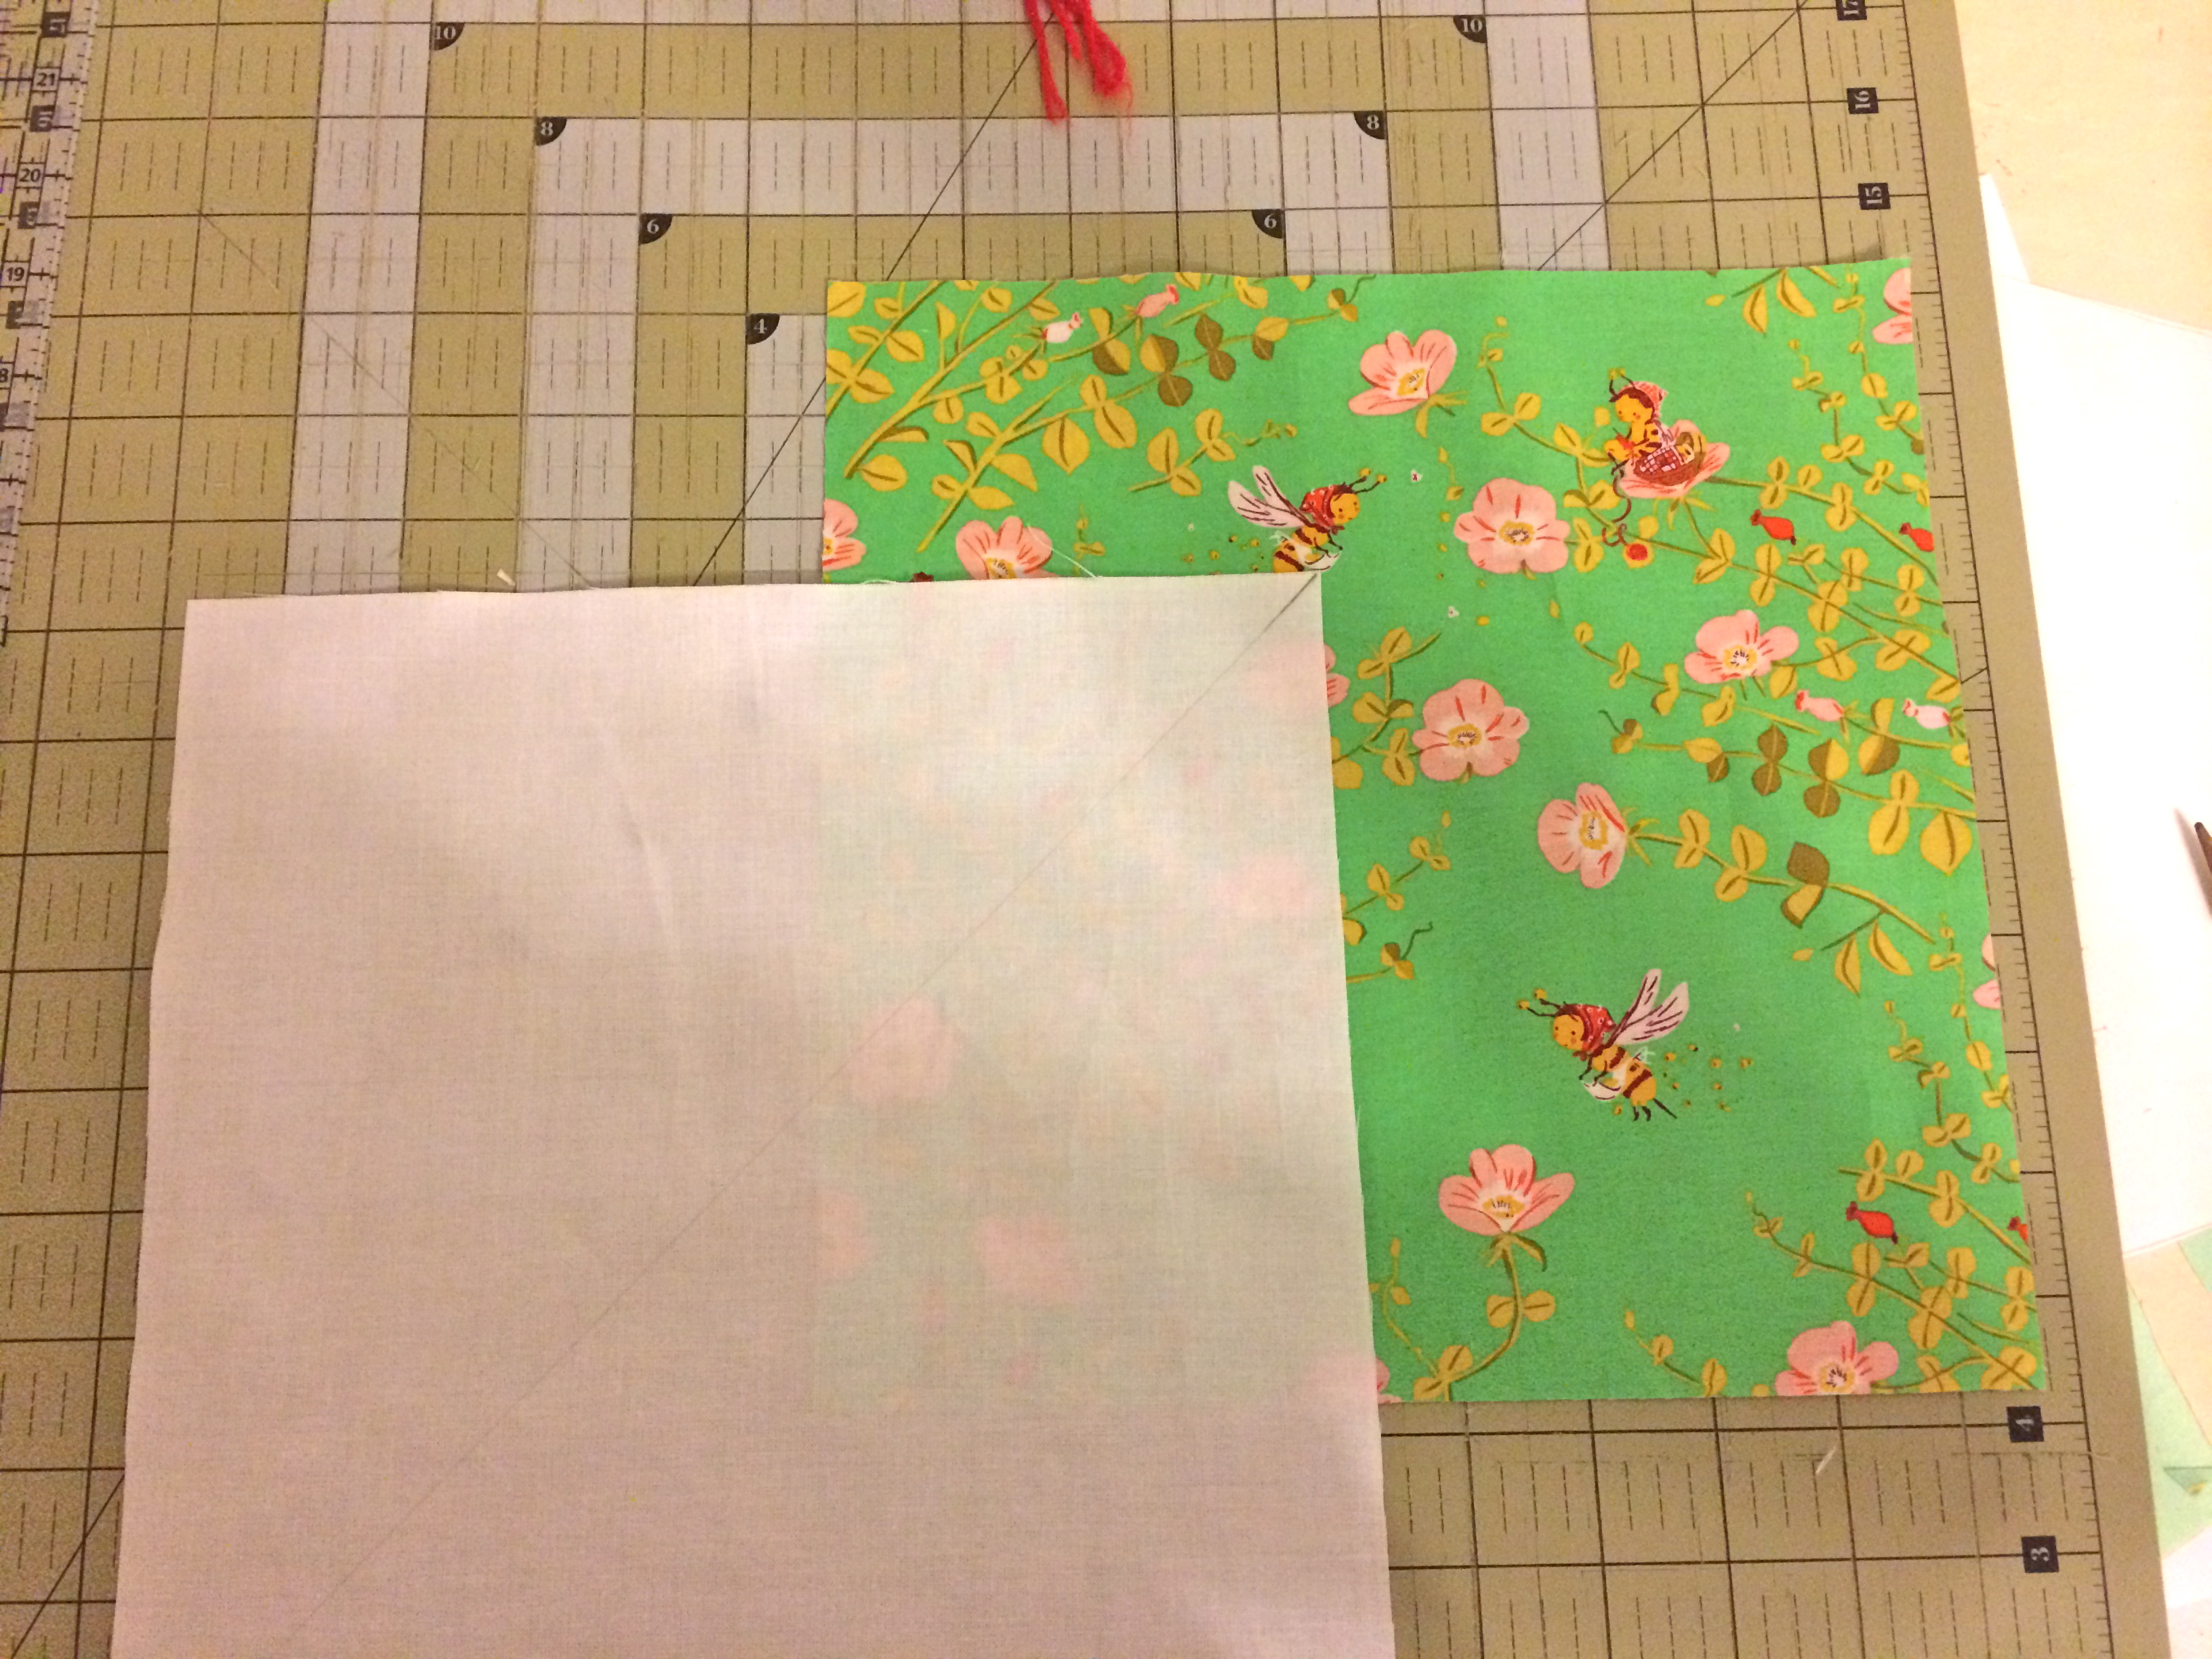
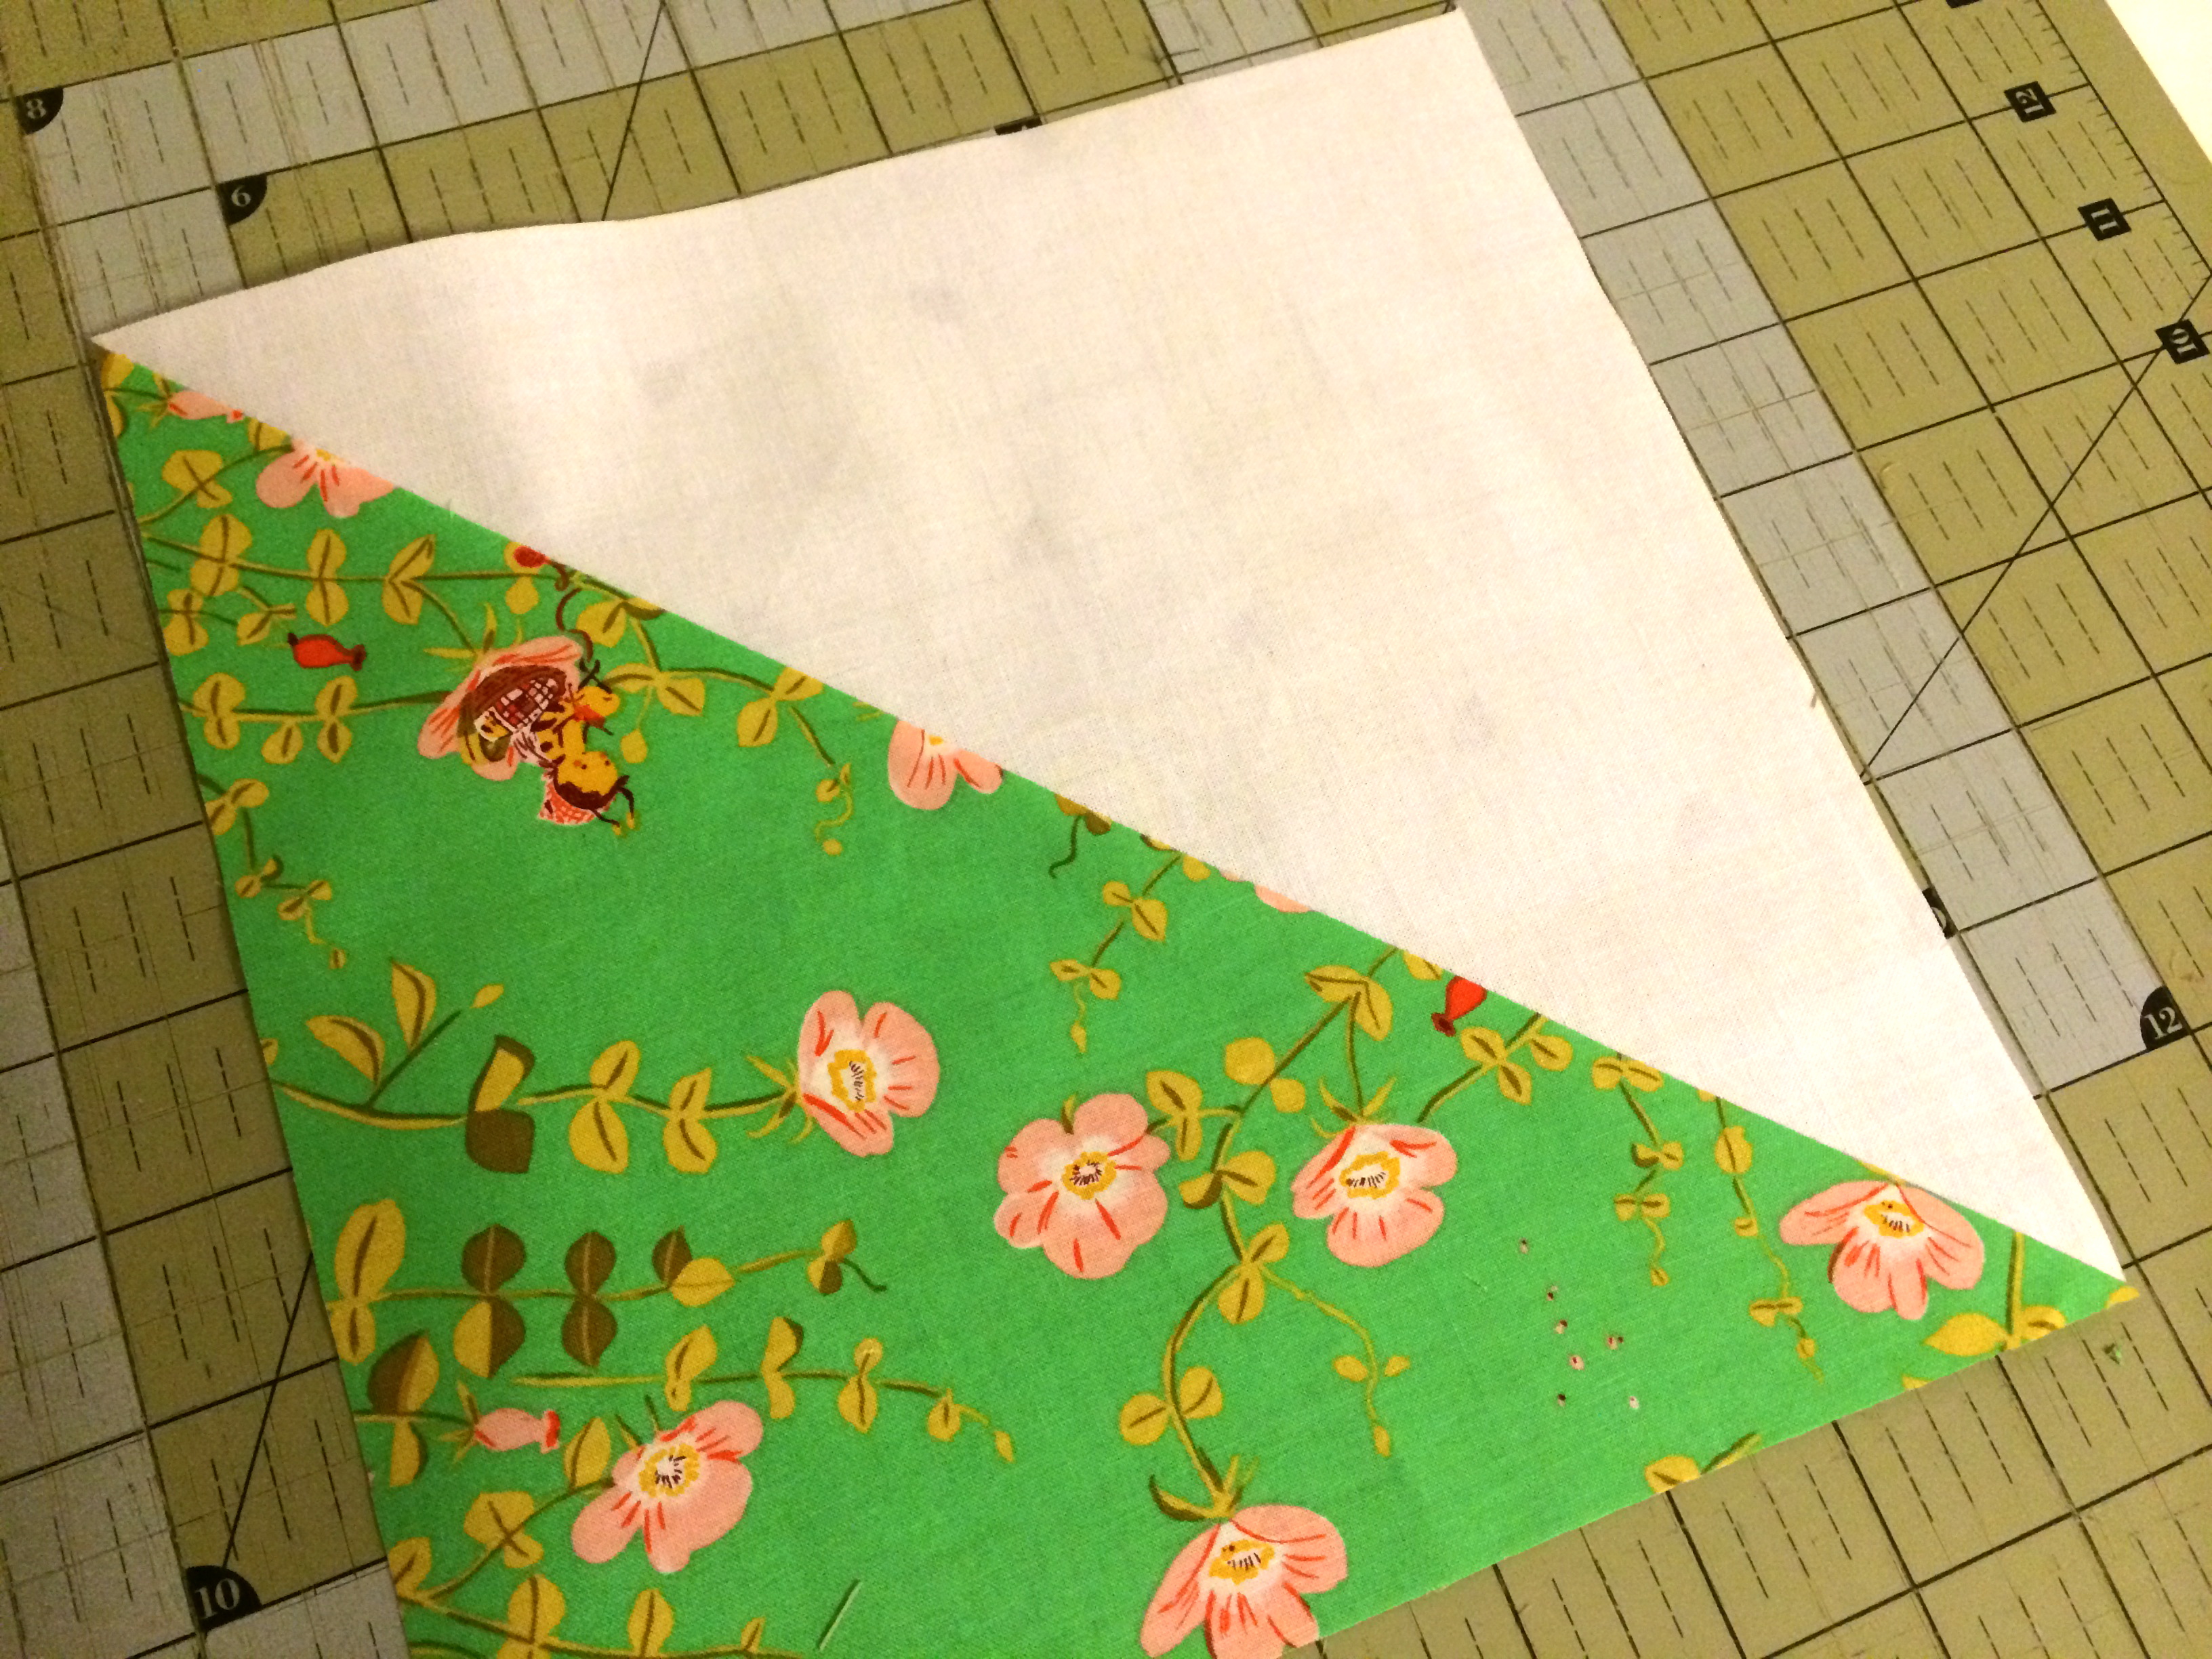
Cut the sea critters fabric 13.5″ x 20″
Seersucker Twist Red from Blend fabric 7″ x 20″
cotton batting 21″ or larger
20″ navy blue lace trim
2 yards navy fringe trim
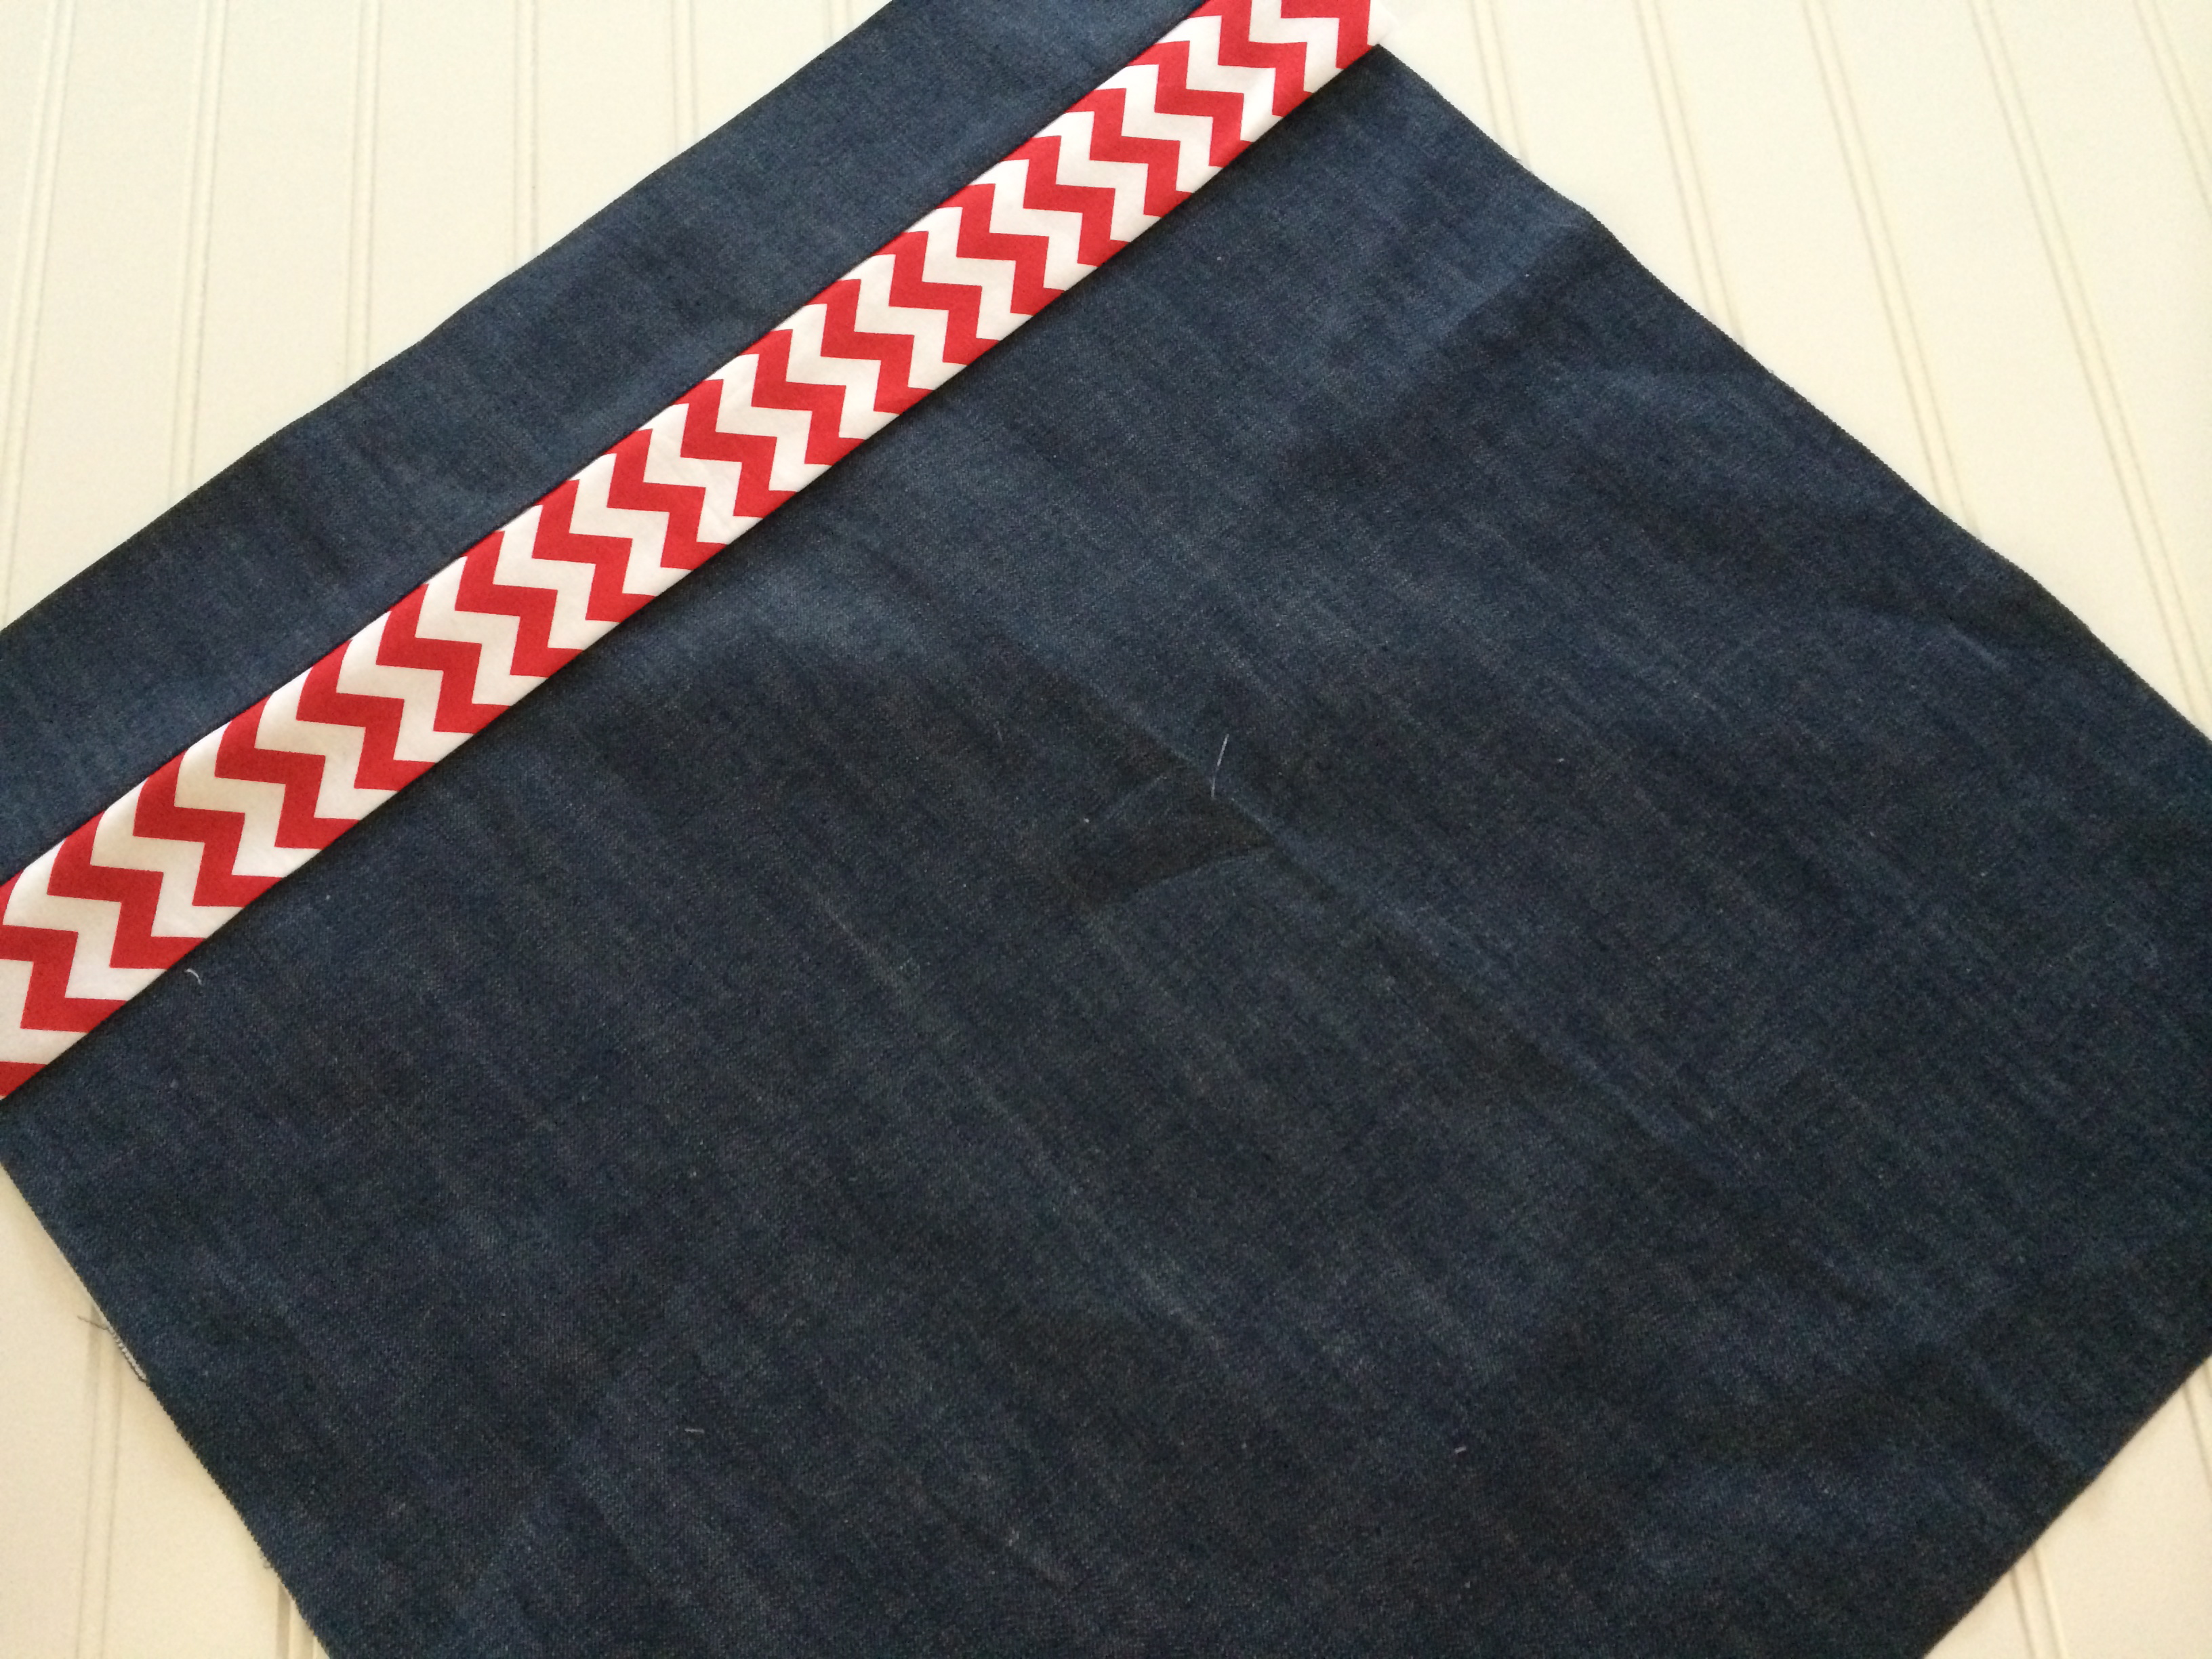
20″ square Denim for the back
20″ or longer Zipper
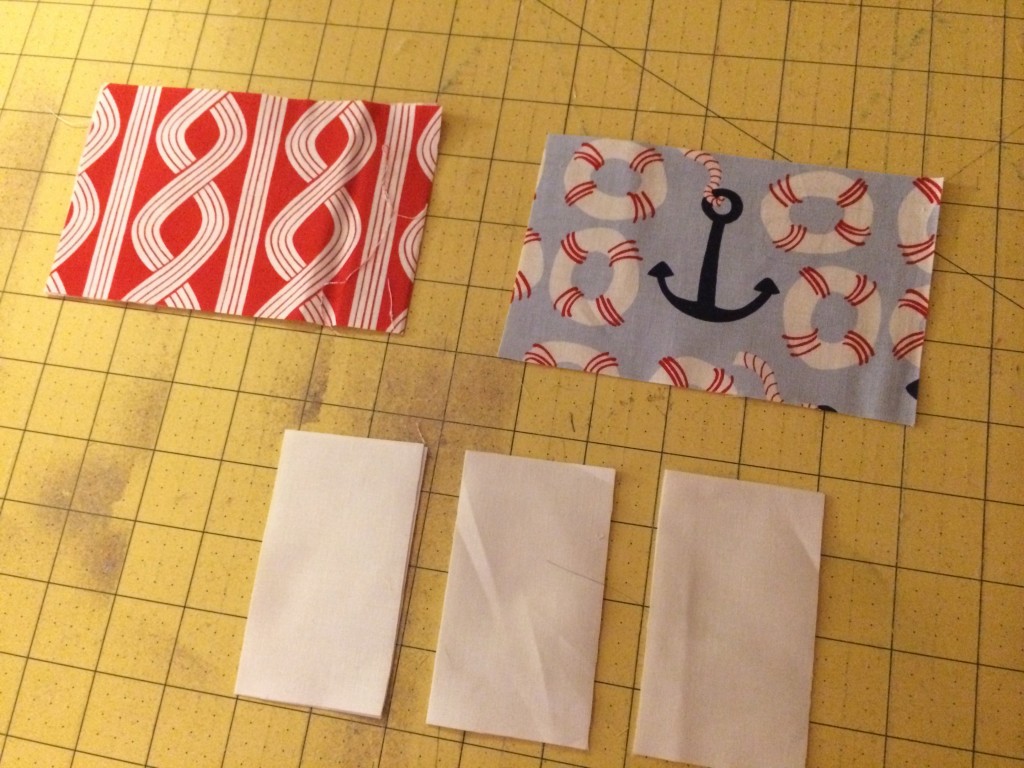
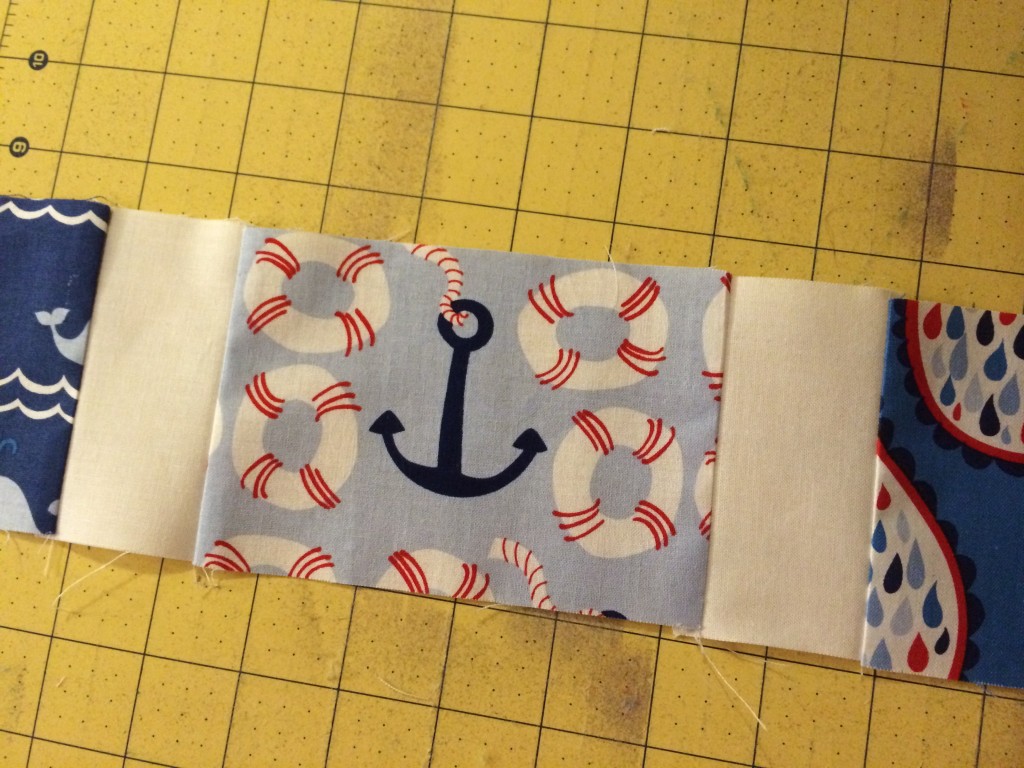
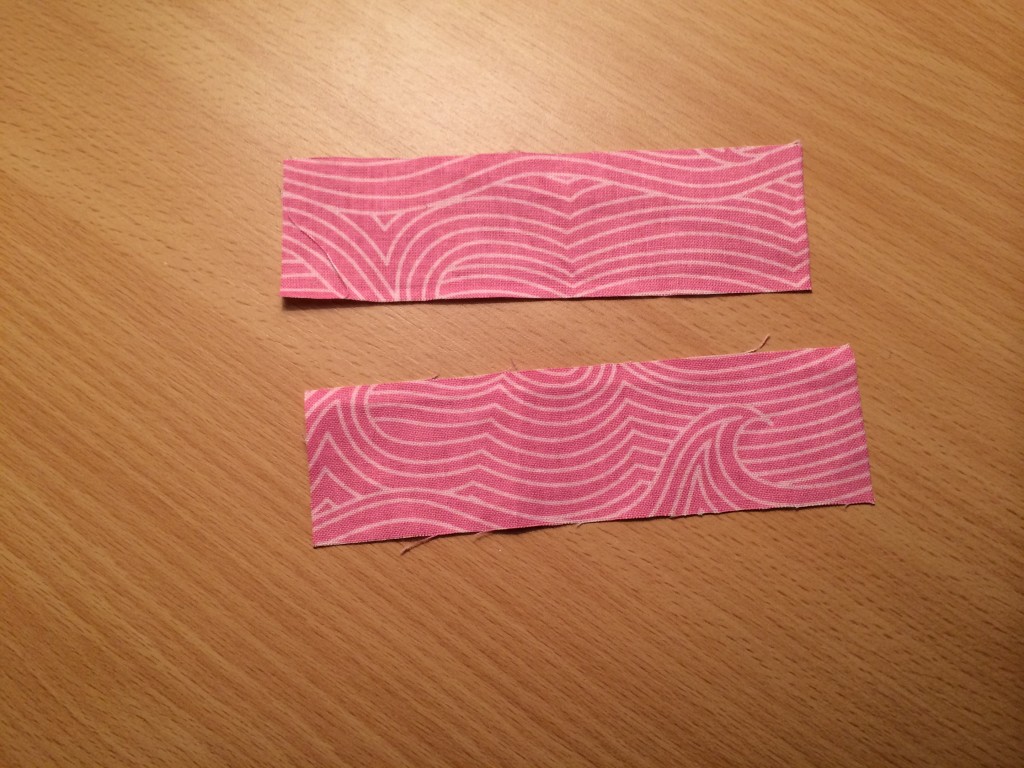
accent fabric 4.5″ x 20″
20″ pillow form
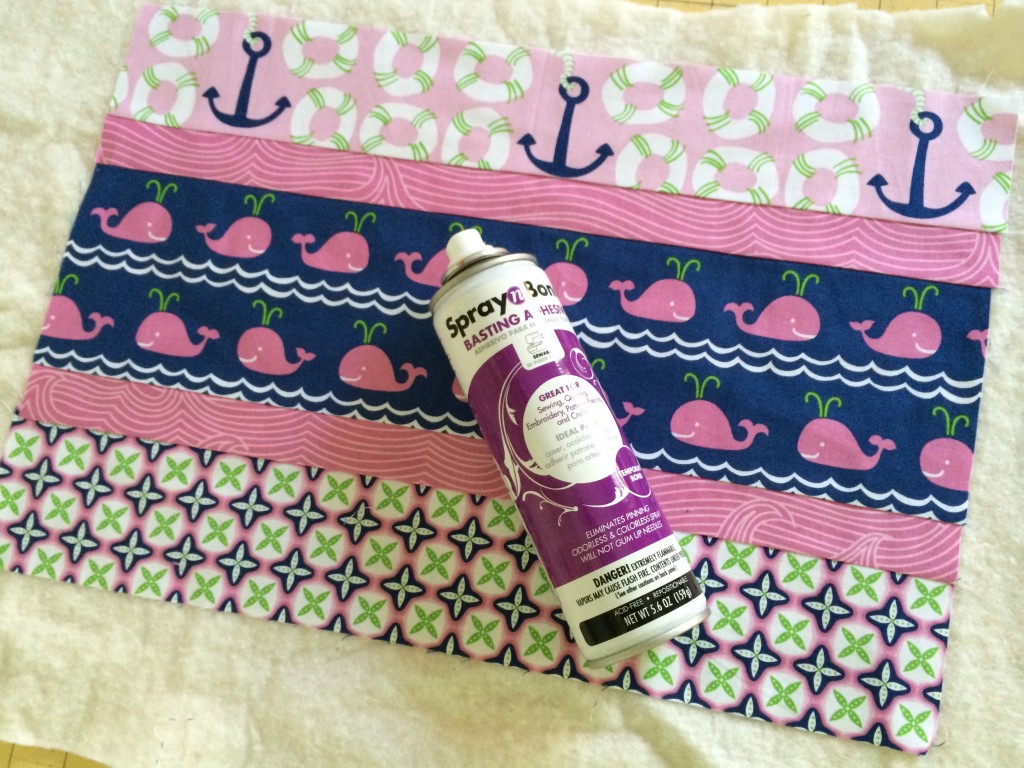
Spray n Bond for basting
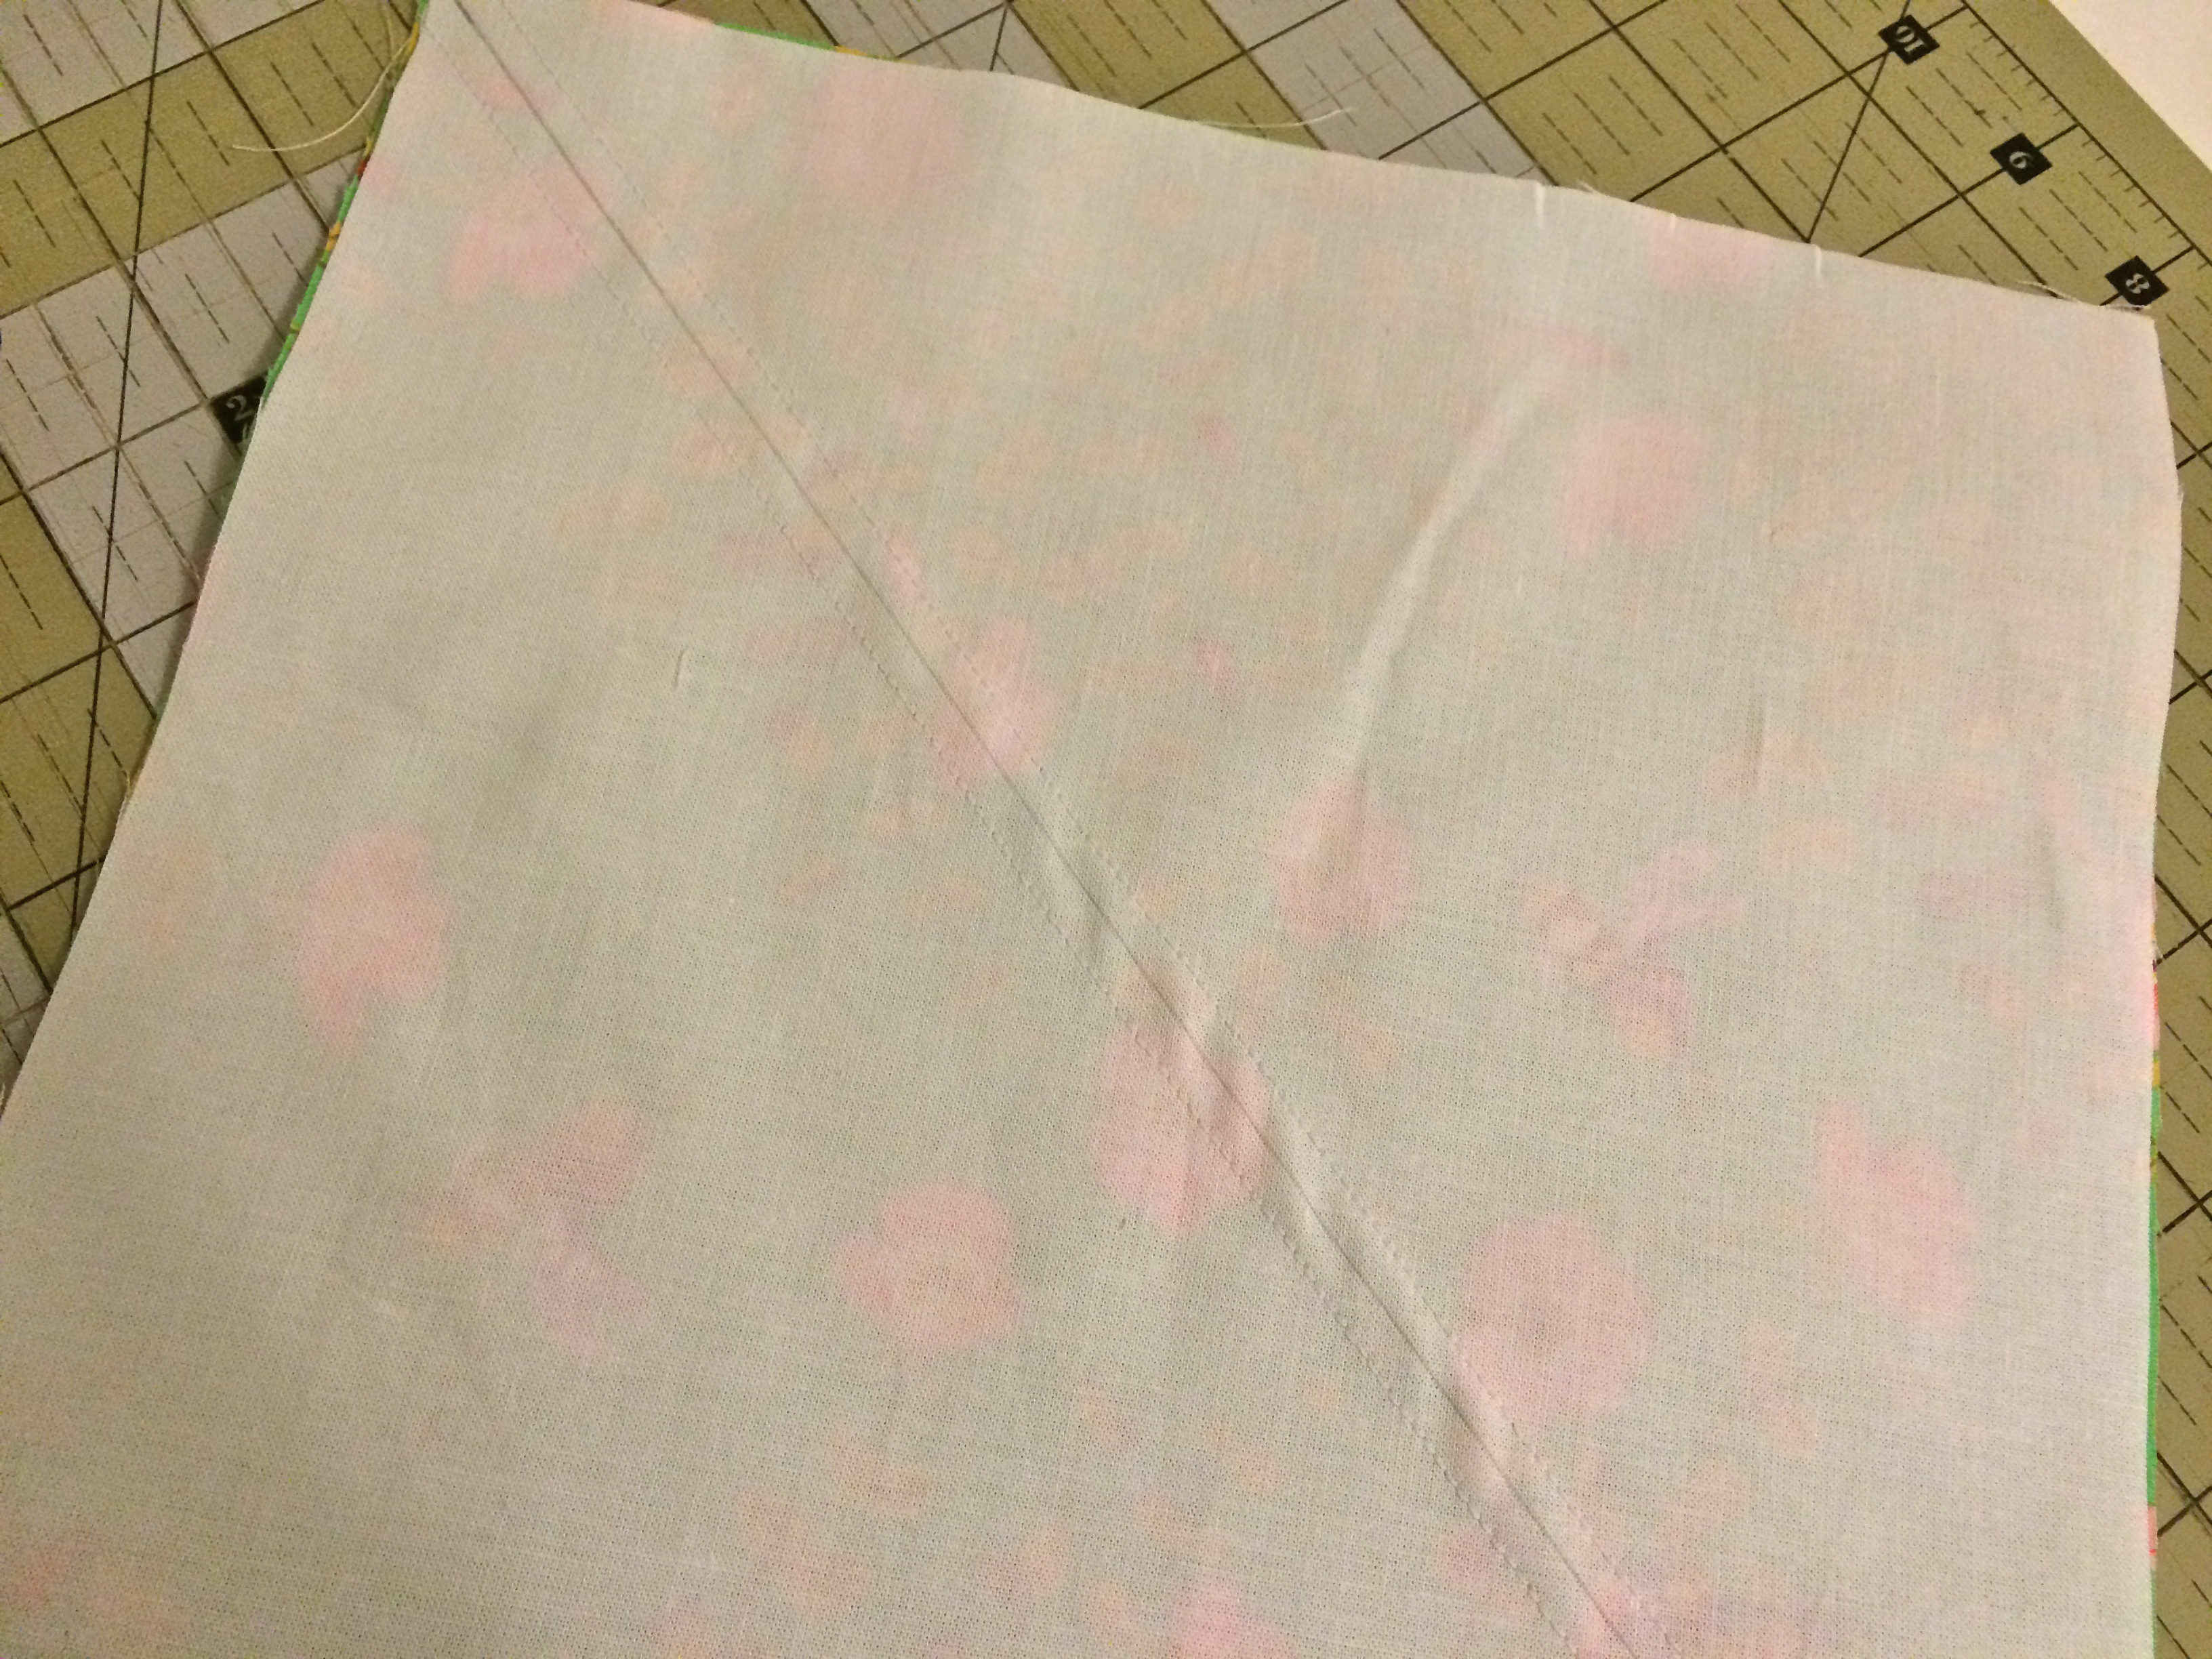
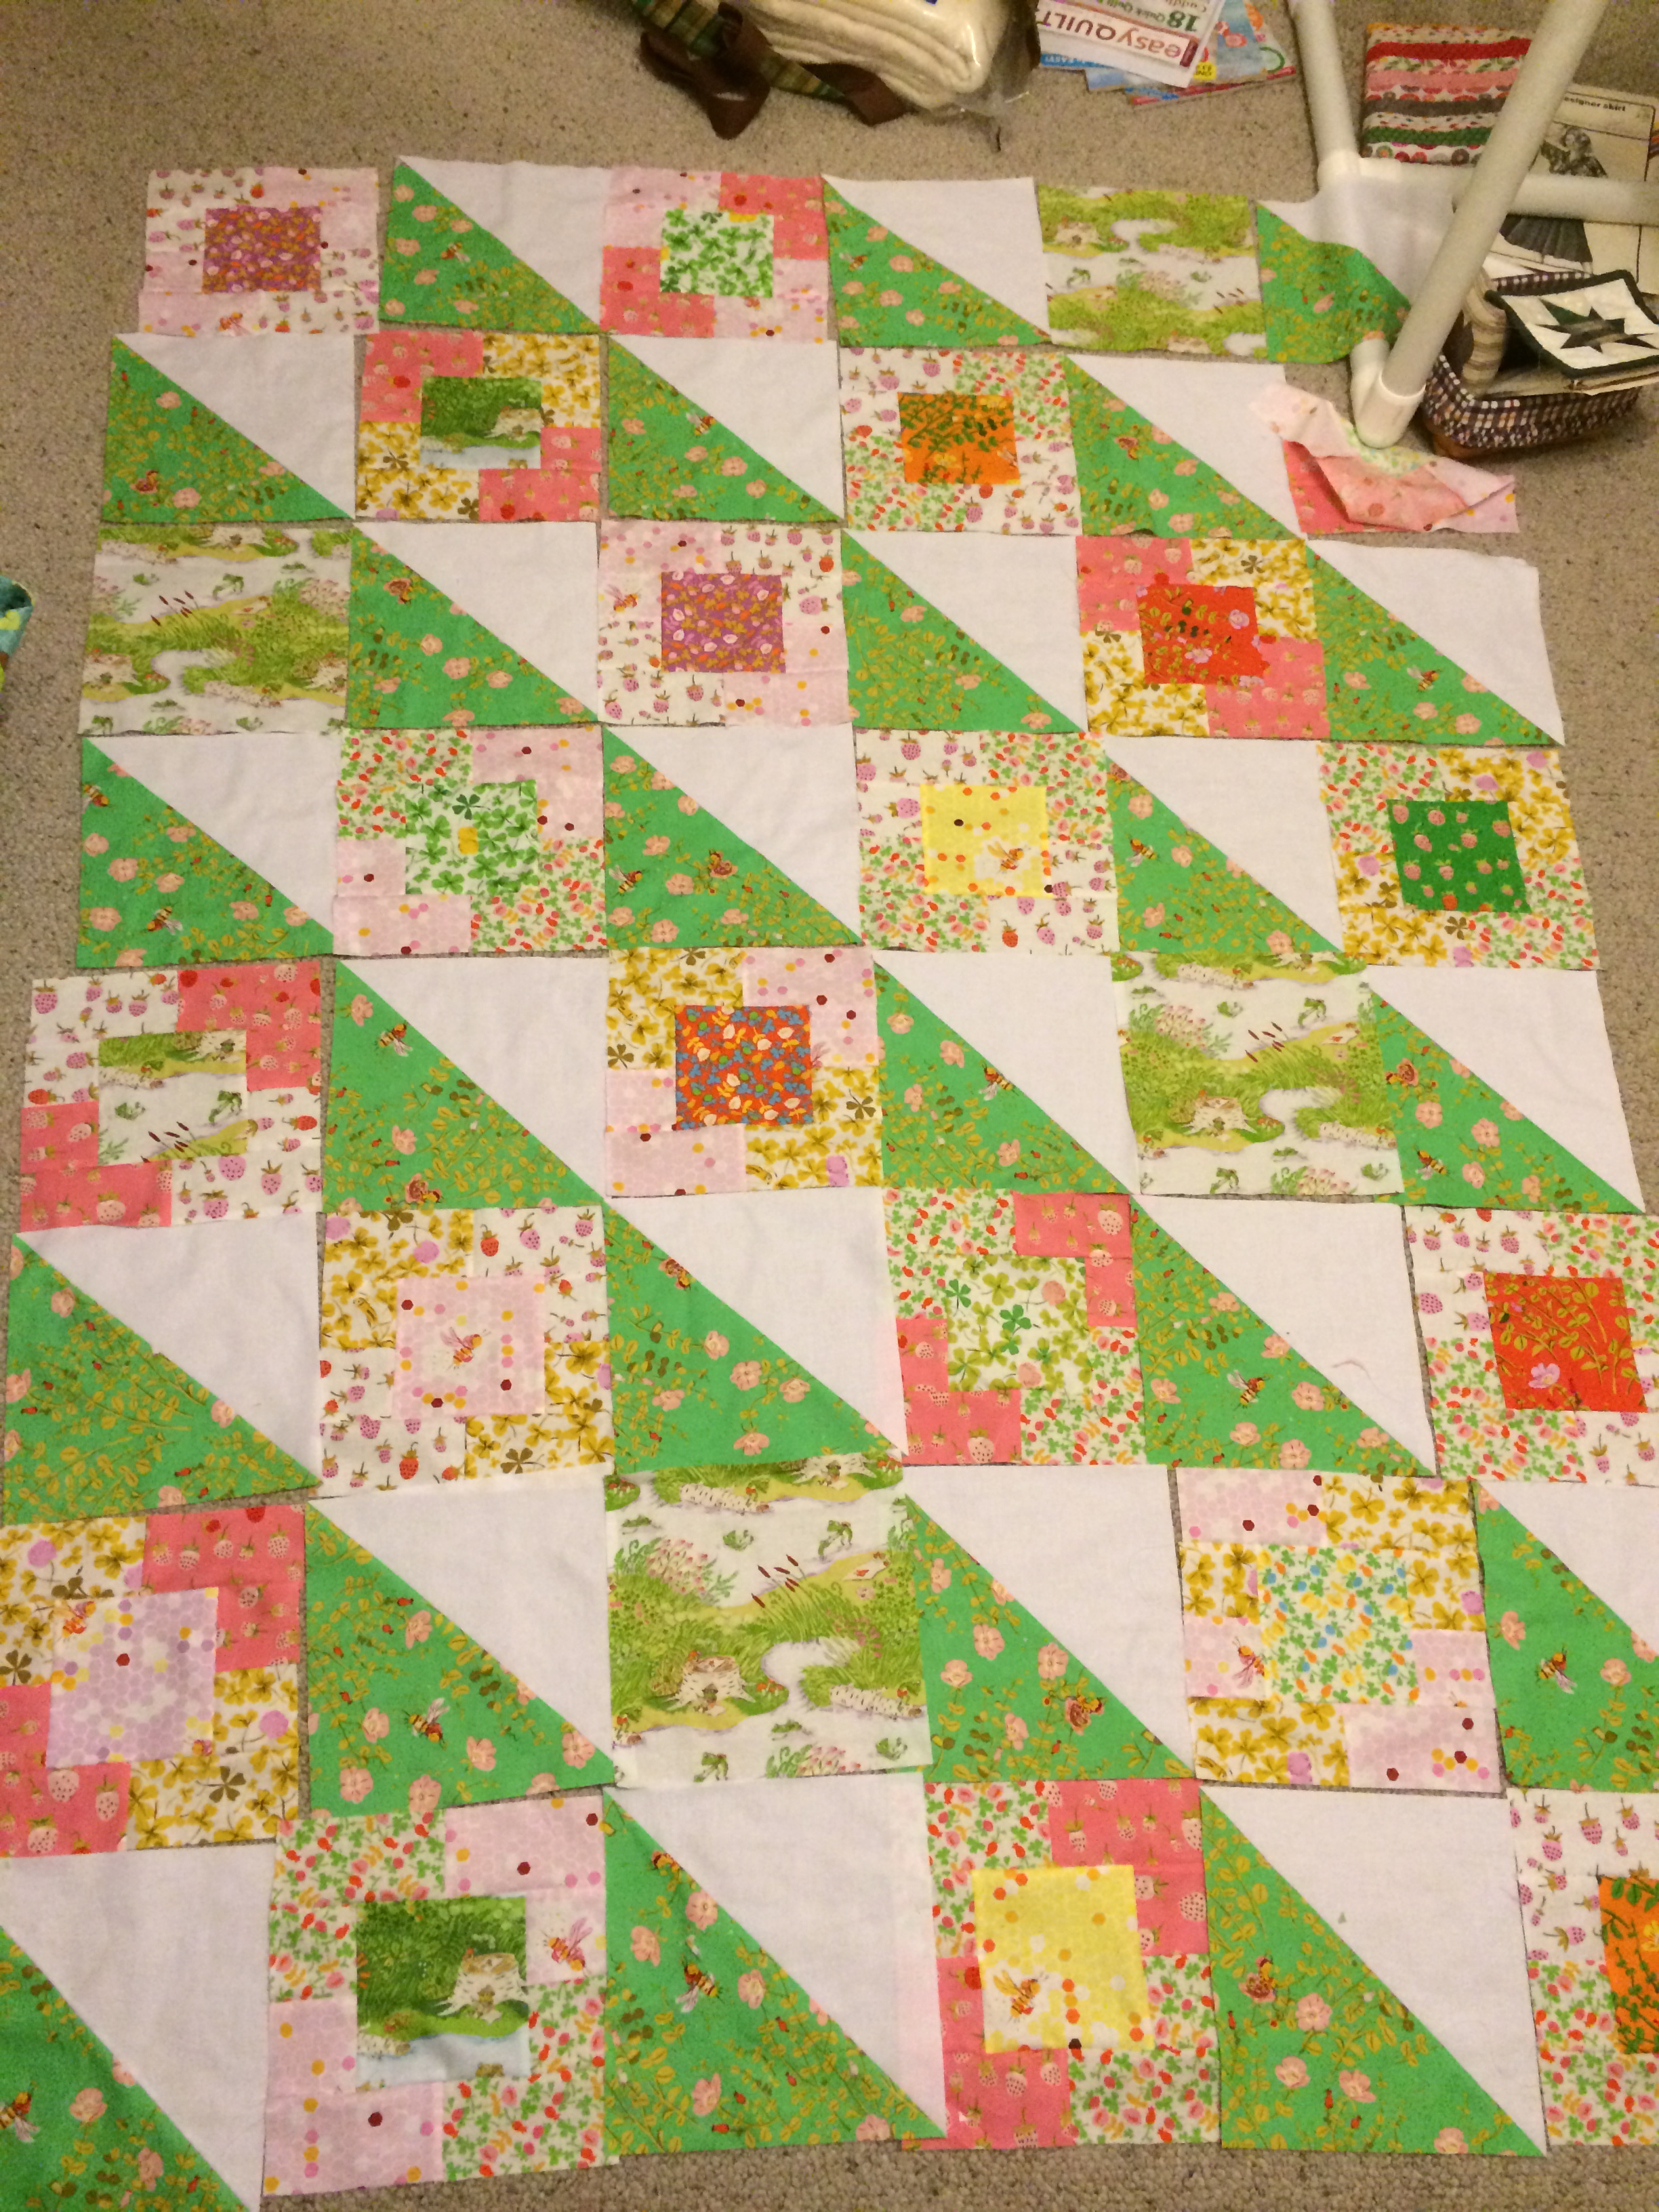
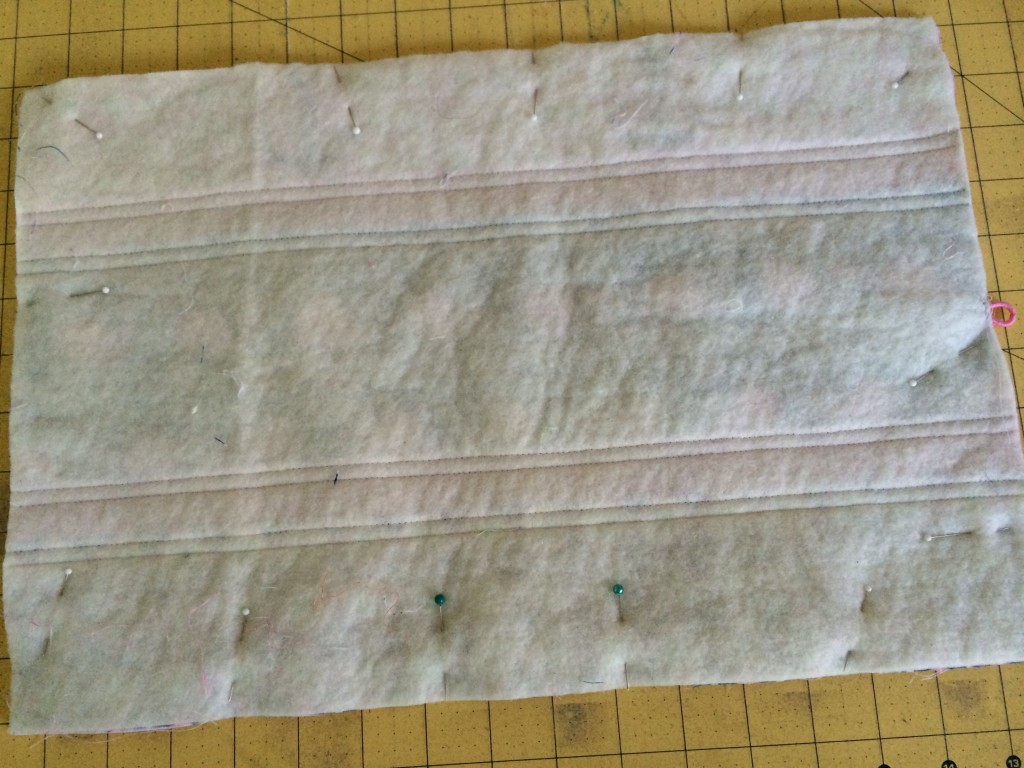
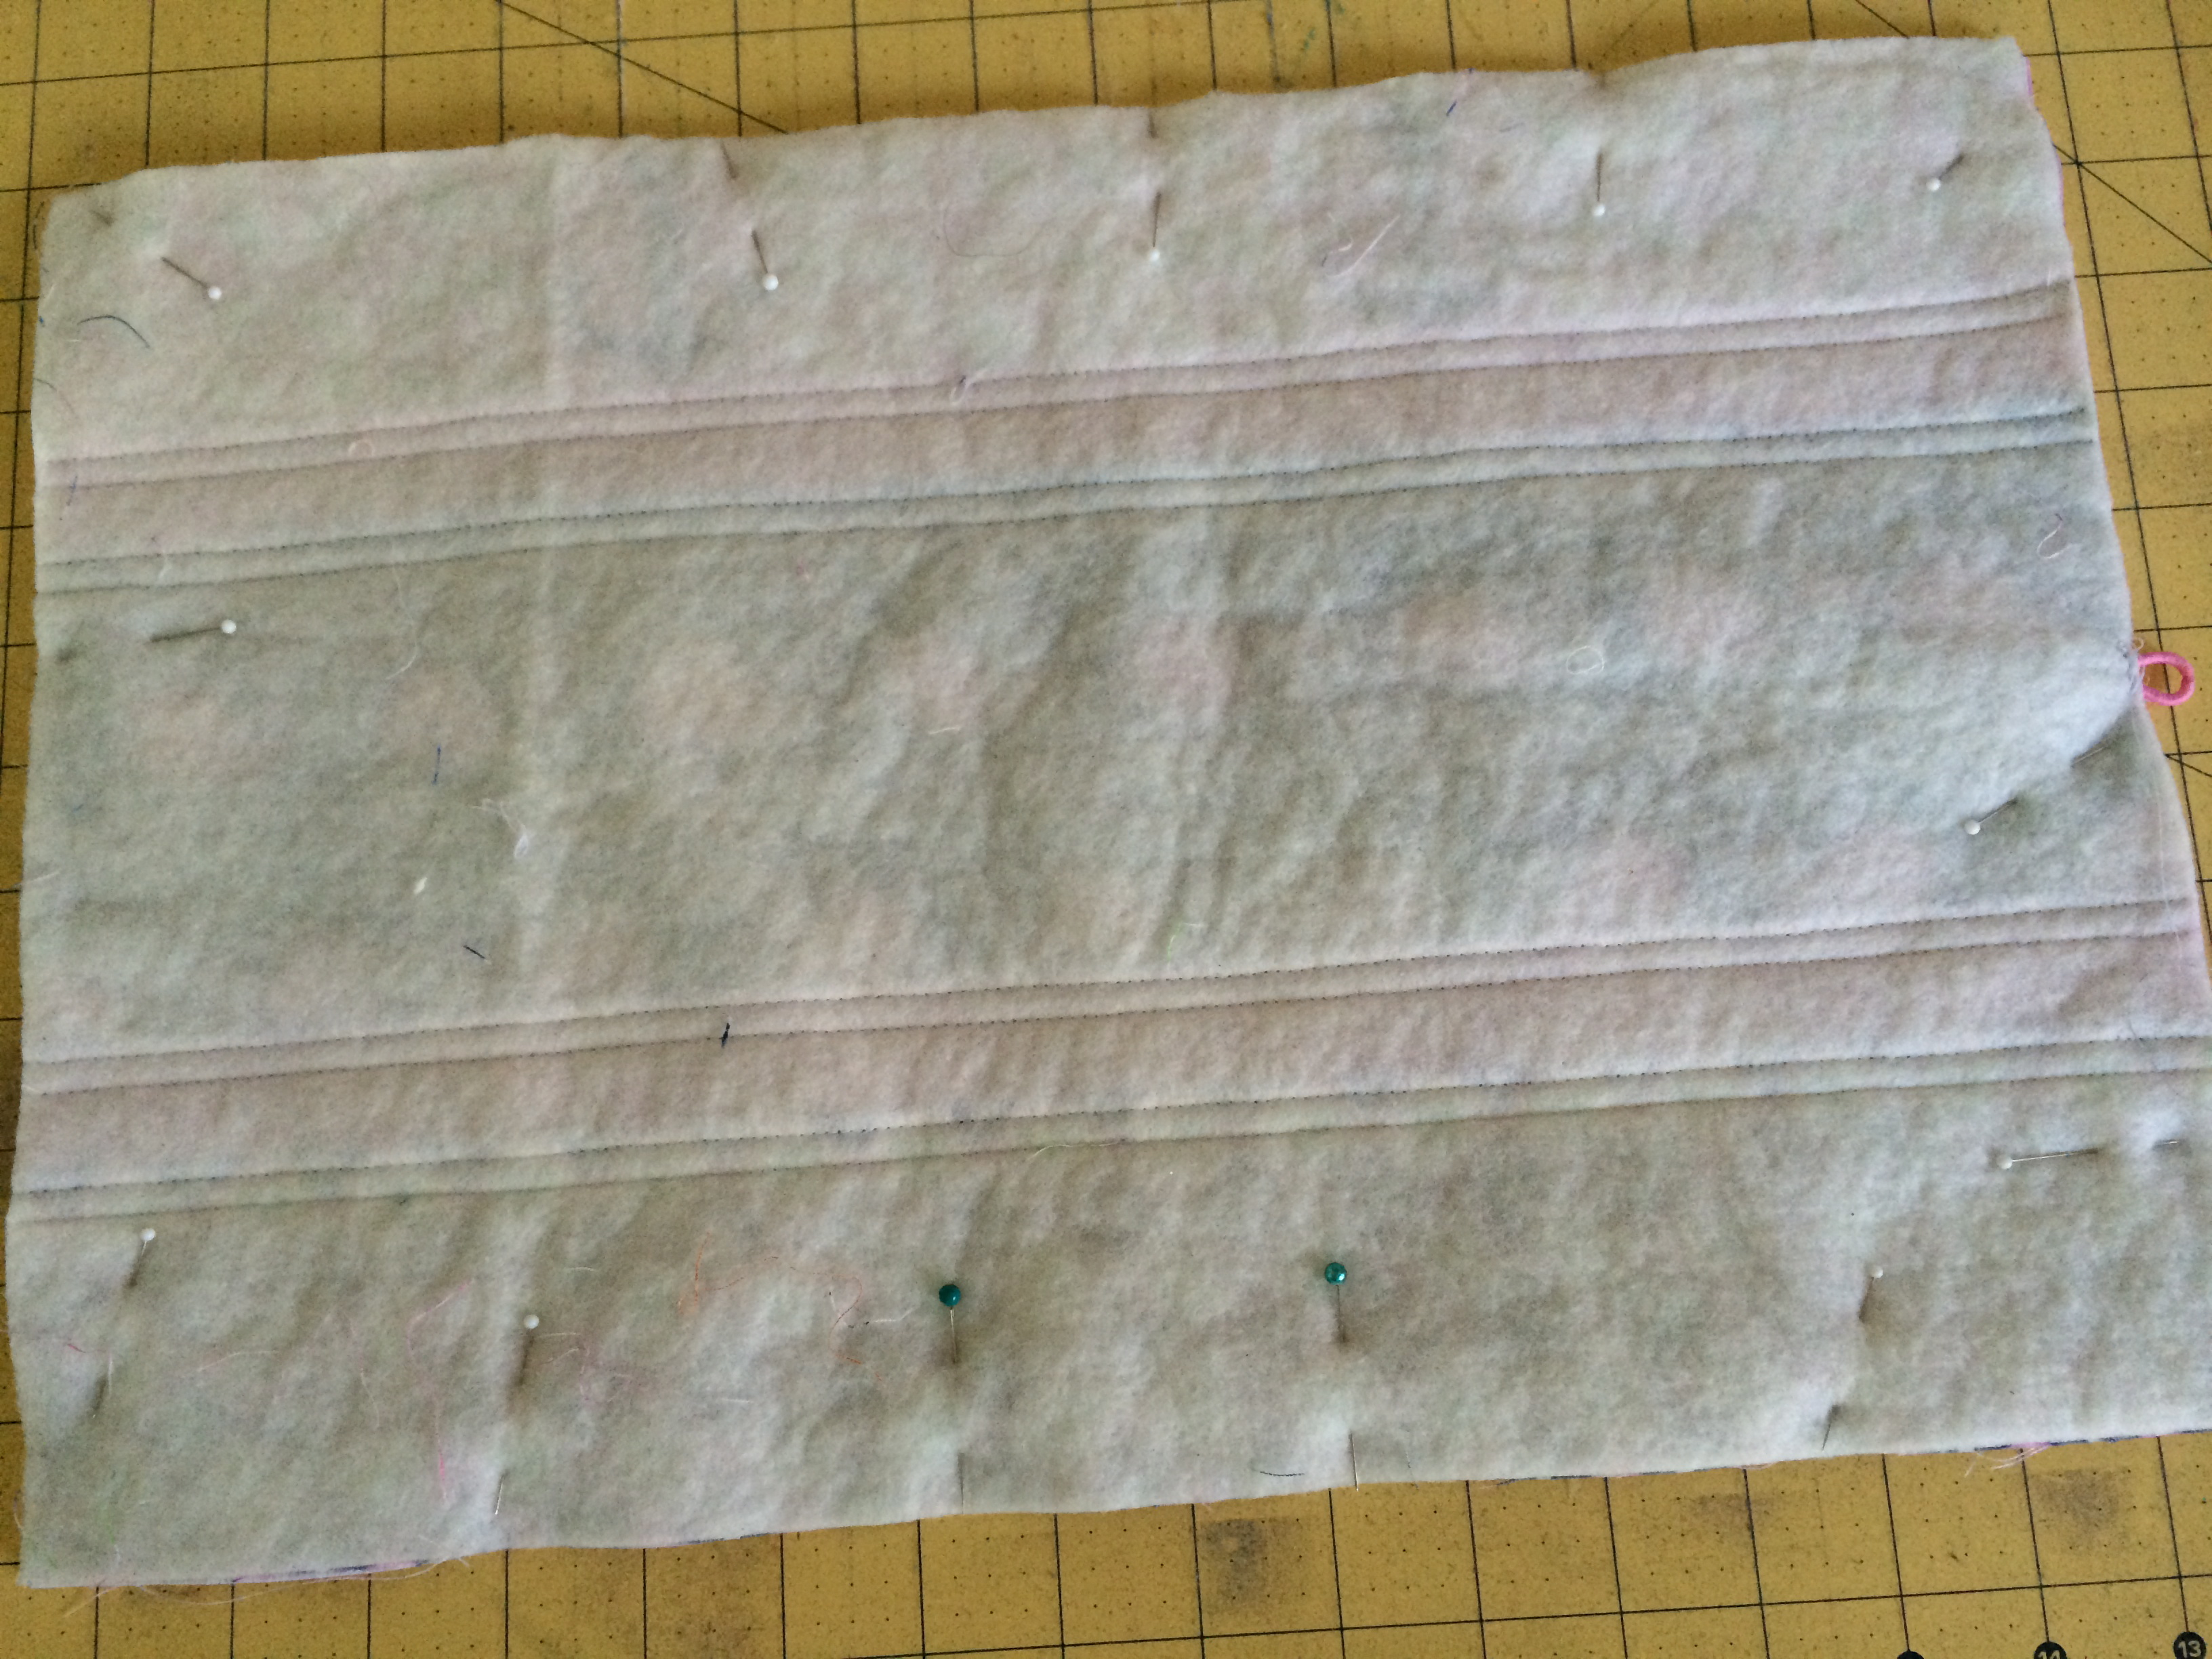
Sew them together using 1/4″ seams. Using Spray n Bond basting spray, baste the pillow top to the batting.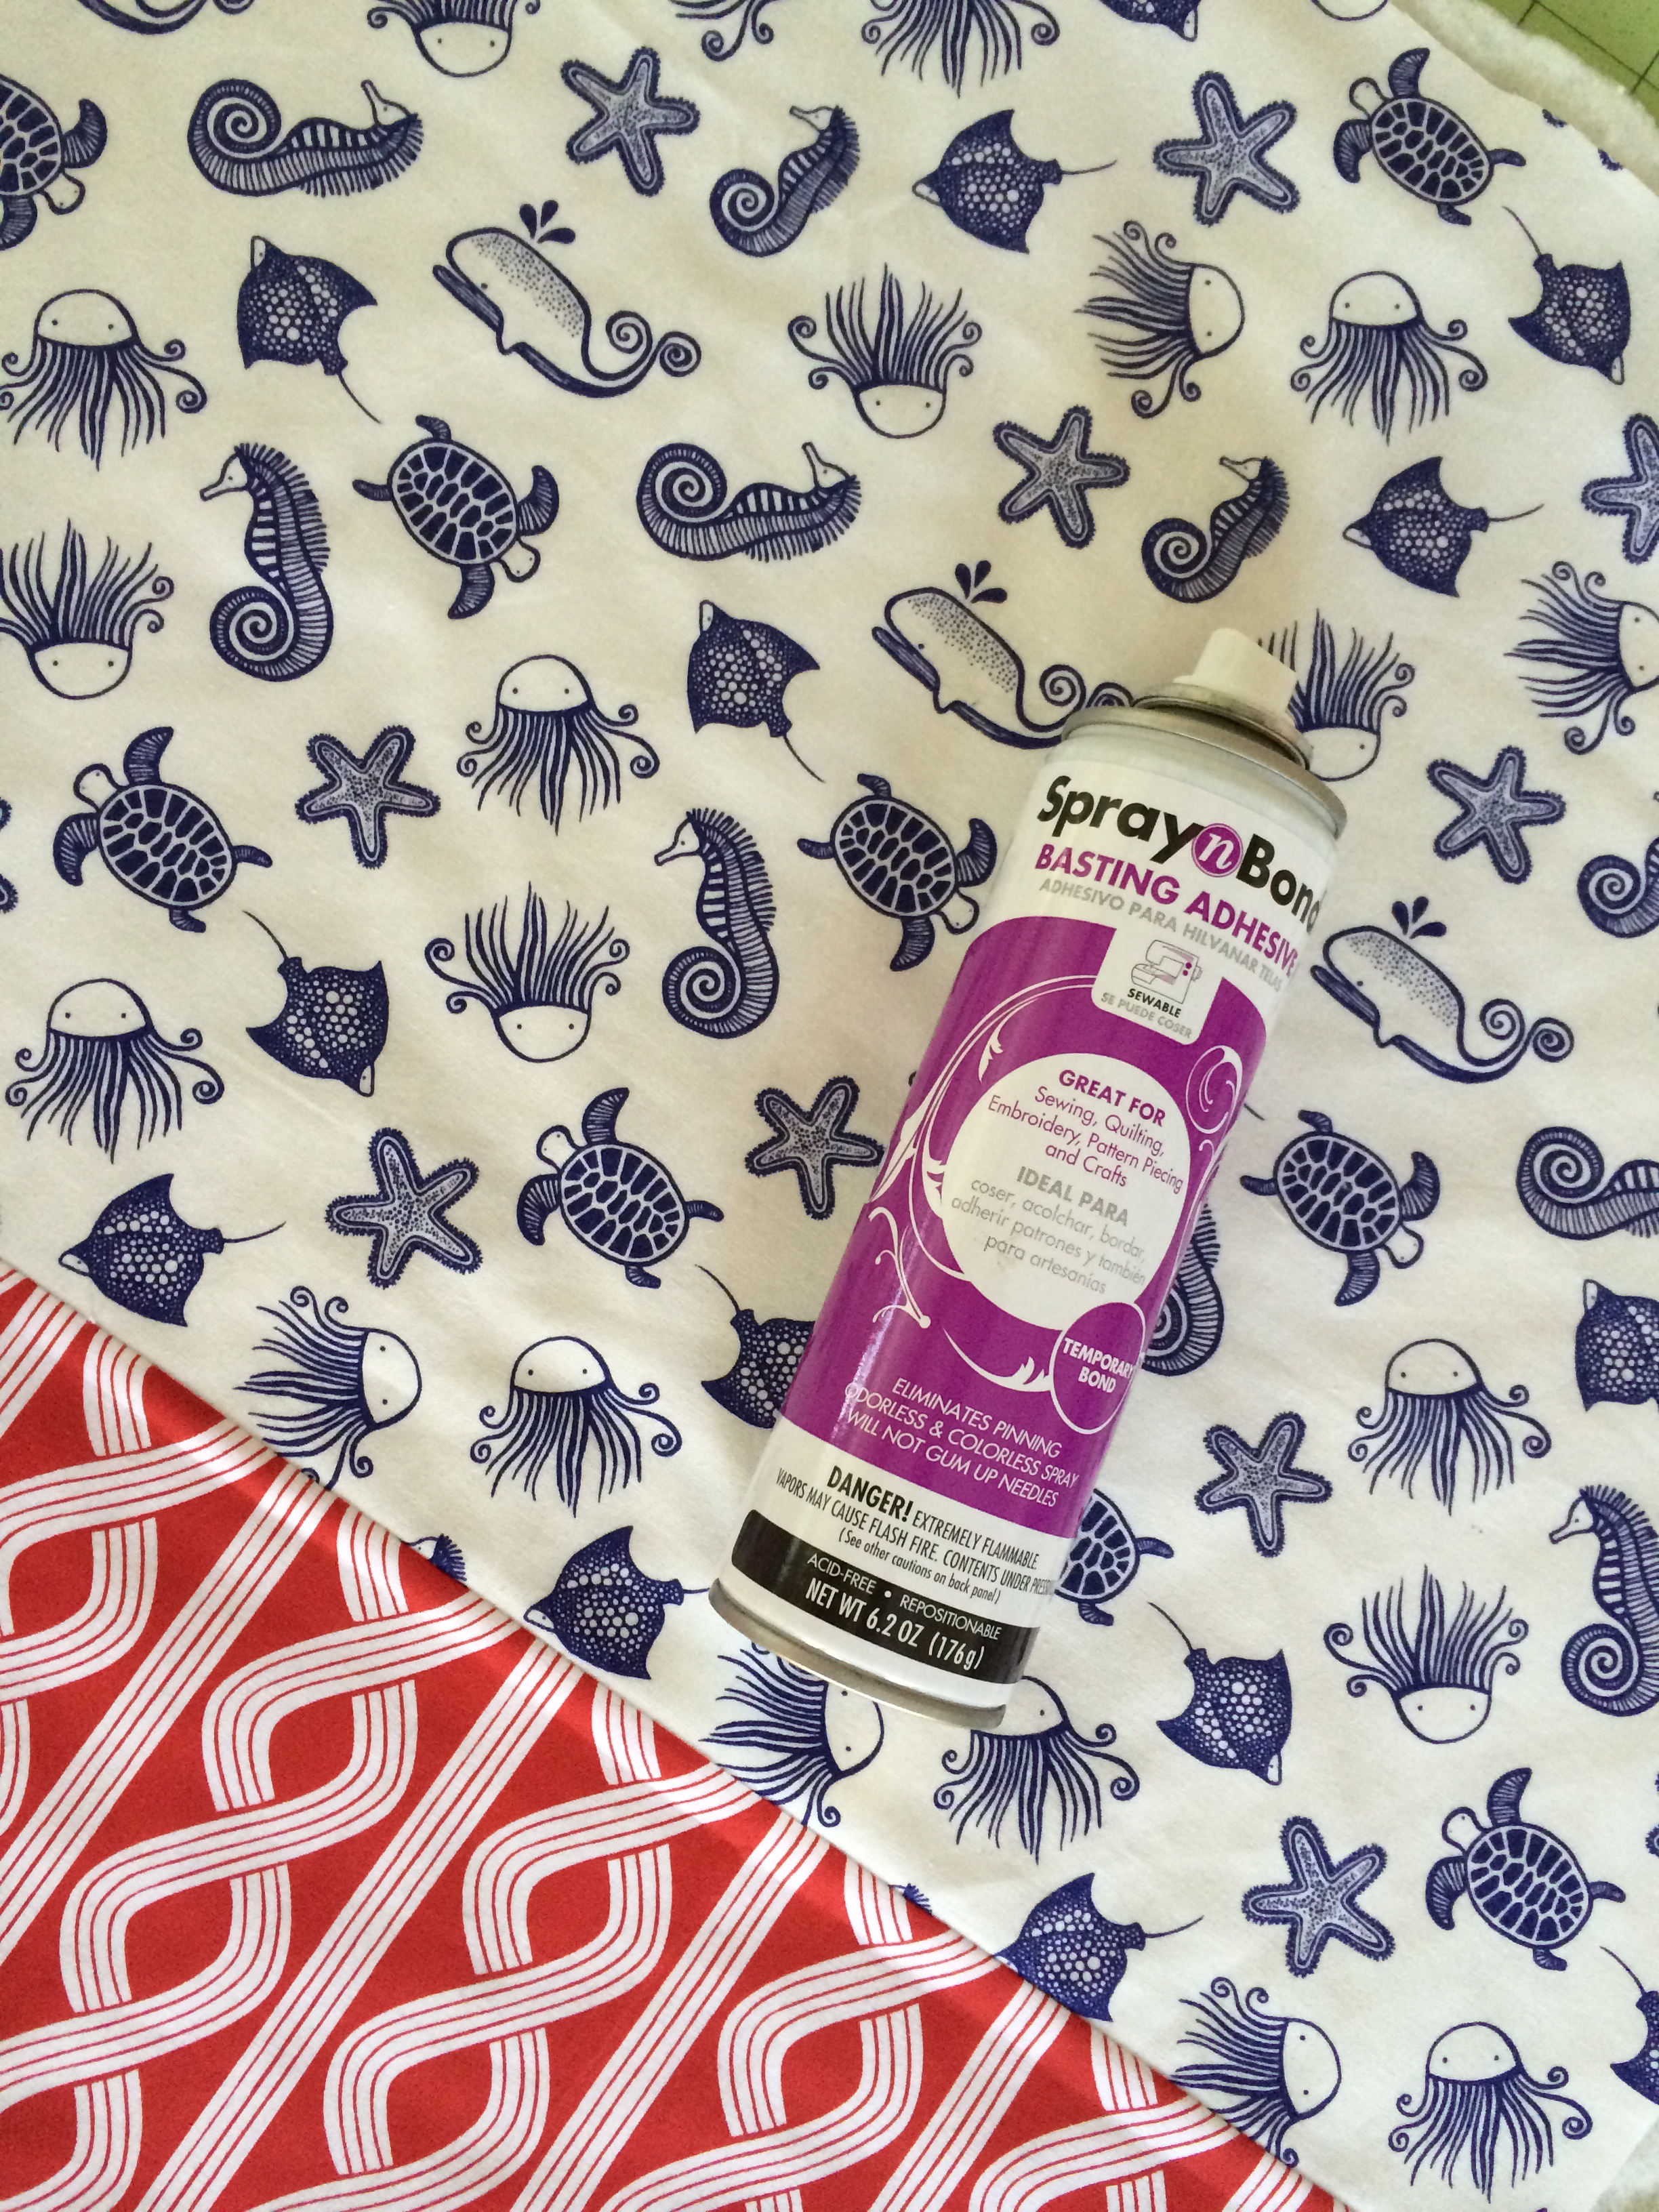
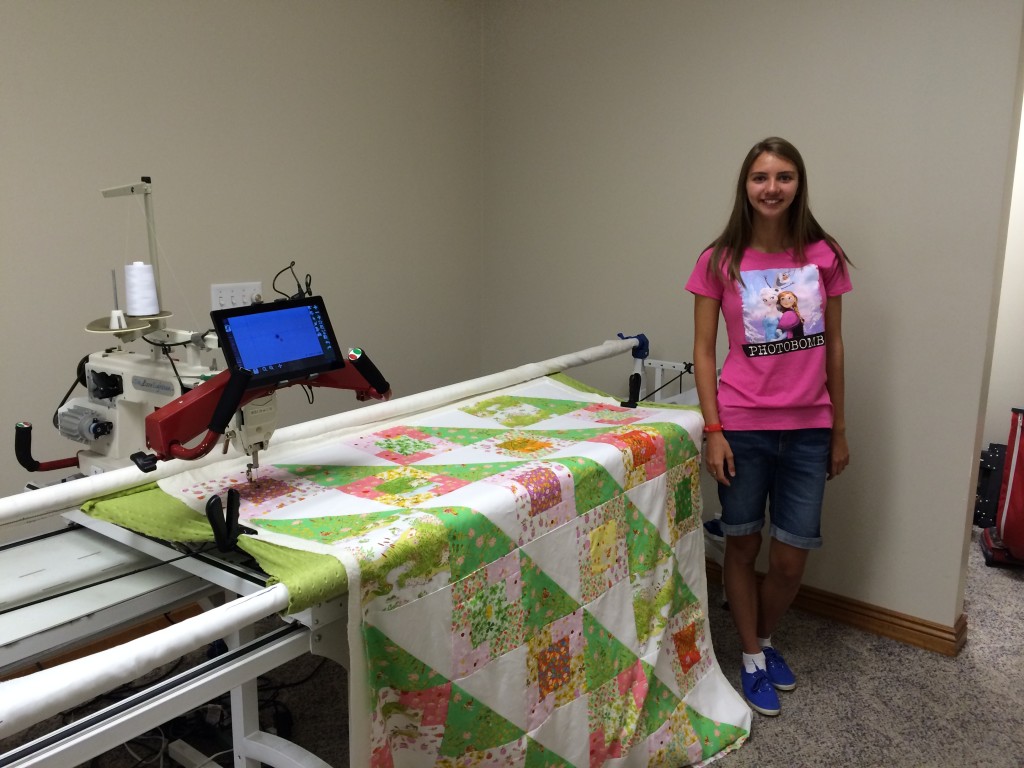
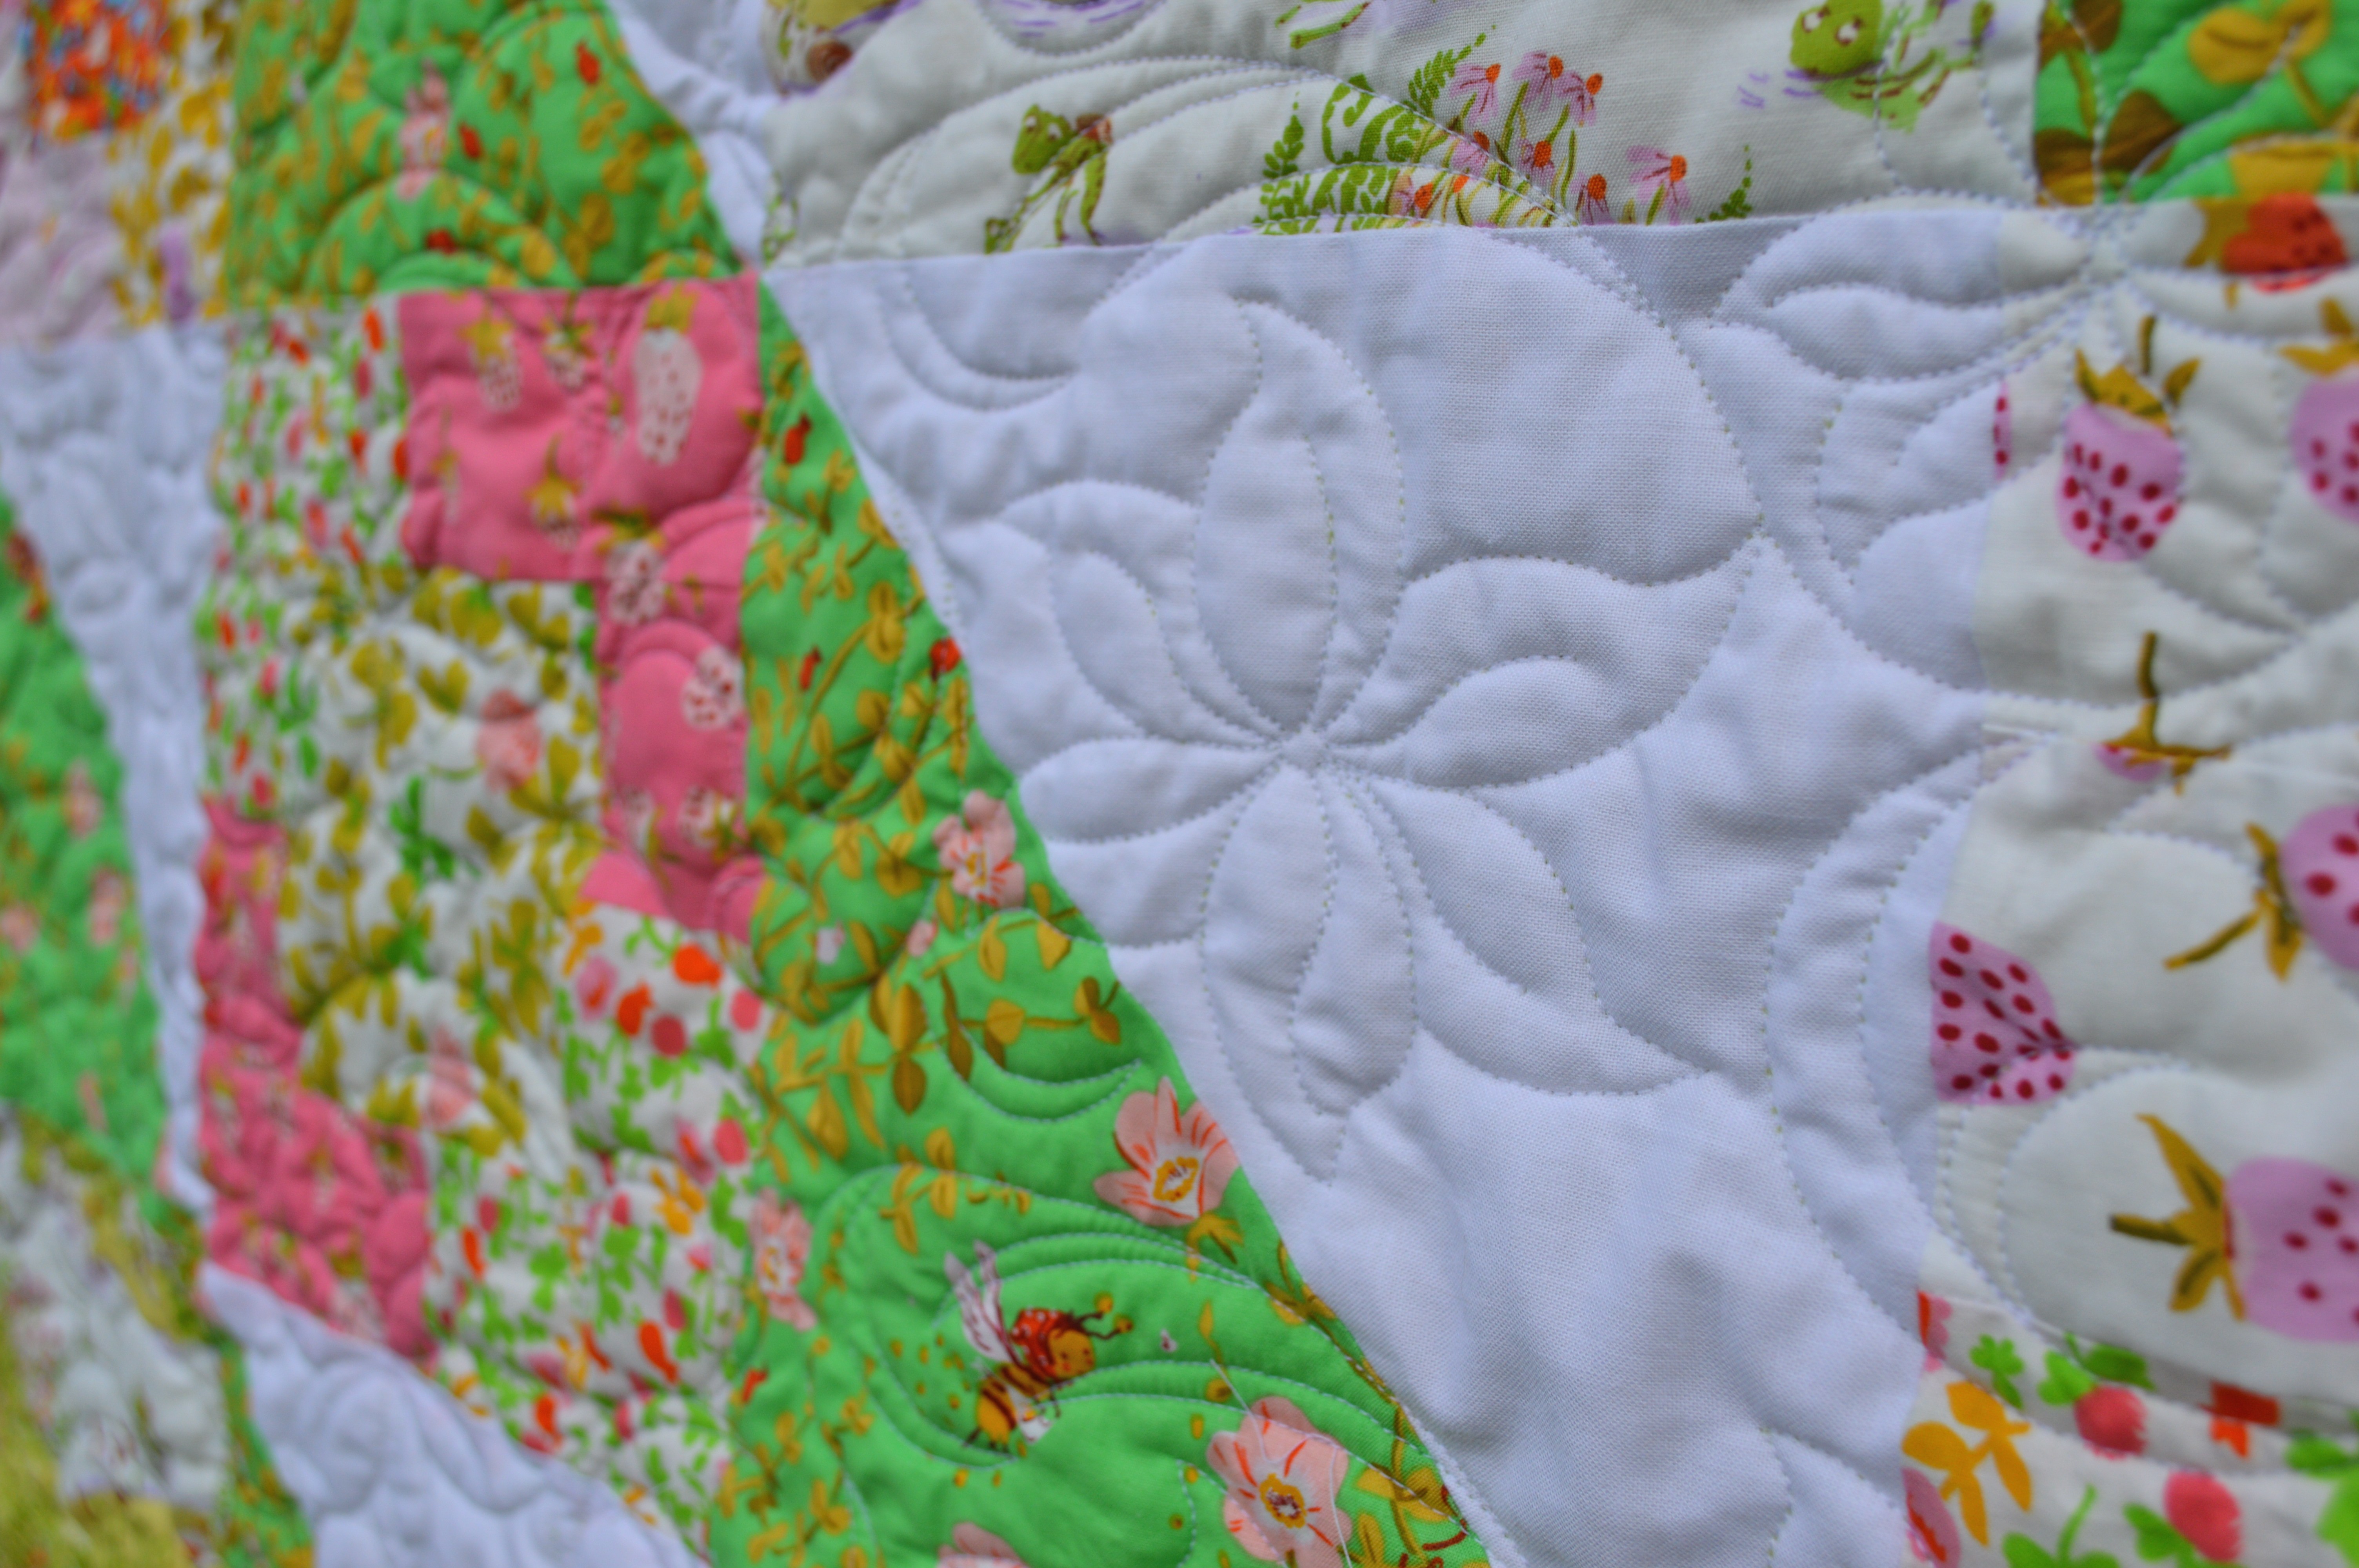
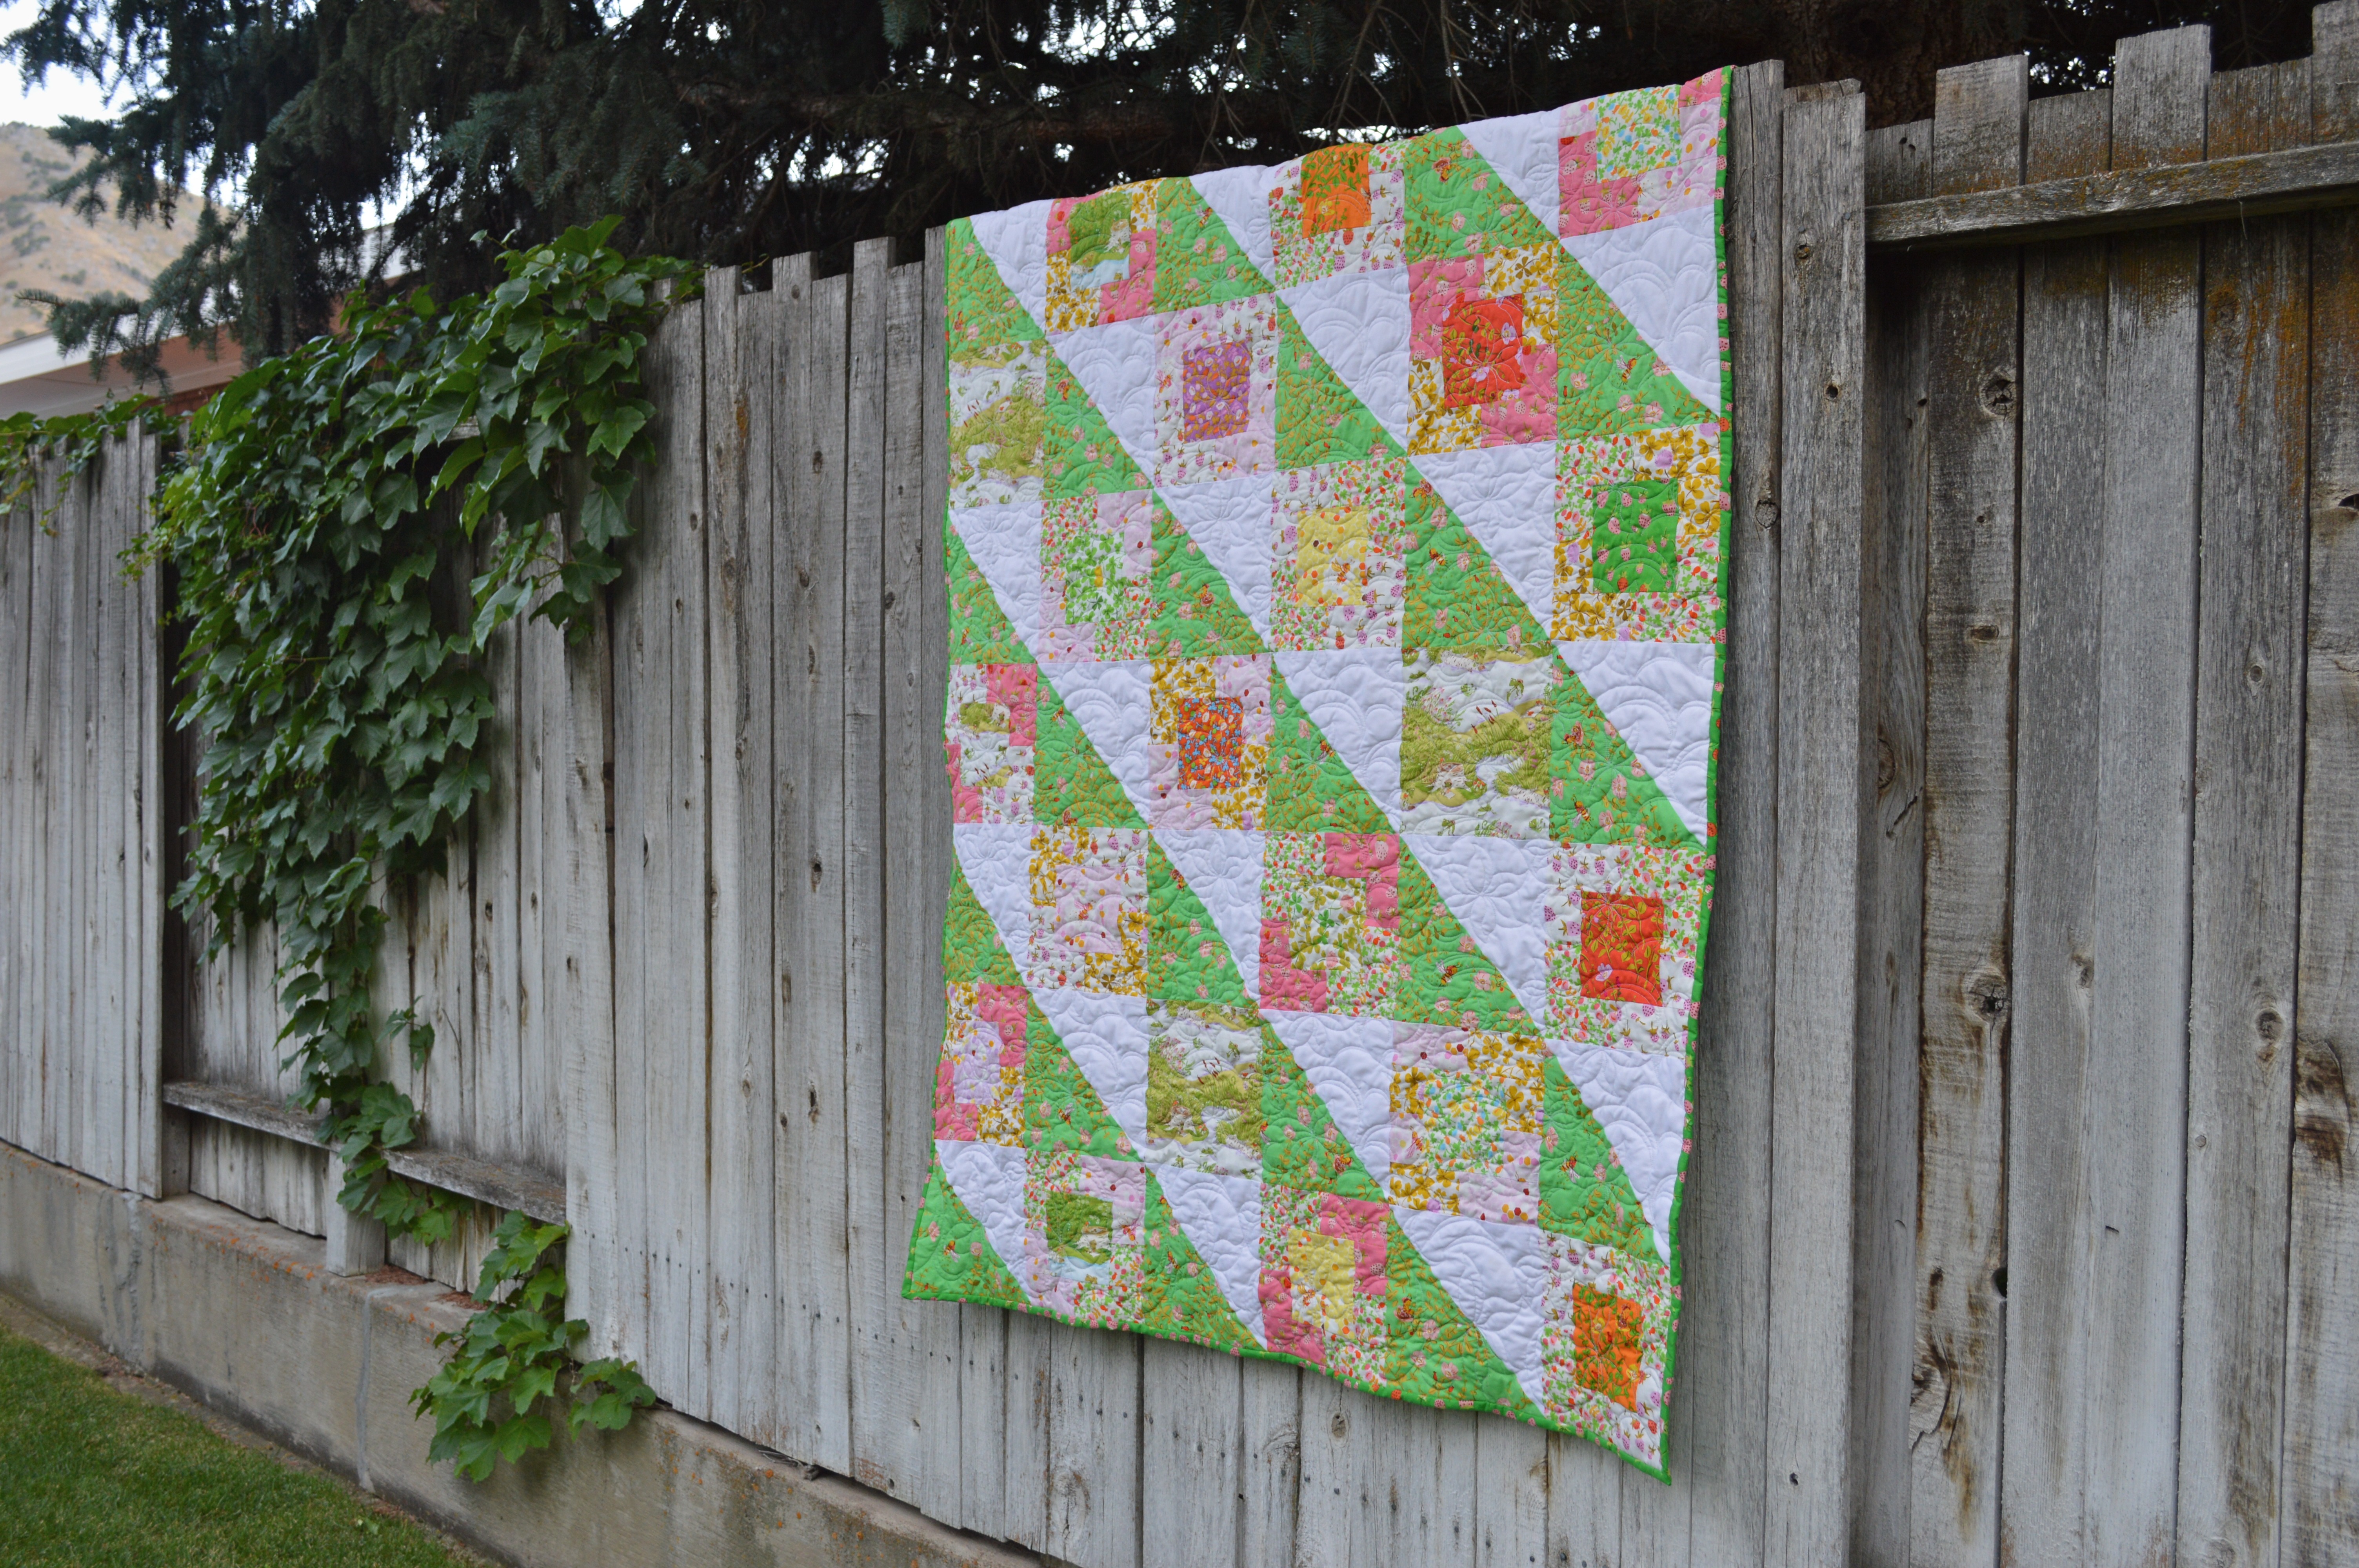
With the two pieces basted you can quilt as desired. Straight lines would be cute, I was impatient and free motion is faster for me 🙂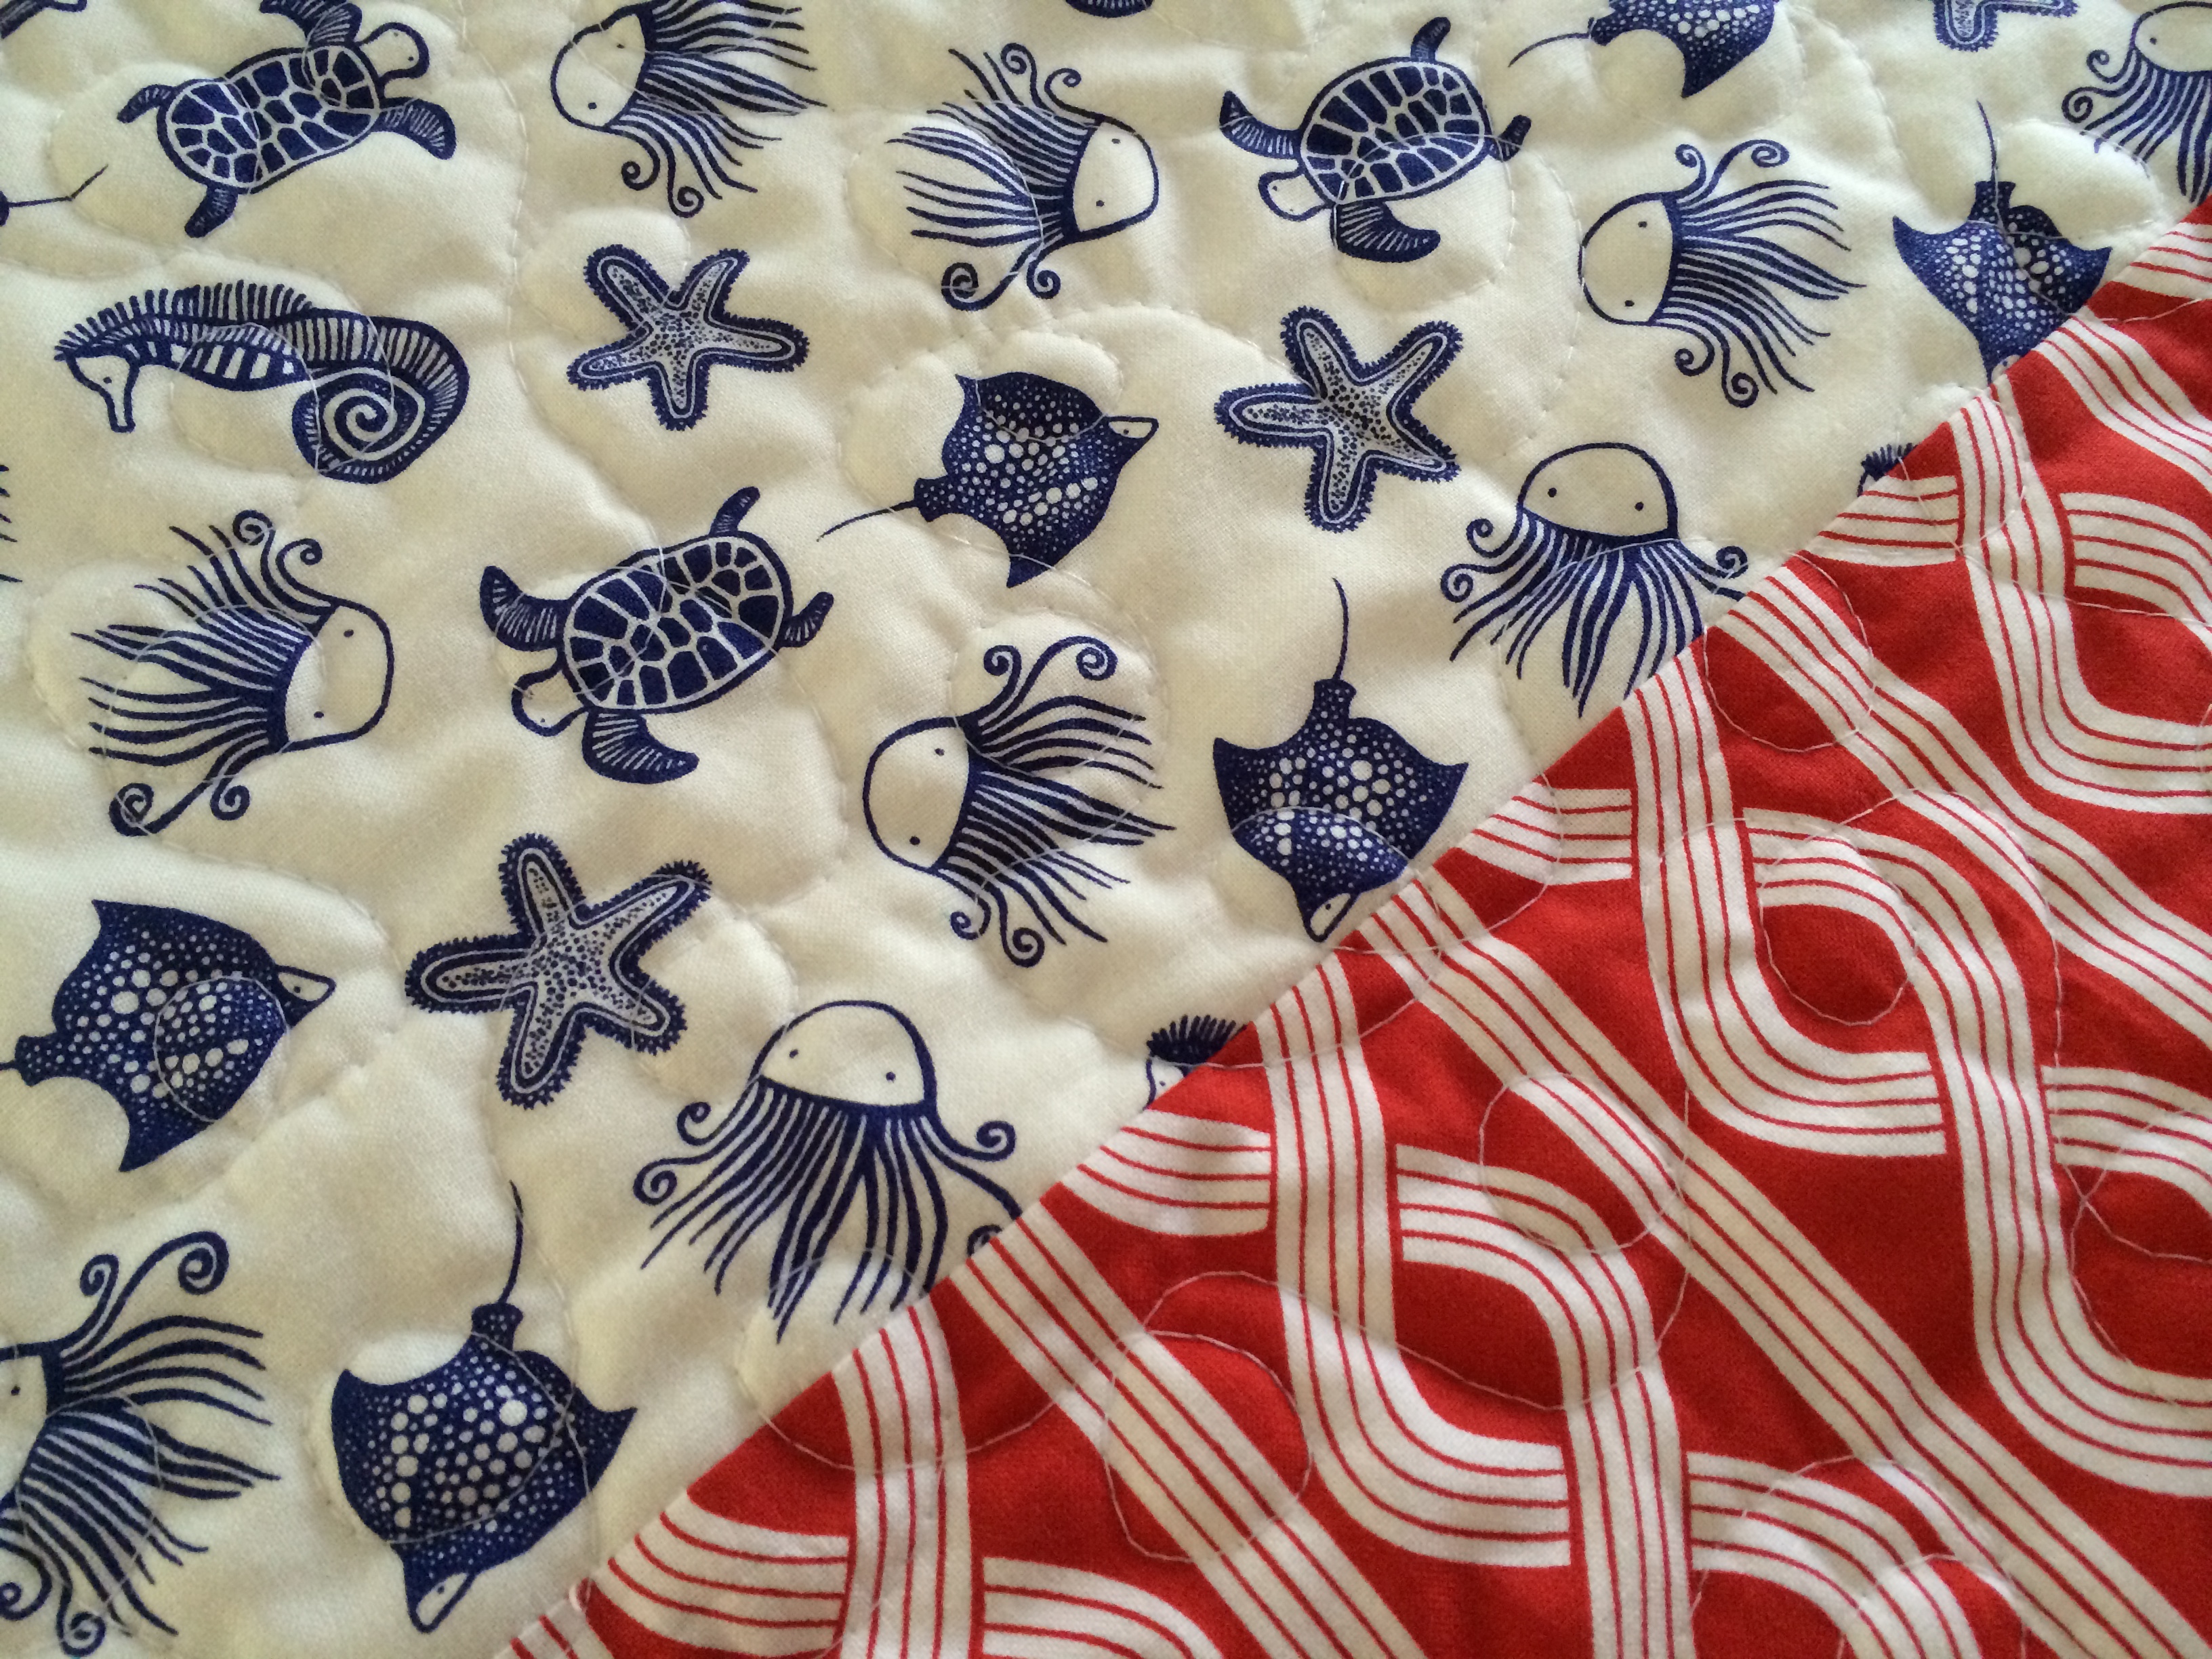
Trim off the excess batting
Add the navy blue lace trim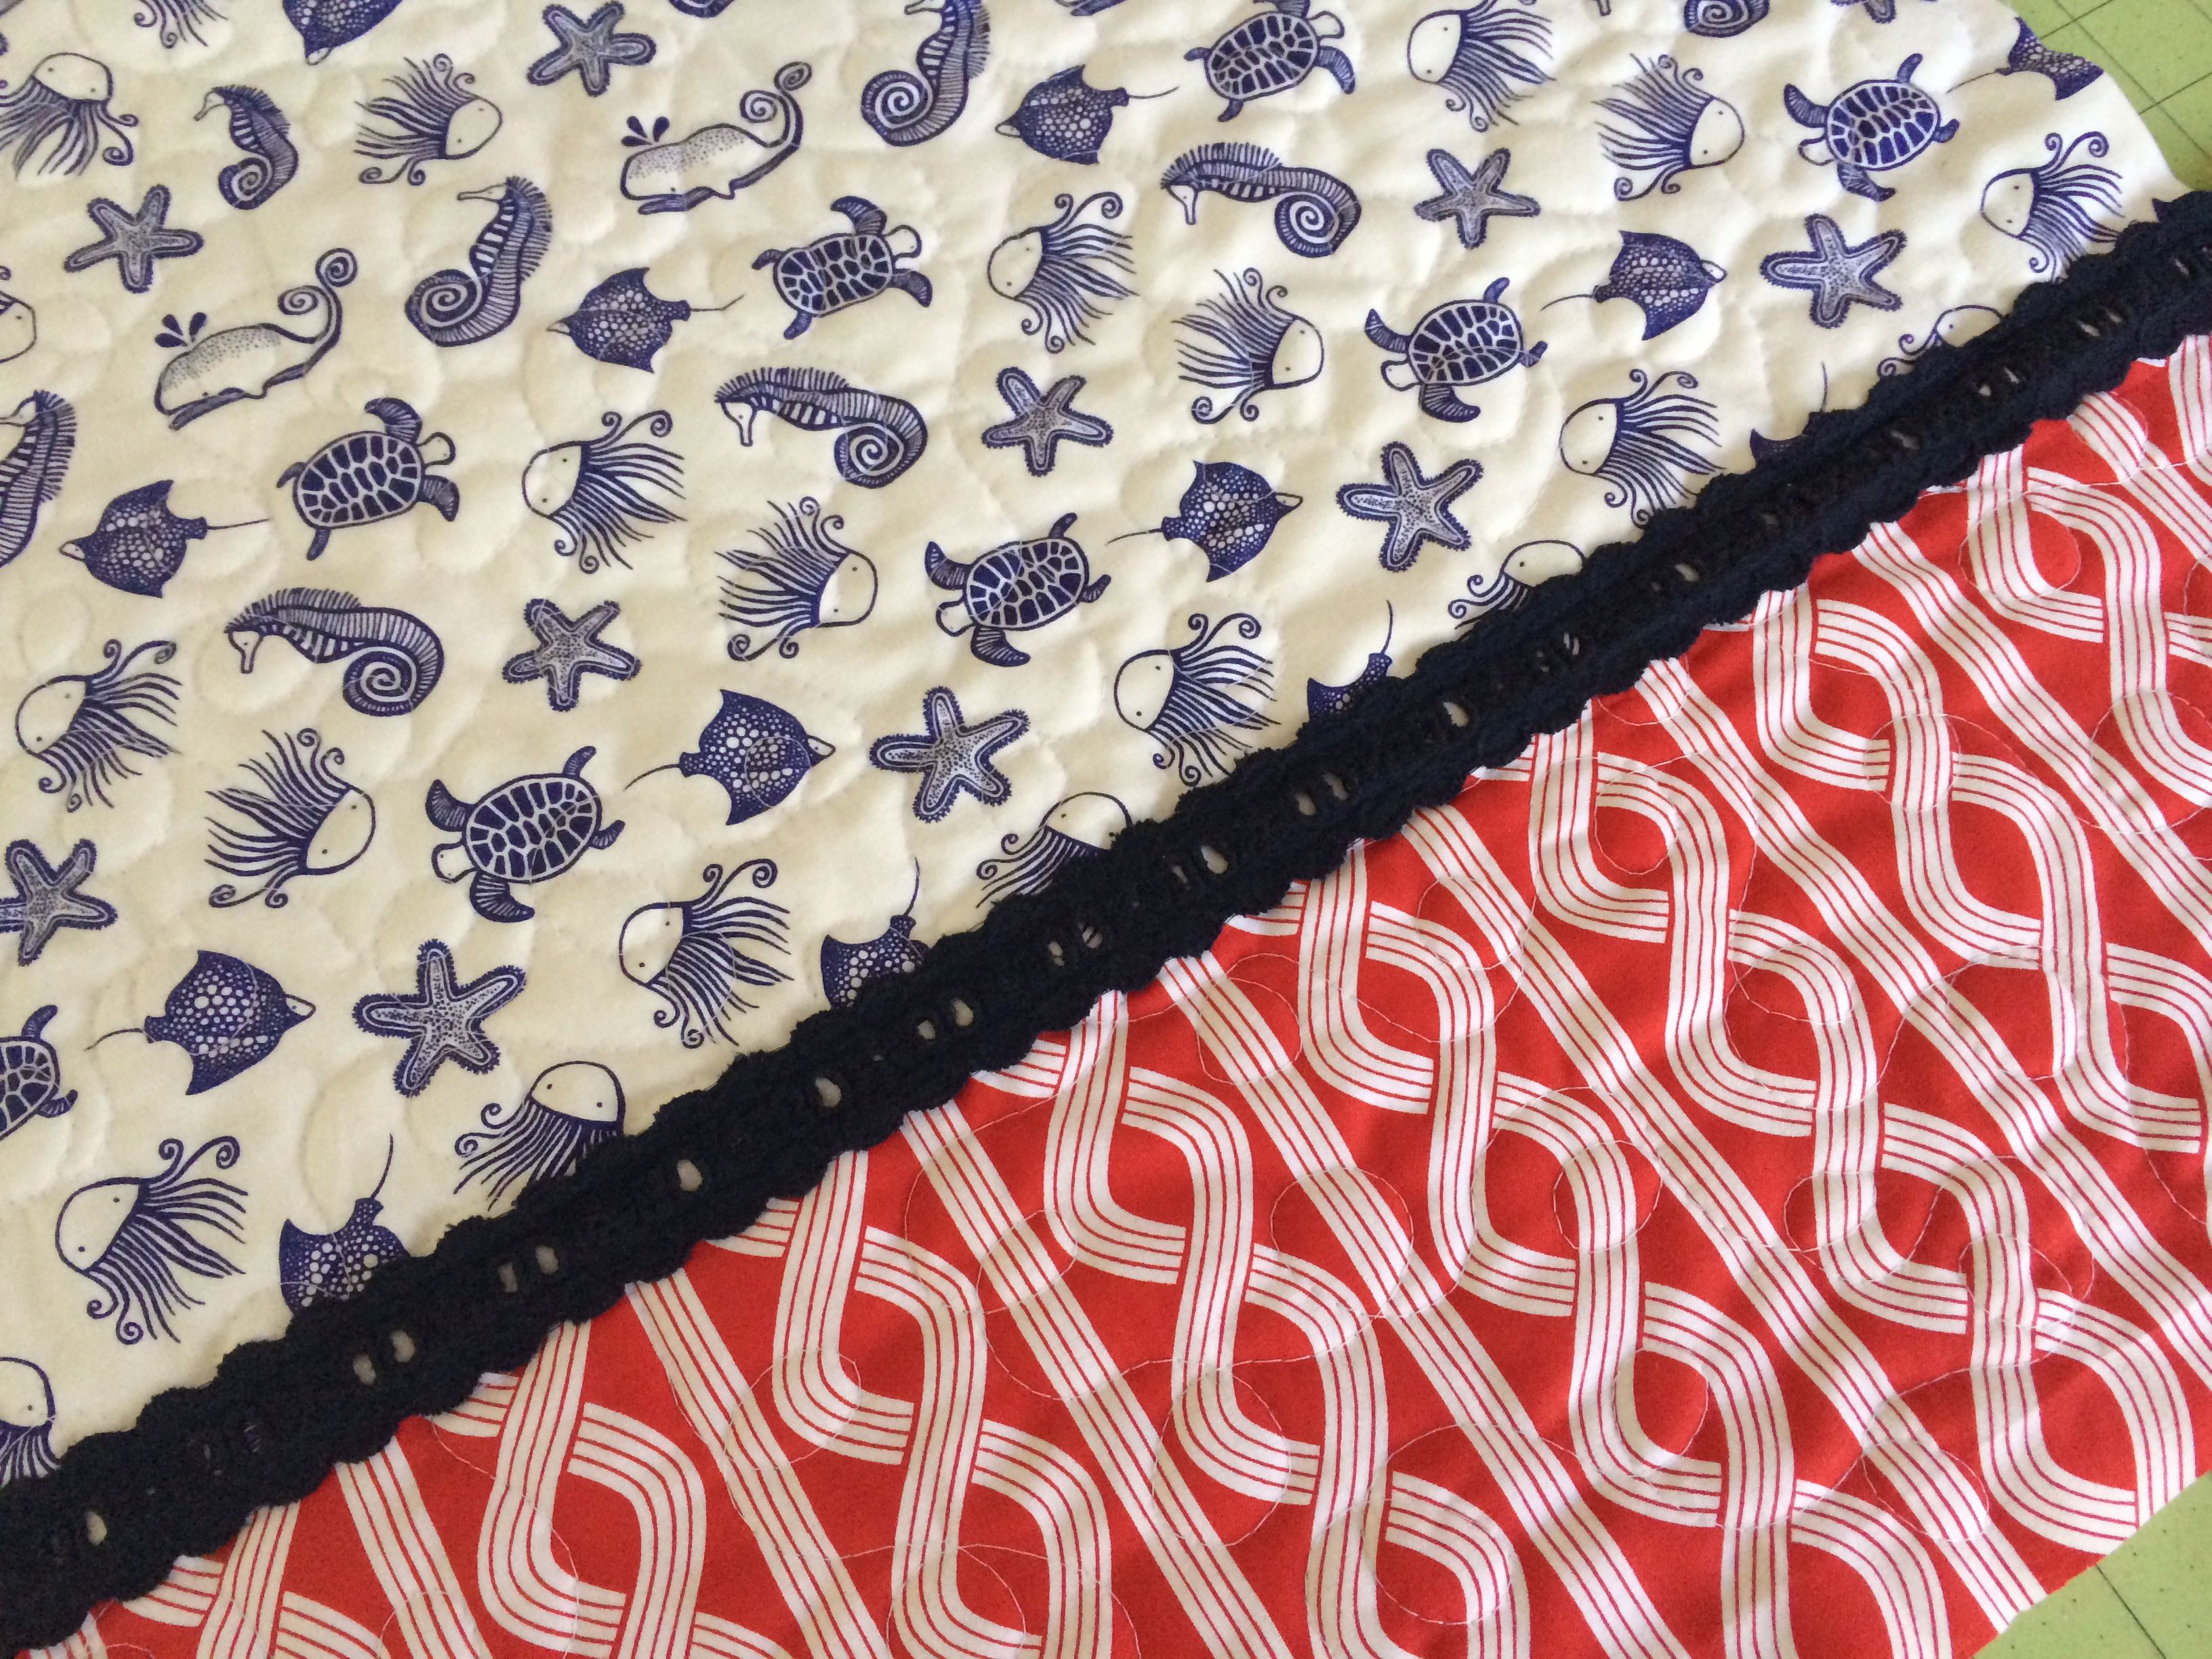
Sew the navy blue fringe to the right side of the pillow. I found it easier to use my walking foot. Curve the corners.
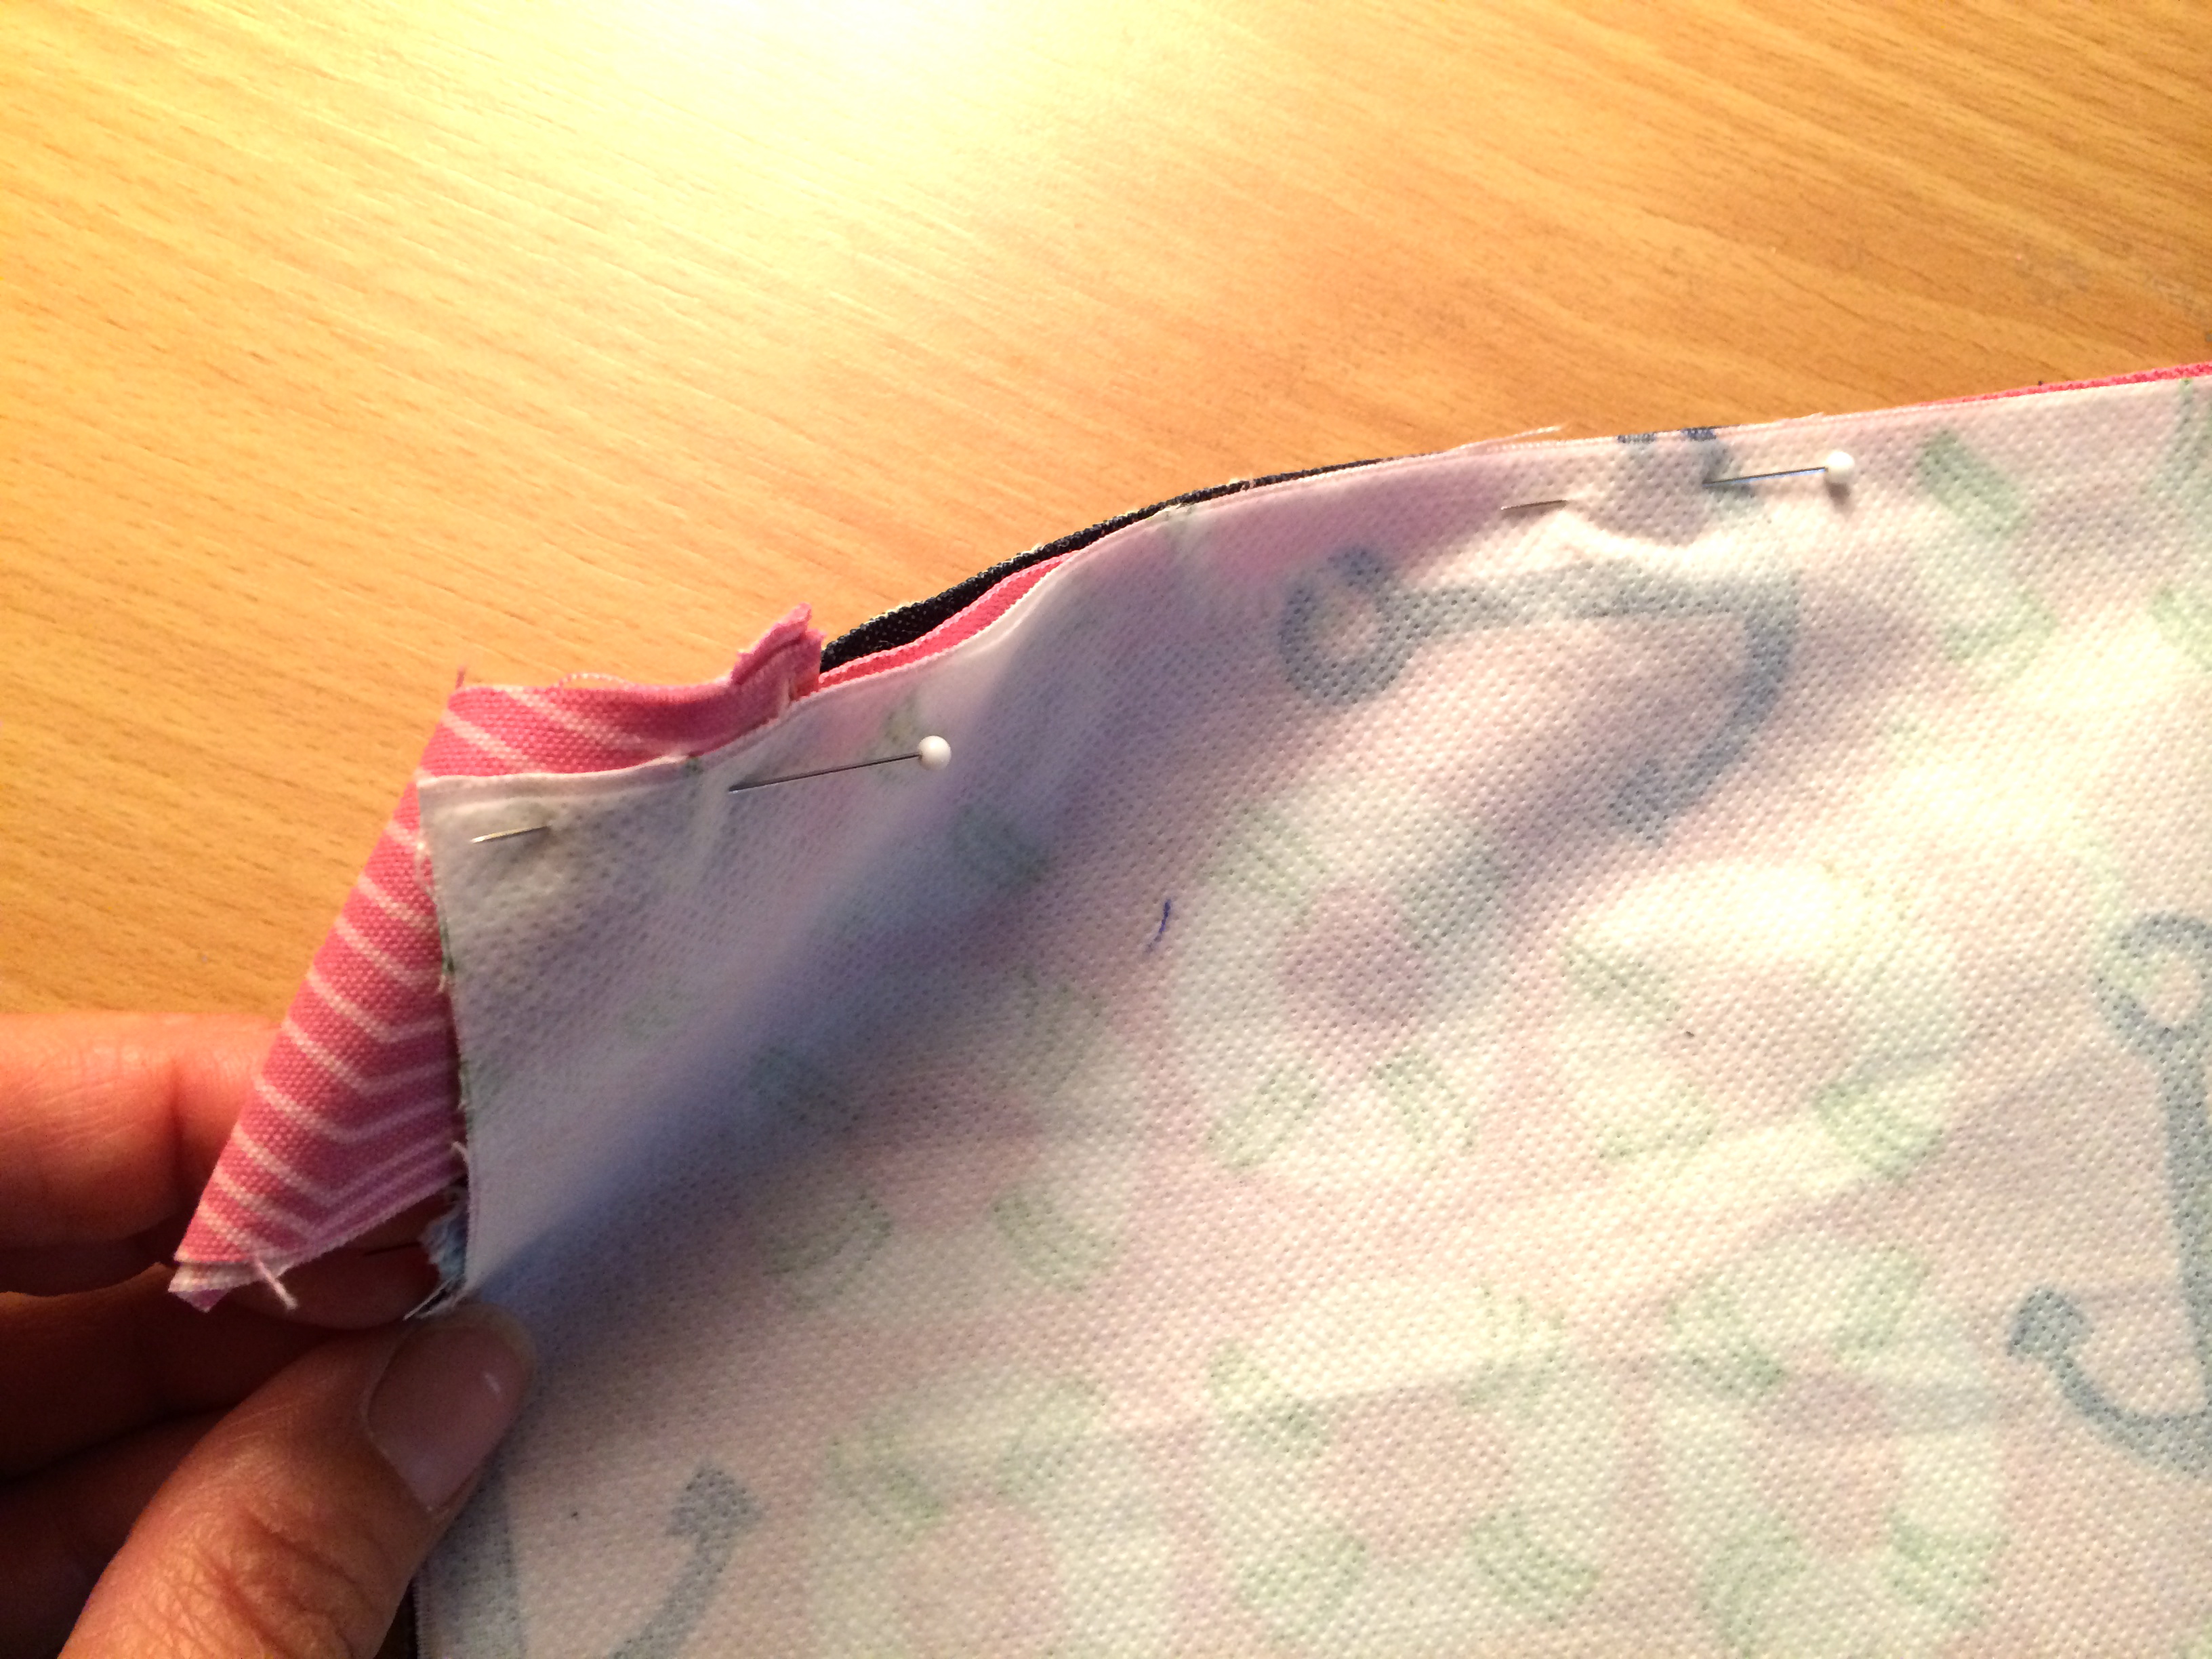
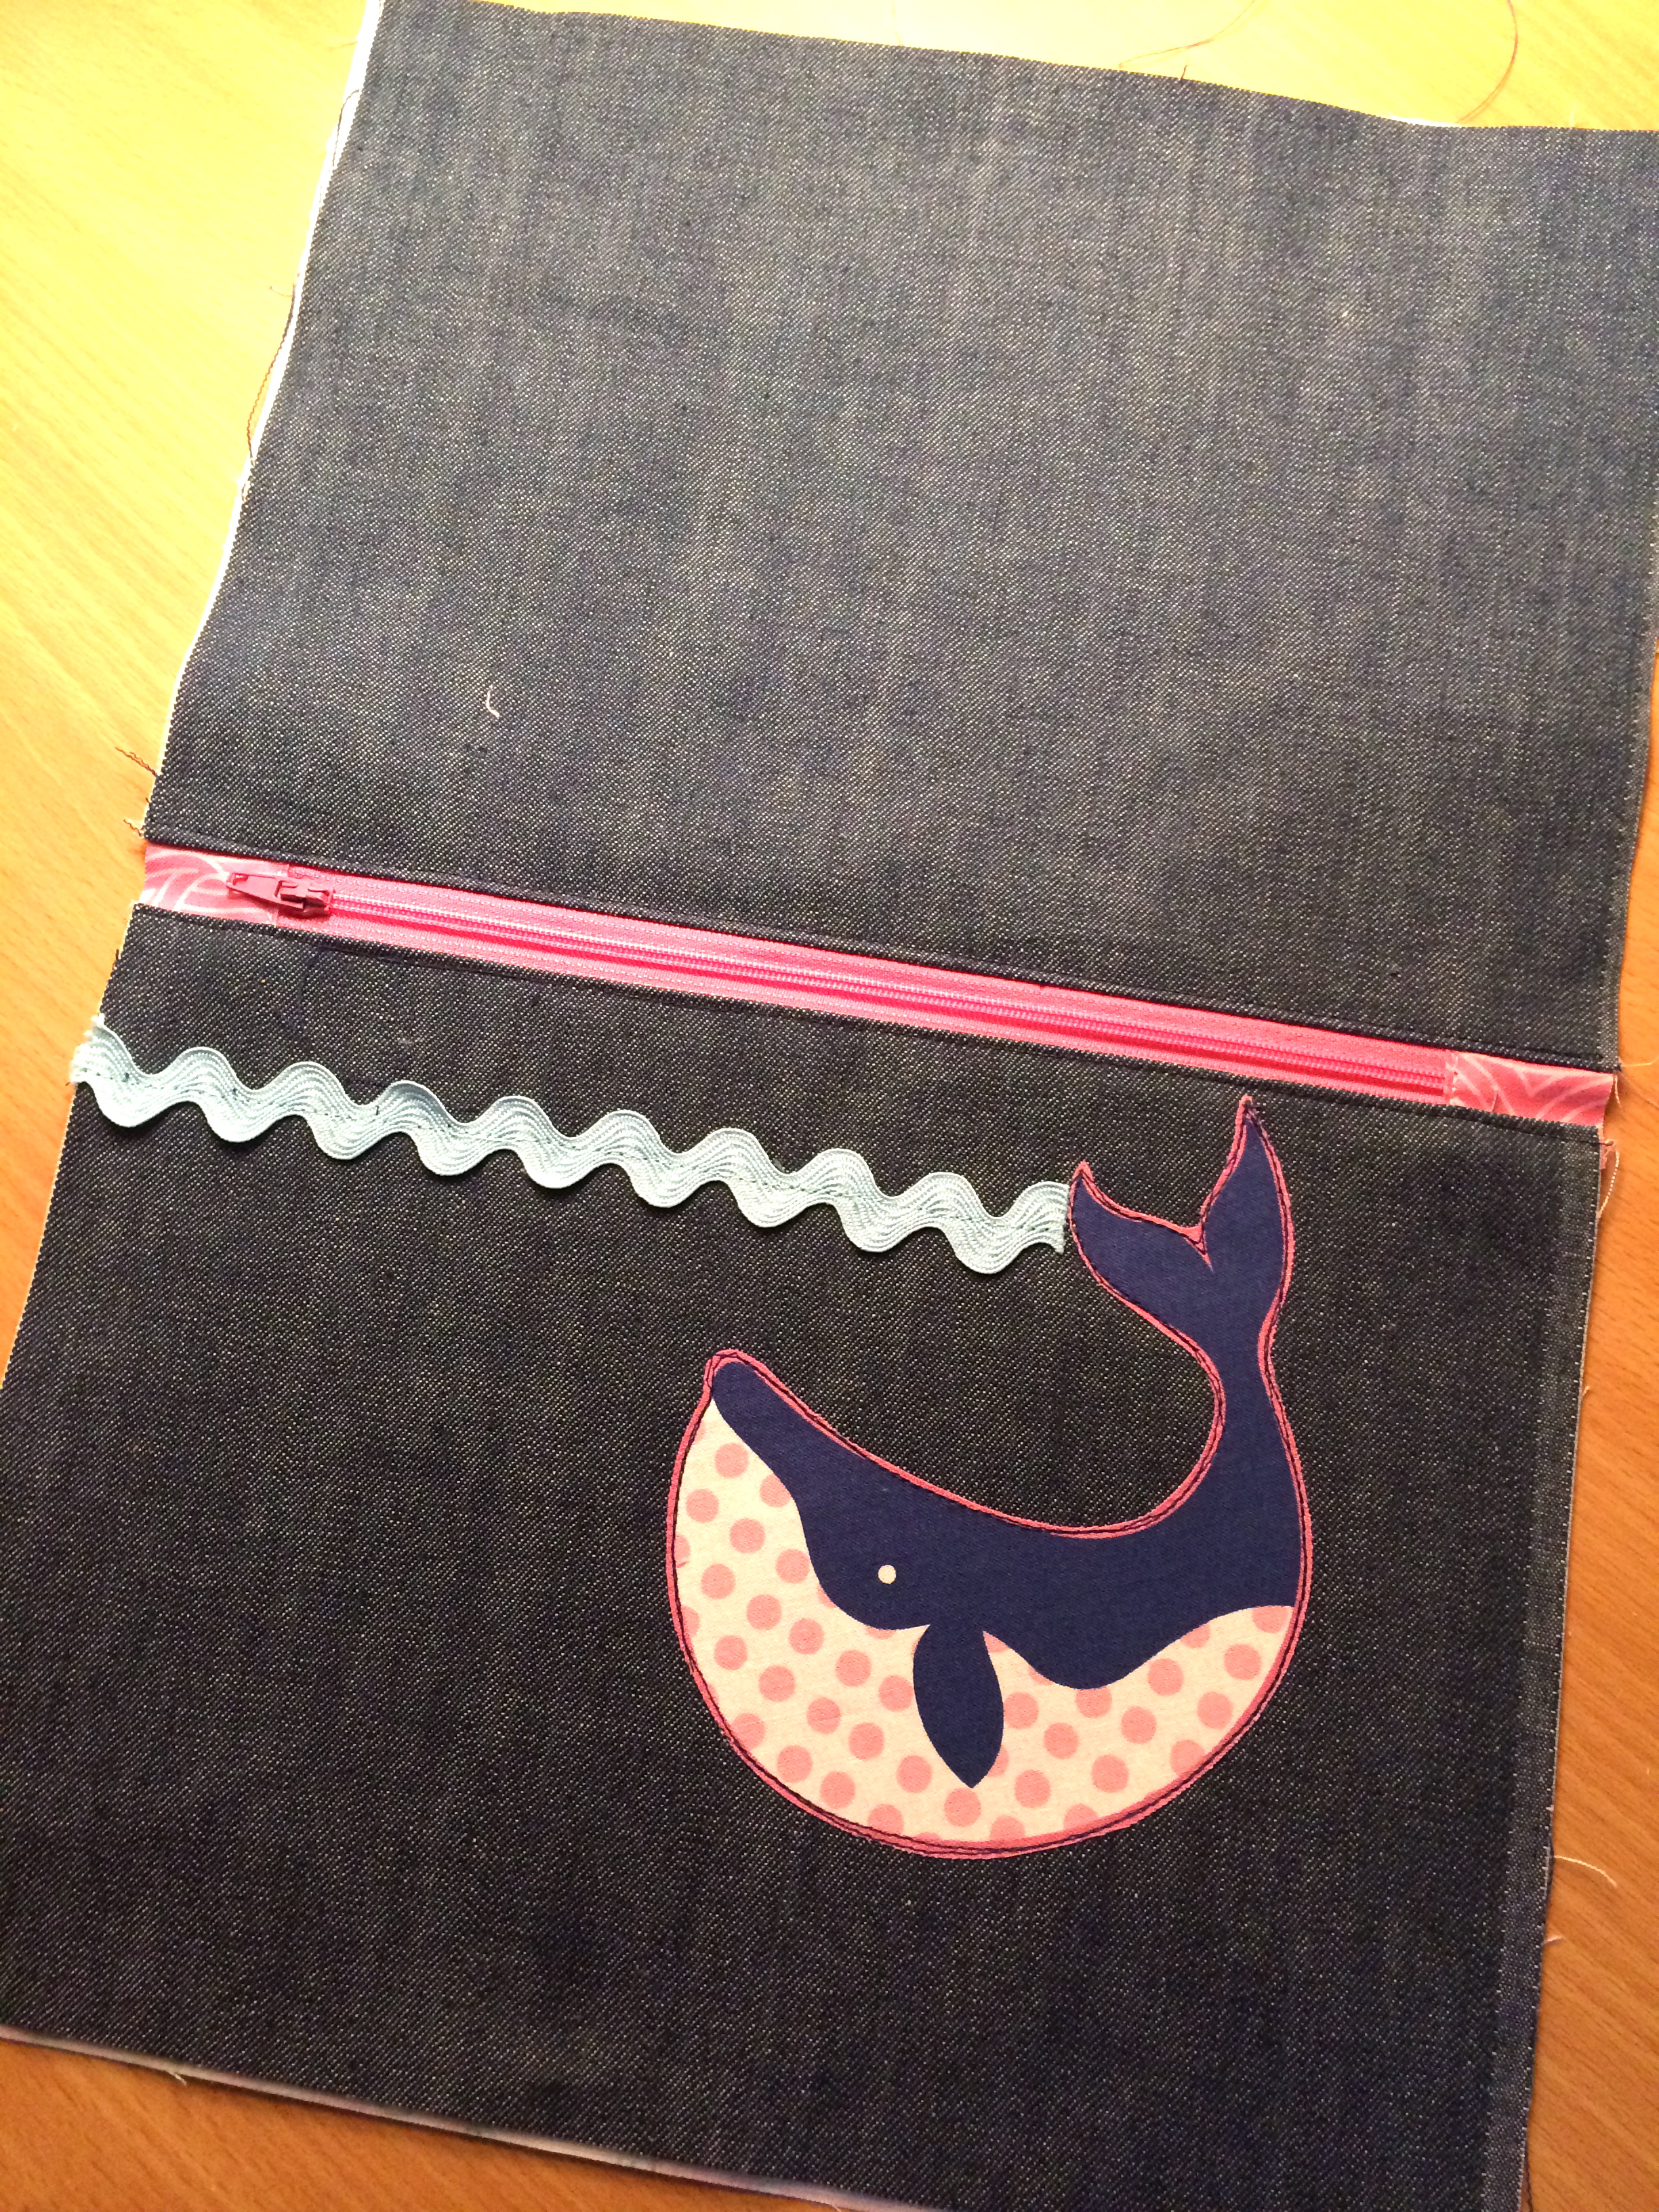
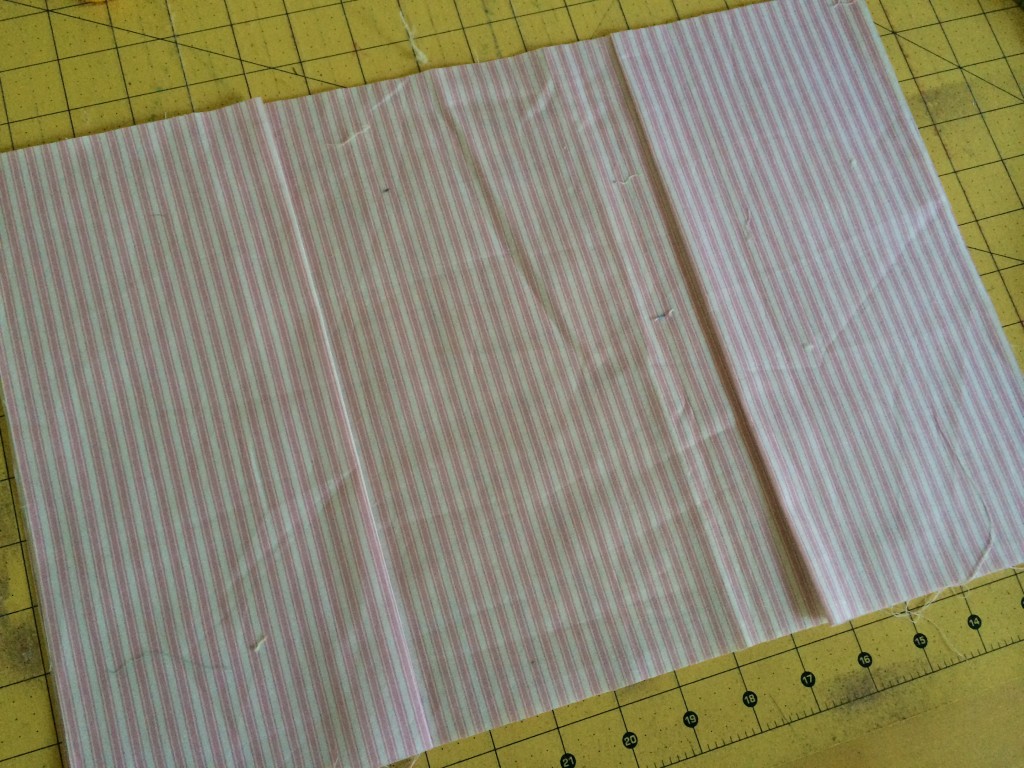
Prepare the back of the pillow. I have found this is the fastest way to finish a pillow. For the tutorial on how to do this, click HERE. I cut the back 20″ and then cut 3″ from the top for the zipper placement. The chevron piece is cut 4.5″ and then folded in half.
Now that the back is ready, place the right sided together, with the zipper open, and sew all the way round the pillow using 1/4″ seams. Turn and insert the pillow form.
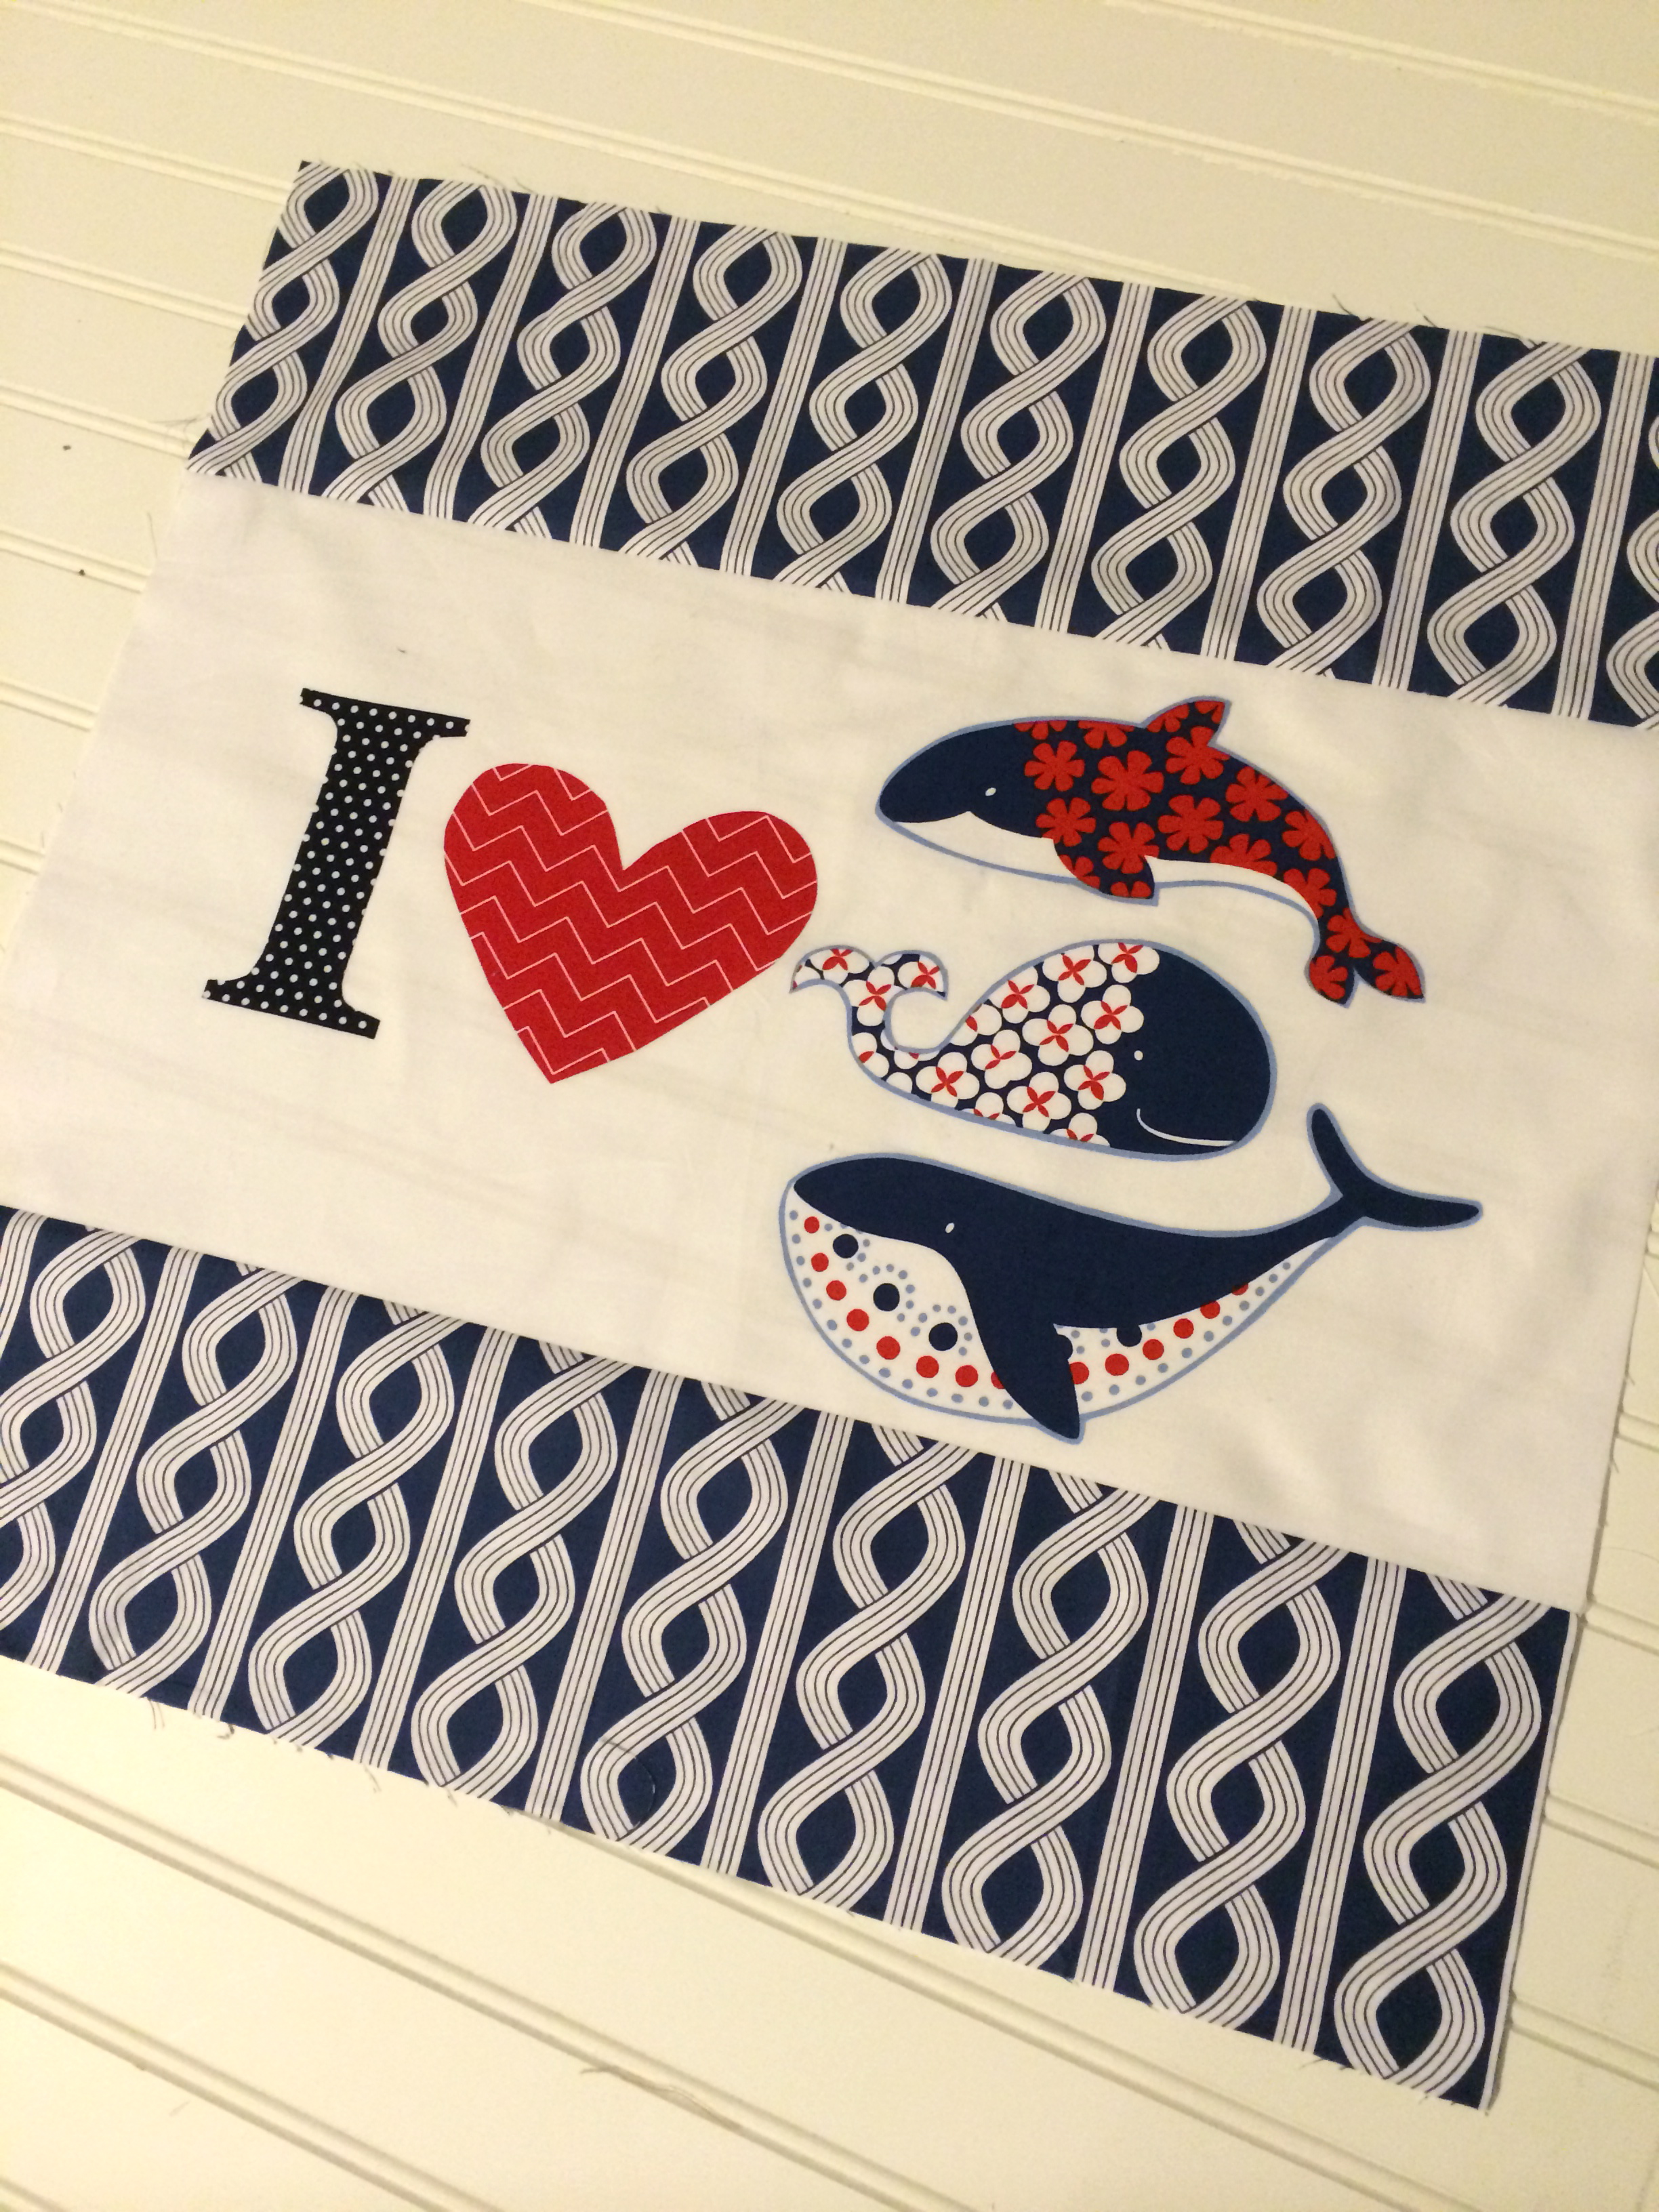
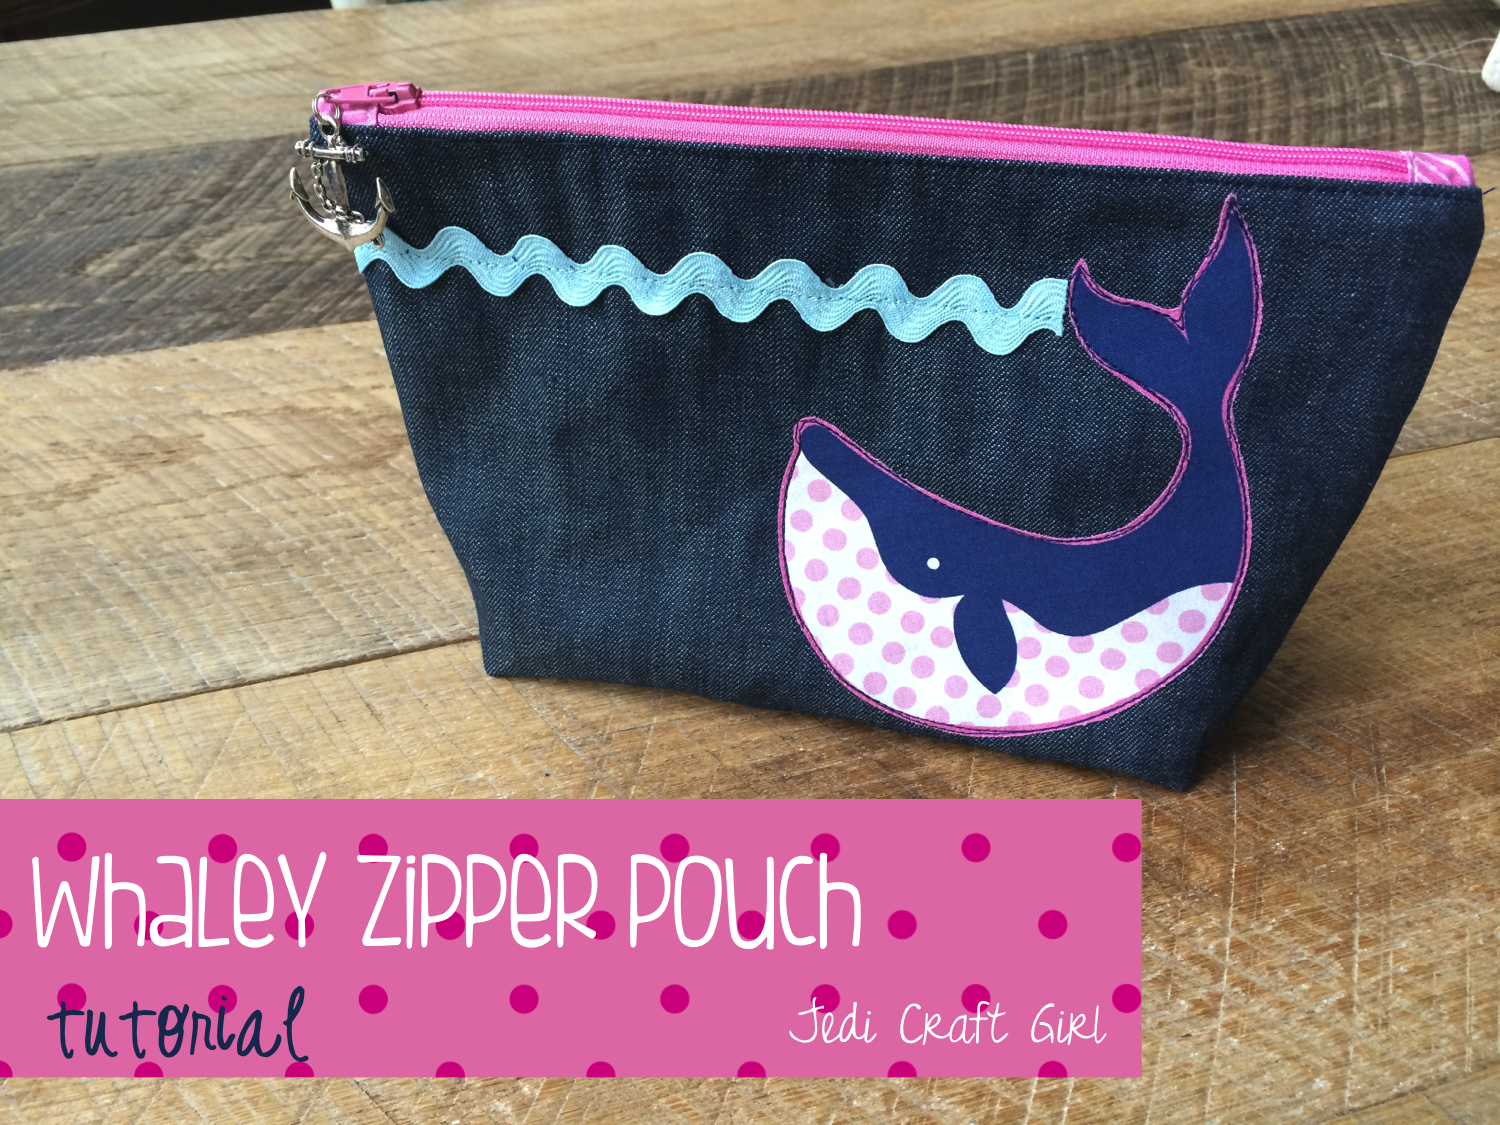
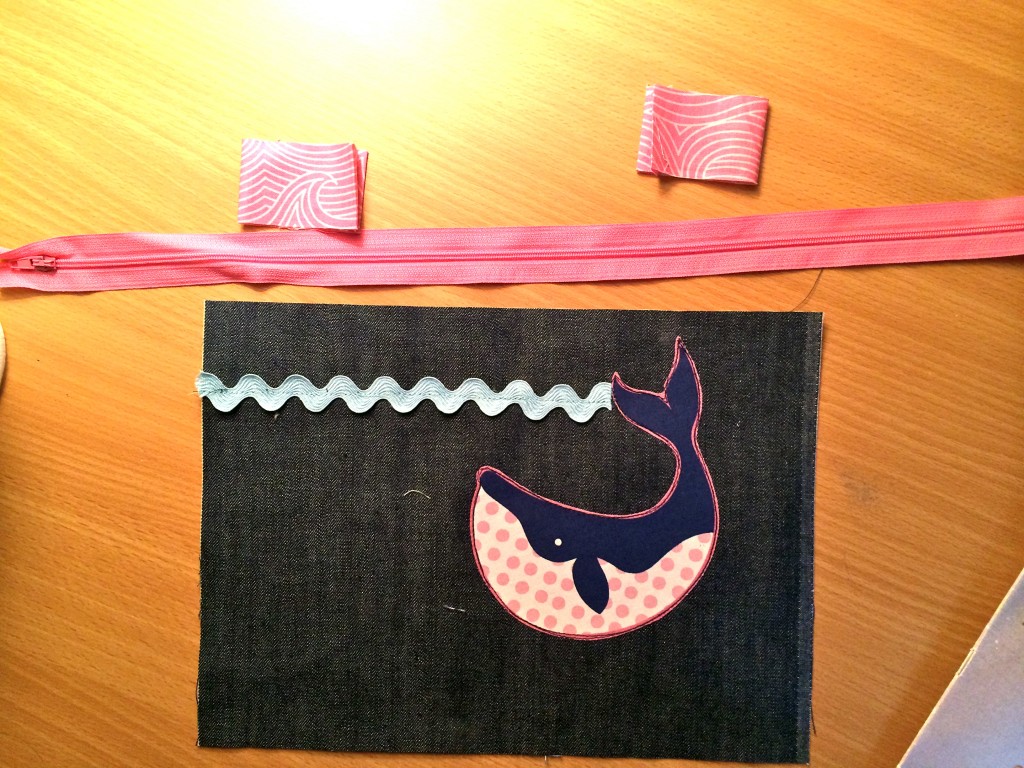
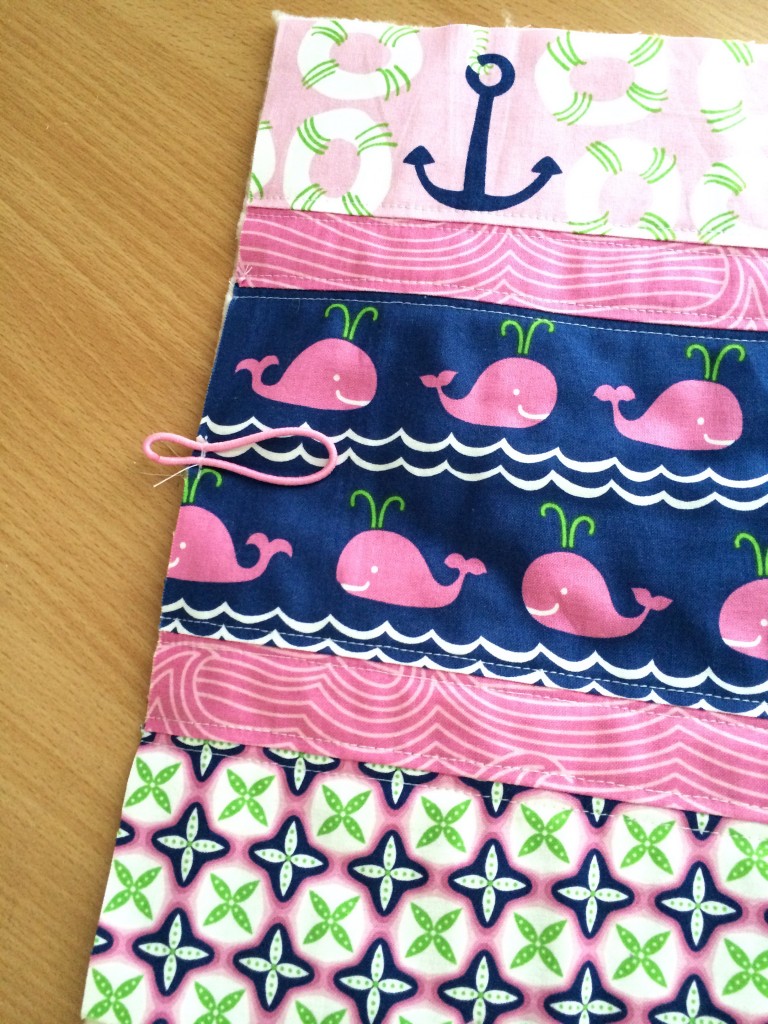
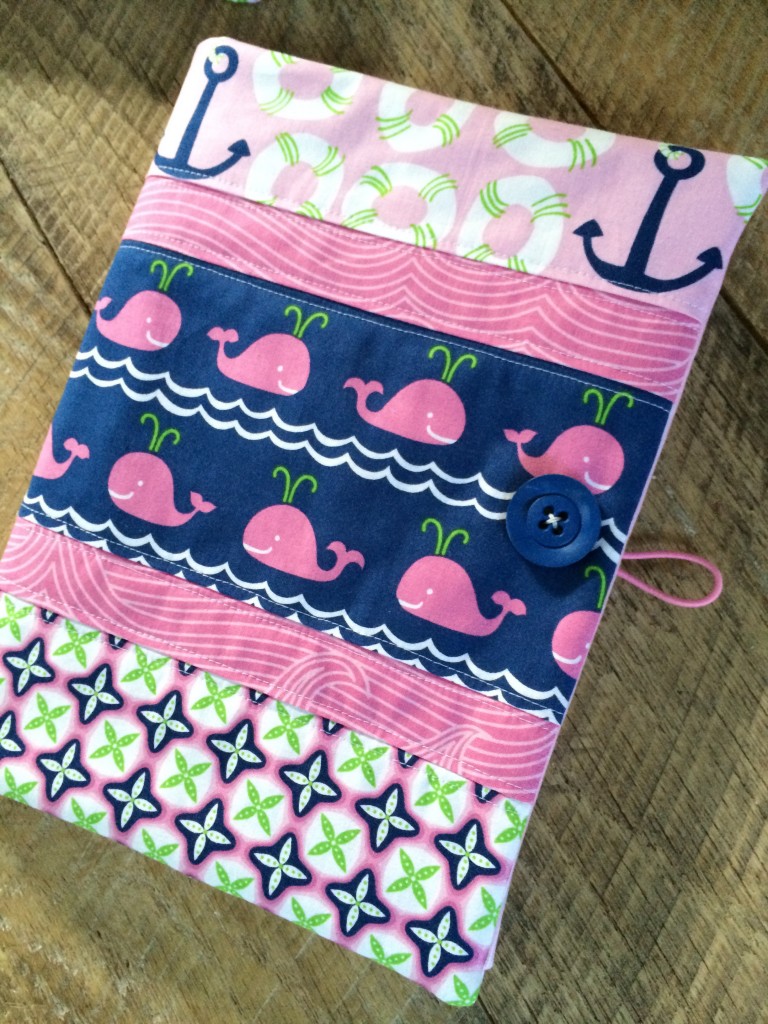
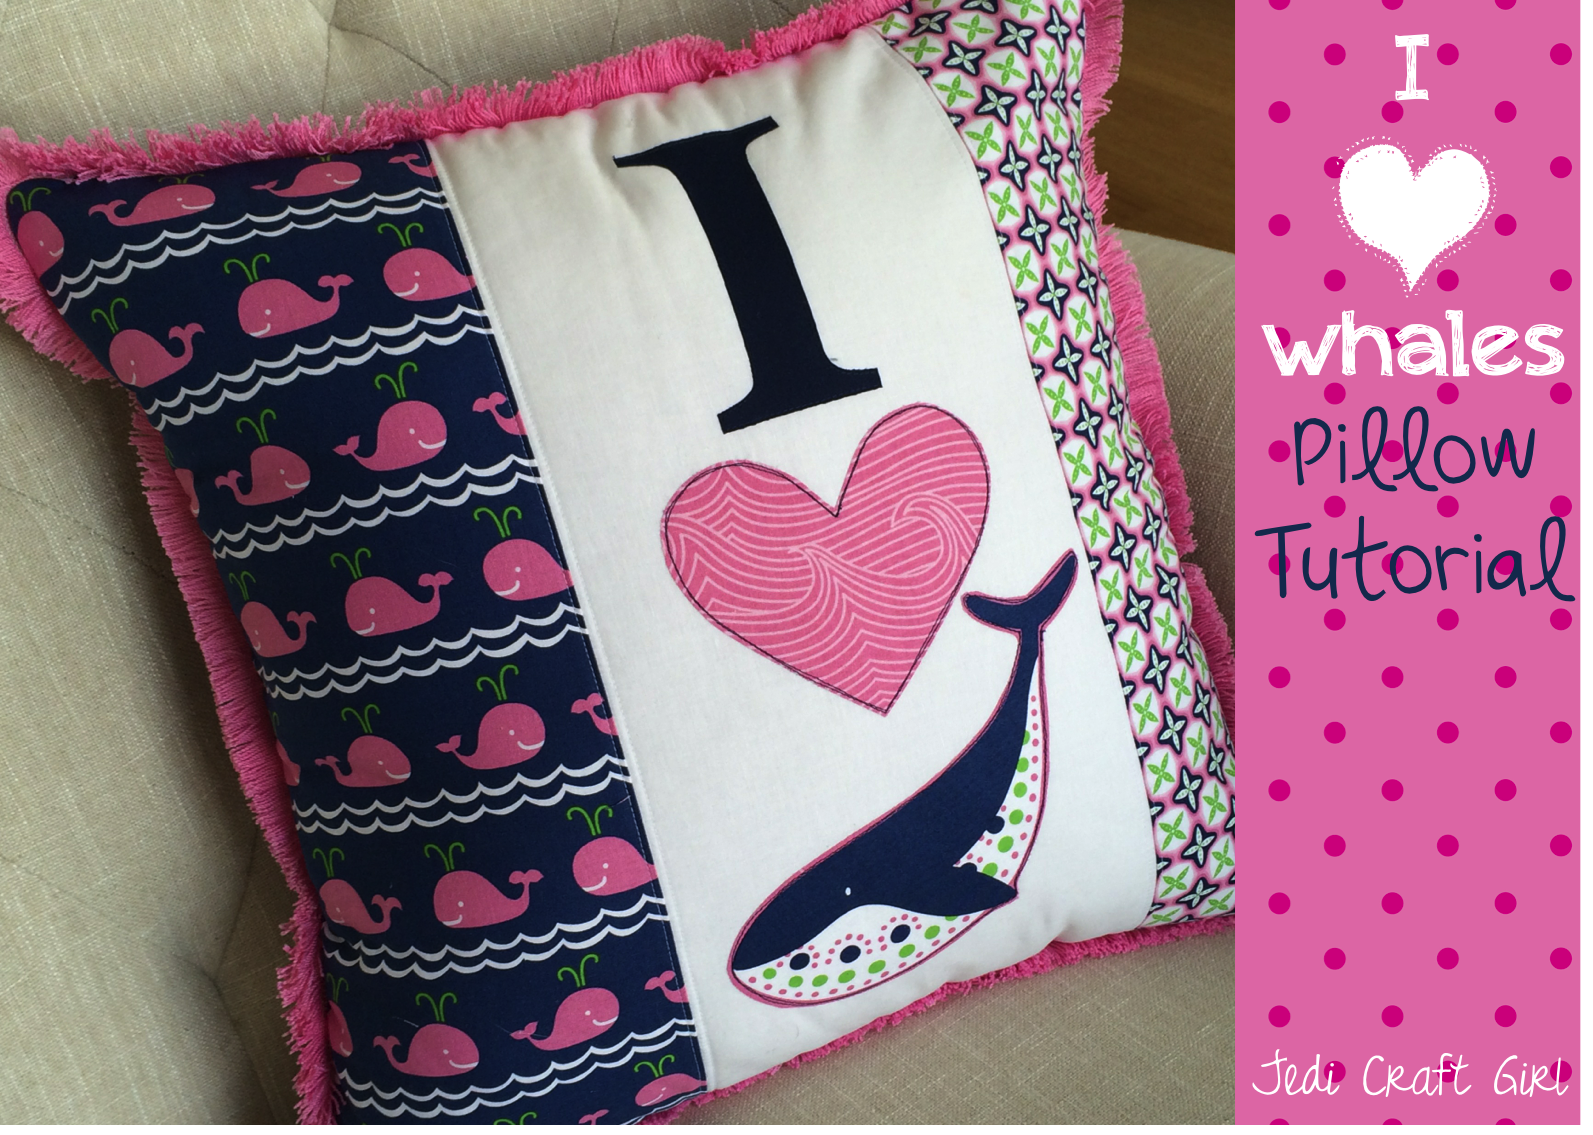
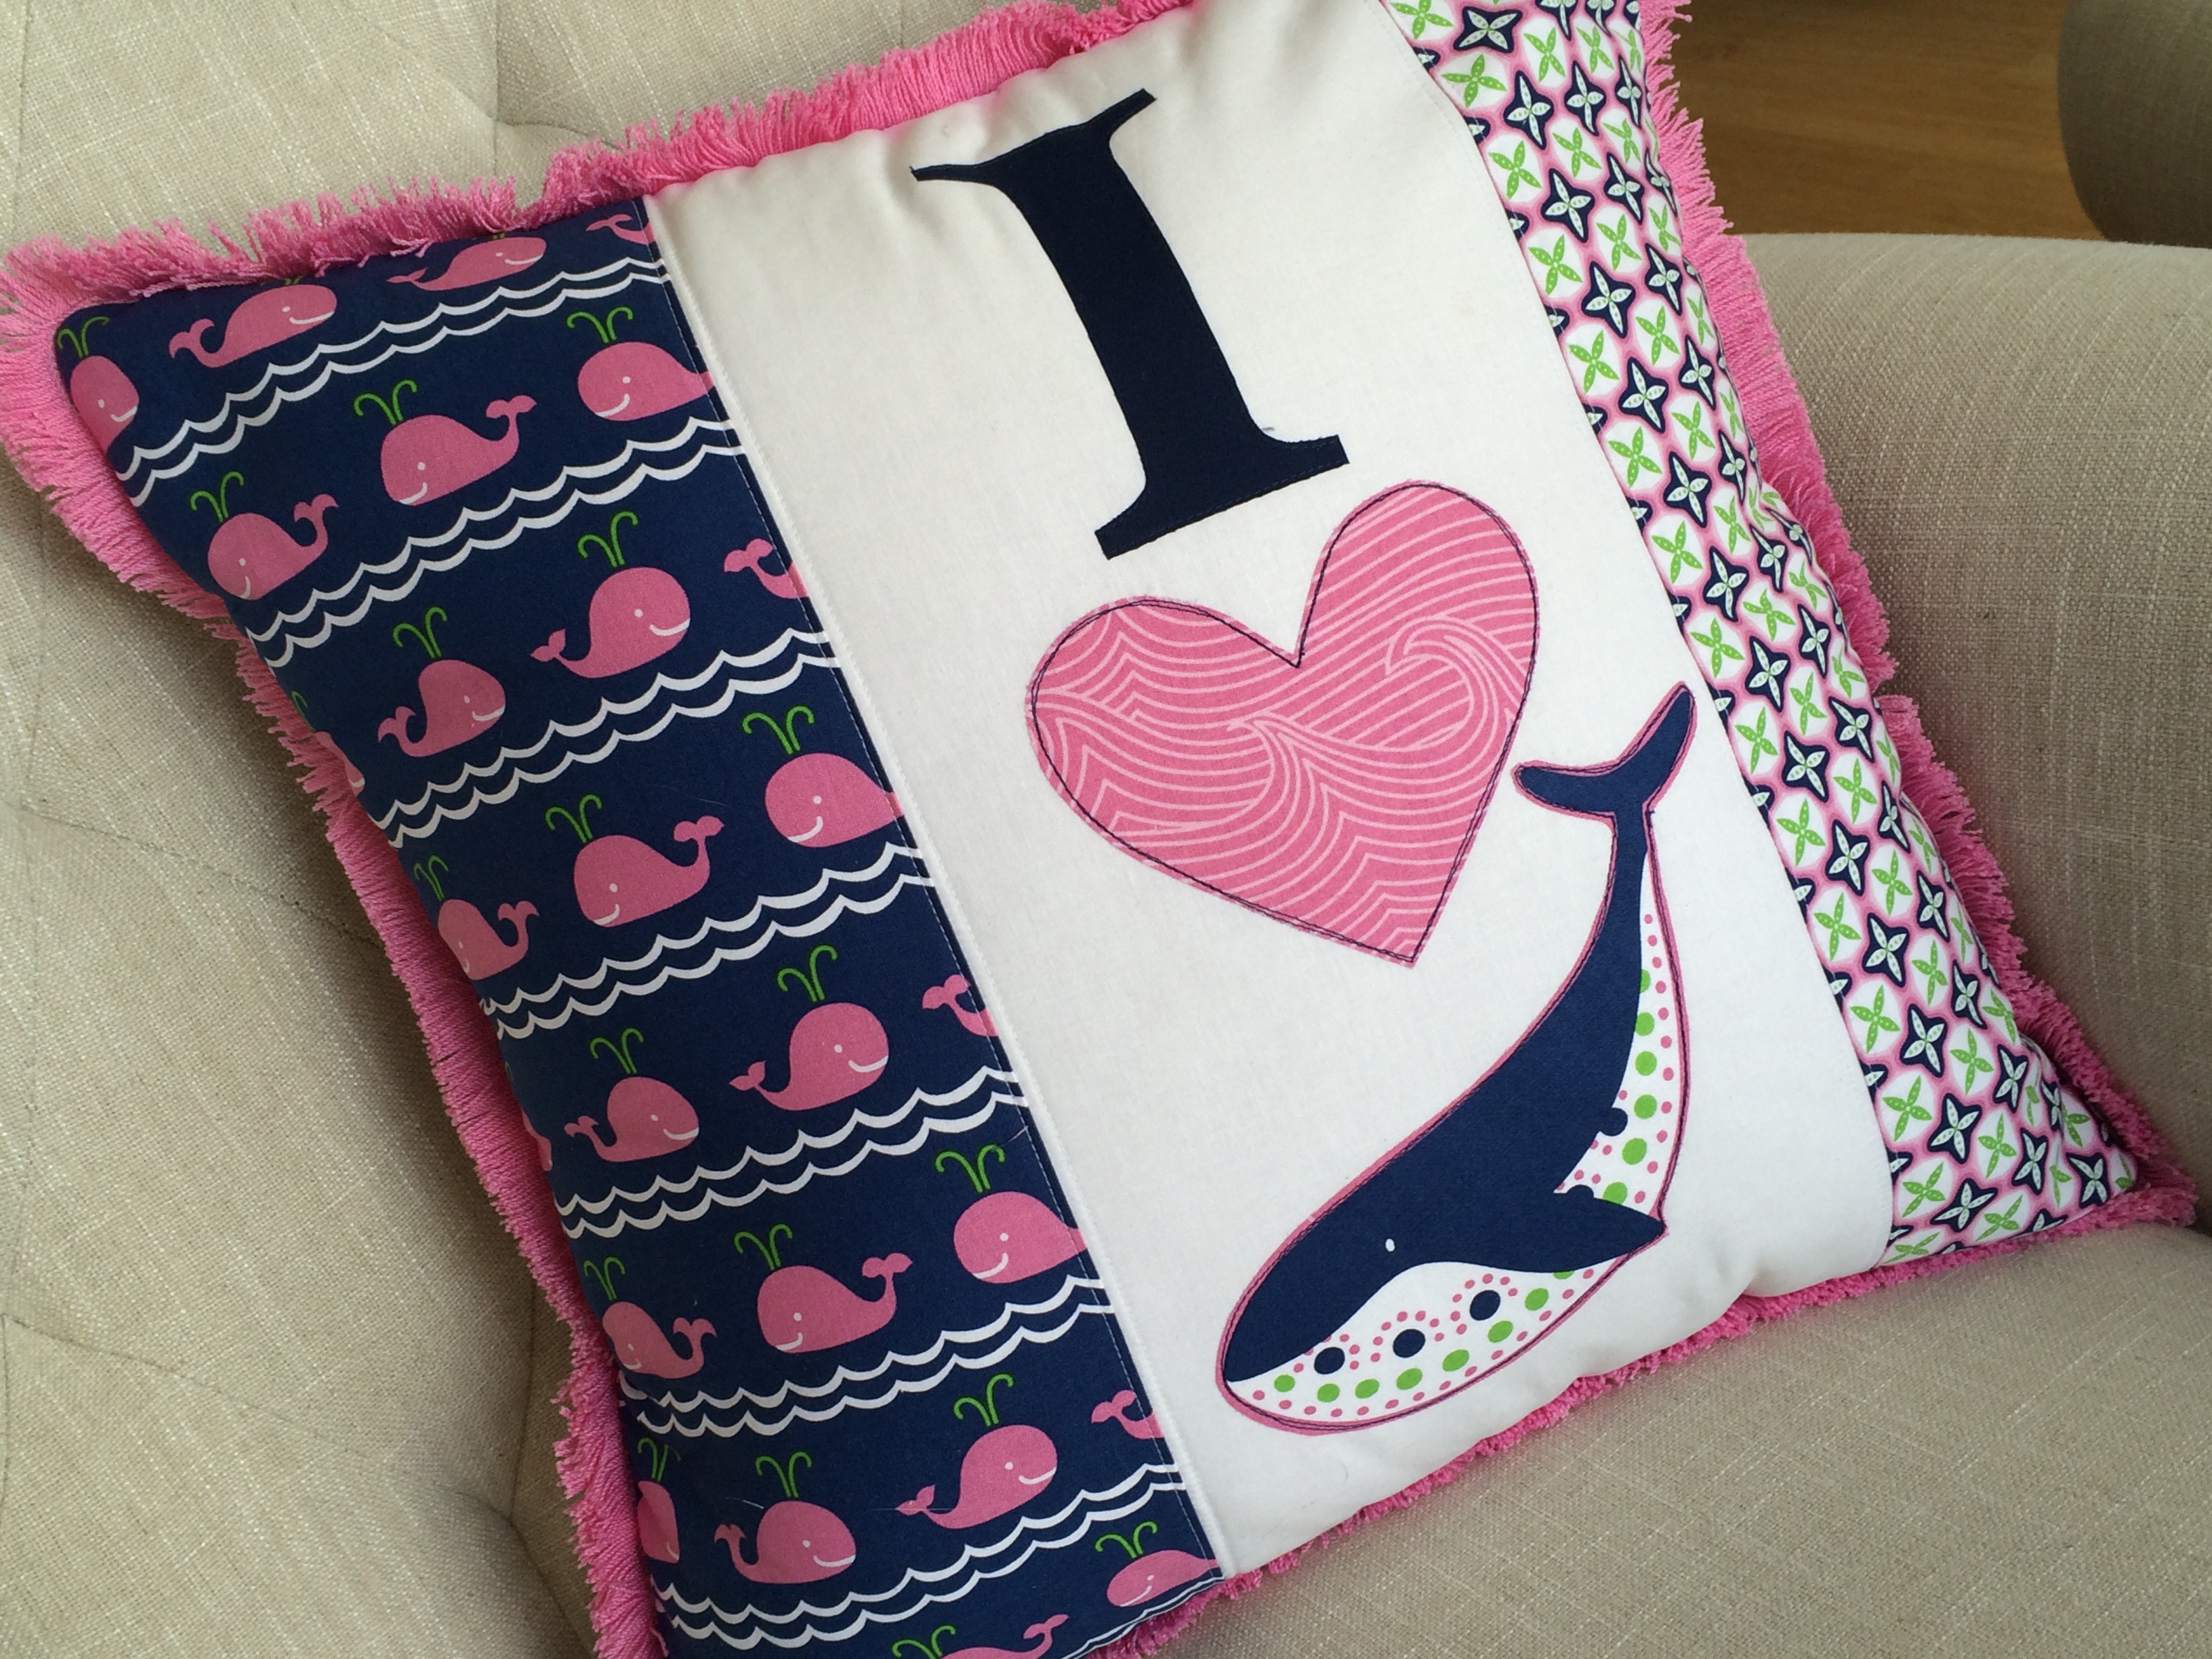
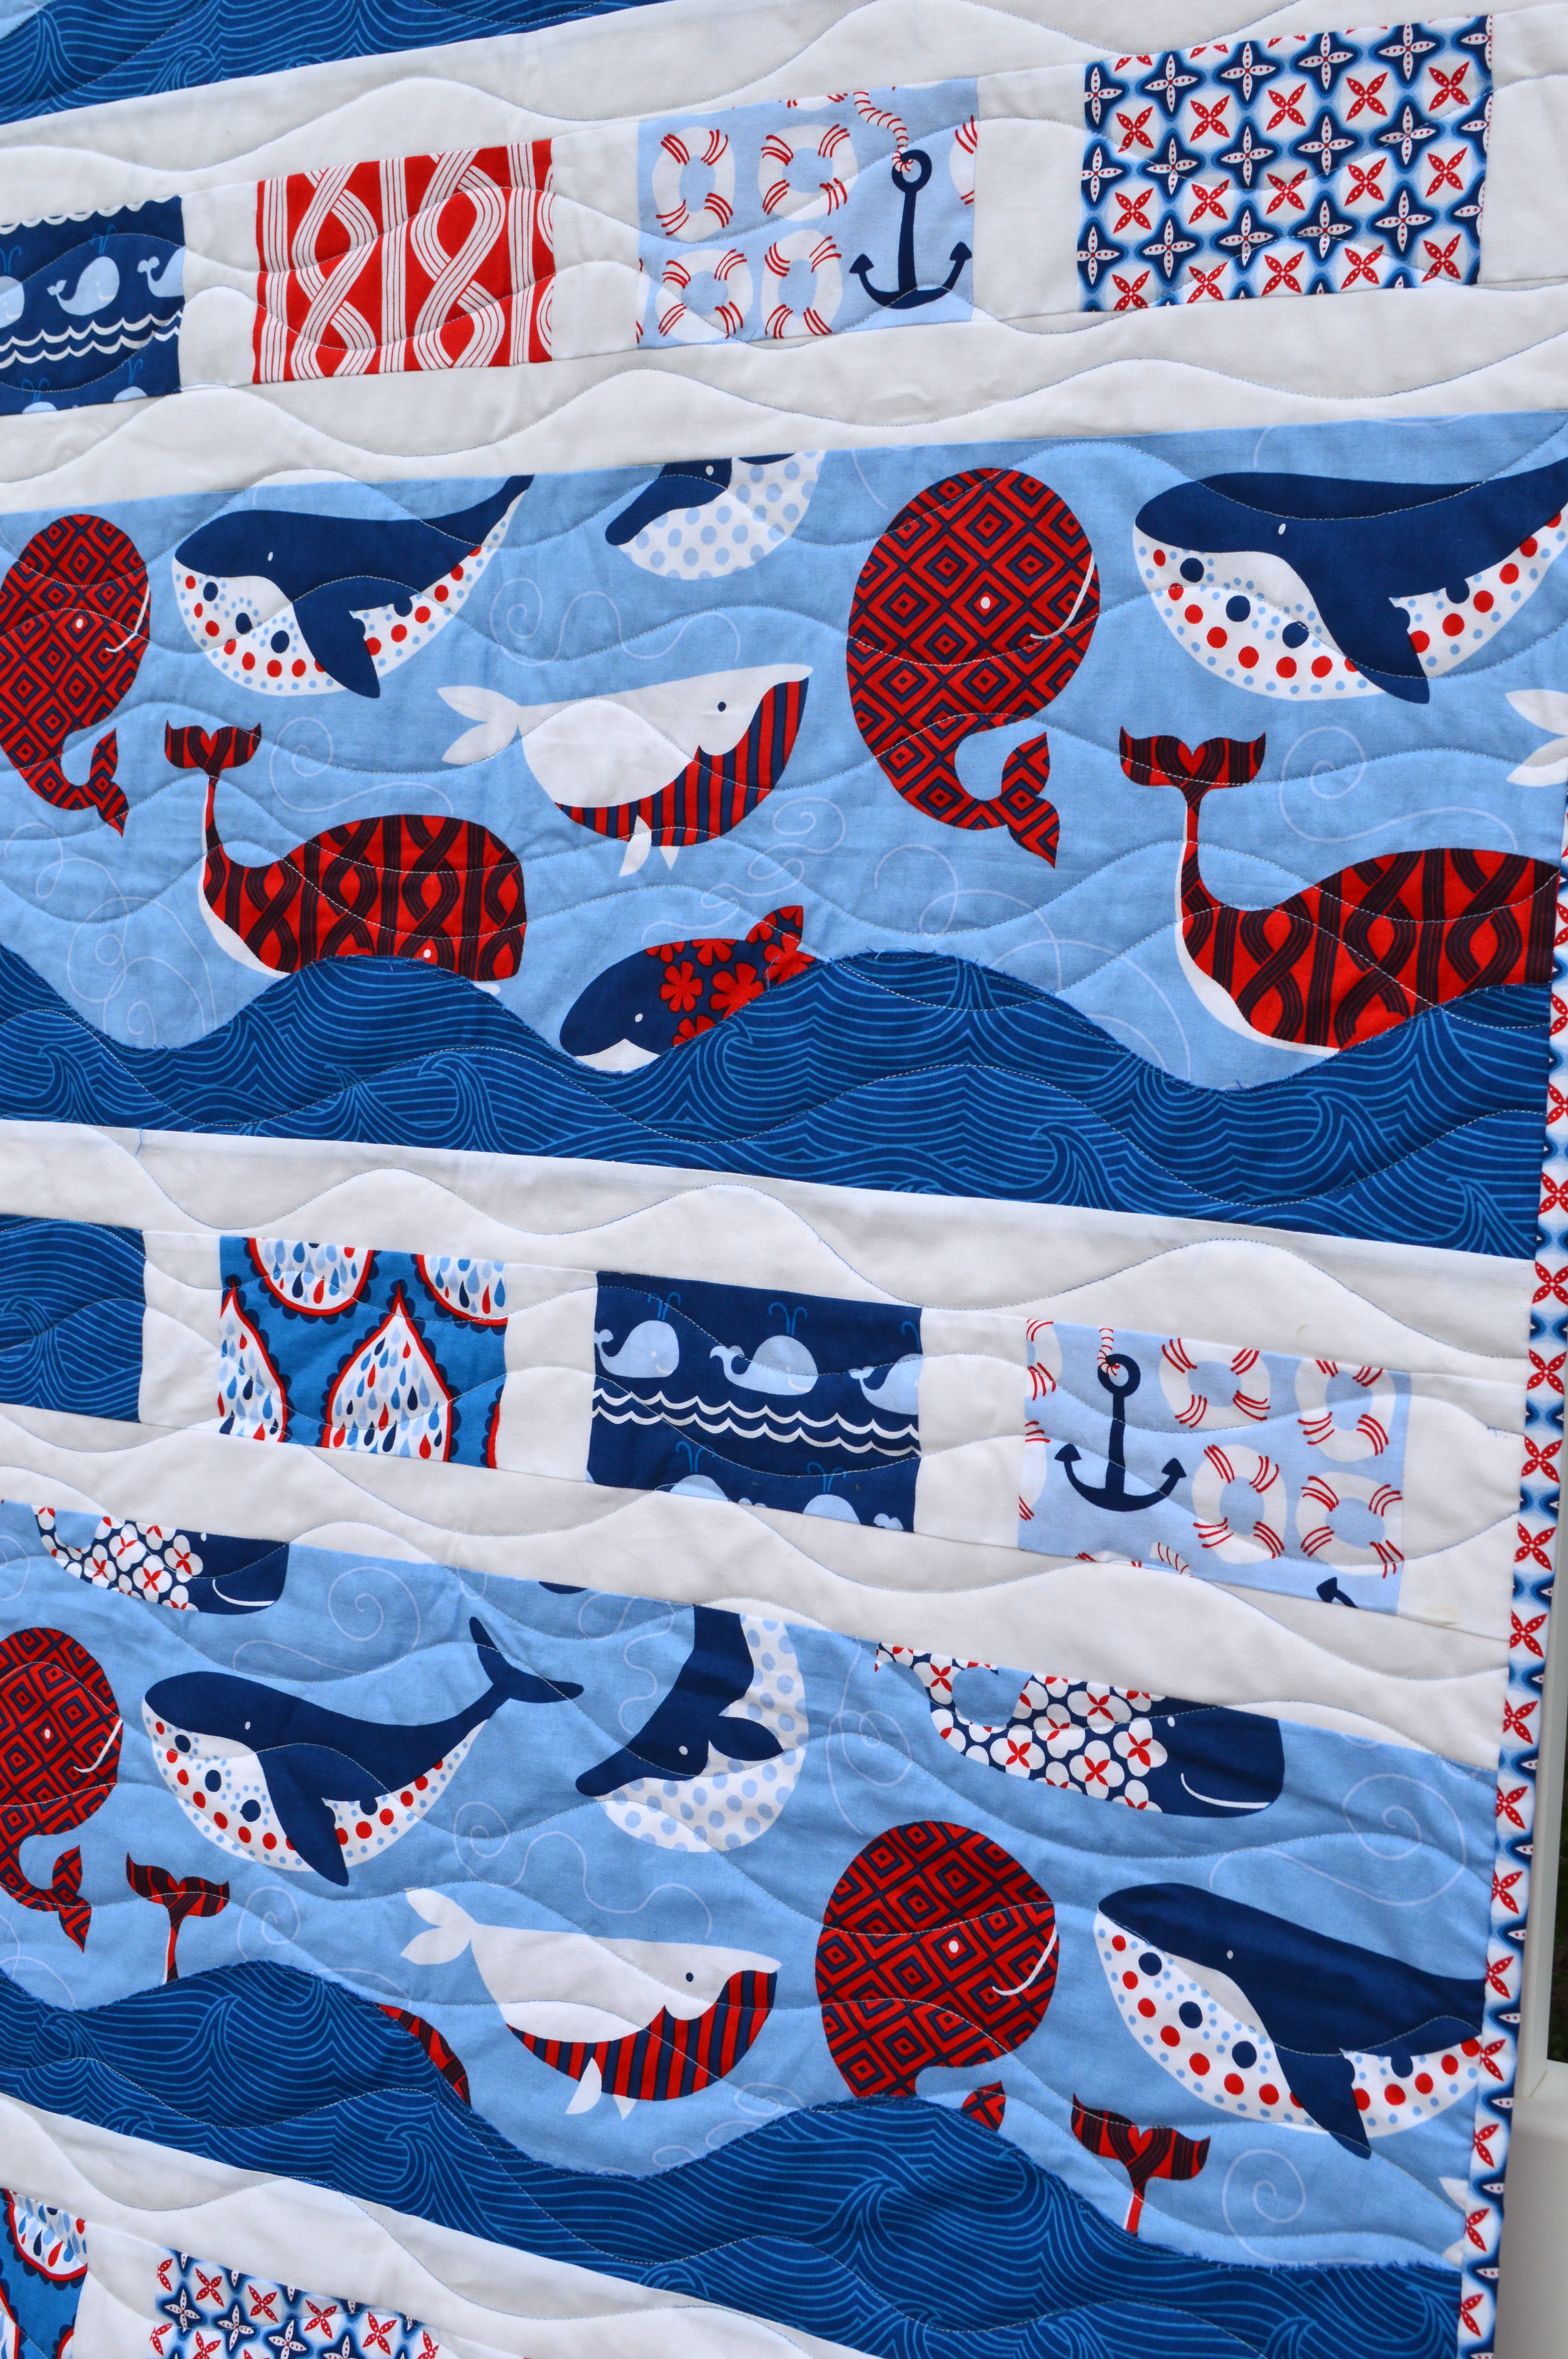
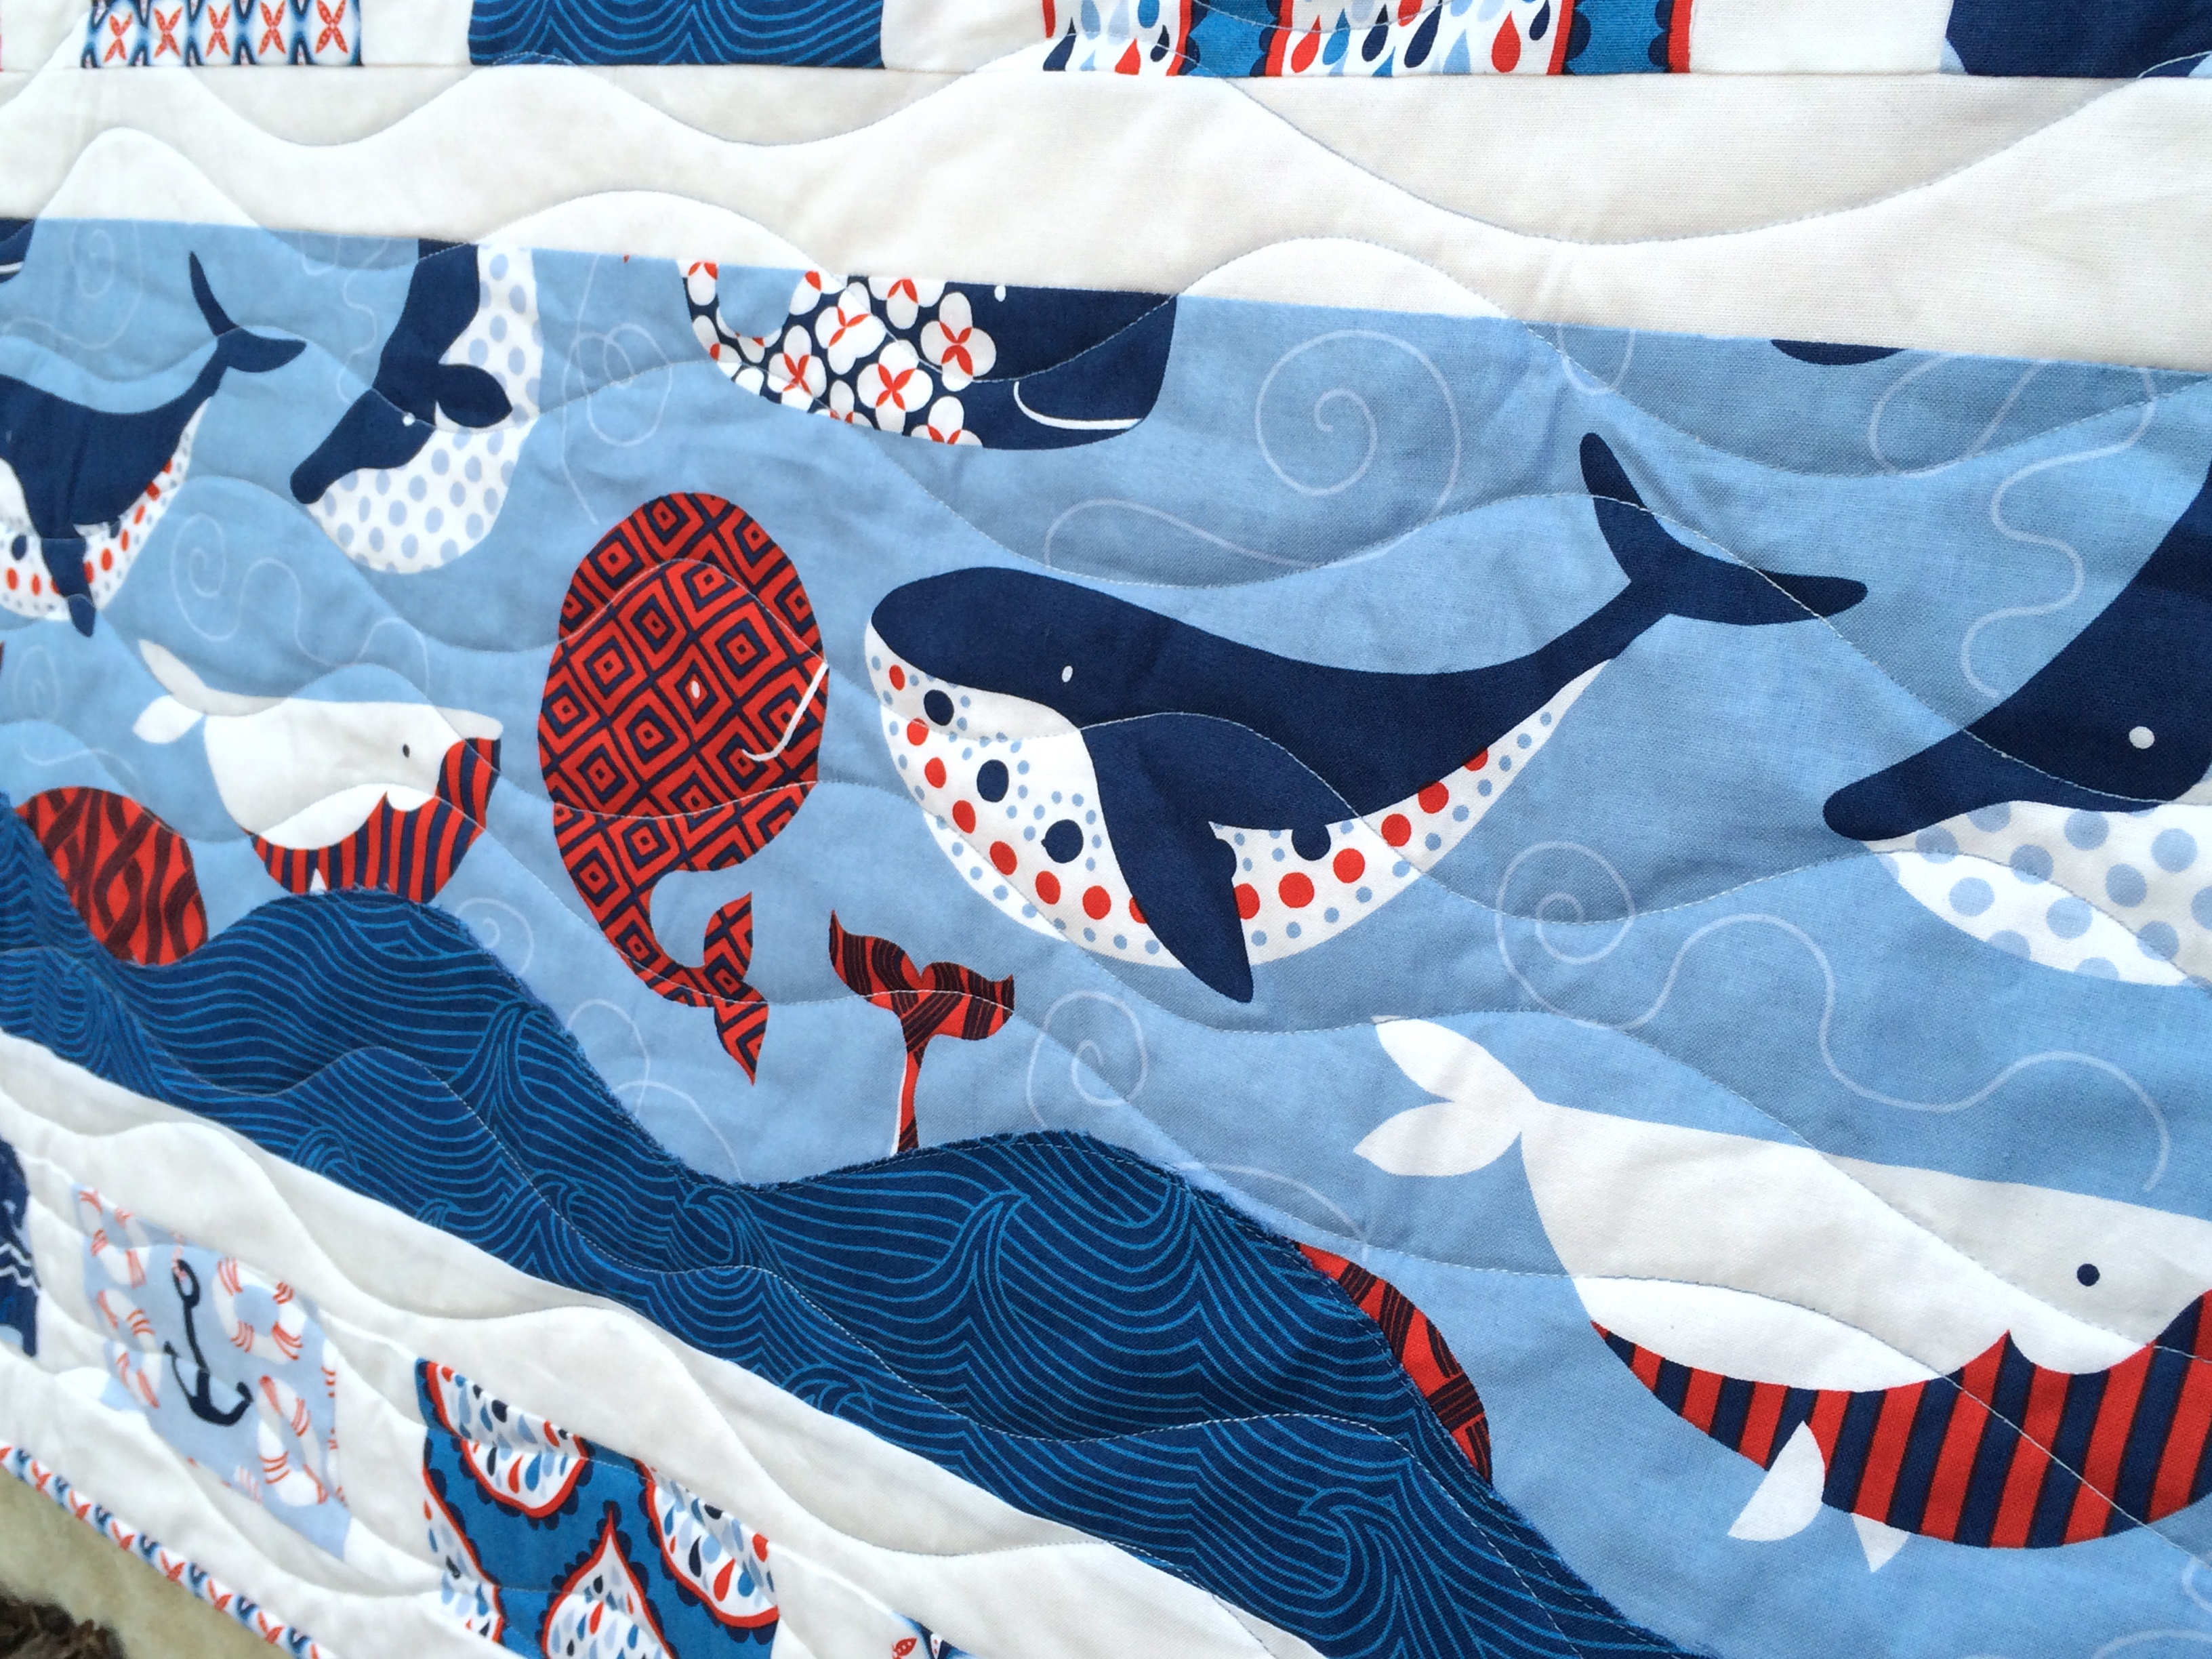
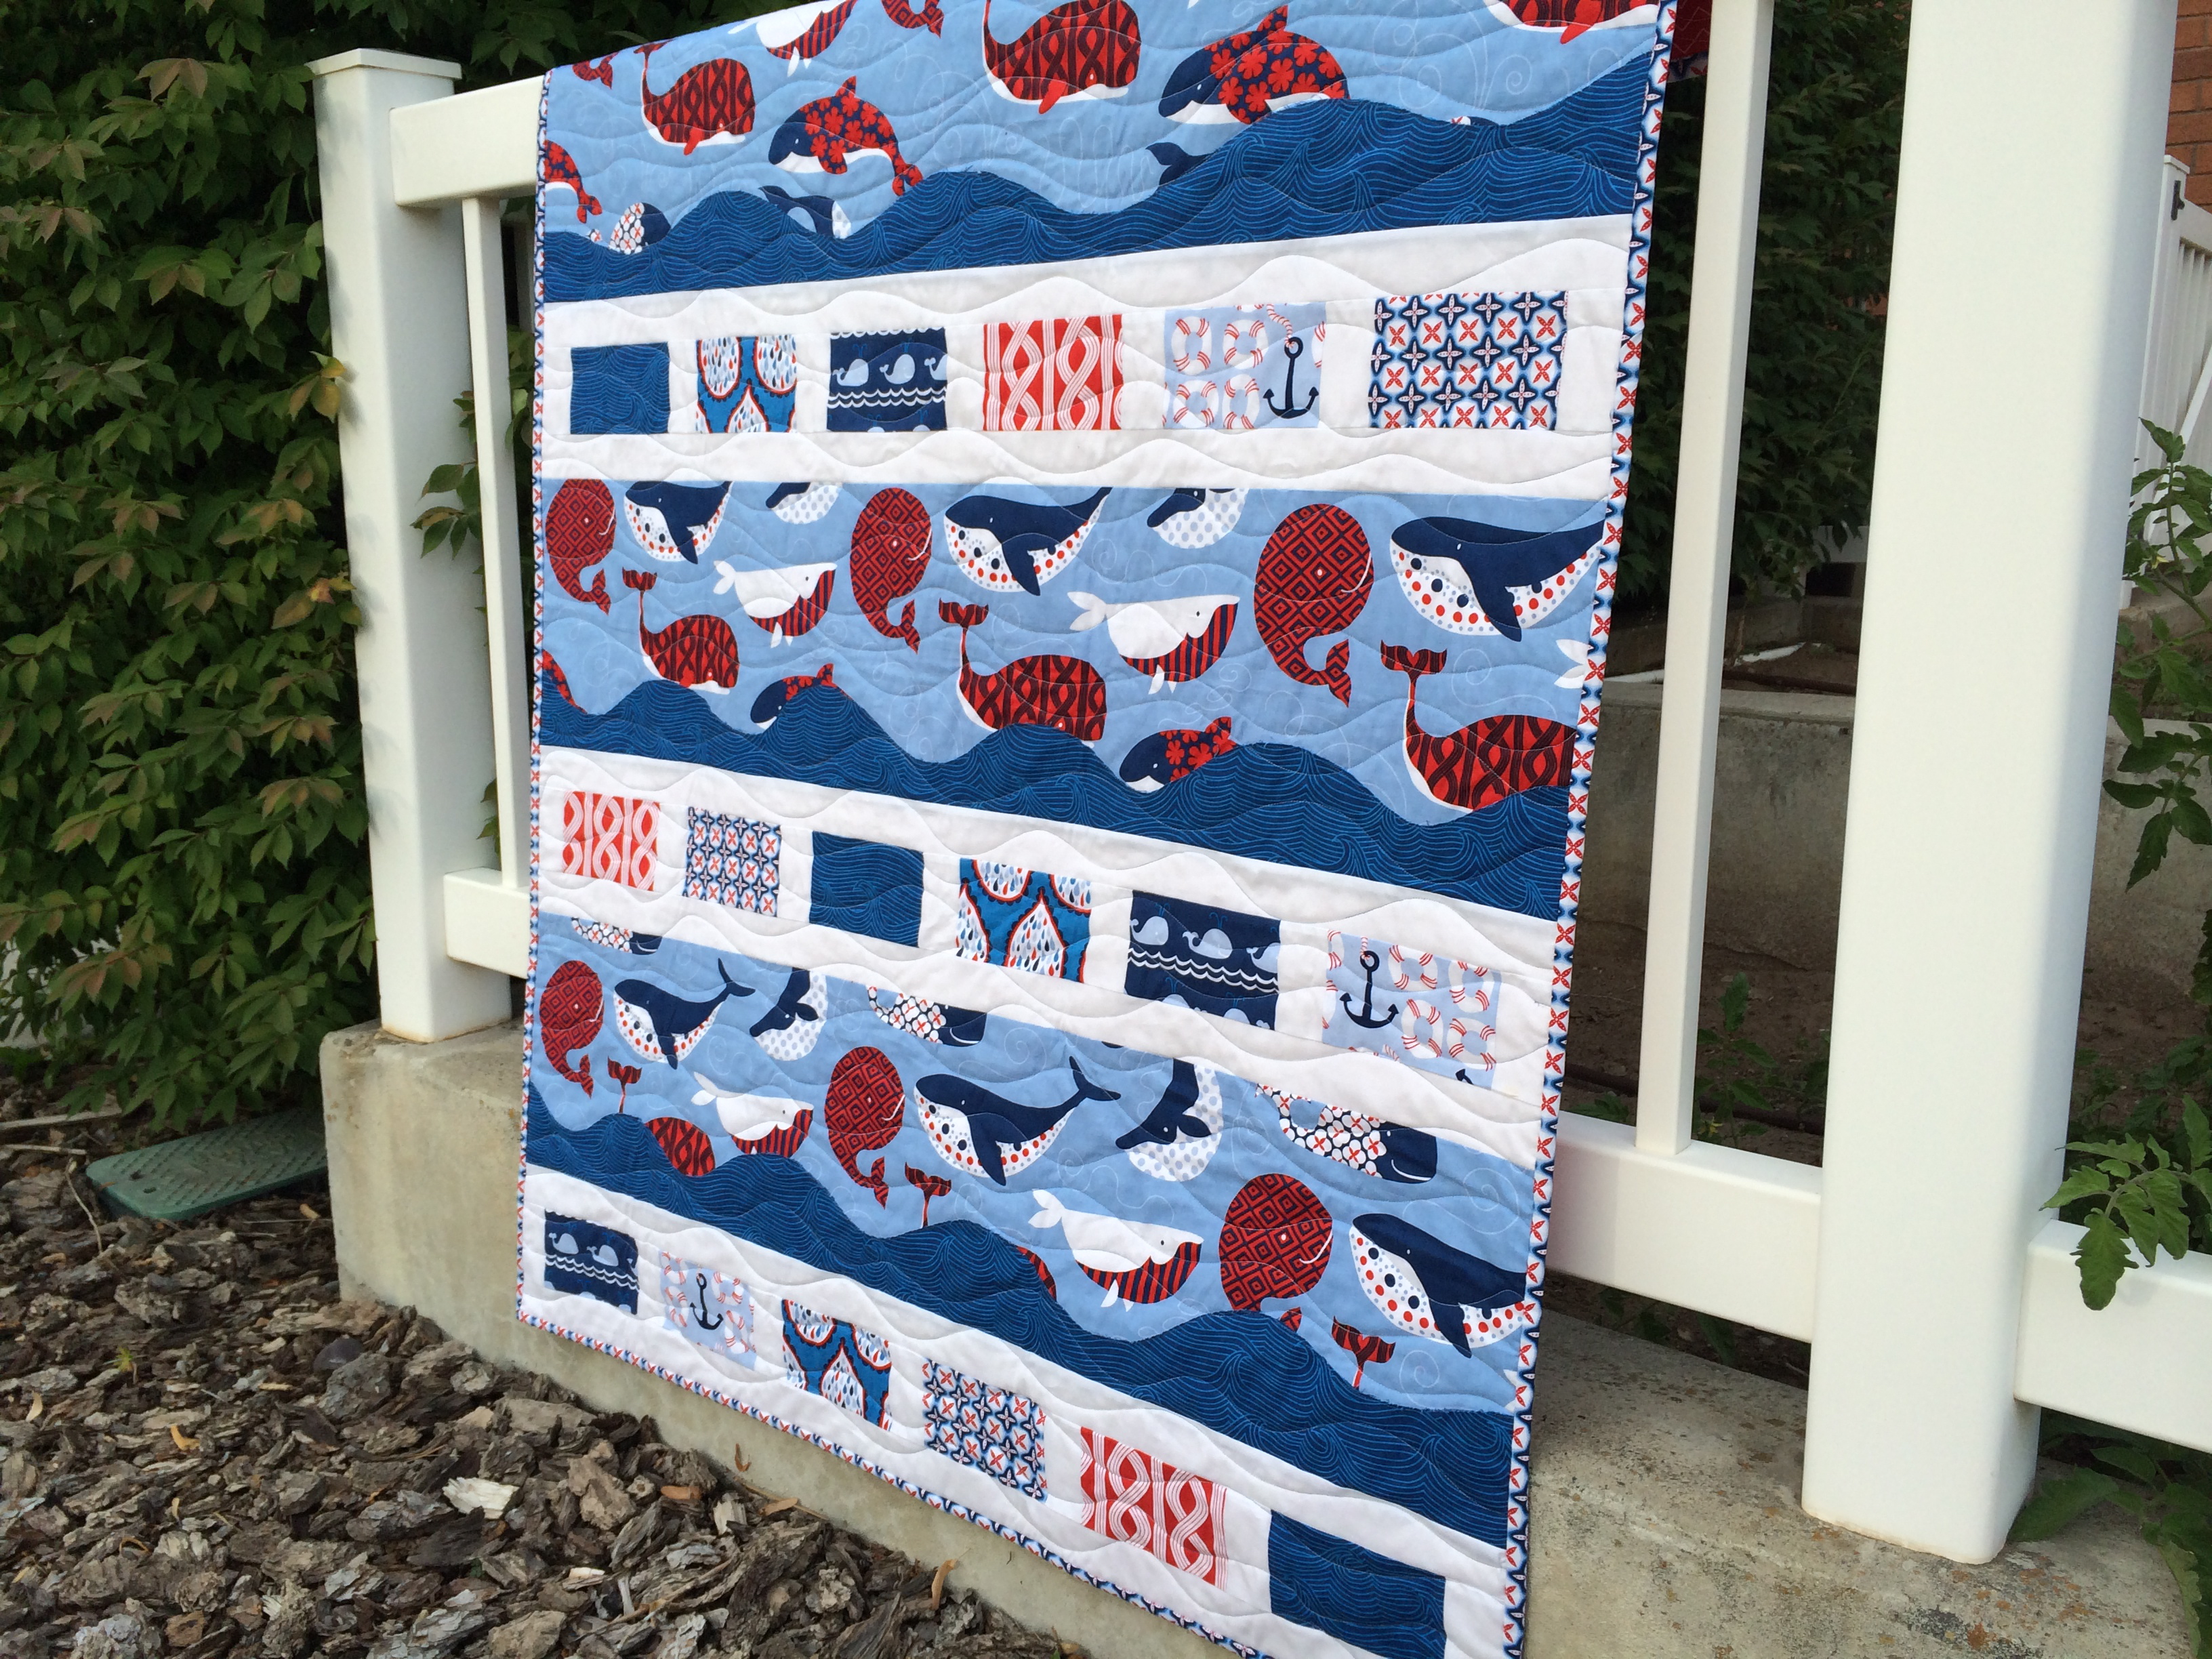
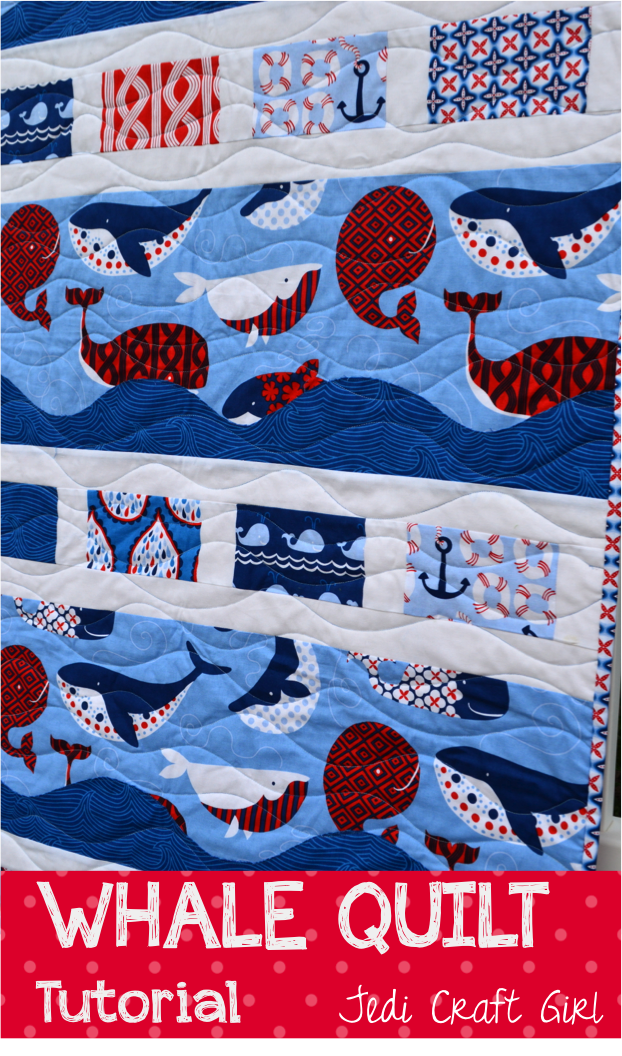
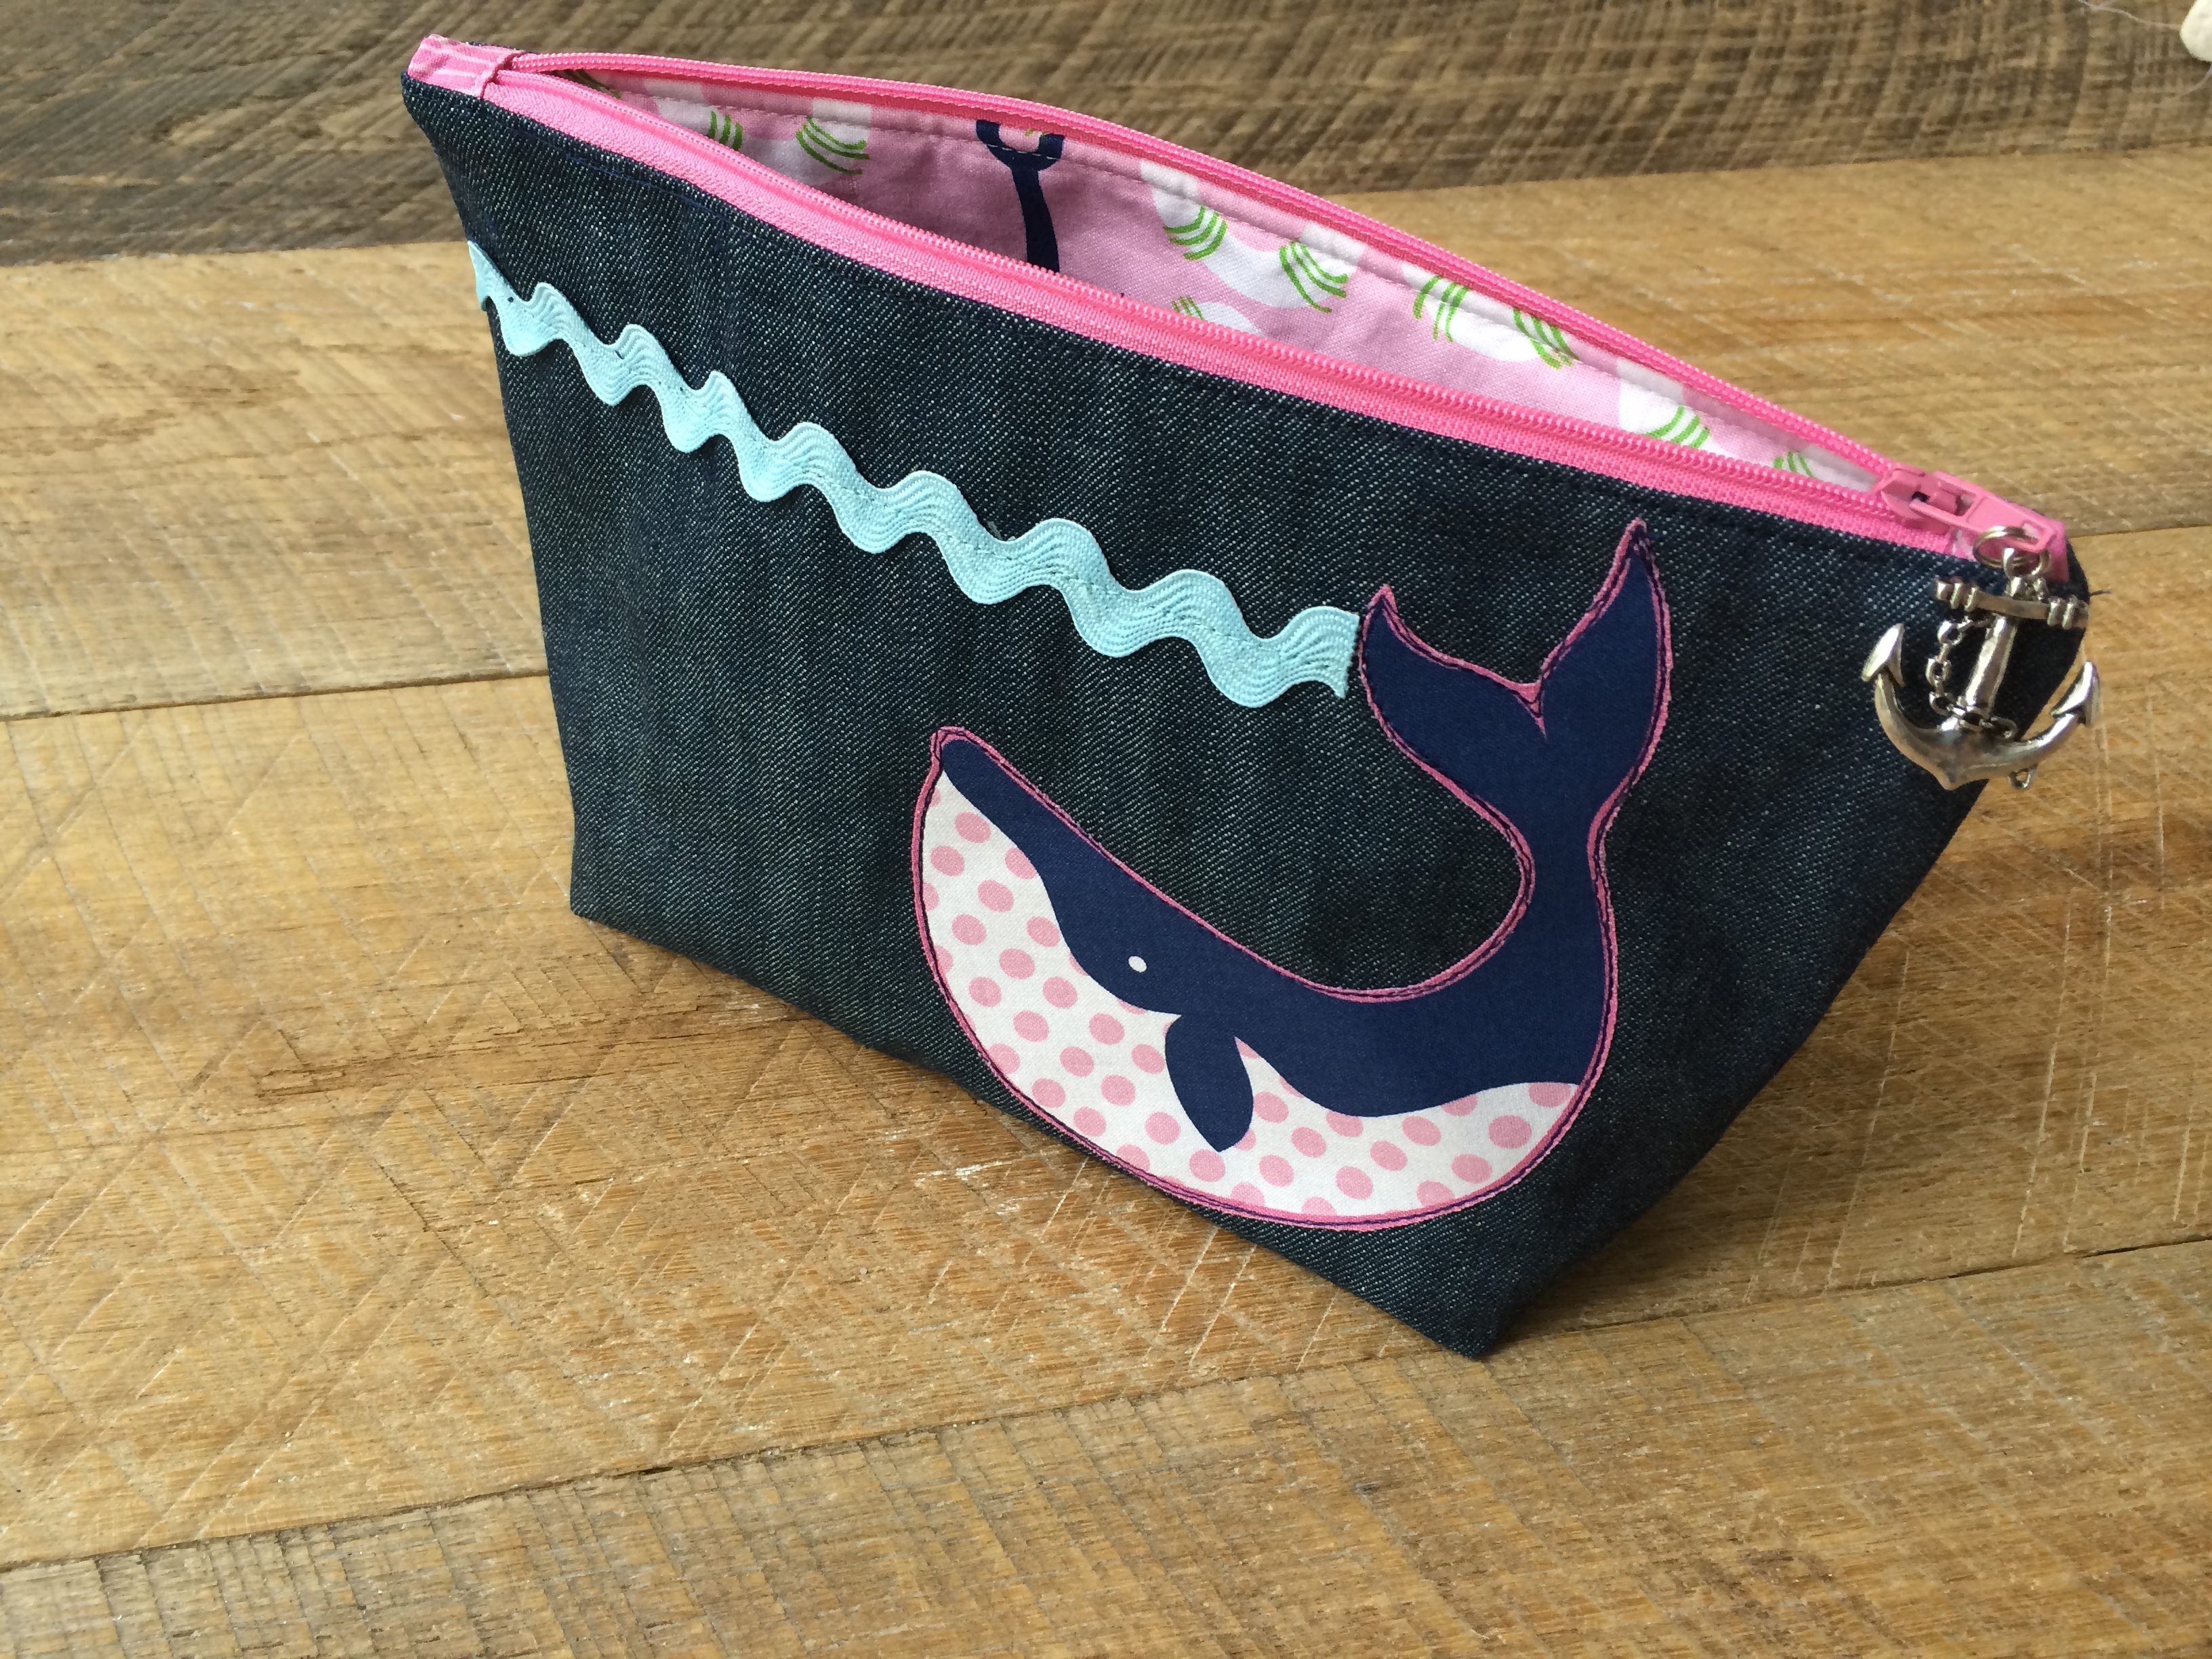
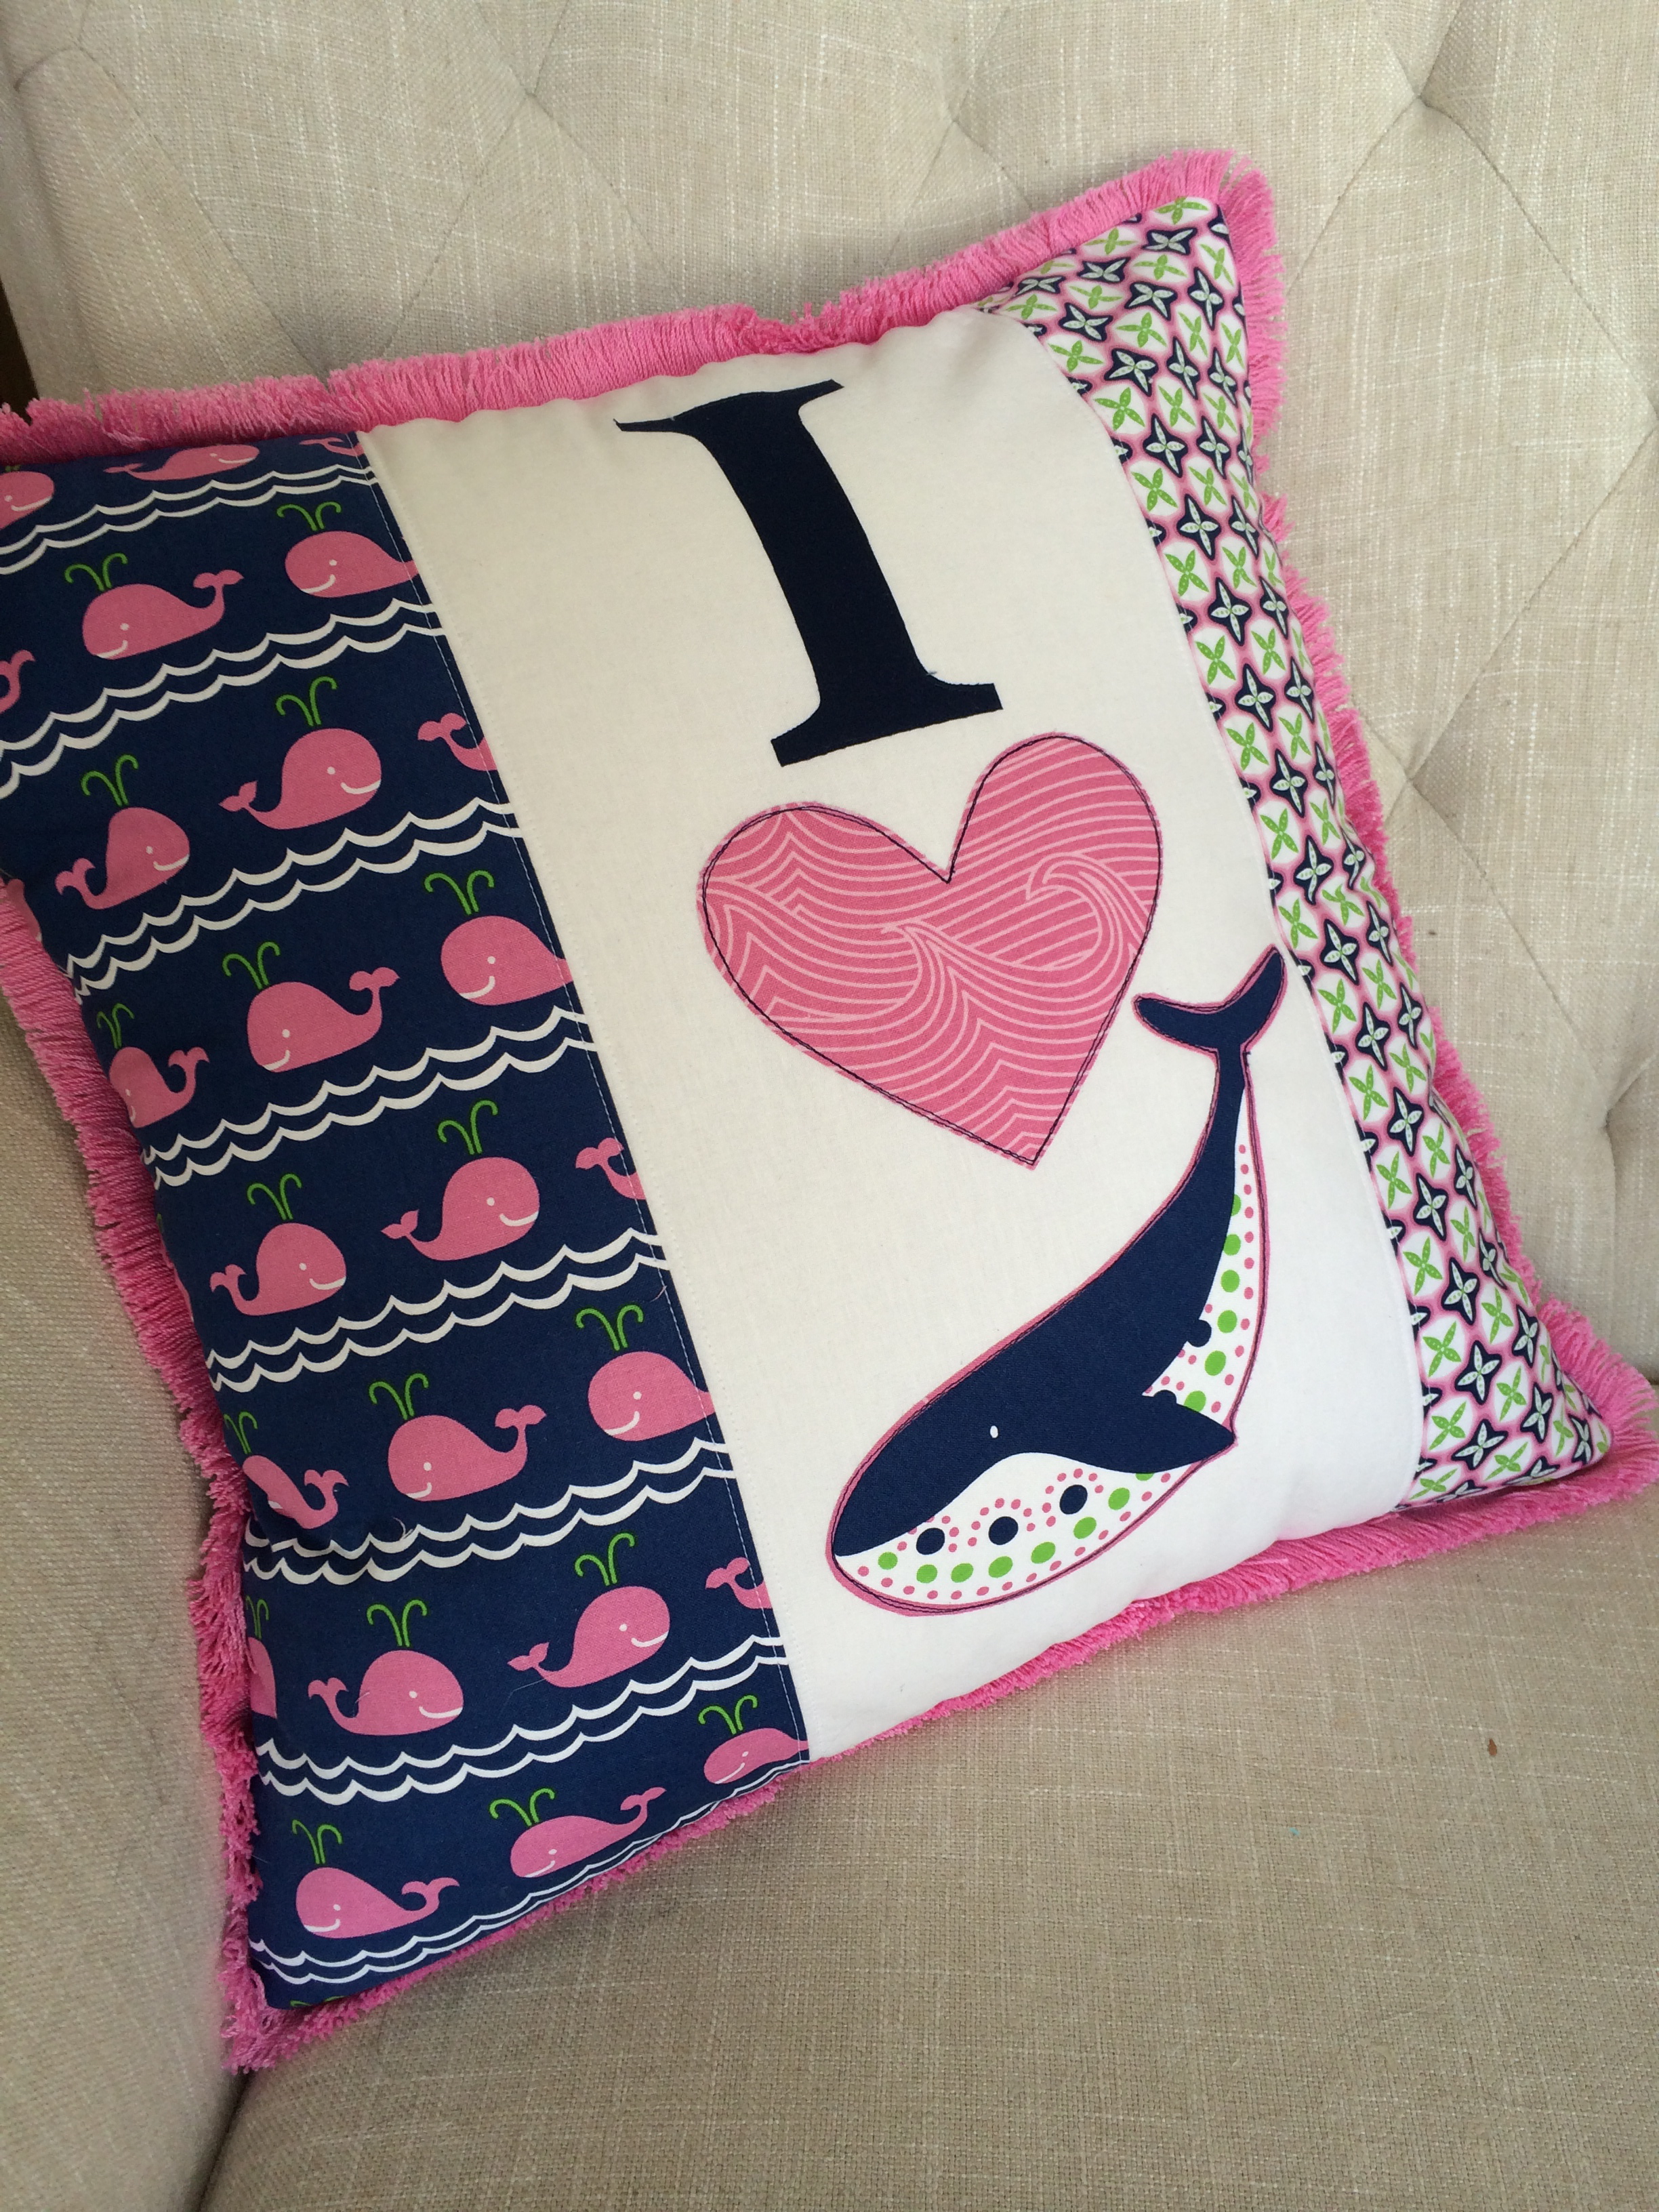
I Heart Whales Pillow (20″)
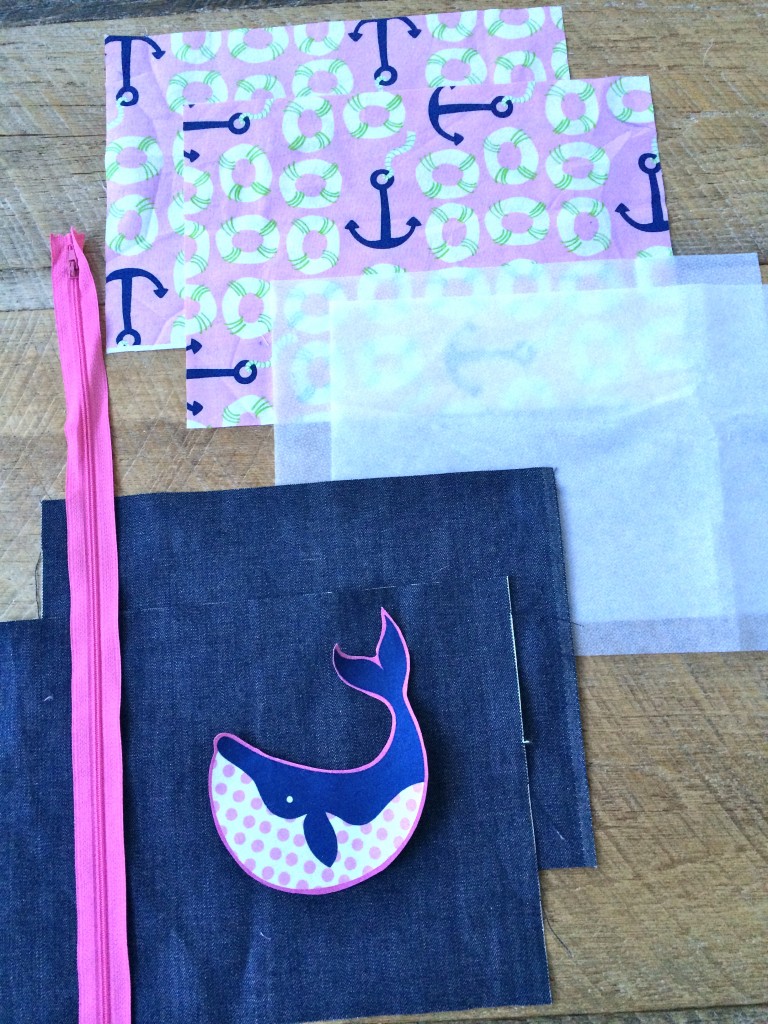
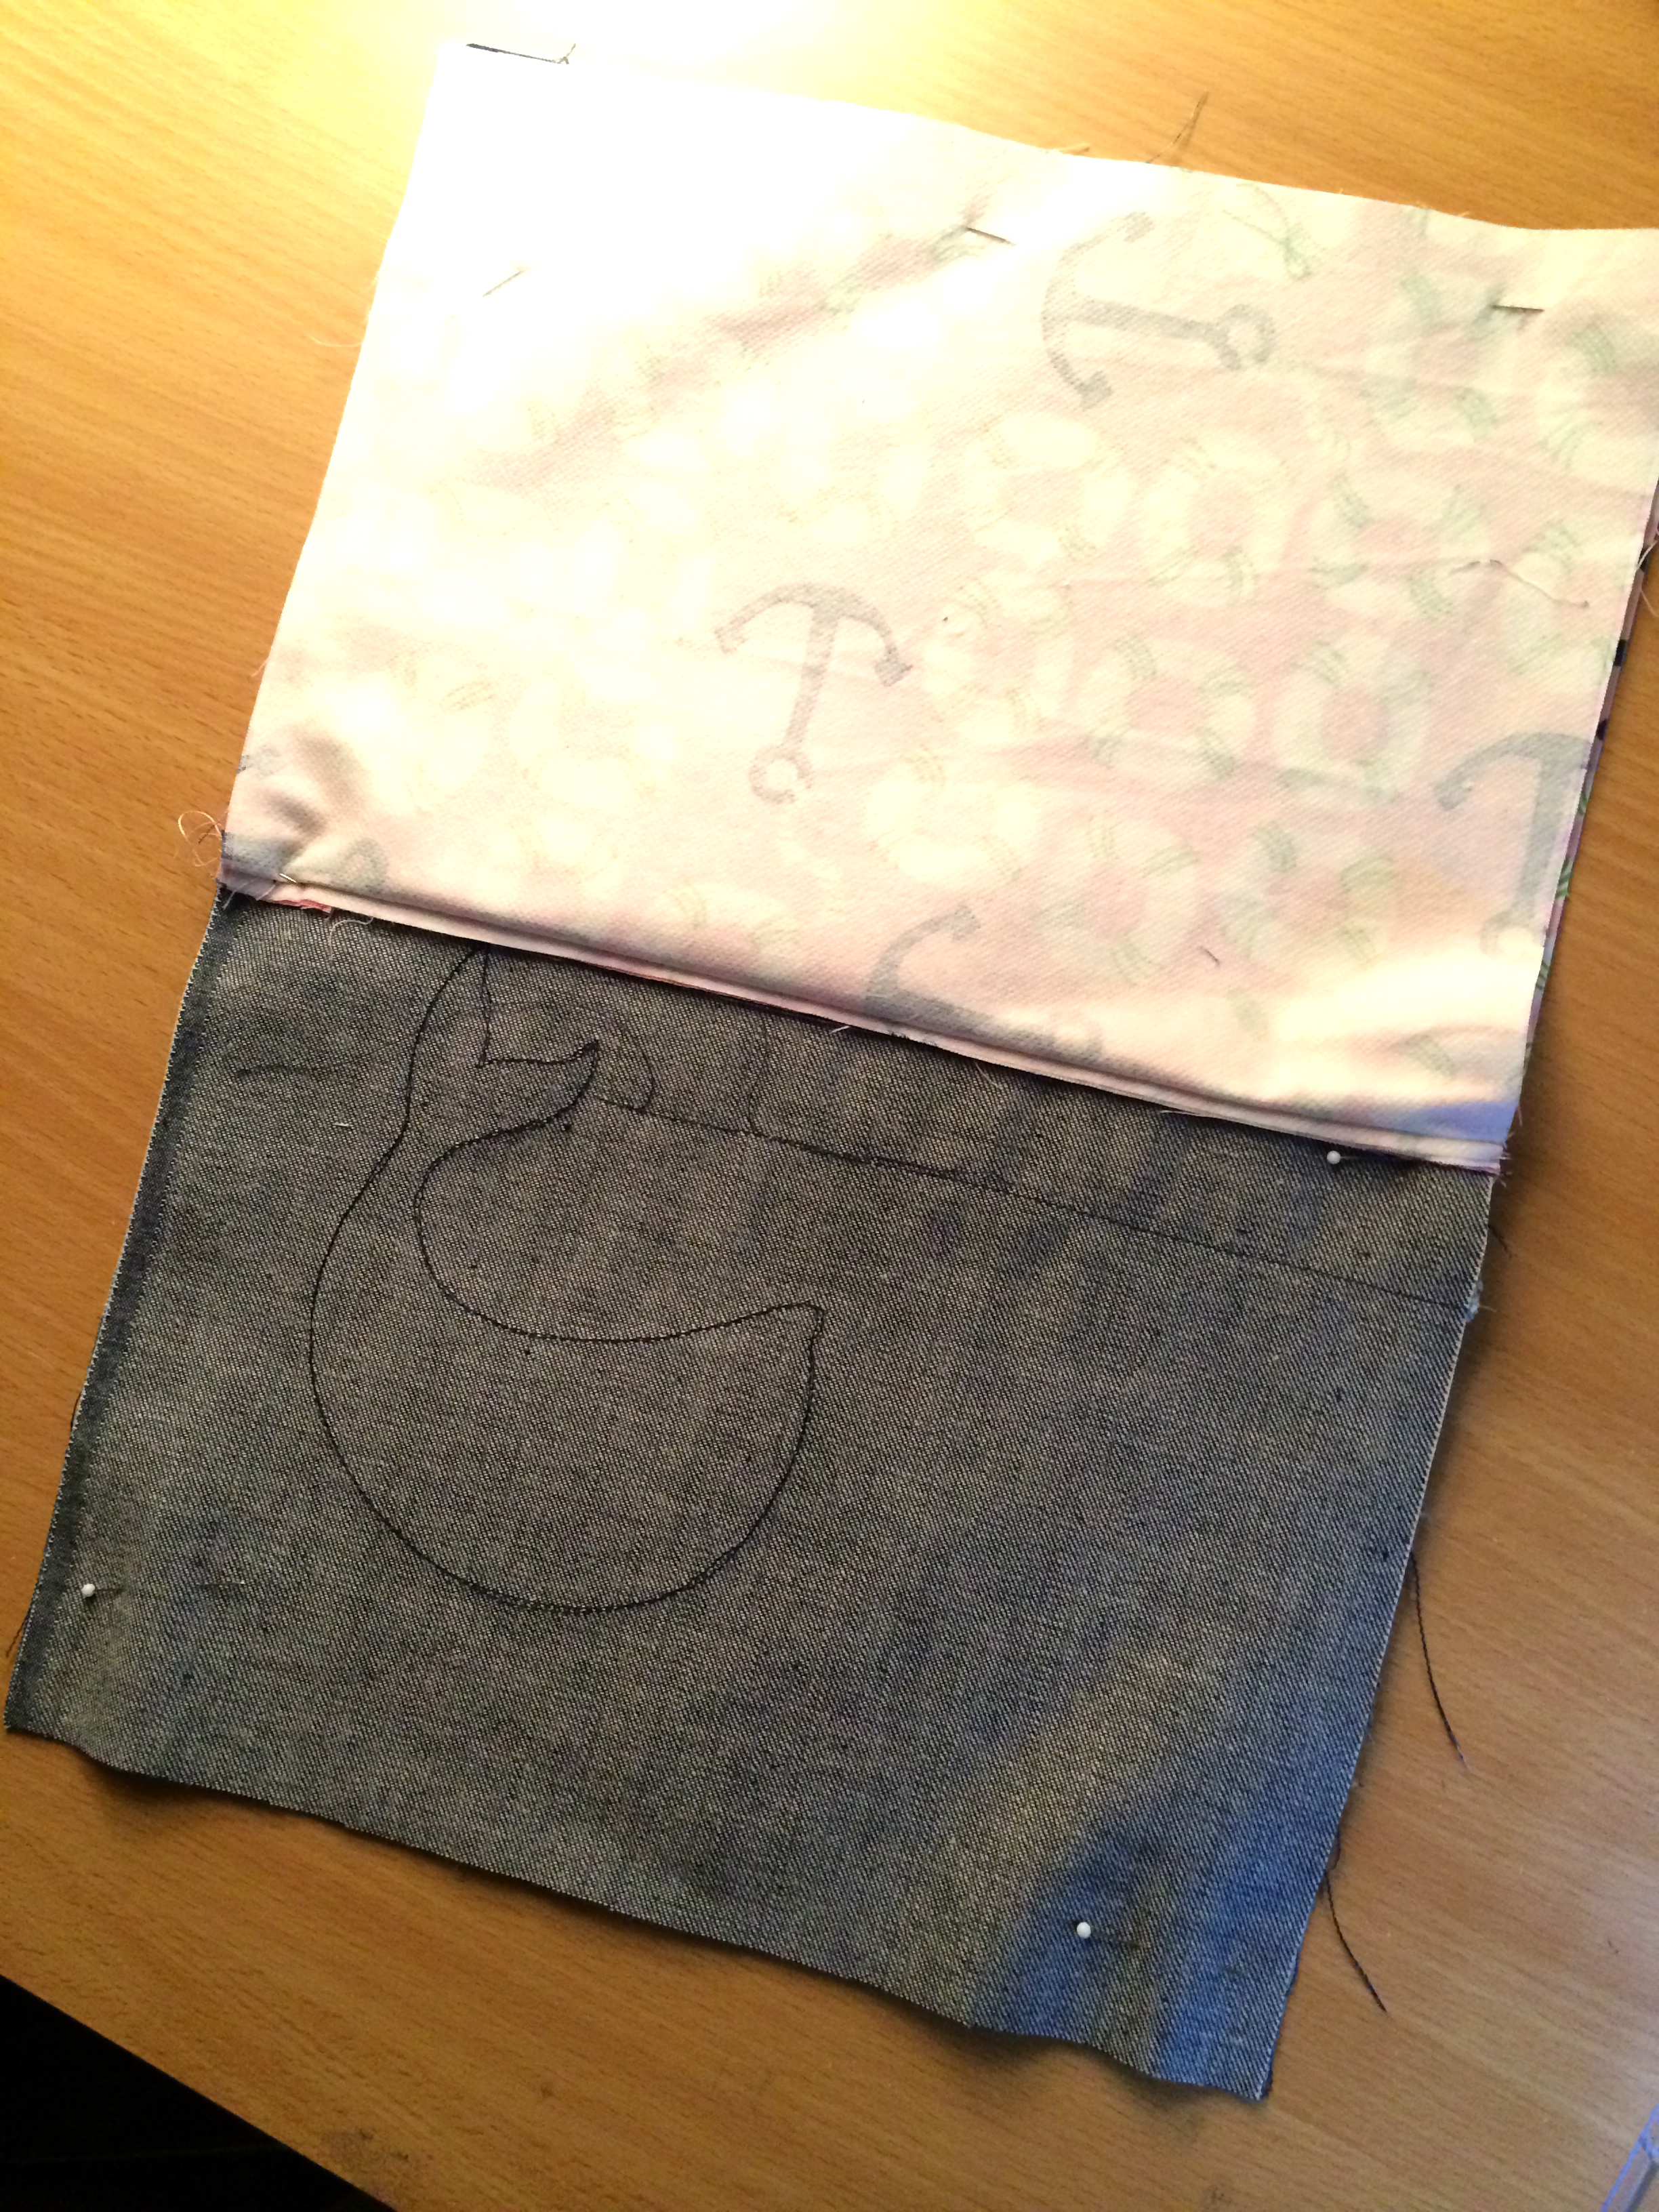
This is very similar to my pink I Heart Whales pillow found HERE. Follow those directions for the Heat n Bond Applique.

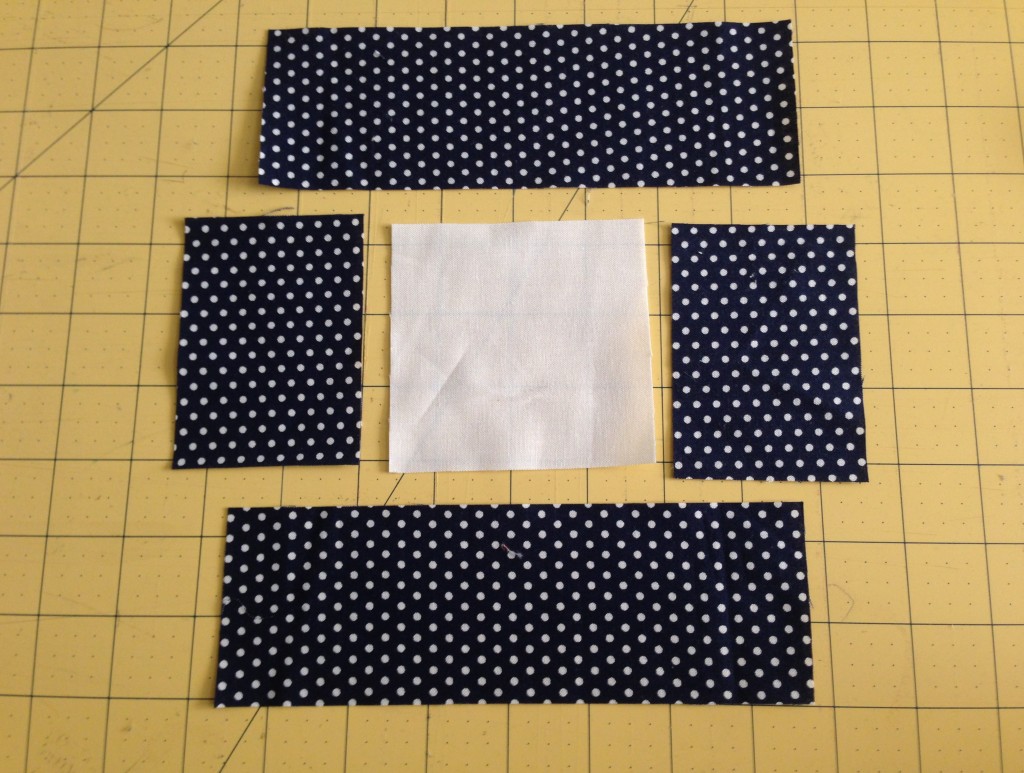
Cut the solid white 10.5″ x 20″
Cut (2) Seersucker Twist Blue from Blend fabric 5.25″ x 20″
“I Heart” pattern click HERE
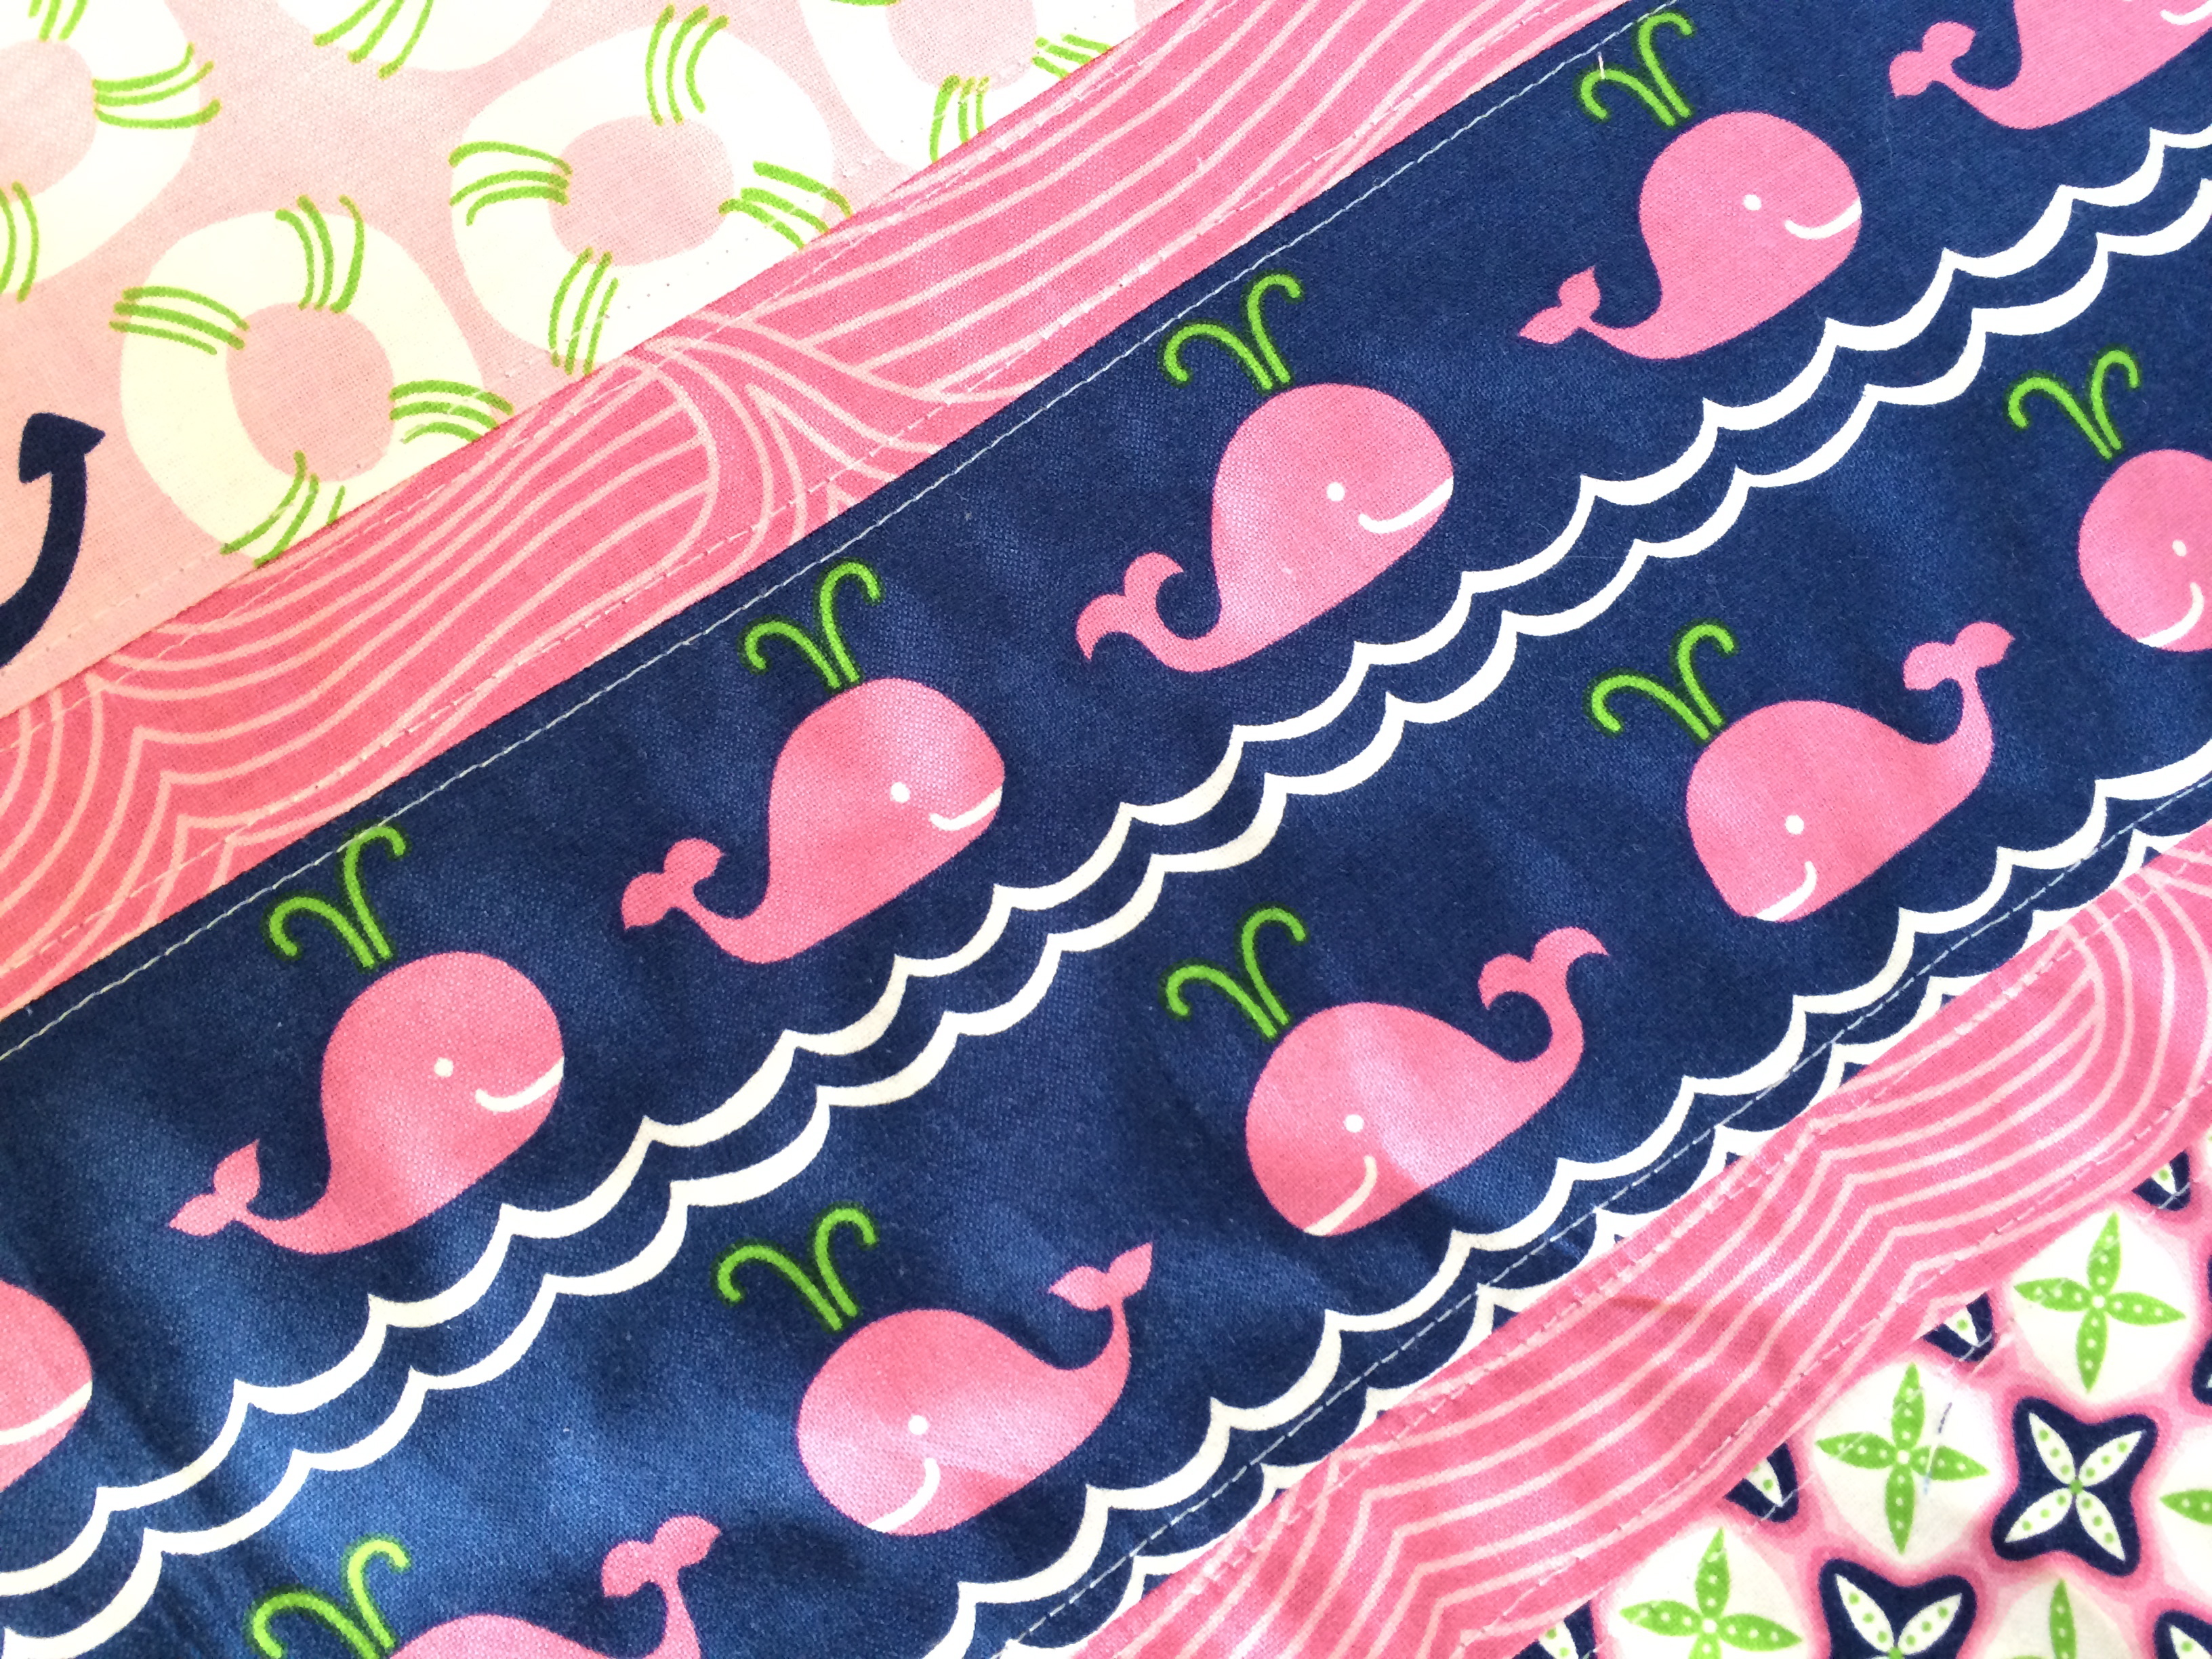
Whales from Blend’s True Blue fabric line
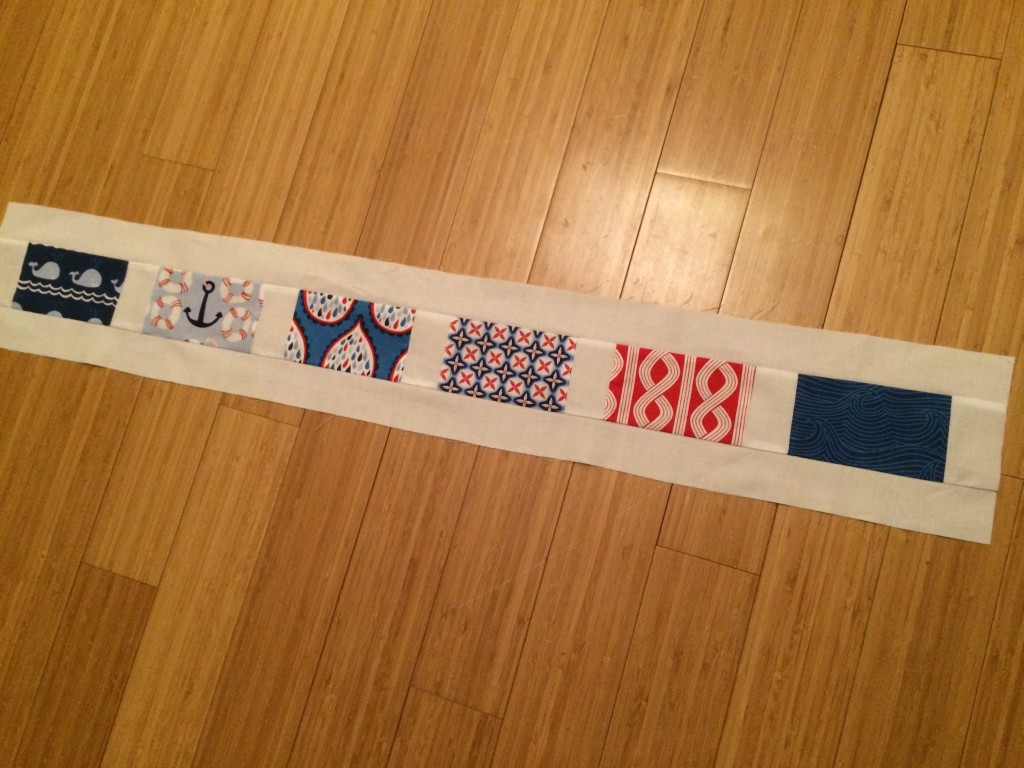
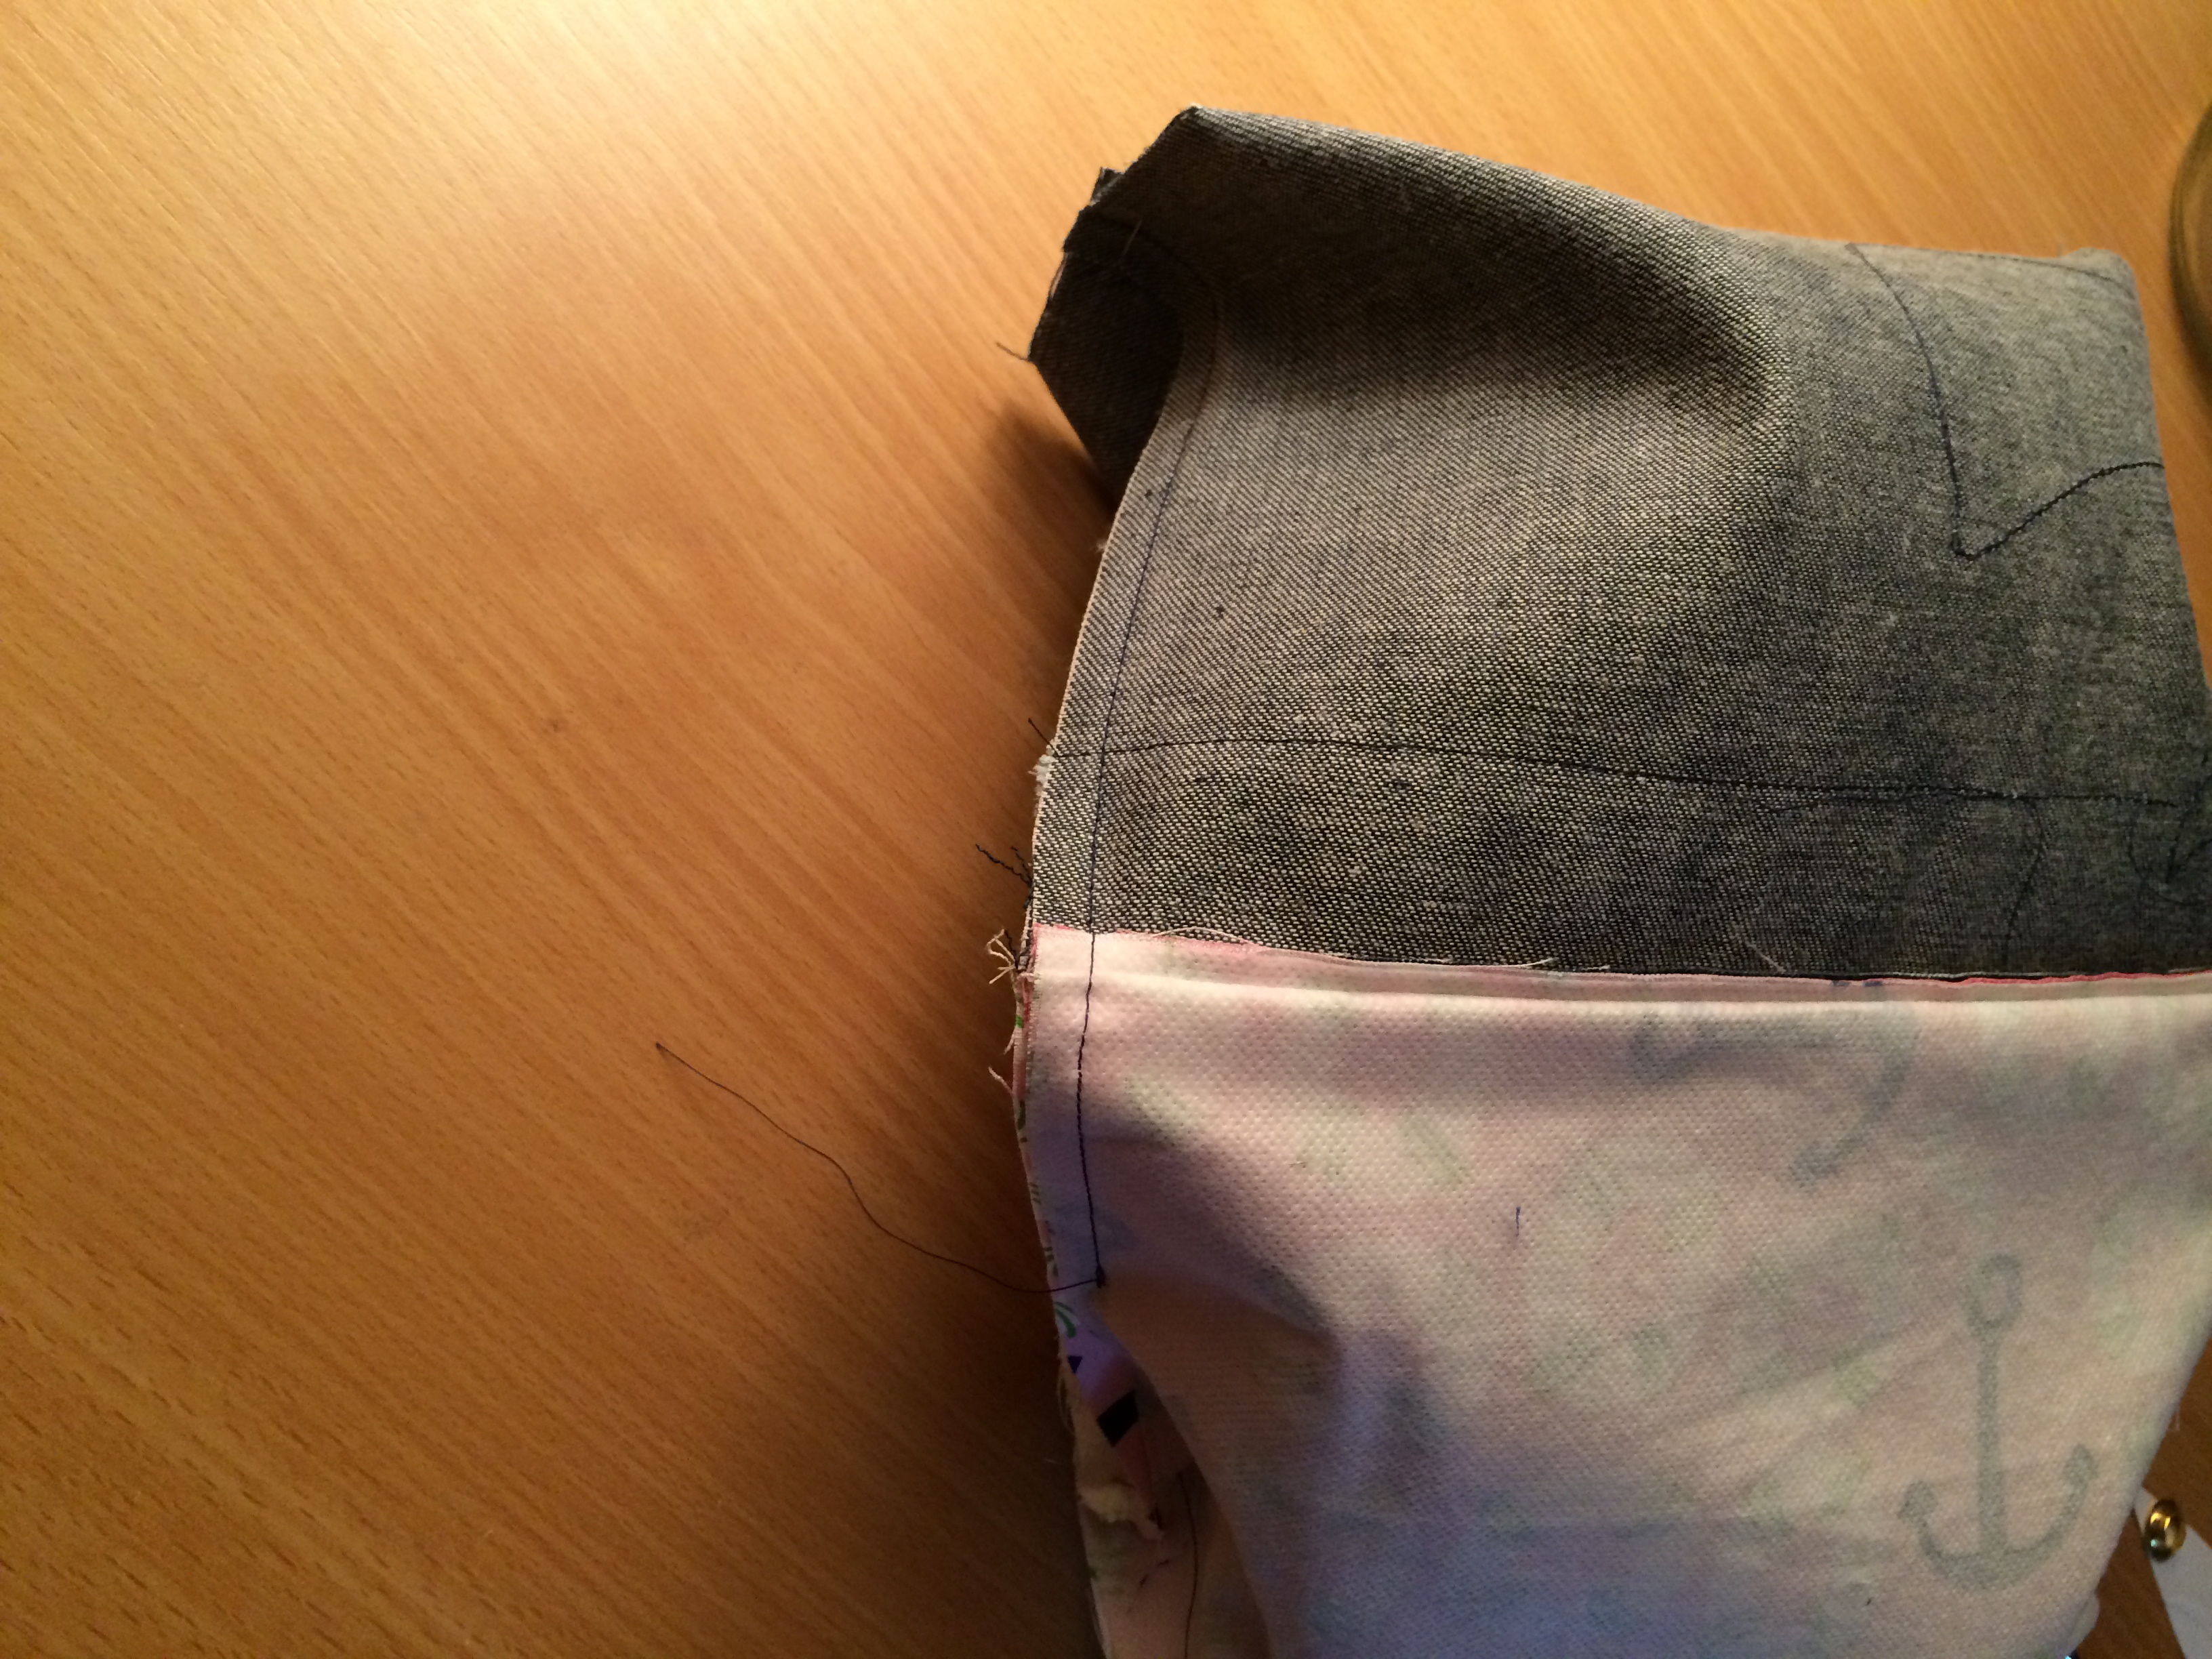
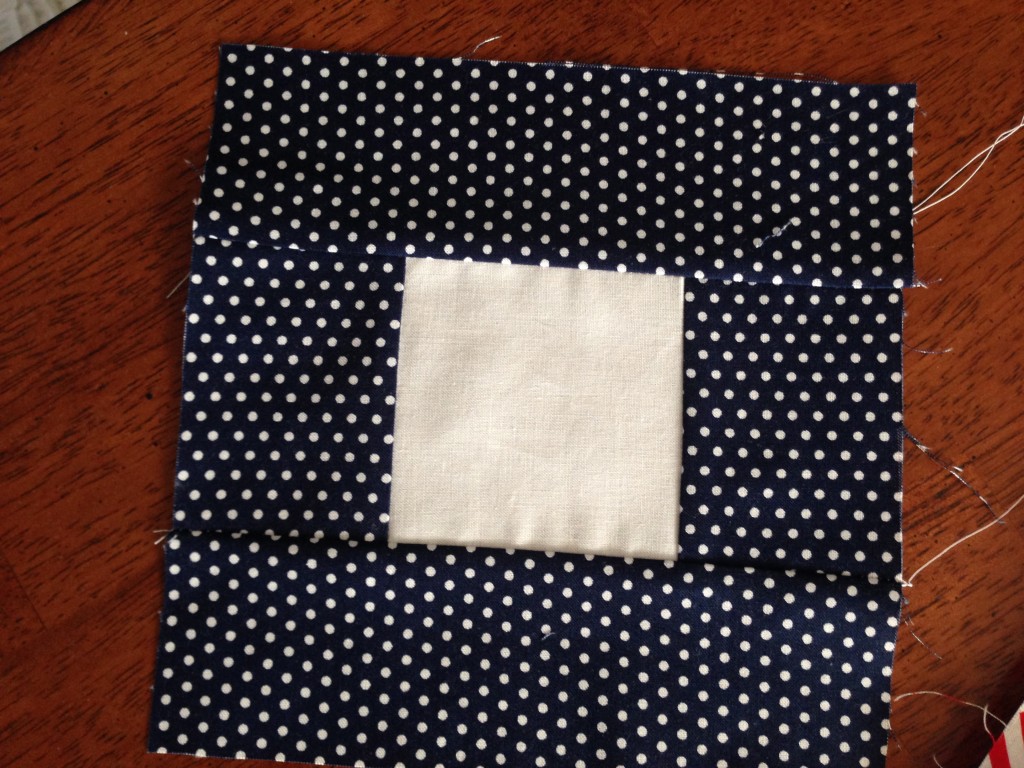
Prepare the appliqué pieces (directions HERE). Iron the pieces to the solid white fabric. Sew the blue fabrics to the white fabric using 1/4″ seams.
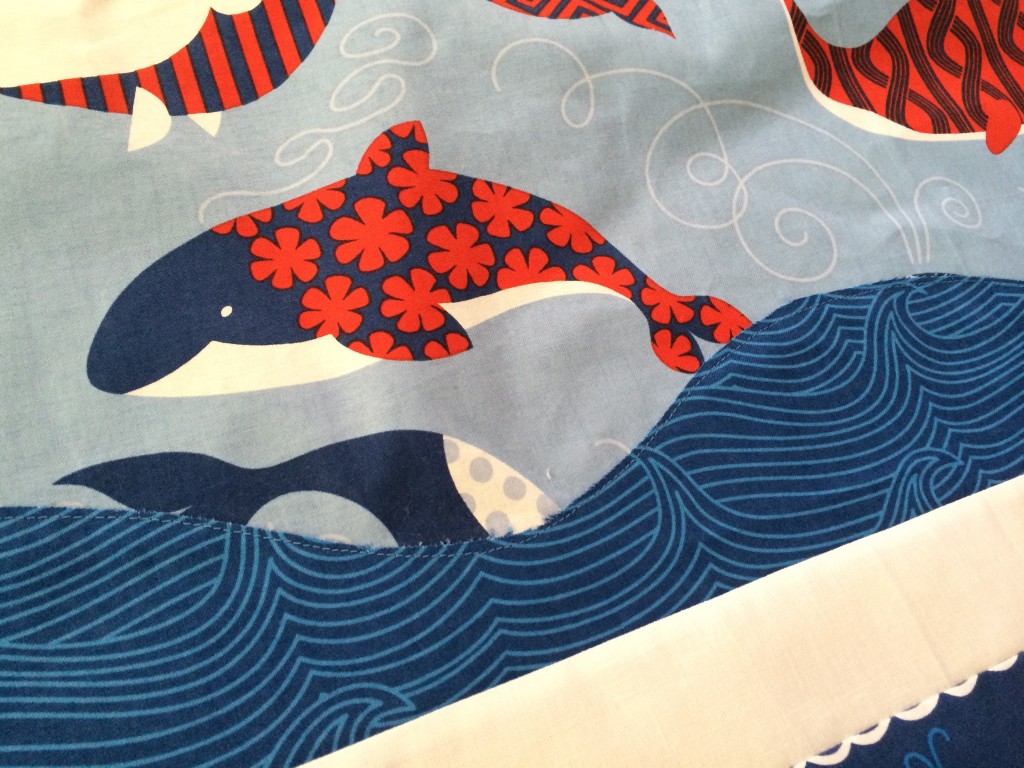
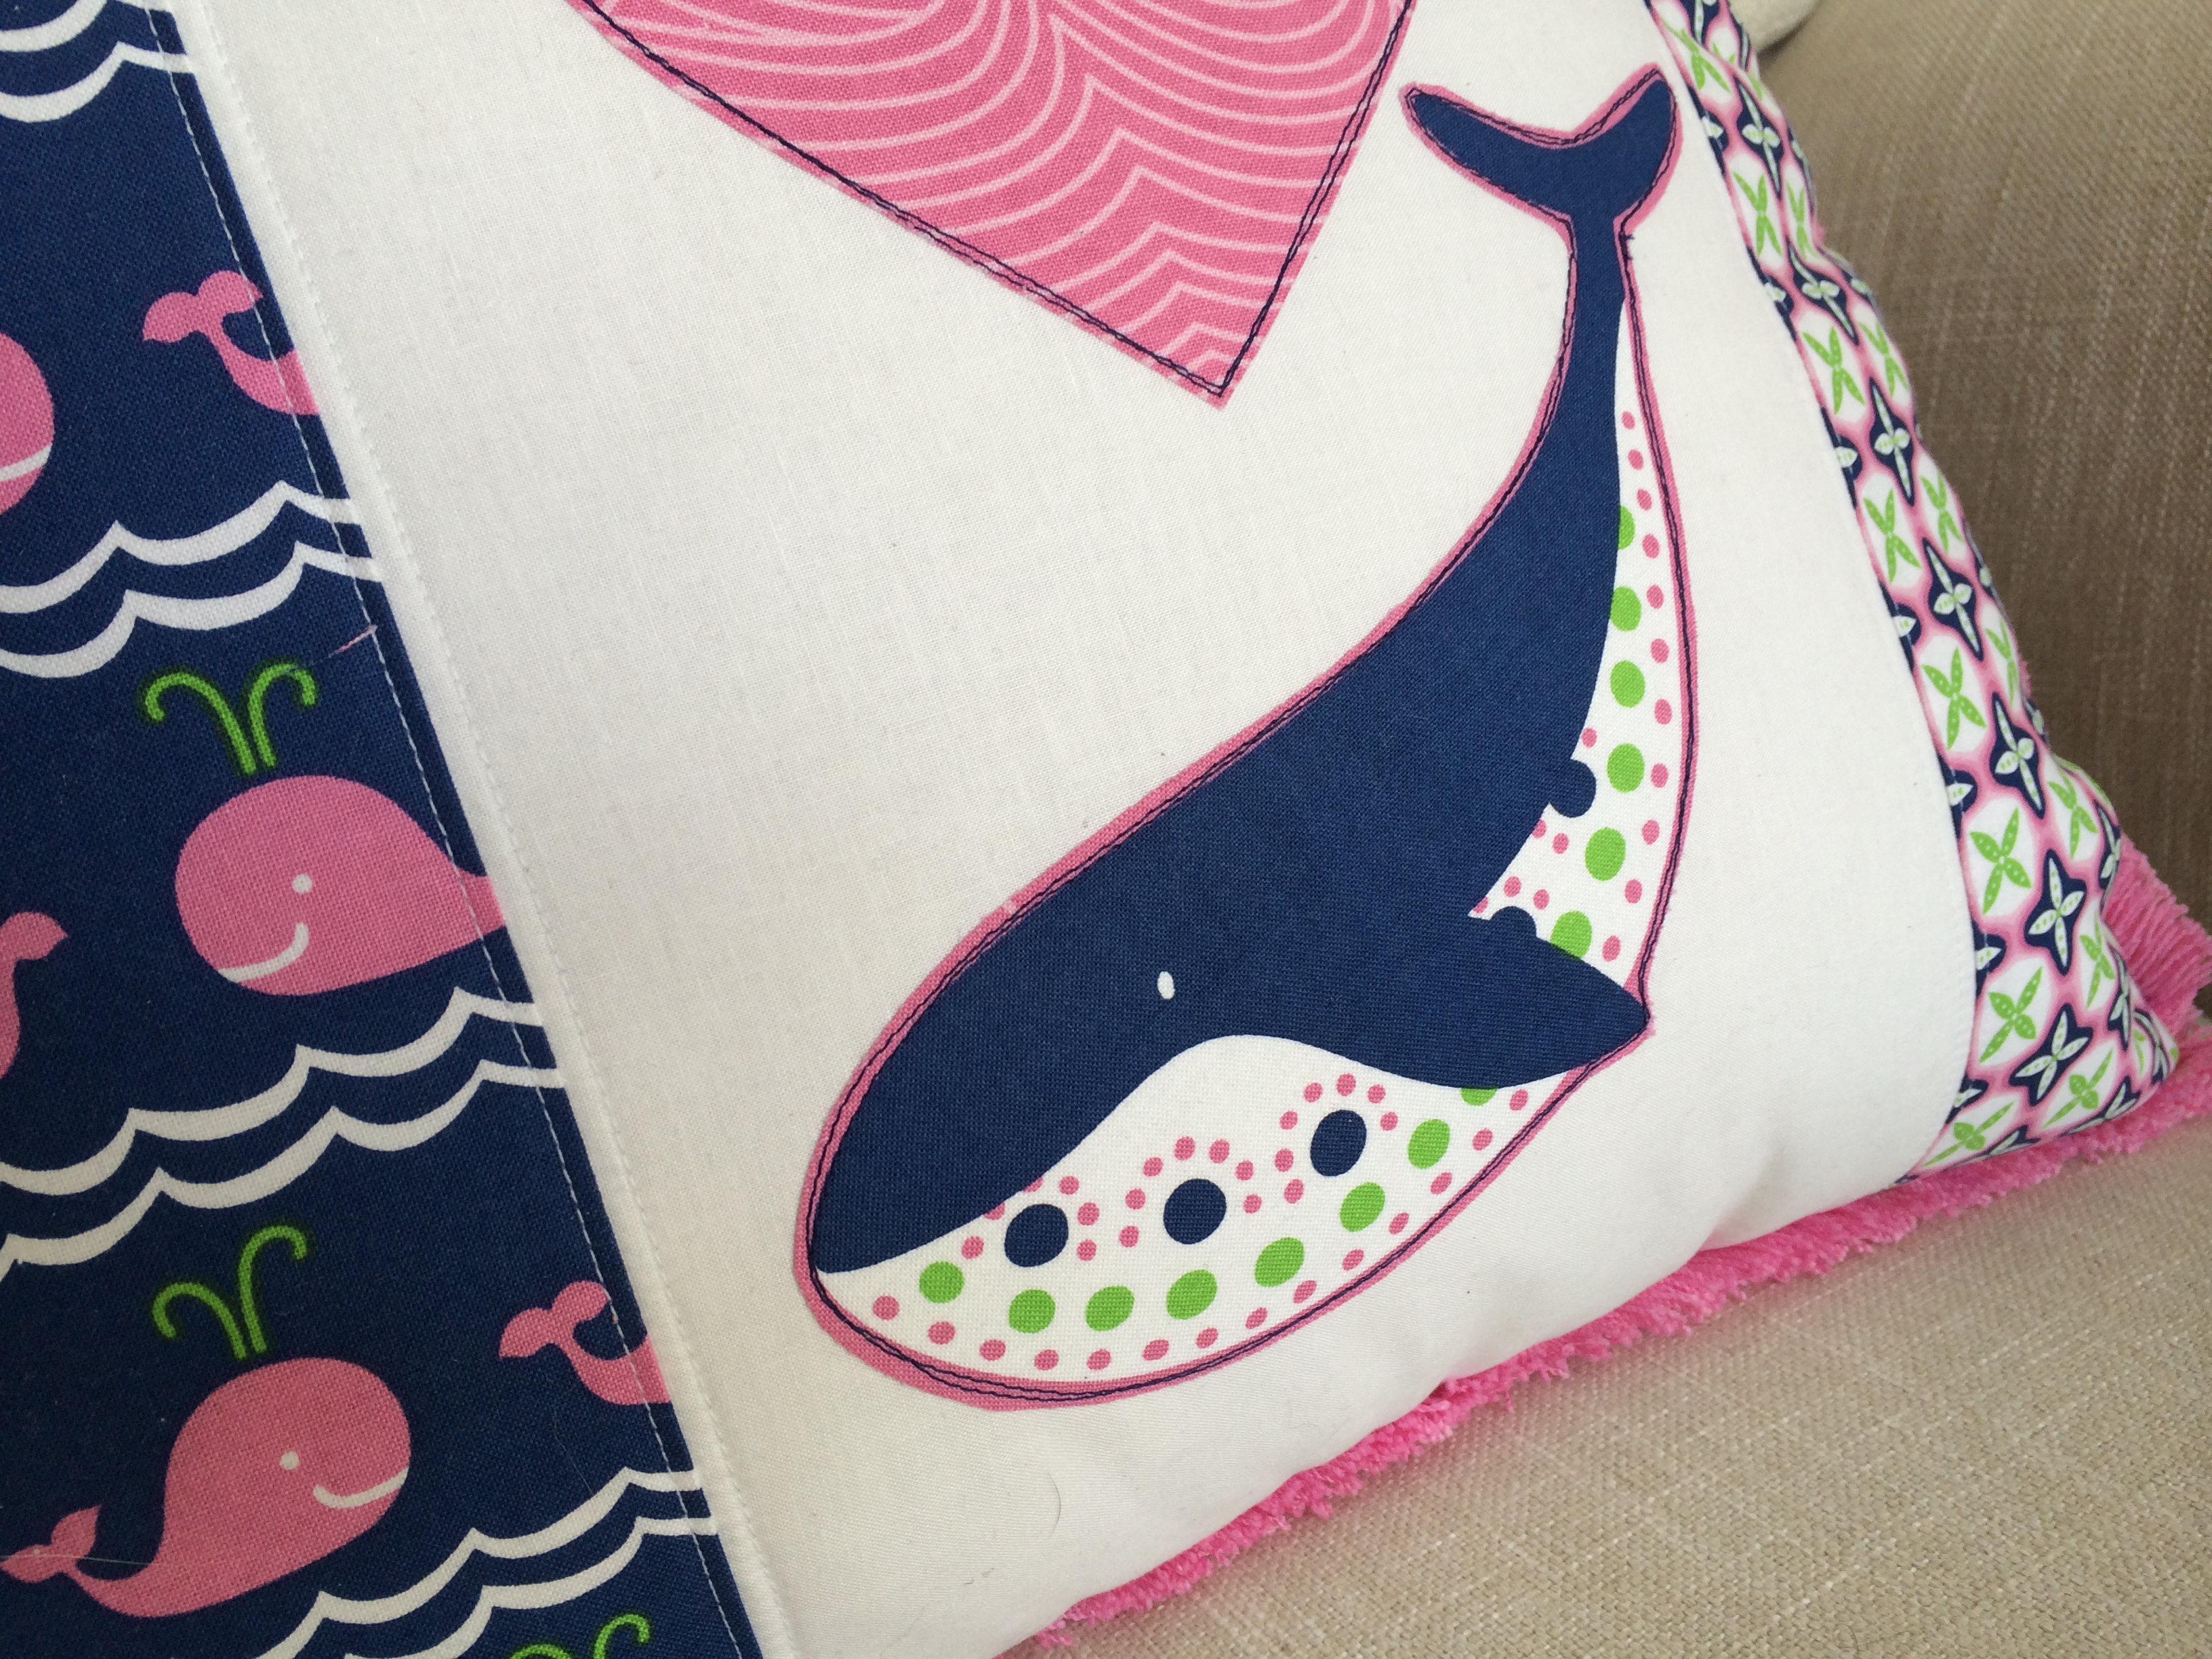
Using Spray n Bond, baste the pillow top to the cotton batting and quilt. Instead of appliquéing the images on before quilting, I sewed around each image in navy thread during the quilting process to give the pieces a little pop.
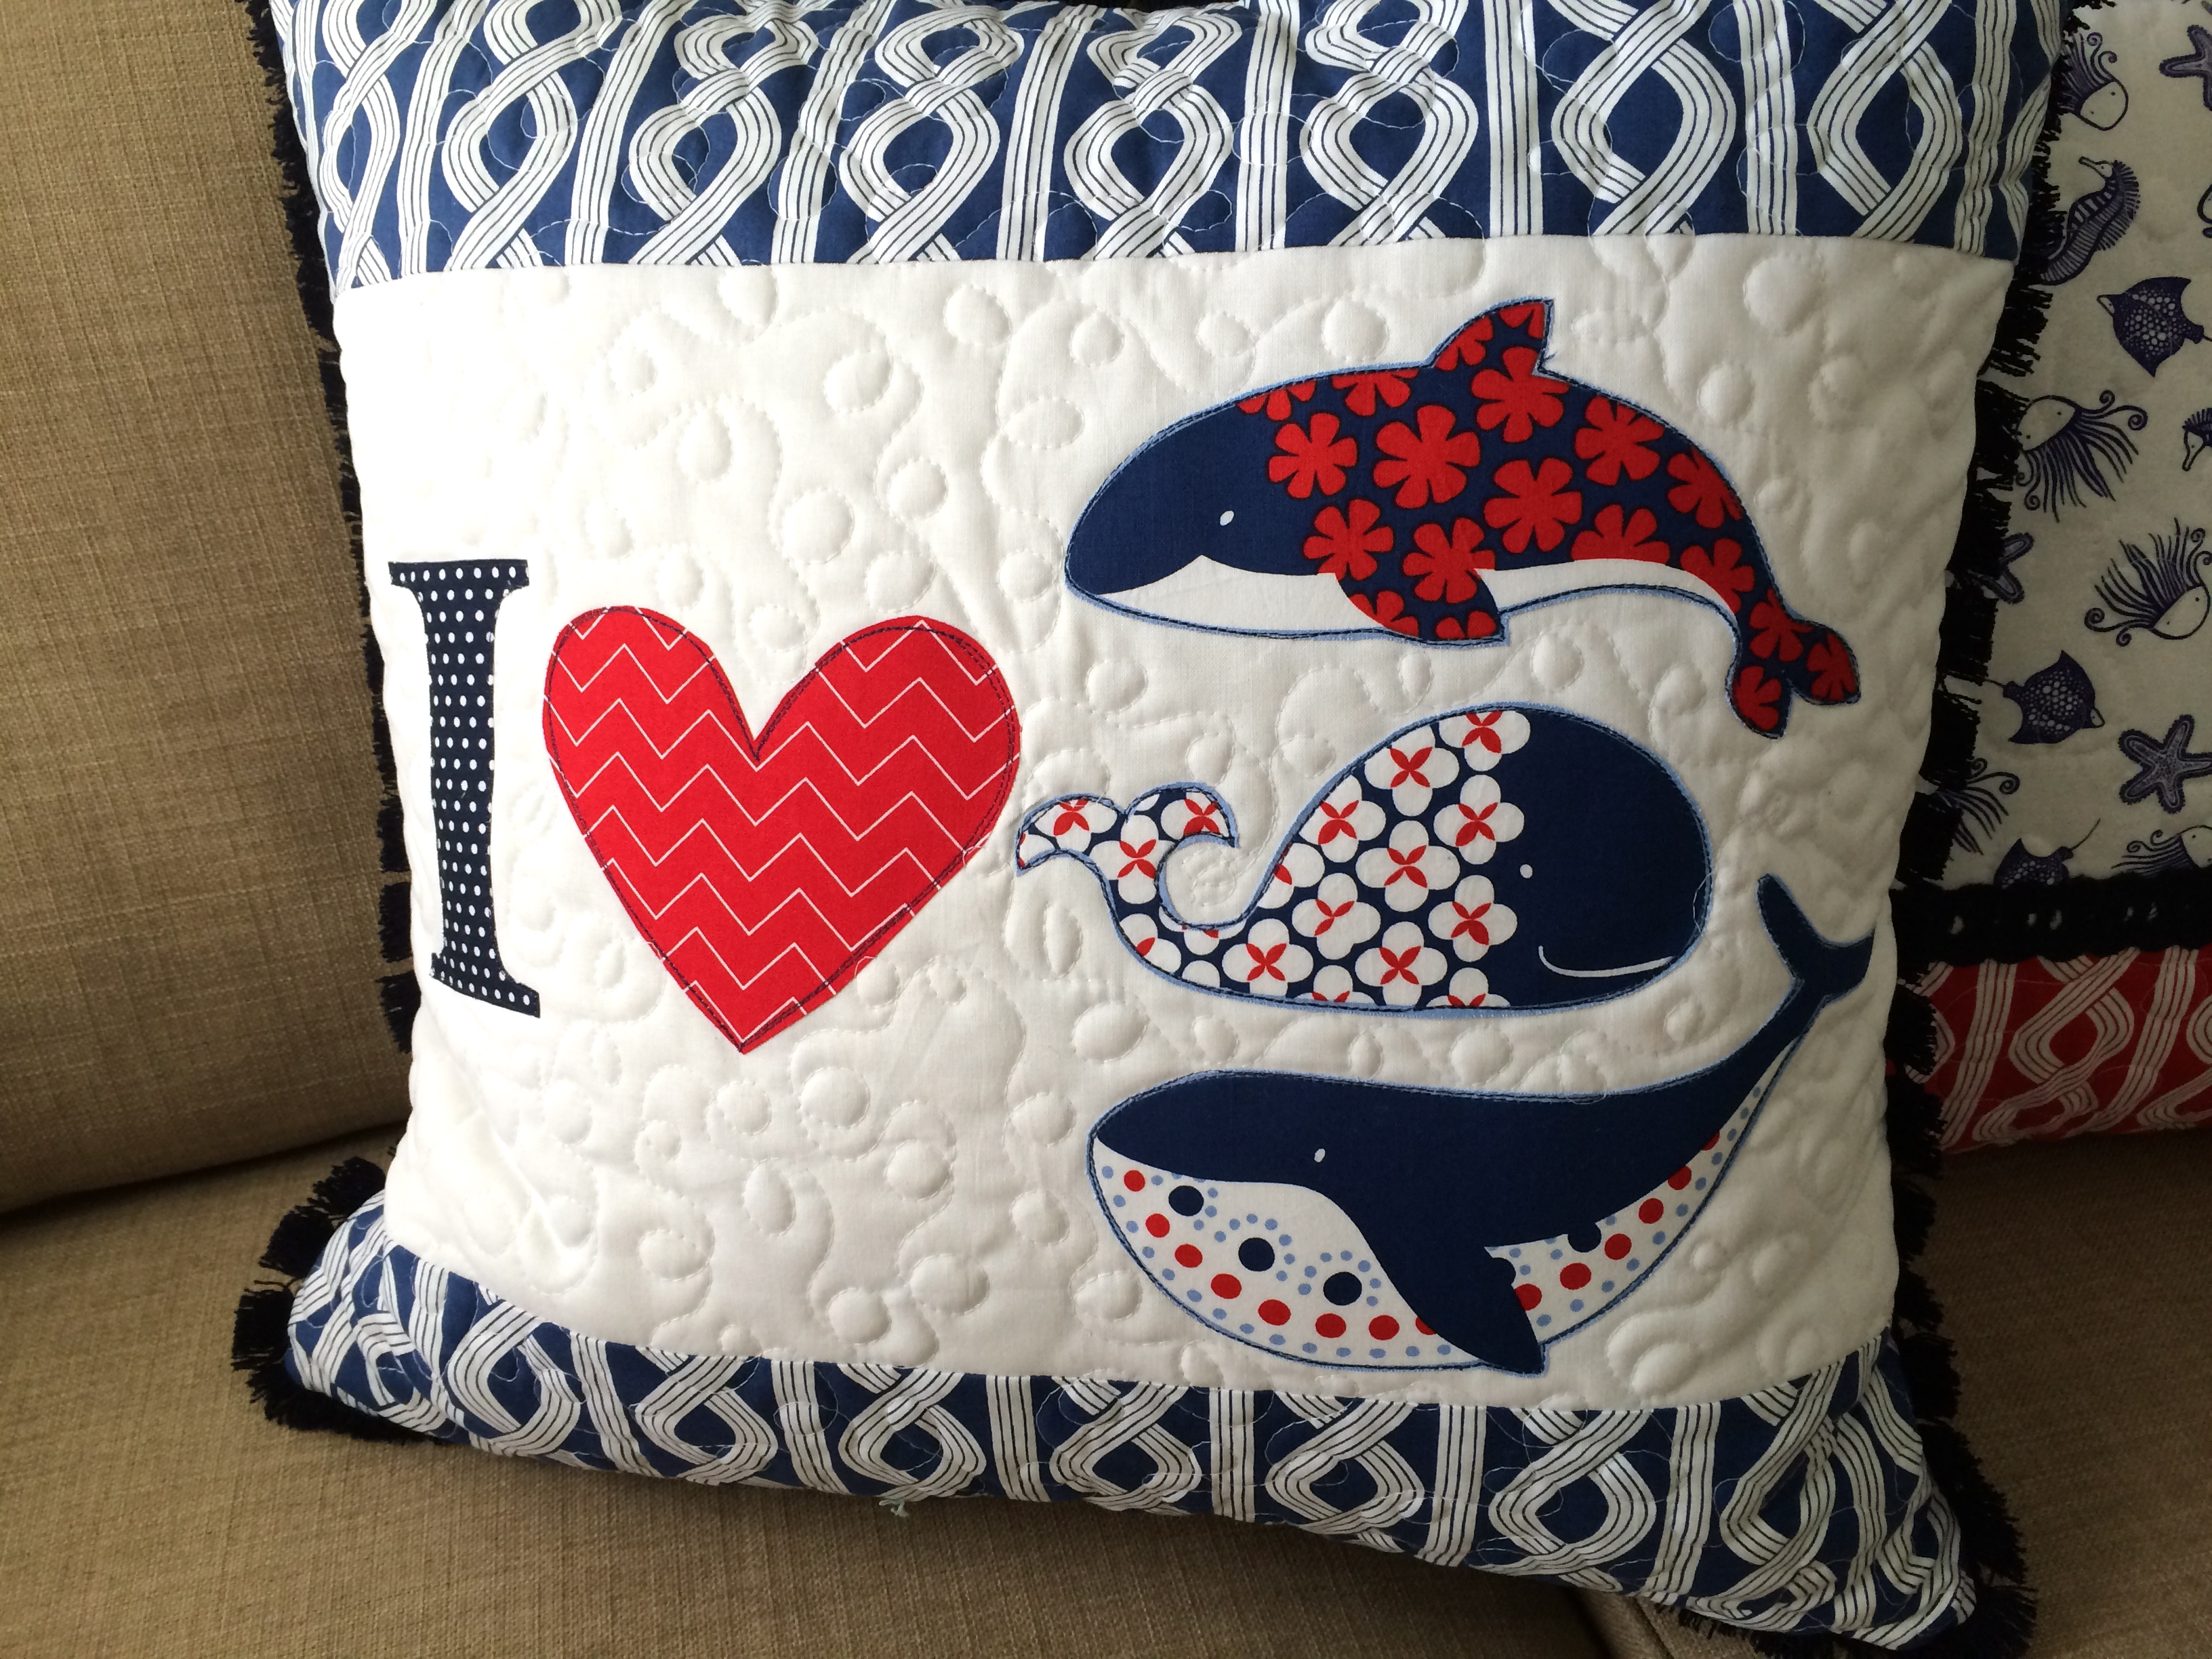
I finished this pillow the same way as the Sea Critters pillow with the same navy trim.
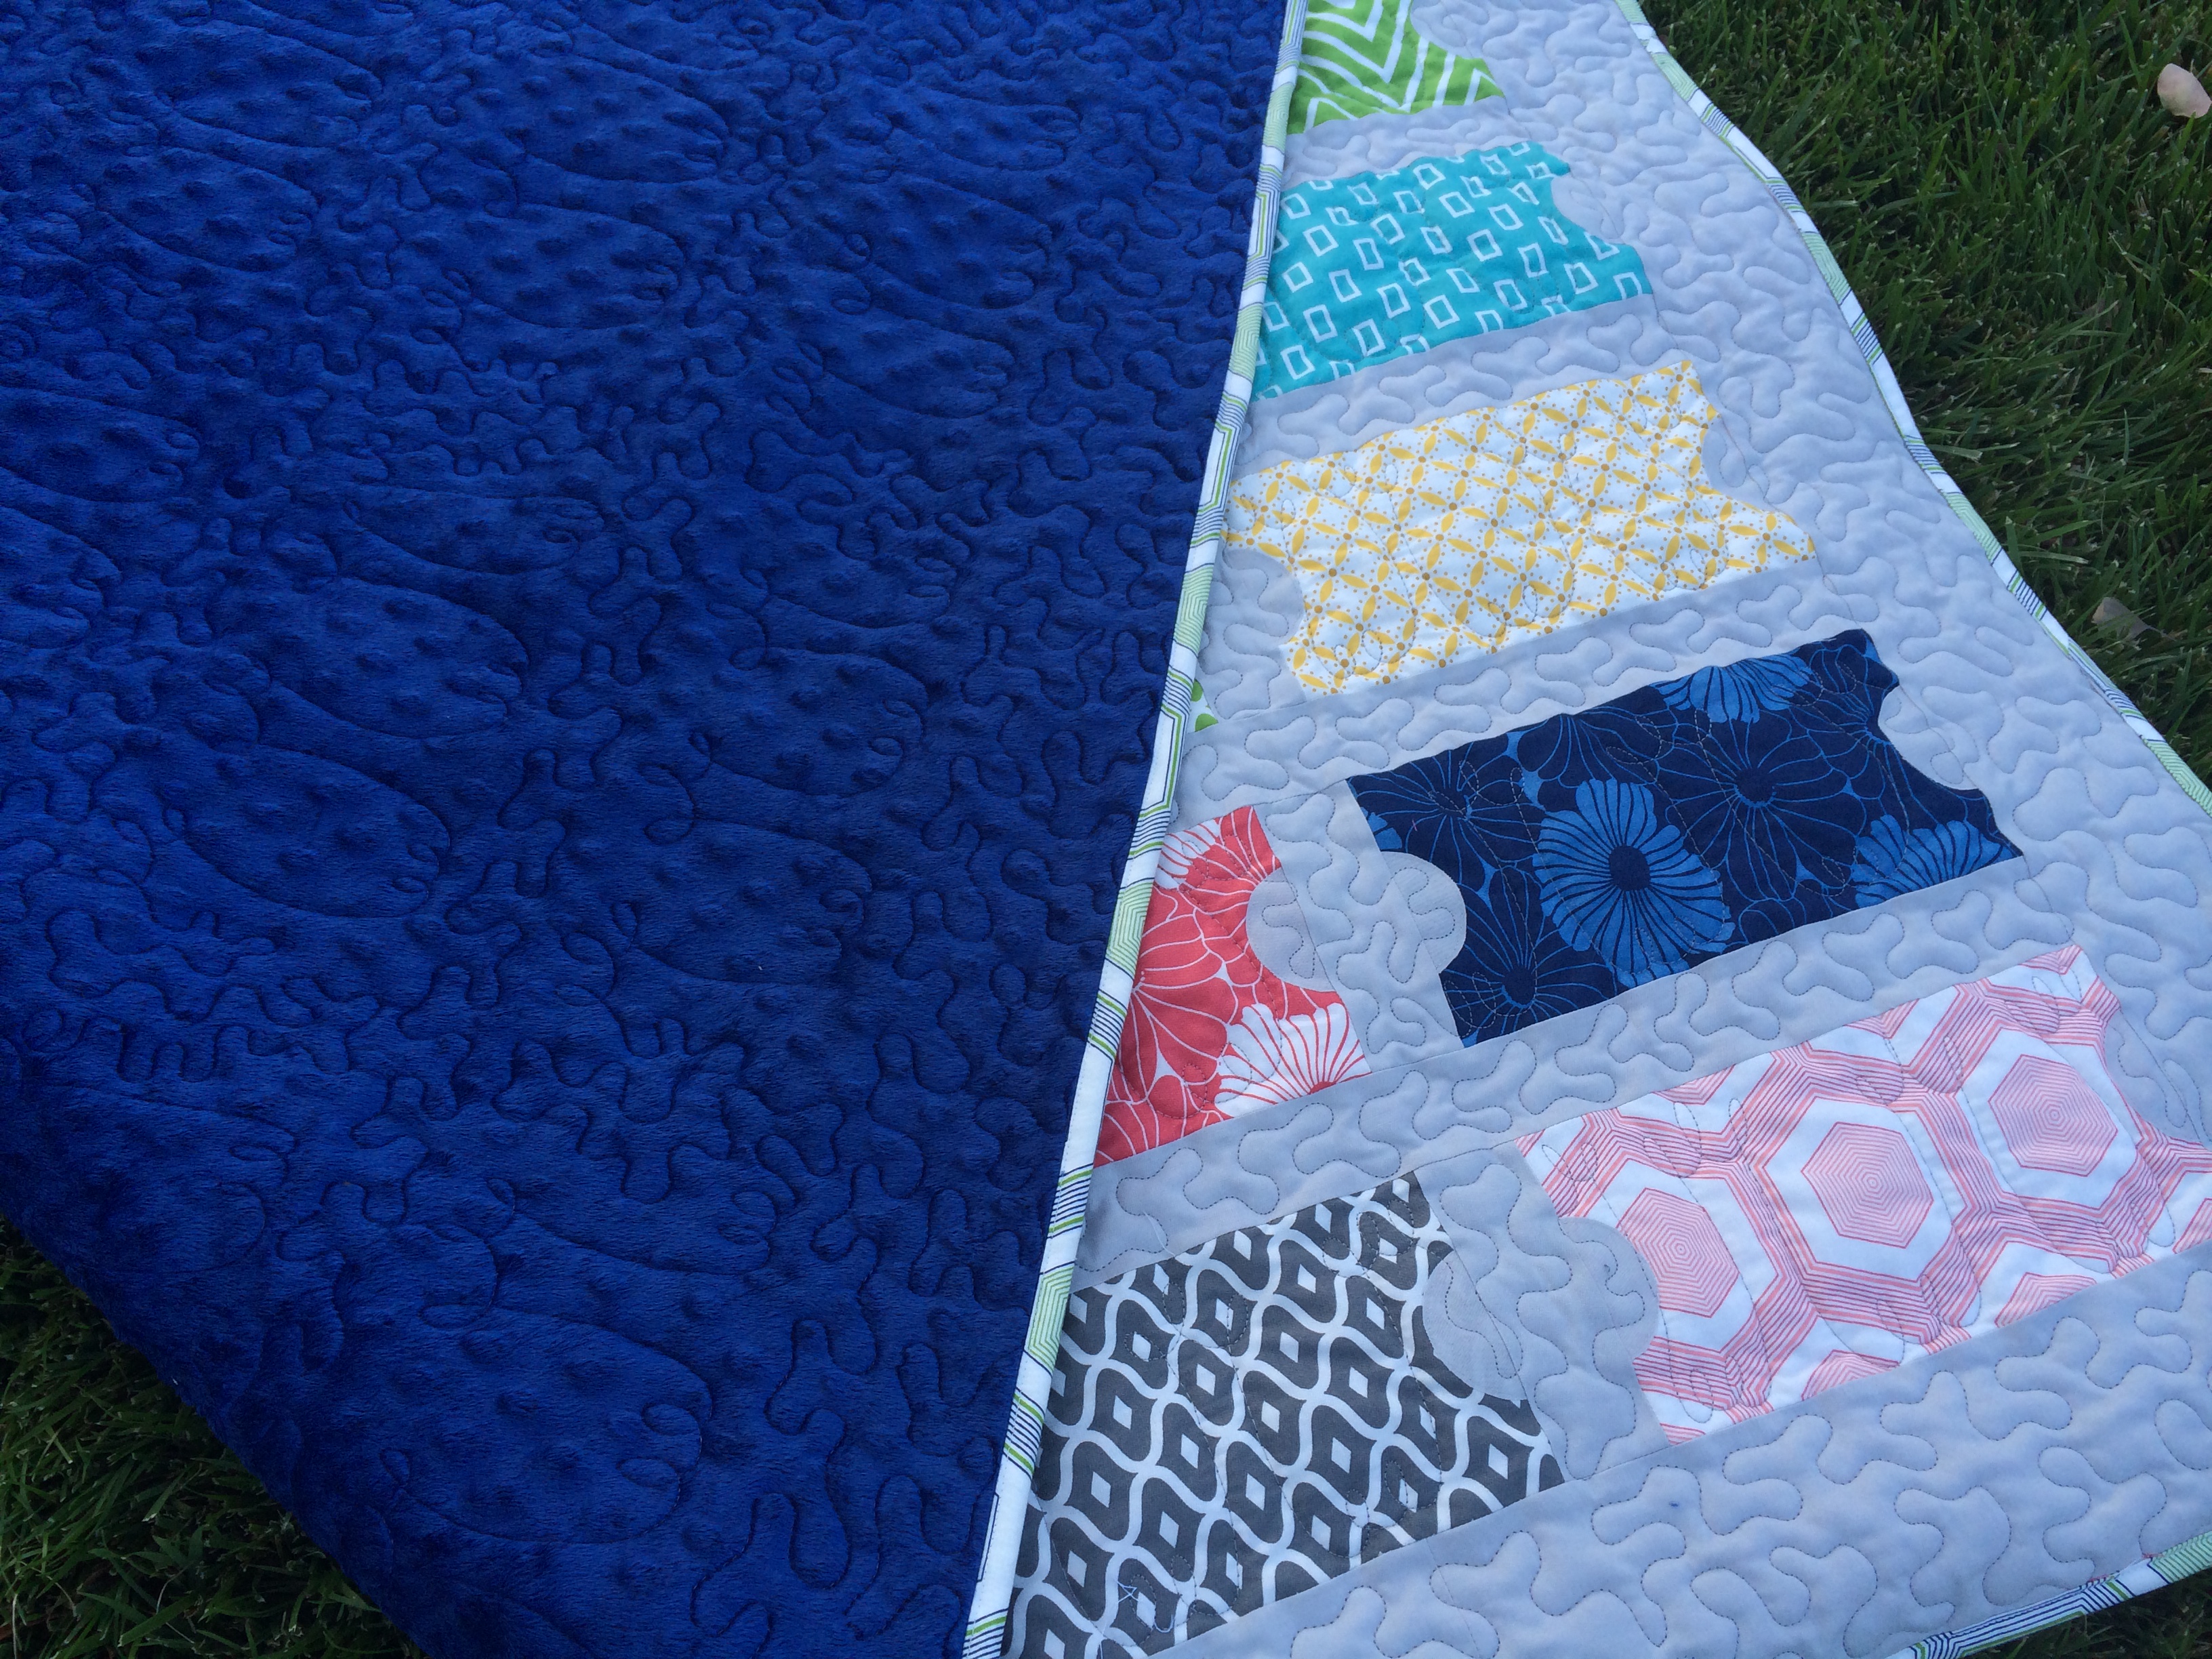
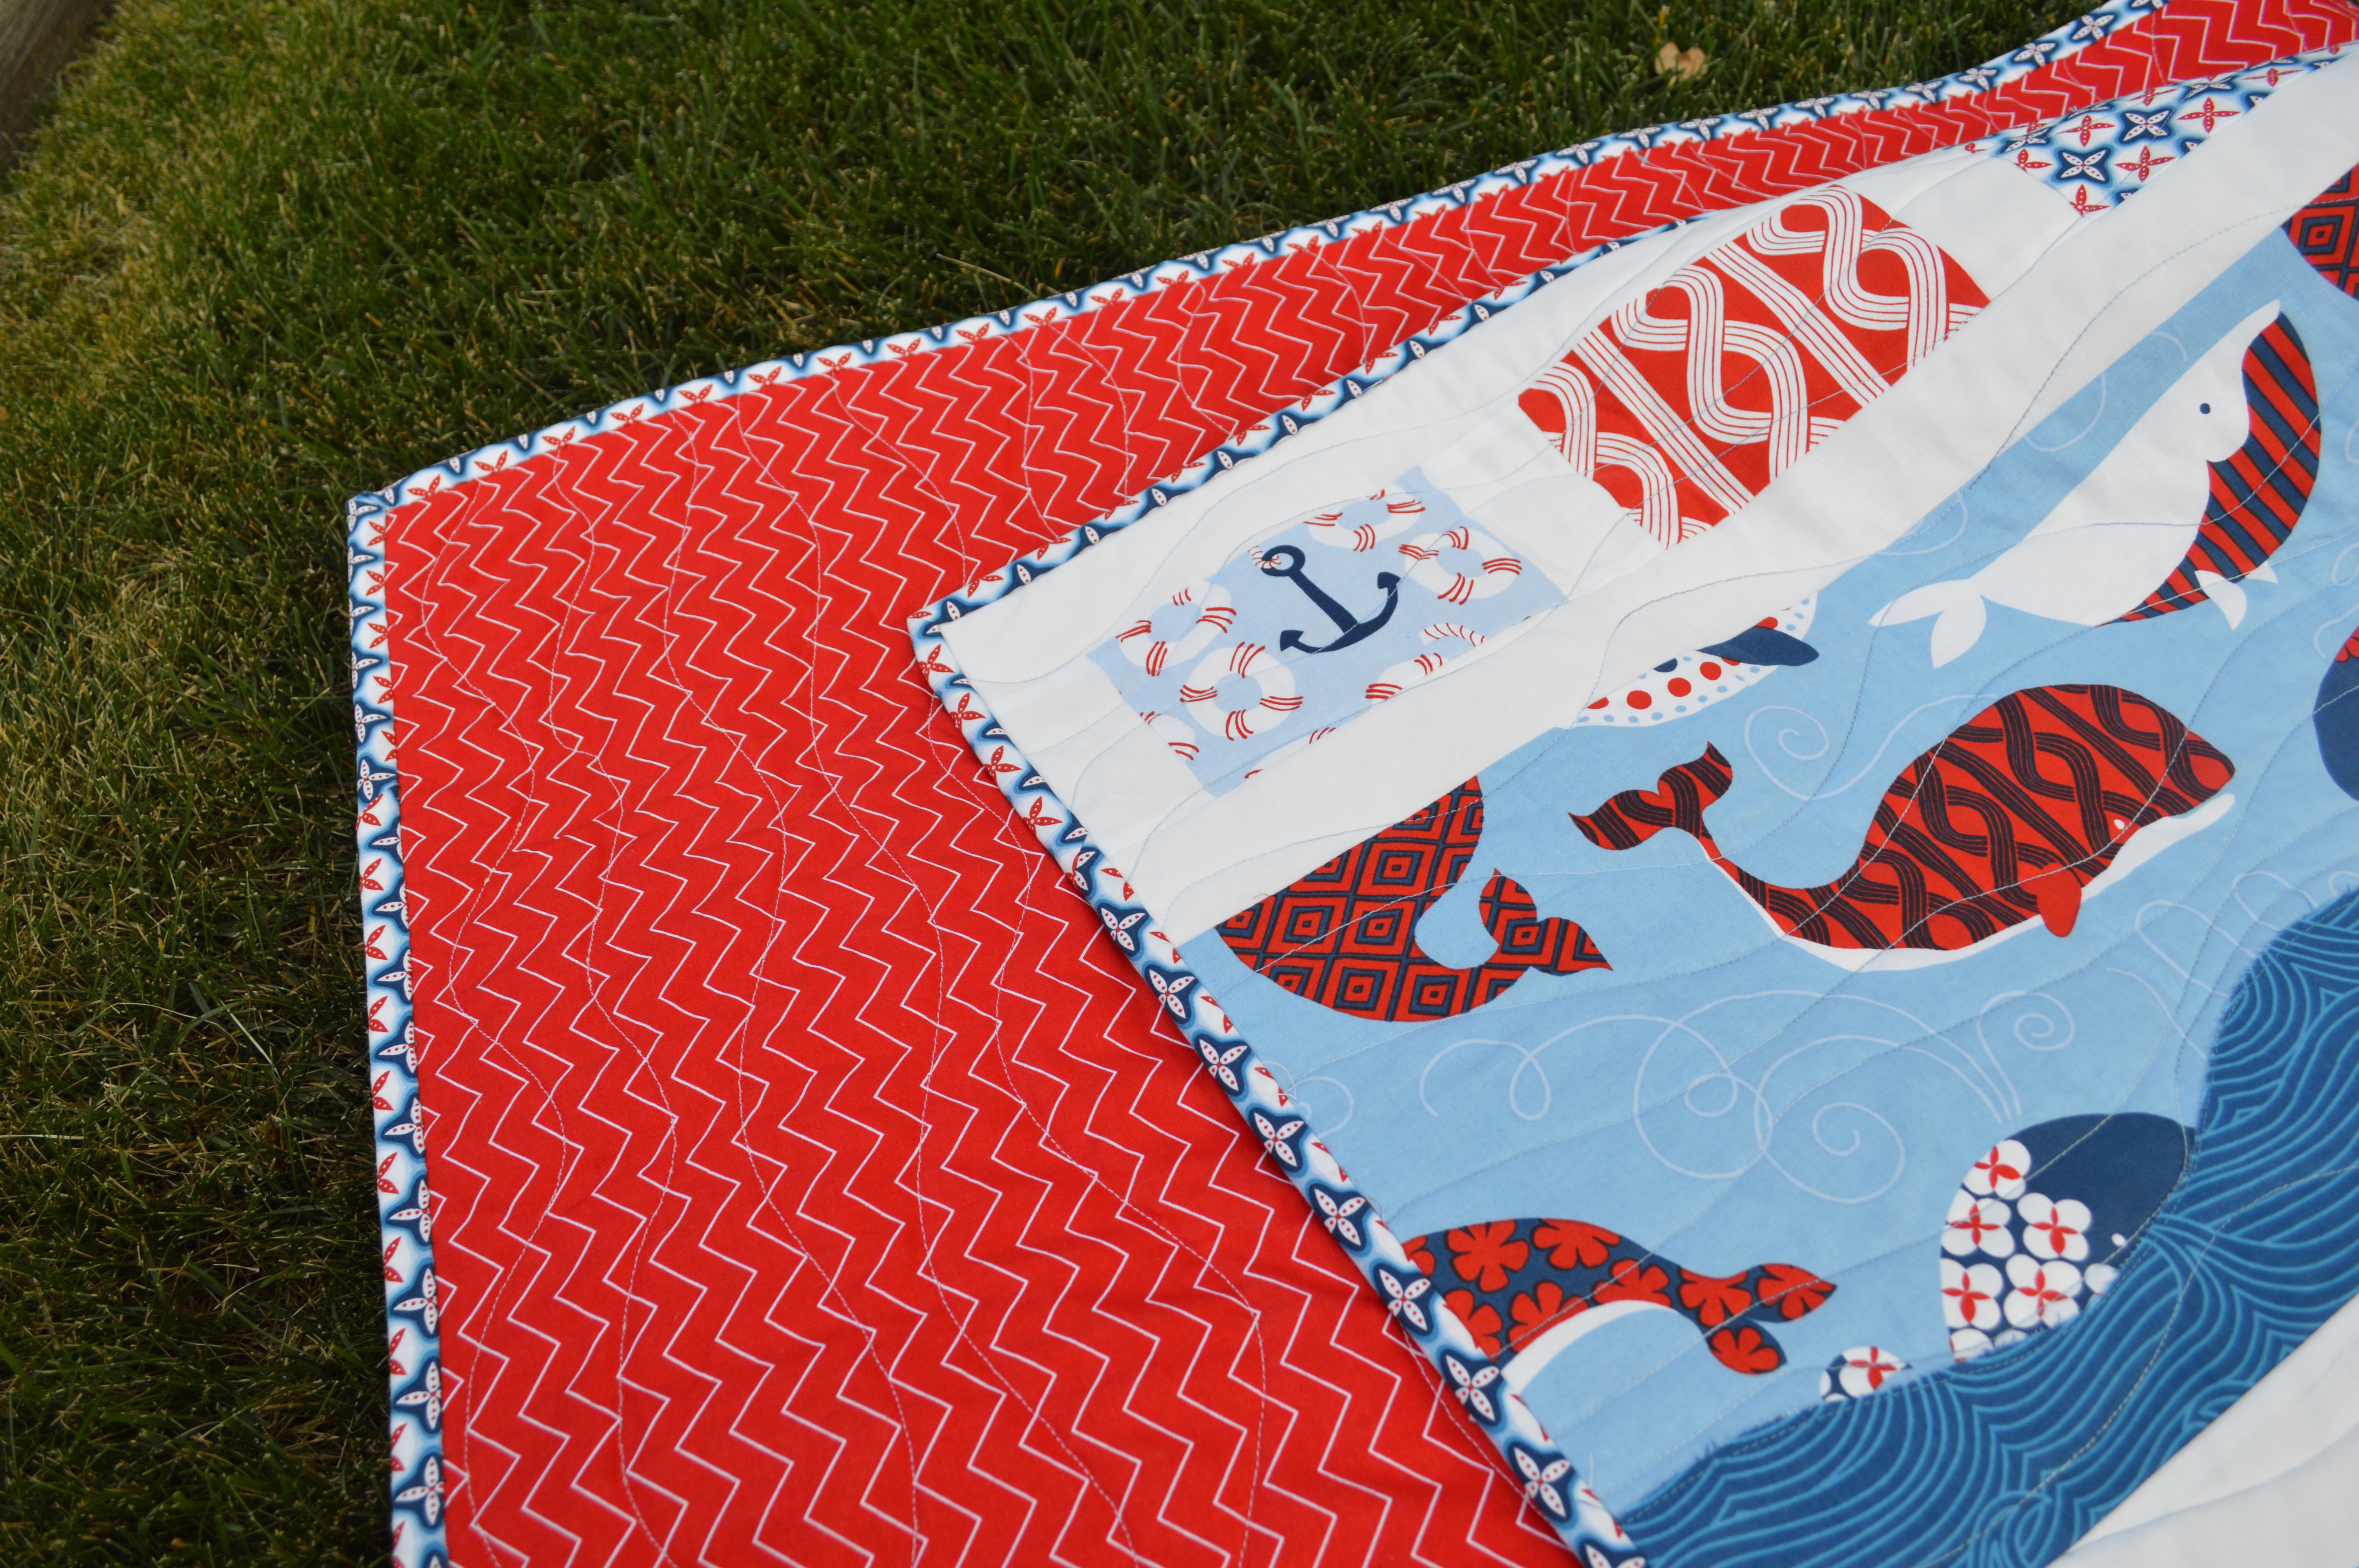
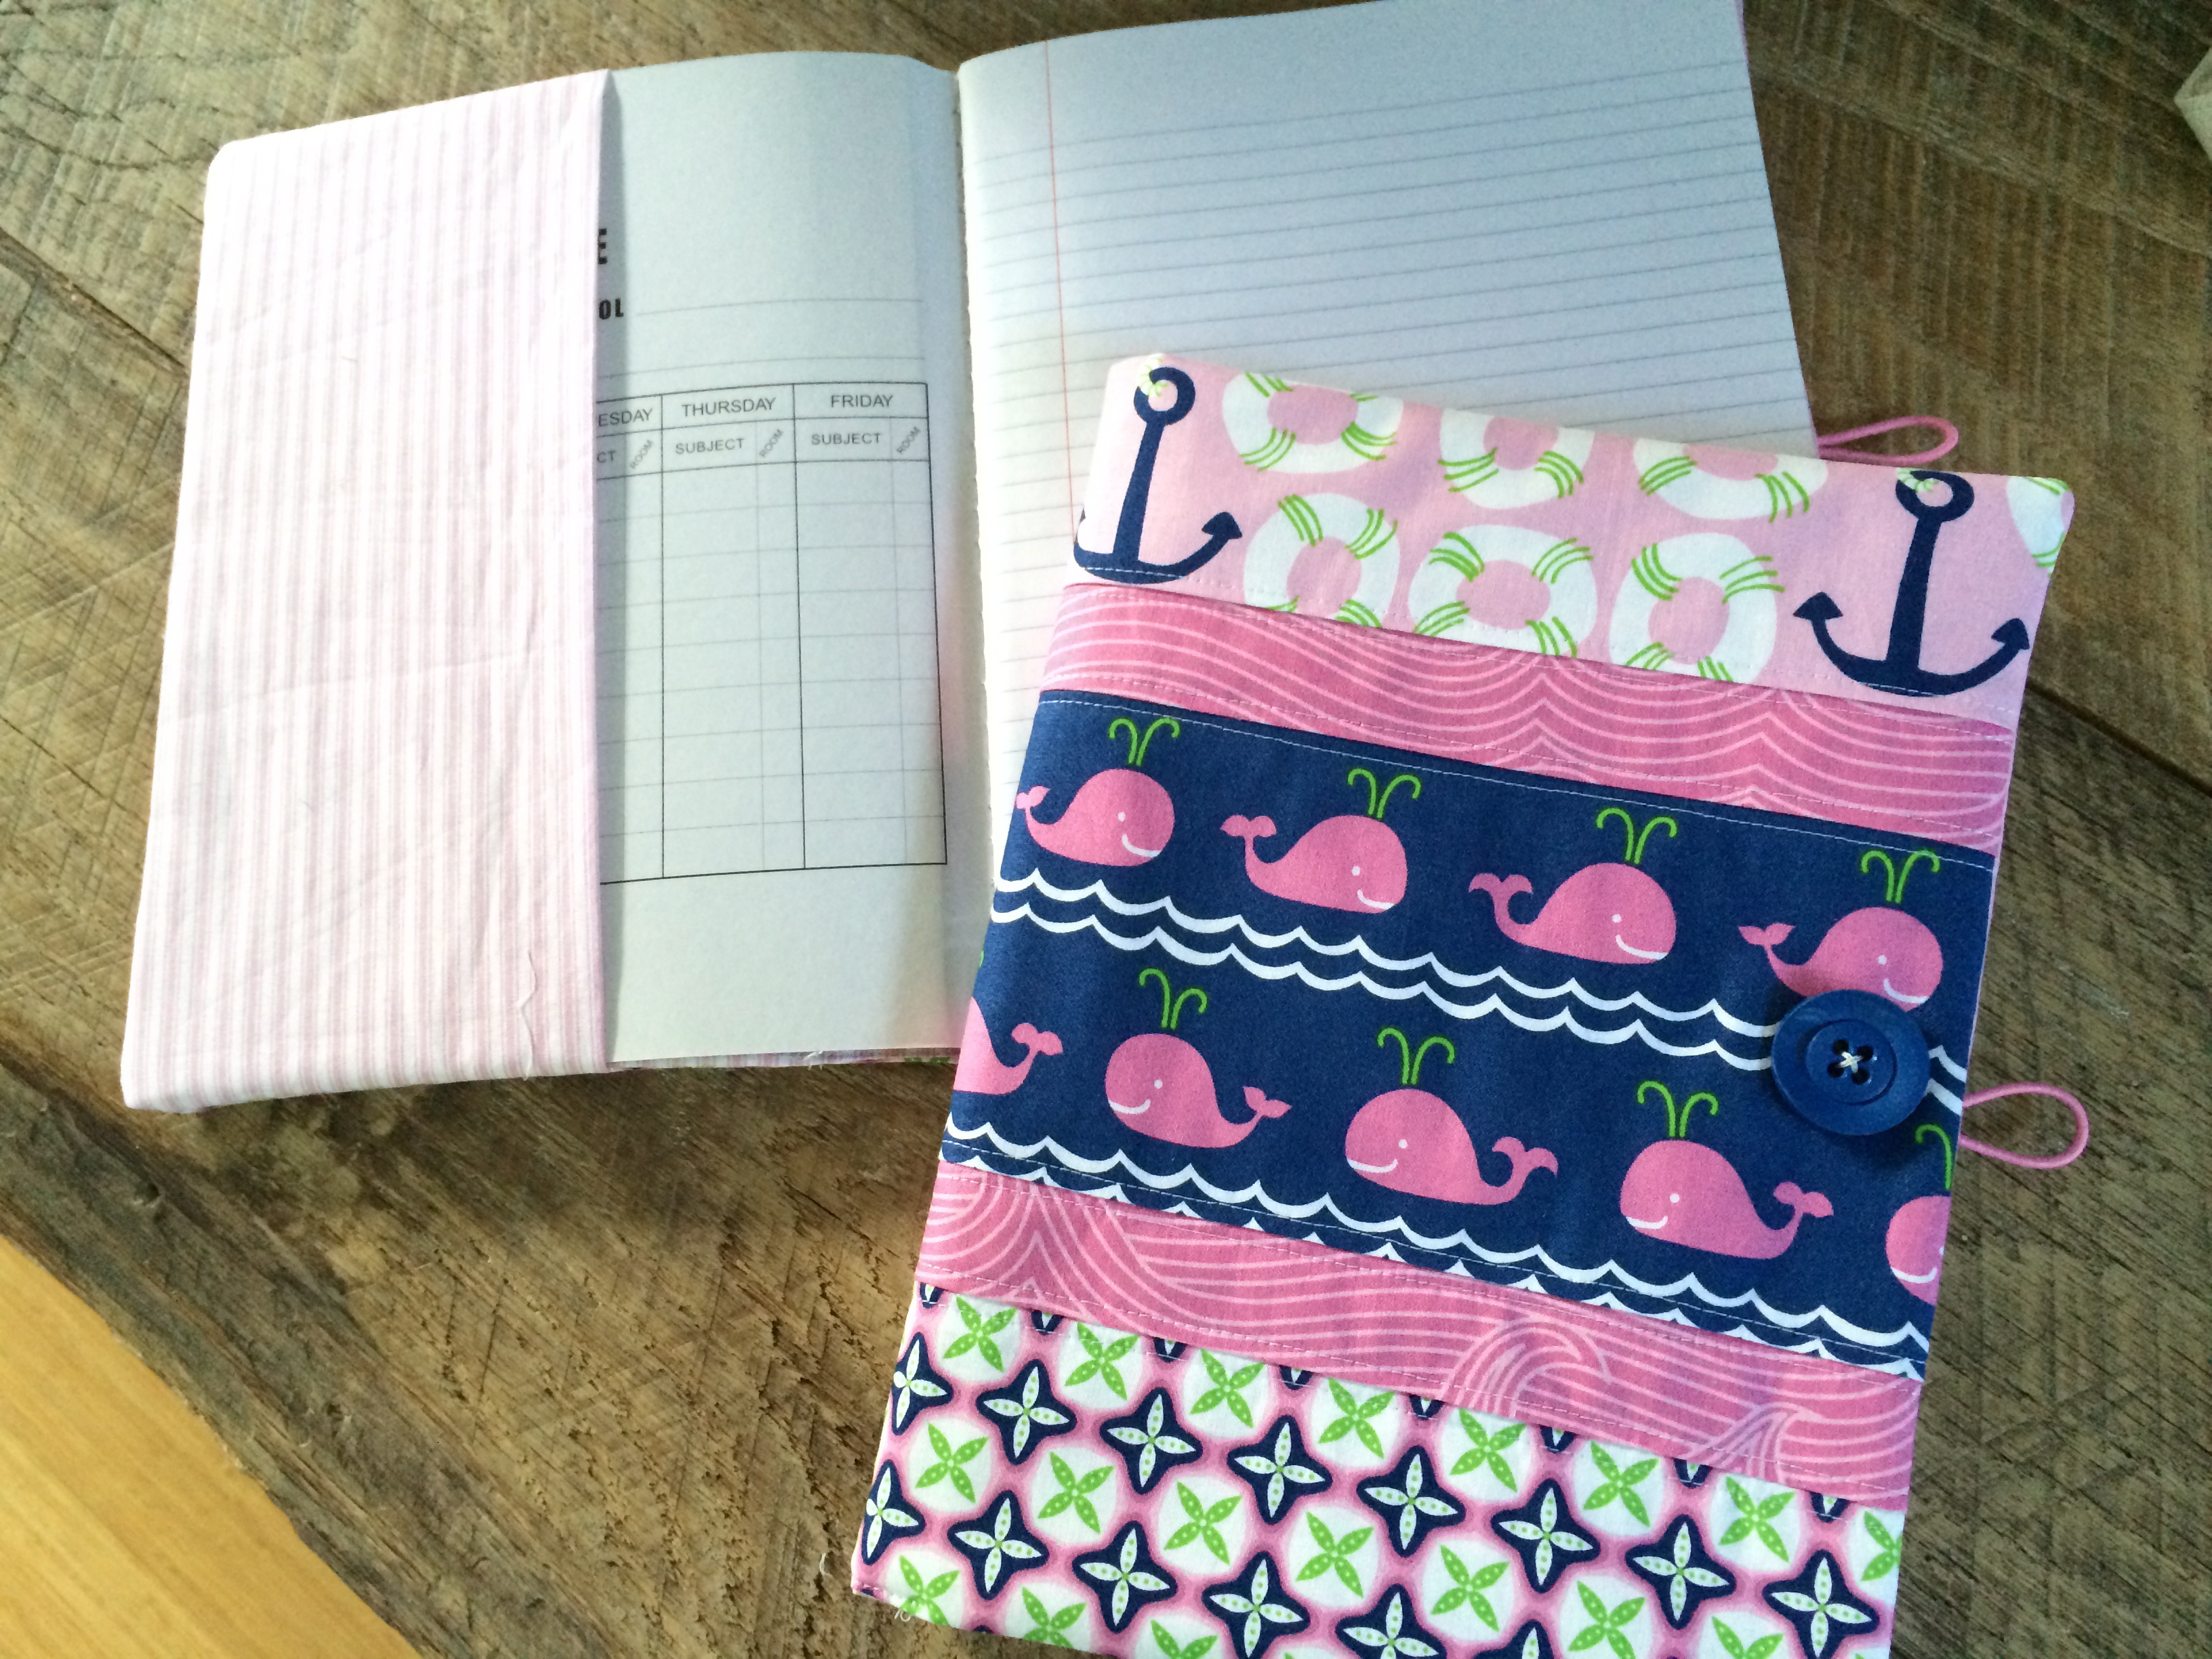
I love the backs of the pillows!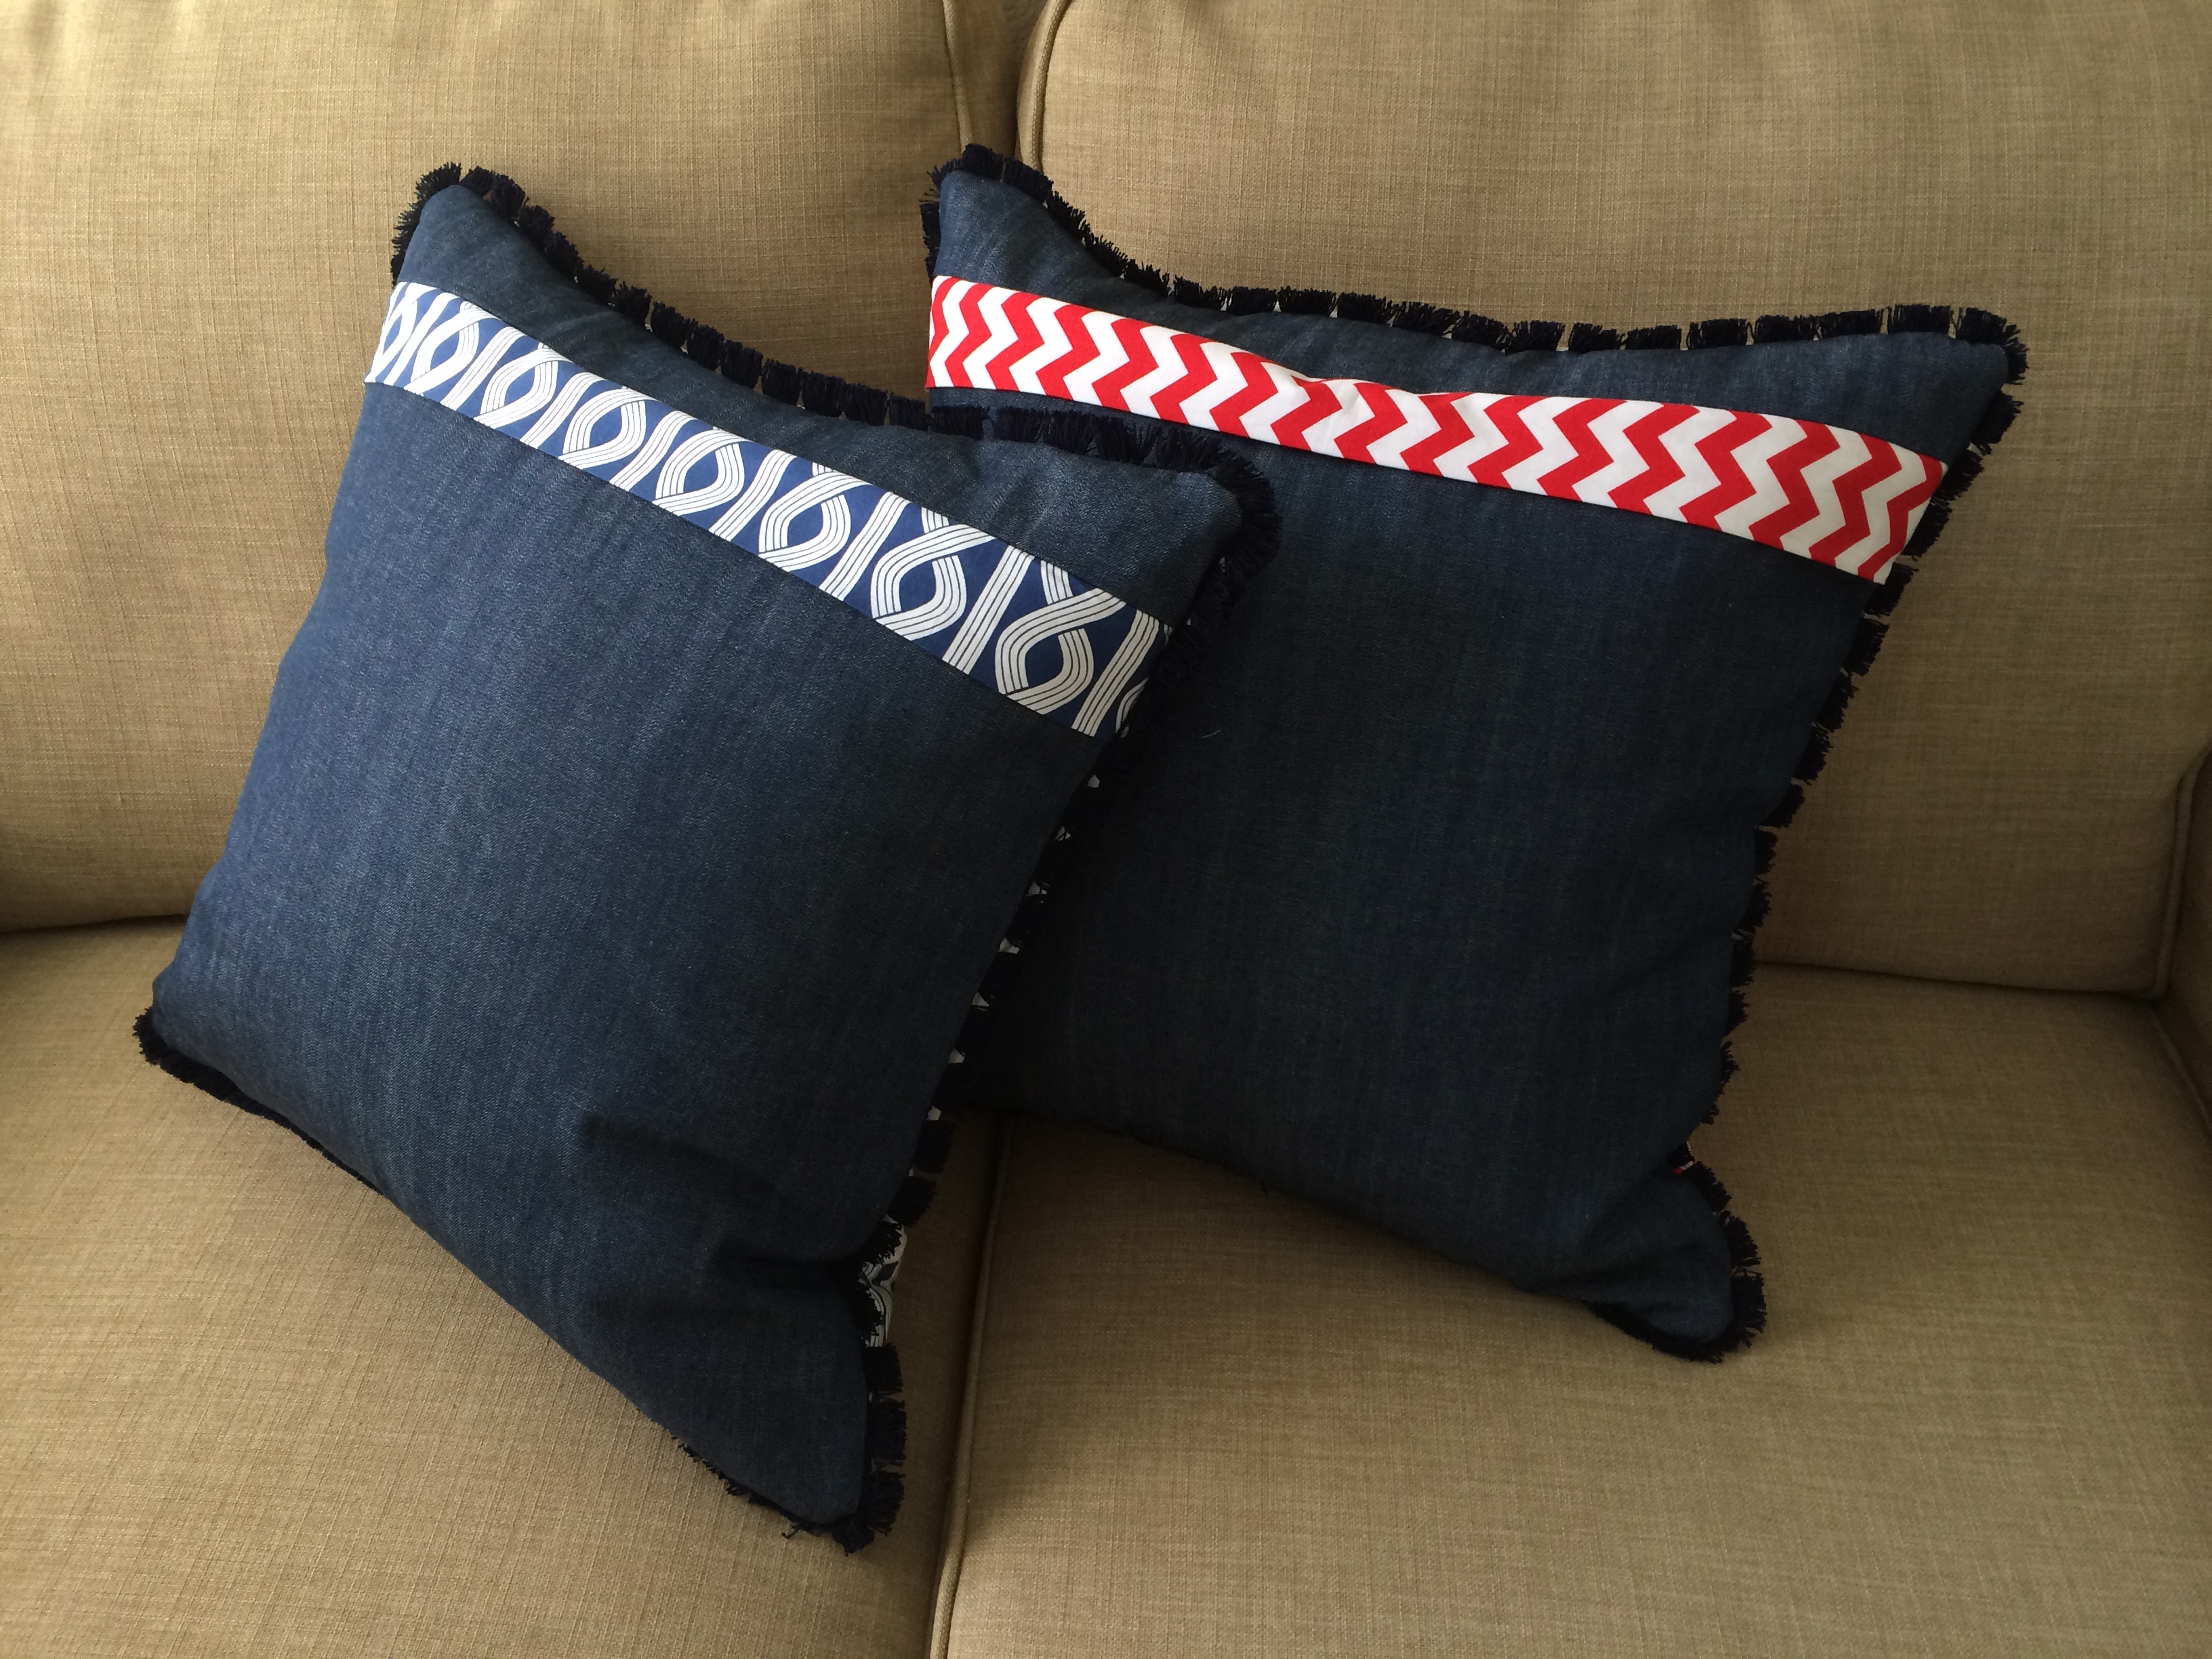

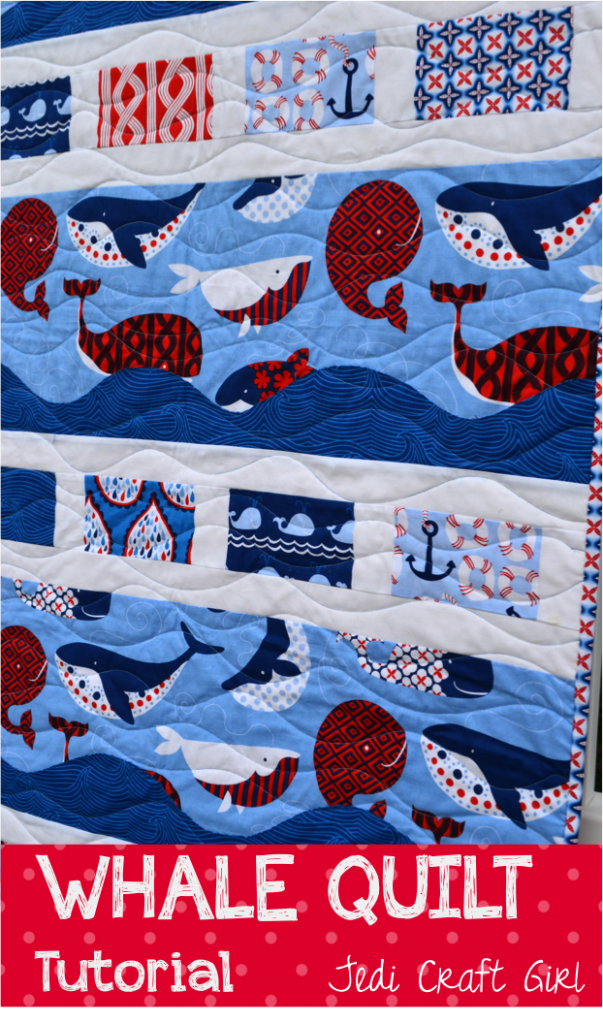
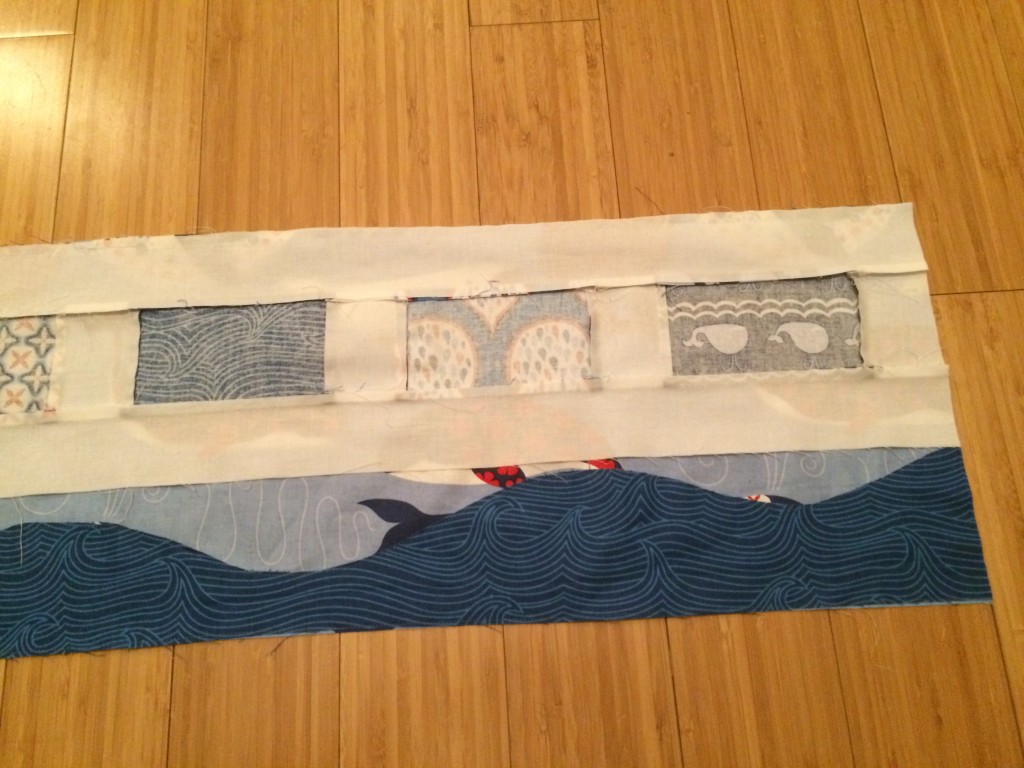
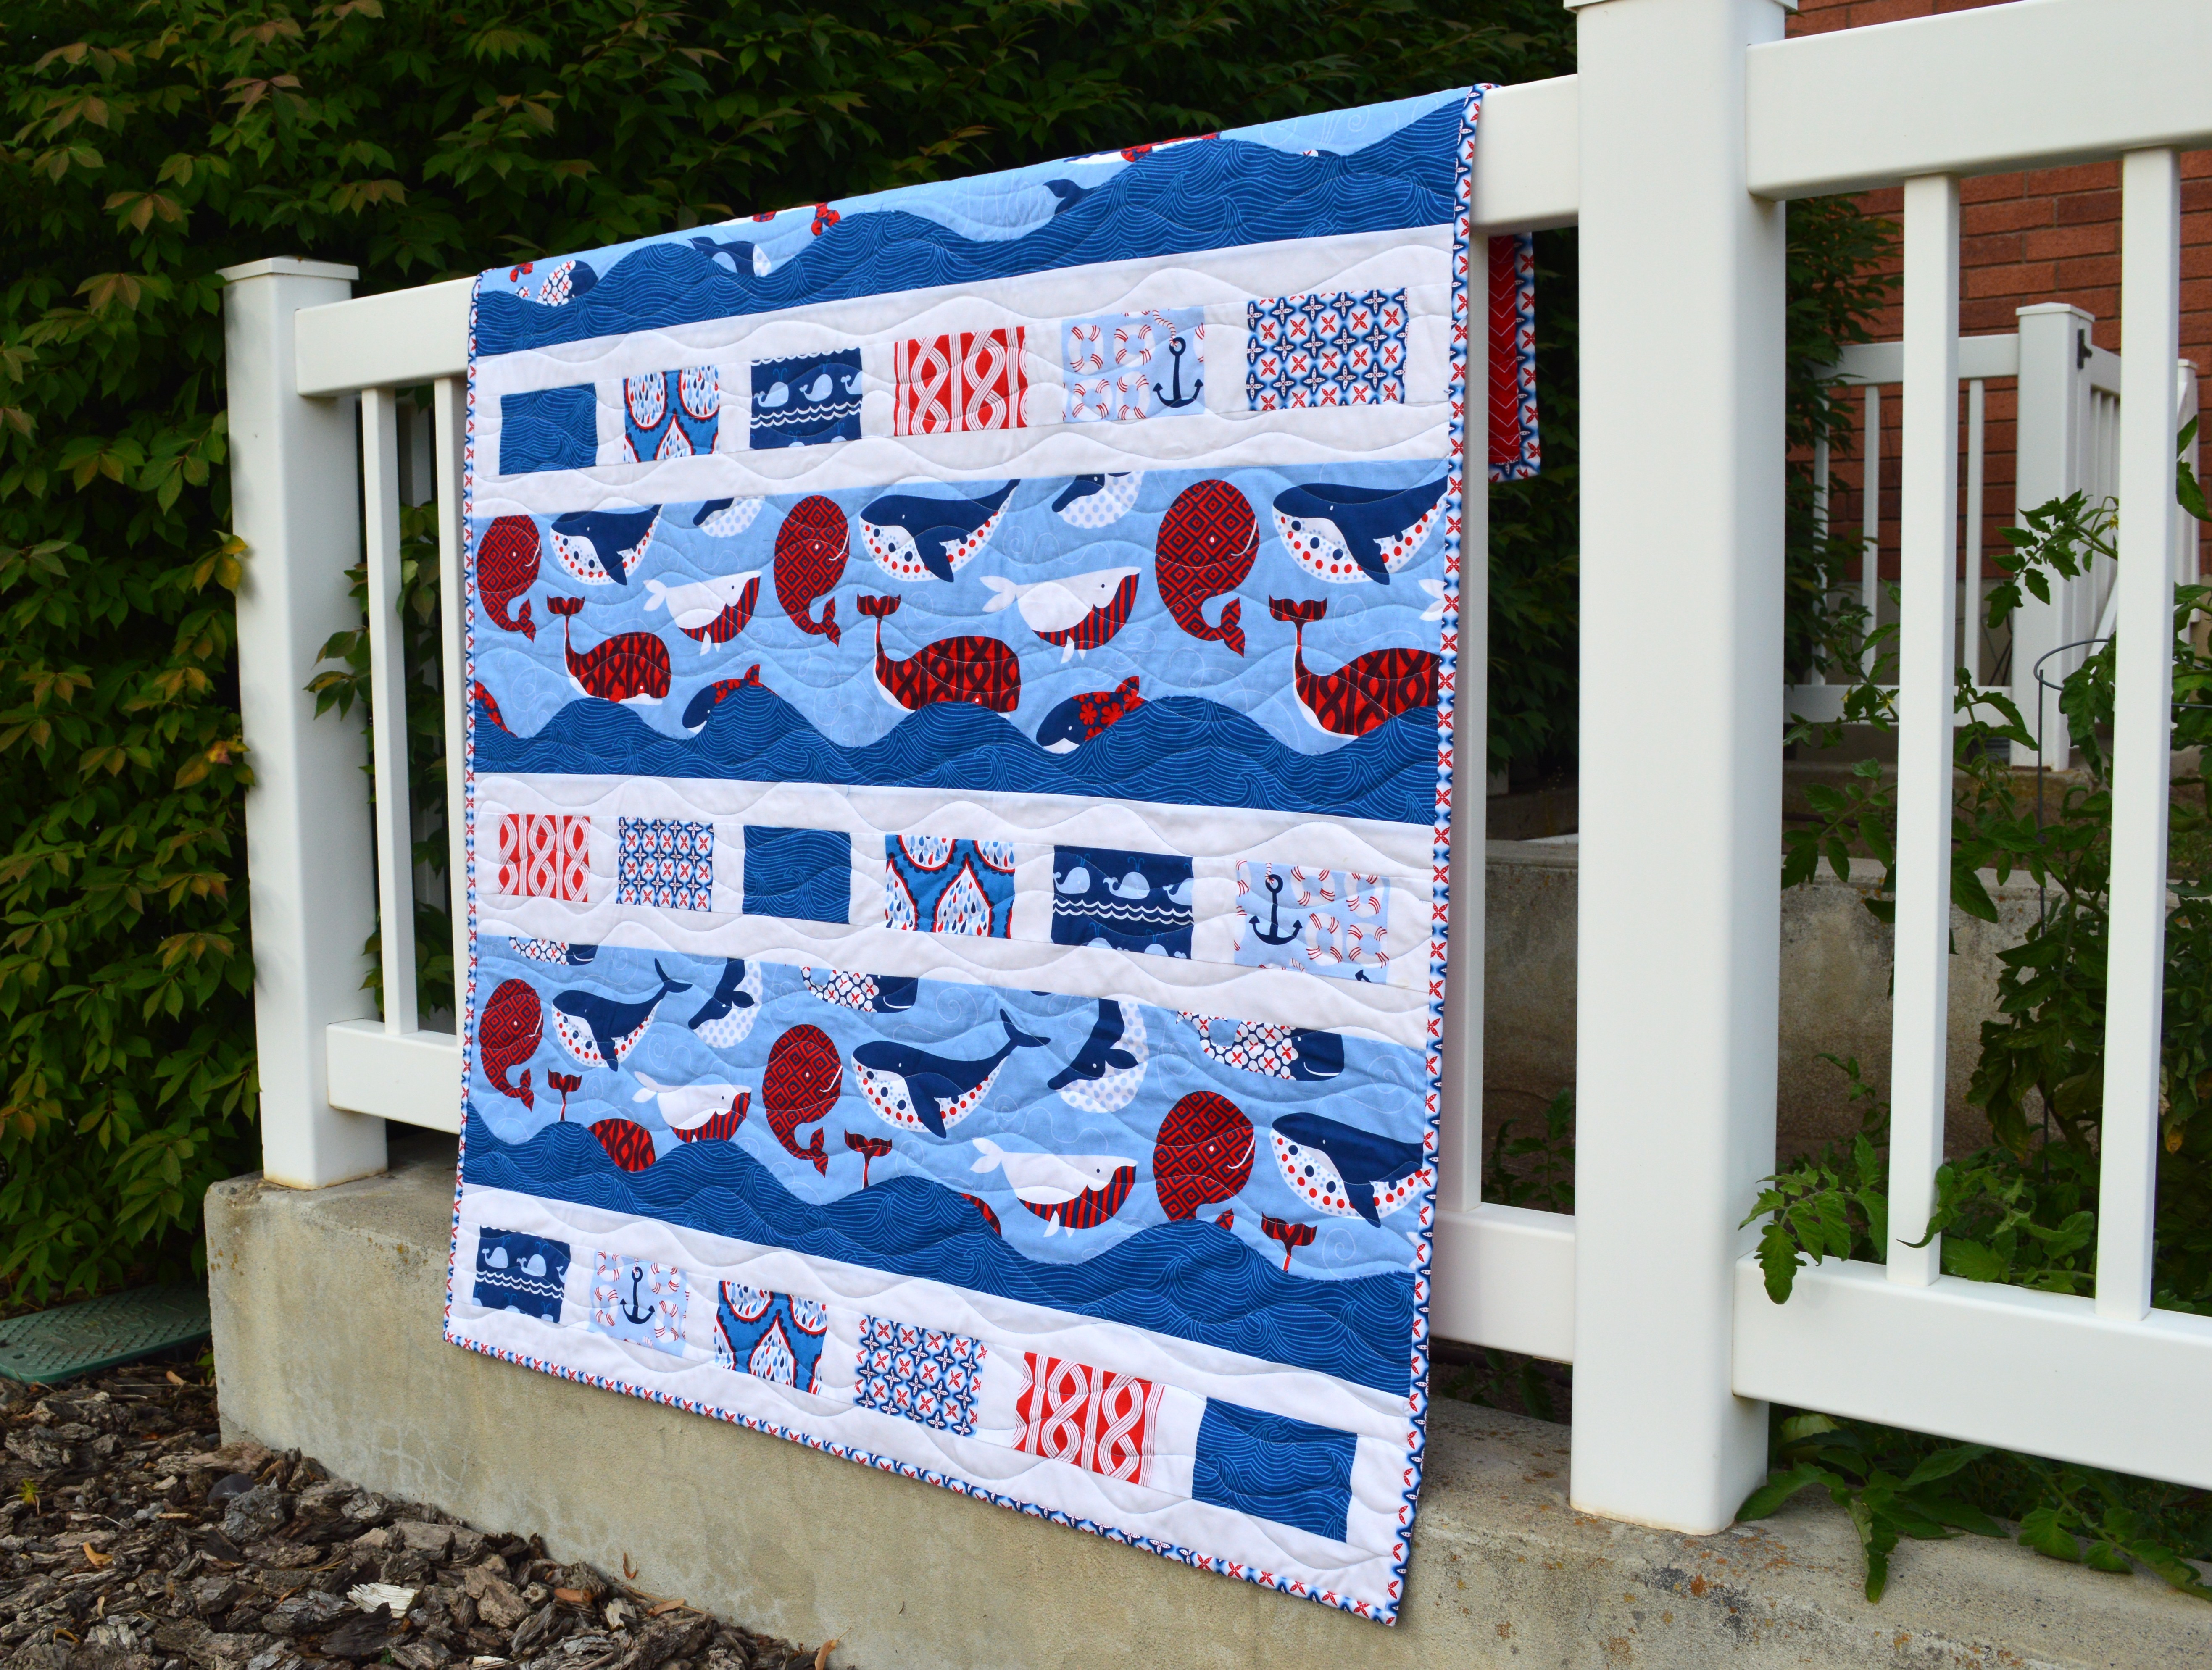
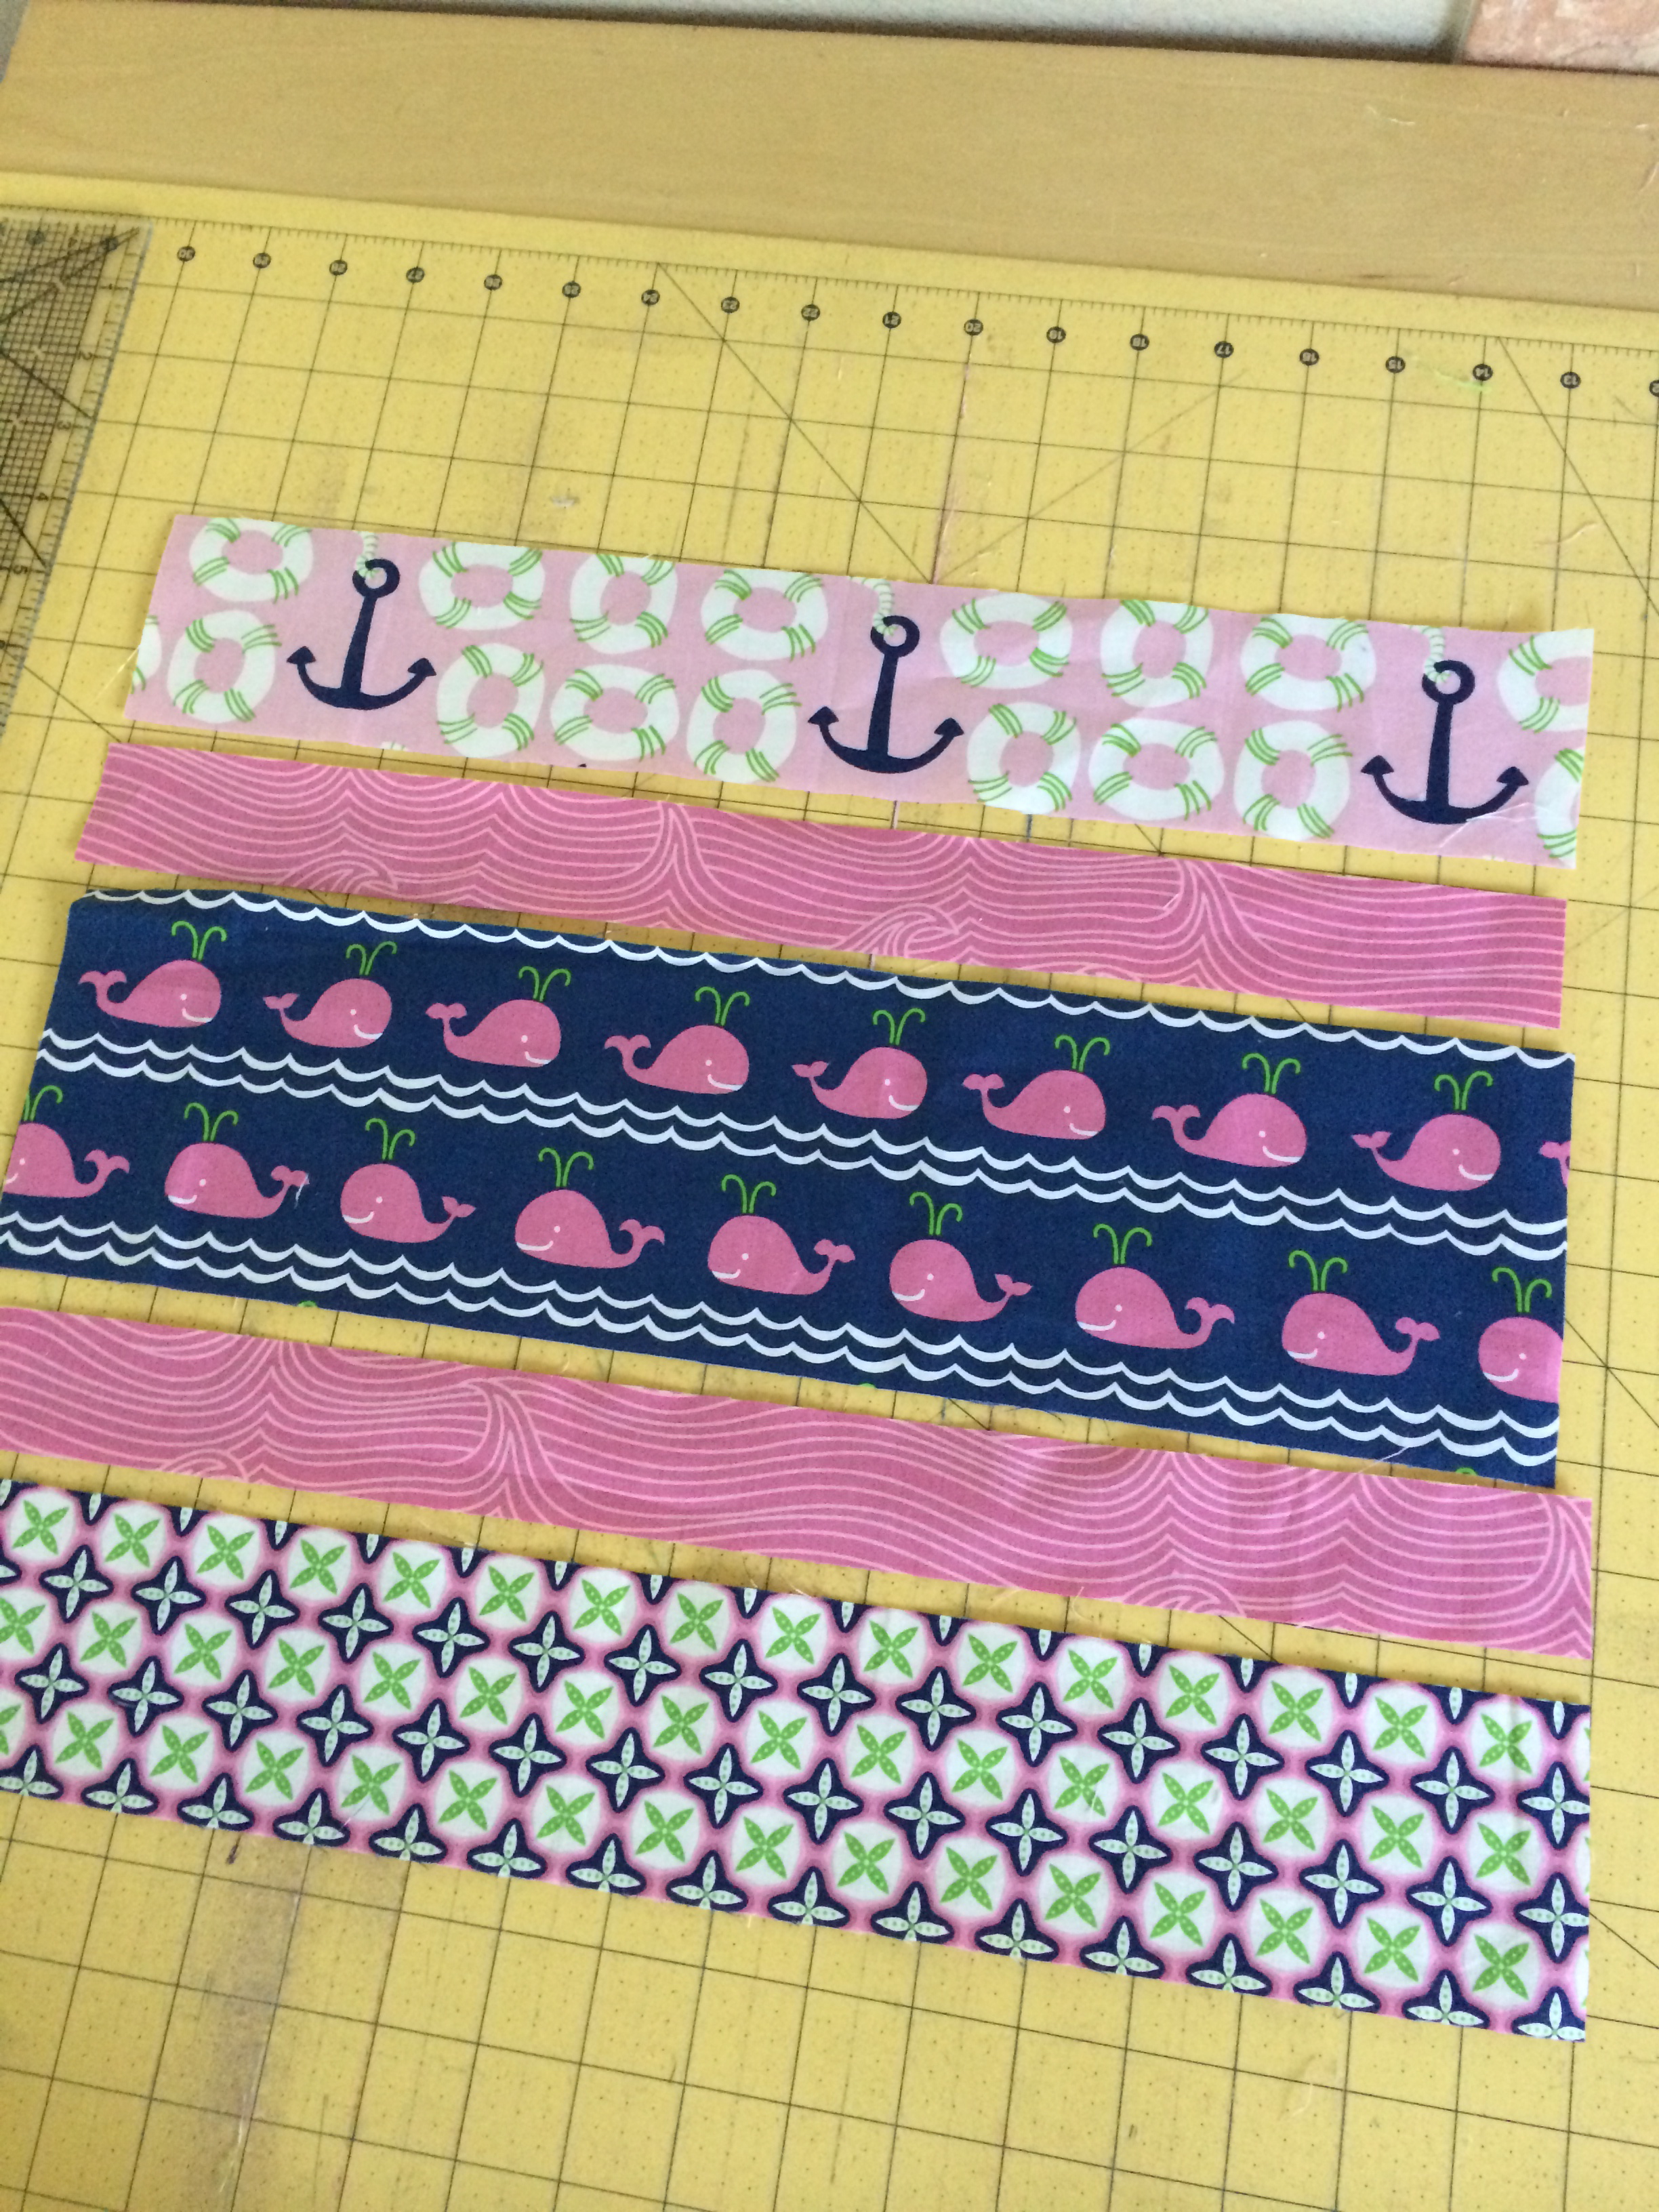
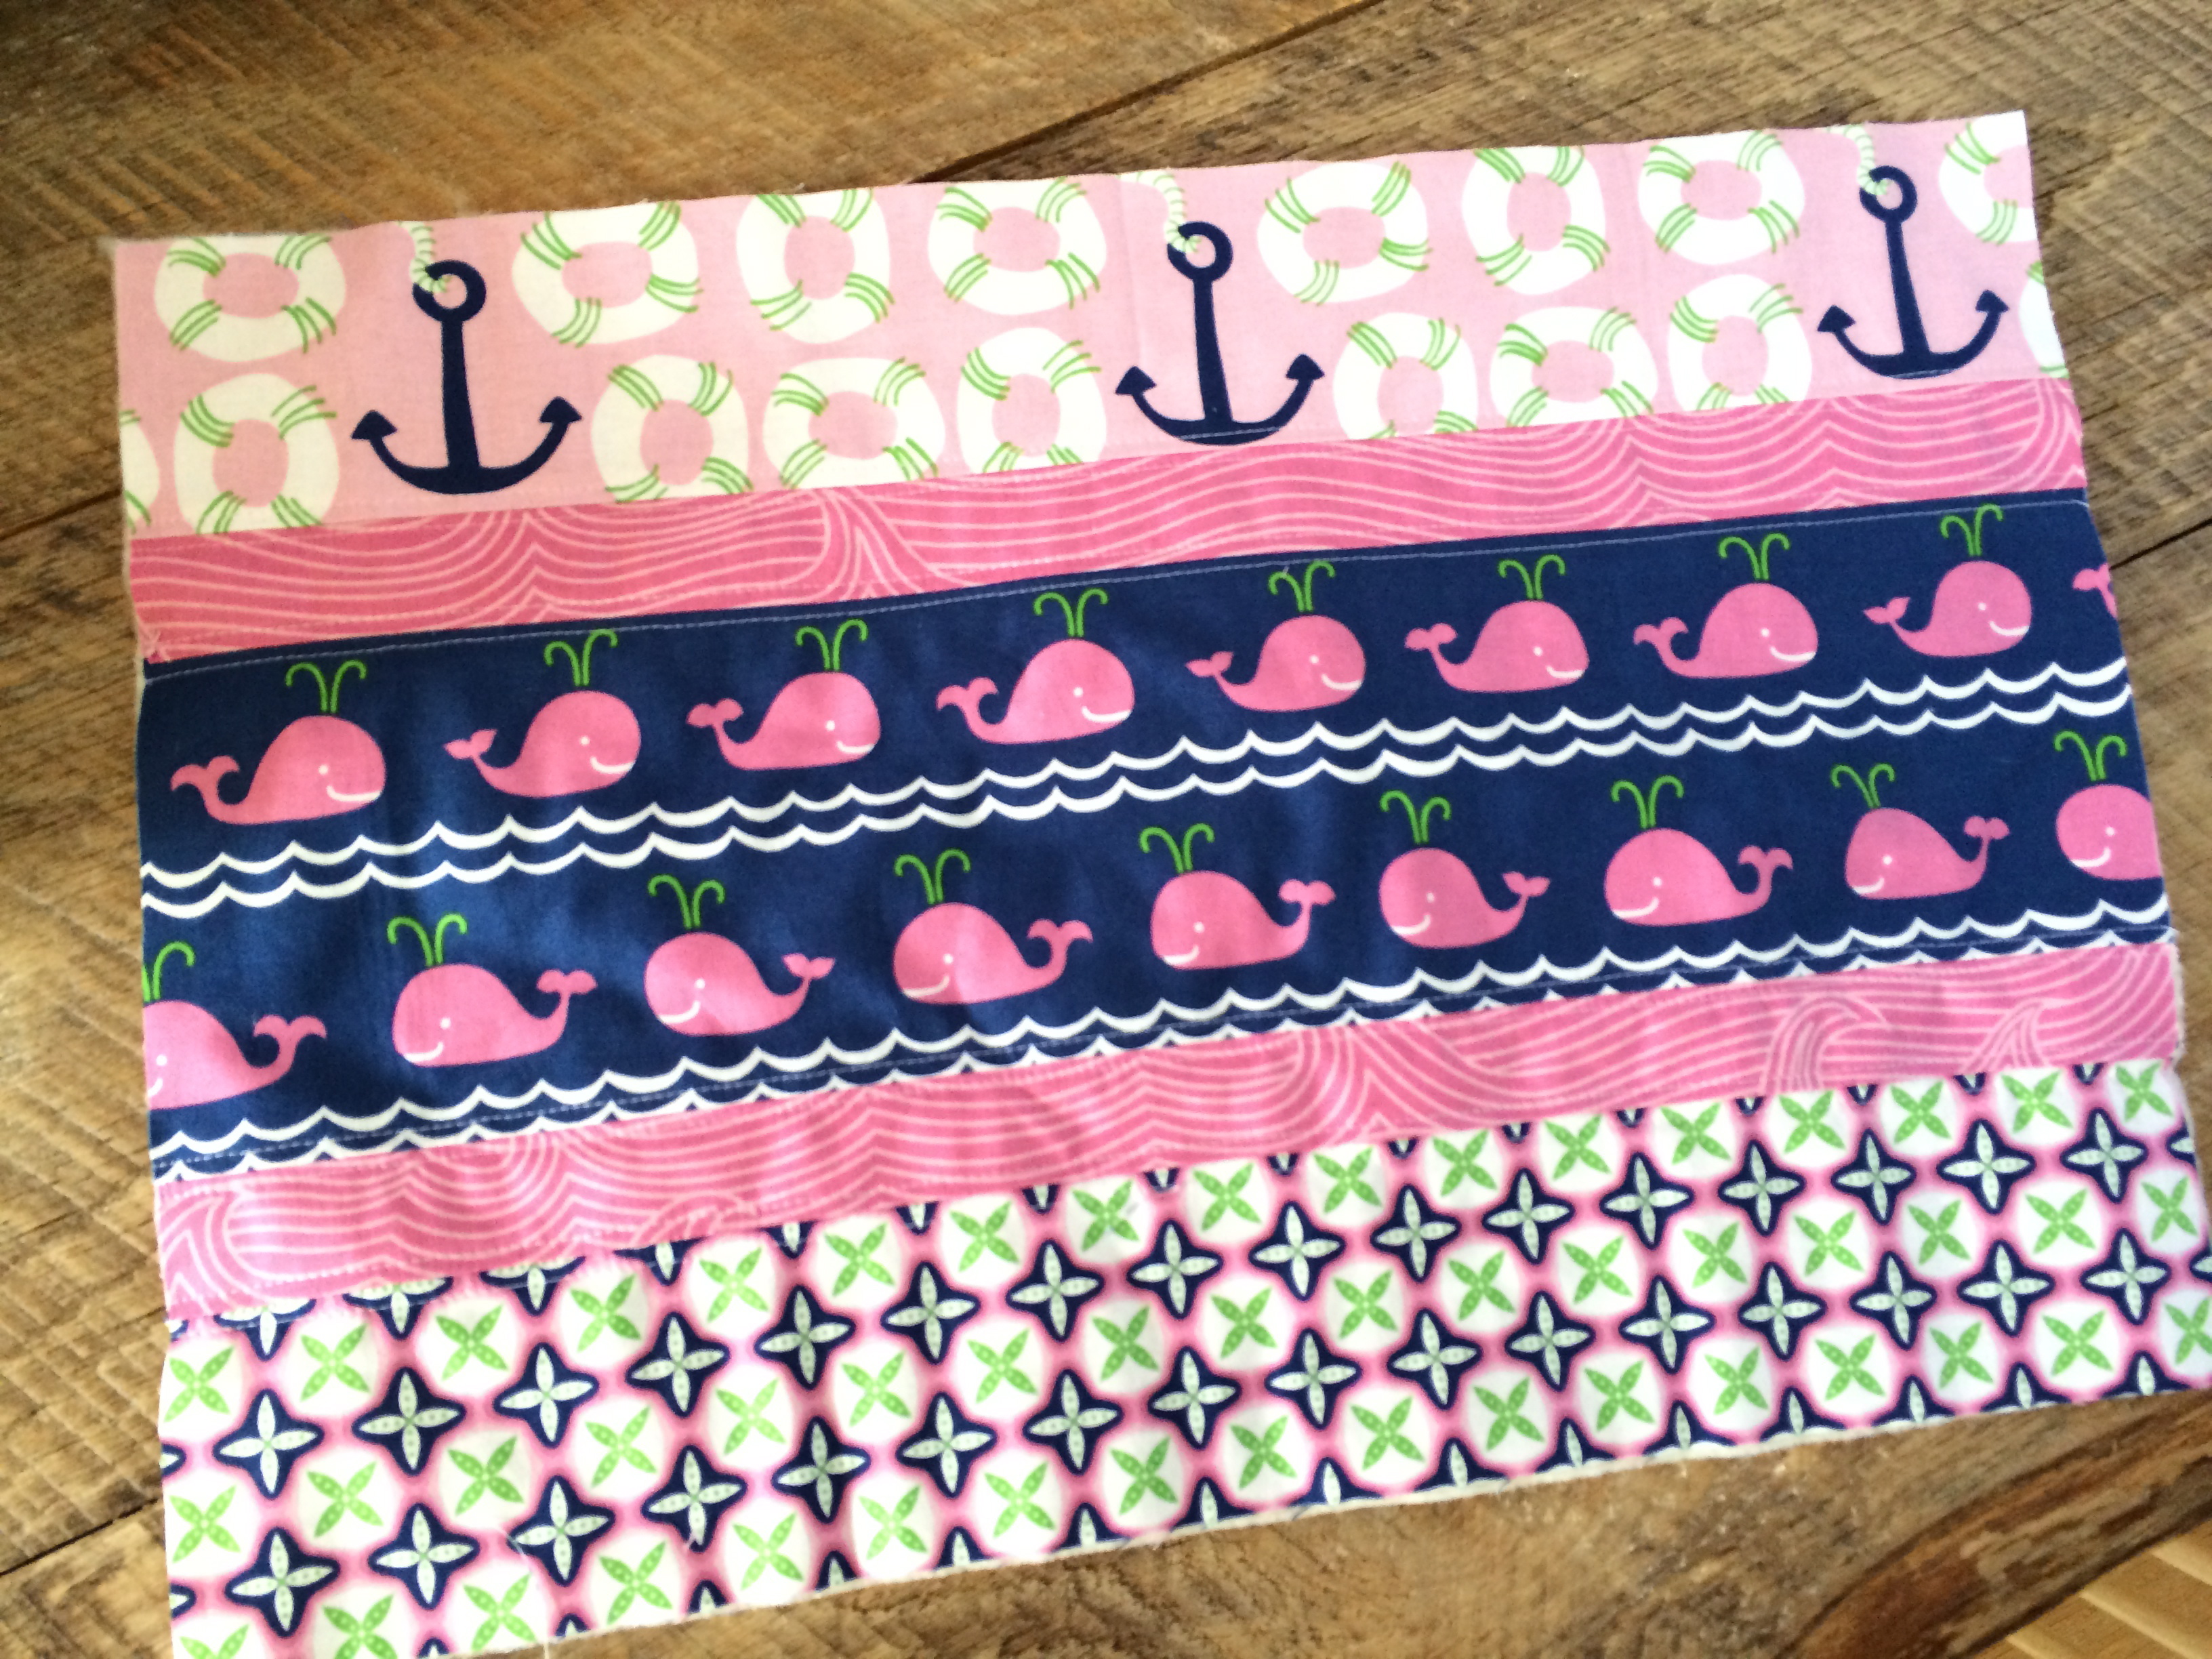
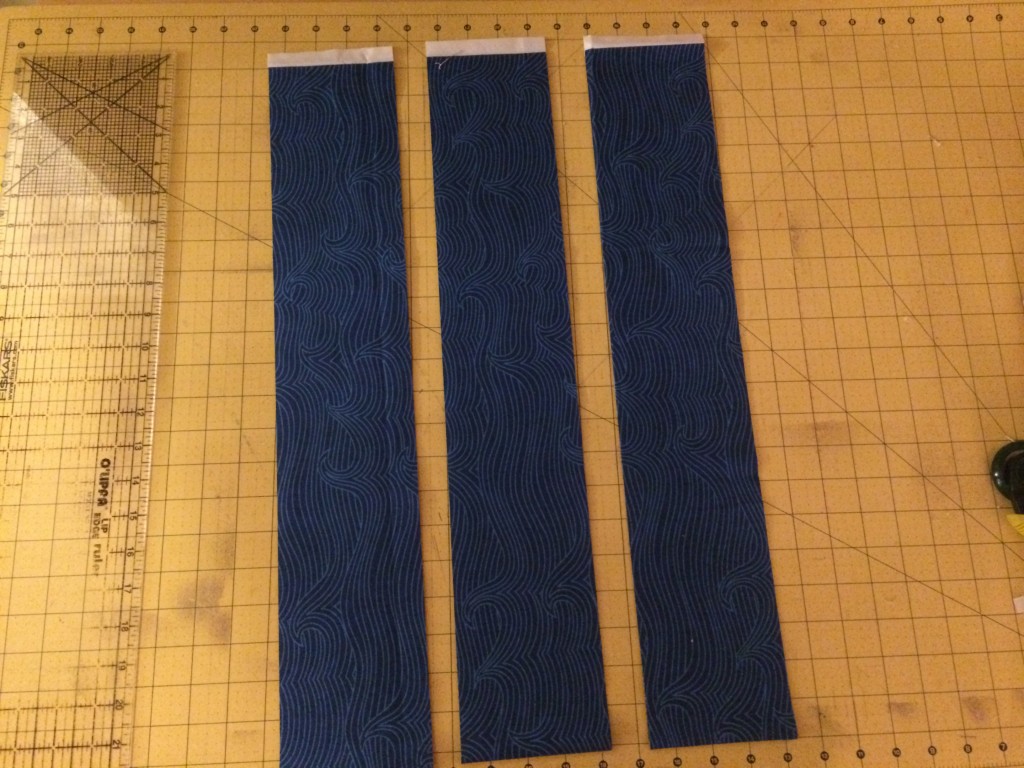 Free hand cut a wavy edge to each blue strip. You can do it!! Just let the scissors cut where they may. Mine are not perfect, but neither are real waves. Mine are all different heights and depths. Using the Spray n Bond, spray the wrong side of the blue waves and align with the bottom edge of the whale strips. Do this to each of the 3 whale and wave strips.
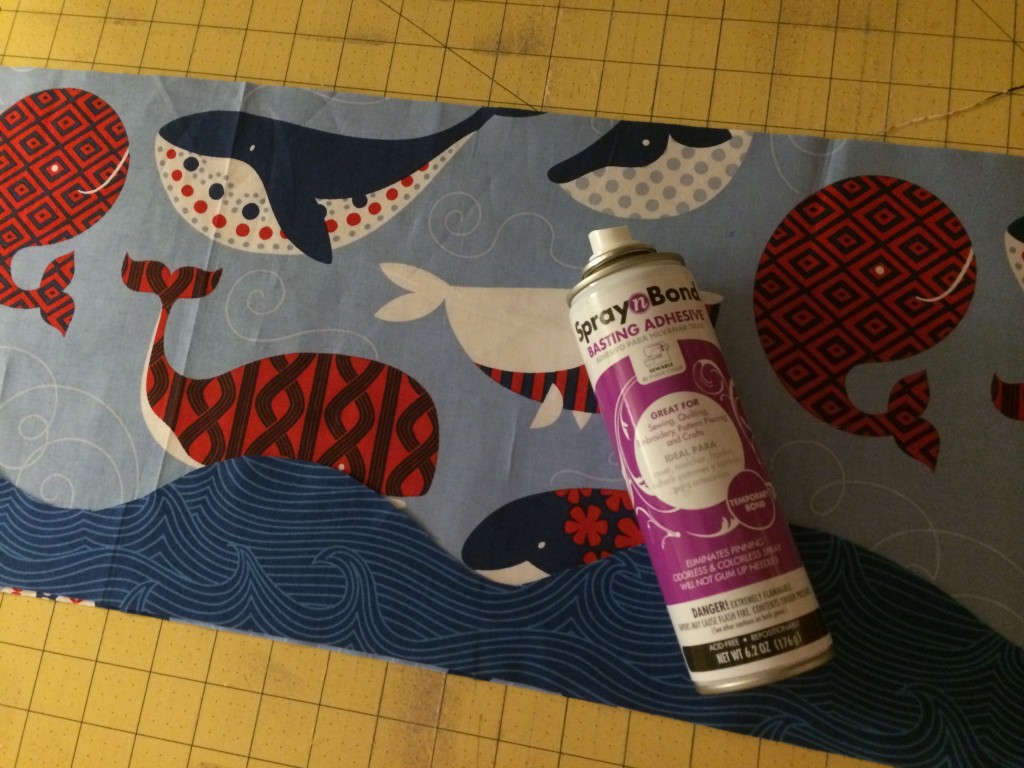
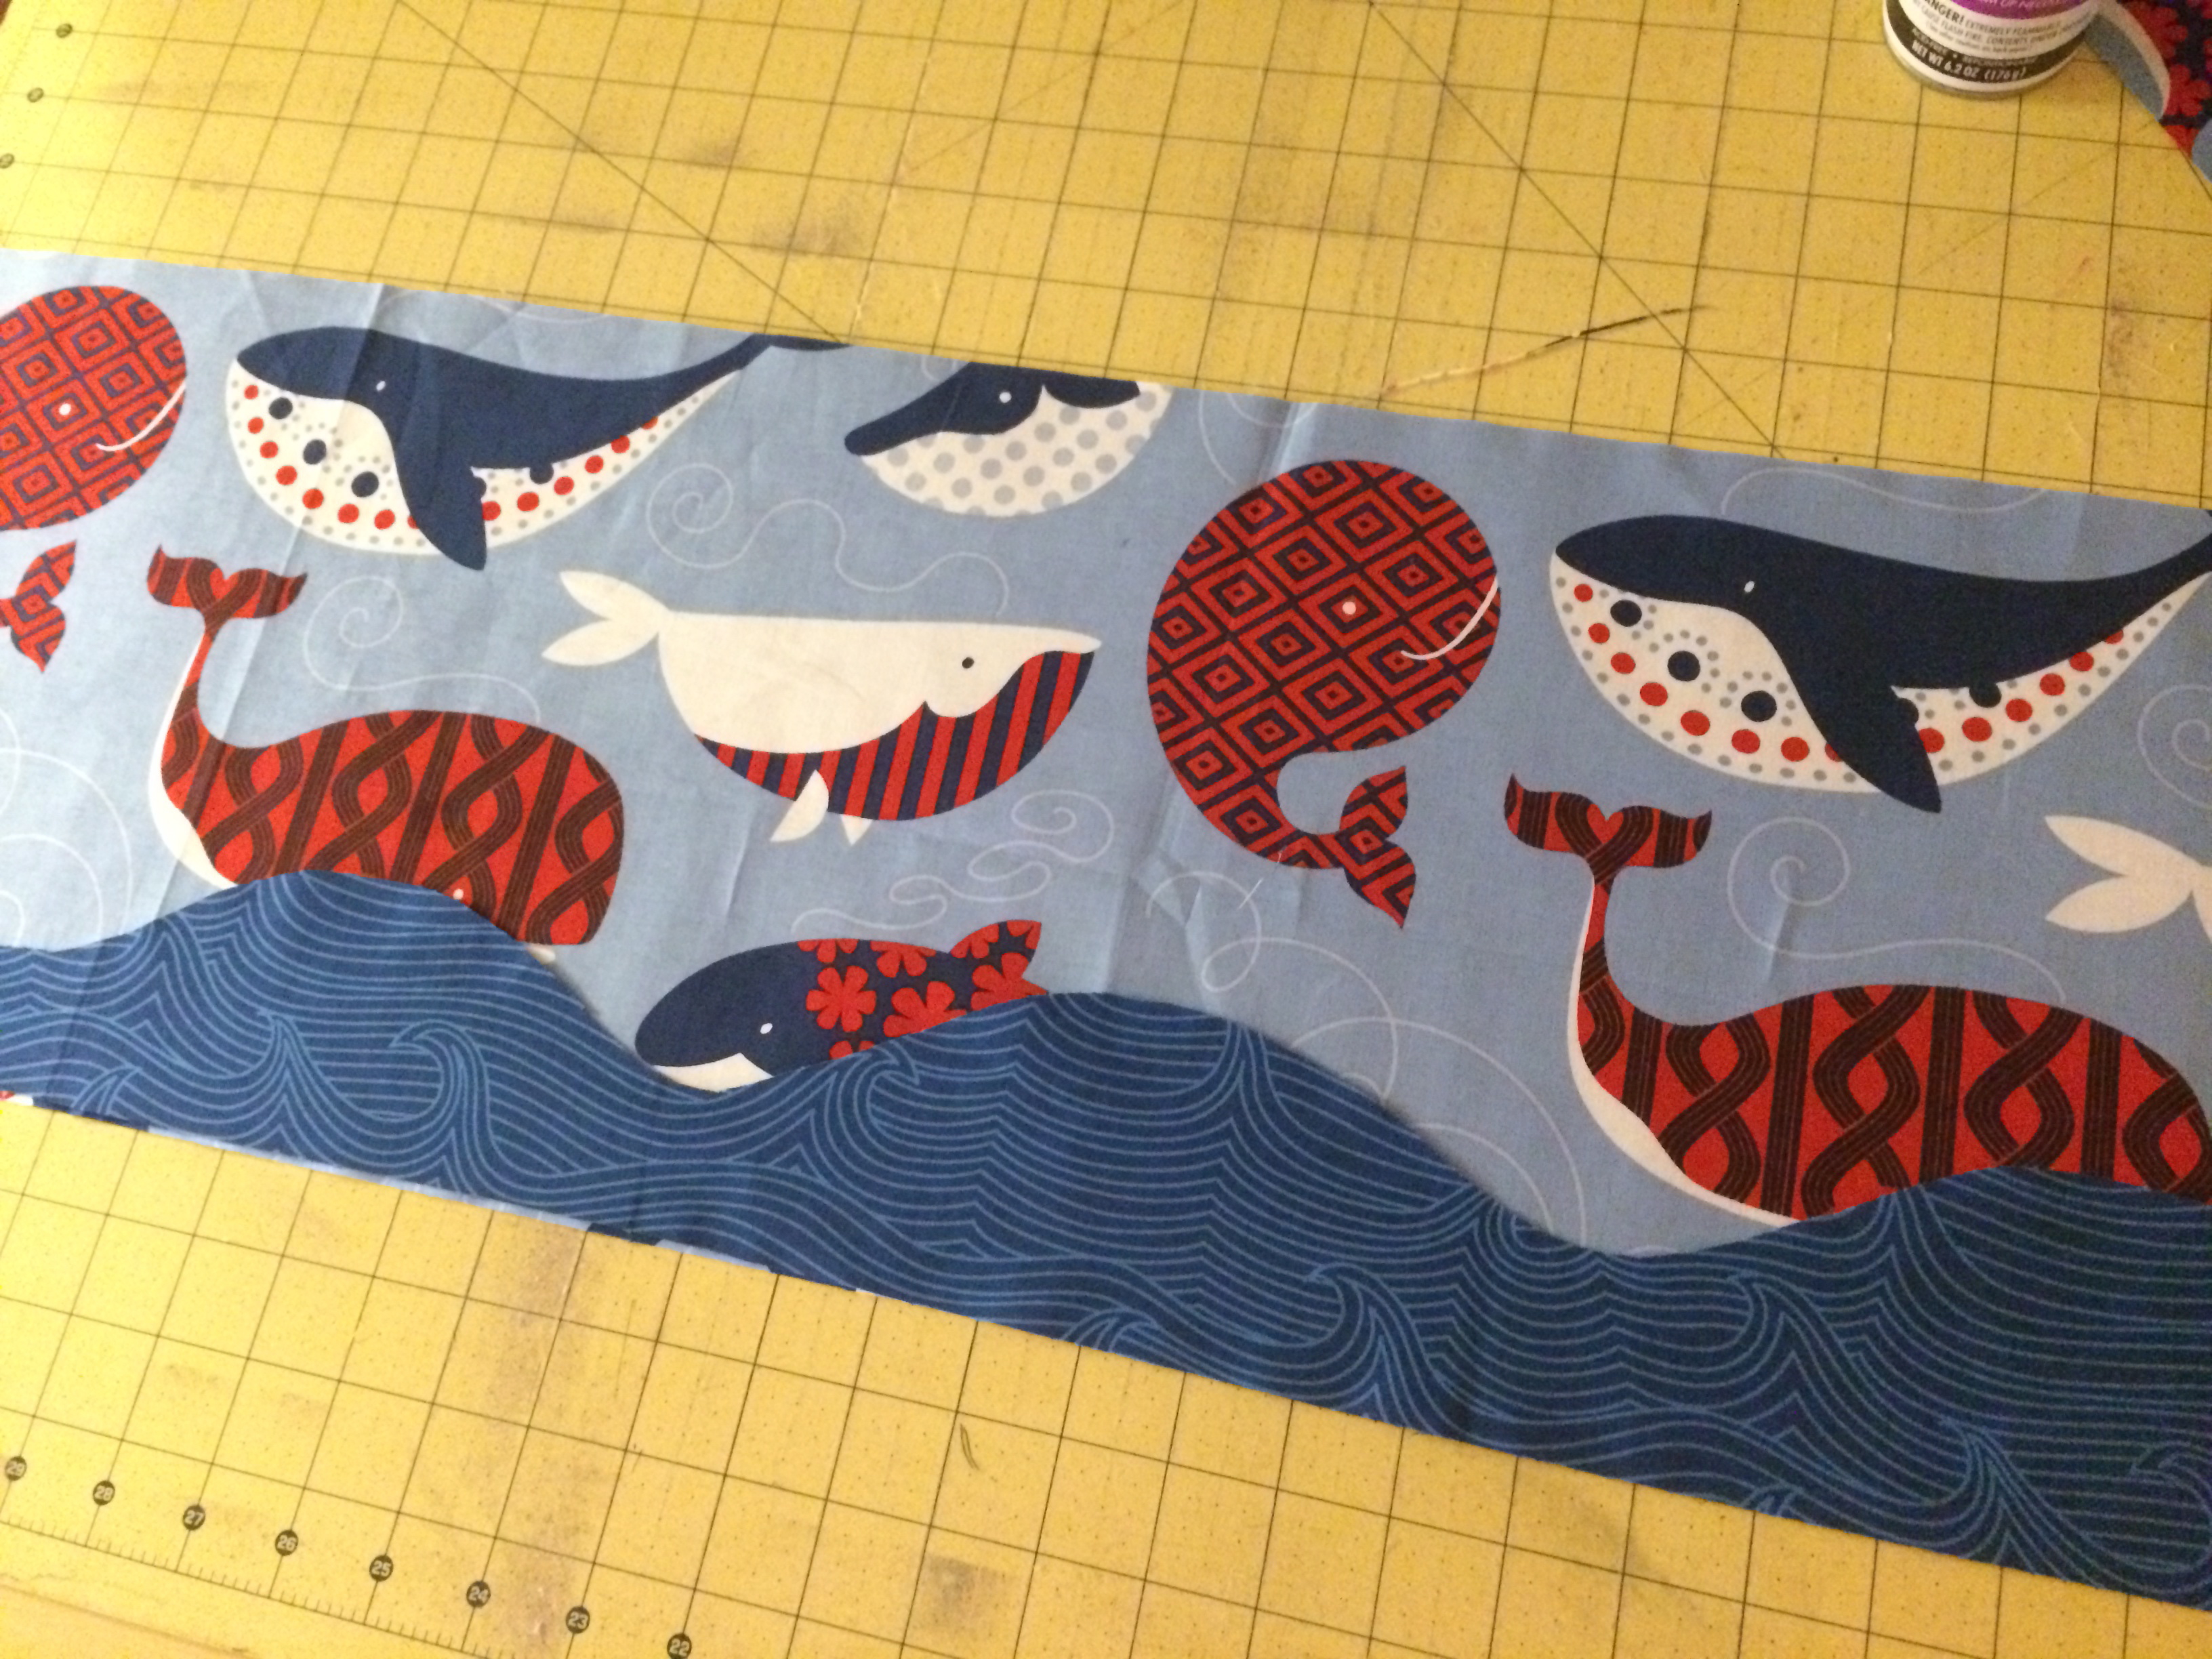
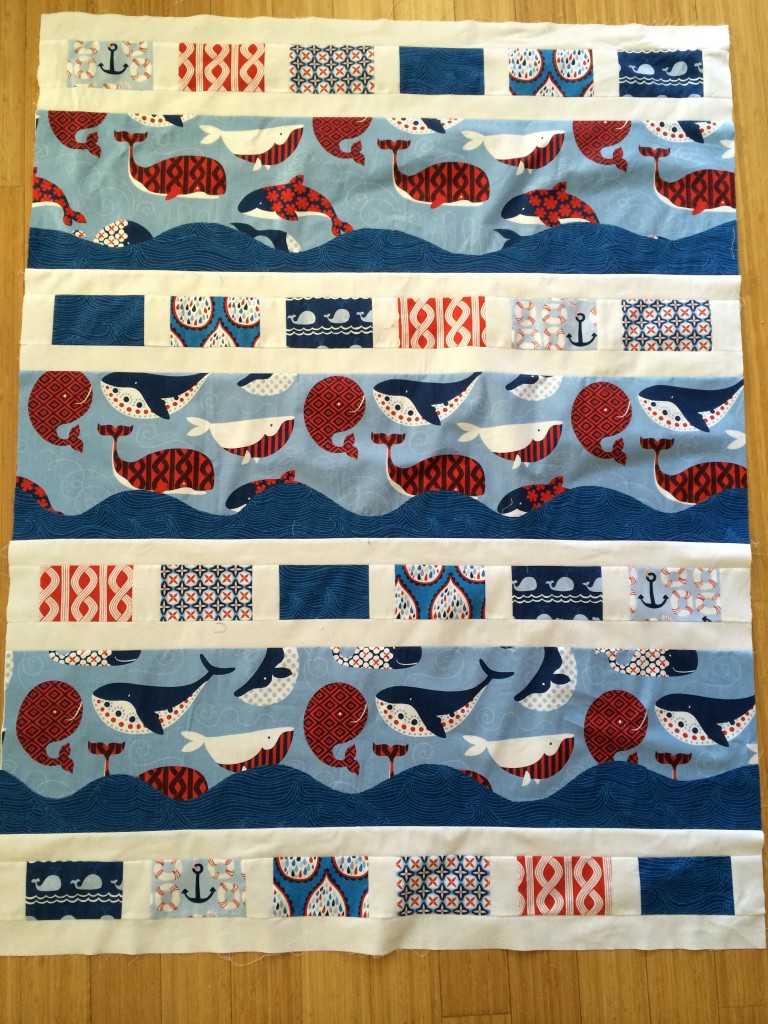

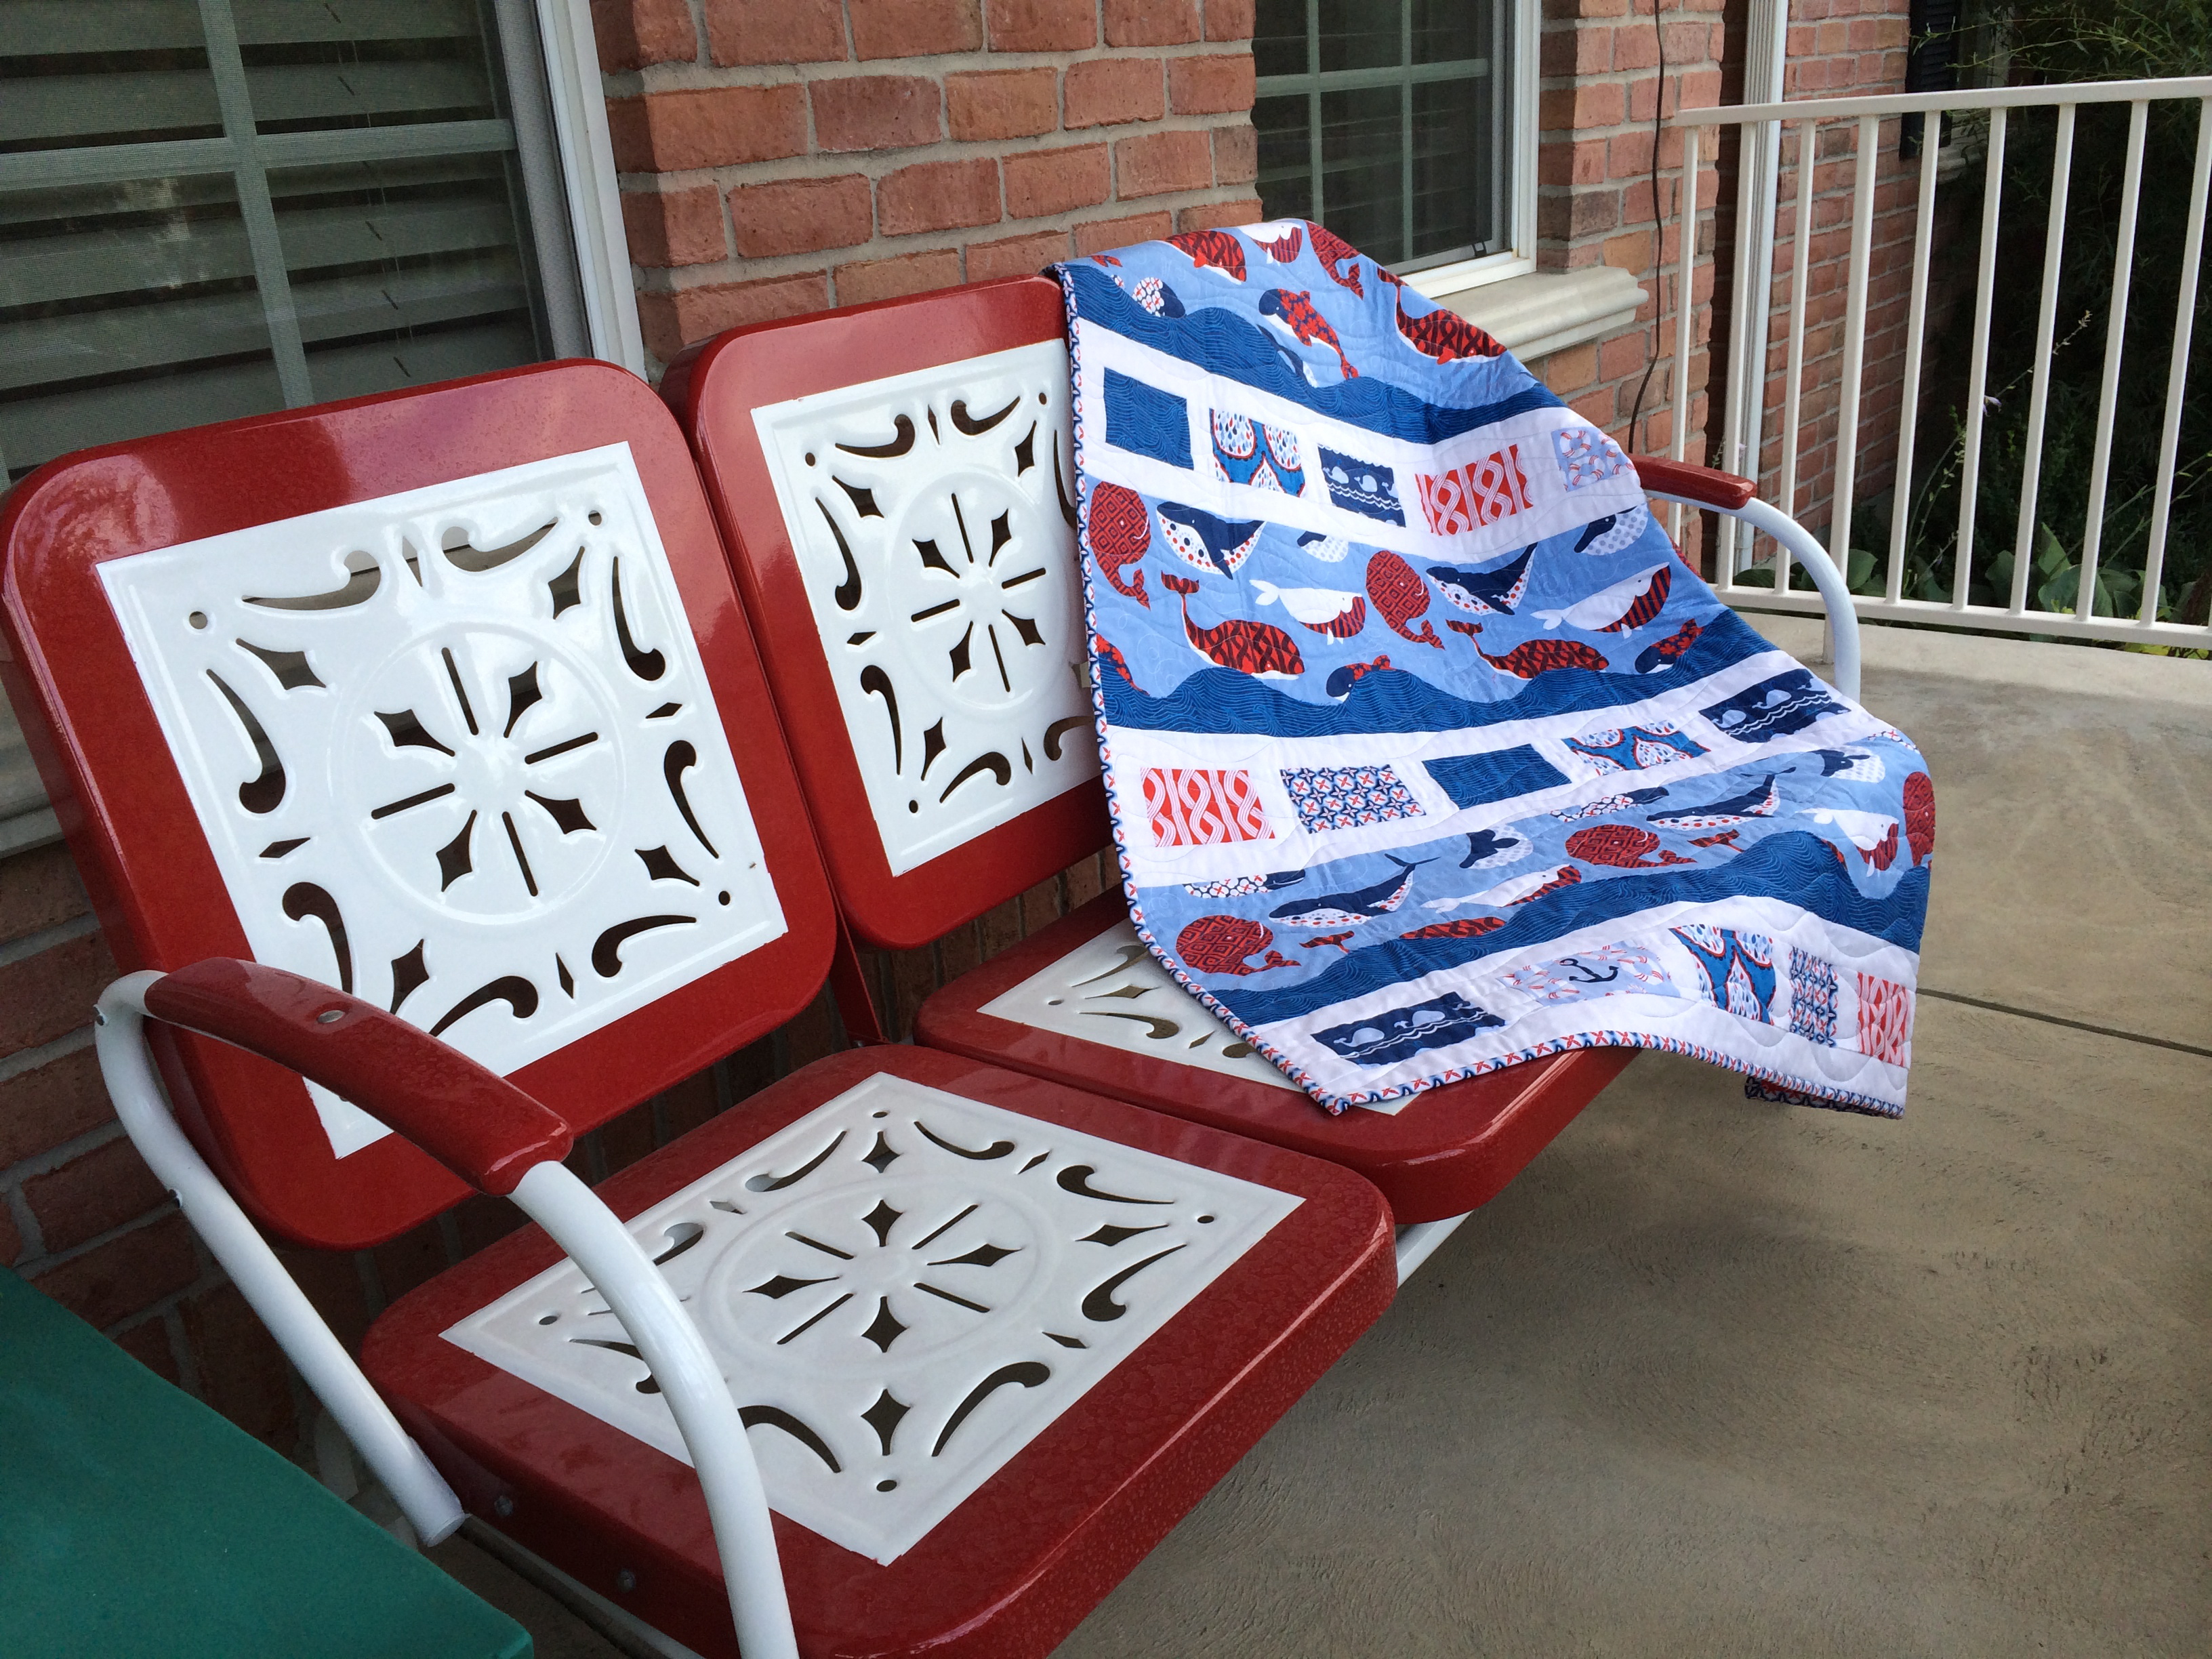
 Did I mention I love whales?
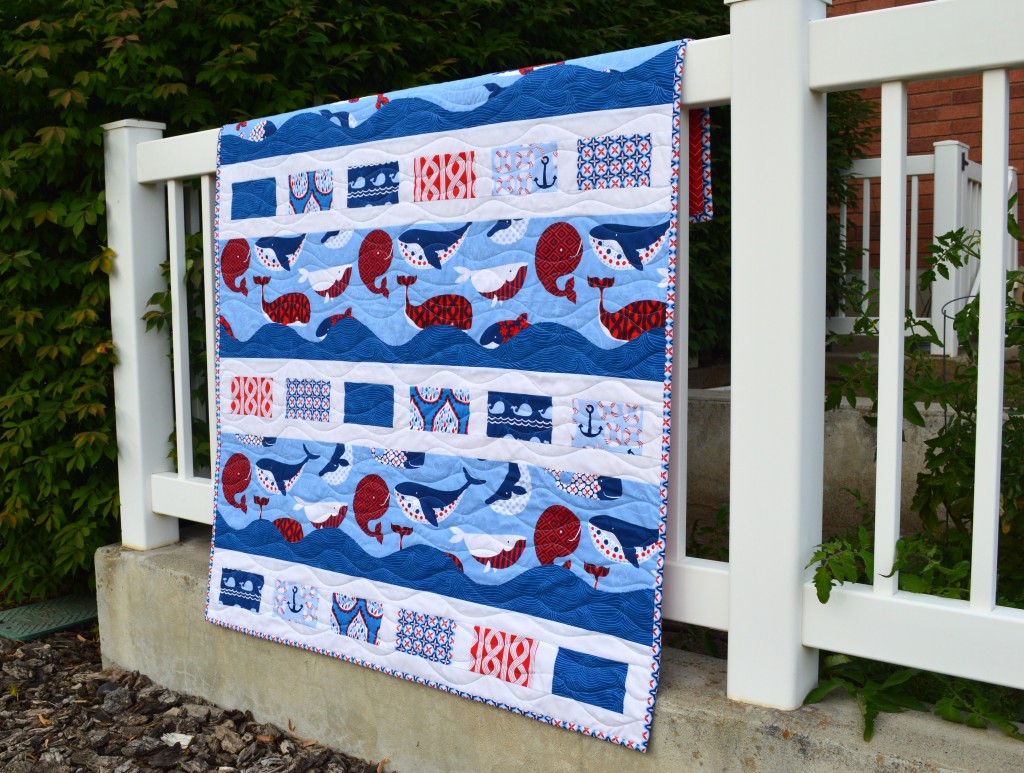


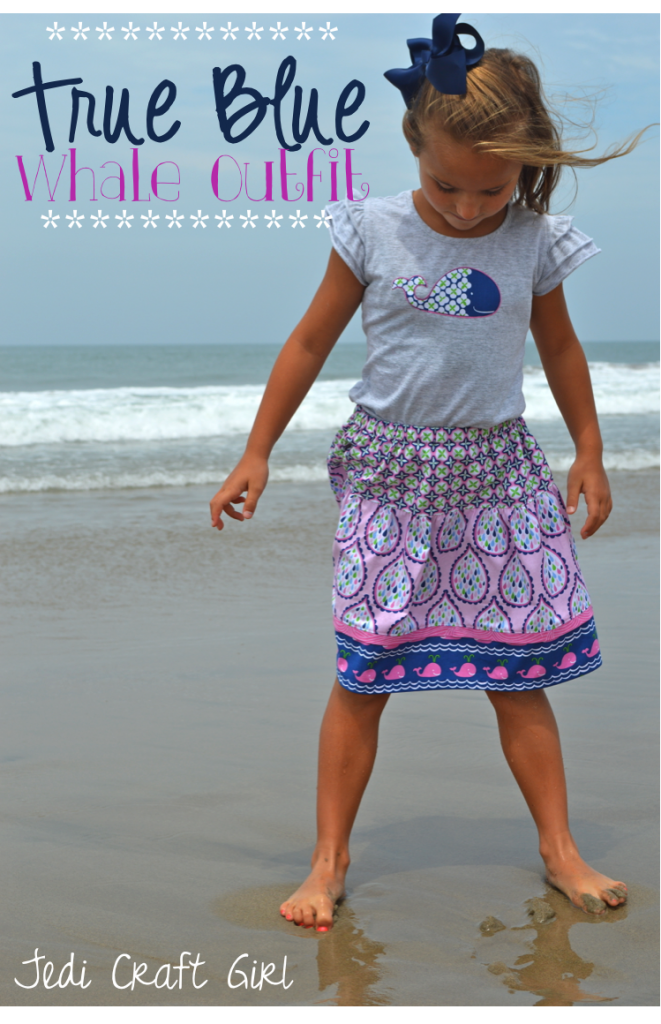

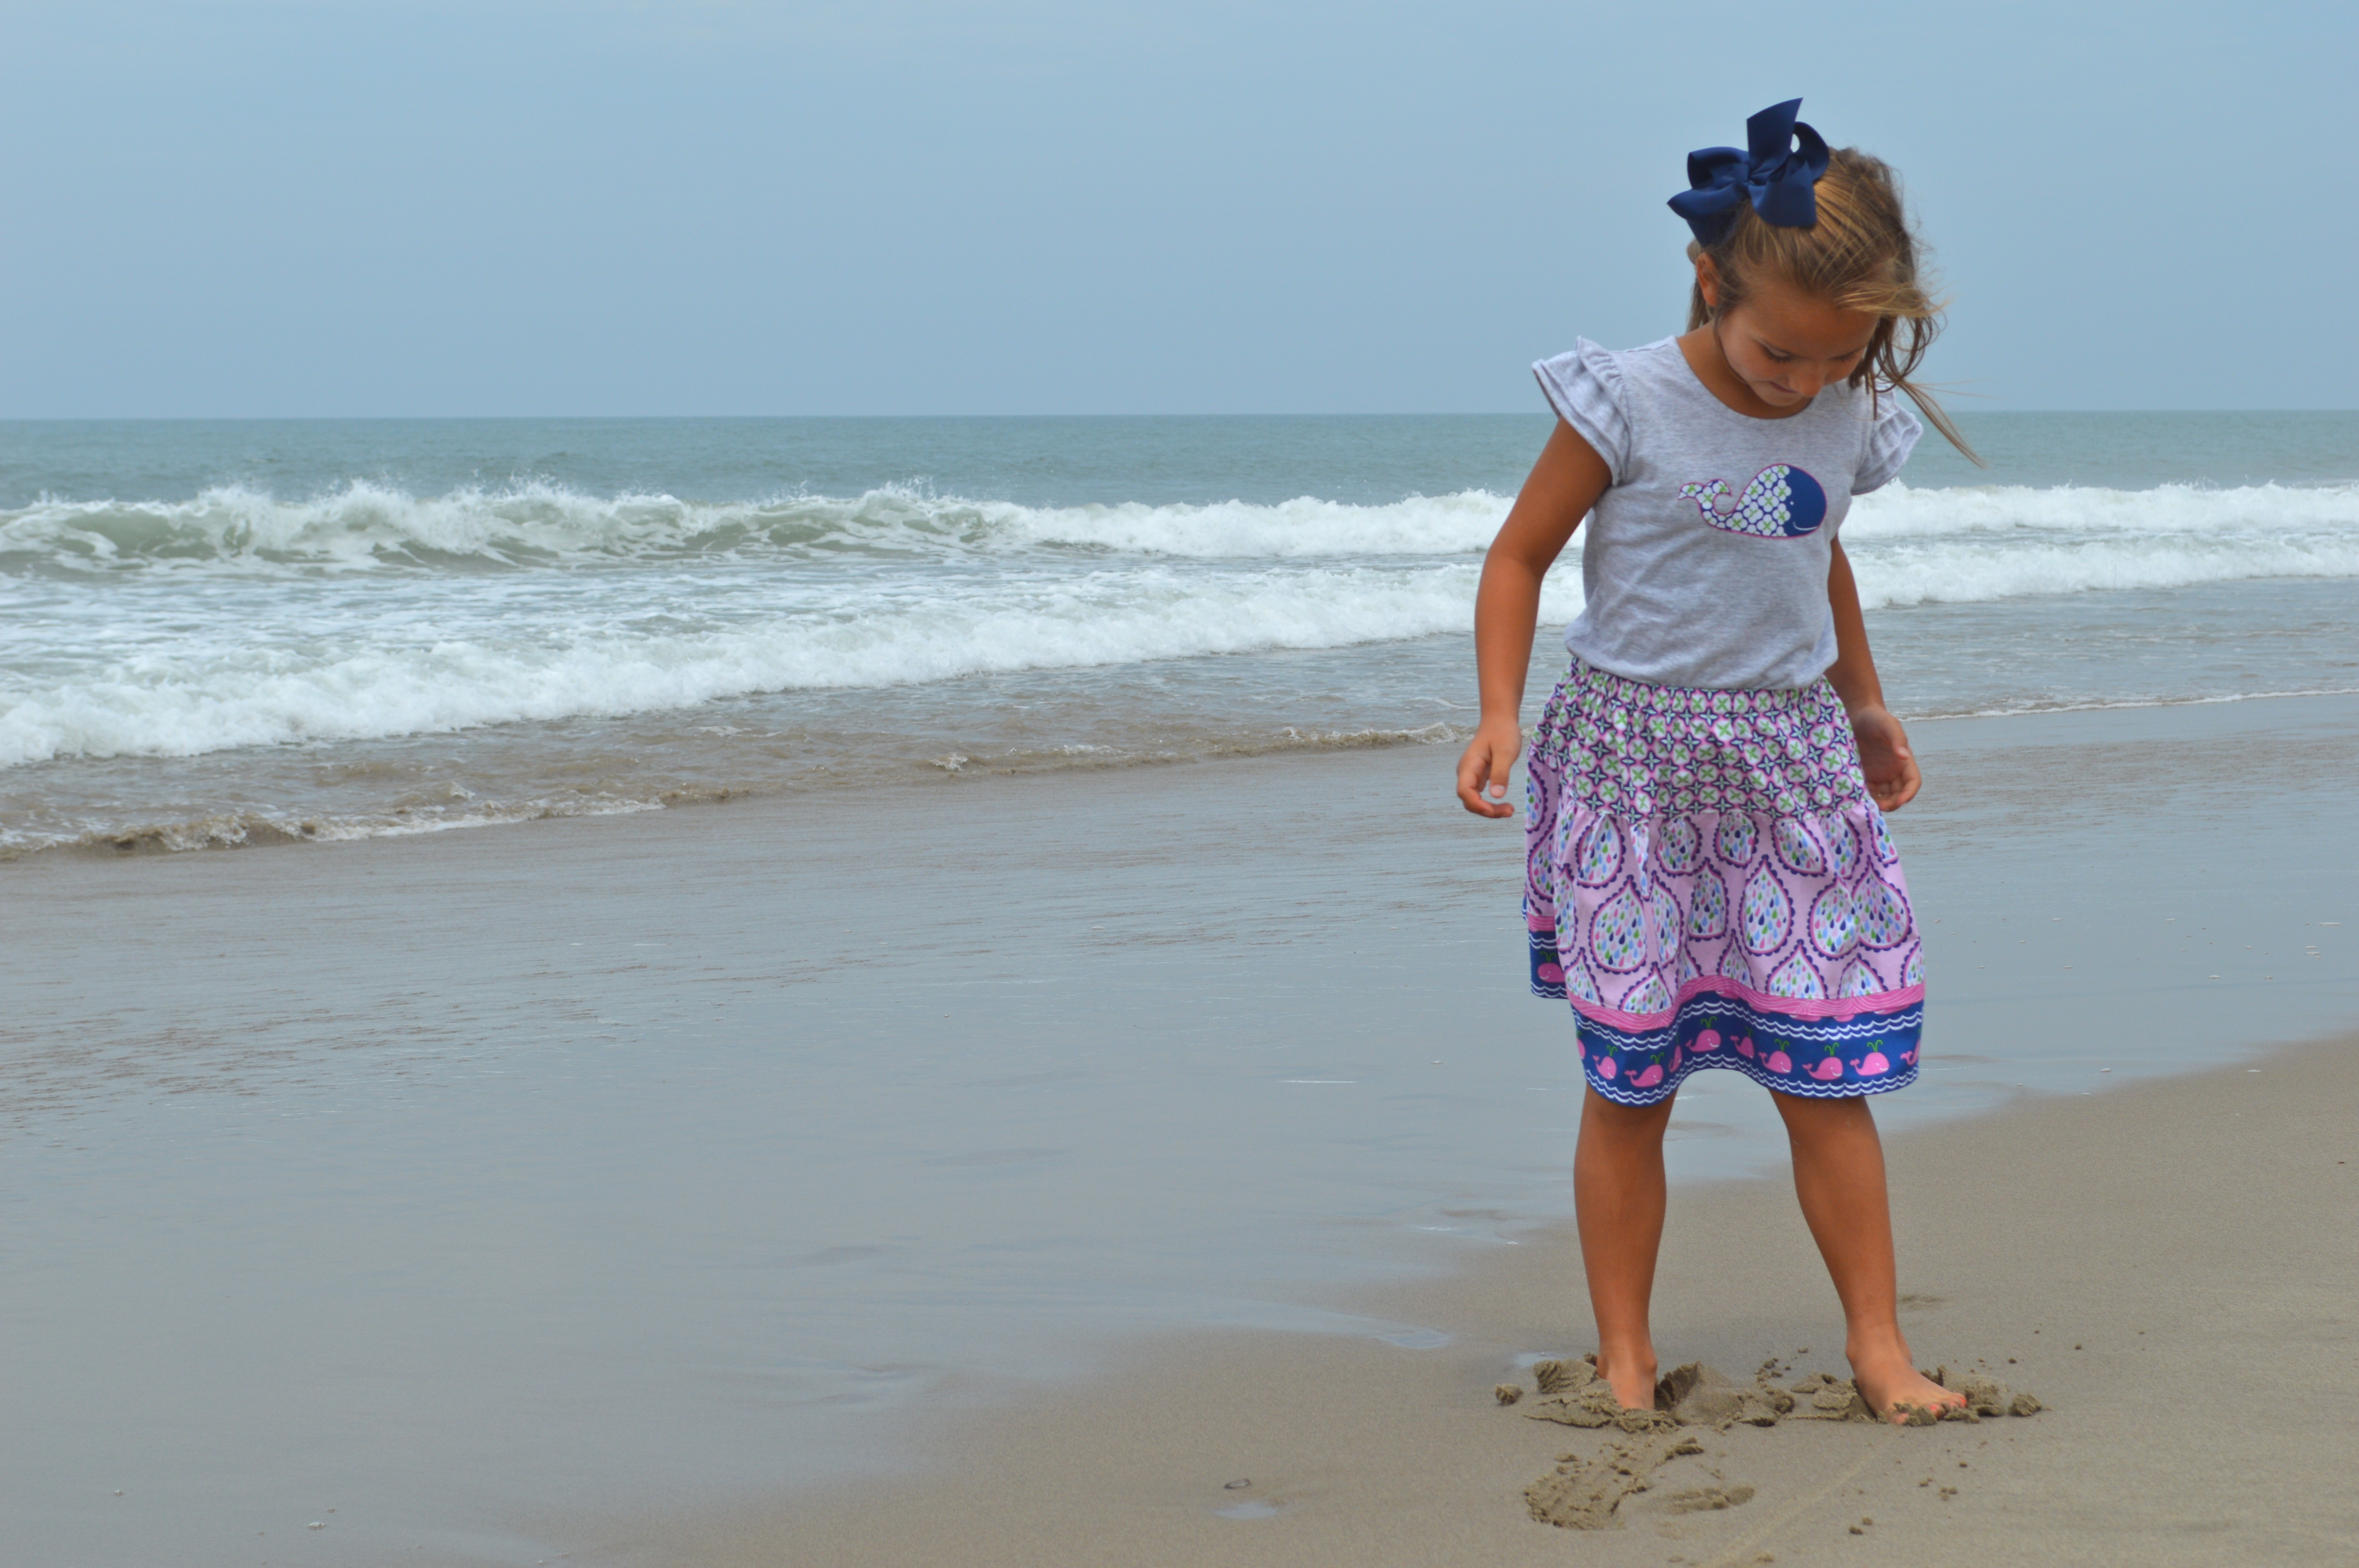
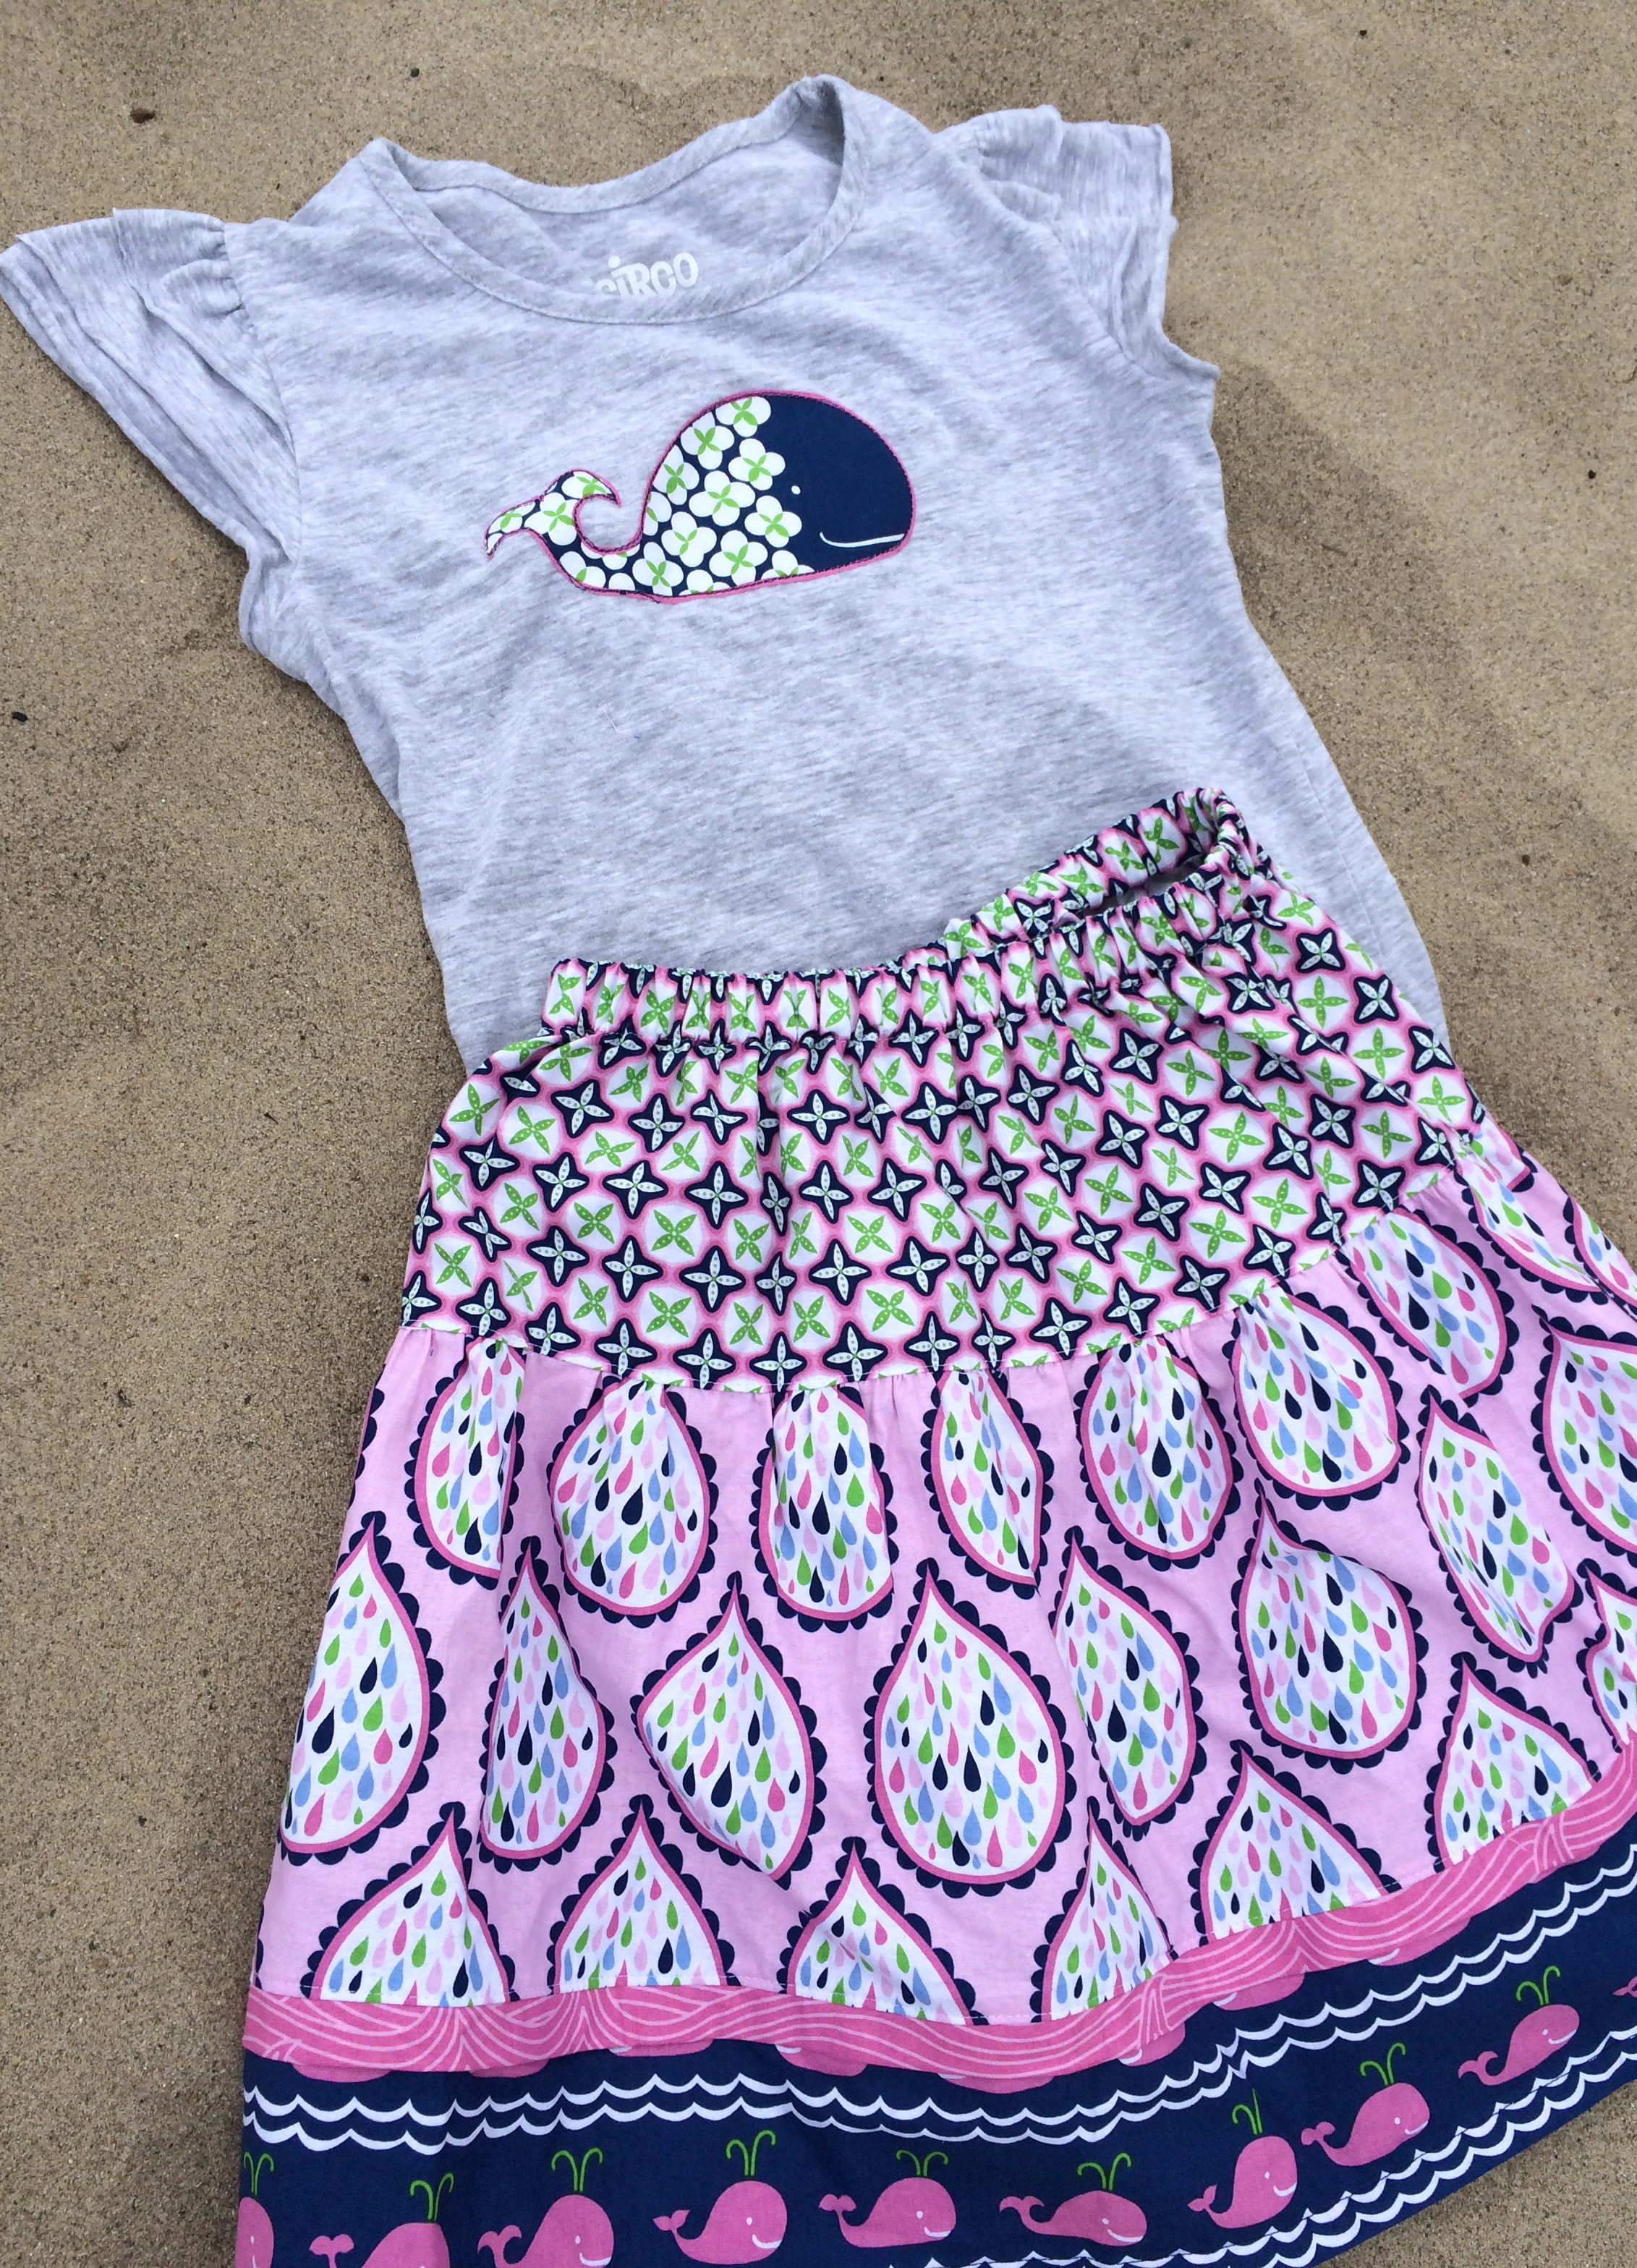
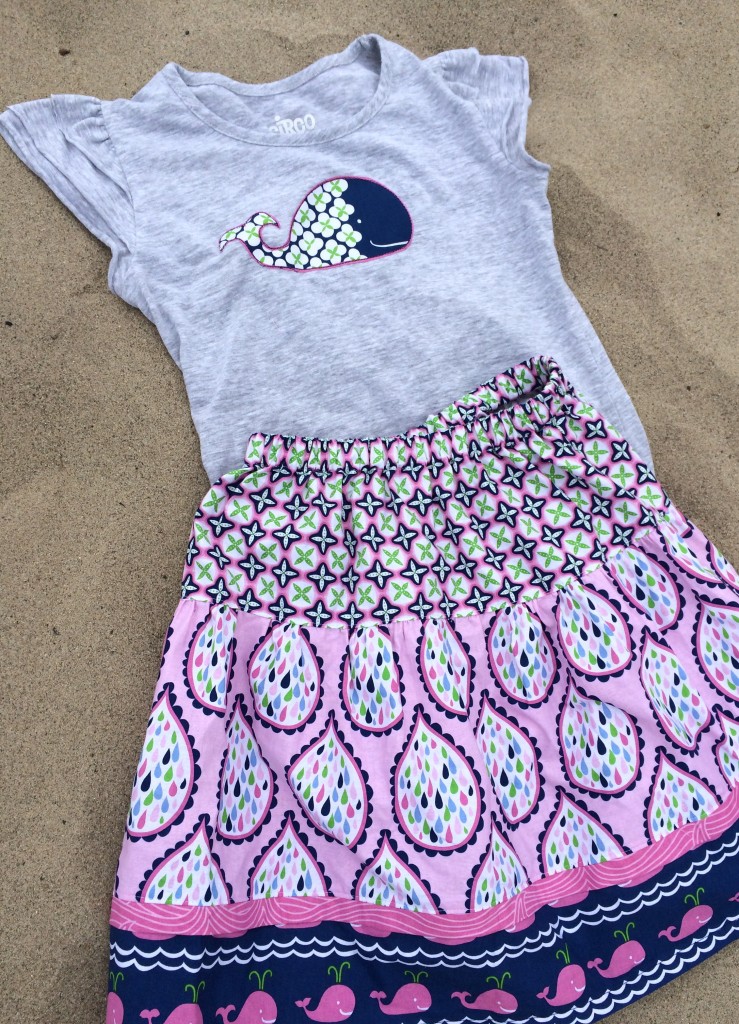 I used skirt “A” from the pattern book Little Sassy Skirts.
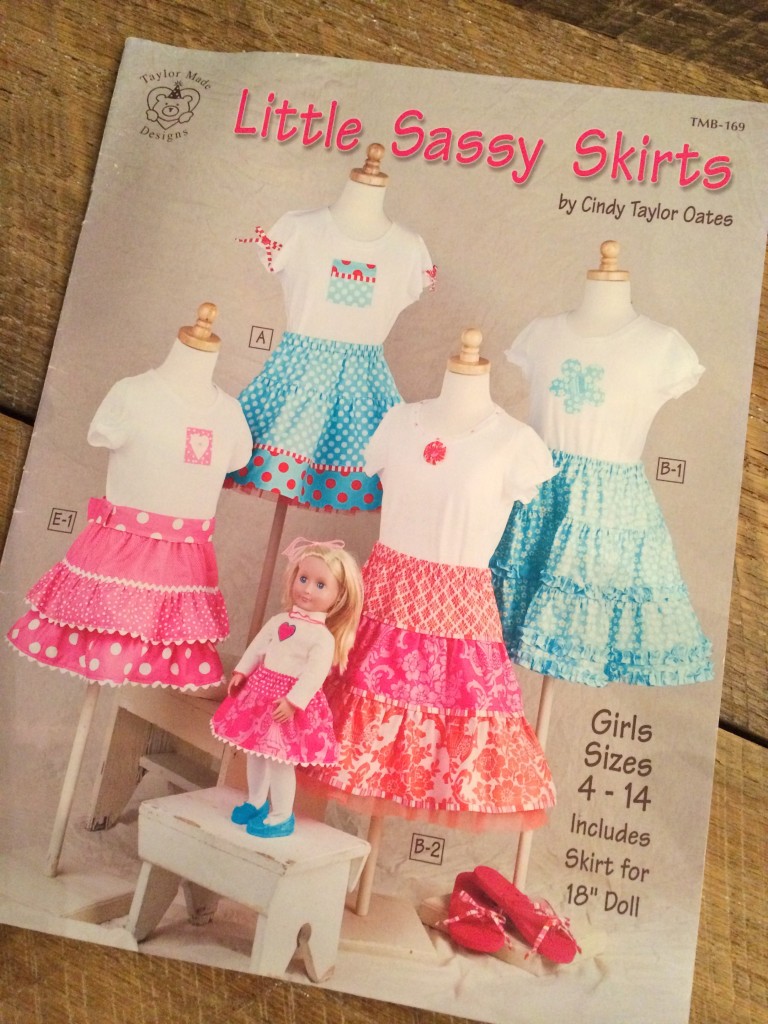 I have made these skirts over and over. The patterns are easy to follow and everything is done with rotary cutter measurements (a quilters dream!). This skirt is fun because you don’t have to have a lot of yardage, I only had half yards of the
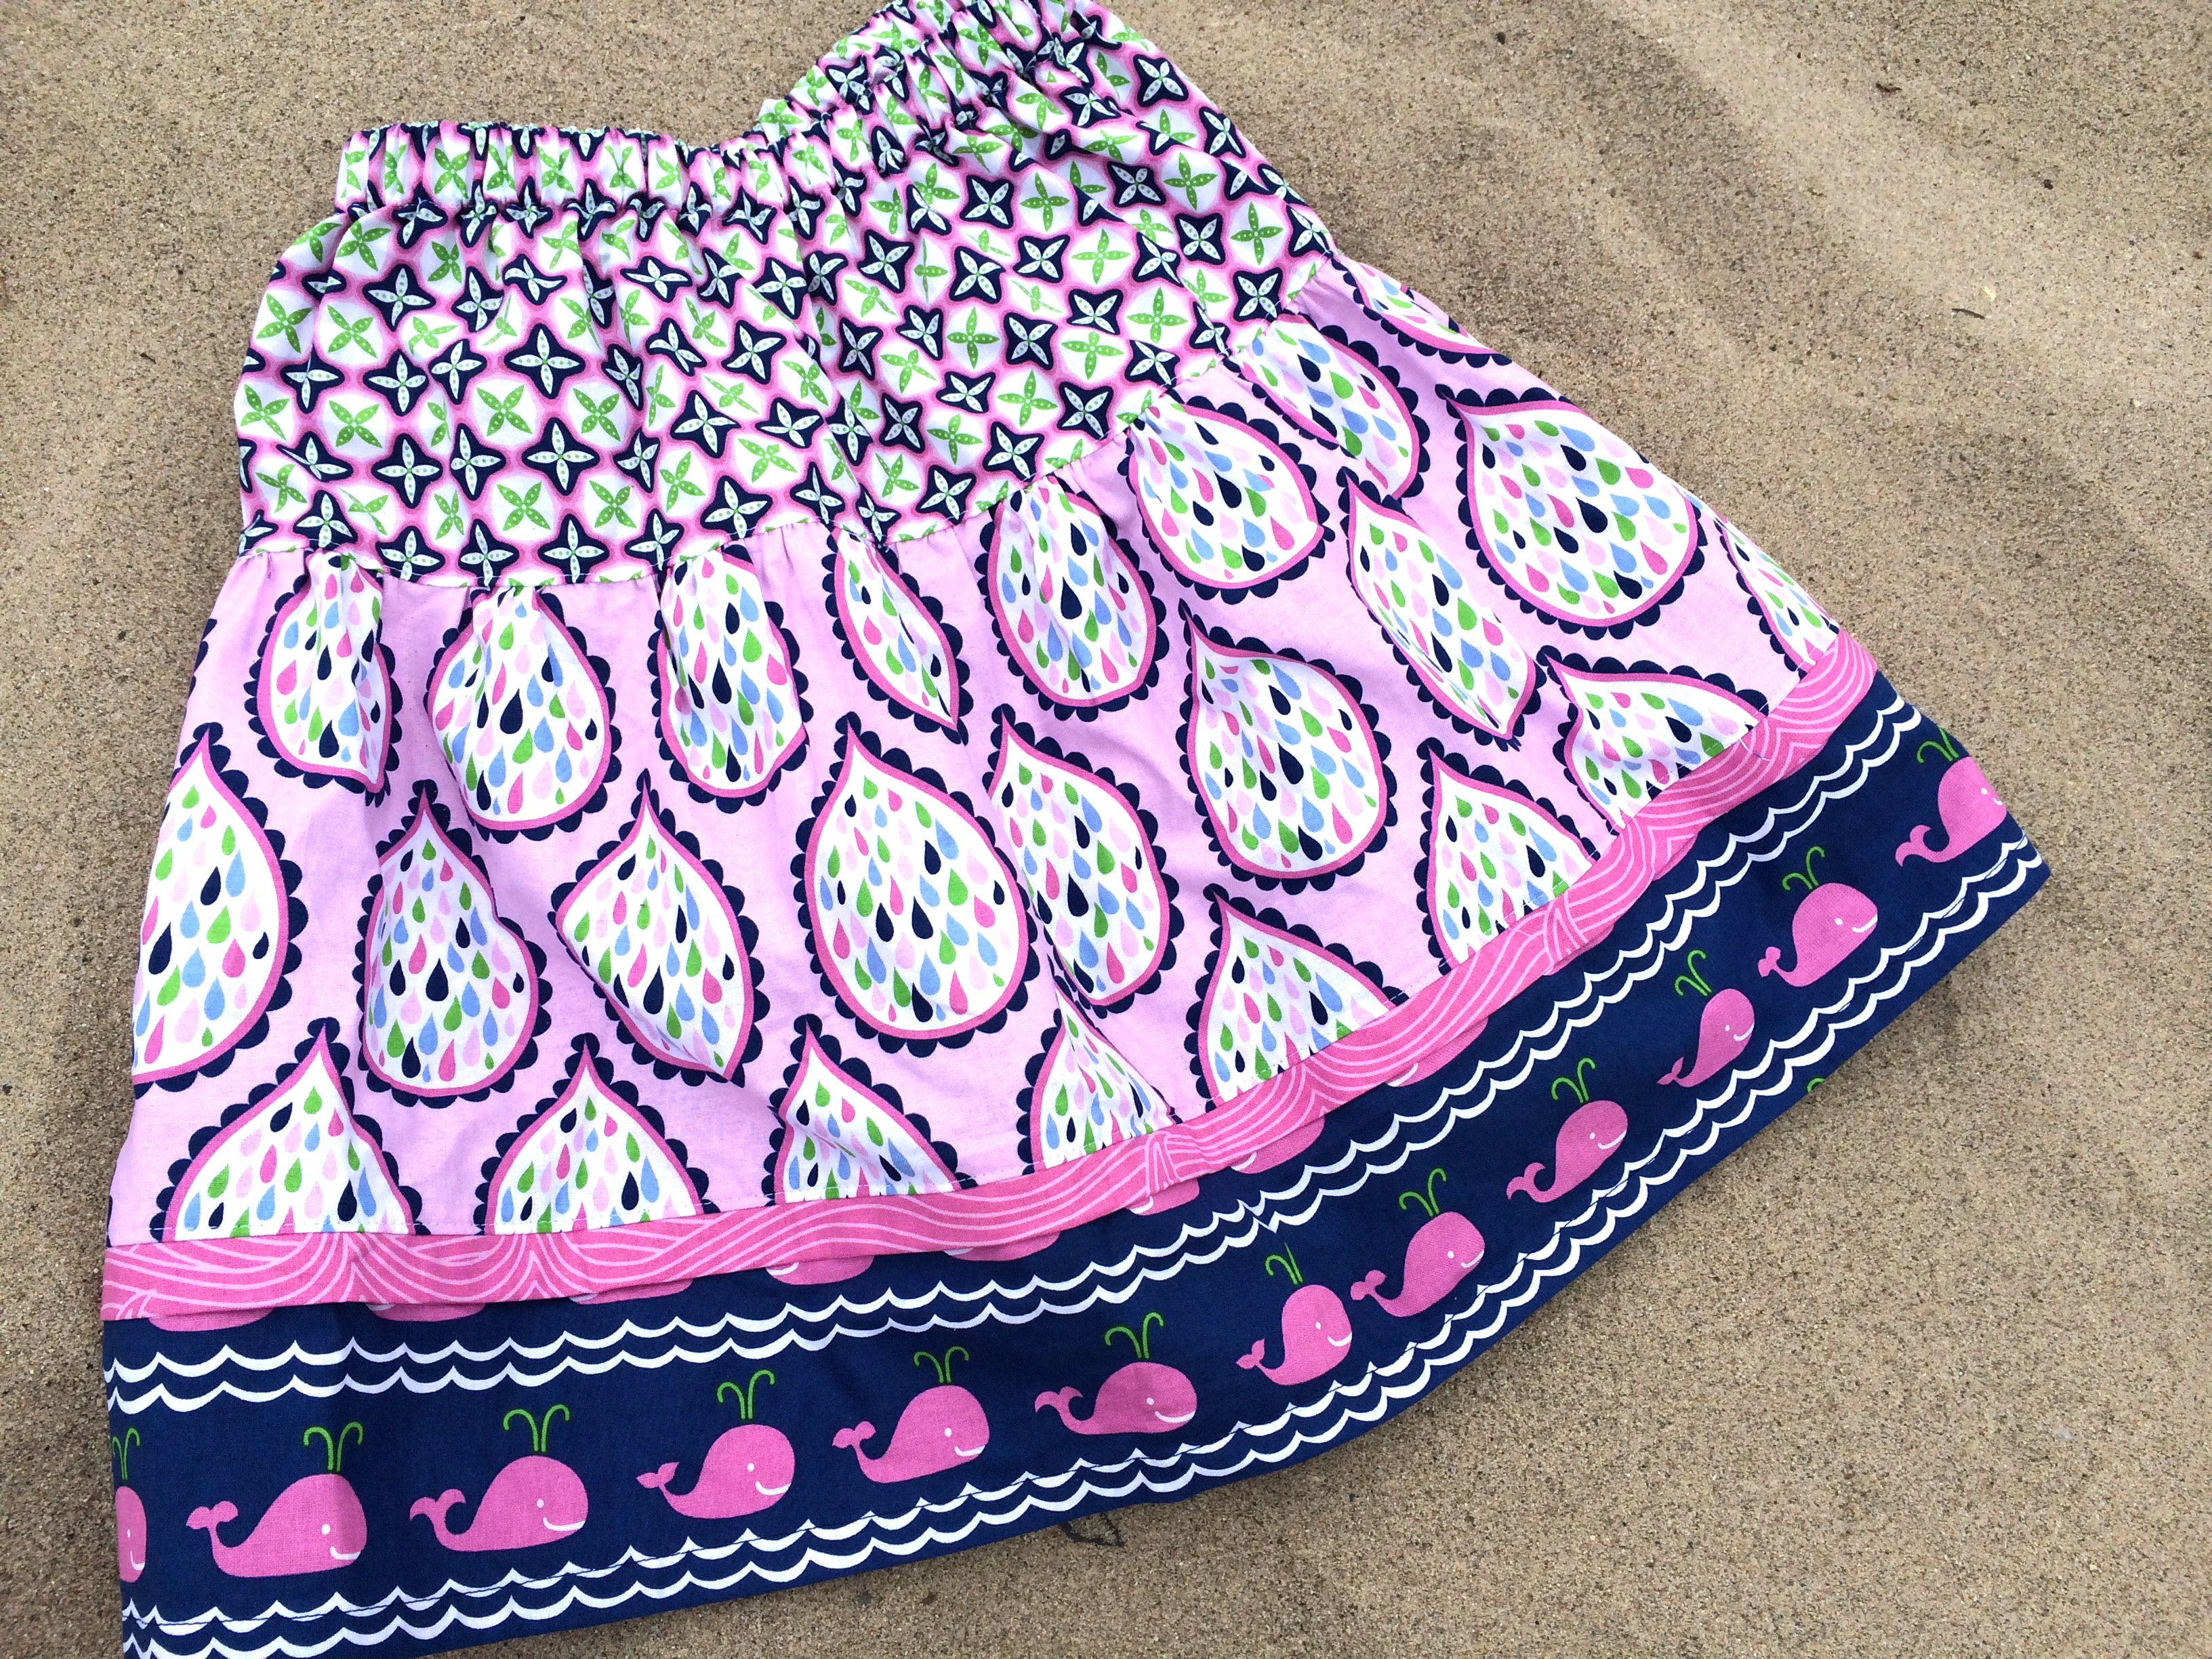


