 I love getting my girls involved in sewing! In fact among the requirements for leaving home to go to college are: 1. you must be able to bake a pie from scratch 2. you must be able to successfully make the family roll recipe 3. you must be able to construct a quilt start to finish by yourself! I’m proud of my teenage daughter as she has mastered all of these skills. Sally is 7 and we are beginning to sew on the machine. She LOVES it! I like projects that she can do most of the work; this one is perfect!
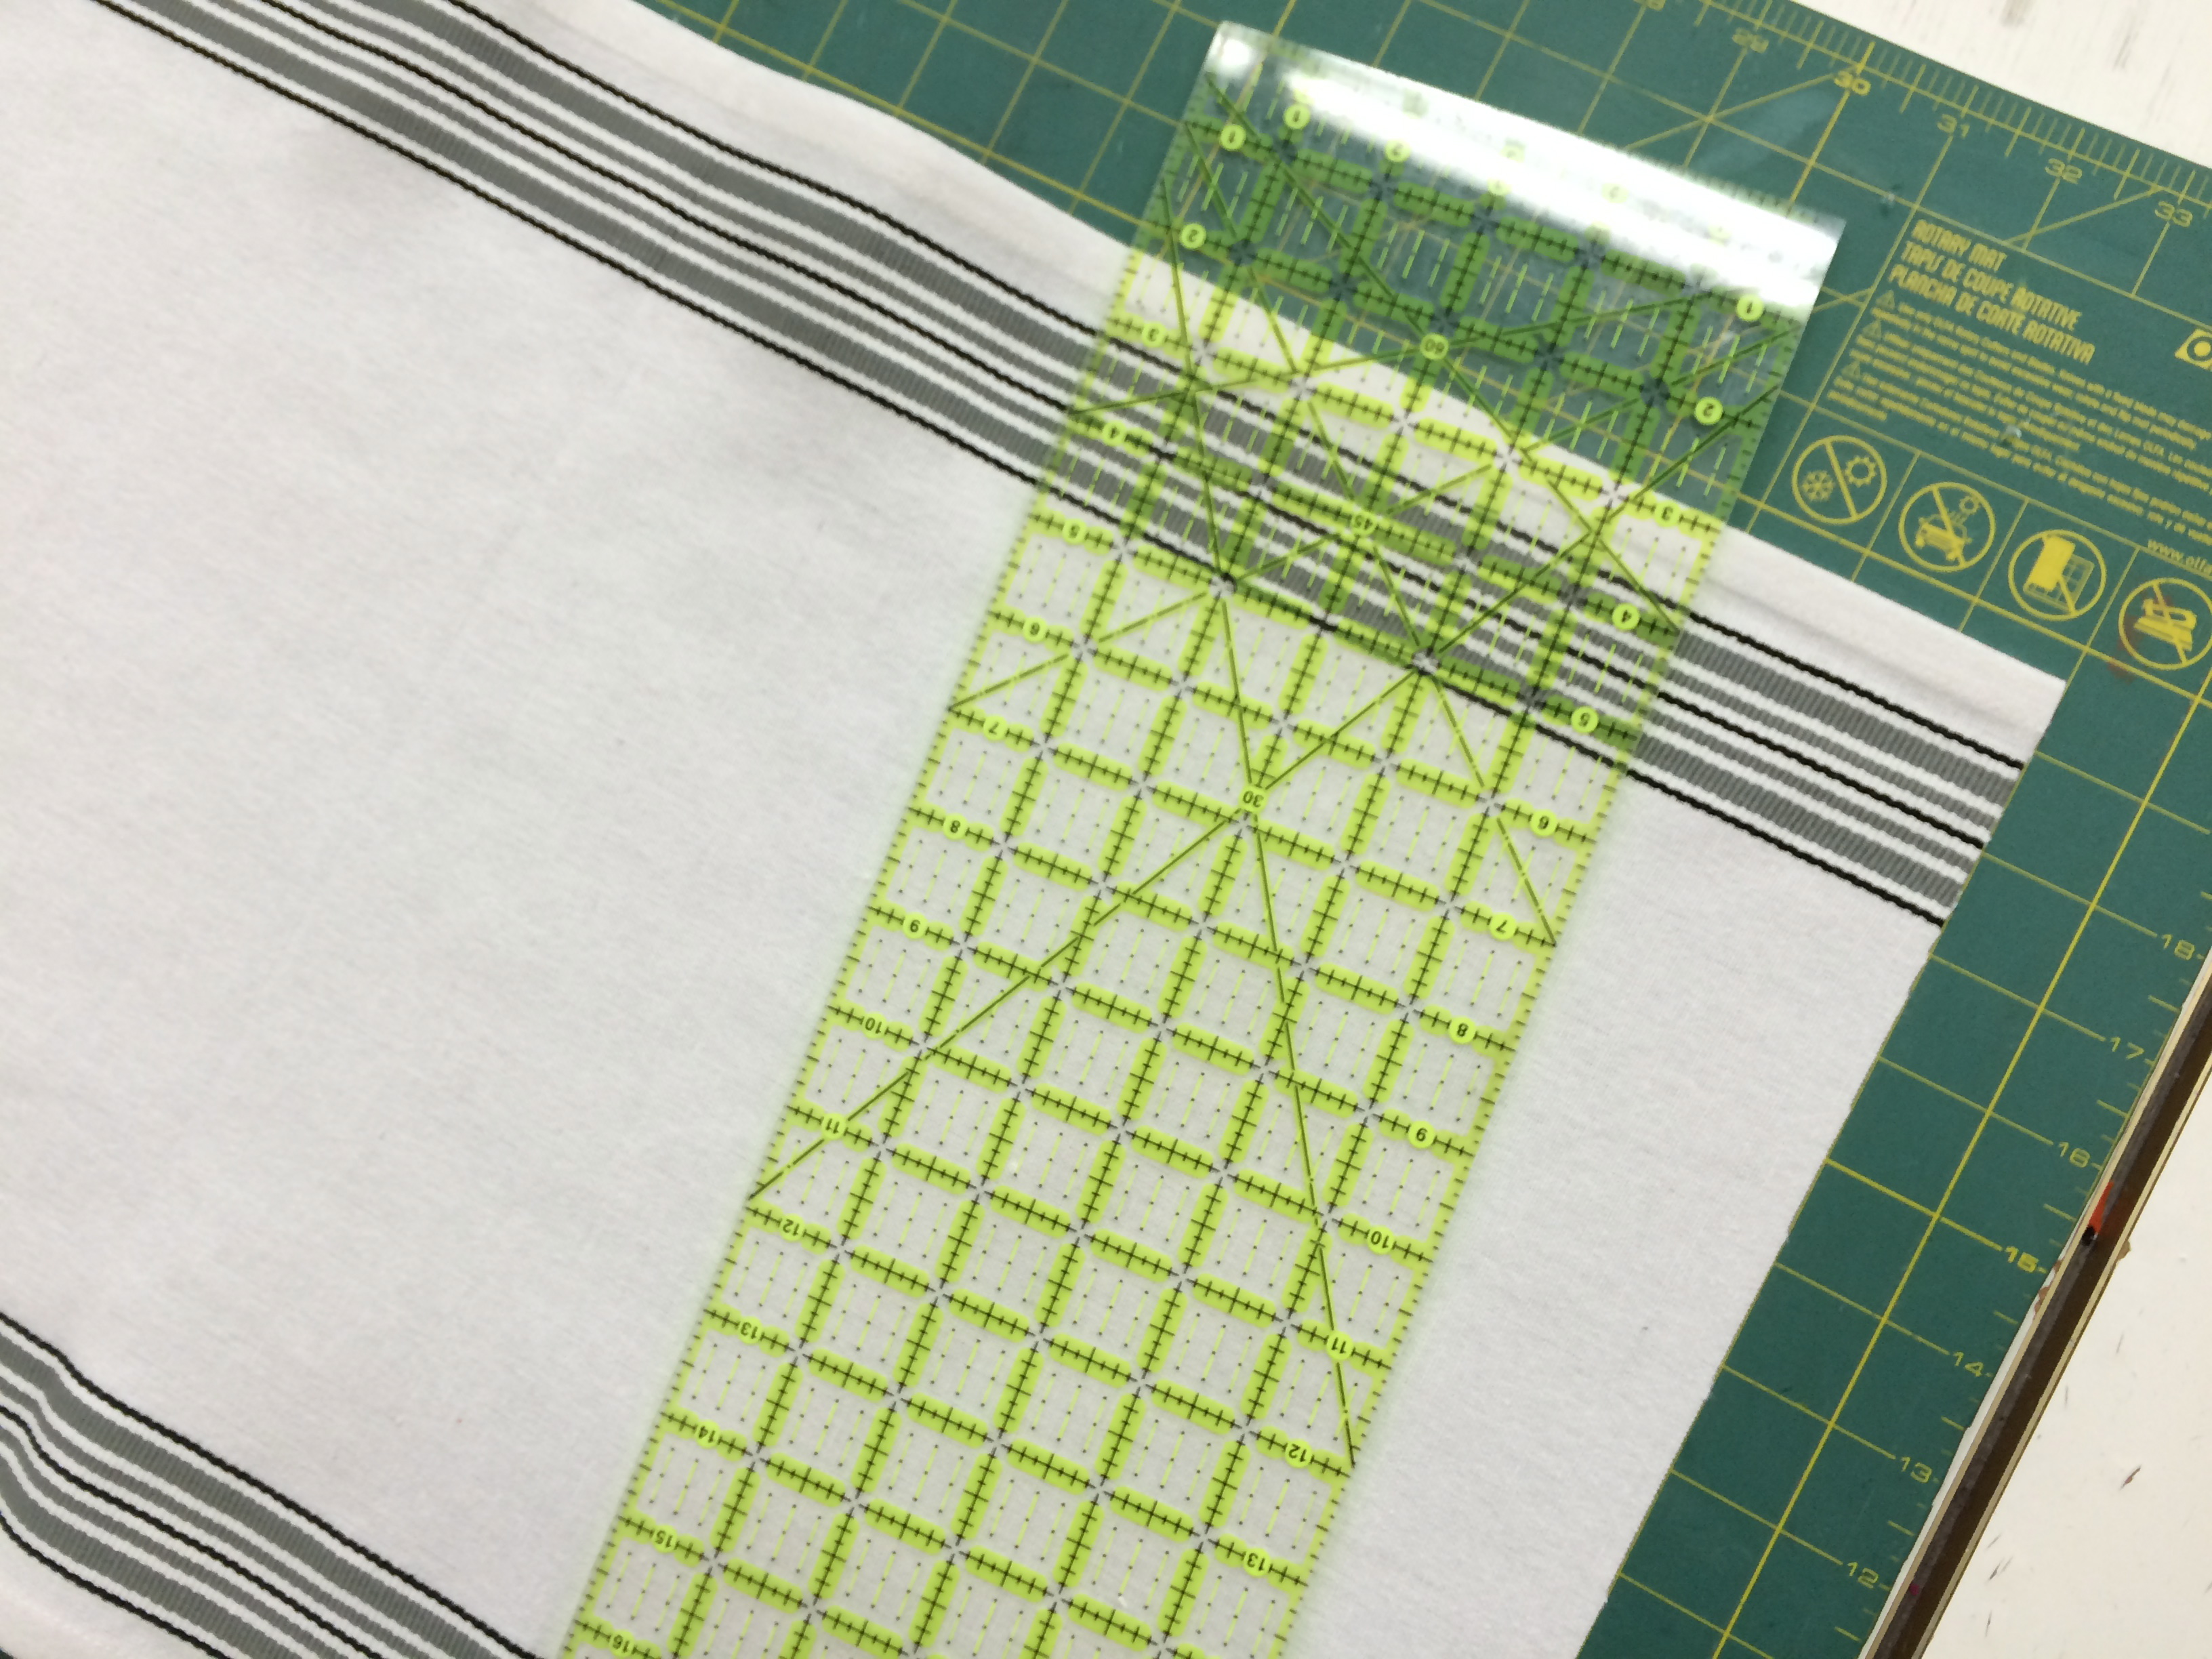
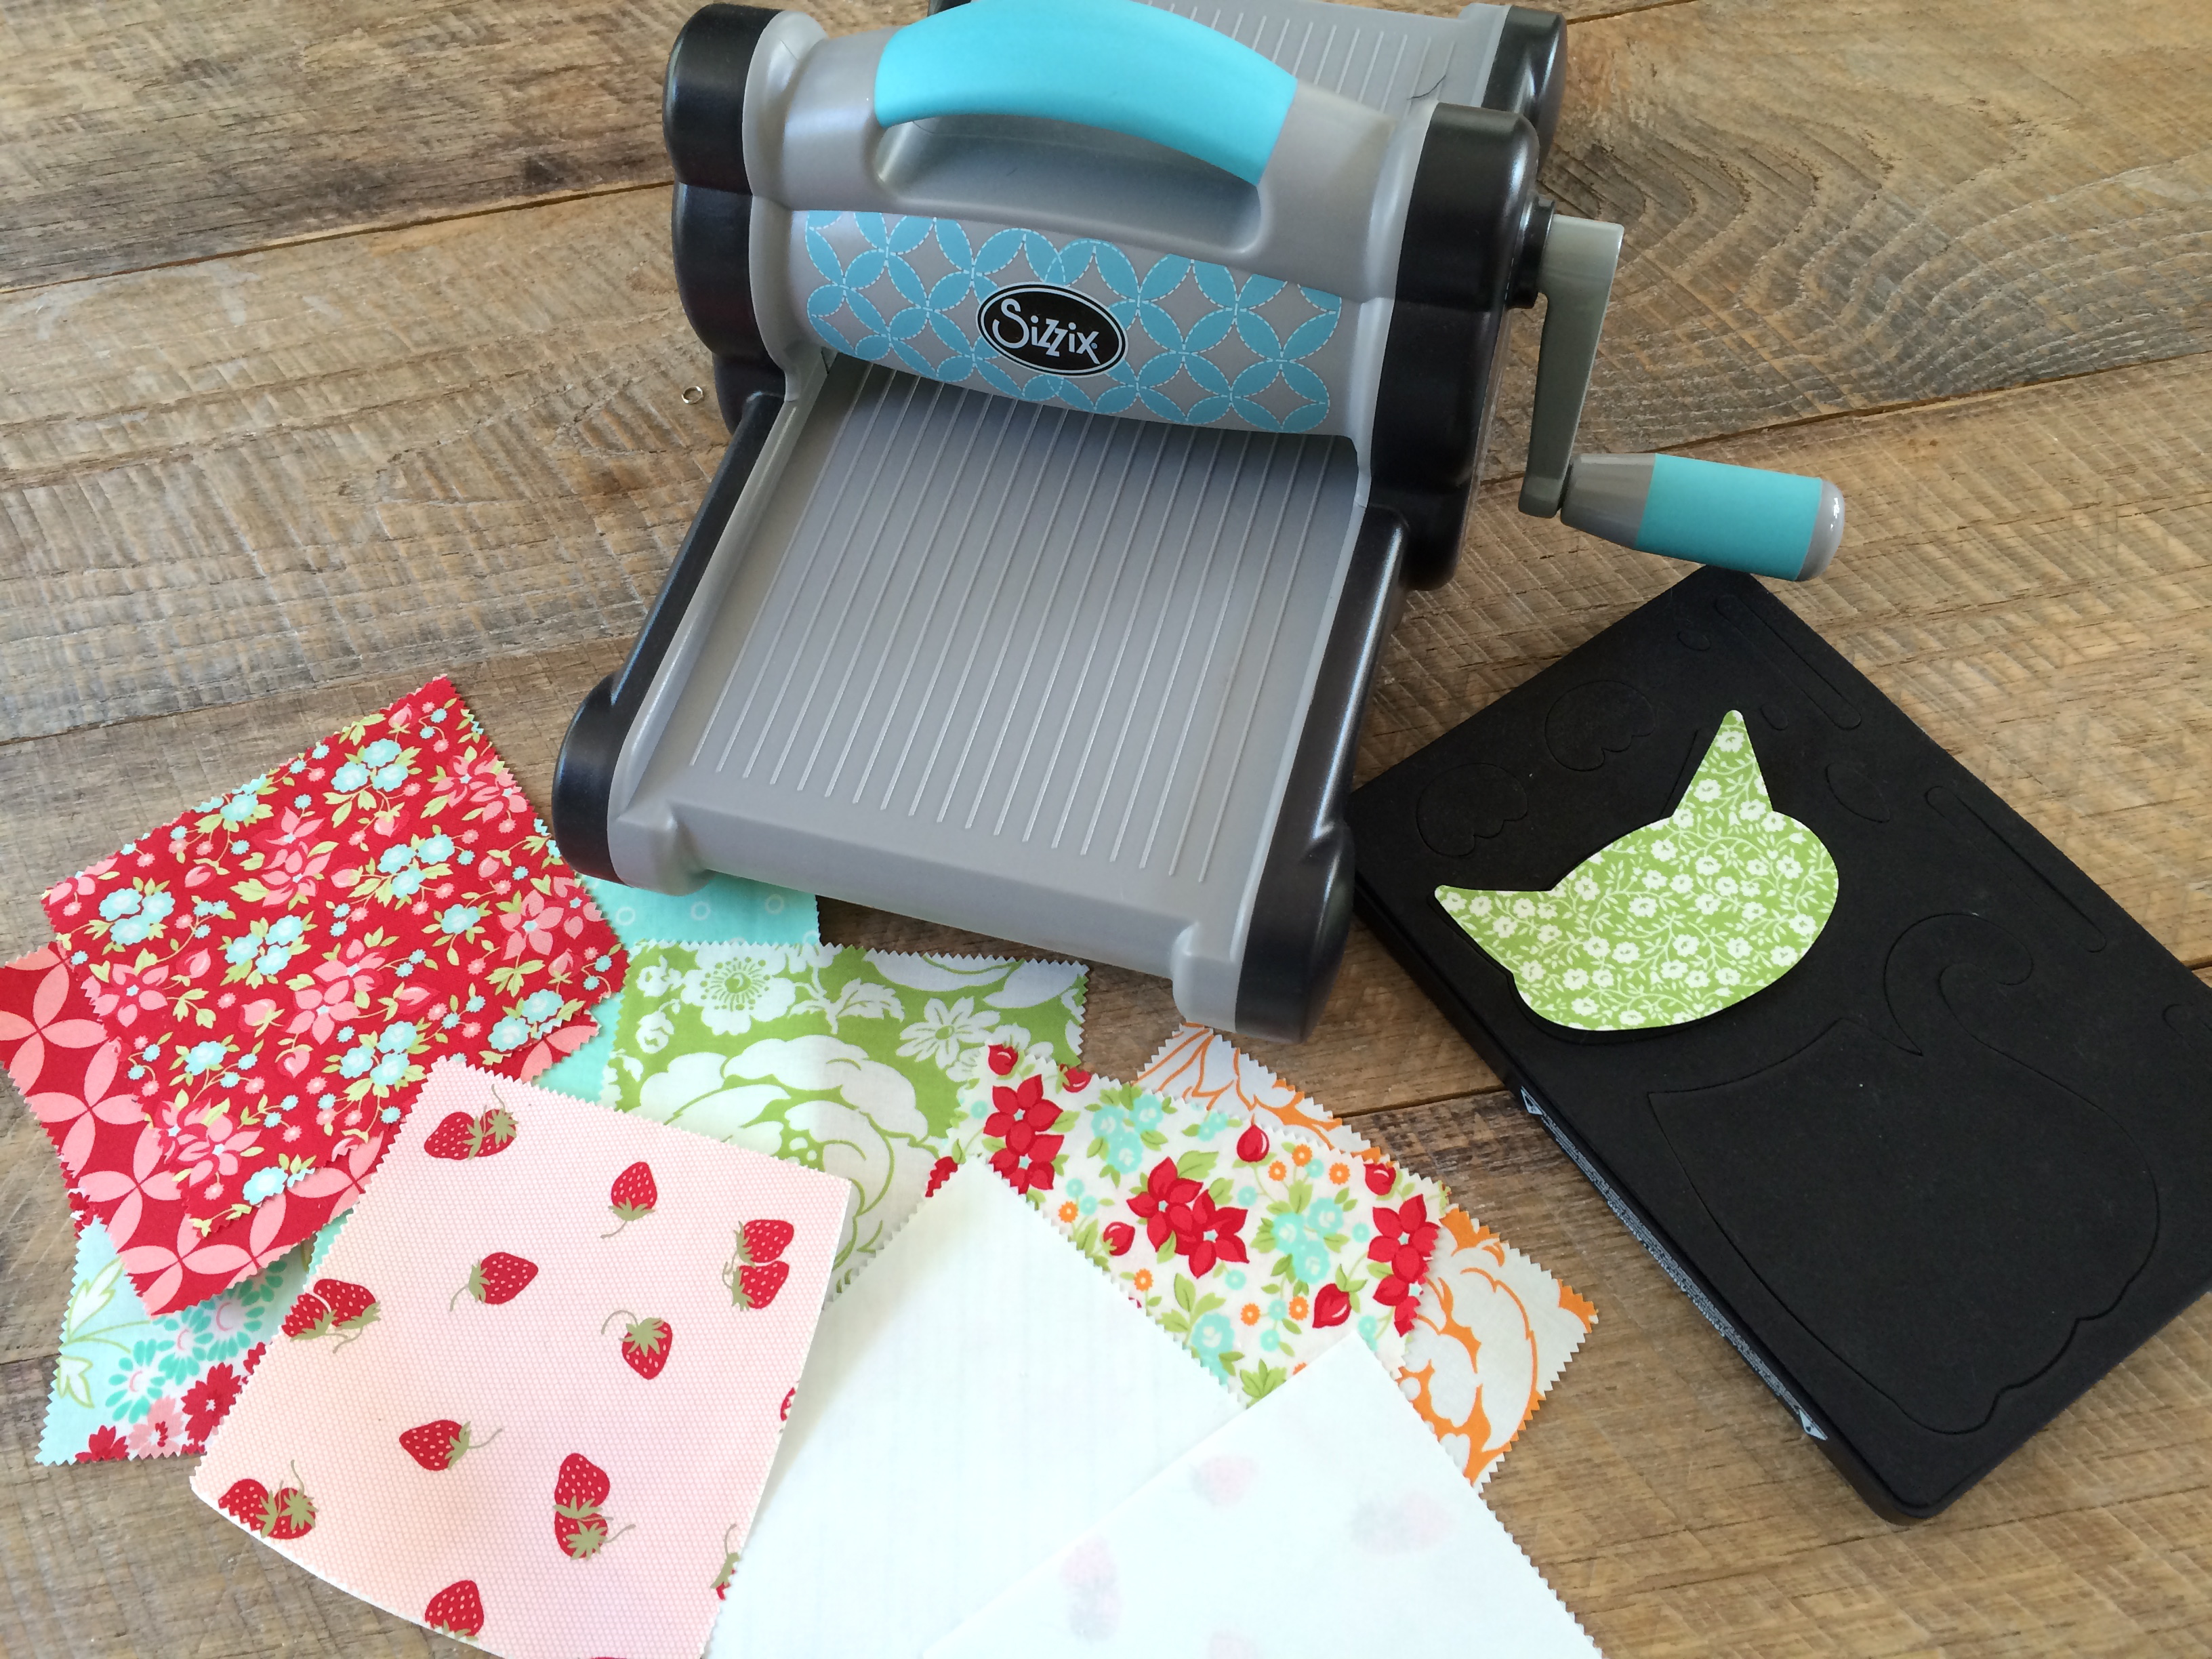
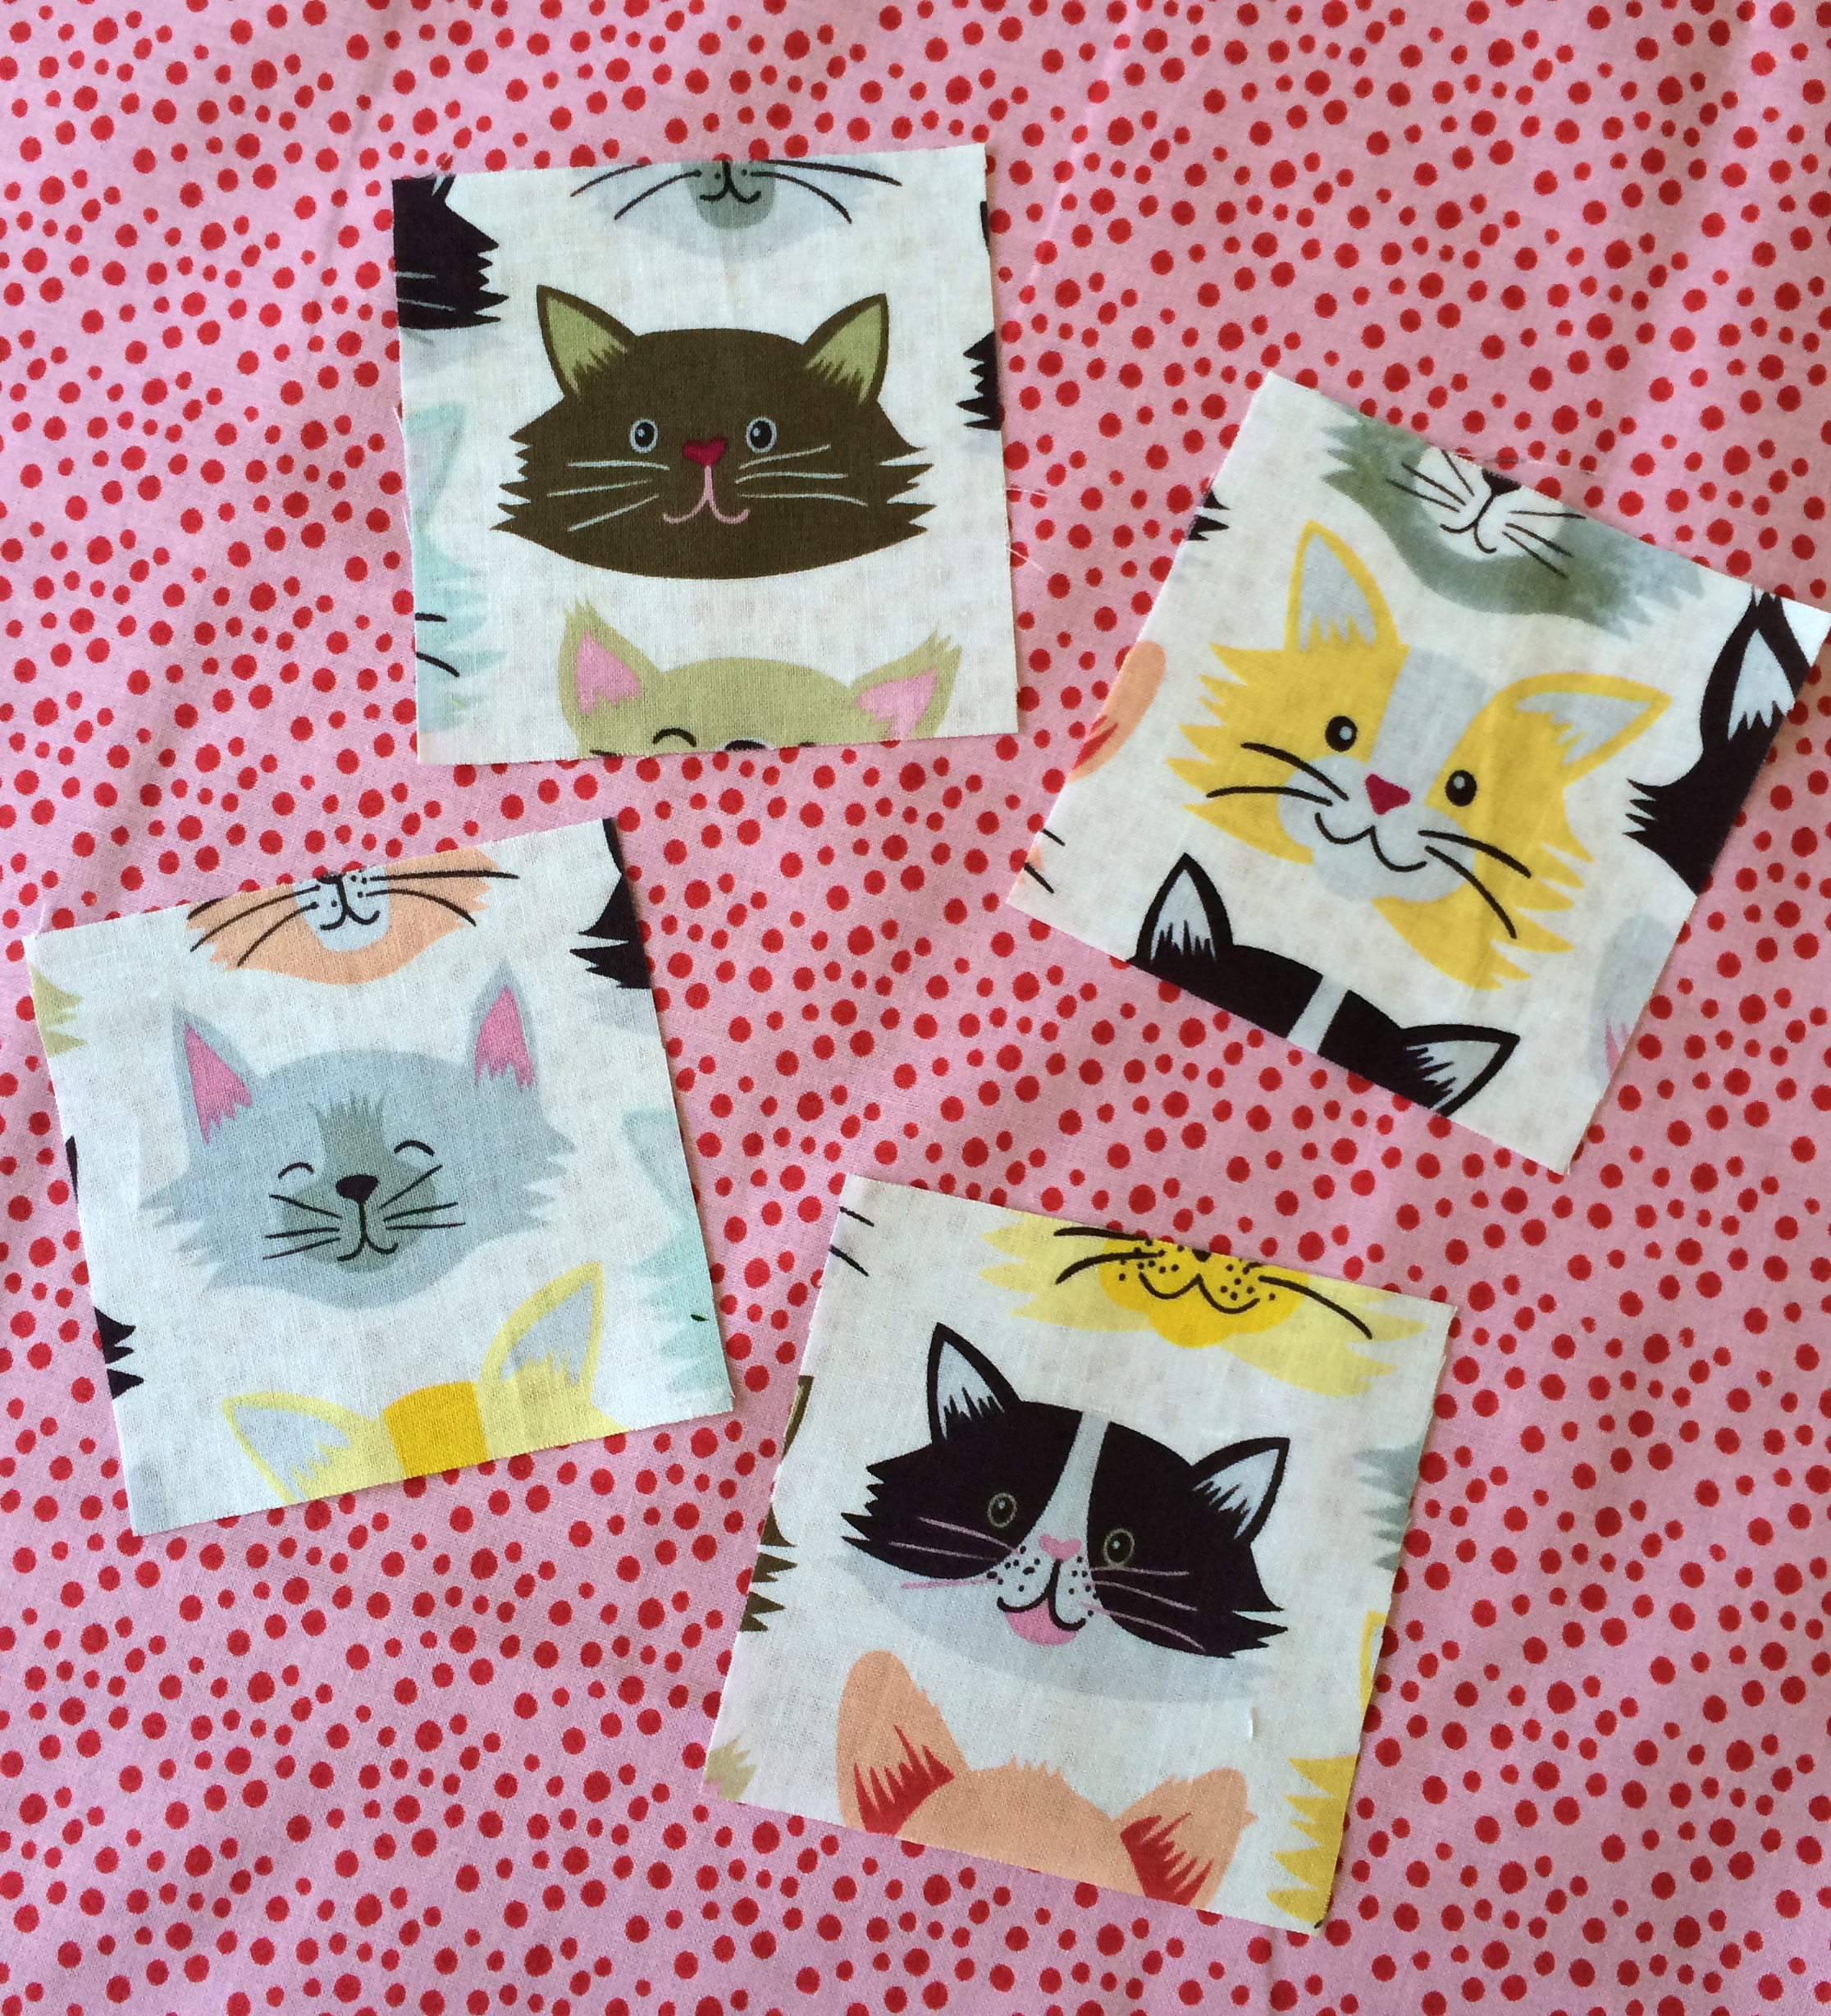
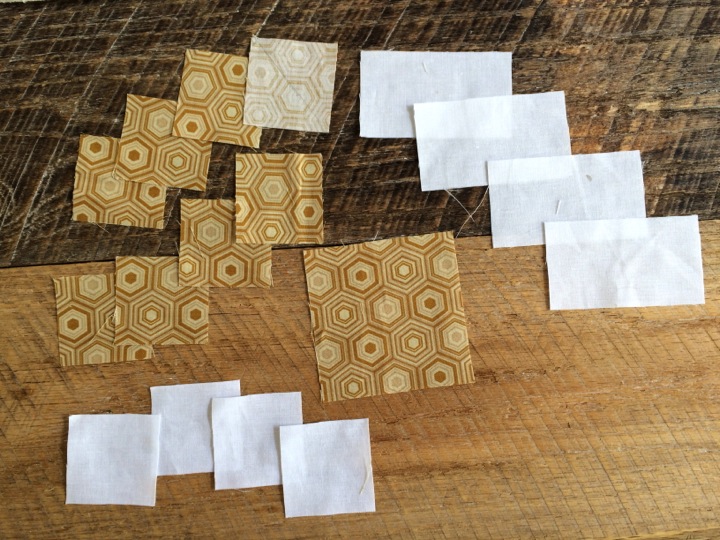
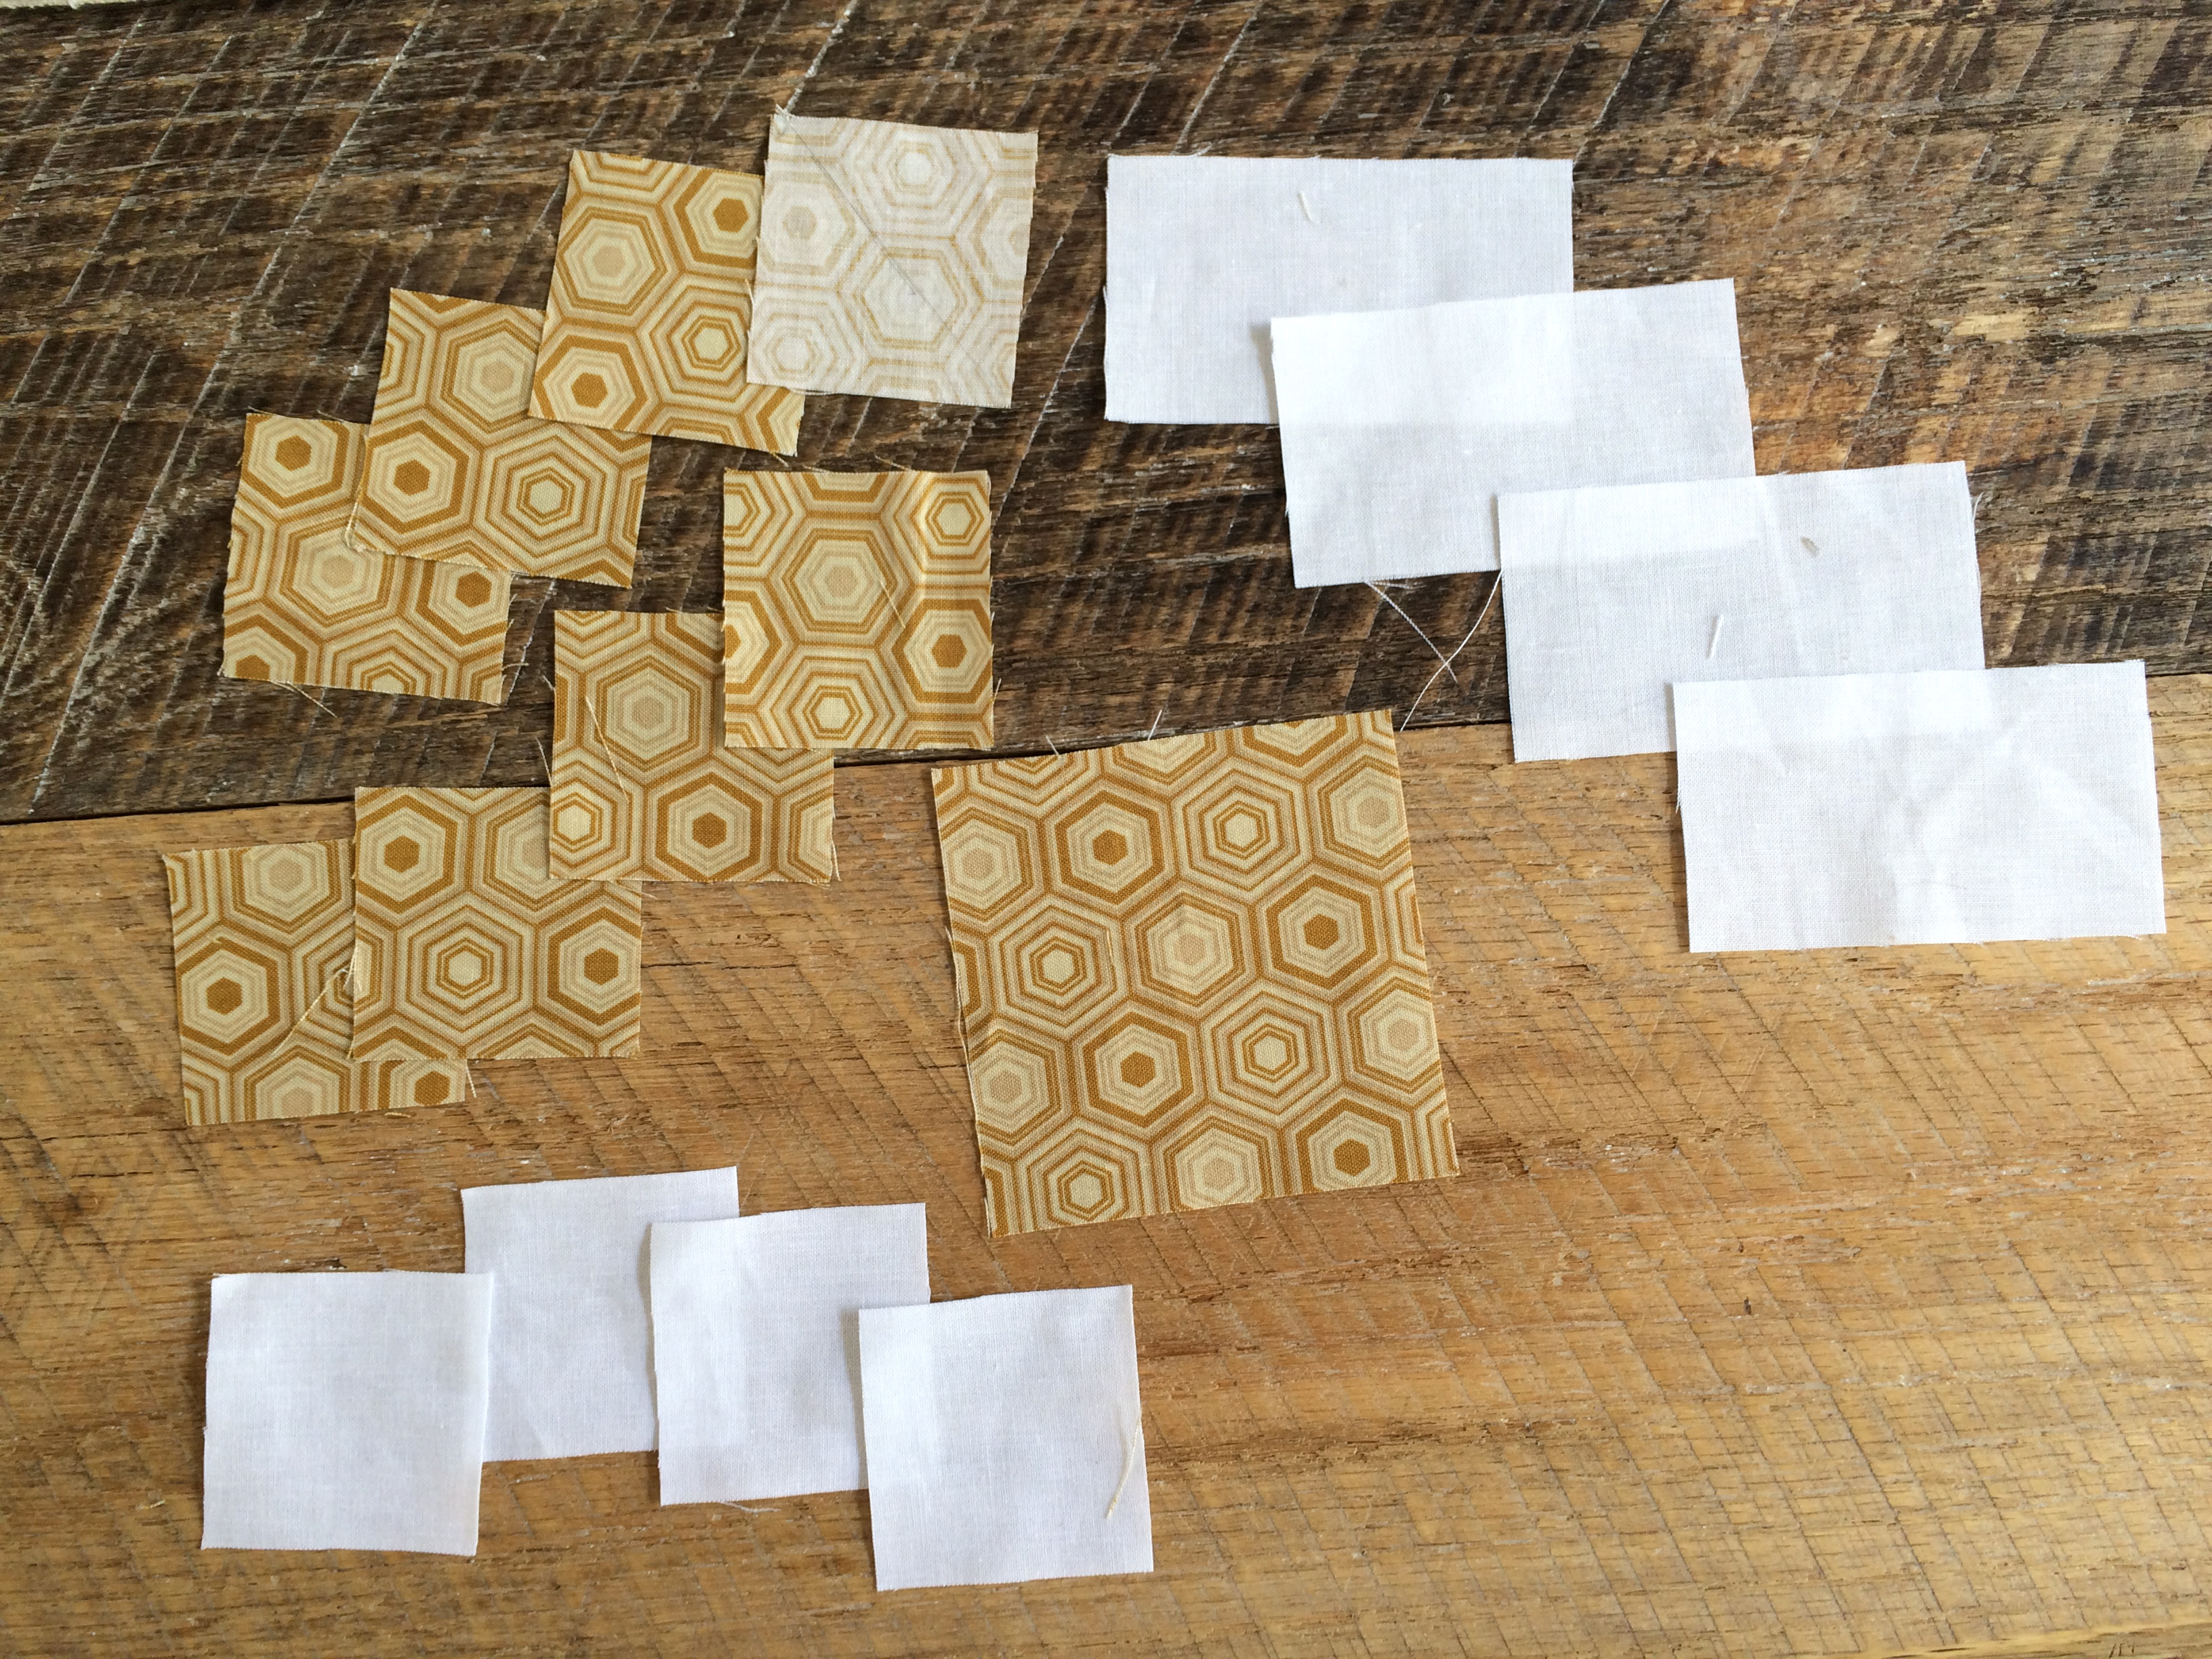
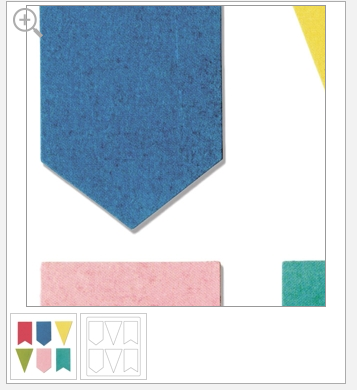
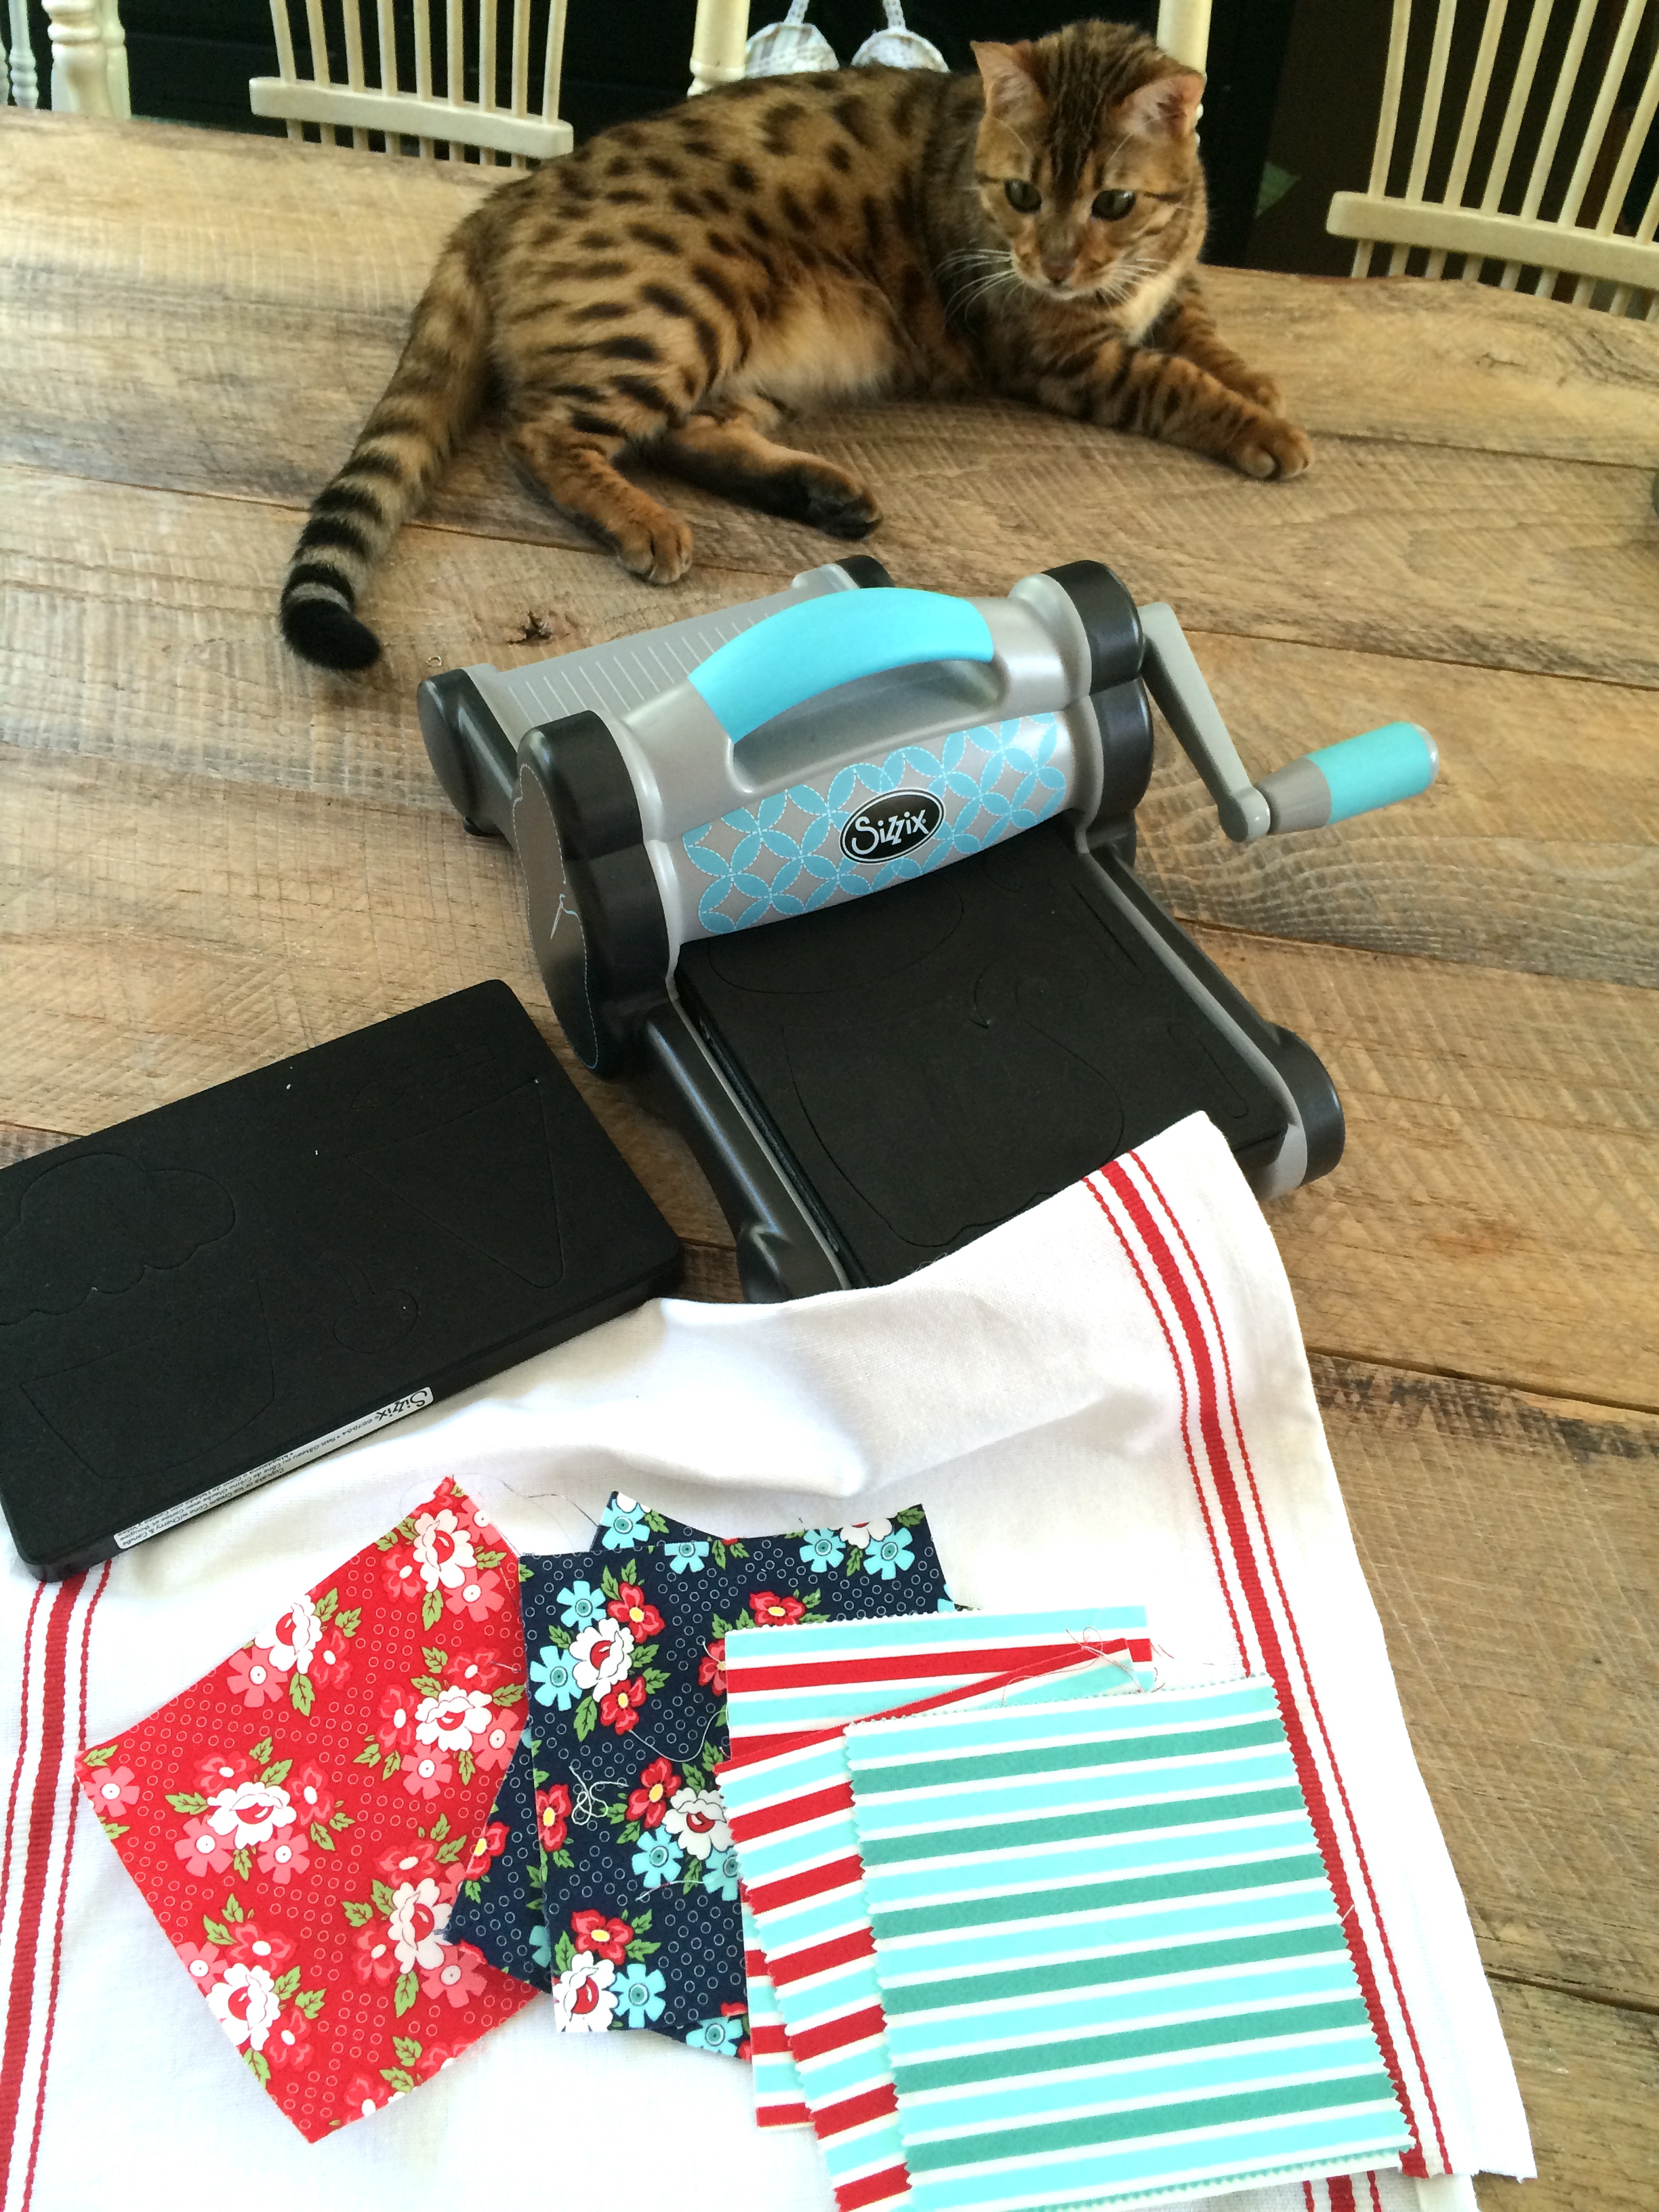
I love using the Sizzix for cutting because she is too young to use the rotary cutter. This way, she gets to “cut” out her quilt. She choose all the fabrics and the Sizzix die. The triangle worked great because it was easy for her to follow.
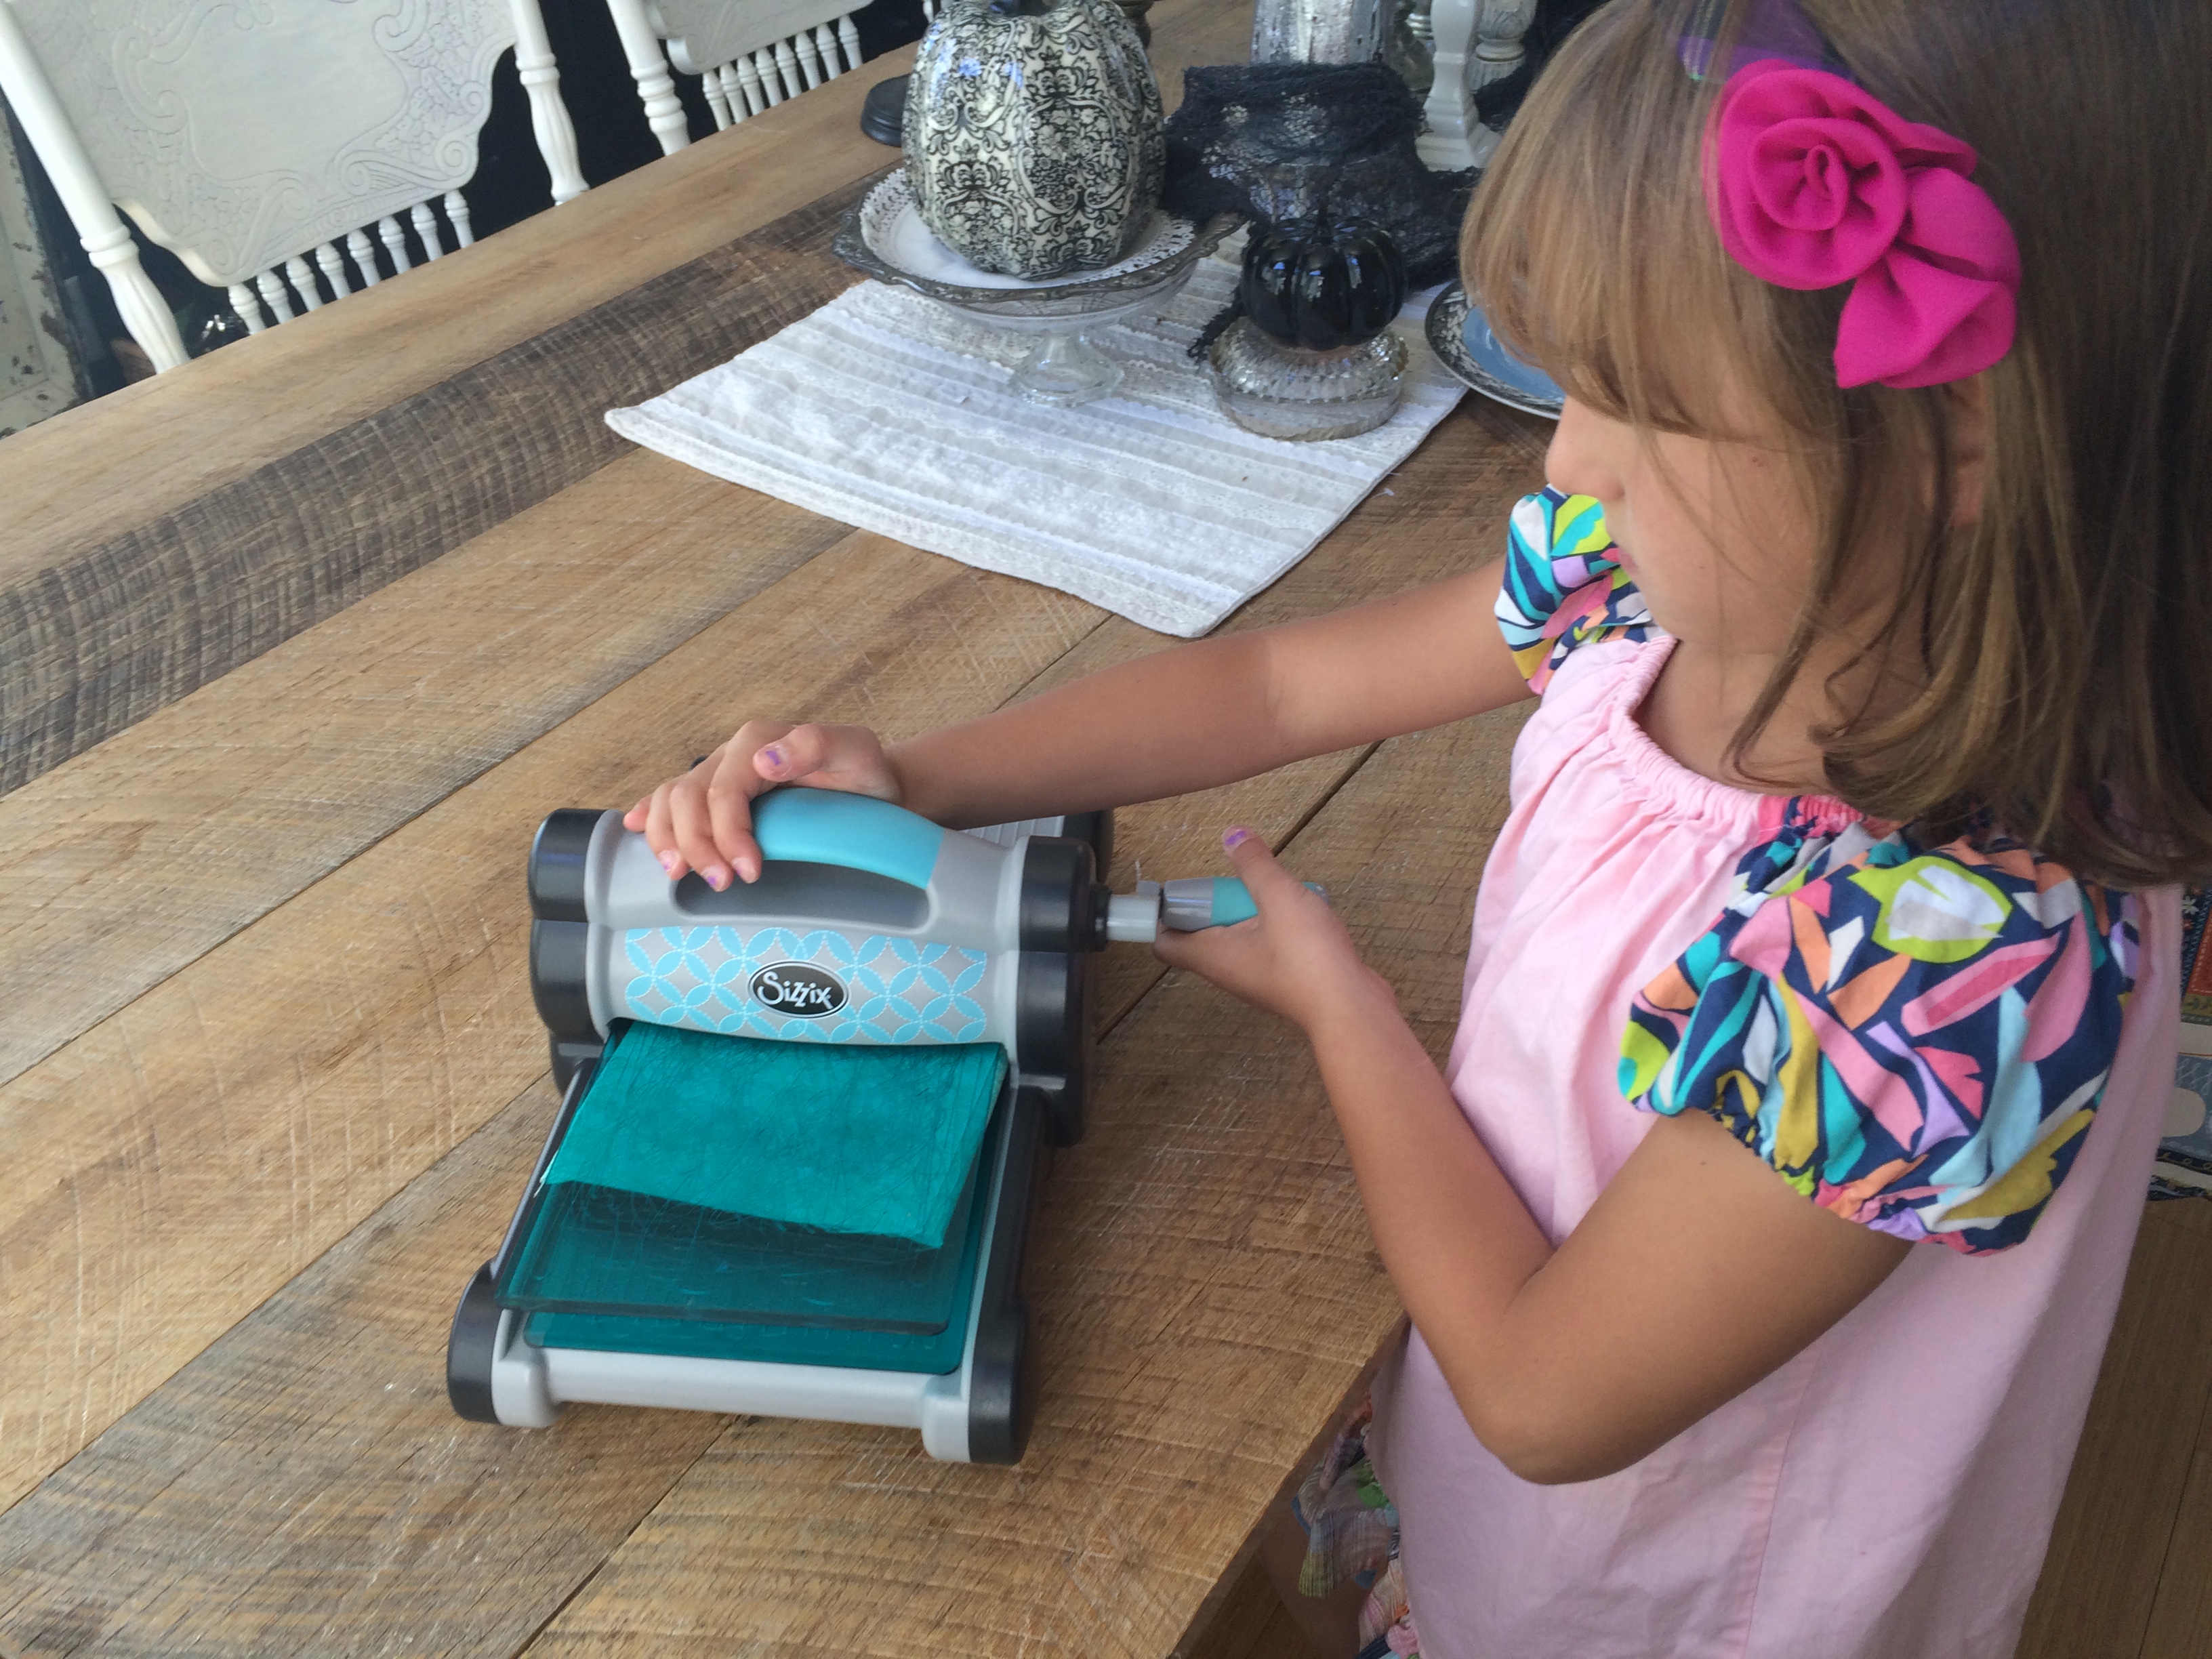
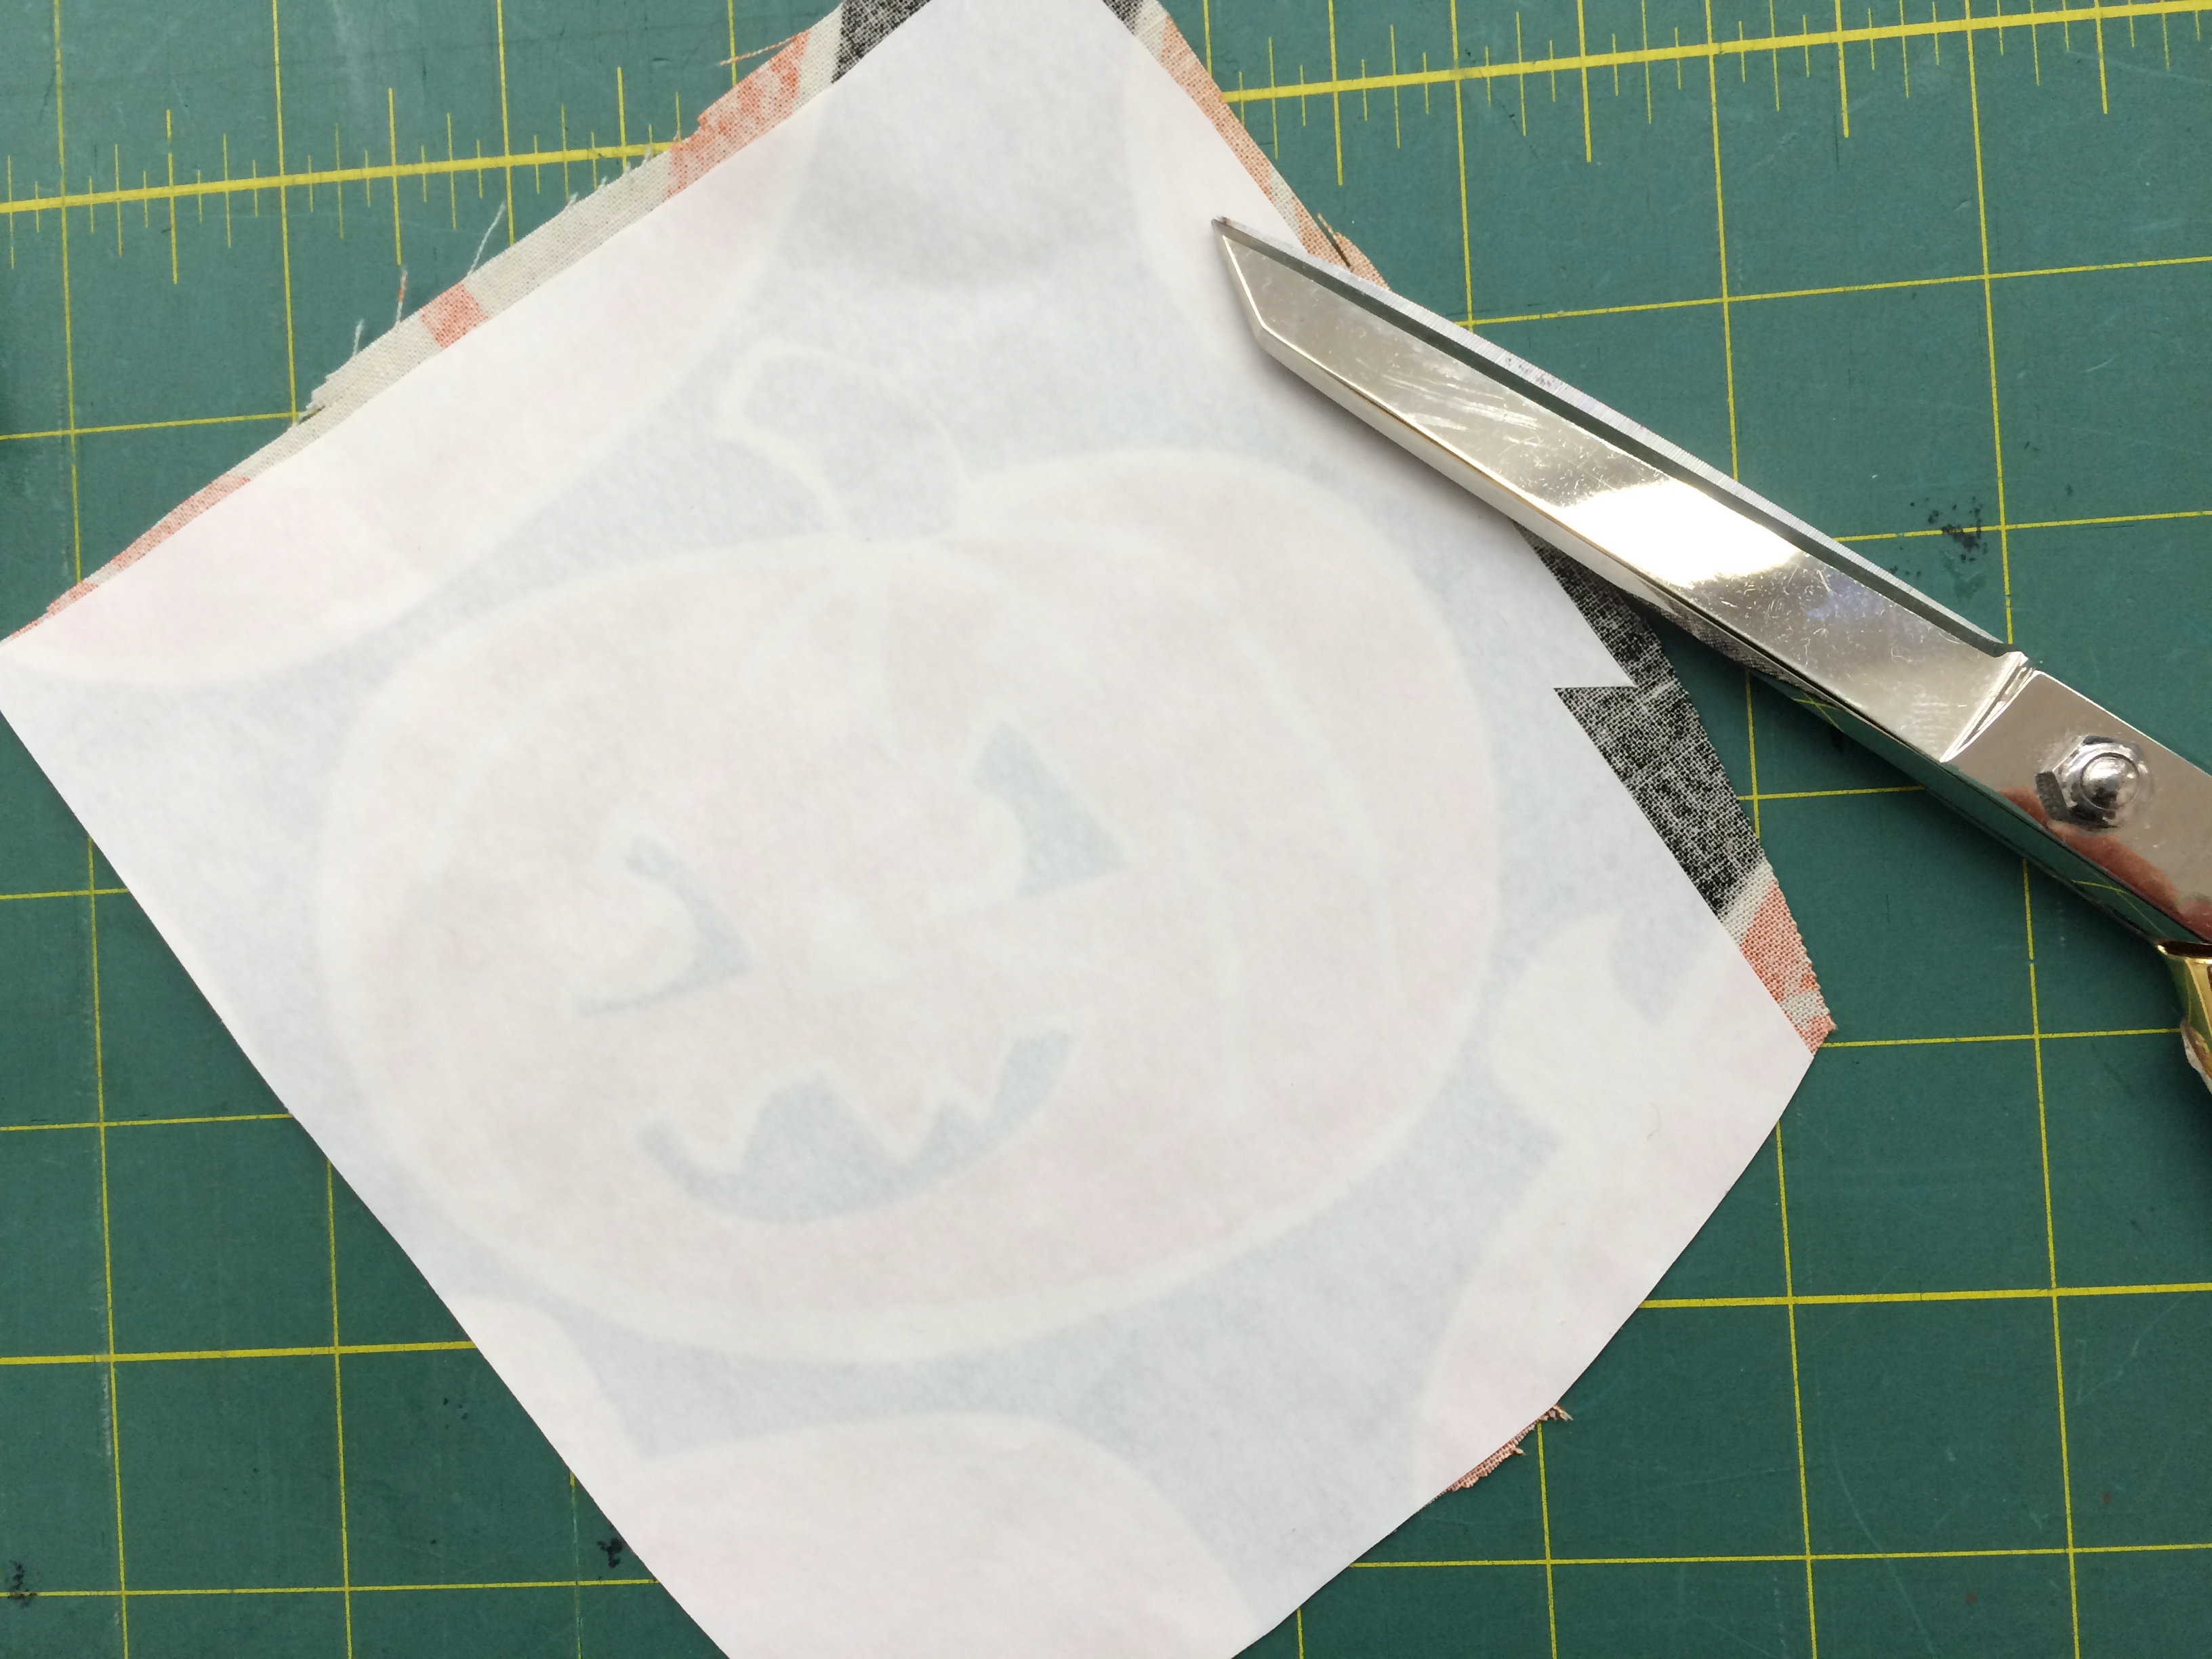
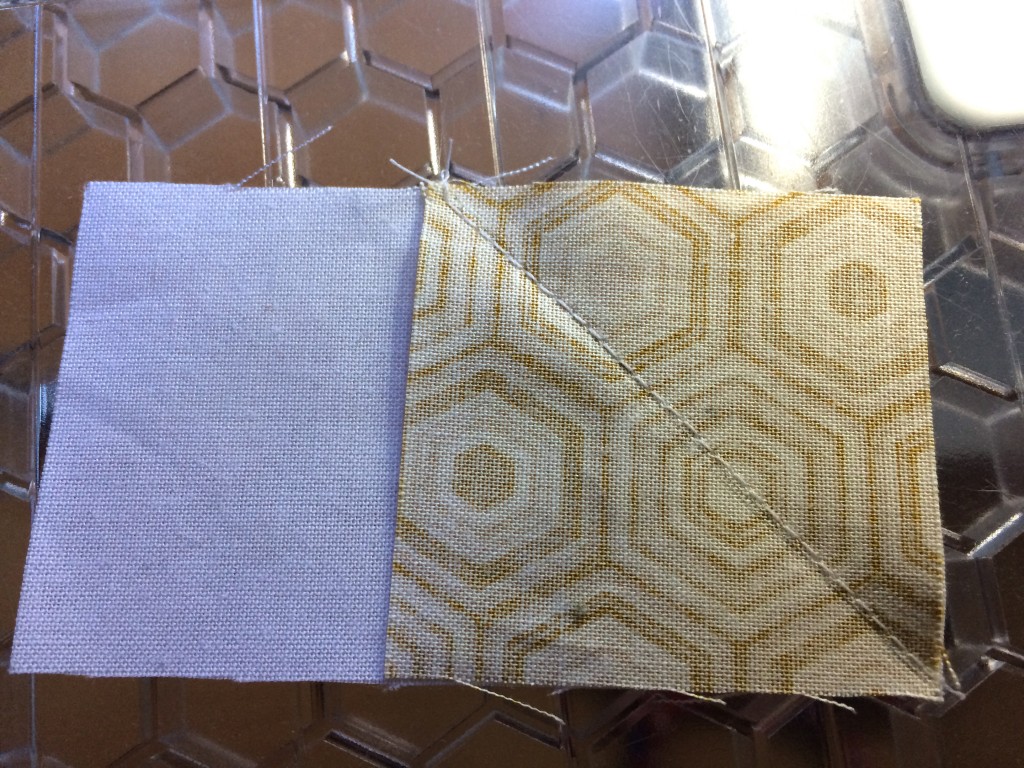
Once she had chosen all the fabrics, I ironed Heat n Bond Lite to the wrong side of the triangle fabric. Then I let Sally loose with the Sizzix Fabi.
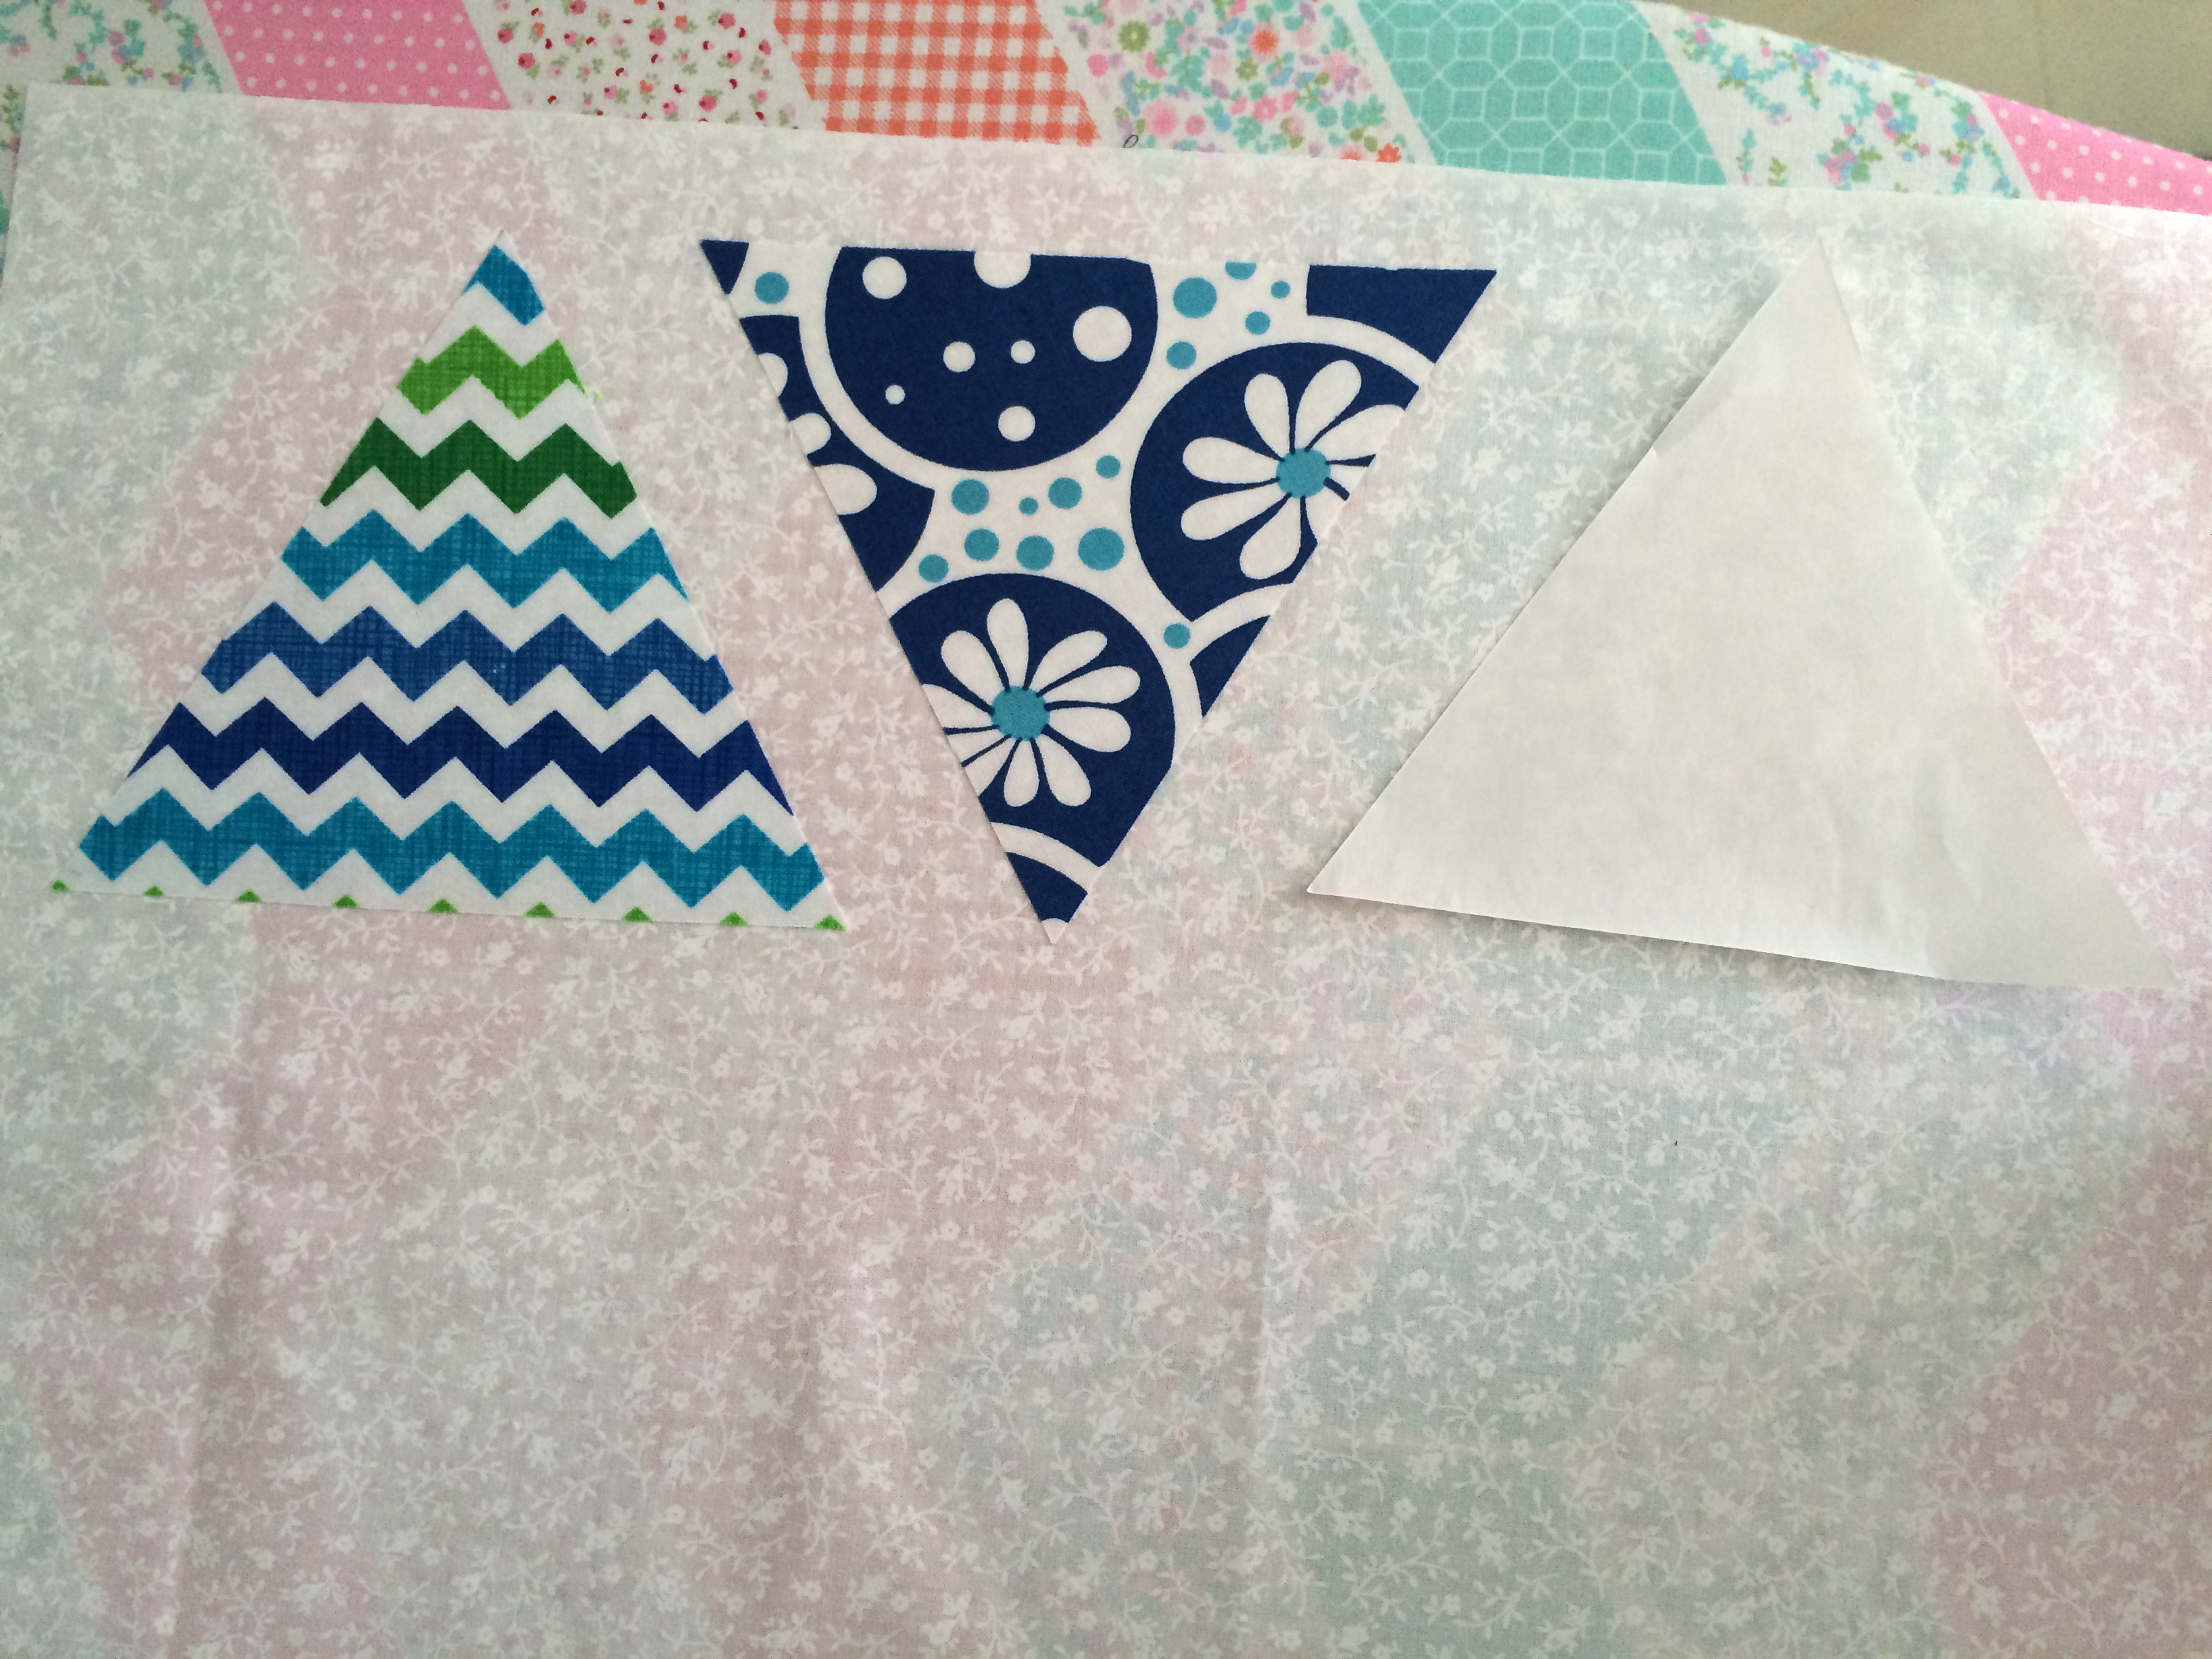
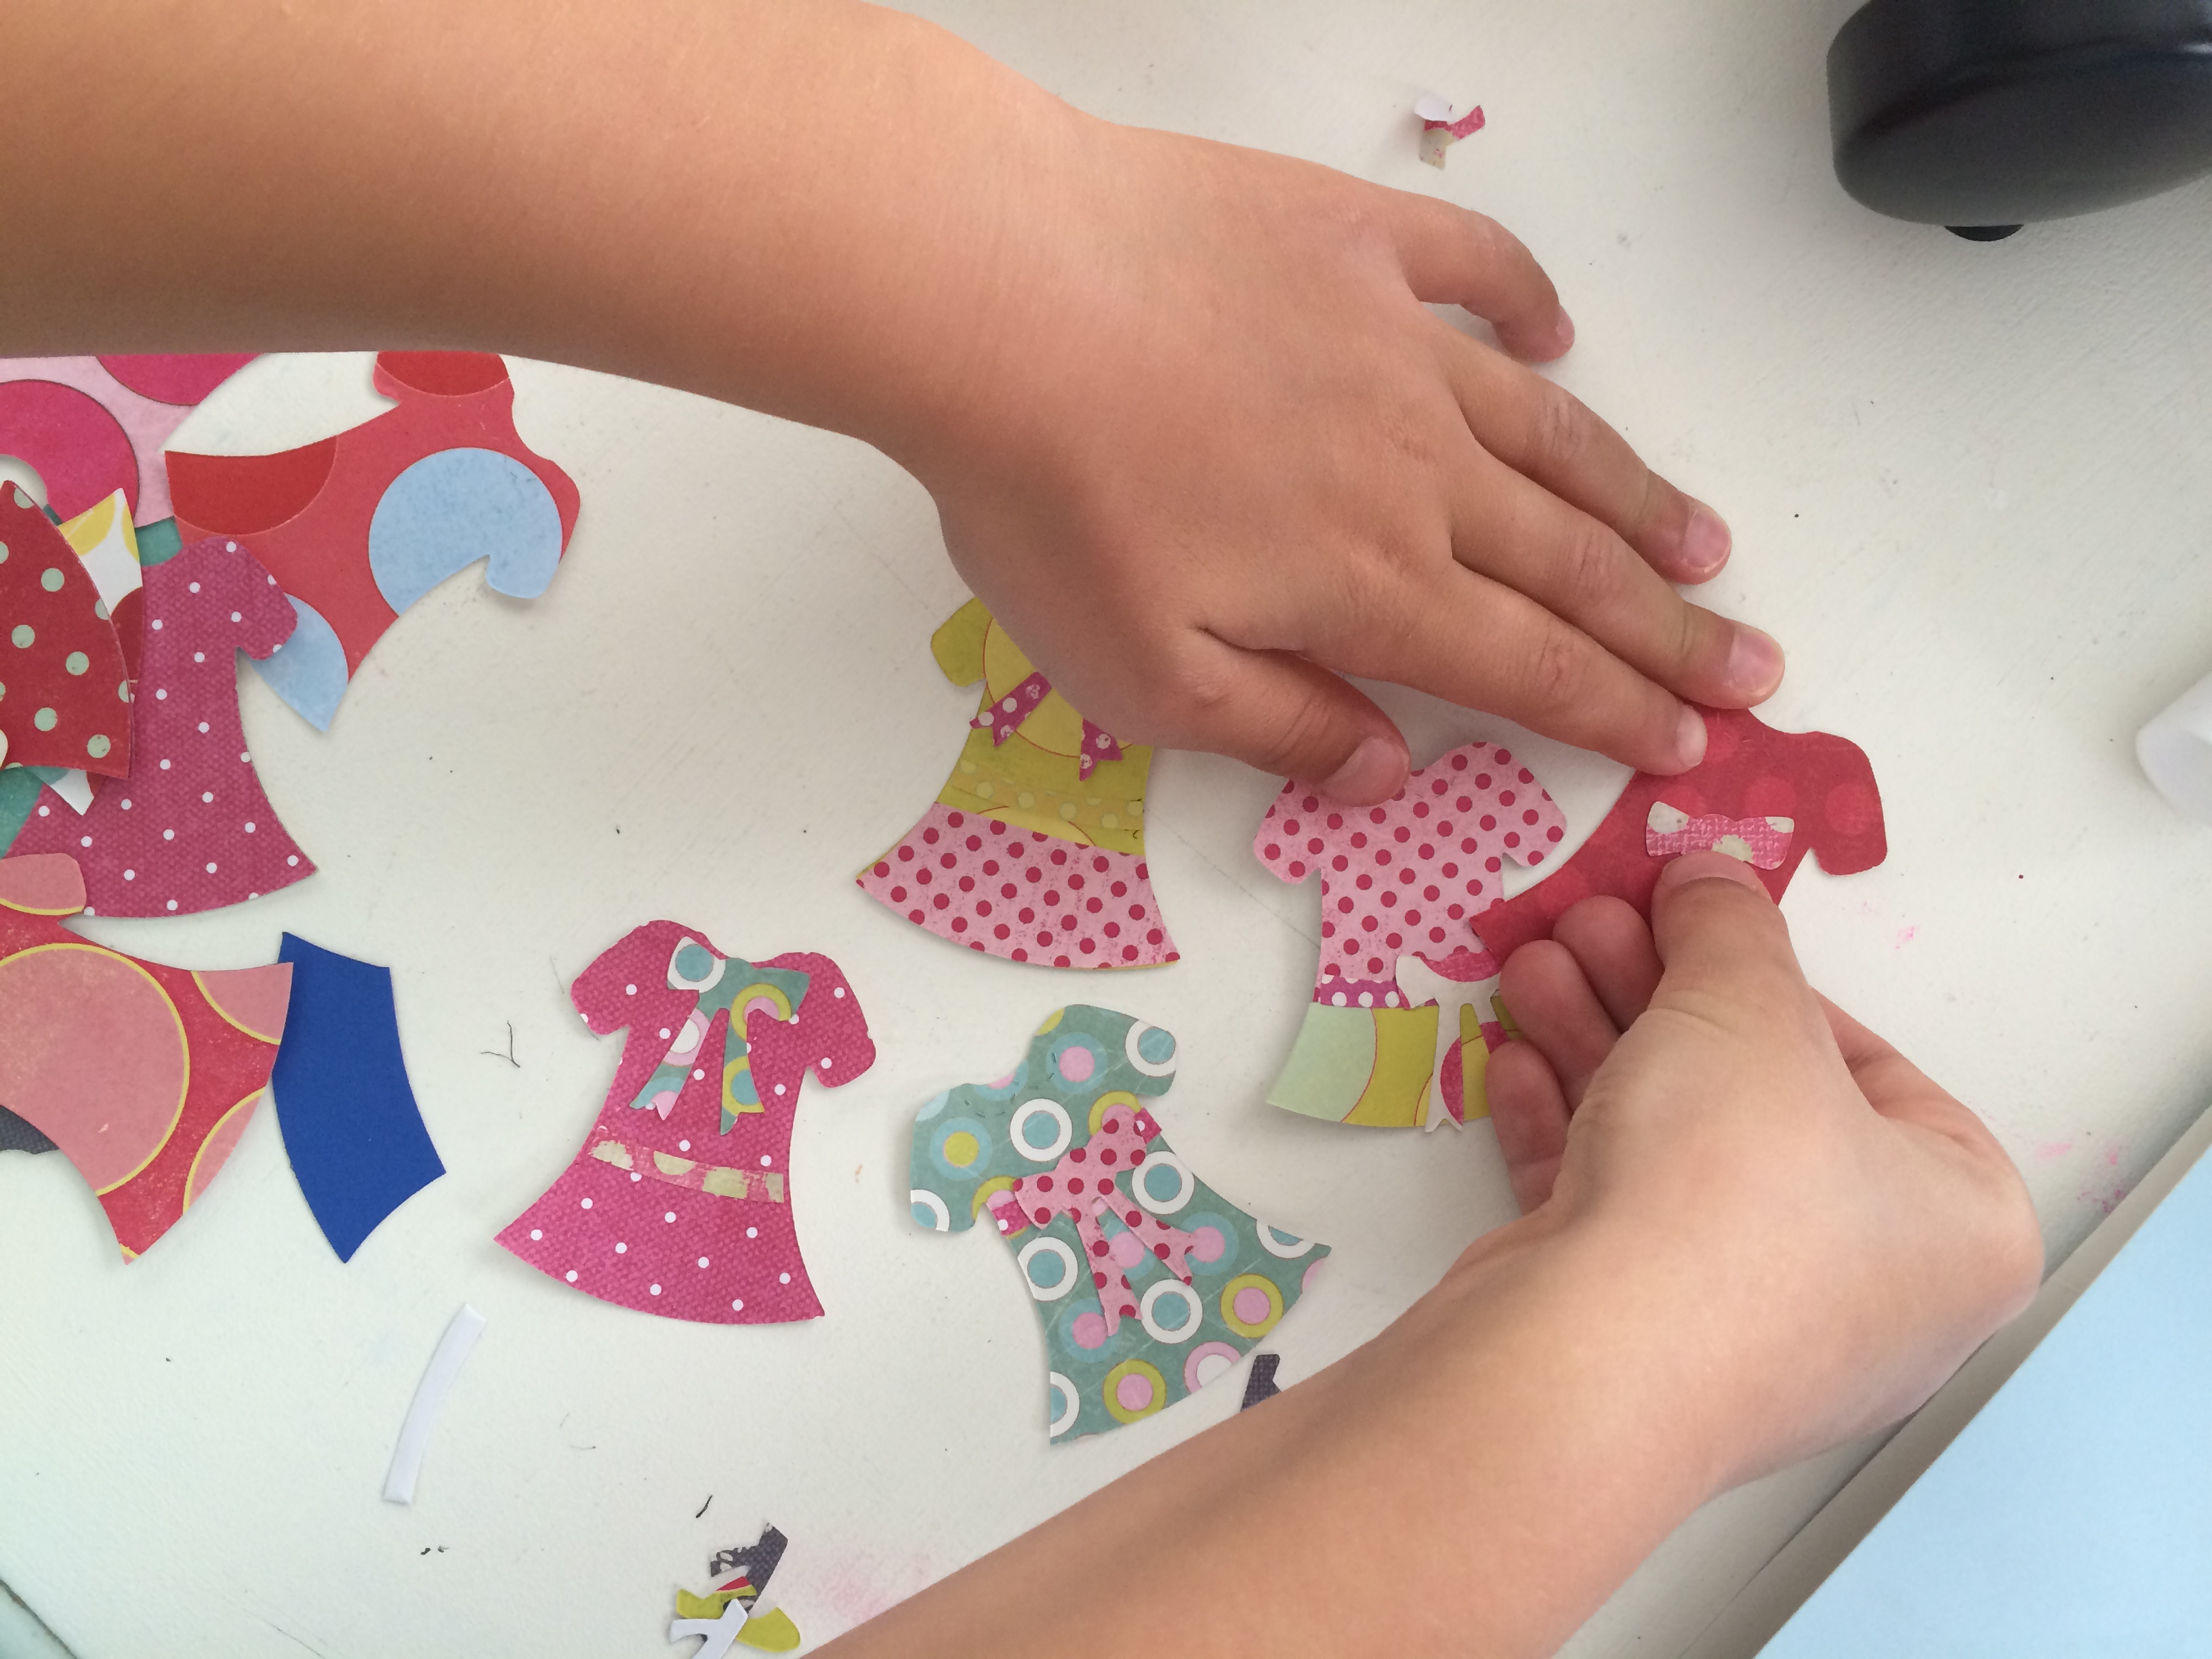
 I cut a piece of white fabric the size she wanted. She positioned the triangles and I pressed them in place.
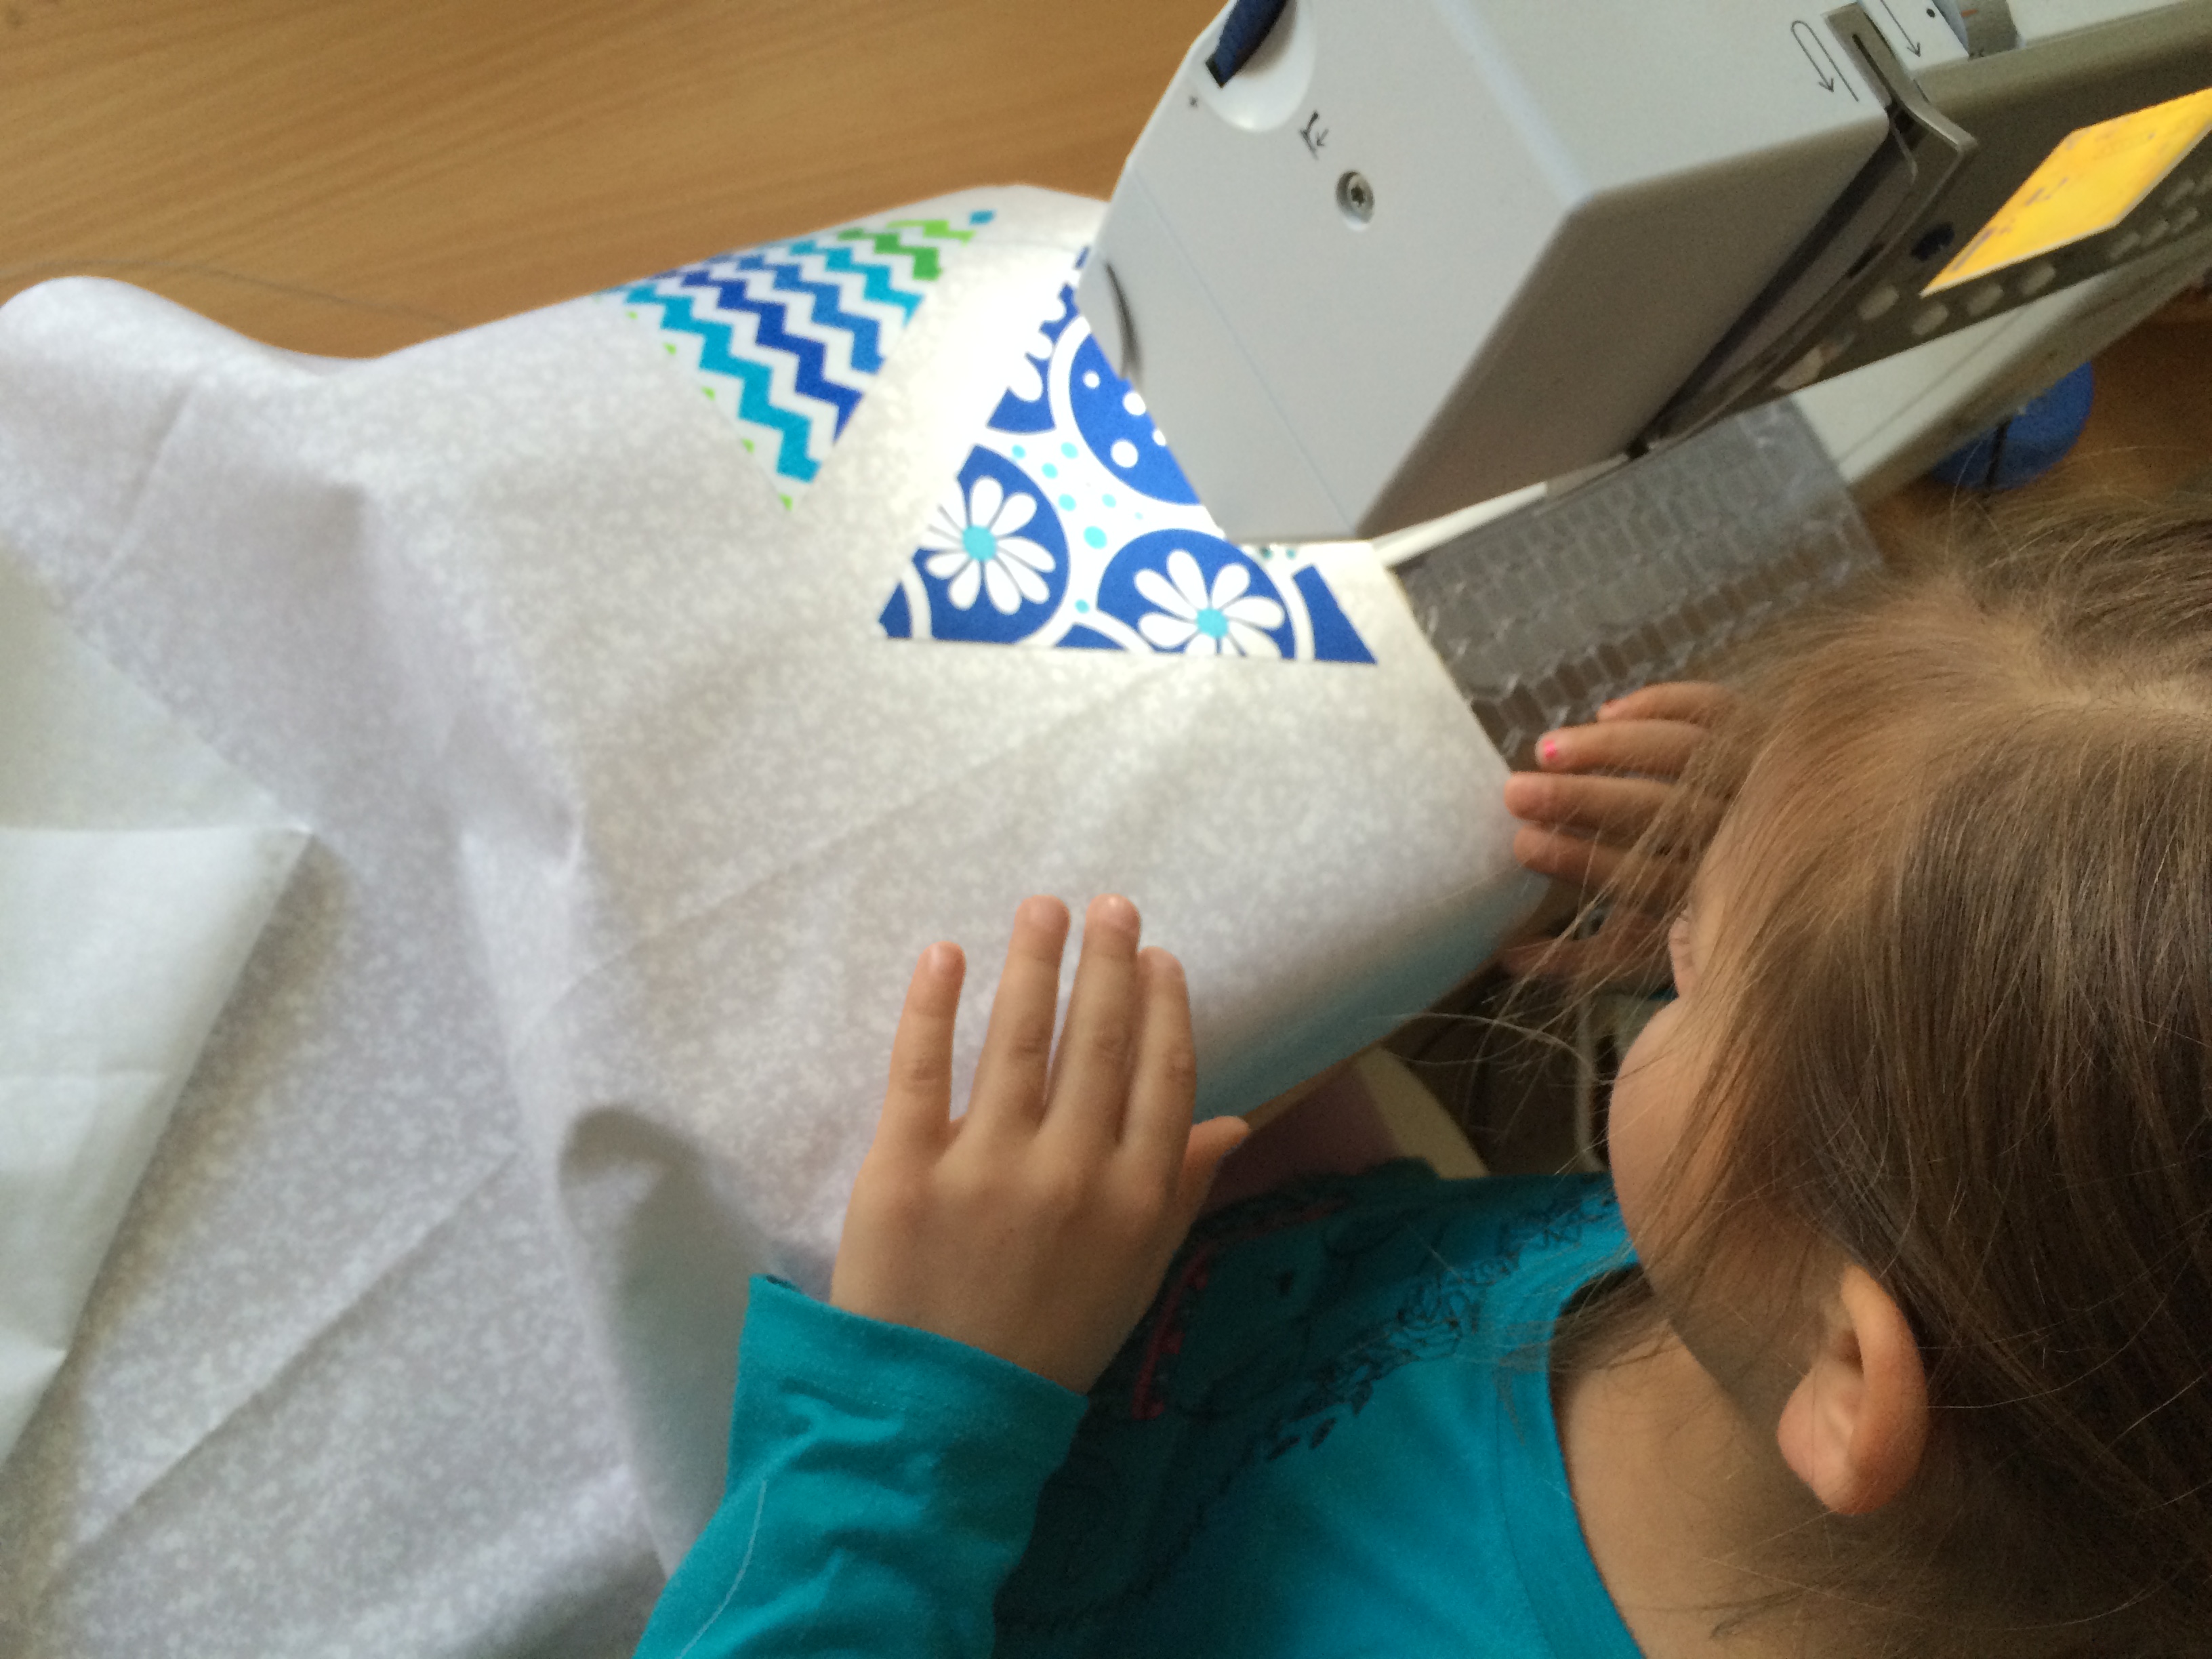
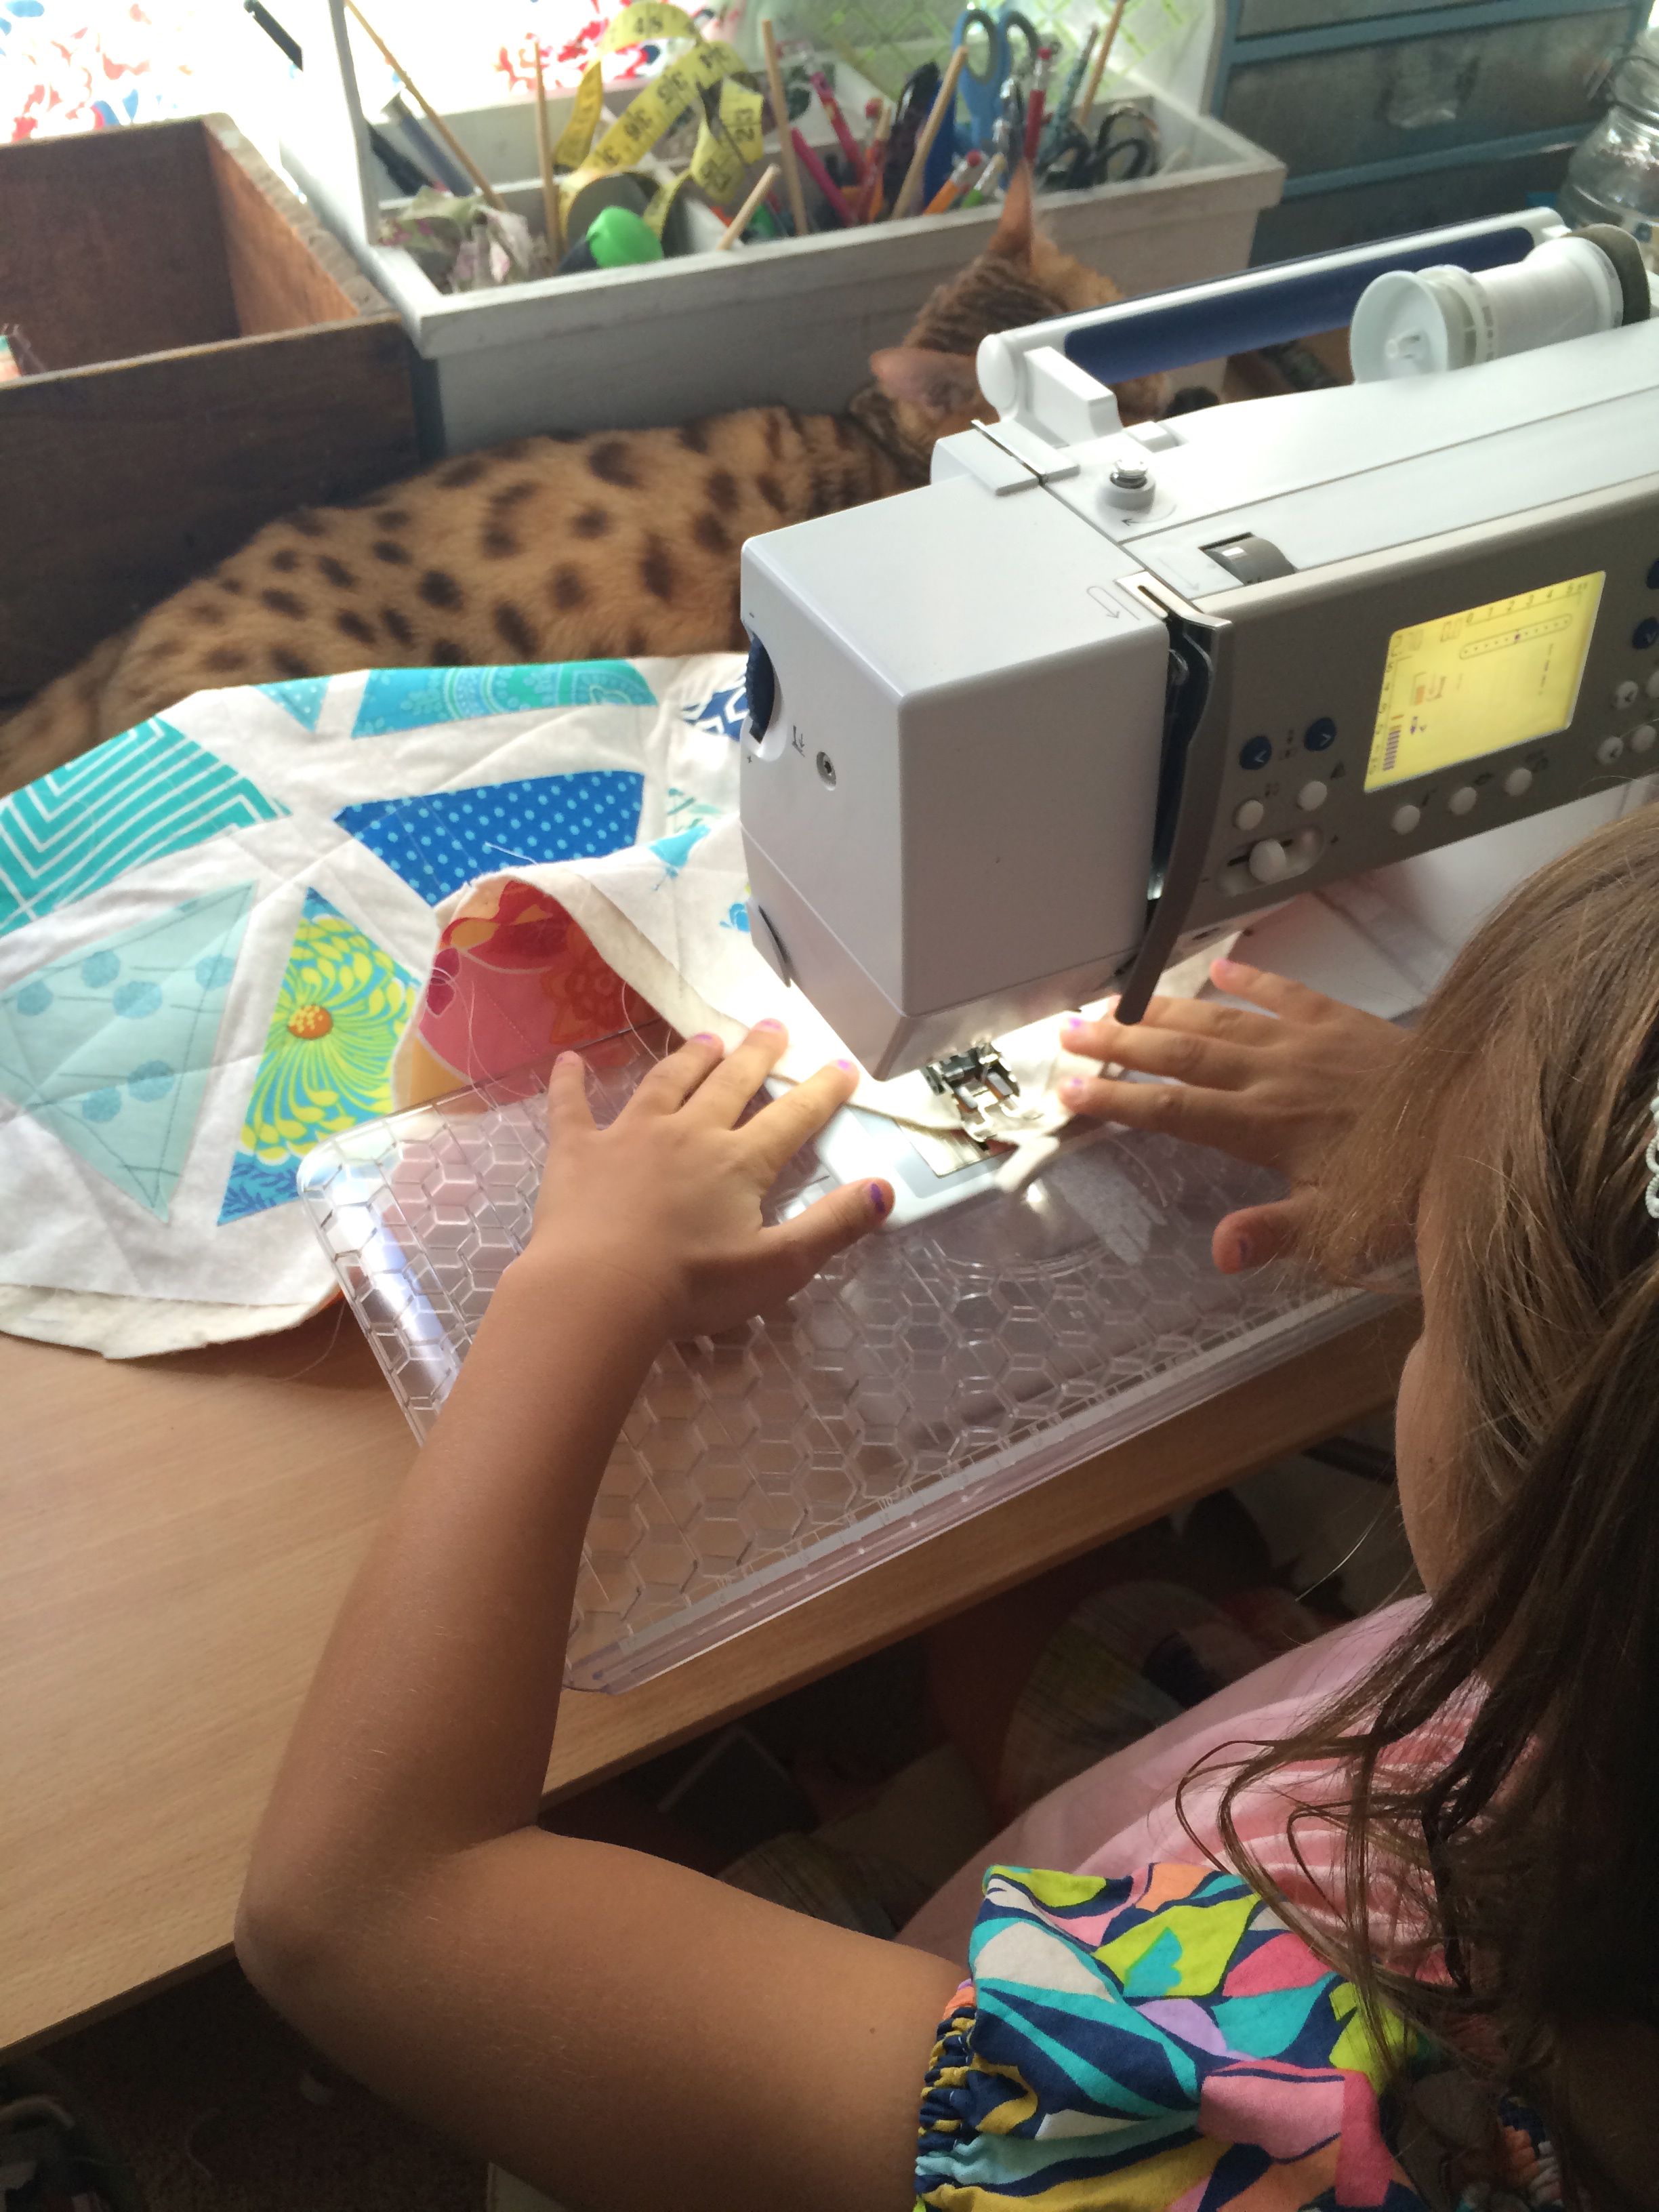
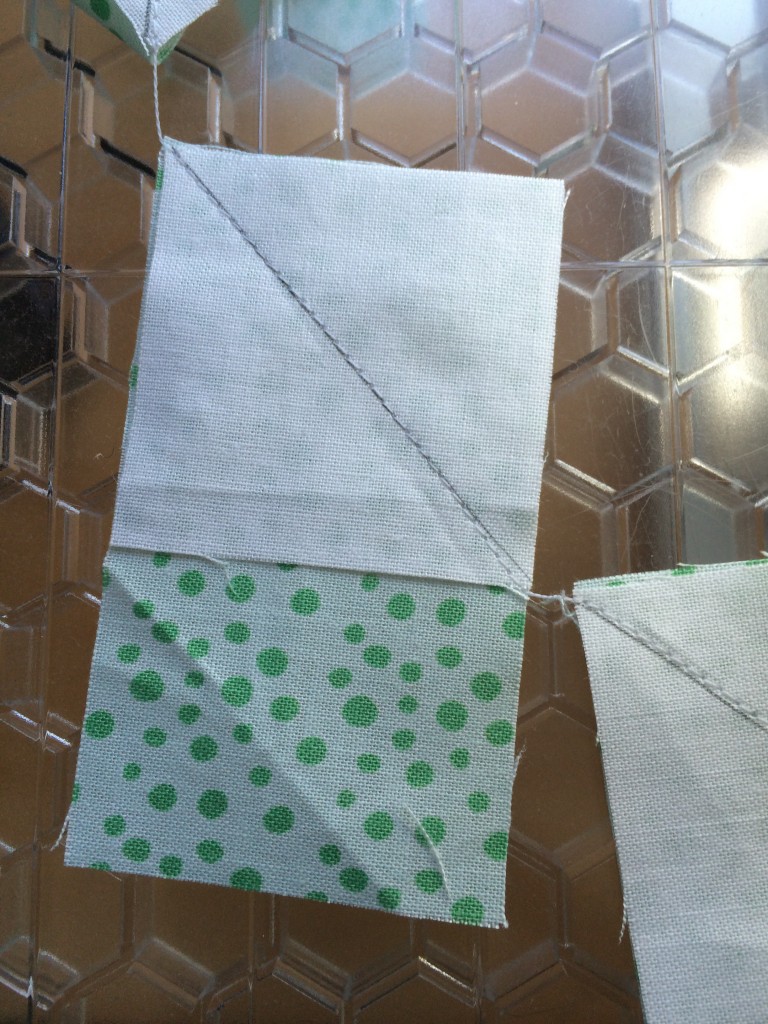
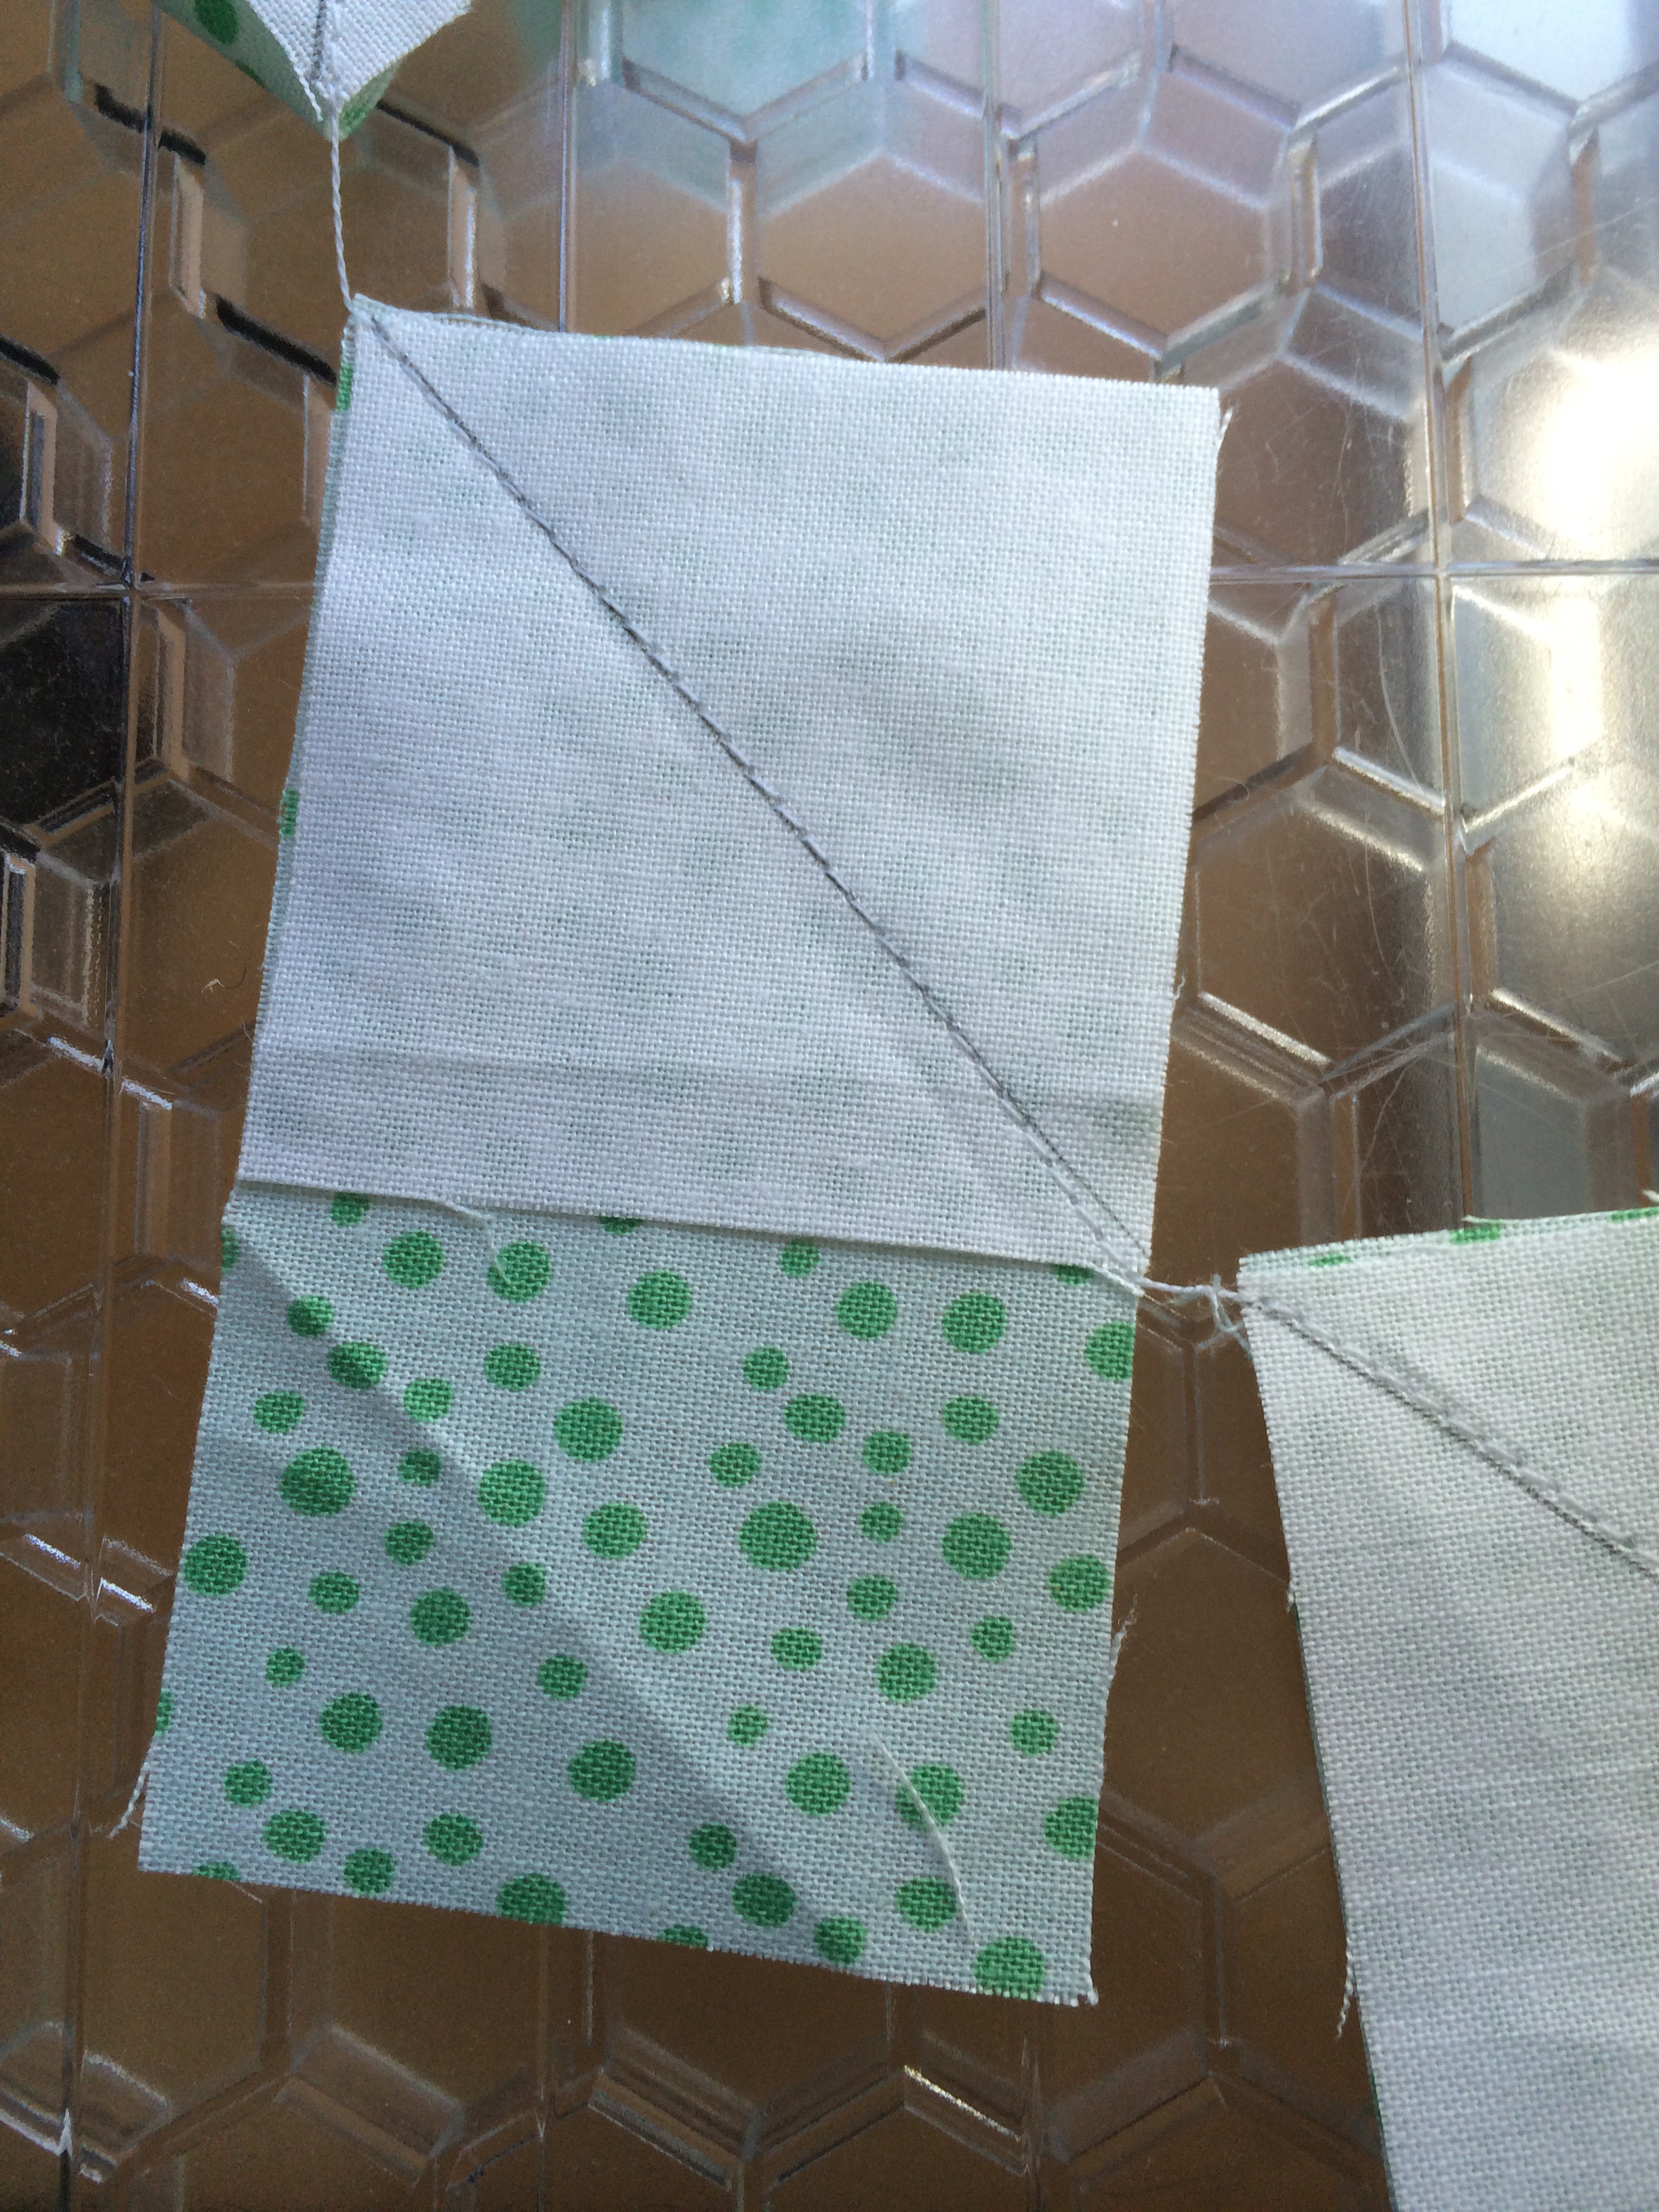
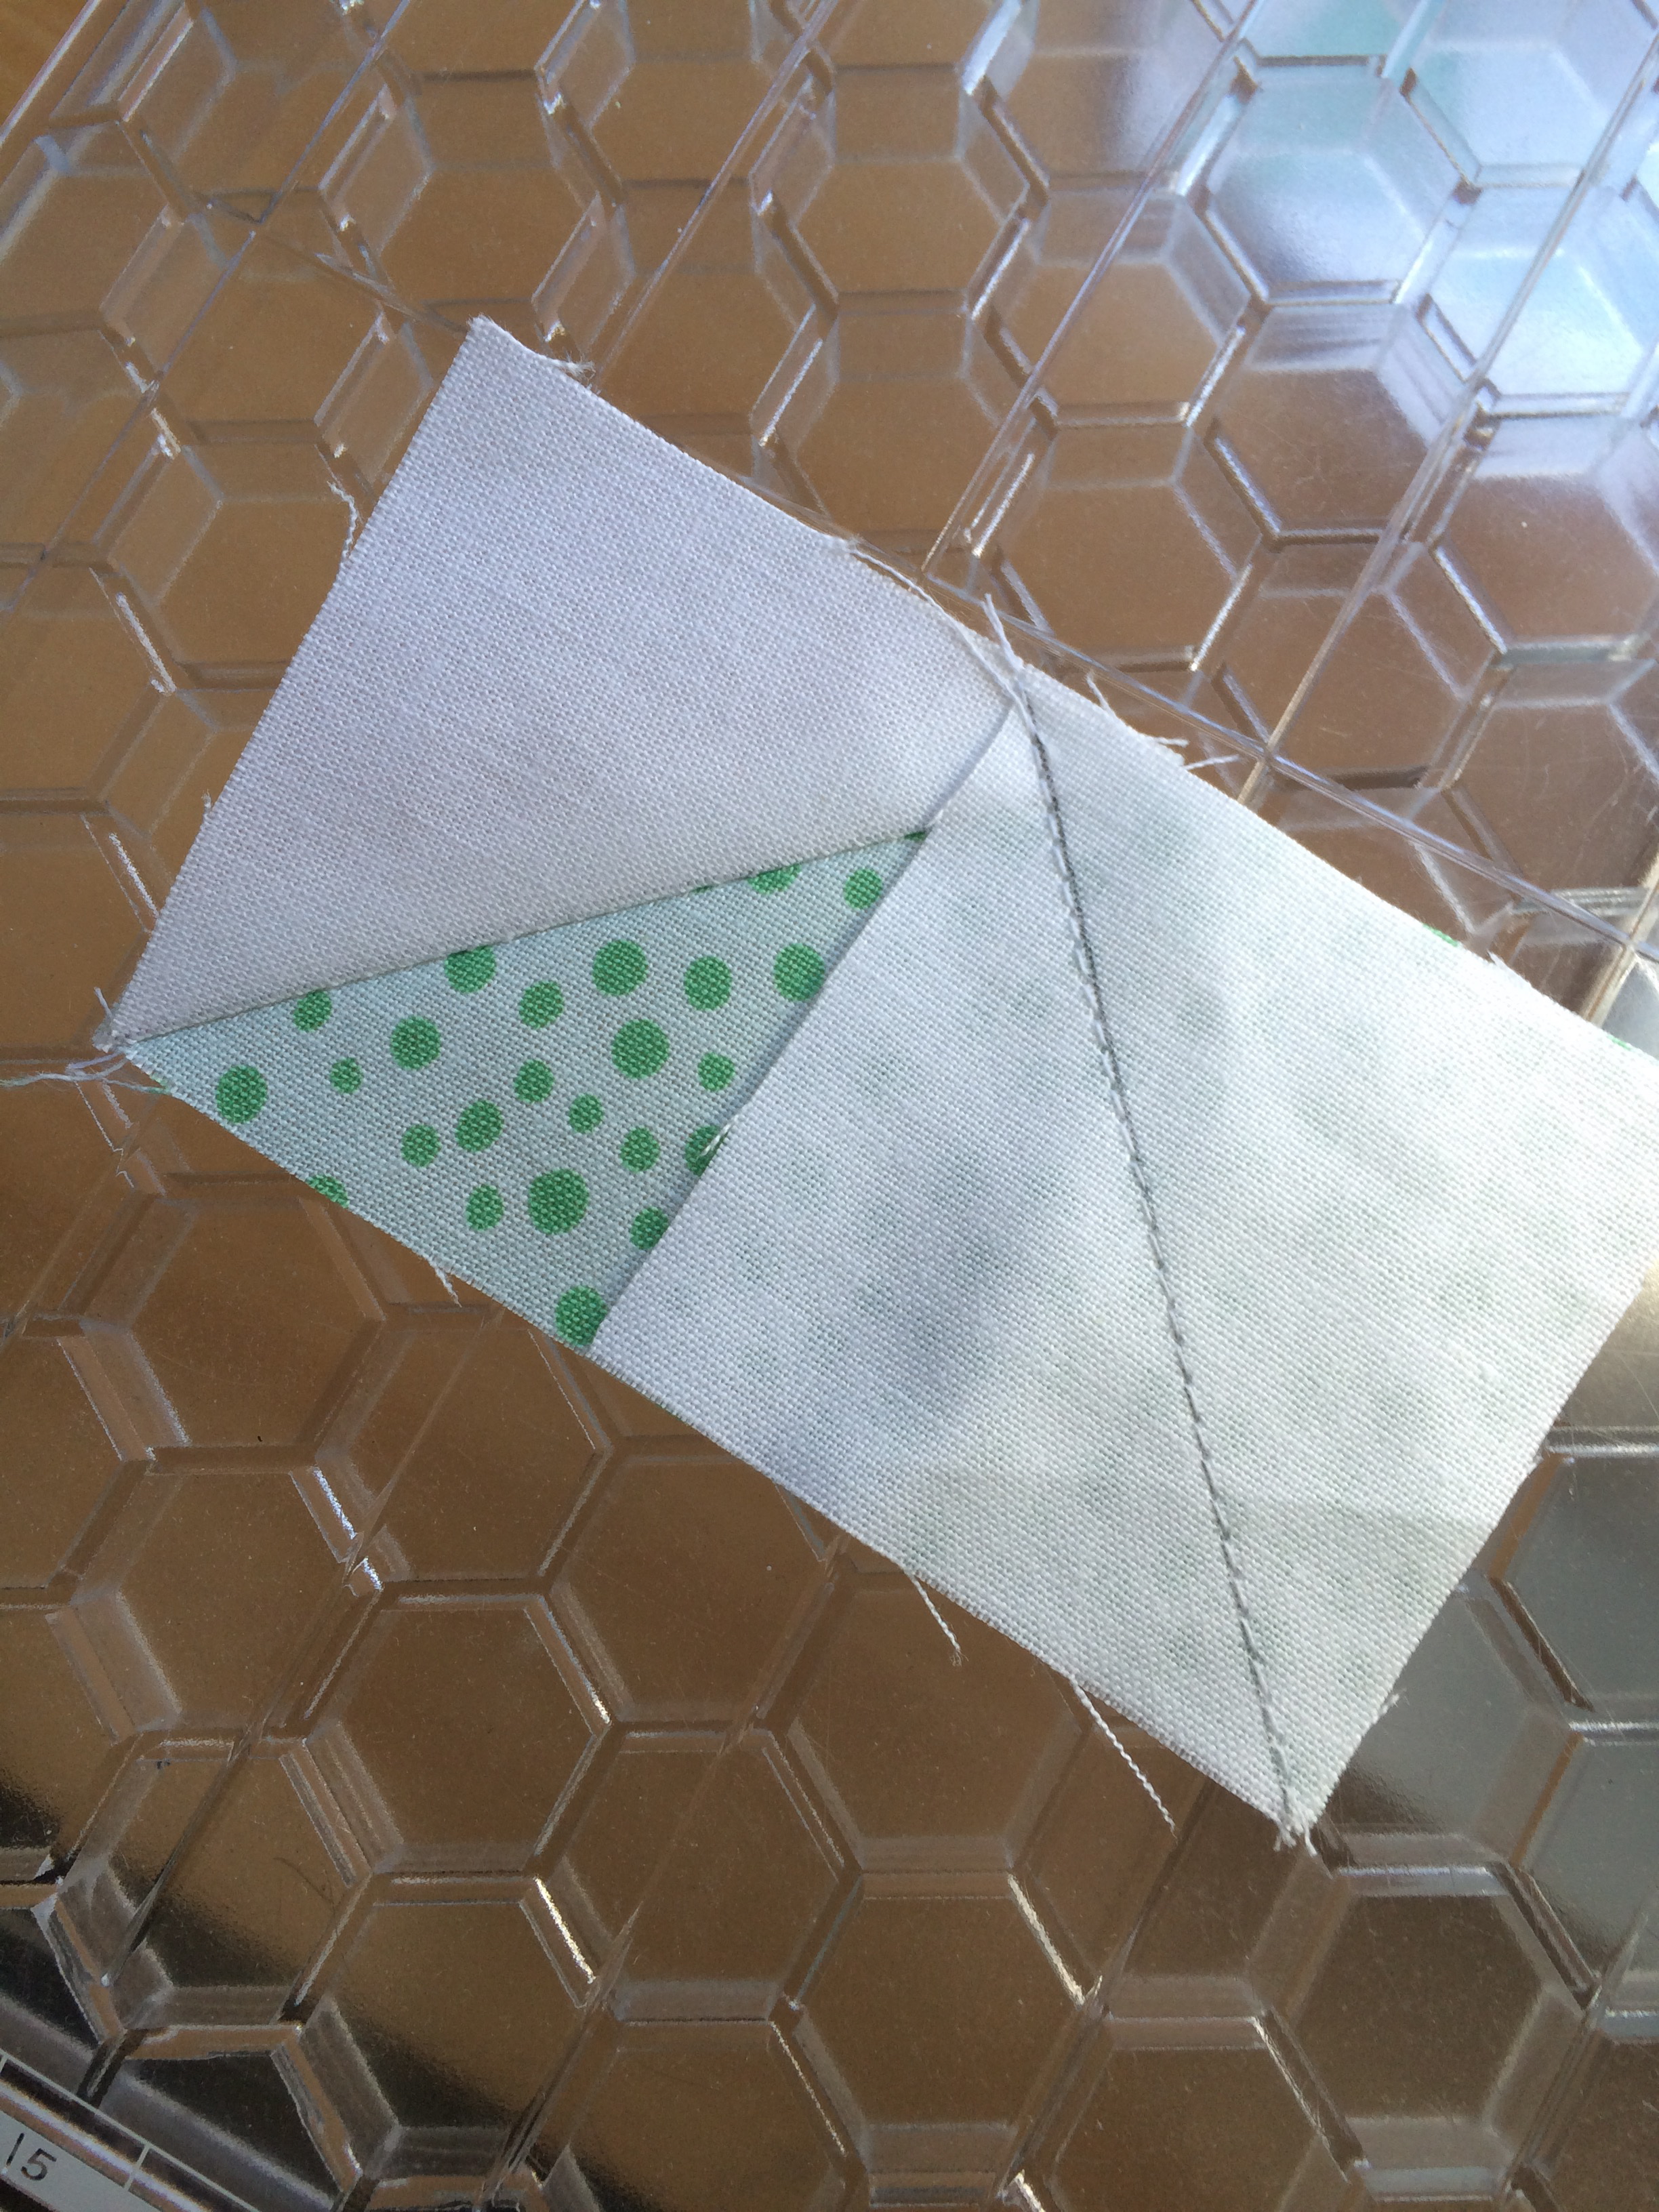
 She sat at the machine and I had her practice sewing 1/4″ seams along the triangles. If she messed up, not to worry, the triangles would be fine. This was such good experience. She got to where she could start and stop and lift the presser foot and cut the thread all by herself!
 Once all the triangles were stitched around, I used Spary n Bond to baste the quilt together. This allowed for easy quilting and no messing with pins!
 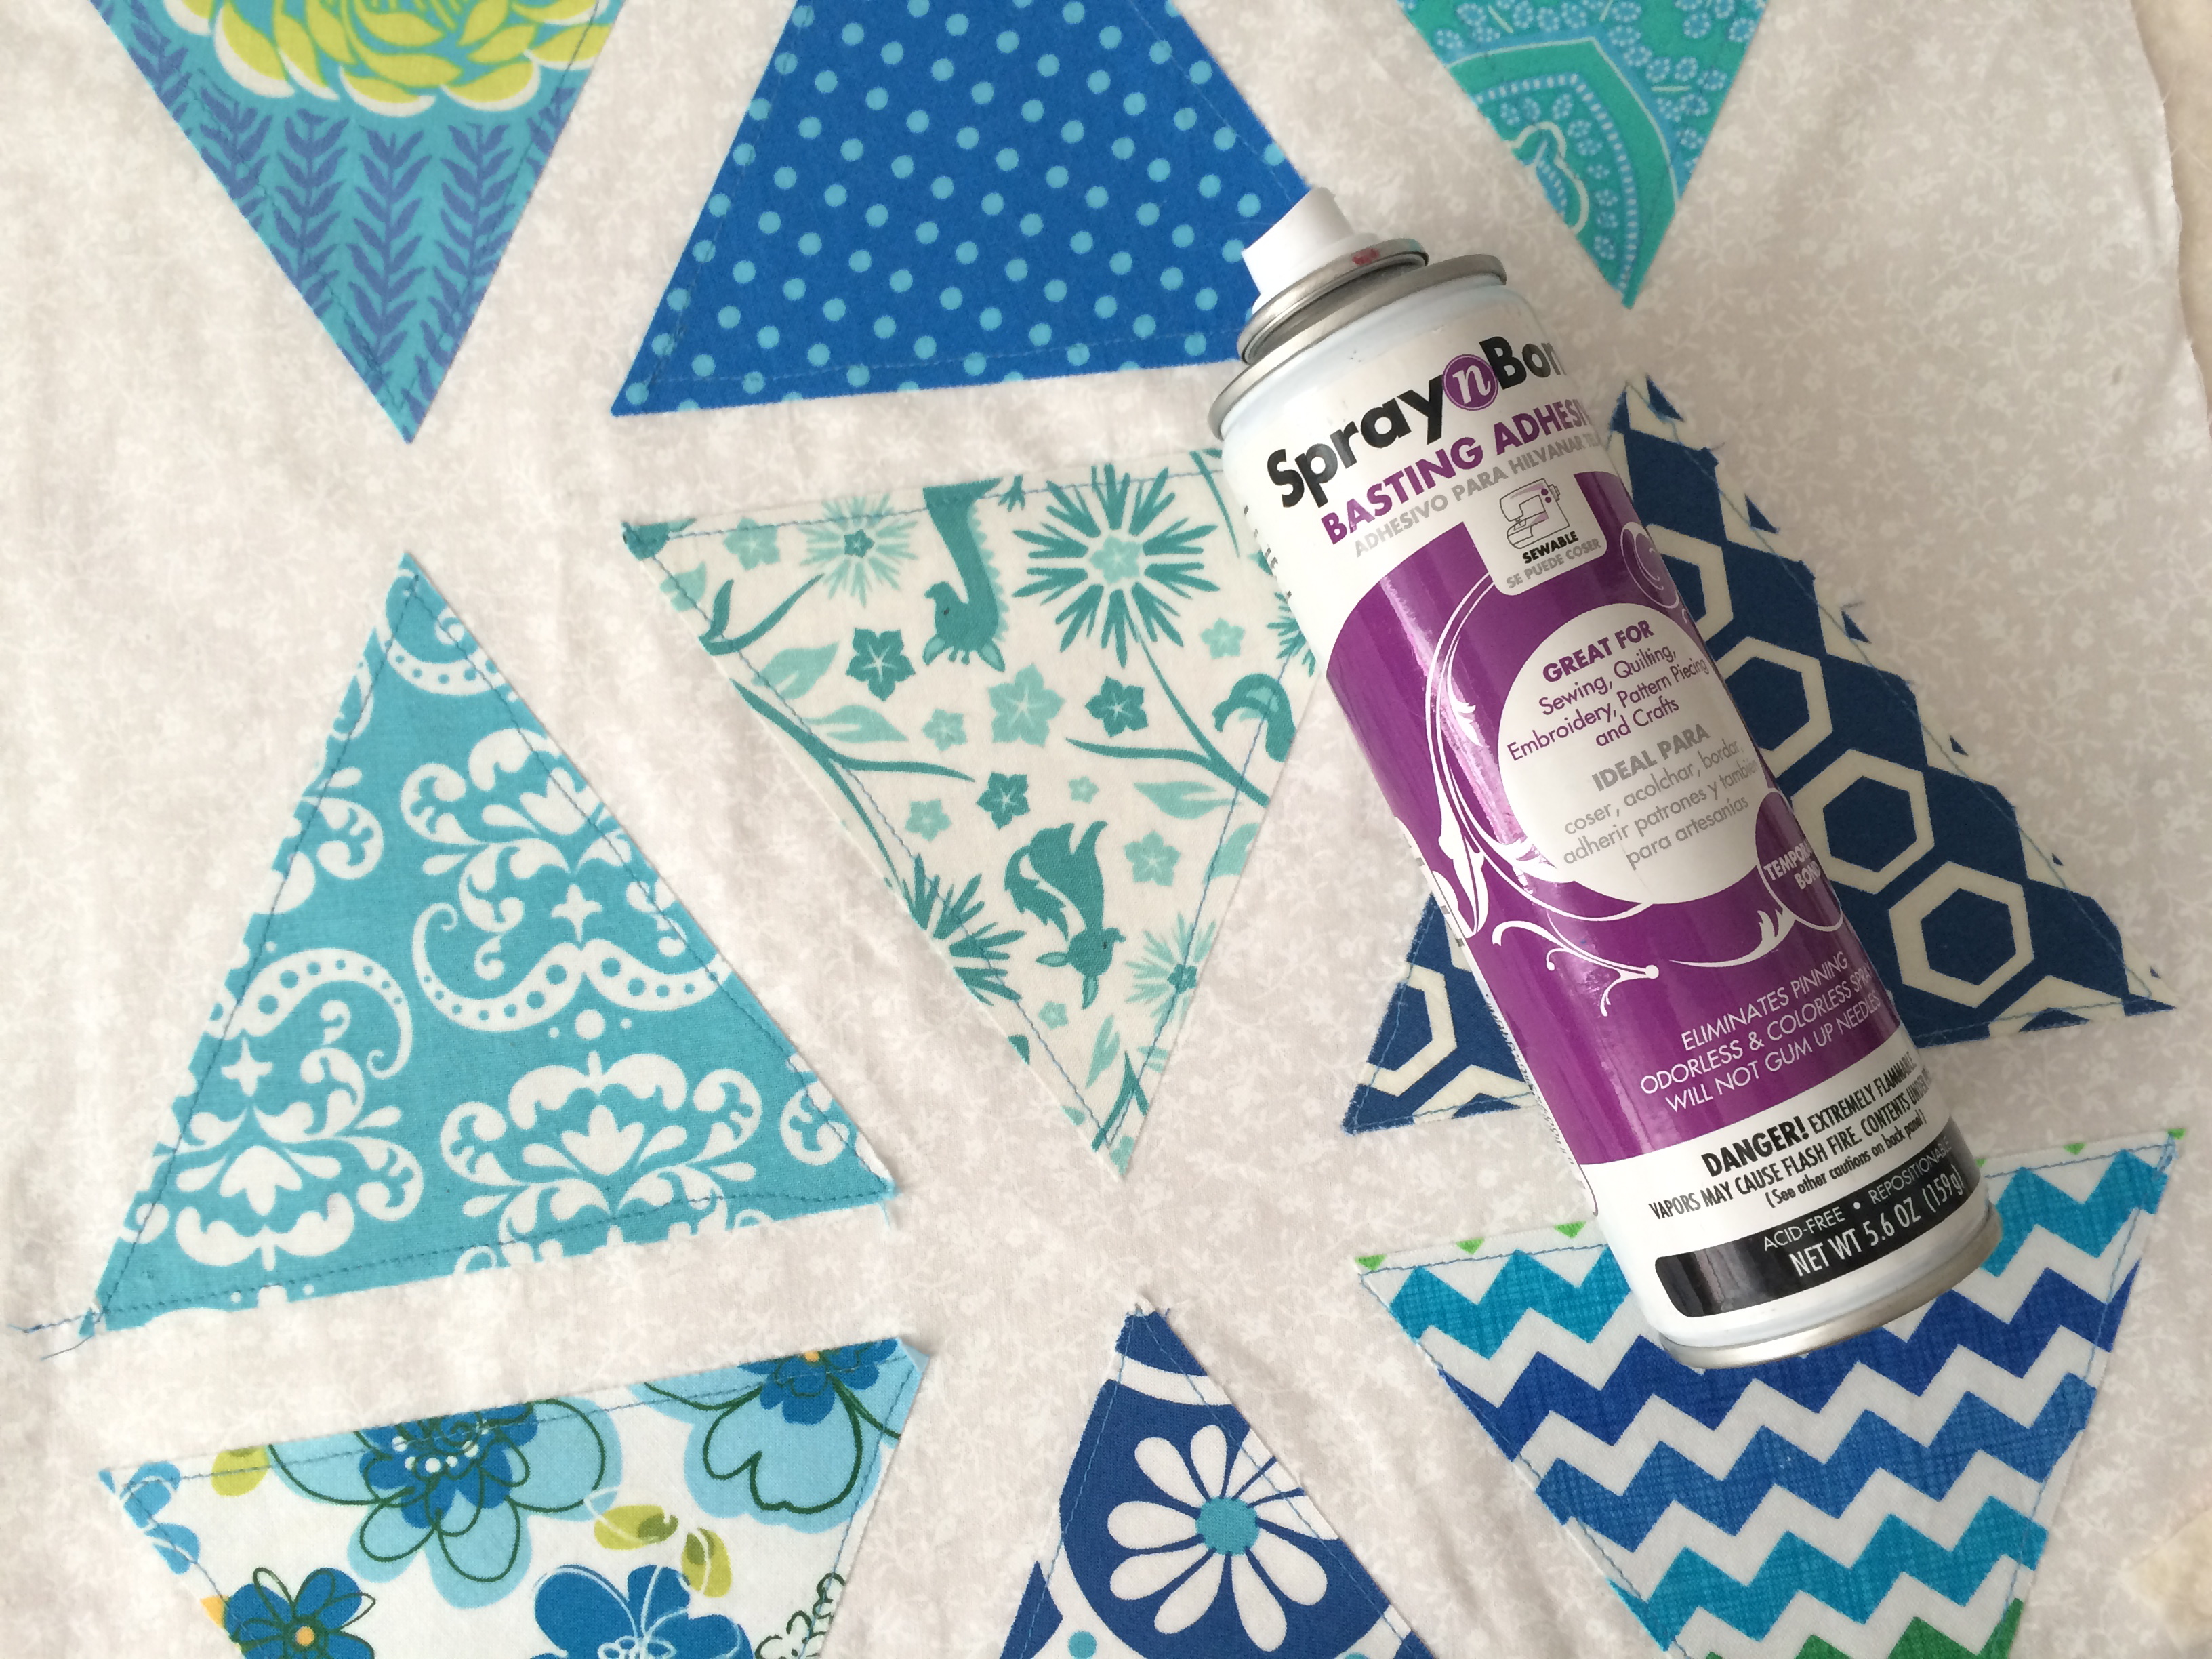 I wanted her to do all the quilting. I put the walking foot on and showed her how the machine can “sew by itself” and all she needed to do was steer the fabric, not push or pull it. Once she saw how fun this was she was off! I encouraged her to do random lines all over. I love how it turned out!
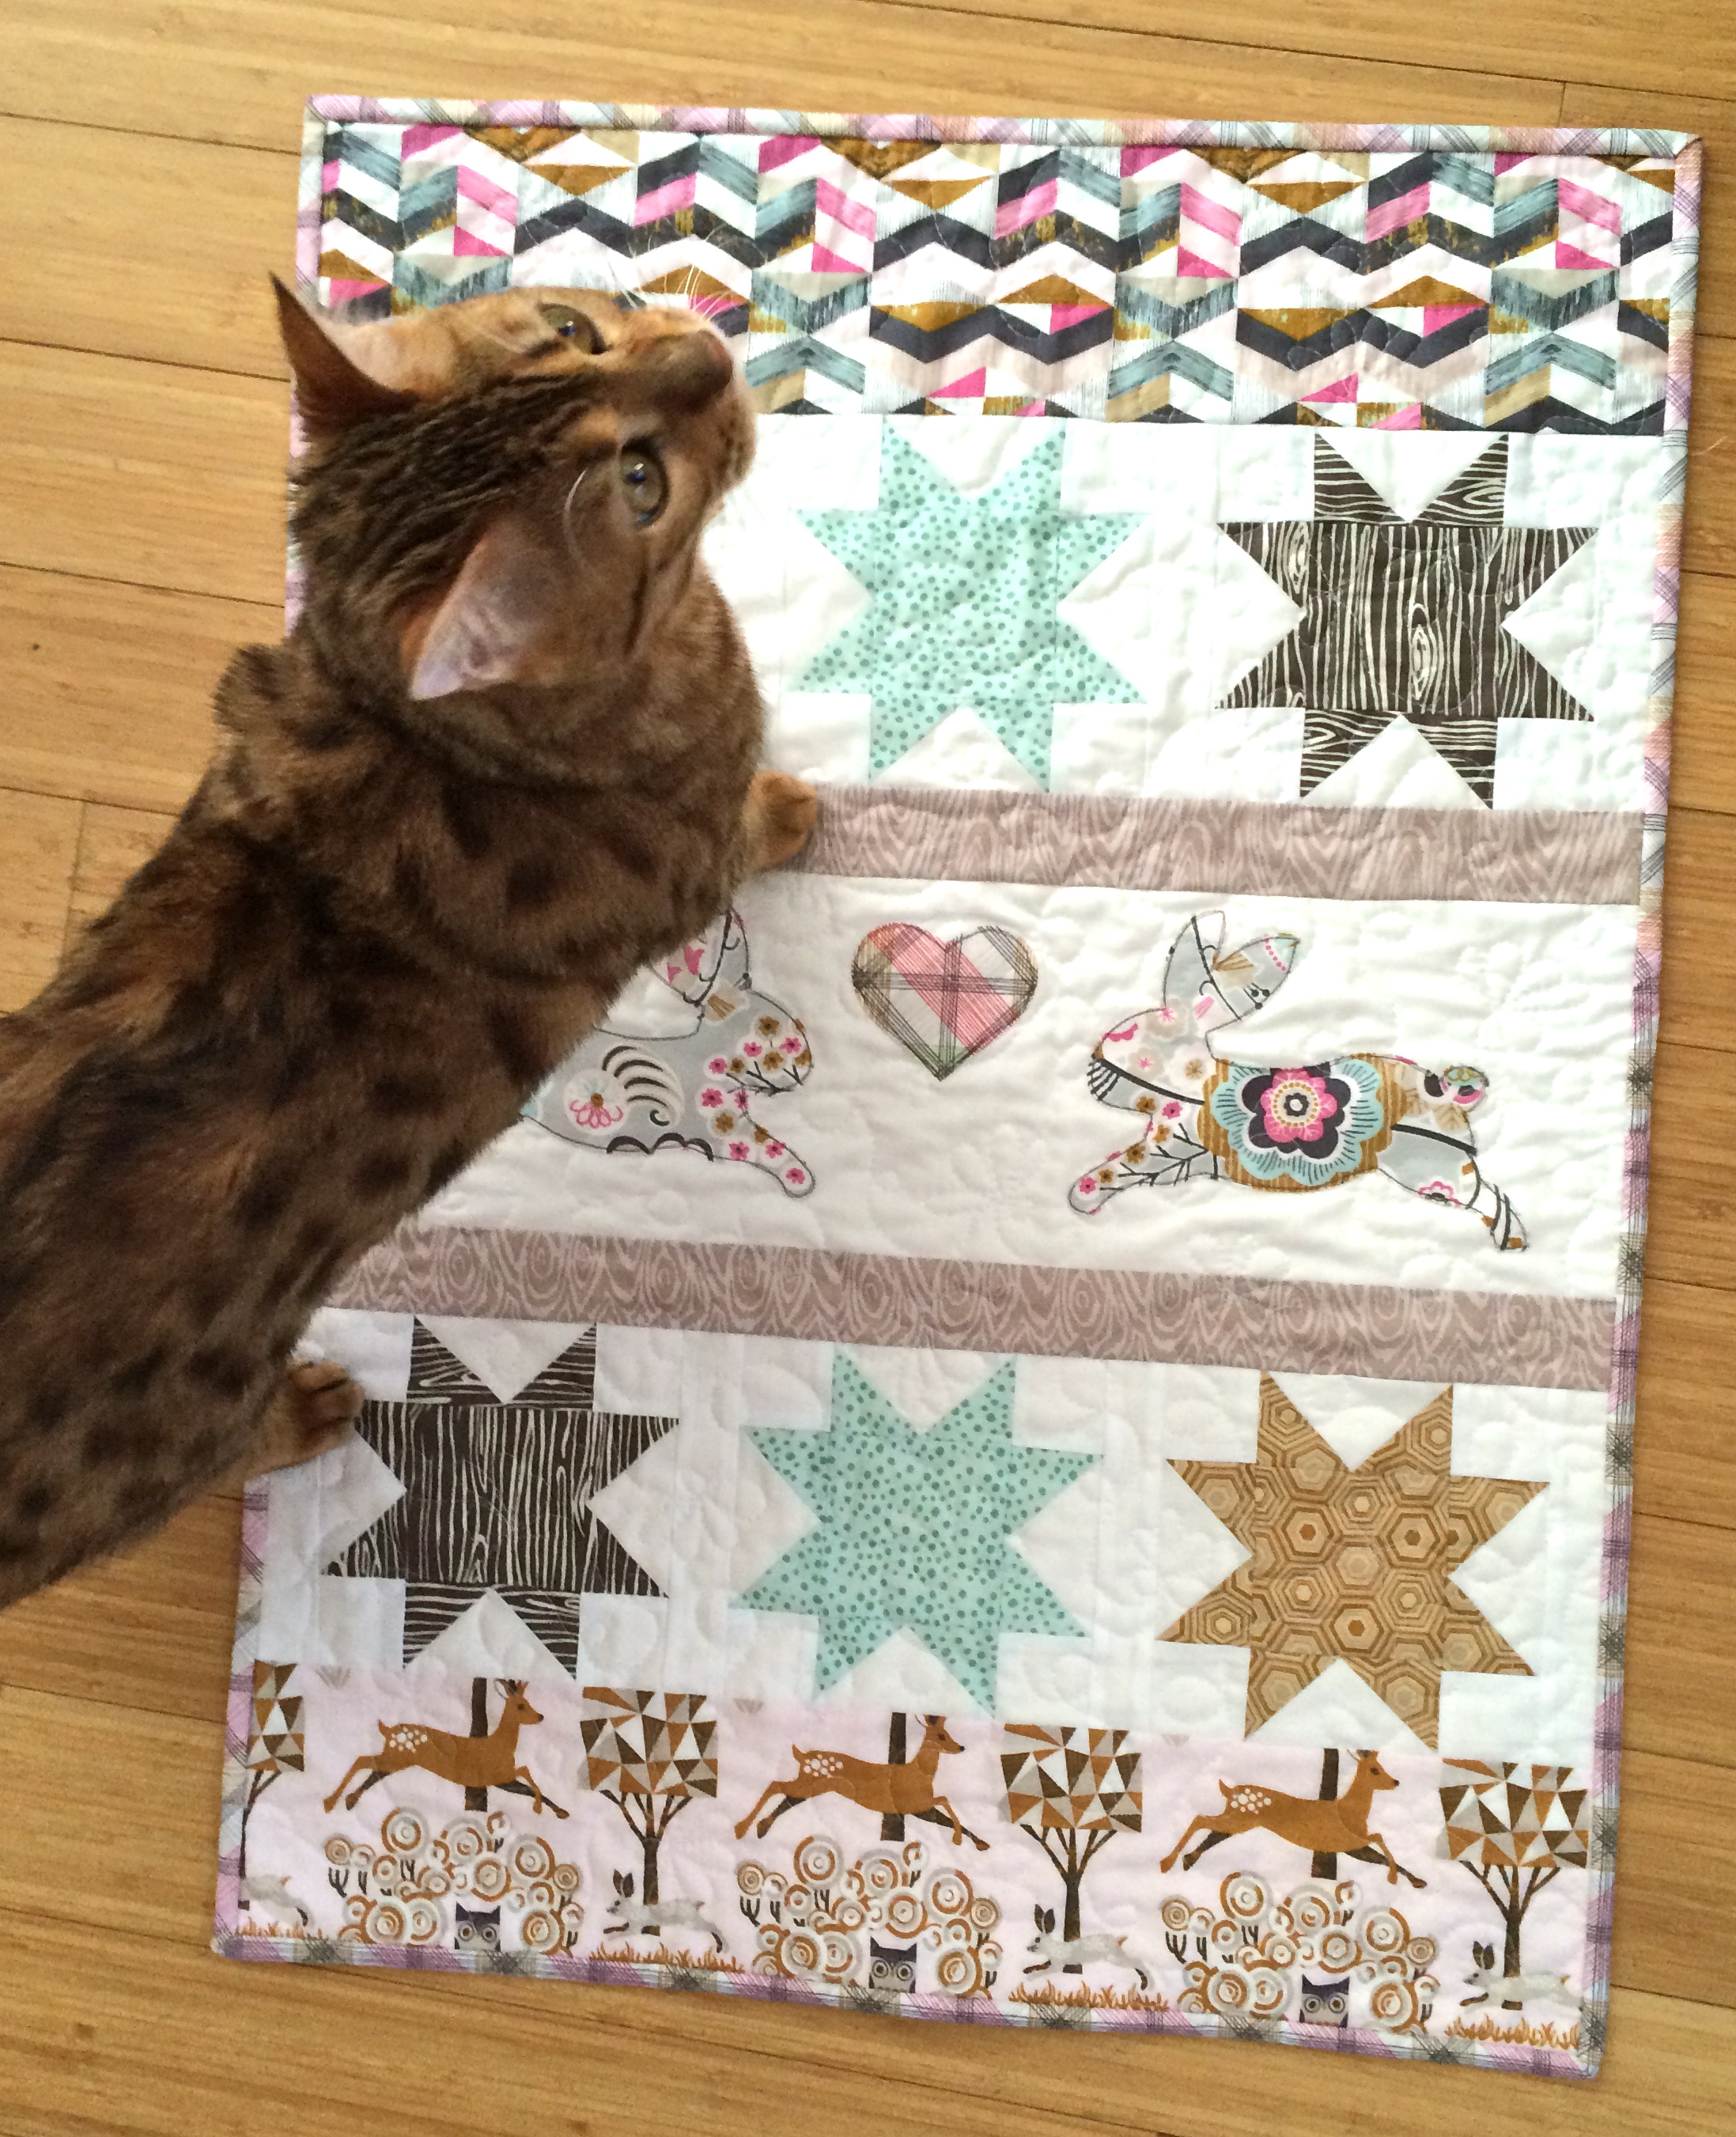
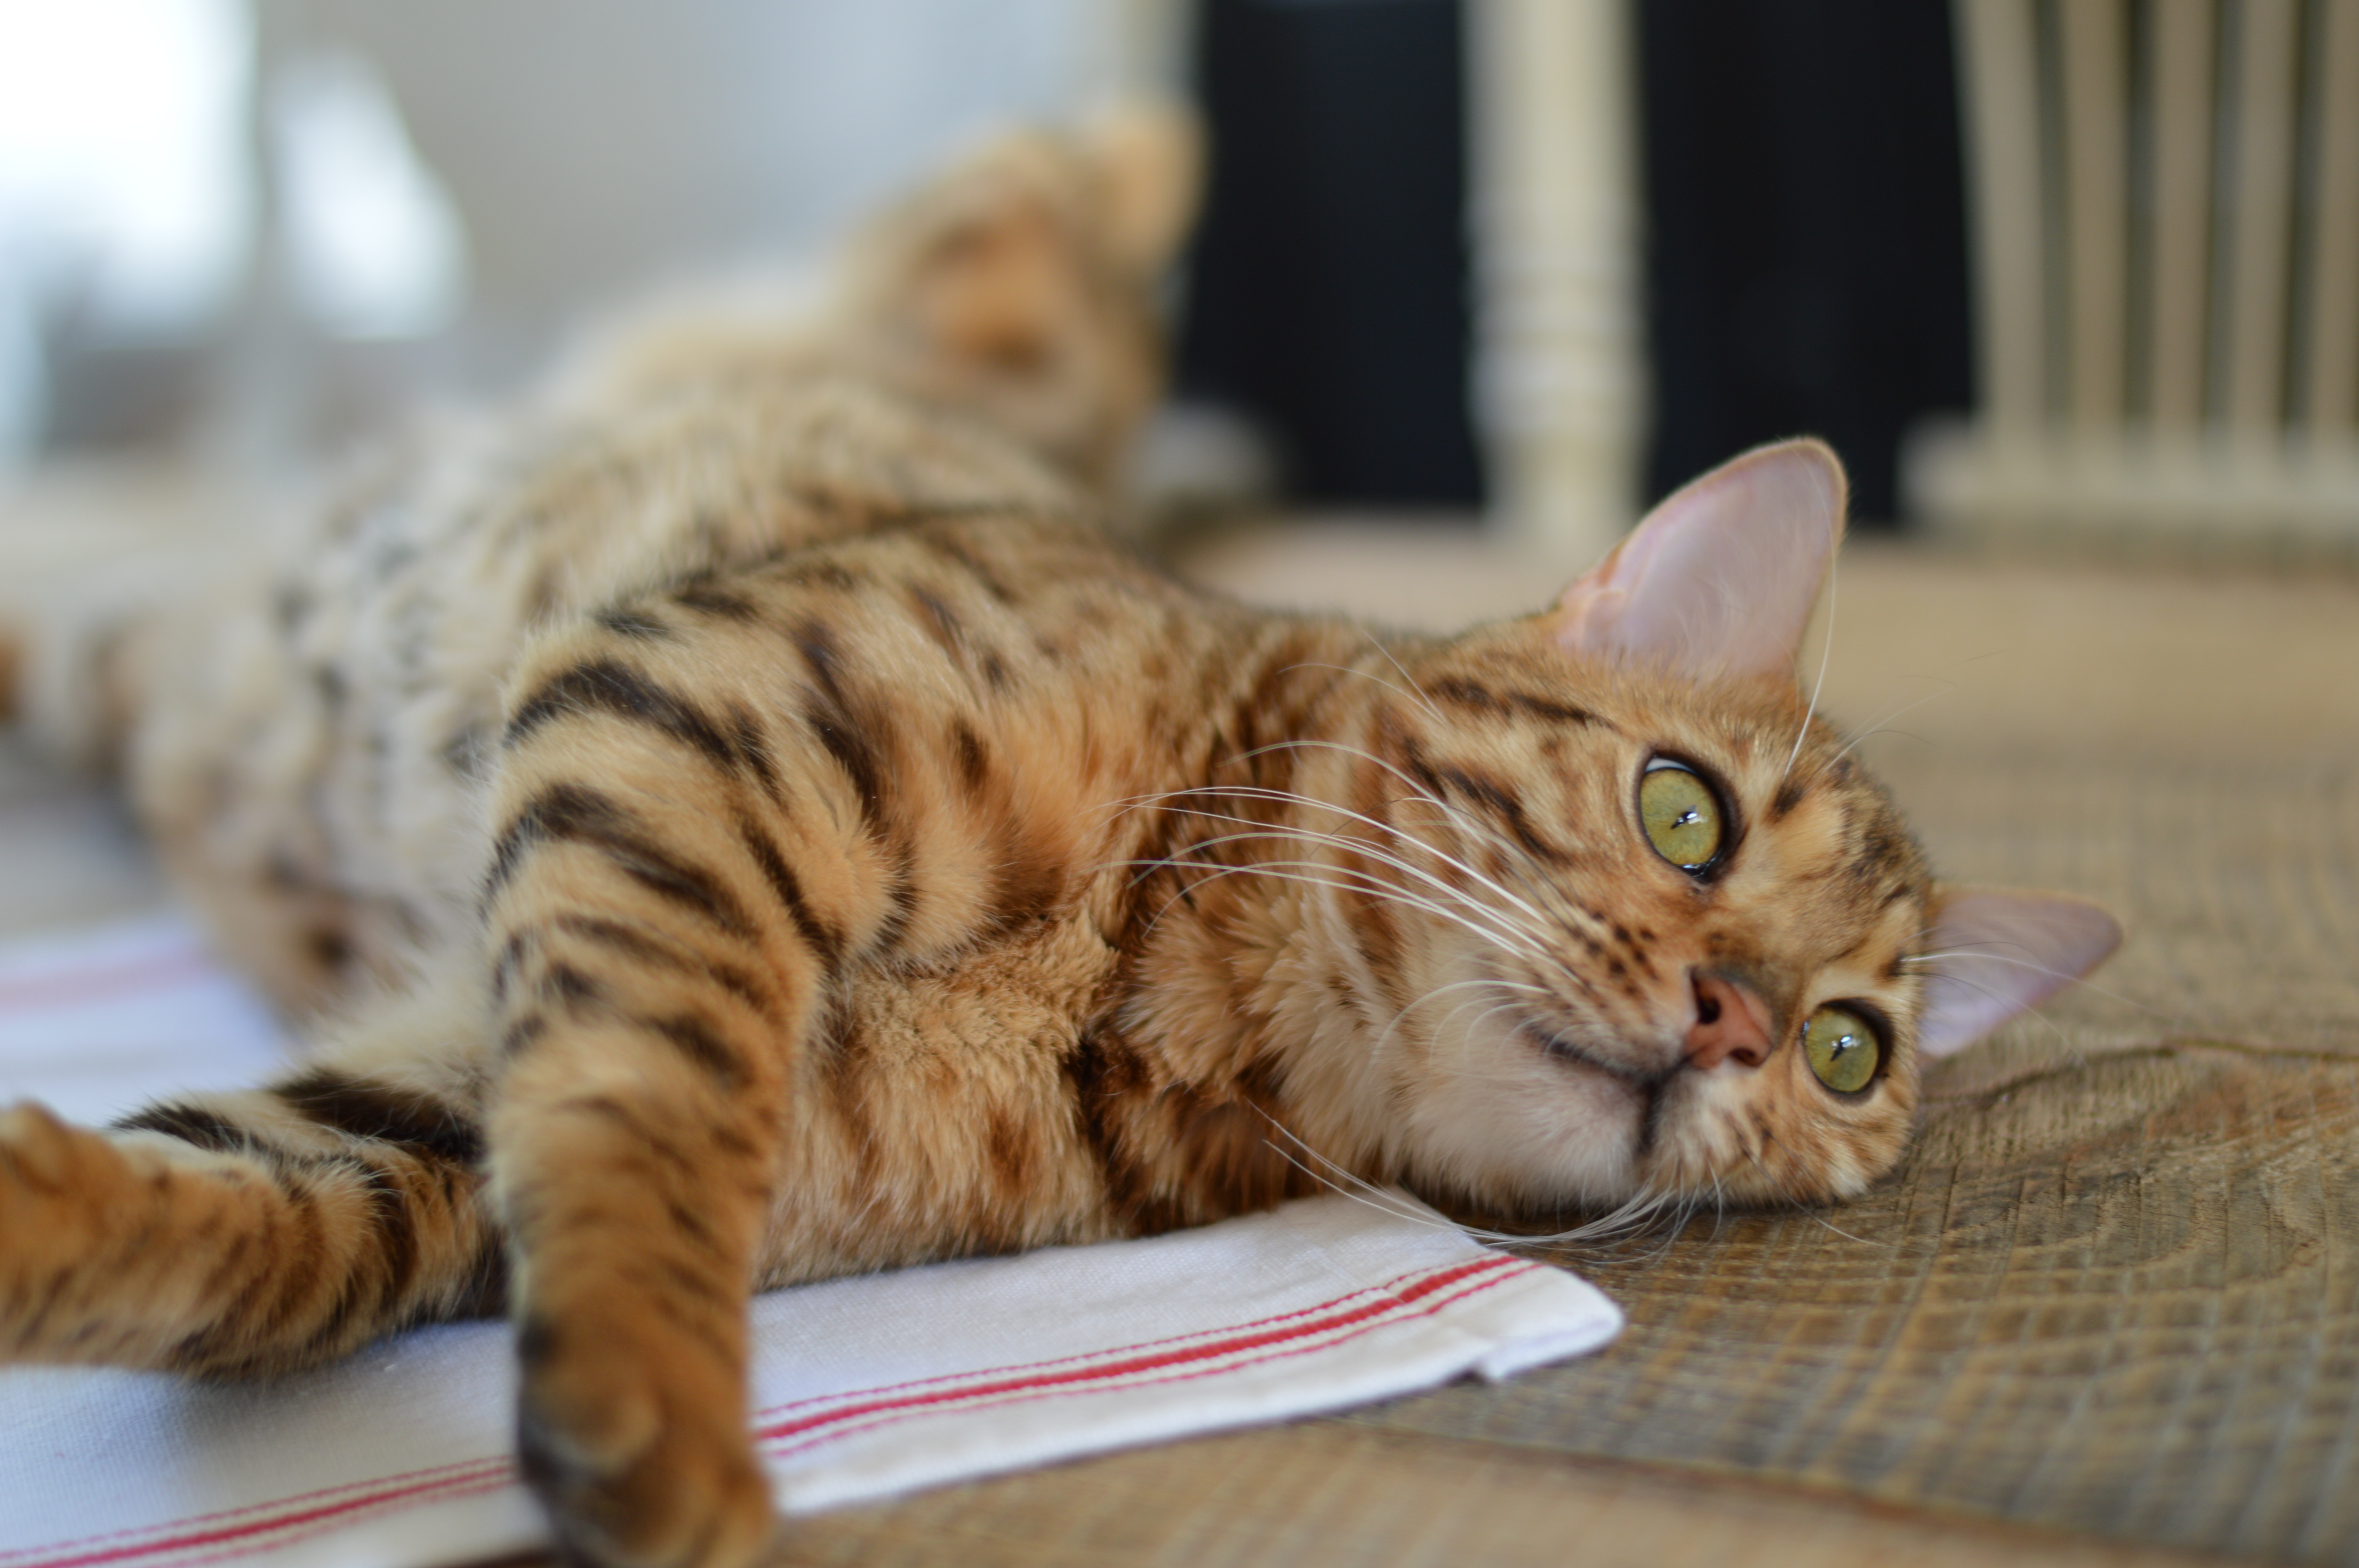
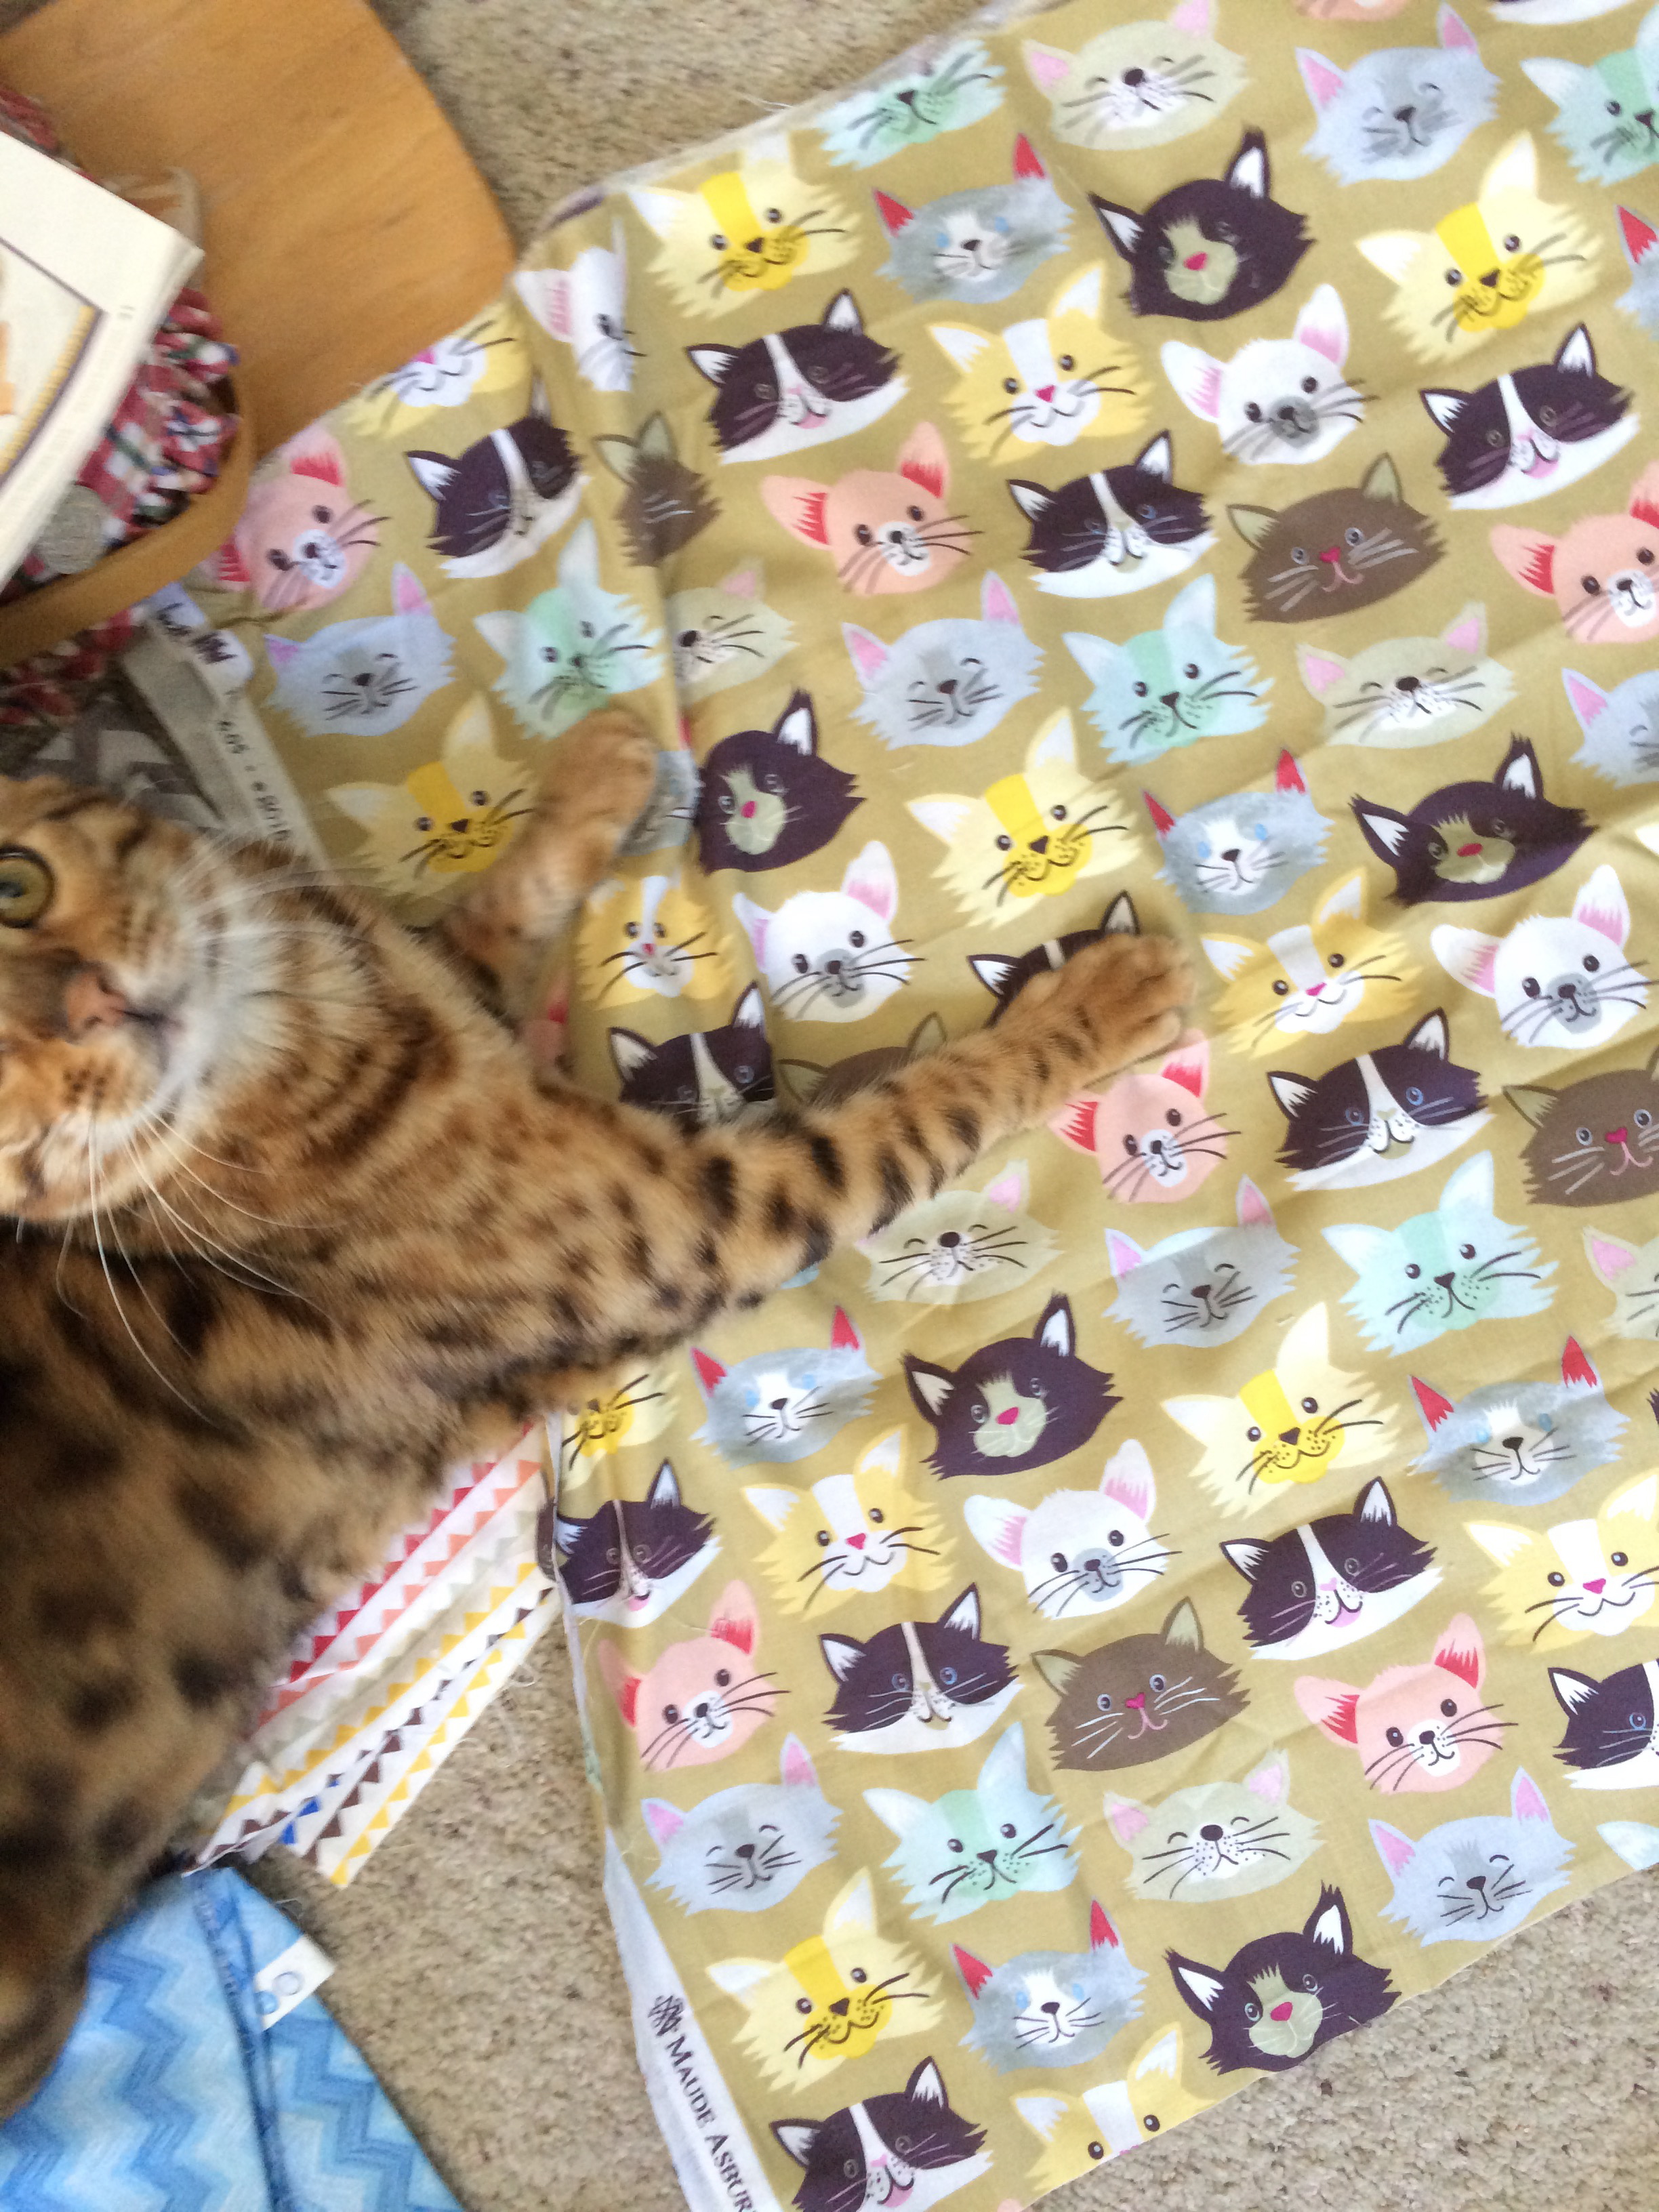
 Mufasa was quite a helper, he slept the entire time behind the sewing machine!
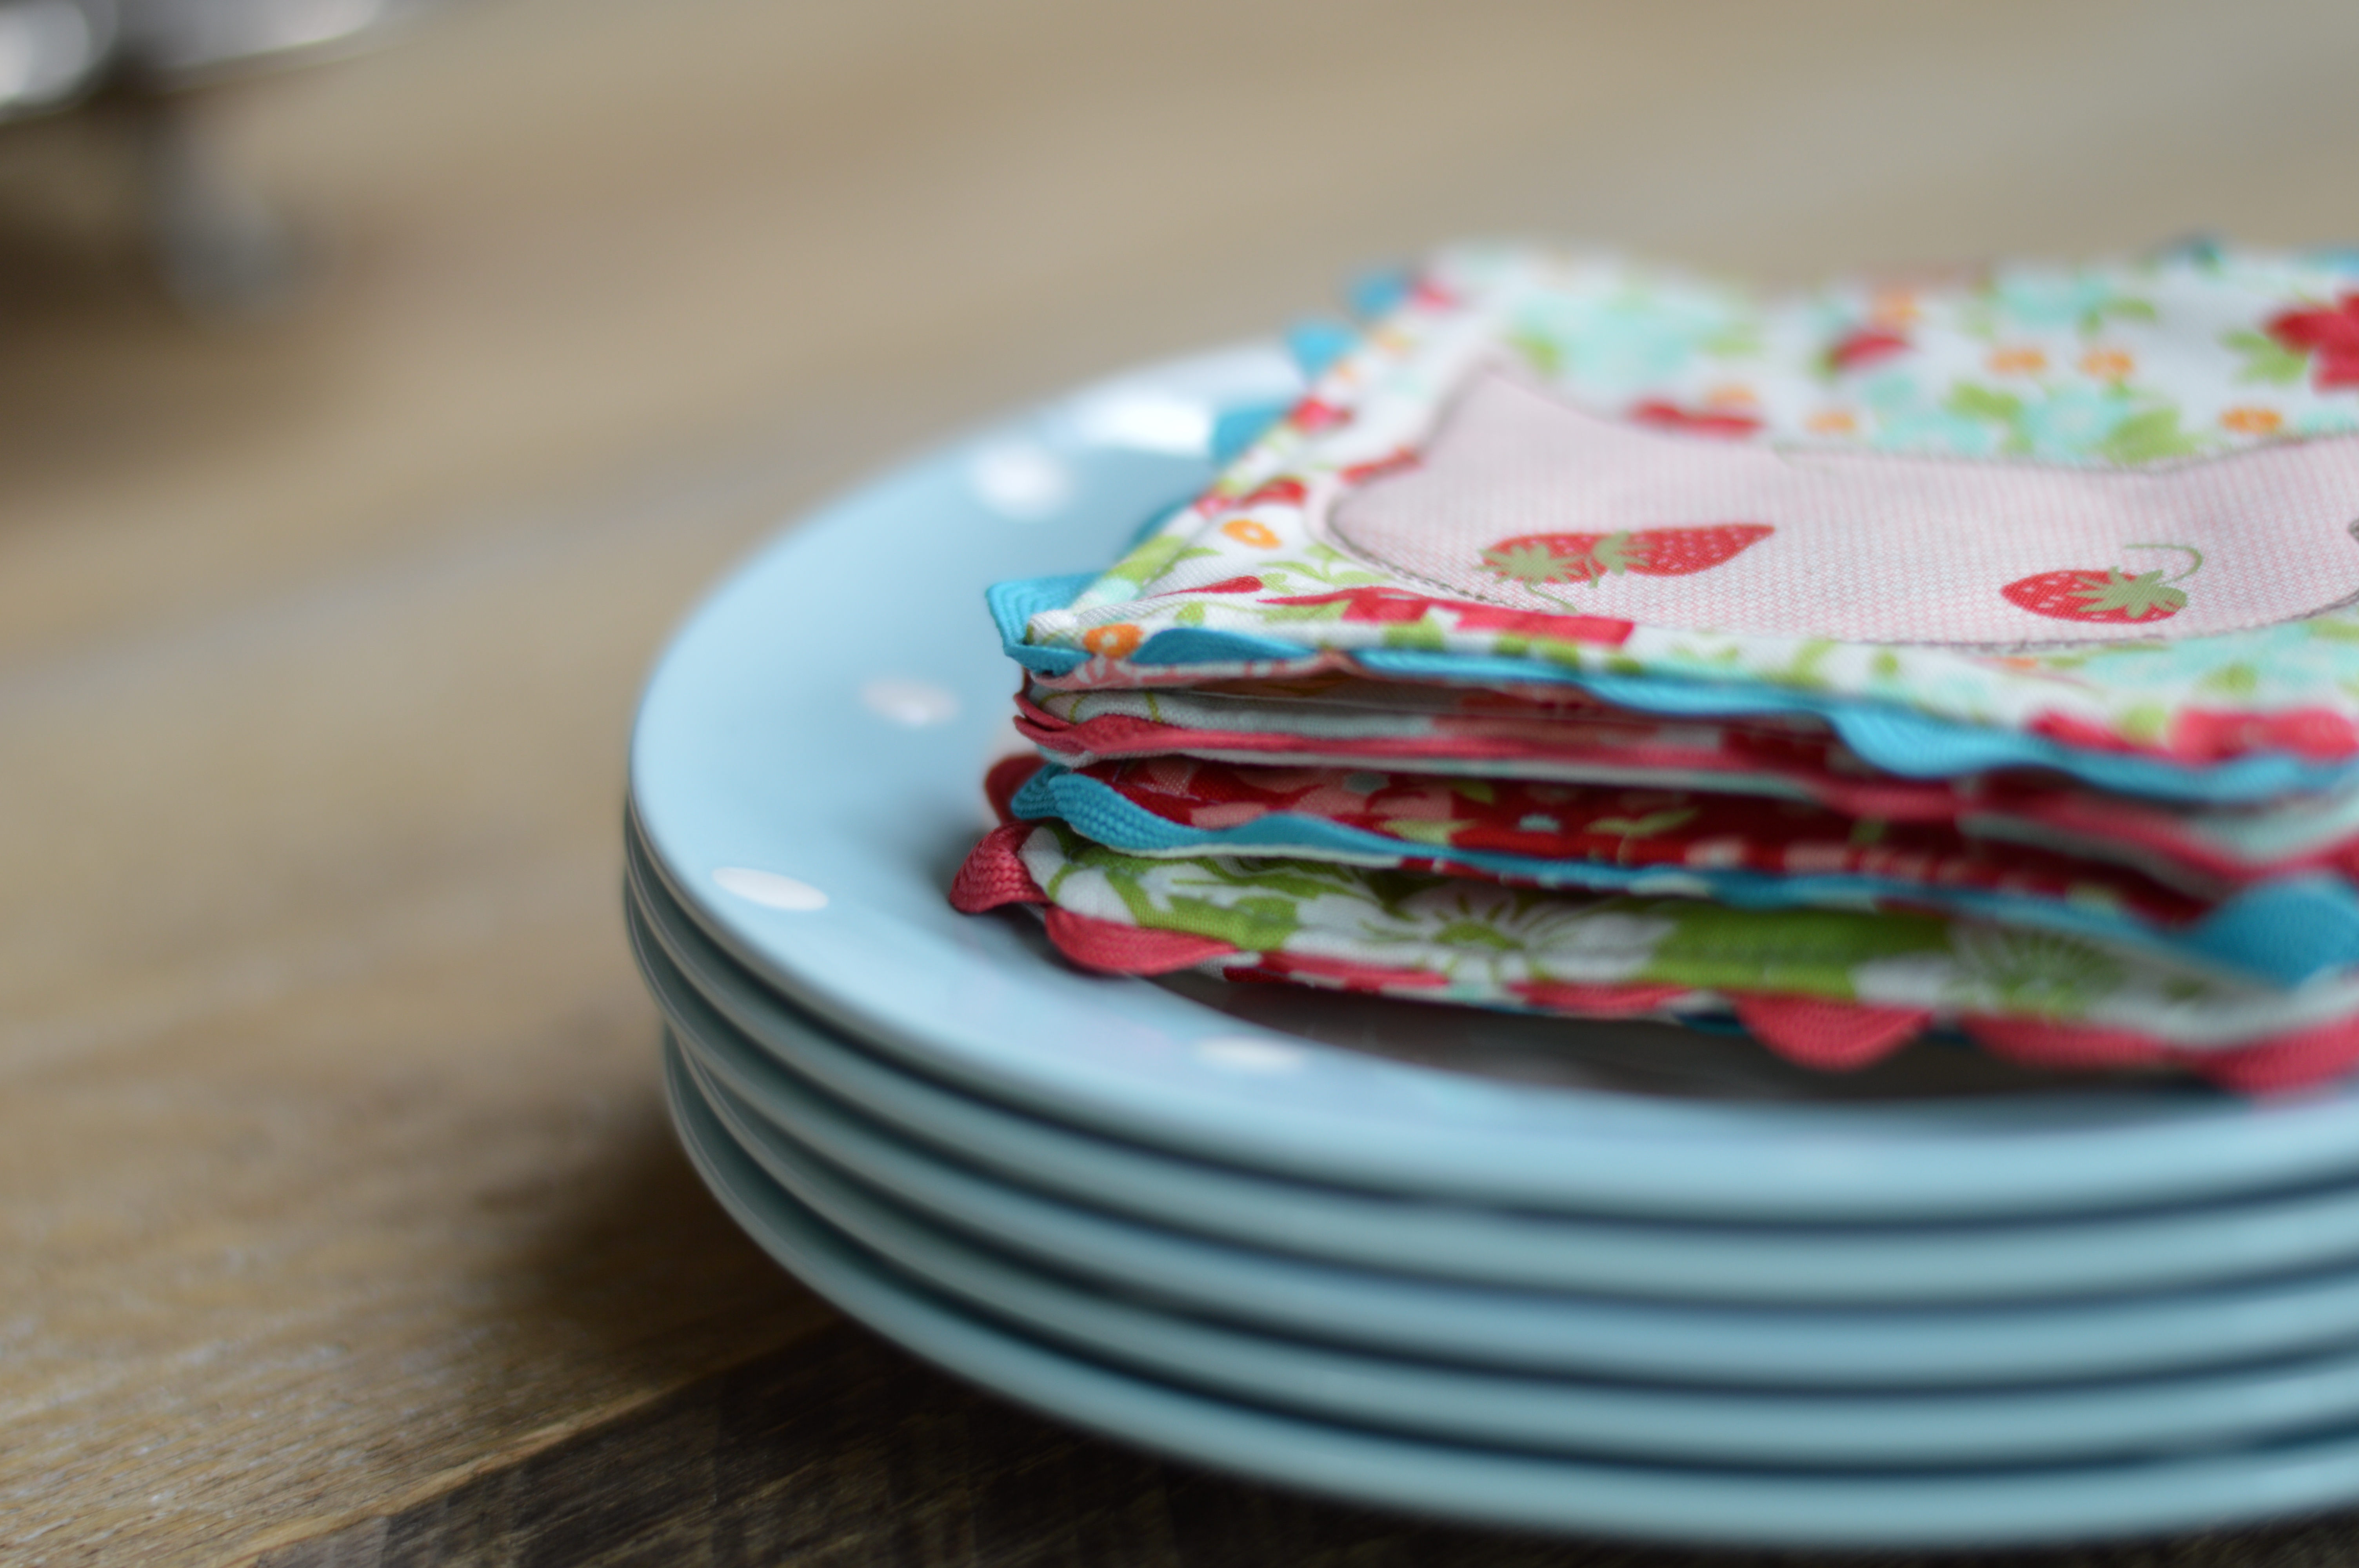
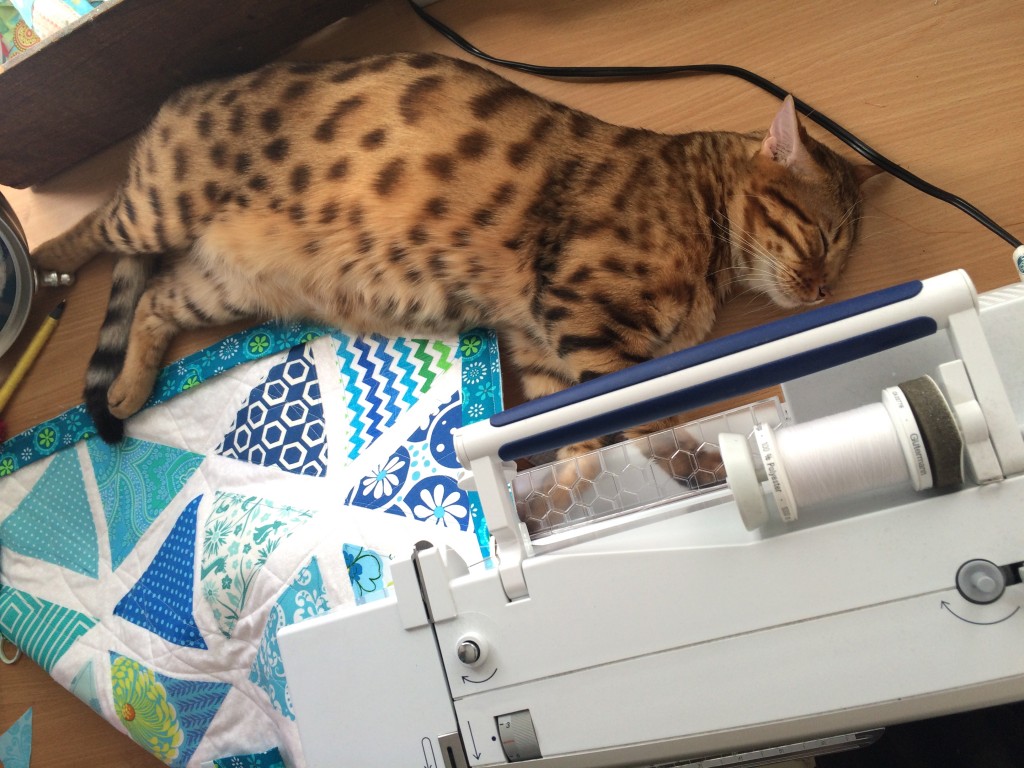 I let her sew the binding on, and I helped with the corners. I then let her use the binding clips and clip the binding all the way around. Finally we got out the needle and thread and did some hand sewing. She did pretty good. I helped with the hand binding so we could finish sometime this year!
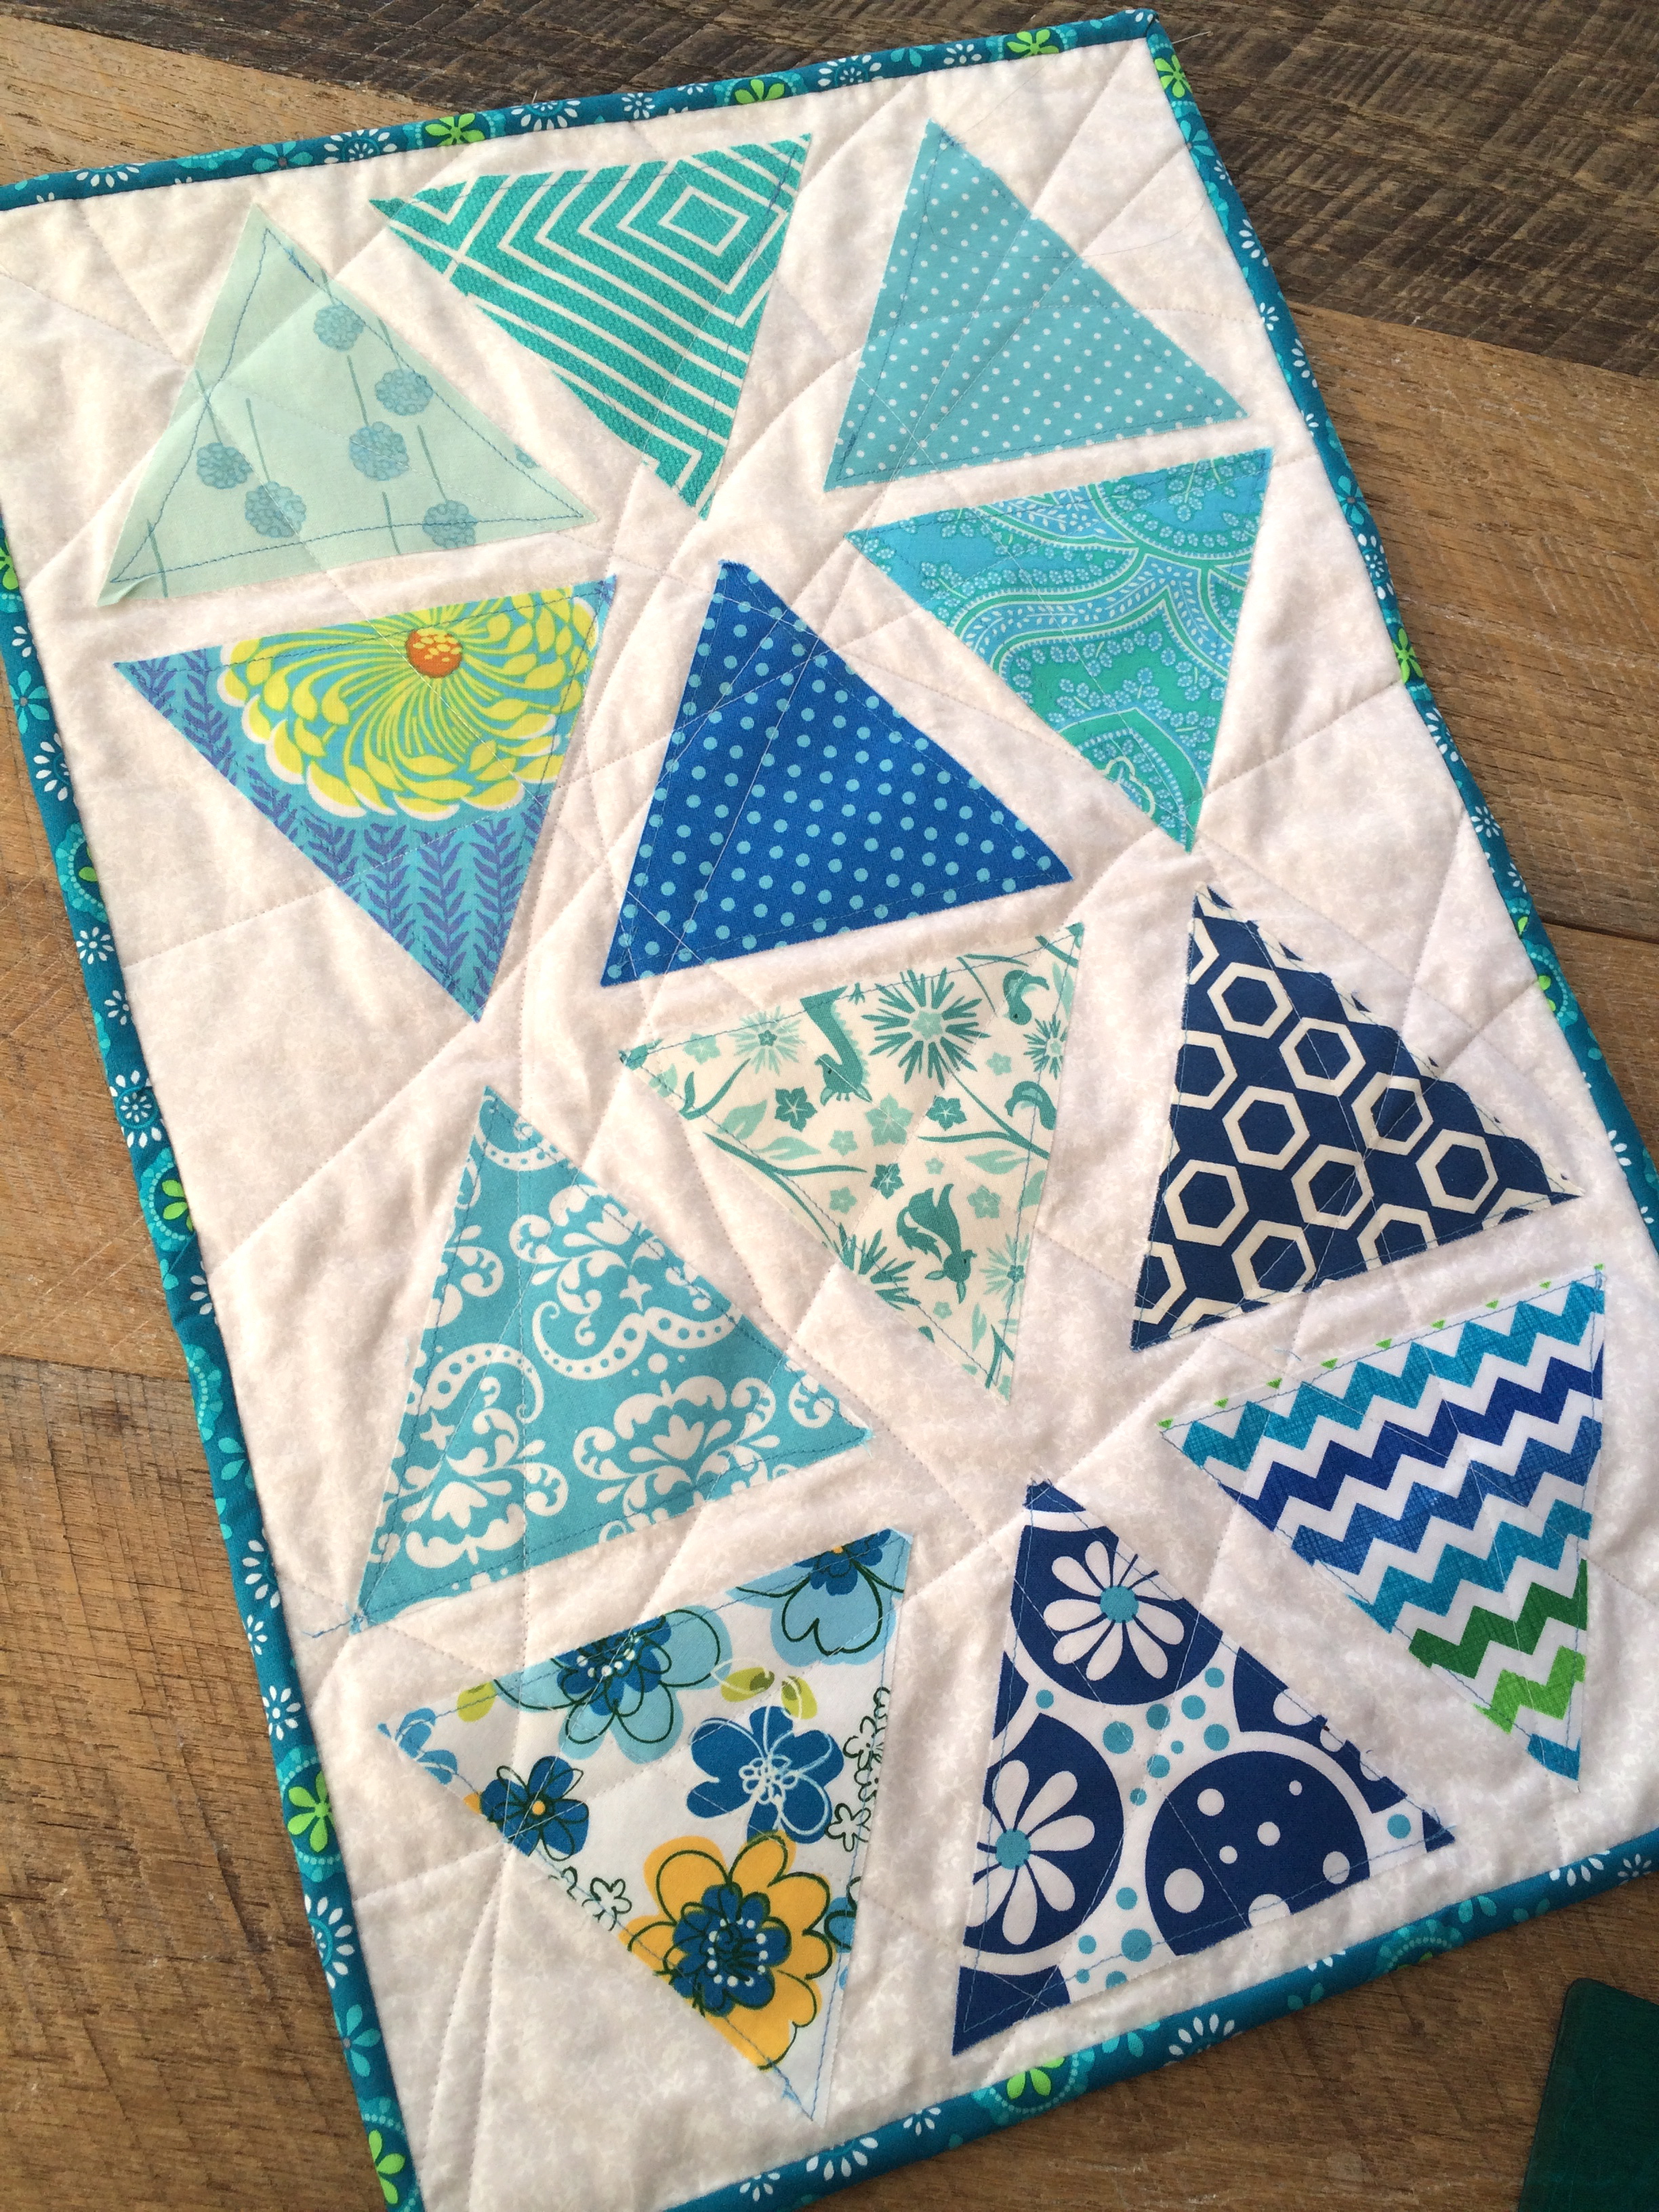
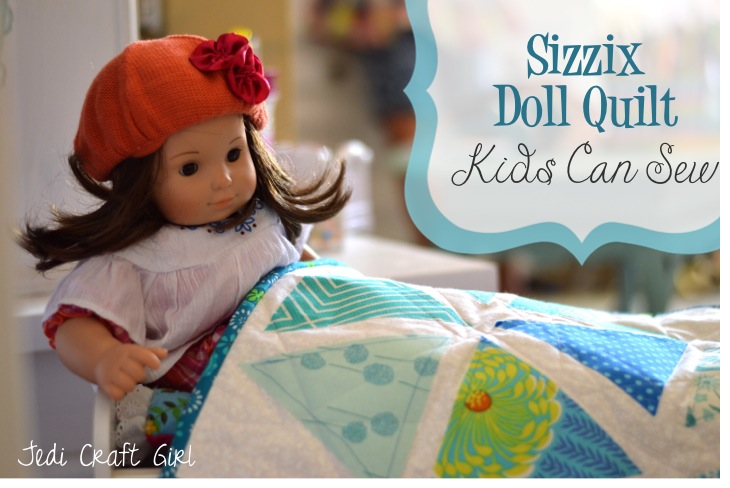
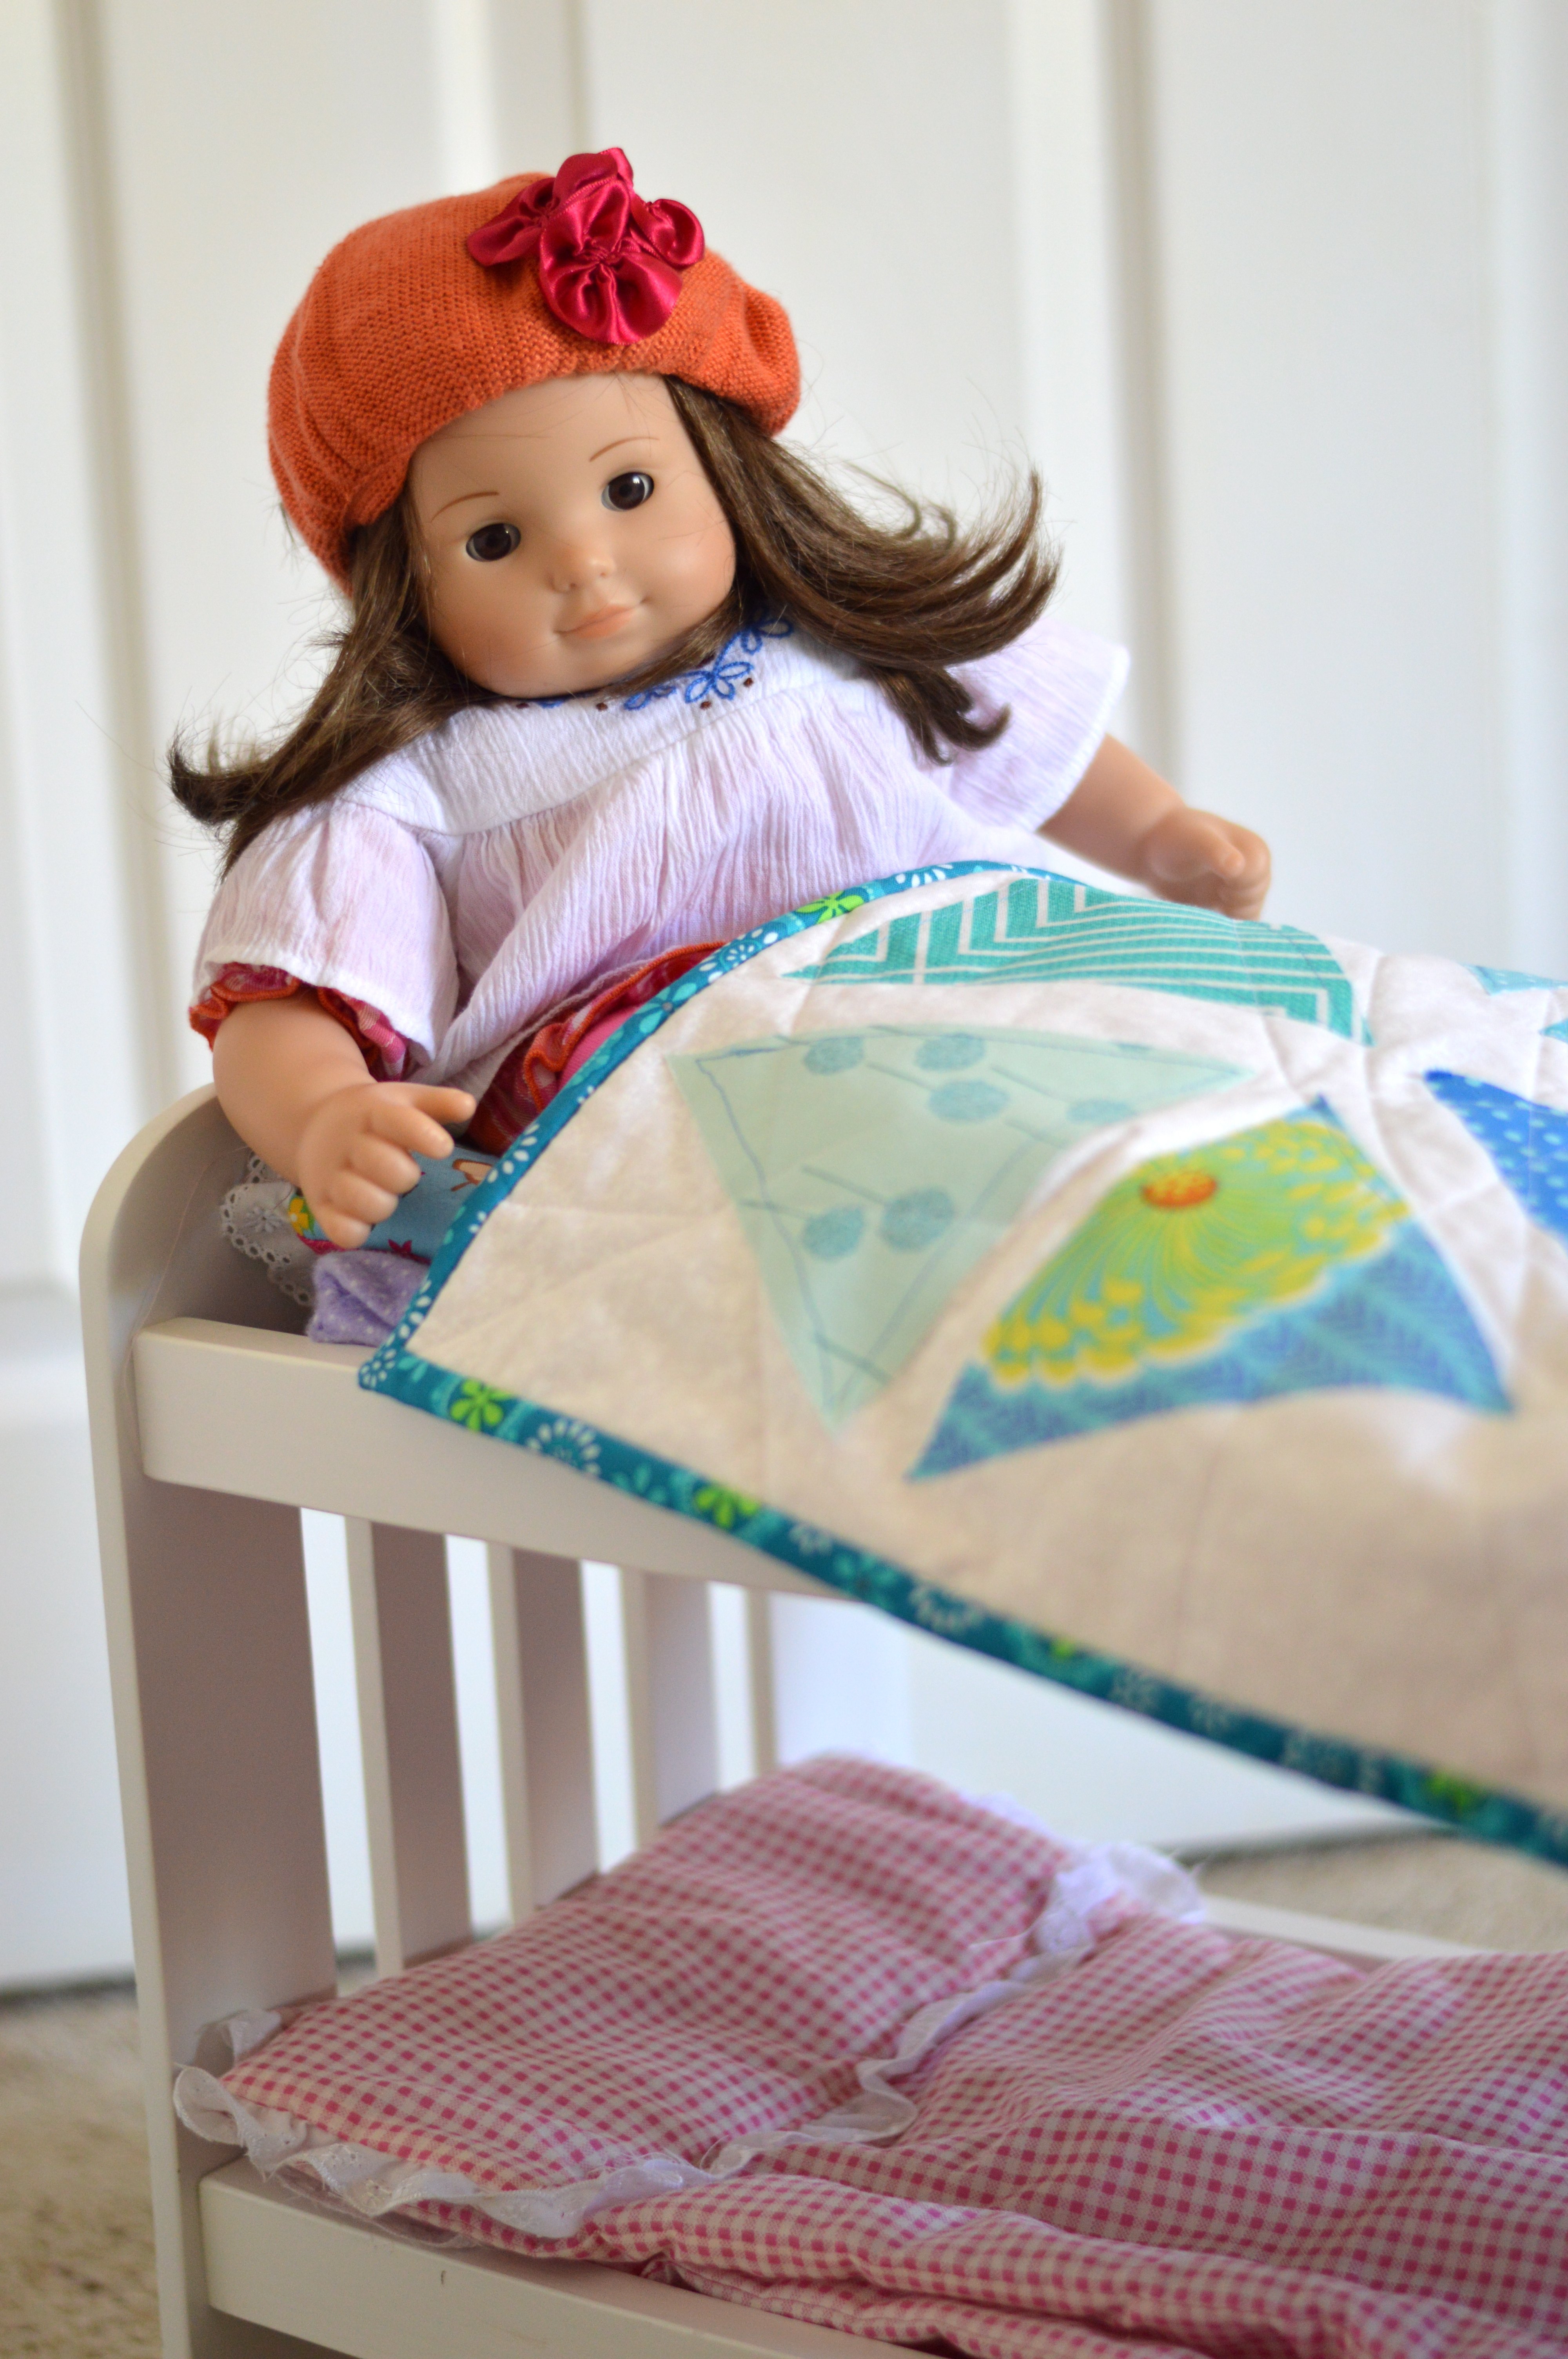
It’s the perfect size for her American Girl dolls and she is thrilled that she made it herself! Do you sew with your kids? Sally is excited to begin a new project!


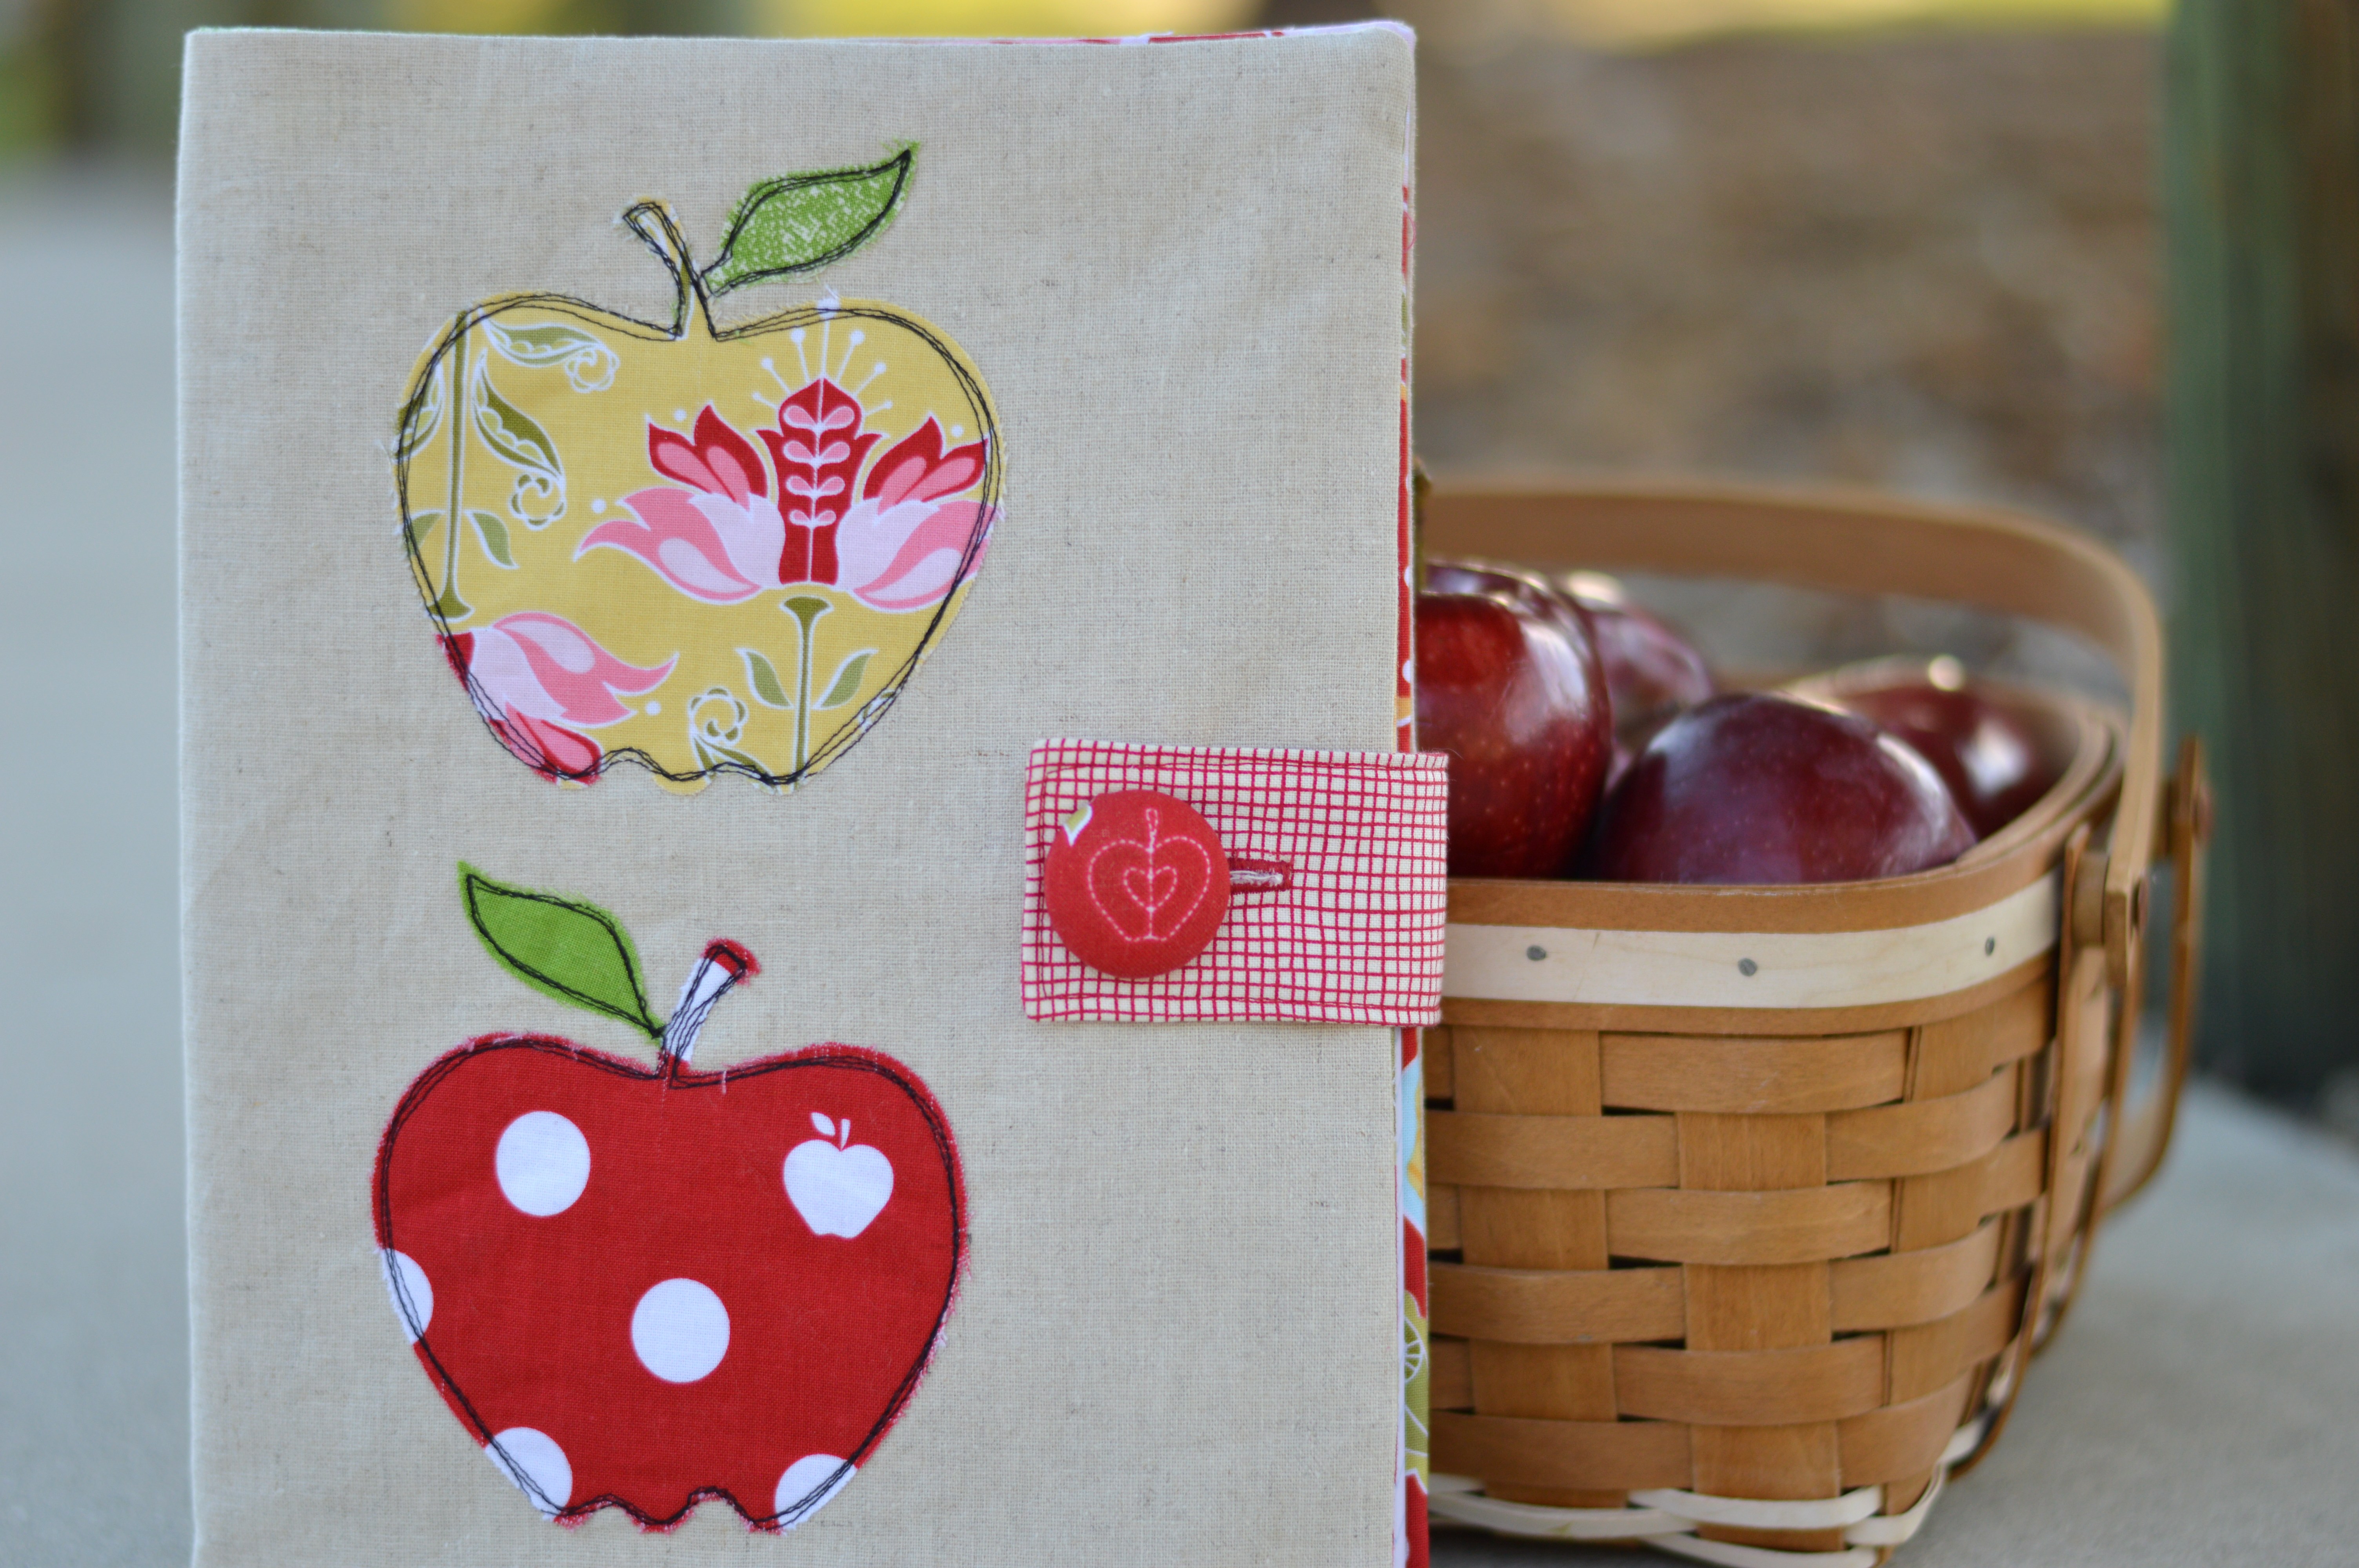
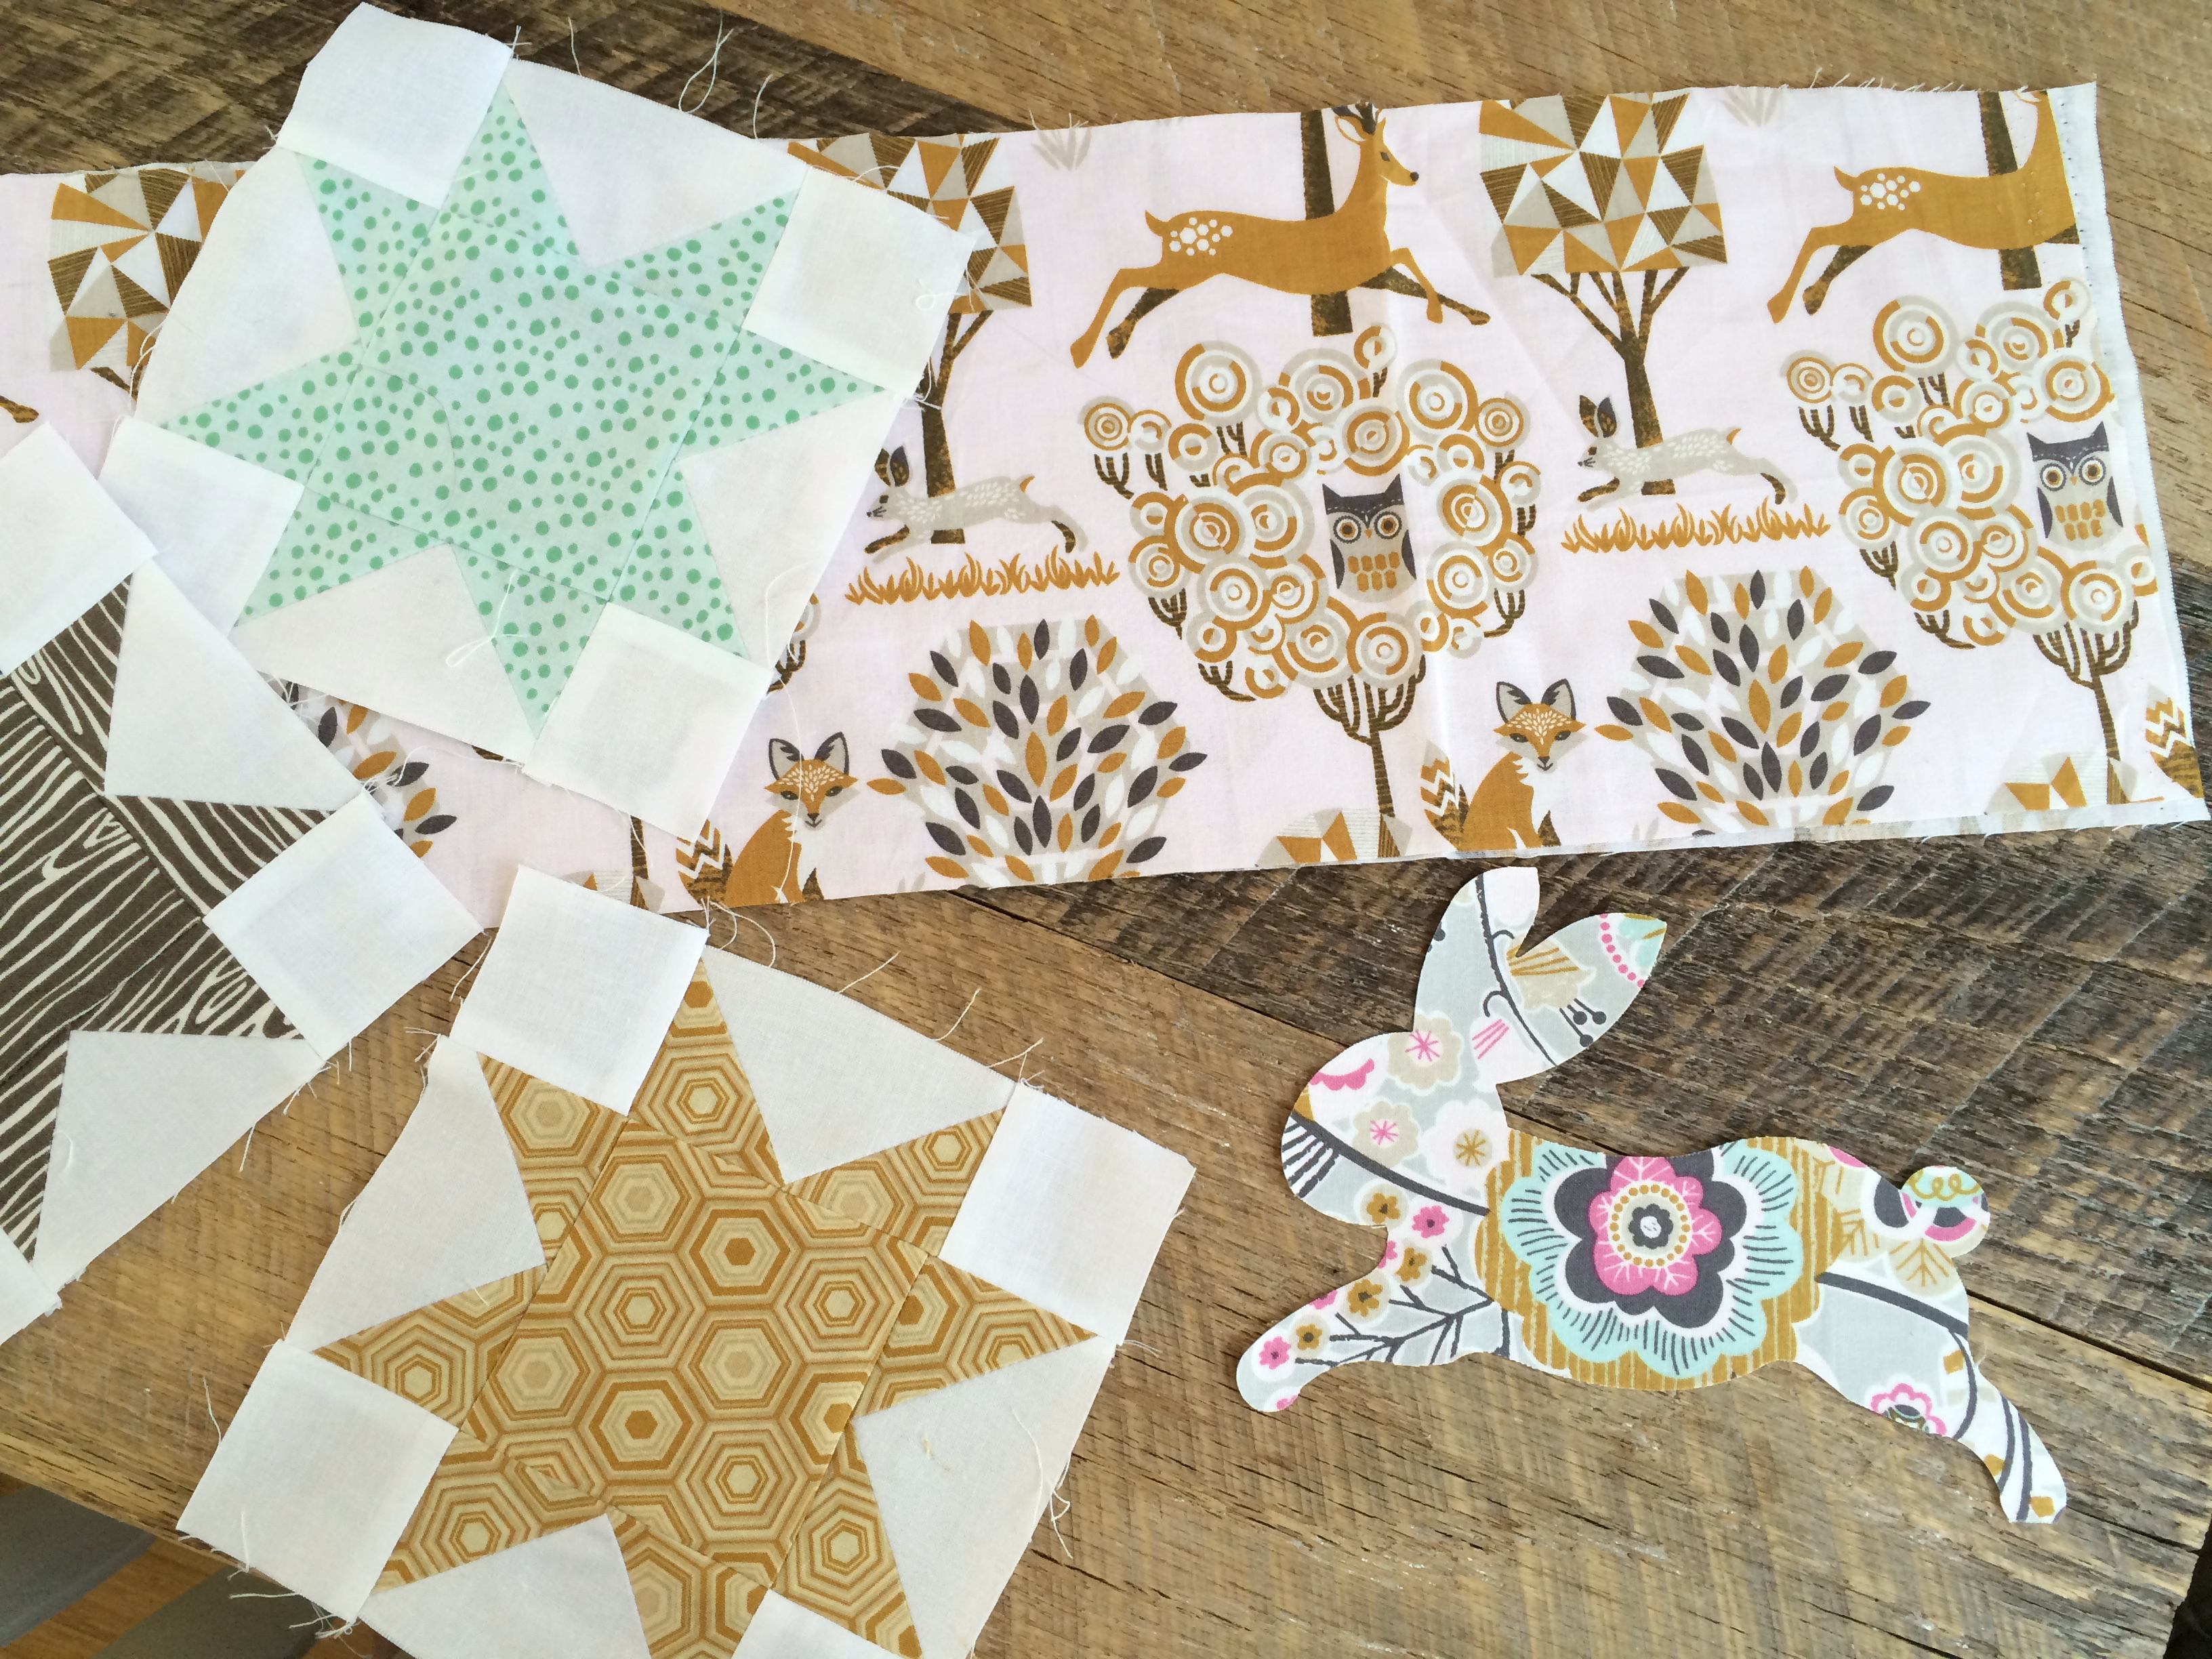
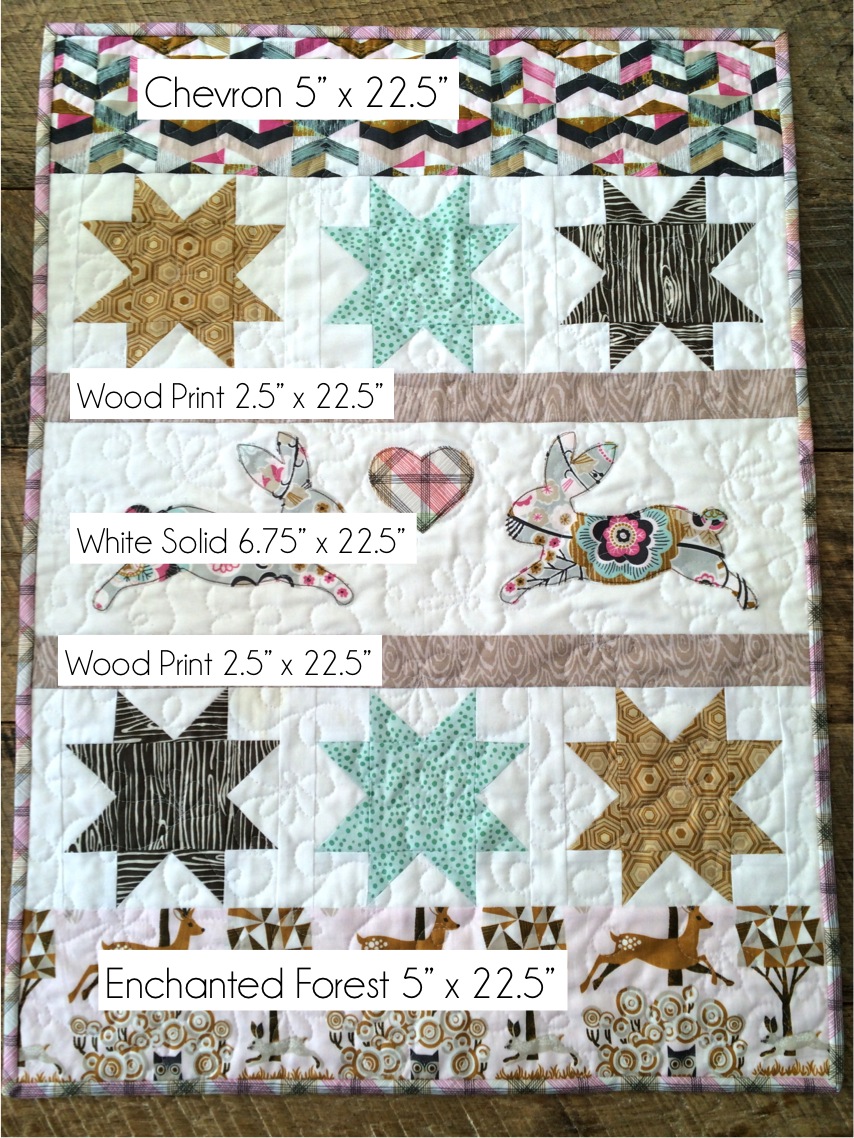
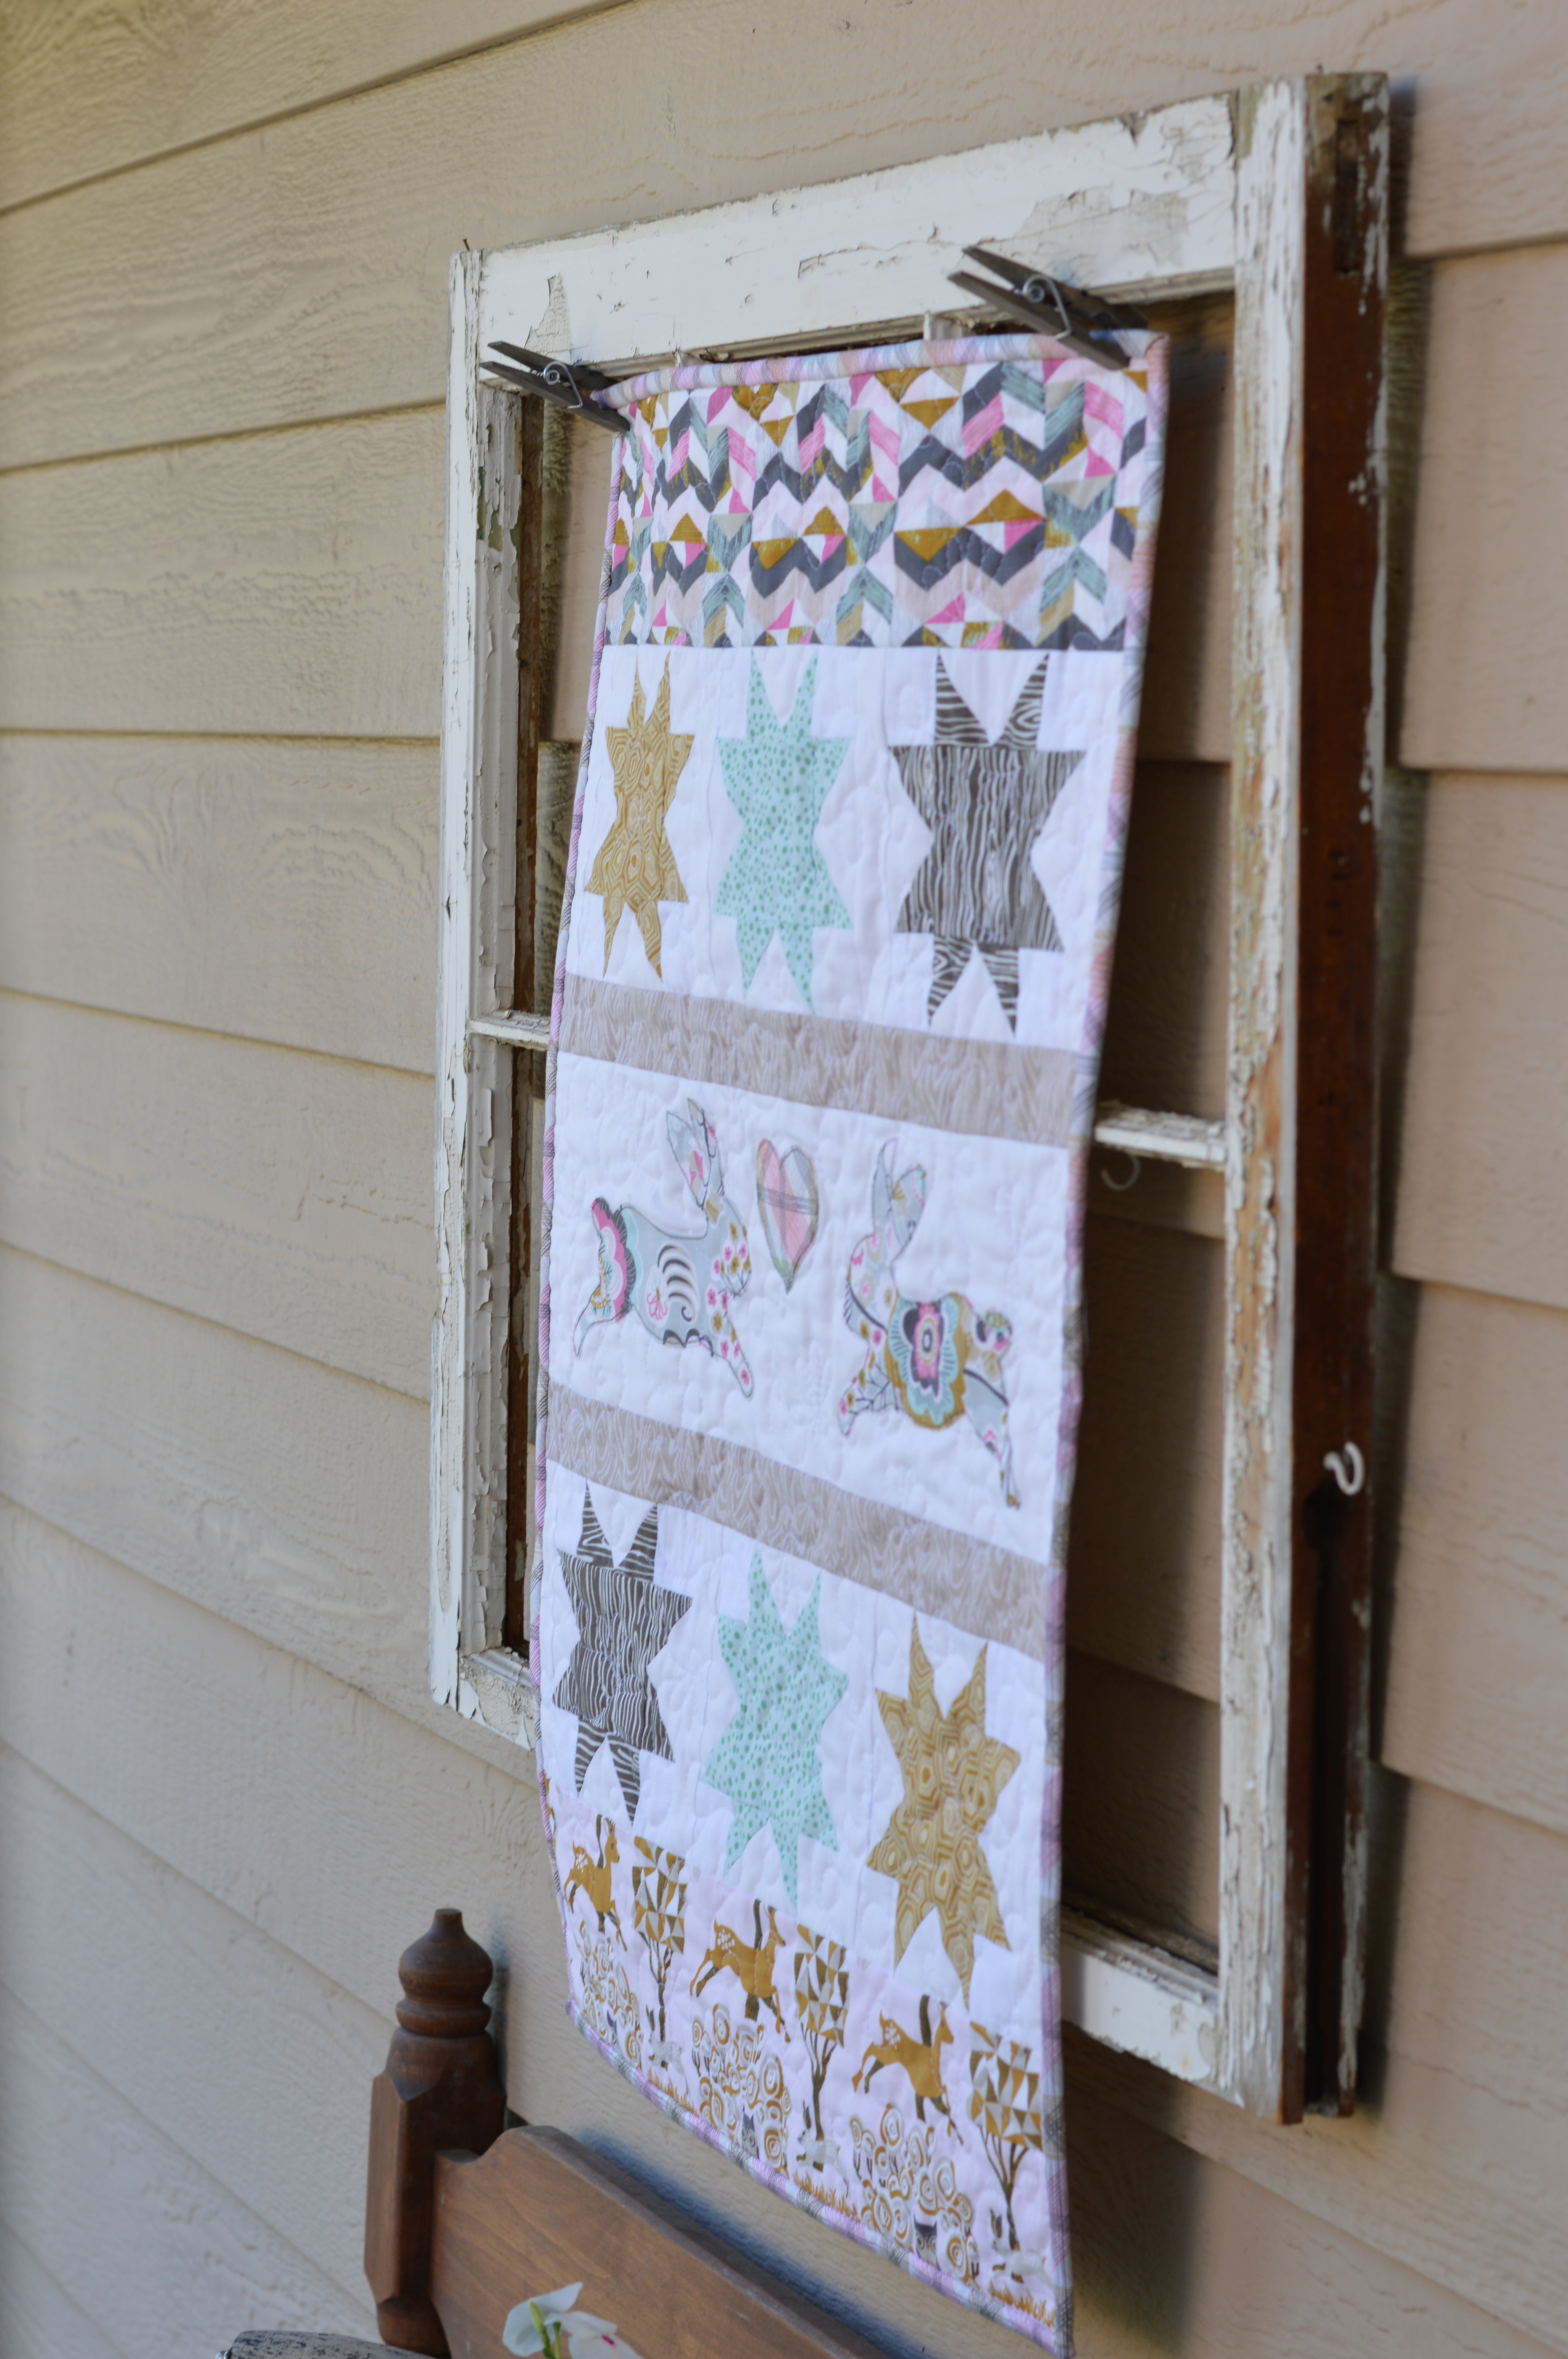
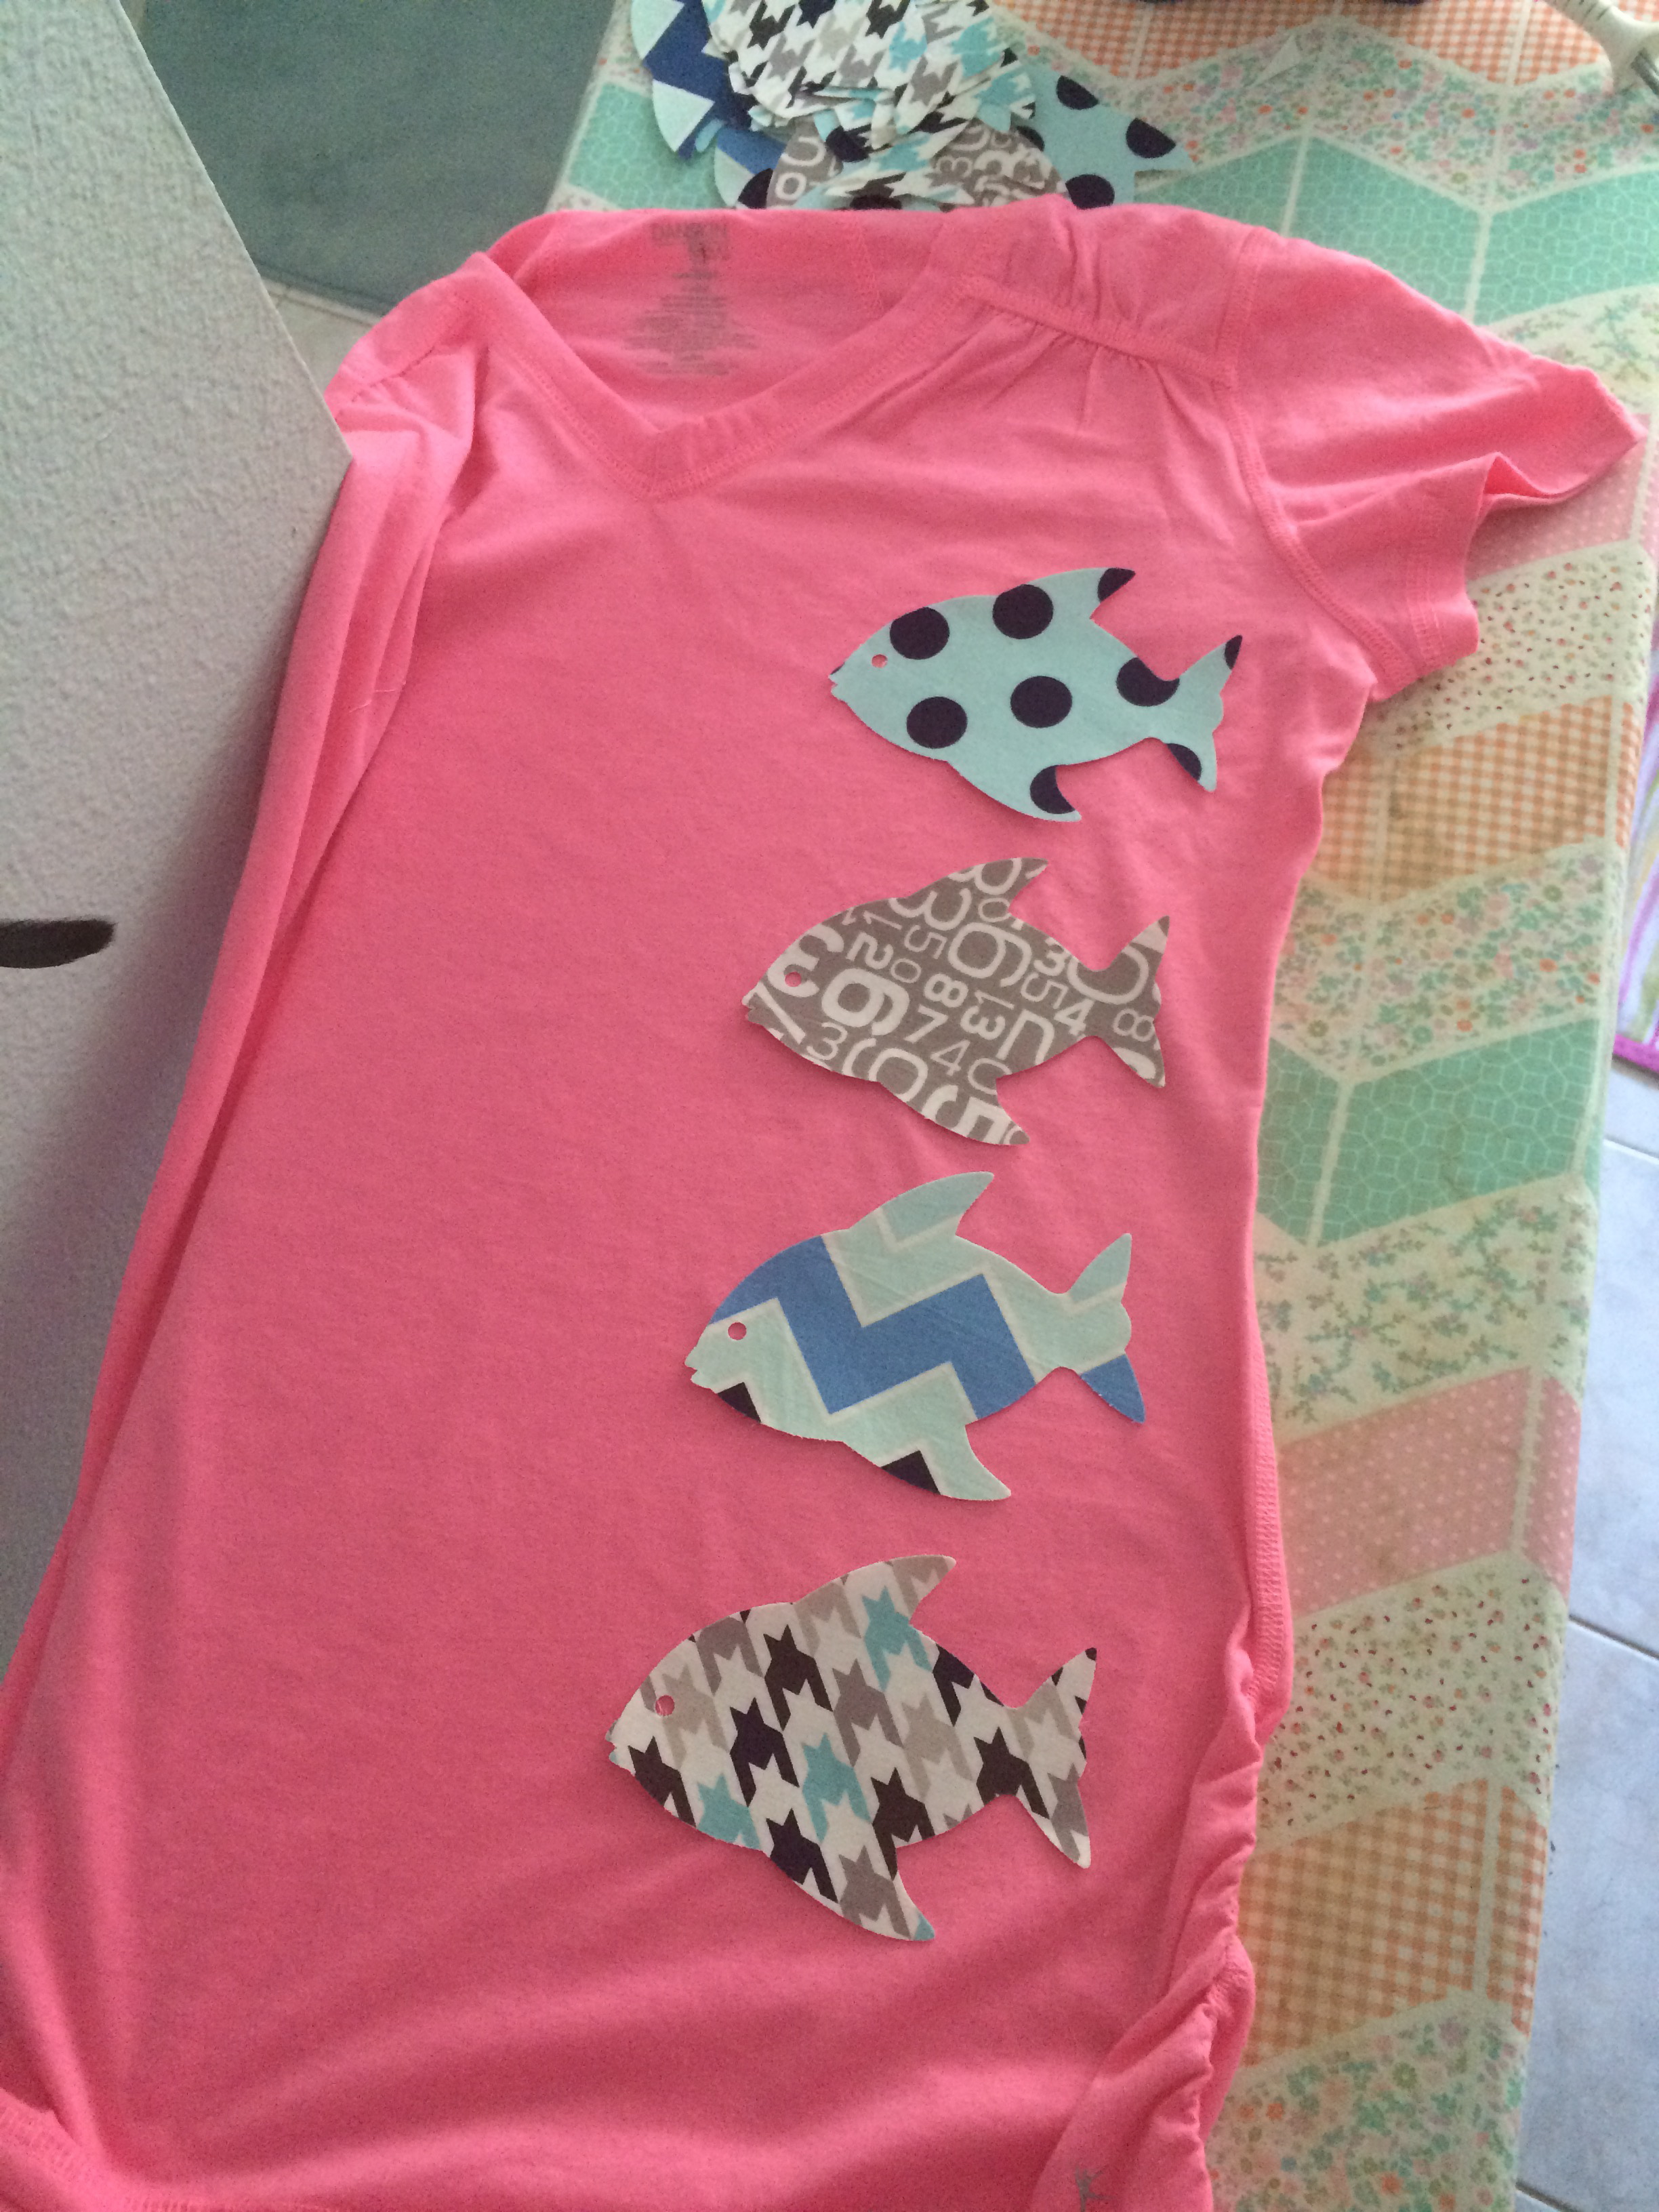
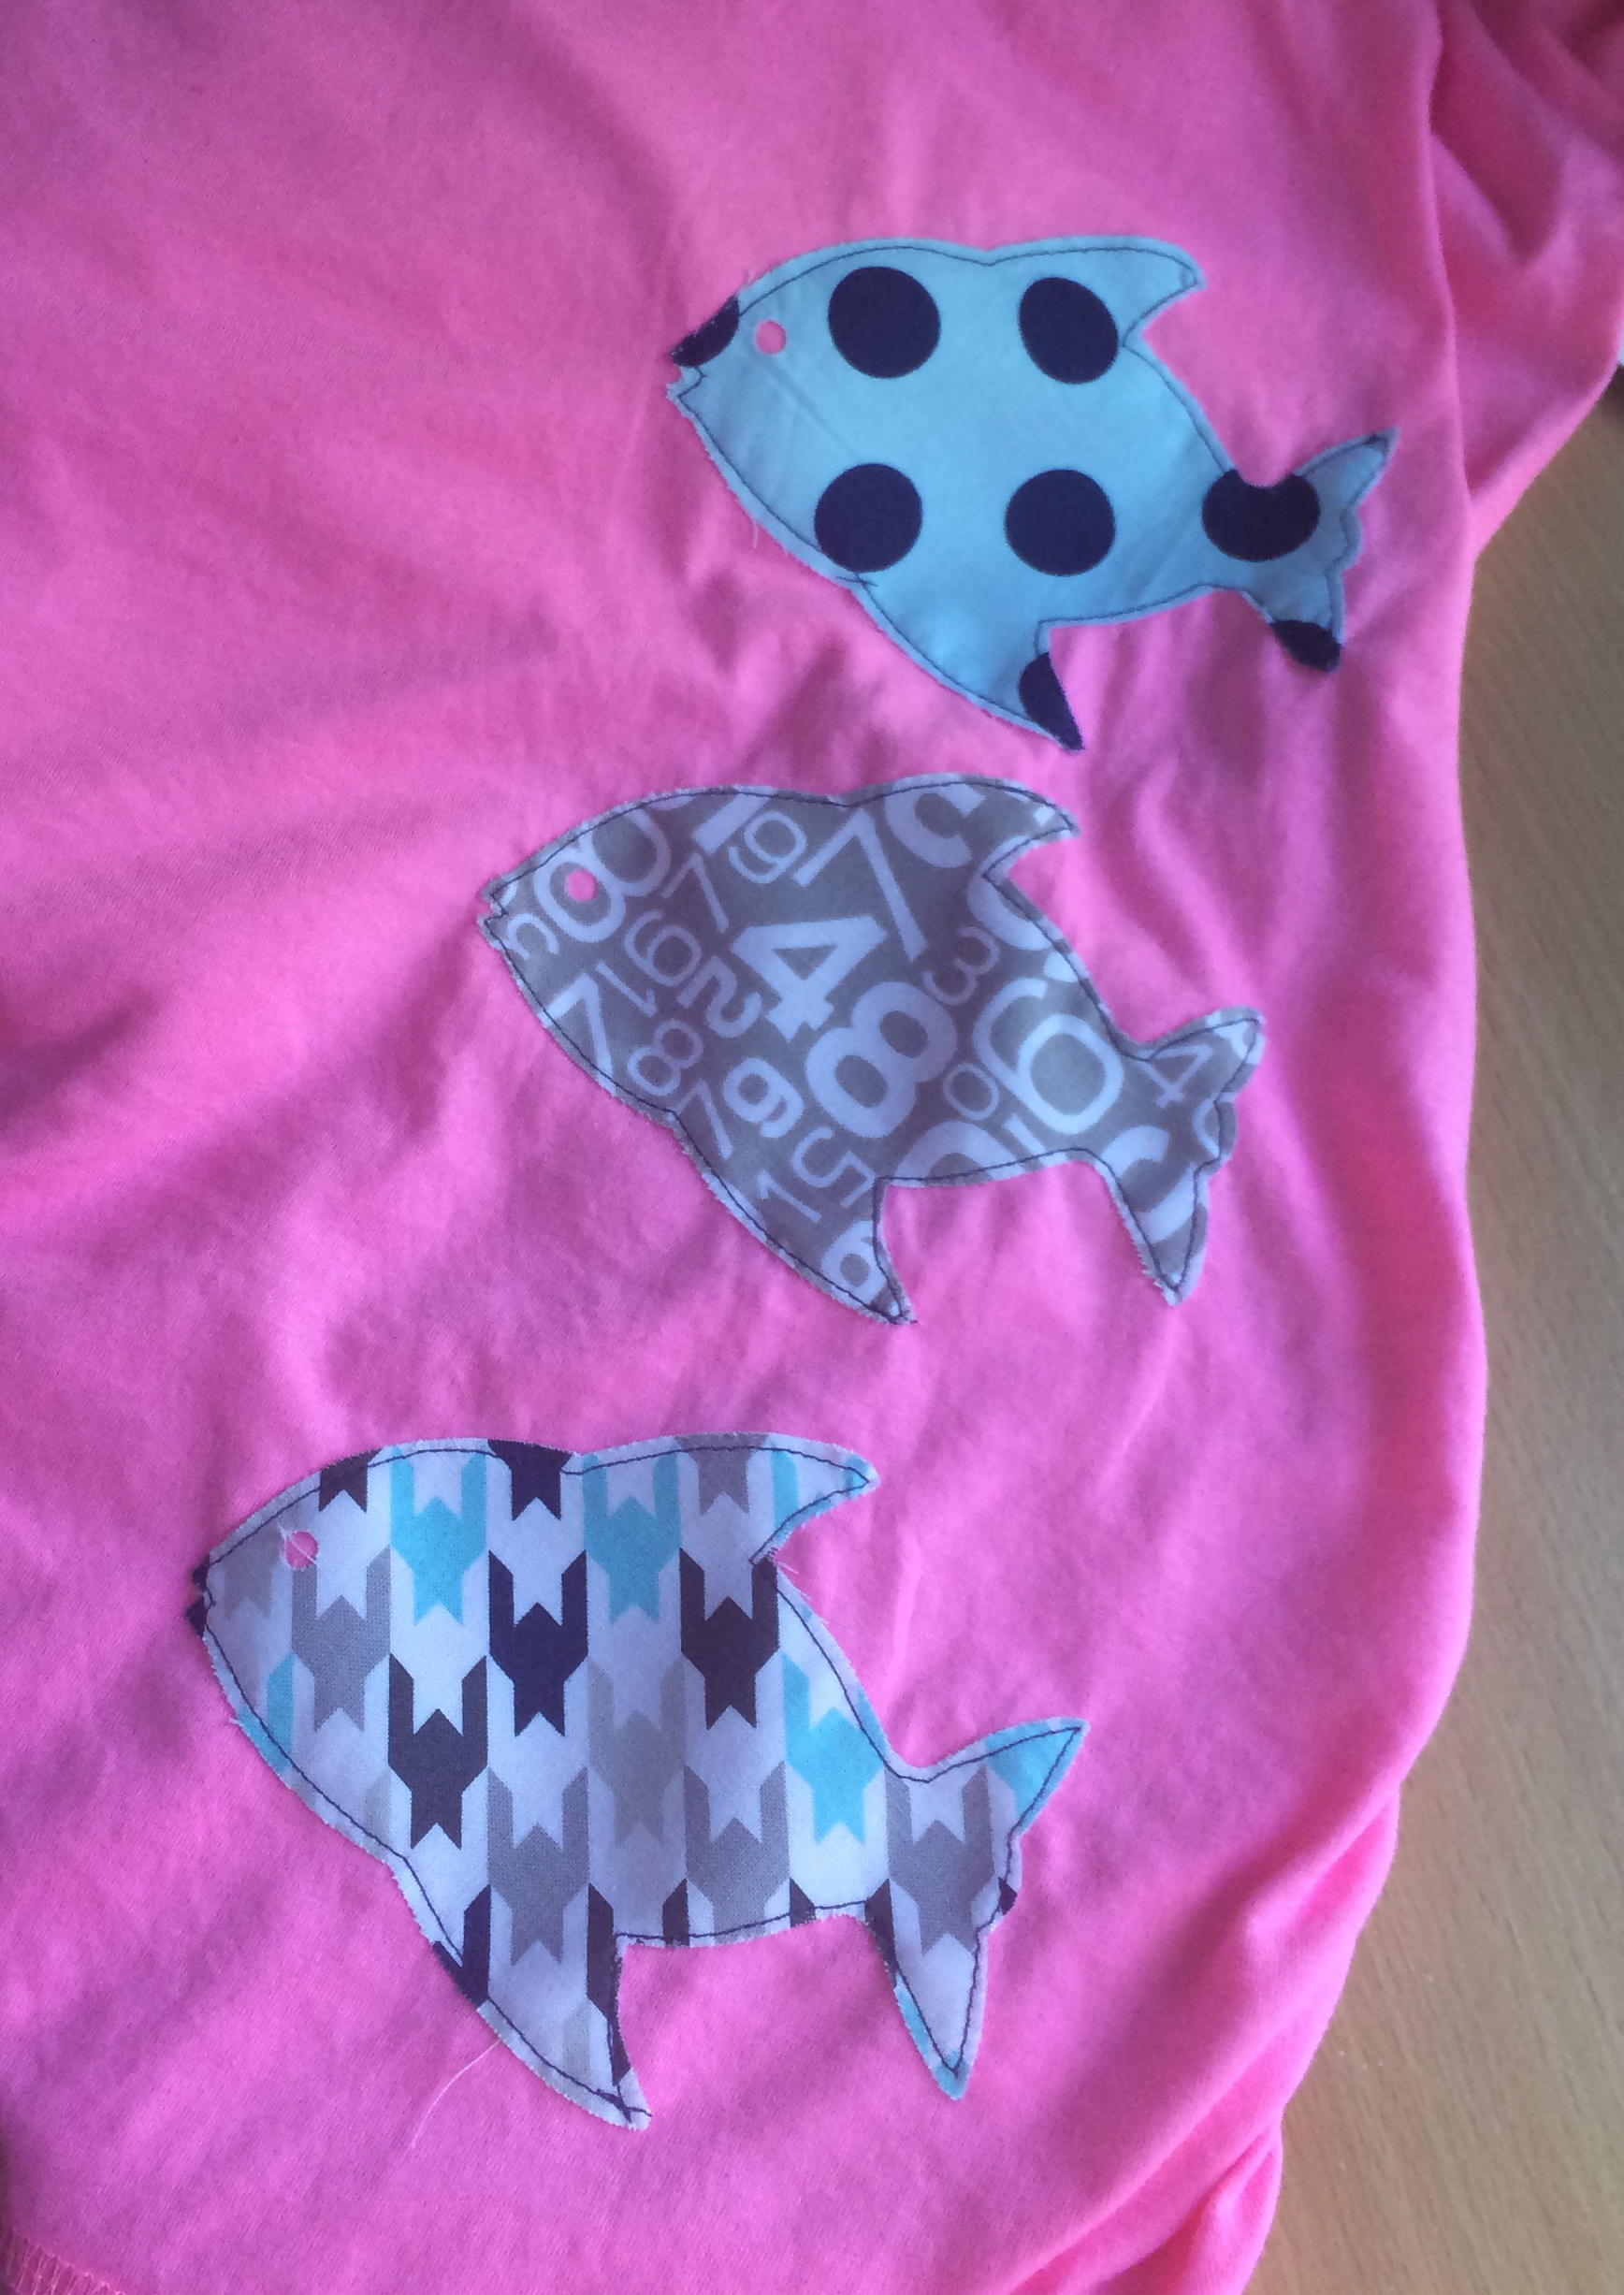
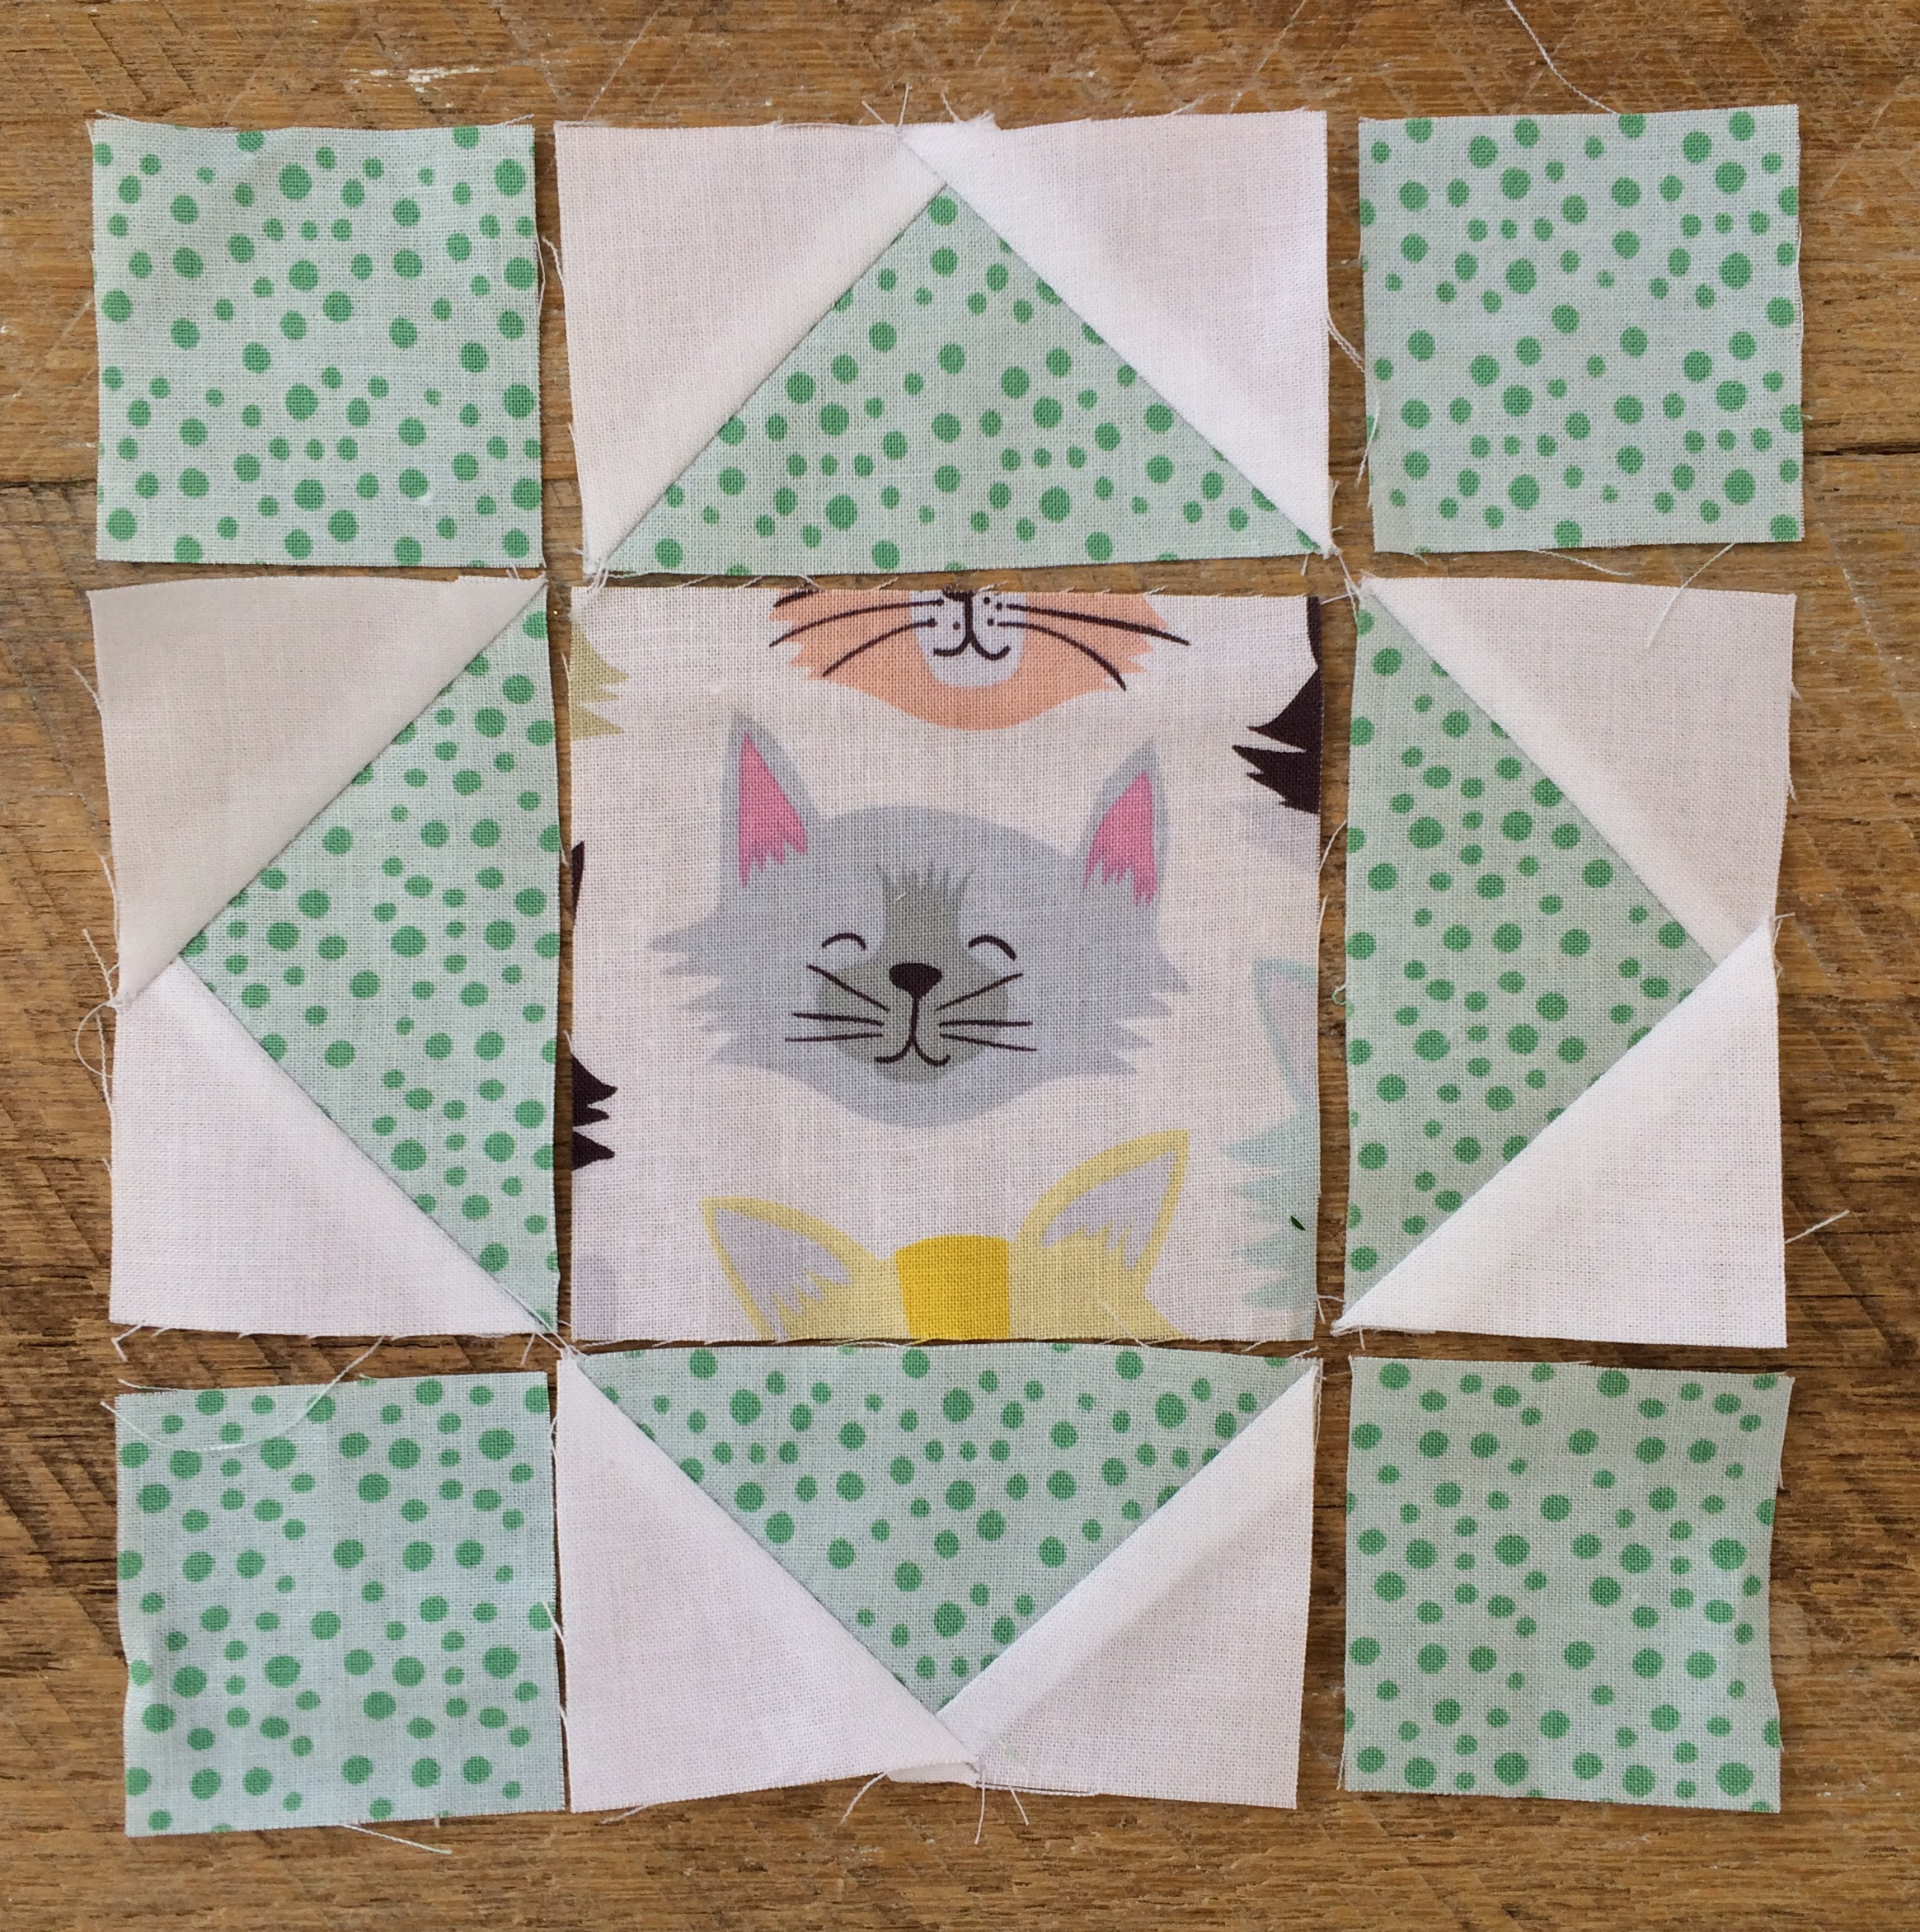
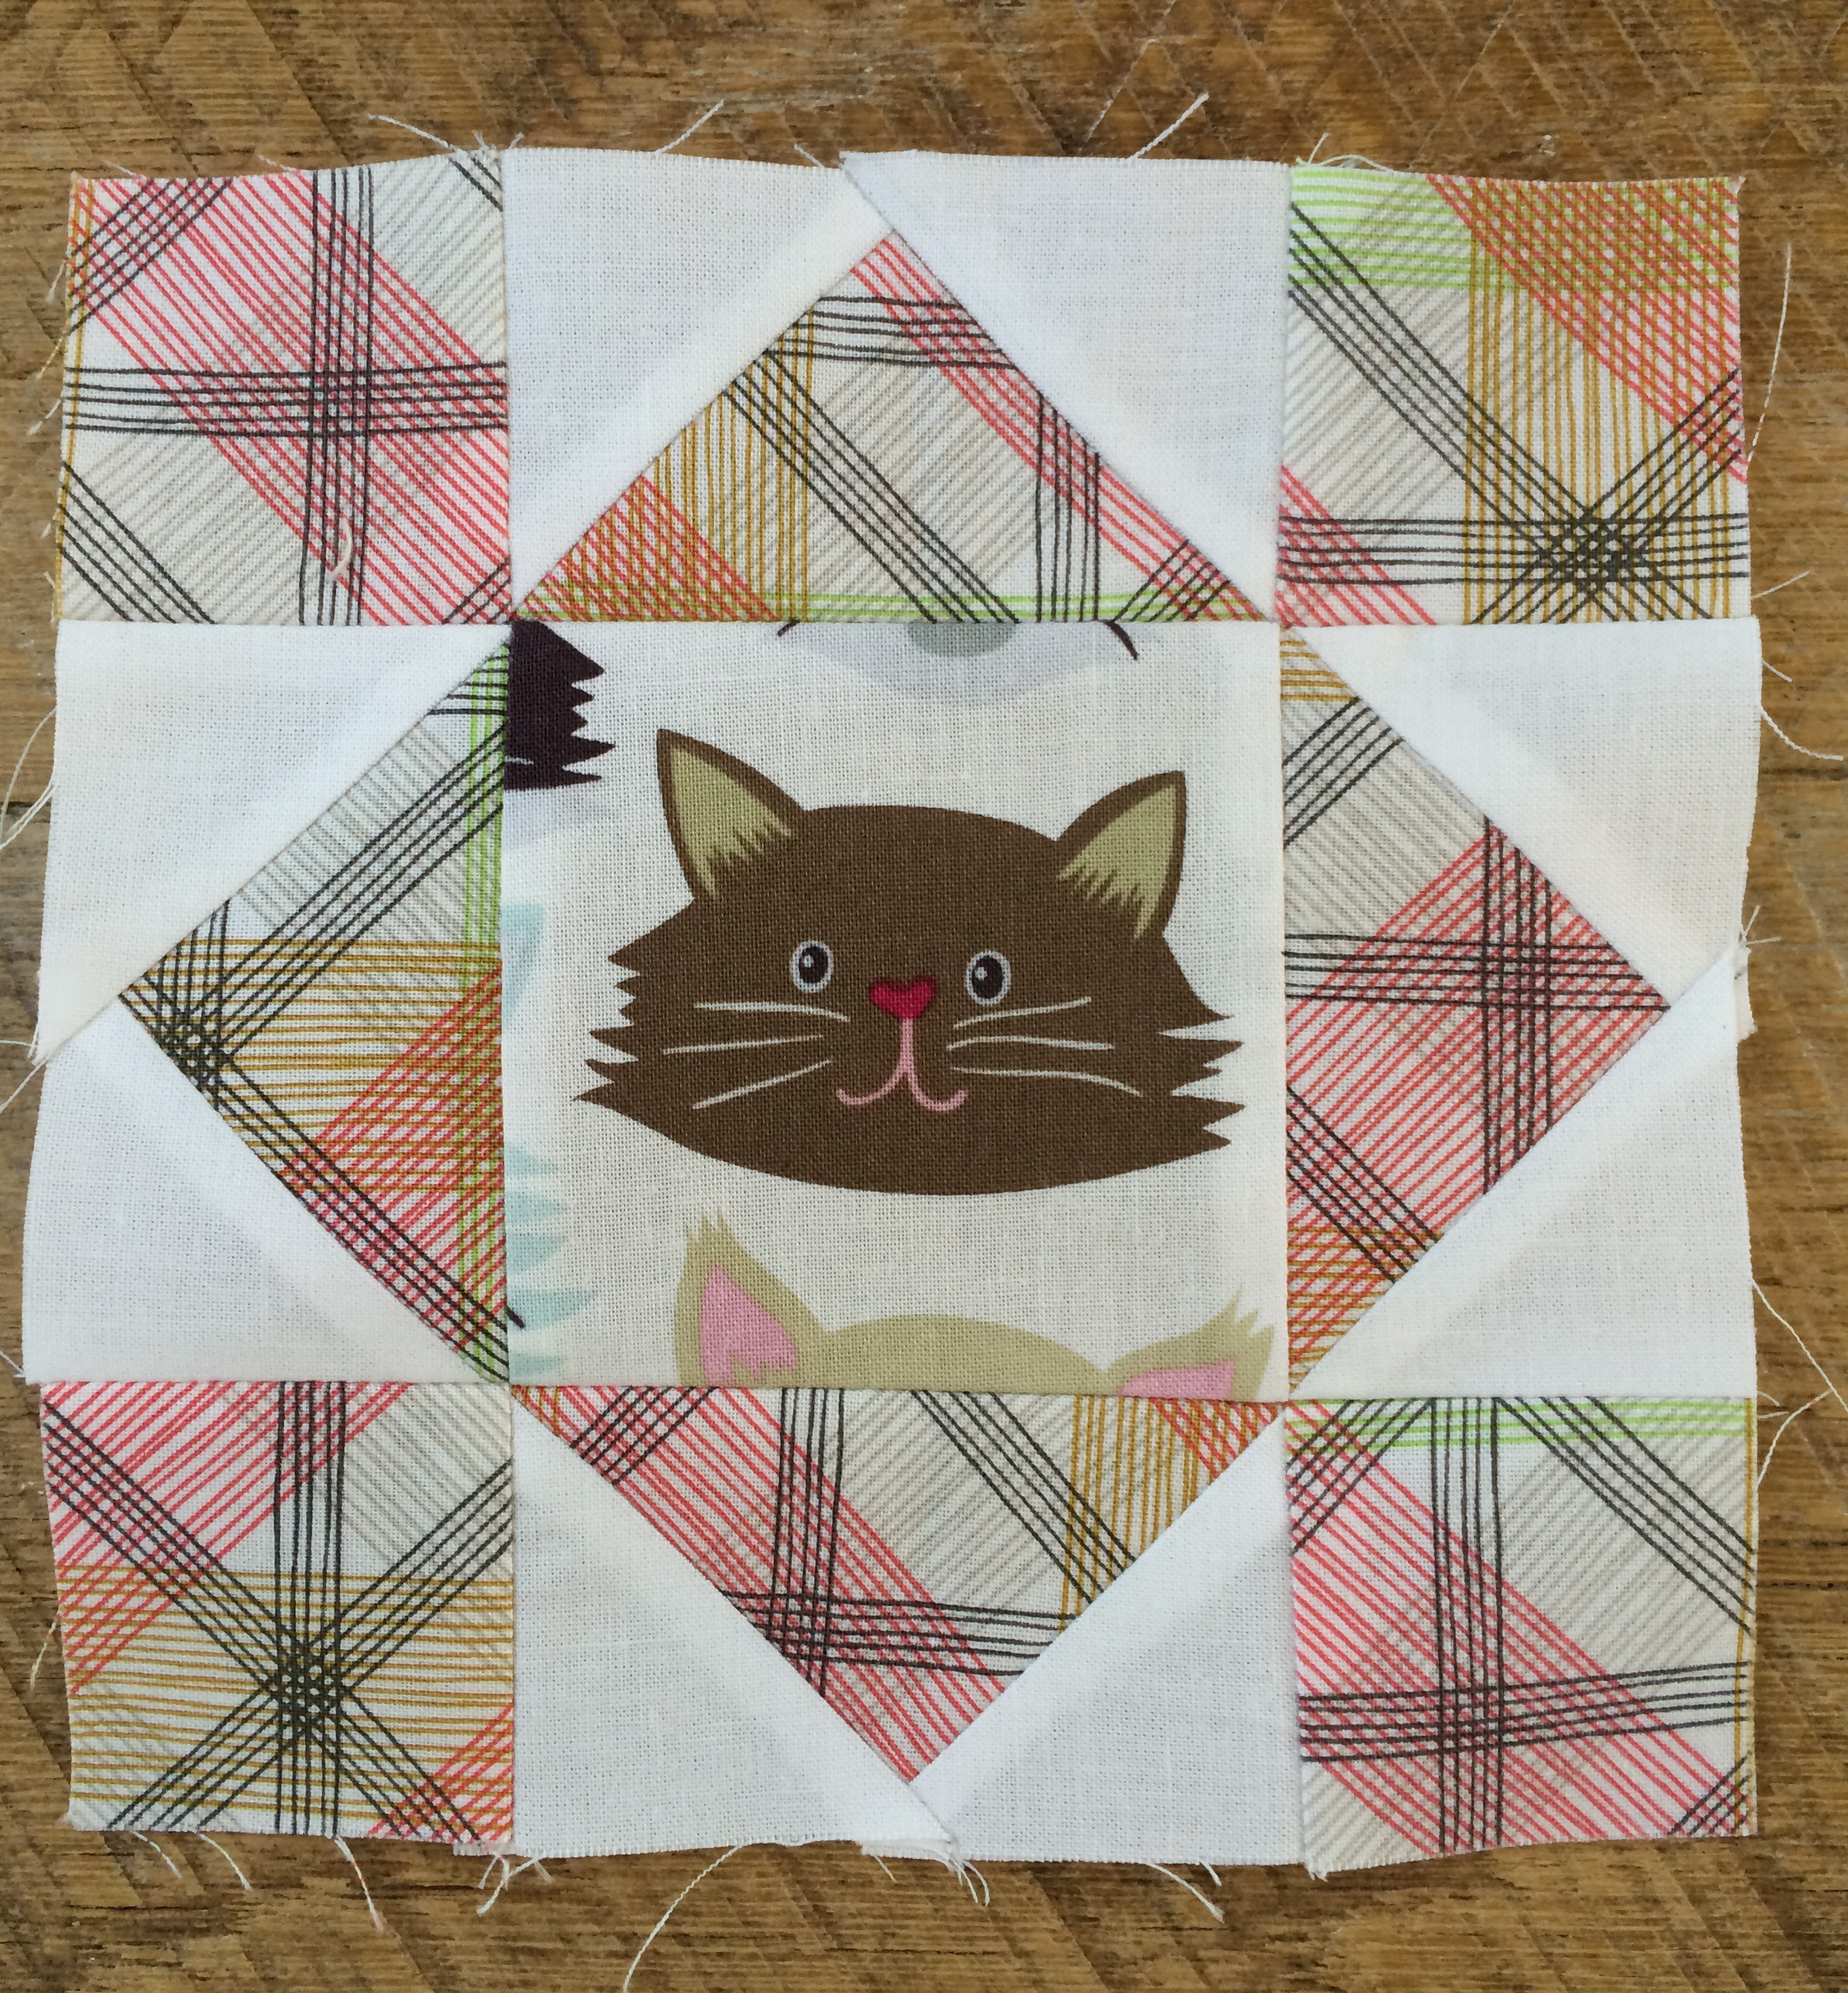
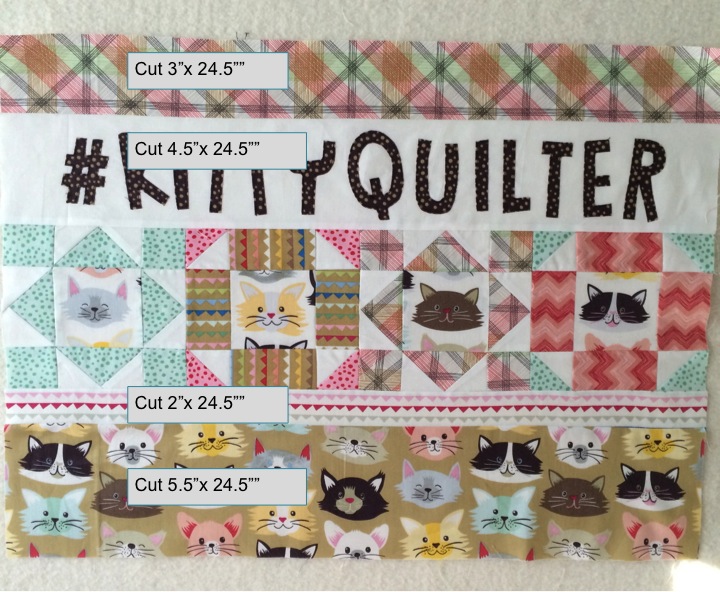
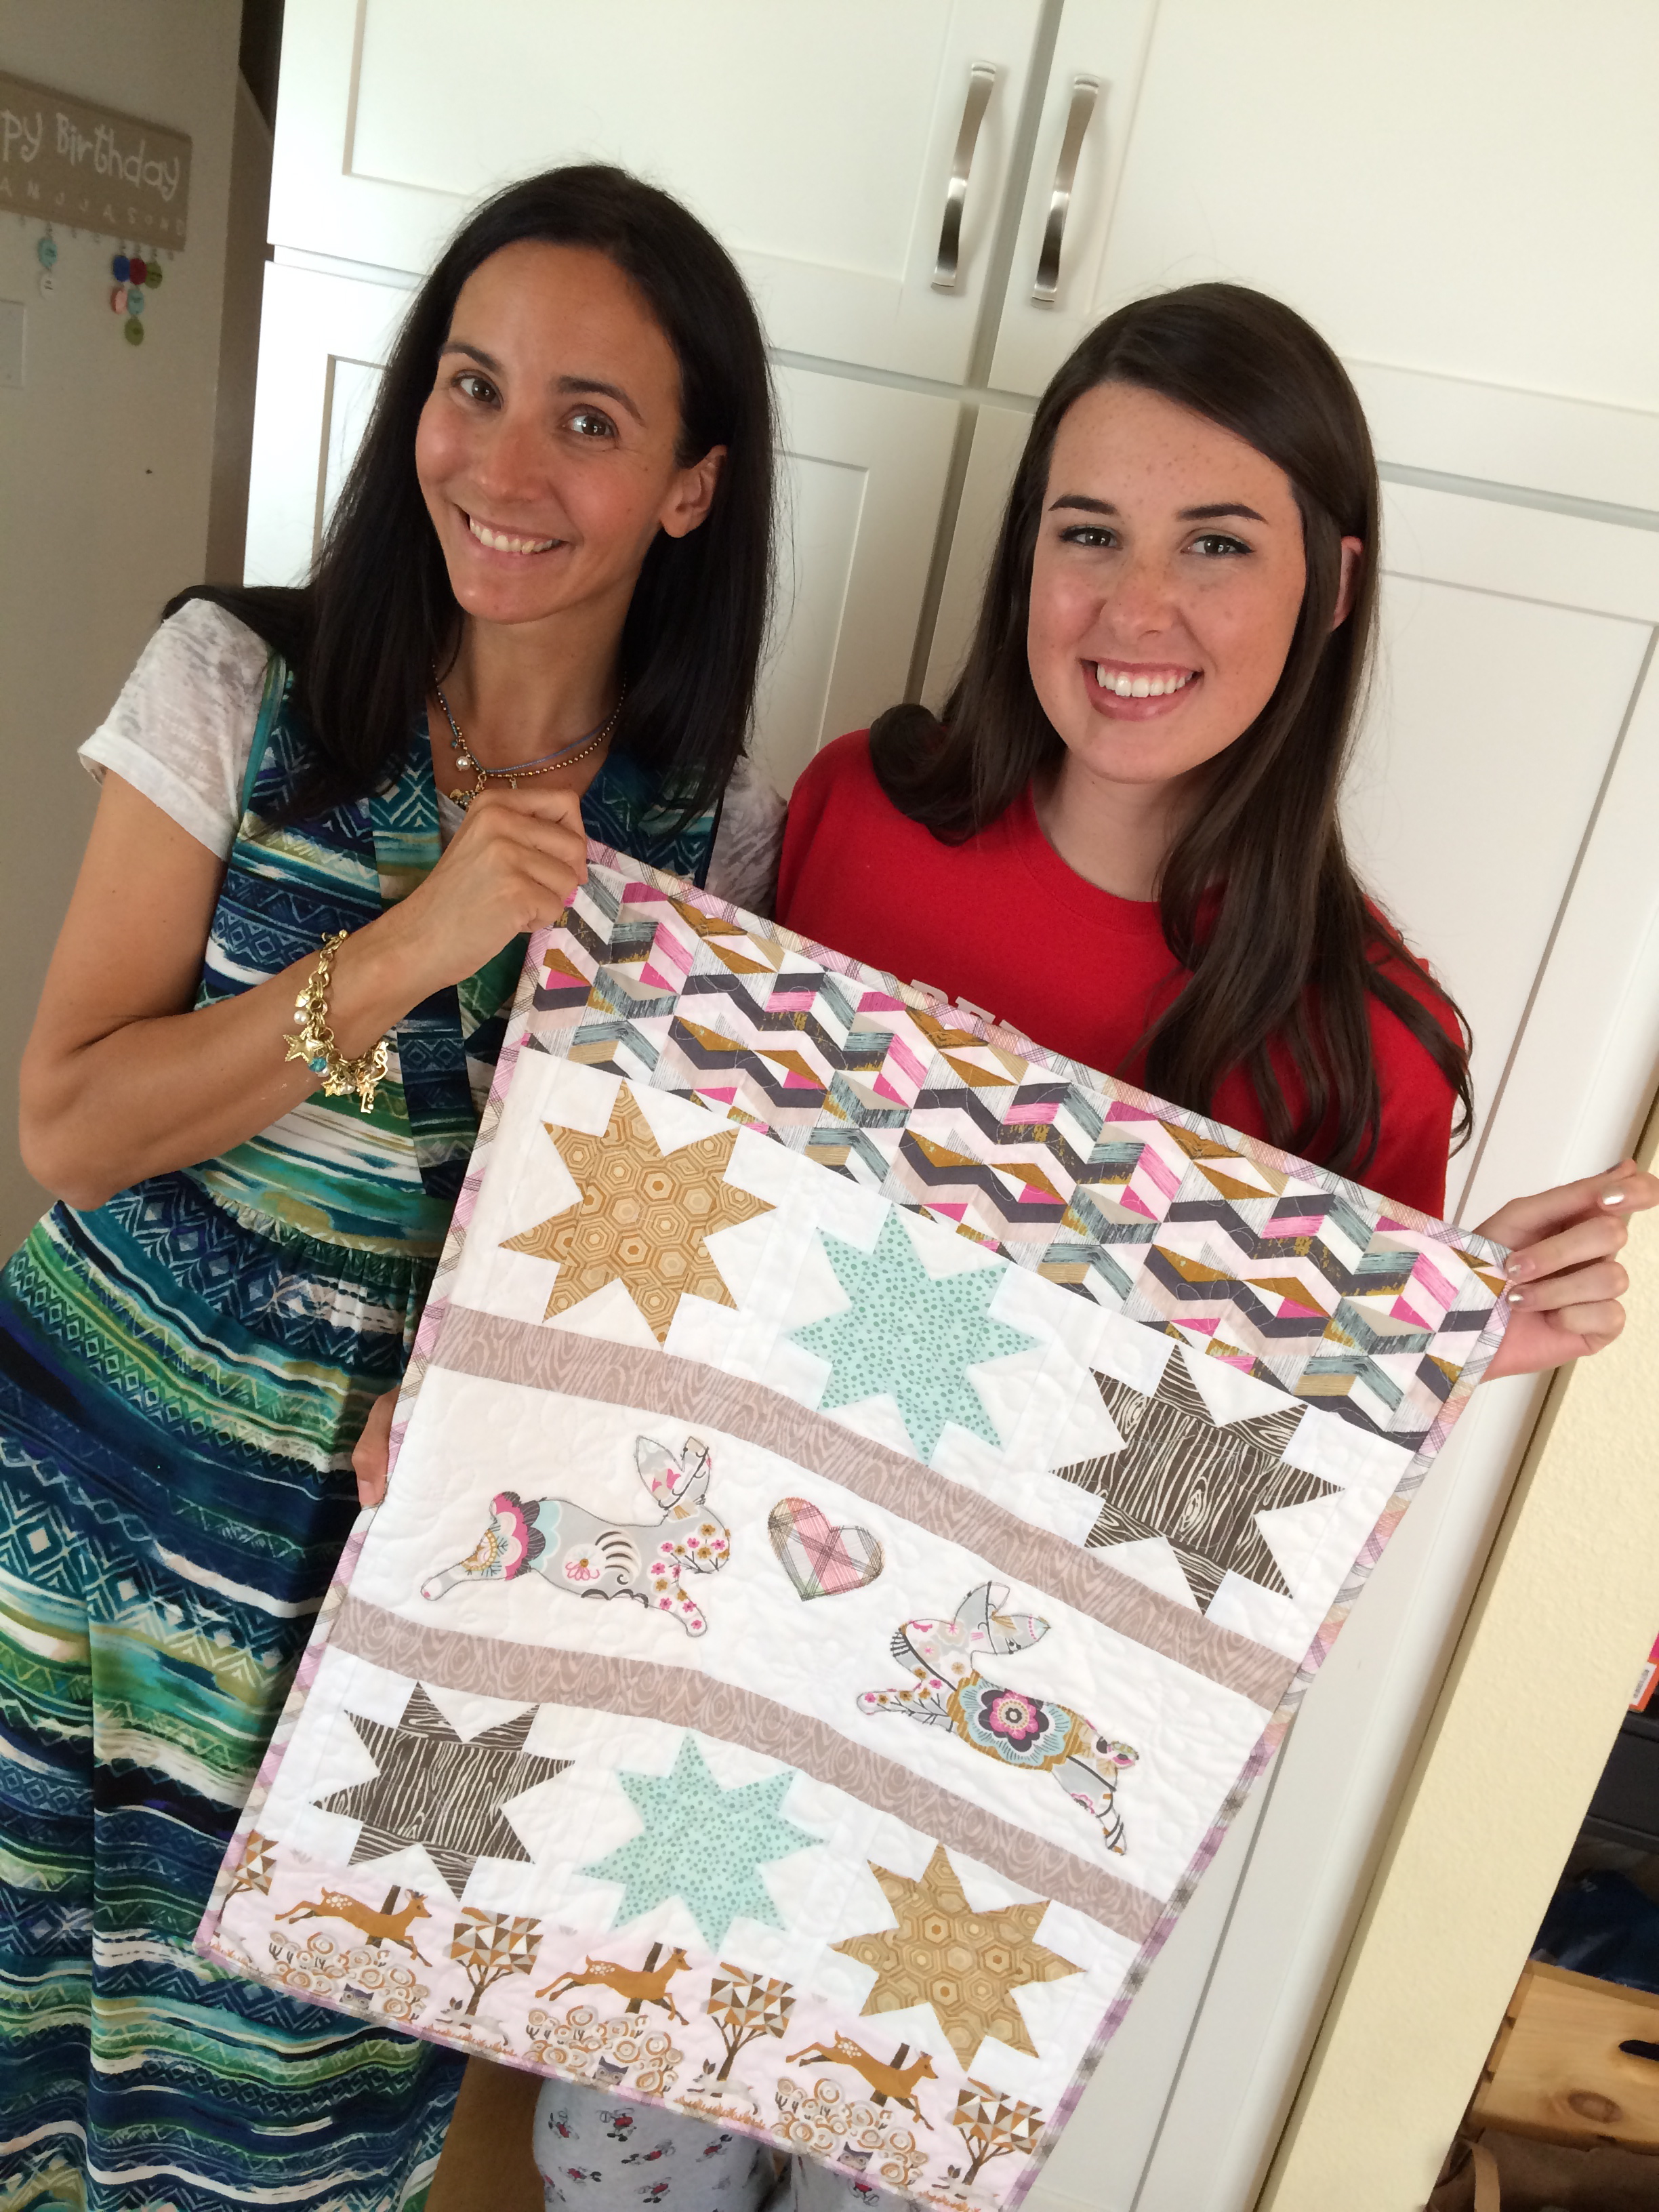
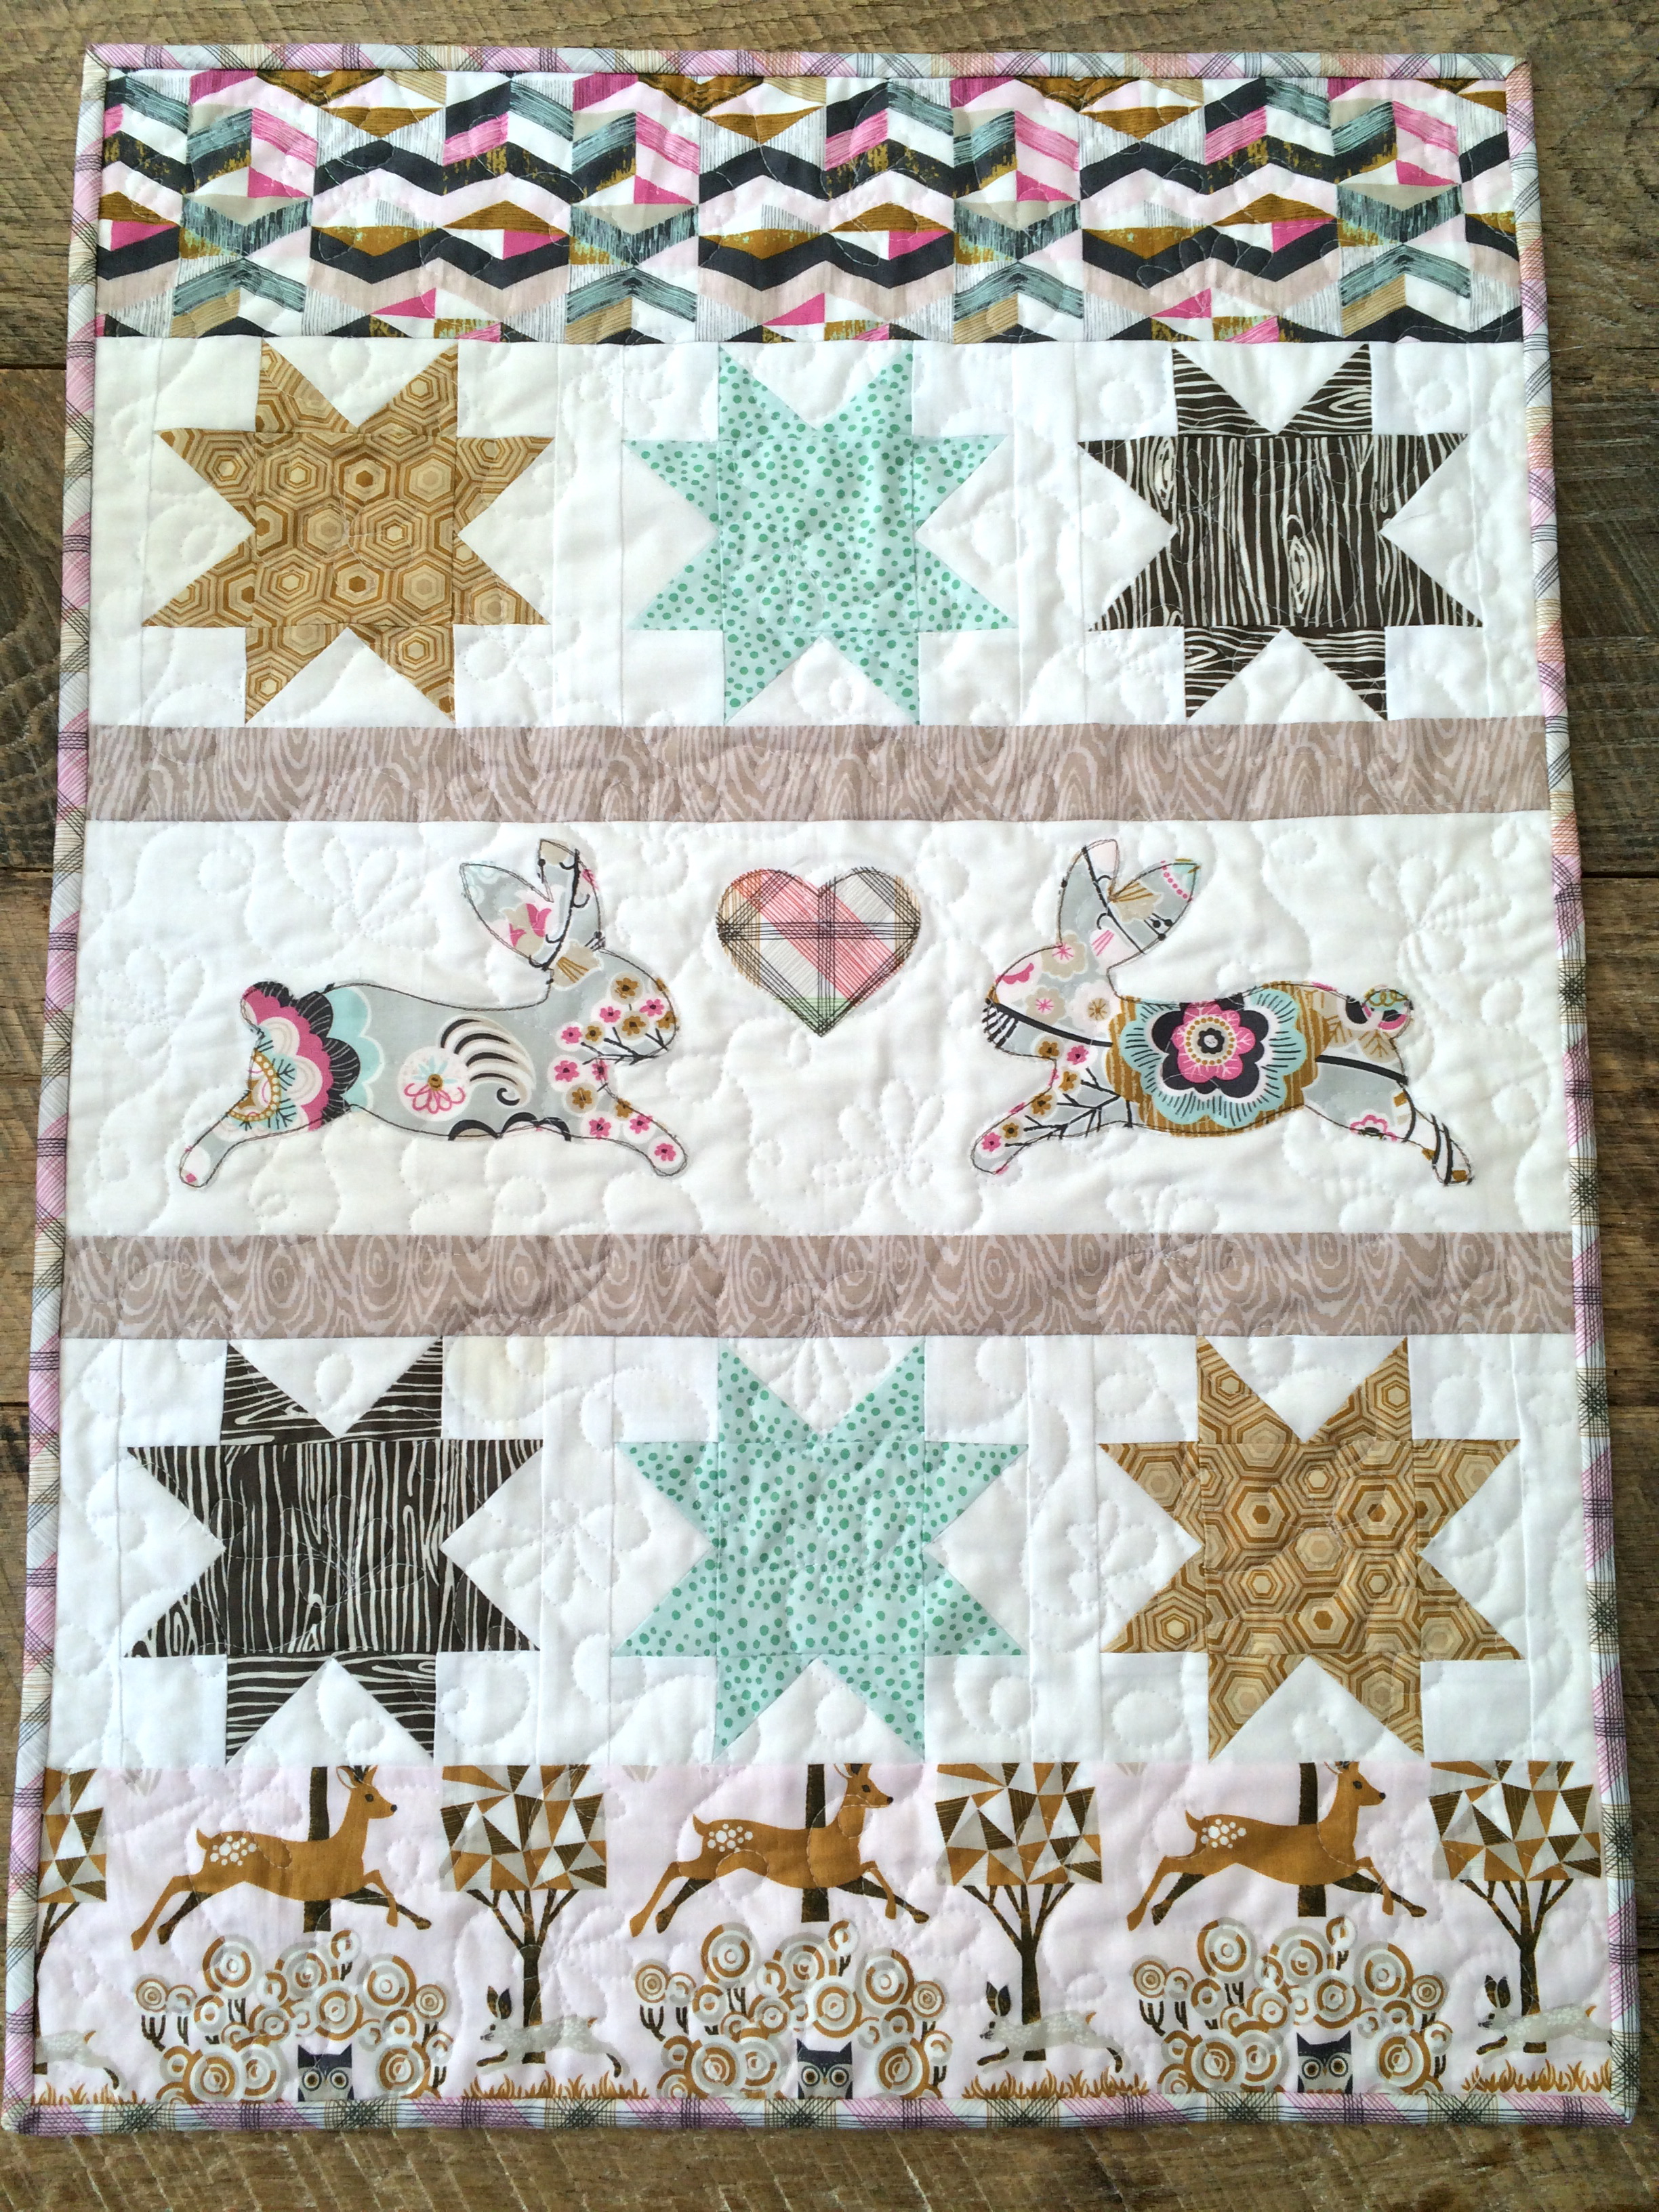
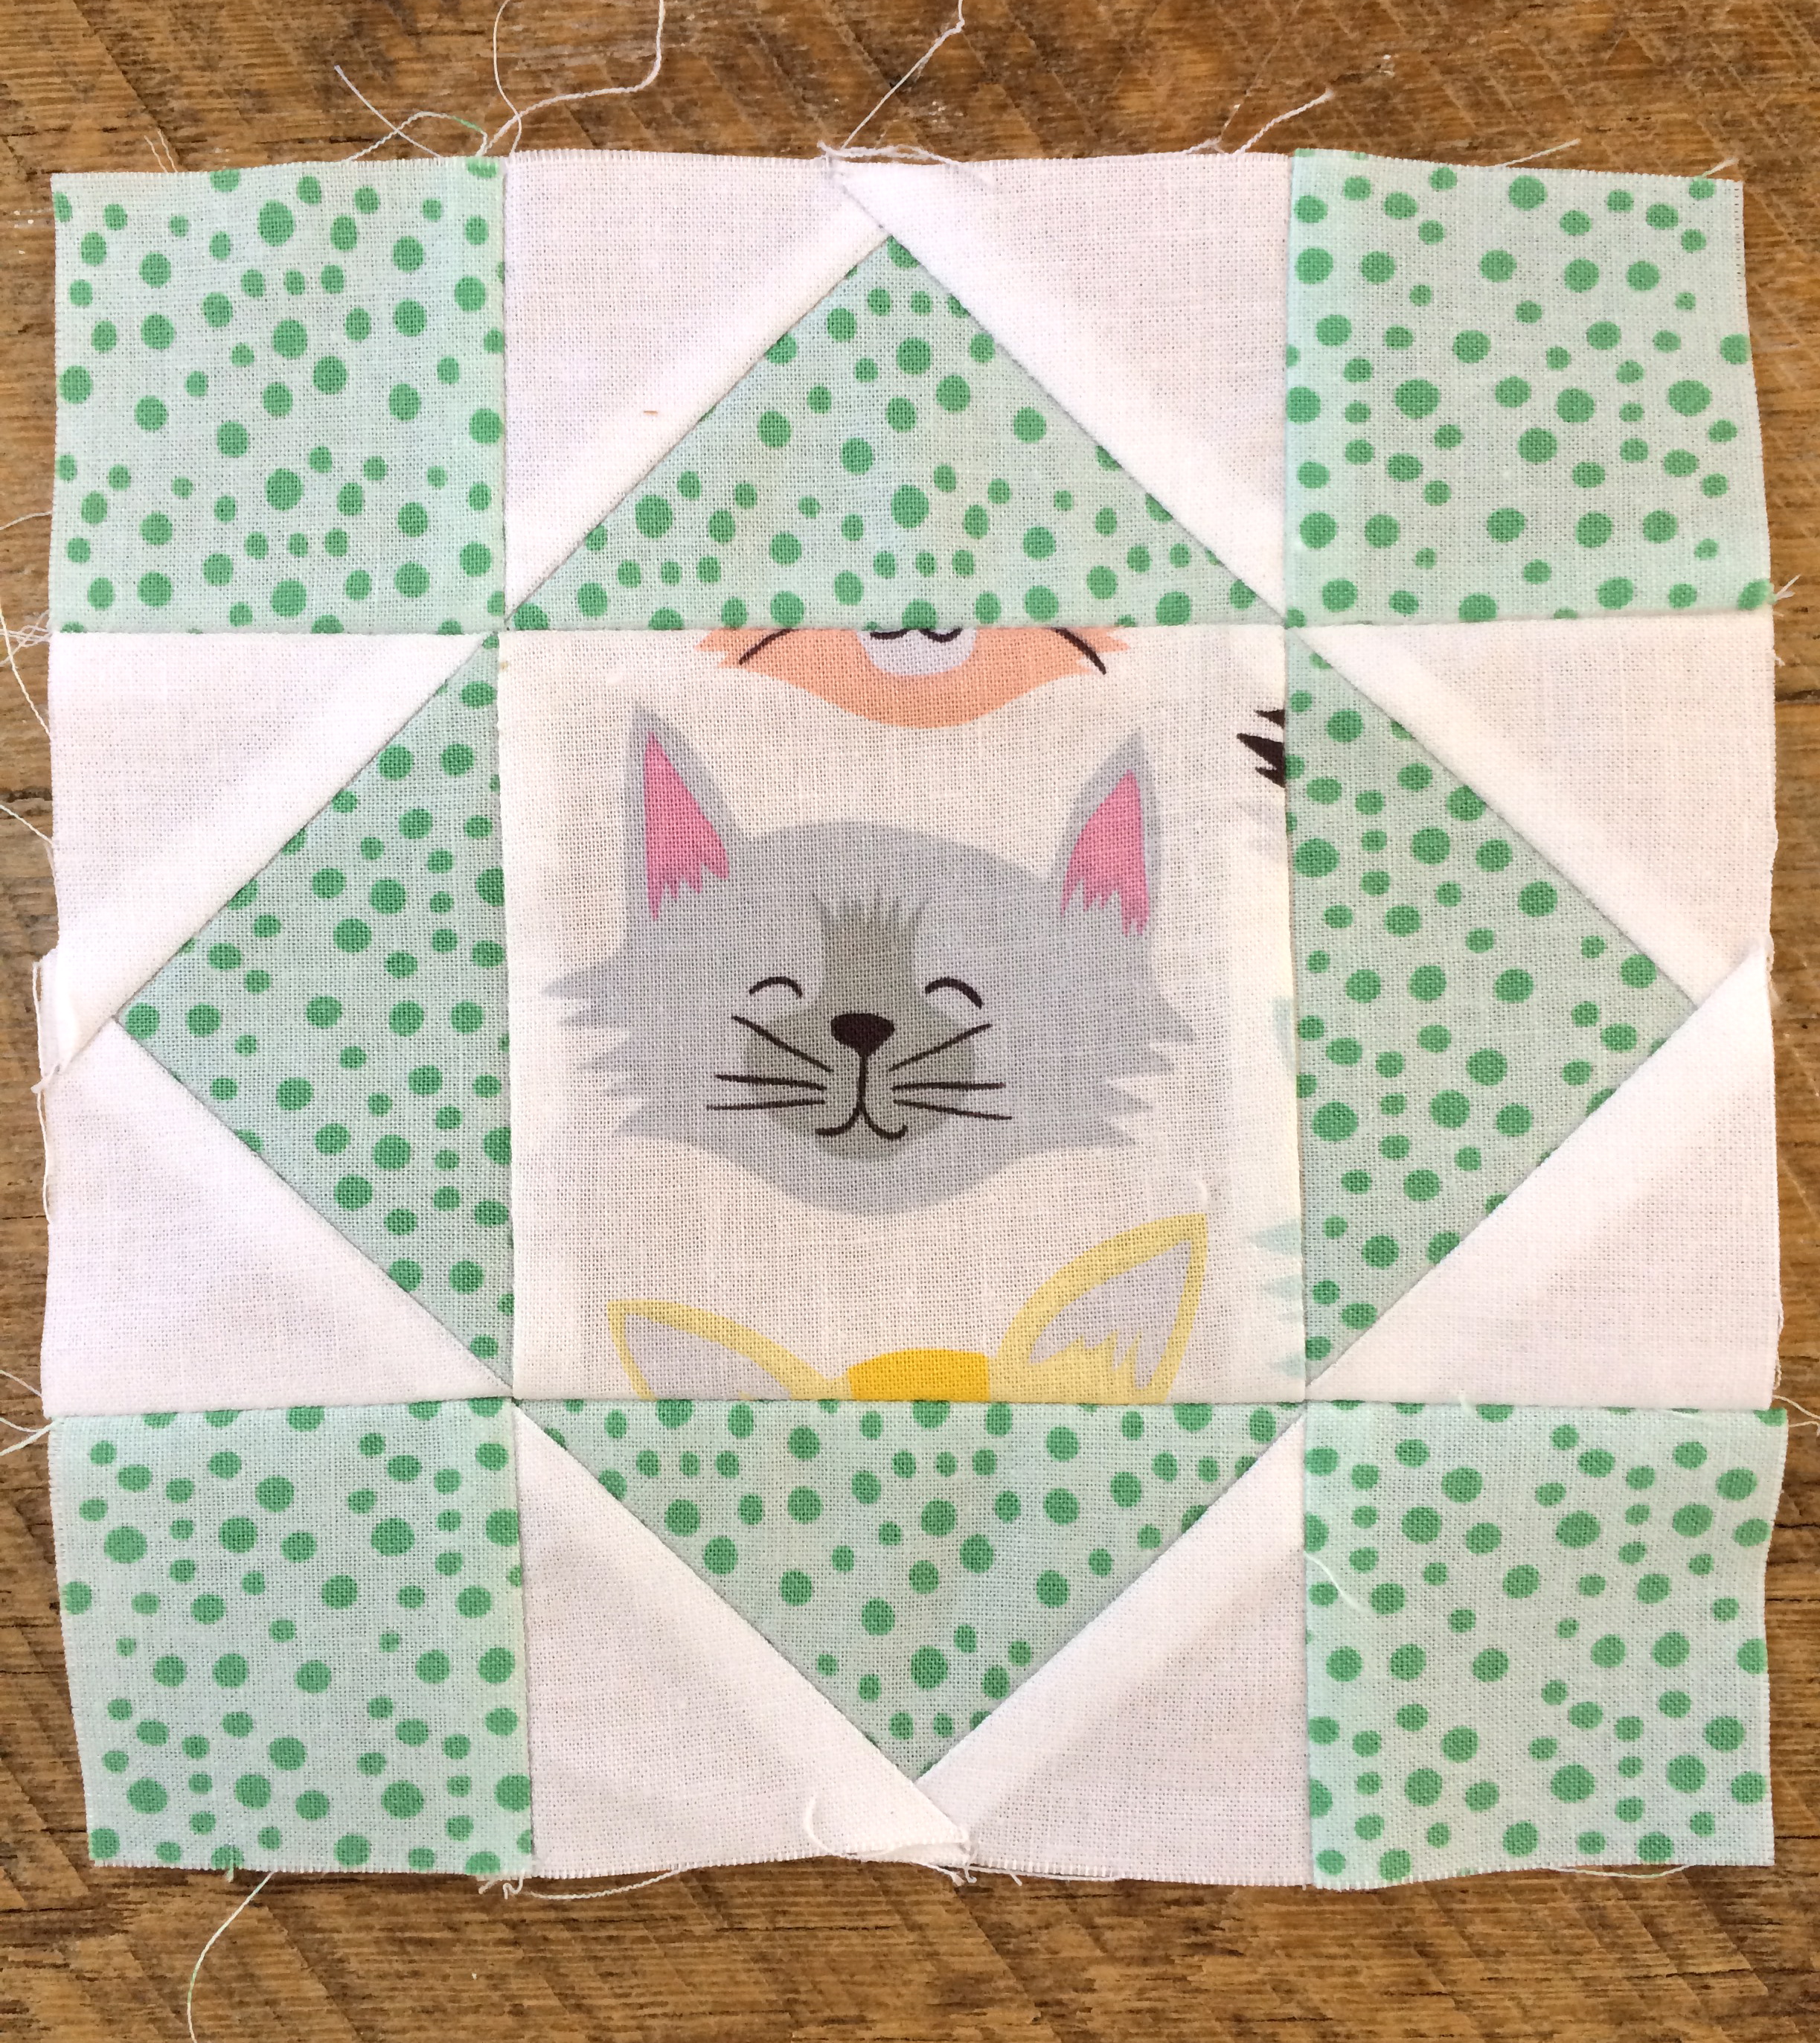
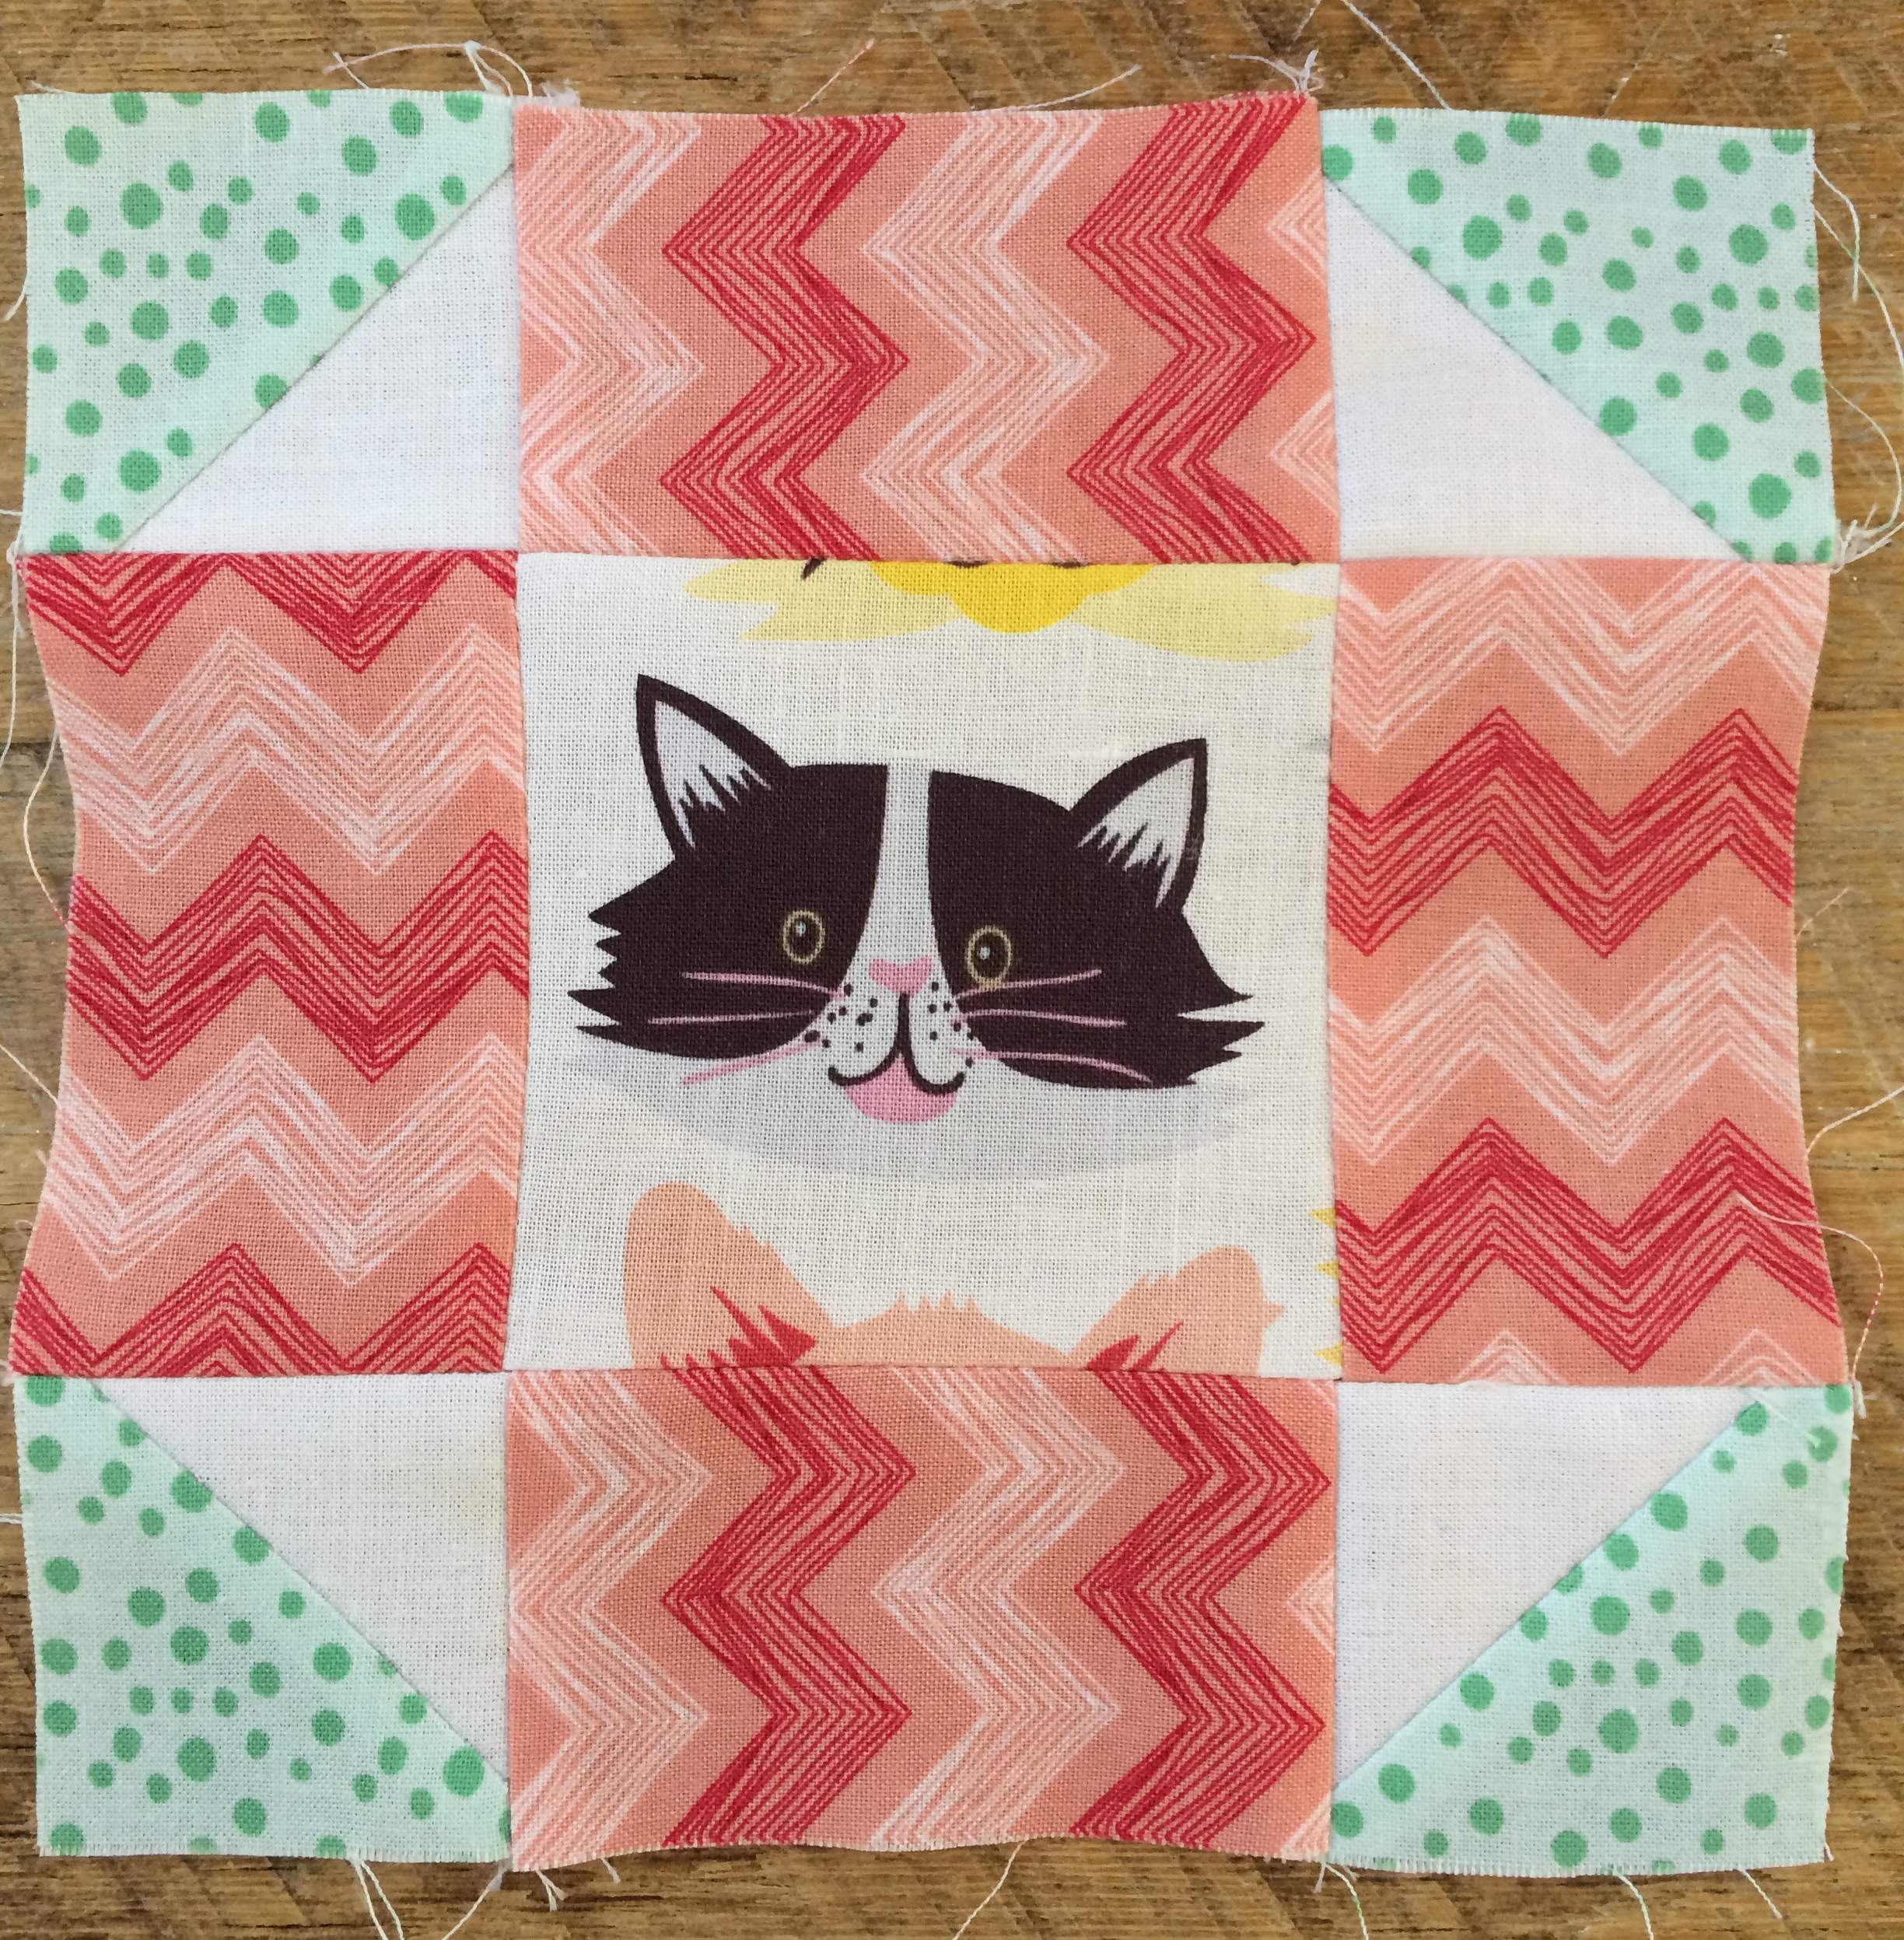
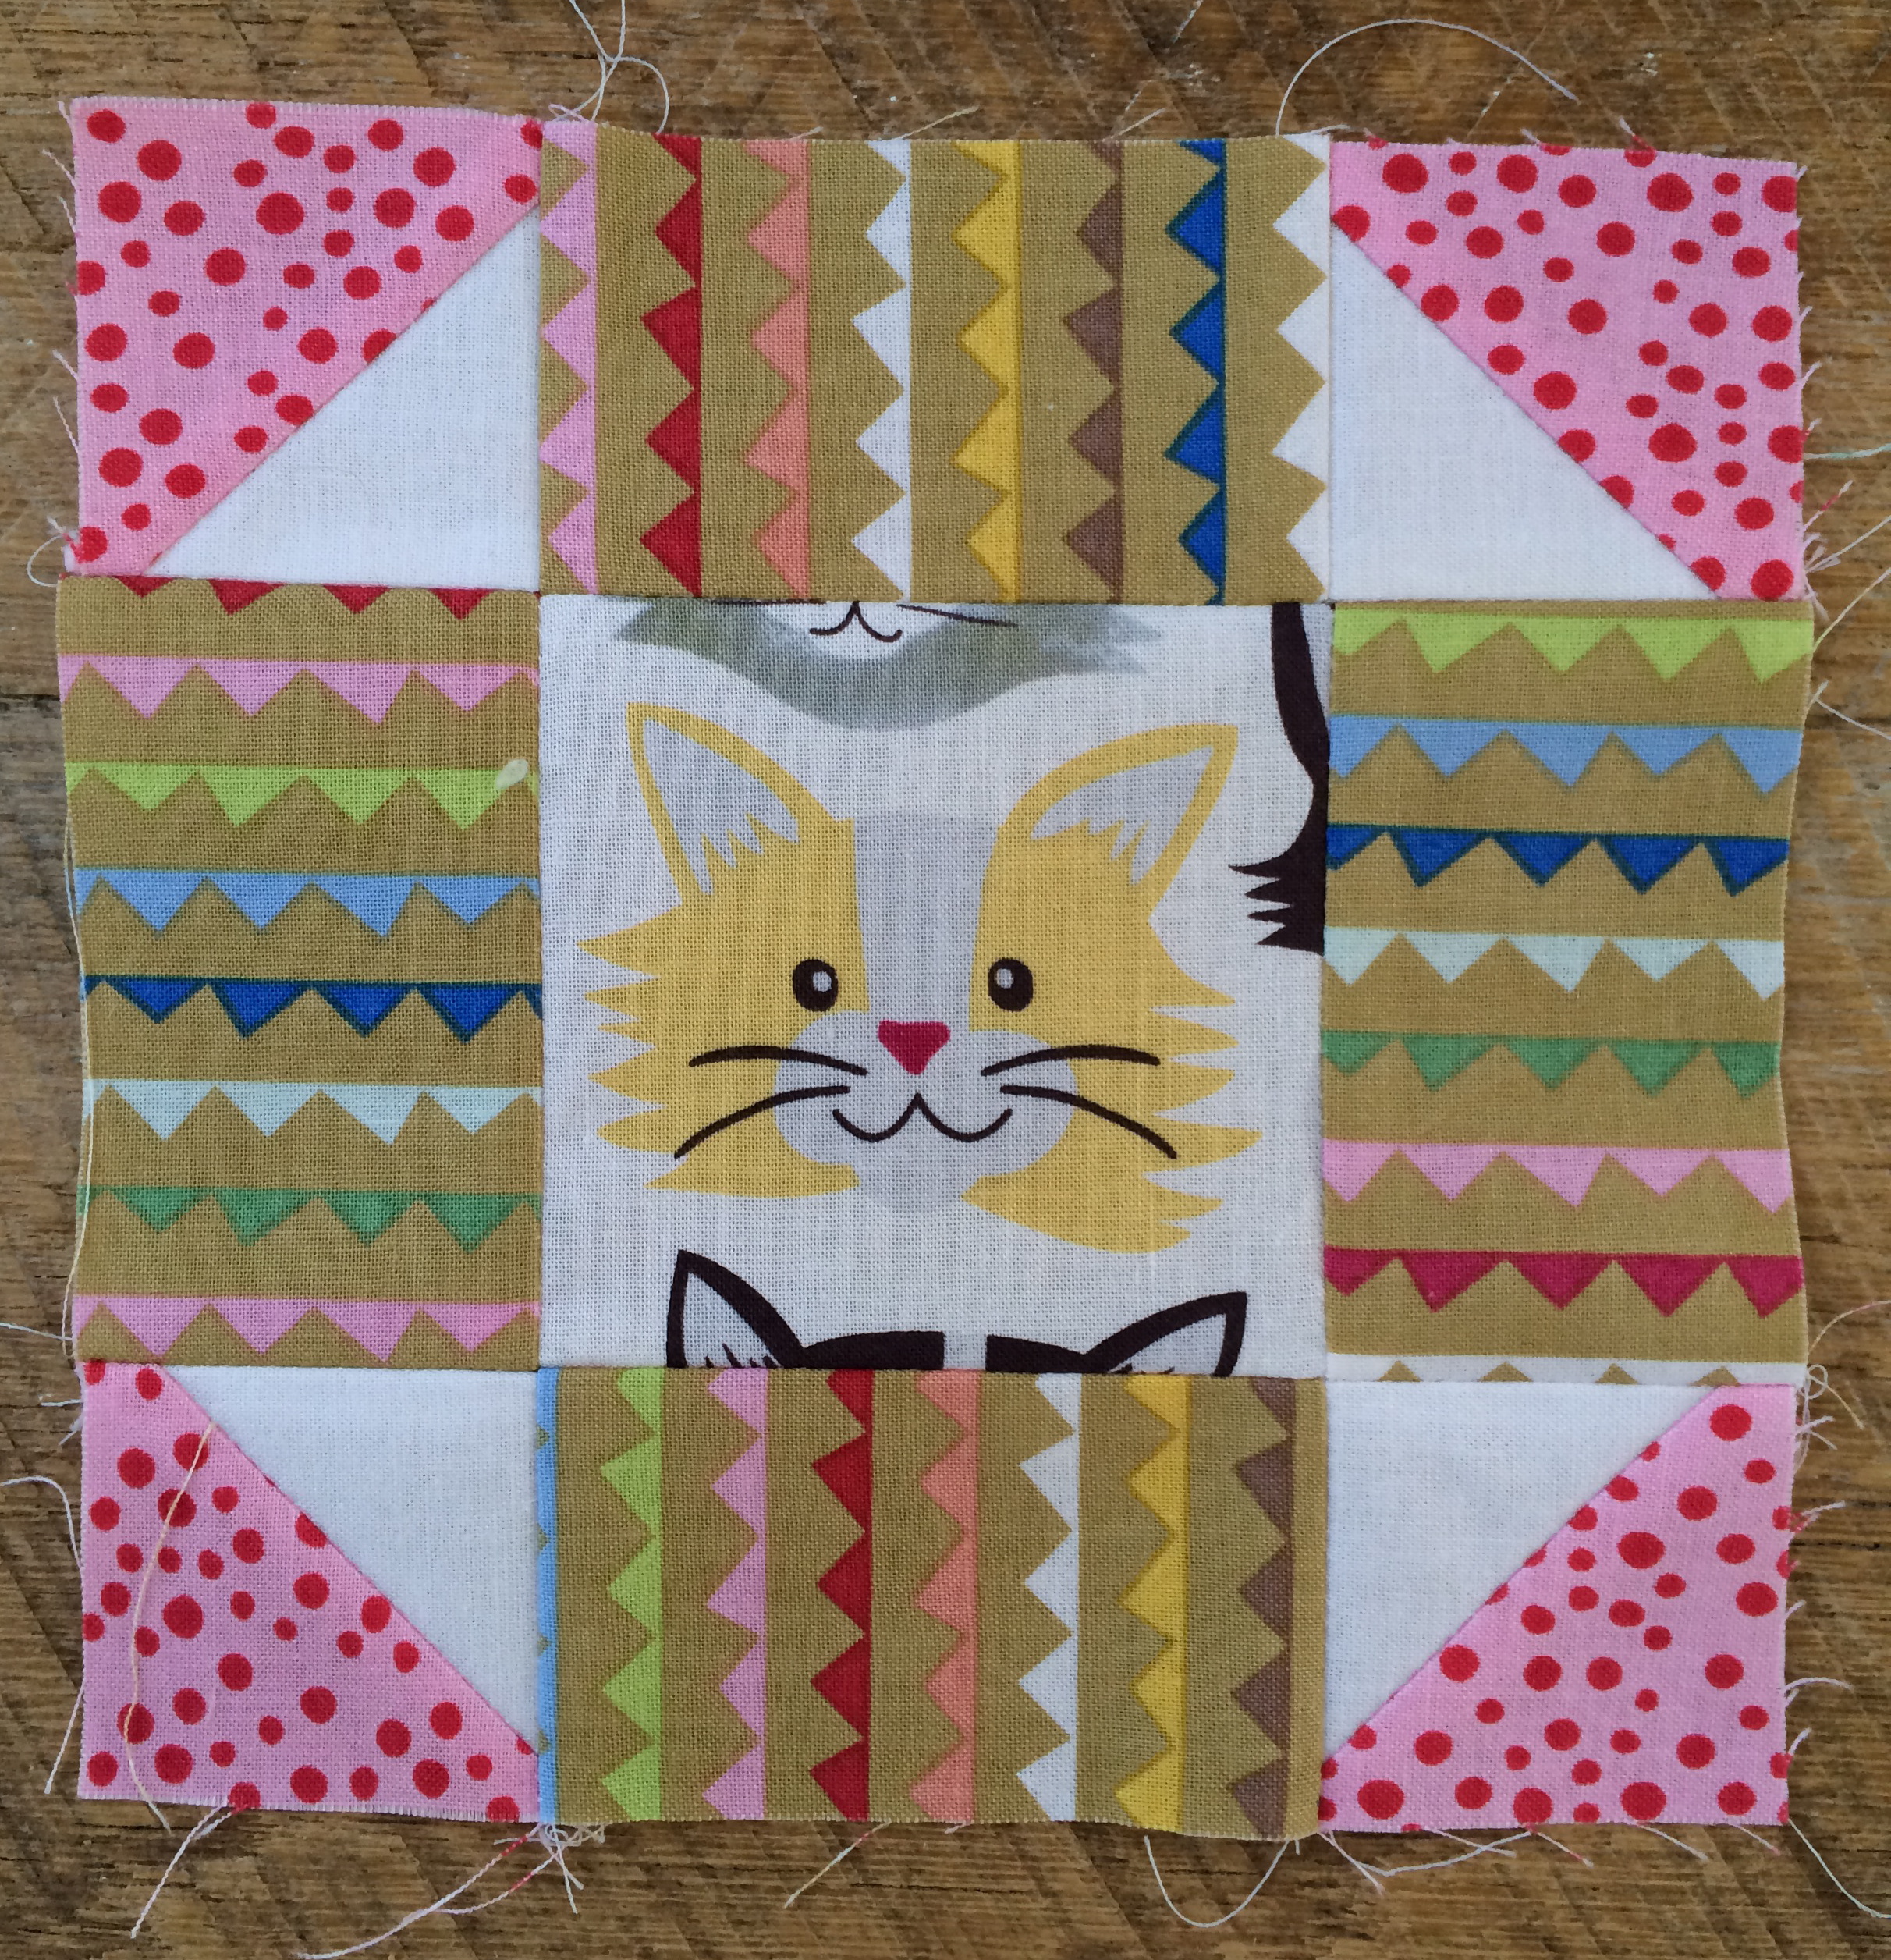
 This little quilt features sawtooth blocks and appliqué. The fabrics are from
  1/4″ seams used throughout

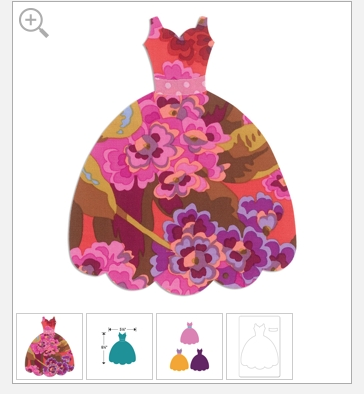
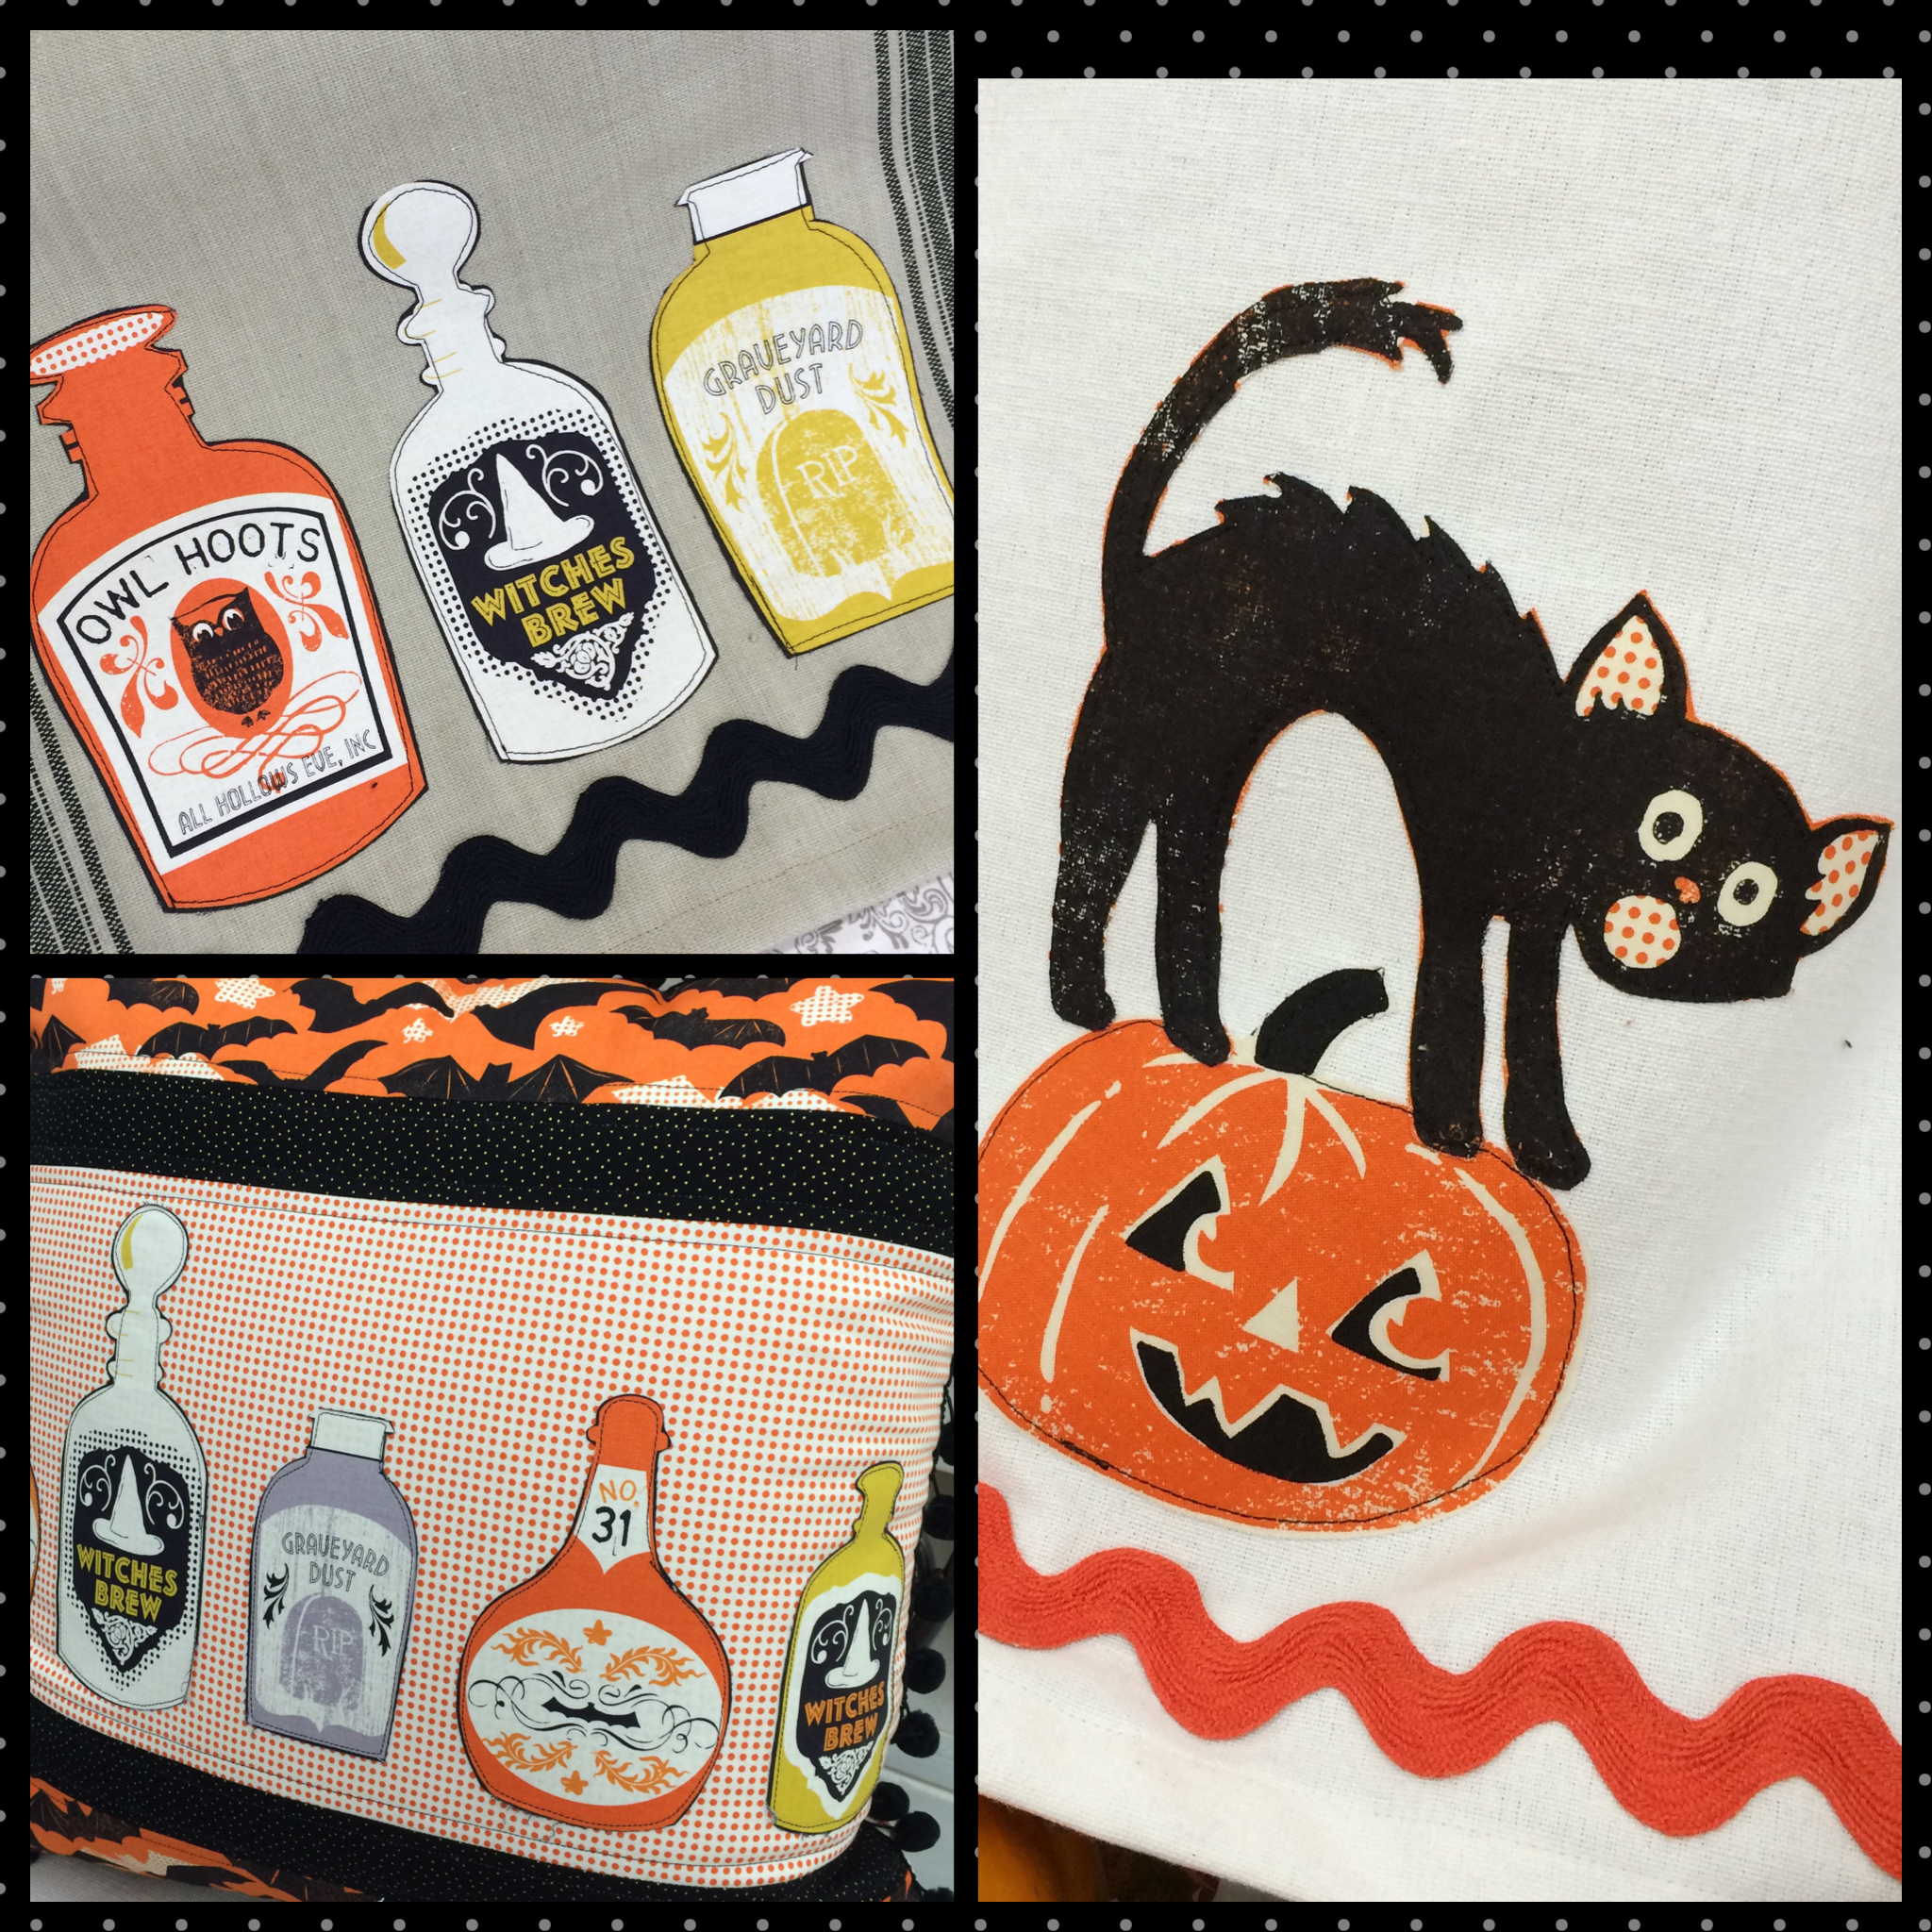
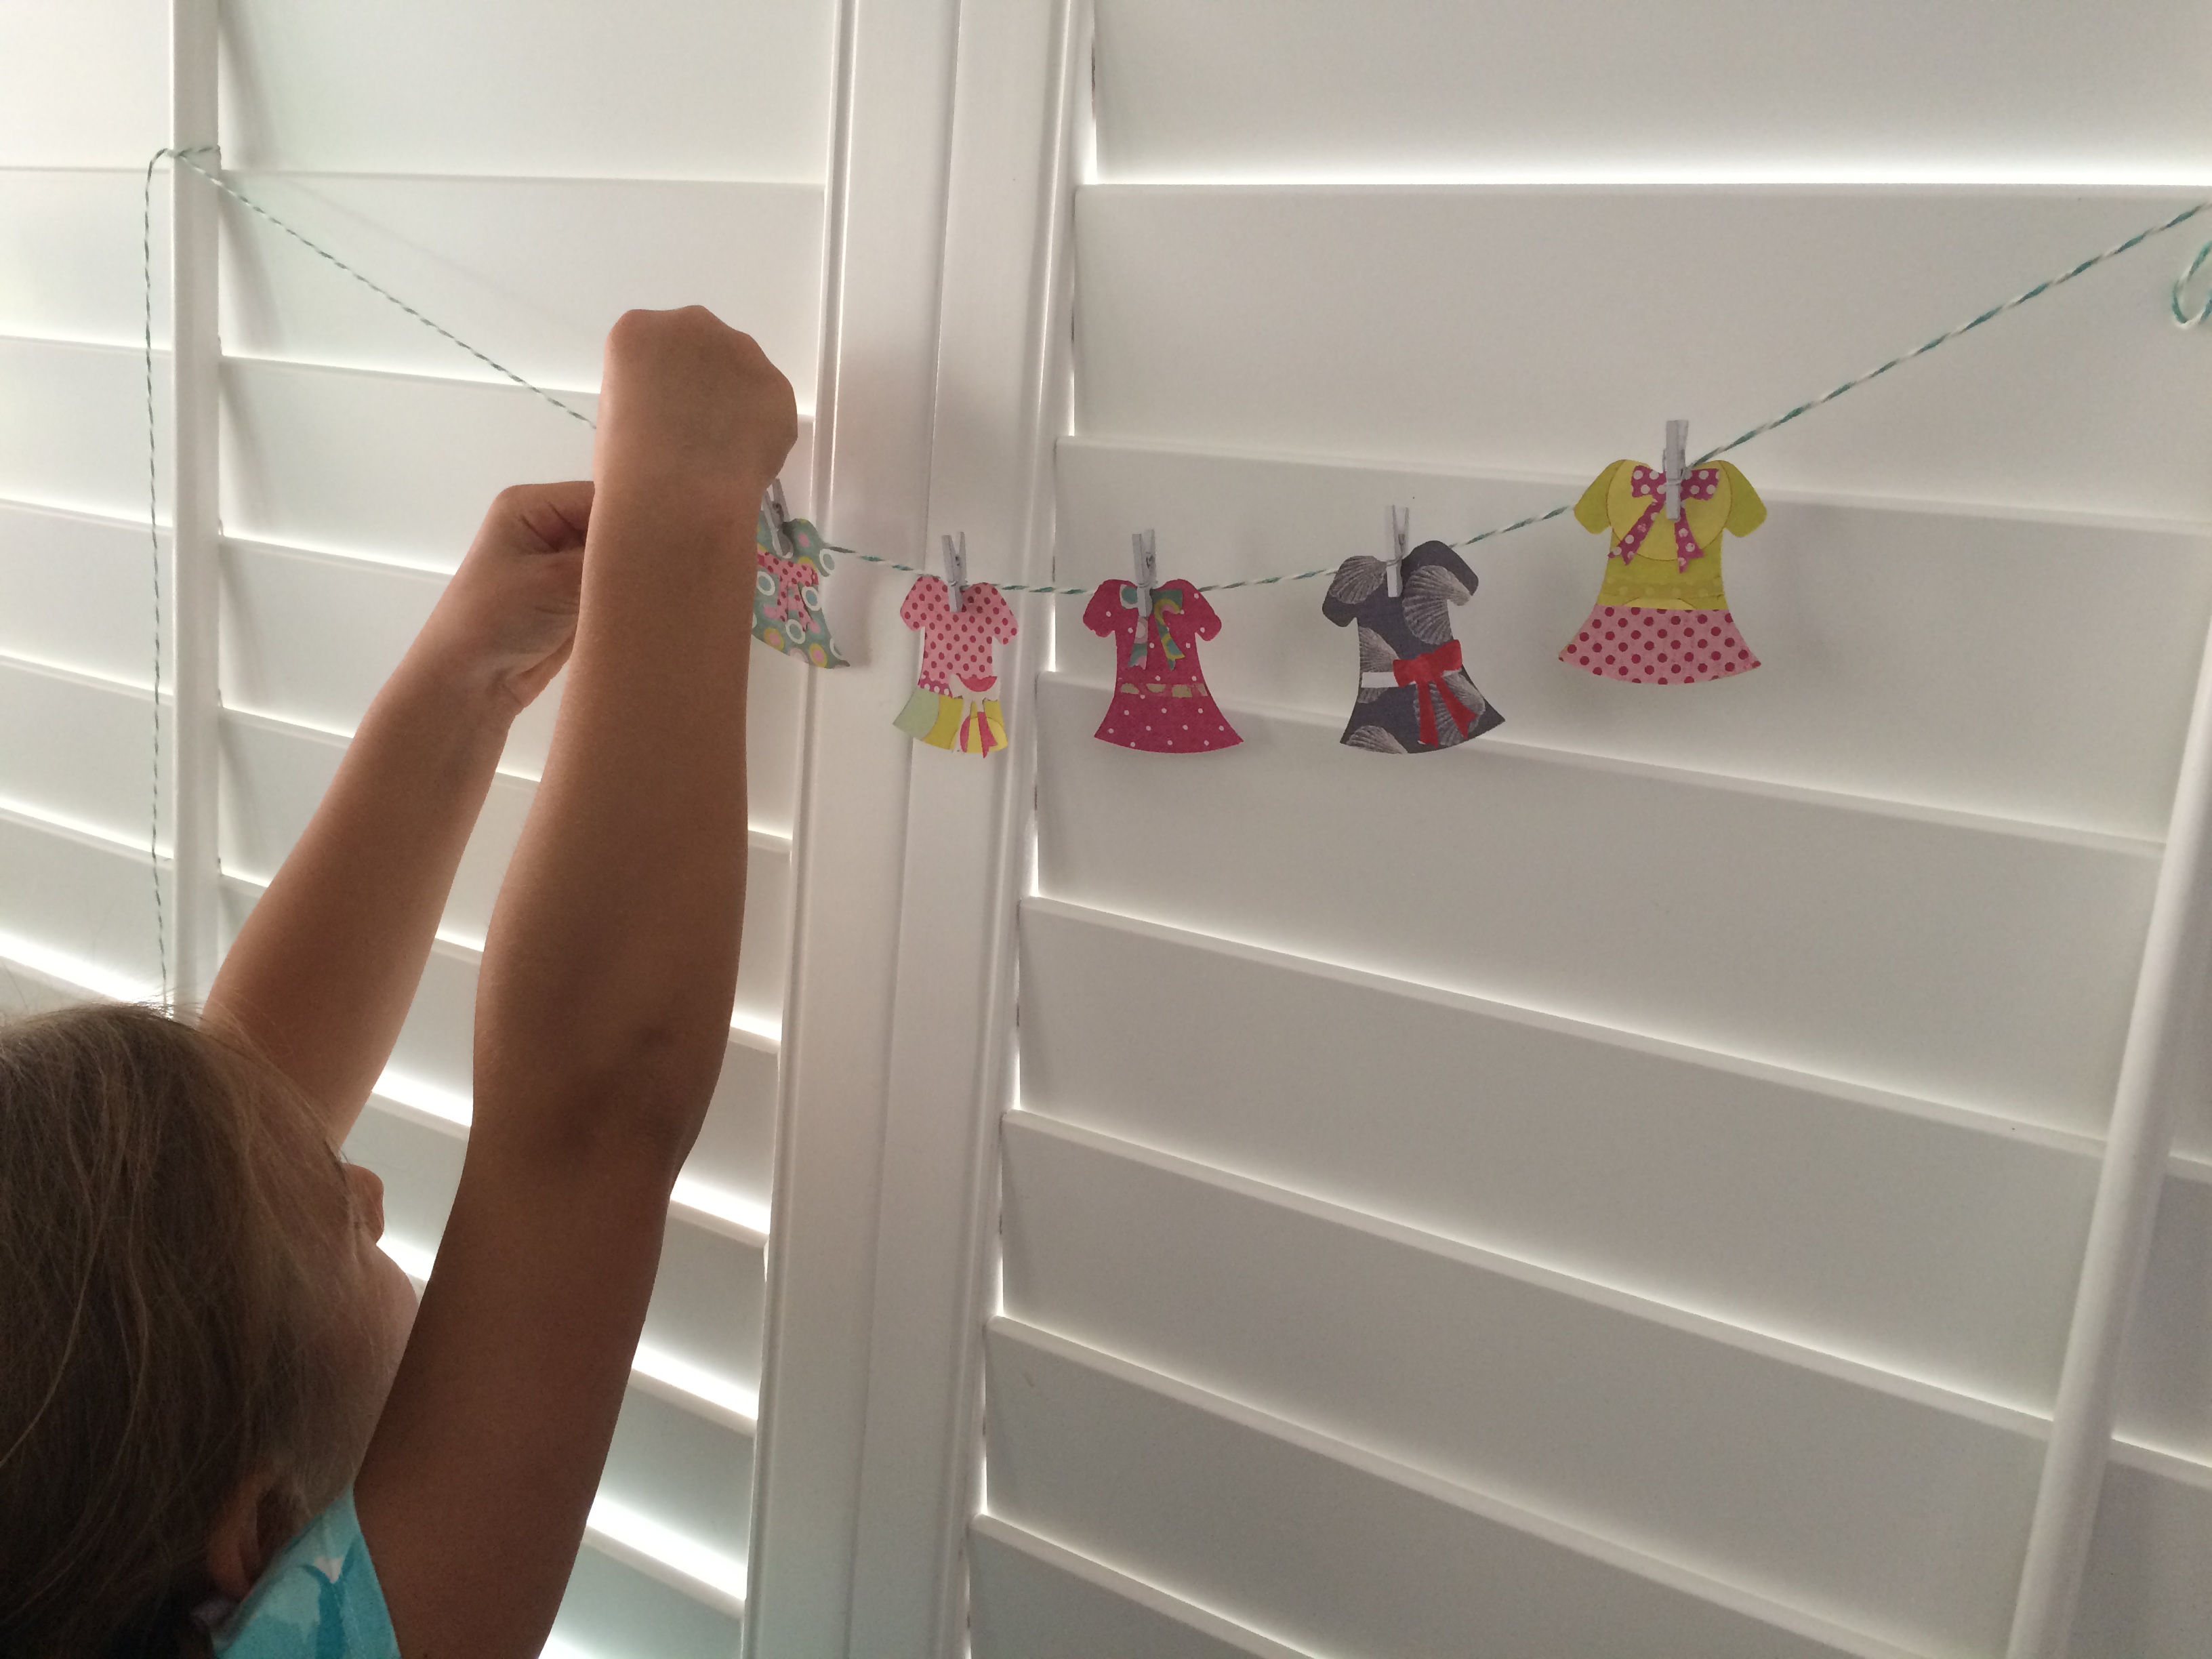
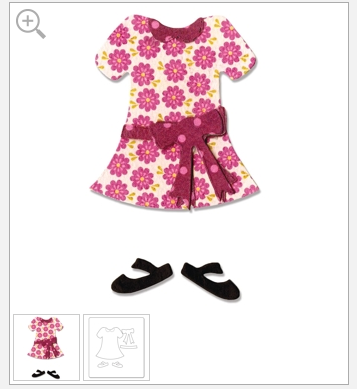
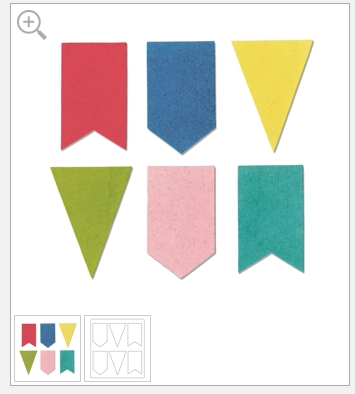 I trimmed it down slightly to make them smaller. The dress is cut from navy dots and the sash from red and white stripe. I used Heat n Bond Lite on the back of the dress and the pennants to adhere to the white 8.5″ square. I drew an anchor on the Heat n Bond Lite and appliquéd it to the dress, adding small ric rac accents. I stitched around all the pieces. Seriously, can I get this dress in my size!!!!!
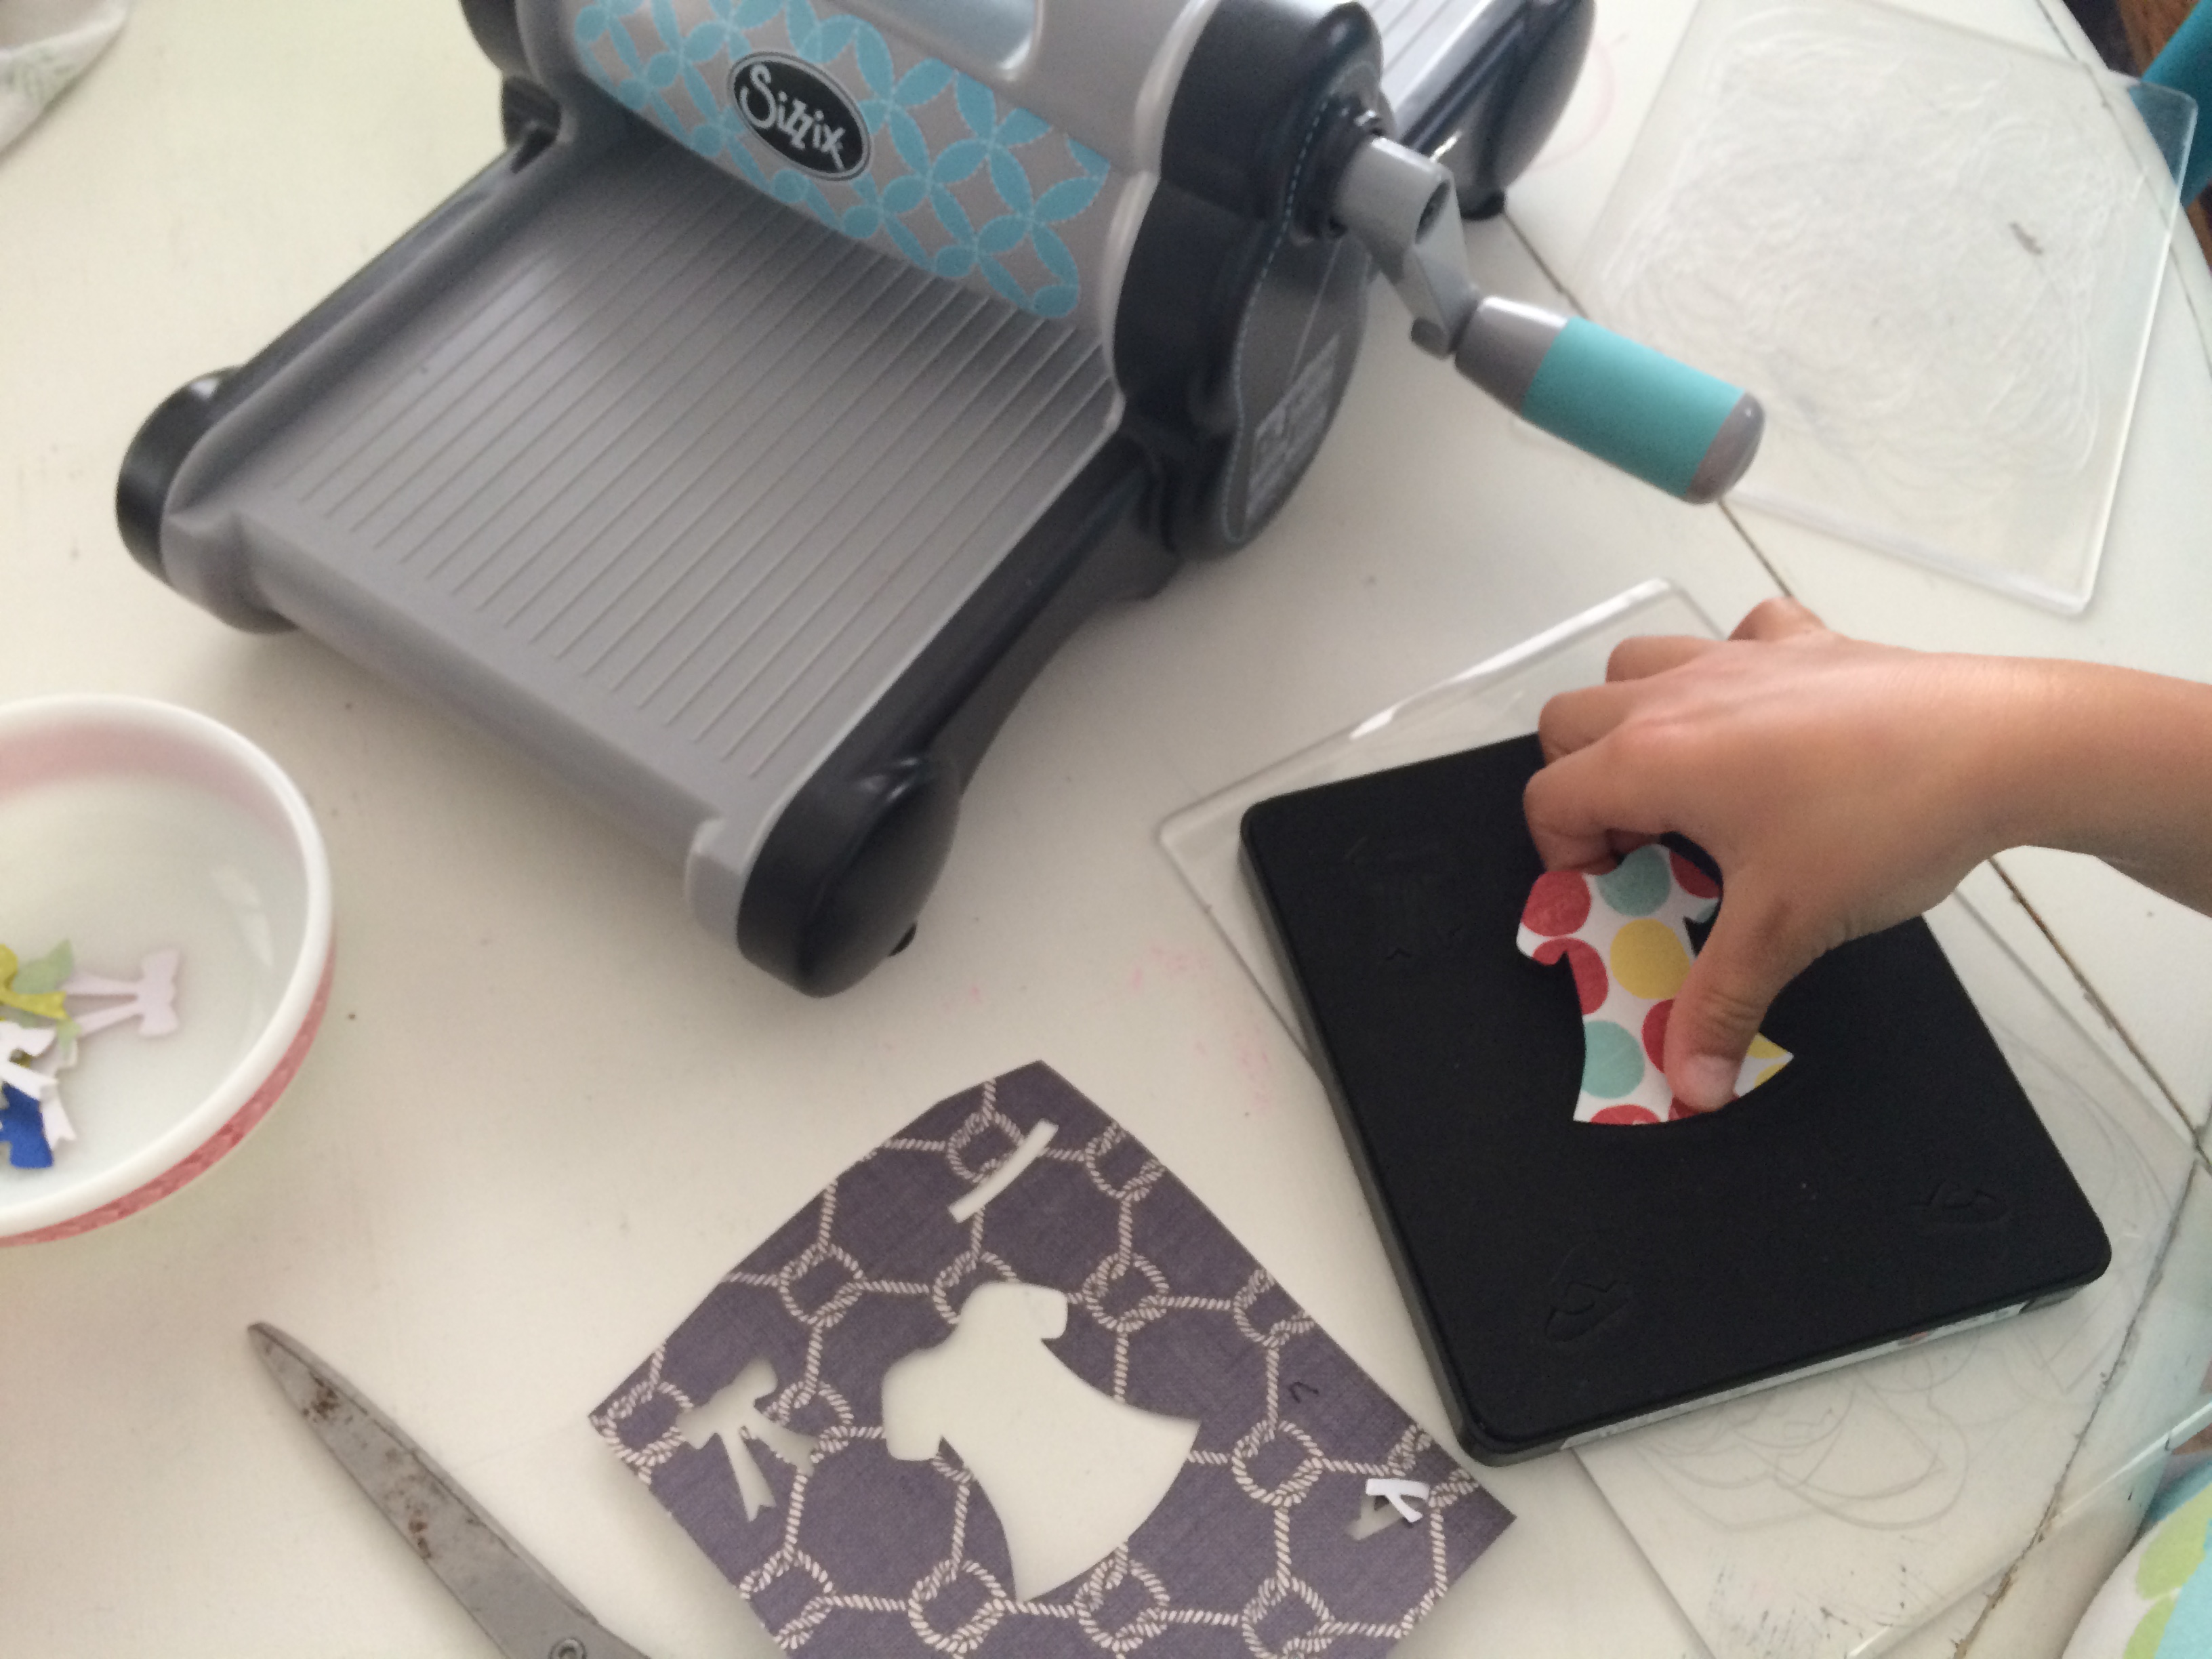
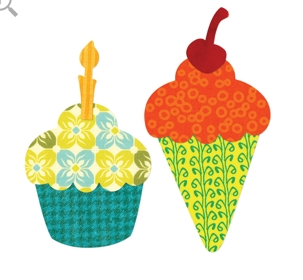
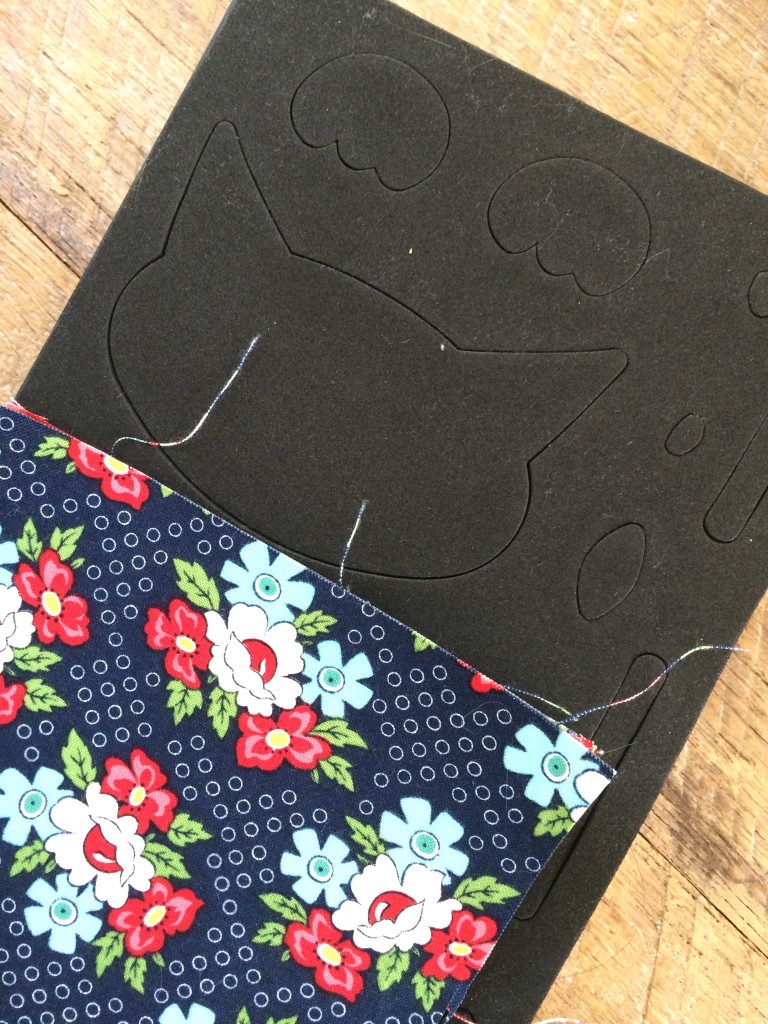
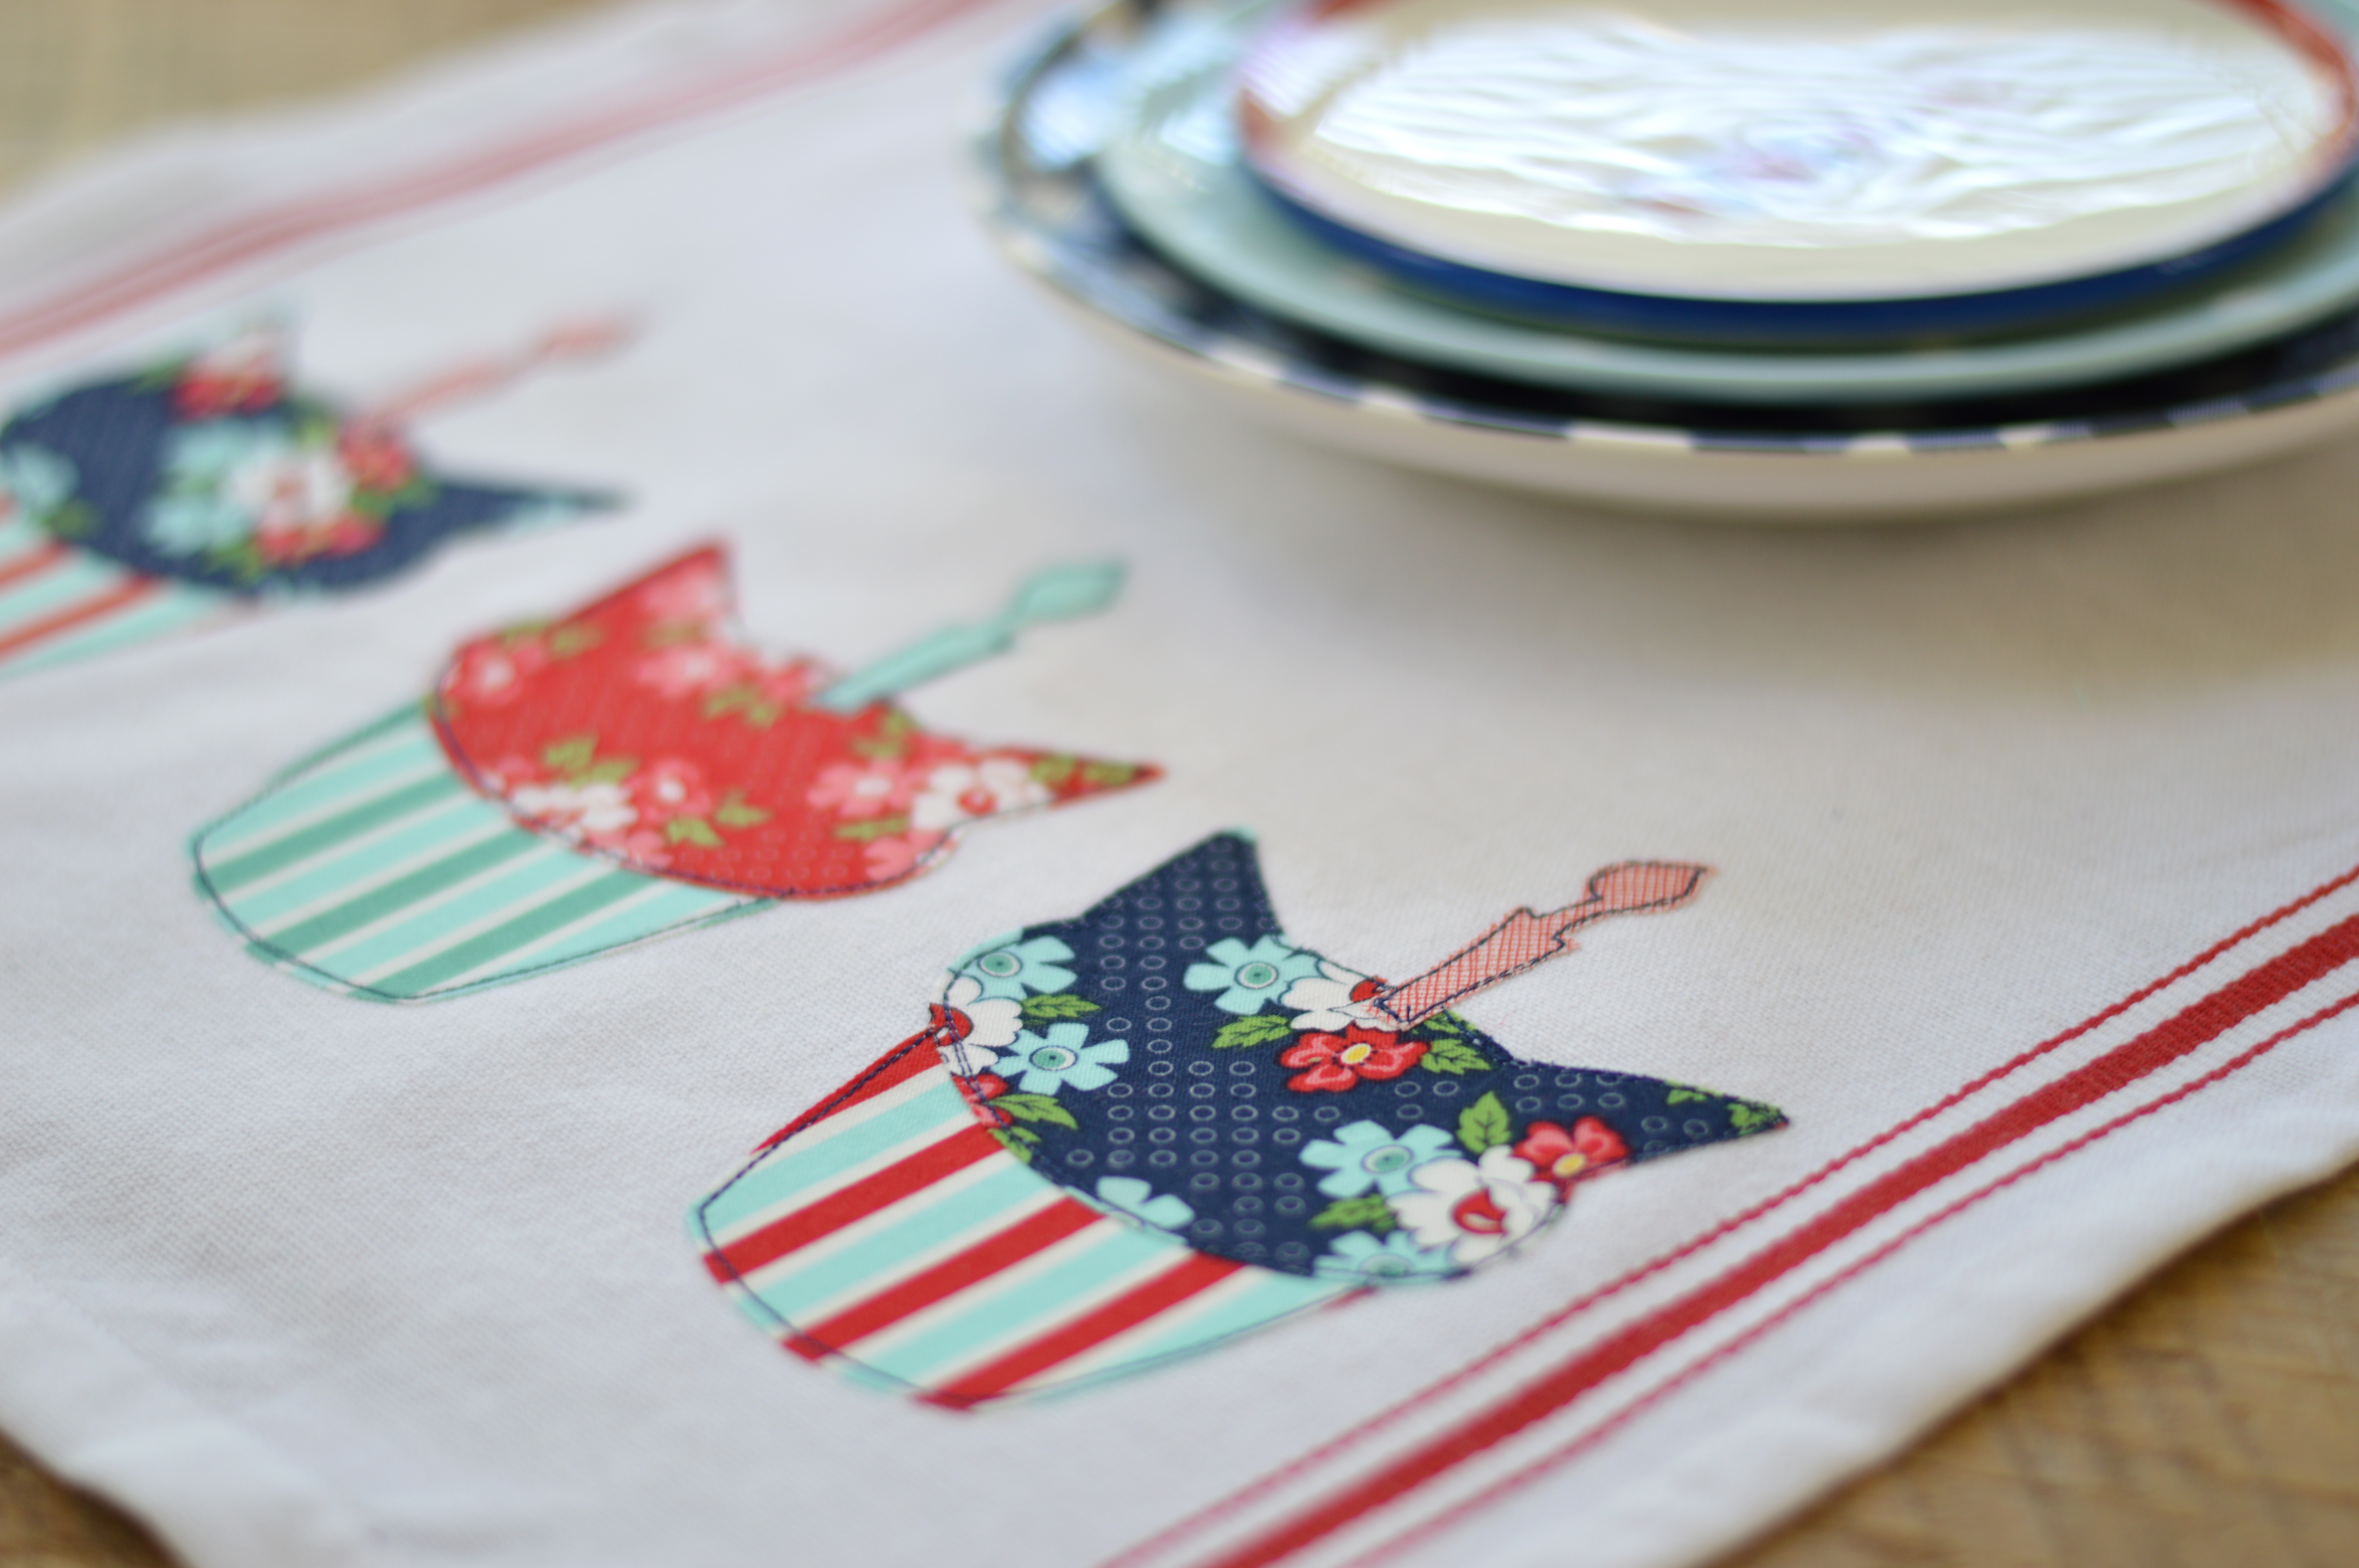
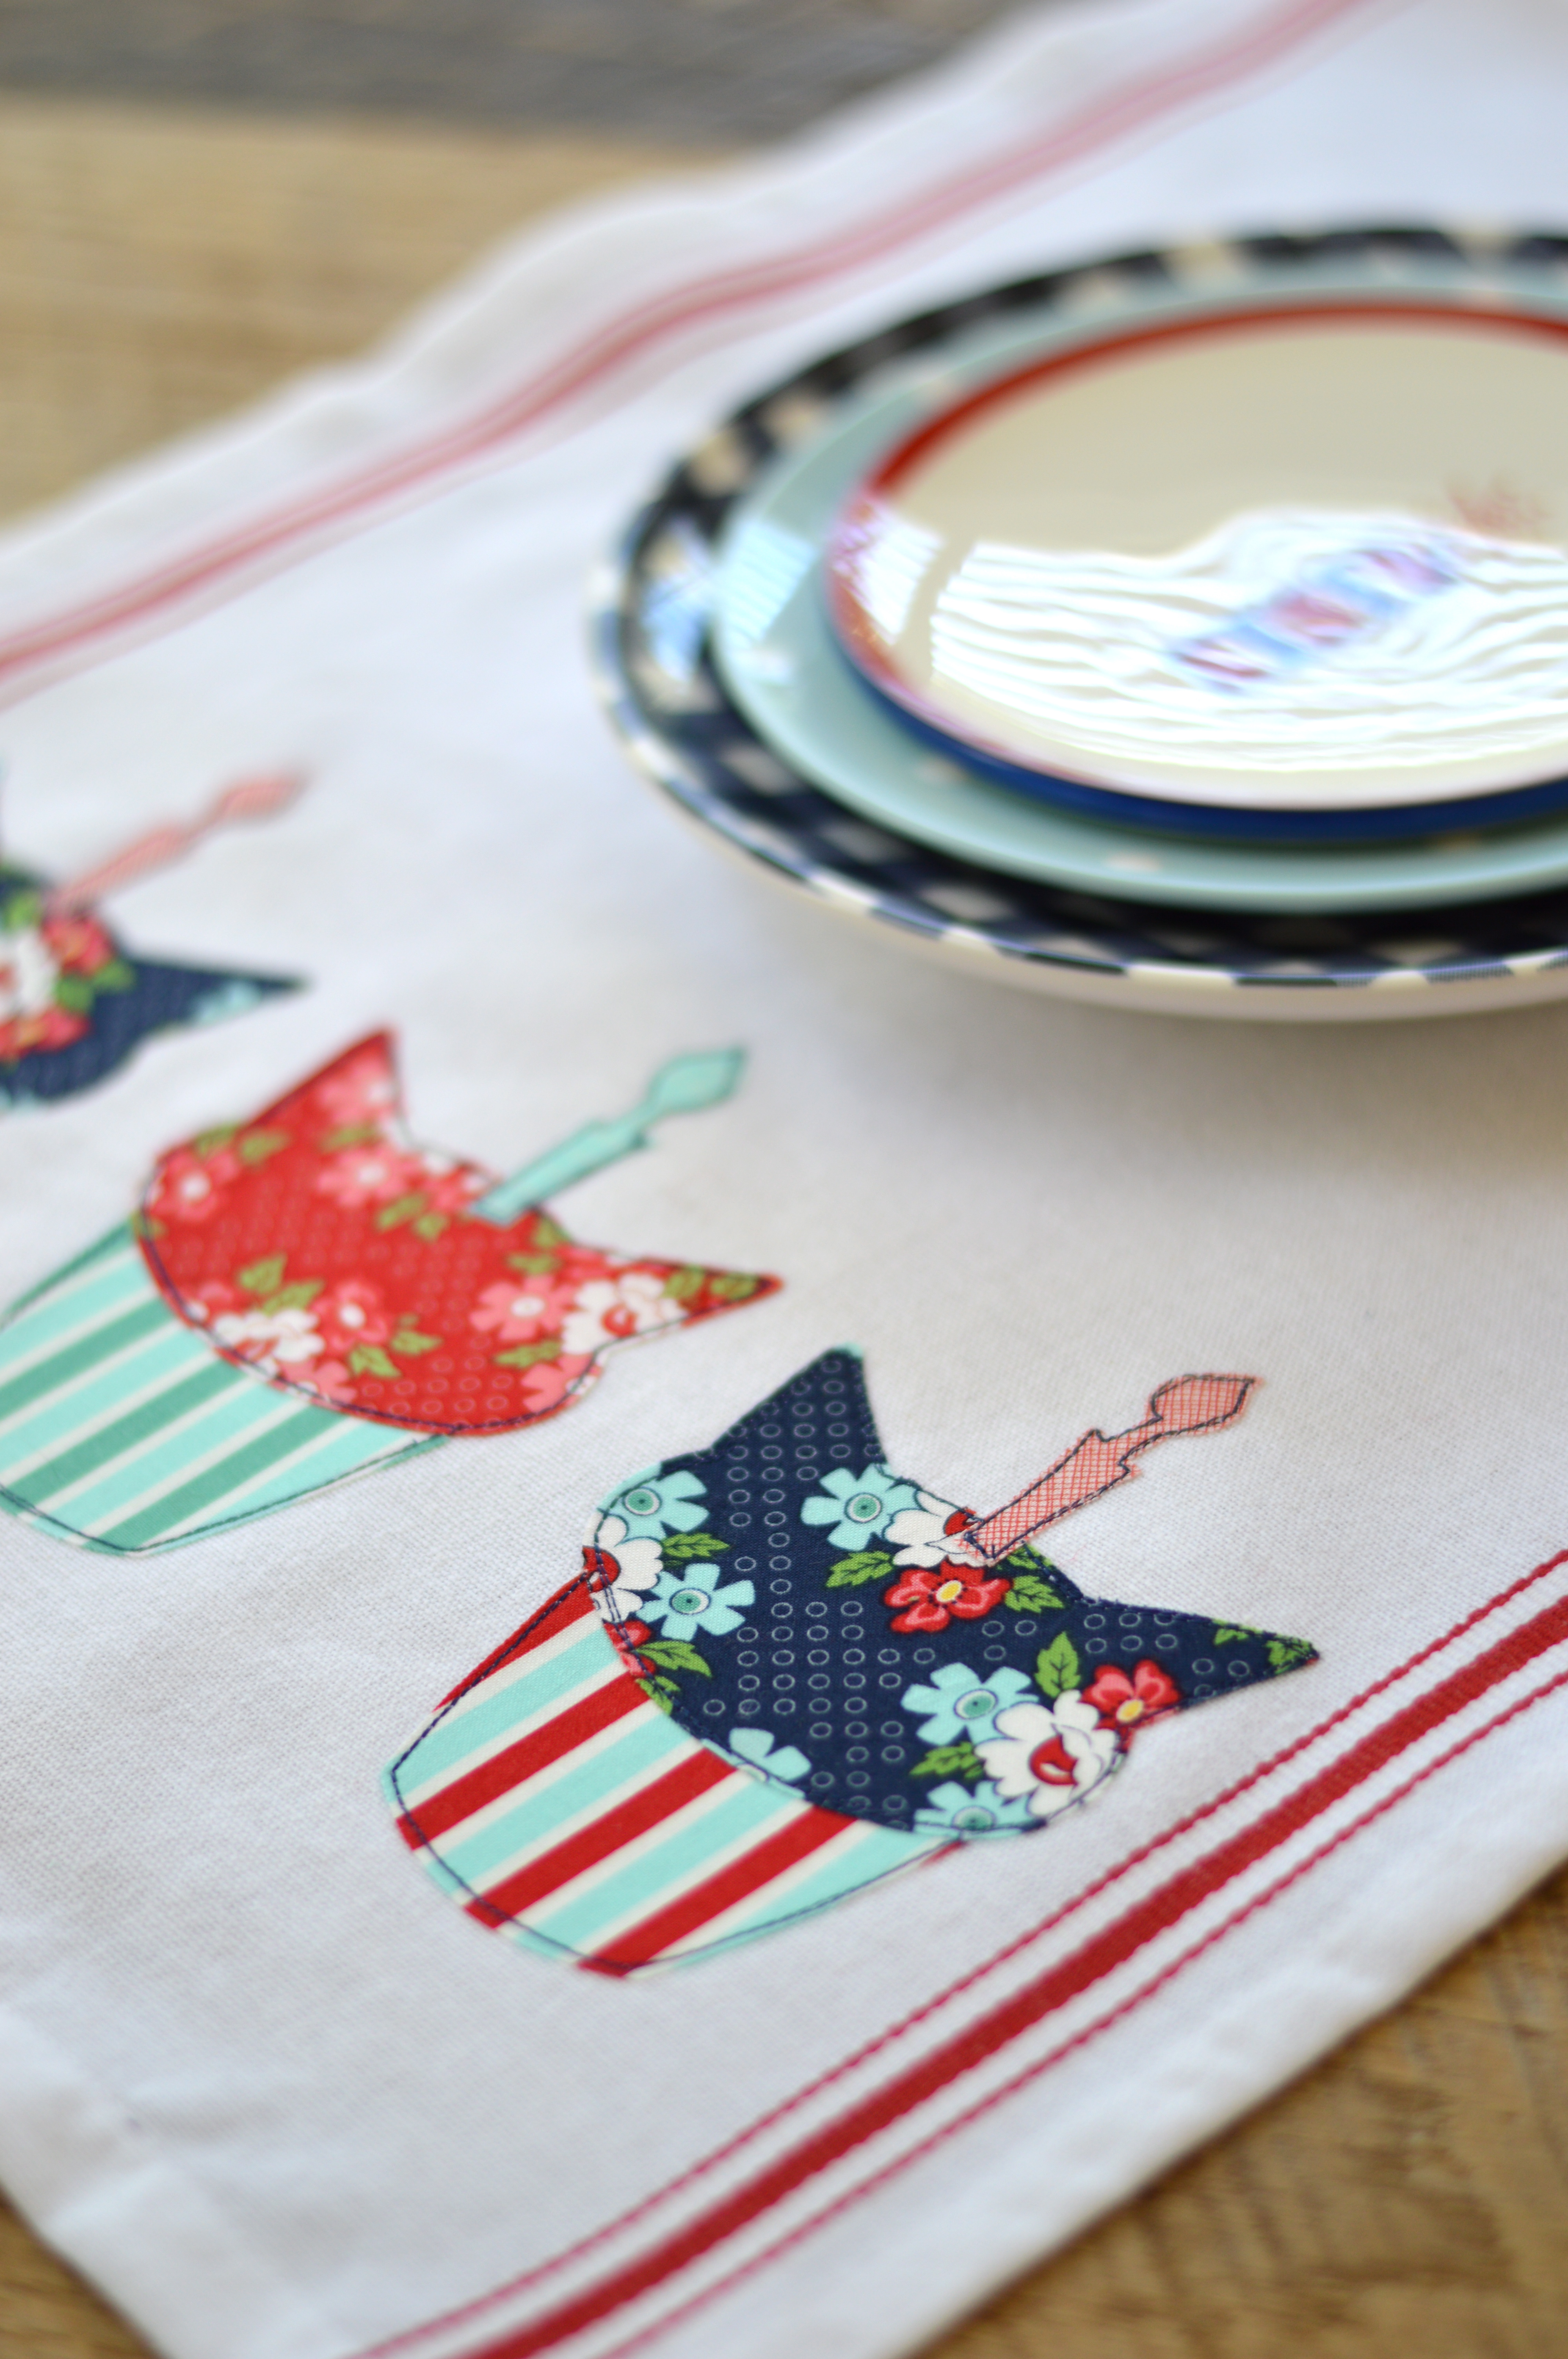
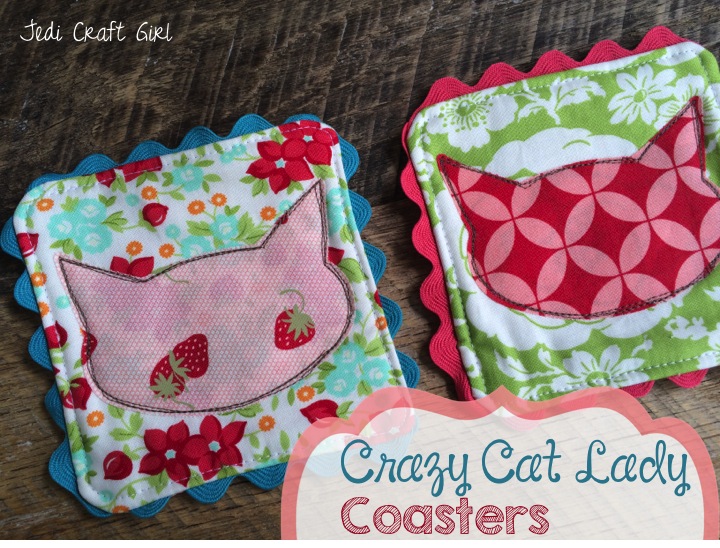
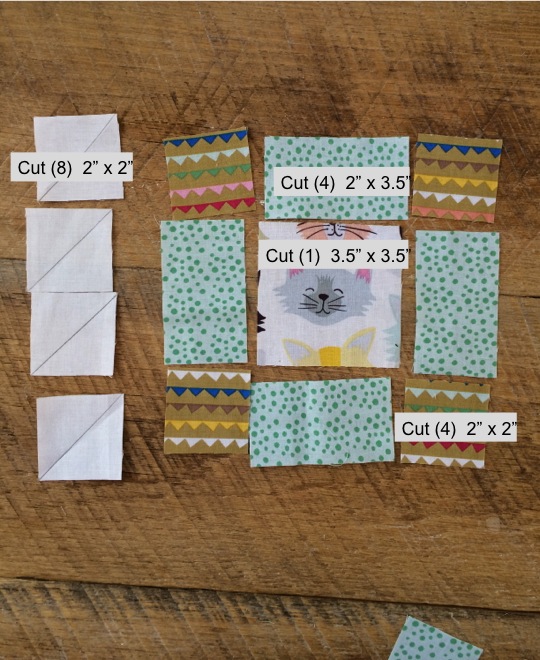
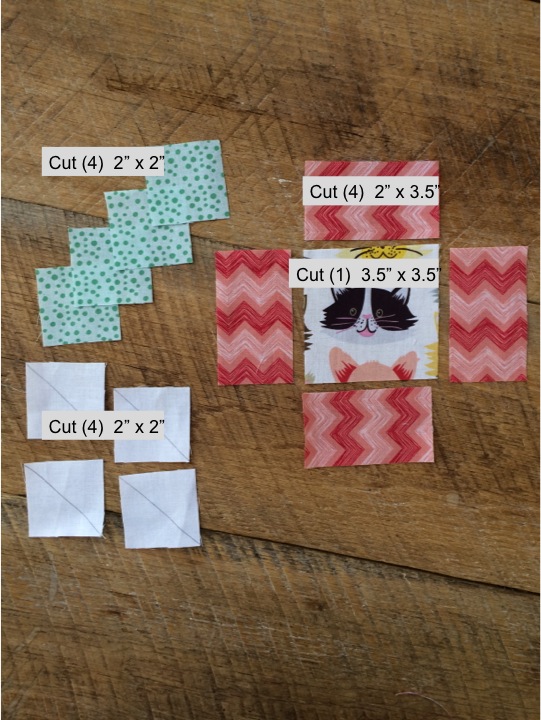
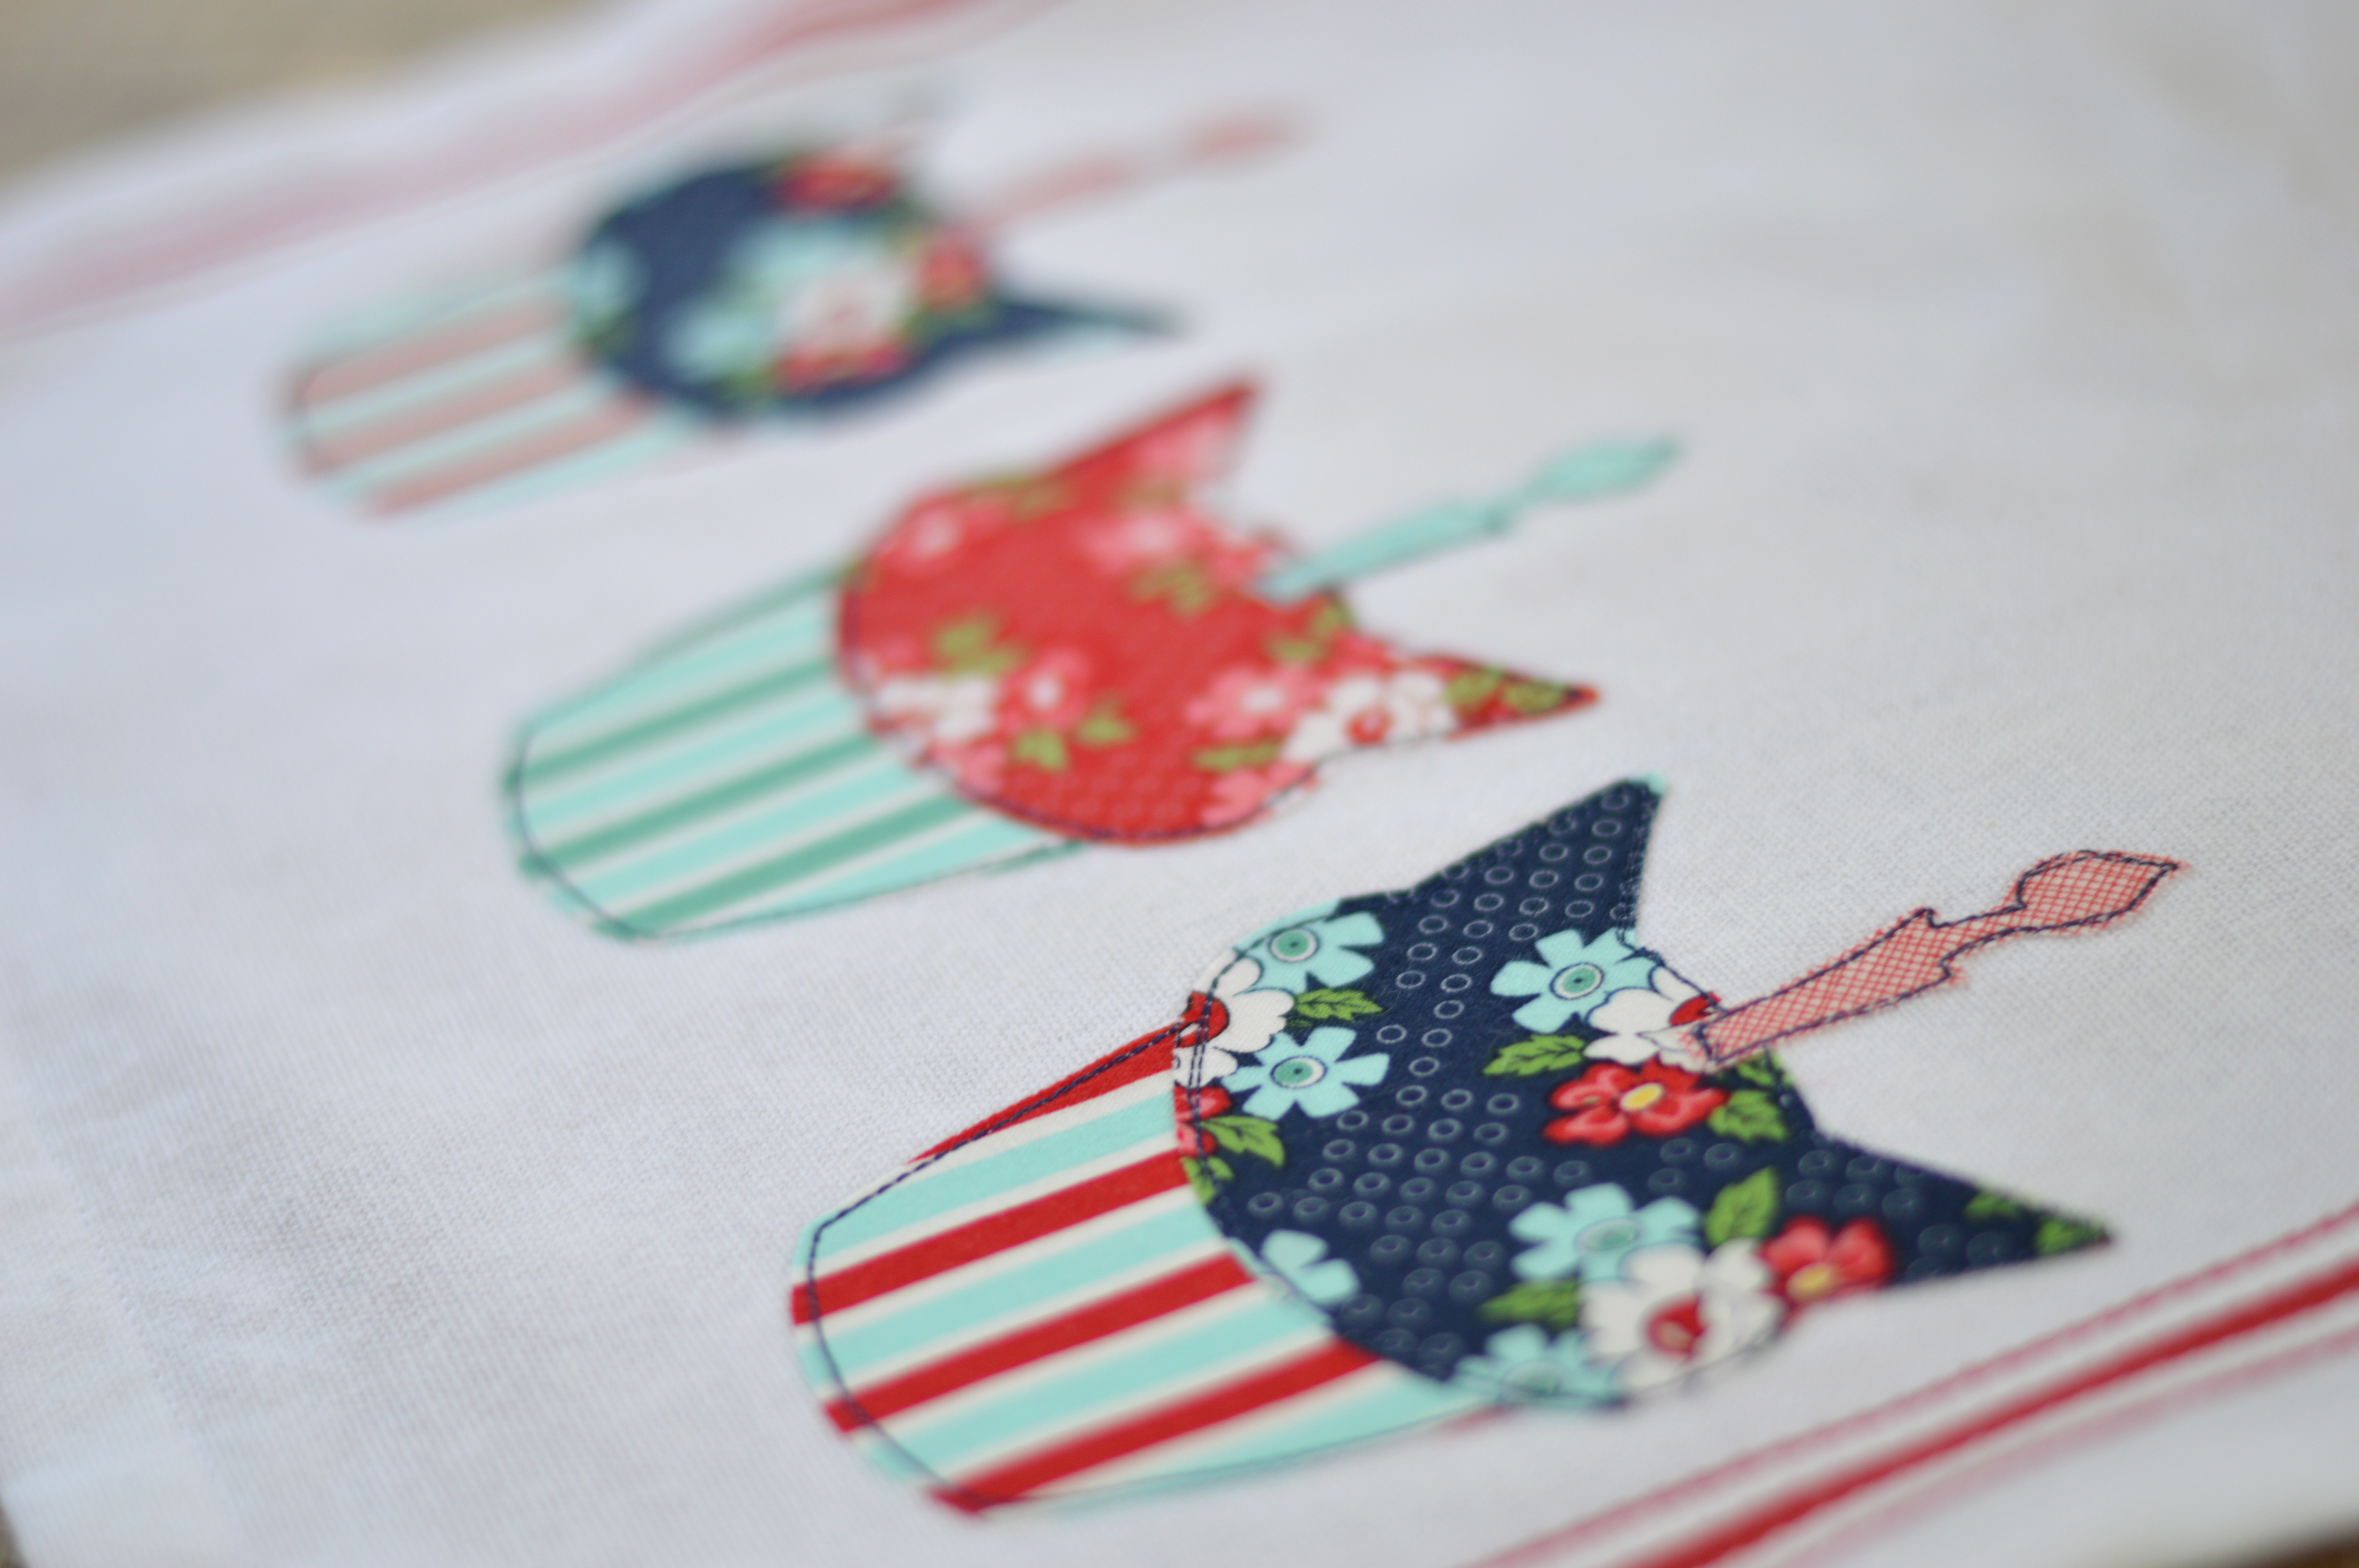
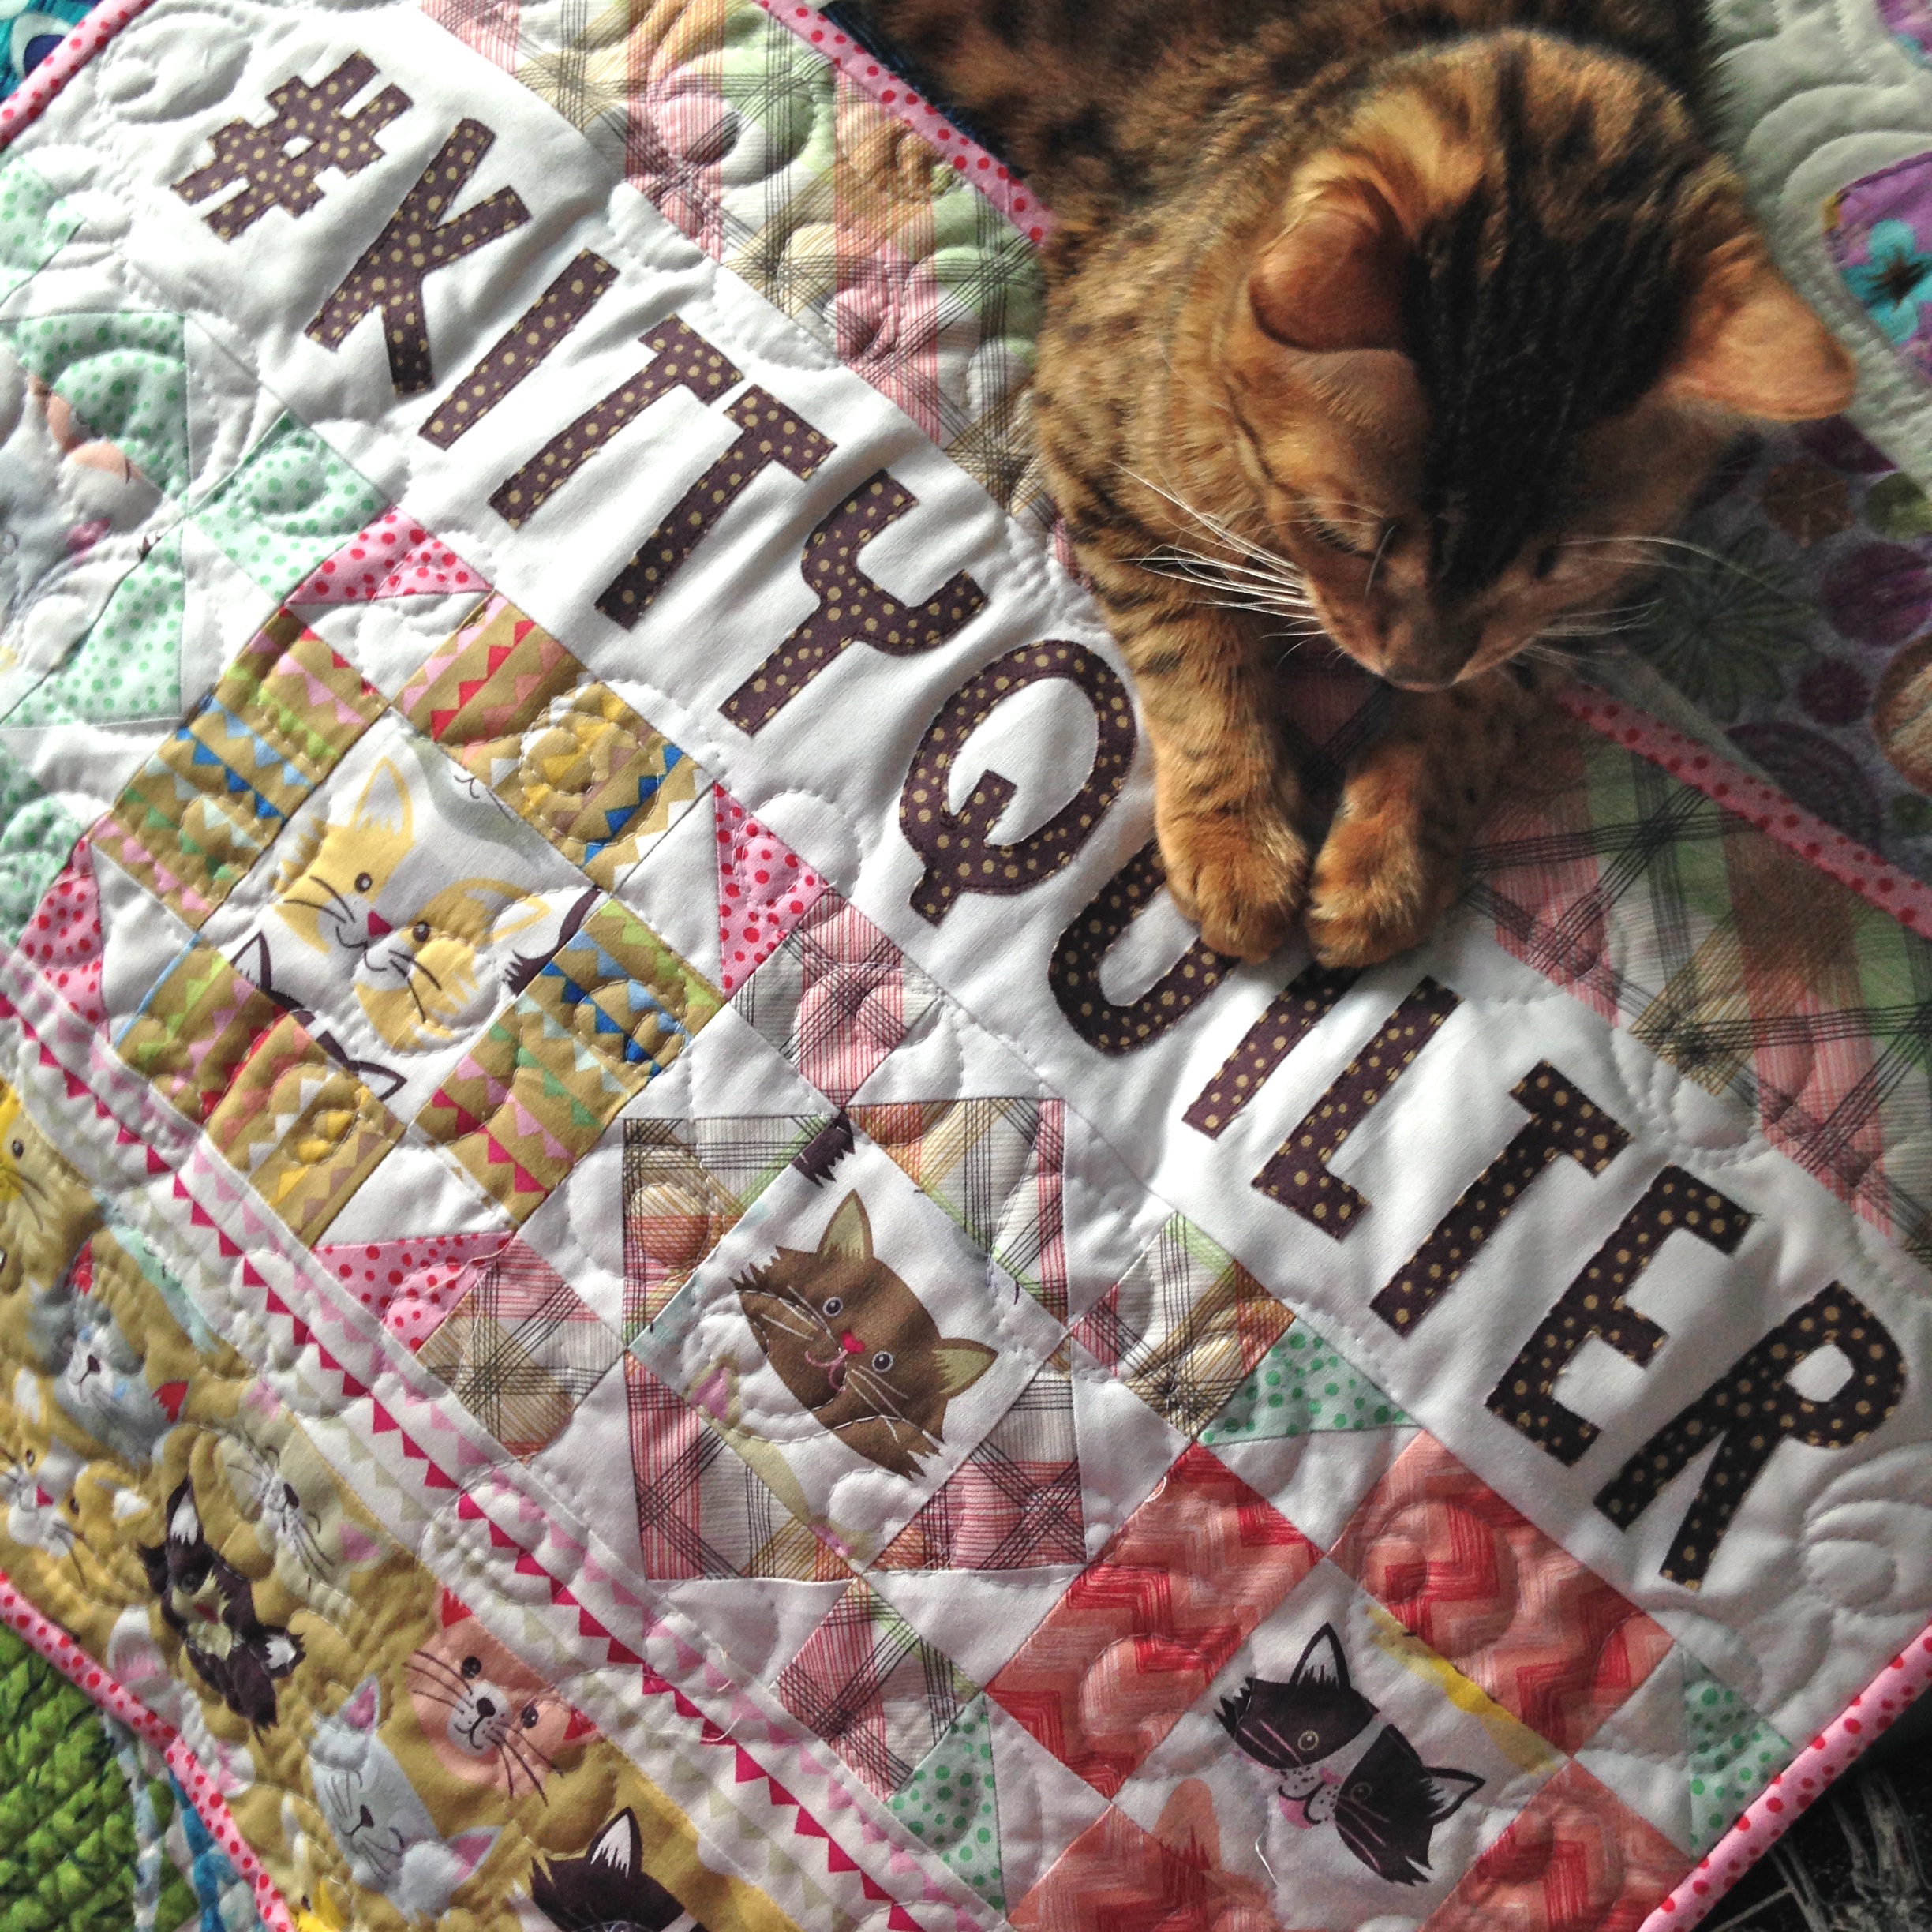
 I used the Sizzix cat head and the Sizzix cupcake bottom to create the Cat-Cakes.
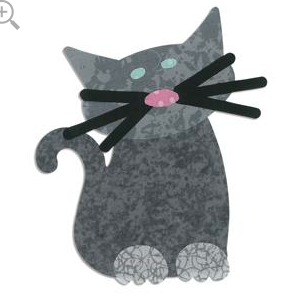


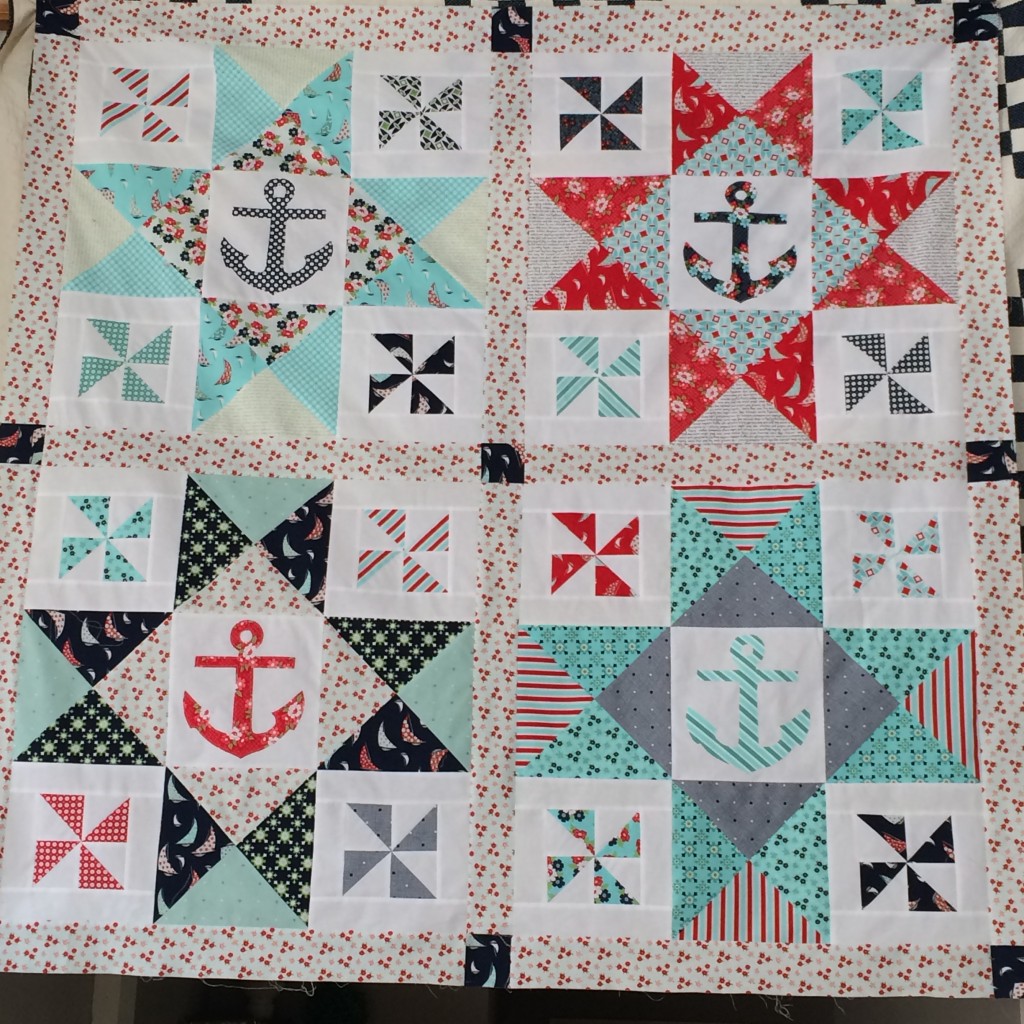
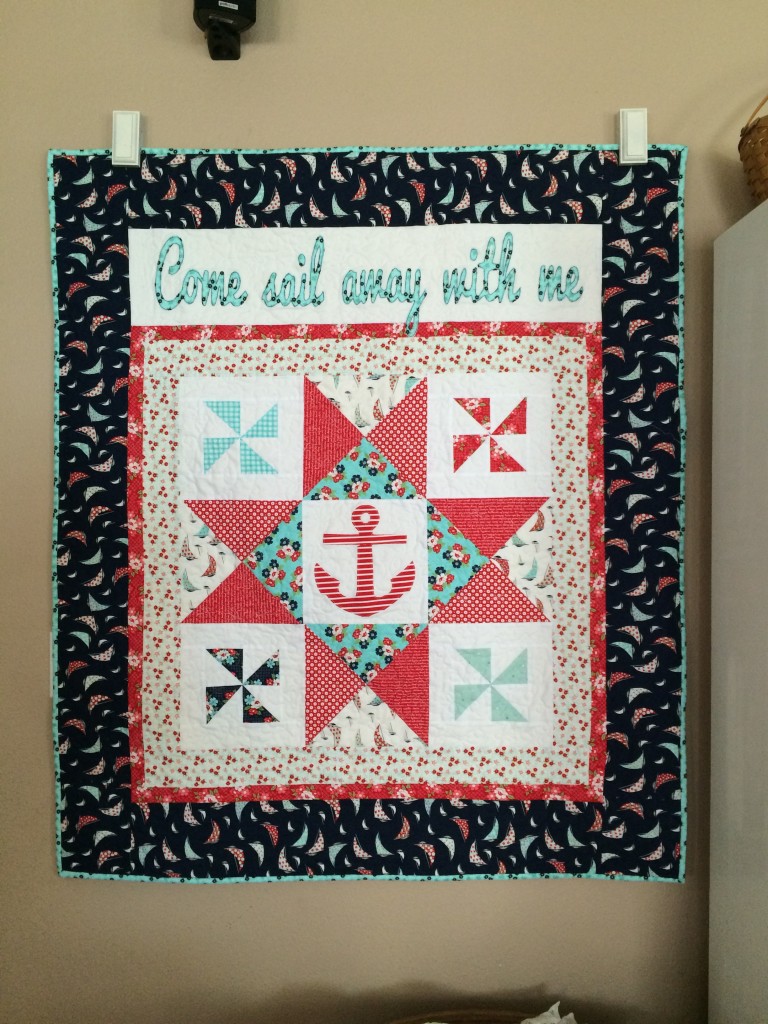
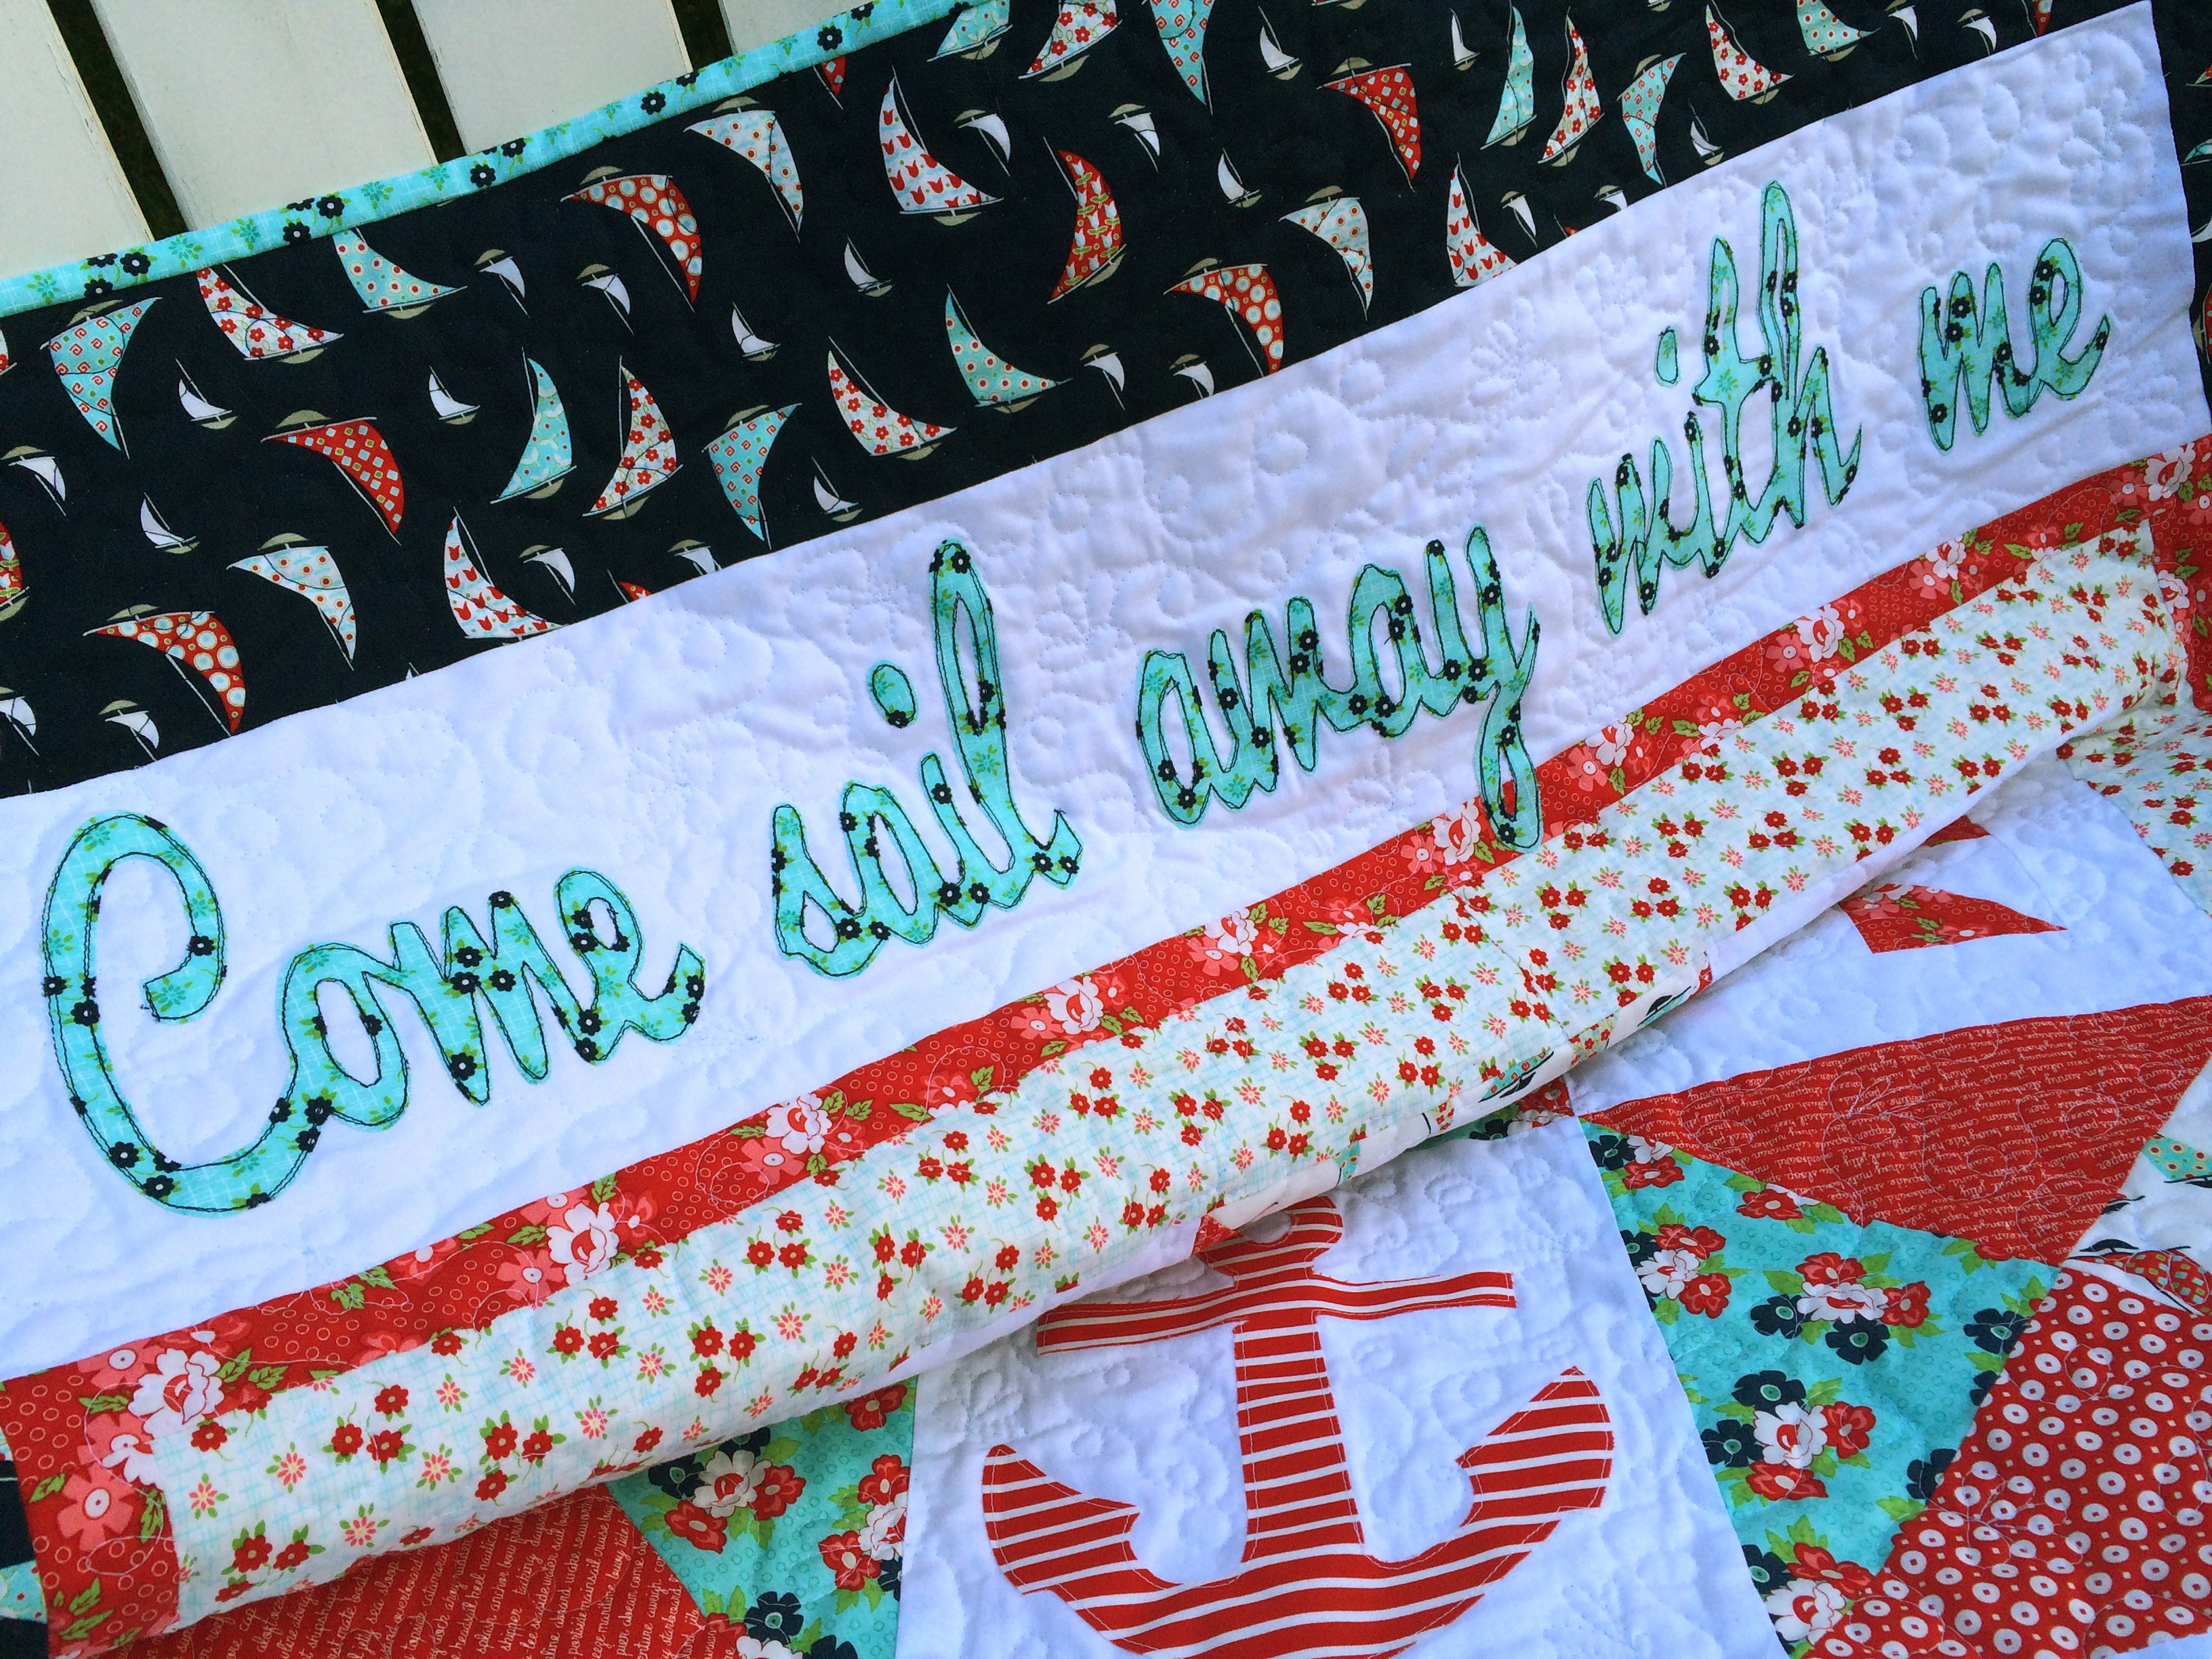
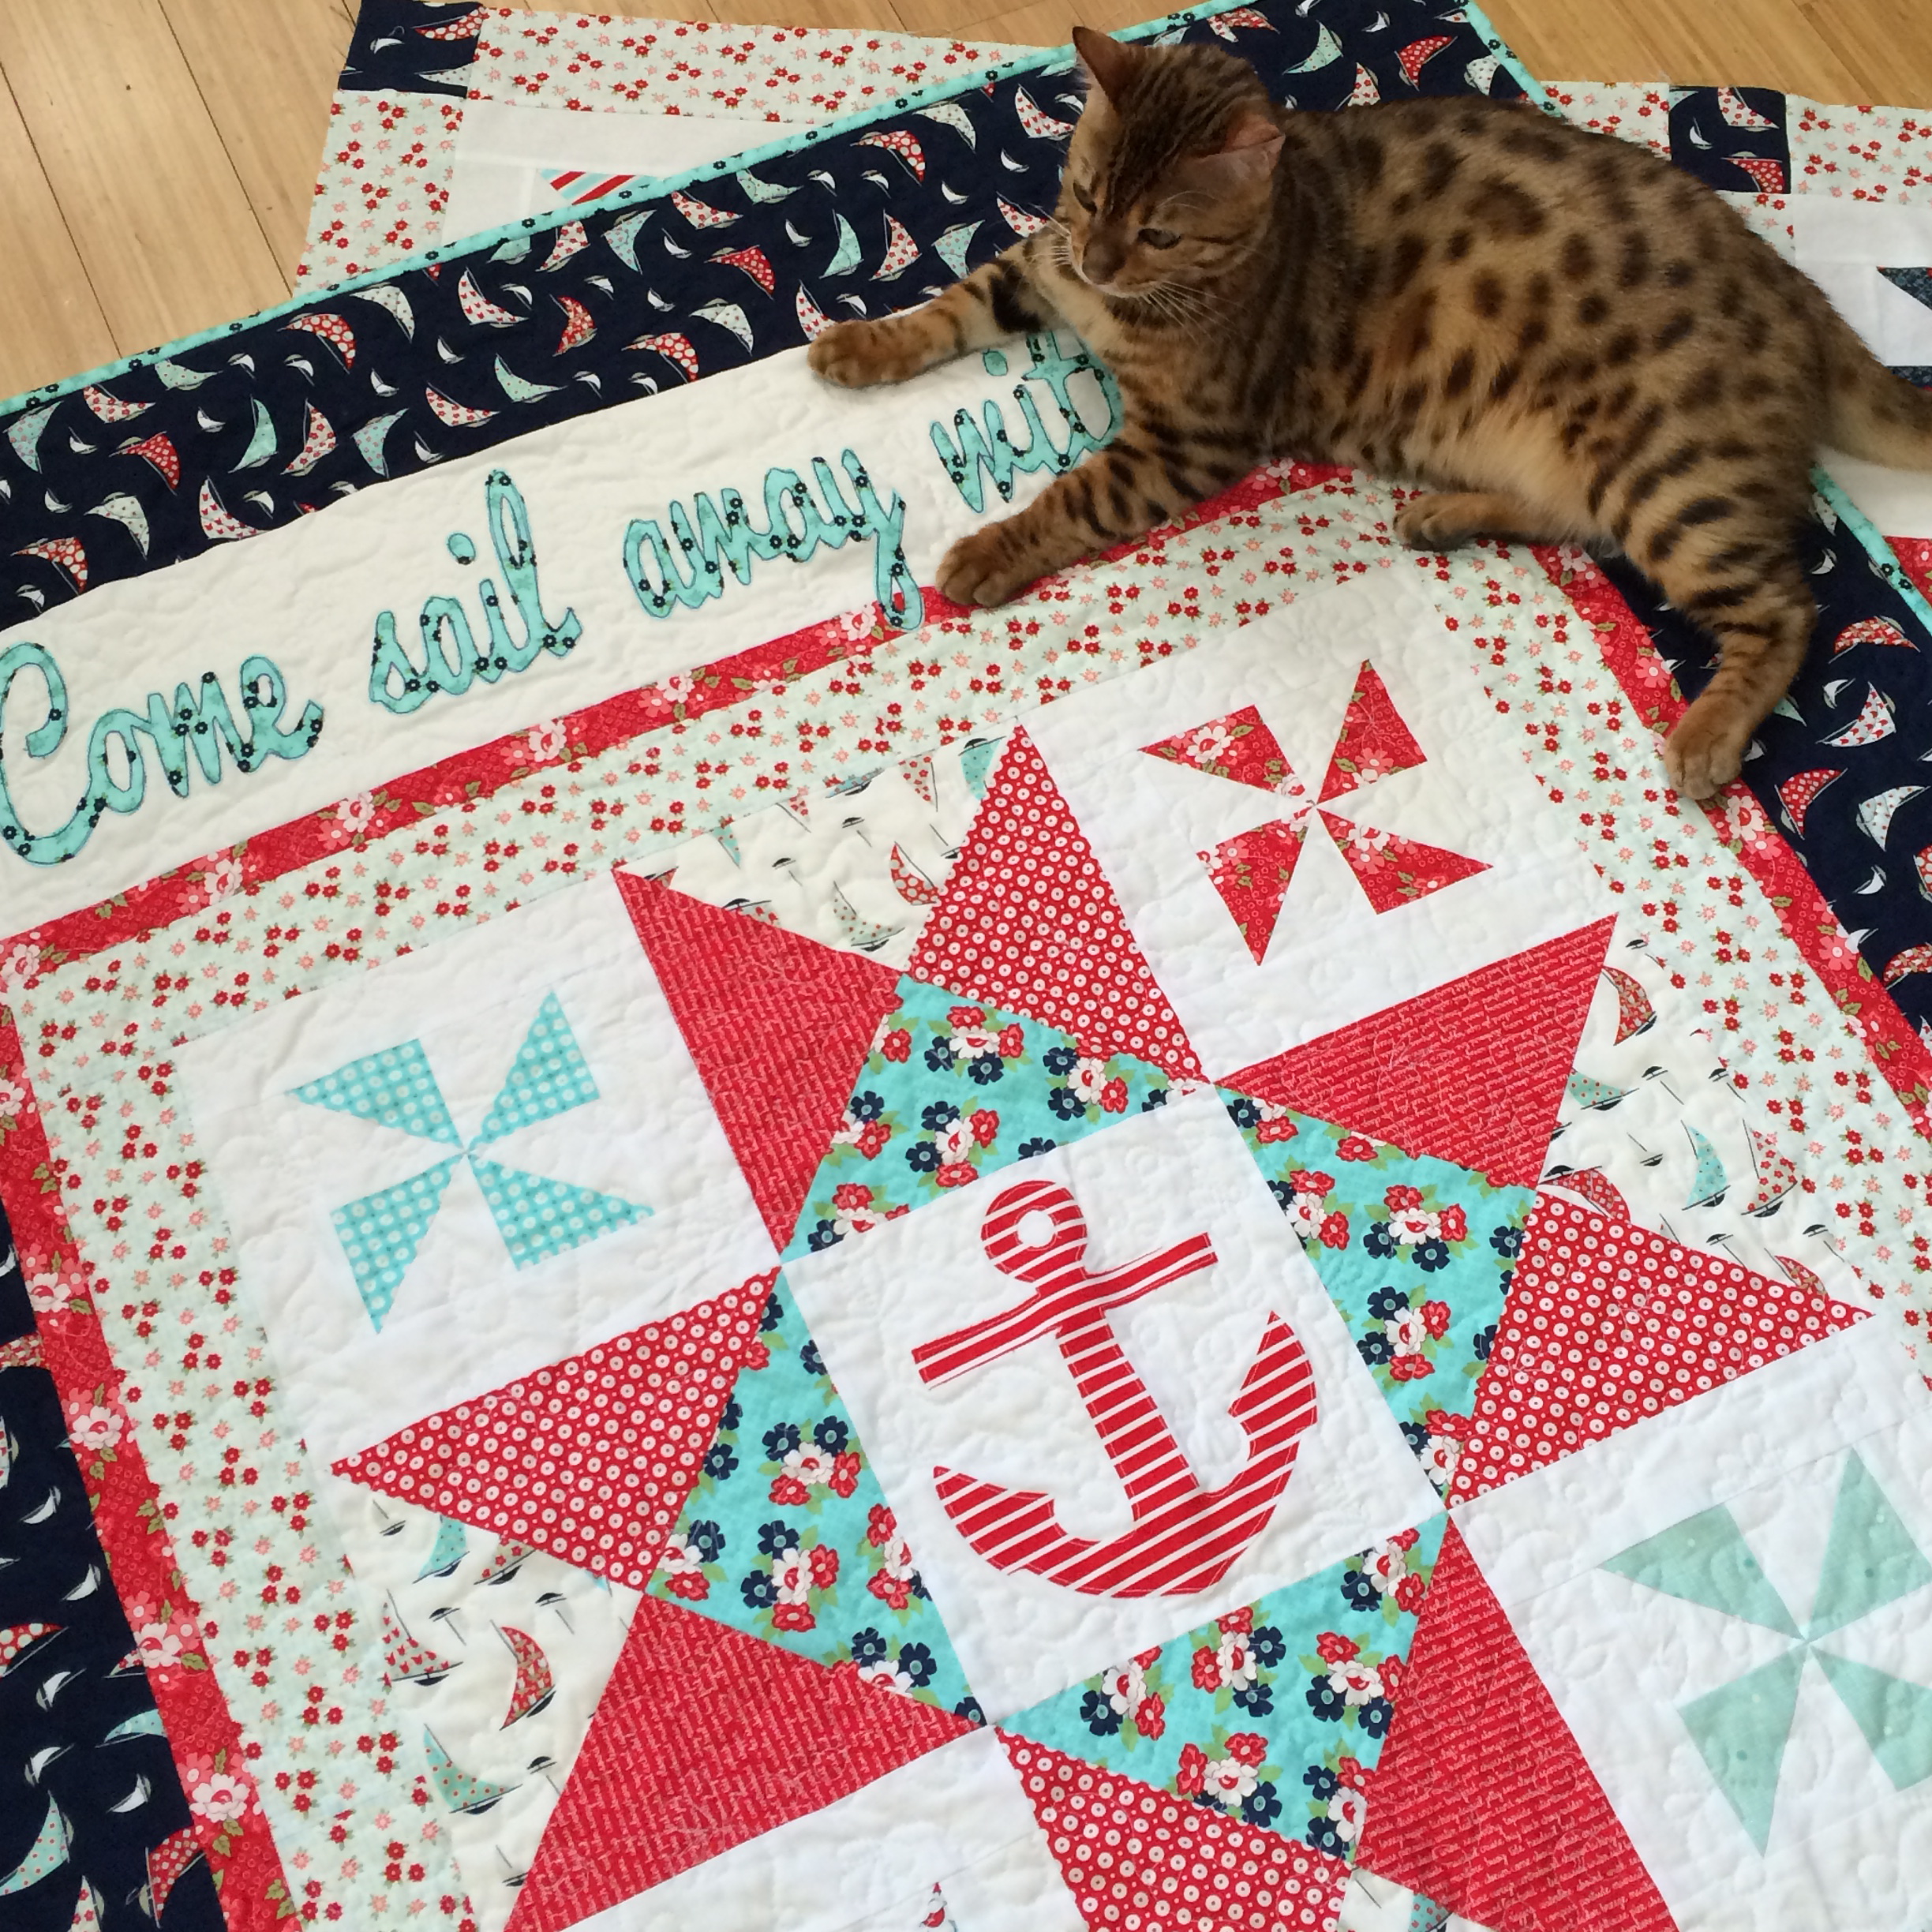
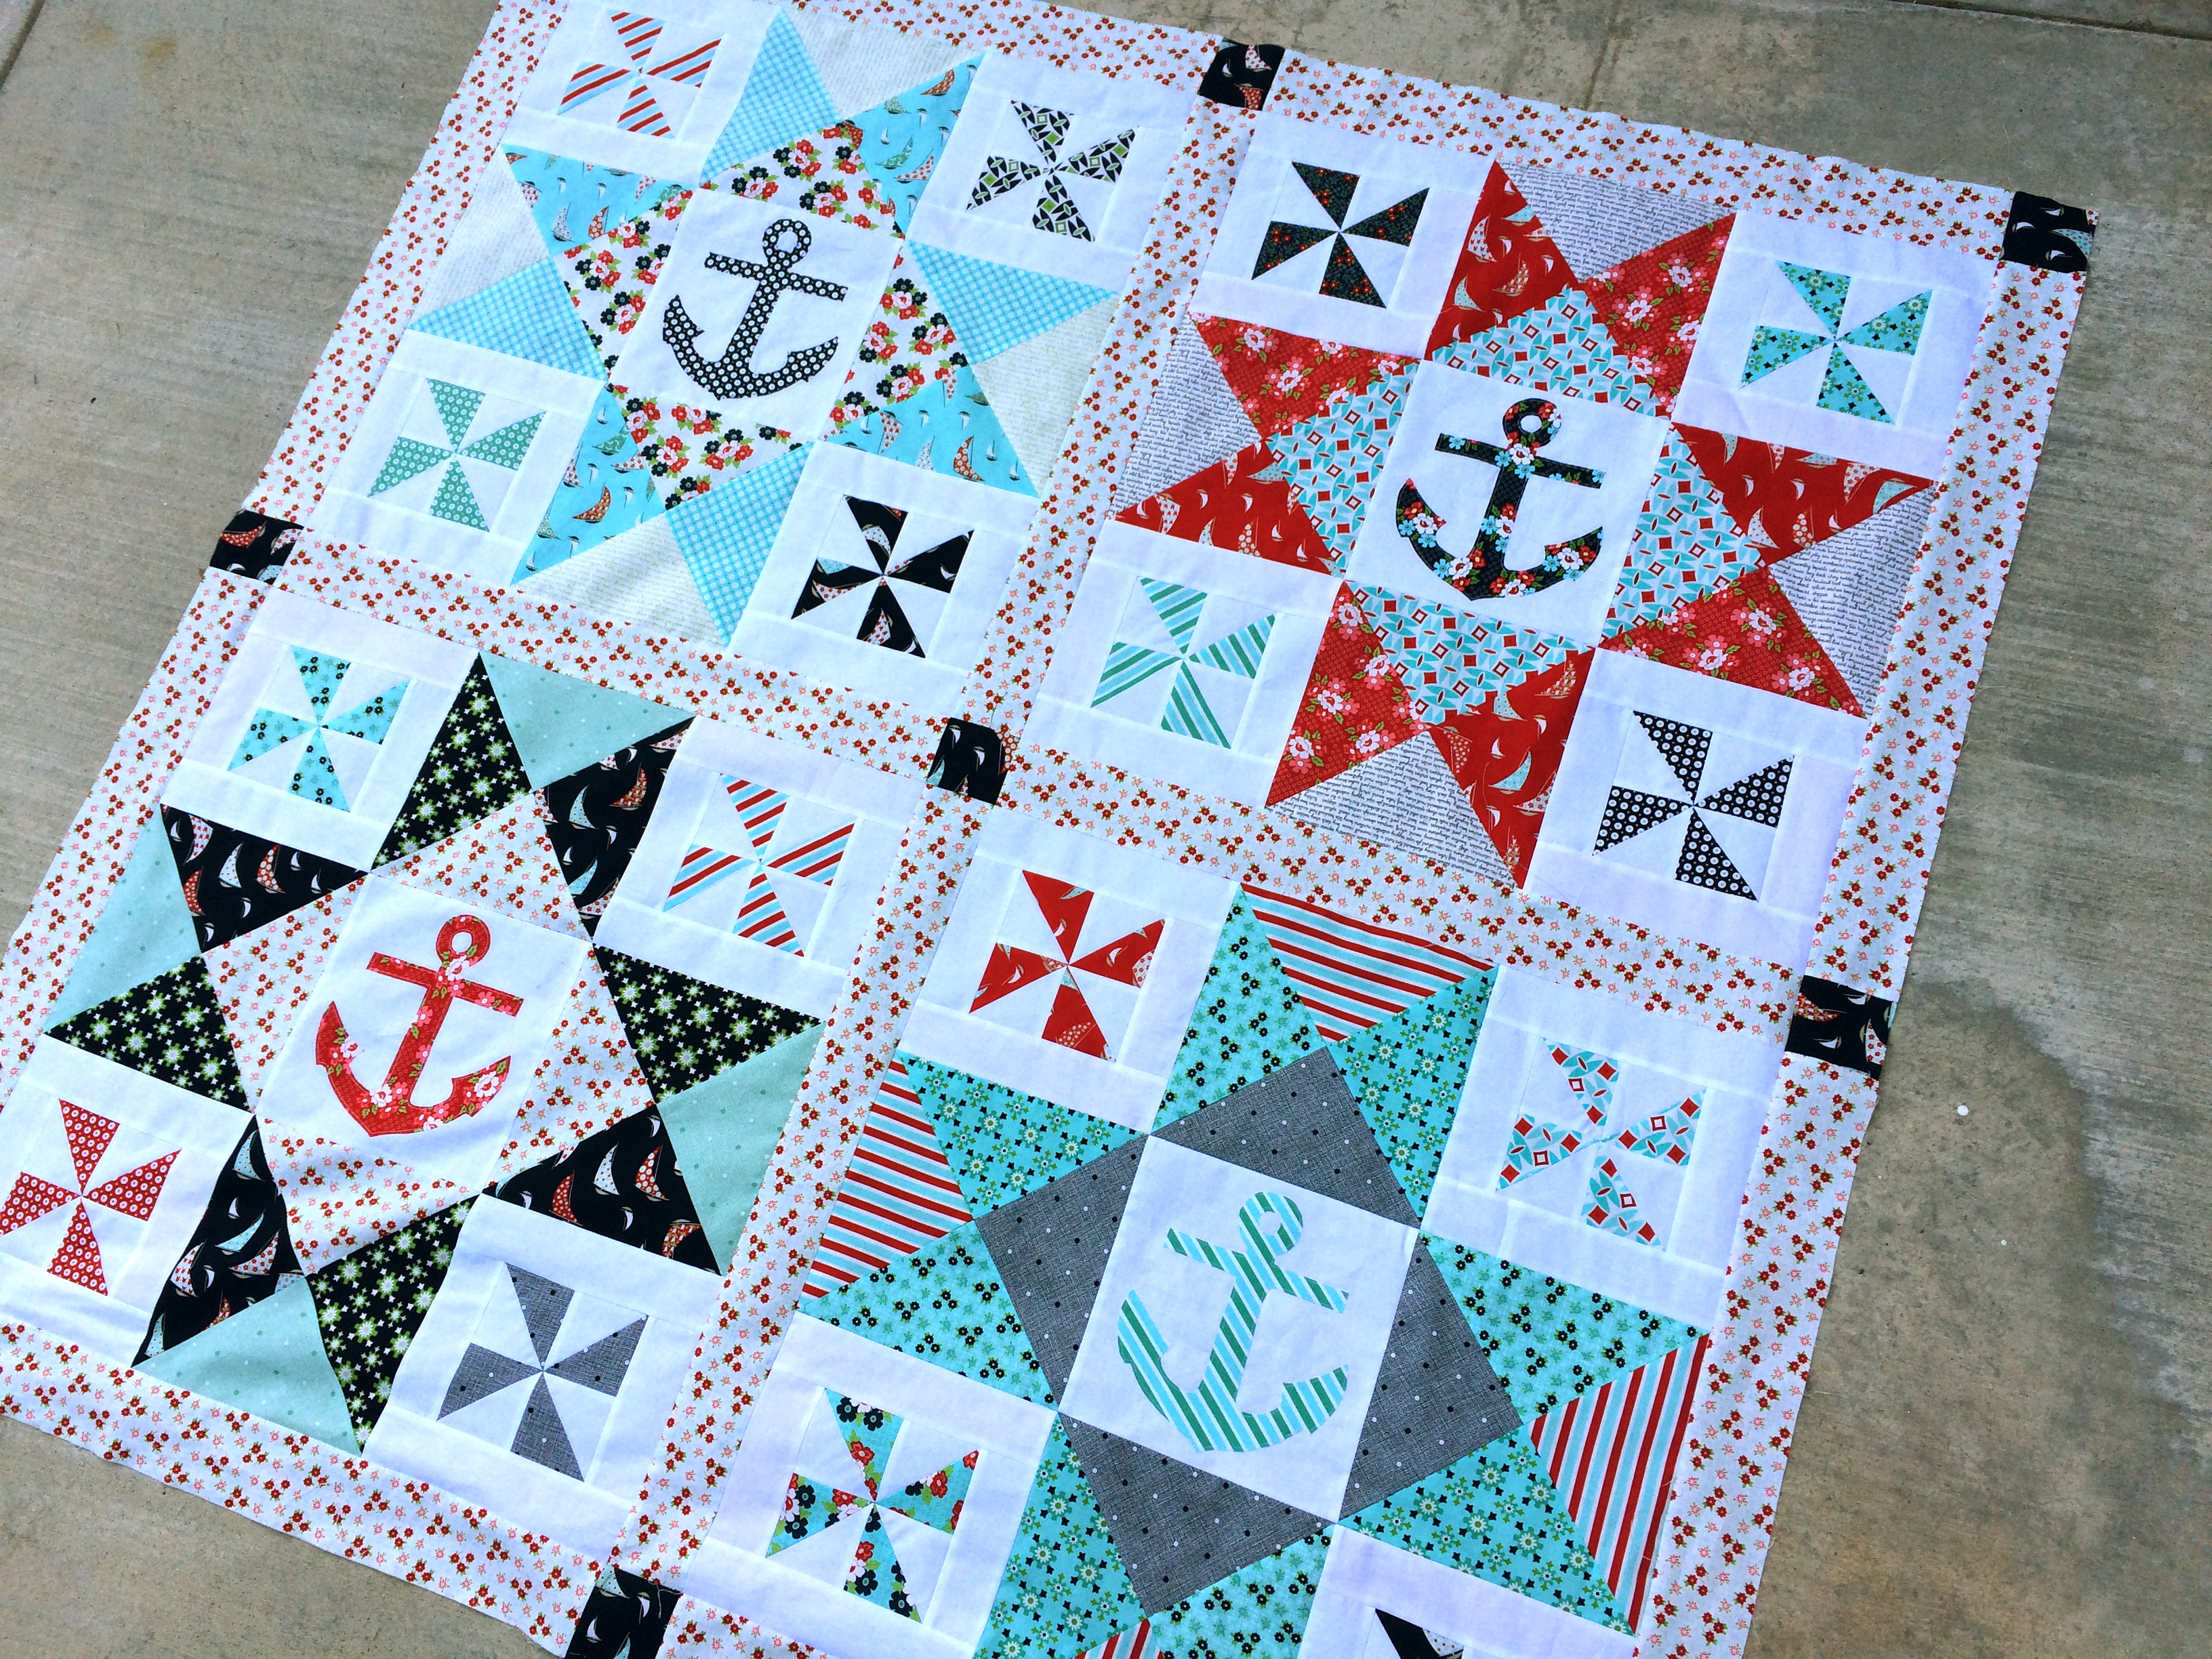
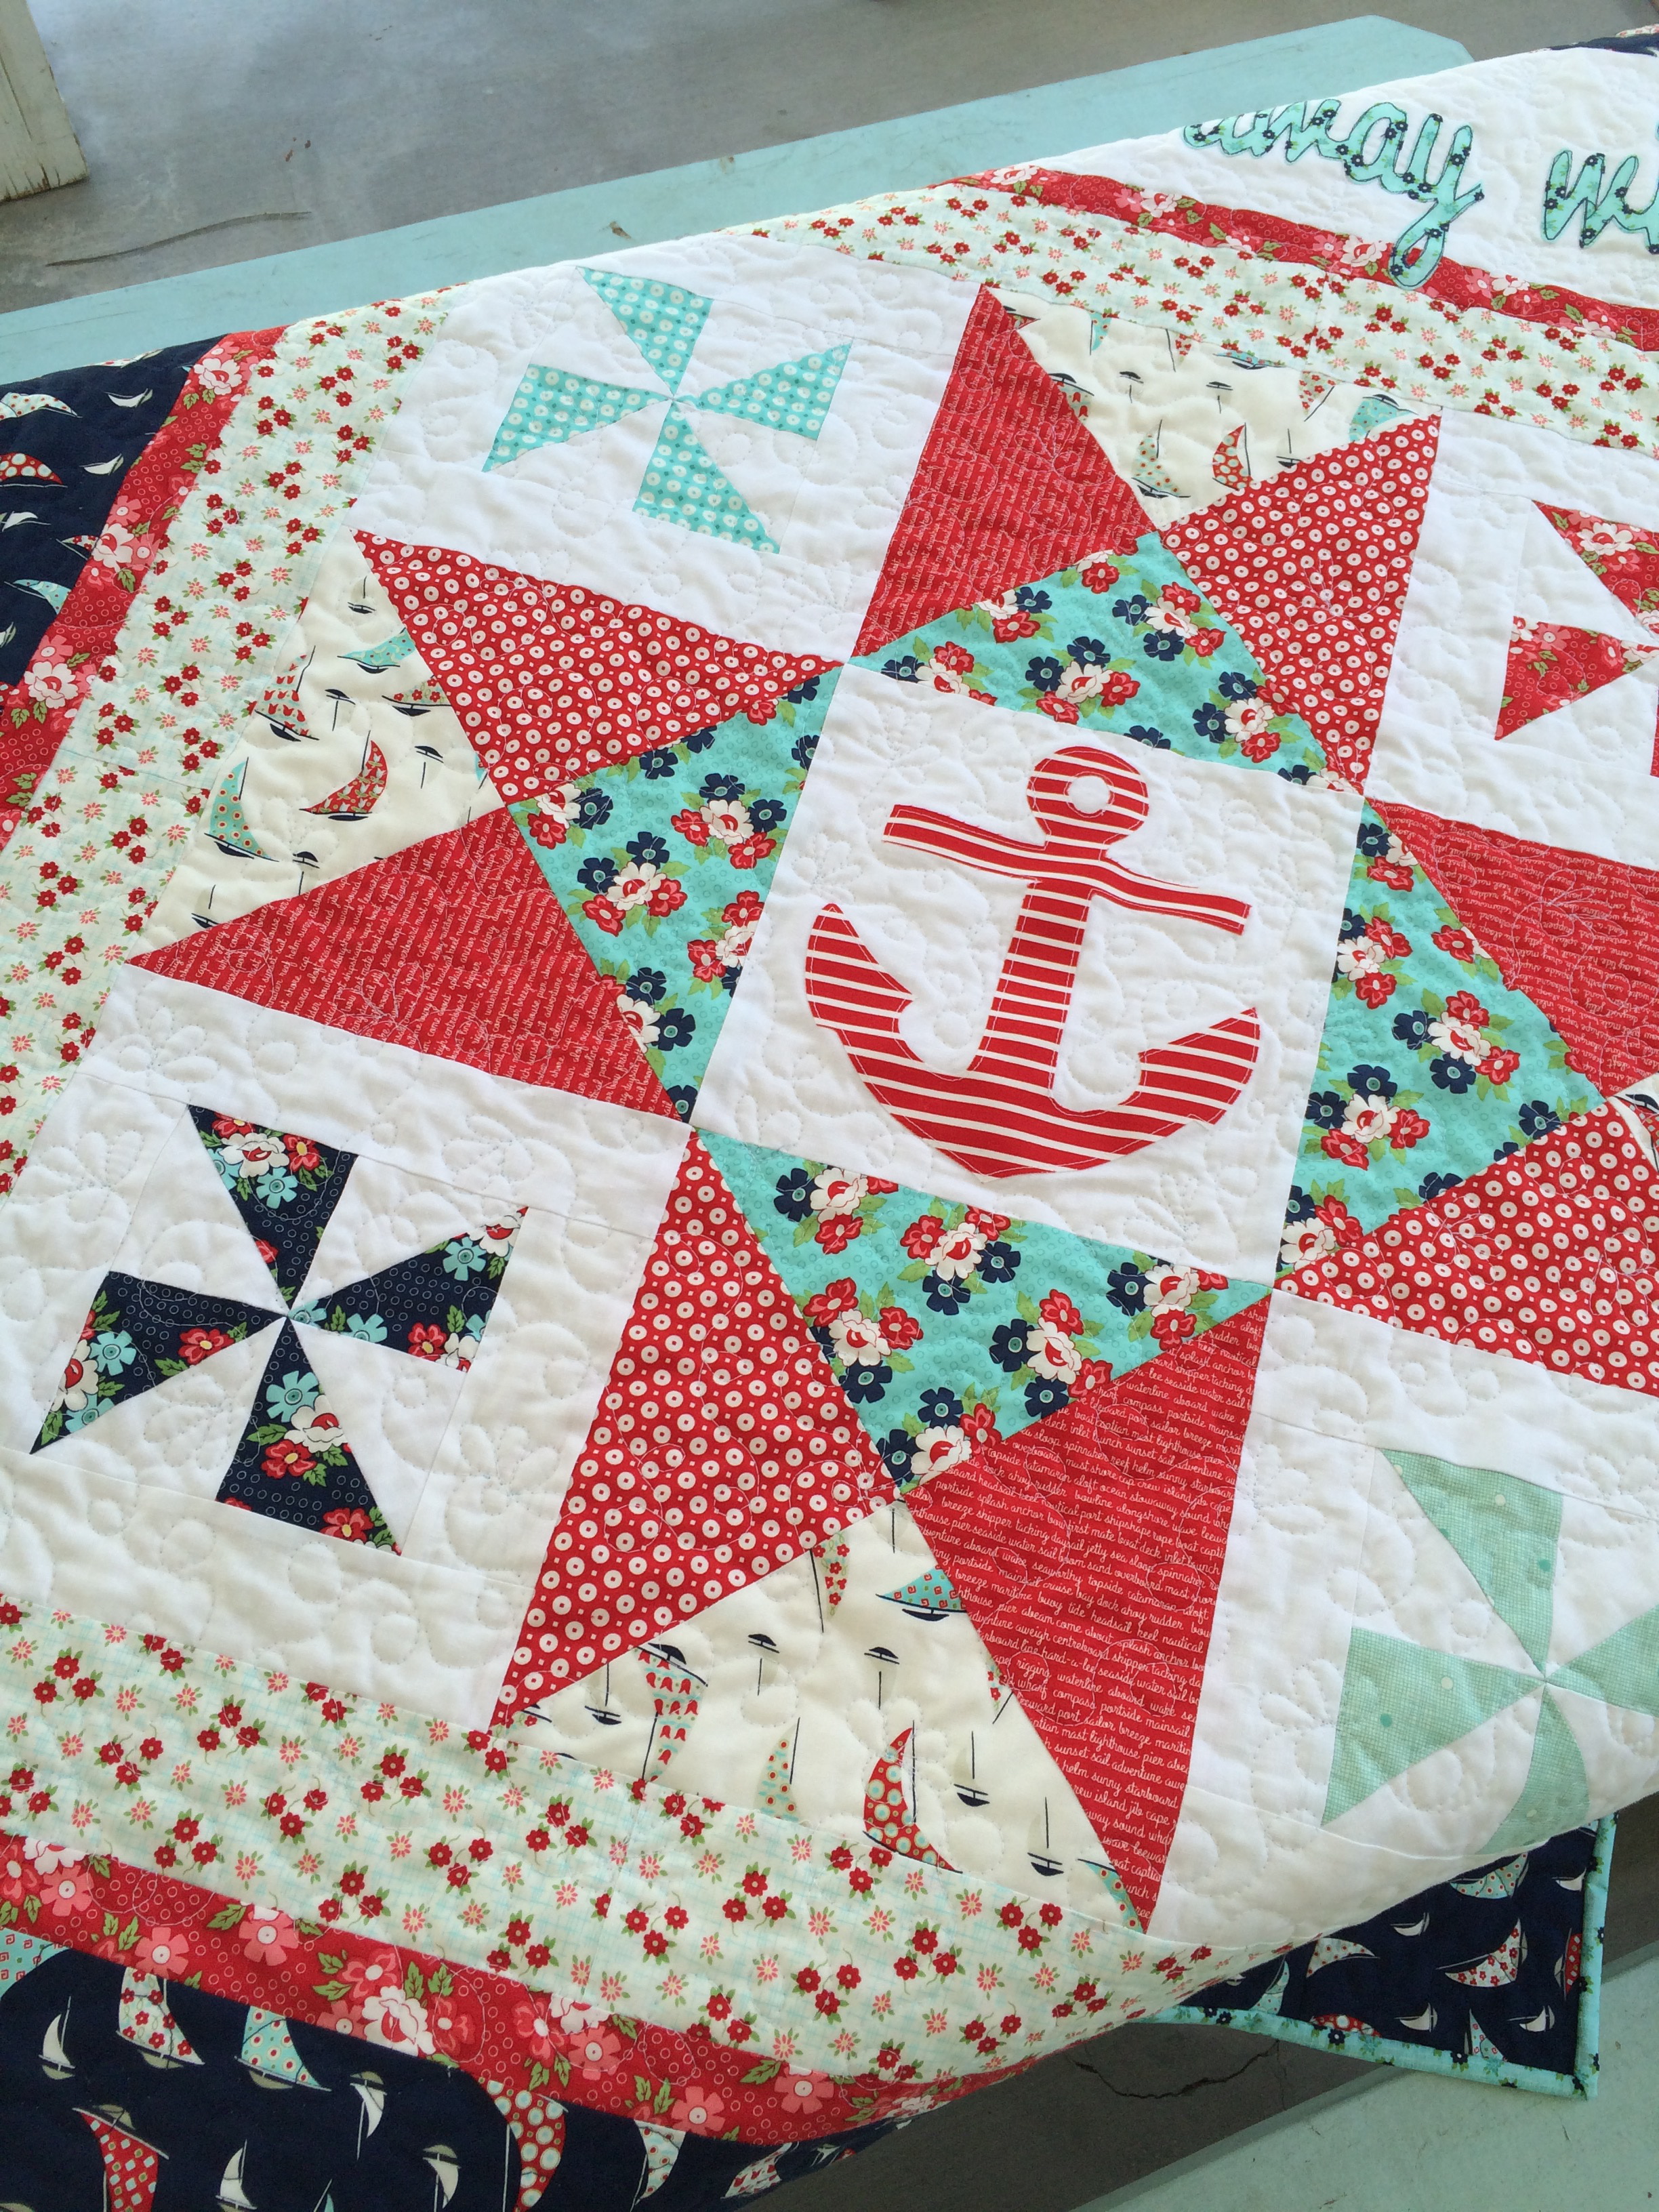
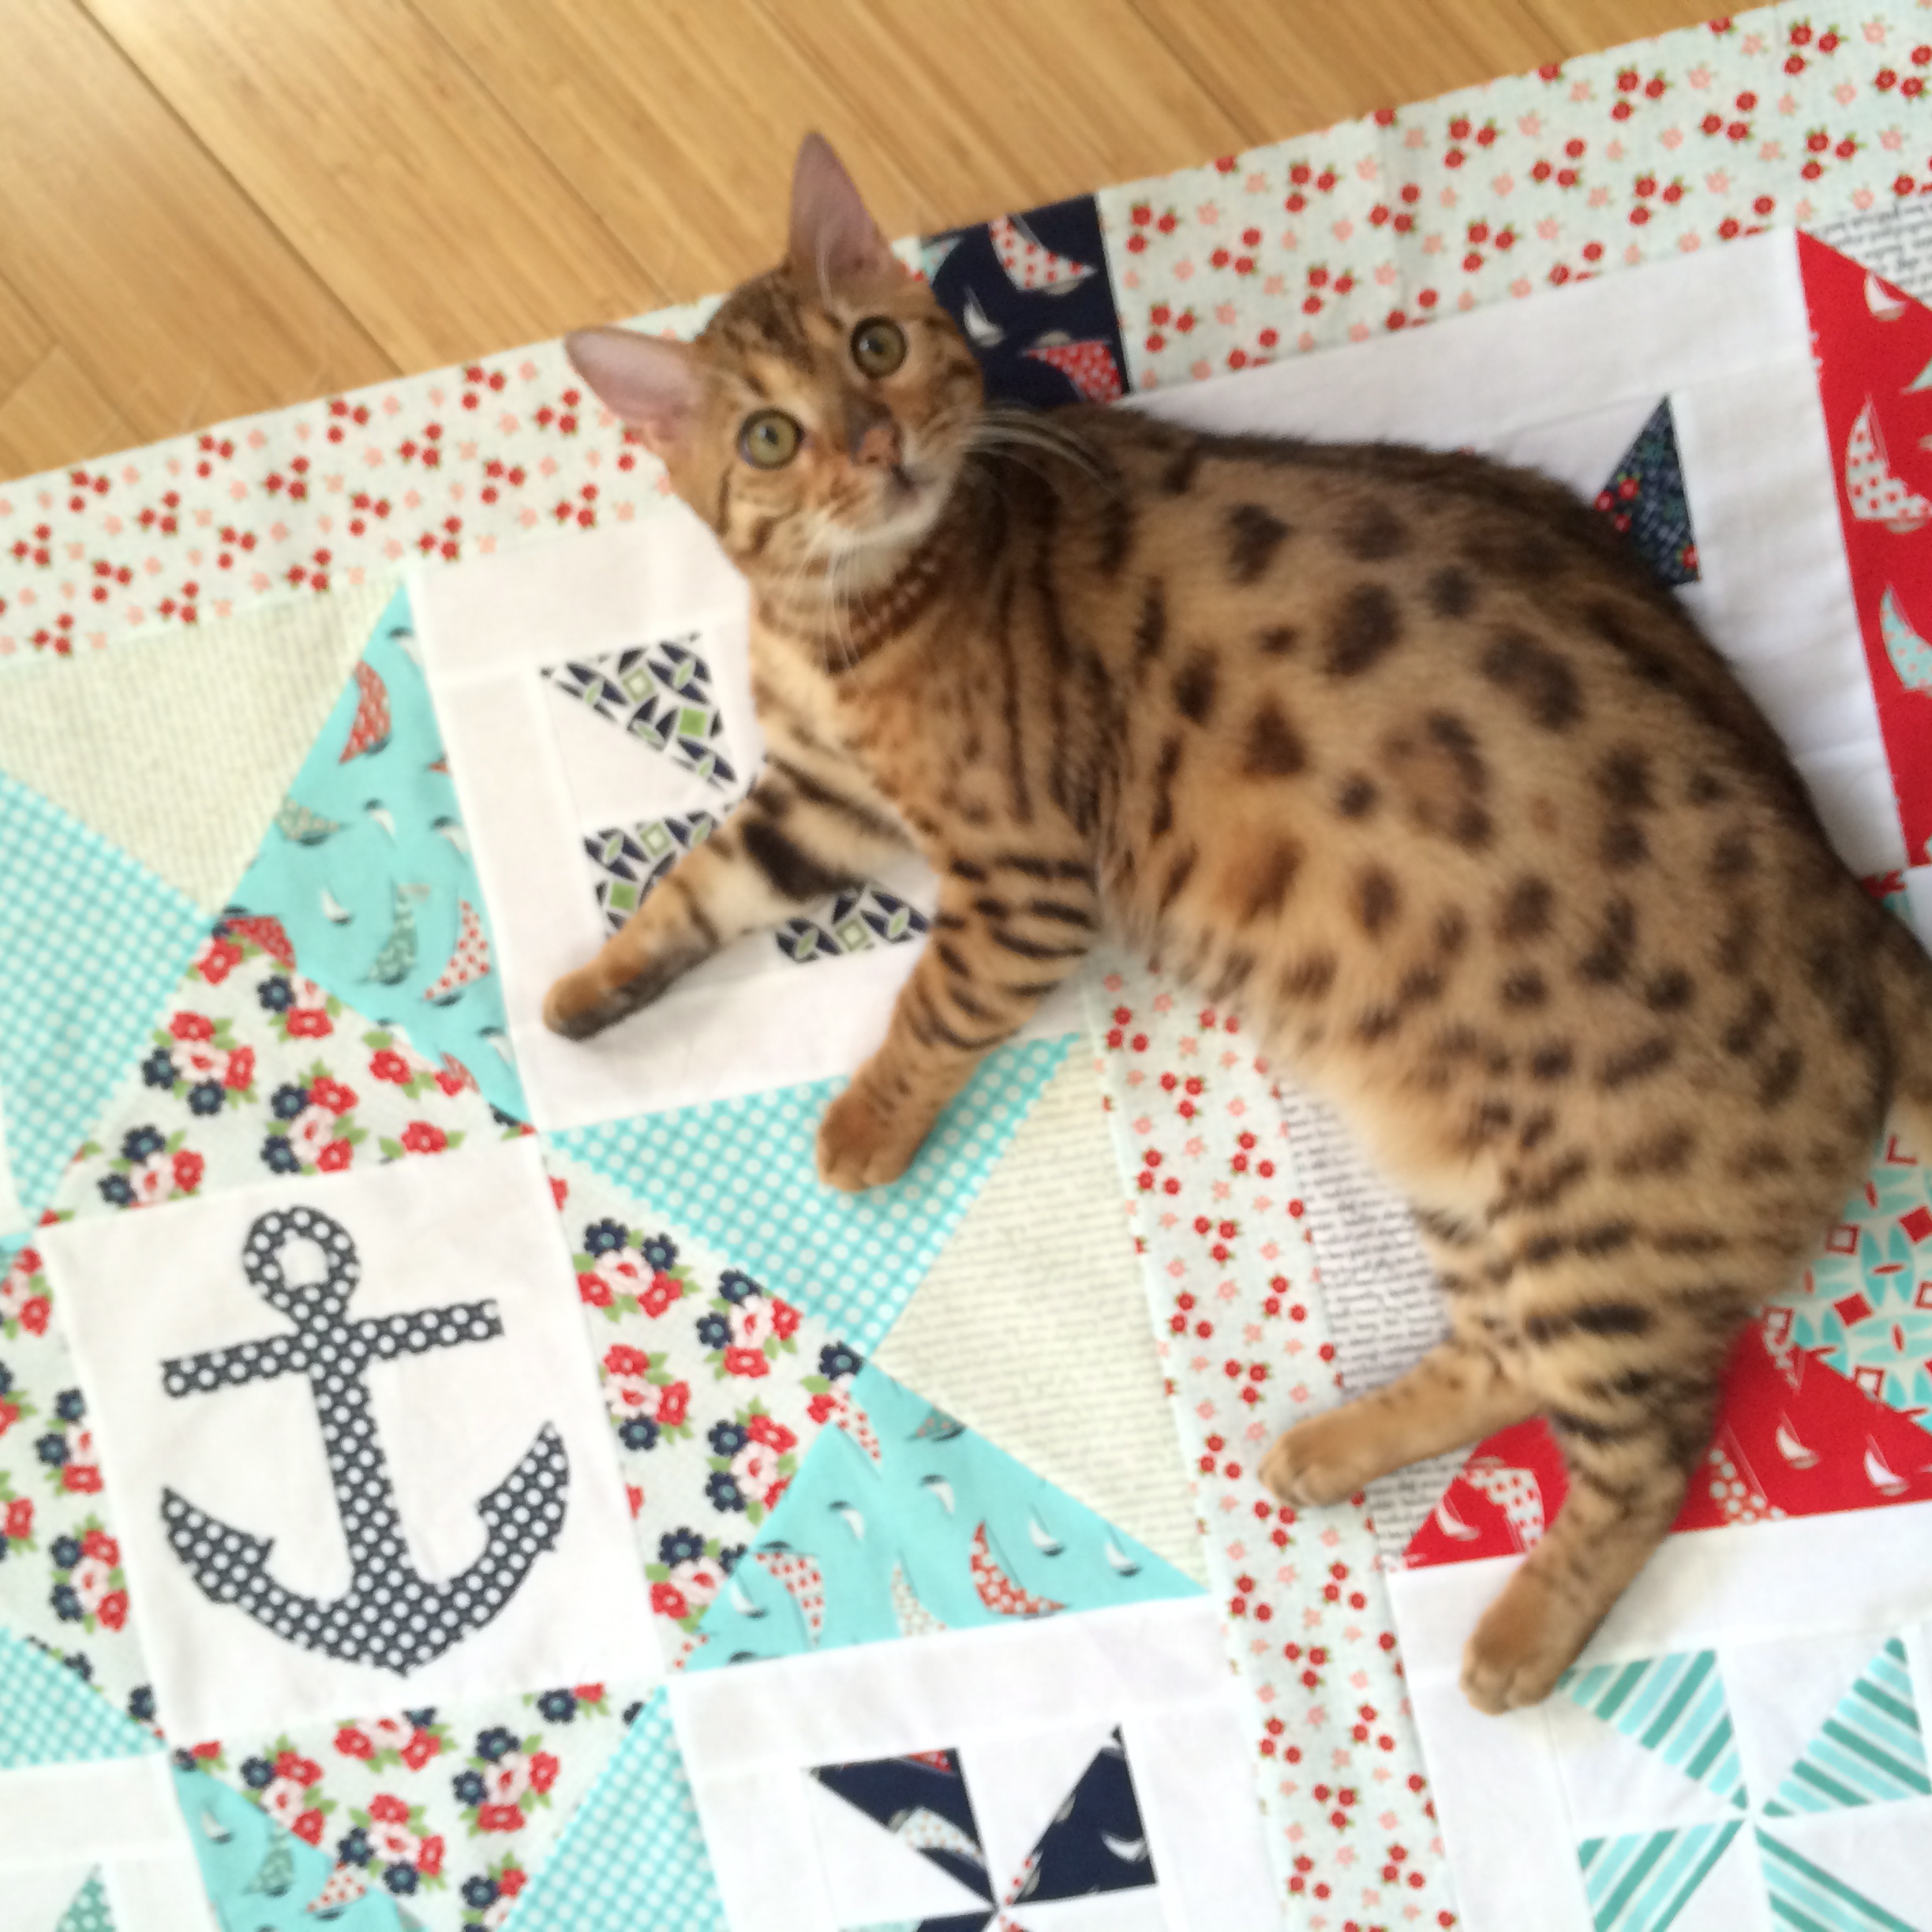
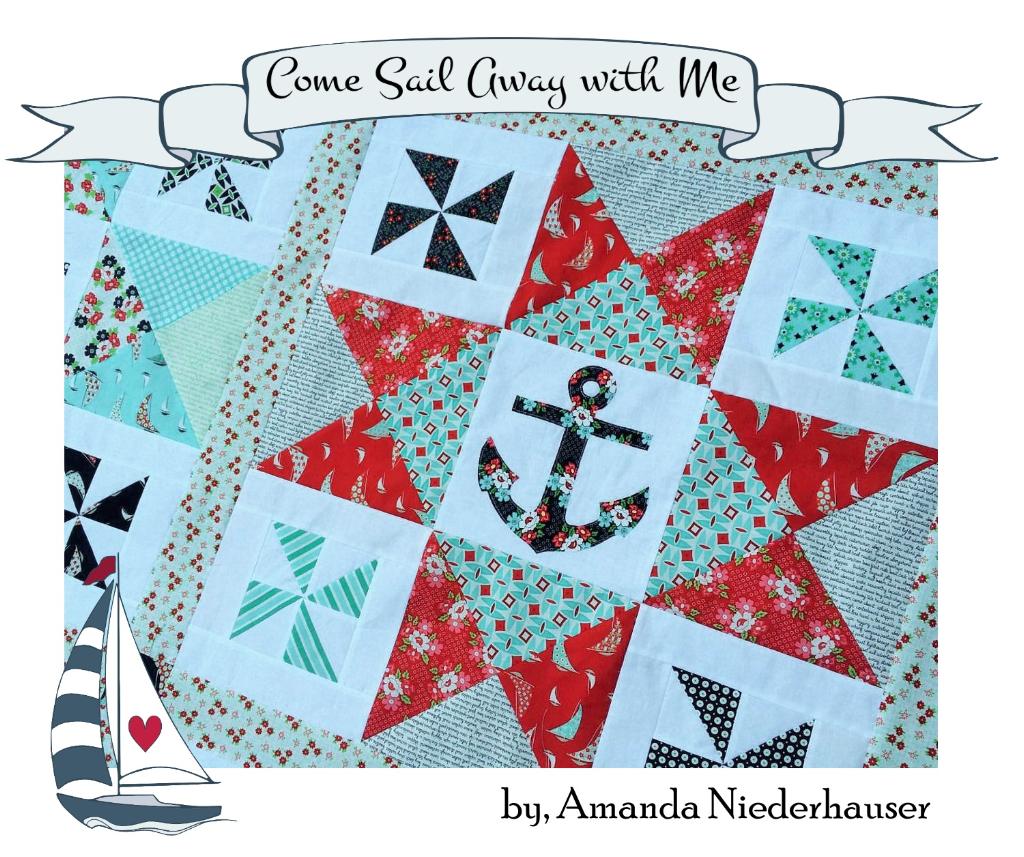 I am sooooo excited to announce the release of my new pattern! I had so much fun creating it. I was inspired by all the wonderful prints in the Day Sail fabric line by Moda. The fabrics are AMAZING! I didn’t want to cut it up into tiny pieces, I wanted the fabrics to shine! I feel like they do in this quilt. I love all things nautical and I NEEDED a nautical quilt! So meet Come Sail Away With Me!!


