Monogram Peasant Top, a modified tutorial

Geofabulous_Peasant_Top_monogram_8

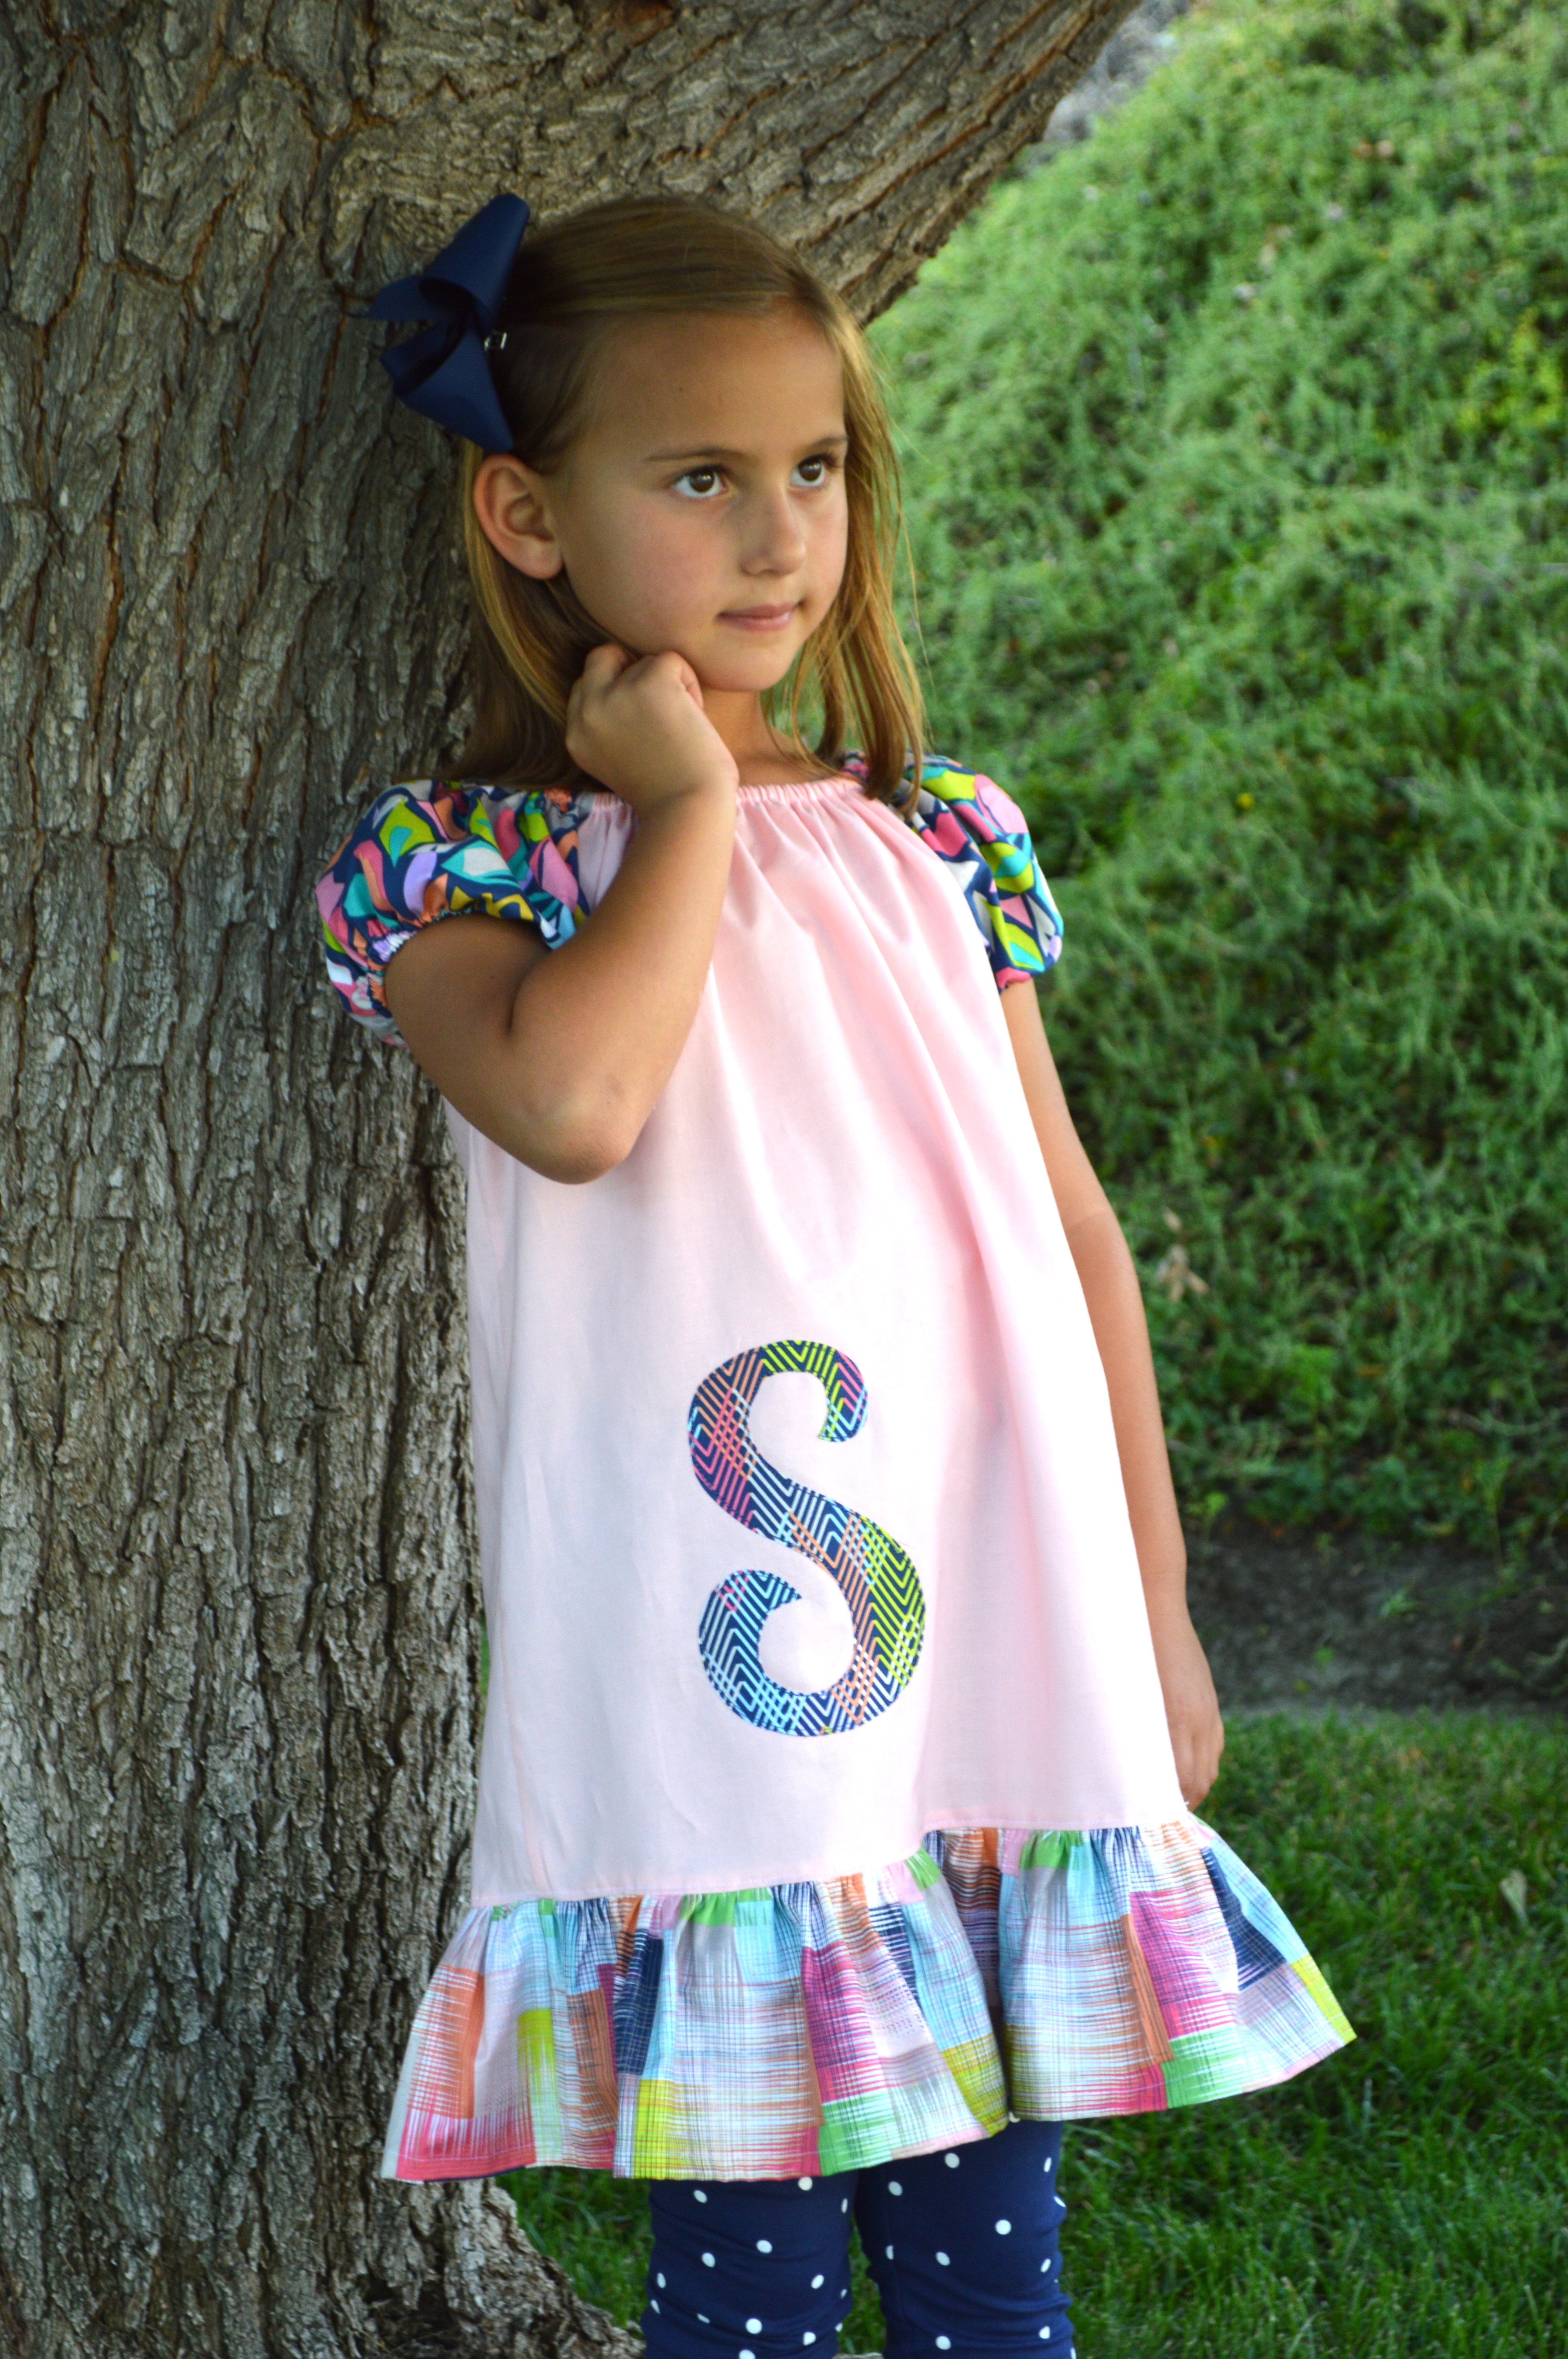
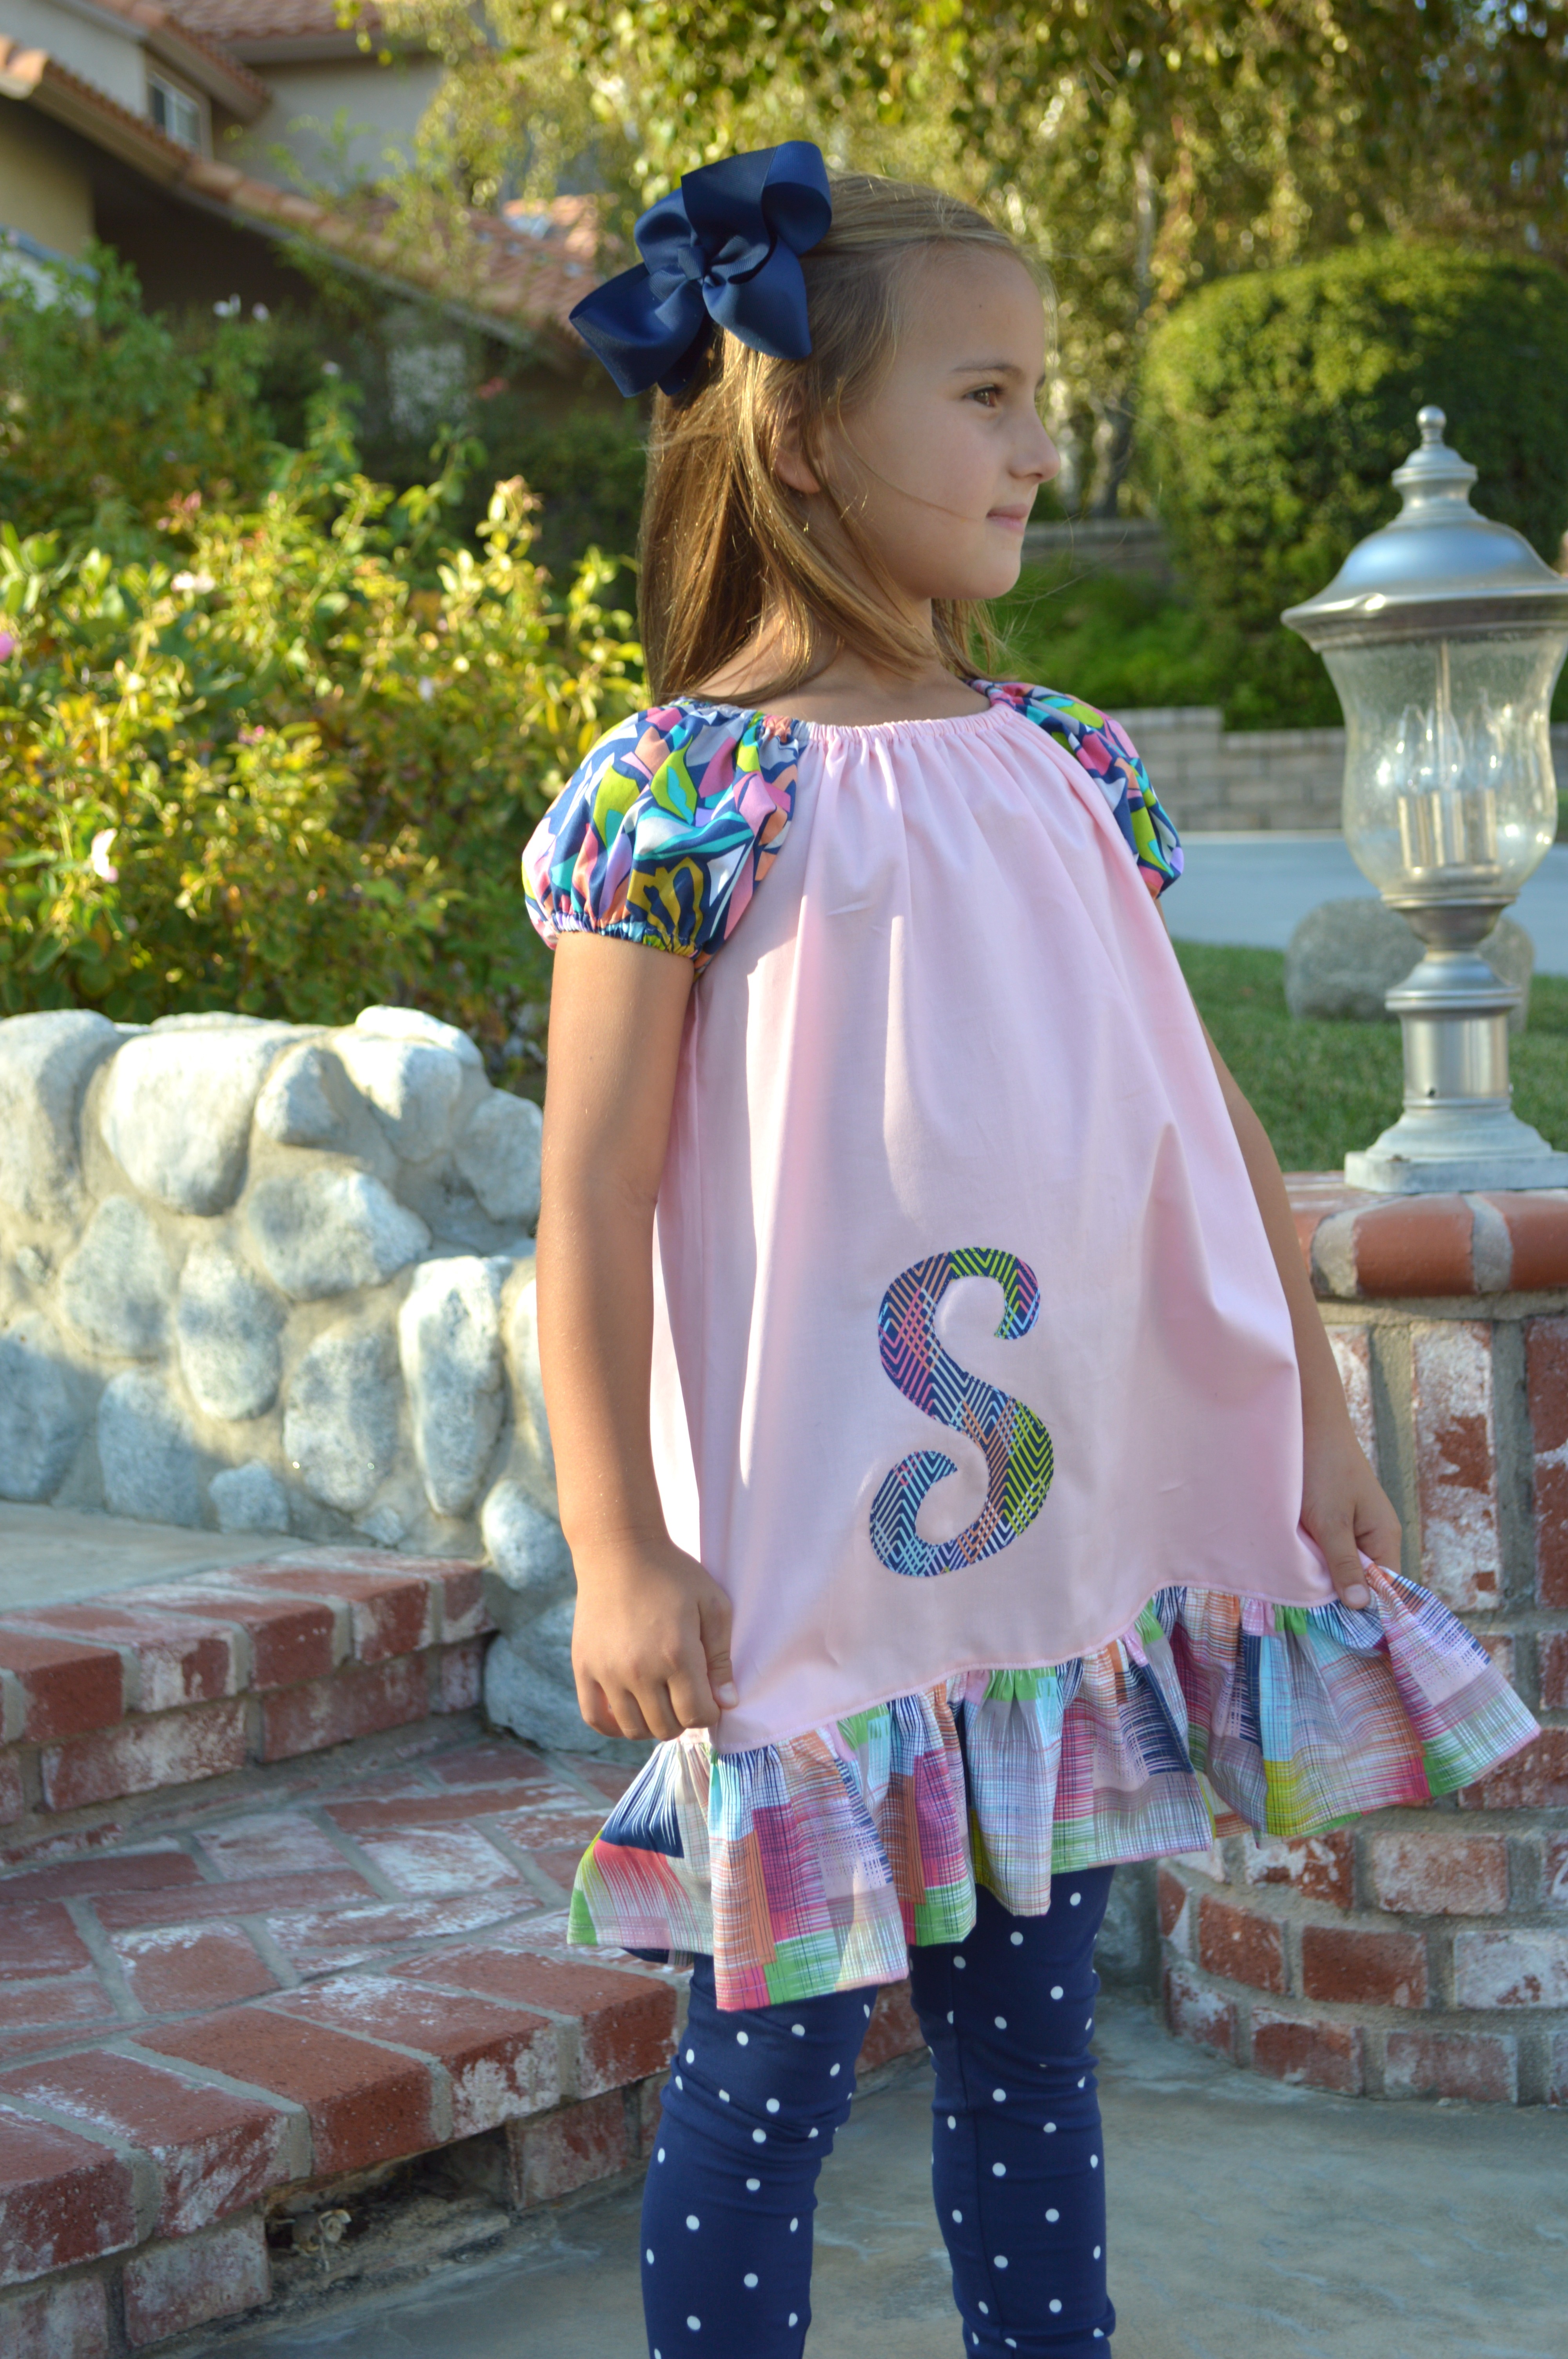
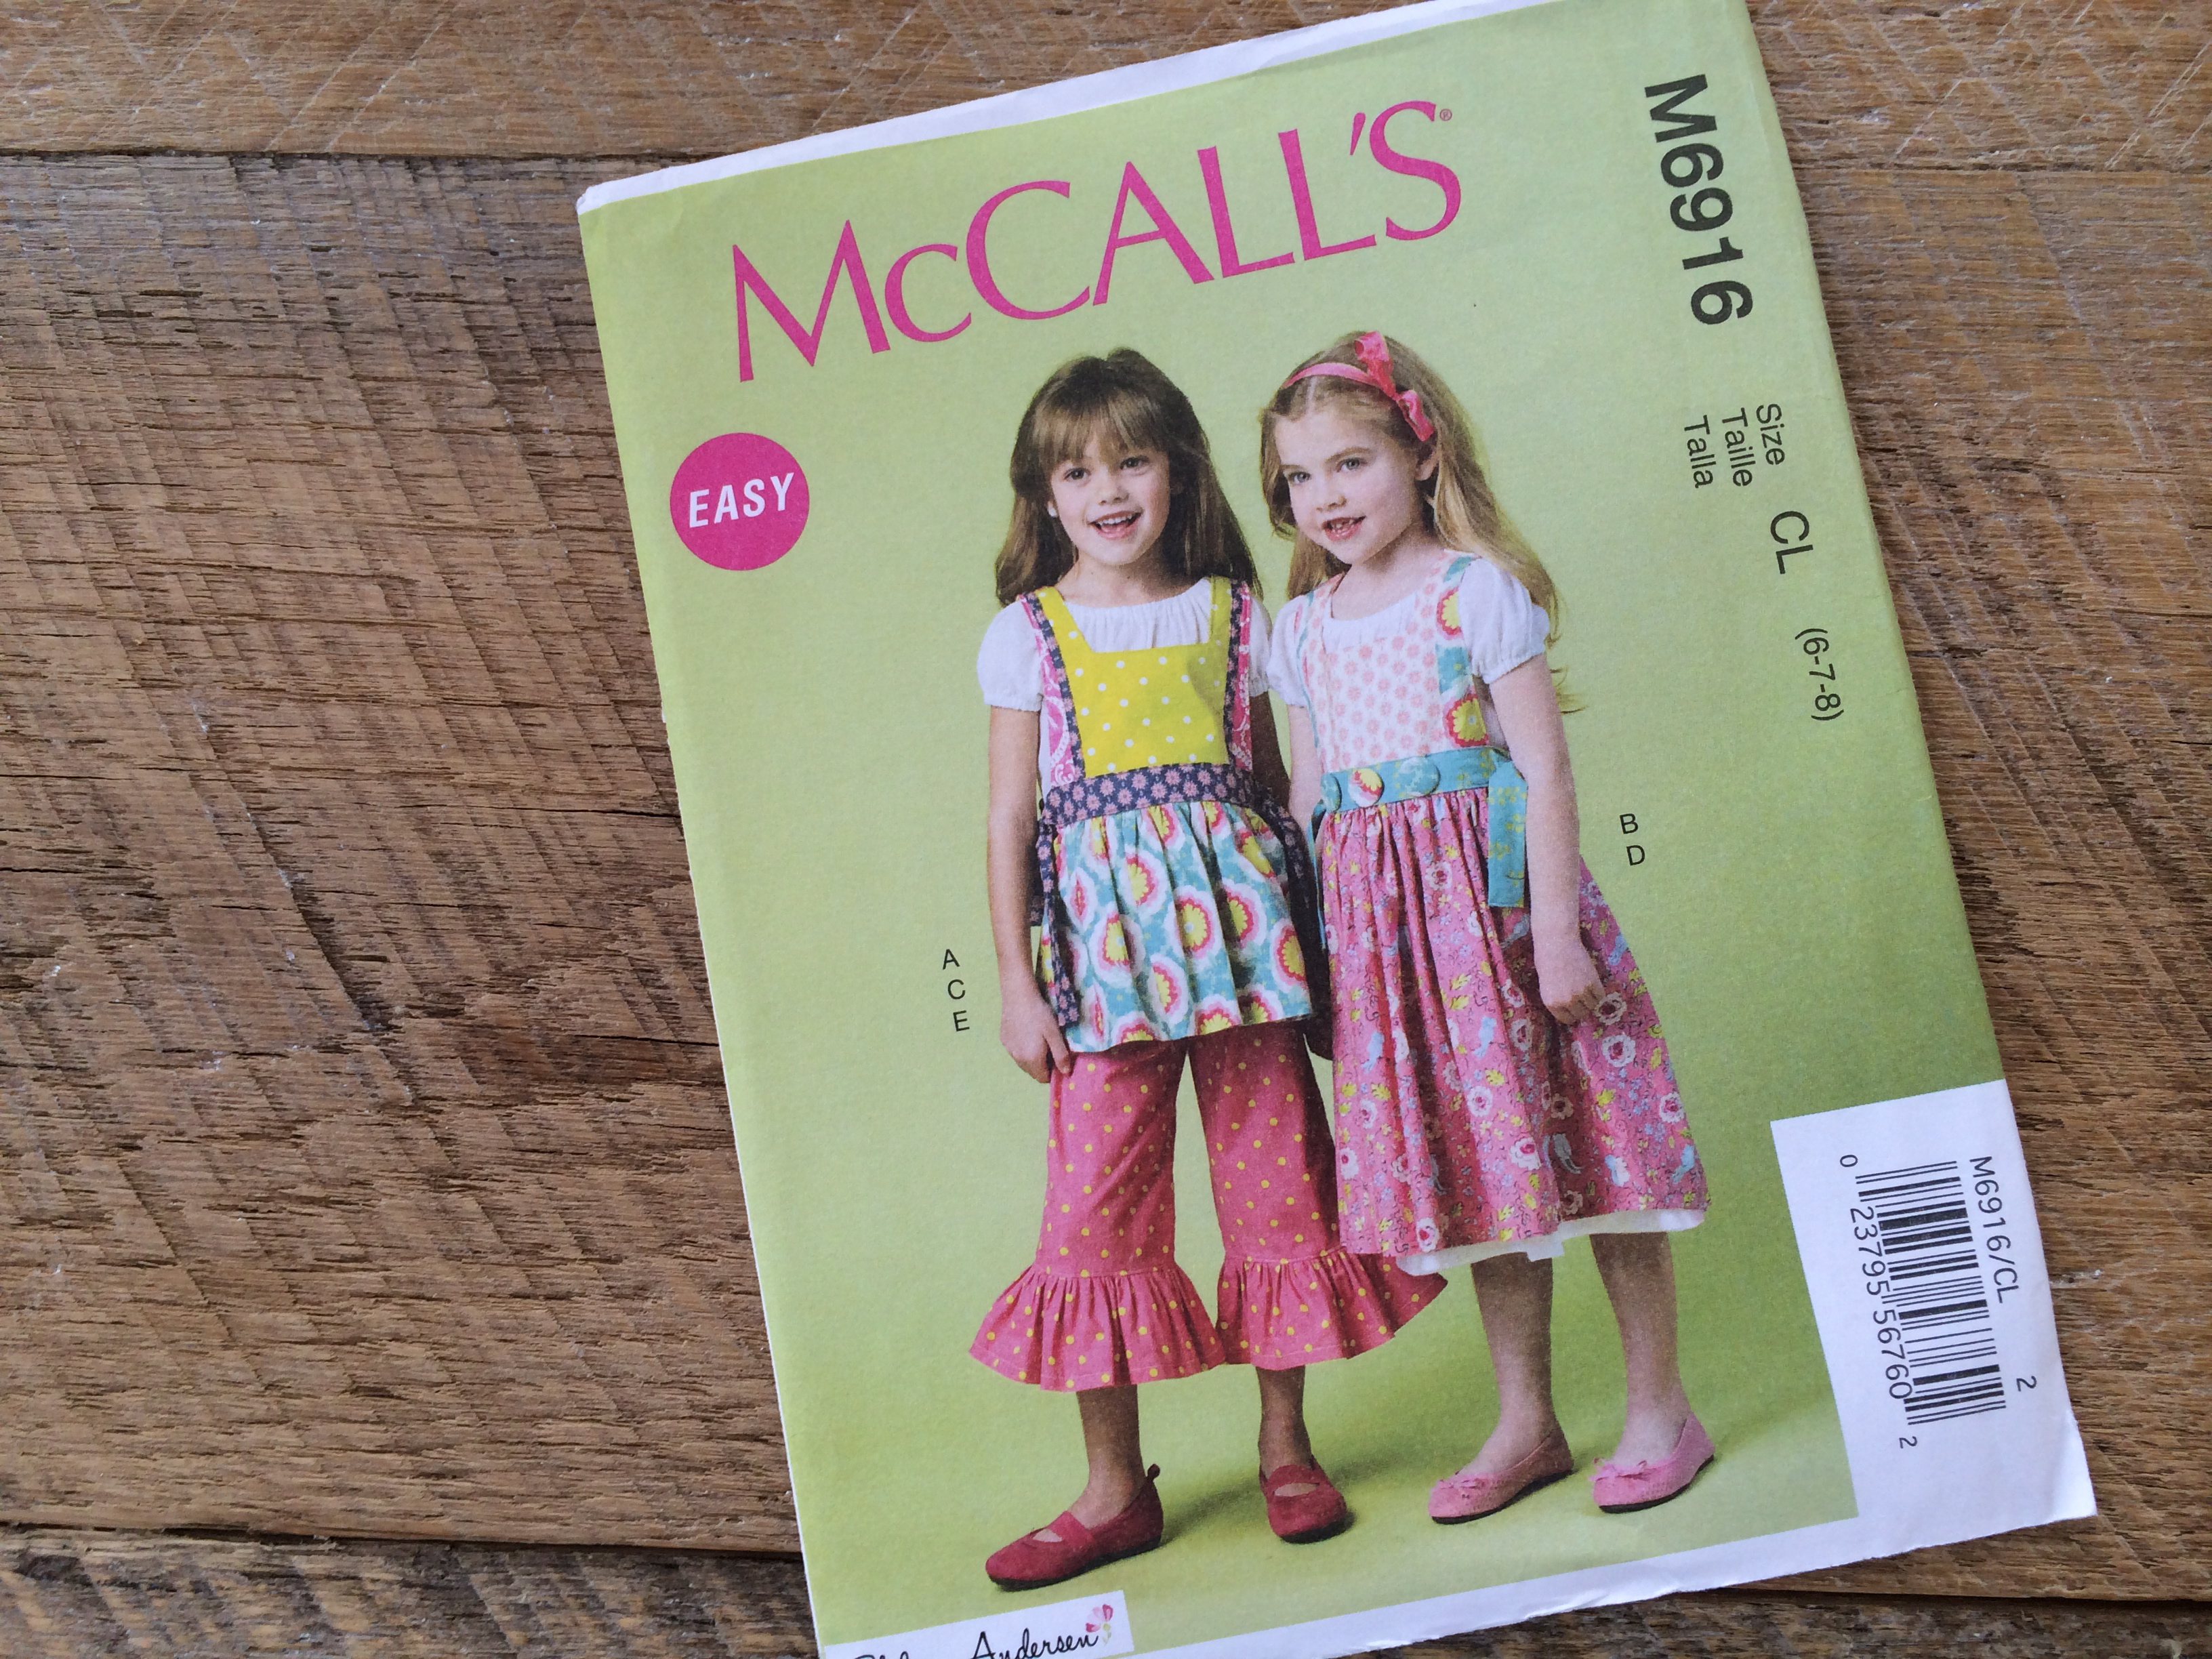
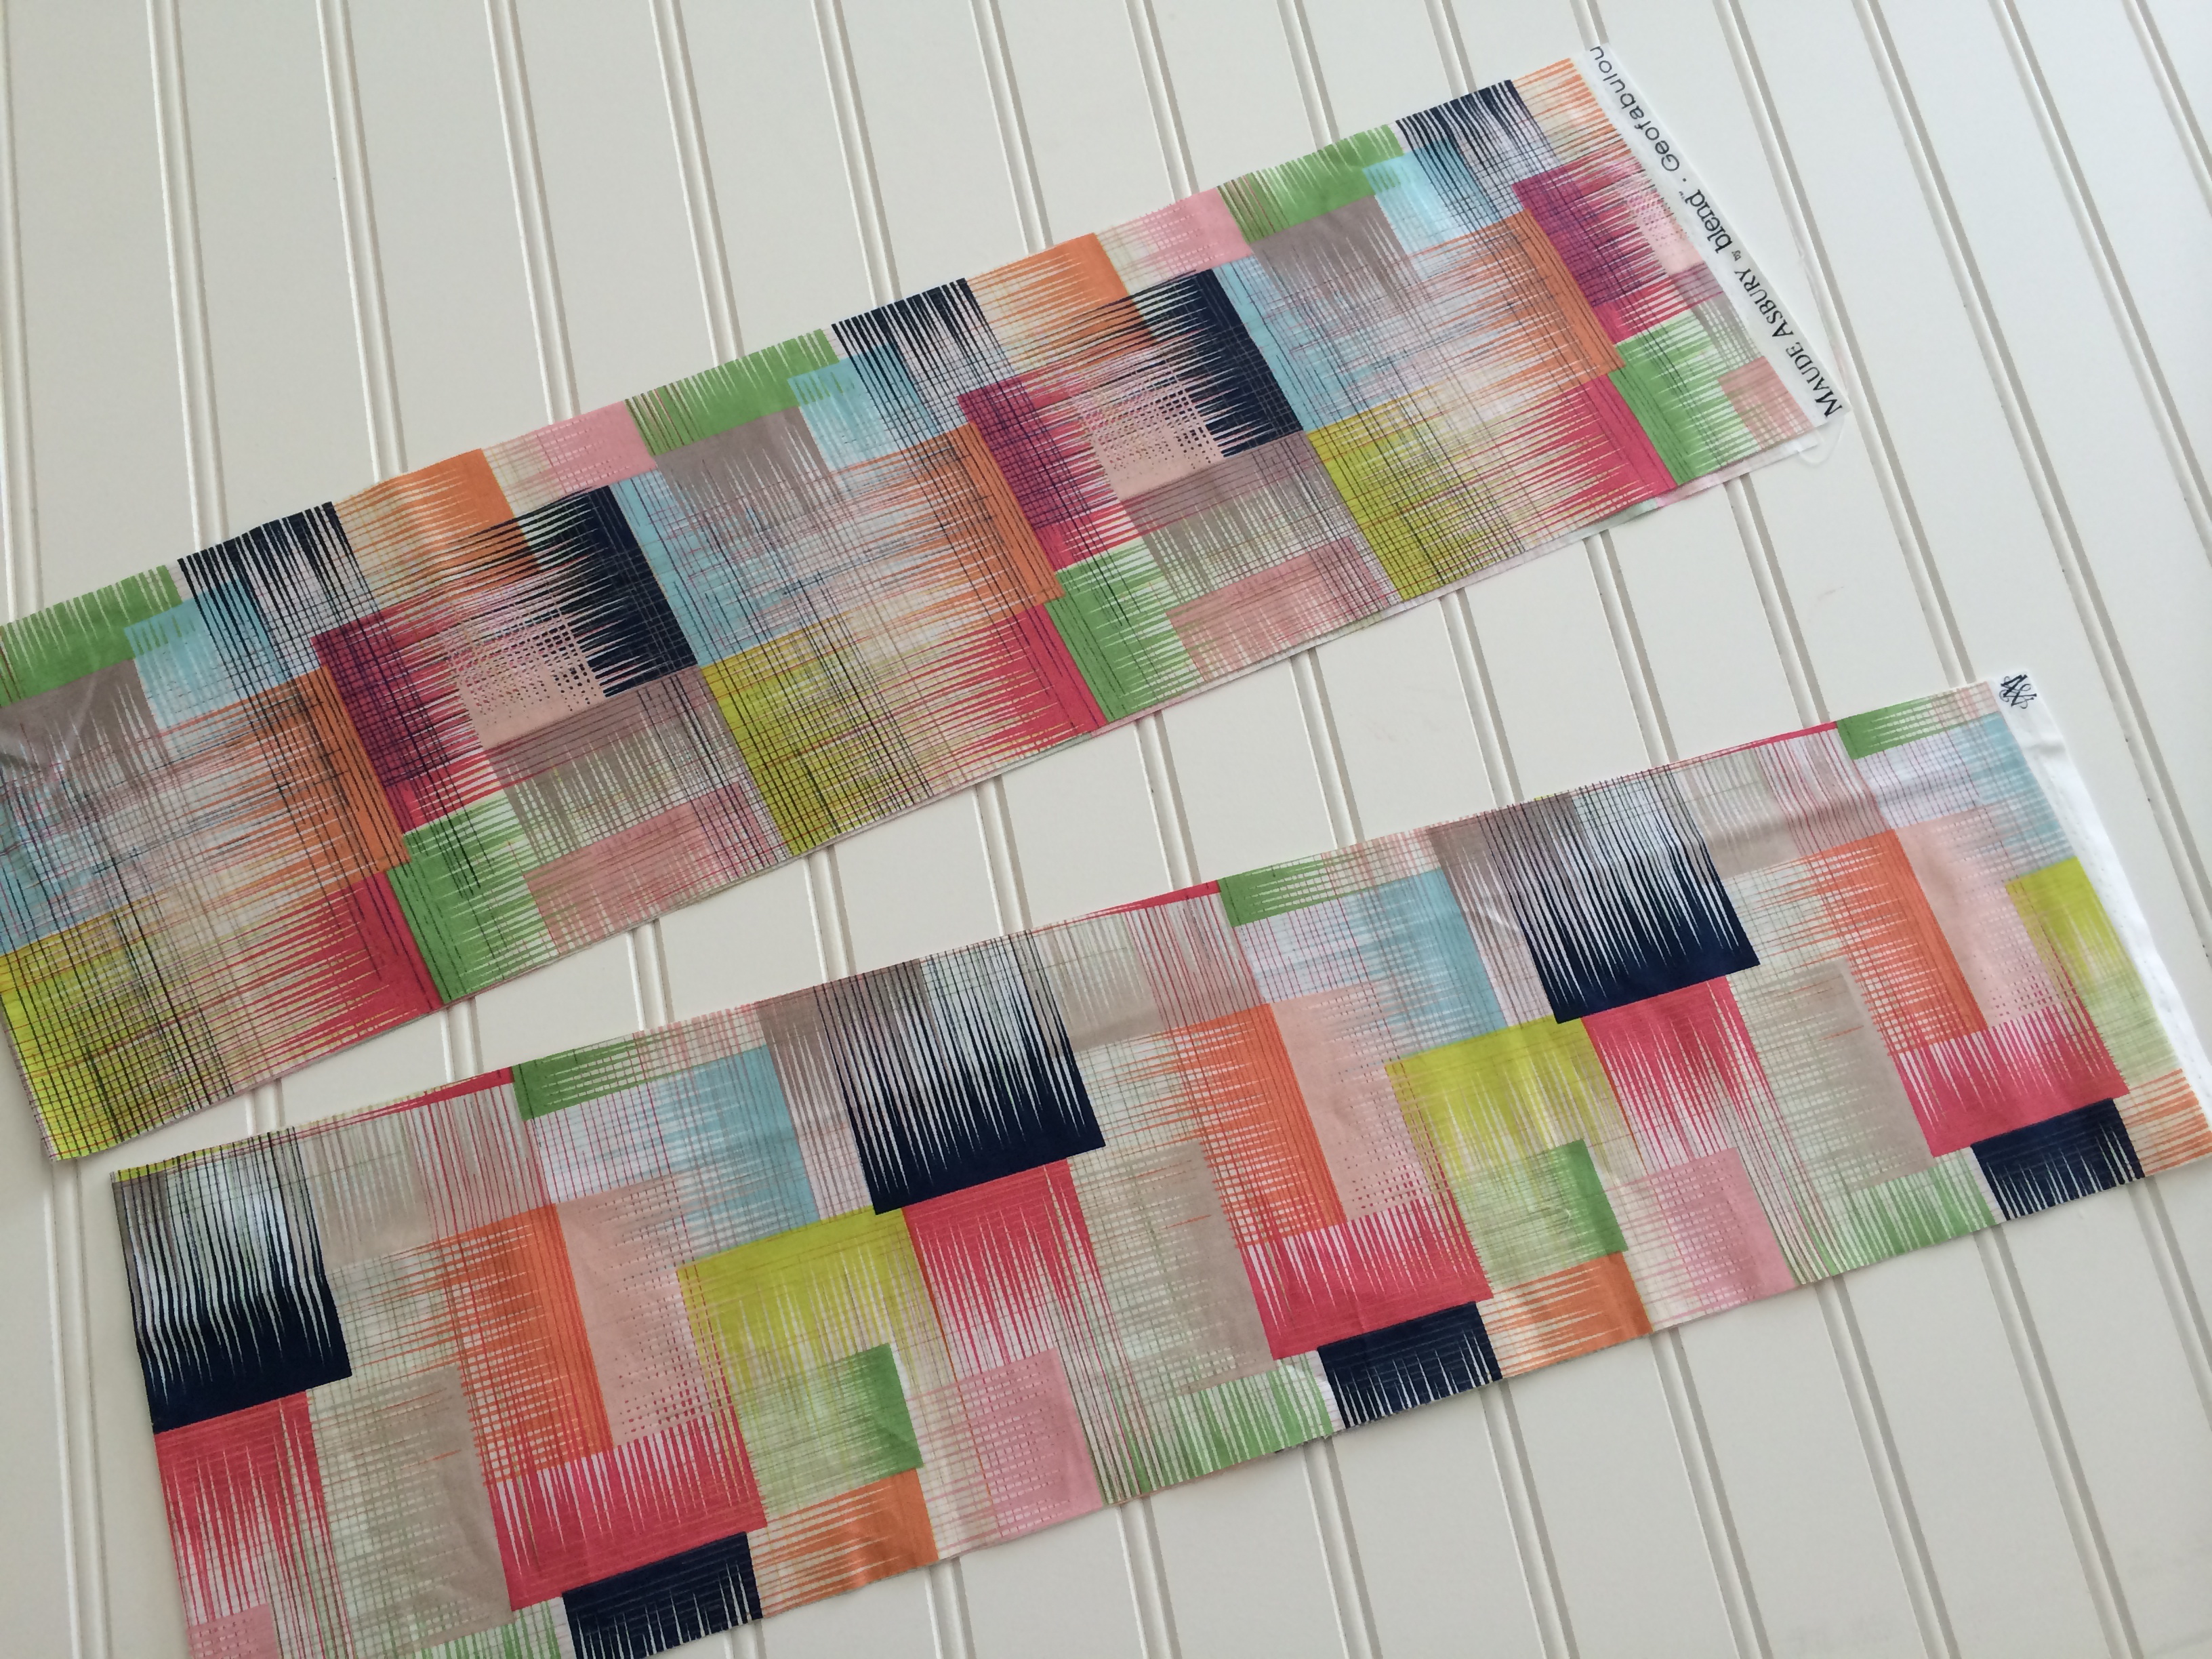
I am still loving Geofabulous from Blend fabrics!  Here is outfit #3 for Sally!  I followed the peasant shirt pattern in this McCall’s pattern:Geofabulous_Peasant_Top_monogram_9

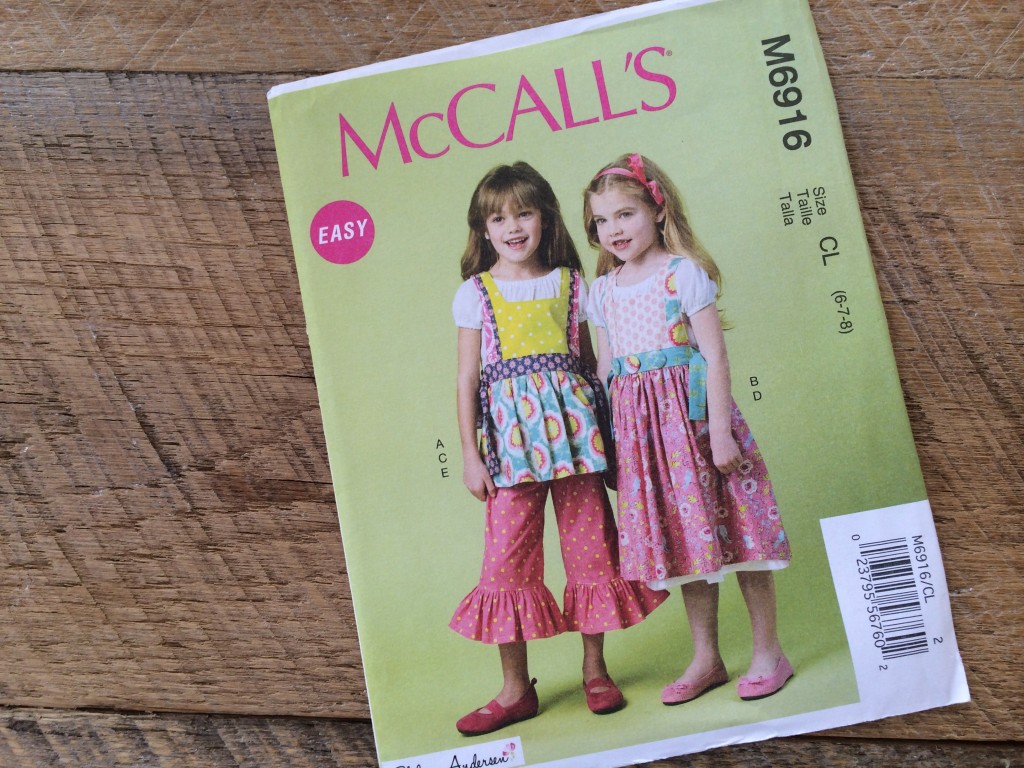
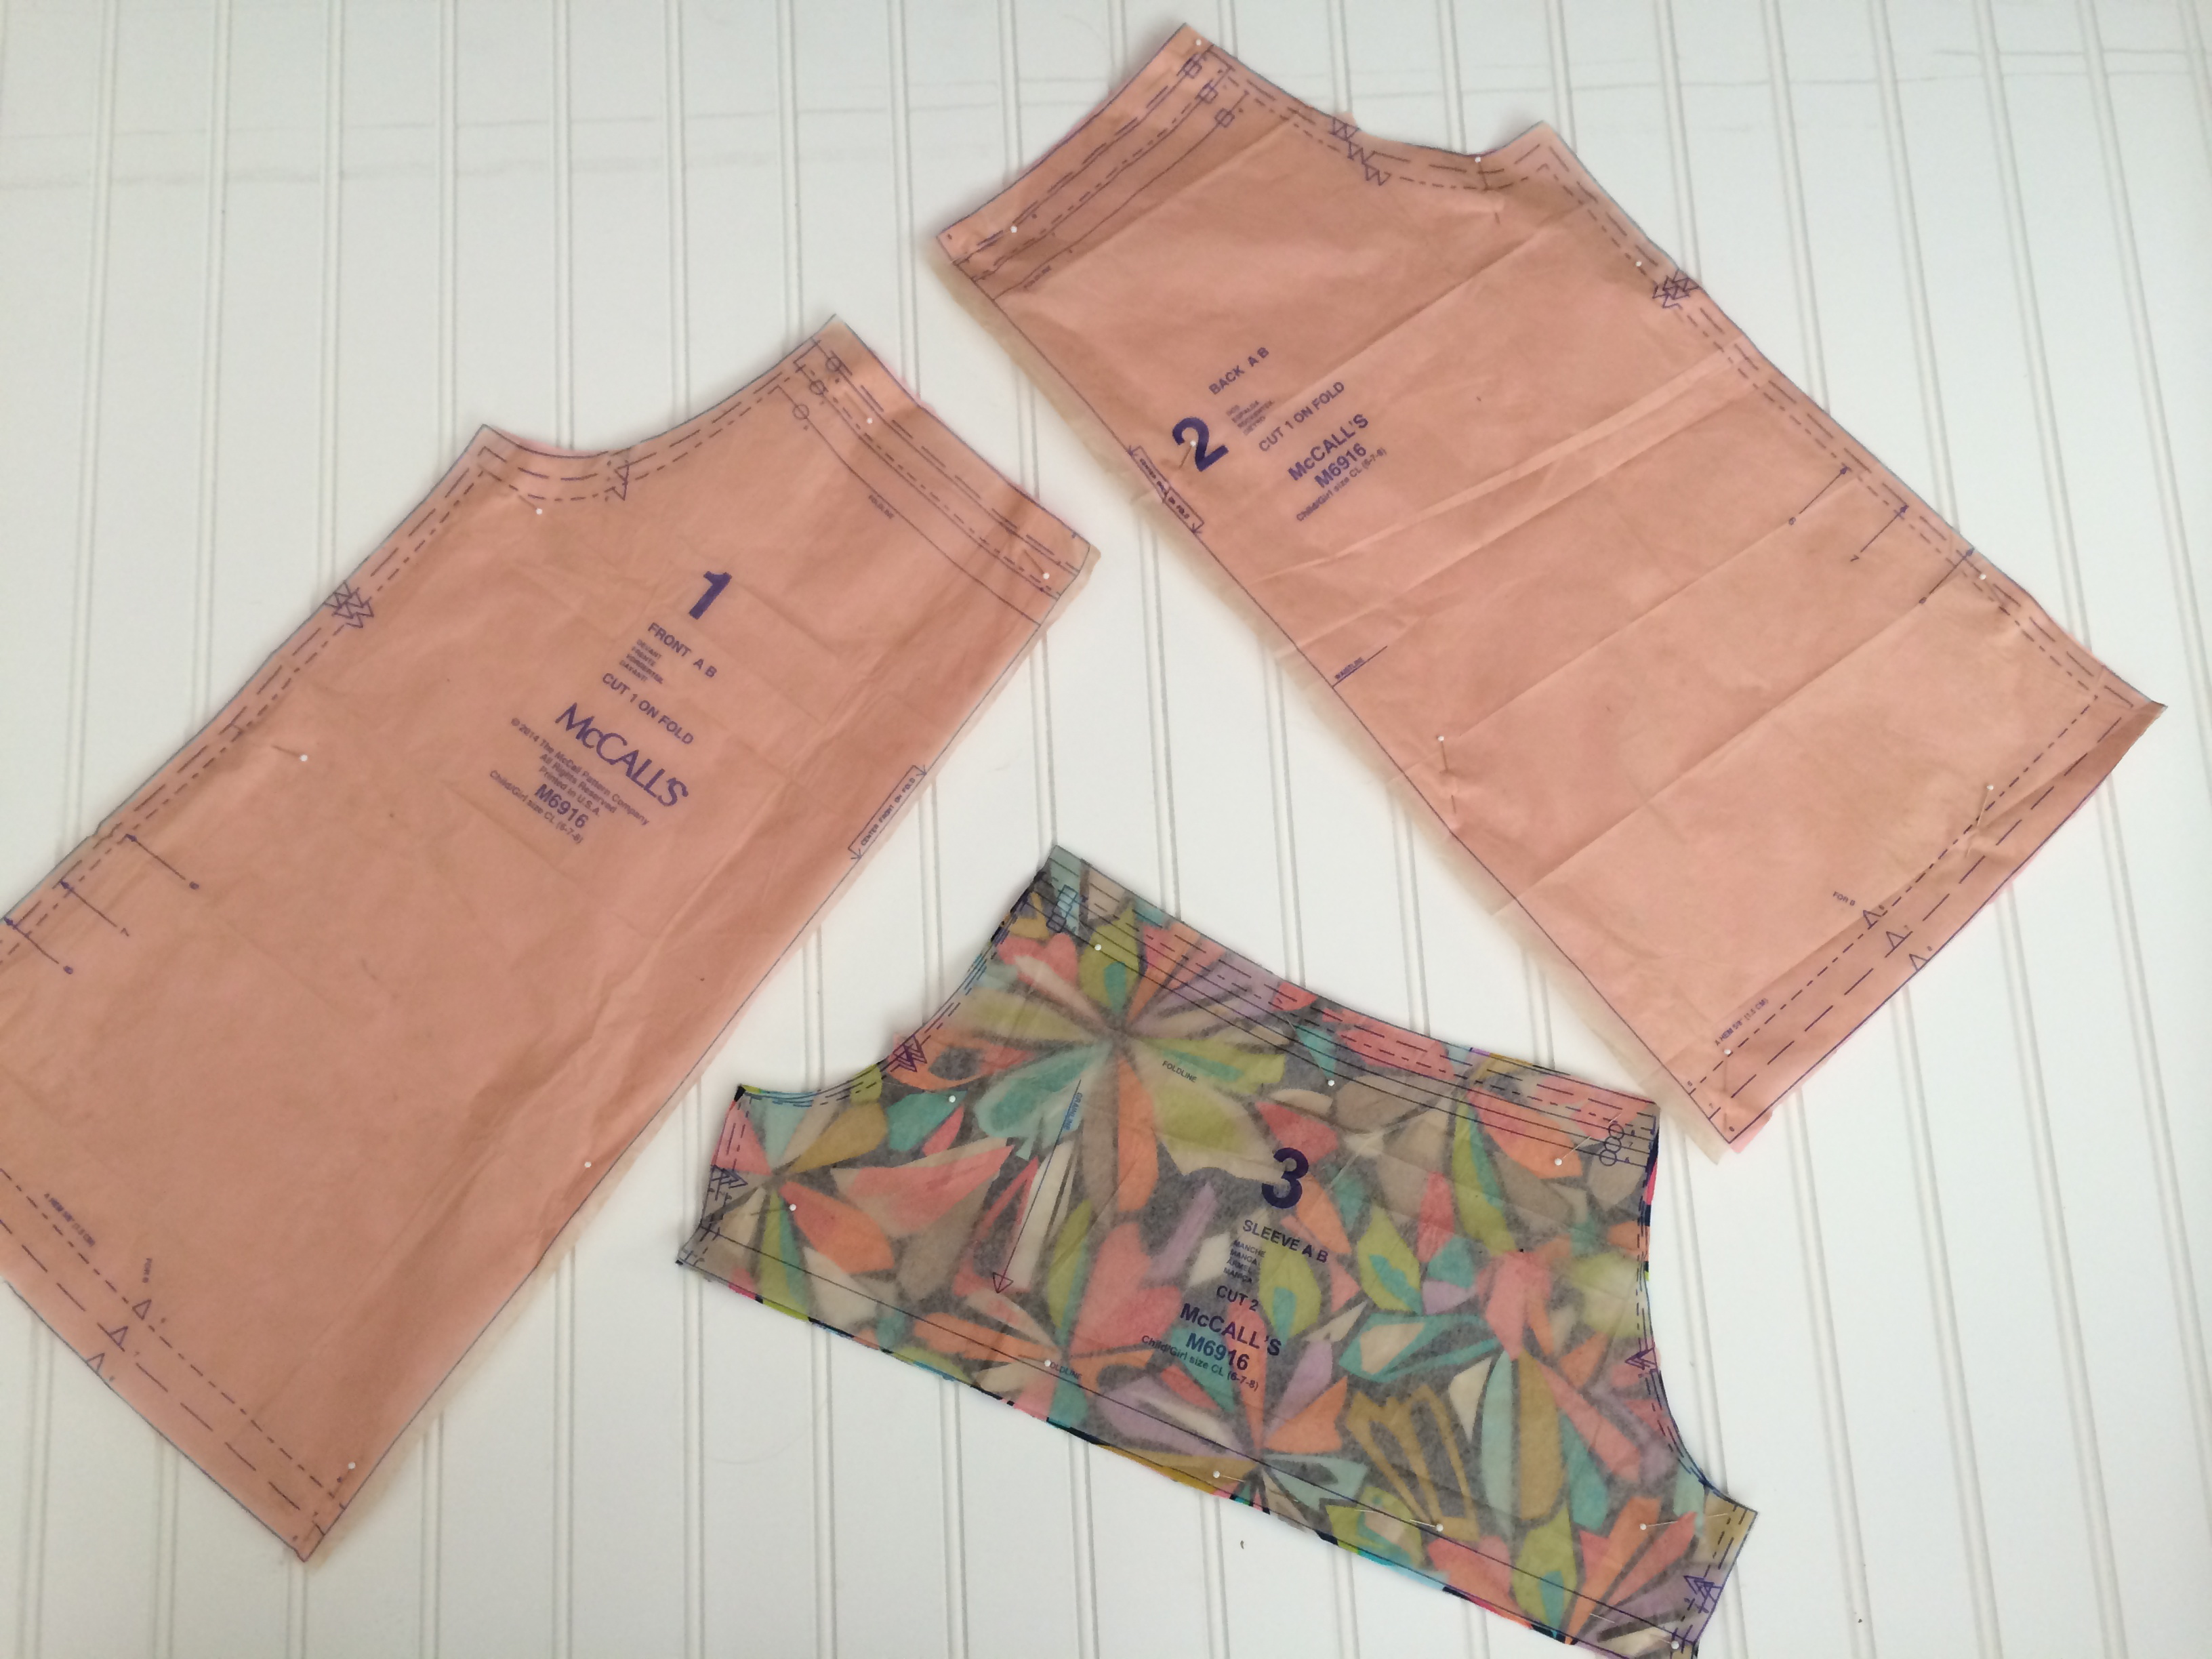
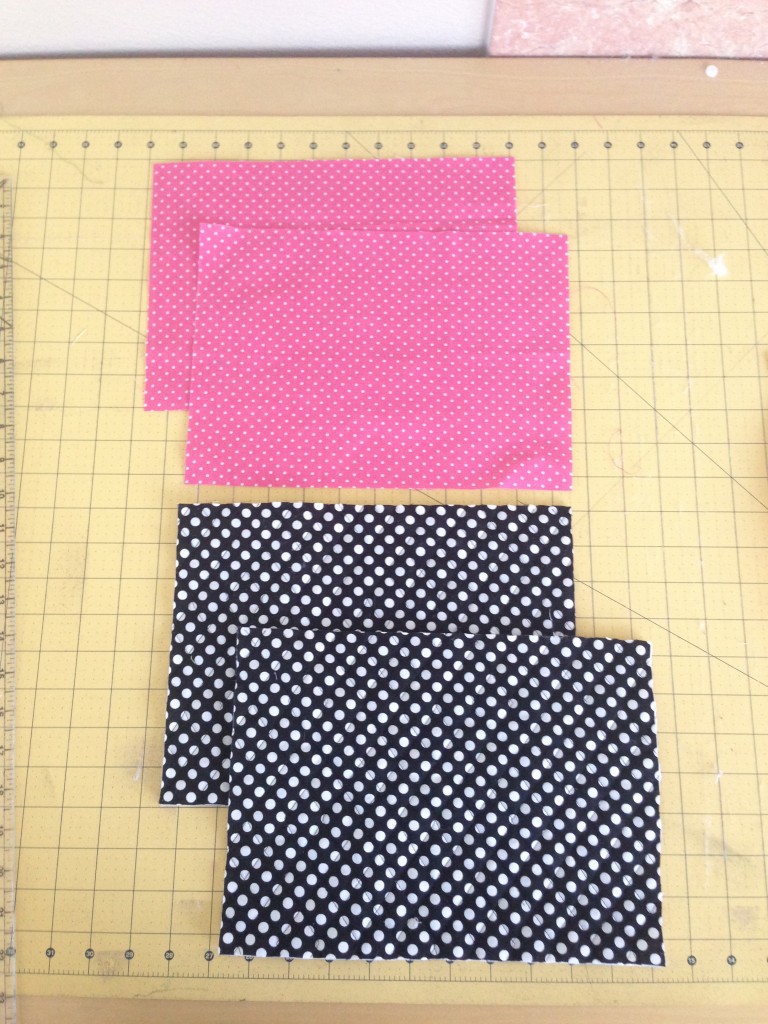
The front and back pieces are cut out of solid pink cotton and the sleeves are the Stained Glass Navy print.Geofabulous_Peasant_Top_monogram_4

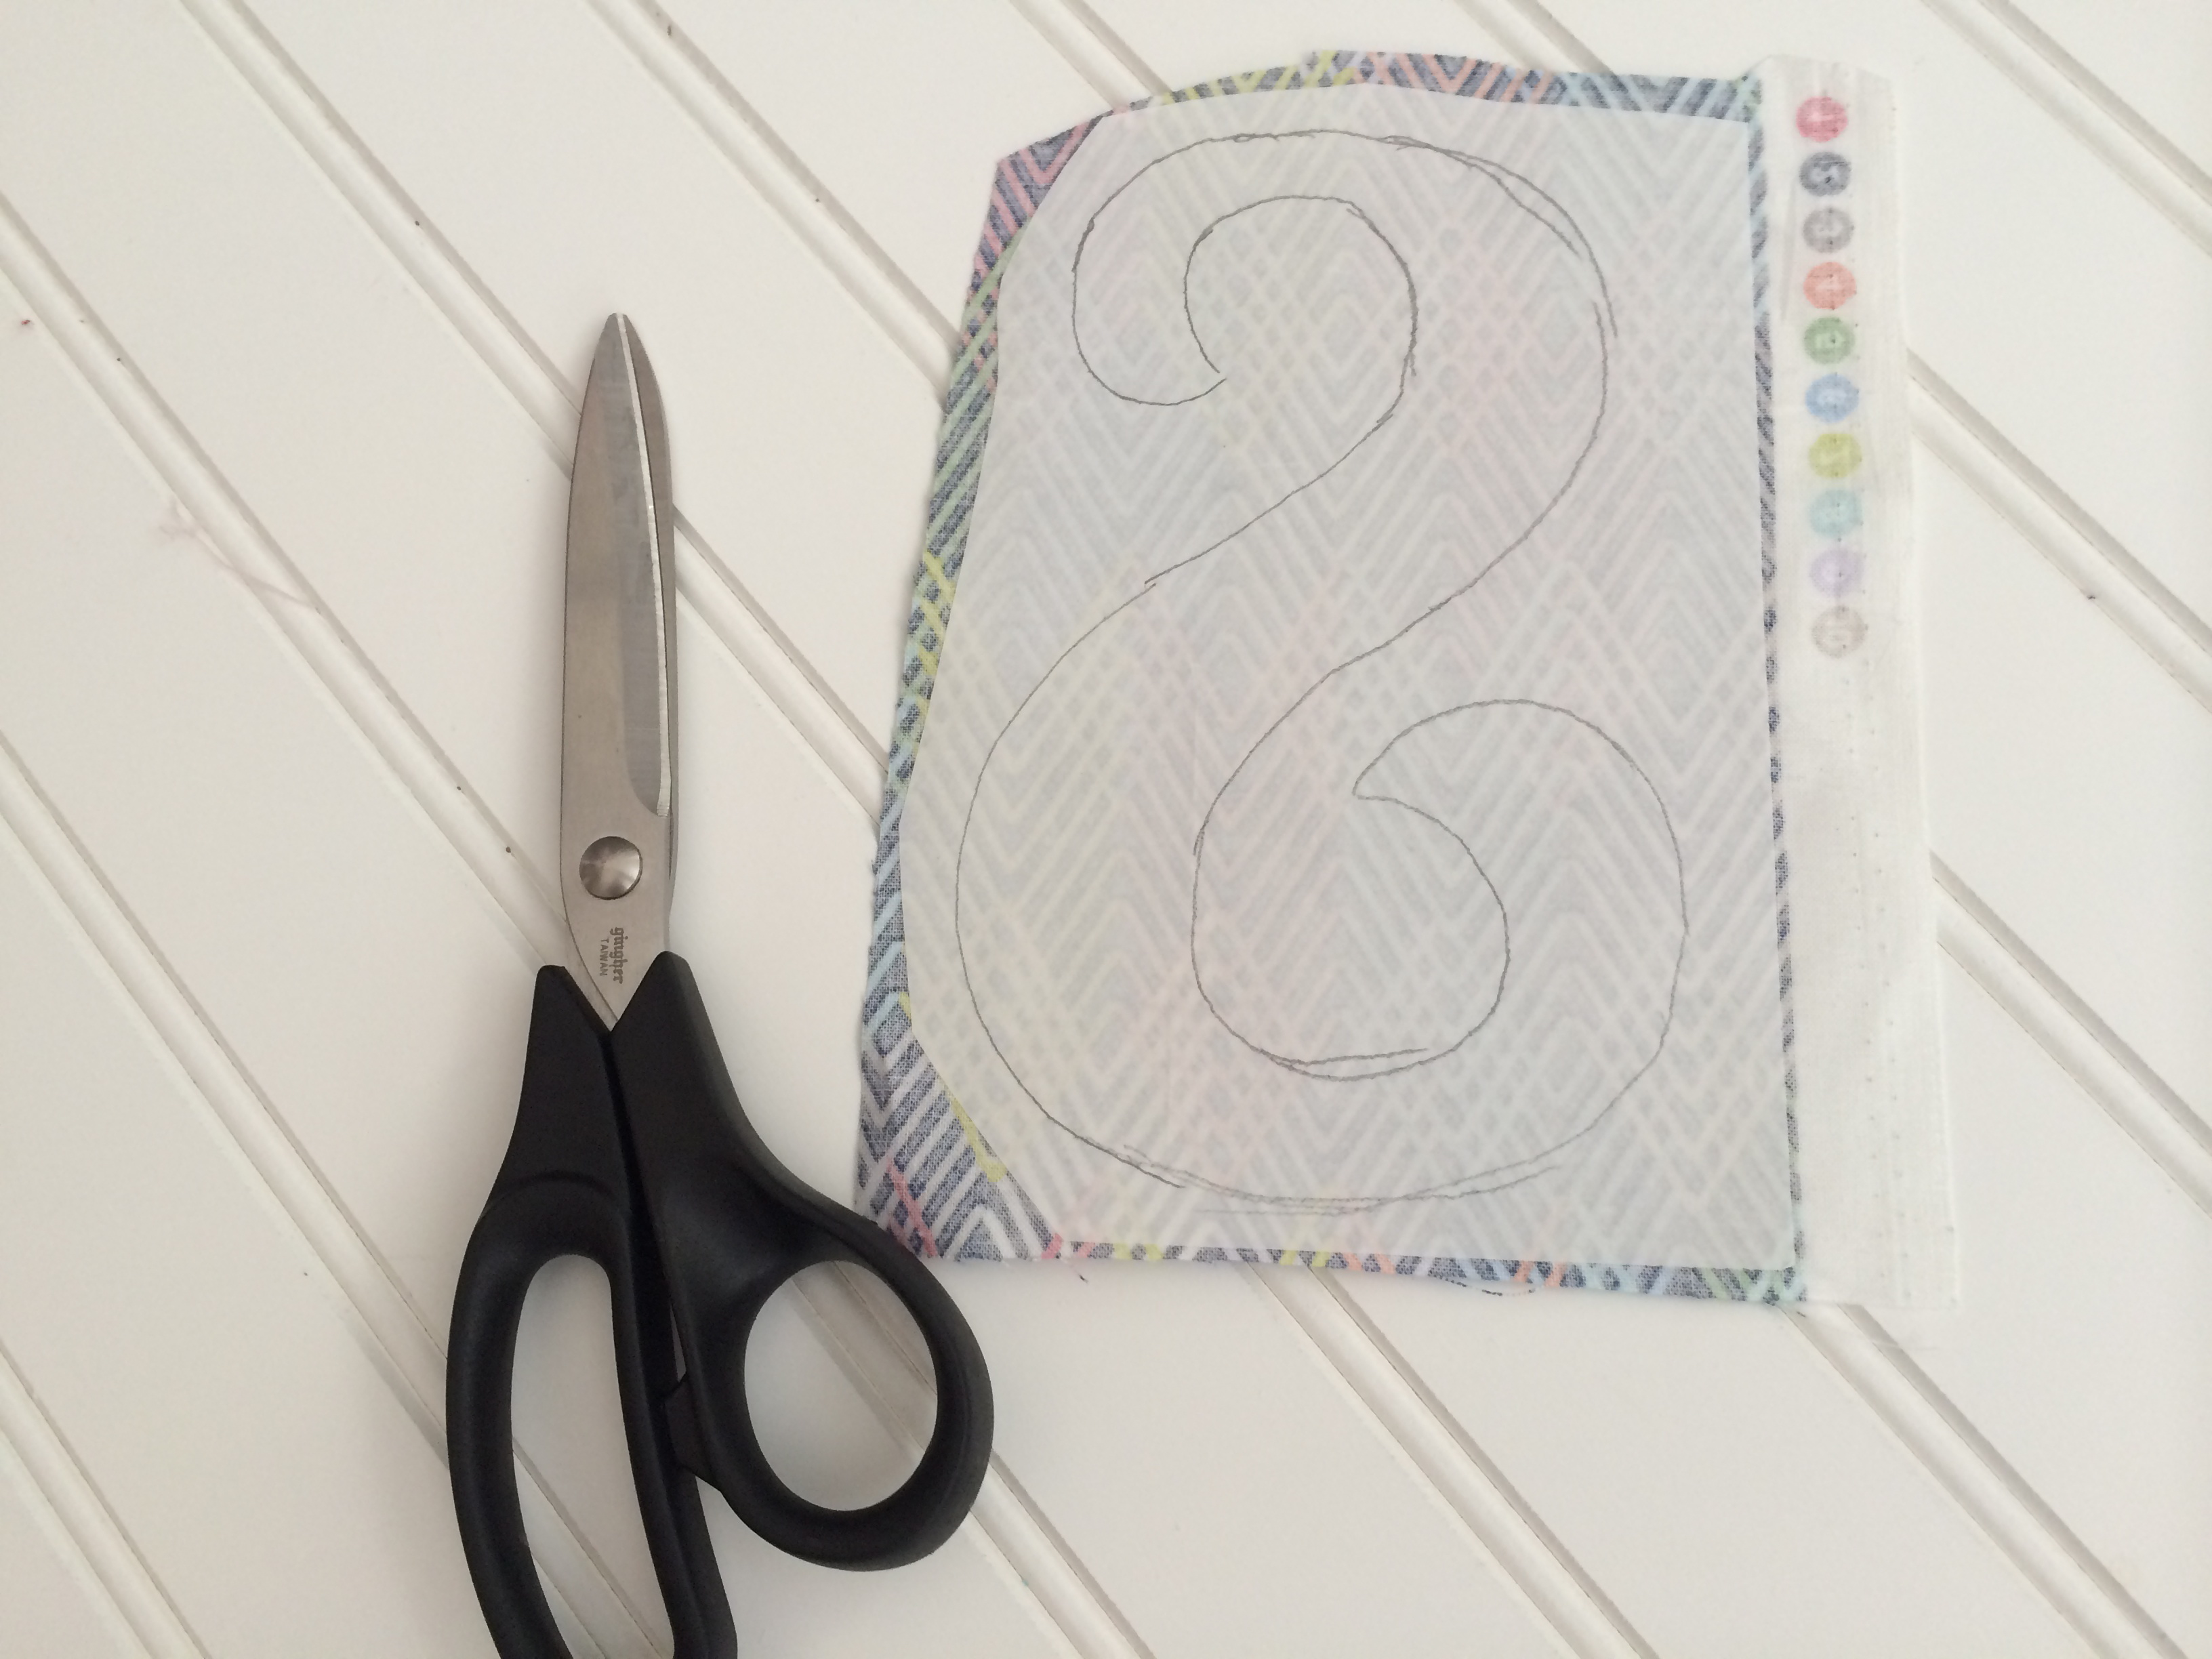
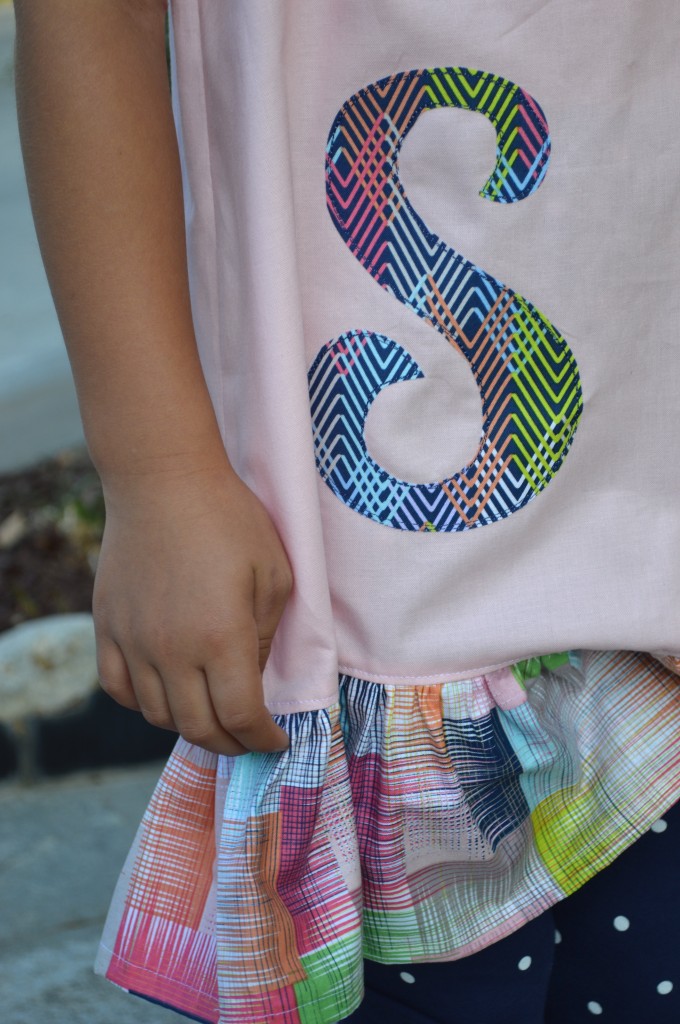
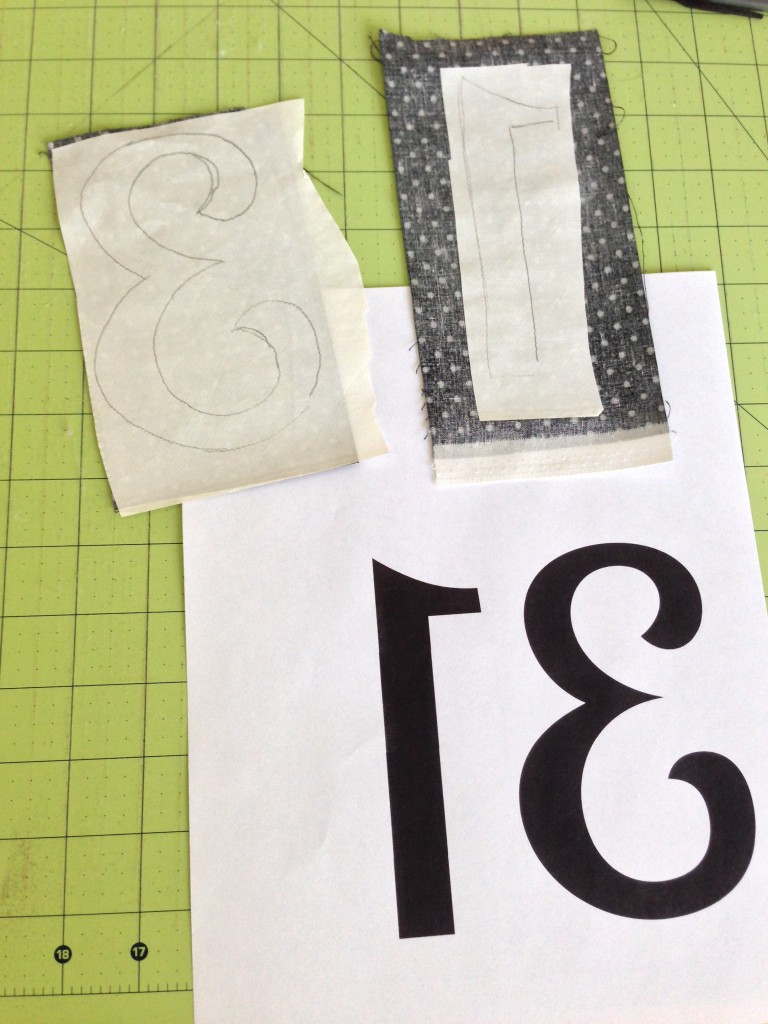
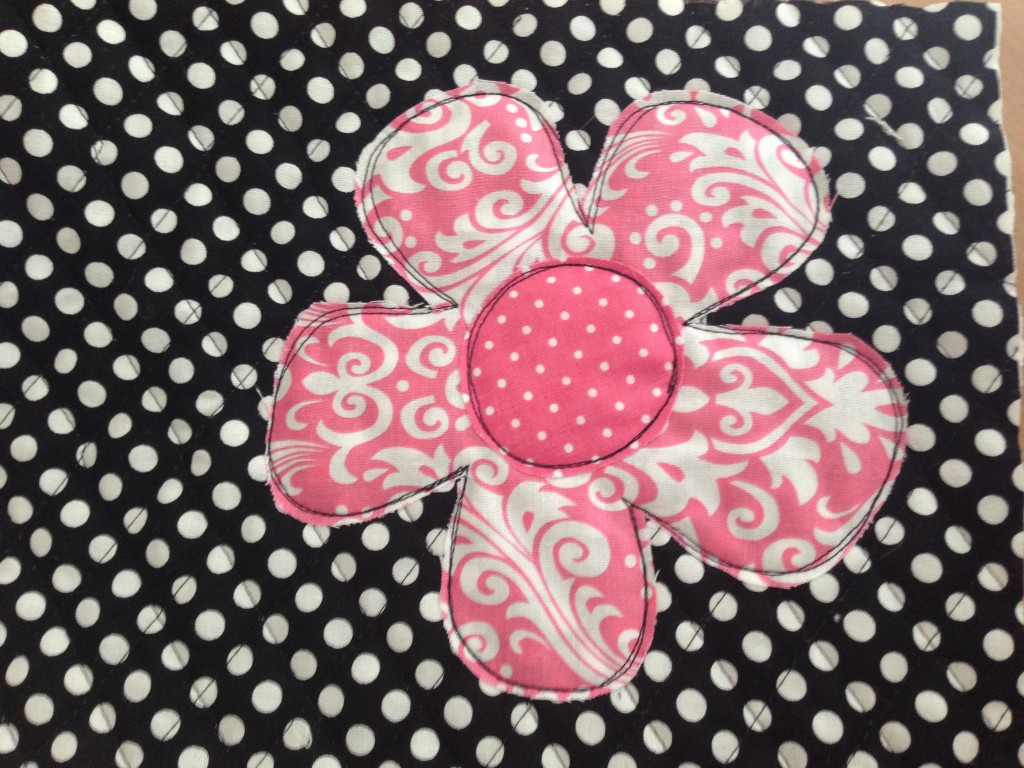
I printed the letter “S” on my computer and traced it to Heat n Bond Lite in reverse.  Iron it to the wrong side of the monogram fabric.  Cut out the letter, peel the back off and press to the front of the peasant top piece.  Top stitch in matching thread.

Geofabulous_Peasant_Top_monogram_2

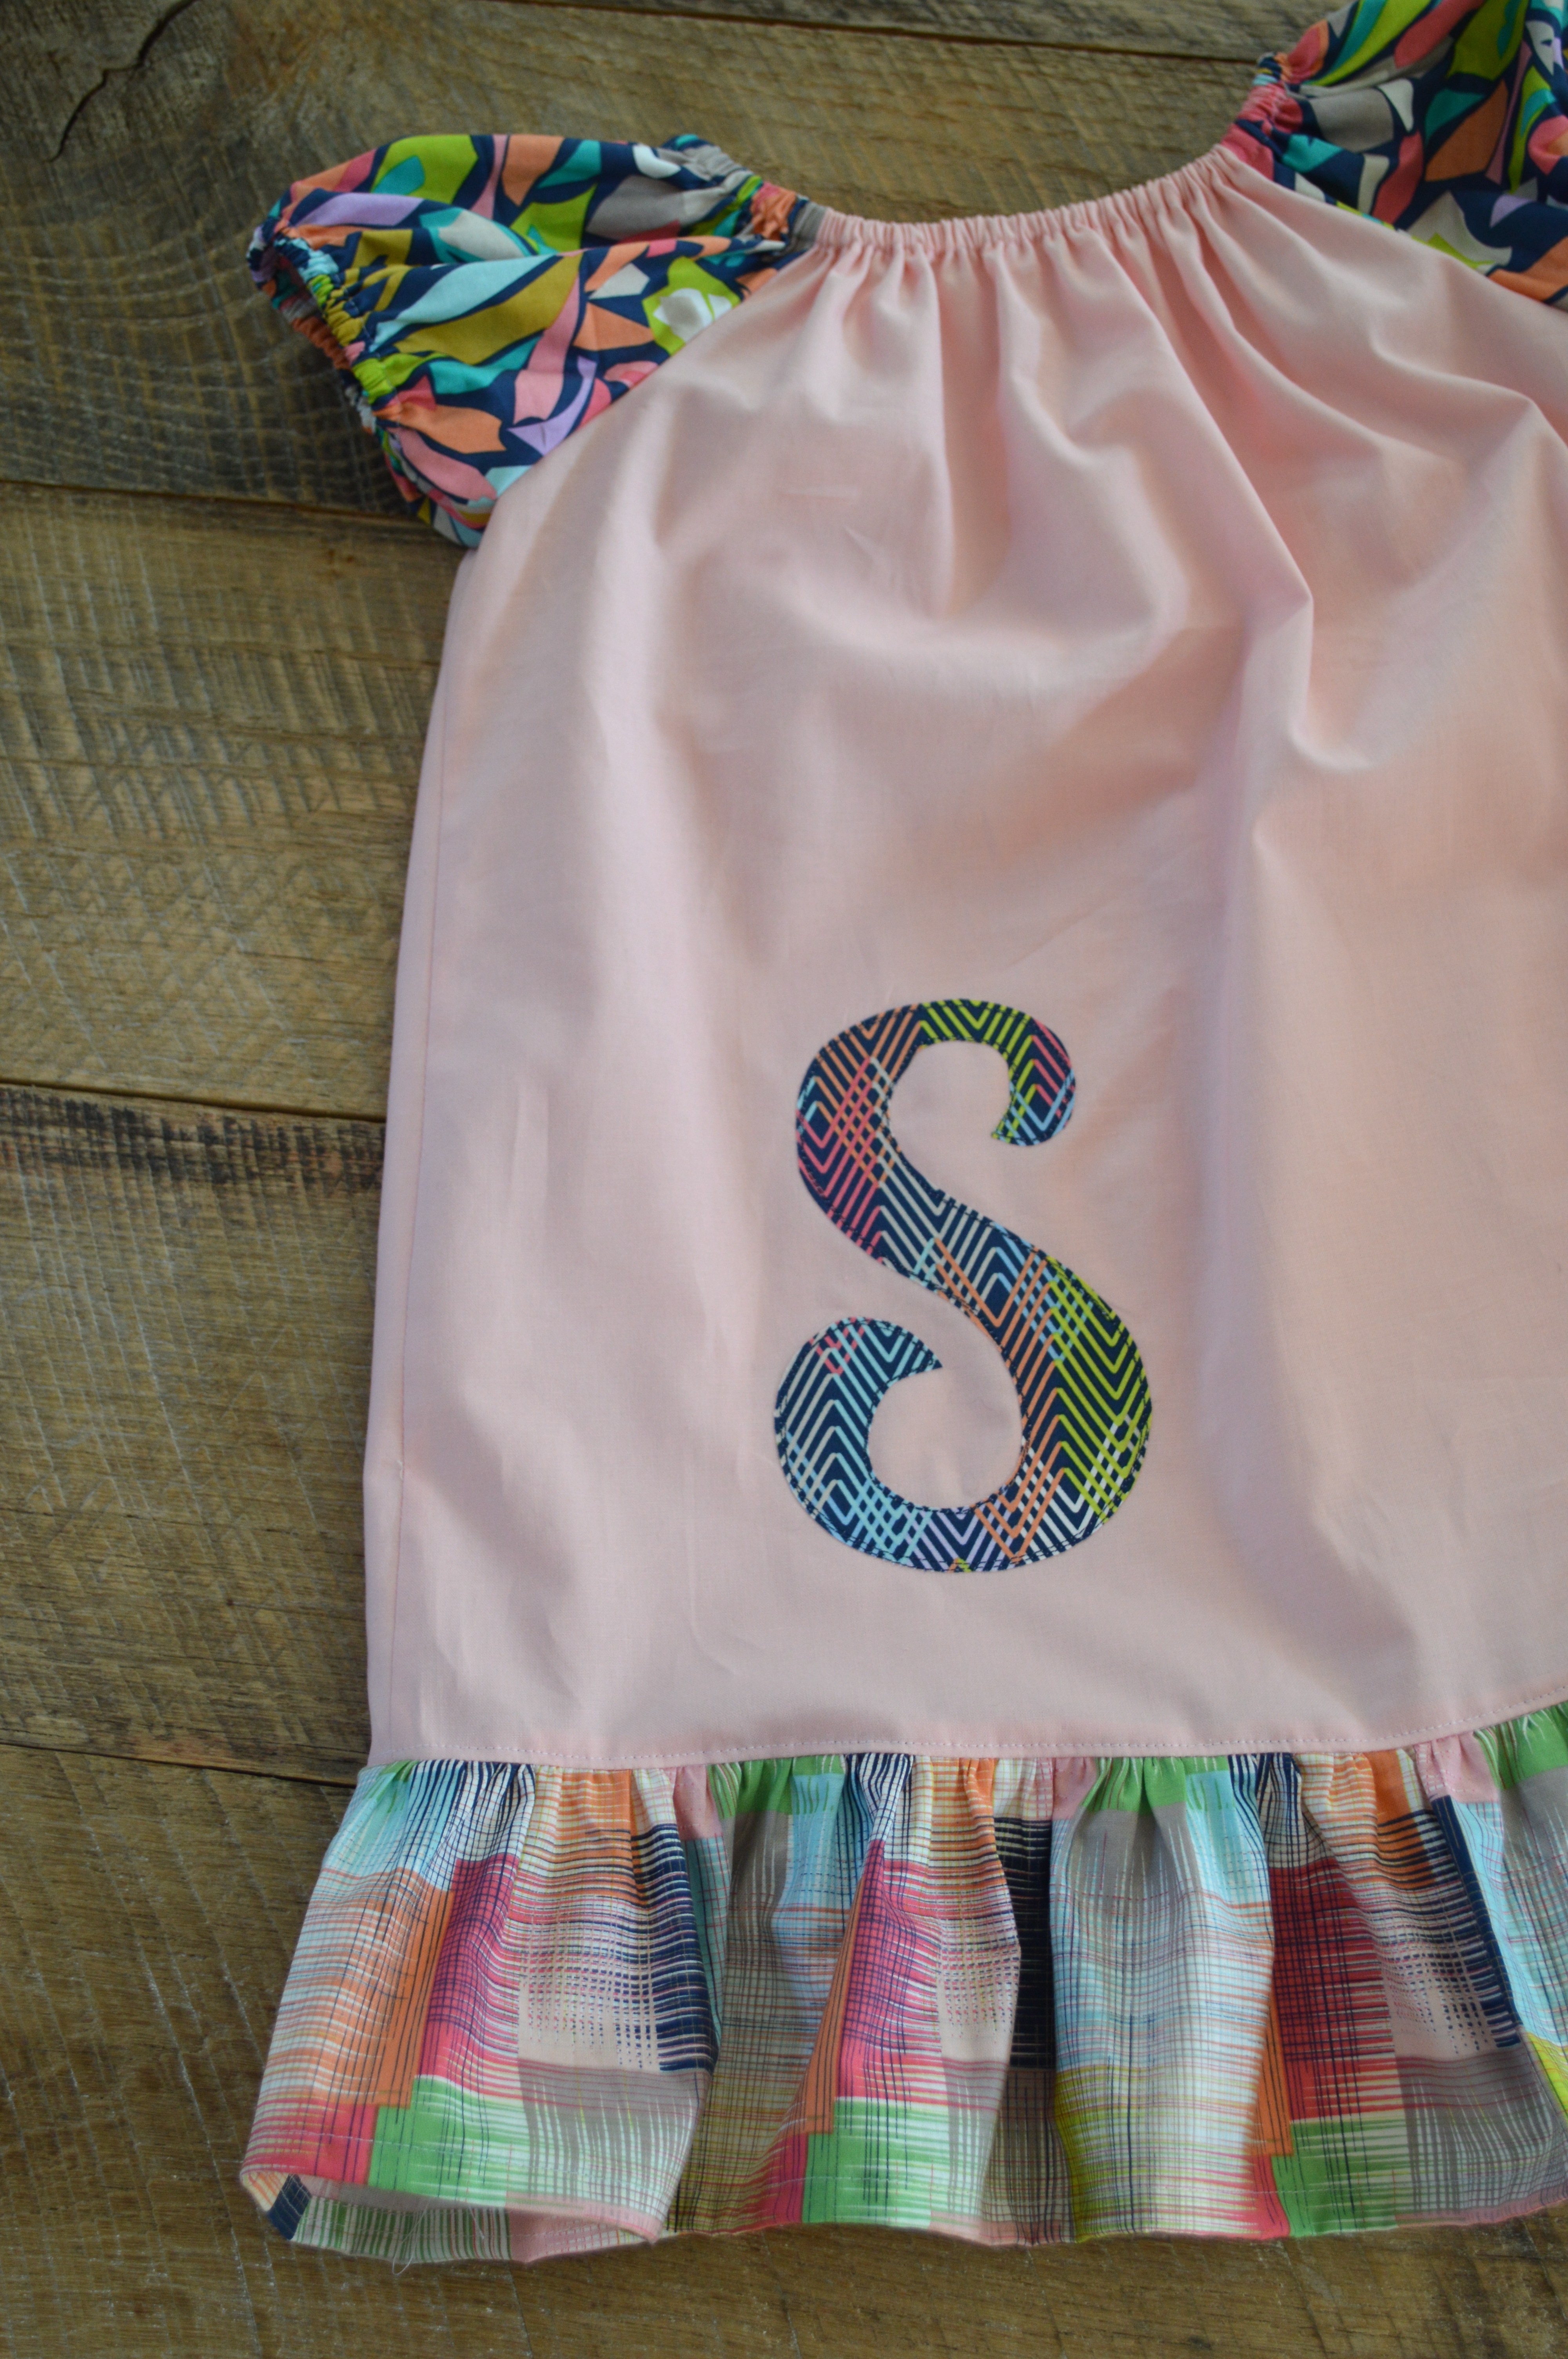
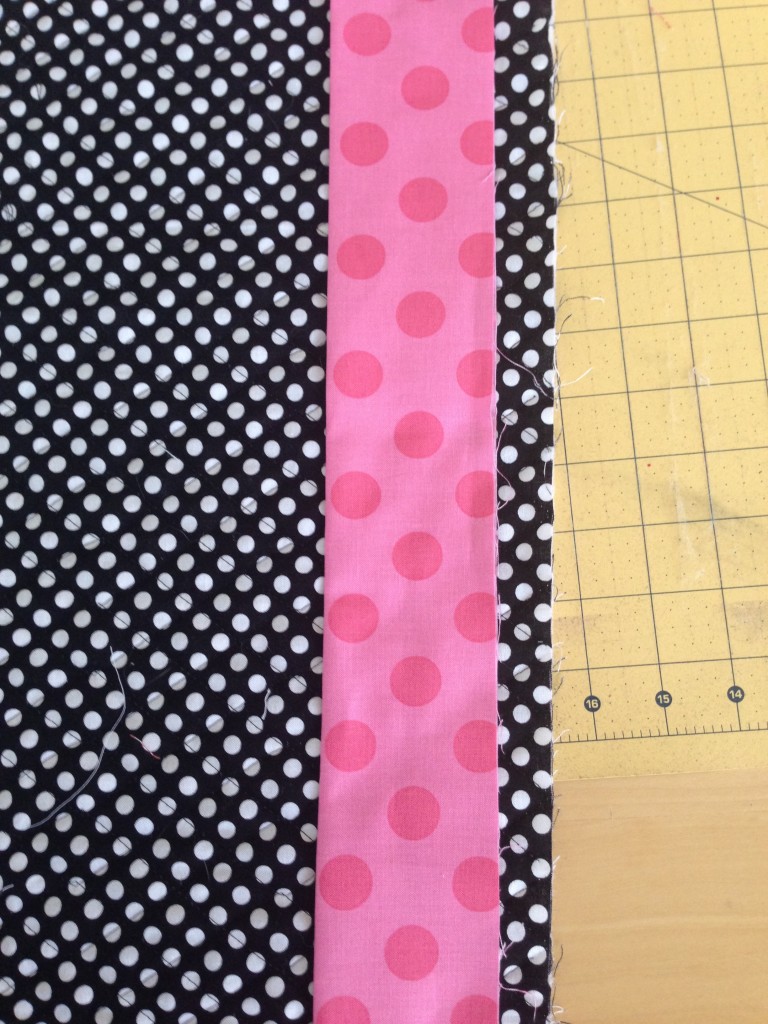
Follow the instructions in the pattern to complete the top.  I added a ruffle to the bottom.  To do this, cut (2) 5″ x WOF pieces of coordinating fabric, I used Symmetry Pink.

IMG_0738

Sew the (2) strips end to end, forming a big loop.  Sew a rolled hem by folding the bottom edge up 1/4″ and then another 1/4″ and stitch close to the fold.  Gather the top of the ruffle pieces by lengthening the stitch length to the maximum.  Pull up threads and gather by hand.  Match the seams on the ruffle with the side seams on the peasant top.  Pin into place, distributing the ruffles.  Sew along gathering stitching.  Press the seam and top stitch if desired.
Geofabulous_Peasant_Top_monogram_5


Geofabulous_Peasant_Top_monogram_7


Geofabulous_Peasant_Top_monogram_6

Halloween Disappearing 9-Patch Quilt

halloween_quilt_disappearing_nine_patch


Have you ever made a “Disappearing Nine-Patch Quilt”?  This is such a fun pattern and great for beginner quilters.  You can change the pattern of the quilt by changing the colors of the patches and the layout.  It is made by sewing a simple 9-Patch block and then cutting it in quarters and repositioning the new blocks.  I love the simple Halloween colors of Black, White and Orange.  I found this black, orange and white wavy boarder from Riley Blake Designs.  I think it totally makes the quilt!  Here’s how you can make one:

Finished quilt: 49″ x 62″

Materials:

assorted orange and black fabric

1 yard solid white

3/4 yard solid black for inner boarder and binding

3/4 yard orange and black wavy stripe

Begin by cutting 5″ squares of orange, white and black.  For this quilt I pieced (12) nine-patch blocks.  Each block had the same color values: orange corners, white side centers and black center.  I used a variety of oranges and blacks.

cut (12) black 5″ squares

cut (48) orange 5″ squares

cut (48) white 5″ squares.disappearing_nine_patch_quilt_halloween_8

Using 1/4″ seams throughout, sew squares together in rows and then rows together to form the block.  Press toward the dark.  The block will look like this:

disappearing_nine_patch_quilt_halloween_9

Cut in quarters.  Since the block at this point measures 14″ square, cut it at the 7″ point on both sides:

disappearing_nine_patch_quilt_halloween_10

Next comes the fun part of playing with the layout.  I choose to lay mine out like this so the small black squares made a pattern.

disappearing_nine_patch_quilt_halloween_11

Sew the blocks together in rows and the rows together and press.

For the boarder:

The black inner boarder is cut 1.5″ wide.  I didn’t measure the length, I sewed it to the sides of the quilt and trimmed the excess.

The wavy outer boarder is 5″ wide.  I matched the stripes when piecing the boarder together.  I added 5″ squares to the corners of the boarder.

disappearing_nine_patch_quilt_halloween_4

I LOVE how it turned out!  I have it on my couch and it makes me happy to look at it.  Now, to just keep the cat off it 🙂


disappearing_nine_patch_quilt_halloween_5
disappearing_nine_patch_quilt_halloween_7

Modern 31 Halloween Pillow


modern_halloween_pillow_tutorial
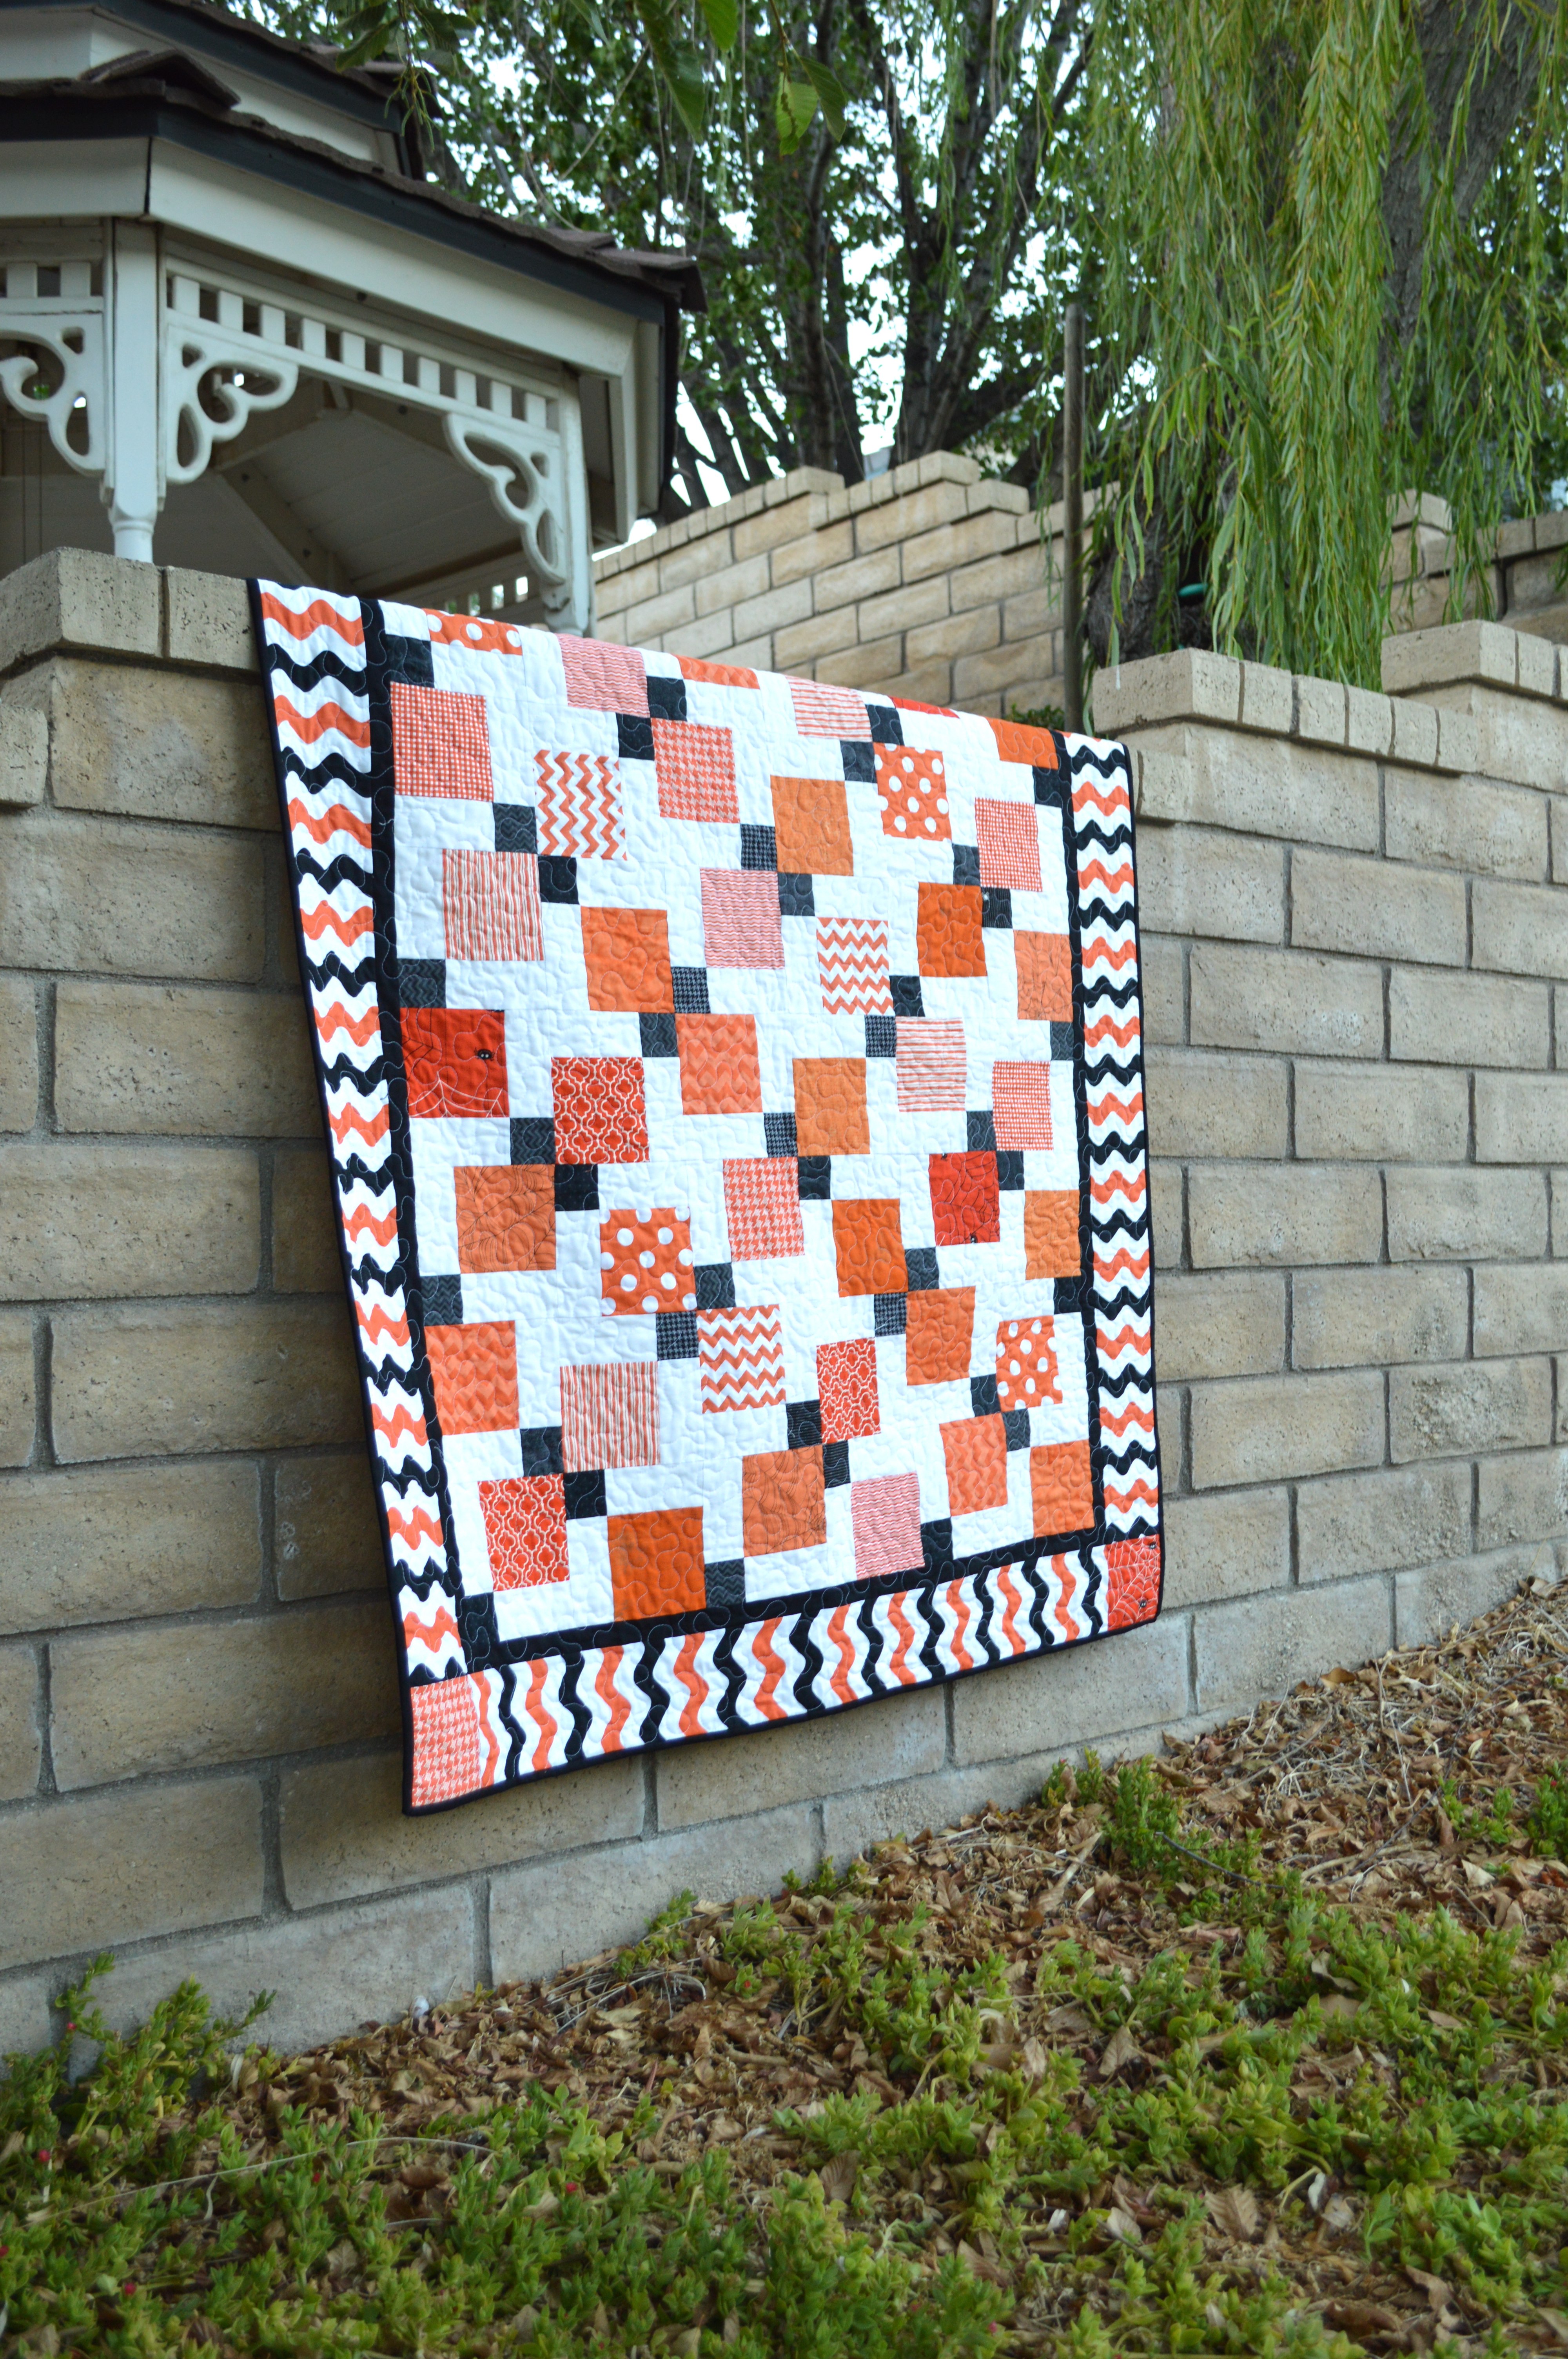
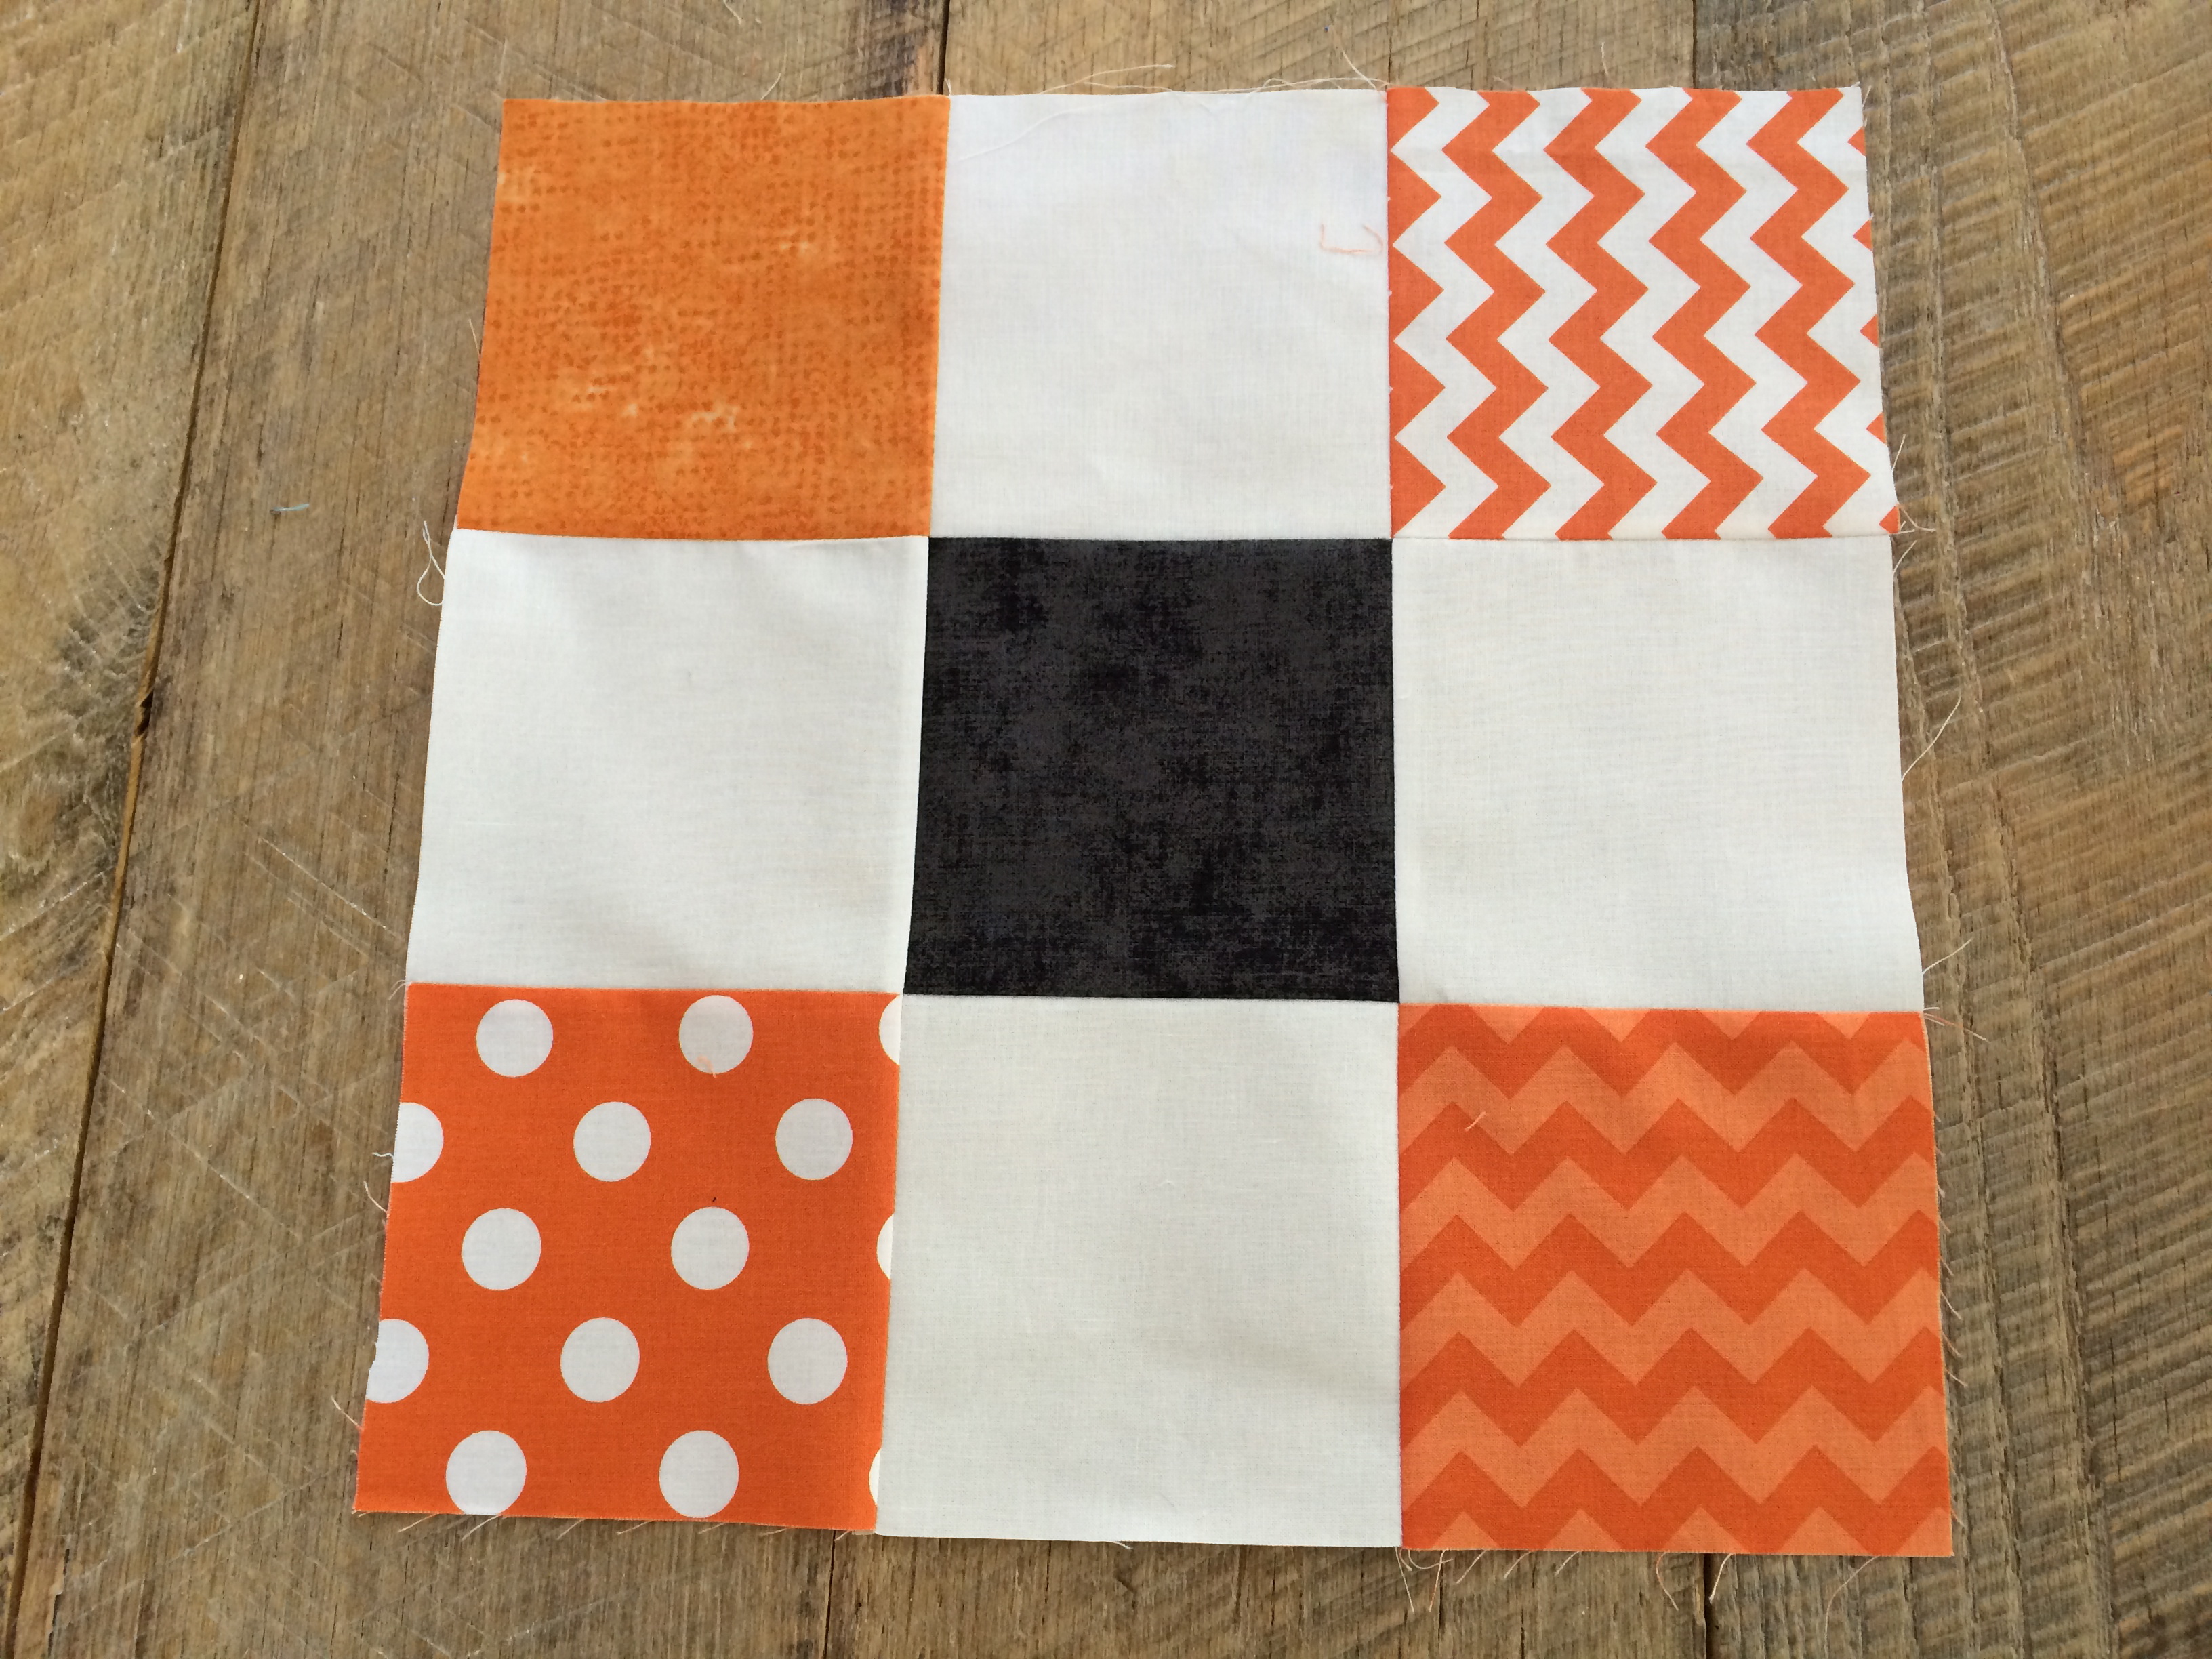
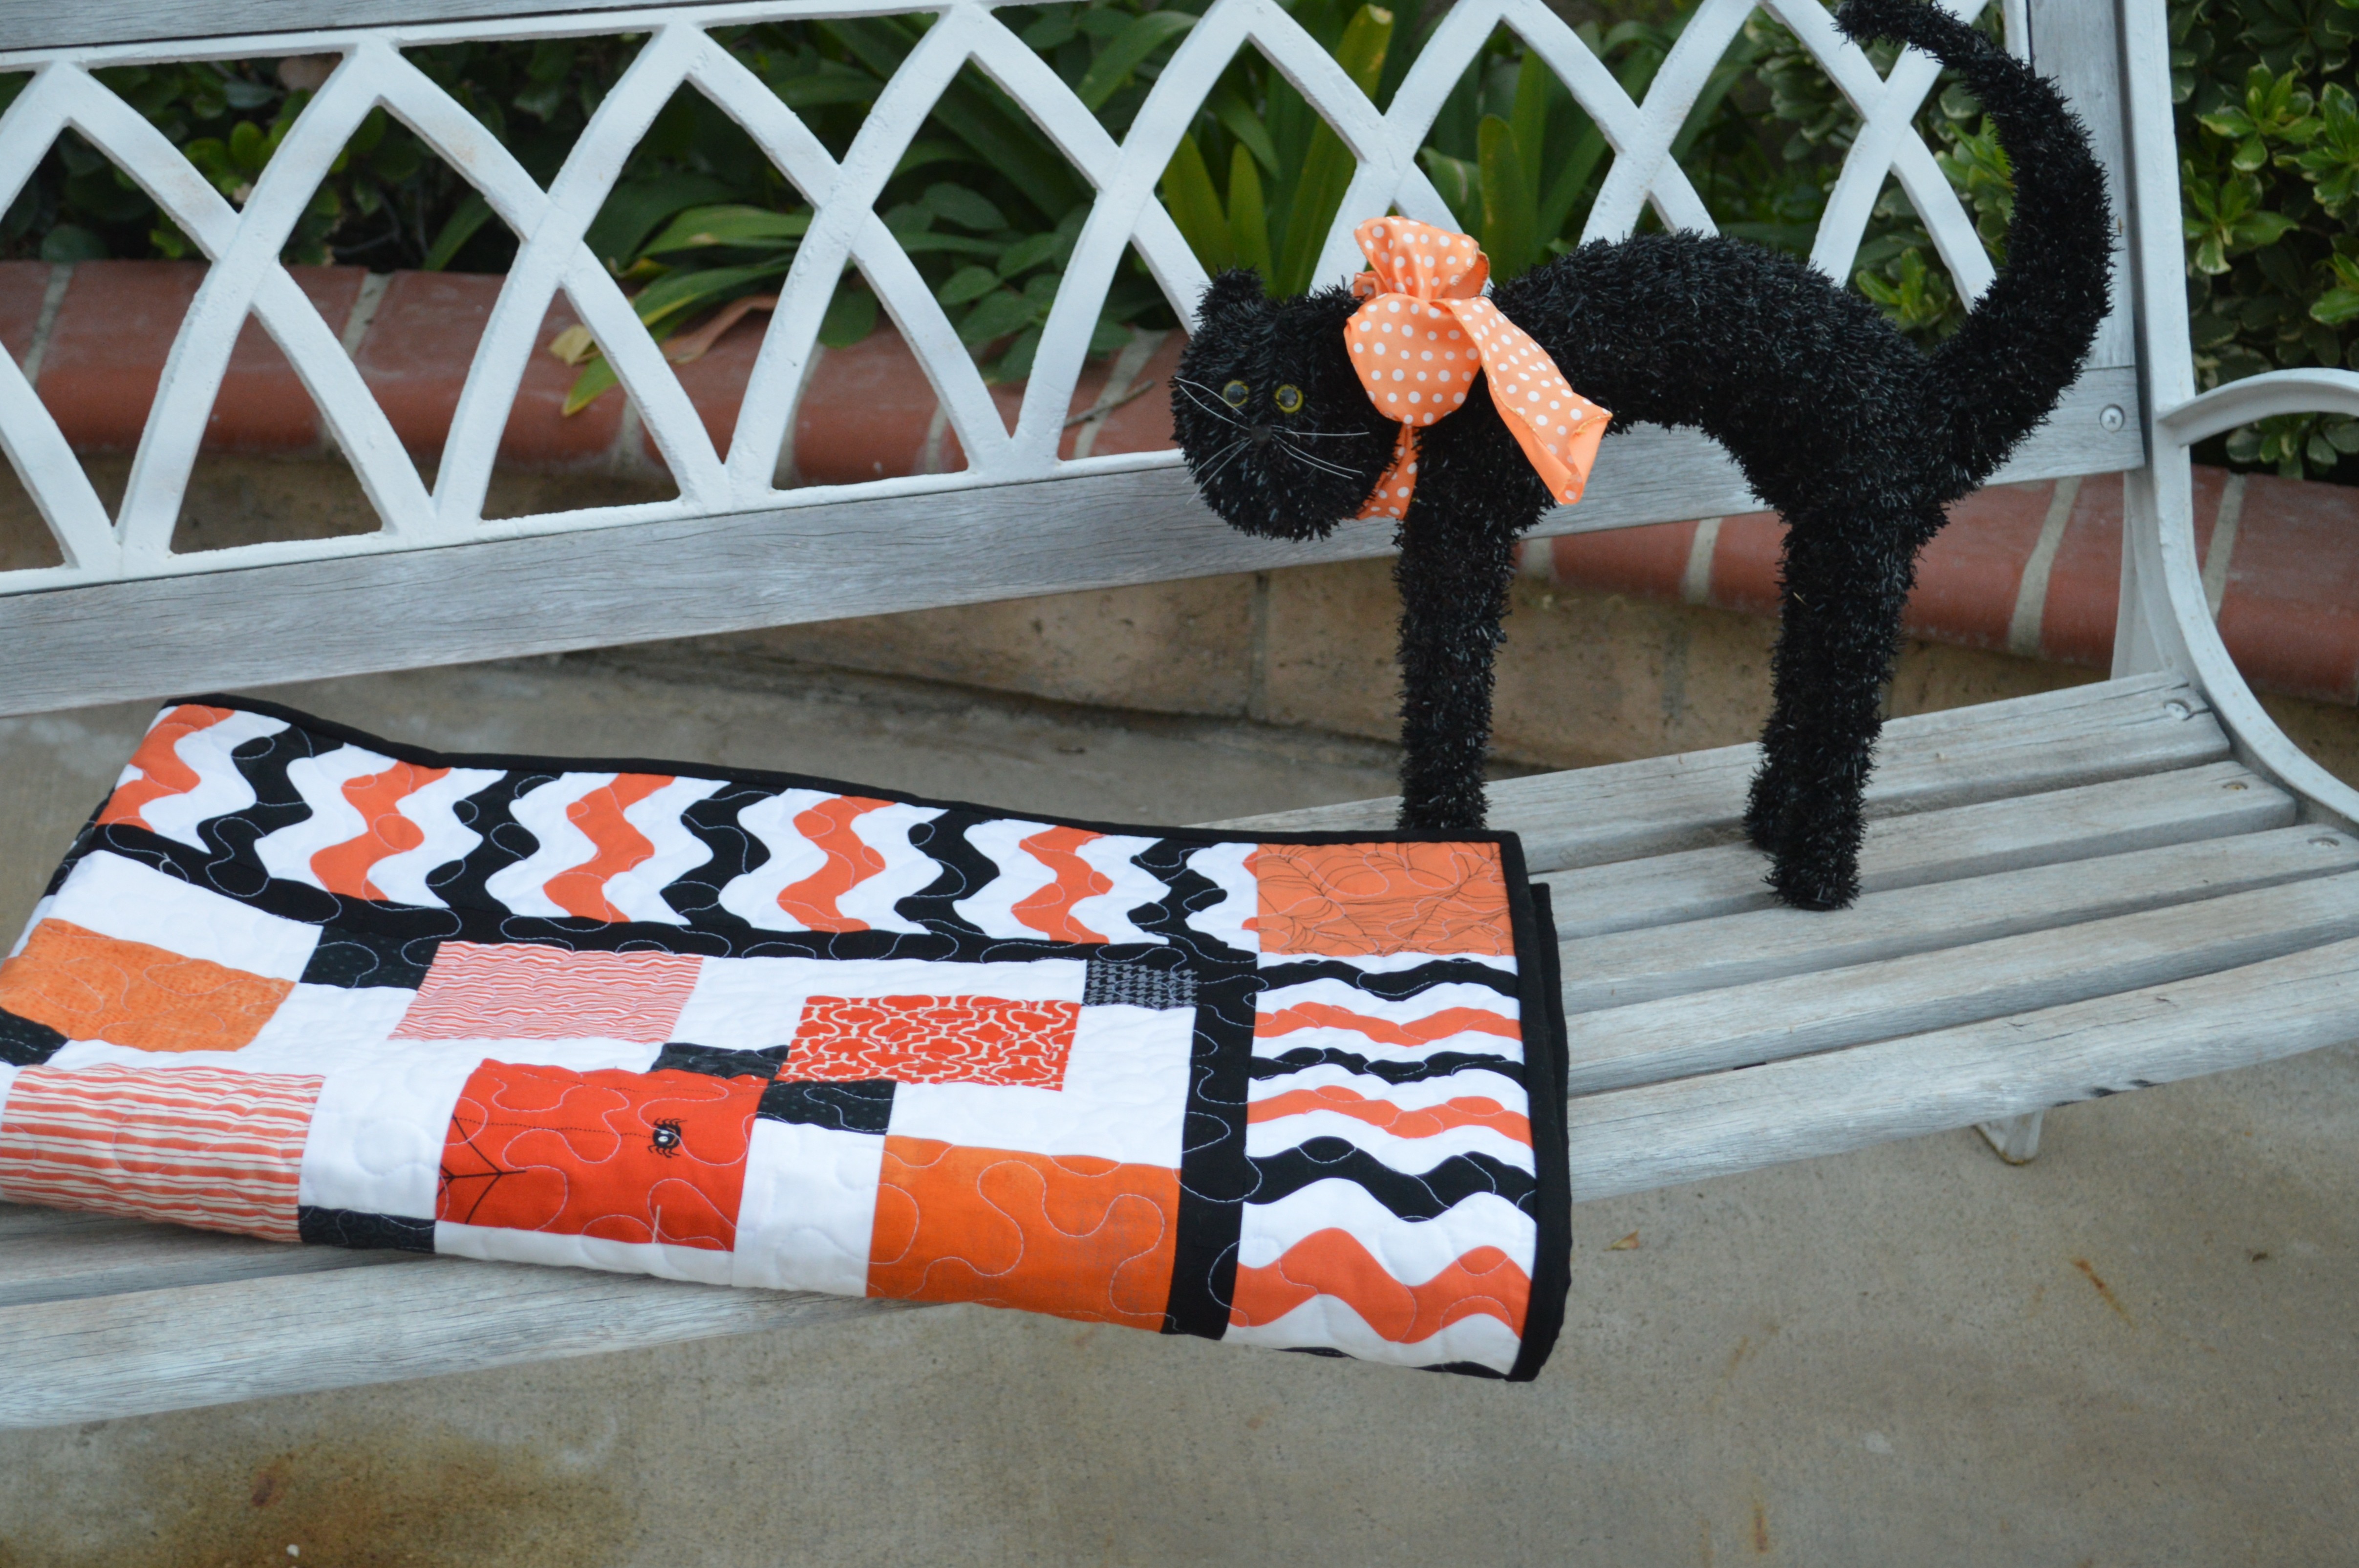
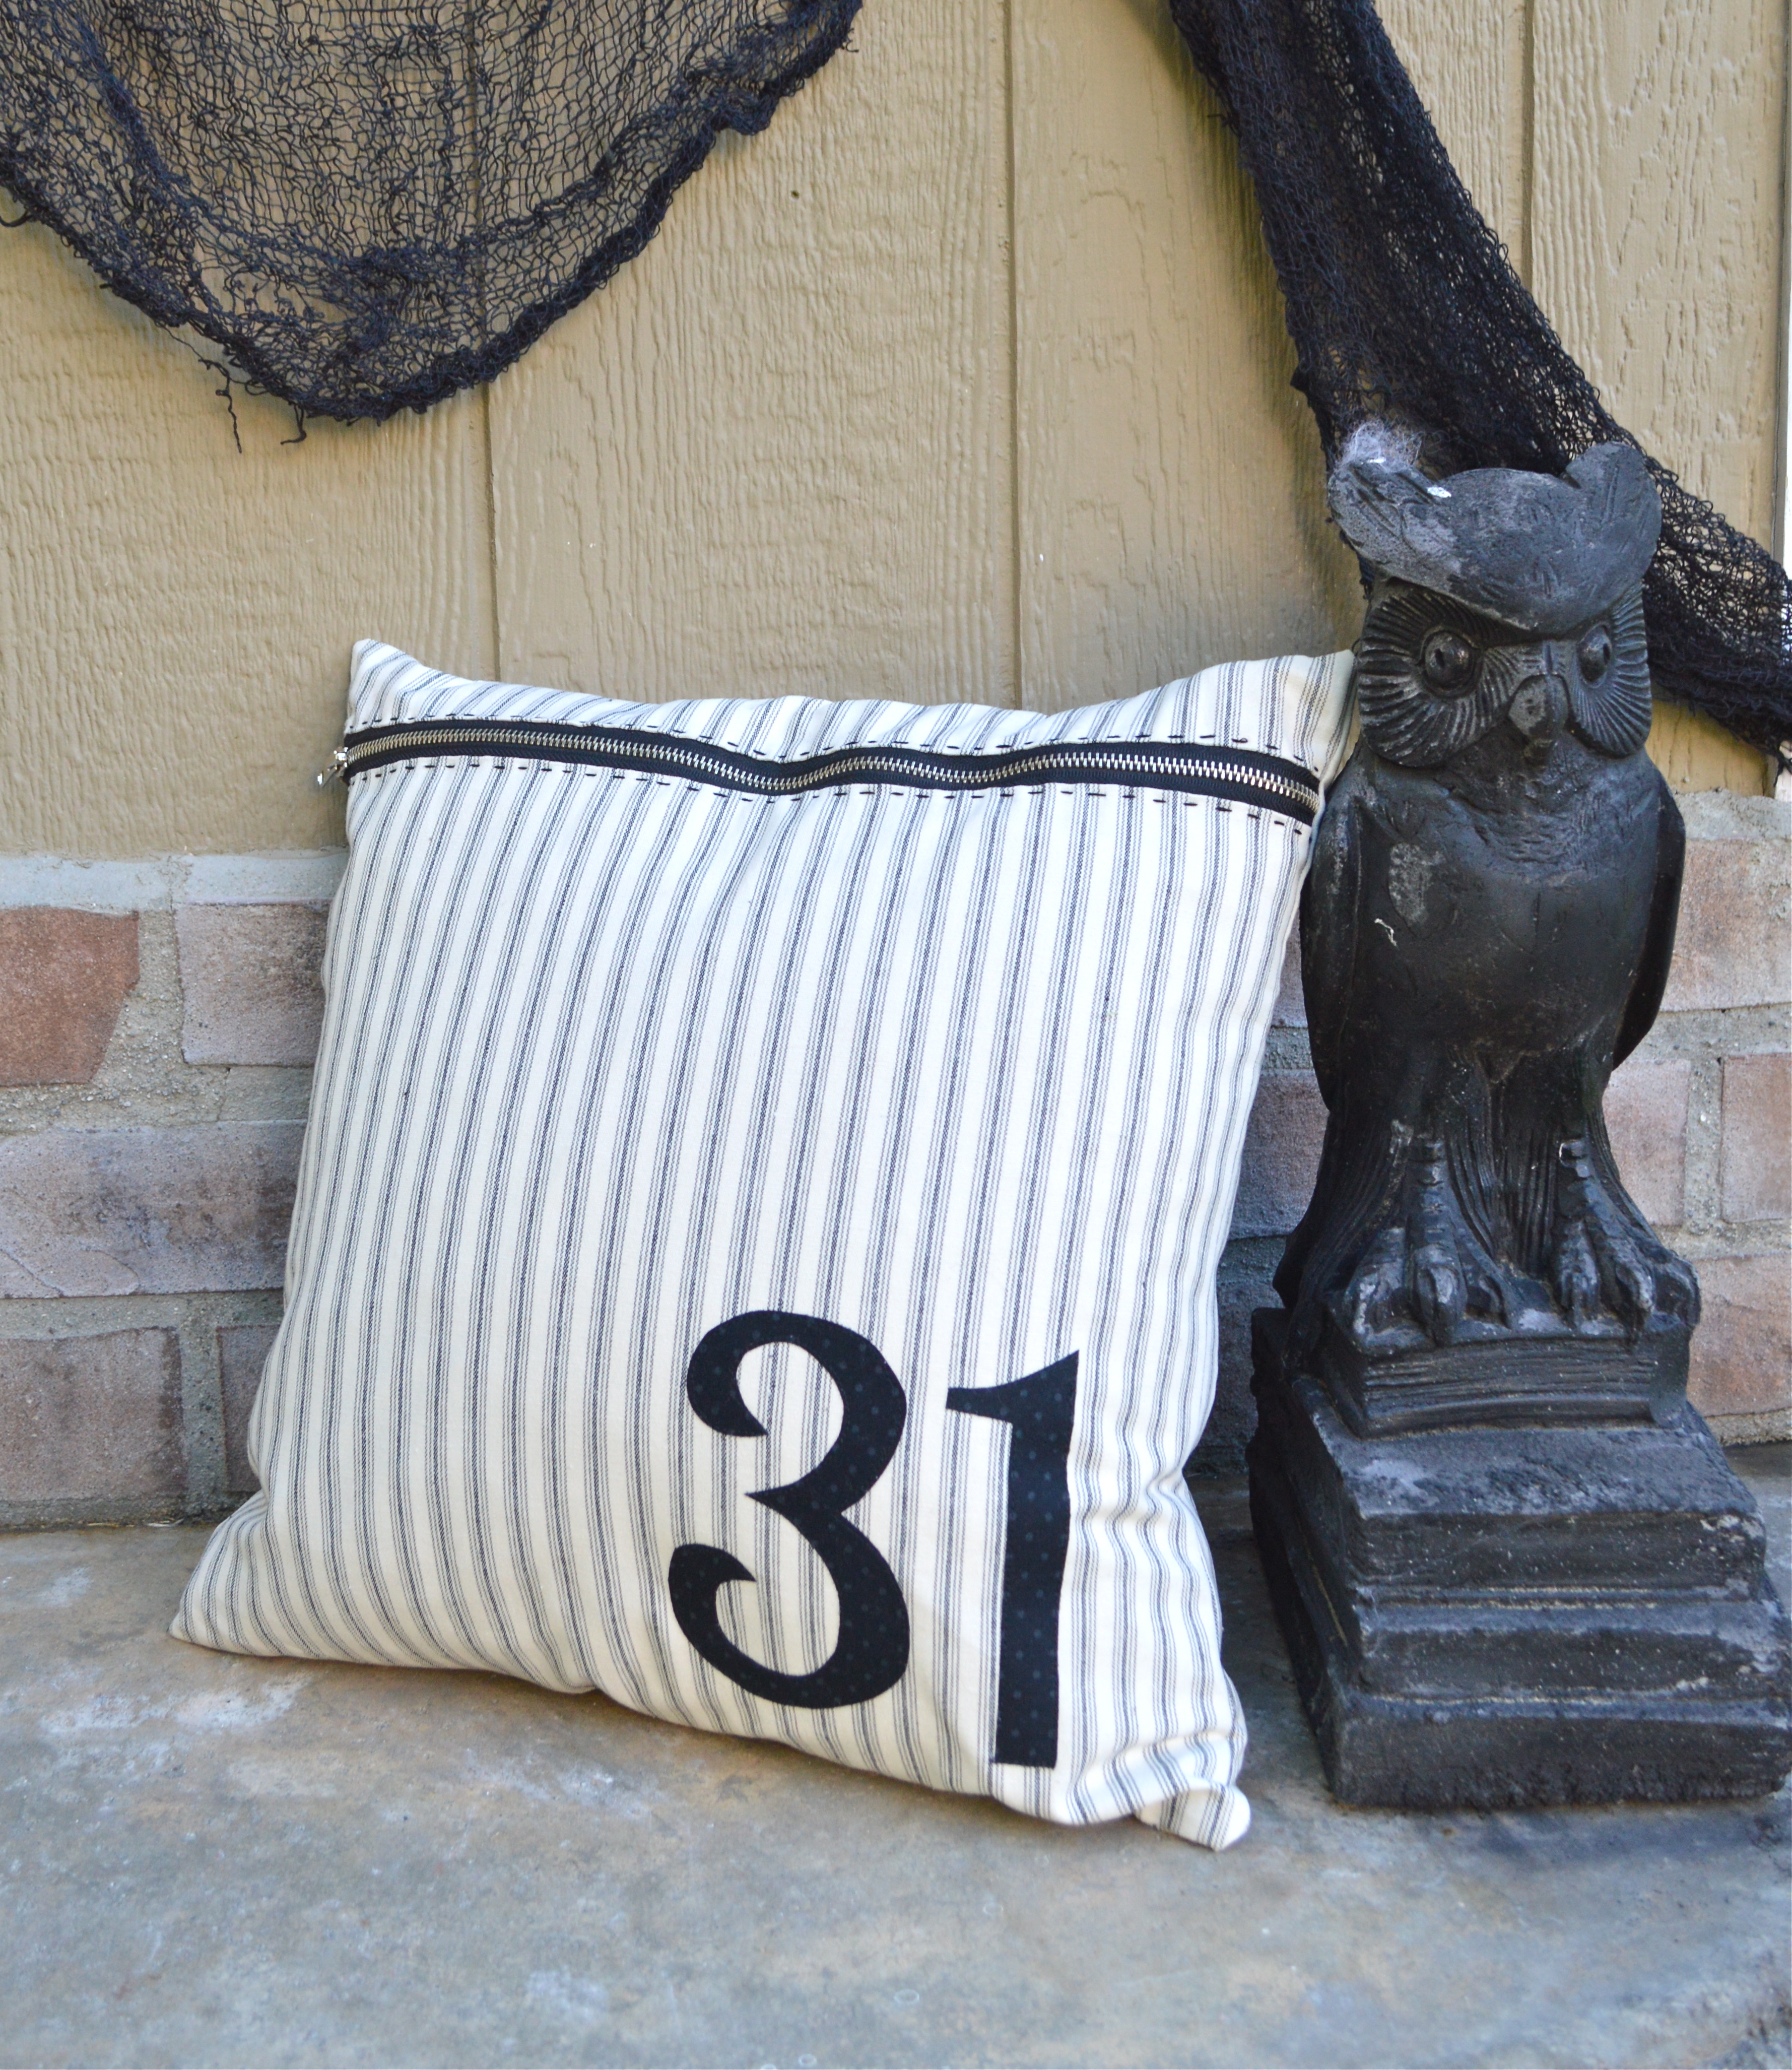
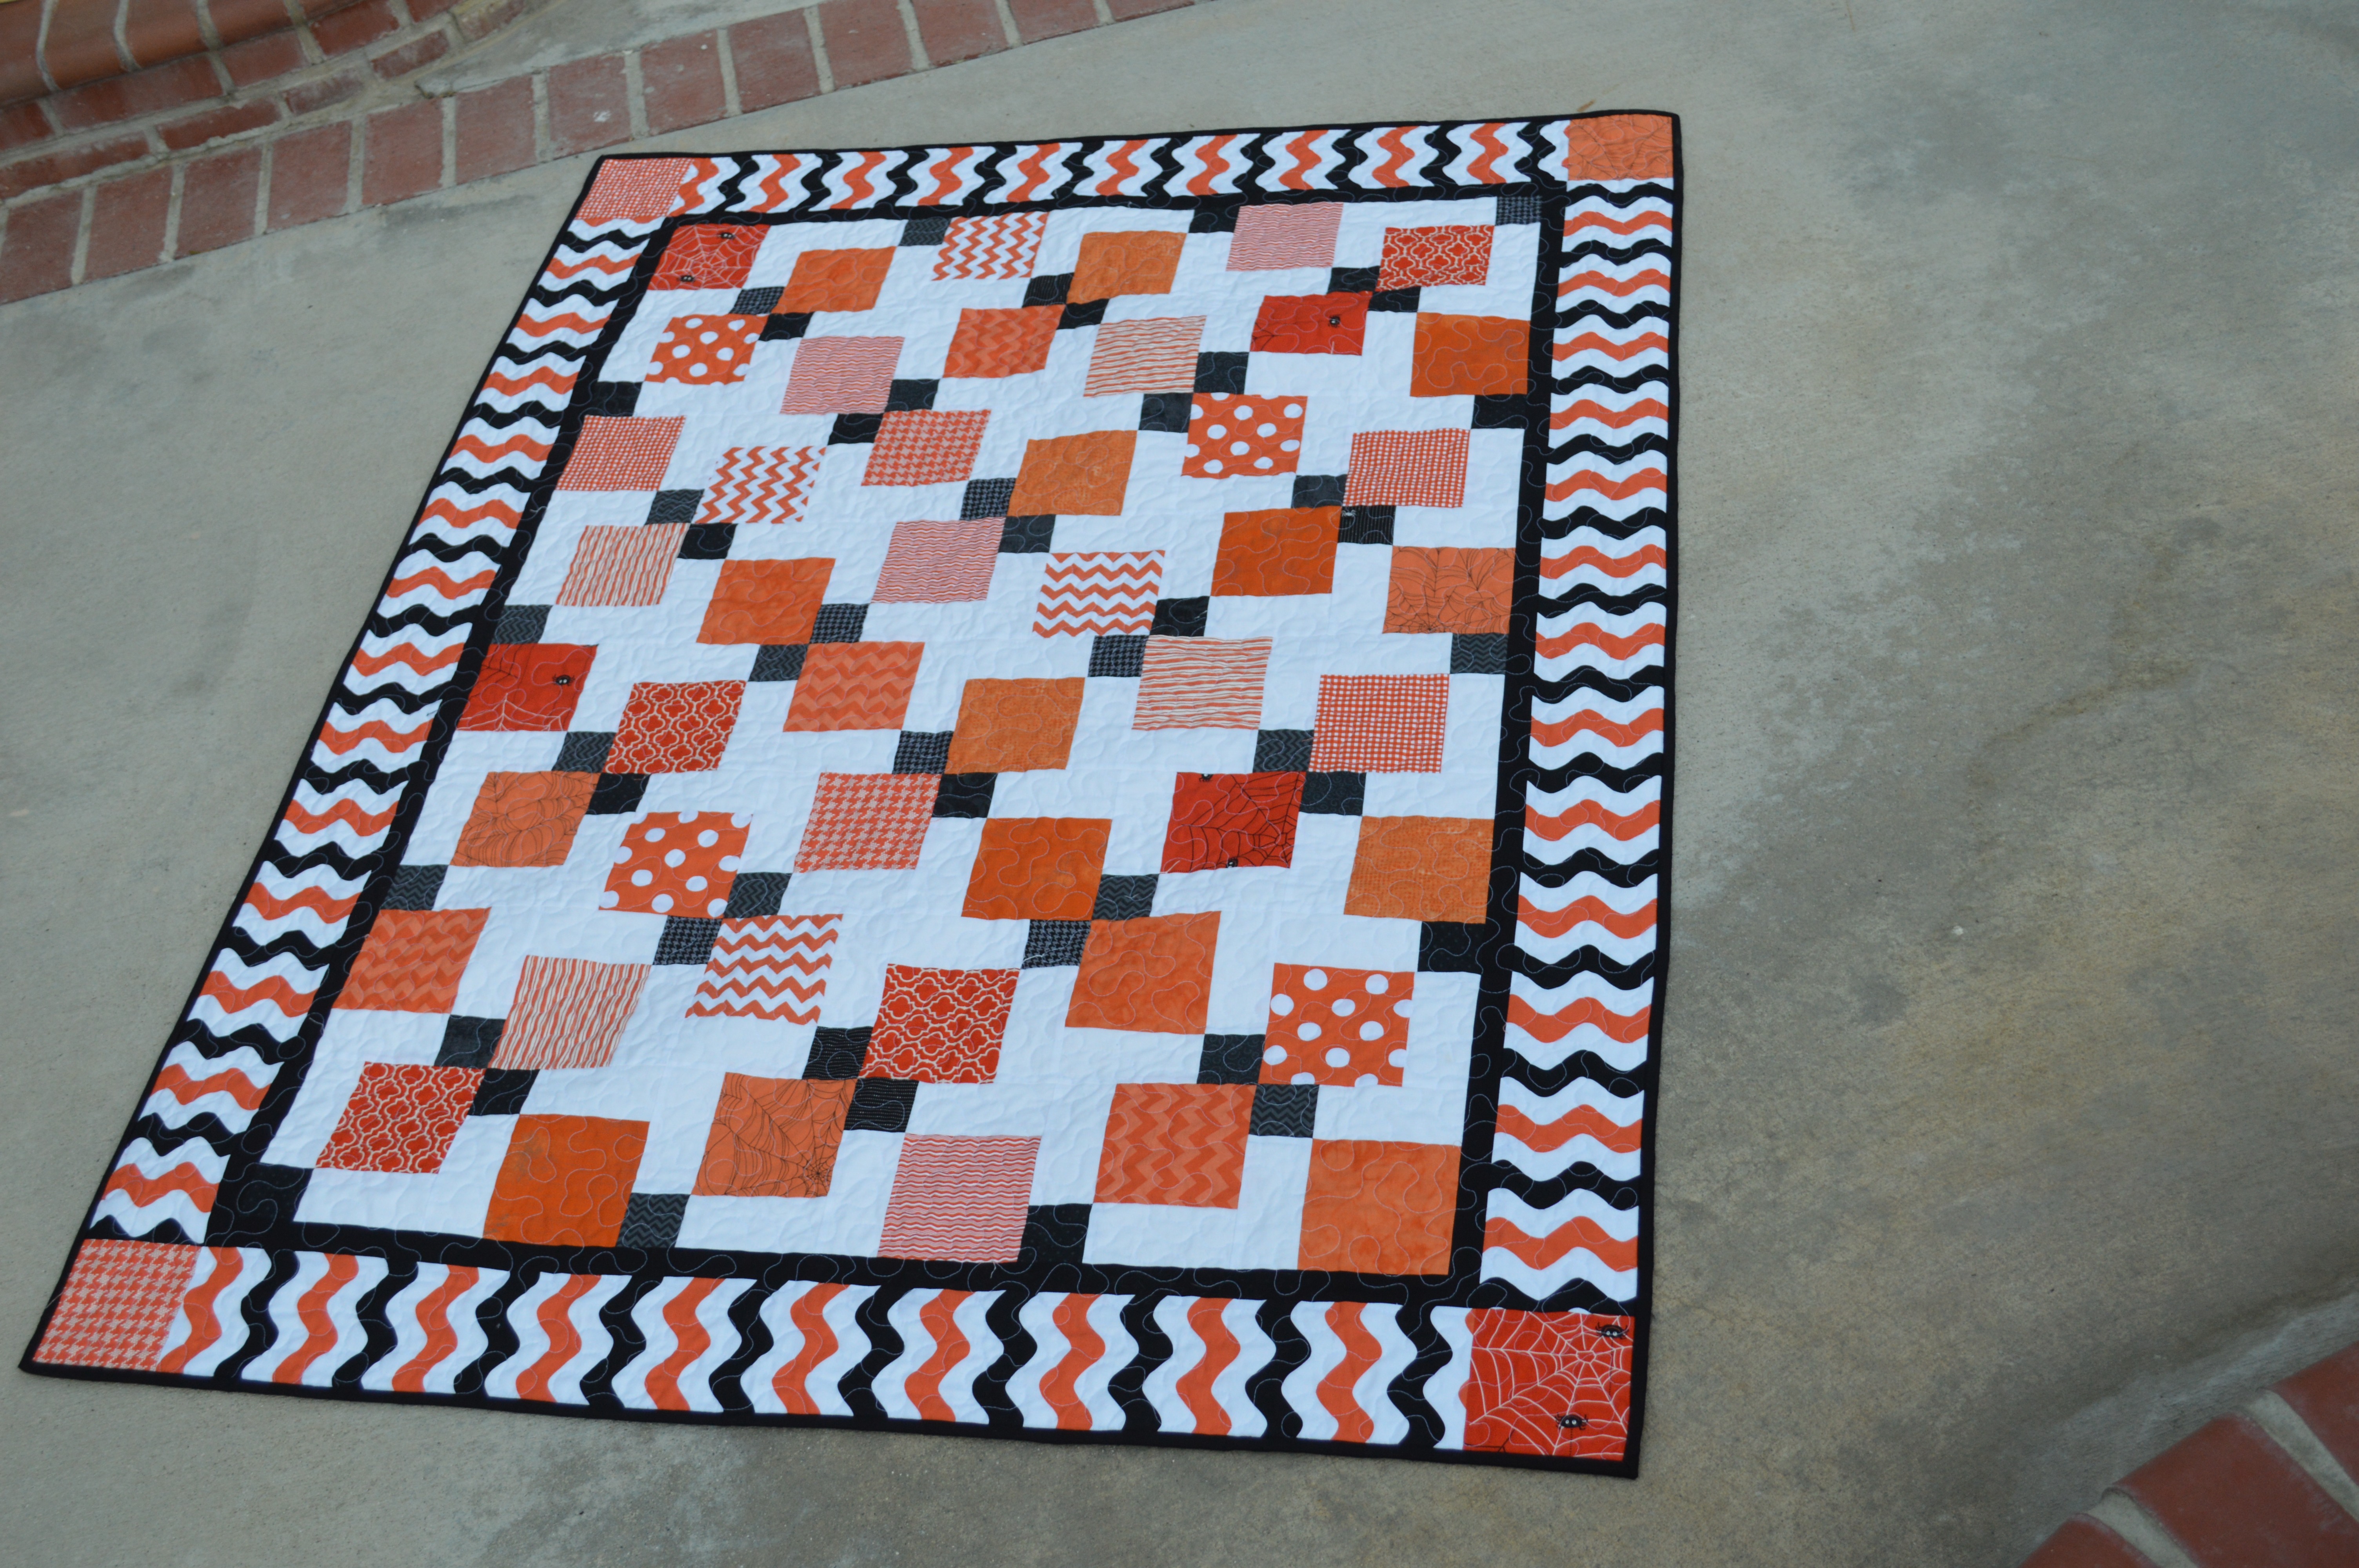
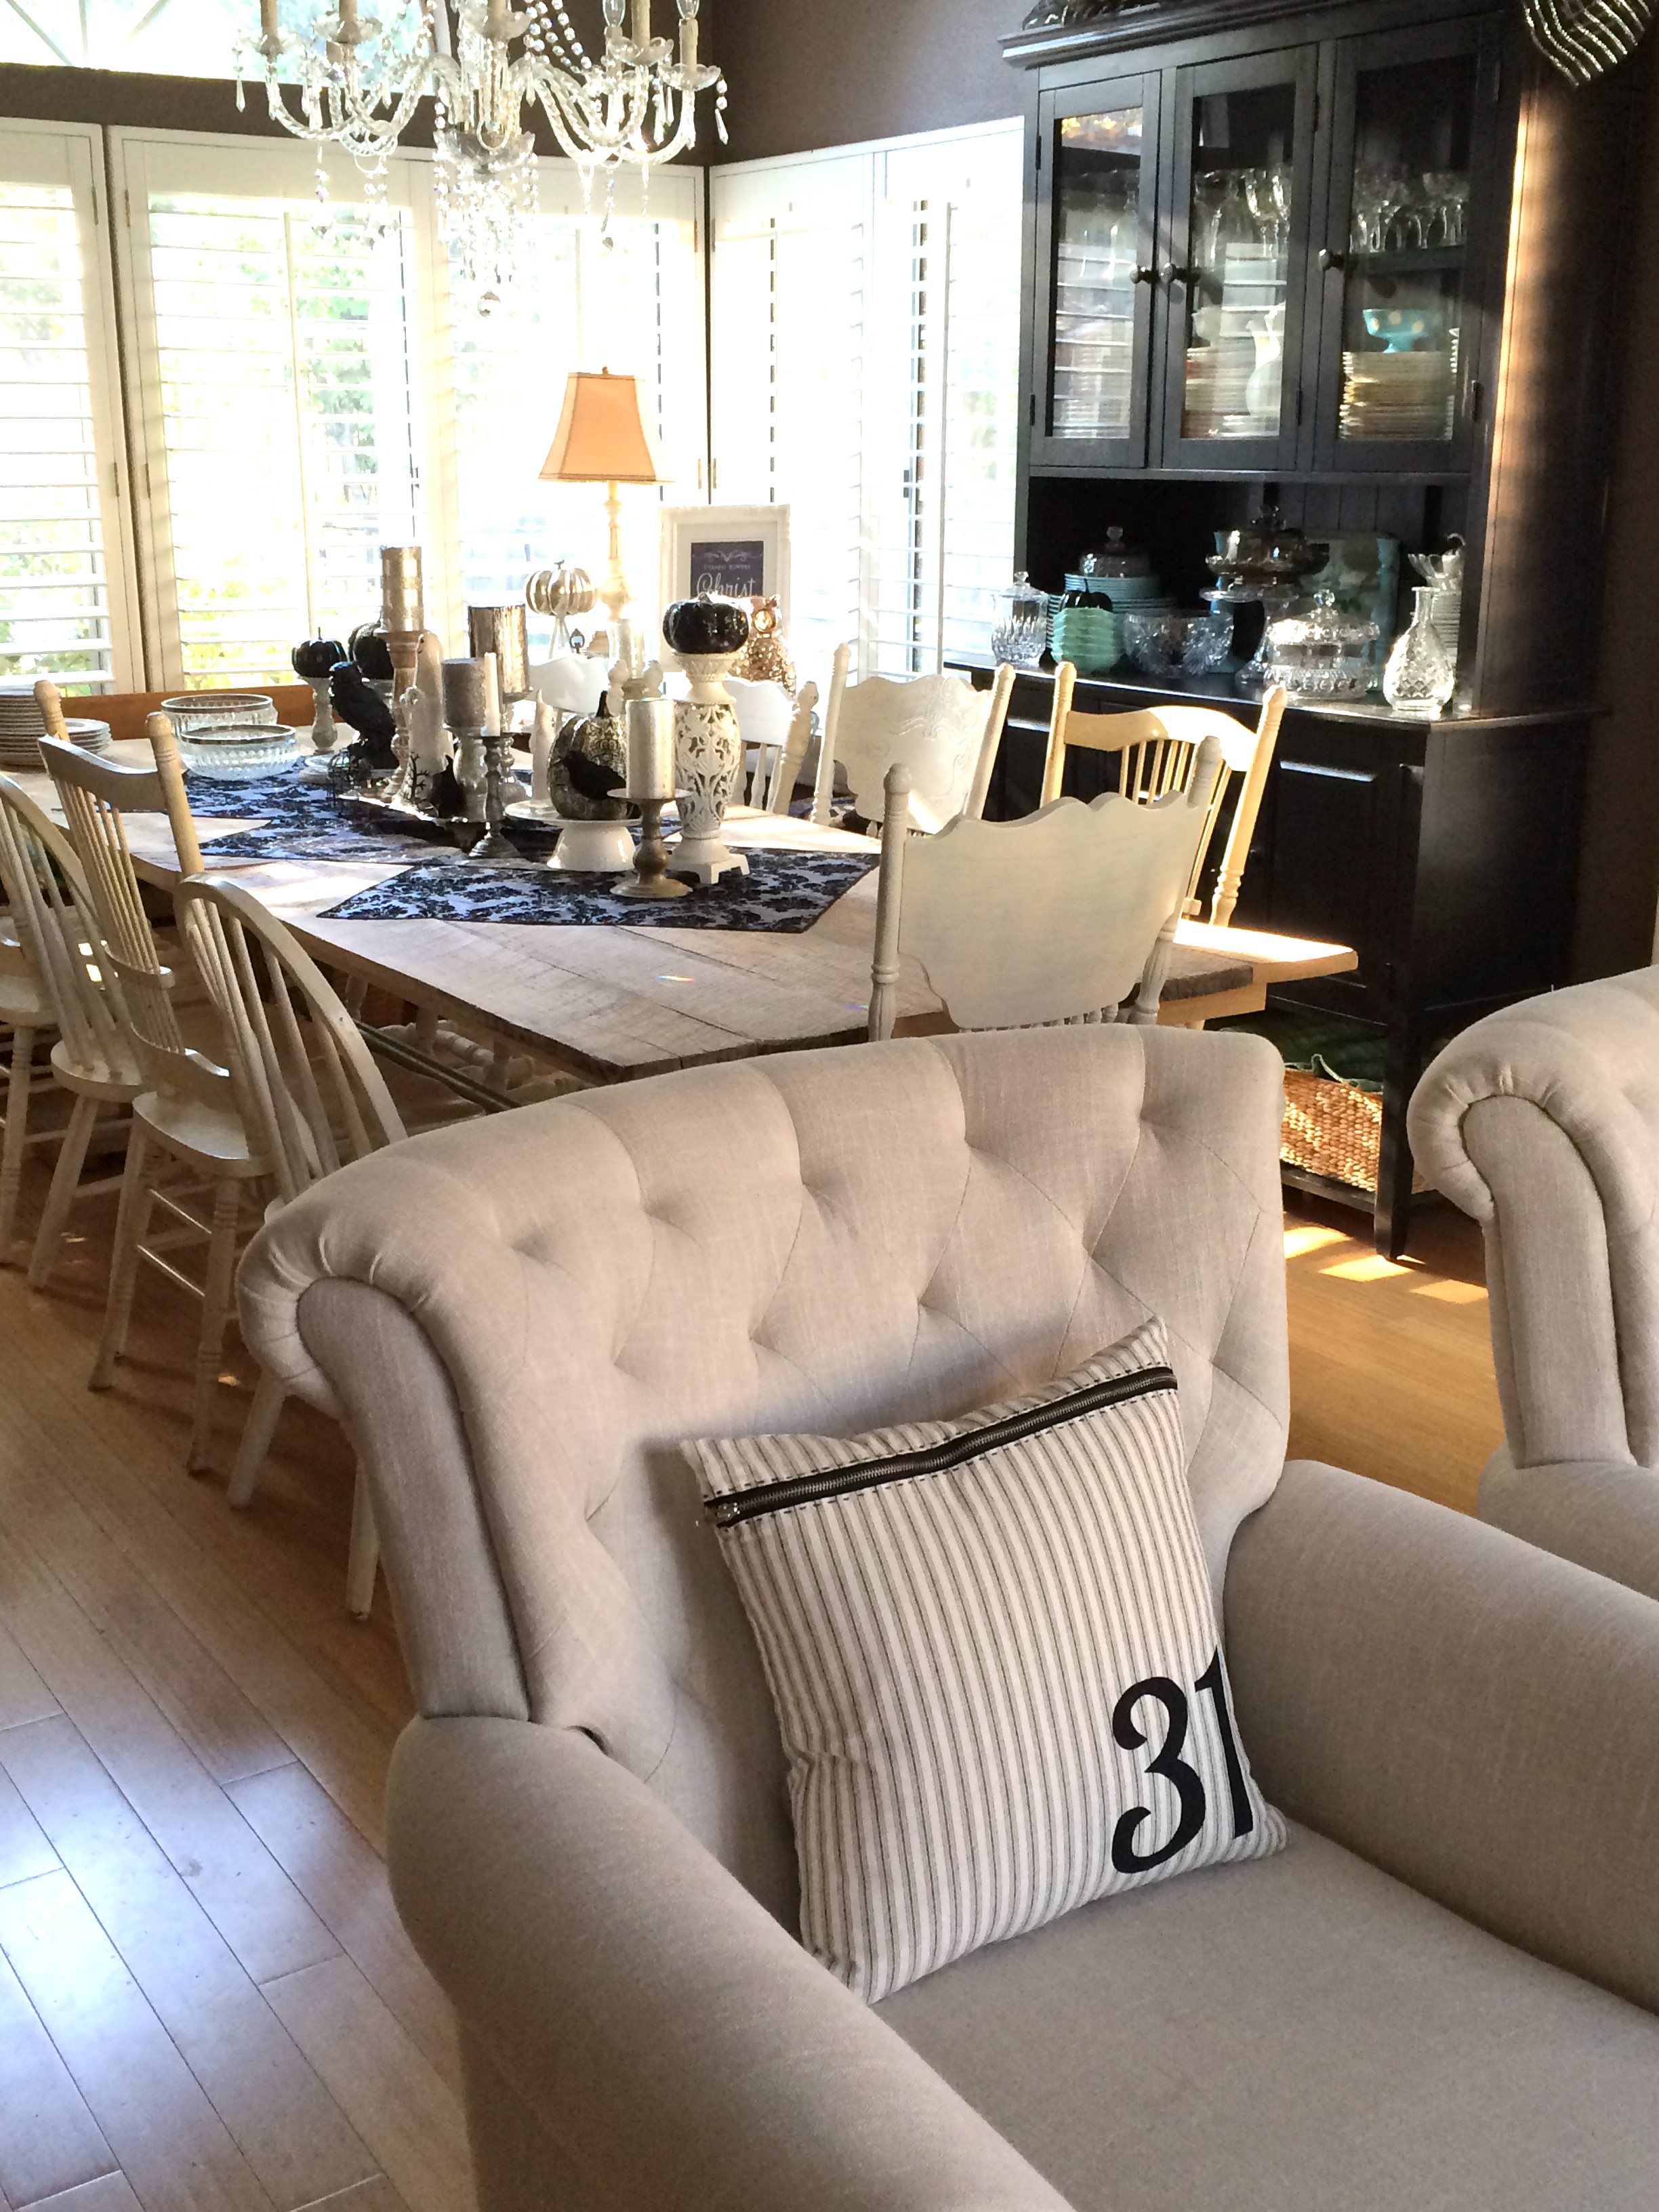
It’s September which means my house is decorated for Halloween and I’m gearing up for a super crazy fall family schedule!!  Don’t you feel like time just flies between now and Christmas?  We better get the Halloween sewing done!!


halloween house

I decorate my dining and living room for Halloween in Black and White and silver.  I like how this pillow is slightly understated for Halloween.  Here’s how you can make one…


Supplies:

16″ pillow form

1/2 yard black and white ticking

scraps of black fabric for numbers

Heat n Bond EZ print sheets or Heat n Bond Lite

Black metal zipper

31 pattern HERE


Begin by cutting (2) 17″ squares from the black and white ticking, set one aside for the pillow back.31_halloween_pillow_3


Cut a 3″ strip off the top:31_halloween_pillow_4


Lay out the pieces like this with the chunky zipper between:31_halloween_pillow_5


Place the small strip right sides together with the zipper and using a zipper foot sew along the length:31_halloween_pillow_6


Repeat with the other side:31_halloween_pillow_9


Once the zipper is sewn in, press the seams.  Prepare the appliqué by printing 31 on Heat n Bond EZ sheets or tracing on to Heat n Bond Lite.  Iron the numbers to the wrong side of the black fabric.  Cut out and press onto the pillow front.  Top stitch around the numbers in black thread.

31_halloween_pillow_11

Using scissors you are not fond of, cut off the excess zipper on both ends.

31_halloween_pillow_12


Add a hand stitched detail by sewing a running stitch along both sides of the zipper with black embroidery floss.31_halloween_pillow_13


Place the pillow back and pillow front right sides together and pin around the entire pillow.  Make sure the zipper is open.  31_halloween_pillow_14


I cut 2 small strips of fabric and added them to both sides of the zipper where the seam would be to give it strength.  Otherwise the only thing holding the zipper is a seam of thread.  I also like to back stitch a few times over the zipper.  With the metal zipper it is best to slow down the sewing speed and even manually move the needle so it can find its way around the zipper teeth.  Sew around the entire pillow using 1/4″ seams31_halloween_pillow_15

Turn right side out and add the pillow, it’s done!


31_halloween_pillo2


Click the button for or more Halloween Projects


Riley Blake Blog Tour {Baby Play Mat Tutorial with Matching Zipper Pouch}


riley blake quilted cotton baby mat tutorial

riley blake quilted cotton_2


I am so excited to be participating in the Riley Blake Designs Quilted Cotton Blog Hop.

quiltedcottoncollage_1_png_600x600_q85QuiltedCotton1_1_png_600x600_q85

6/10 – Nancy Zieman

6/12 – The Sassy Quilter

6/17 – Just Let Me Quilt

6/19 – Simple Simon & Co.

6/24 – Haberdashery Fun

6/26 – Sew We Quilt

7/1 – Jina Barney Designz

7/3 – Leigh Laurel Studios

7/8 – Riley Blake Designs

Today is my day for the blog hop so WELCOME and thanks for stopping by!  I can’t tell you how in love I am with Riley Blake’s new quilted cottons.  They come in a variety of  patterns and colors.  I choose the black chevron which has polka dots on the reverse side.  I love giving hand made baby gifts but sometimes it gets a little challenging to create a new quilt from scratch for every baby gift; as much as my heart wants to.  The quilted cottons are perfect for sewing for baby: I appliquéd some flowers, added extra wide binding and it’s an adorable play mat or changing mat or quilt for baby.

riley blake quilted cotton tutorial

I also used what was left of the quilted cotton to make a diaper change zipper pouch.  It holds all the essentials: diapers, wipes, sanitizer, etc.  Continue reading for the instructions….

riley blake quilted cotton_4

Supplies:

1 yard Riley Blake Quilted Cotton

6 fat quarters flower appliqué fabric

3/4 yard fabric for wide binding

Therm O Web Spray n Bond basting spray.

Download the flower patterns HERE (for large flower, you will have to enlarge on your computer – it measures about 10.5″ across)


Cut the quilted cotton 35″ x WOF (Of course you can cut whatever size you want)

Cut the 3 sizes of flower and flower centers out to make the pattern.

riley blake quilted applique quilt_tutorial

Pin the pattern pieces to the fabric and cut out.

riley blake quilted applique quilt_tutorial_2


Spray the Spray n Bond to the wrong side of the fabric appliqué pieces and place on the quilt.  It is a bit of a challenge to appliqué on such a large piece of fabric – there was some pushing and pulling involved.  I found it easier to spray baste the flowers after finishing sewing the one before.riley blake quilted applique quilt_tutorial_5

Stitch around each flower and flower center 2 times using black thread.
riley blake quilted applique quilt

riley blake quilted cotton_10

To make the extra wide binding…. cut 4 strips 5″ x WOF.  Sew together and press in half.  Continue as you would with regular binding, only line up the raw edge of the binding  1″ from the edge of the quilt like this:

IMG_8580
I machine sewed the binding so it would hold up nice in the wash.  I am hoping this will be used more as a changing mat or crawling mat so it will be getting laundered often!  I love how it turned out!  This could easily be changed up for a boy – the navy and white chevron would be cute with anchors or fish!!

riley blake quilted cotton-15
Of course I needed to sew a matching zipper pouch.  I like the idea of having all the diaper change stuff in one handy pouch.  I used one of my favorite tutorials from my good friend Jennifer.  I changed the measurements from 9″x11″ to 8″x11″.  The rest of the tutorial is exactly the same.

Cut (2) quilted cotton pieces 8″ x 11″

Cut (2) lining fabric pieces 8″ x 11″

riley blake quilted cotton_12

Applique the smallest flower from the quilt pattern above to the side of one of the quilted cotton pieces.  Then follow the rest of the tutorial.

riley blake quilted cotton+11

I need one of these for myself!!
riley blake quilted cotton_5

They make such a darling set!  I can’t wait to give this to my friend who is expecting her very first baby!!
riley blake quilted cotton_8
Thanks for stopping by!  I can’t wait to see all the projects on this fun Blog Tour!!

riley blake quilted cotton_3

How to Make a Birthday Hat for your Pet

Marbles the crazy Bengal Cat turned 1 and he needed his own party hat!


To make a Birthday hat for your pet you will need:

  • Patterned paper (at least medium weight)
  • Decorative trim (ric rac, pom poms, ribbon, etc)
  • A pom pom for the top
  • 1/4 inch elastic
  • Hot glue


Print the template for the hat. You may need to adjust it to fit the size of your pet’s head.
Trace it onto your patterned paper and cut it out.
Cut the slit as shown on the template. I fastened mine then secured with a touch of hot glue.
Then hot glue your decorative elements on and hot glue the elastic to fit the pets chin. Now you are now ready to sing happy birthday!

Off to eat cupcakes! (He really did eat the cupcakes!)