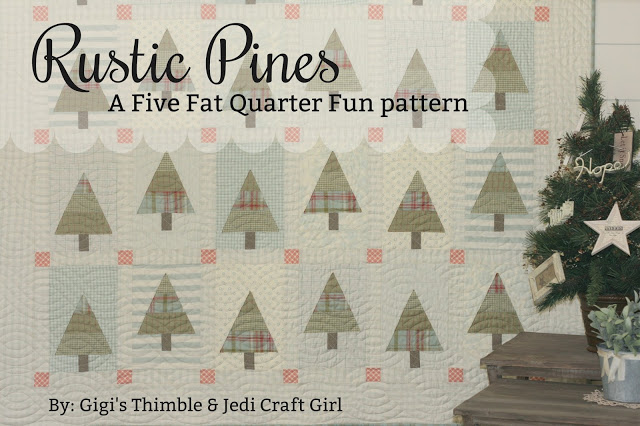
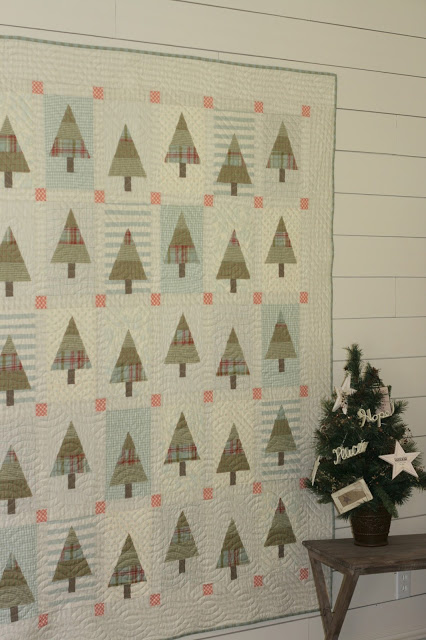
It’s Christmas in July! I love making a Christmas quilt in the summer – I never have time when it gets closer to Christmas!! You are going to love this Rustic Pines Quilt! Choose your 5 favorite Christmas Fat Quarters and let’s get sewing!!
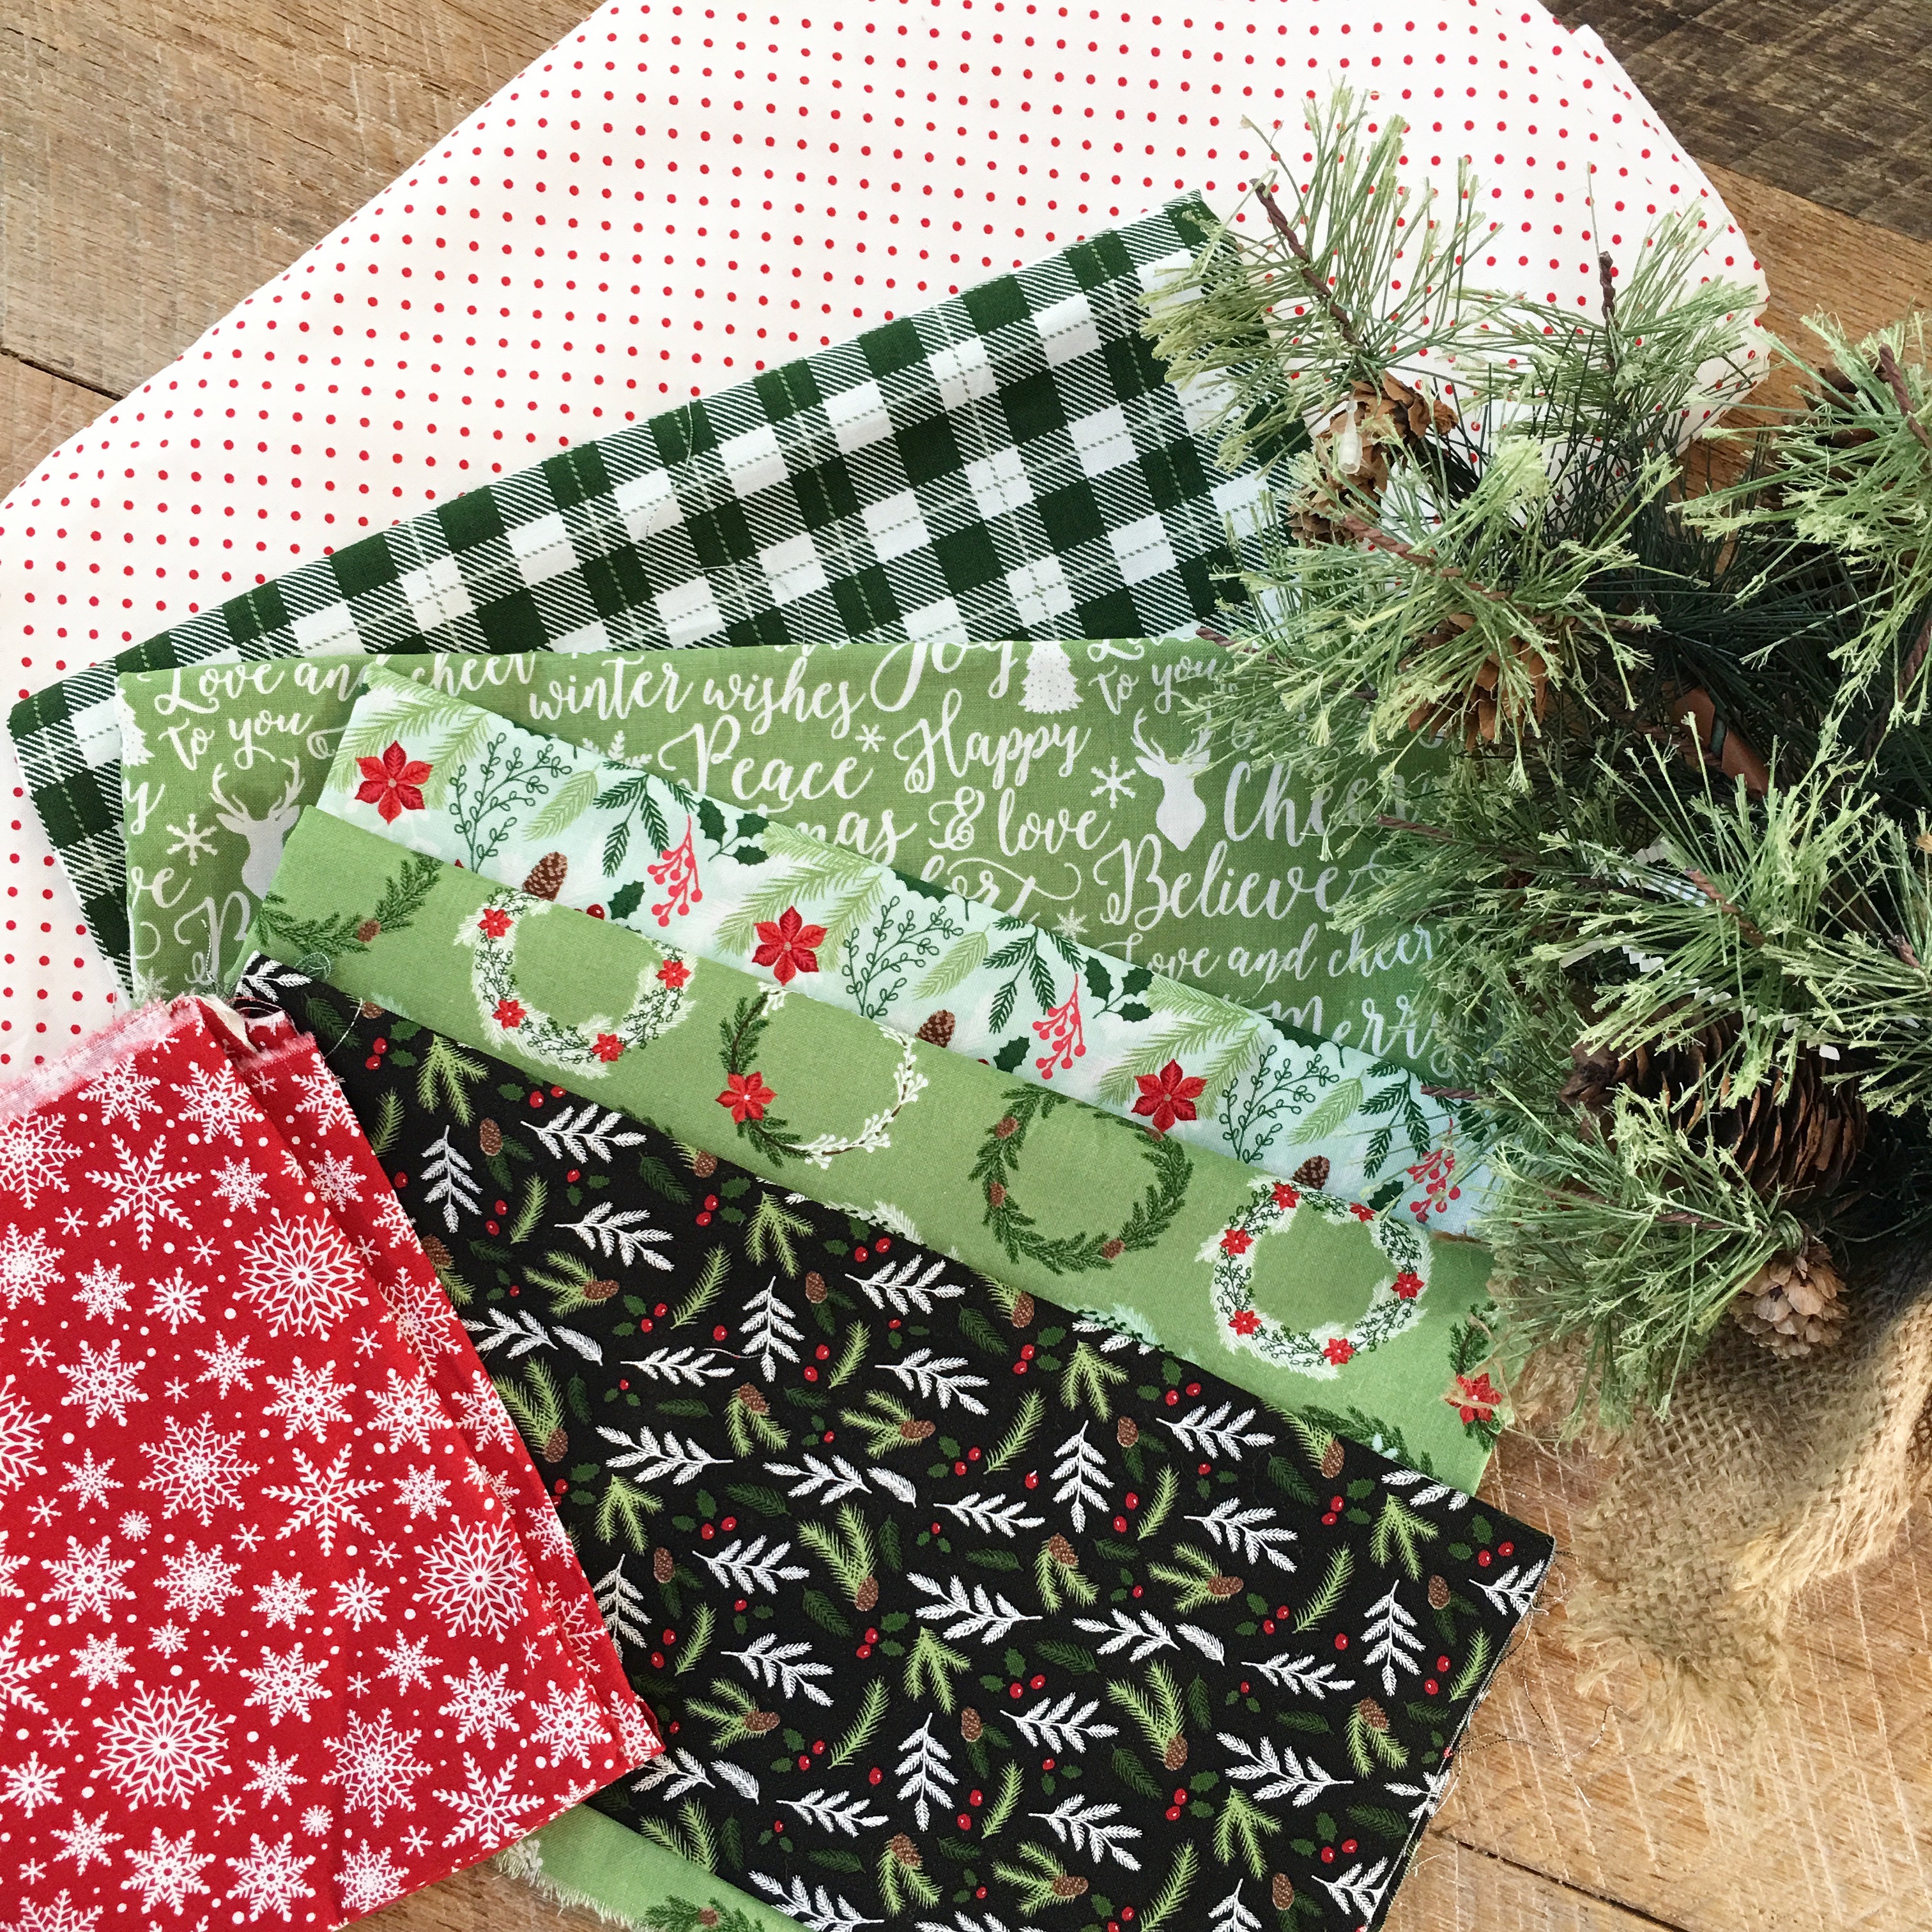
I choose the Comfort and Joy line from Riley Blake. It has such a wonderful cabin-like Christmas feel!
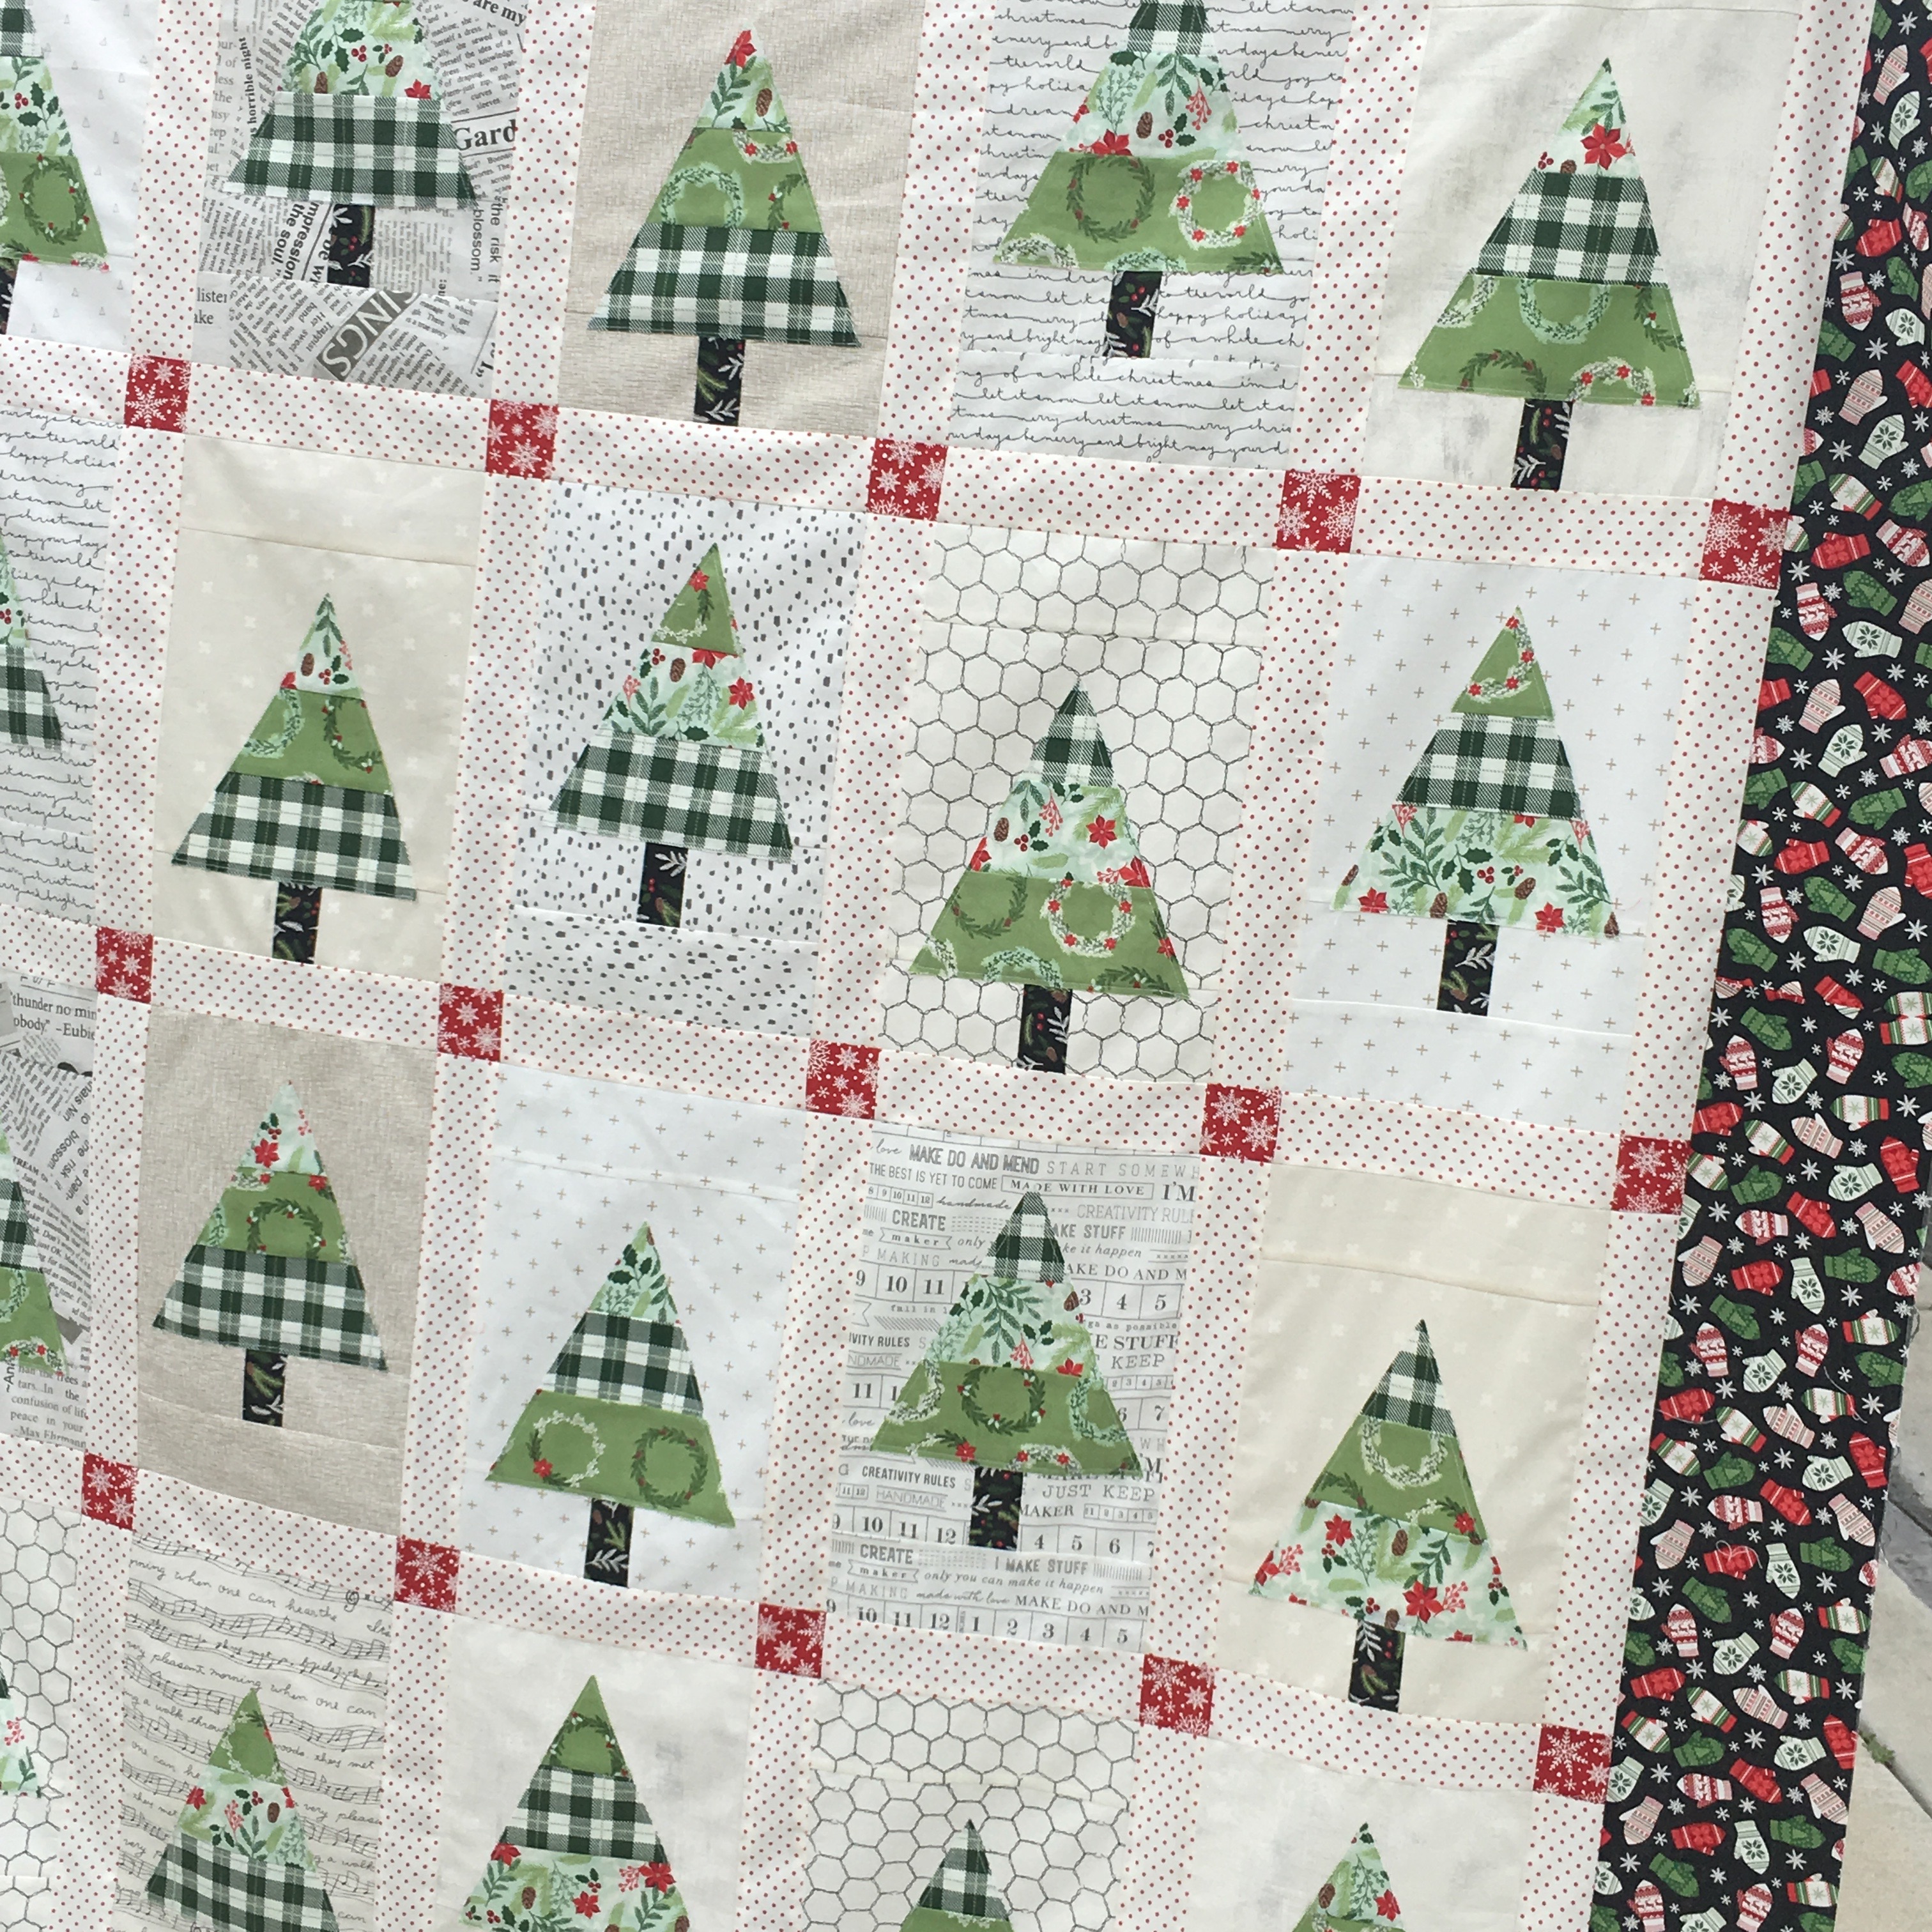
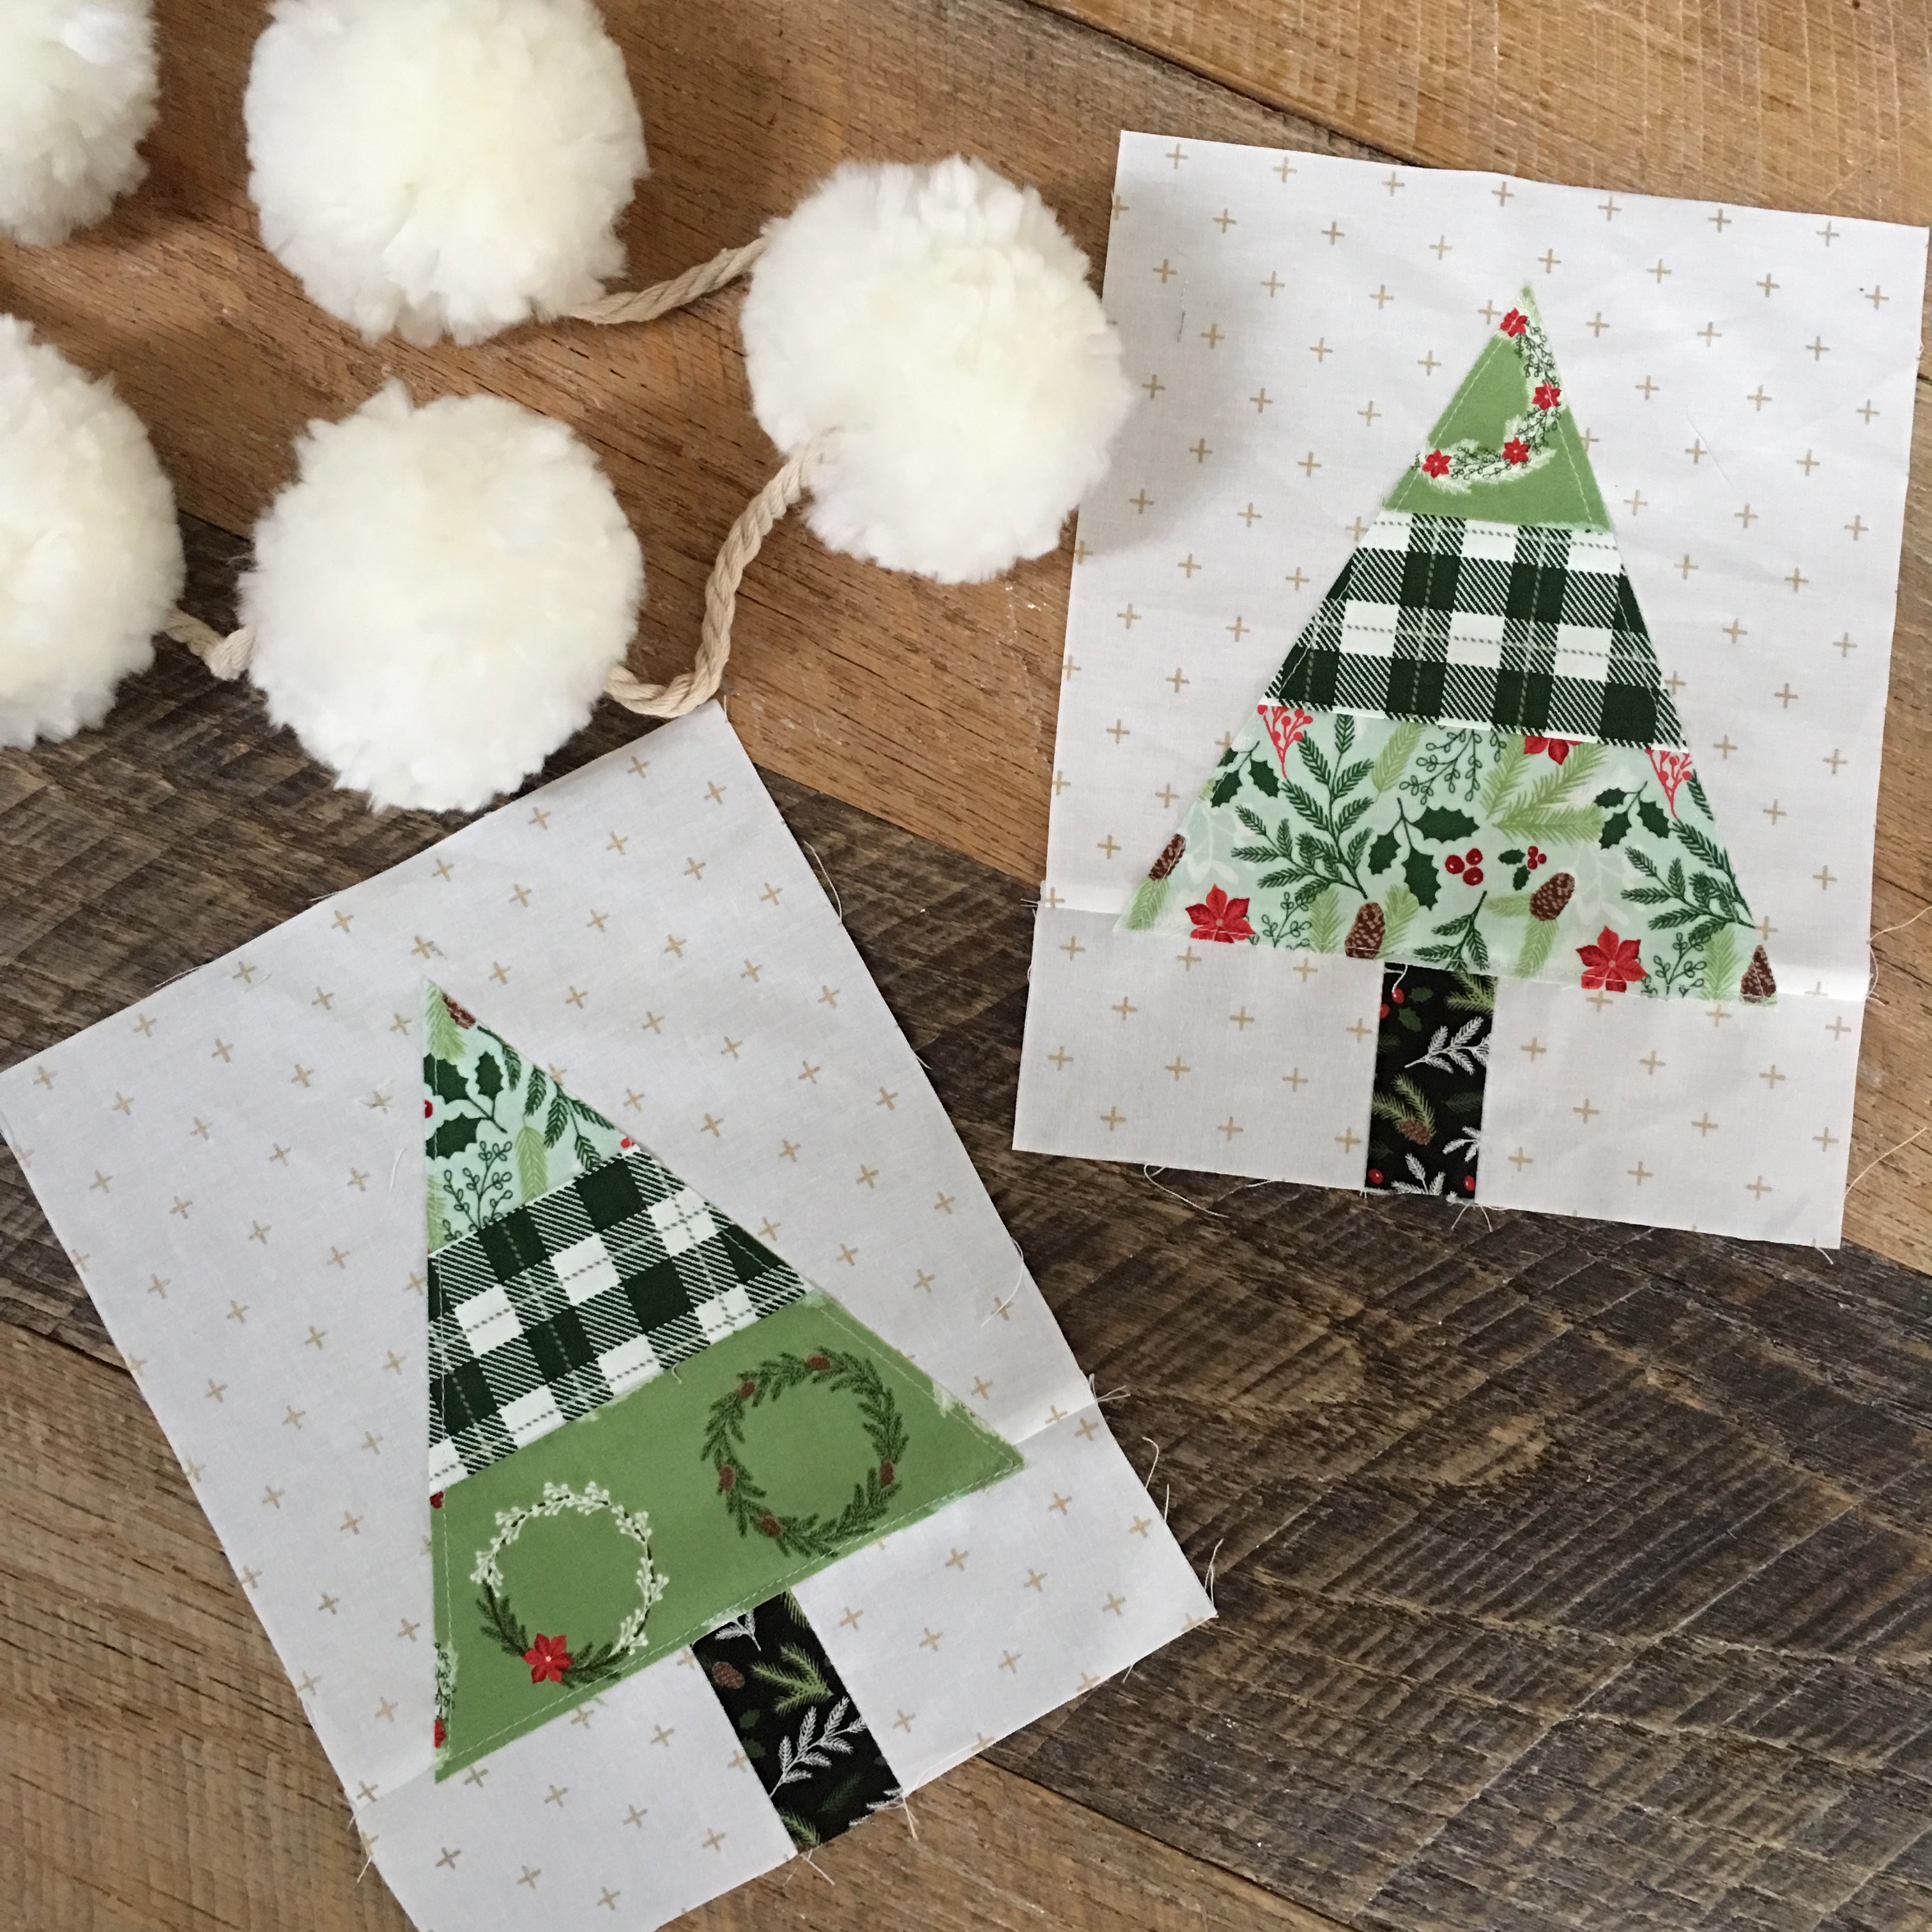
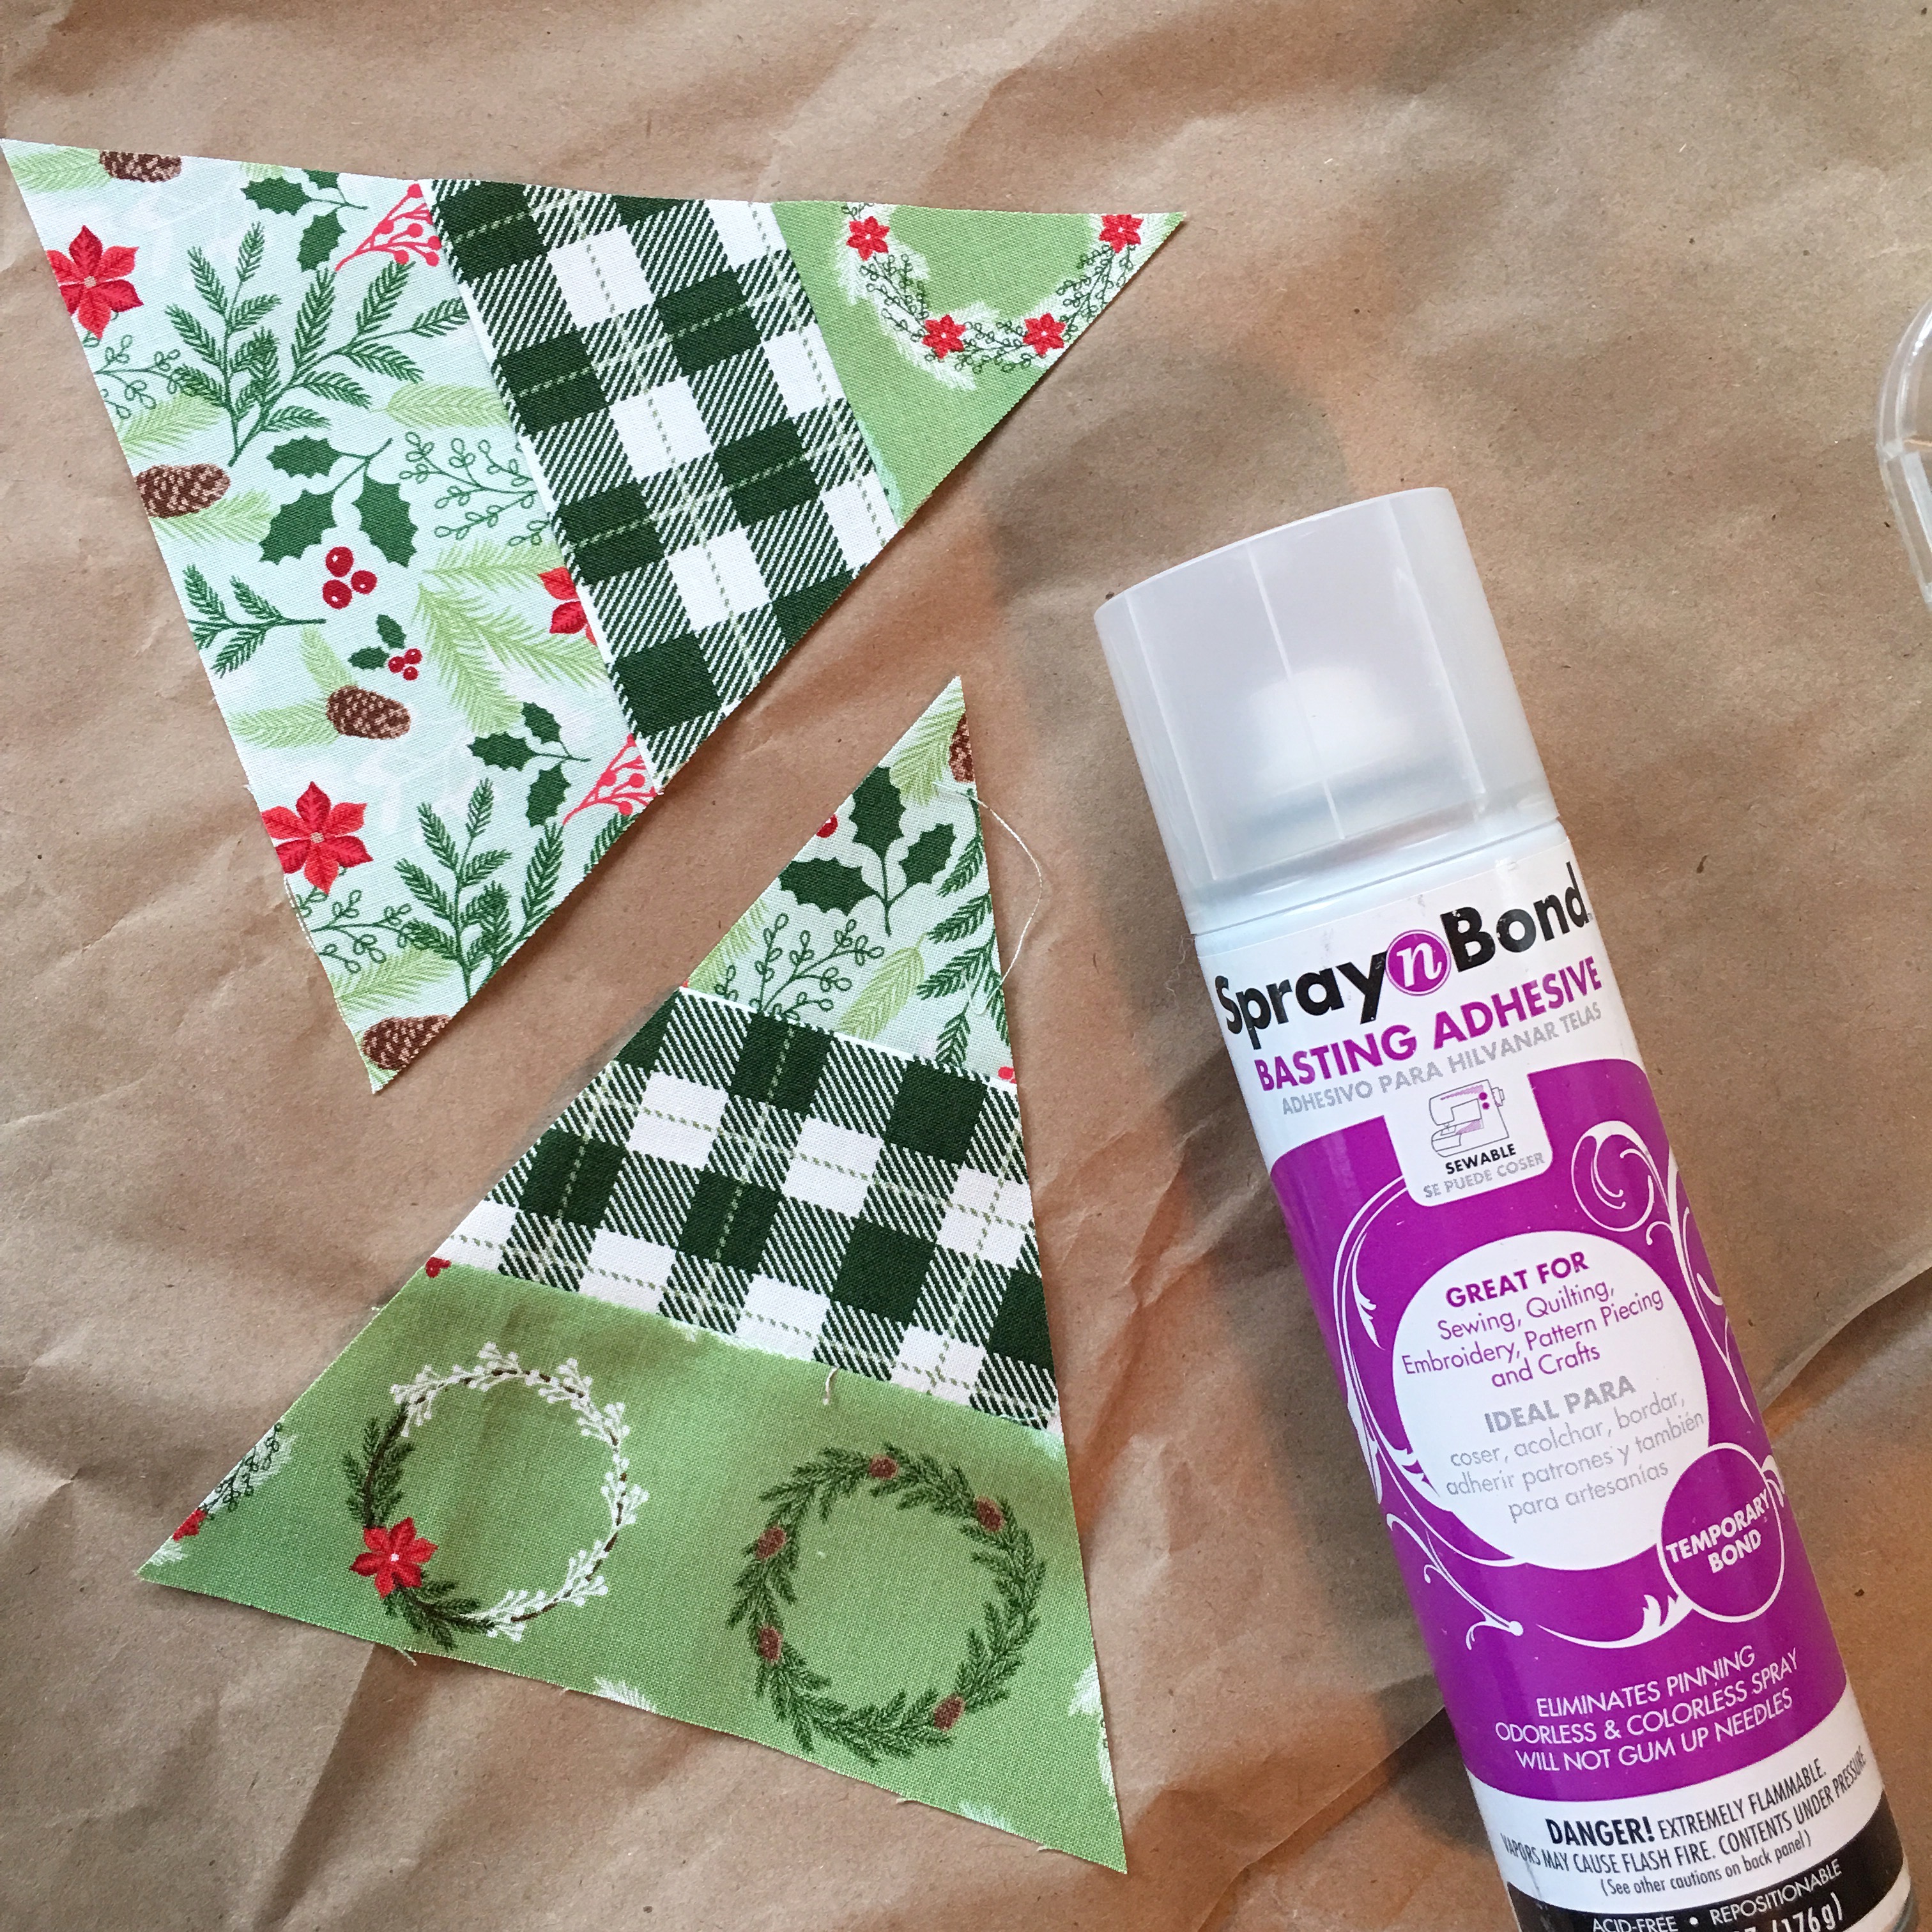
The trees are strip pieced and cut at 60 degree angles and then appliquéd on!! Super fast – who has time for hand work in the summer!!
A little tip for appliquéing: Use Spray n Bond and put the trees wrong side up on old wrapping paper. Spray the backs and set them in place. Just unroll more paper for a clean basting surface!!
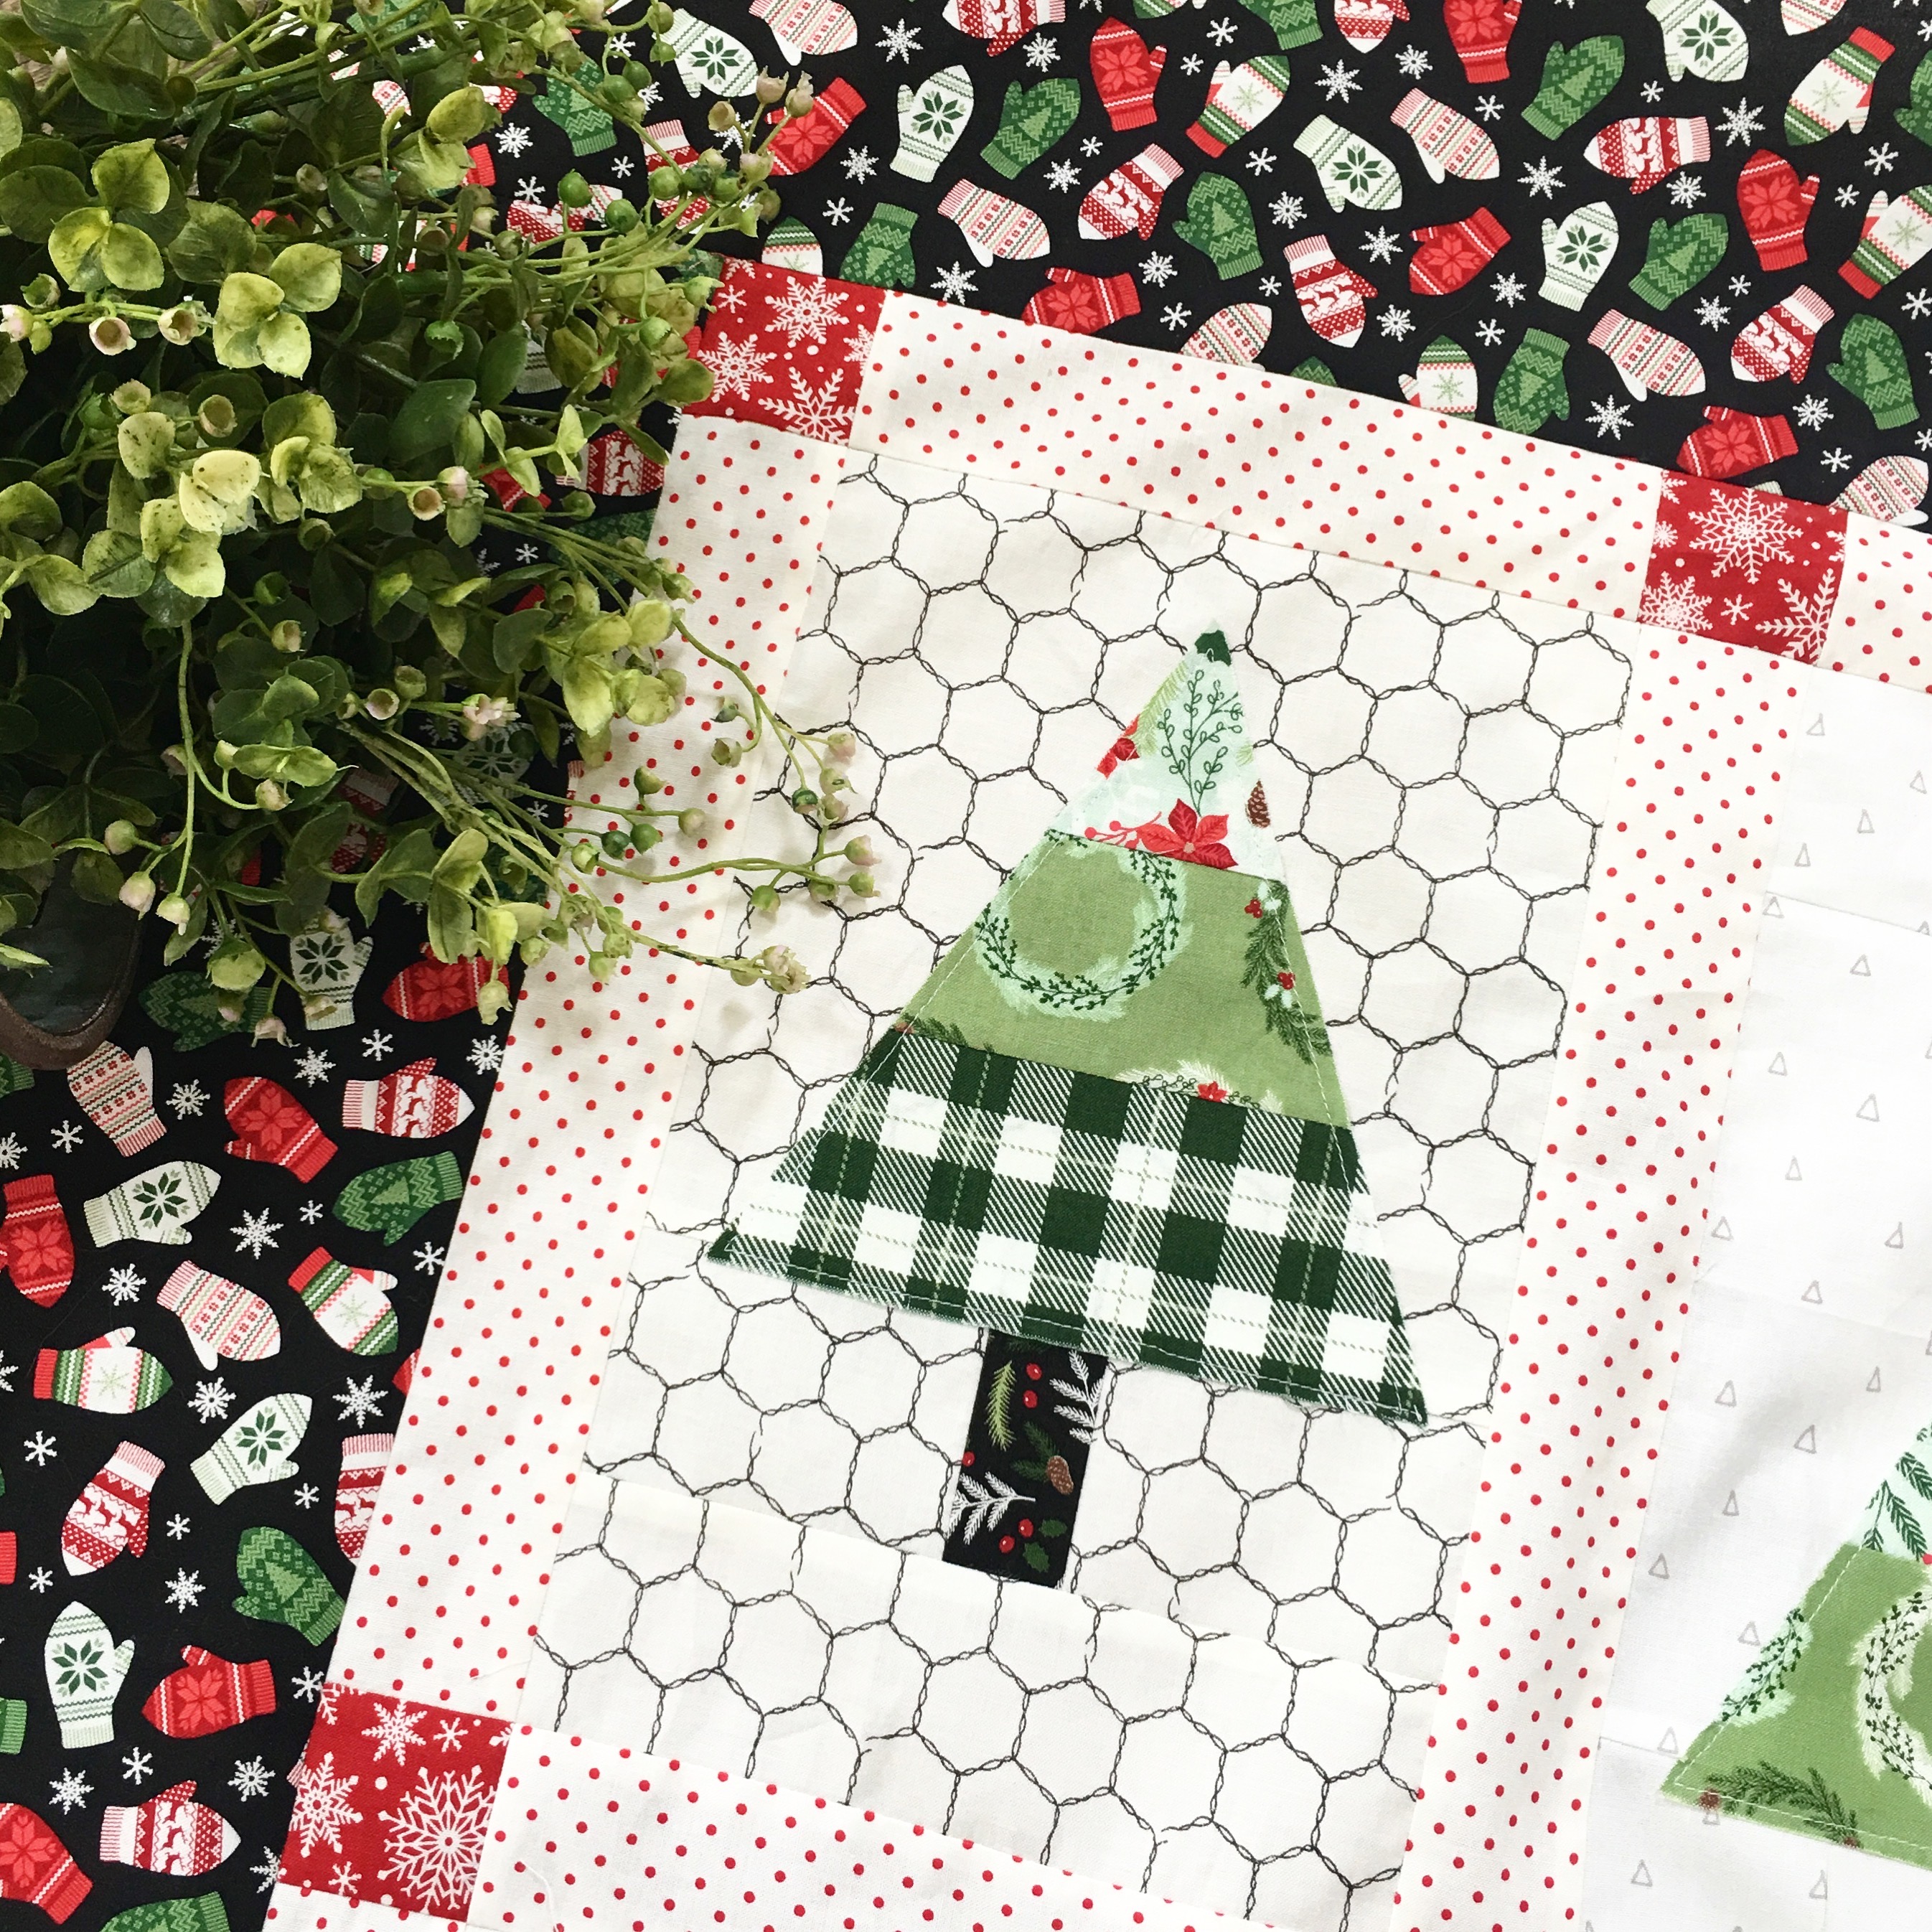
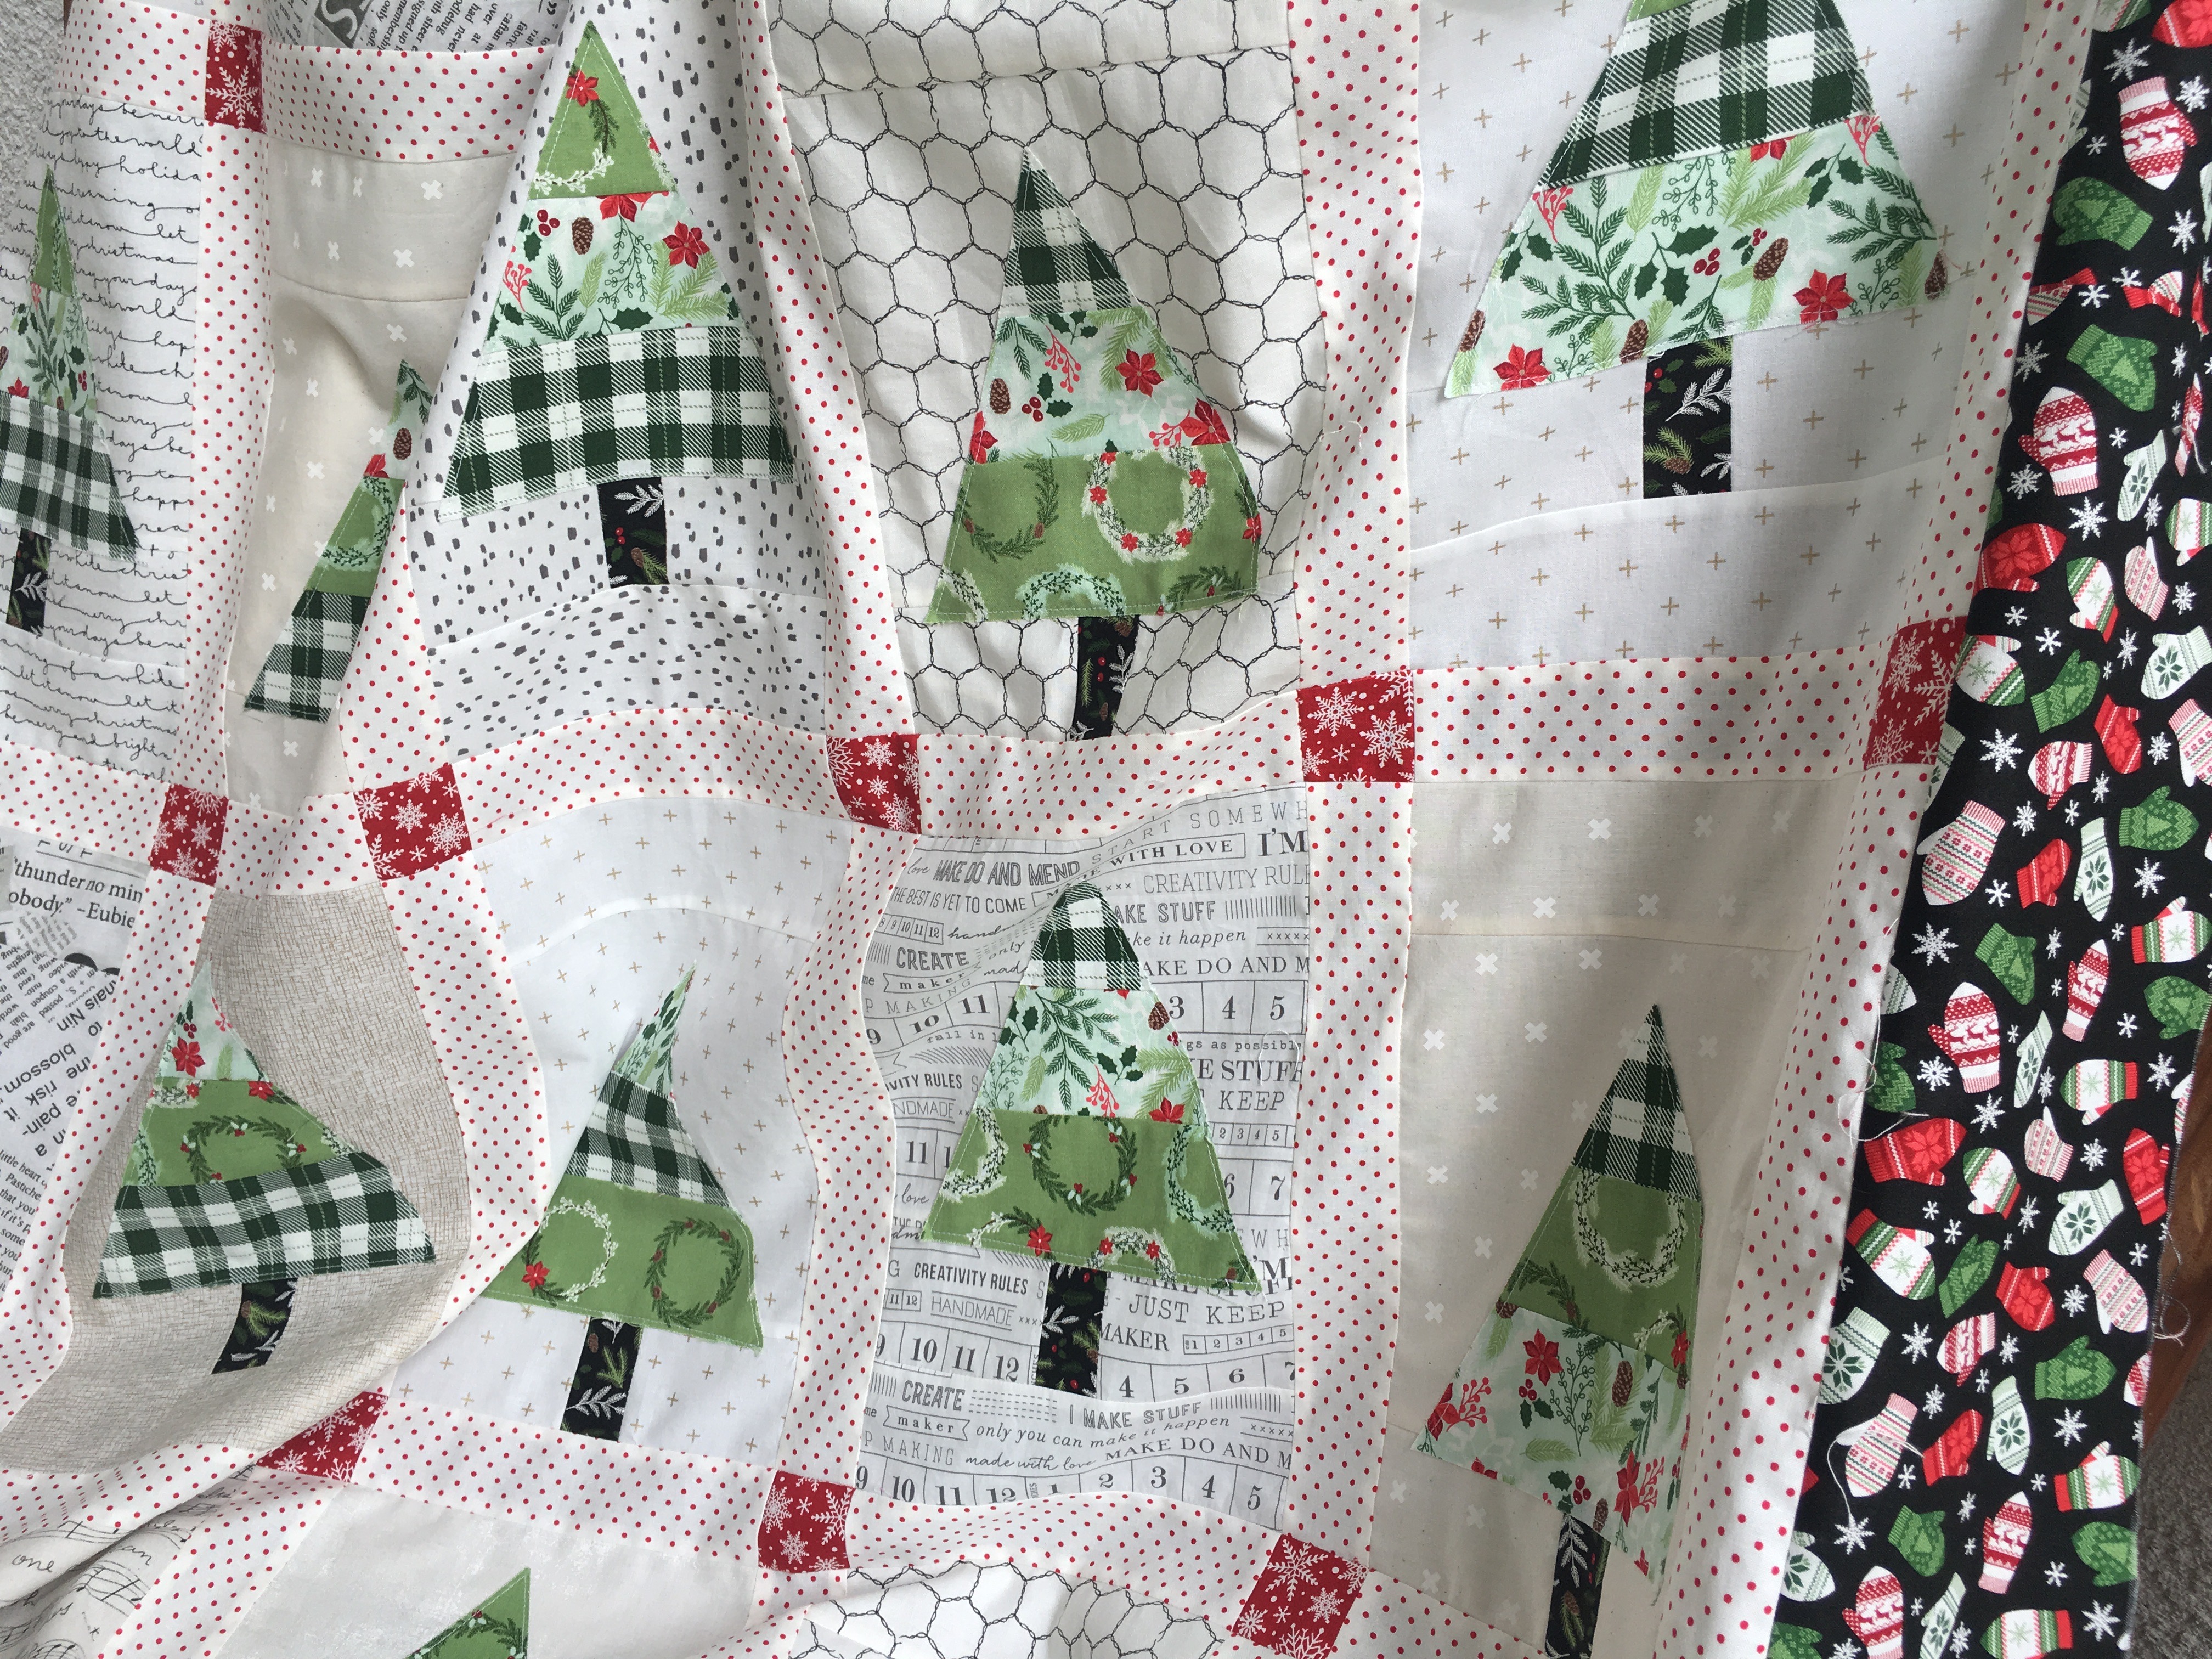
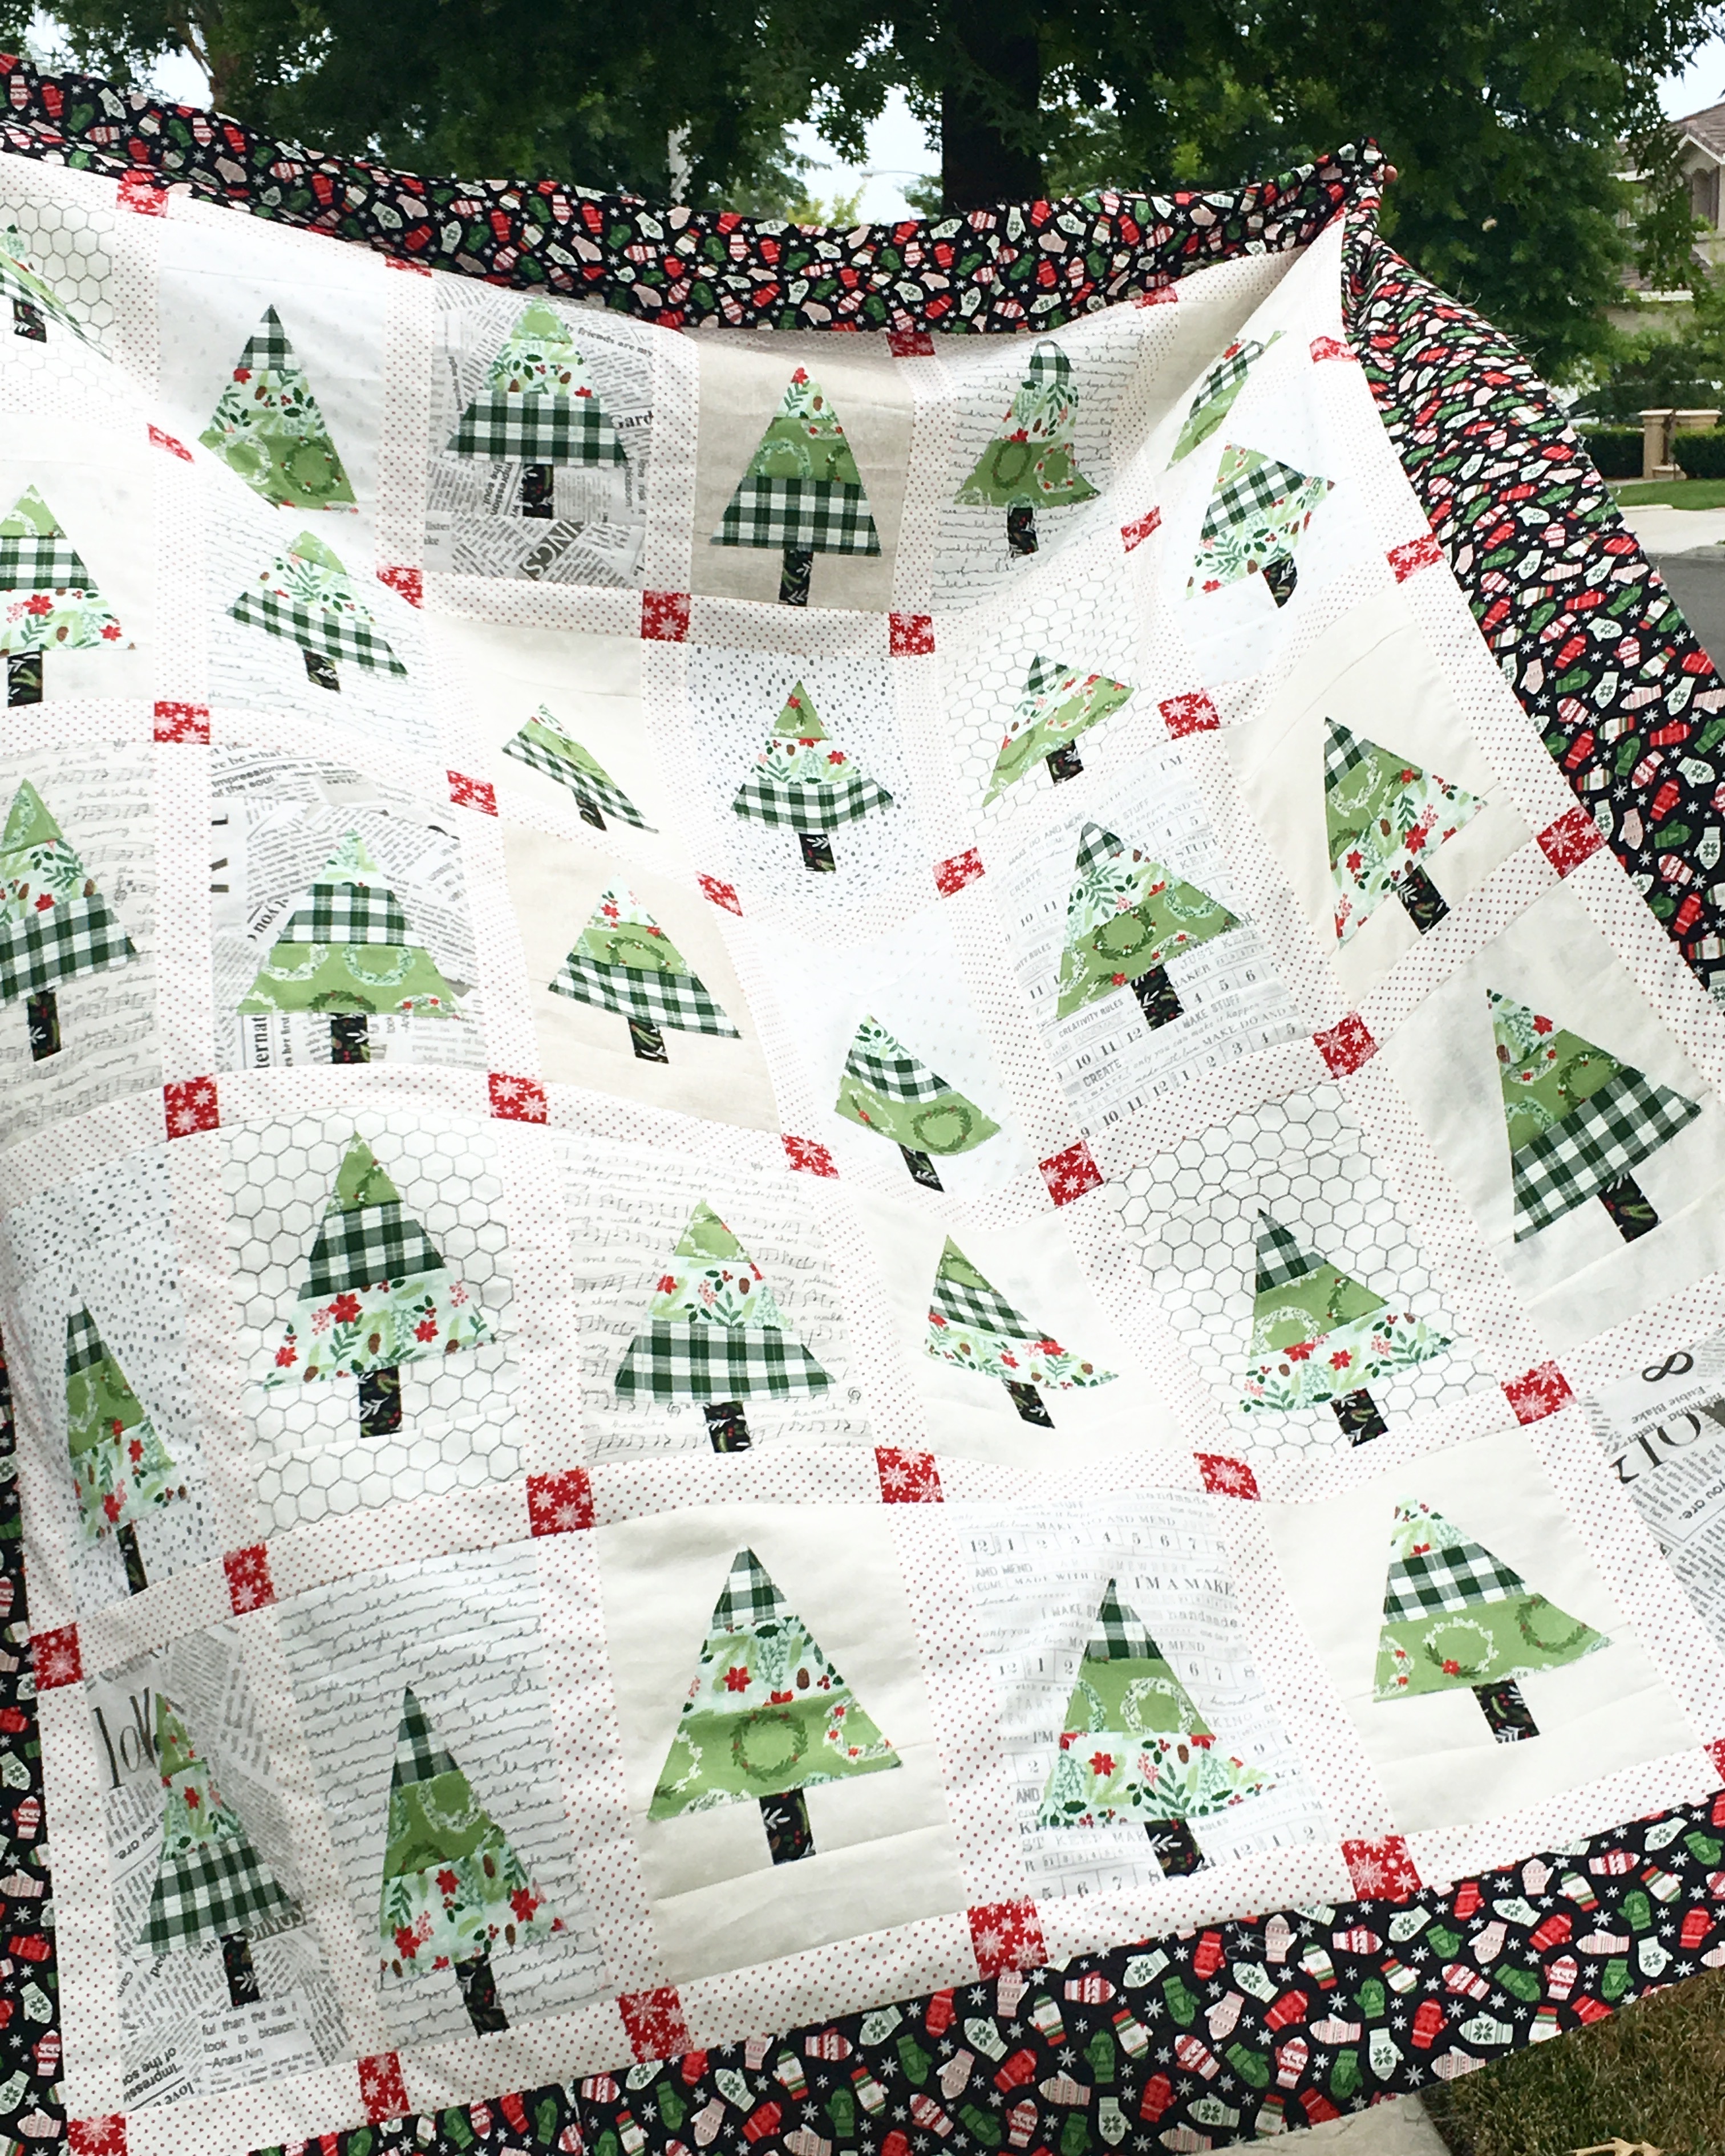
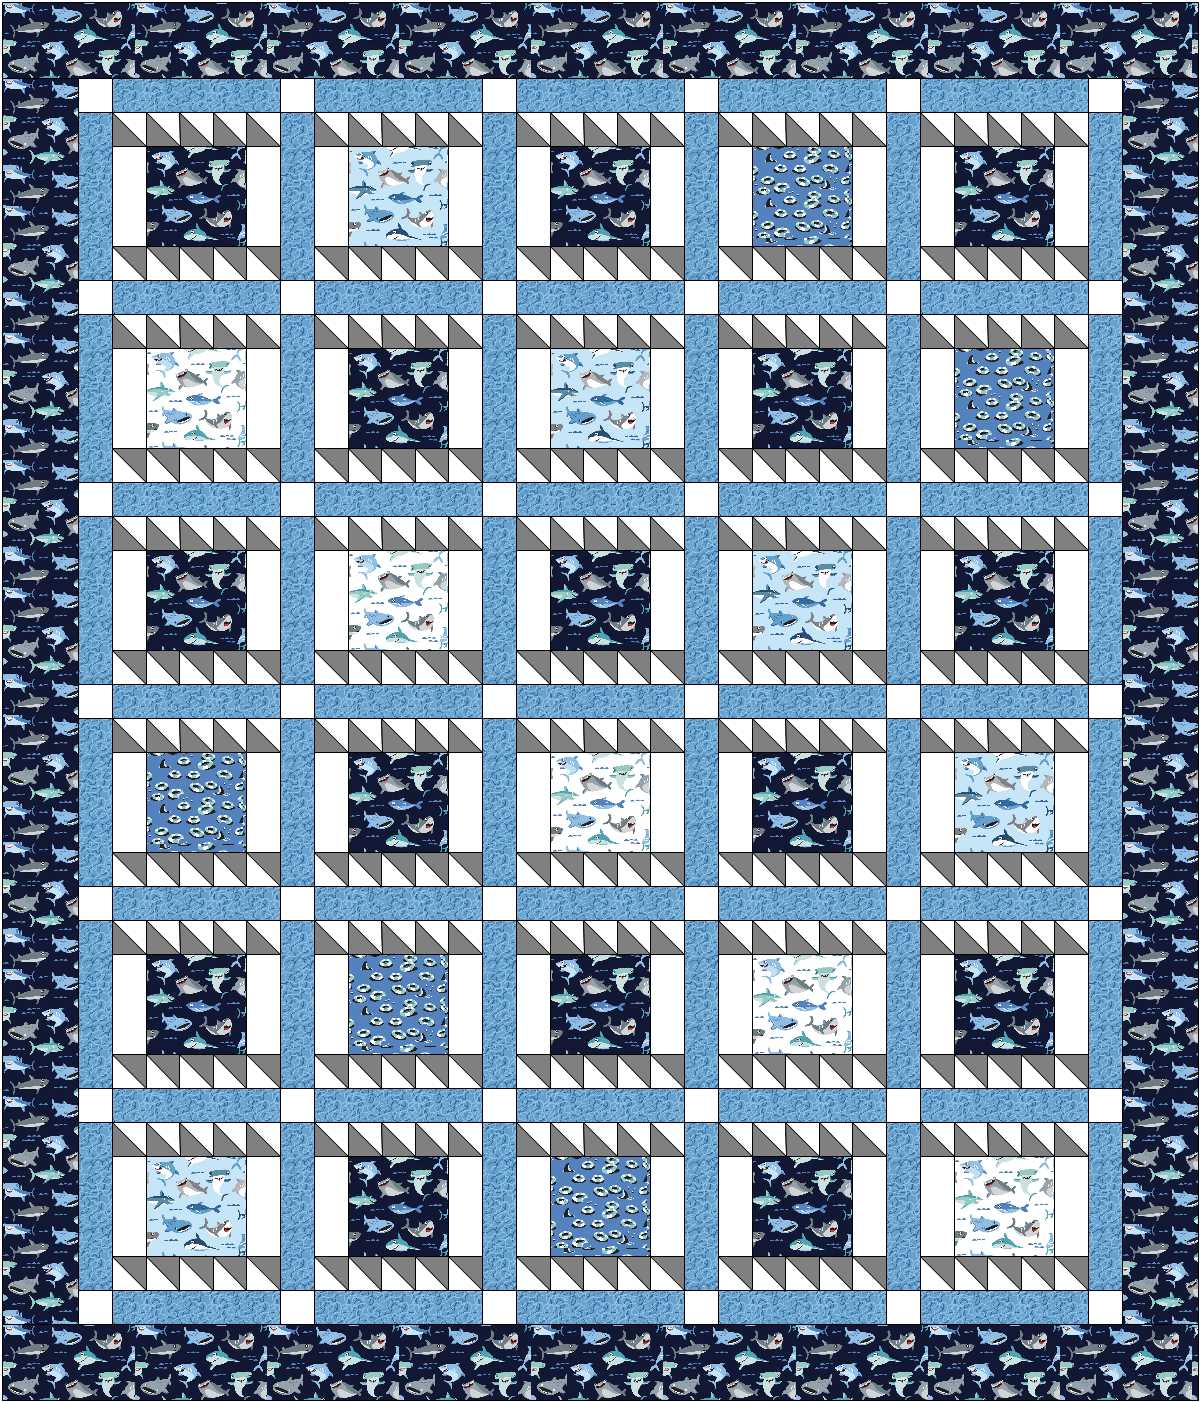
I love that the pattern calls for a scrappy low volume background – it gives it such character!! I added an accent border instead of a low volume border – you can choose!
Hop over to Amber’s blog to read all about her version and to download the free pattern!
Amber’s version is even more cozy with all kinds of homespun plaids from Moda!!!
Be sure to tag us on Instagram so we can see your creations! @jedicraftgirl and @gigis_thimble

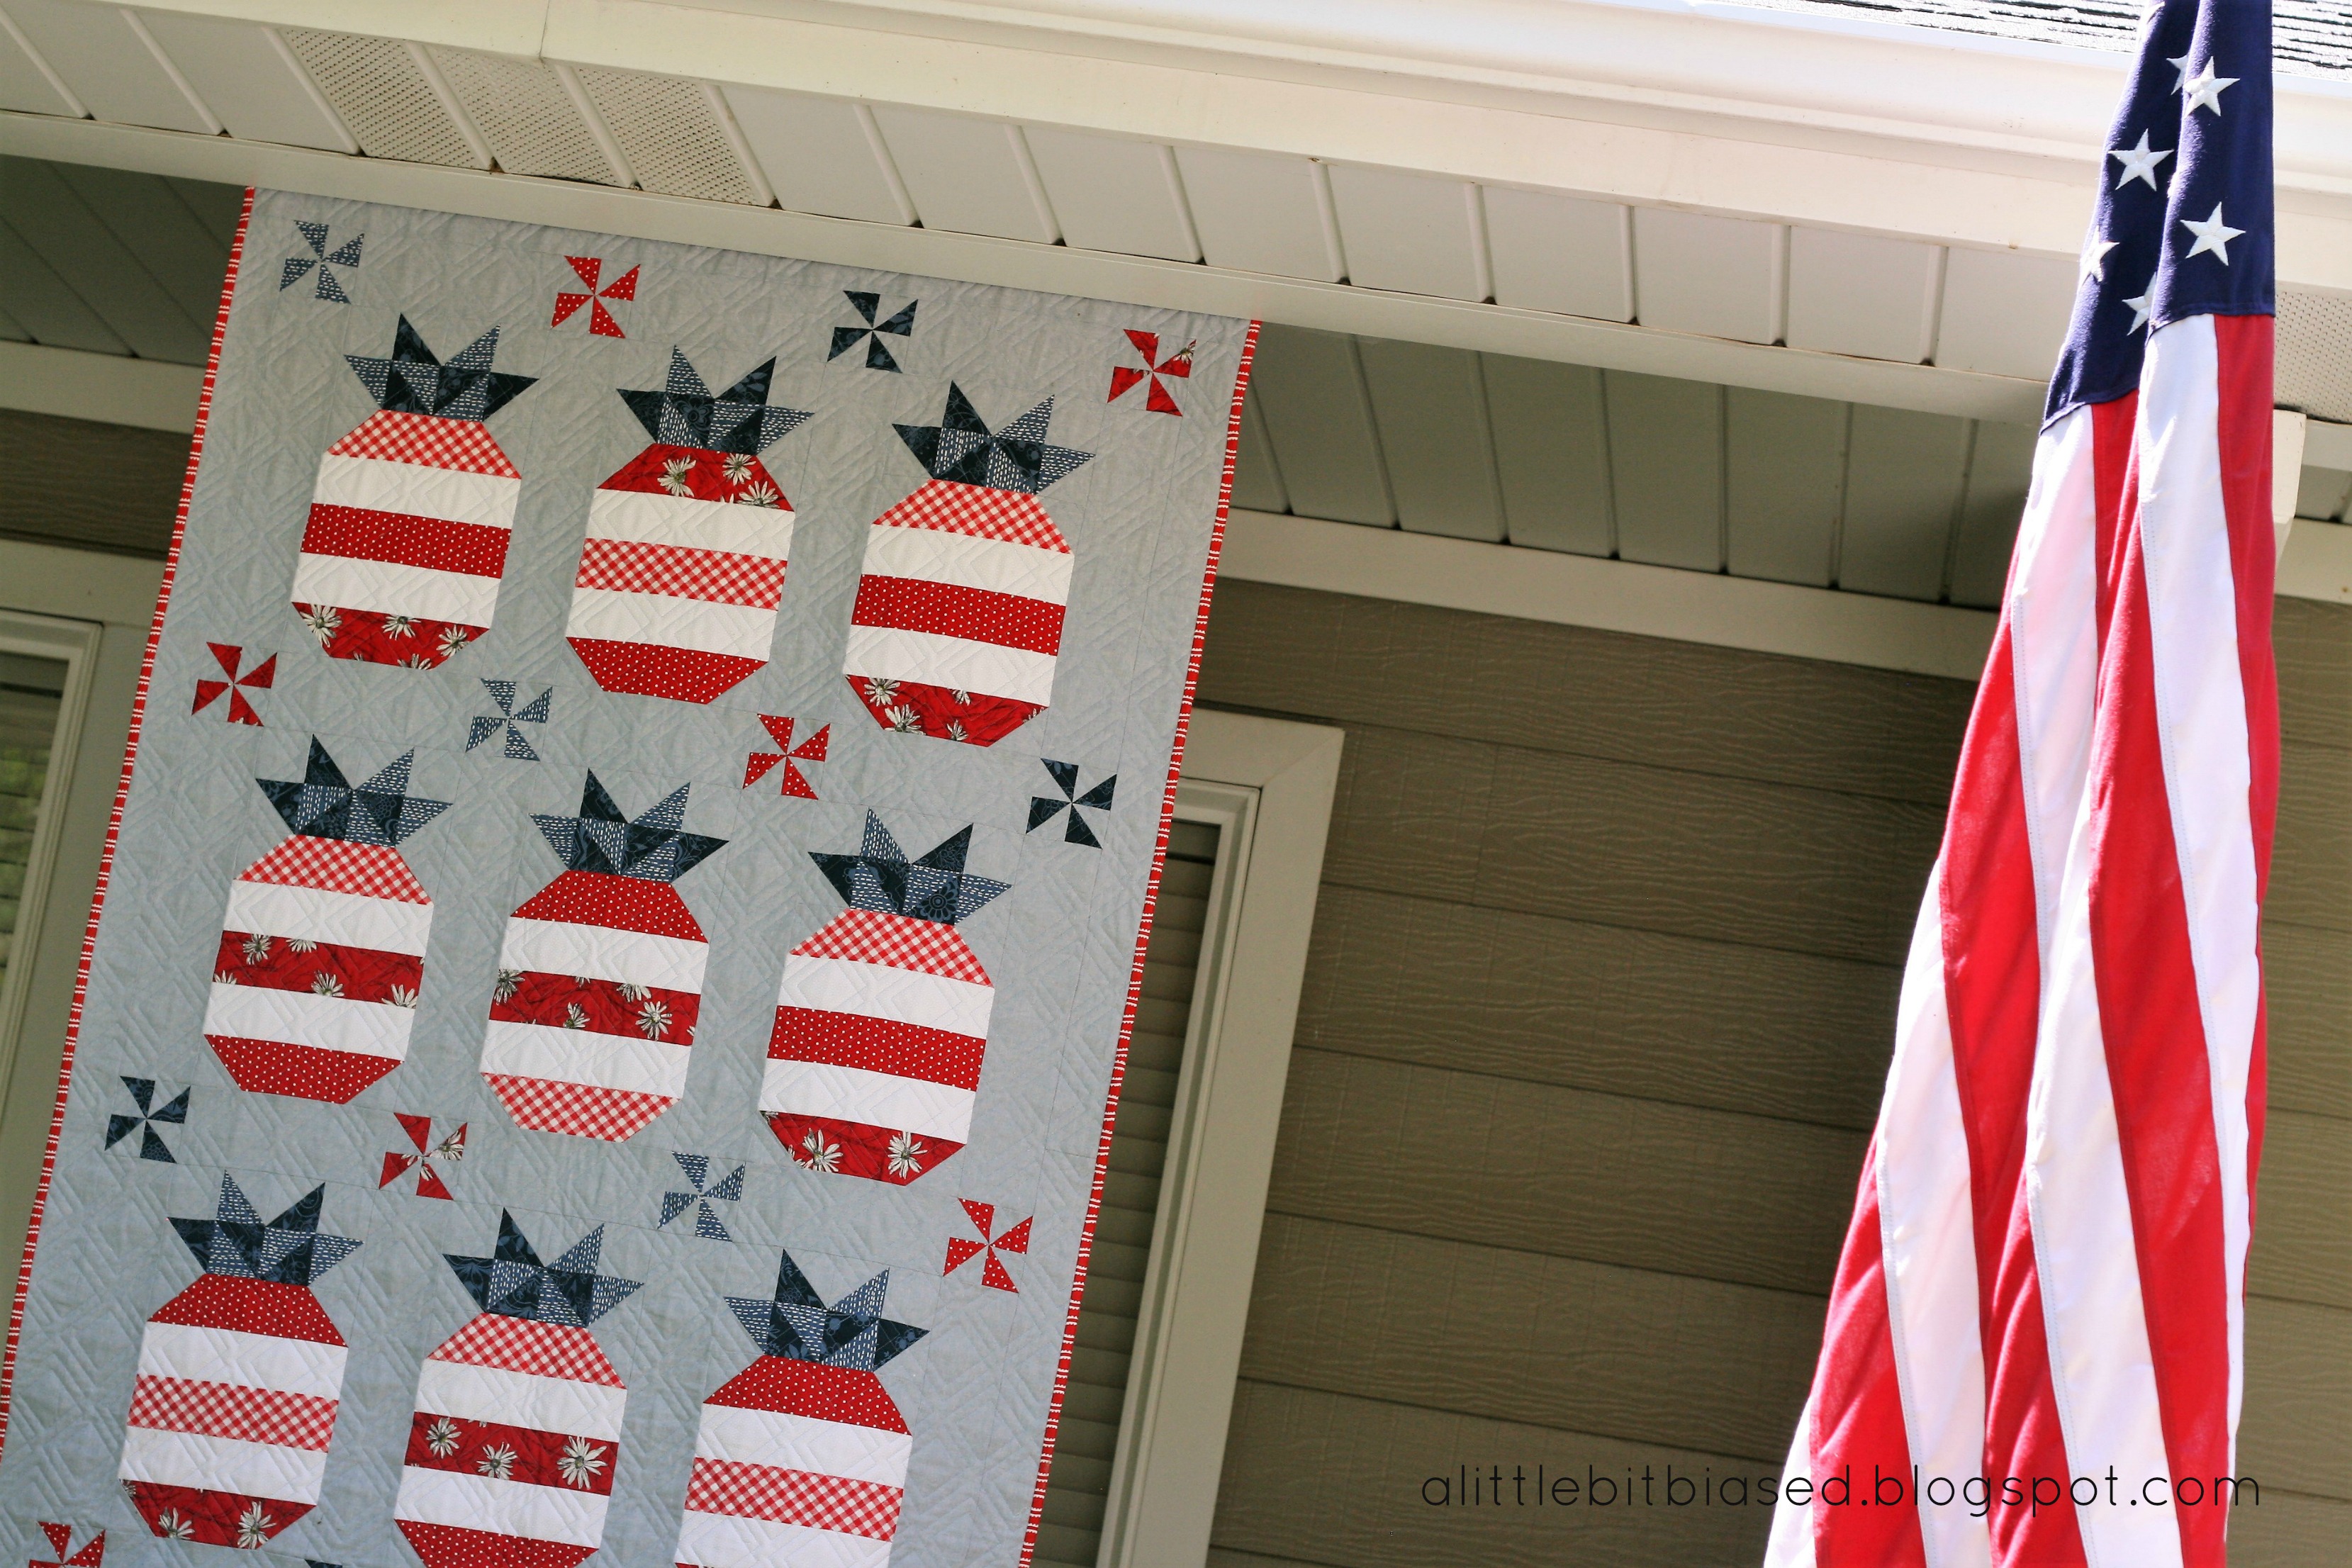
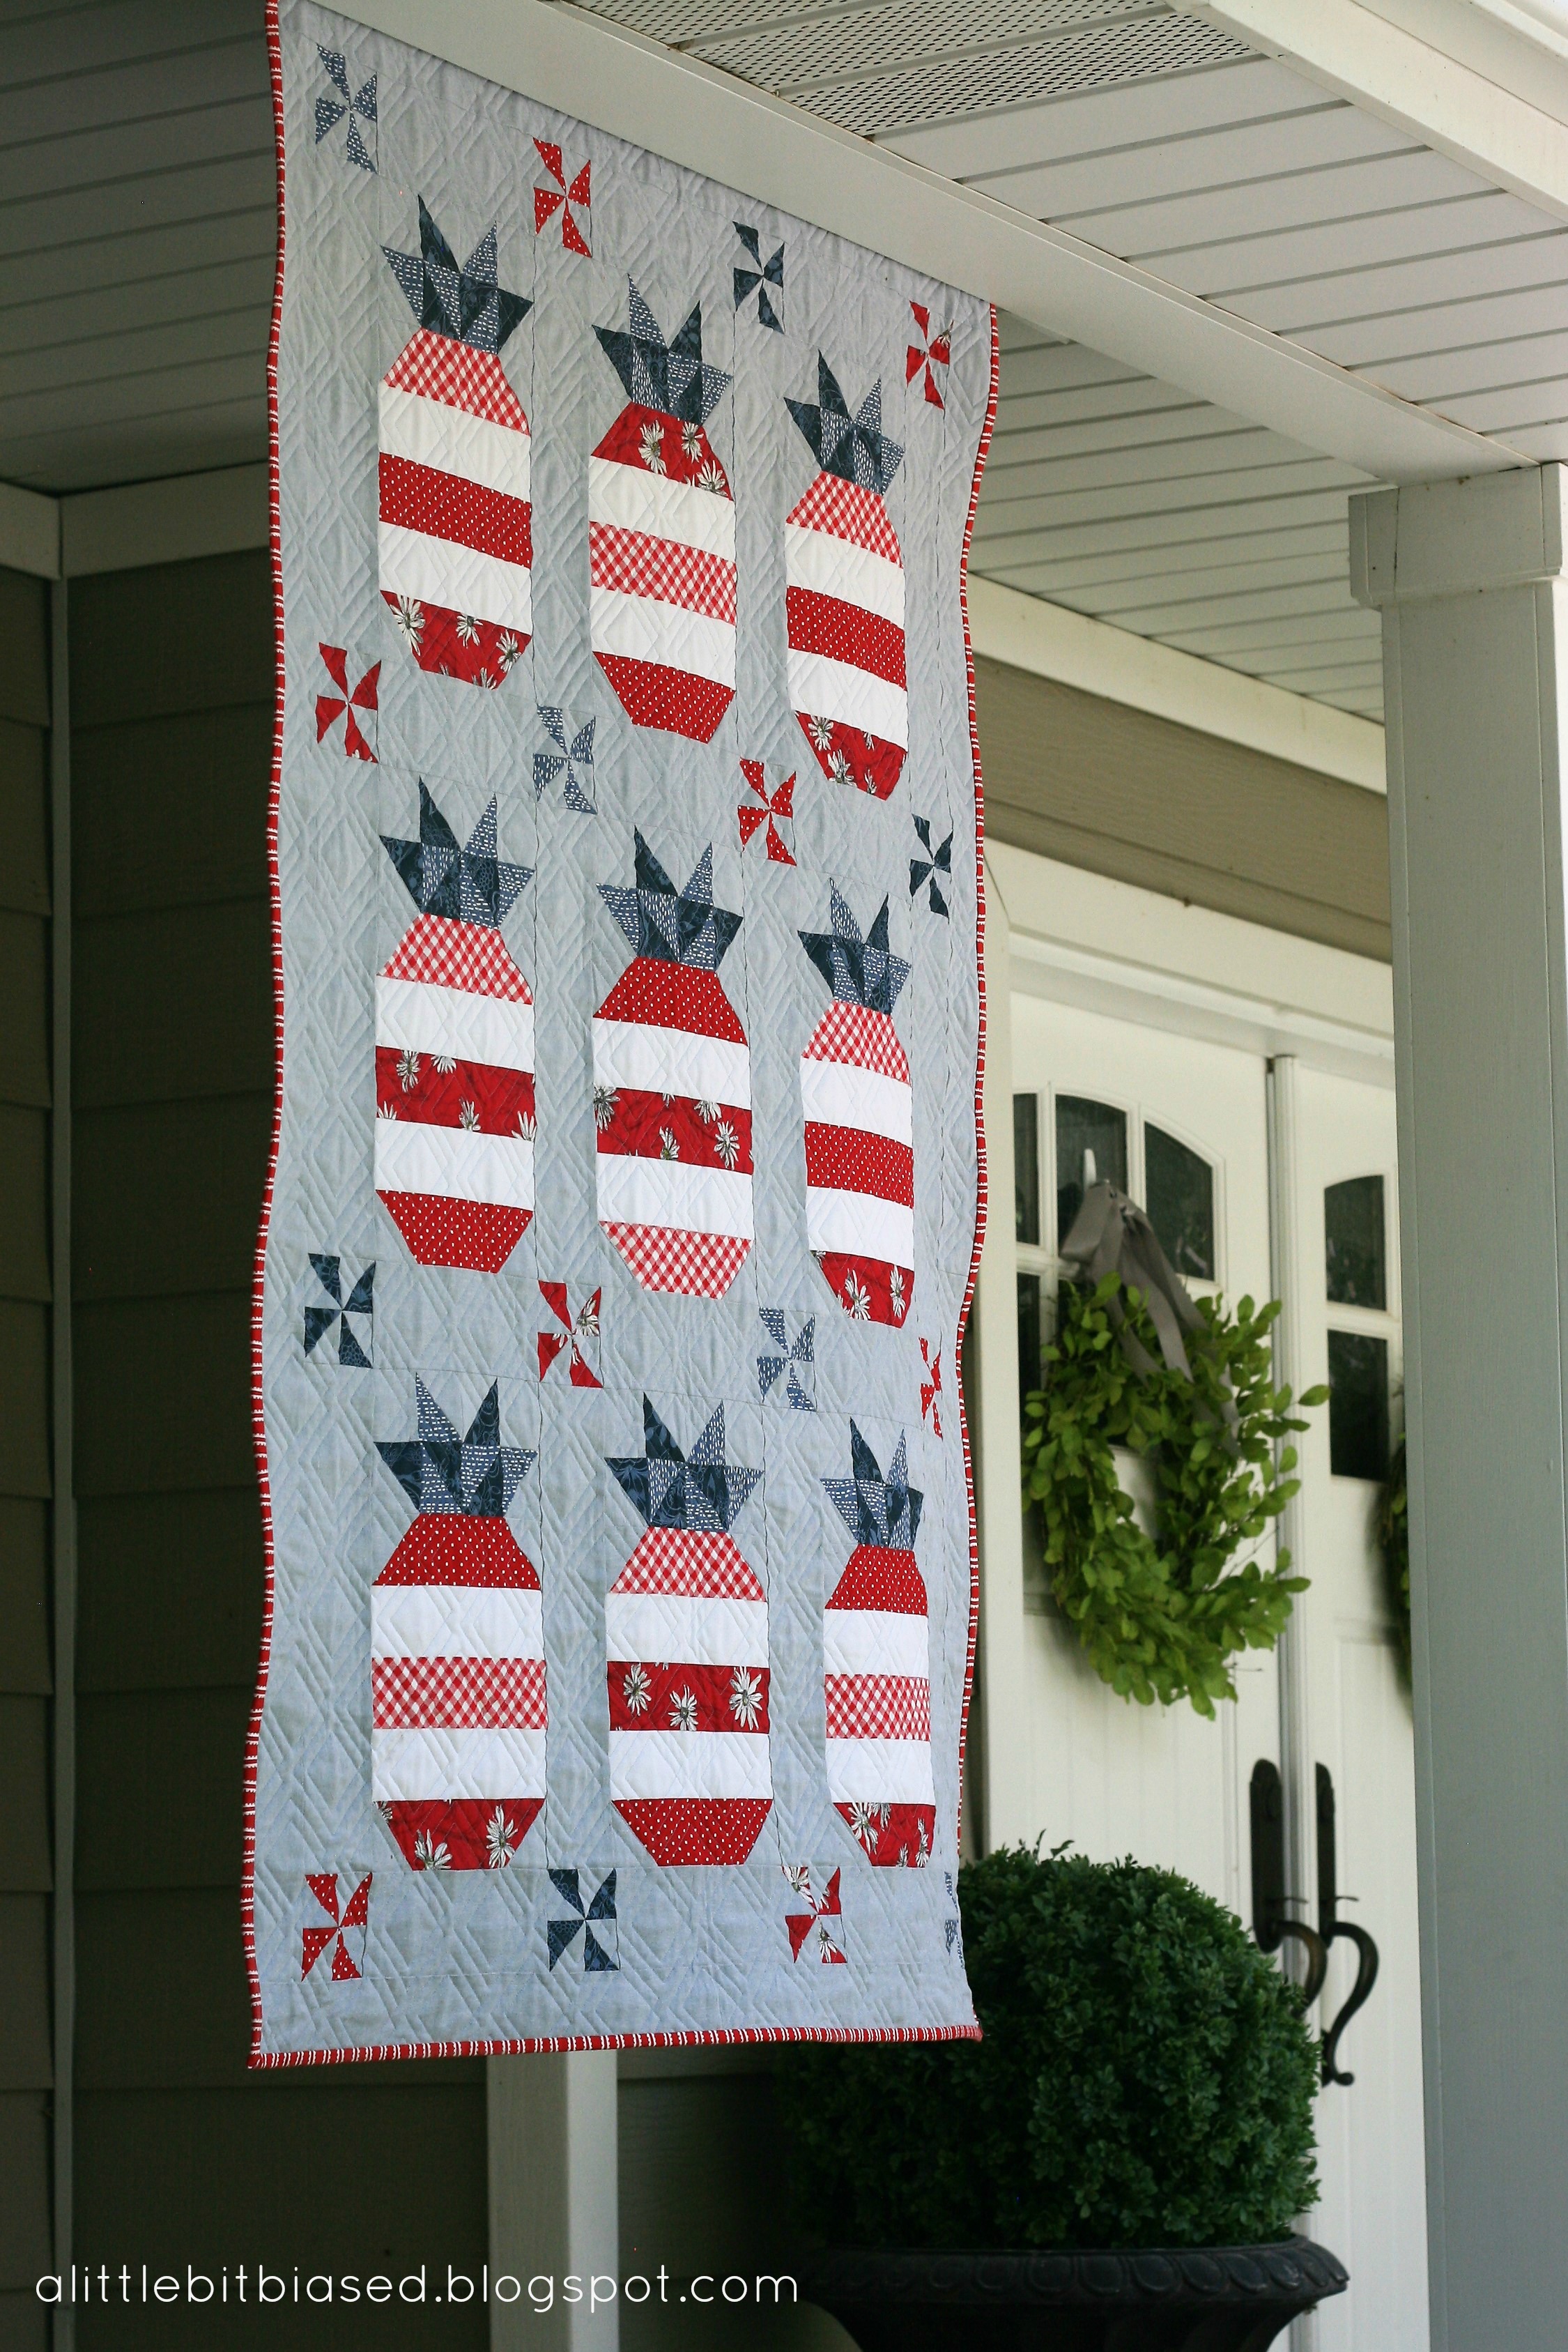
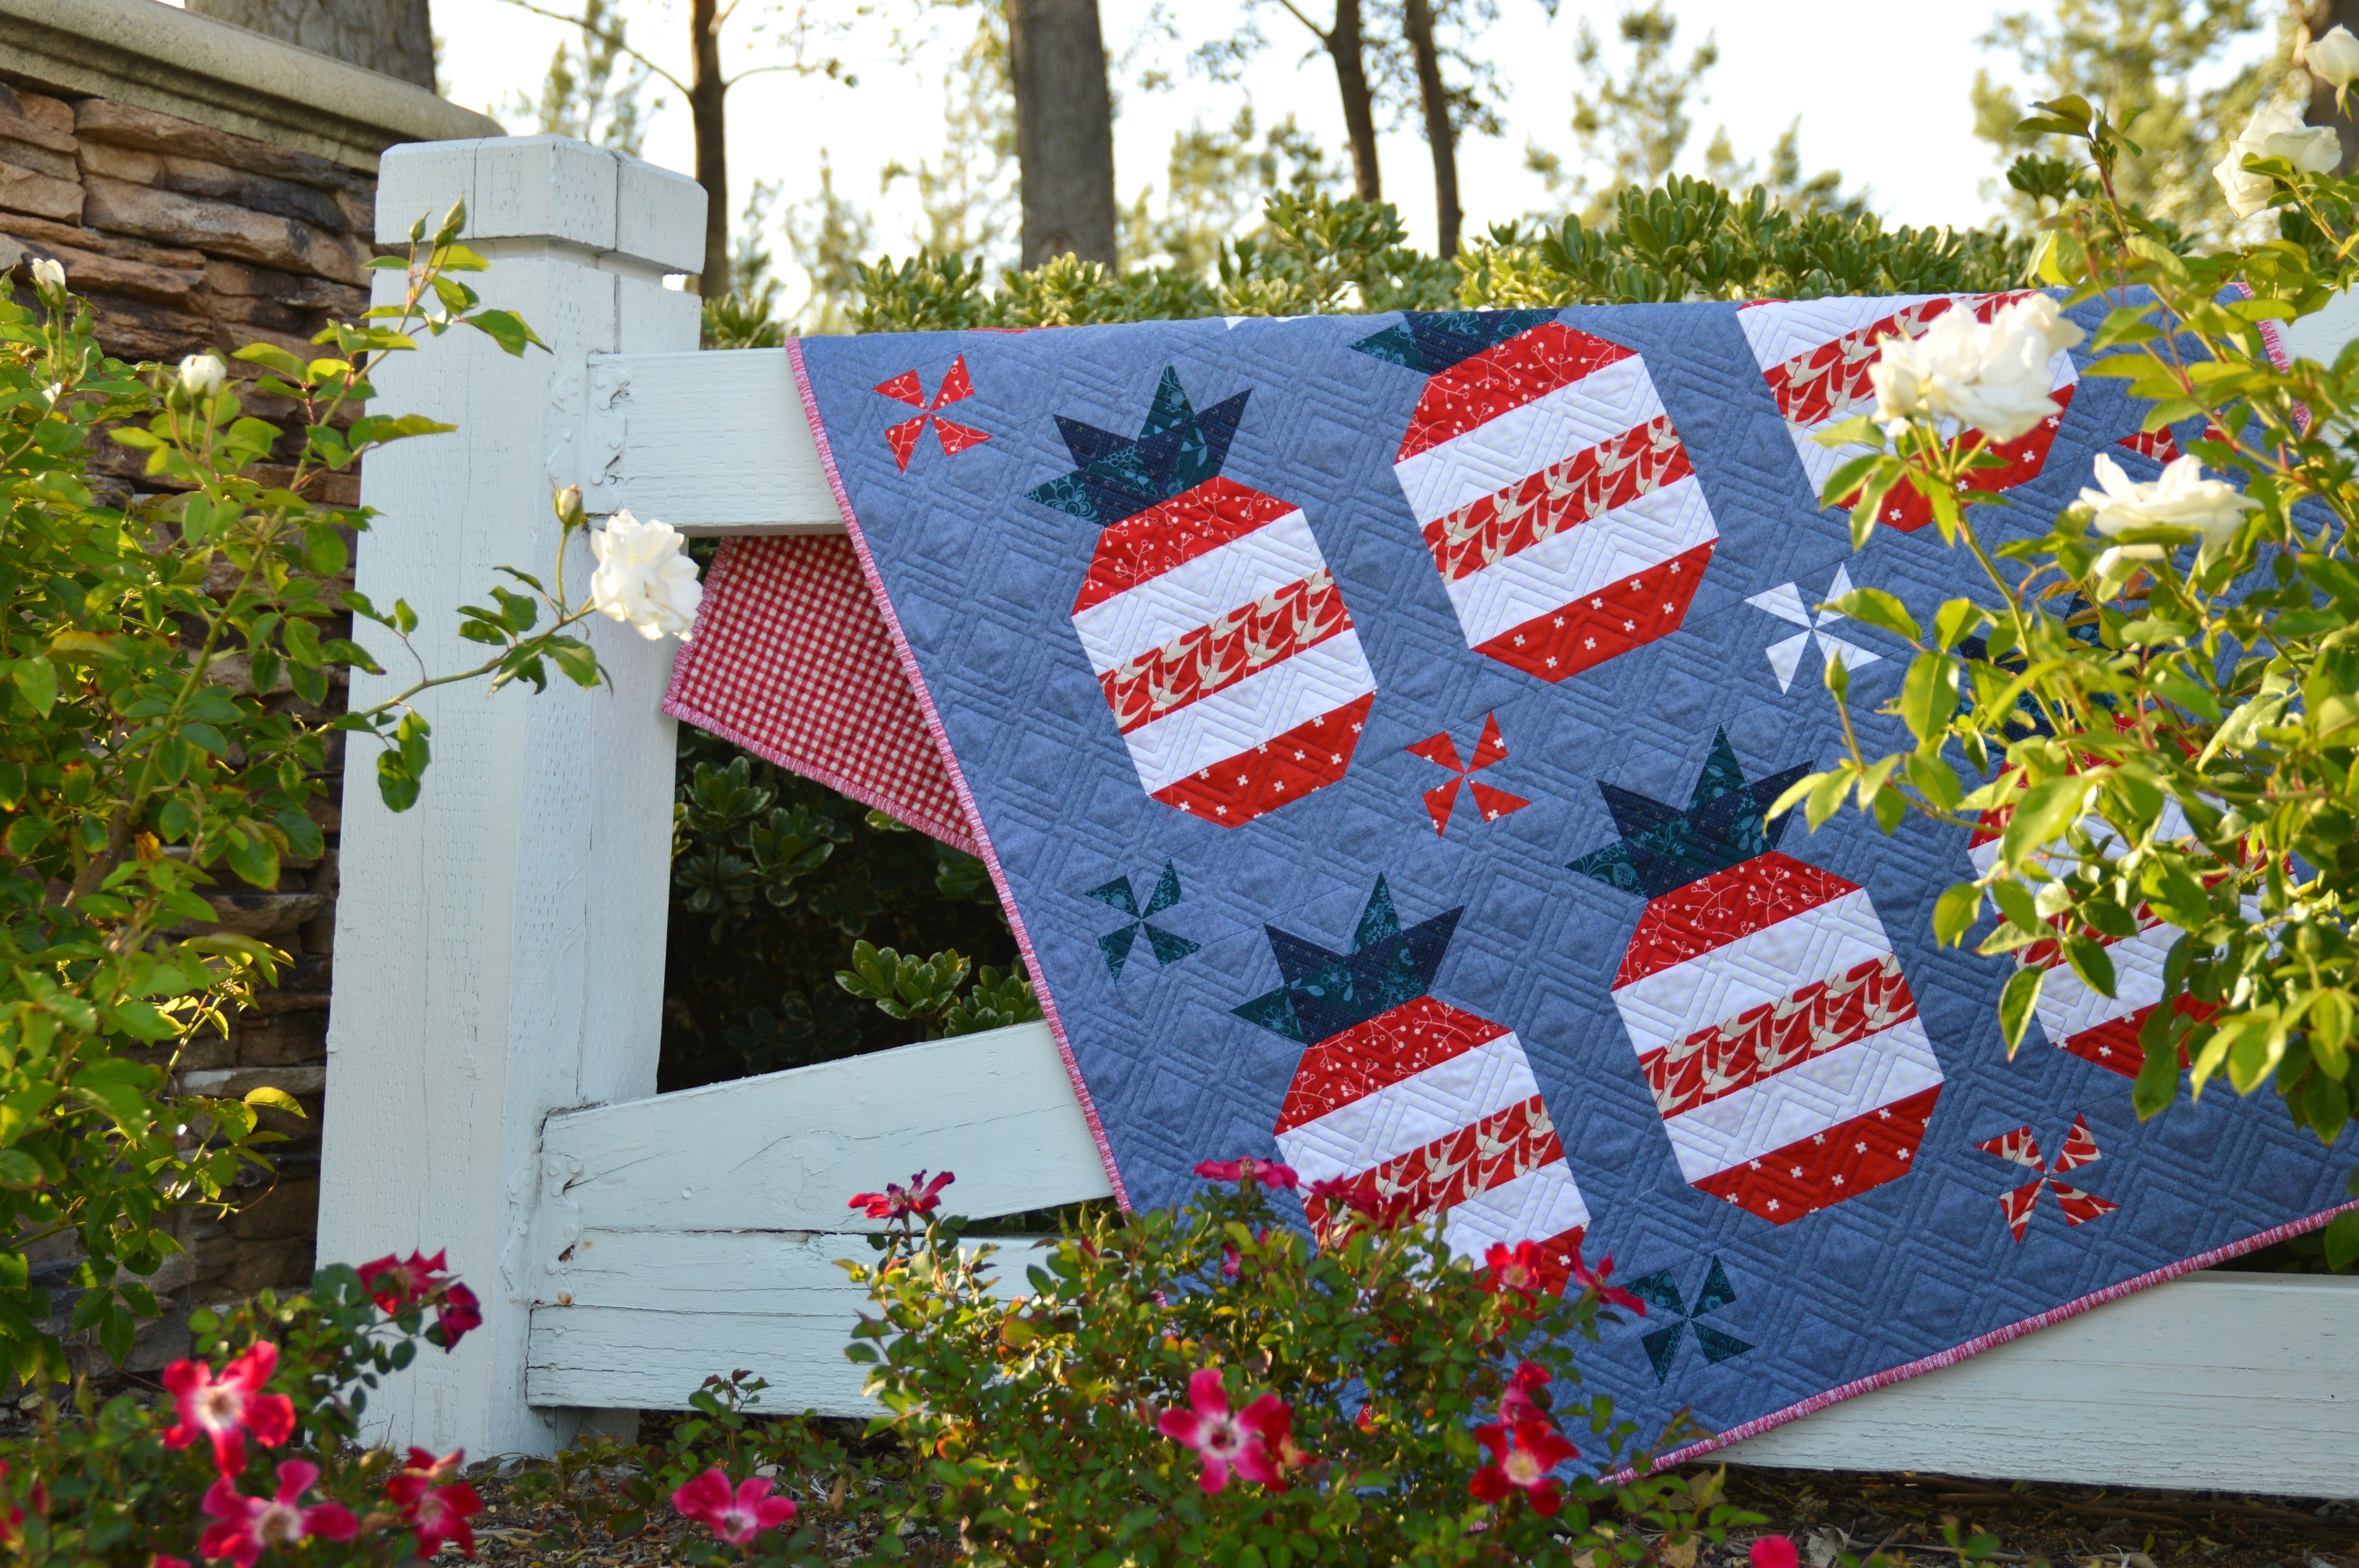
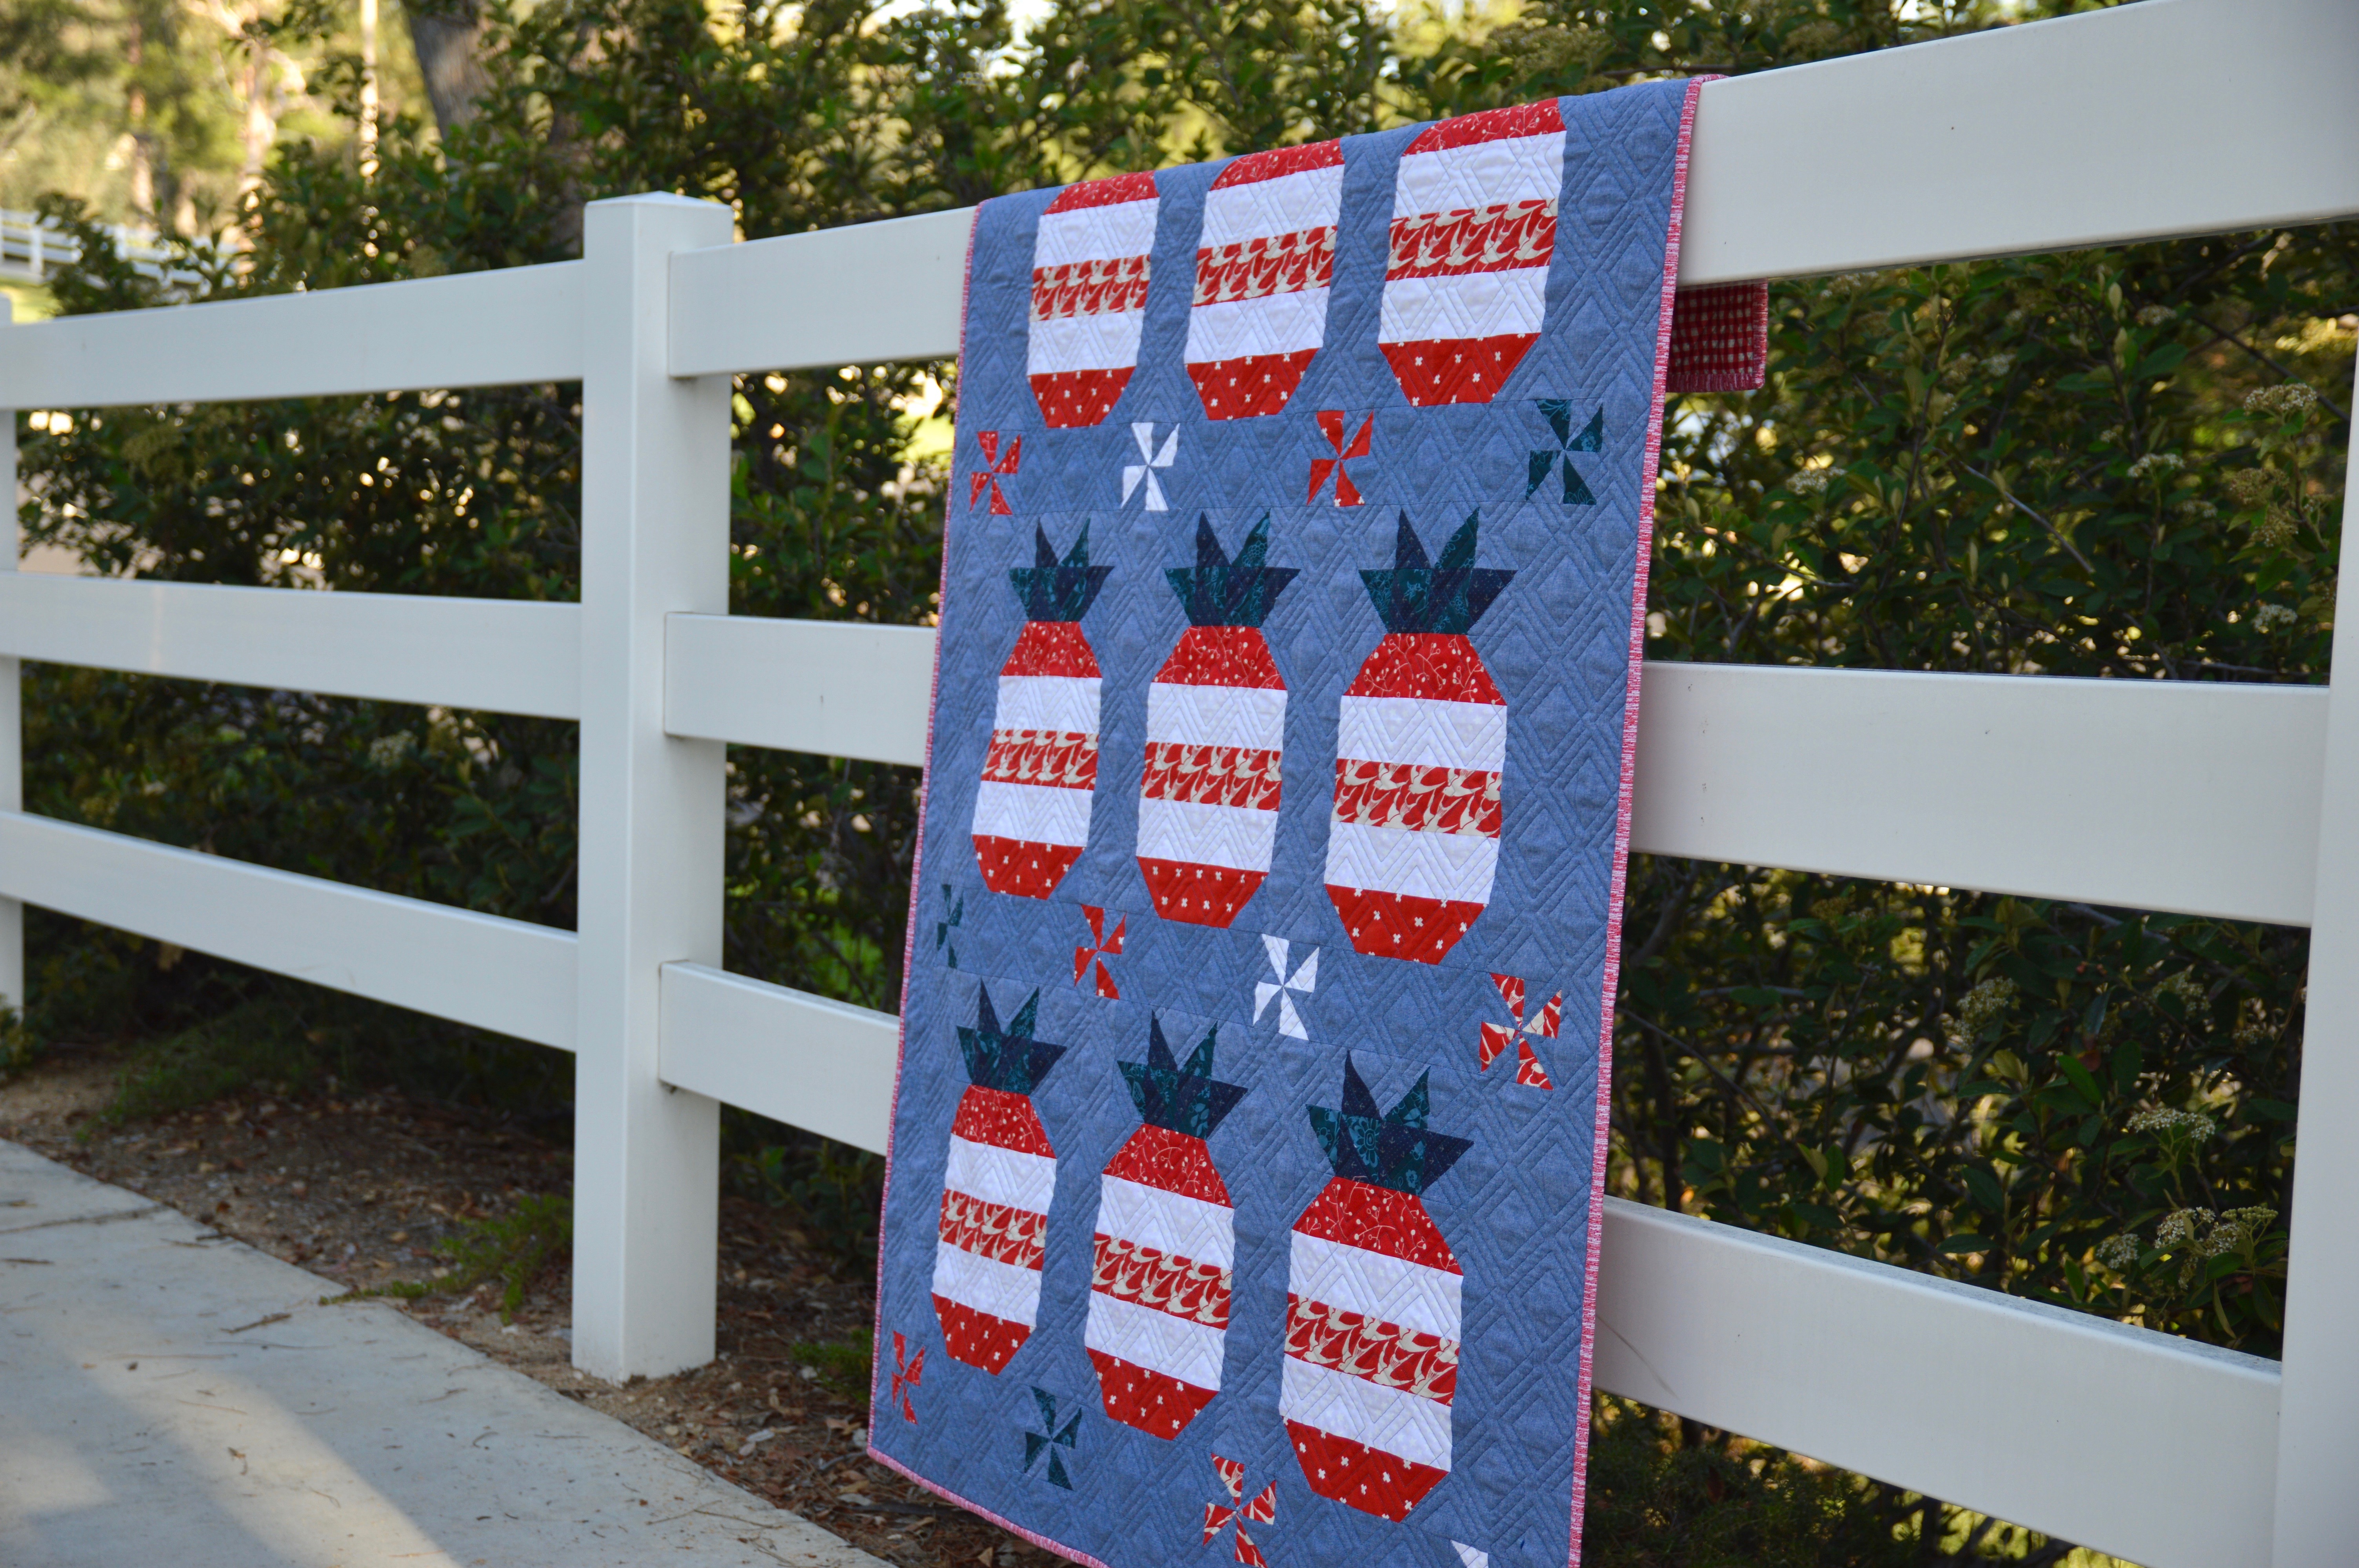
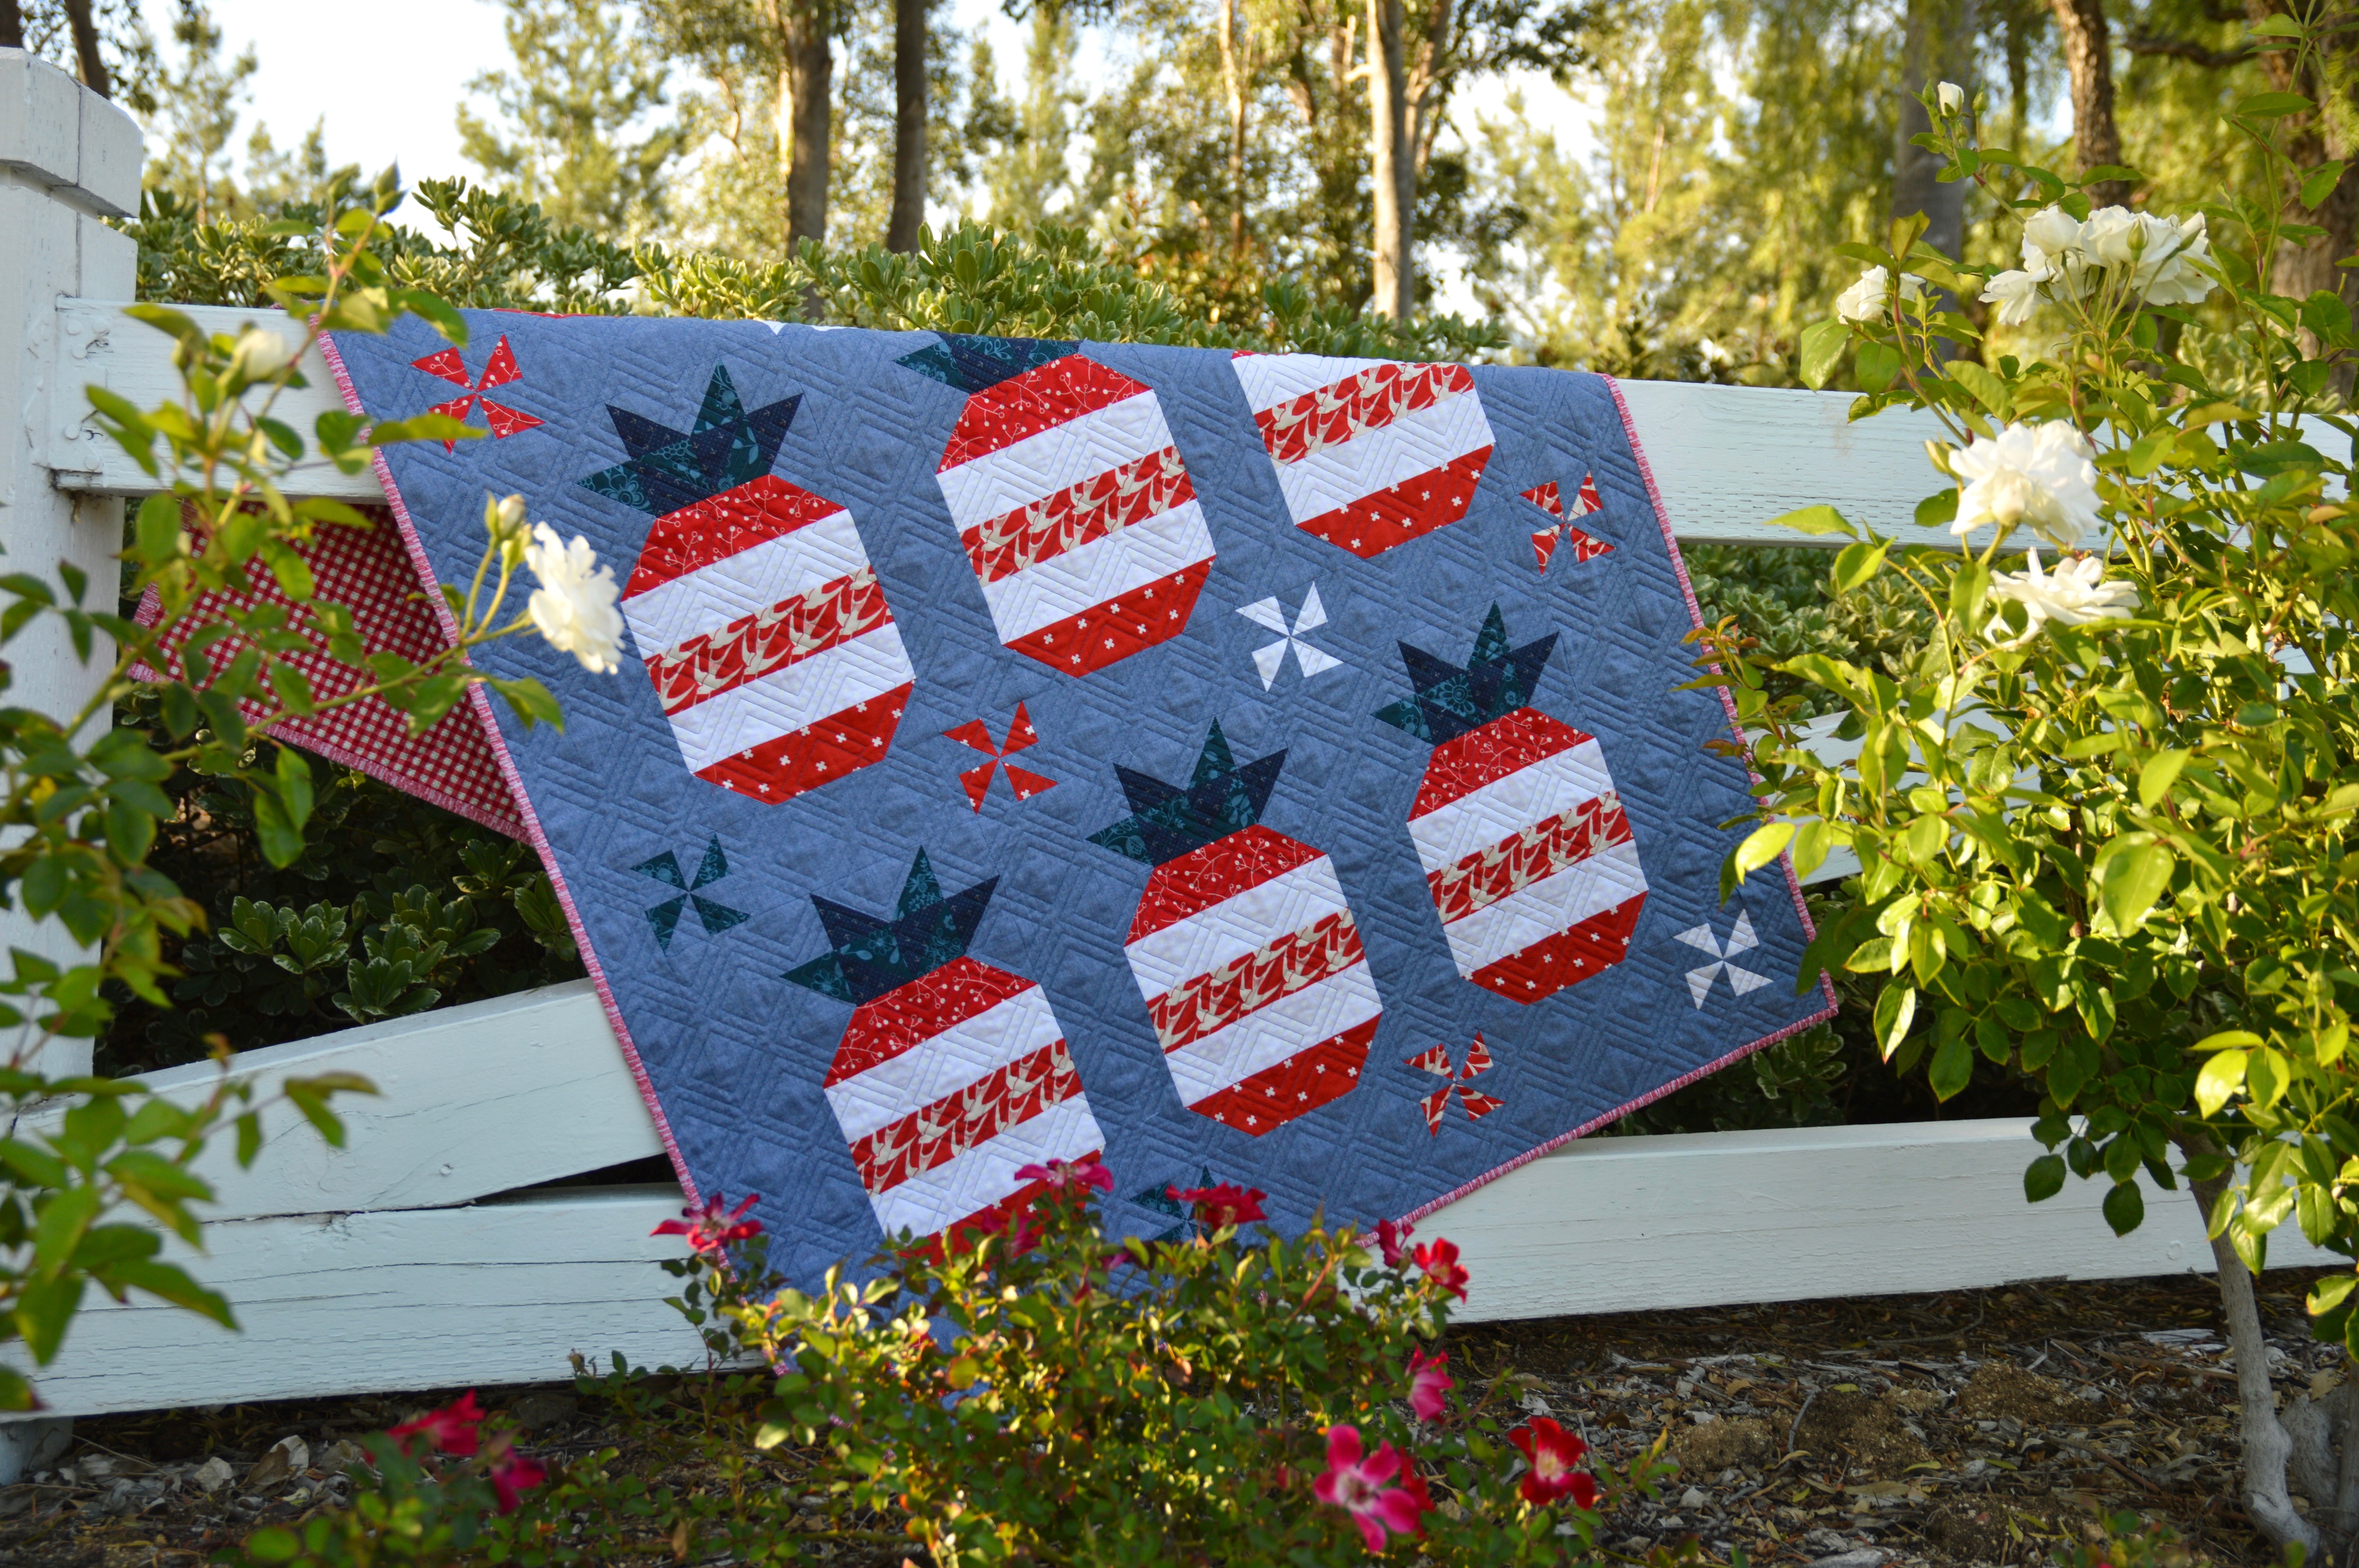
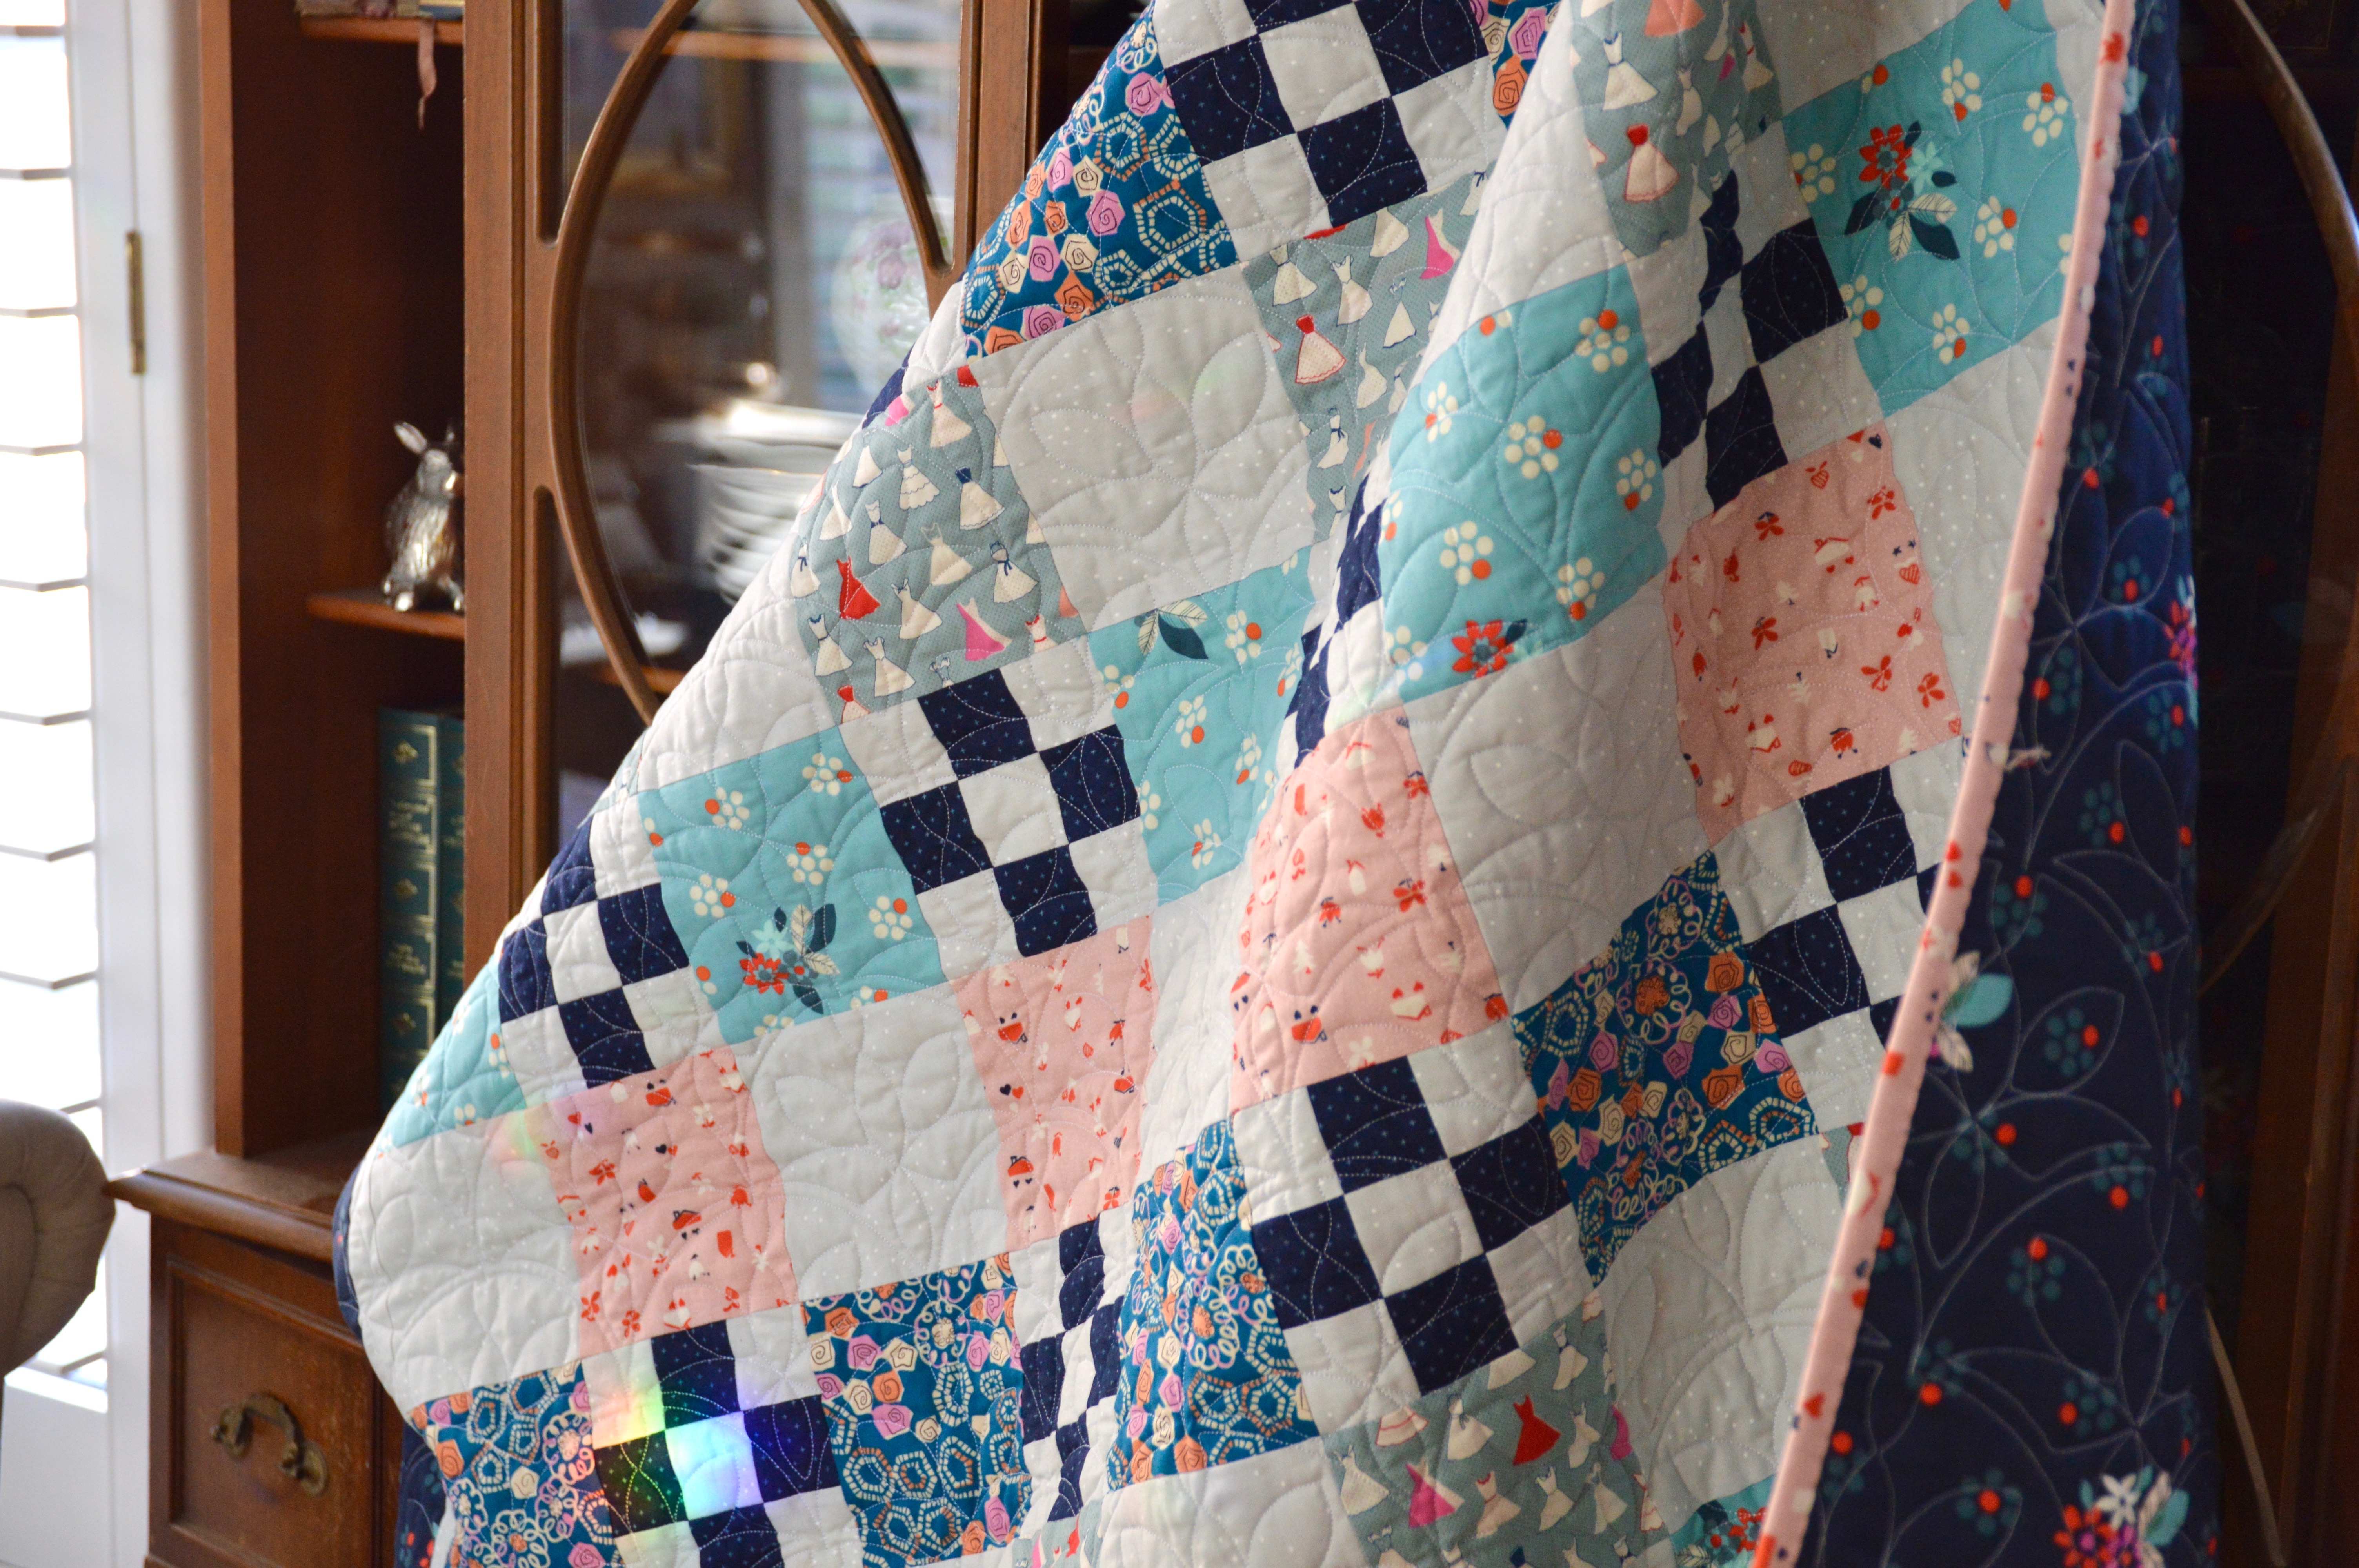
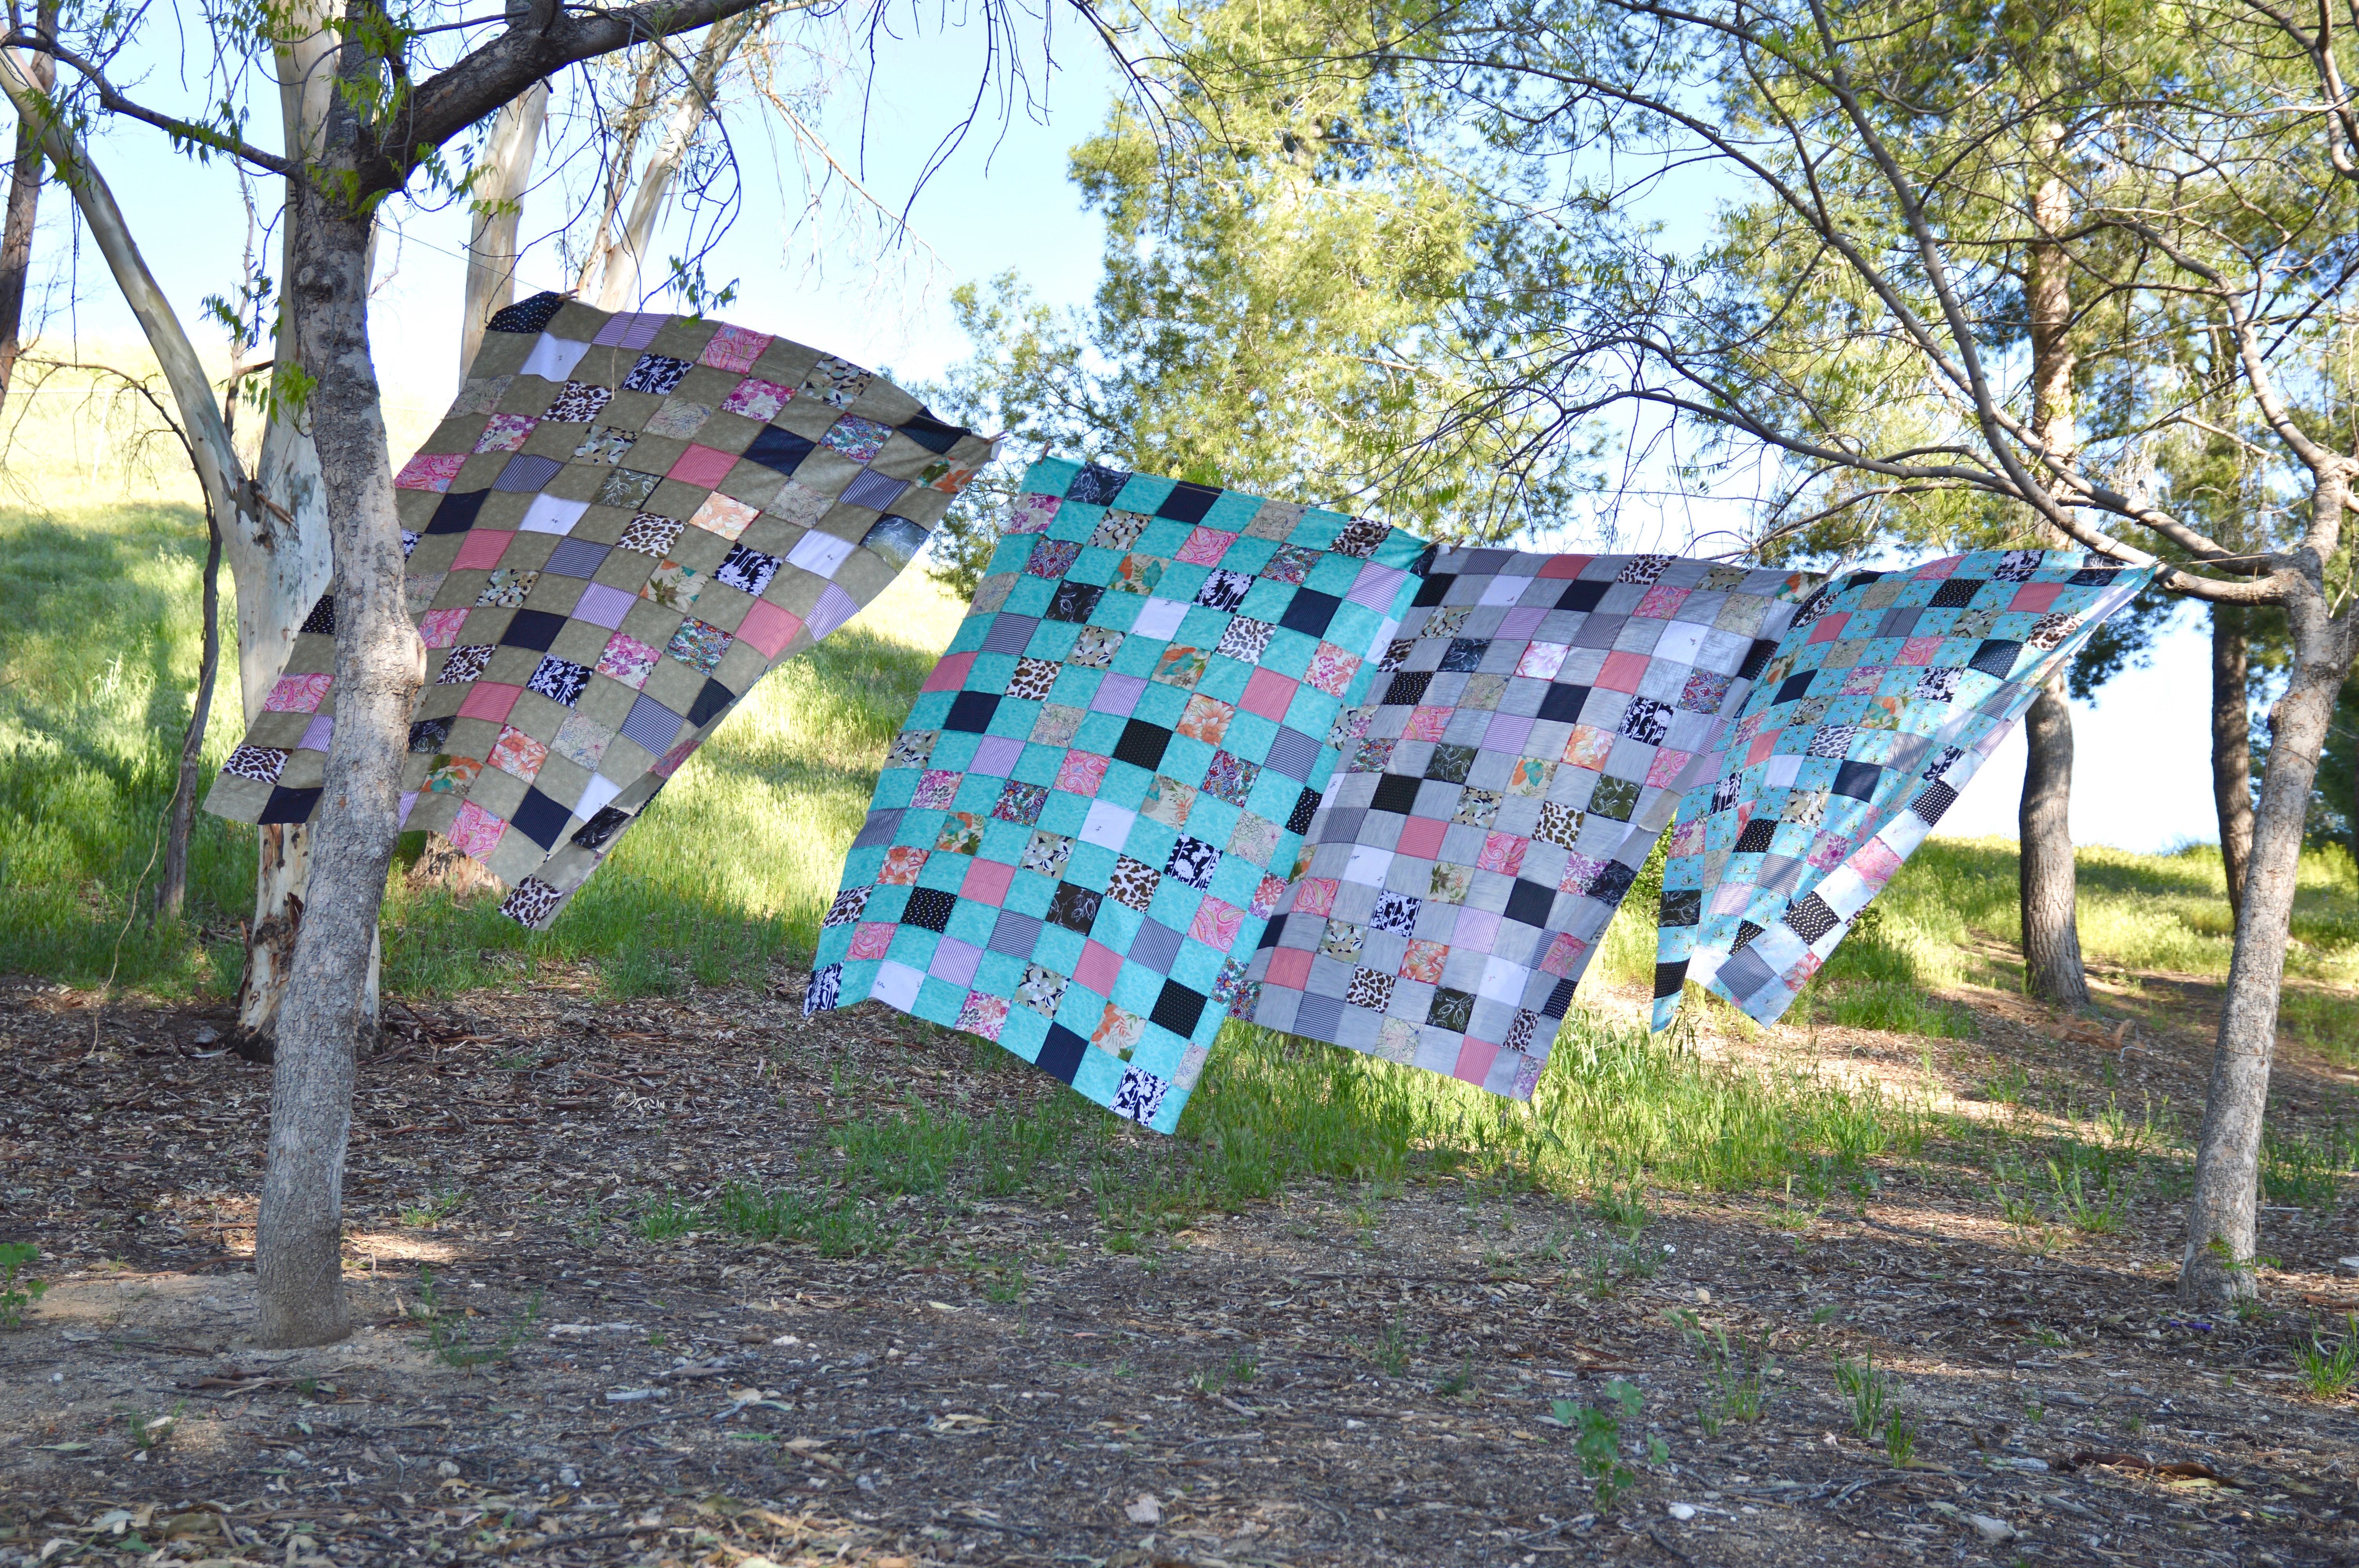
 We choose the diagonal squares quilting because it looks so pineappley!!
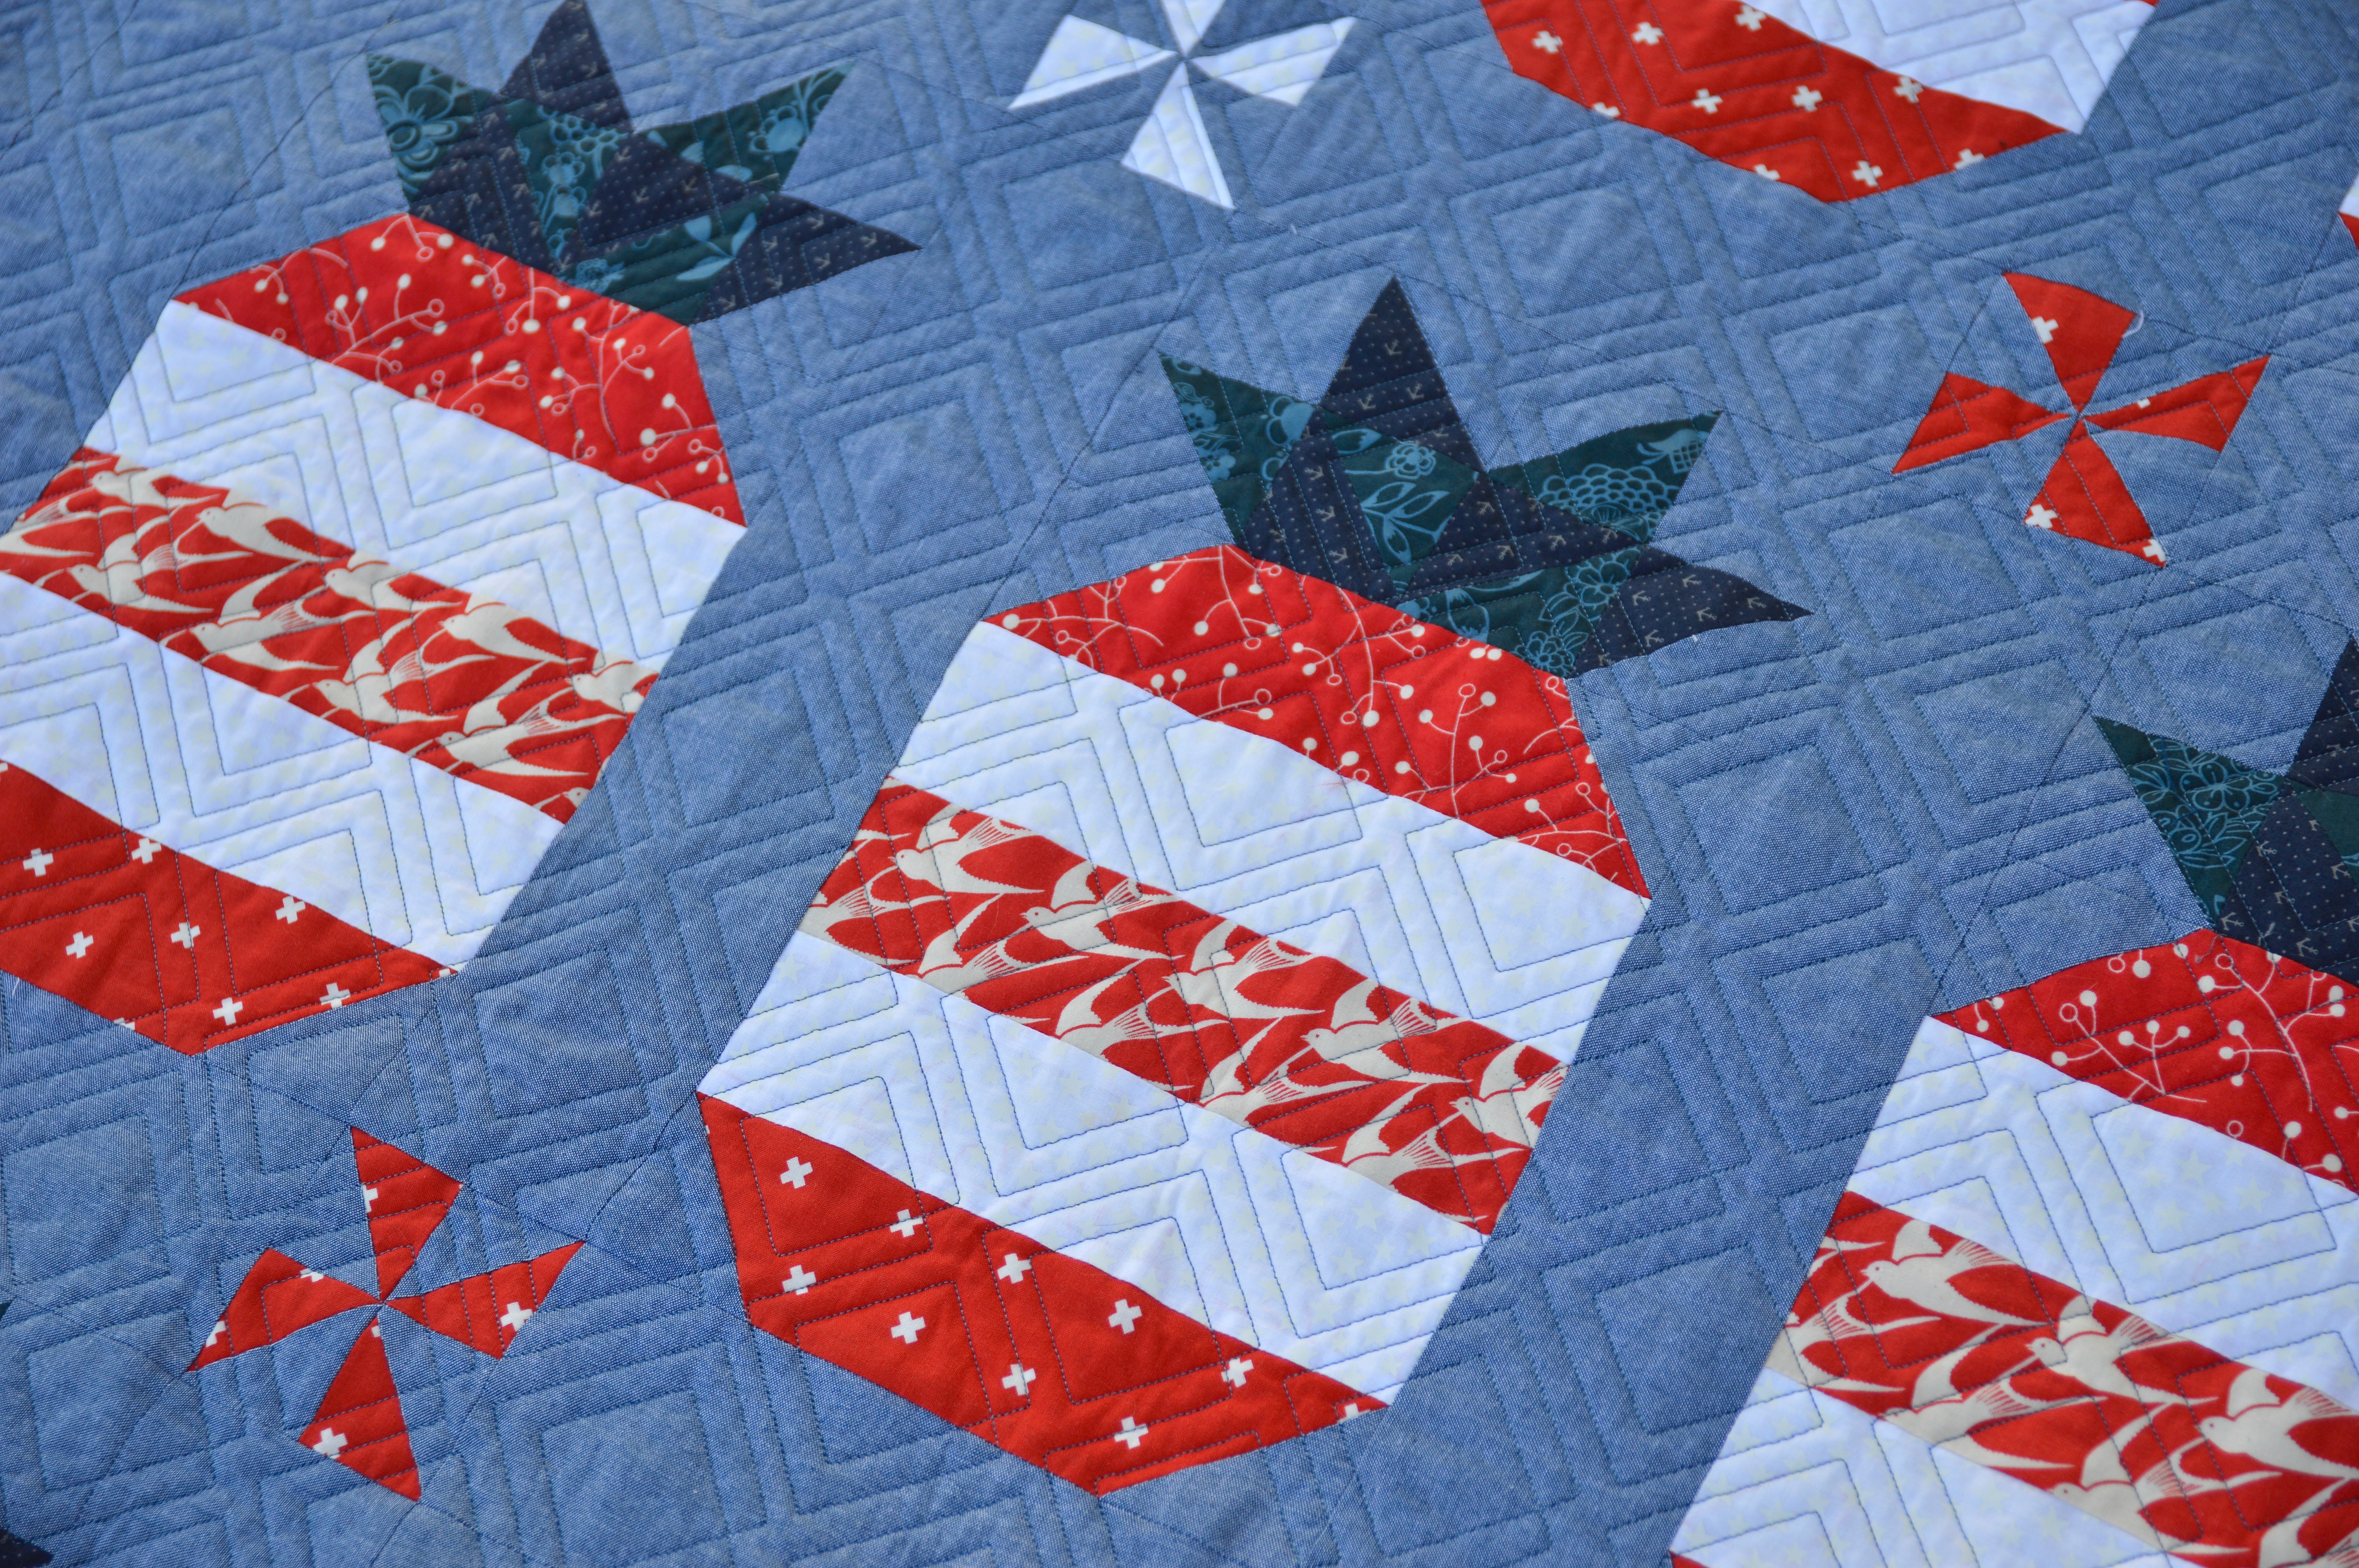
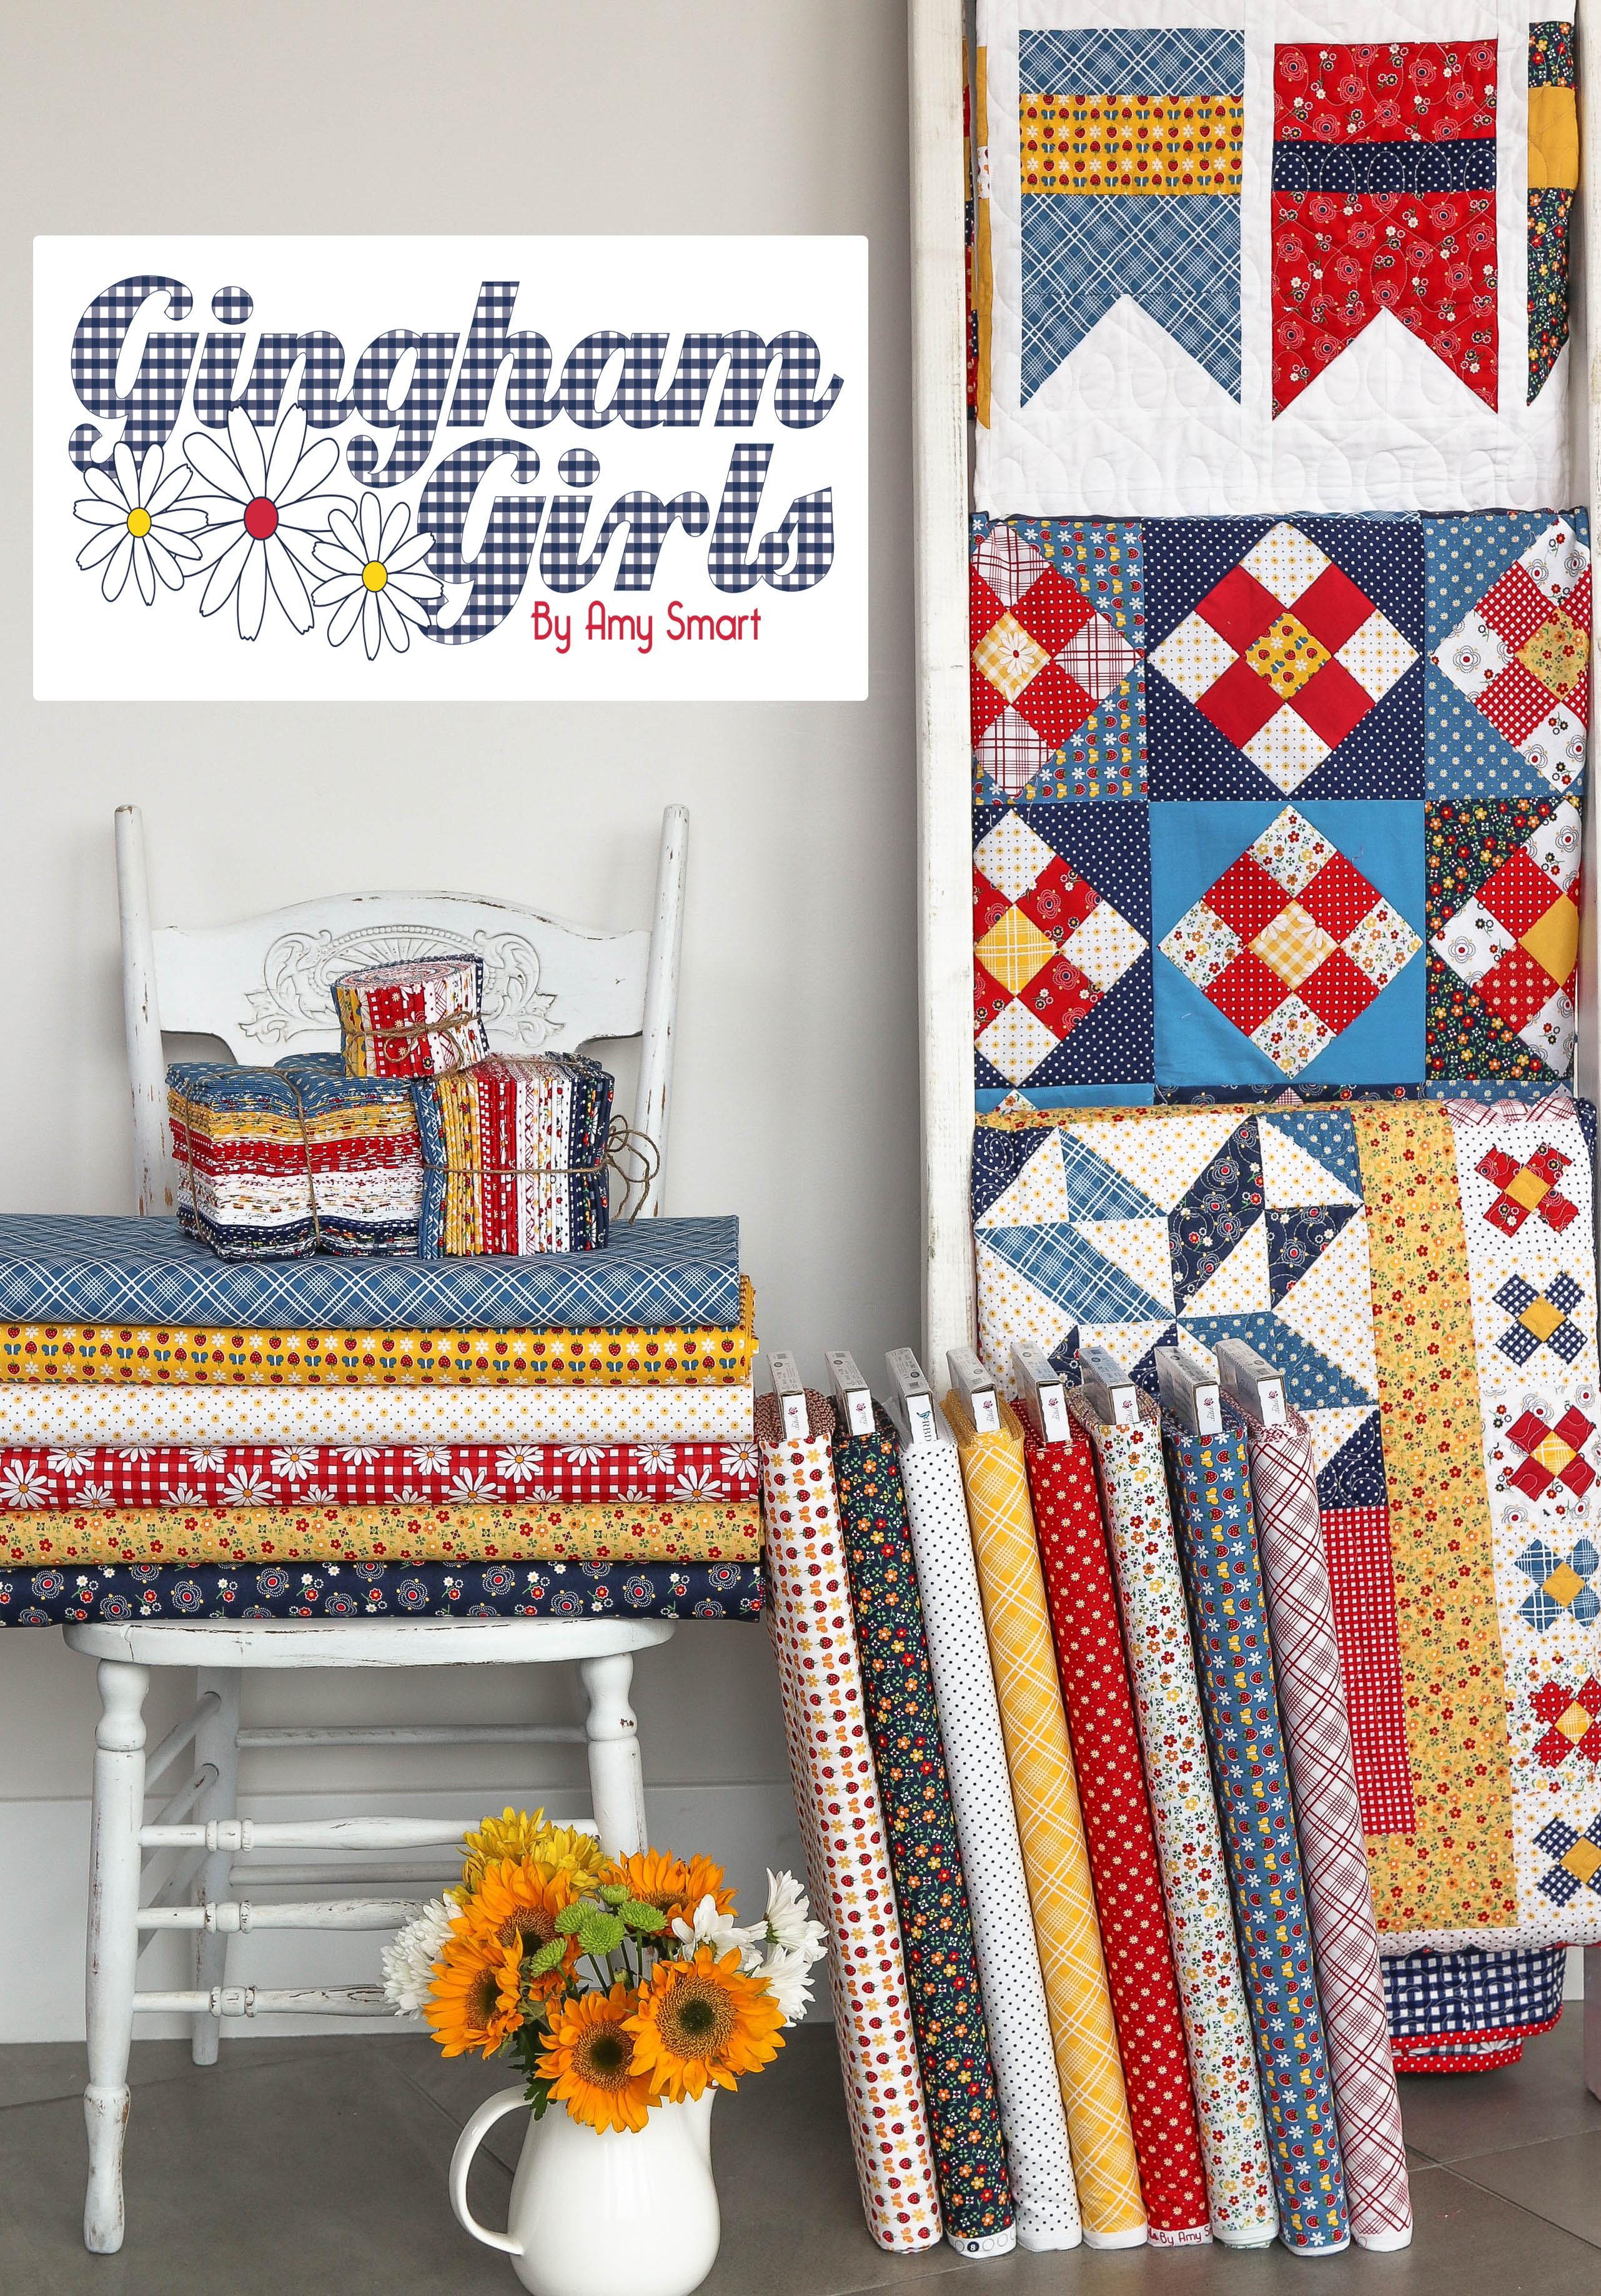
 You can read all about Amy’s inspiration for the fabric line by hopping over to
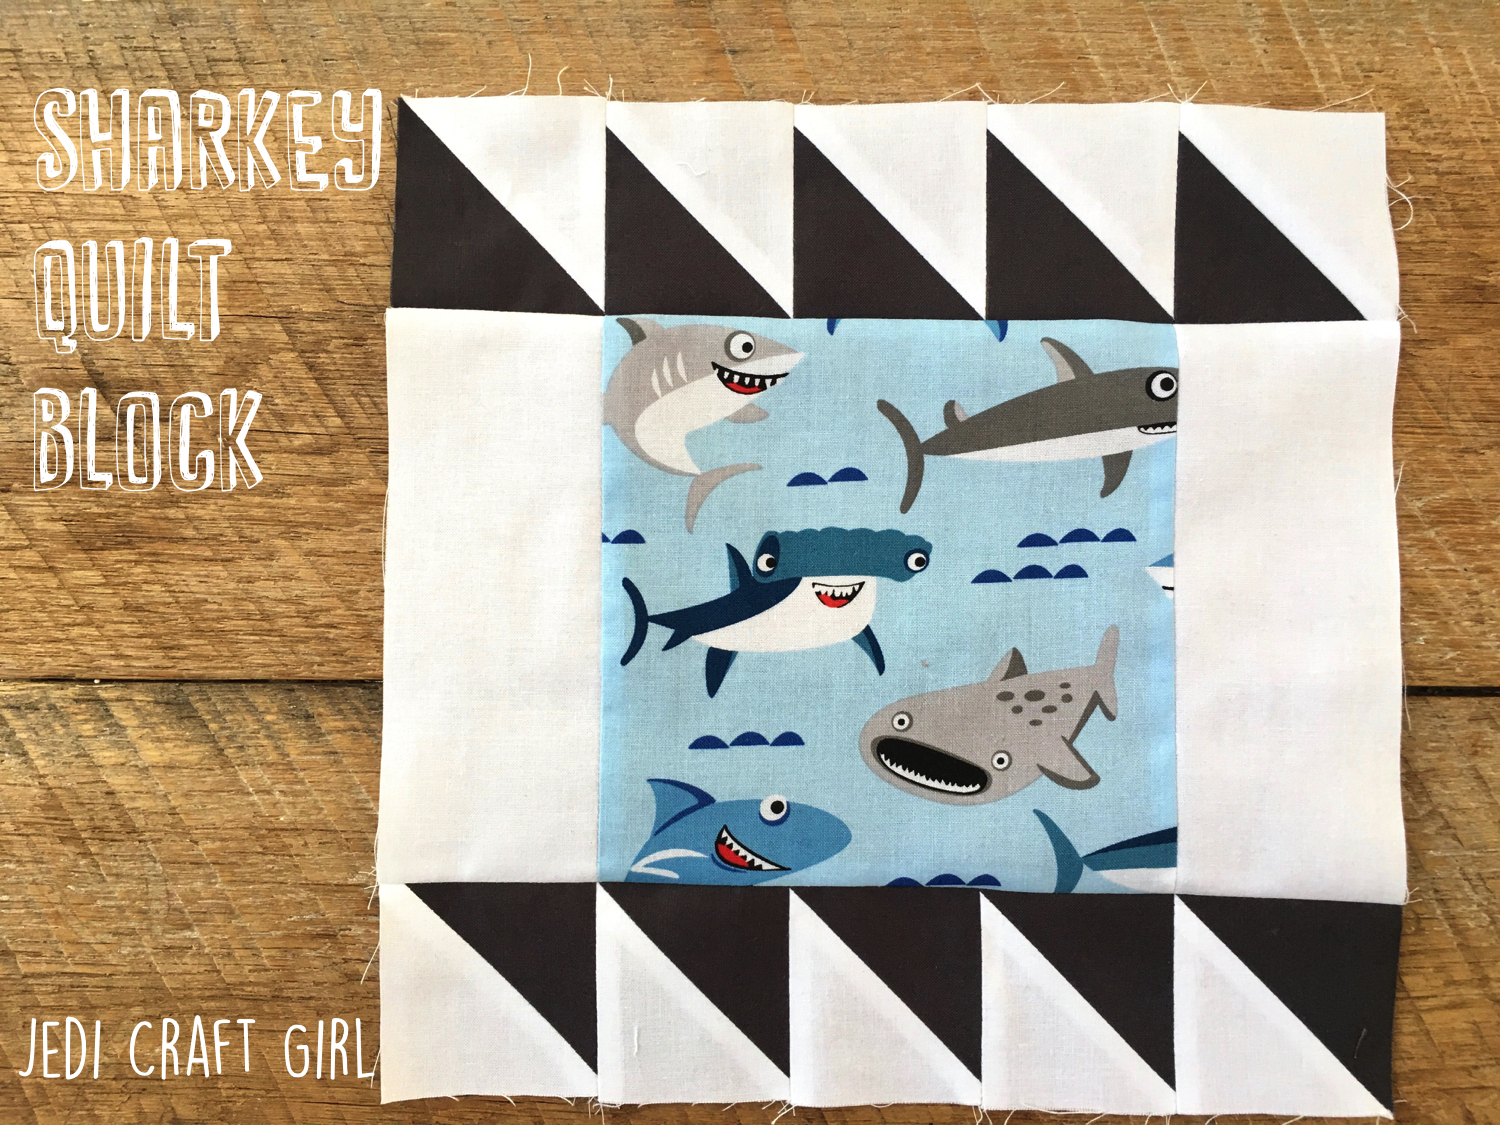
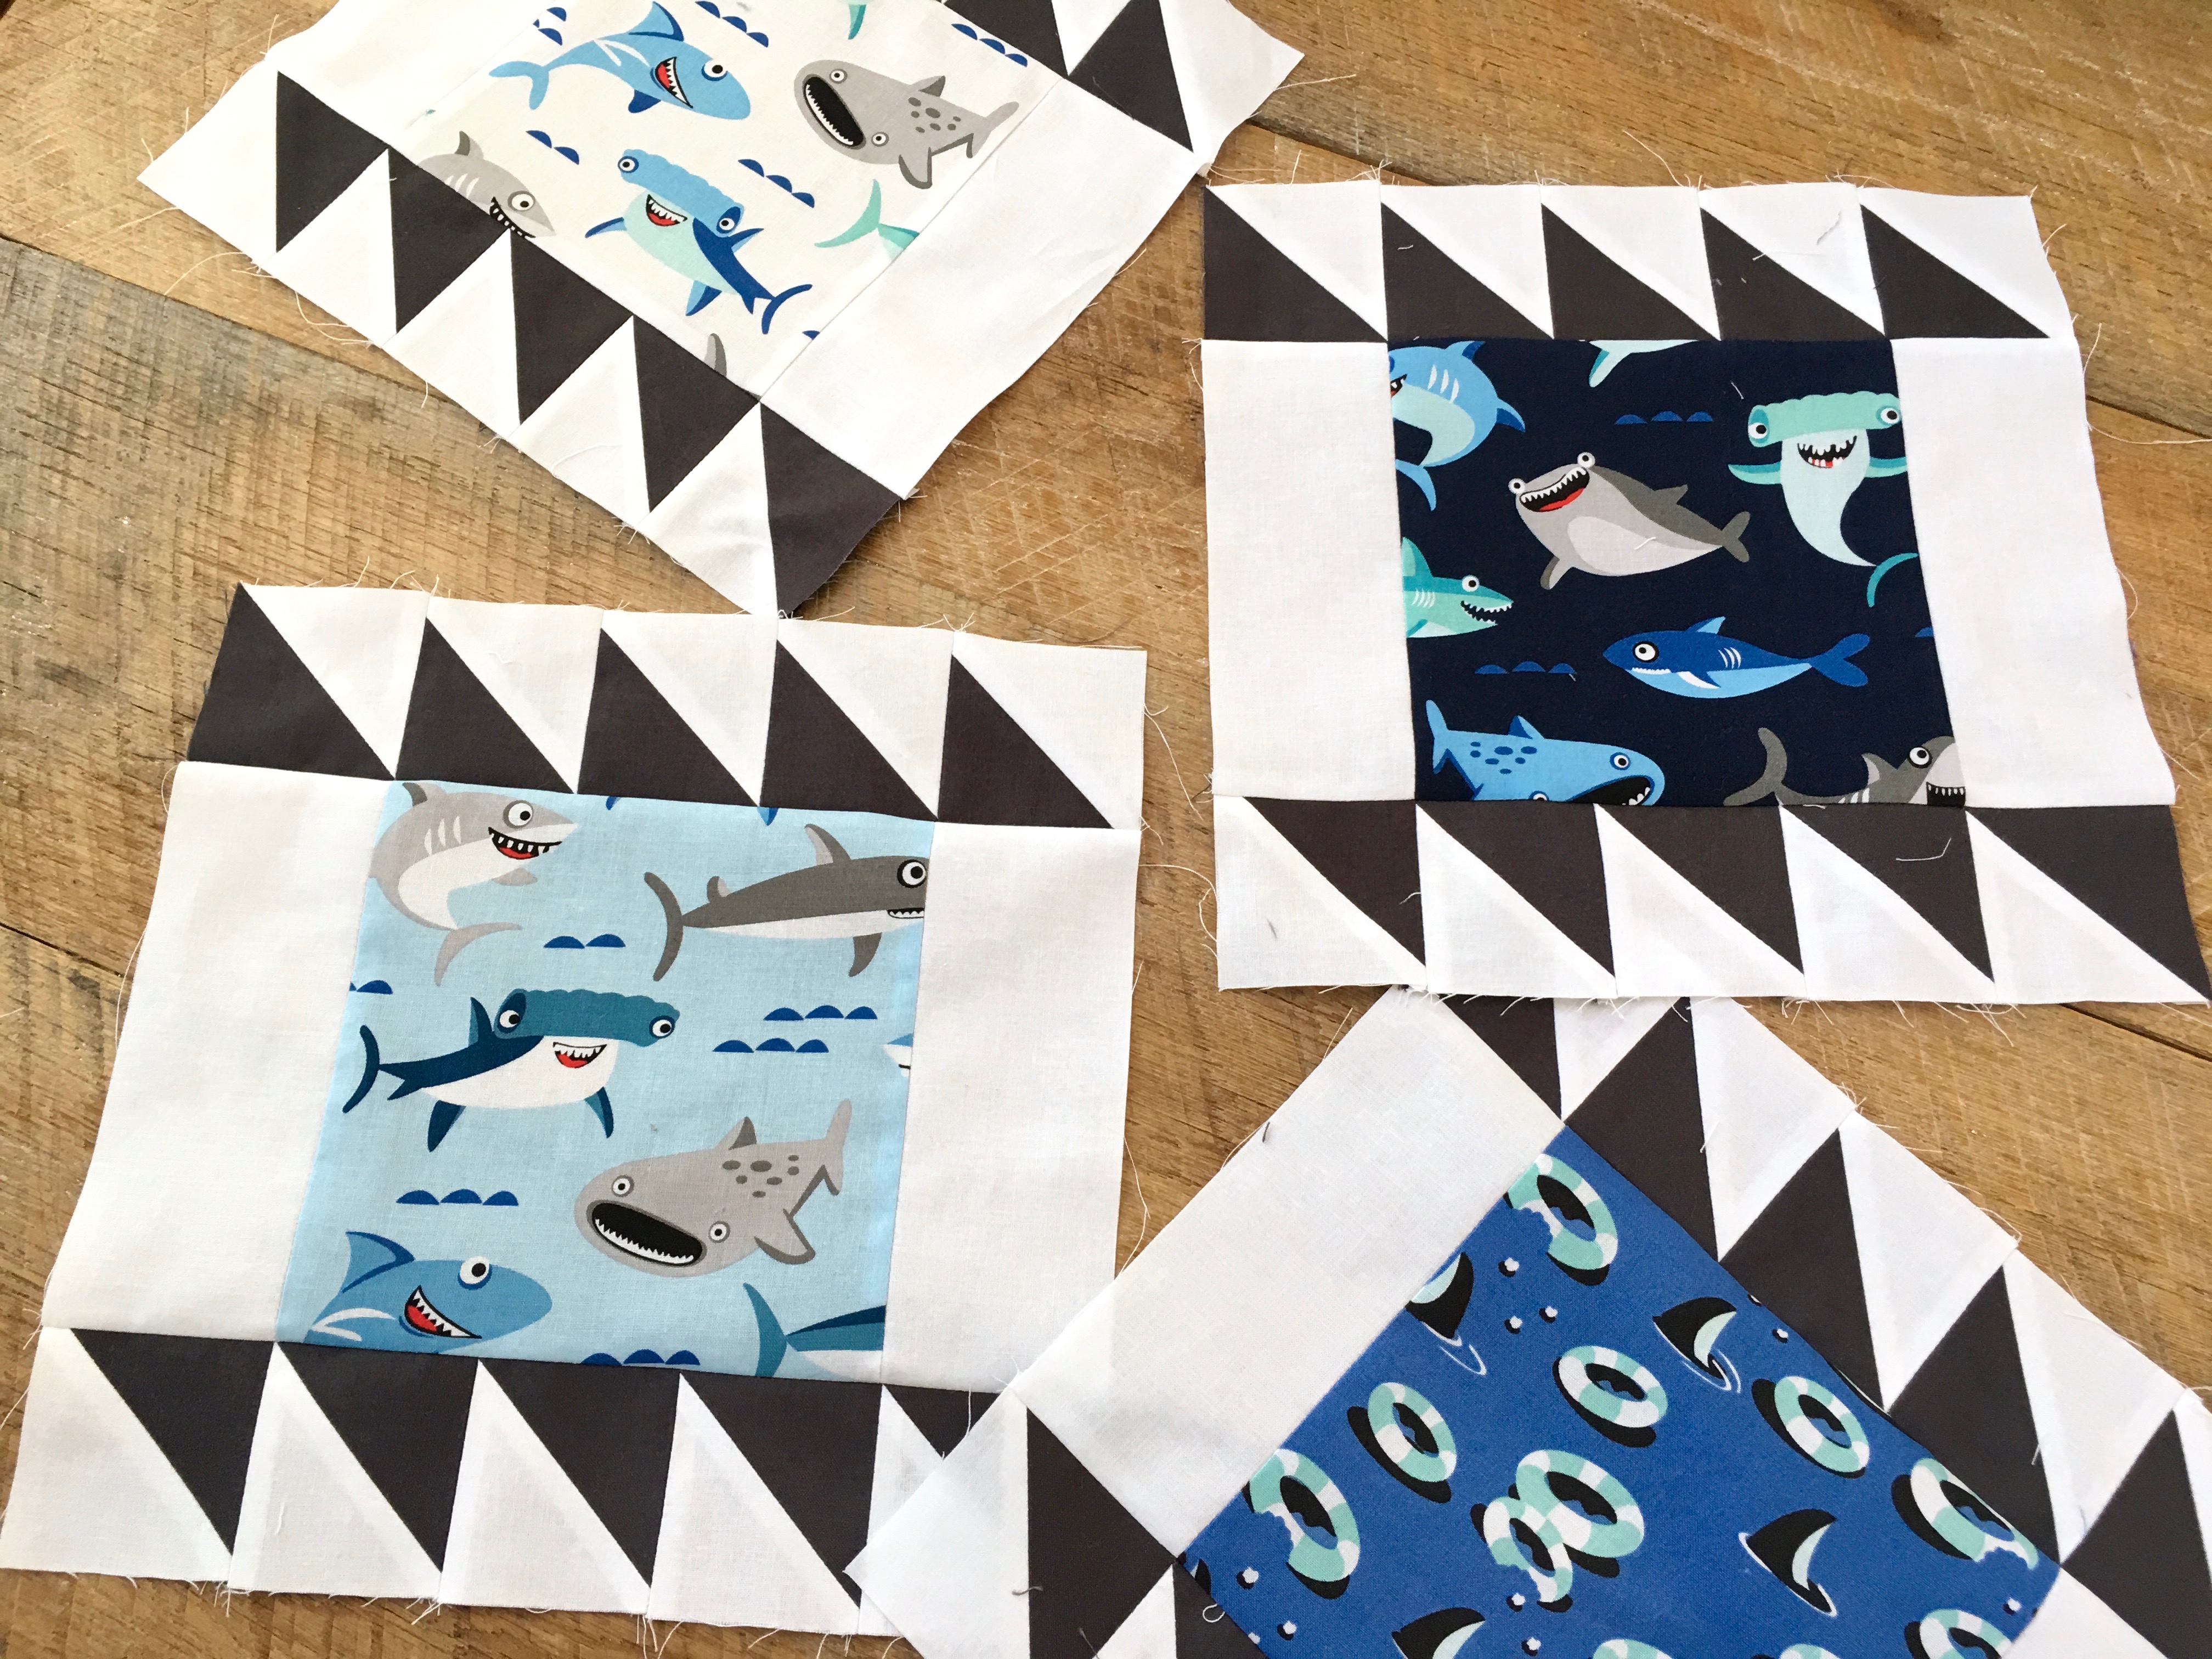
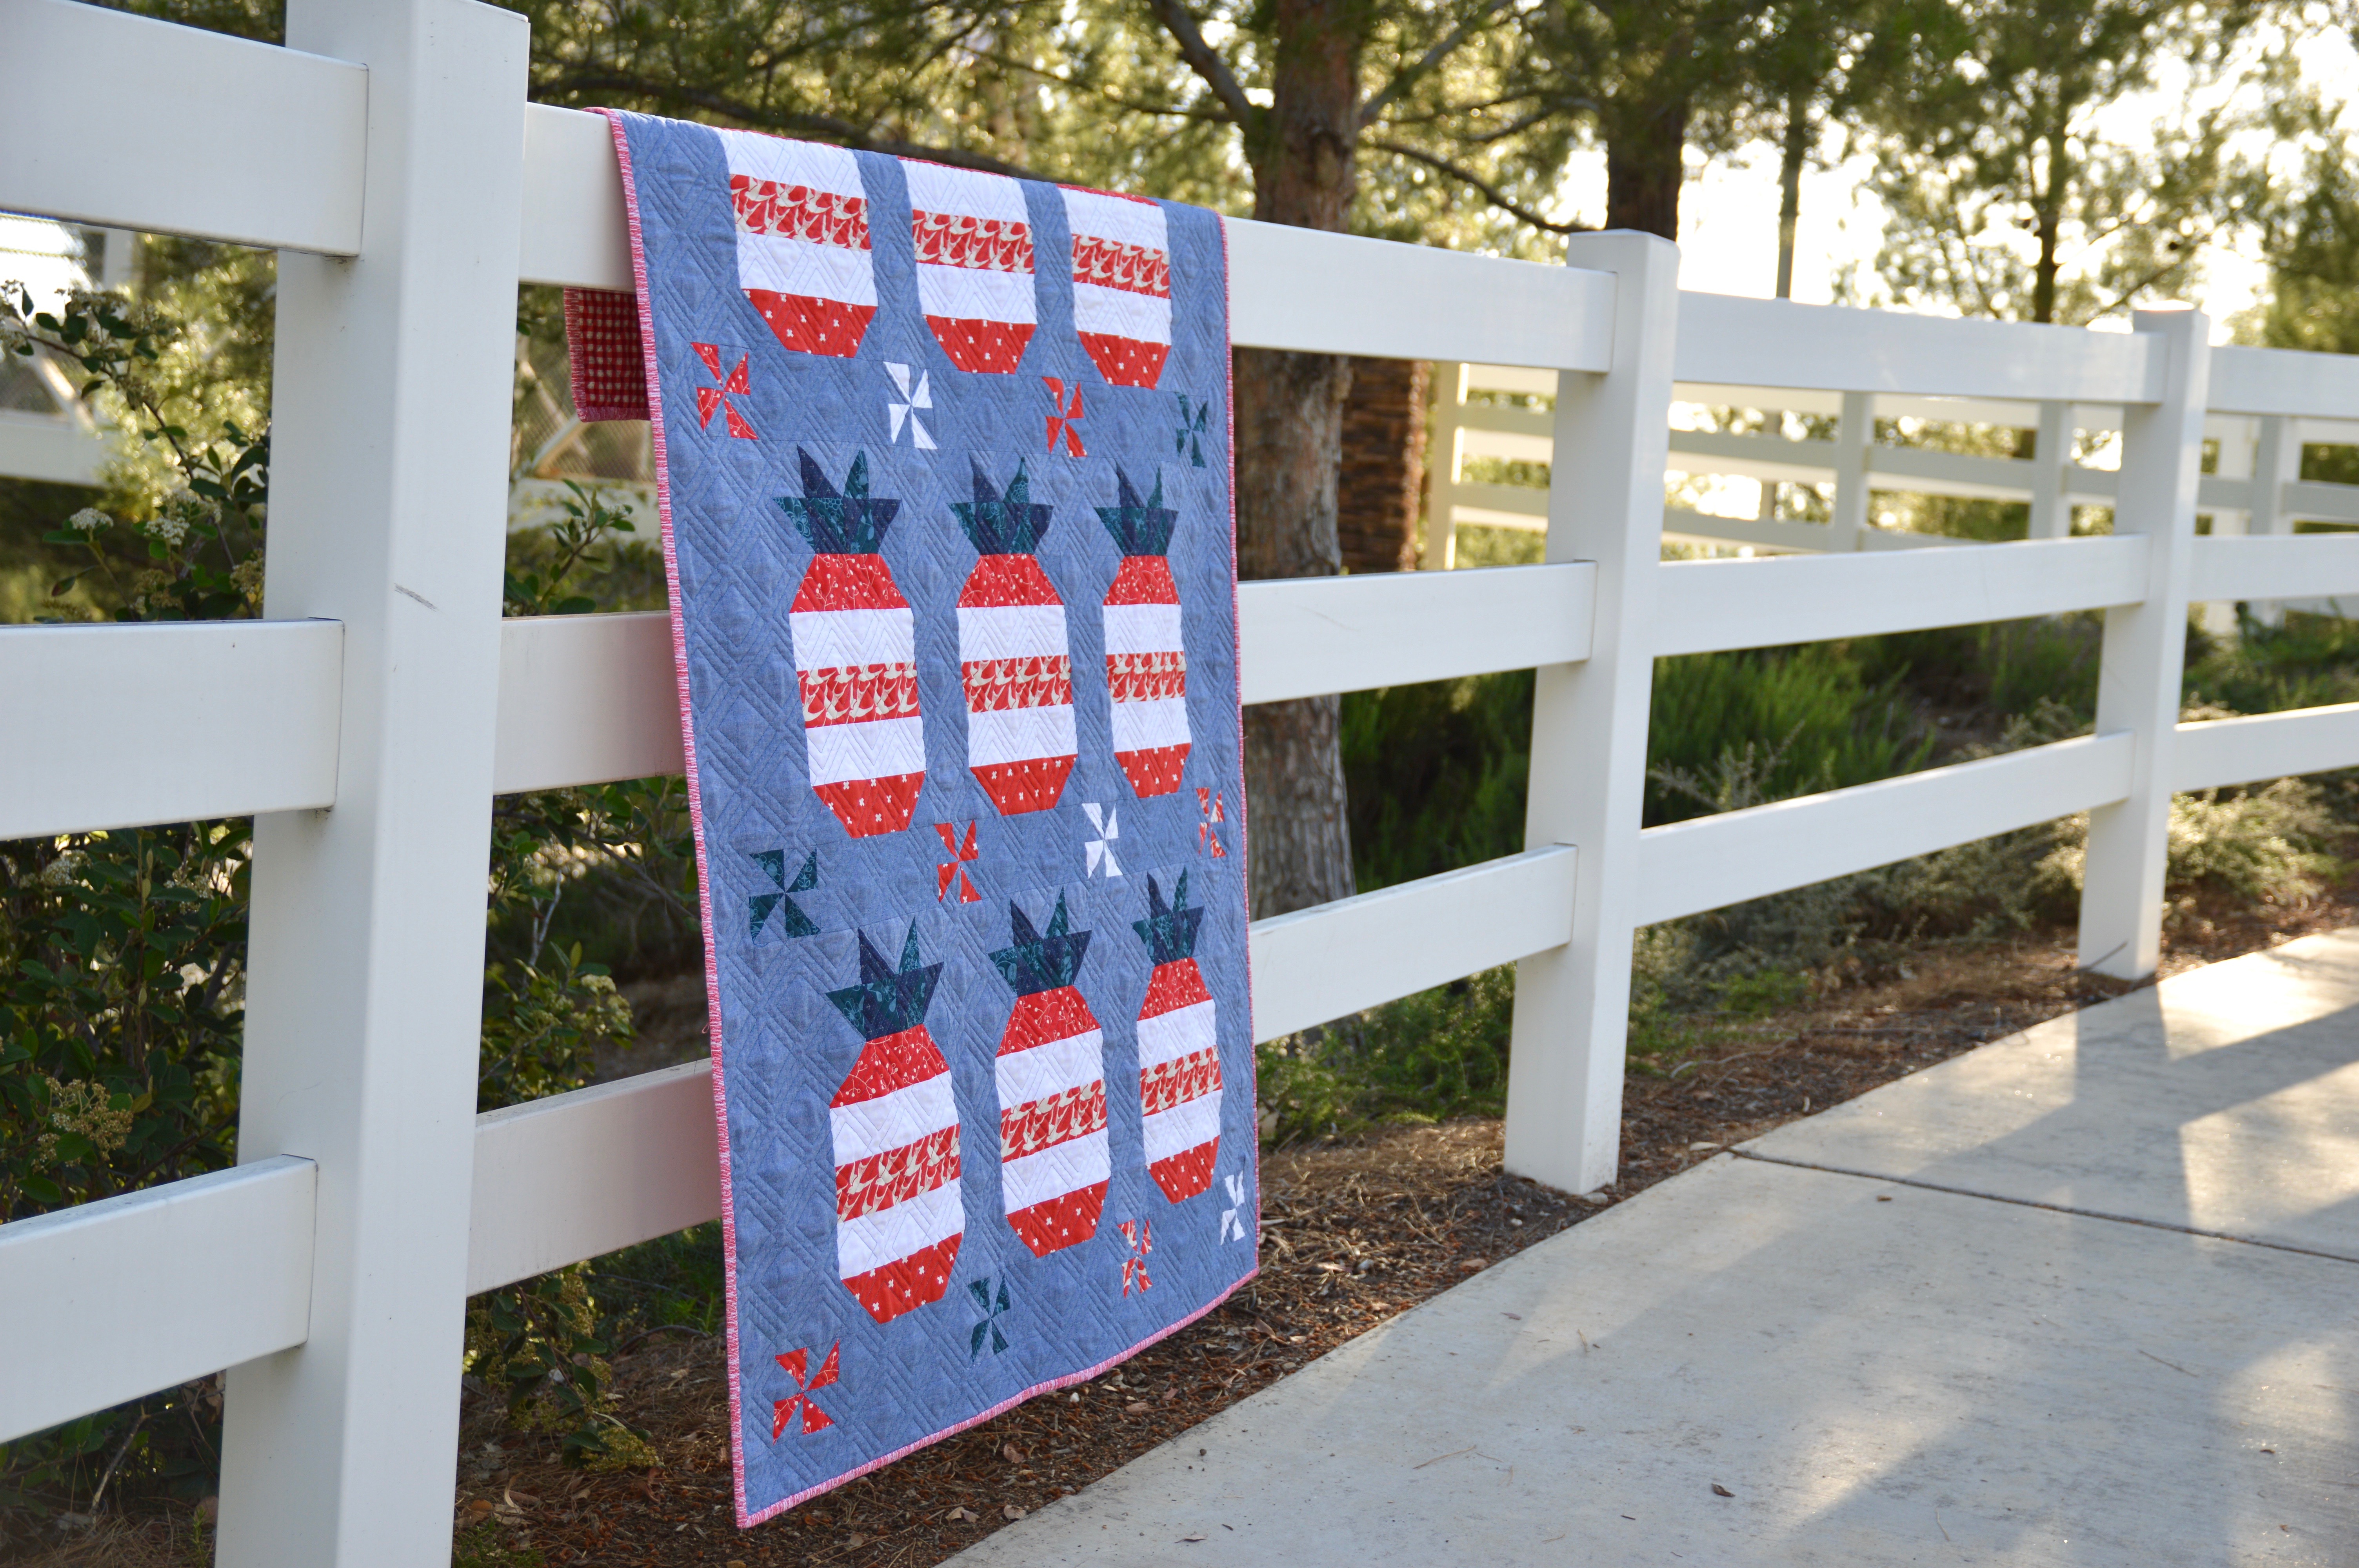
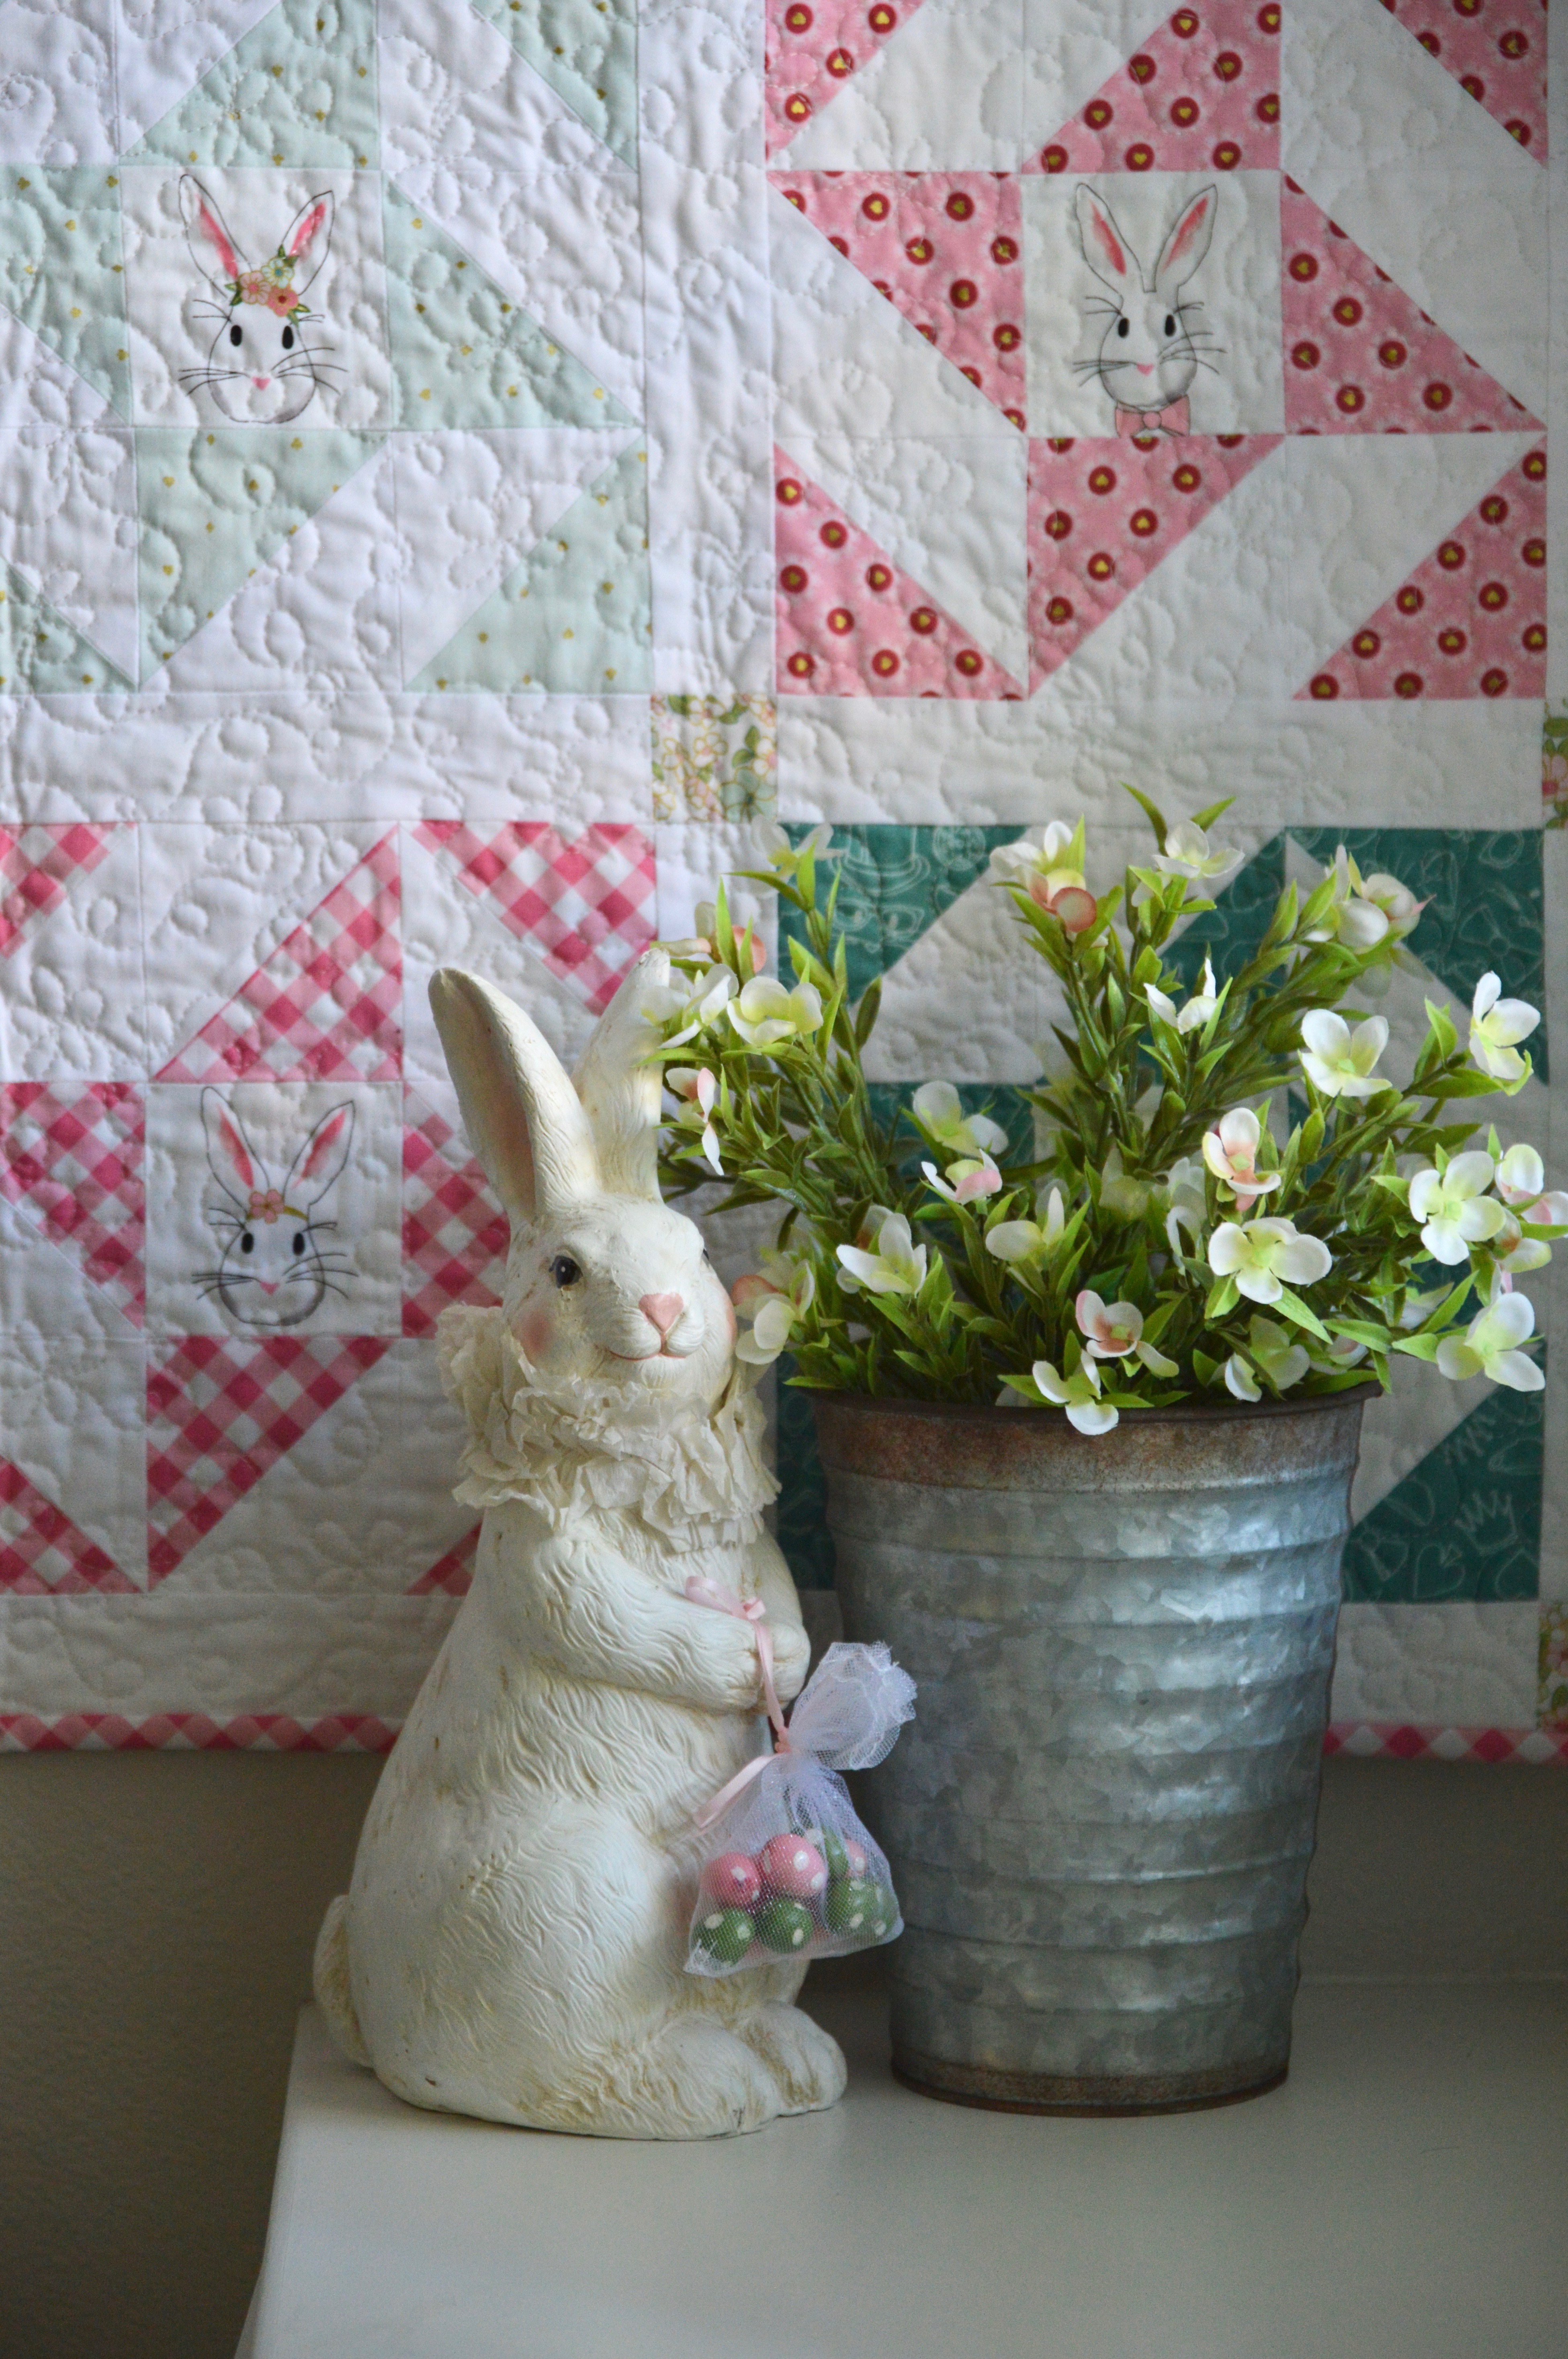
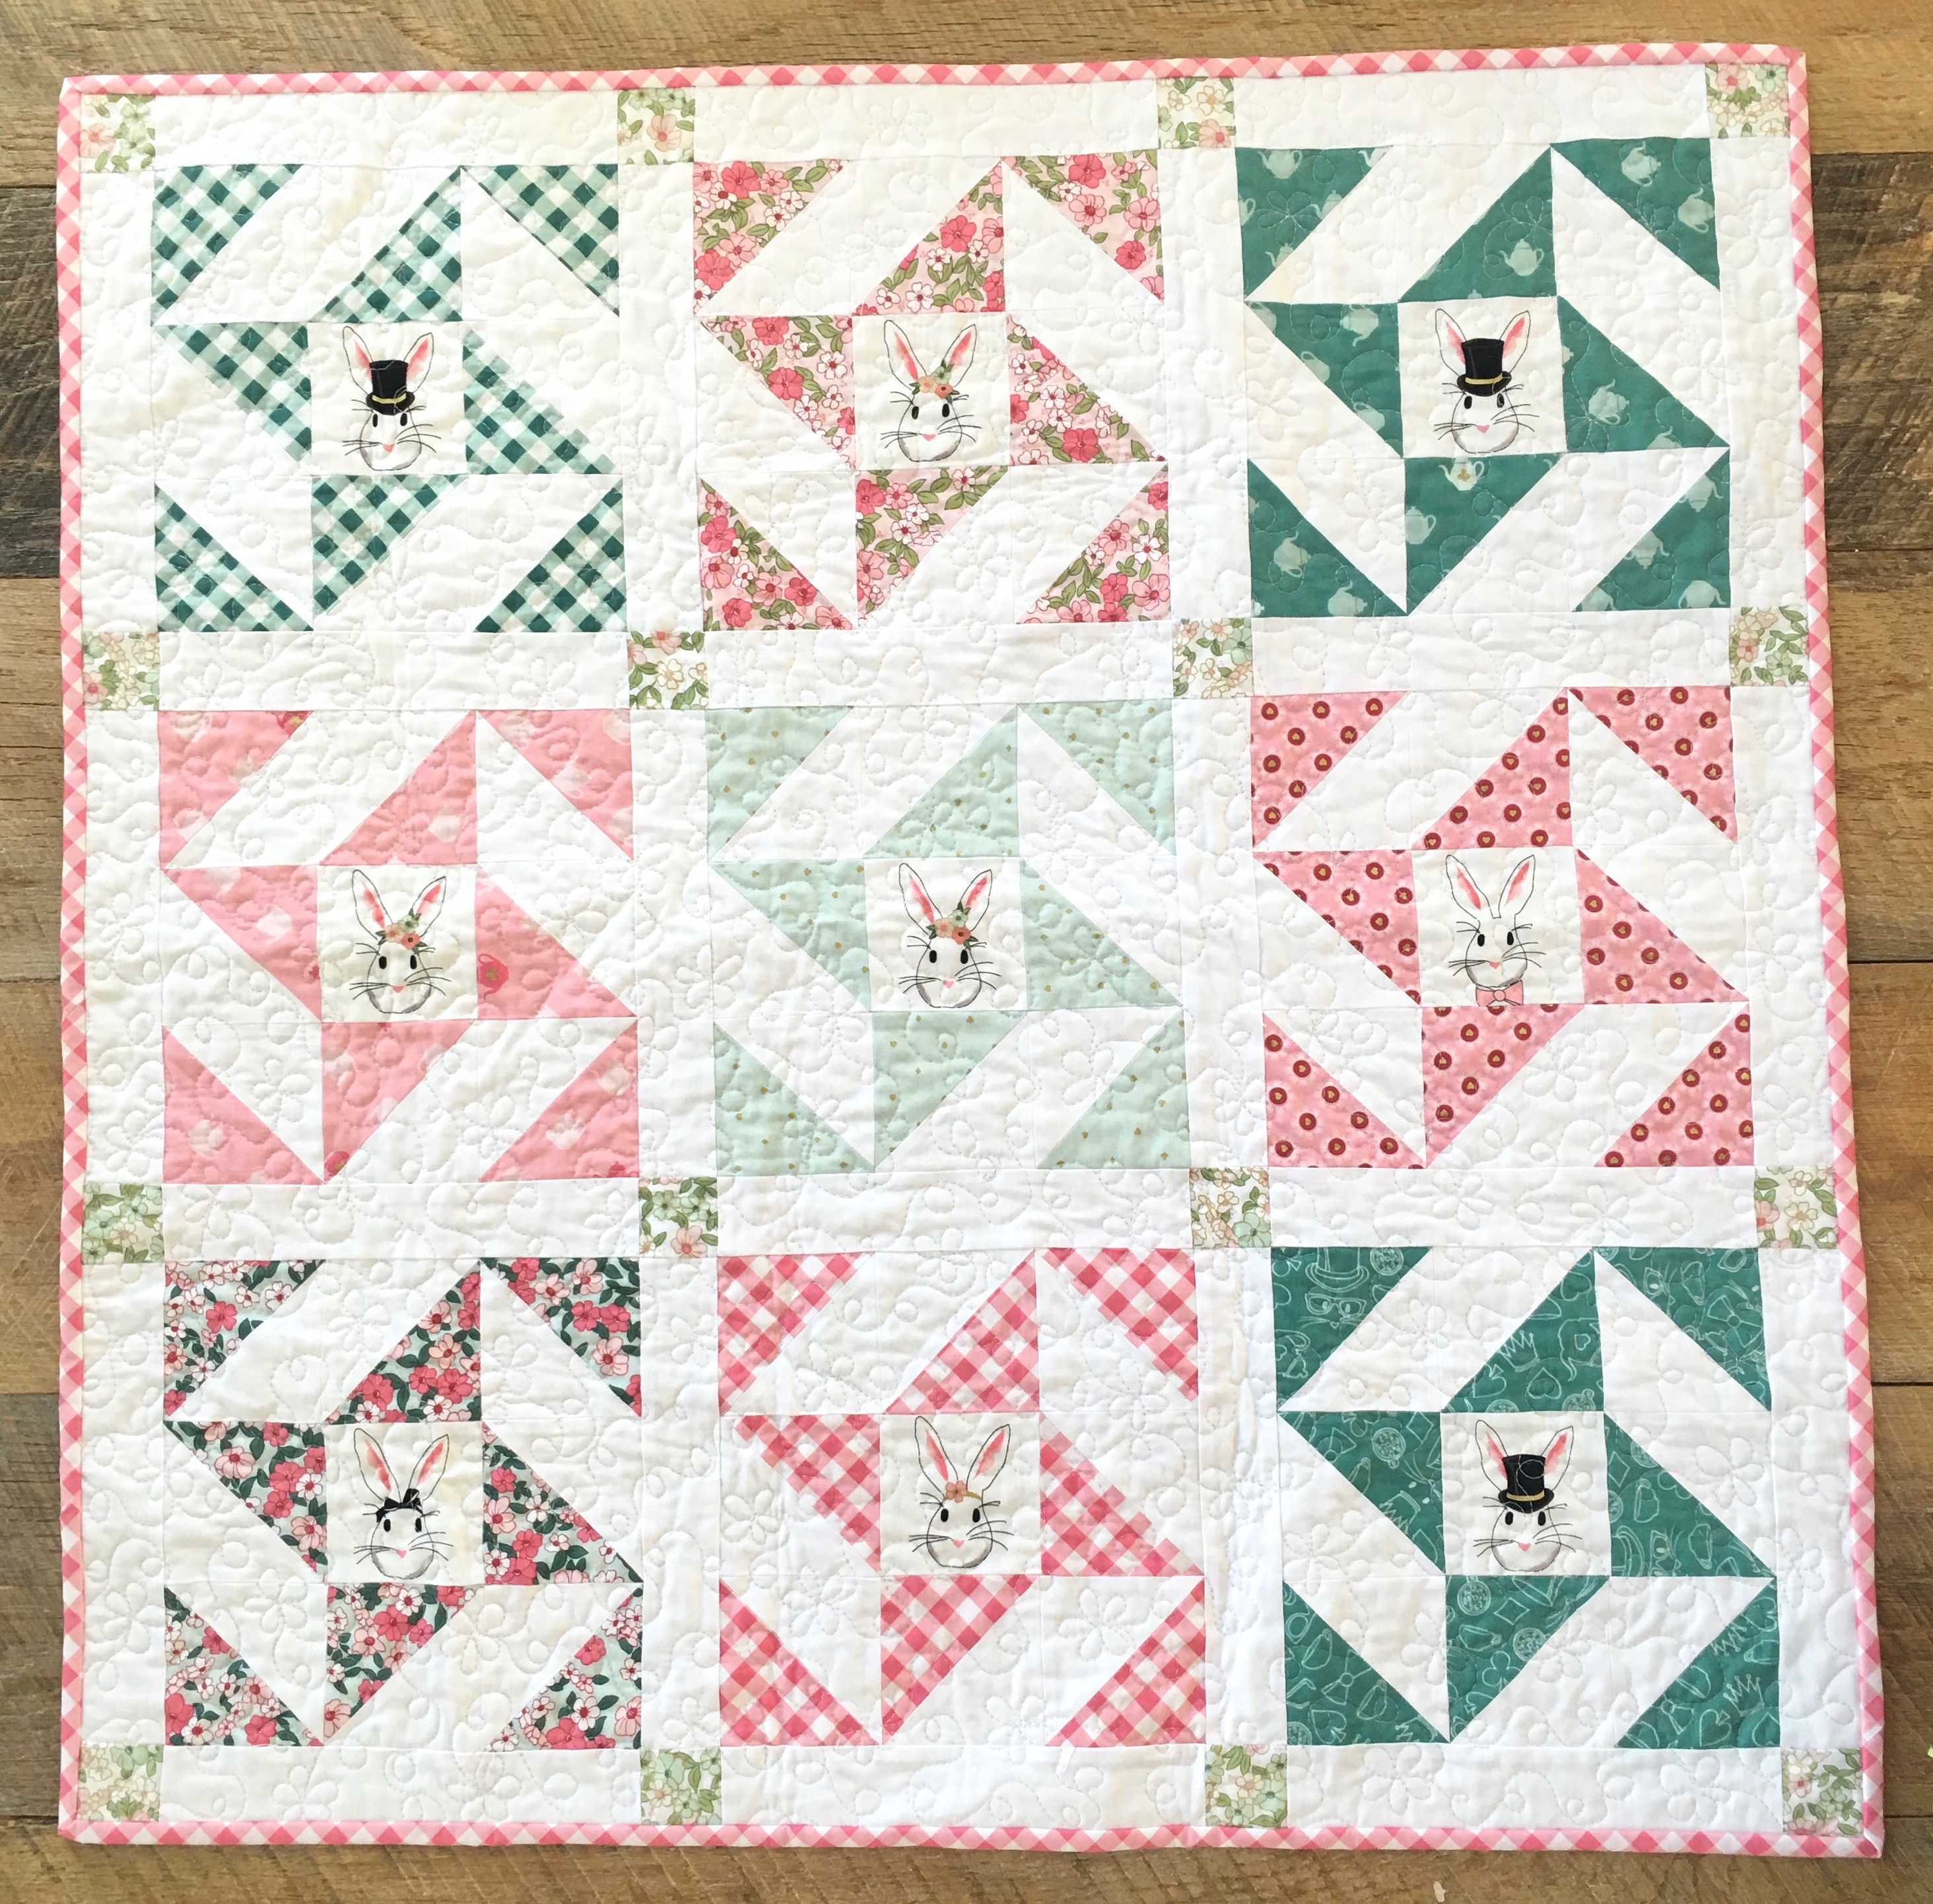
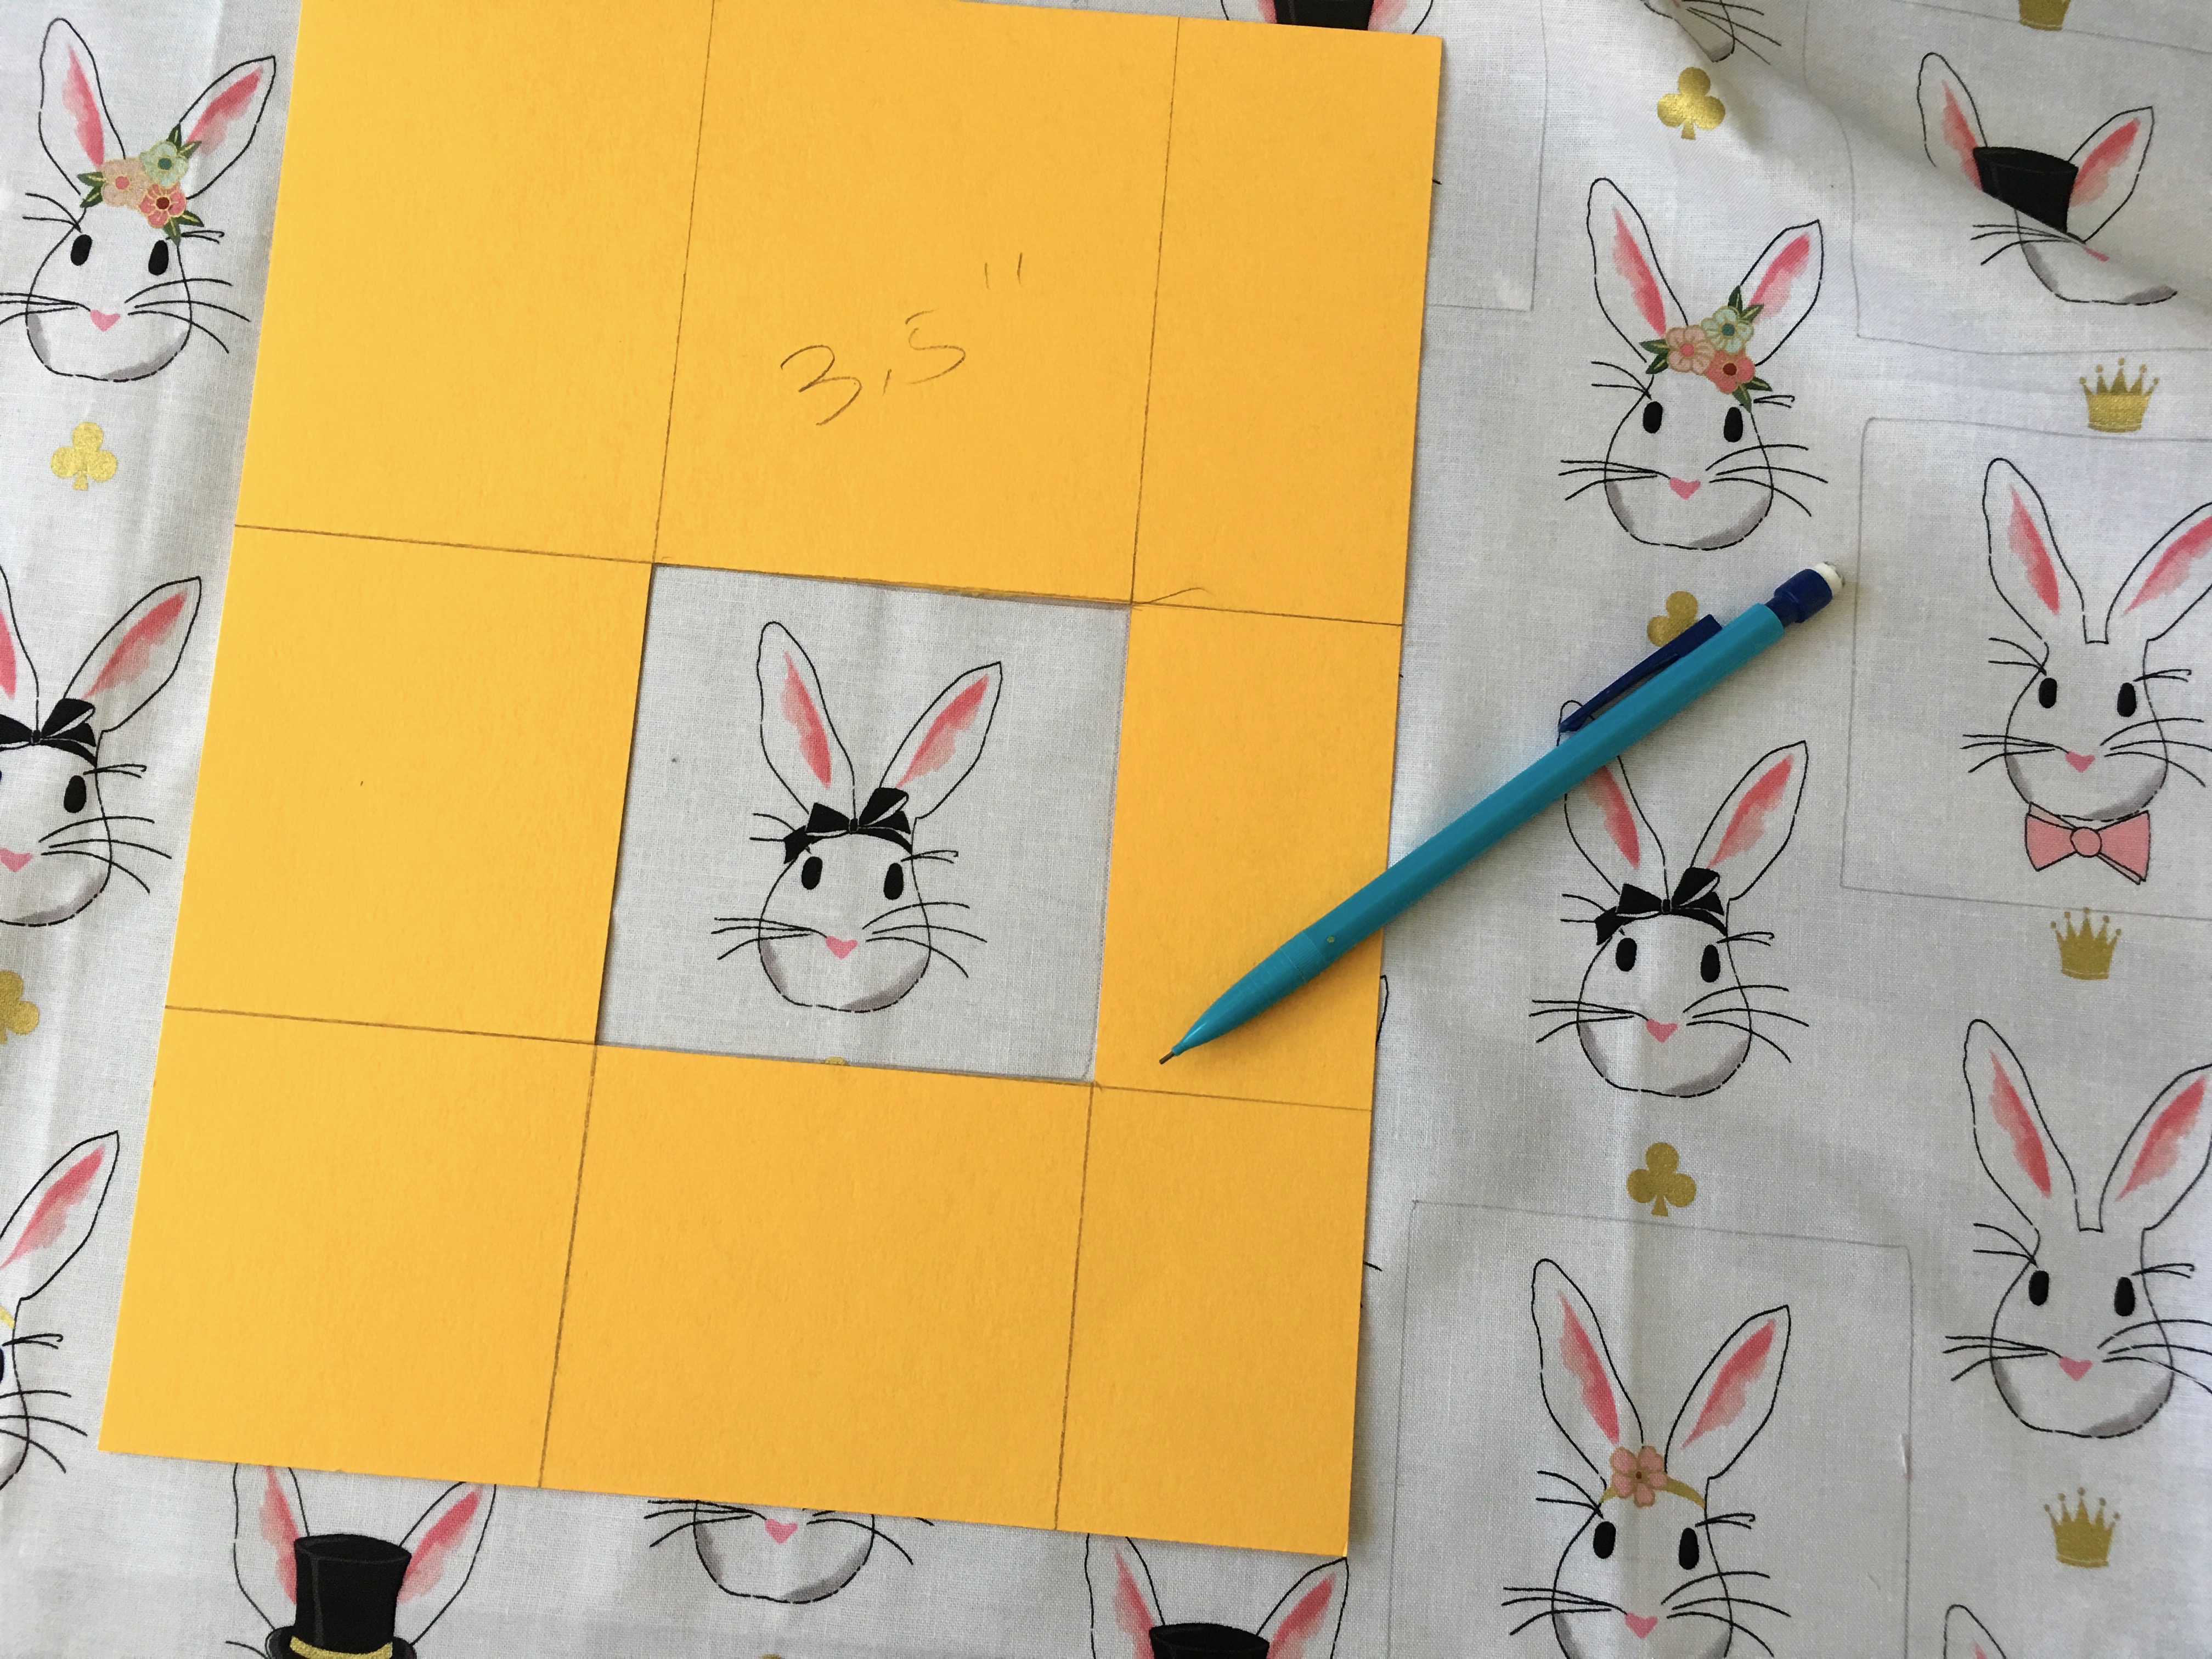
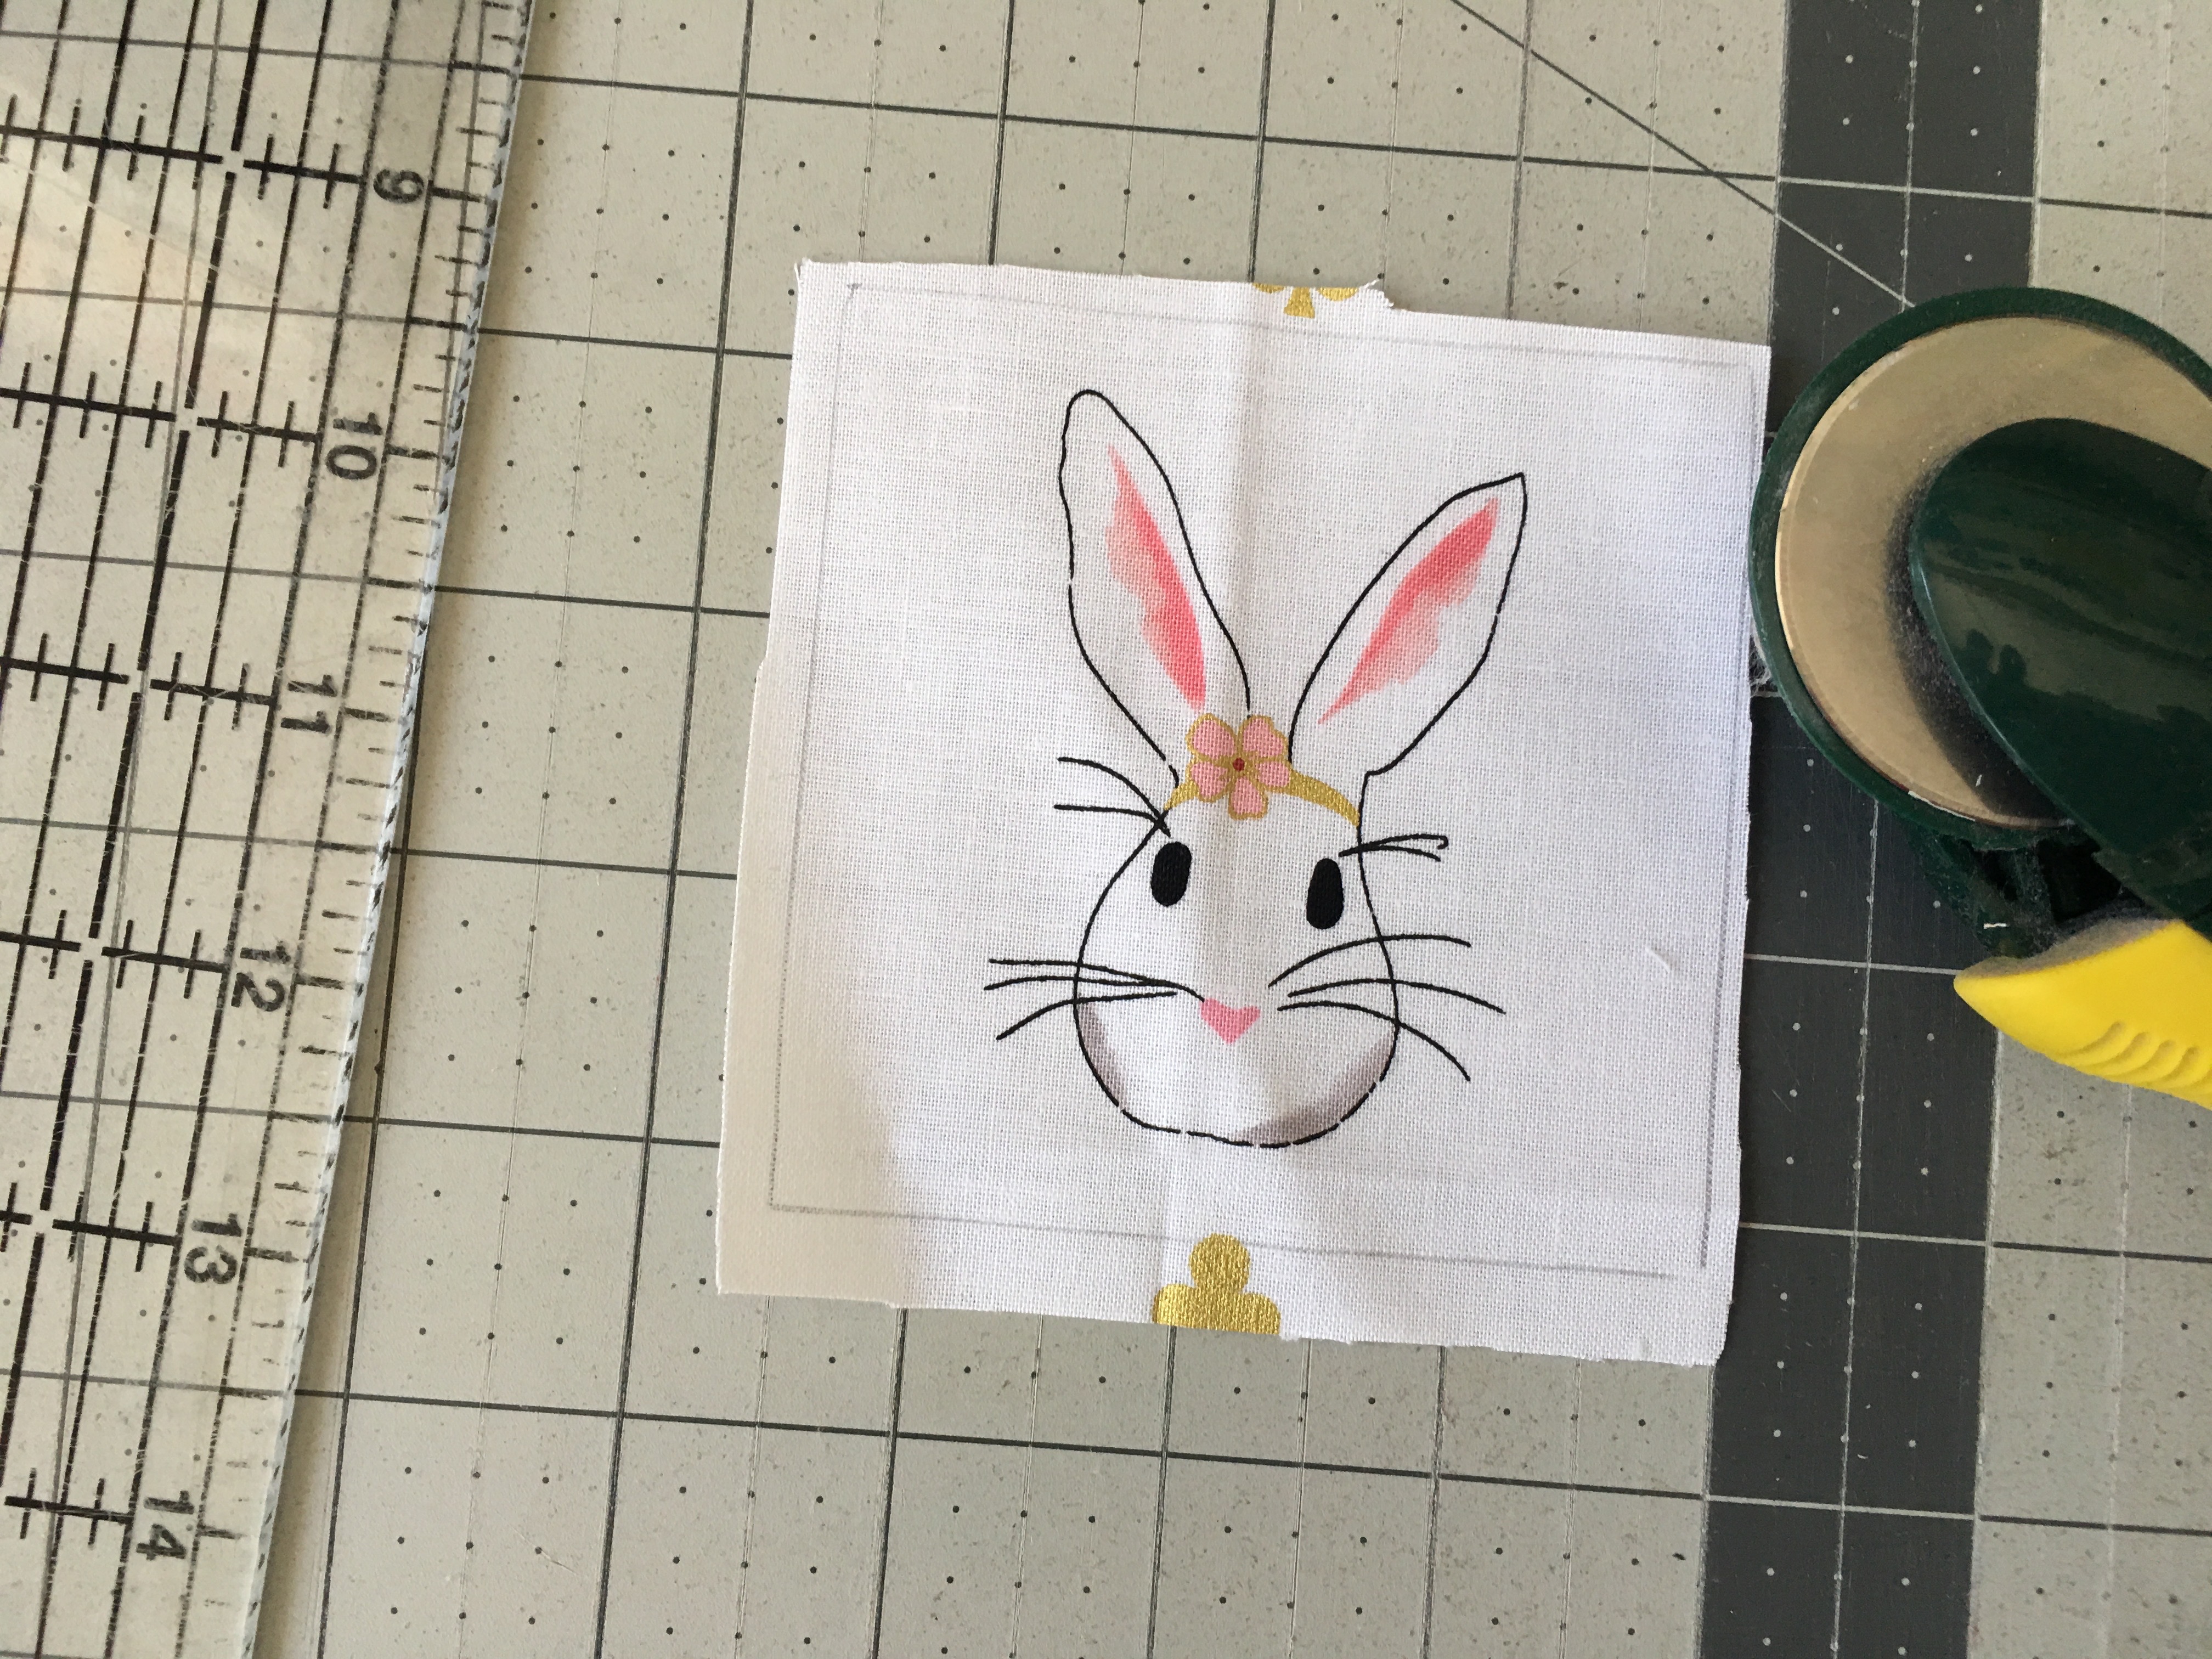
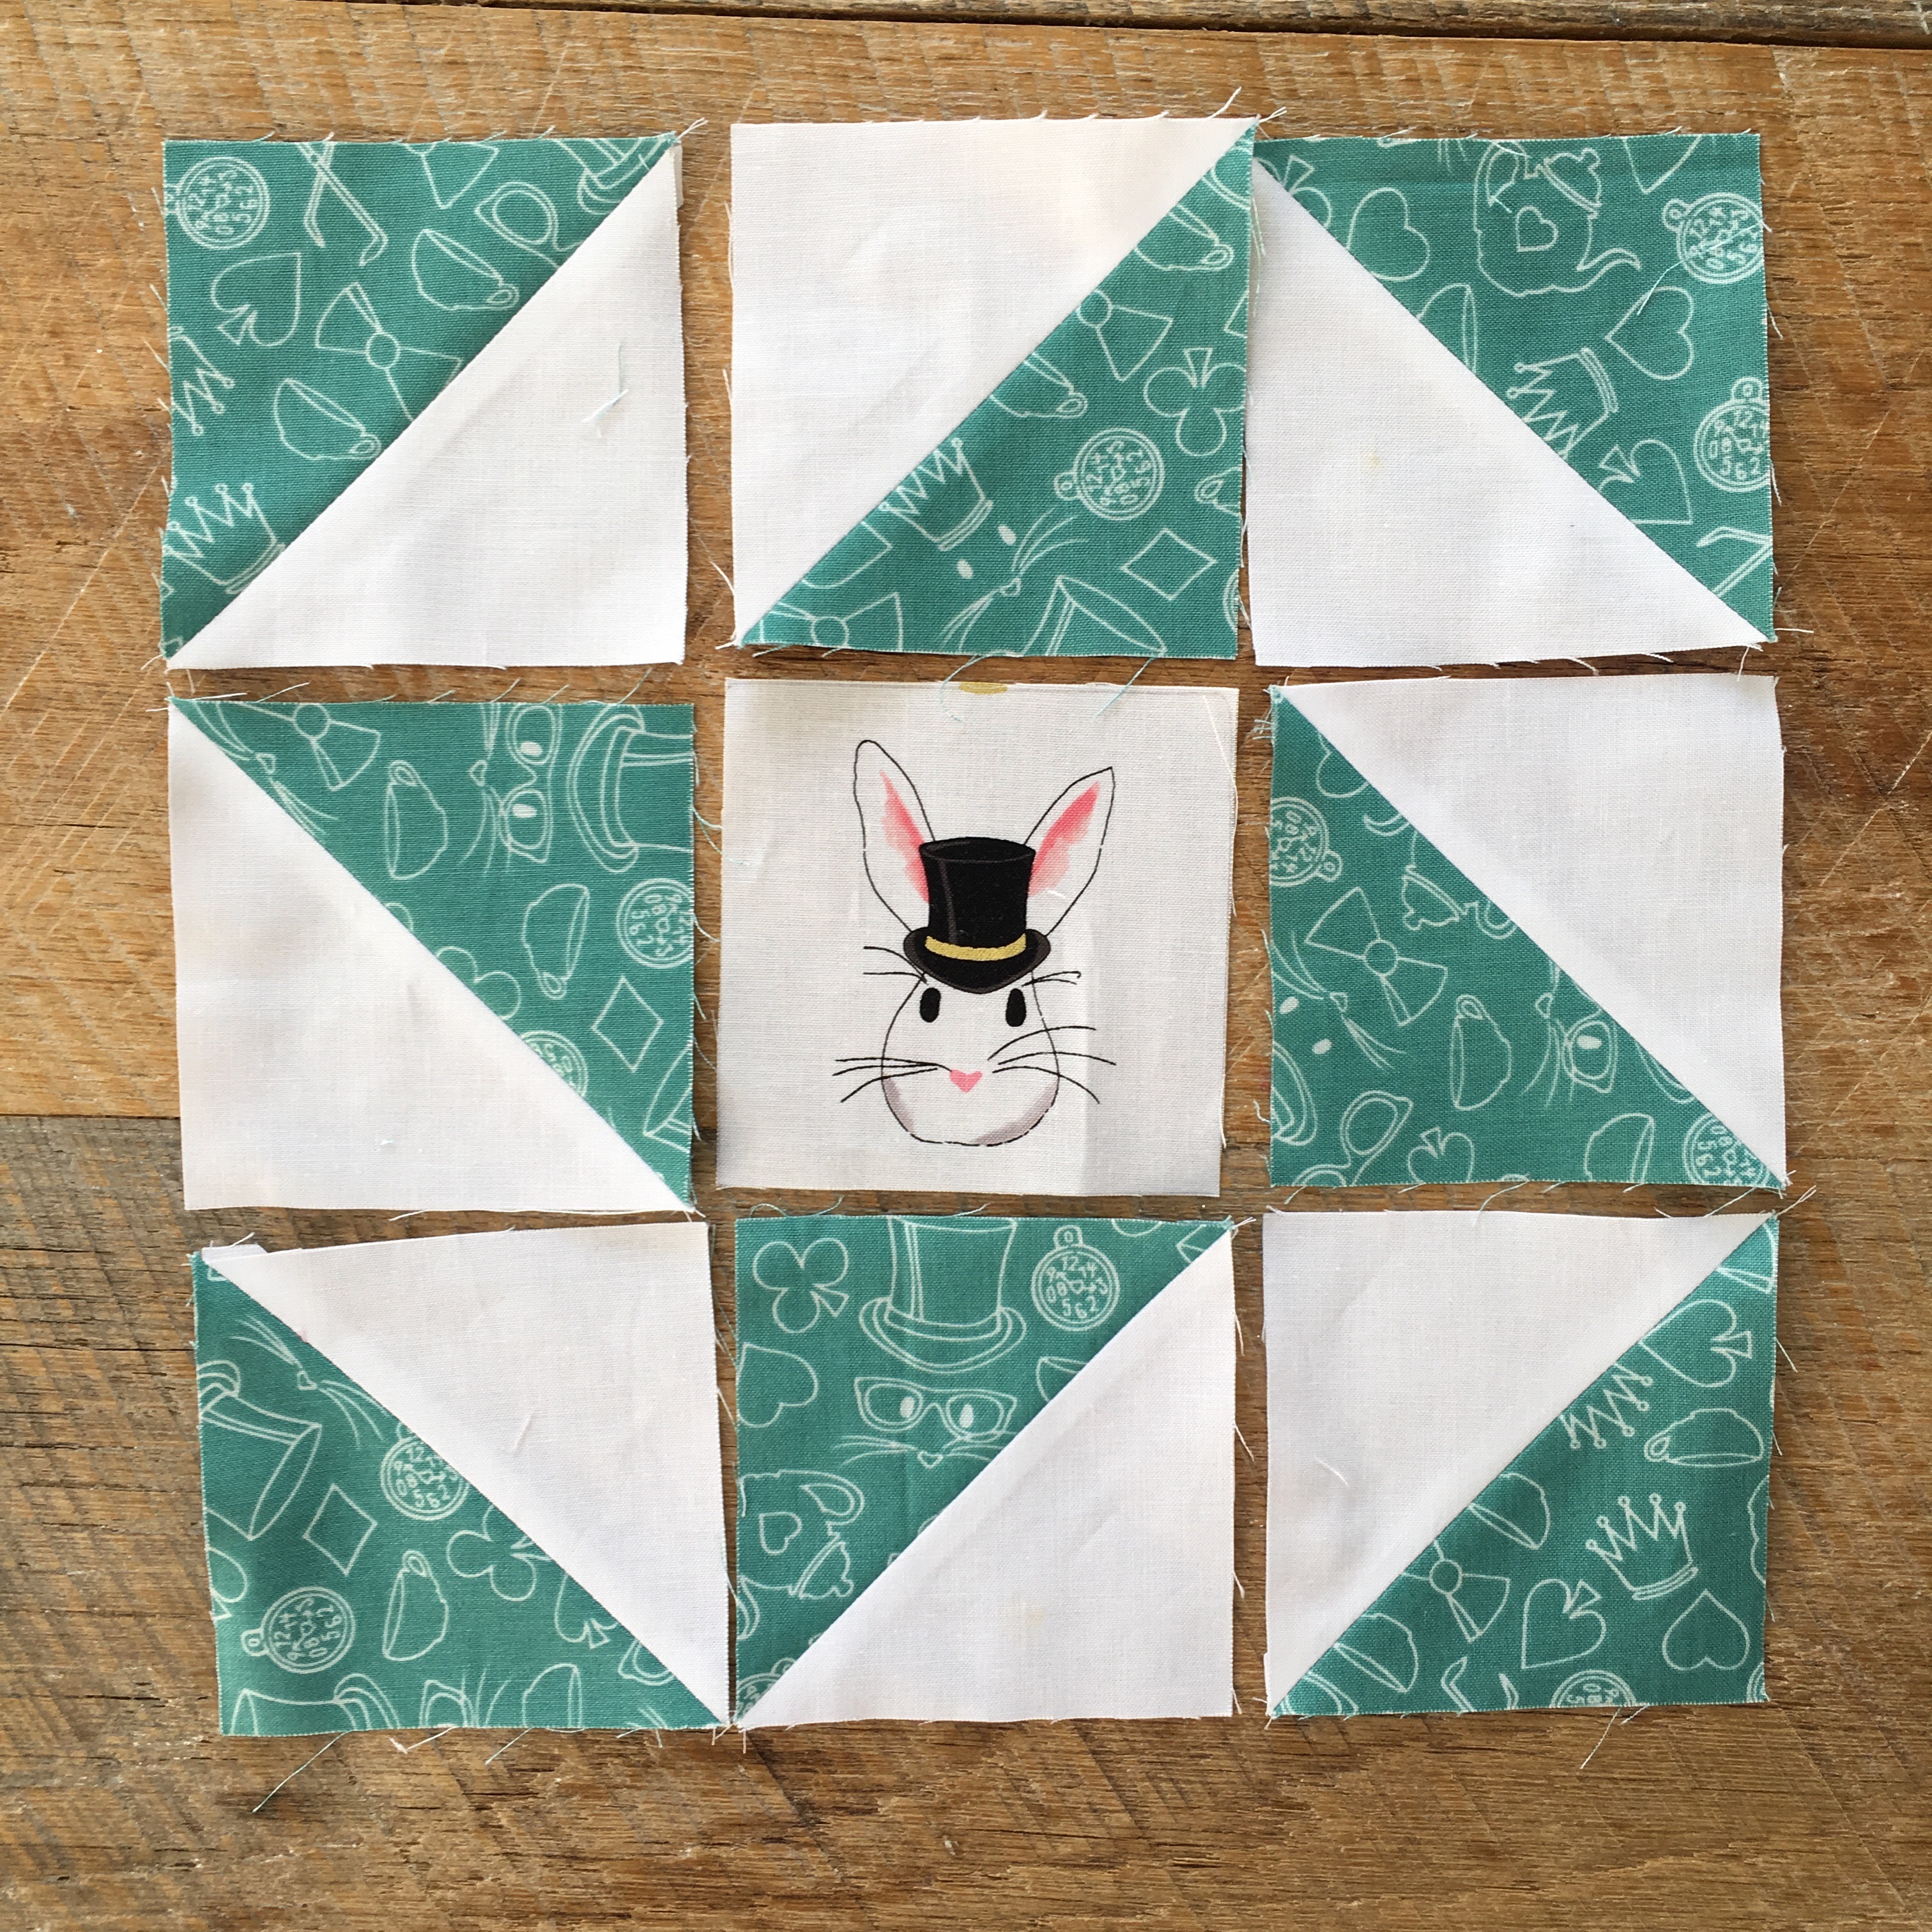
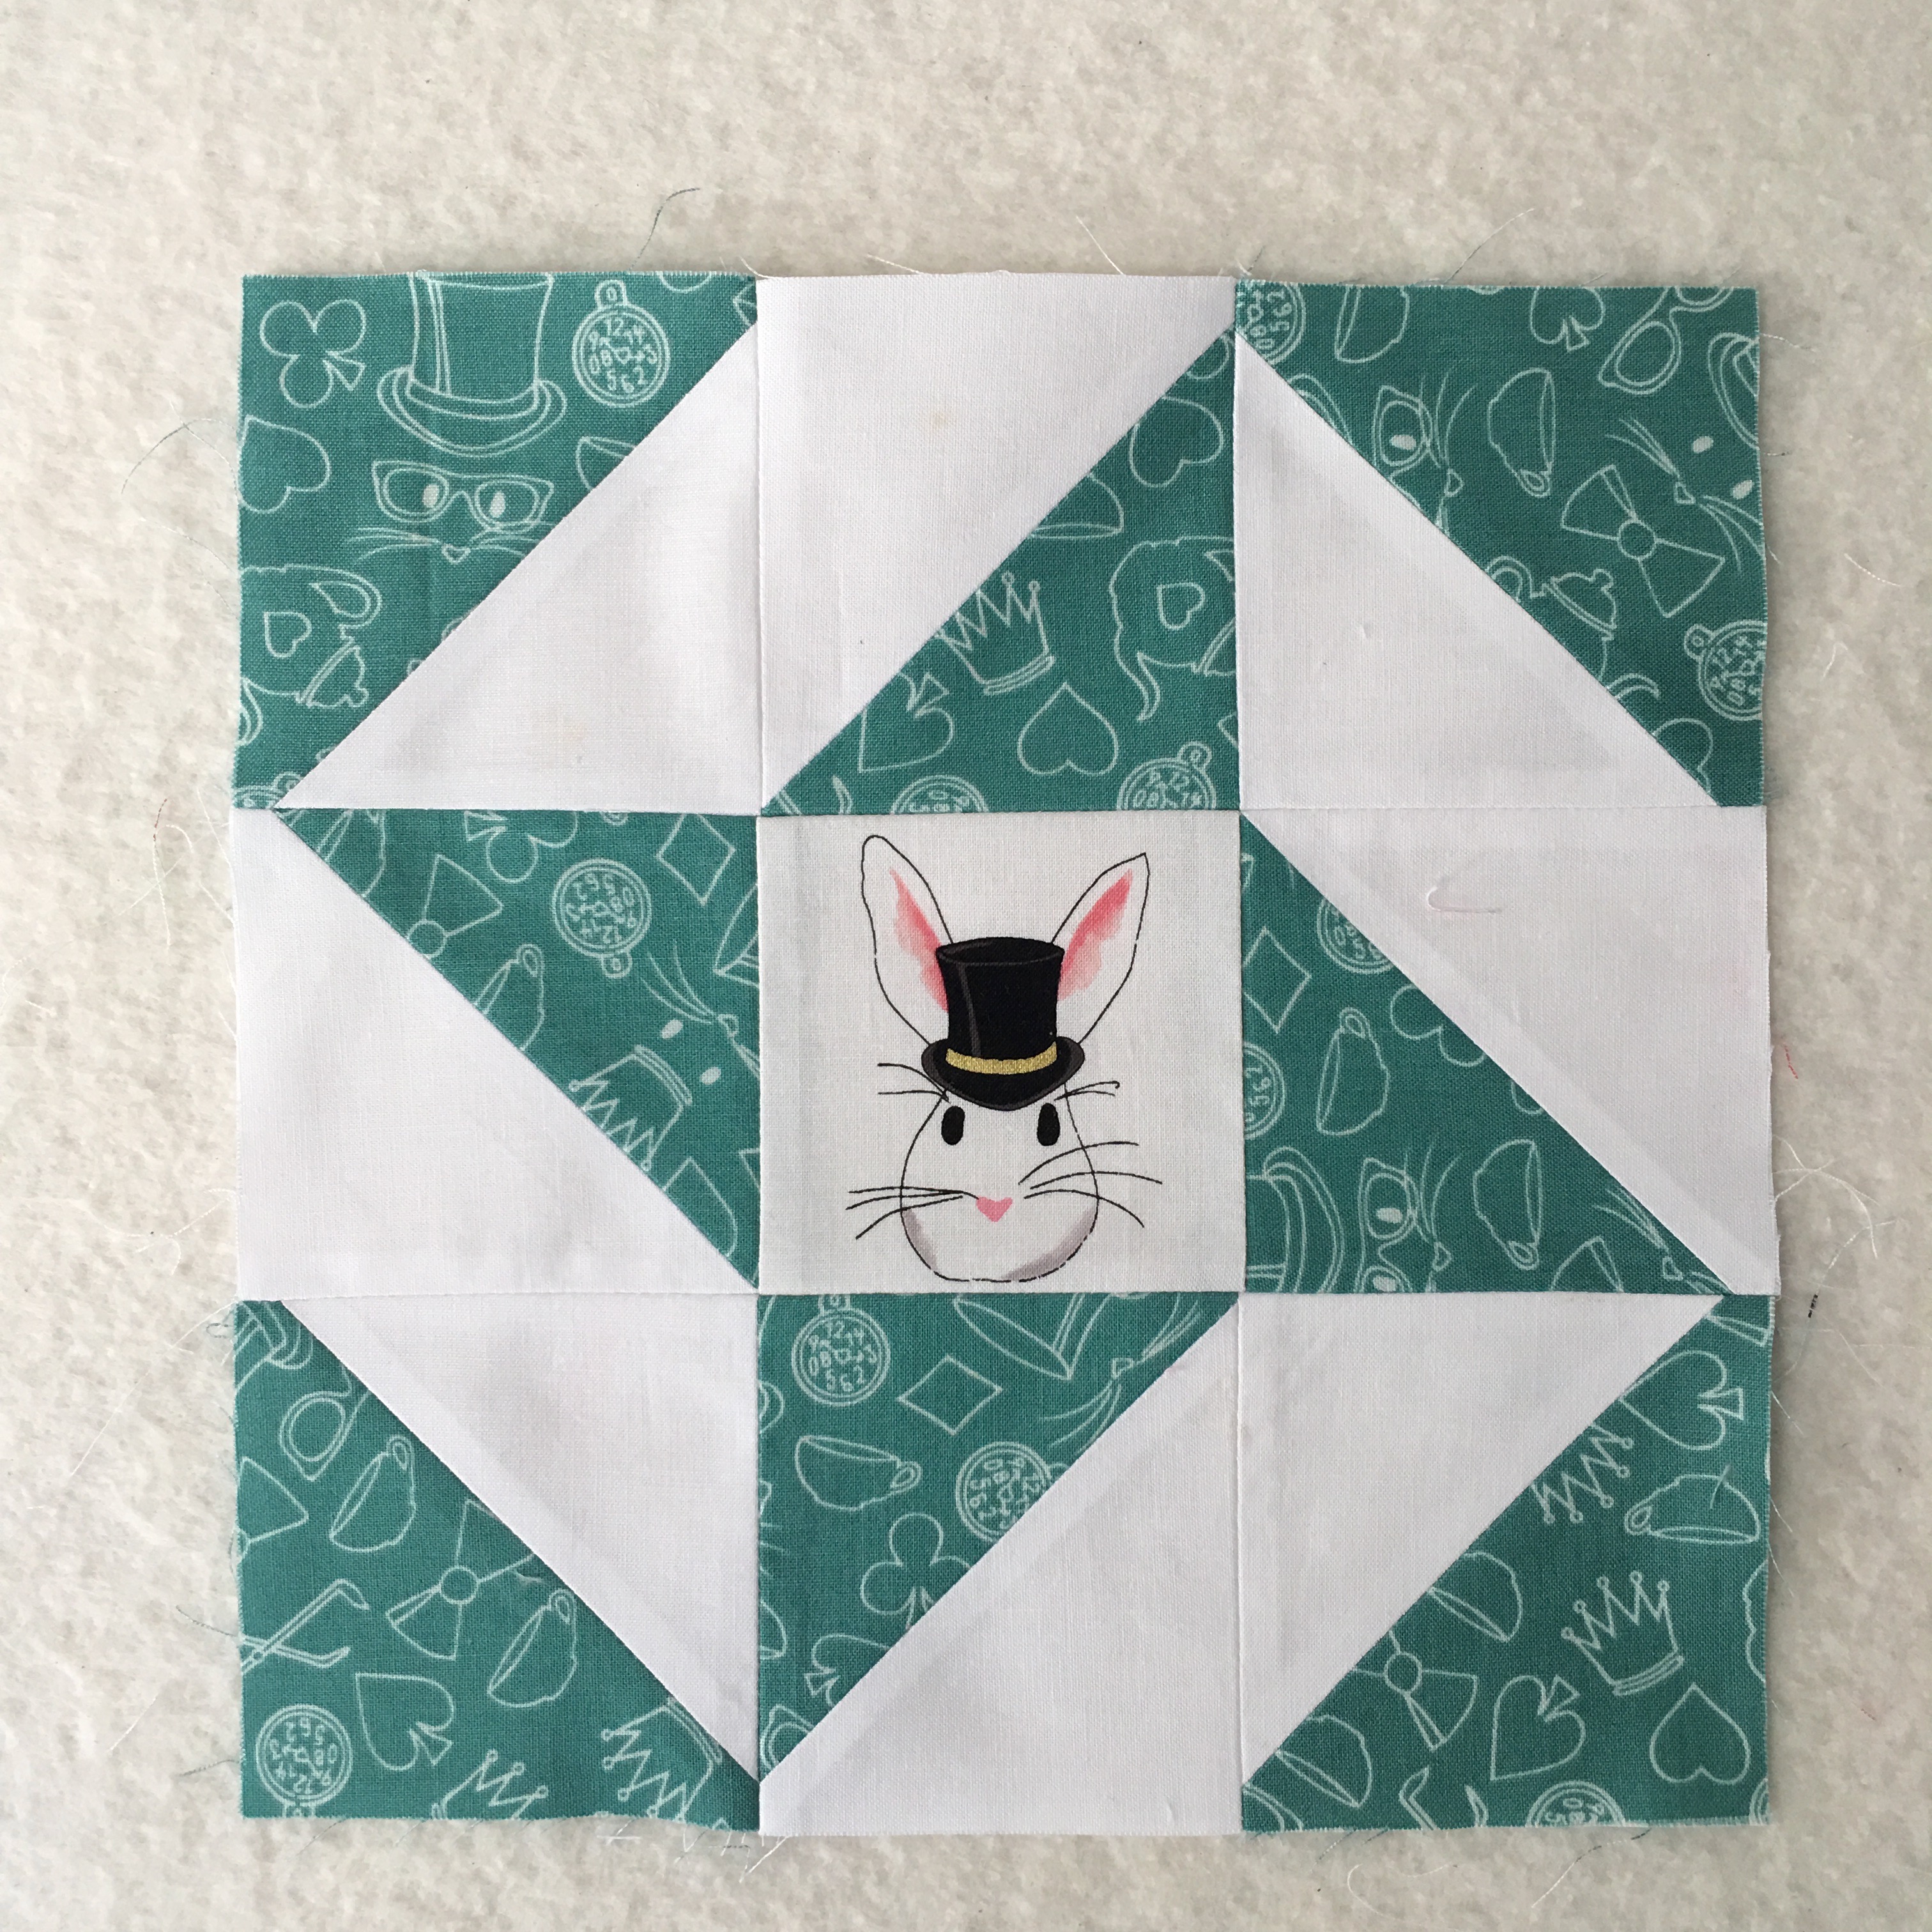
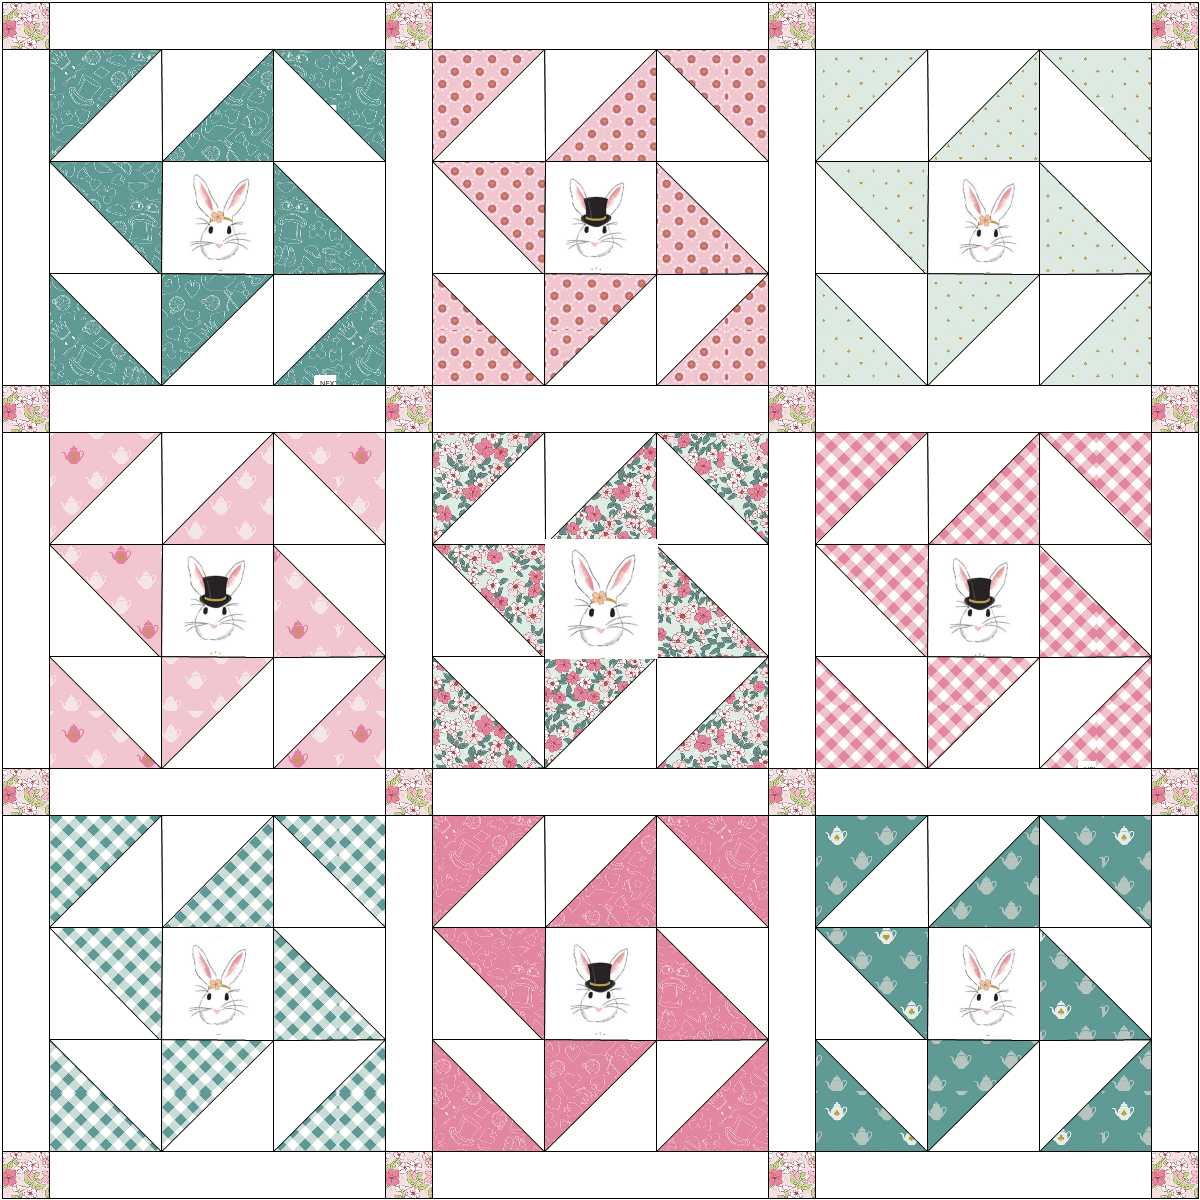
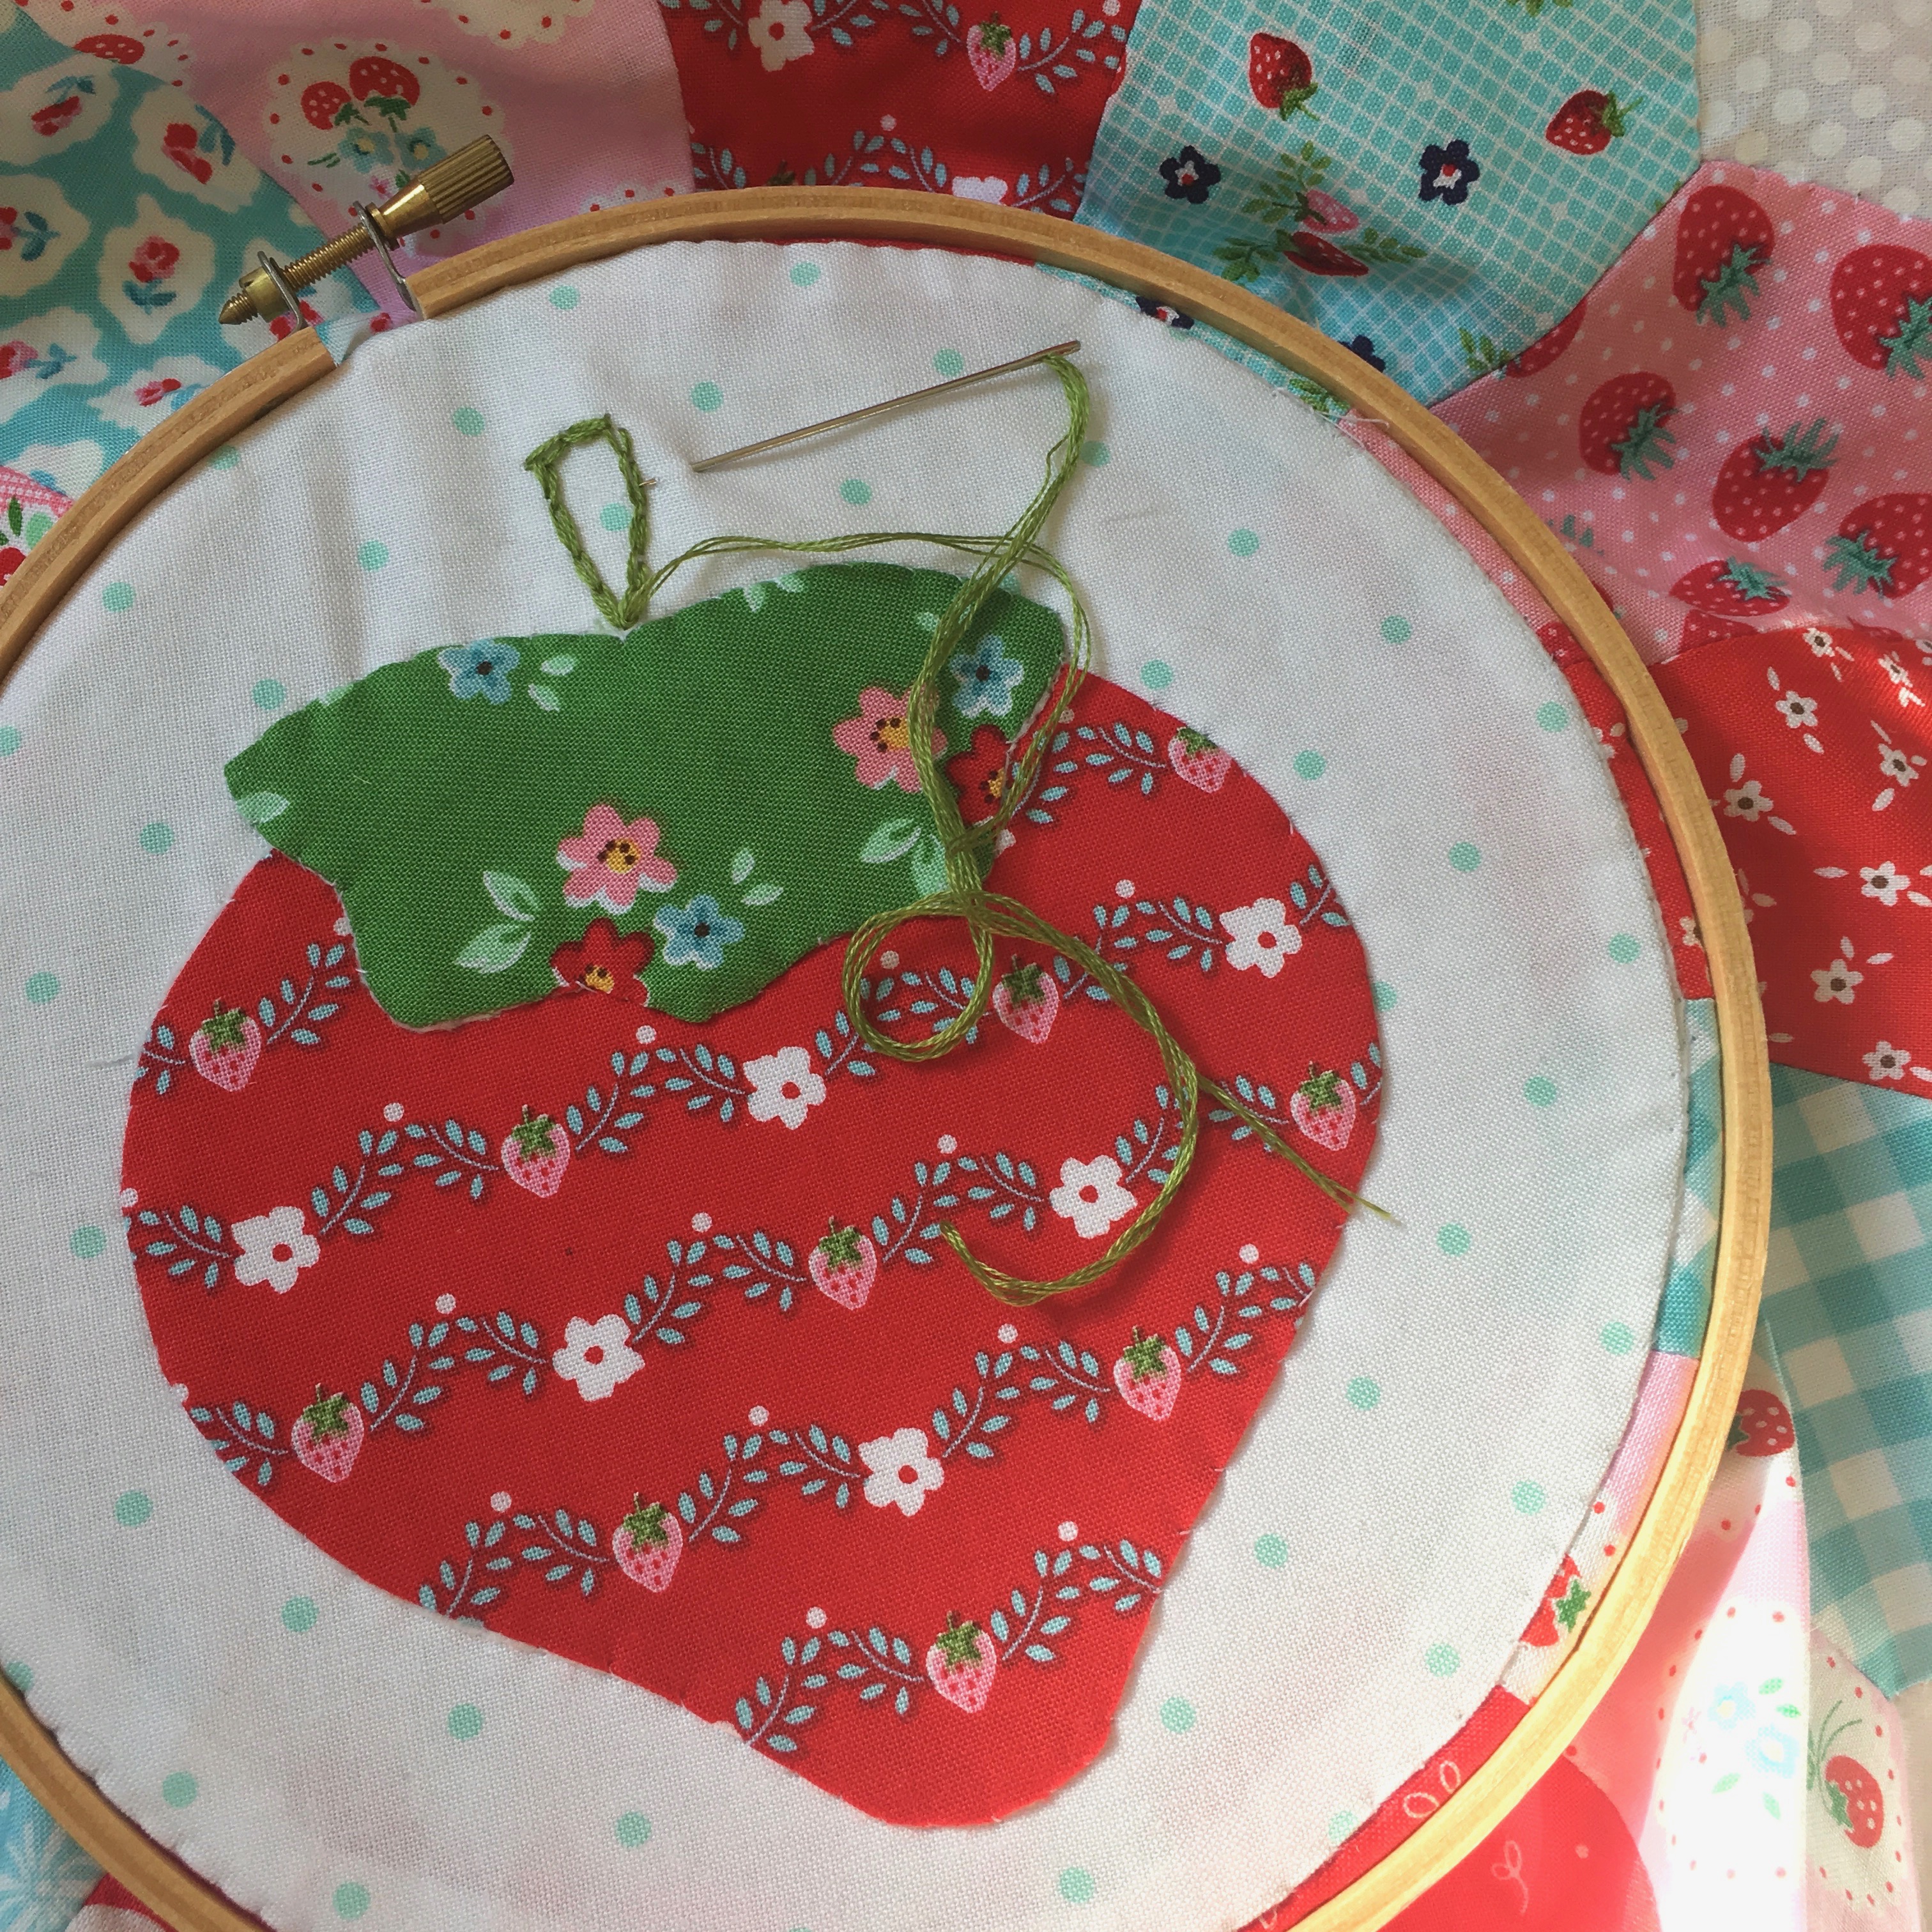
 The blocks are 8″ with a little appliqué insert. You can purchase the PDF pattern in my
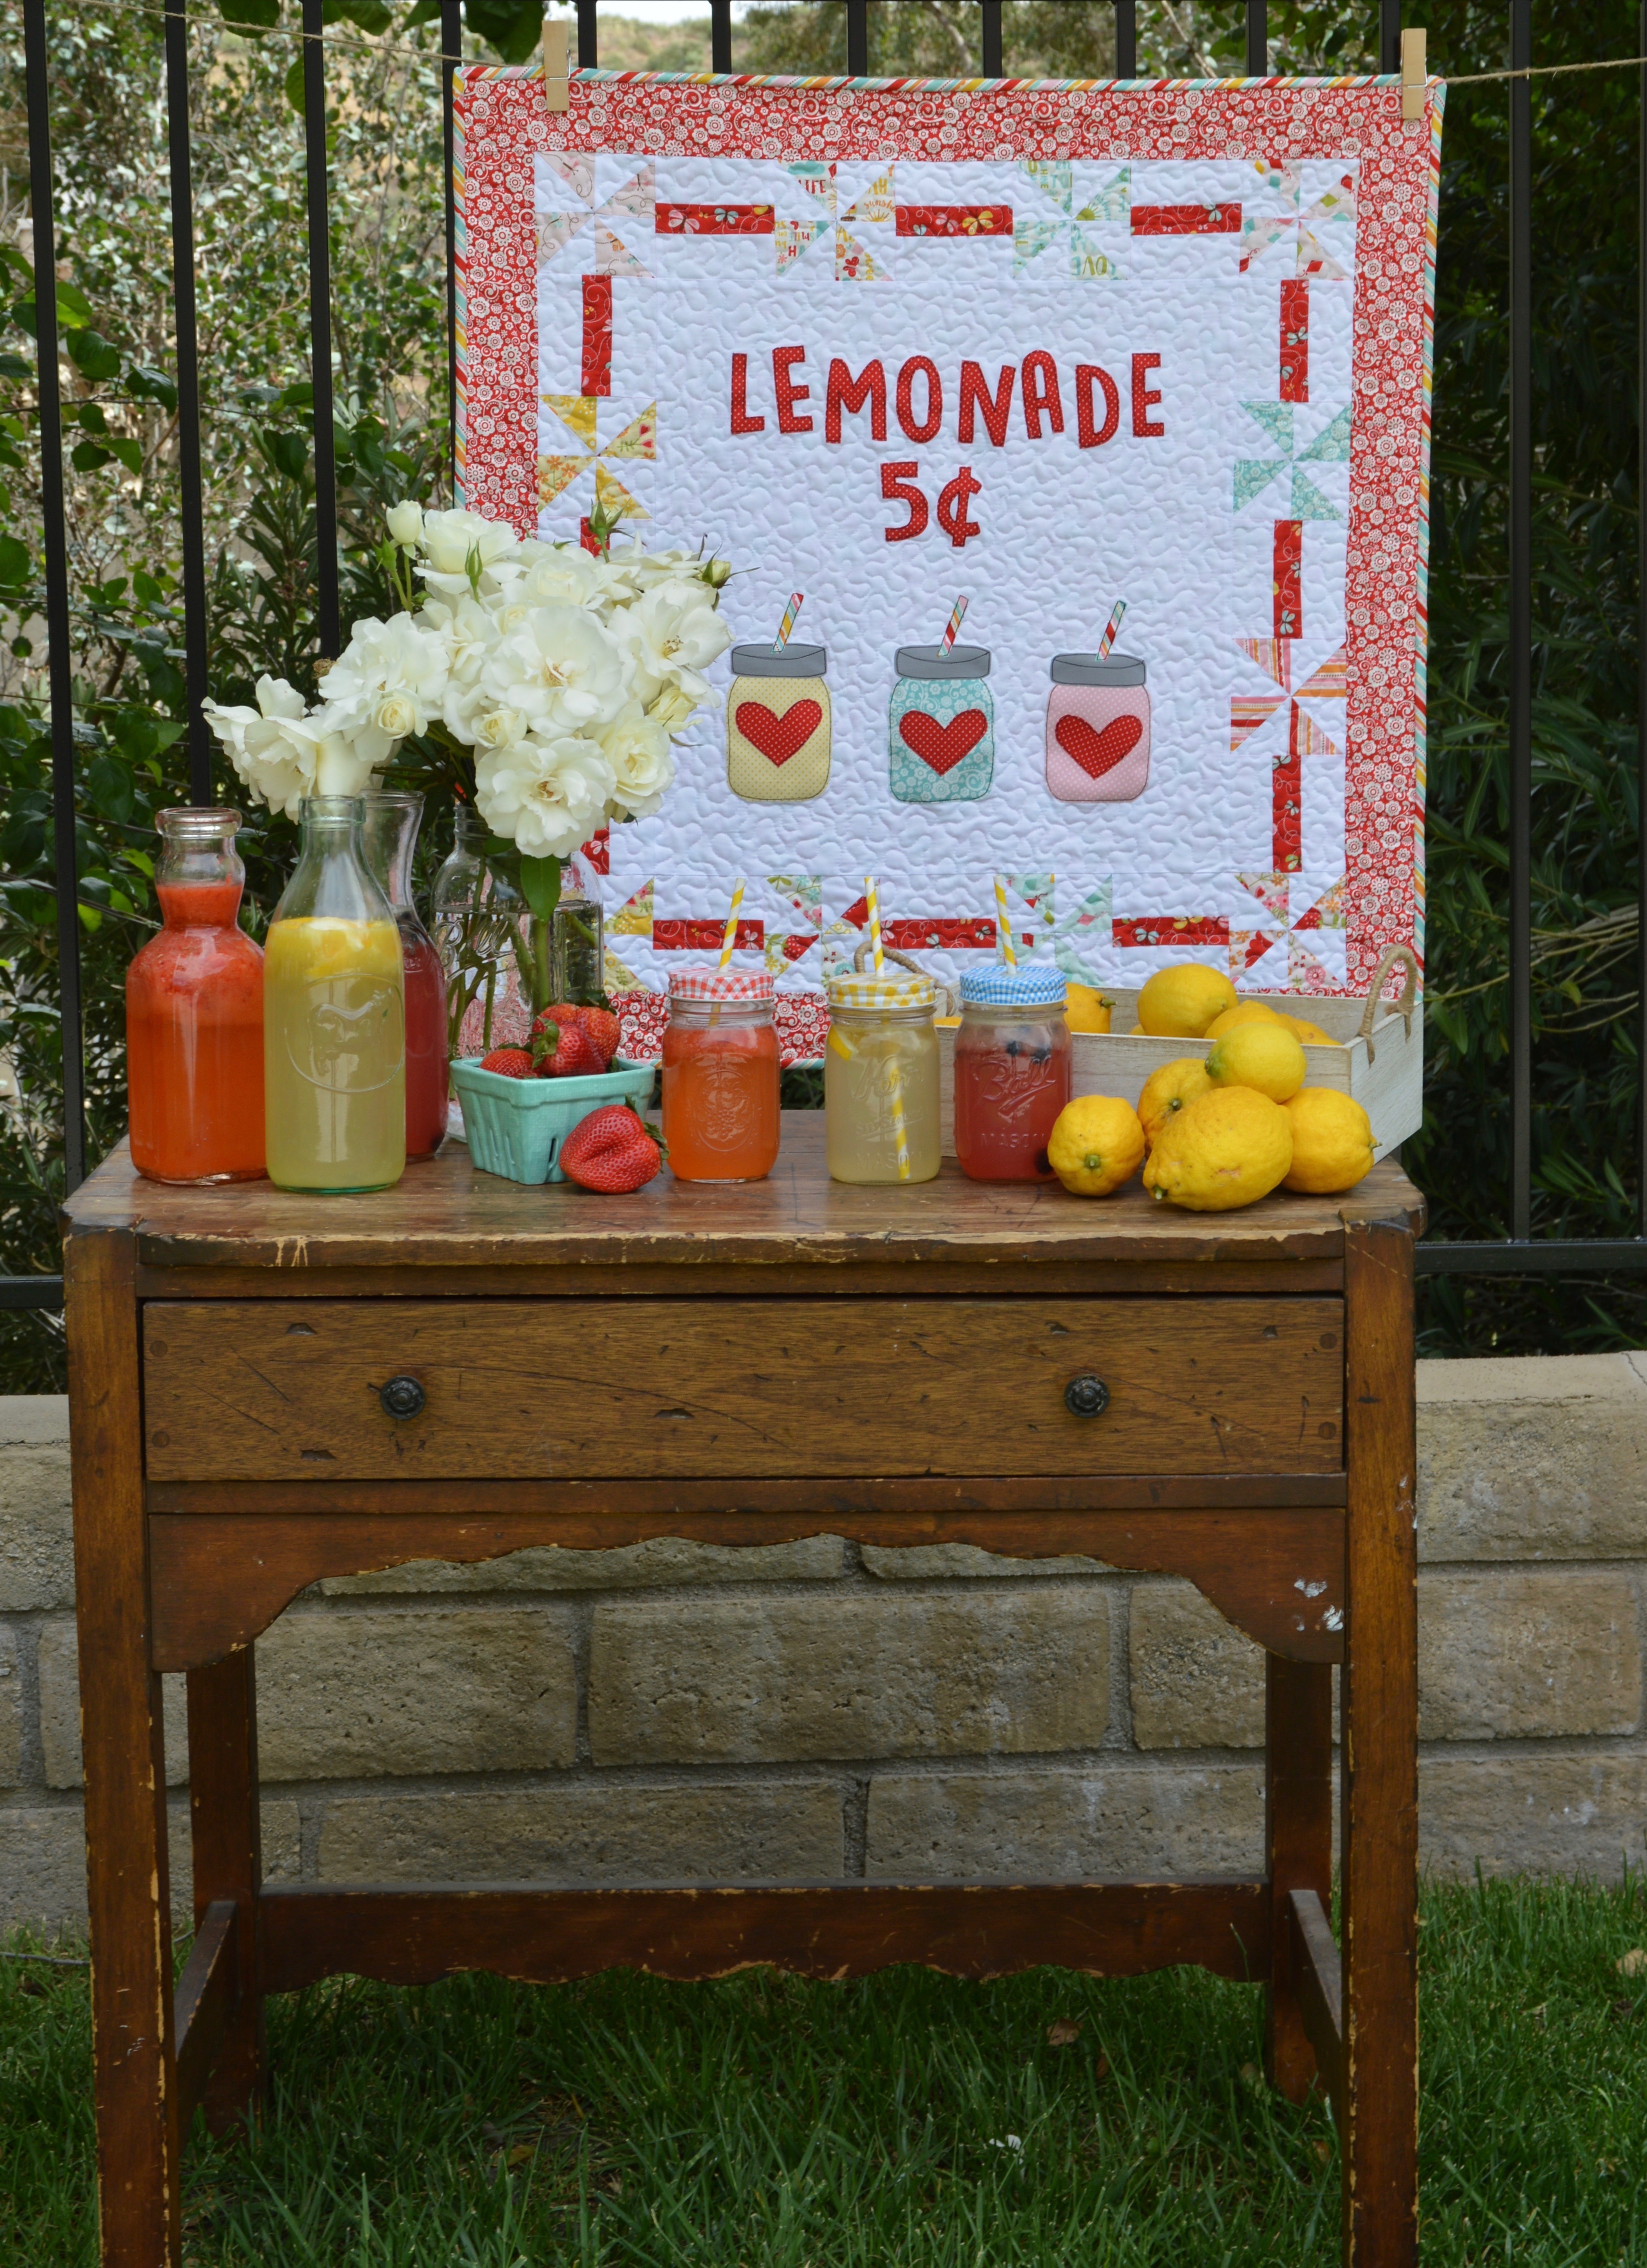

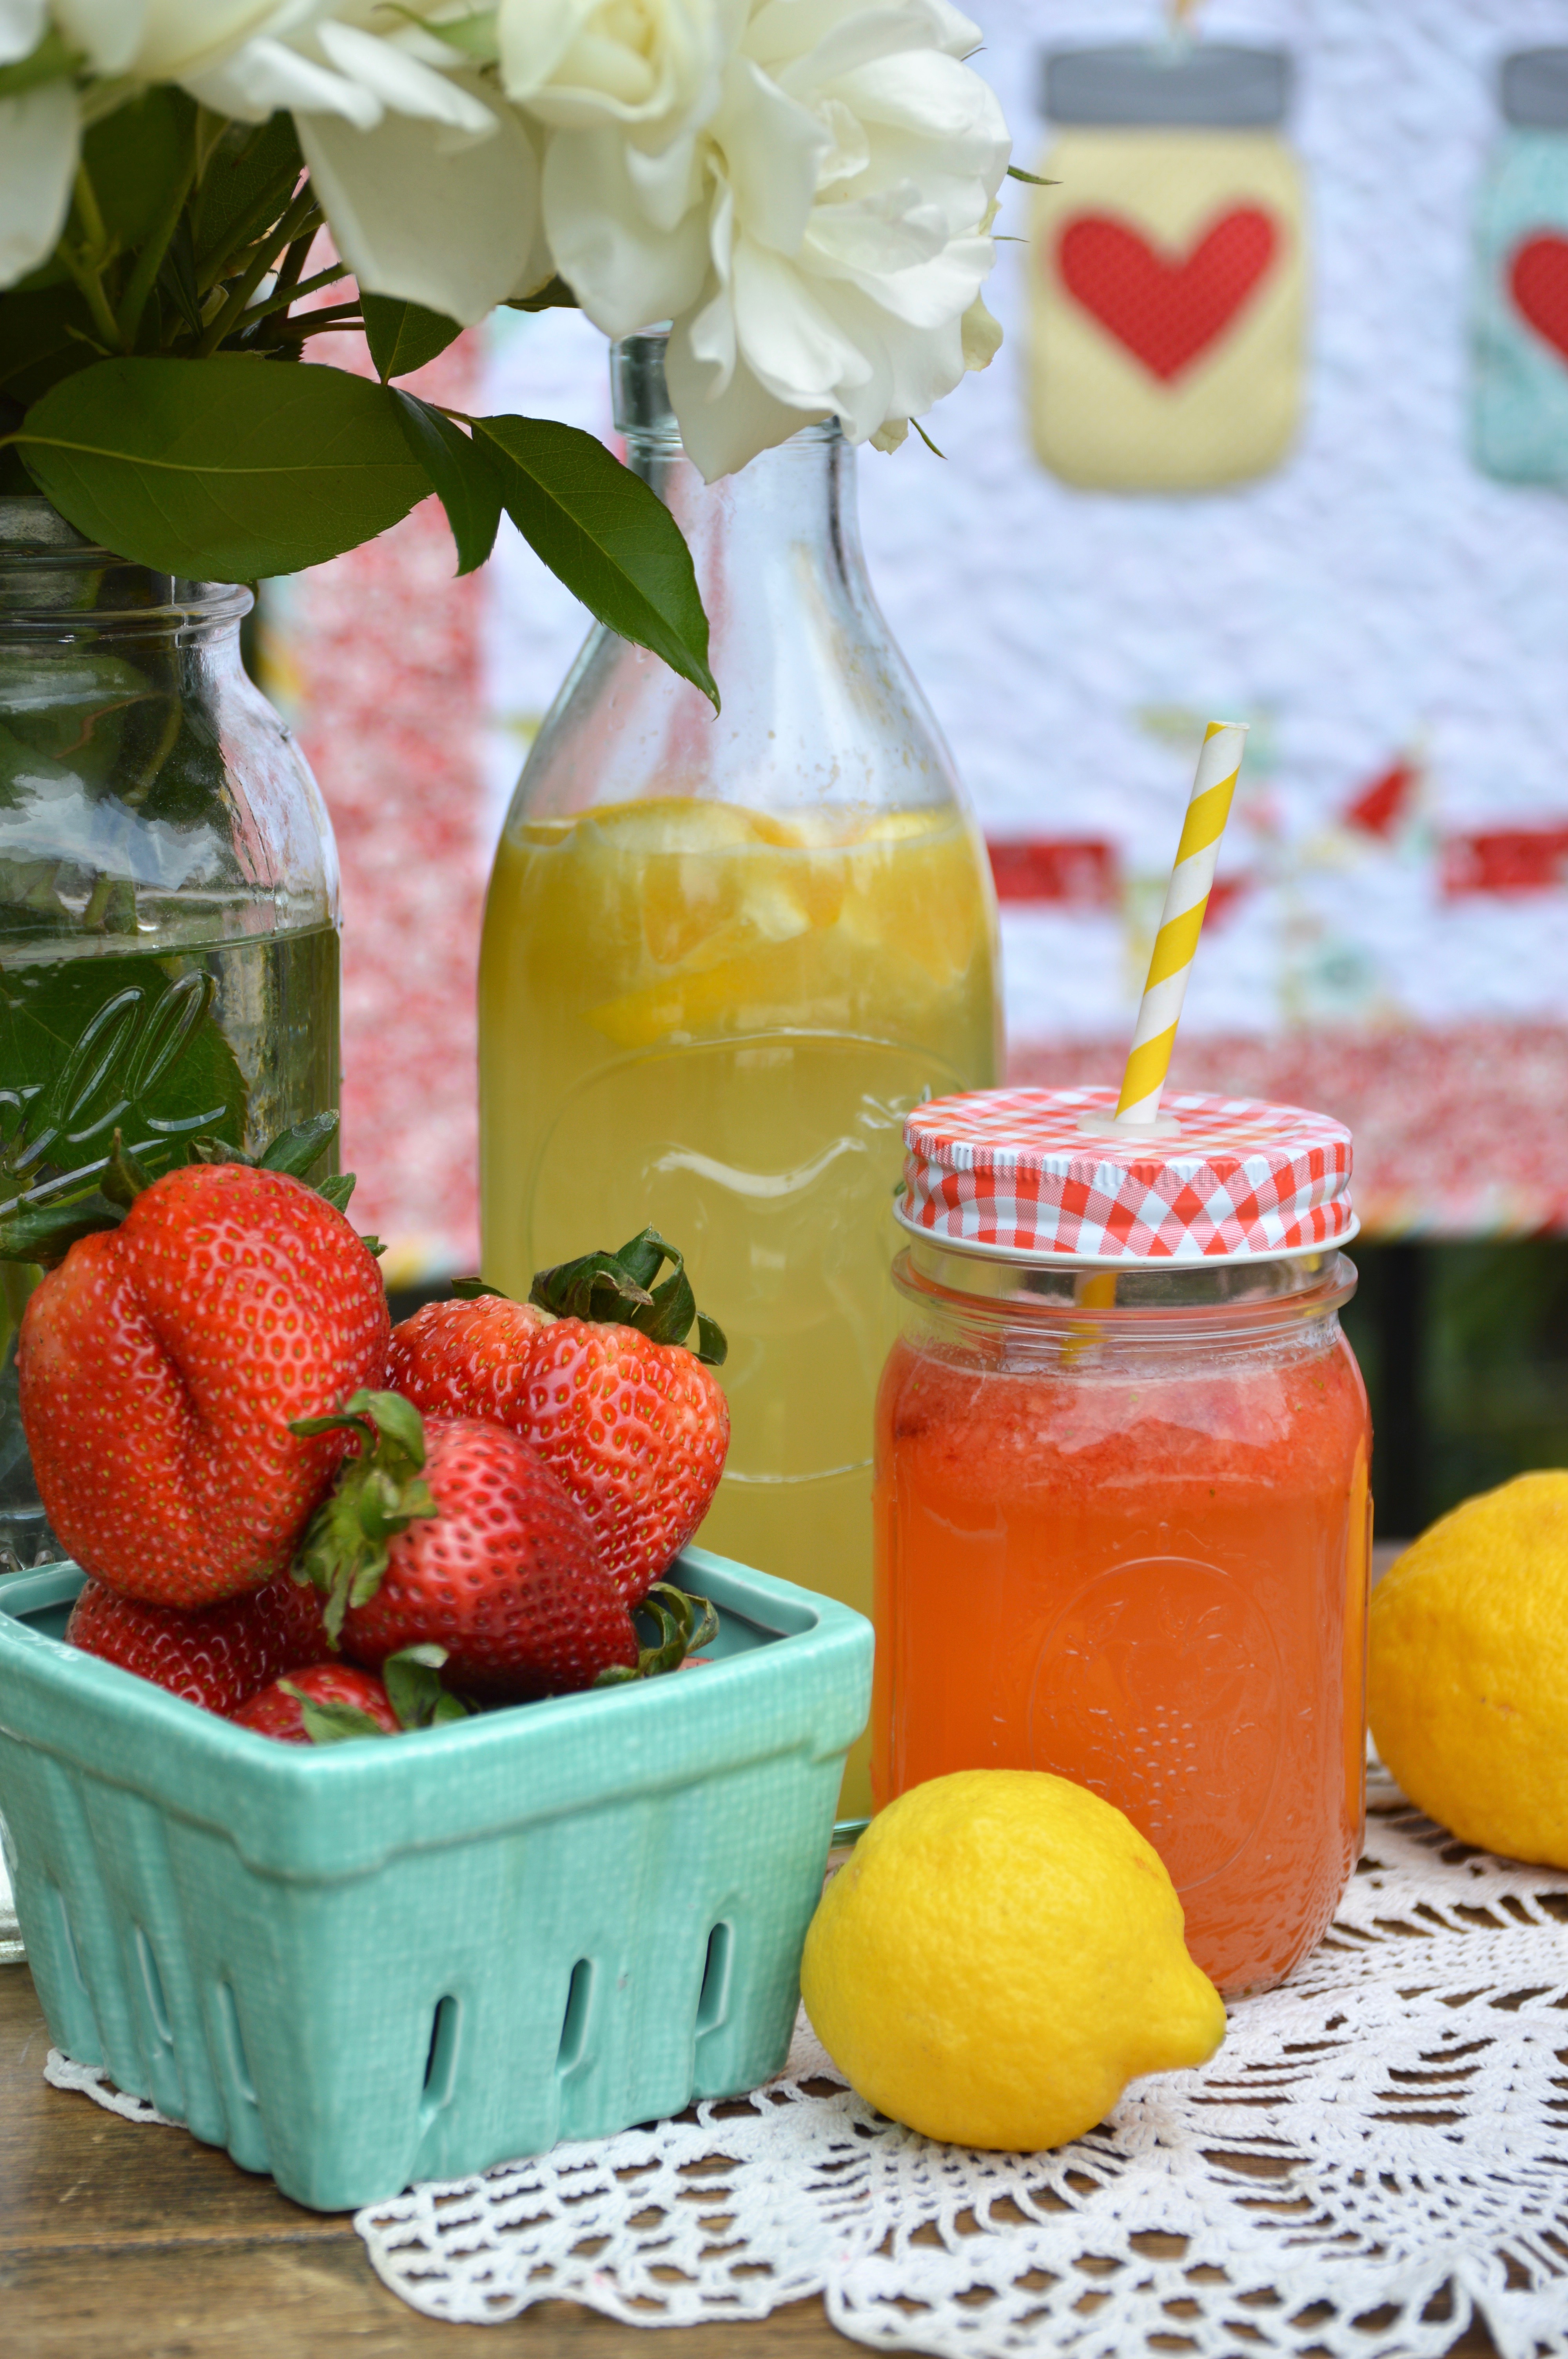
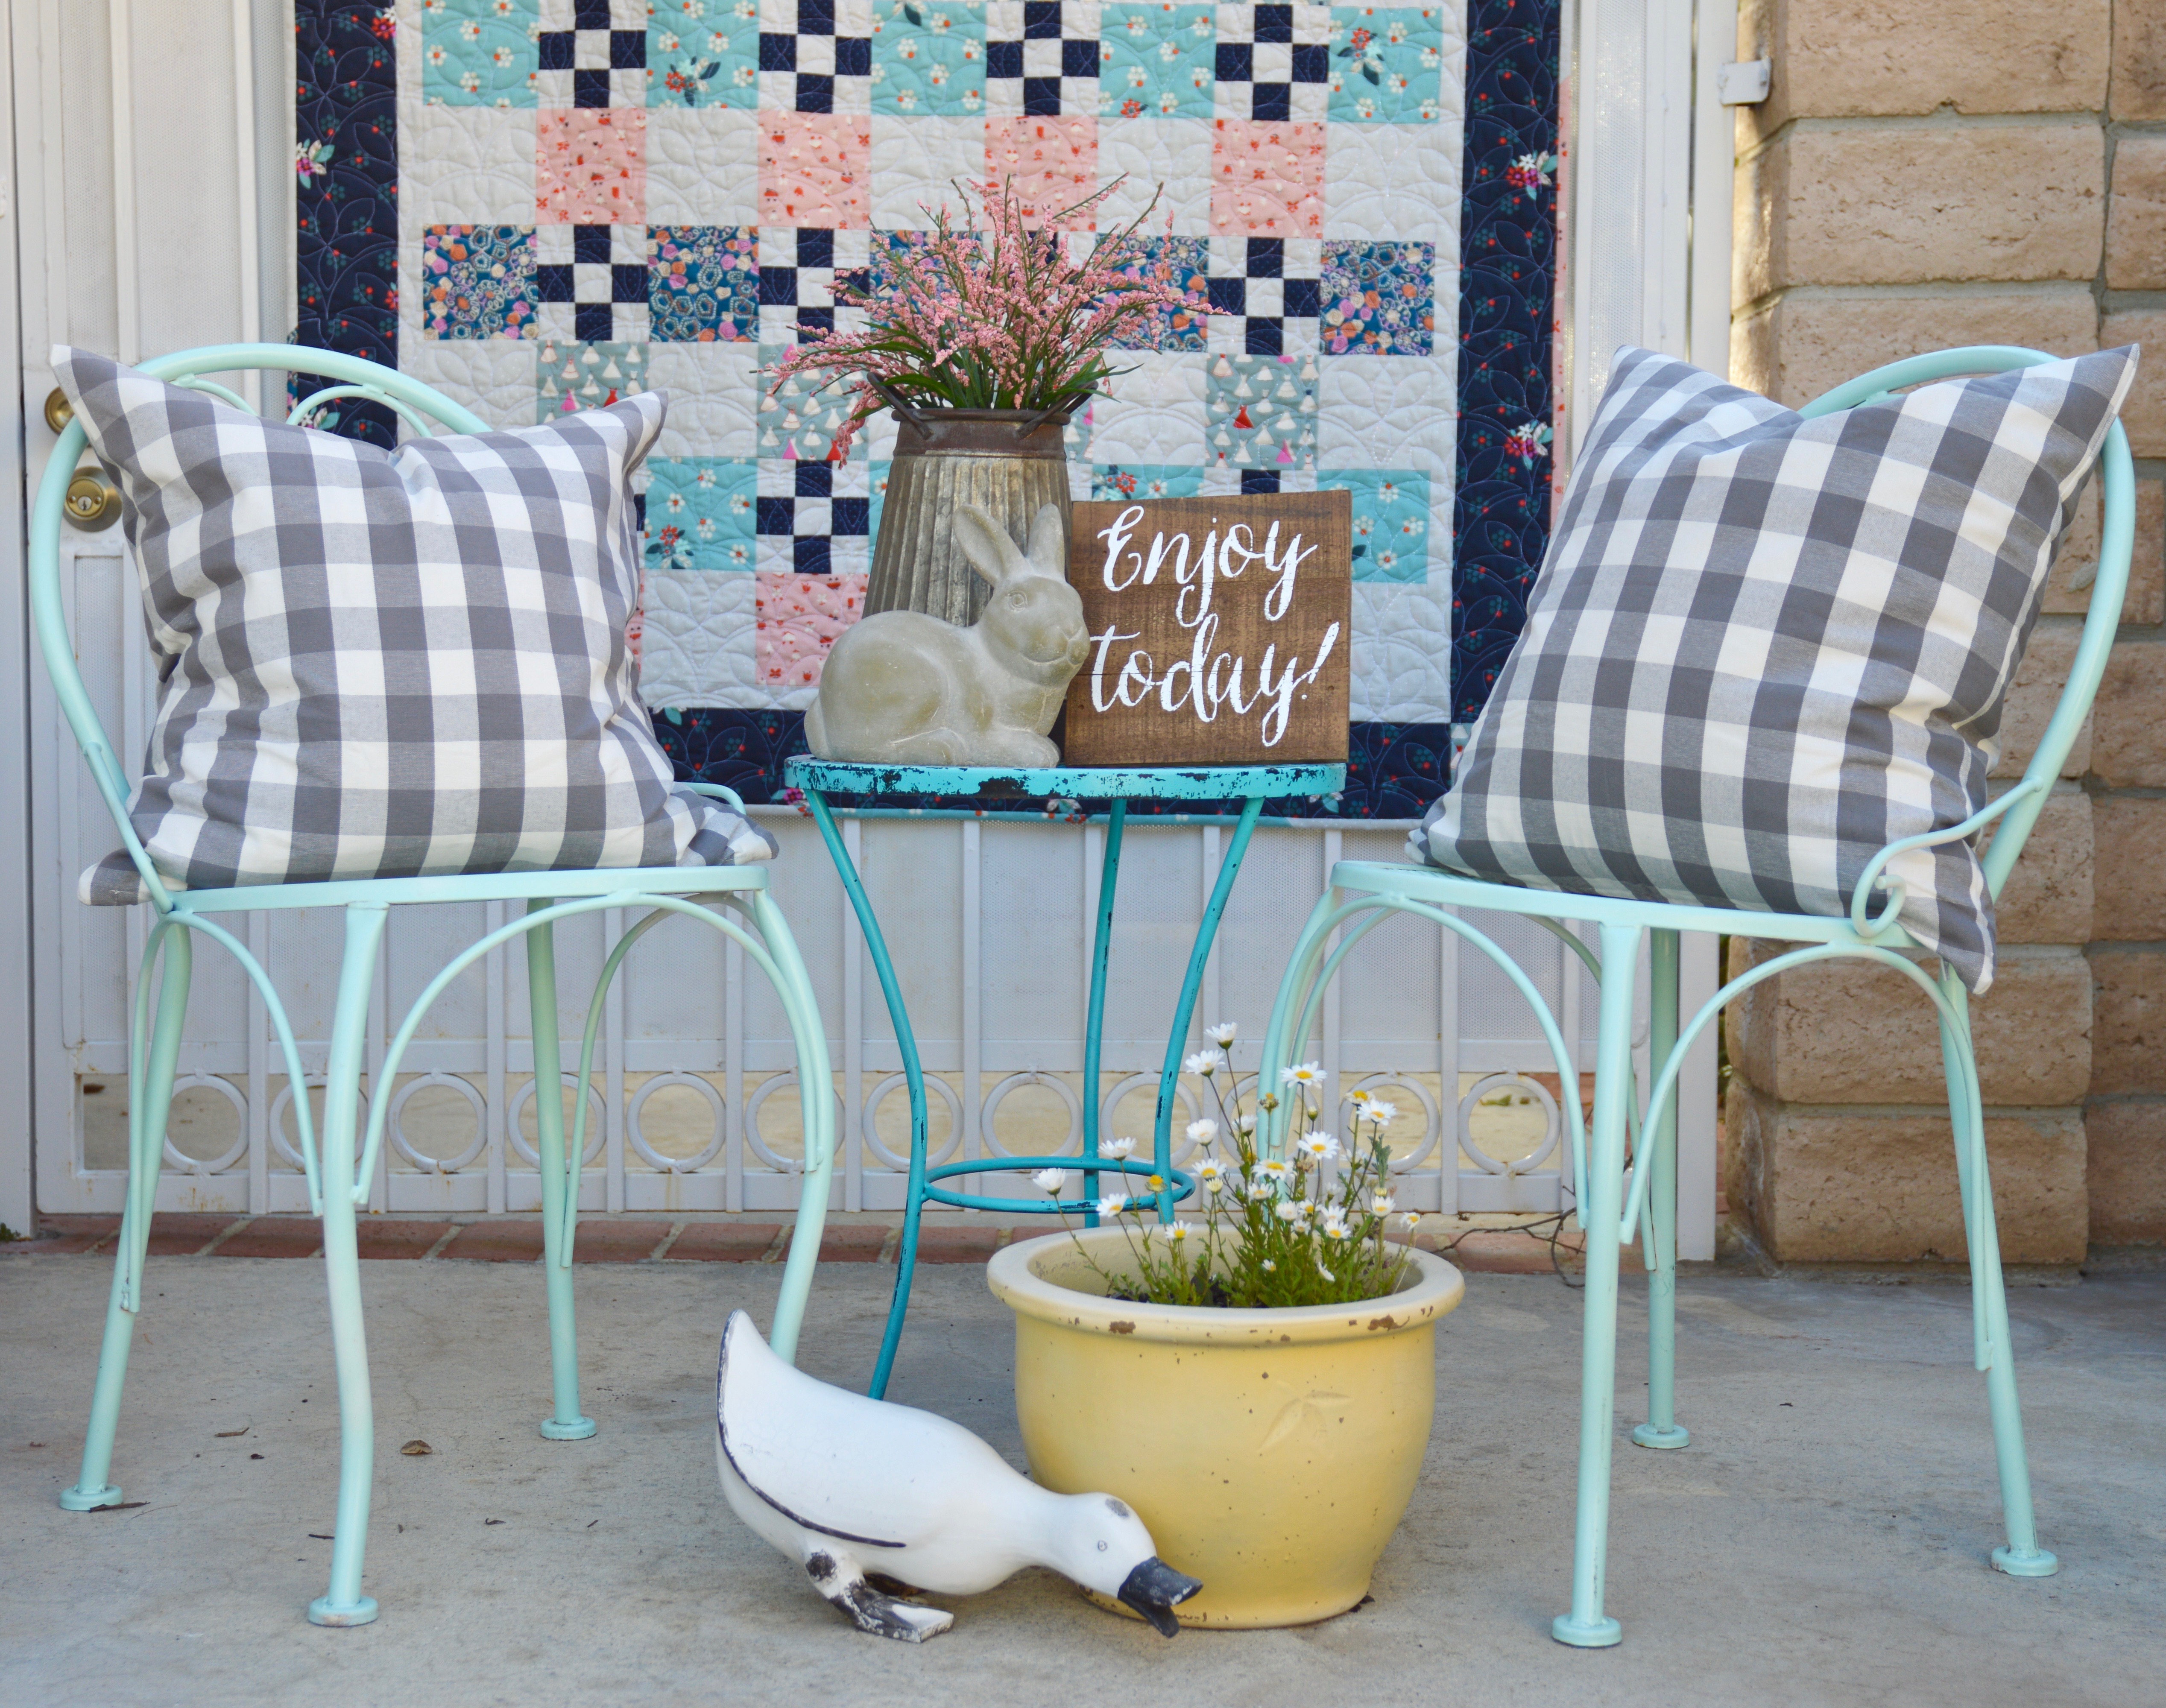
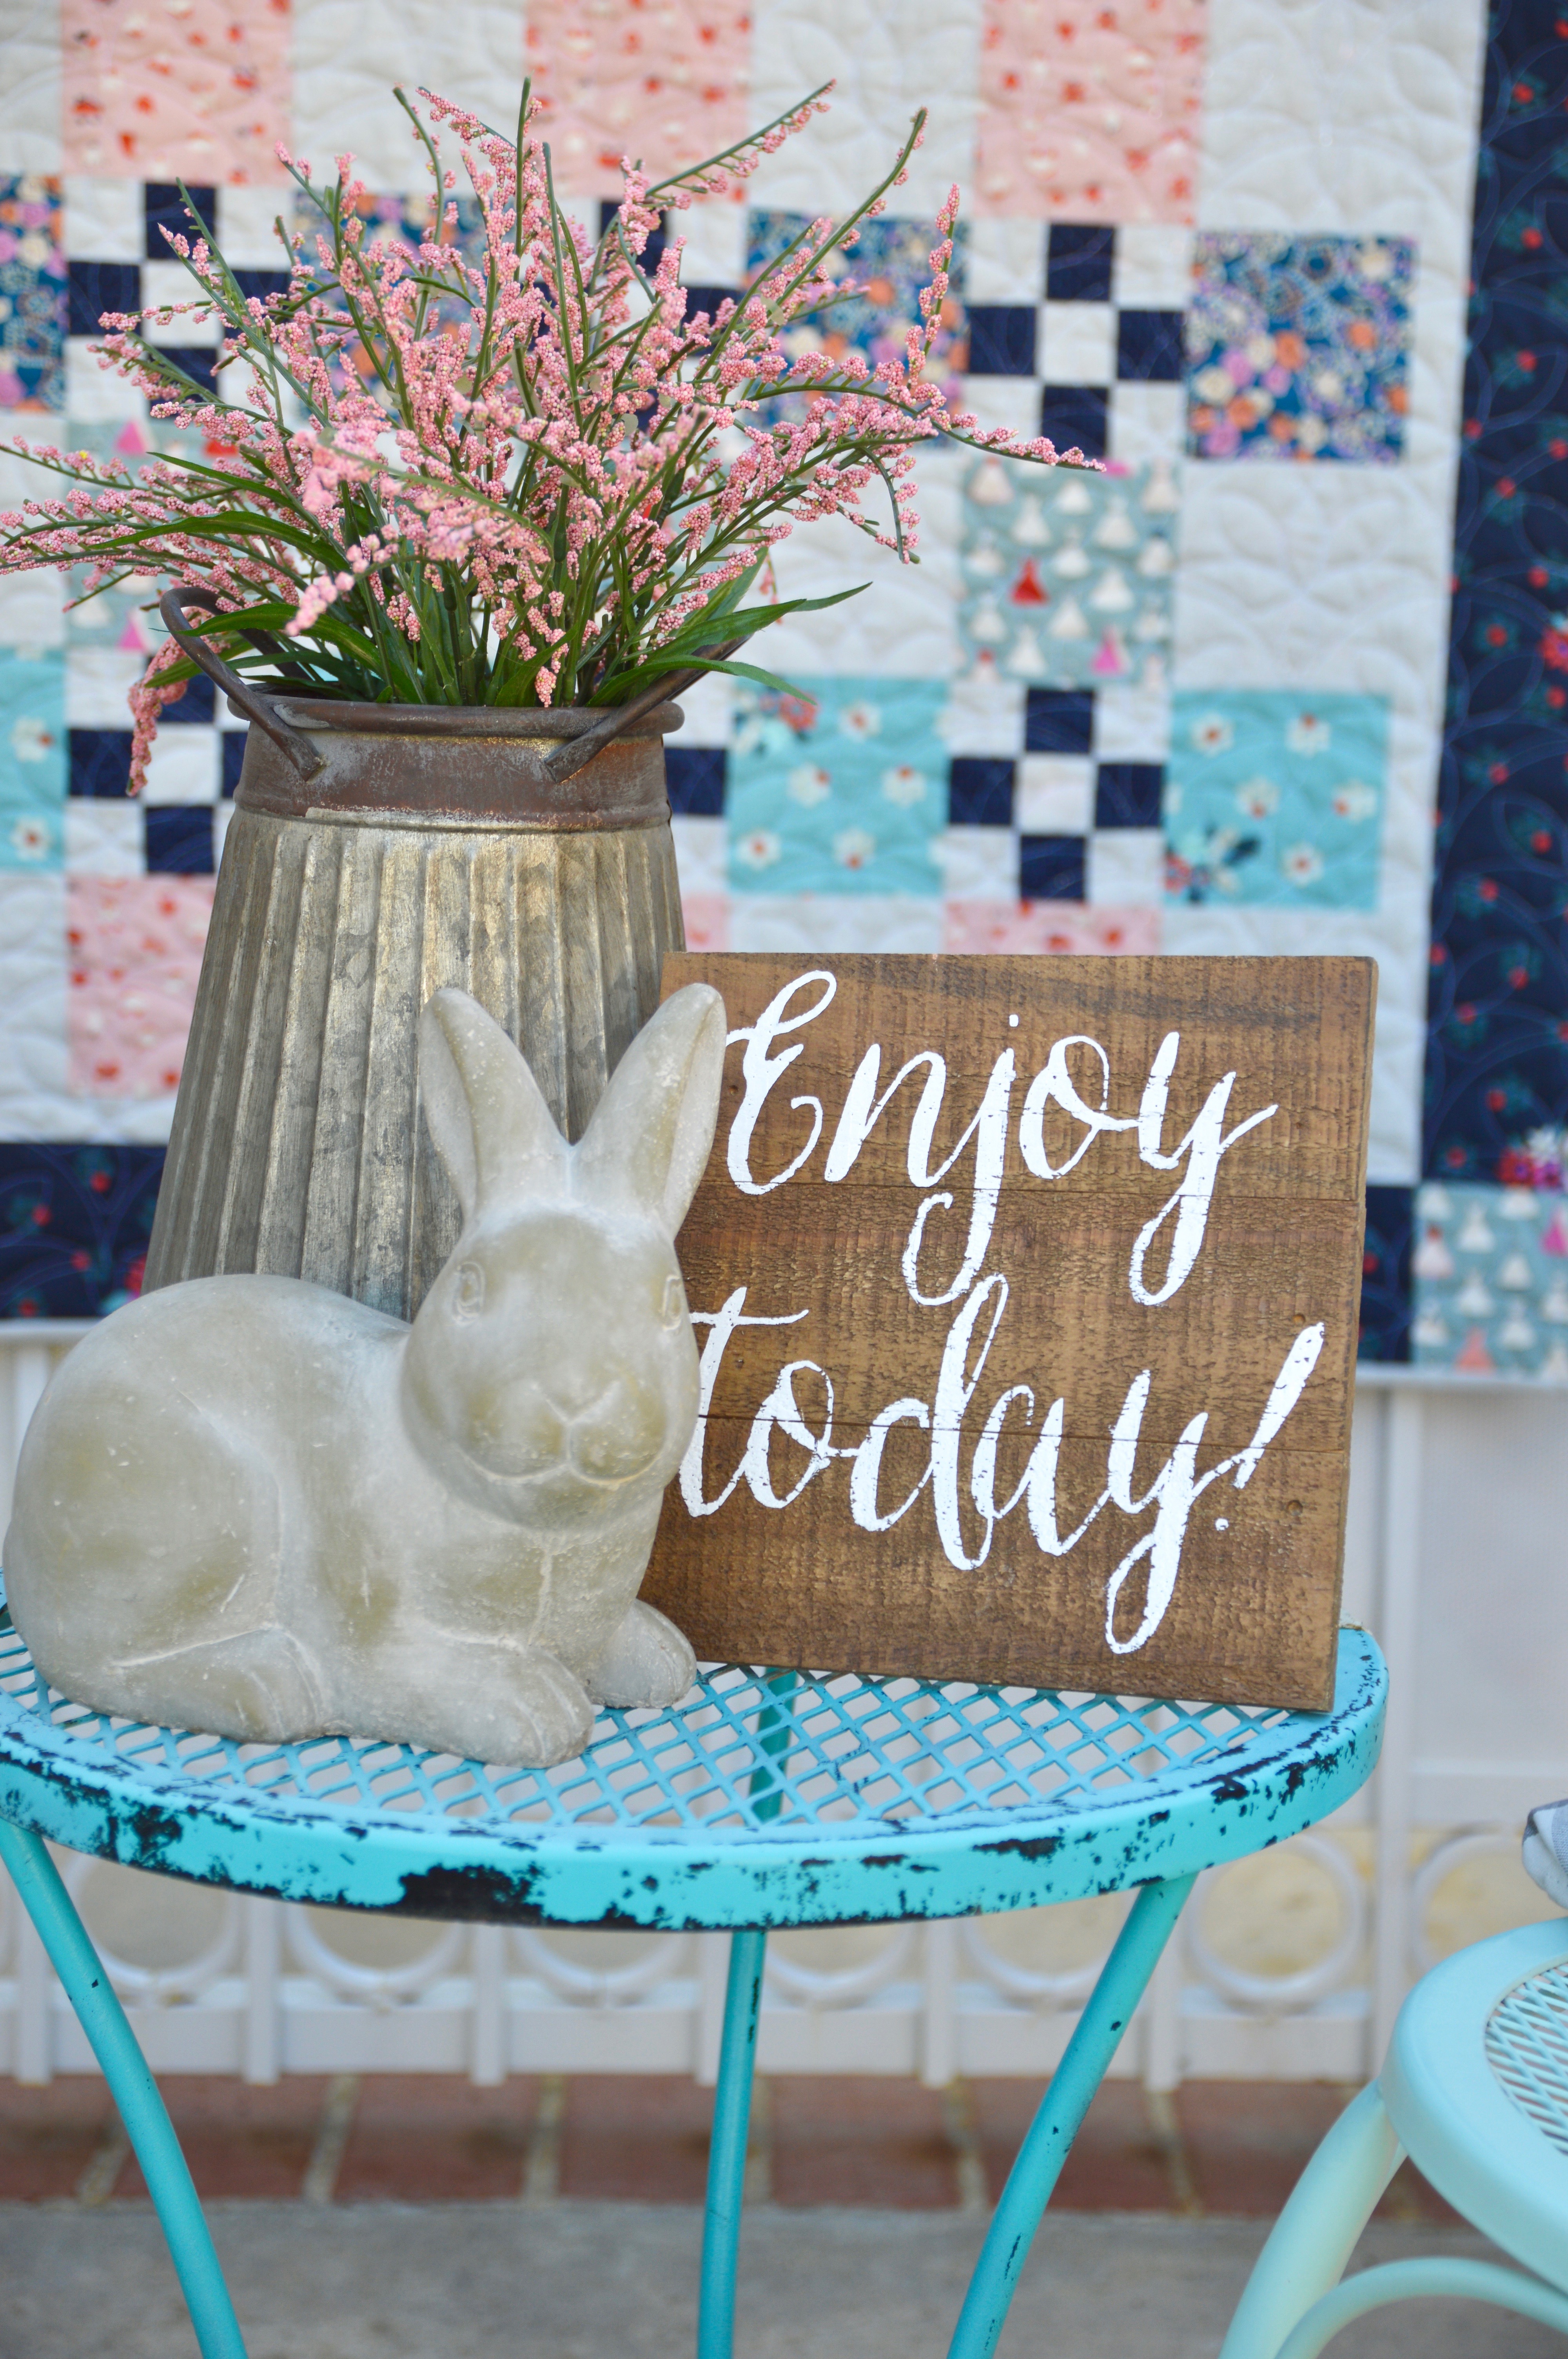
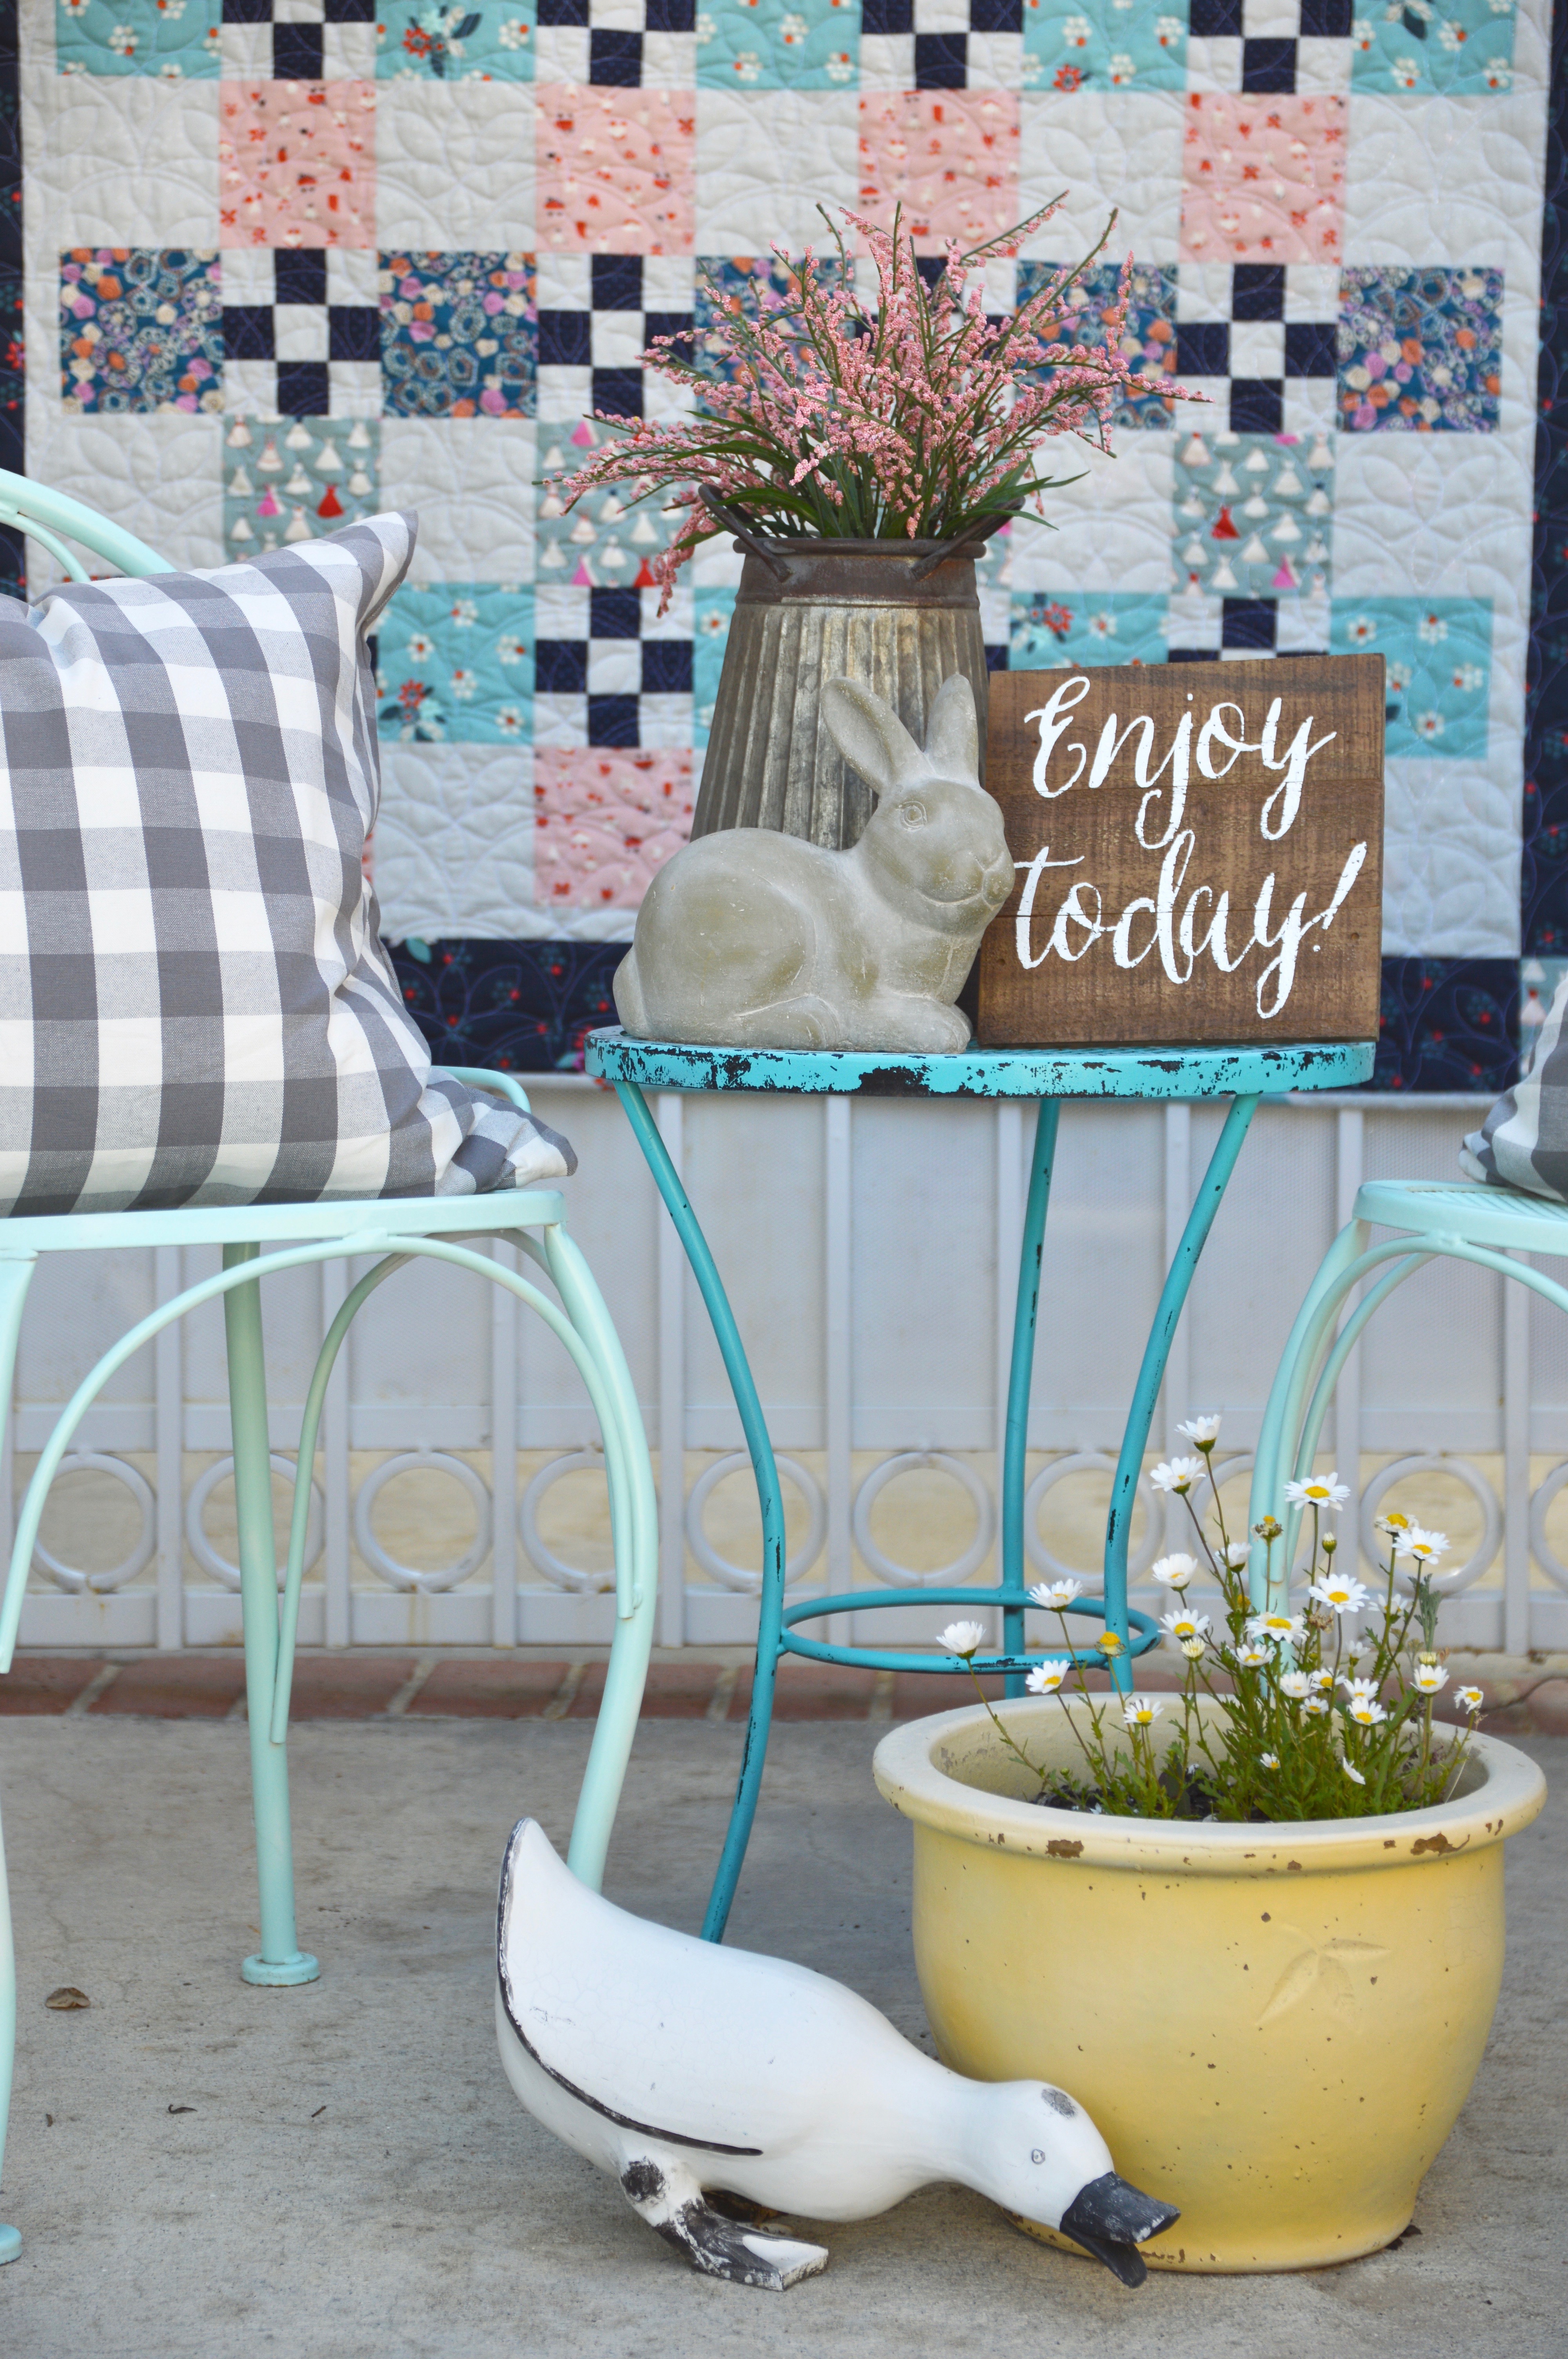
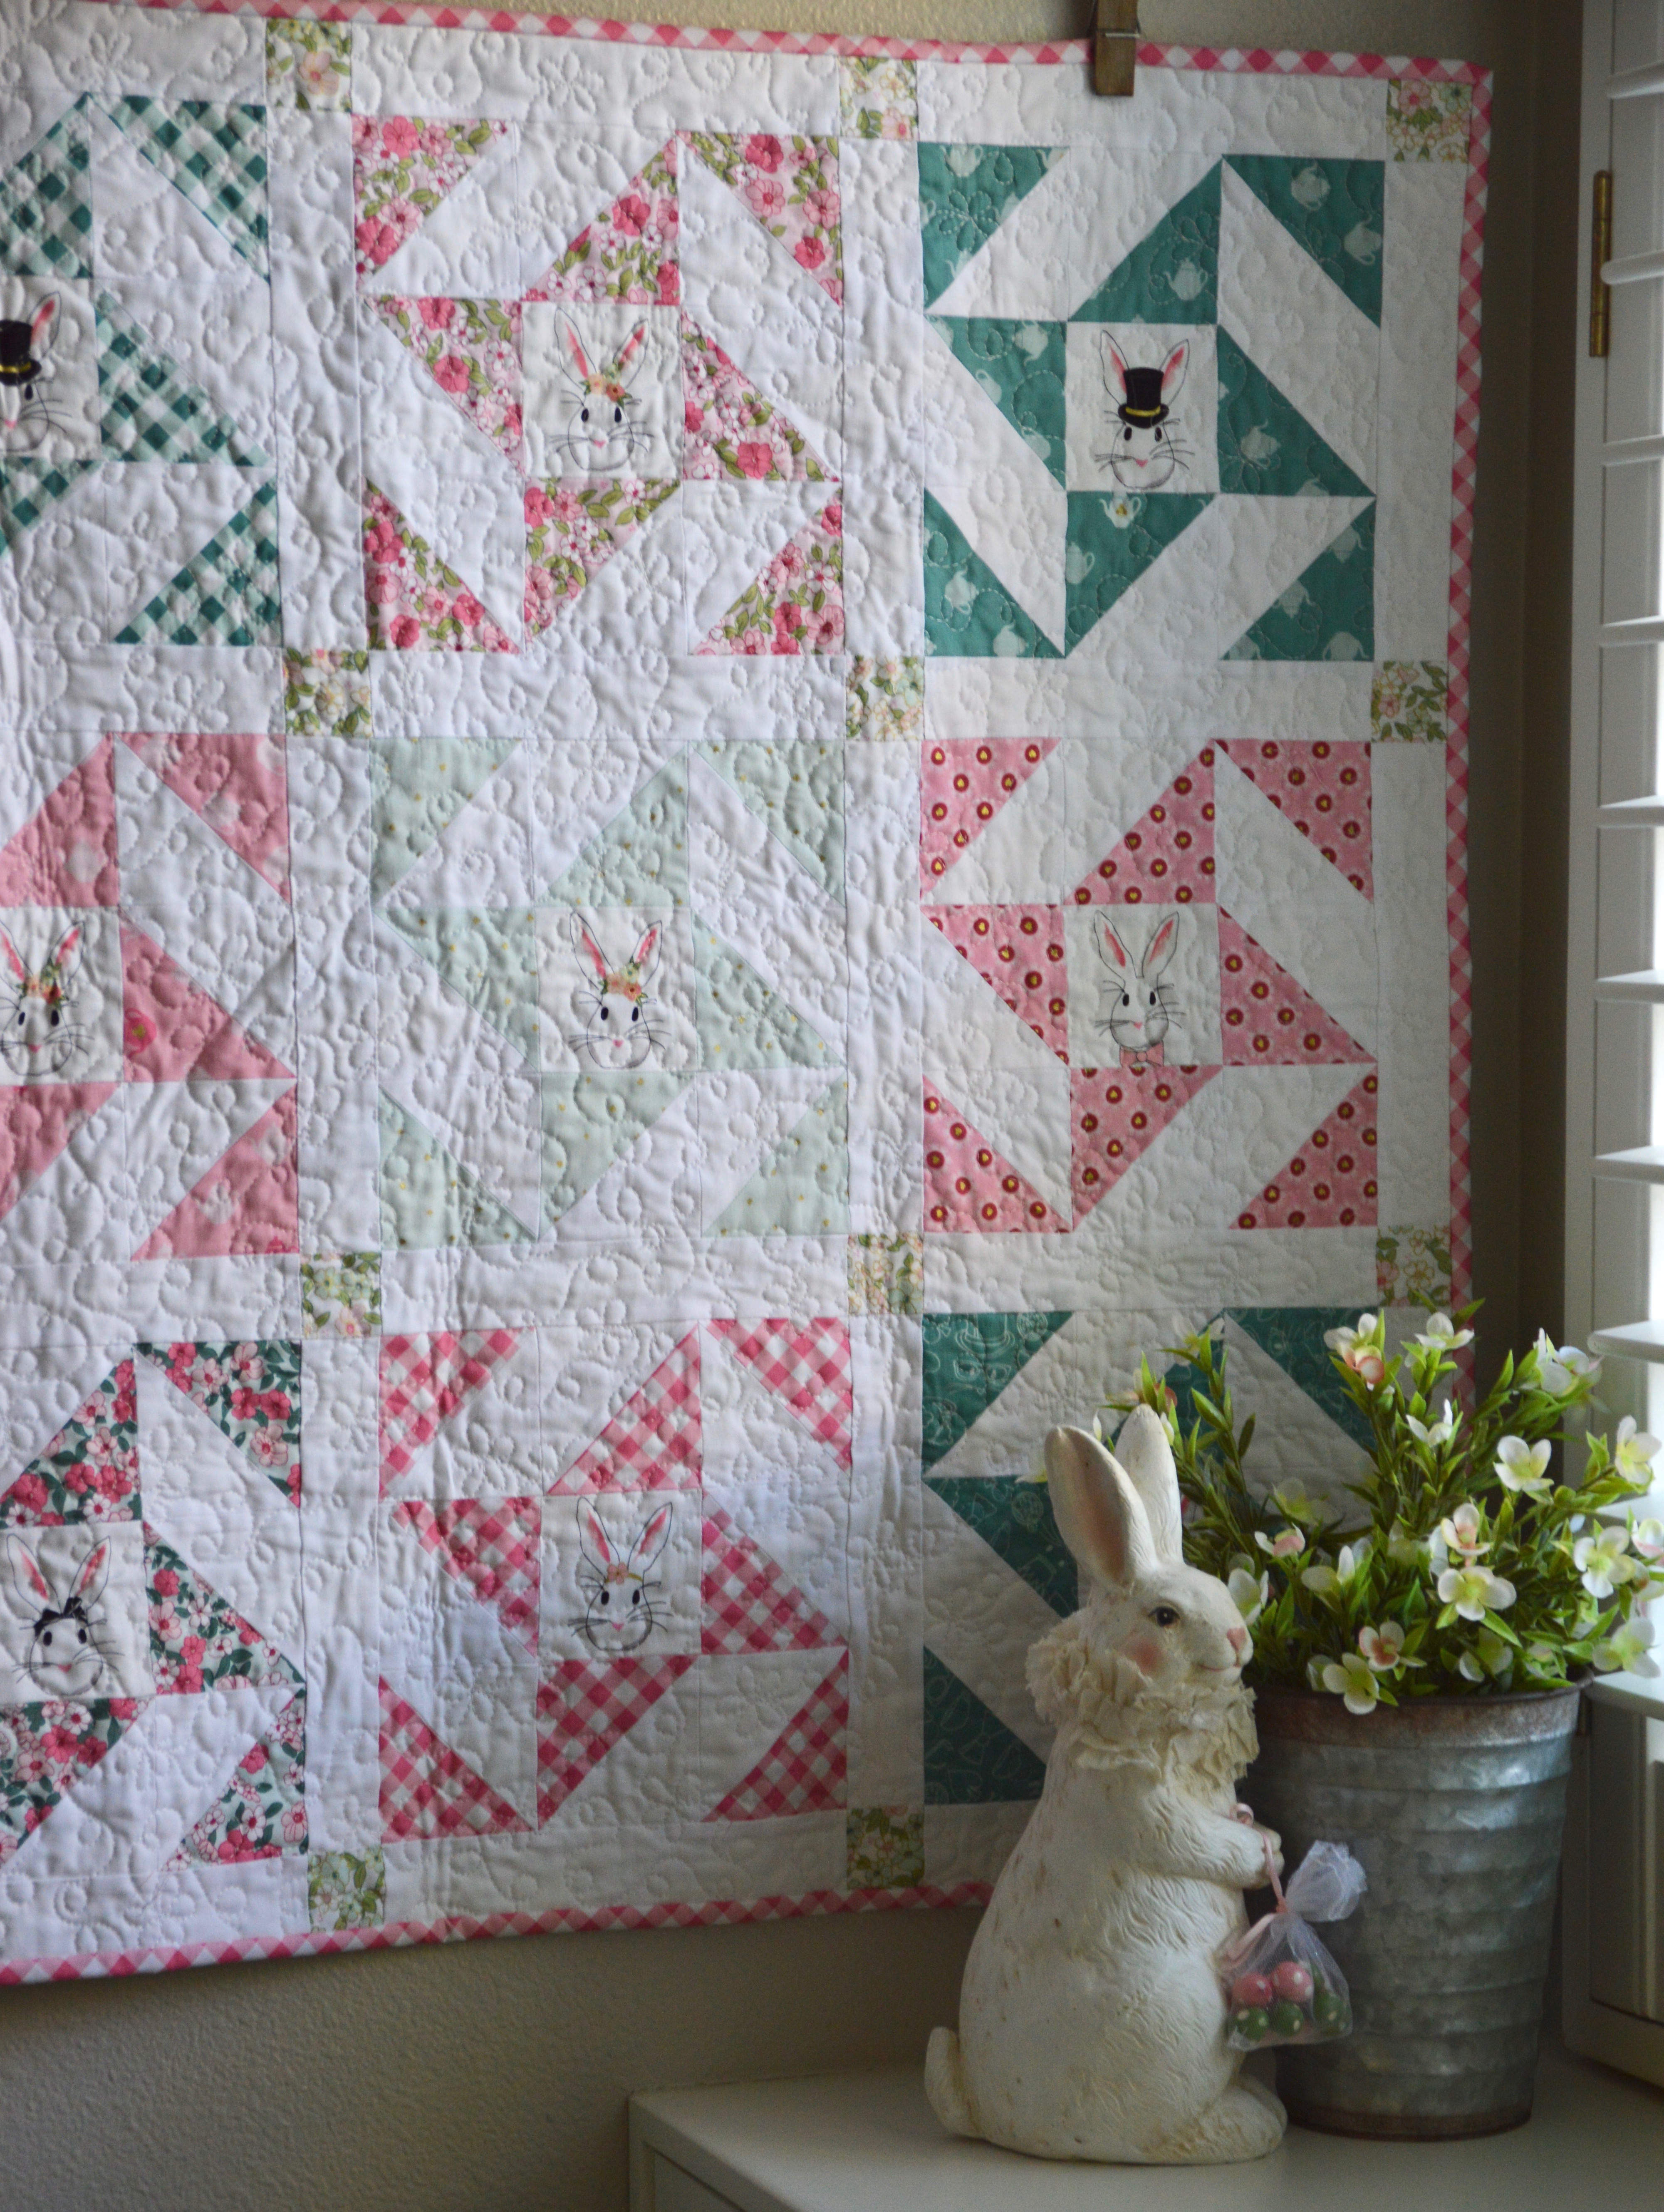
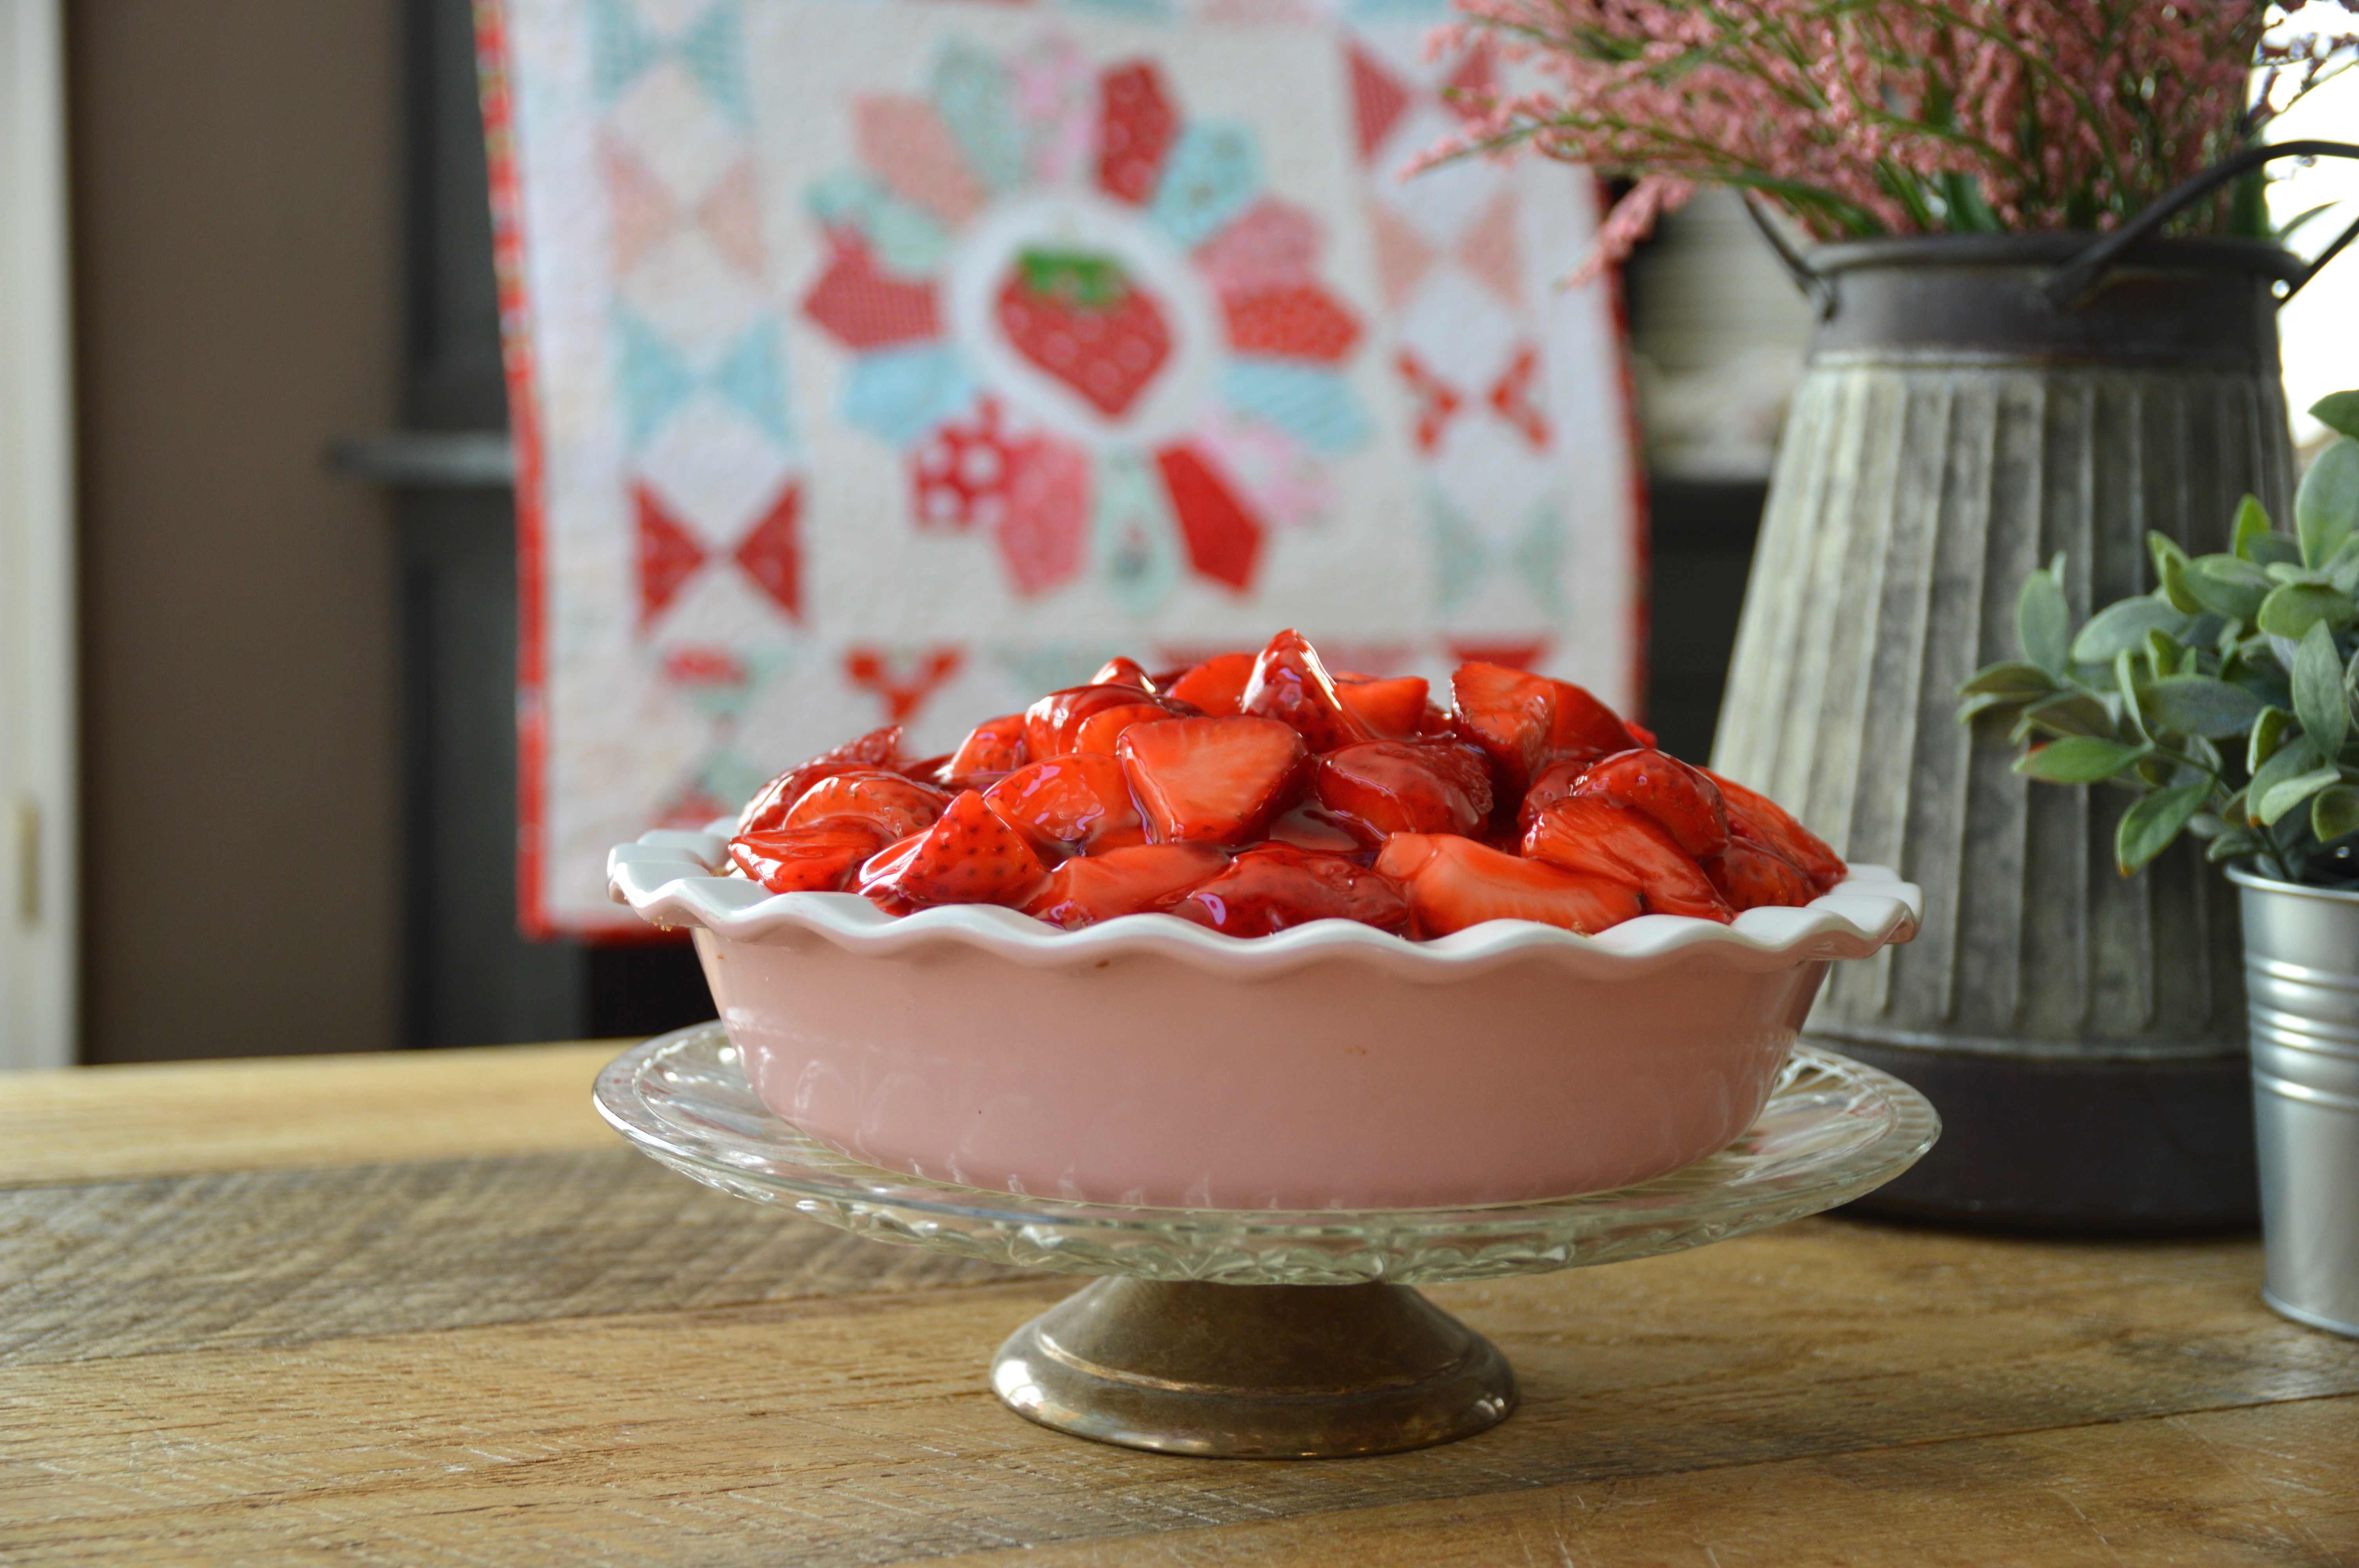
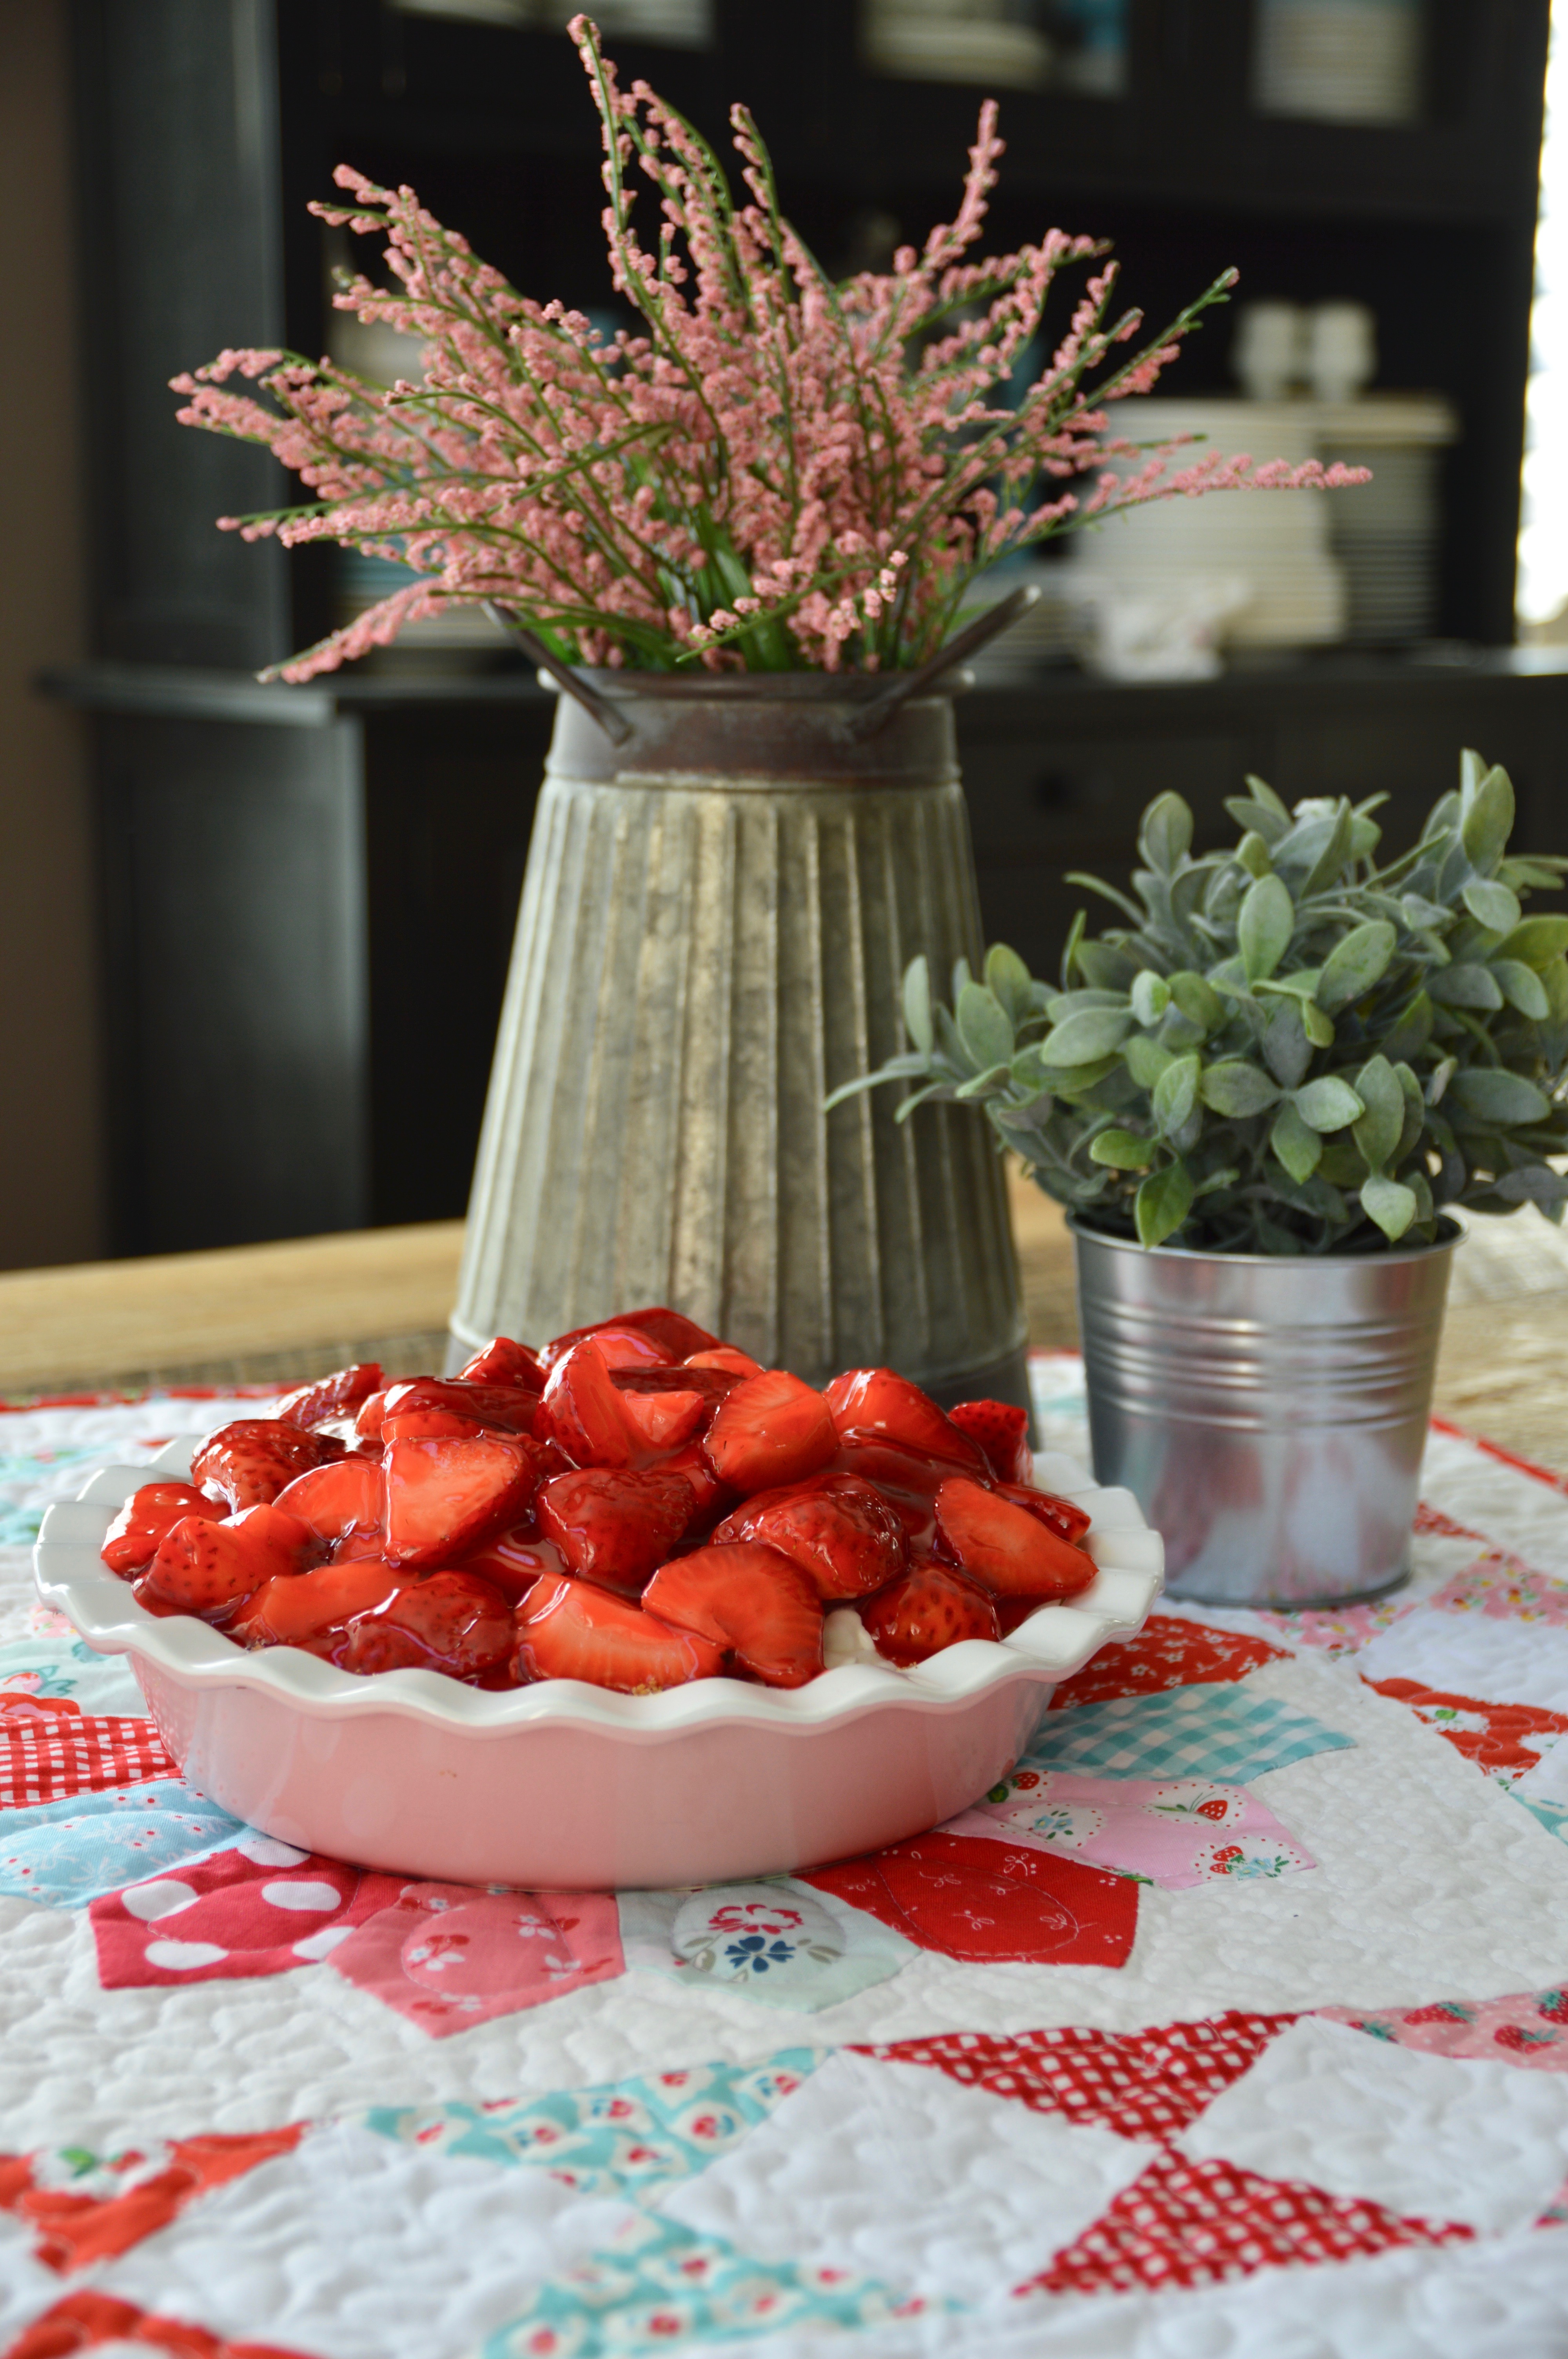
 There is nothing better! I thought this would be a fun little quilt to add to your summer decor 🙂


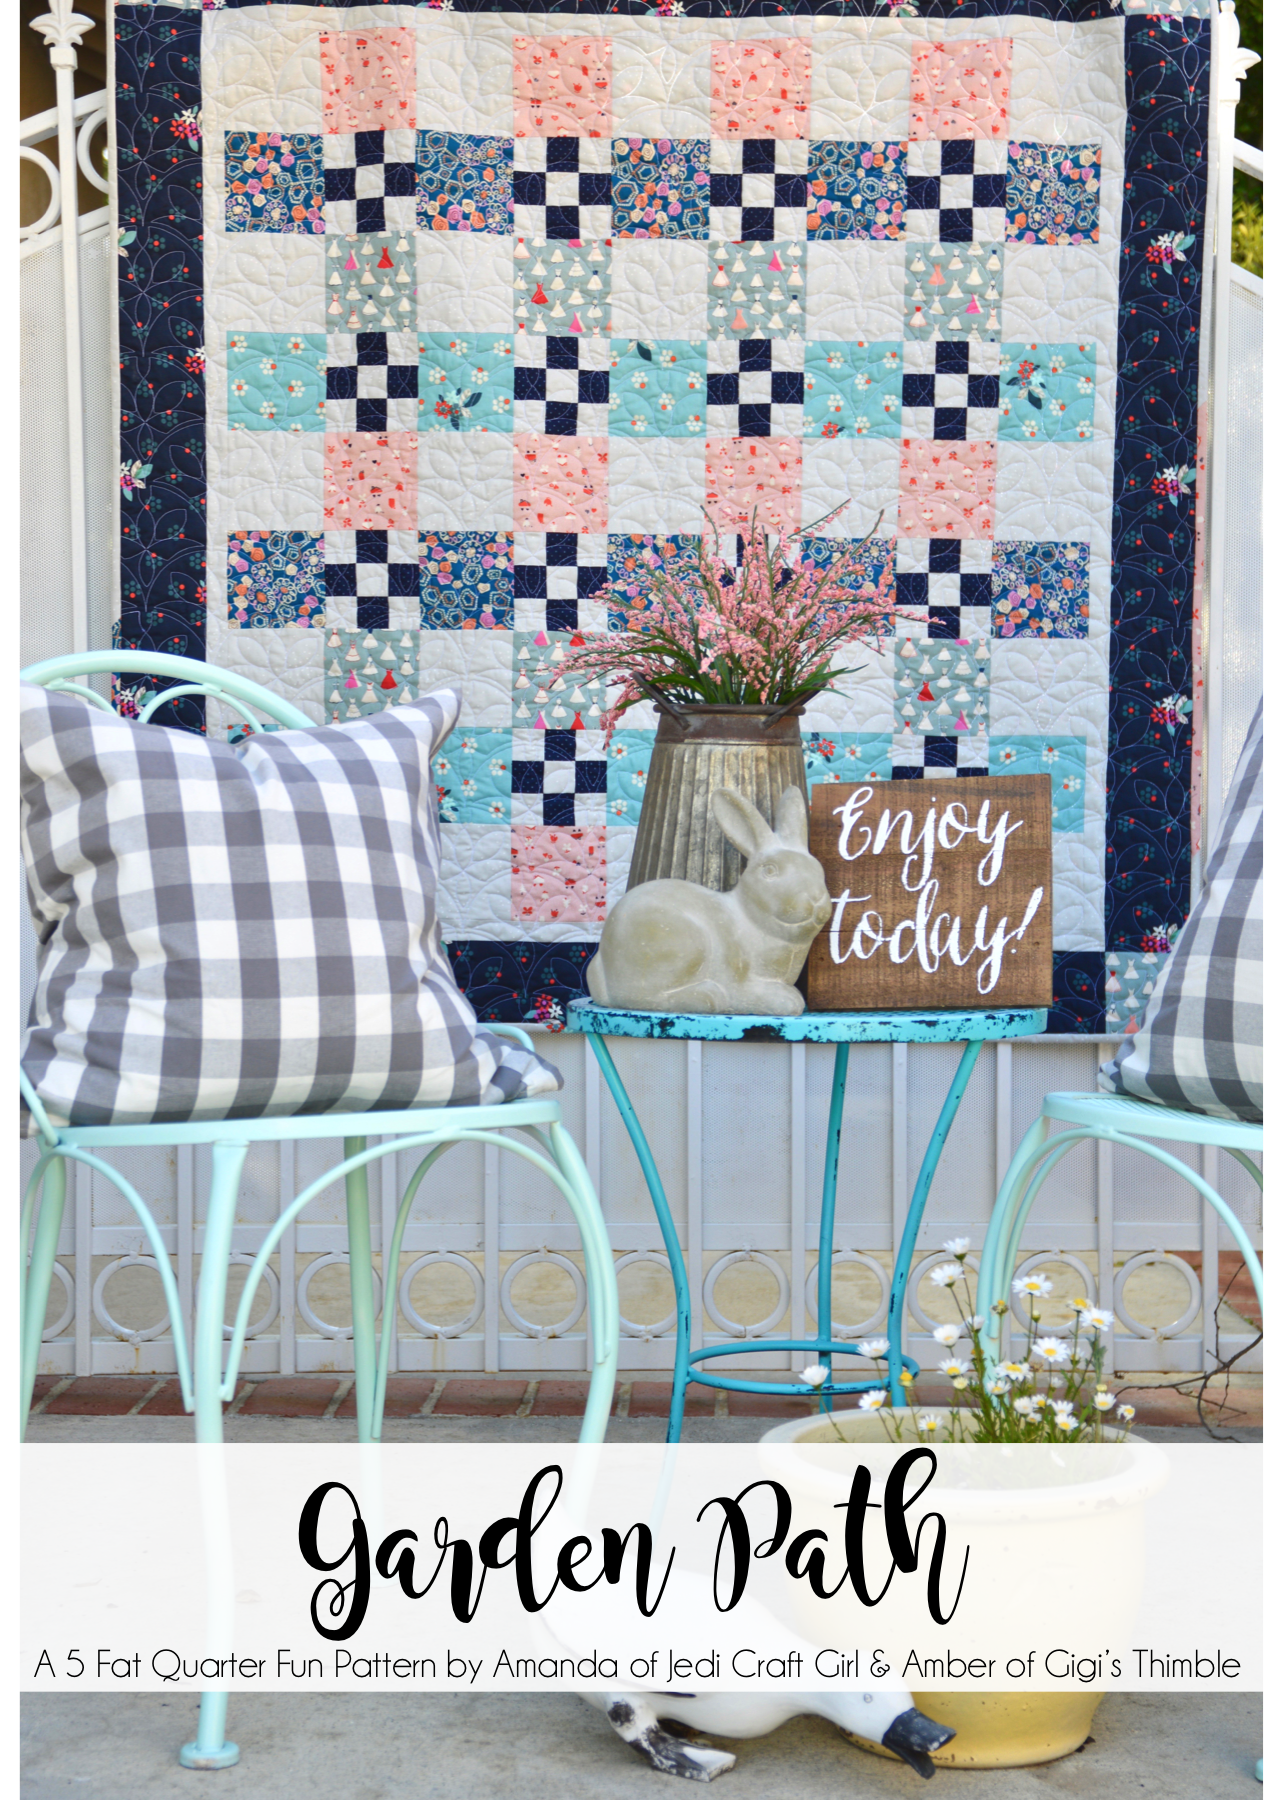
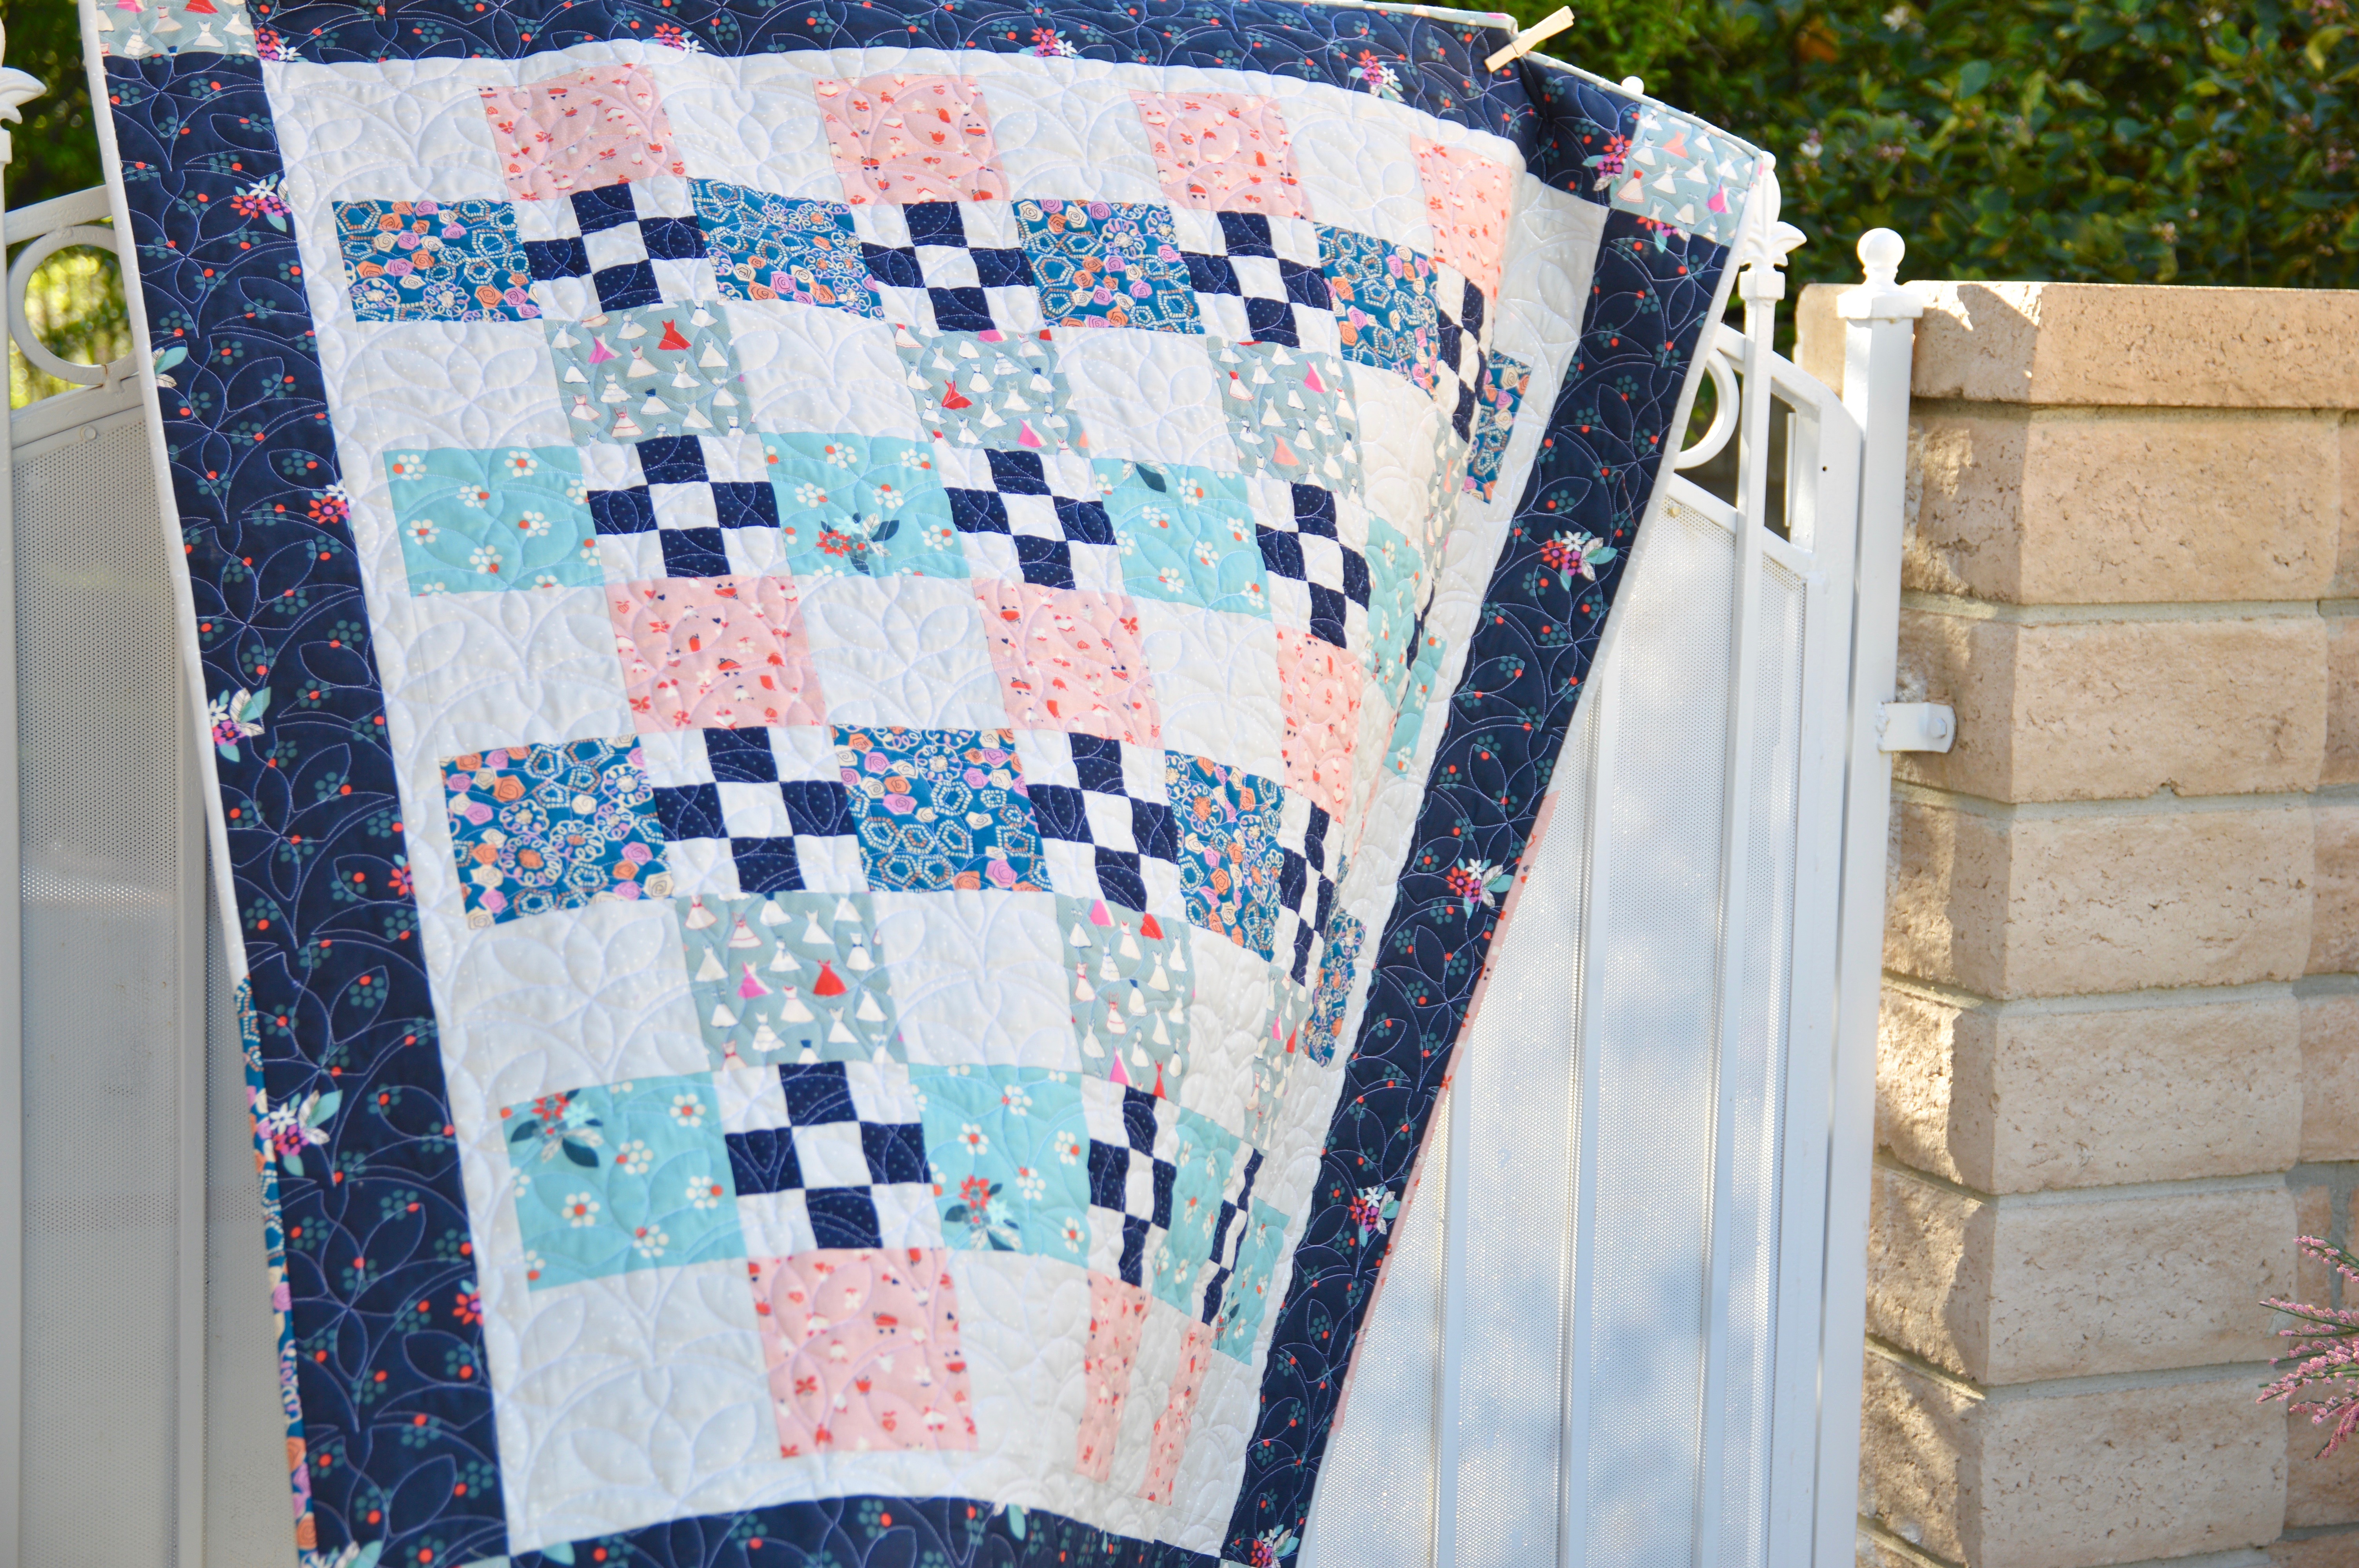
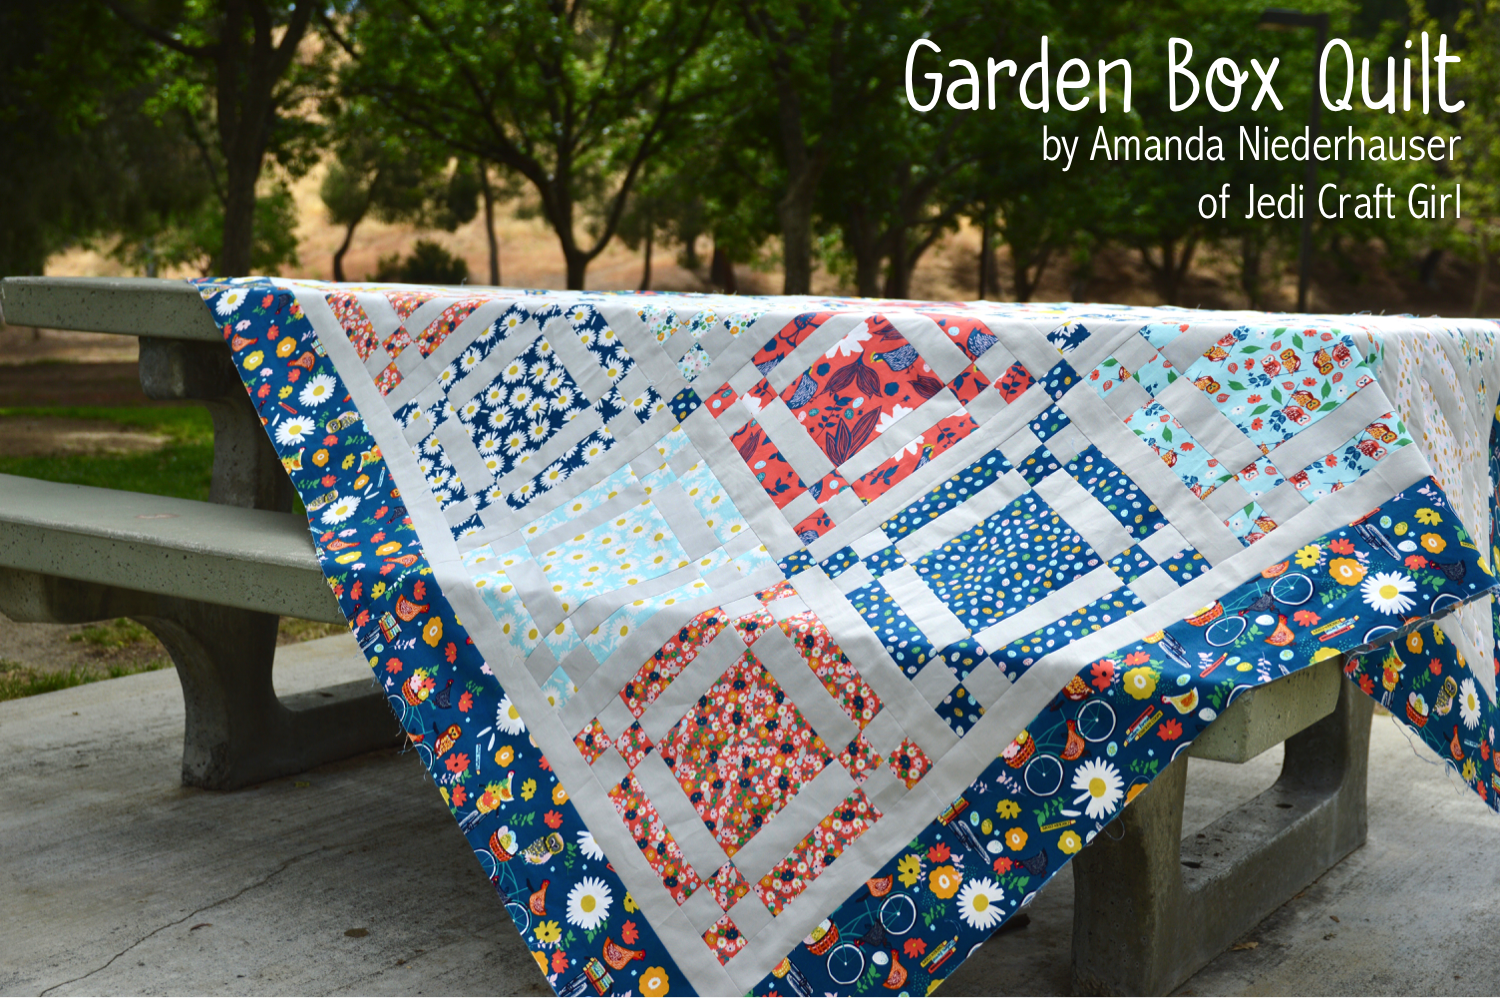
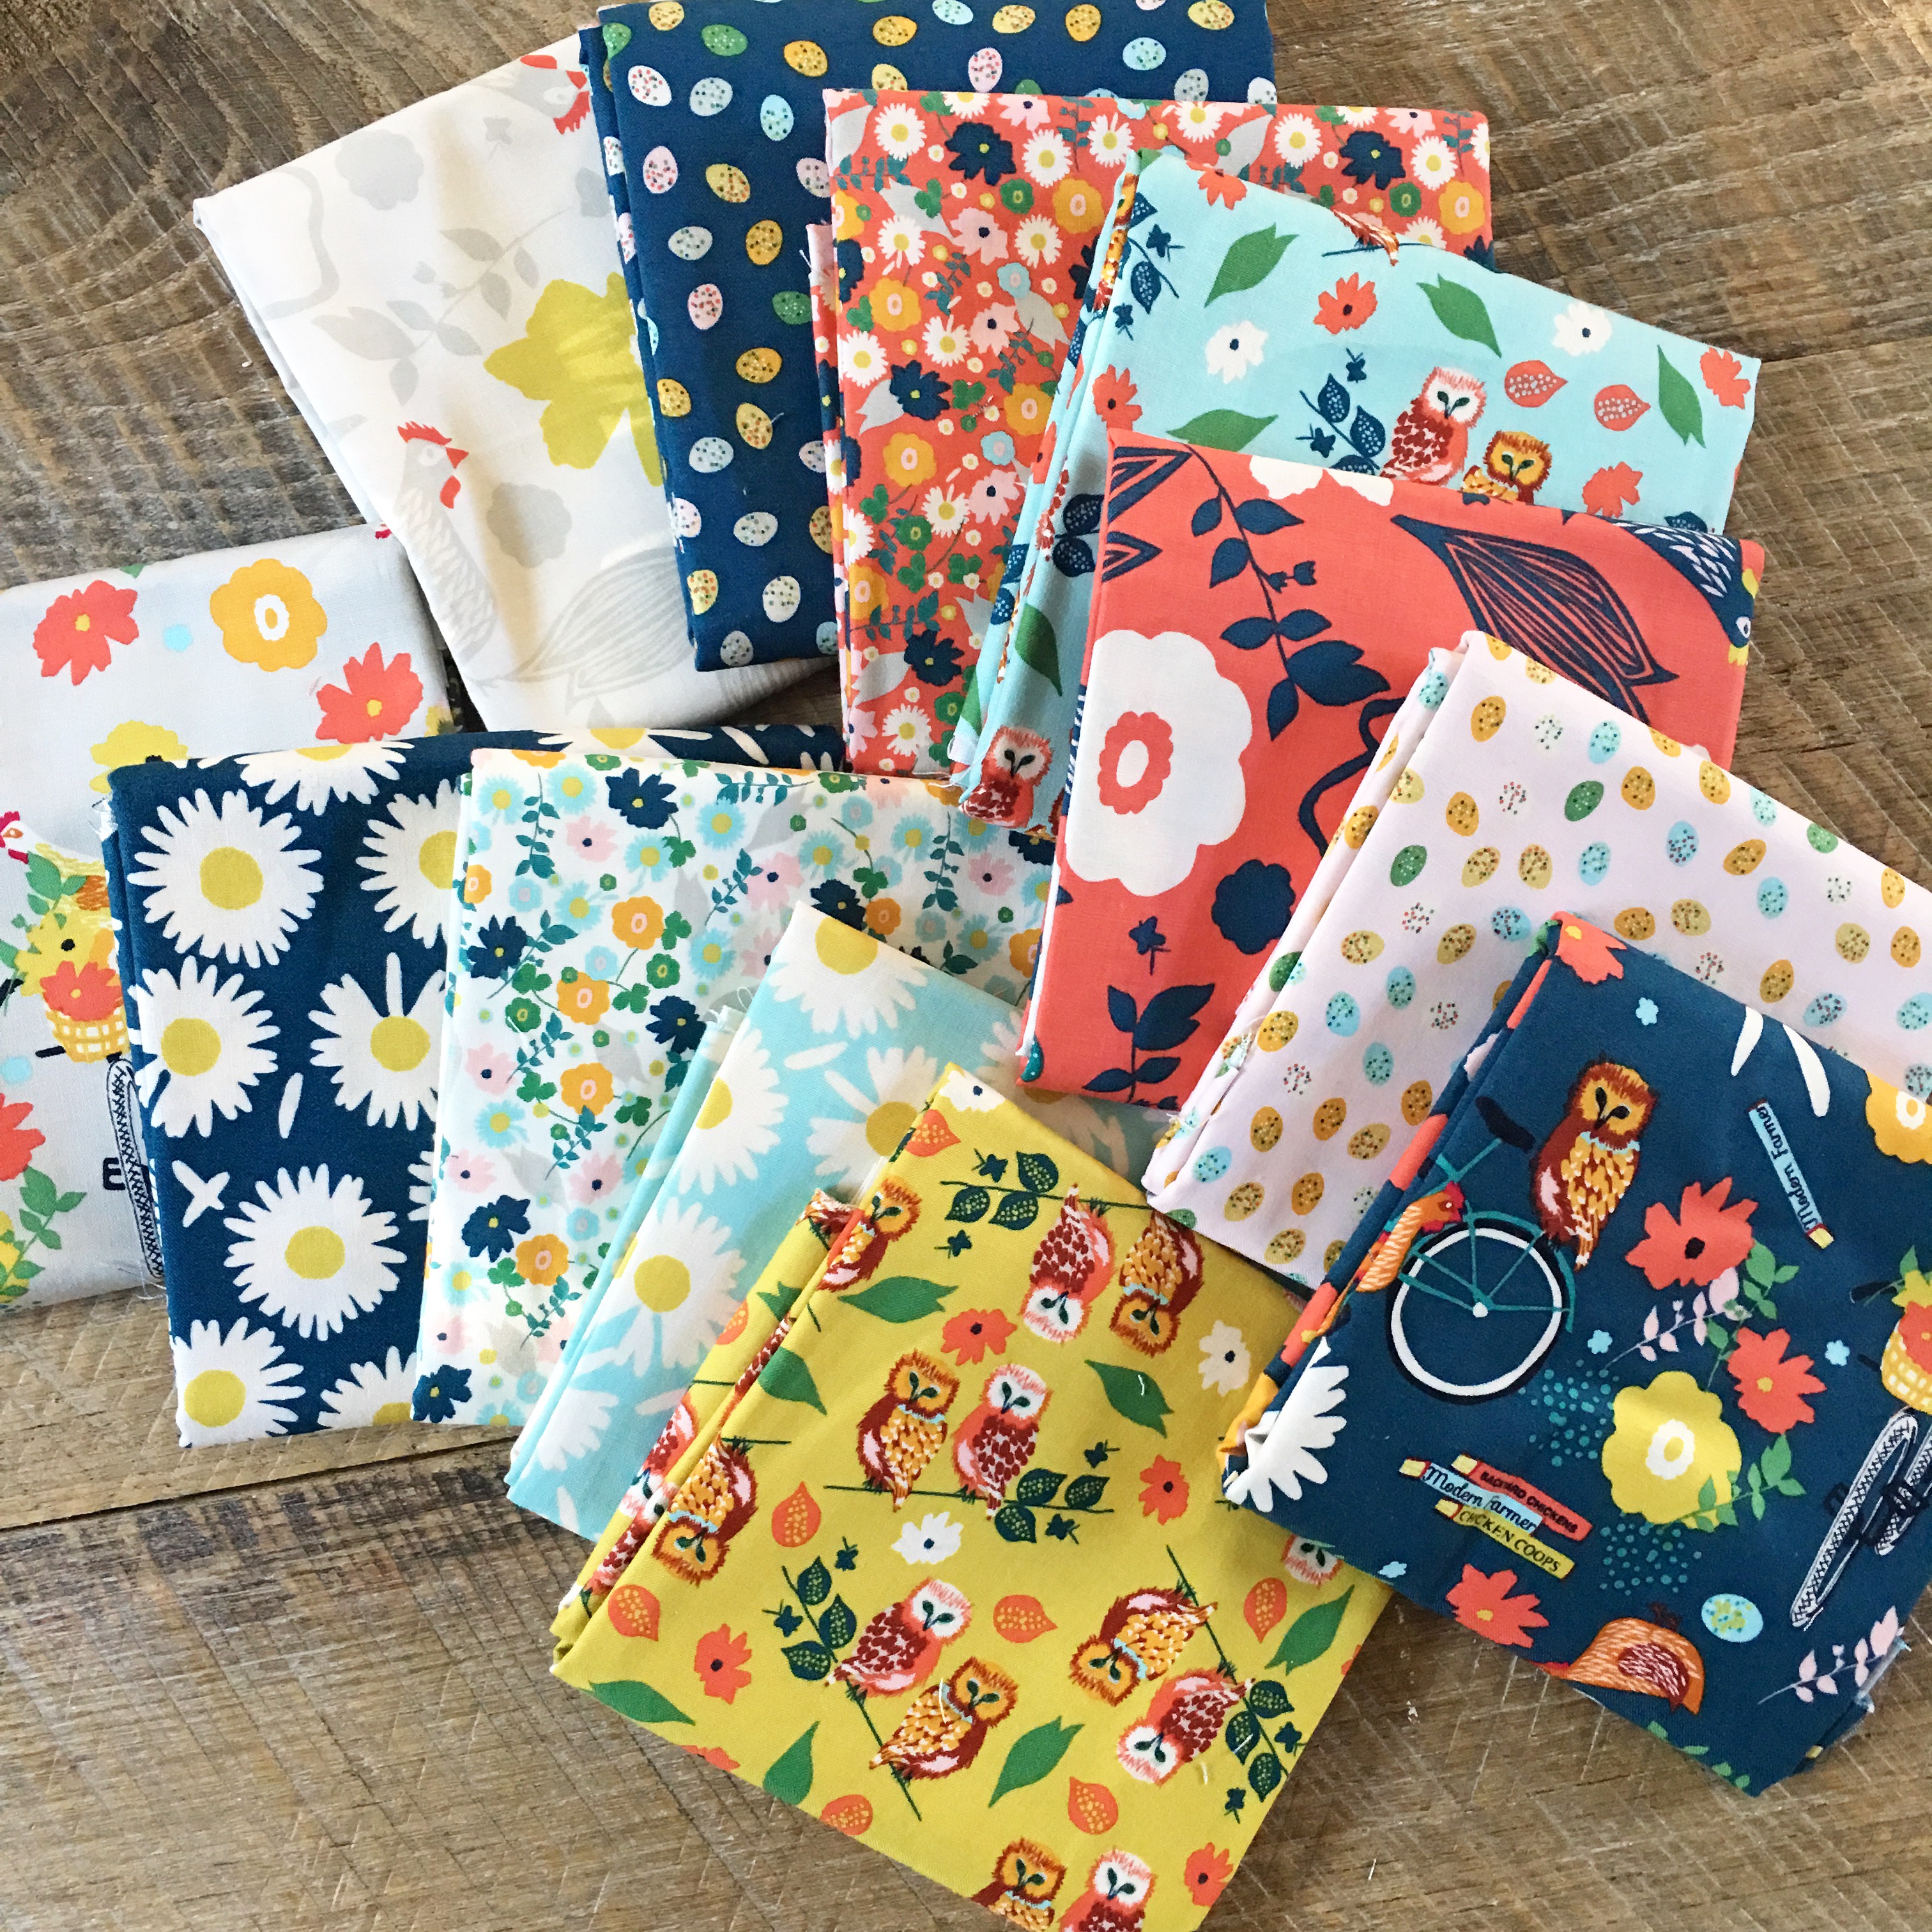
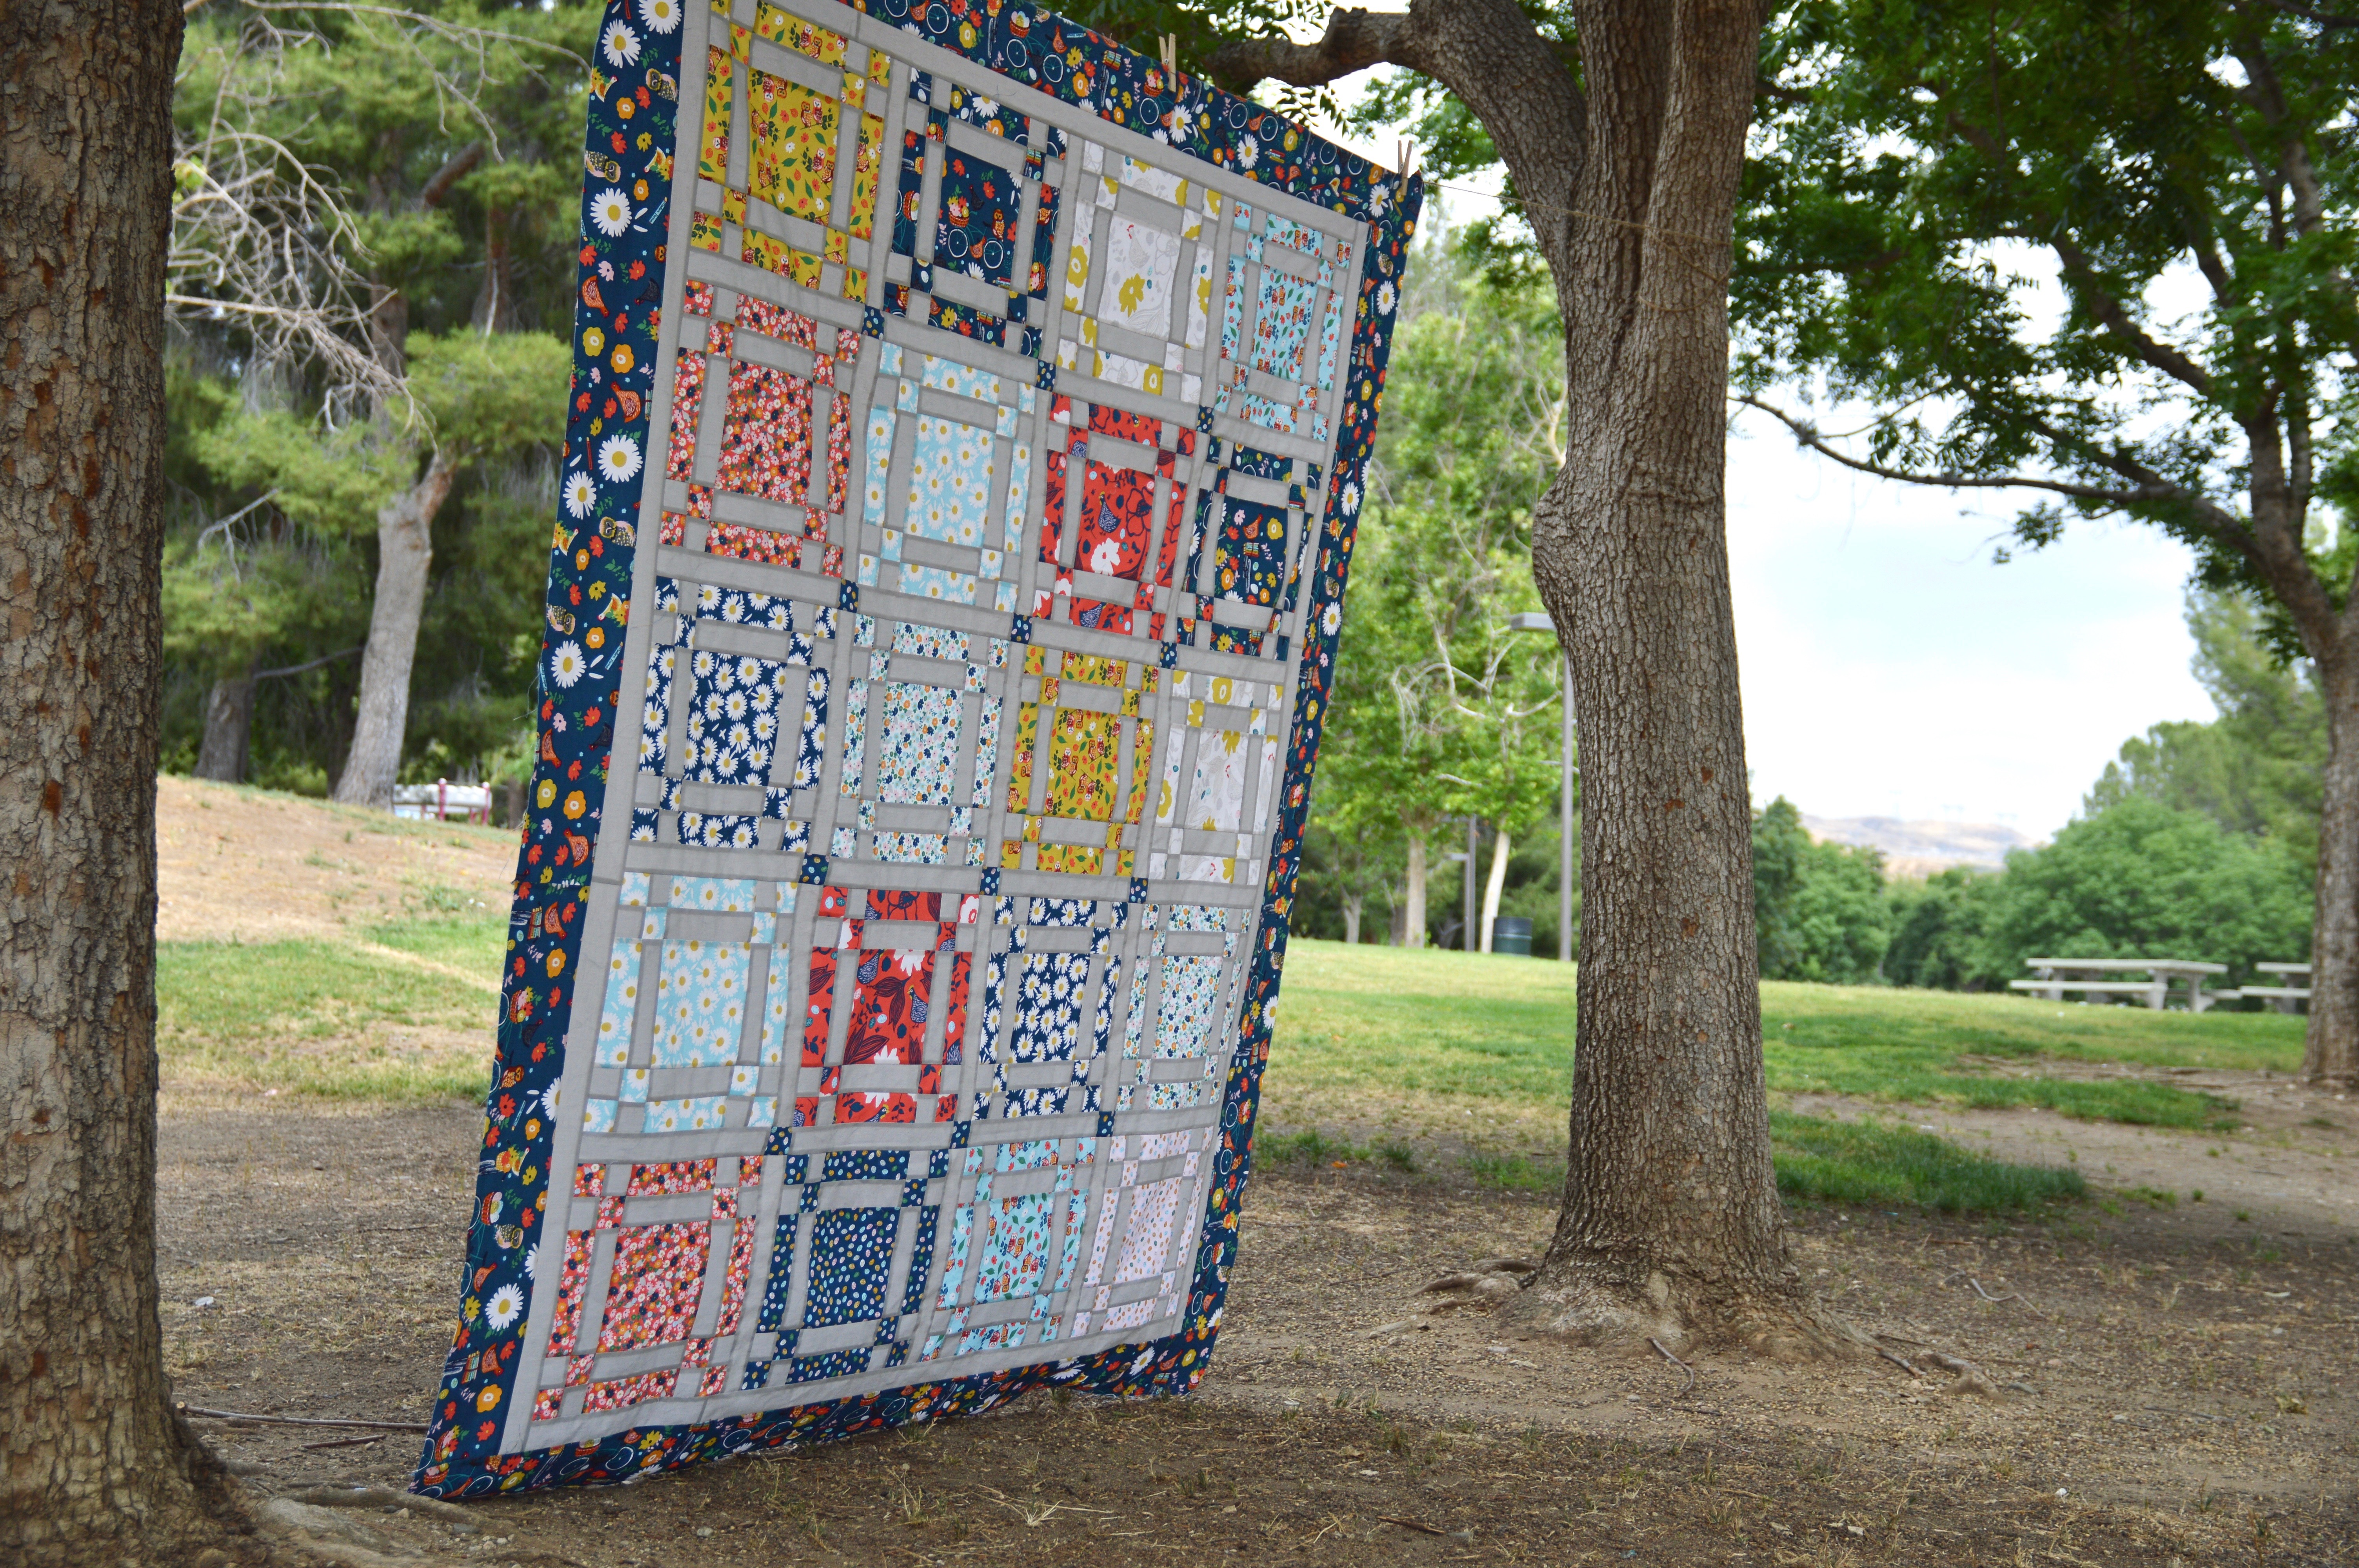
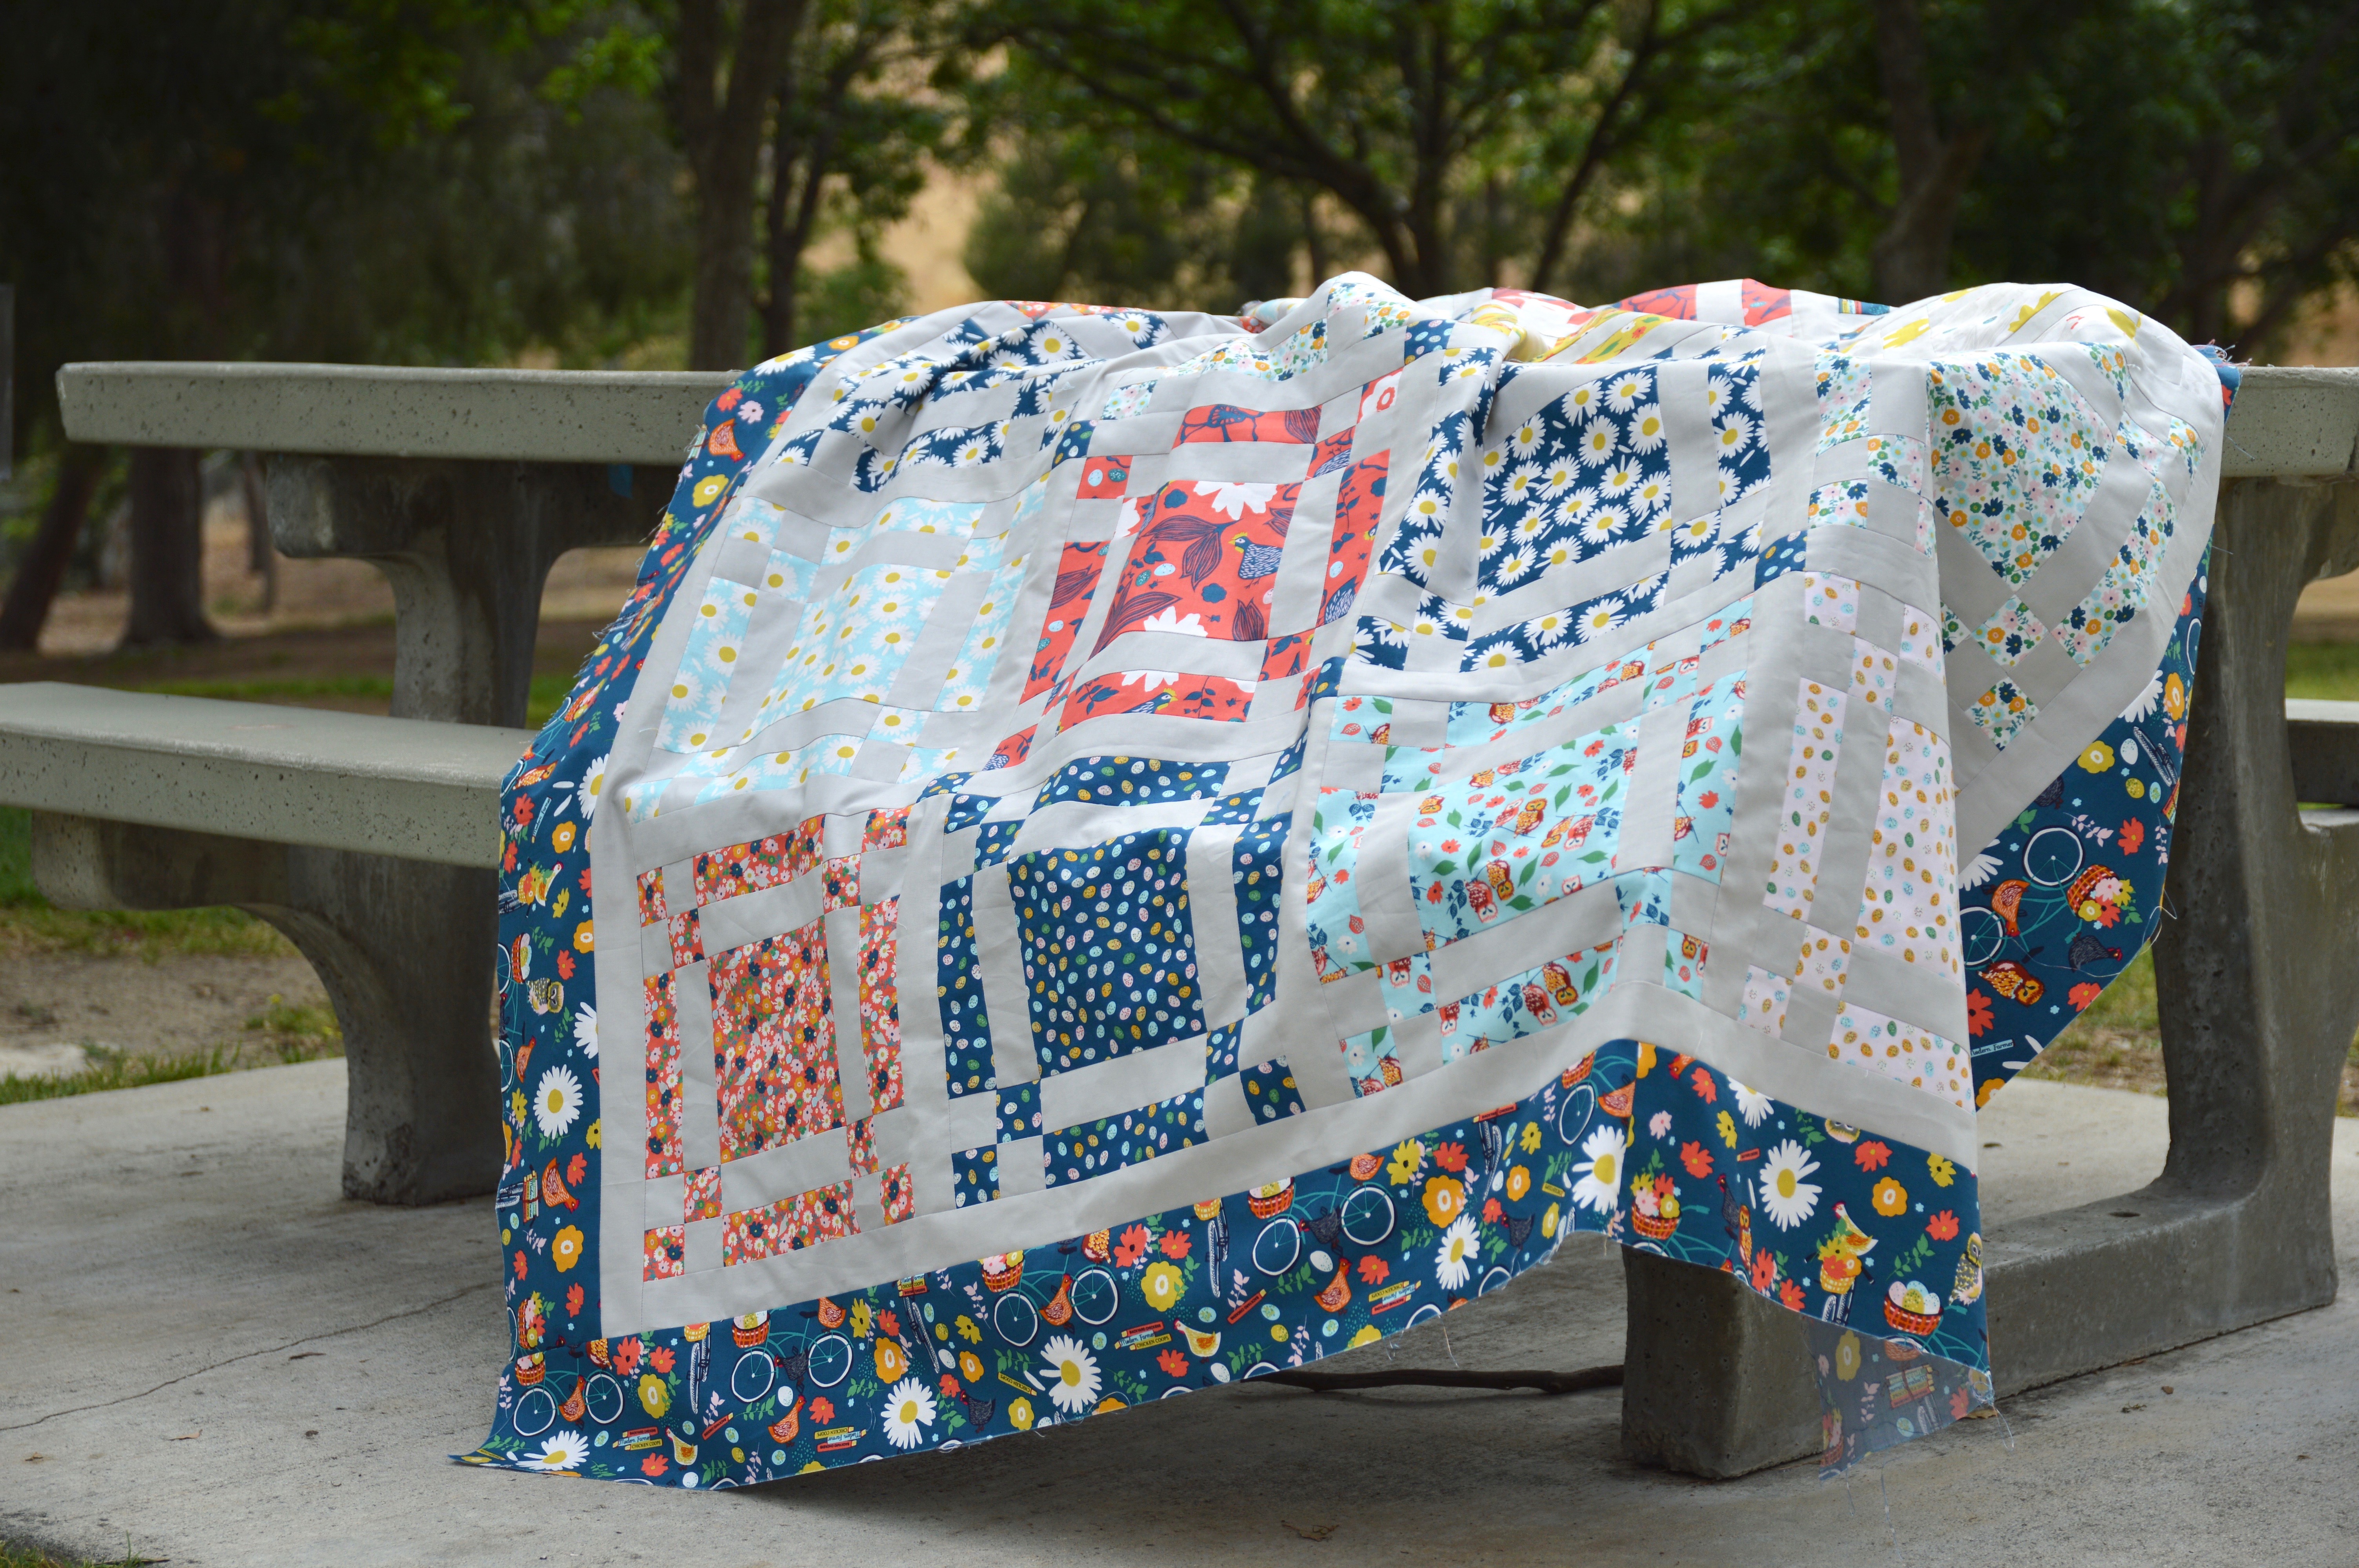
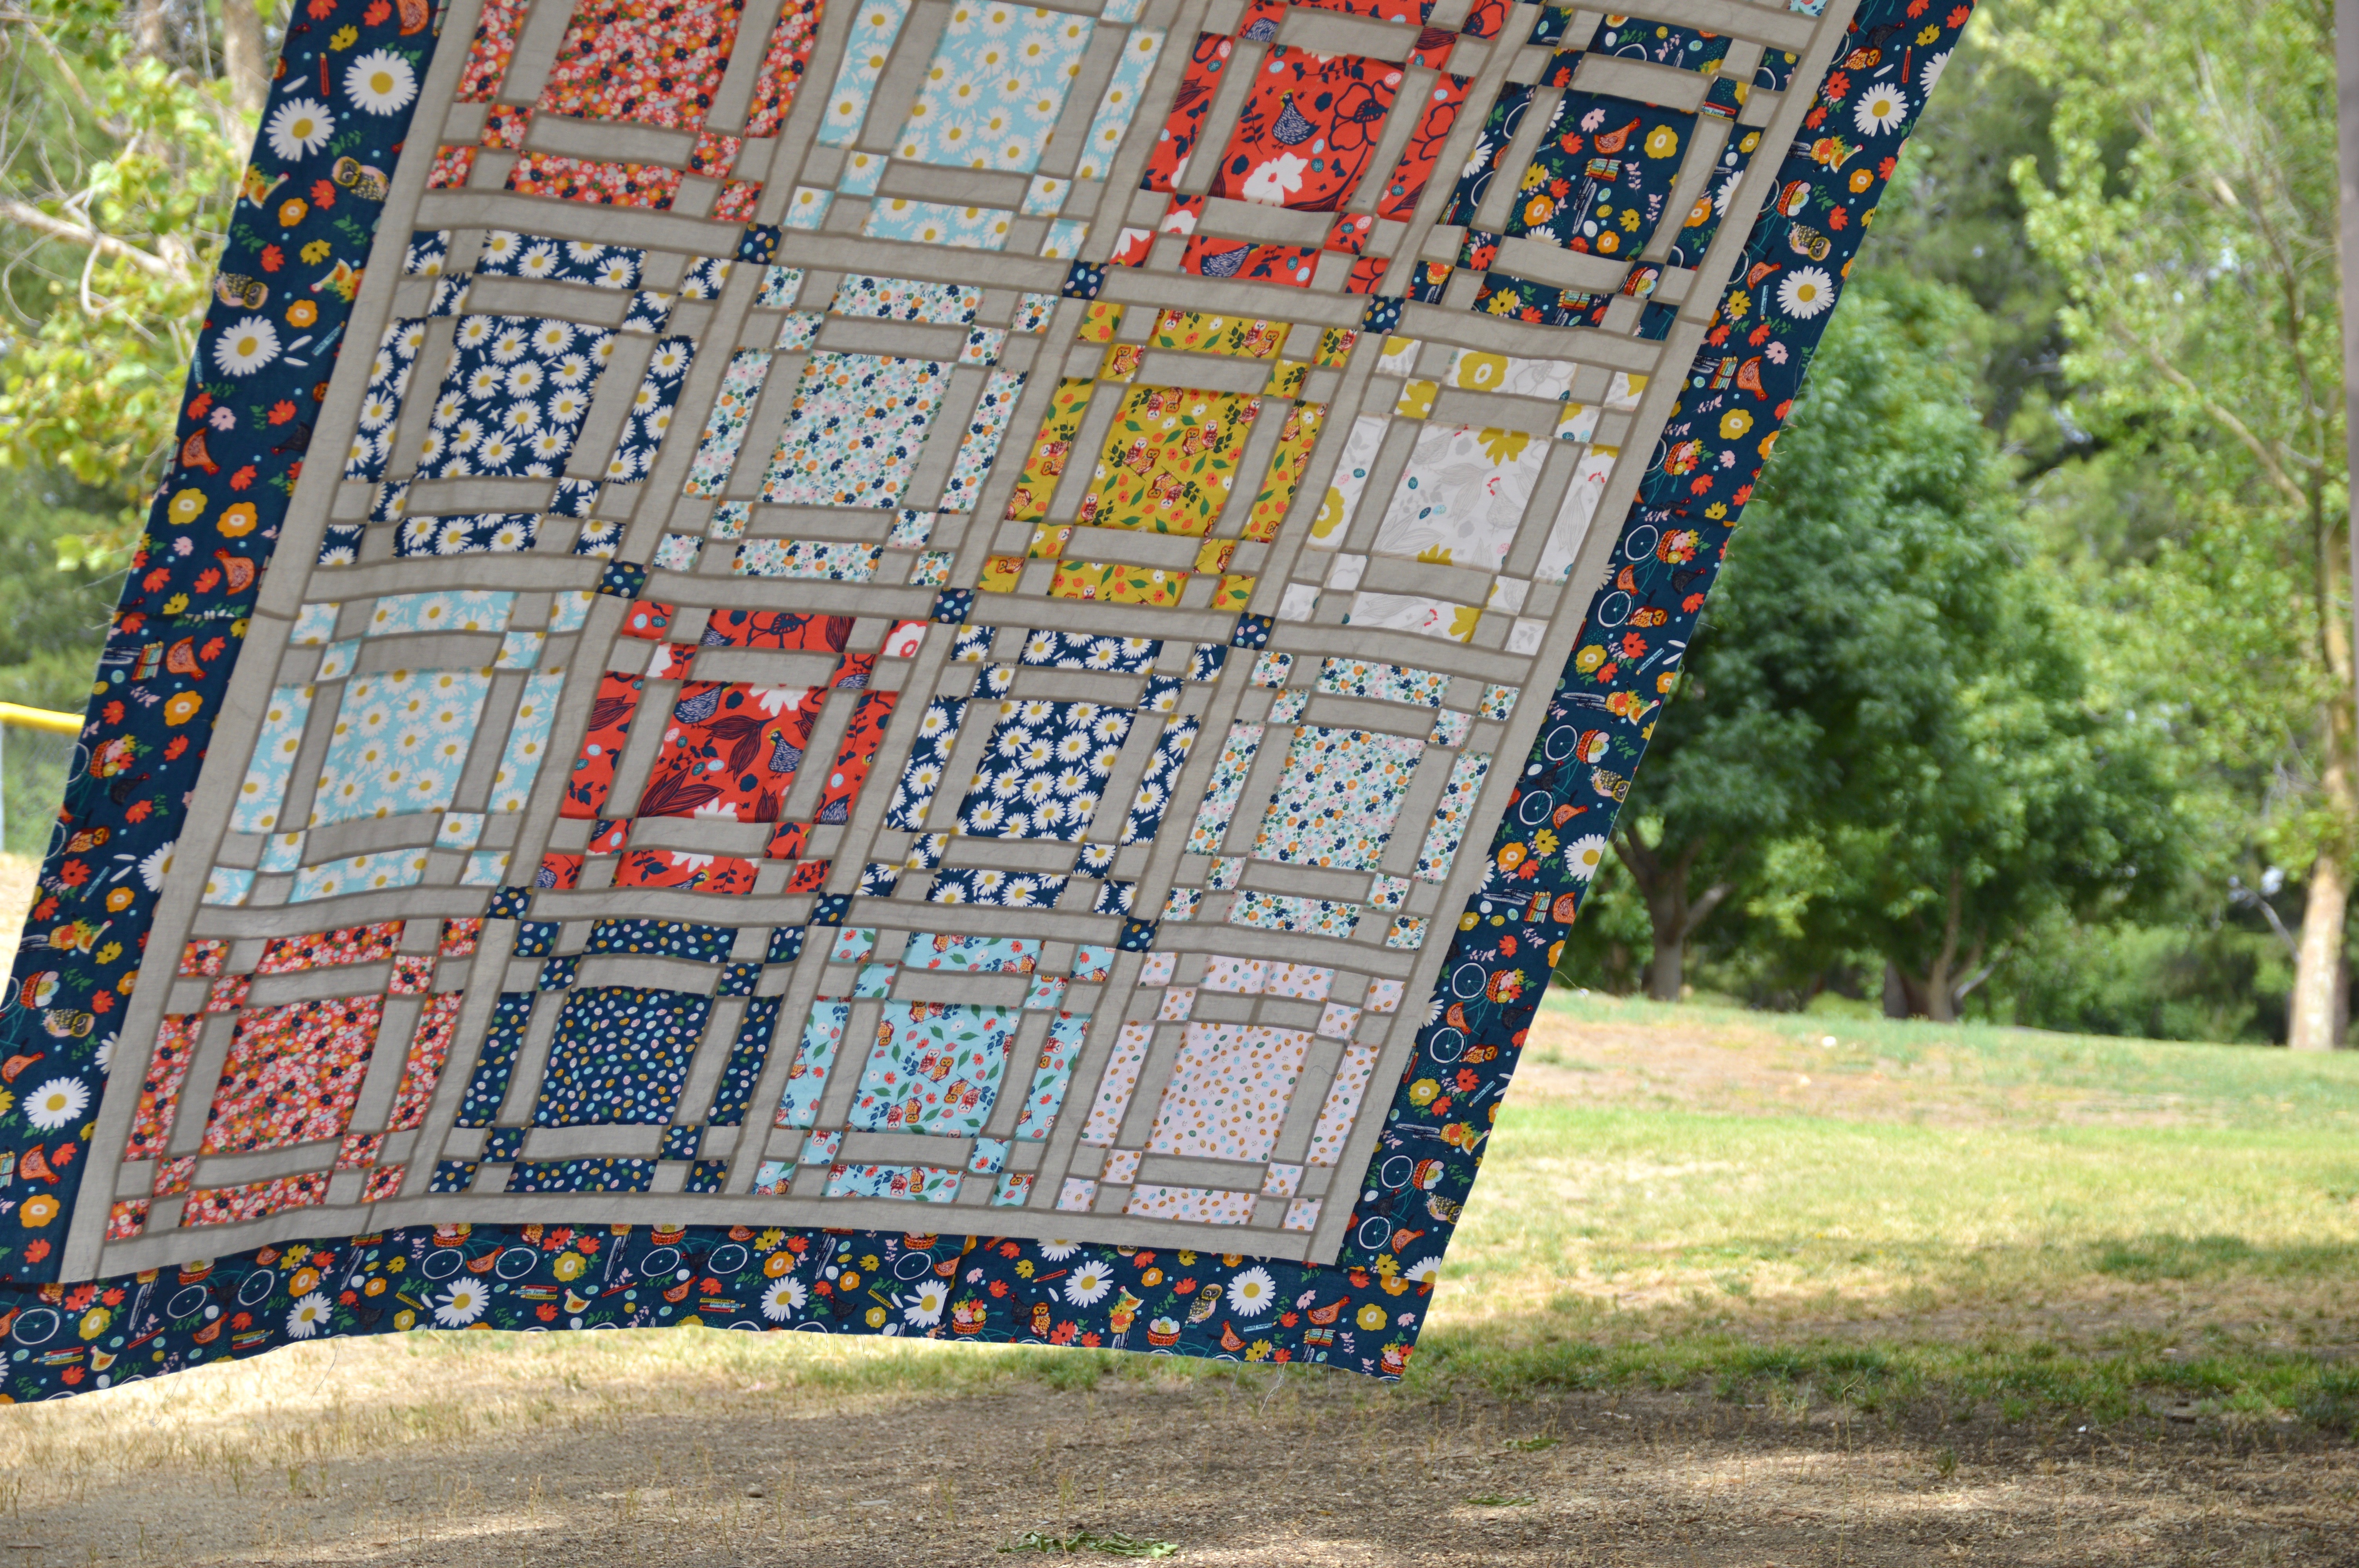
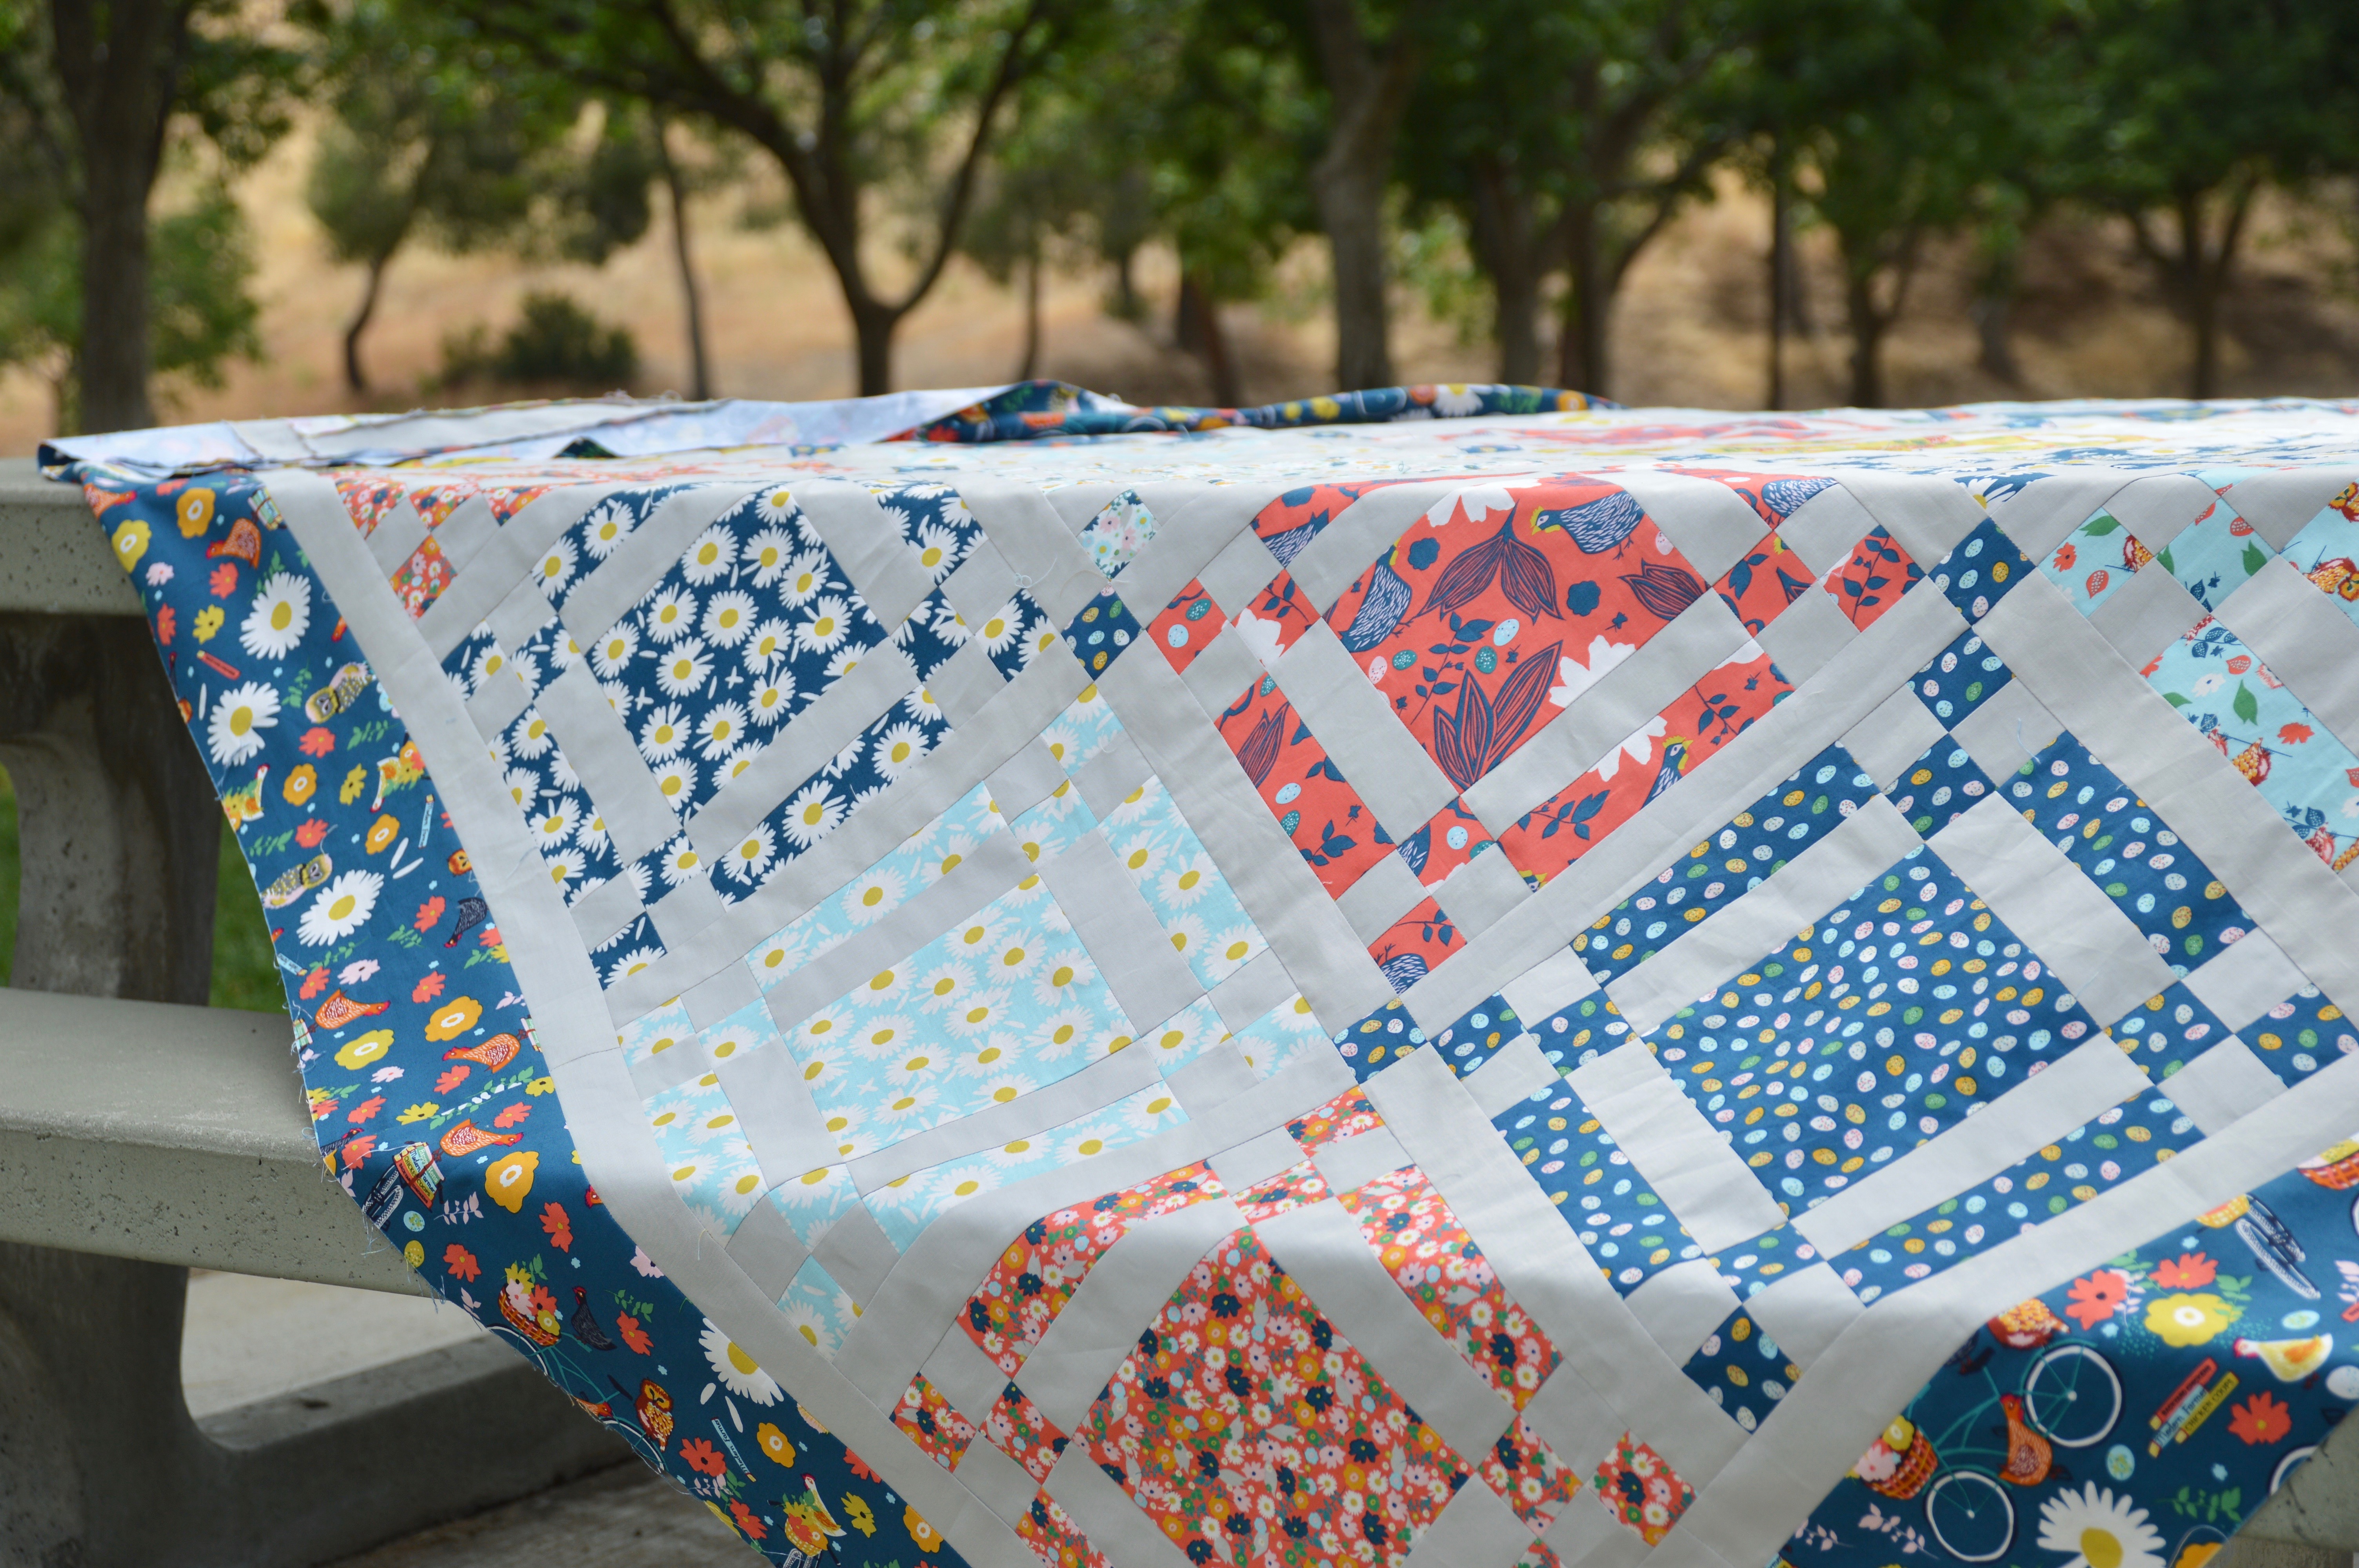
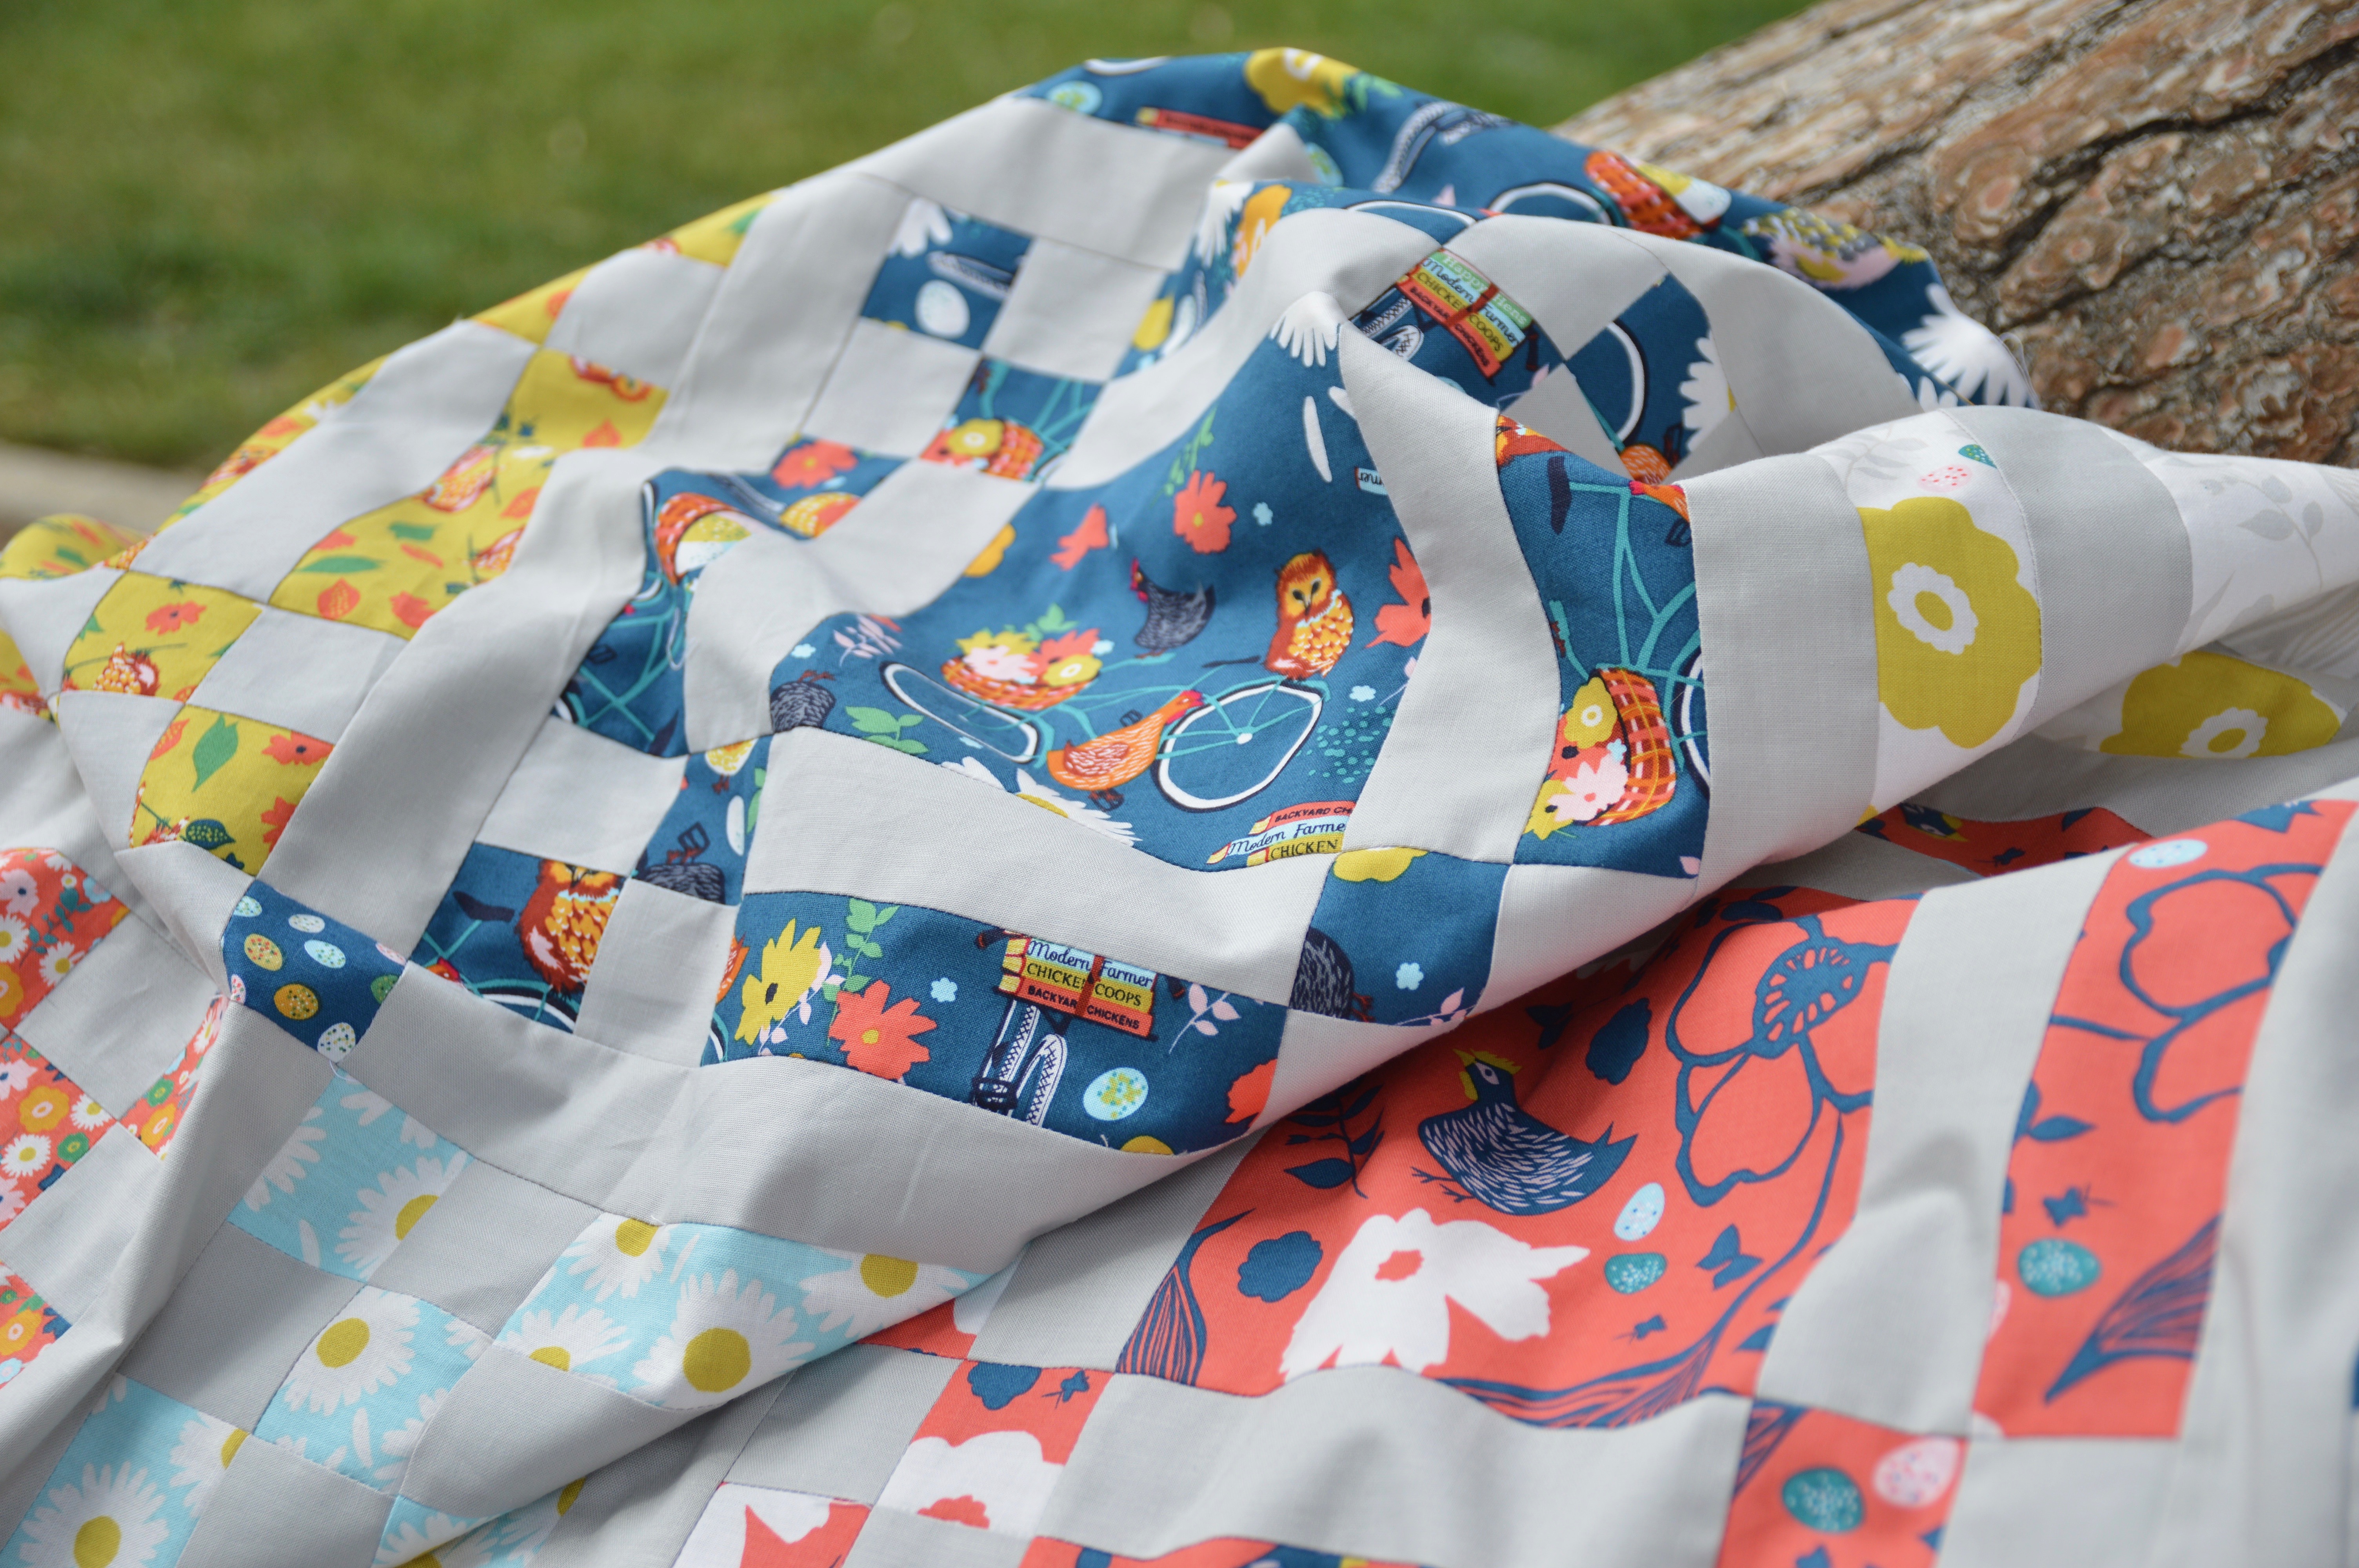
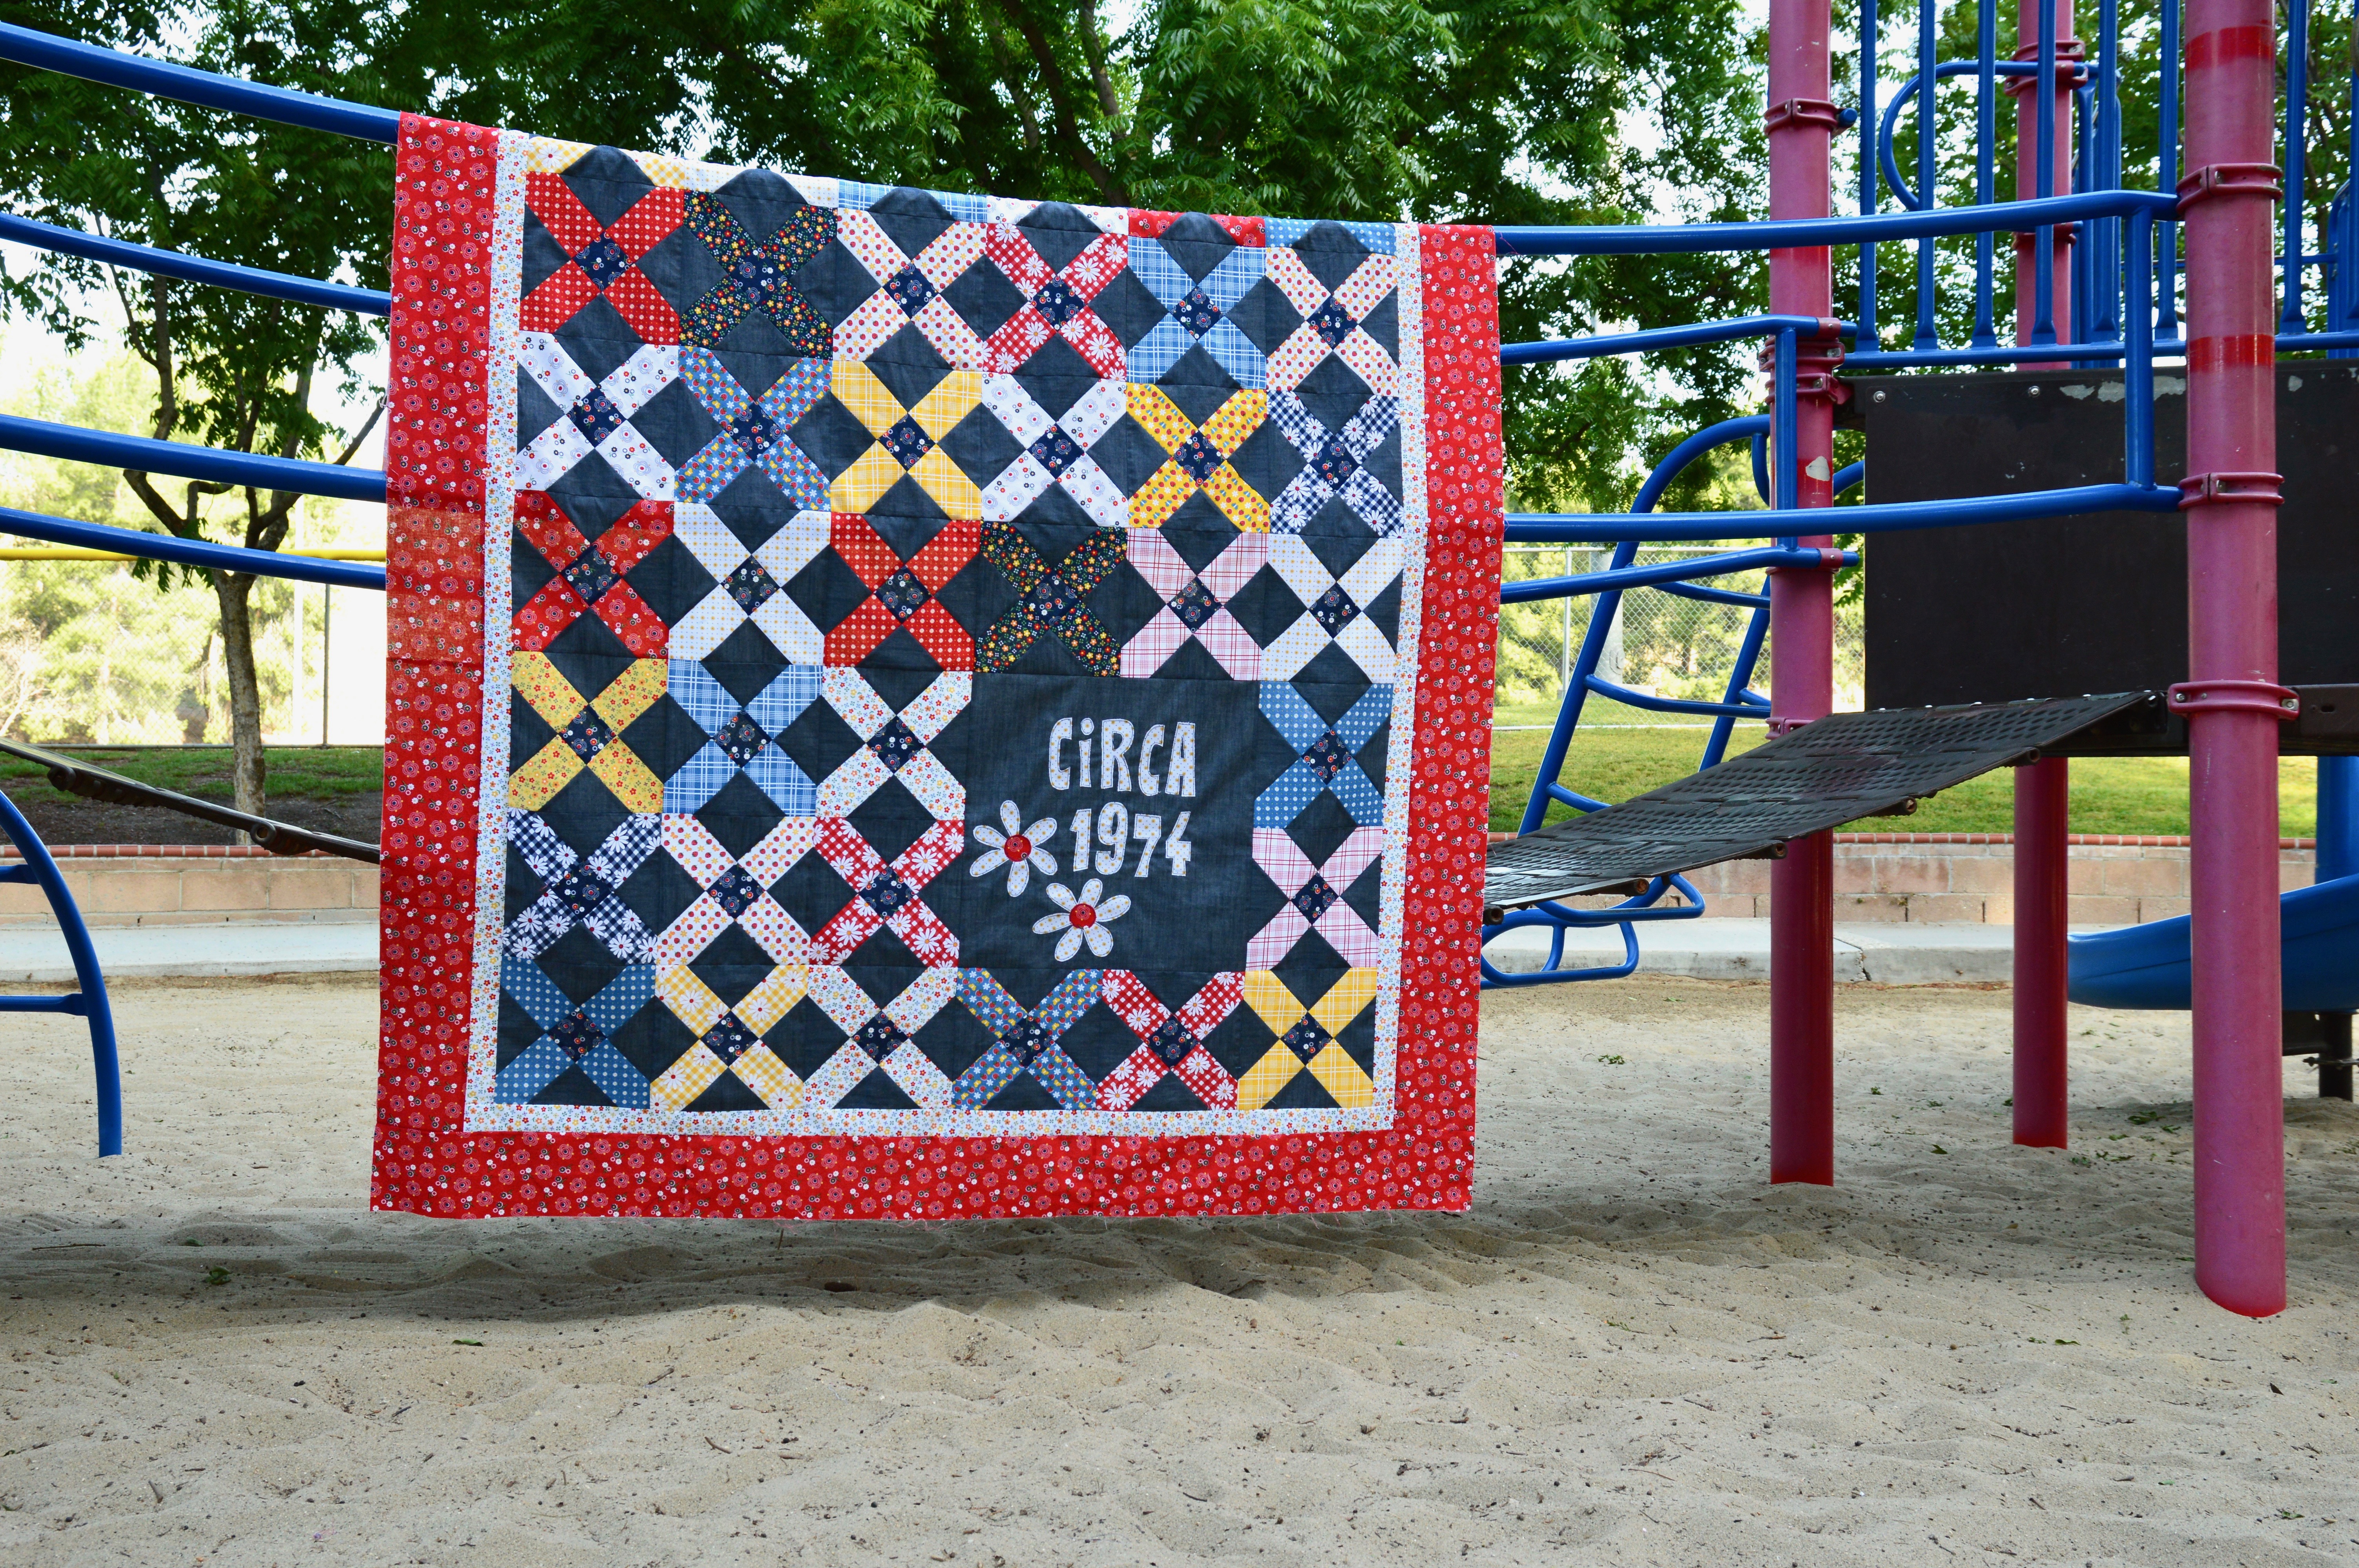
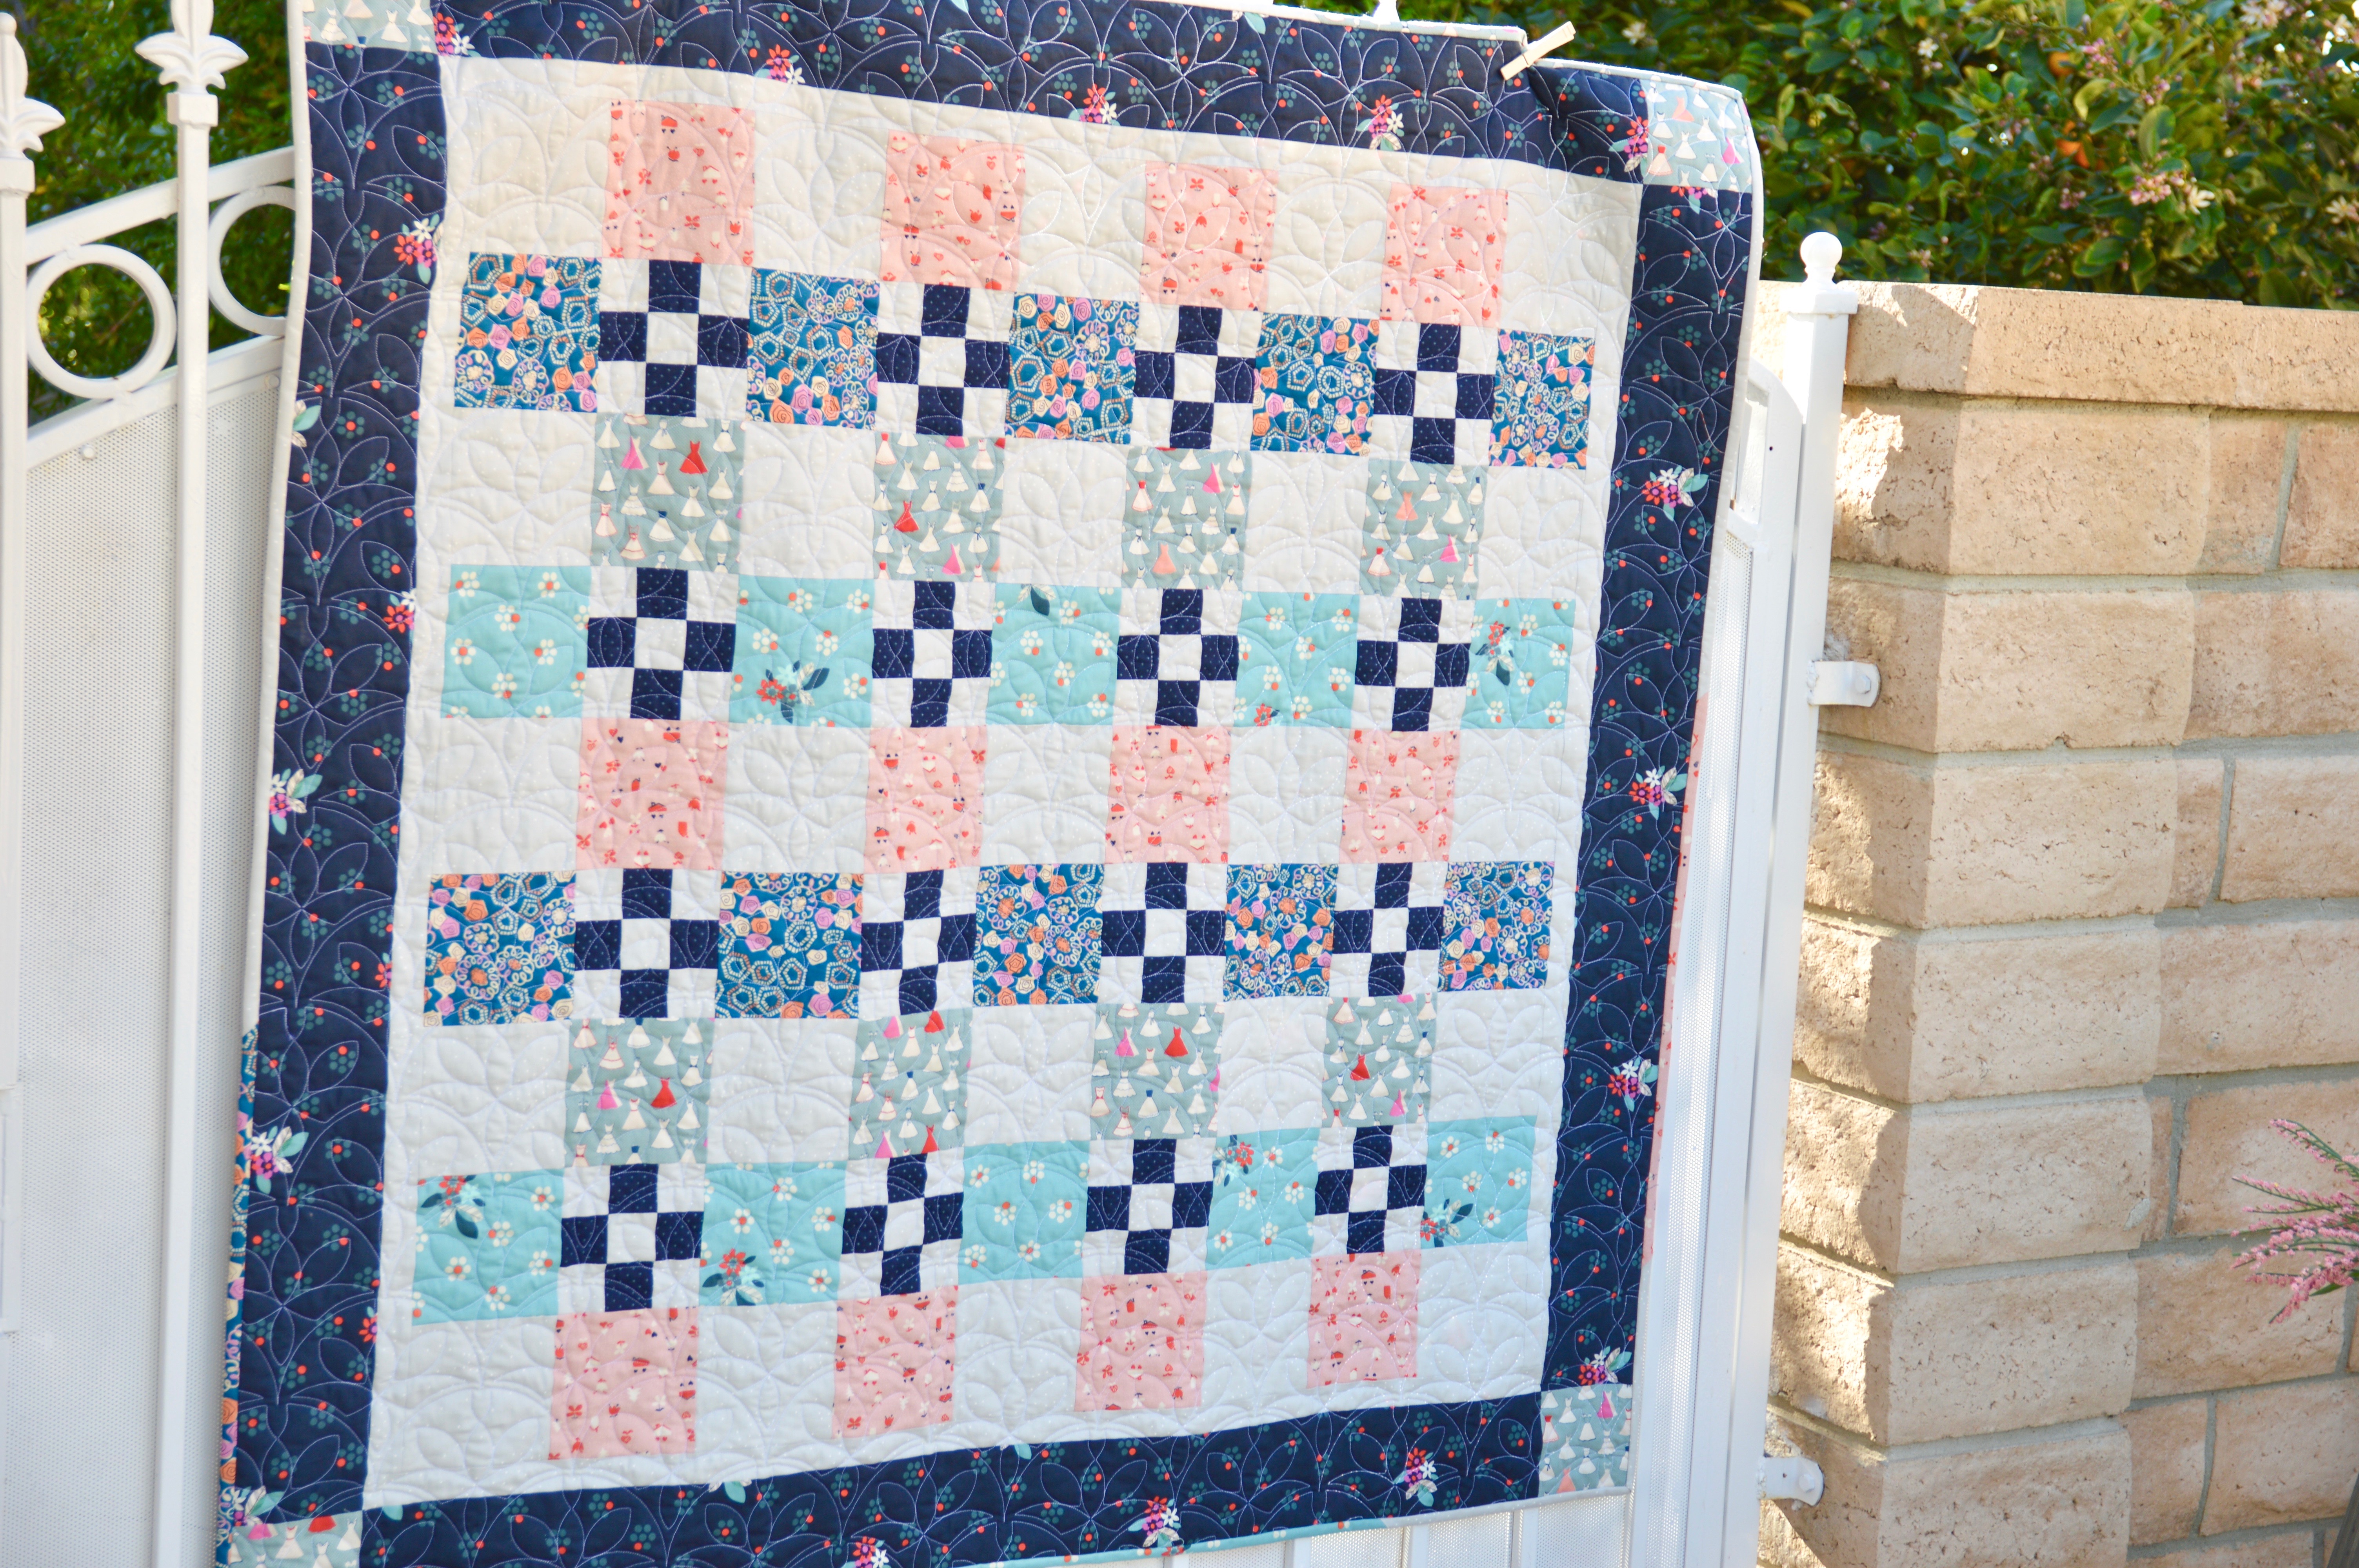
 Garden Path uses 5″ squares alternating with background squares and 9-patch blocks. I choose a selection of Cotton + Steel fabrics from

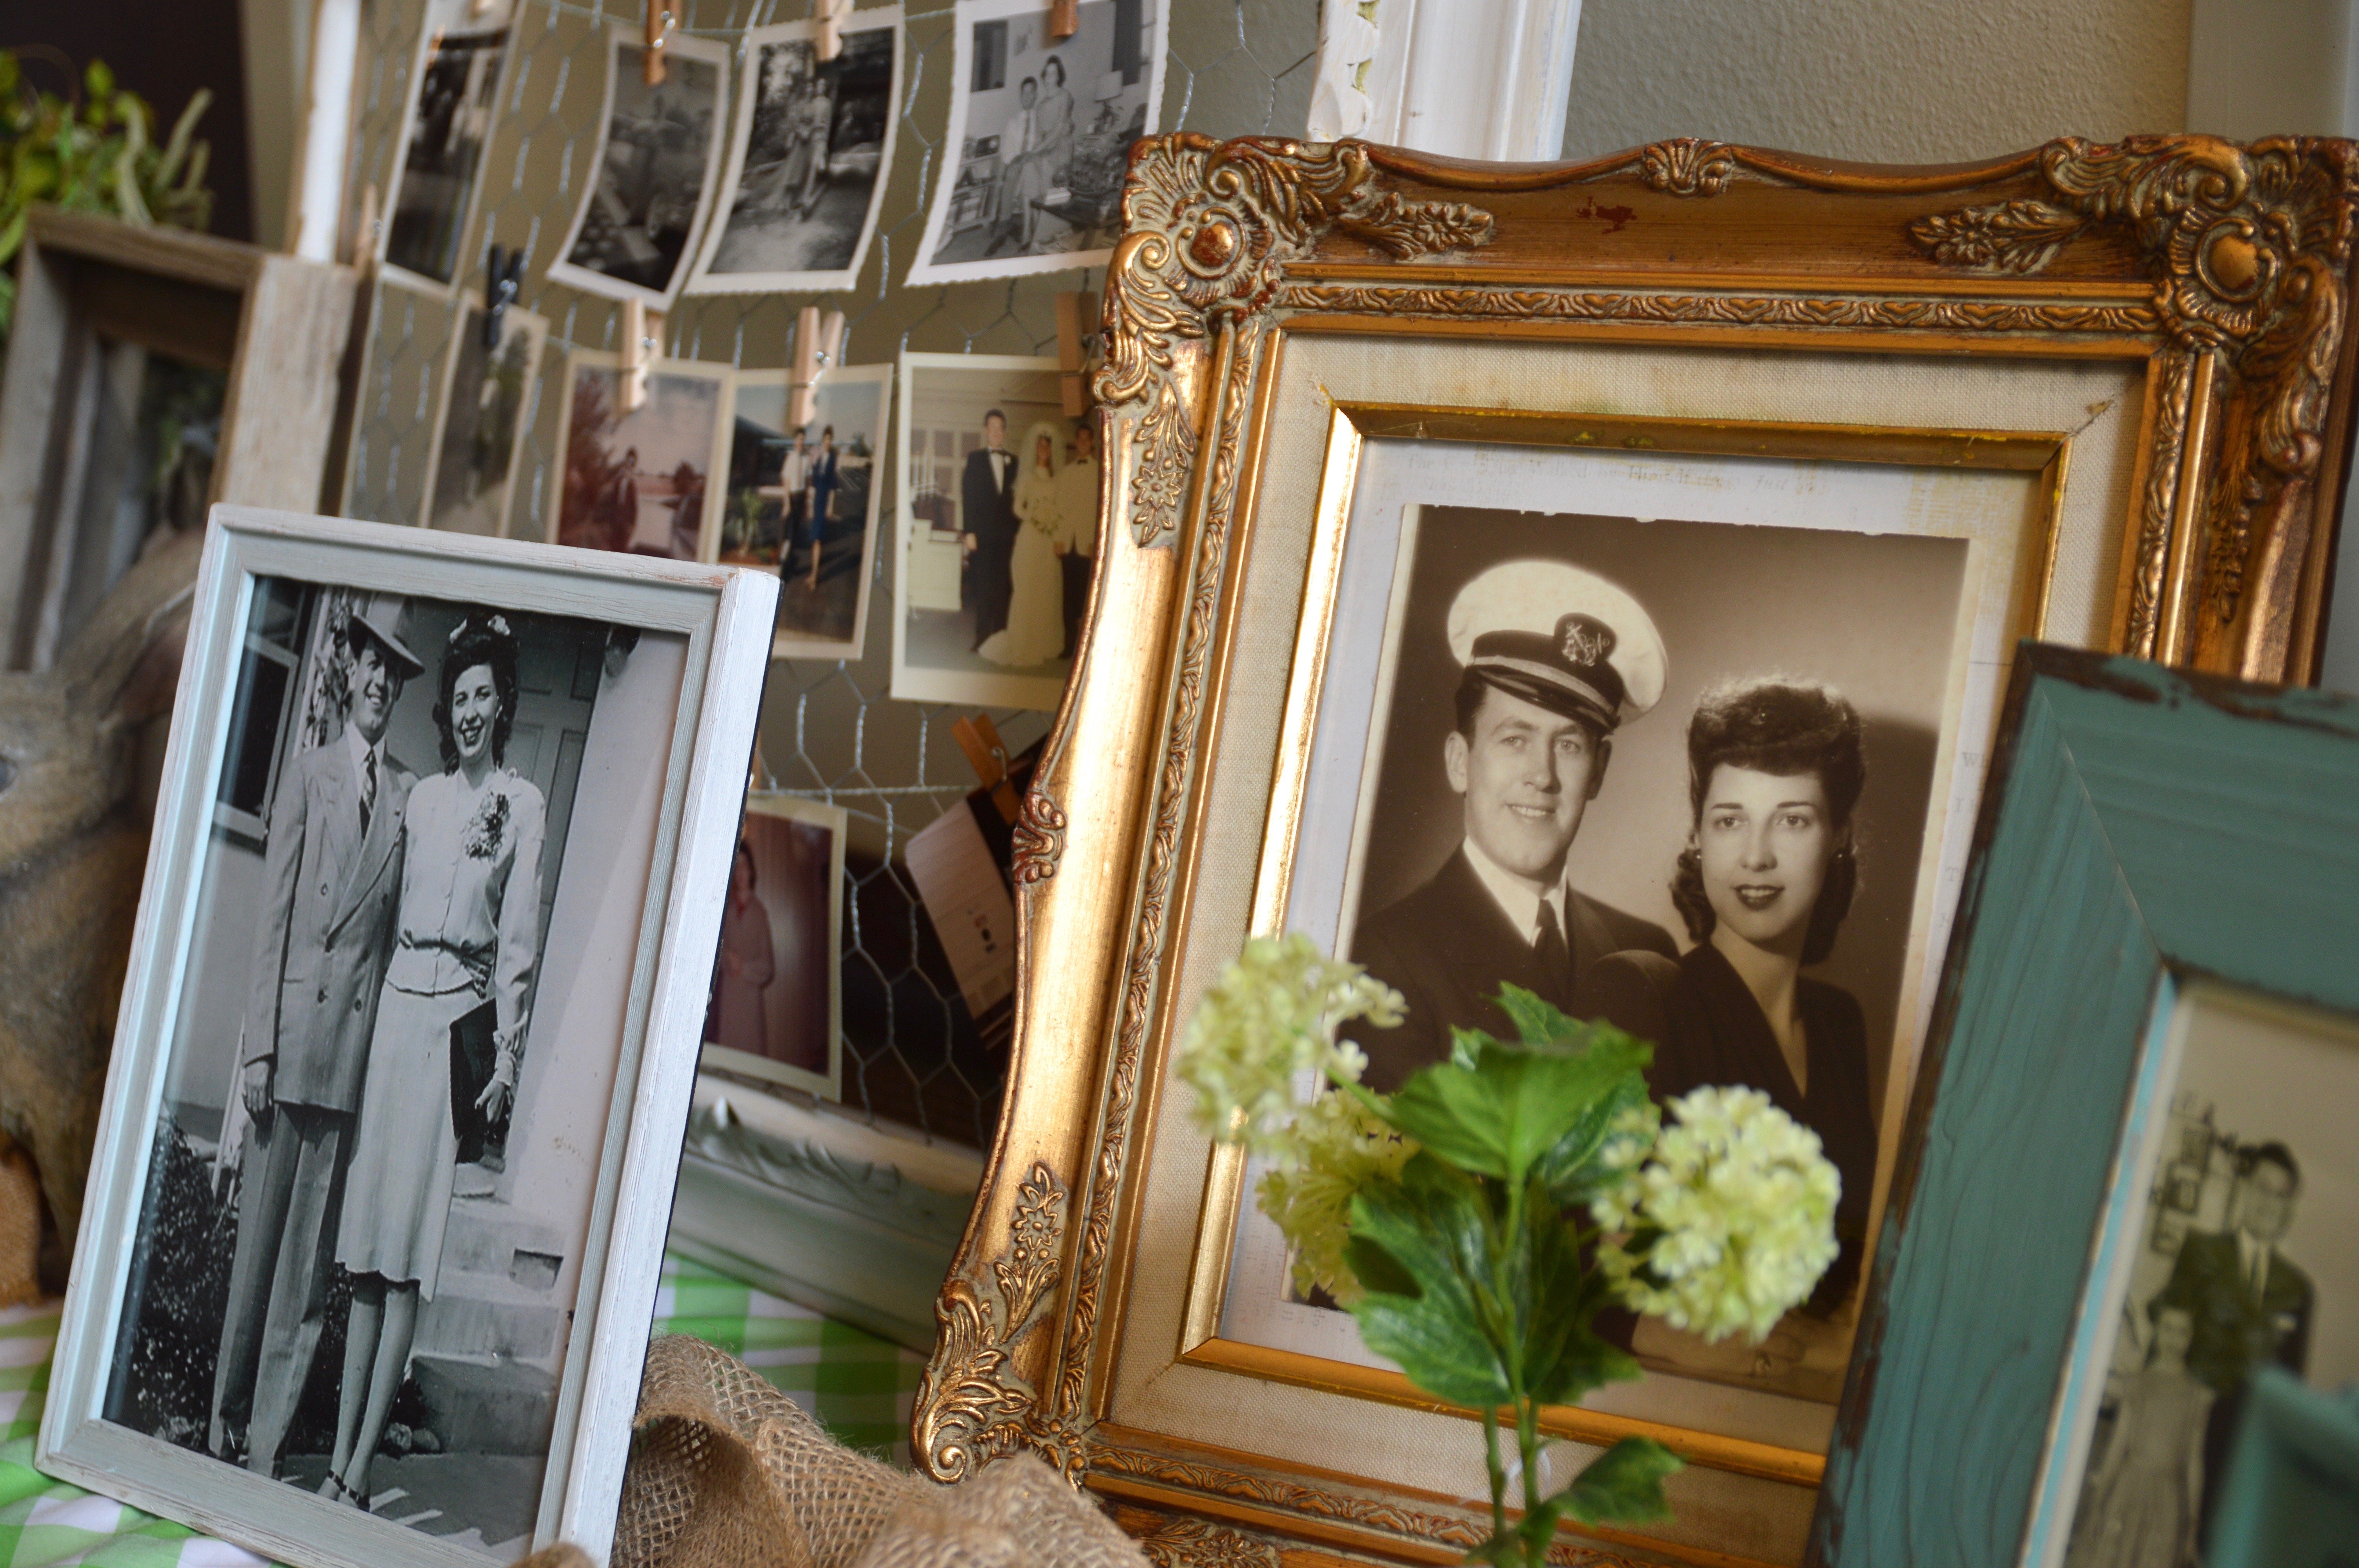
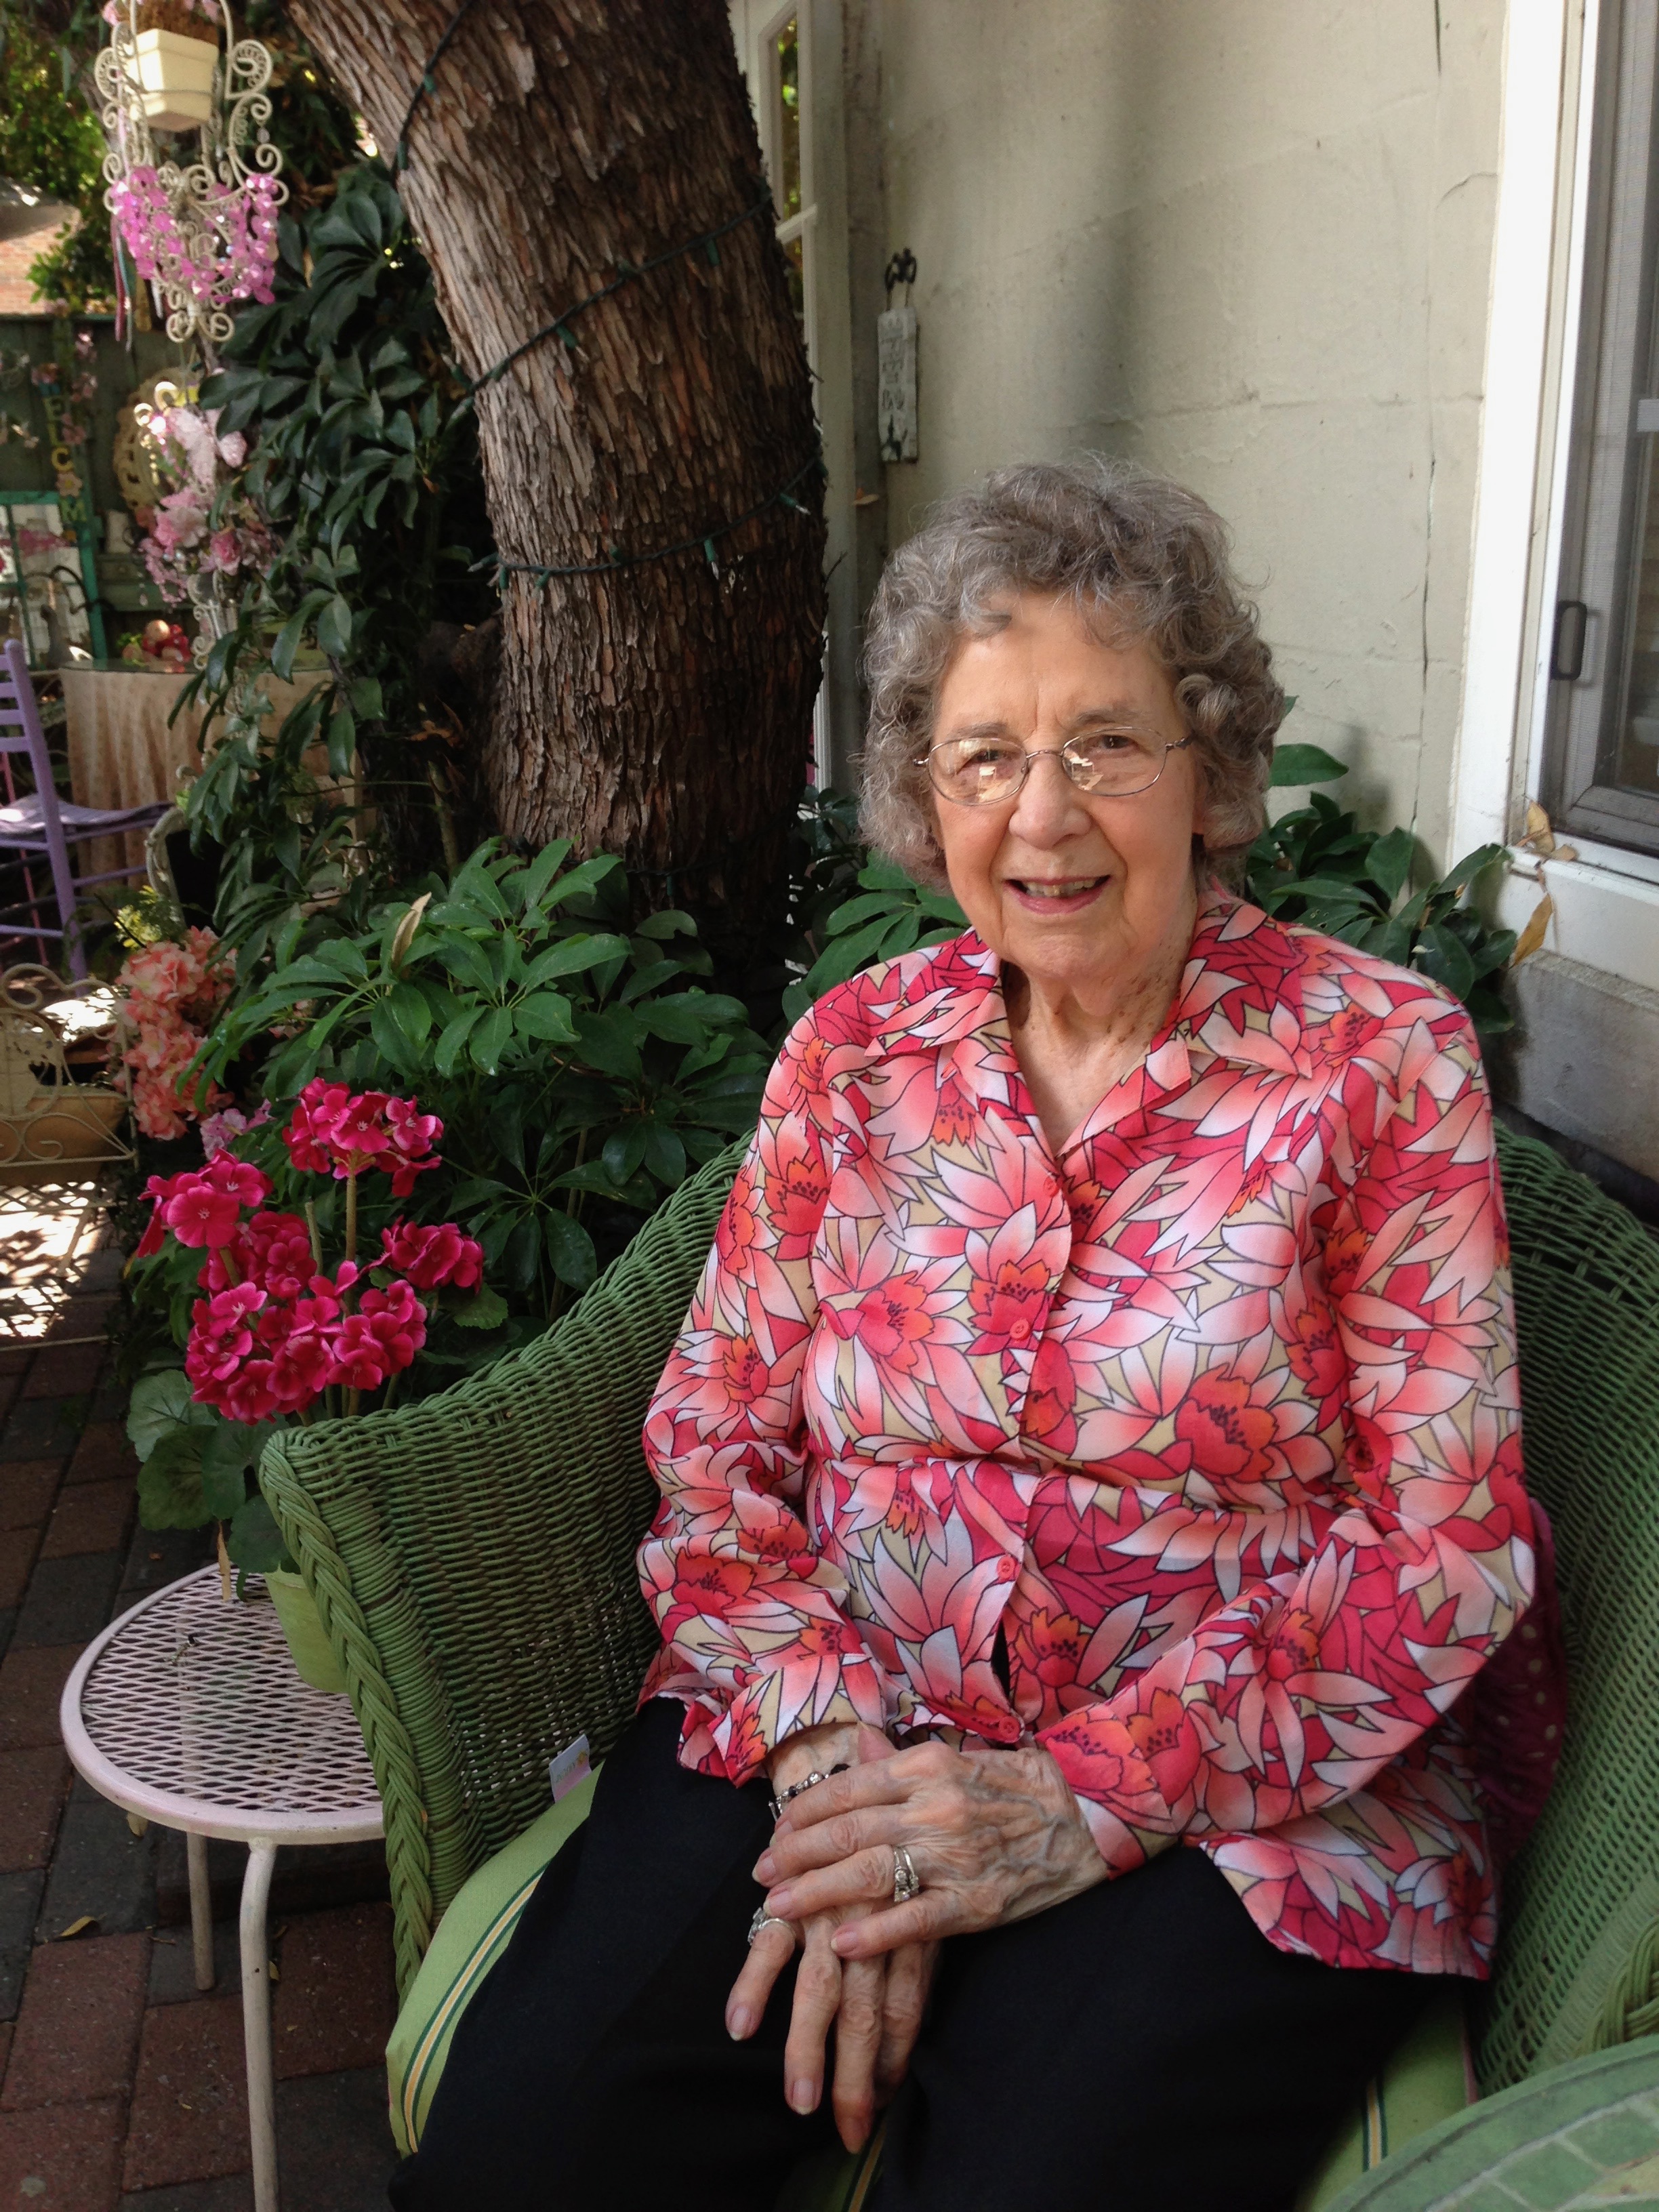
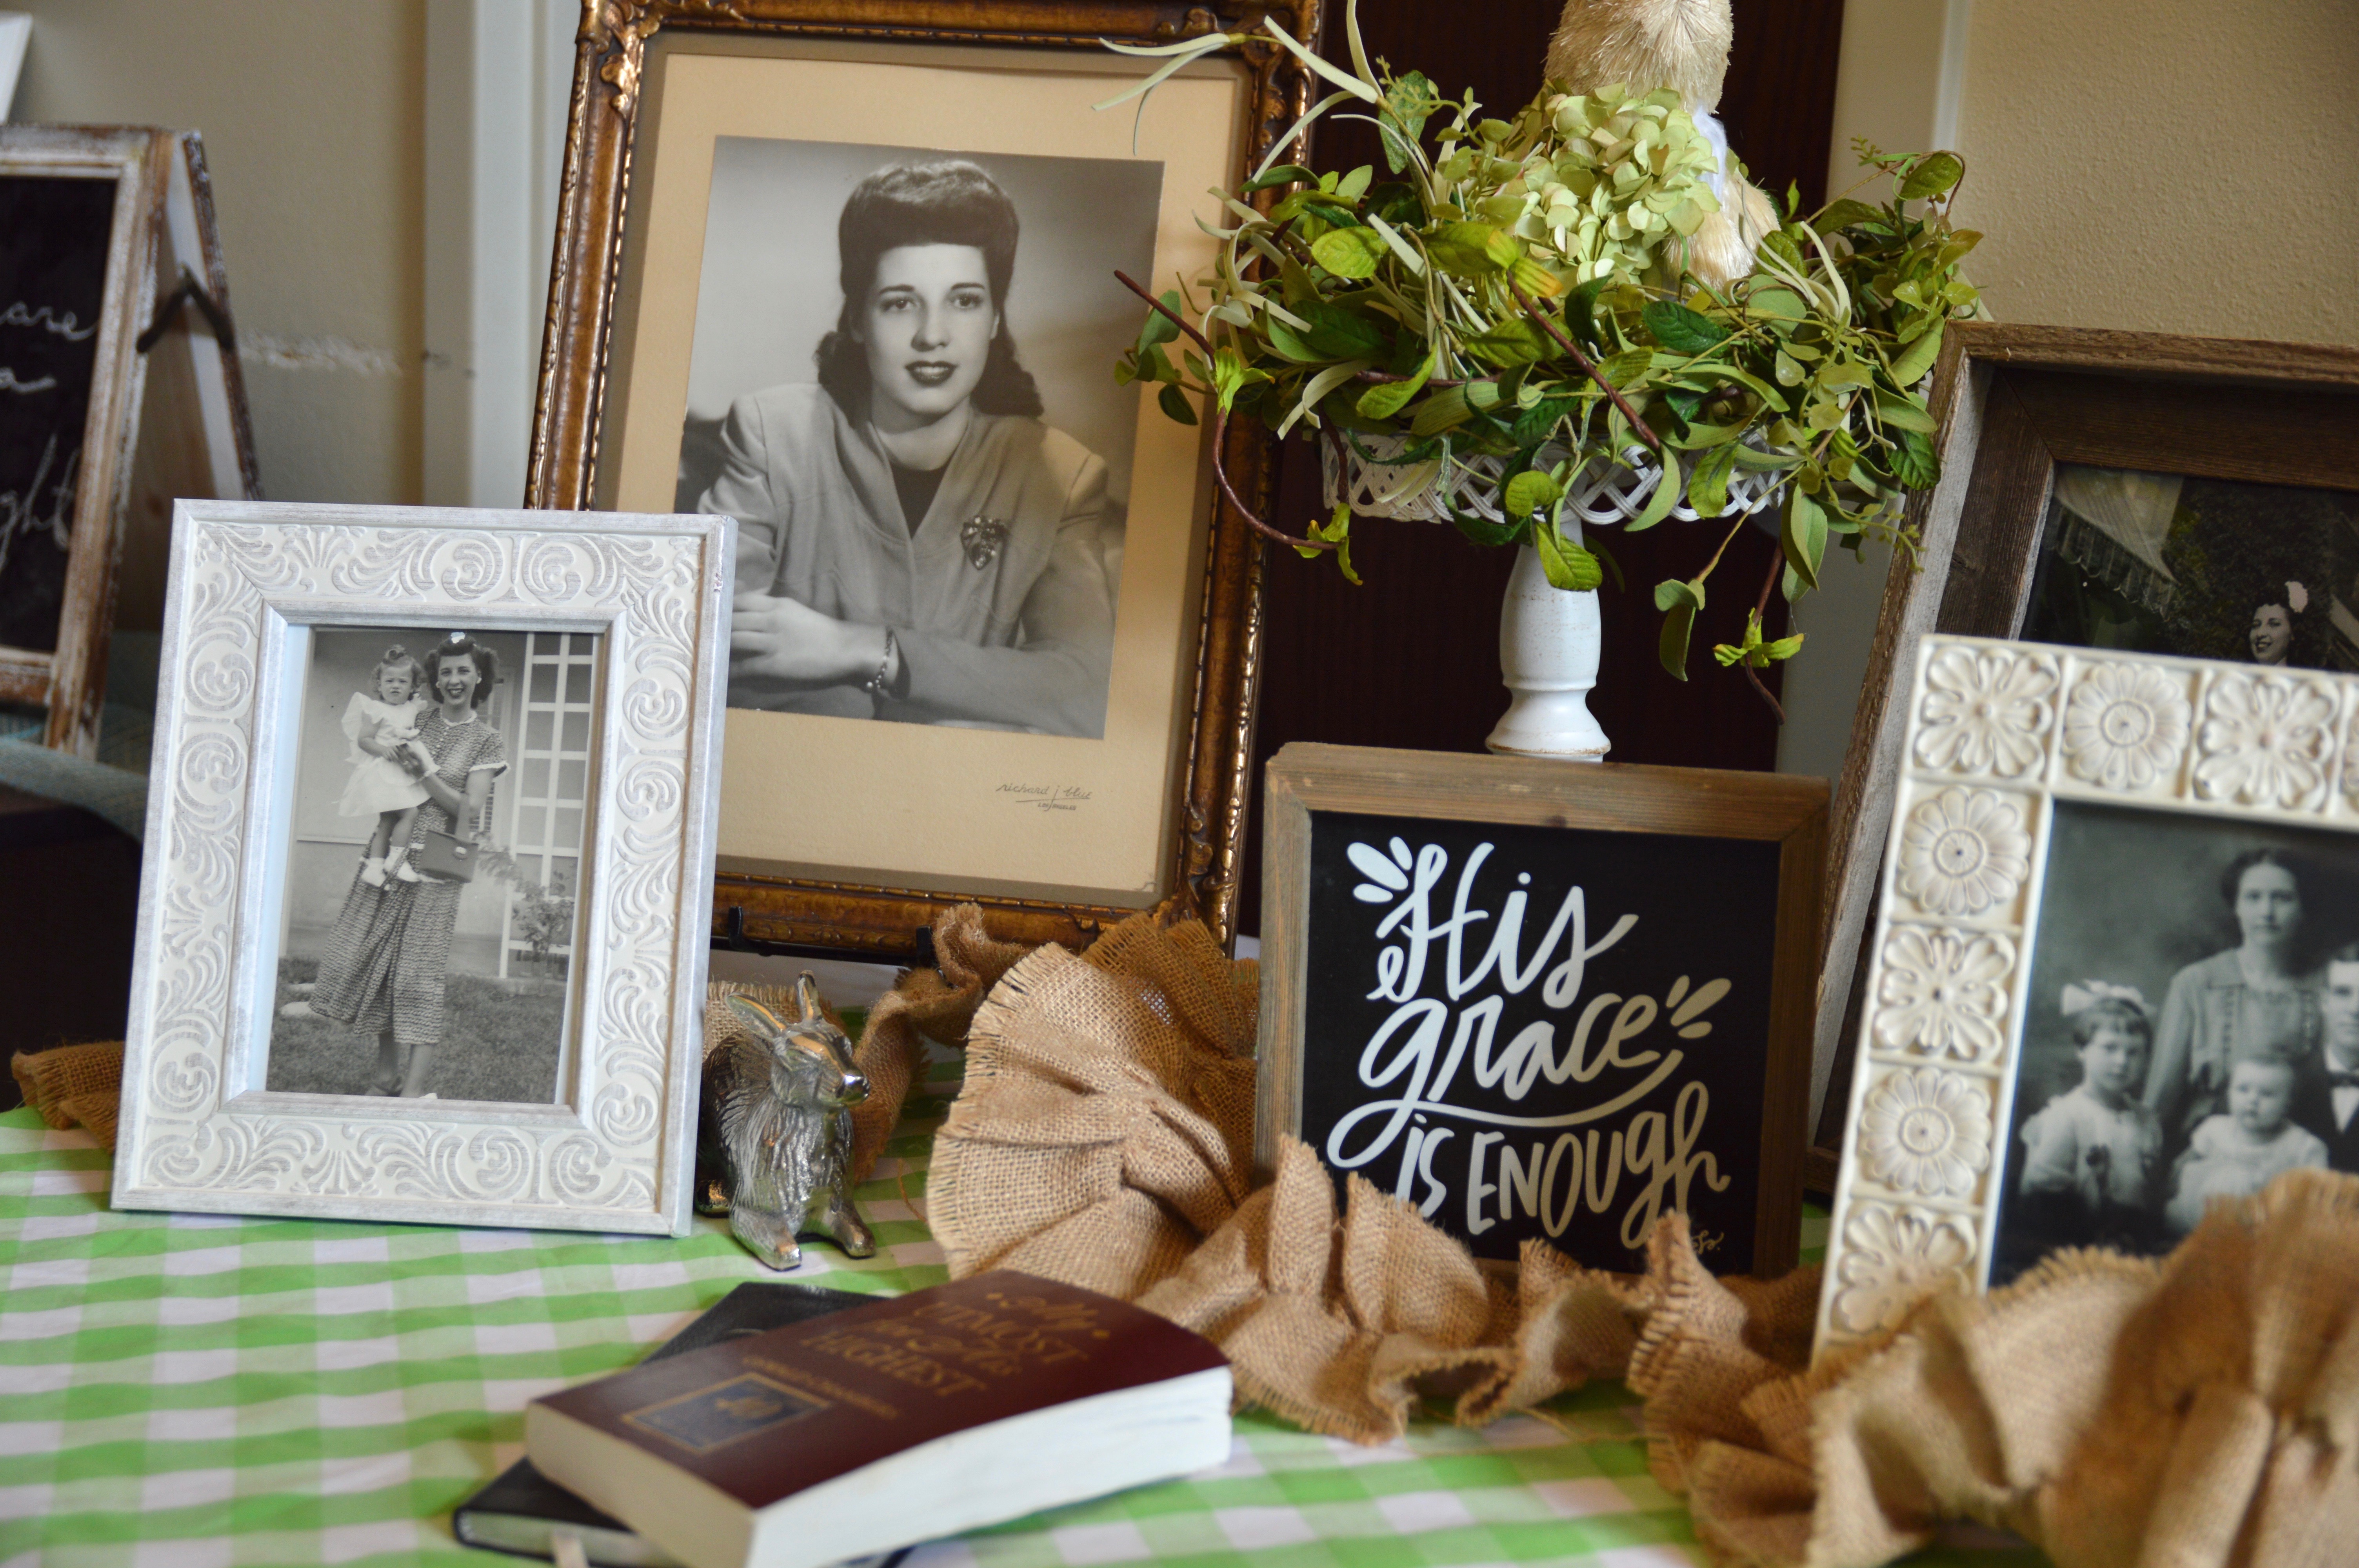 We gathered as a family on March 20th, her birthday, to celebrate her life and to say our final goodbyes. She lived an amazing life.
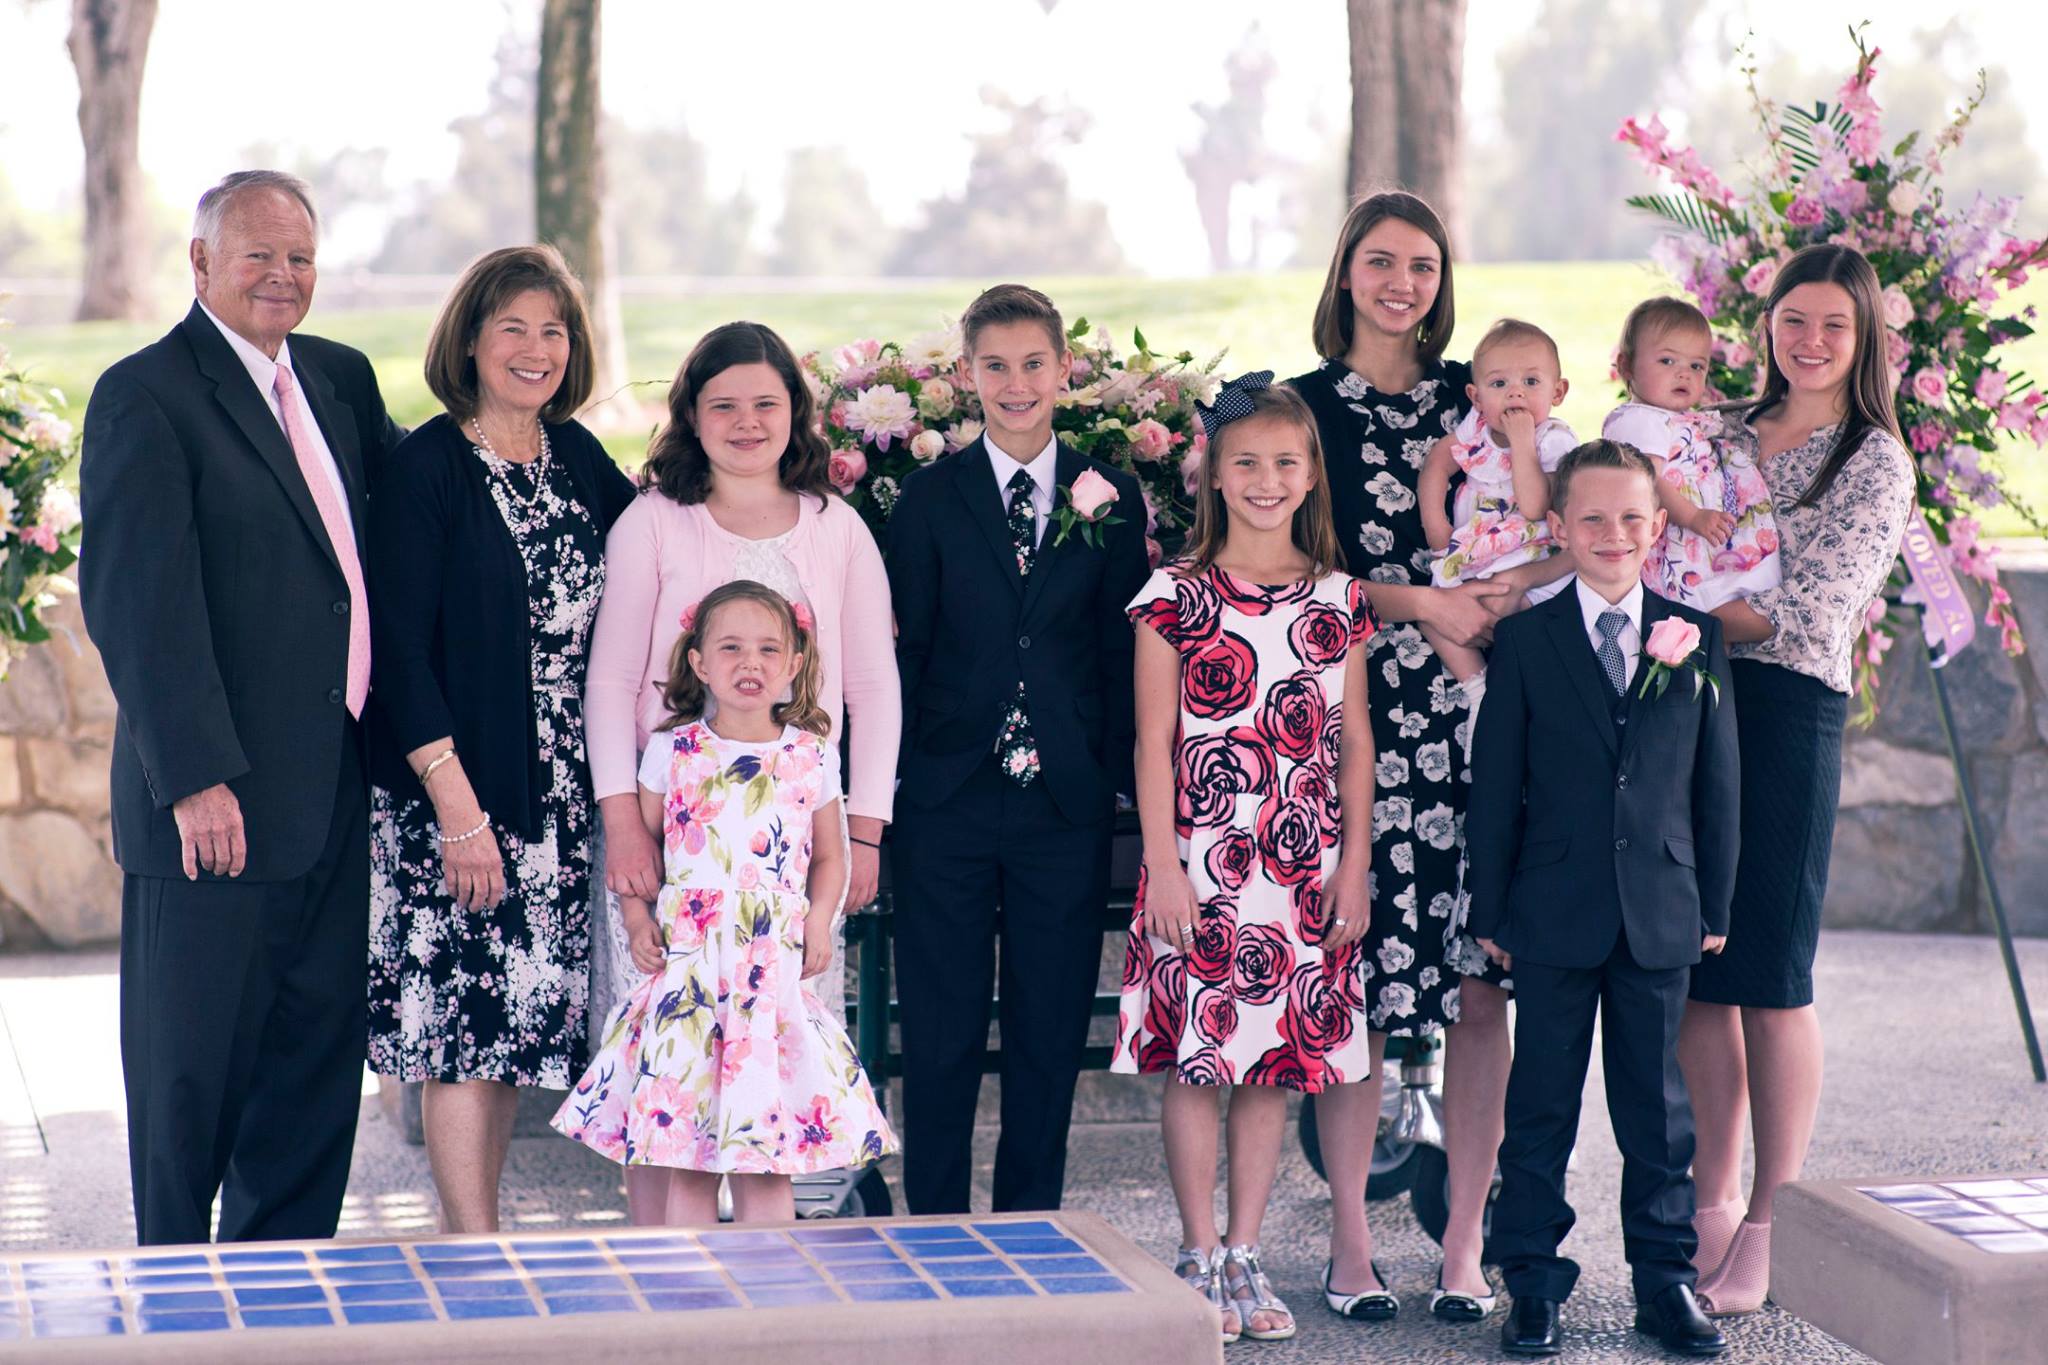
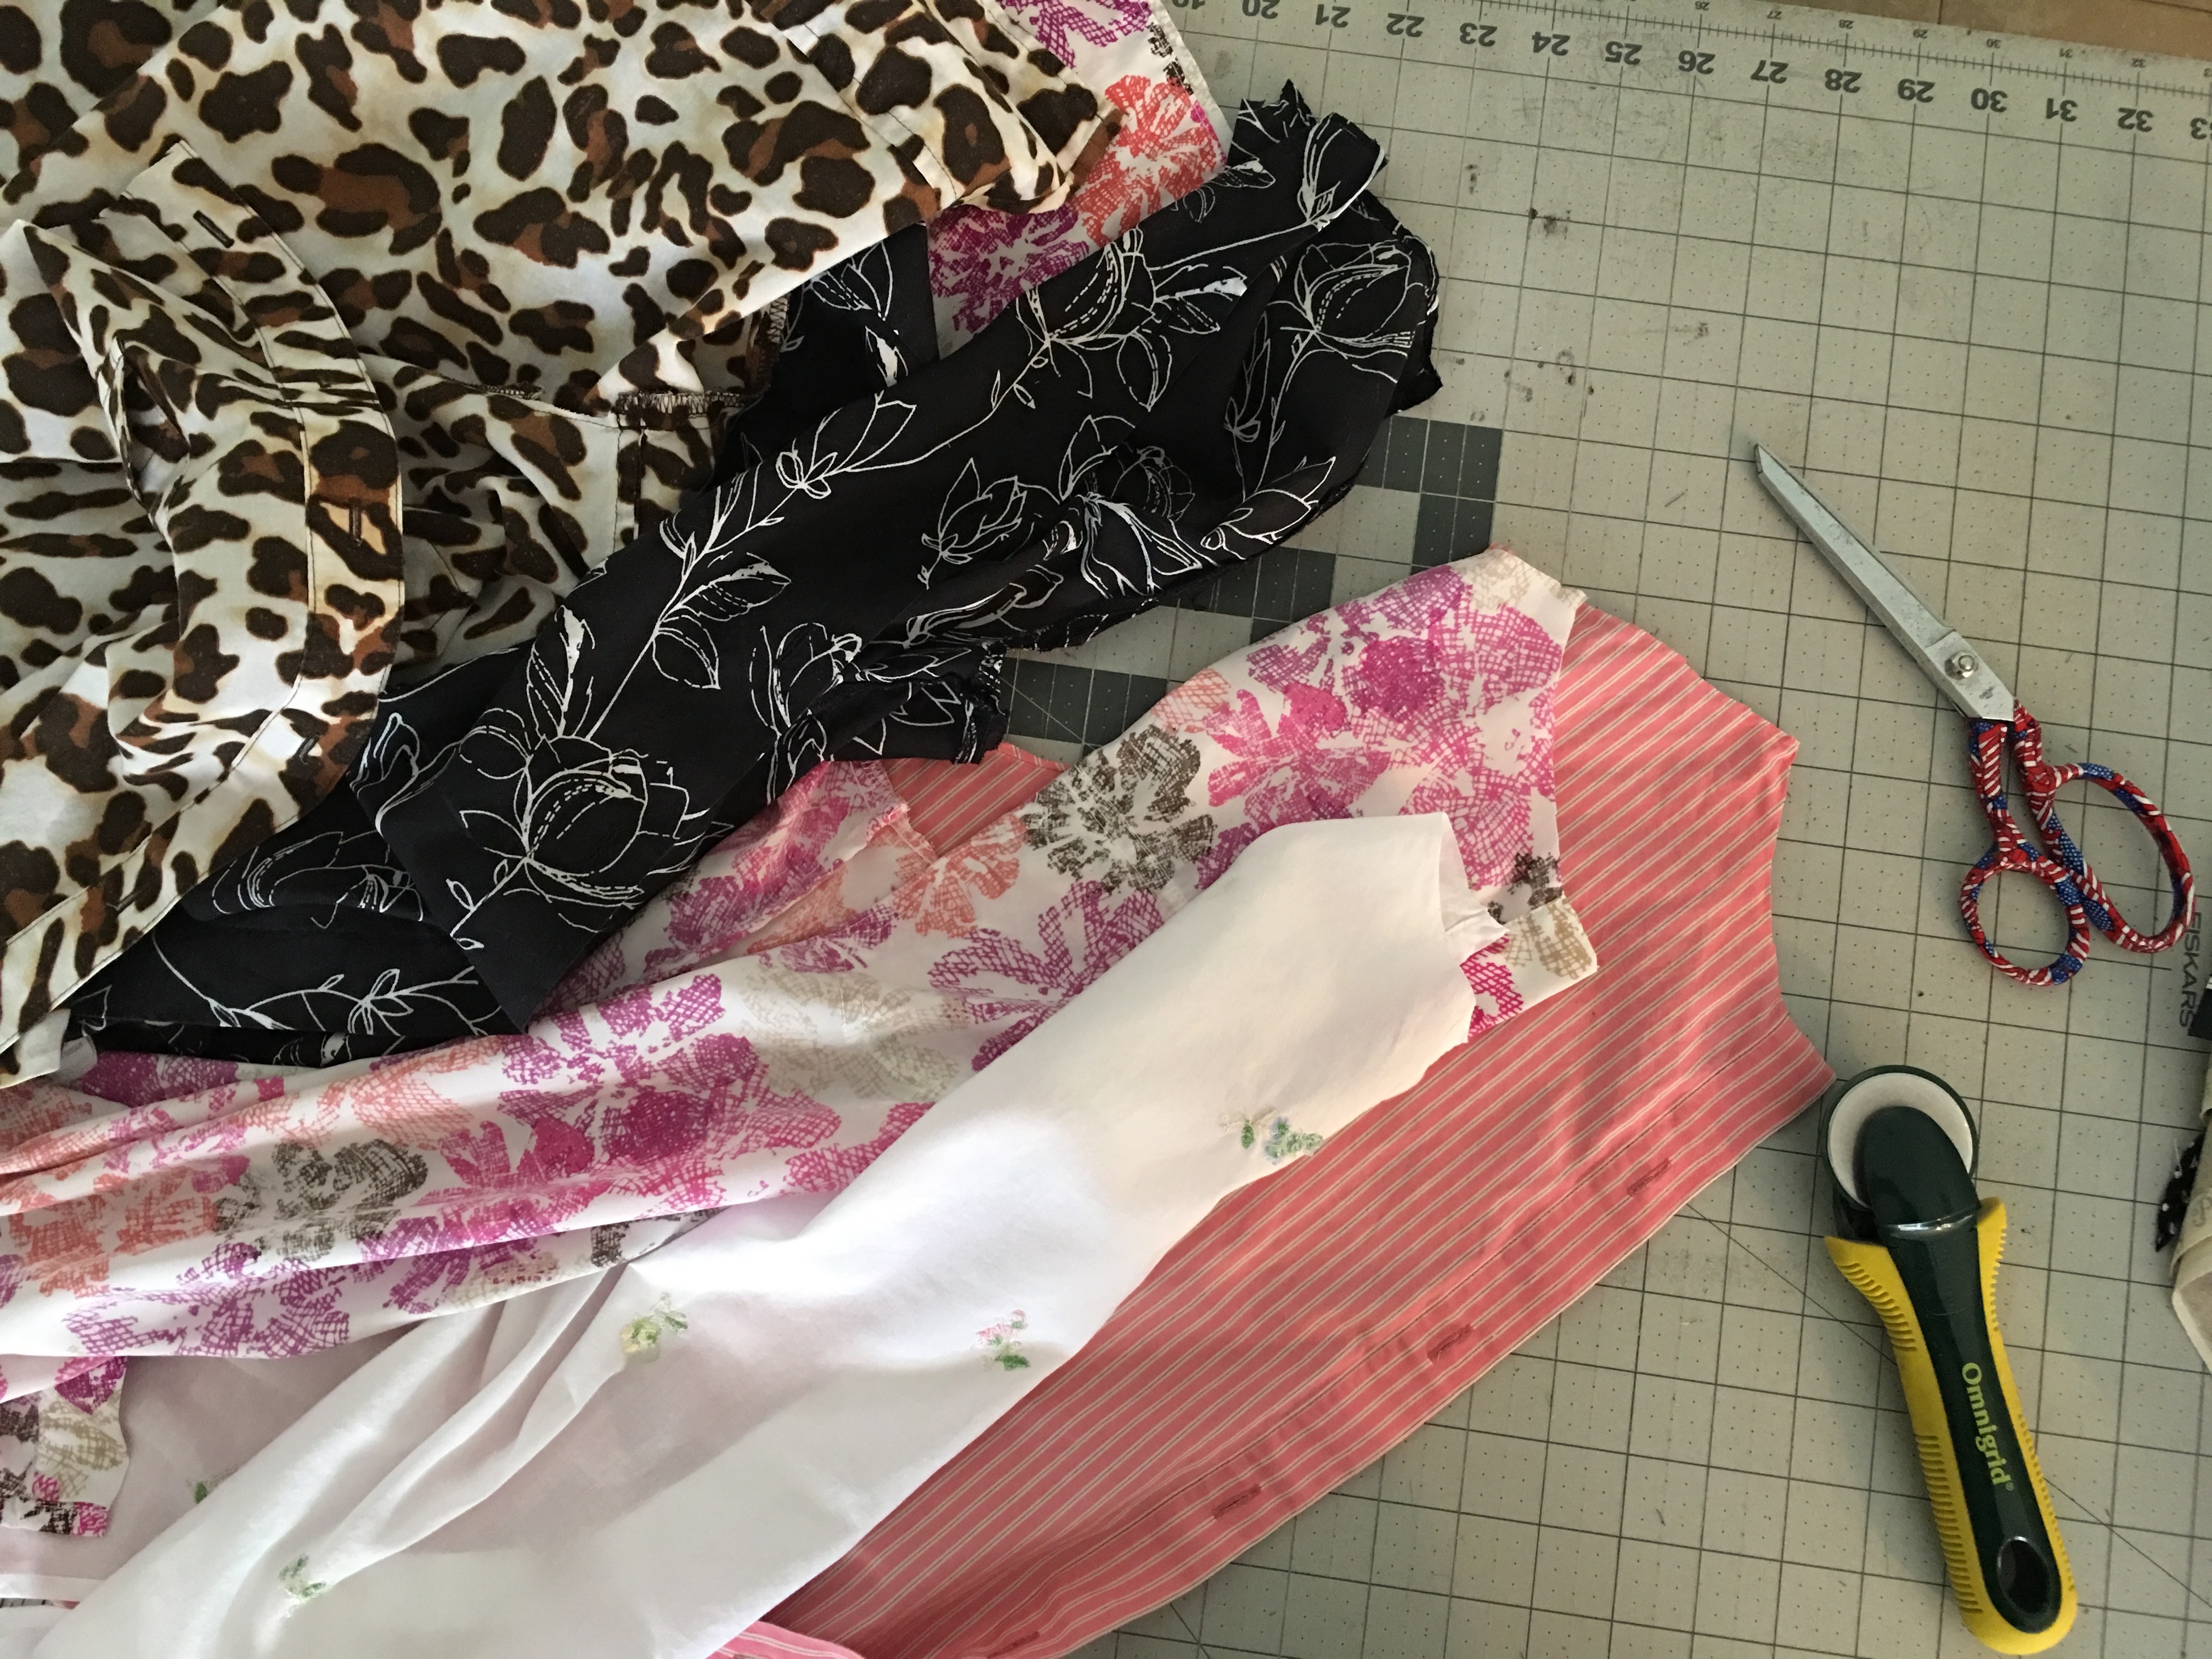

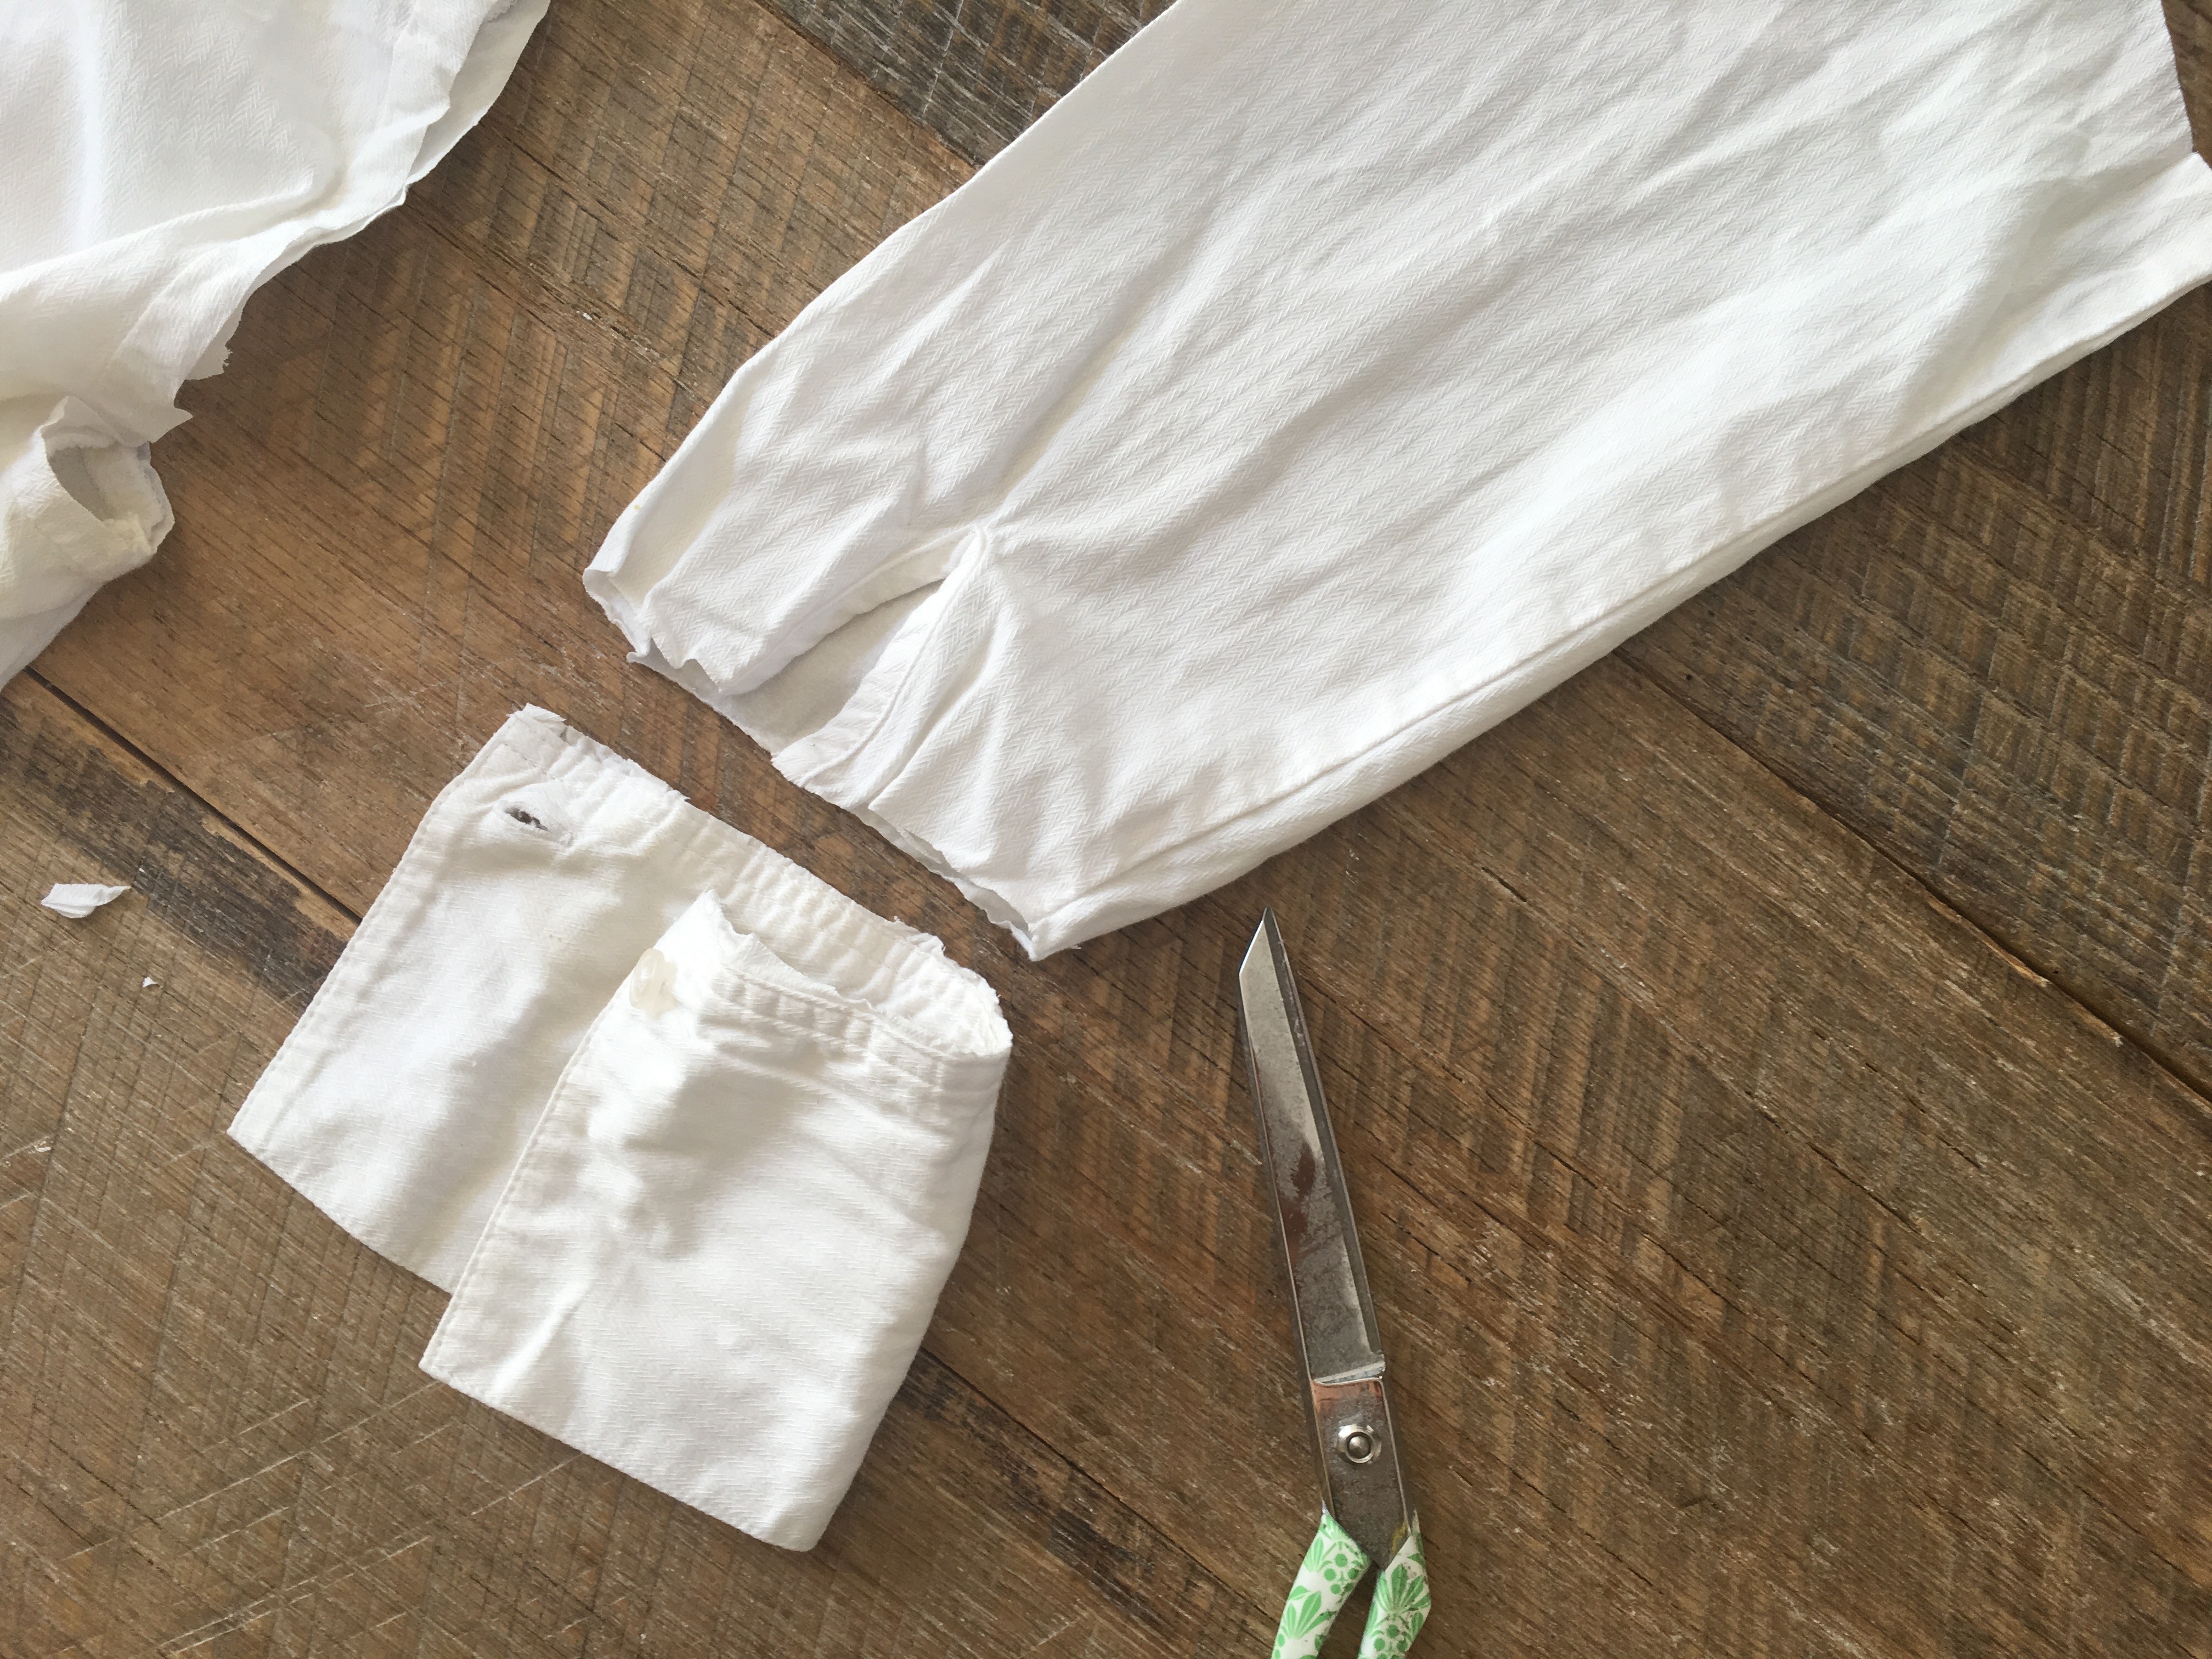
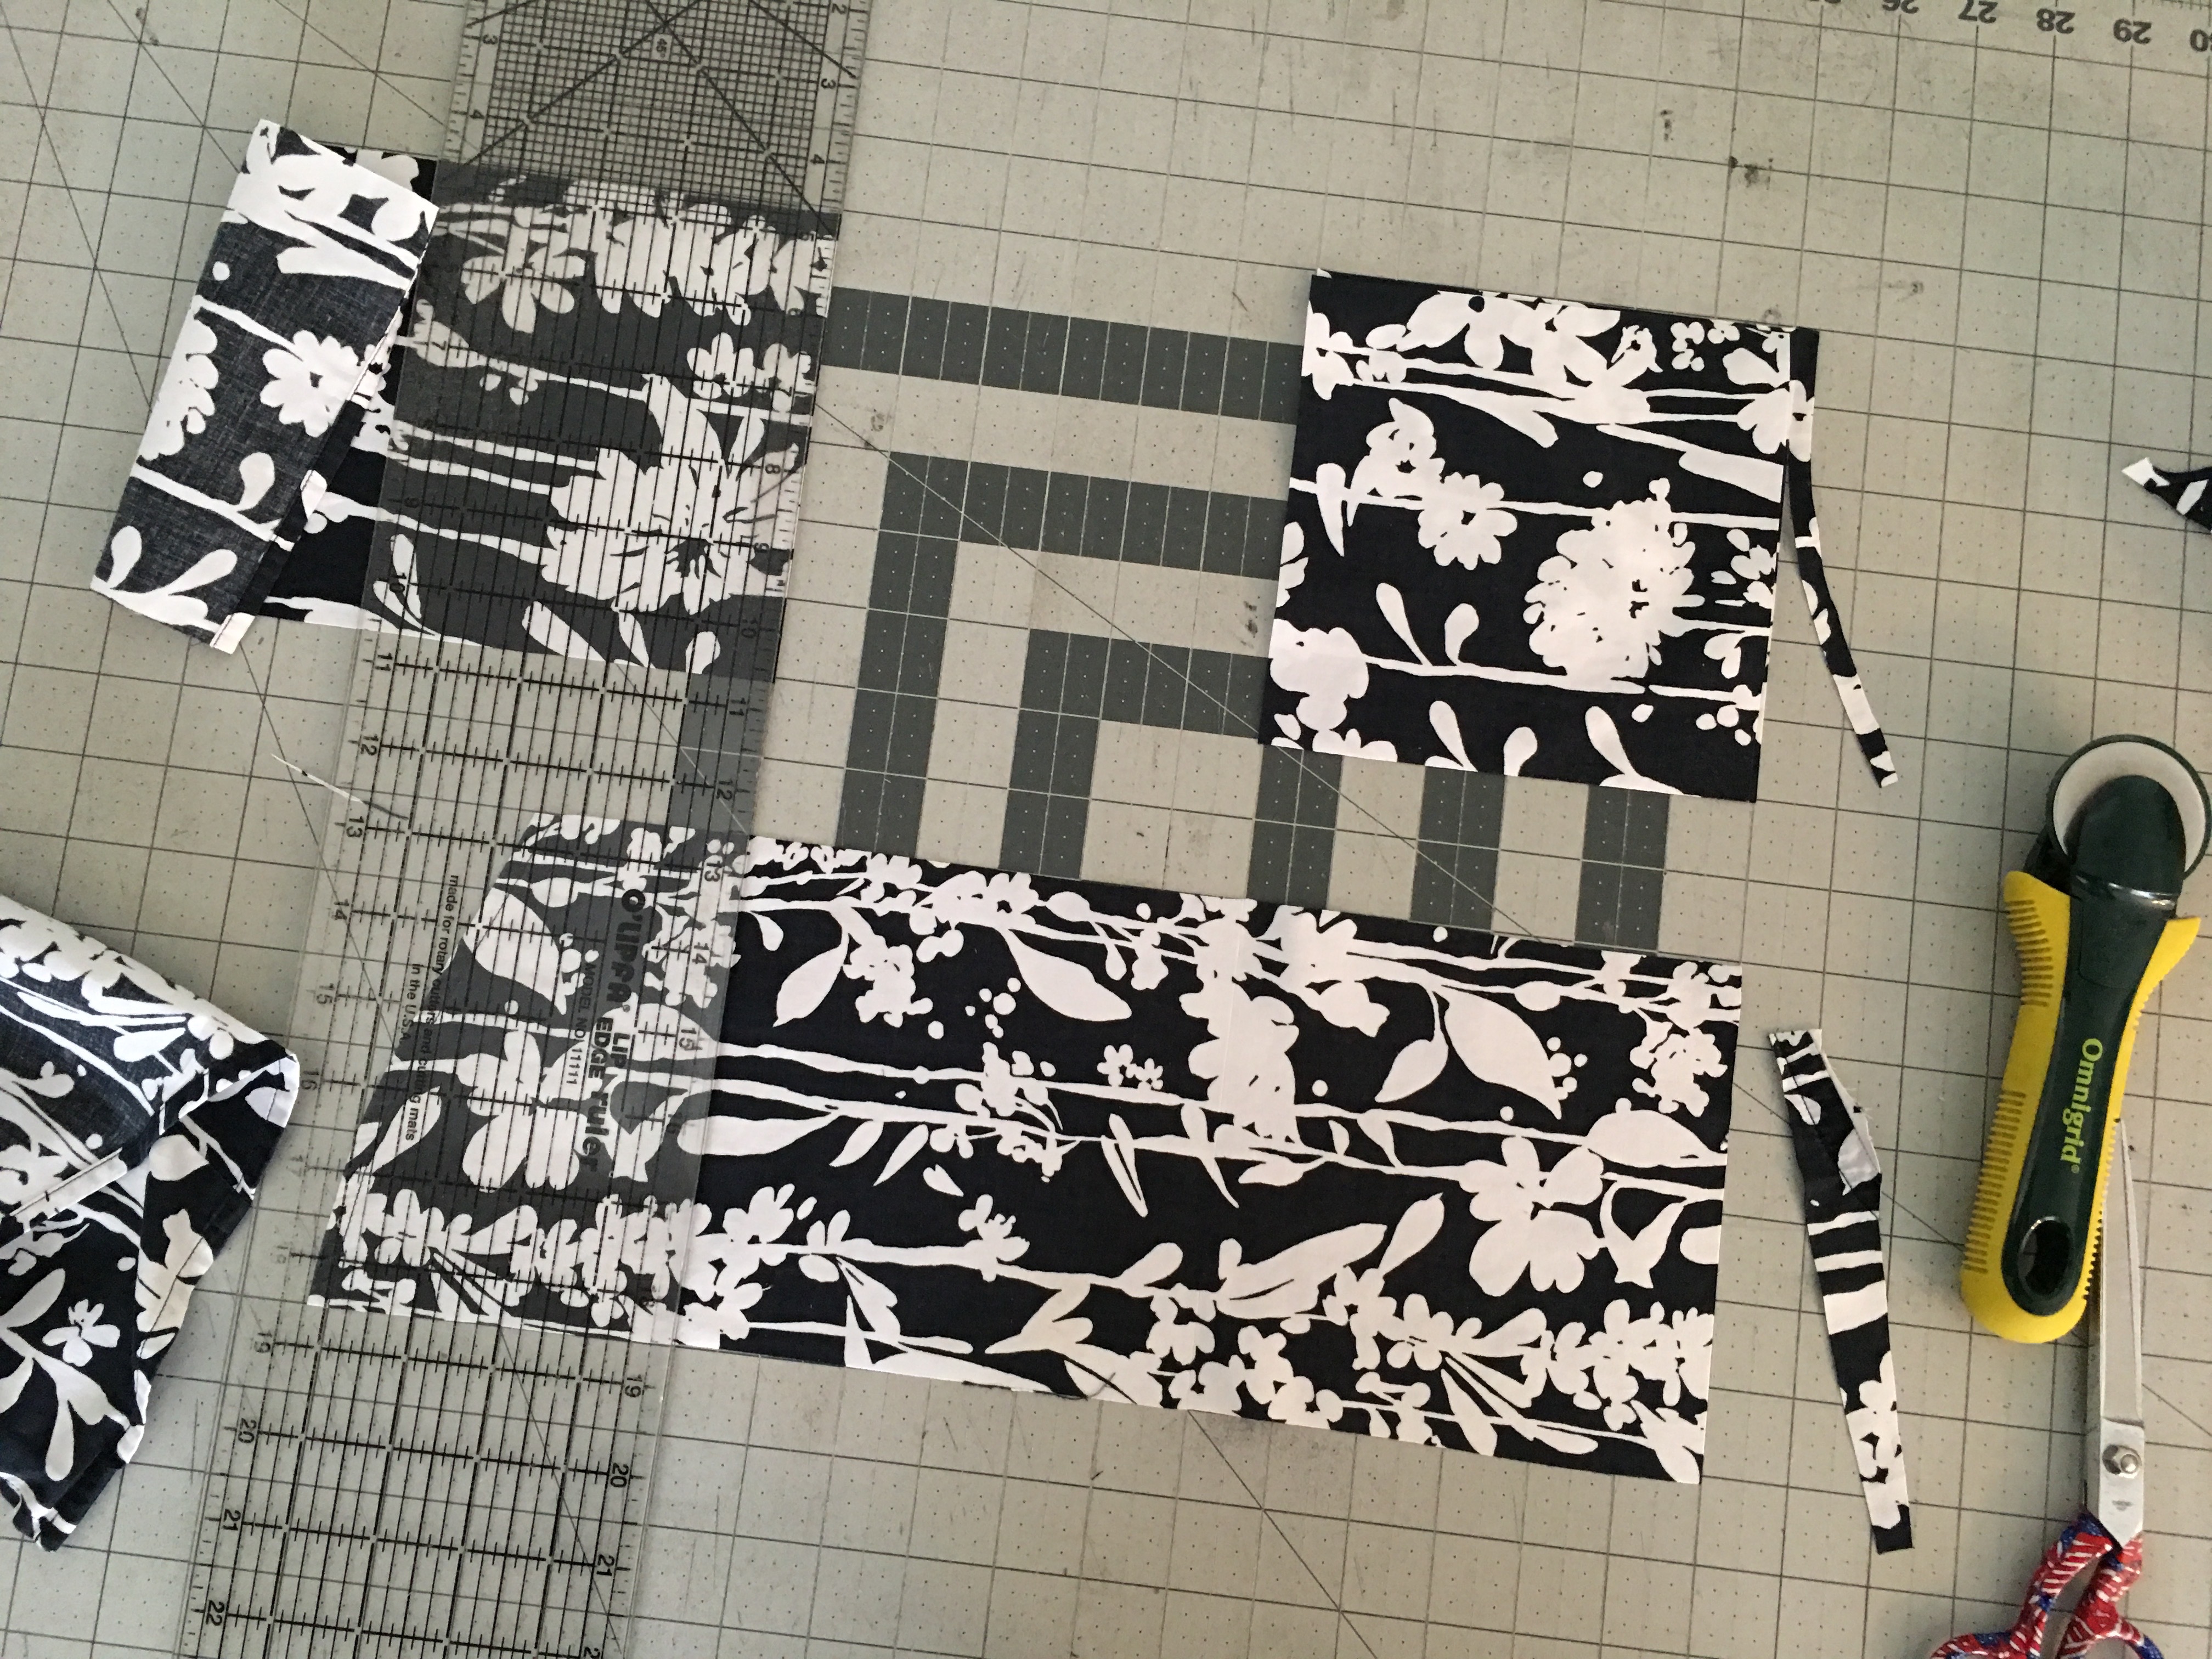
 Cut off the collar. If the shirt has pleats in the back you need to cut along the back seam as well so the pleats lay flat.


 Thanks for stopping by!!!

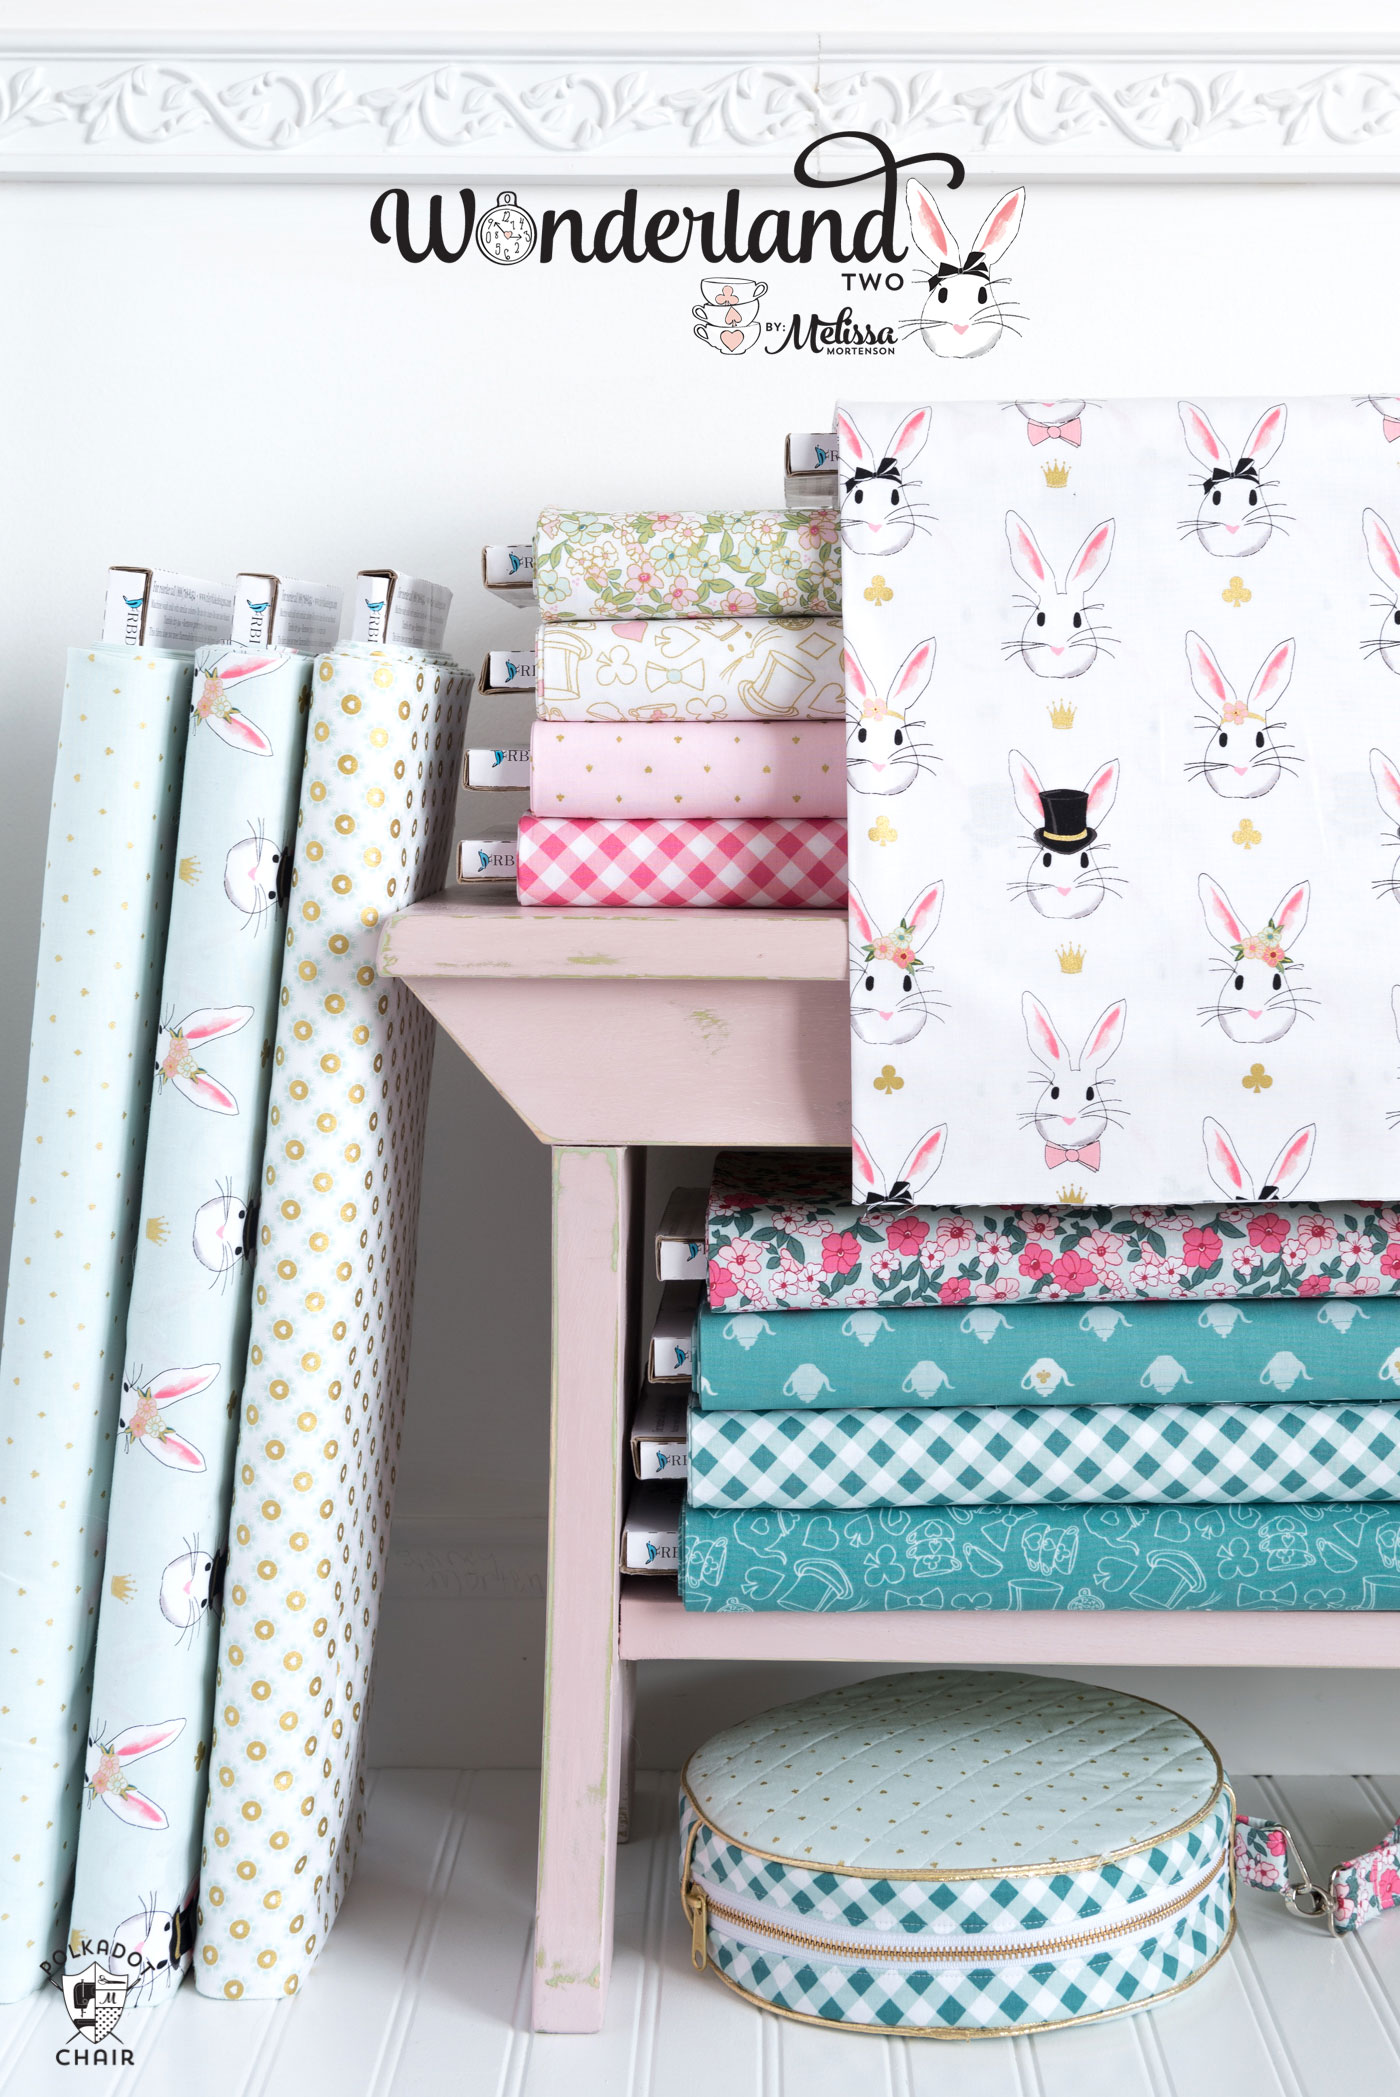
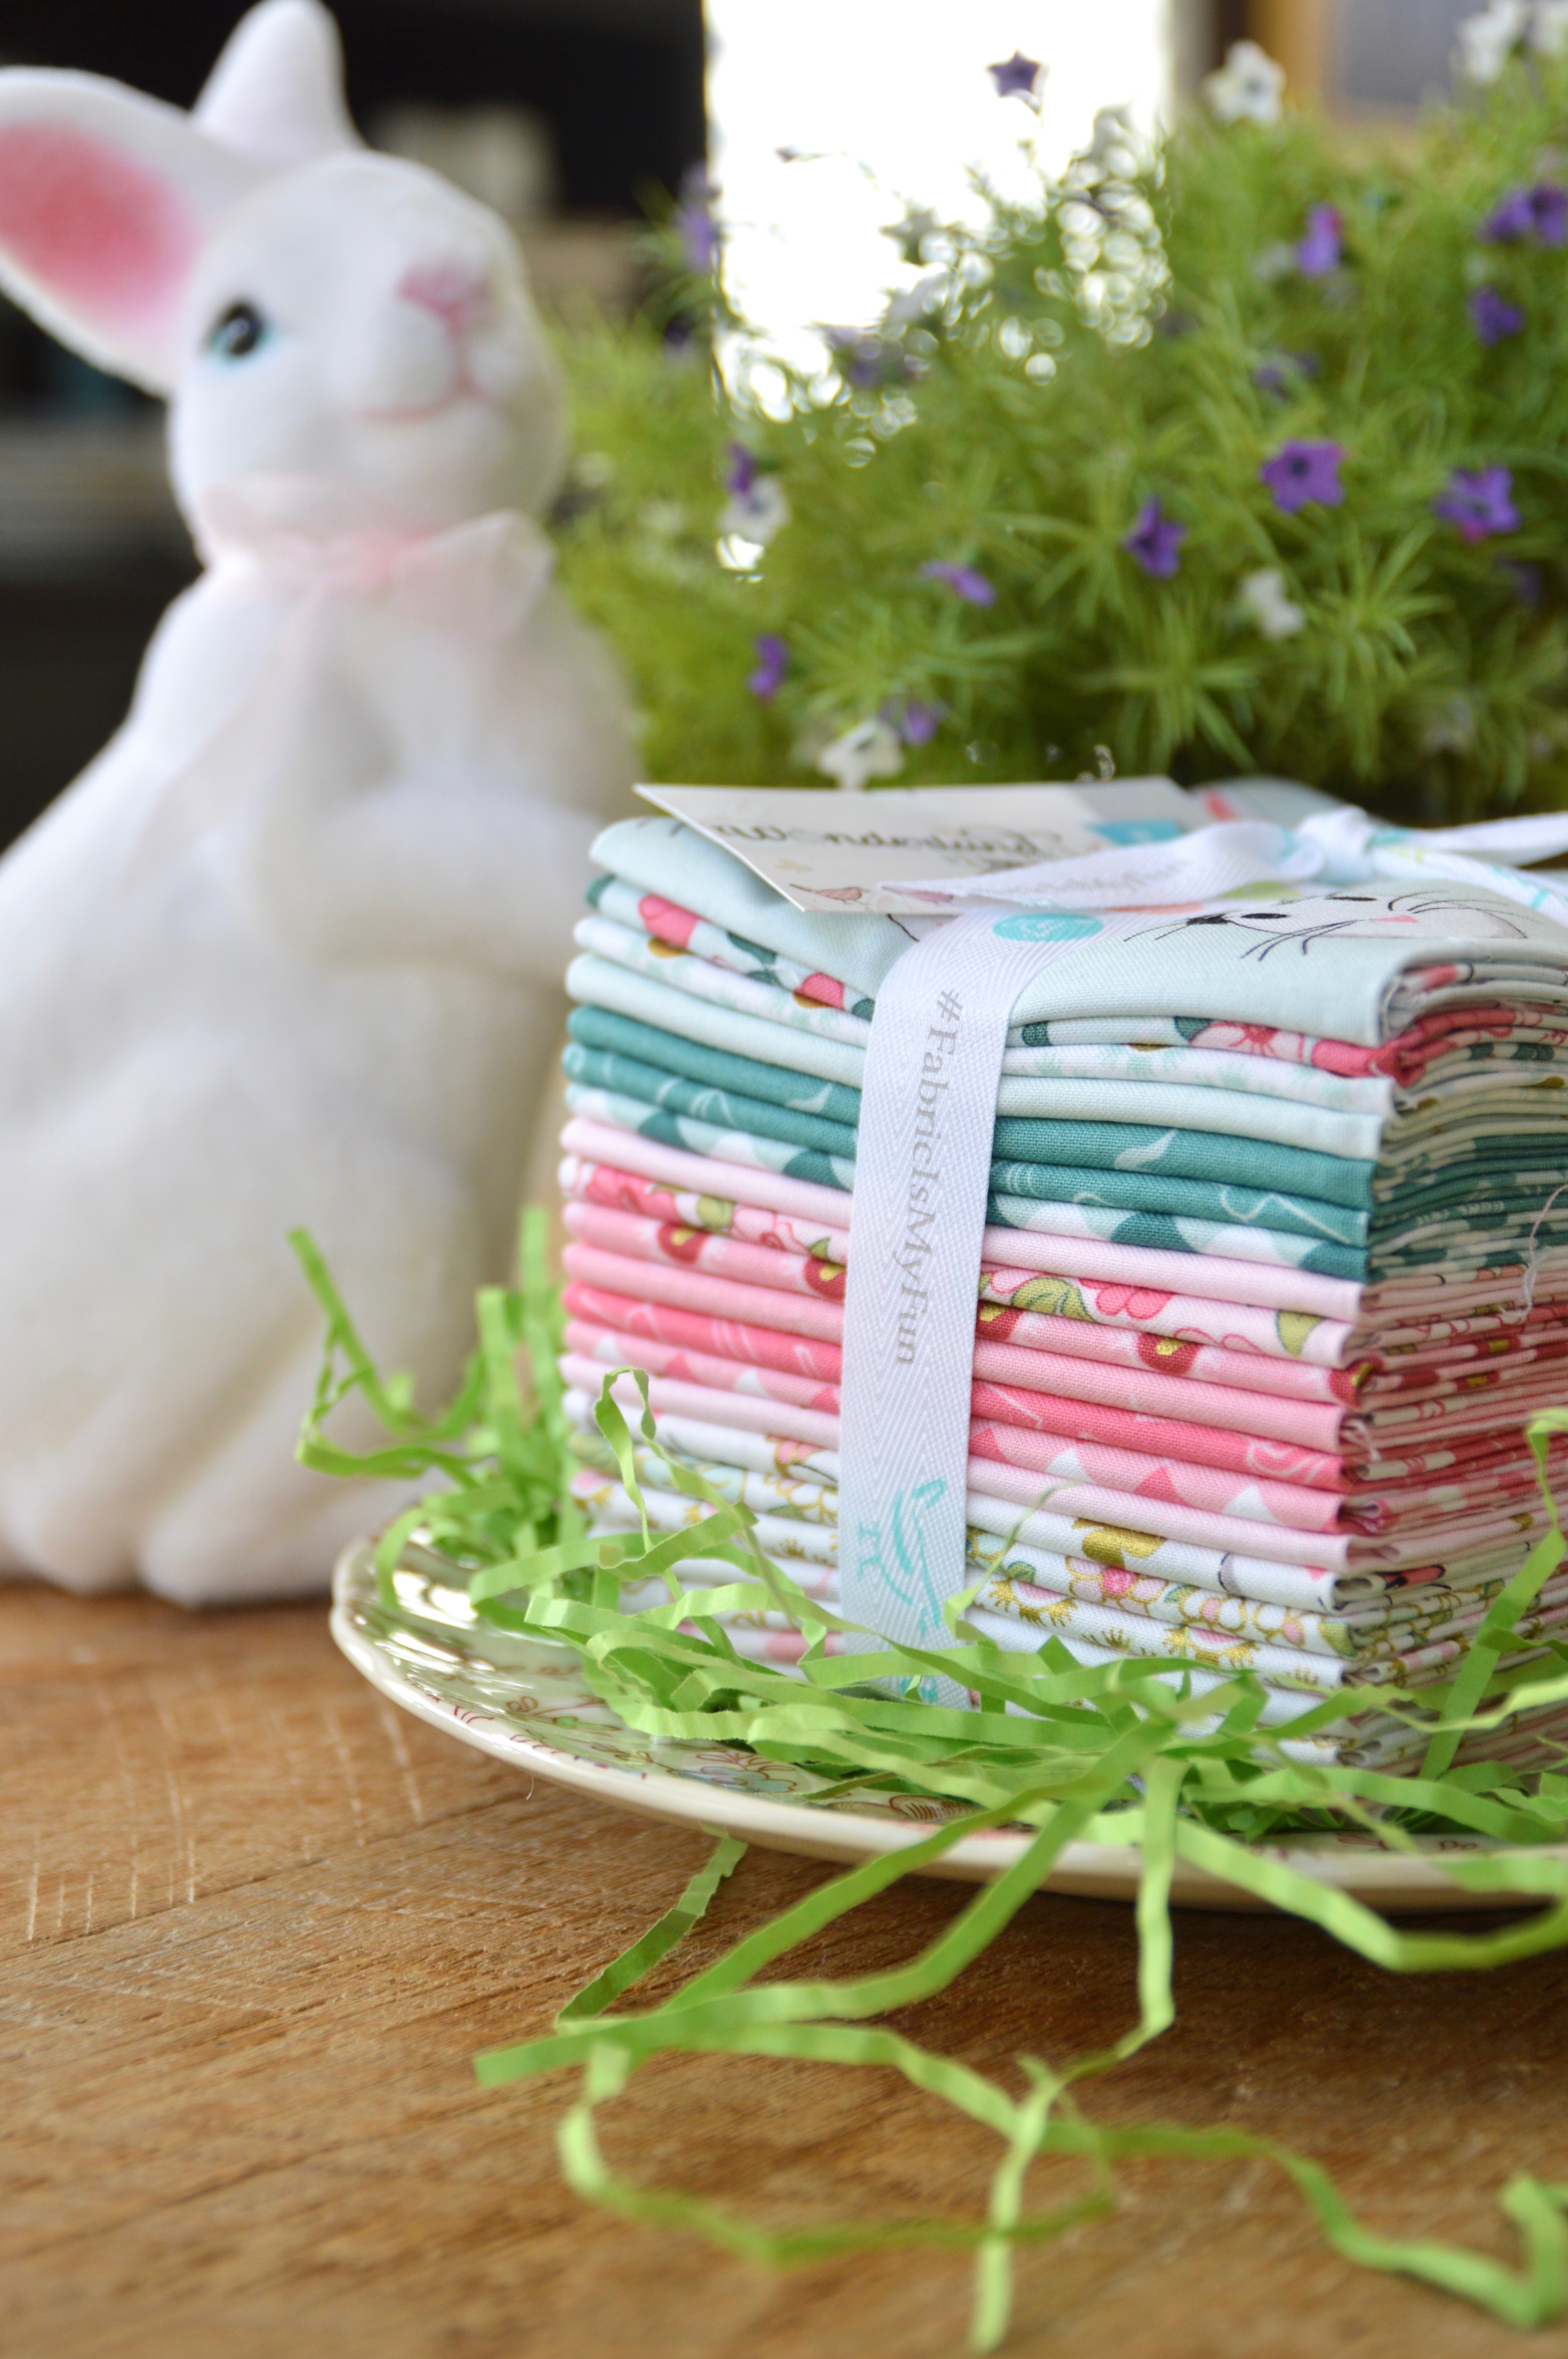
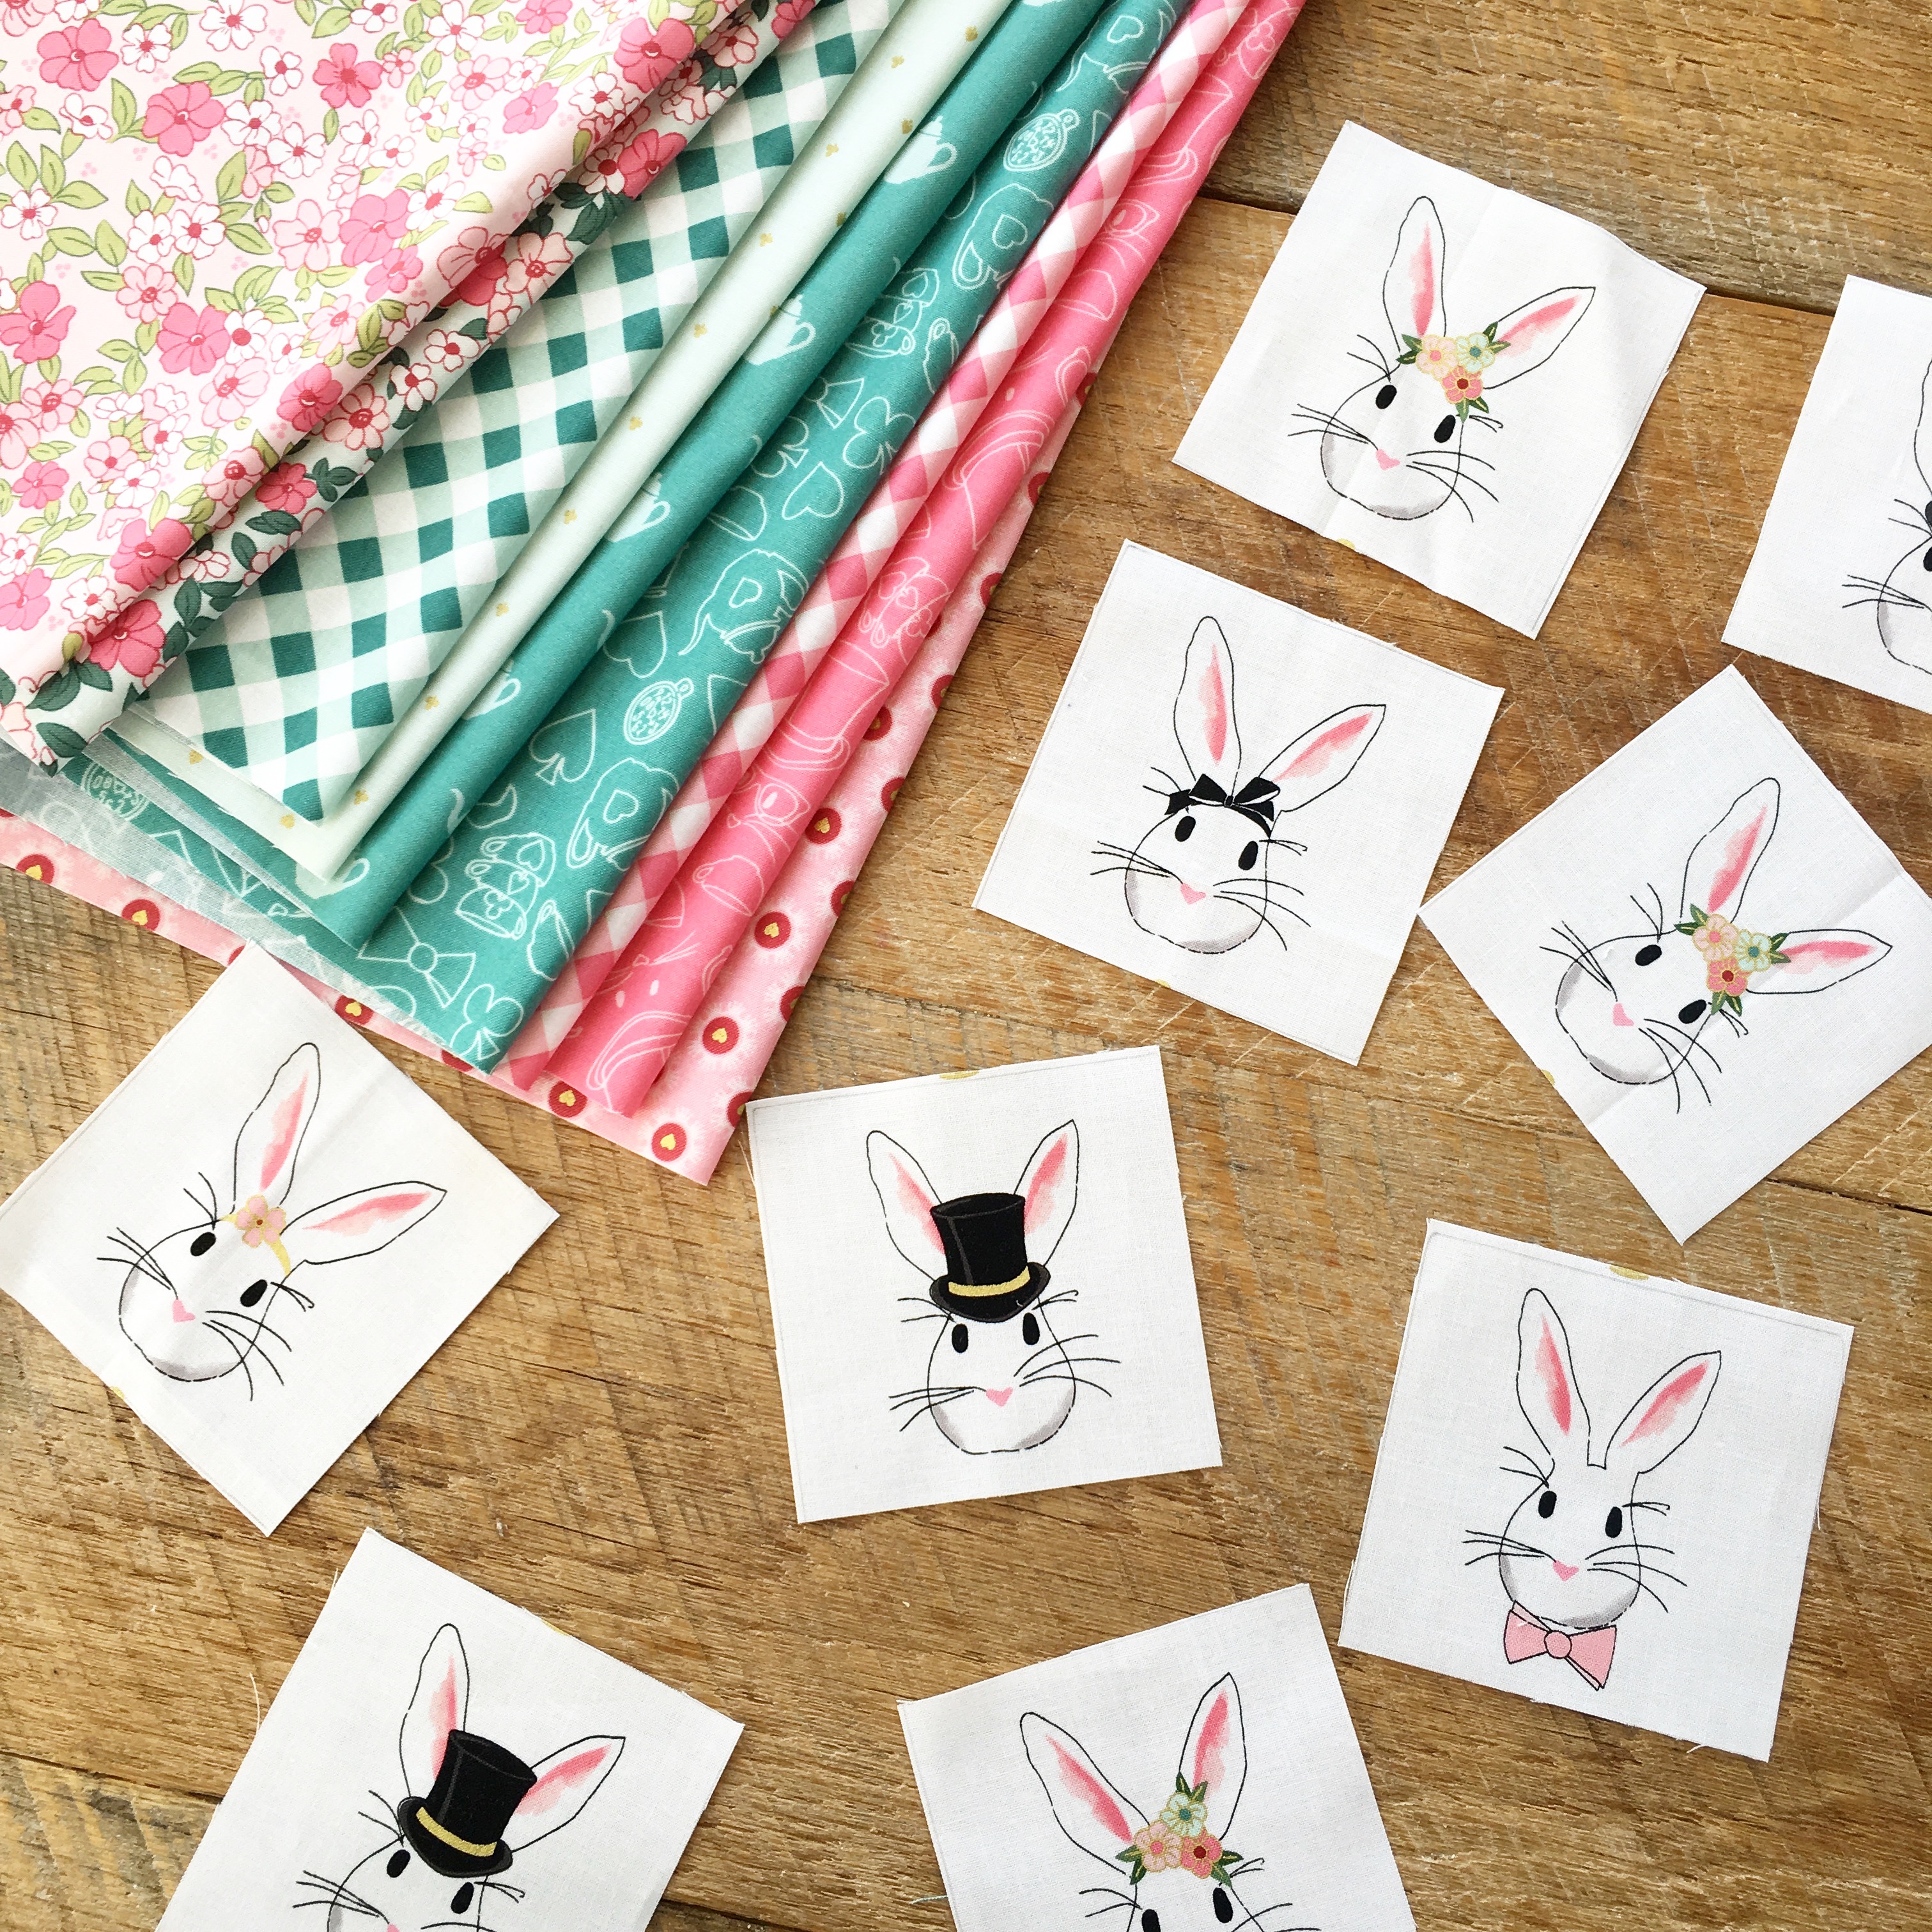
 For my fabrics I grabbed a selection of Riley Blake Designs fabrics from all my favorite designers – I tried to get them all in there 🙂
 If you haven’t joined in it’s not too late. The free pattern is on
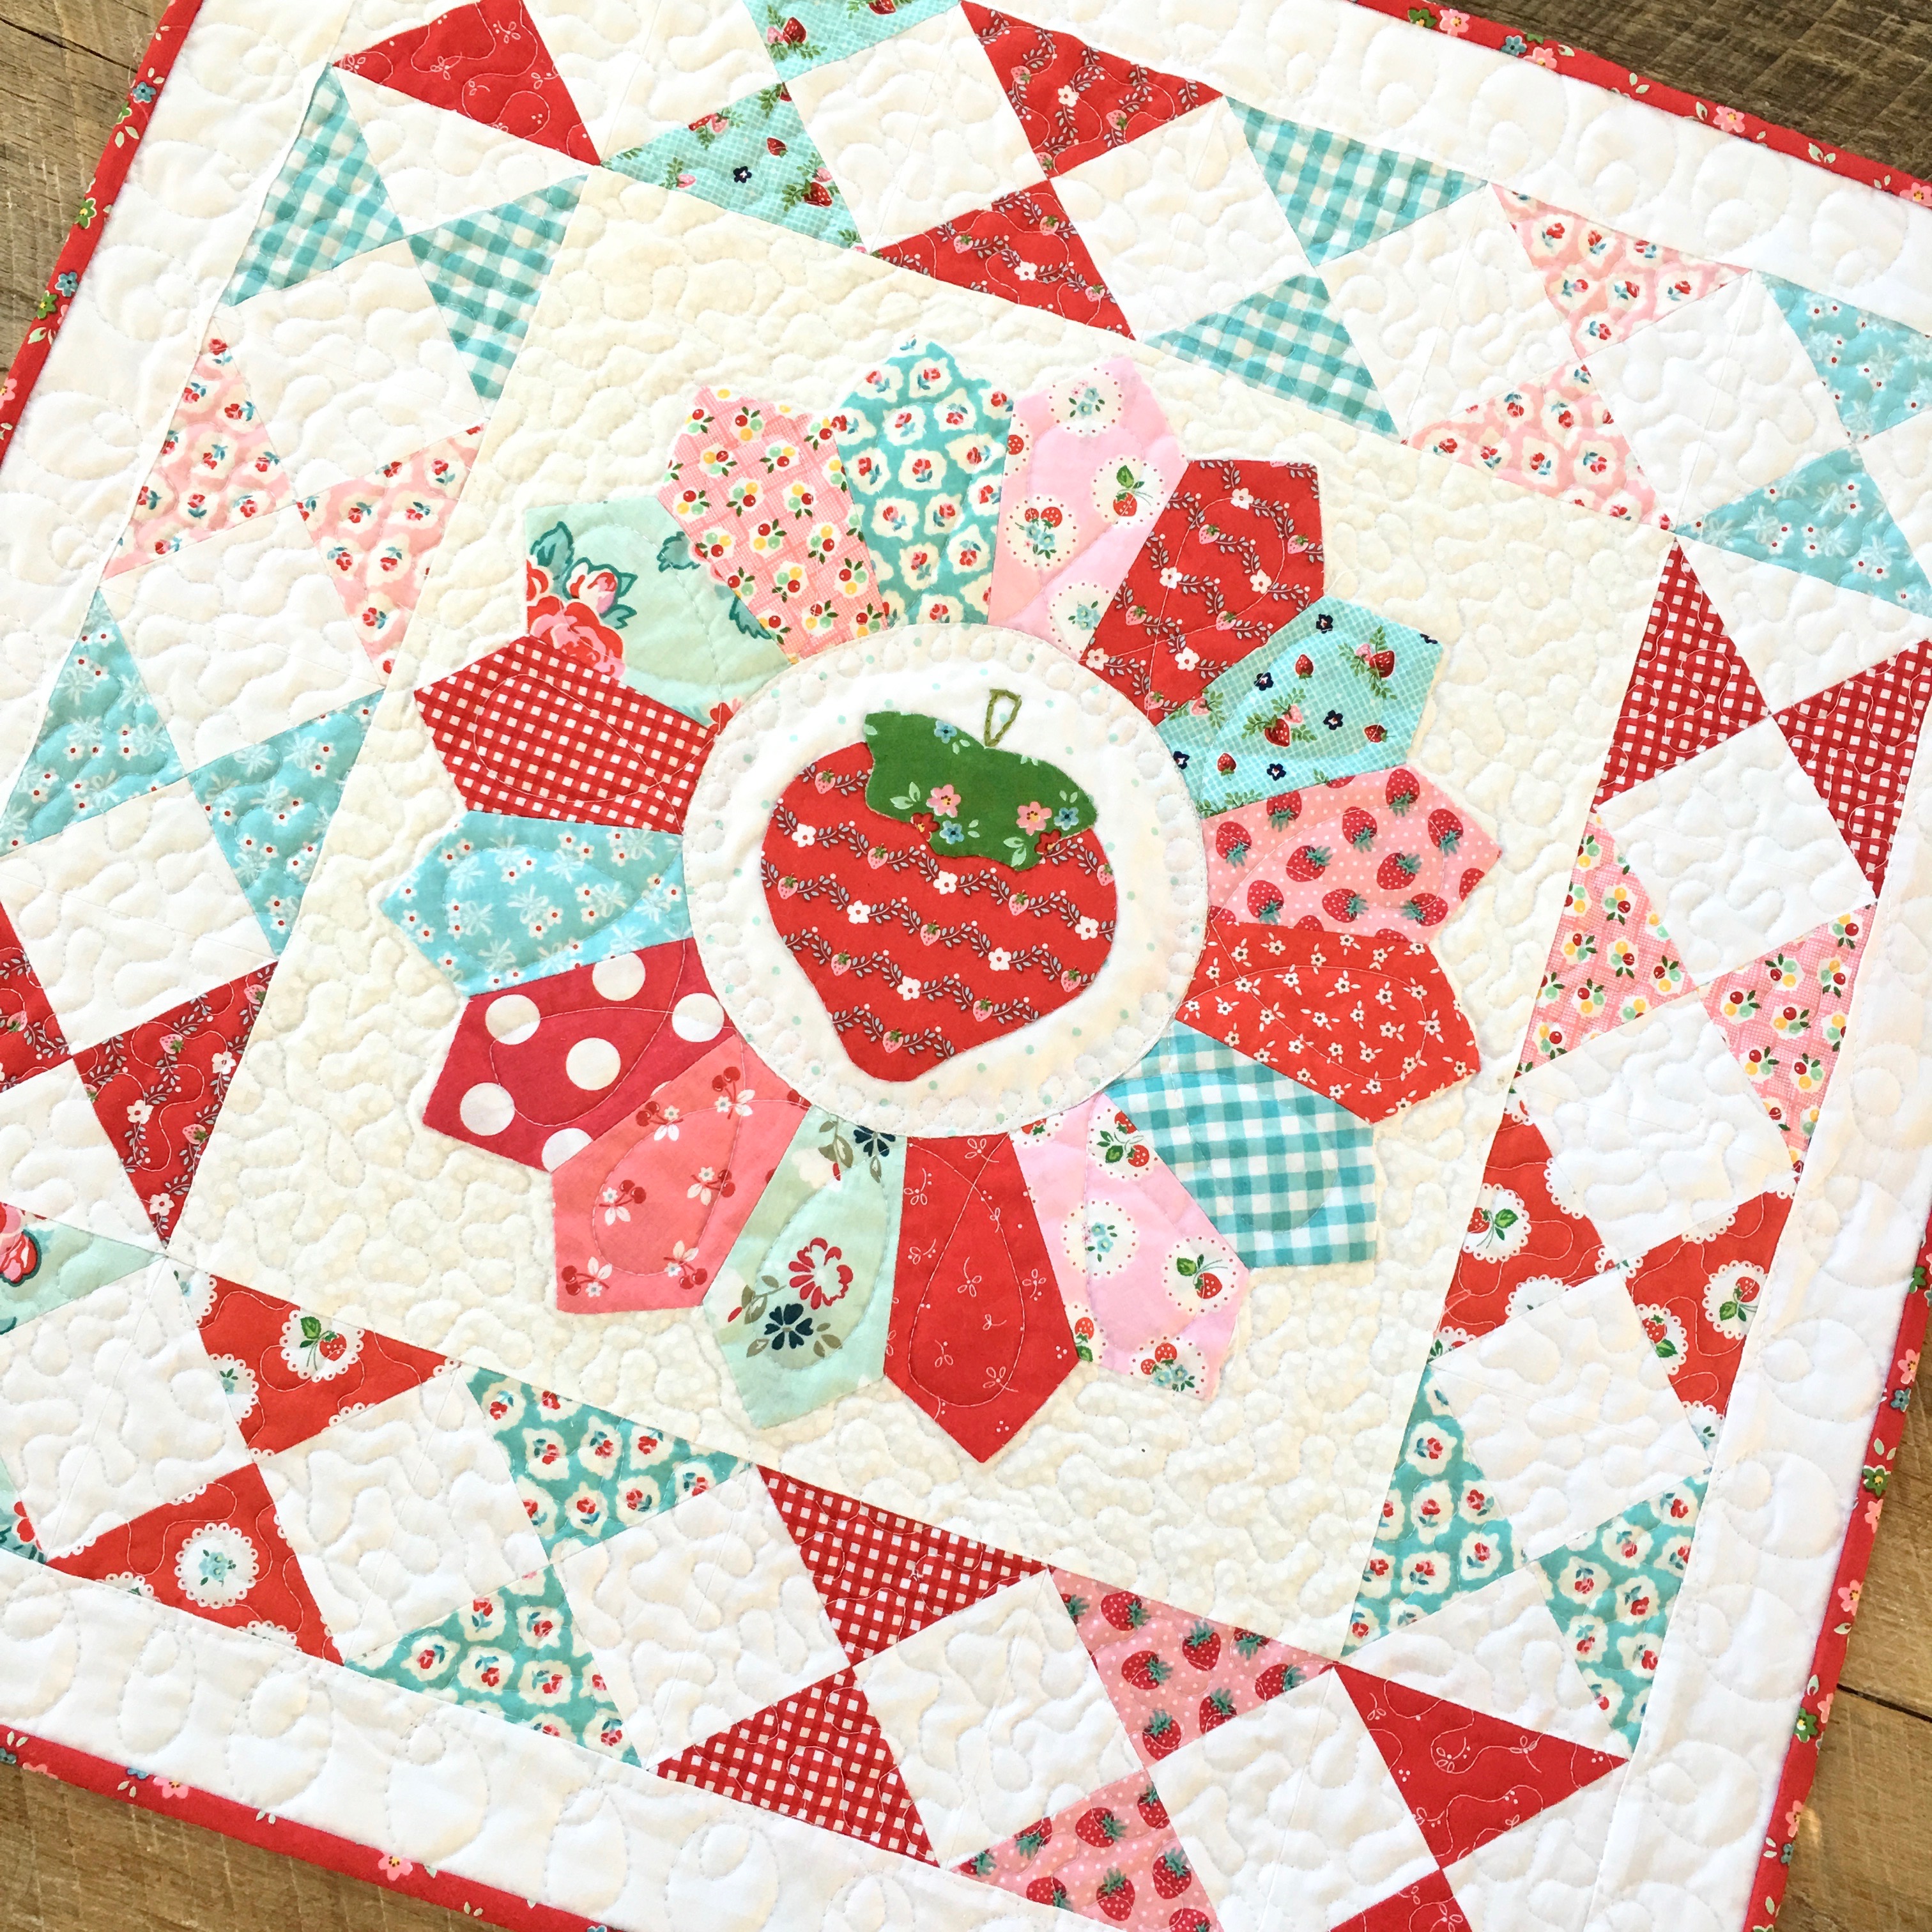
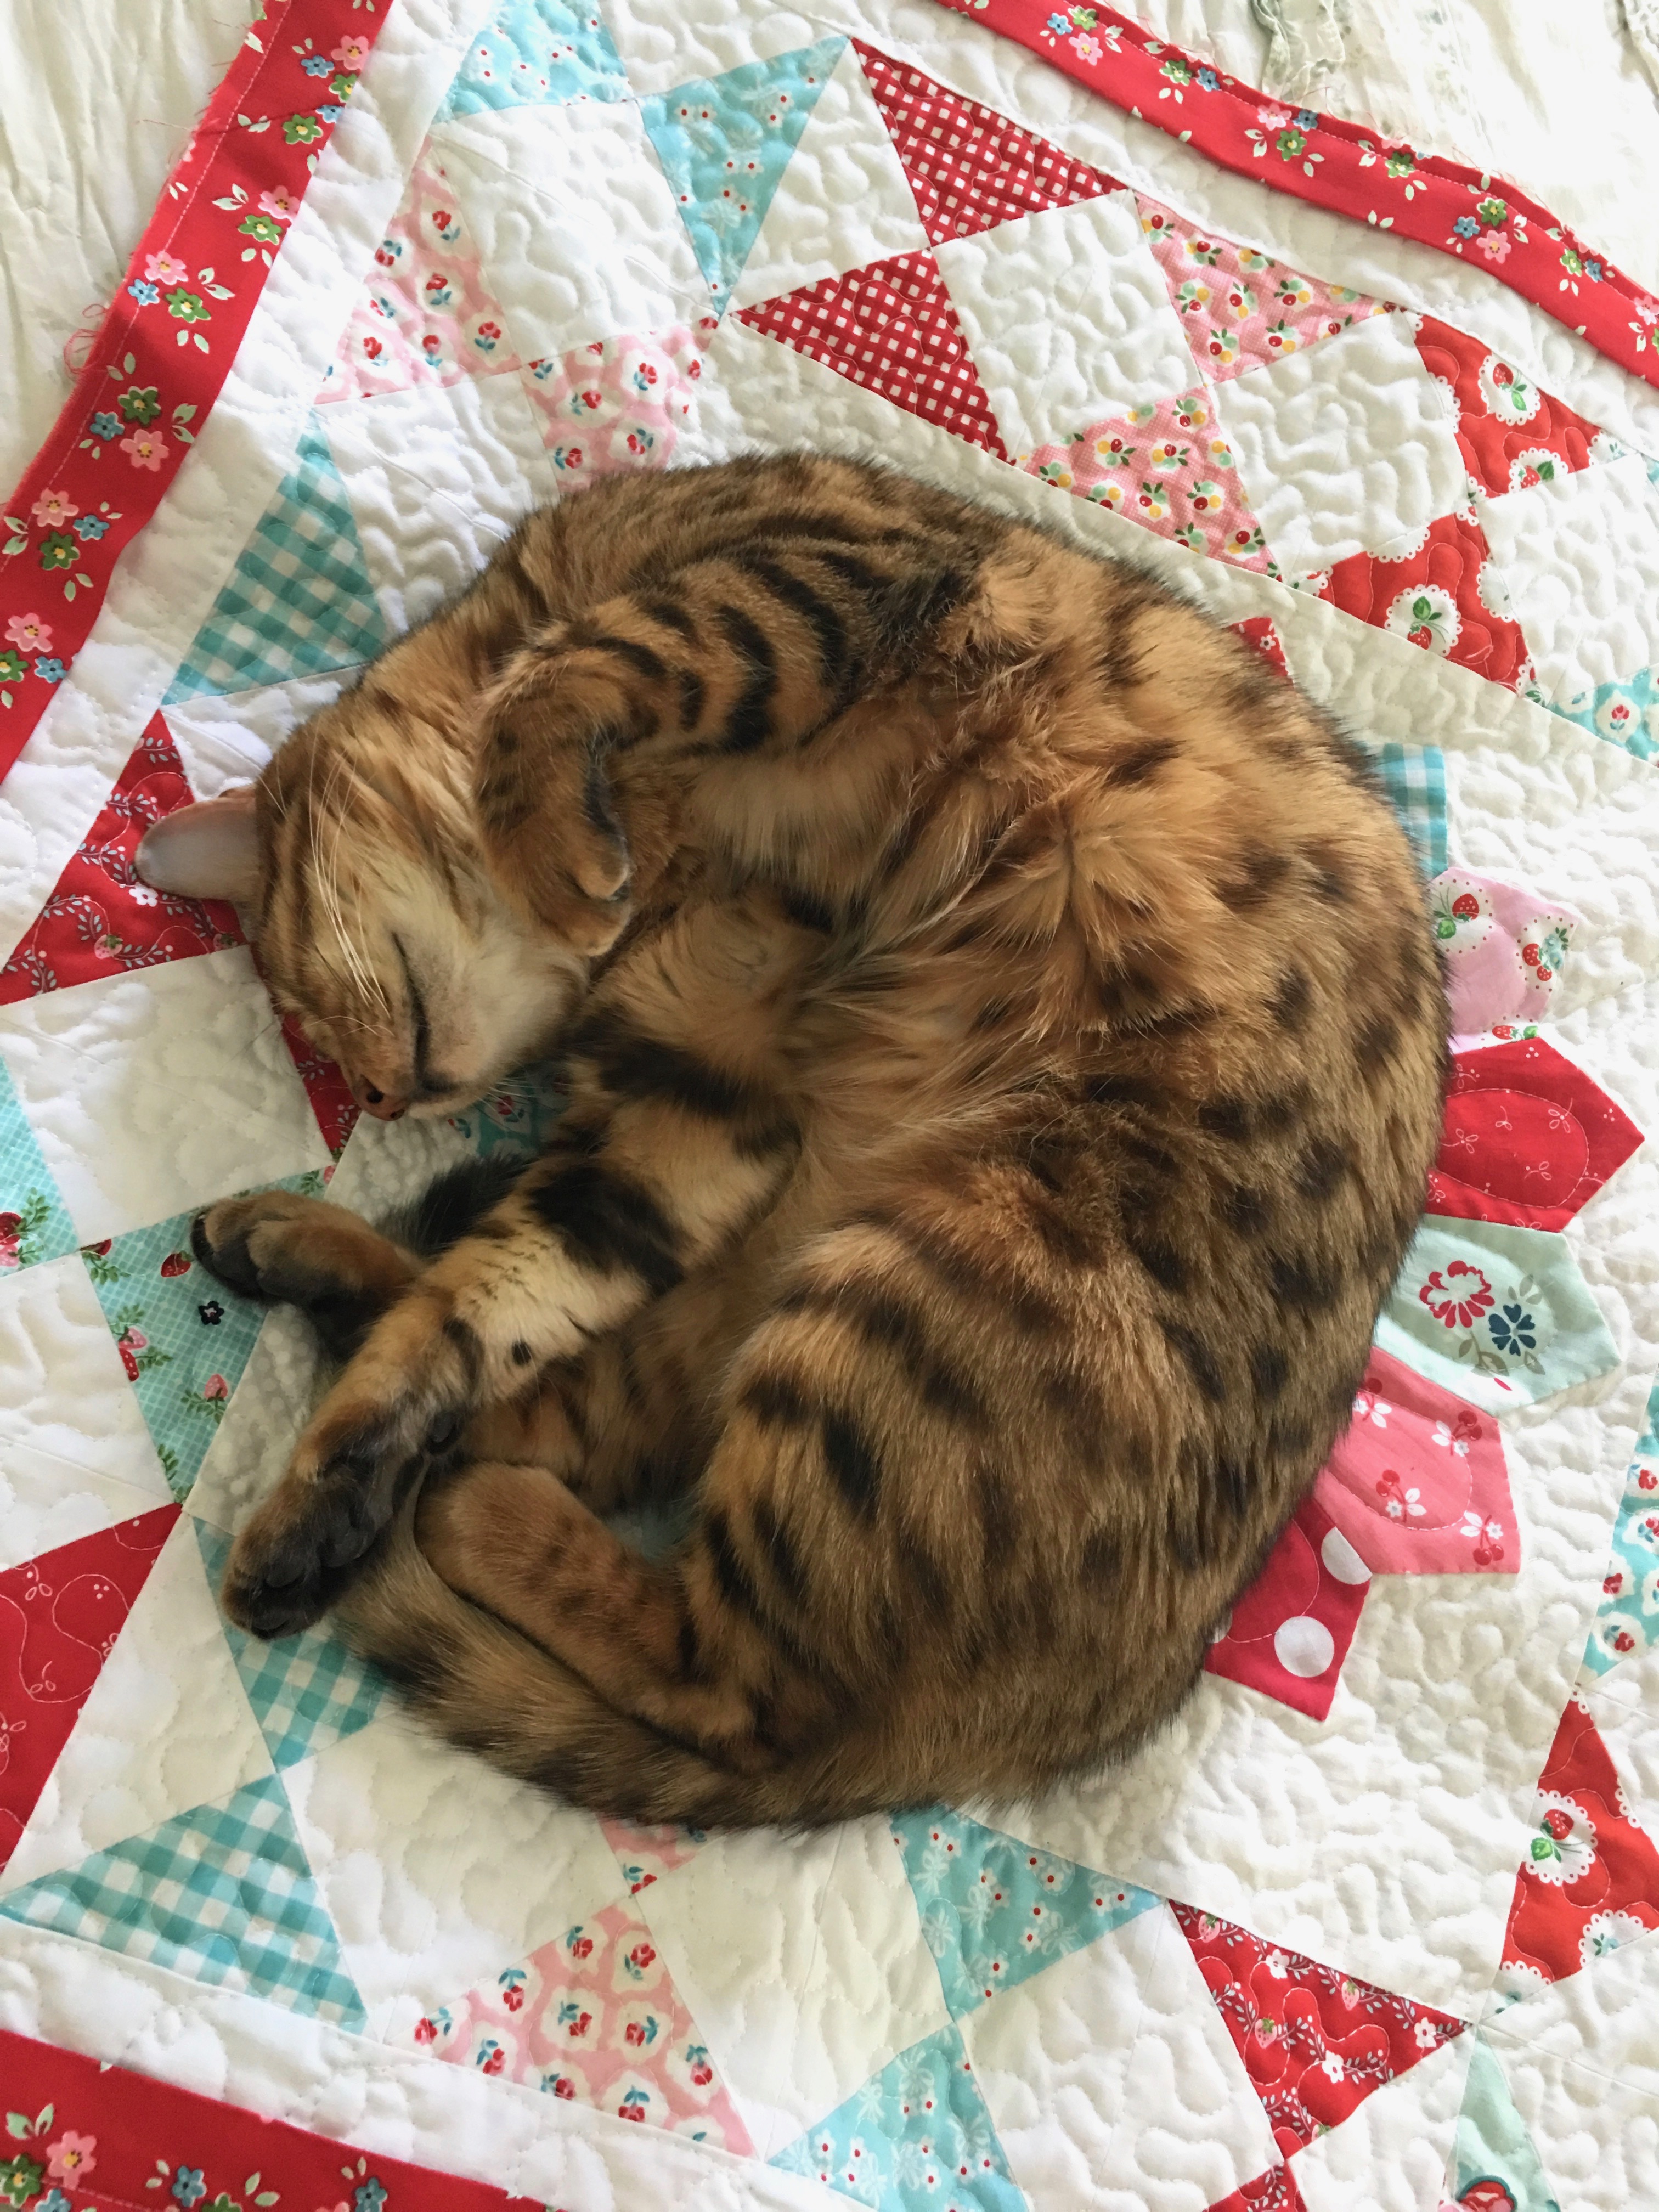
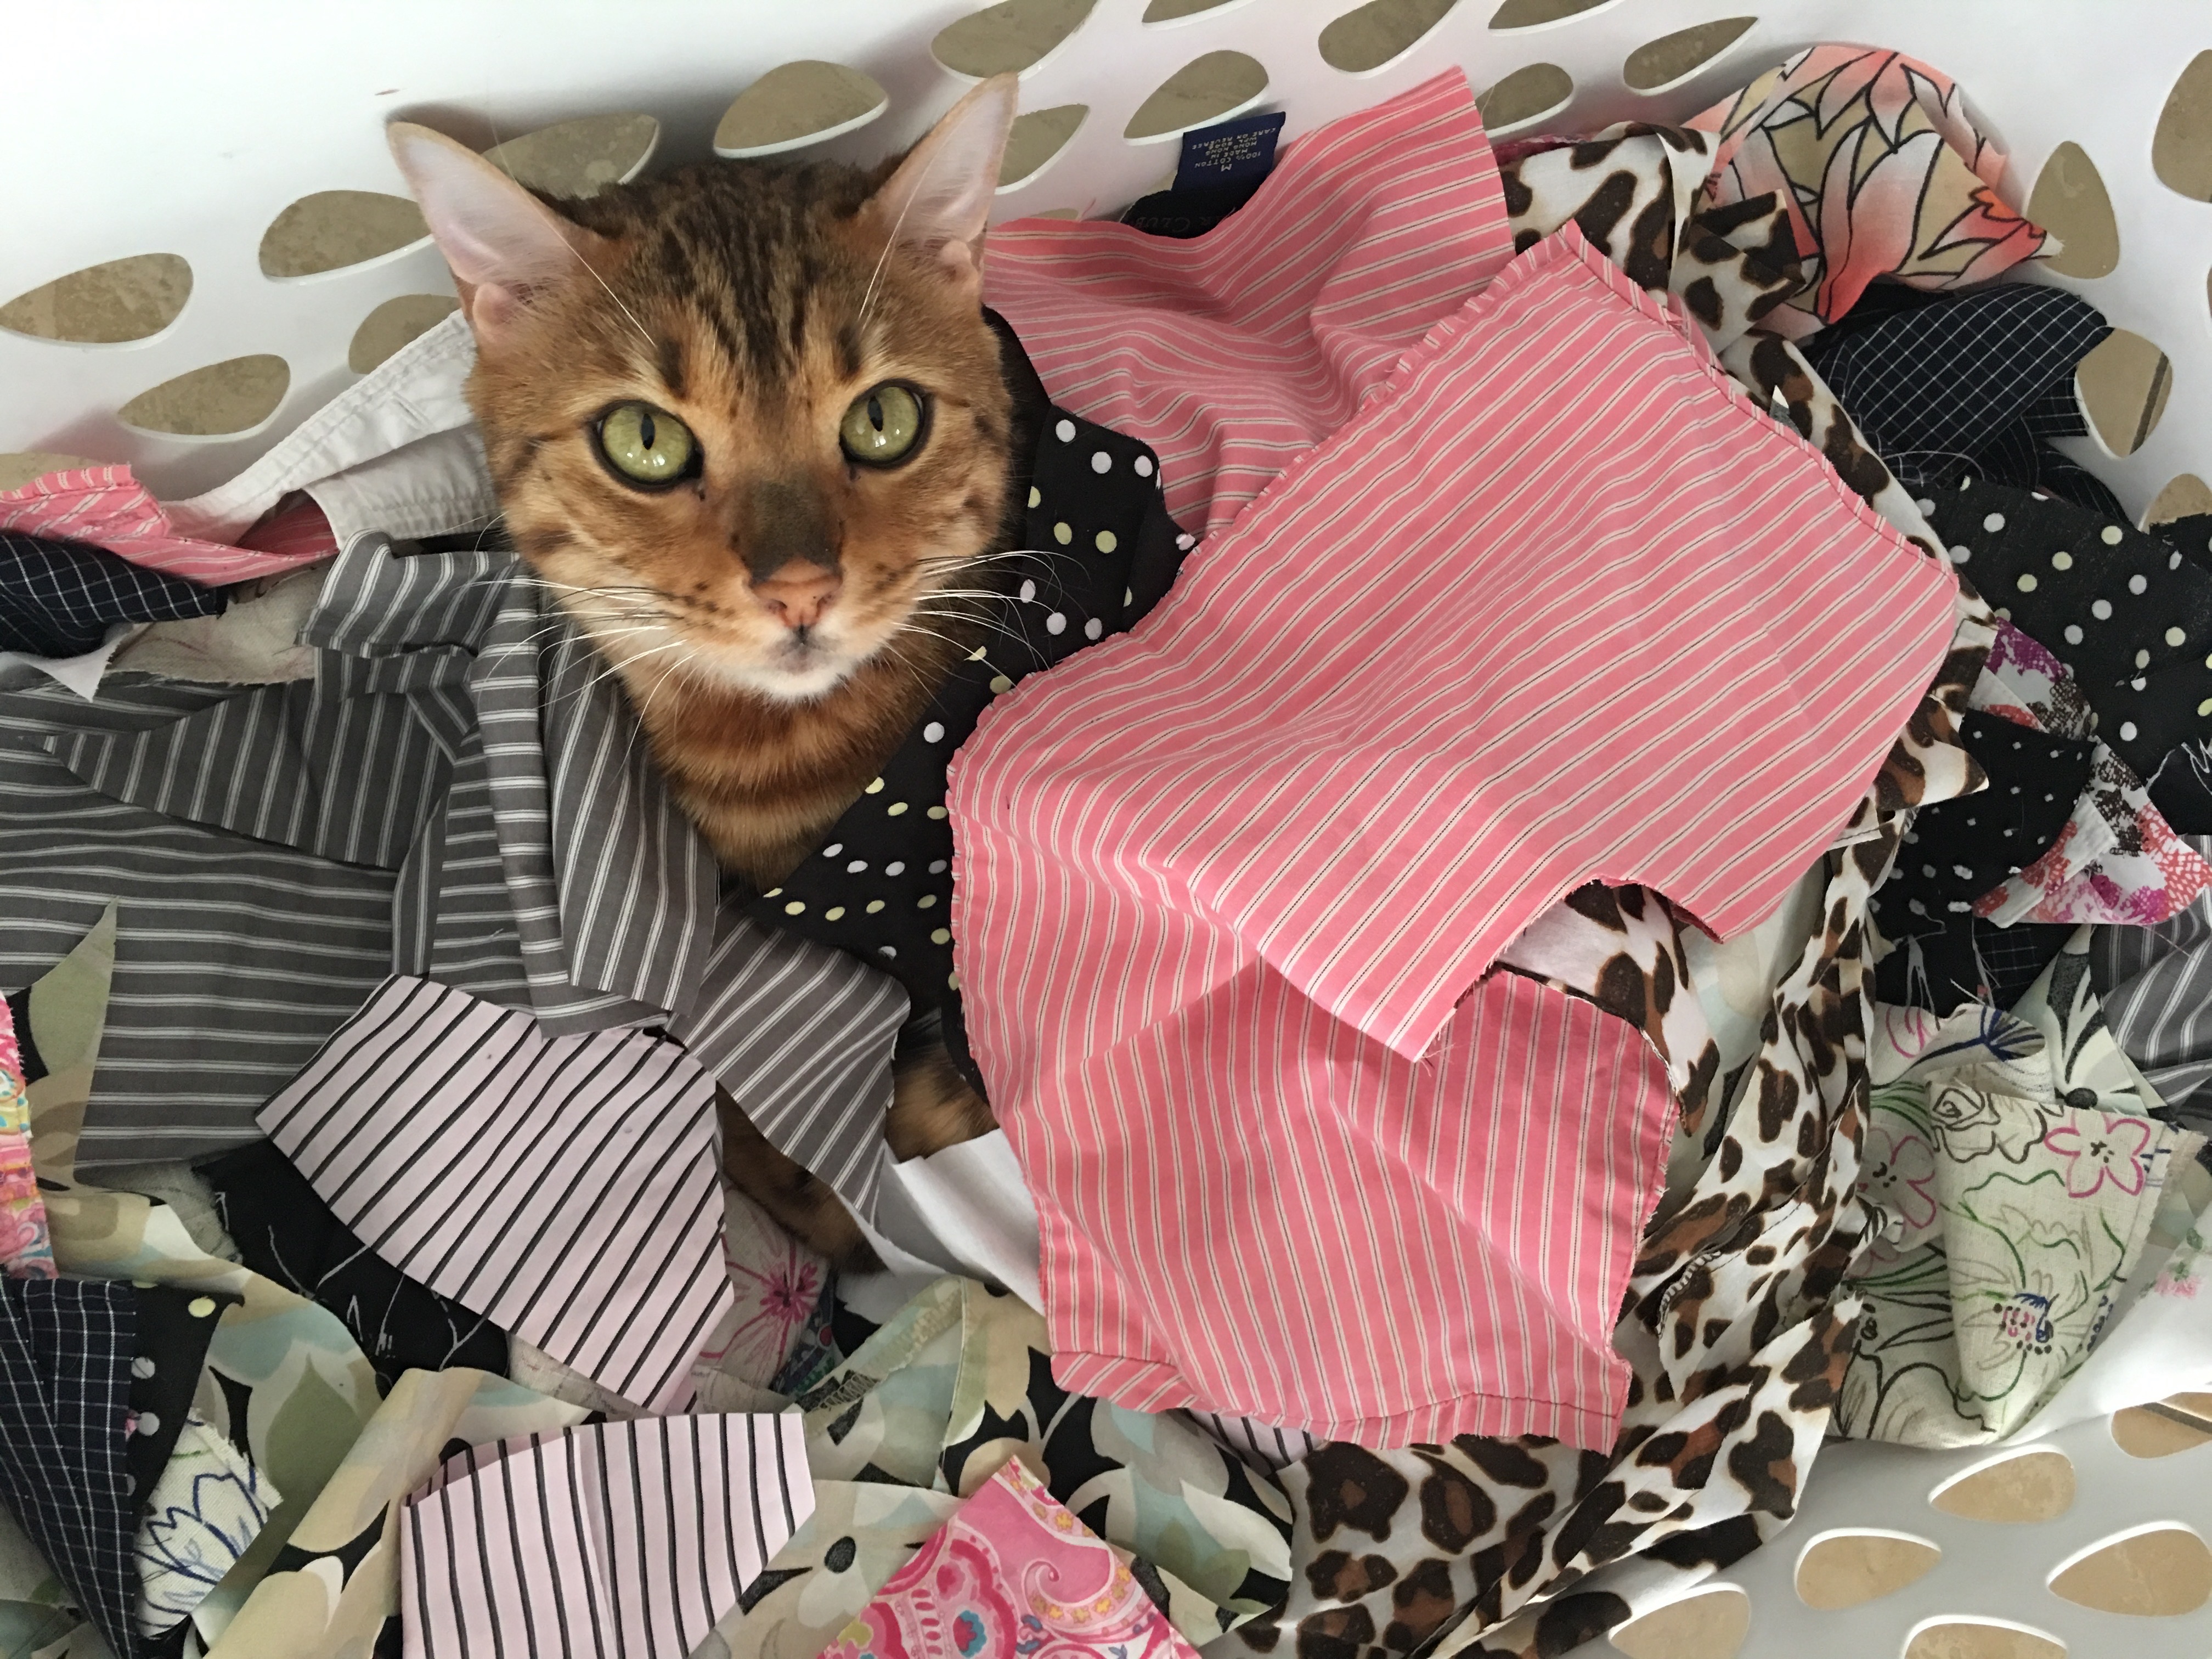
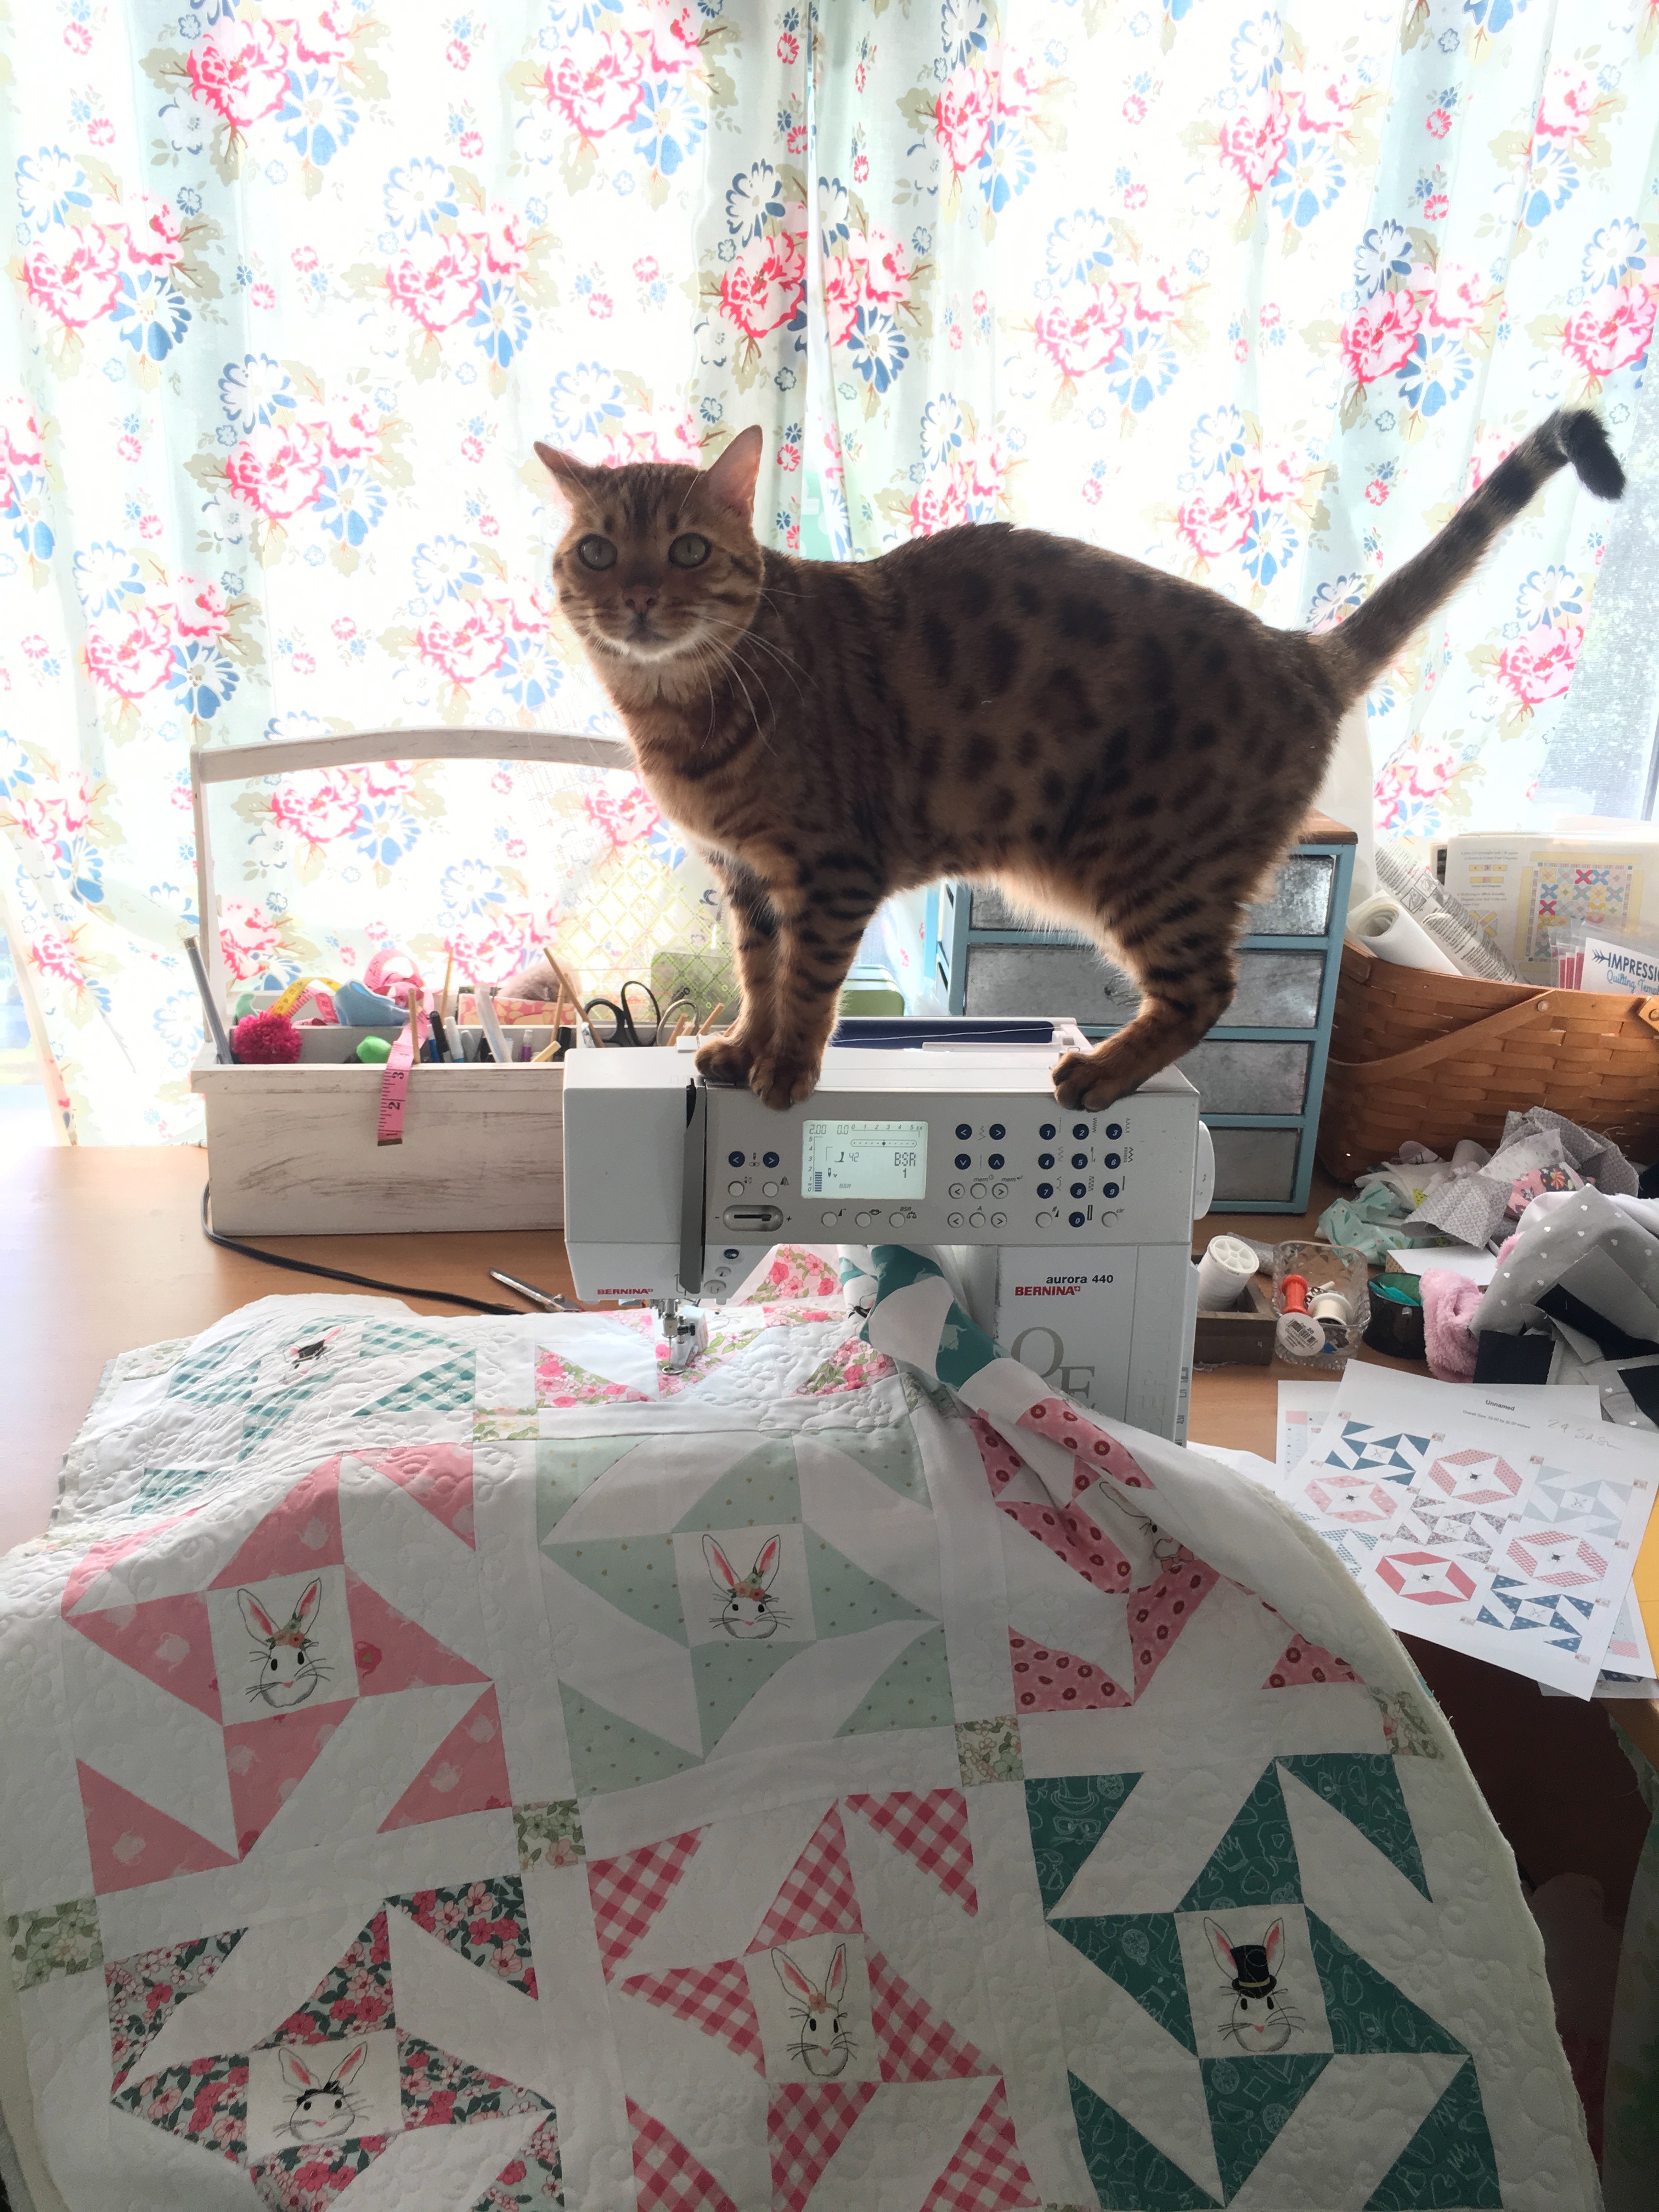
 And of course, Mufasa helped 🙂