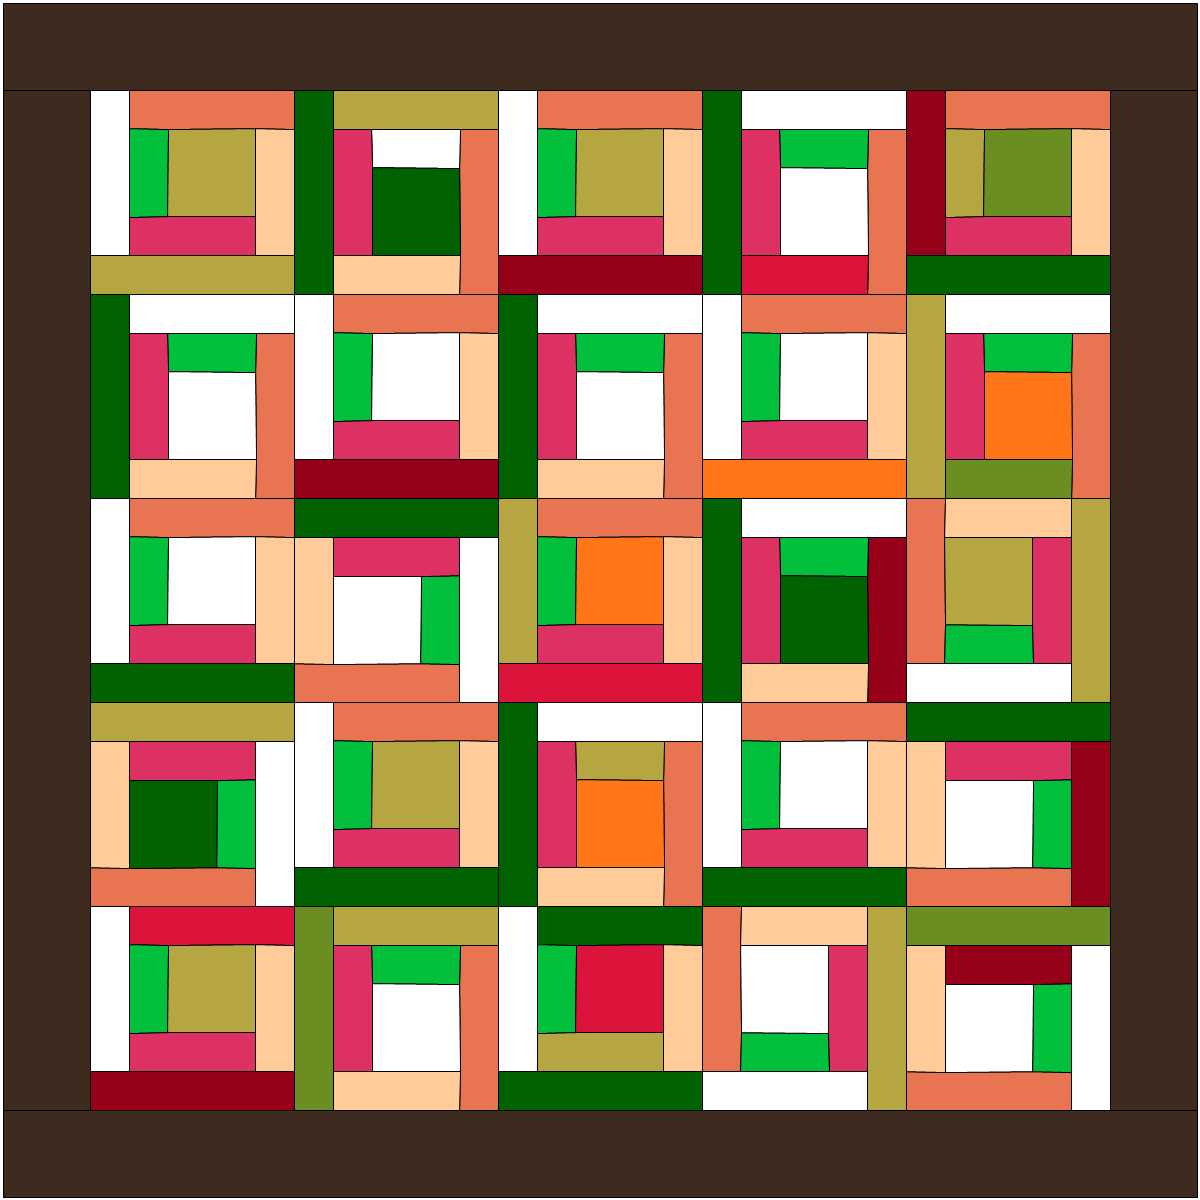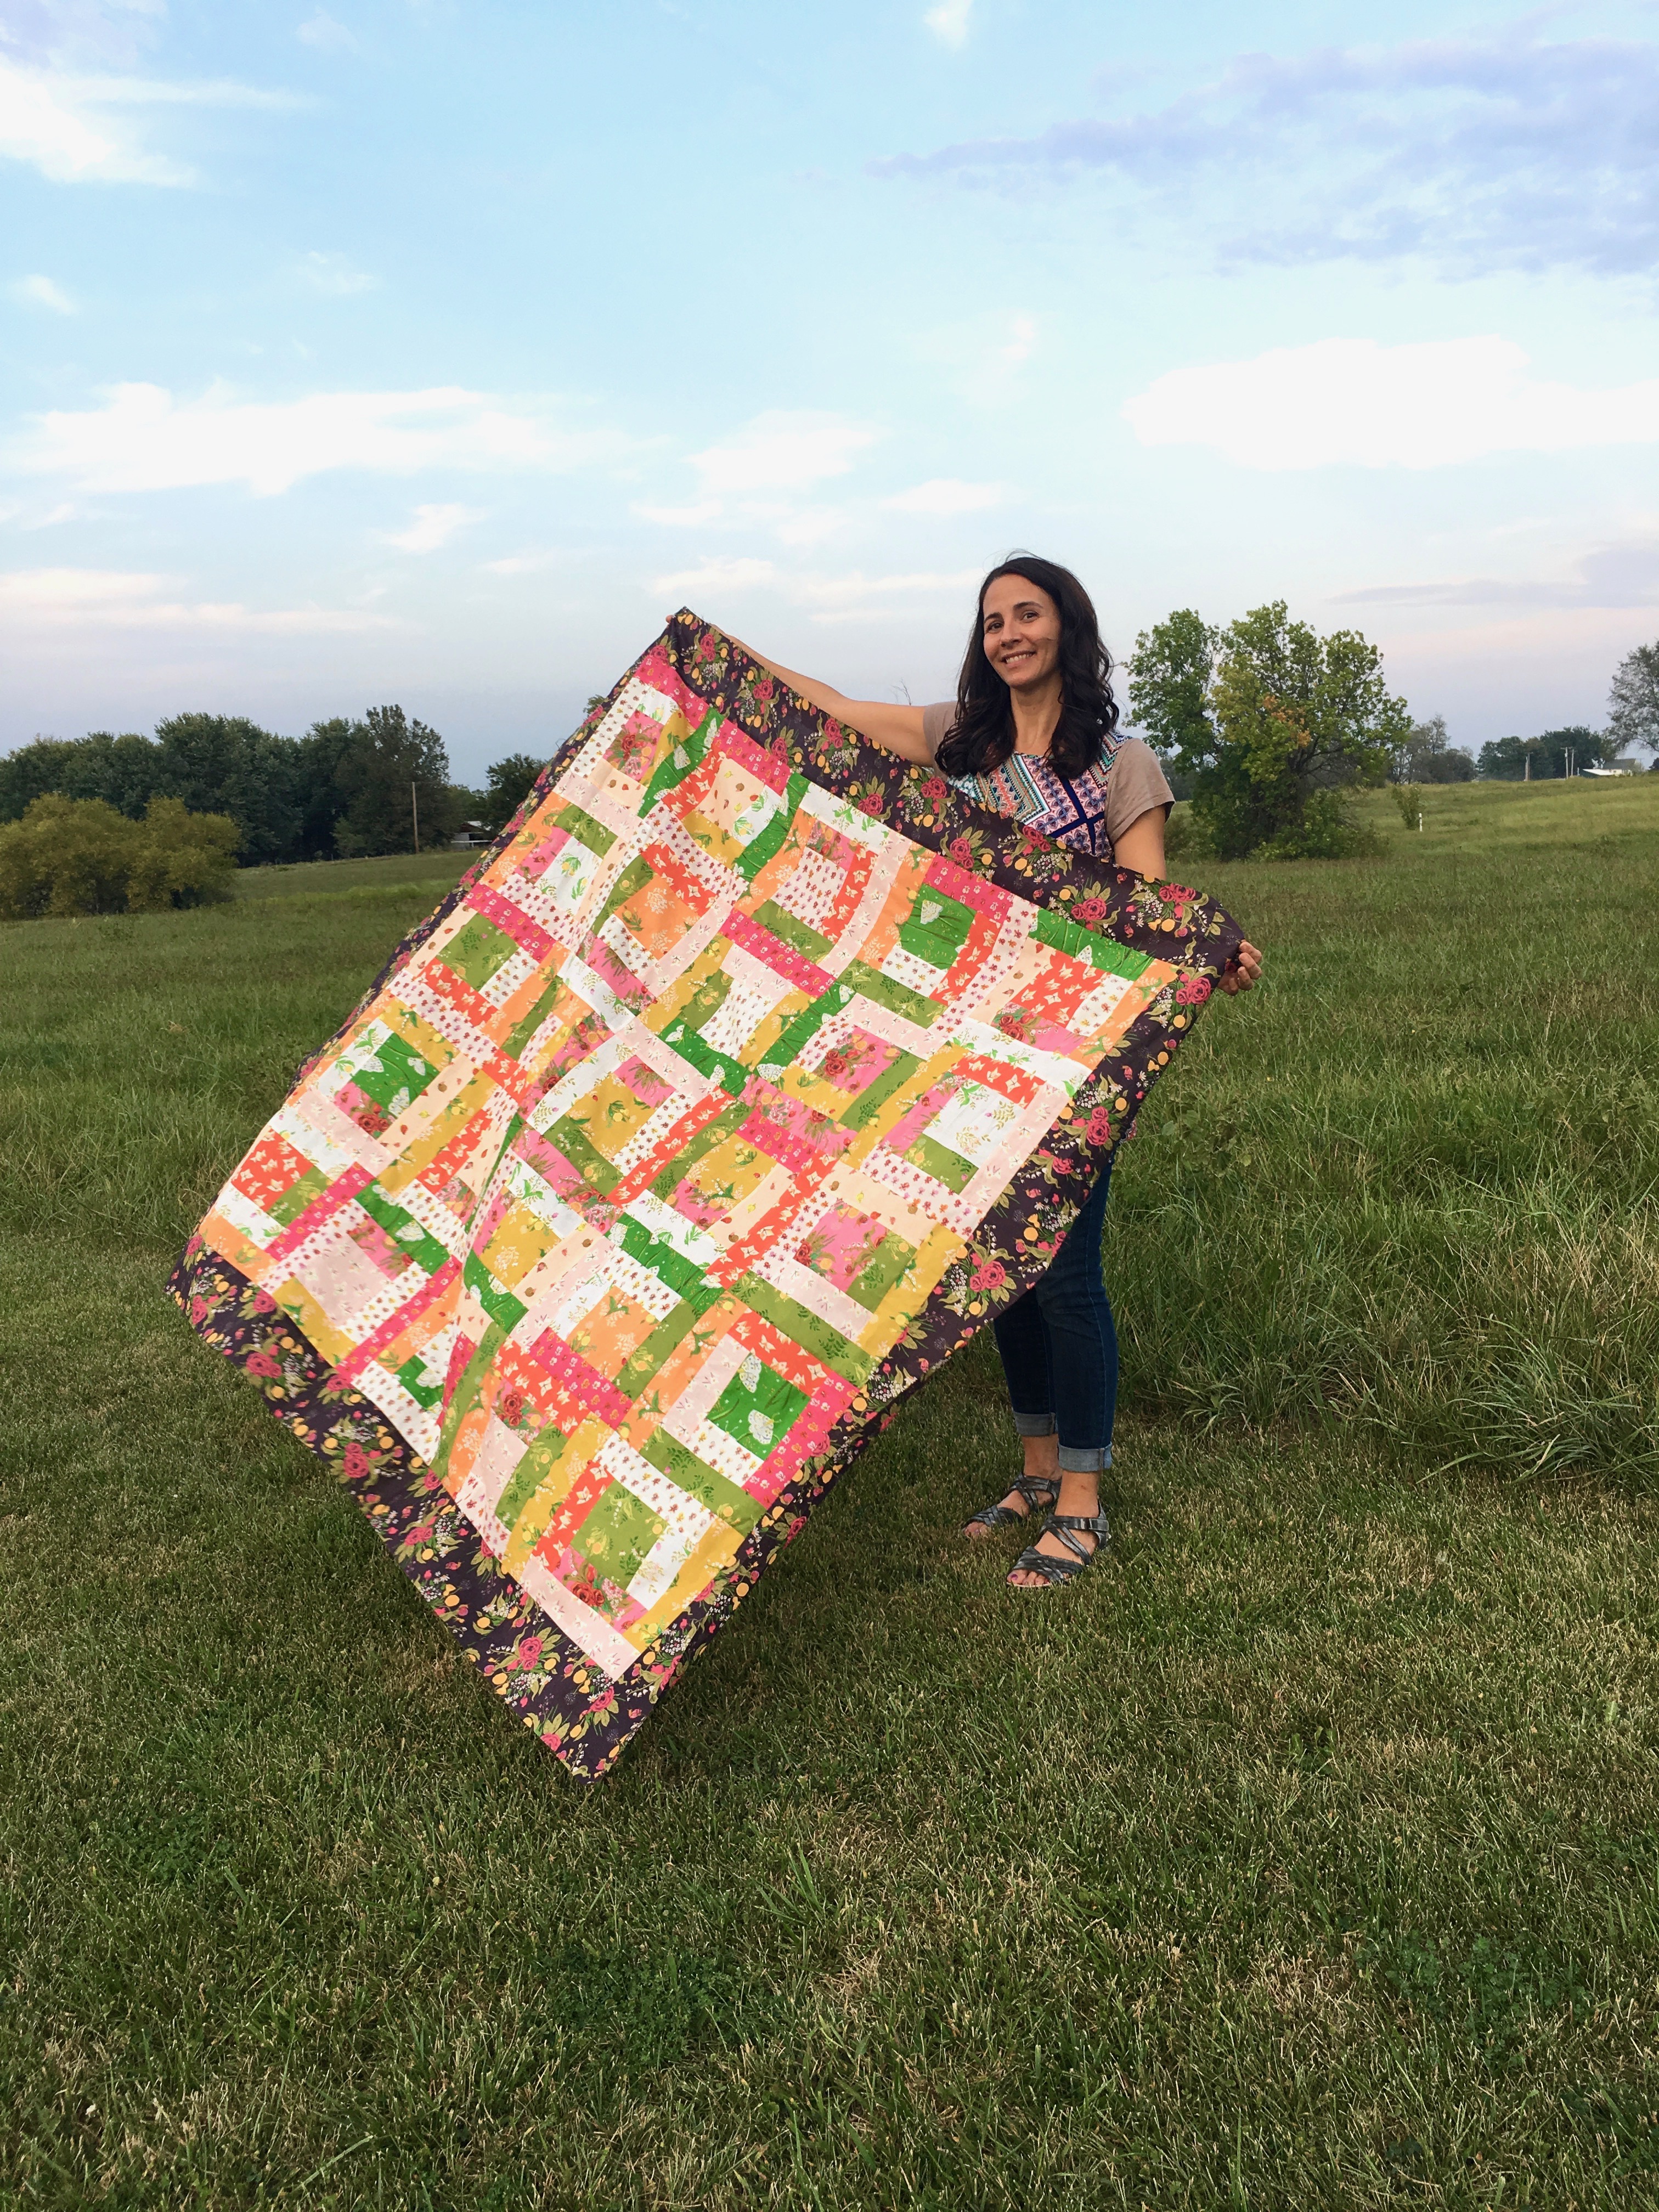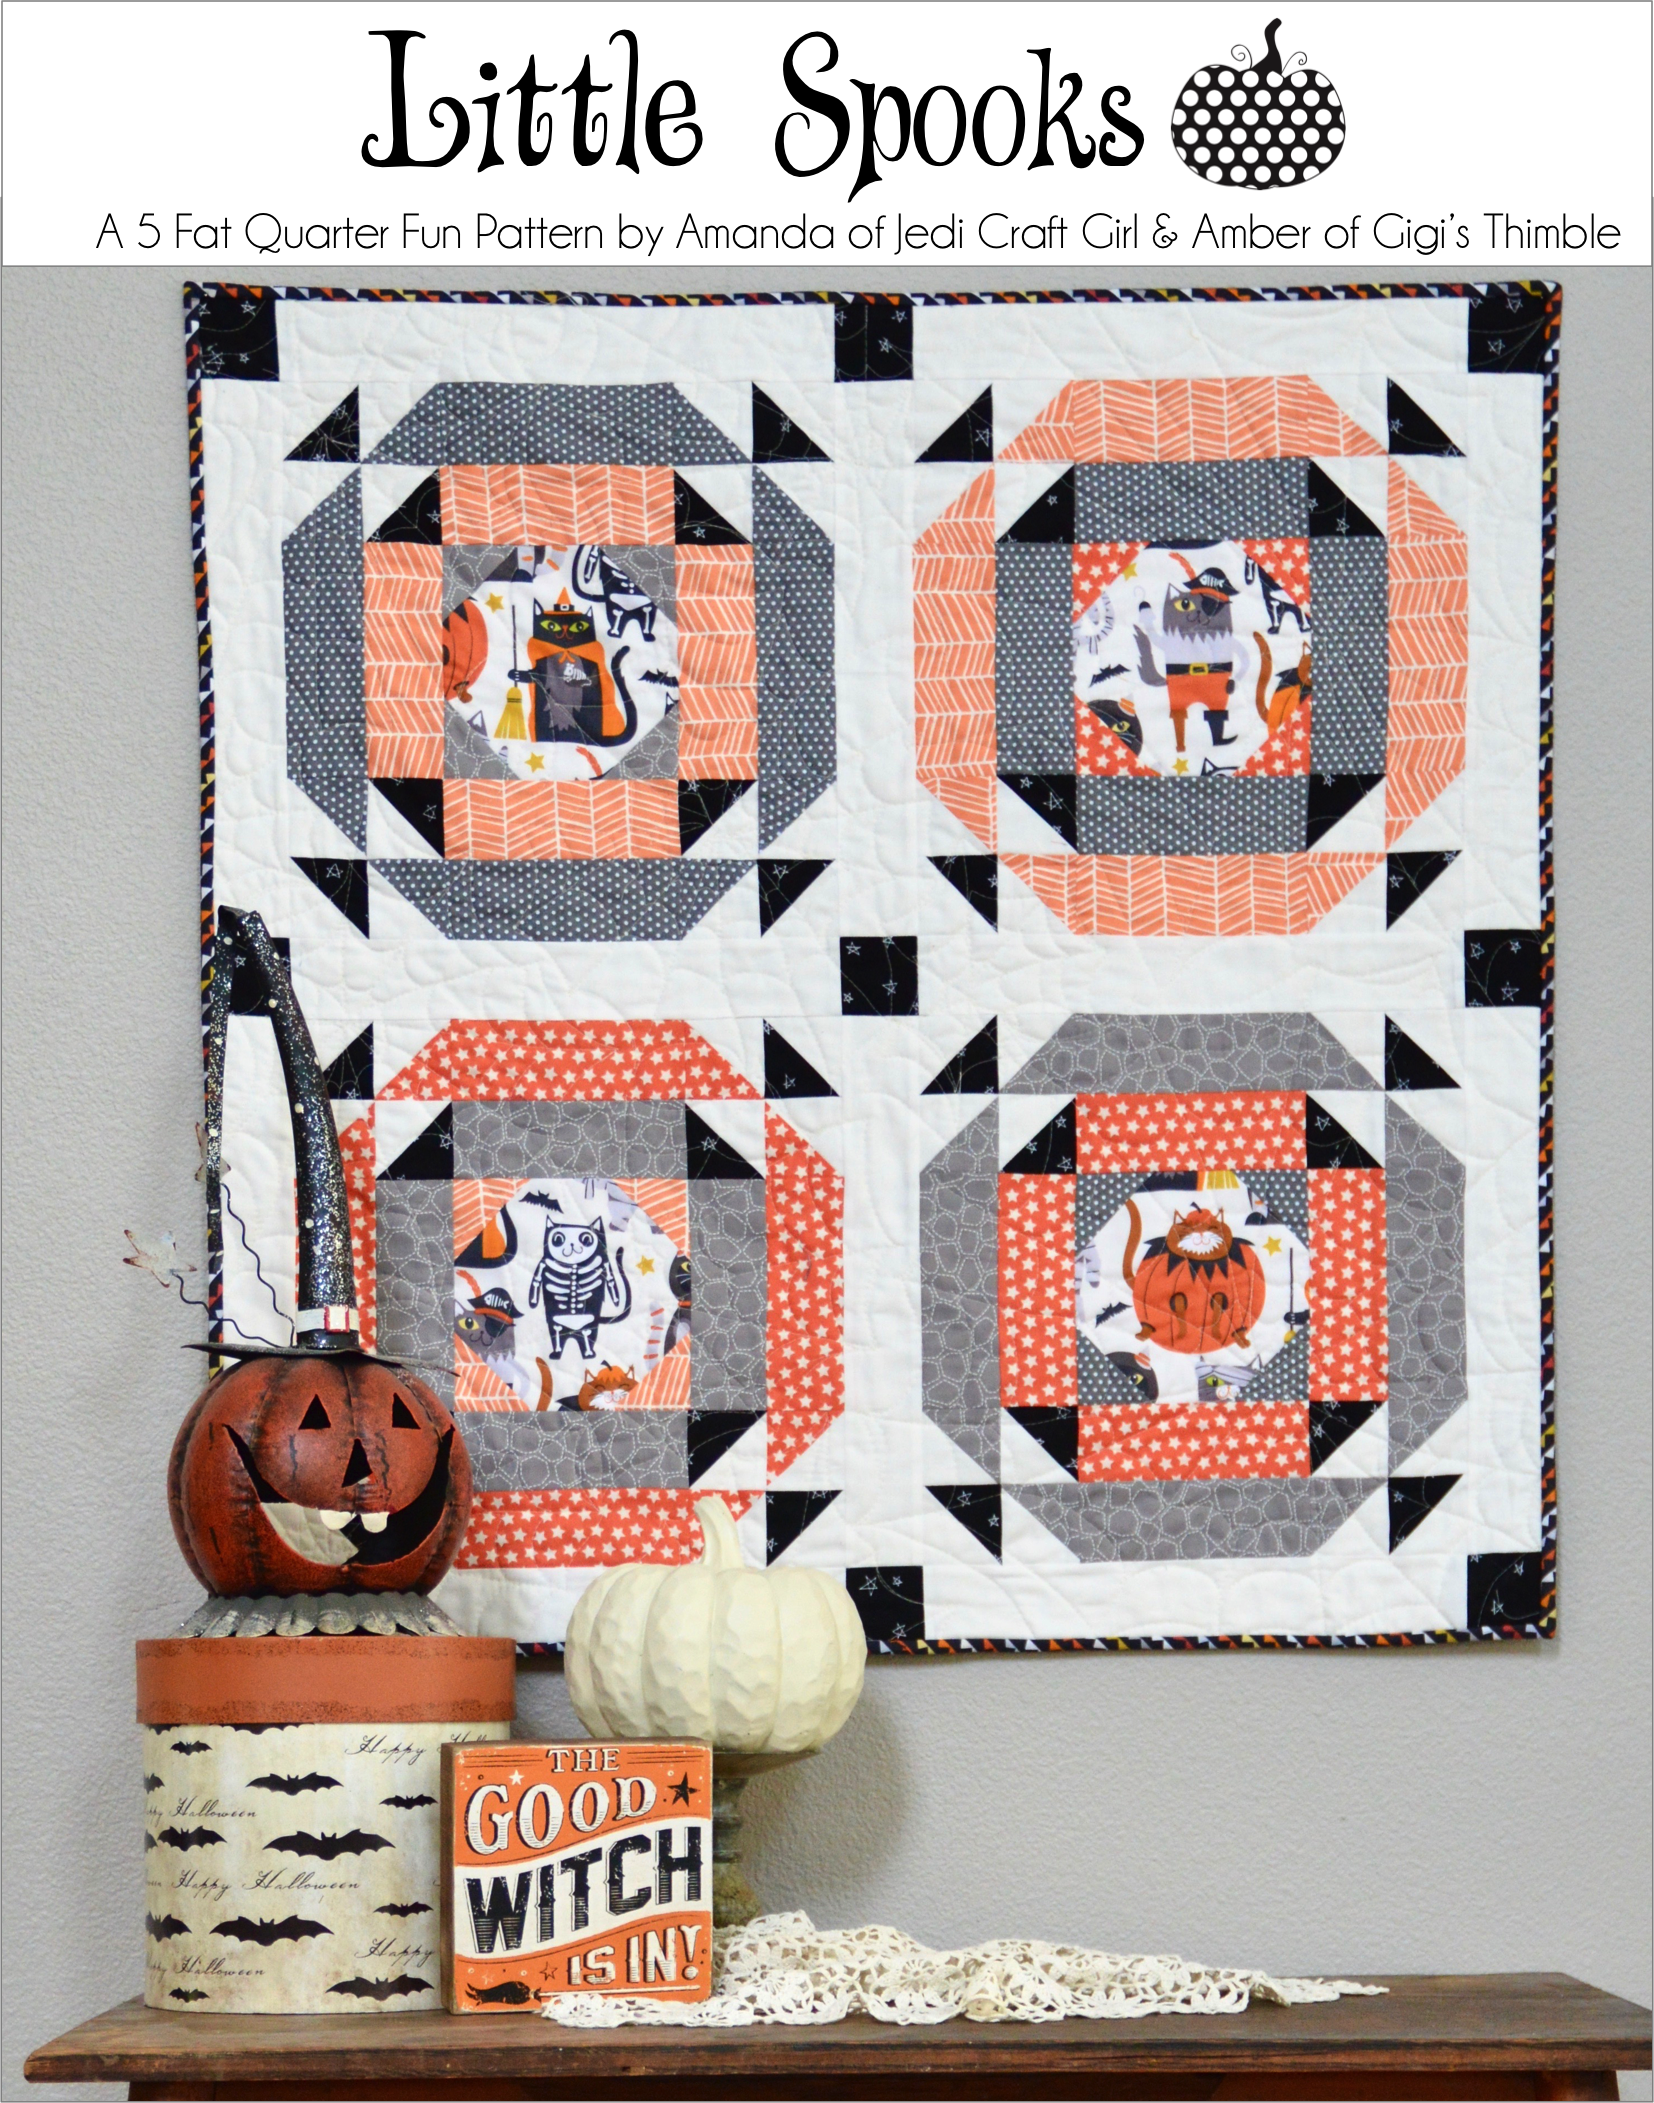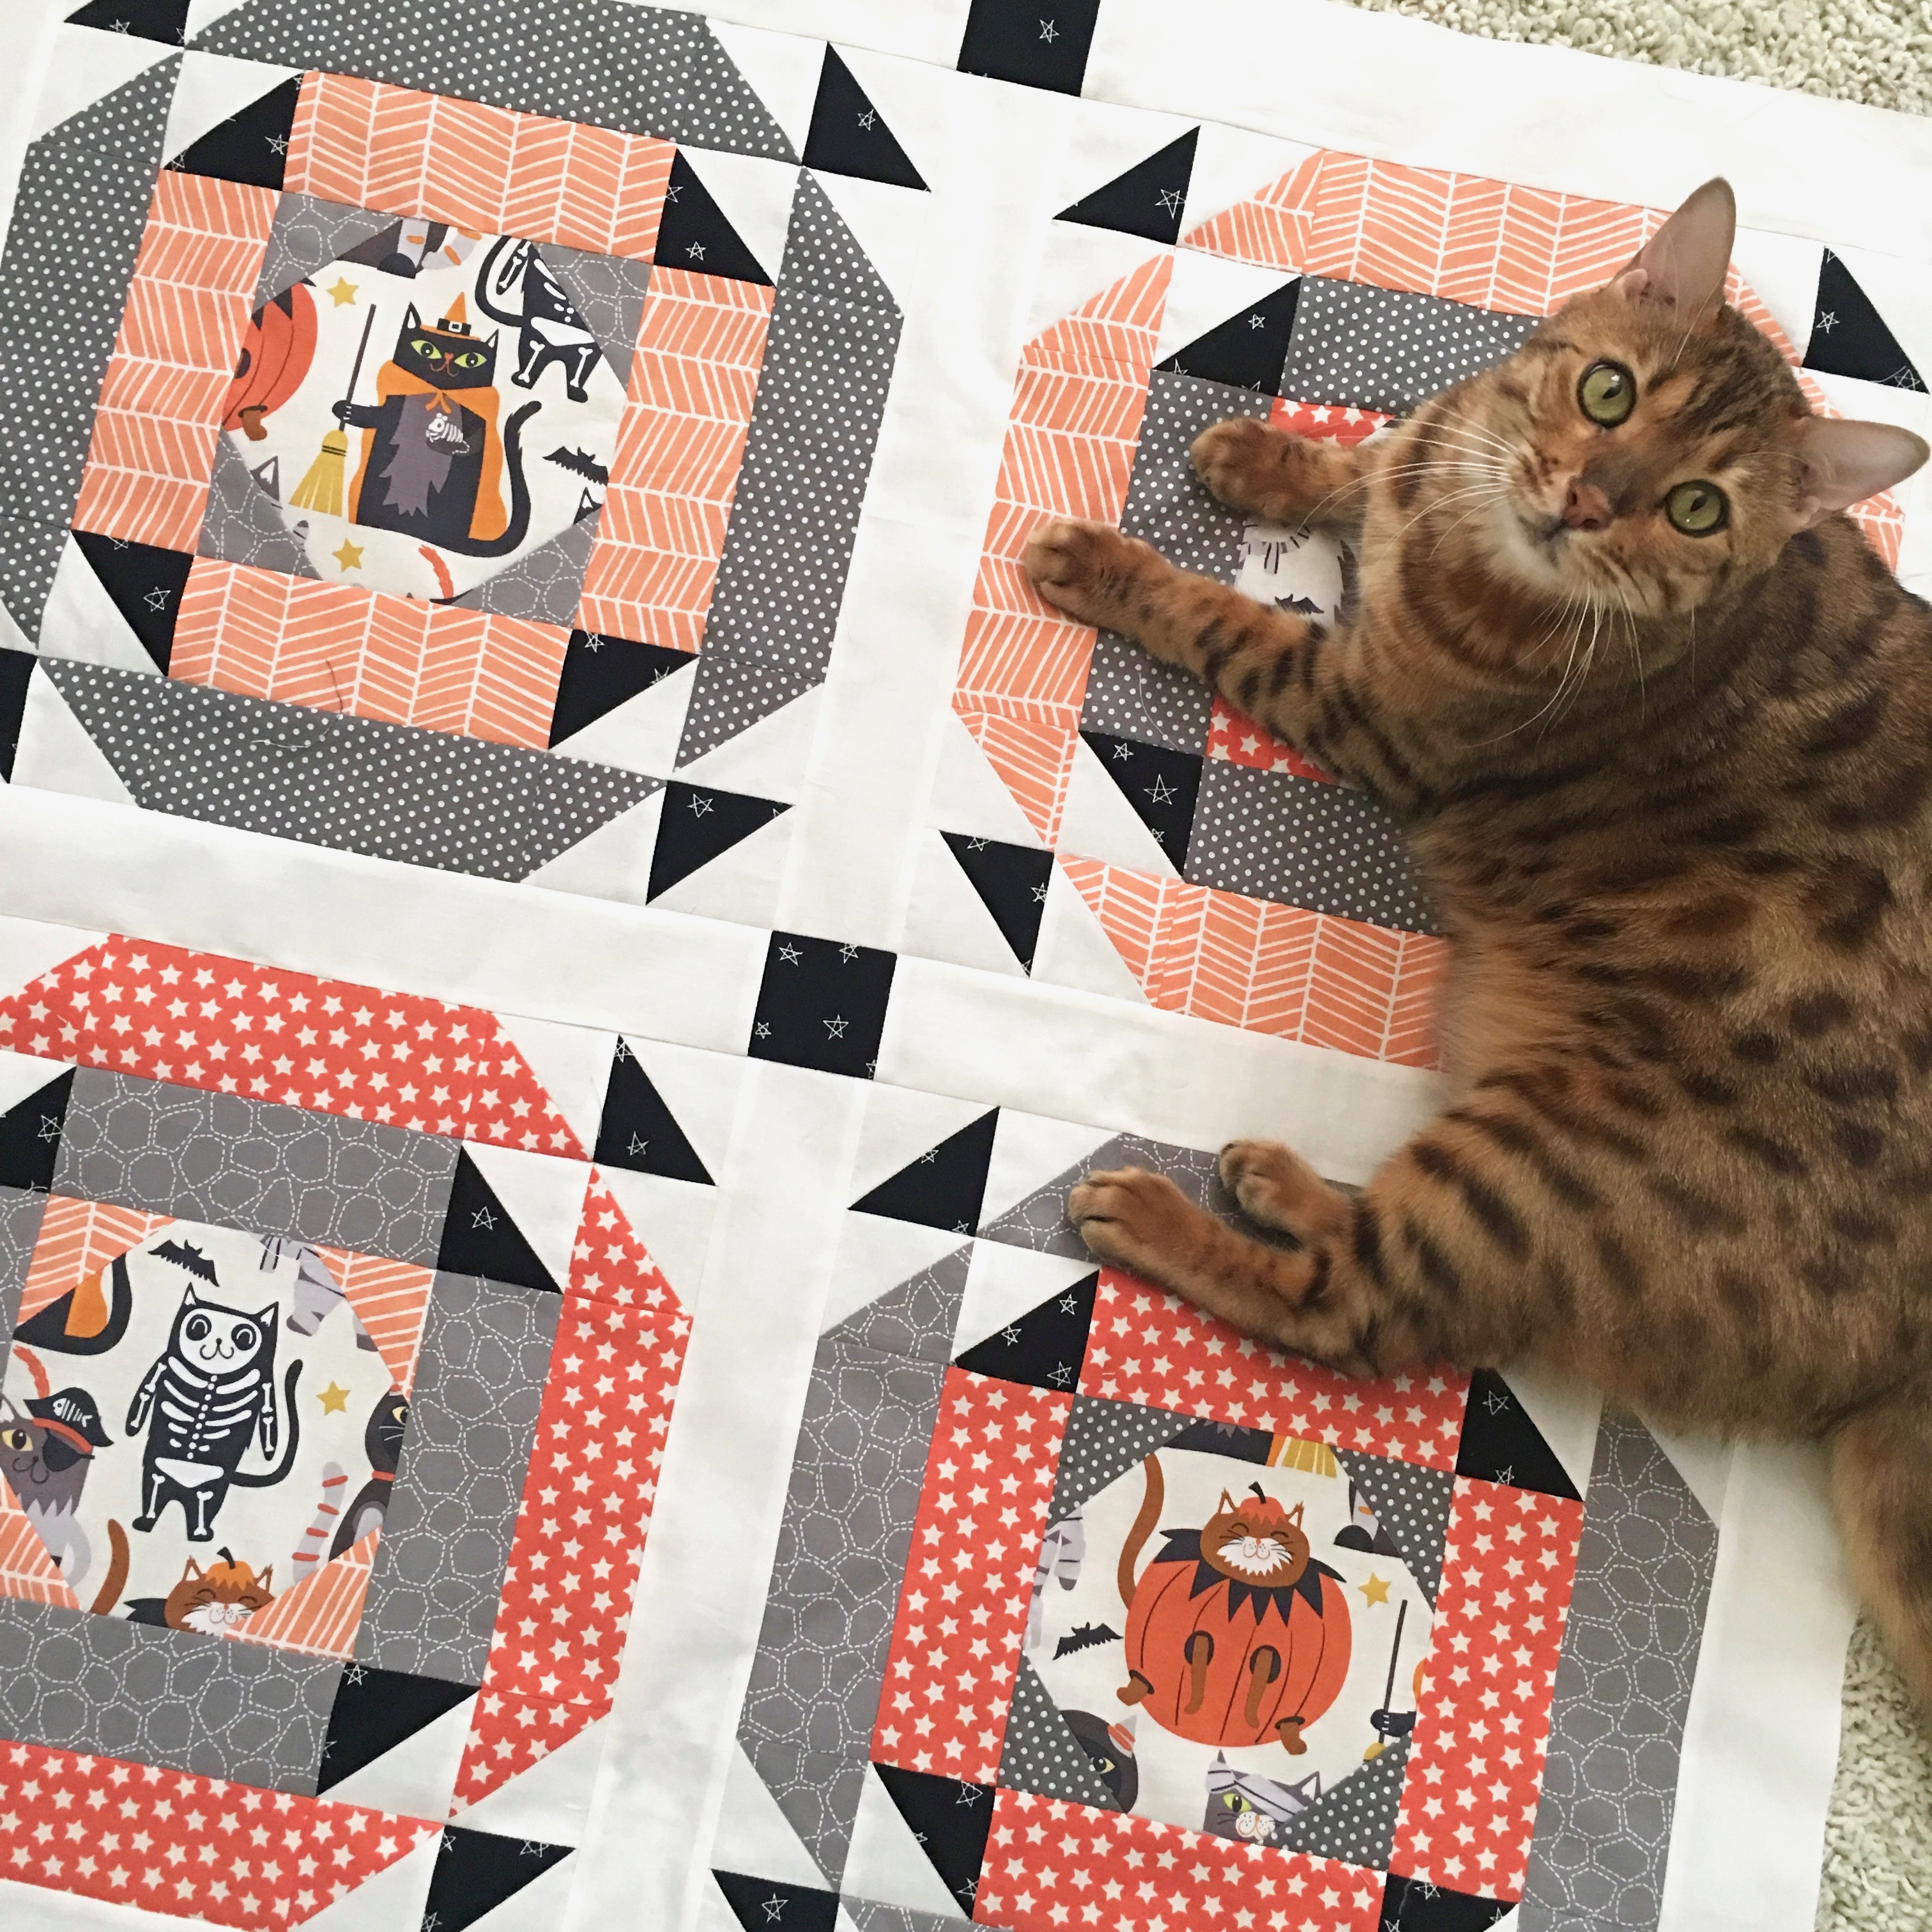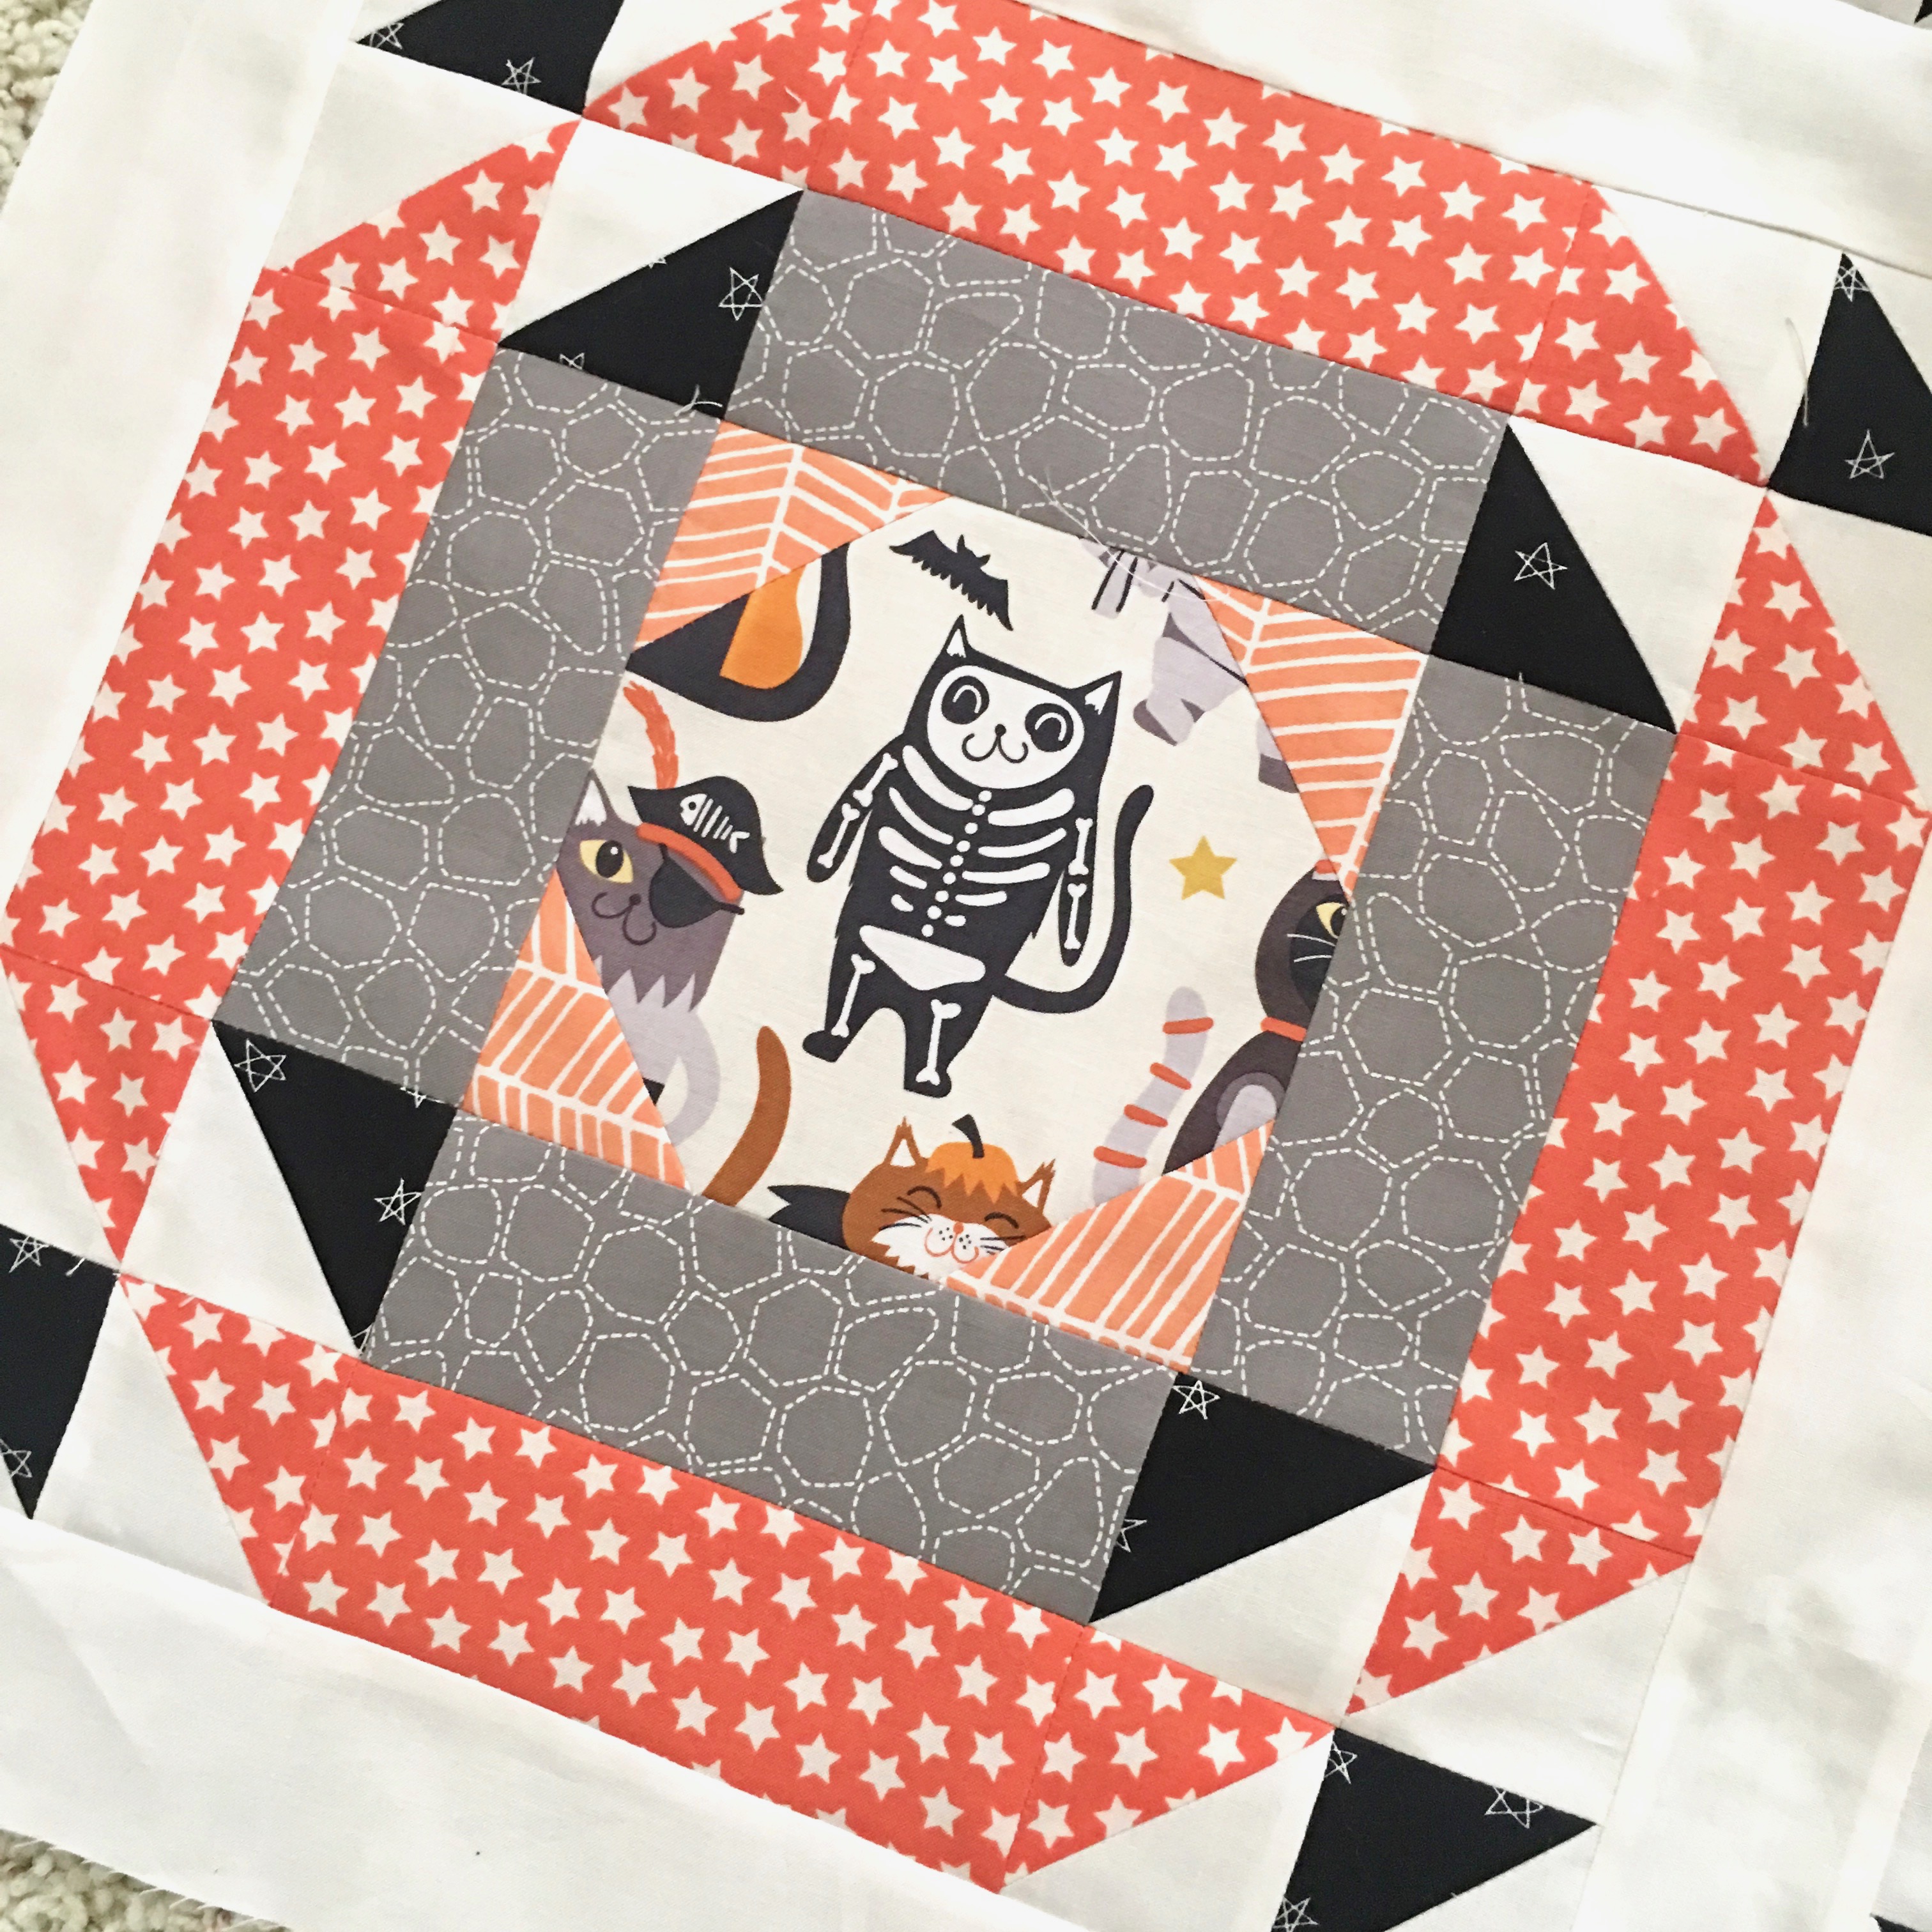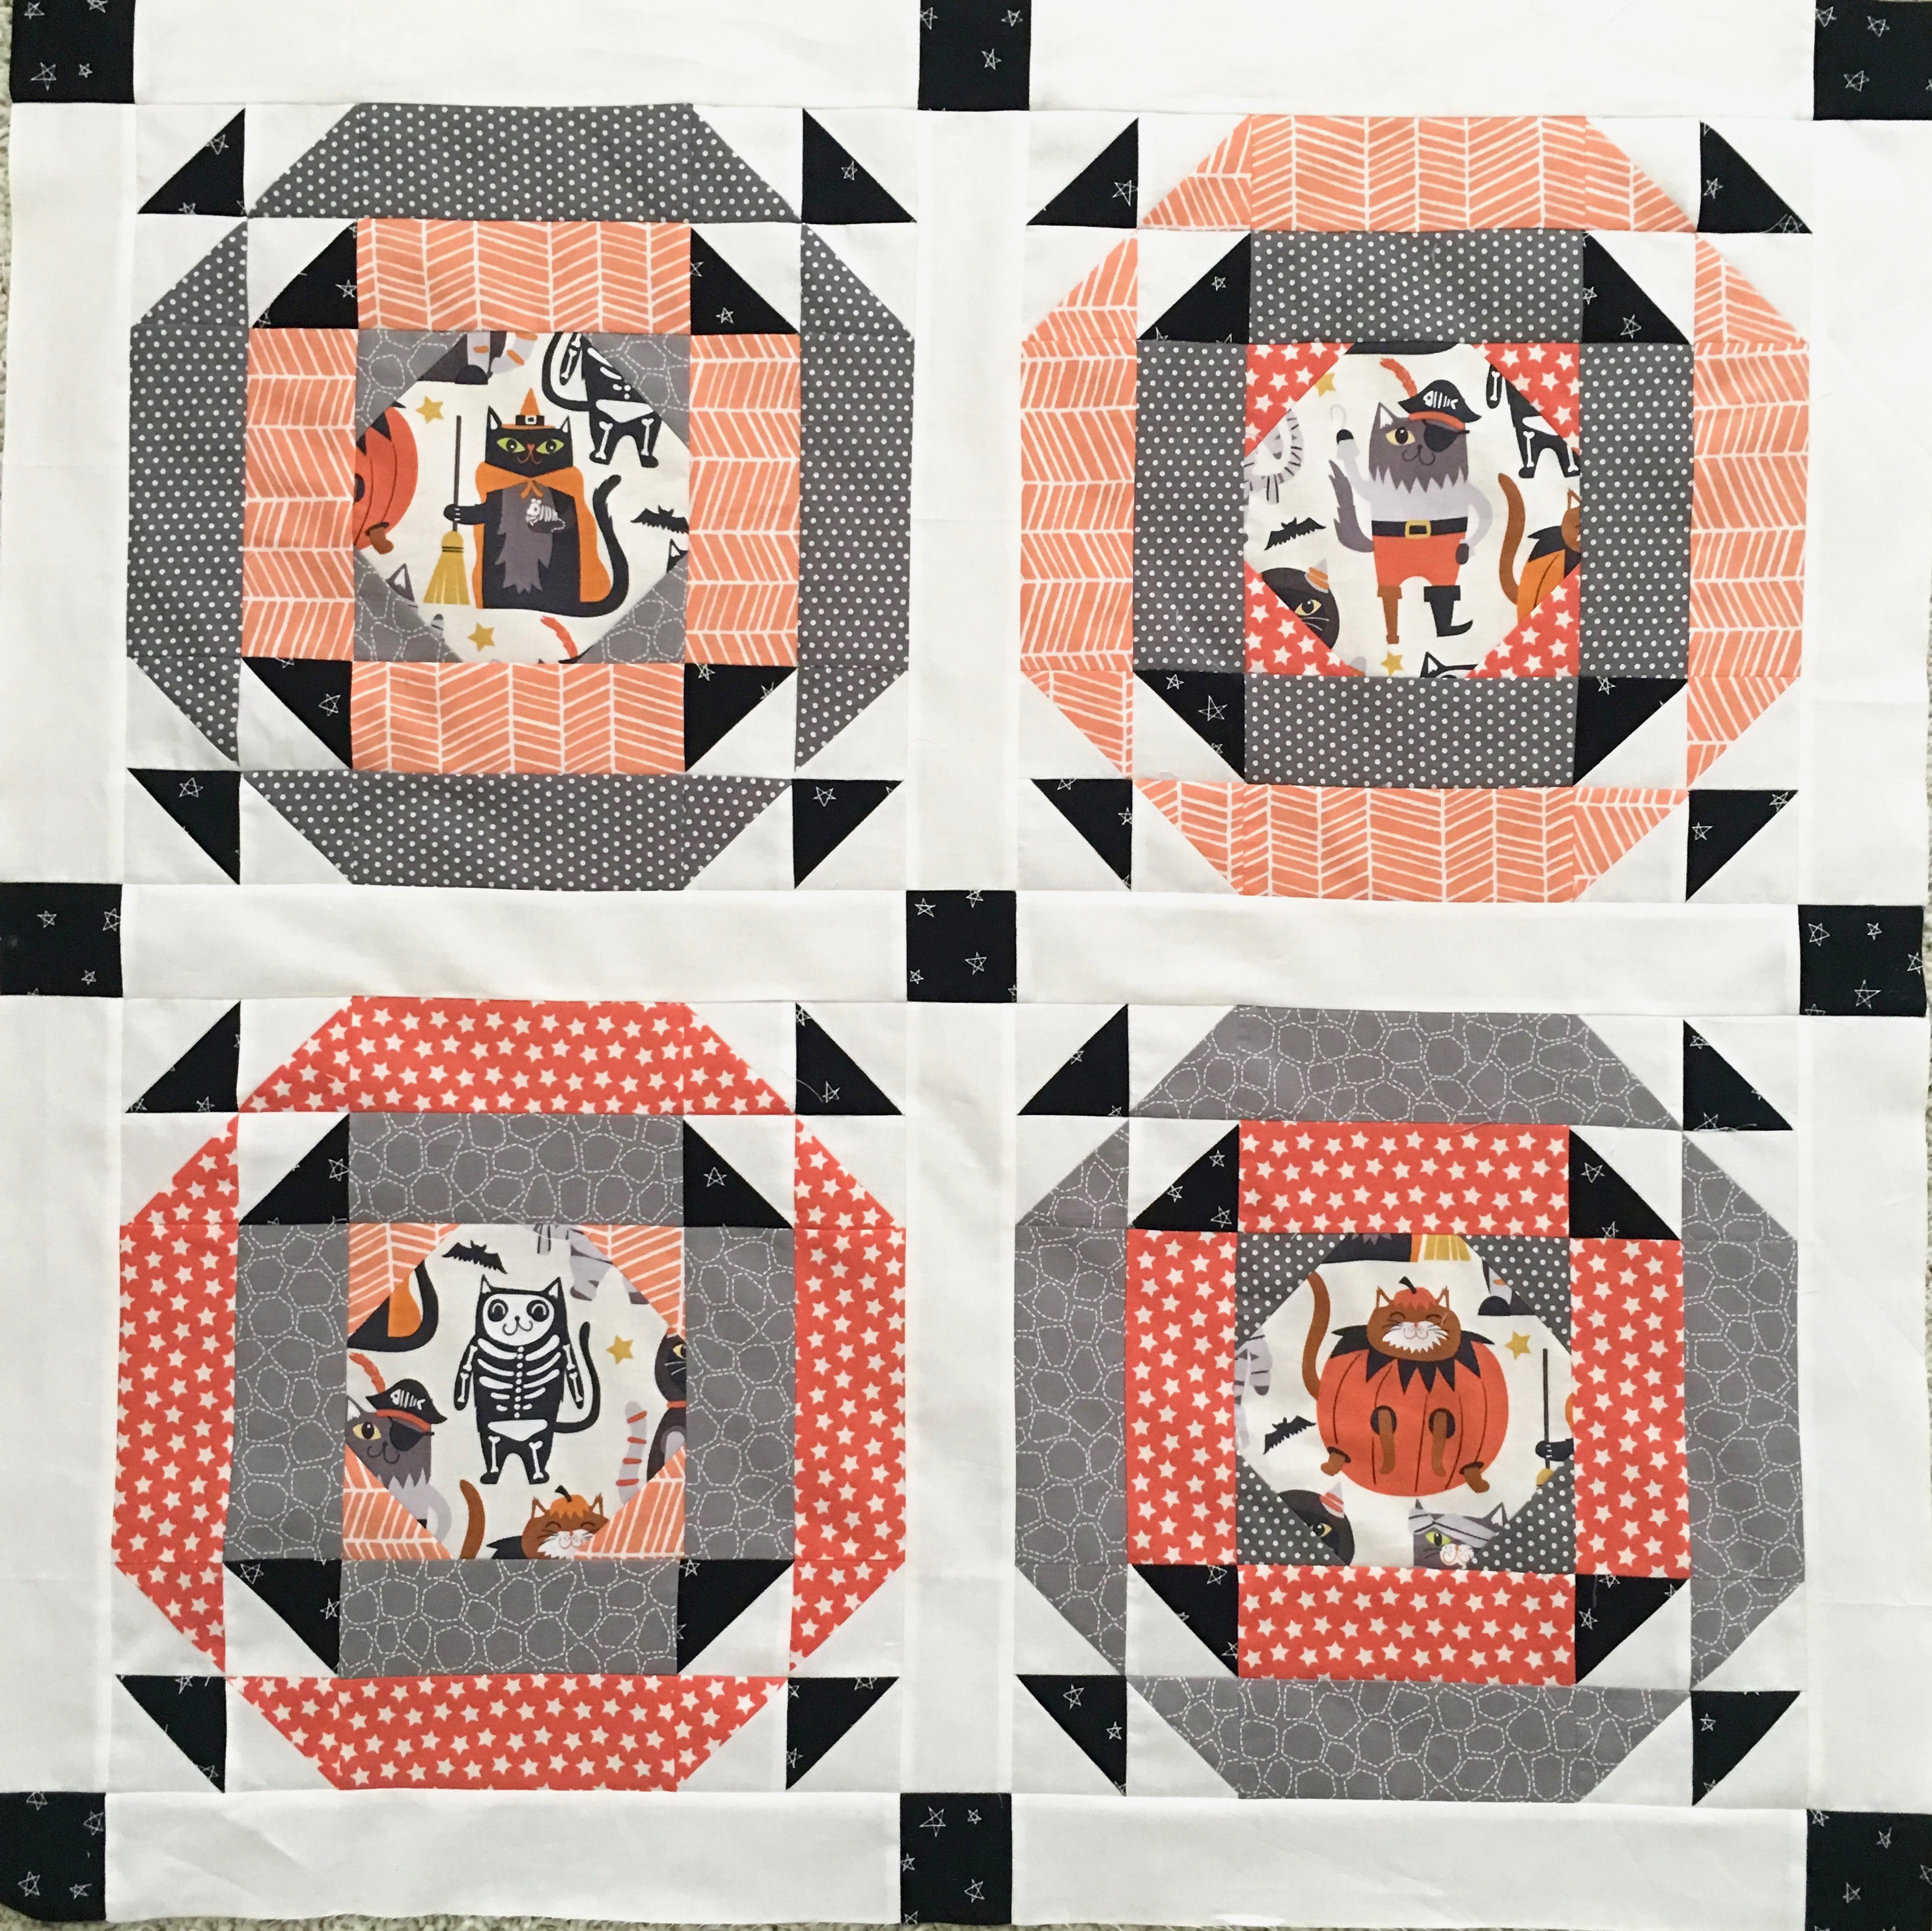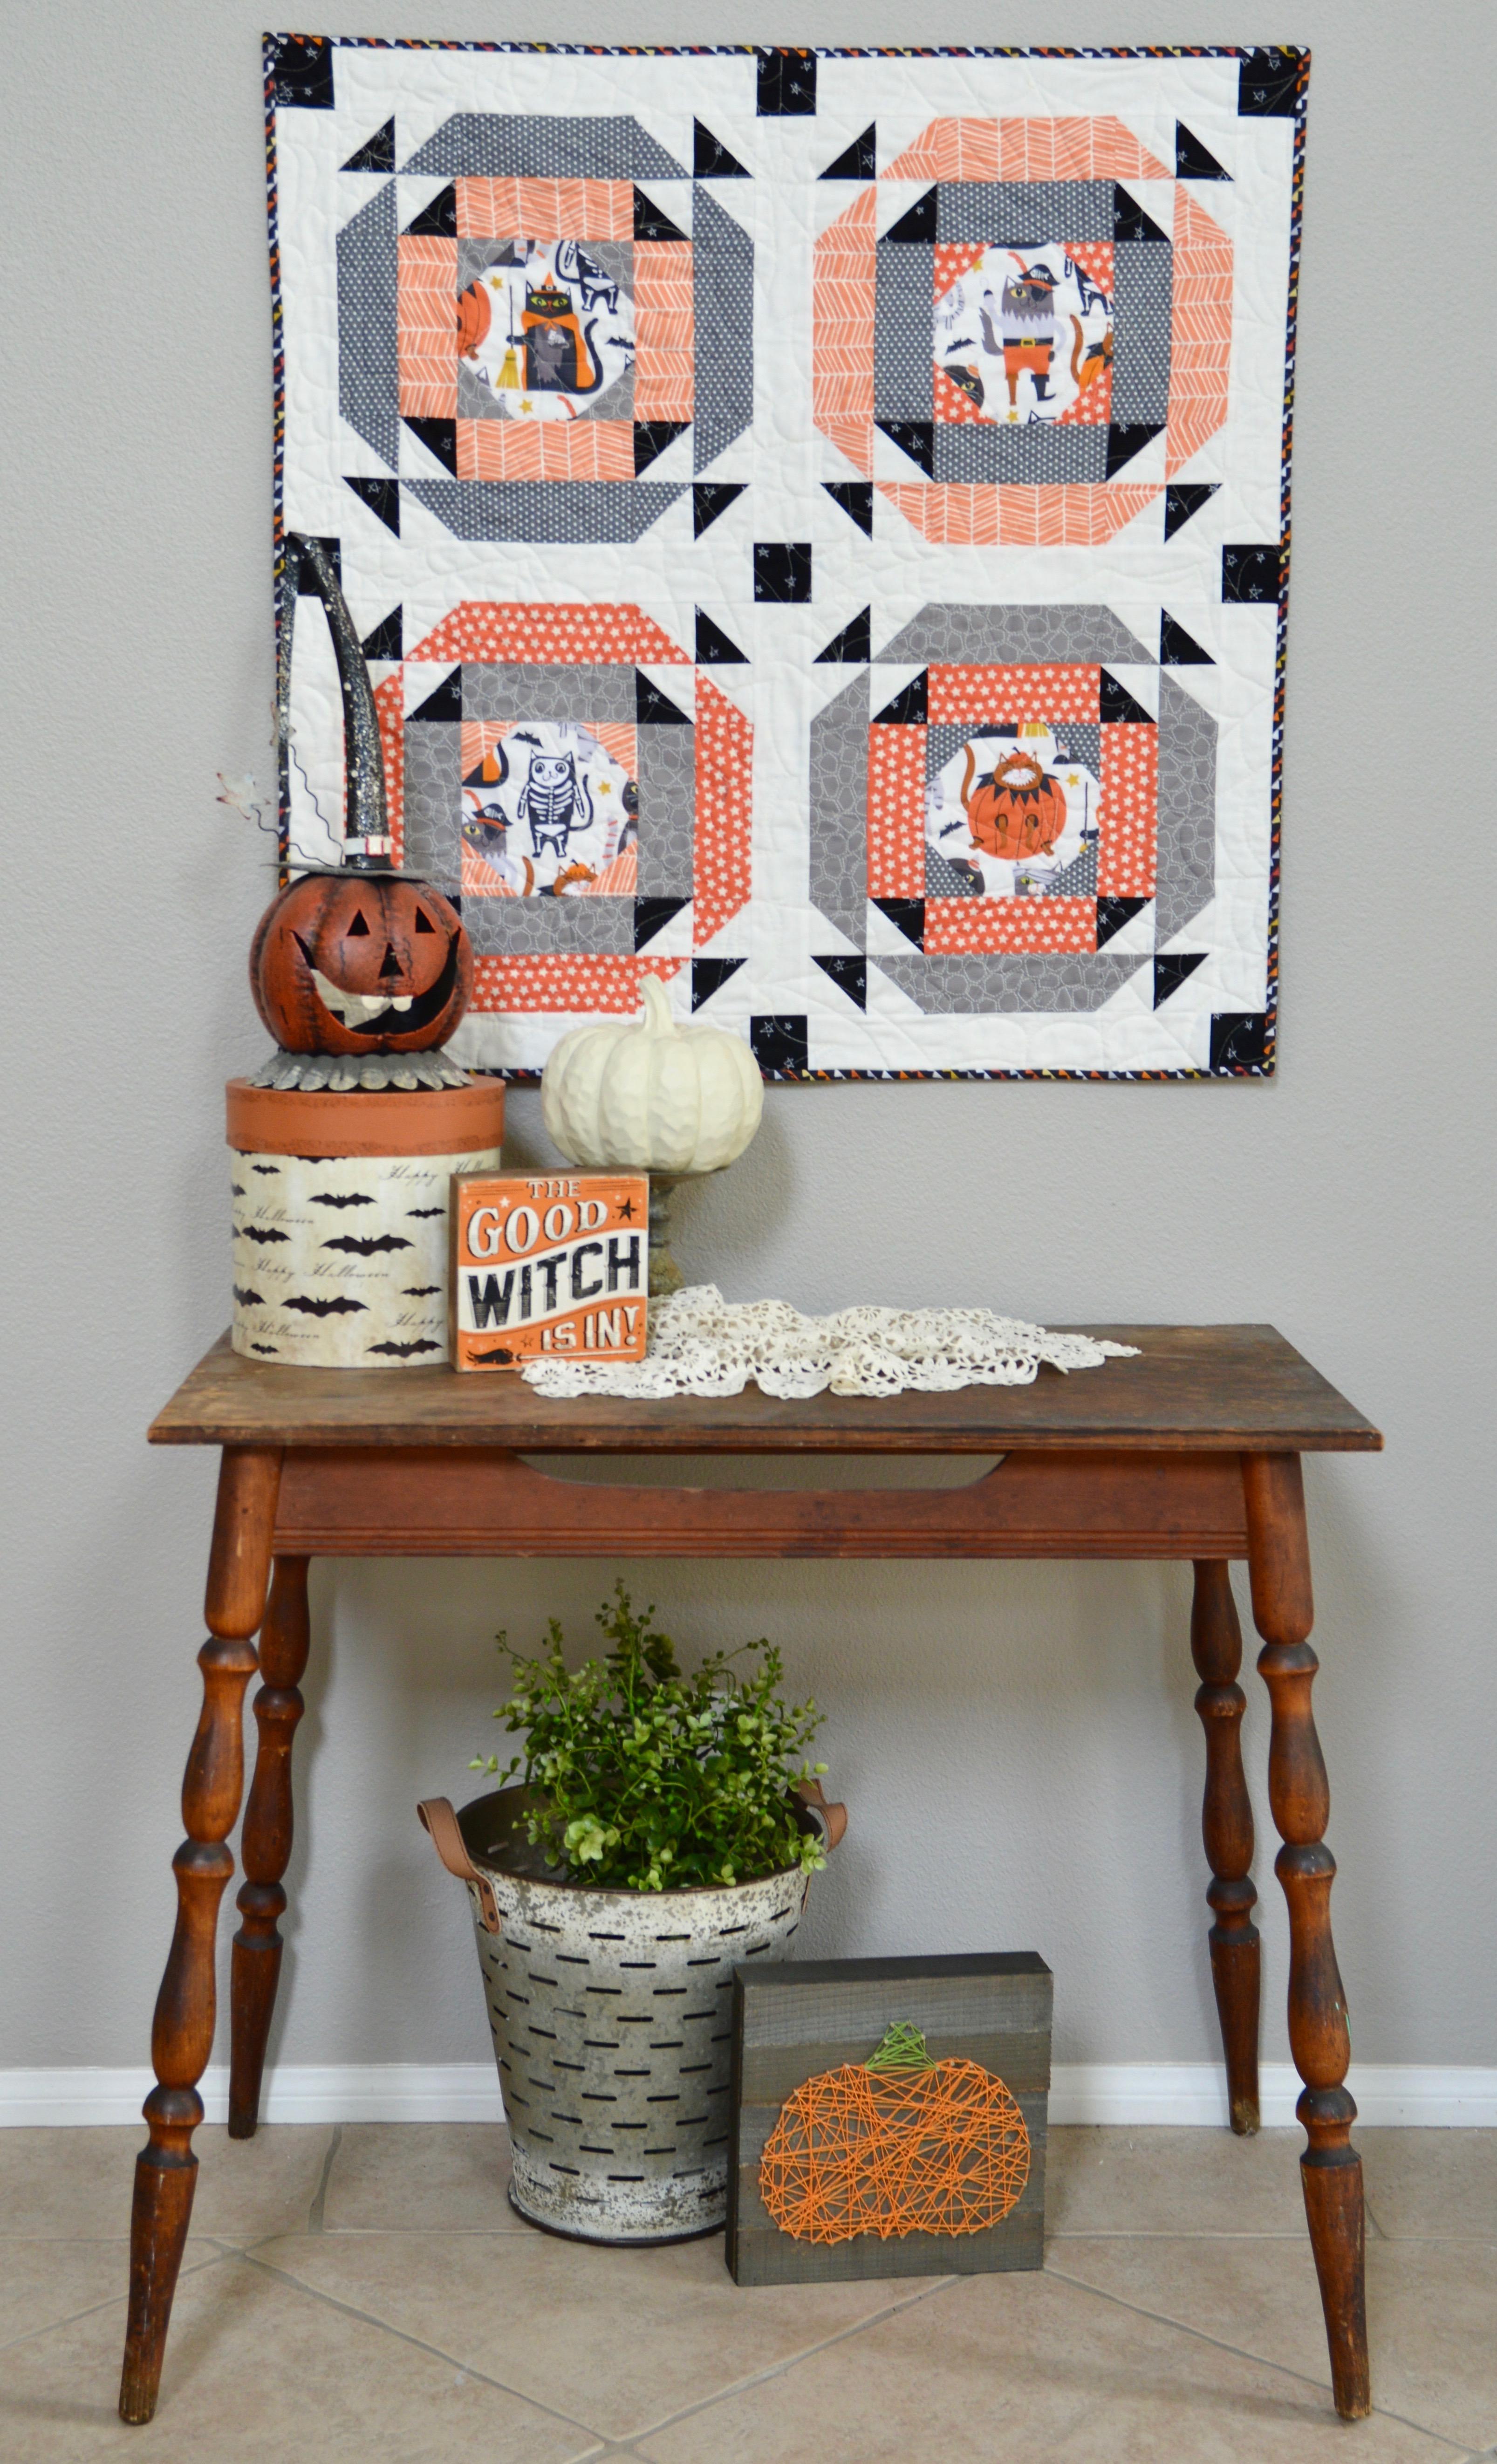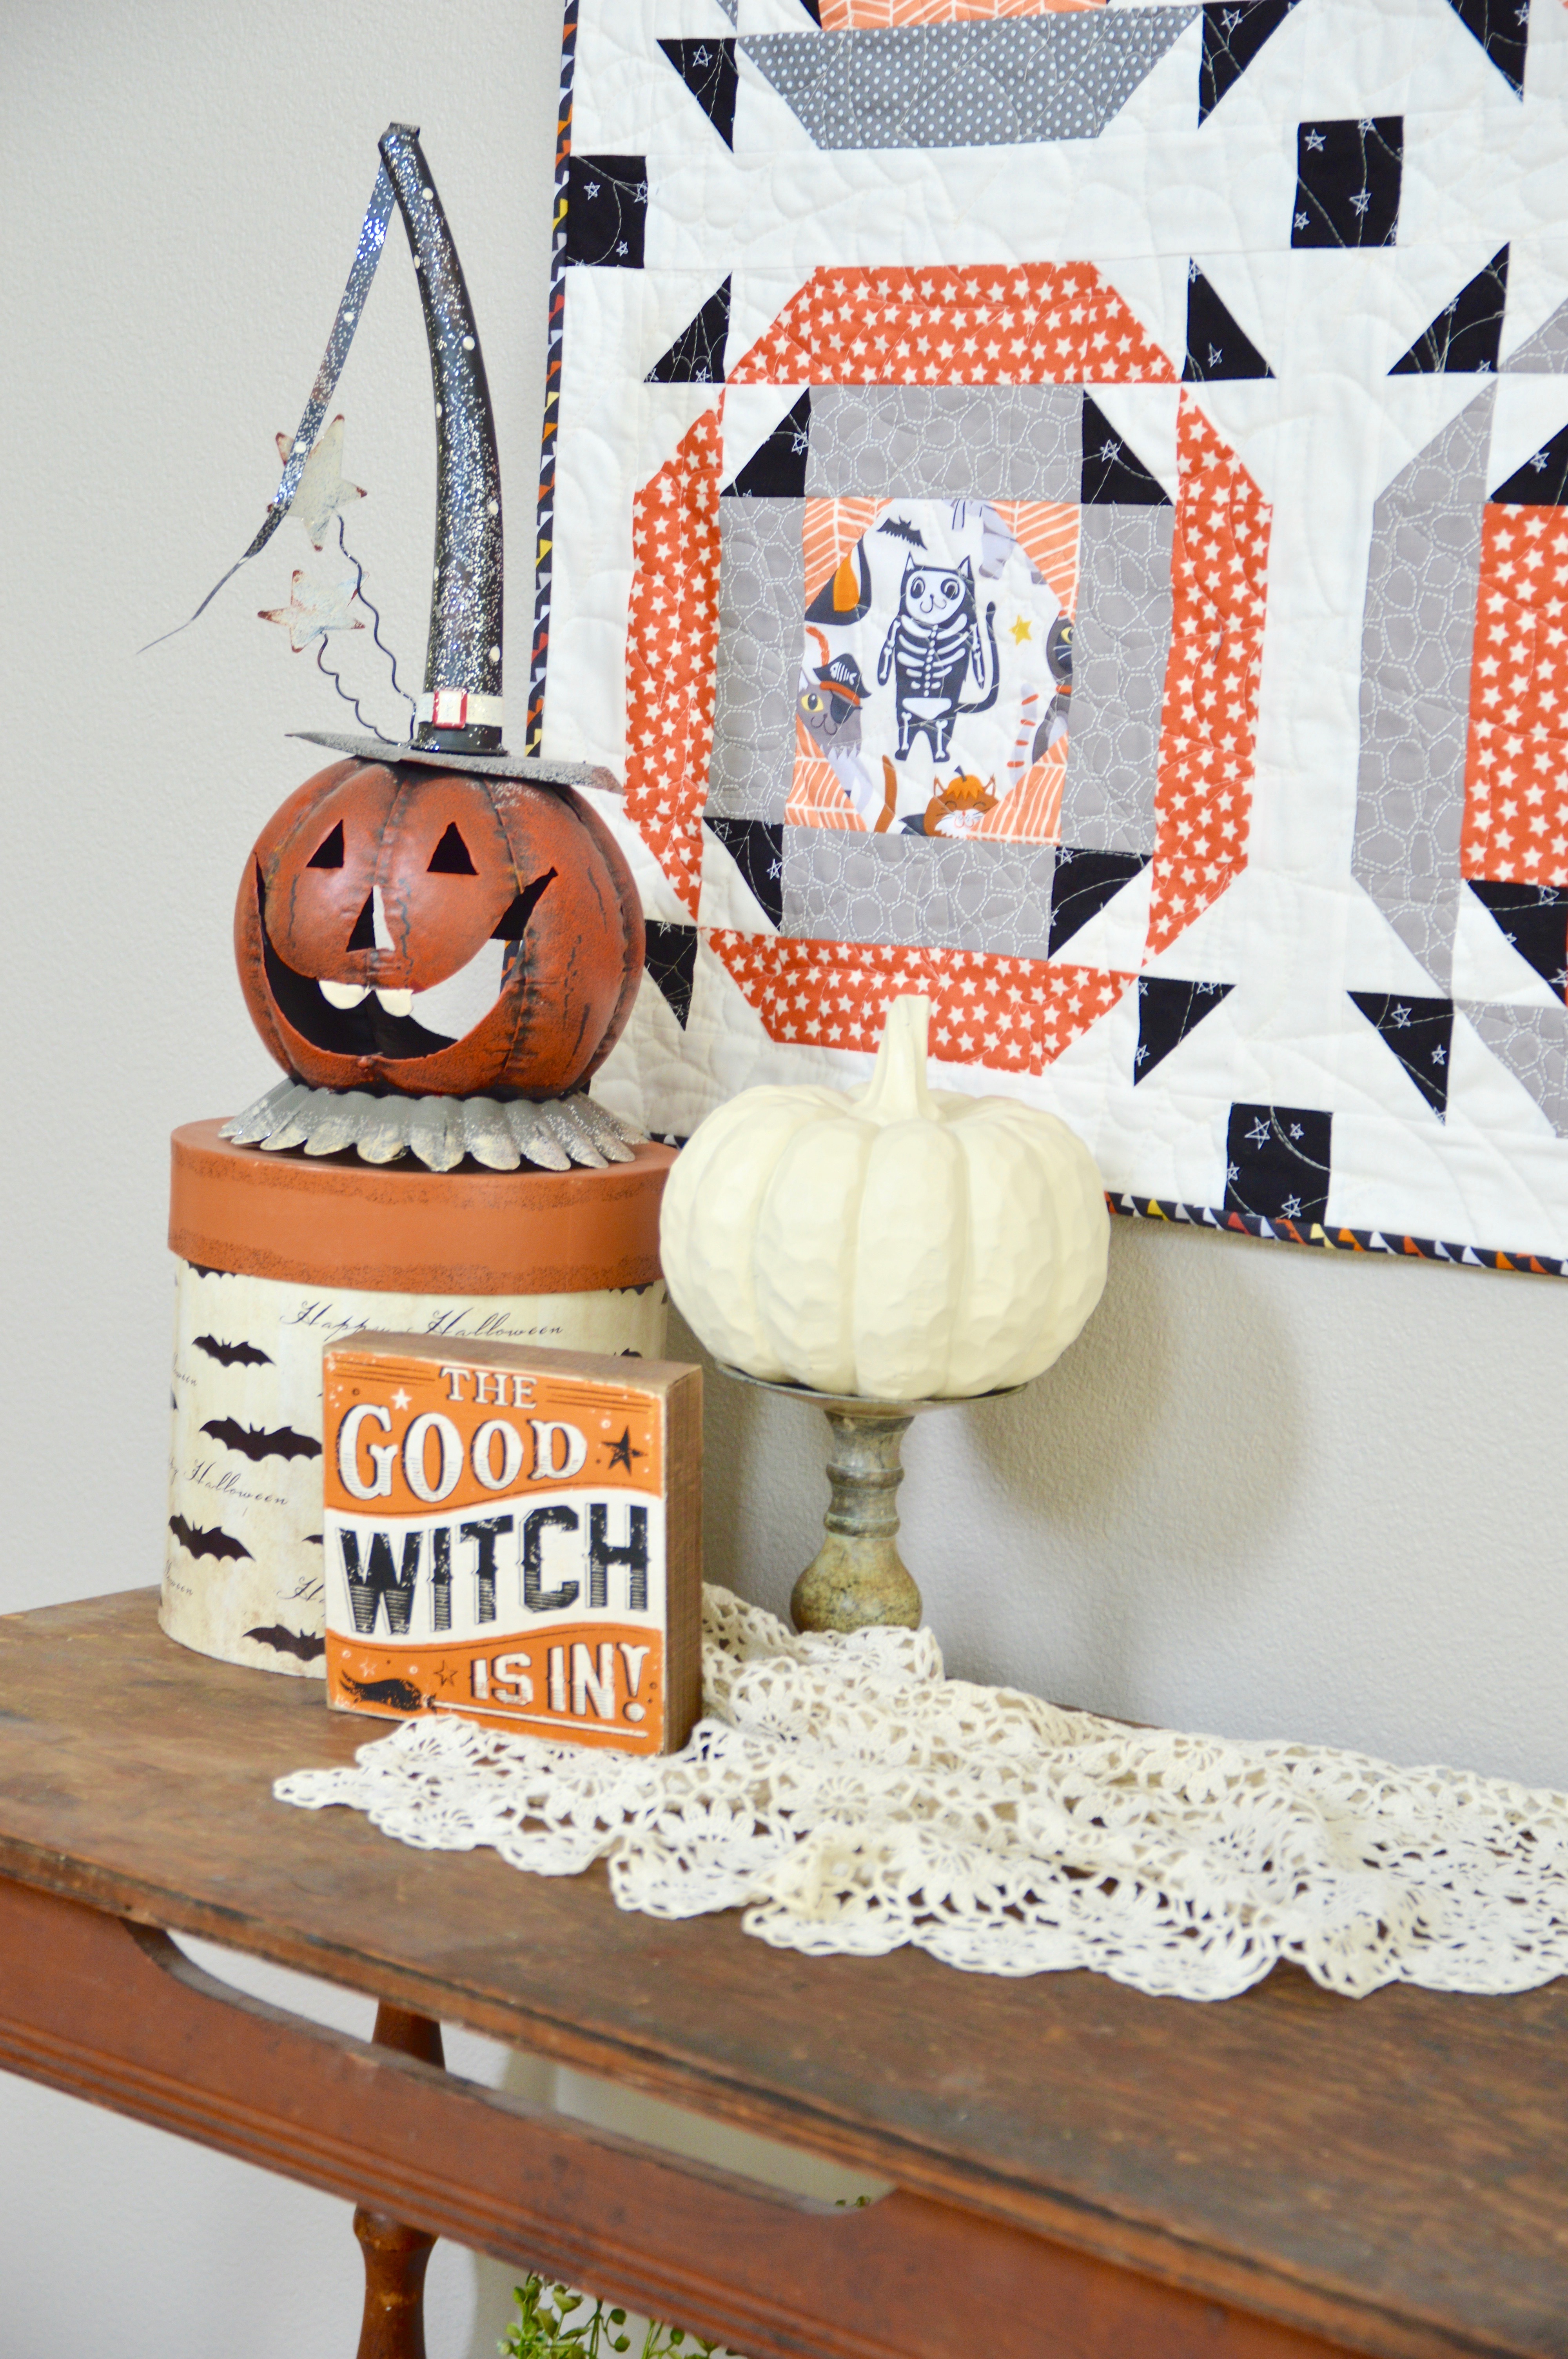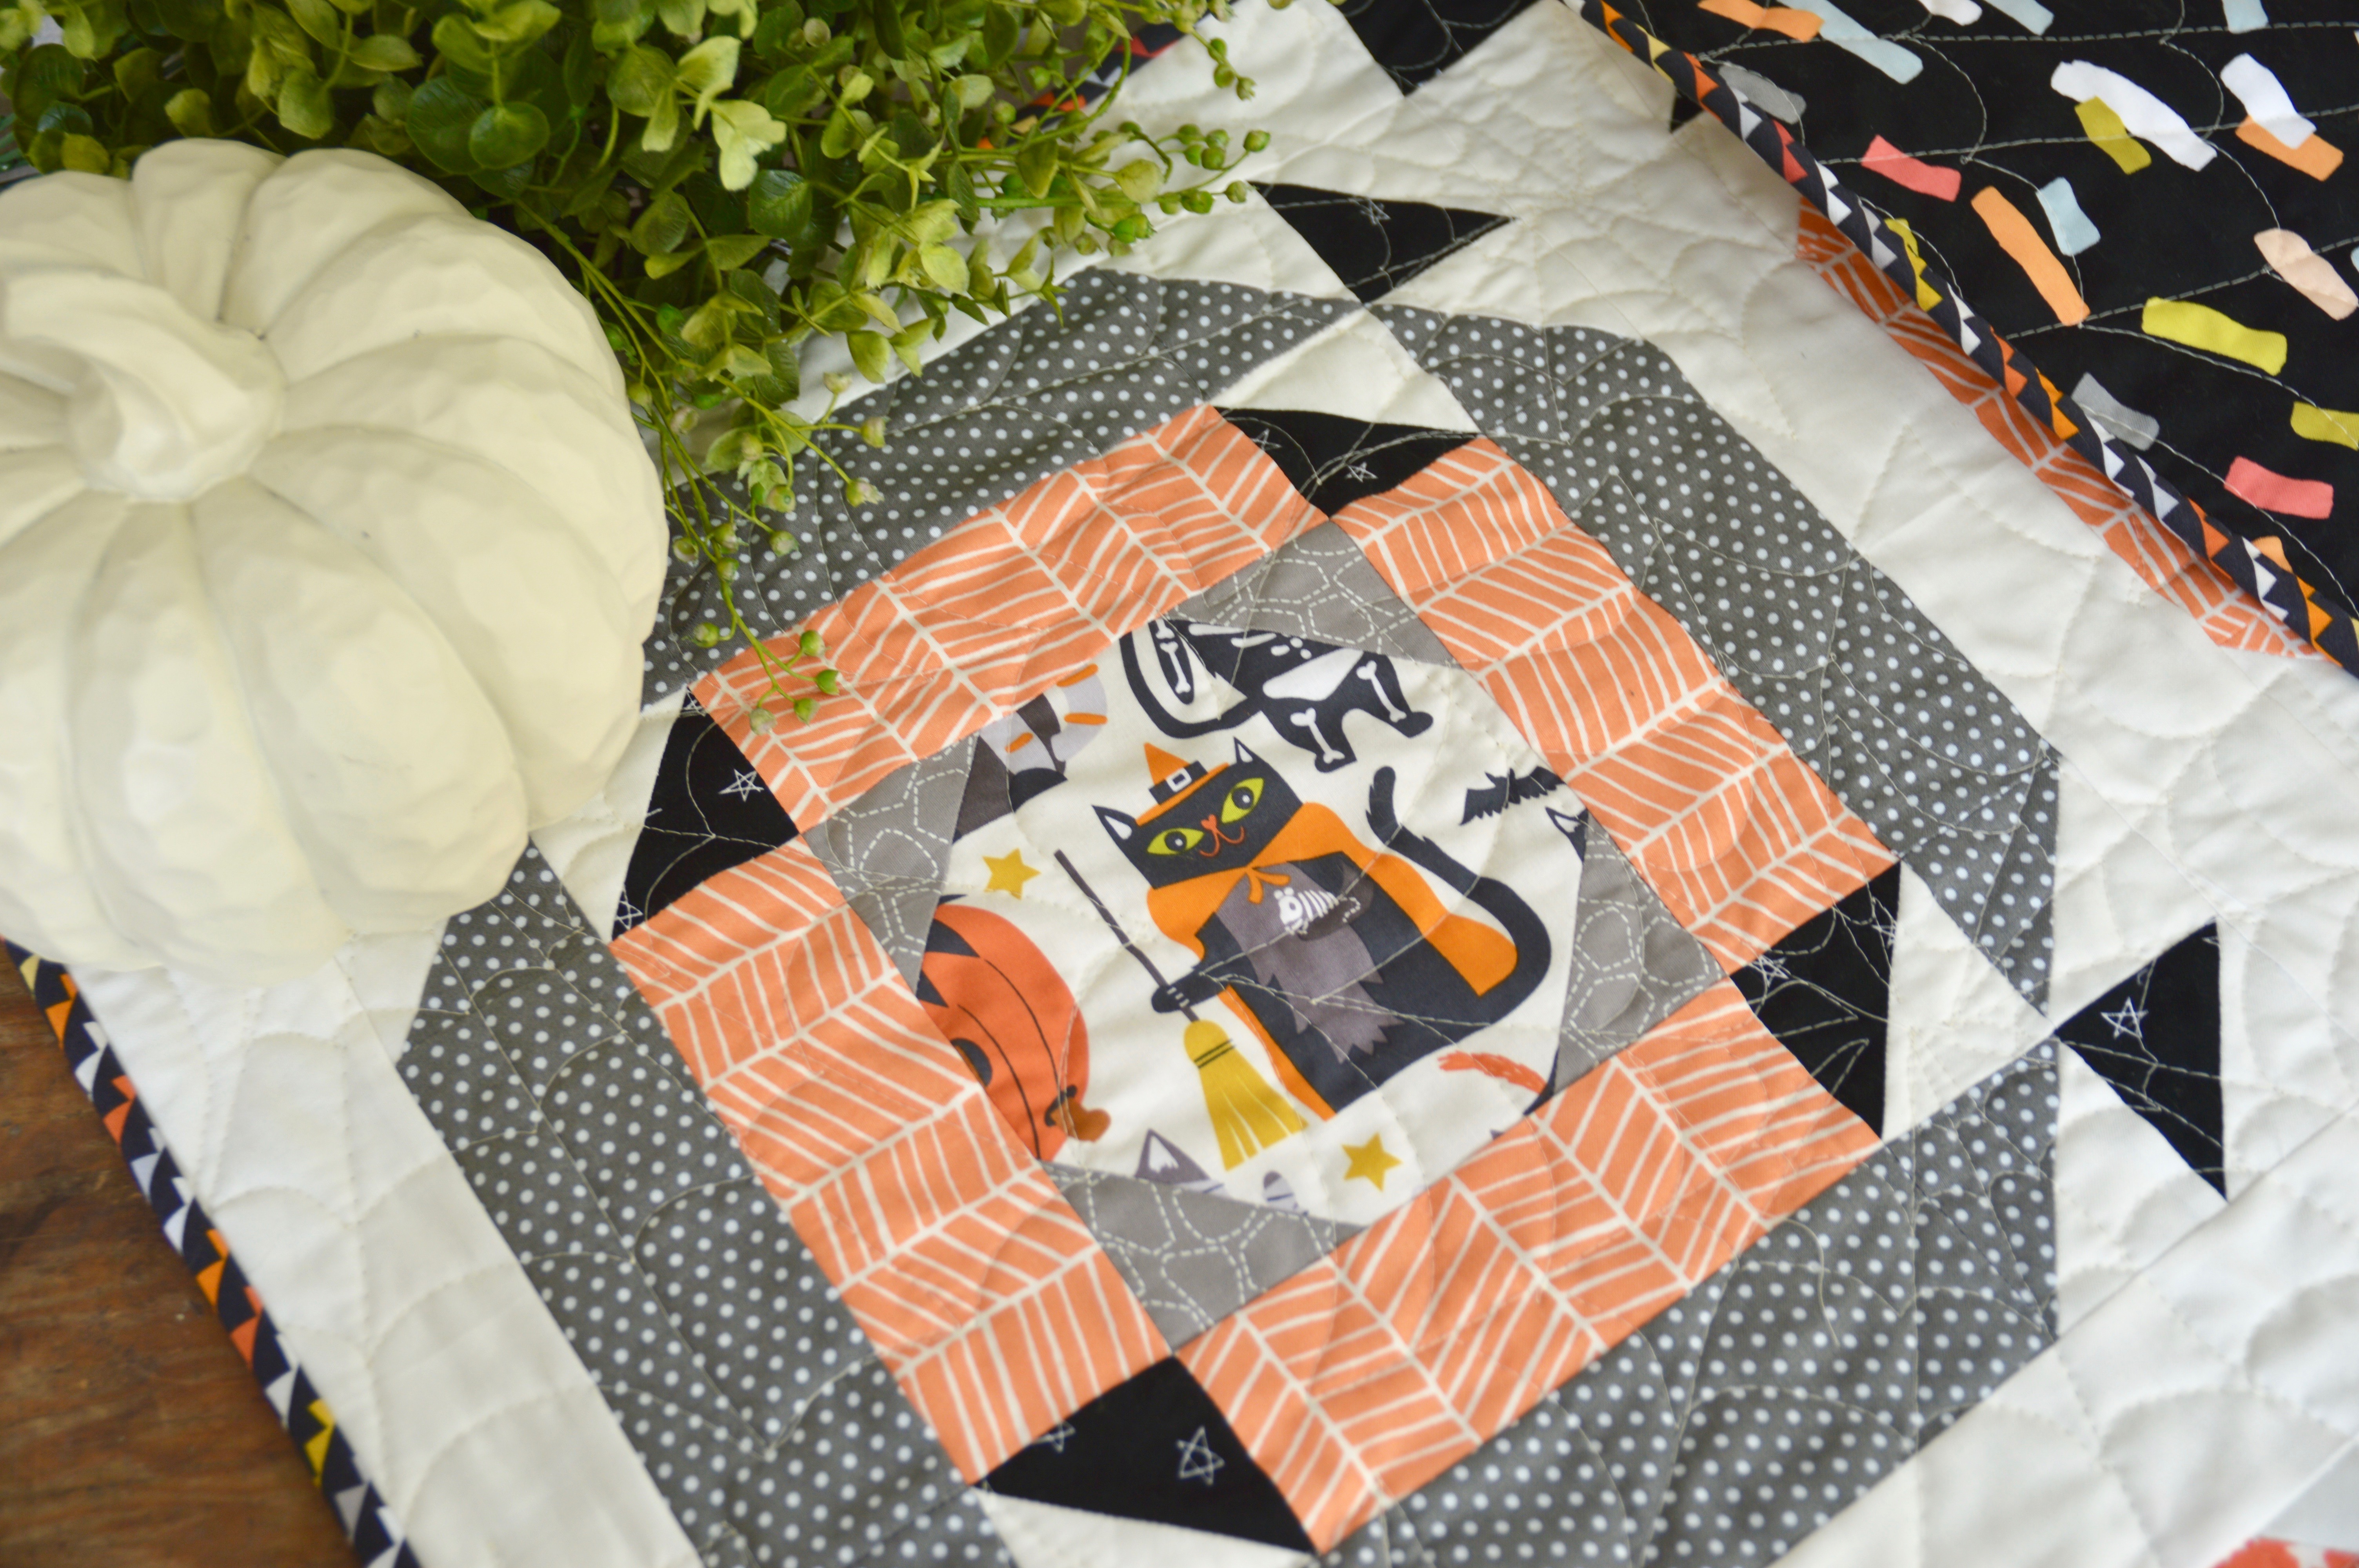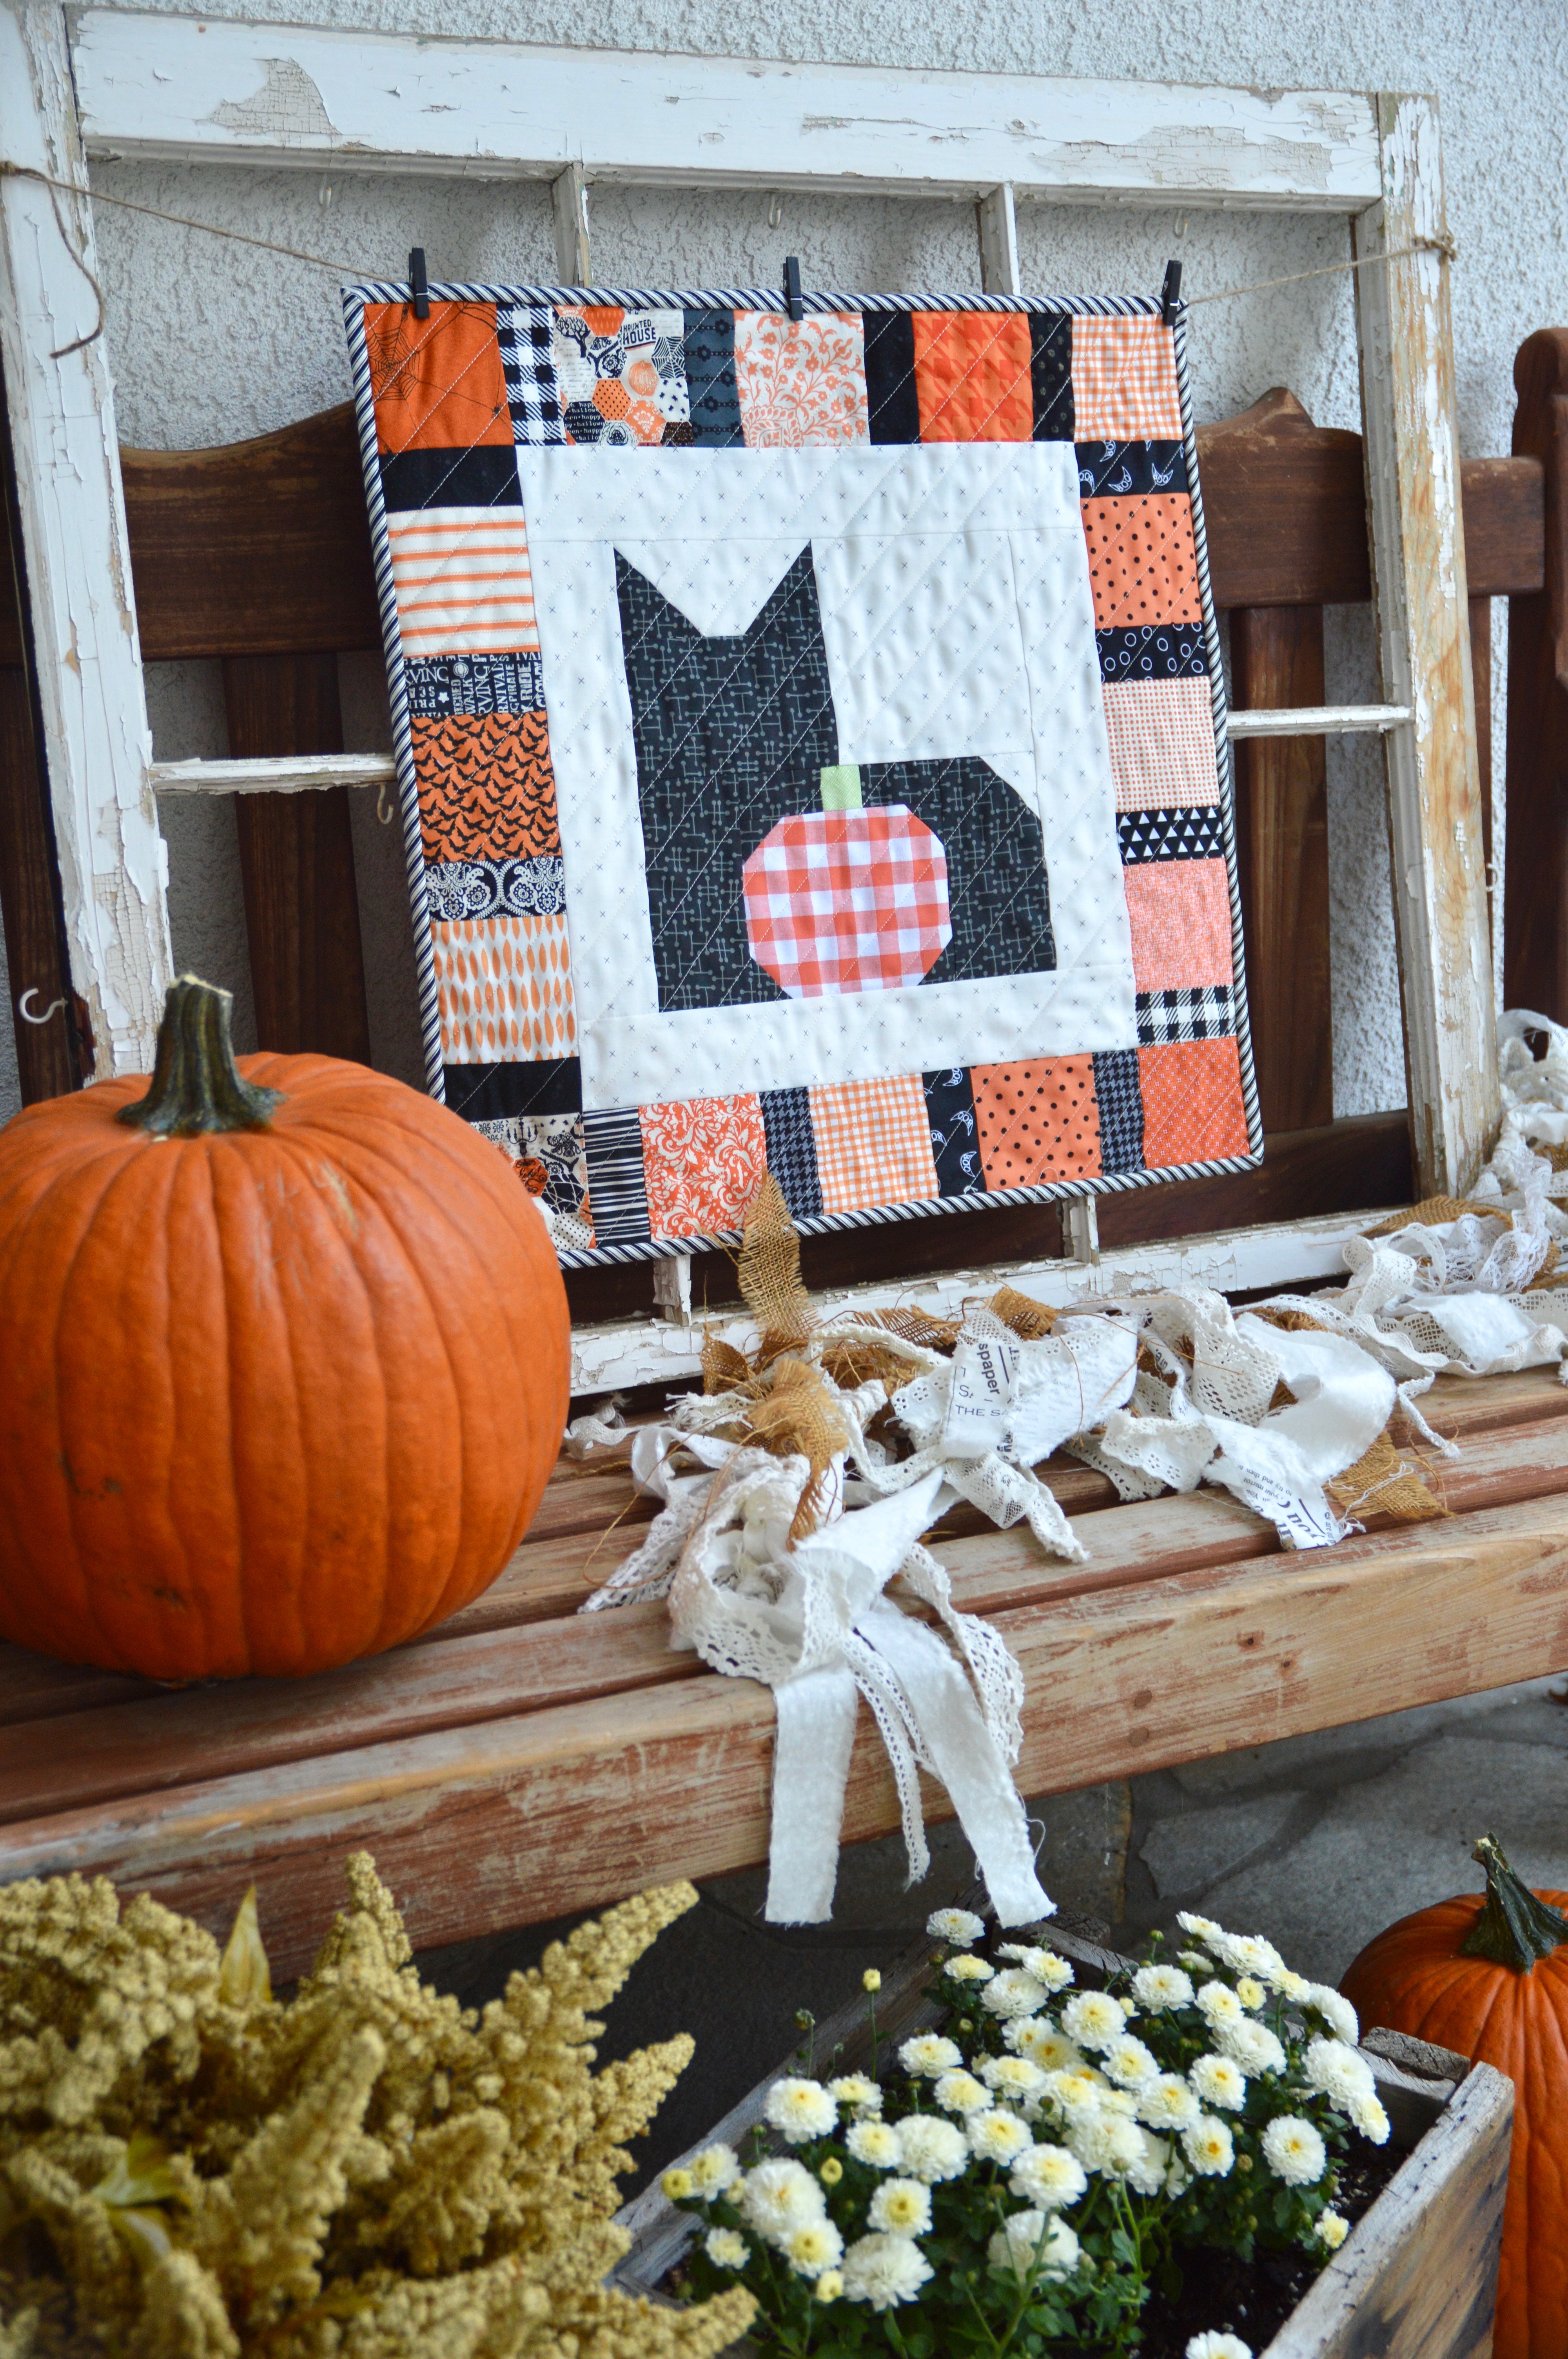
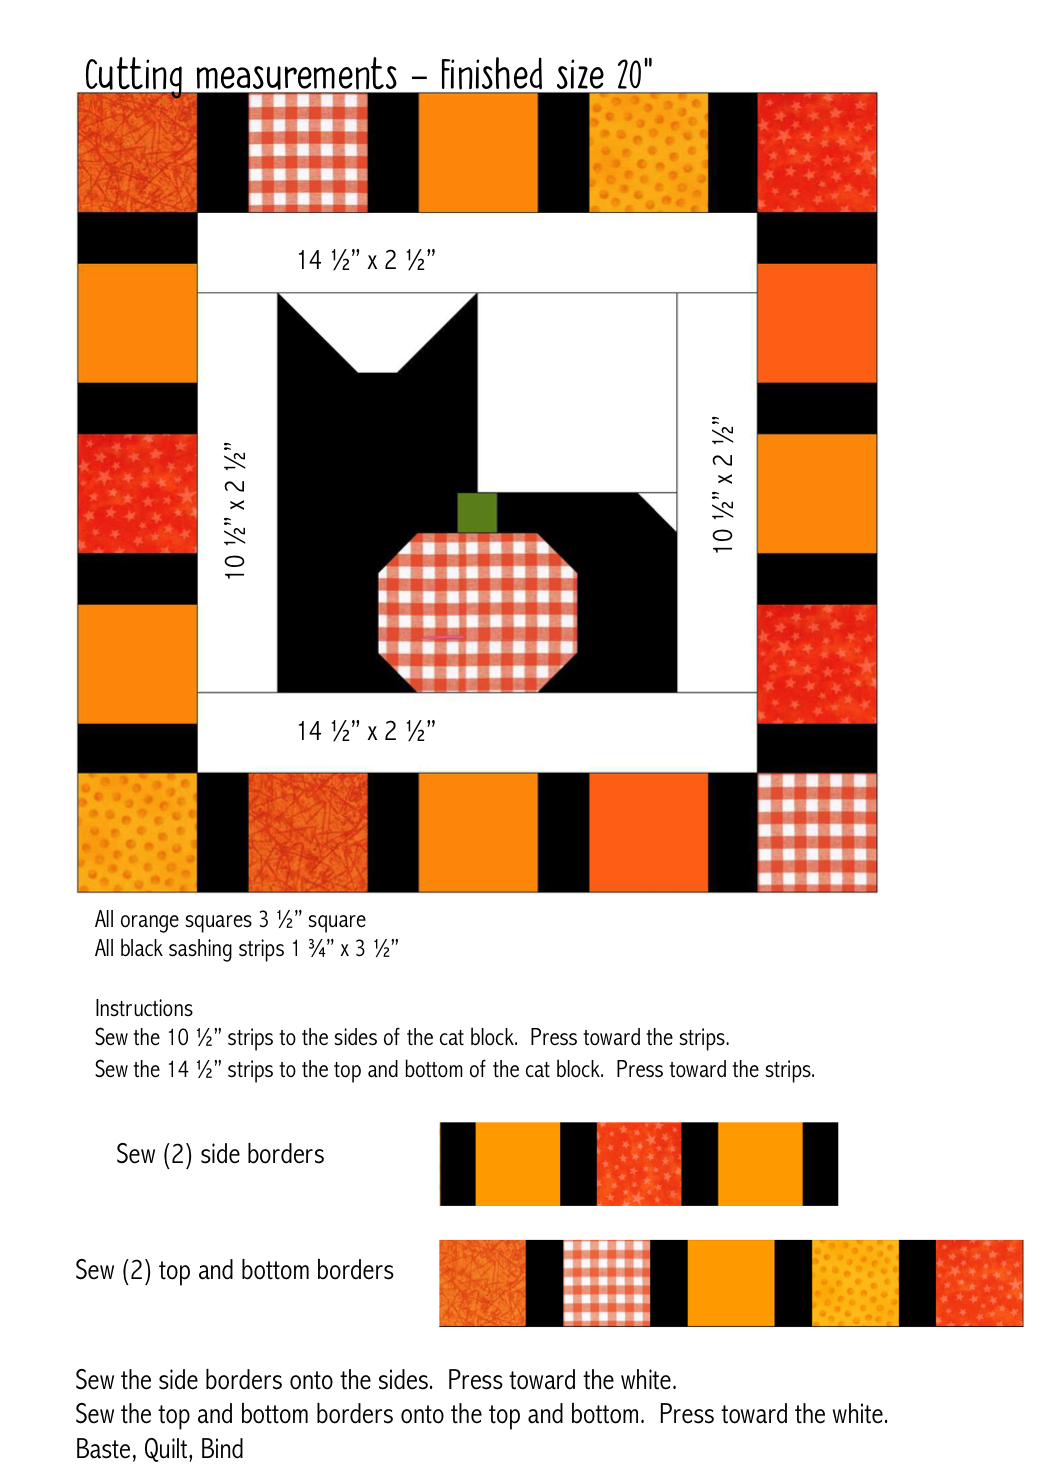
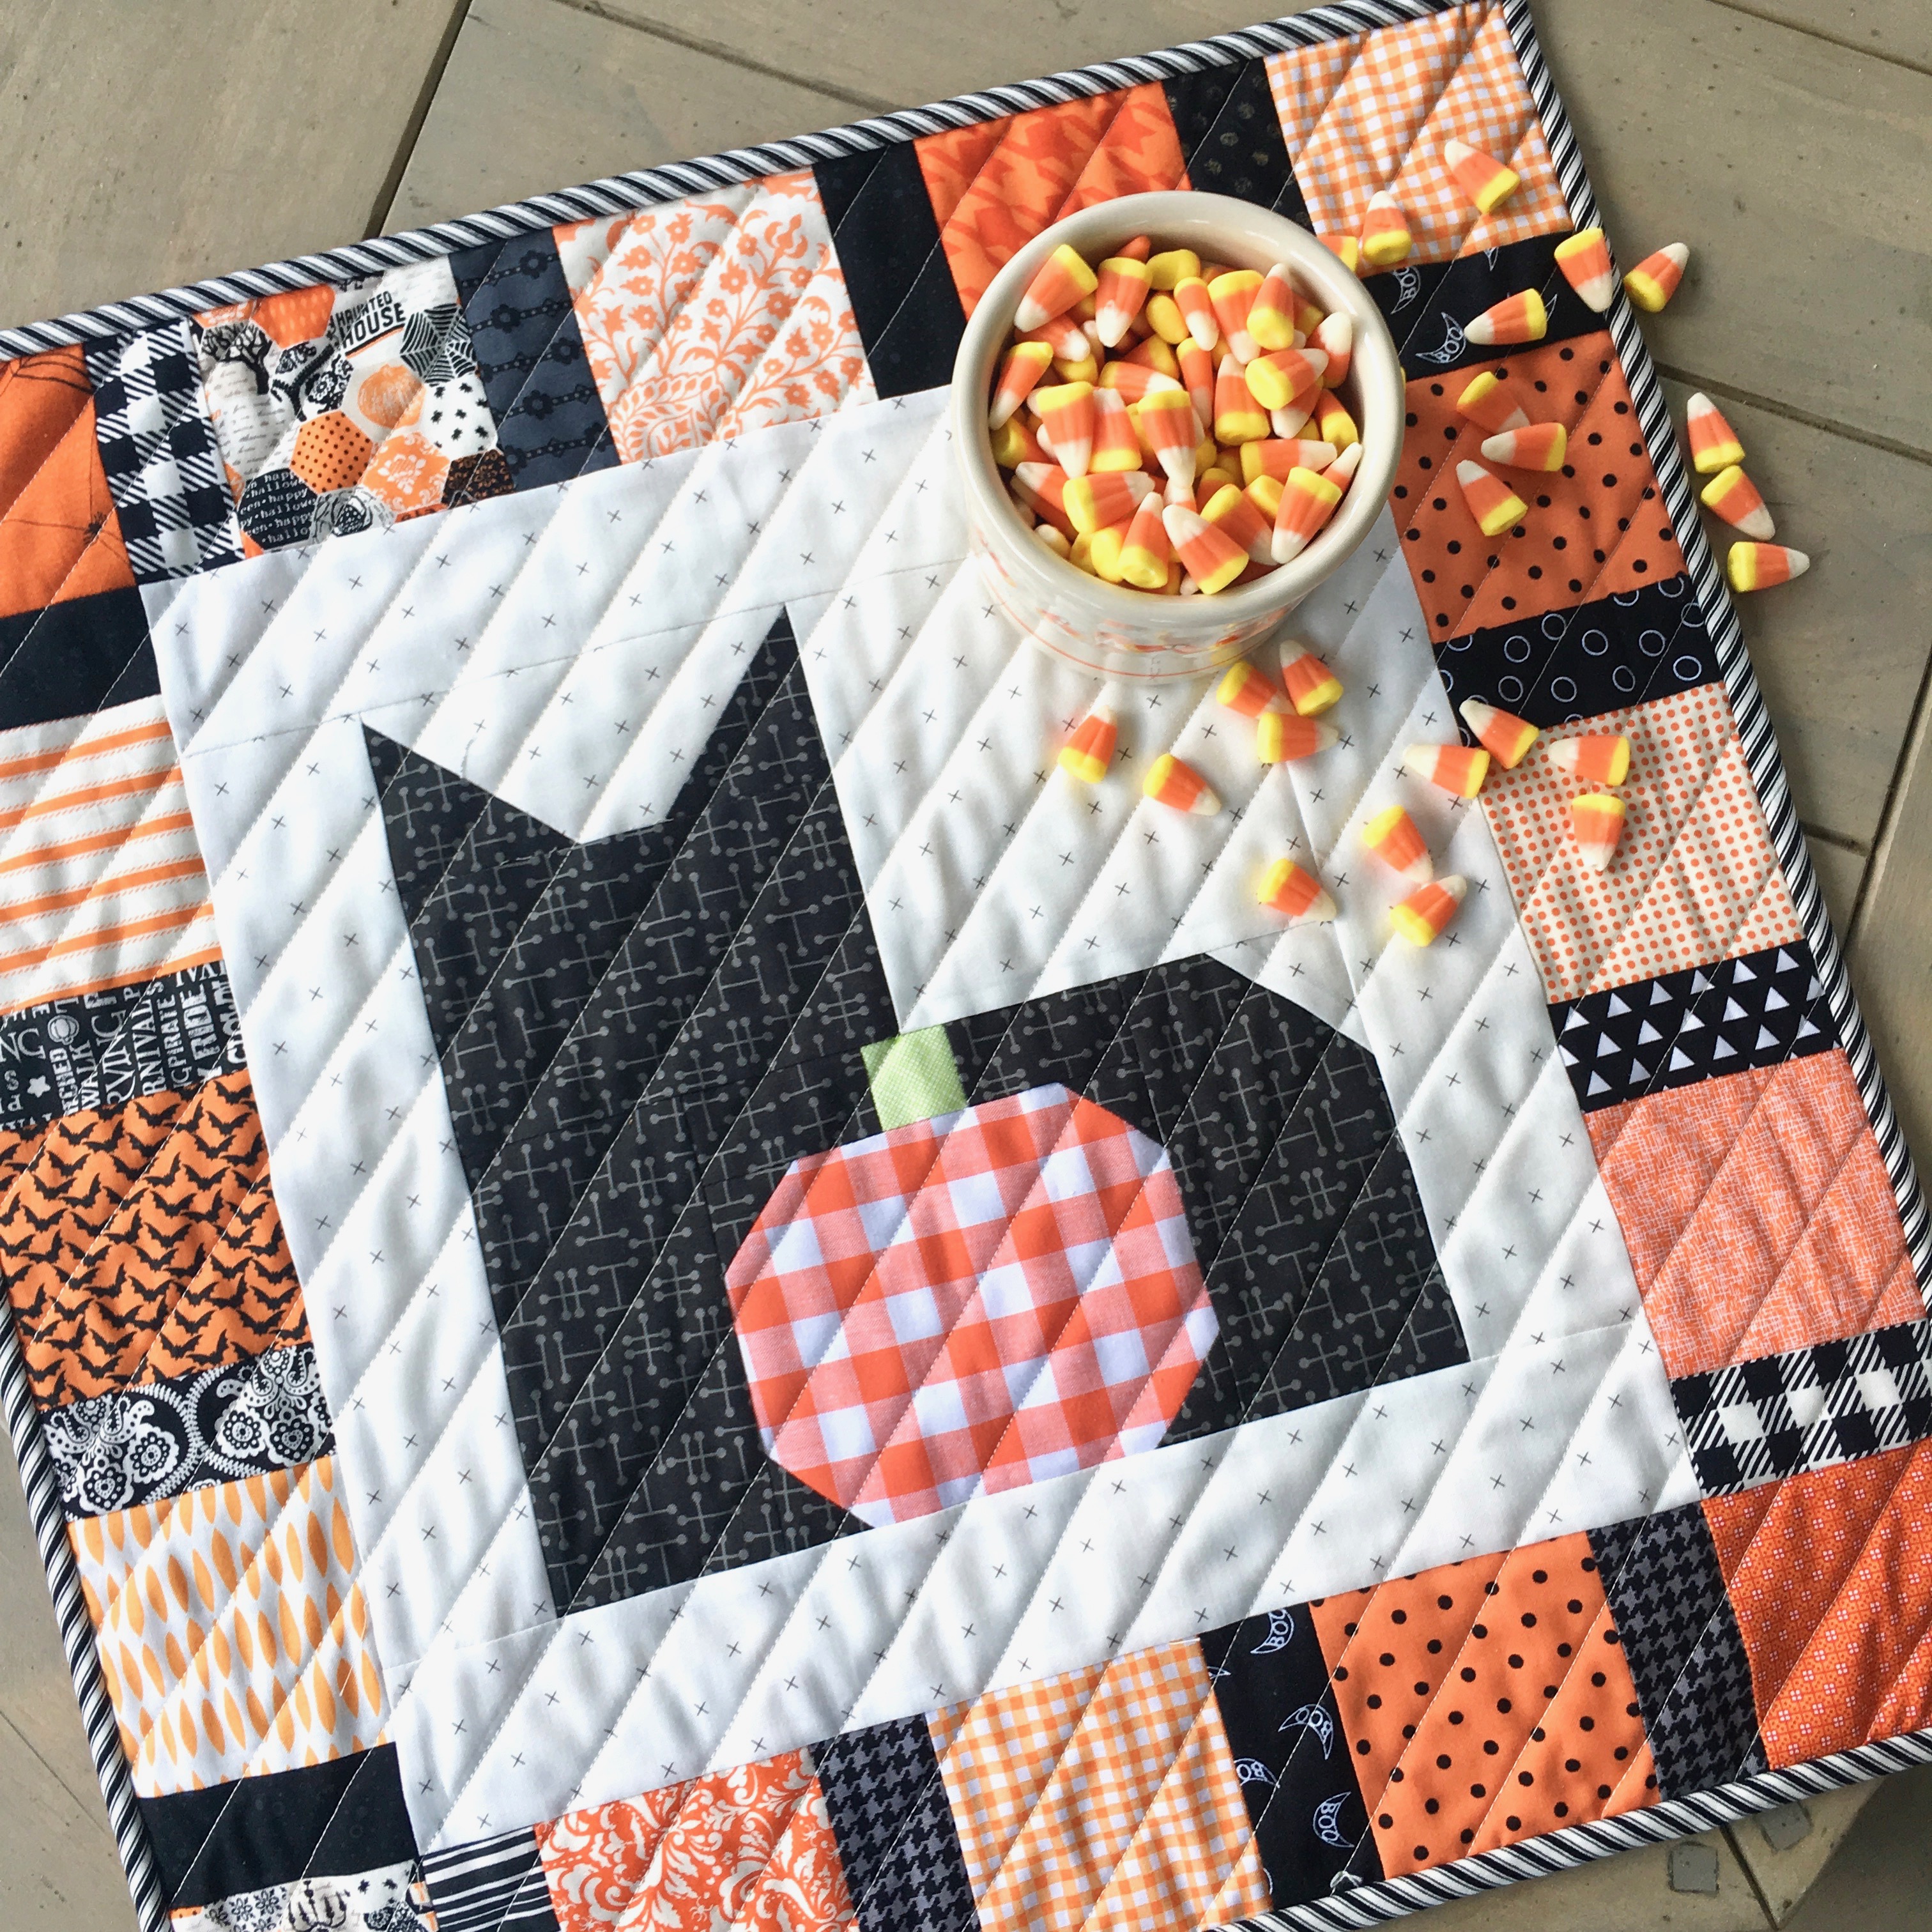
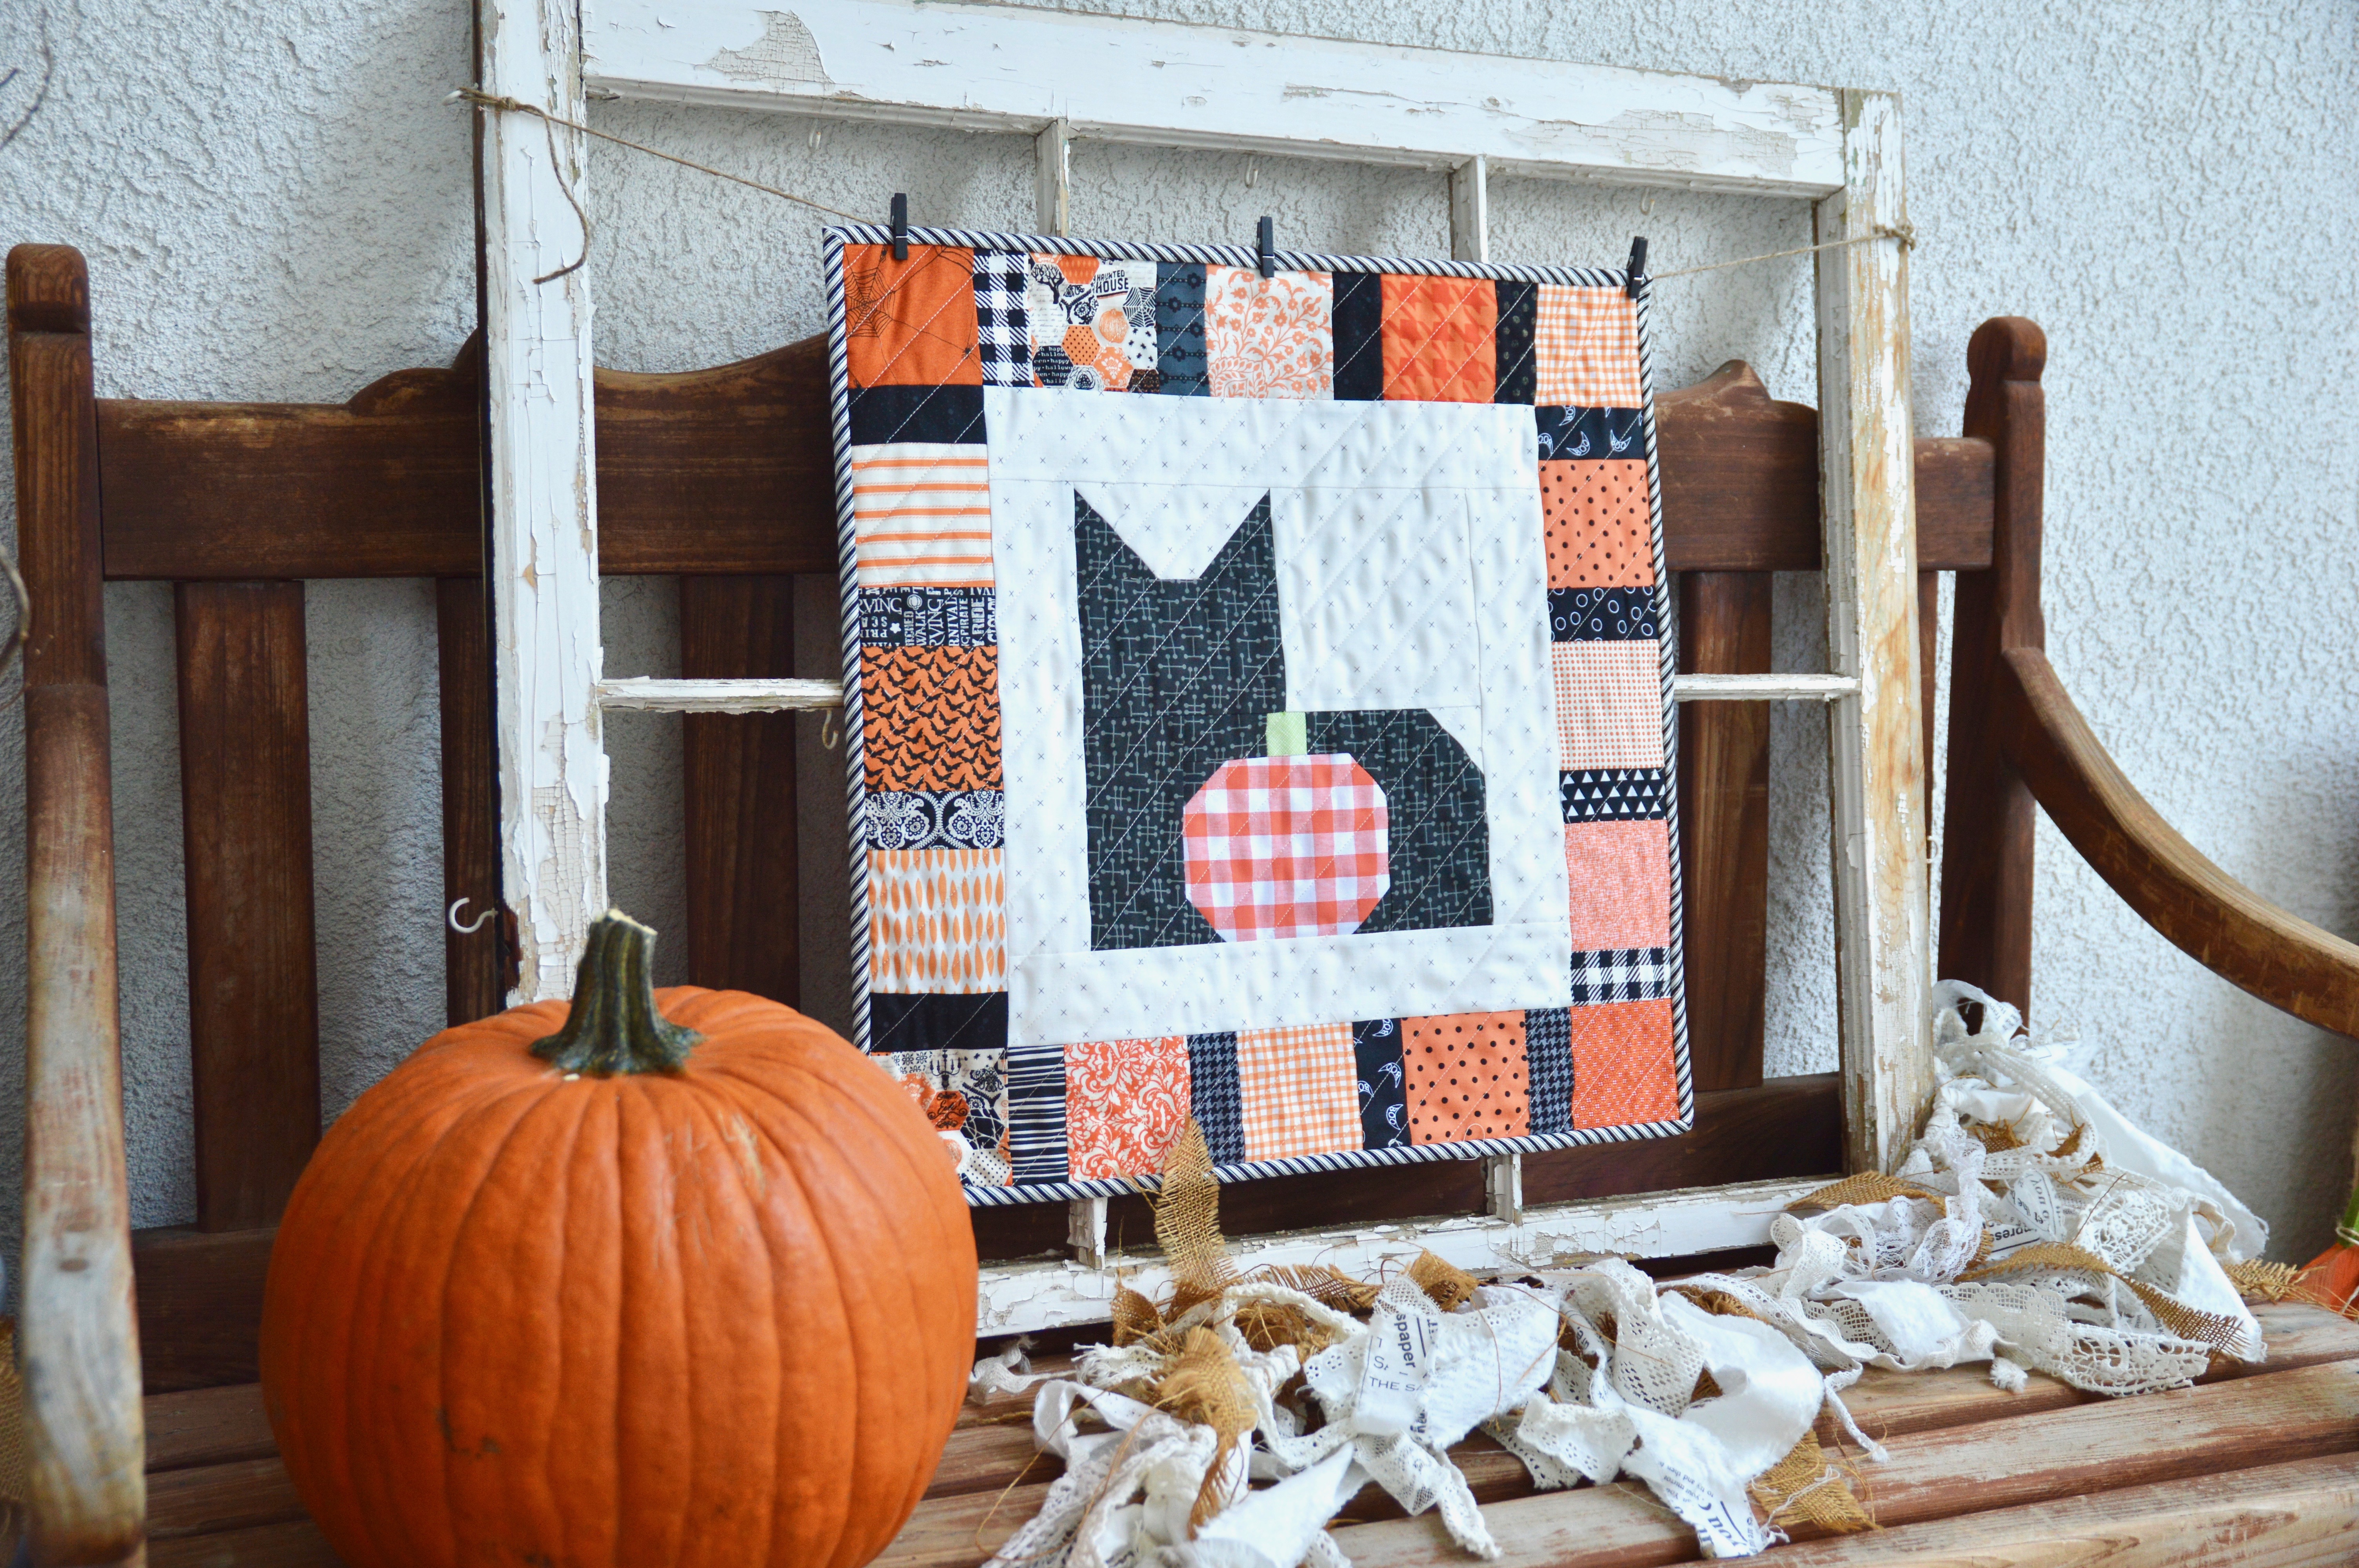
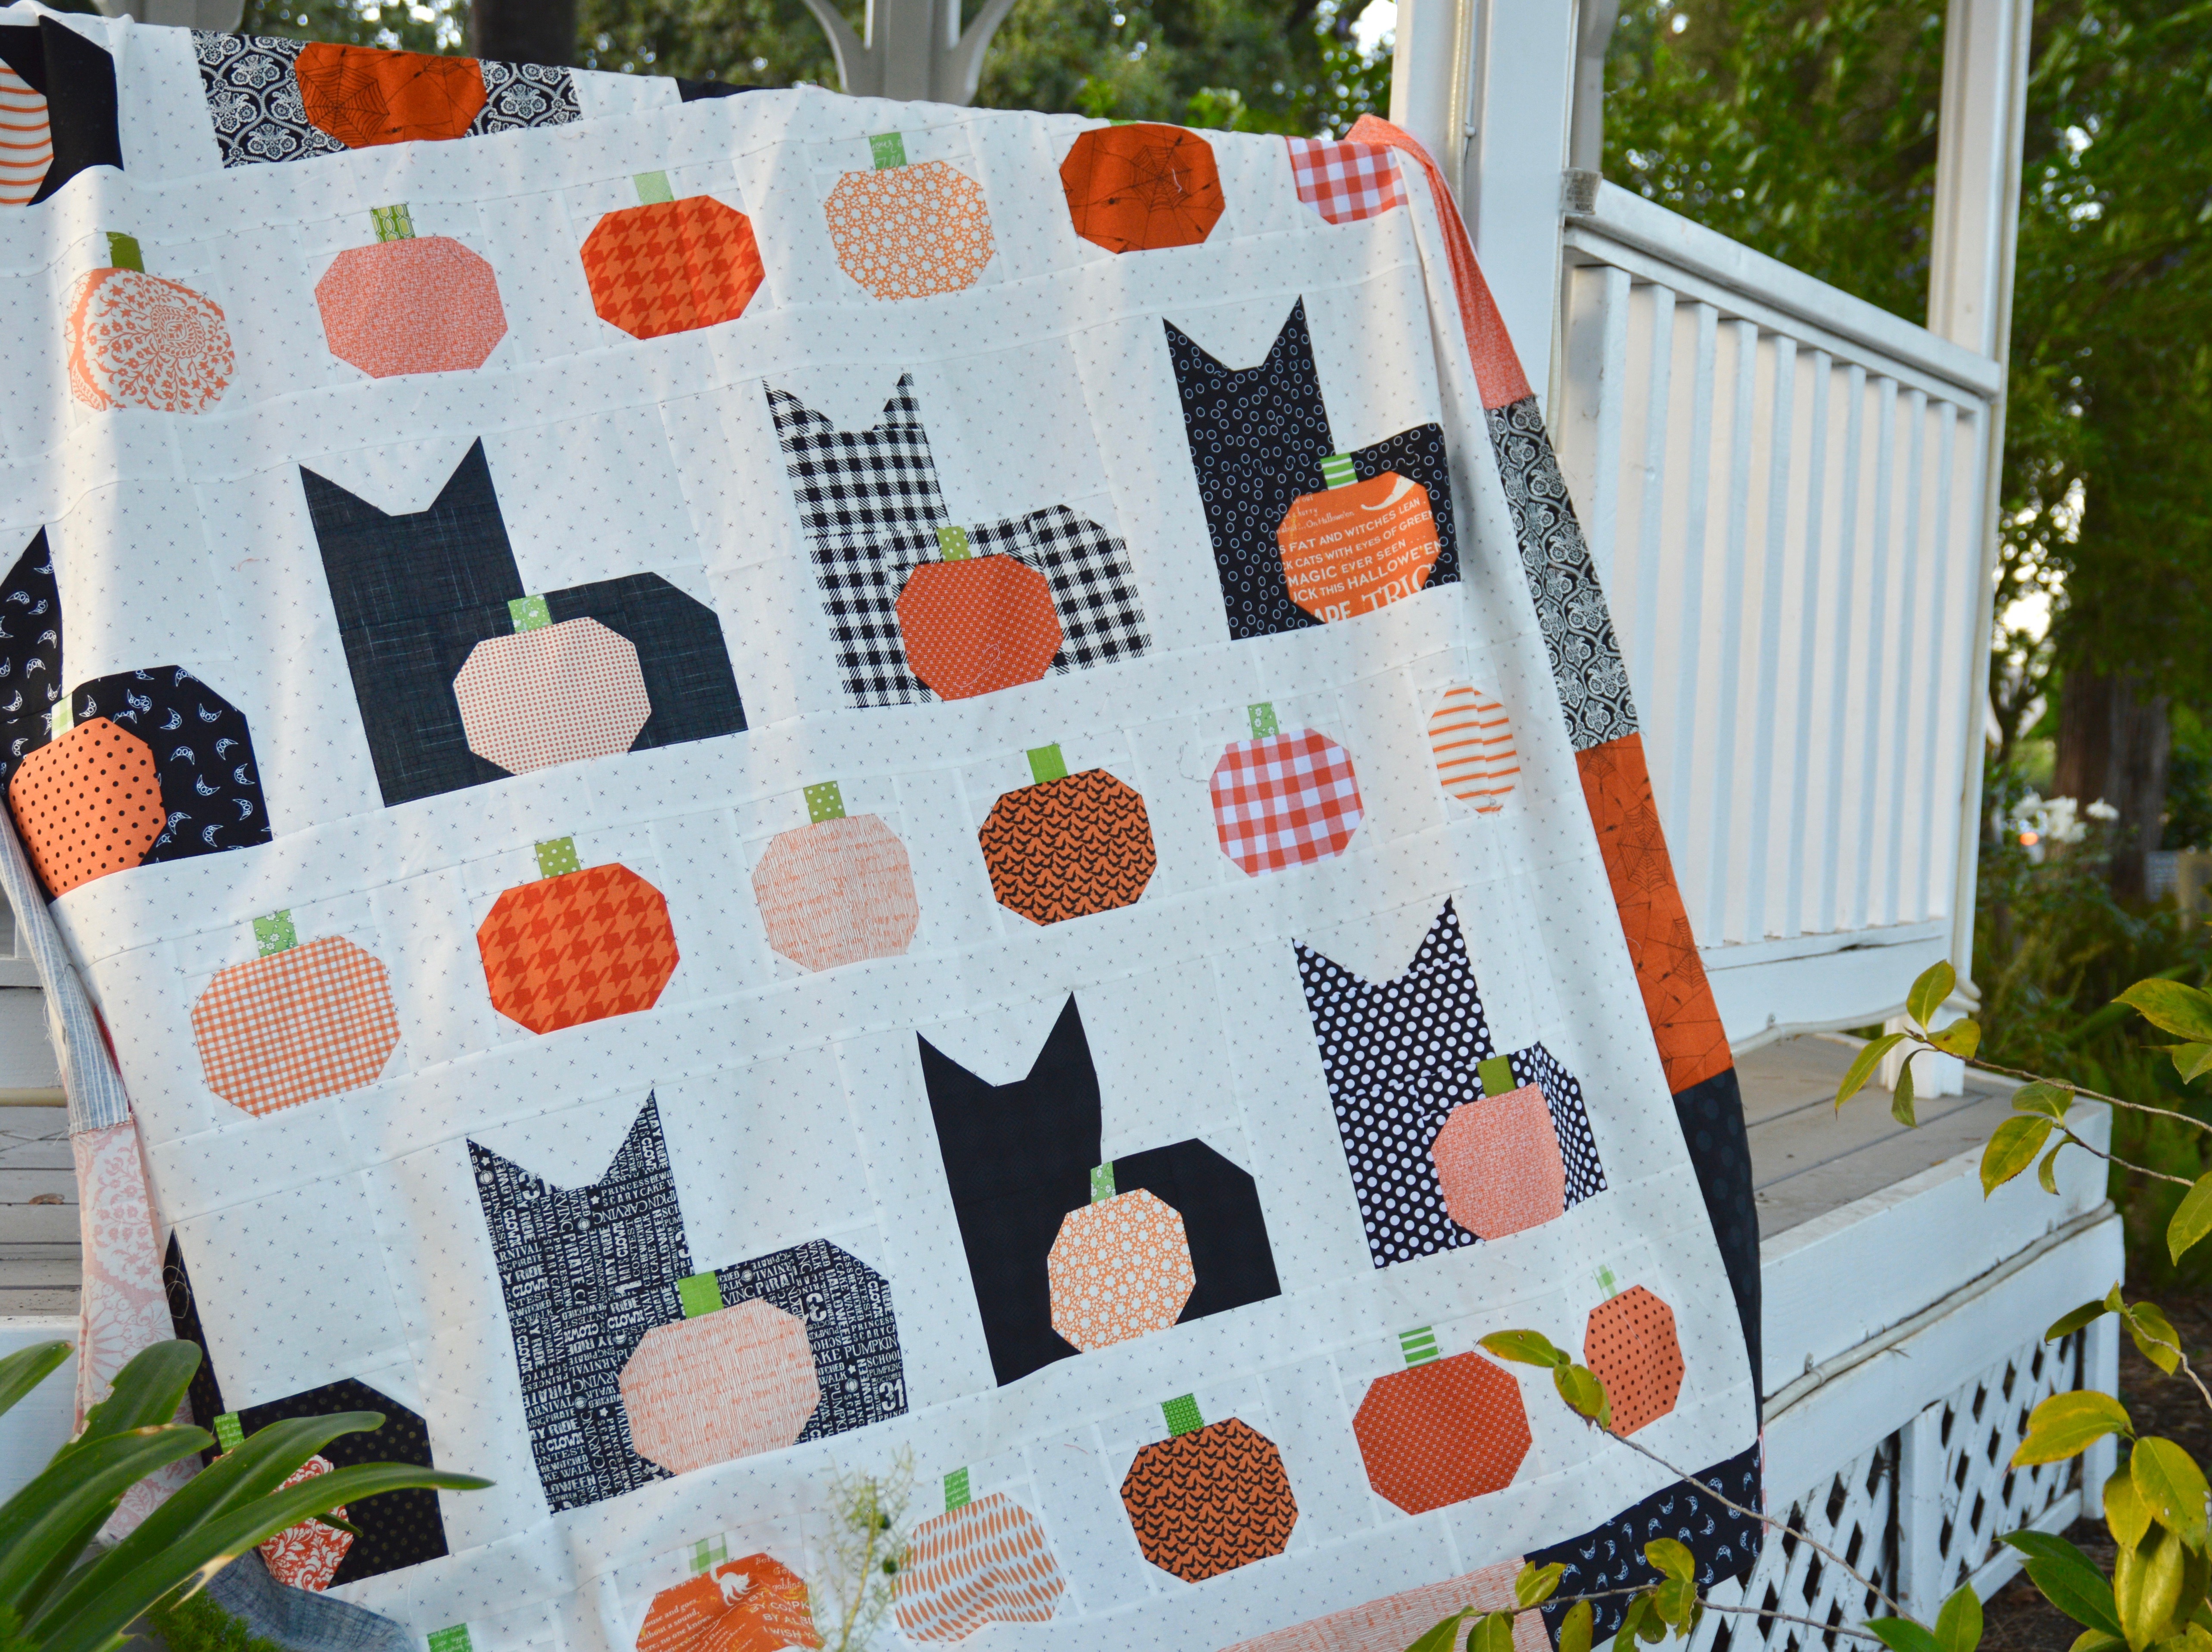
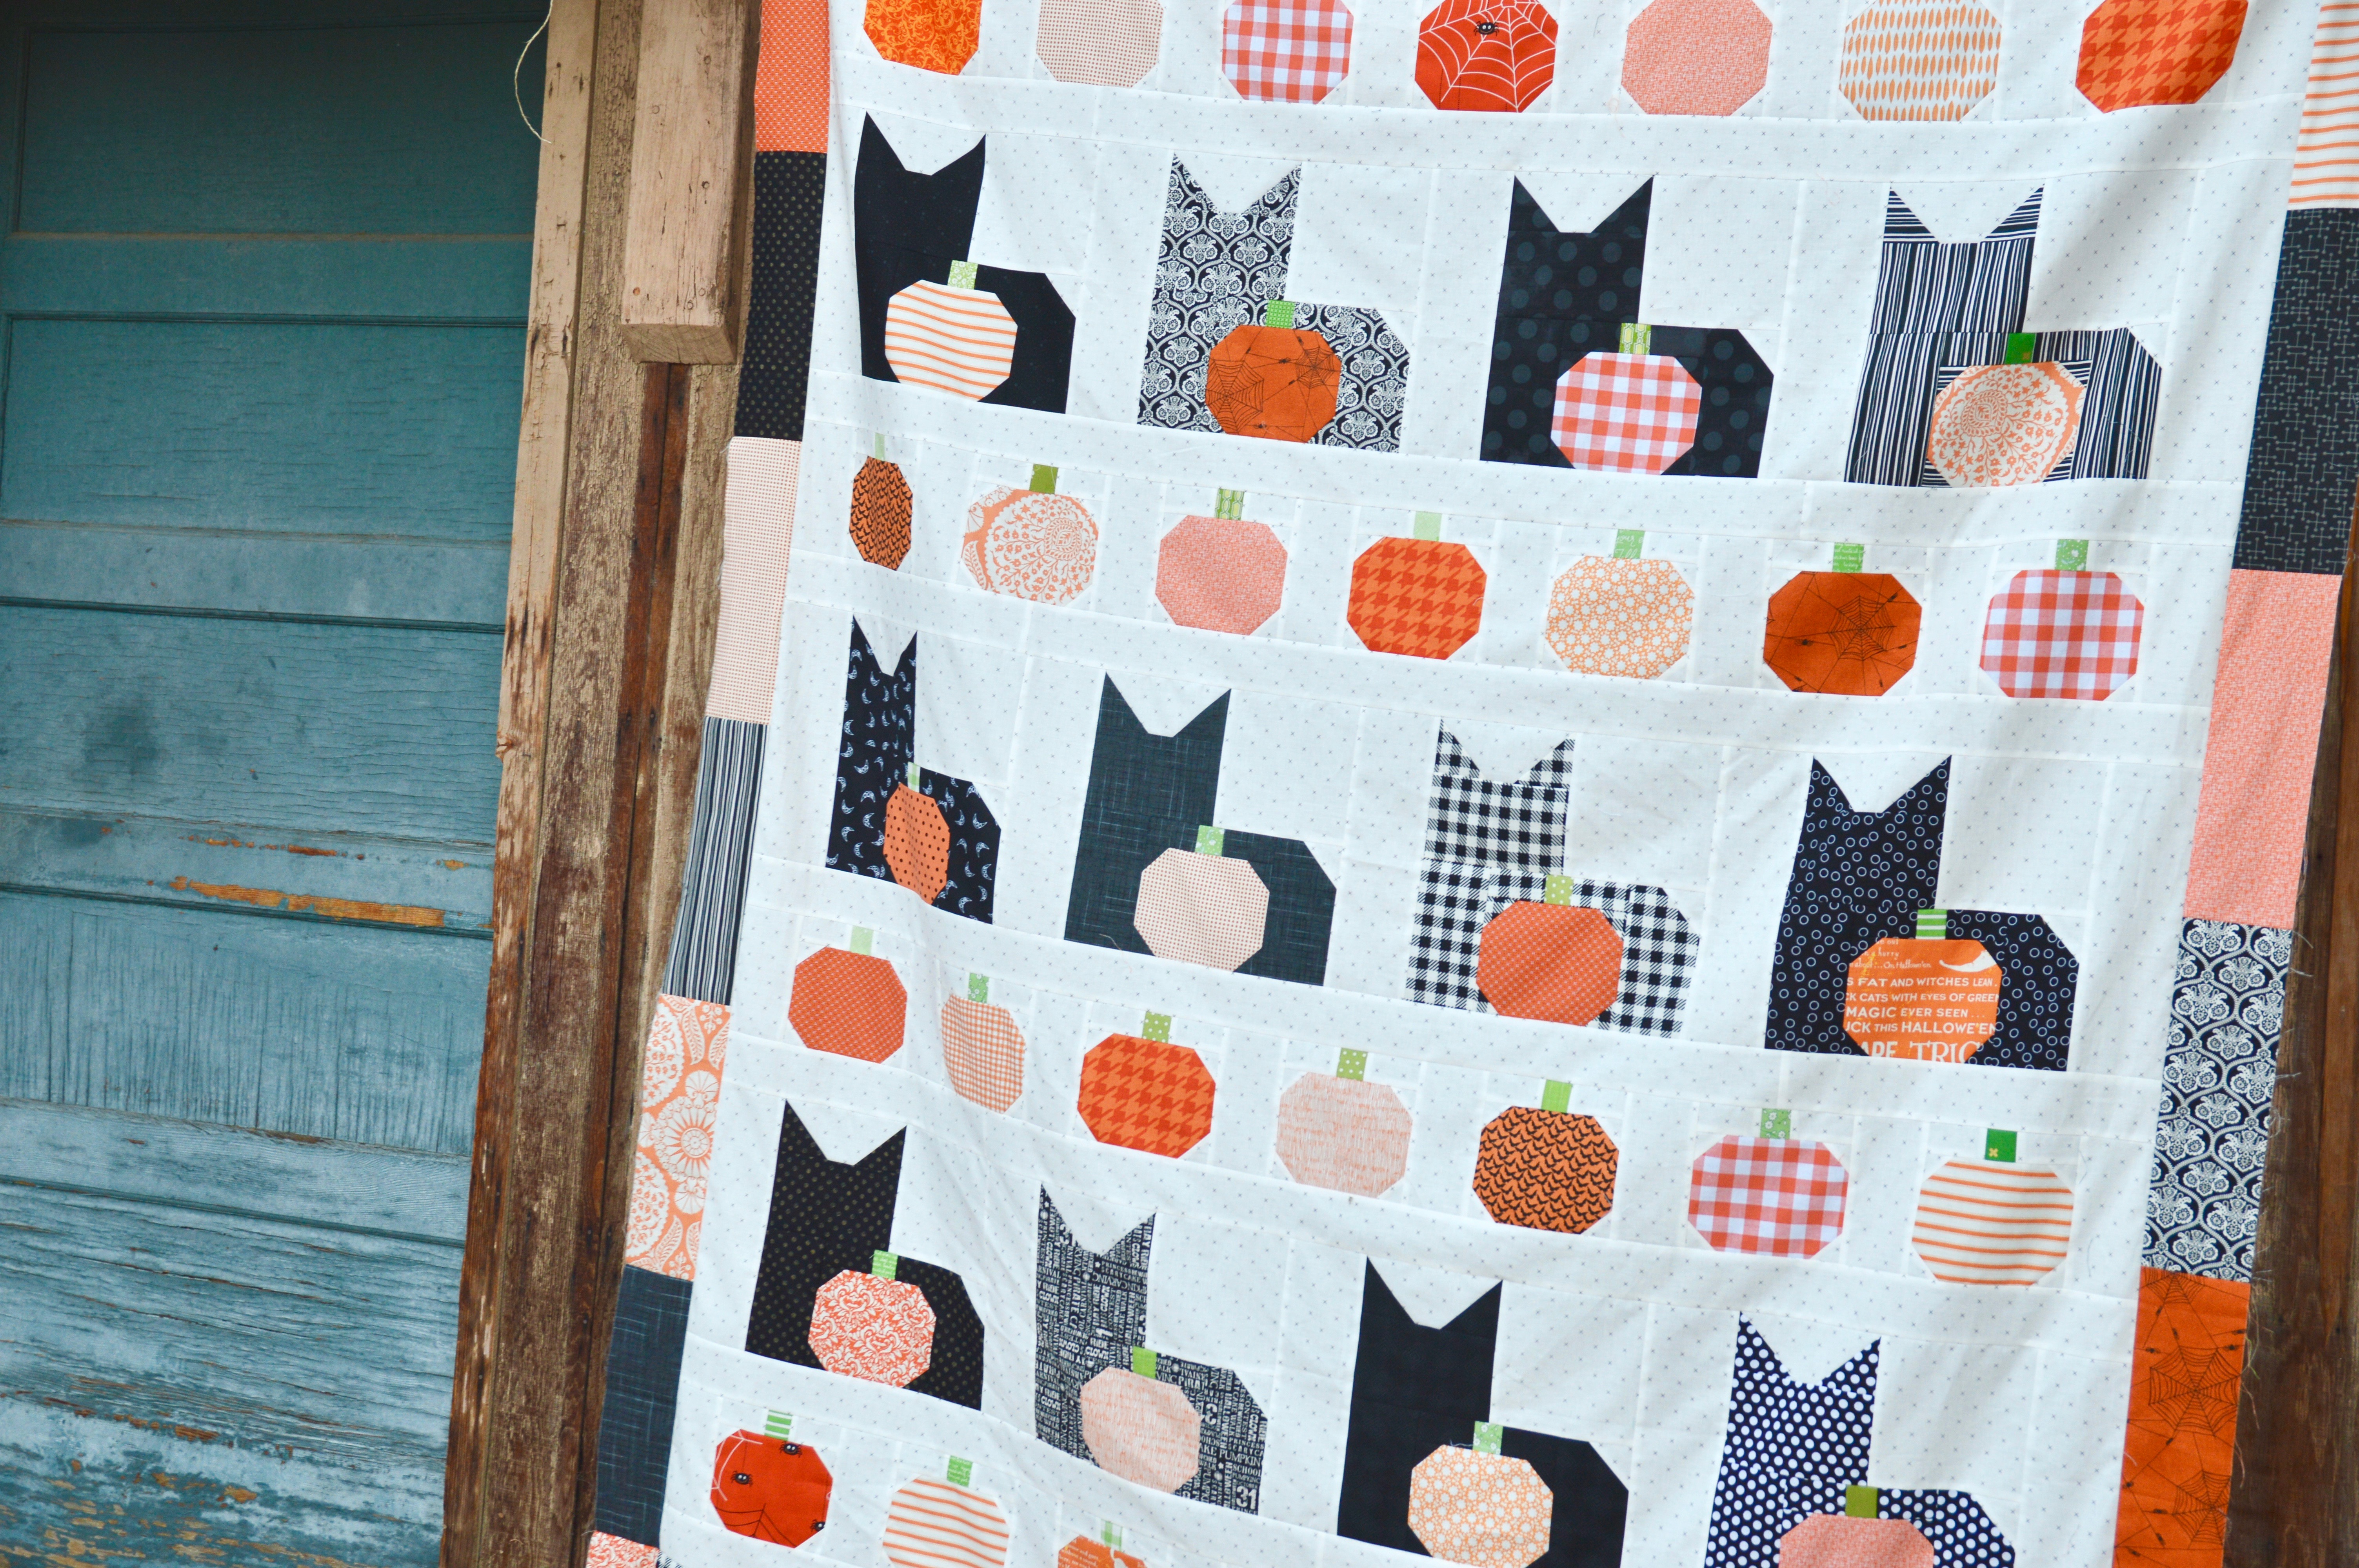
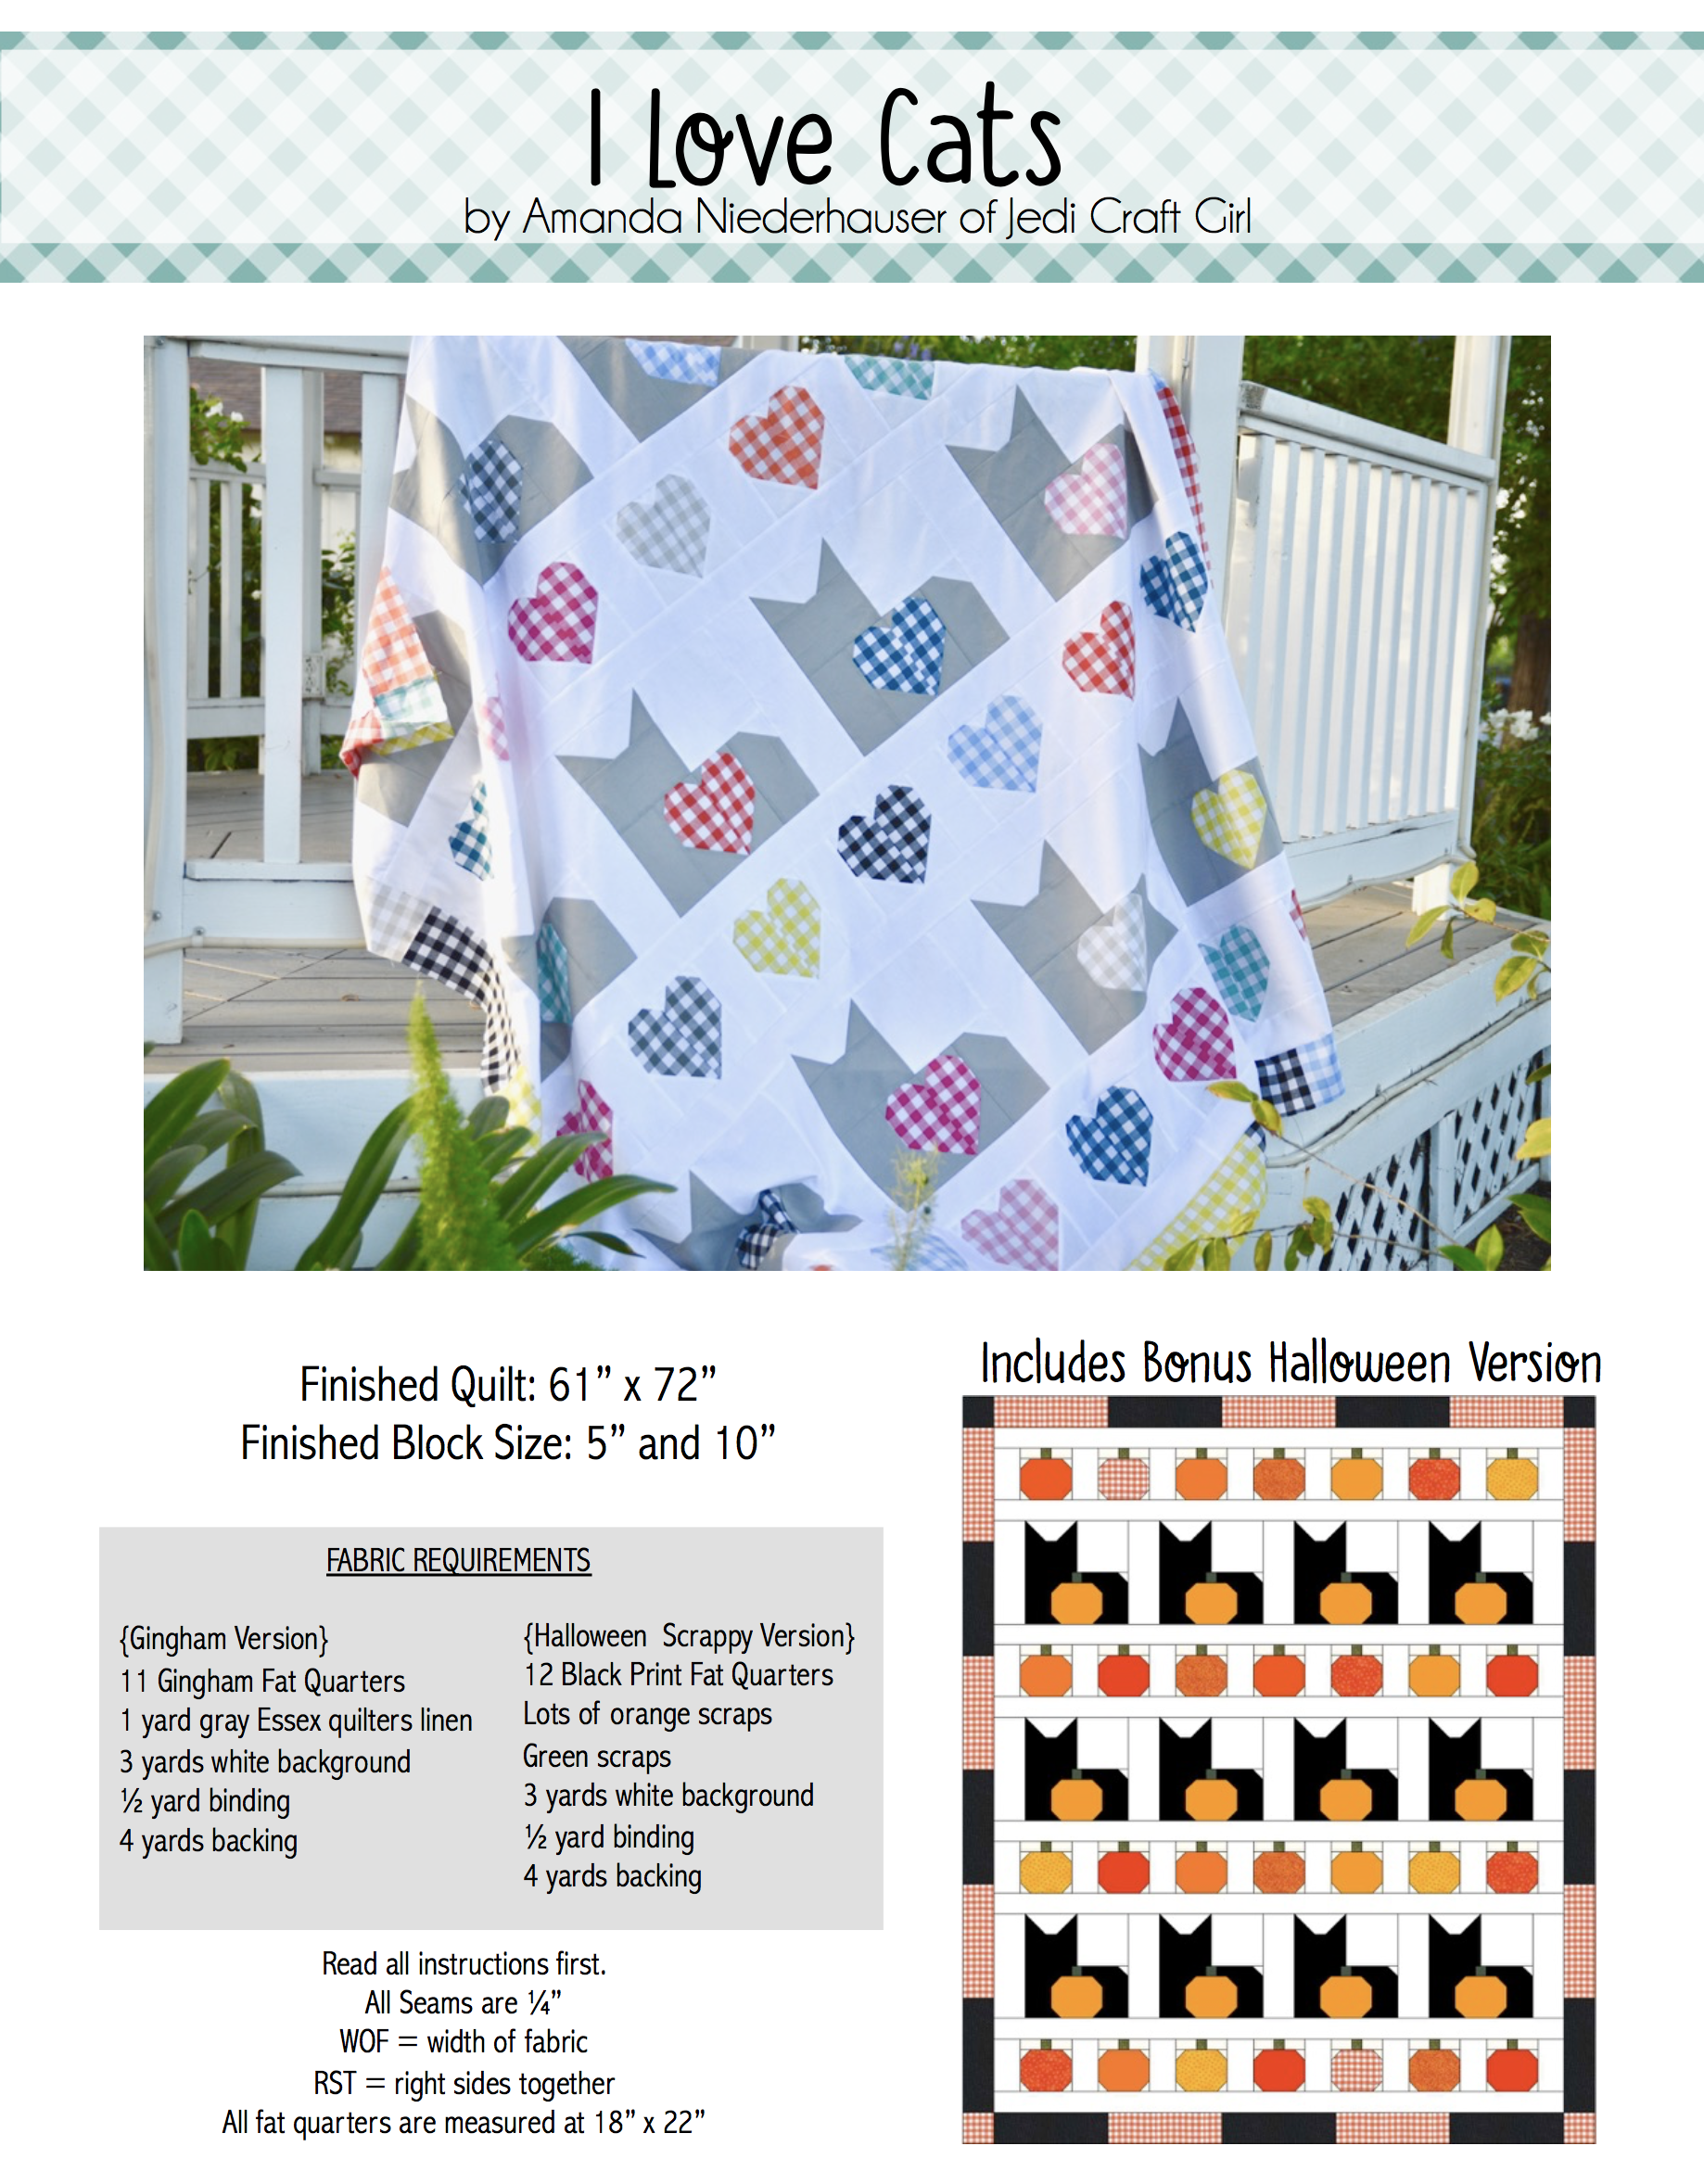
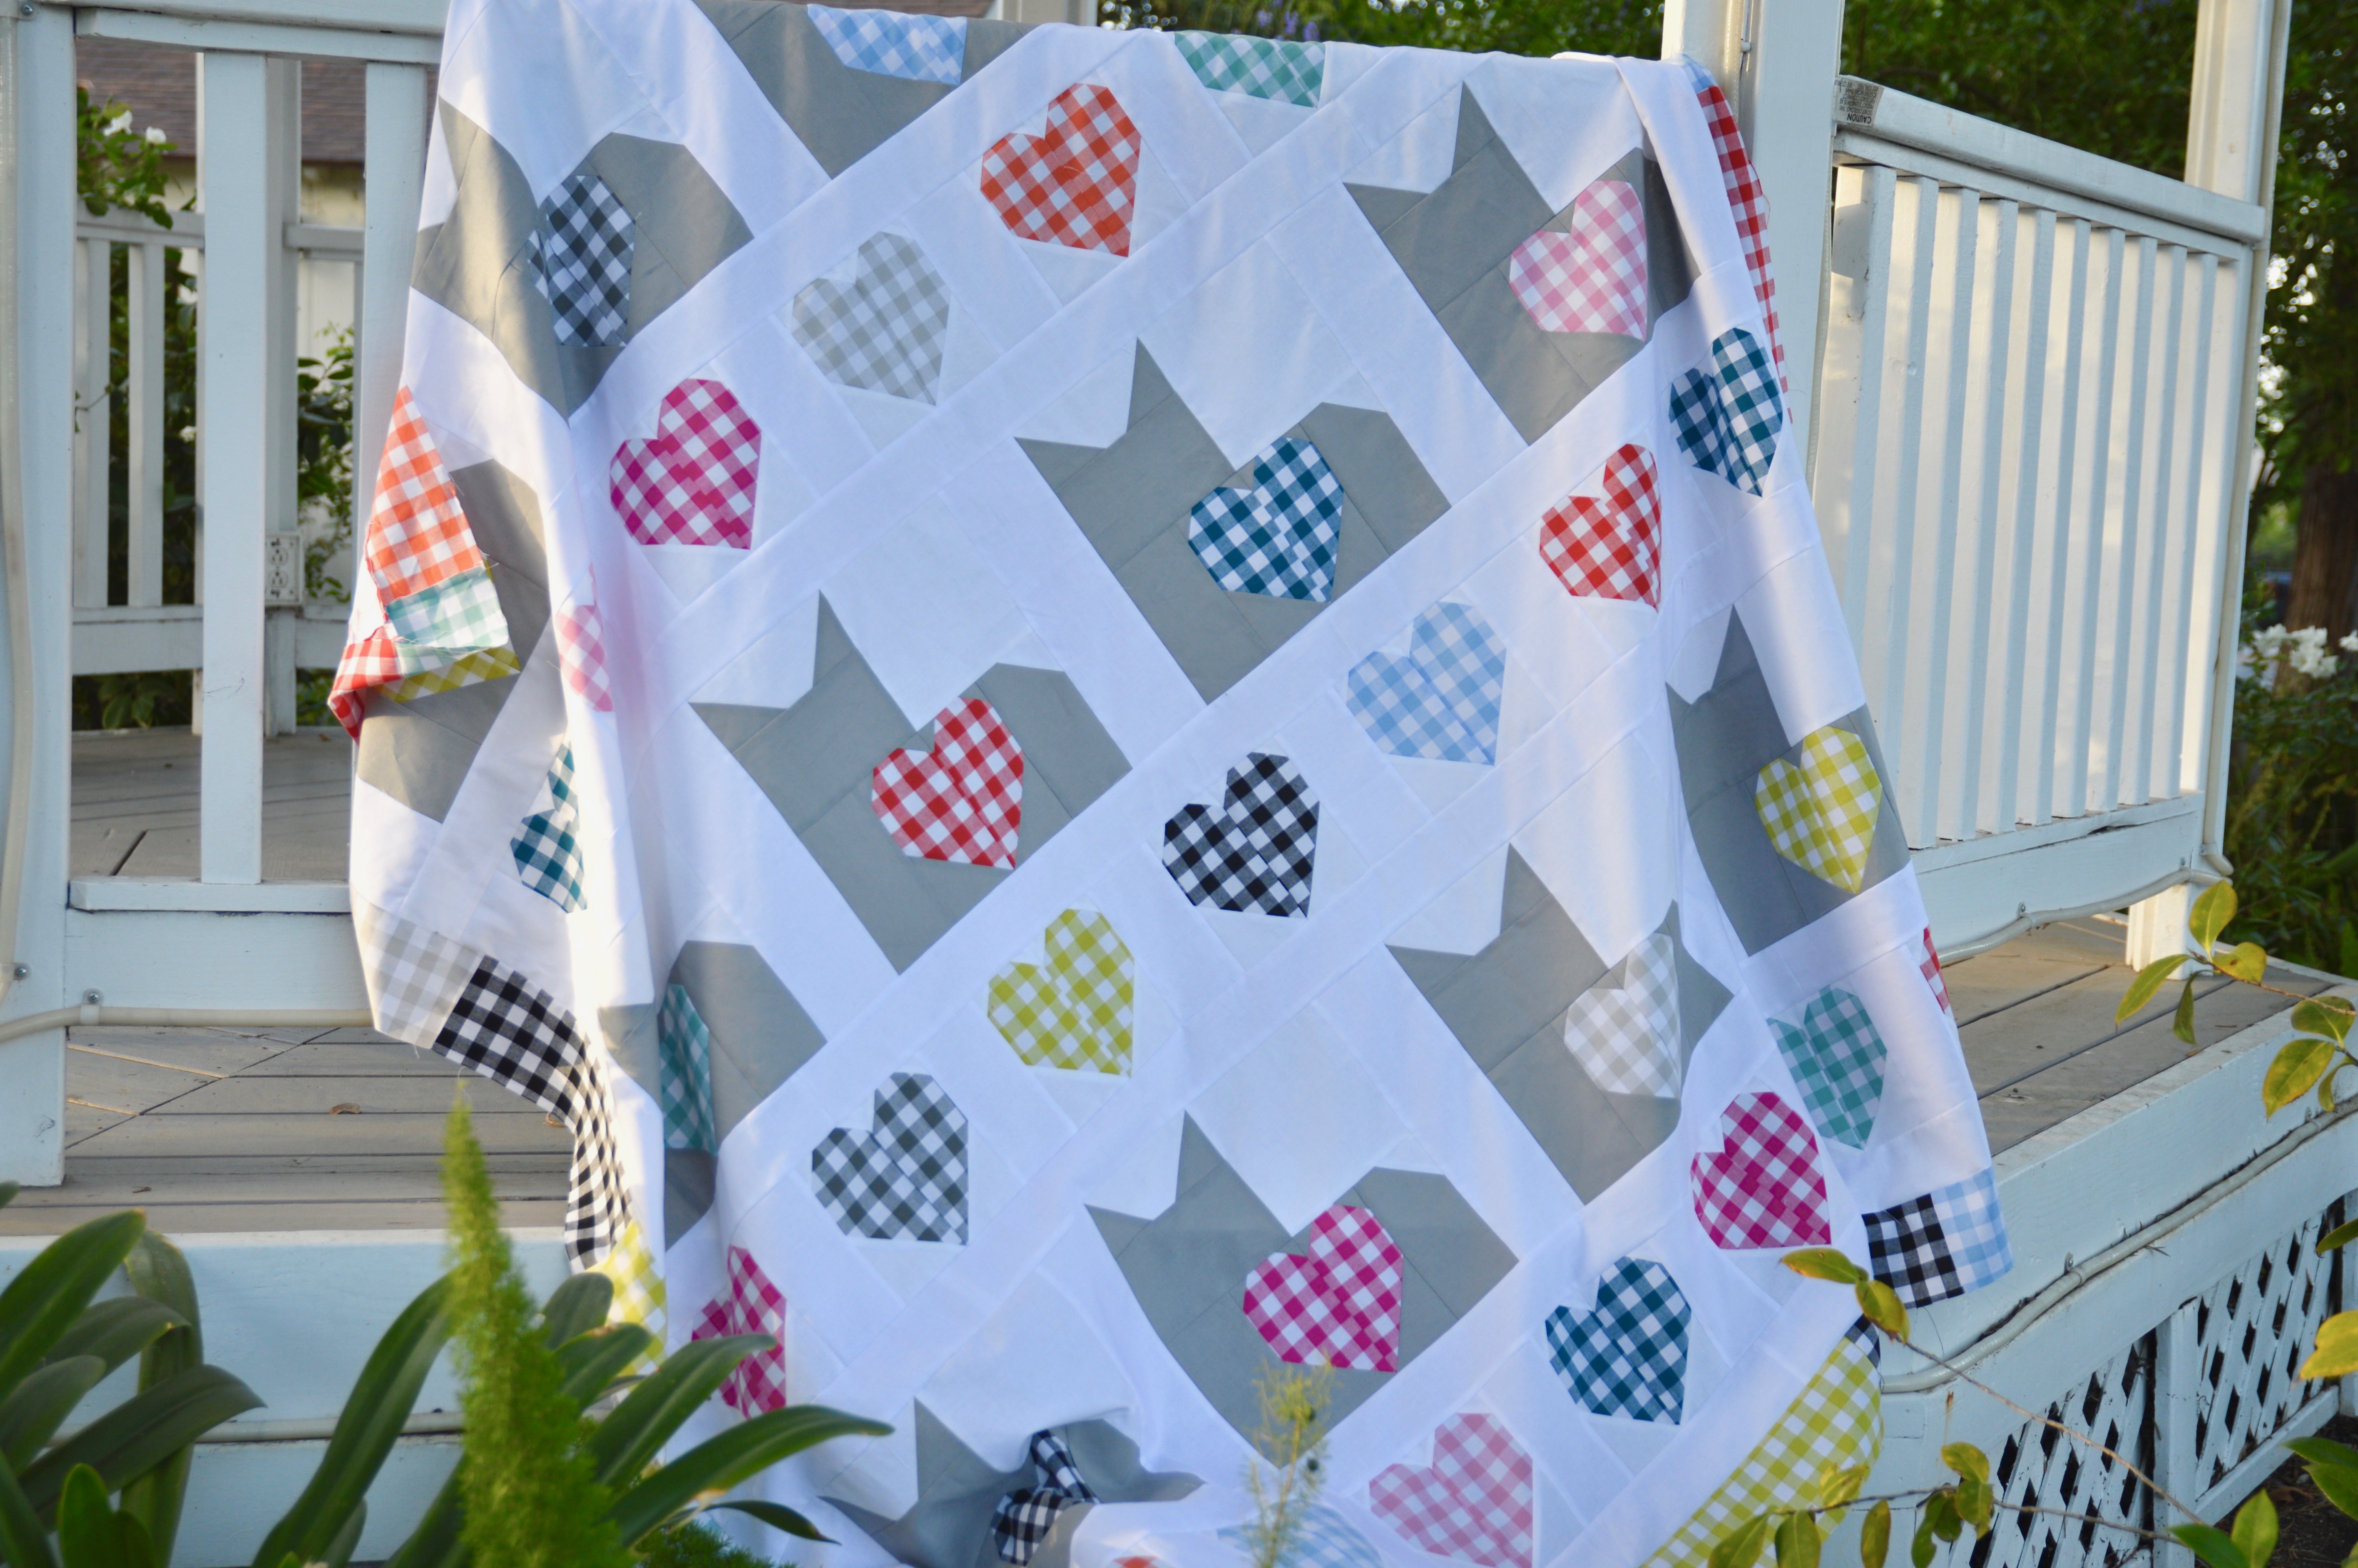
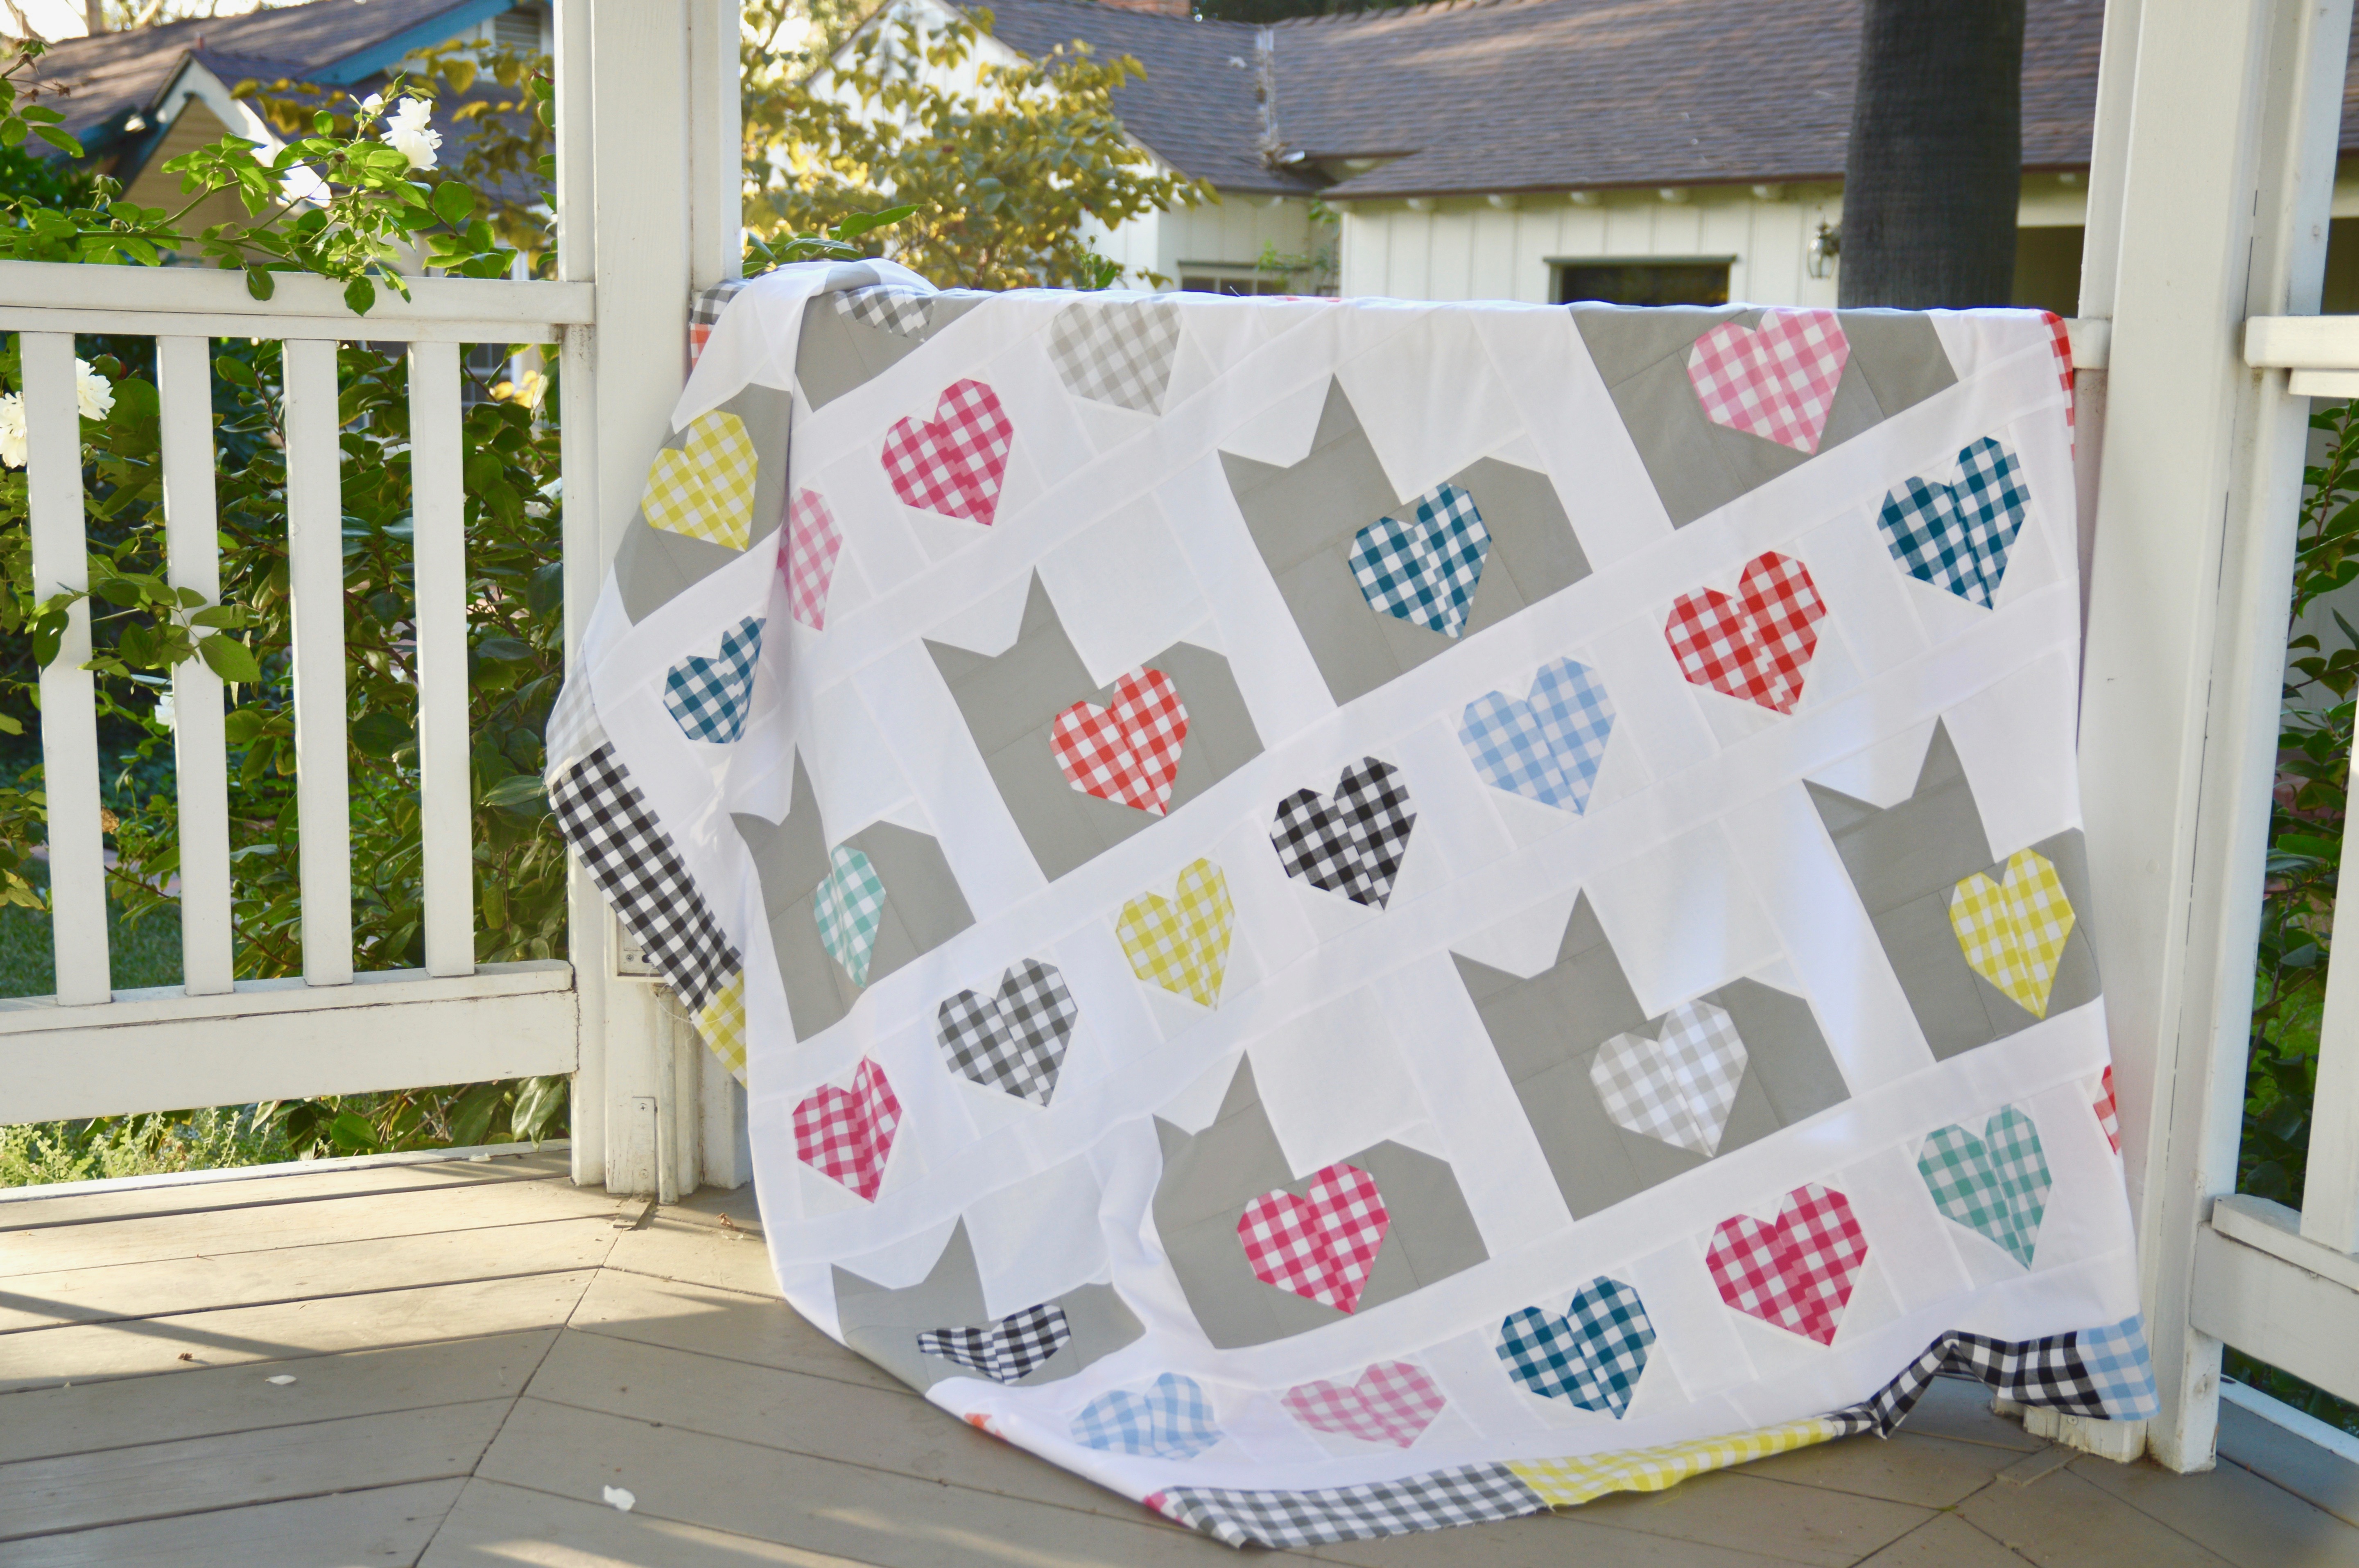
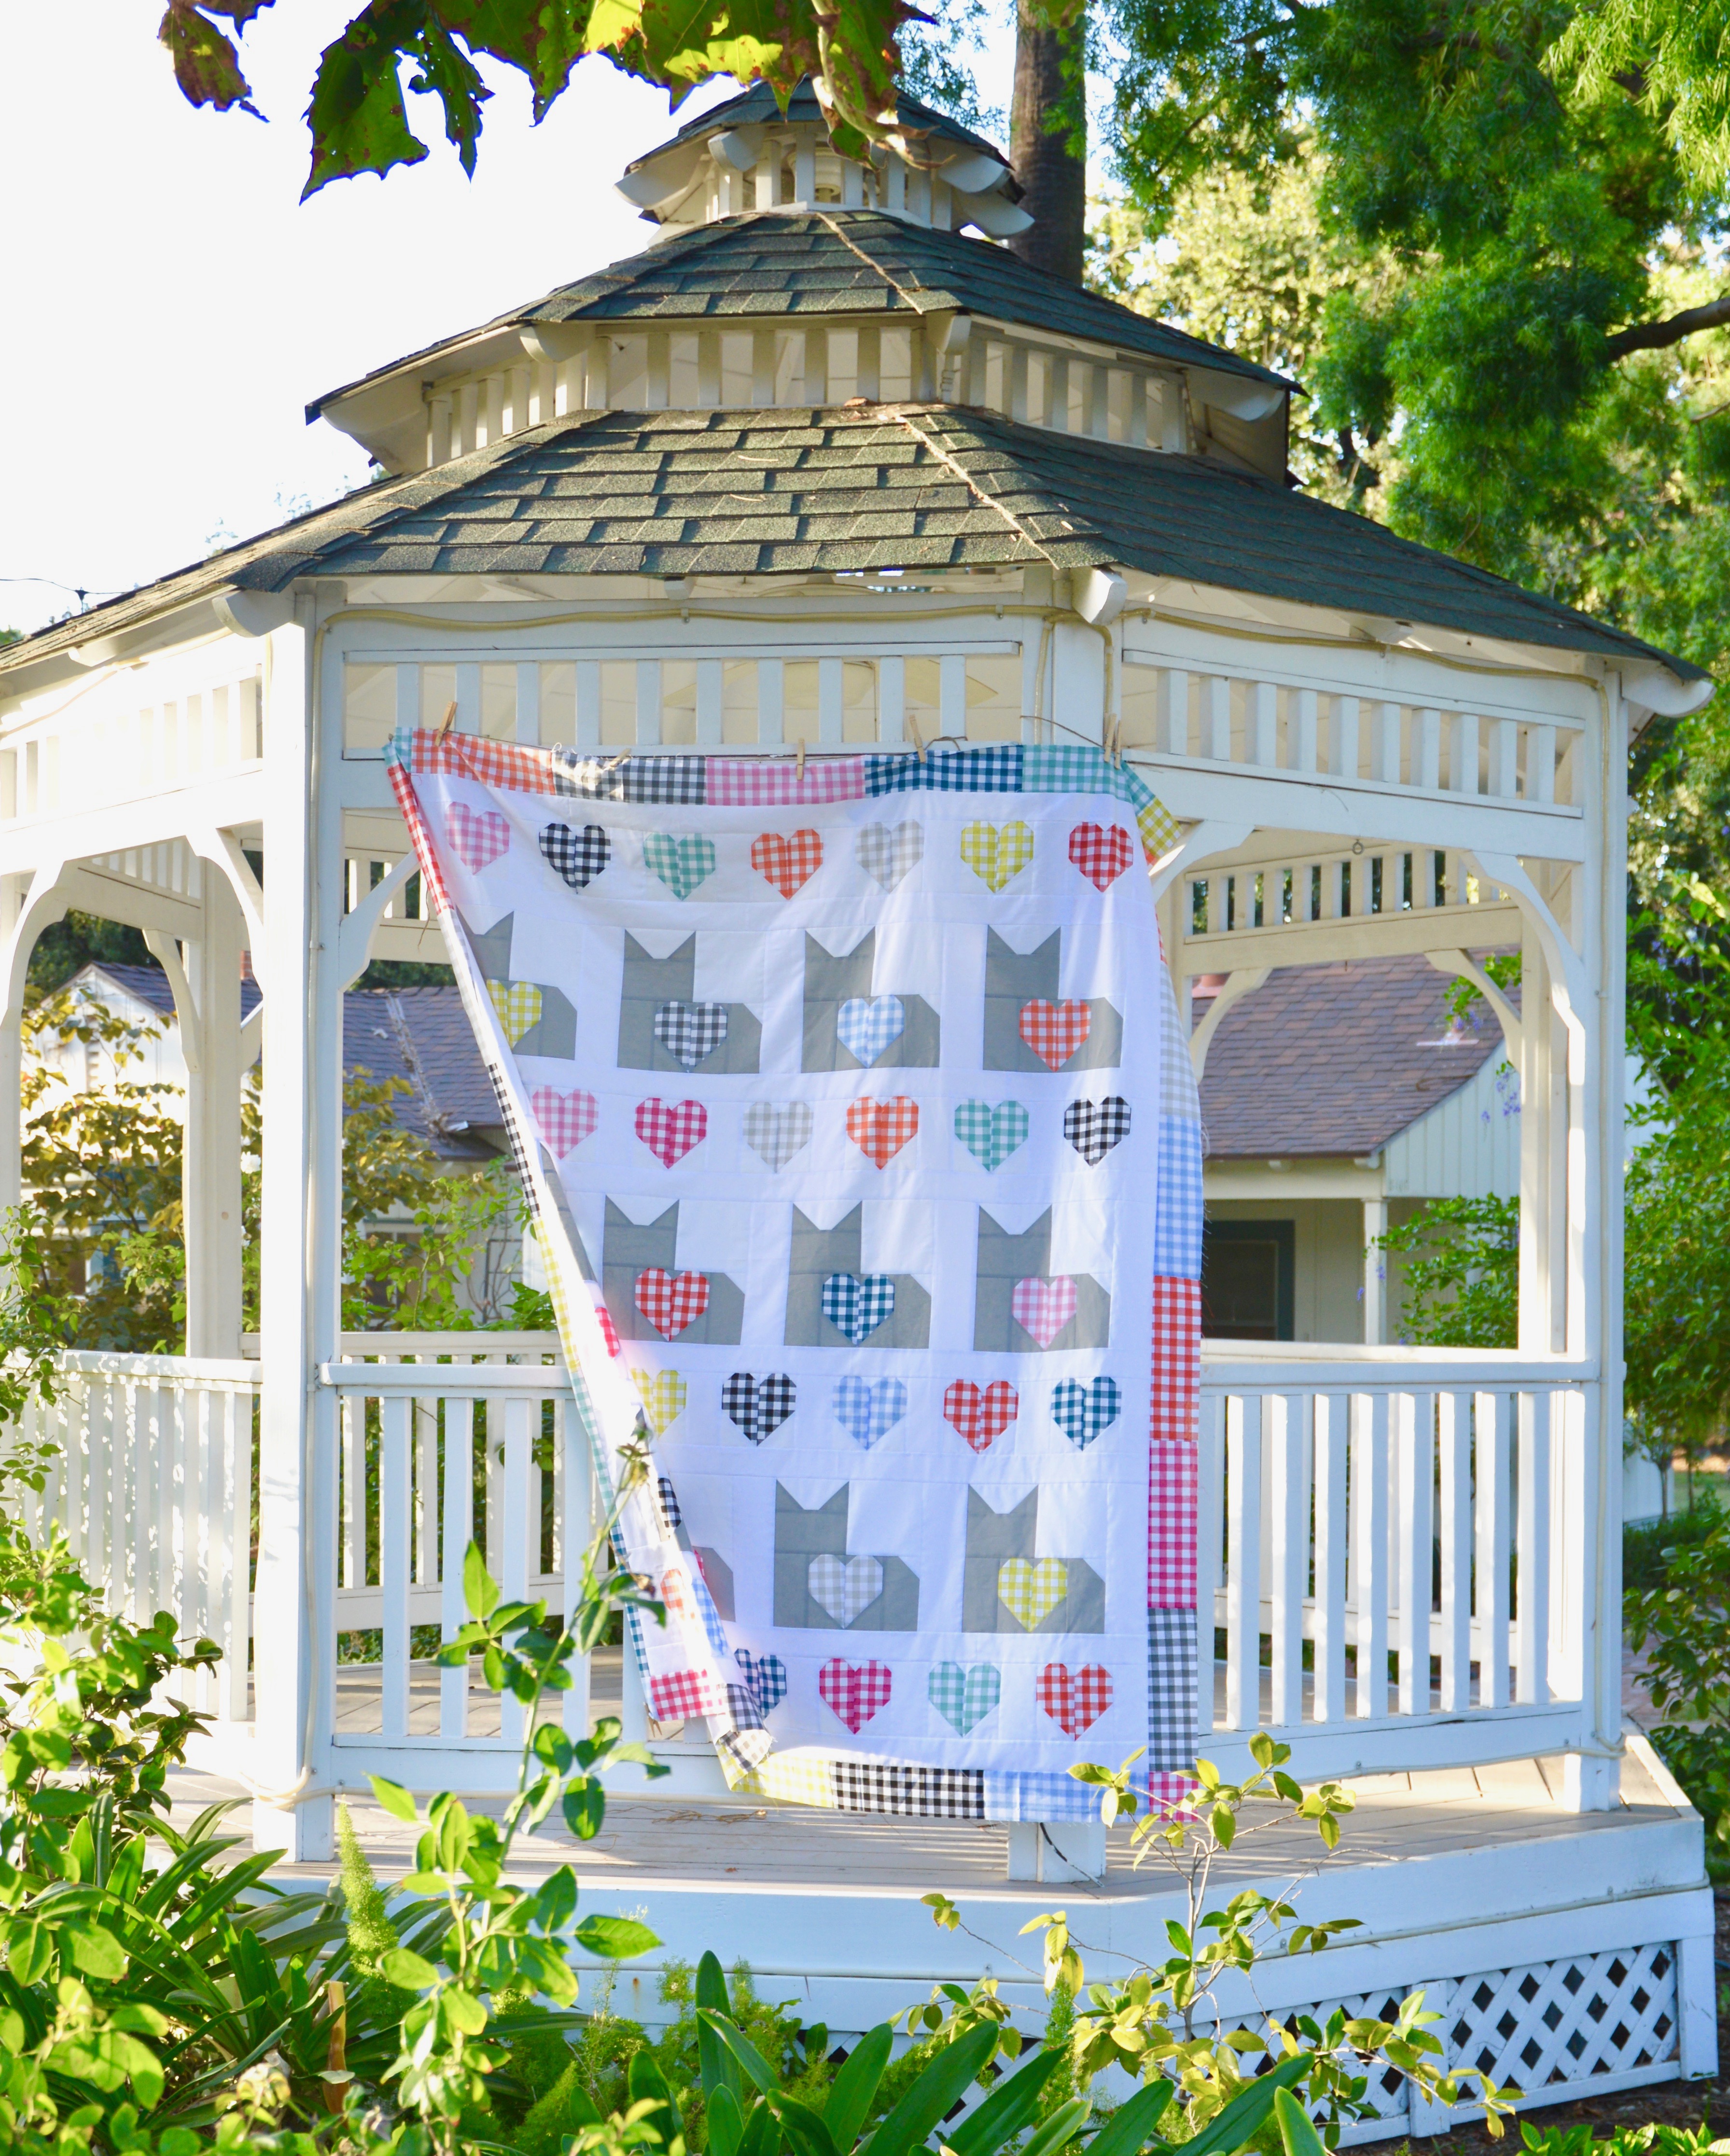
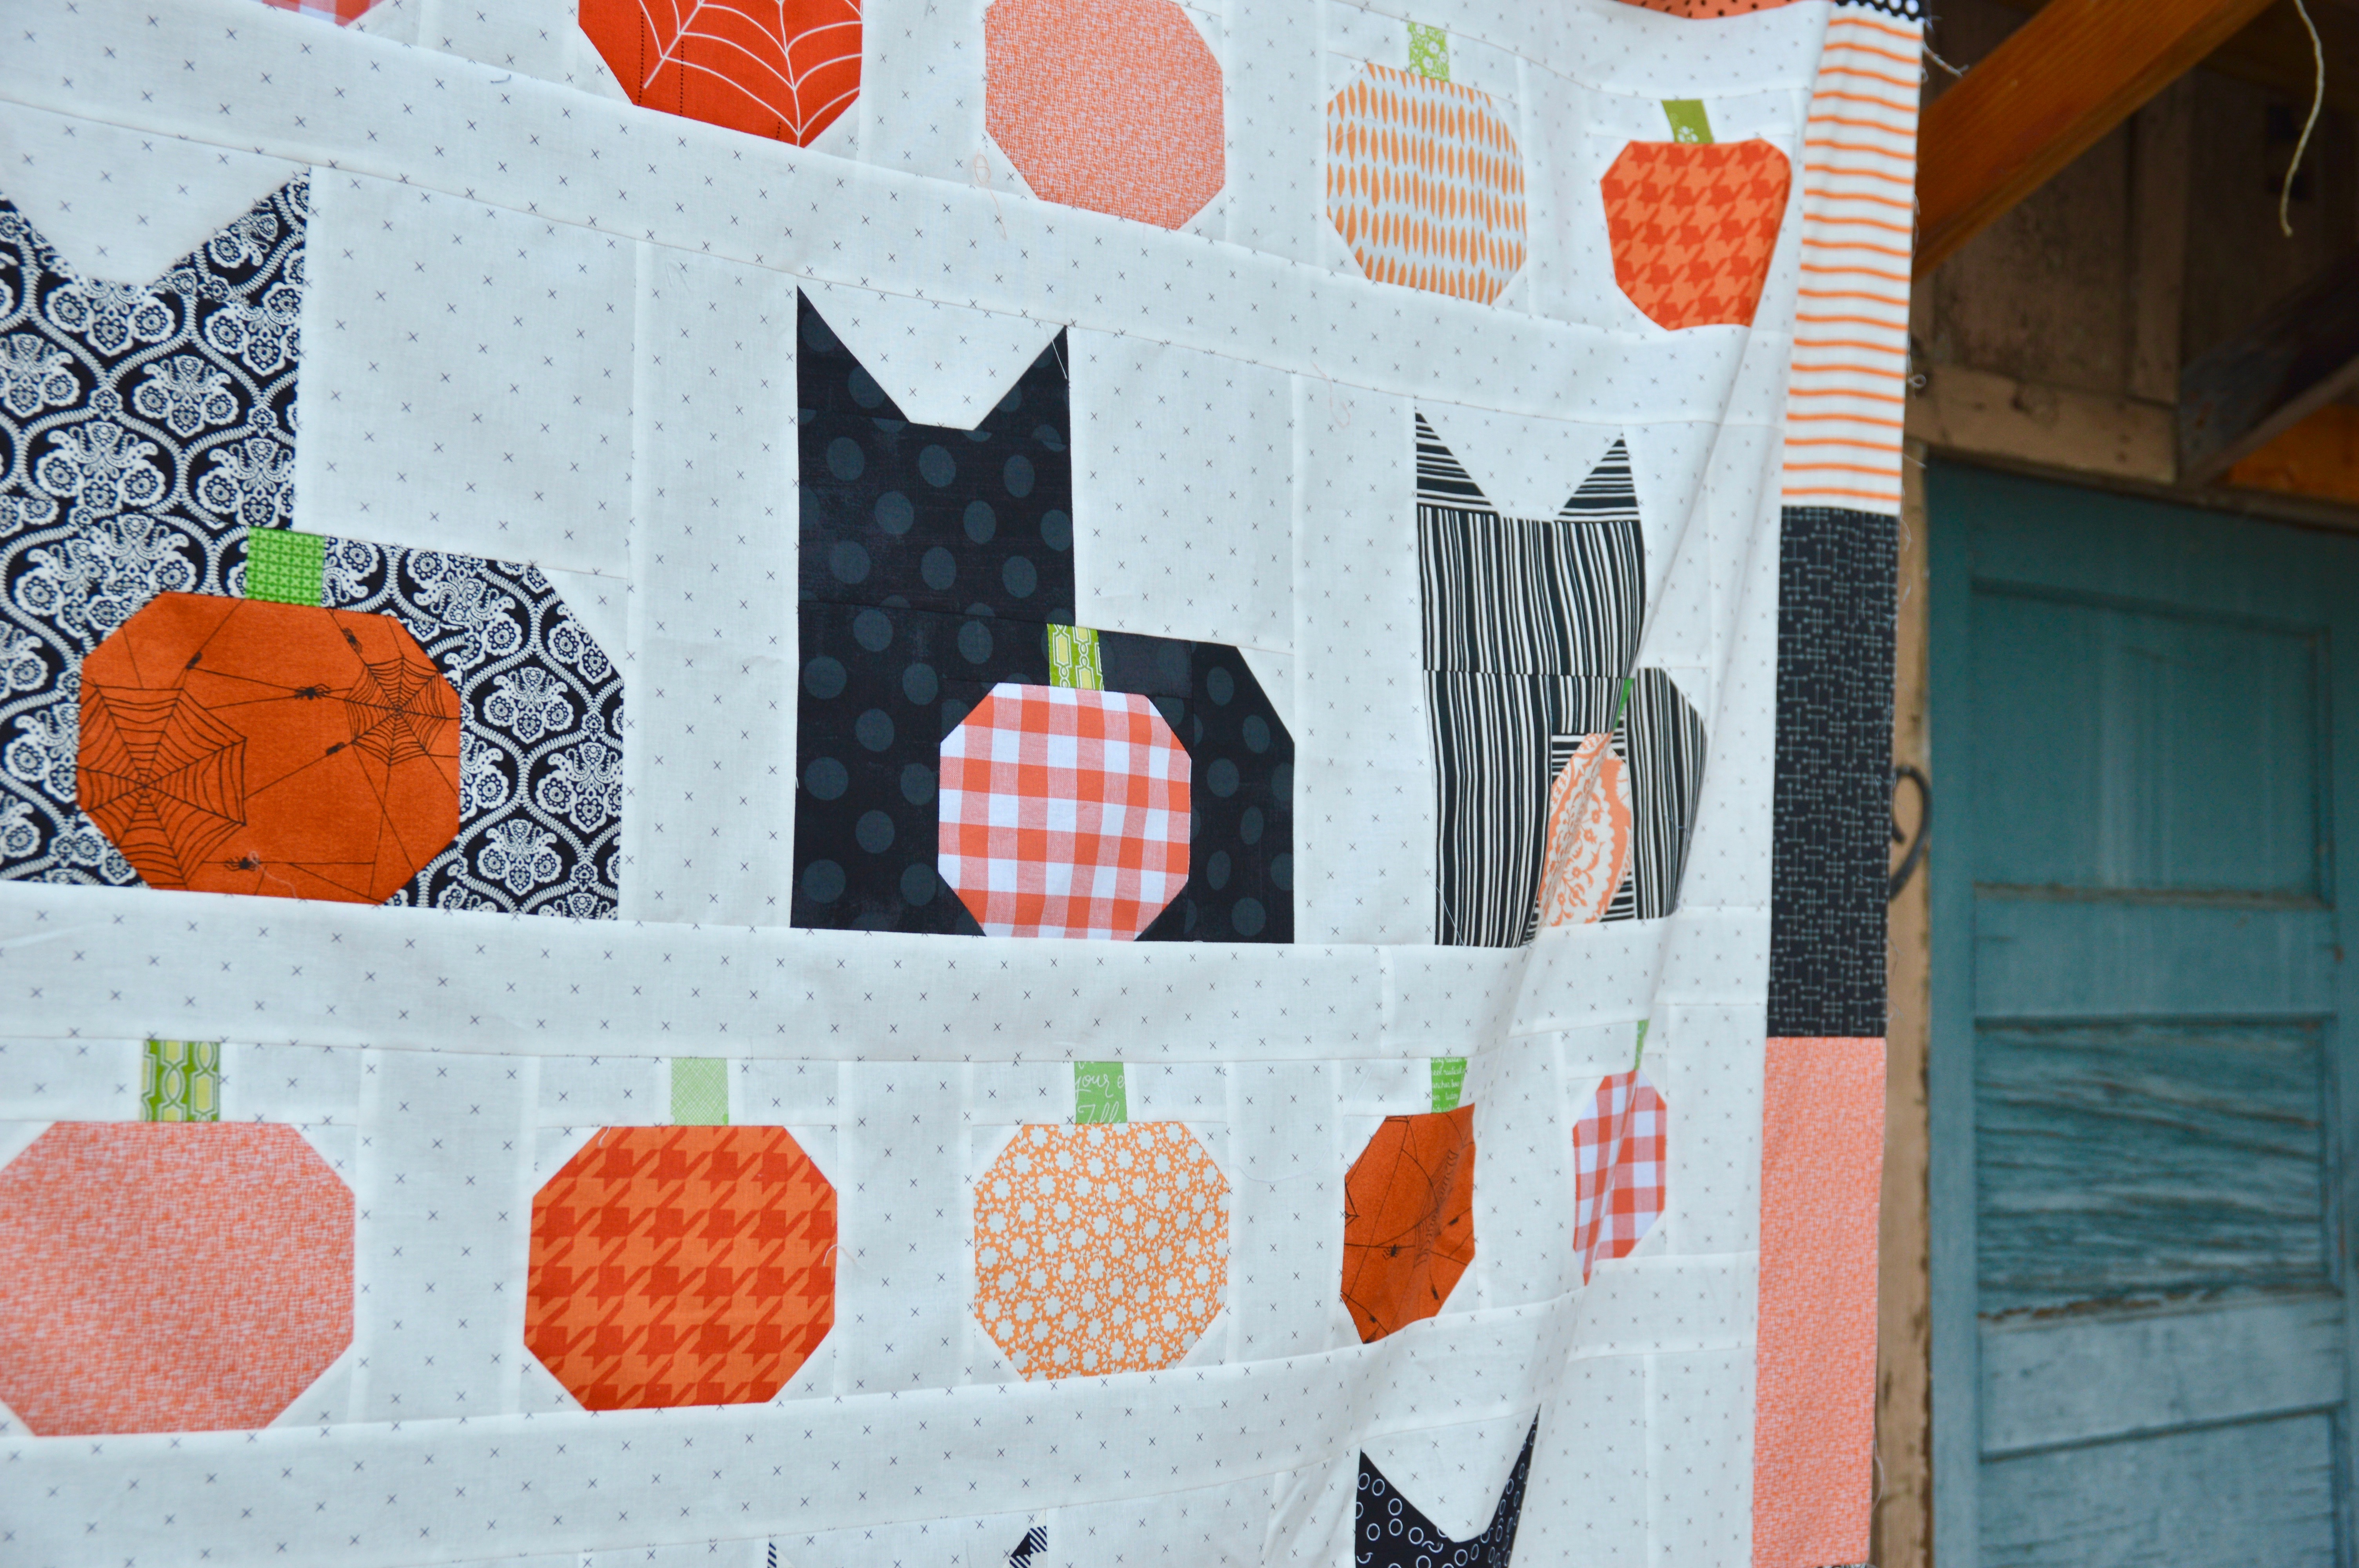
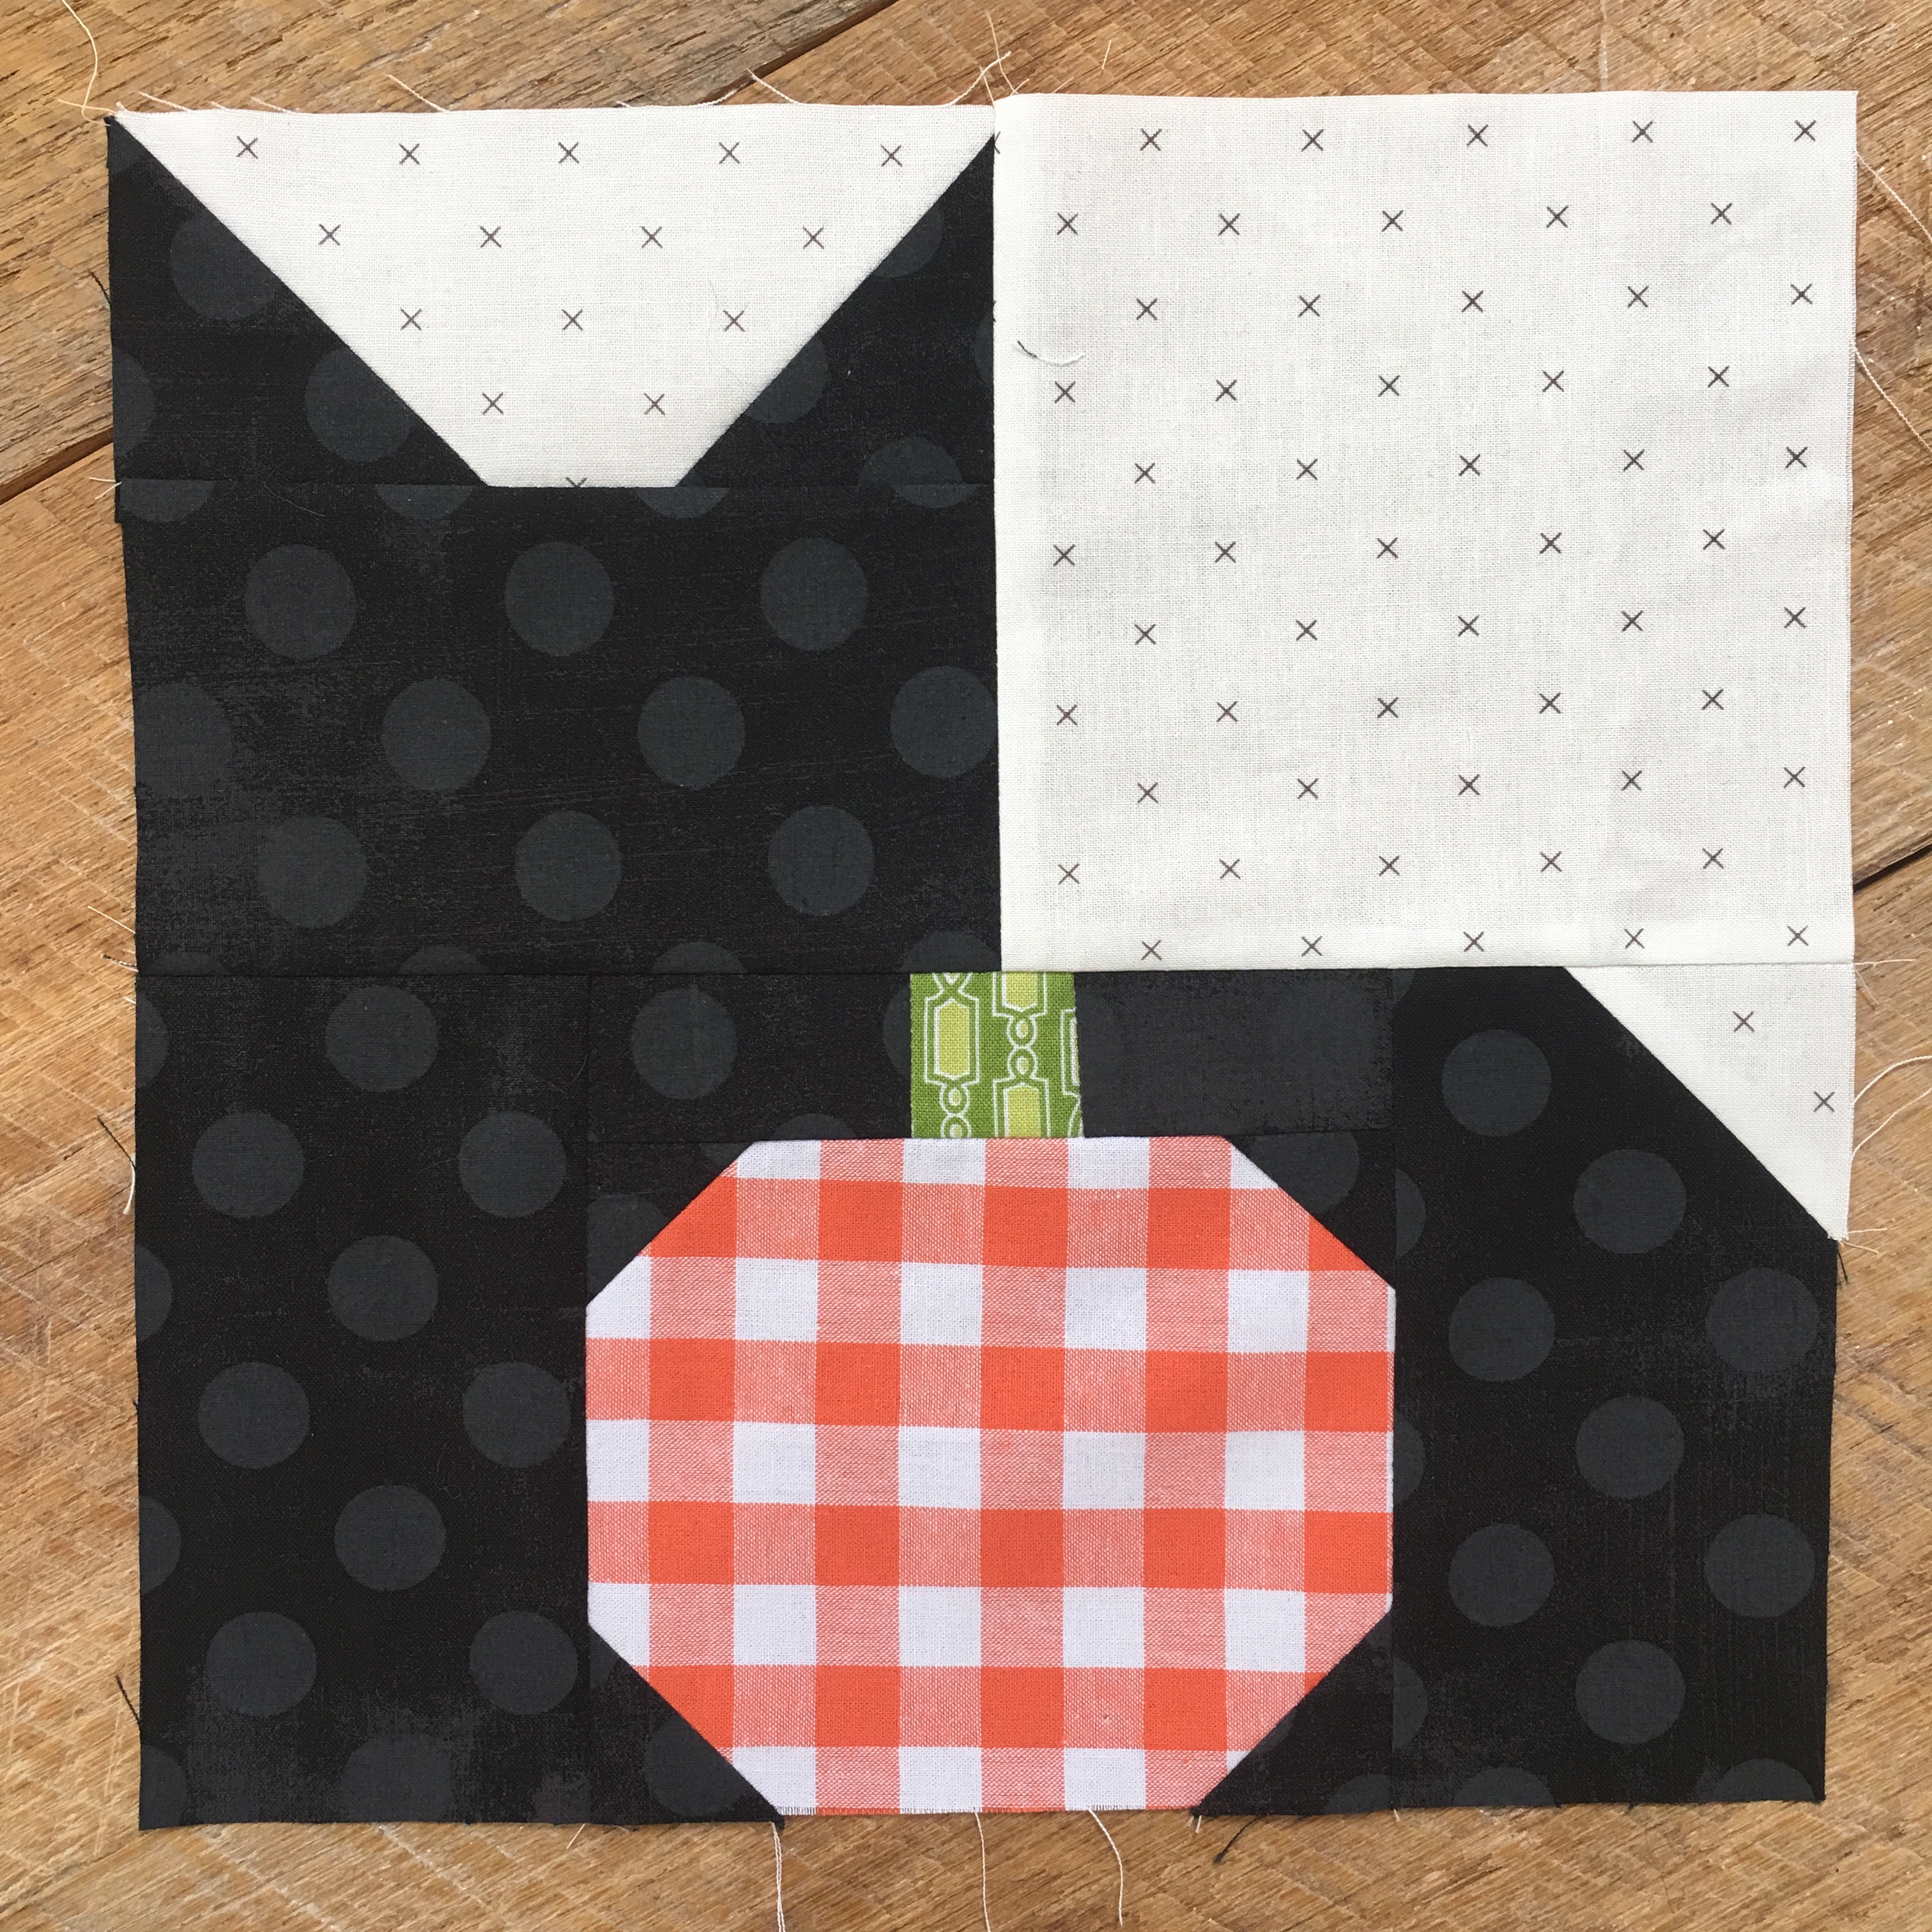
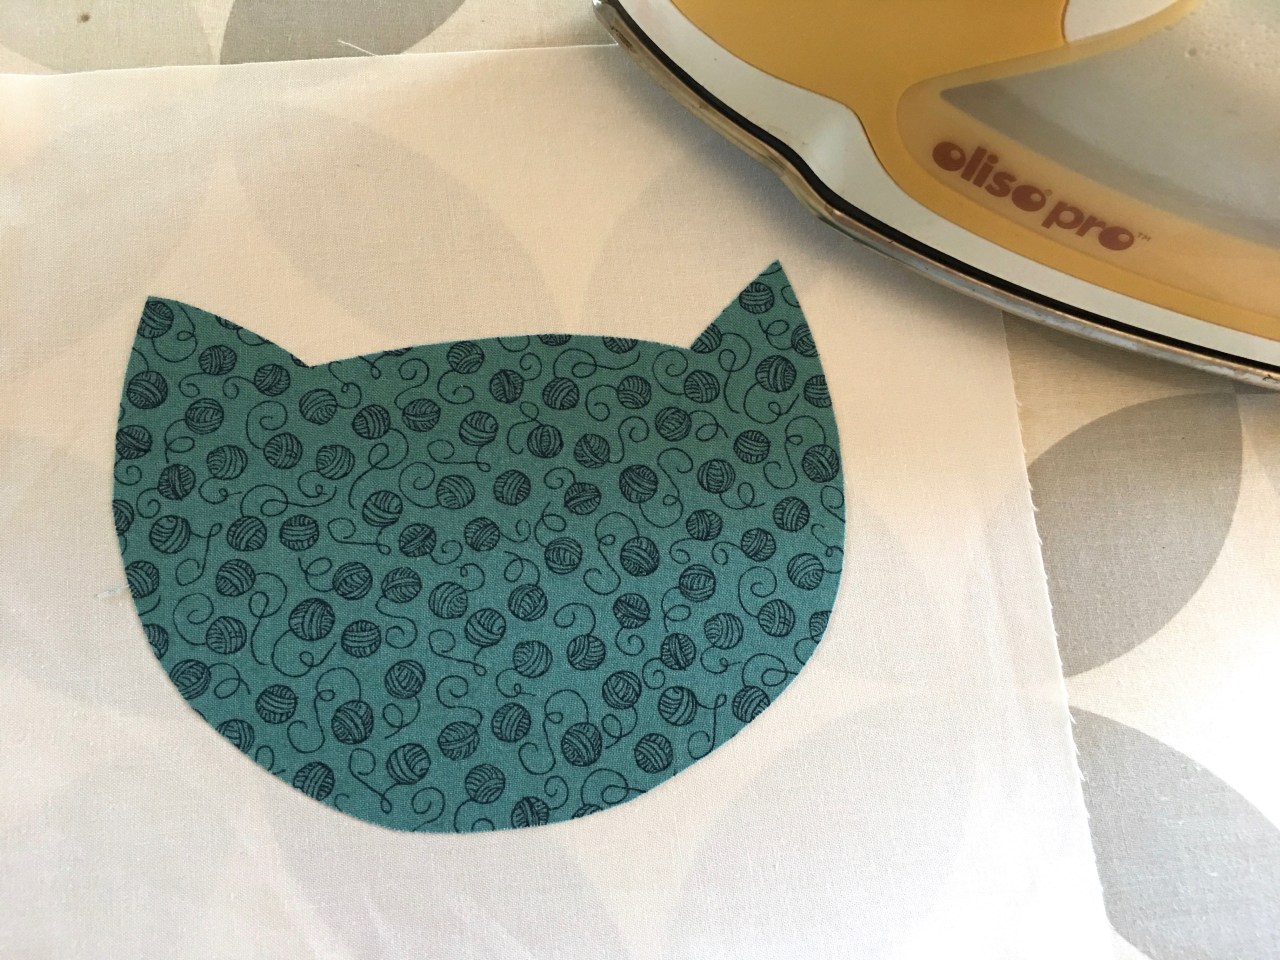
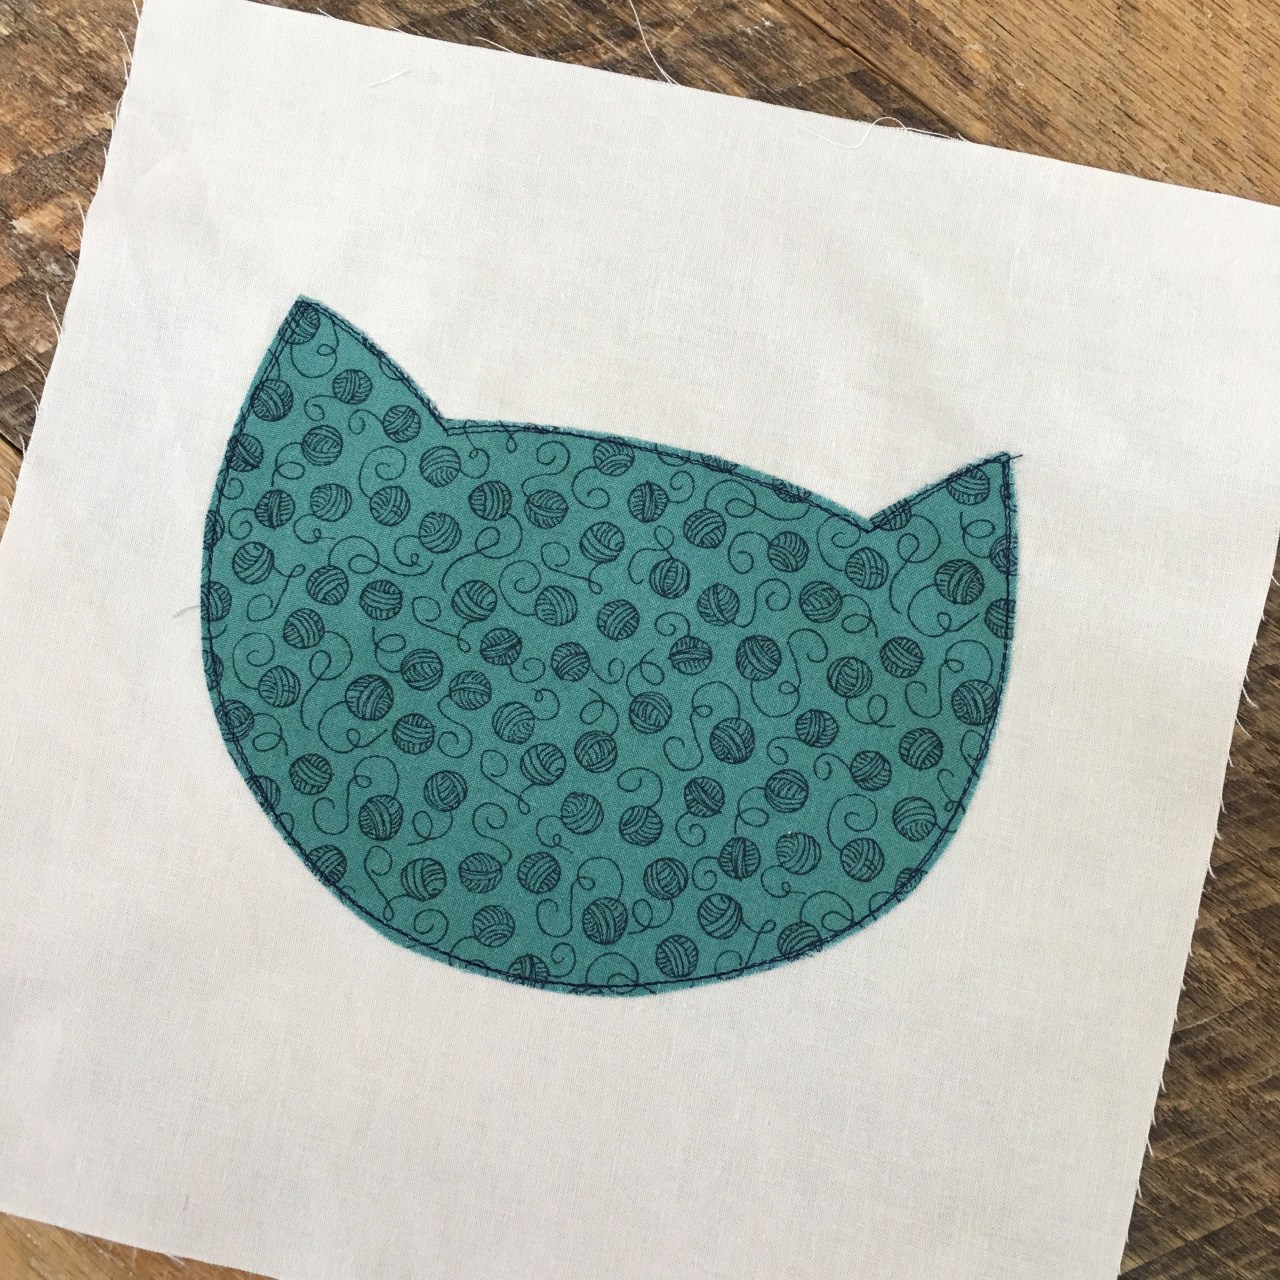
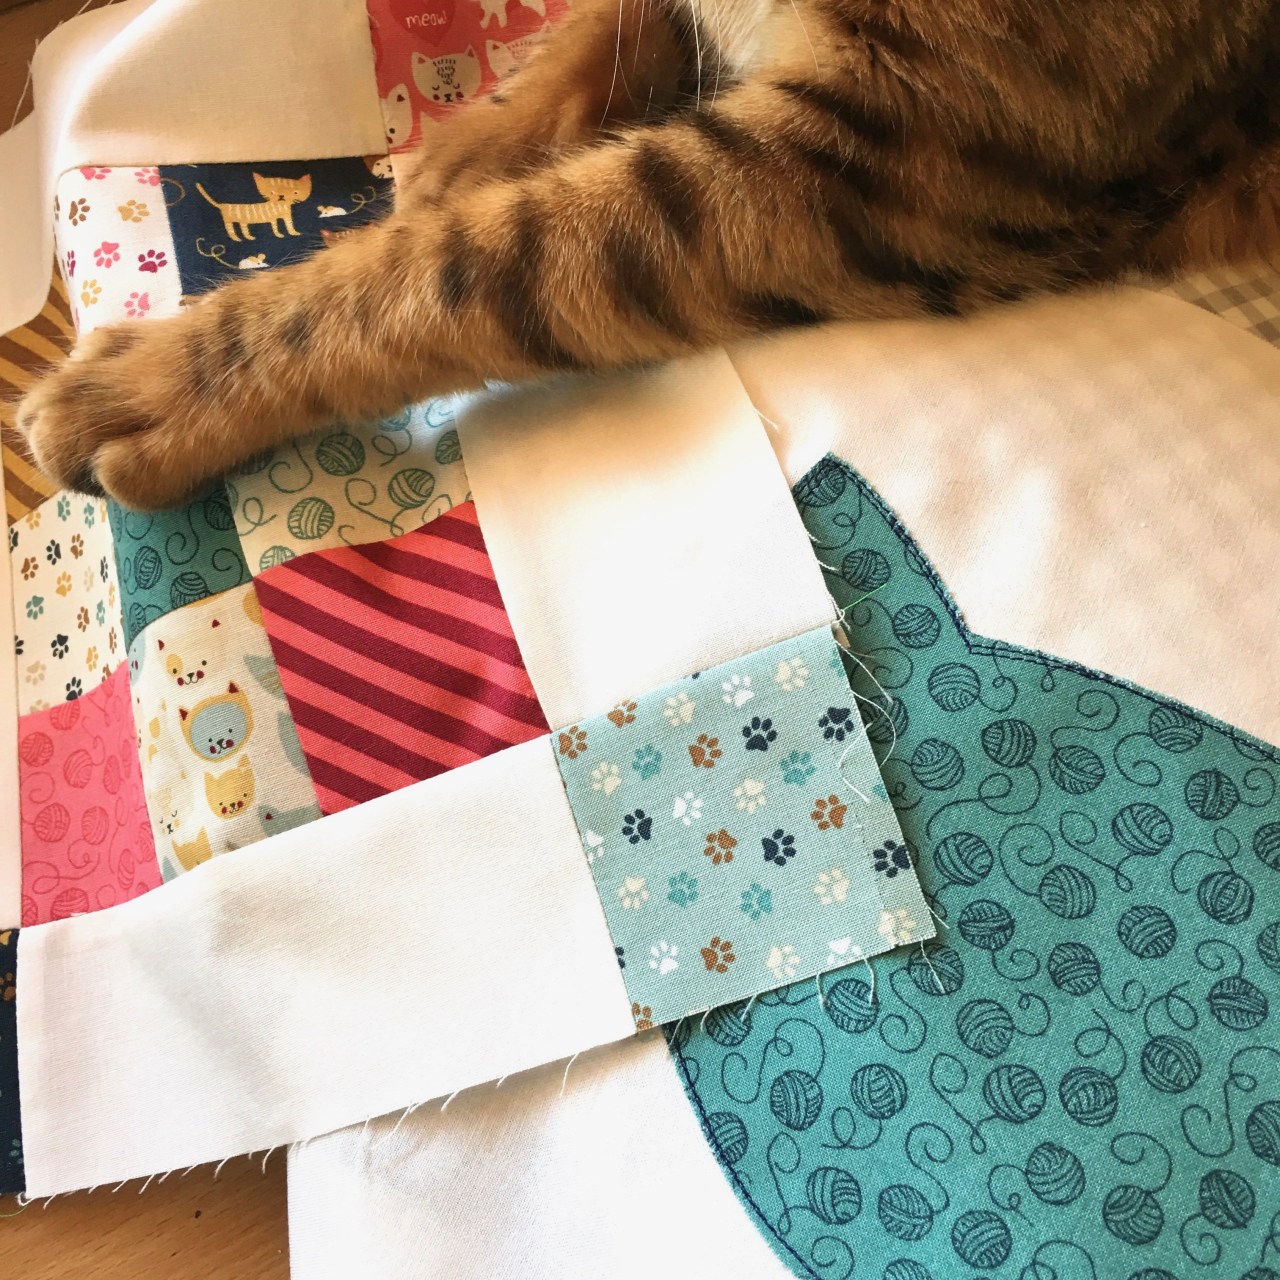
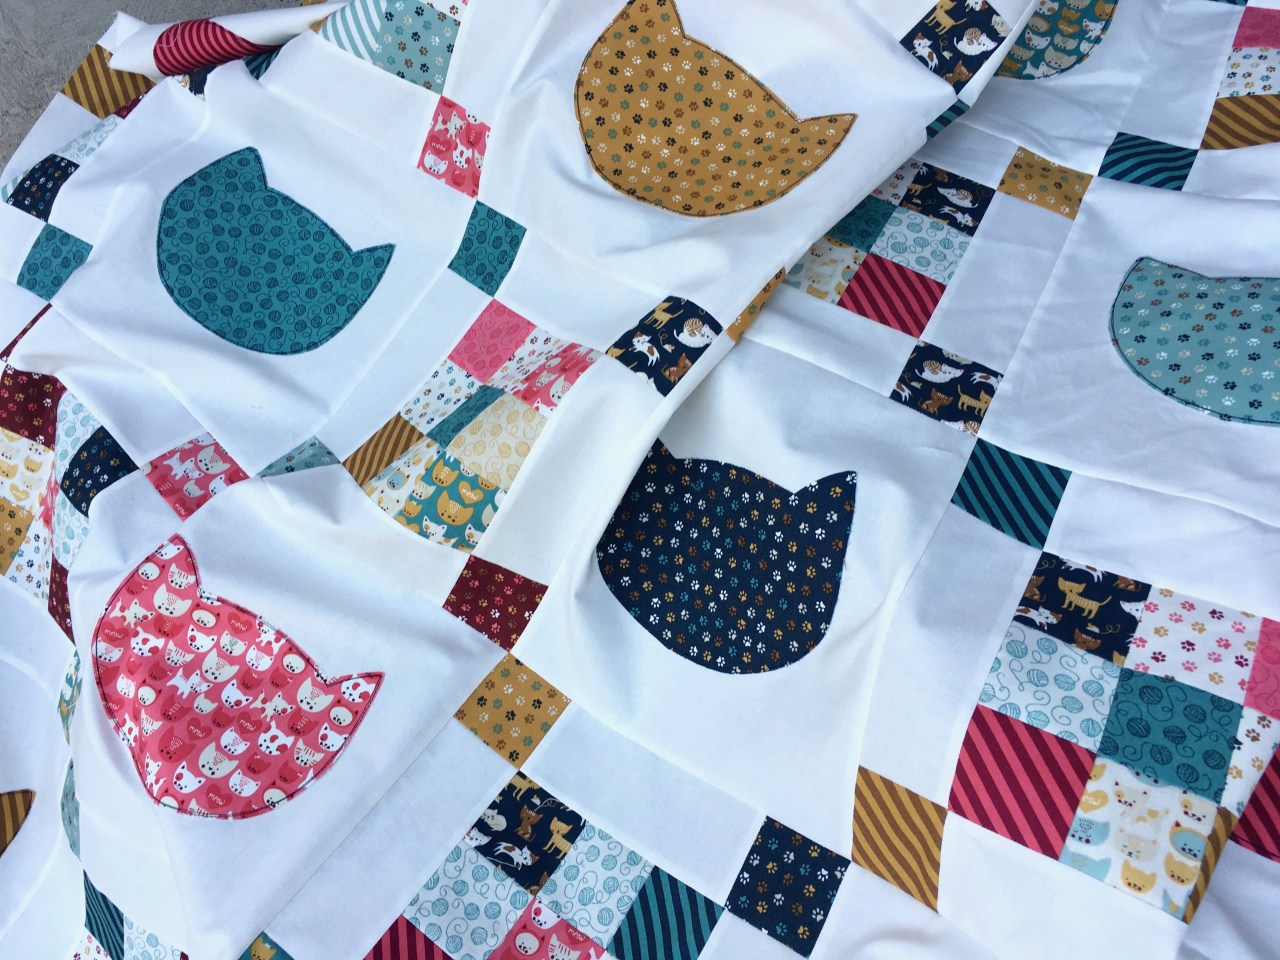
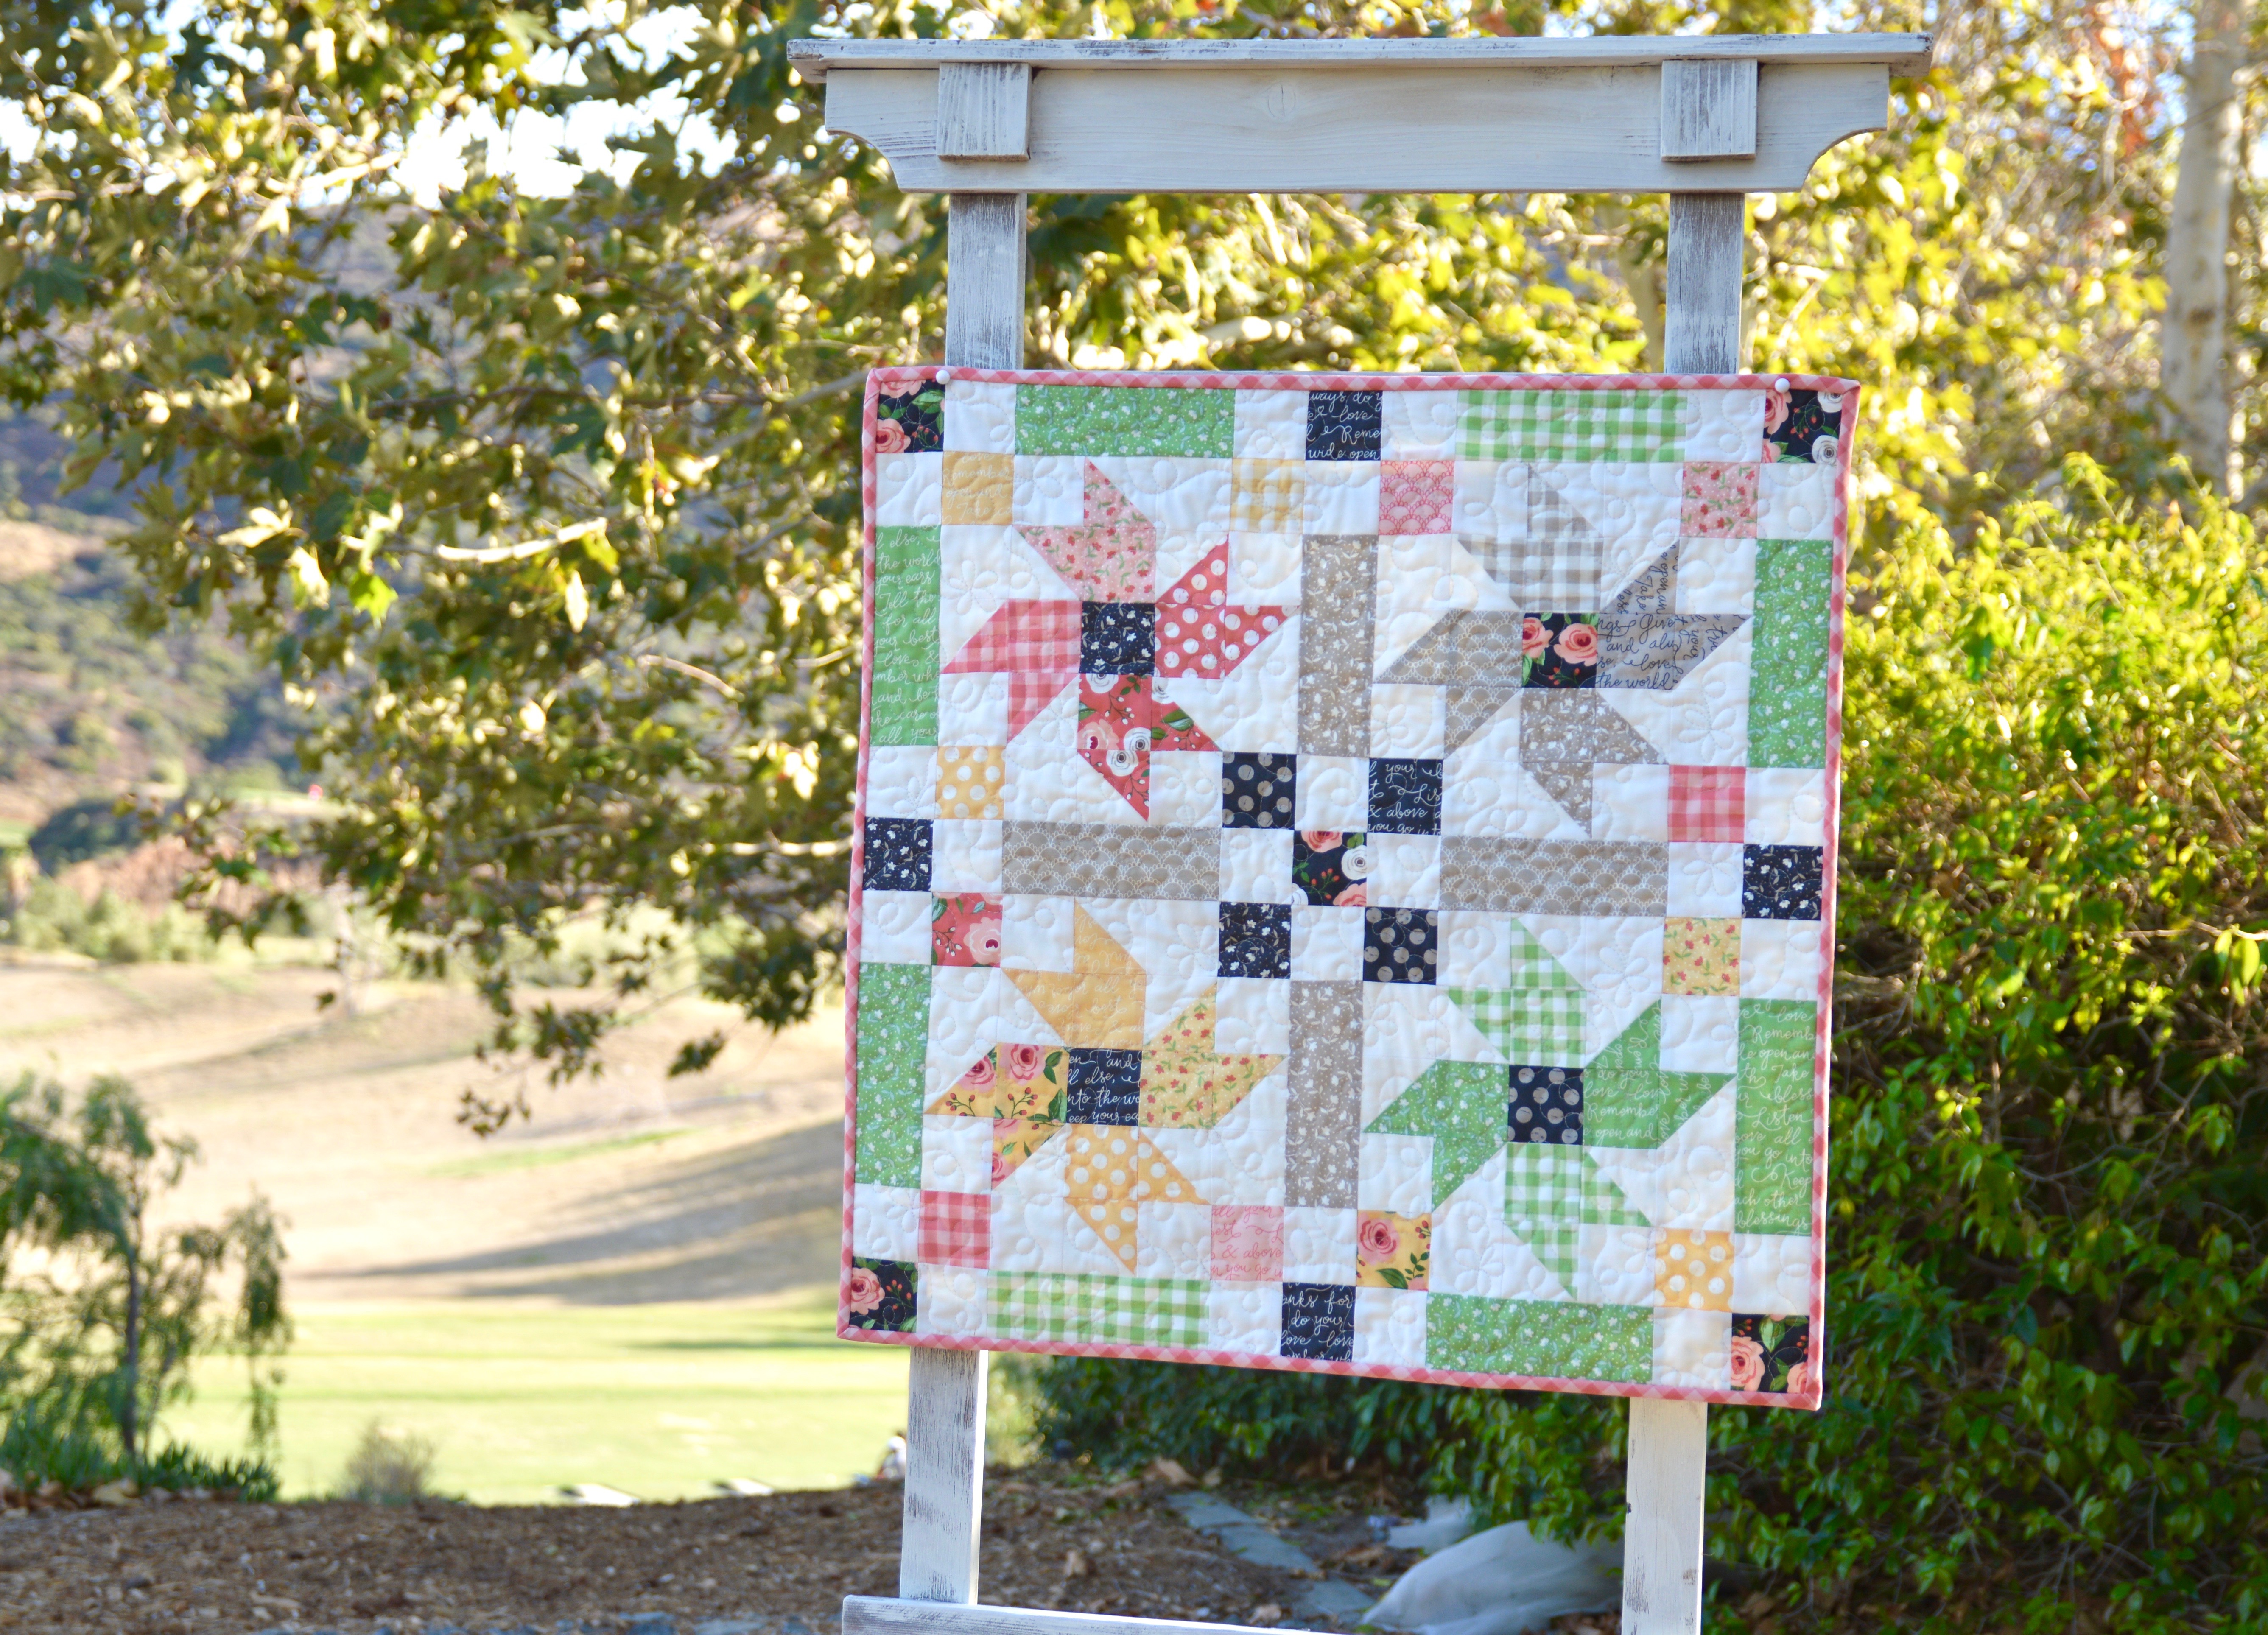
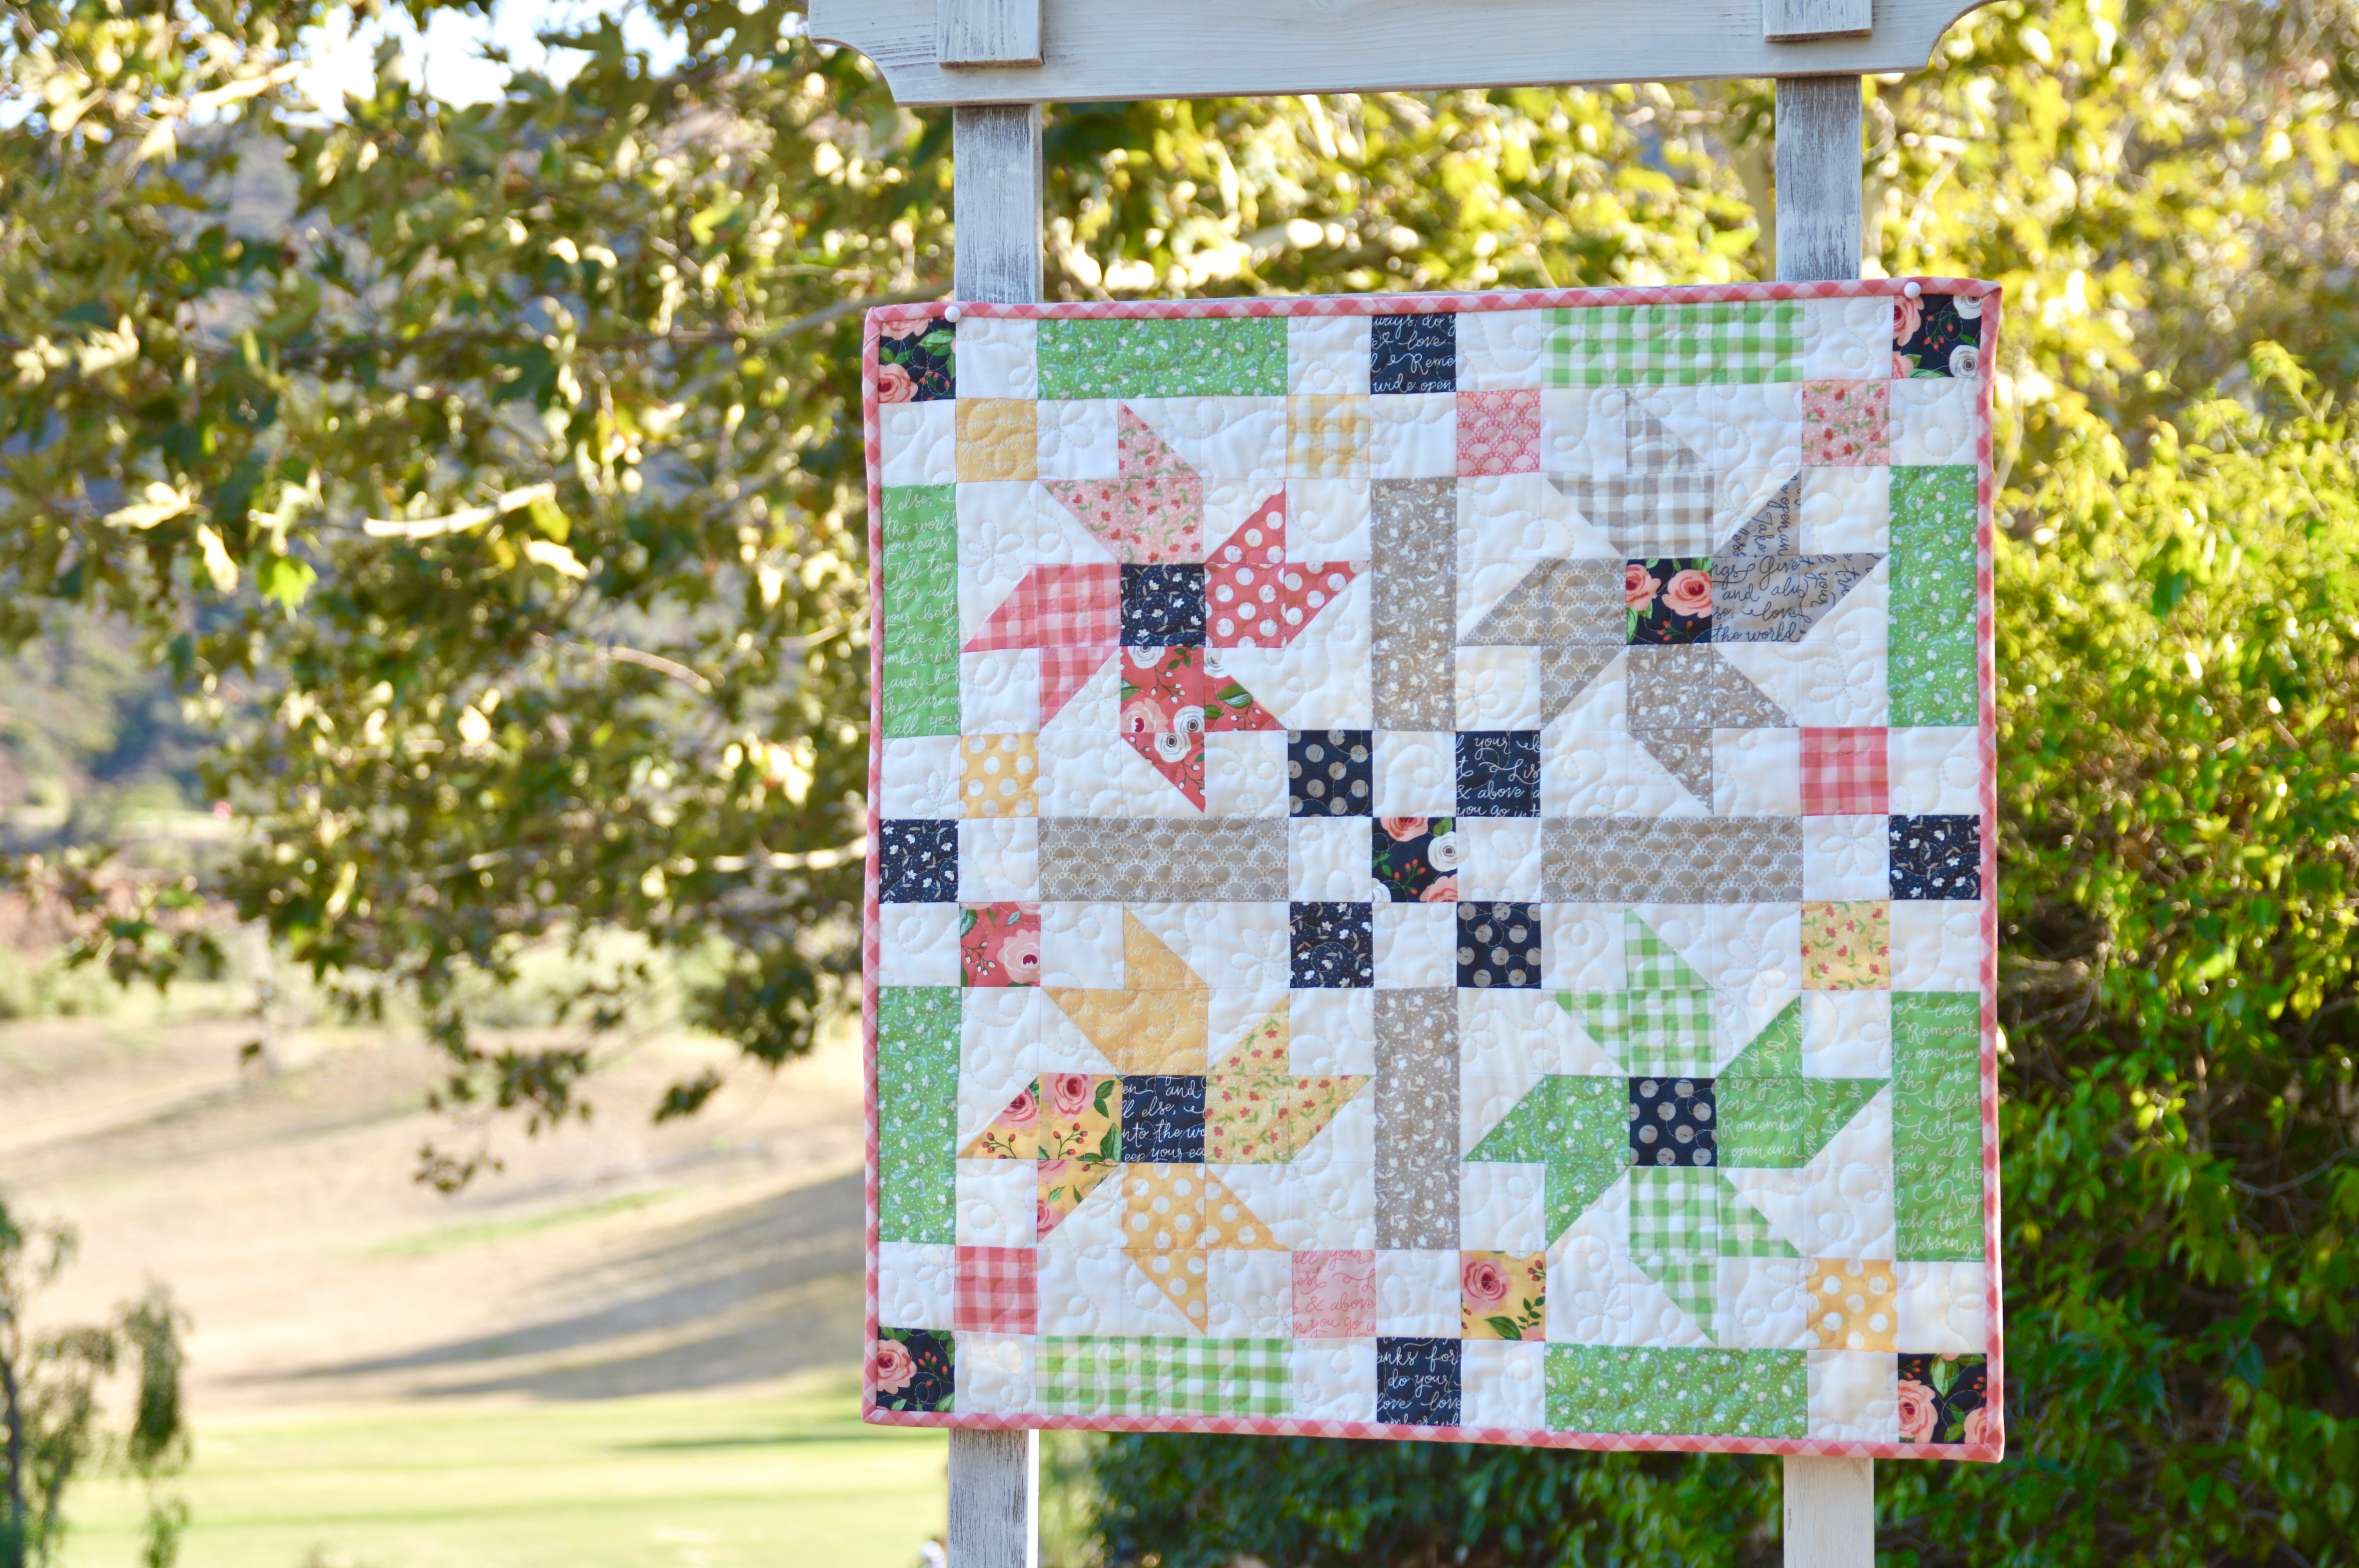
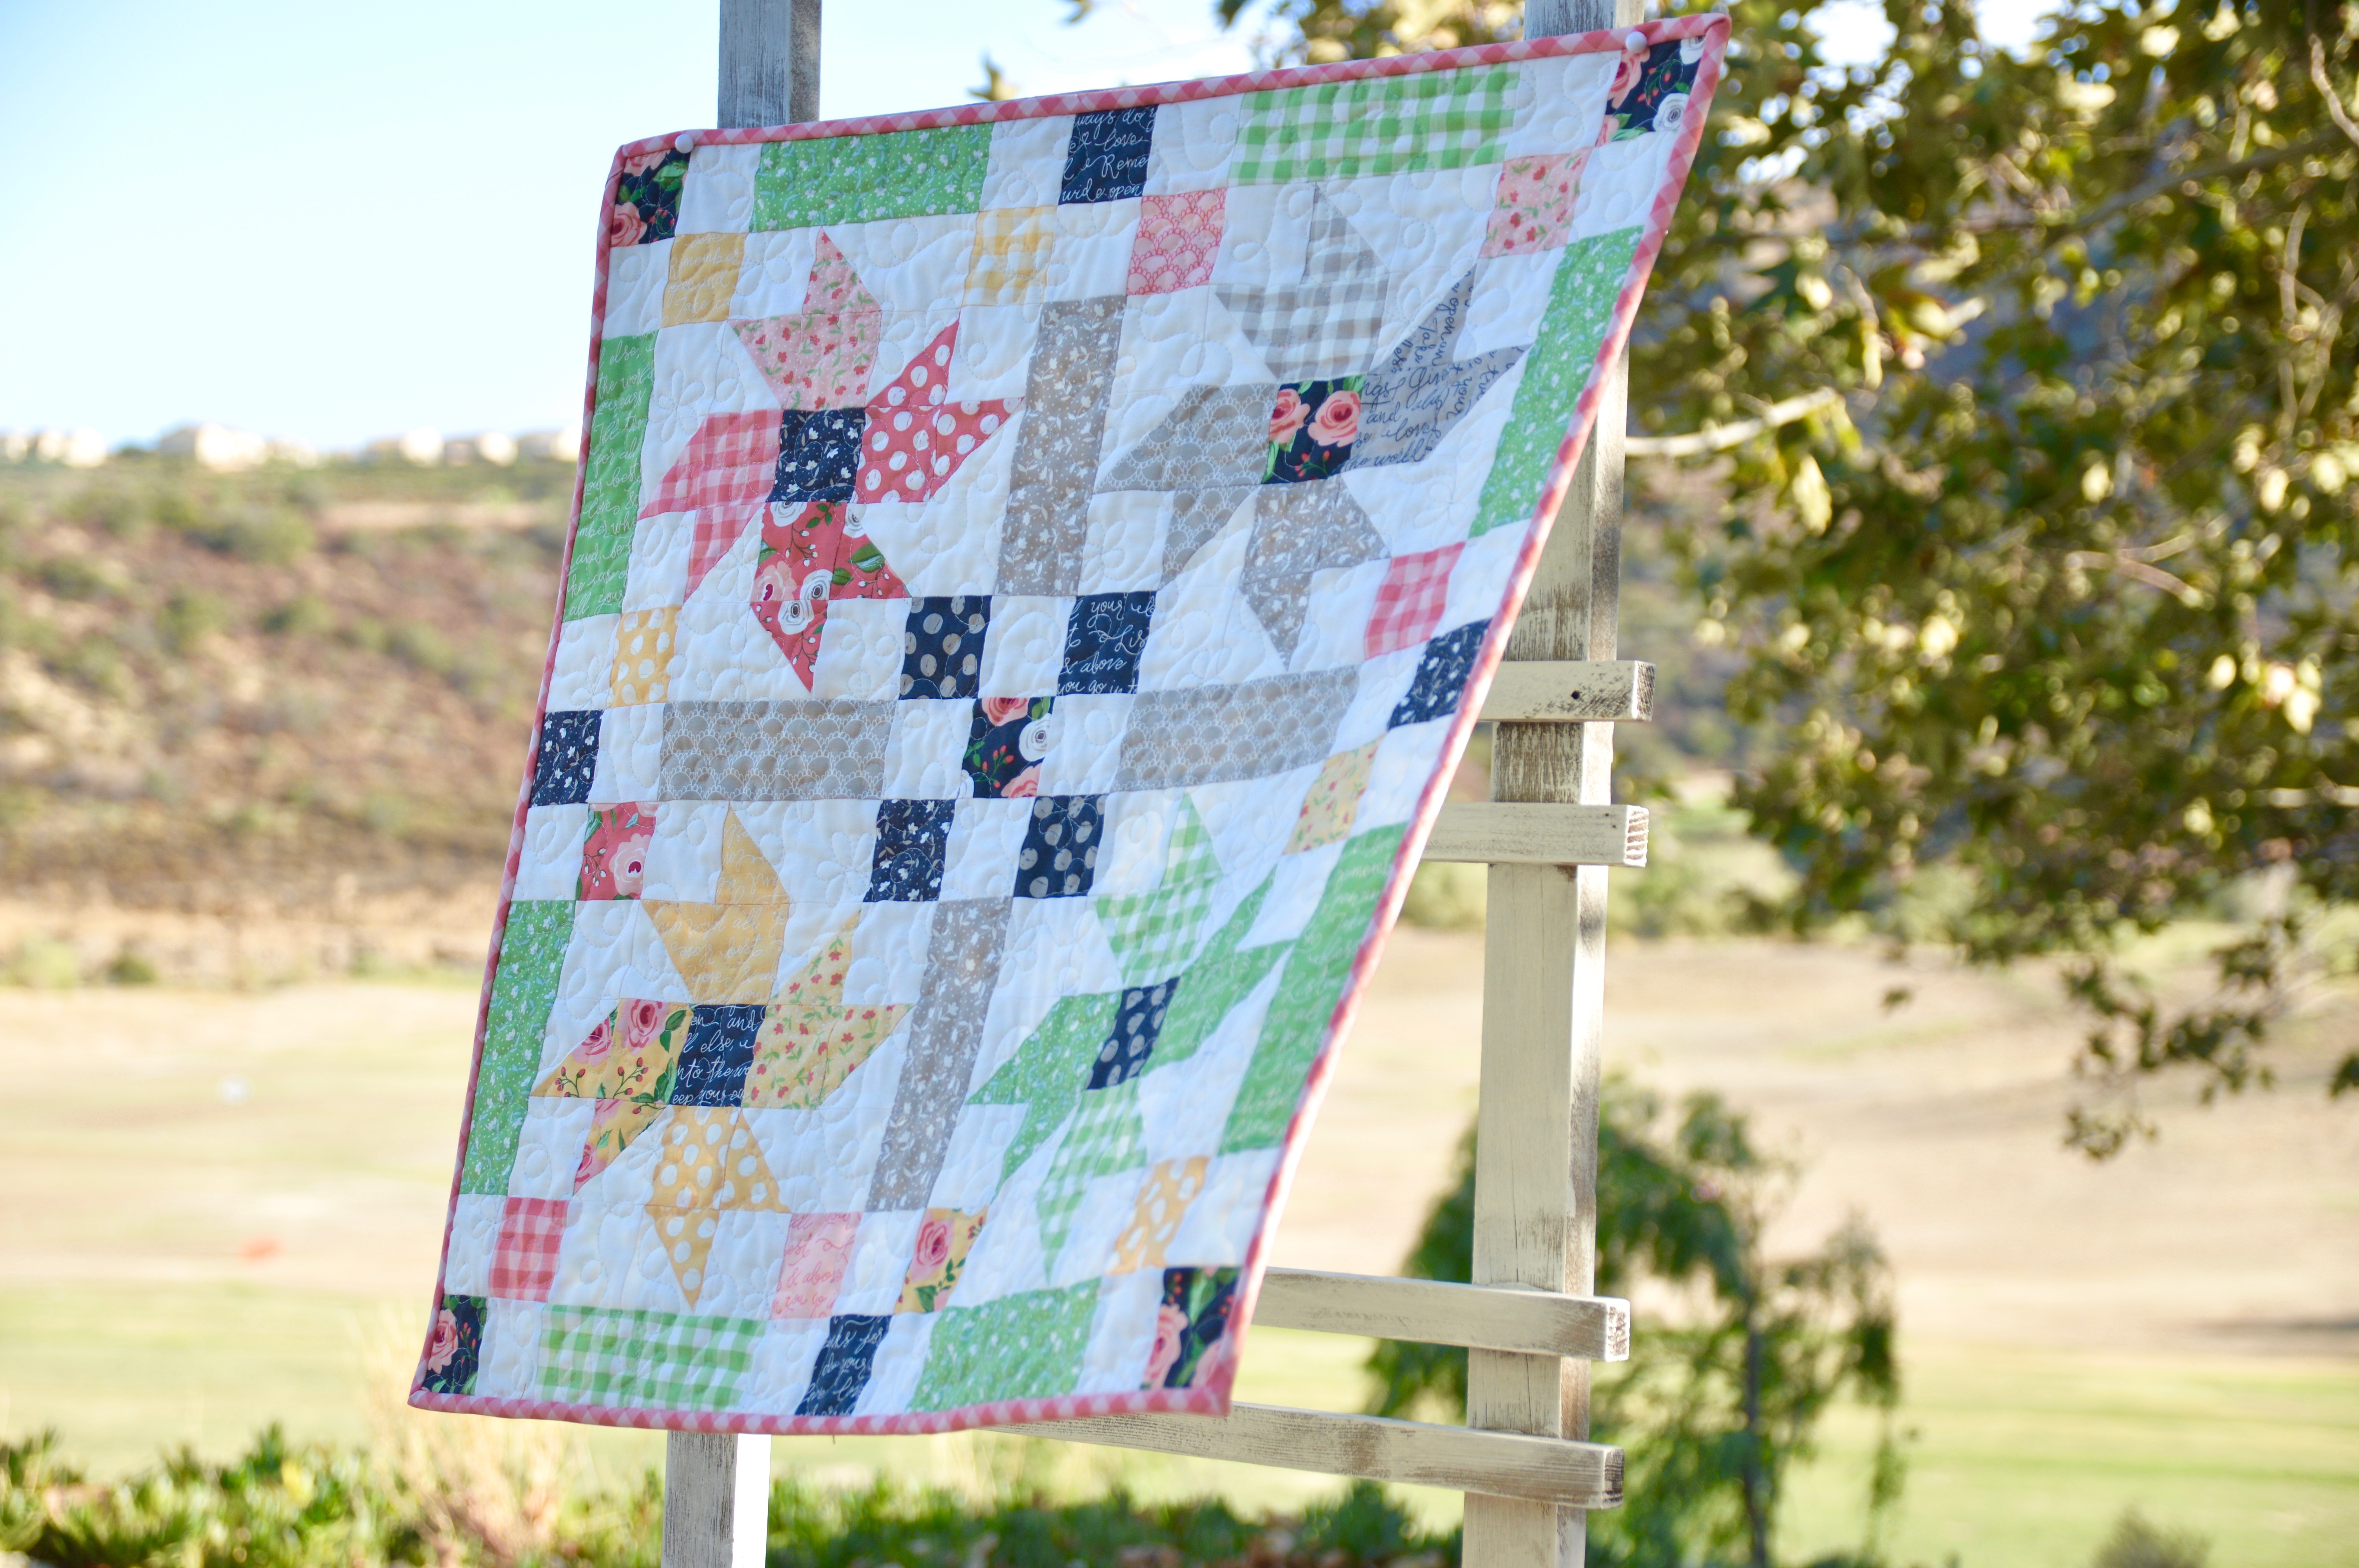
I had a leftover kitty pumpkin quilt block from my “I Love Cats Quilt” so I came up with this fun little wallhanging! It measures 20″ square so you could turn it into a pillow if you wanted to.
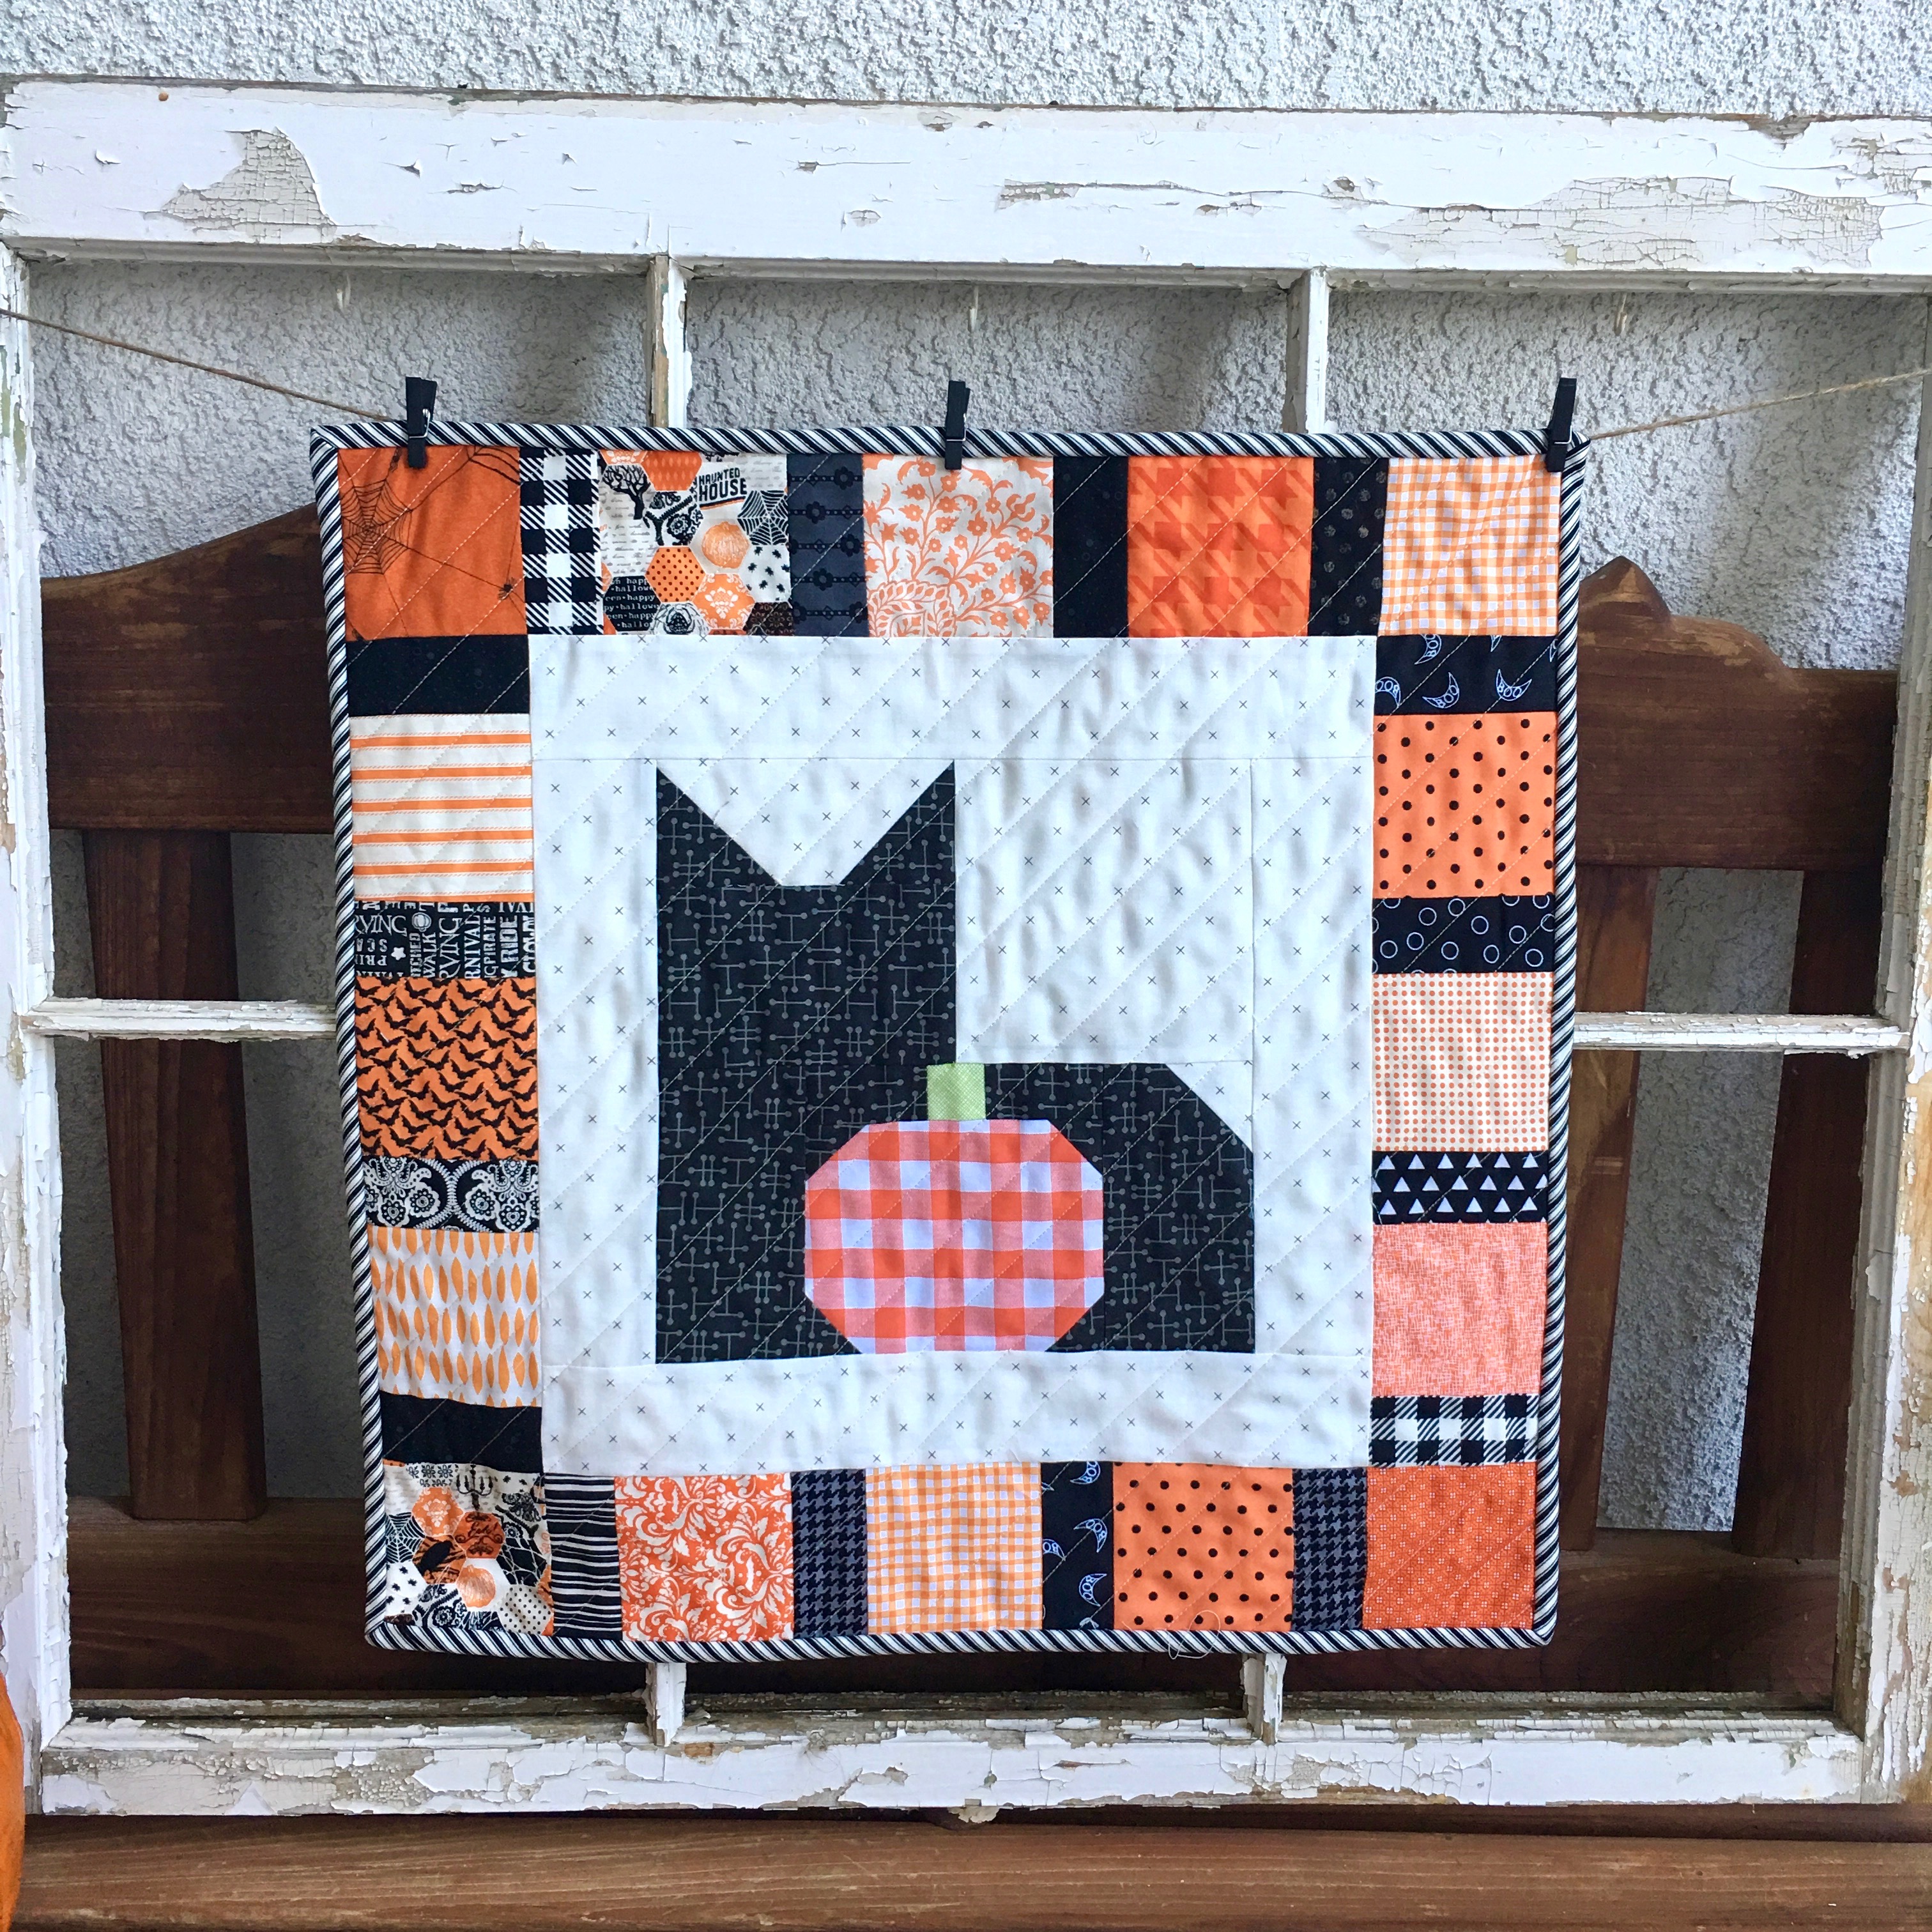
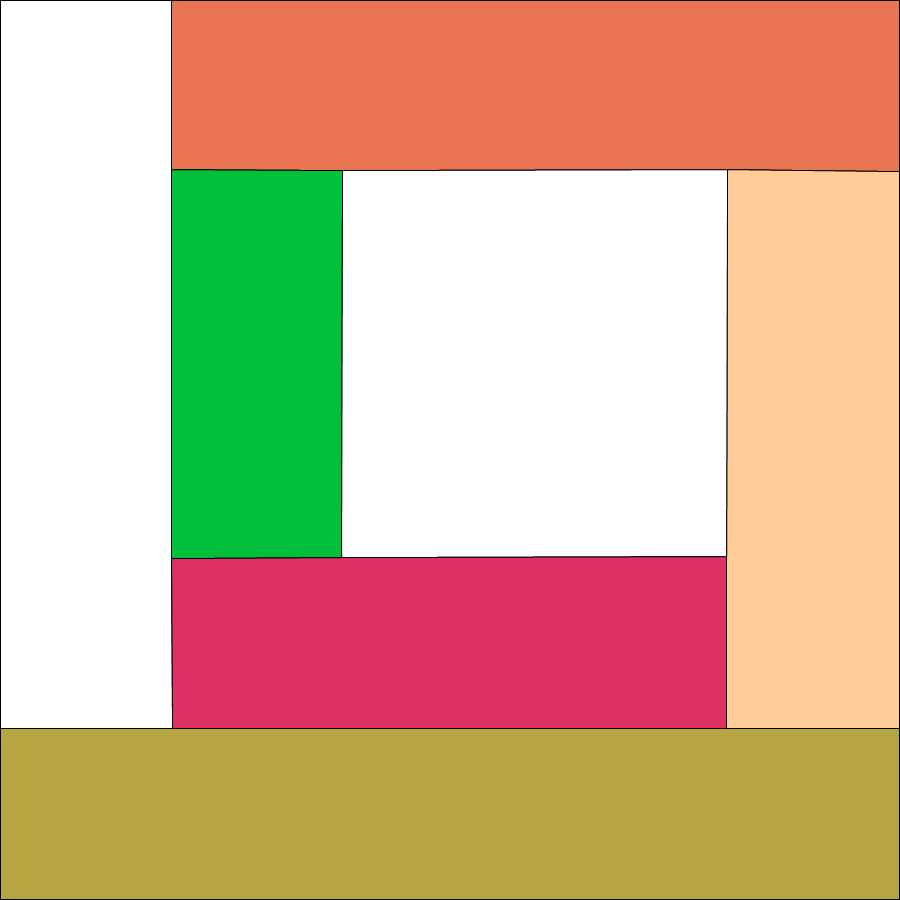
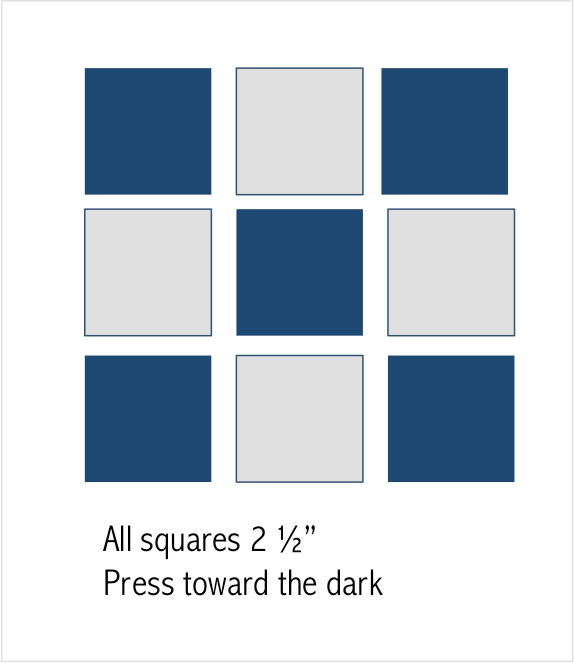
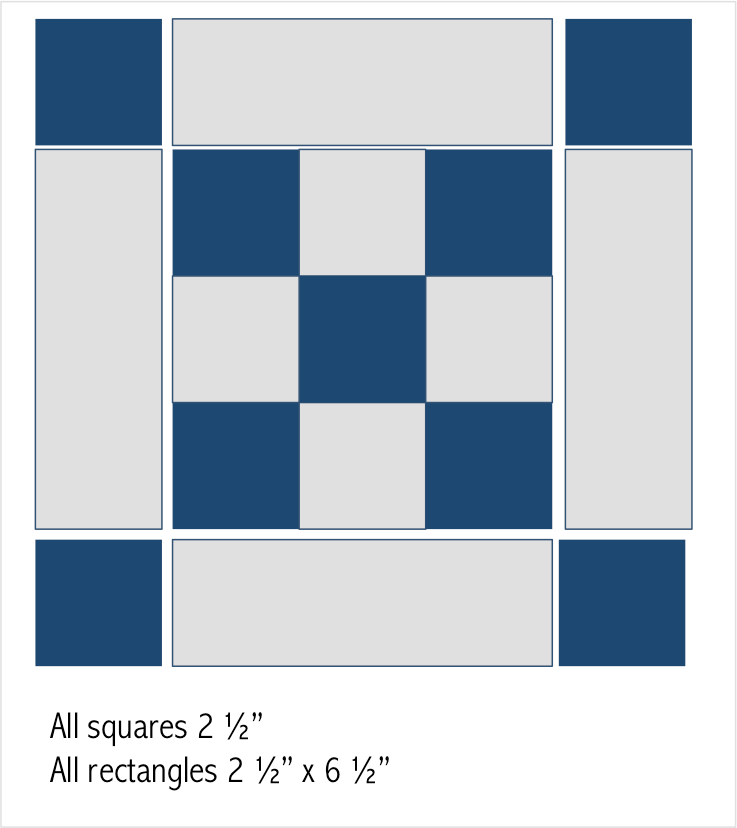
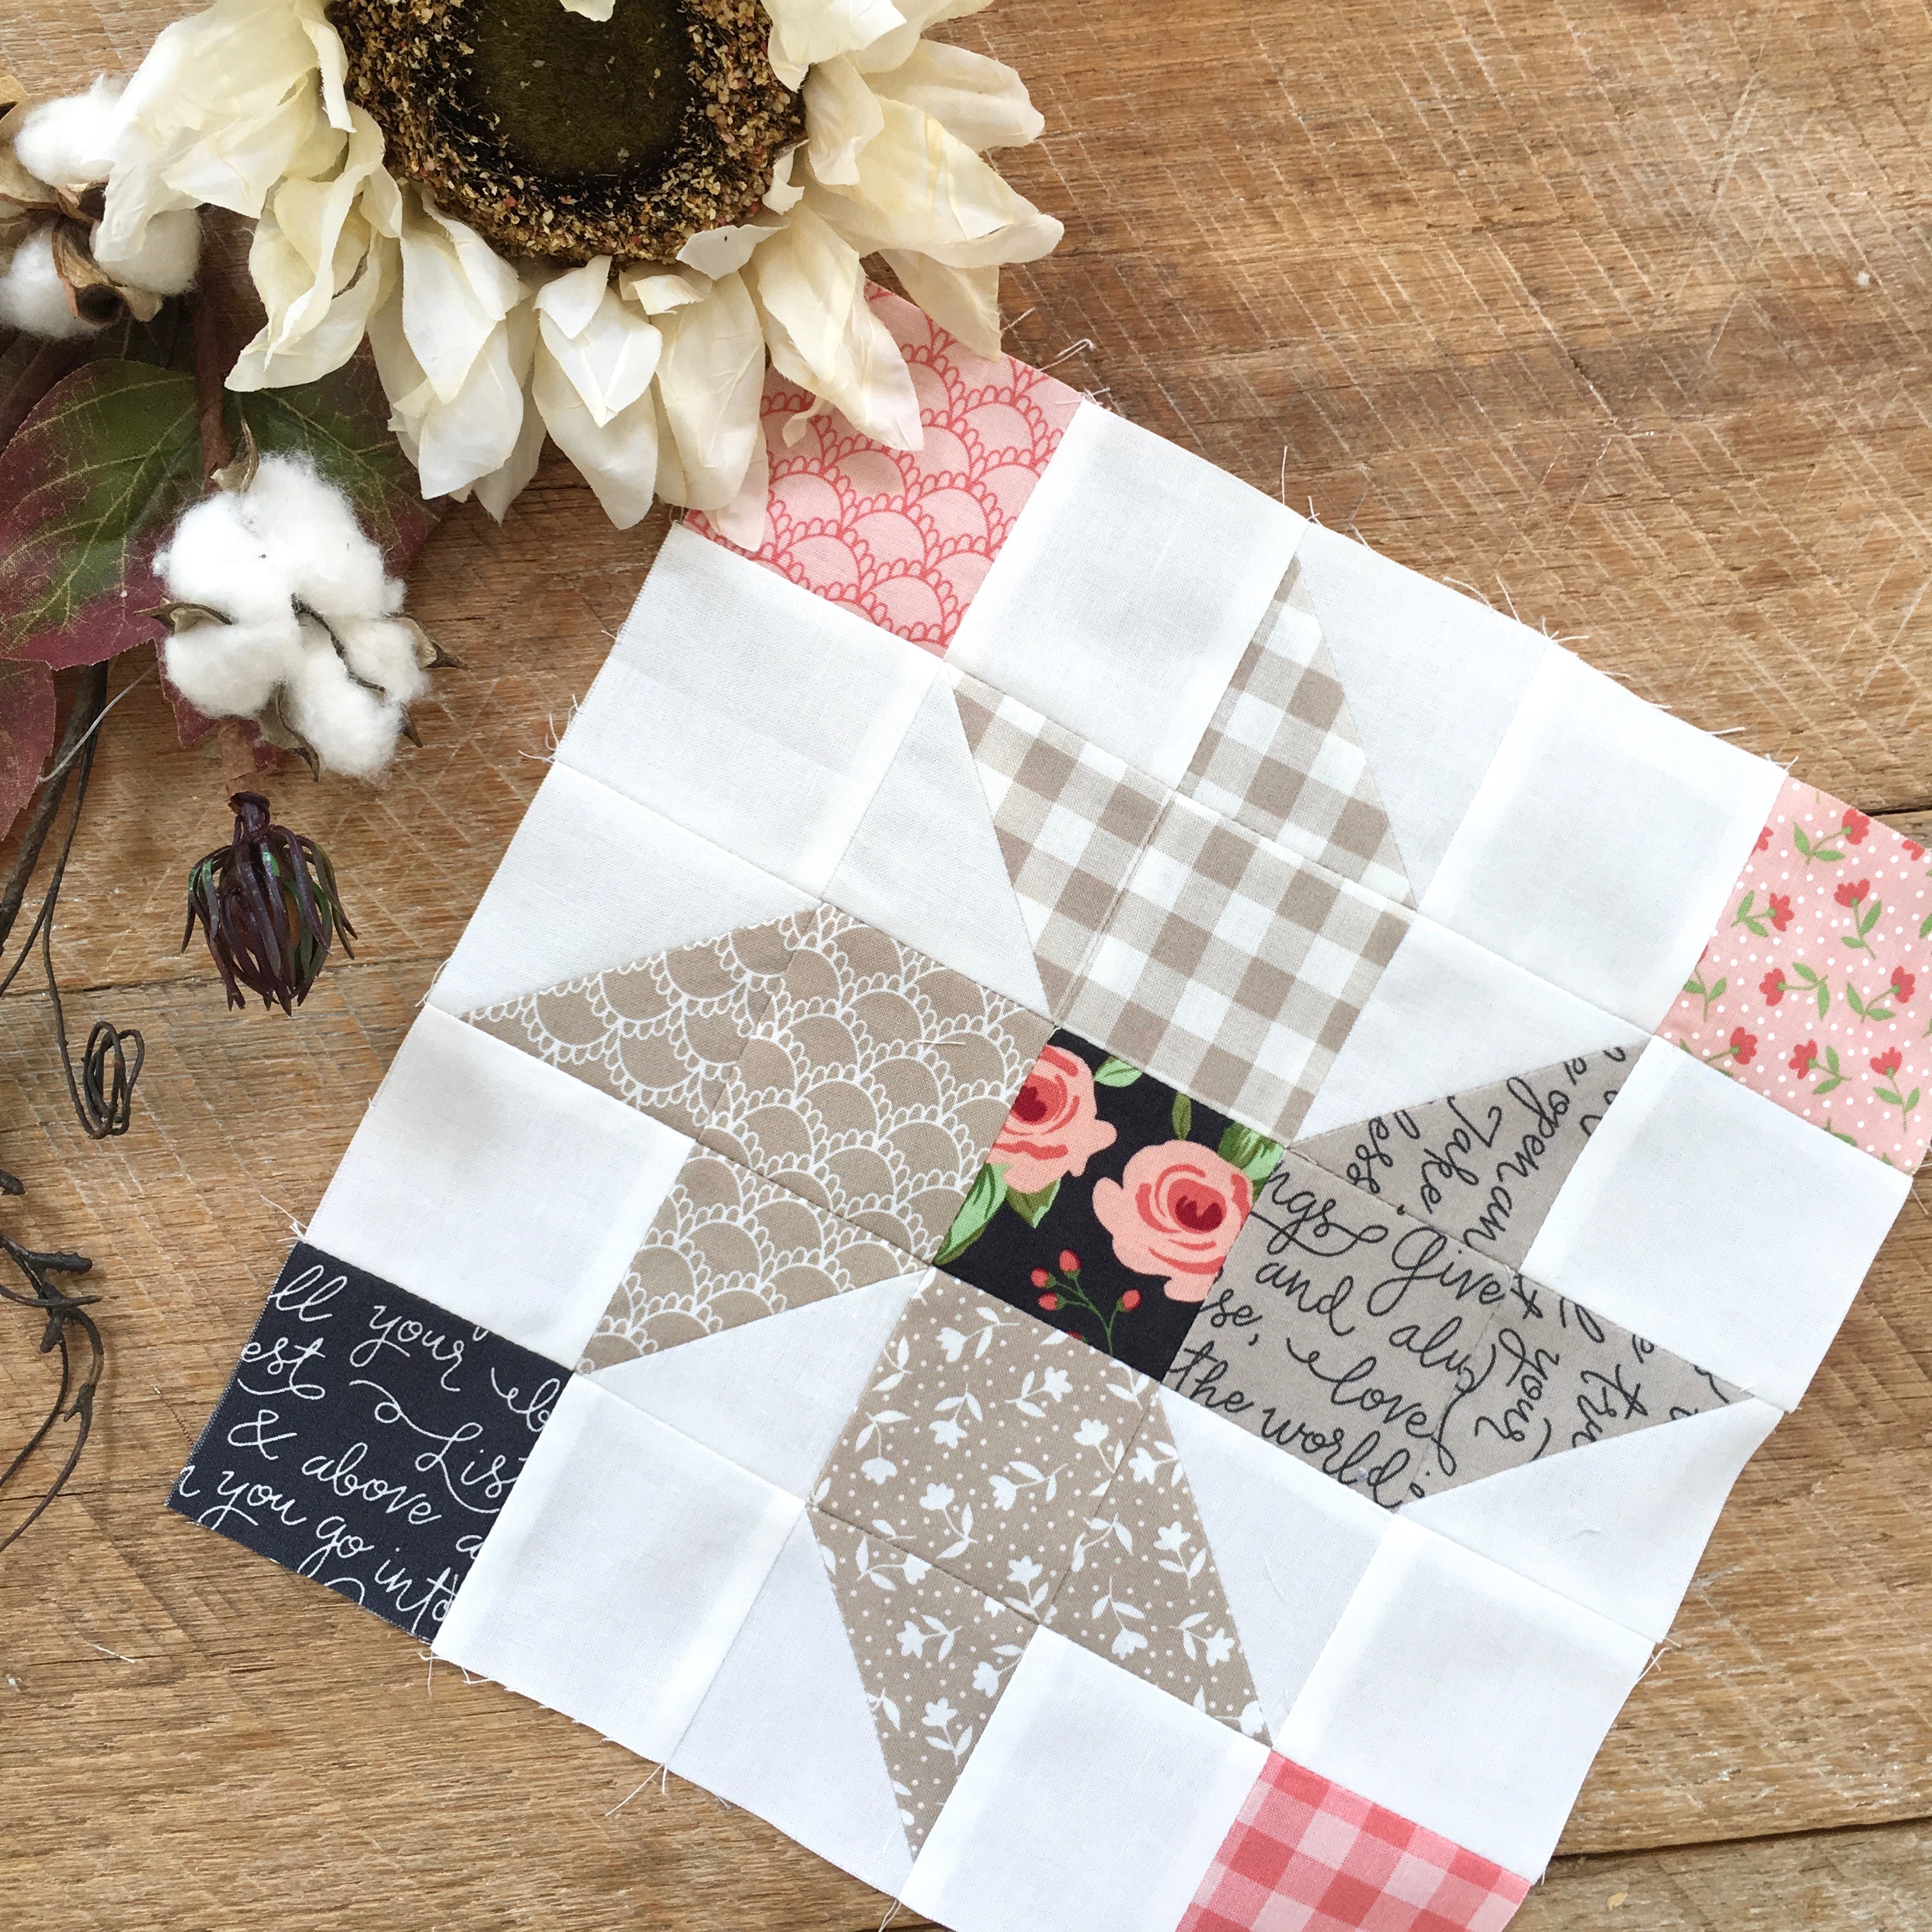
I love hanging little quilts all over my house – they make everything so cozy! Below are the instructions to make the mini quilt. The center block measures 10 1/2″ unfinished.
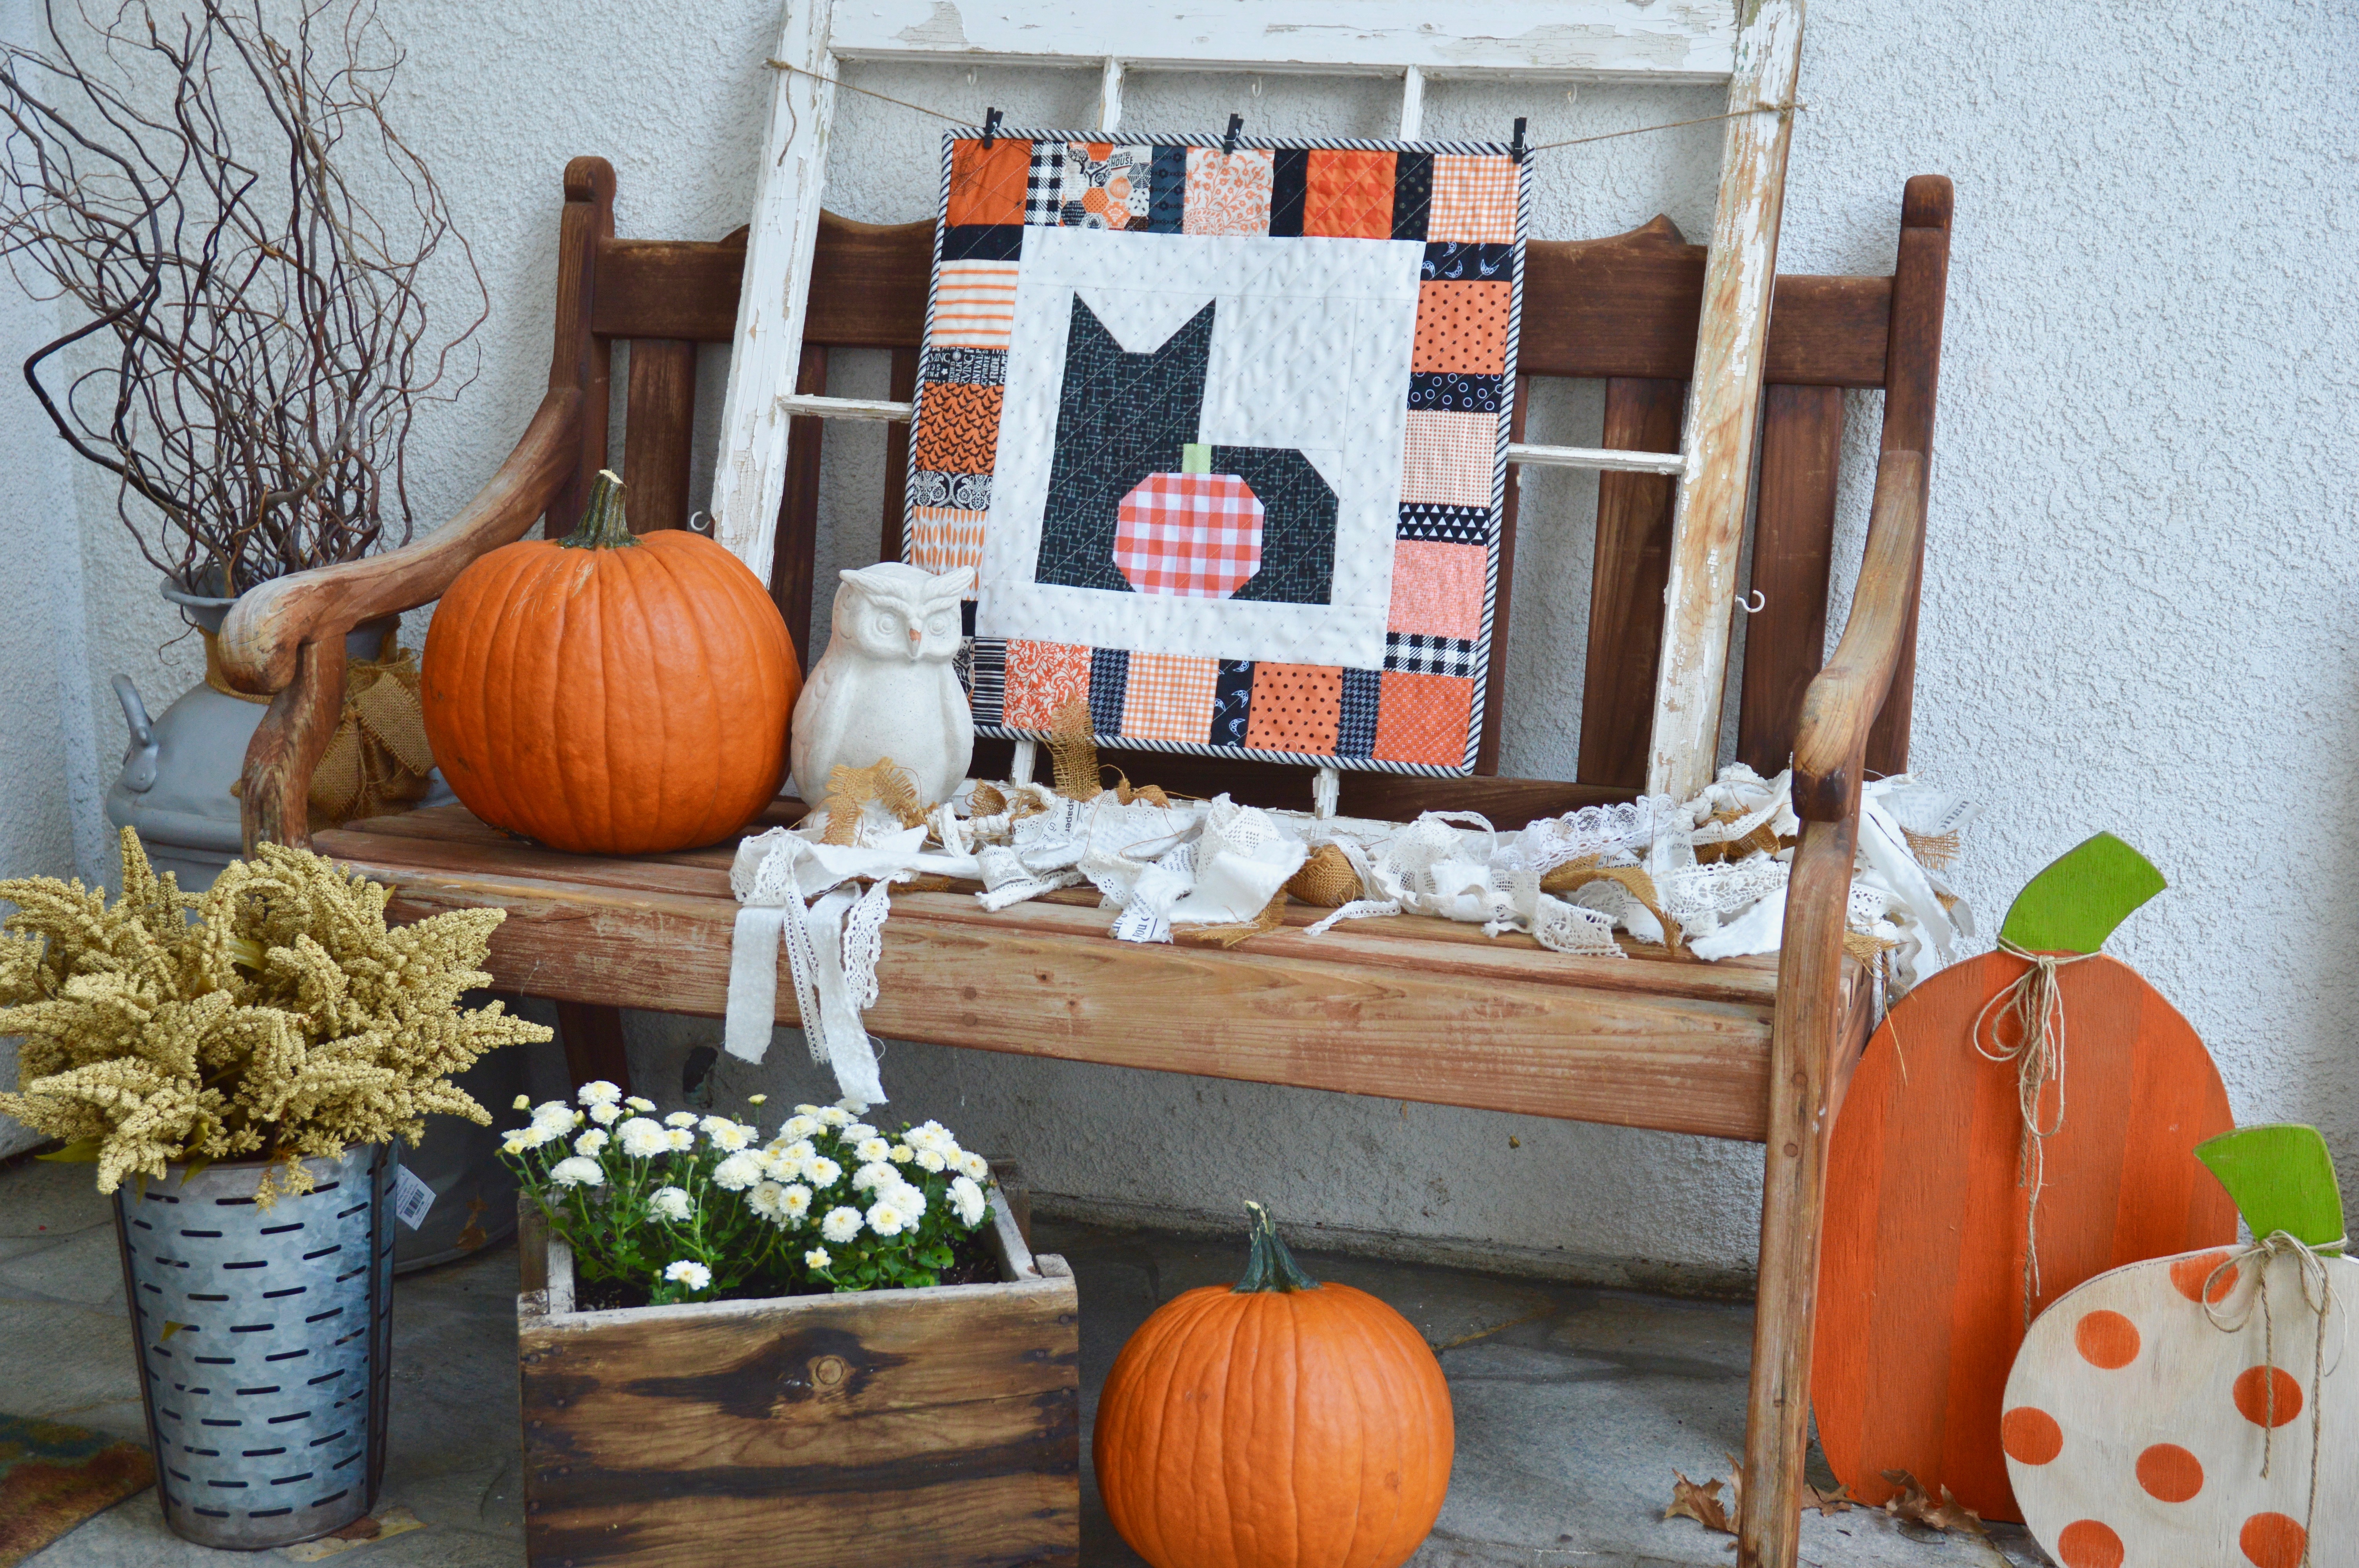
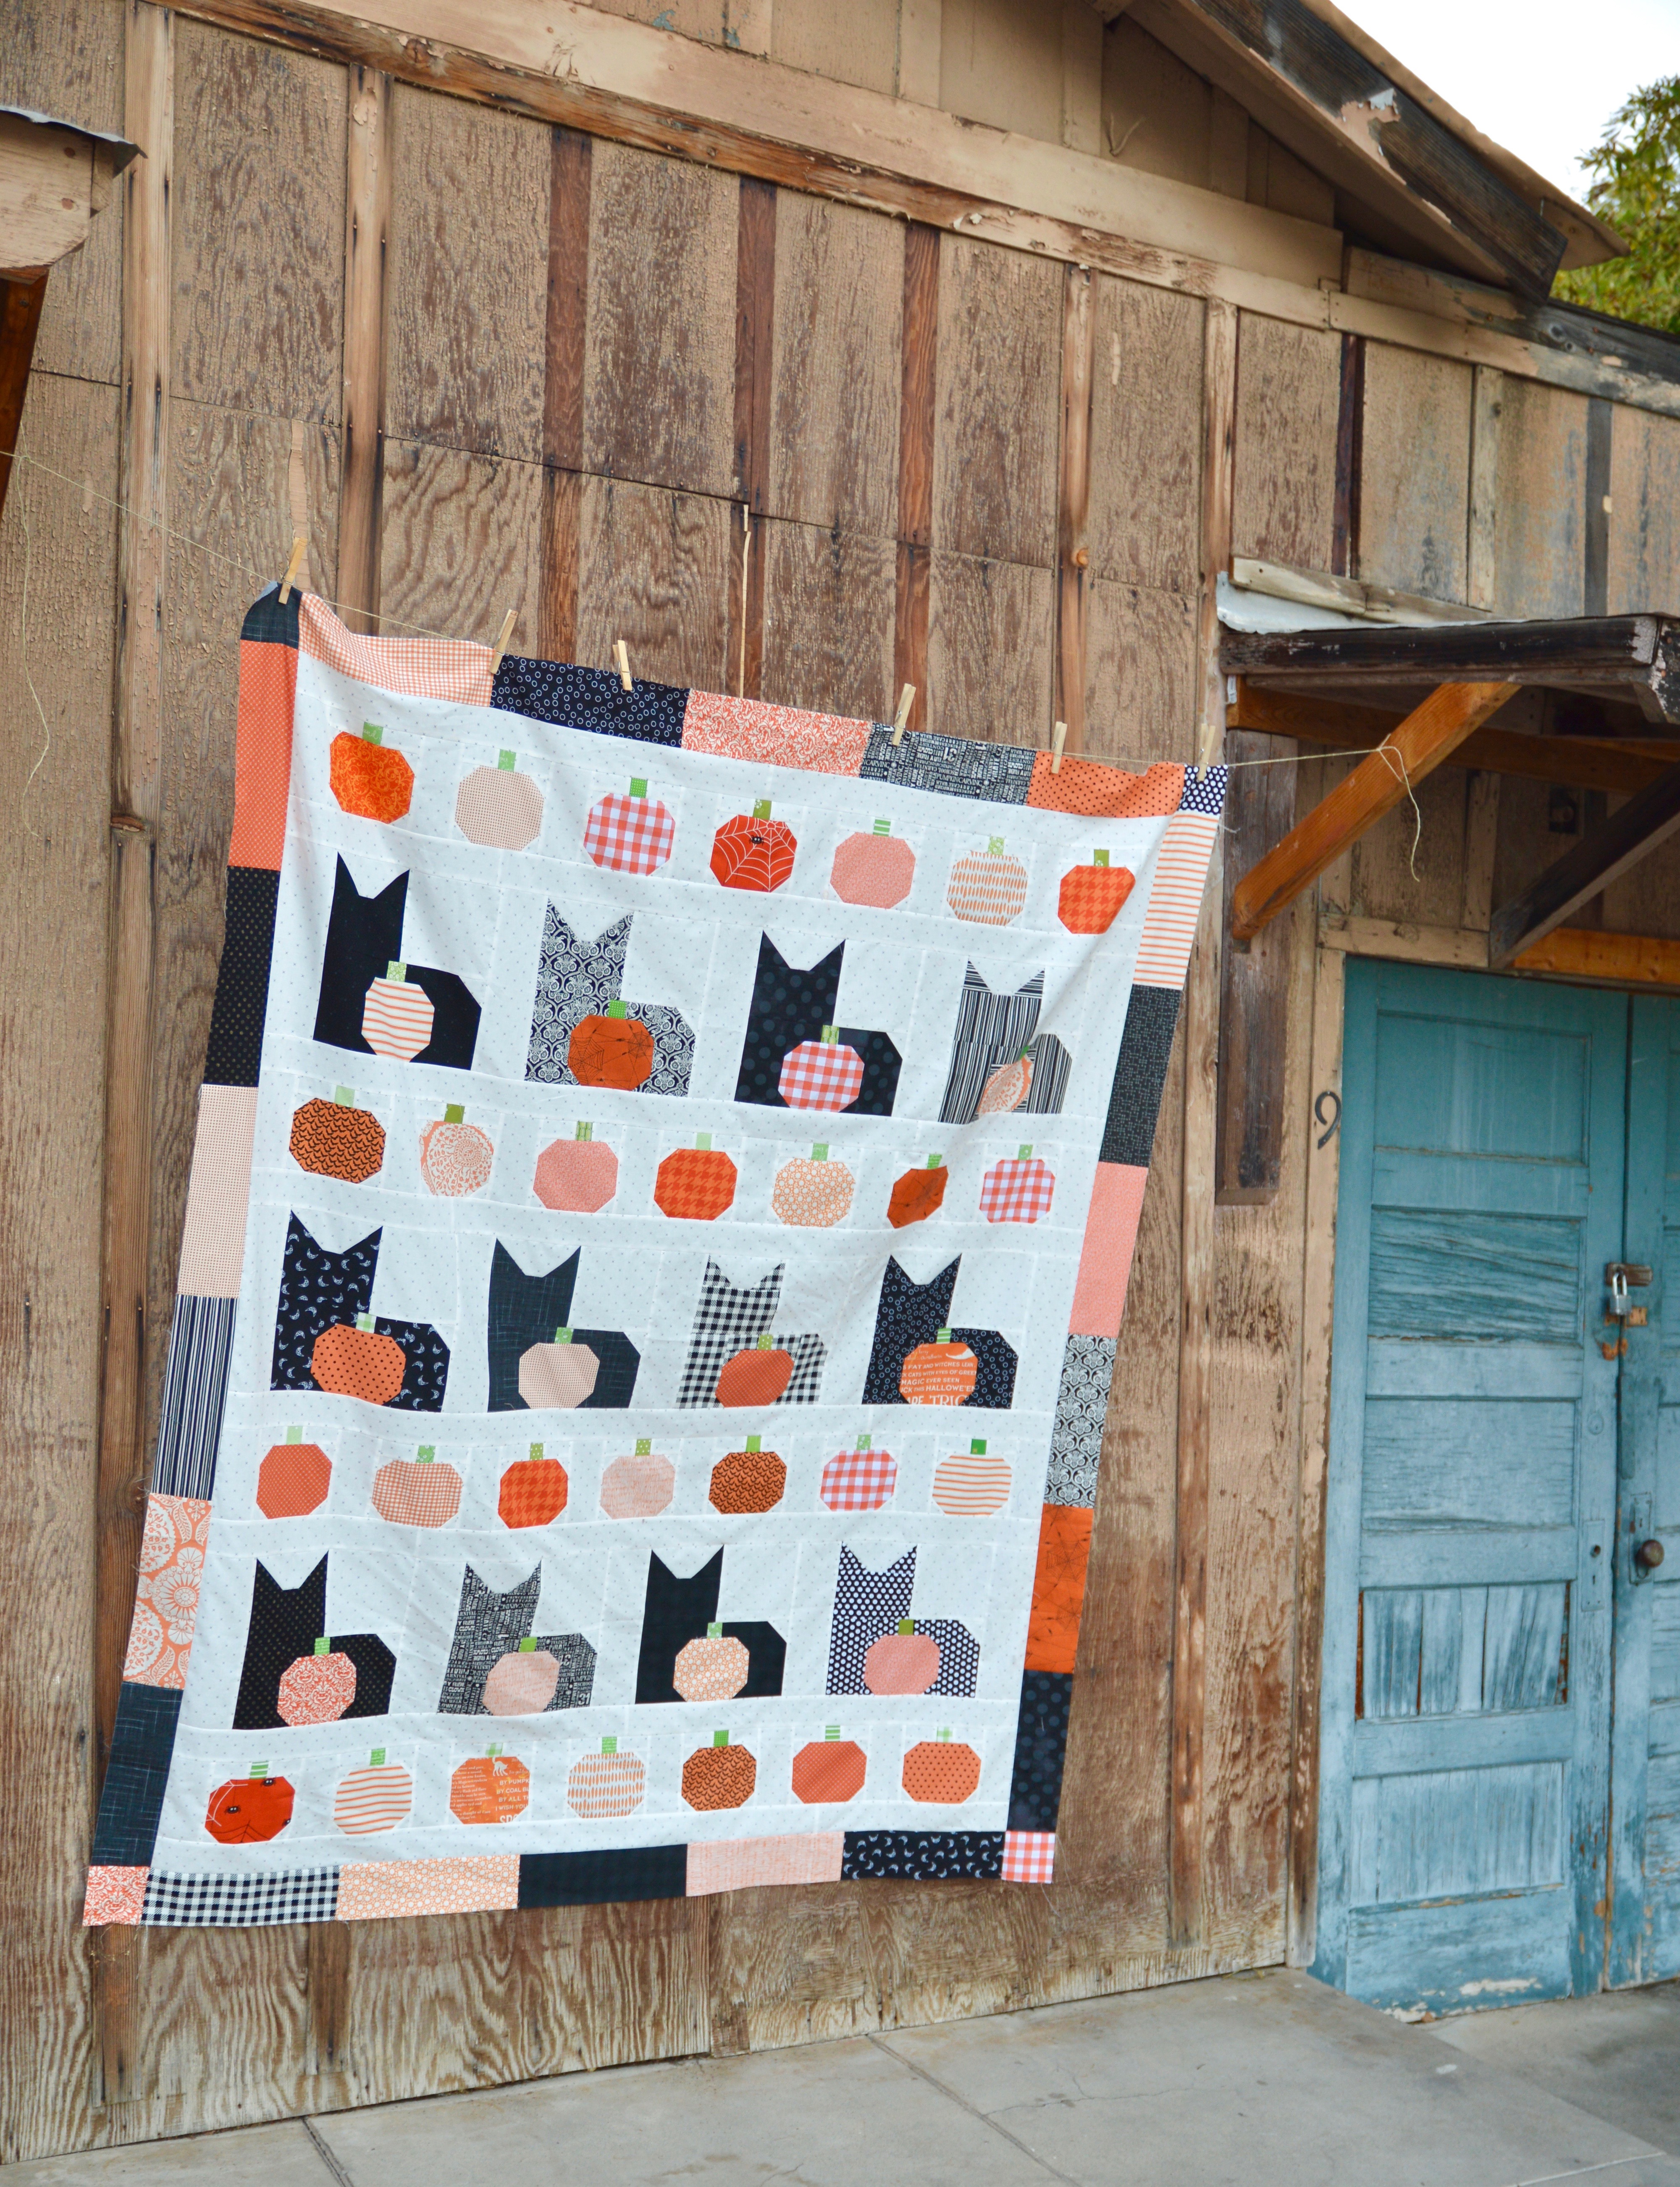
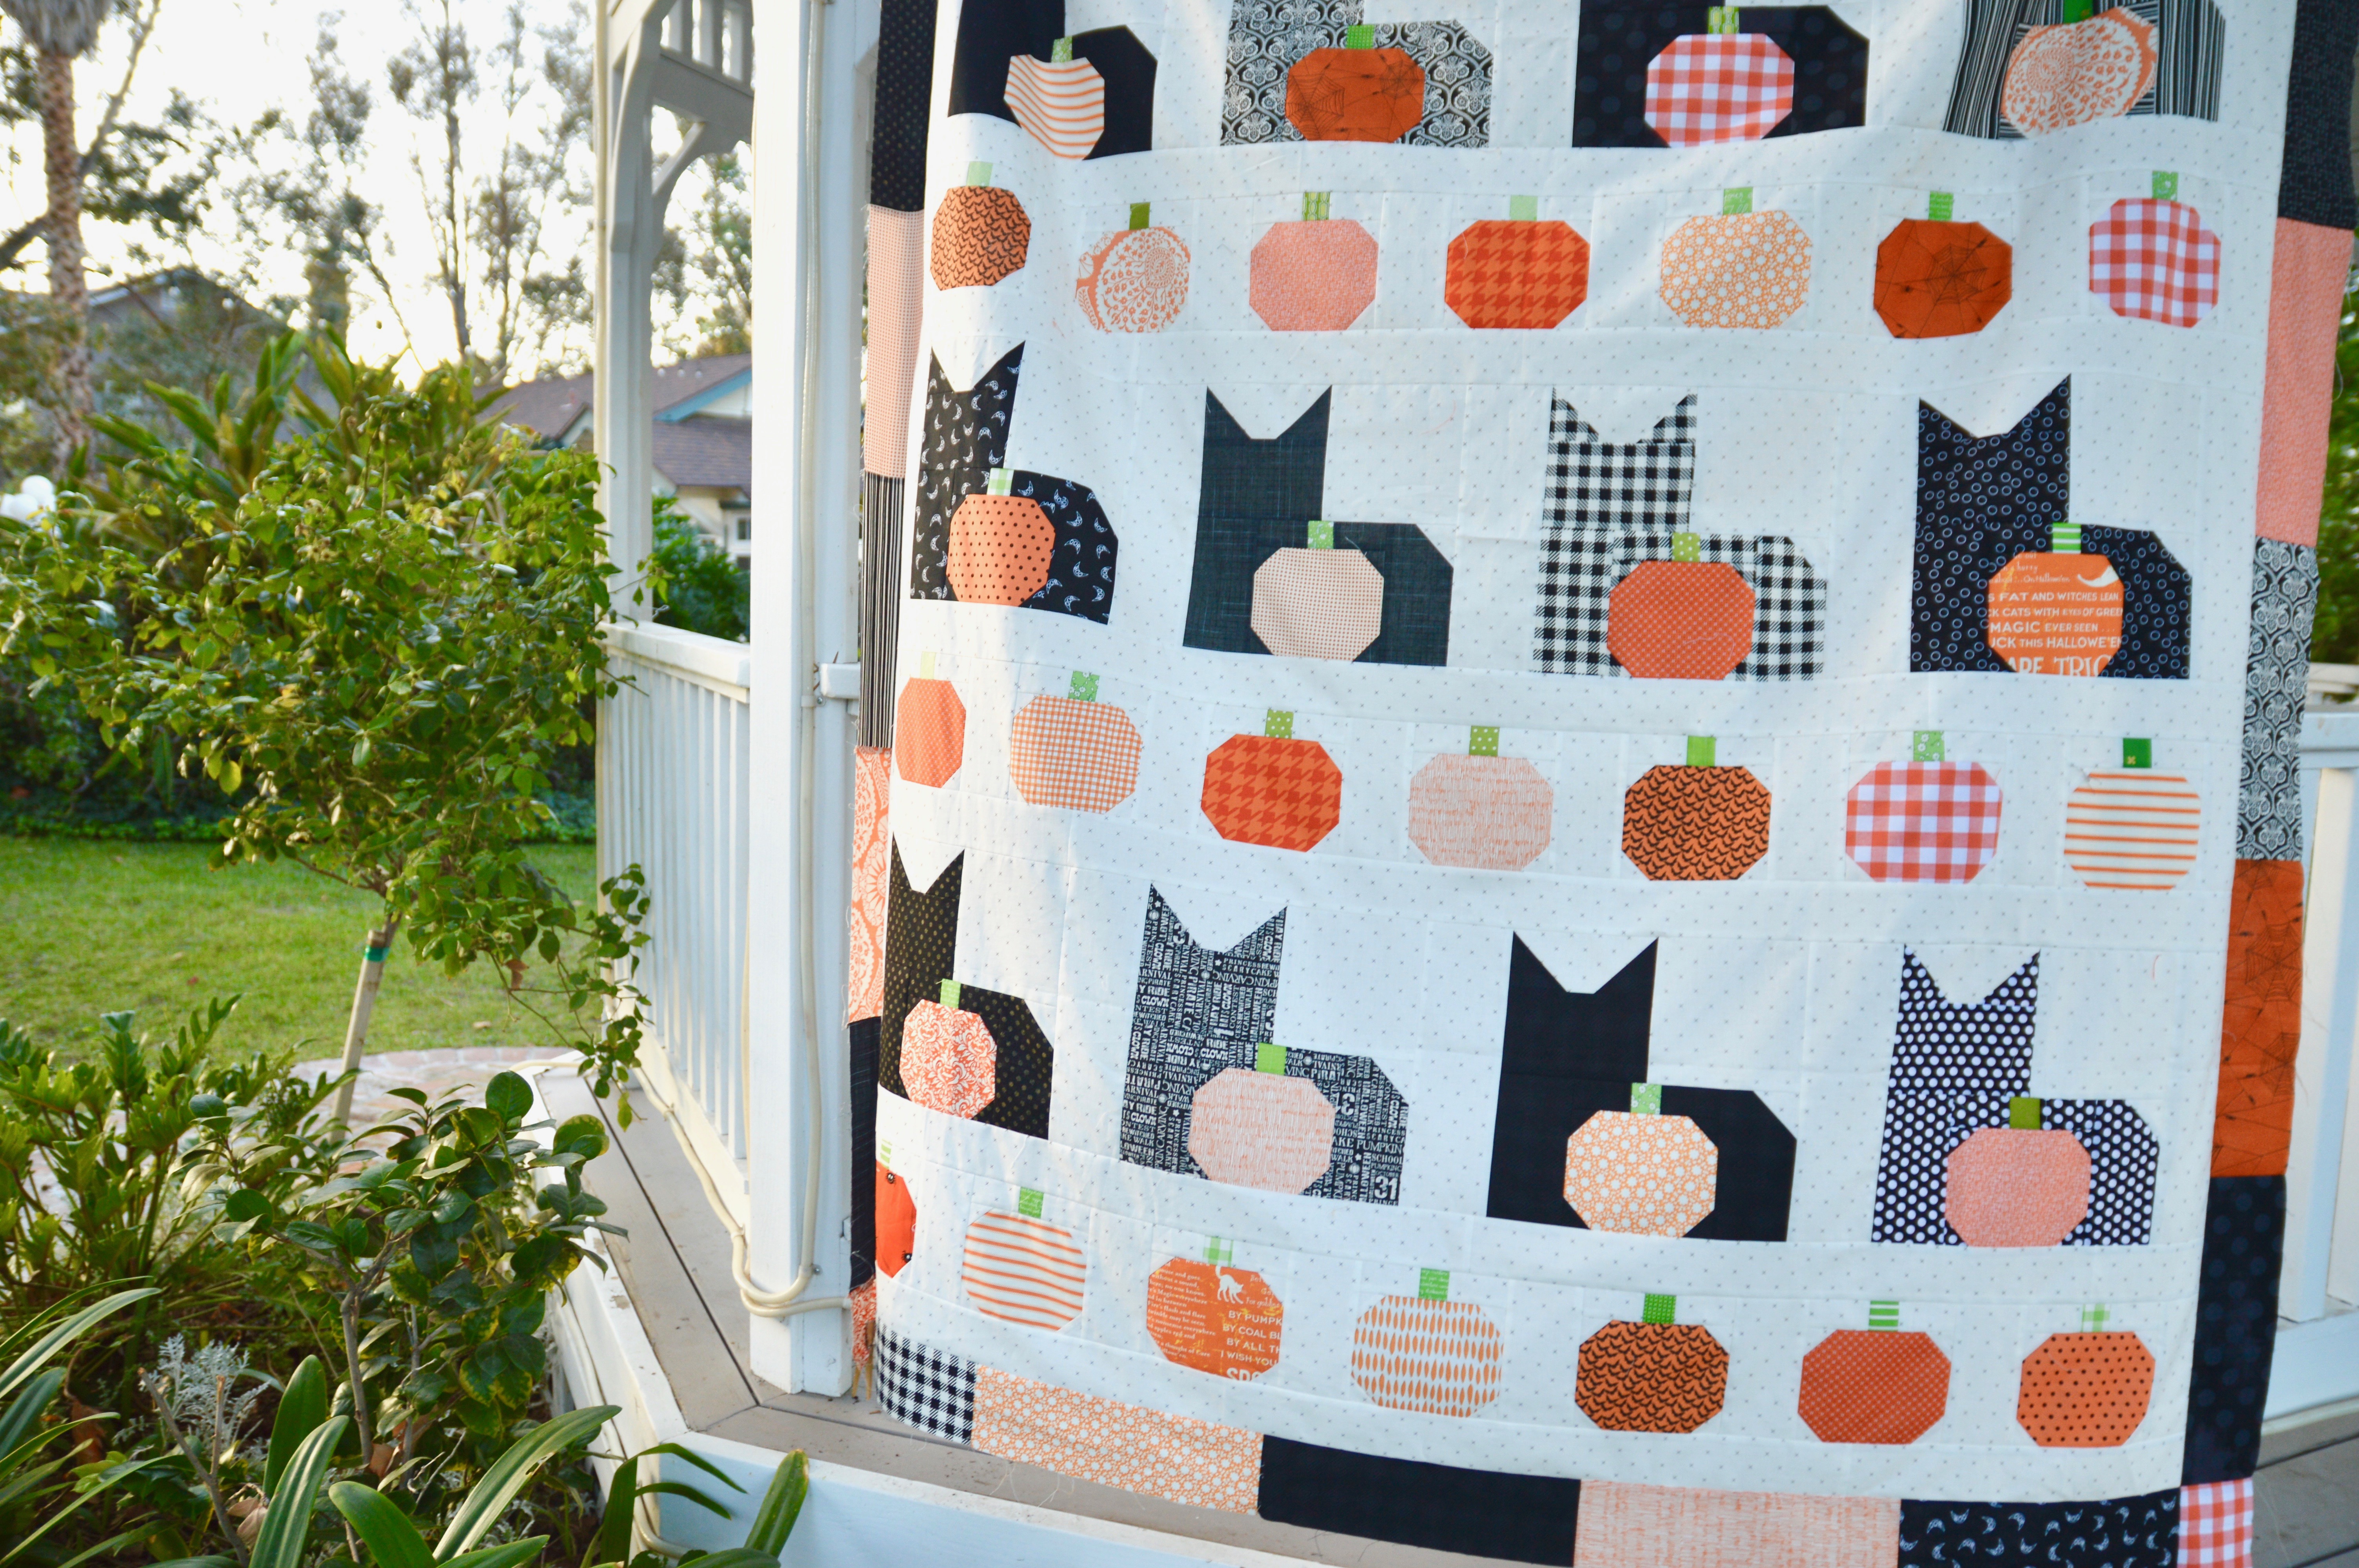
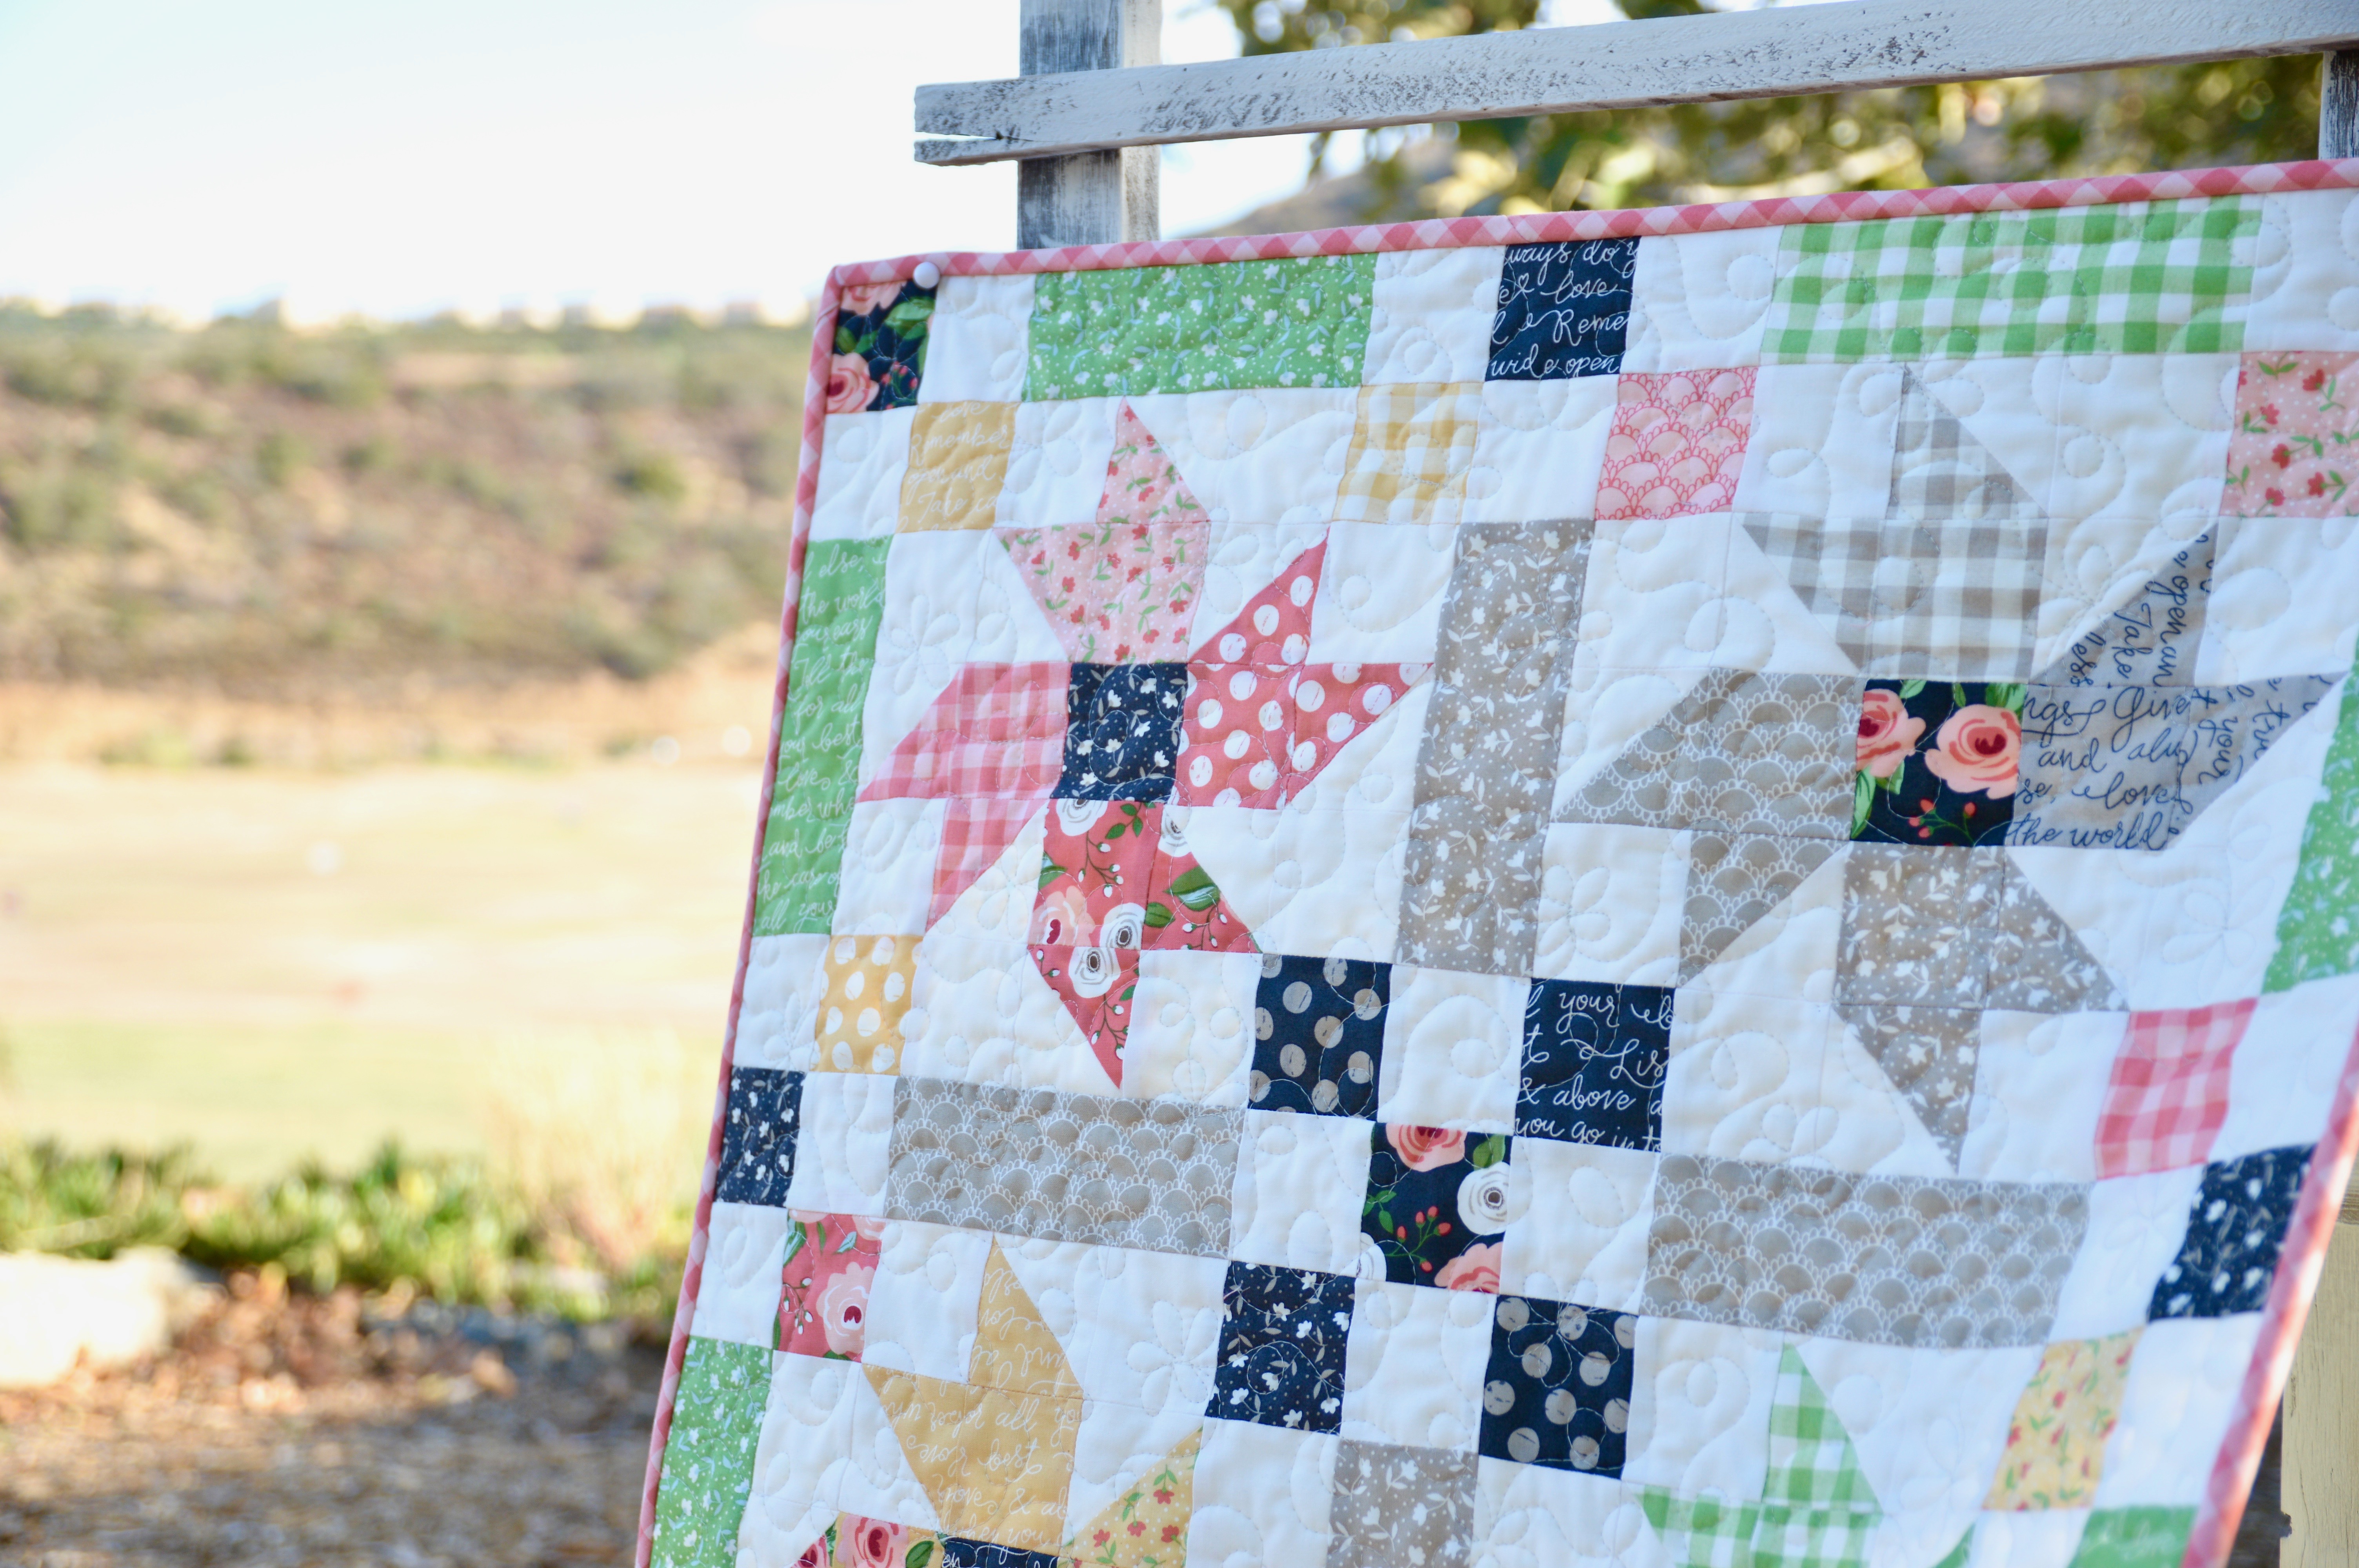
I love fall so much!


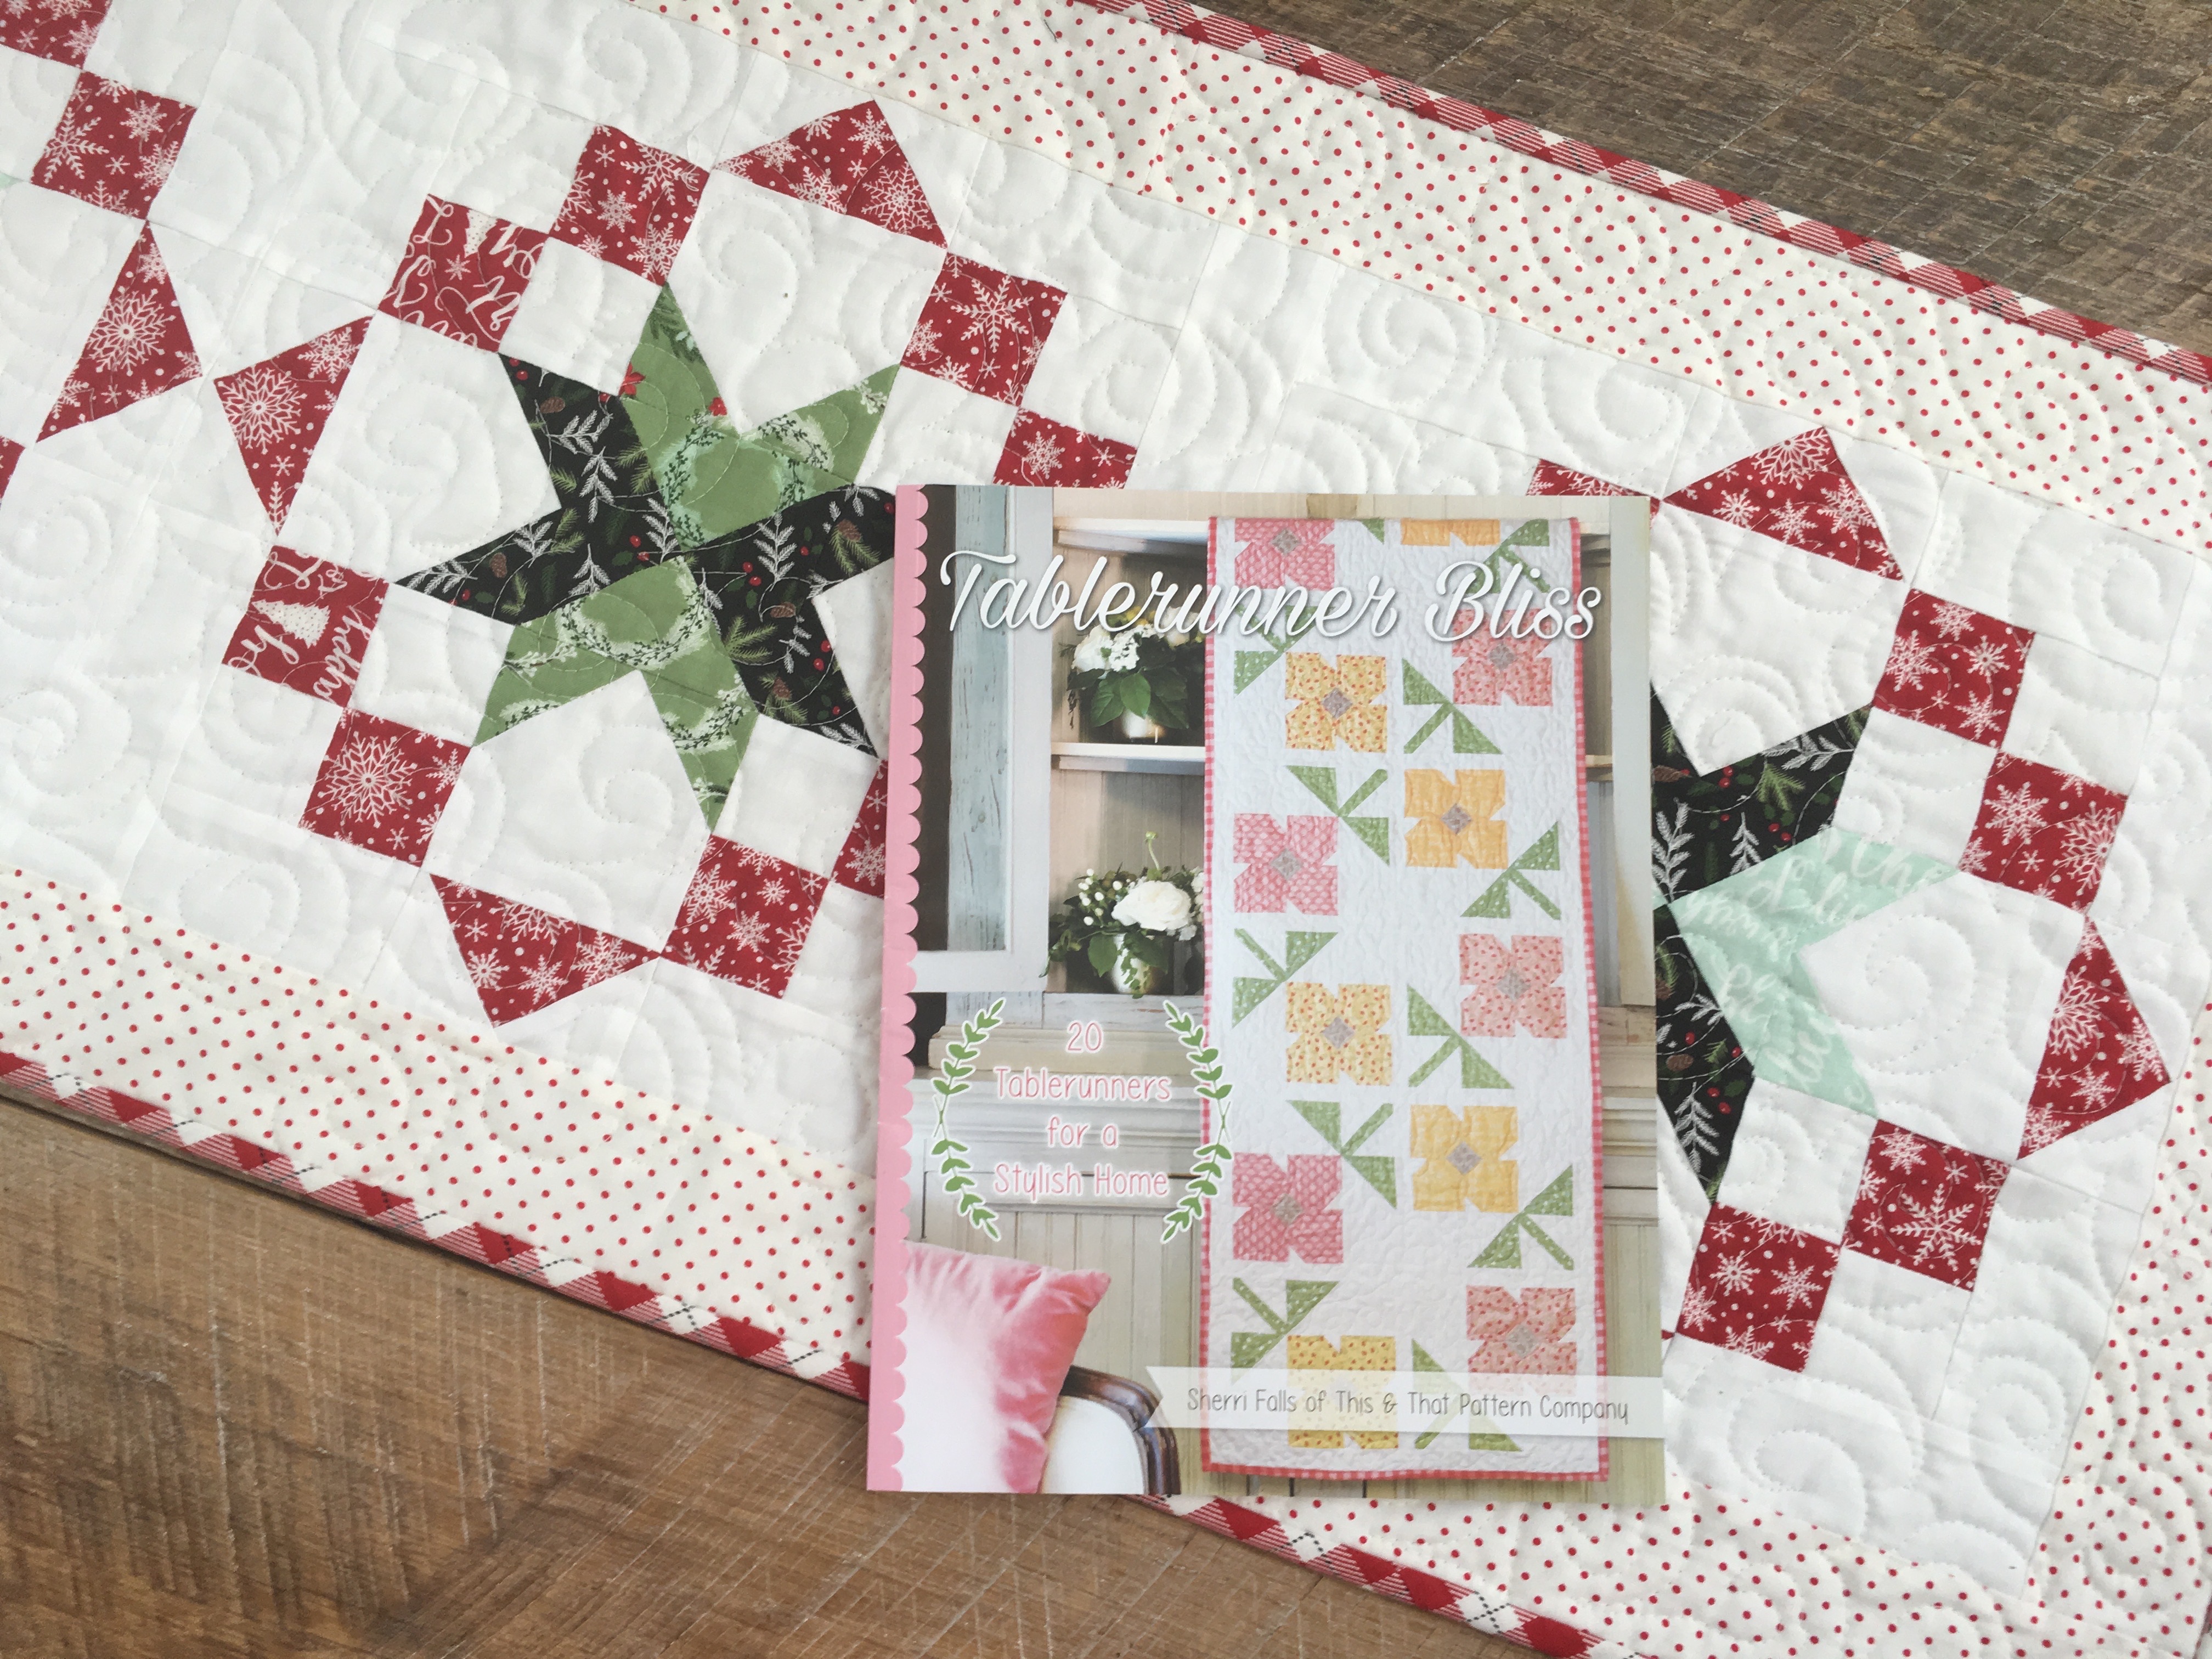
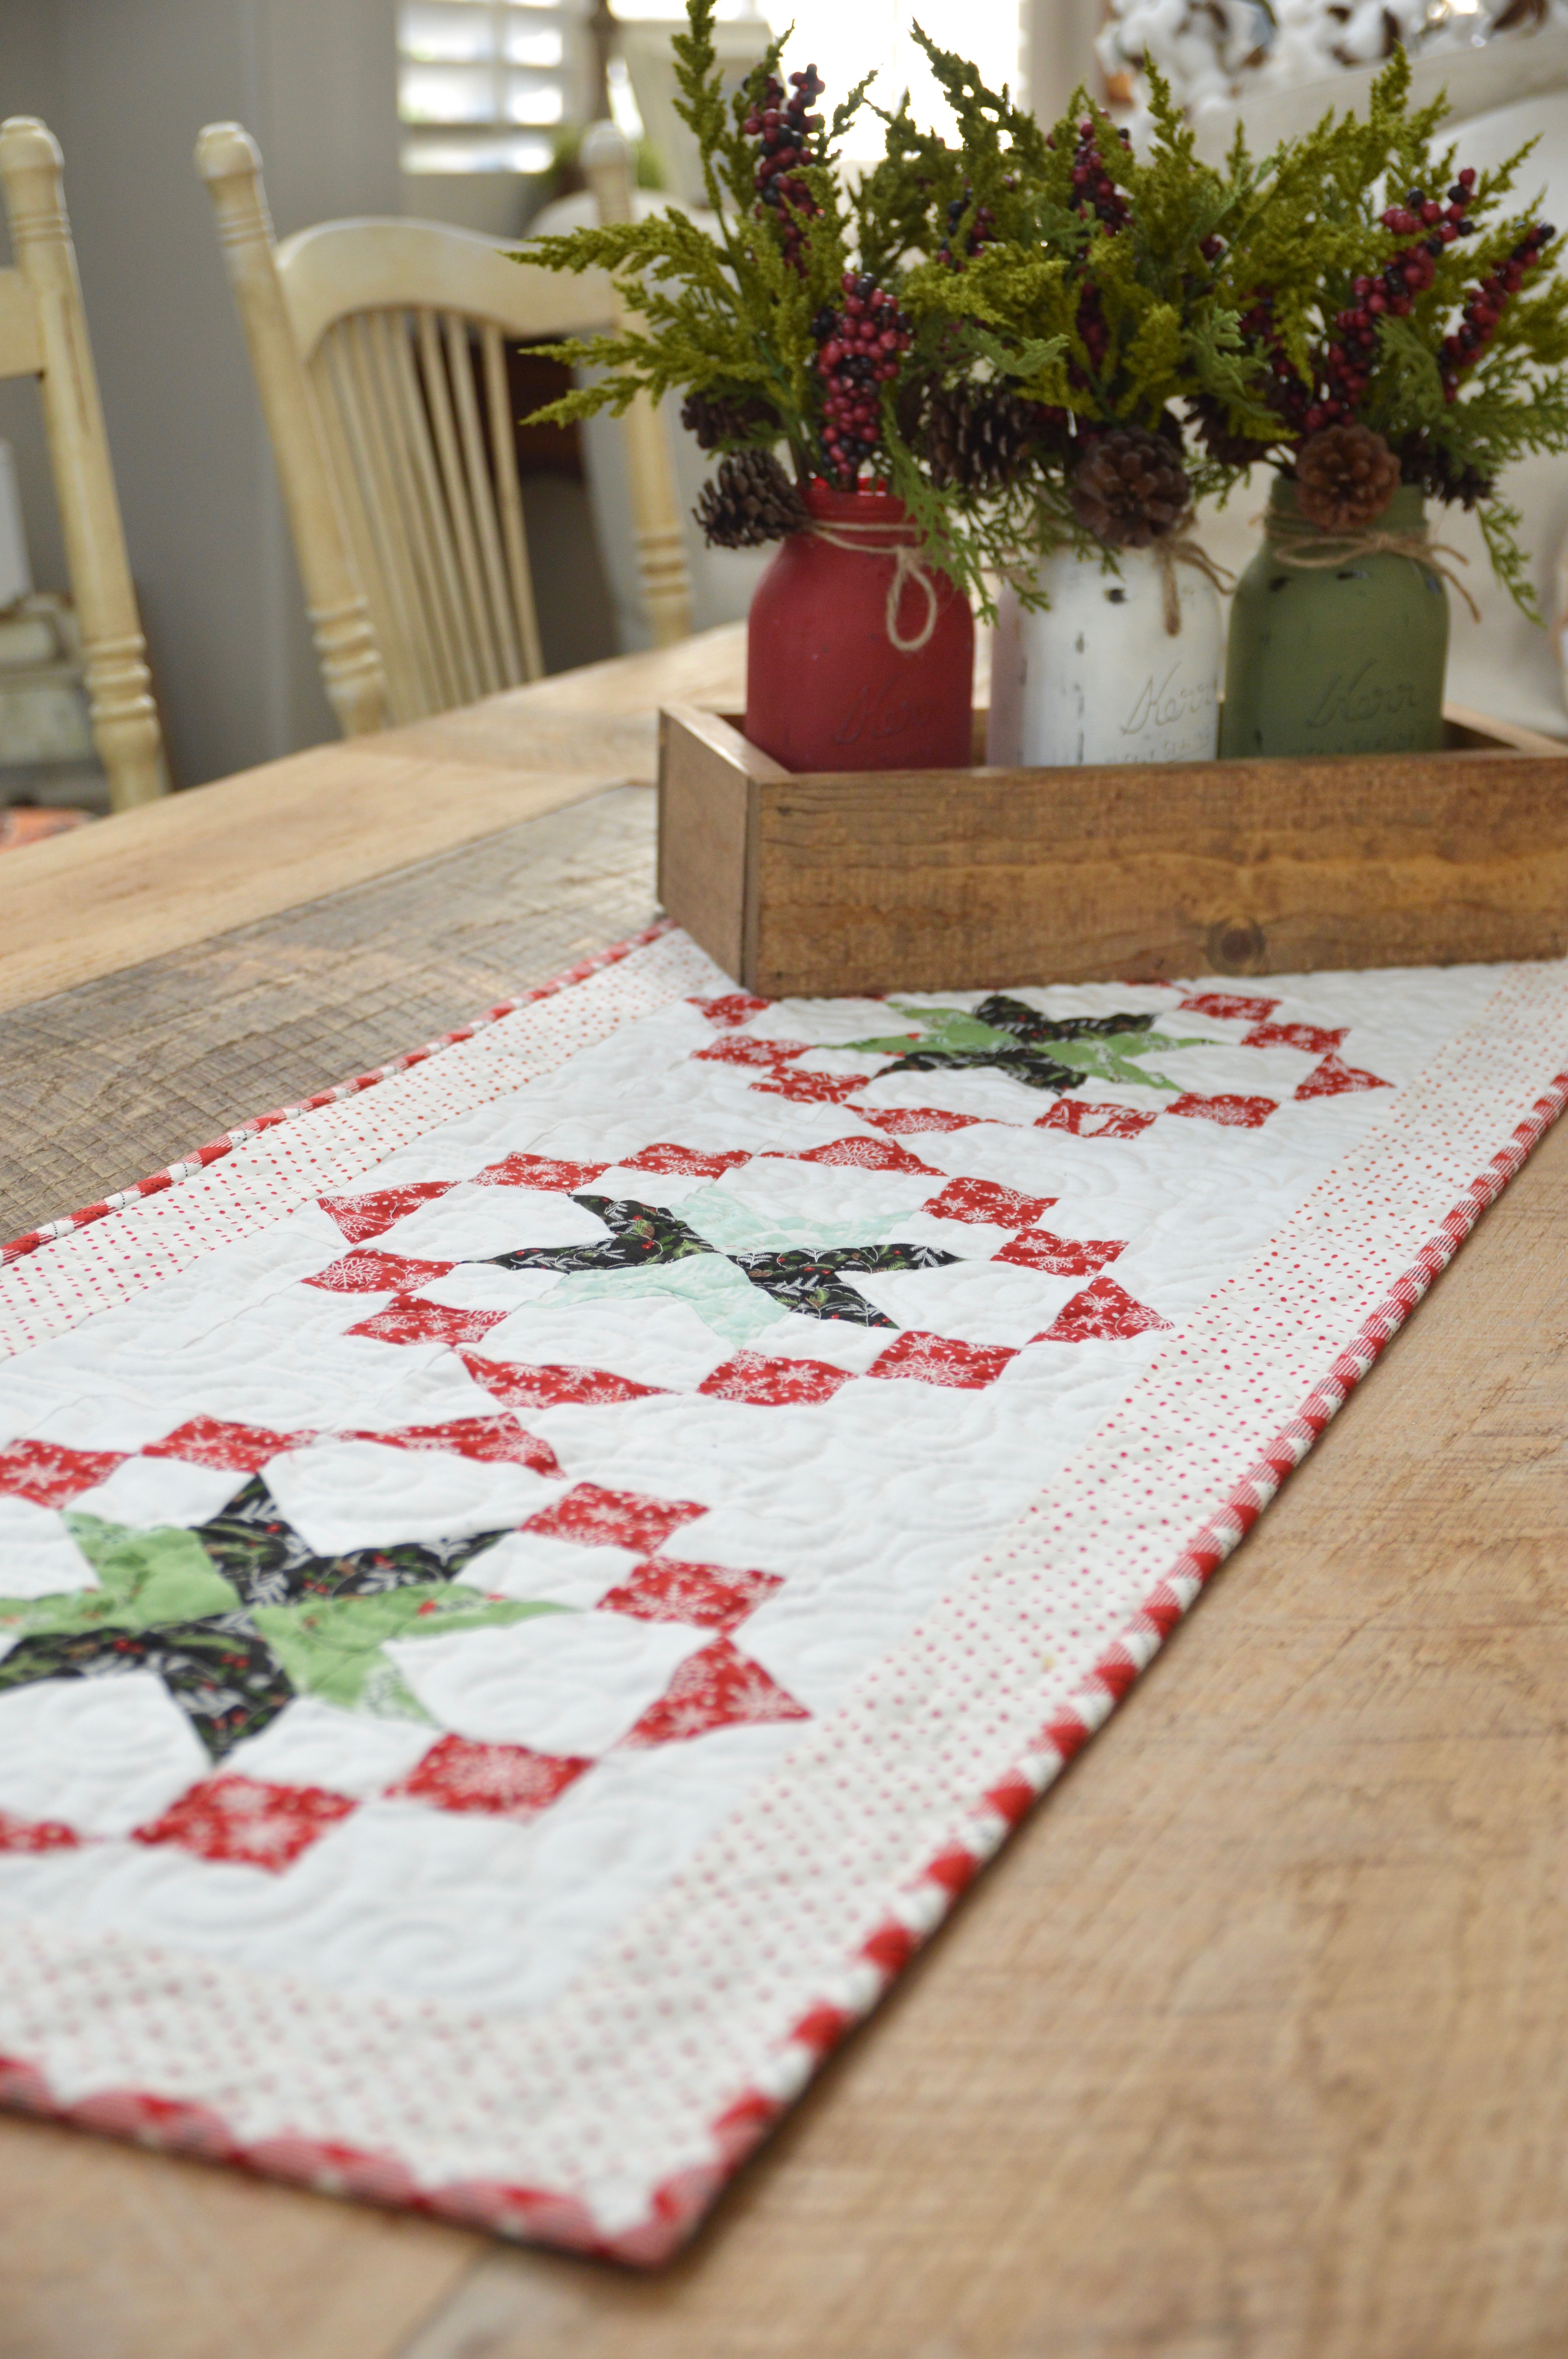

 Thanks for stopping by!
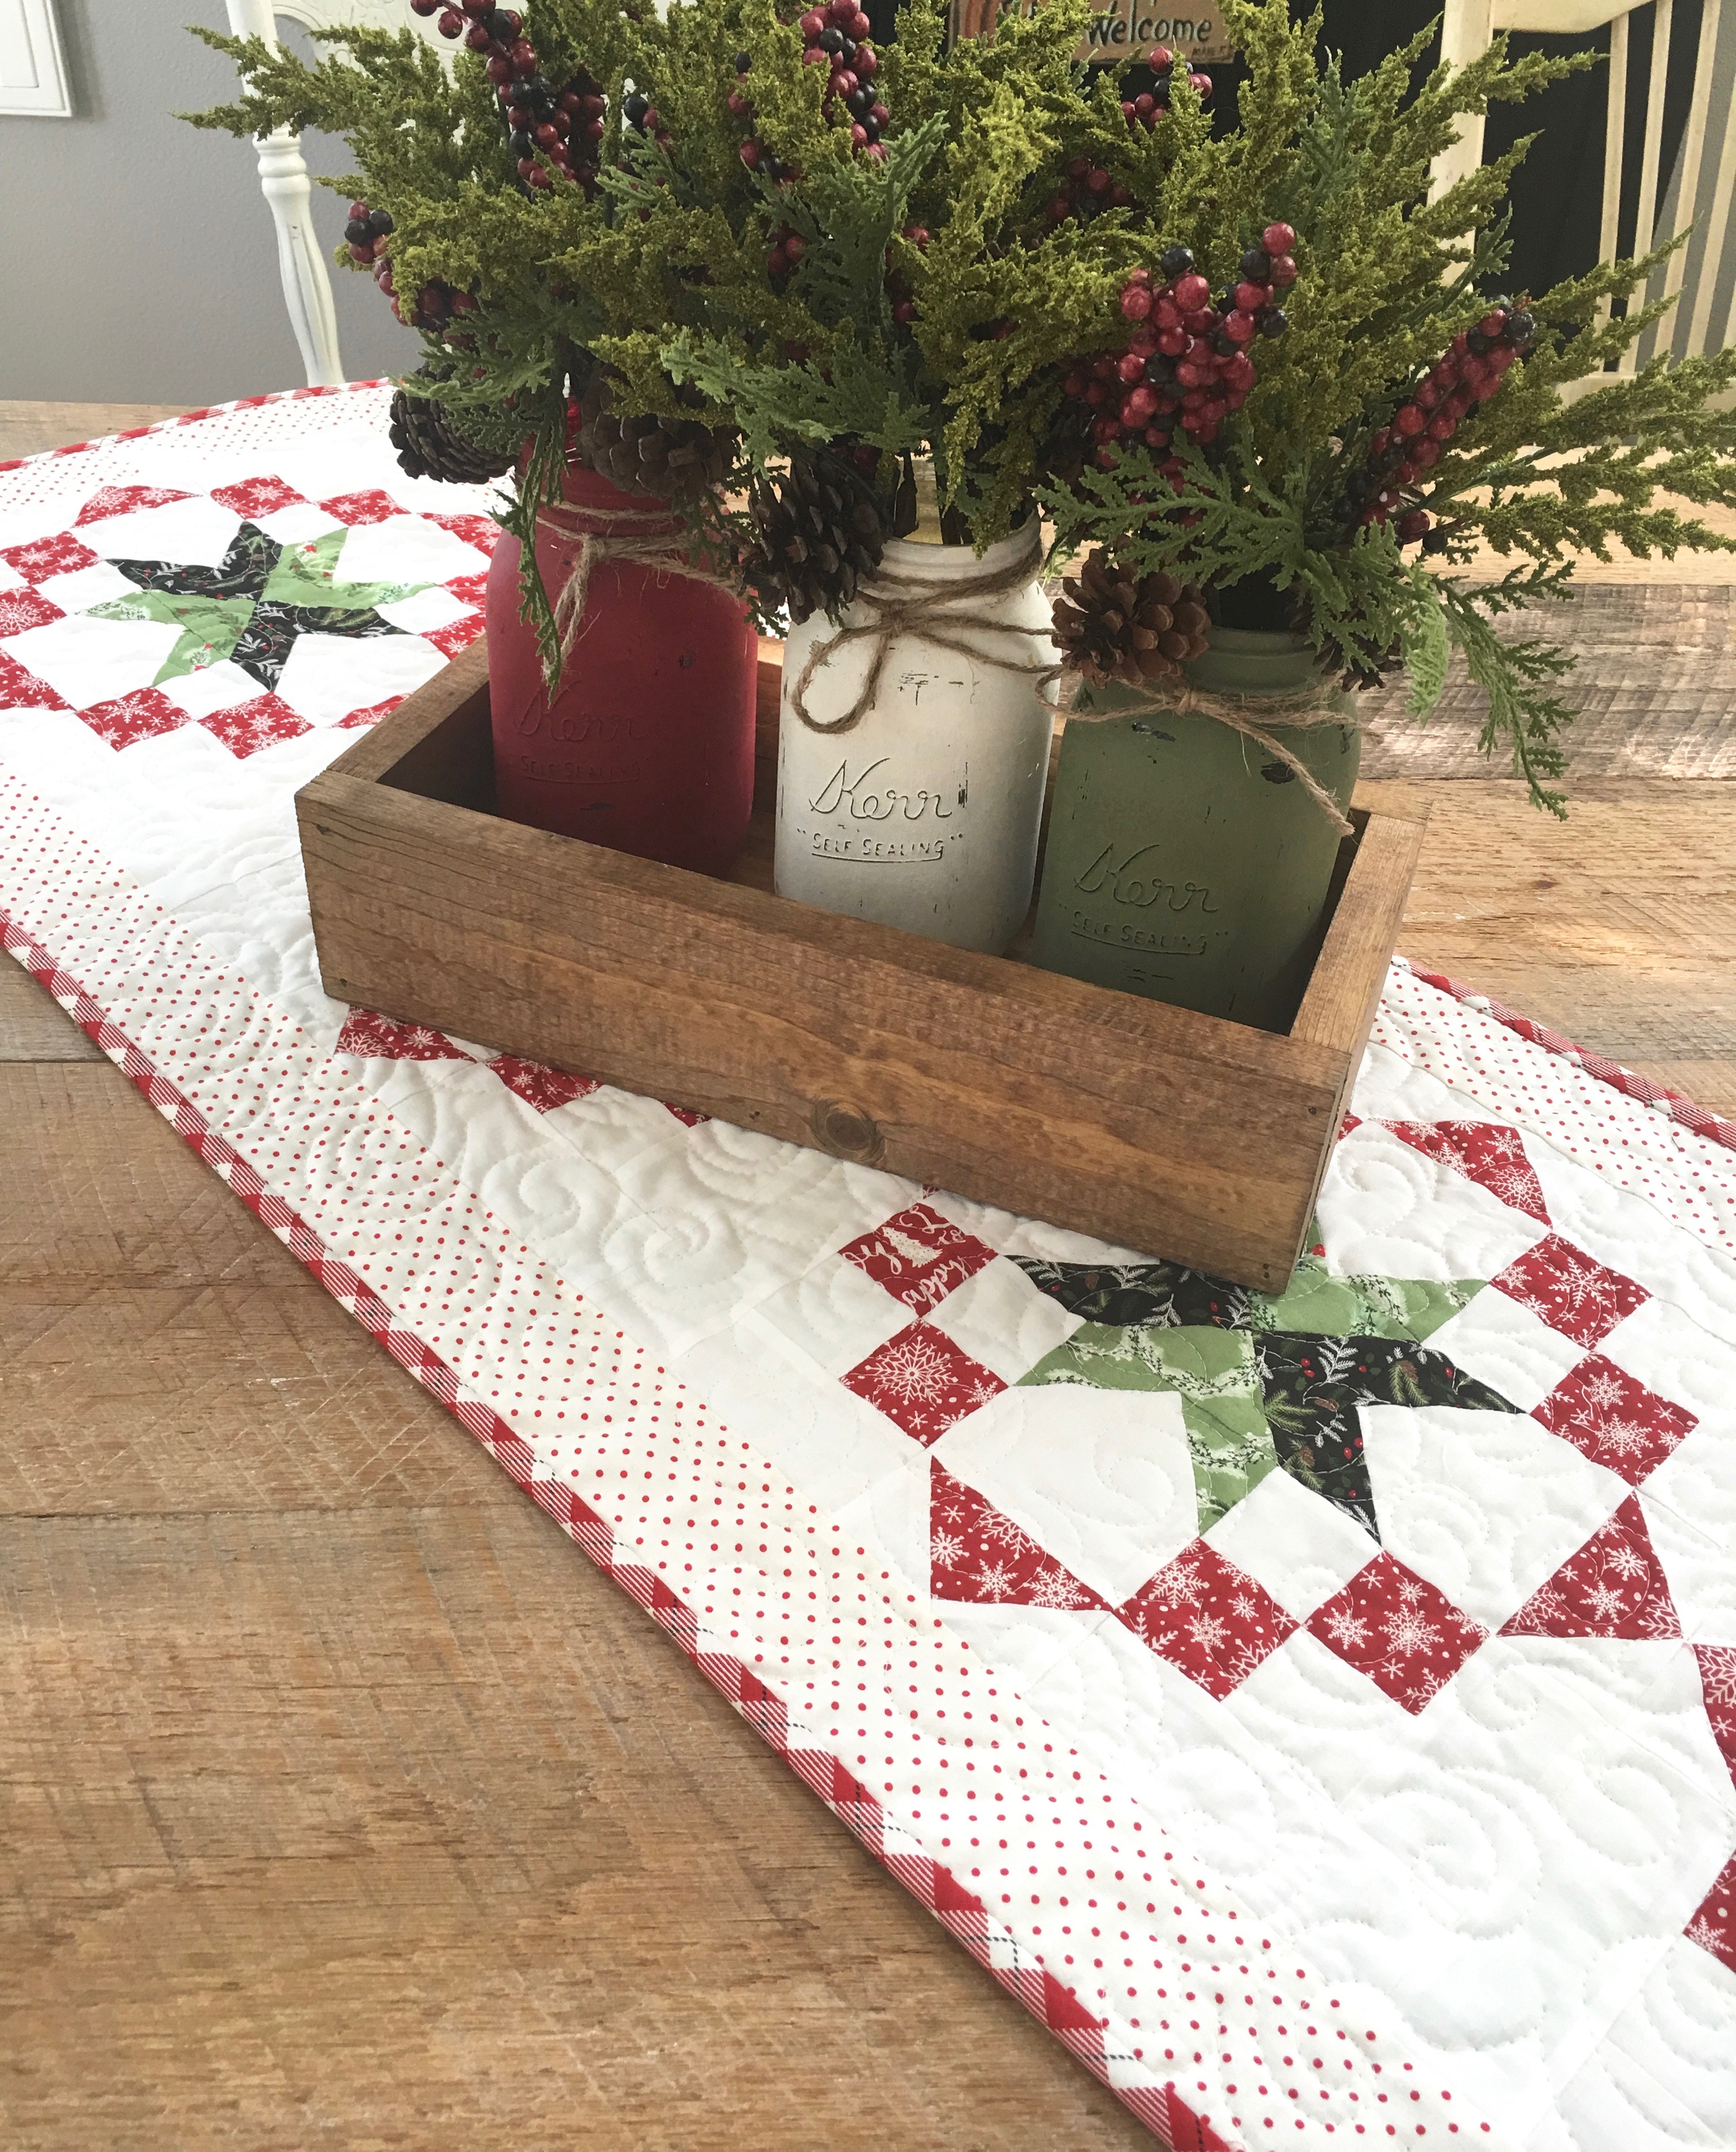

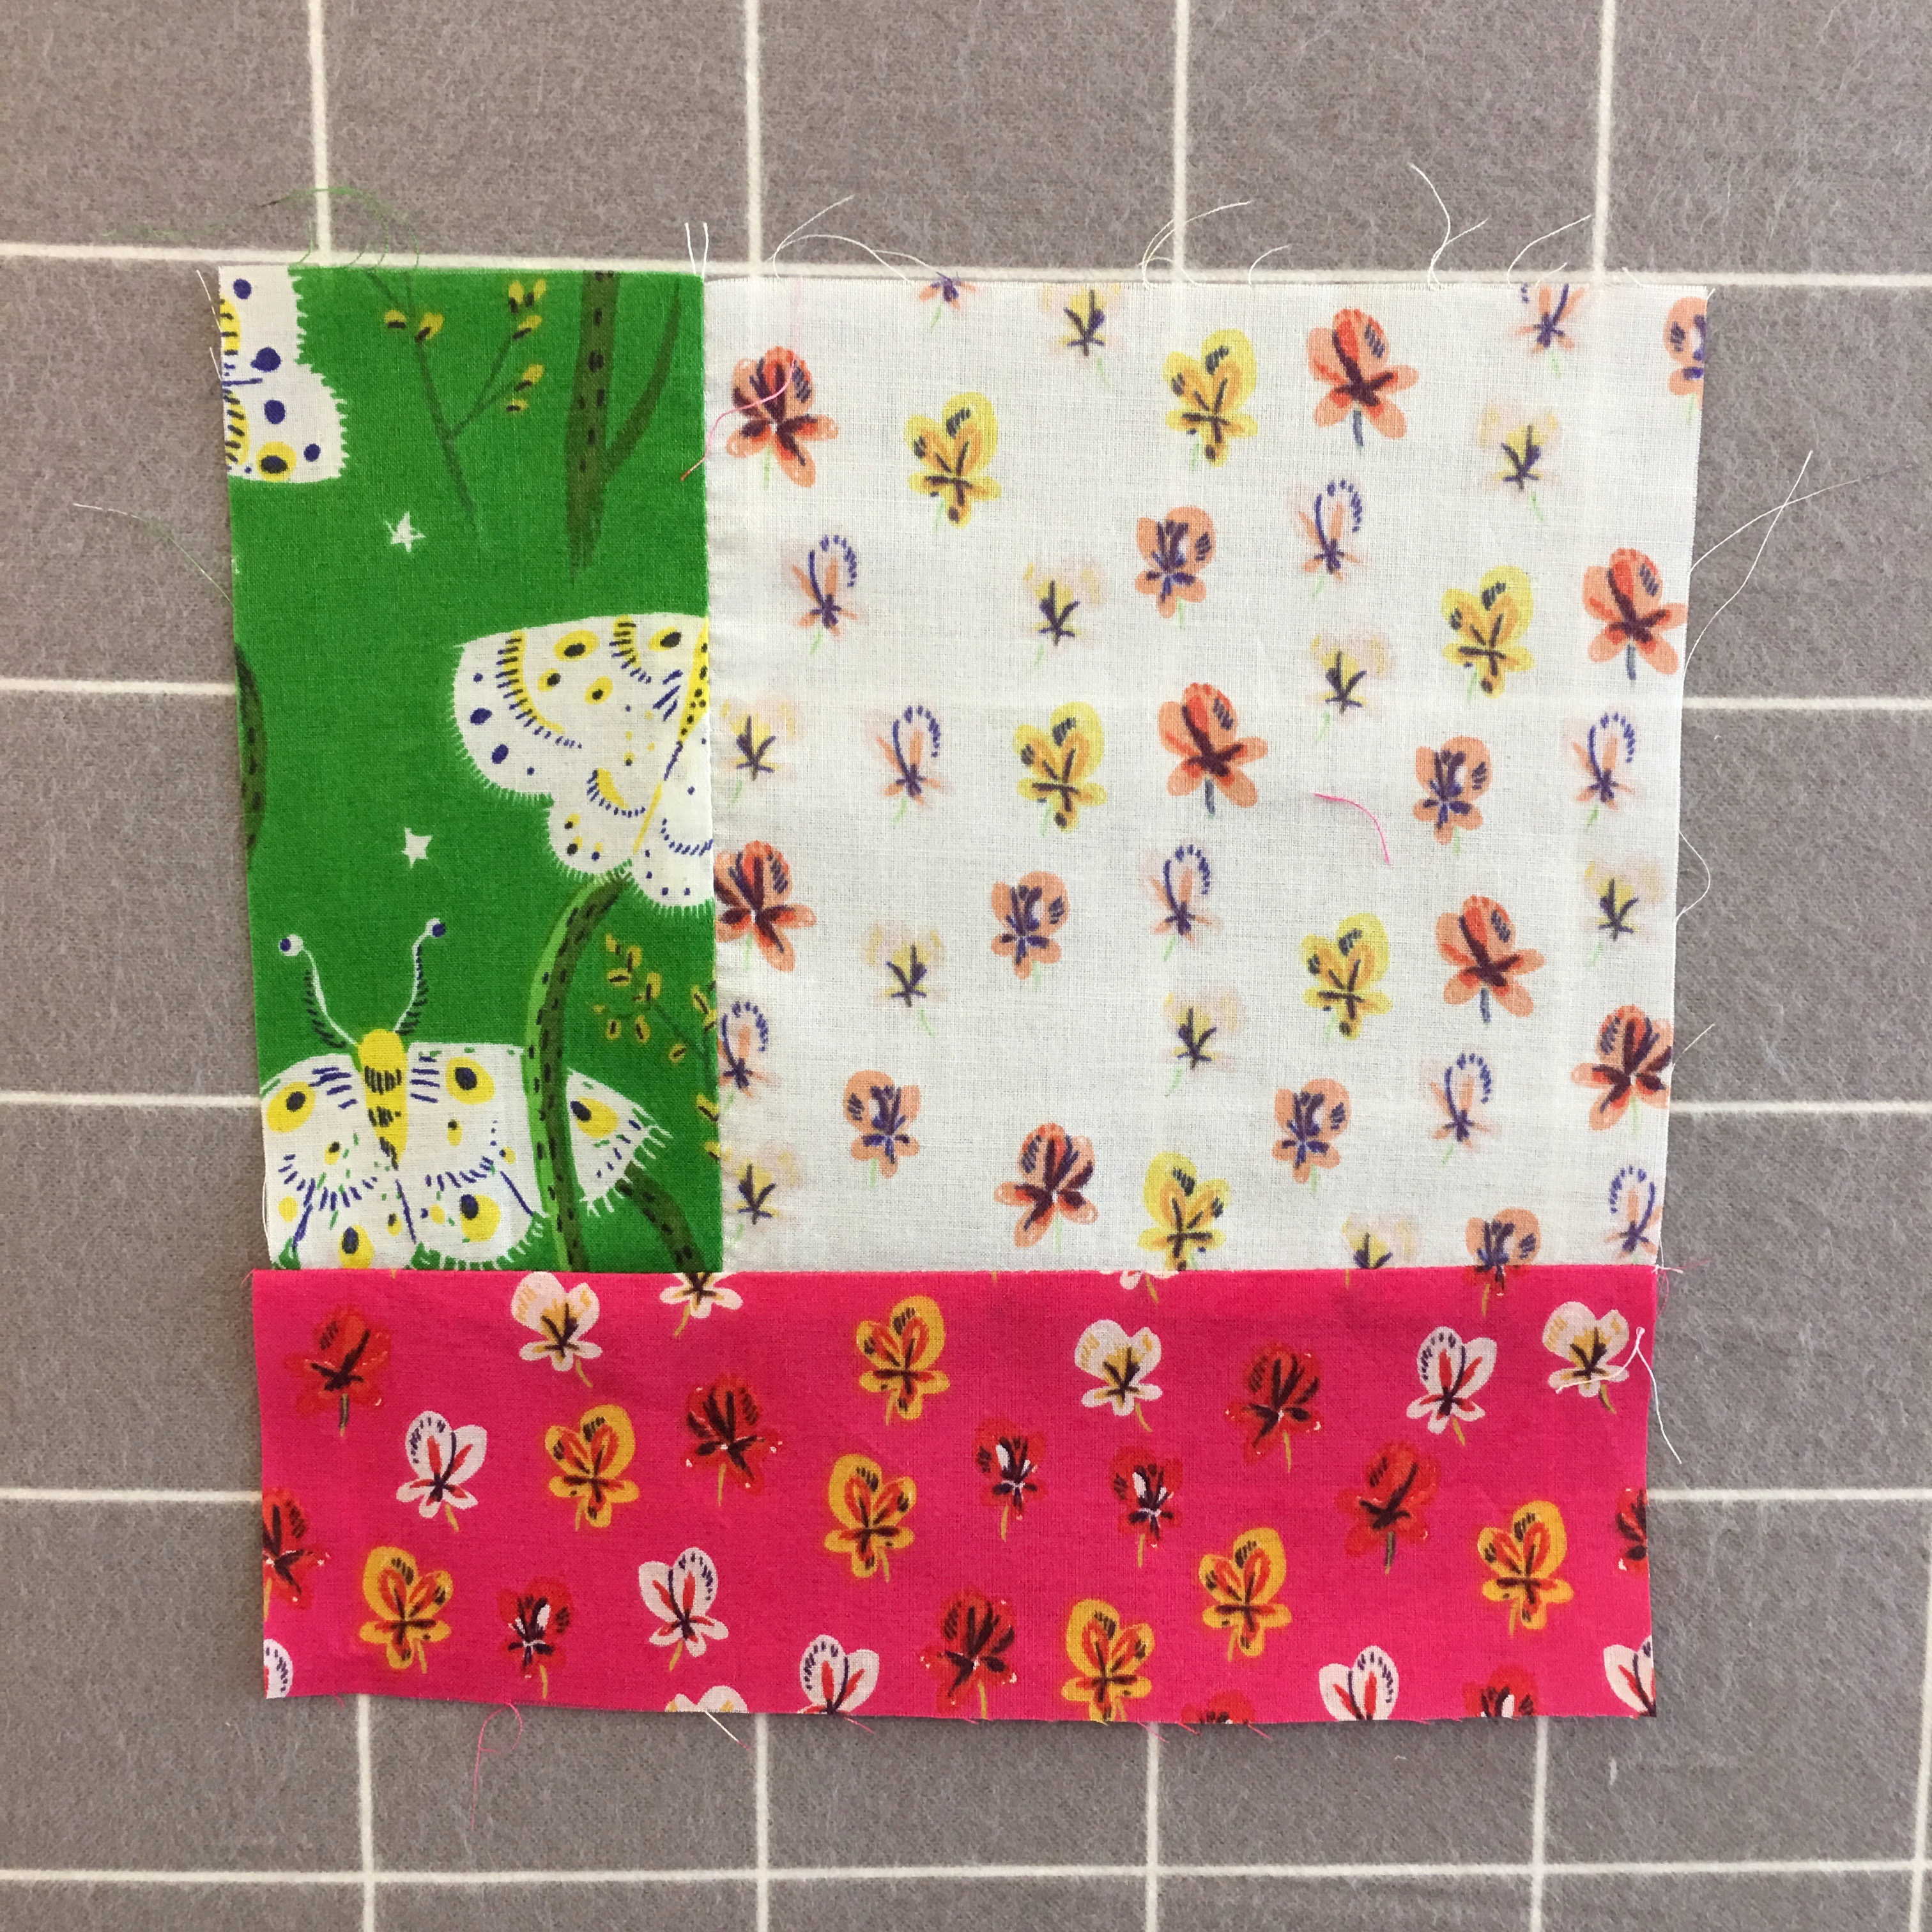

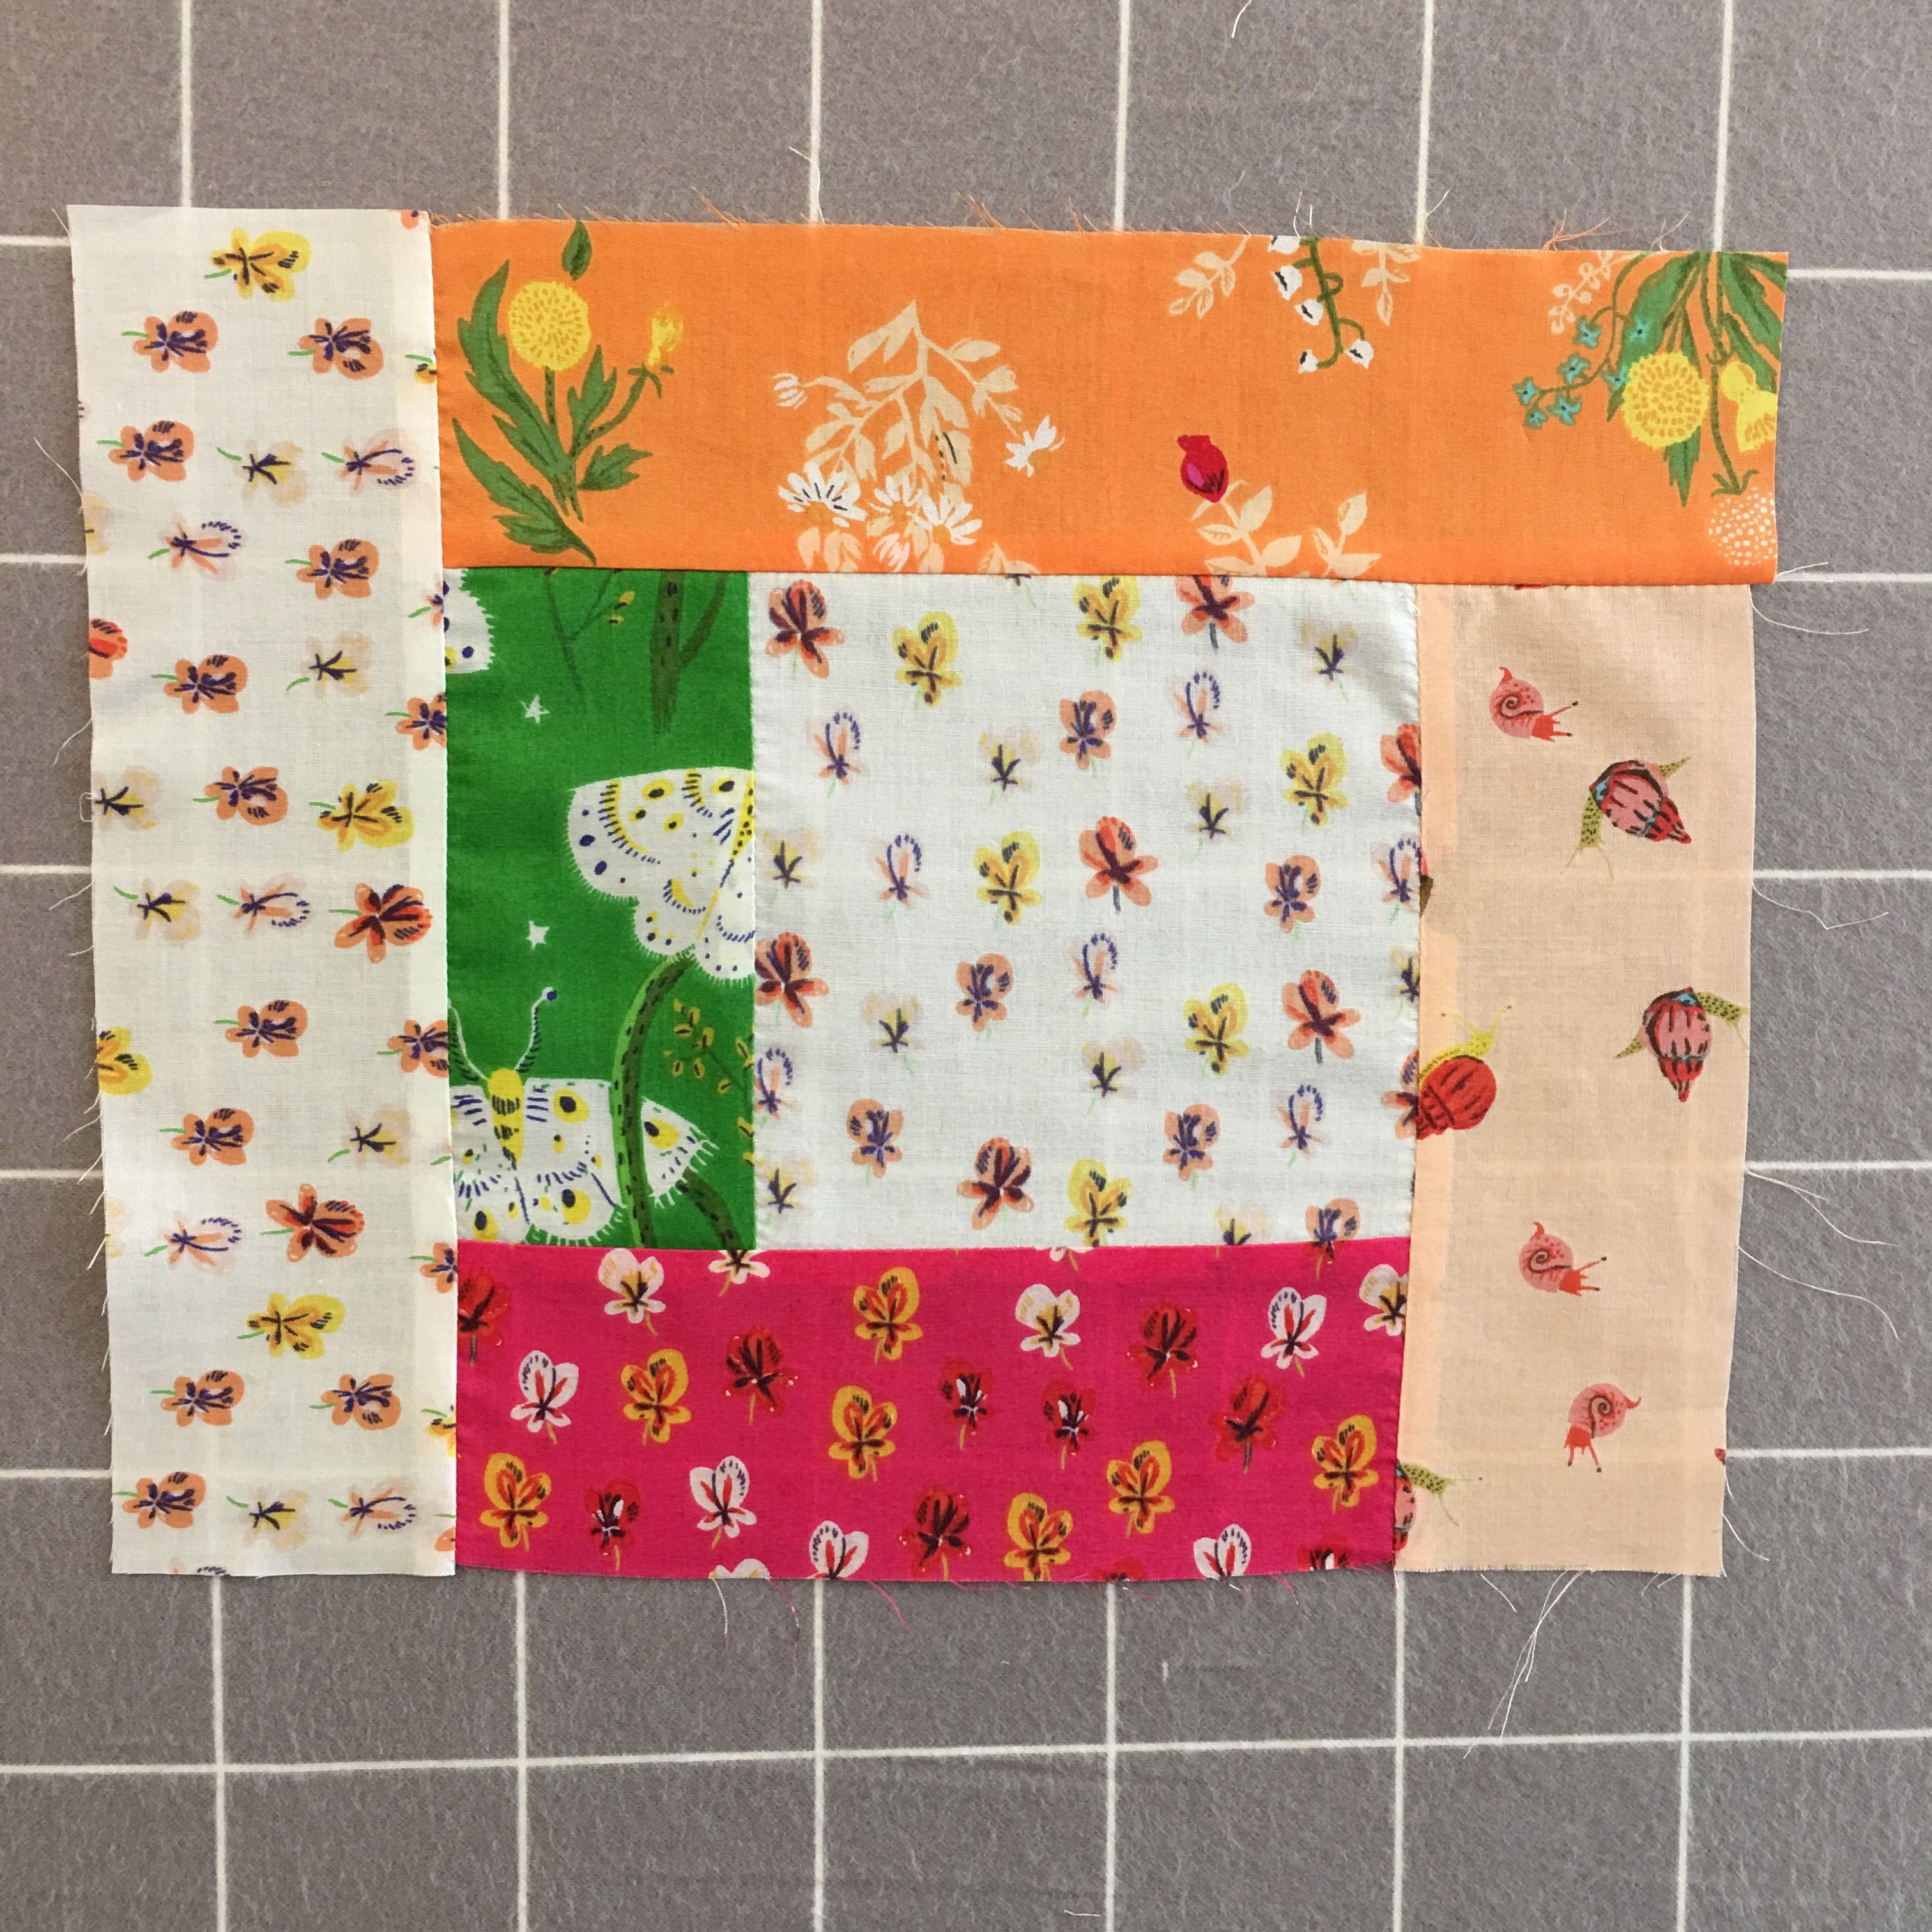
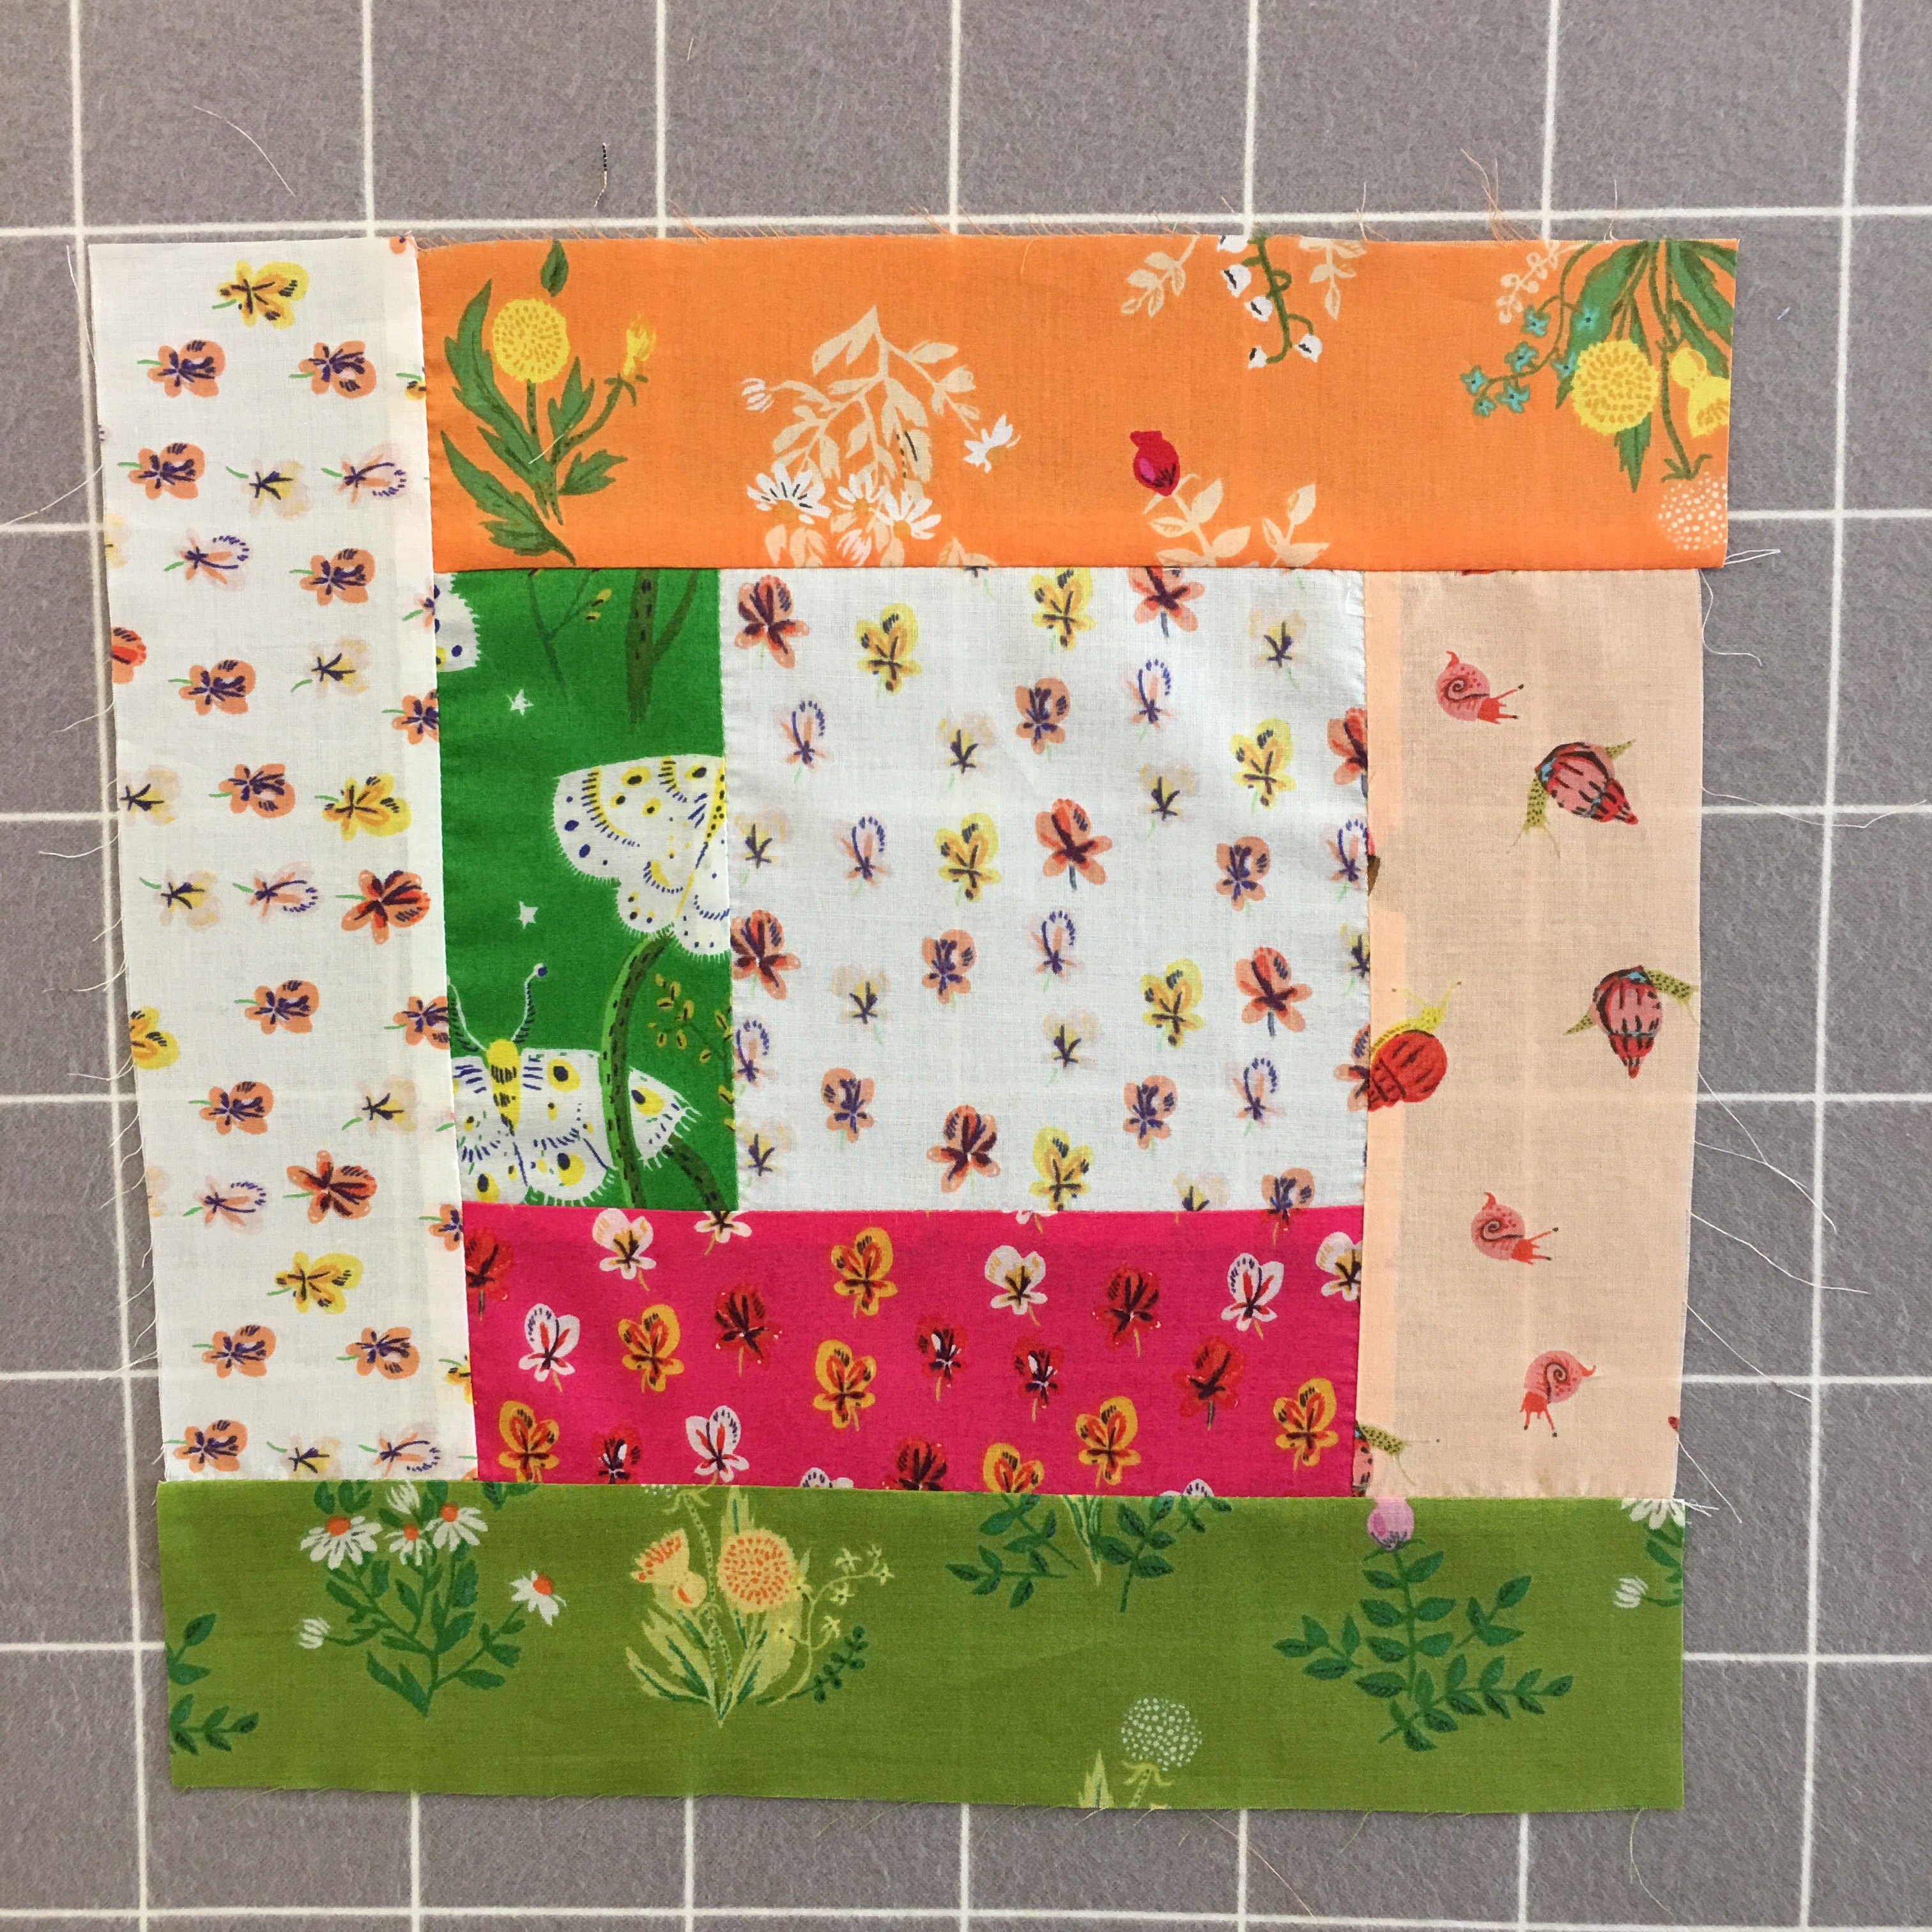 Sew an 11″ x 2.5″ strip to the bottom. Press toward the strip.