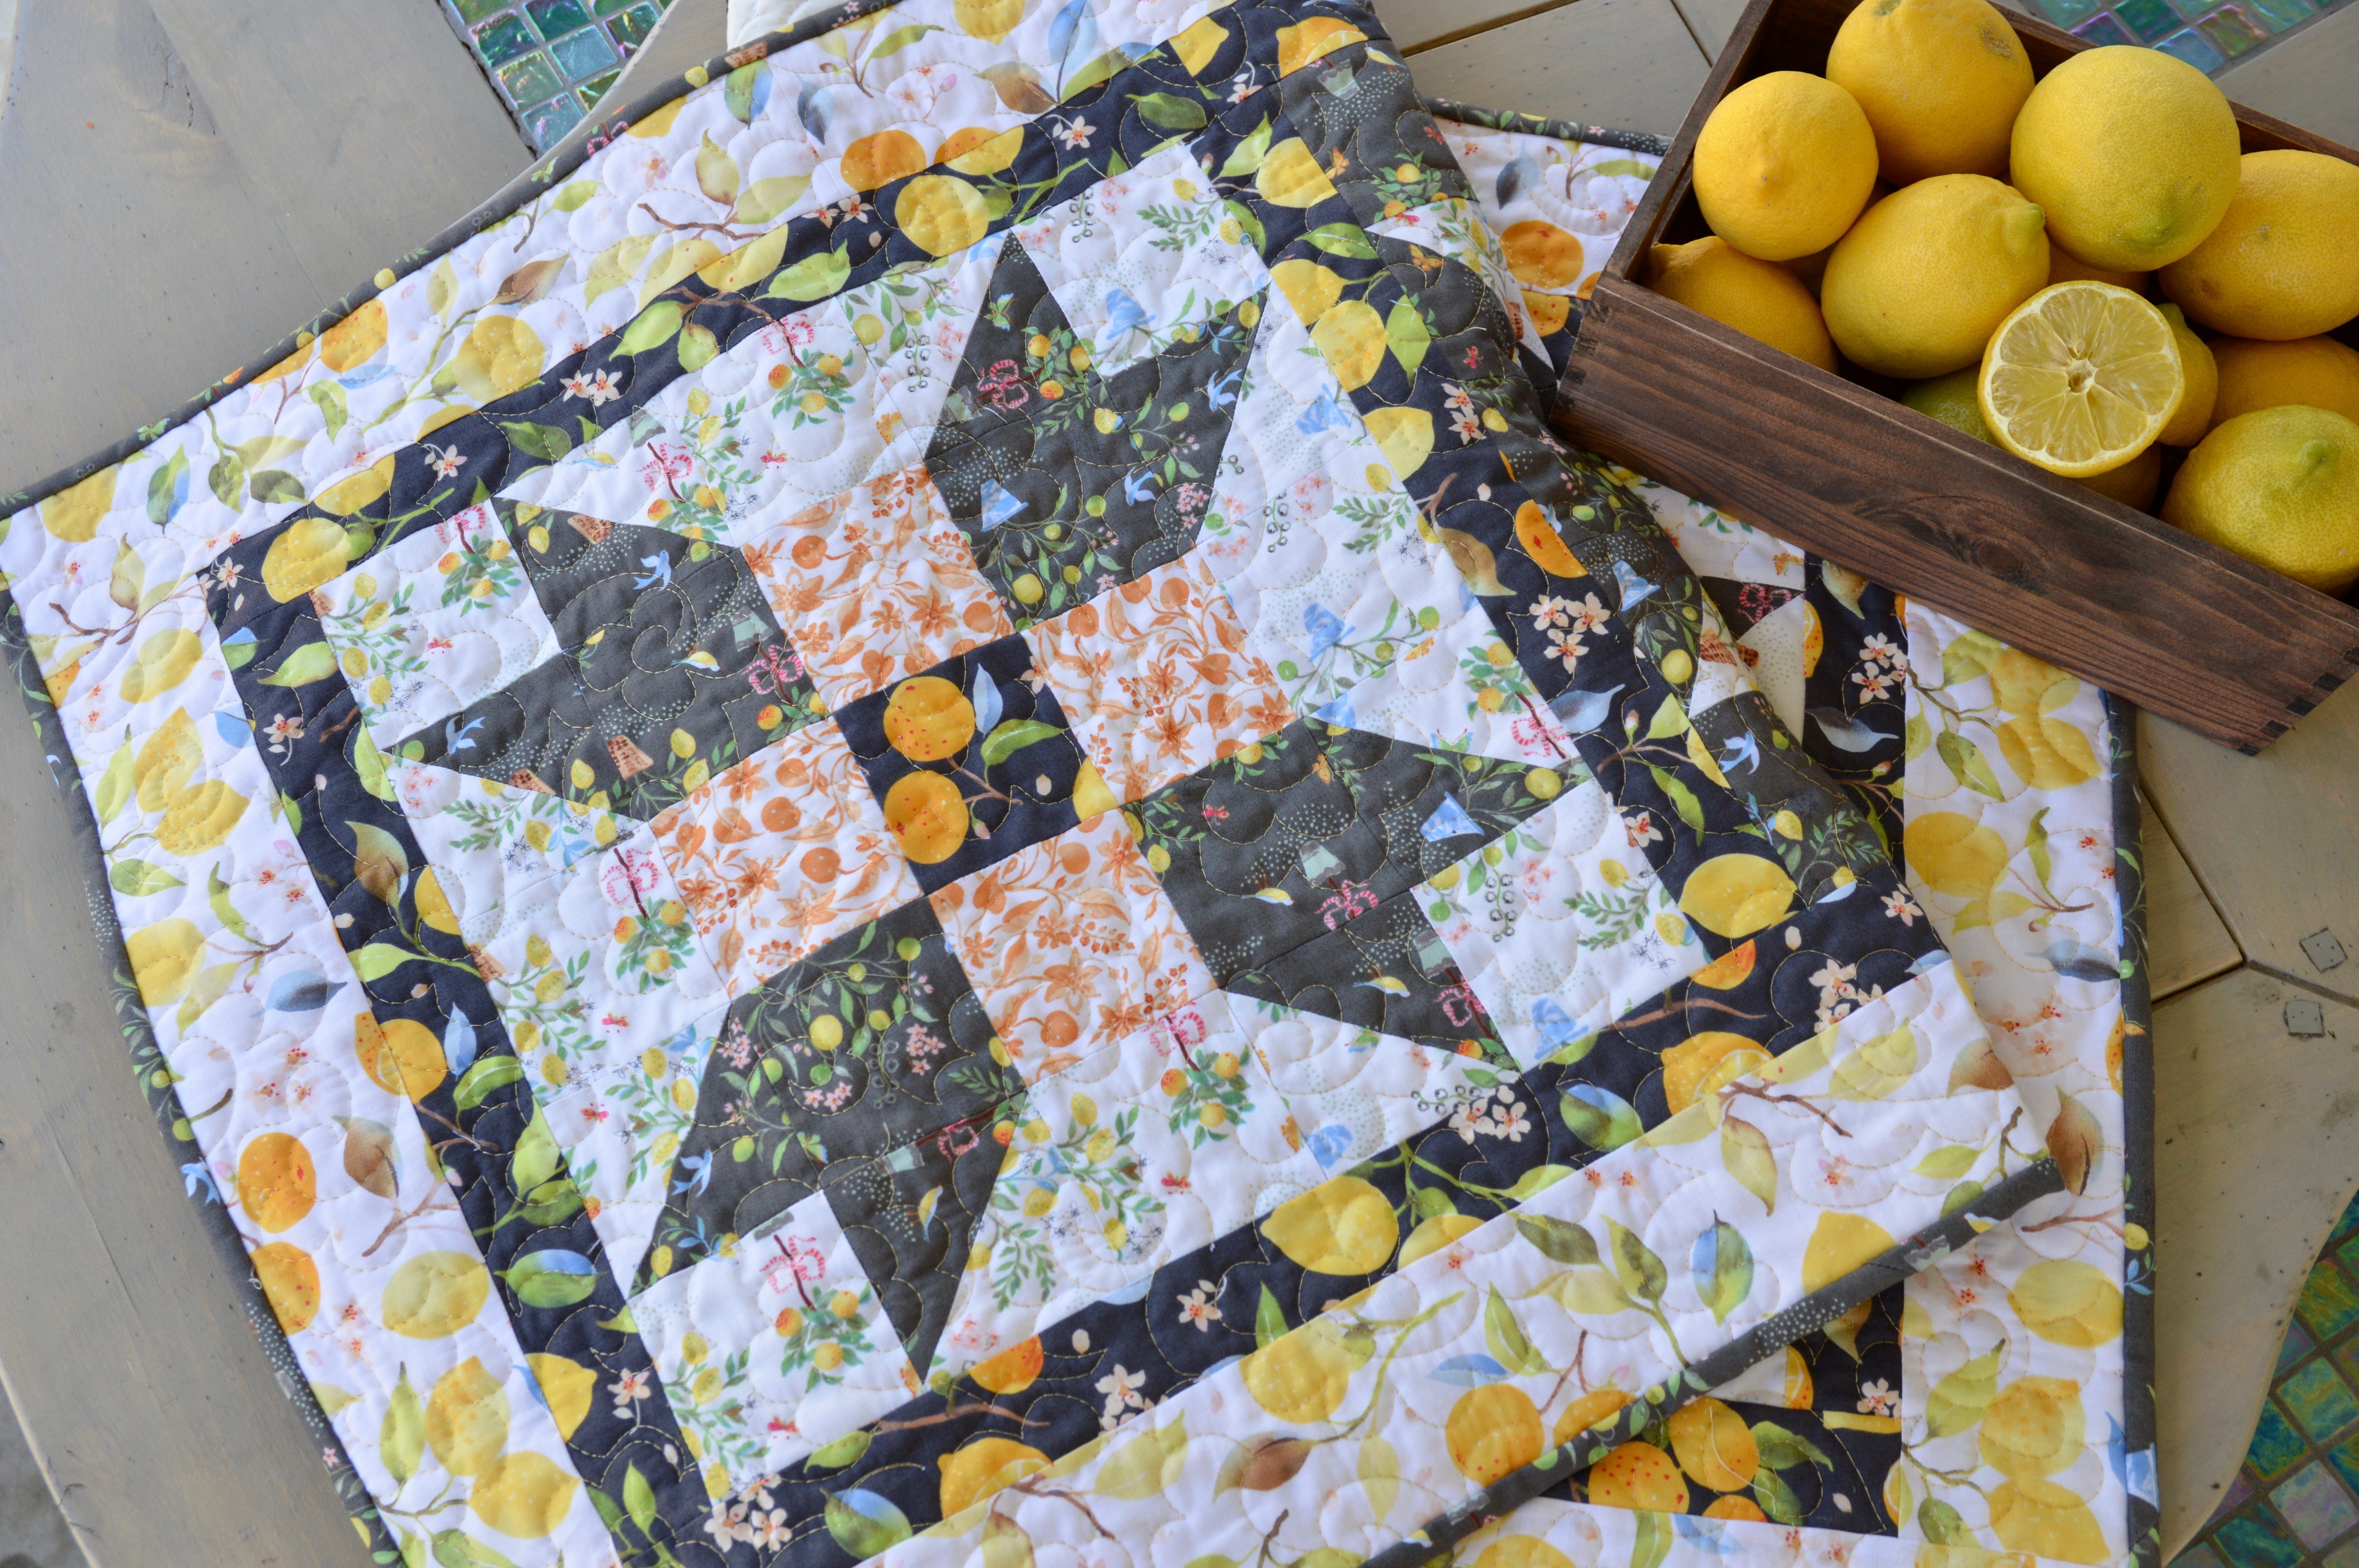
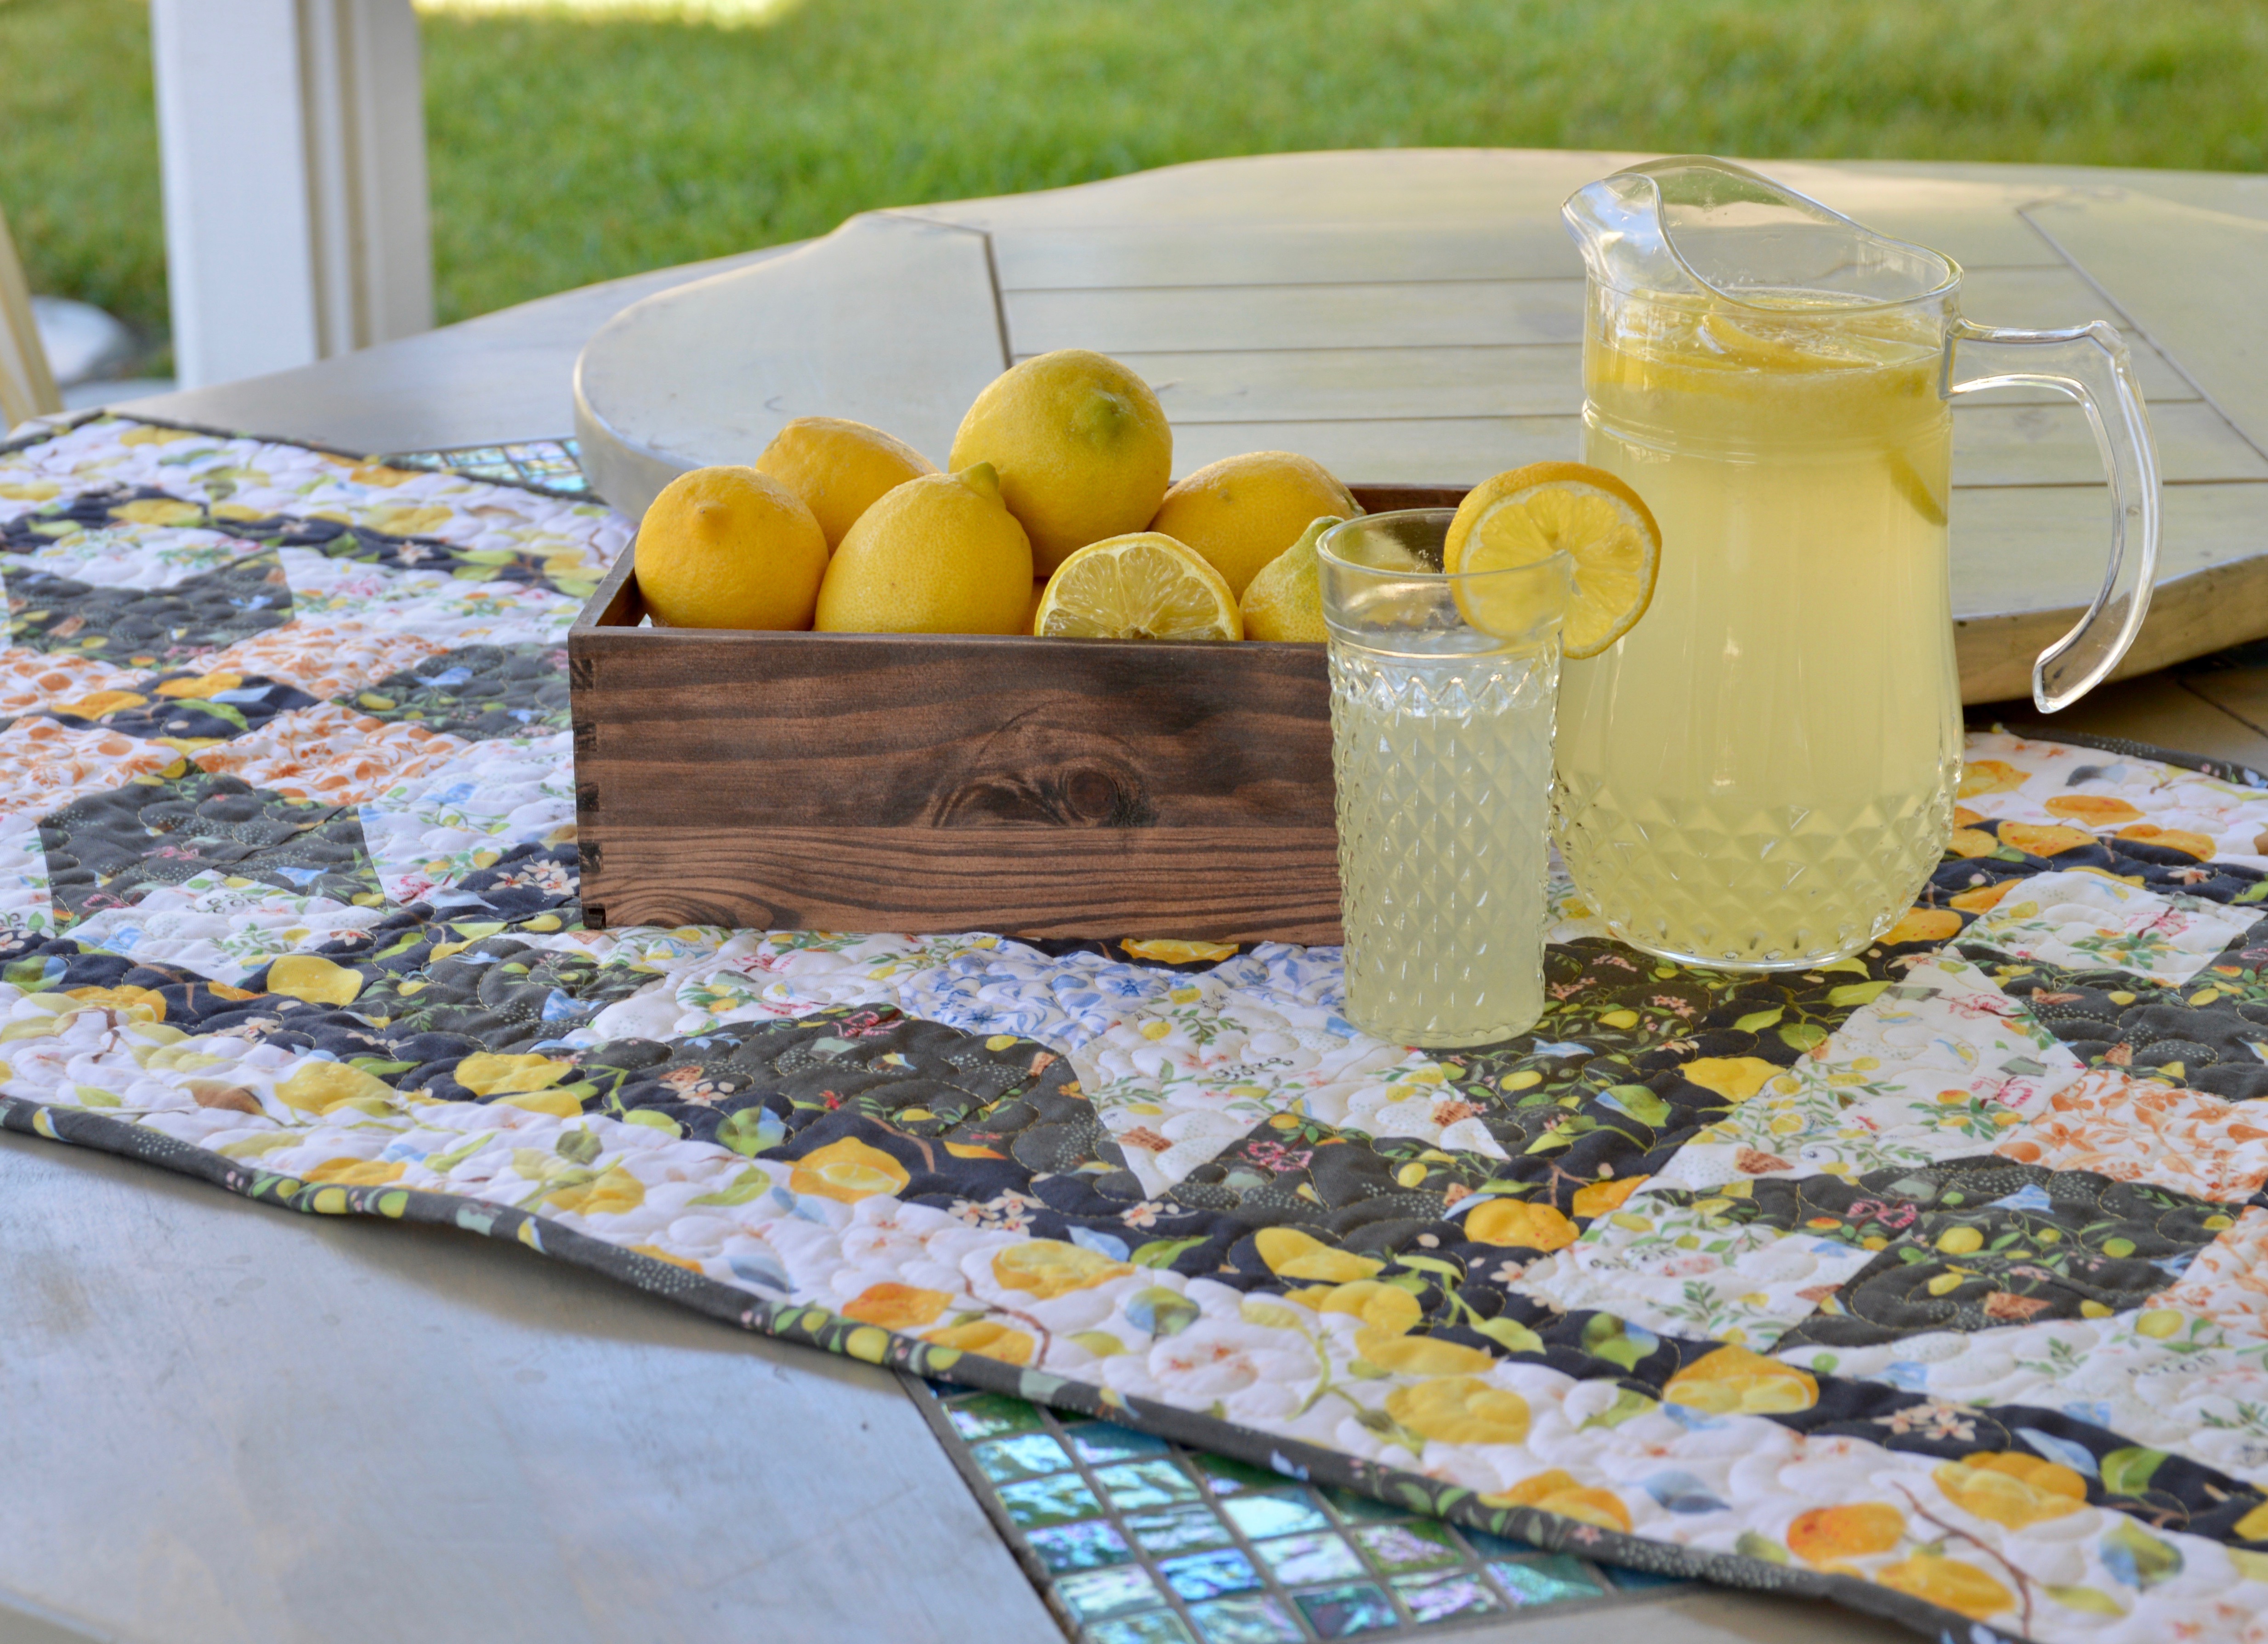
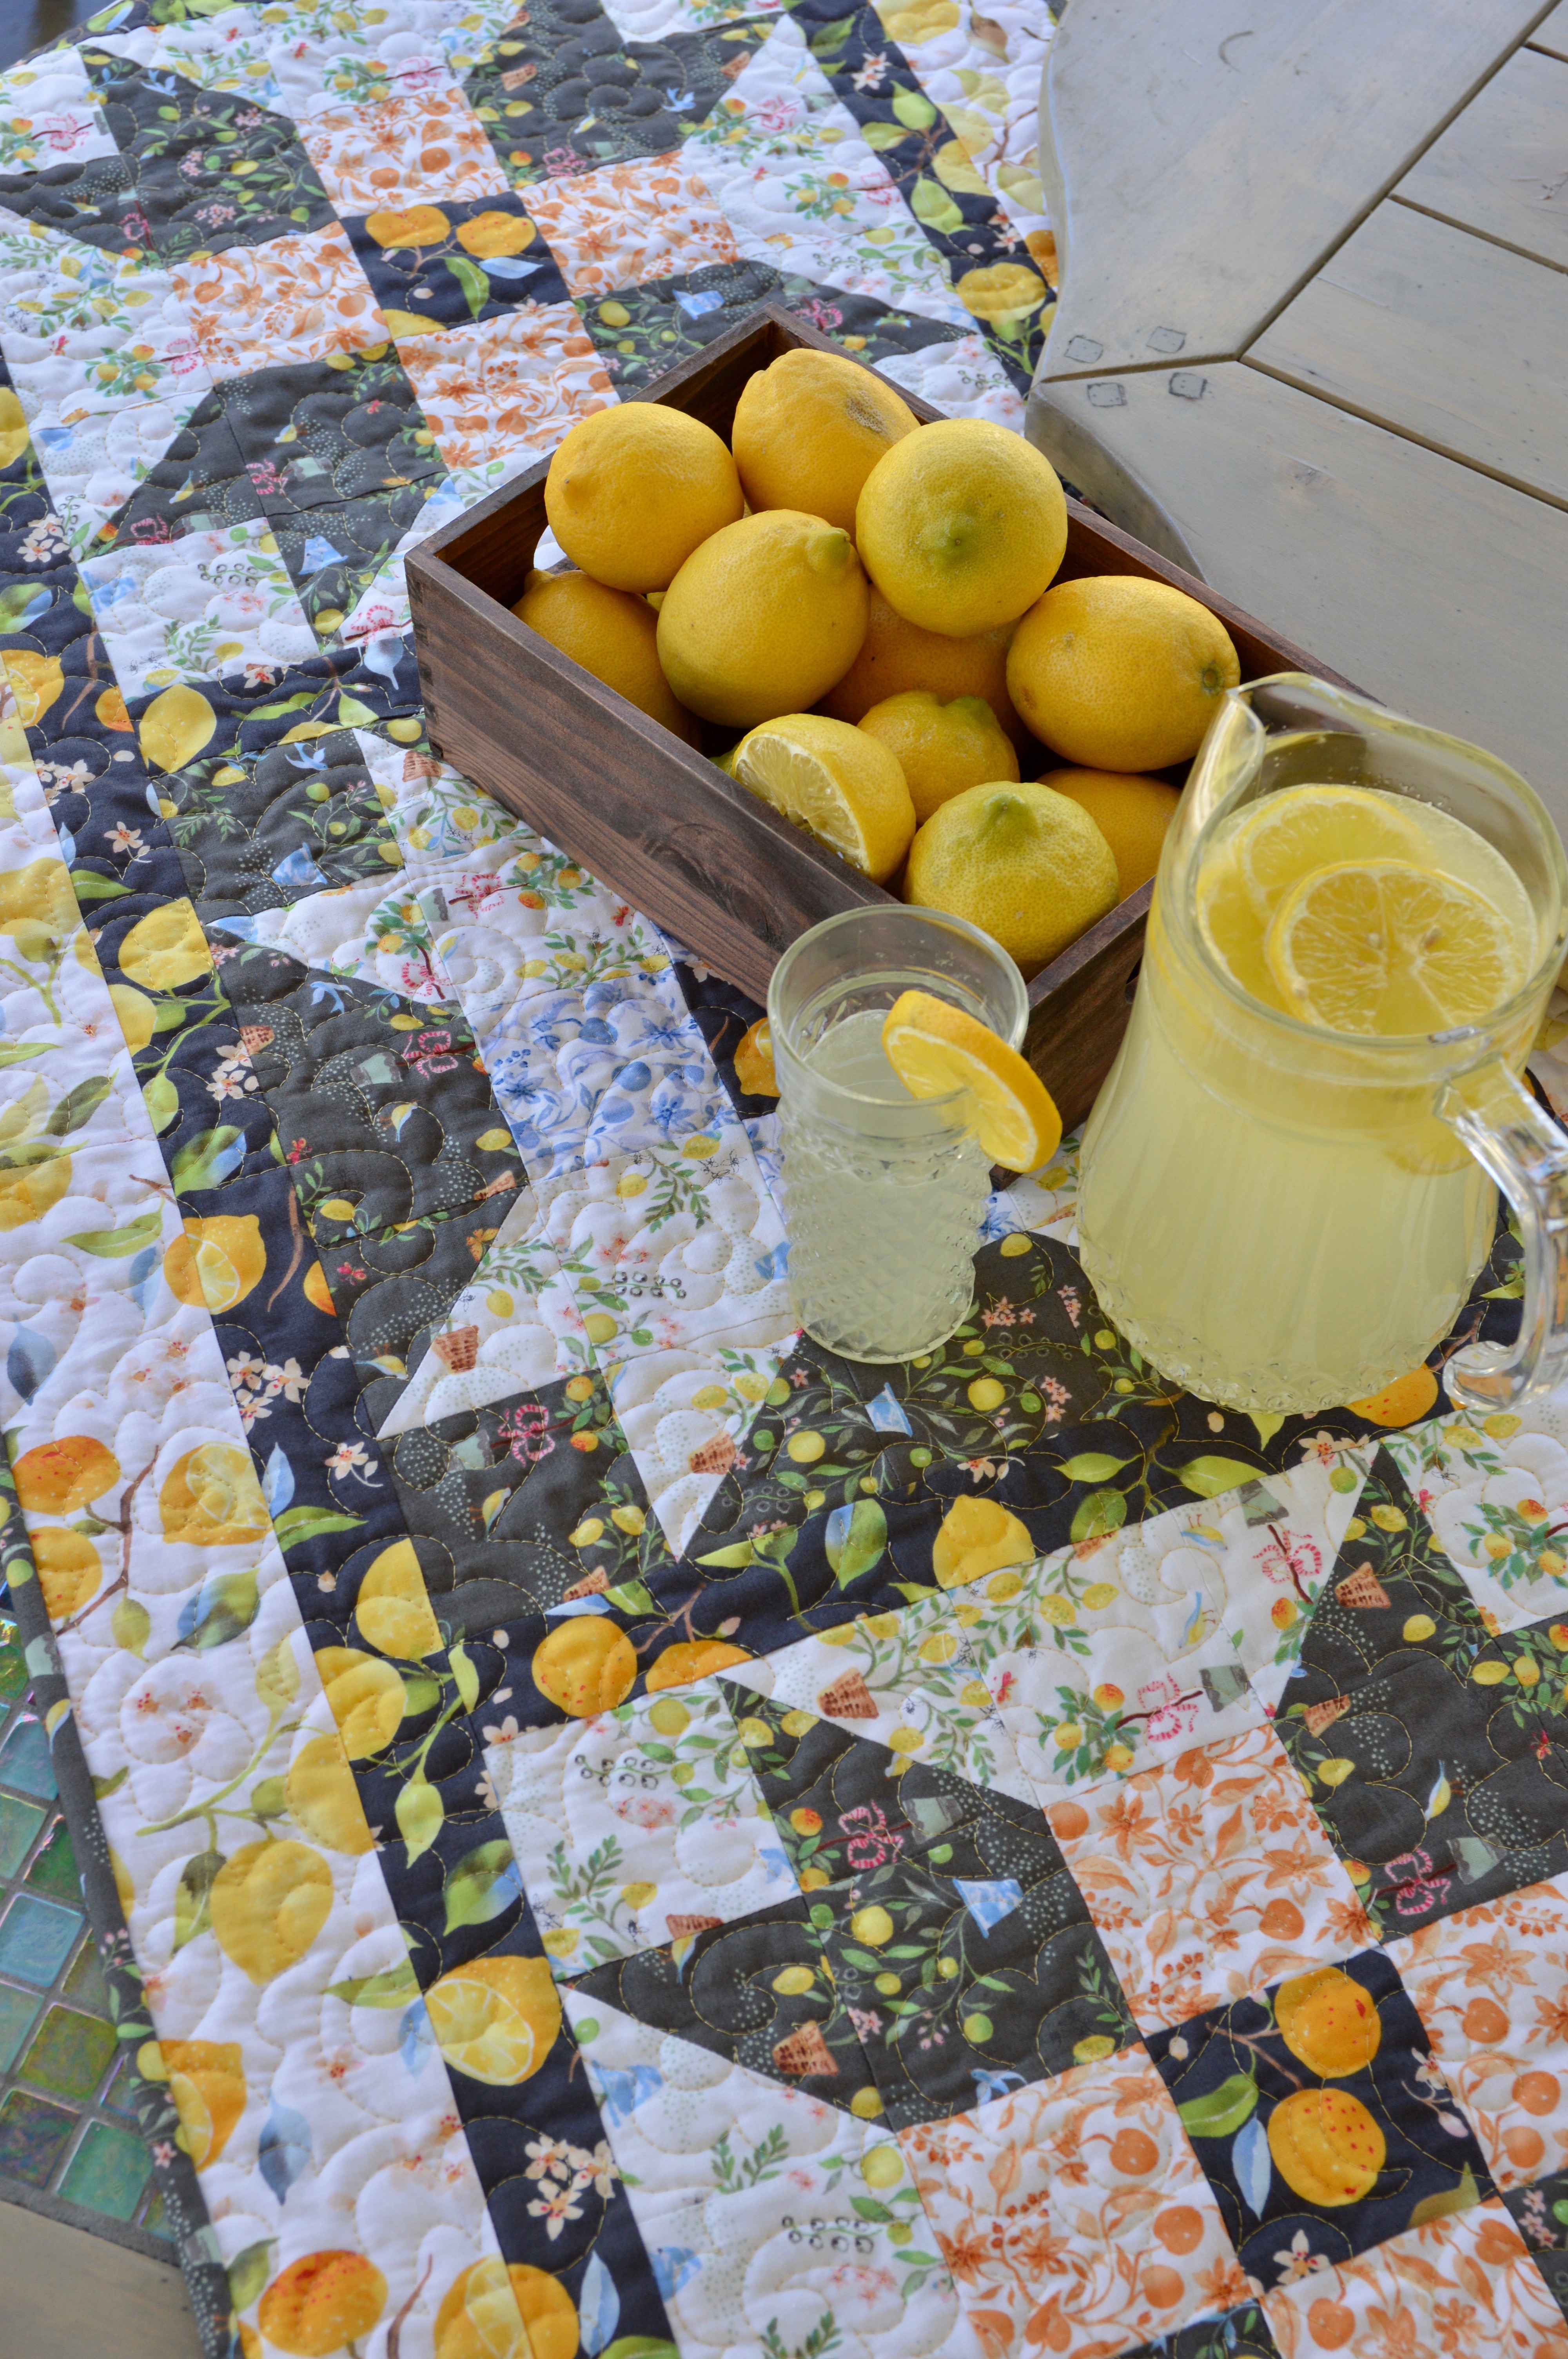
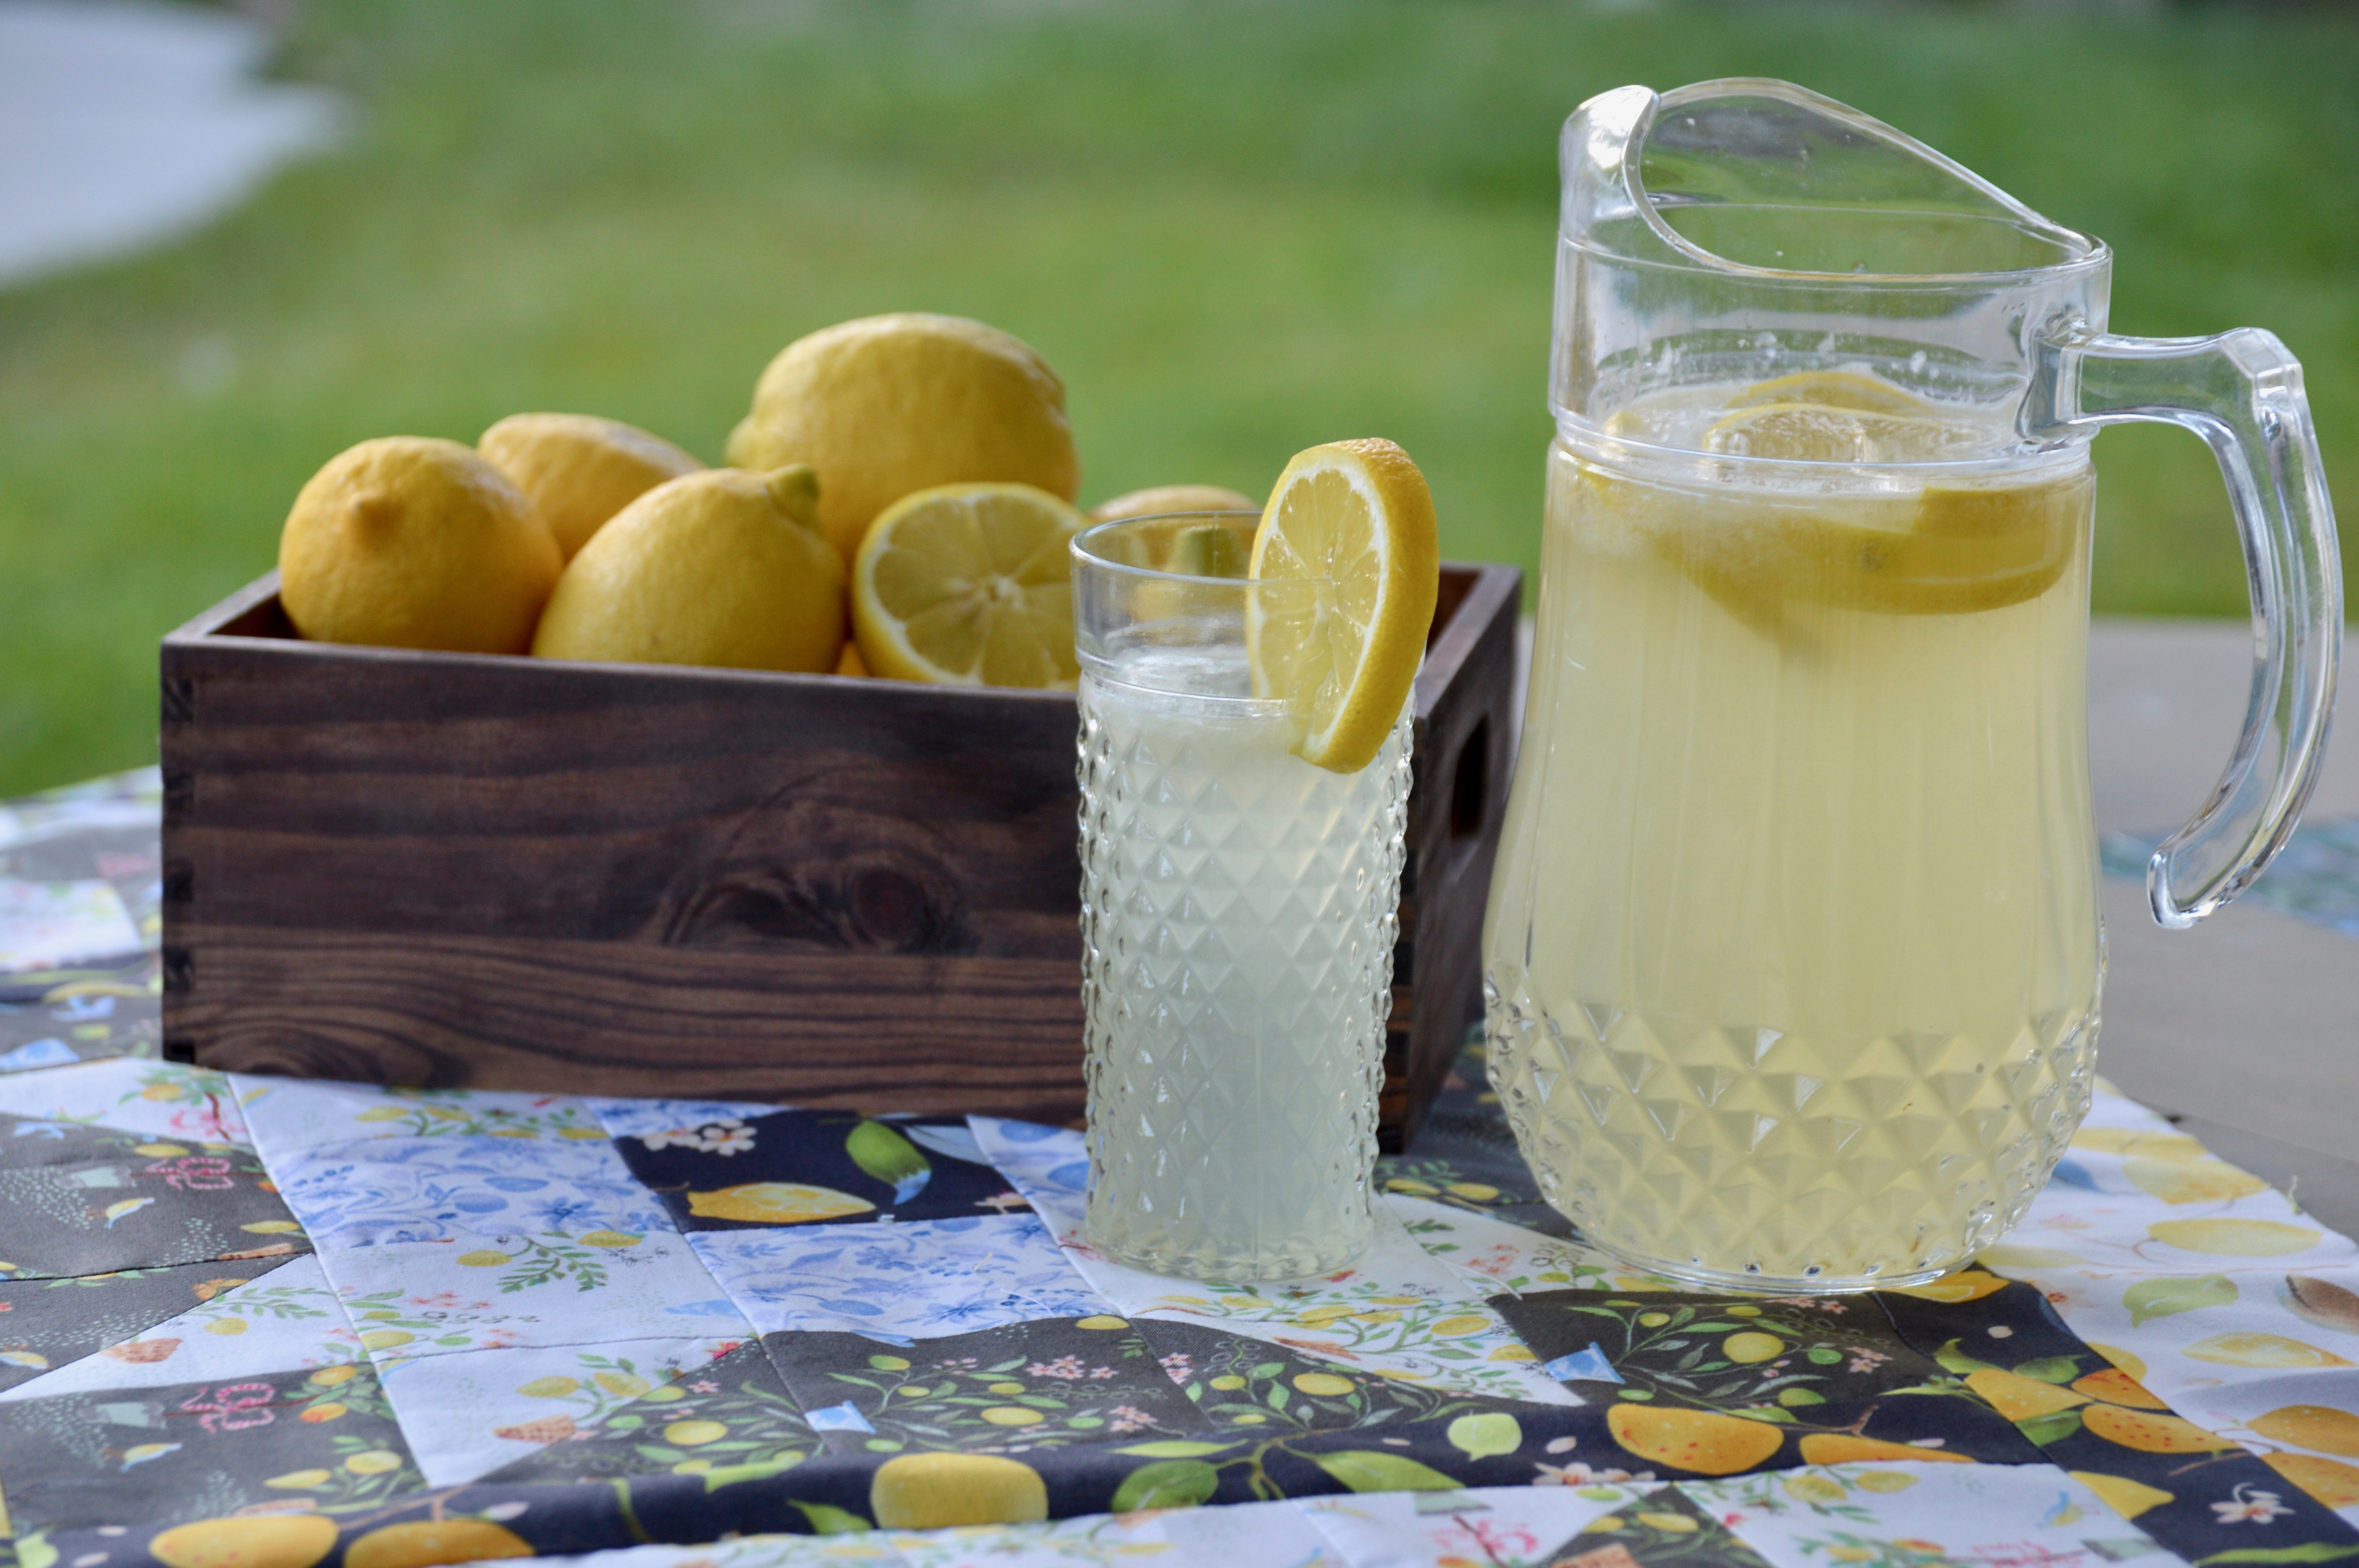
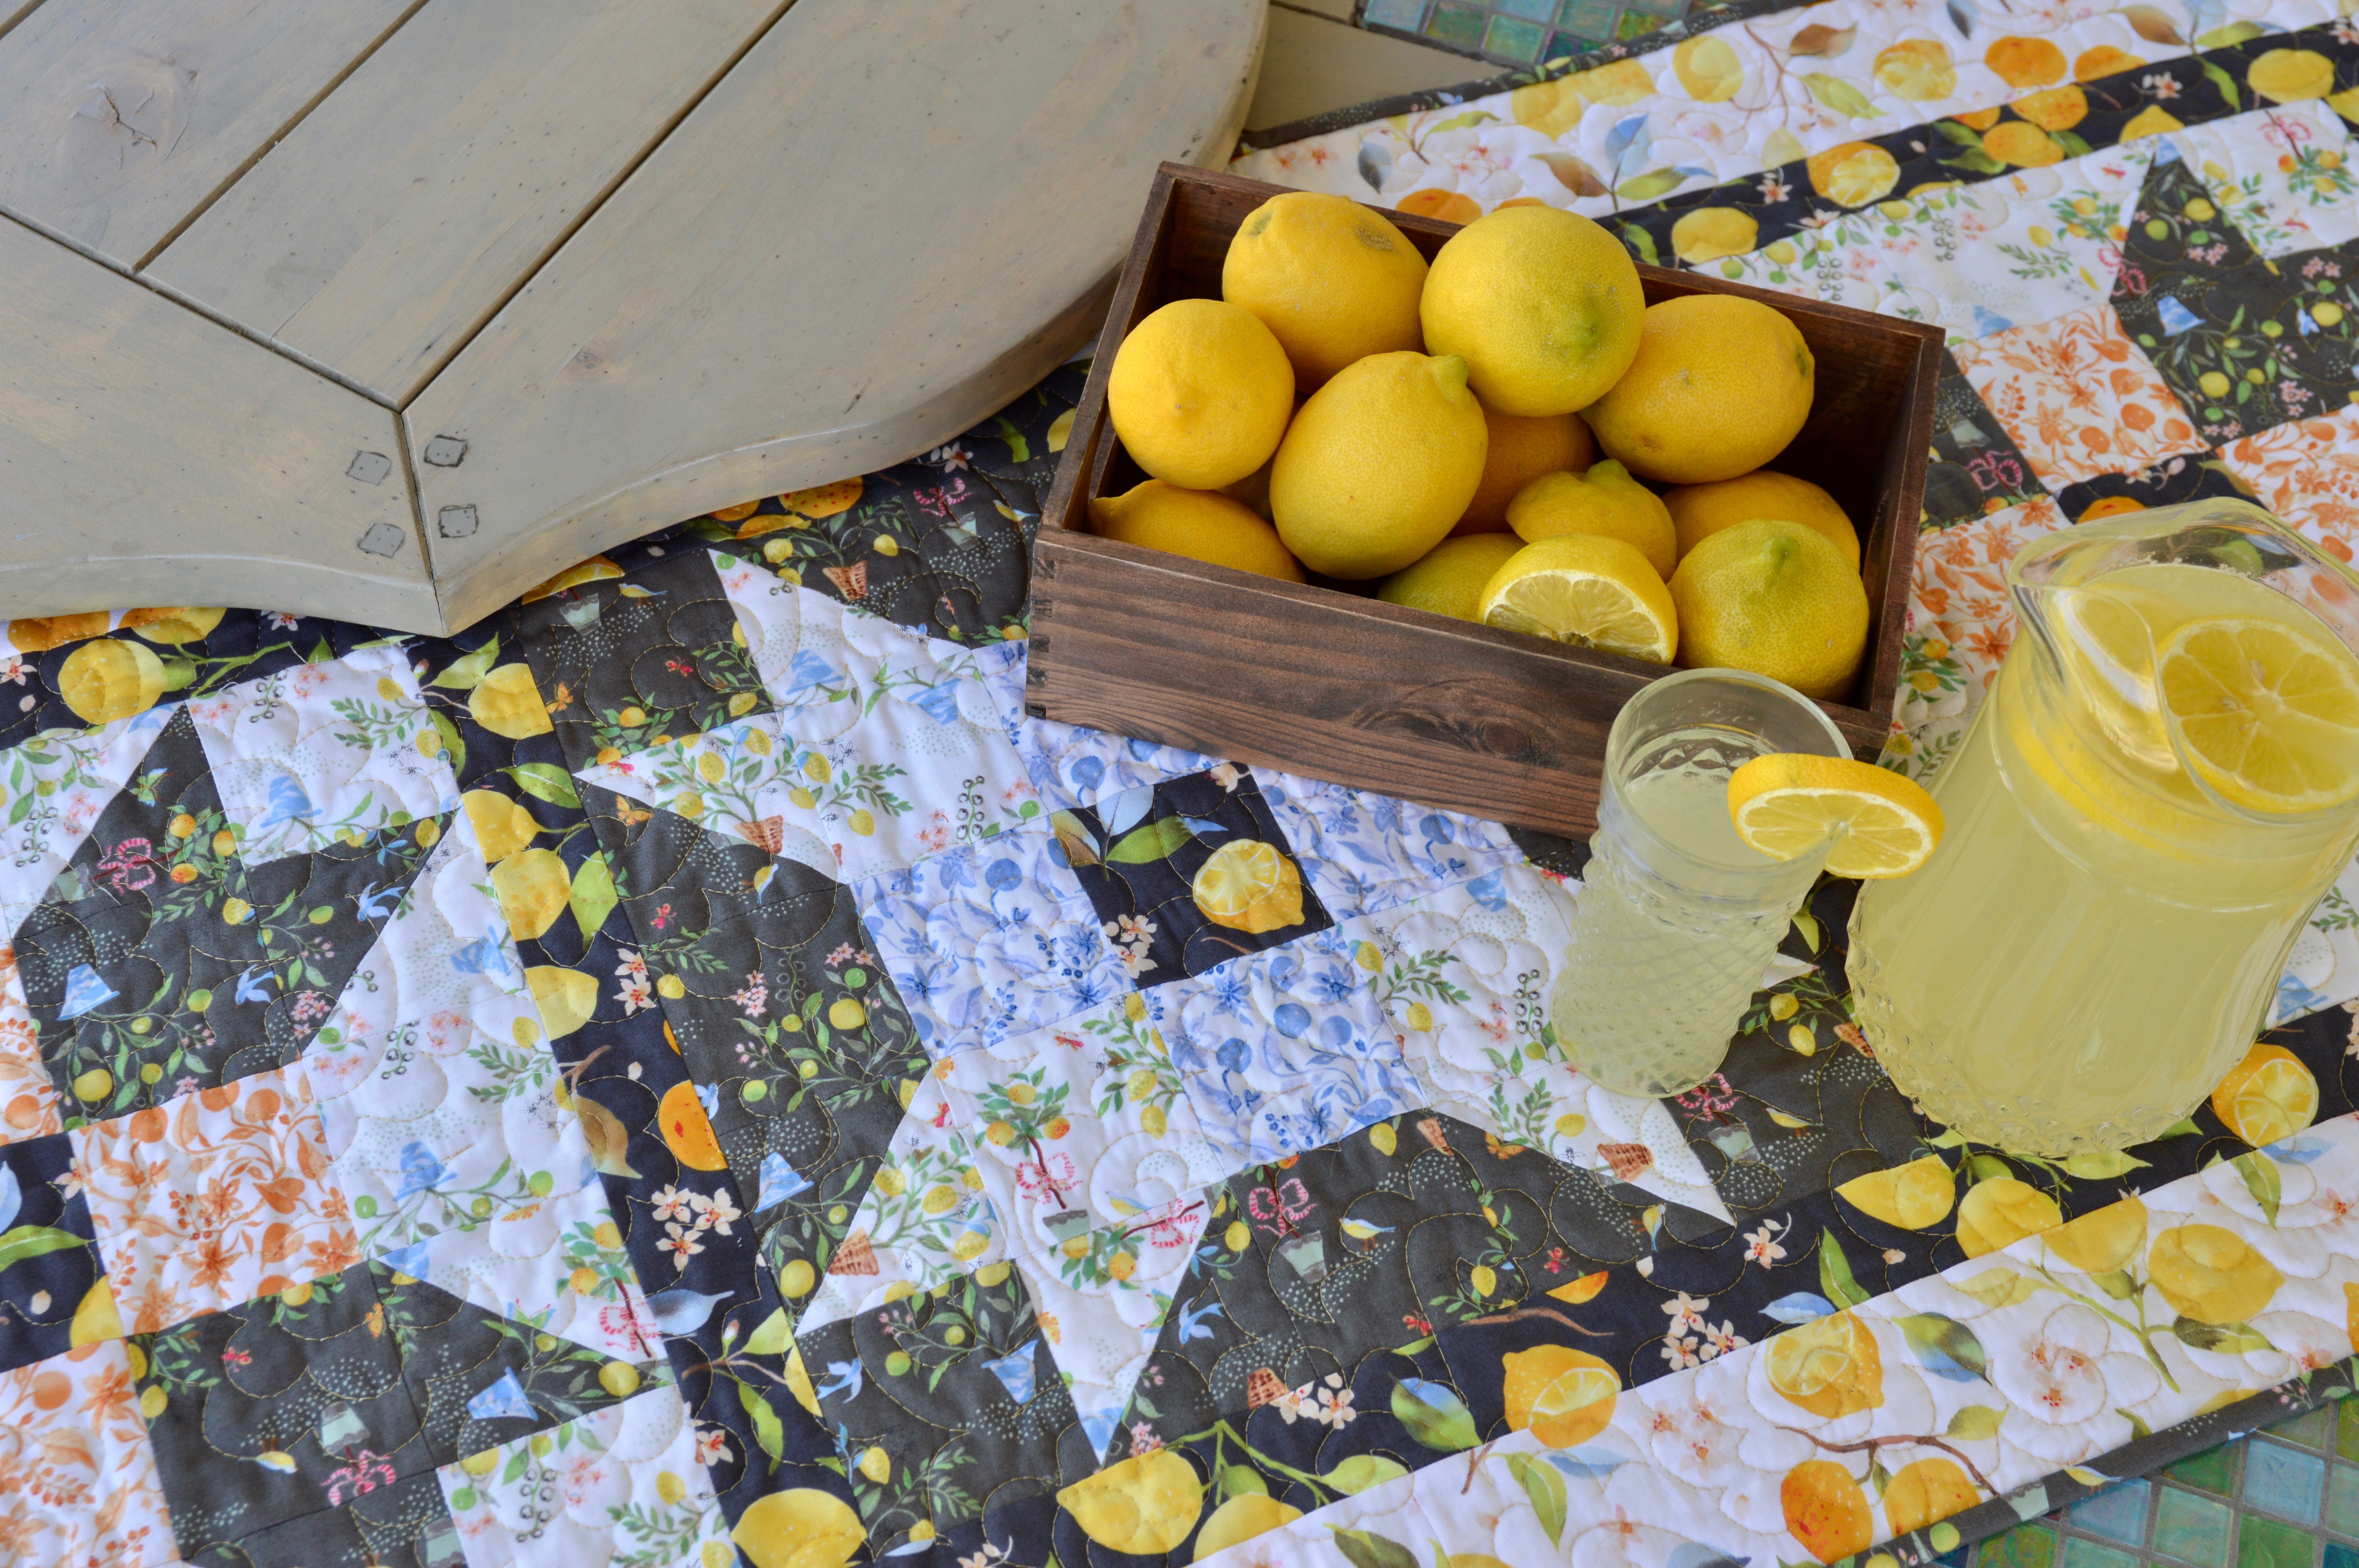
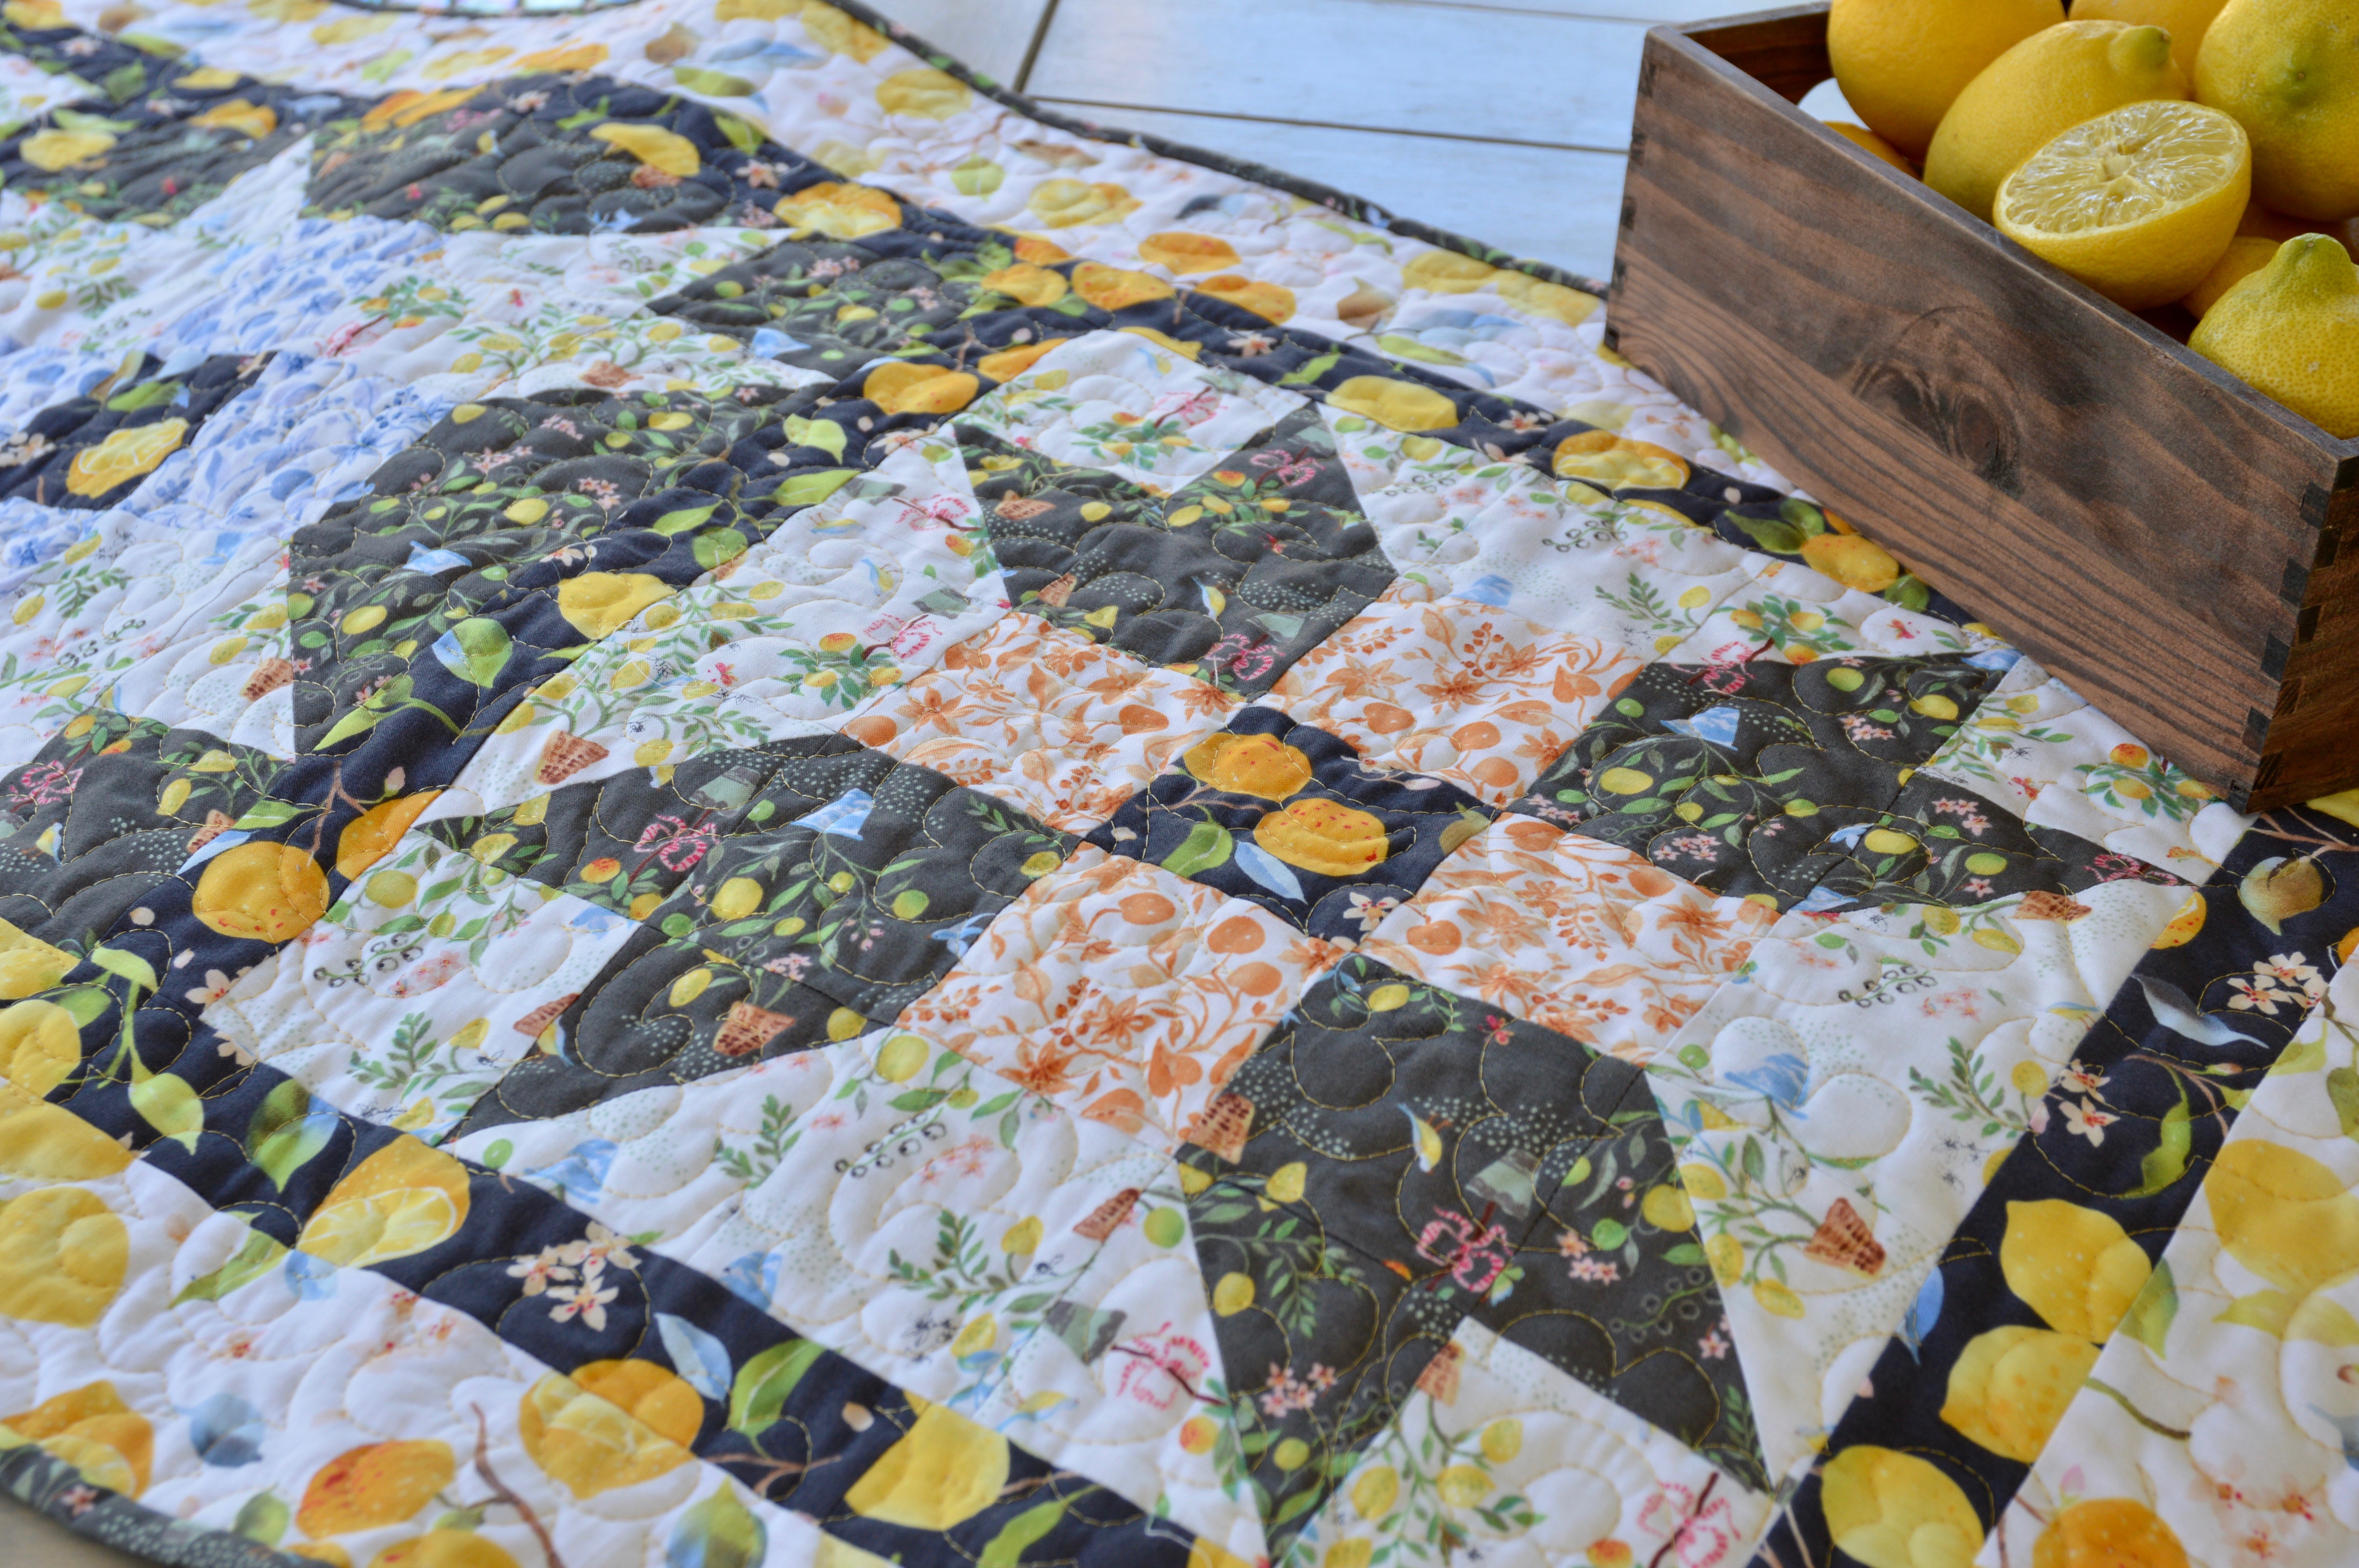
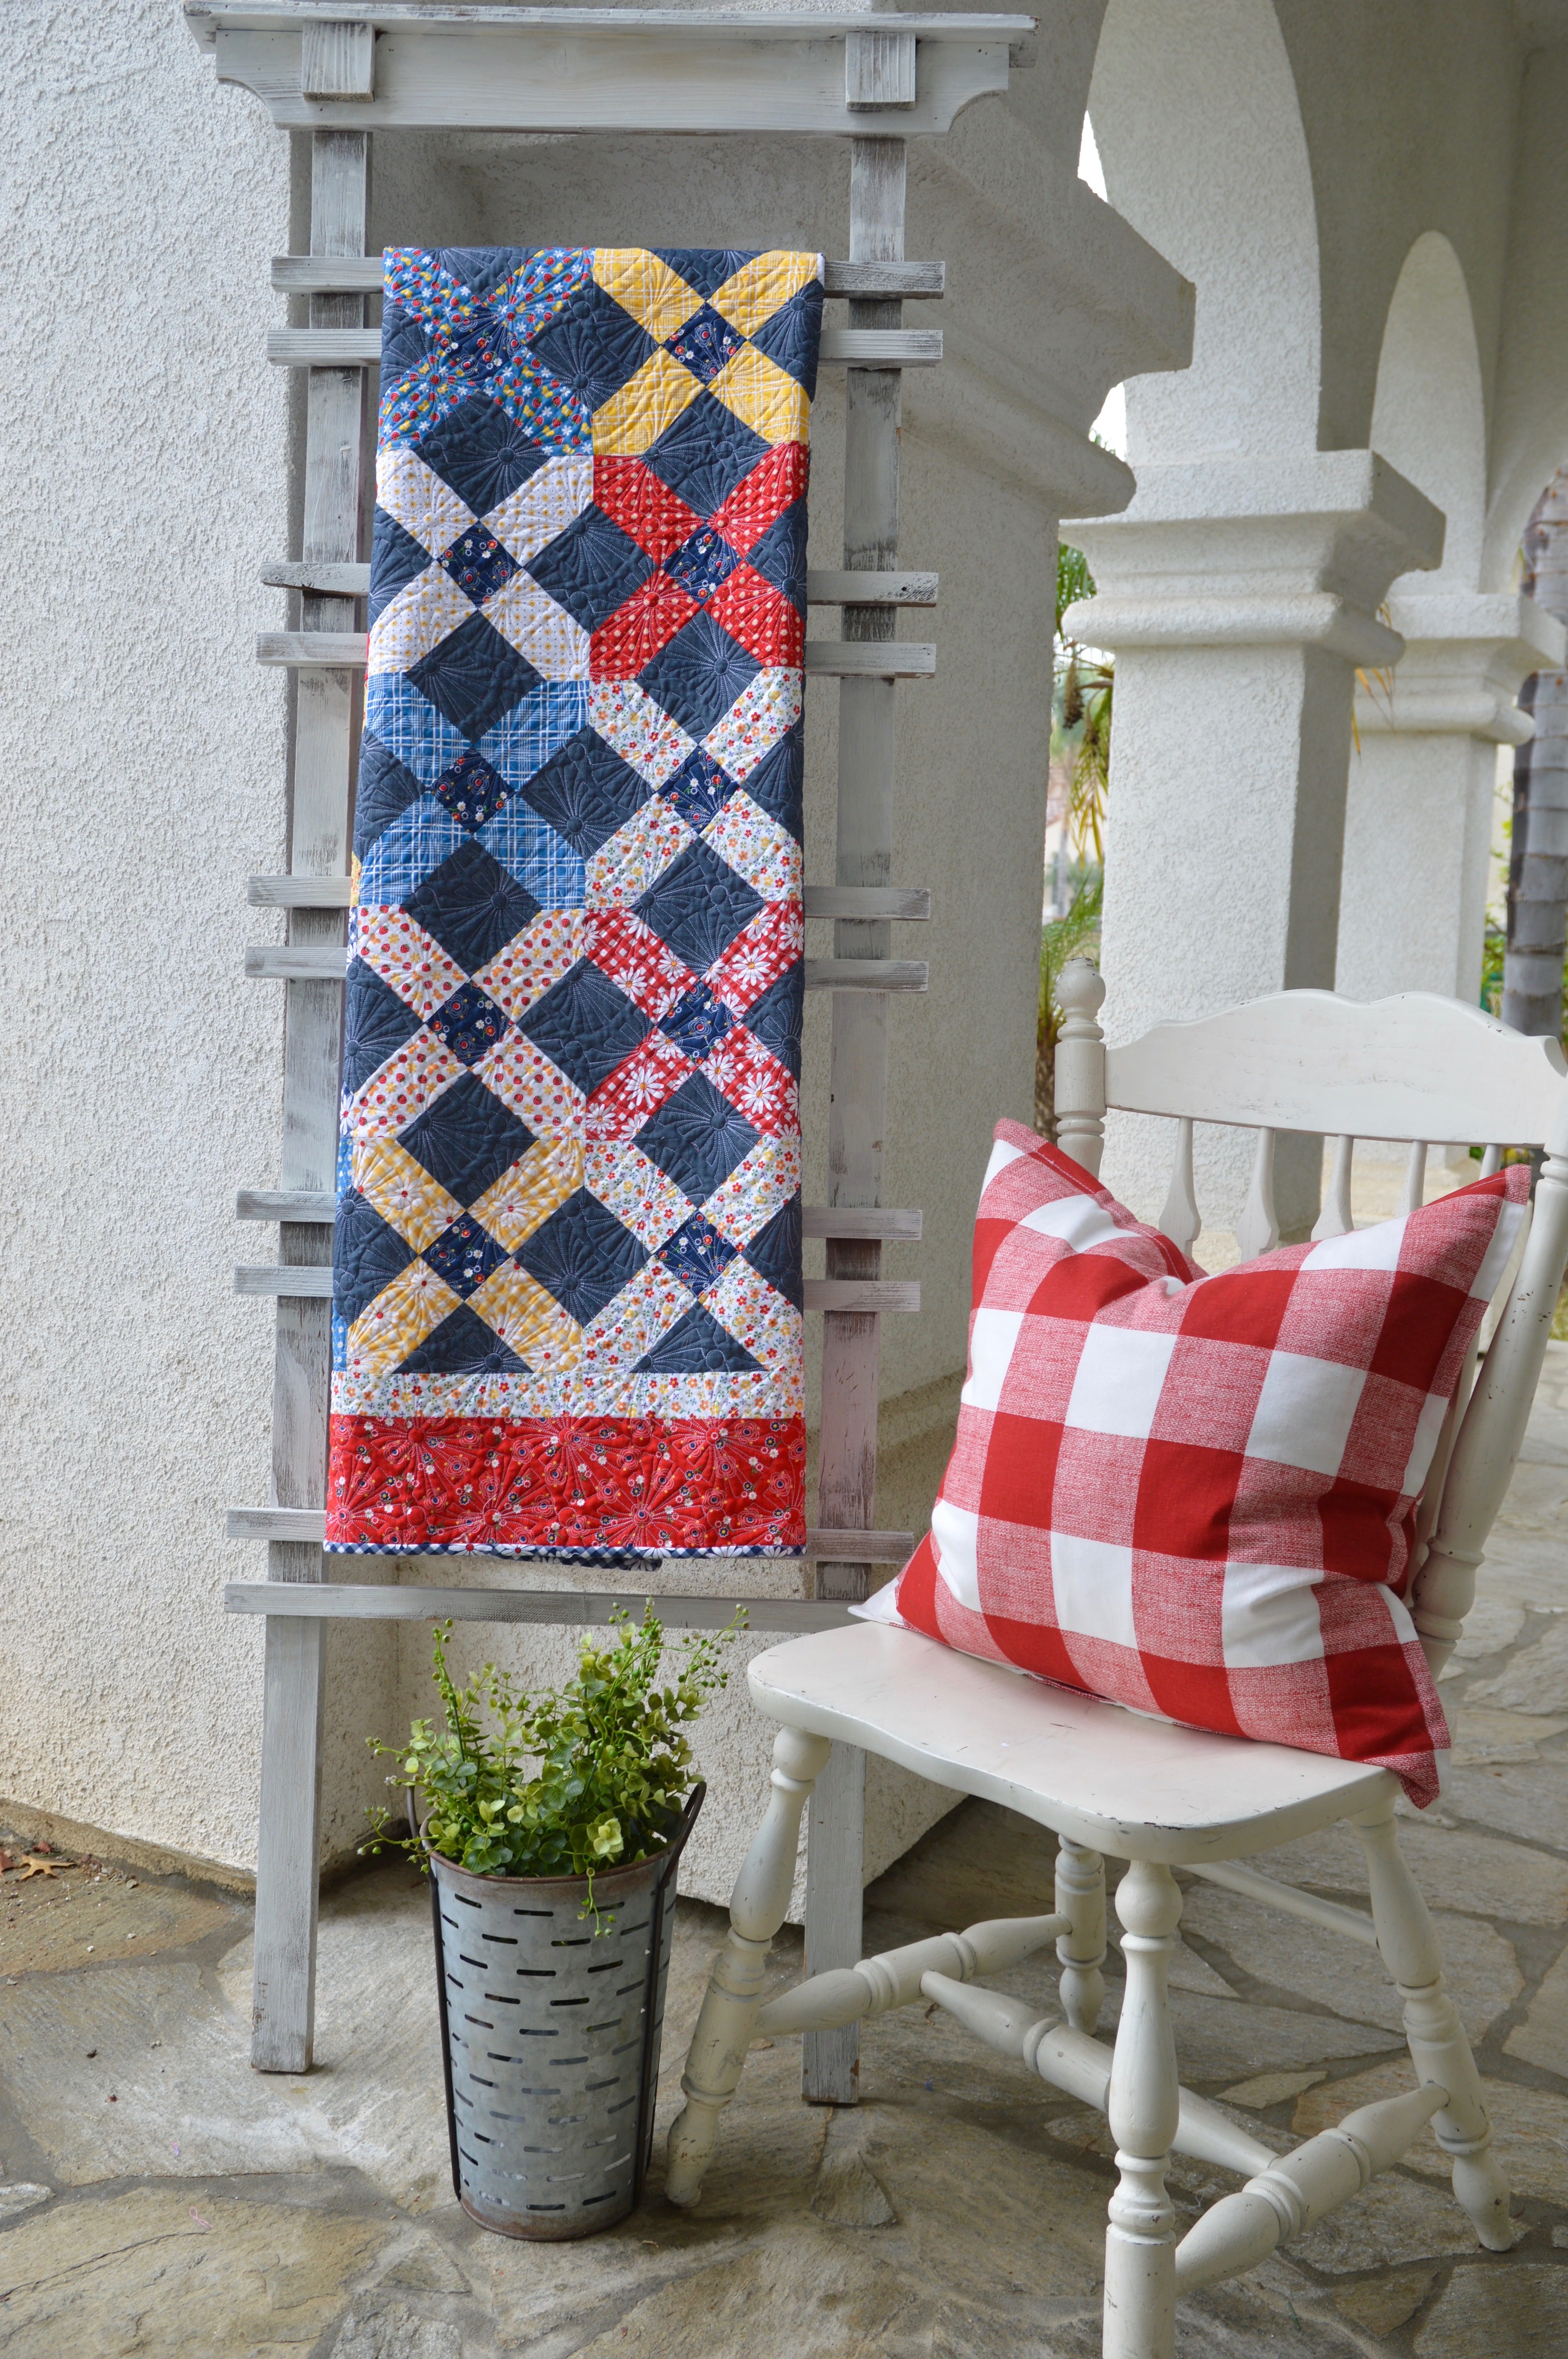
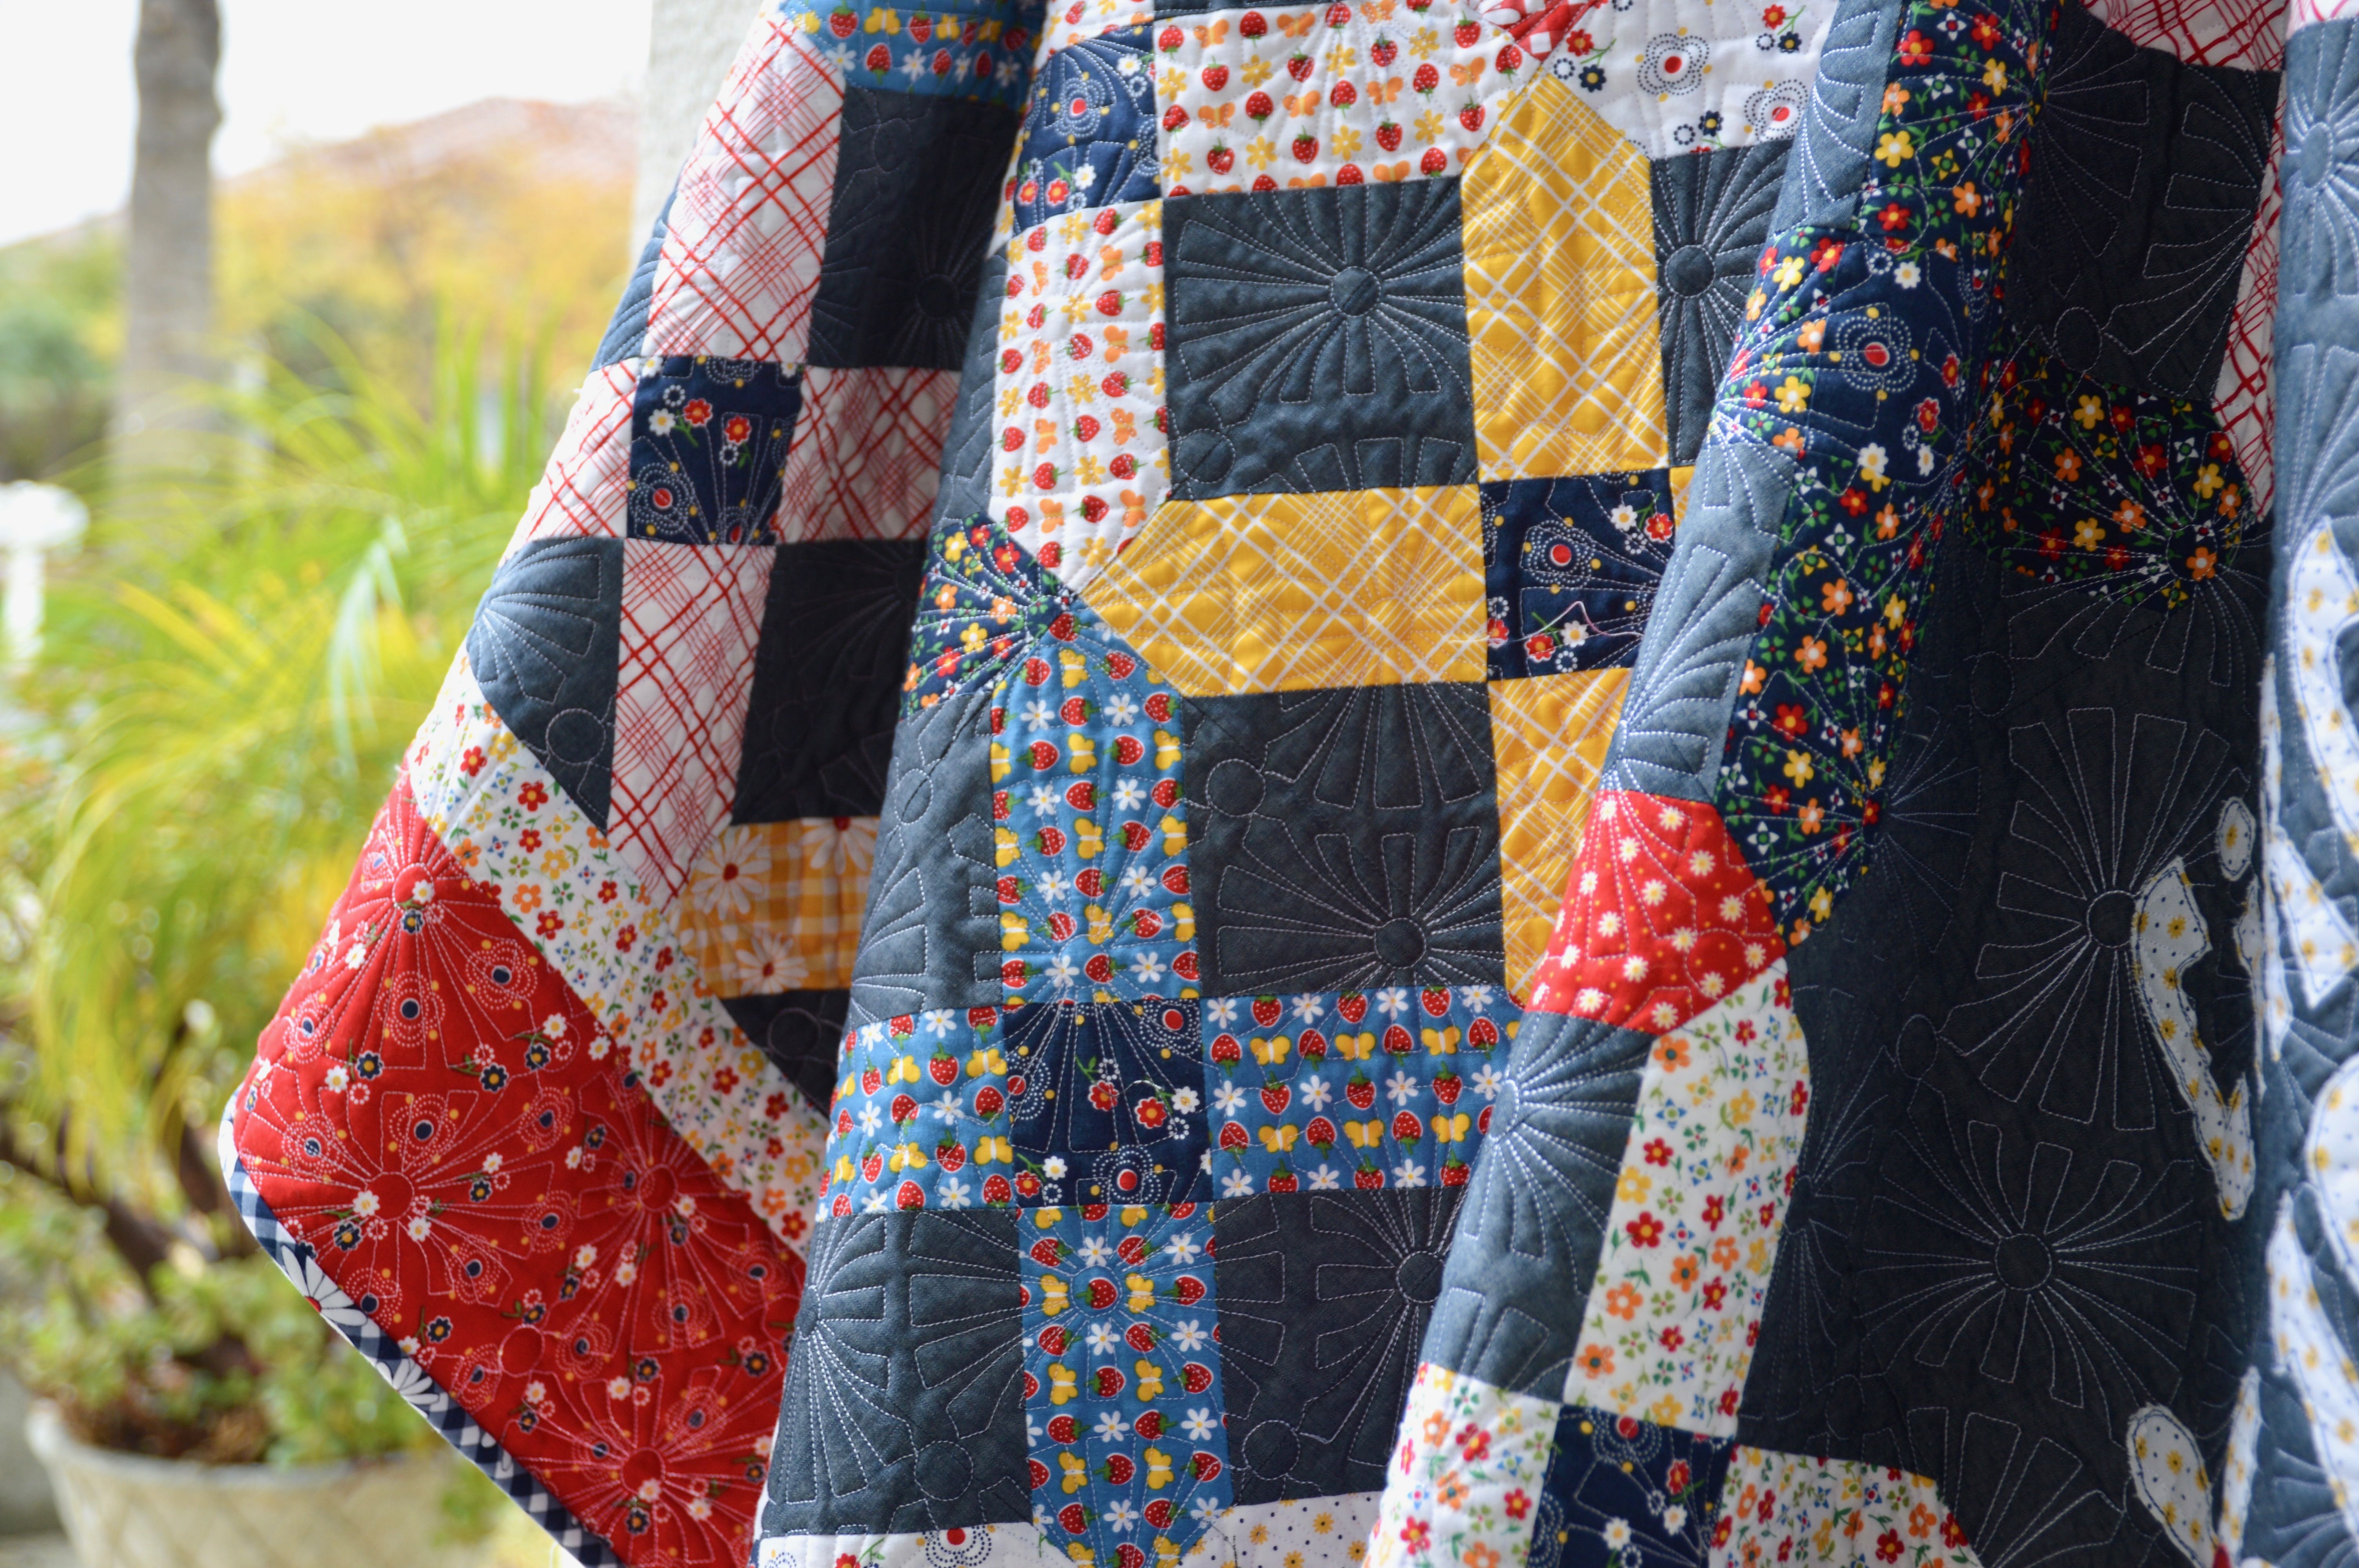
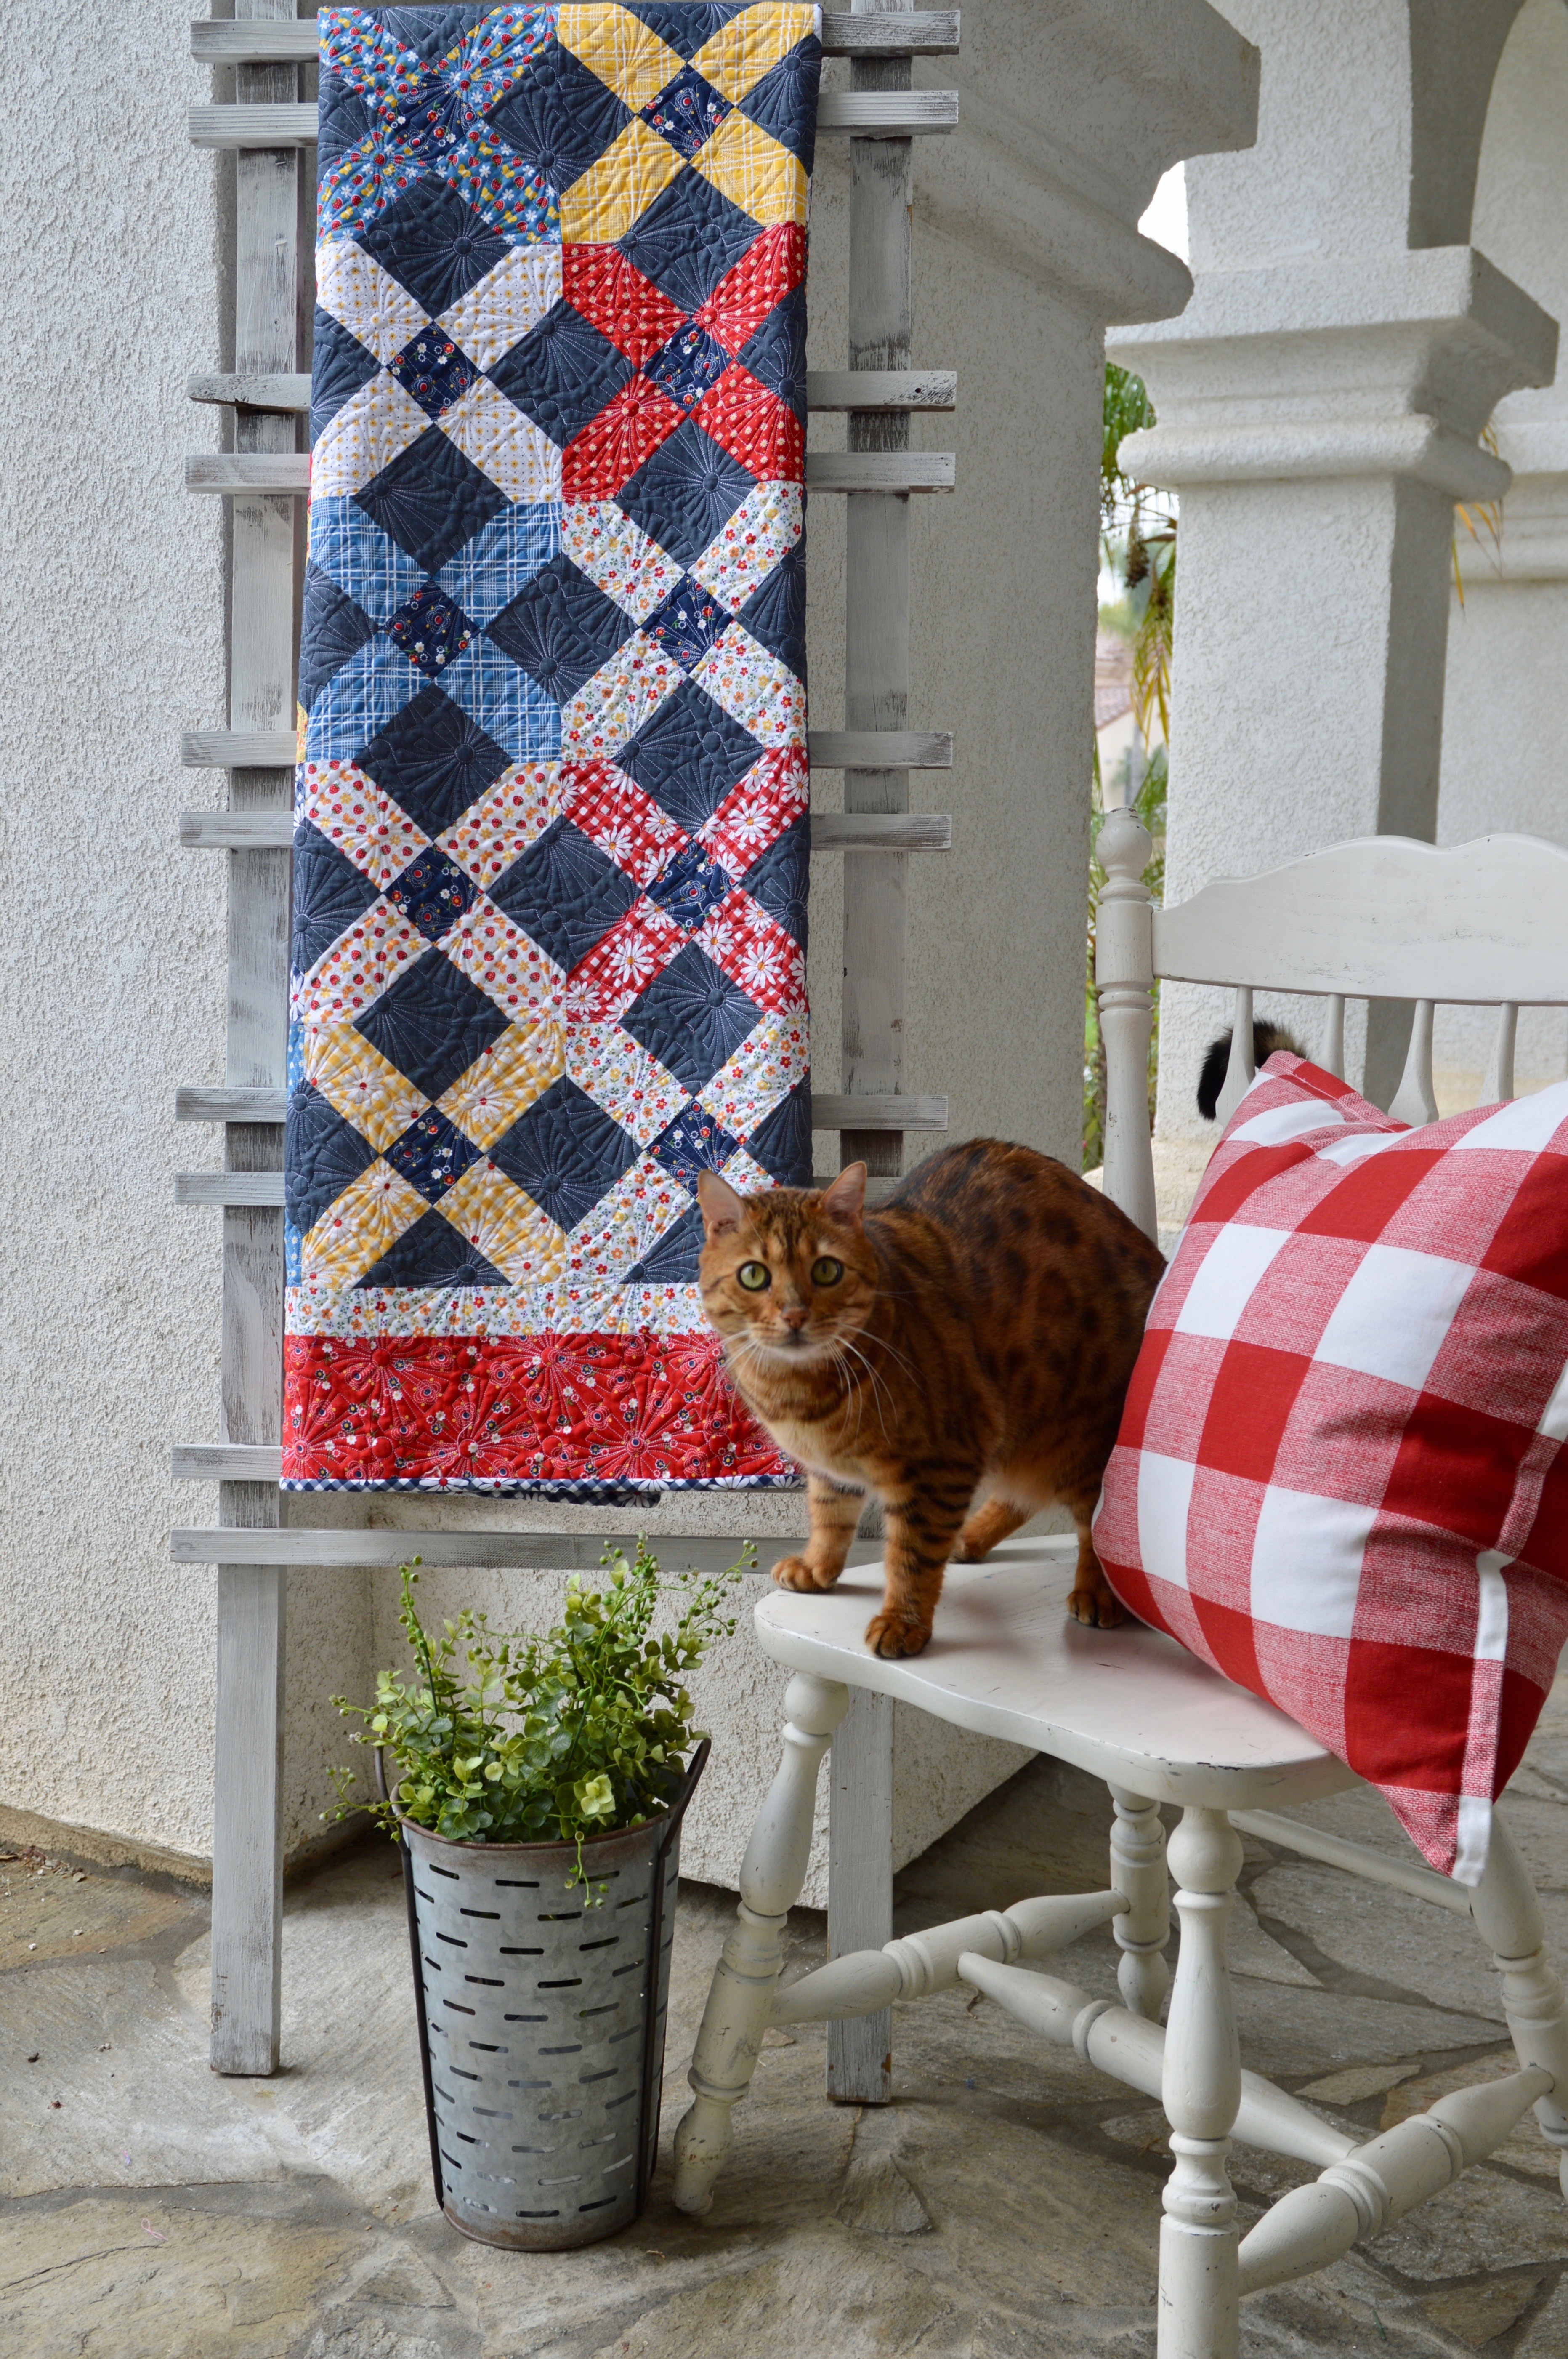
I could drink fresh lemonade all day every day! It’s the best! I made this fun little table runner with Limonella fabrics from Blend Fabrics. I’m actually giving it to my mom for Mother’s Day! My parents have lots of lemon trees, oranges trees, and lime trees in their backyard!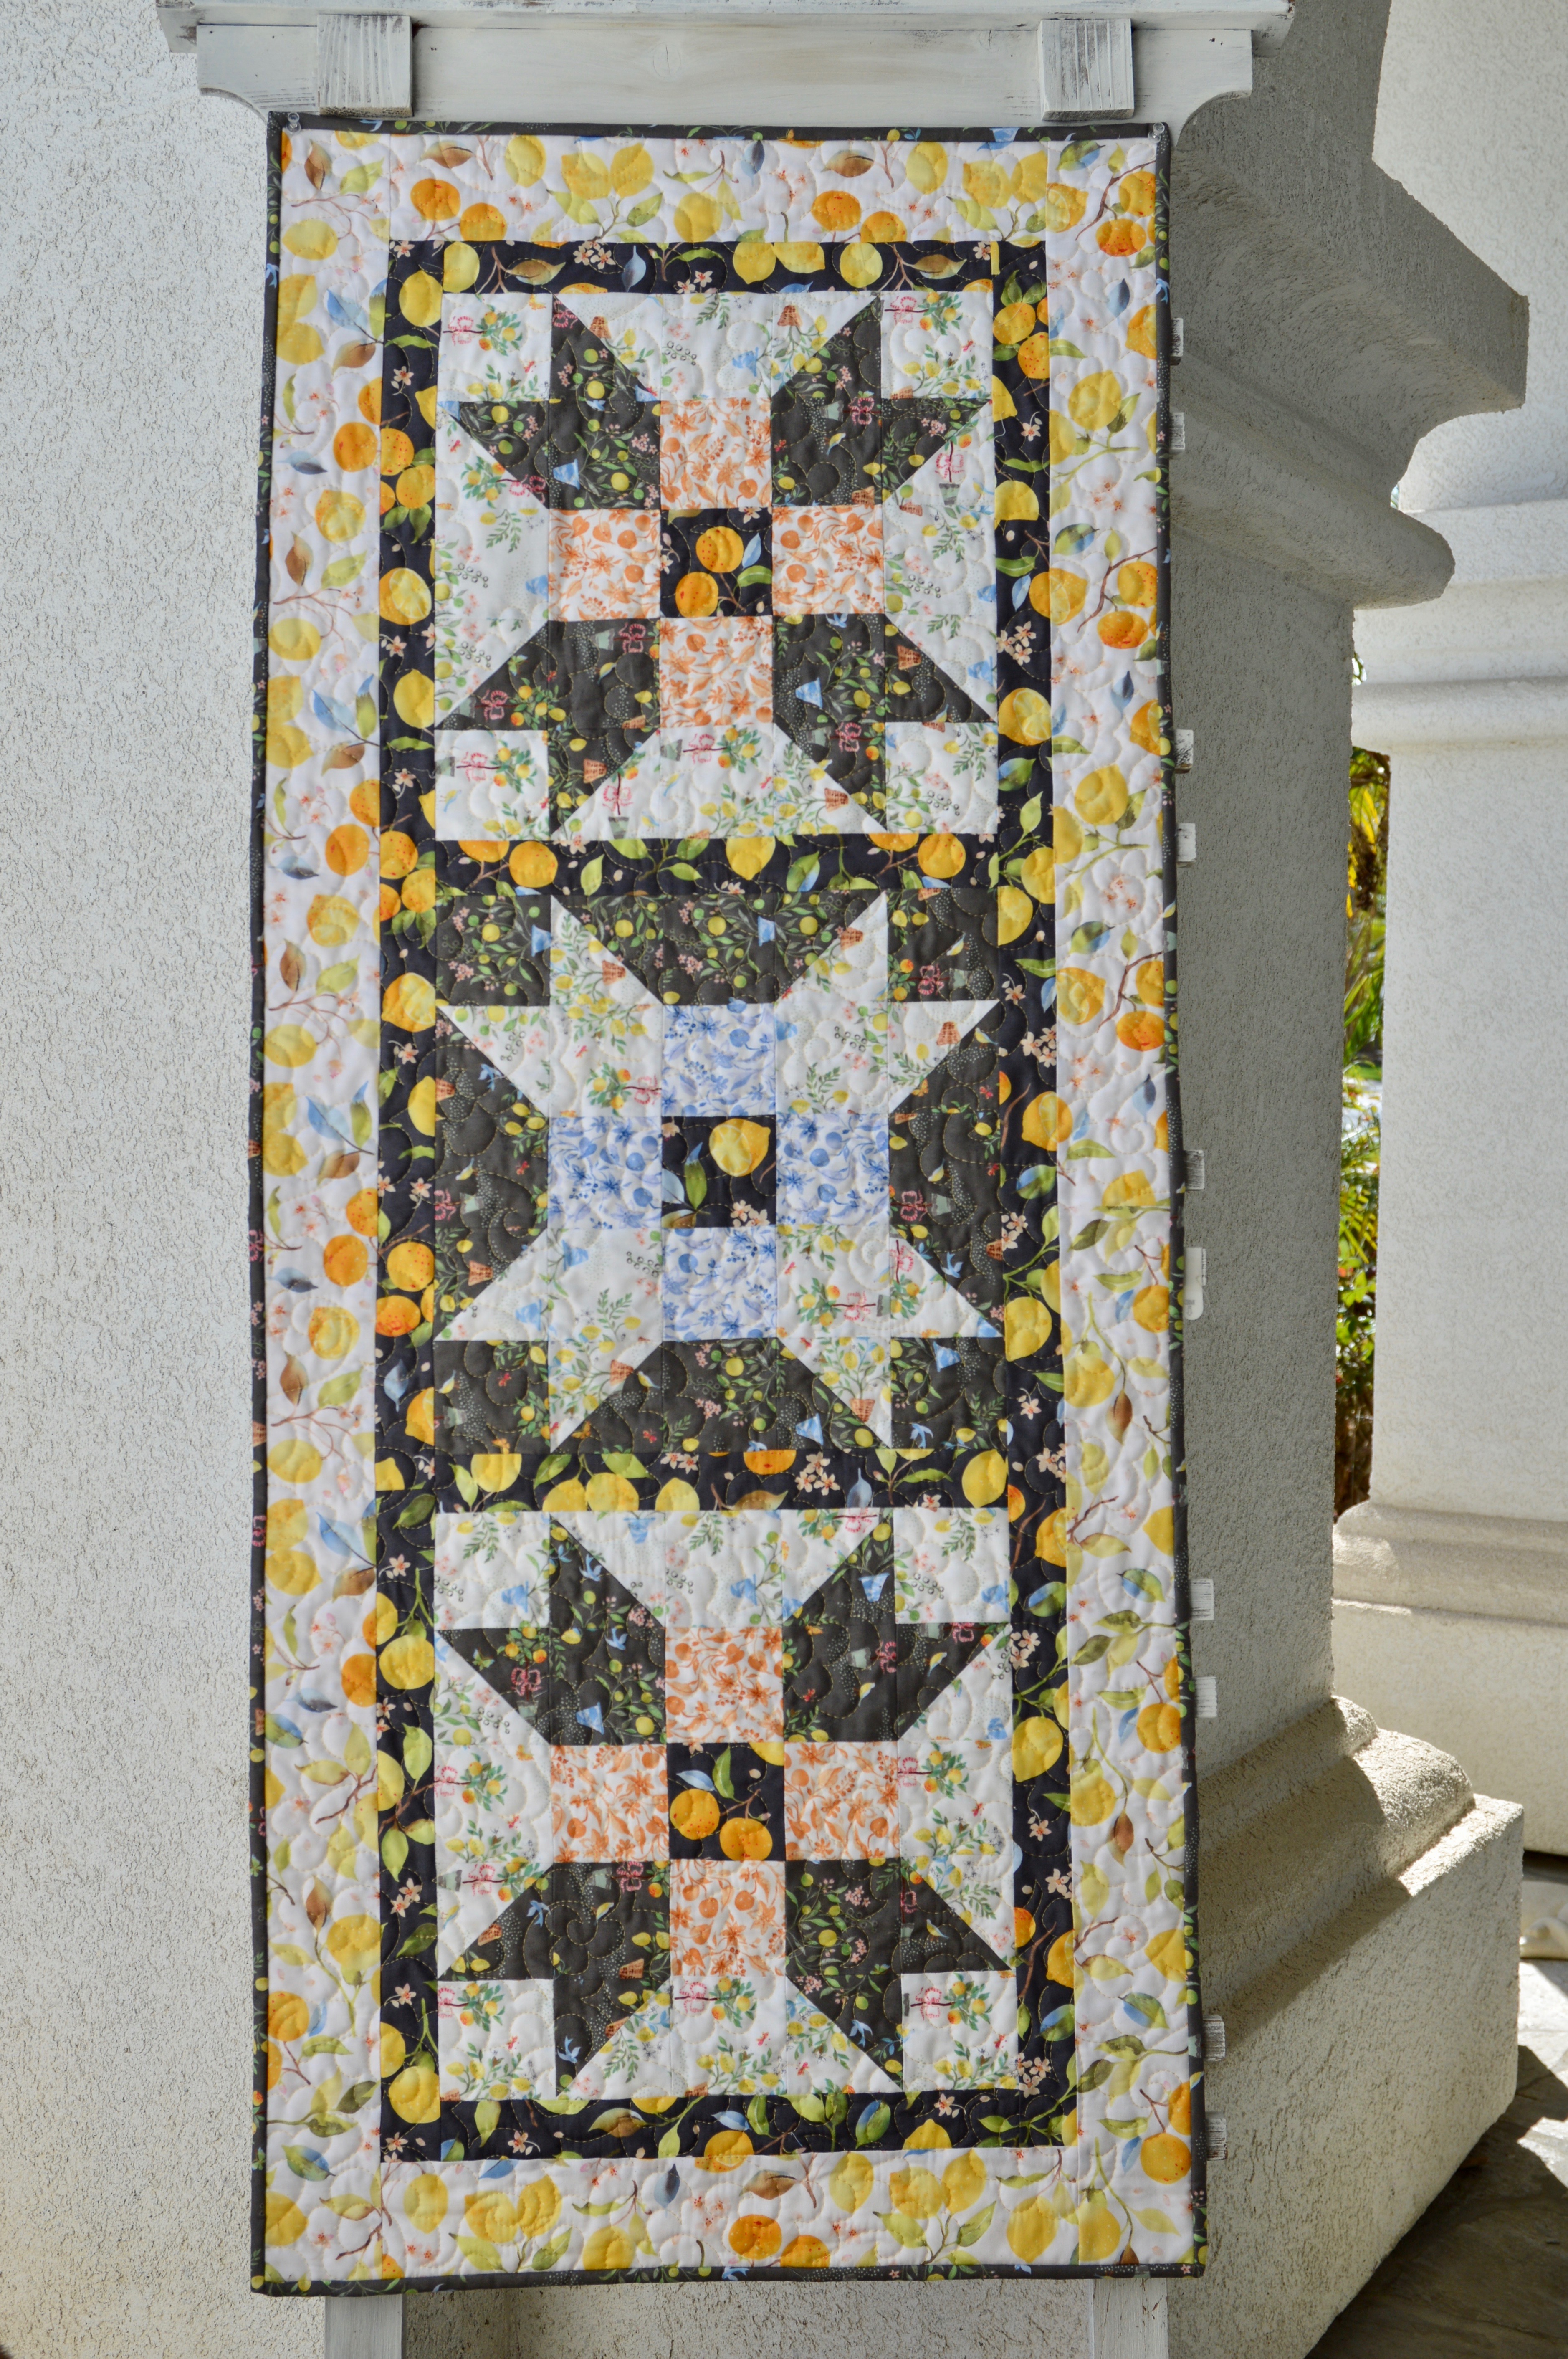
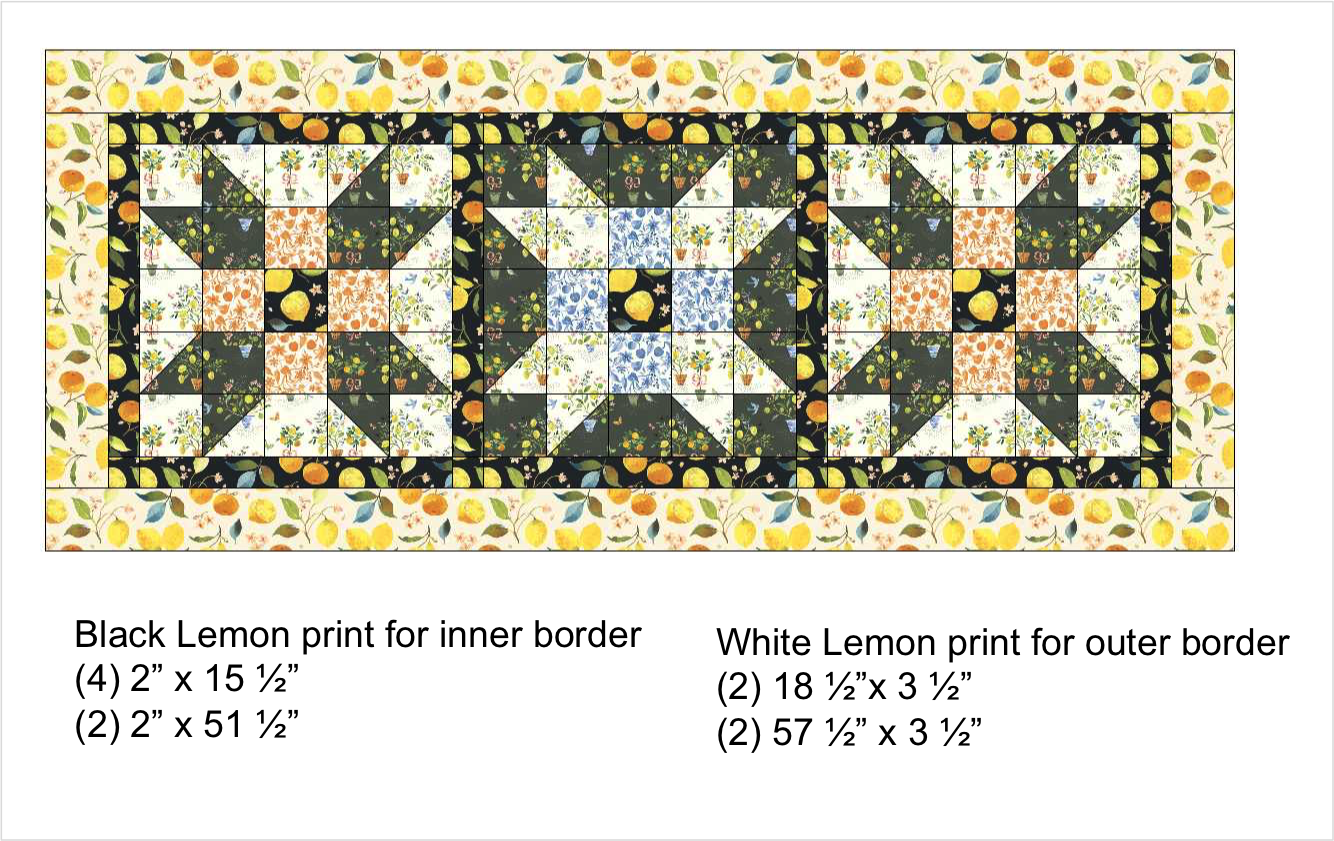
This runner is a great size measuring 57″ x 24″. A perfect project to make in an afternoon!!
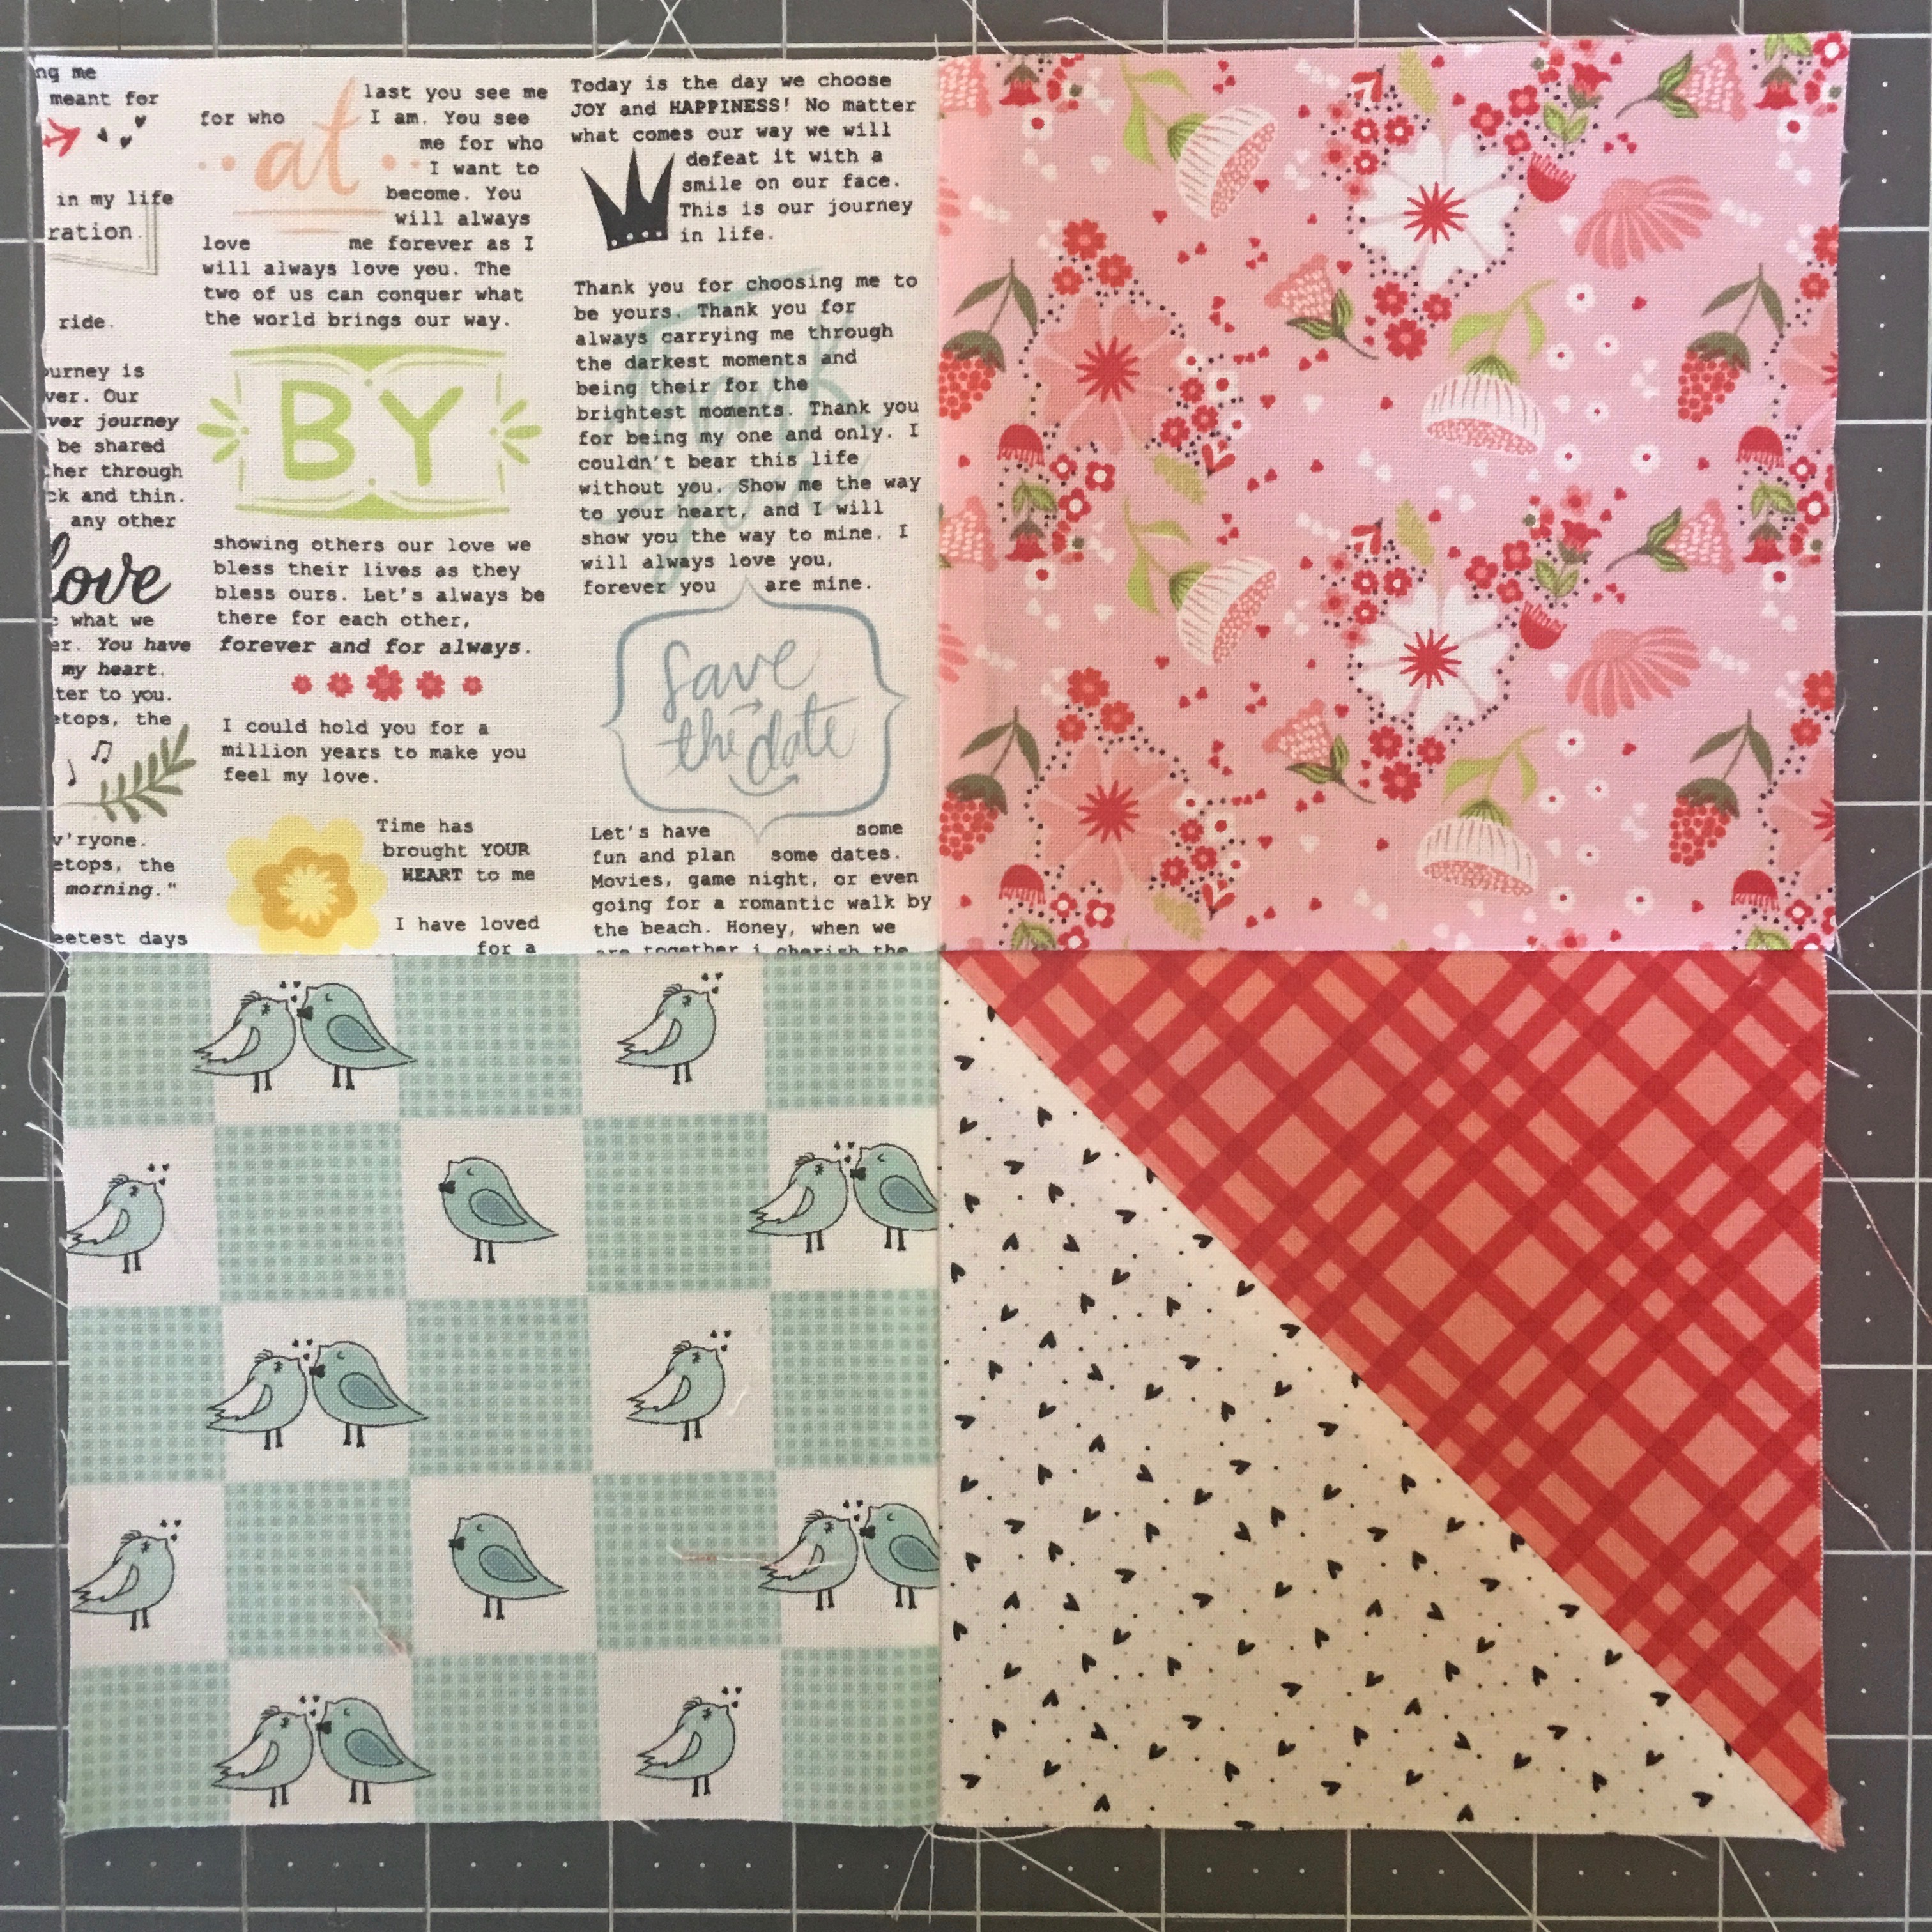
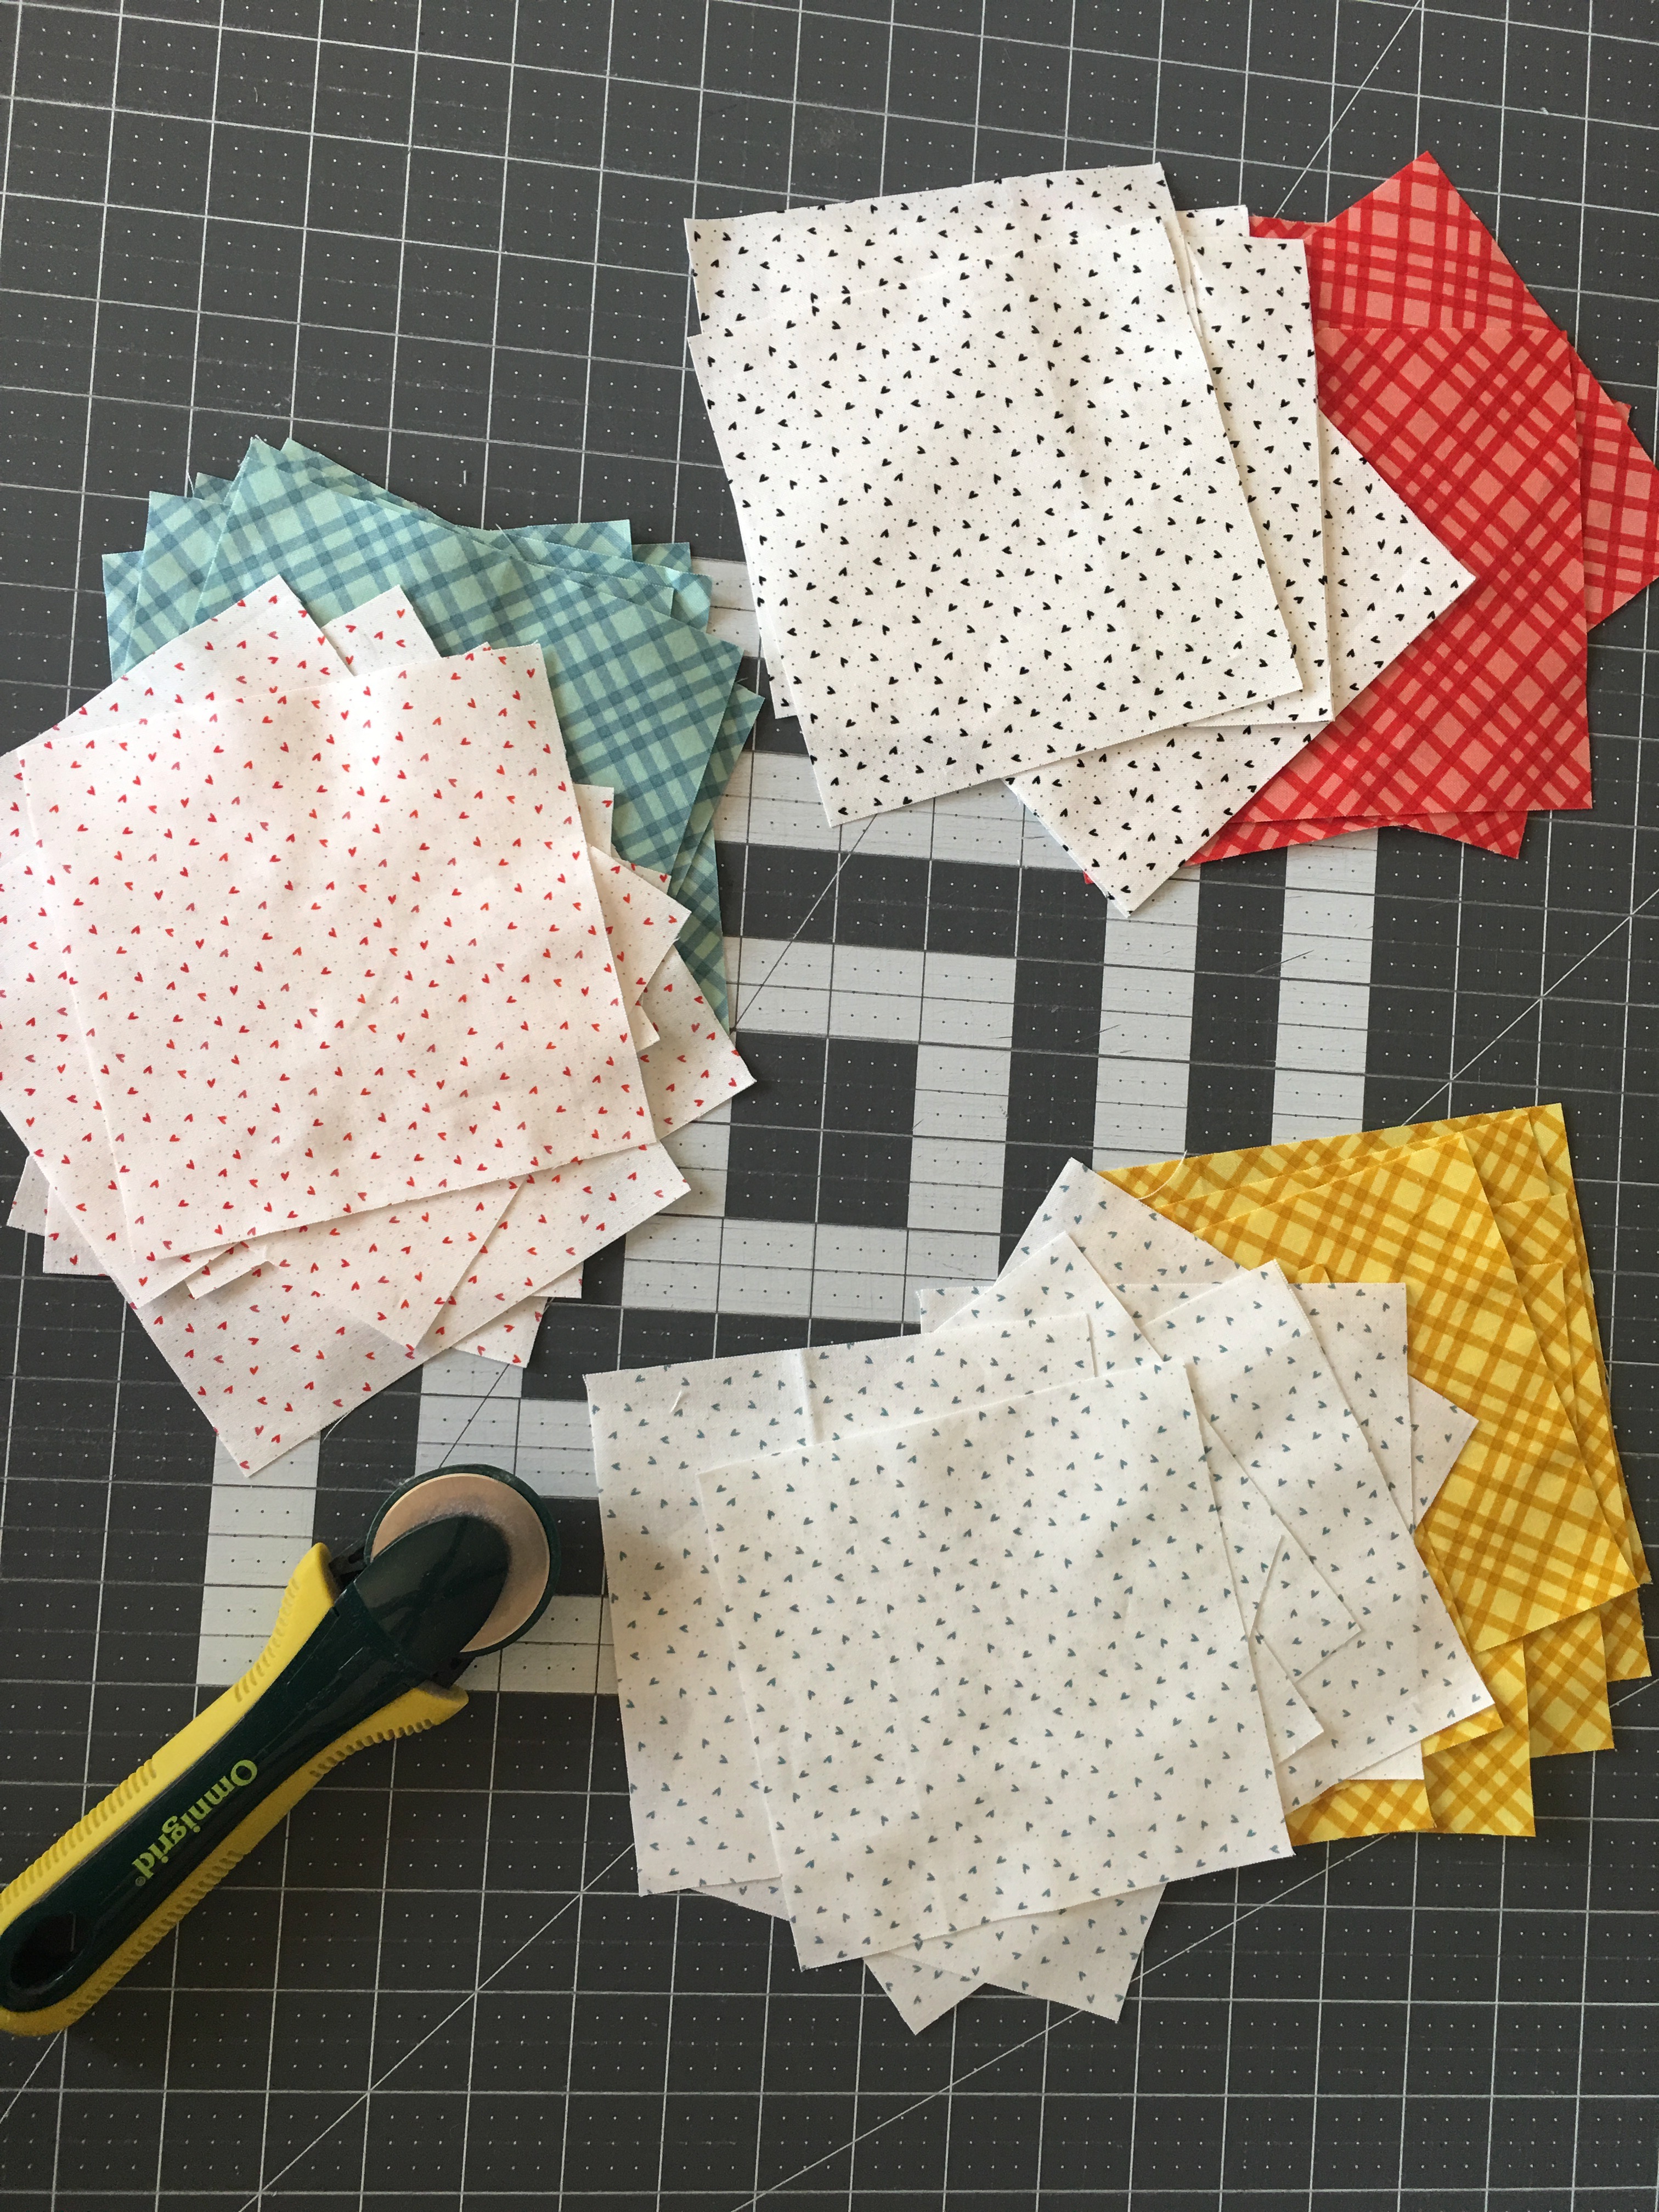
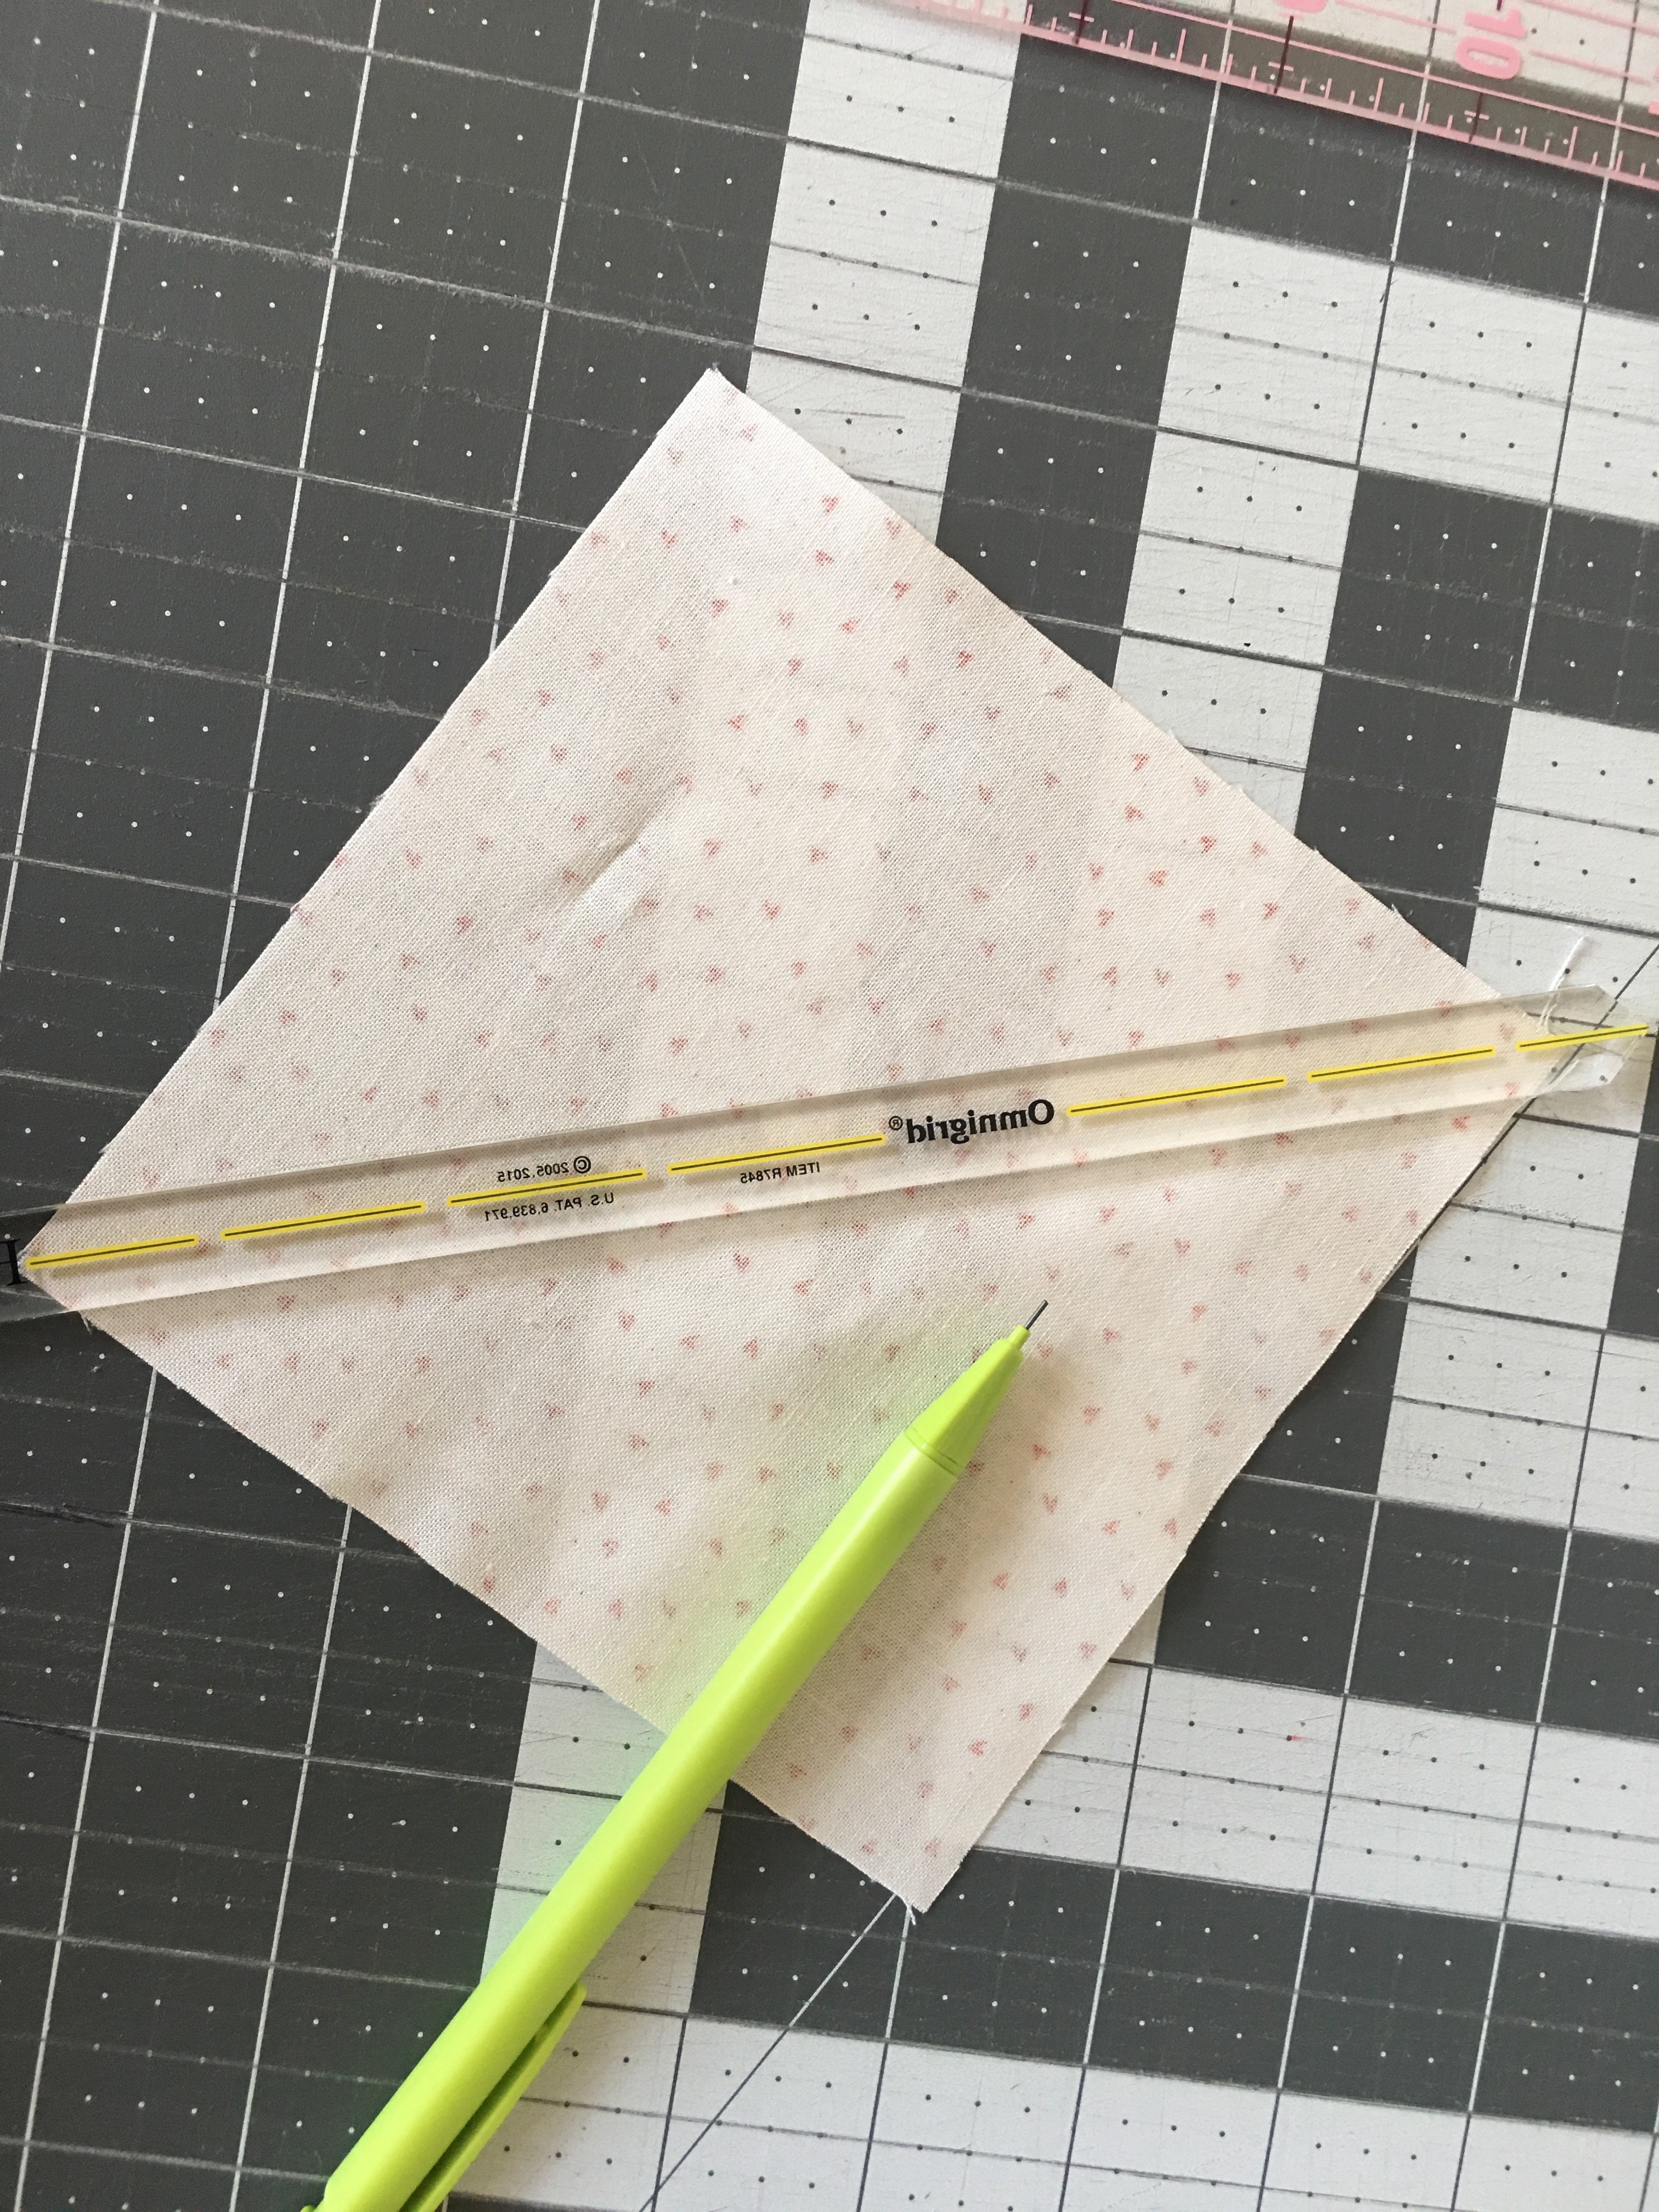
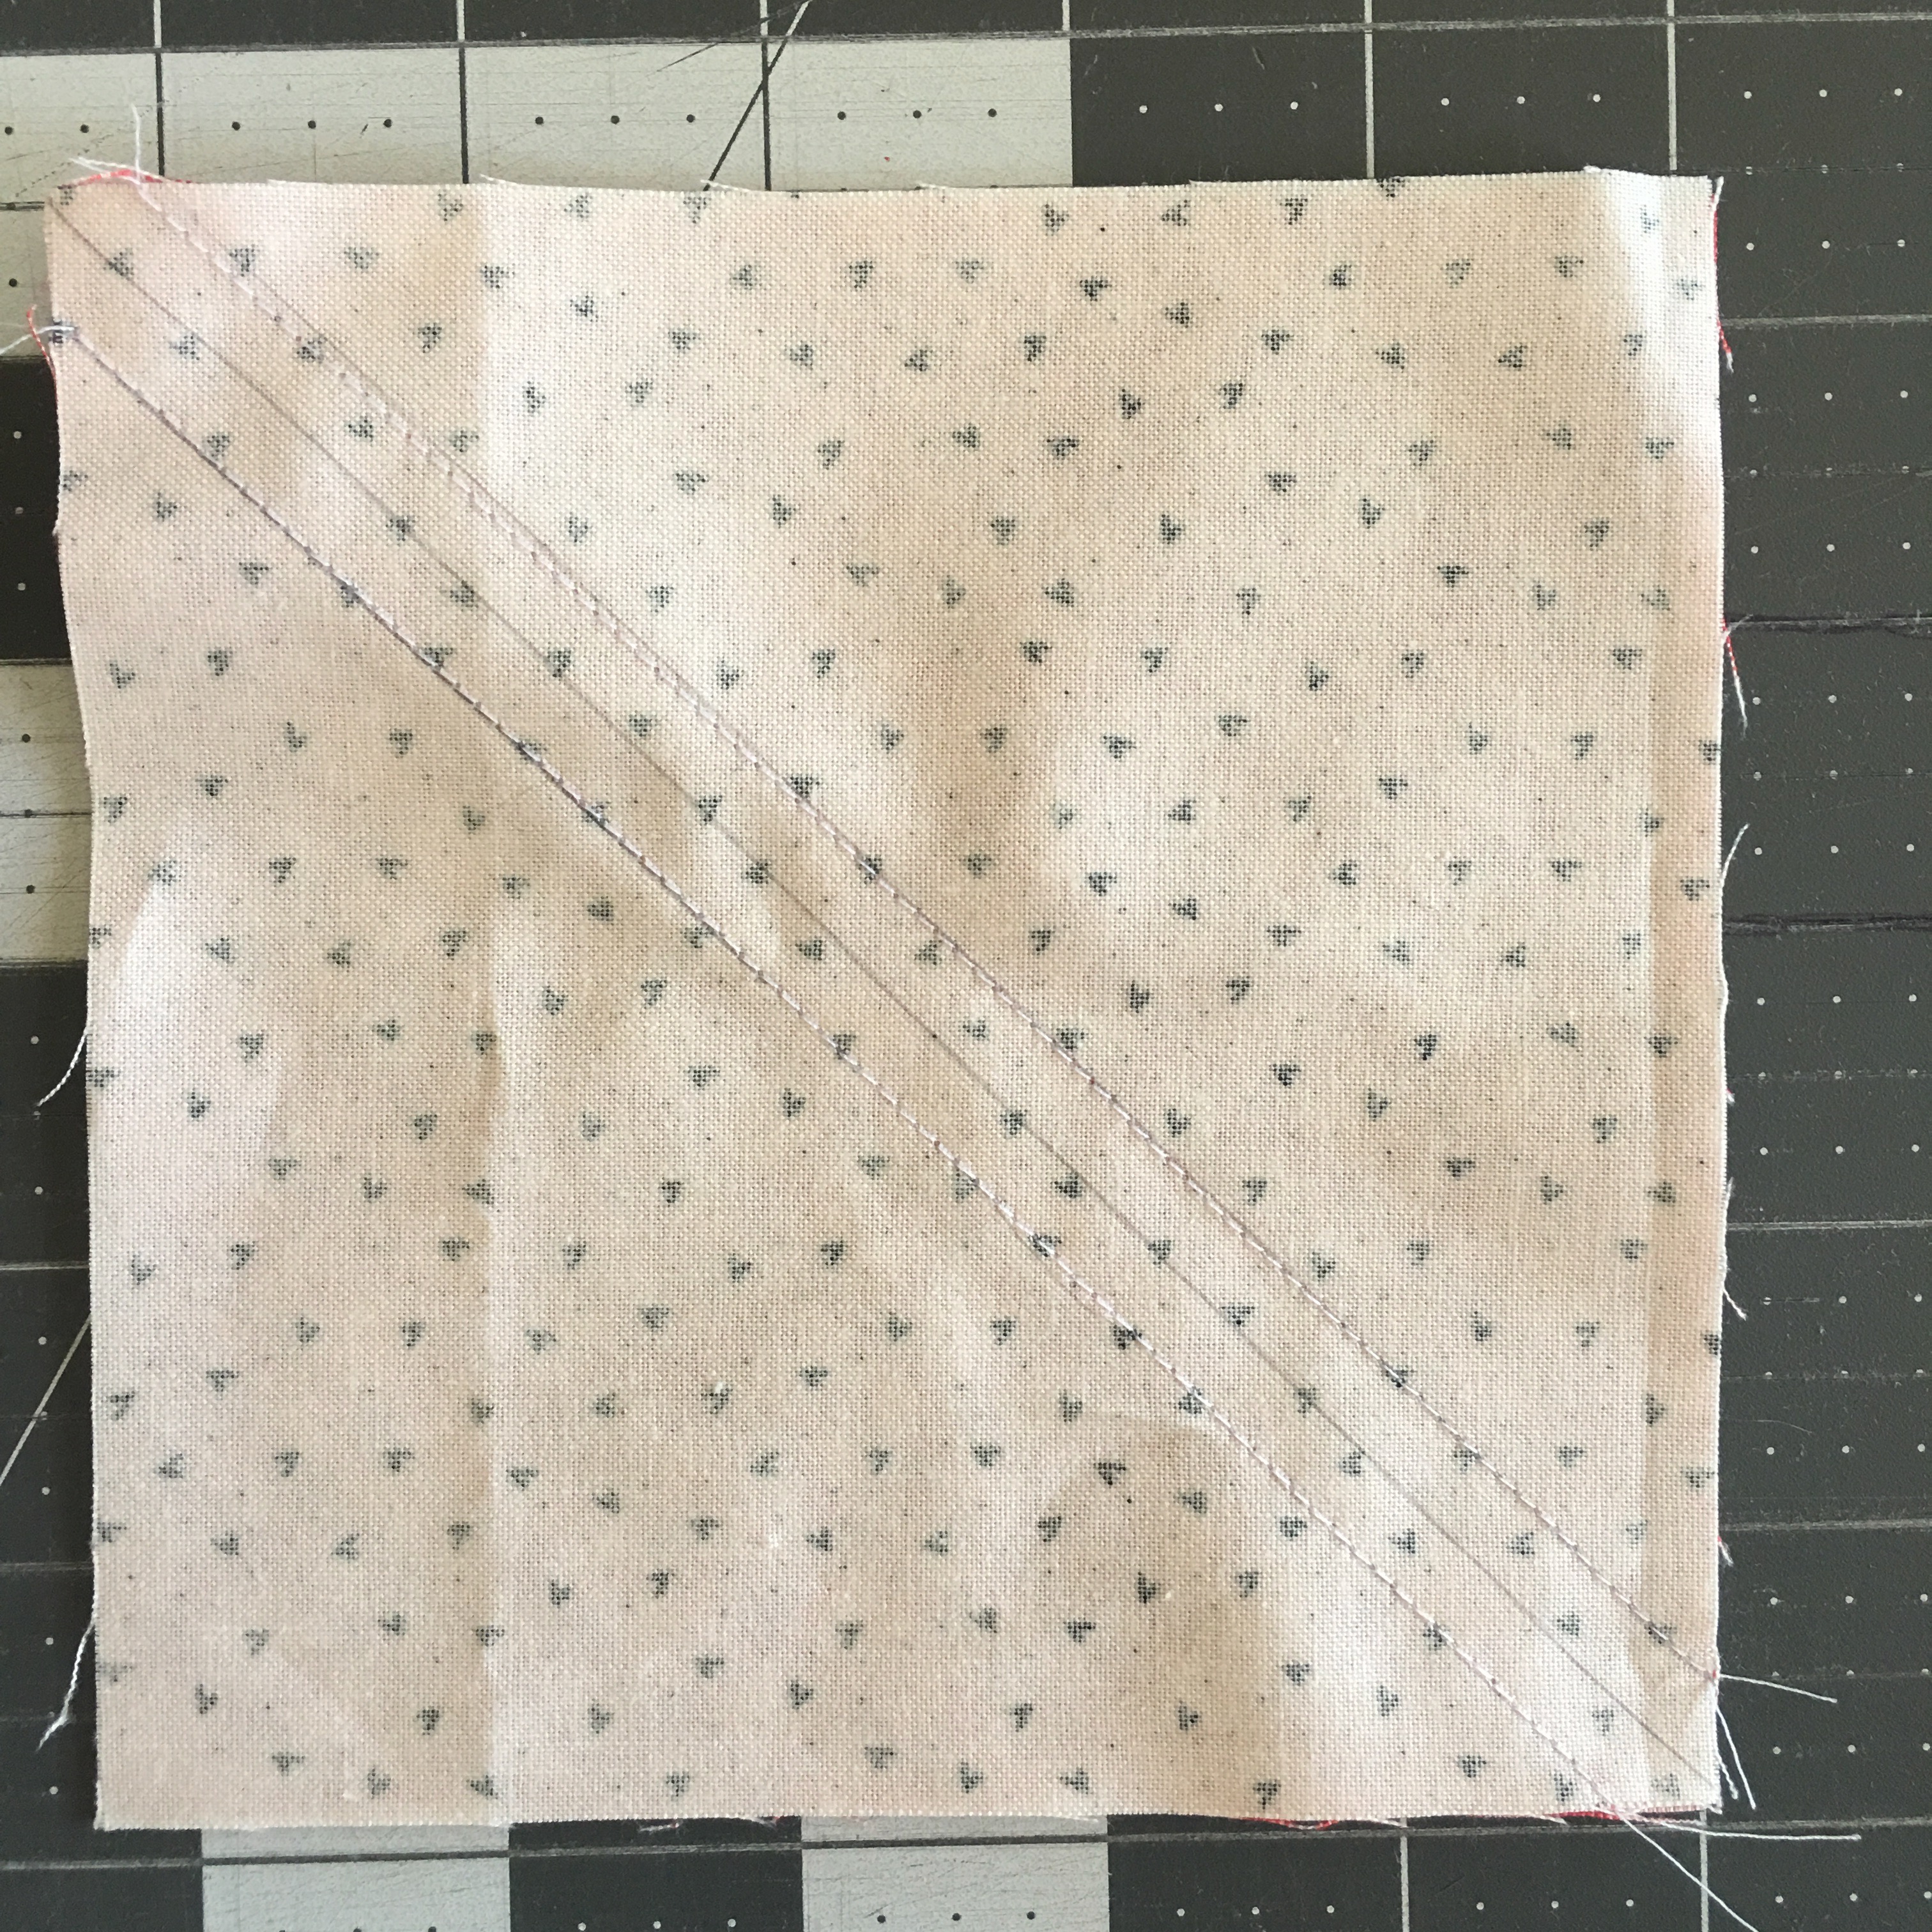
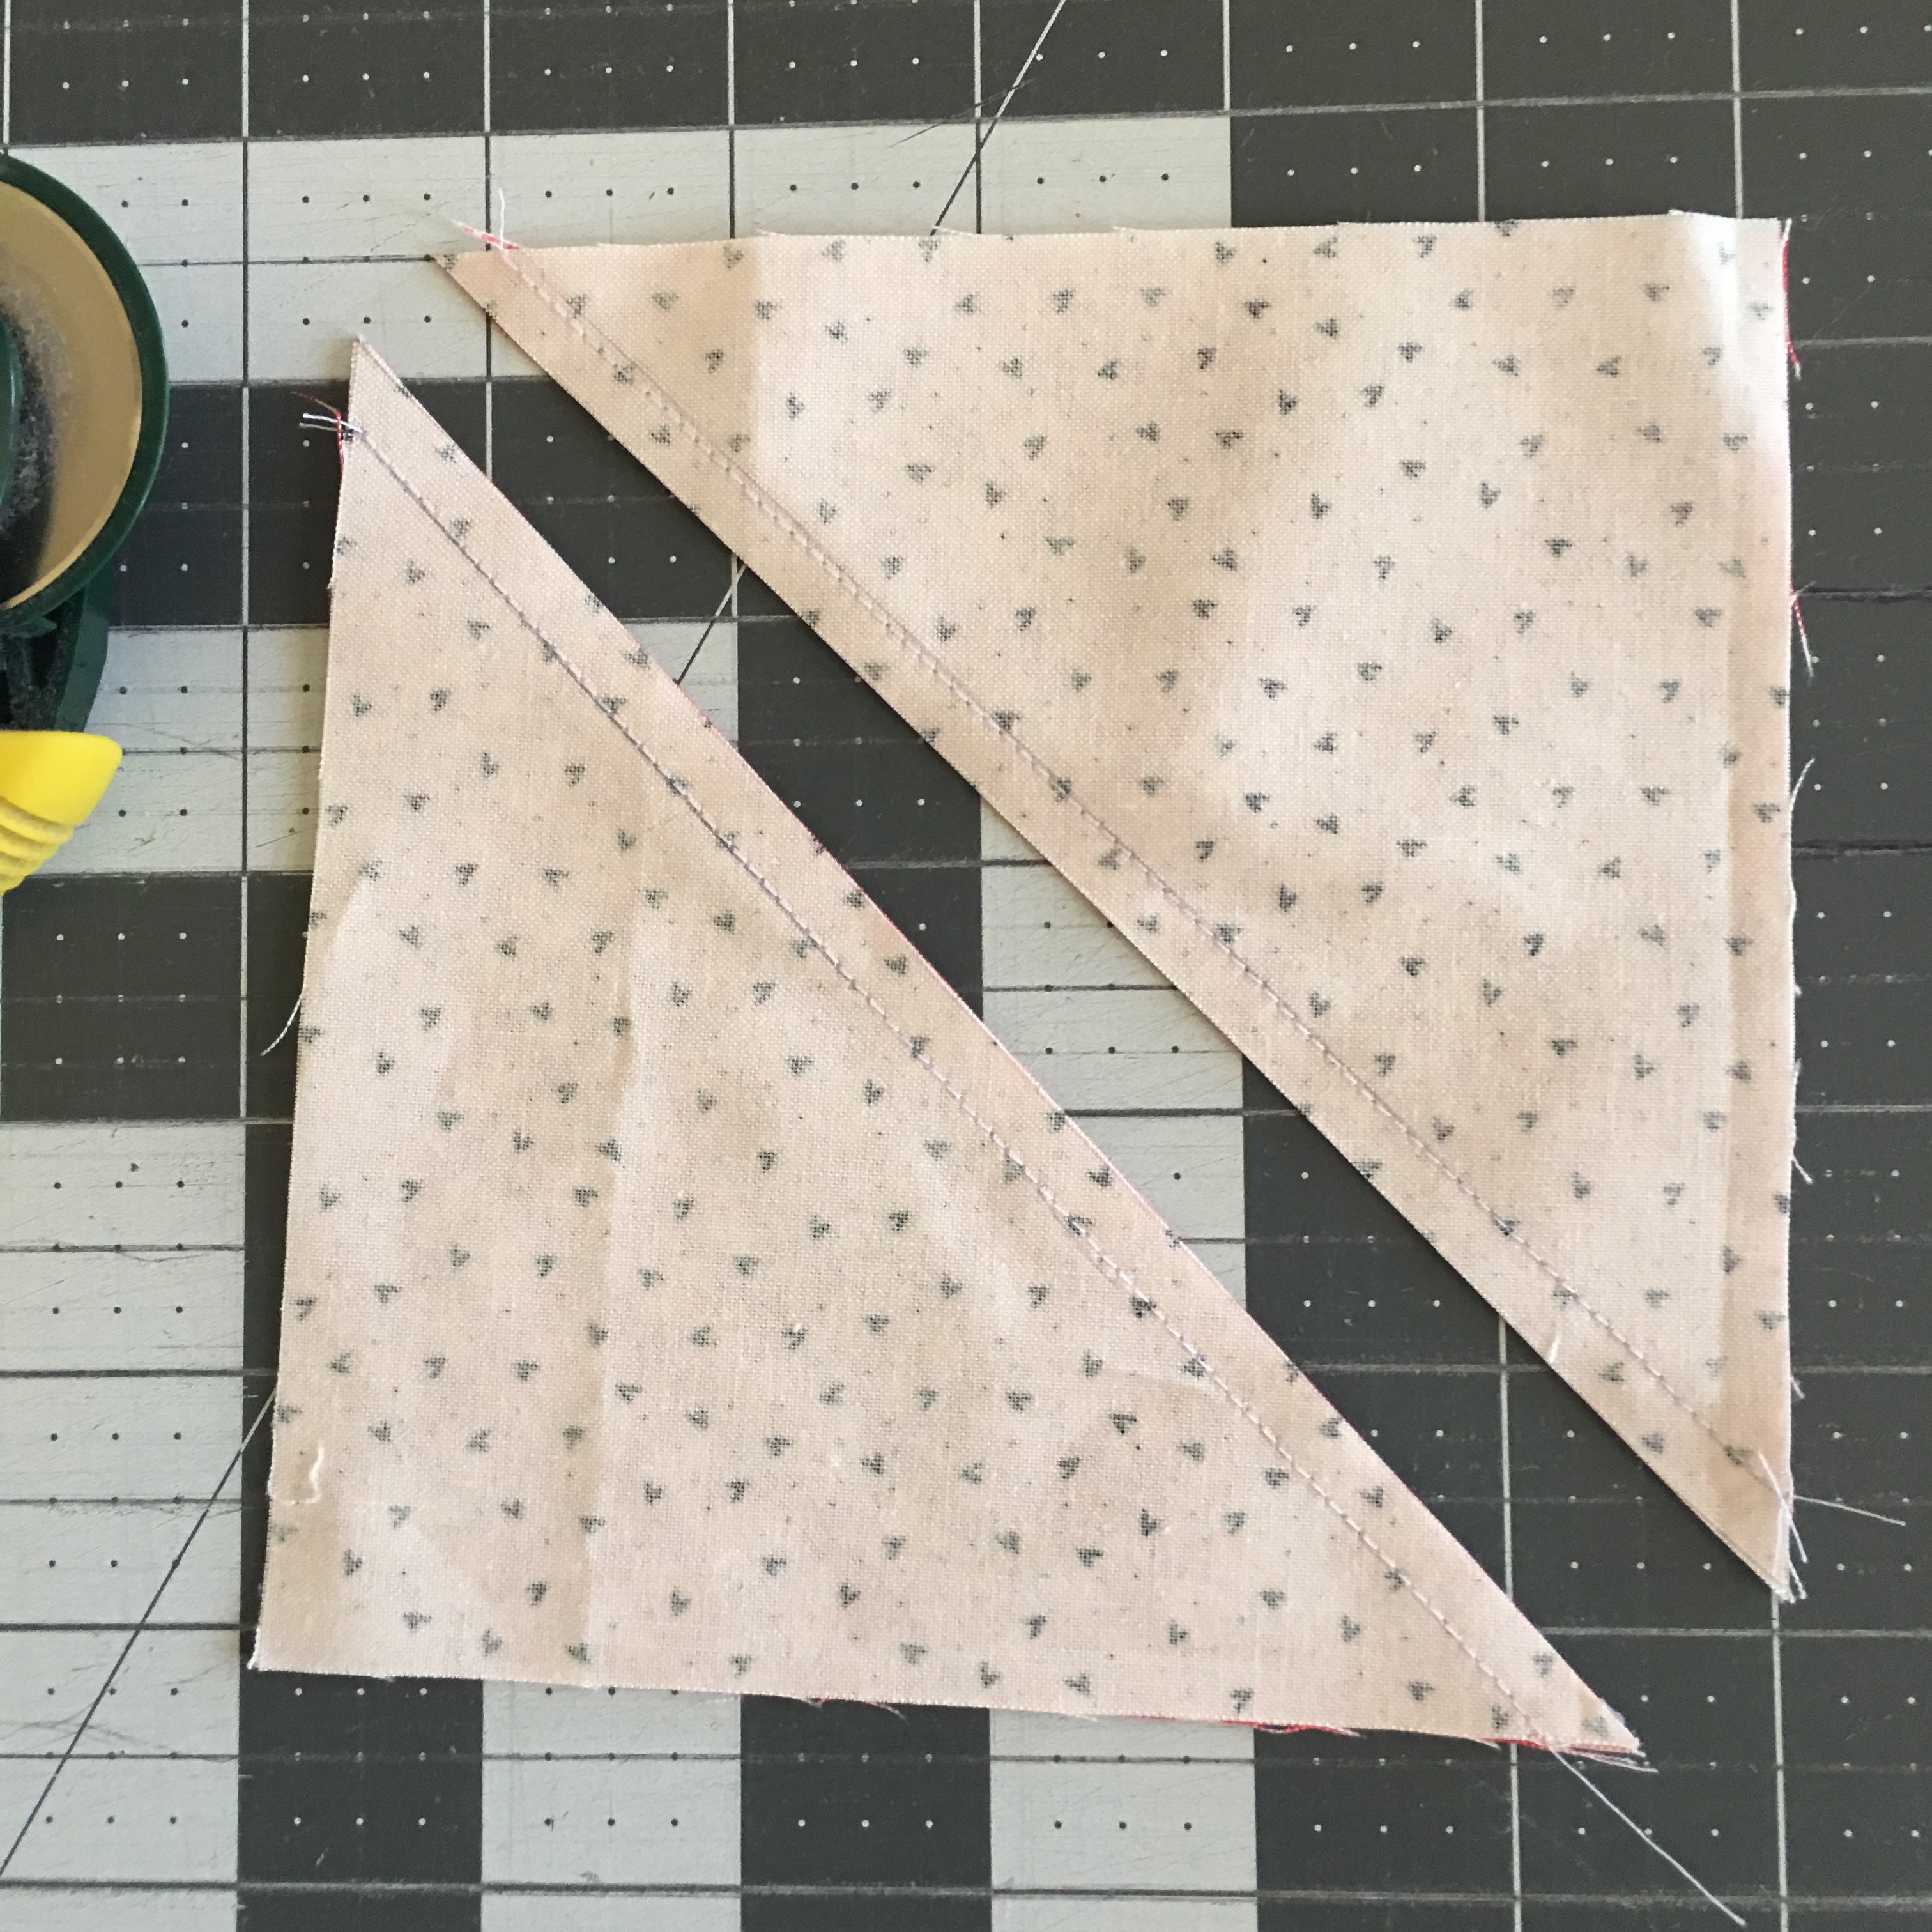
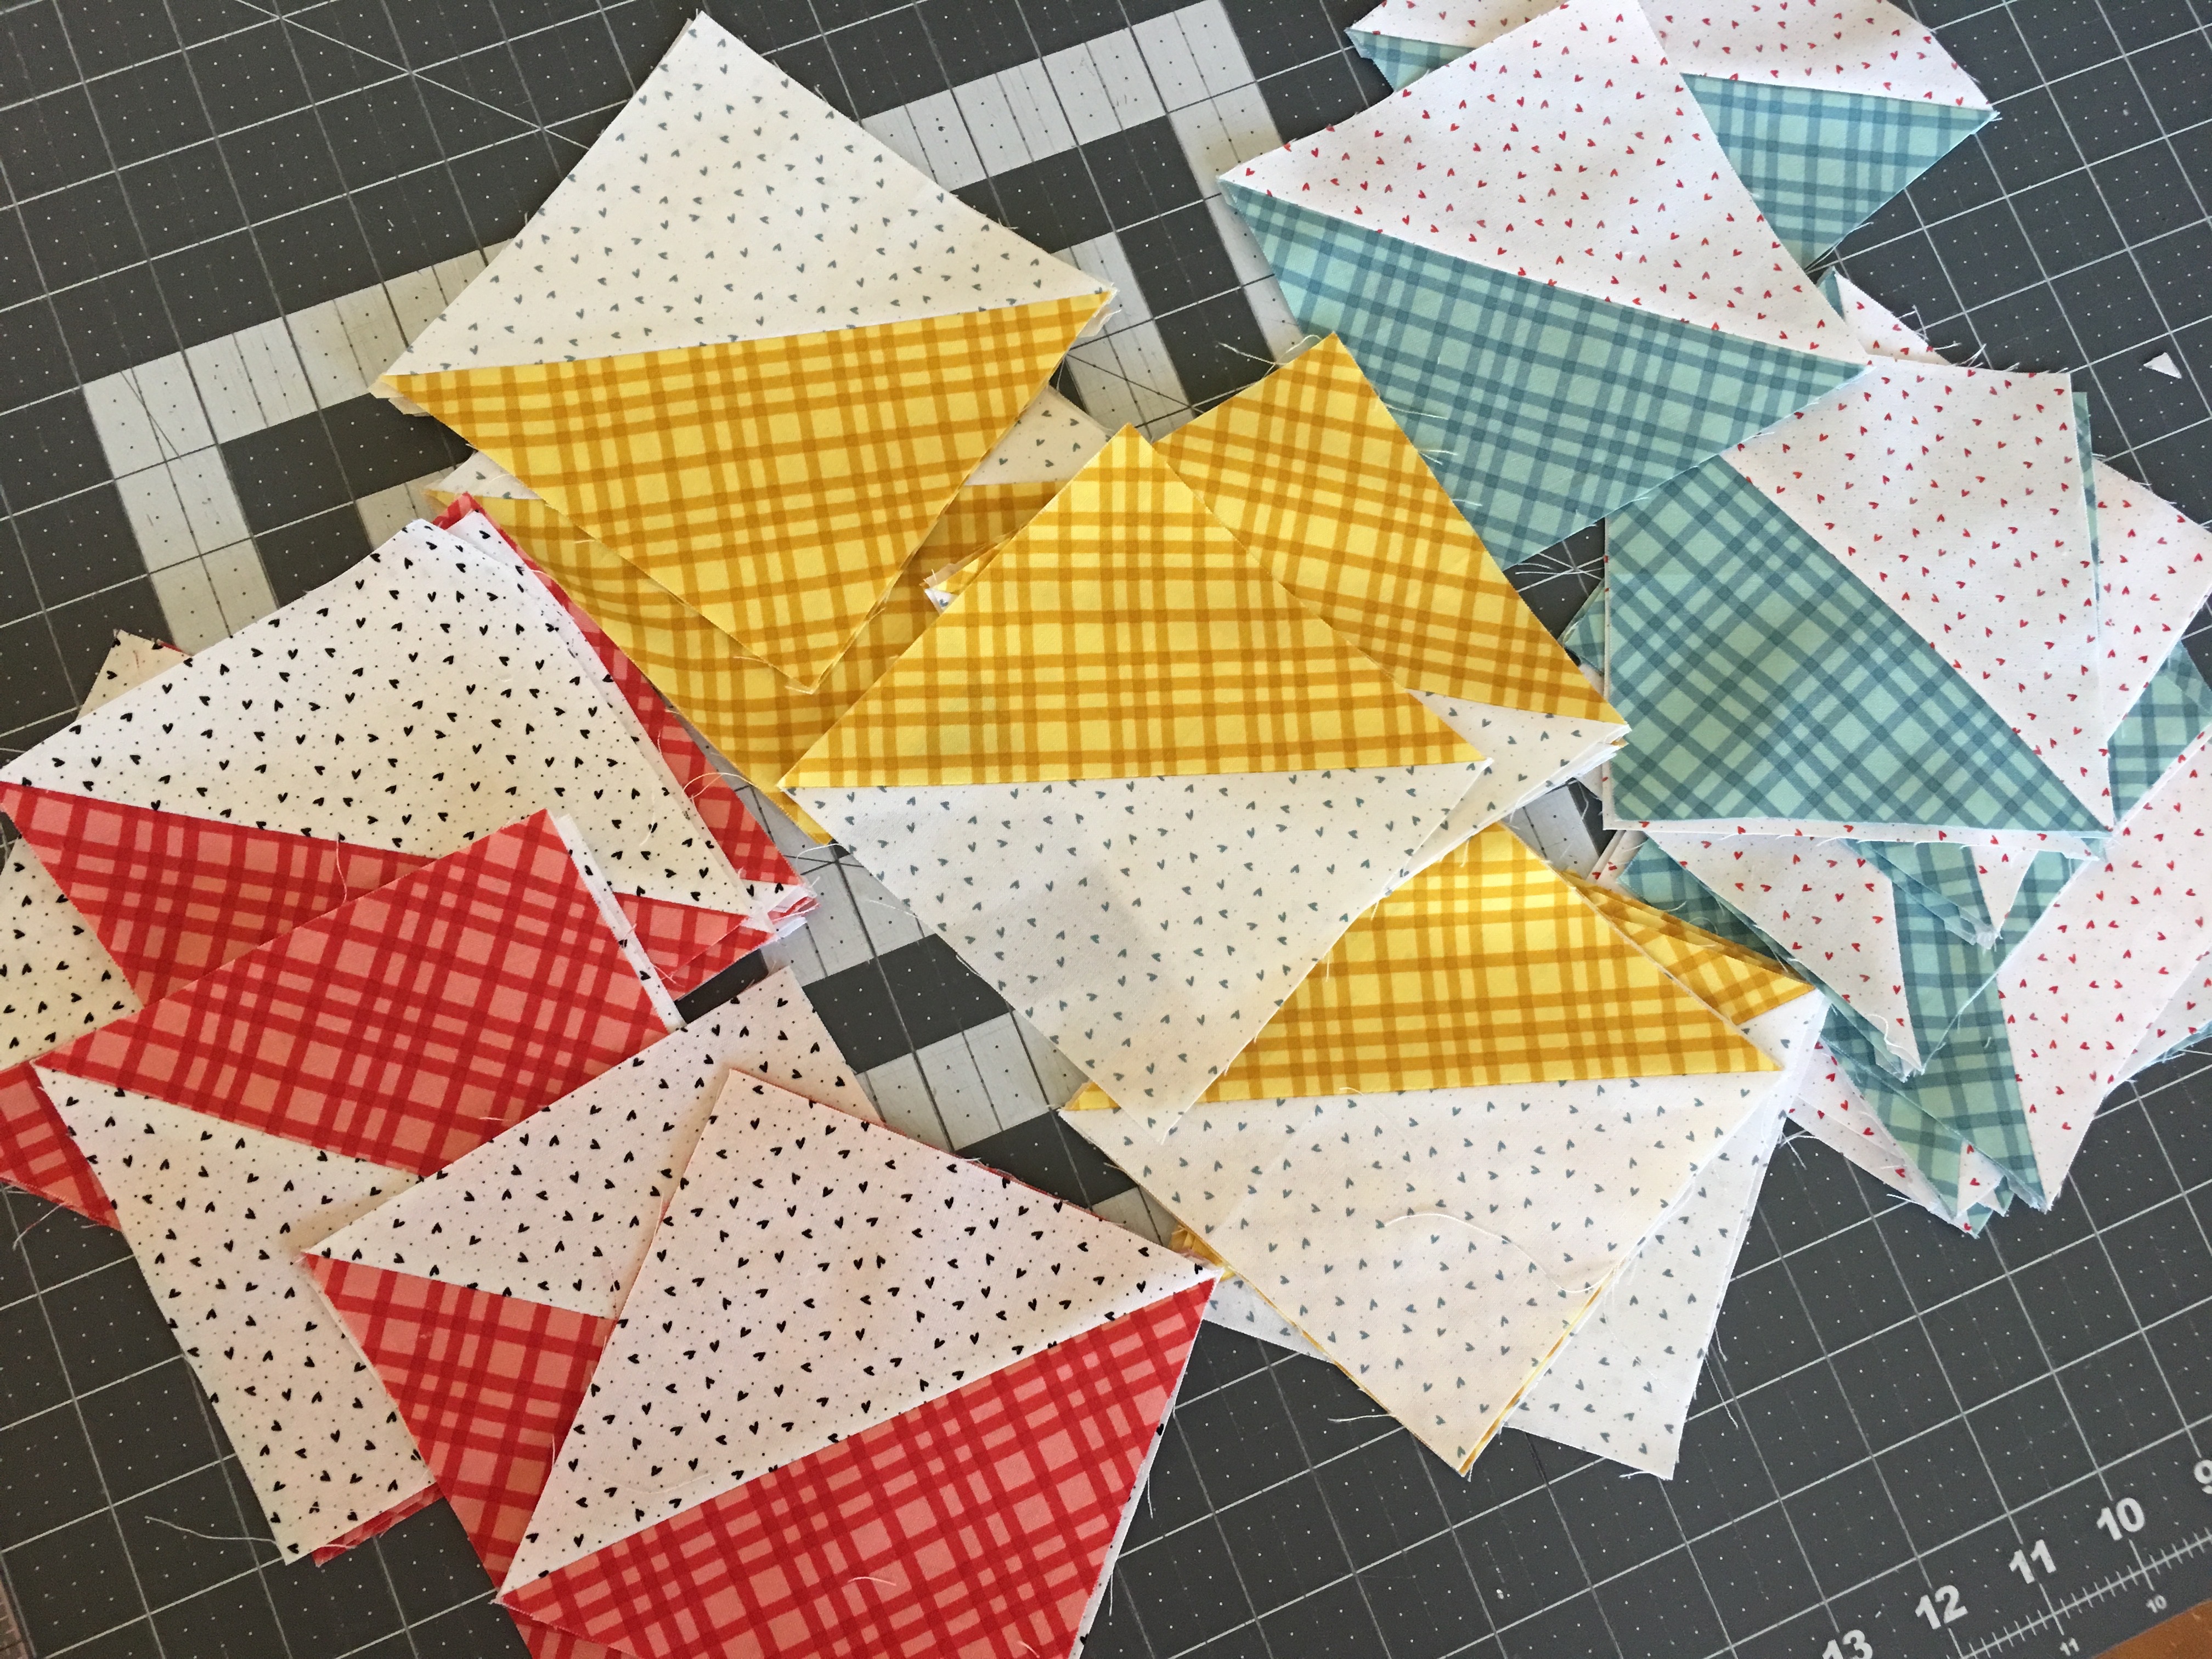
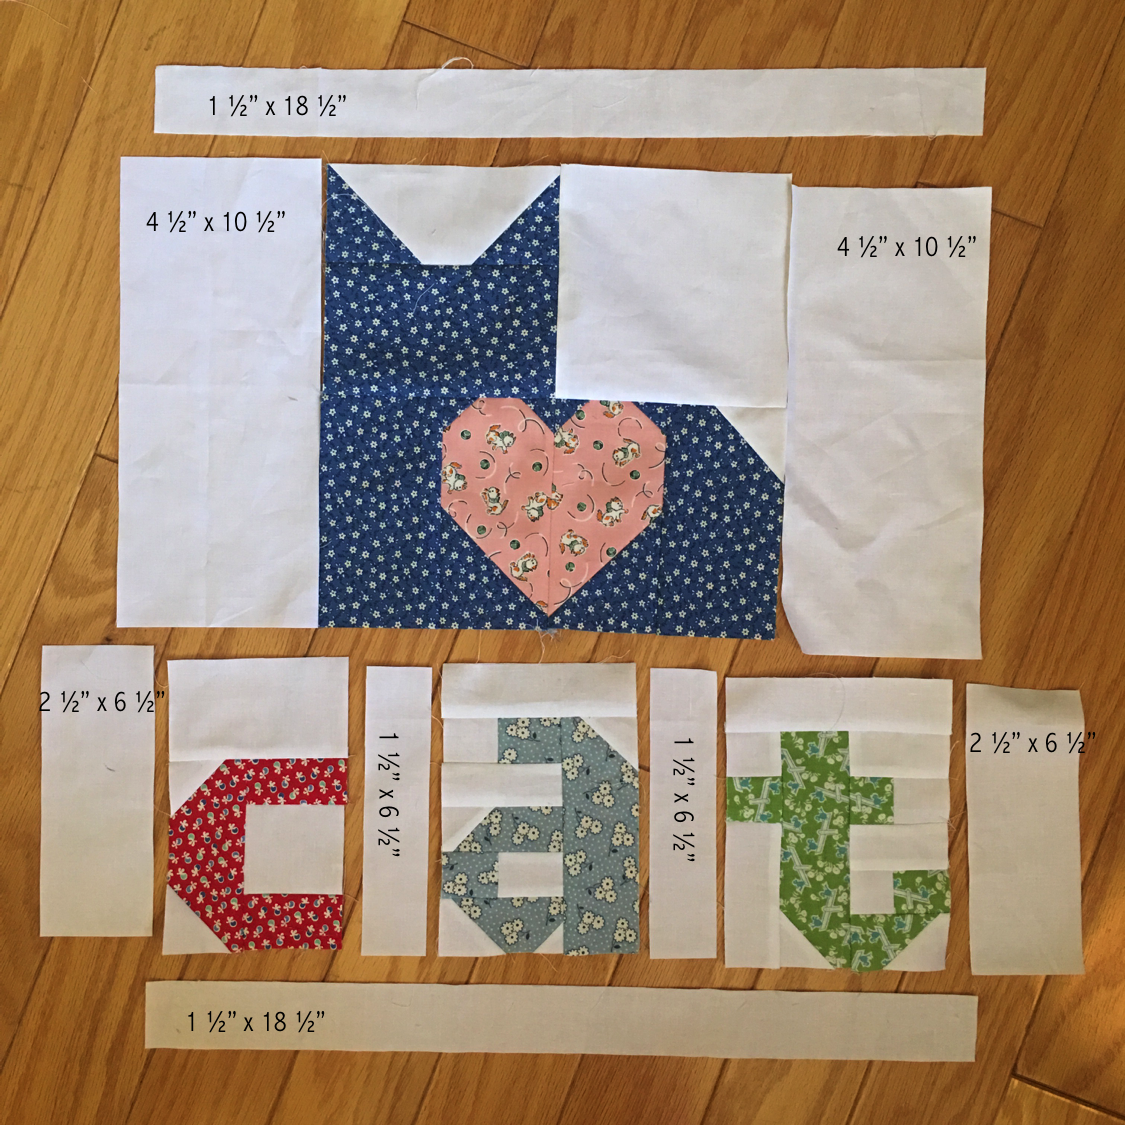
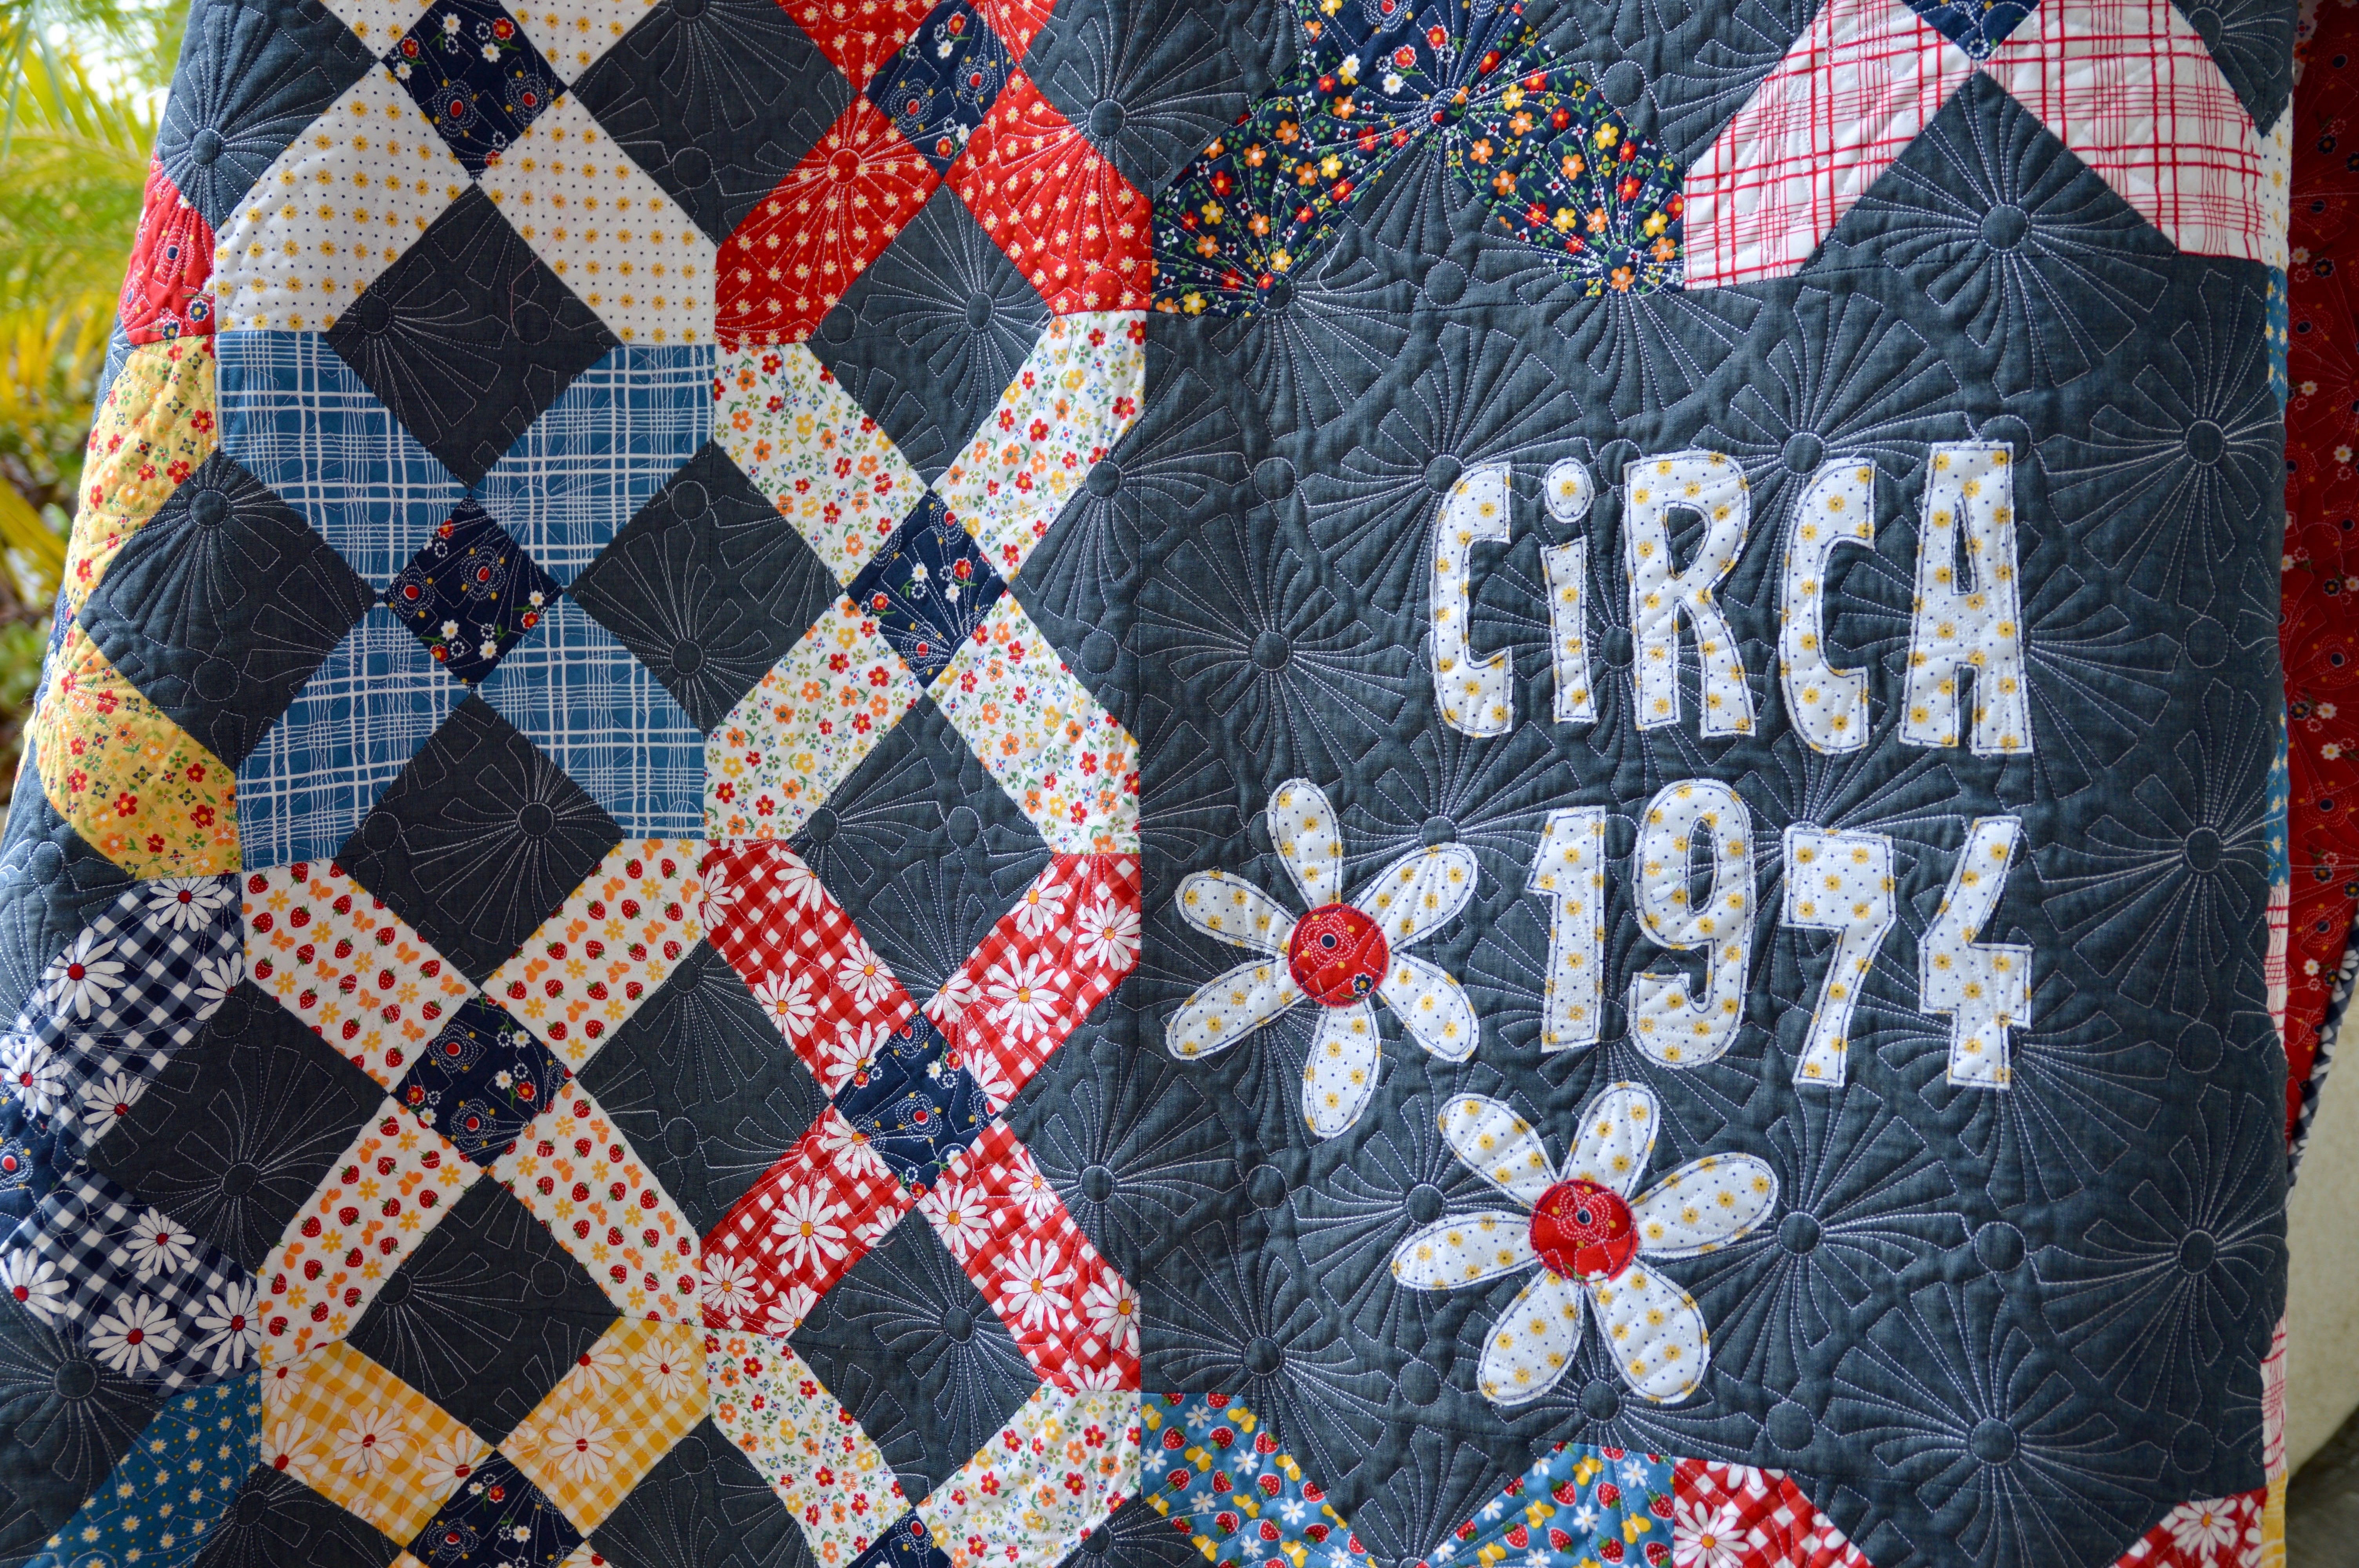
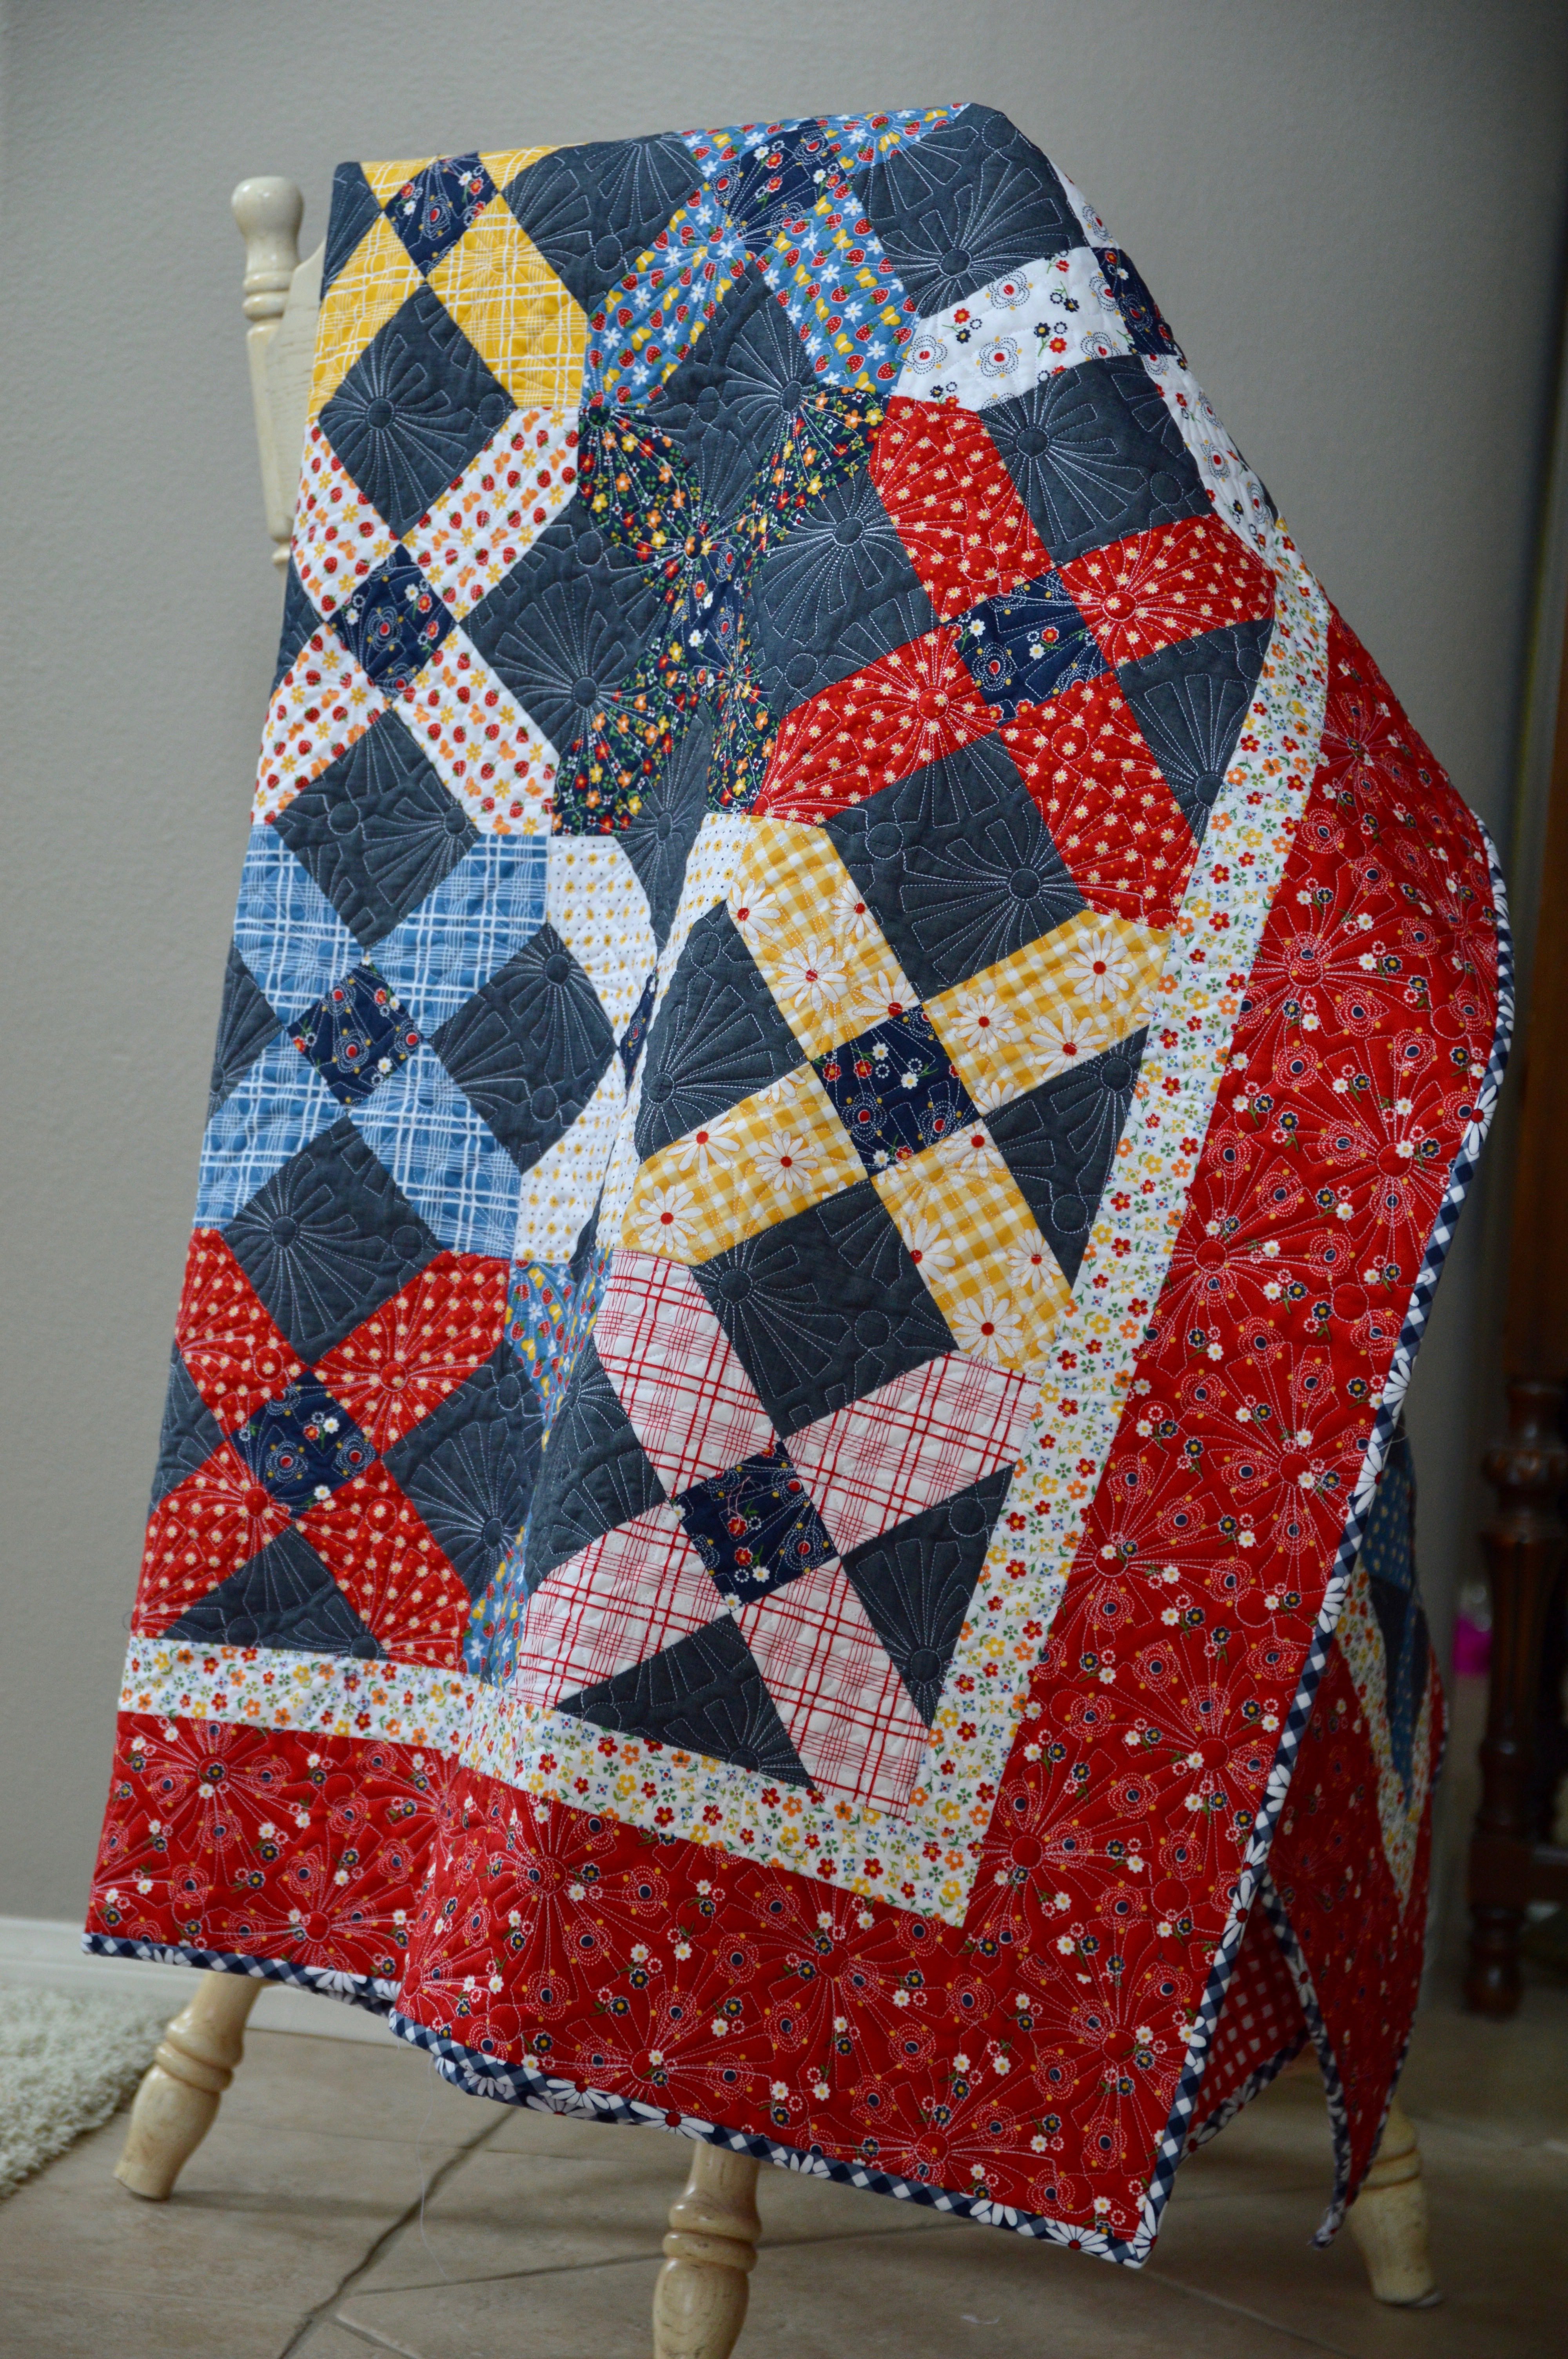
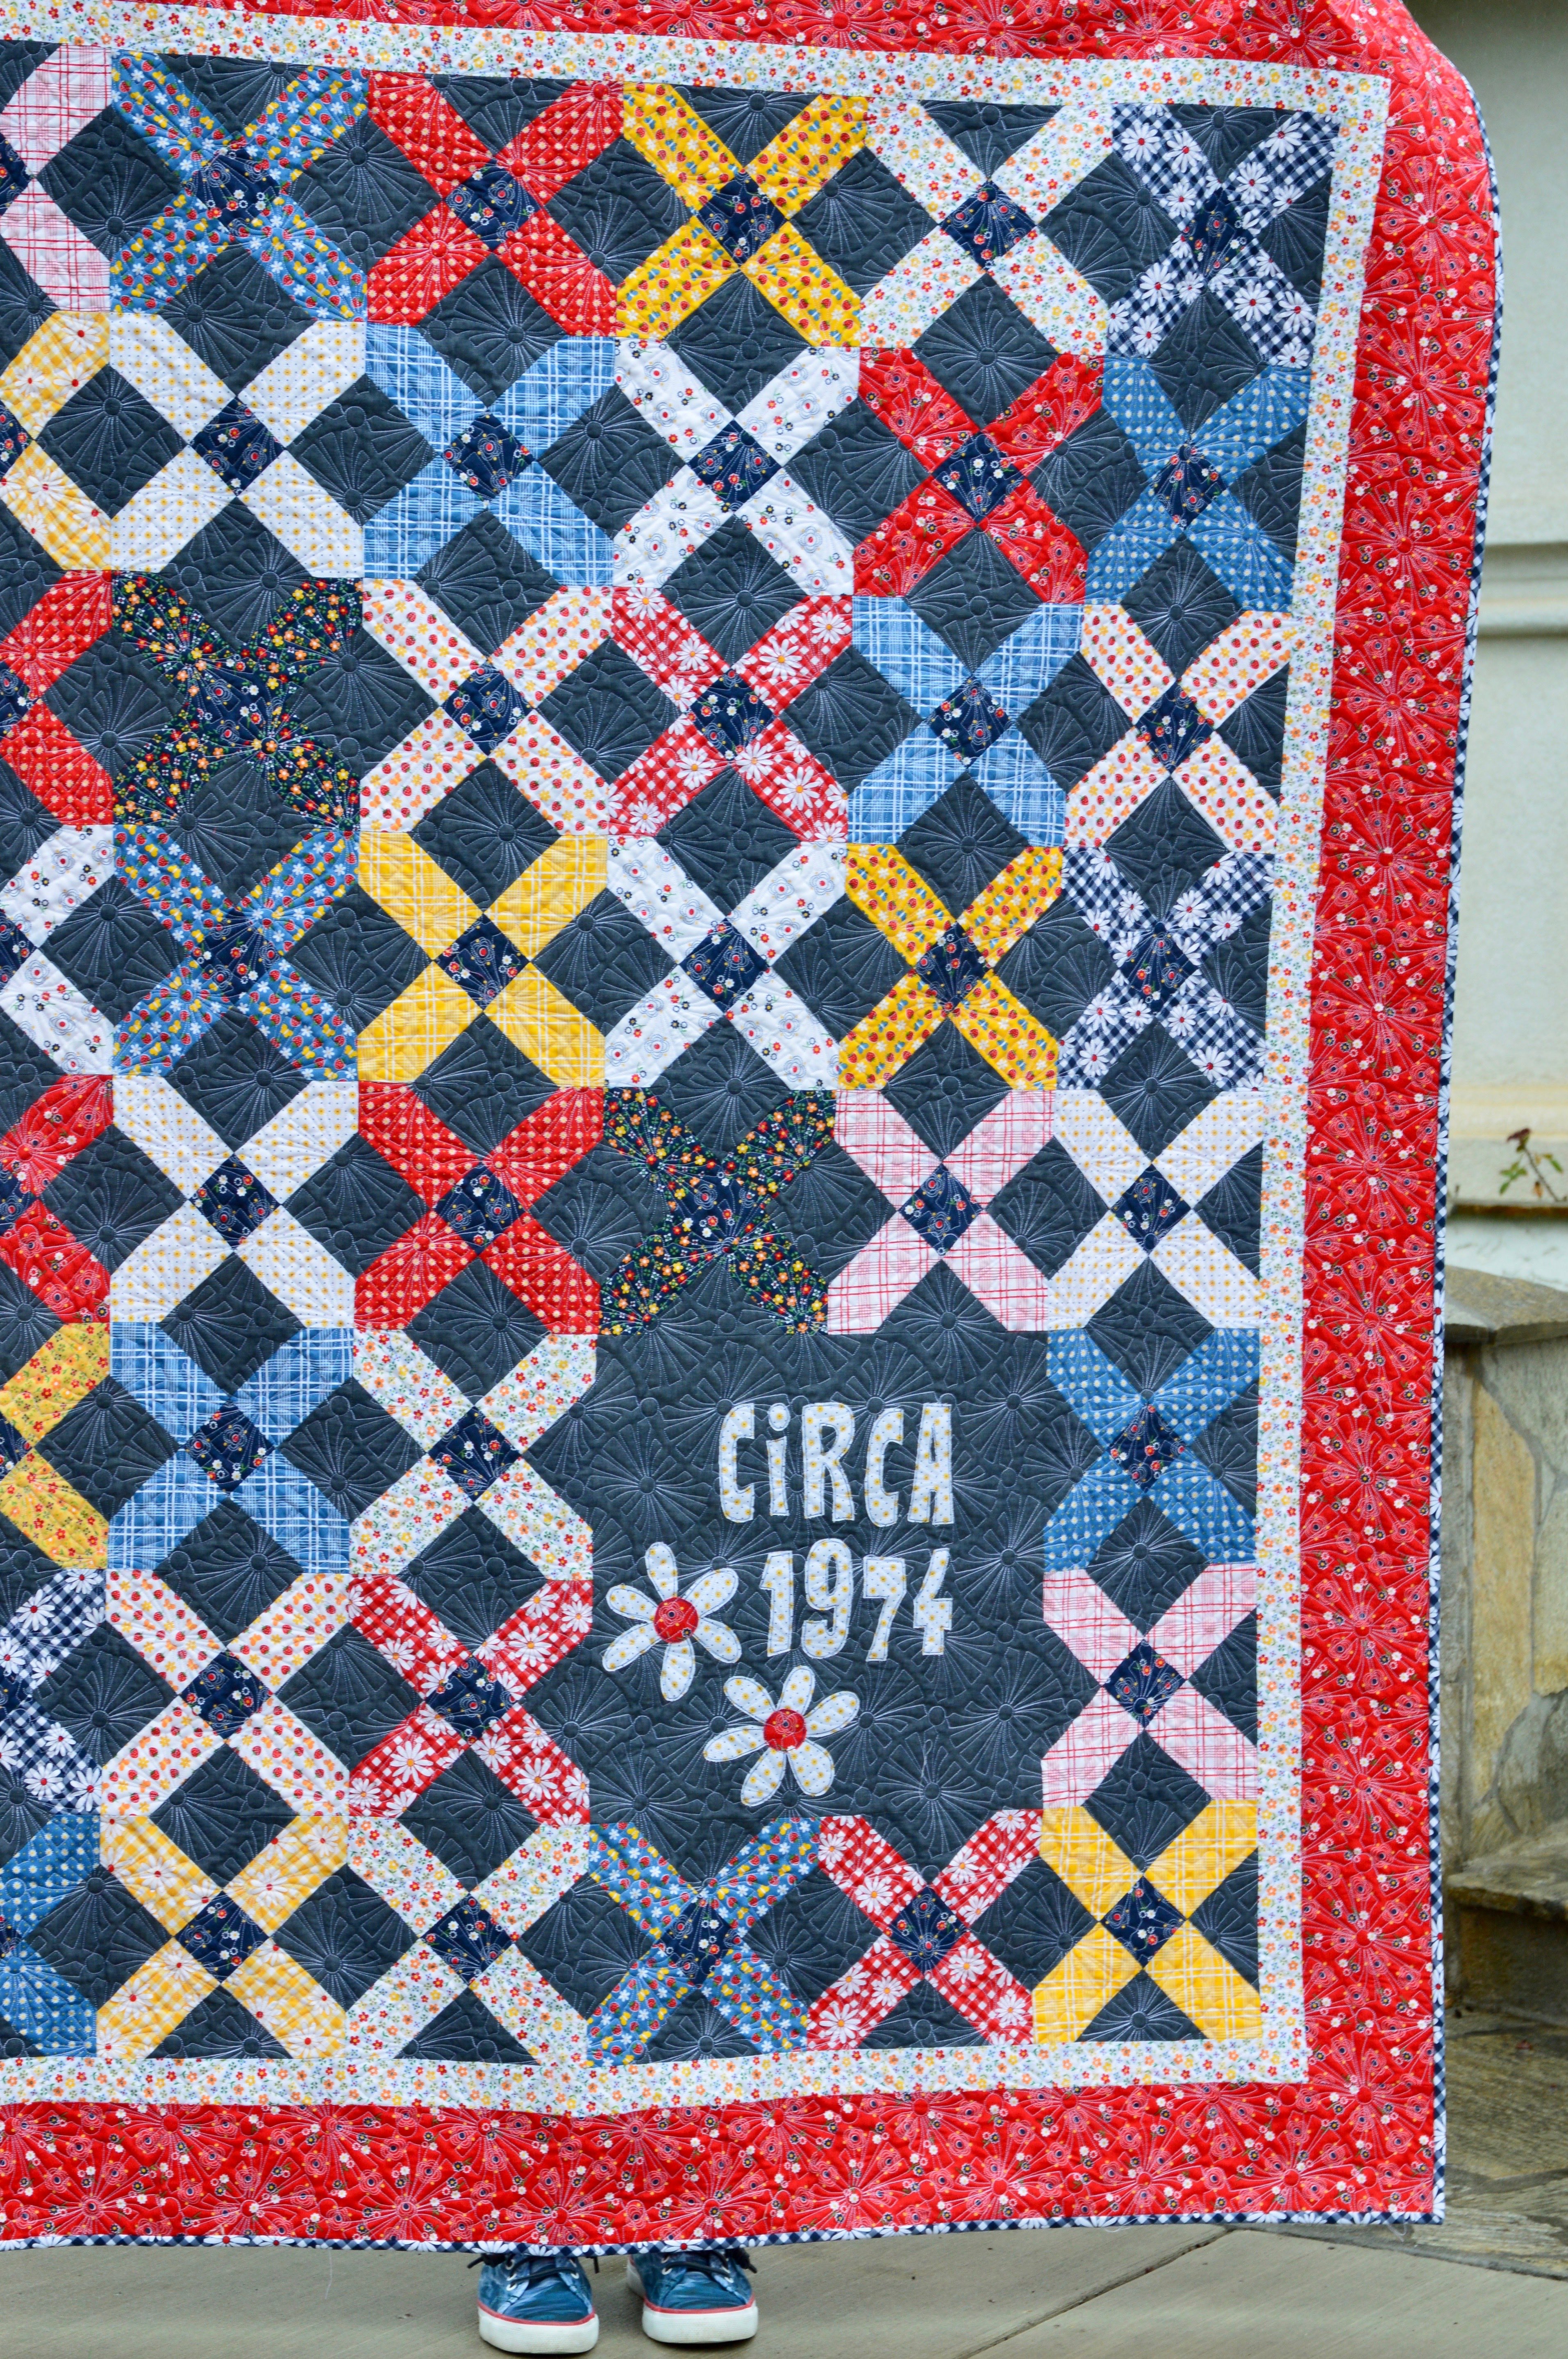
To make this runner, make 3 blocks from my Fresh Eggs free quilt pattern. Then follow the measurements below to make the sashing strips and borders!
Super easy!!!!
Did I mention I love lemonade????
It feels like summer! Why are the kids still in school!!!!!!!
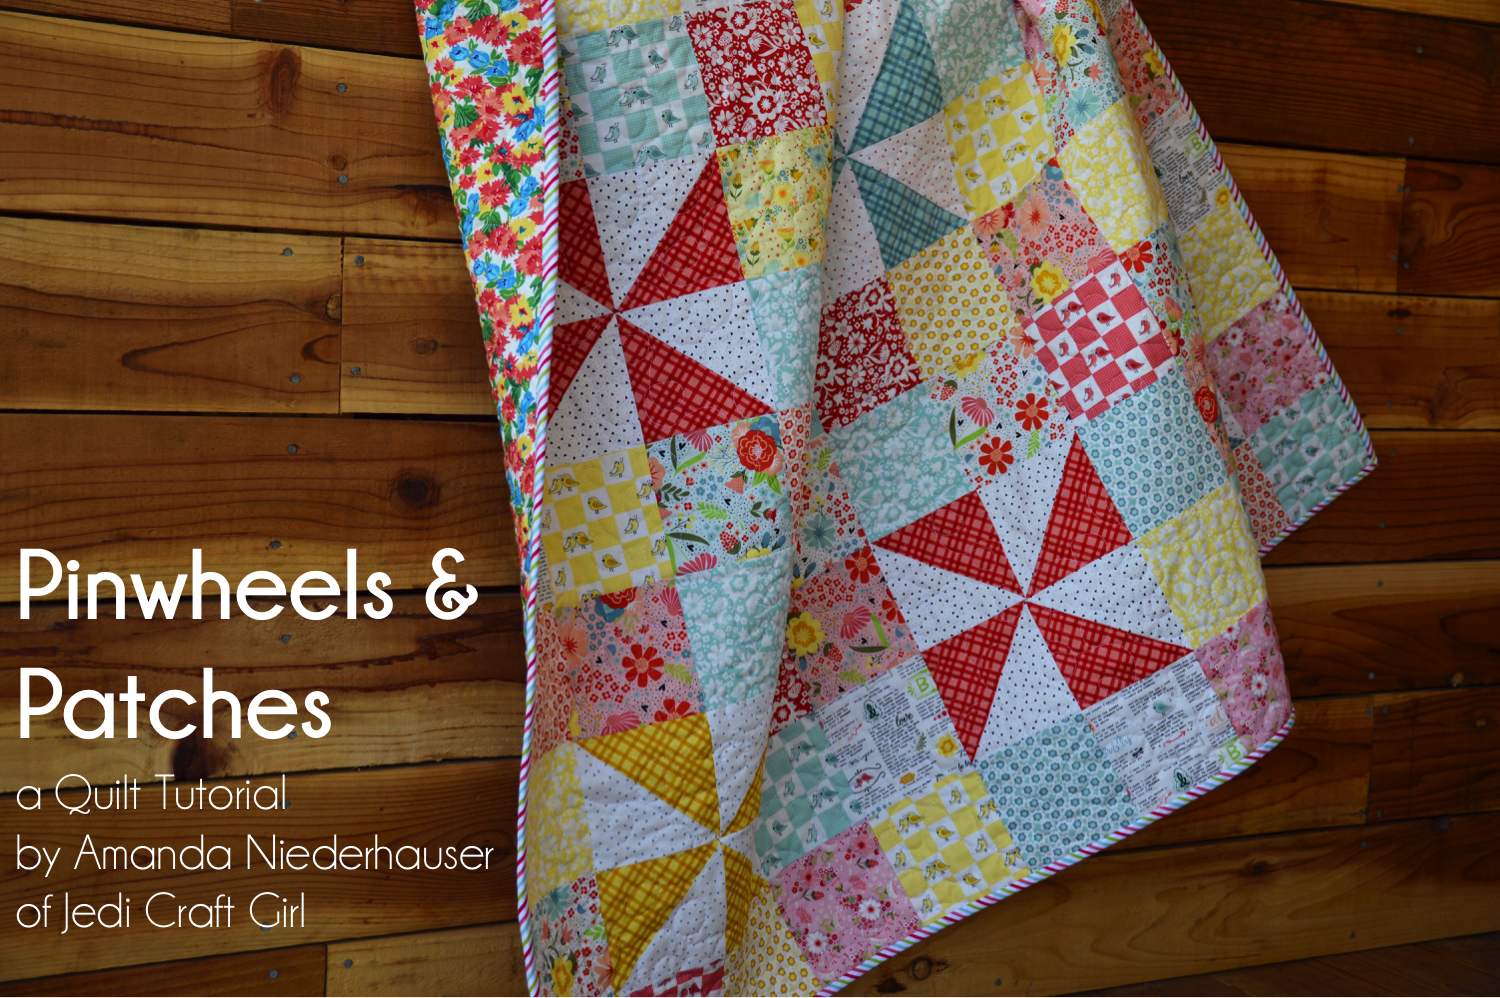
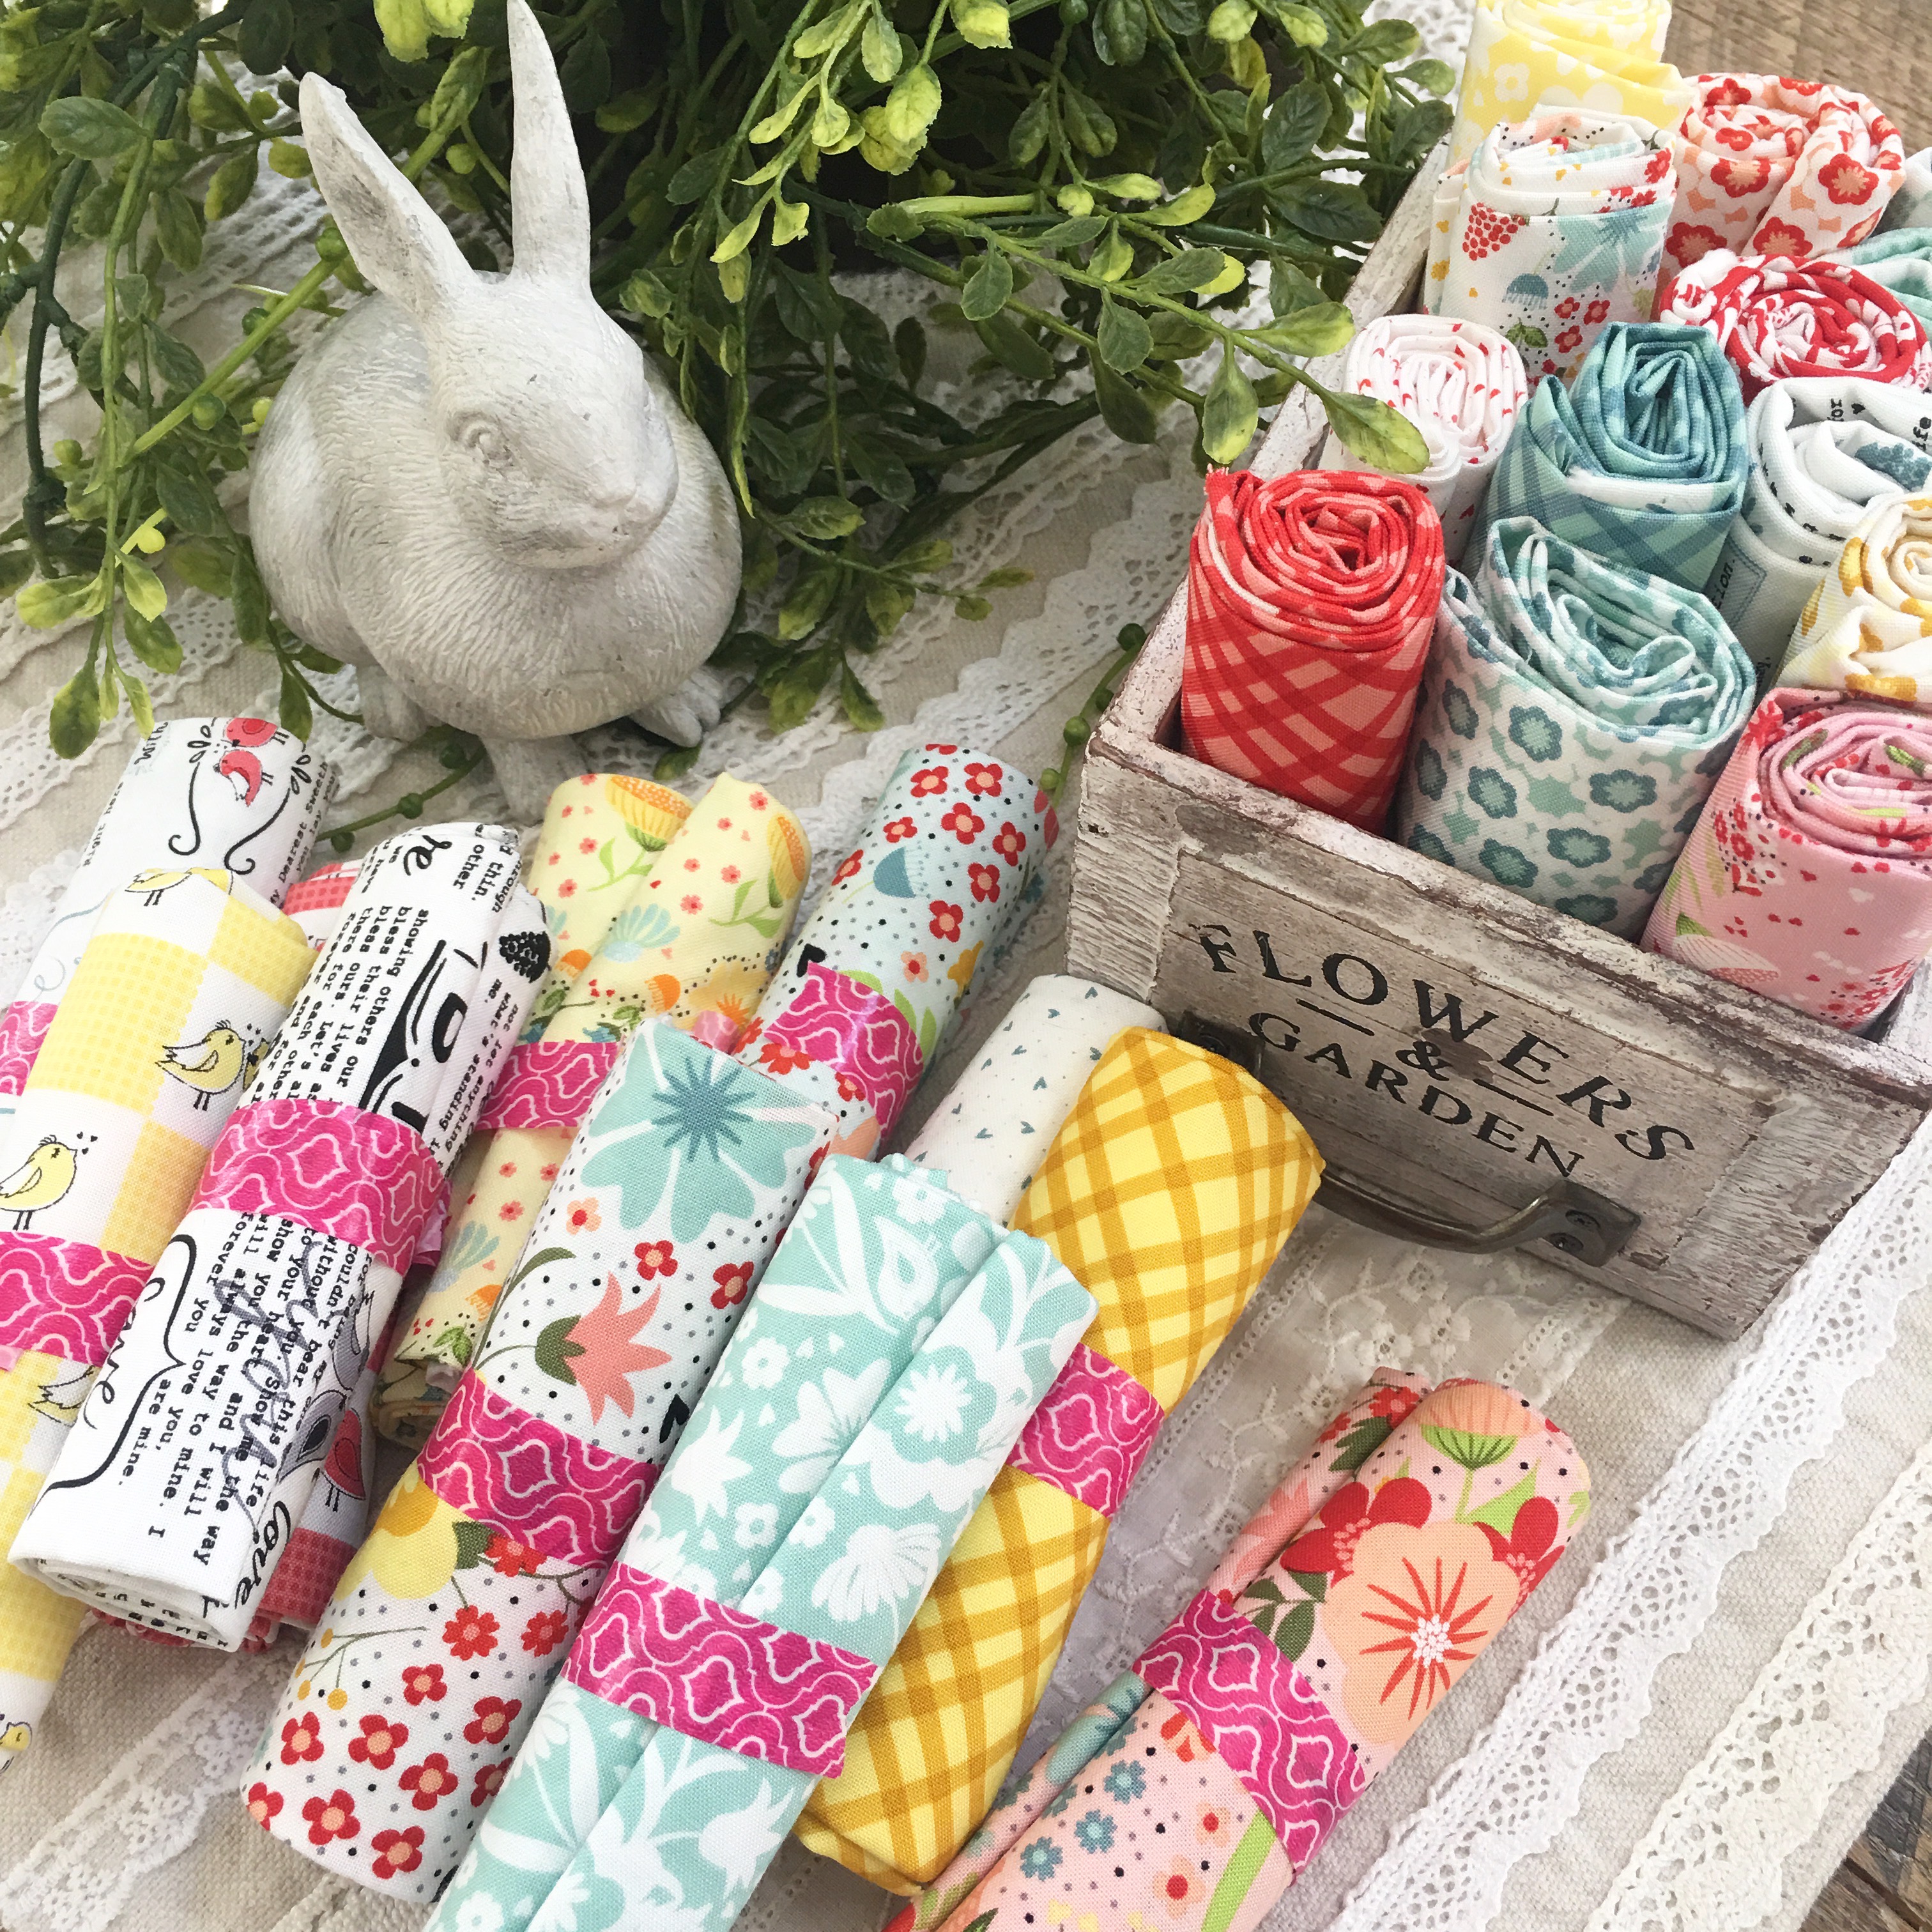

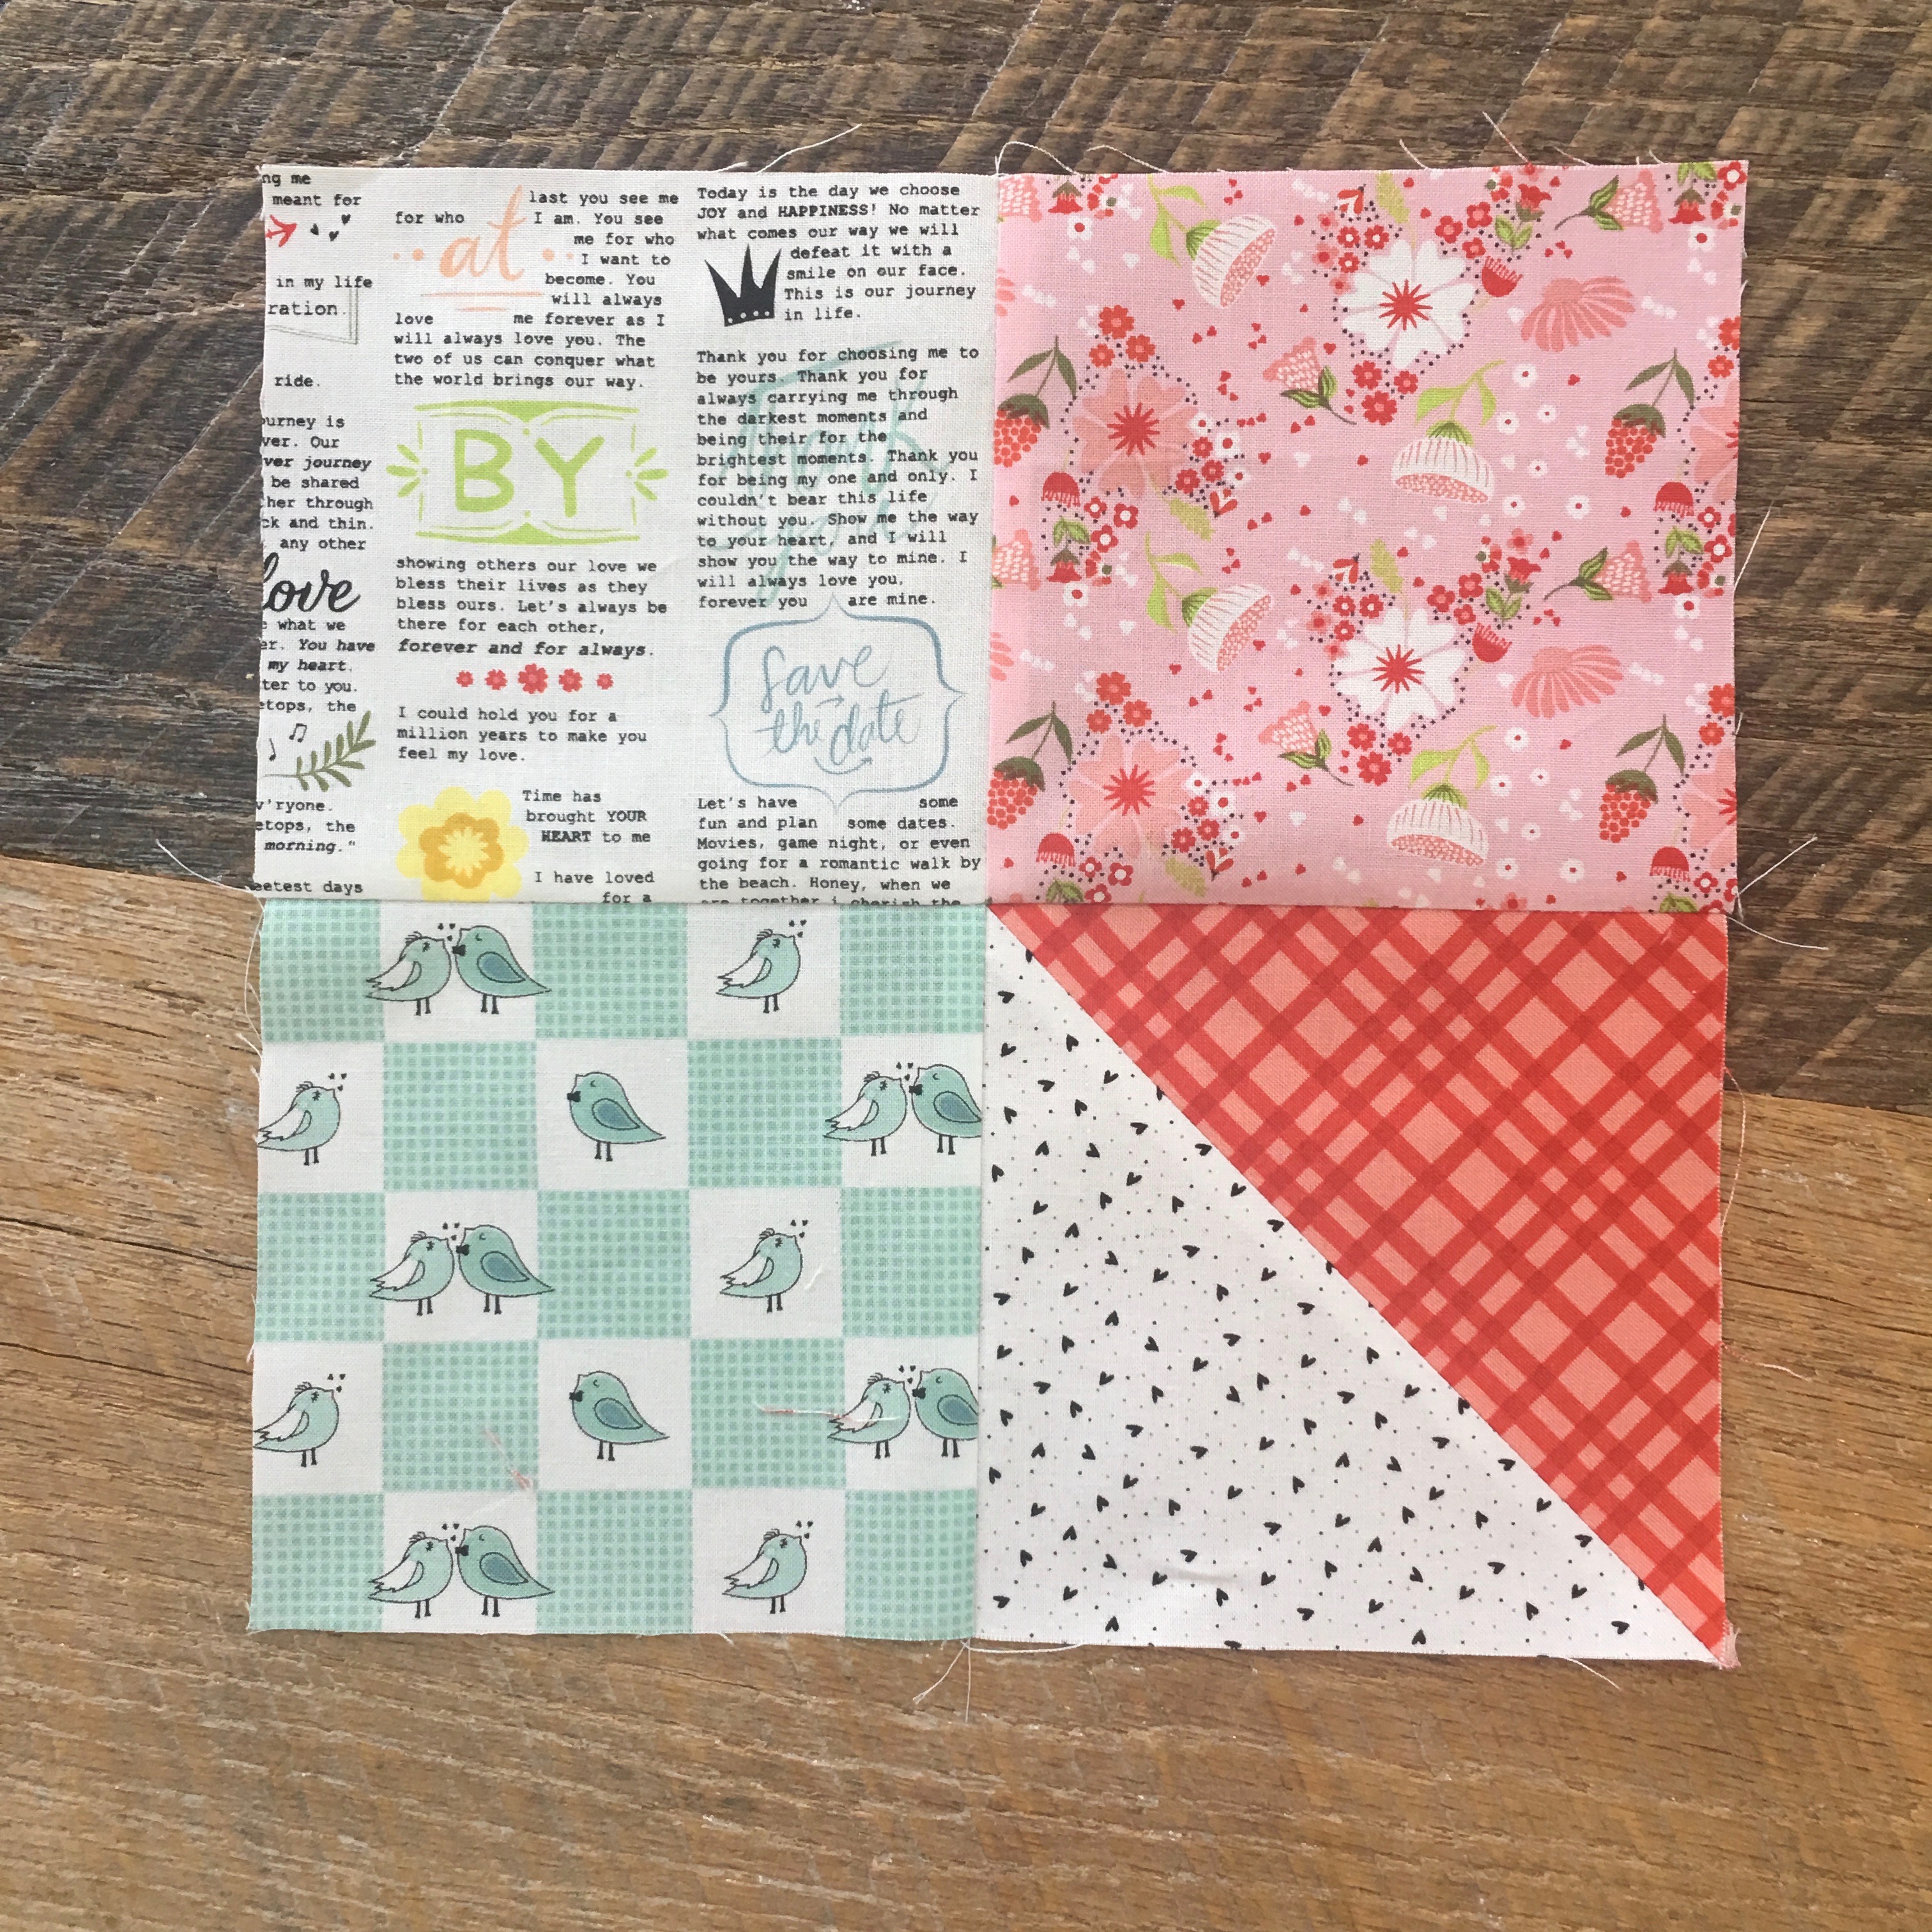
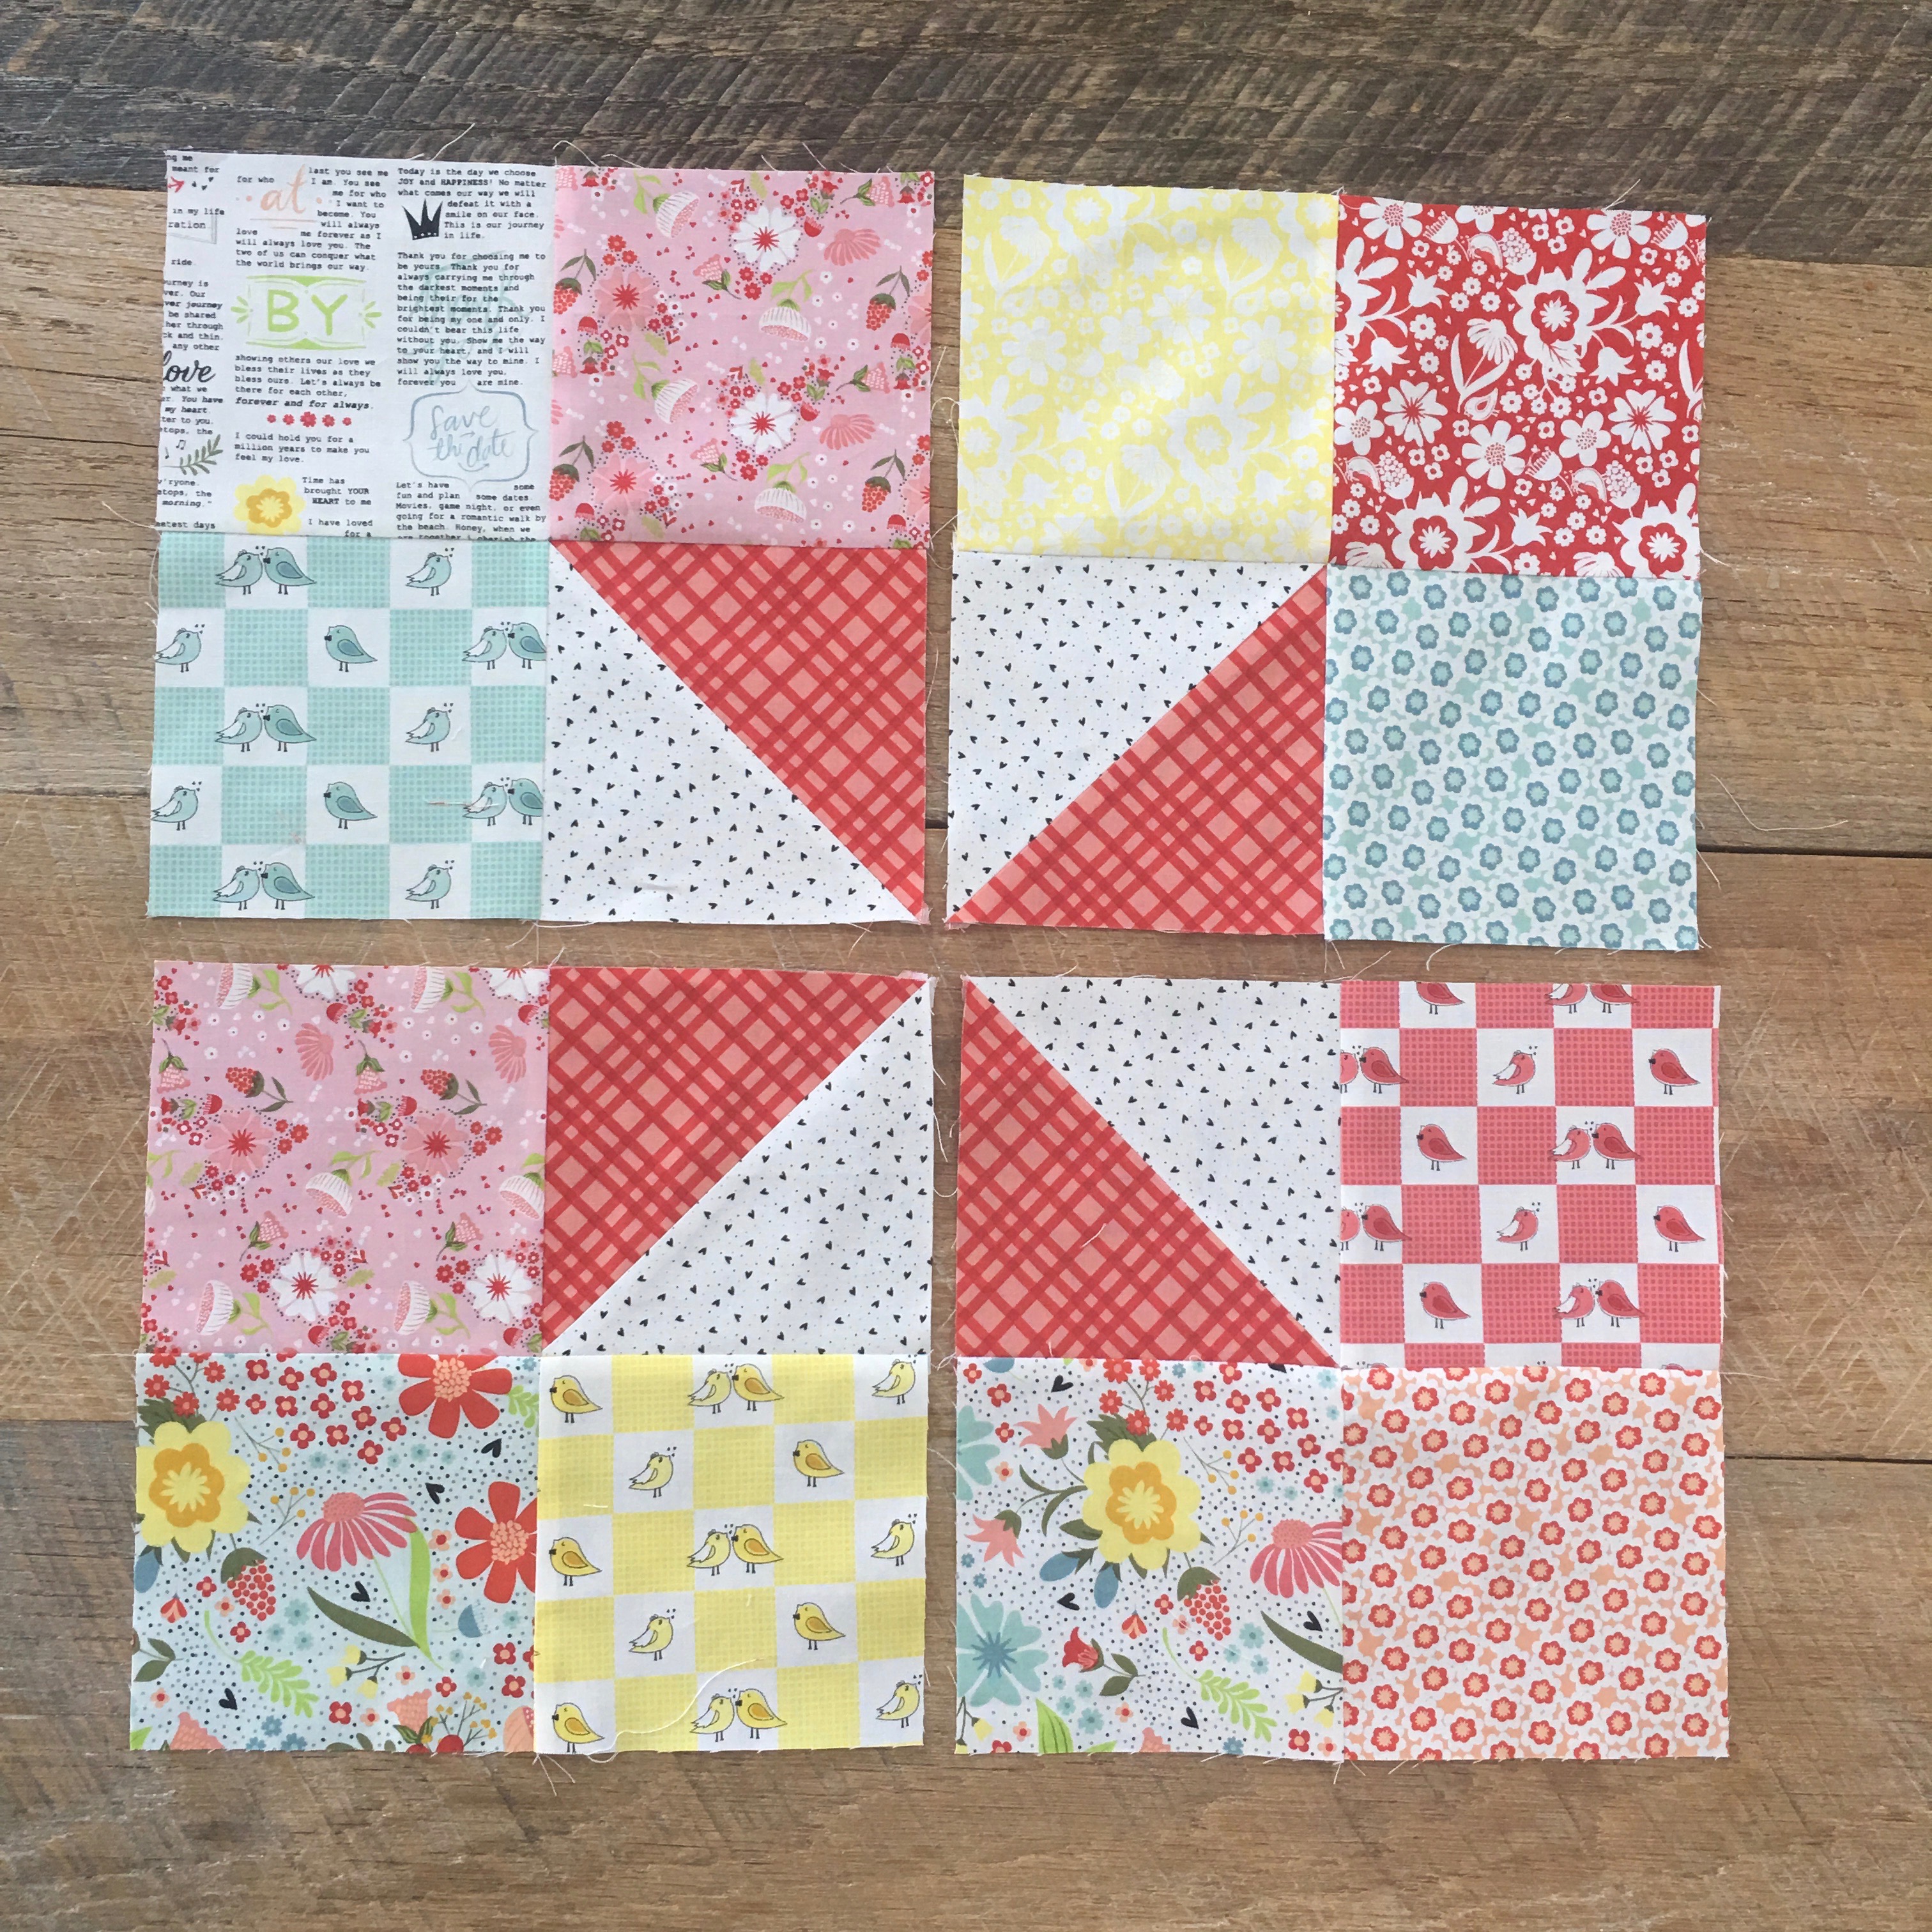
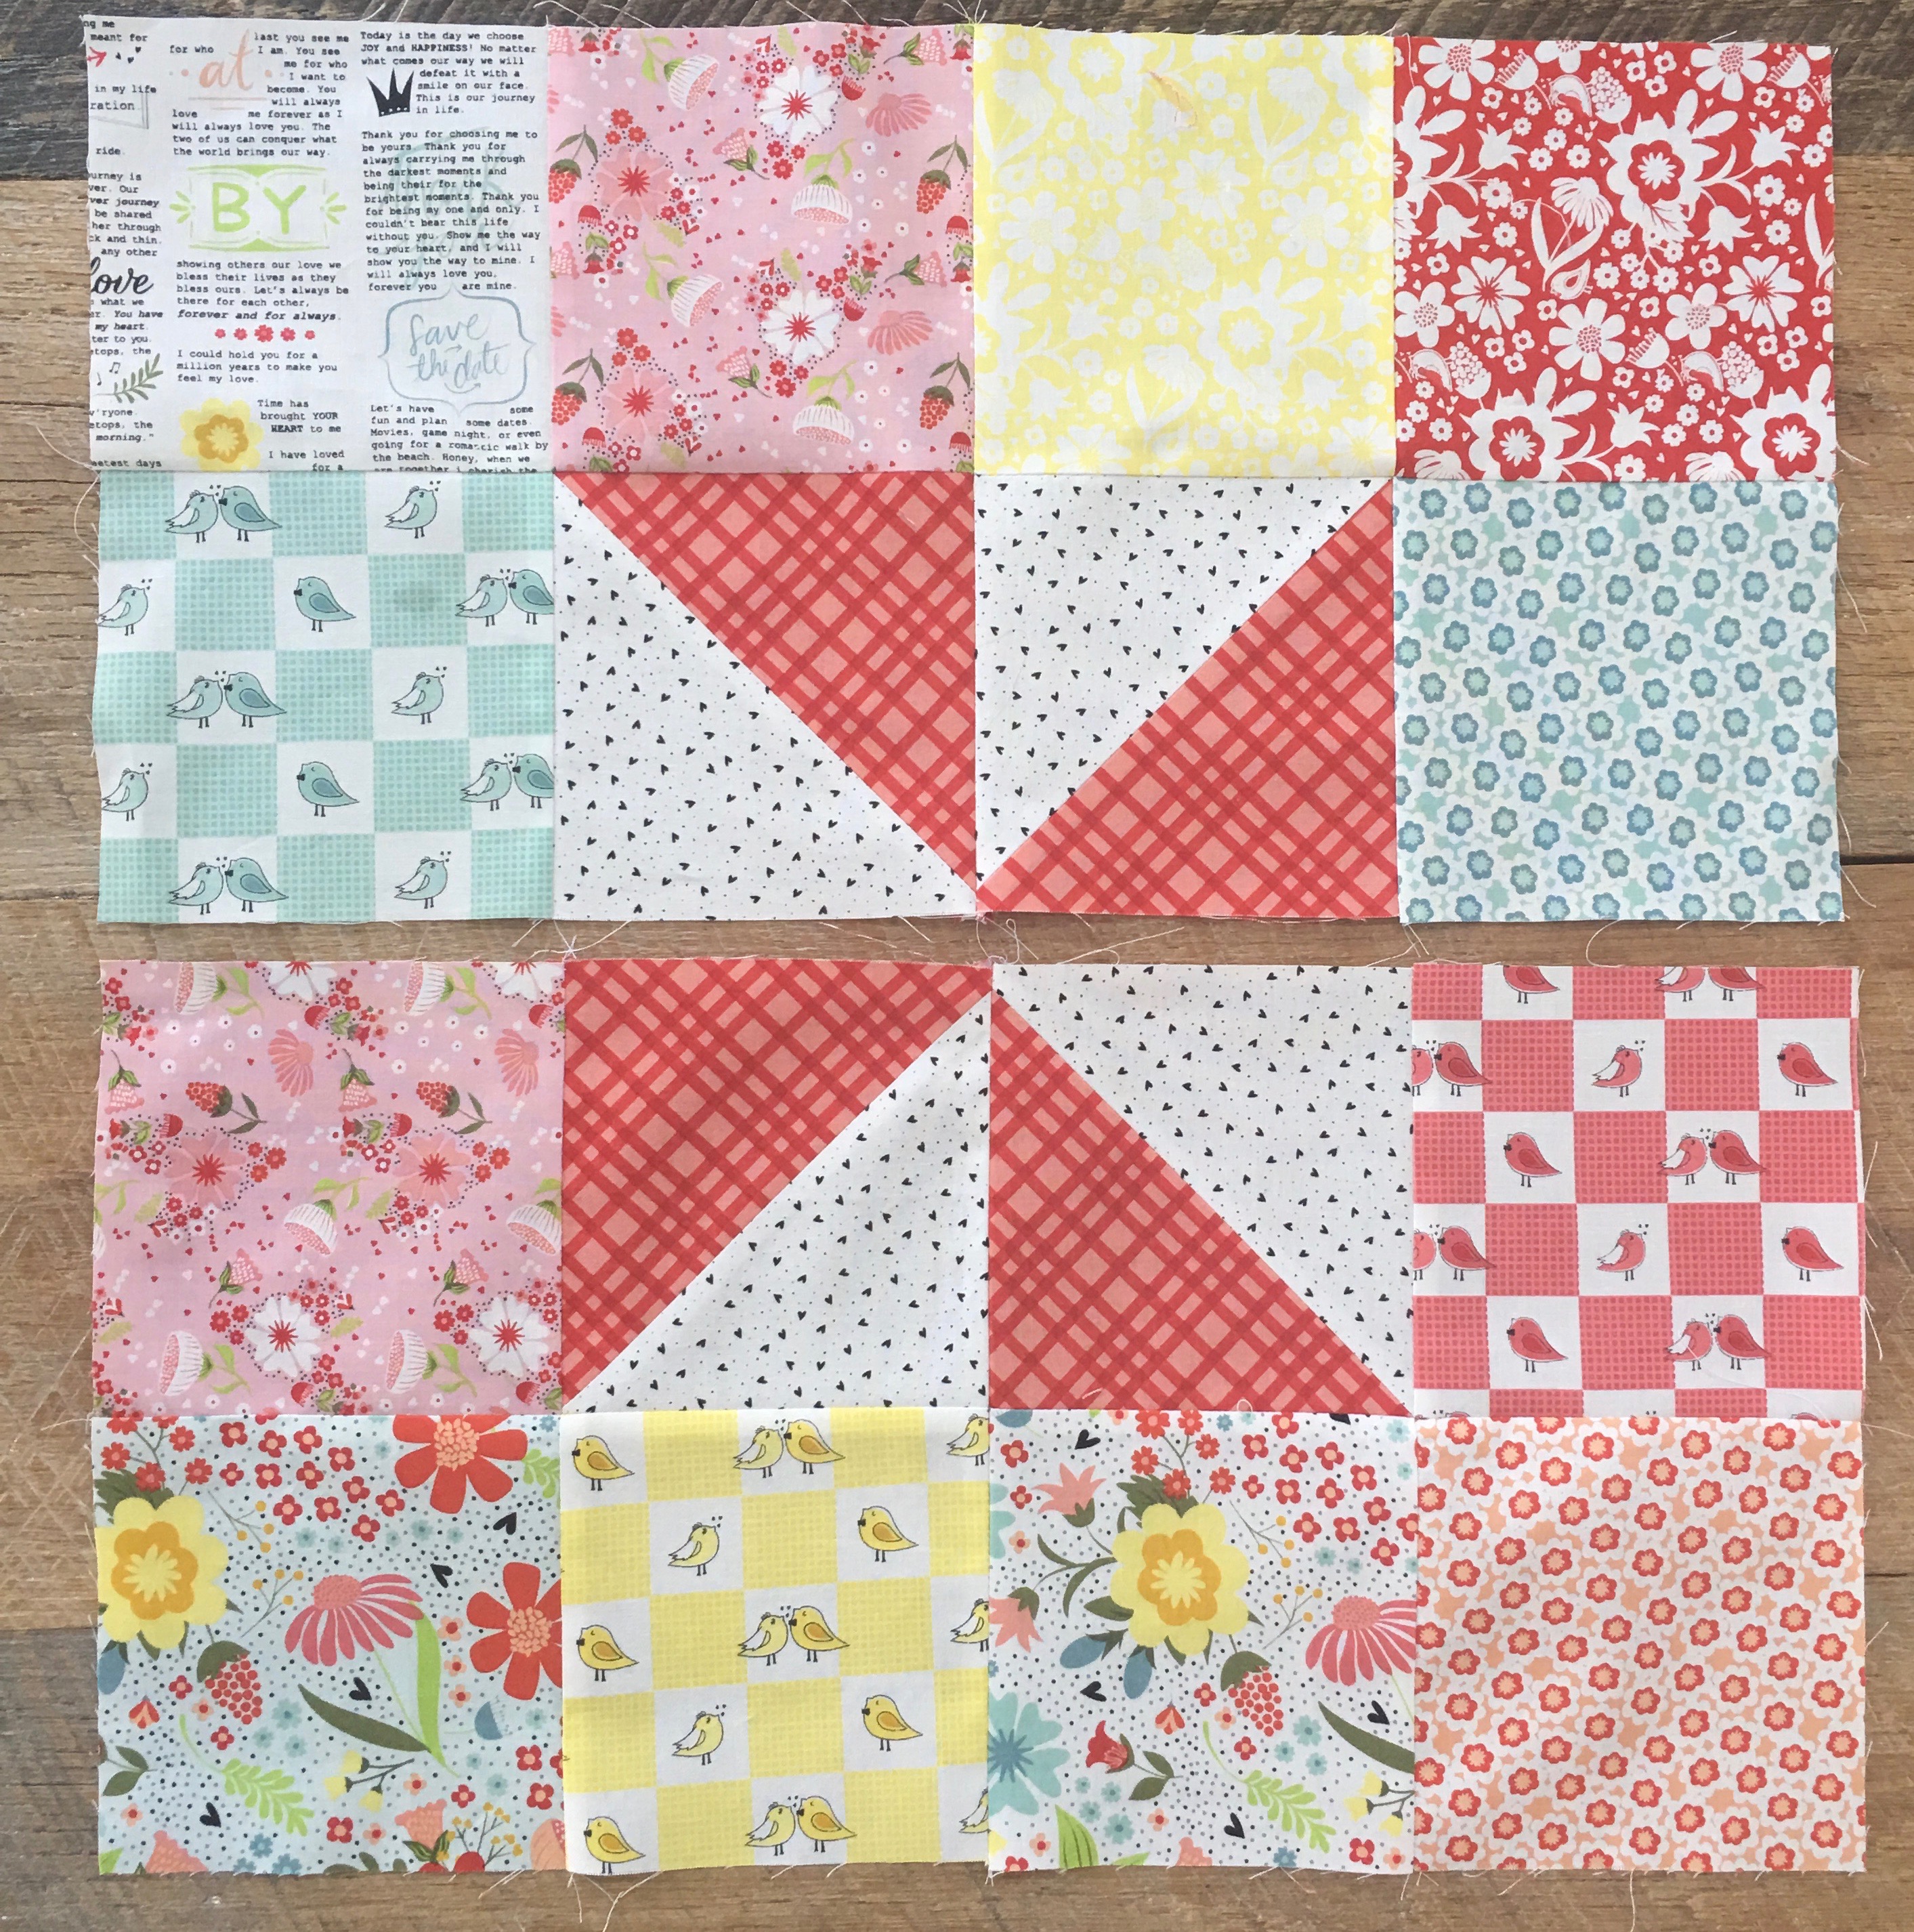

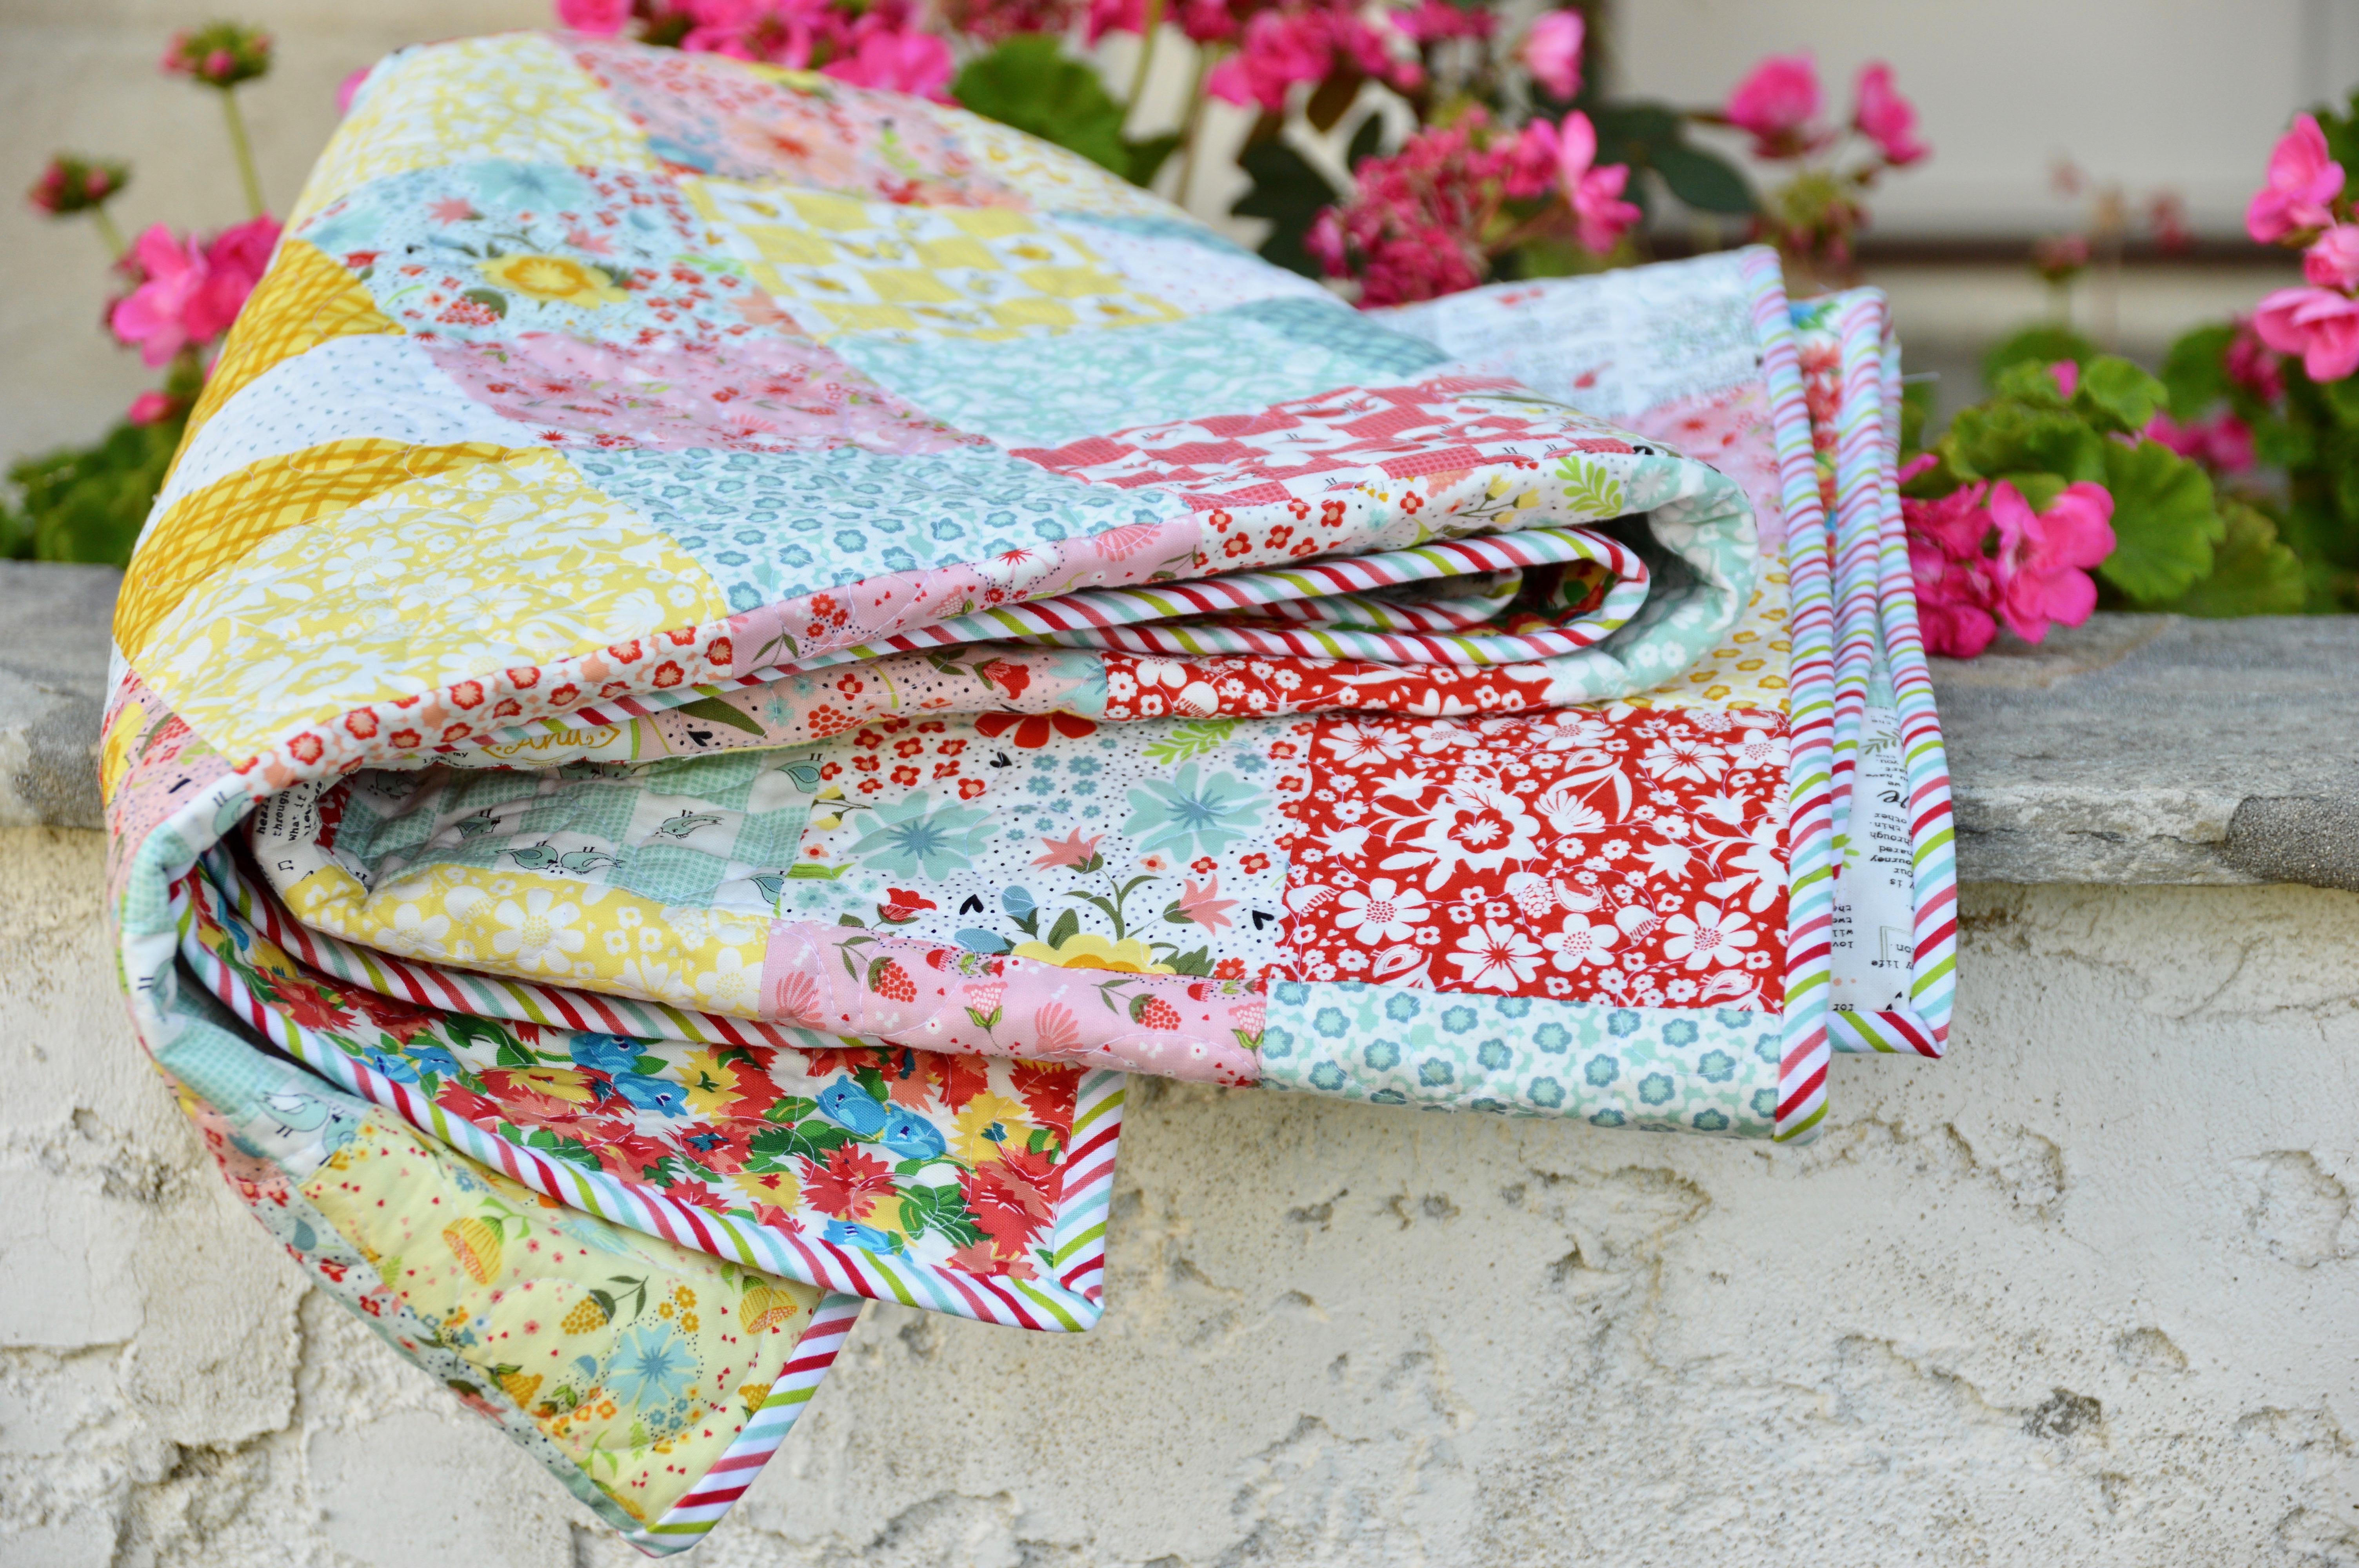
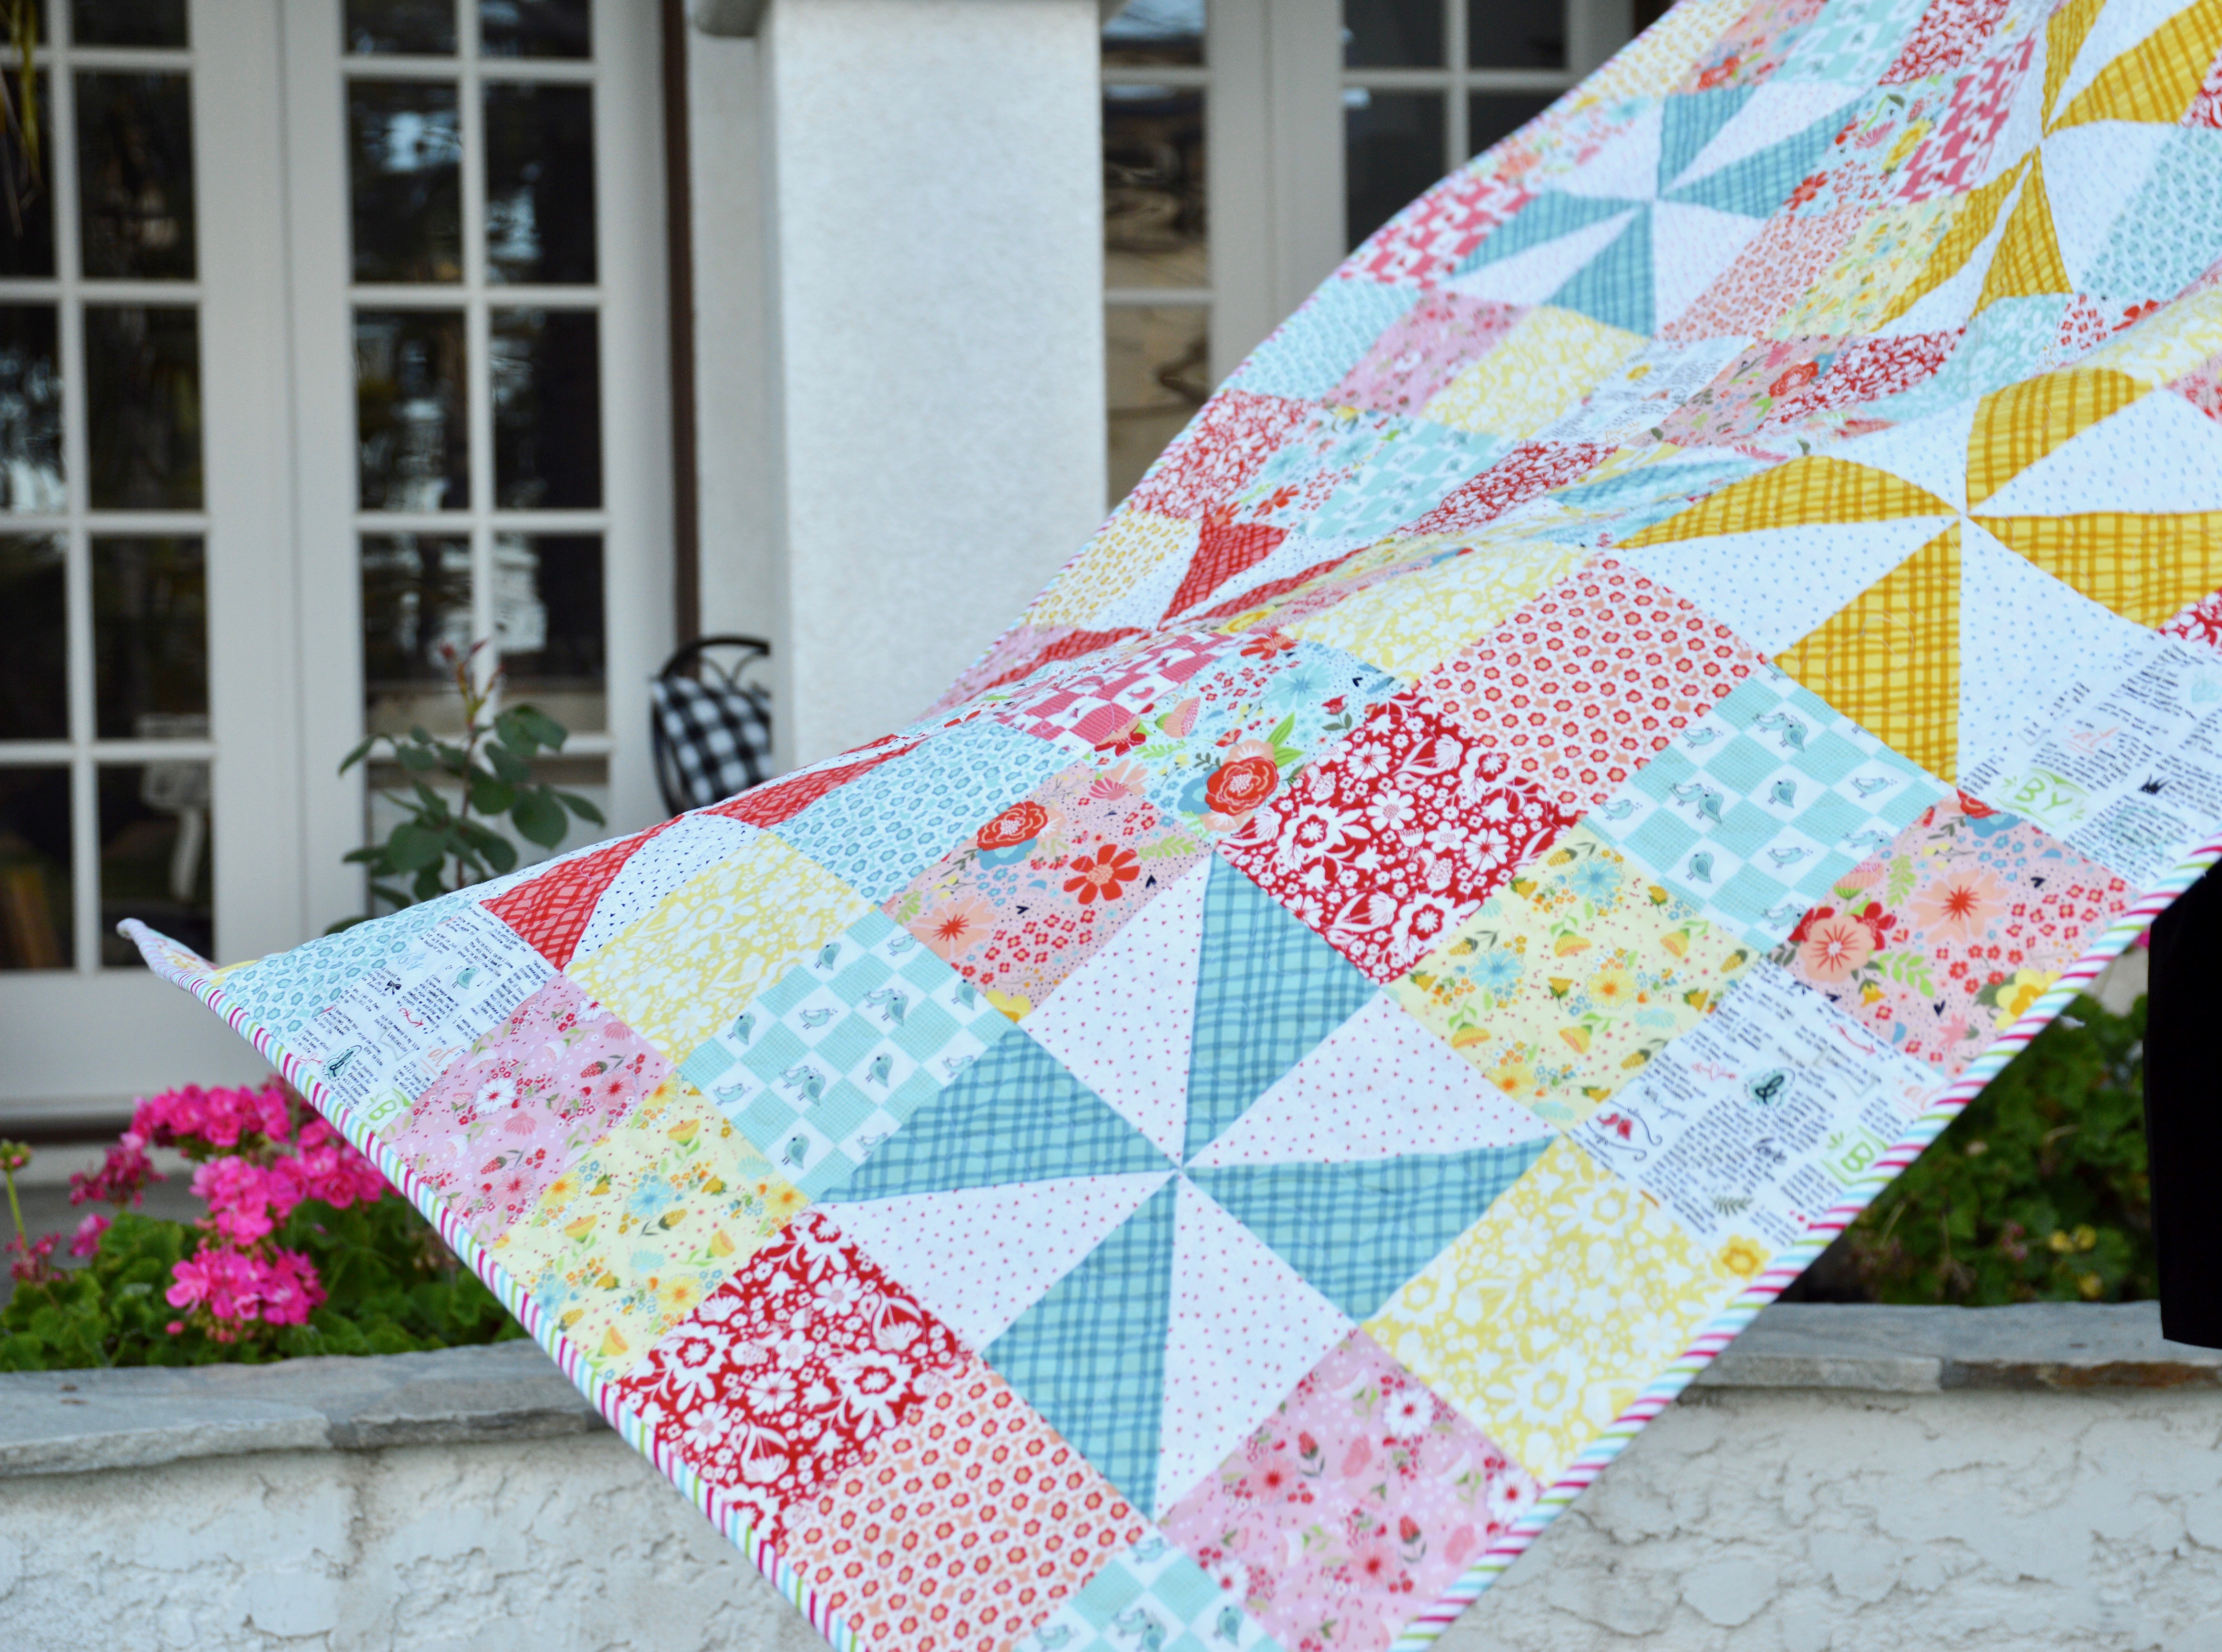
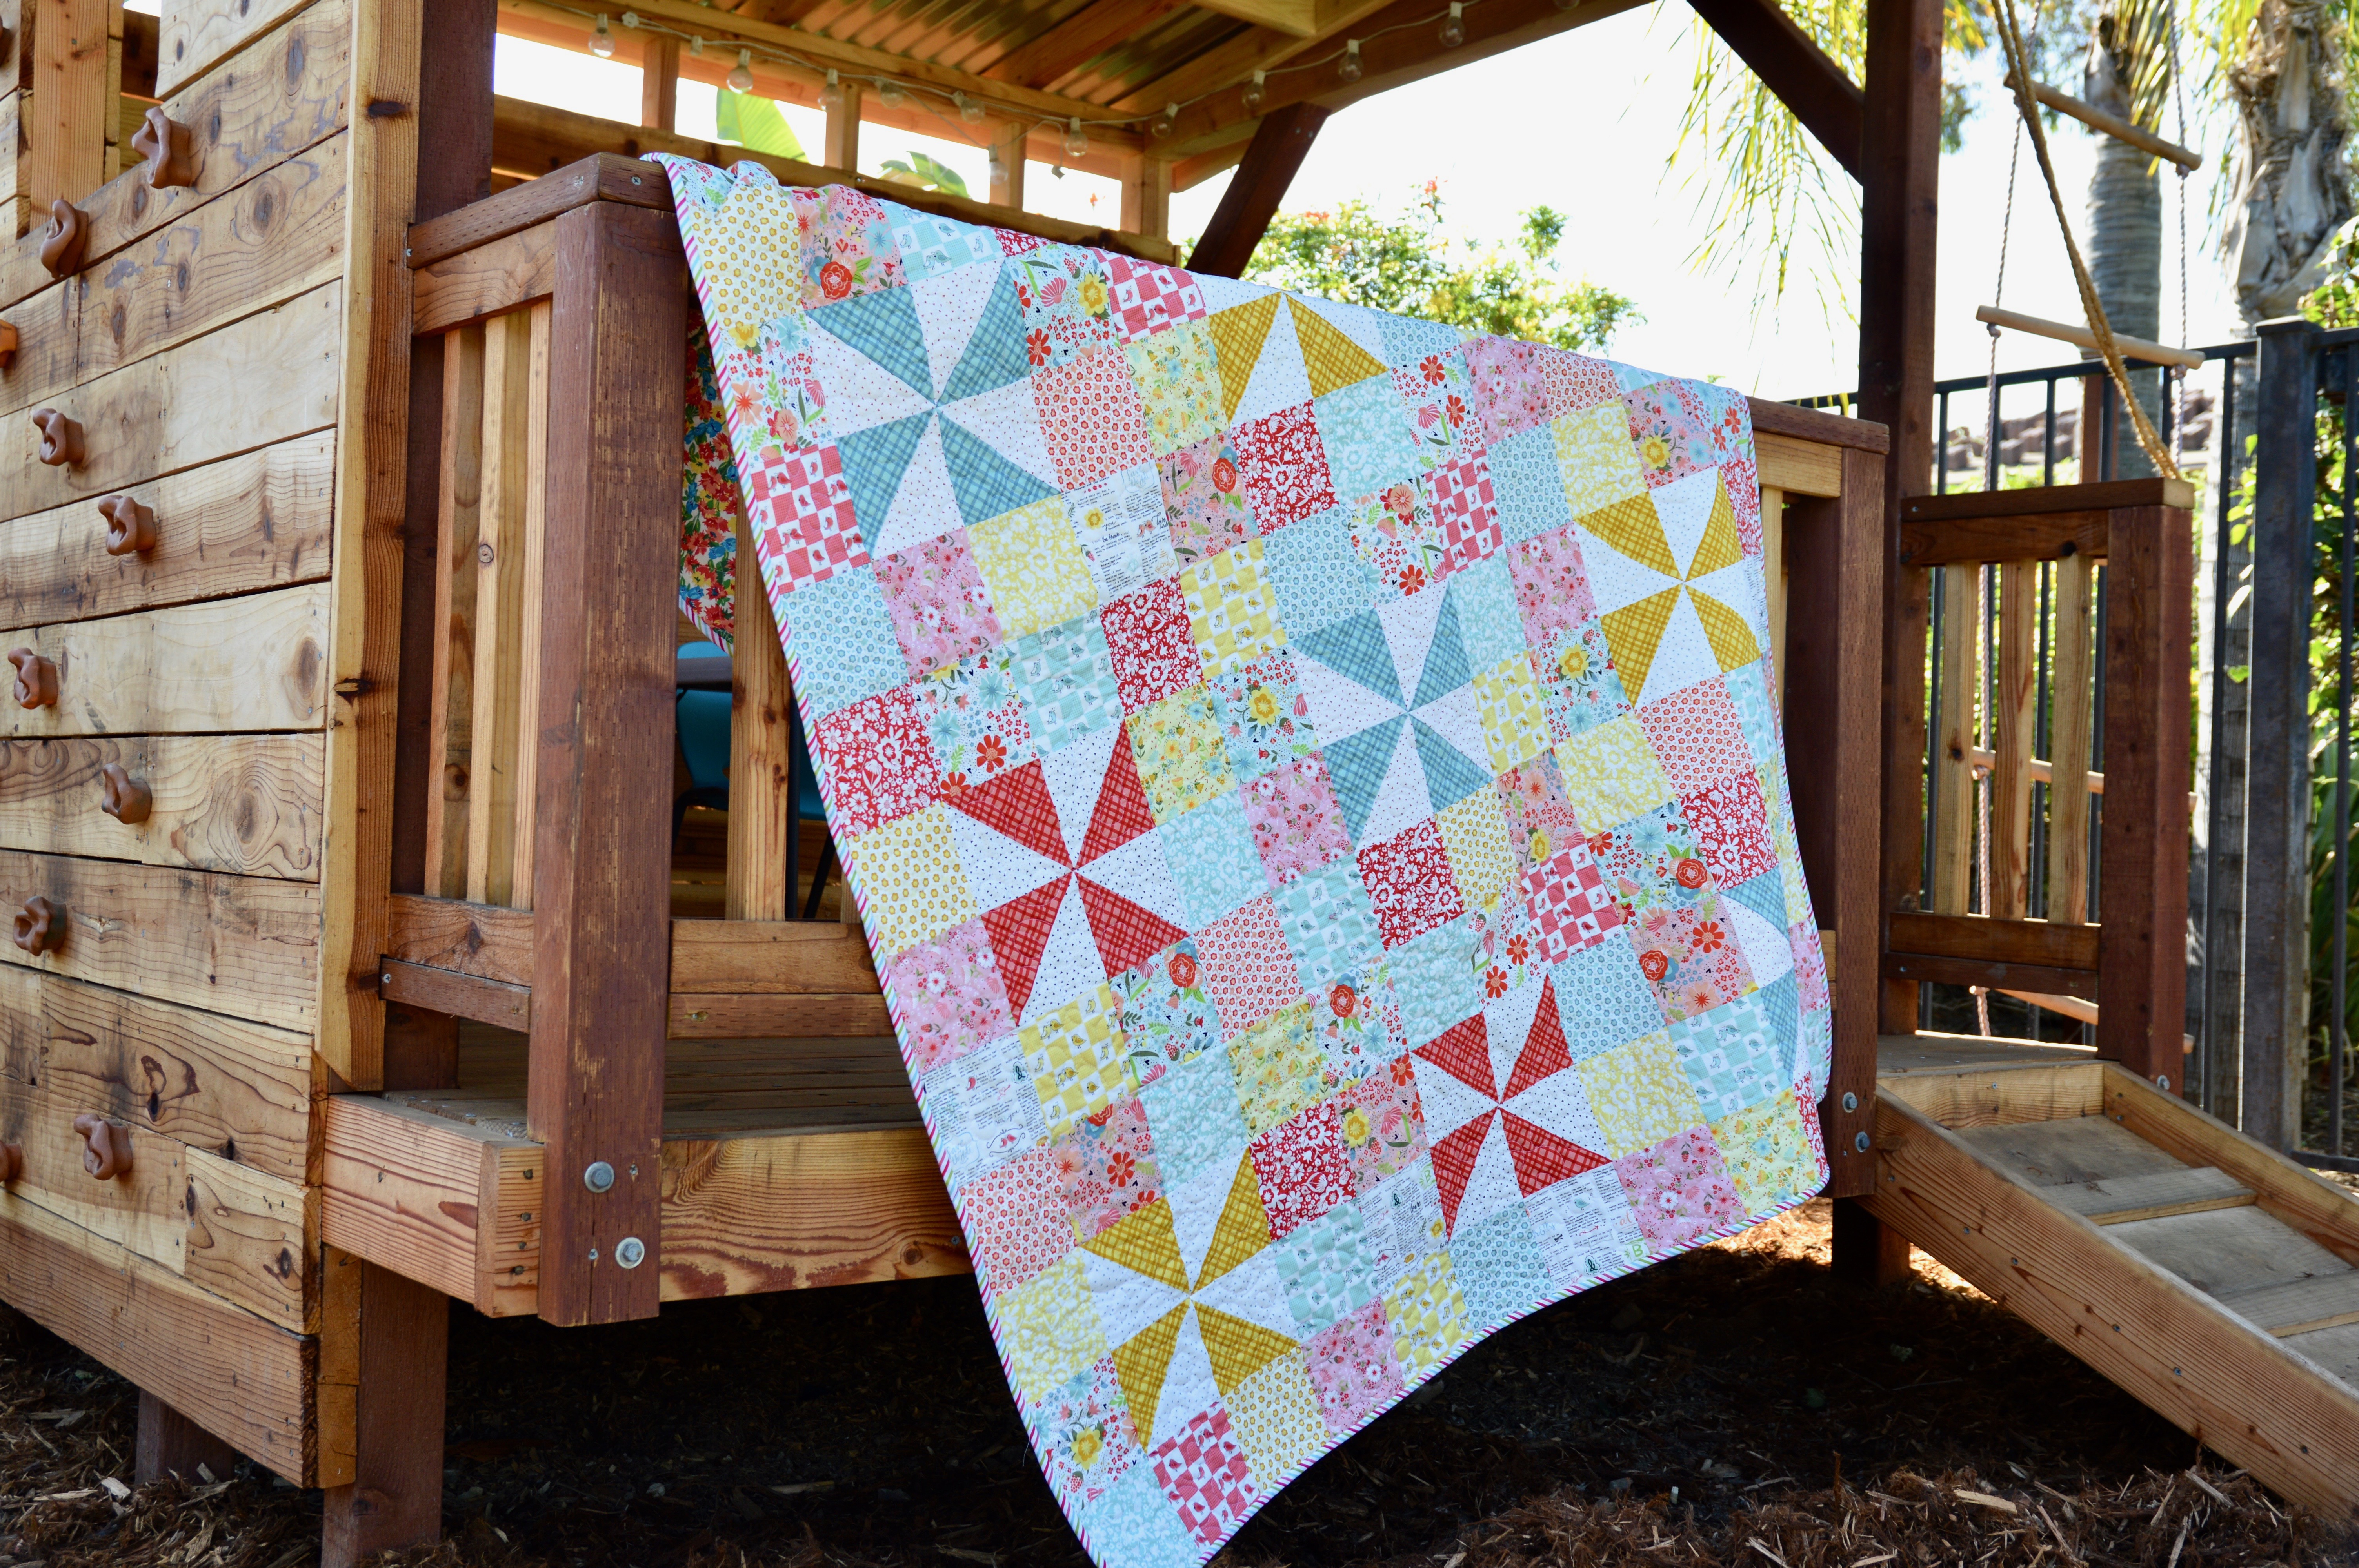
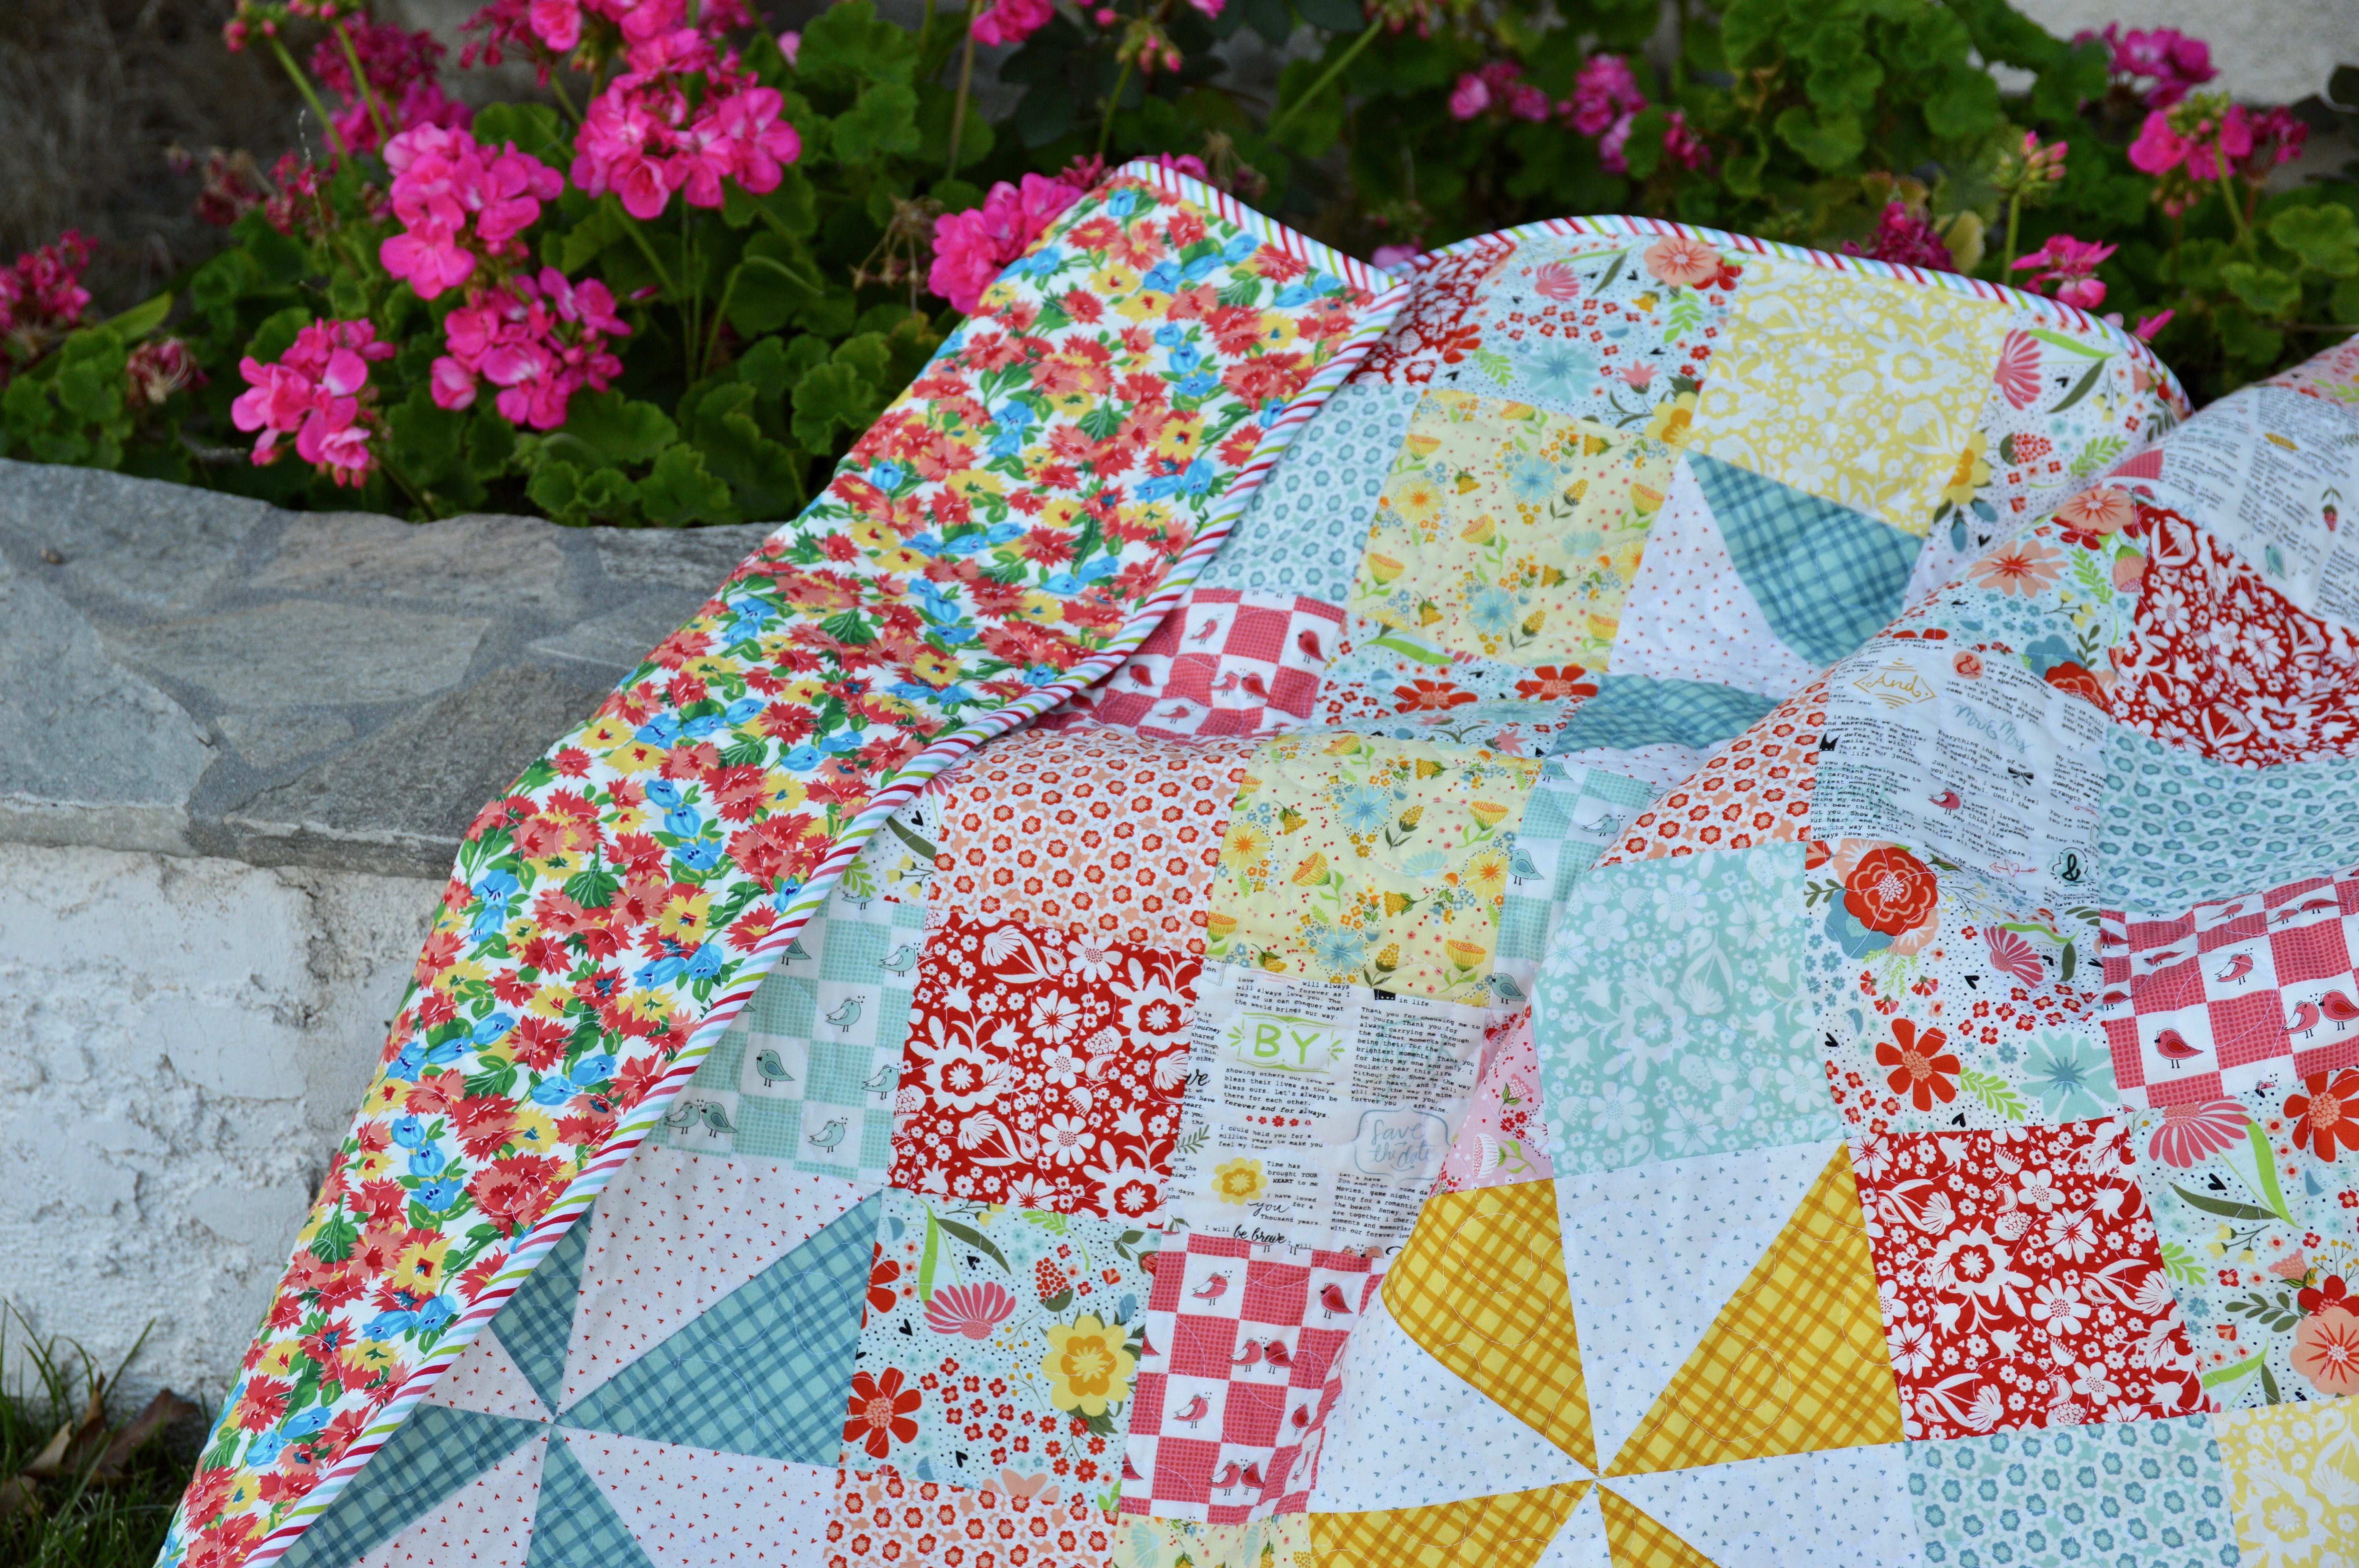
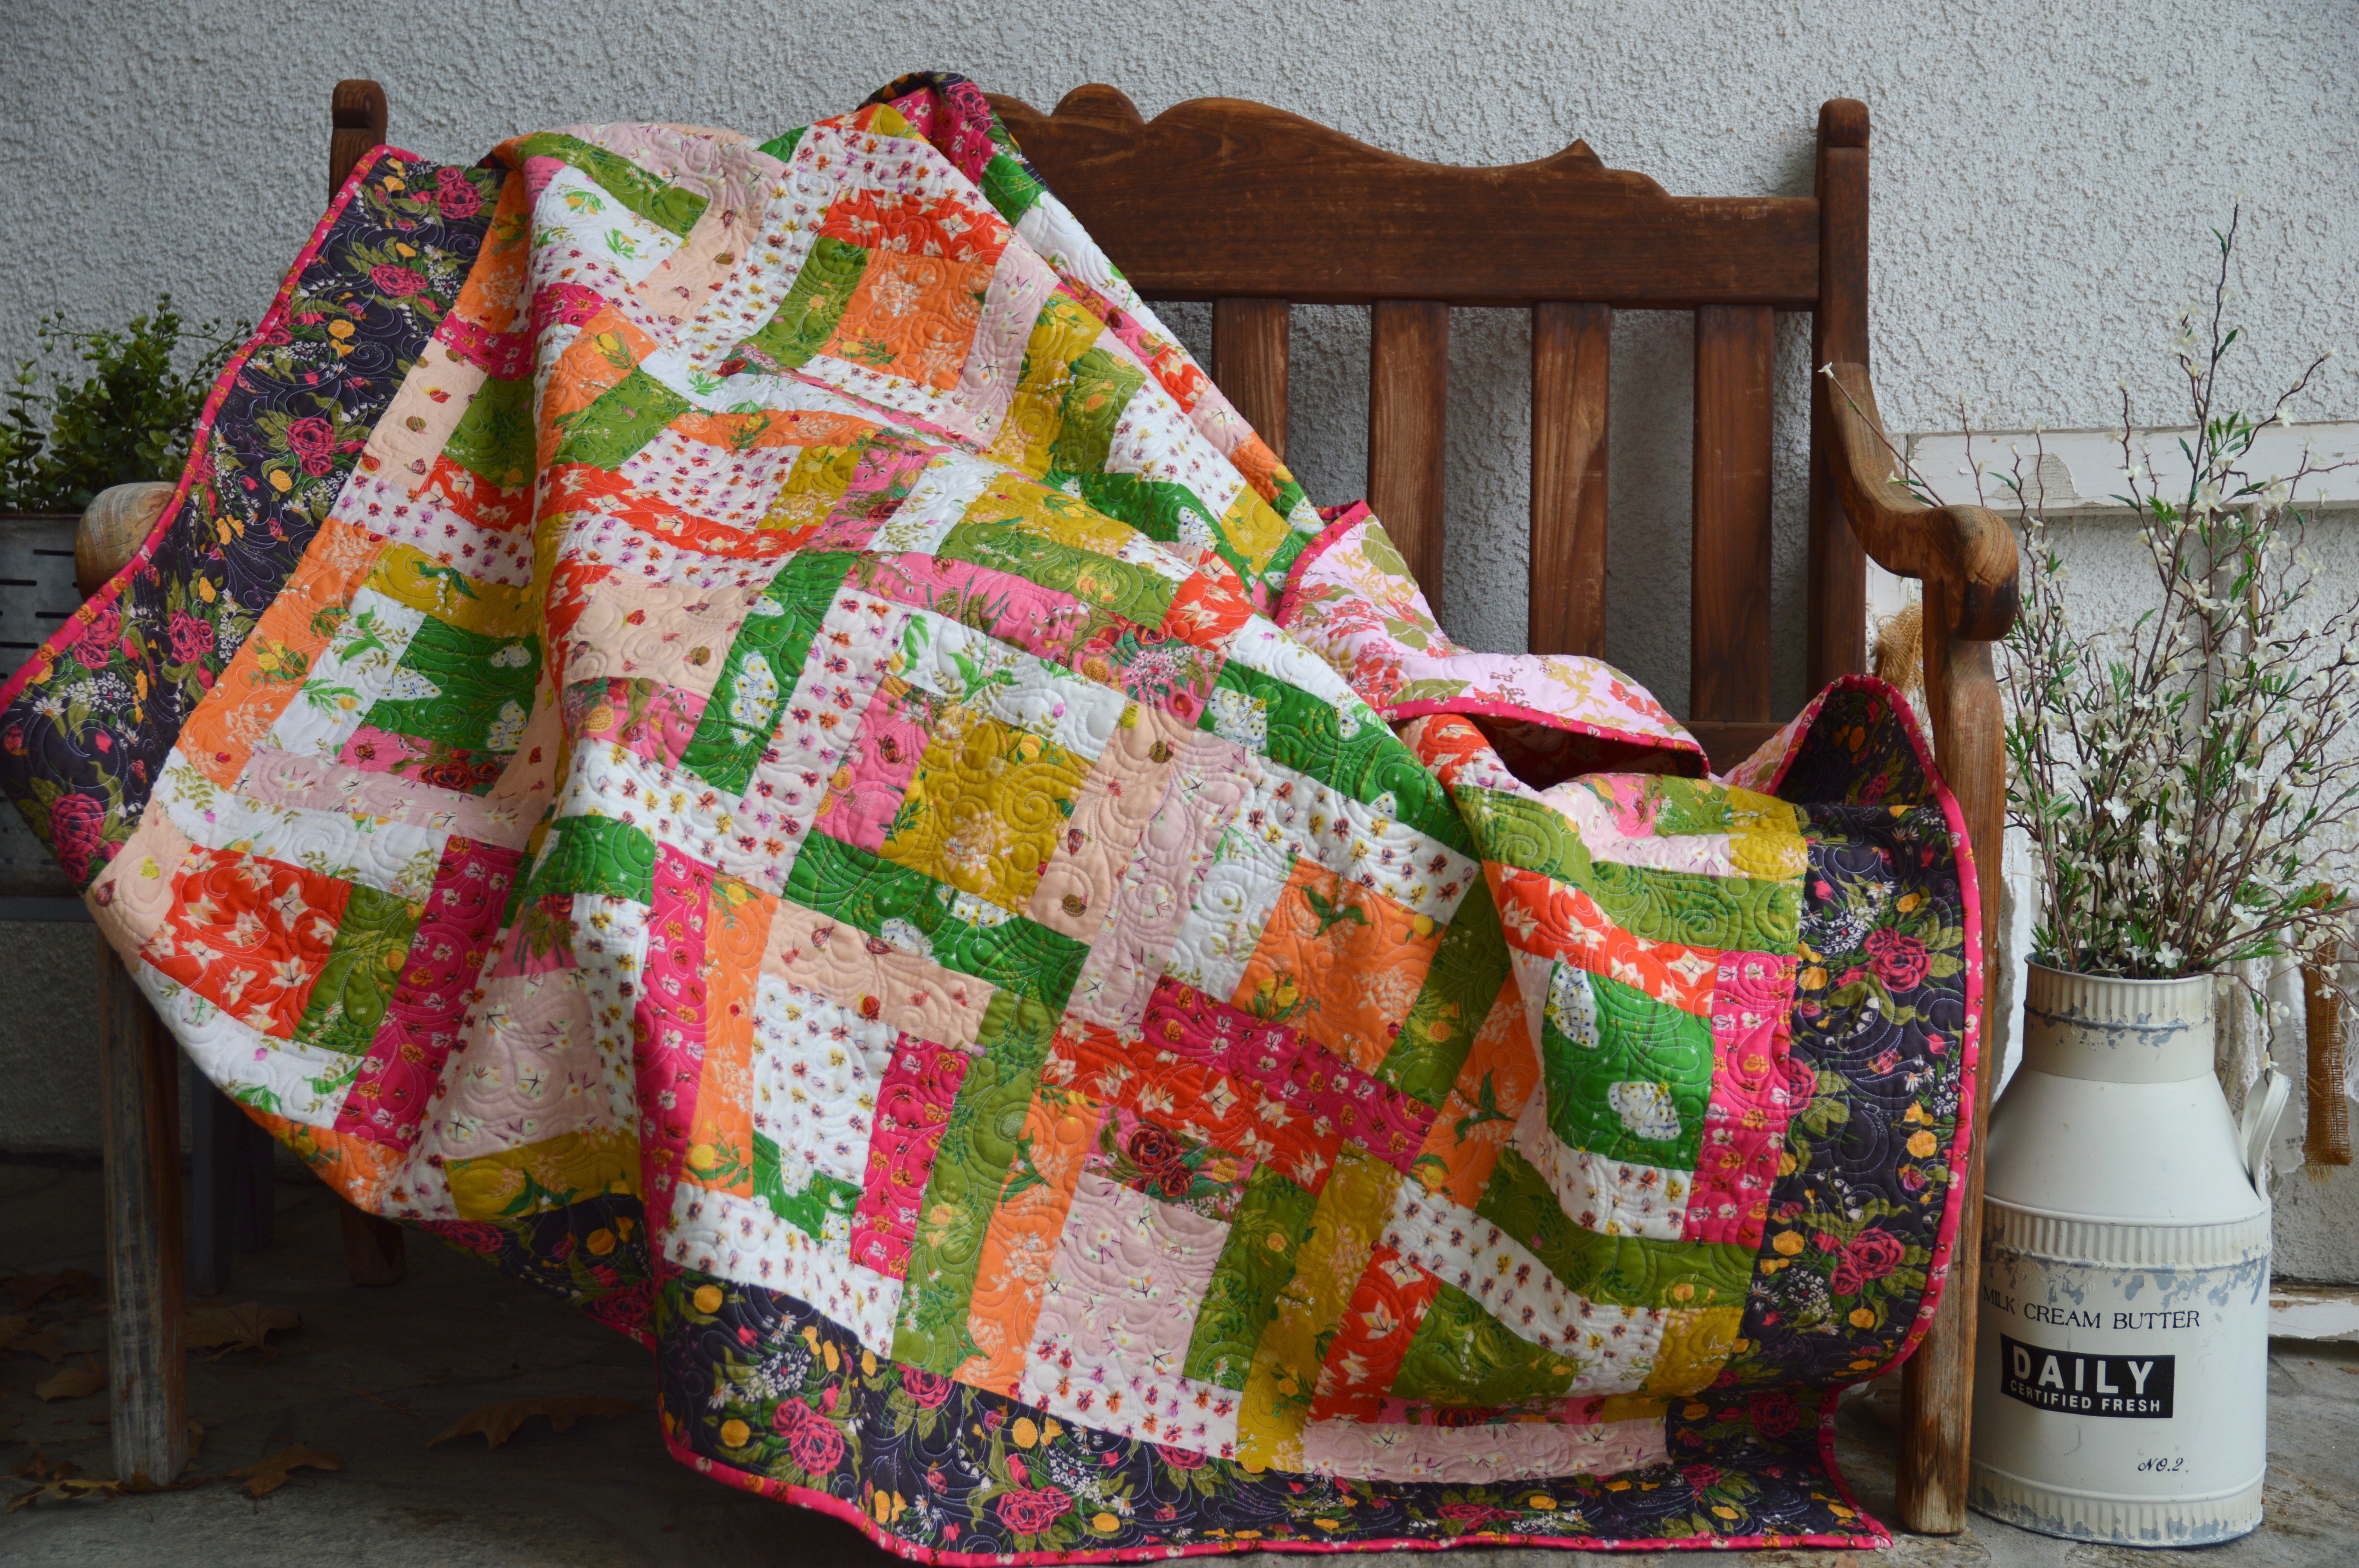
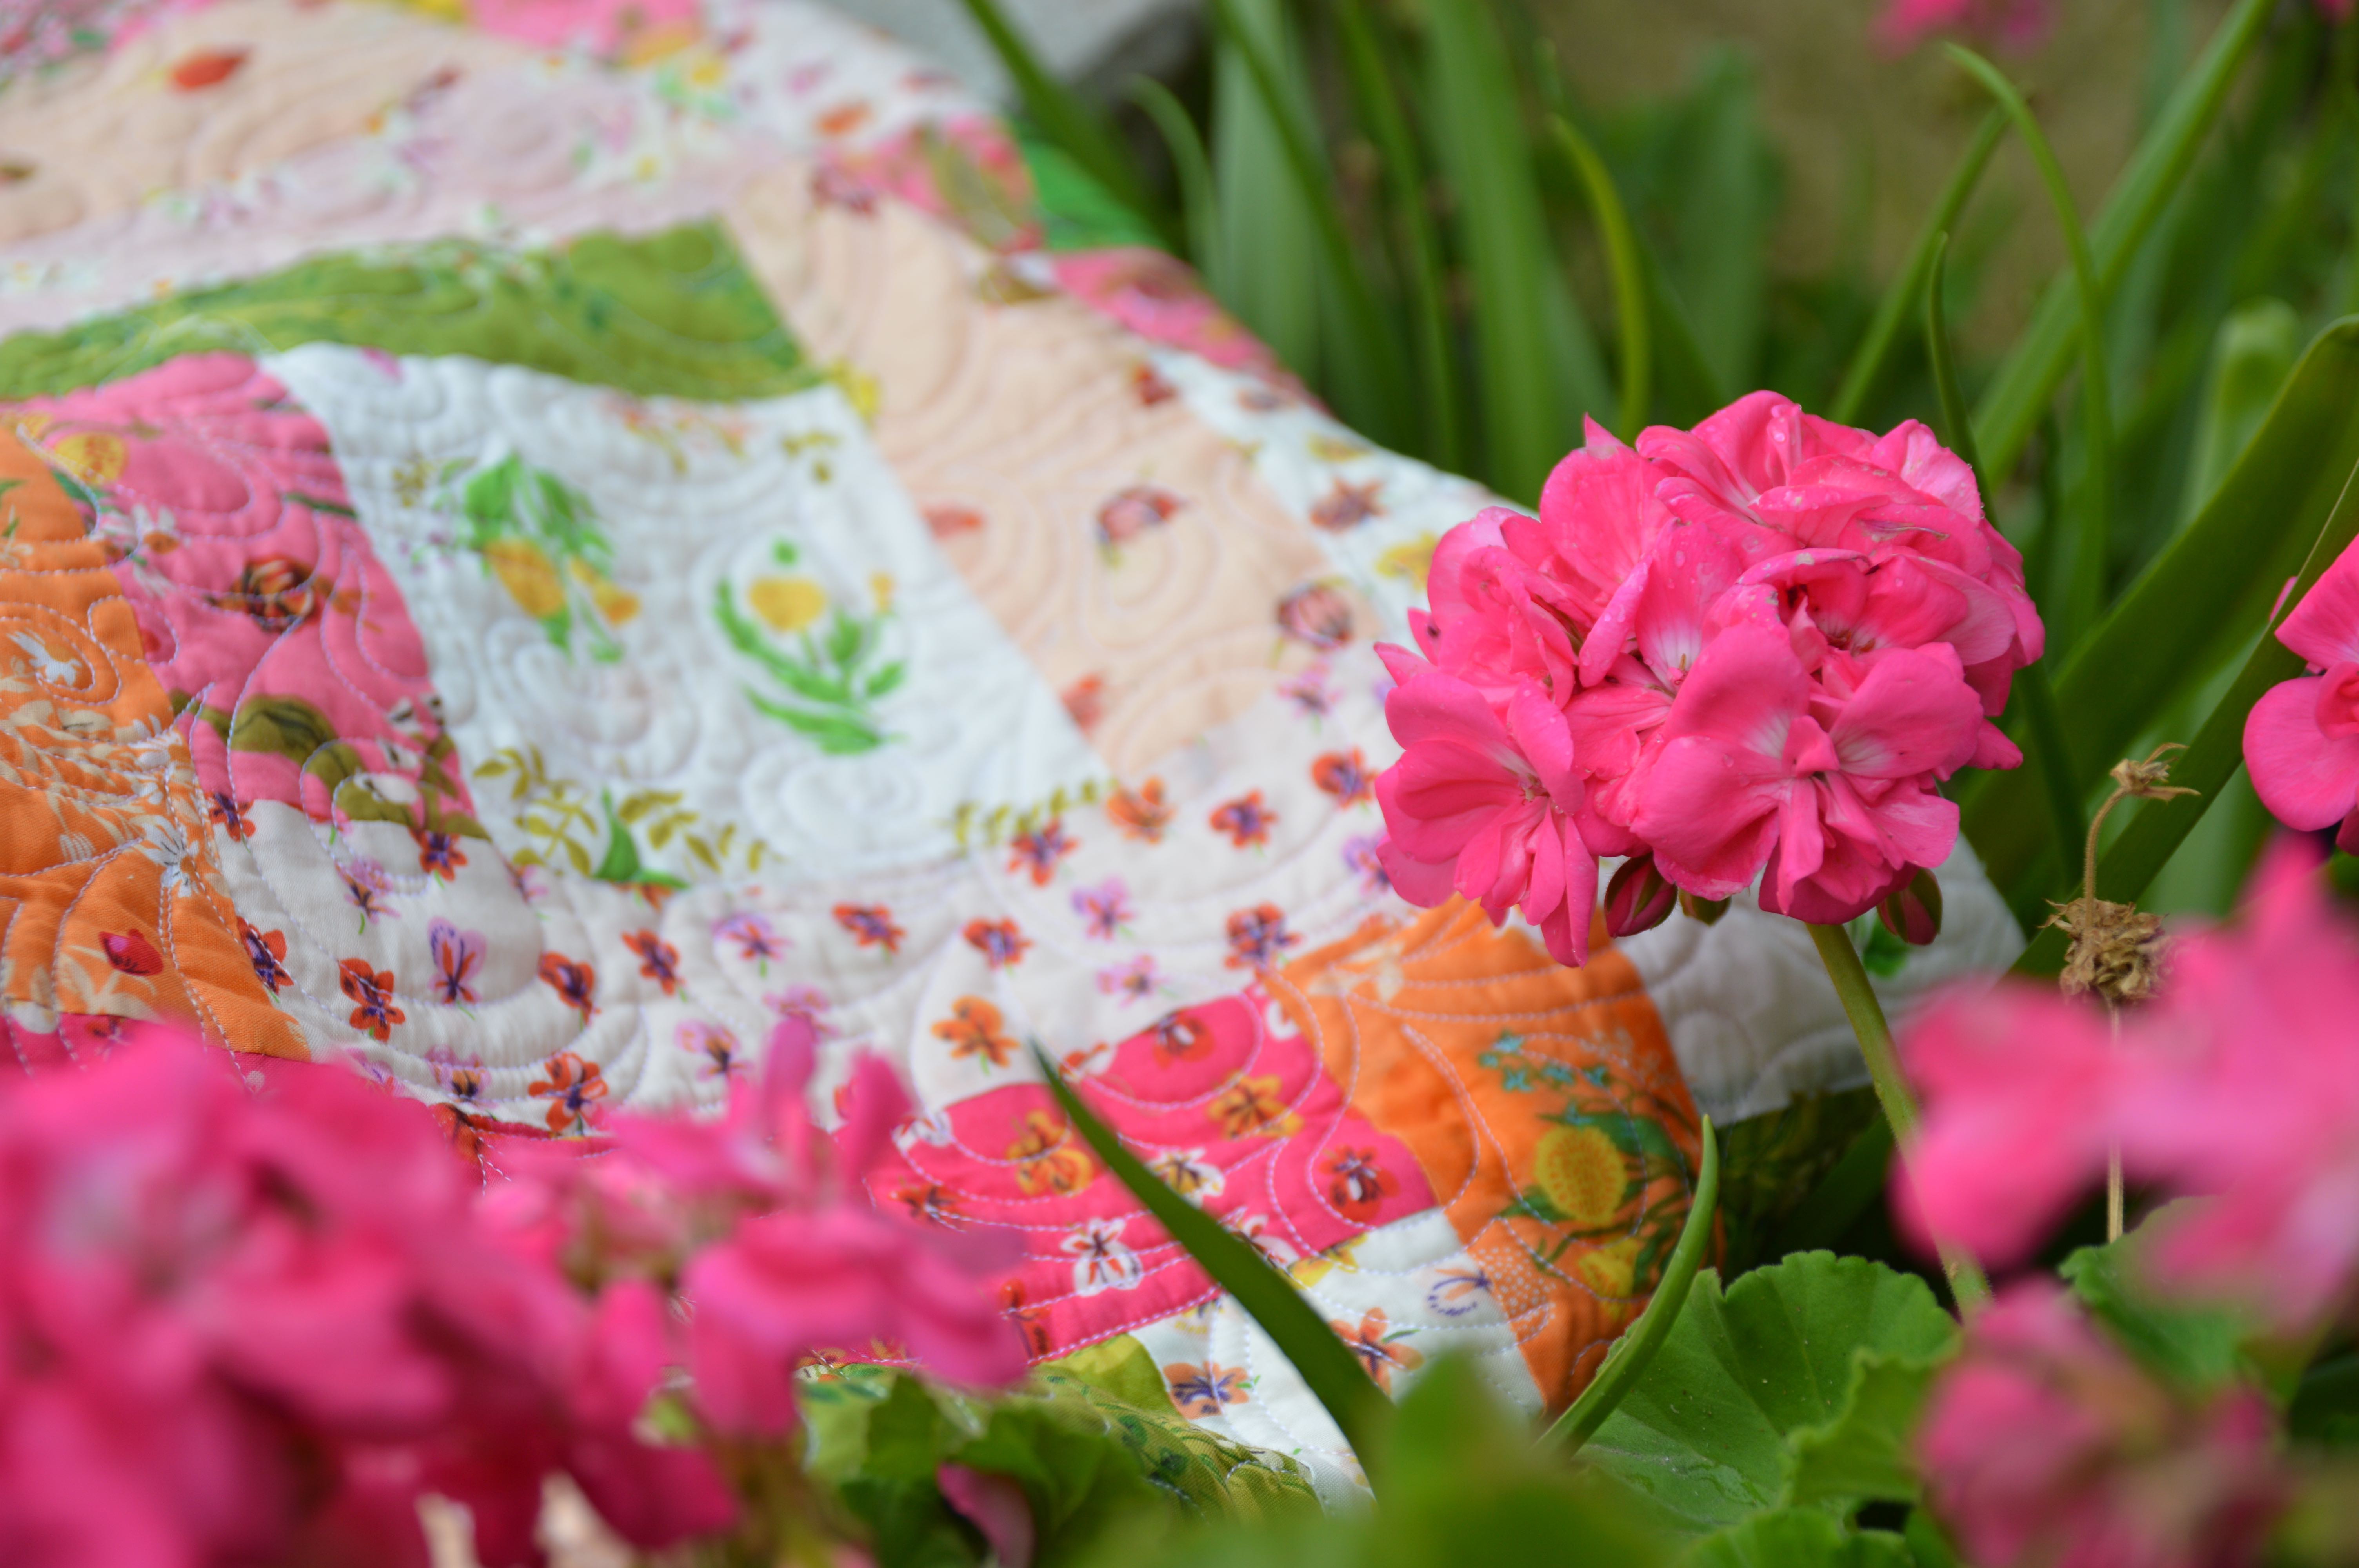
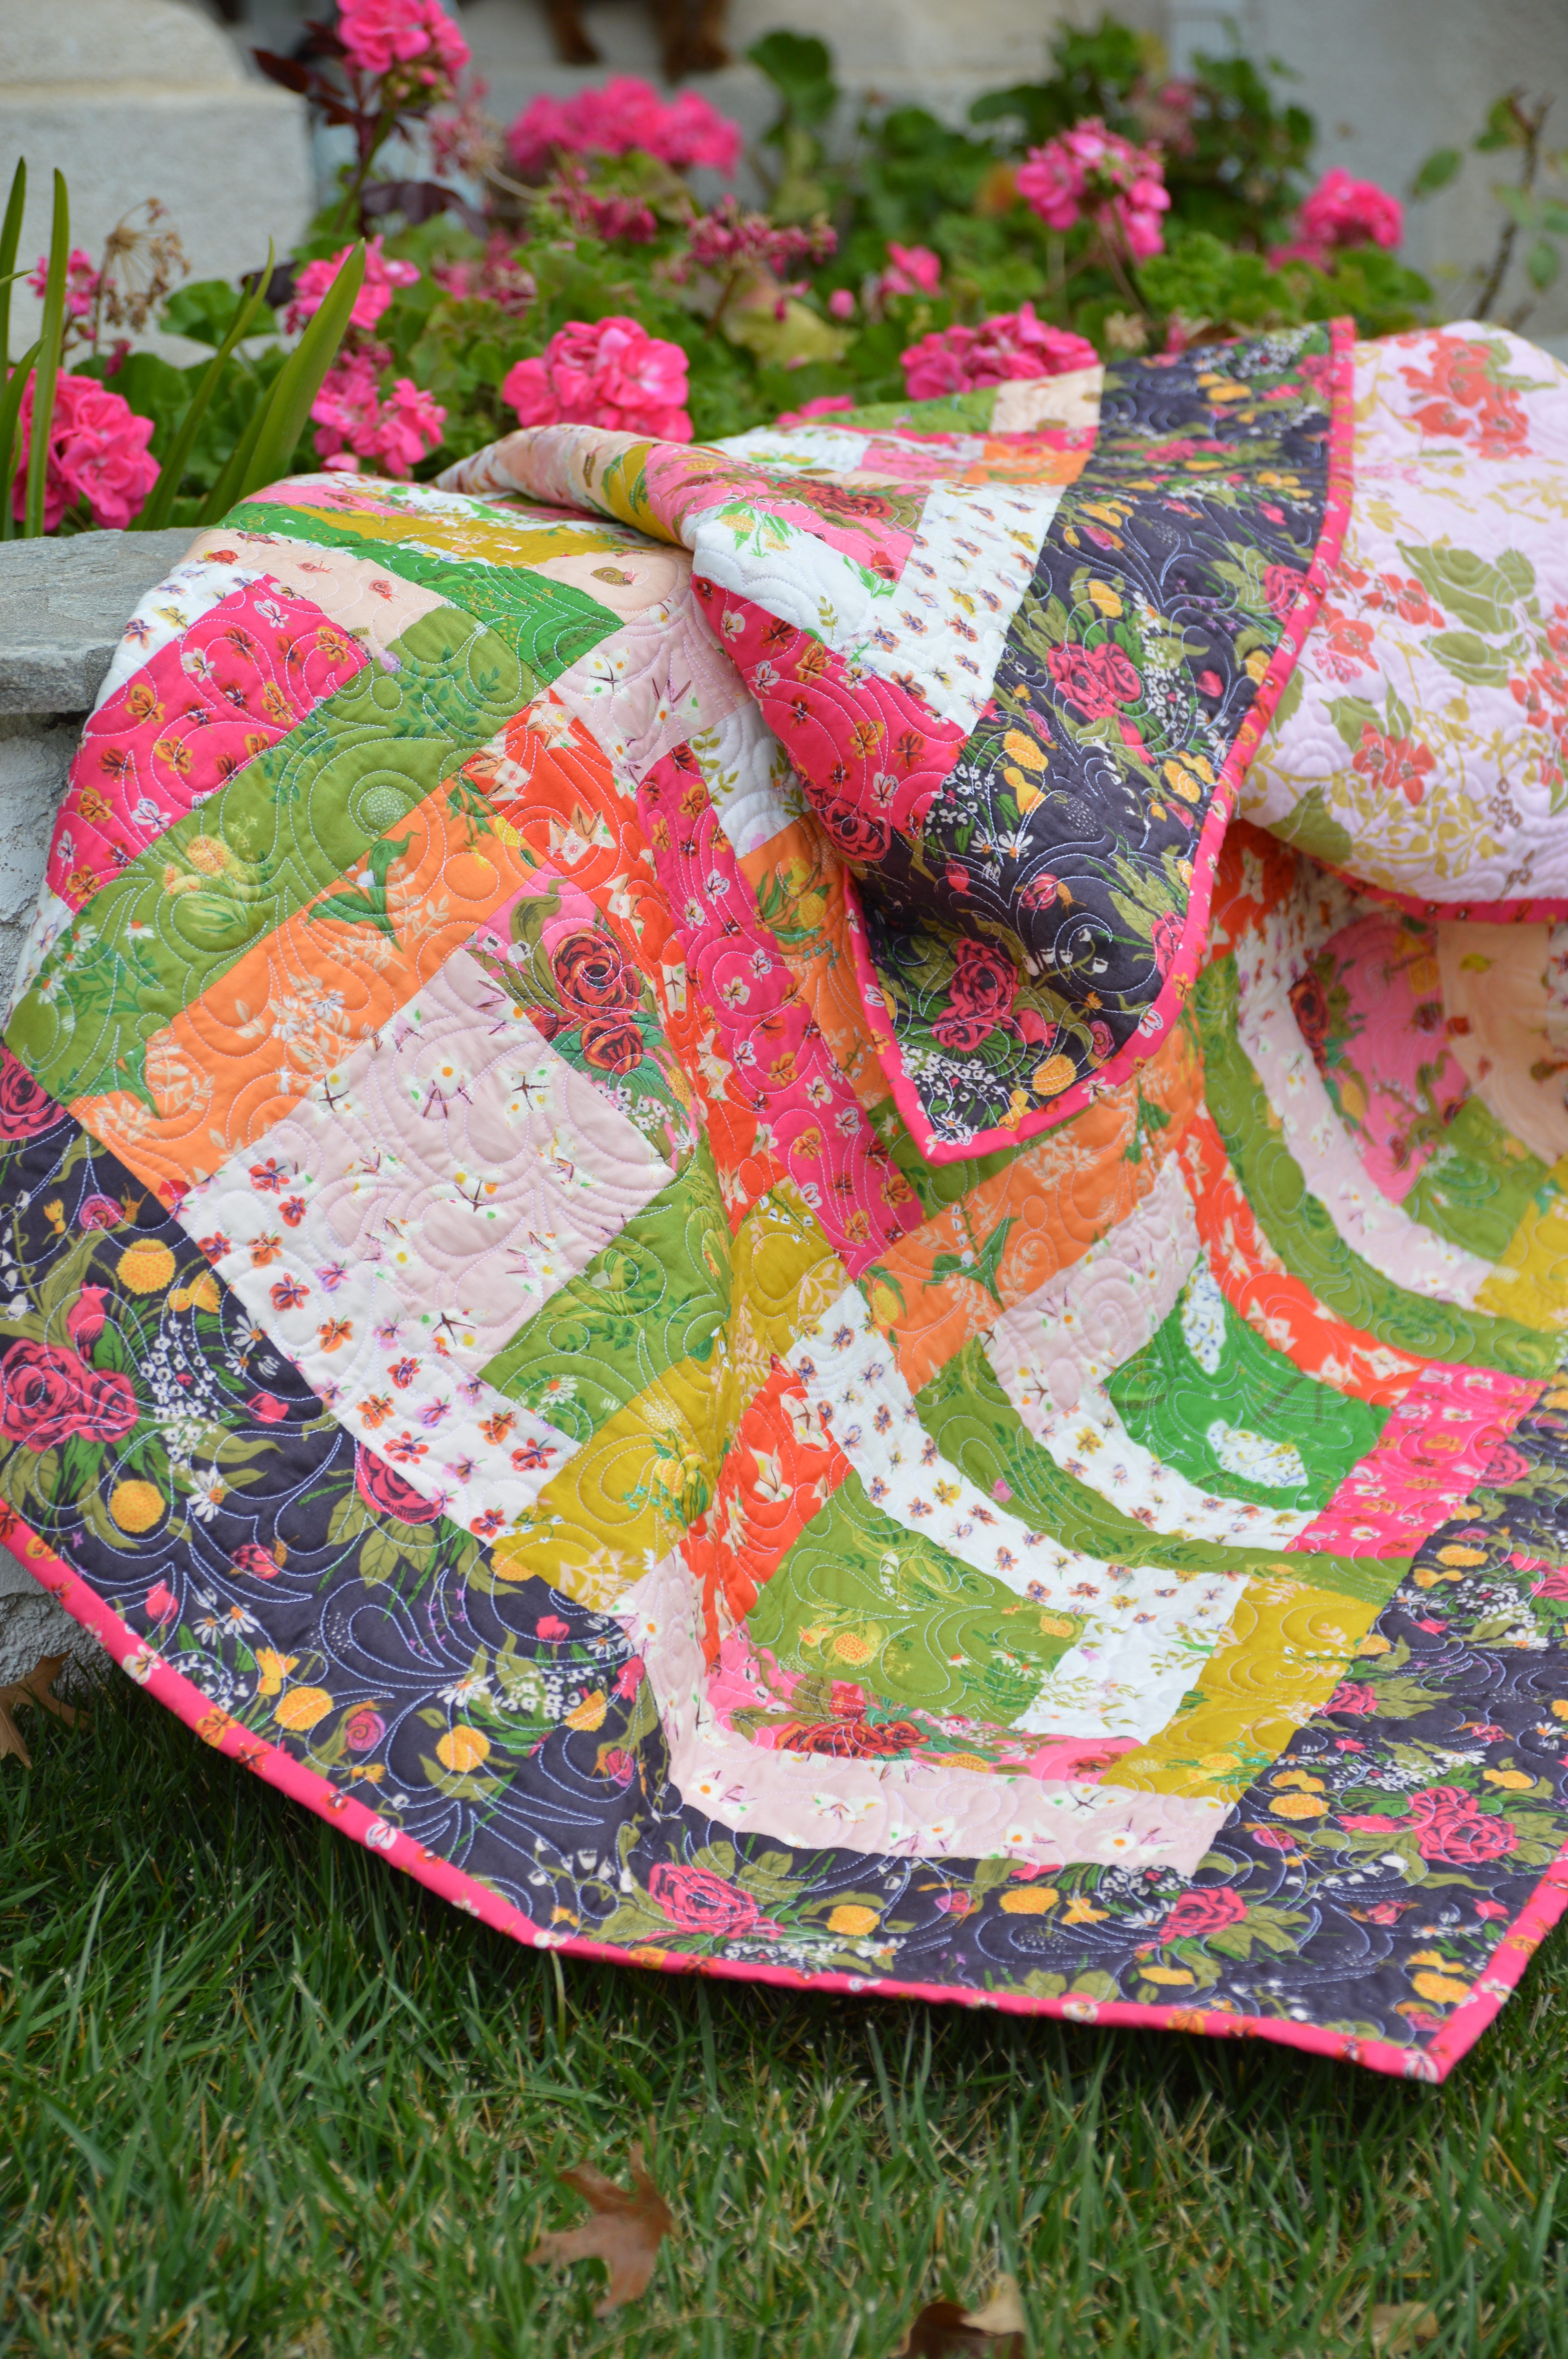
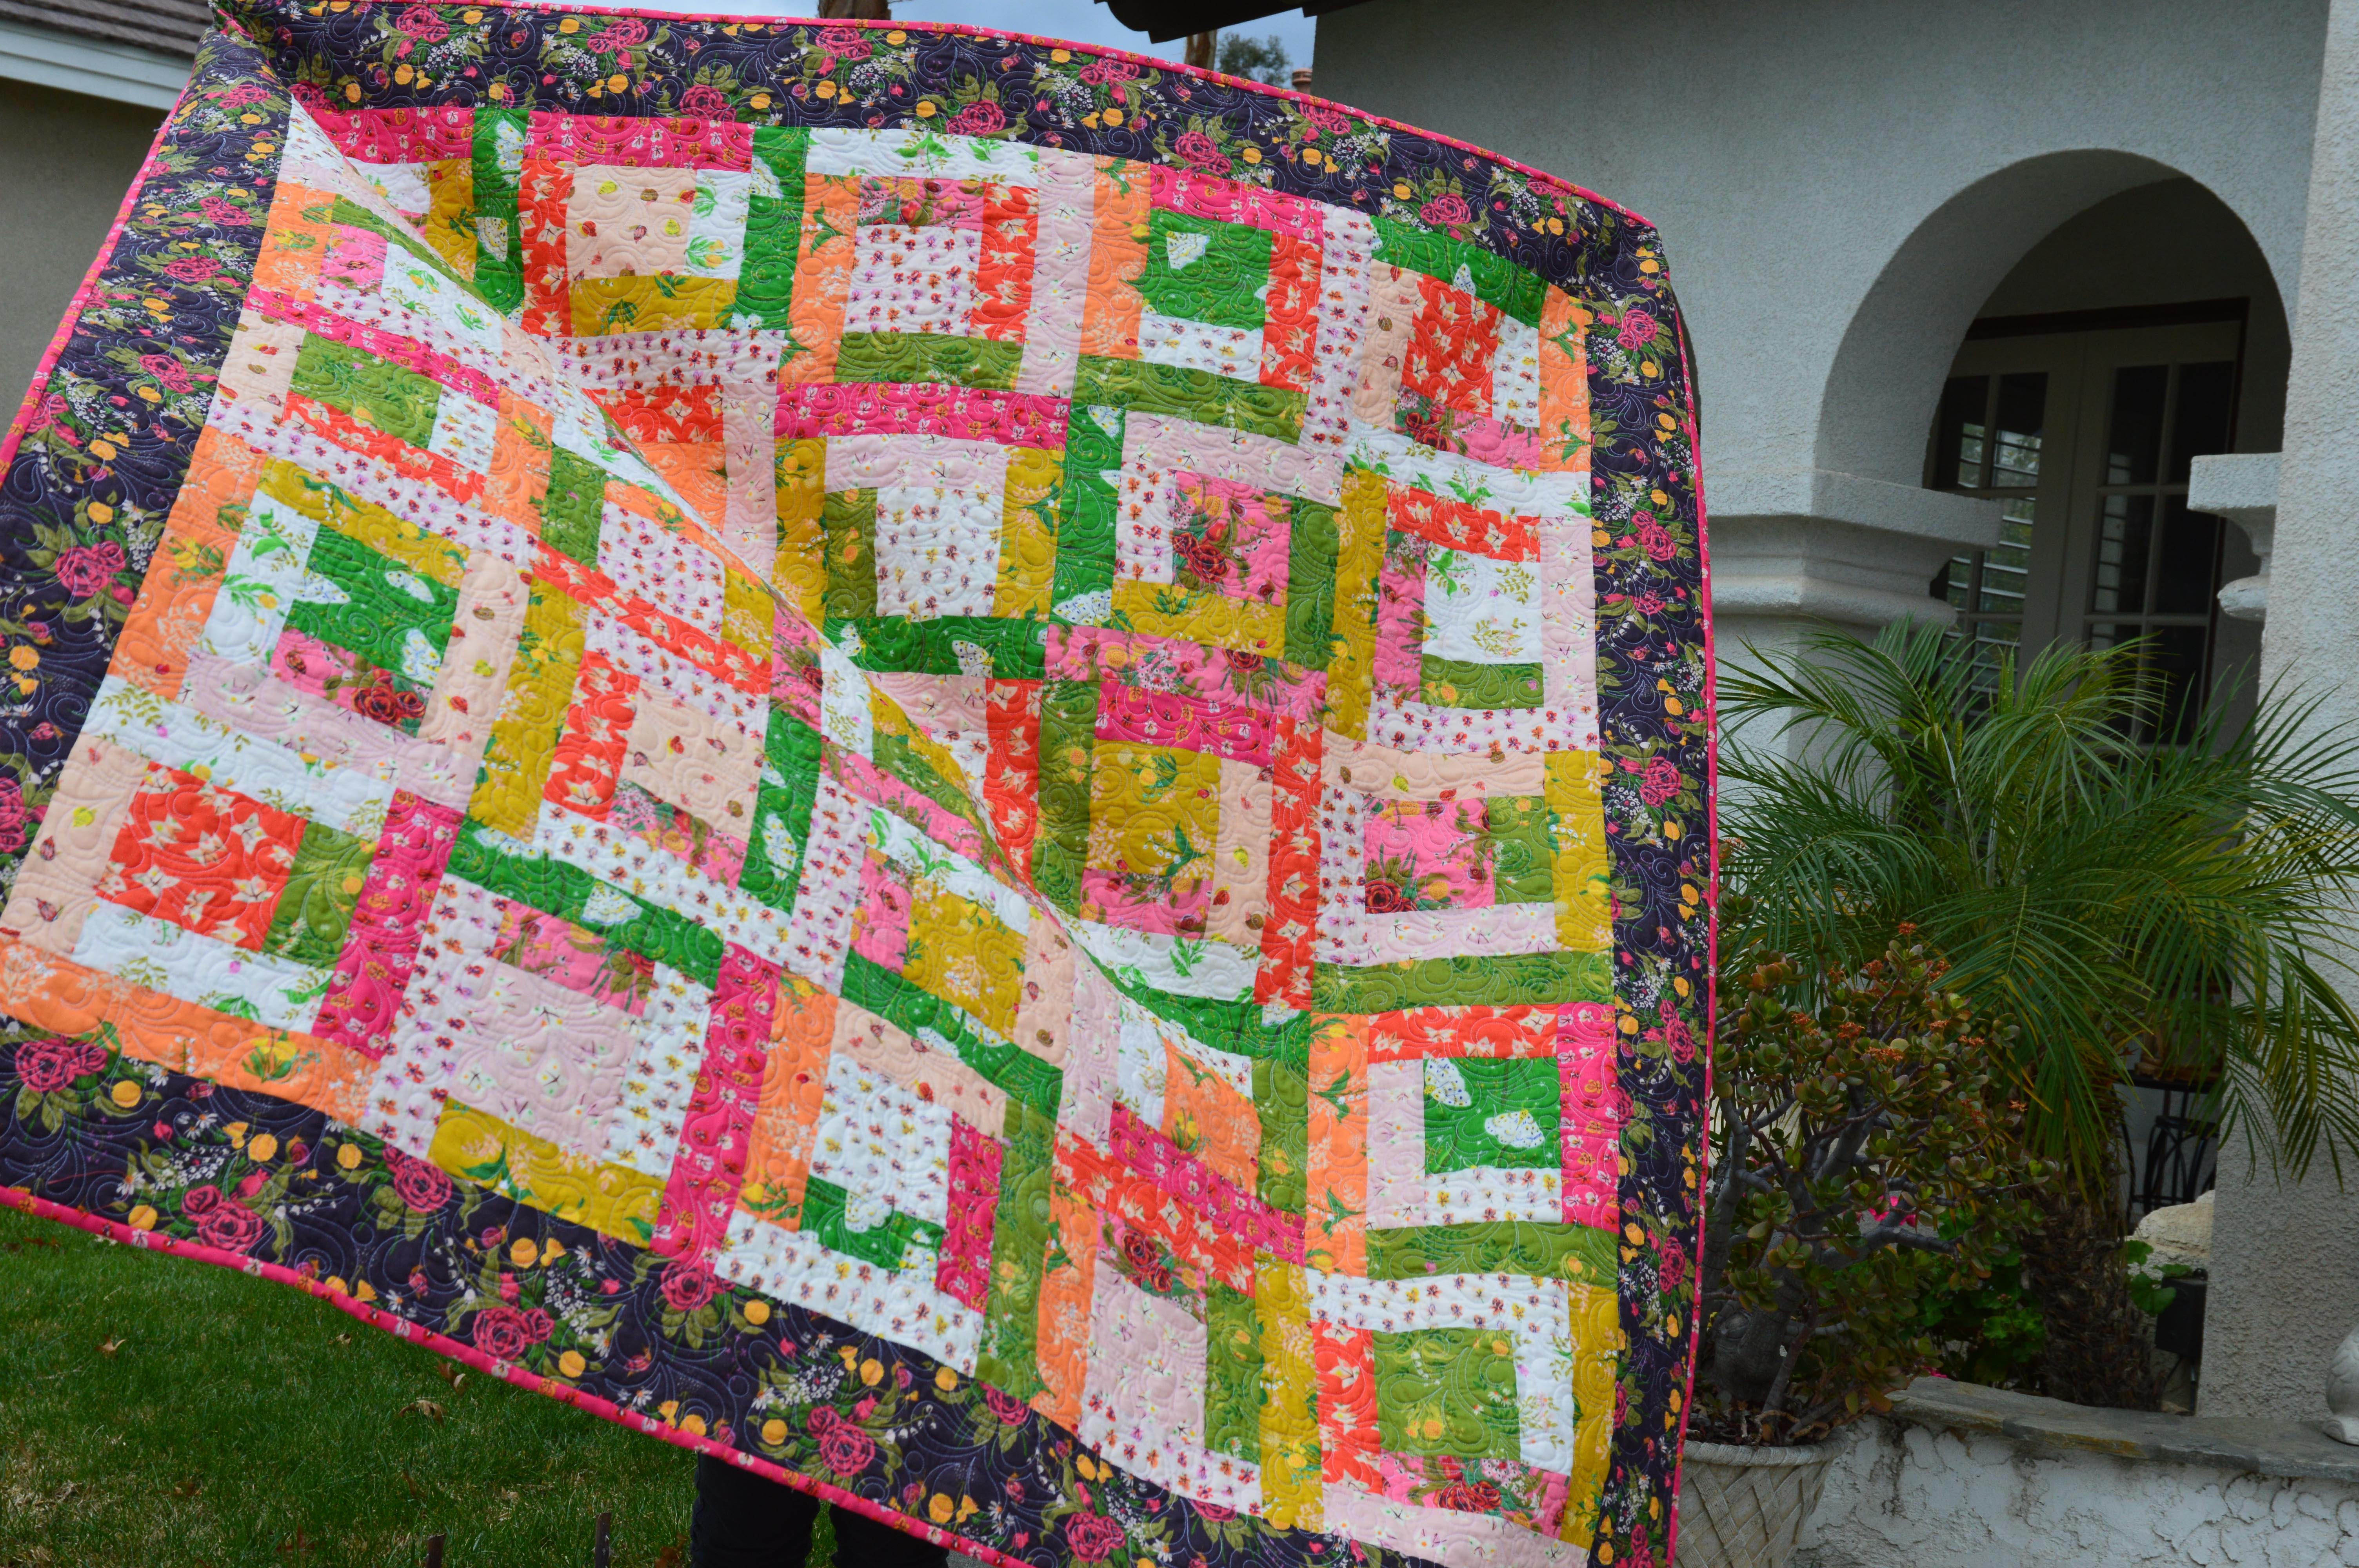
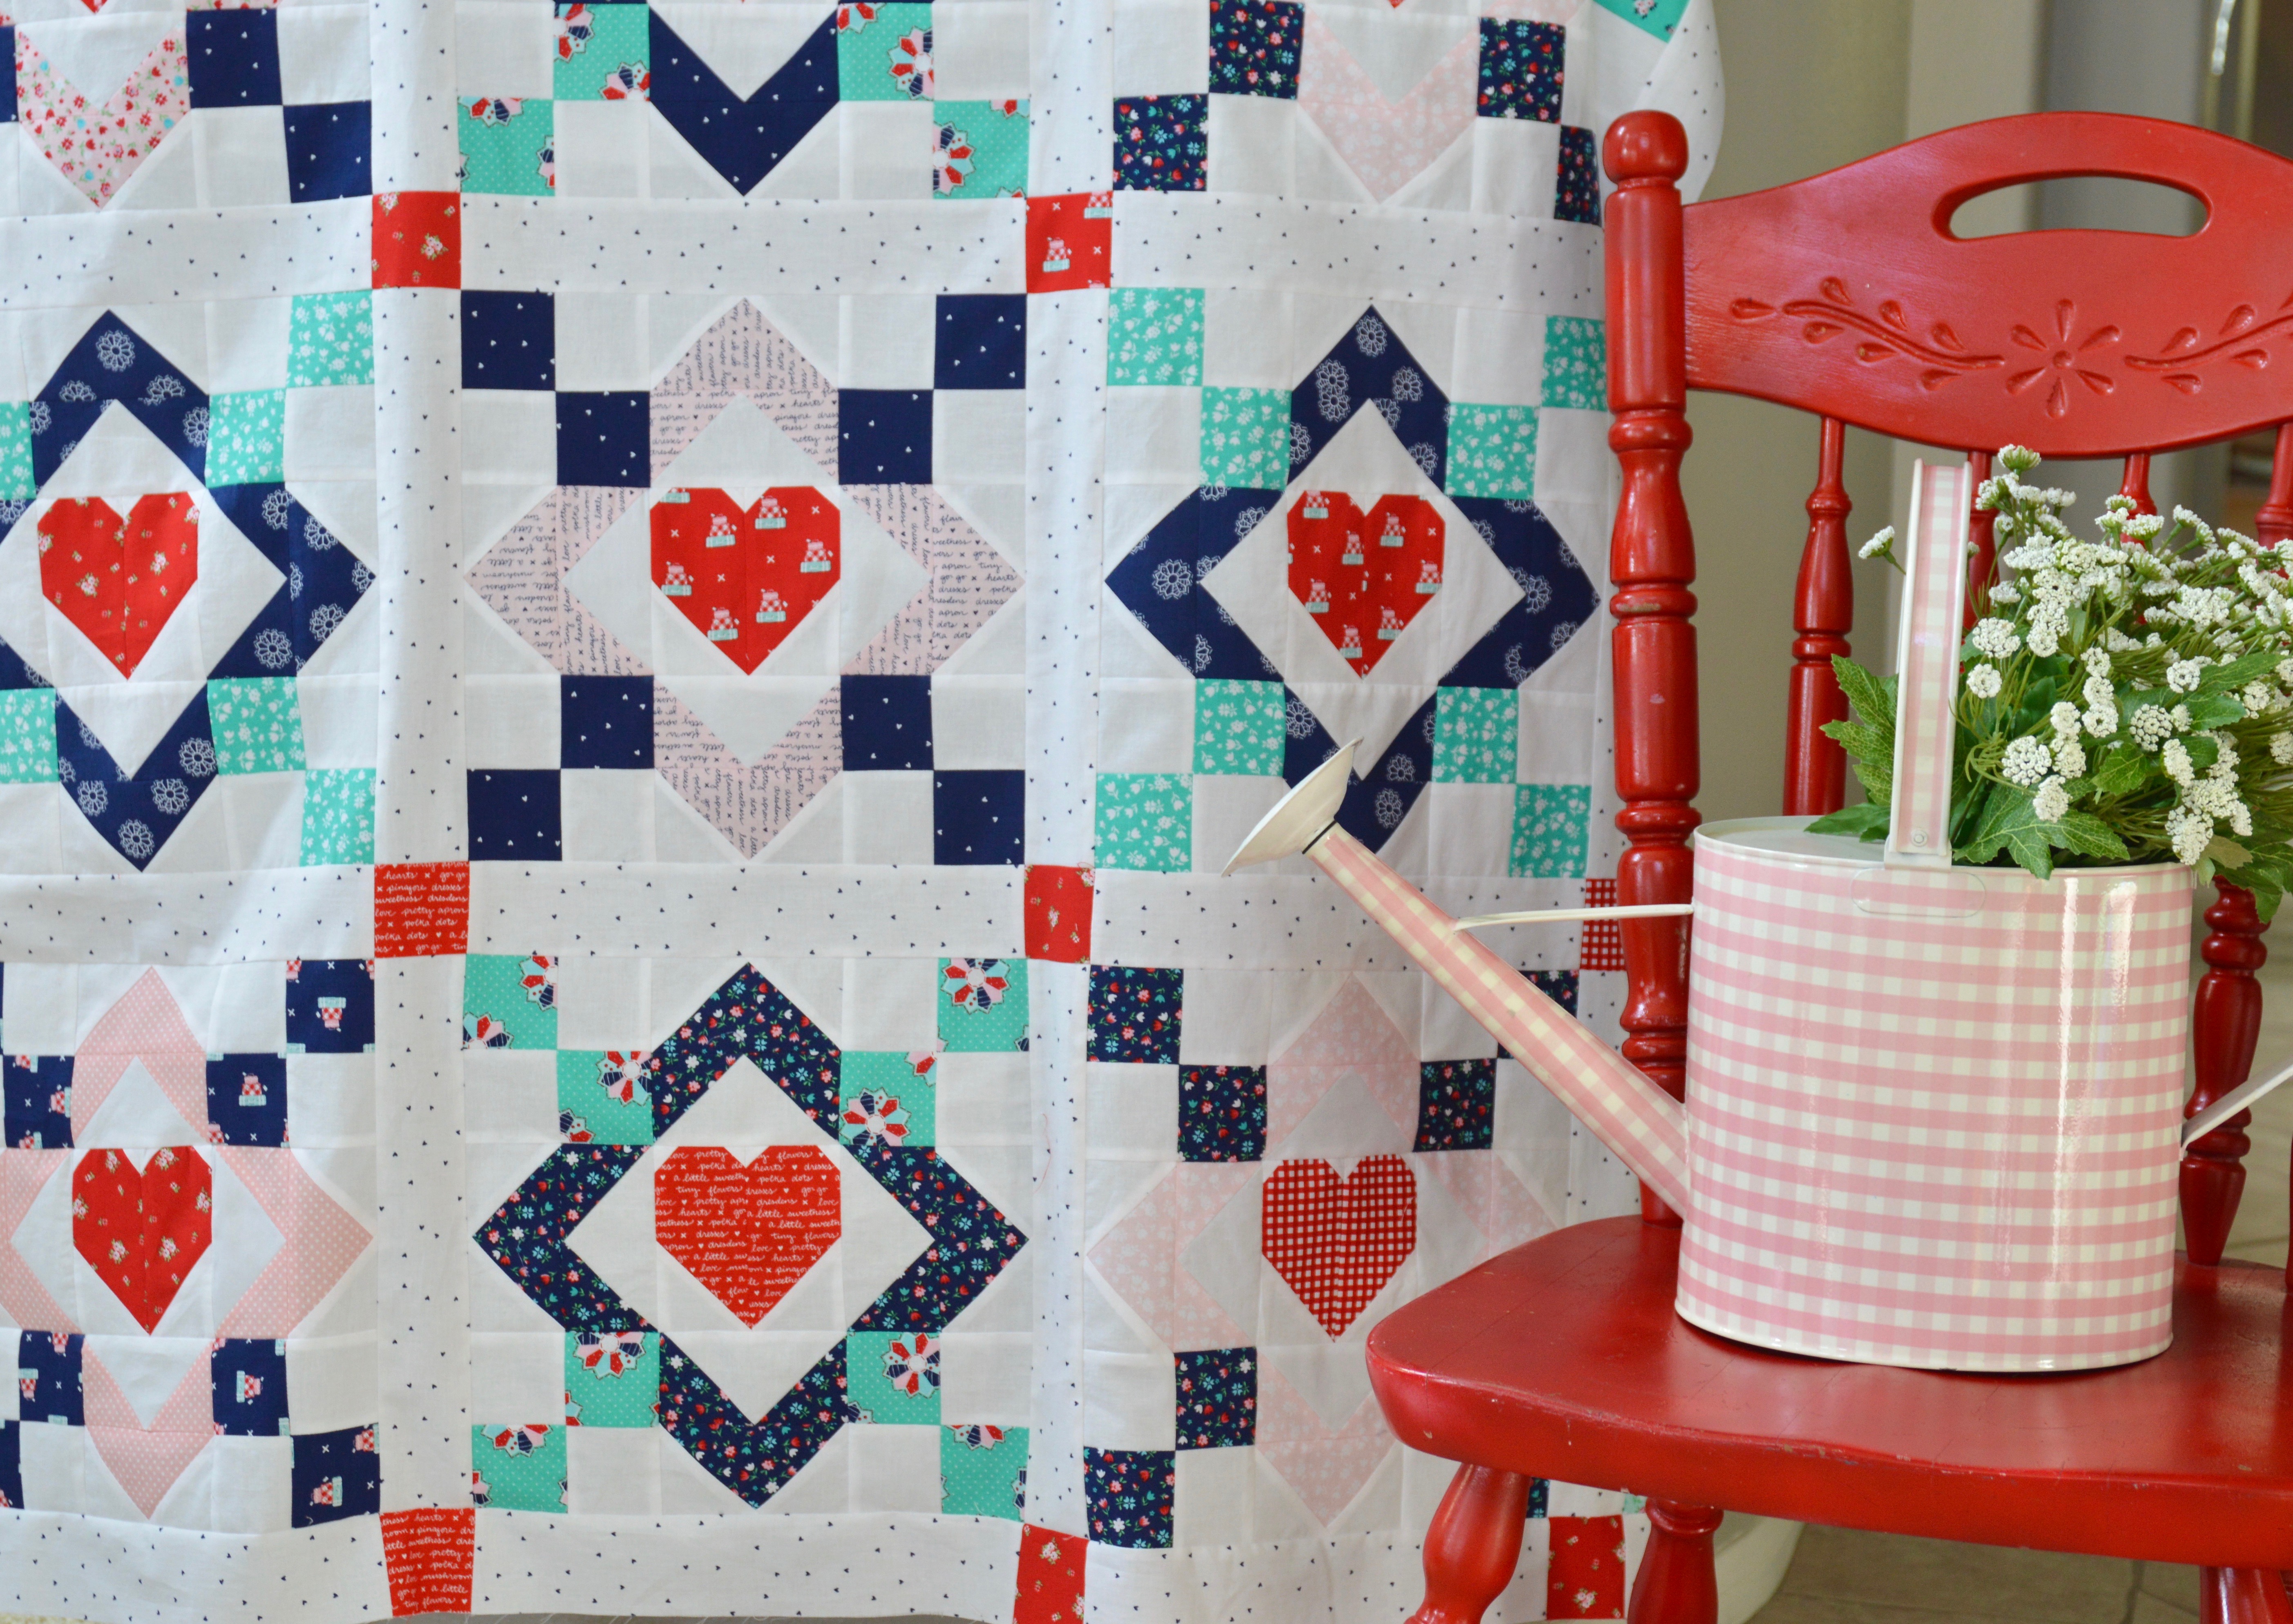
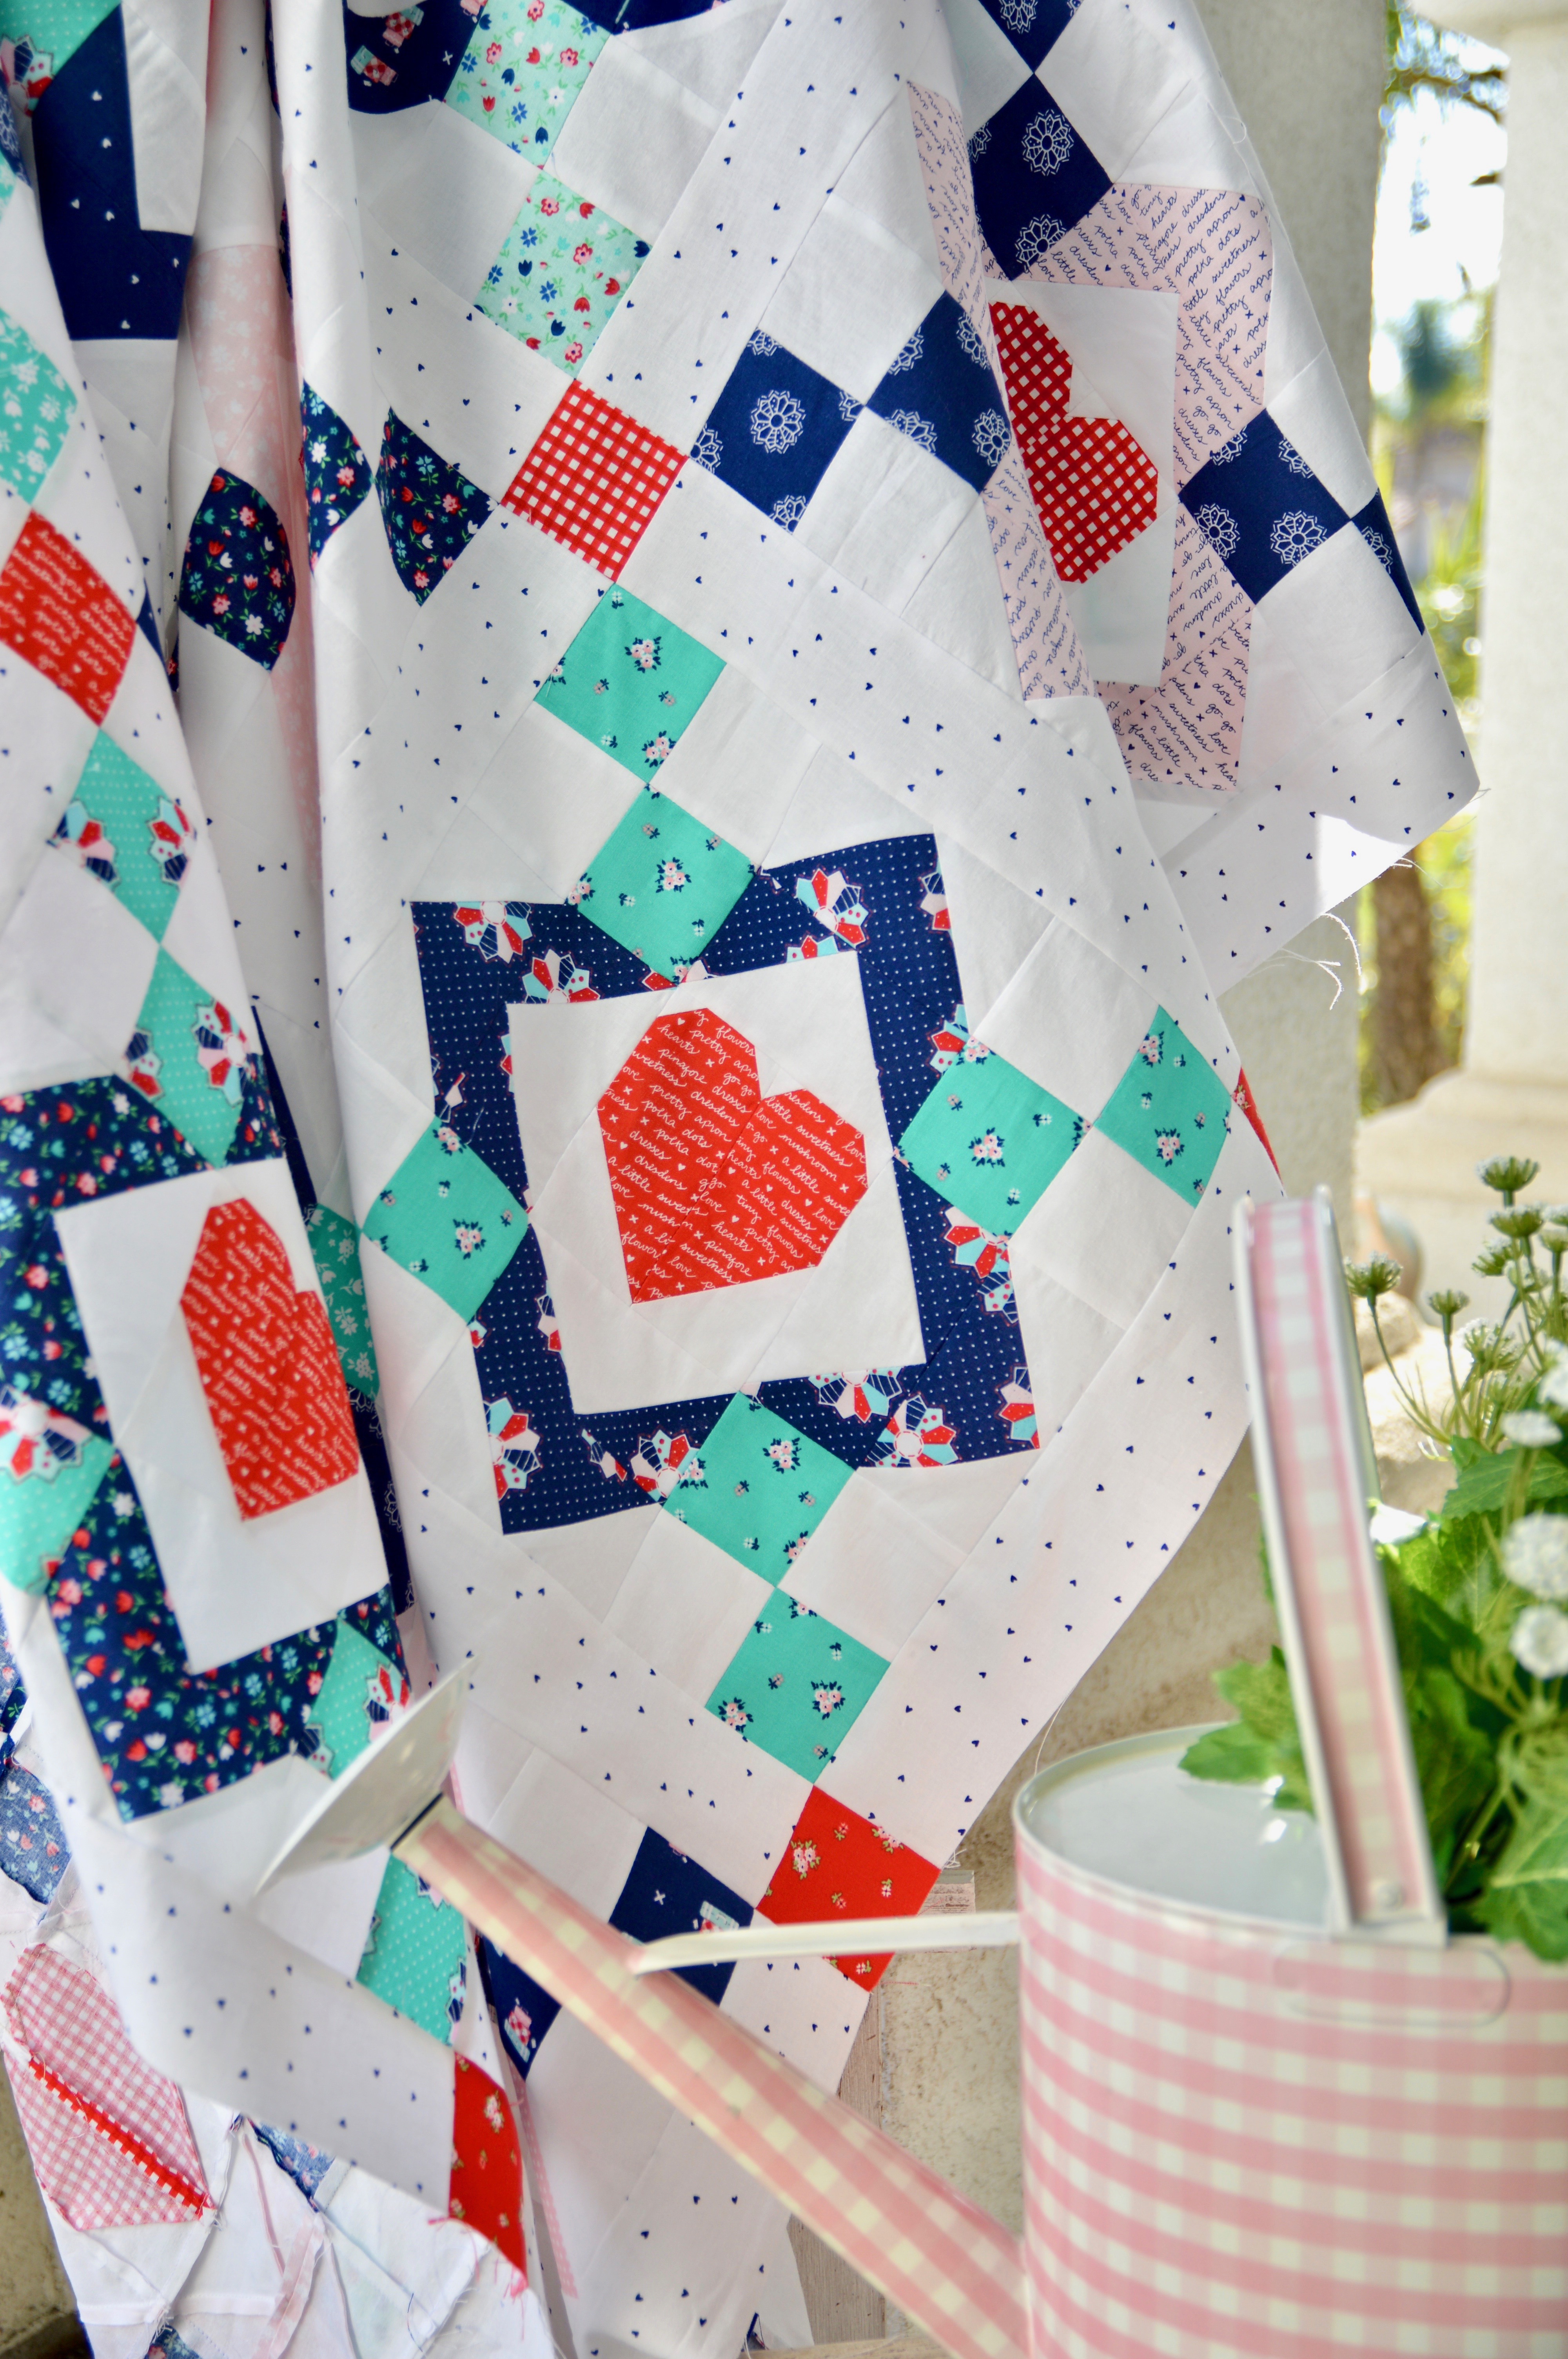
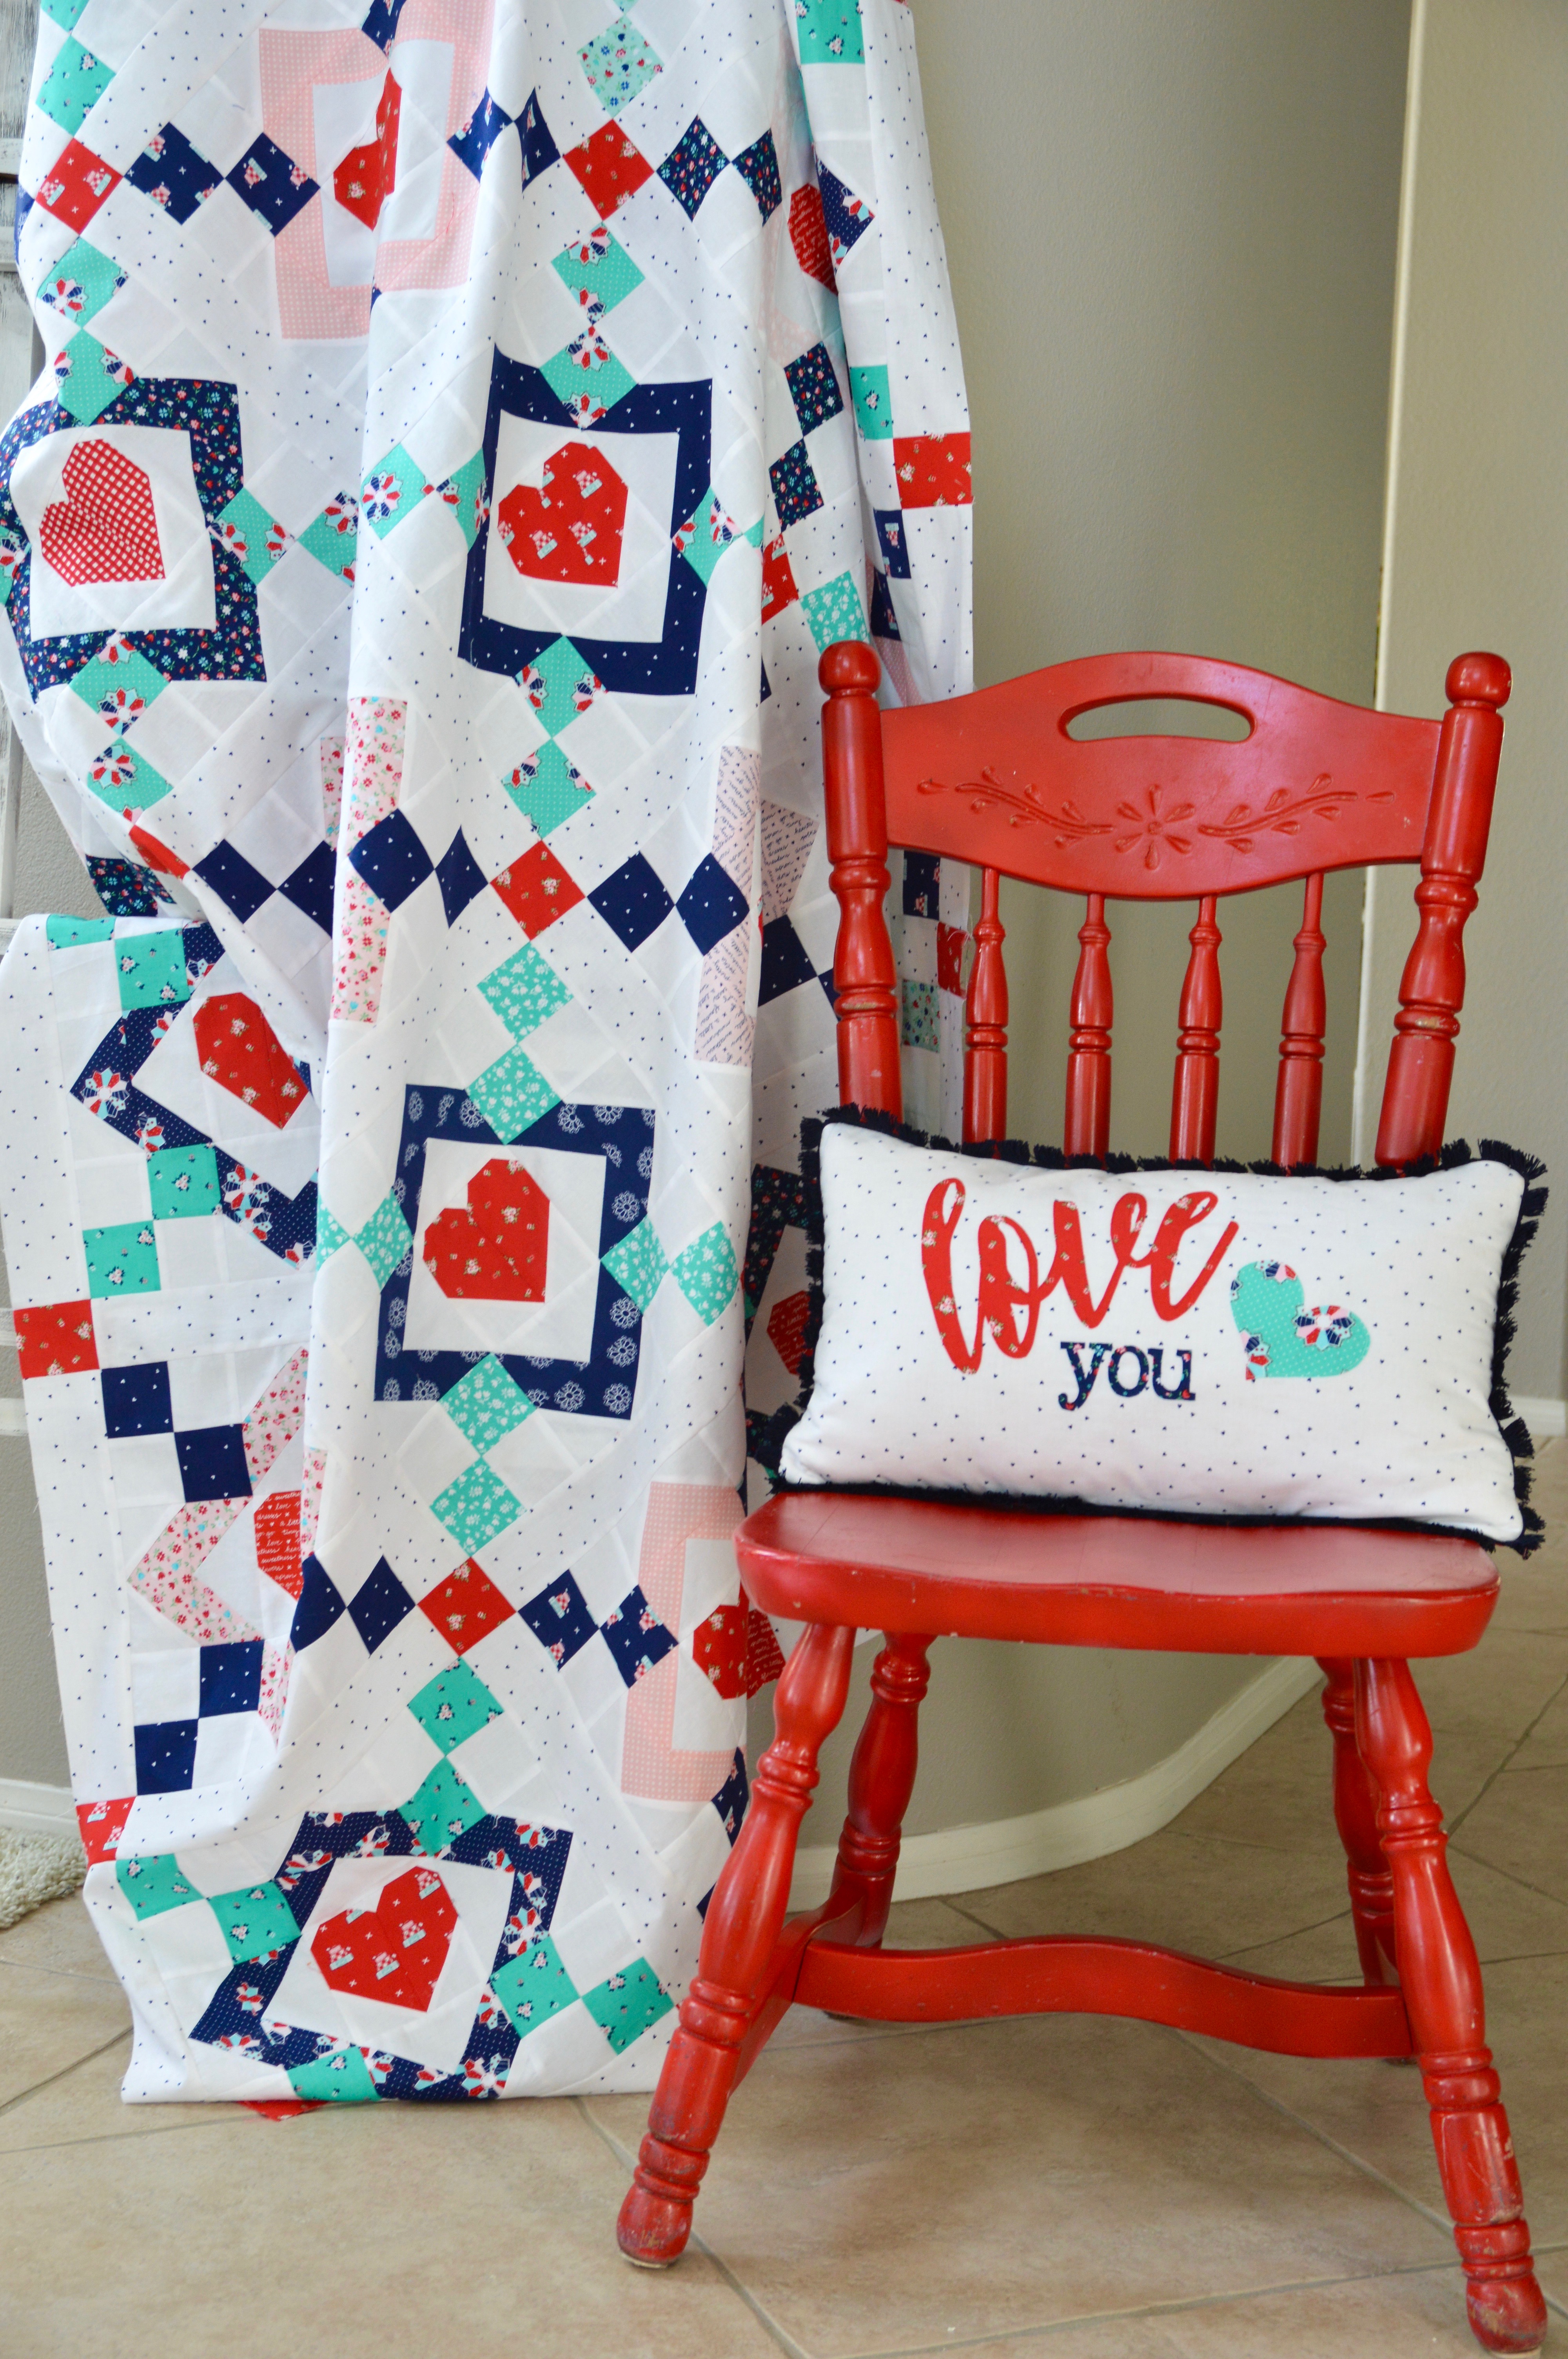
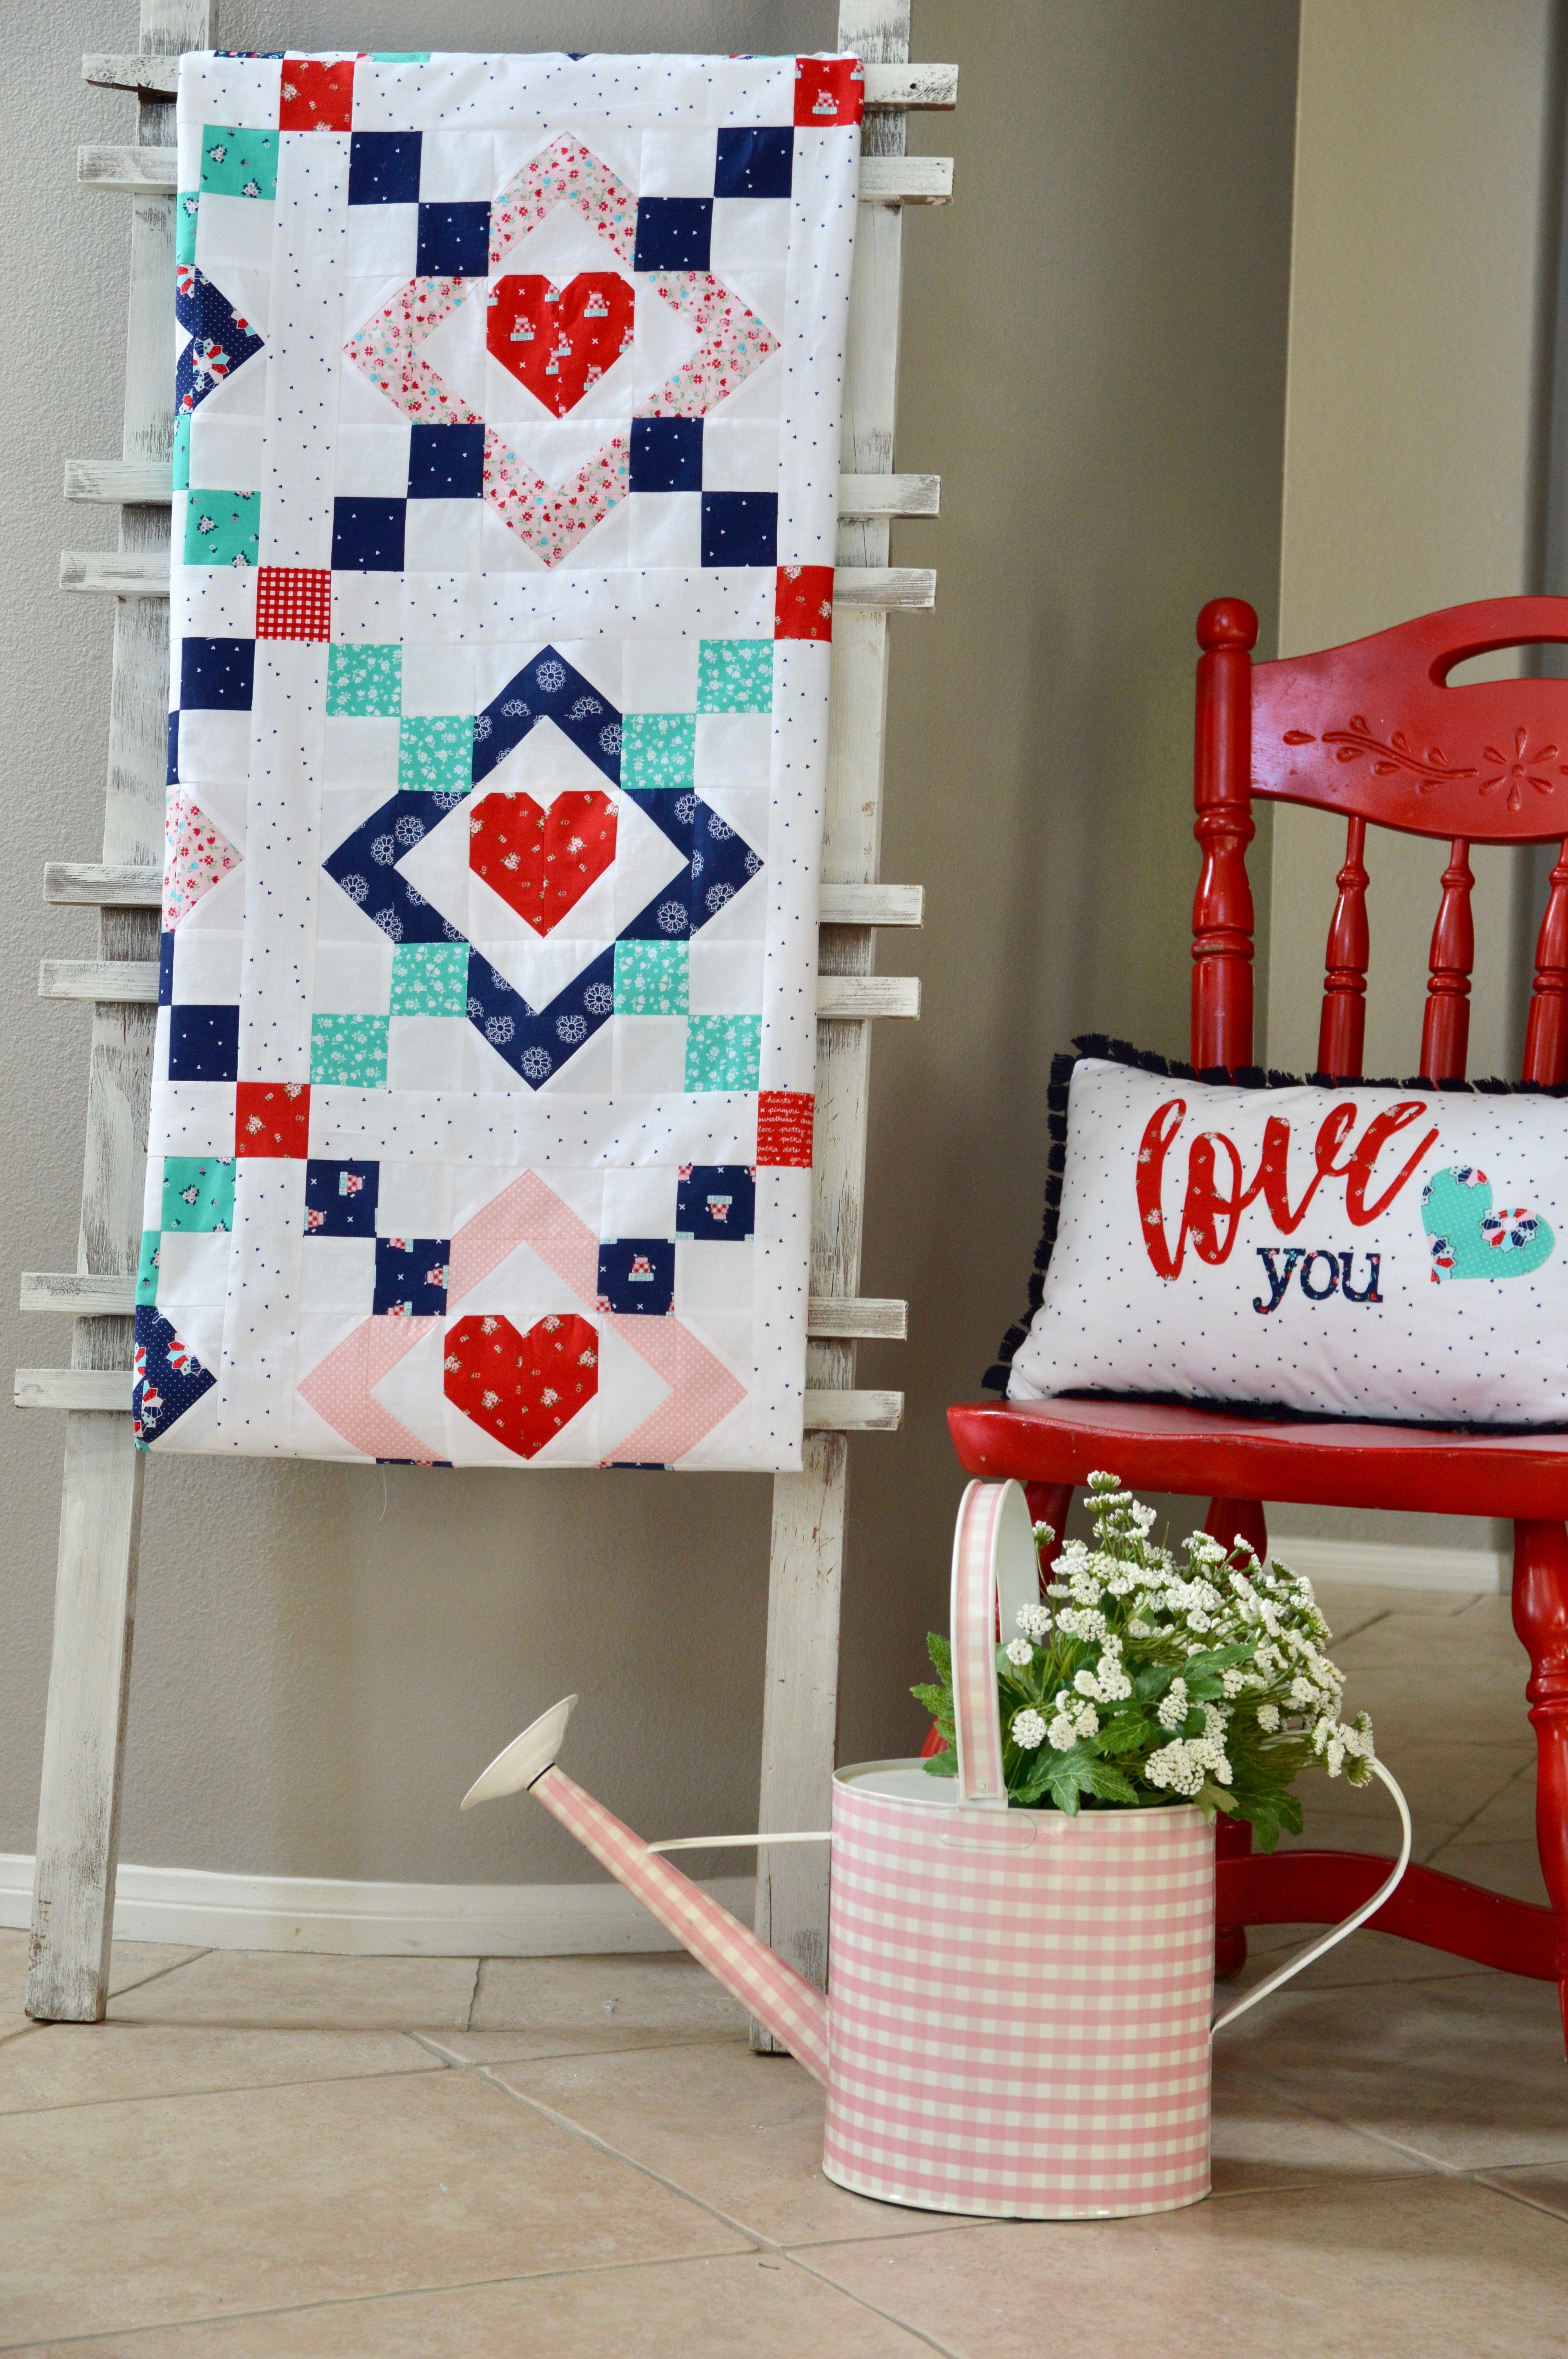
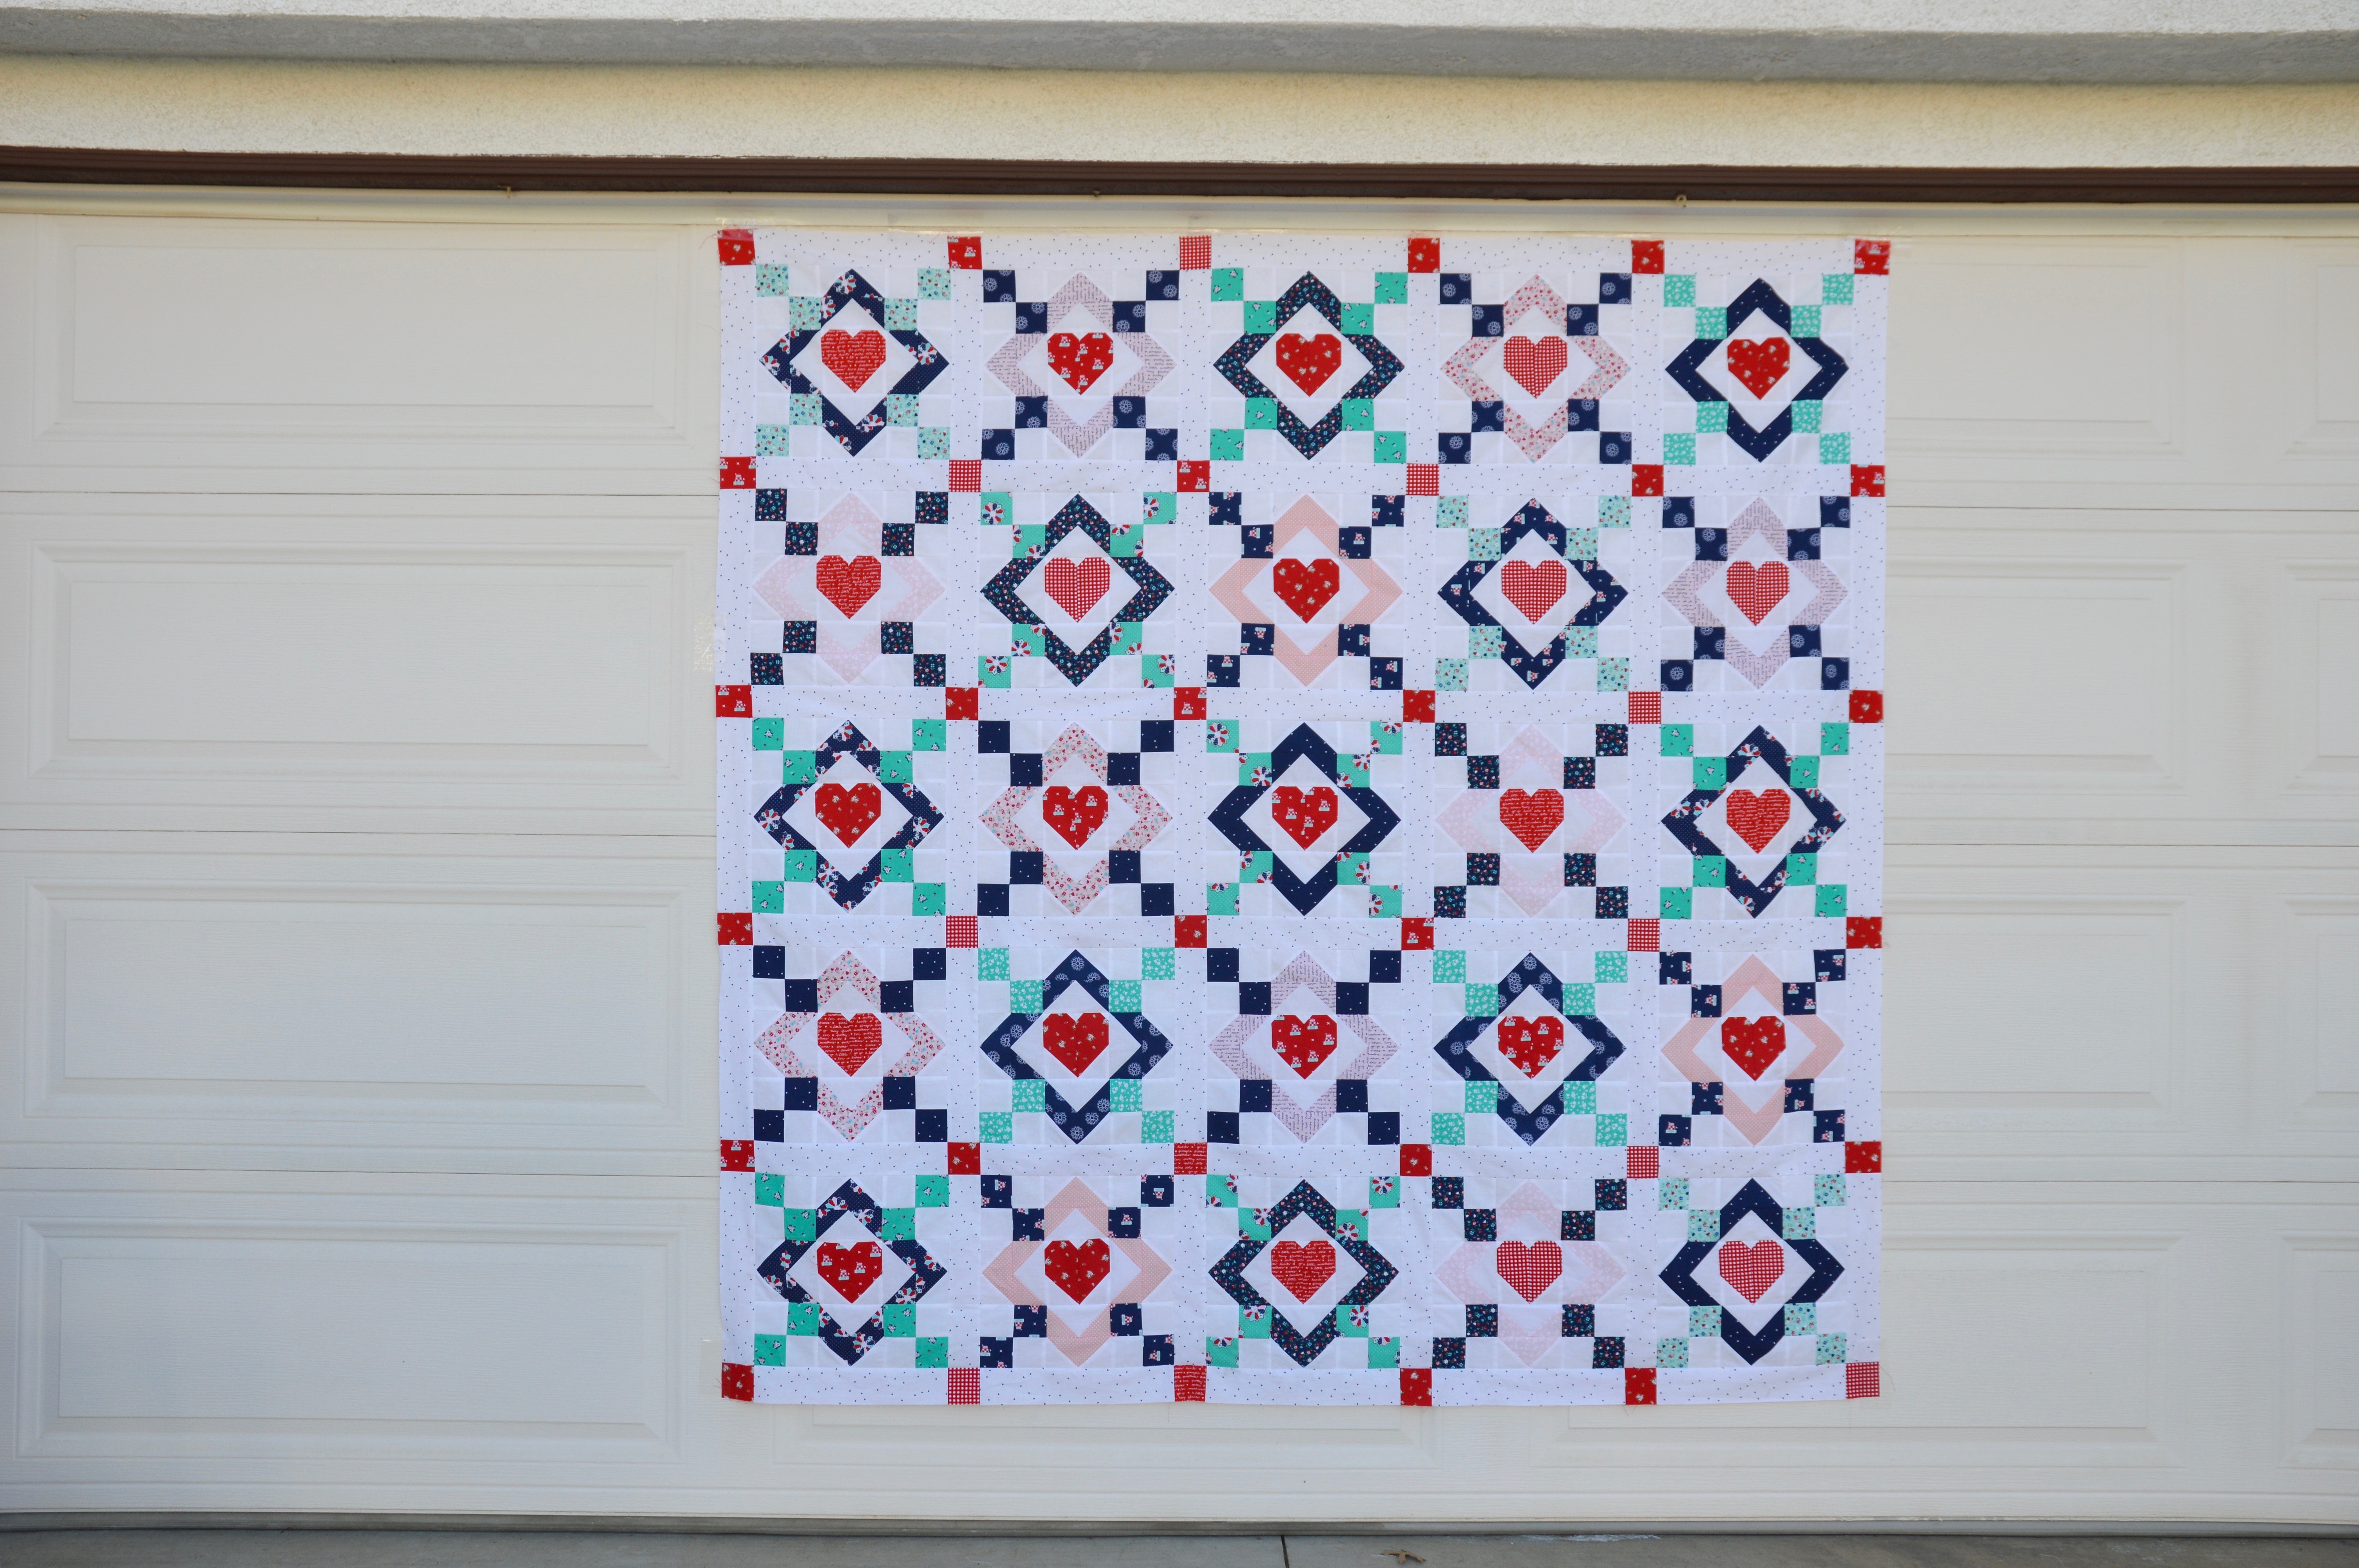
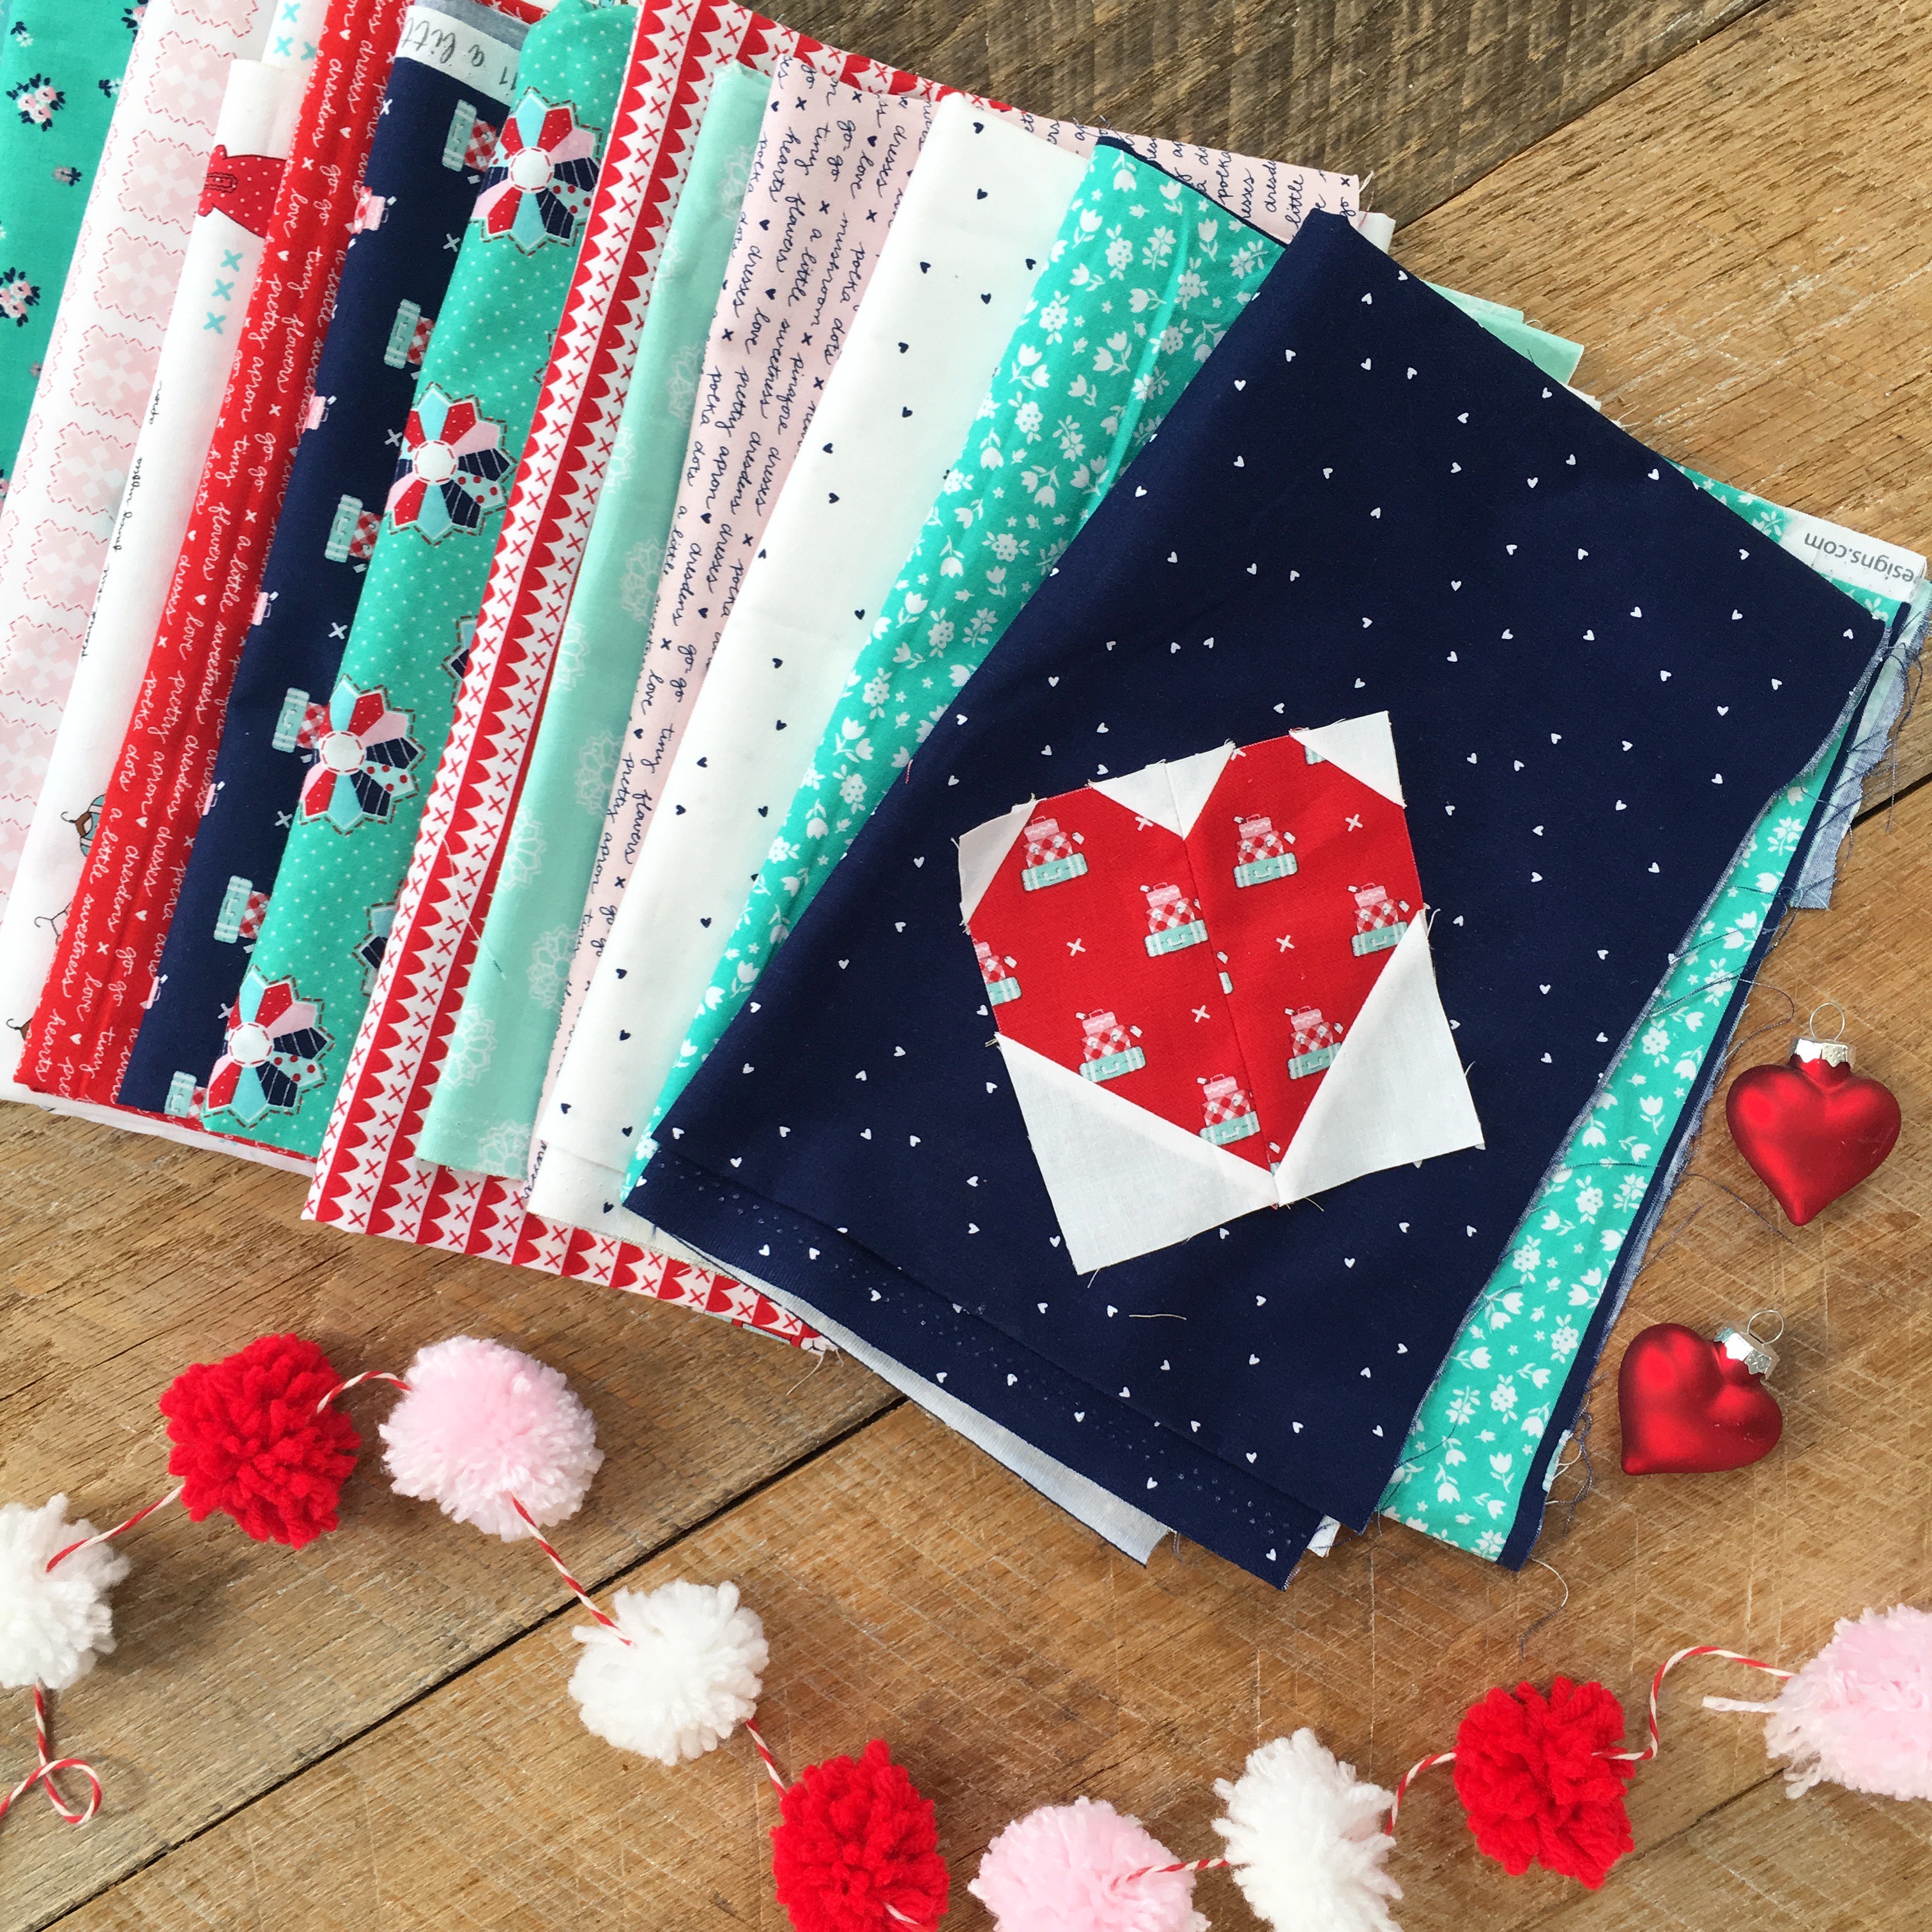
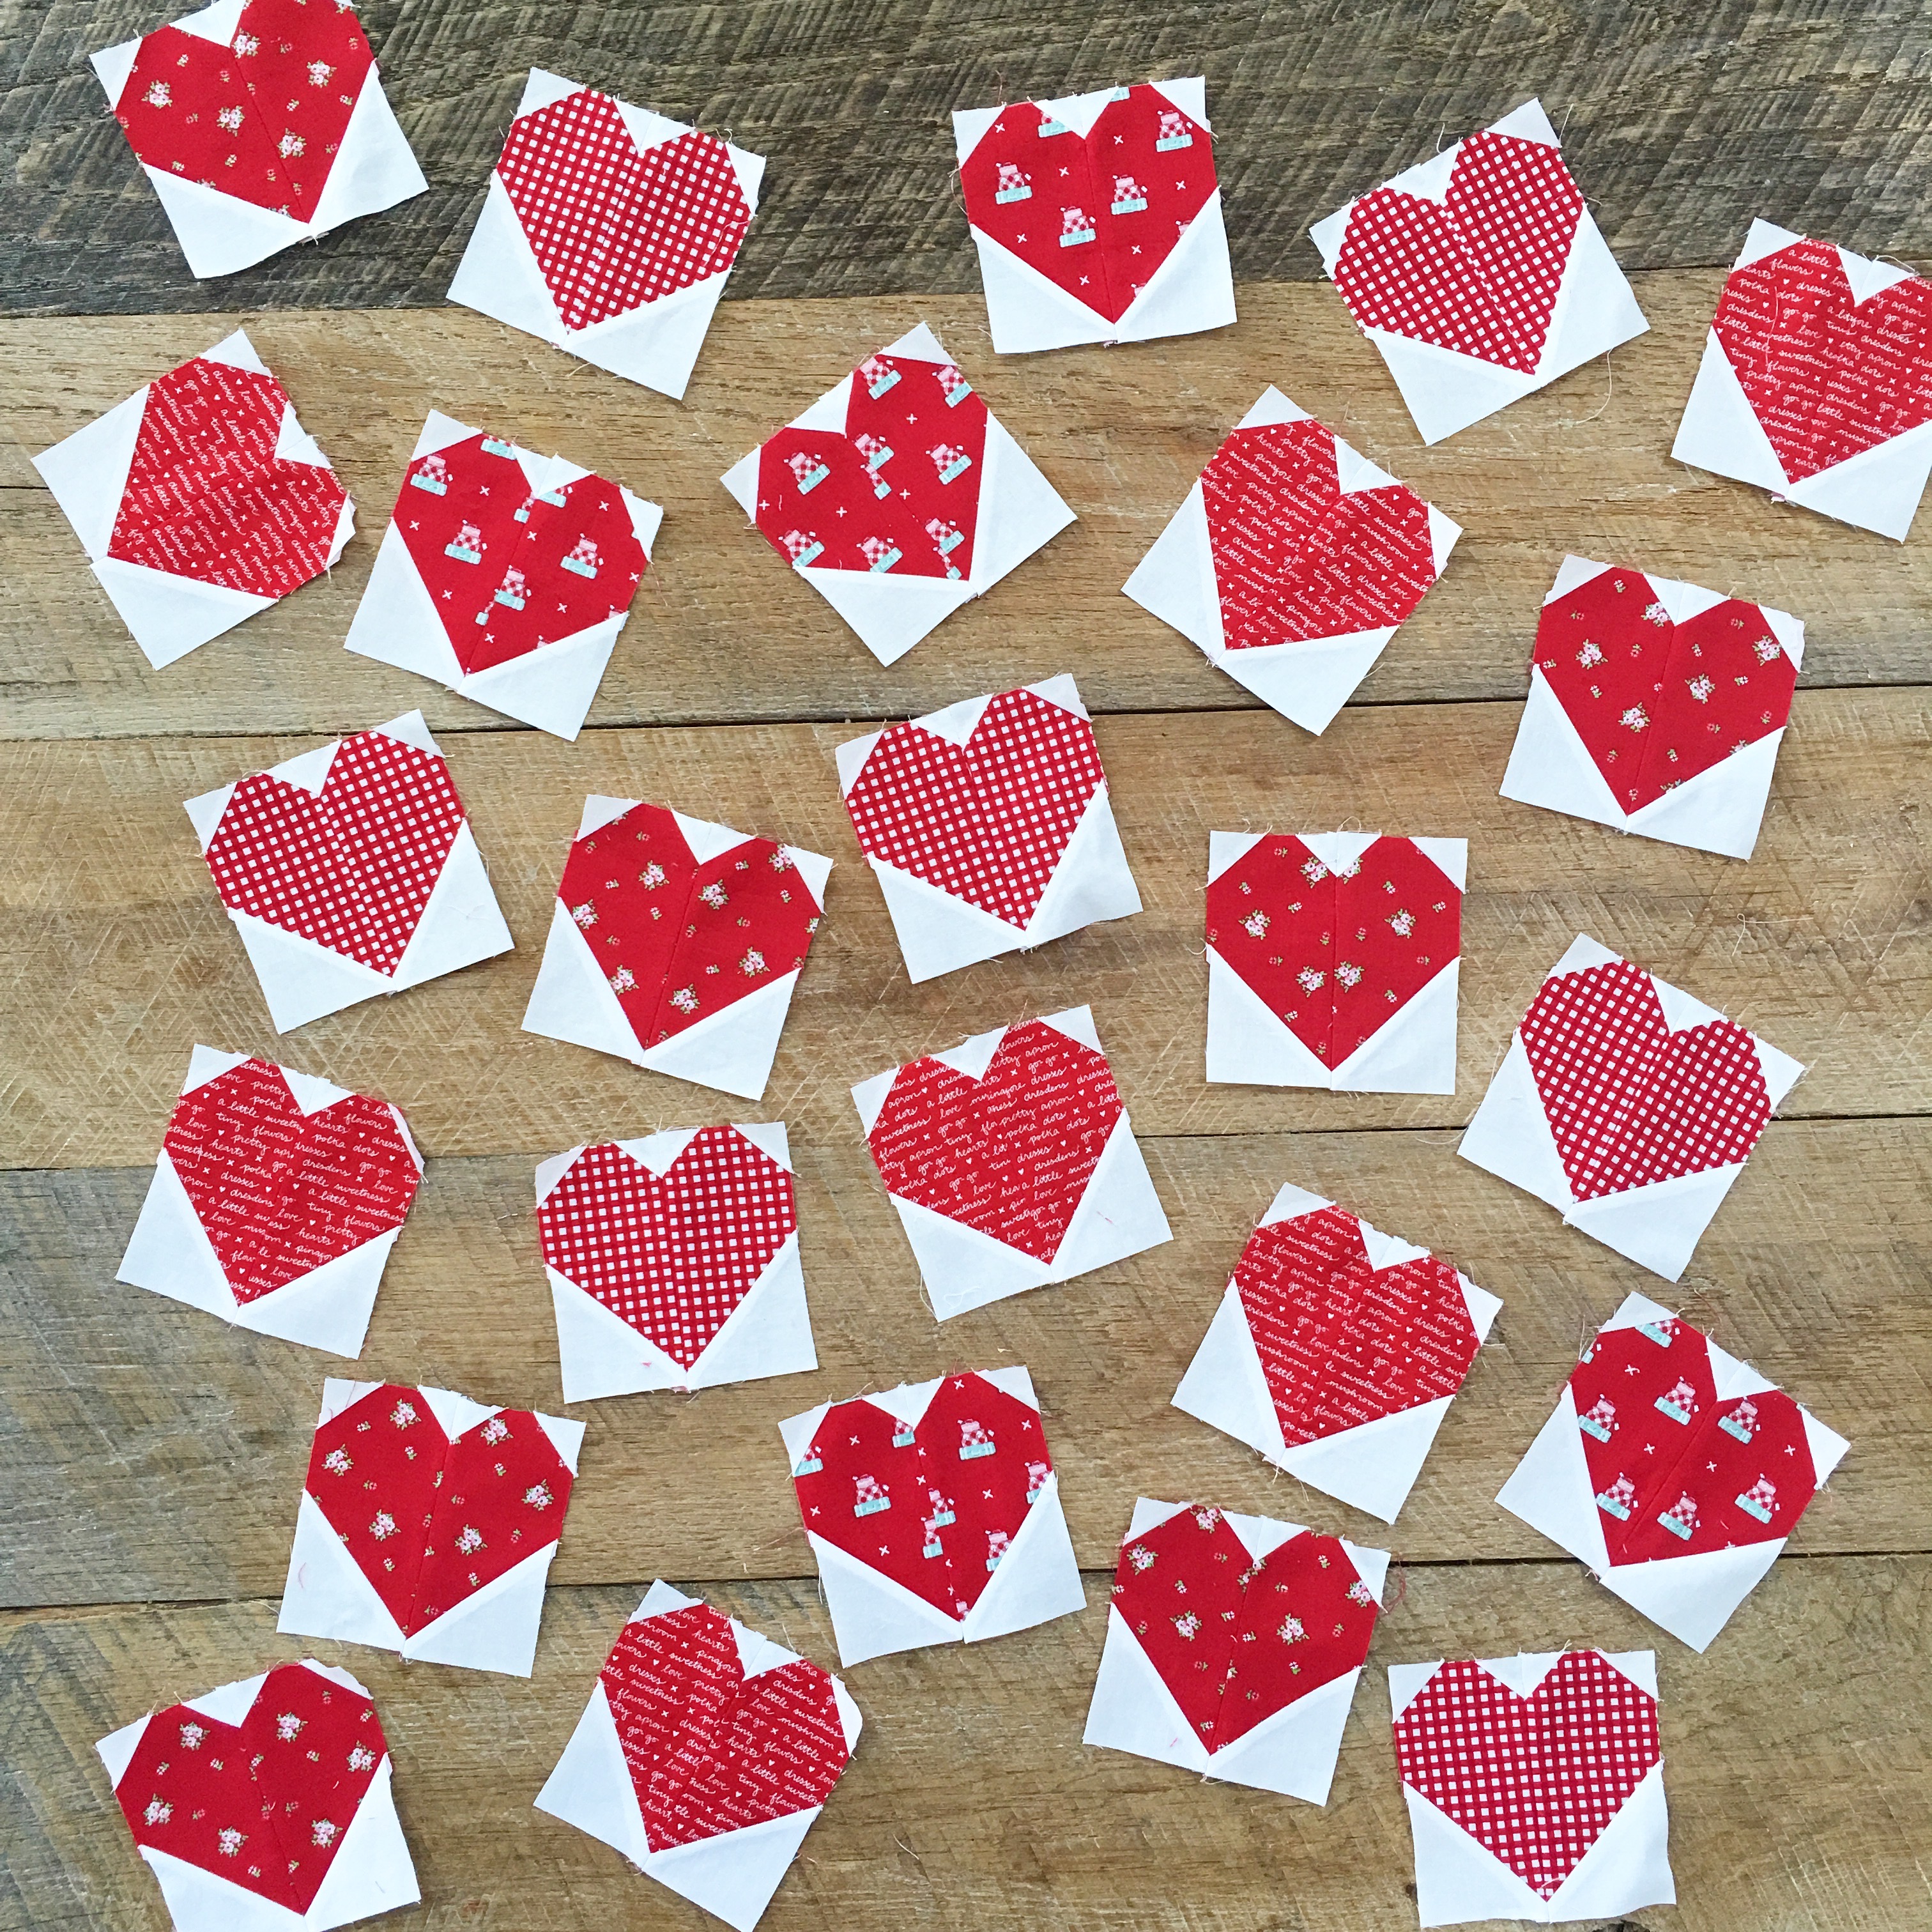
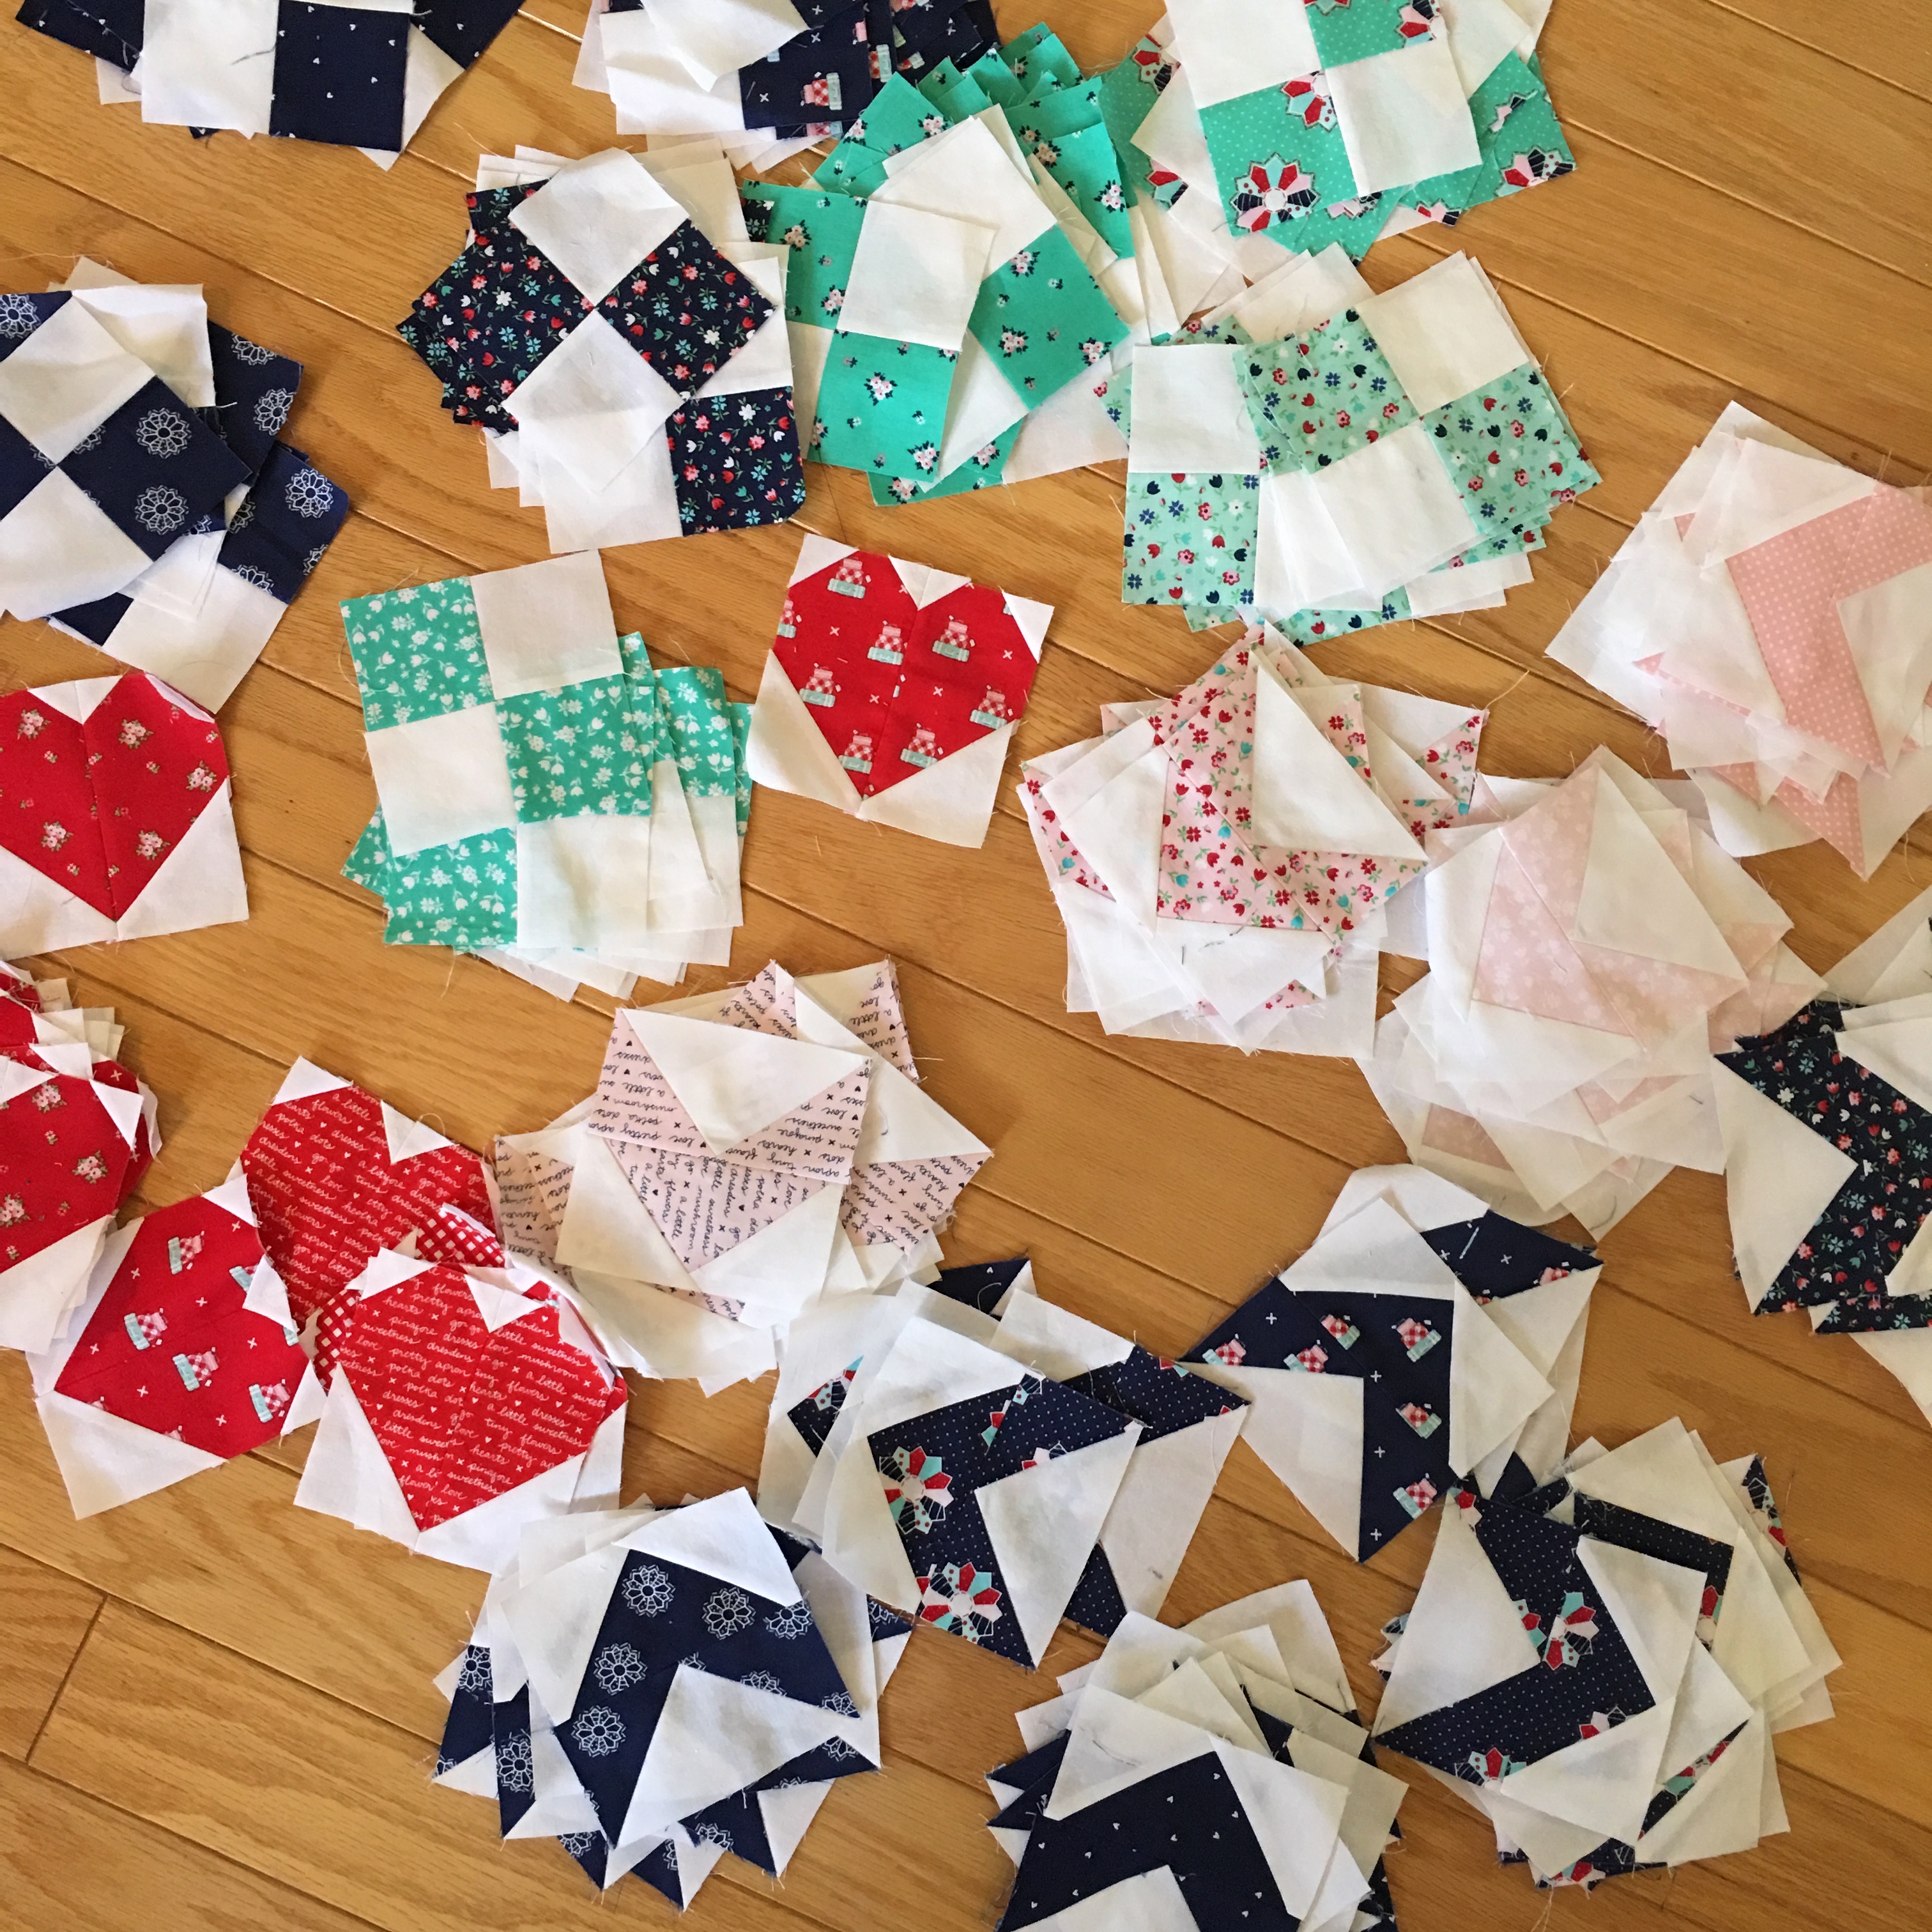
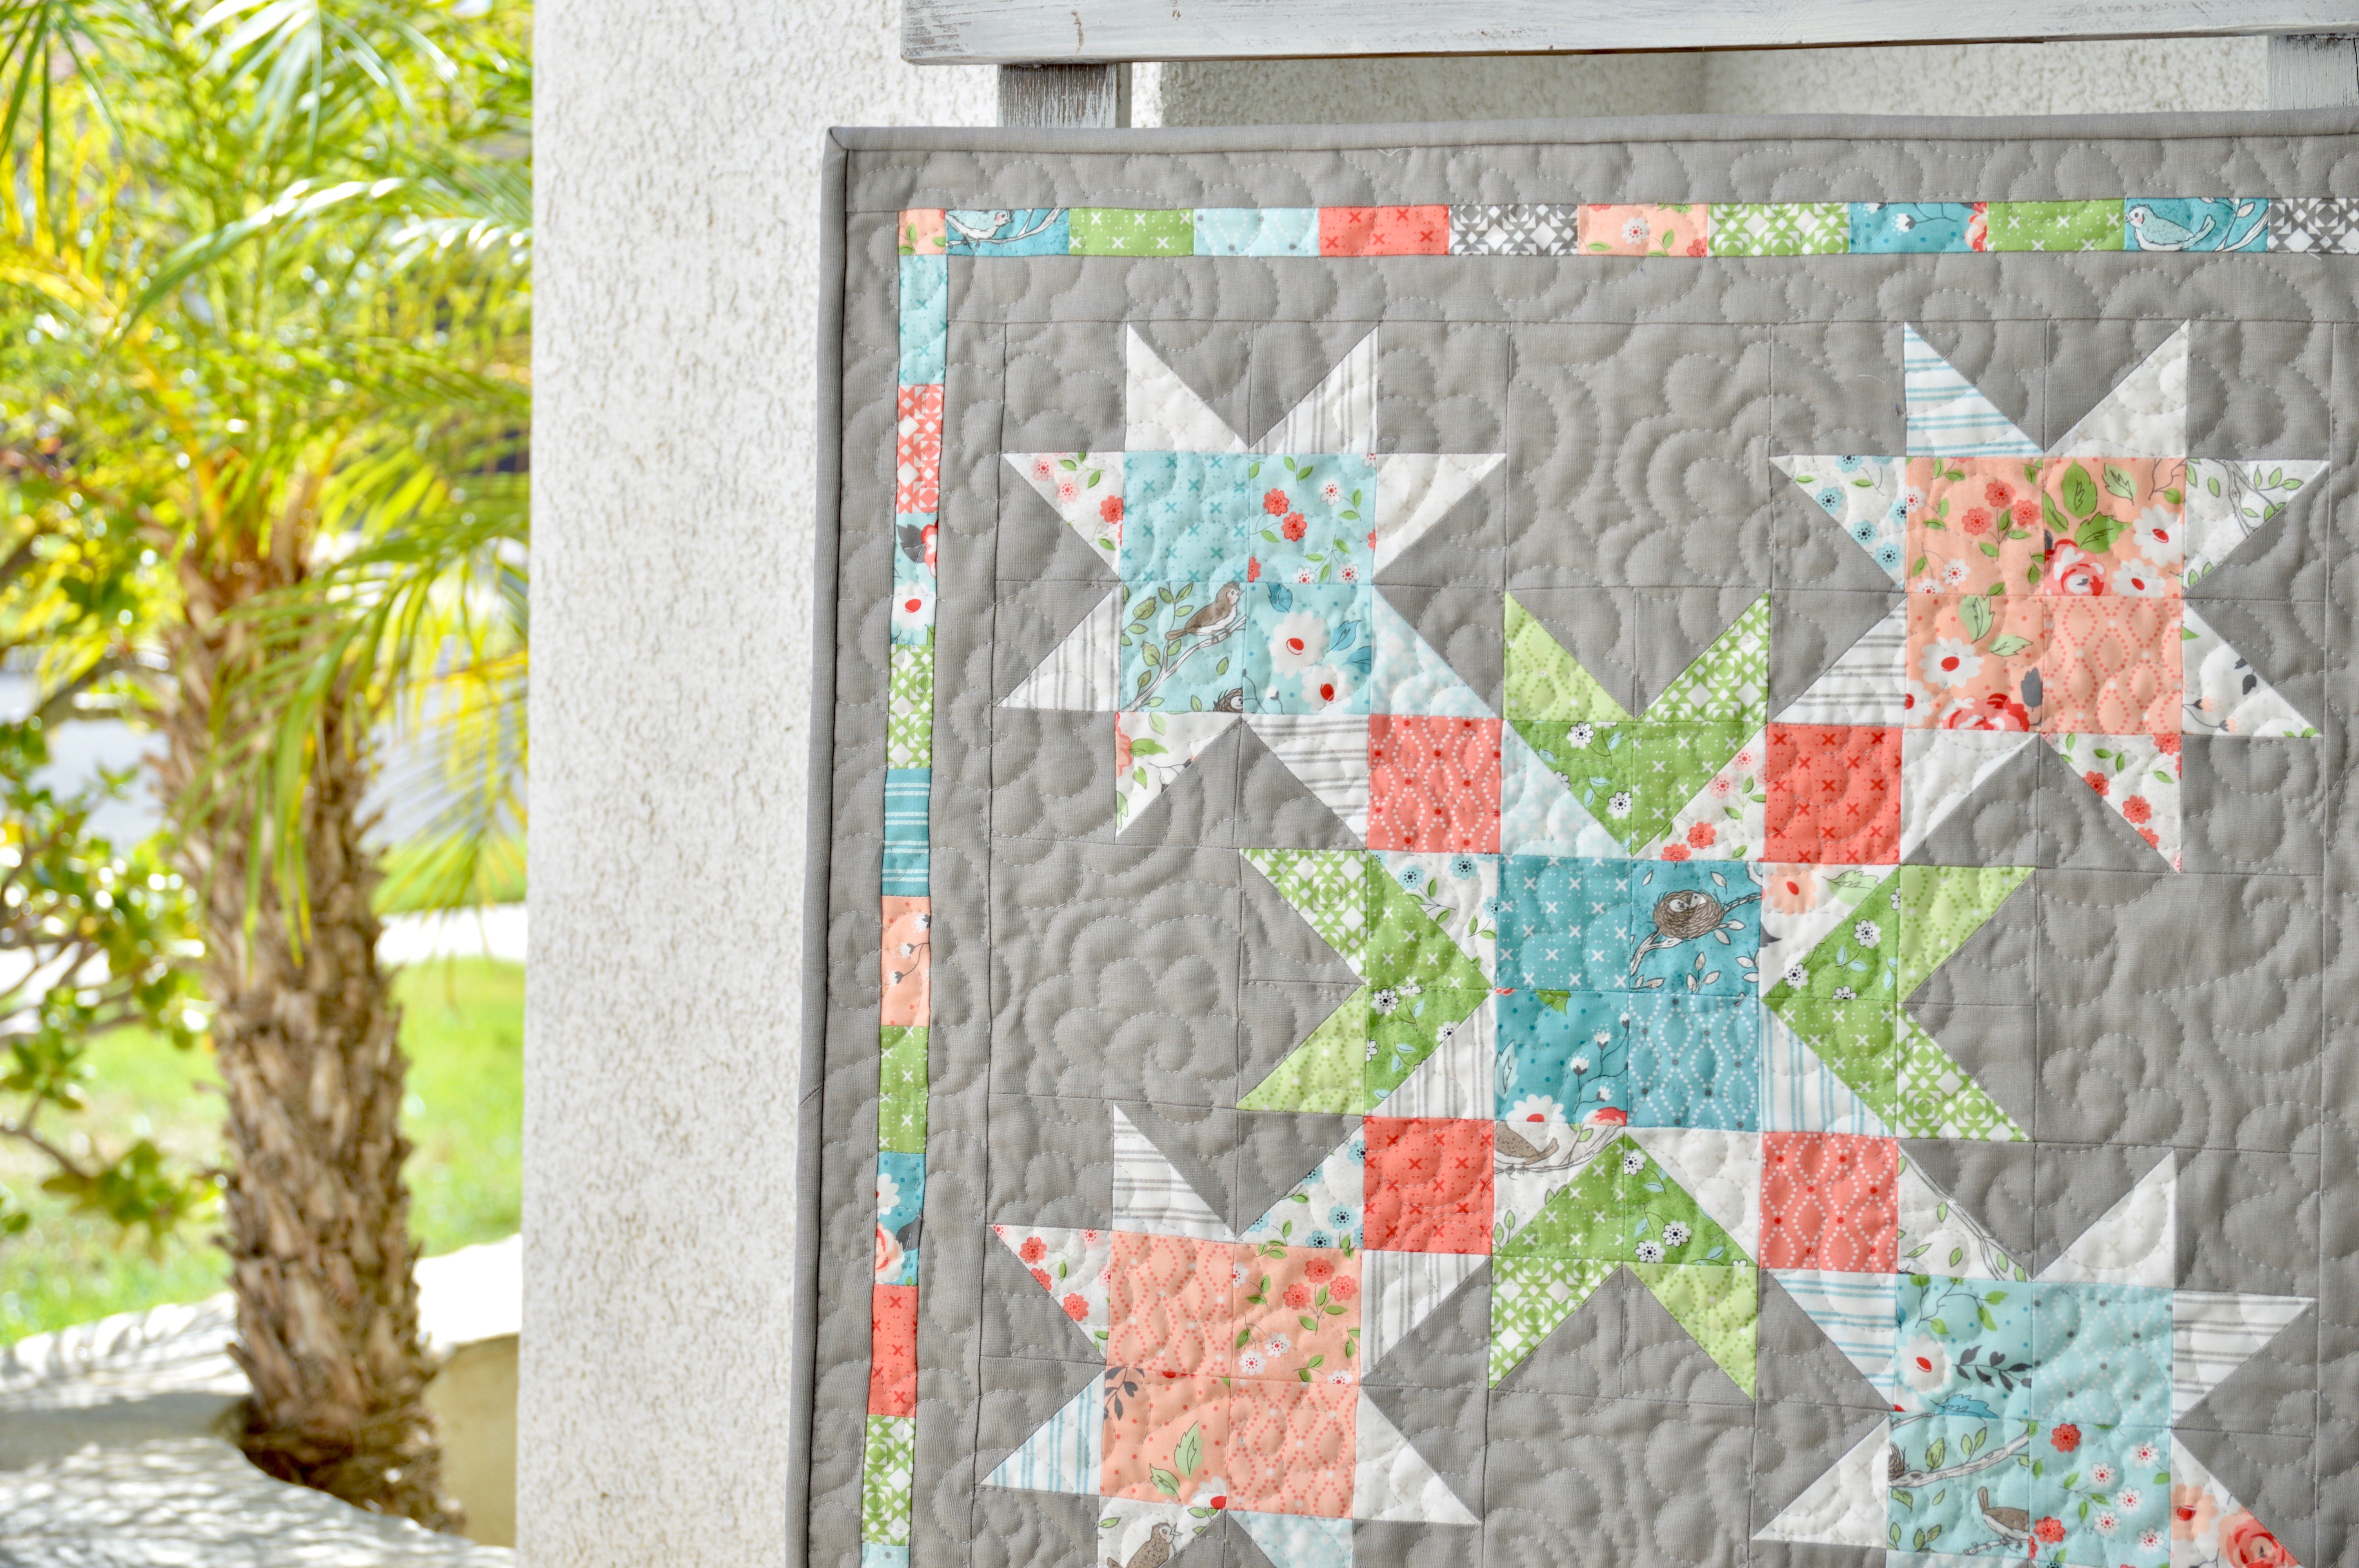
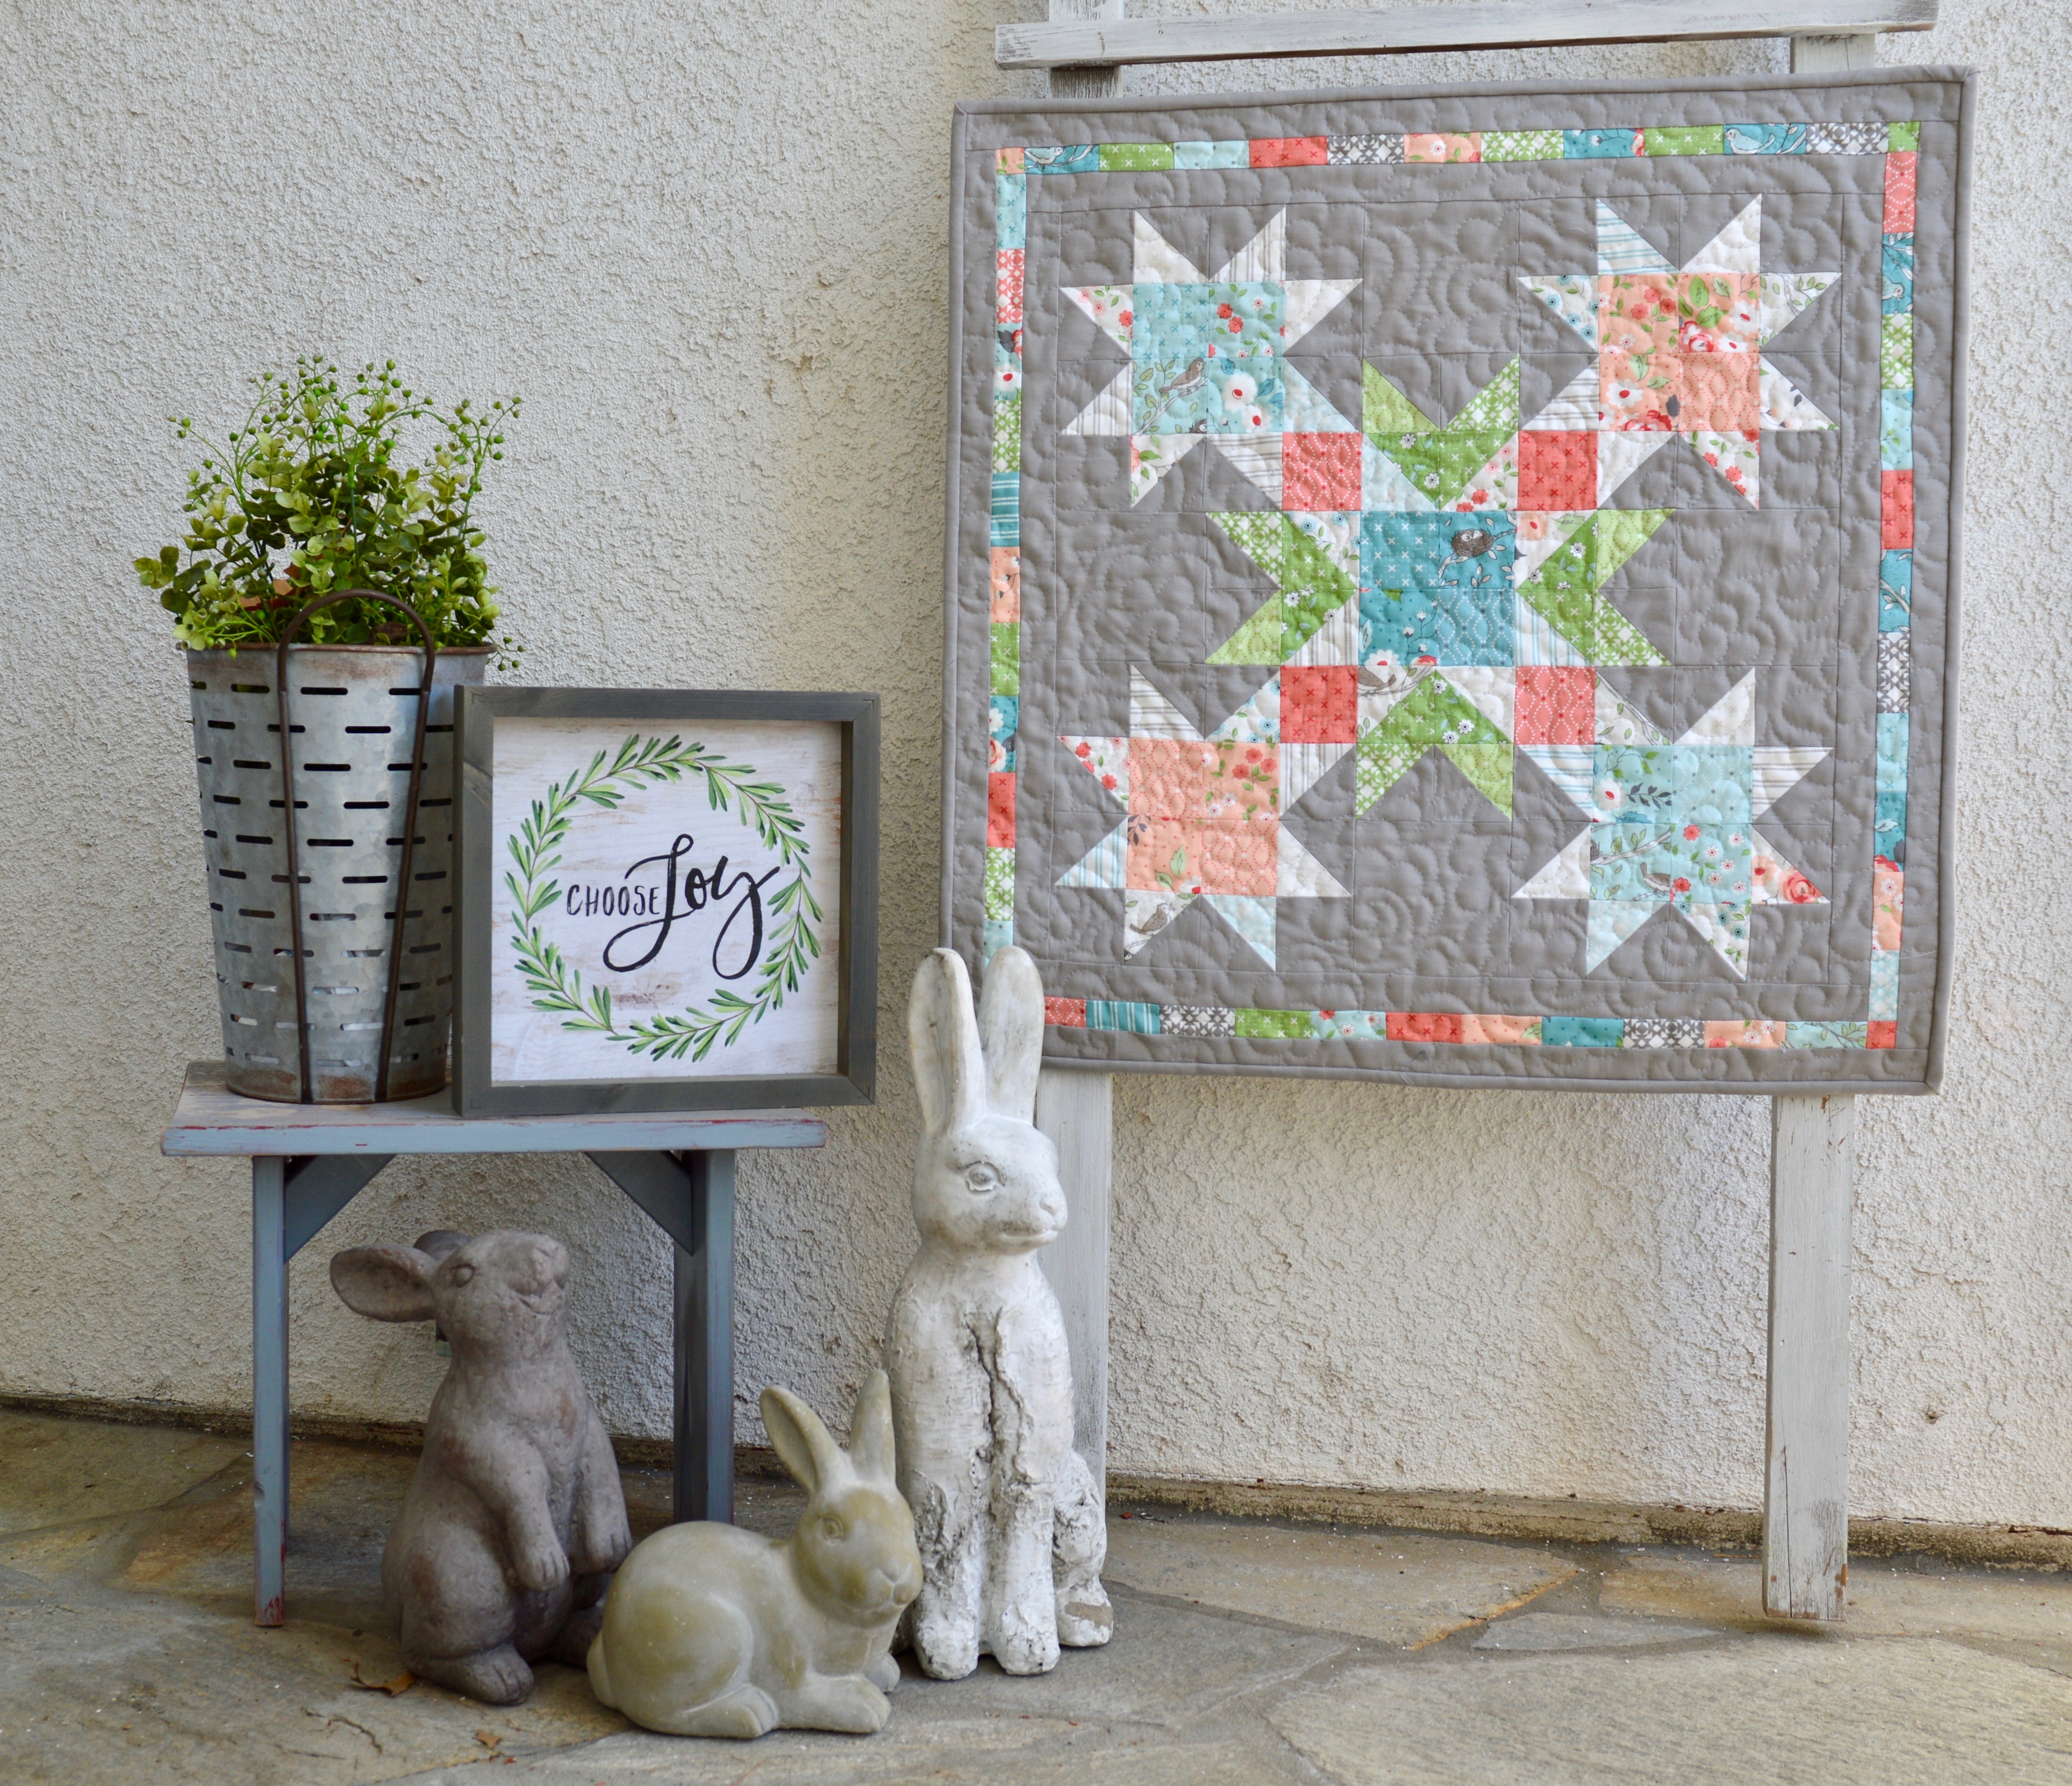
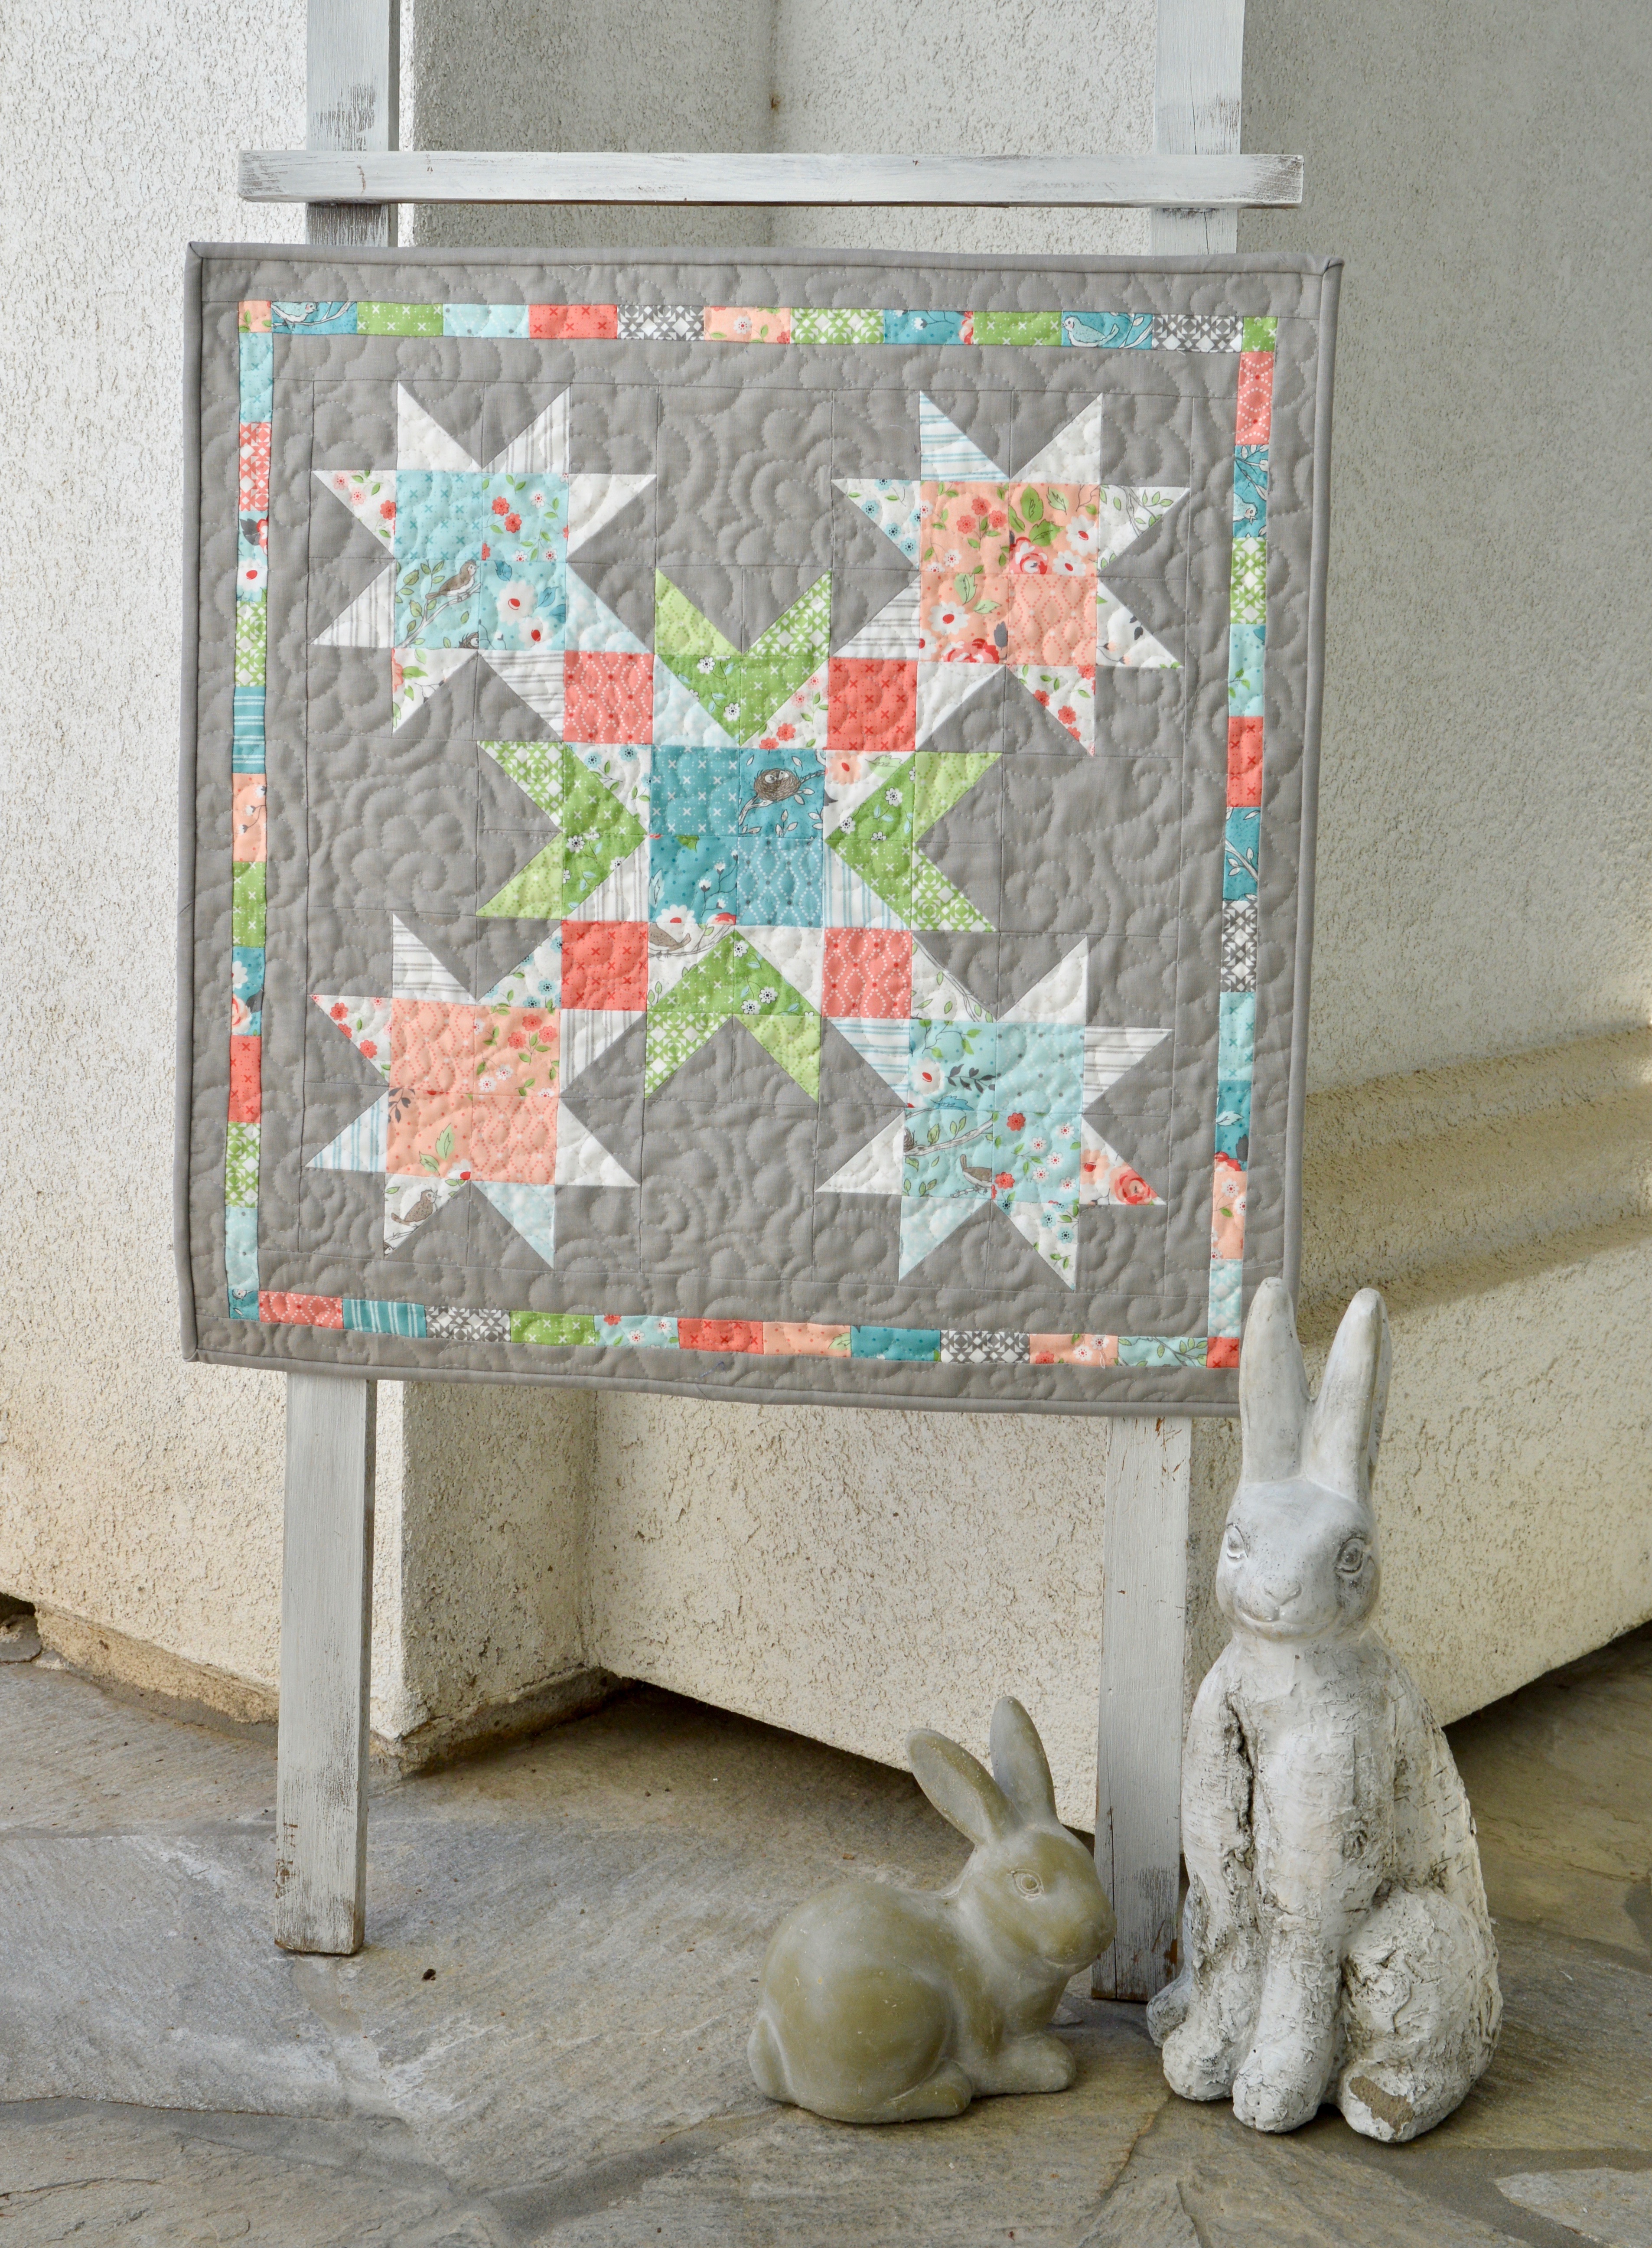
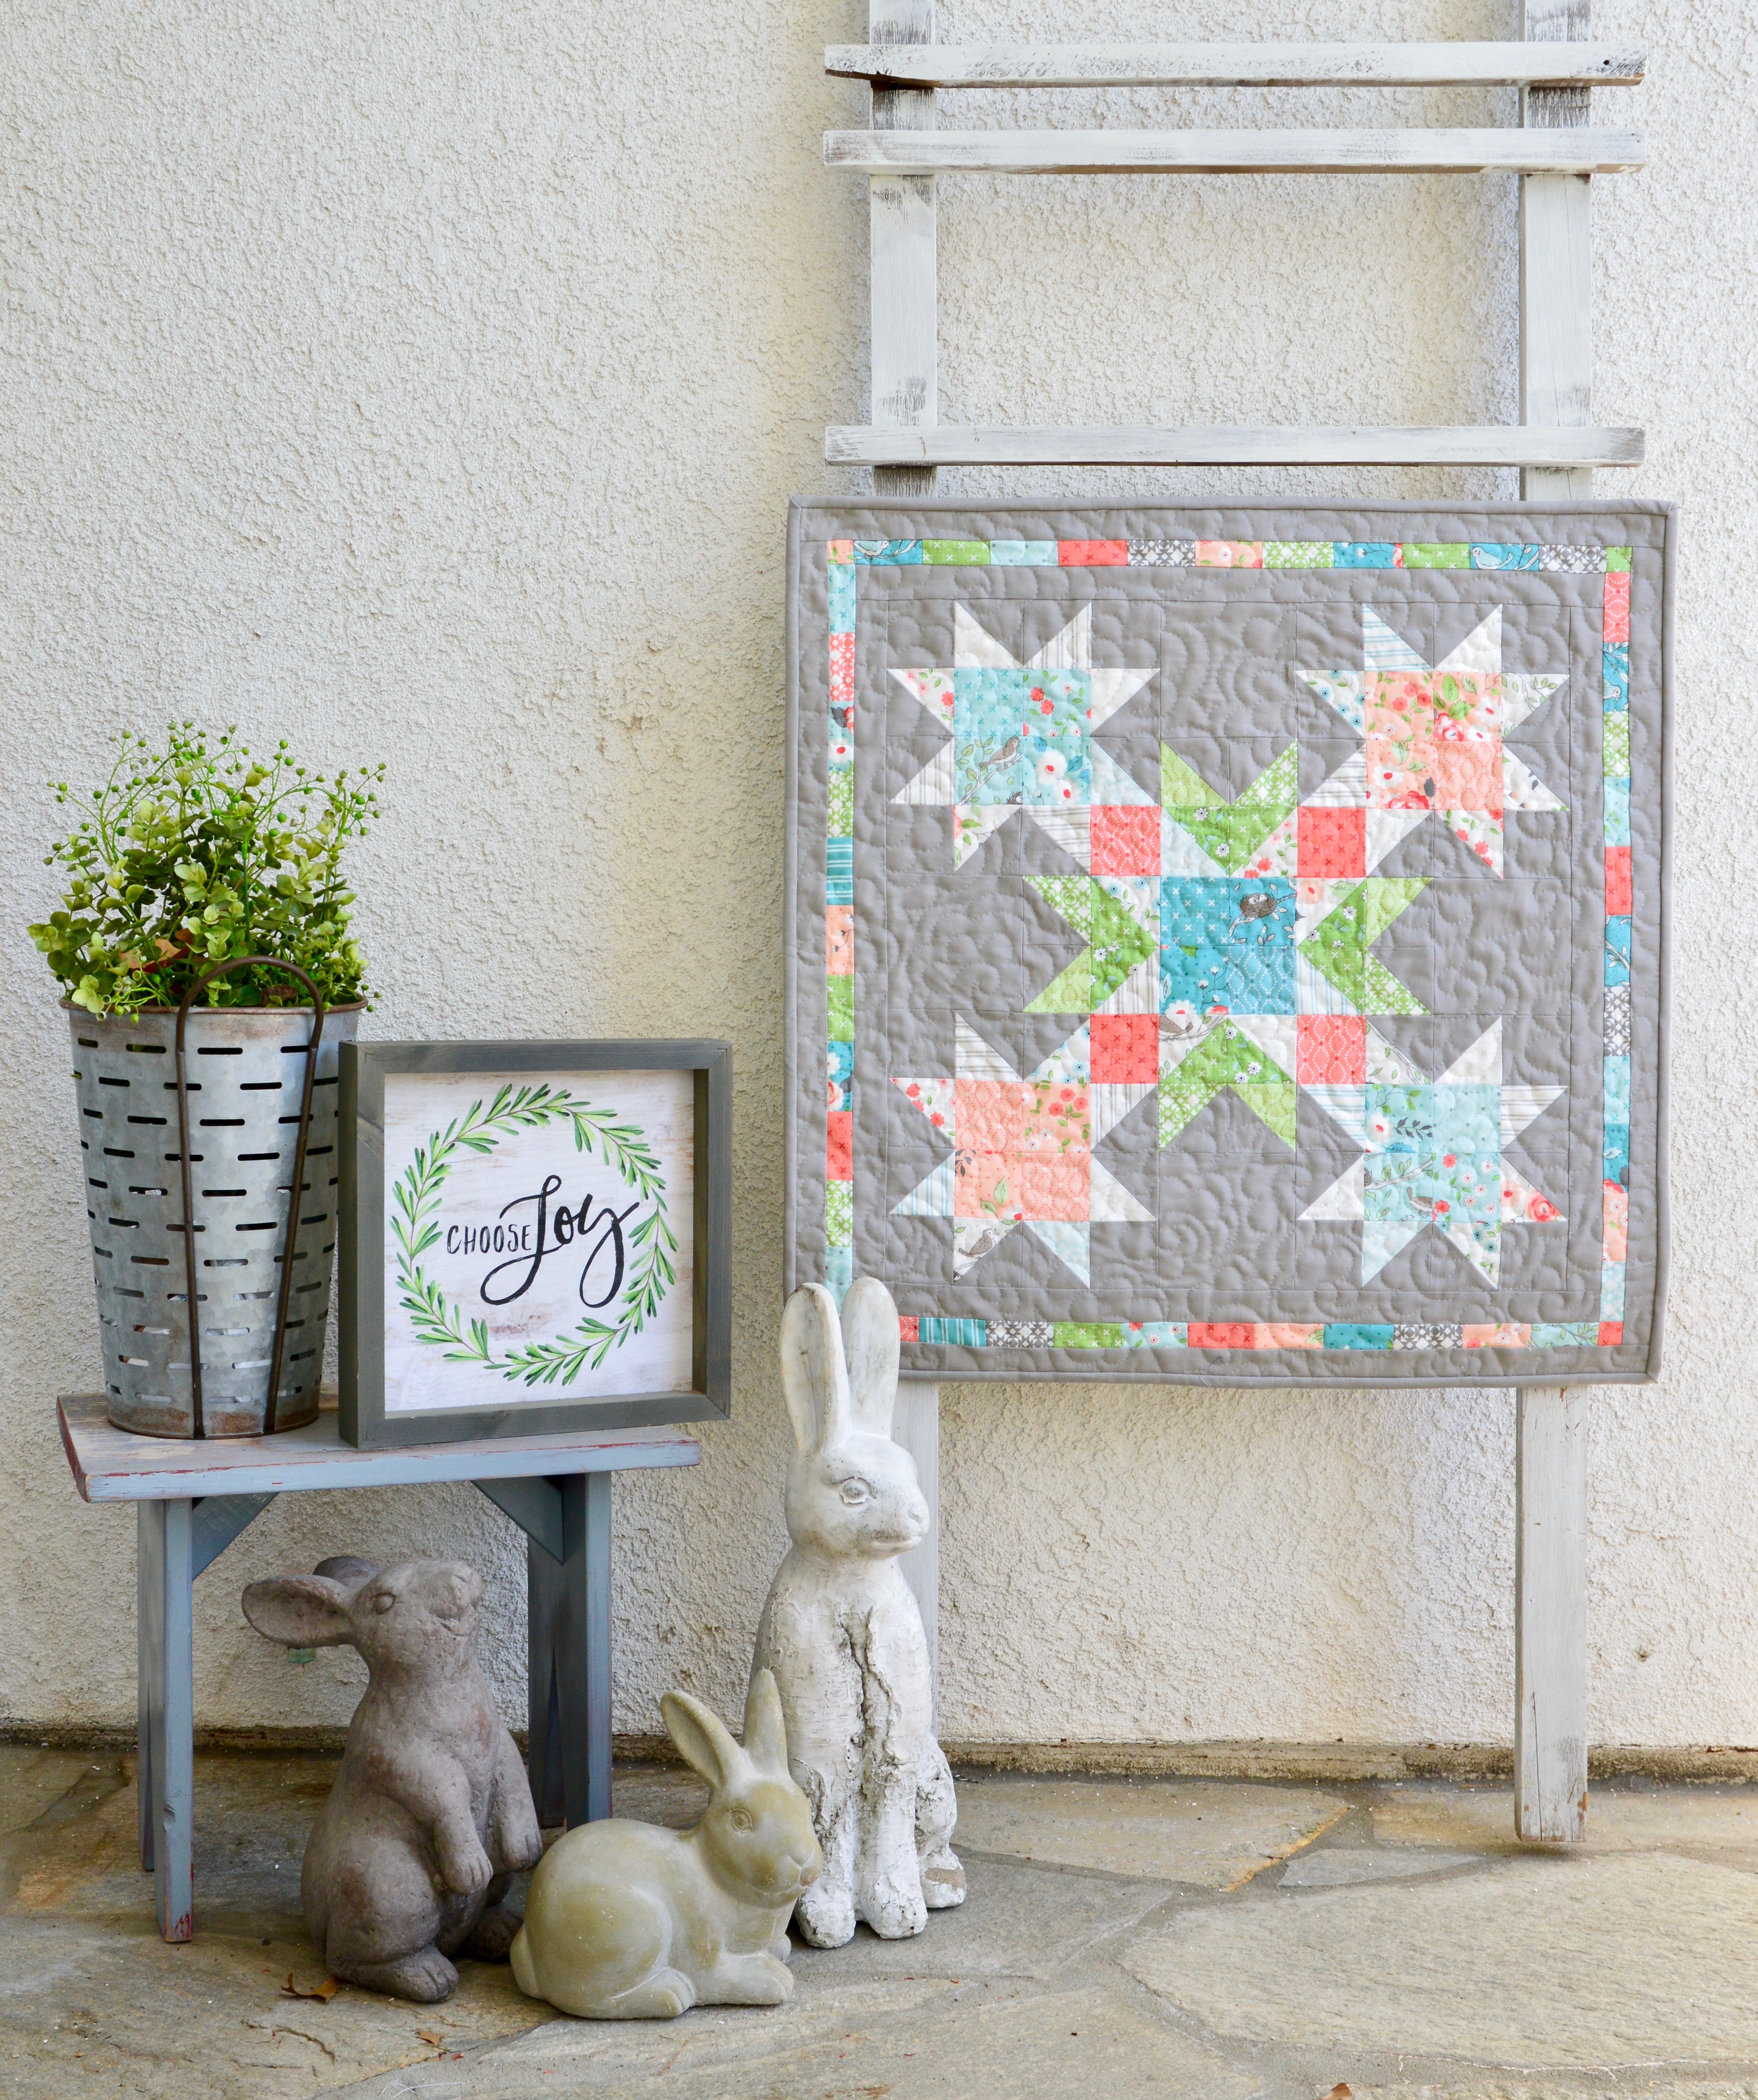
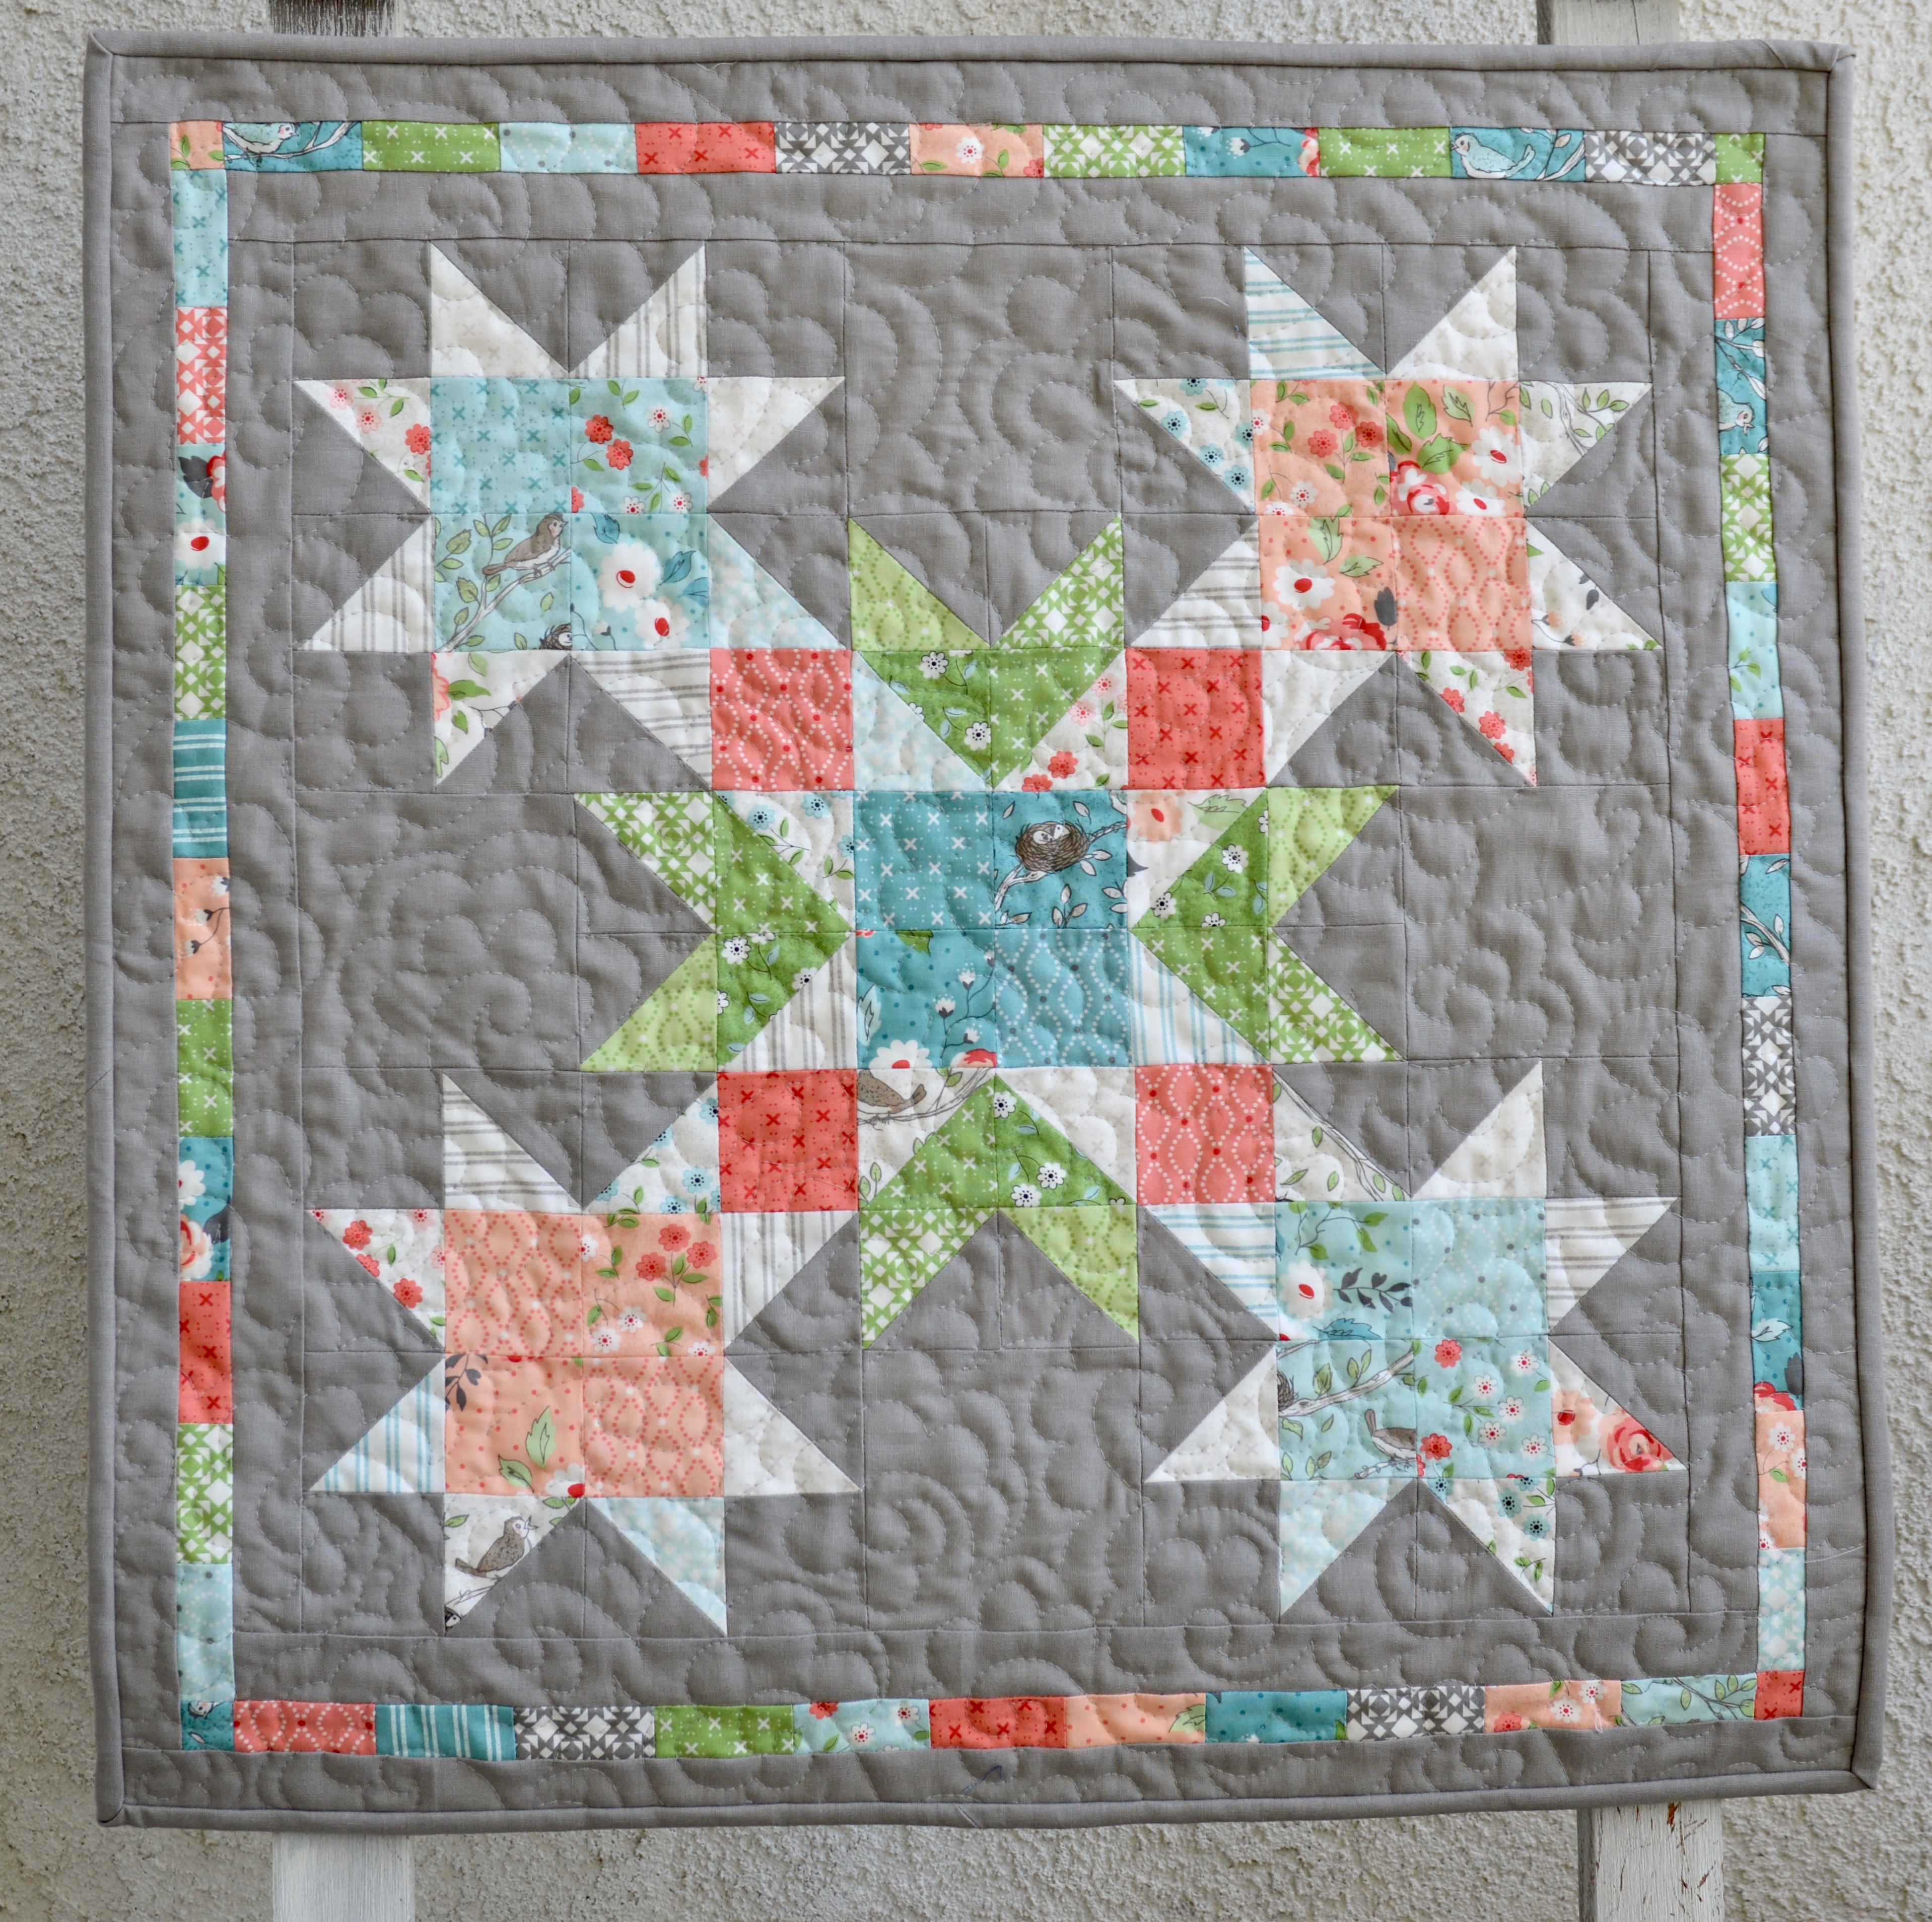
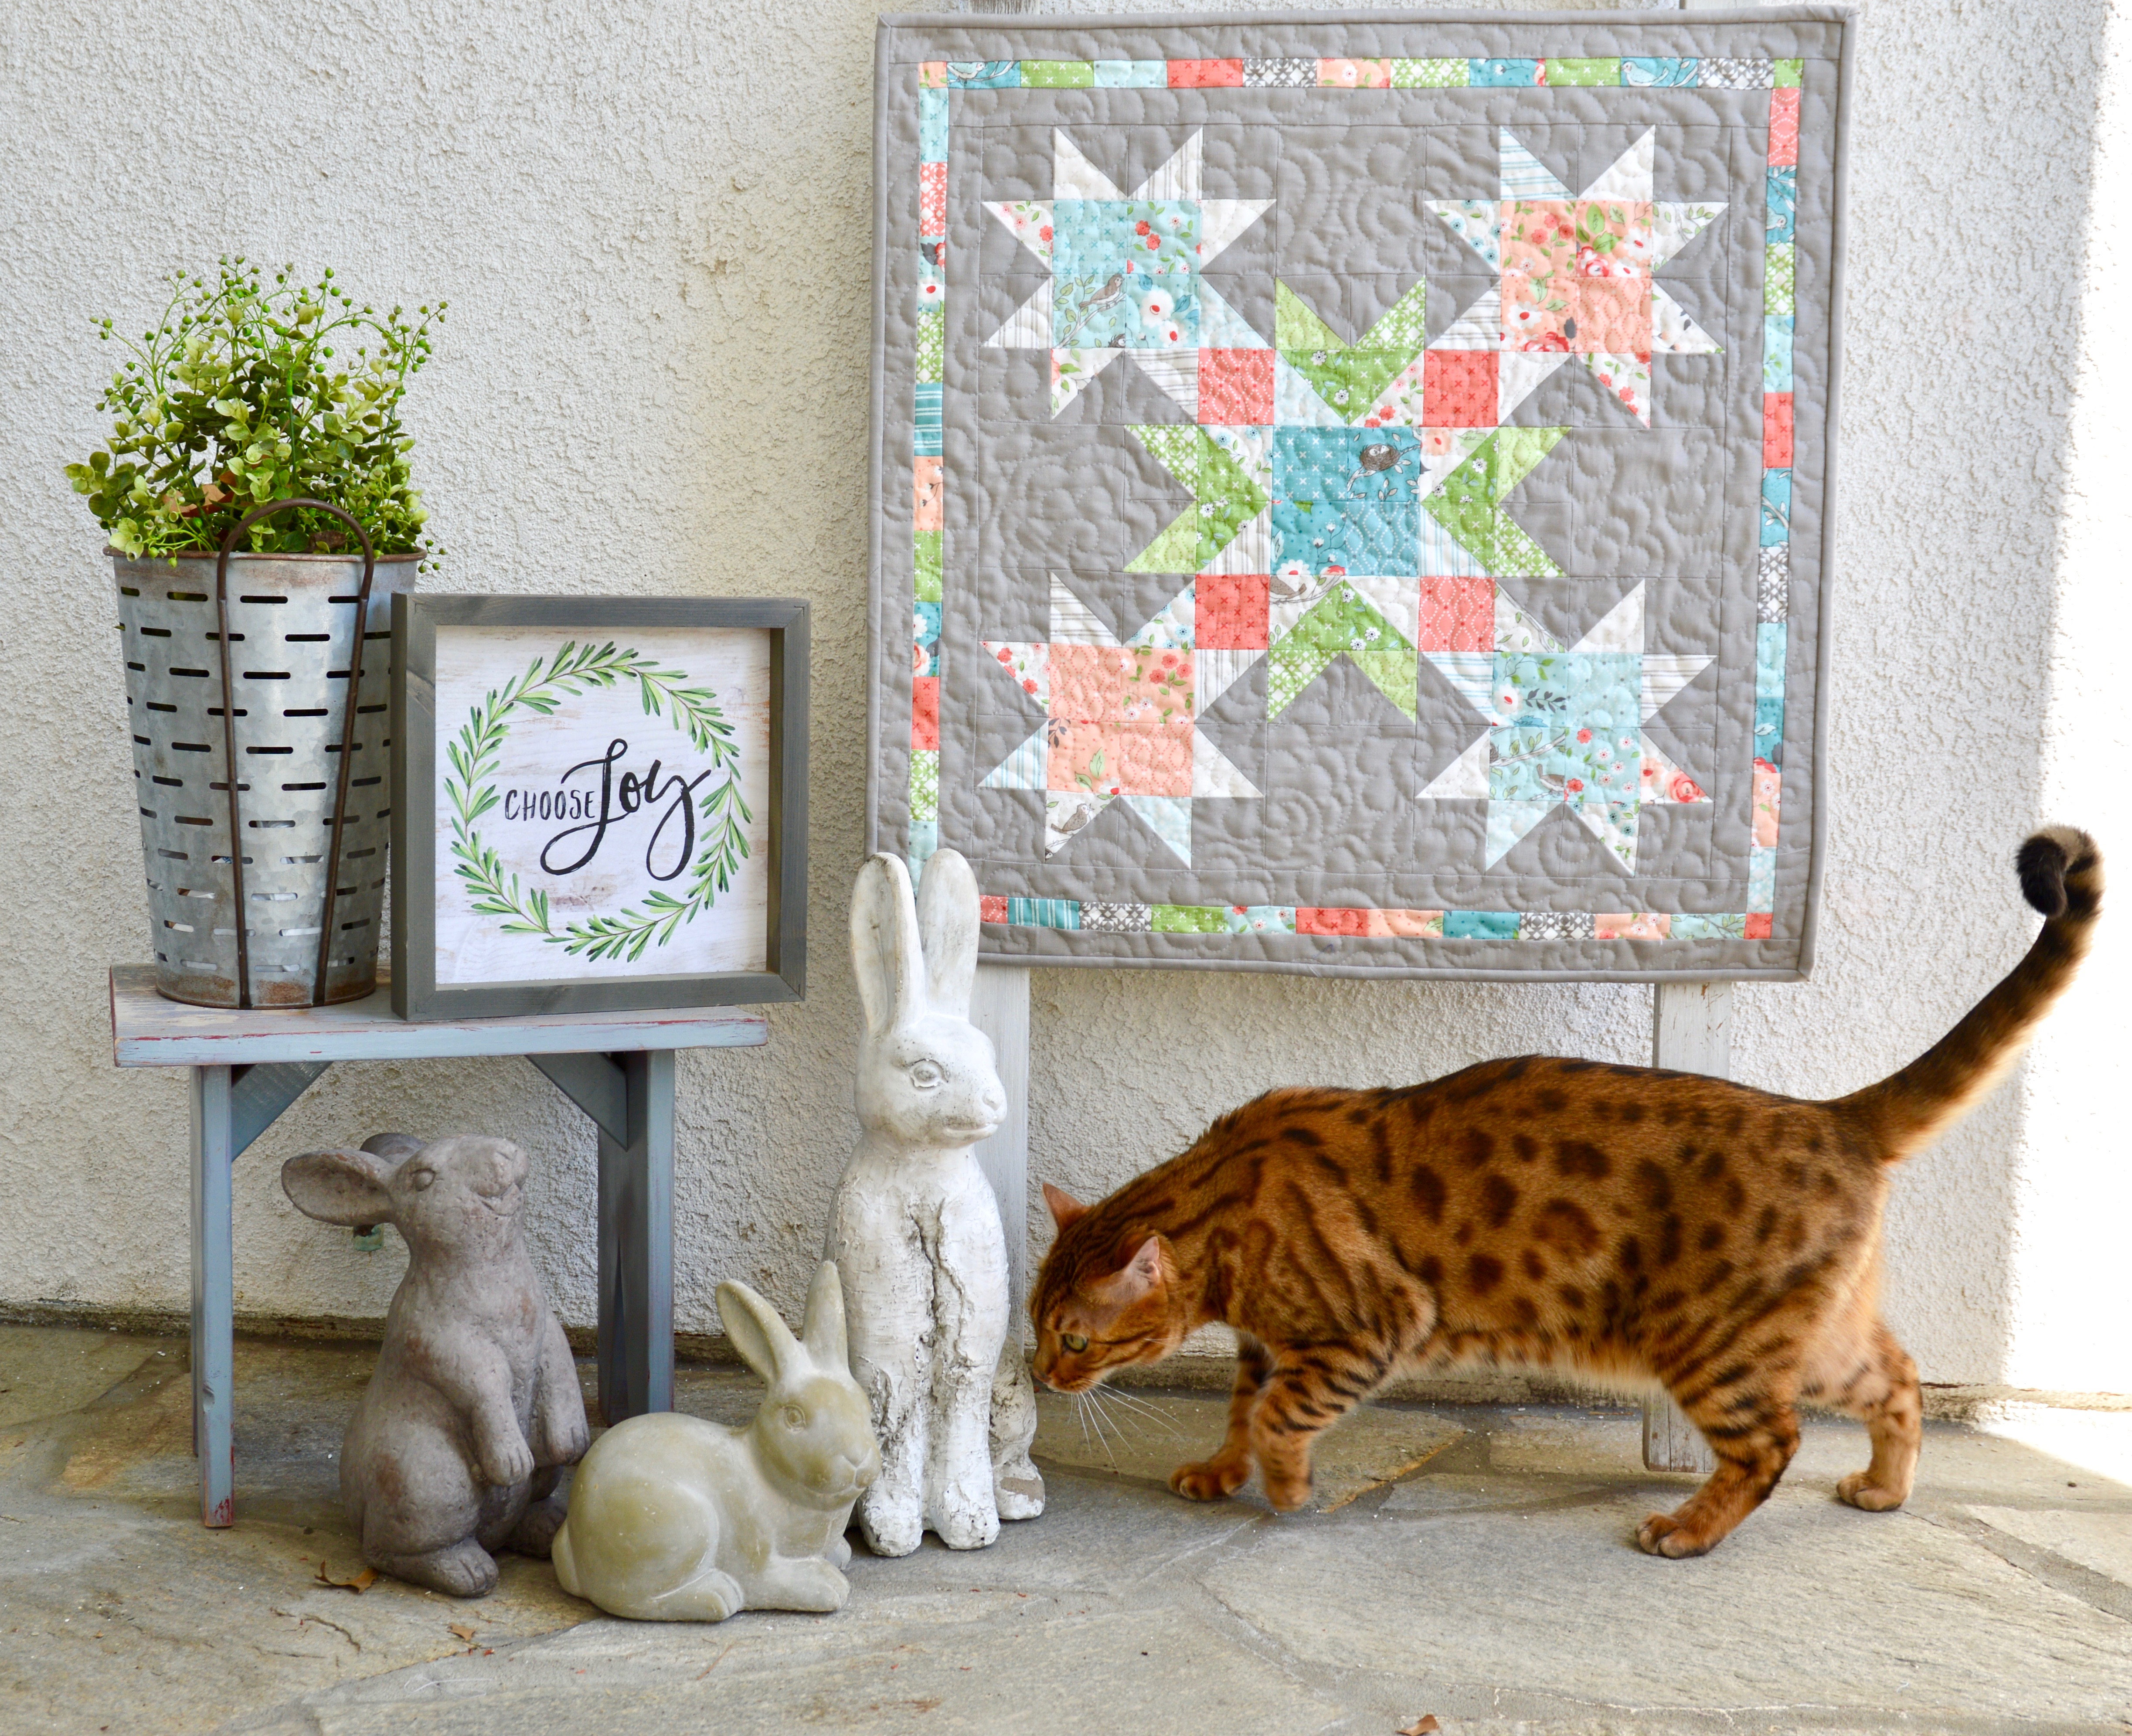
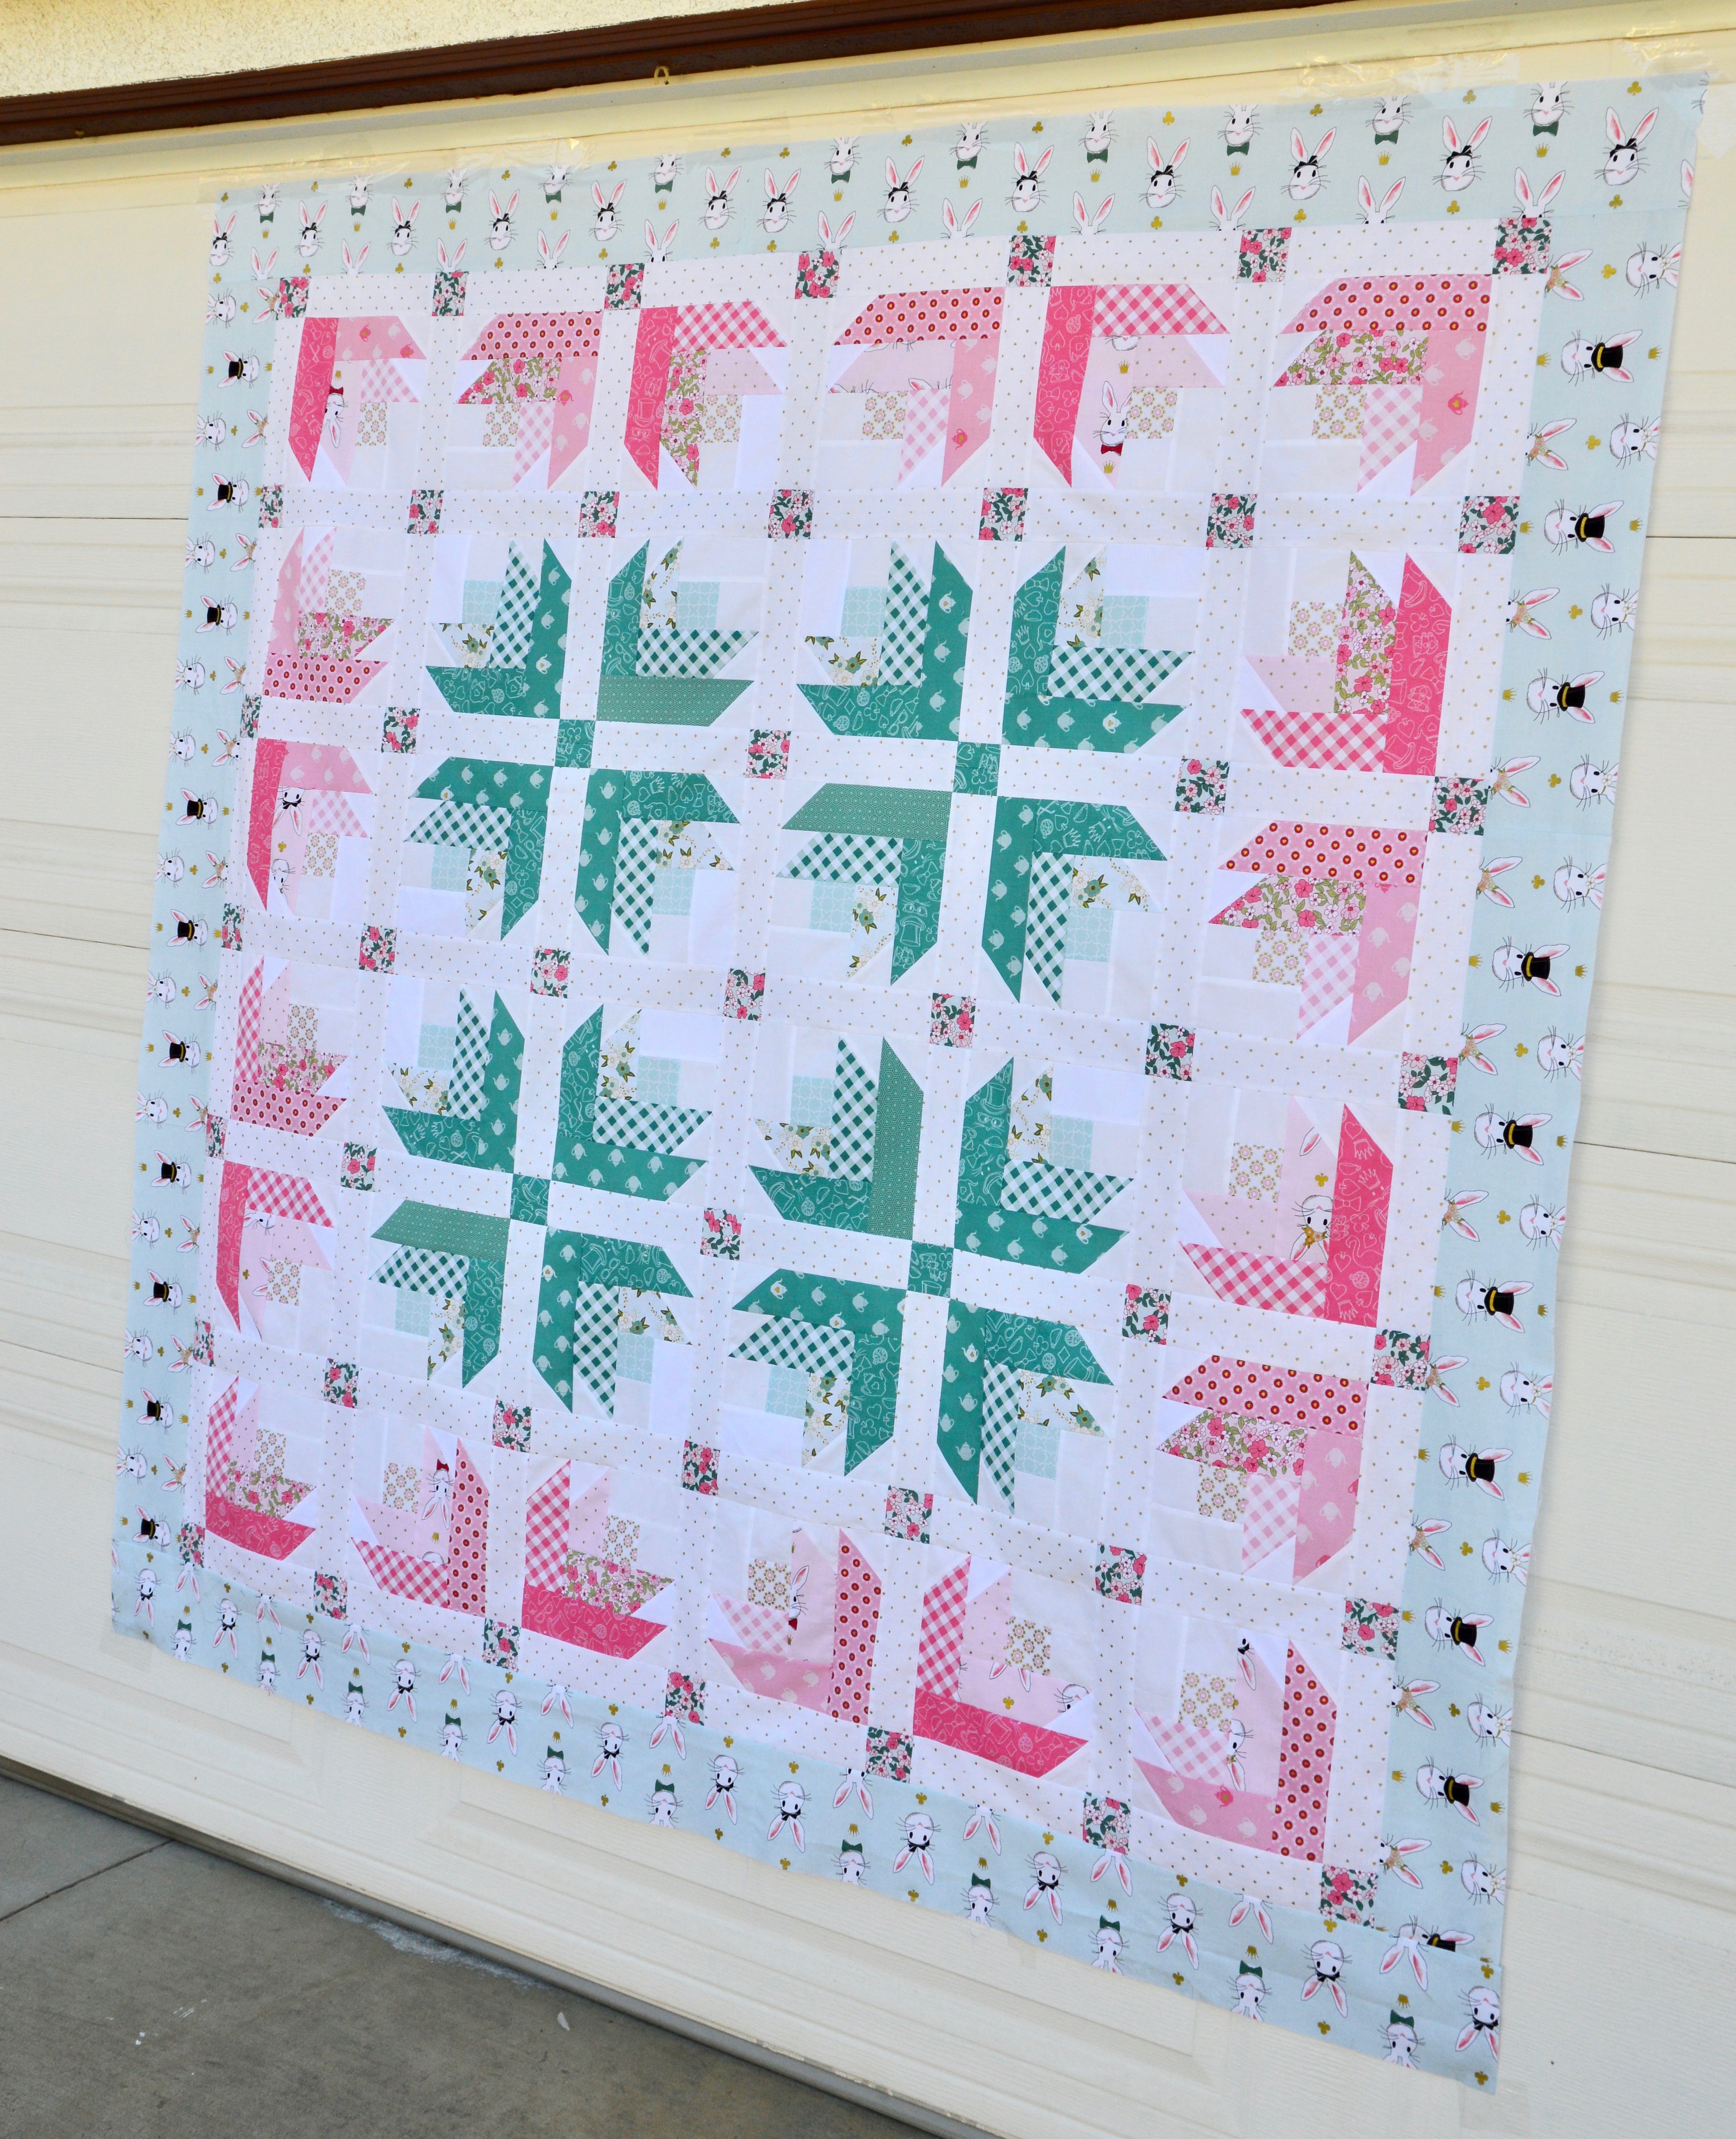
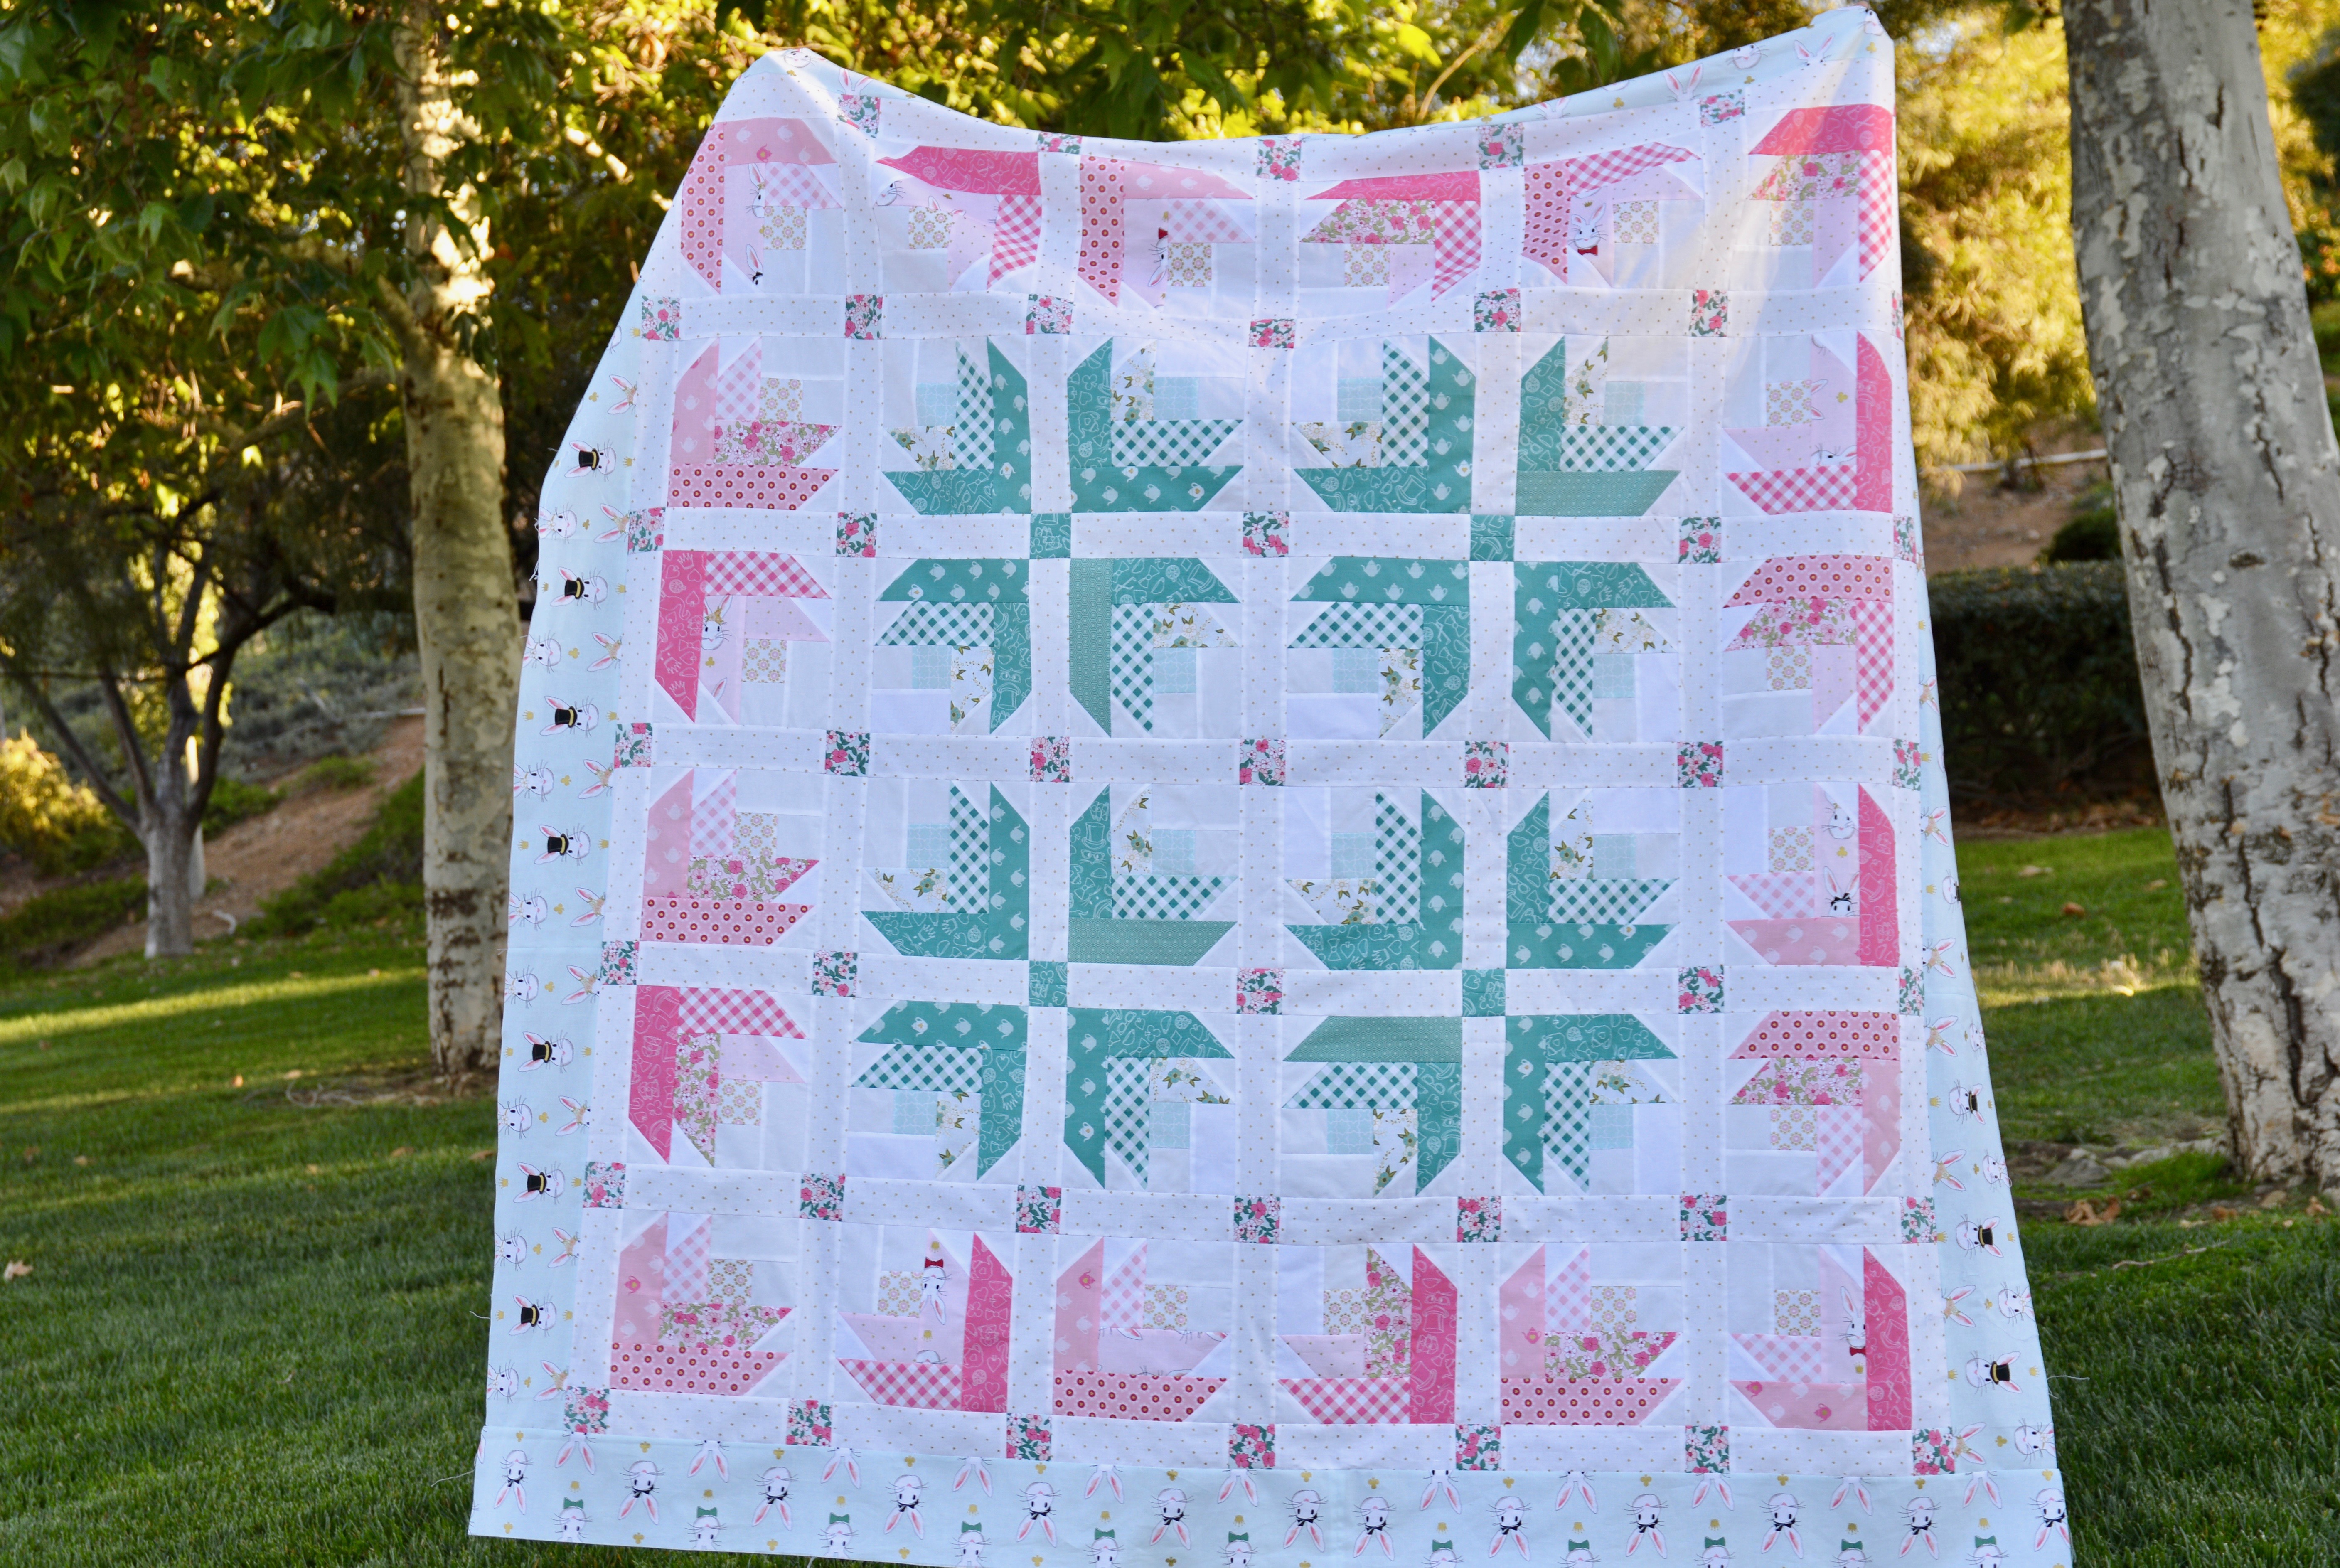
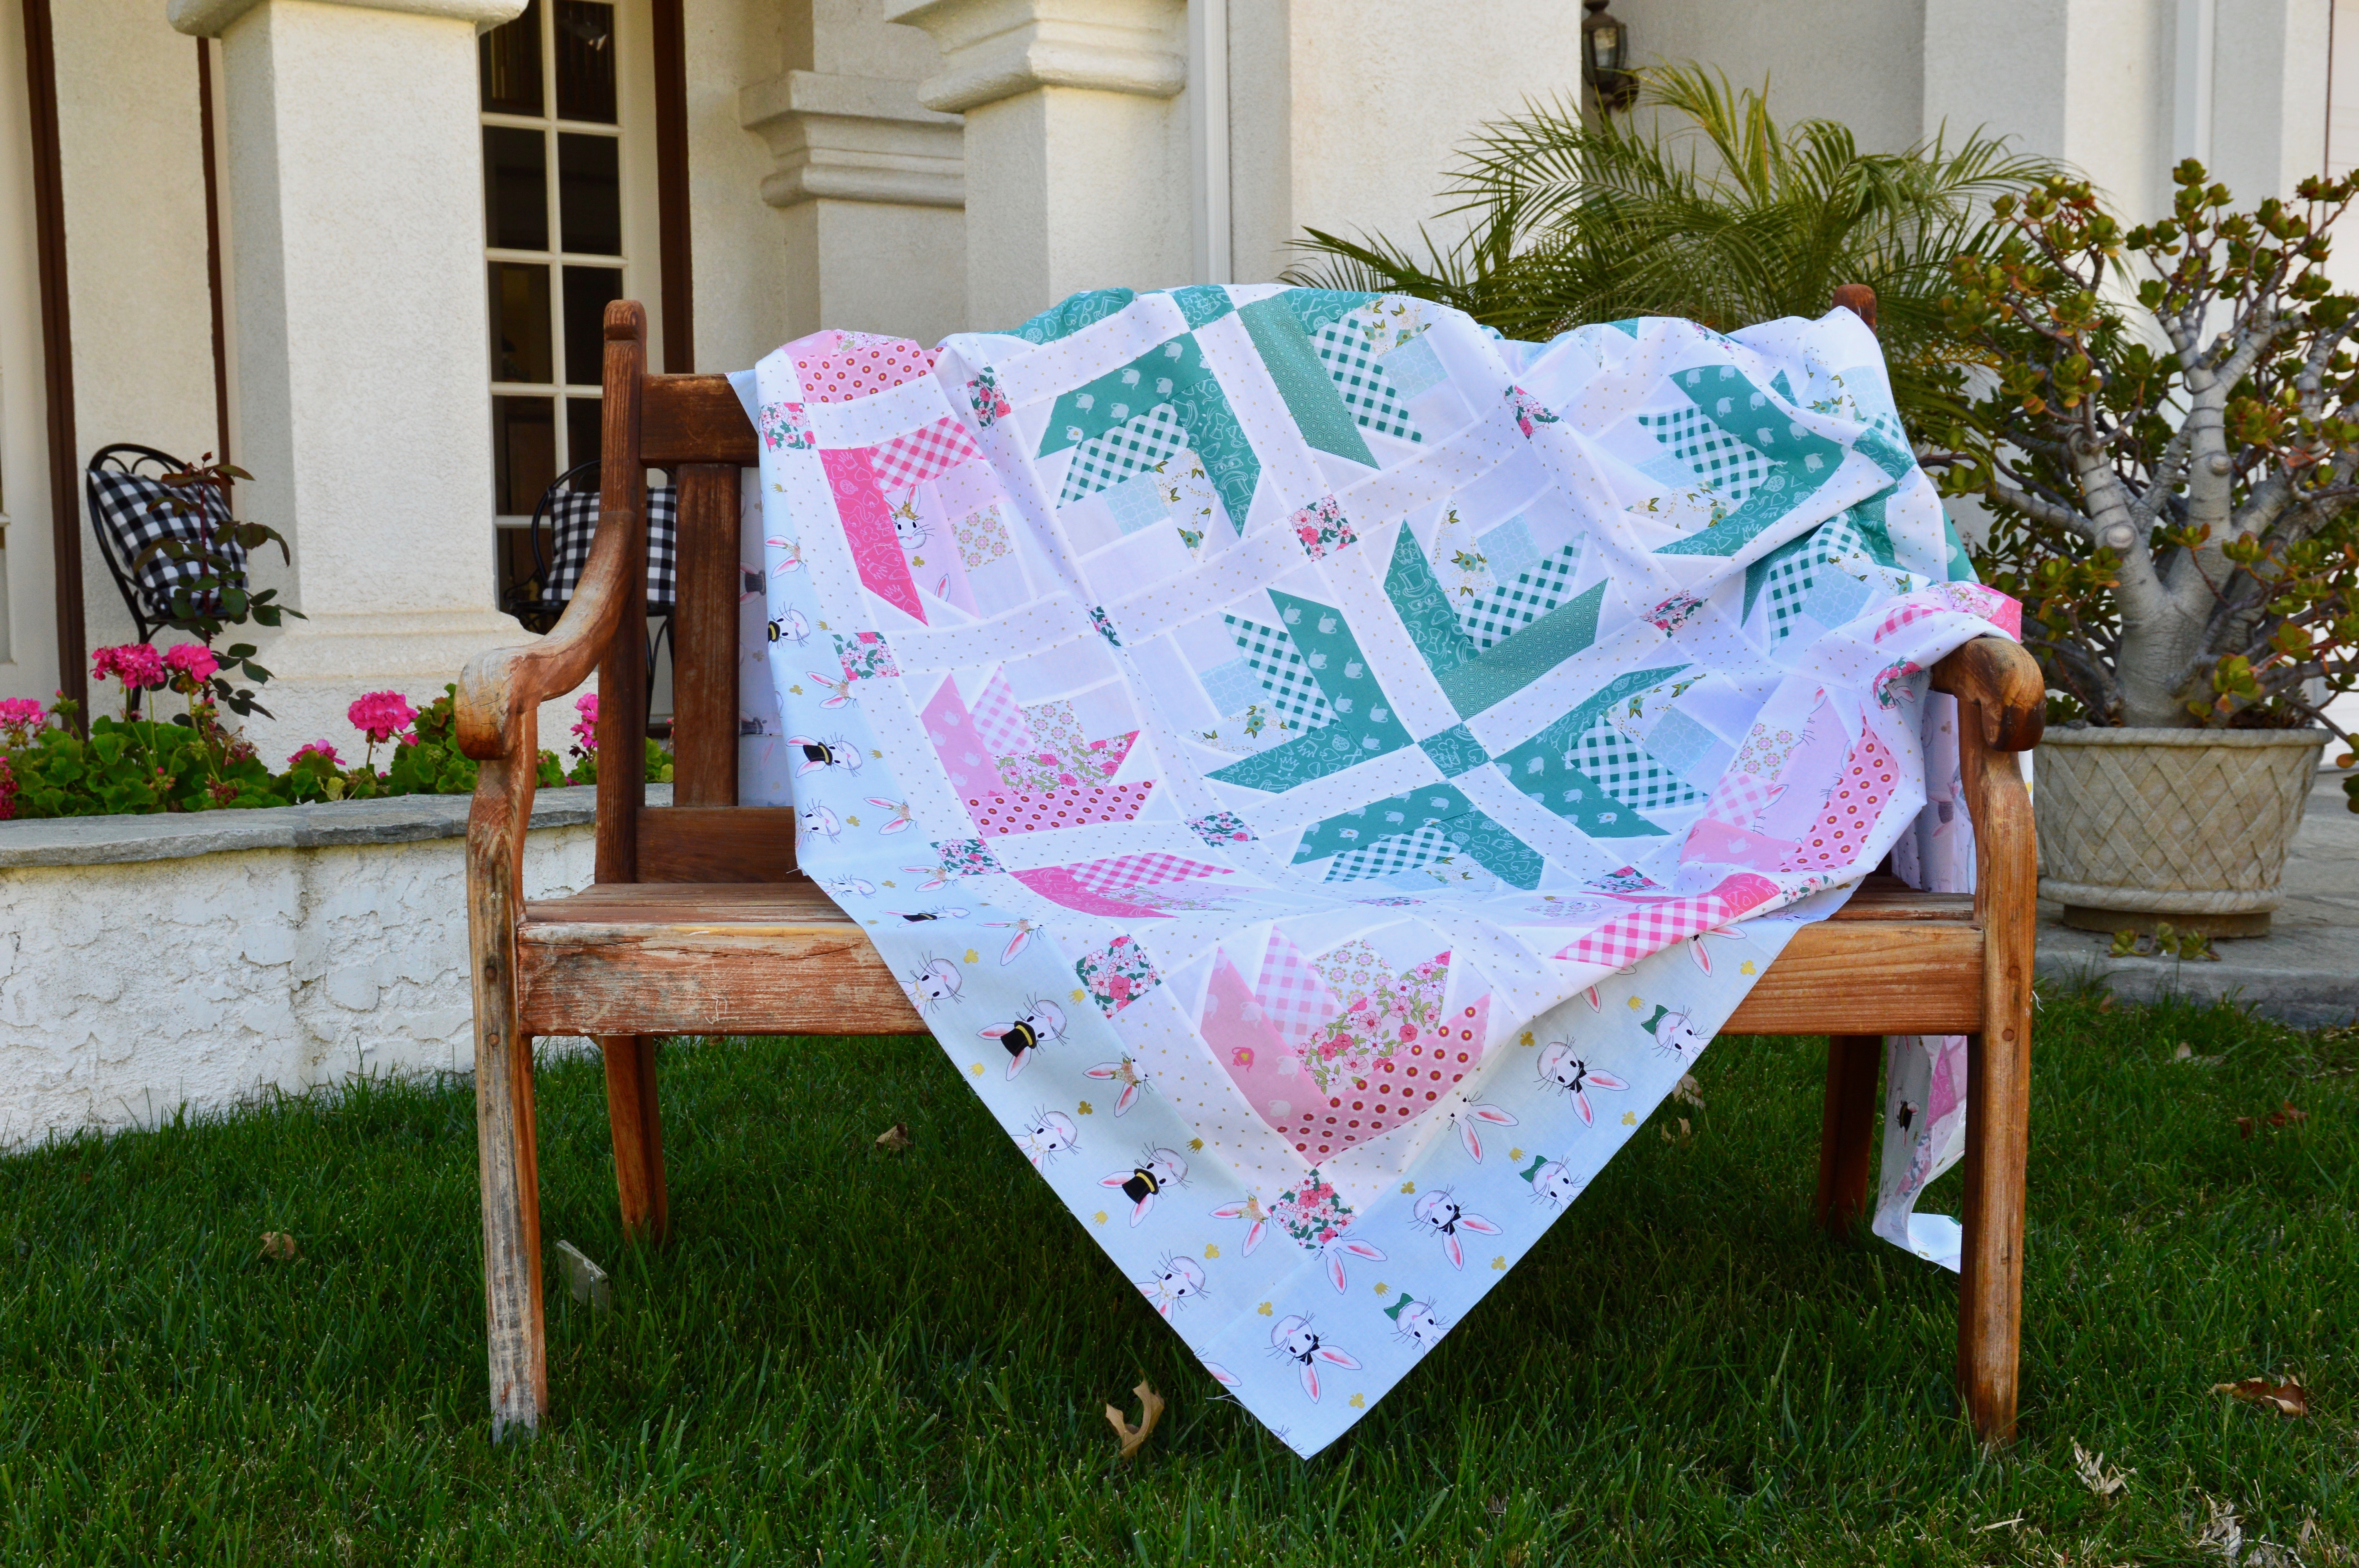
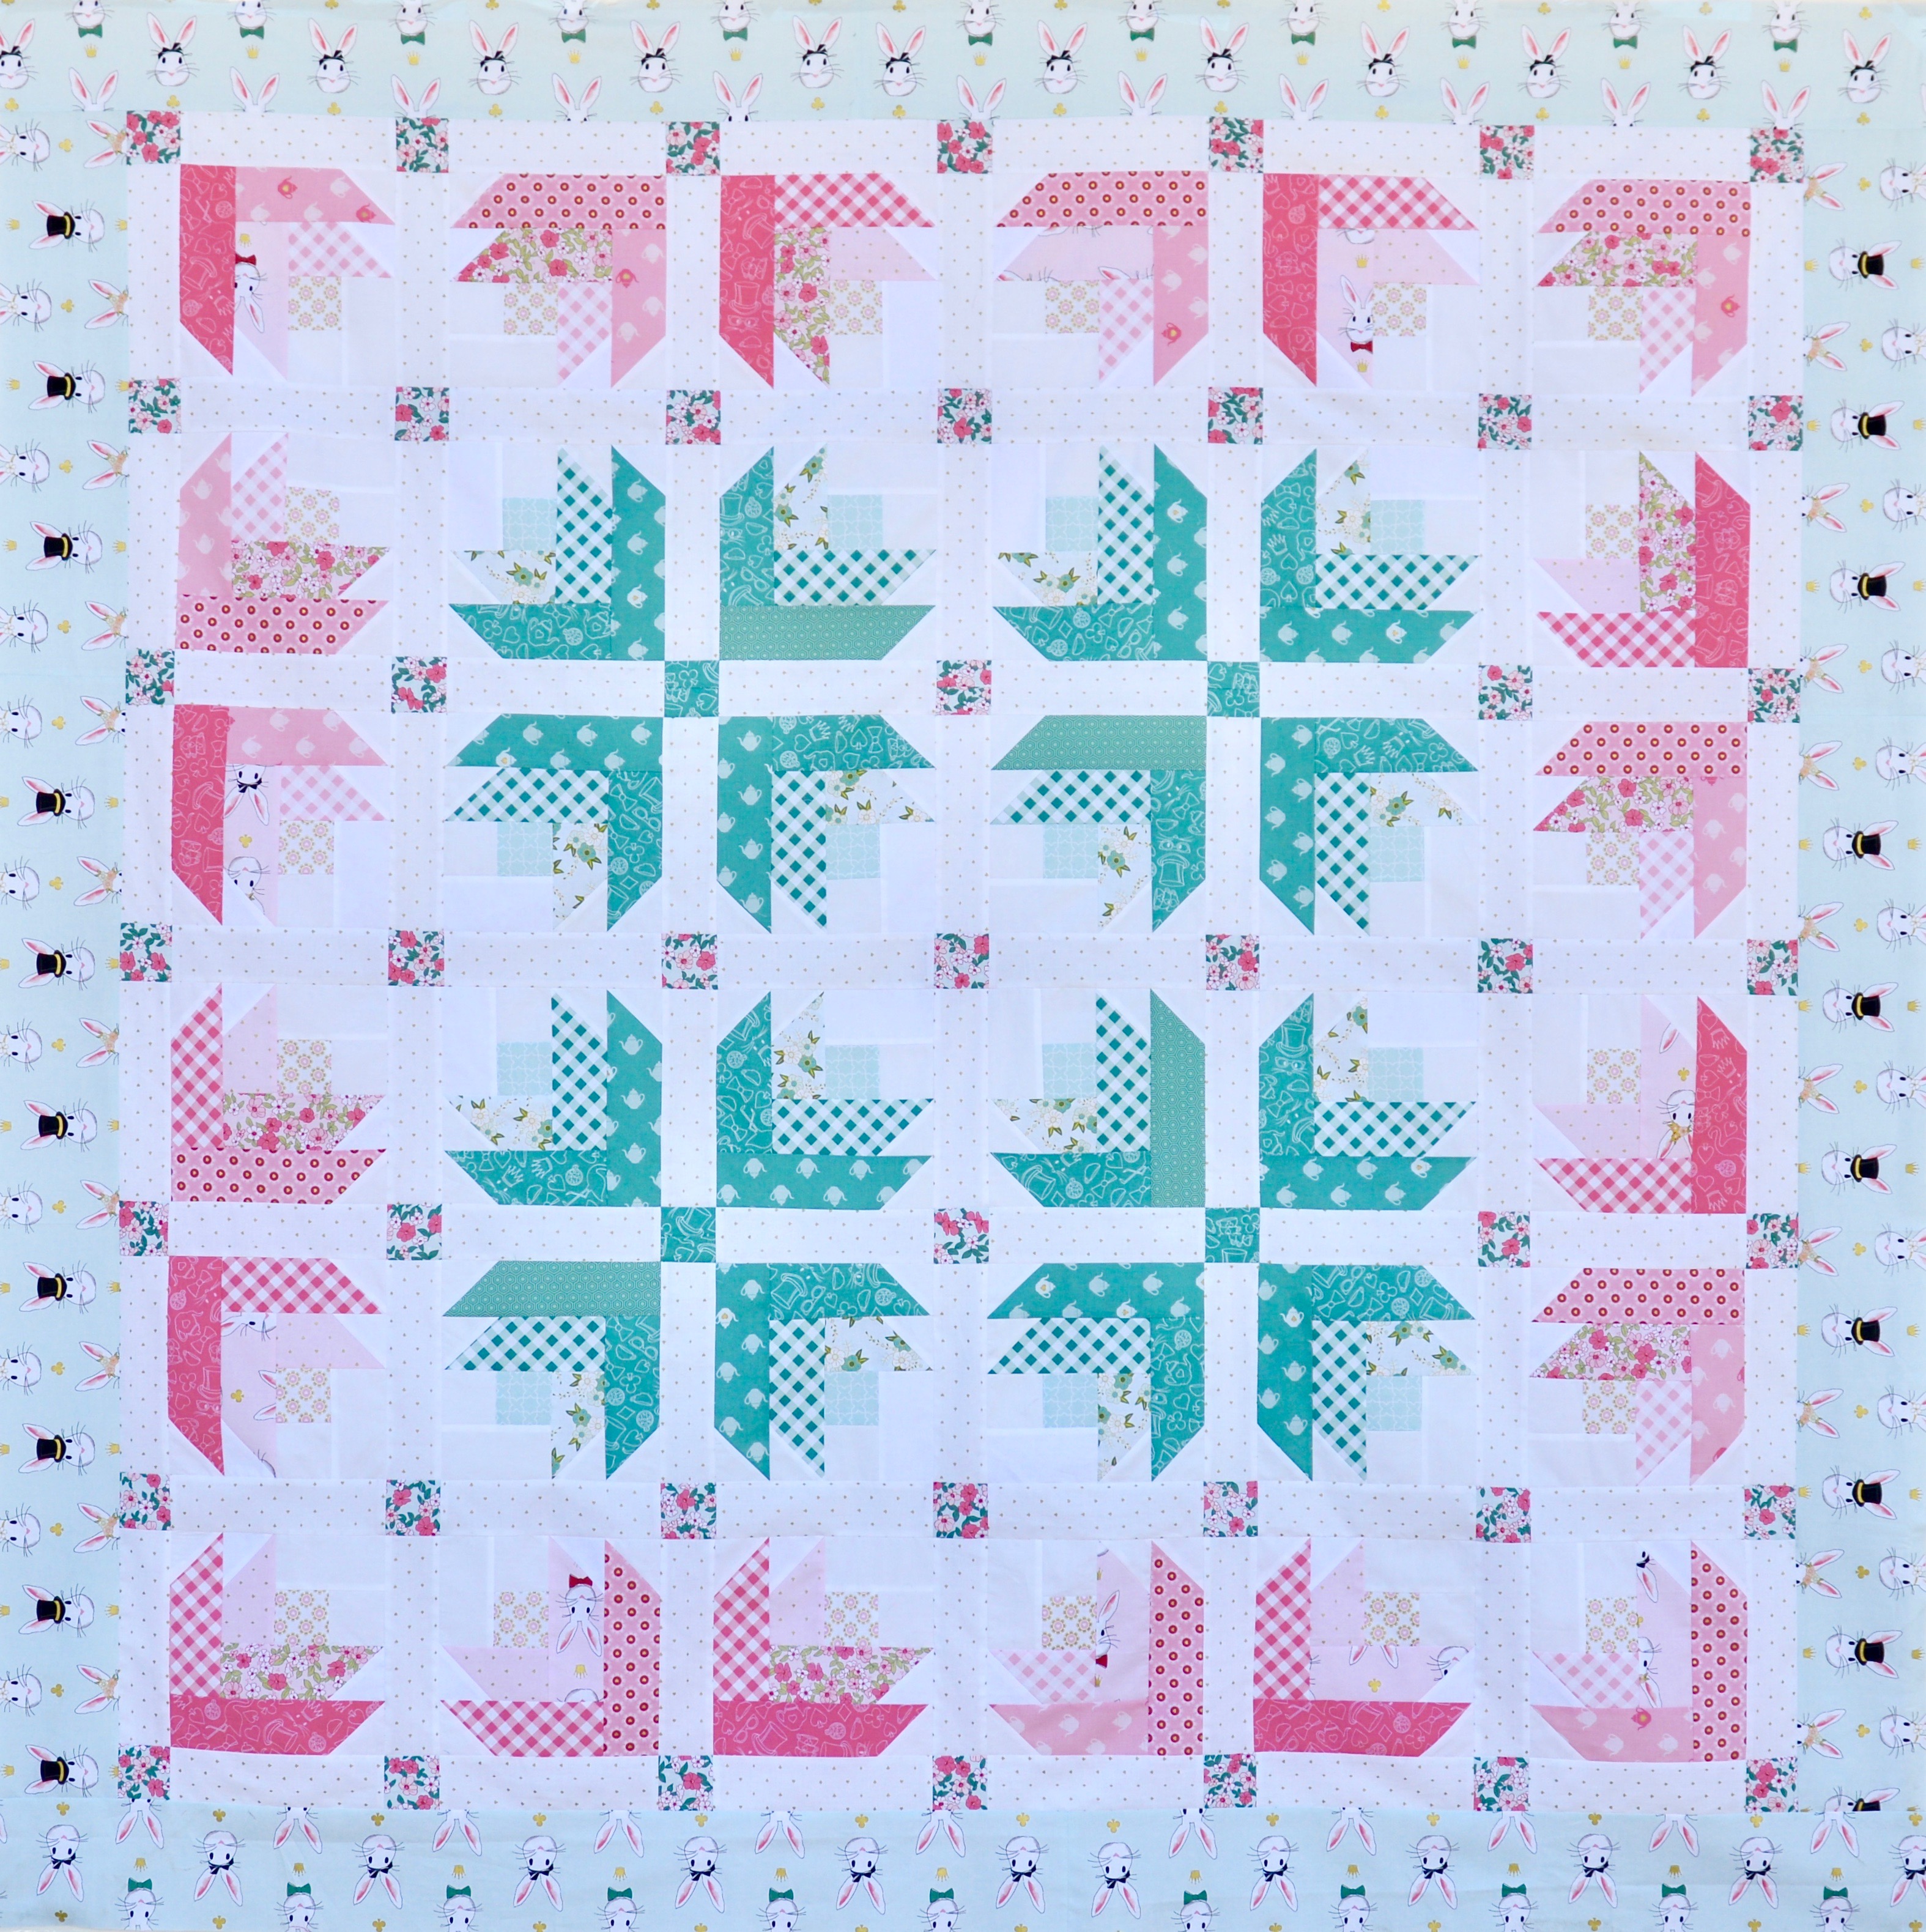
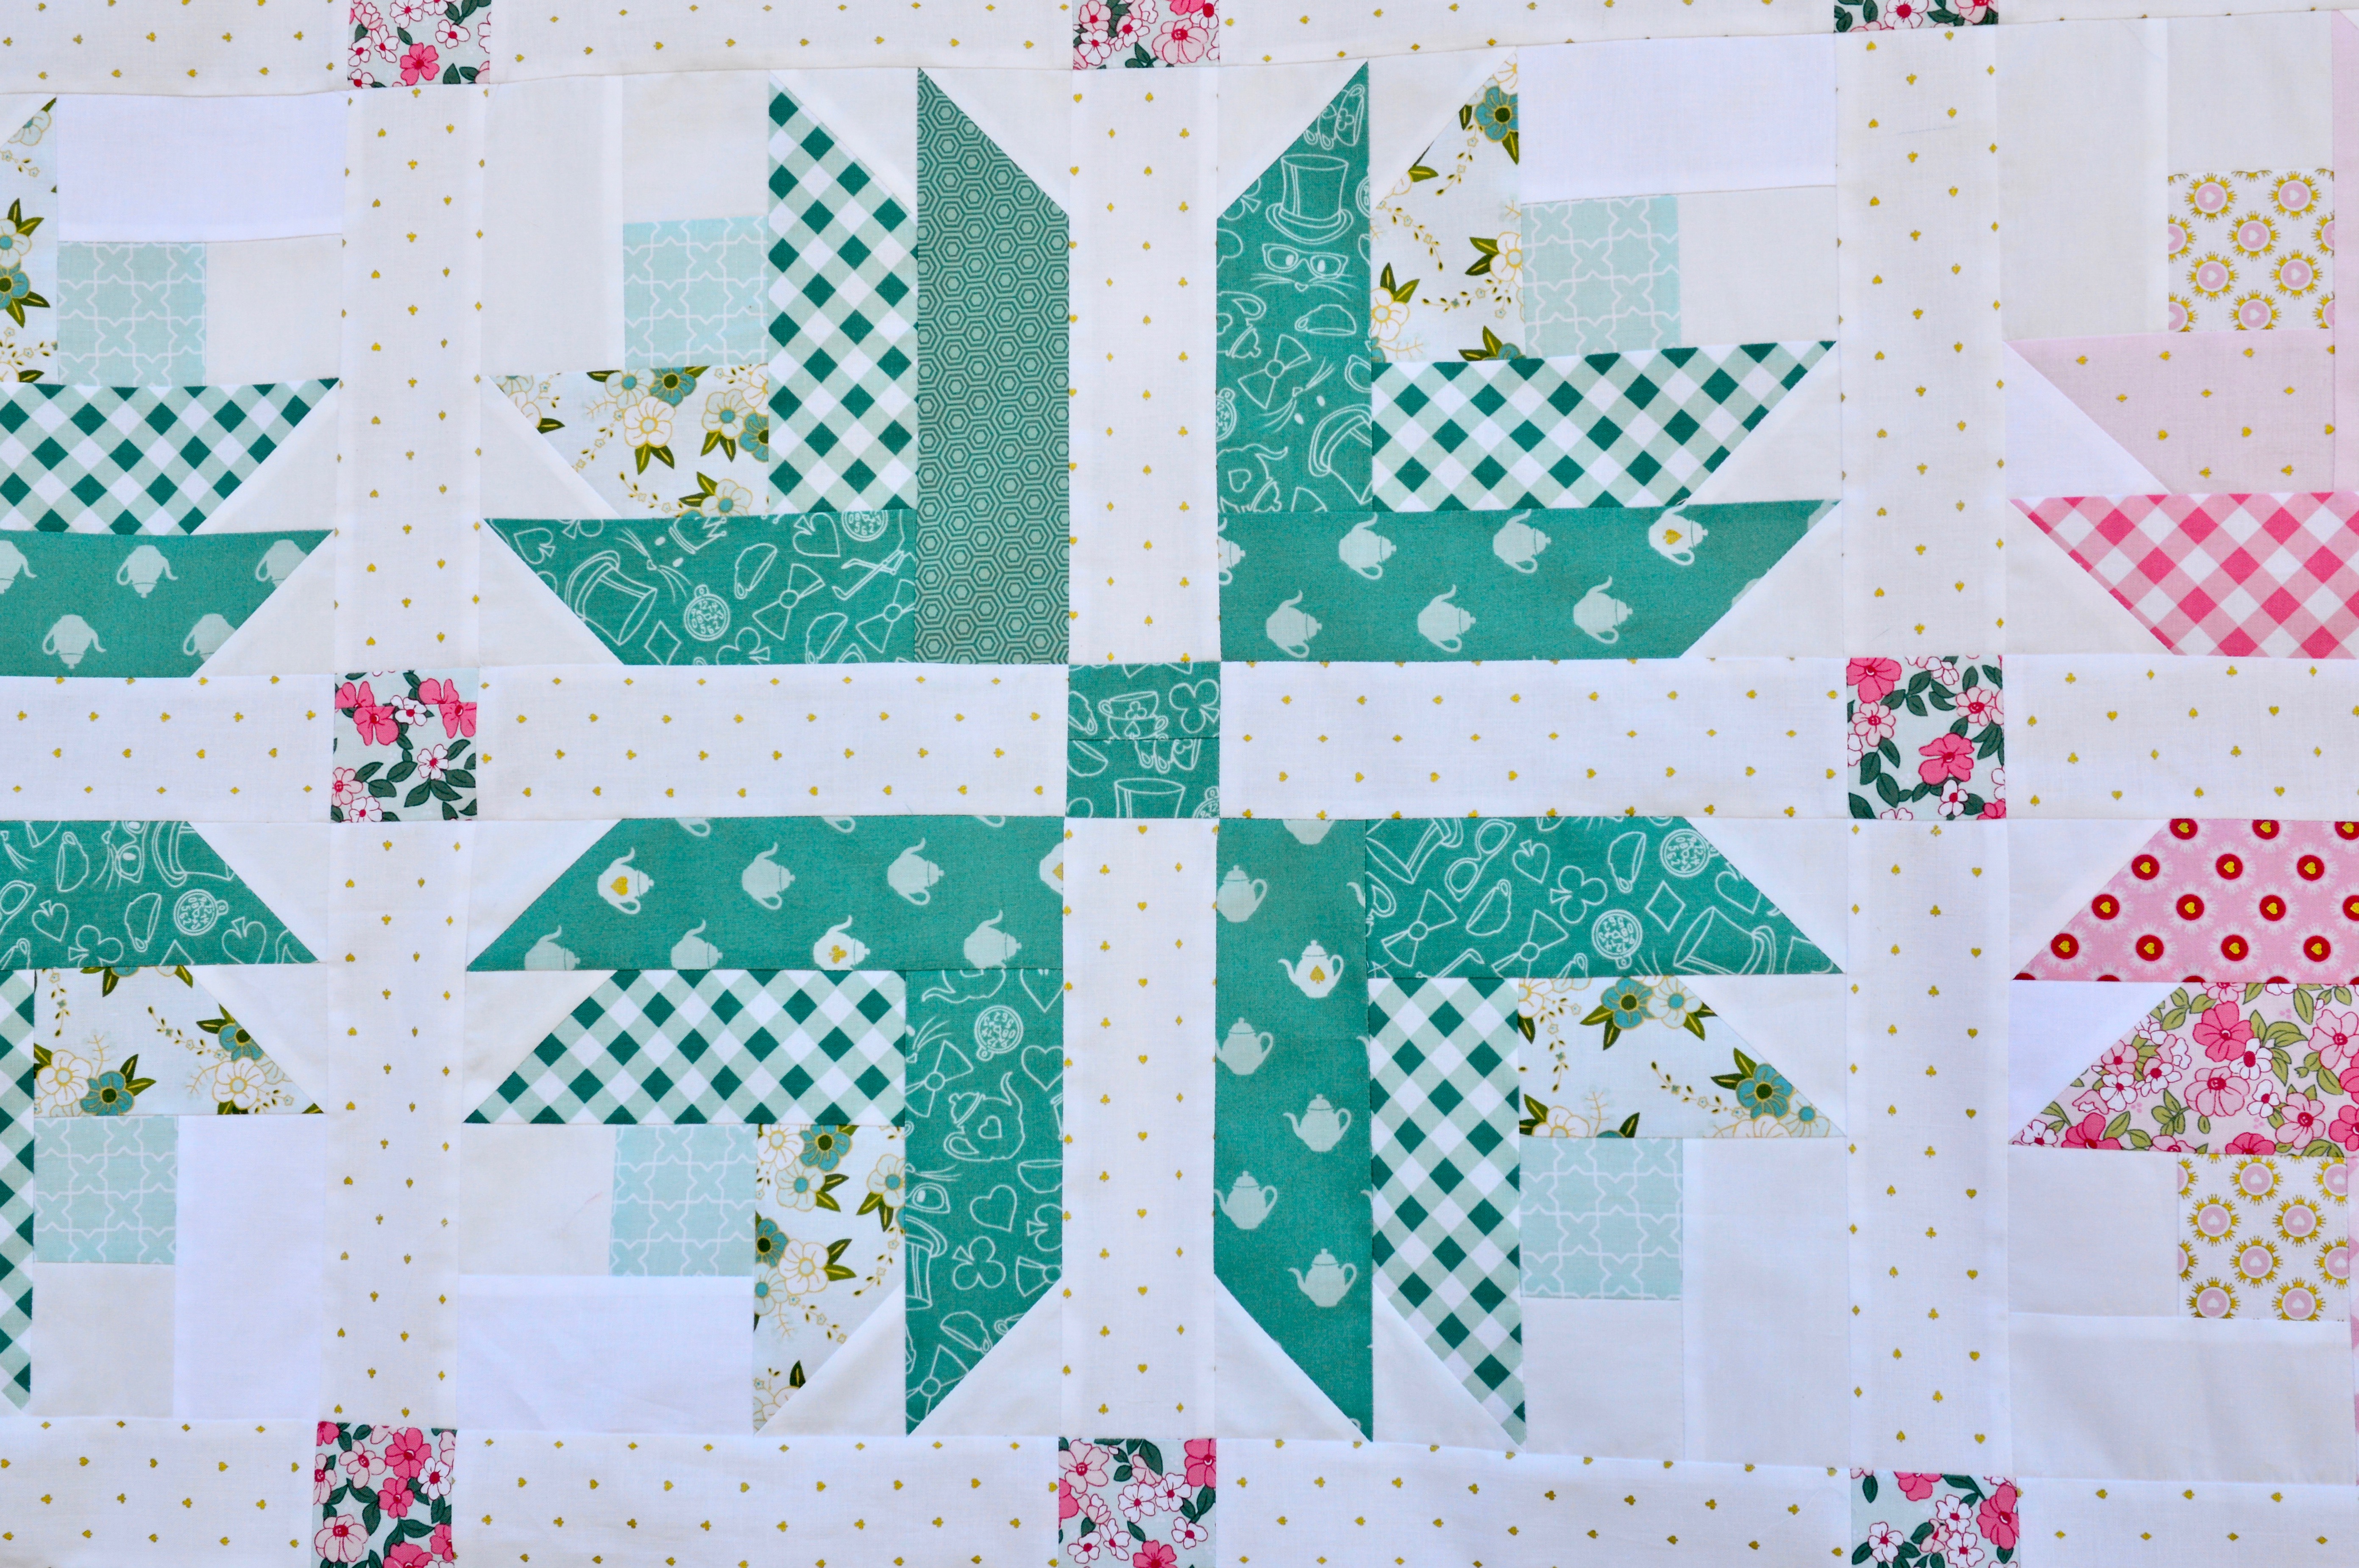
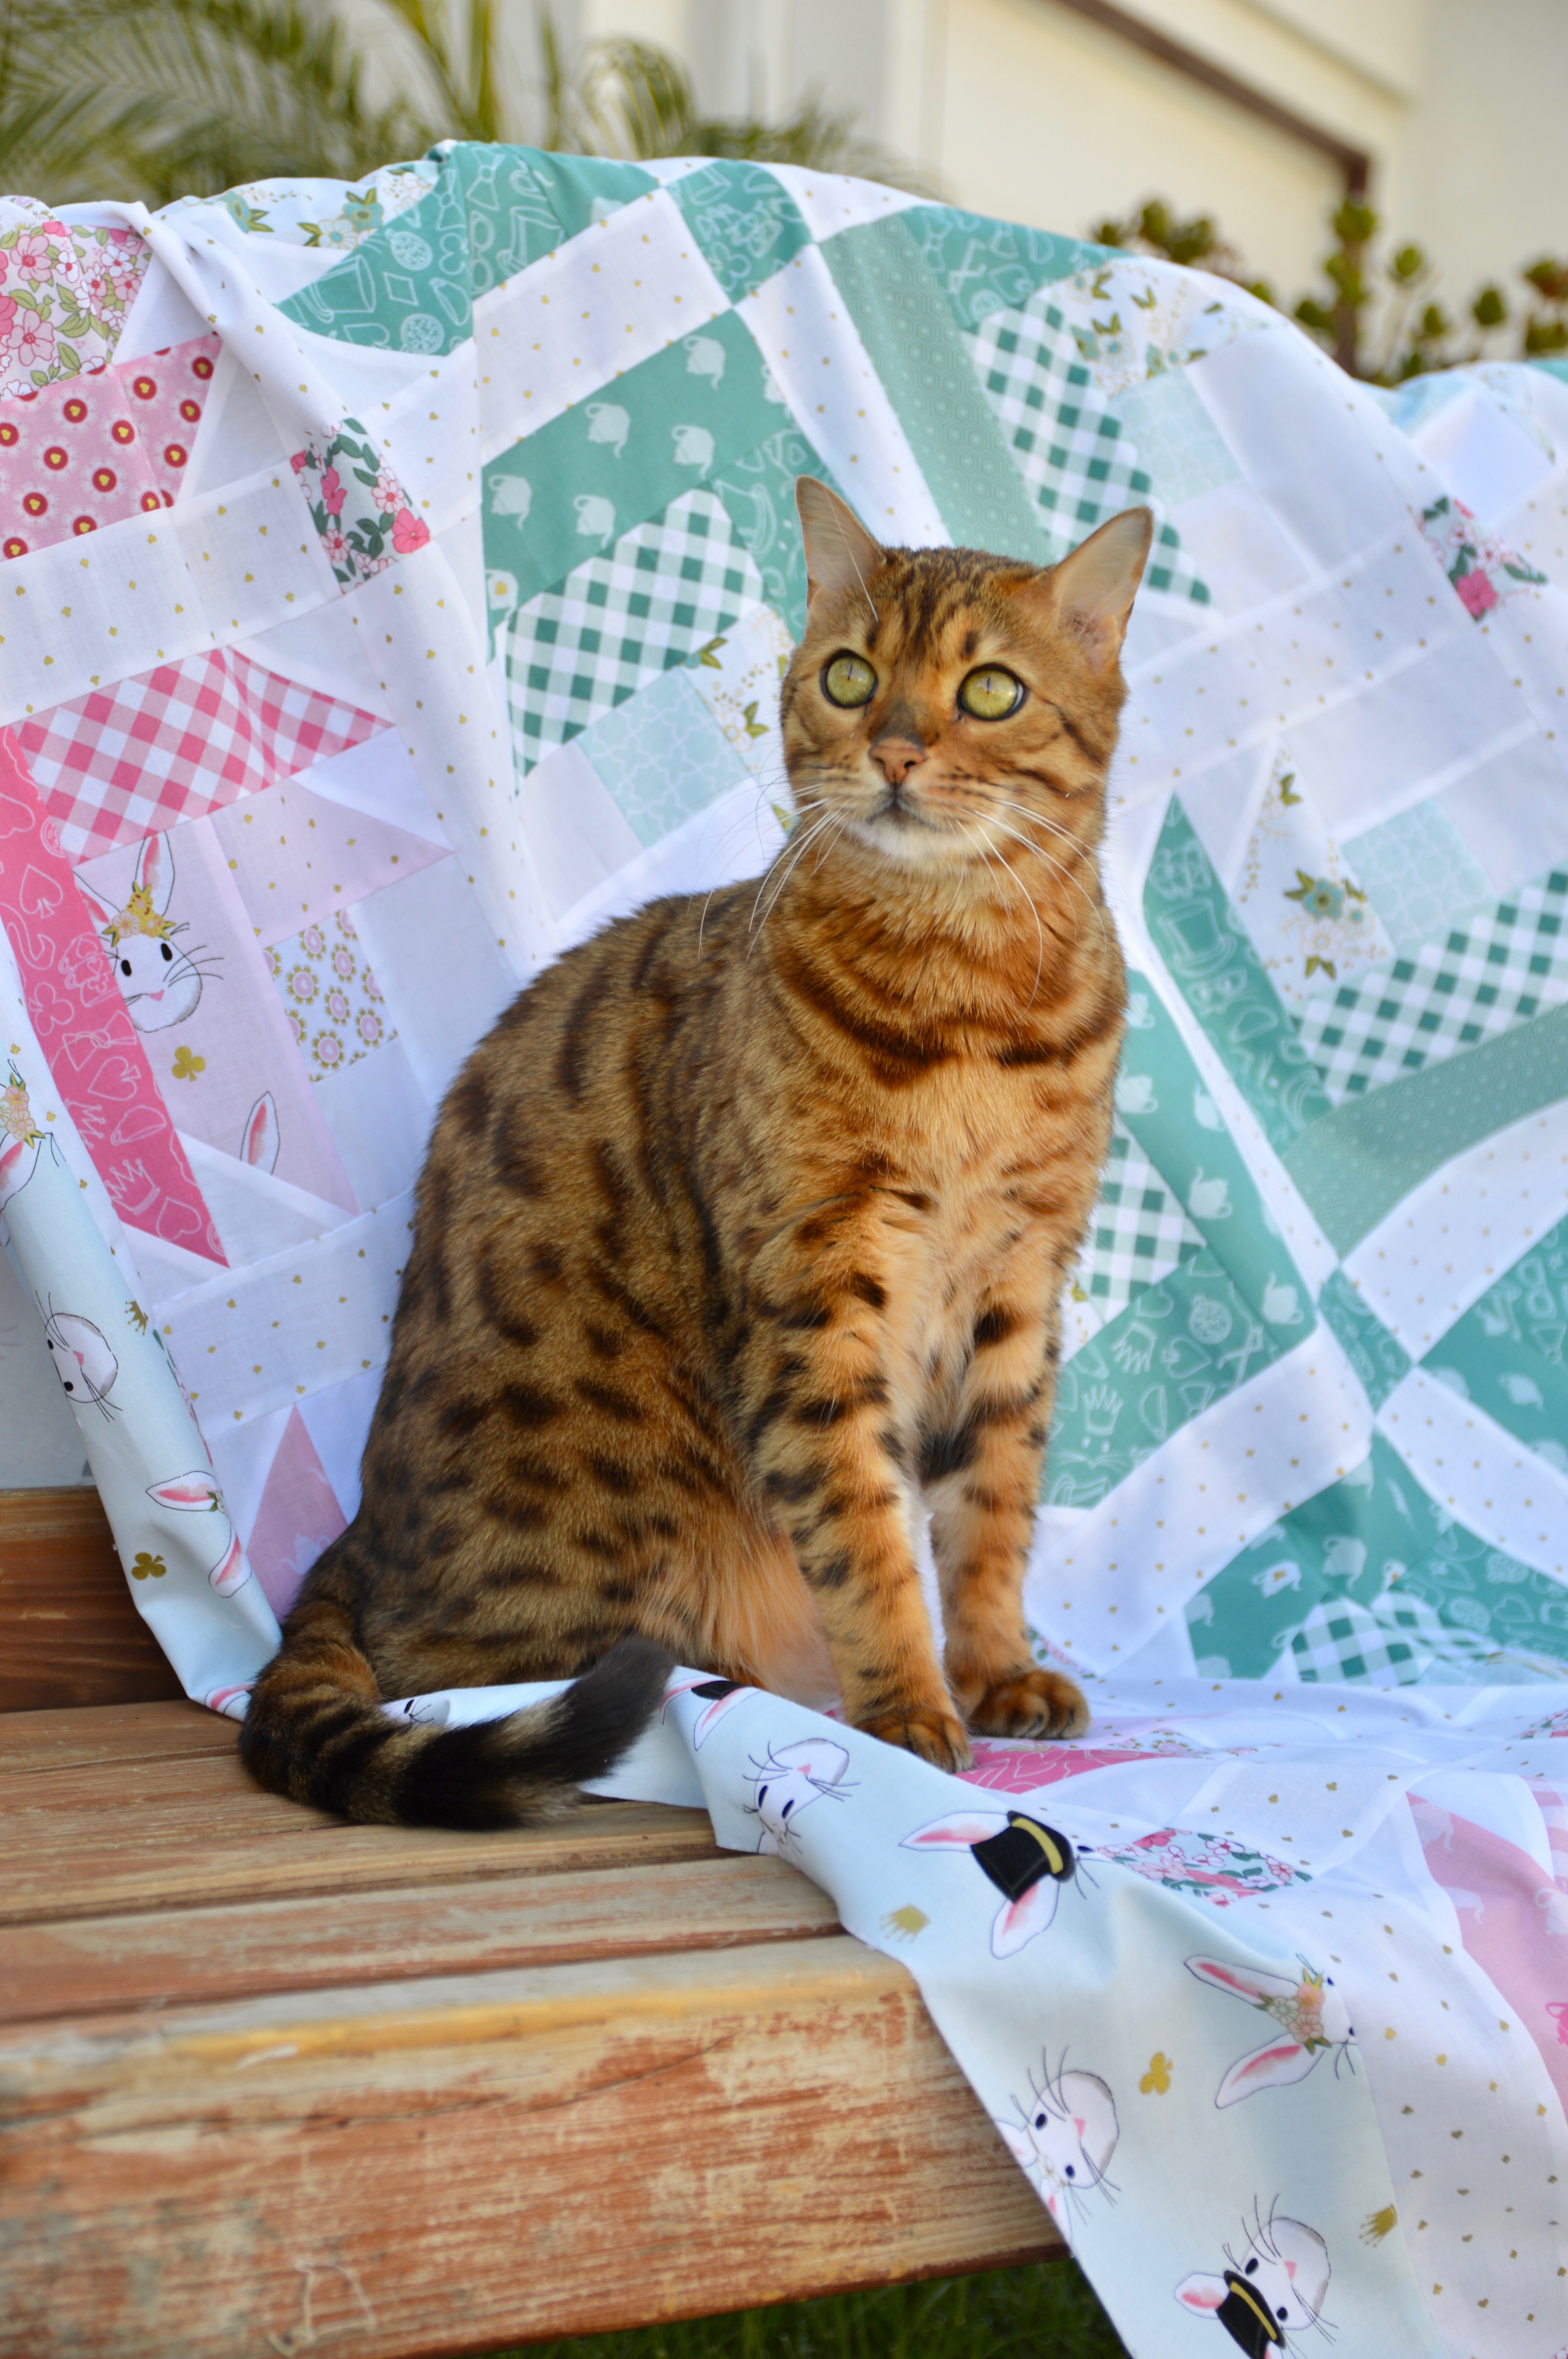
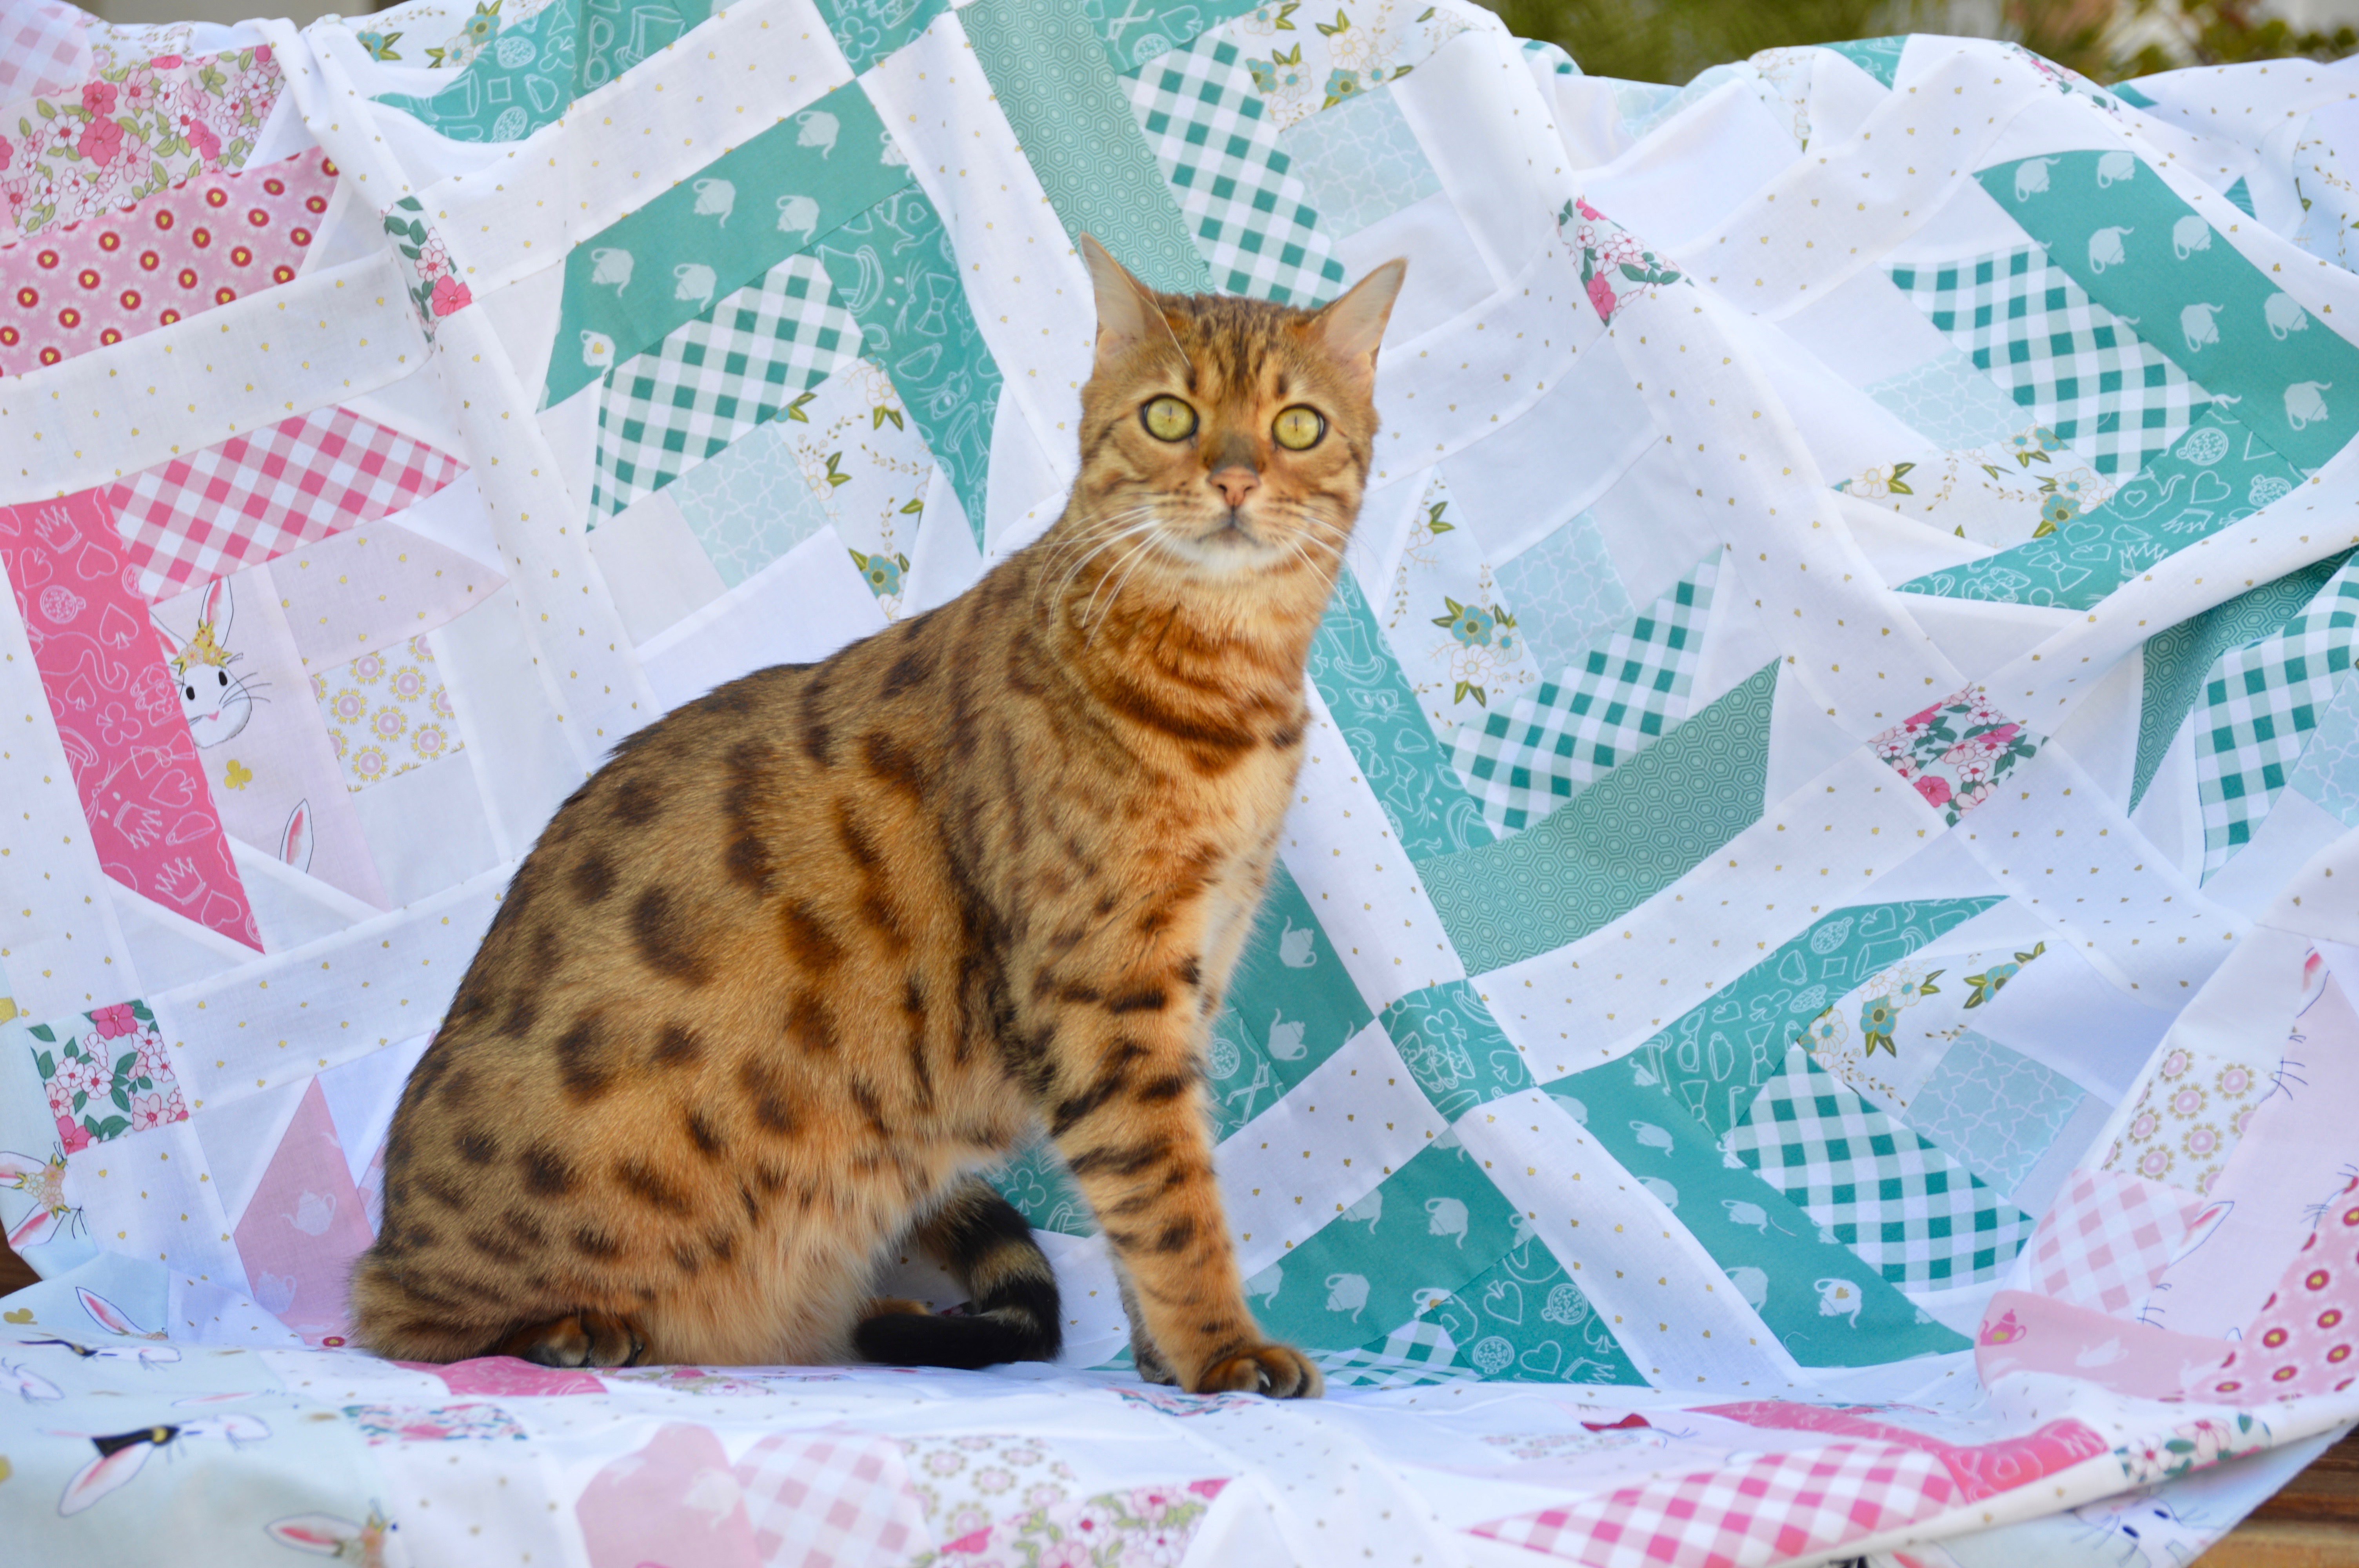
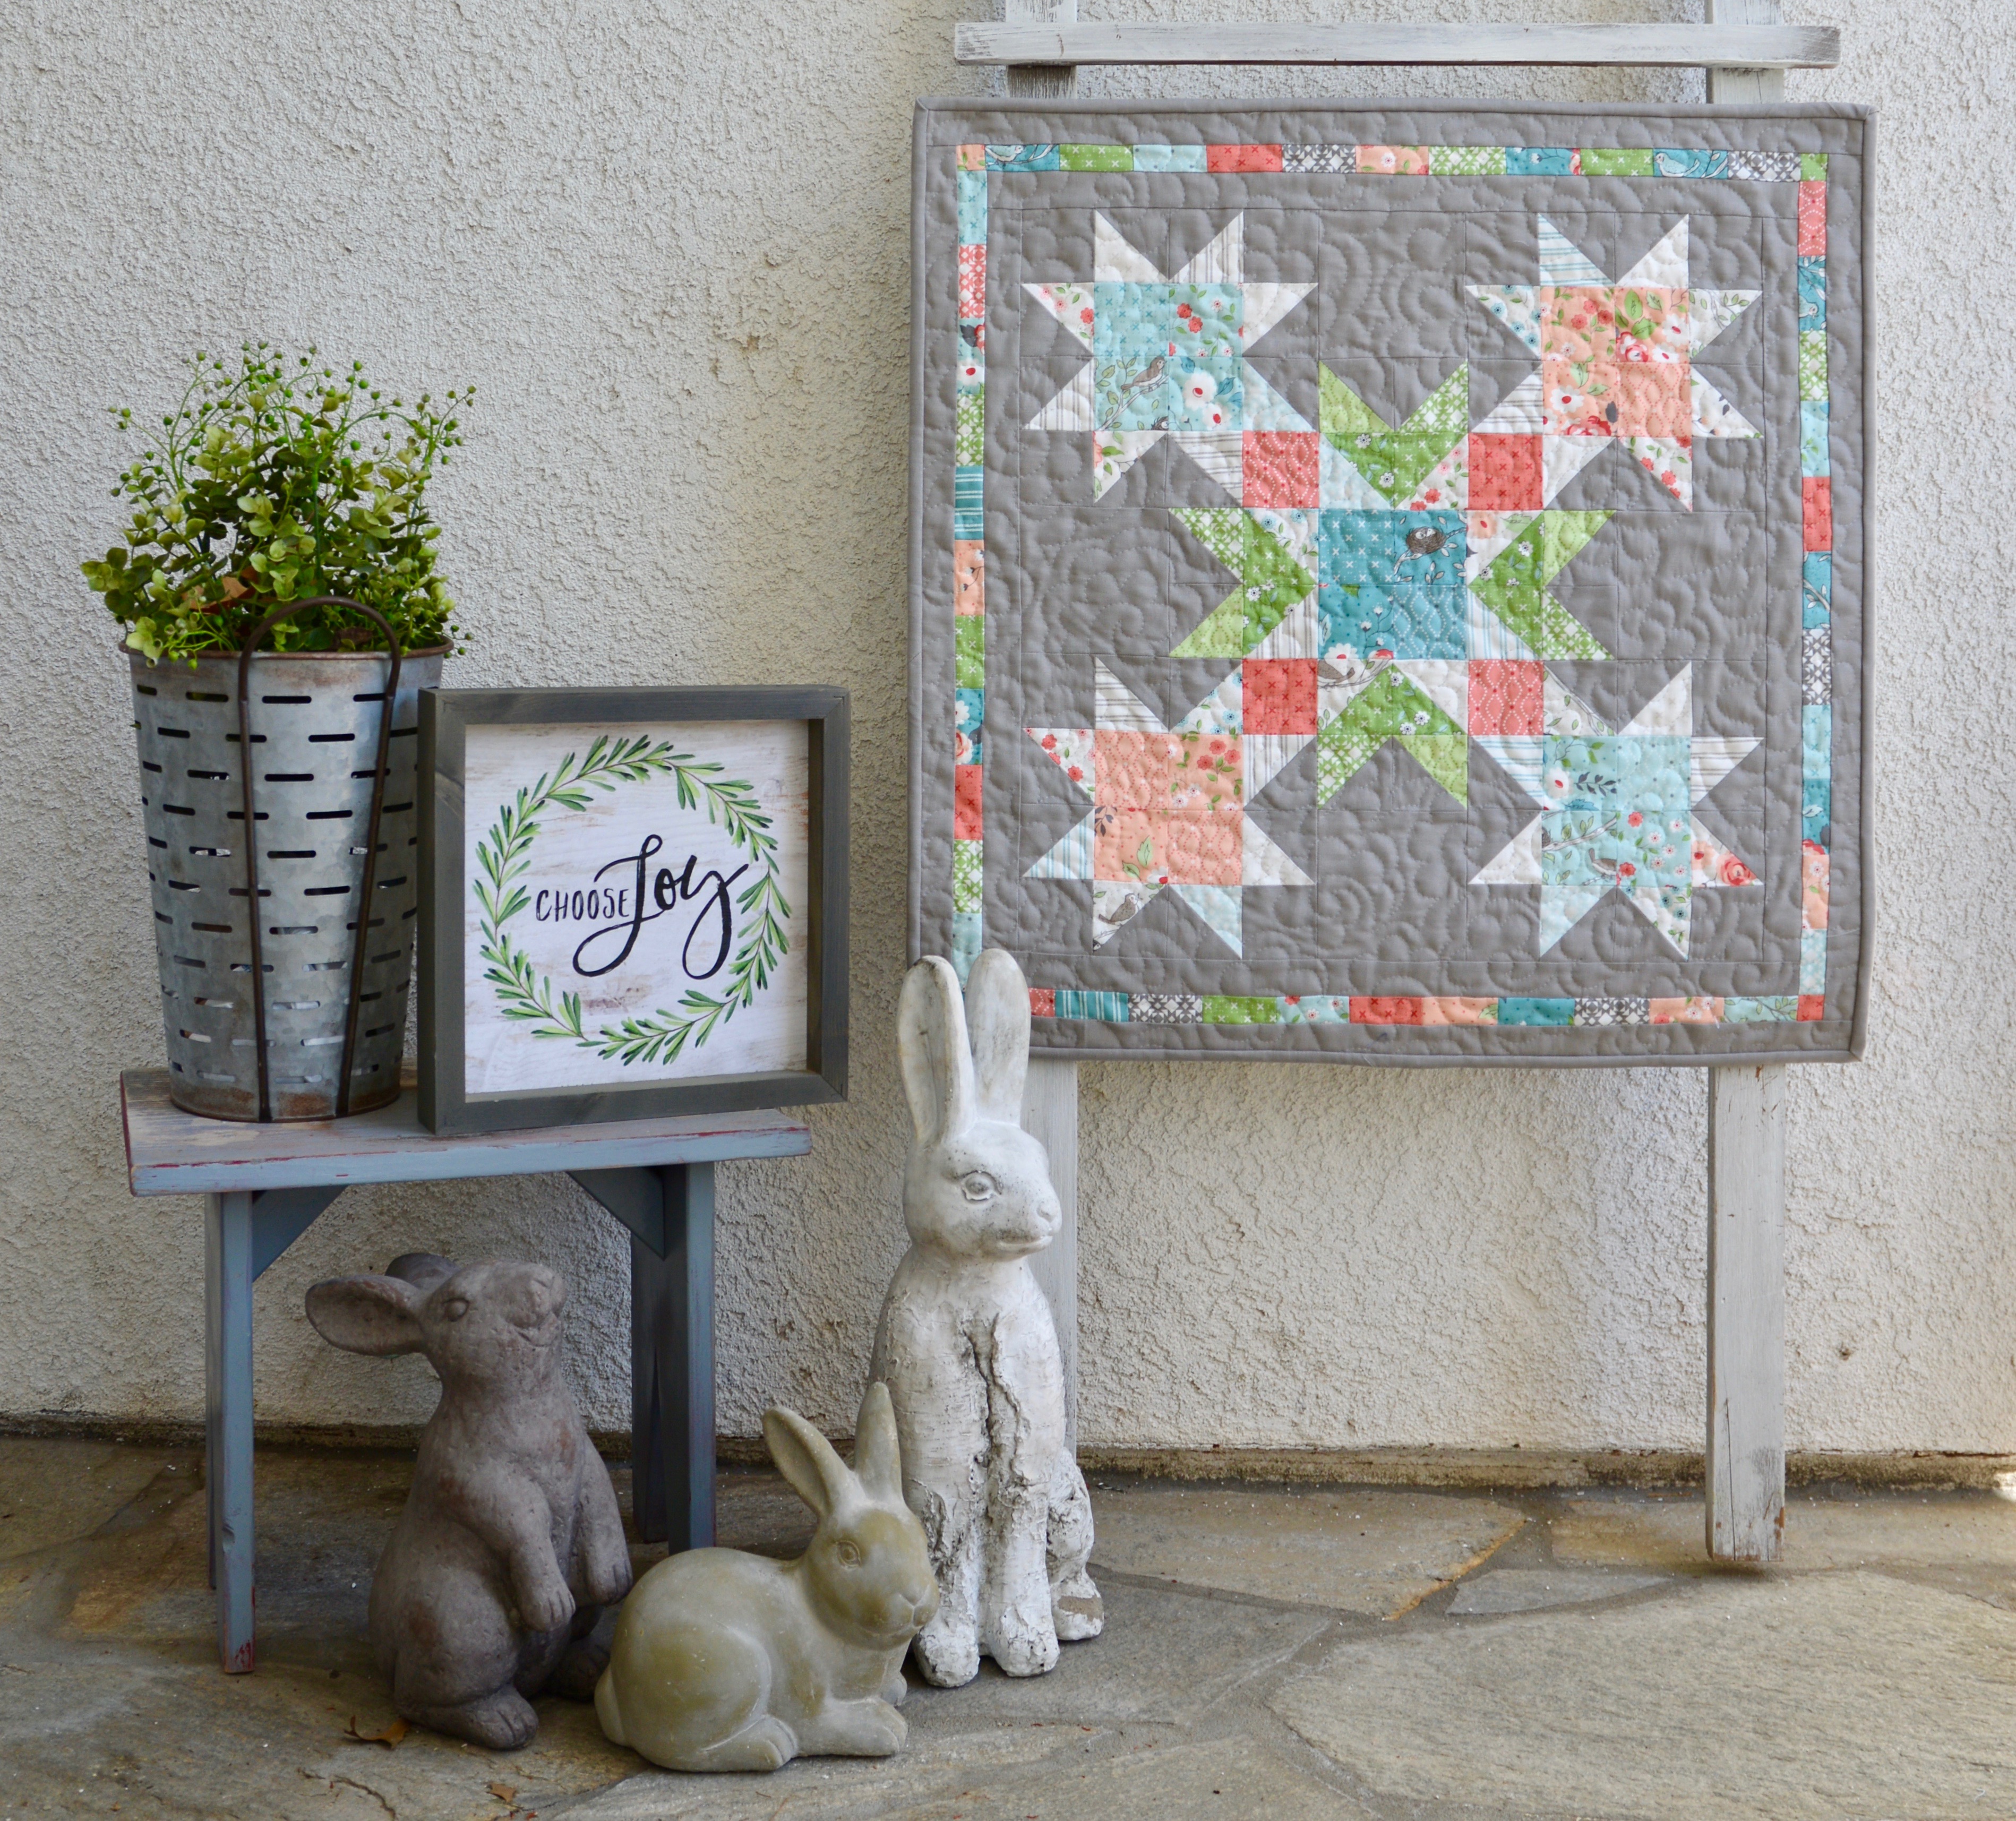 I love spring, spring colors, flowers, birds, pretty much everything about spring! When I saw Lella Boutique’s new fabric line
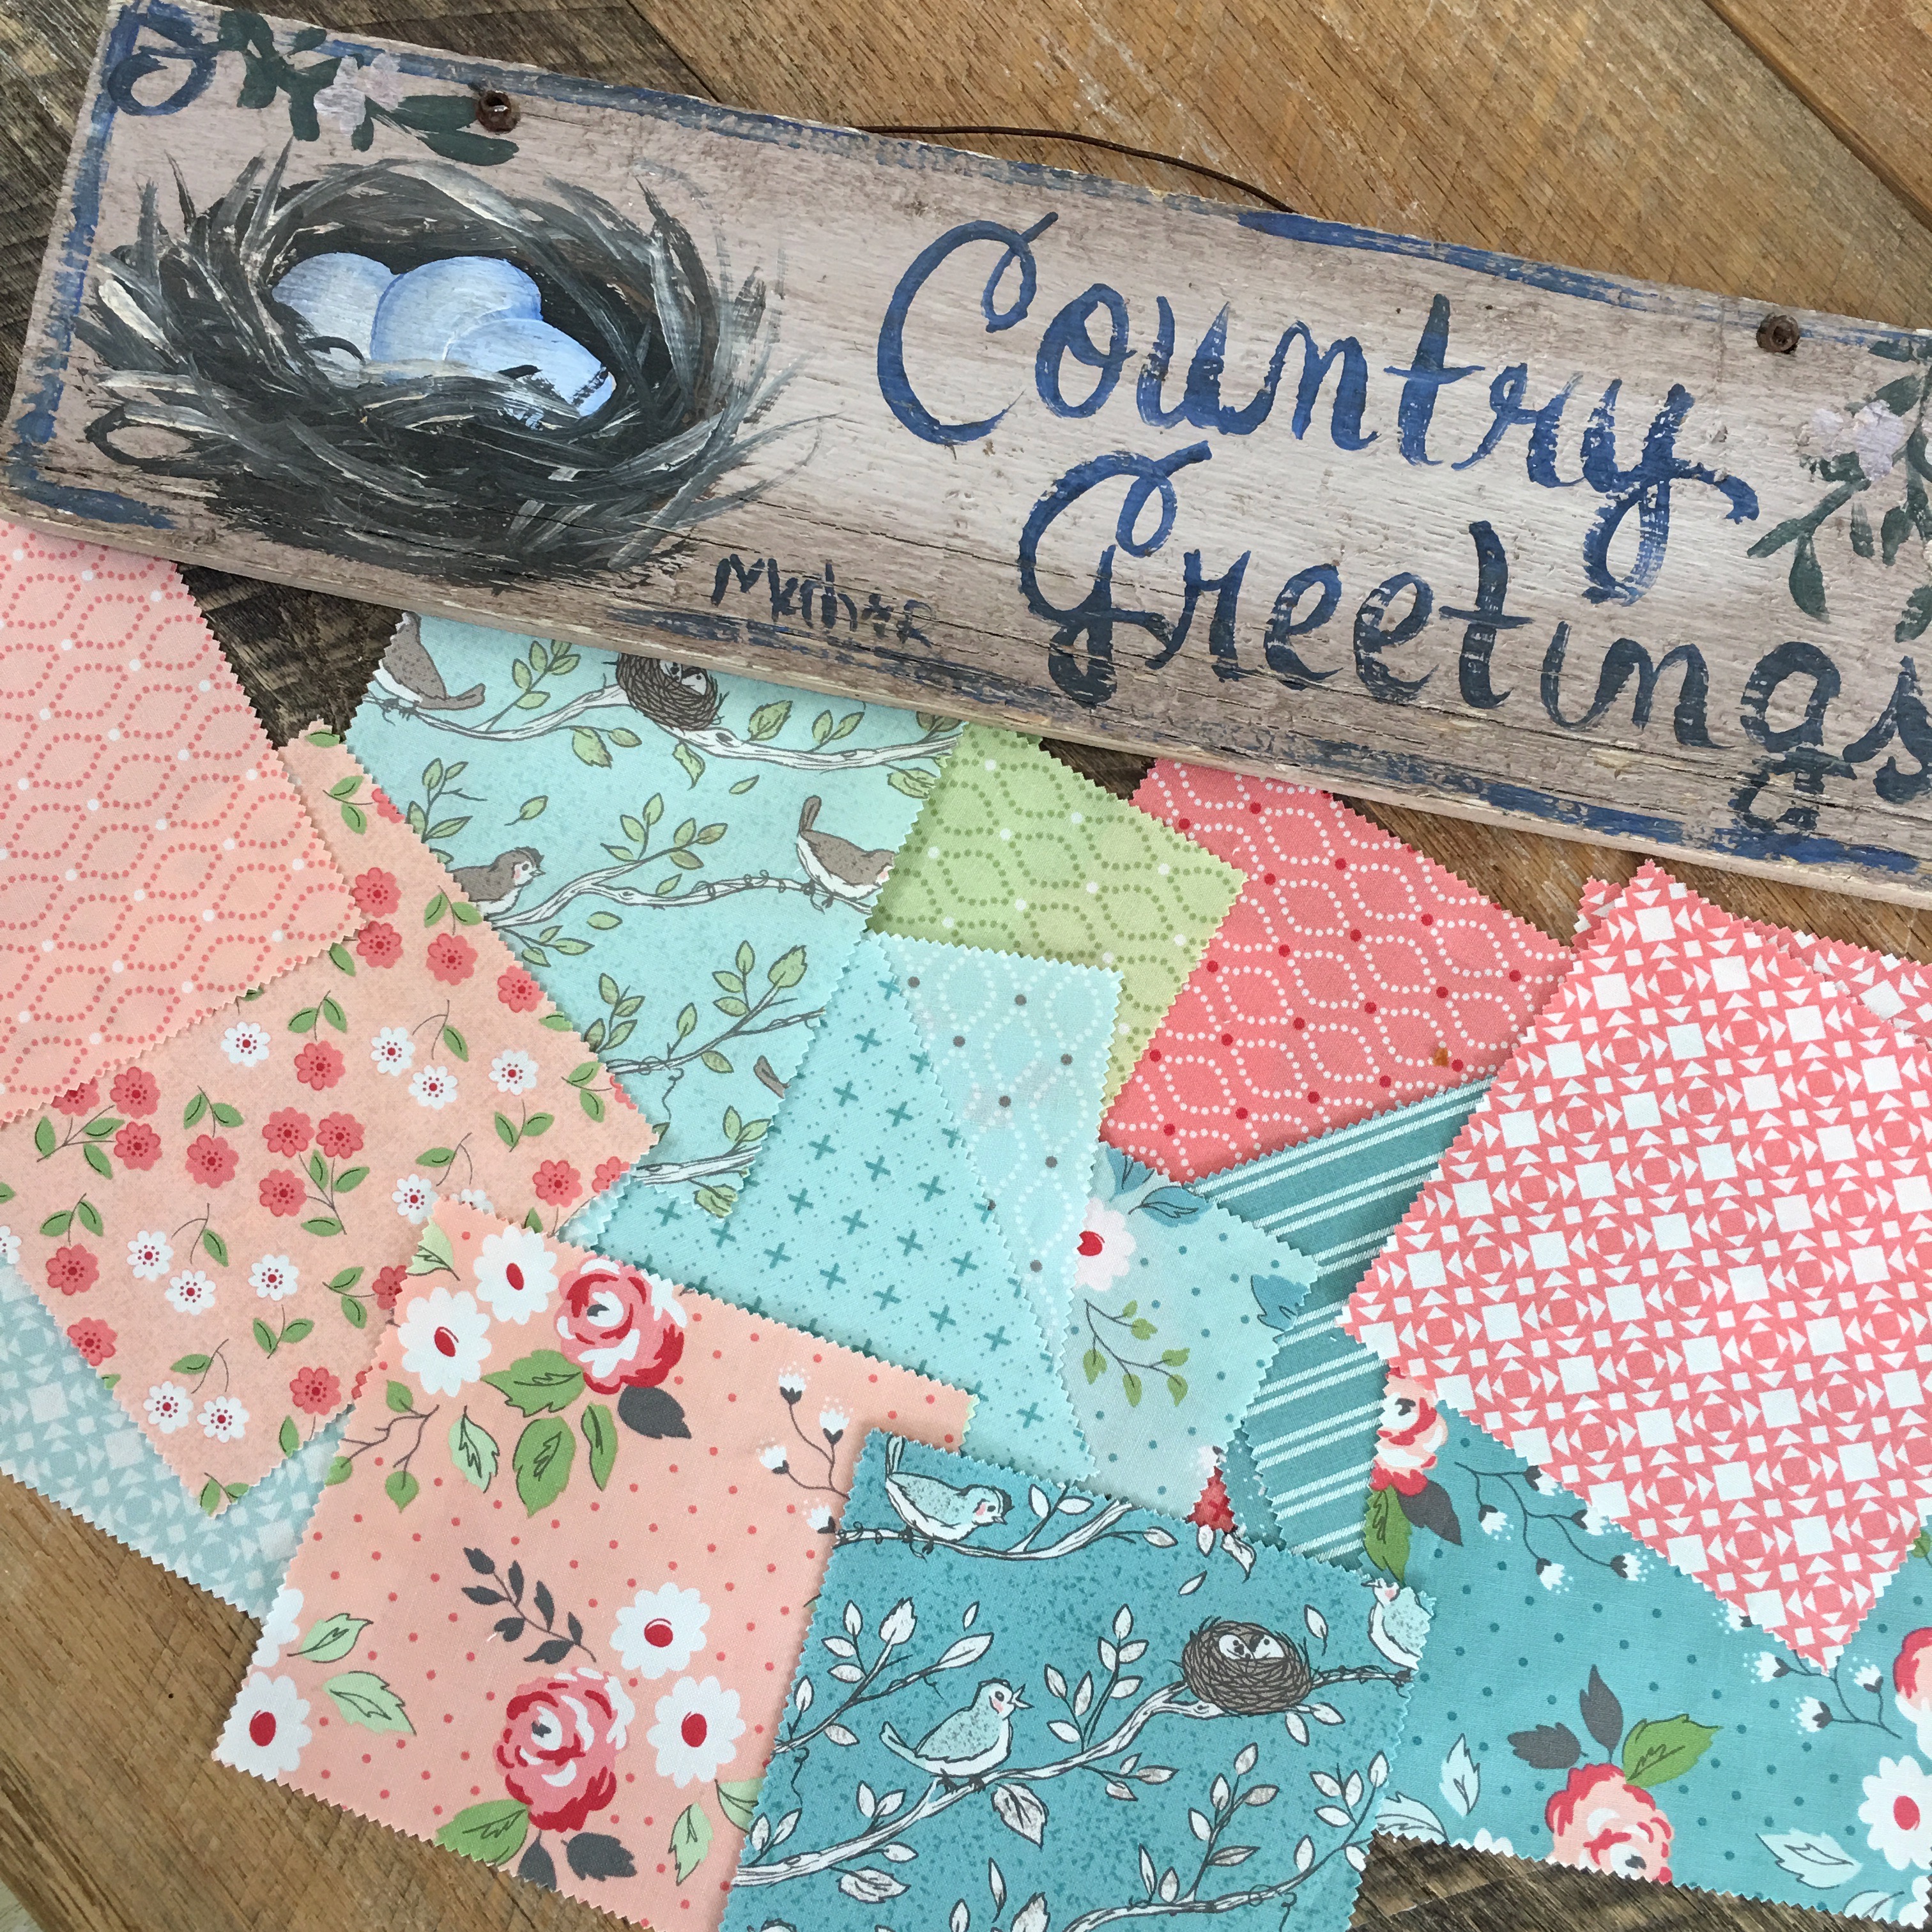
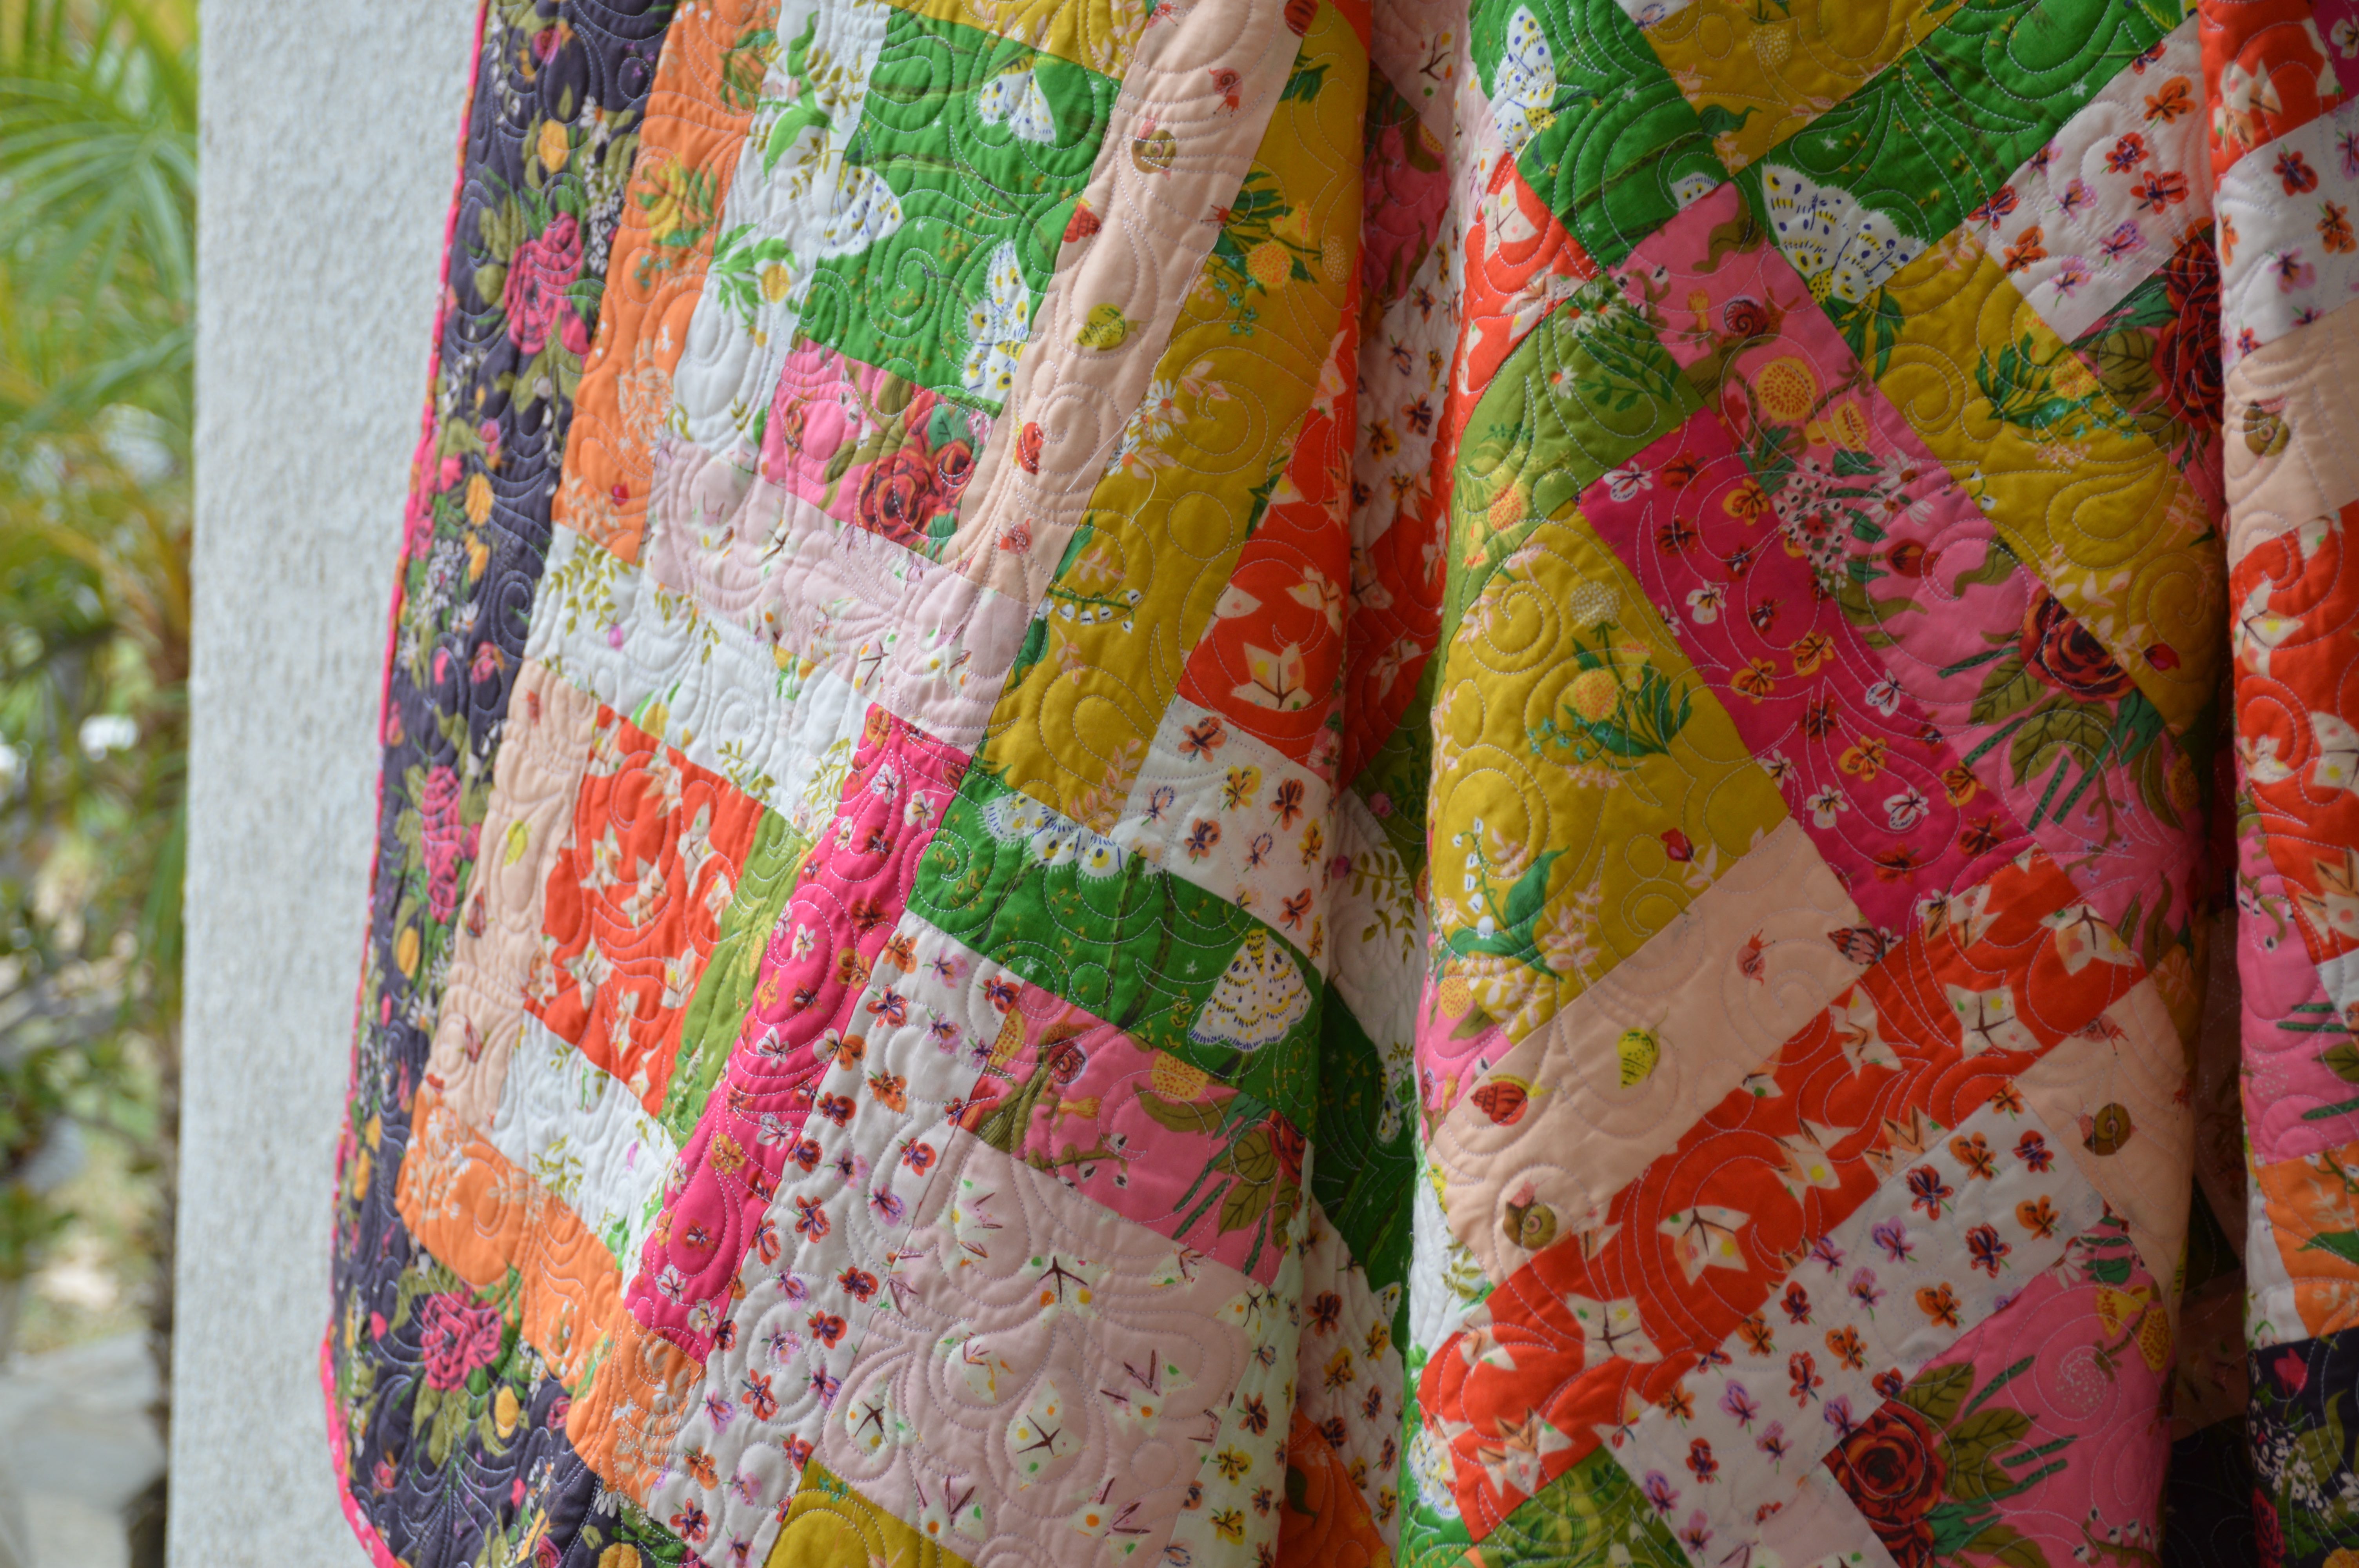
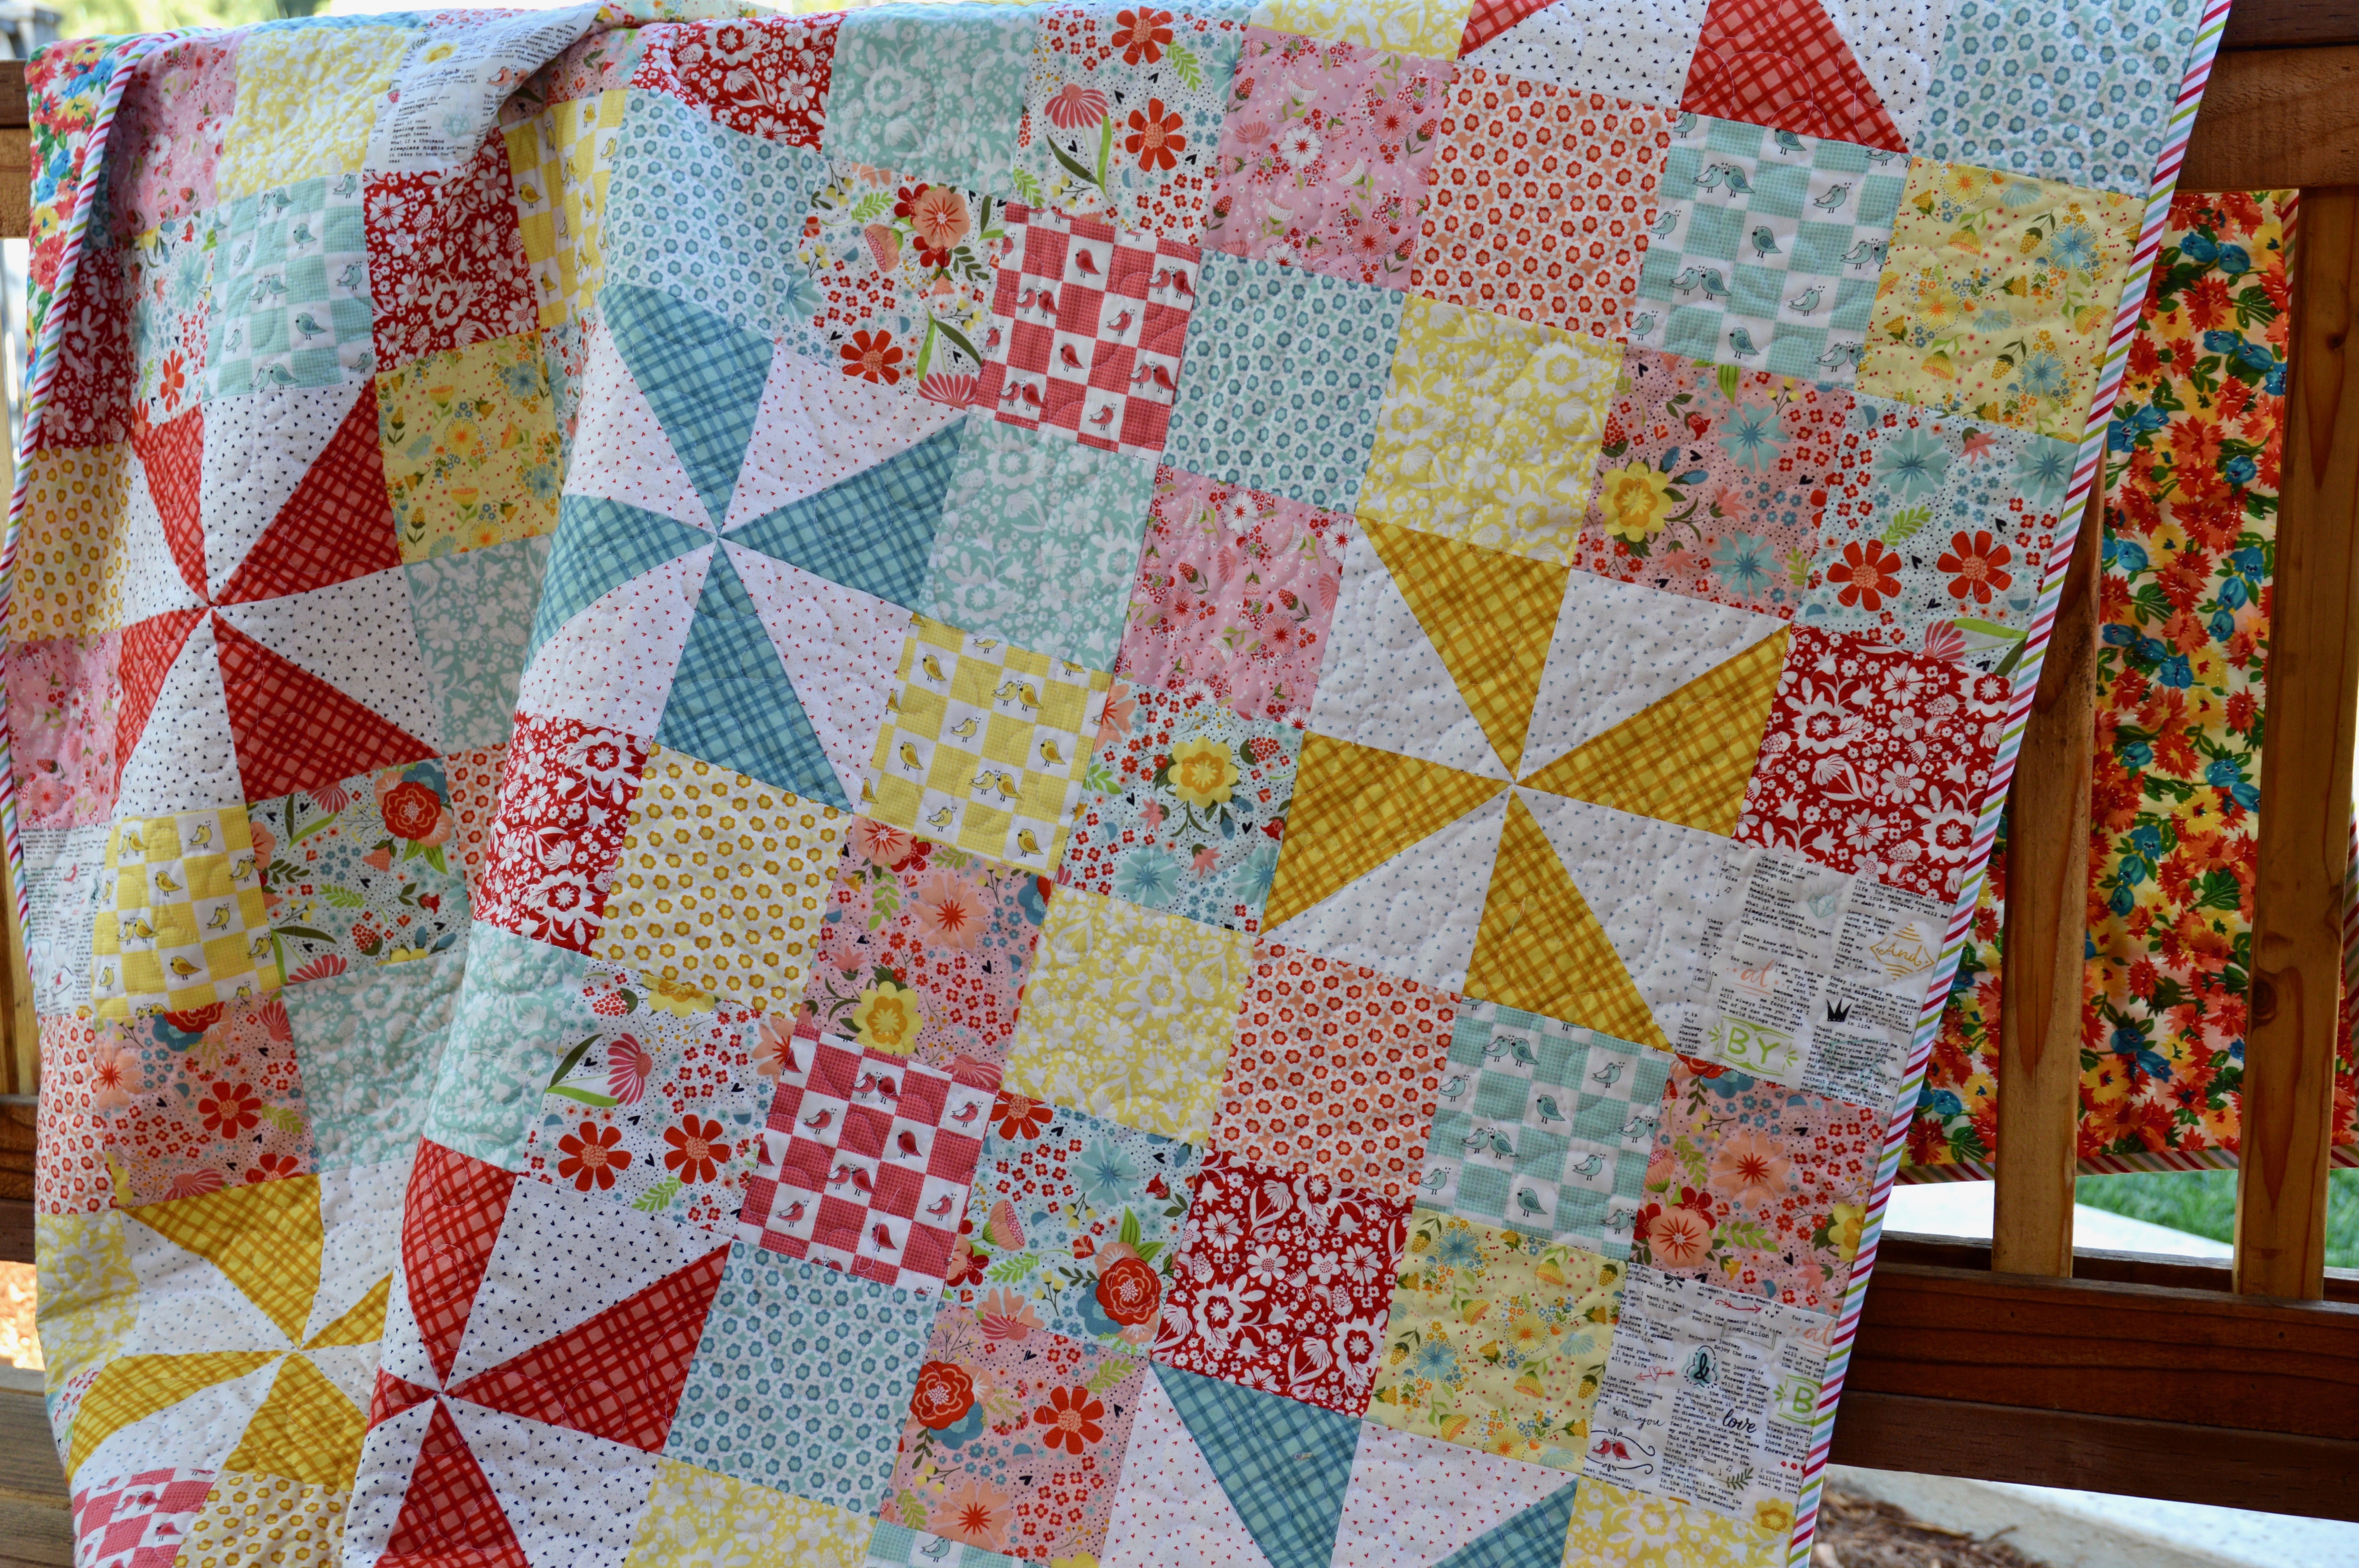
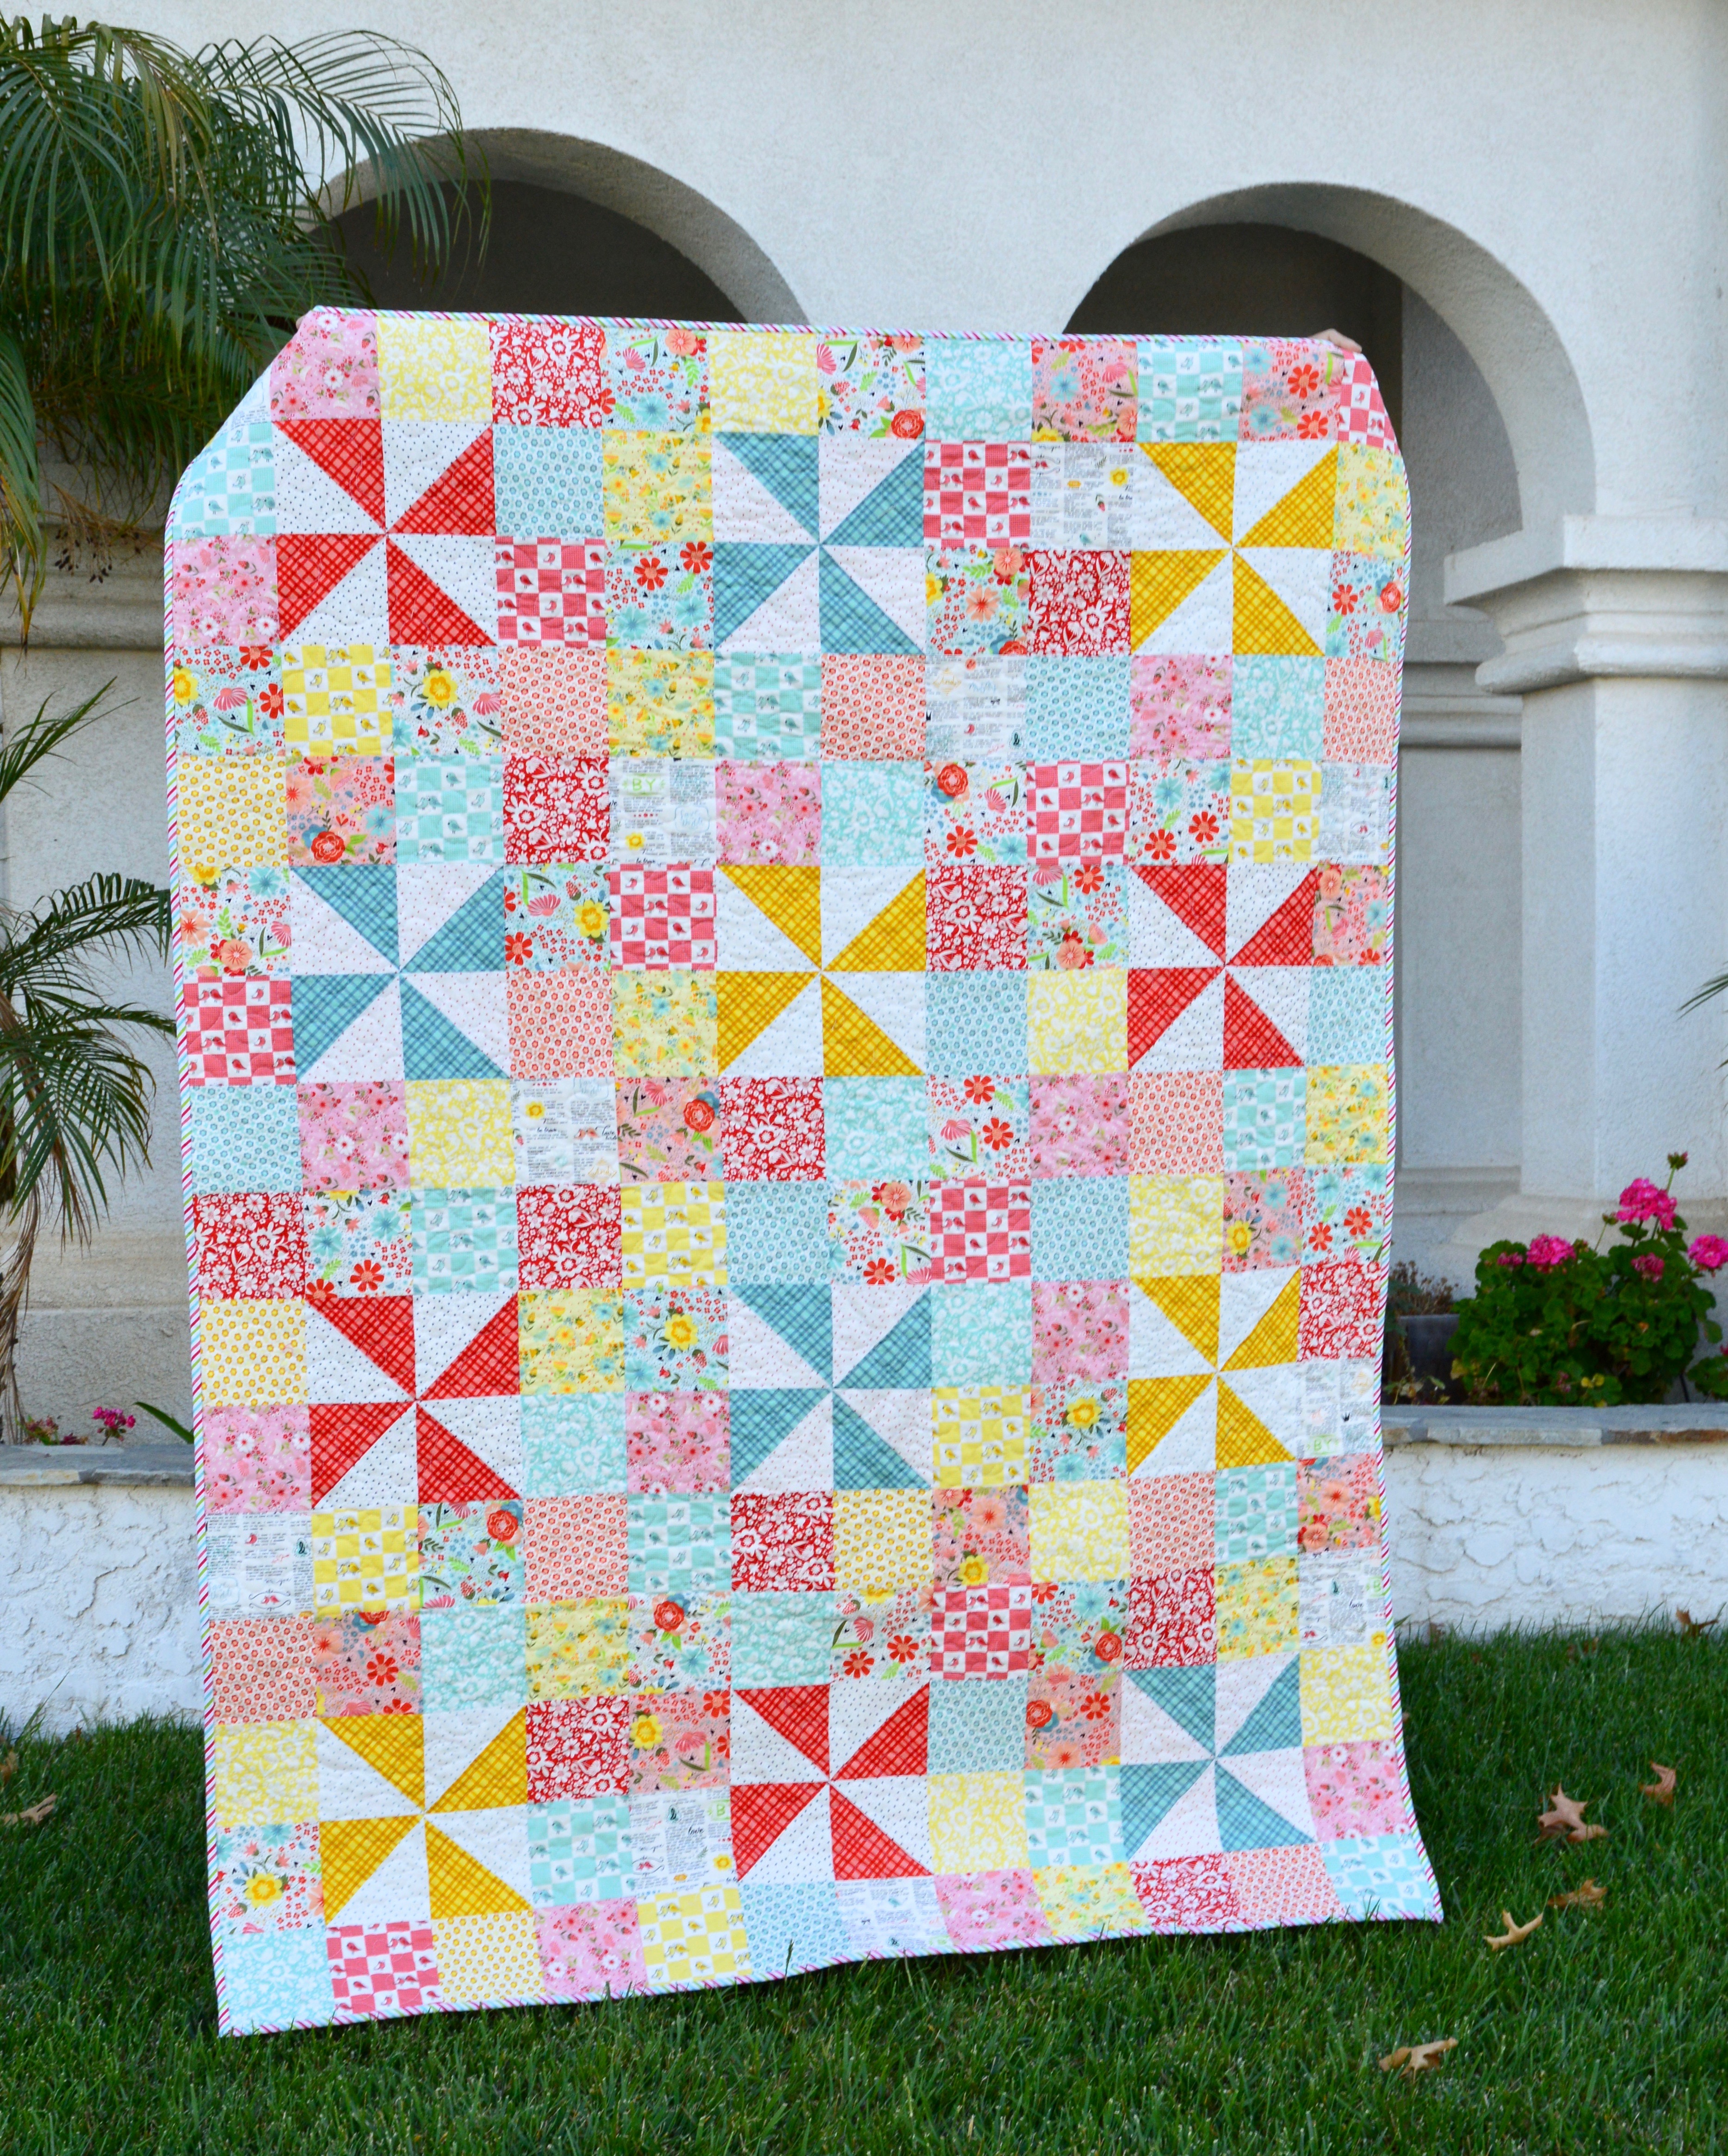
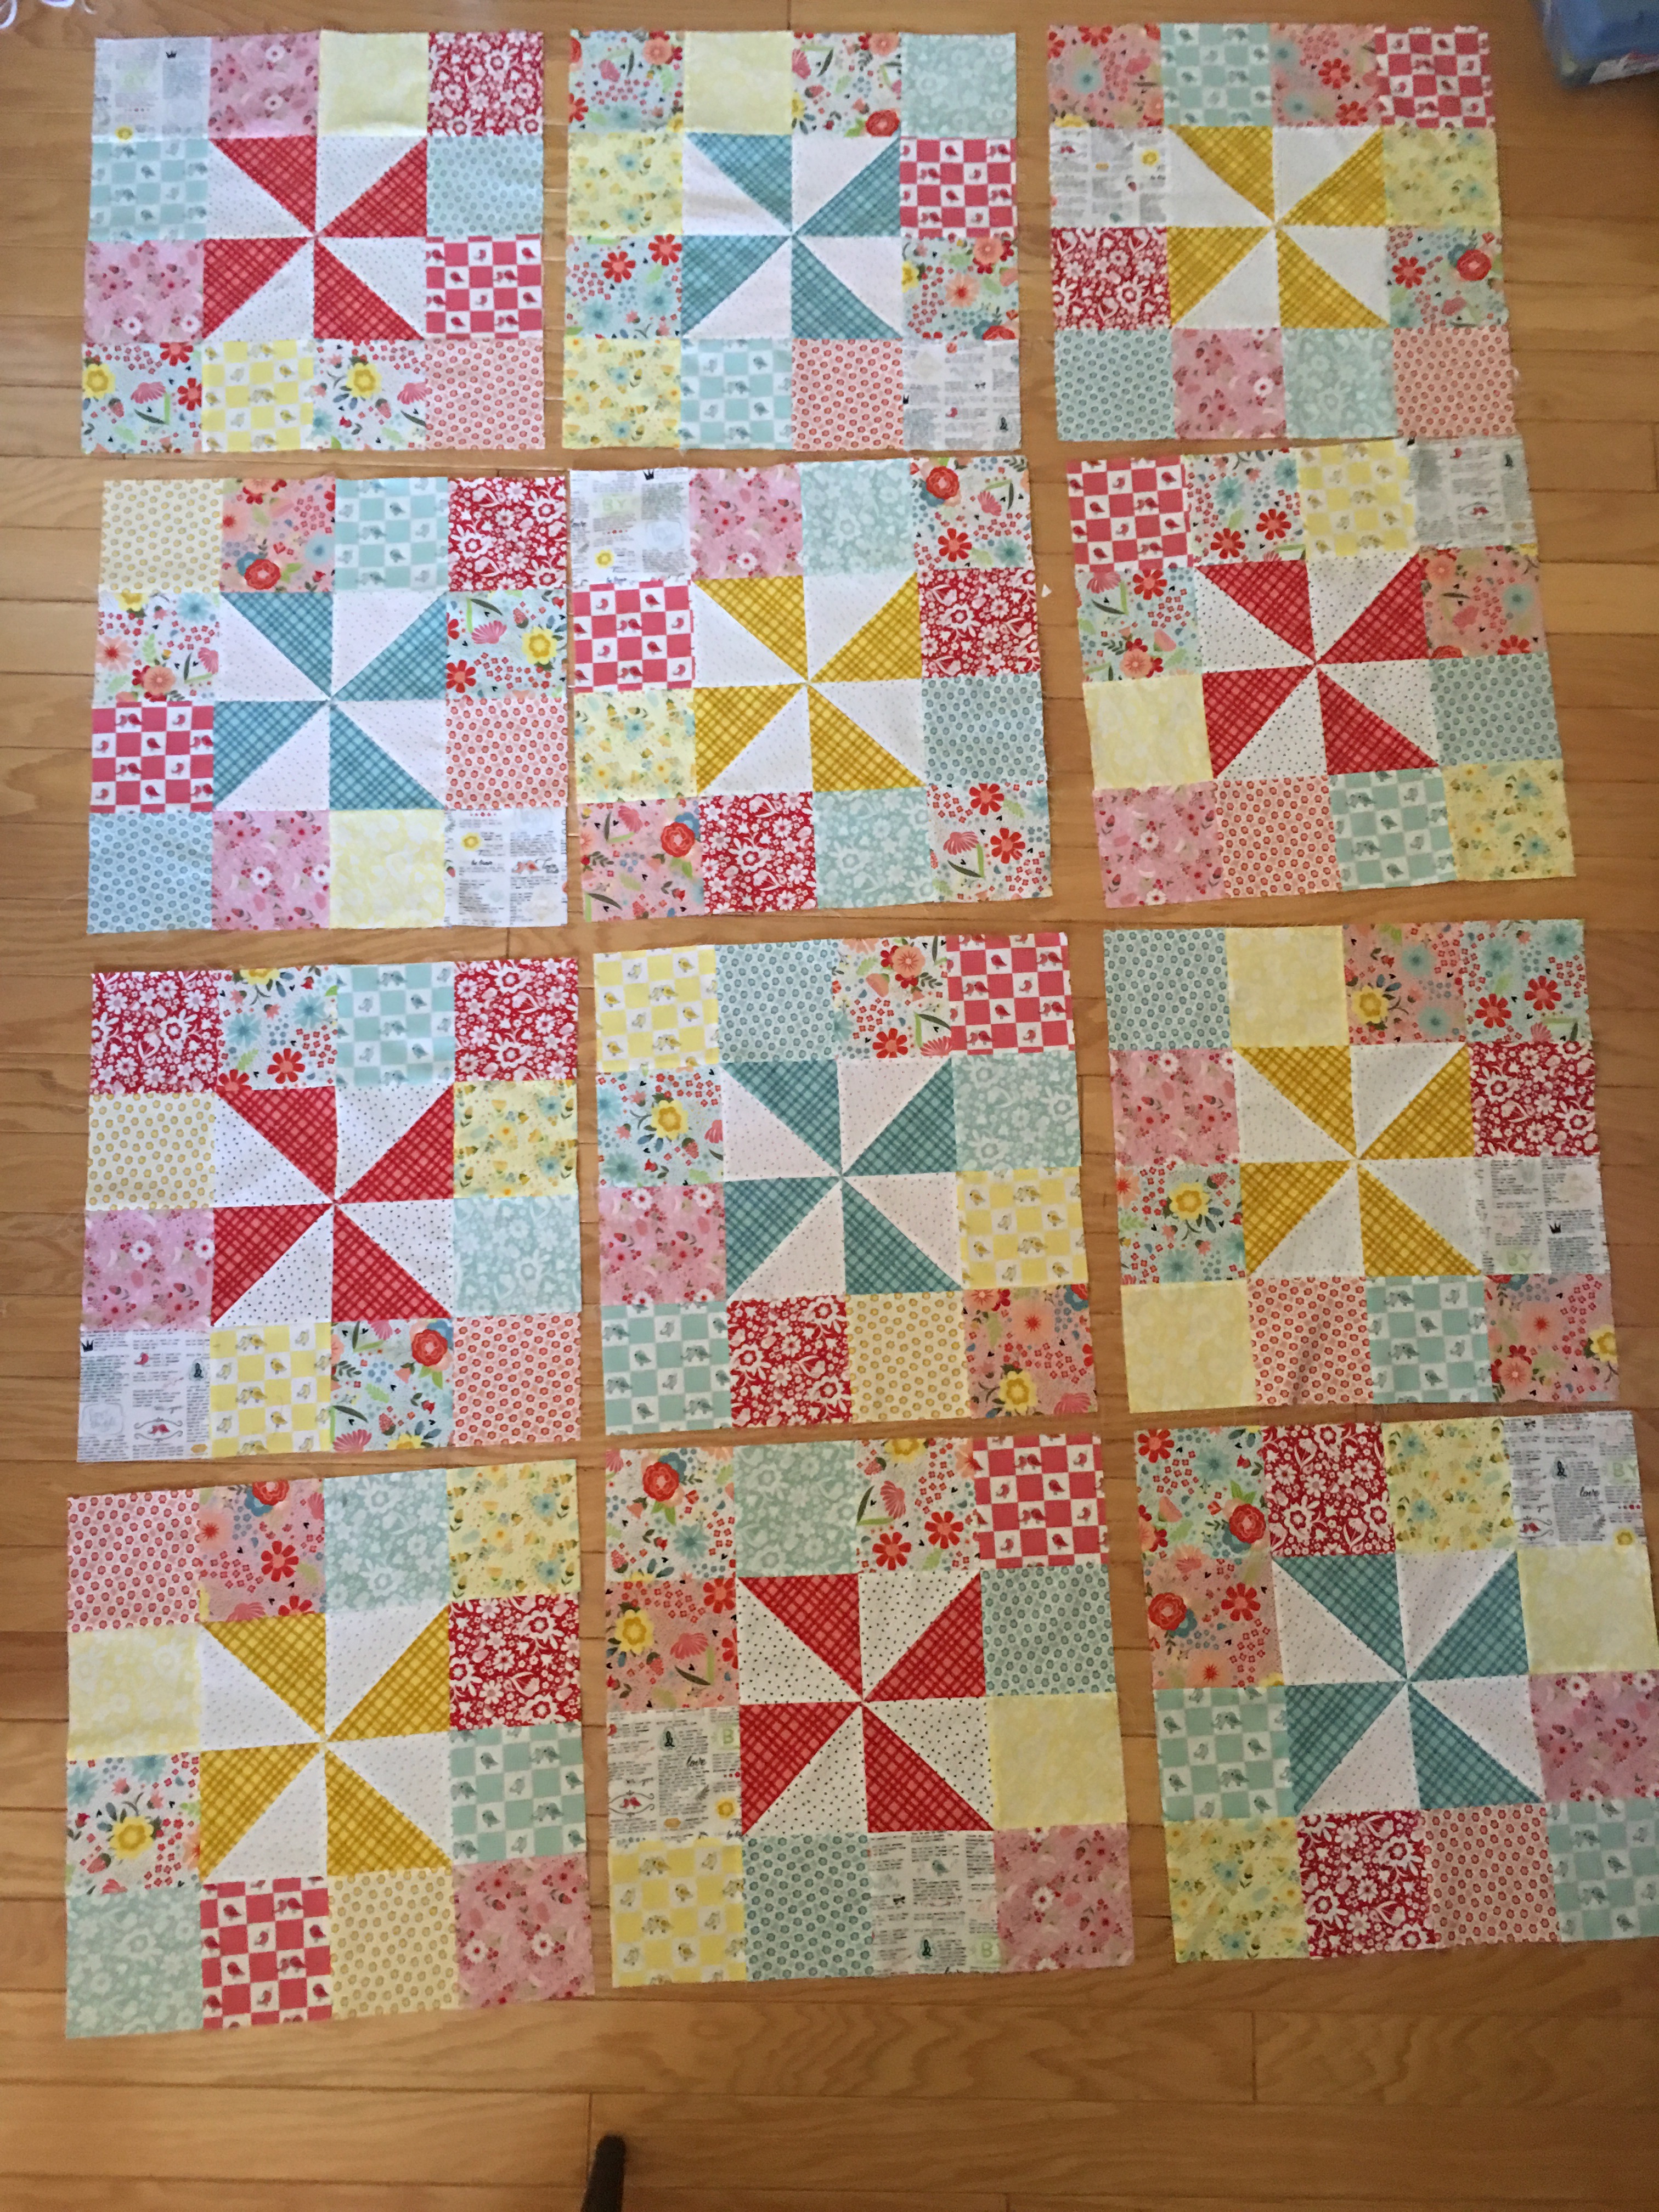
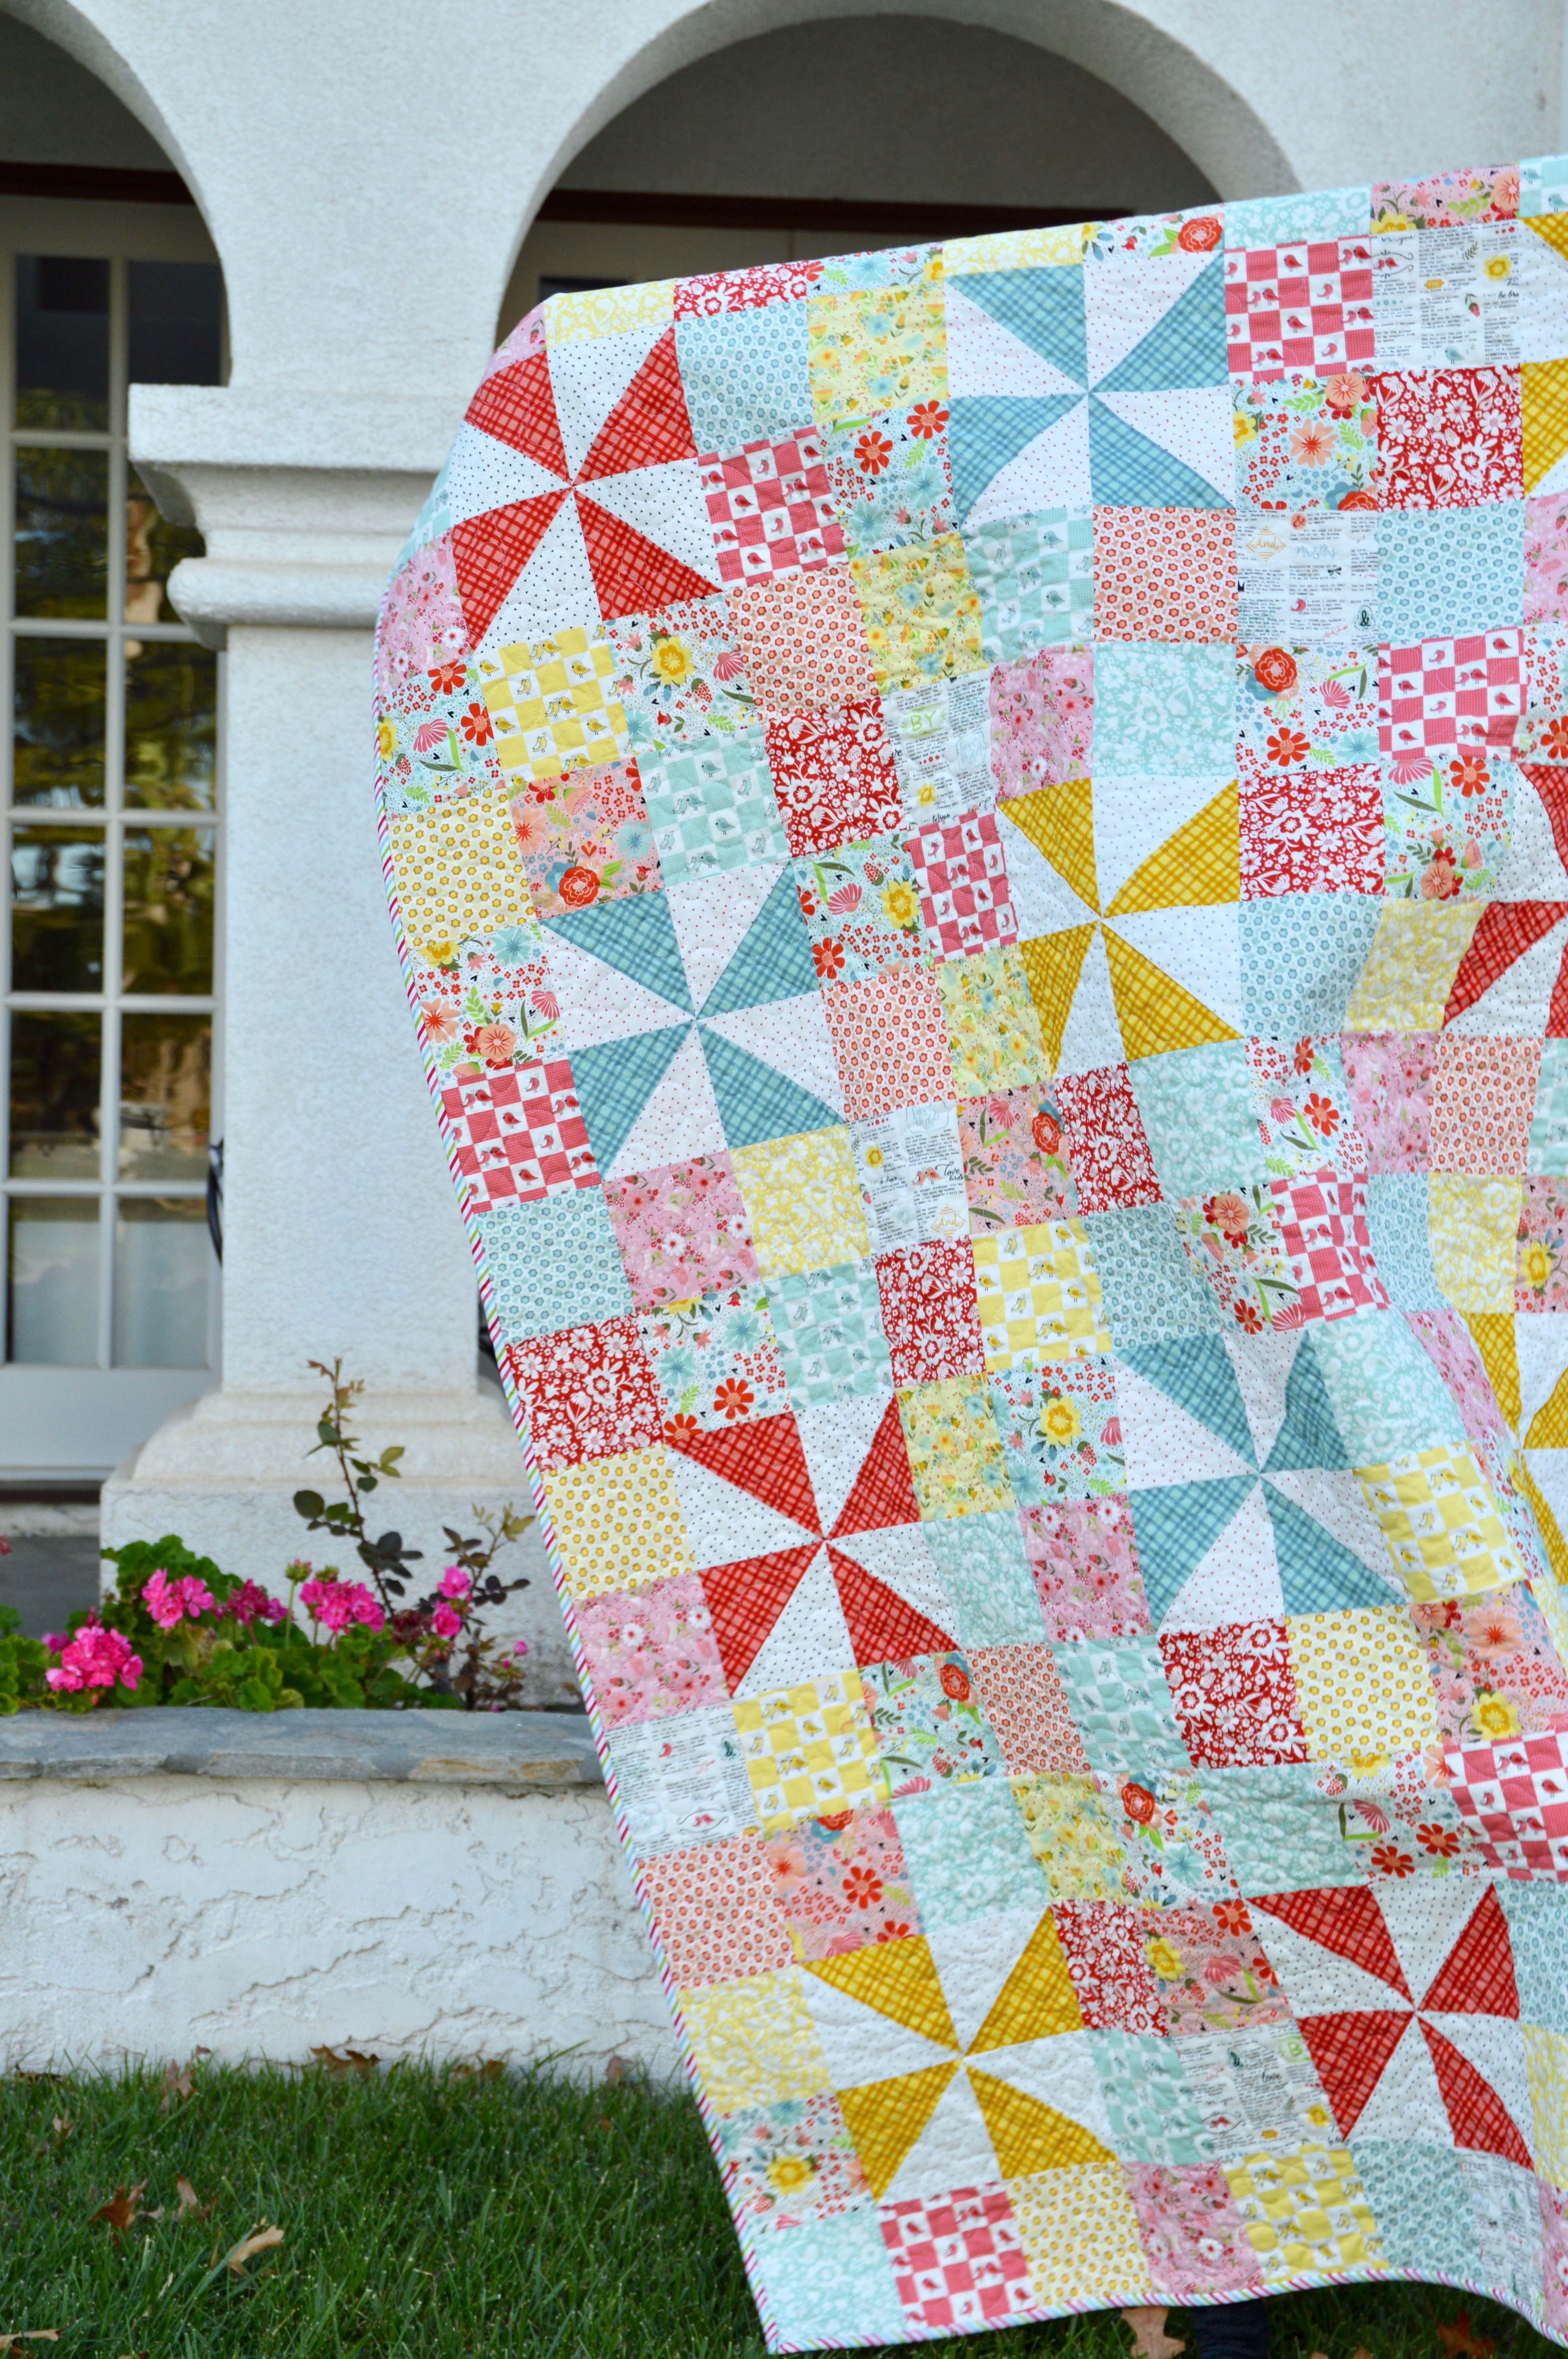
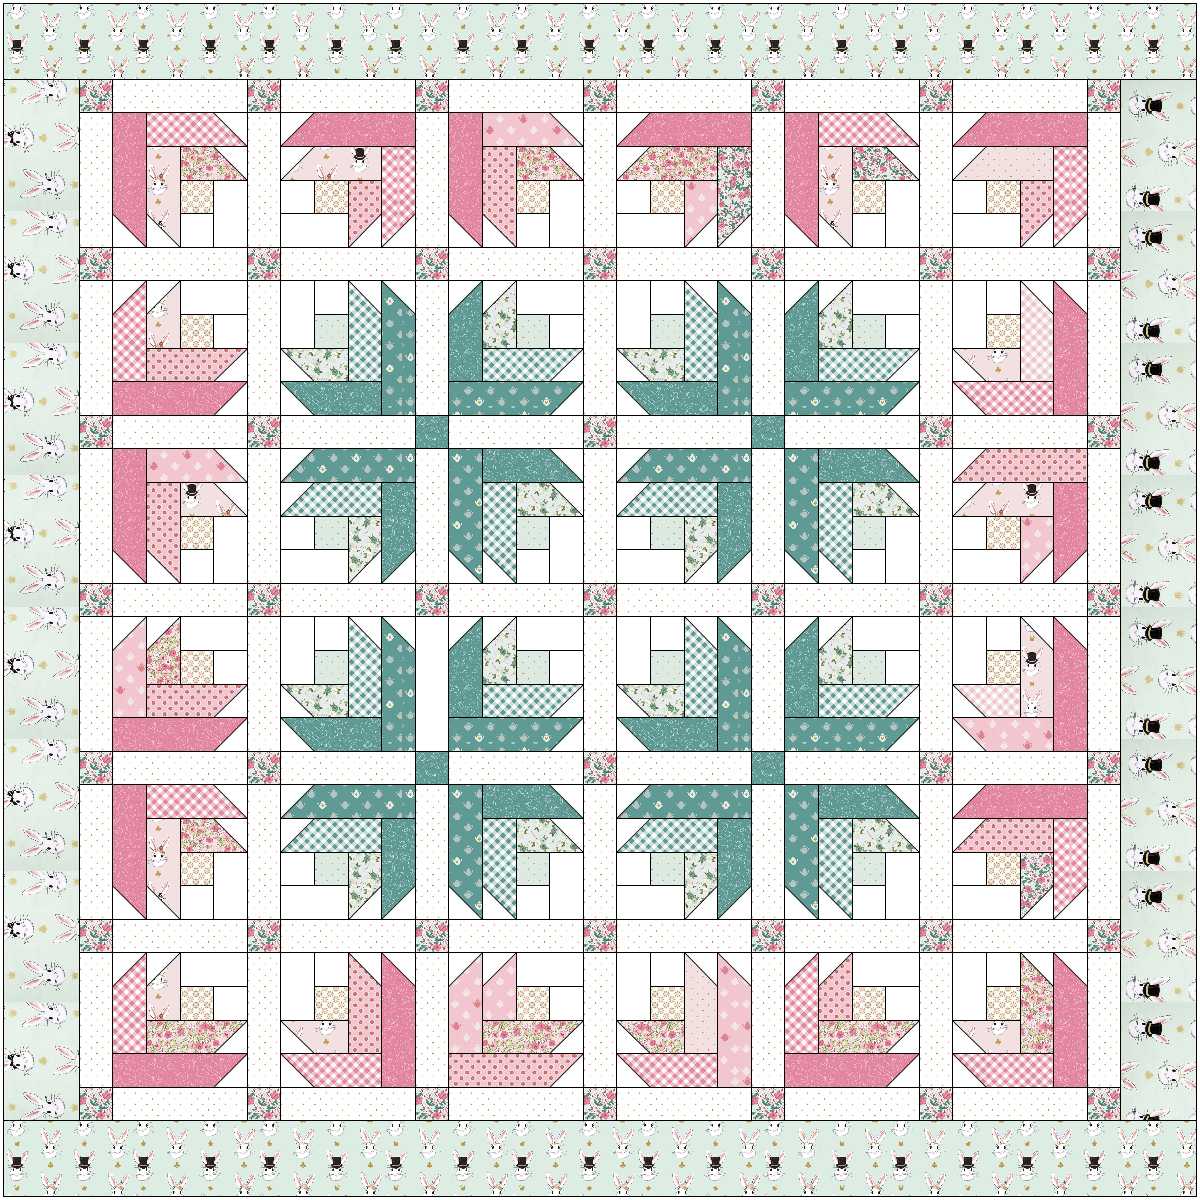
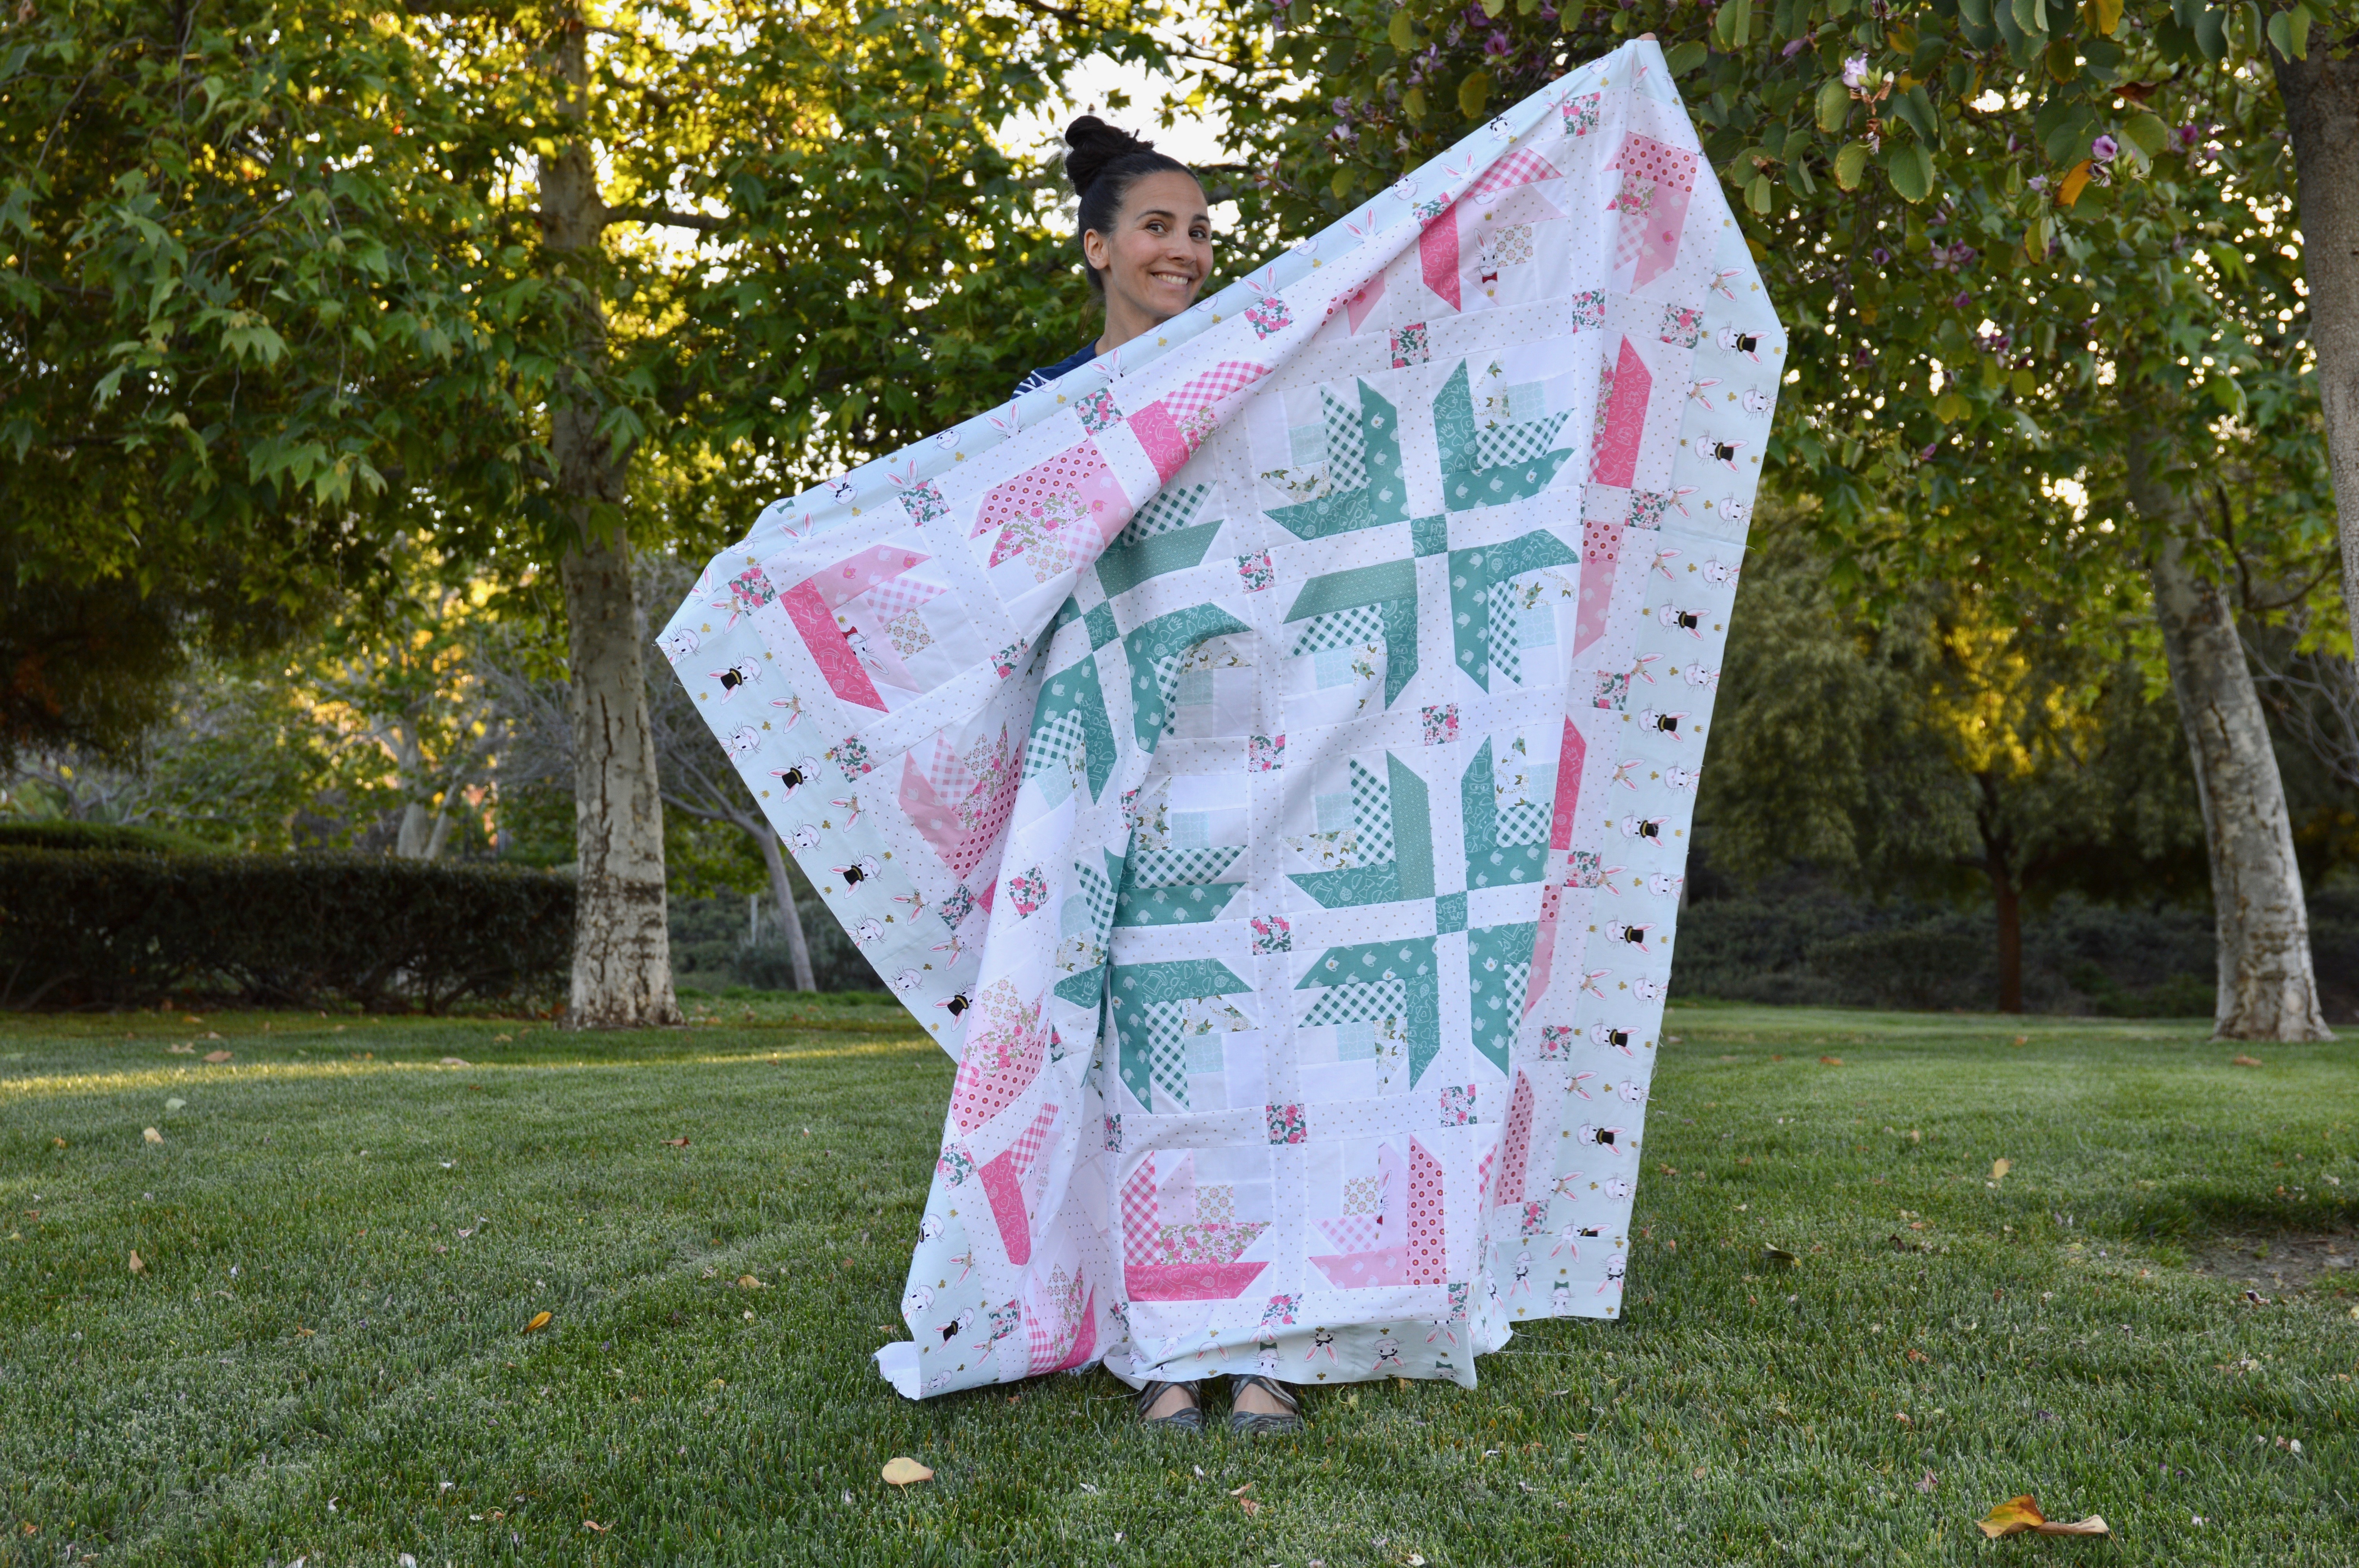
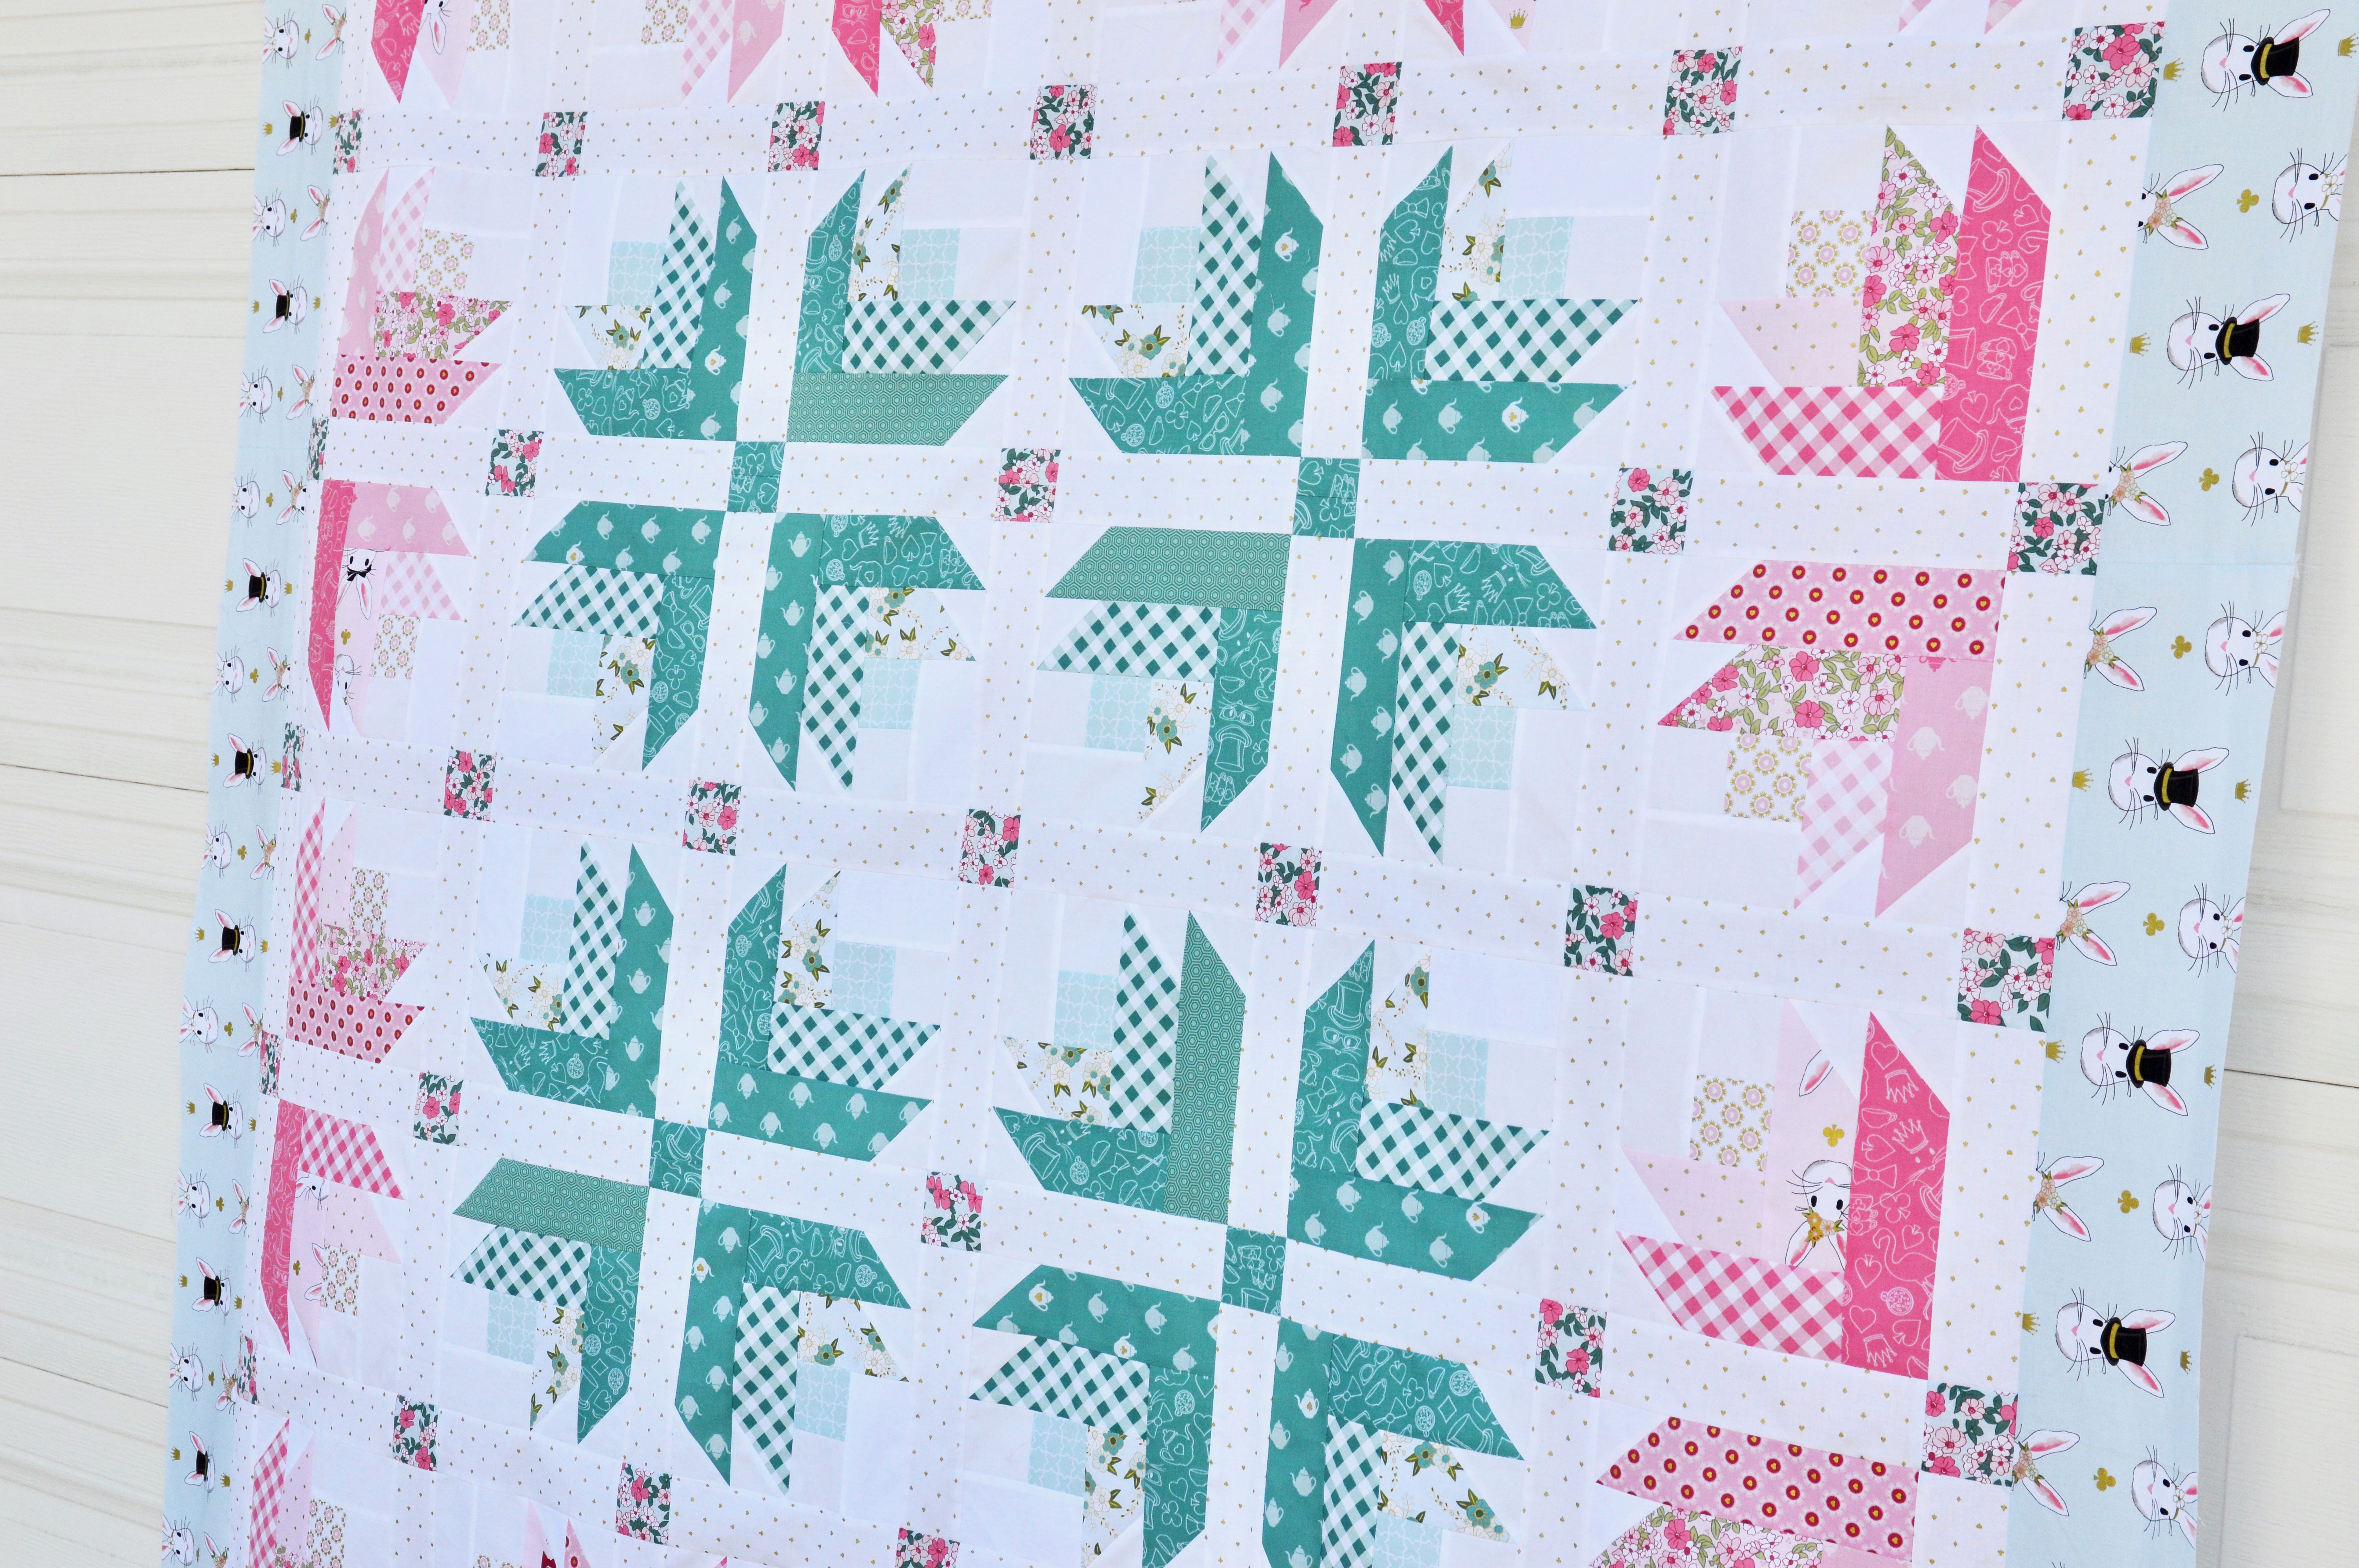
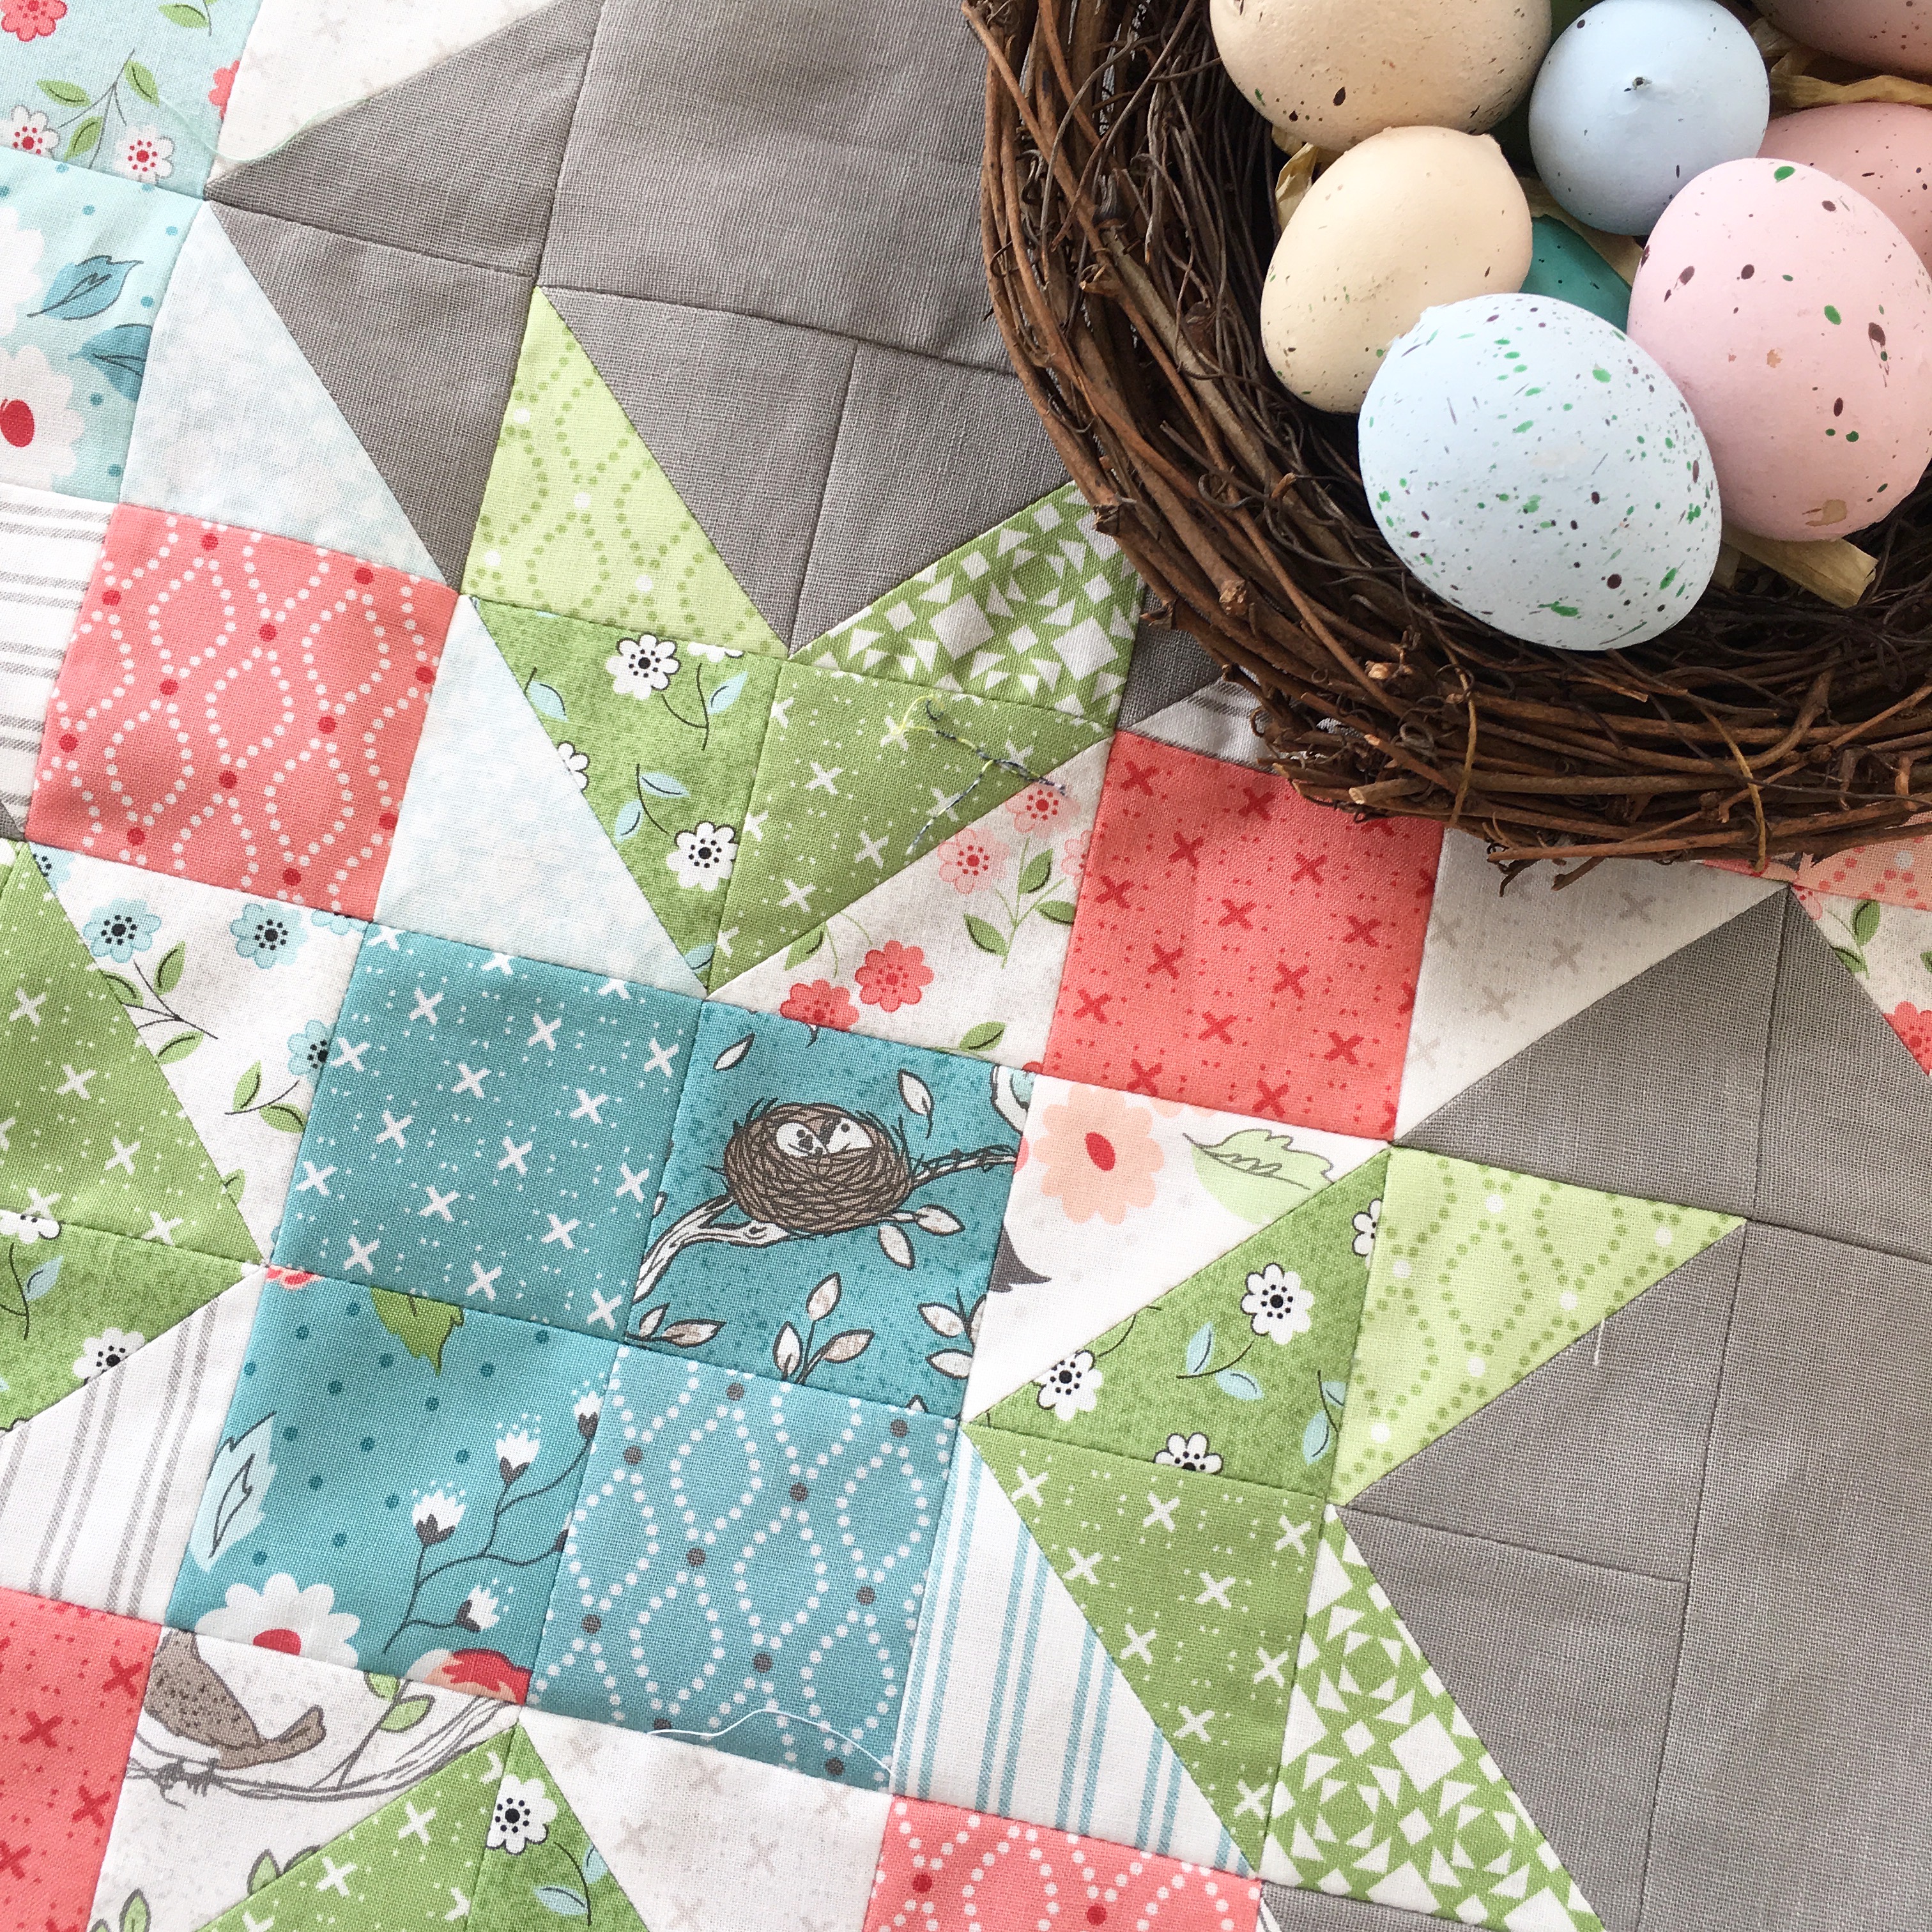 So I set out to design a wall quilt using only my charm pack and background yardage. I love how it turned out!
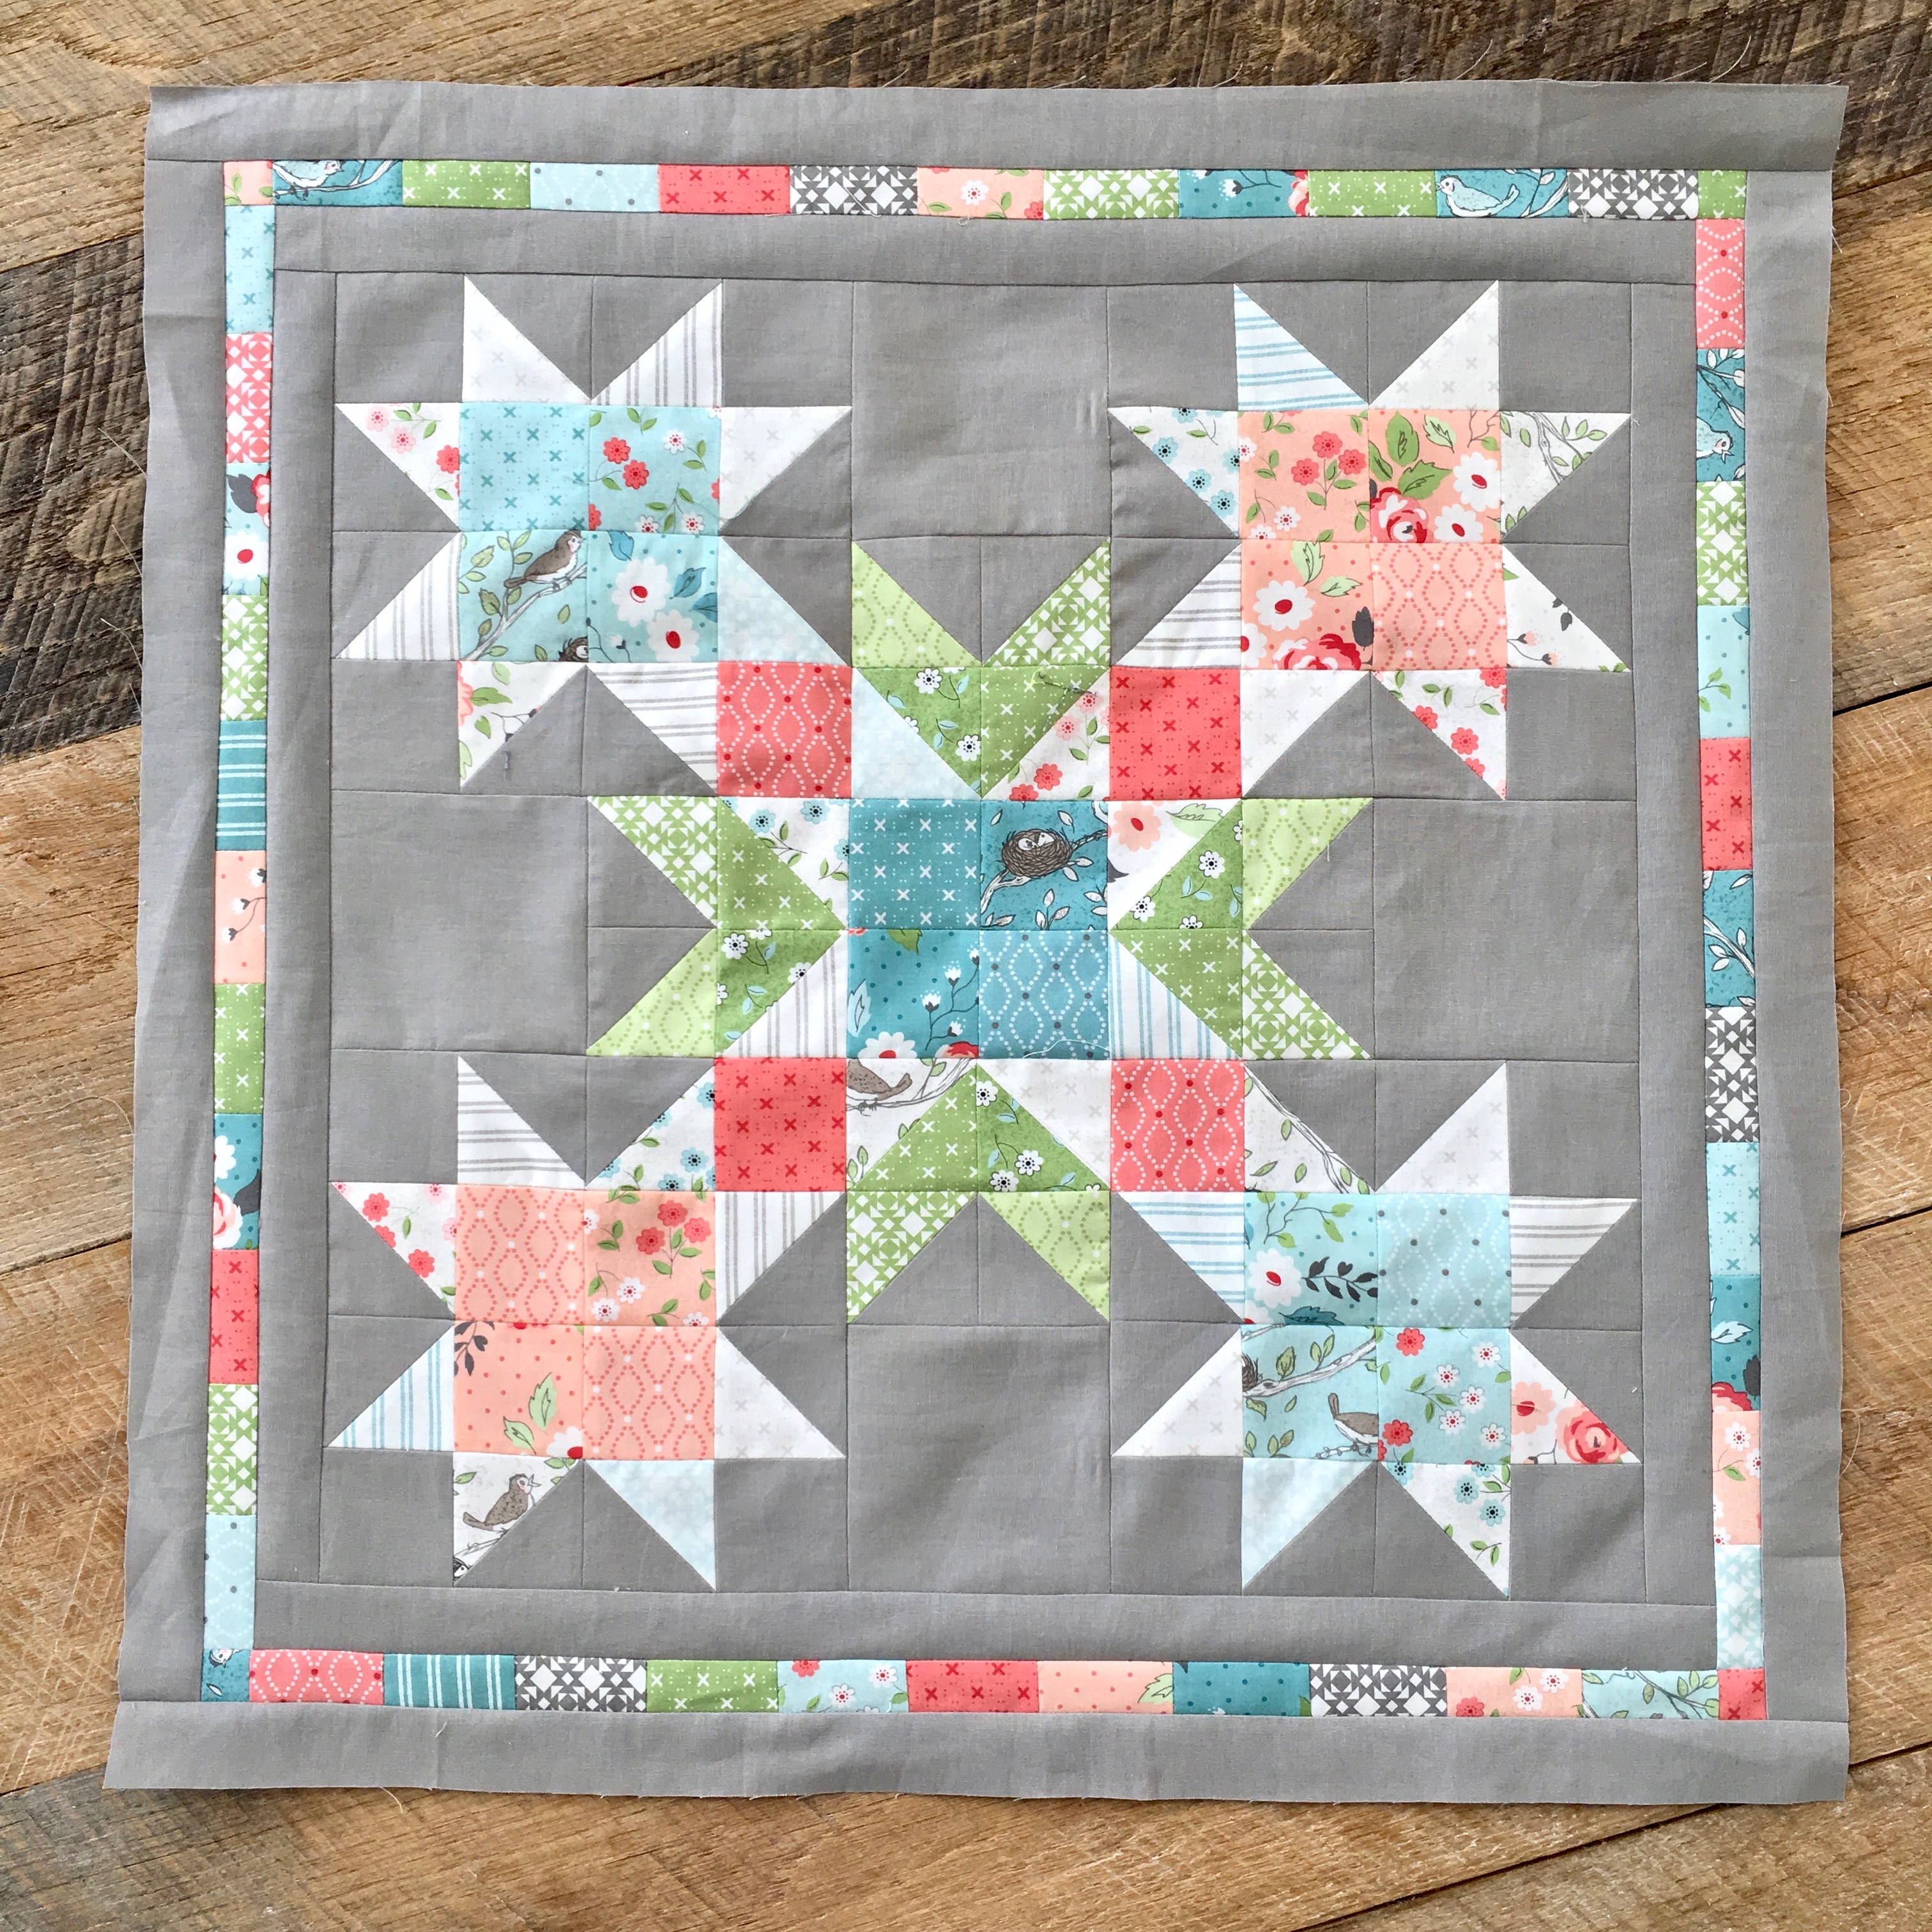
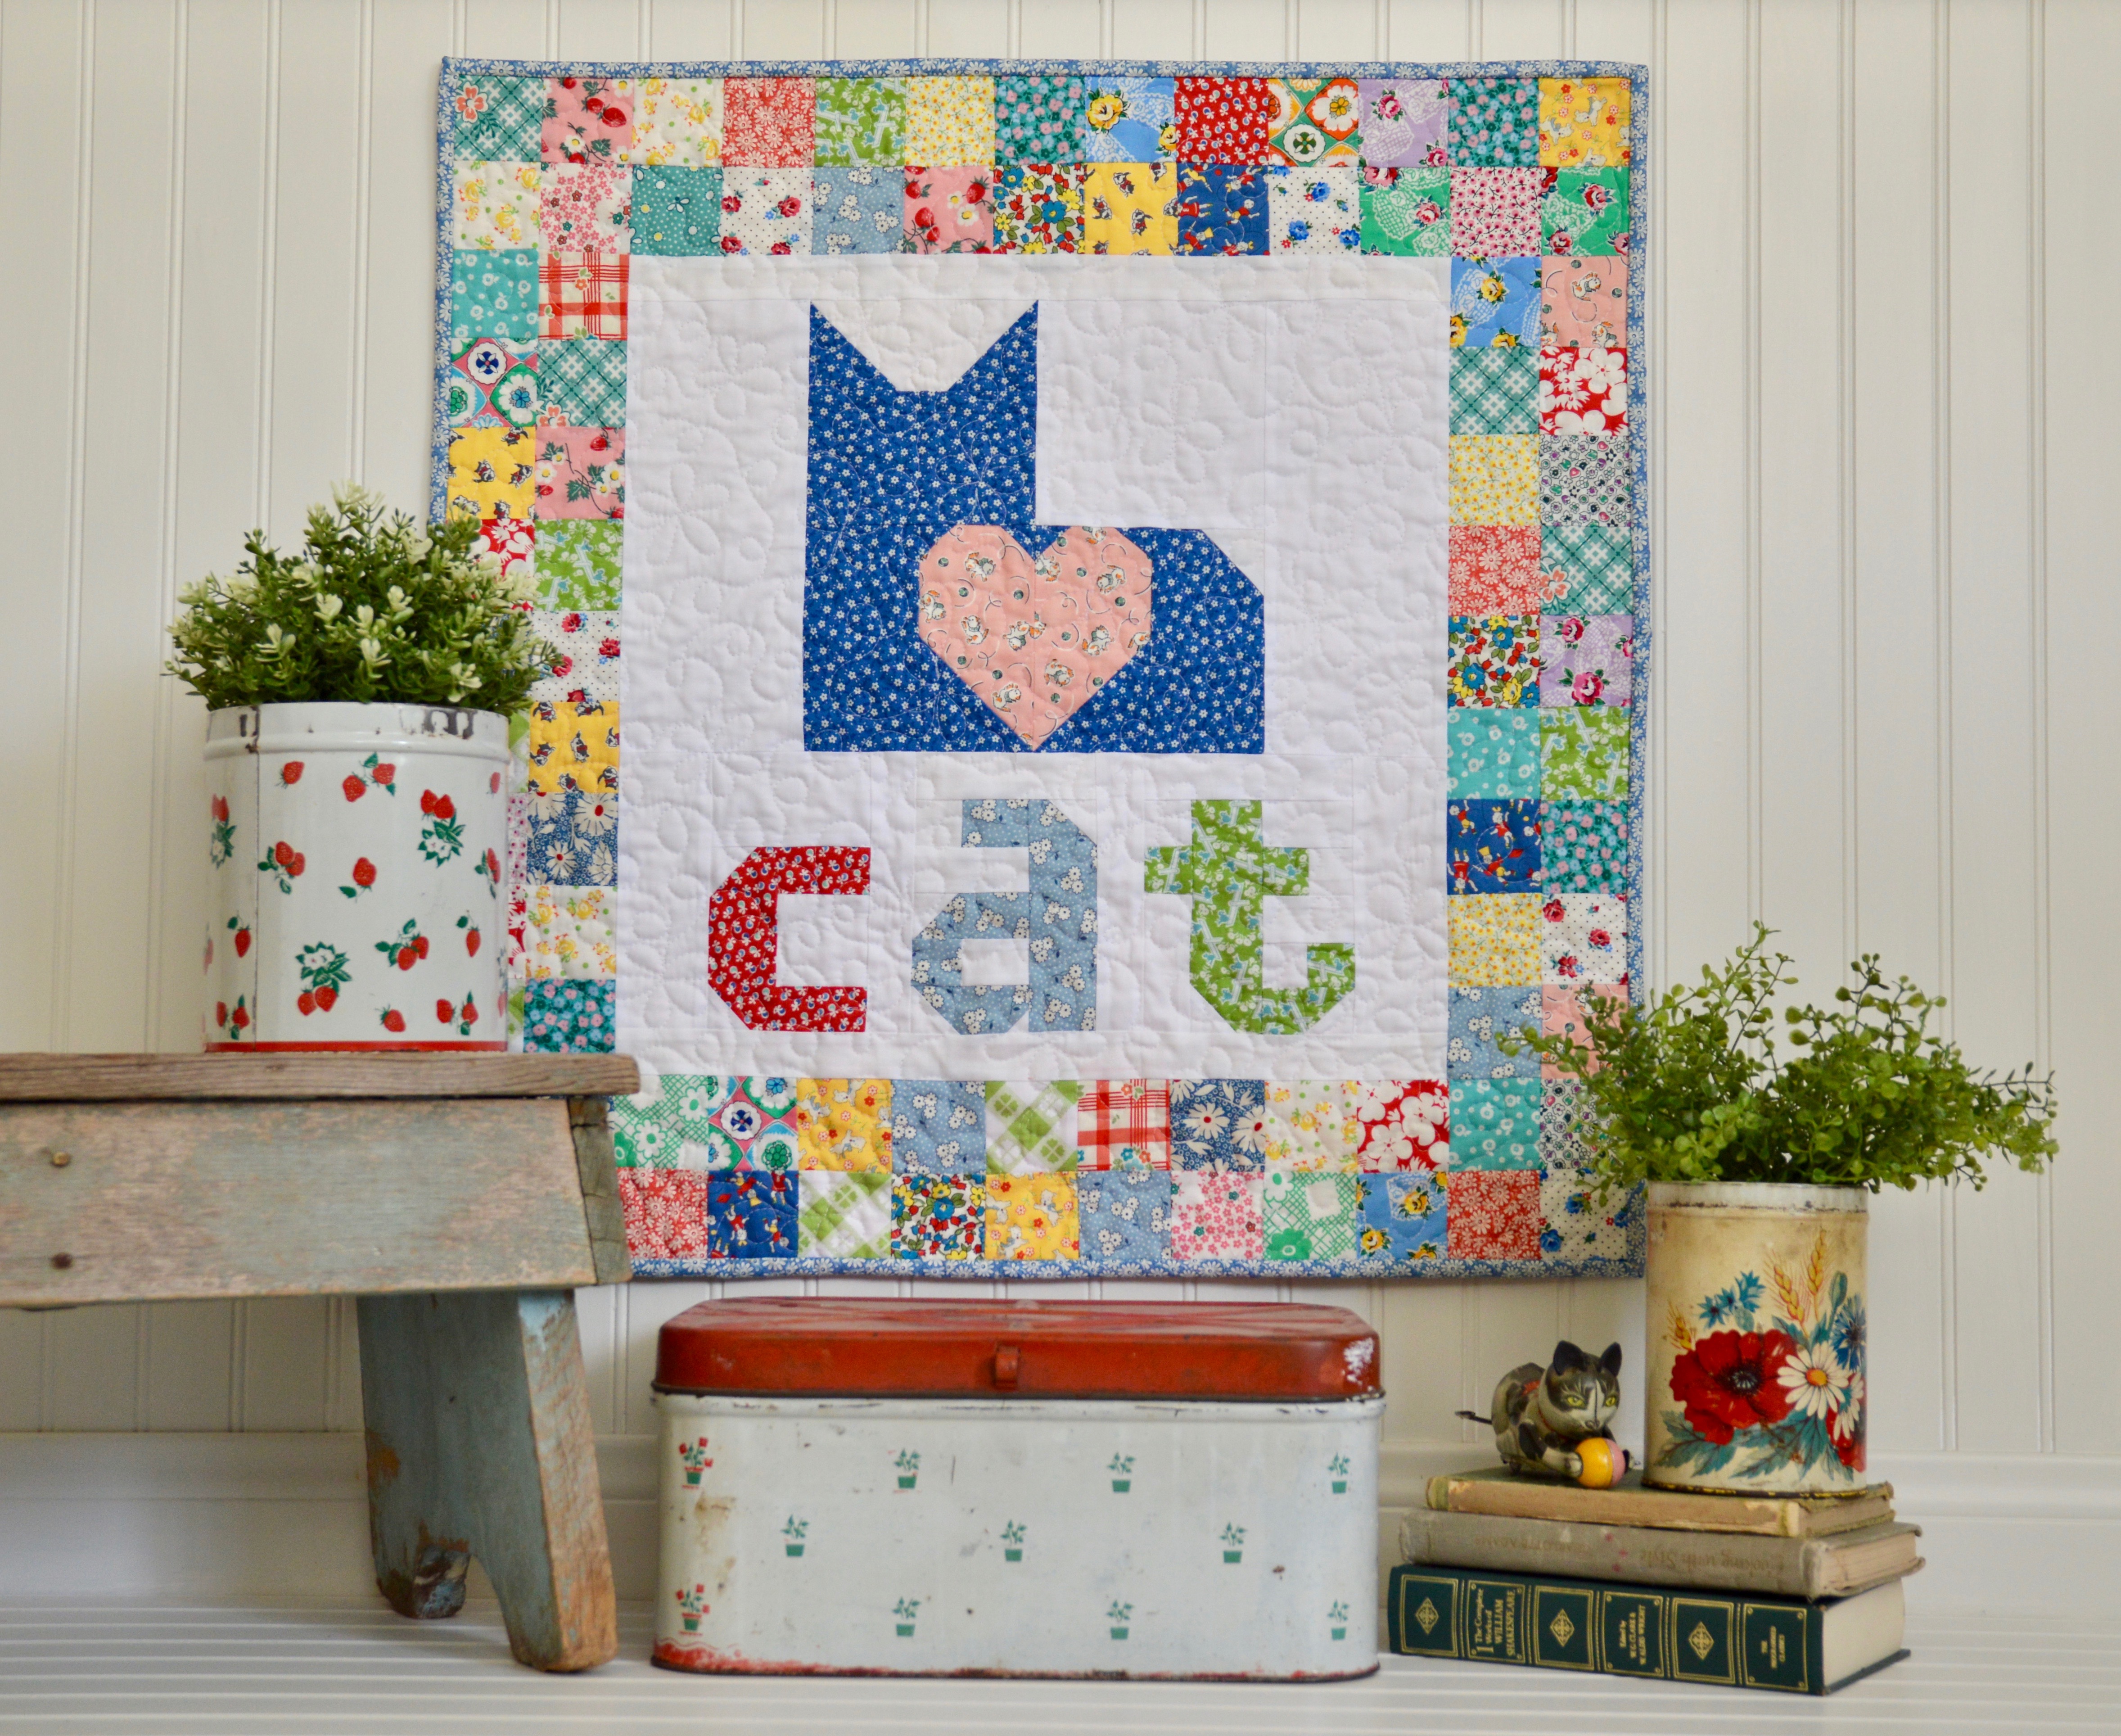
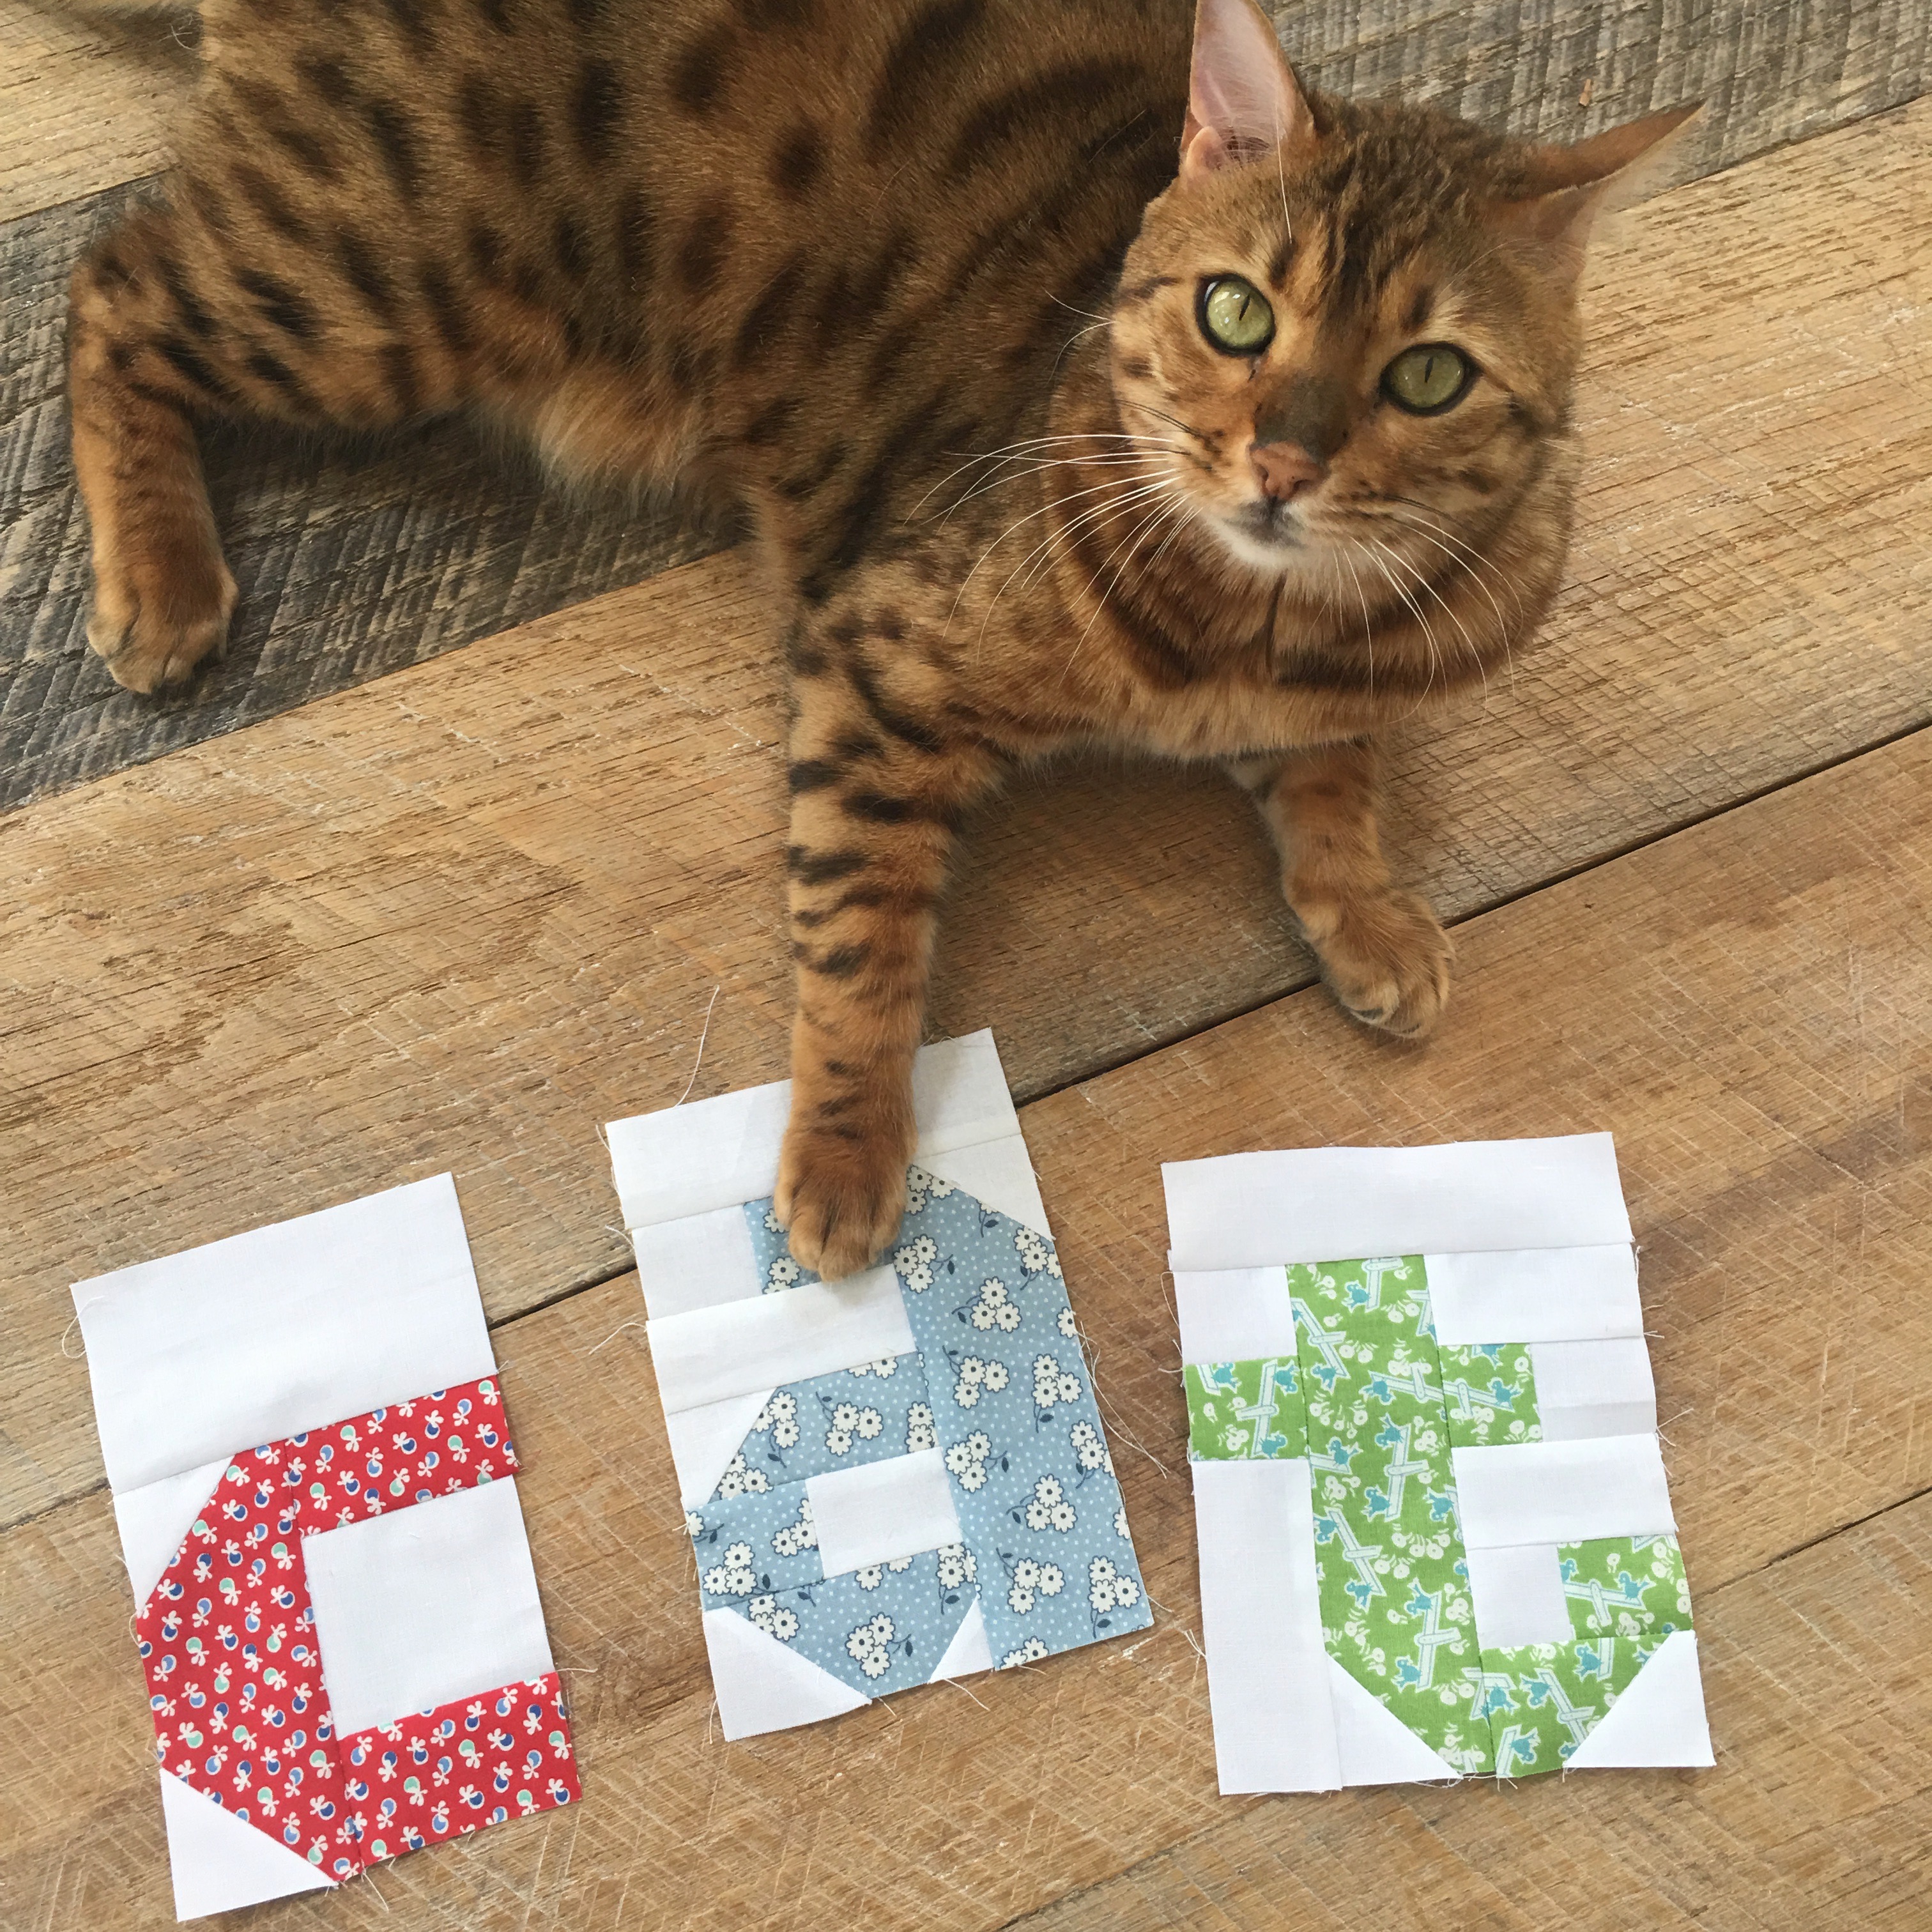
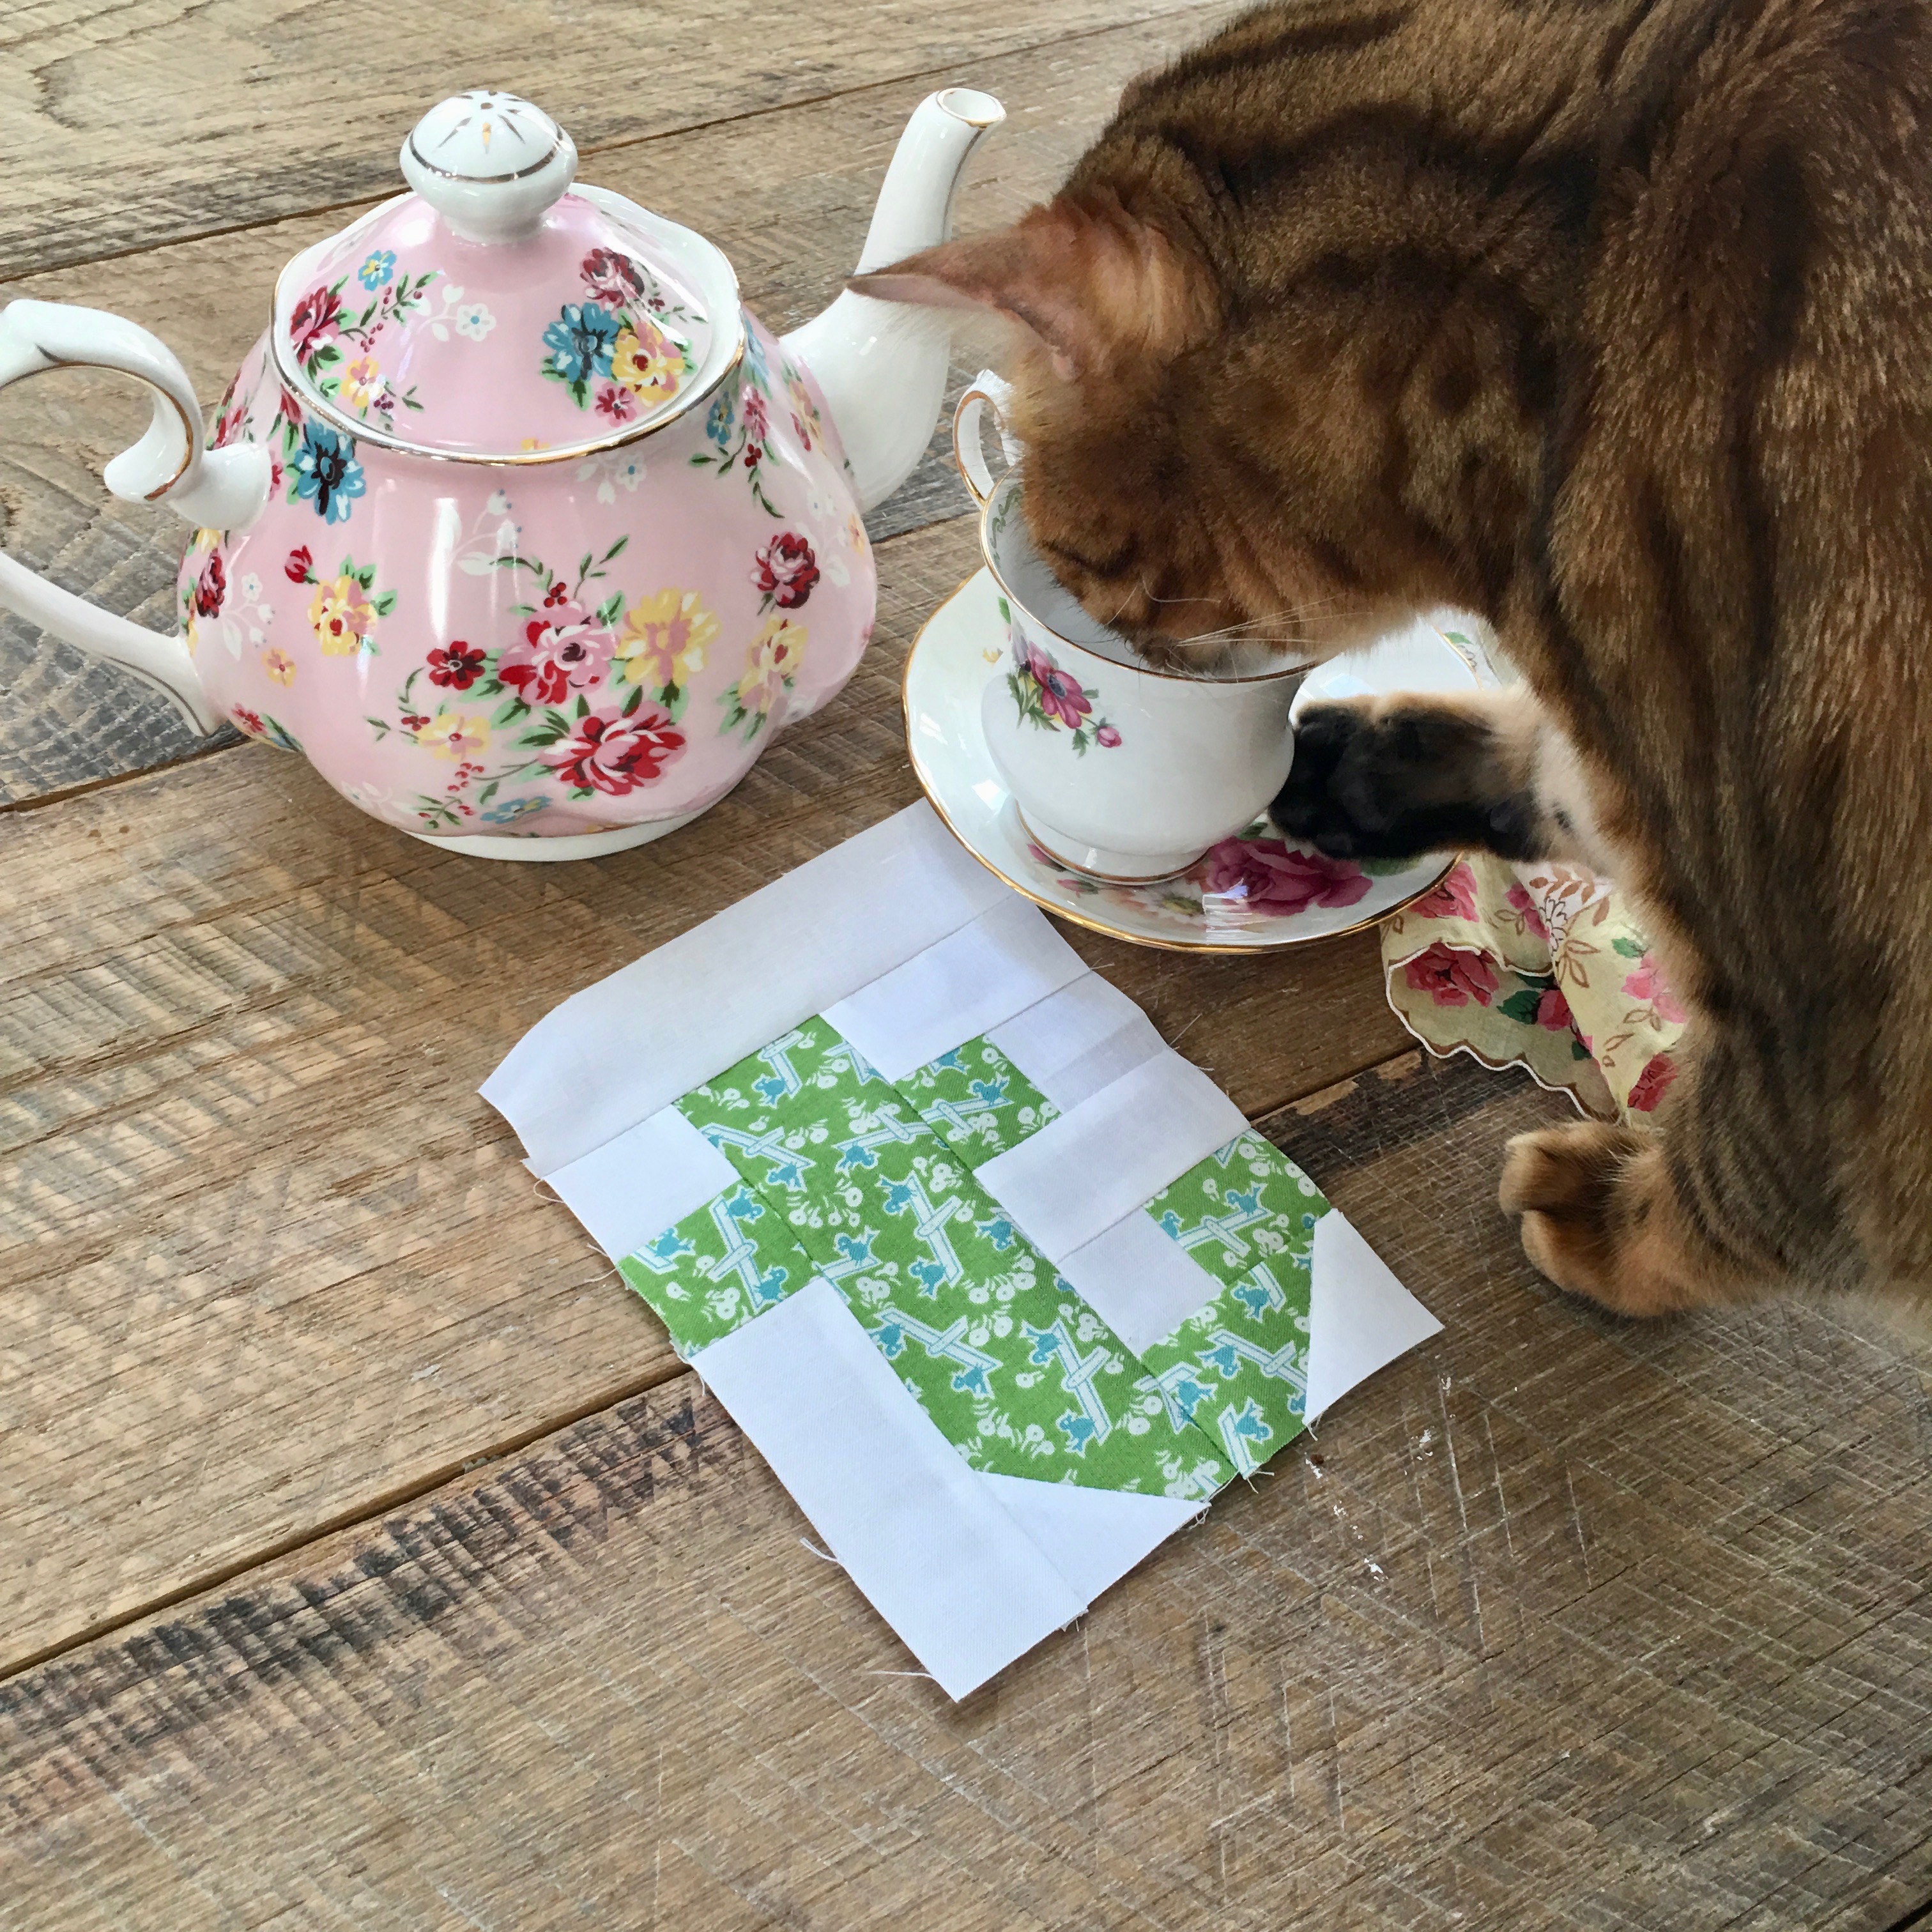
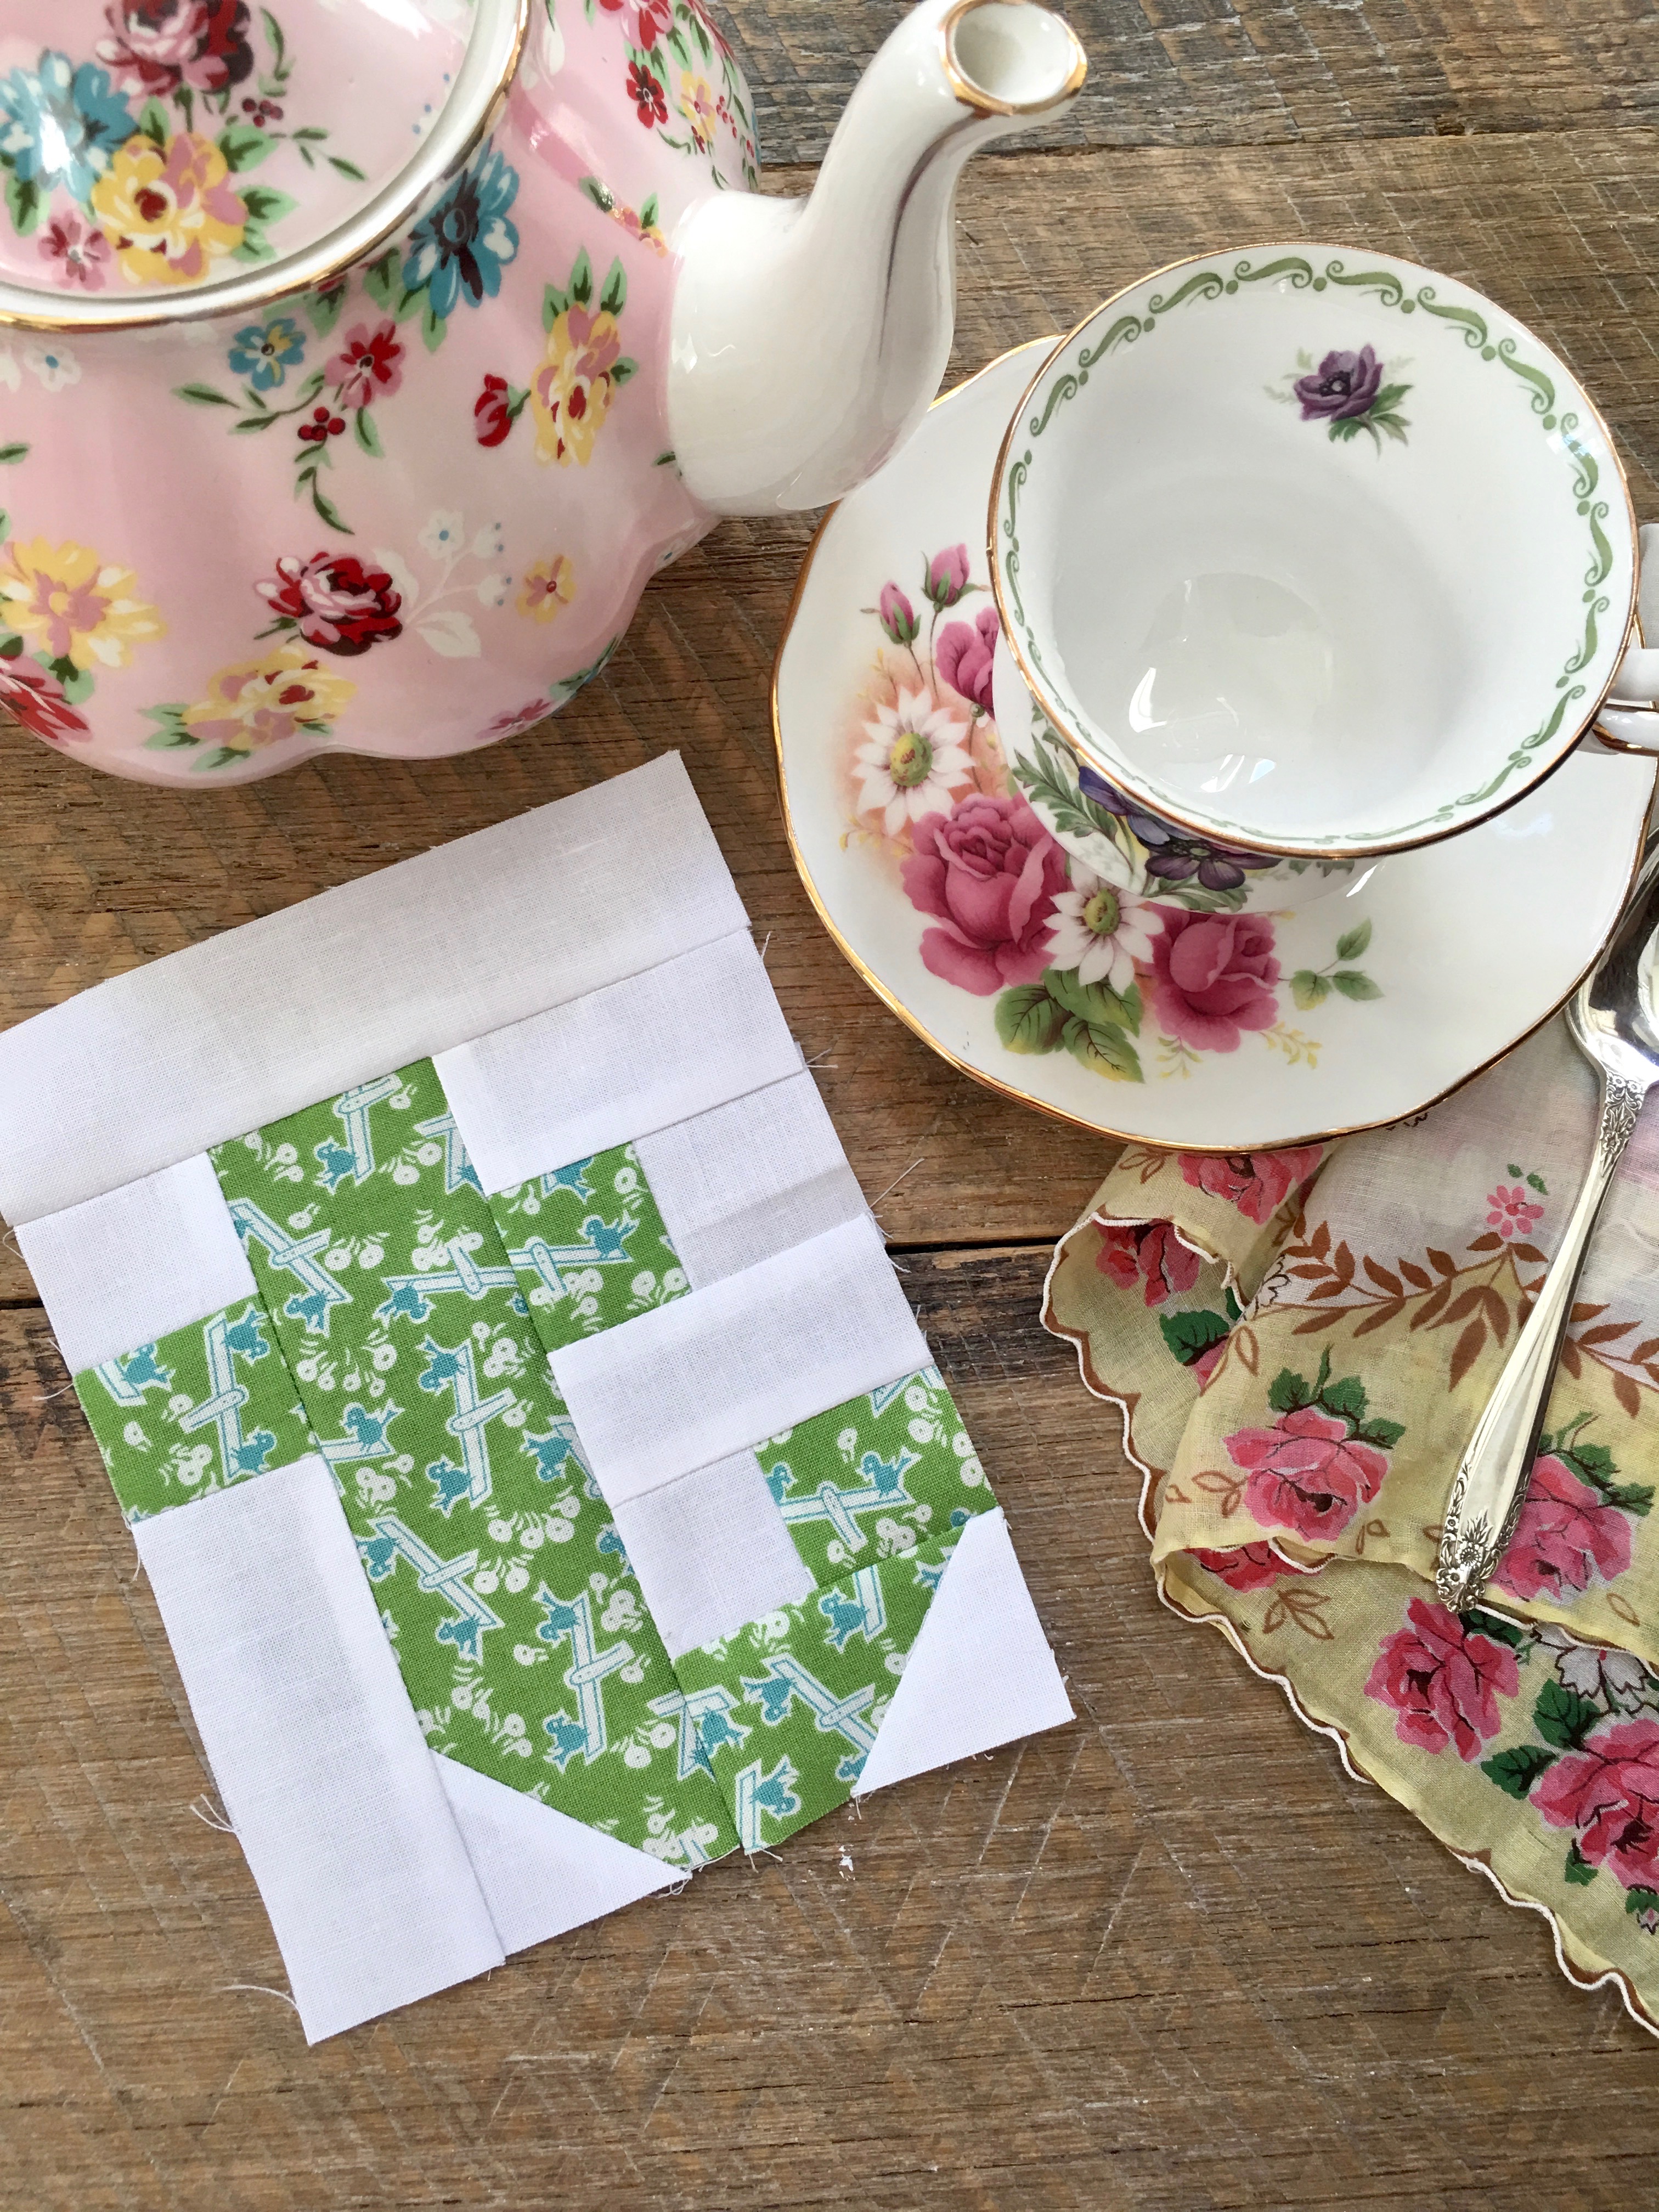
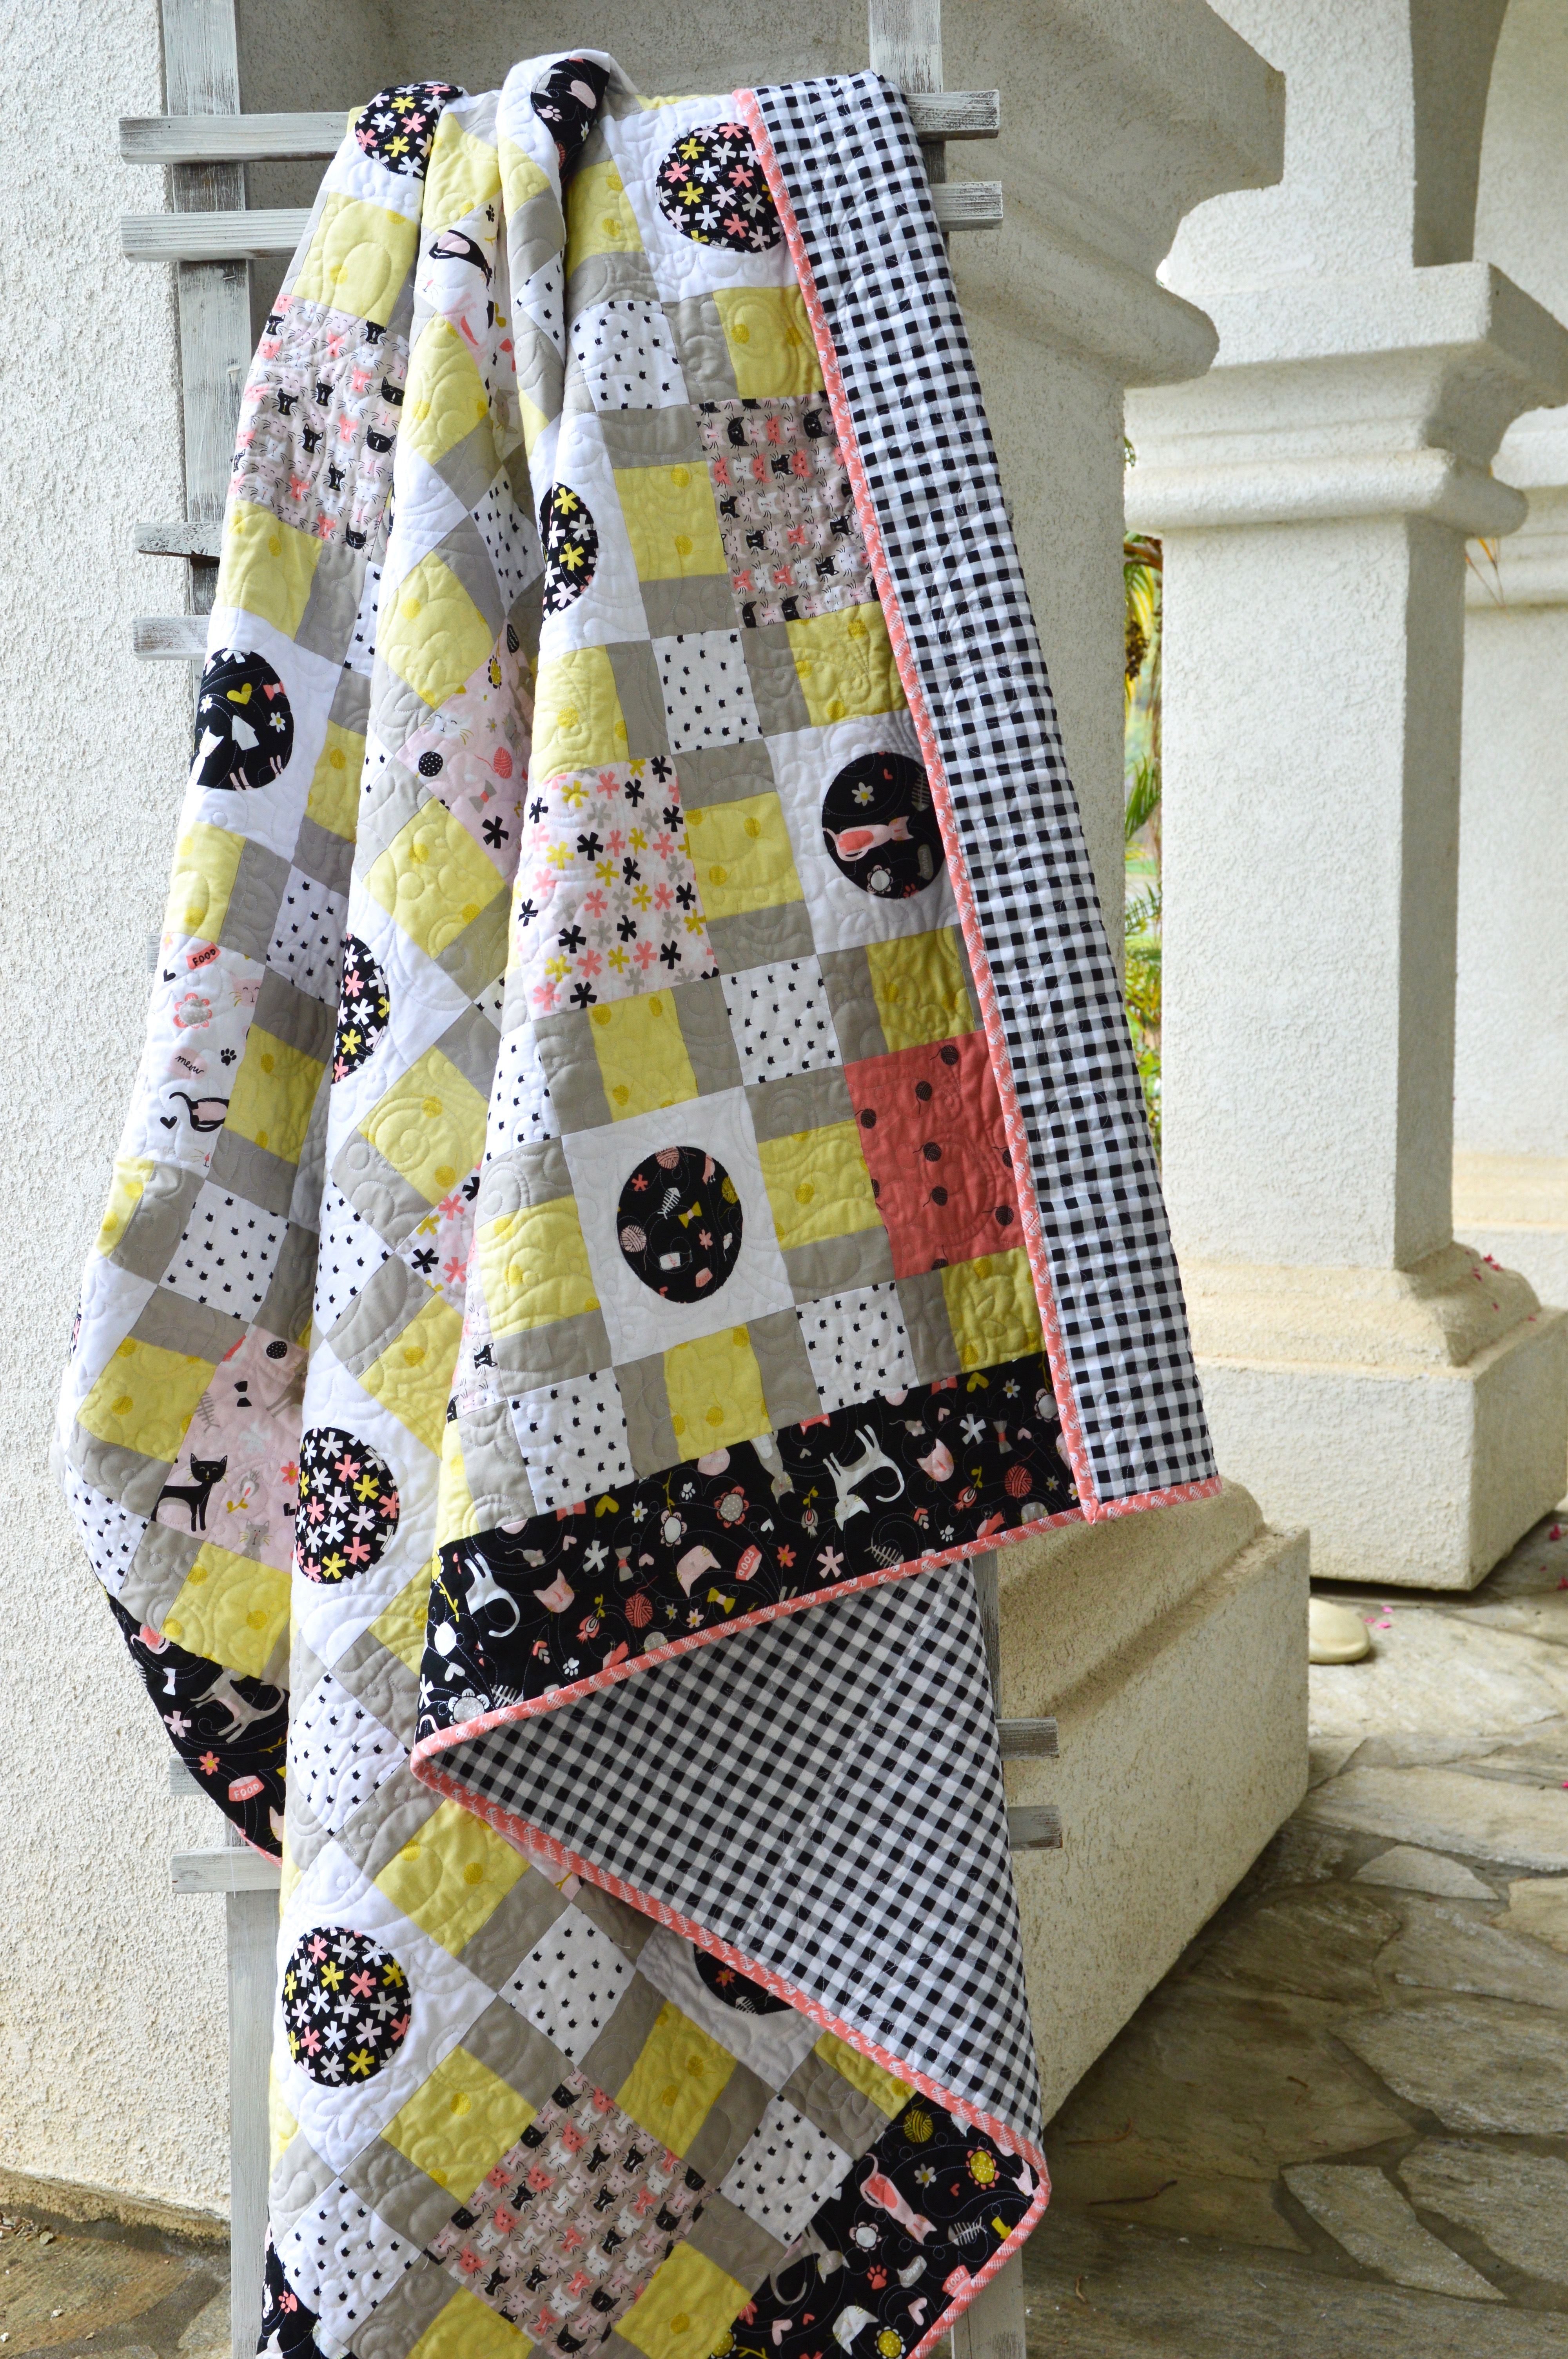
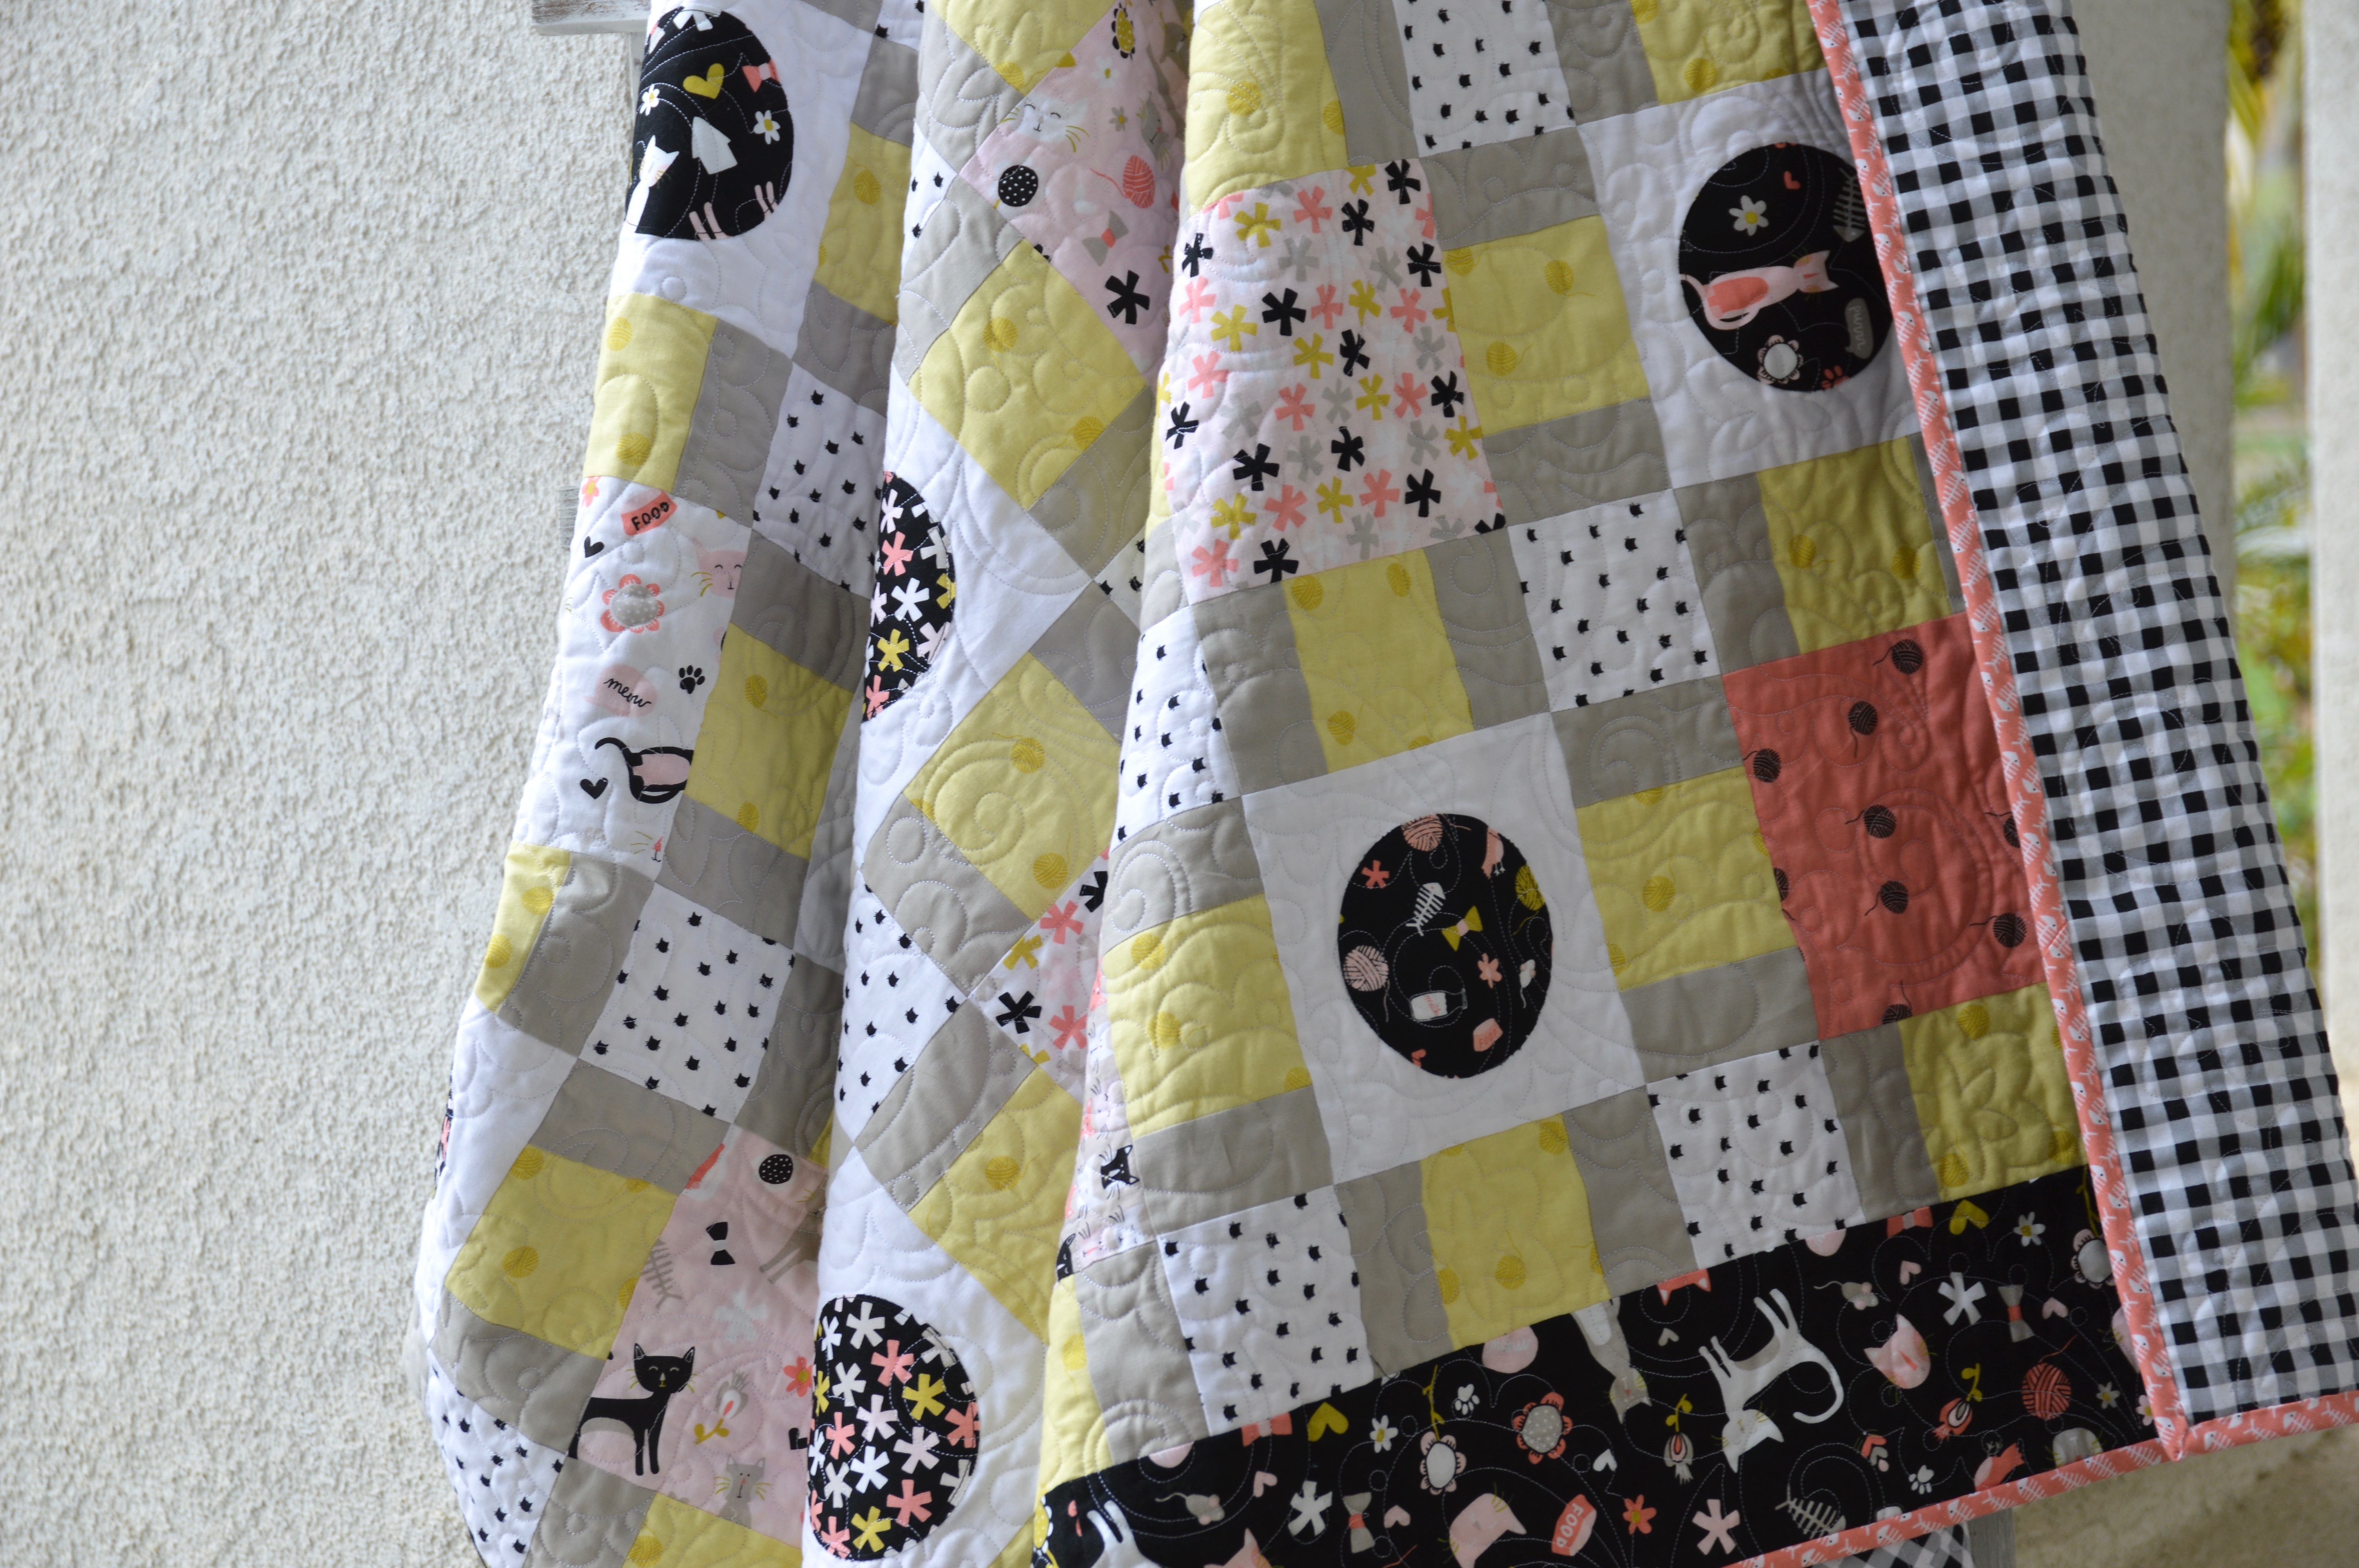
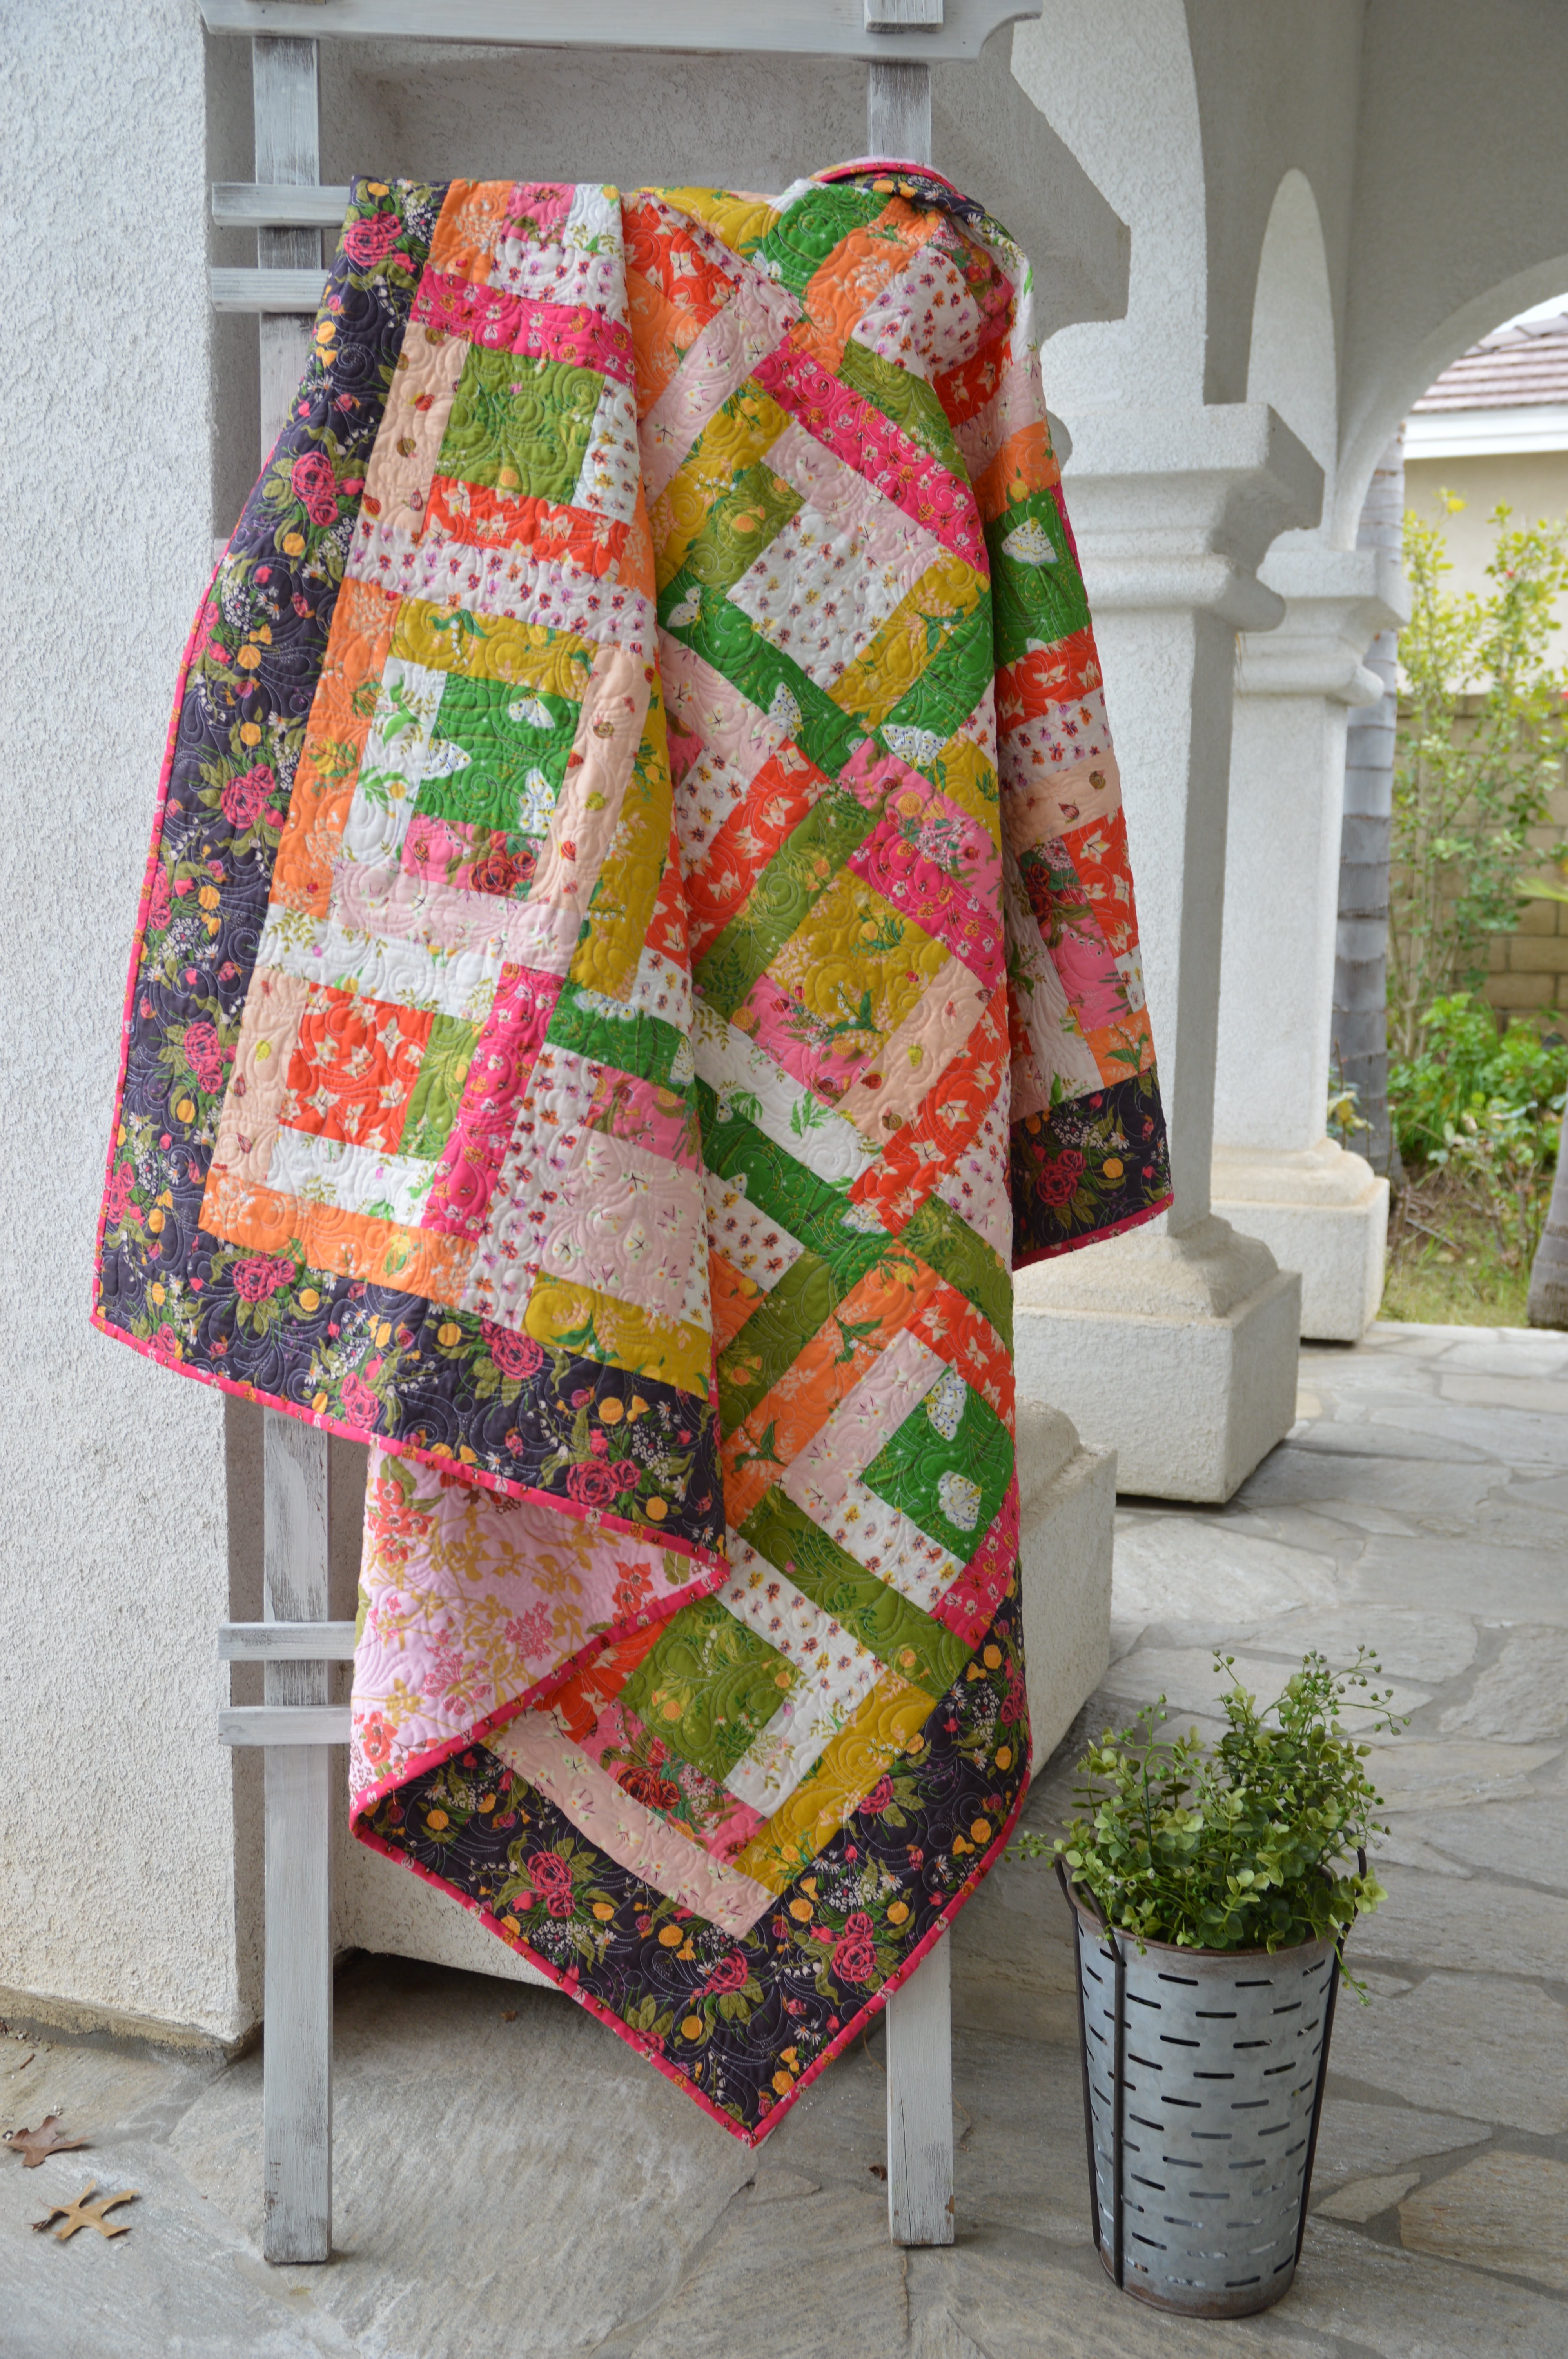
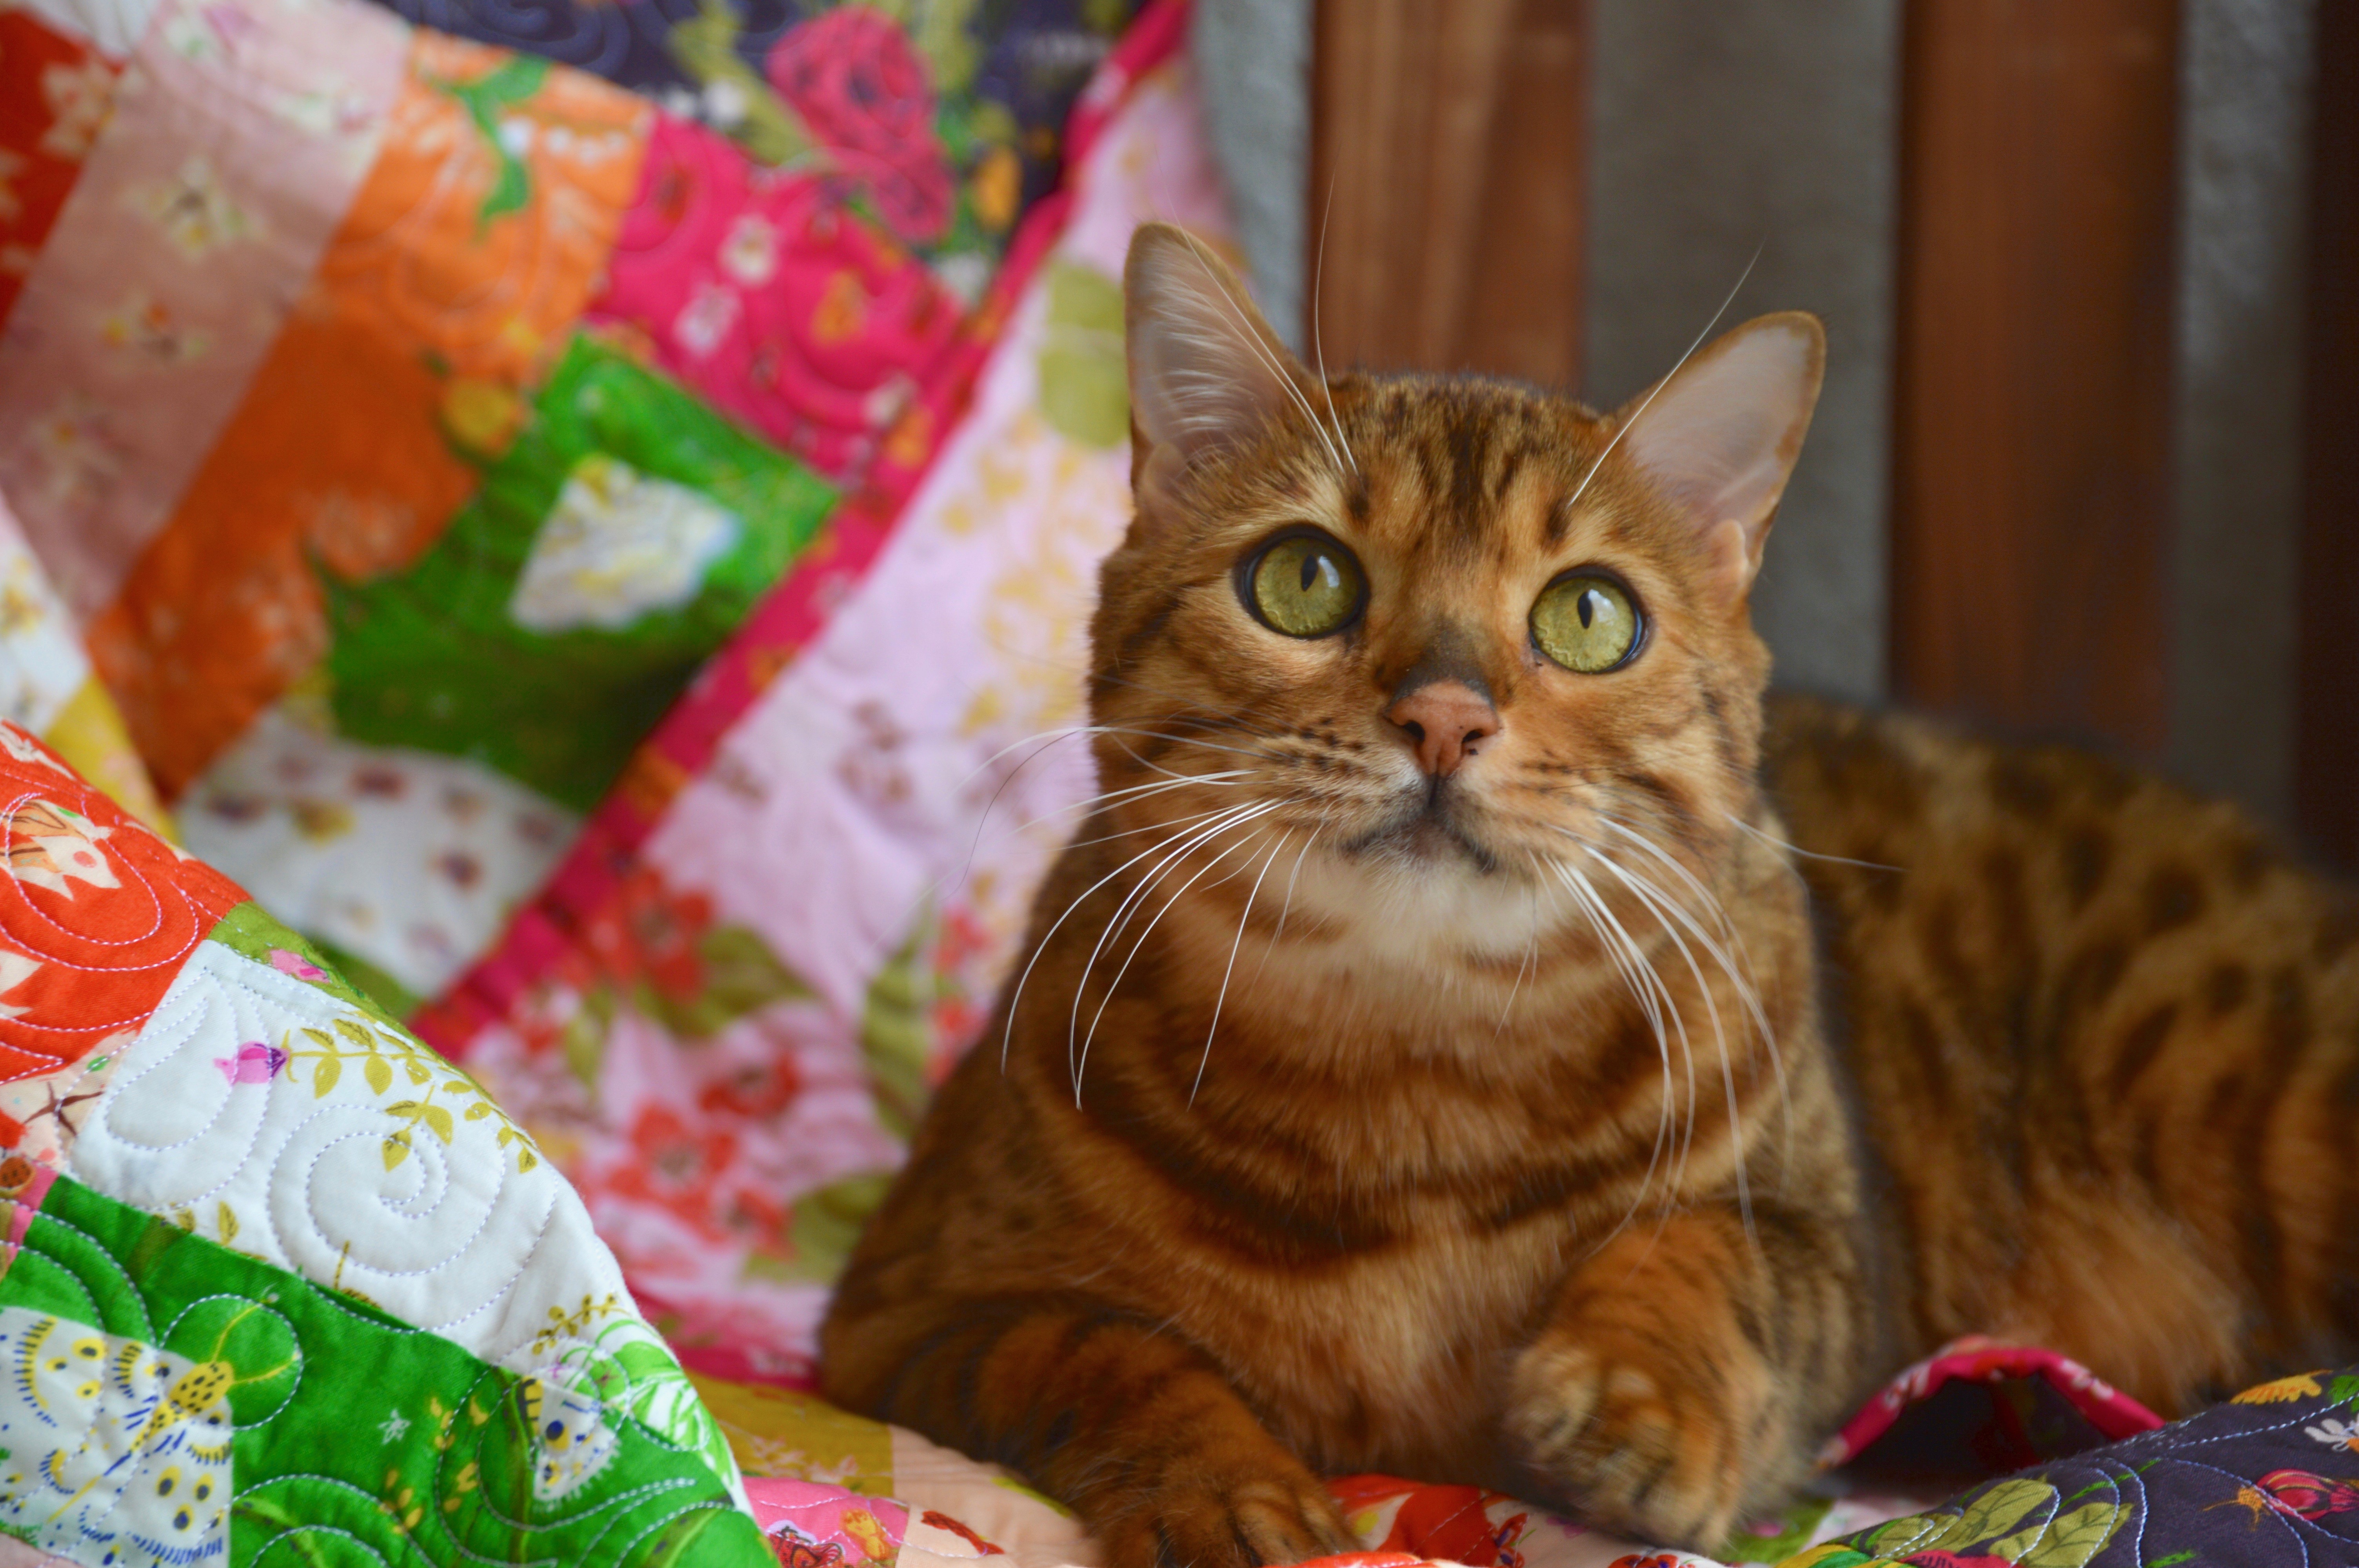
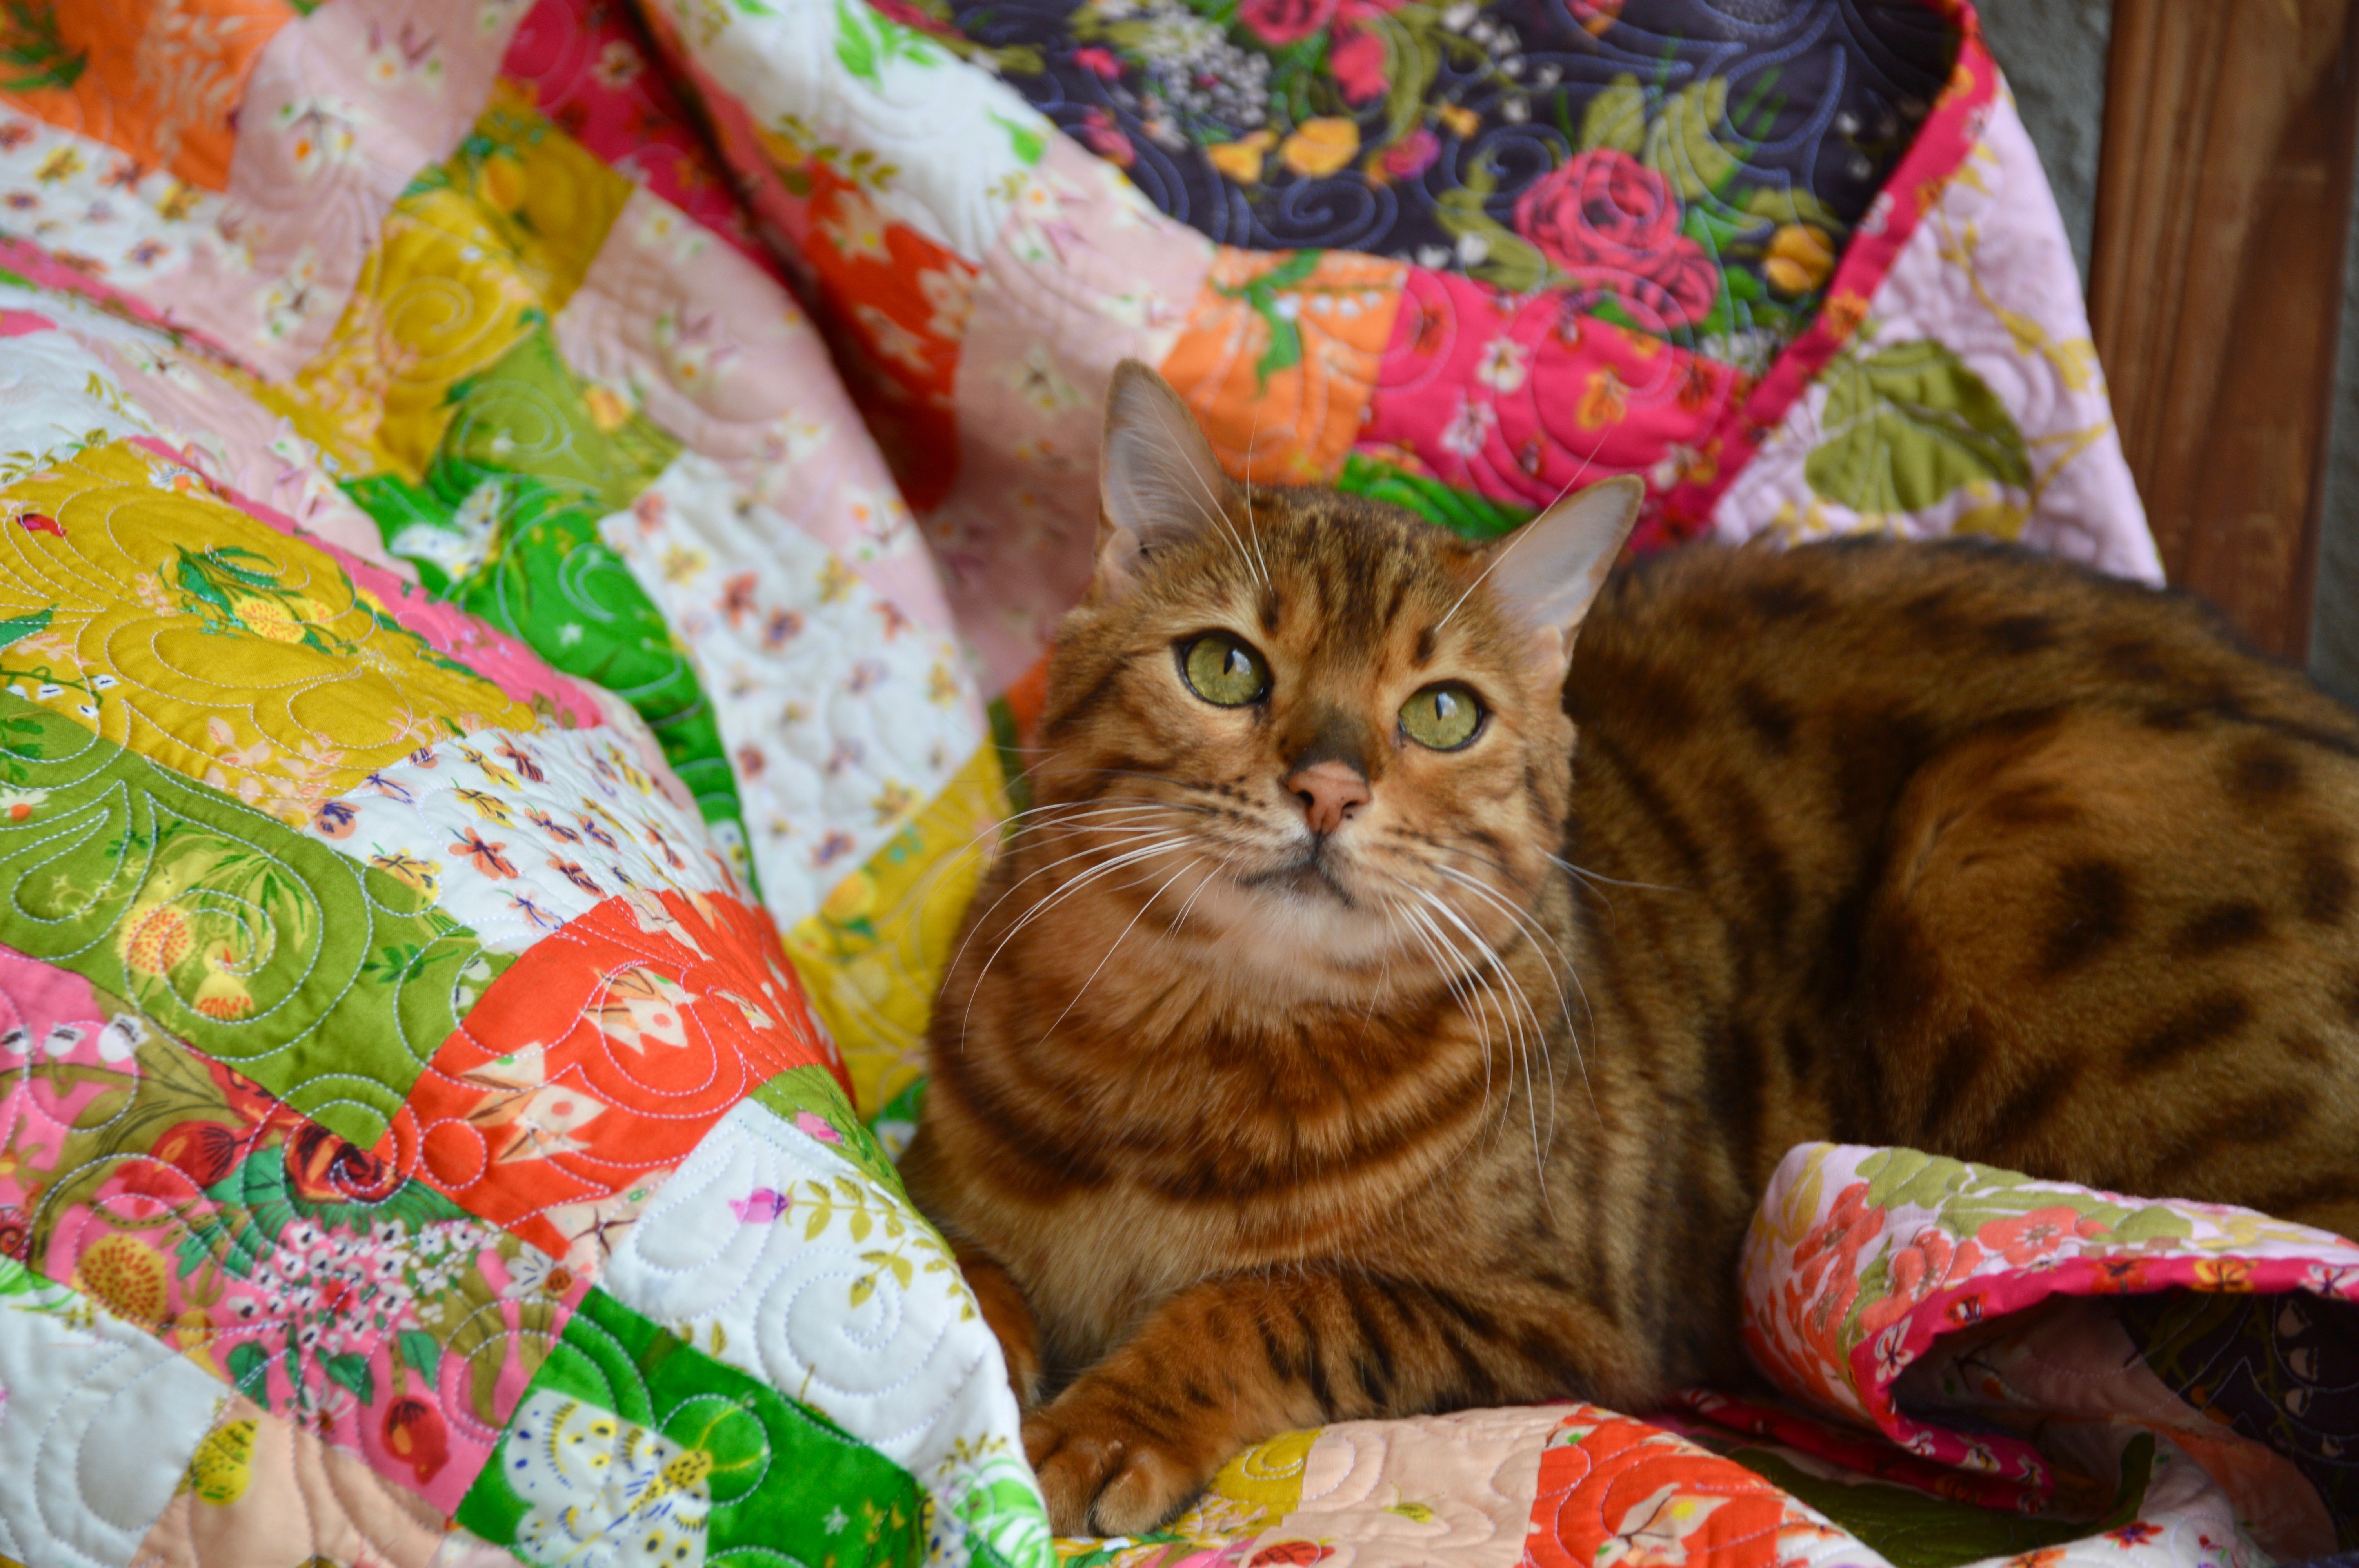
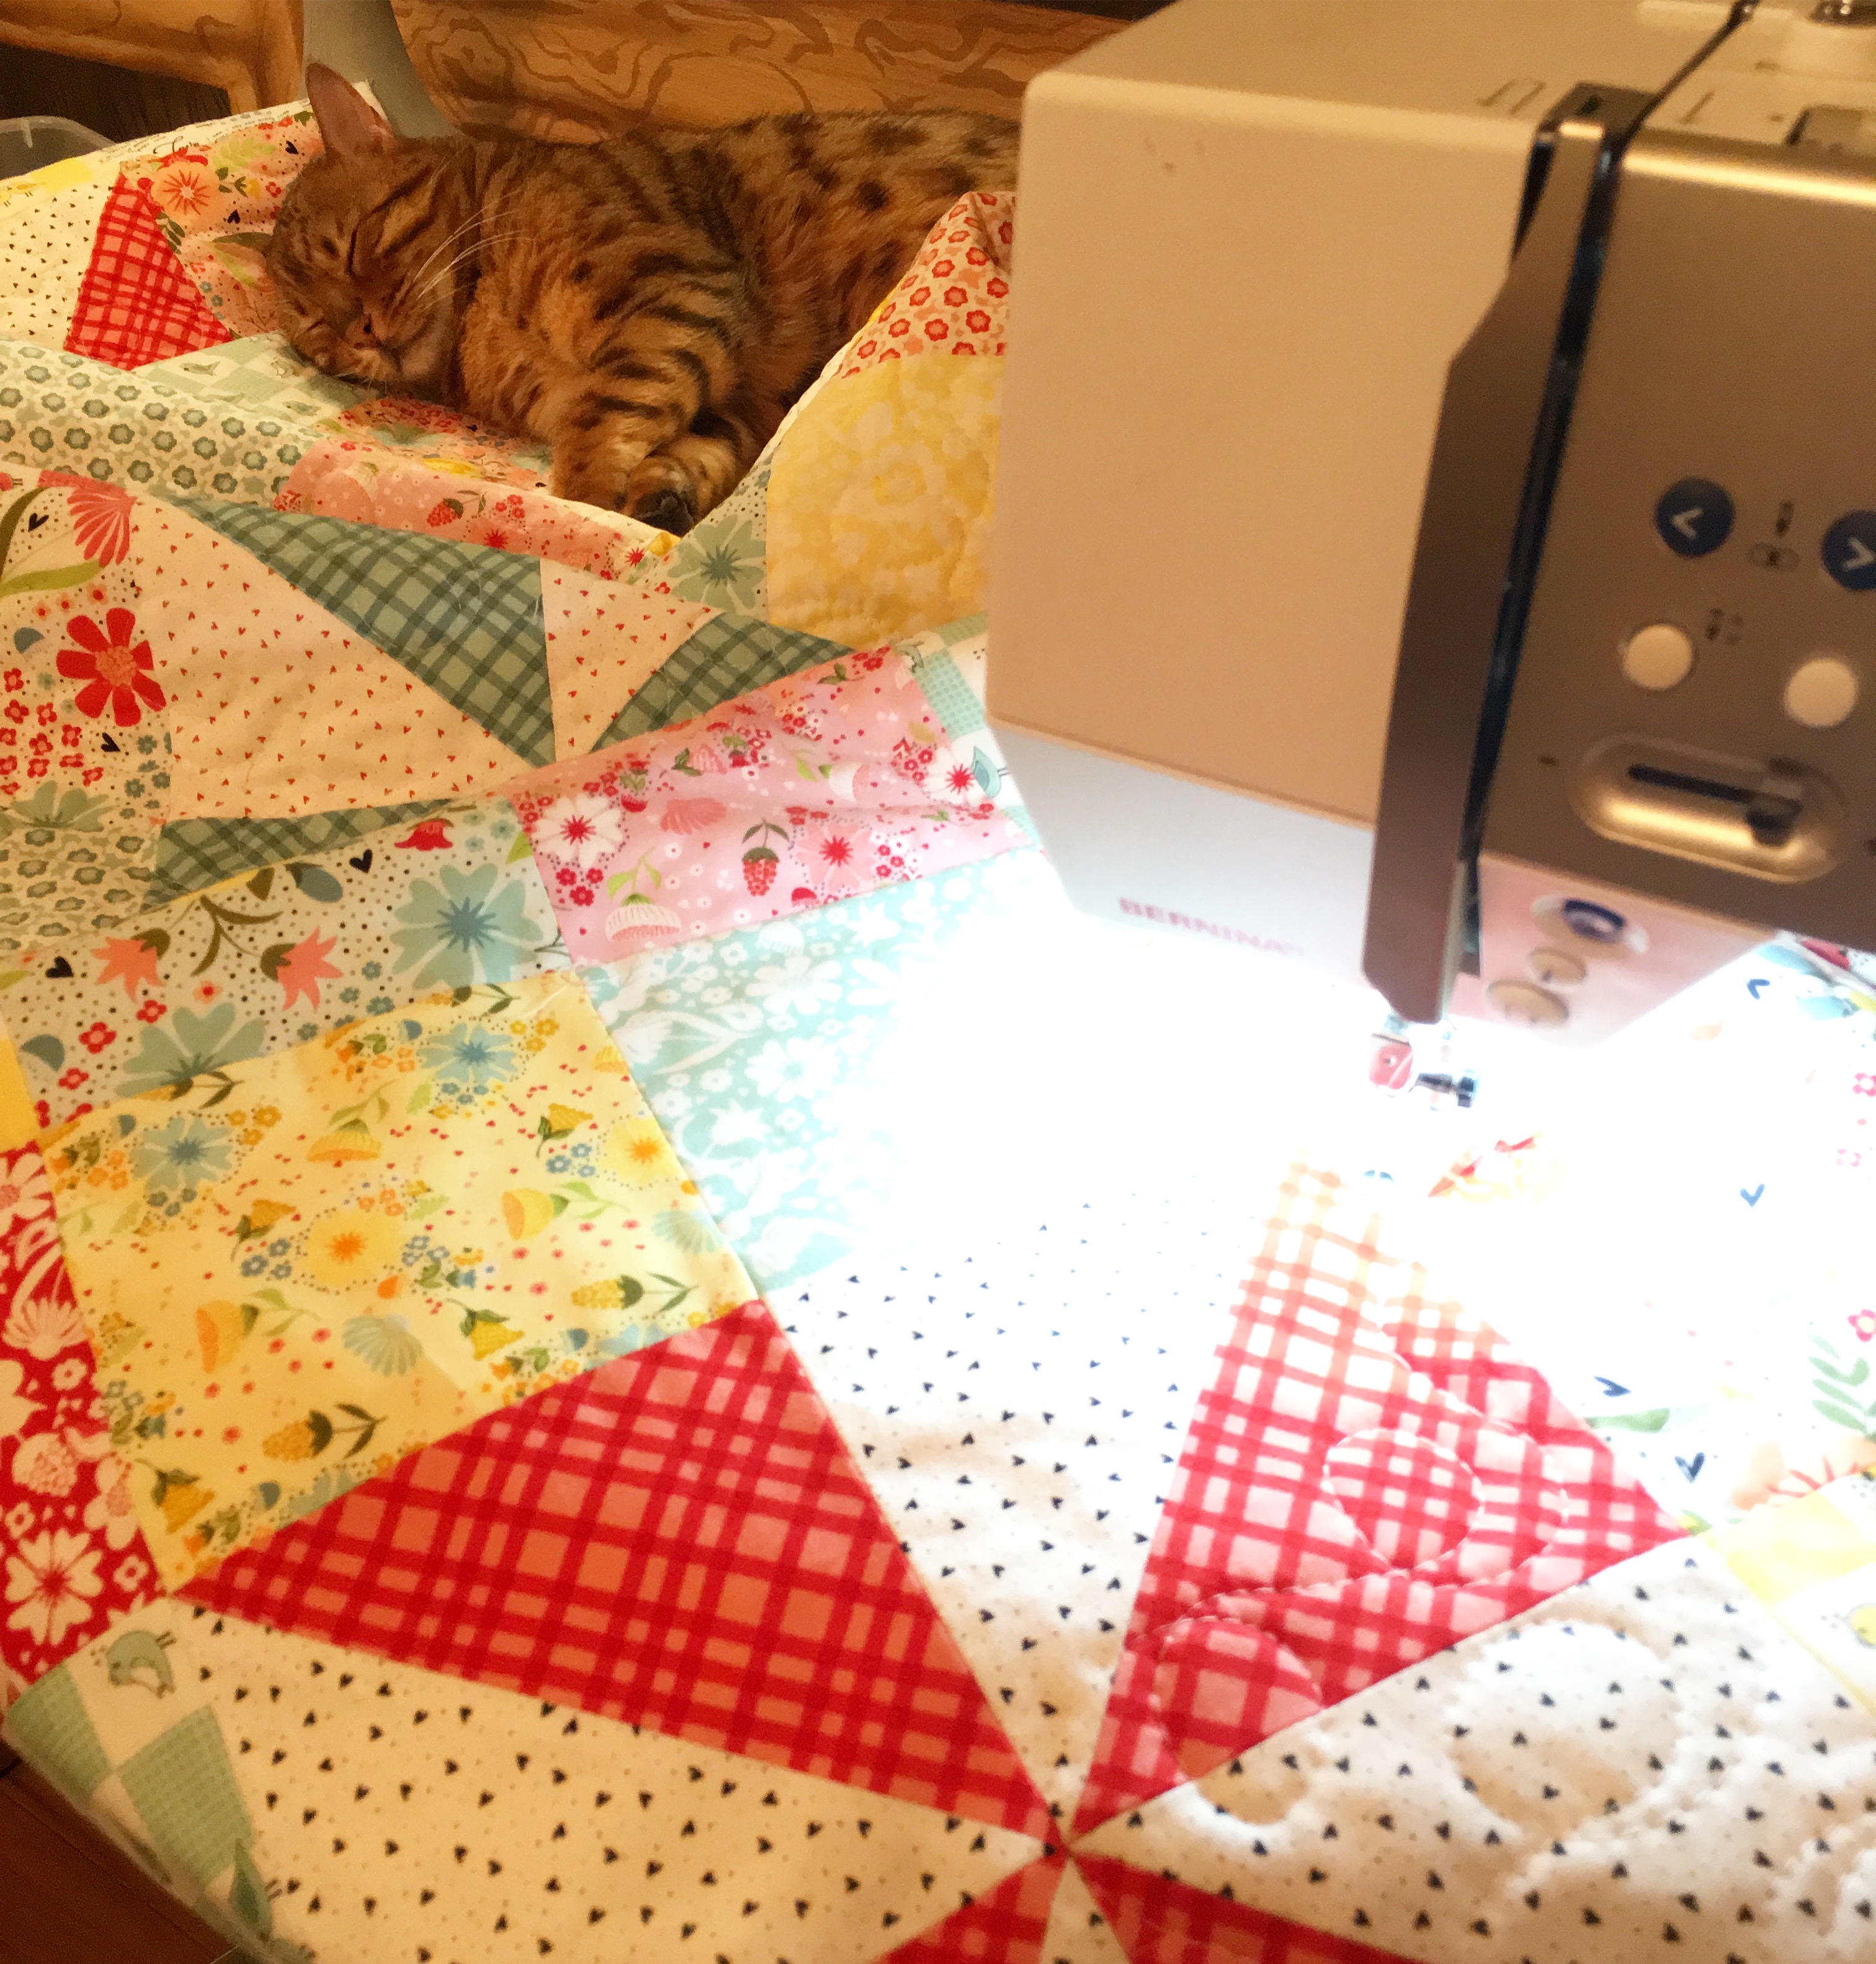
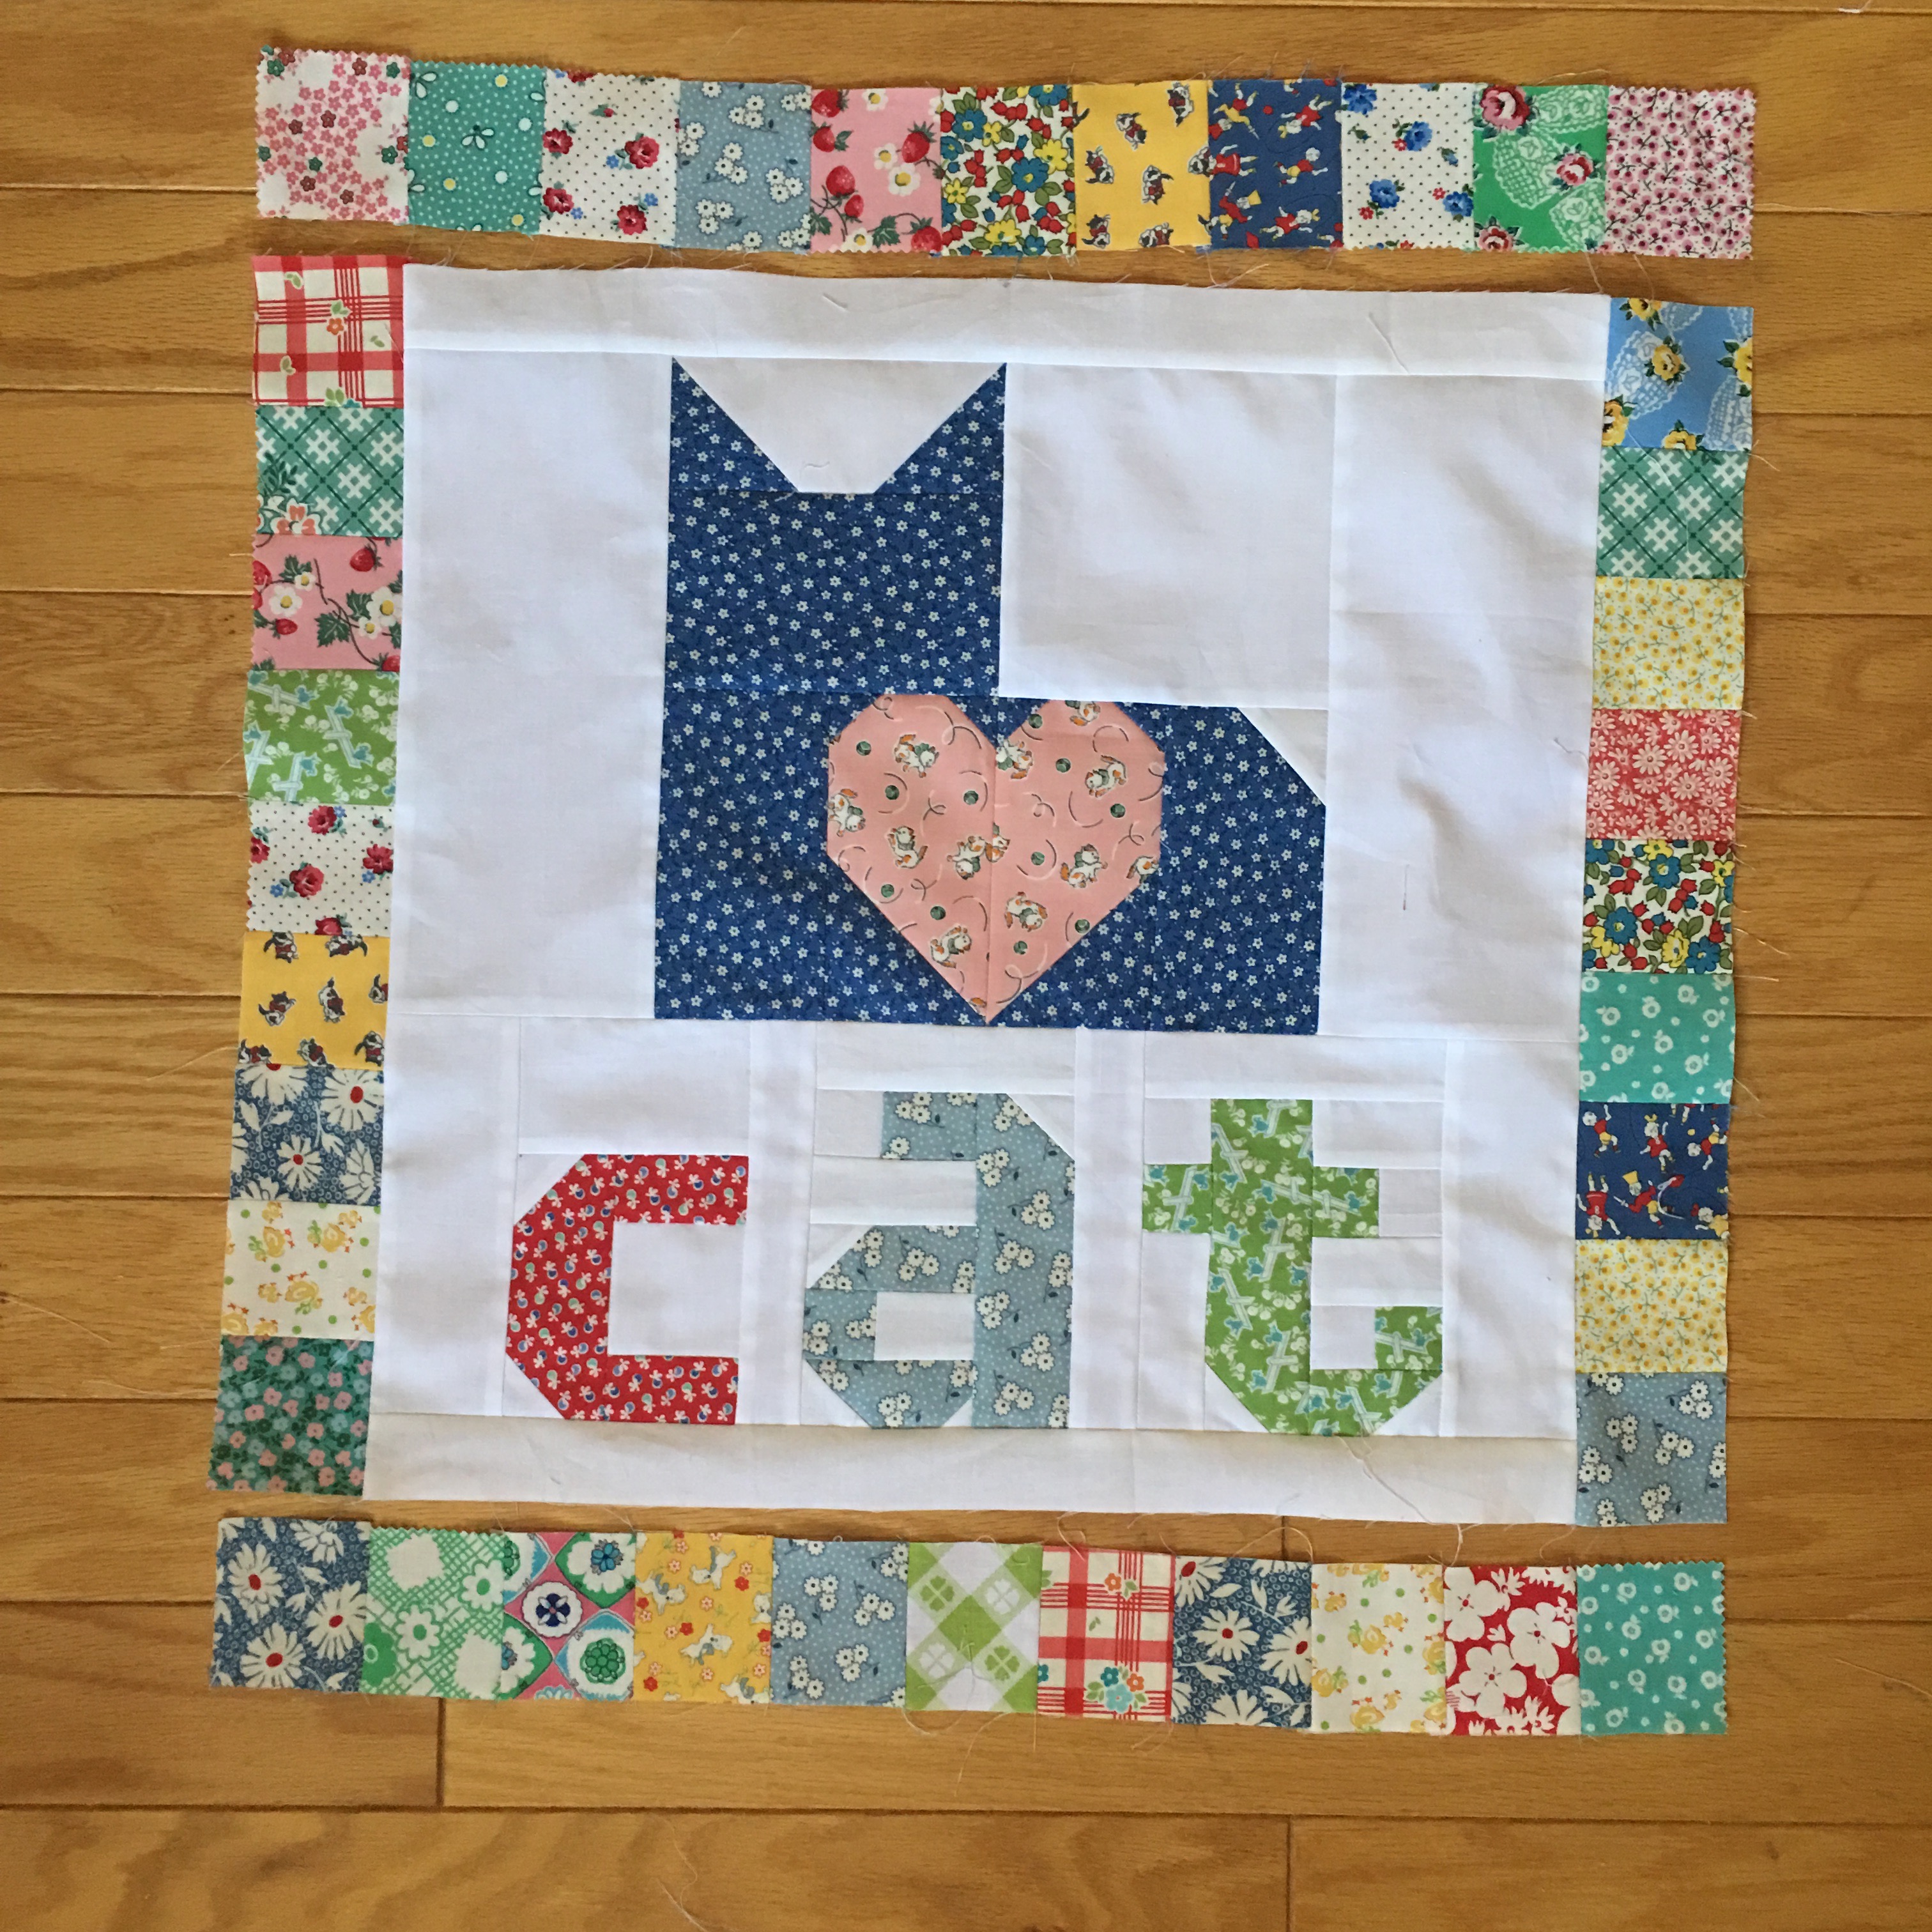
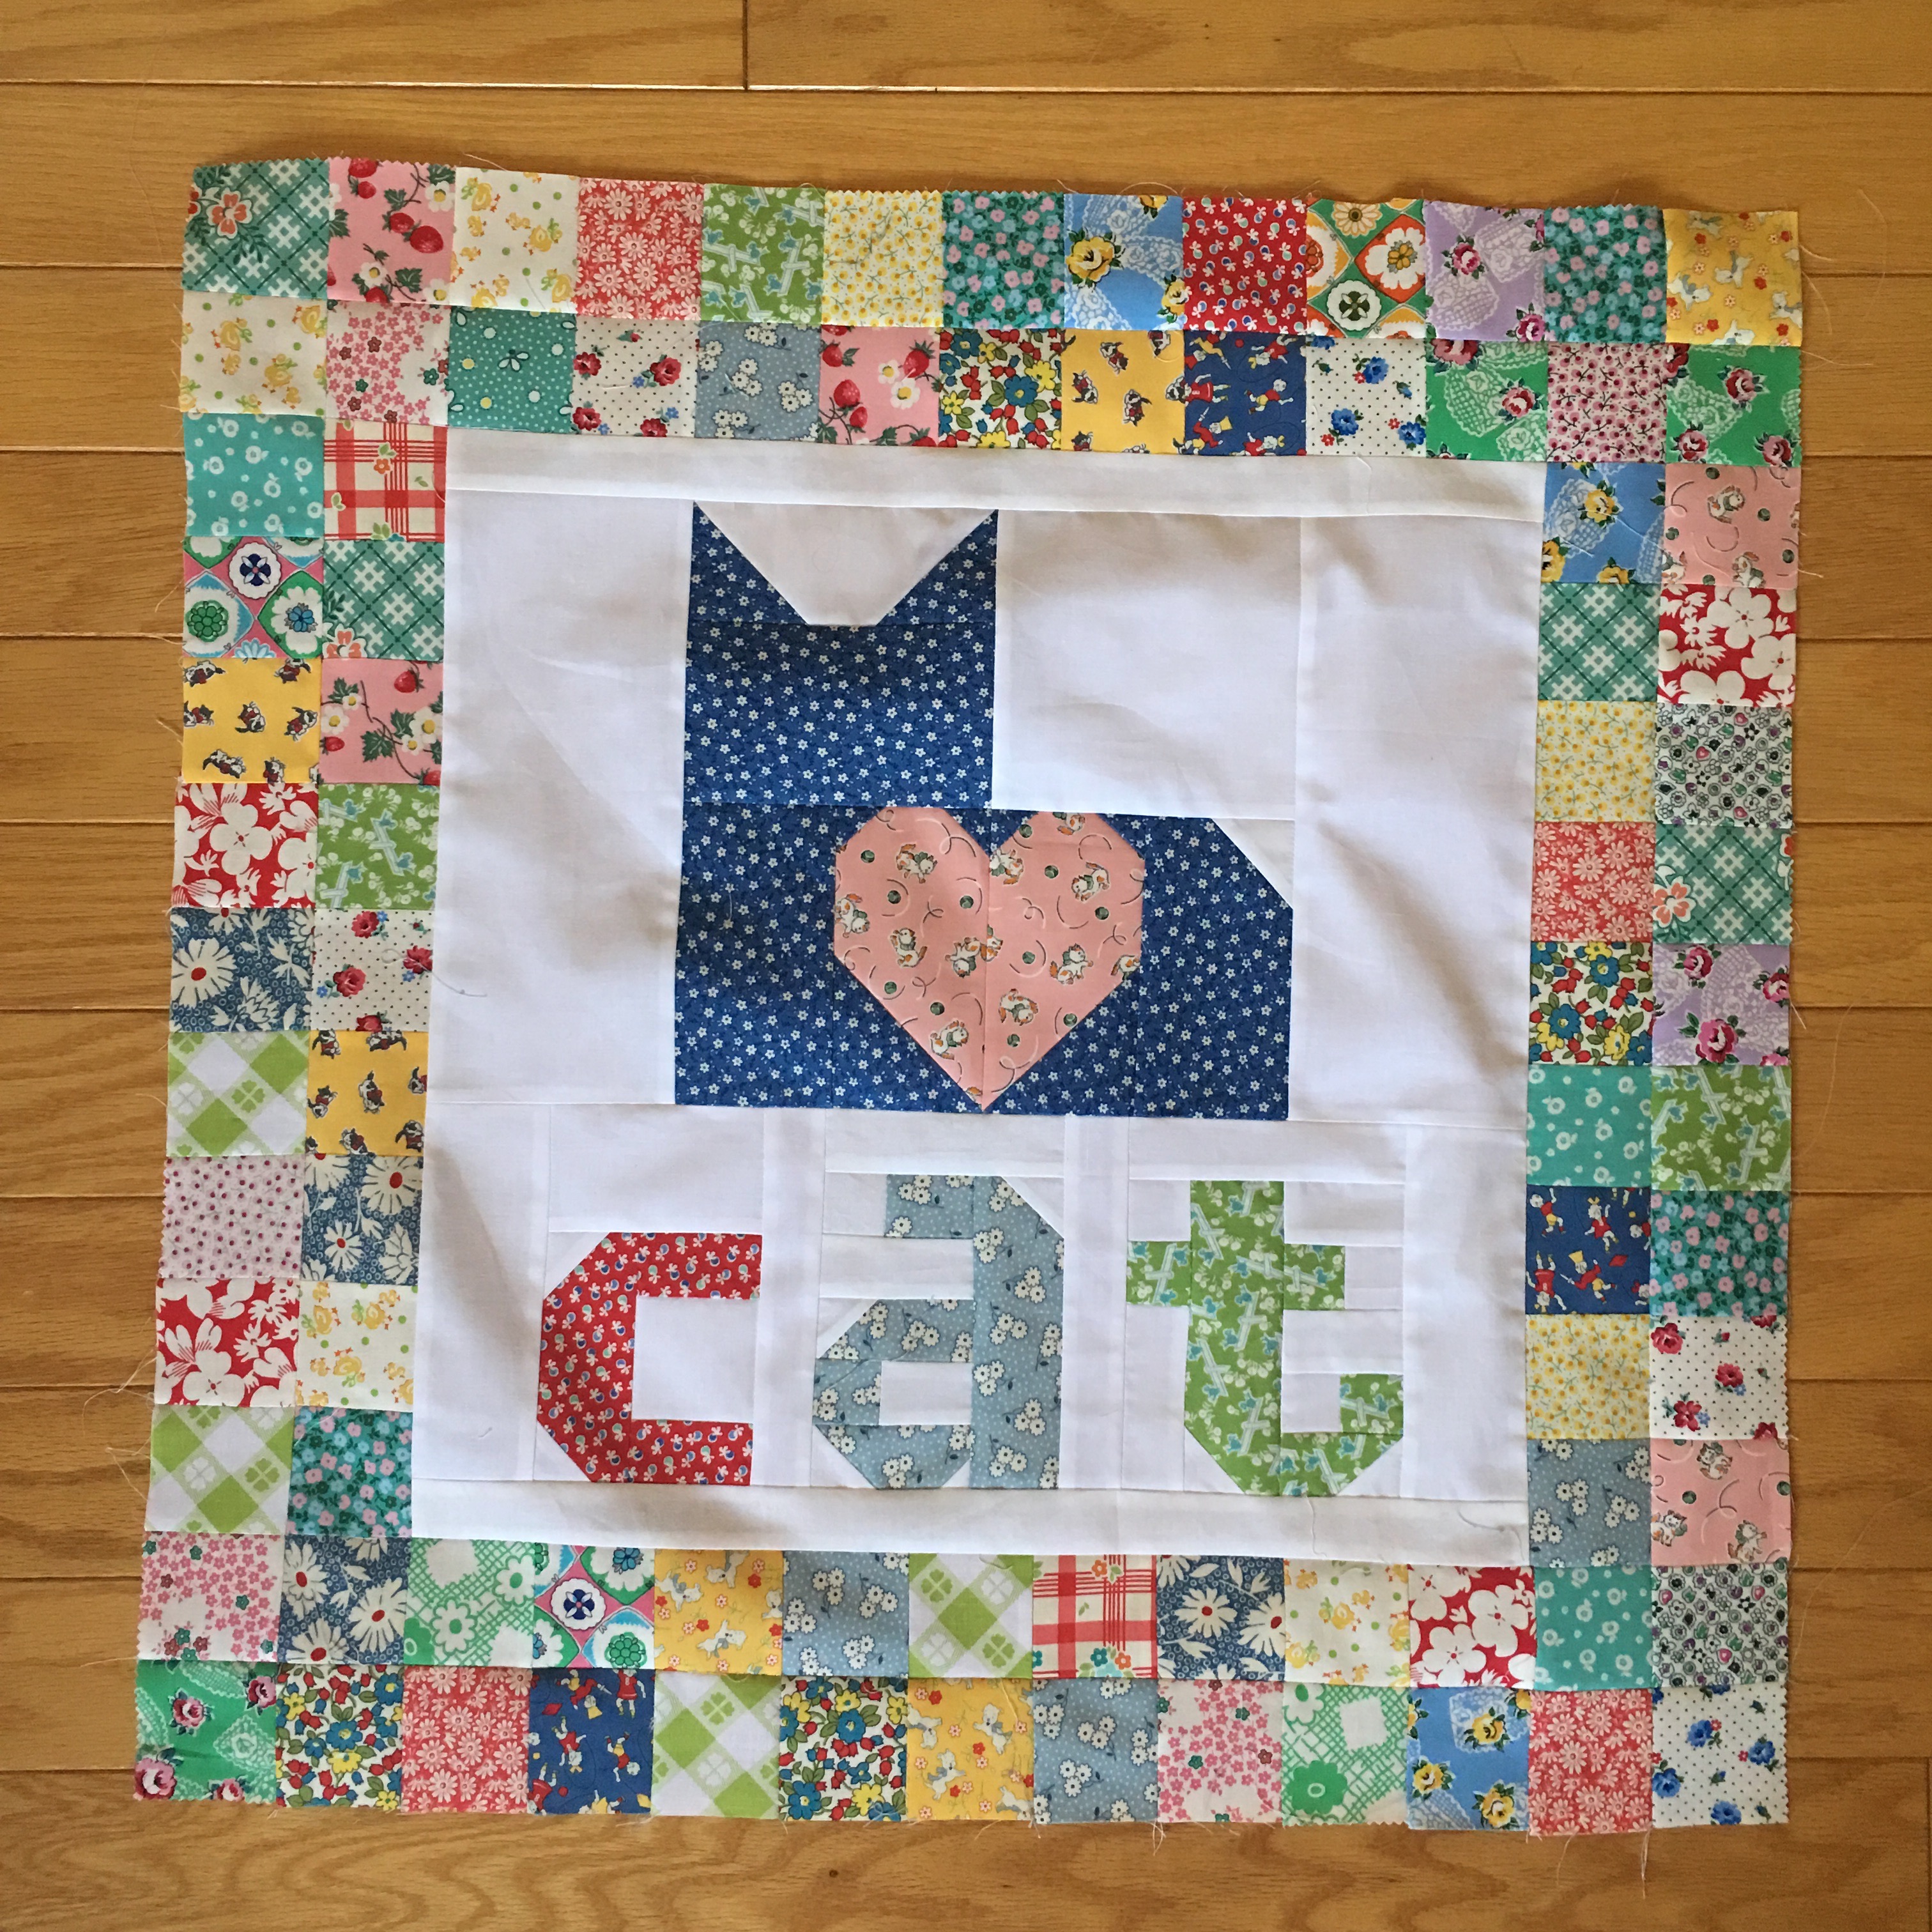
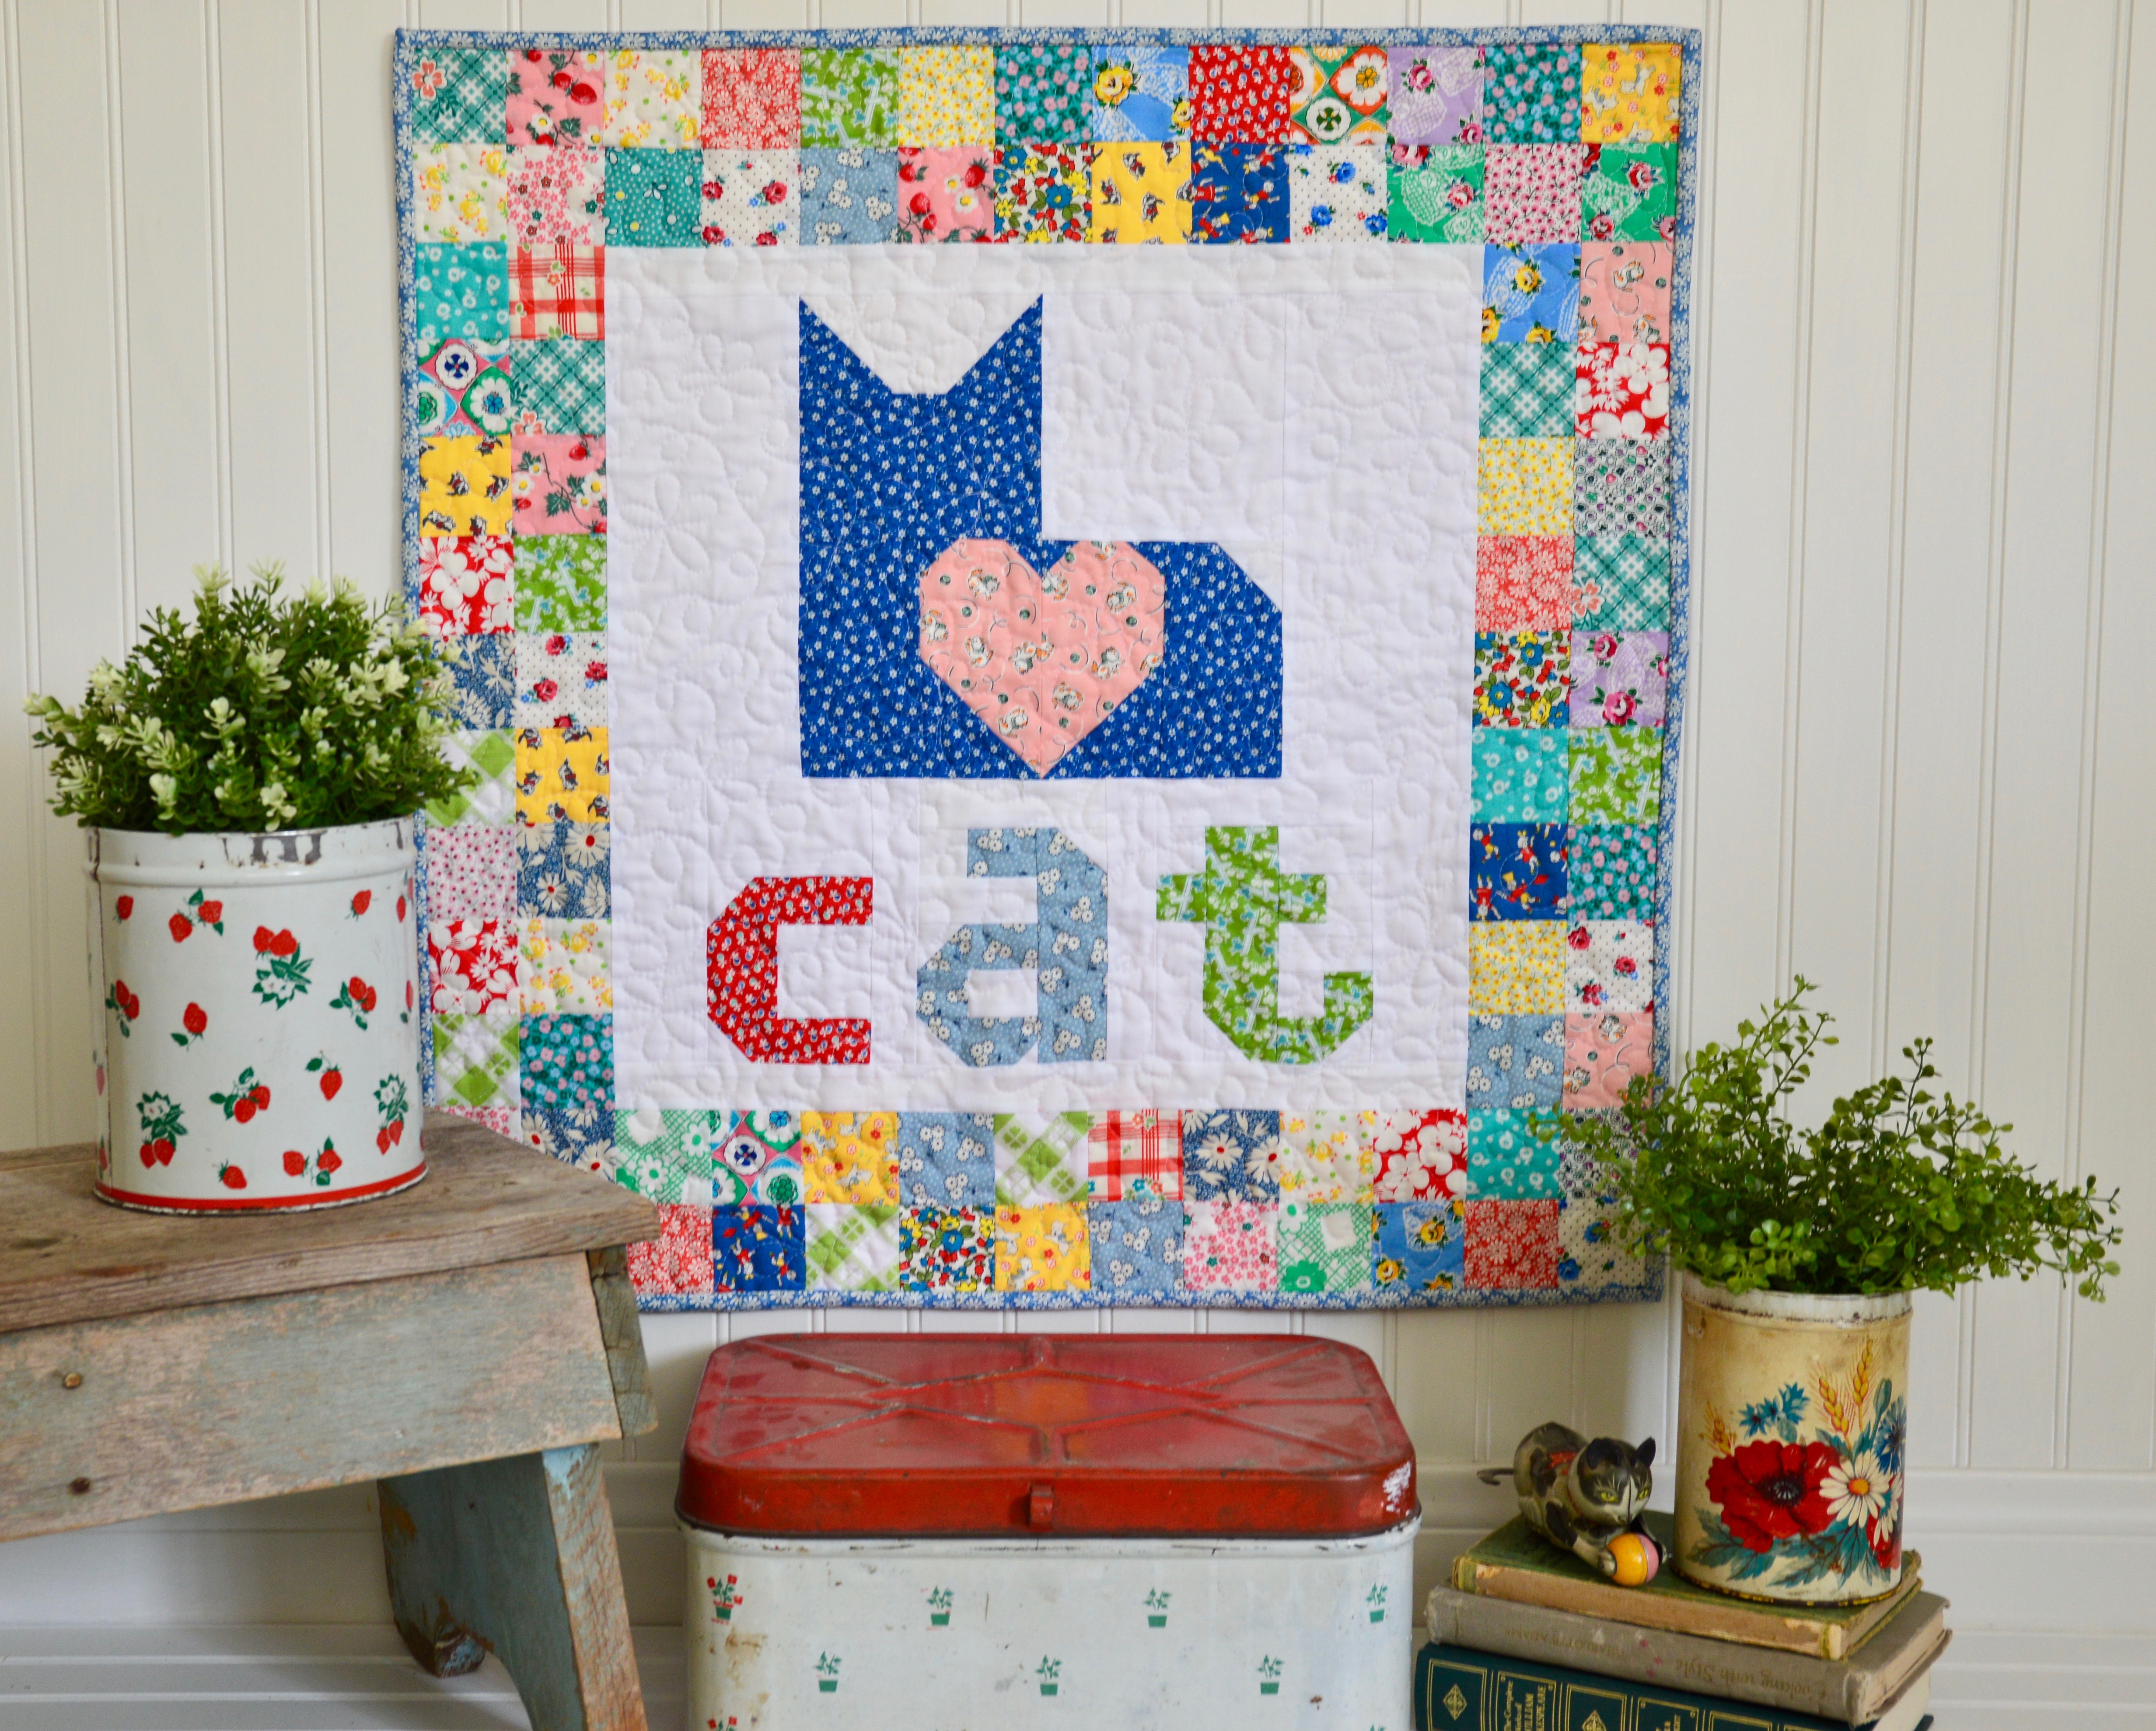
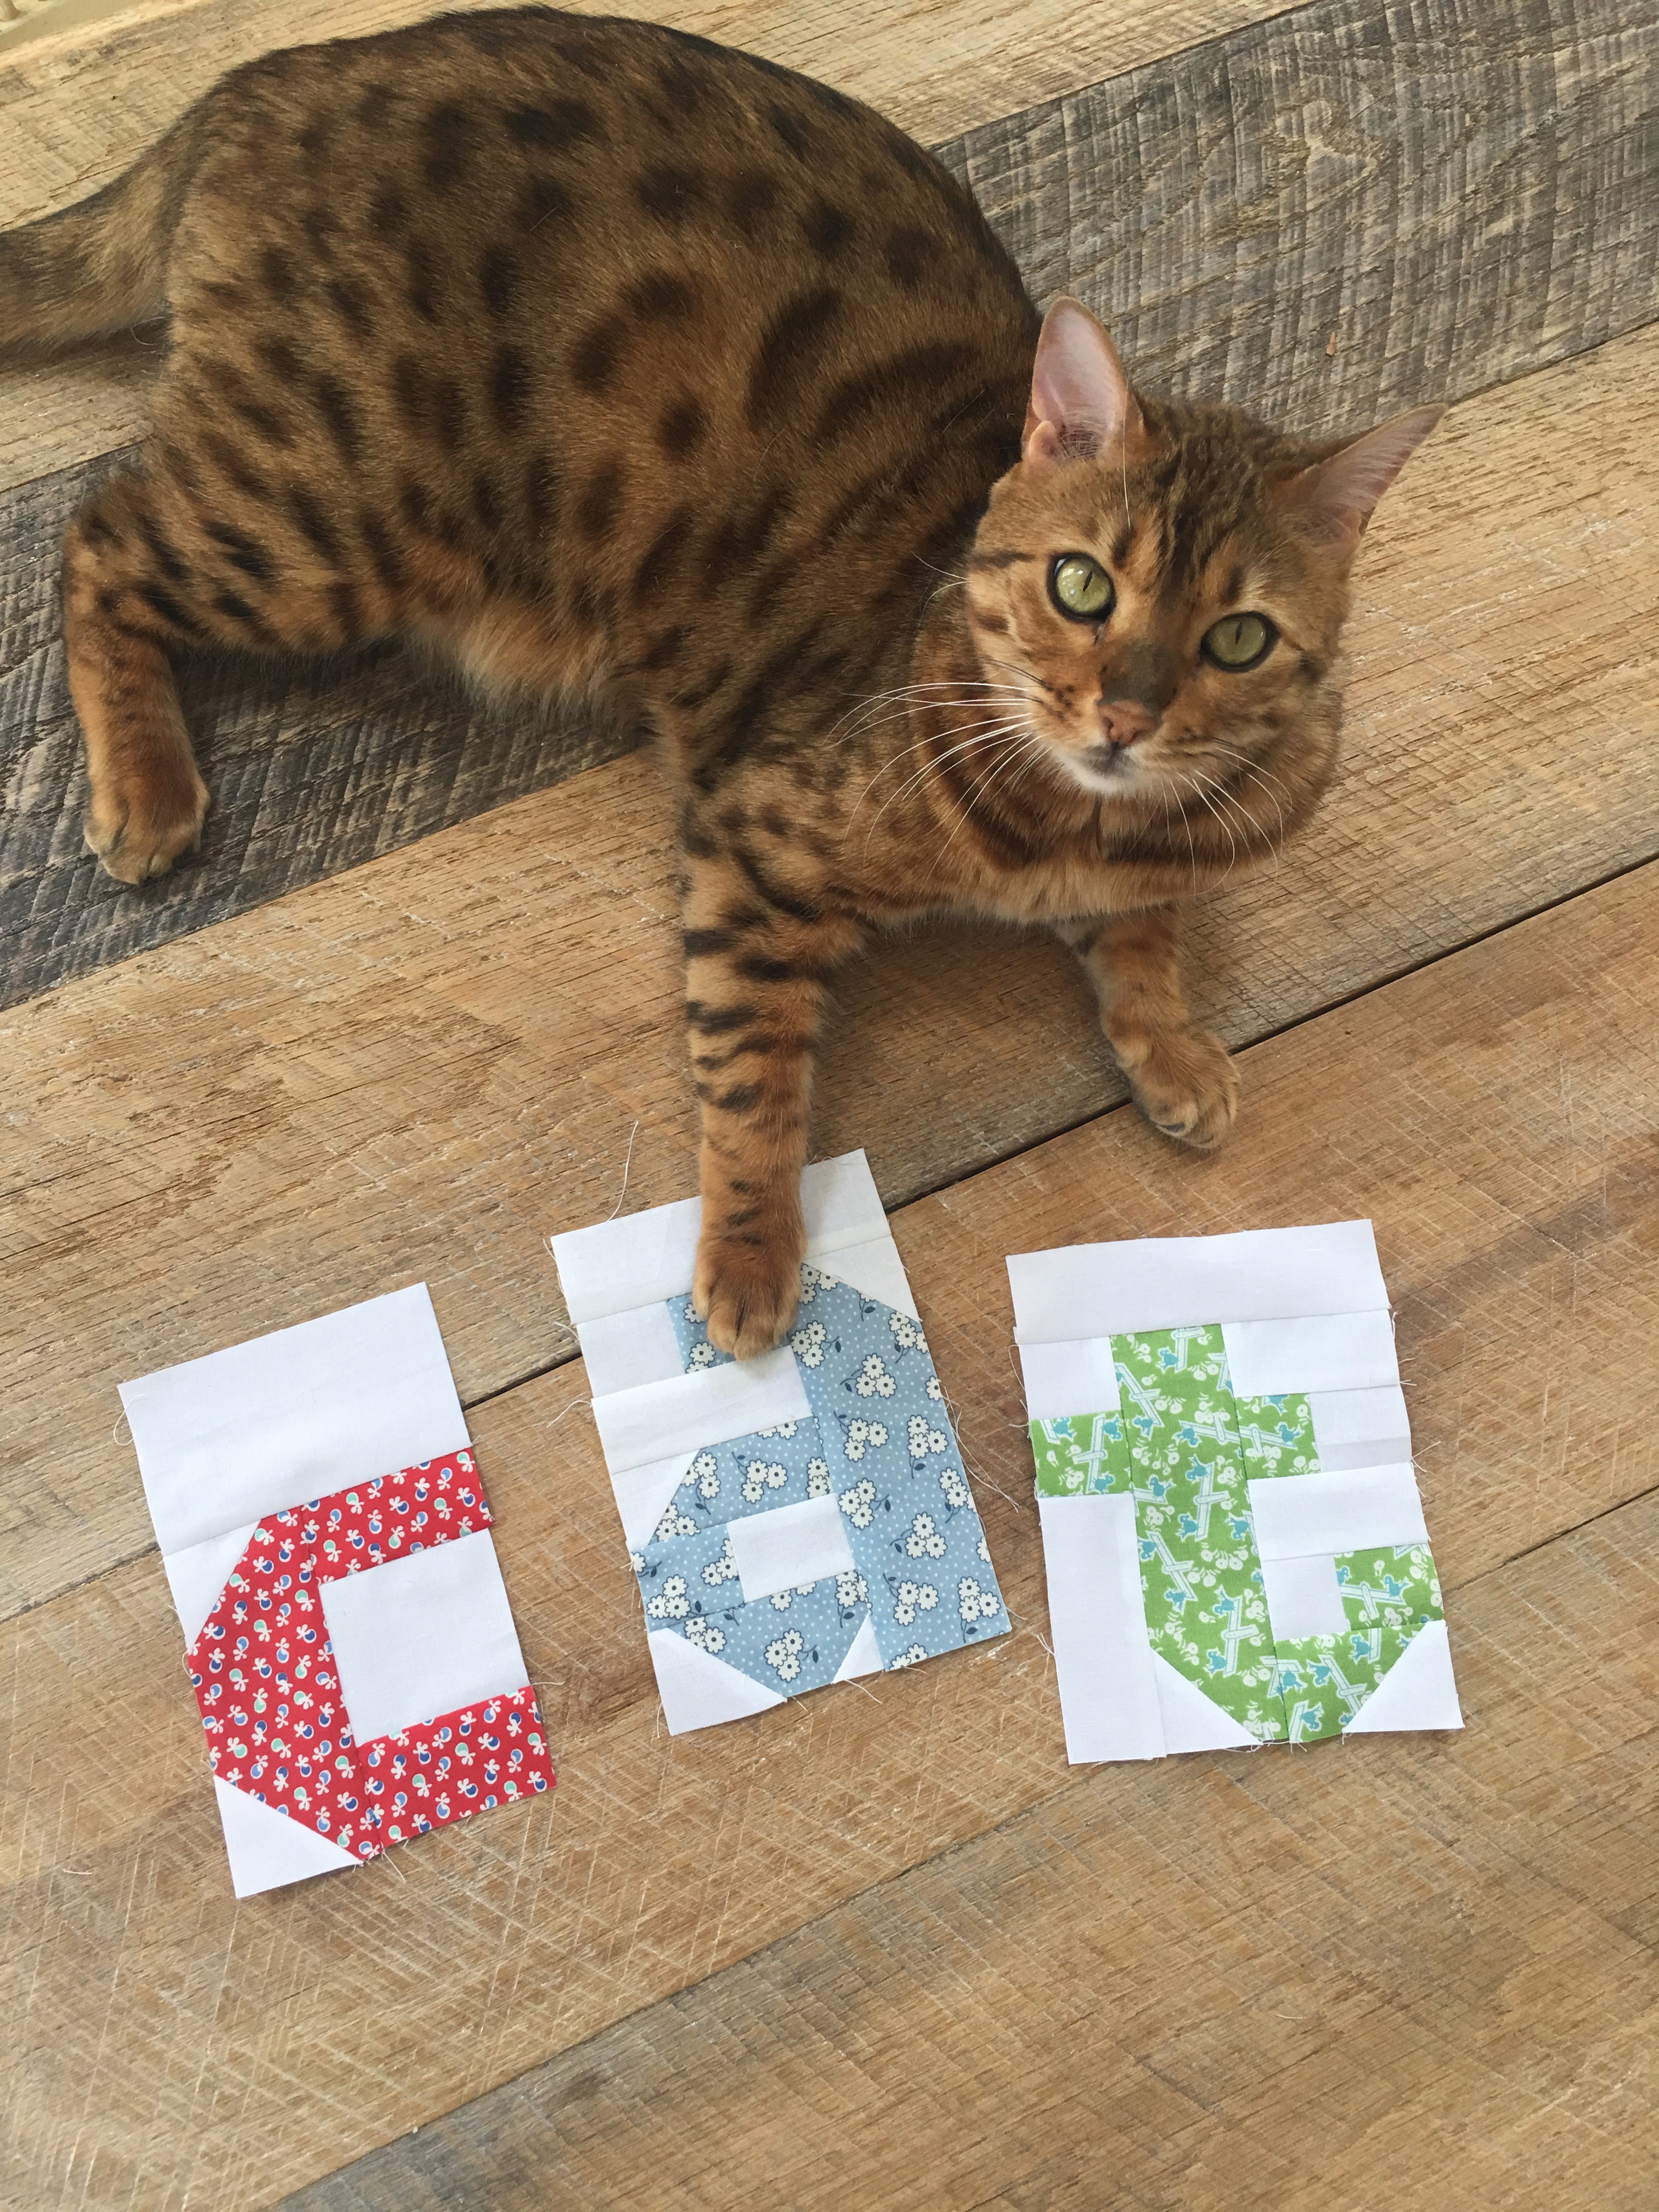 So I sewed a cat block from my I Love Cats Quilt and put it all together!
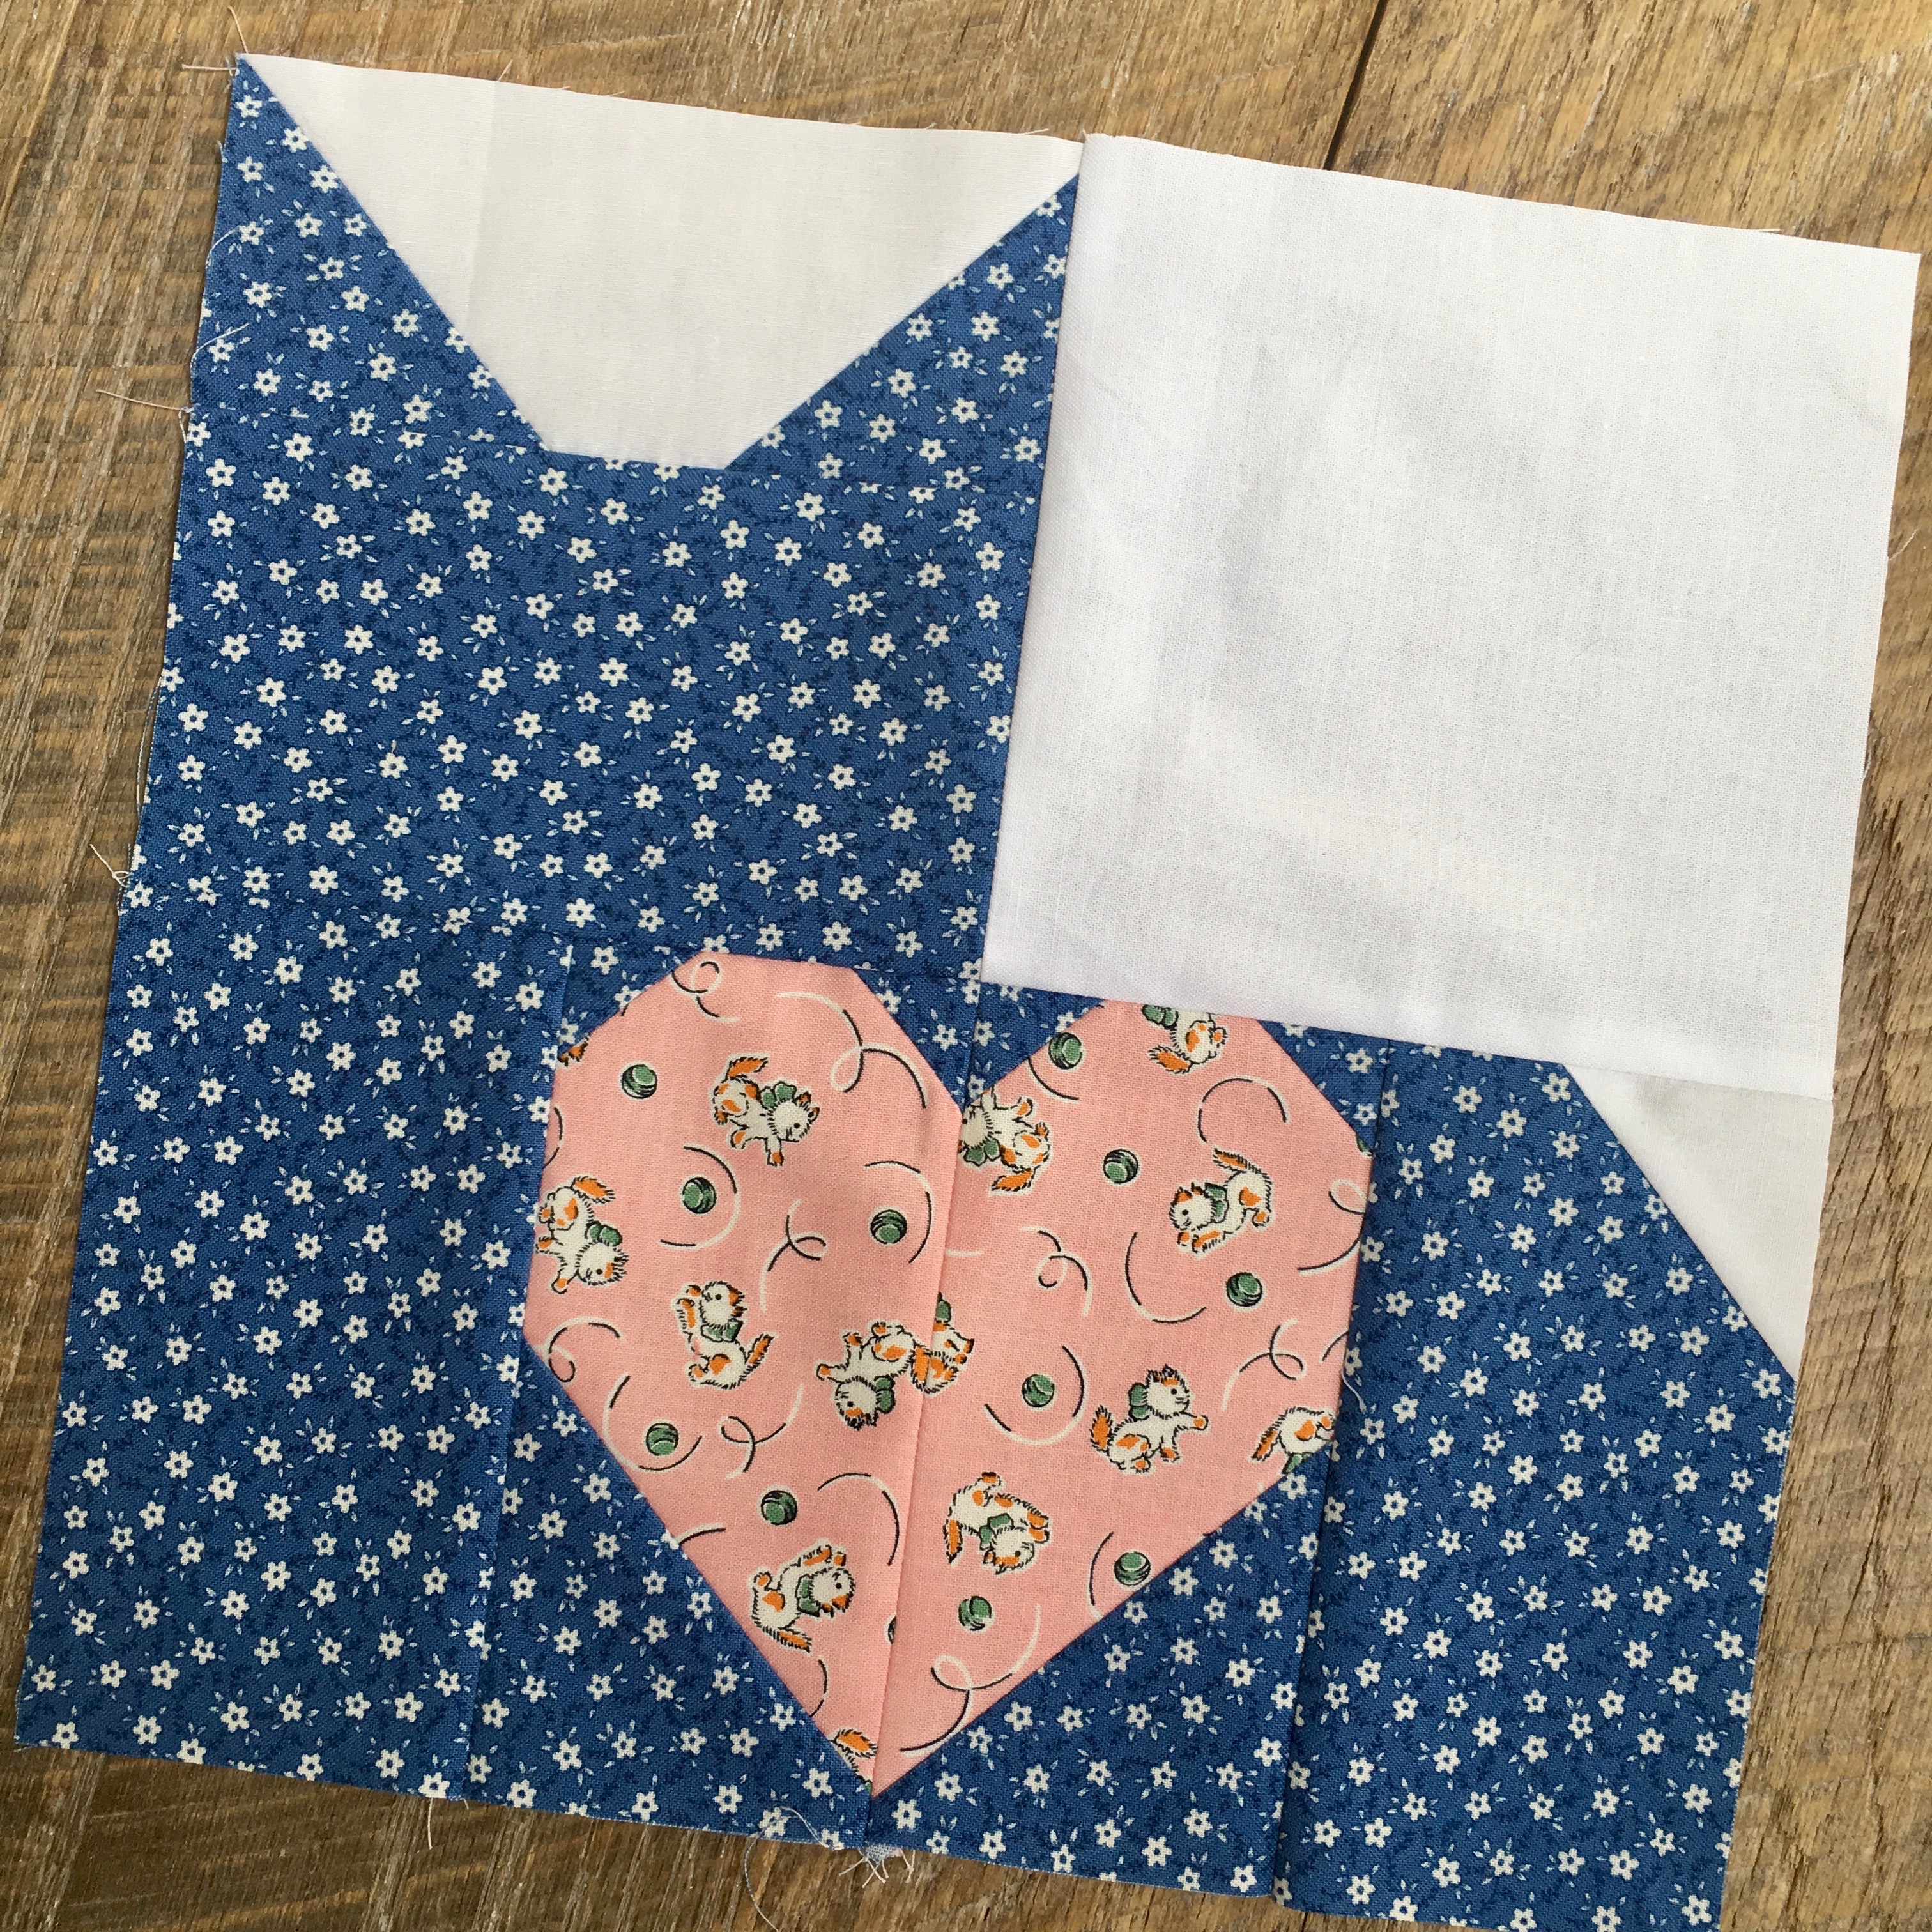
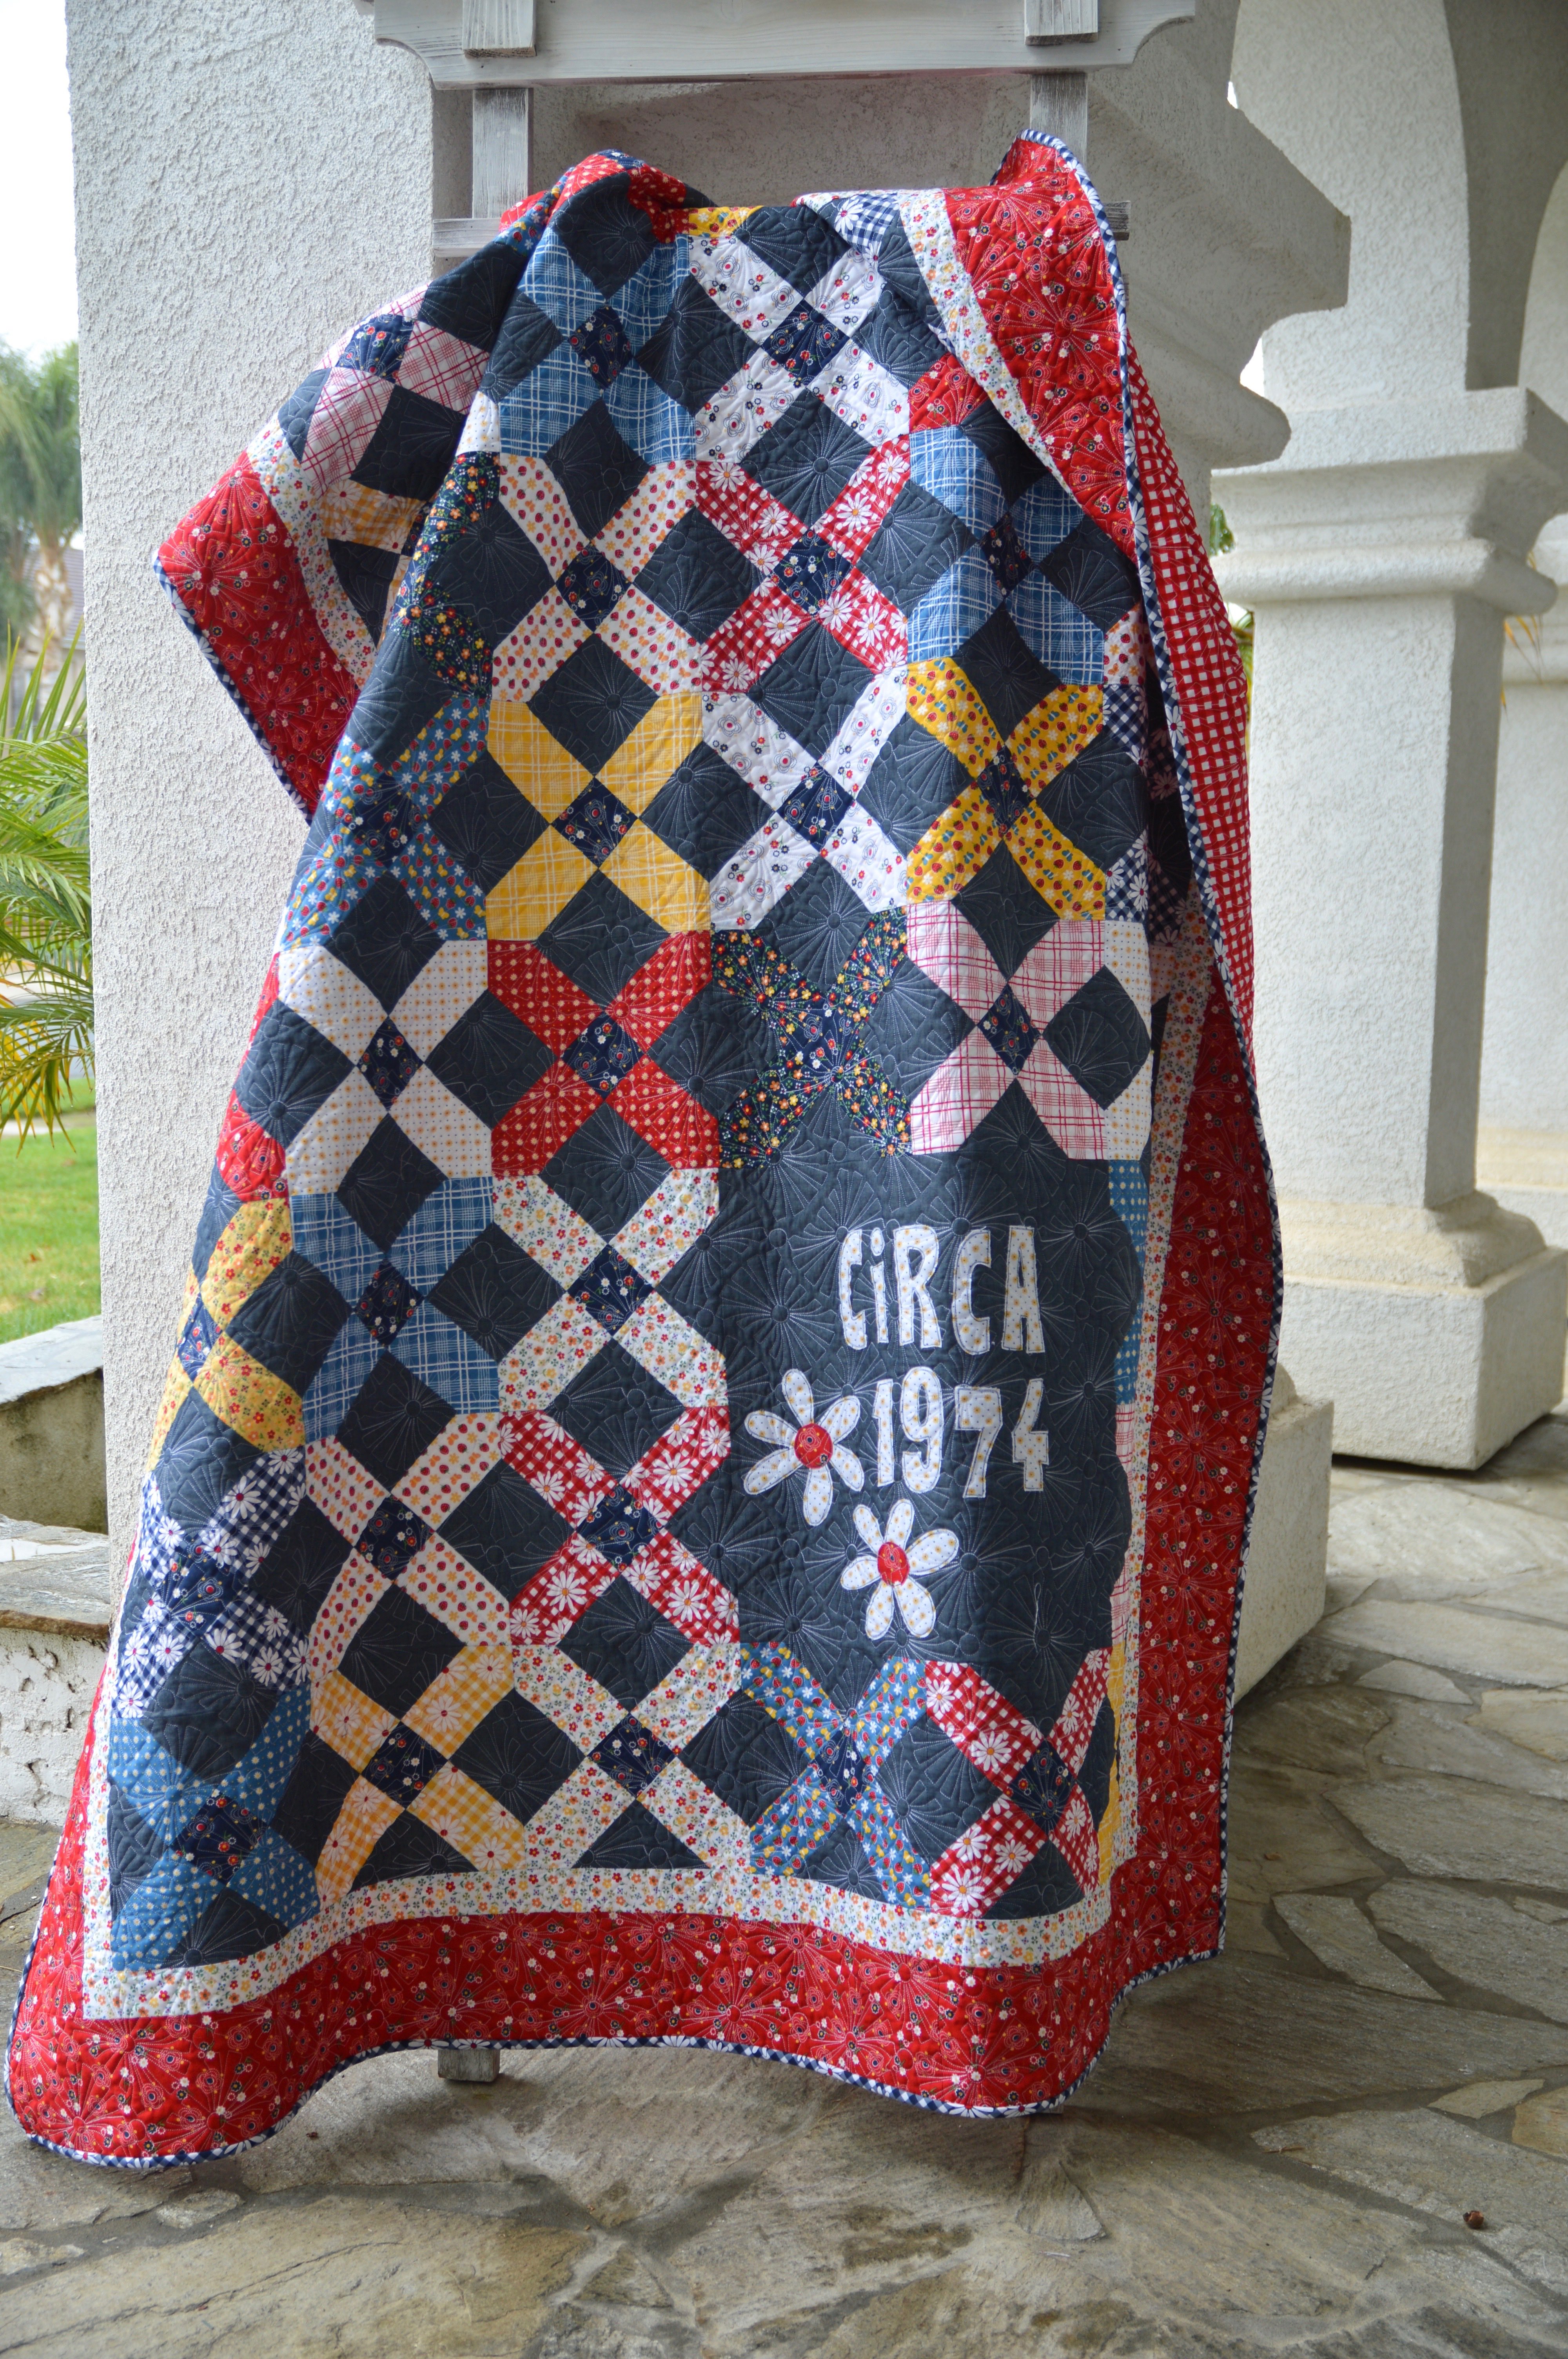
 I quilted it with loops and daisies!!
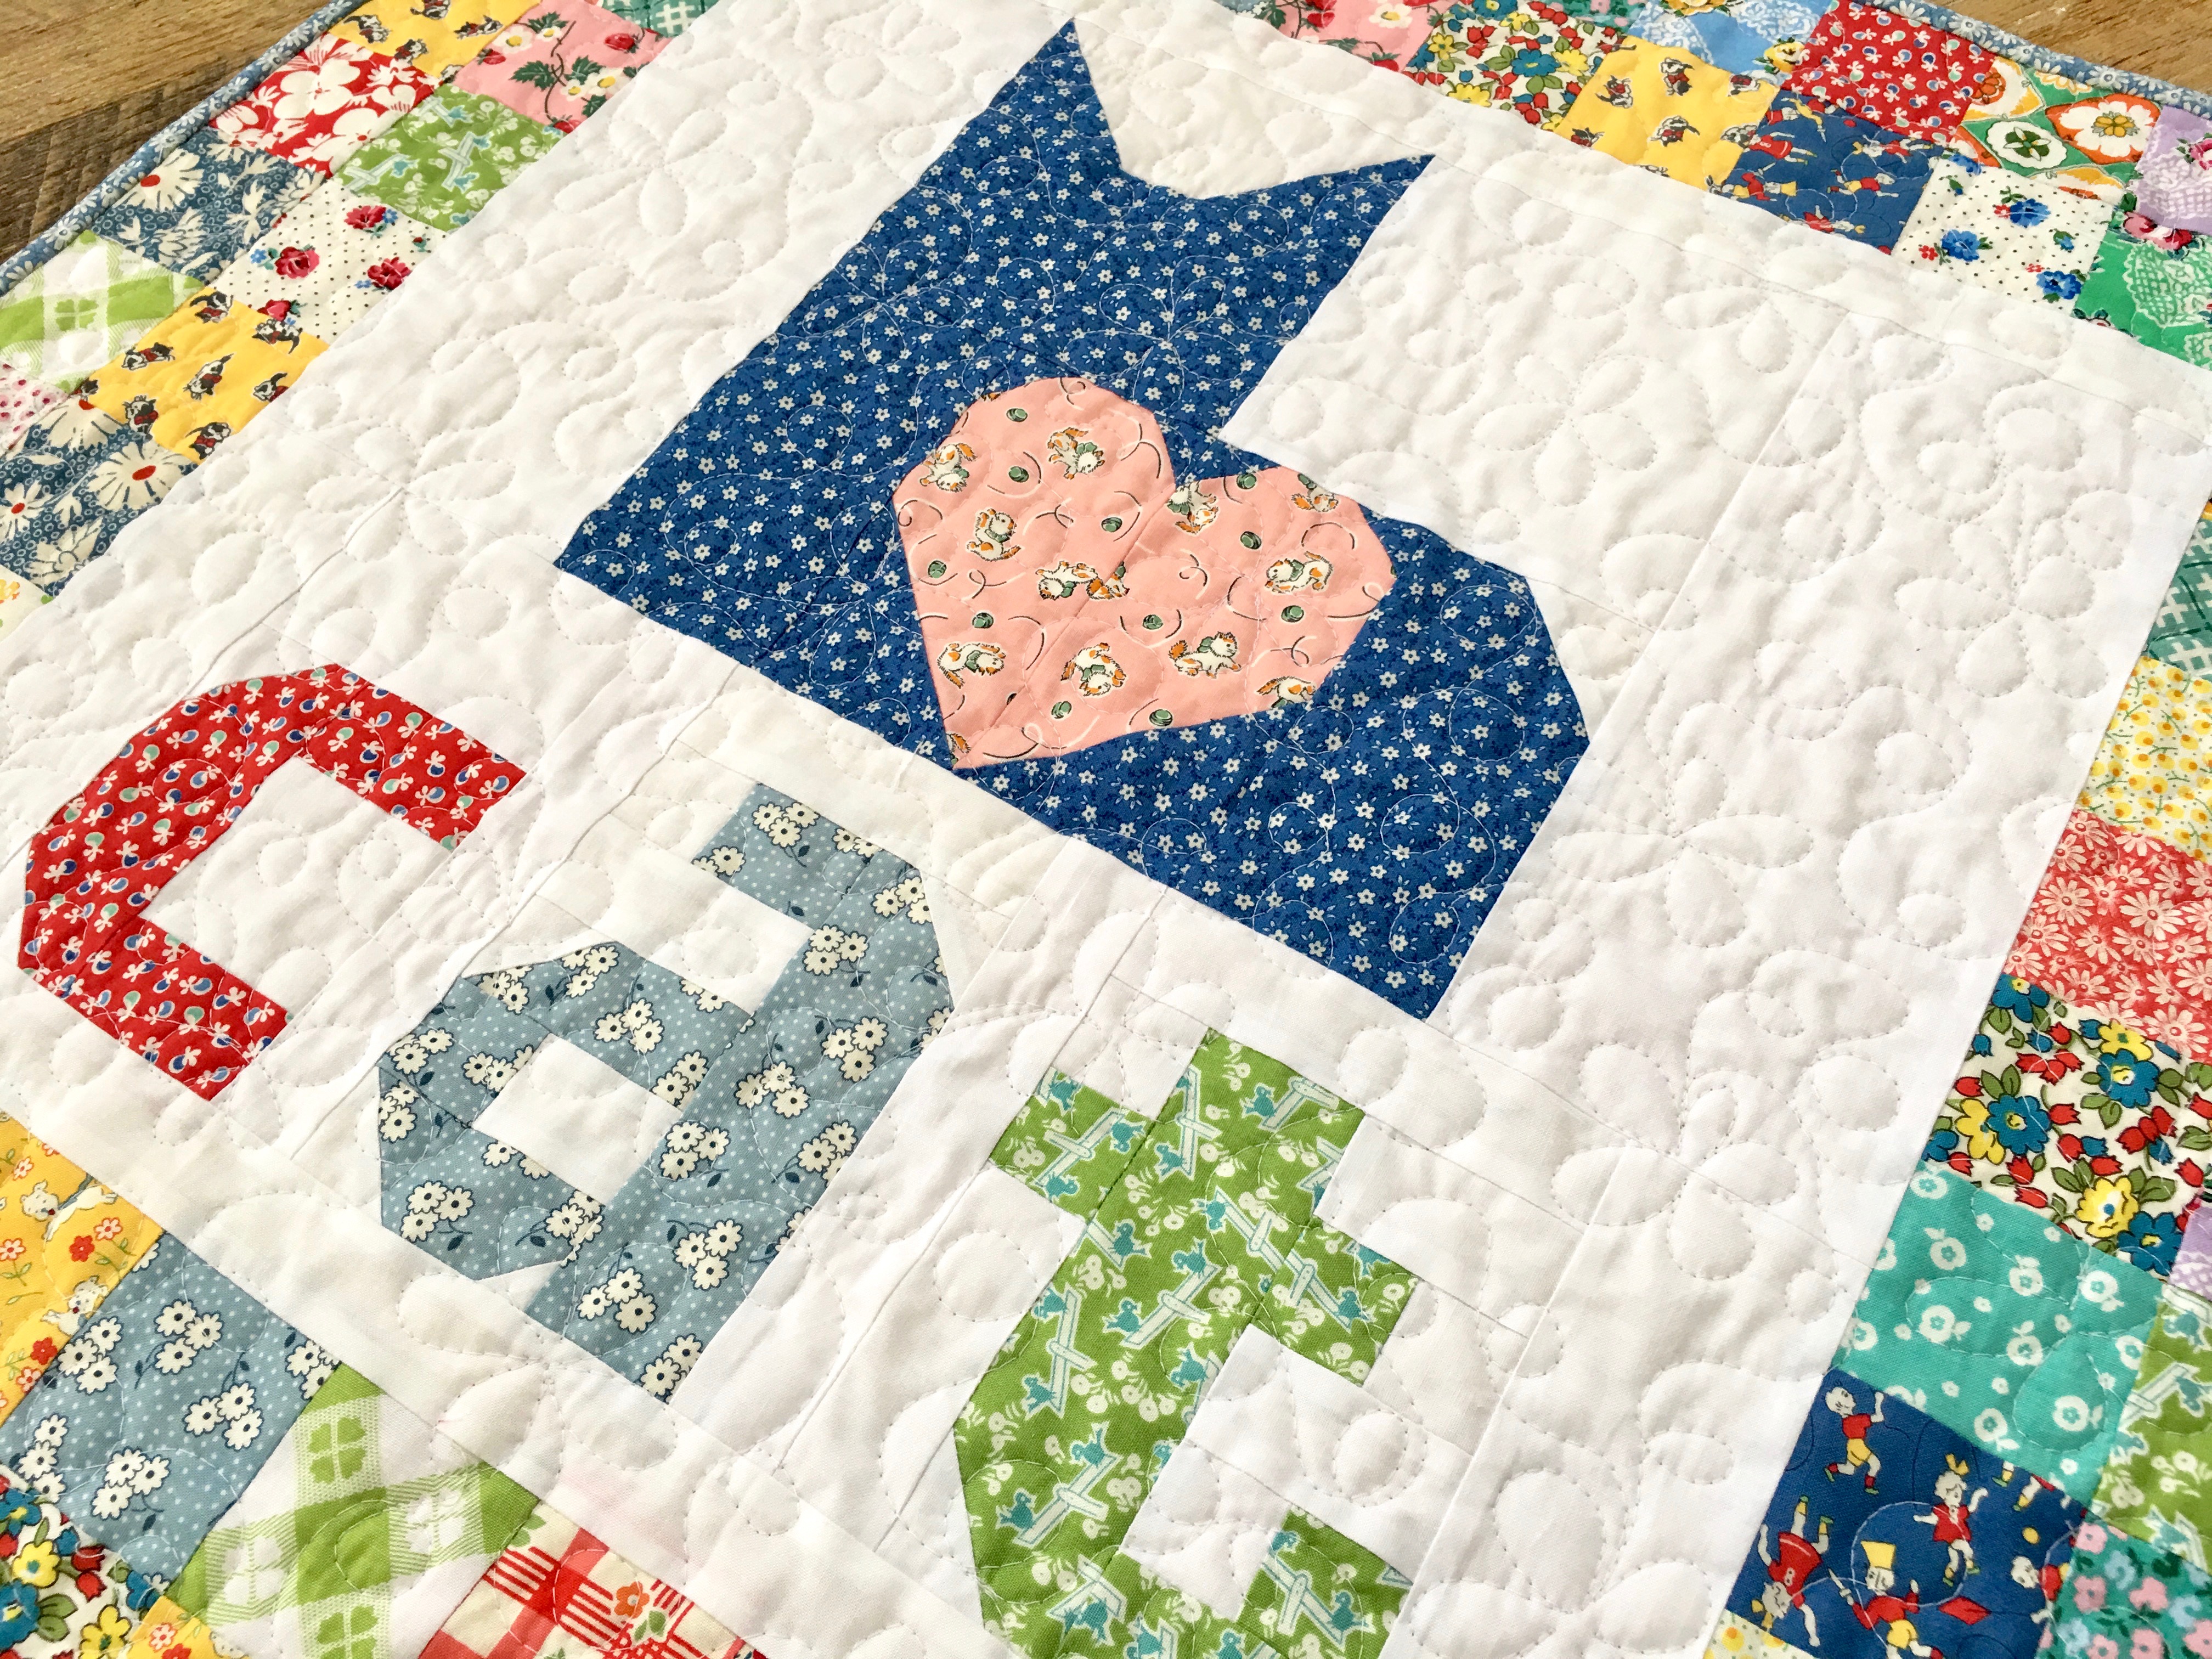
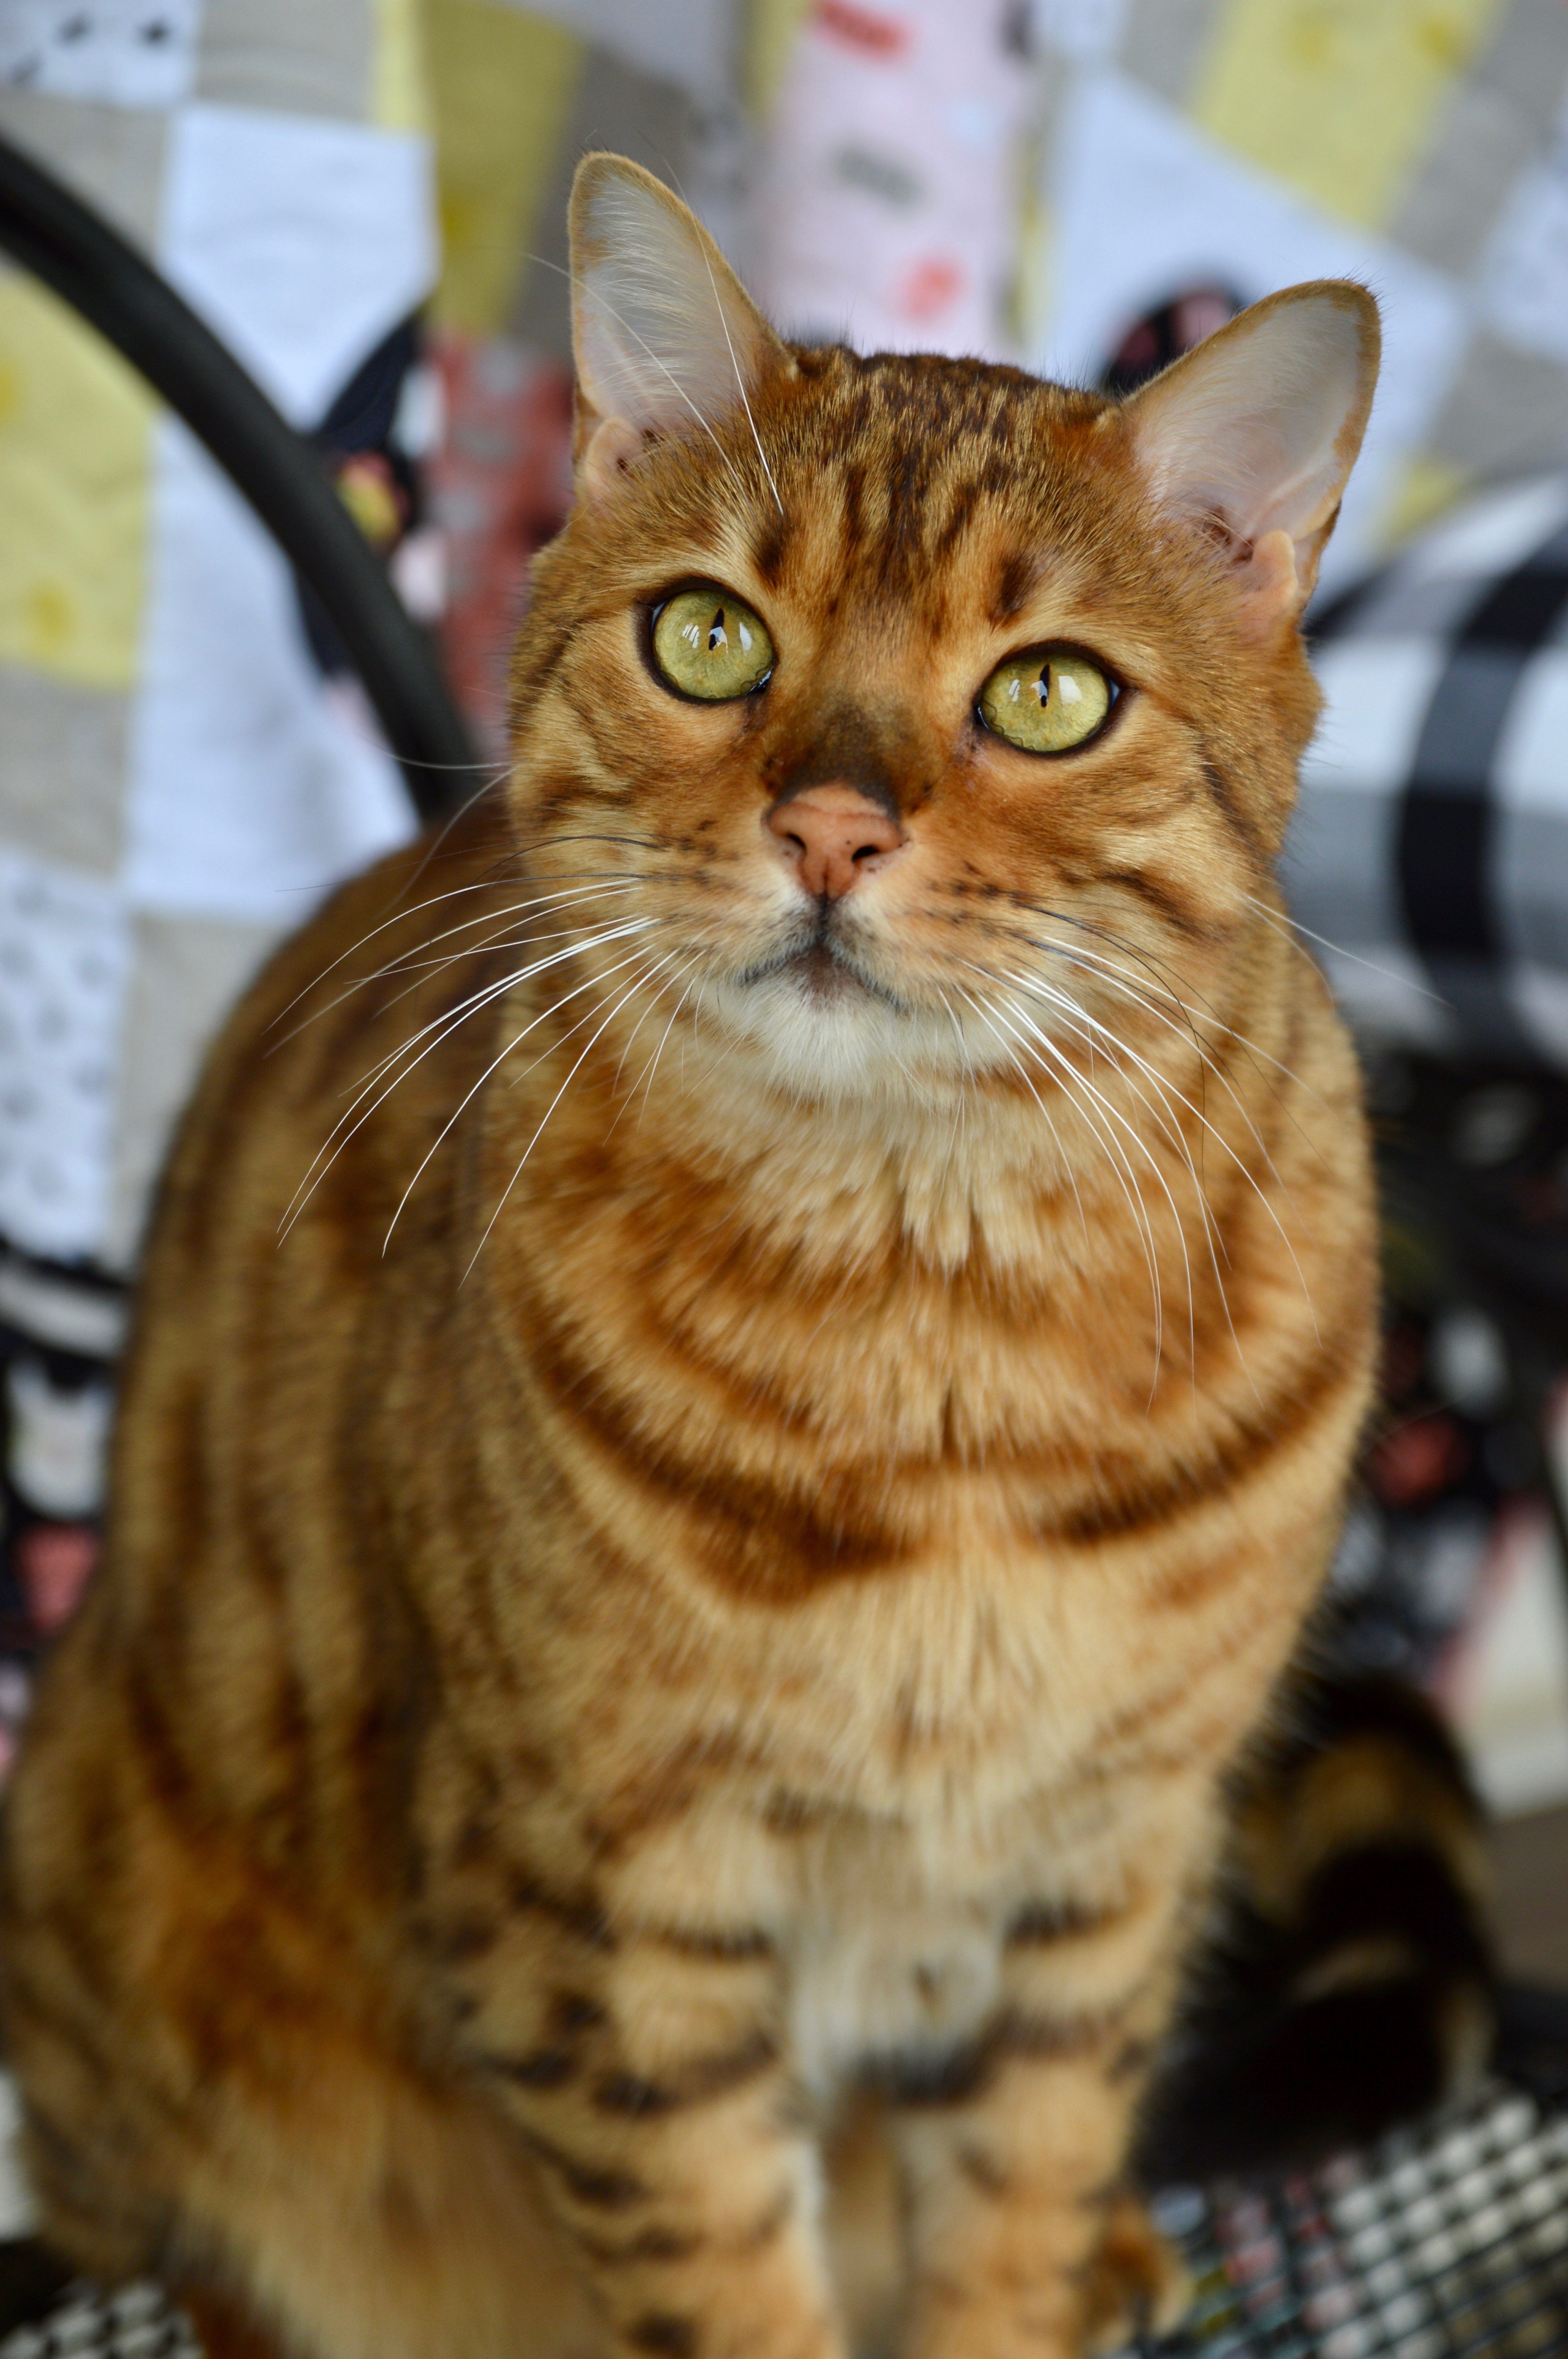
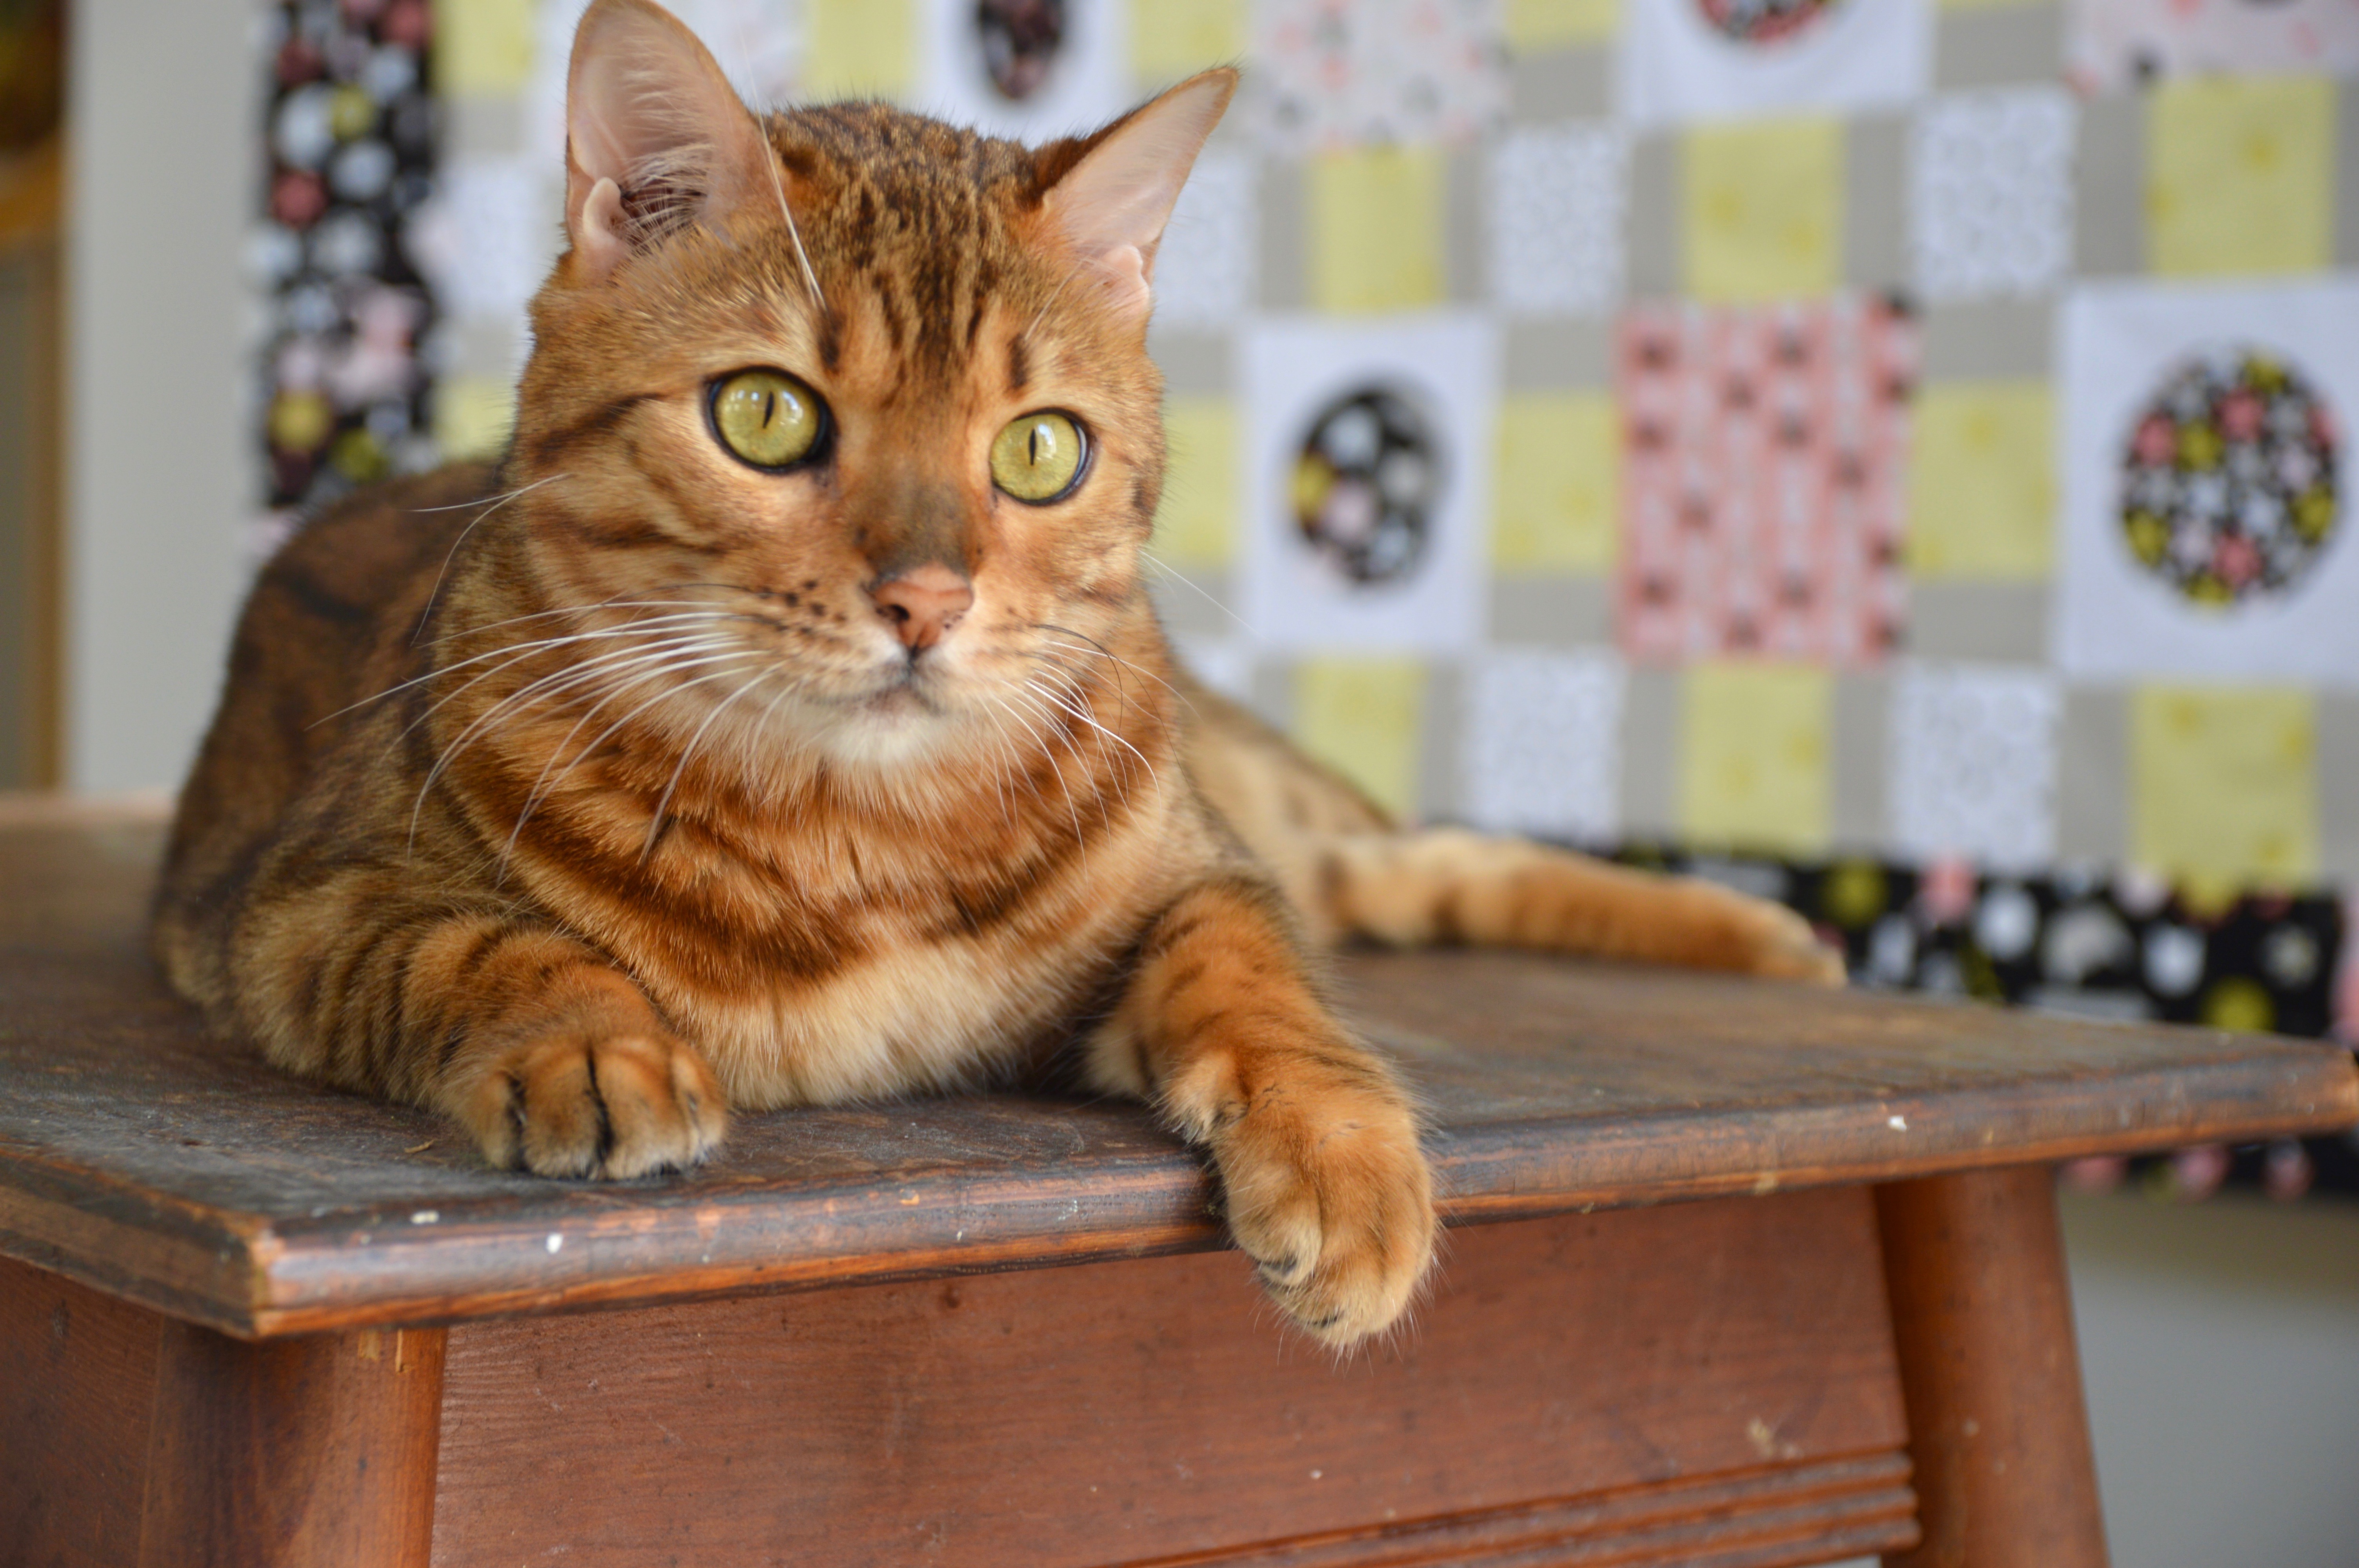
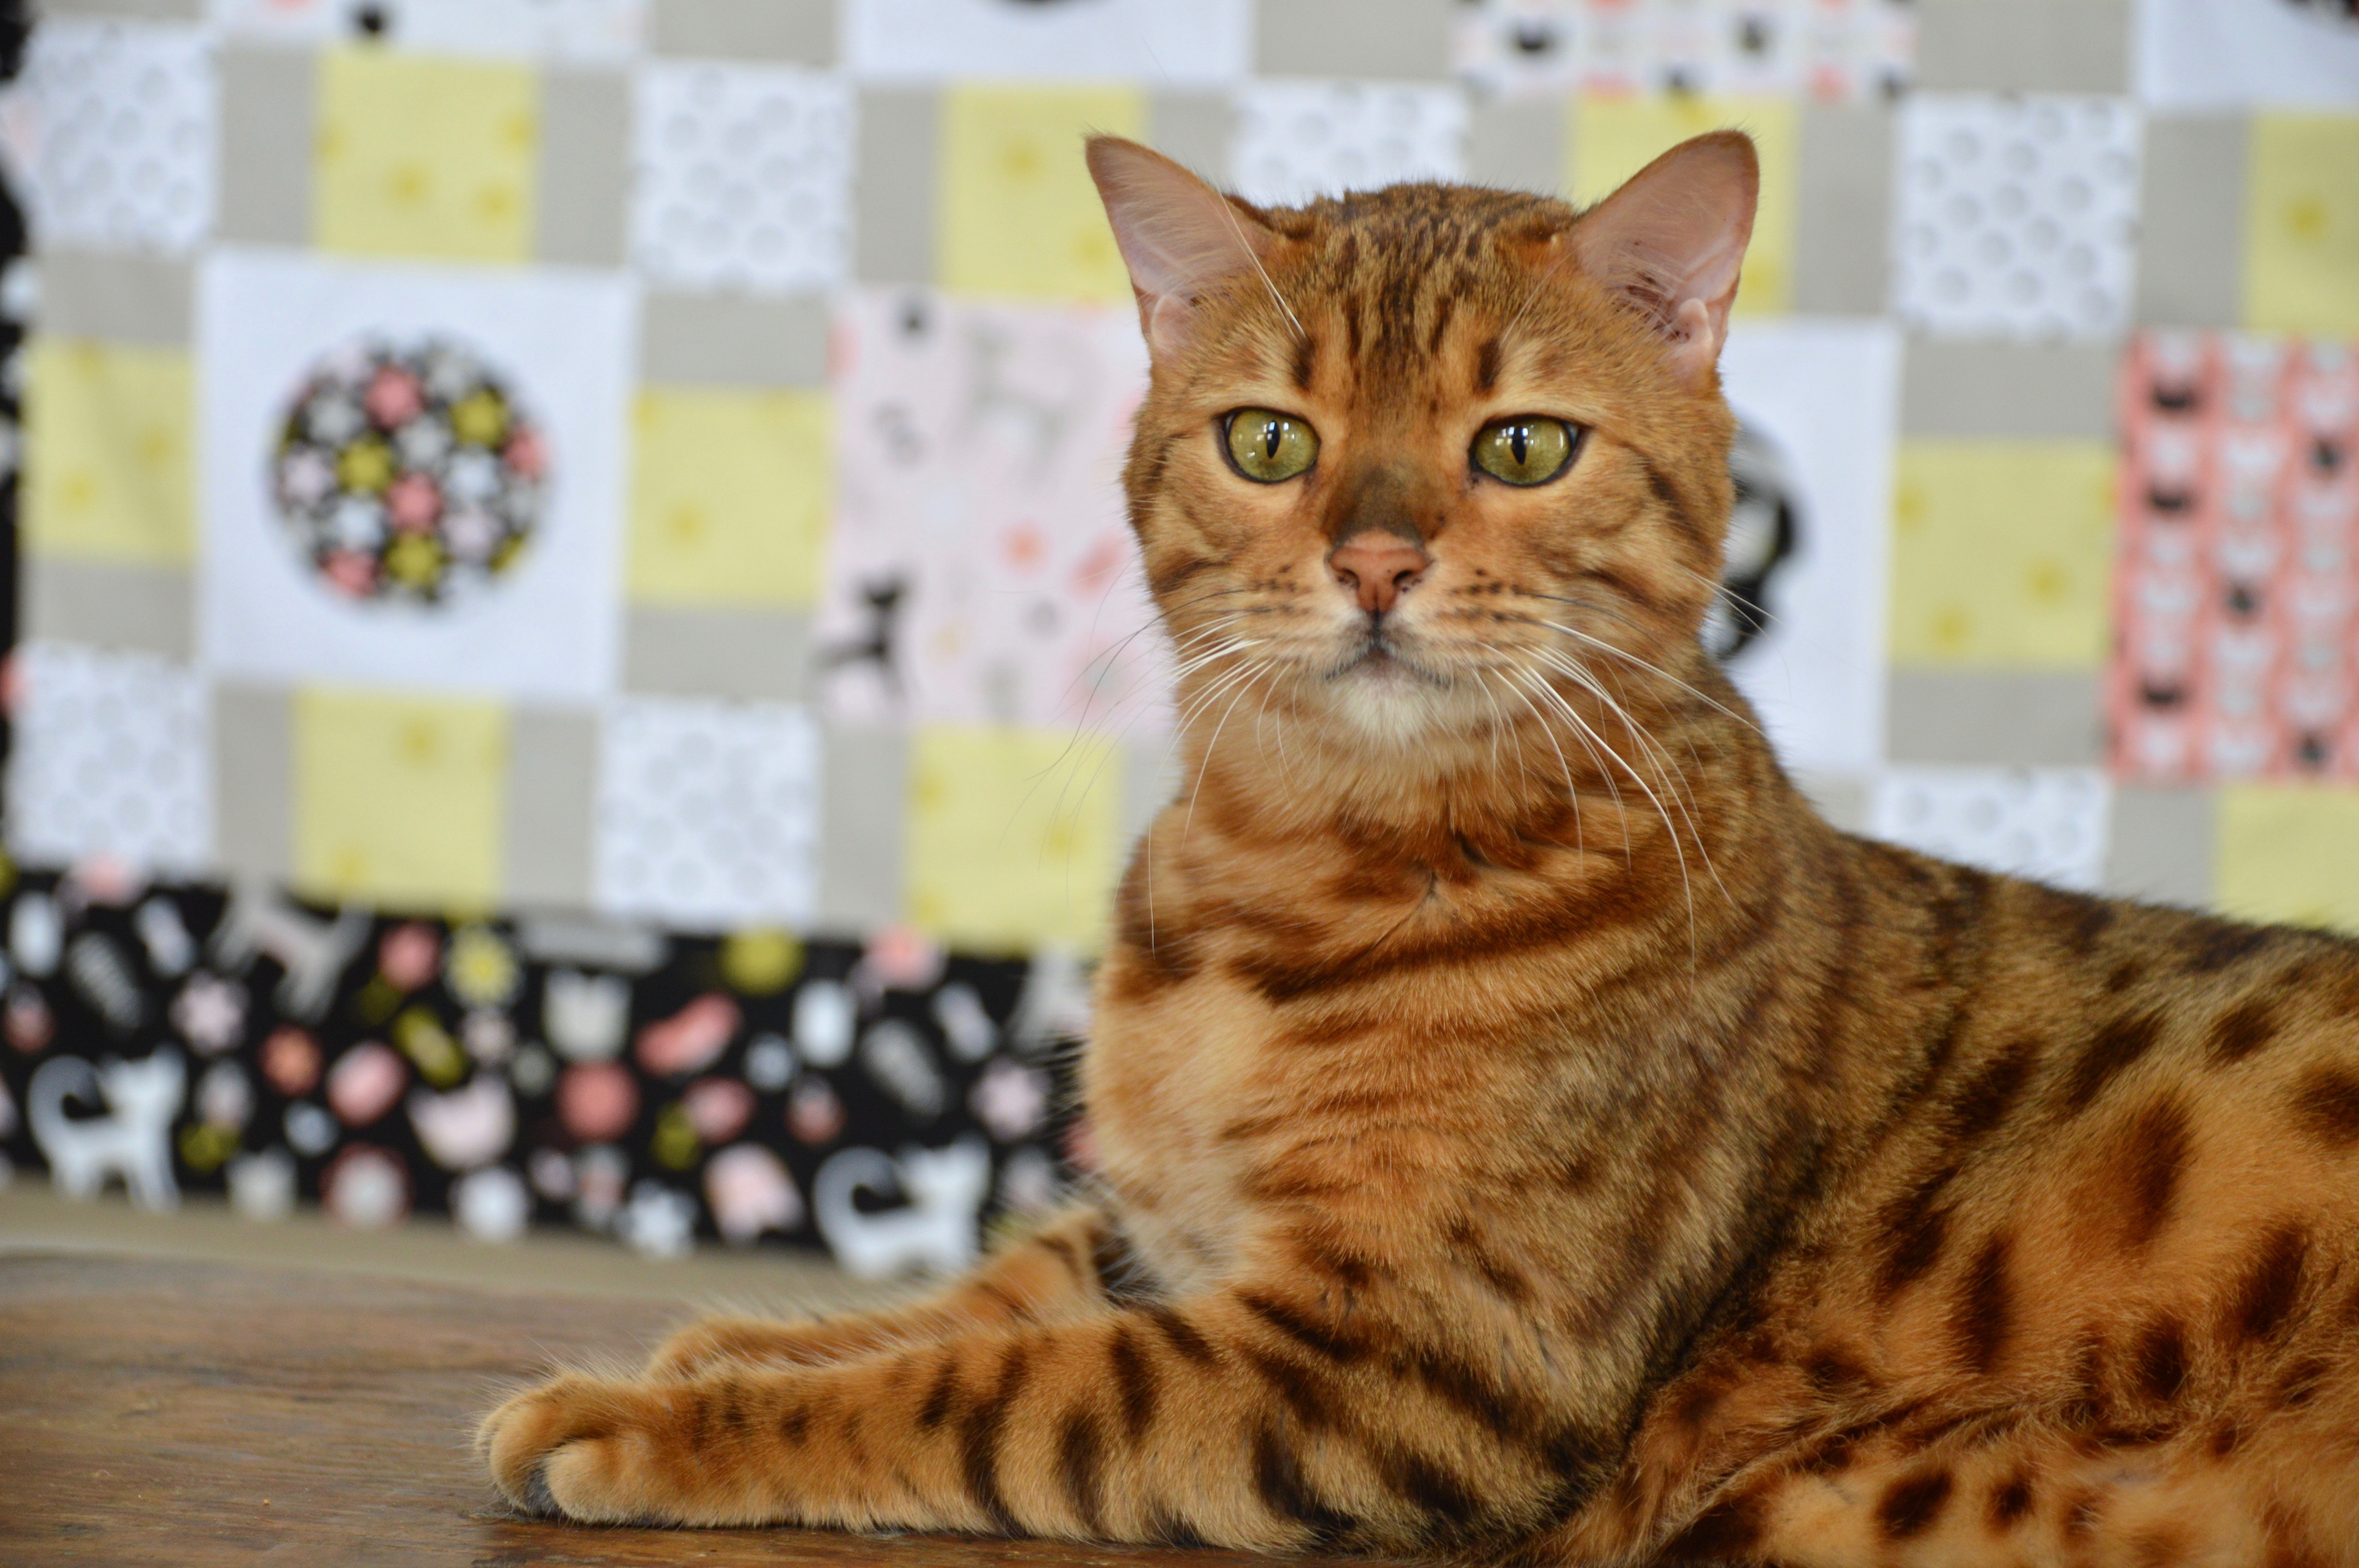
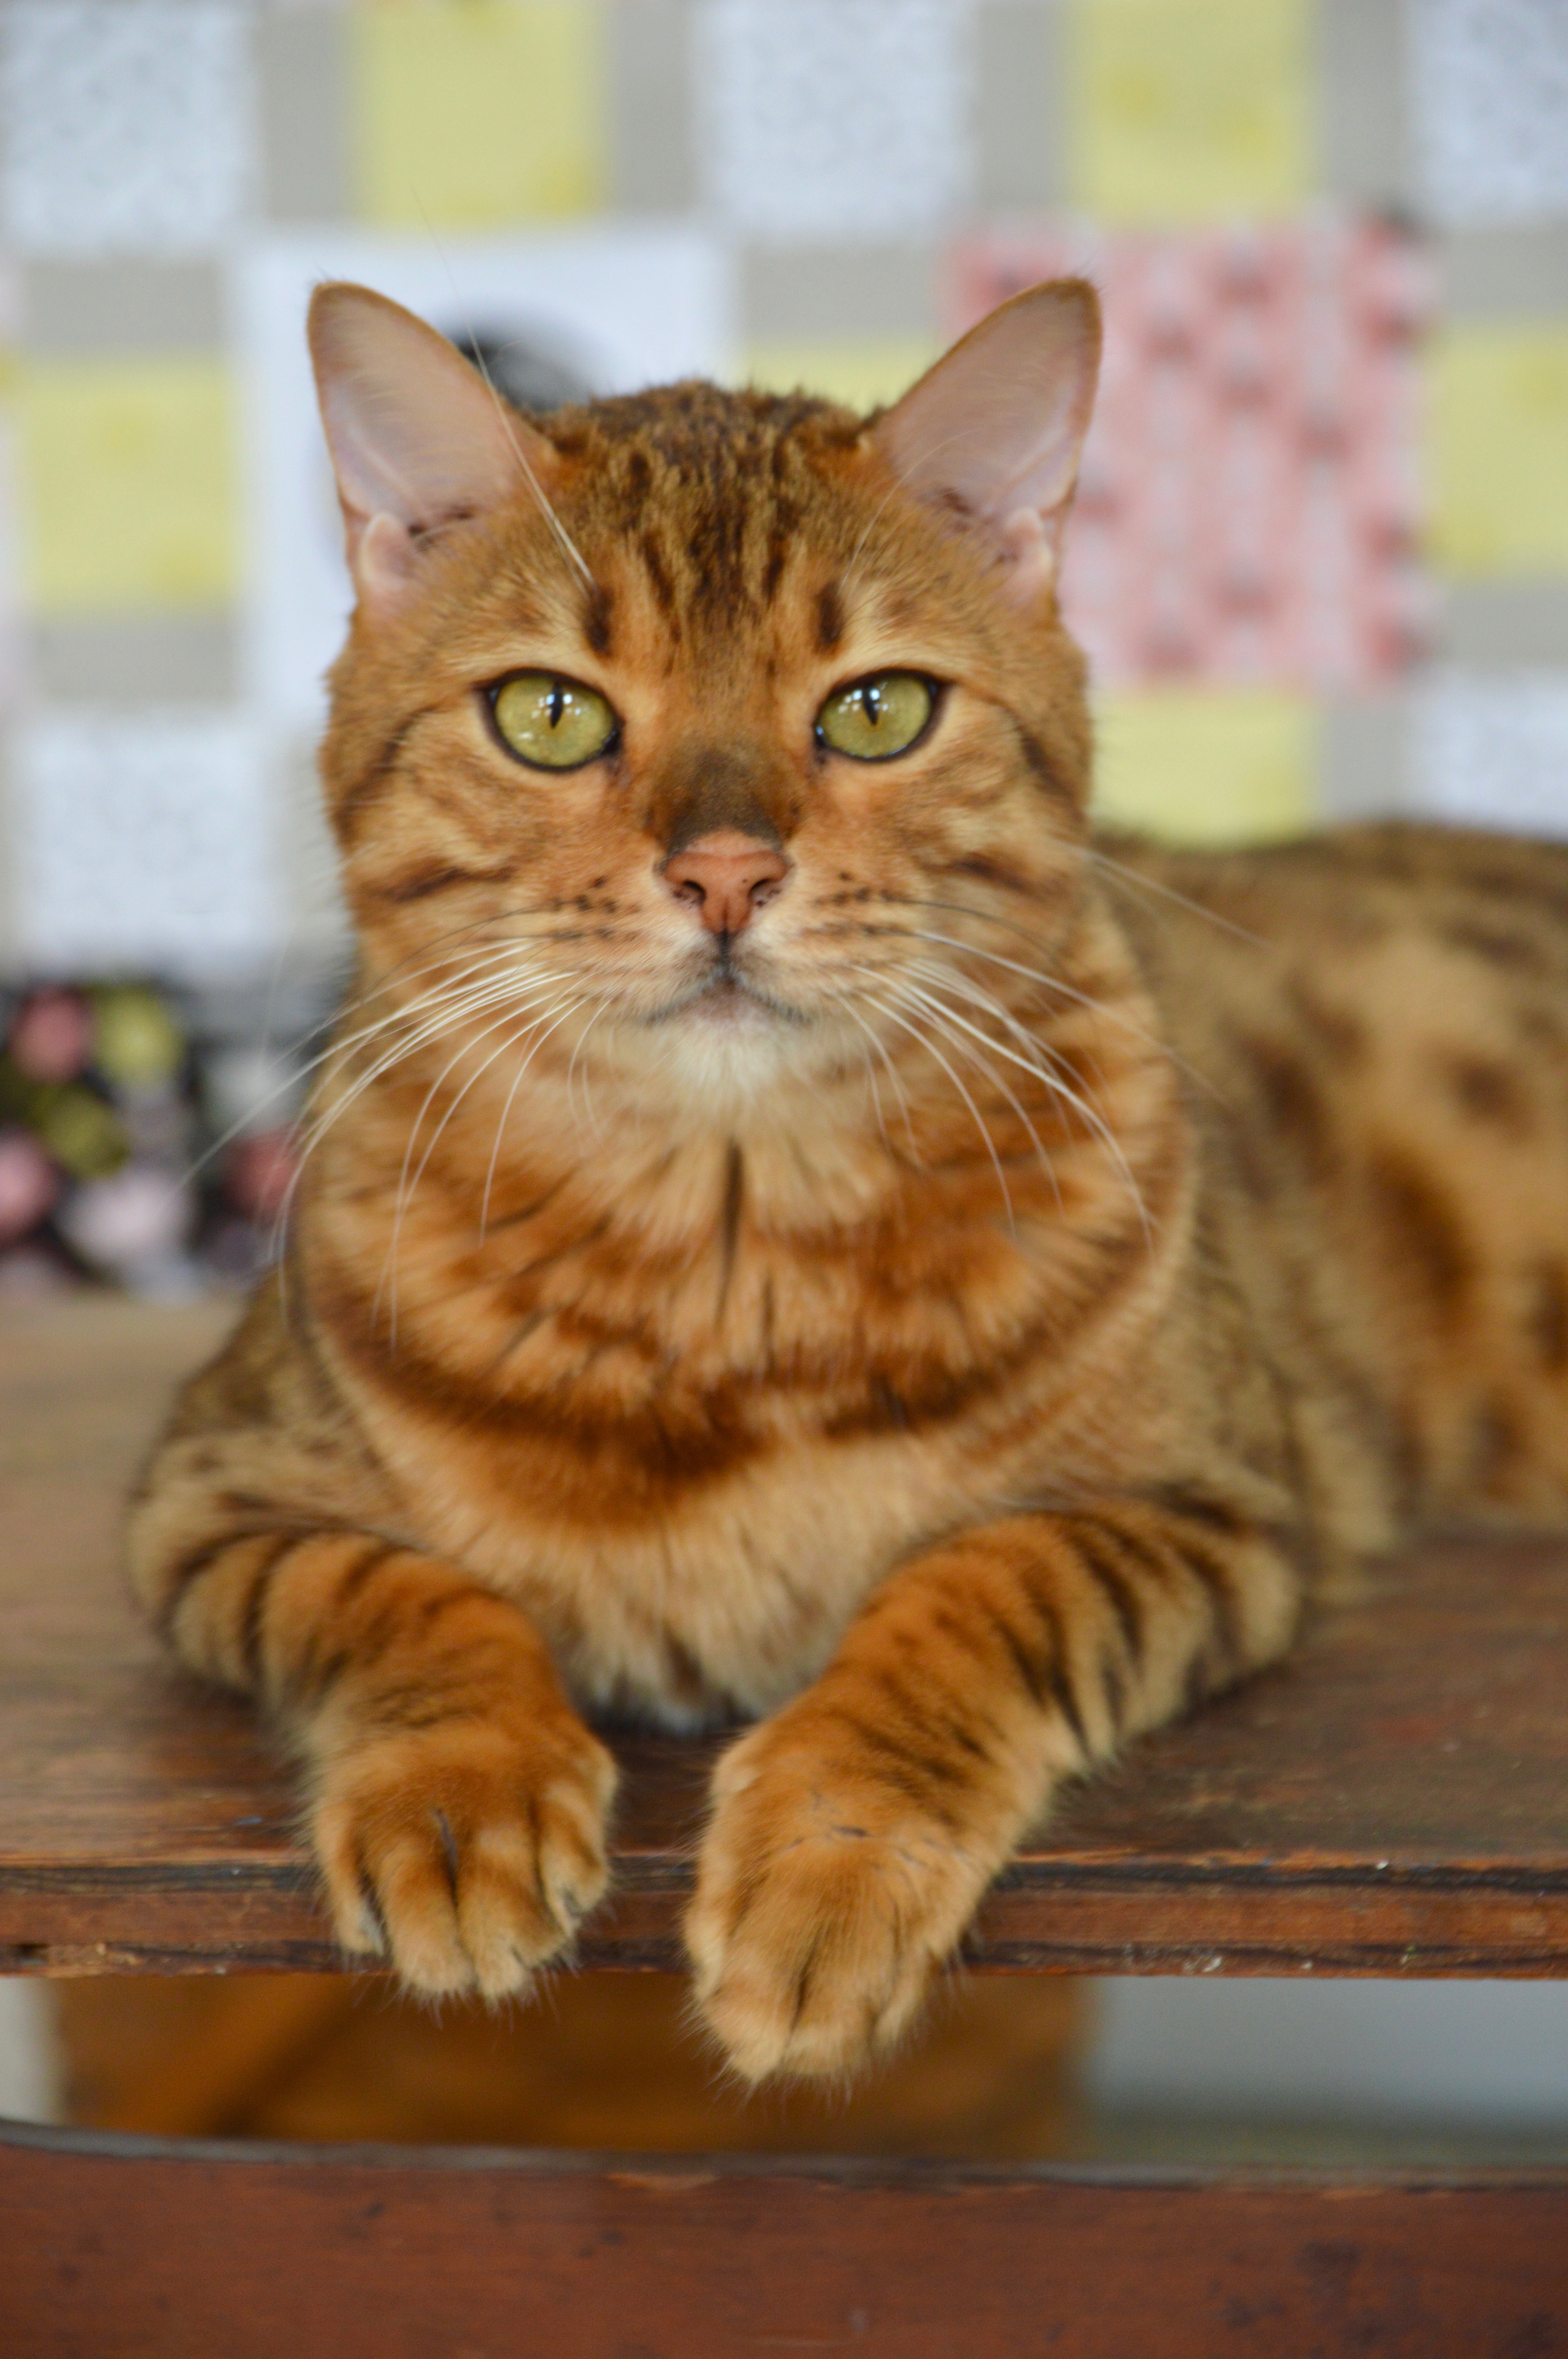
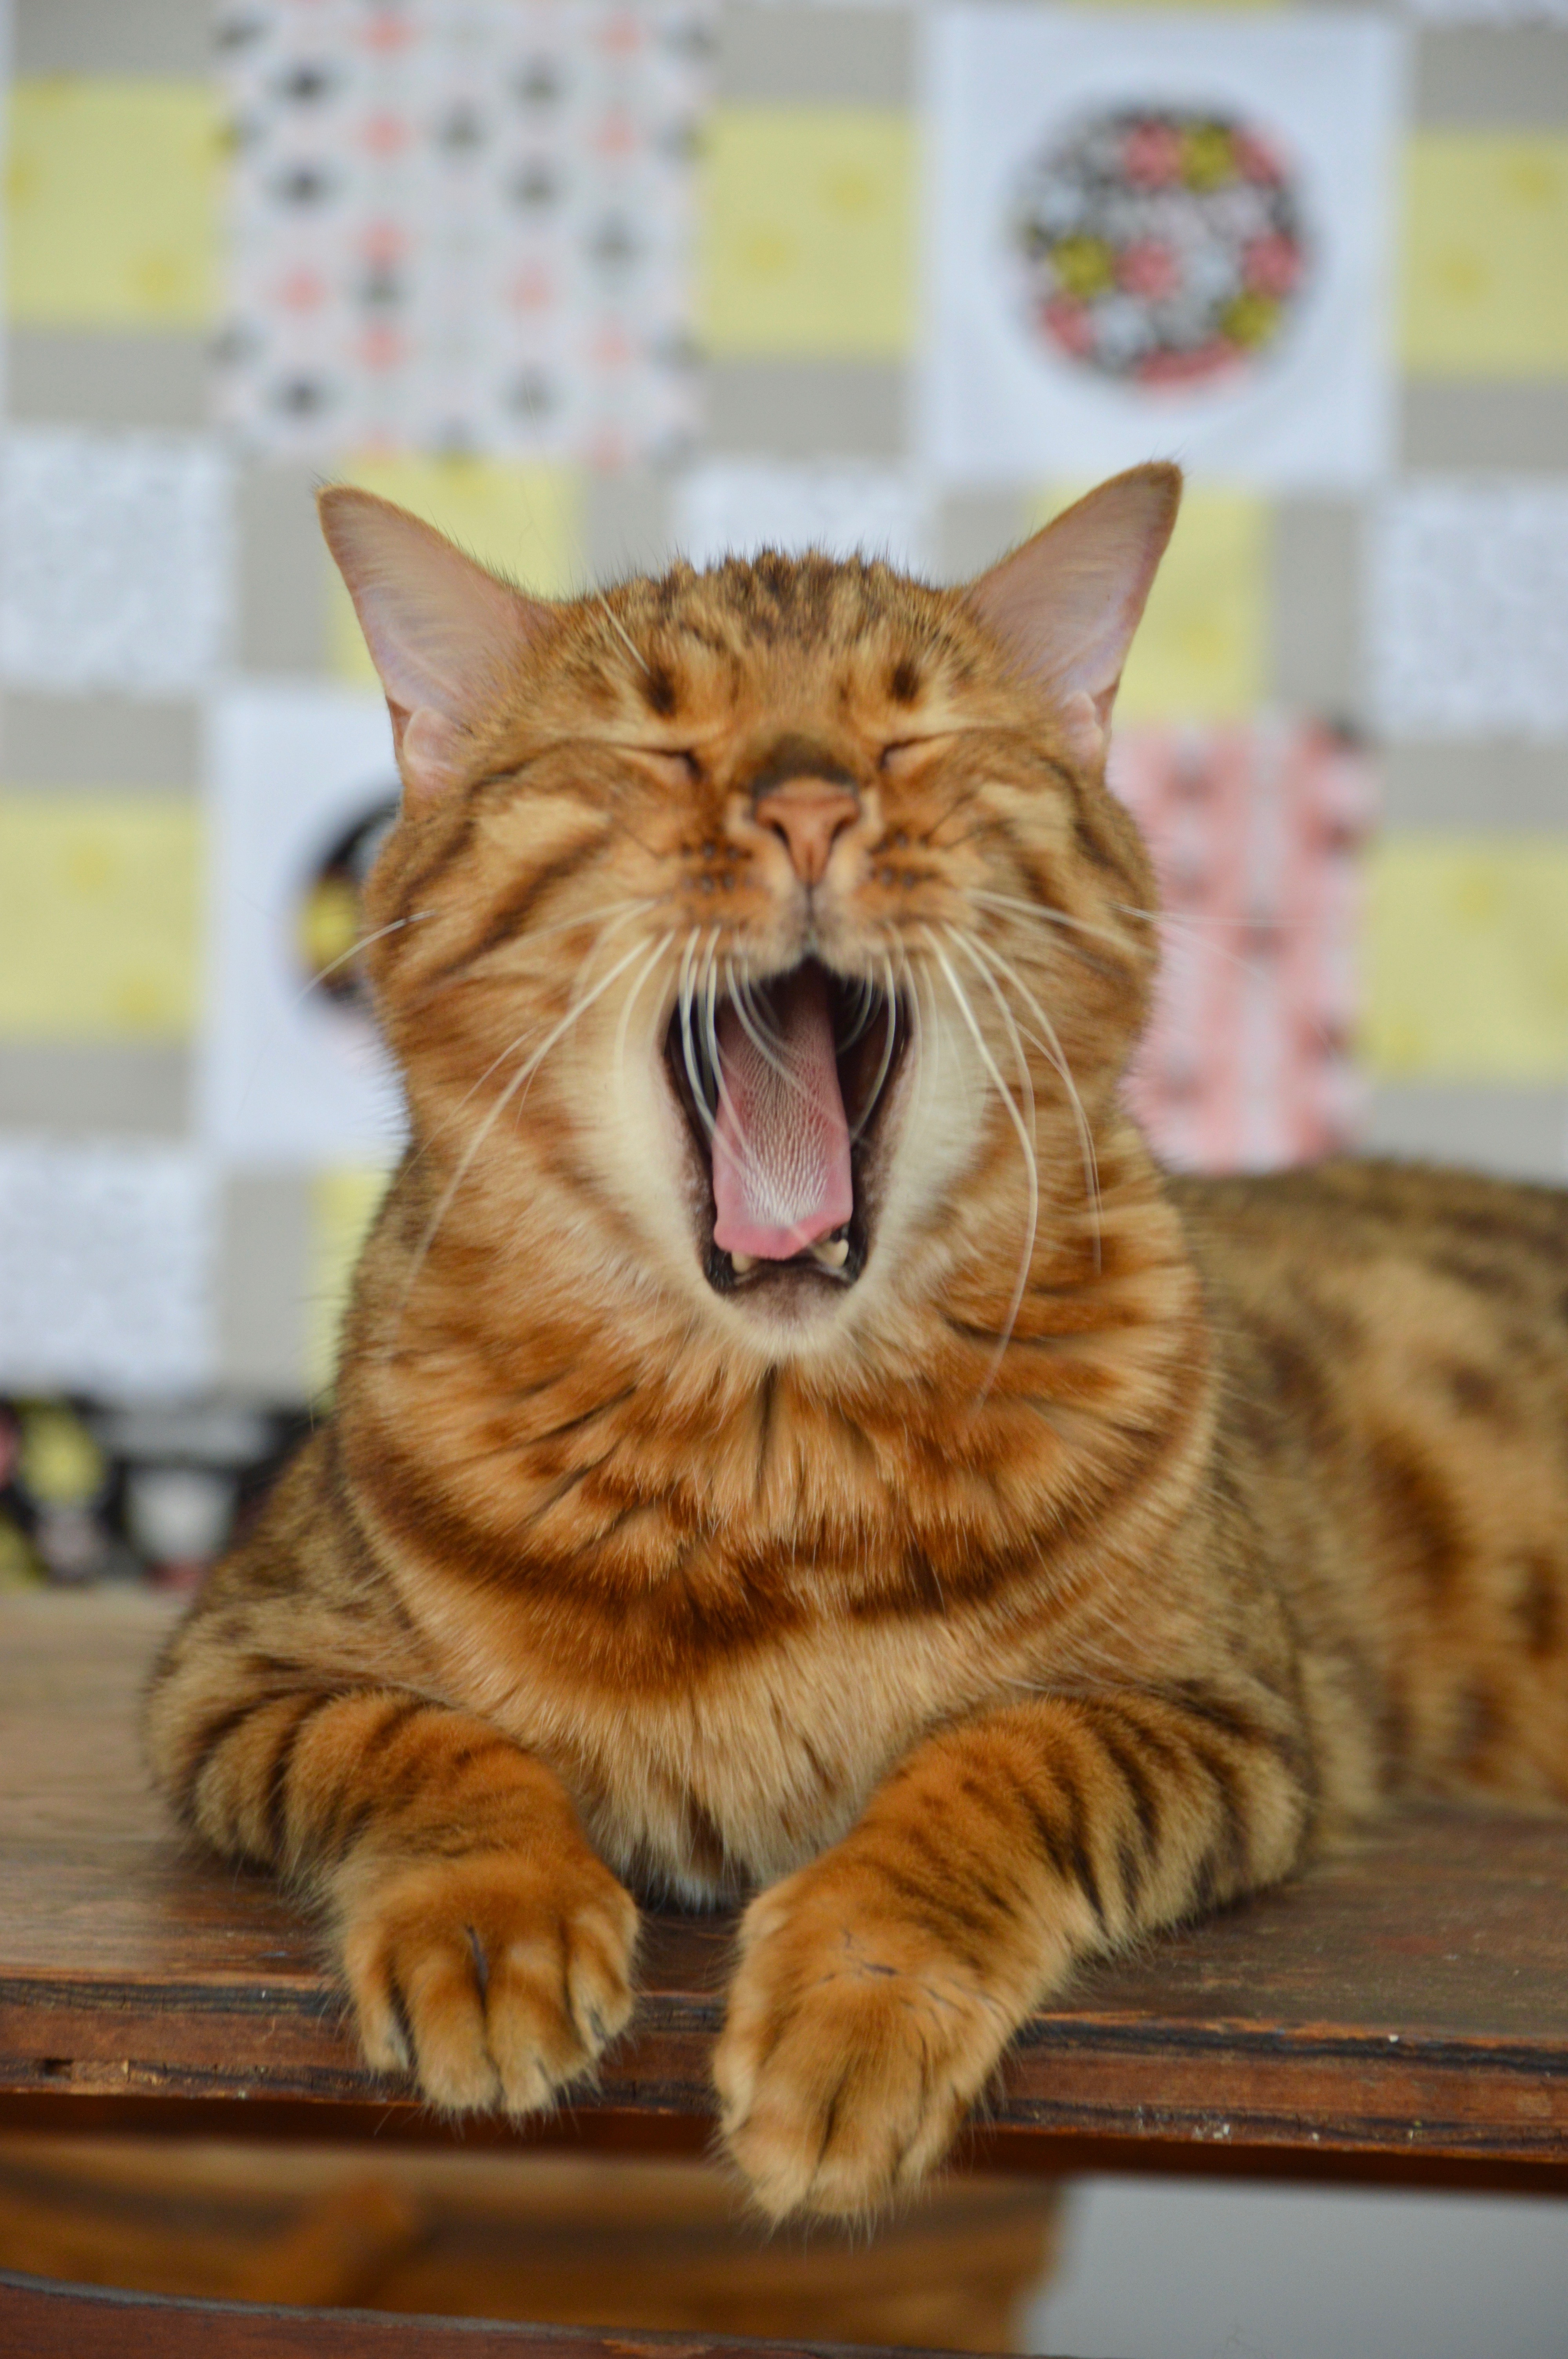
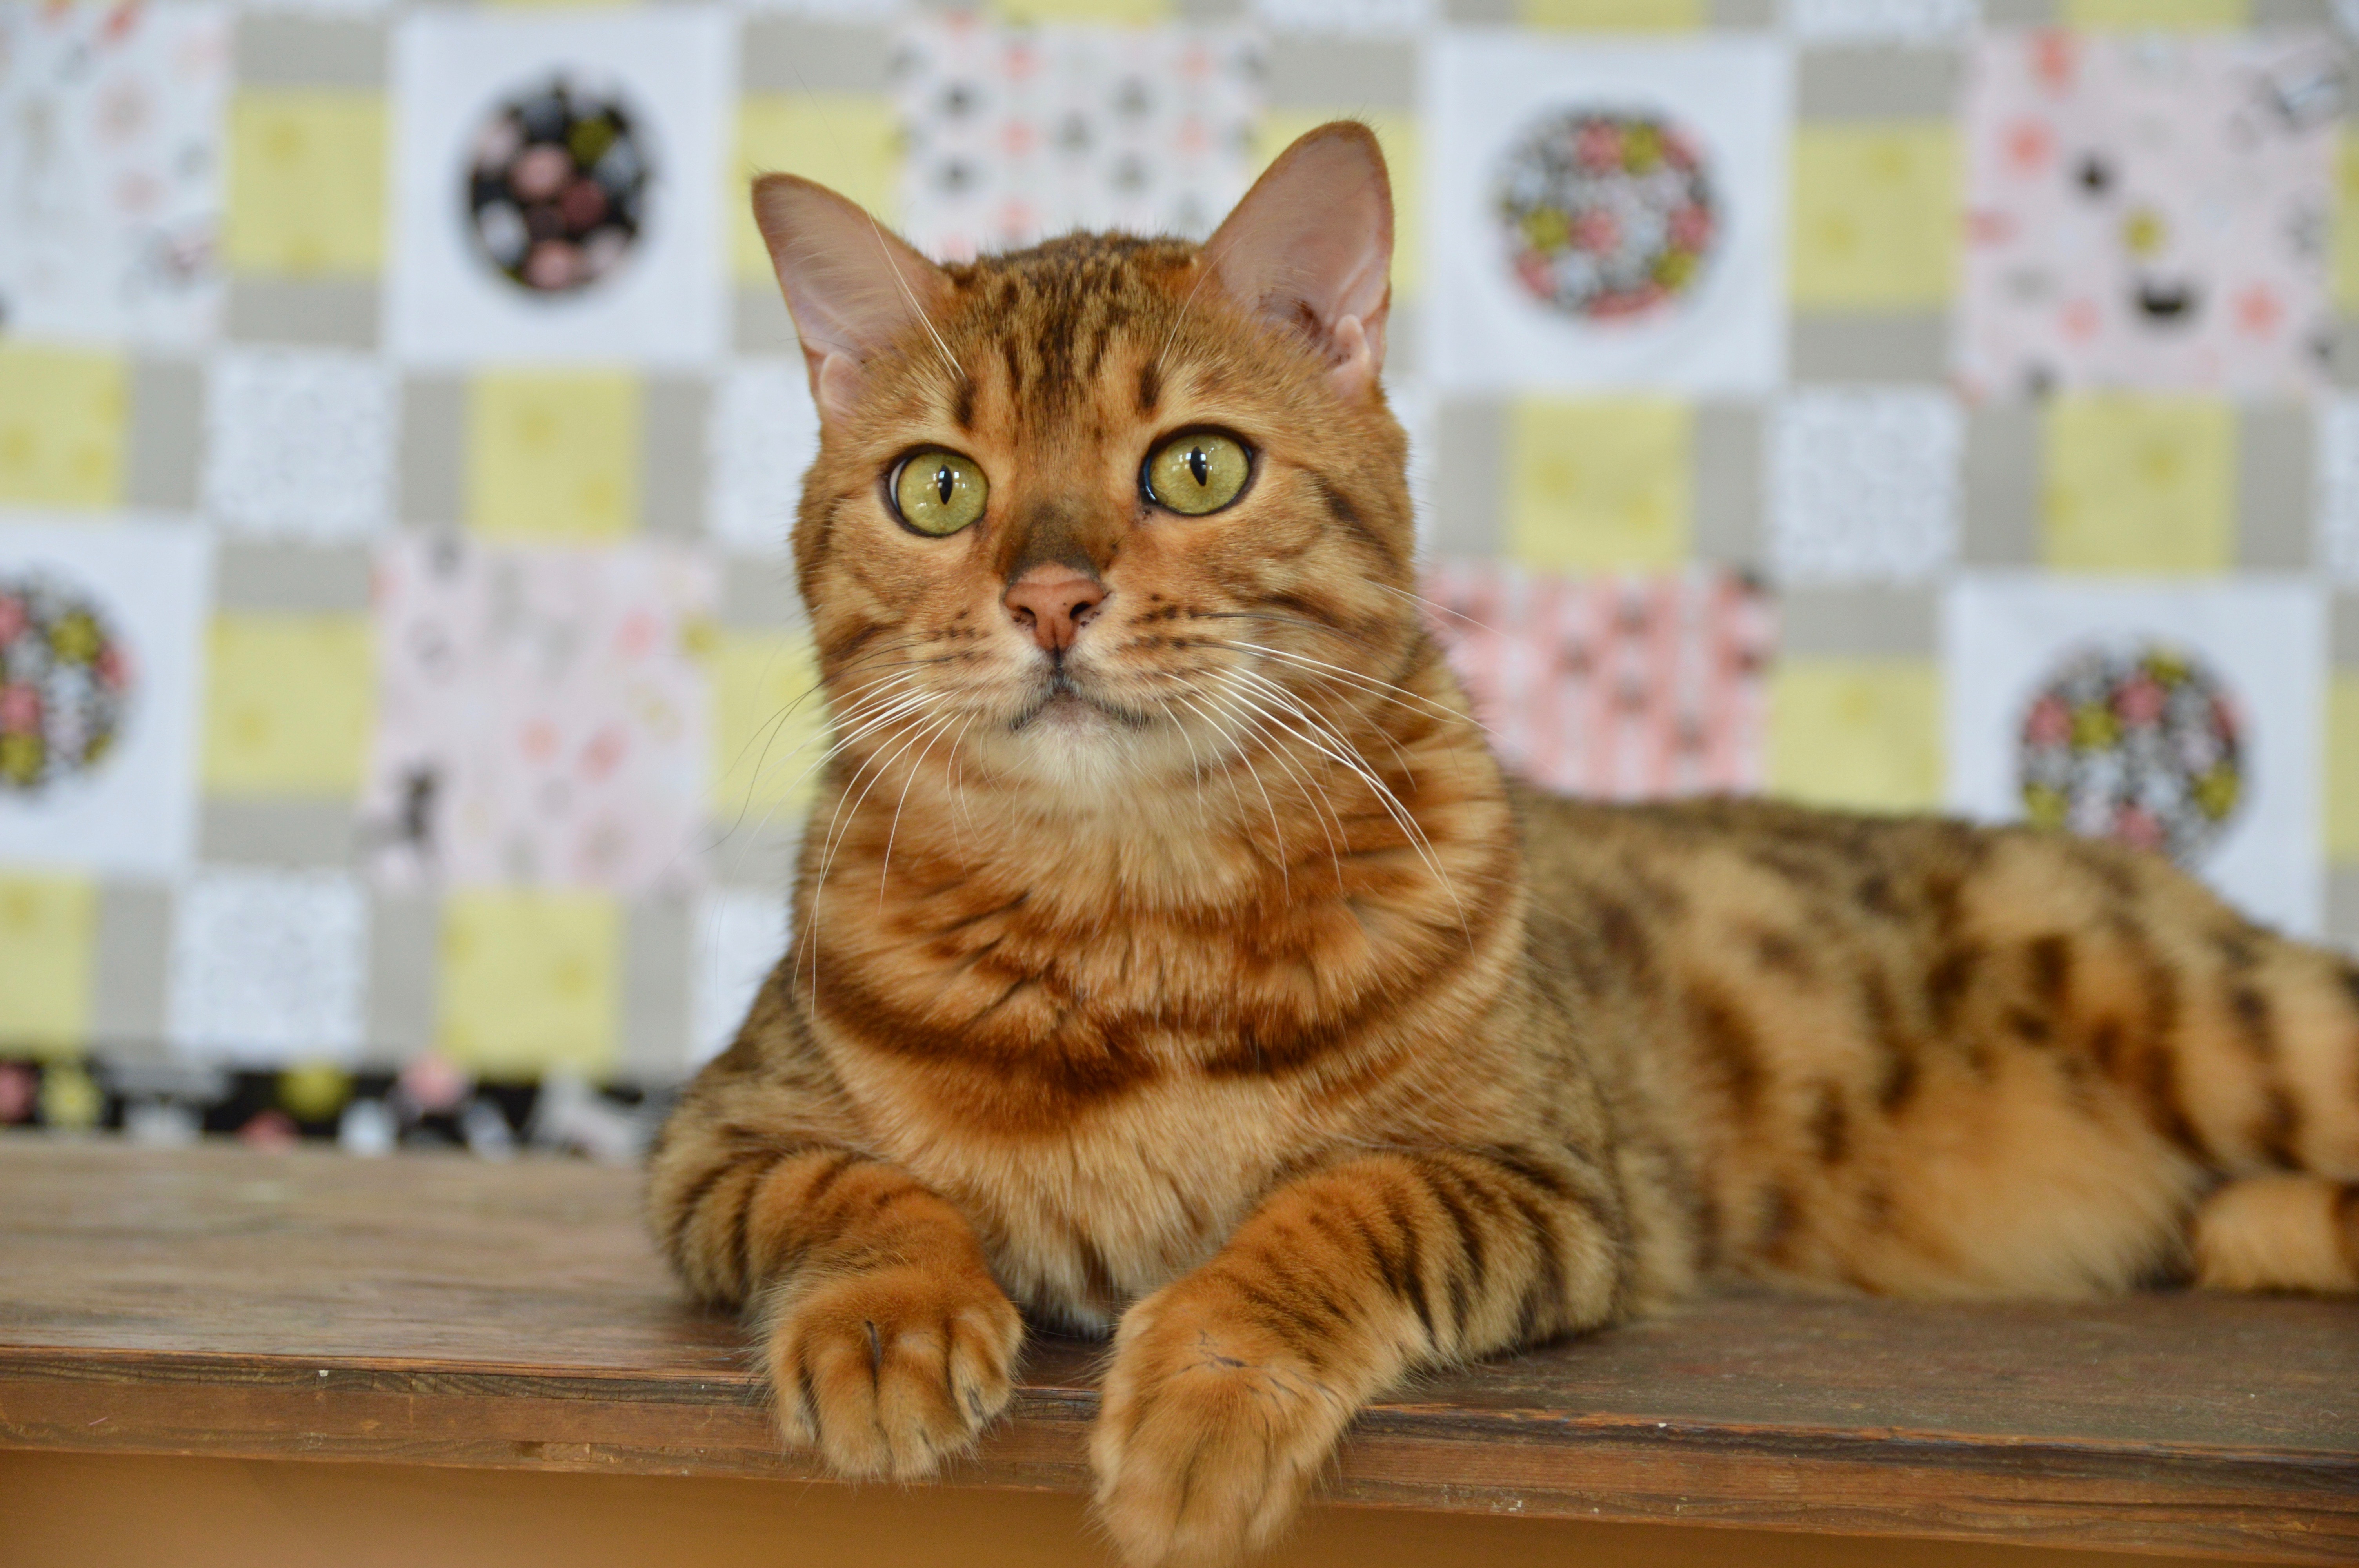
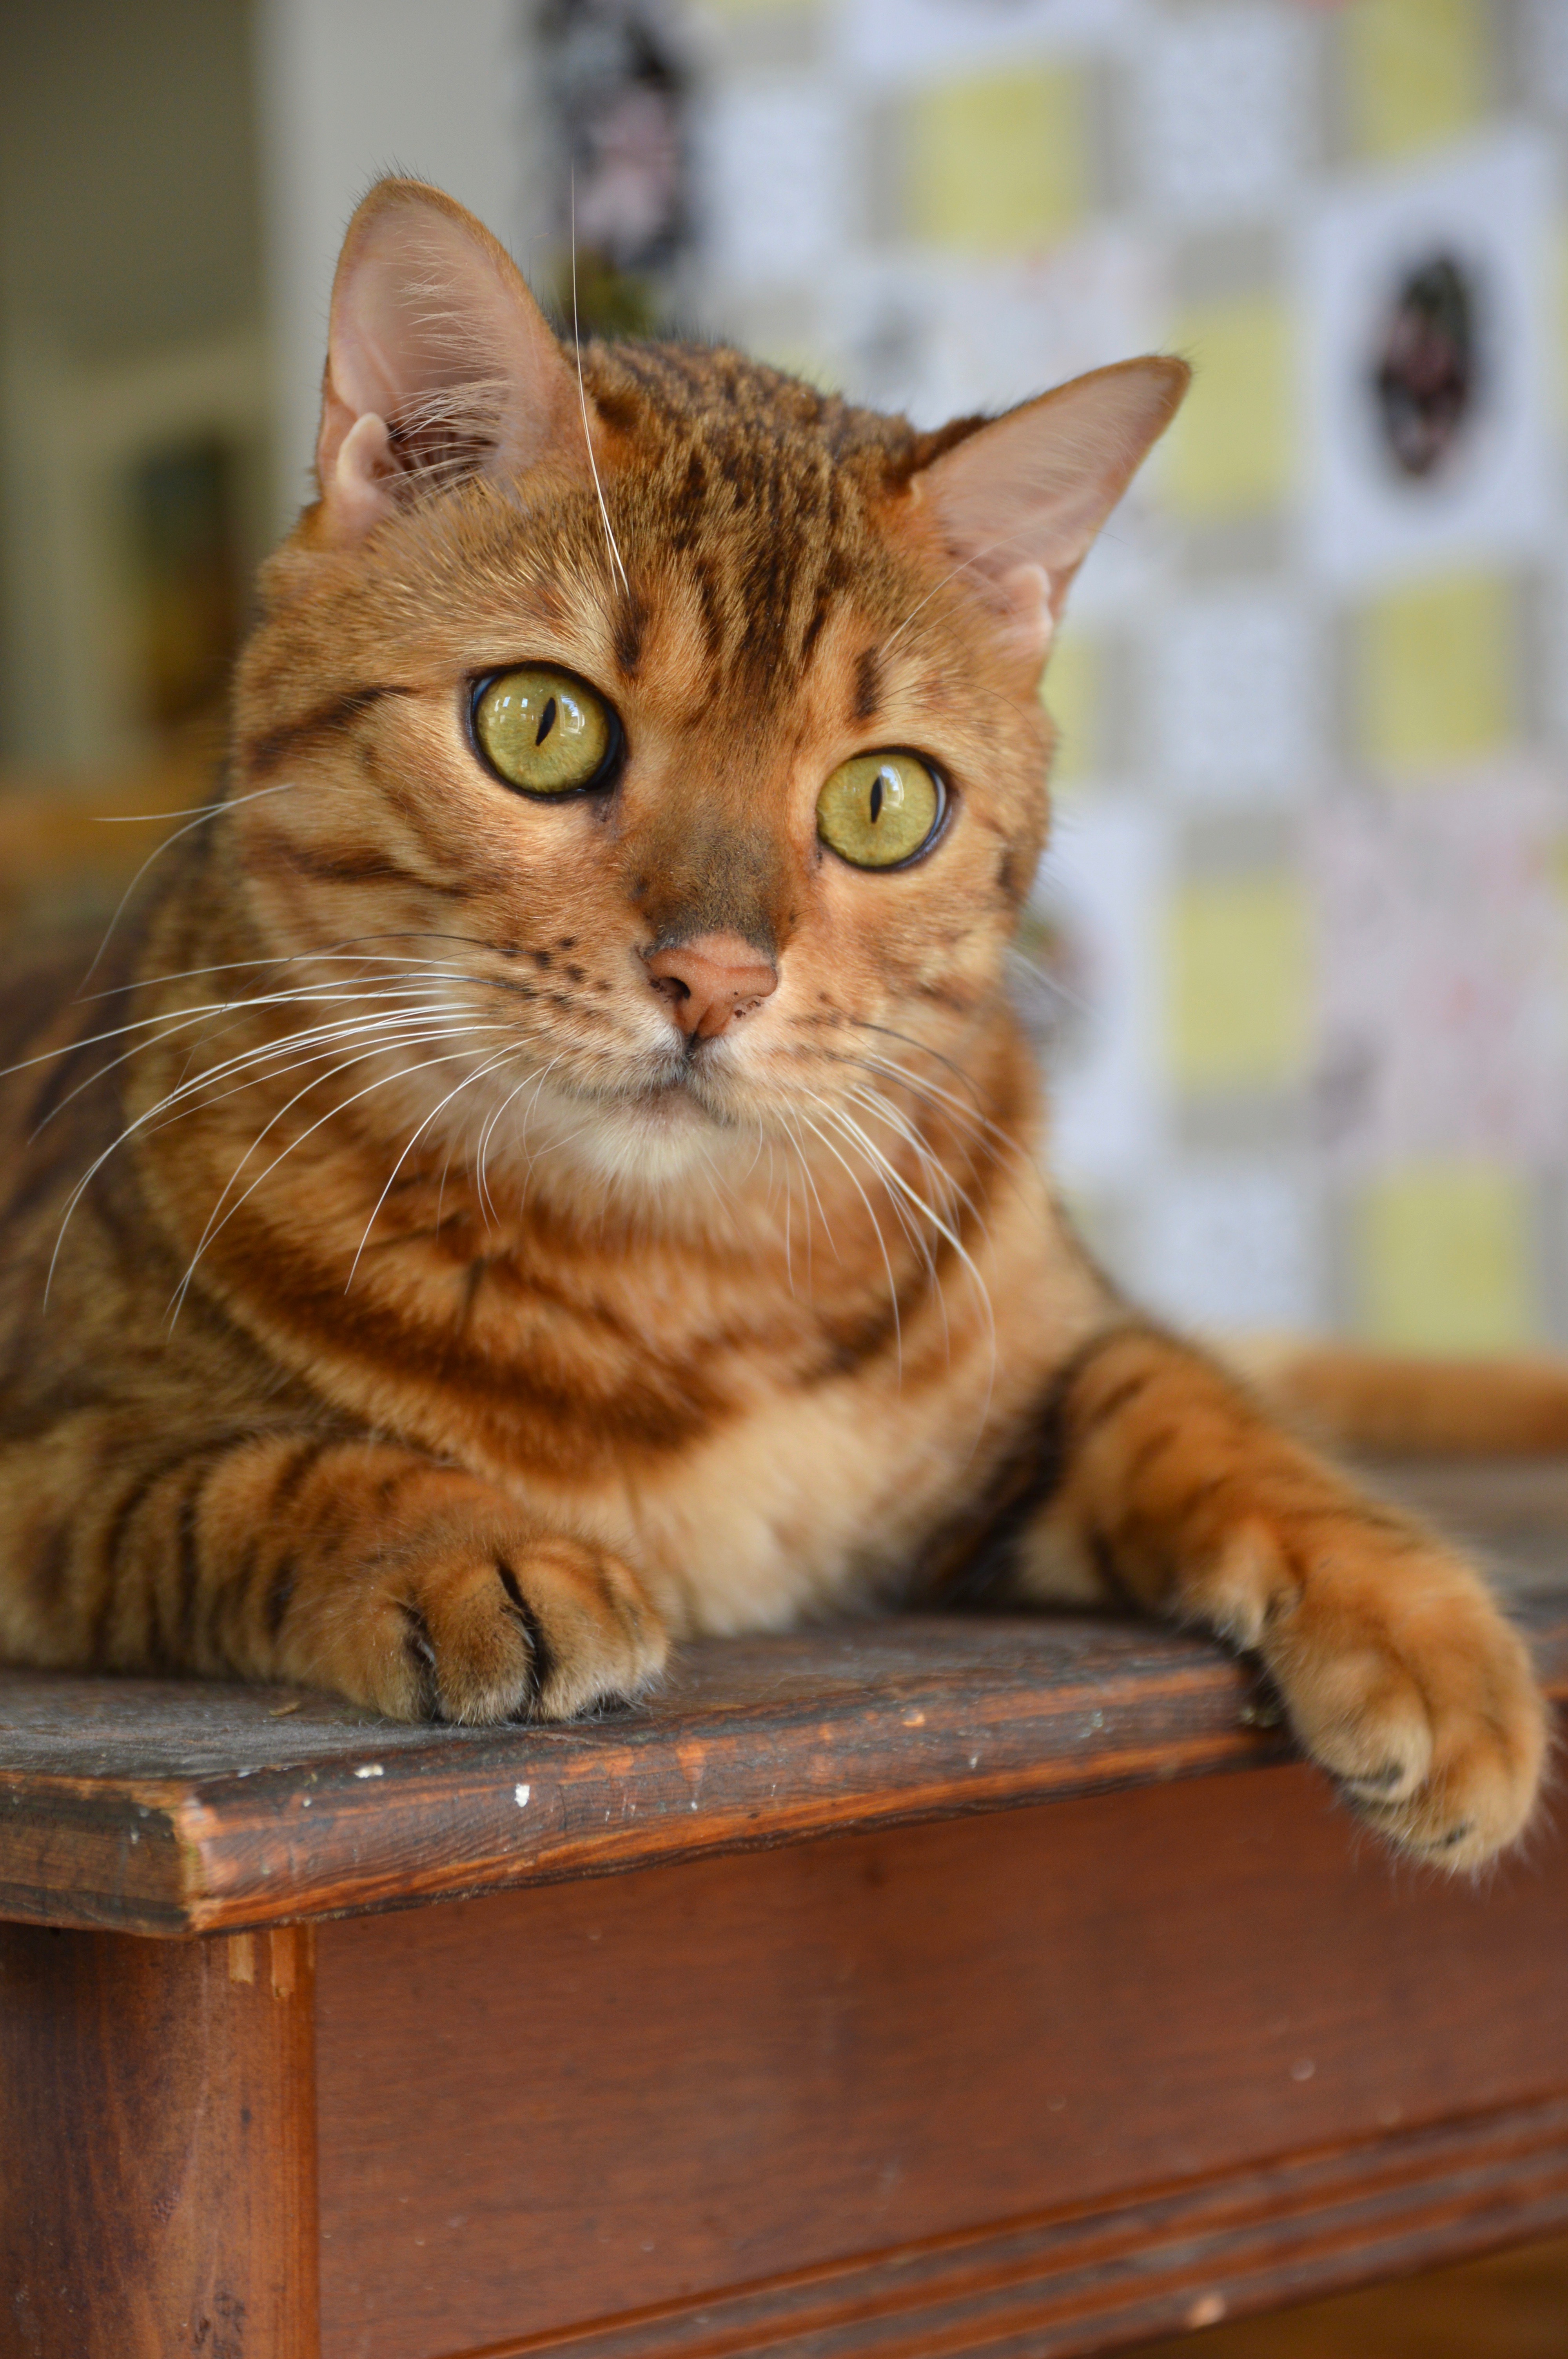
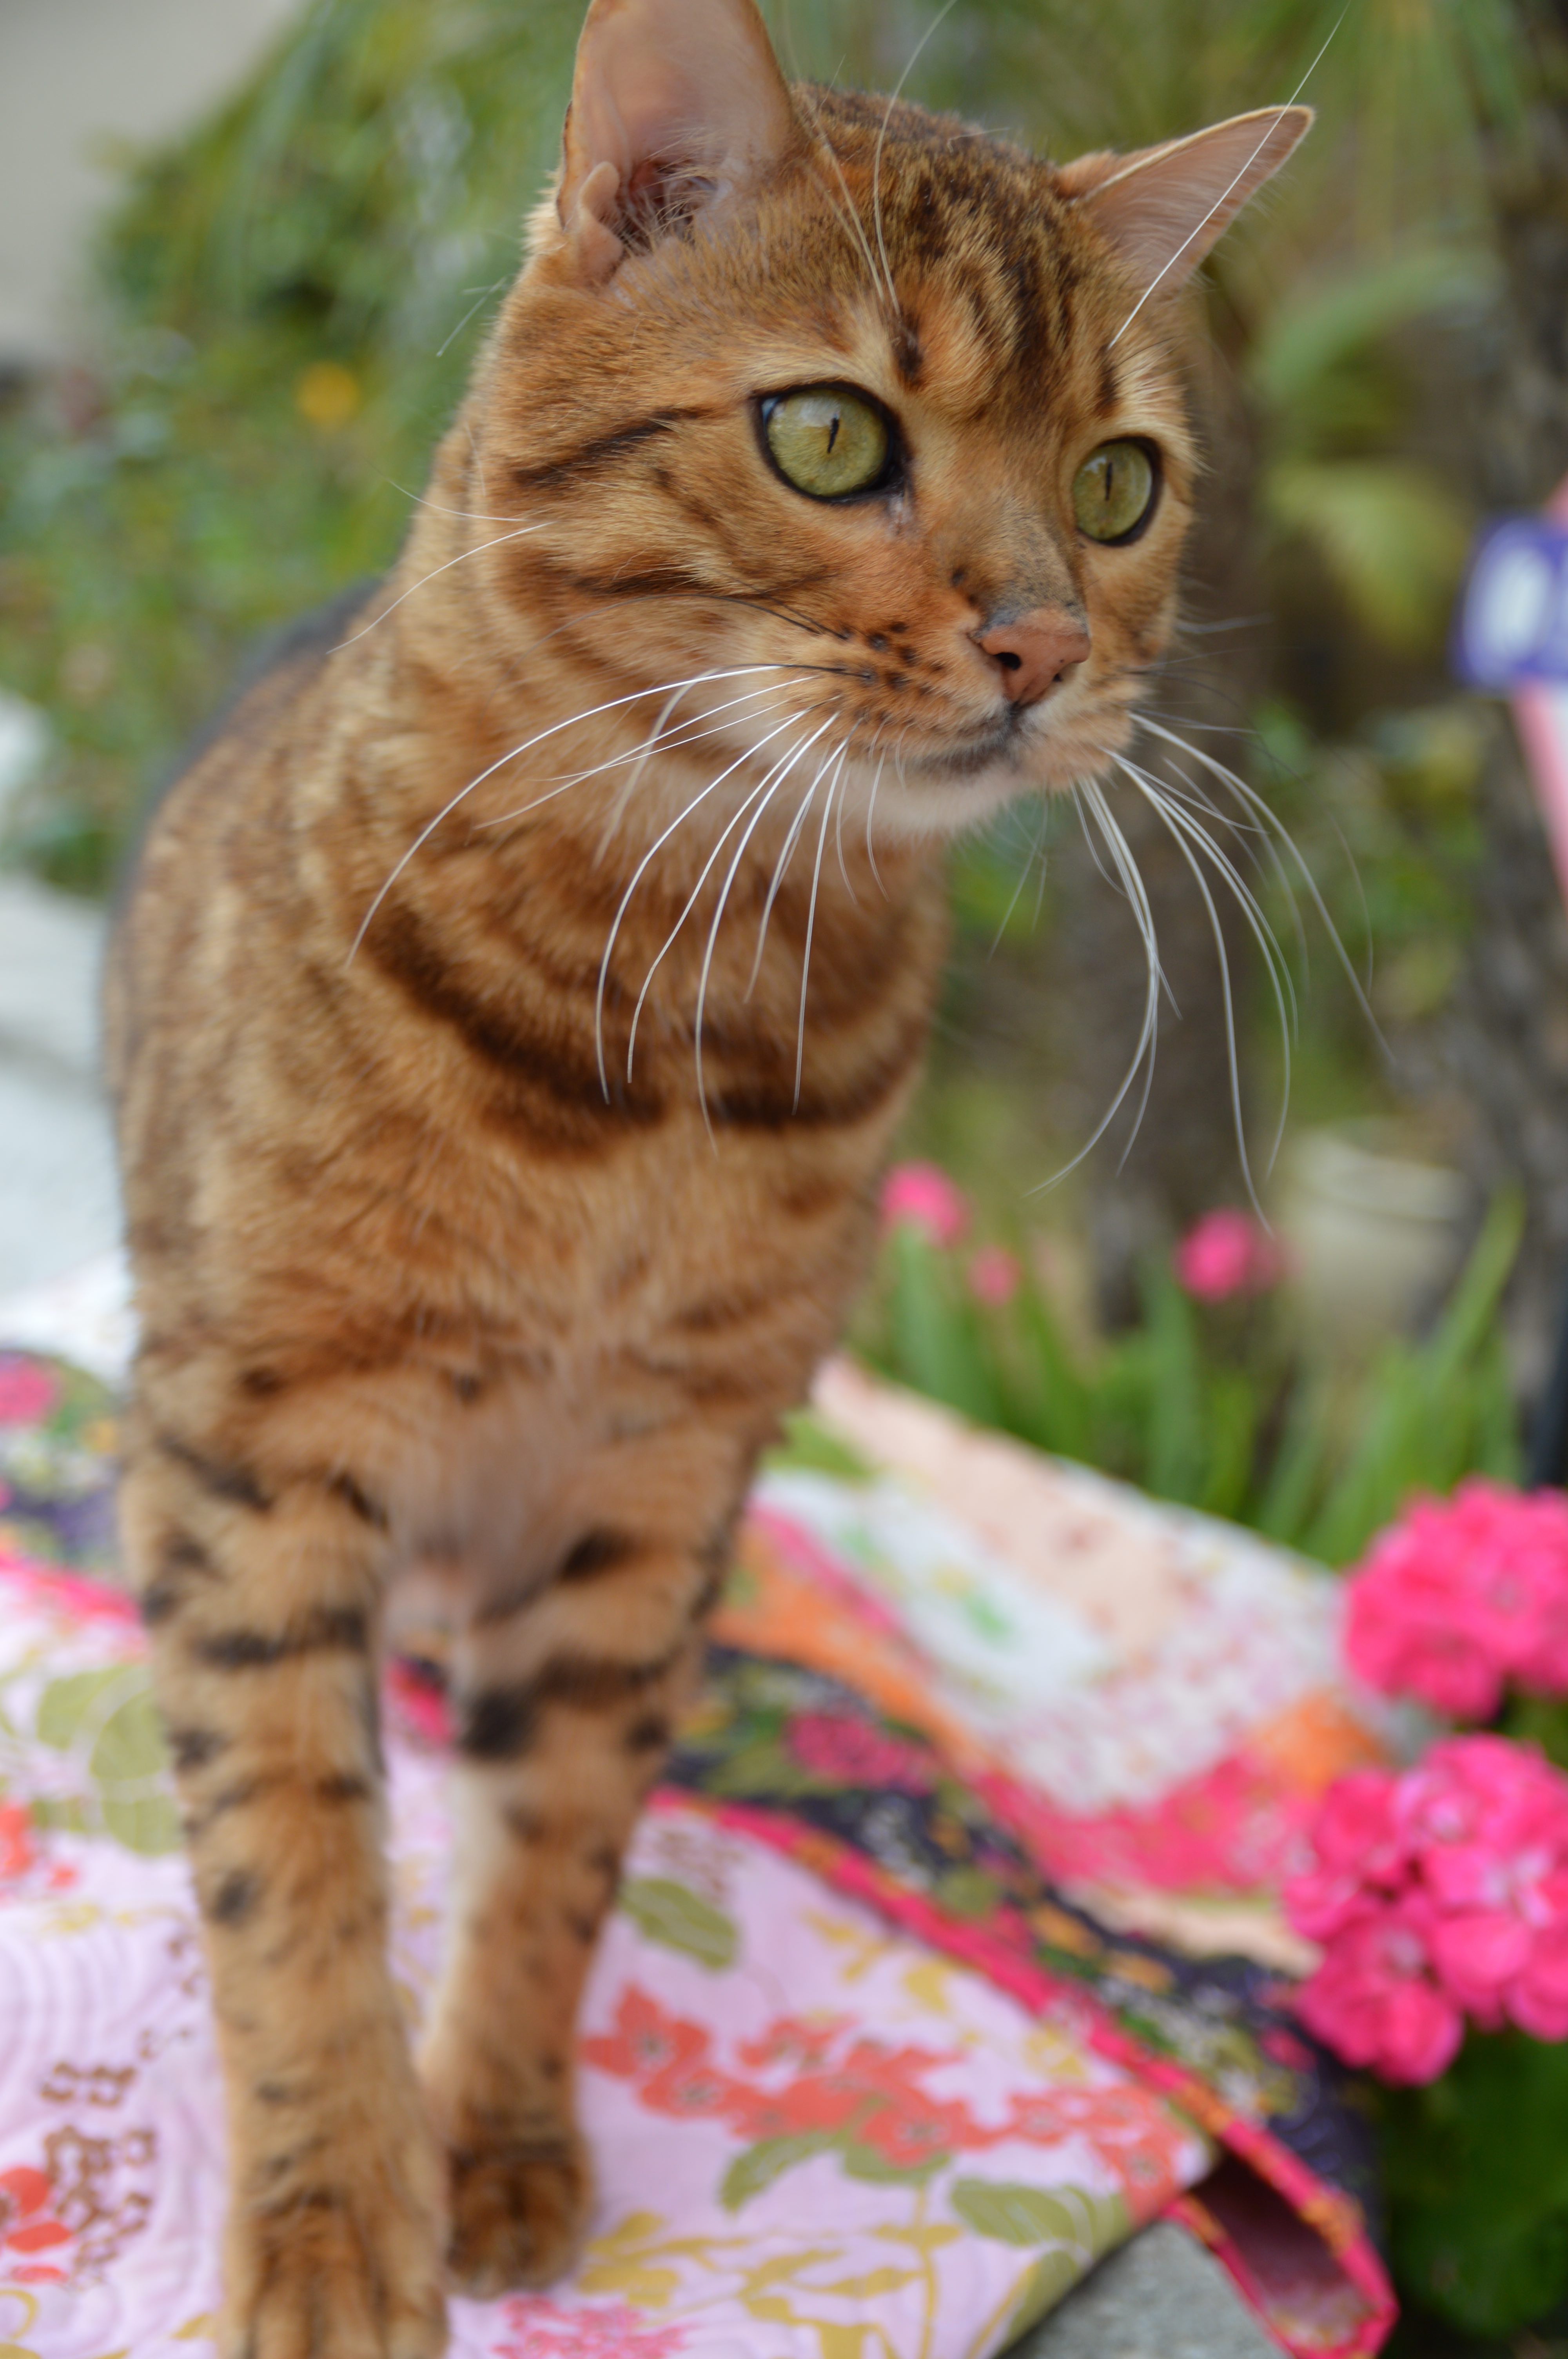
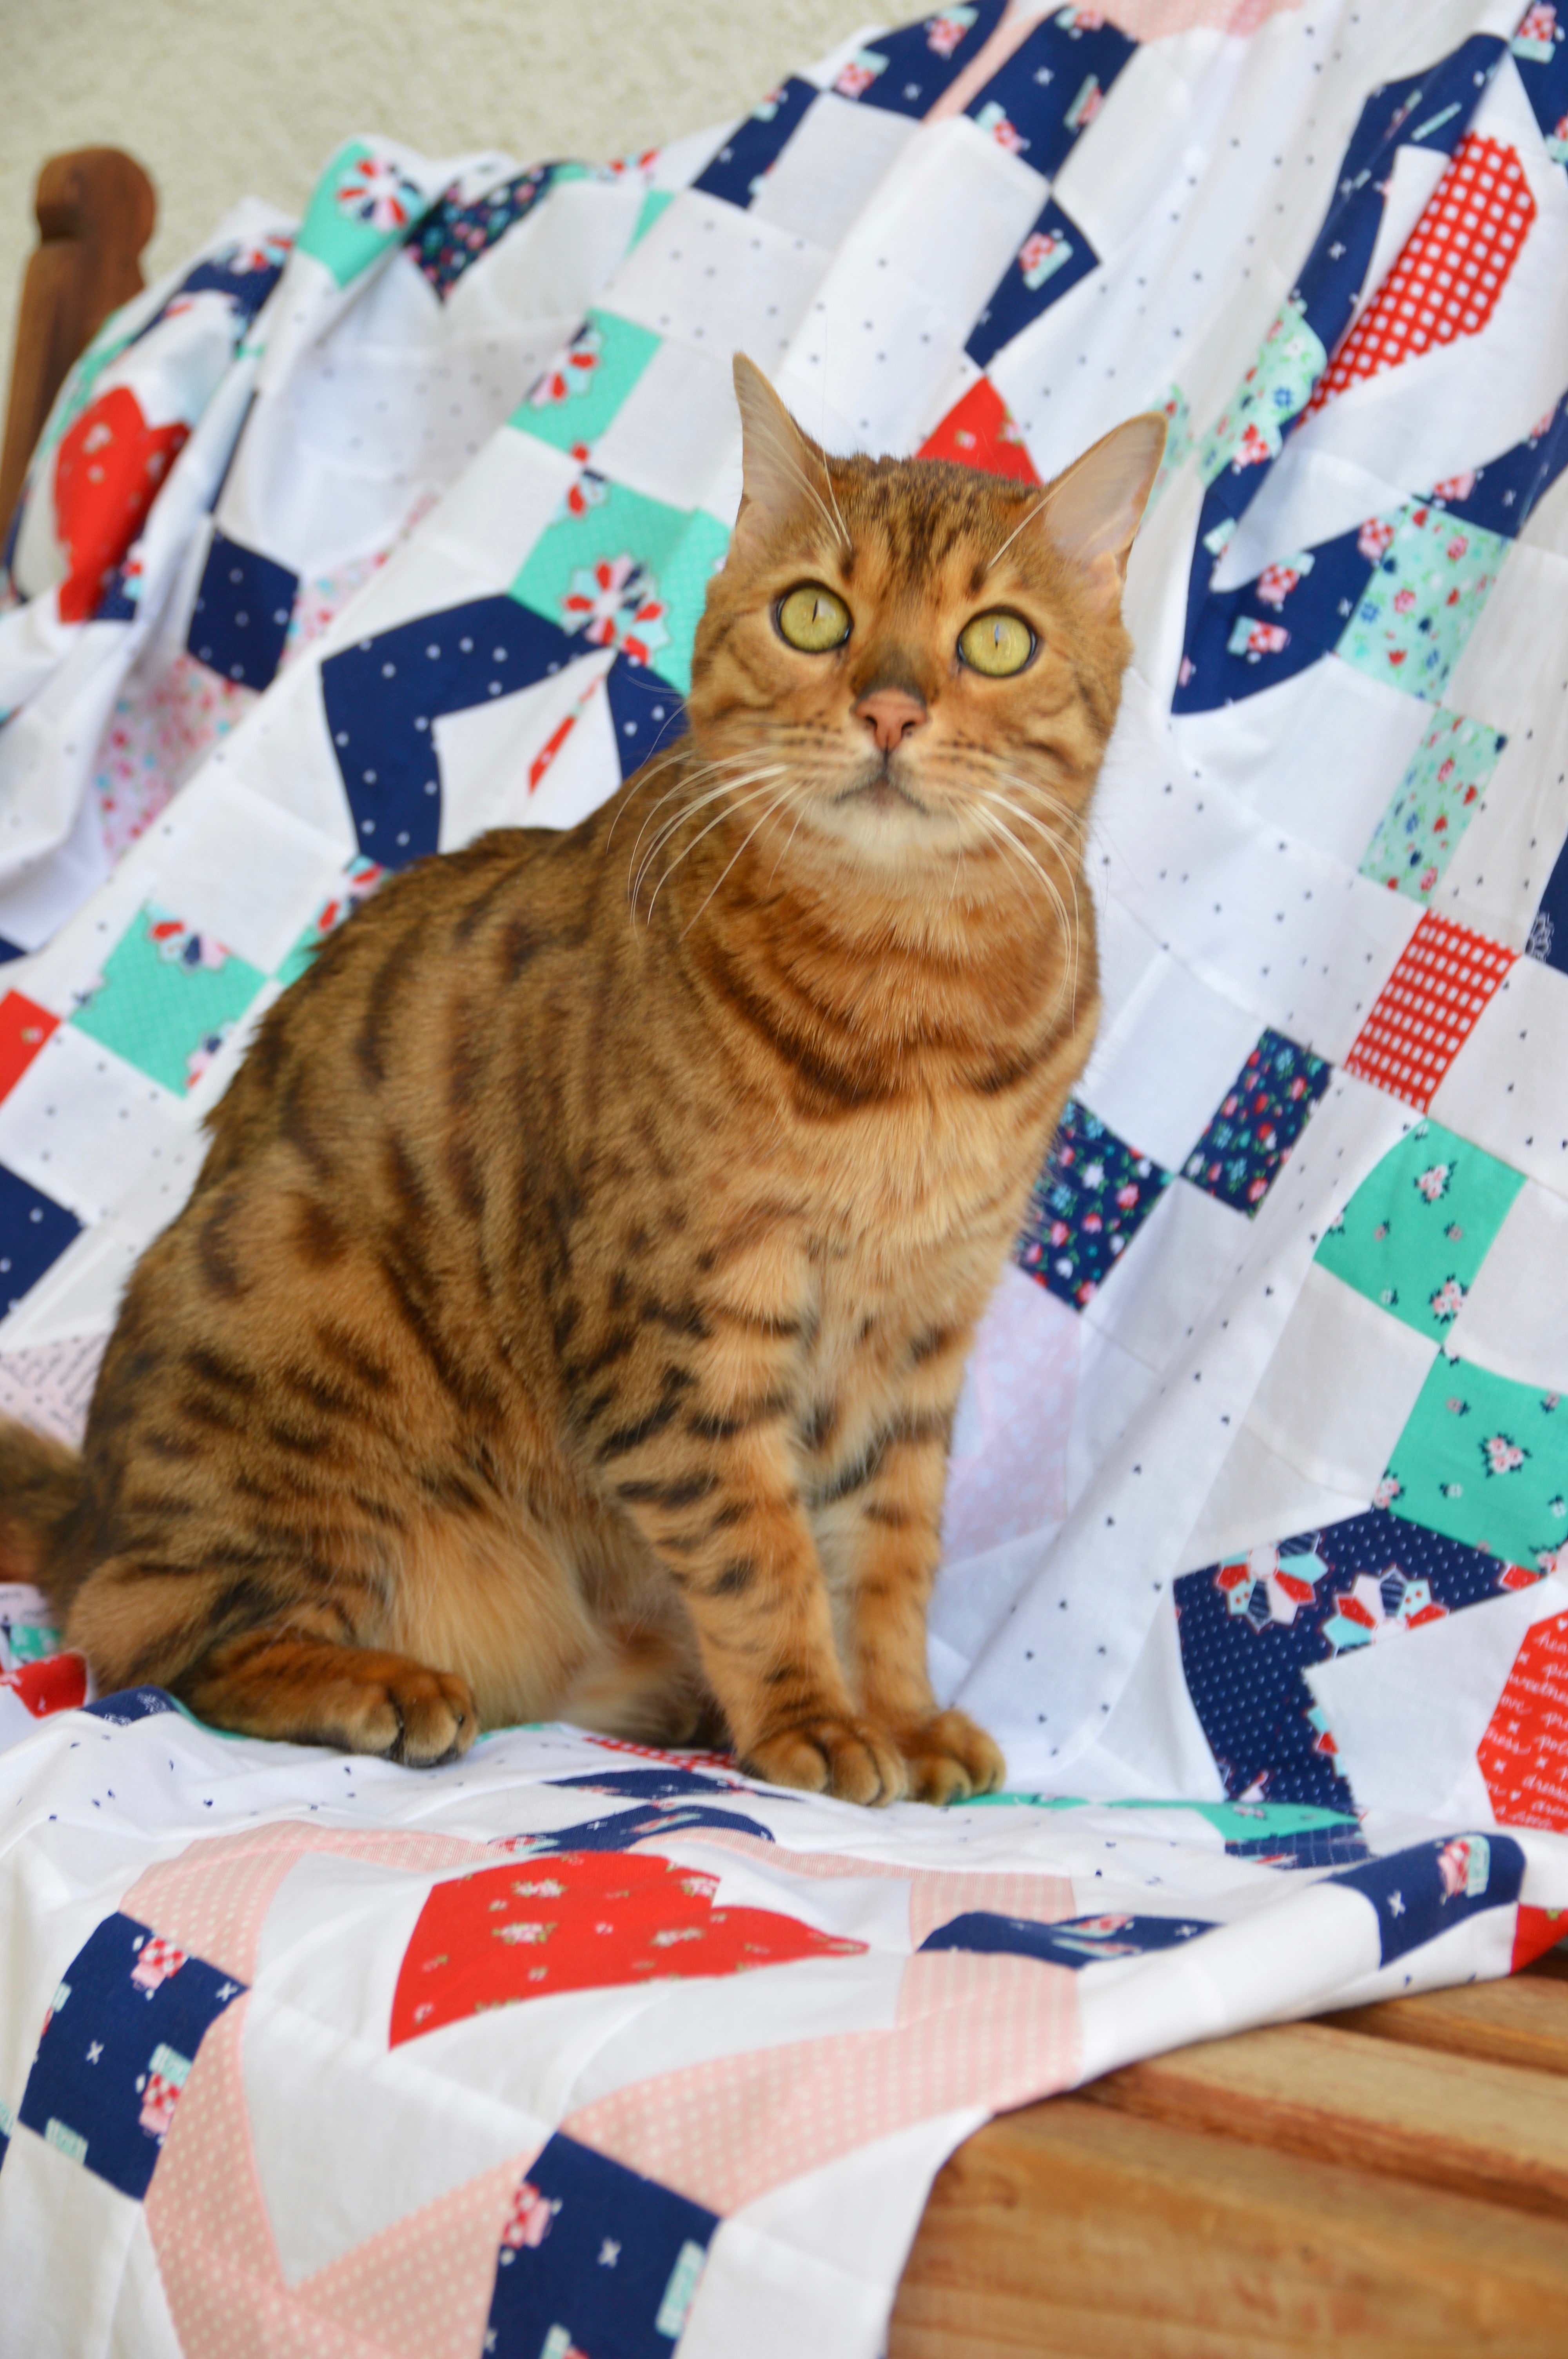
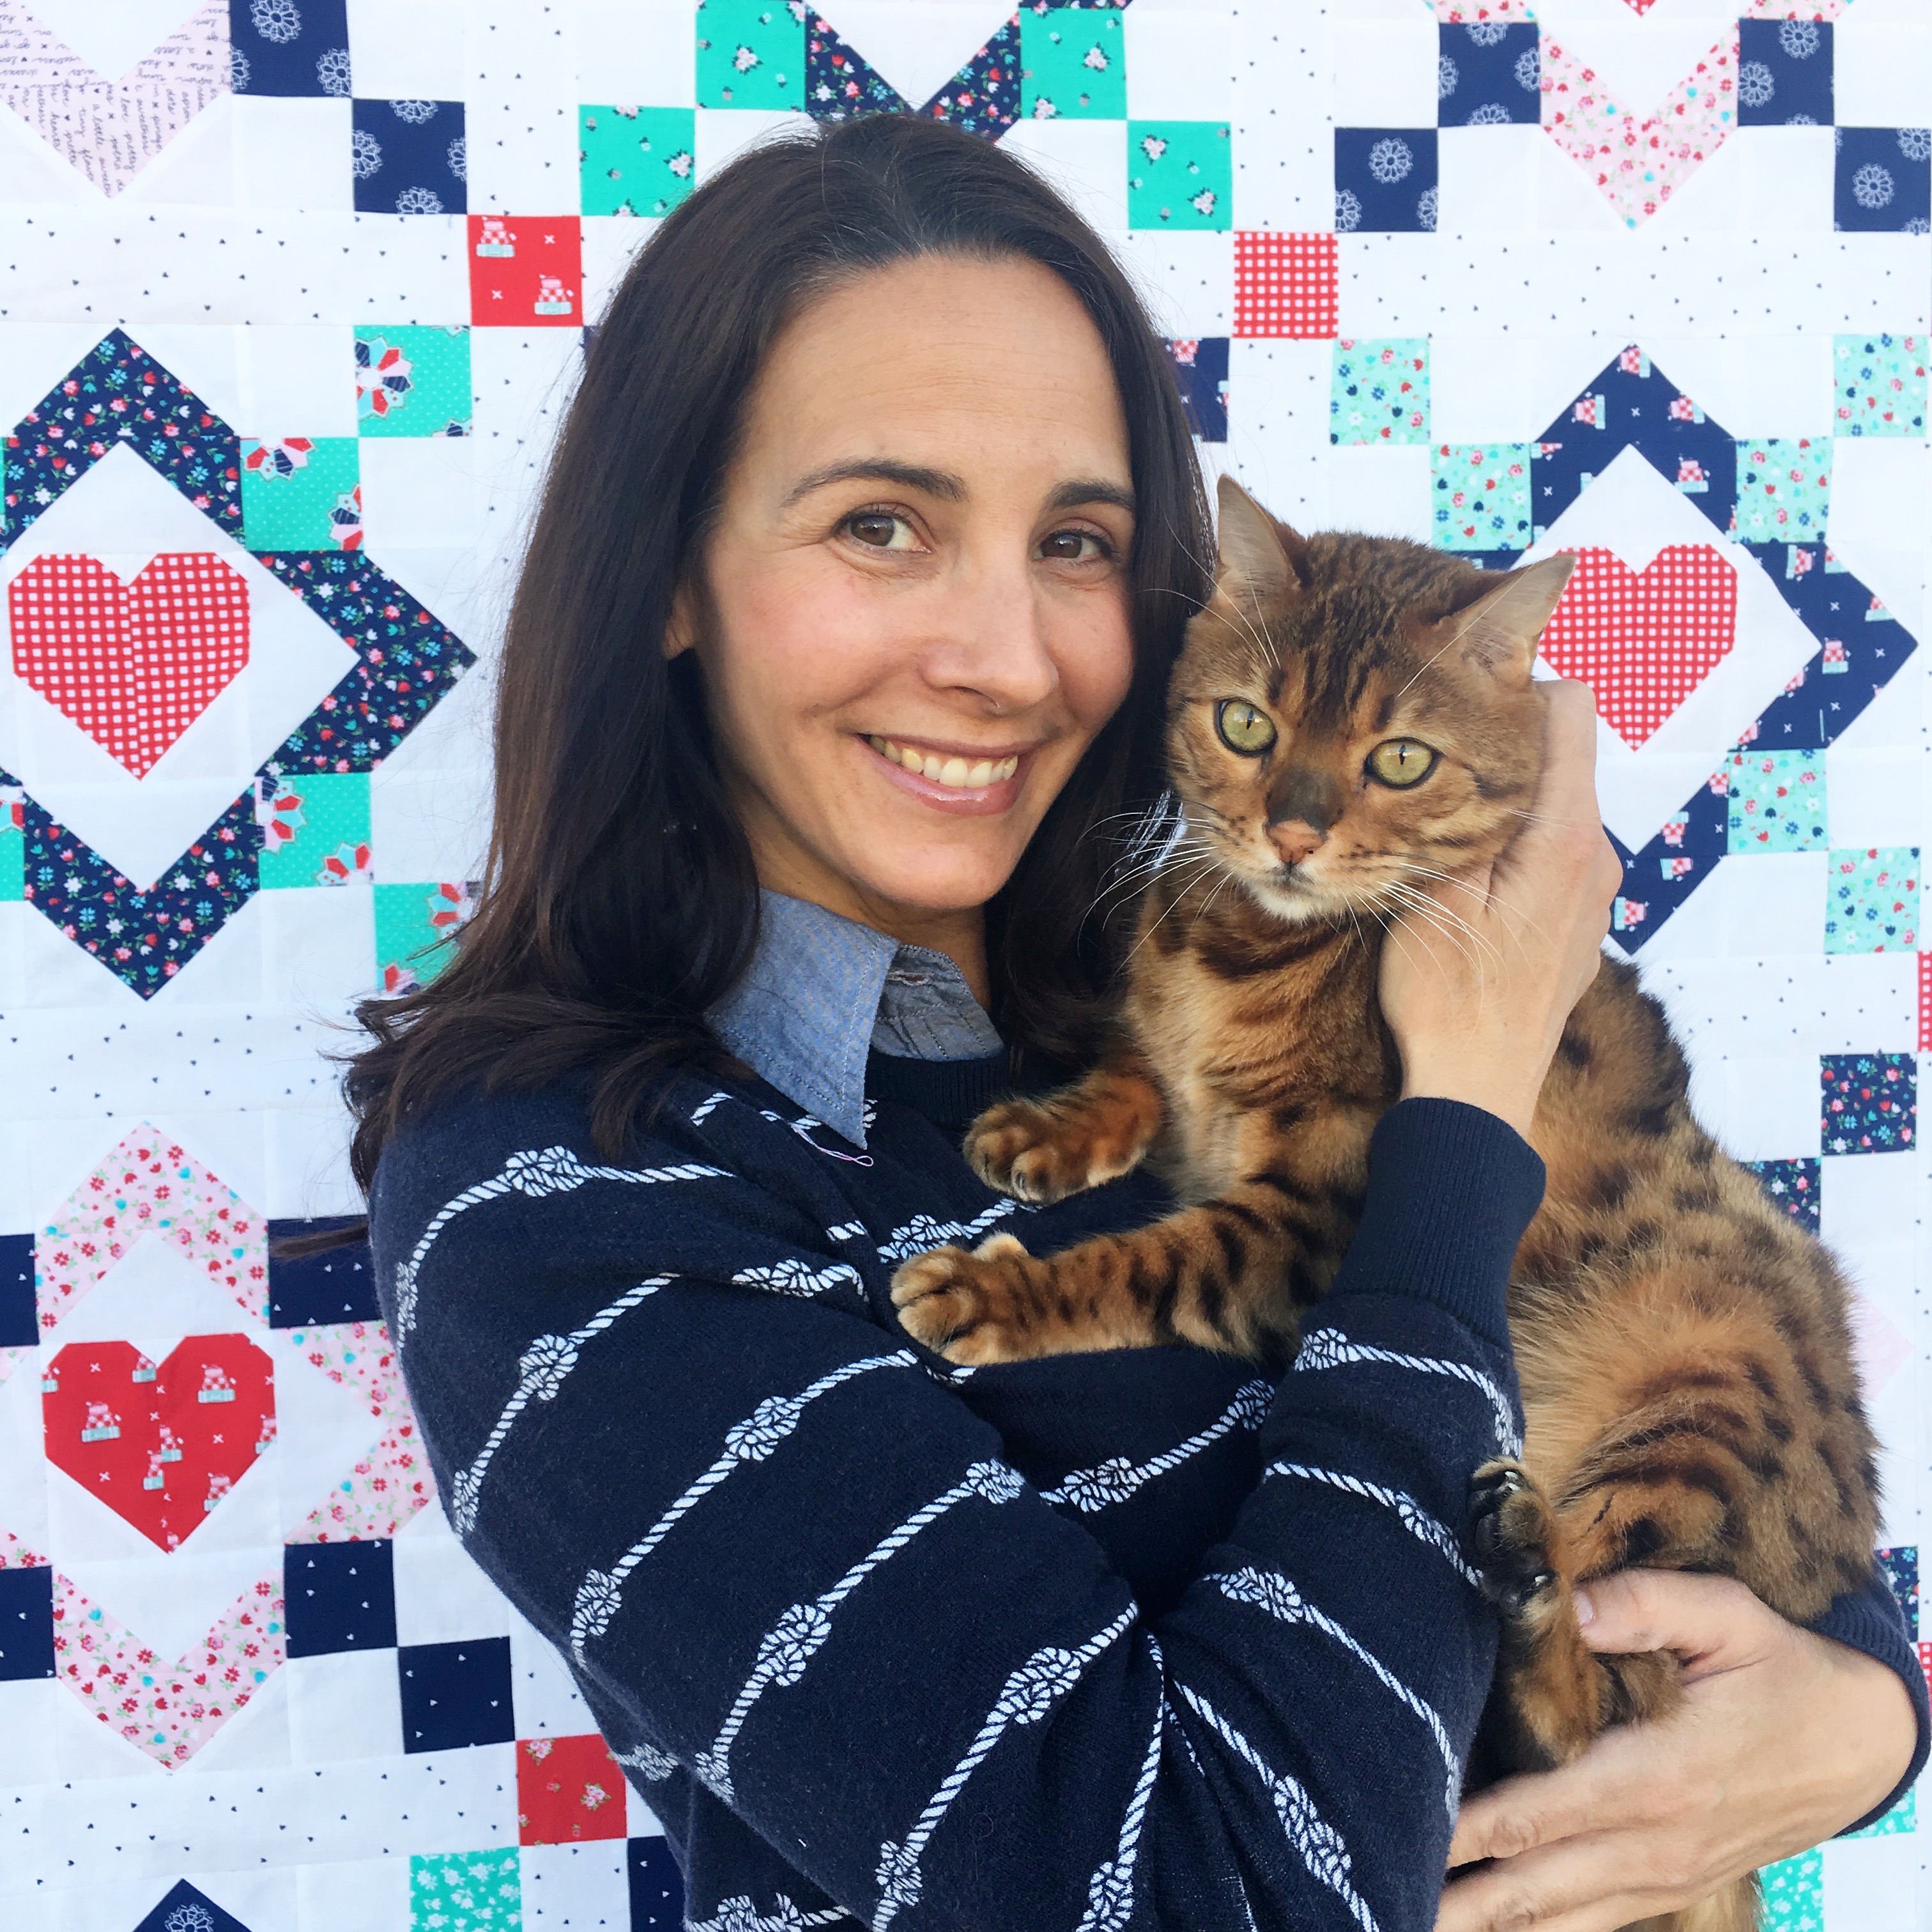
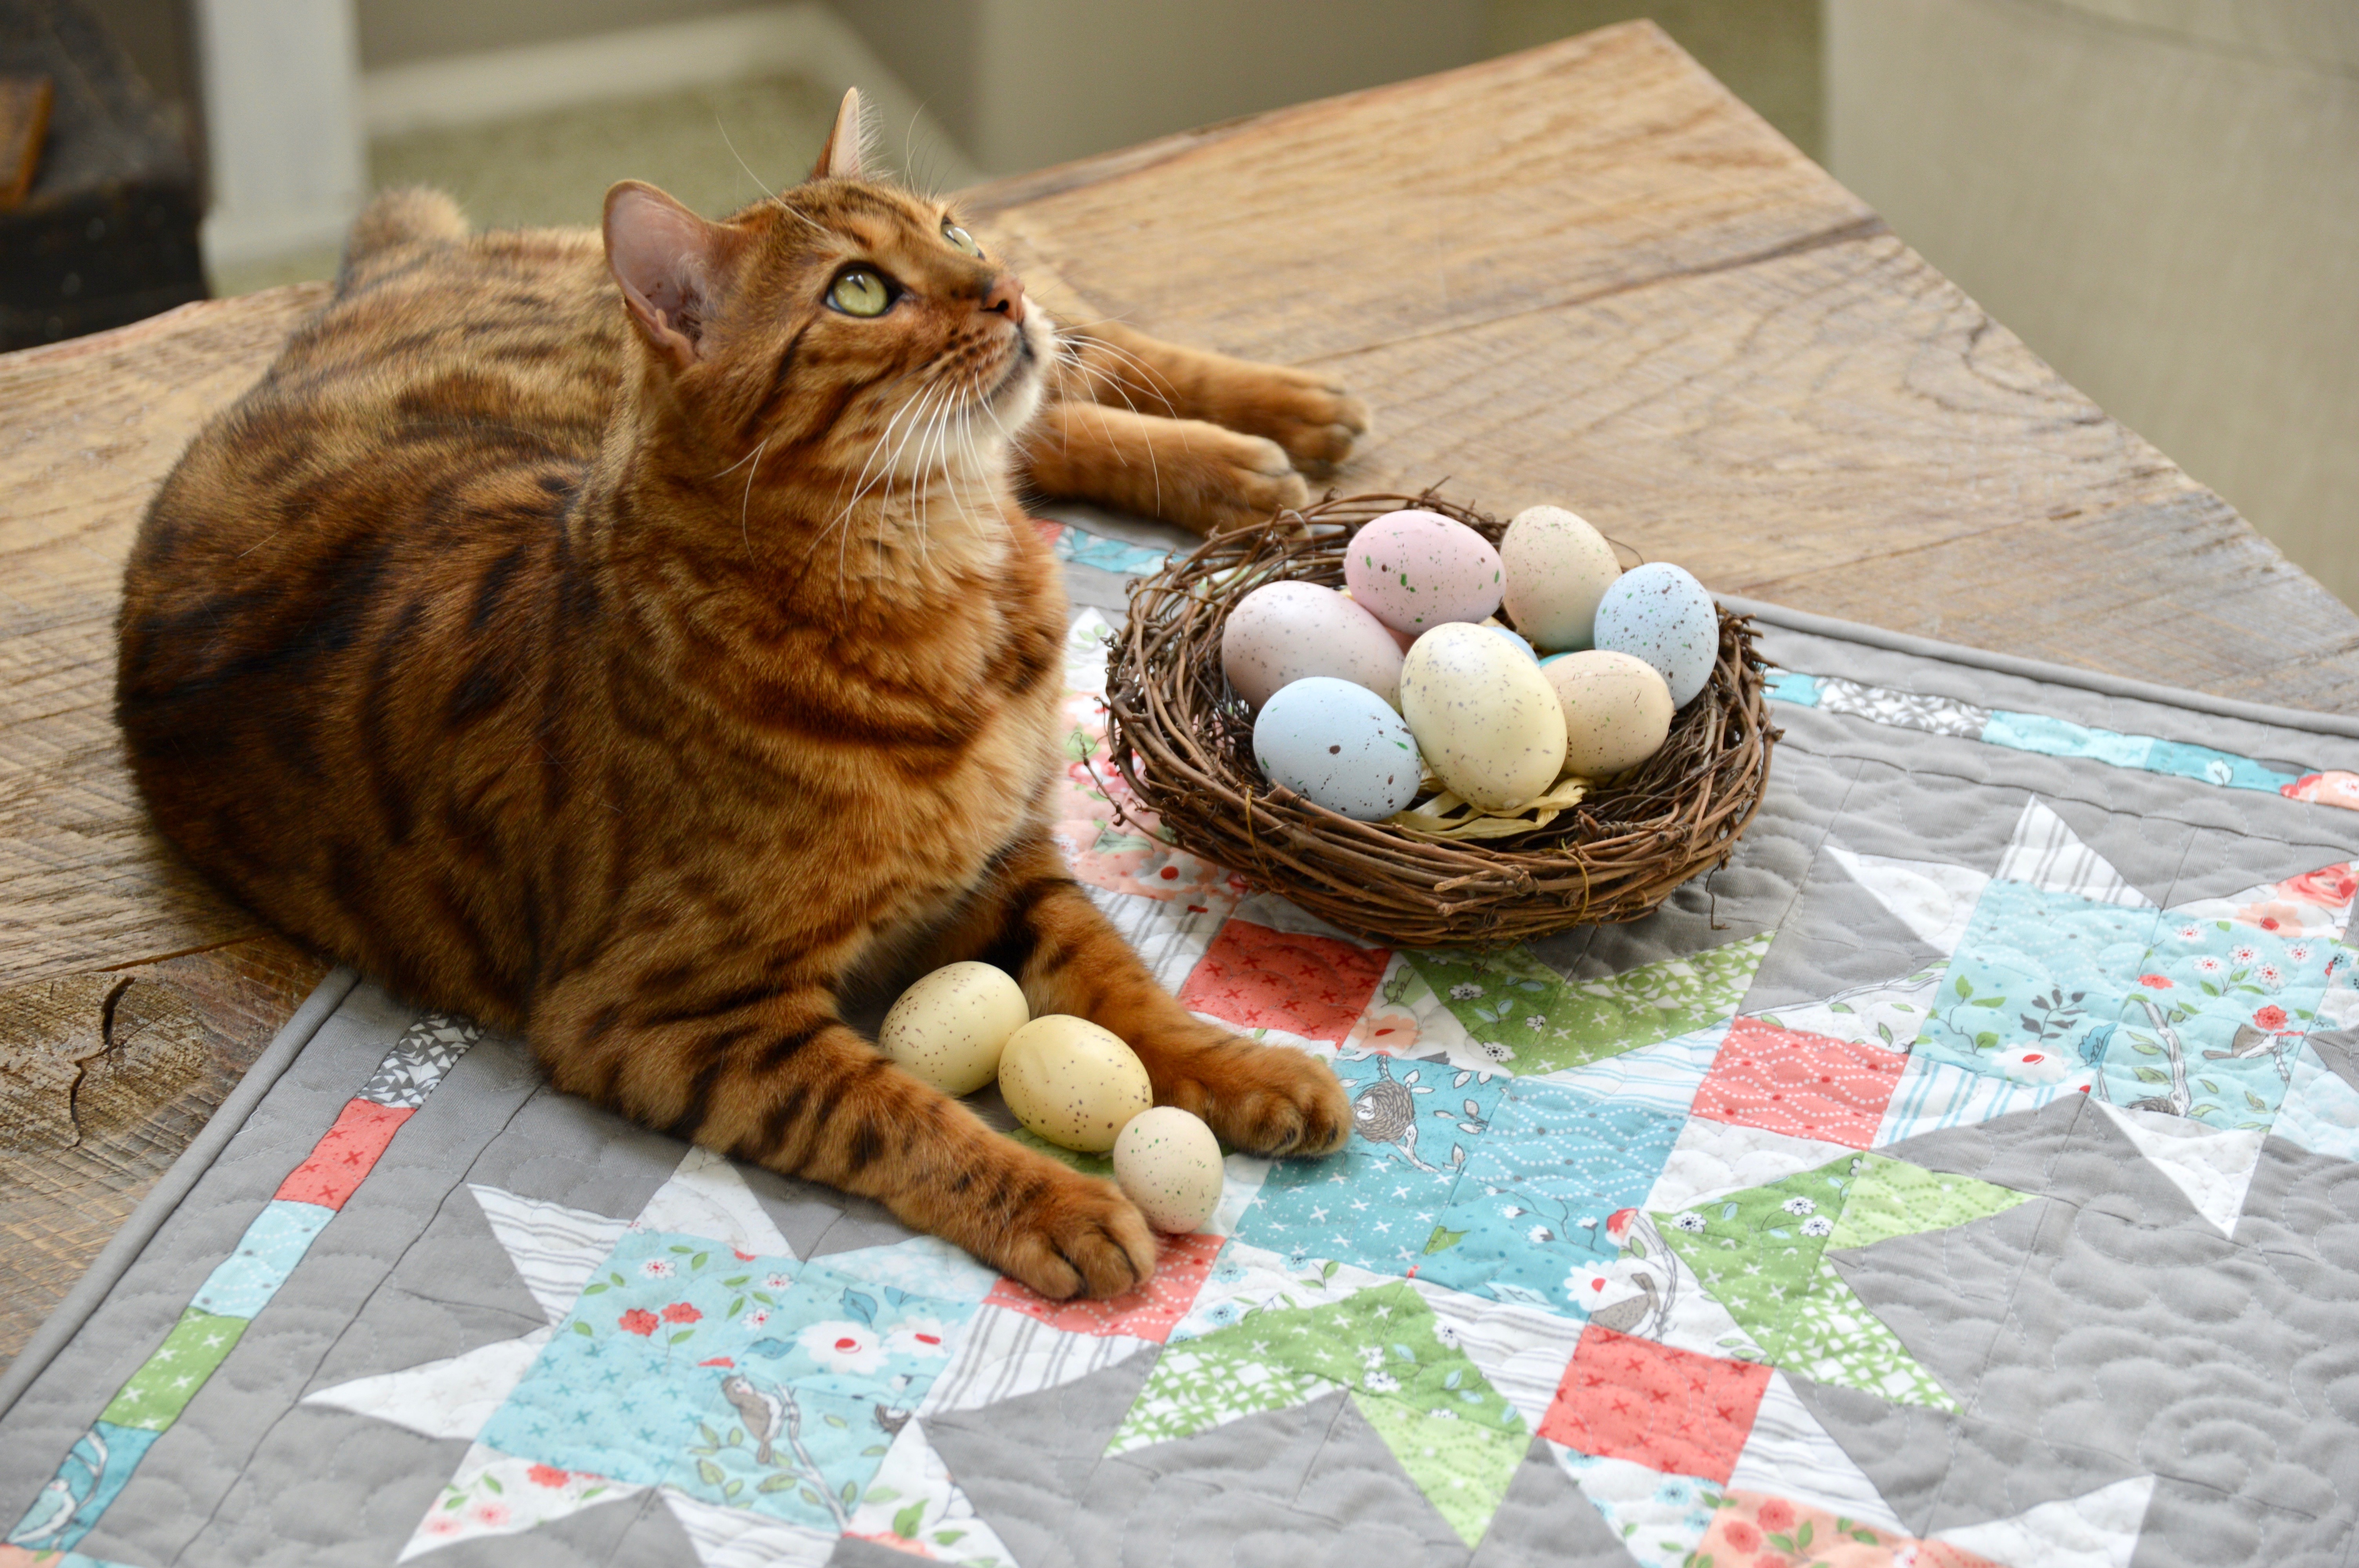
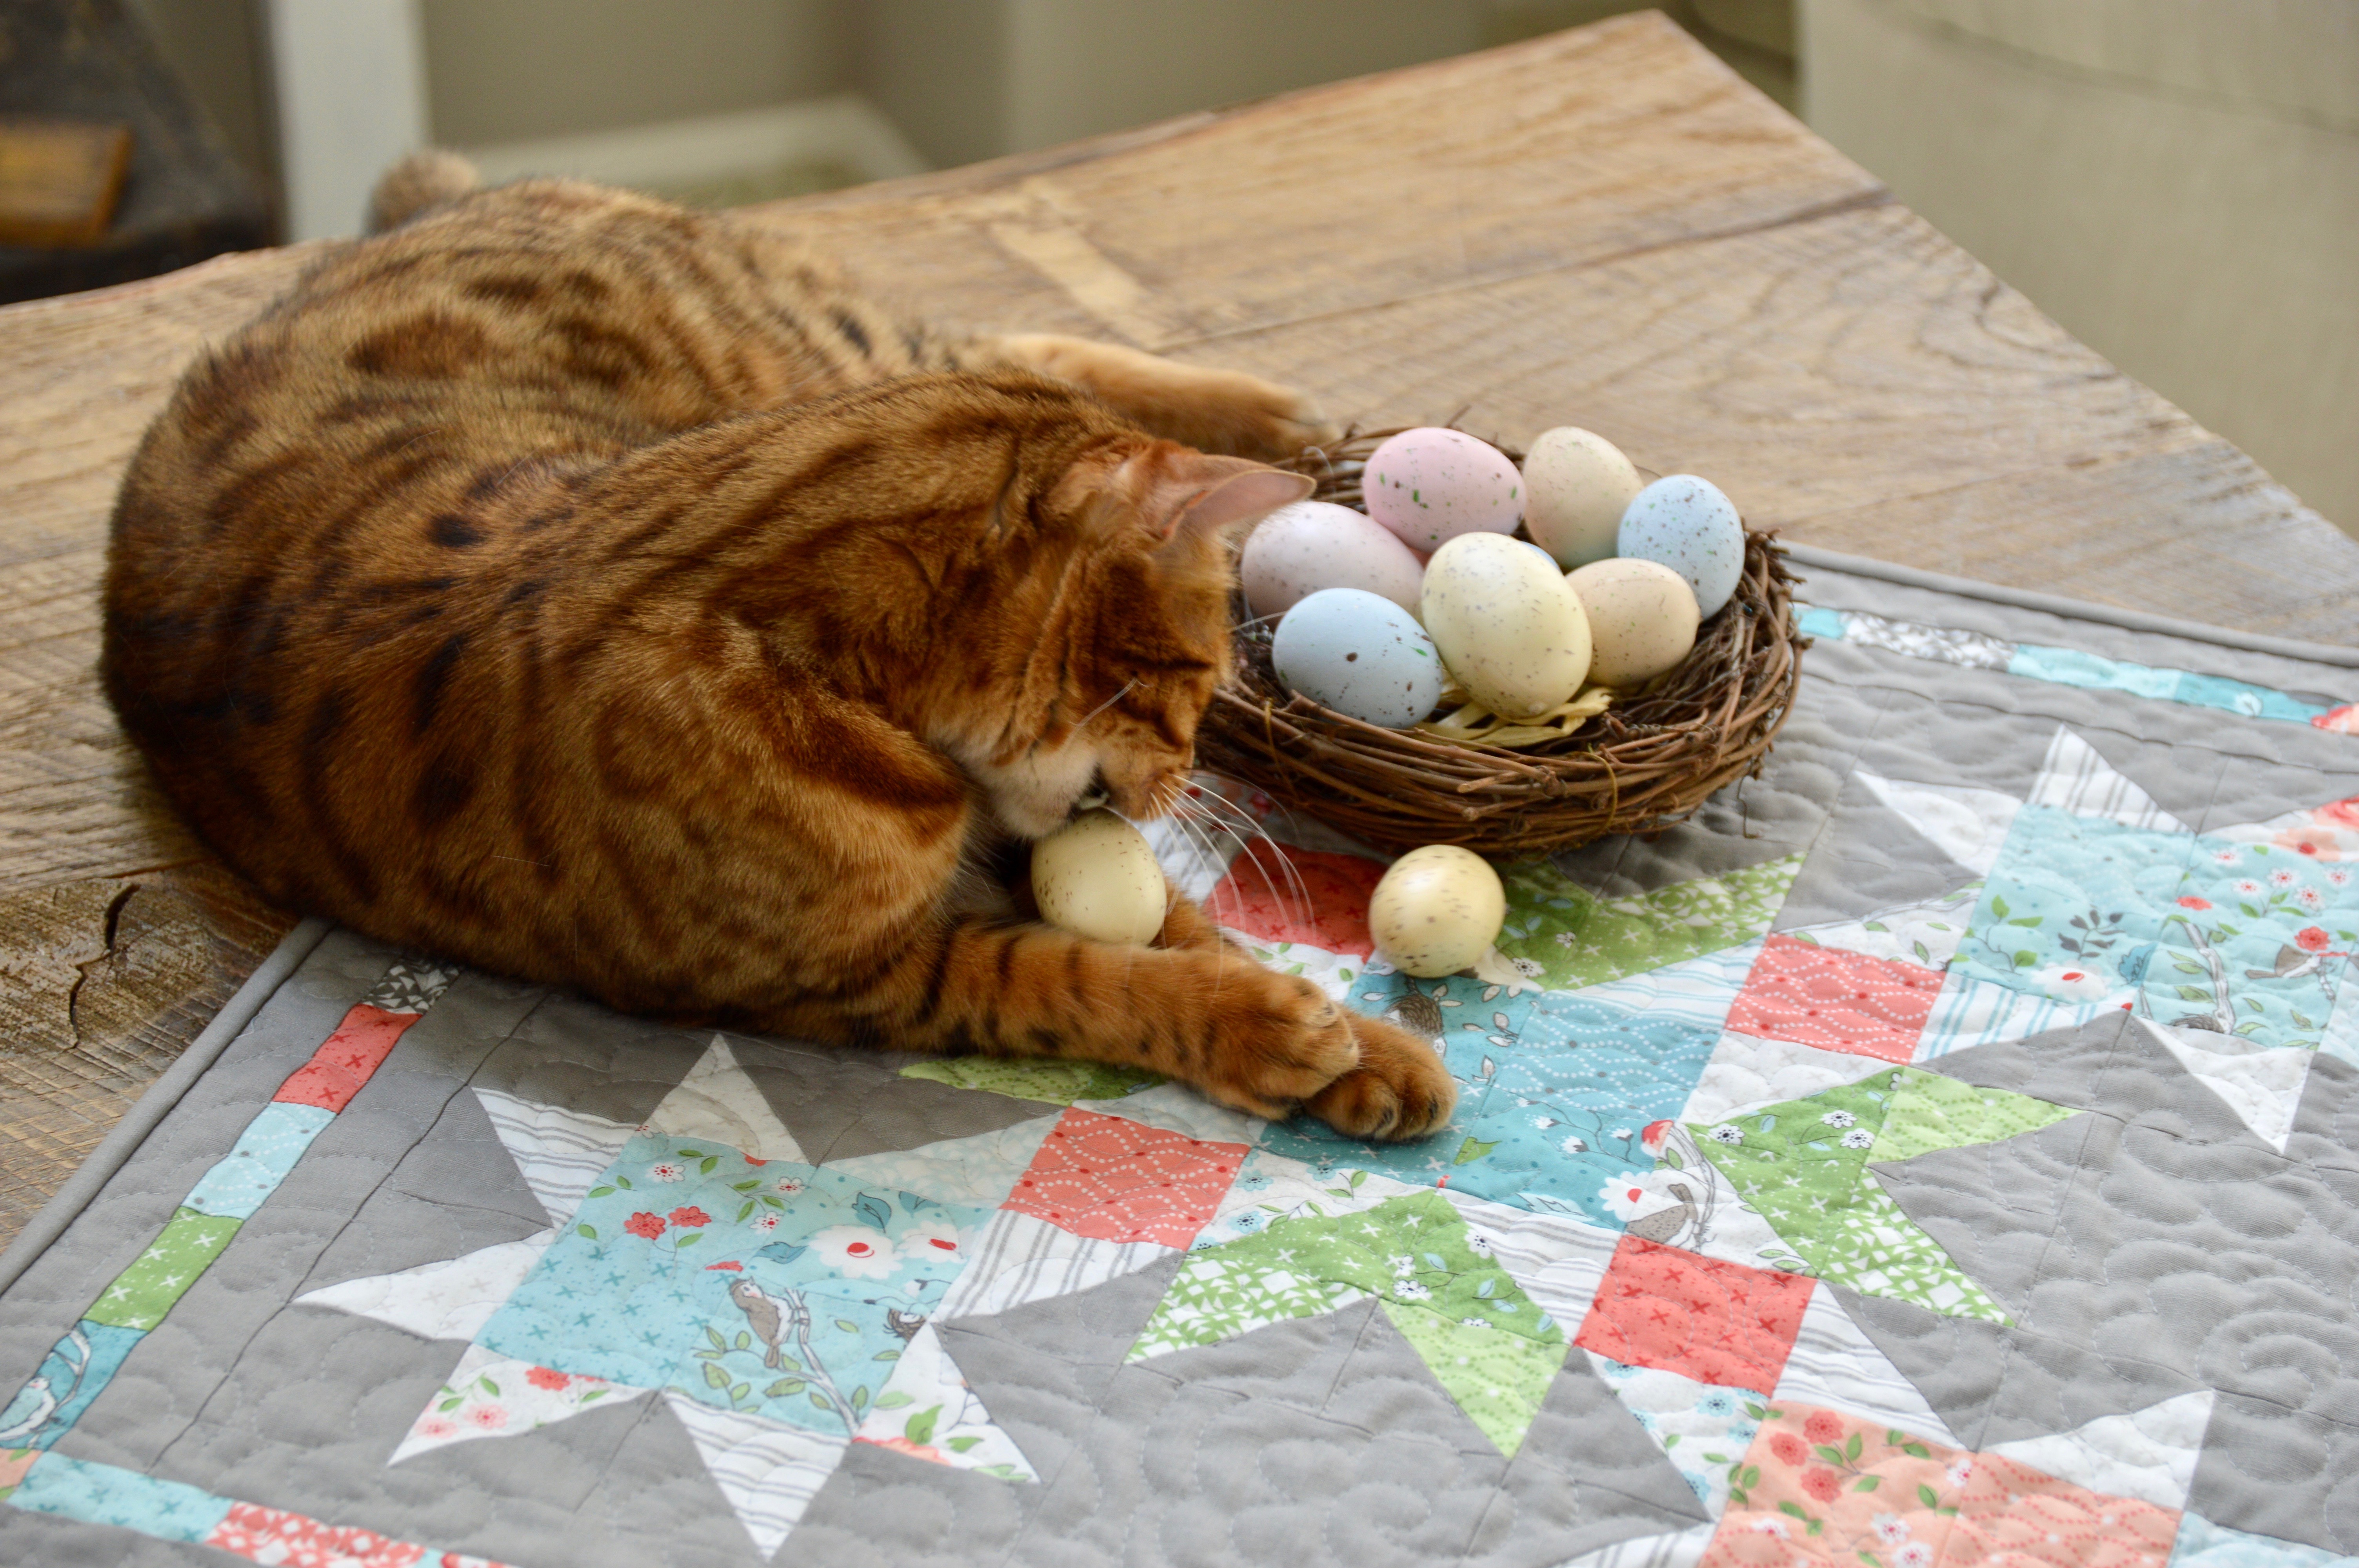
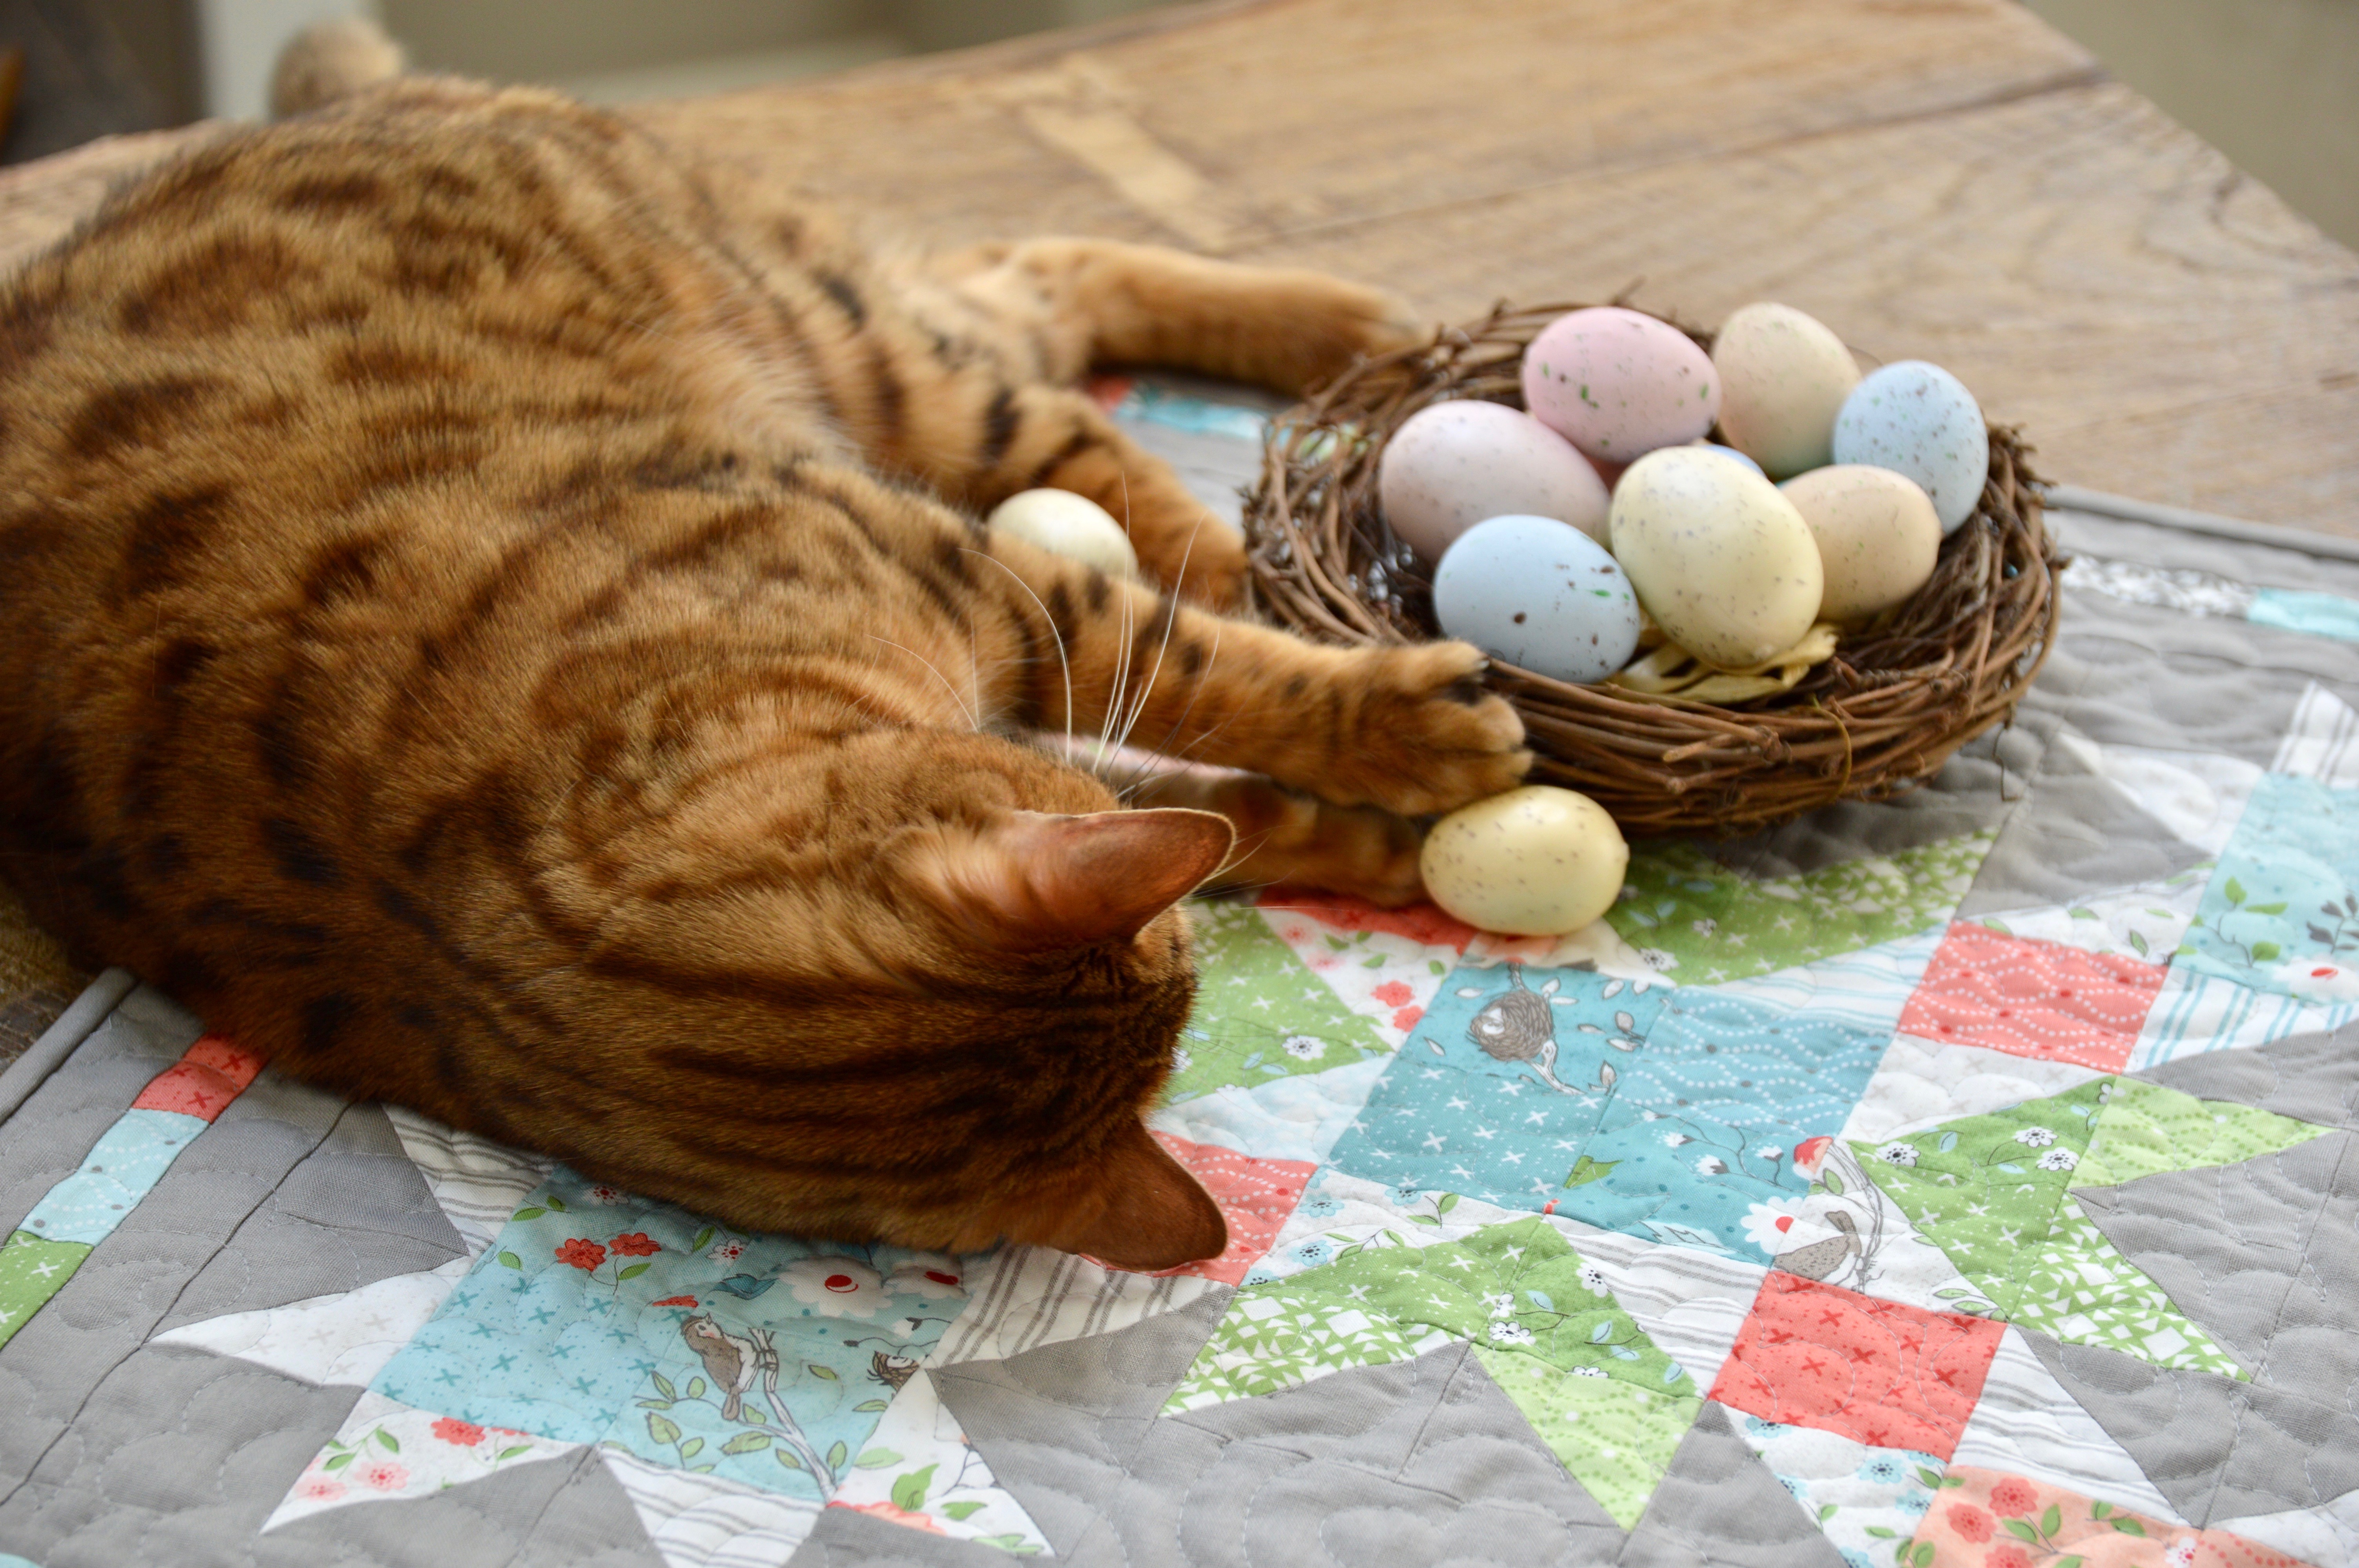
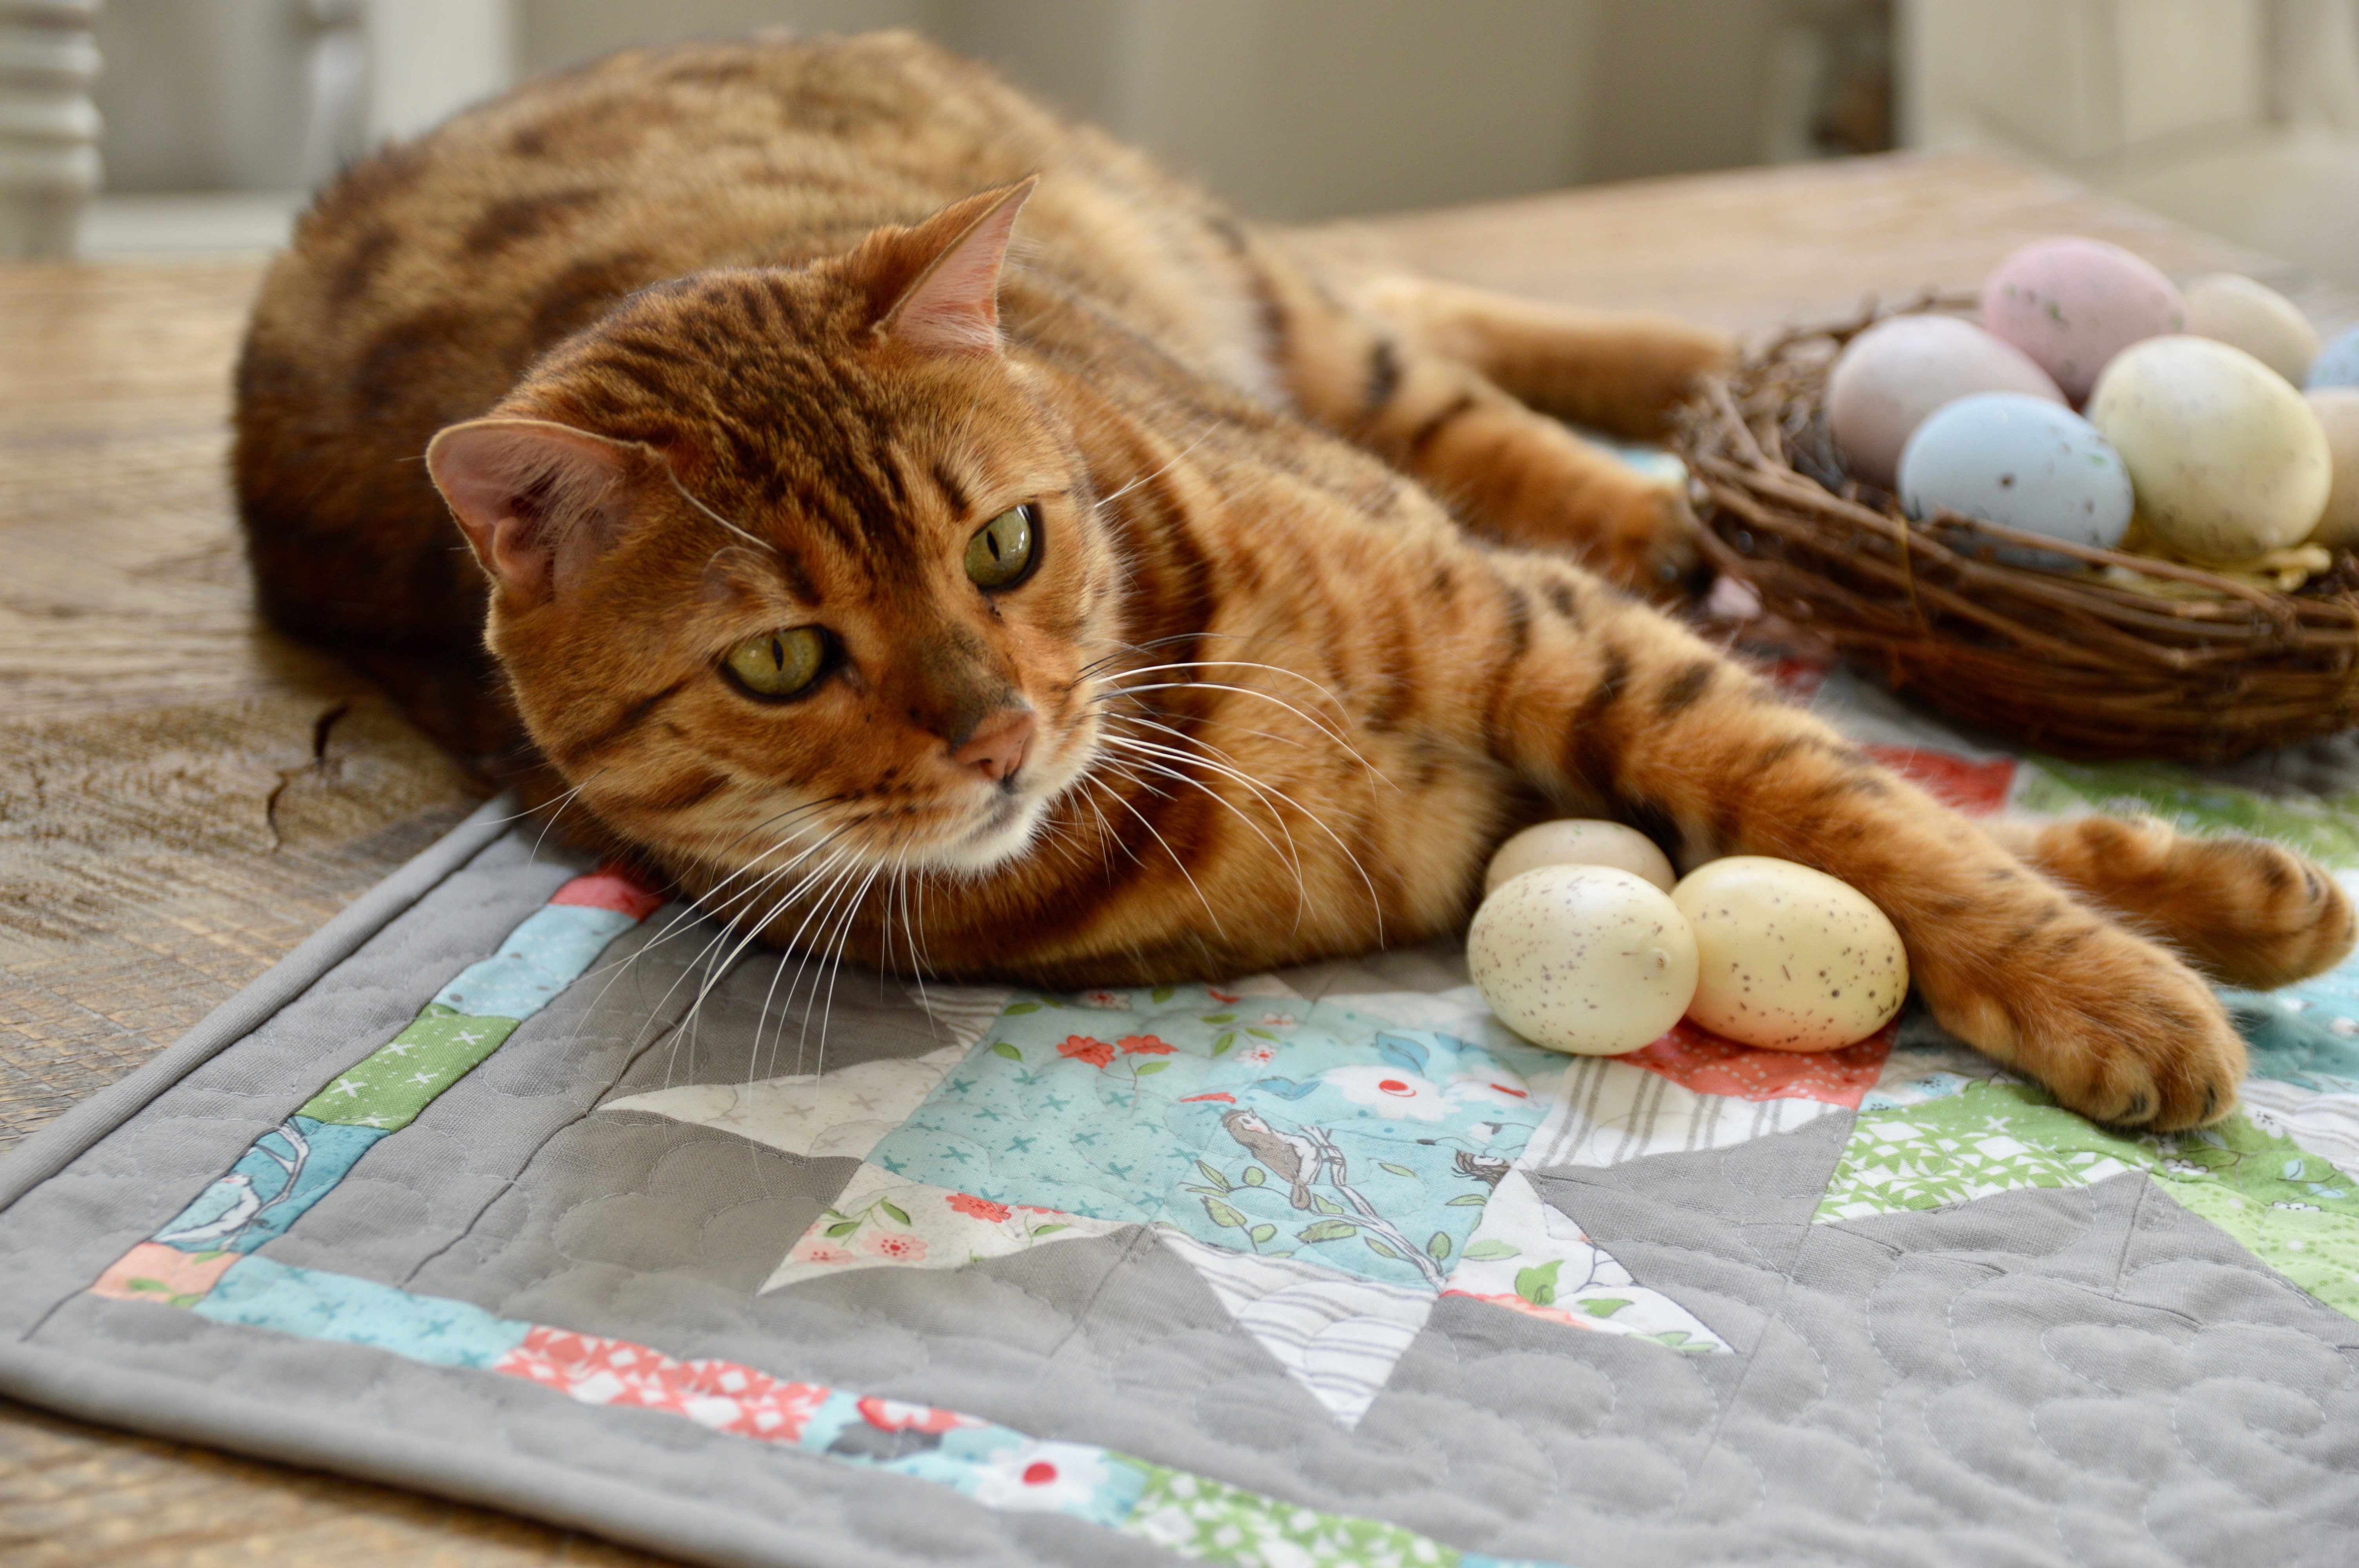
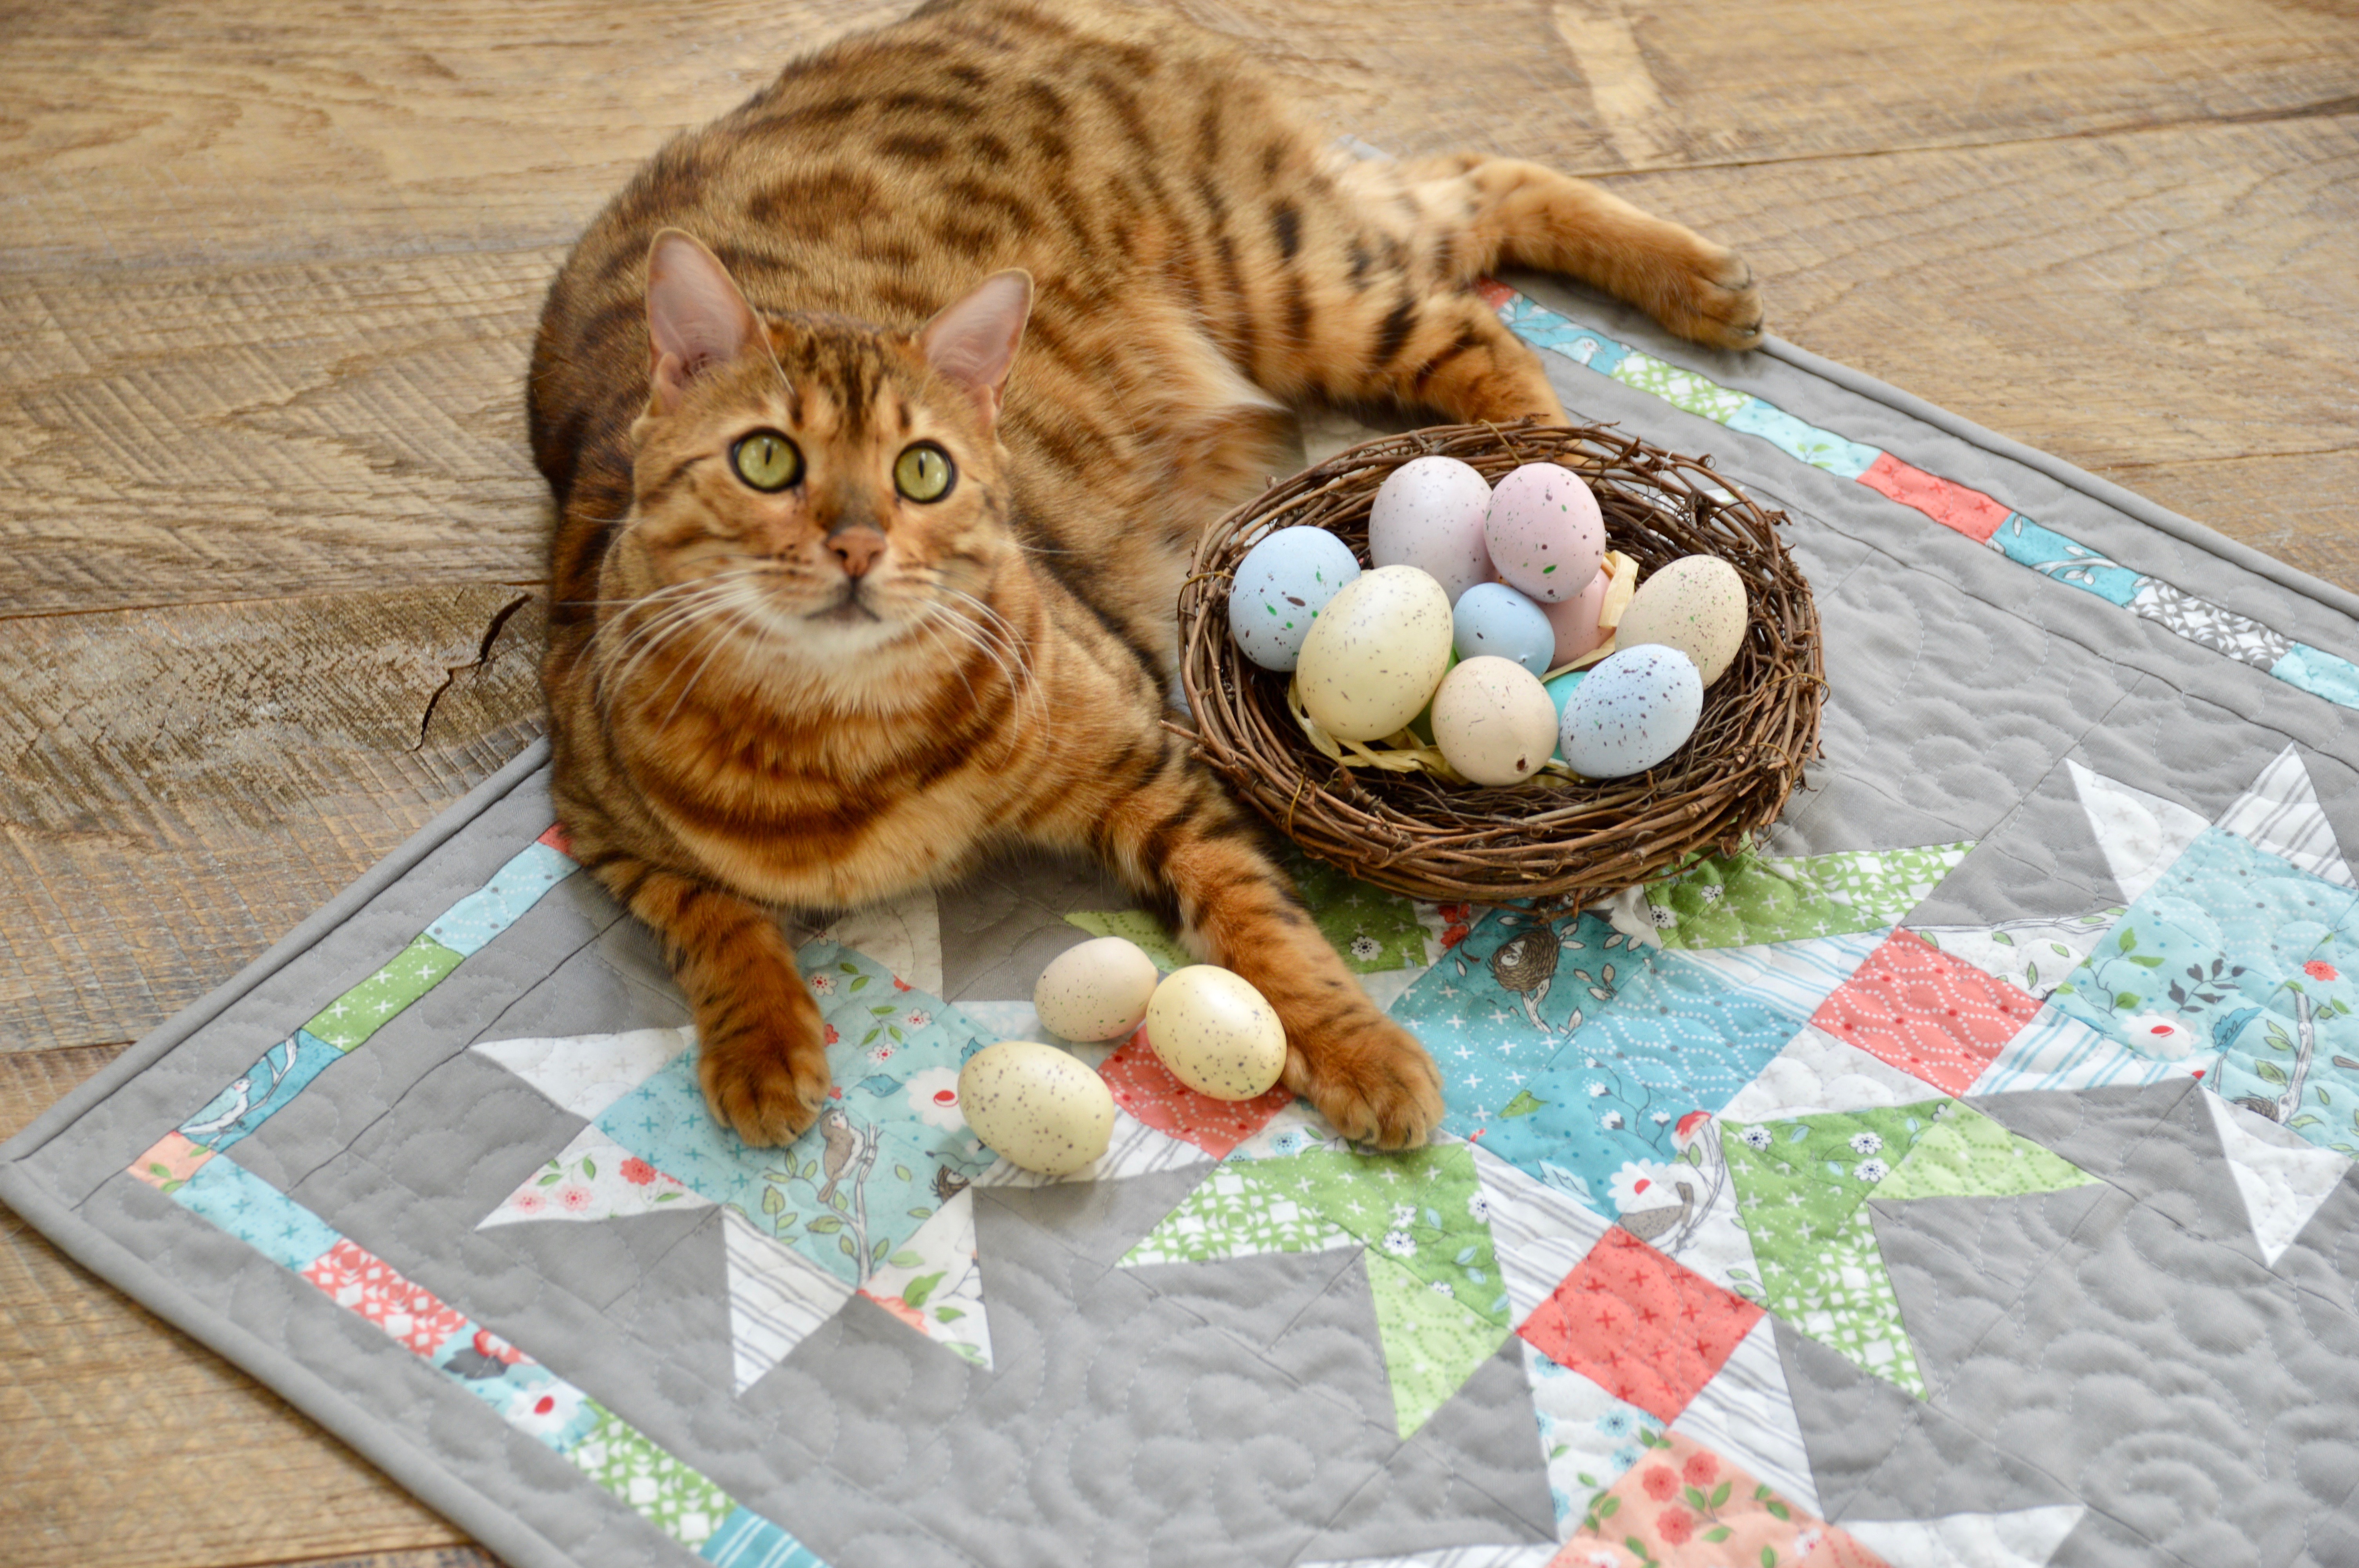
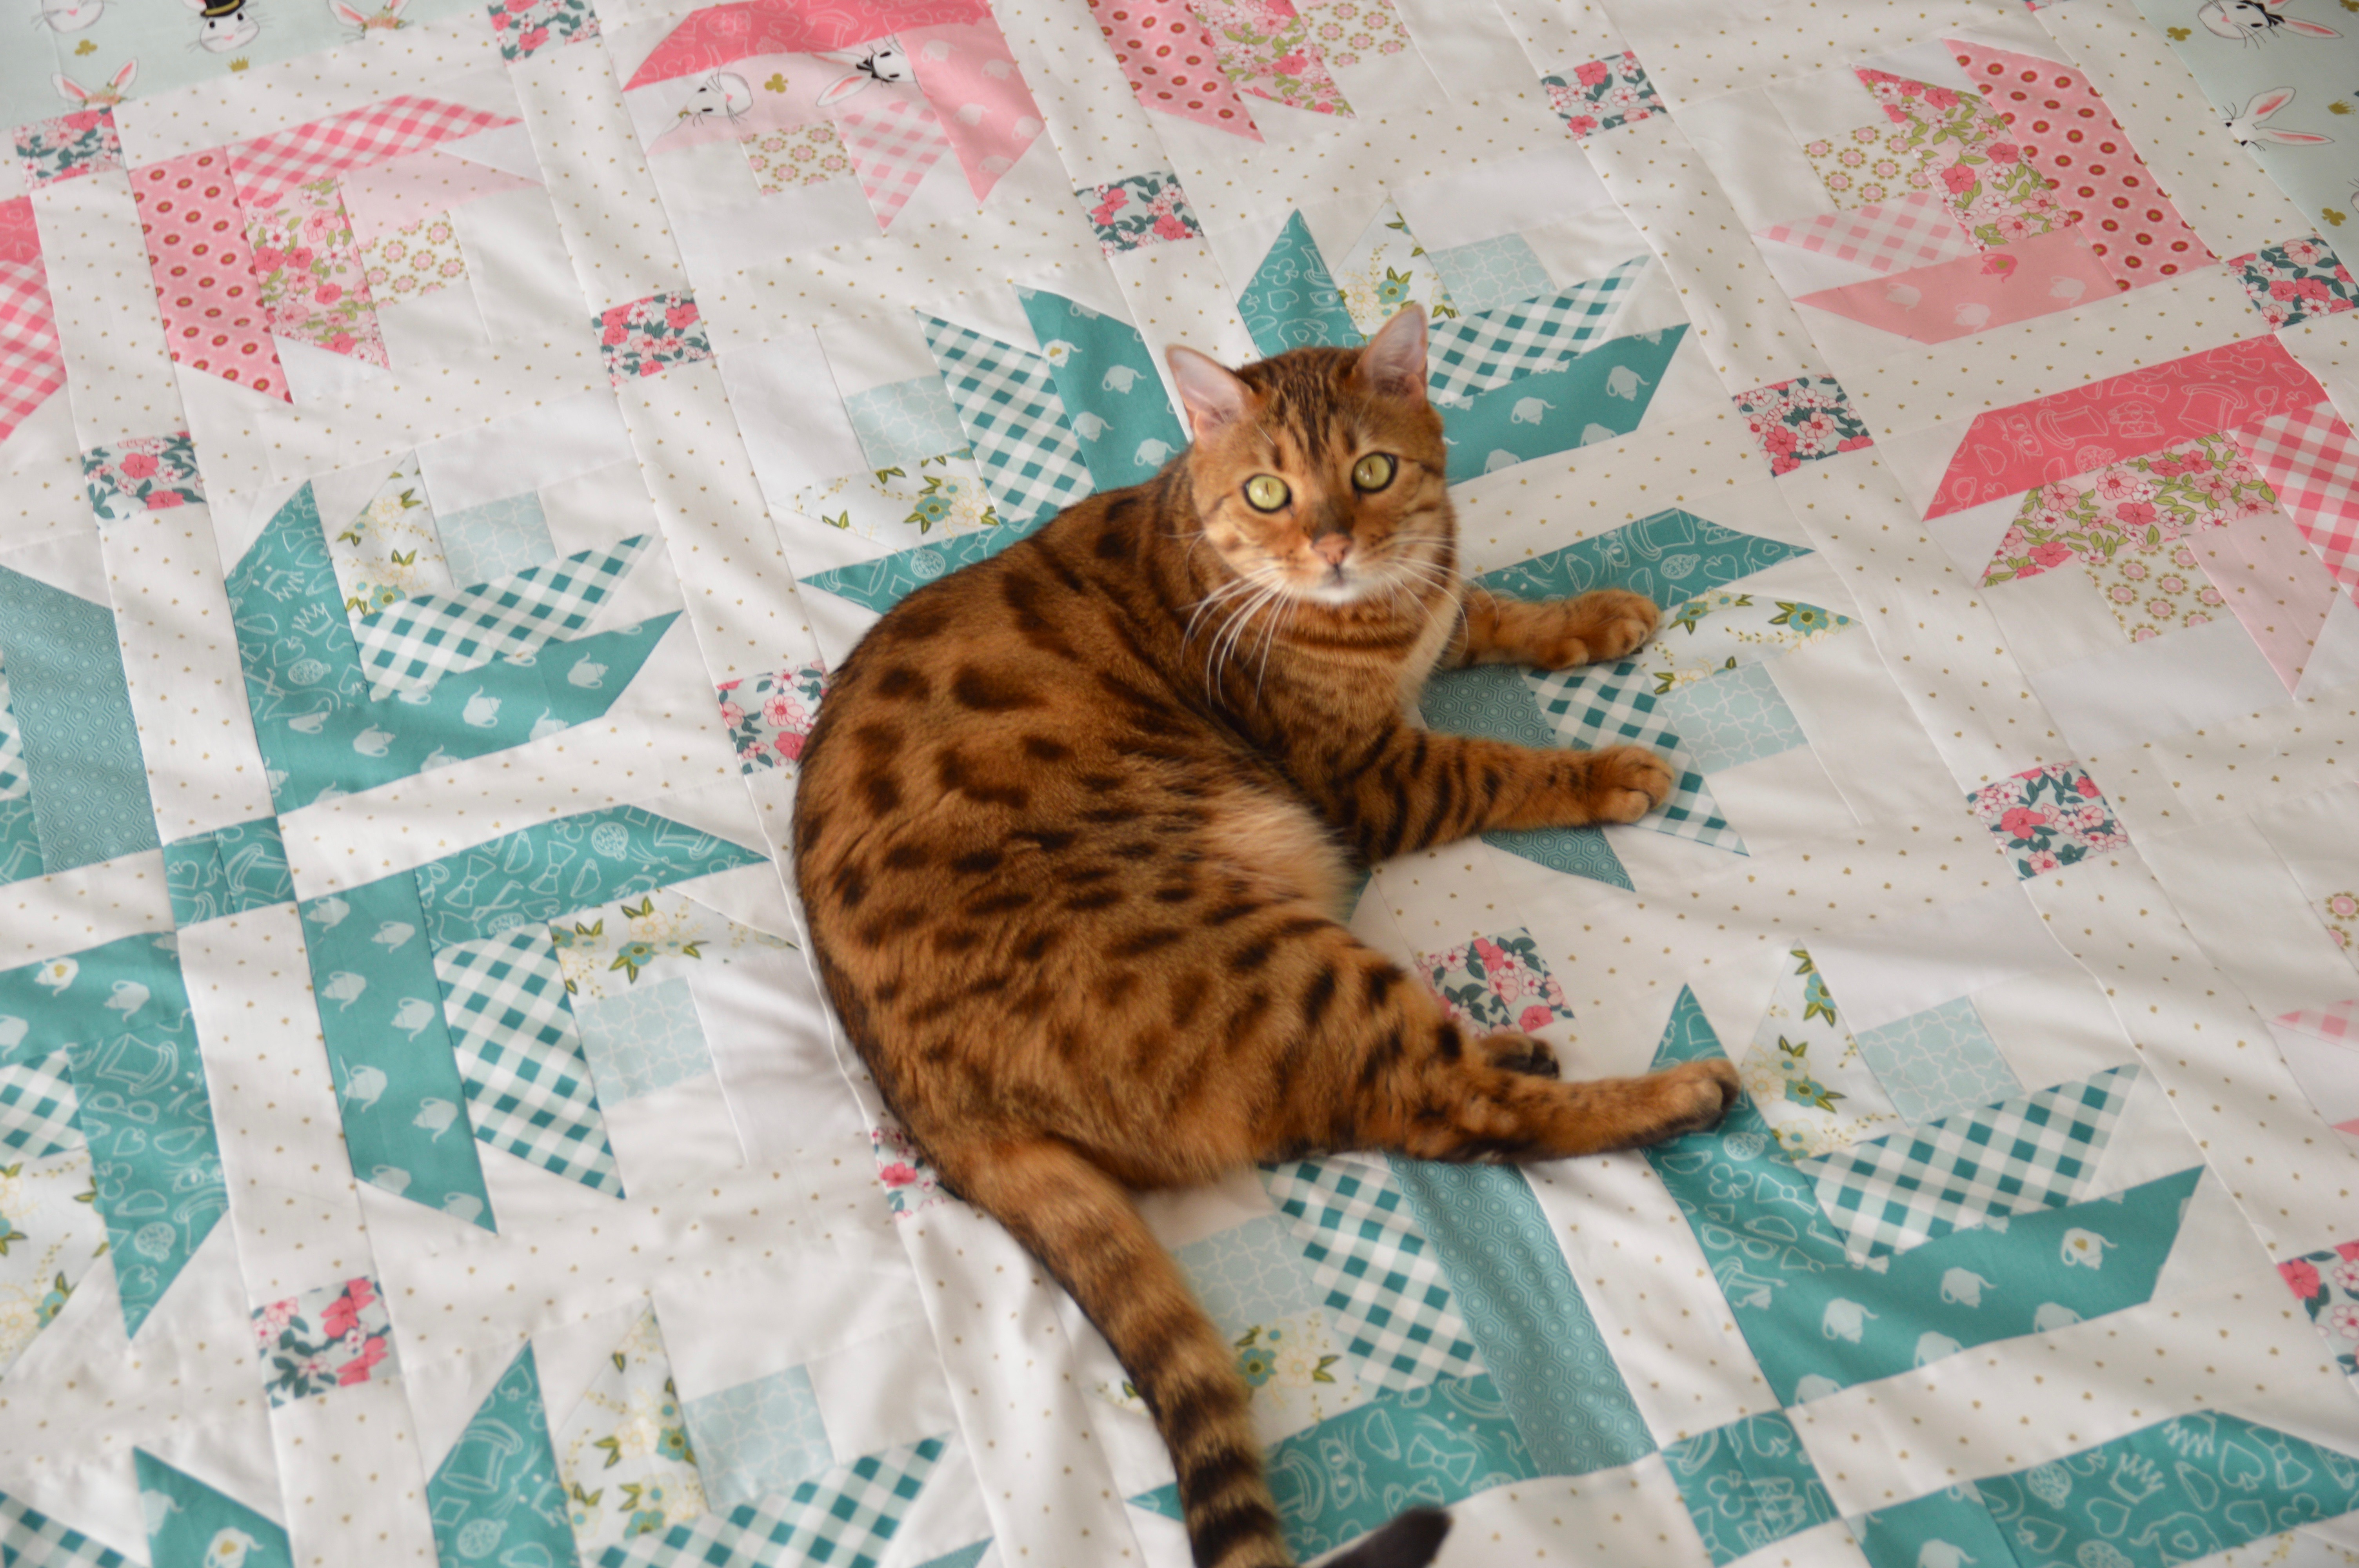
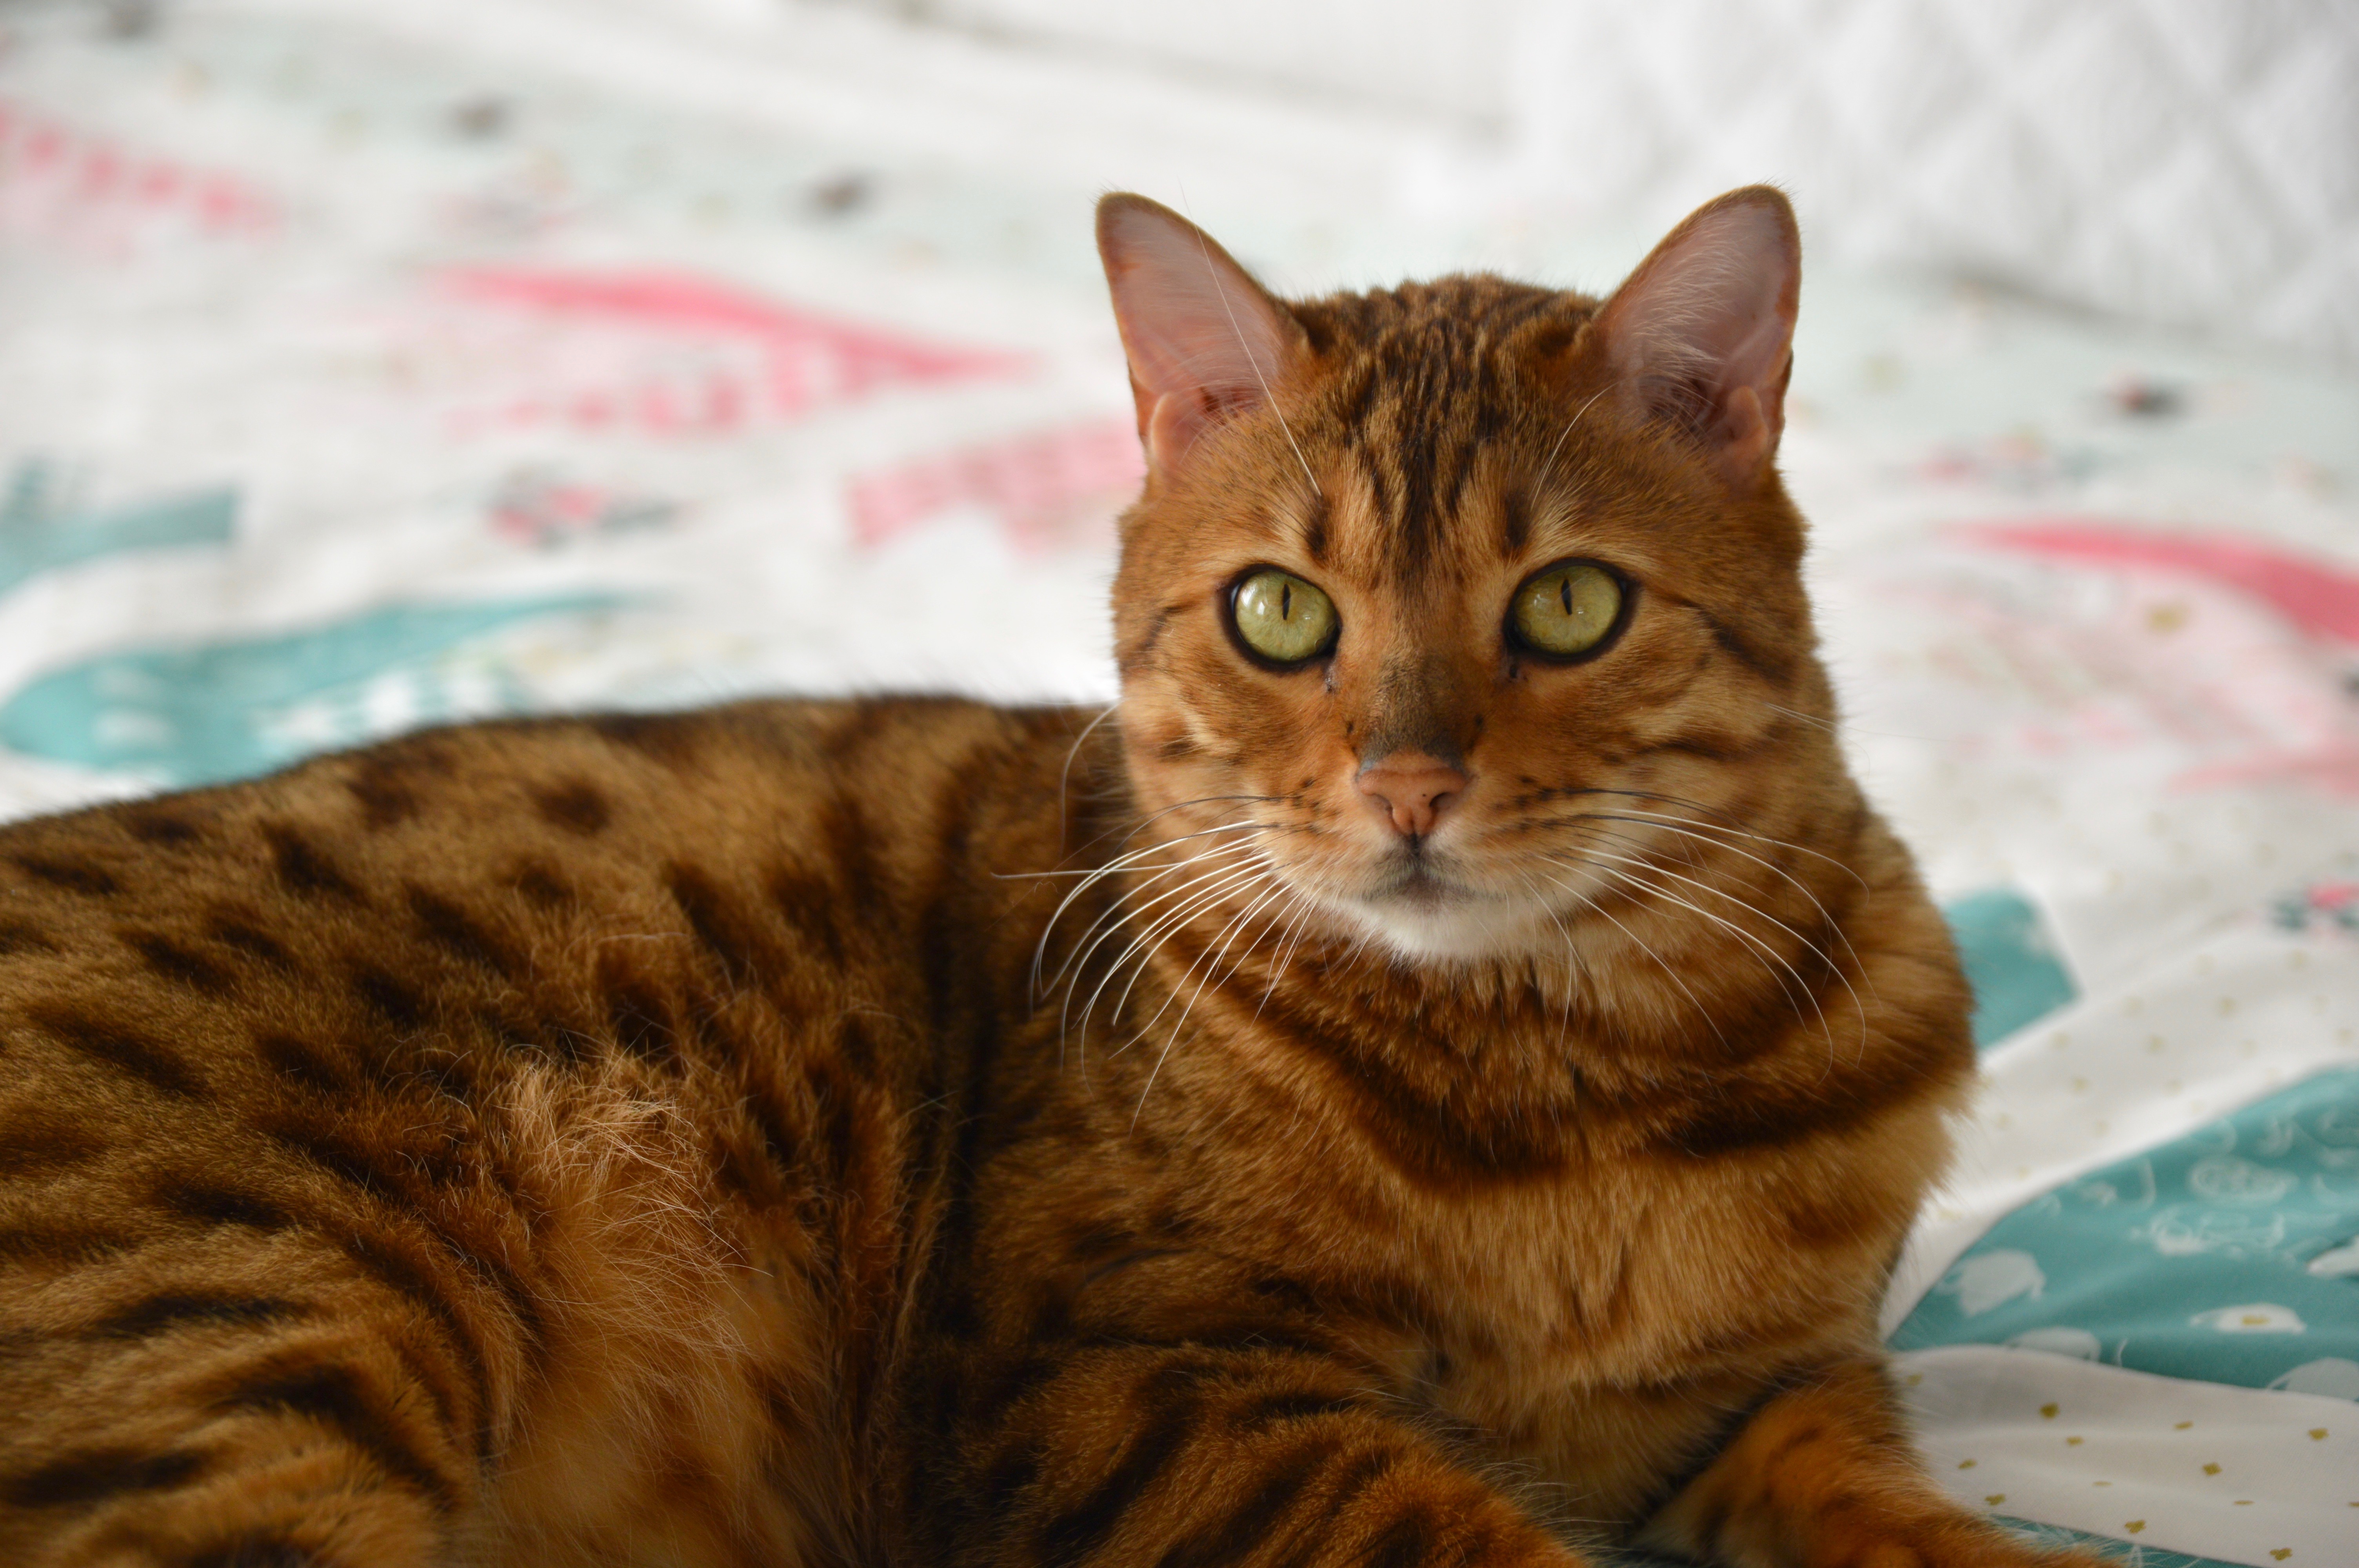 I think I have him pretty trained to sit and pose! That’s why he gets paid the big bucks 🙂
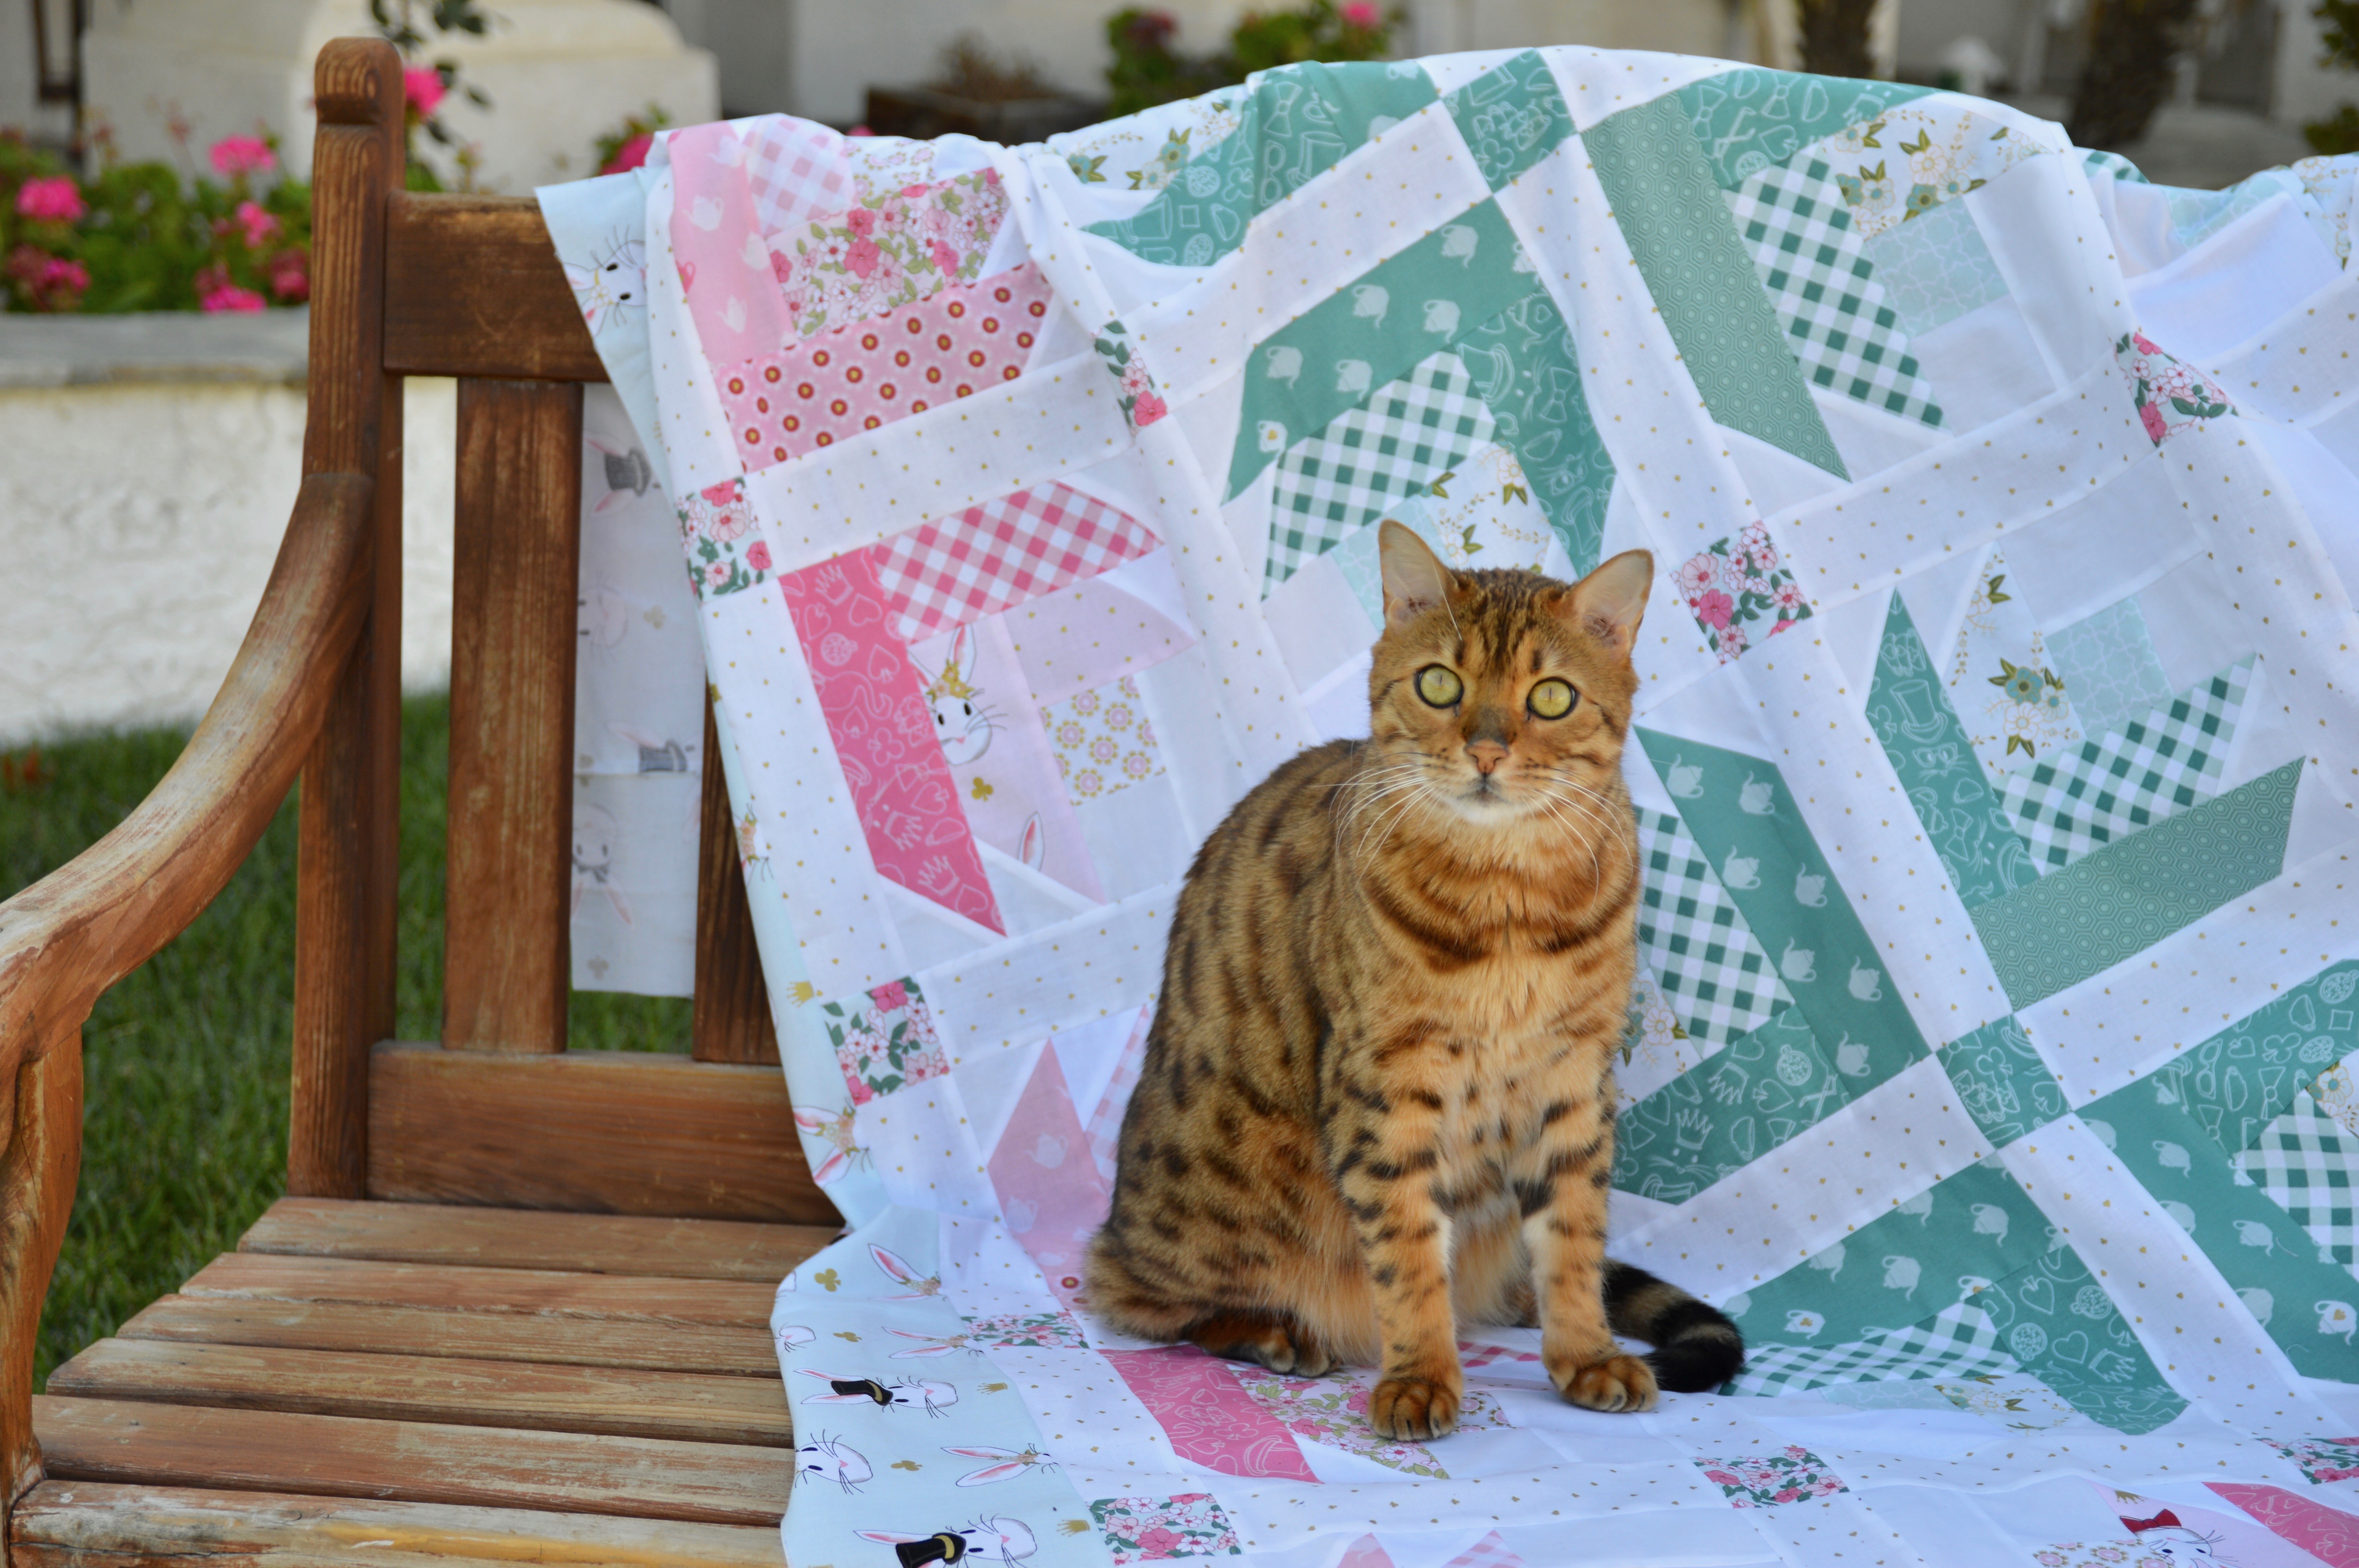
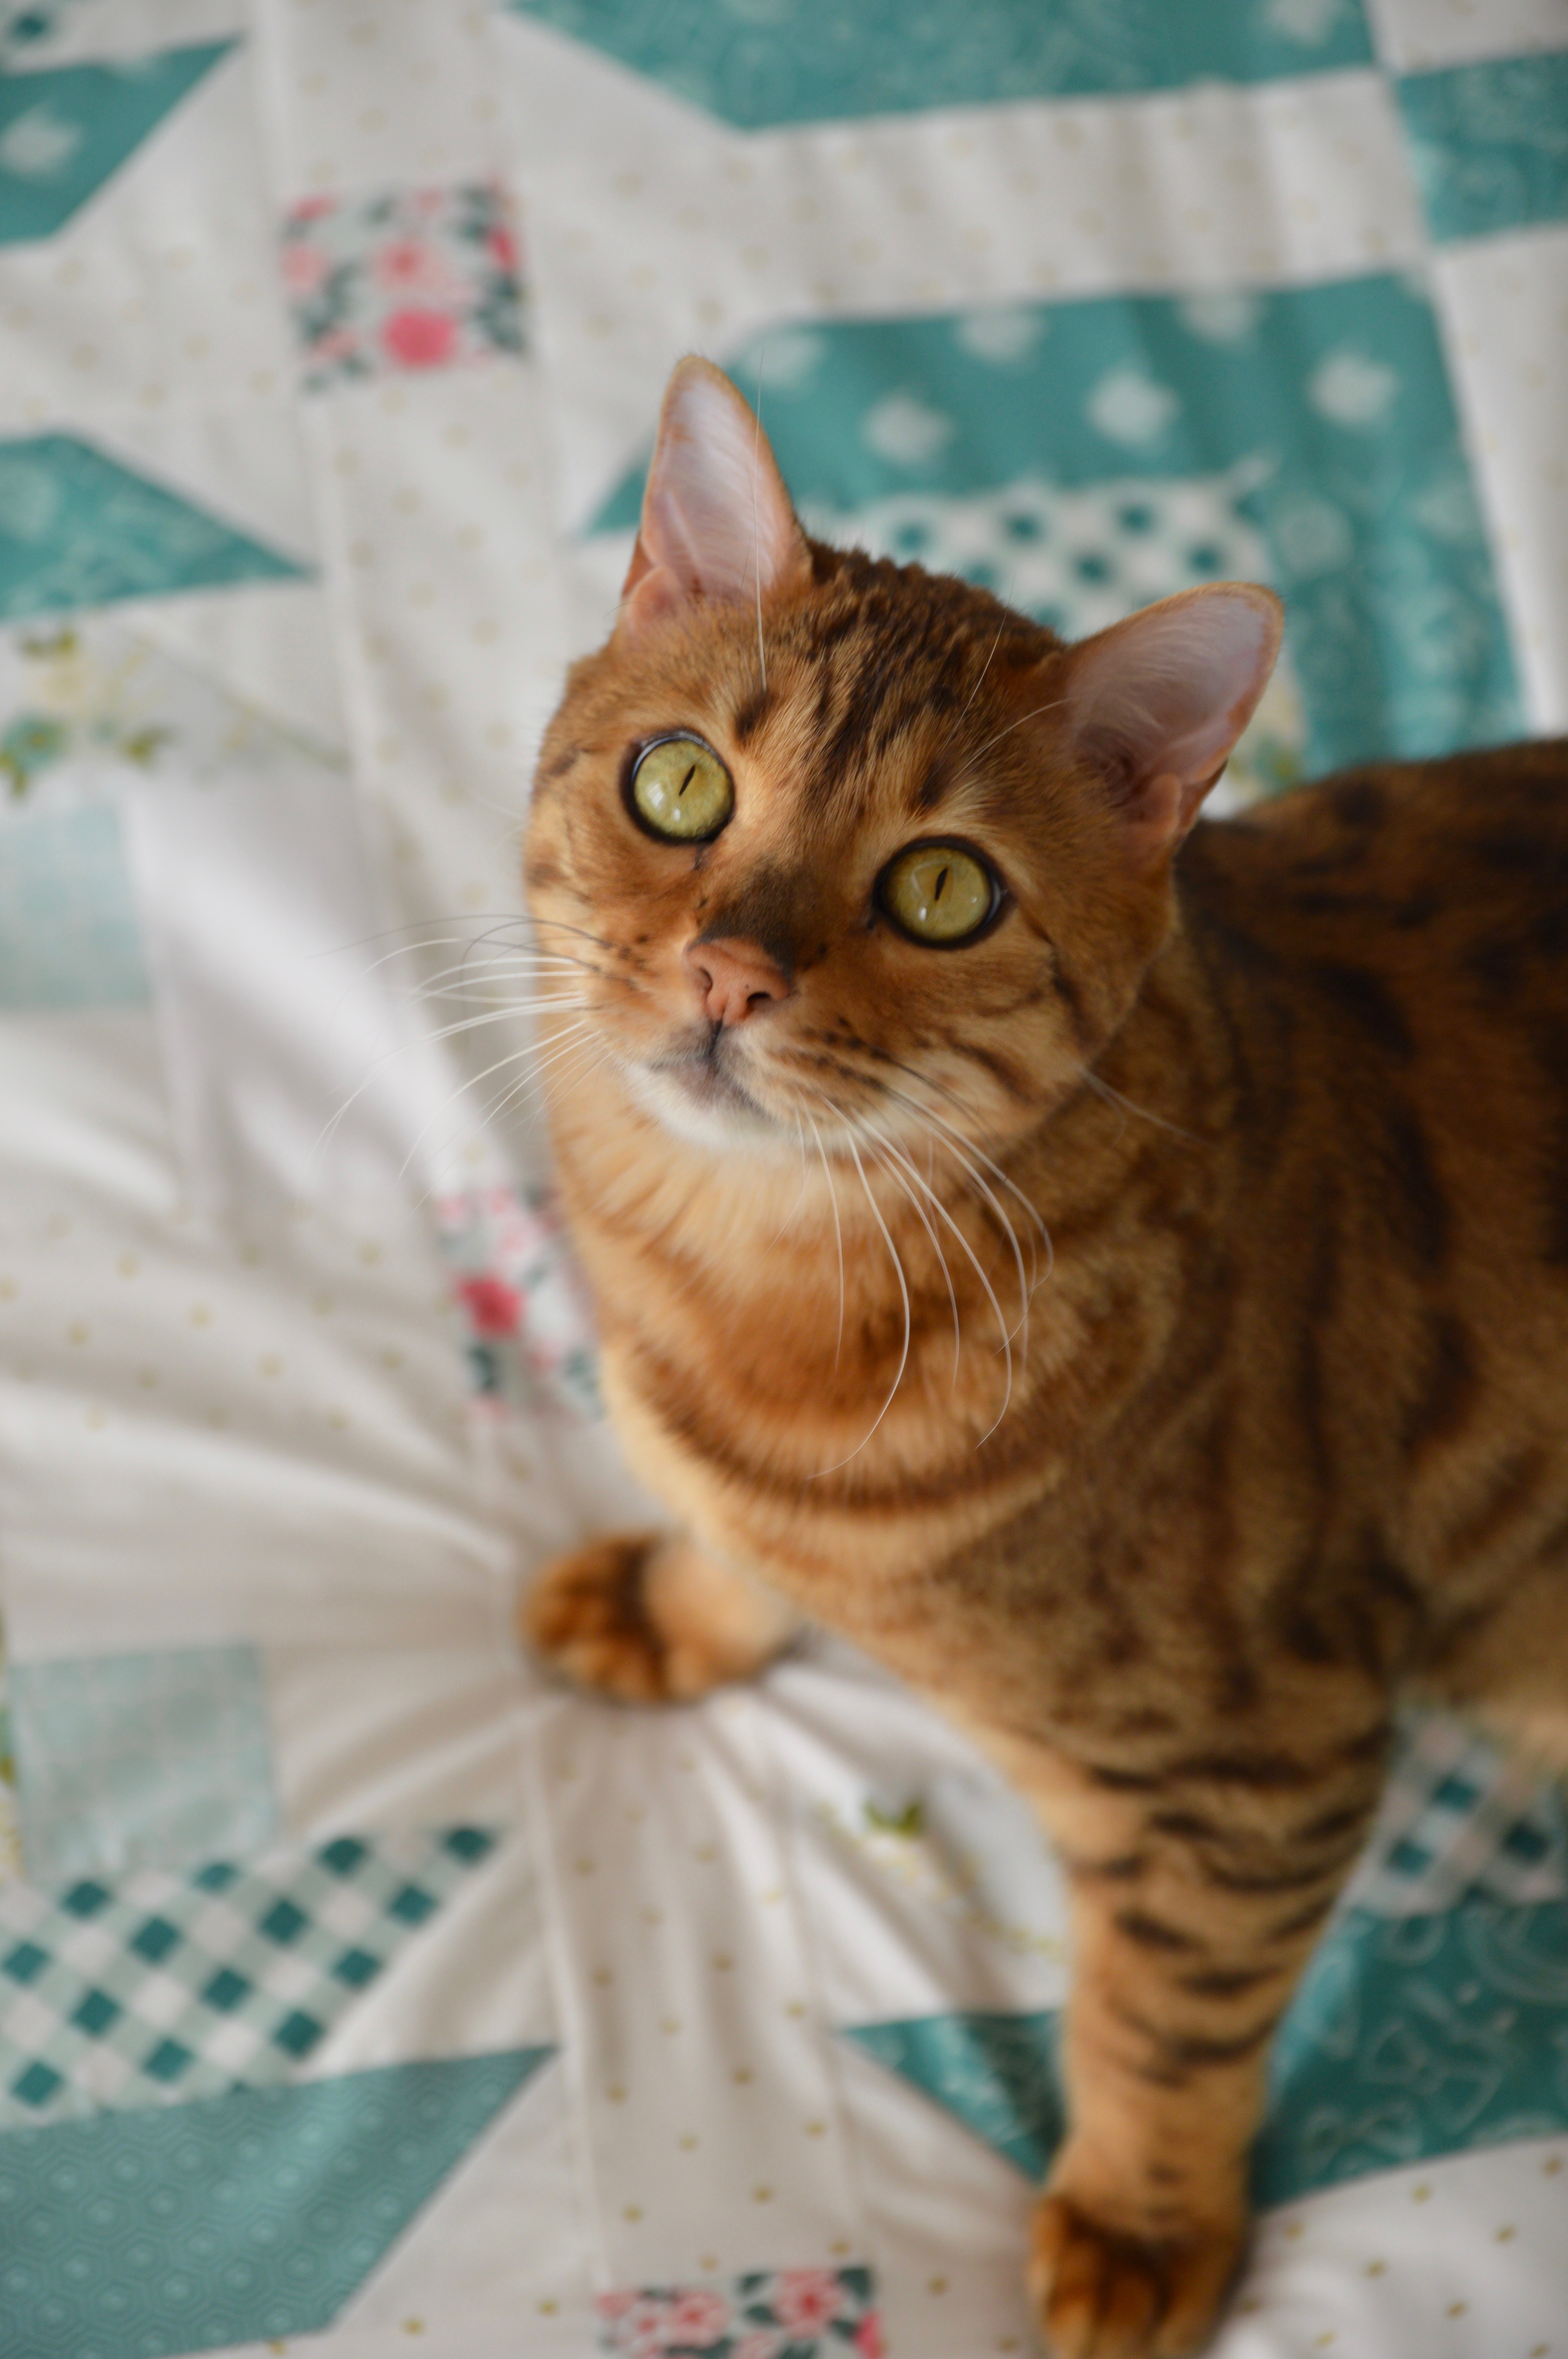
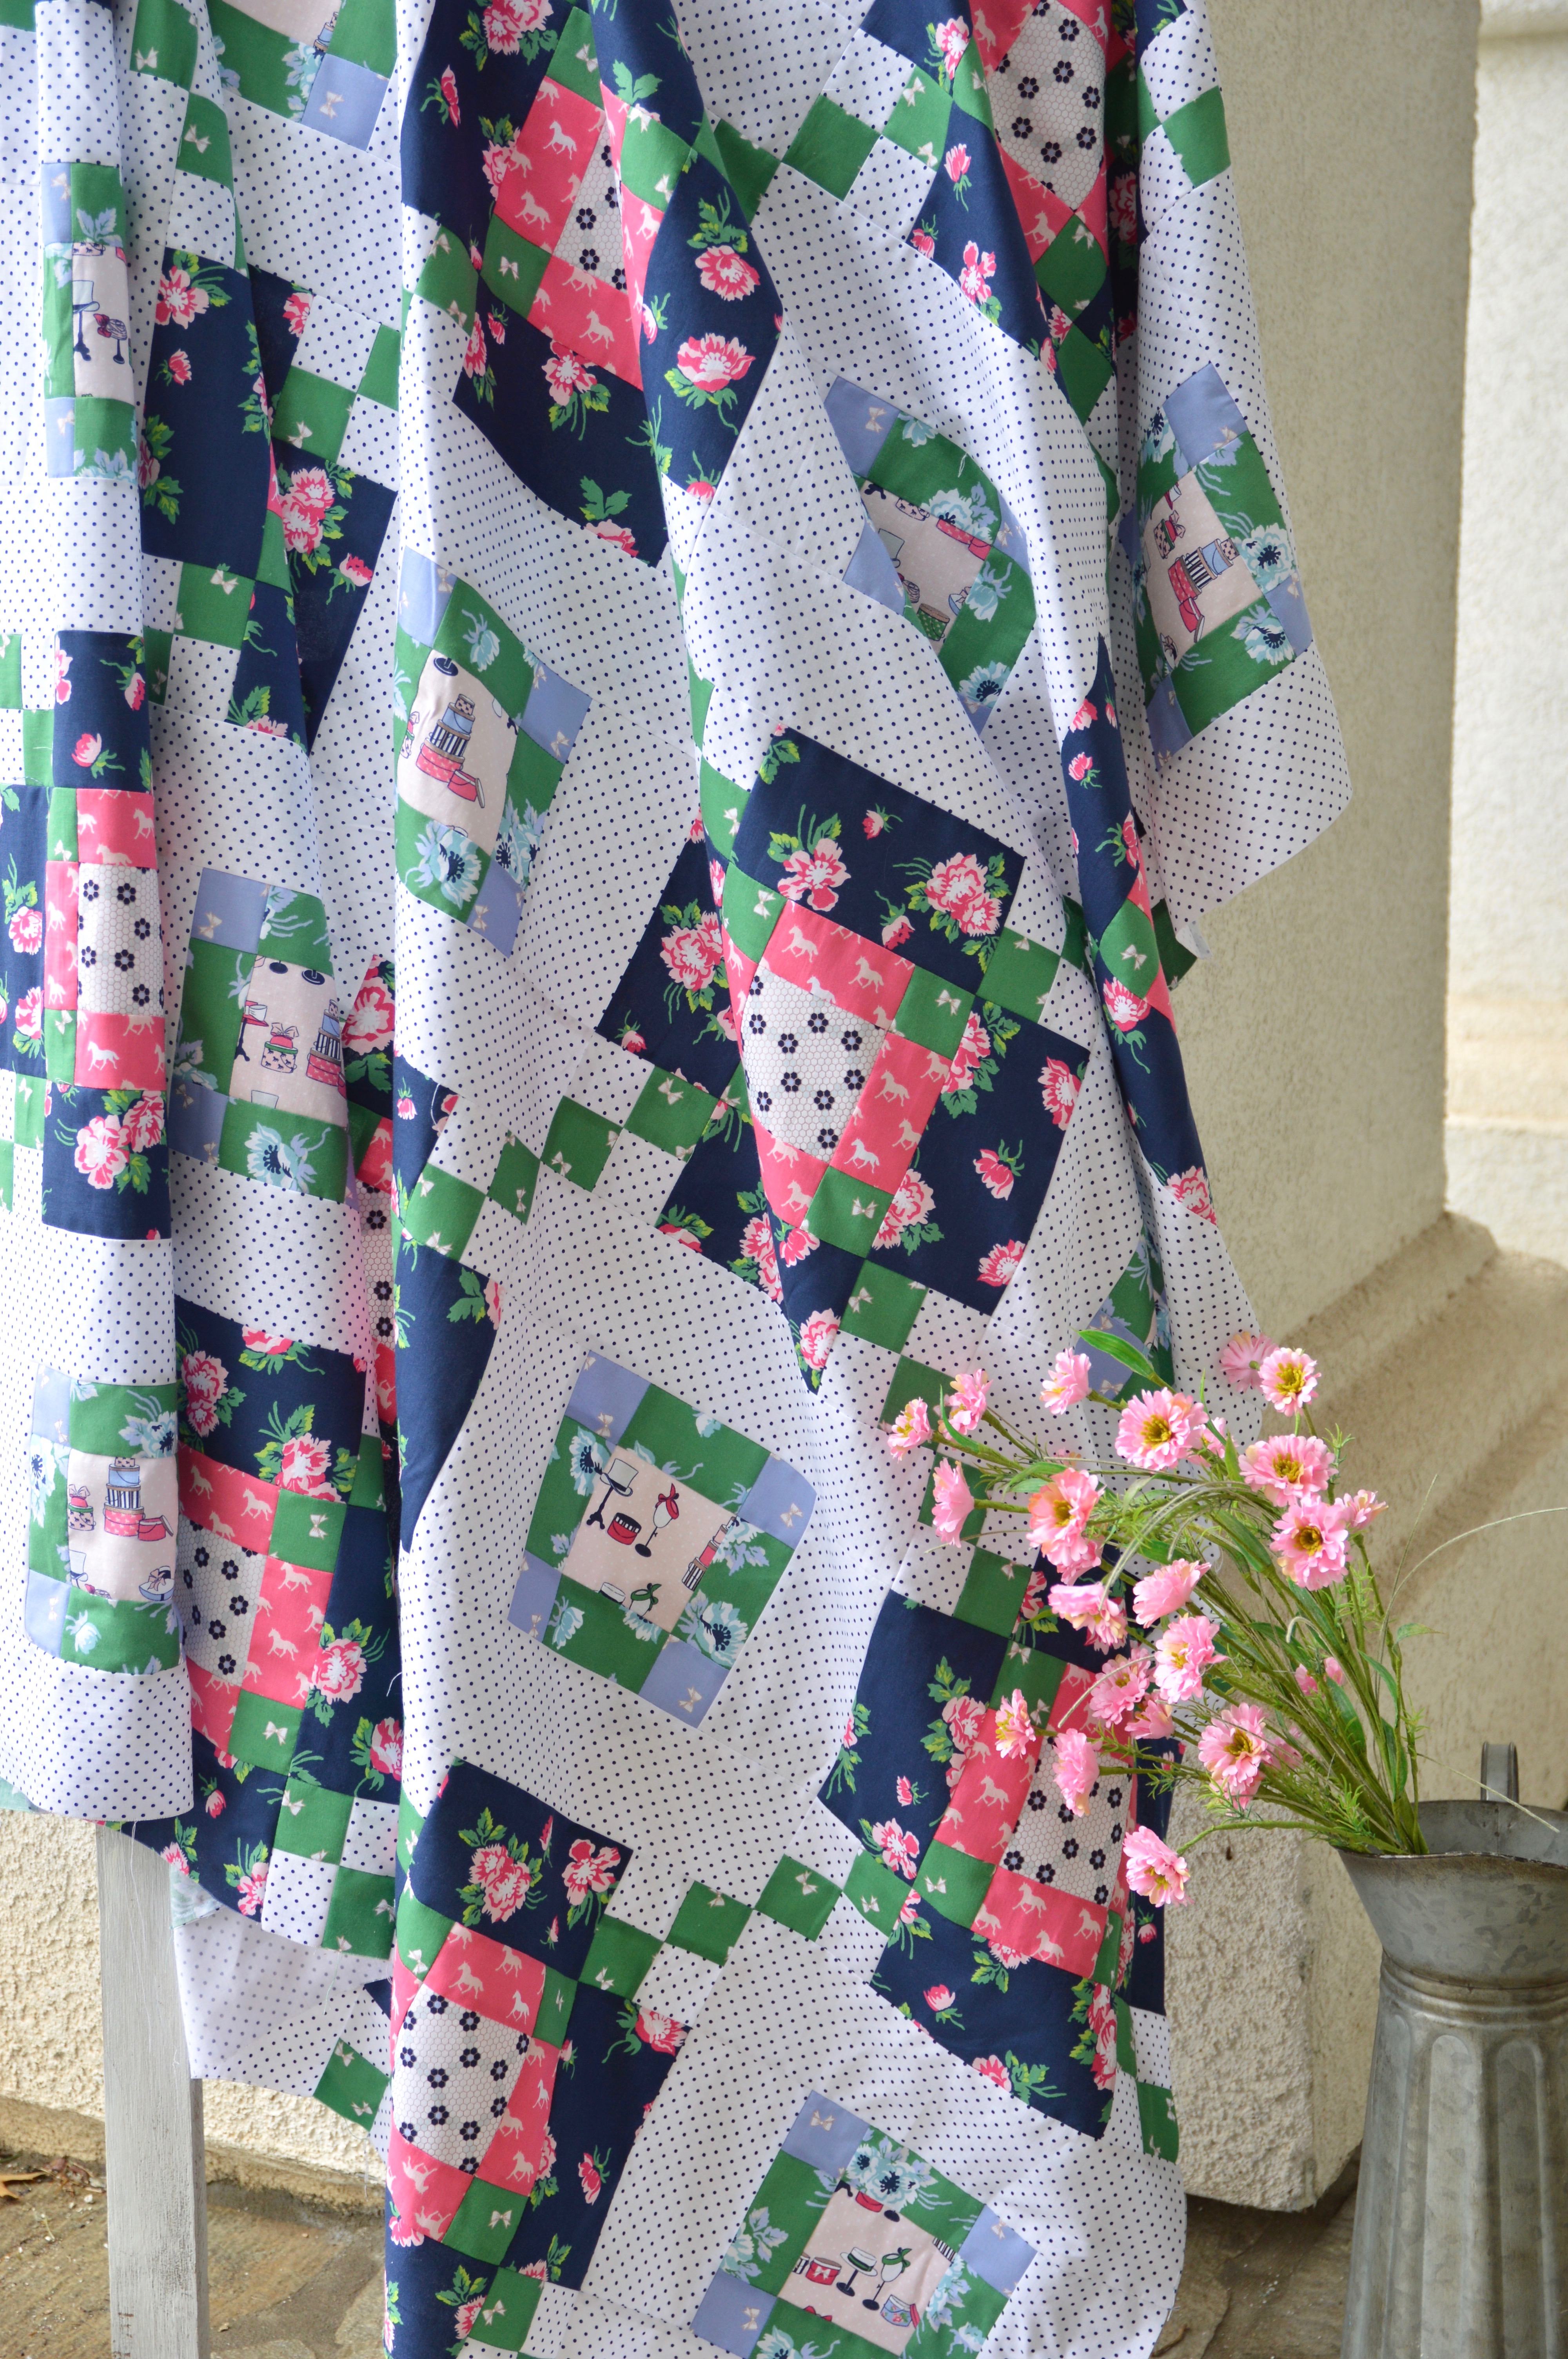
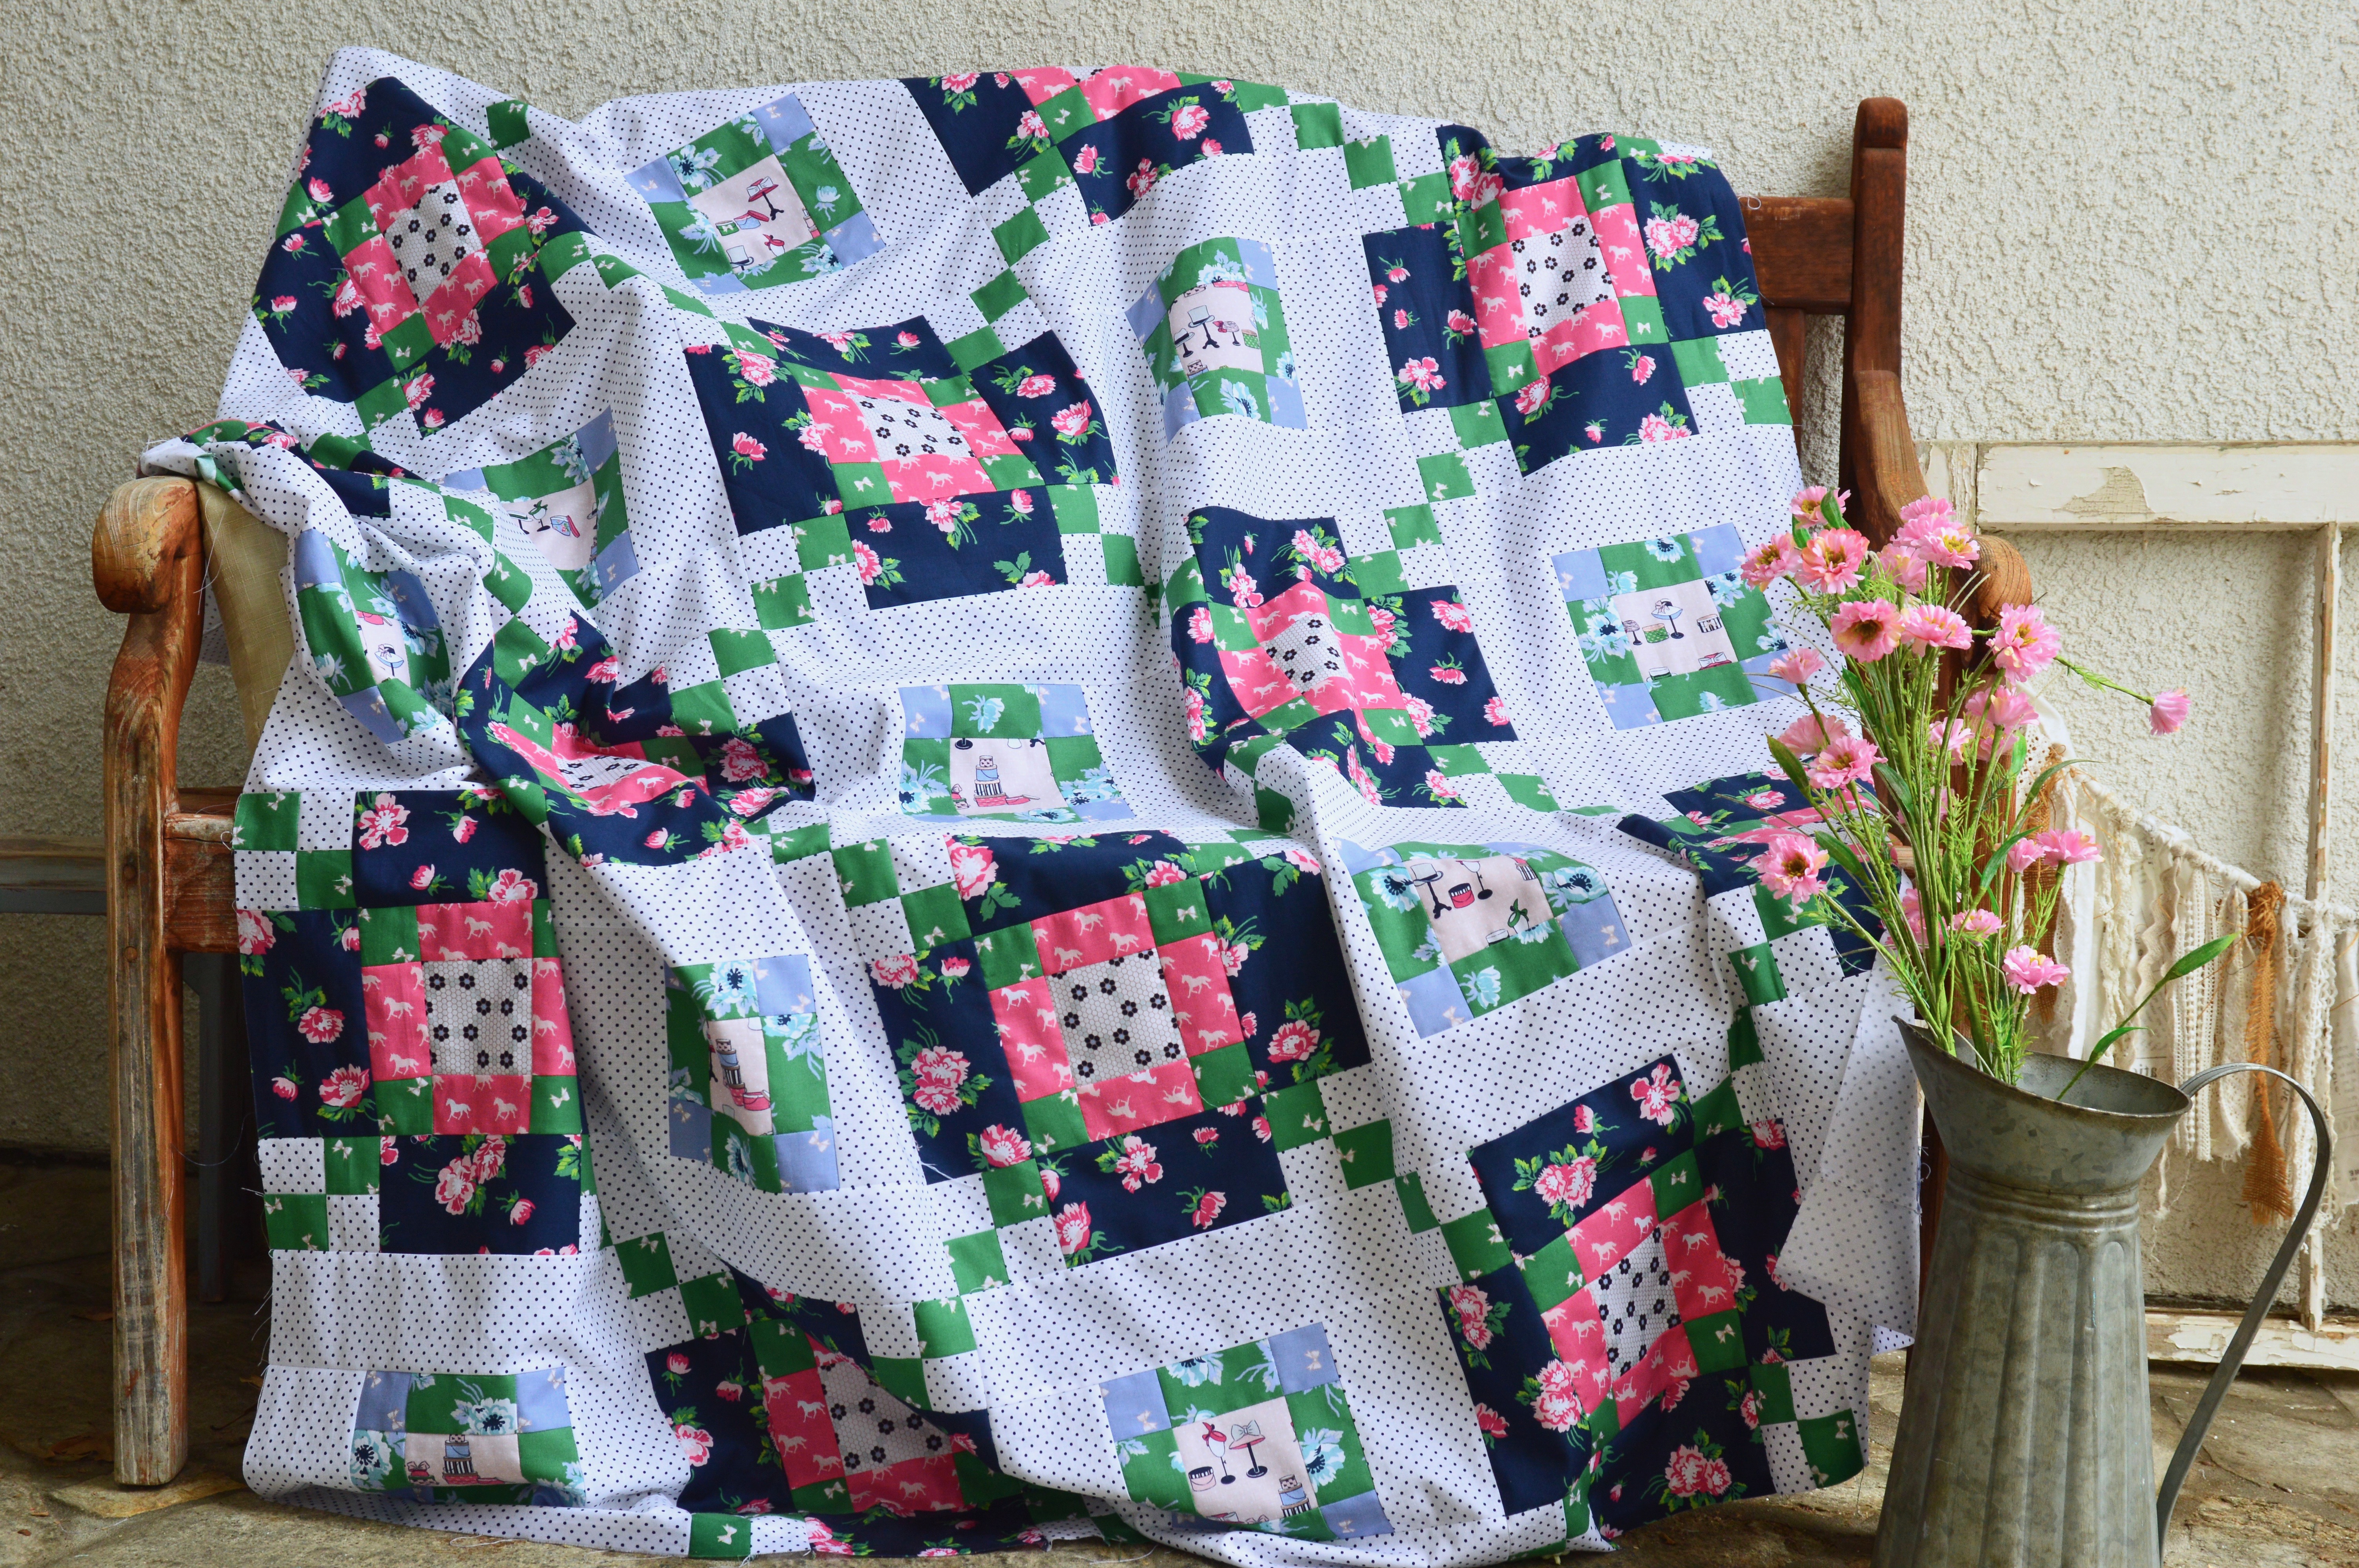
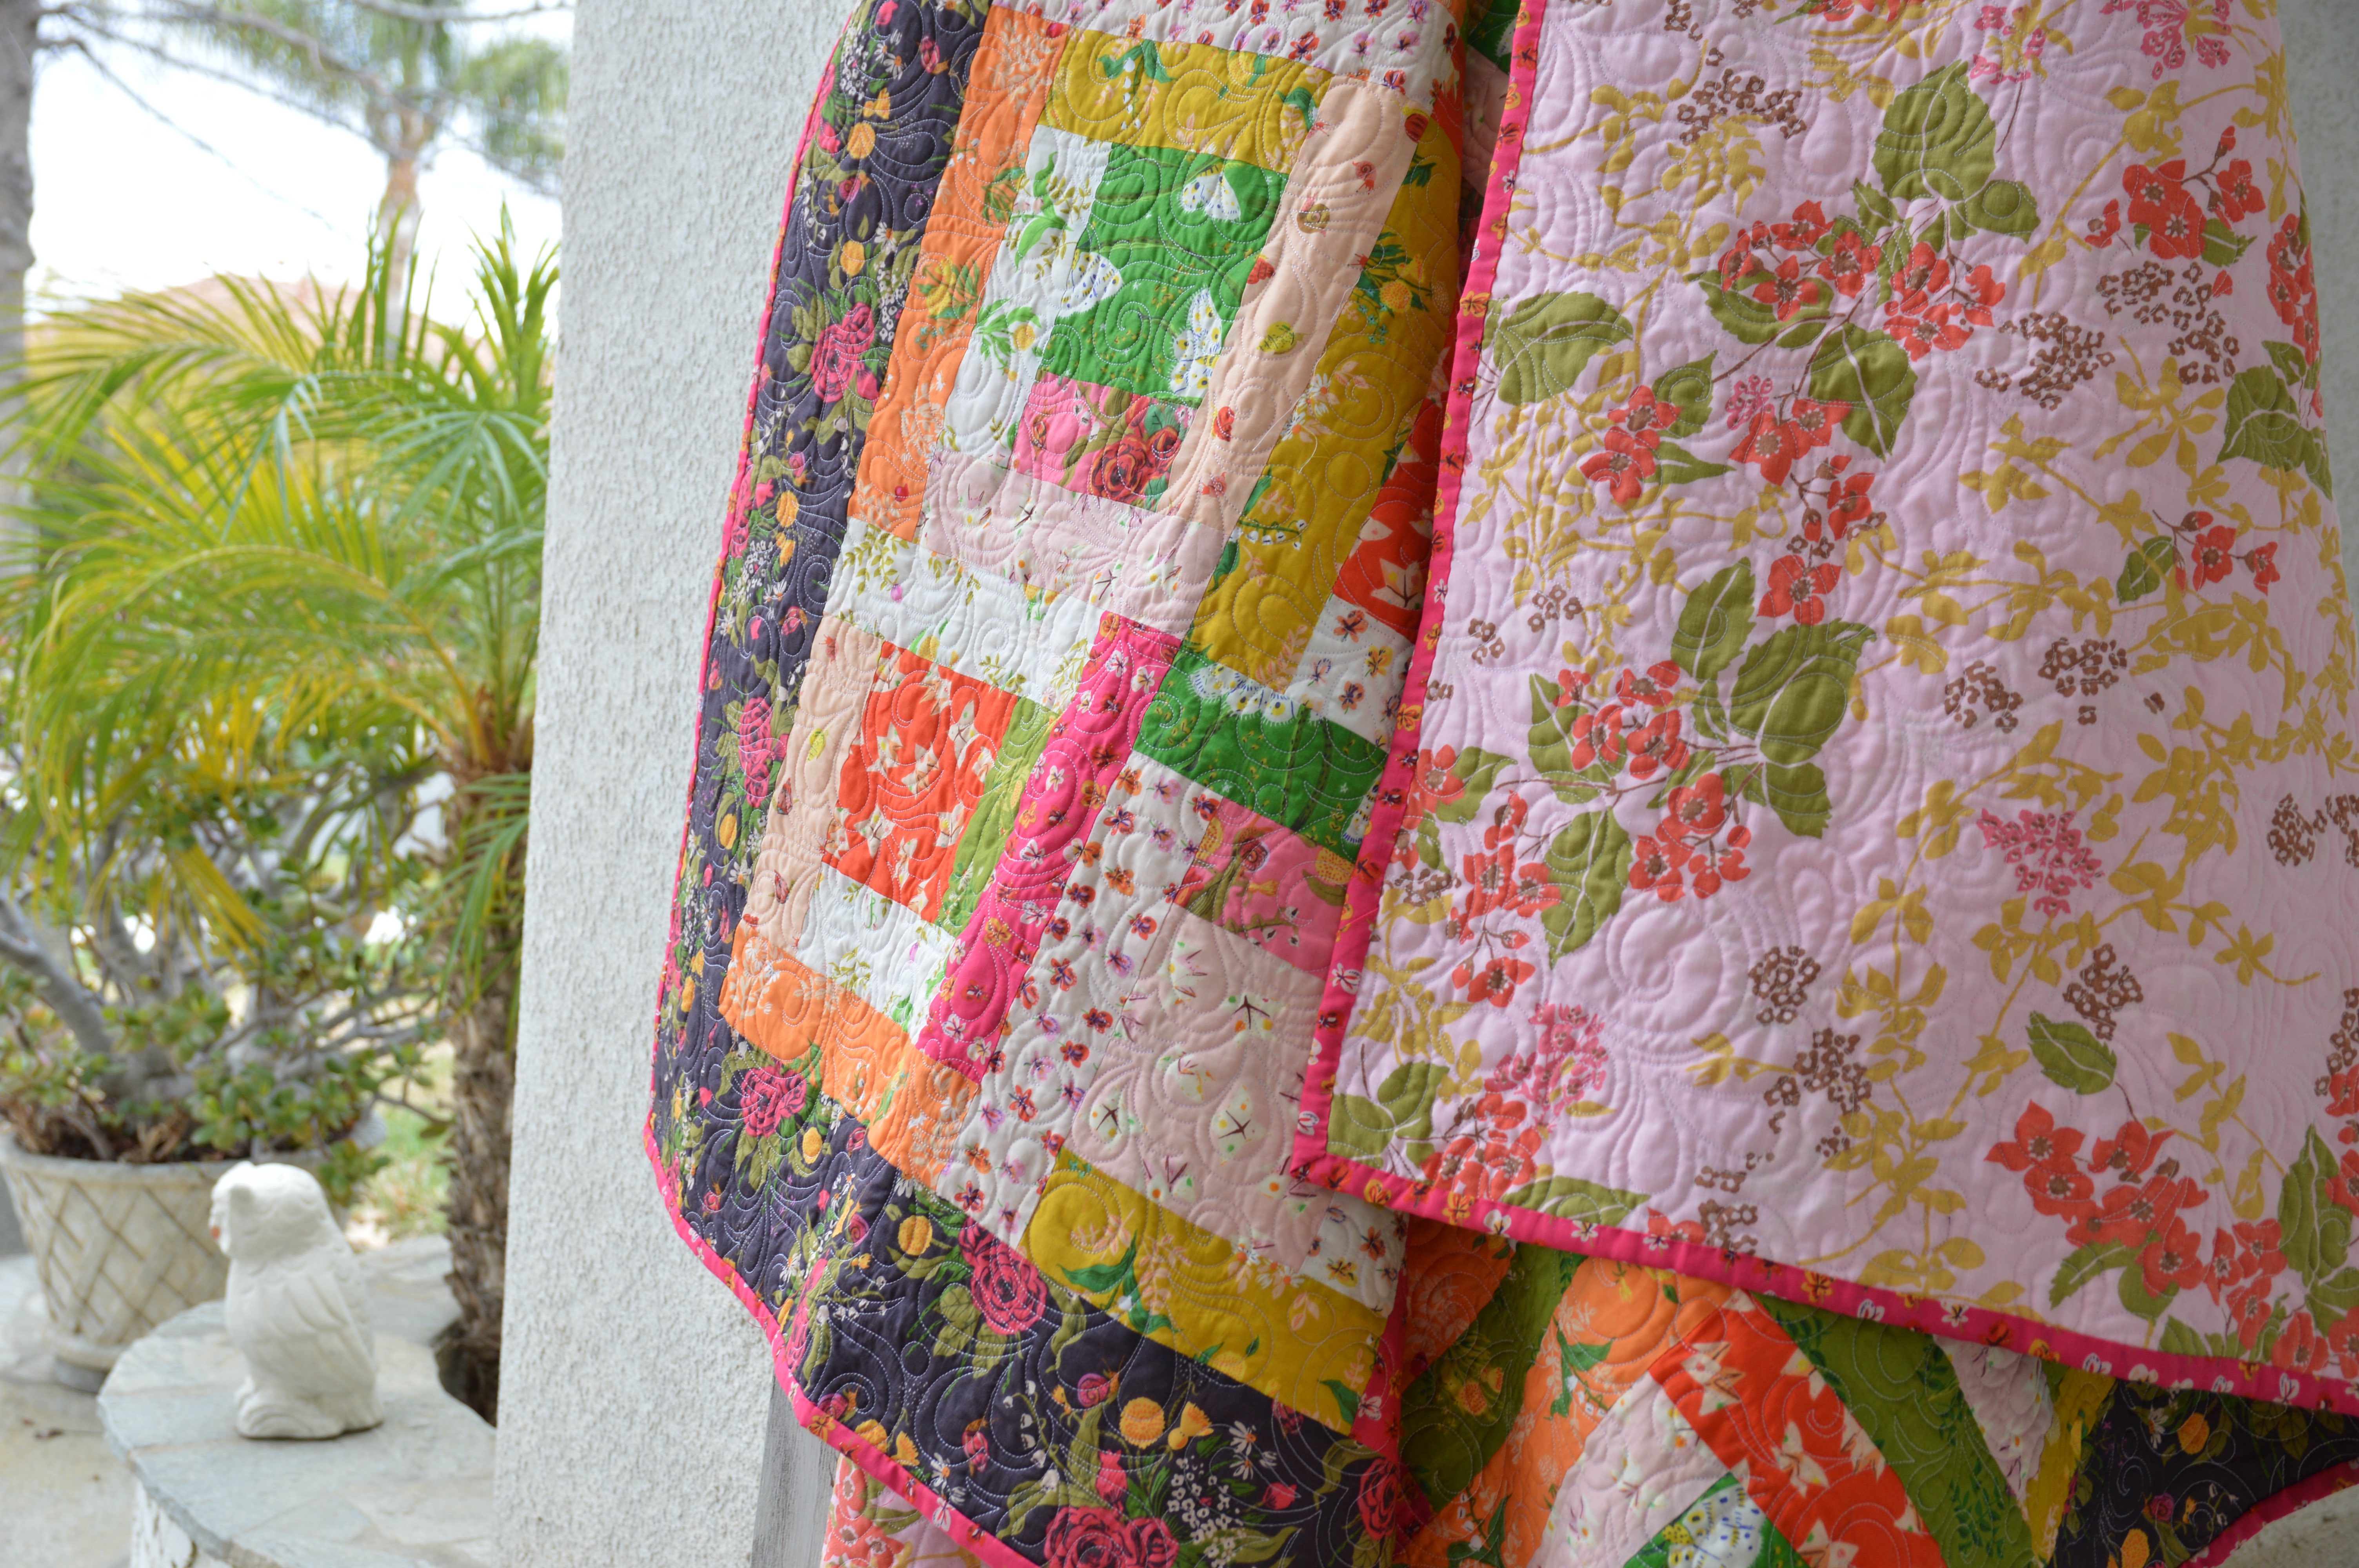
 I am putting navy blue minky on the back (and sending it to the quilter) and then it will be MY new movie watching quilt!!!!
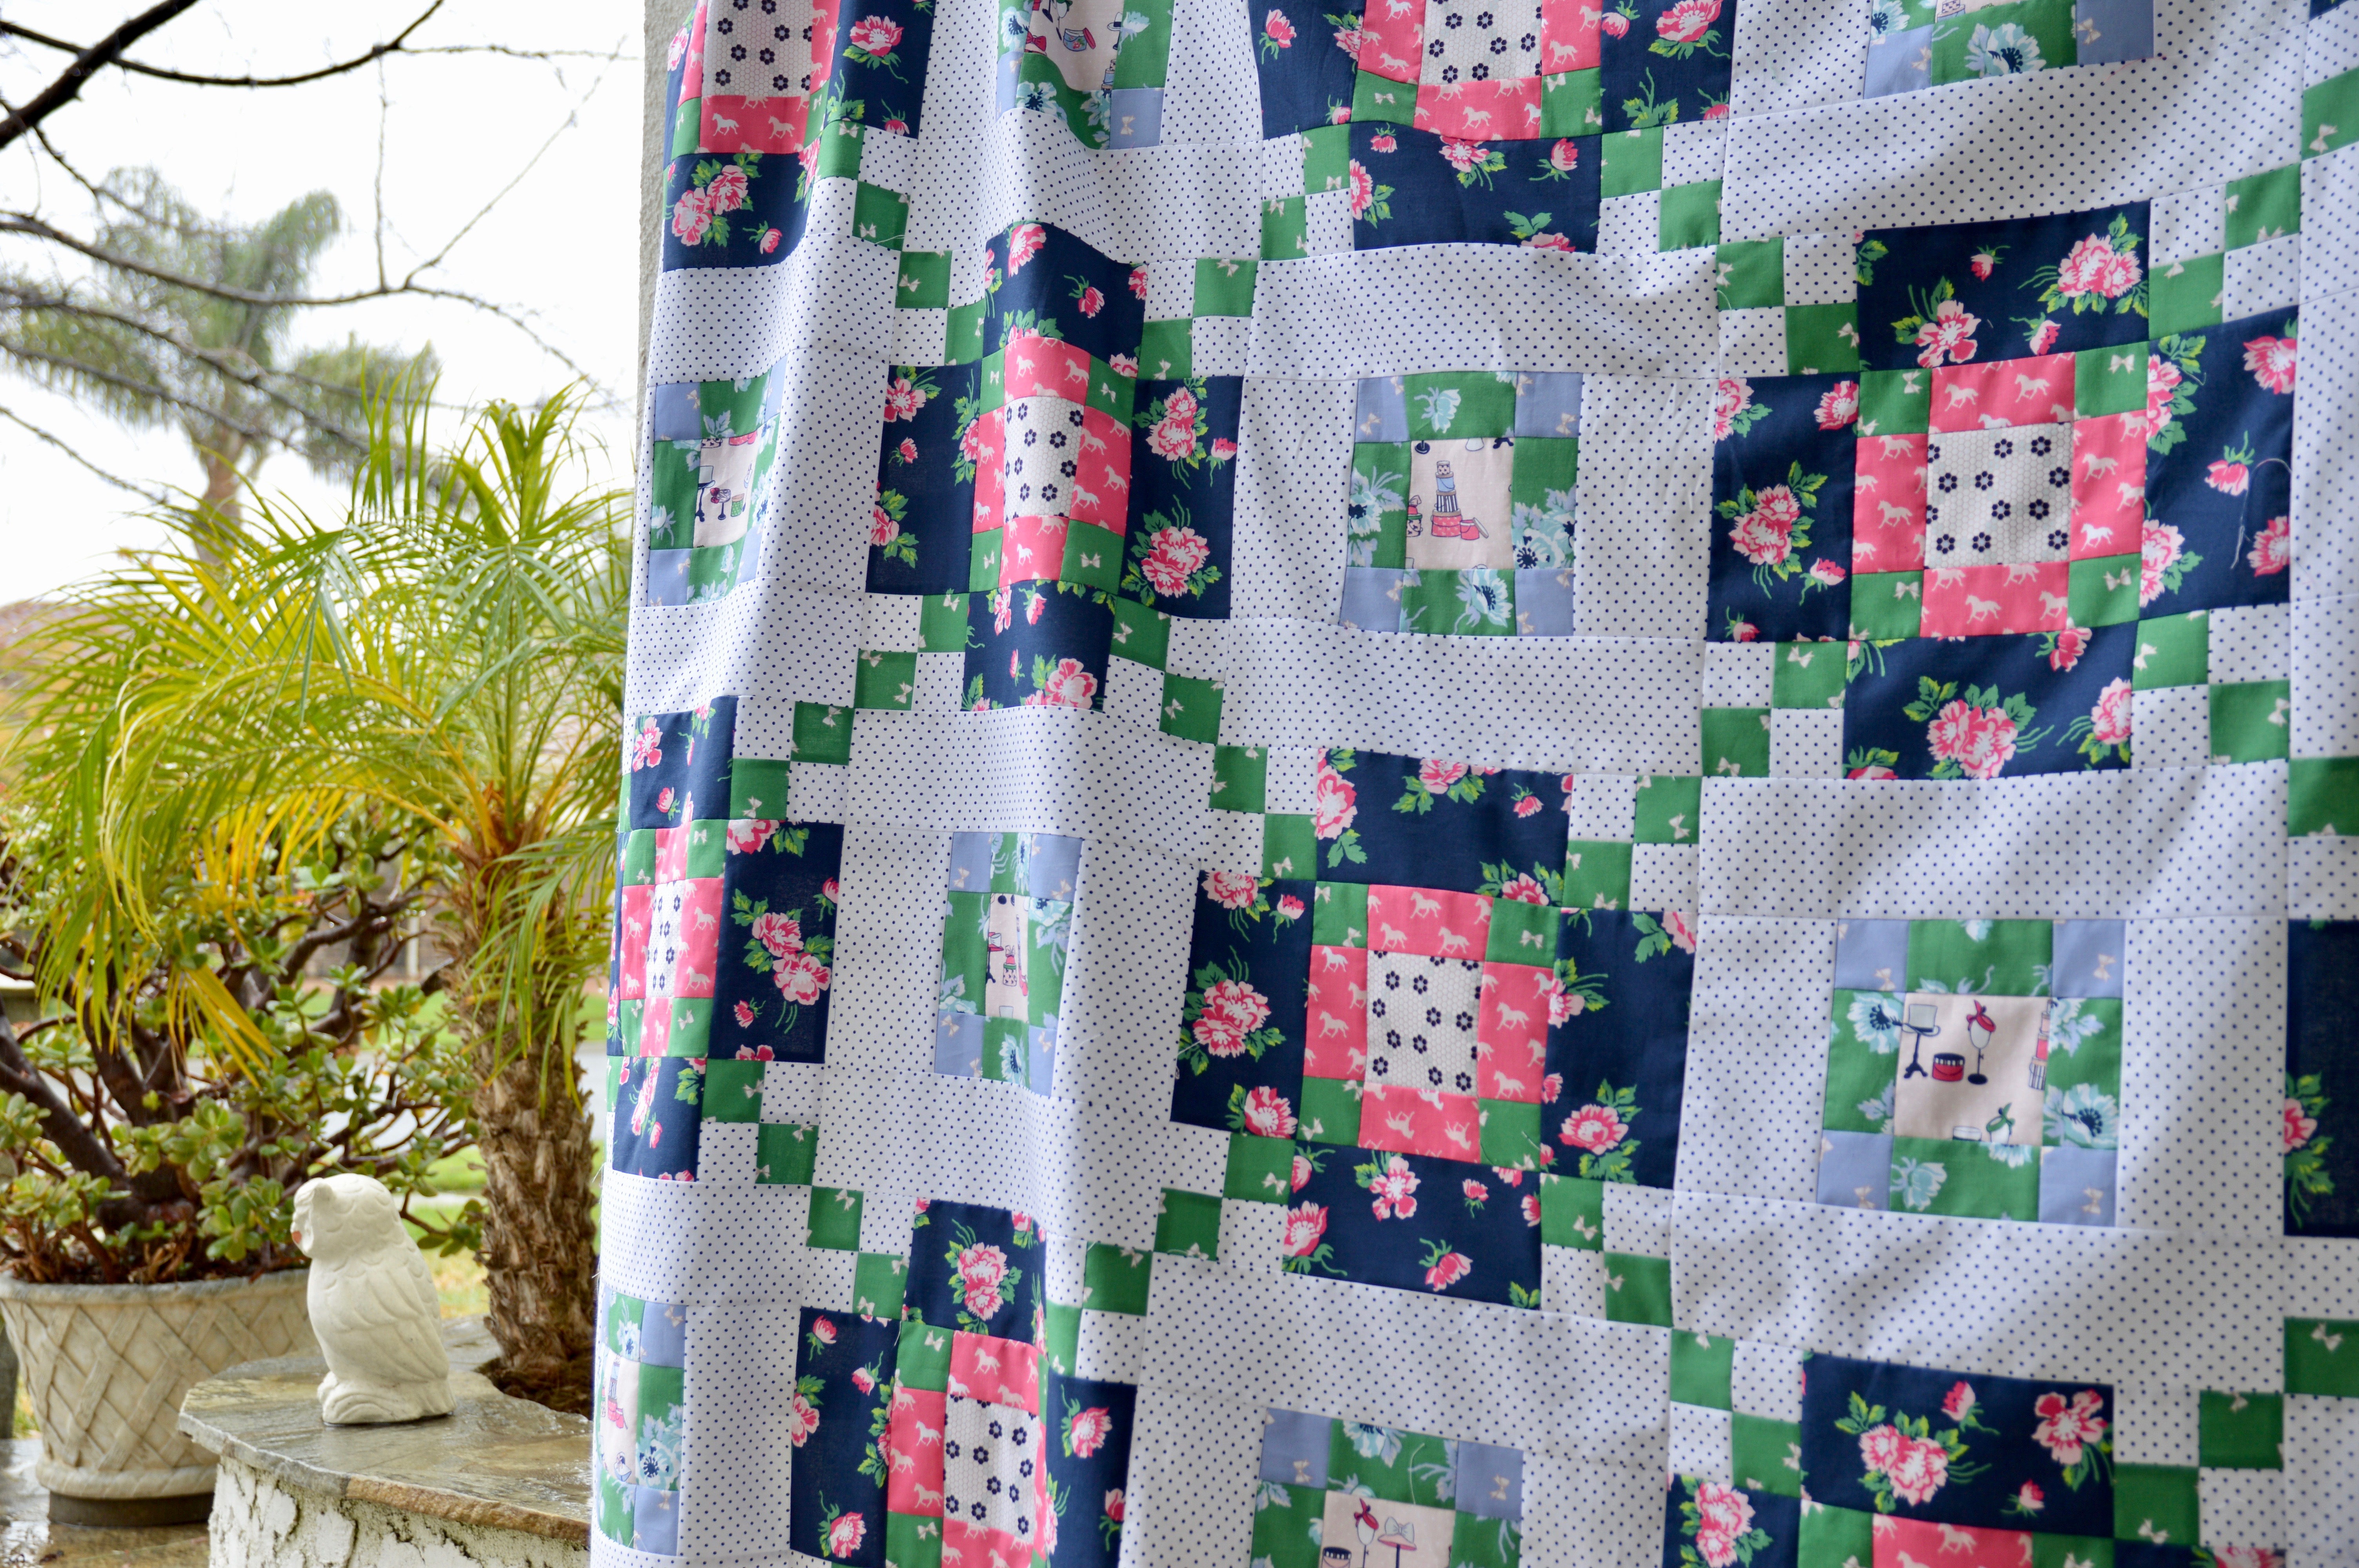
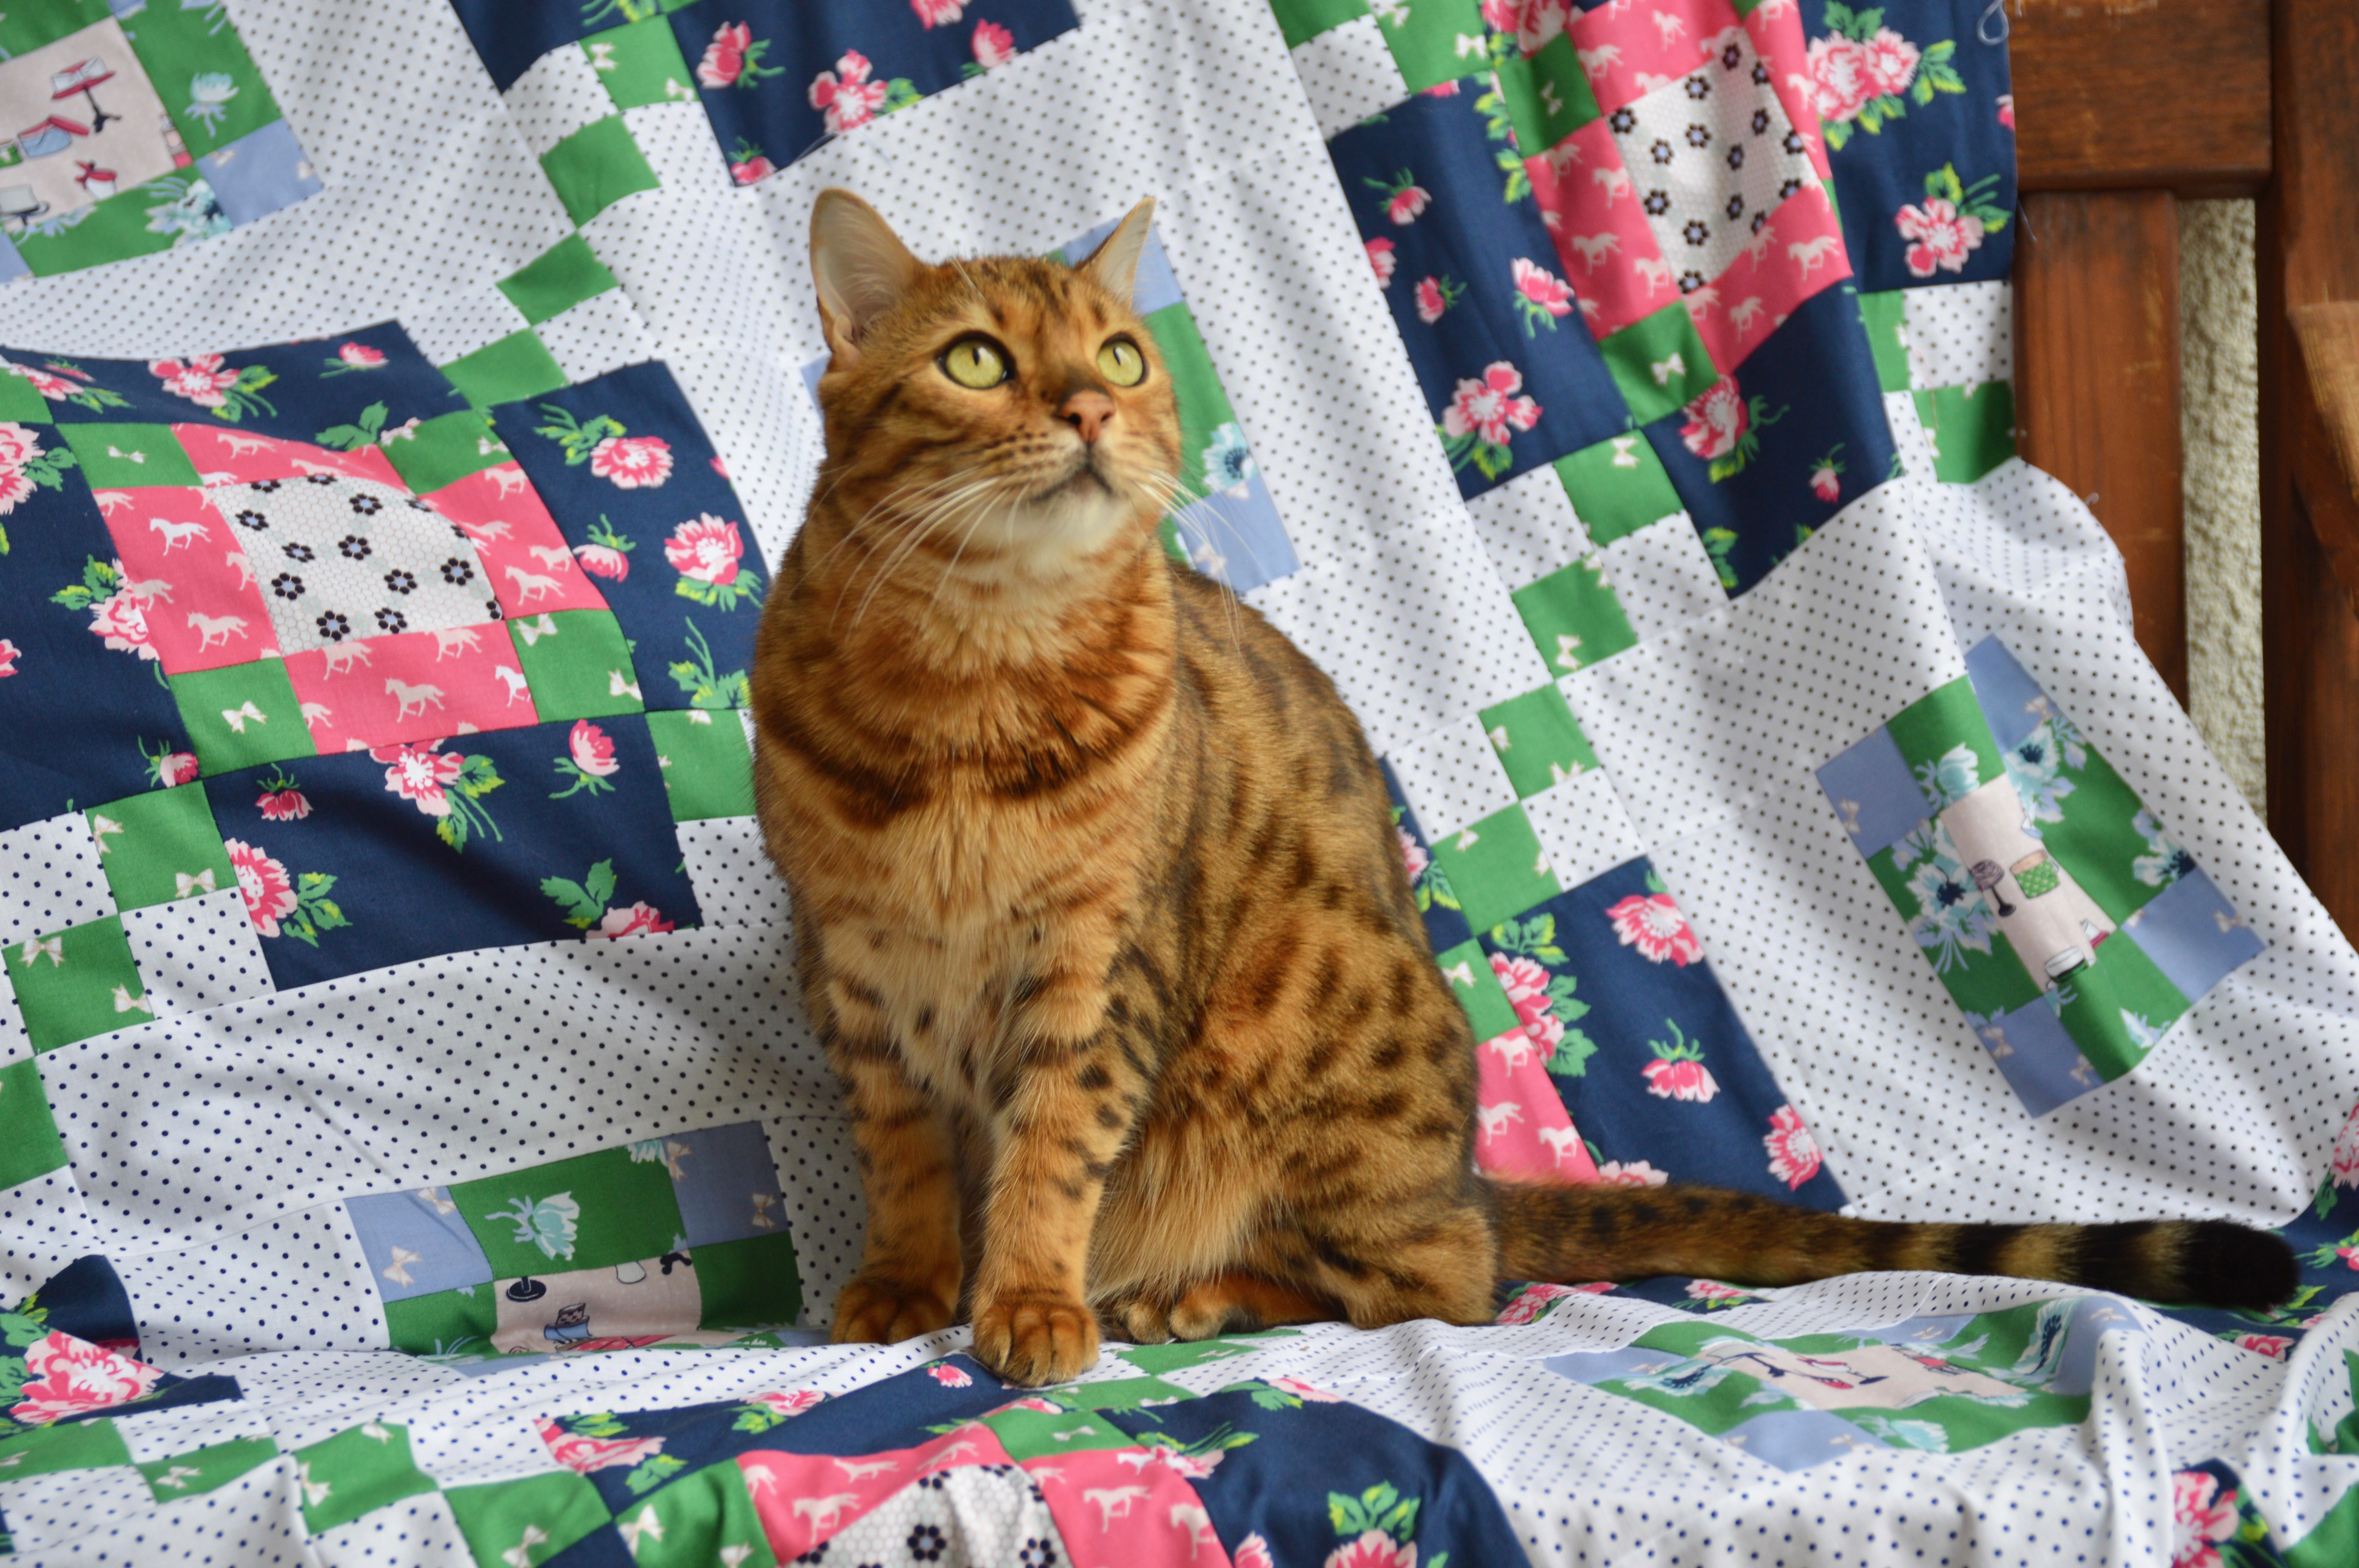
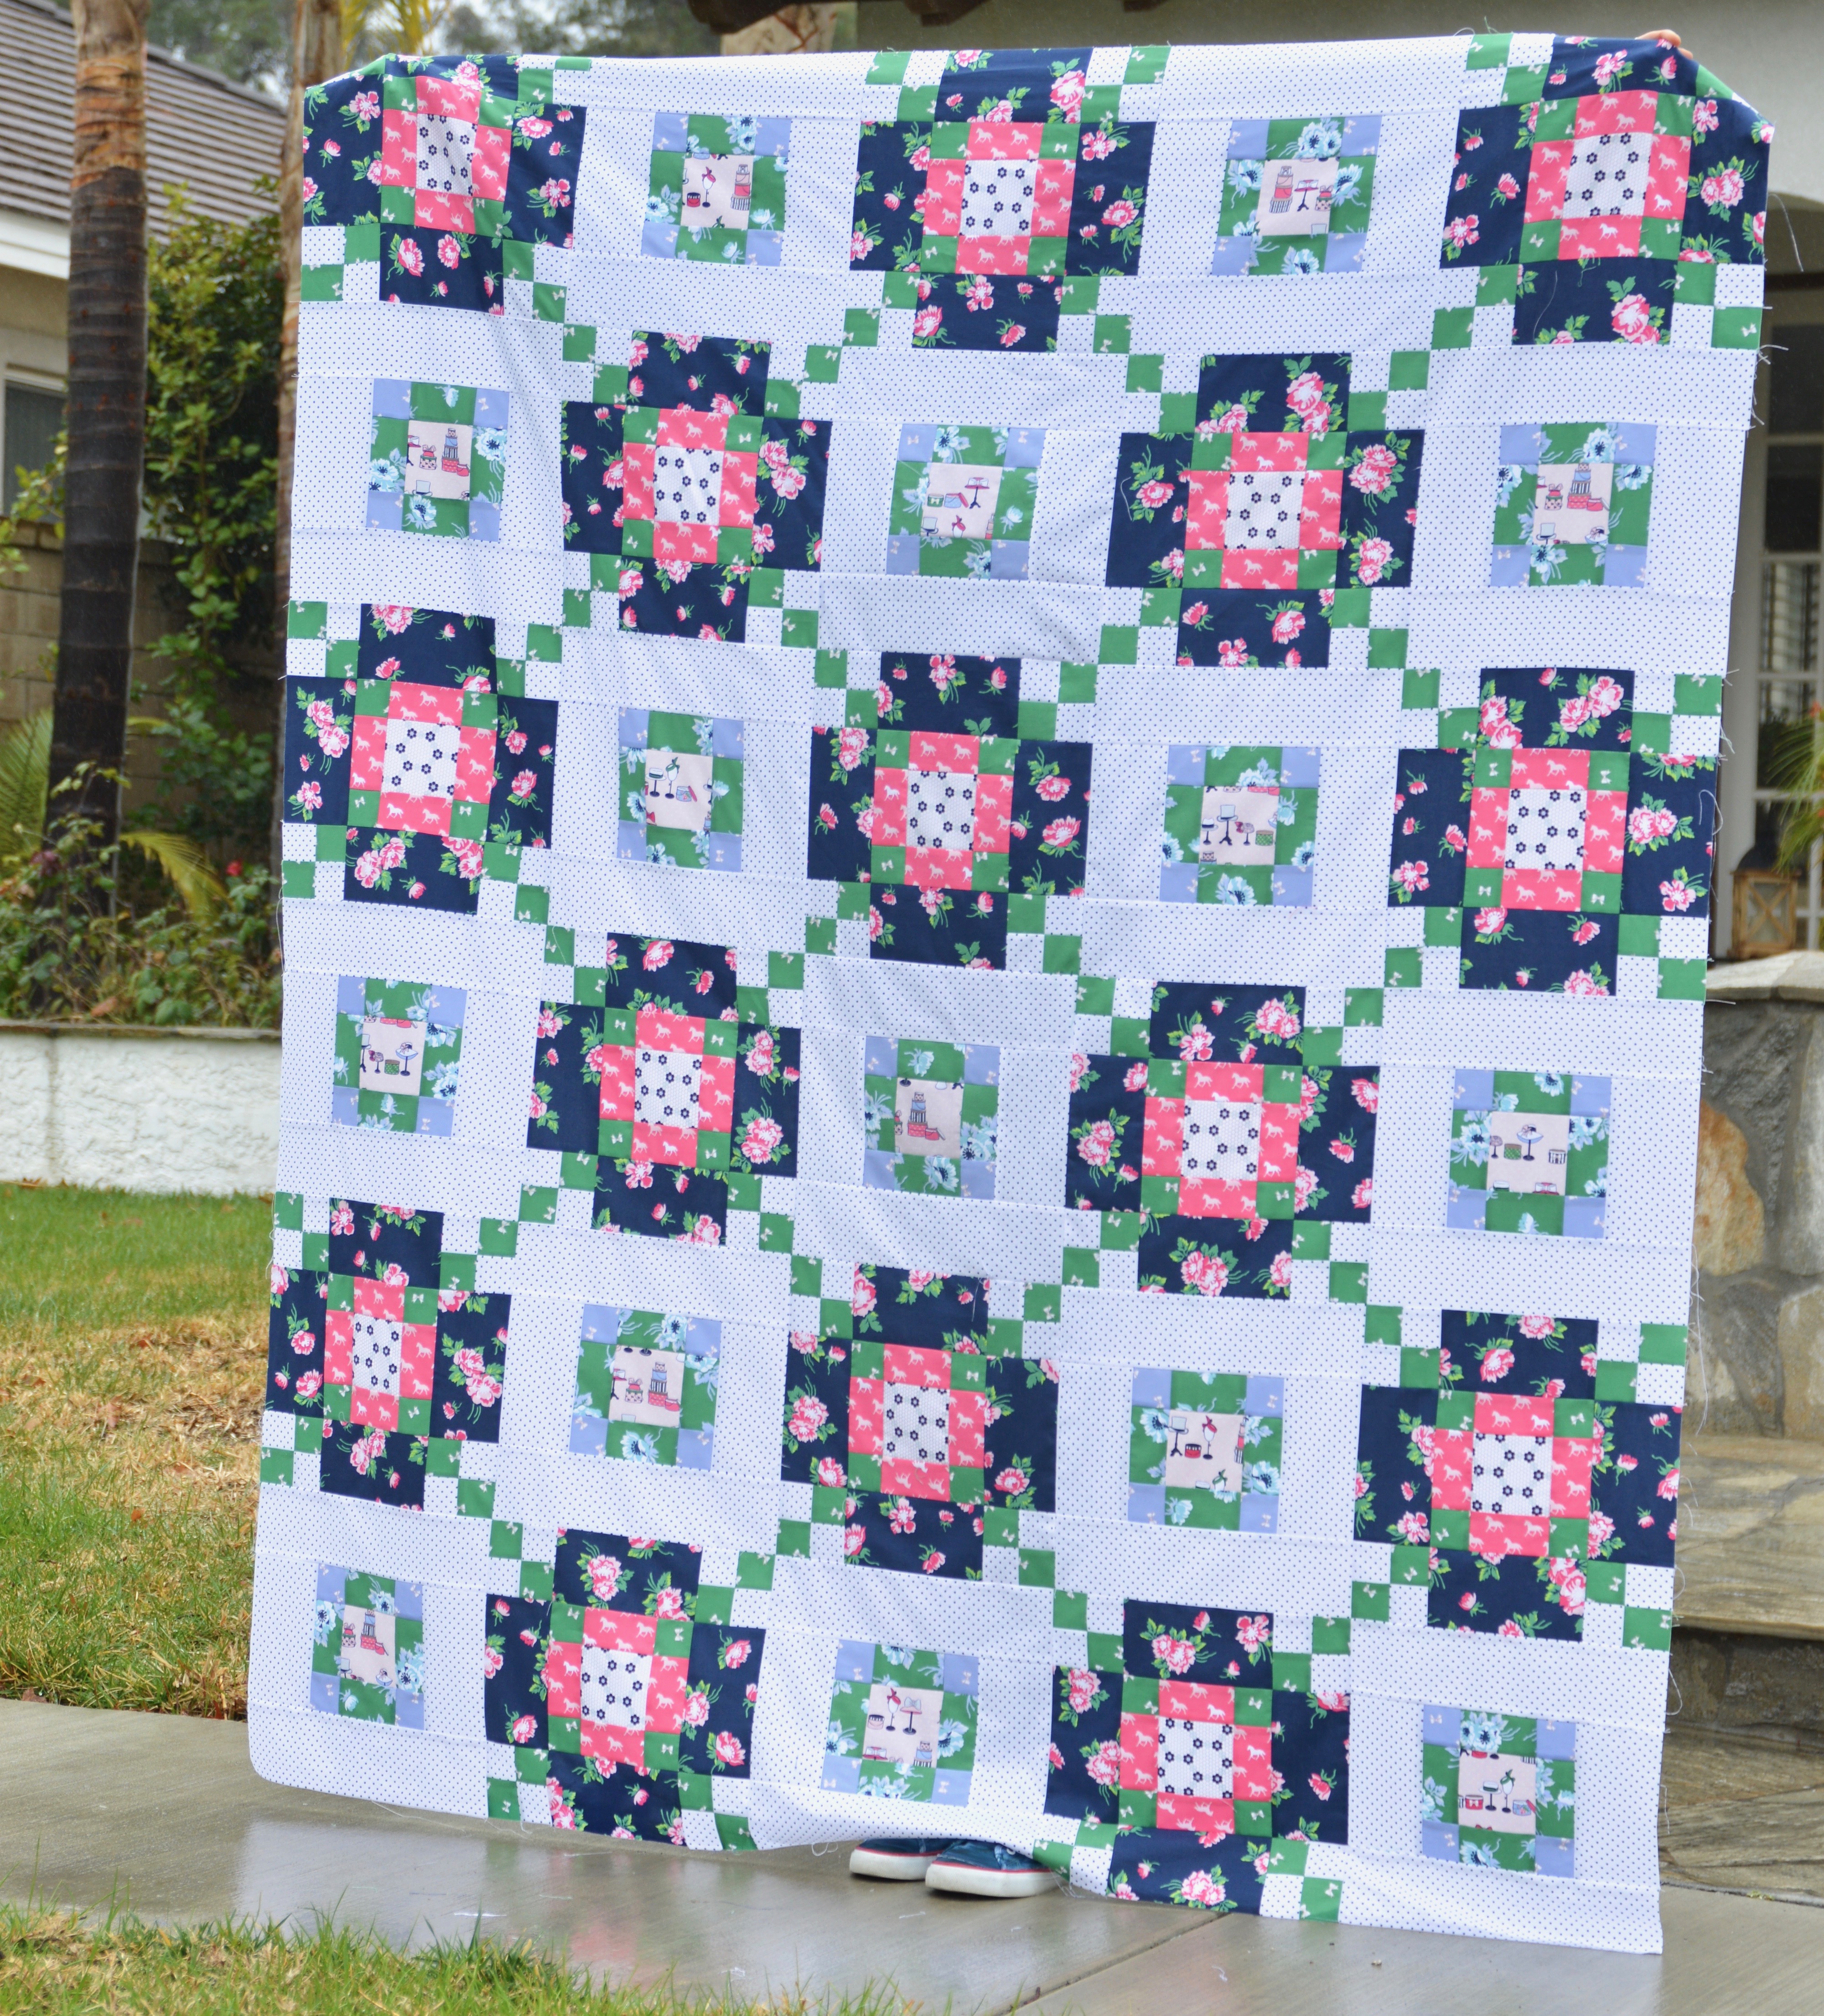
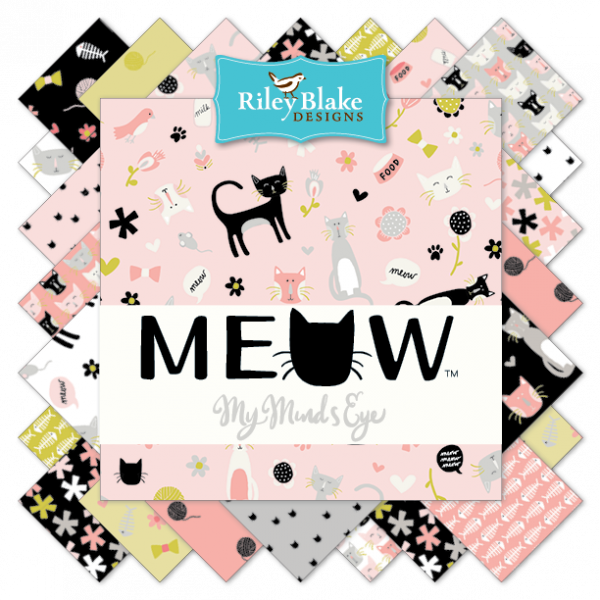
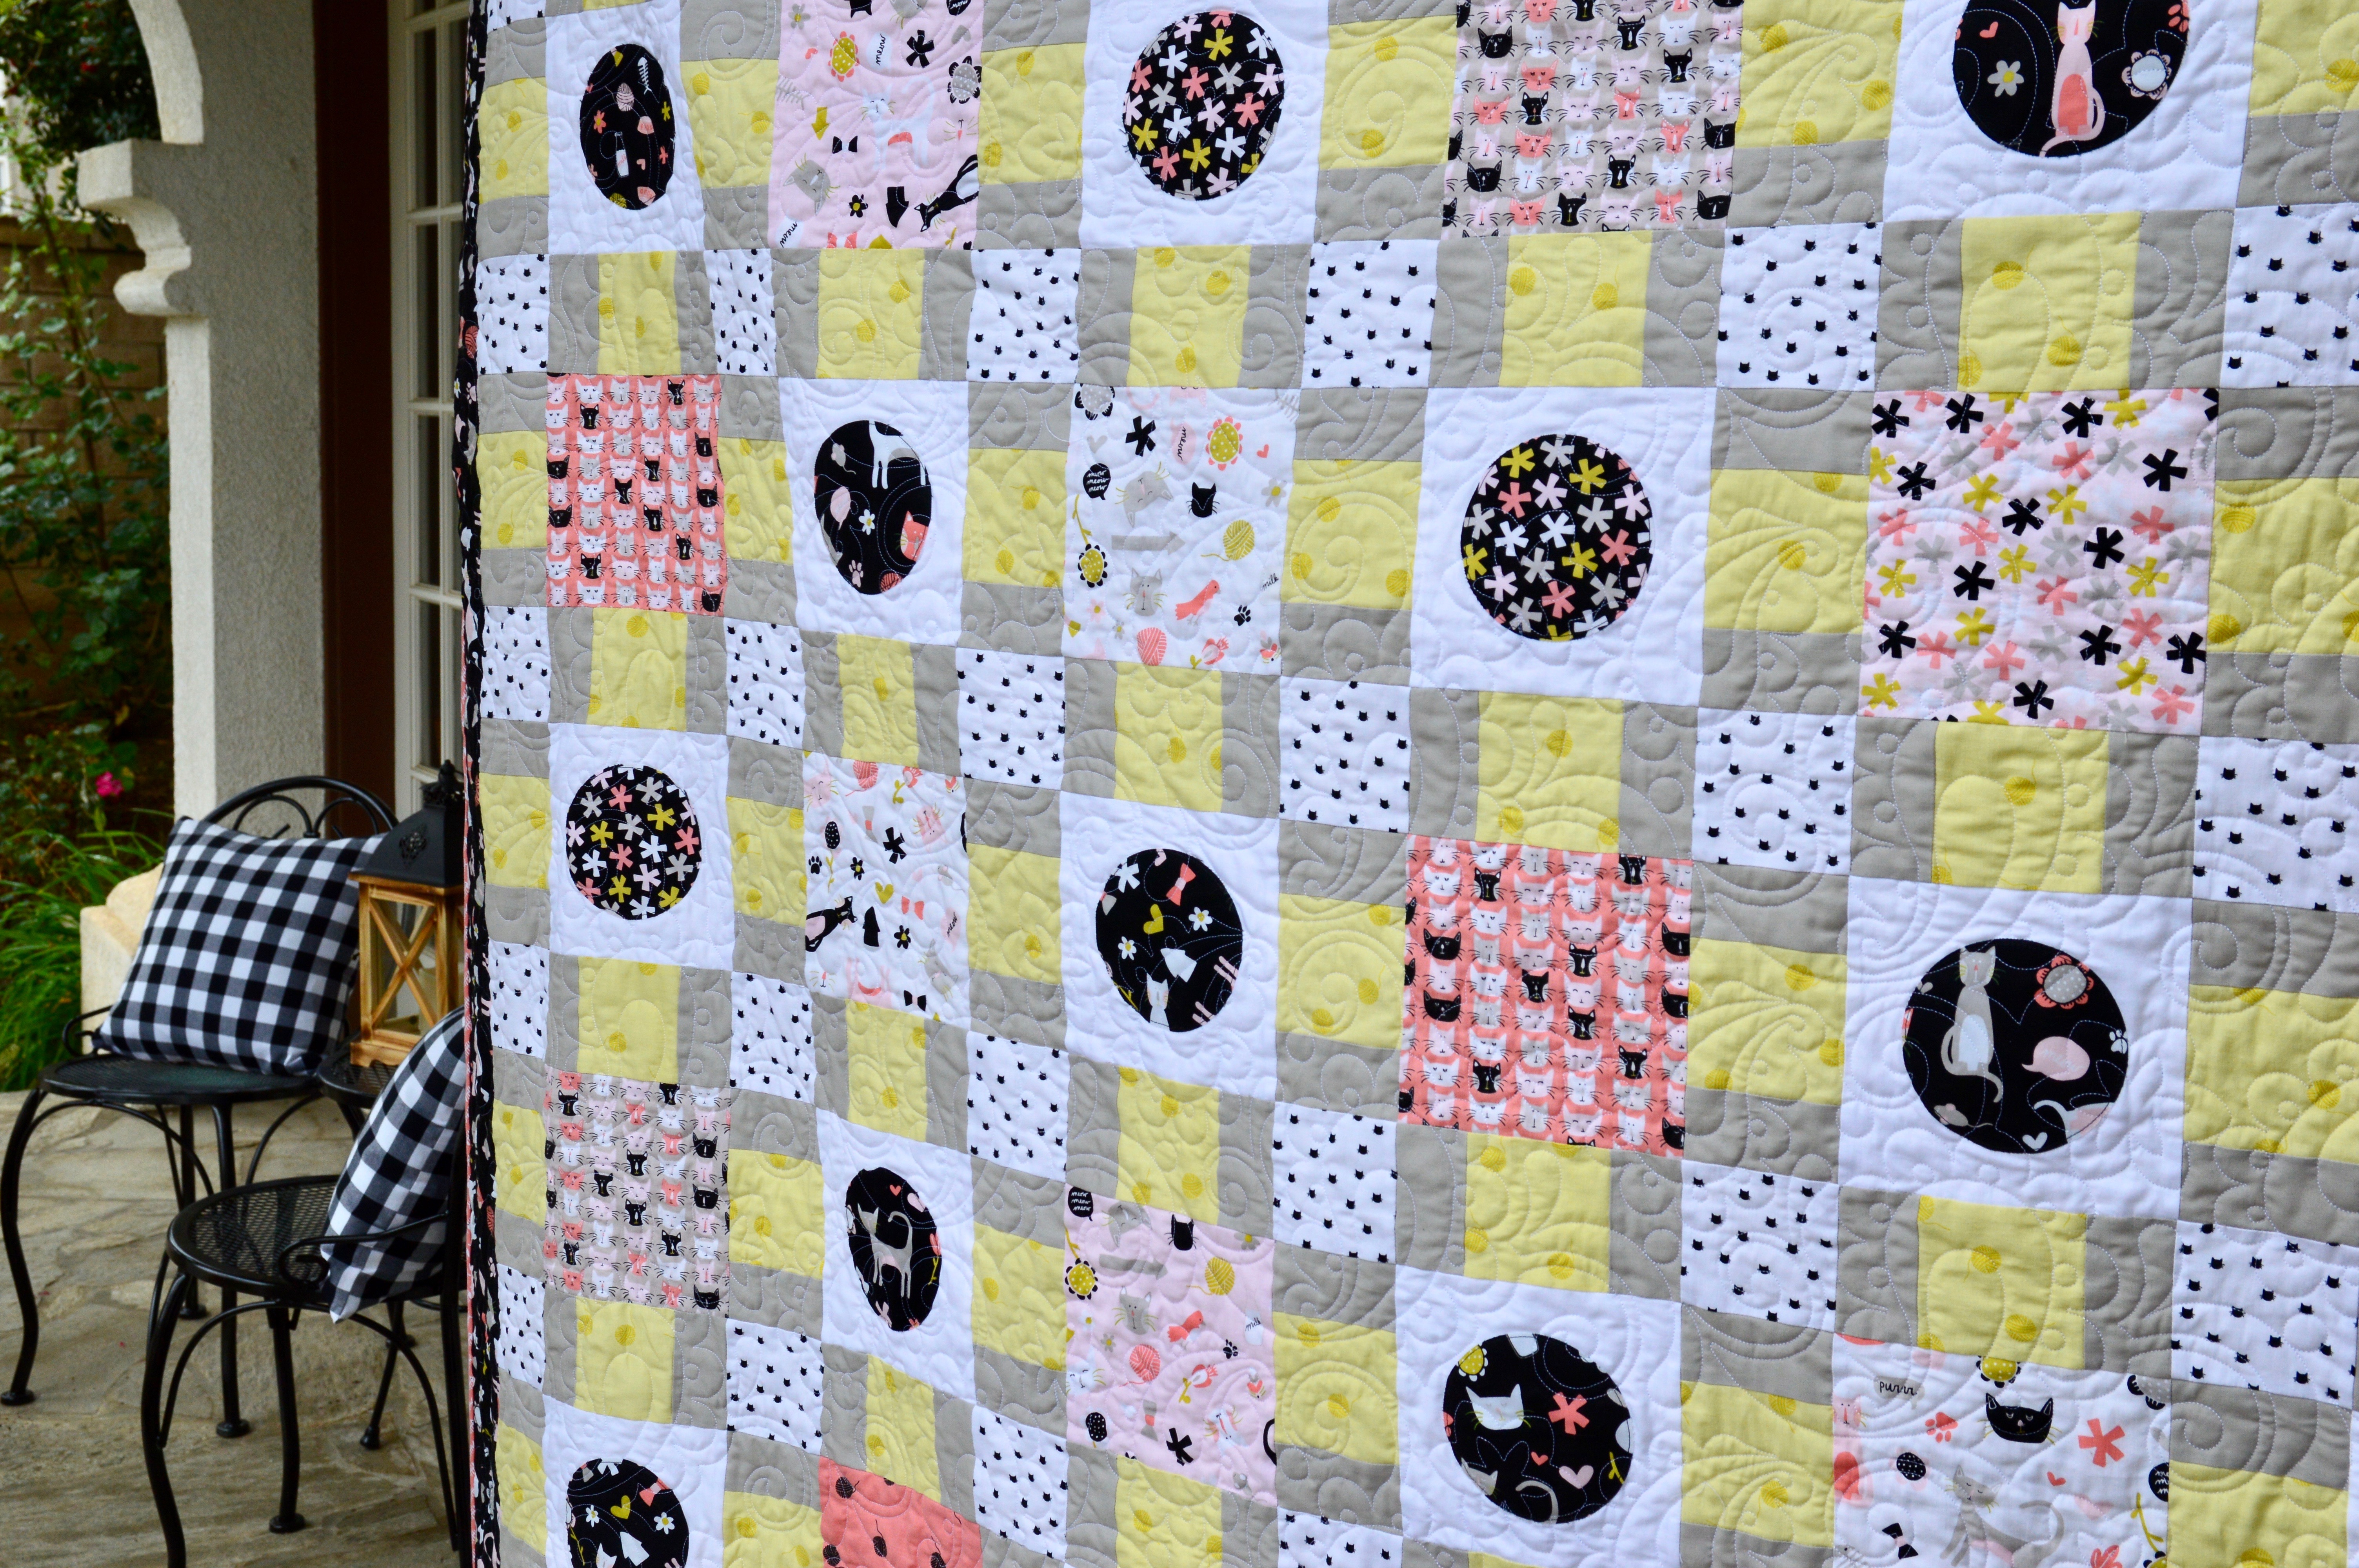
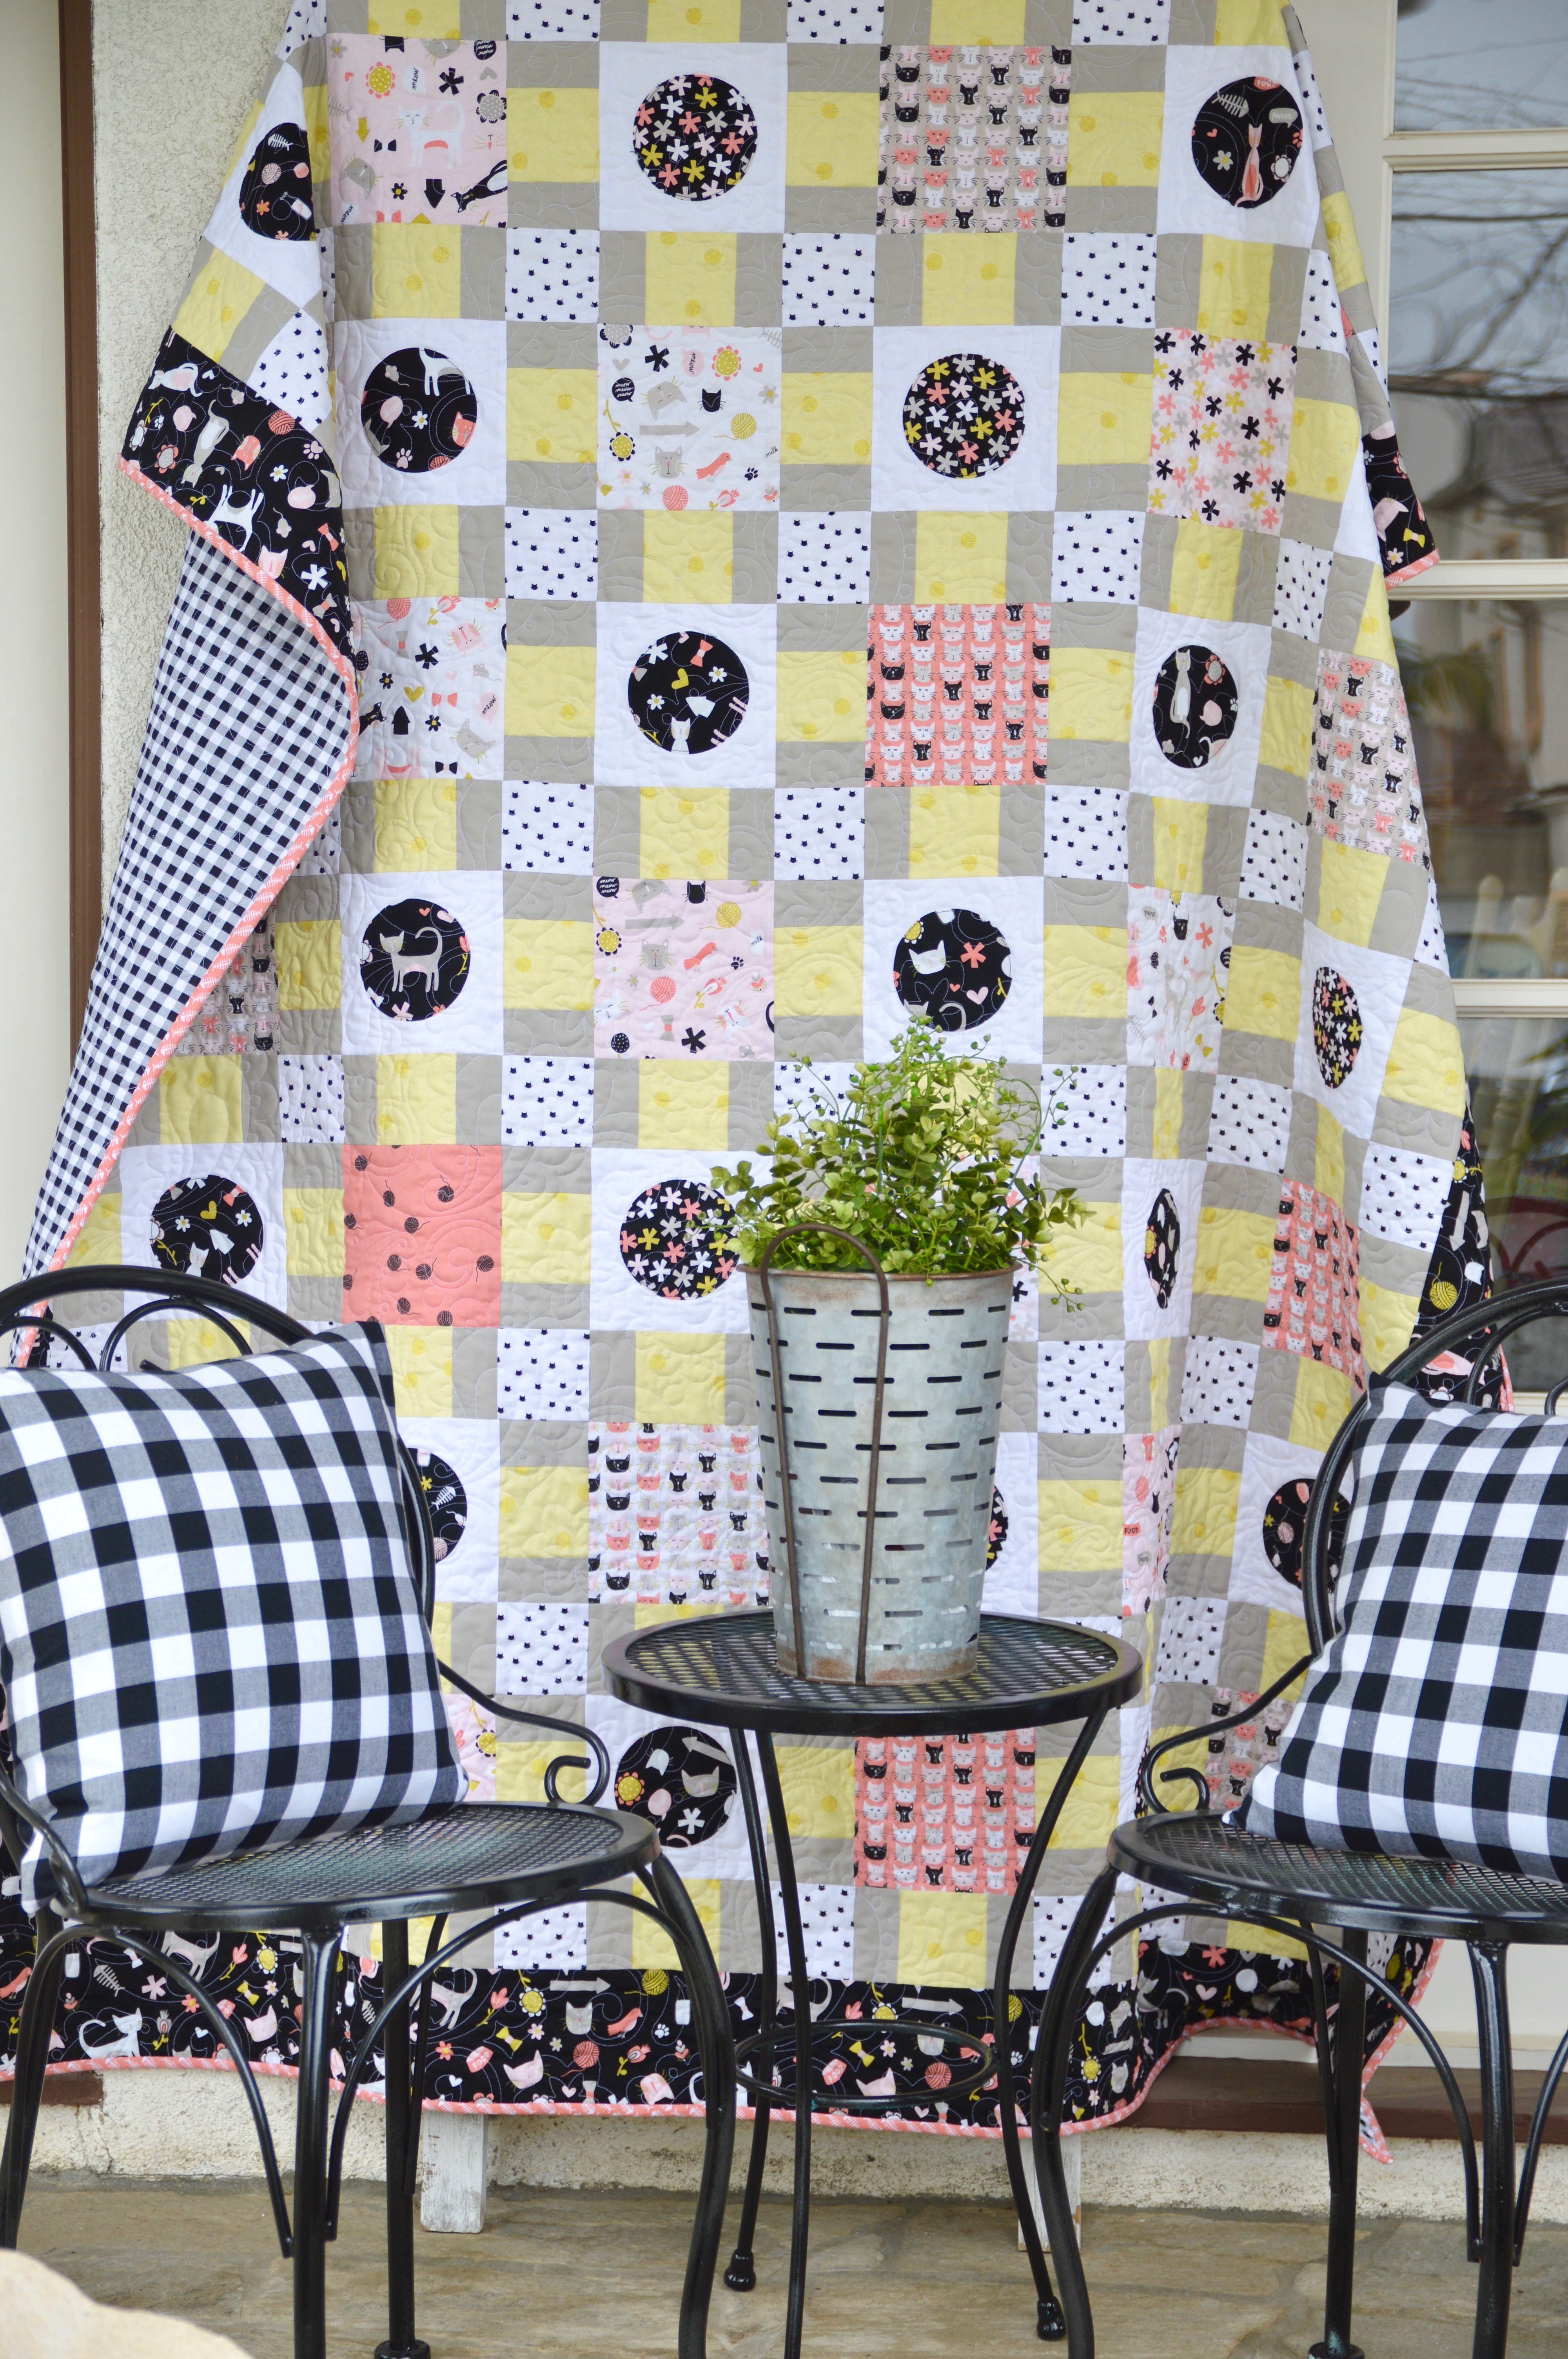
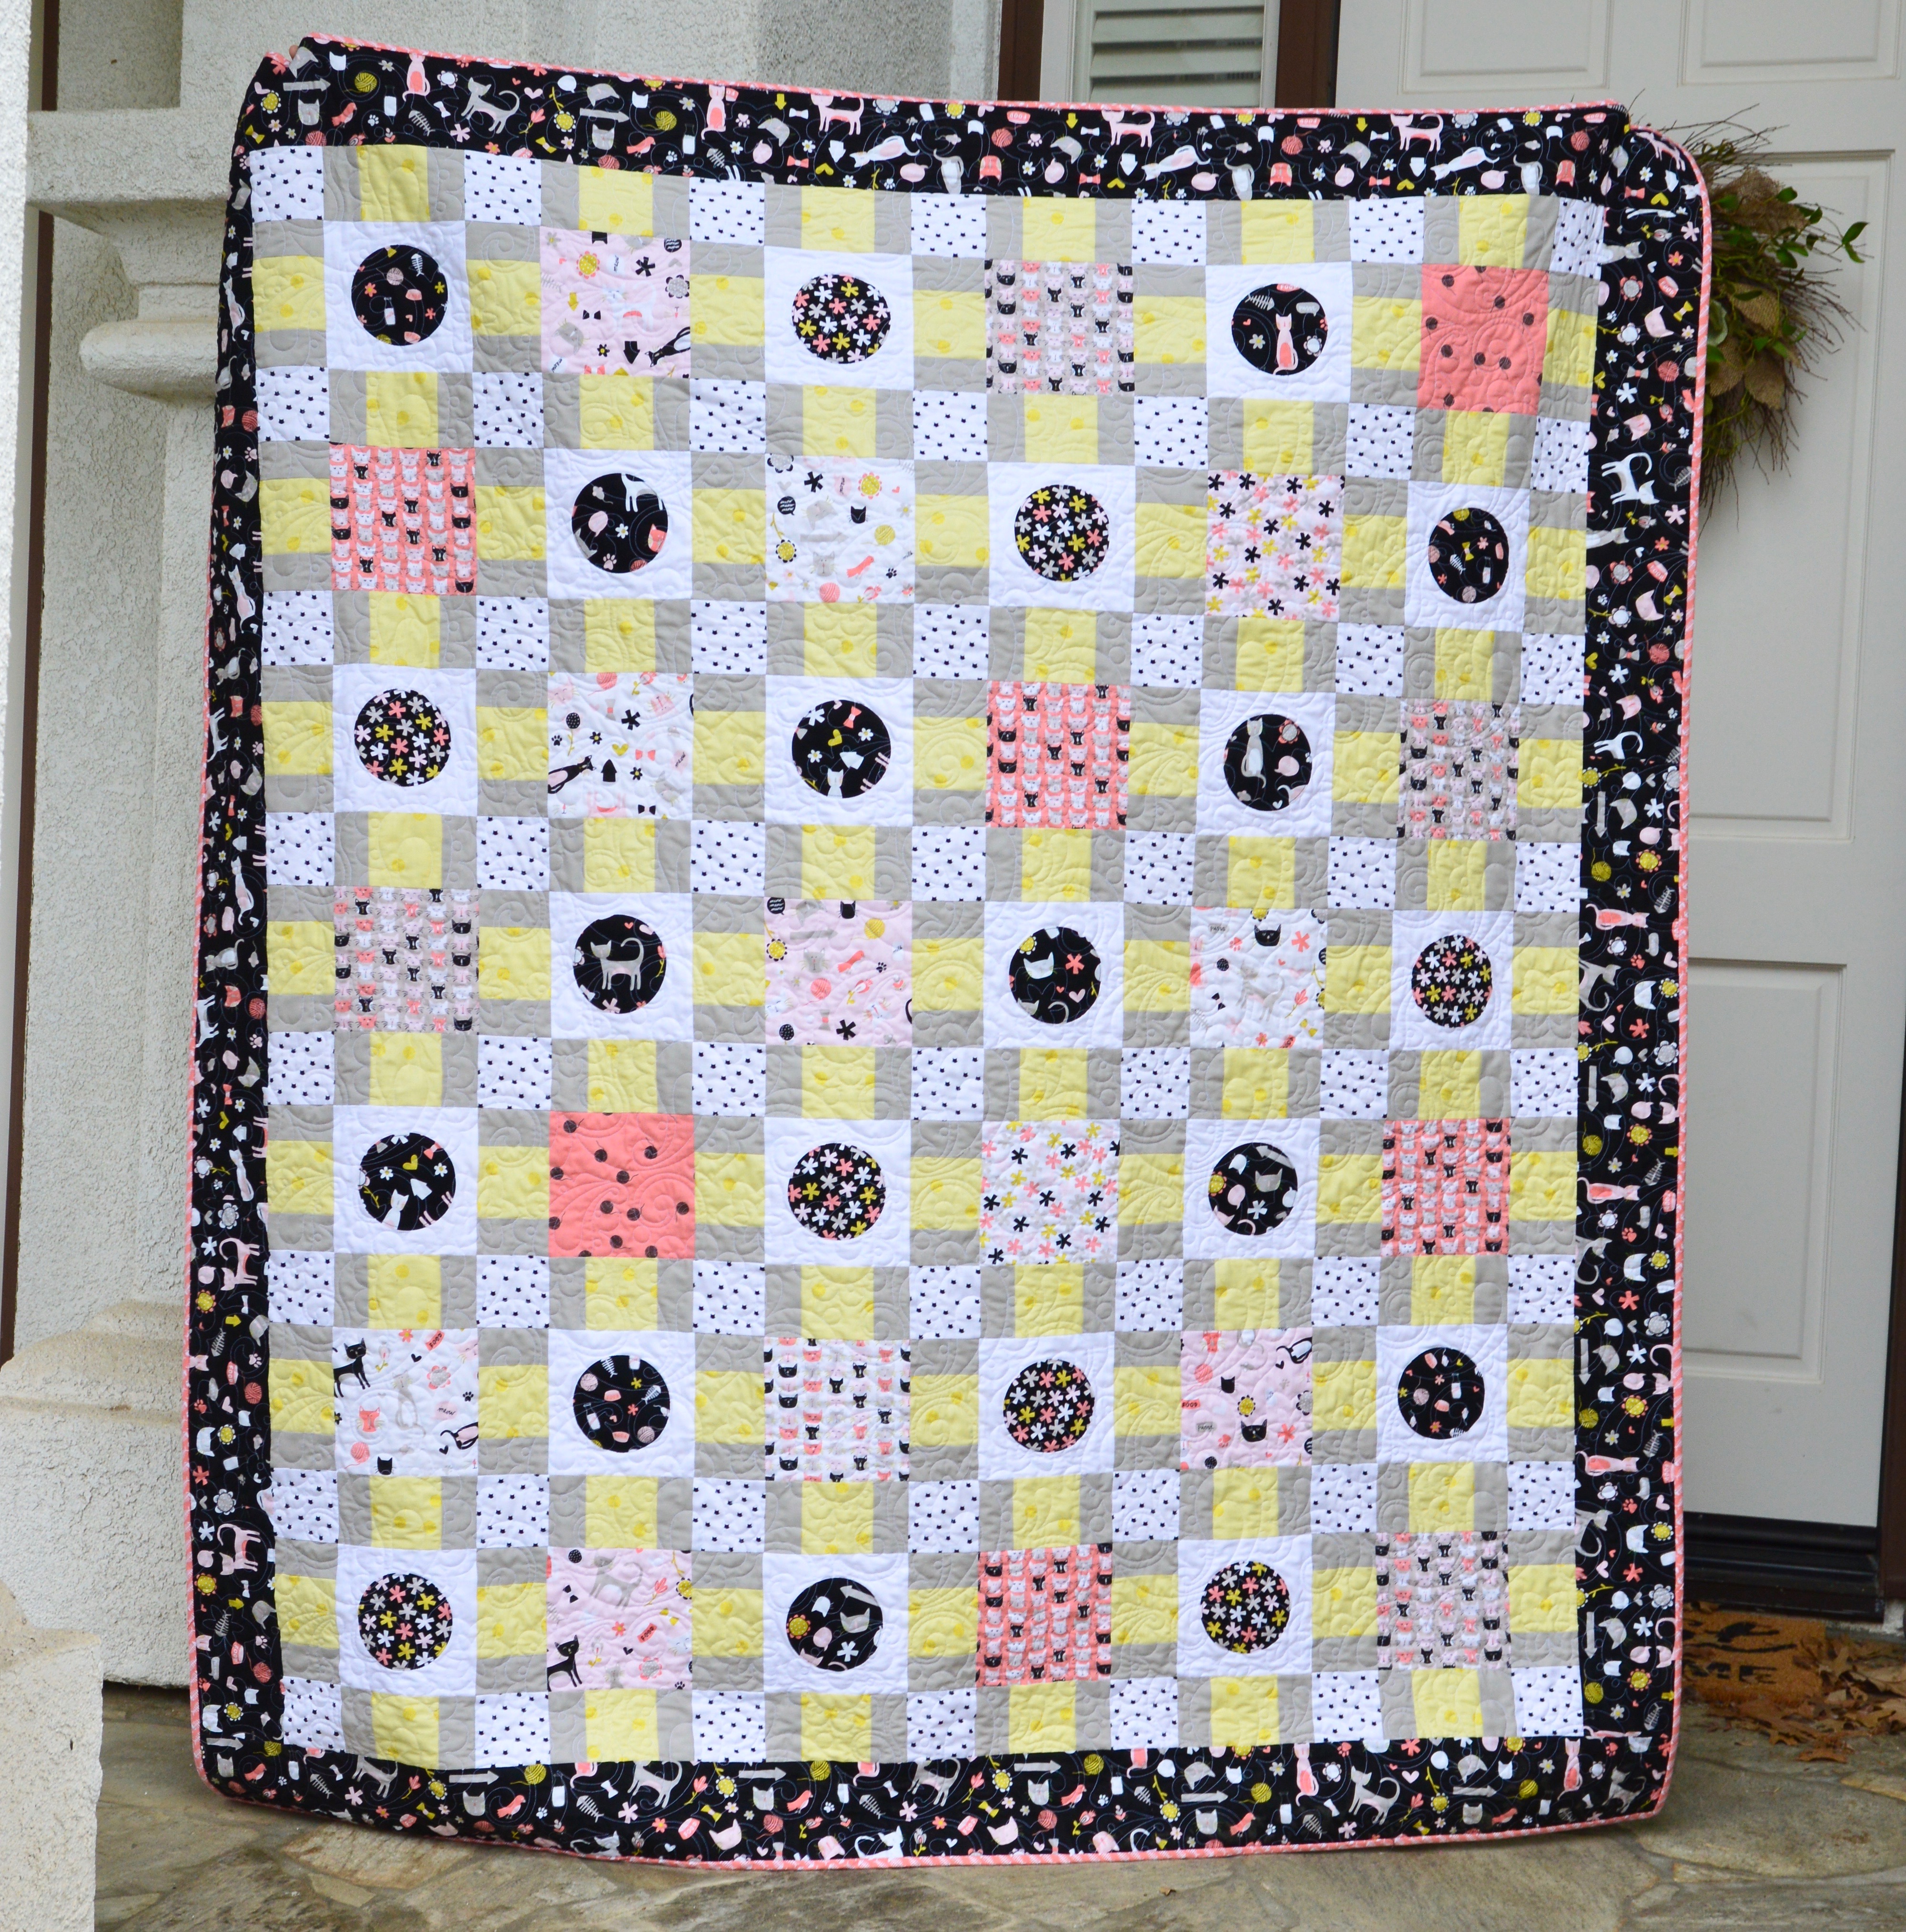
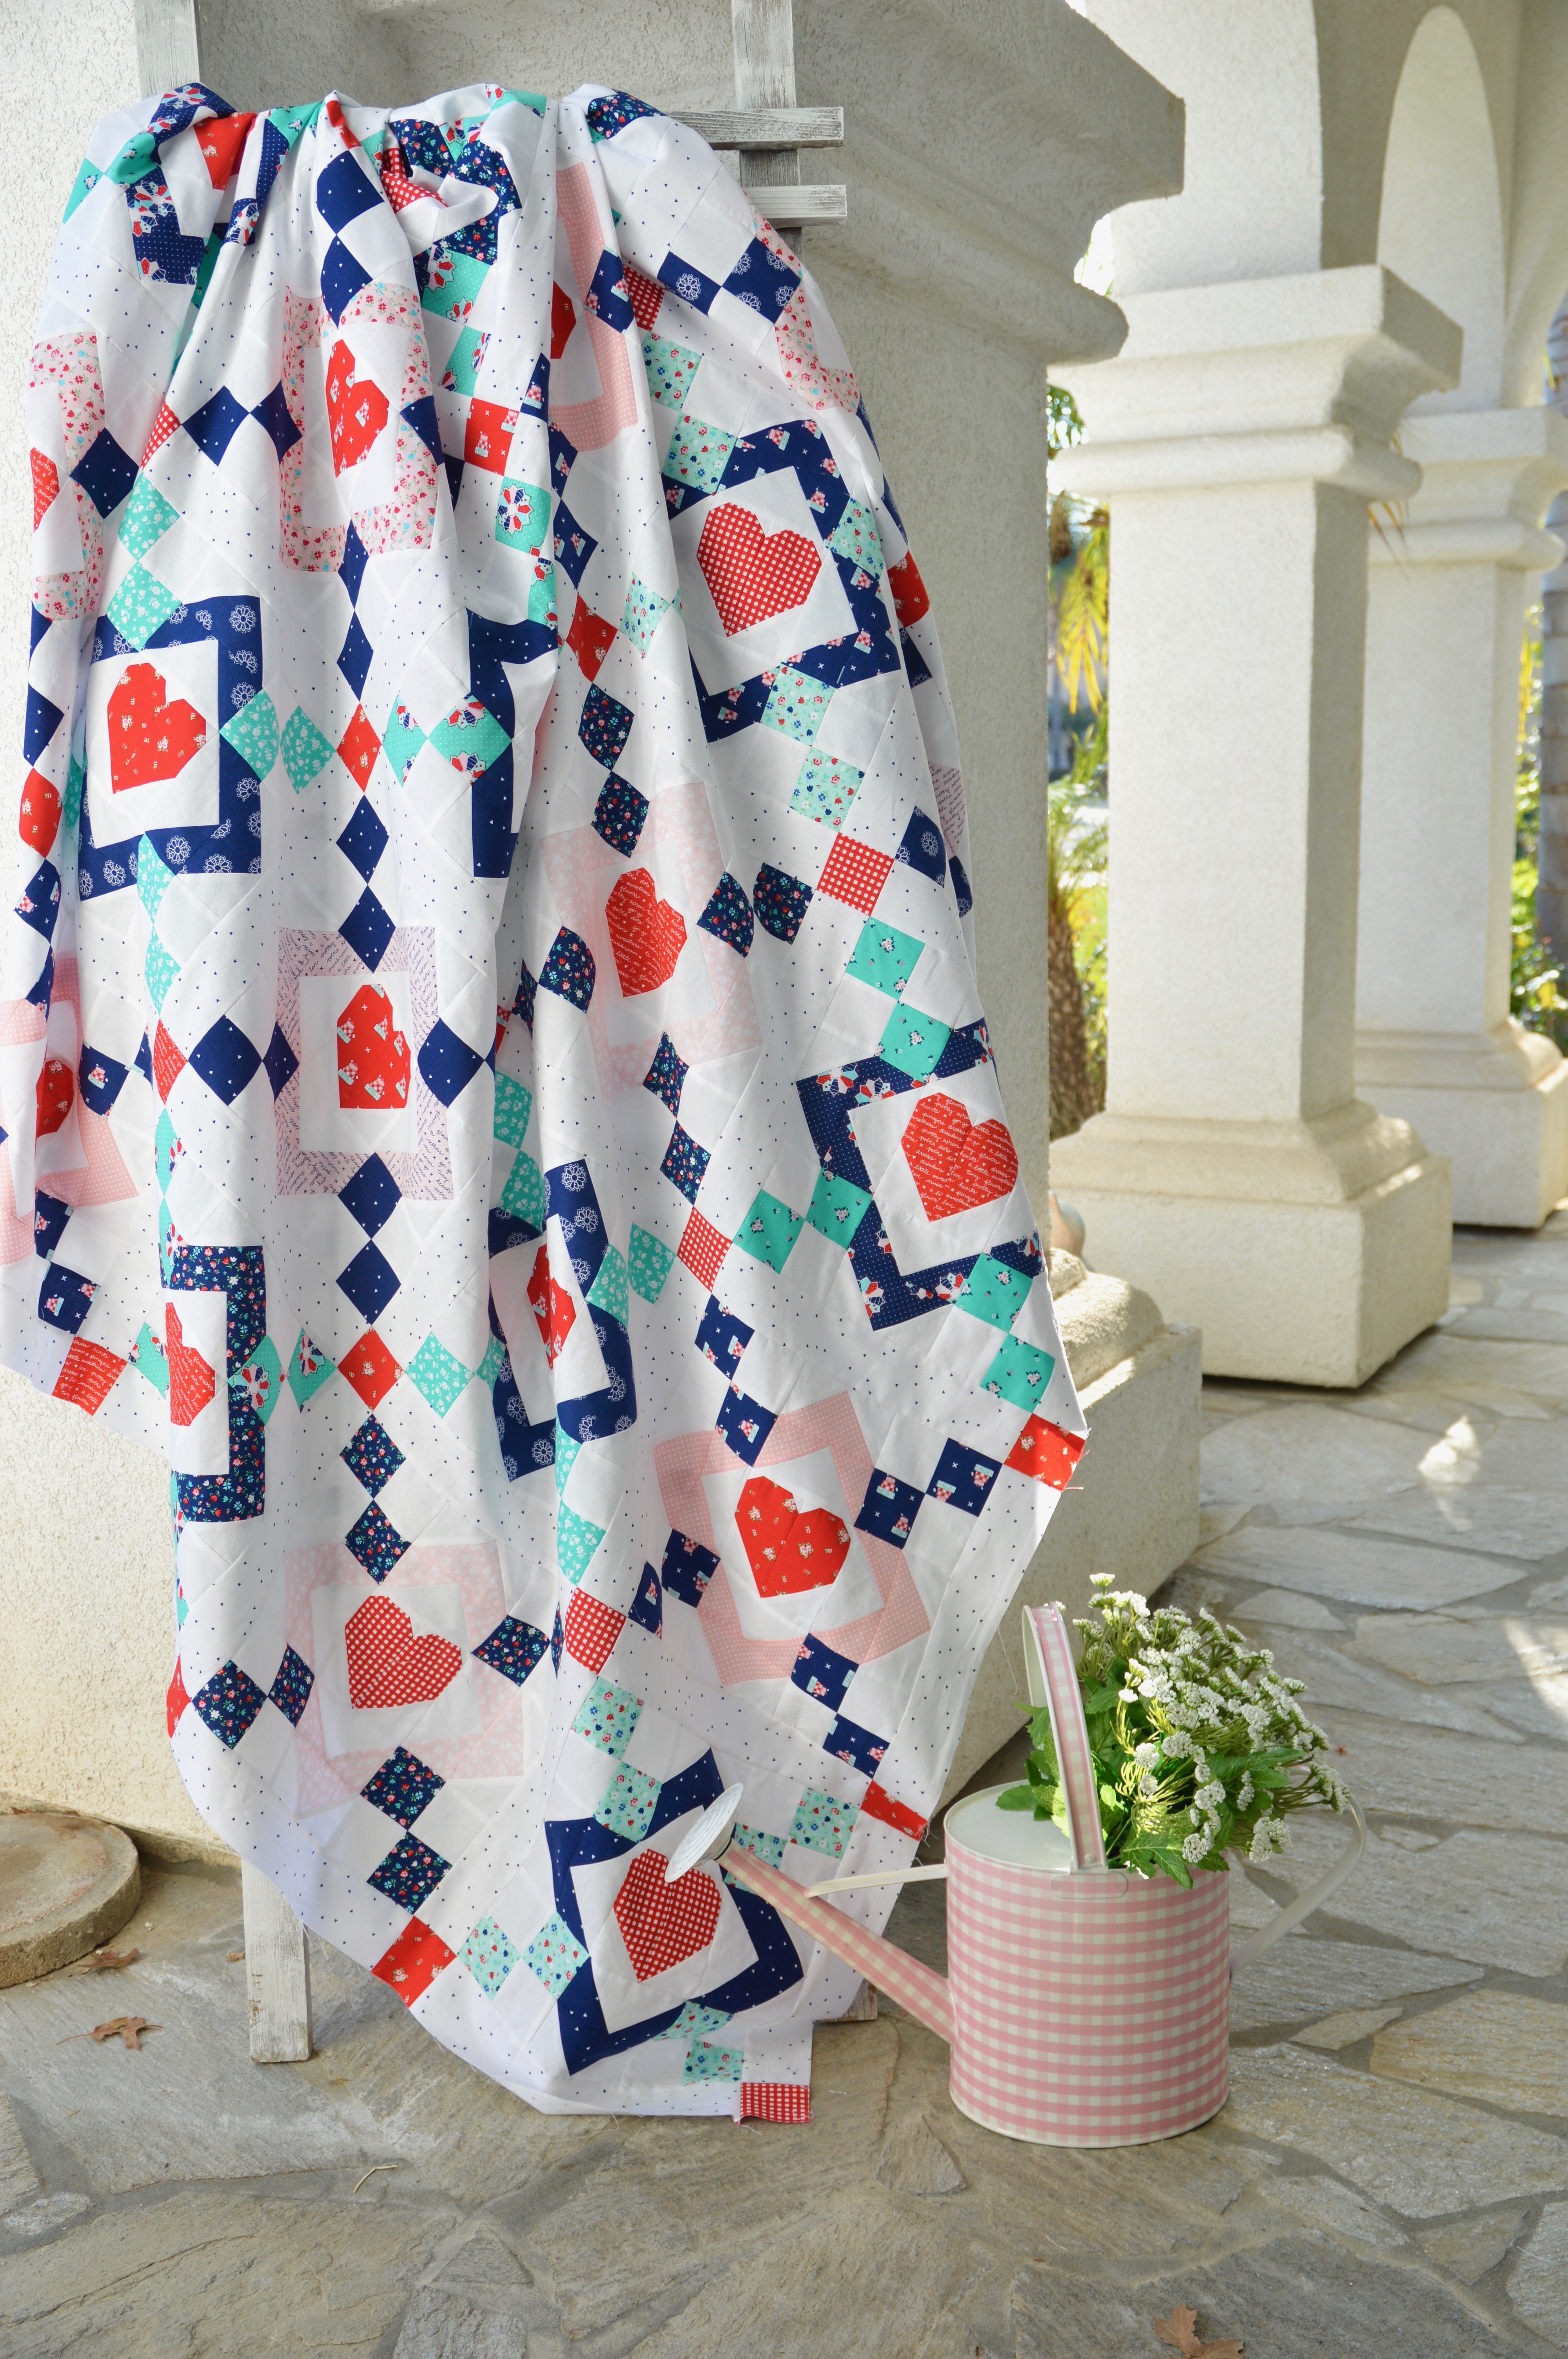
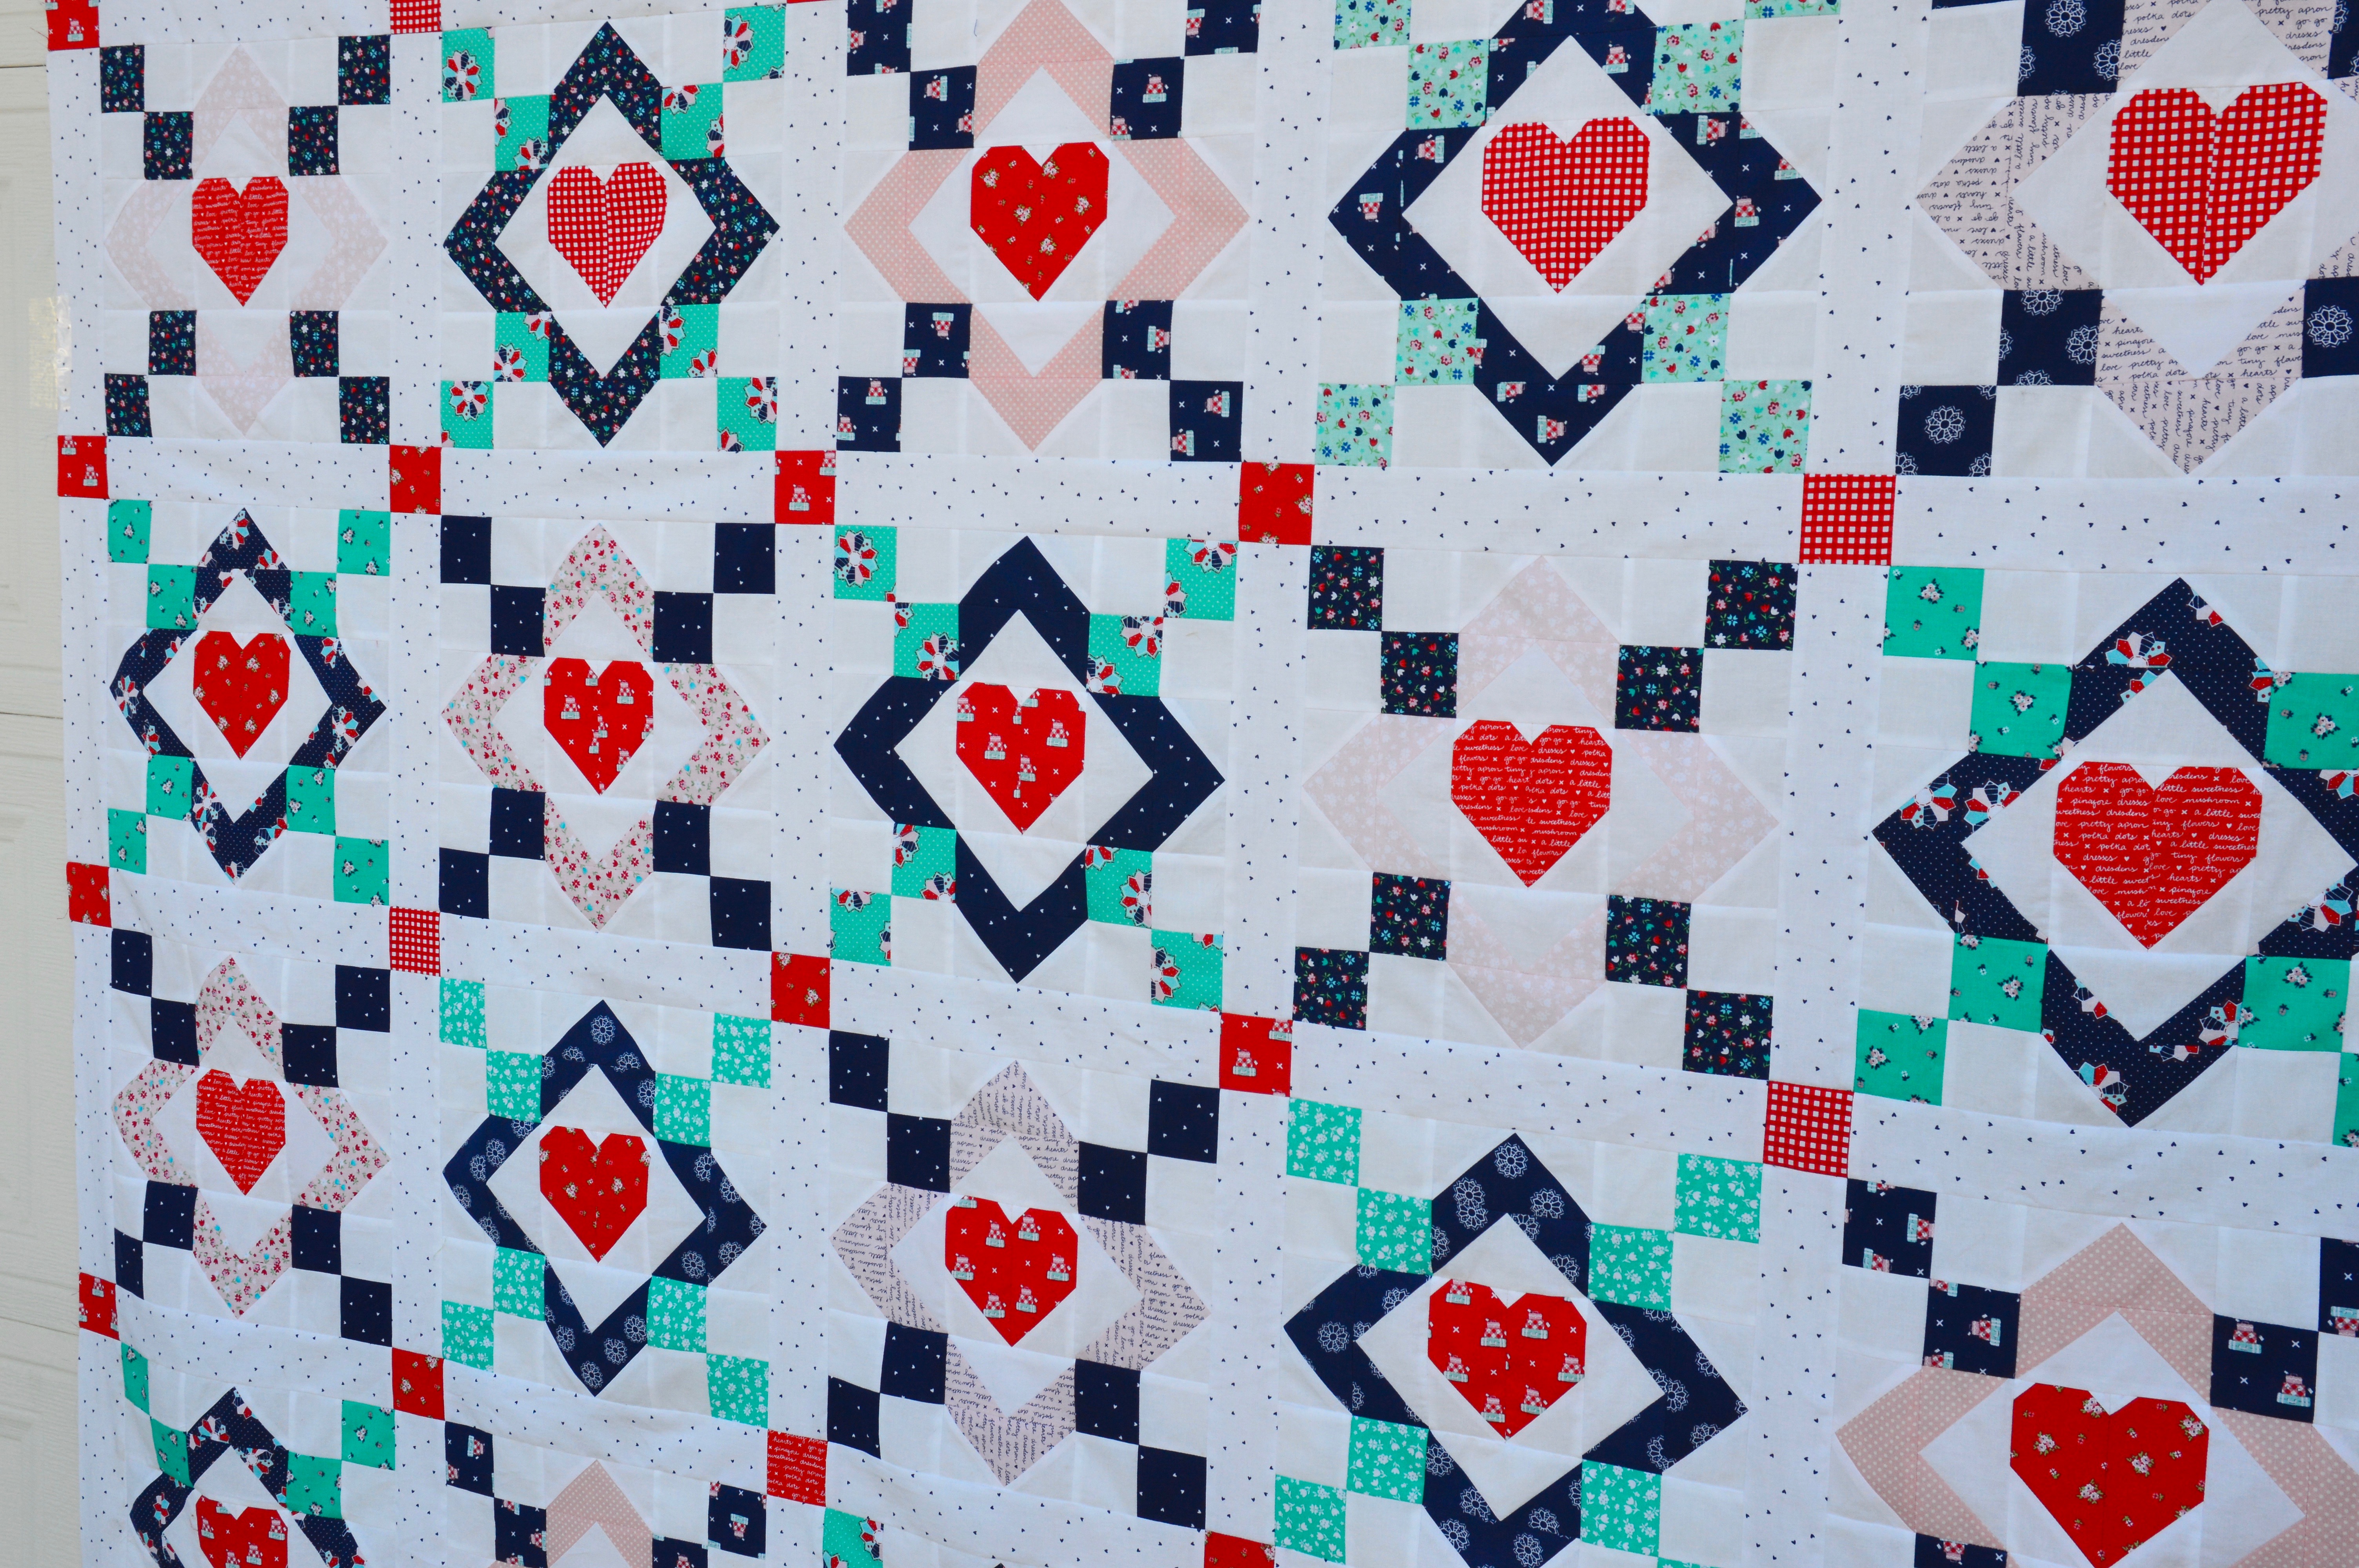
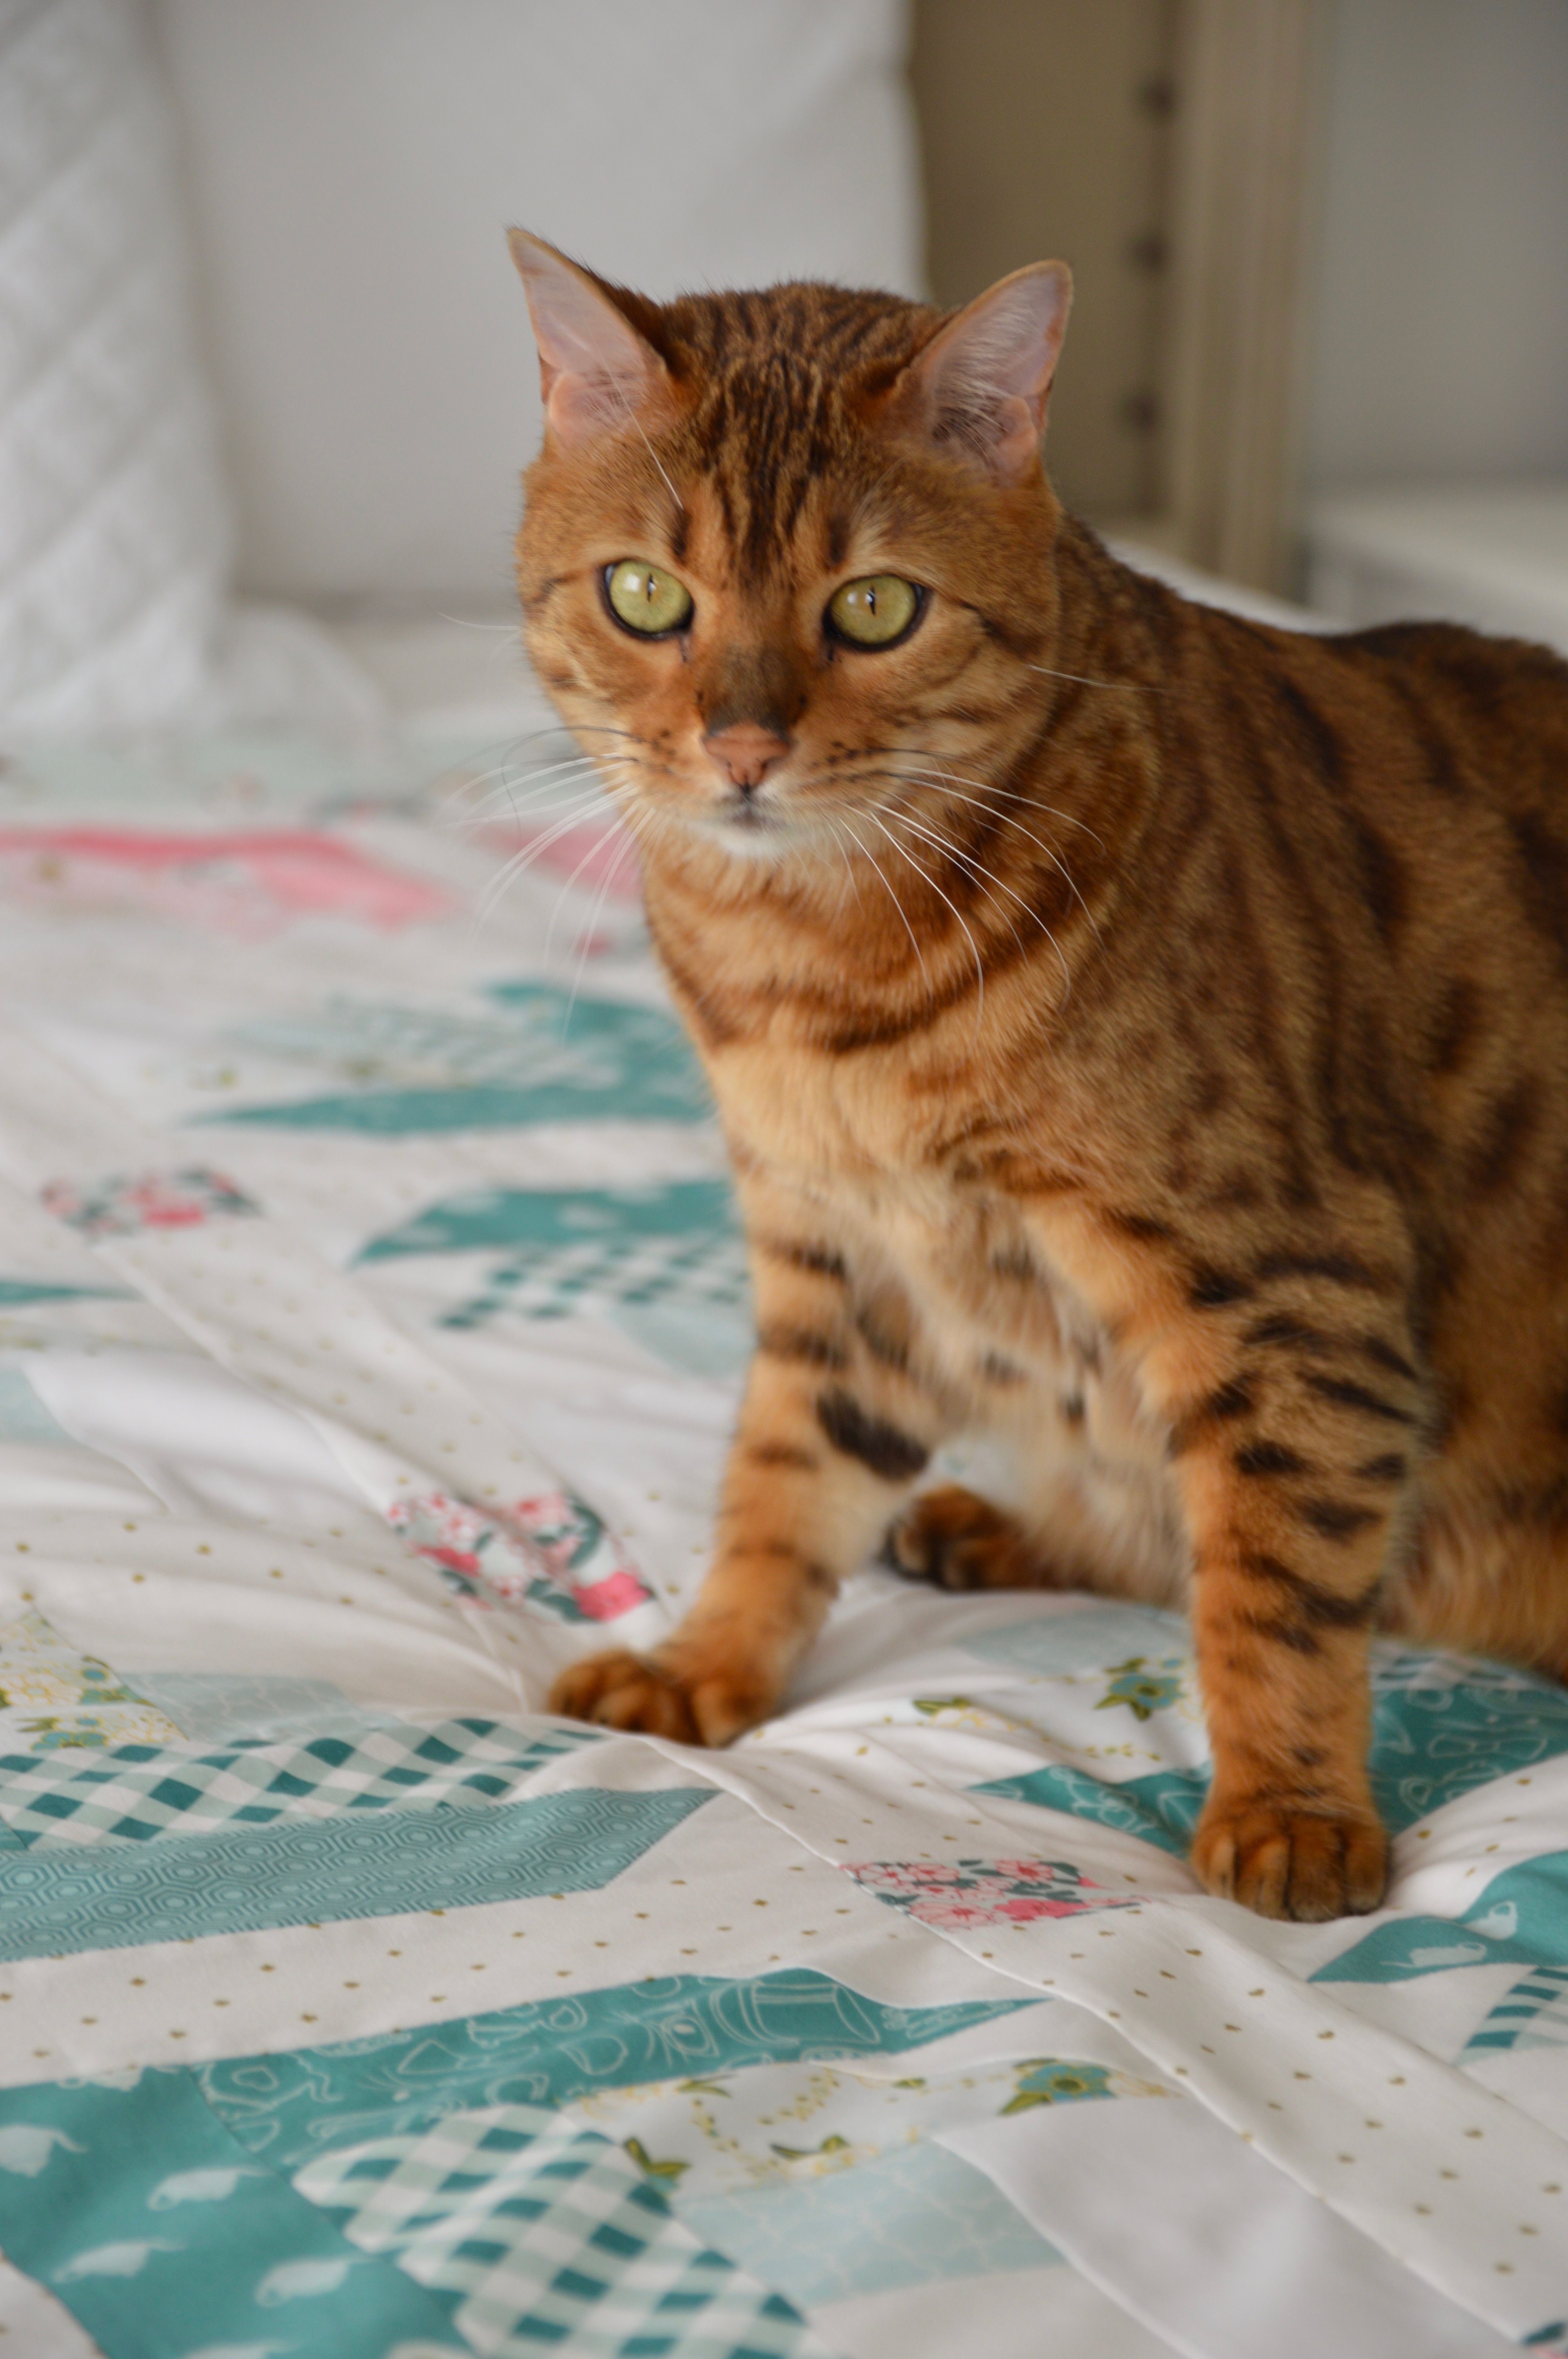
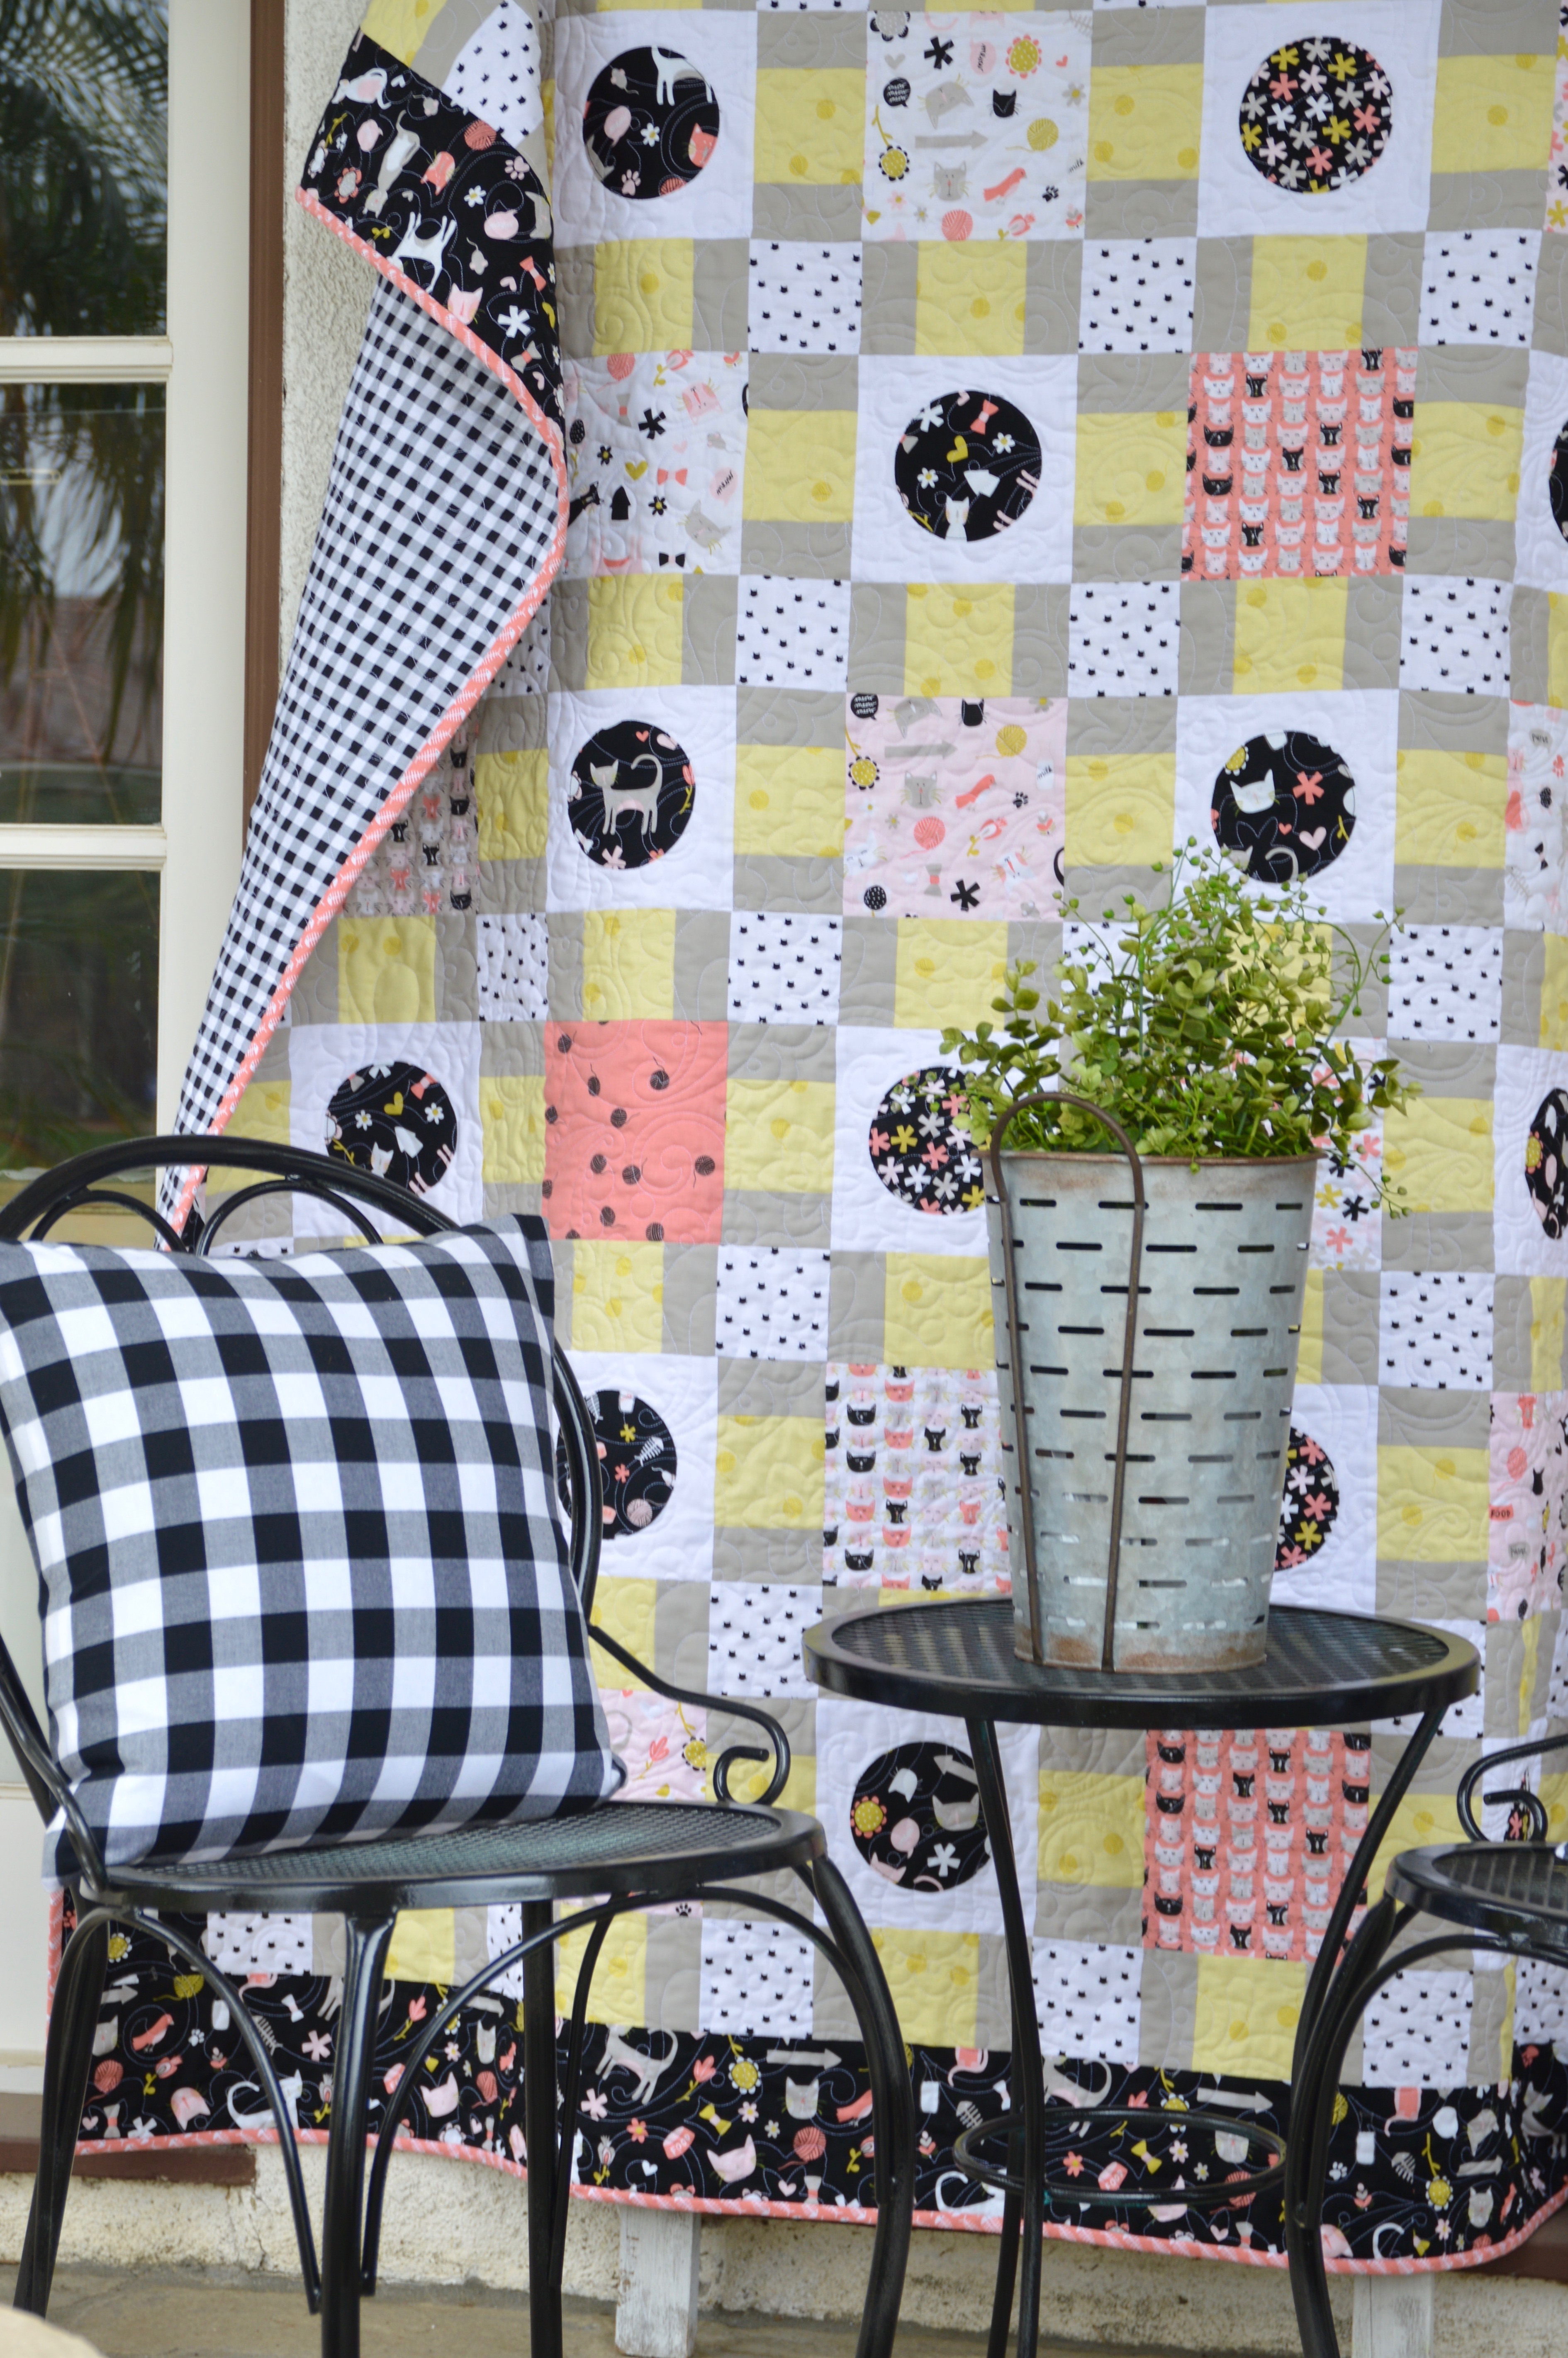 You know me and cats – so when I saw this fabric from Riley Blake Designs called MEOW I fell in love!!! I created this quilt pattern to showcase all the amazing and whimsical prints in this fabric line. I hope you like it :). Mufasa sure does 🙂