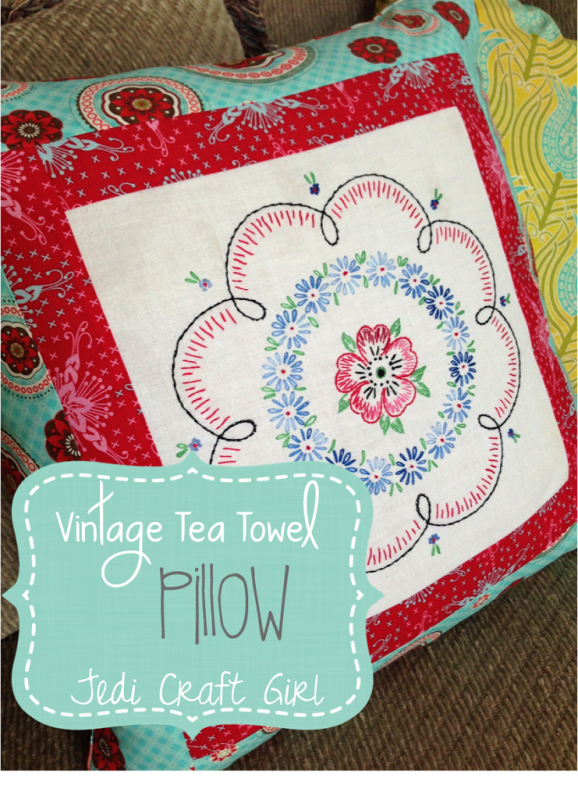
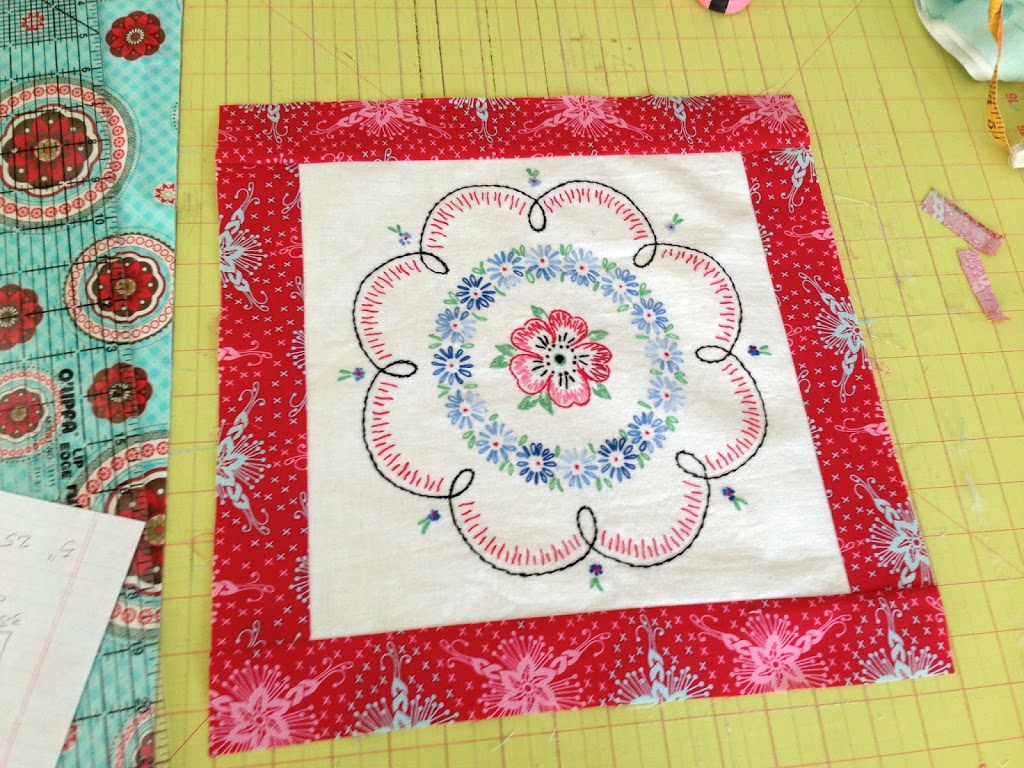
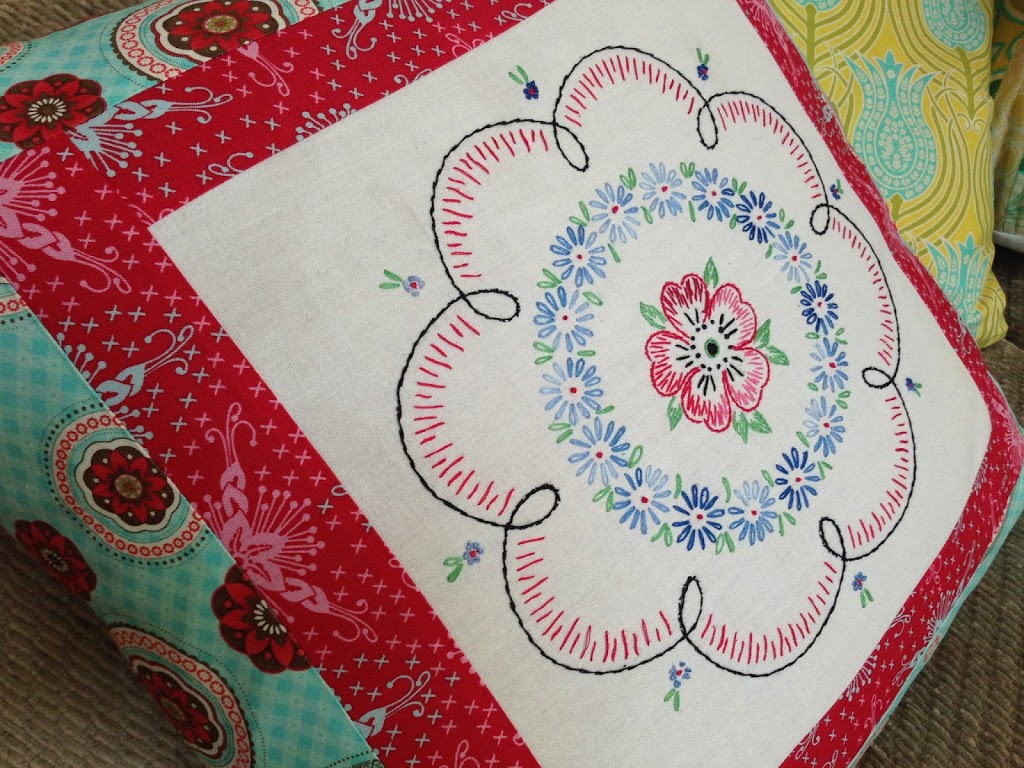
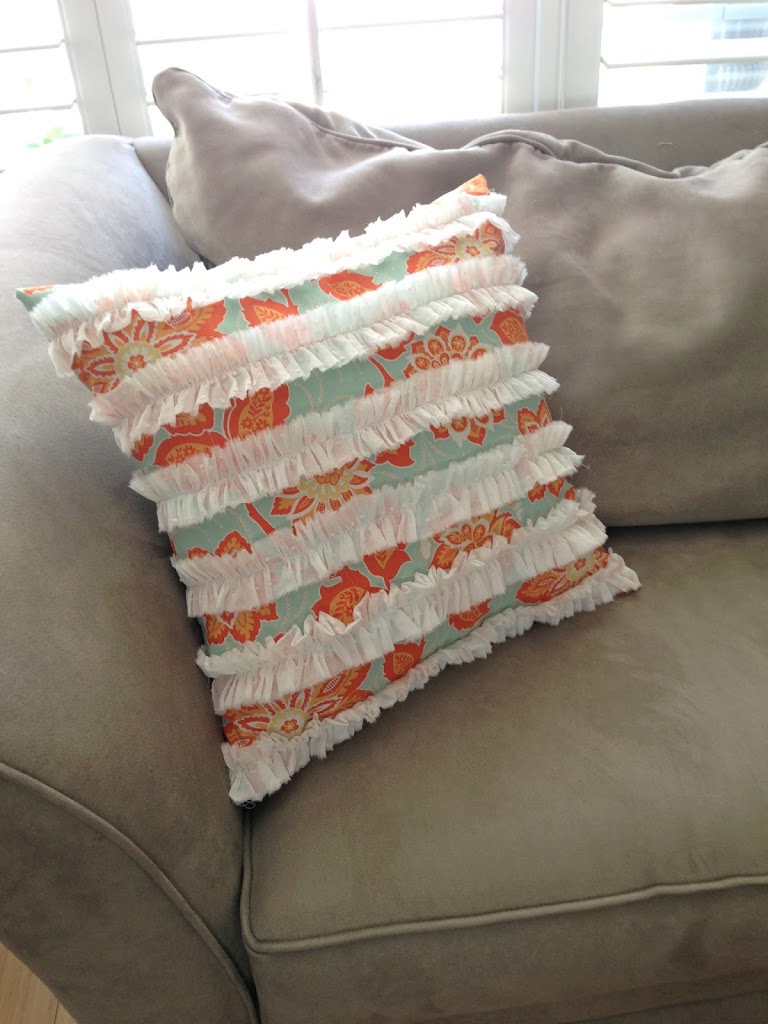
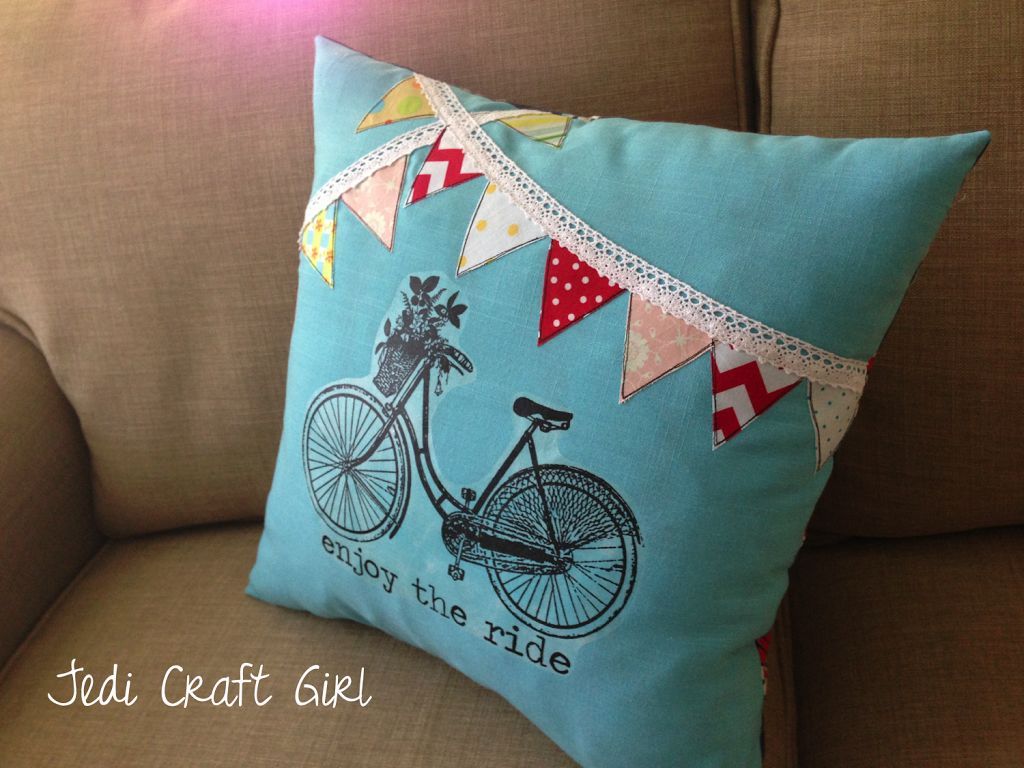
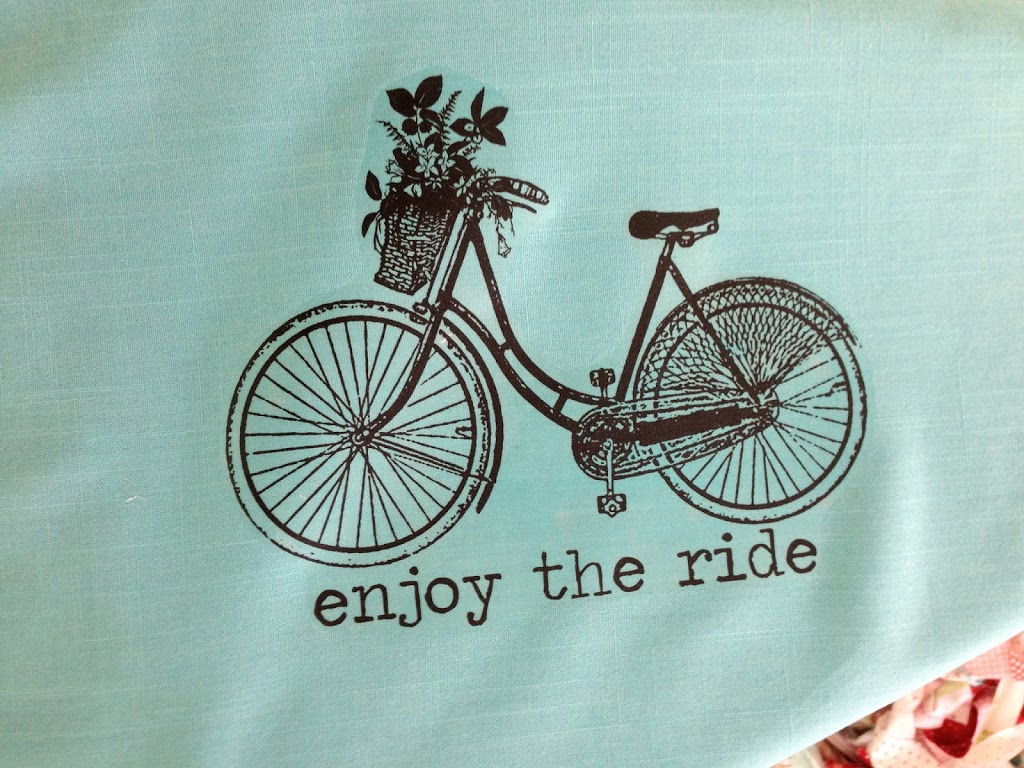
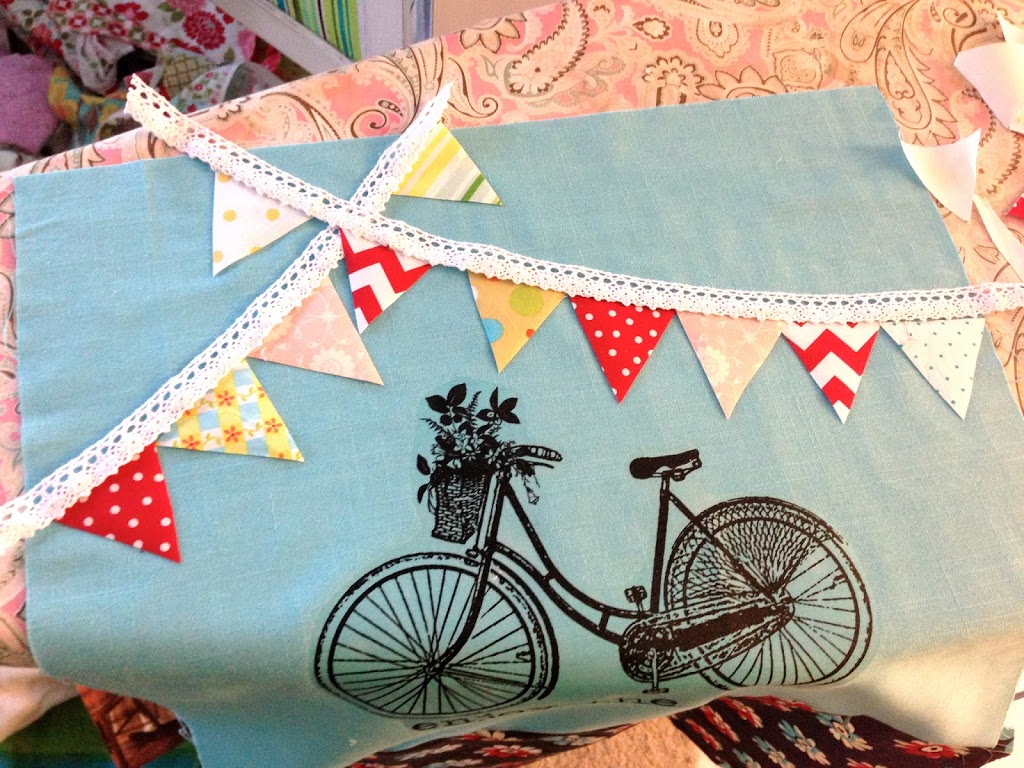
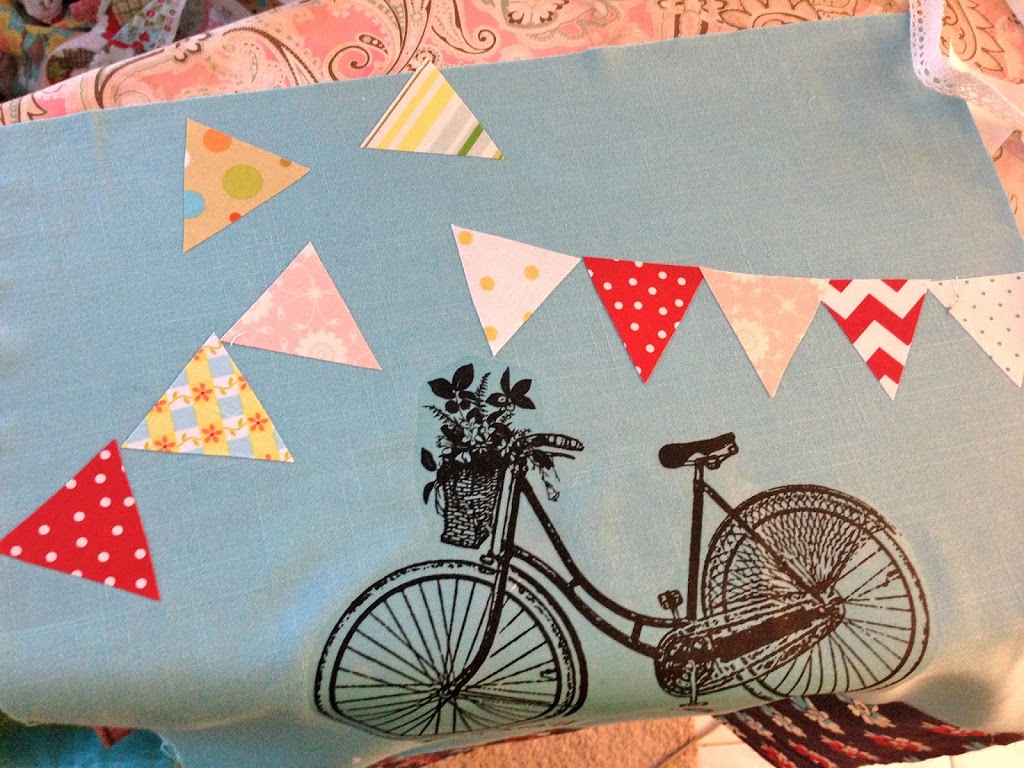
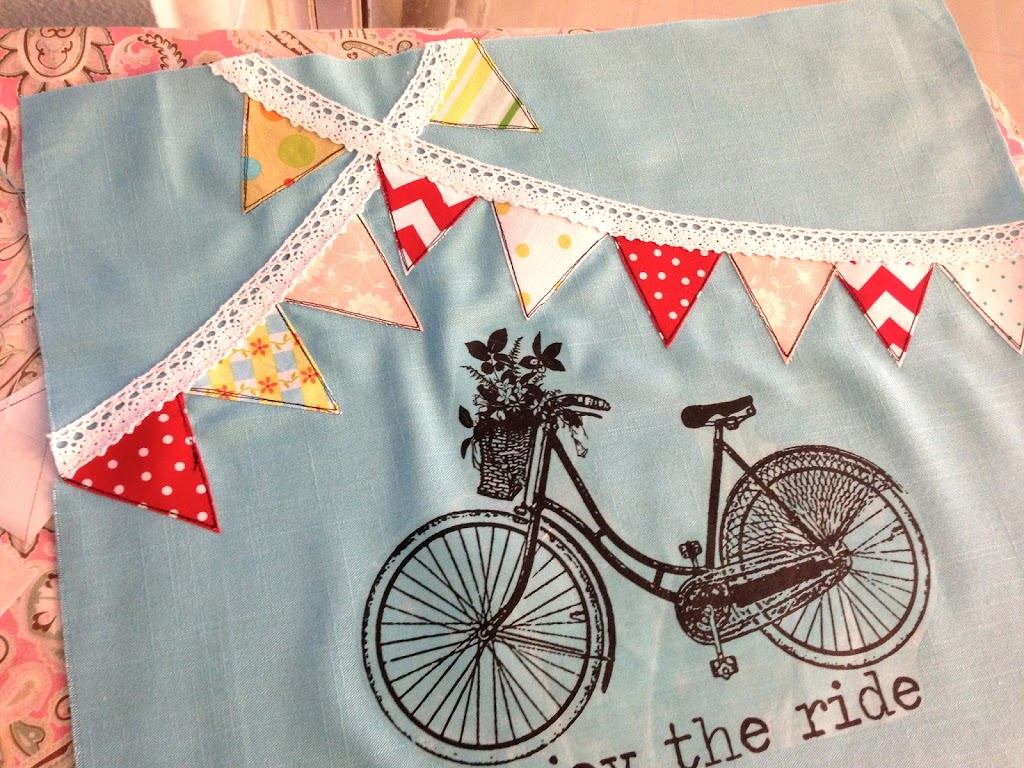
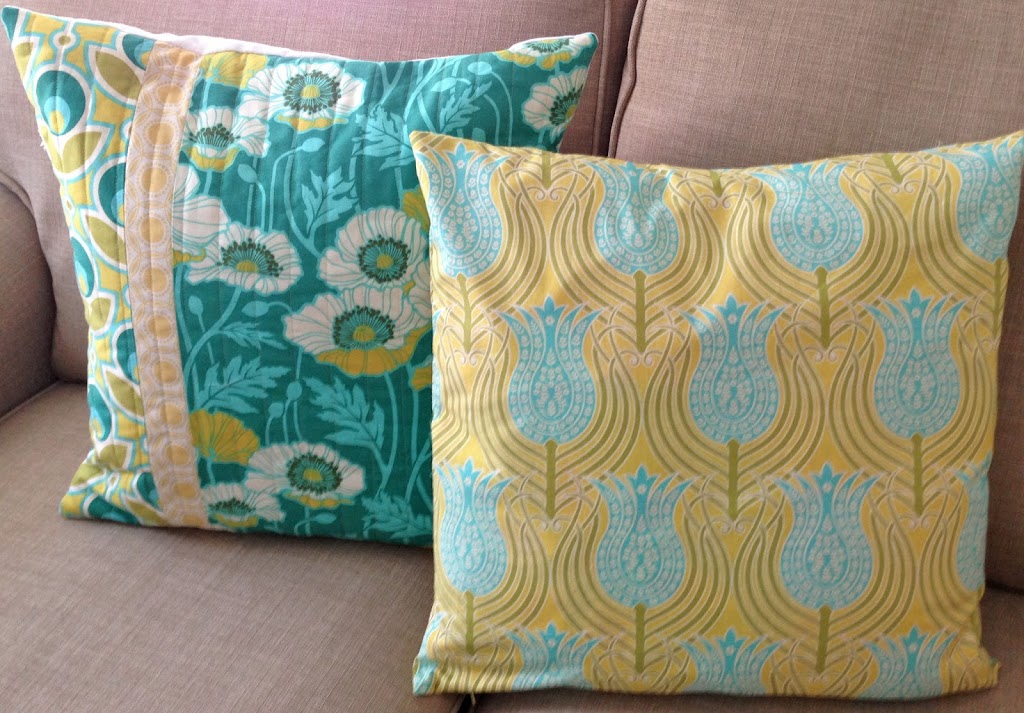
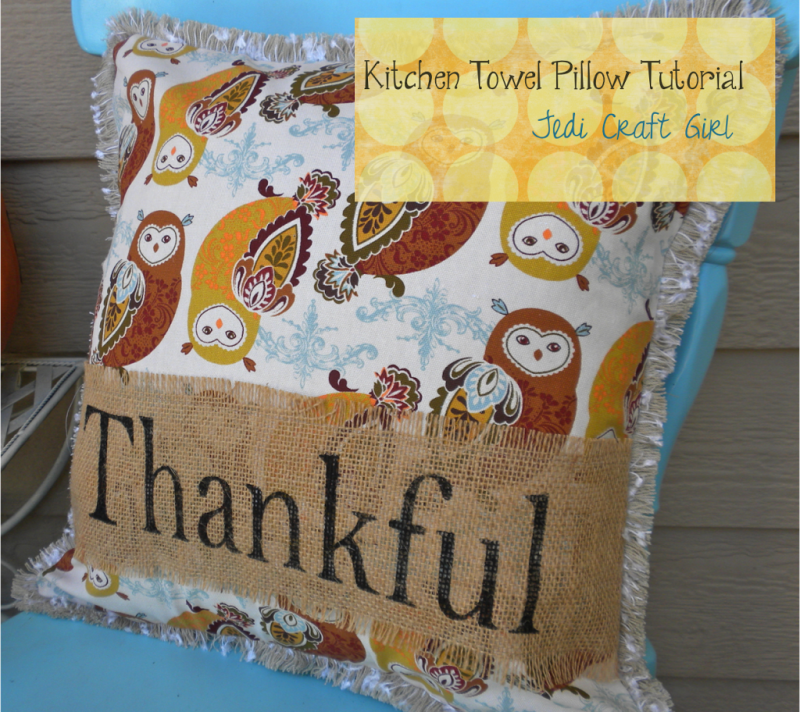
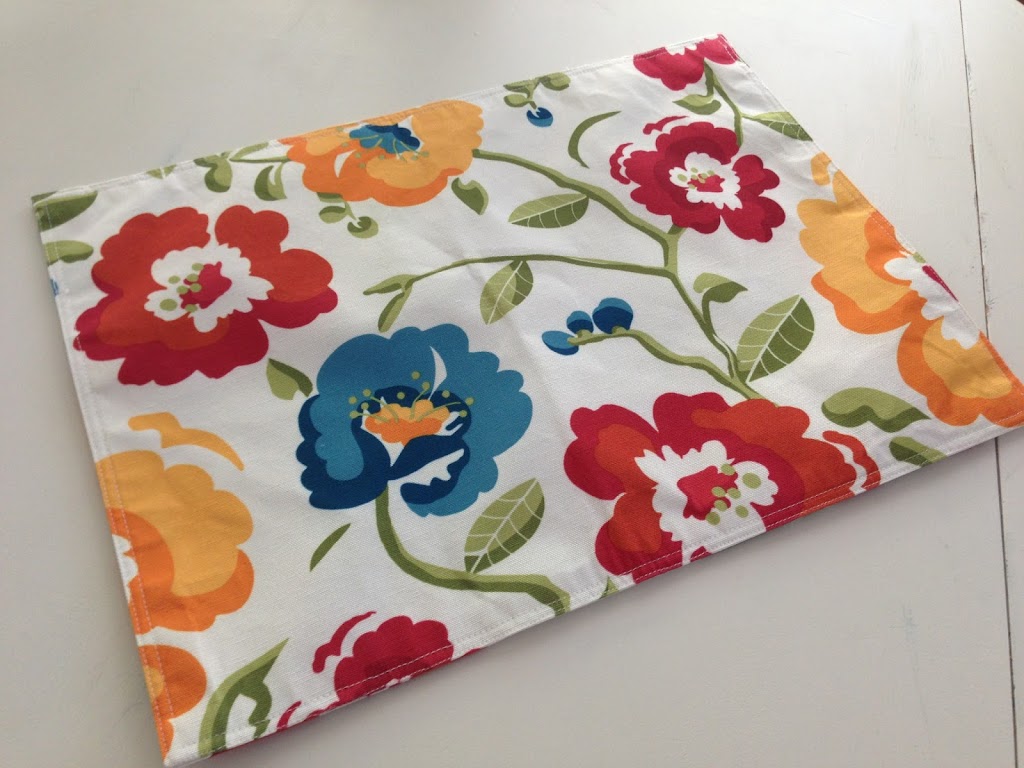
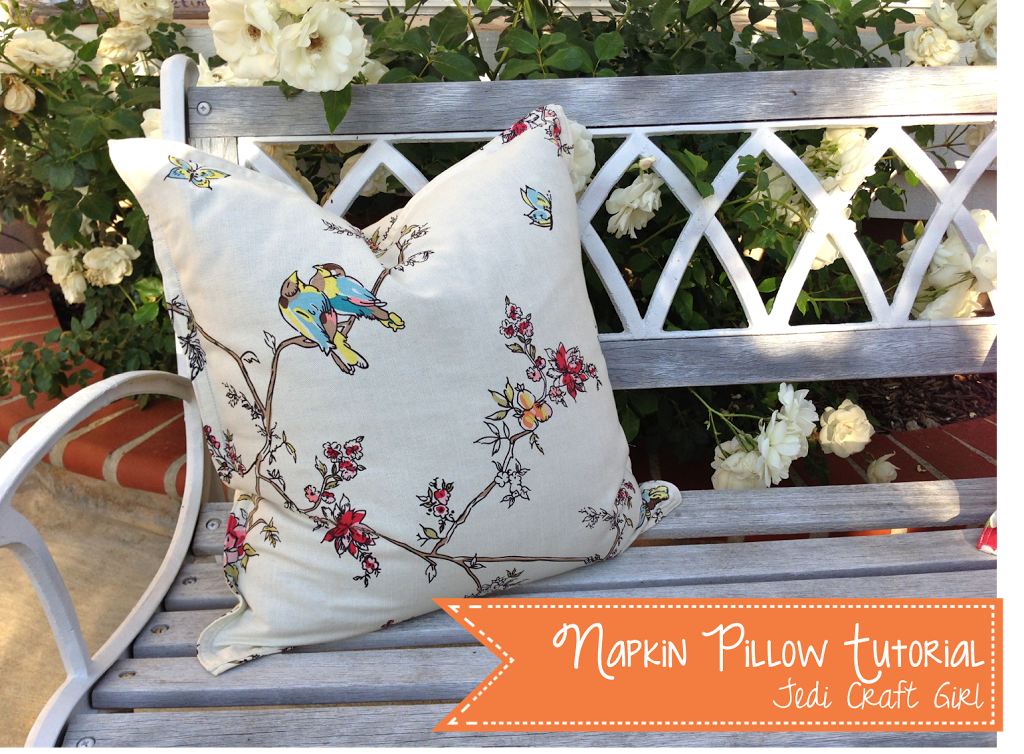
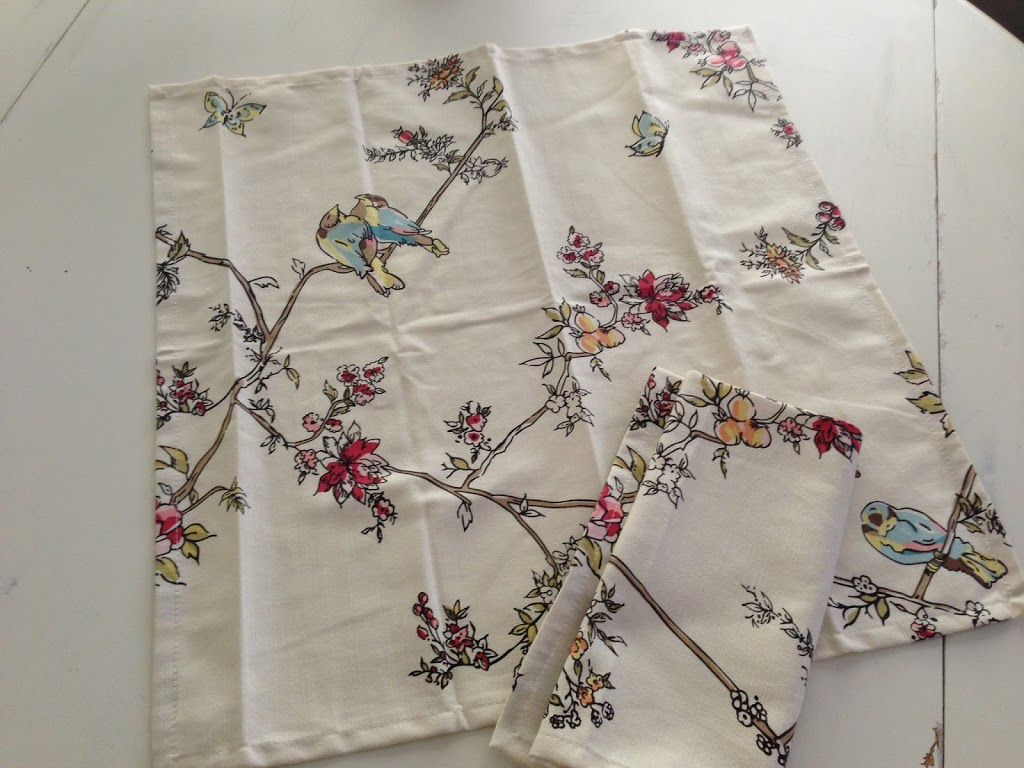
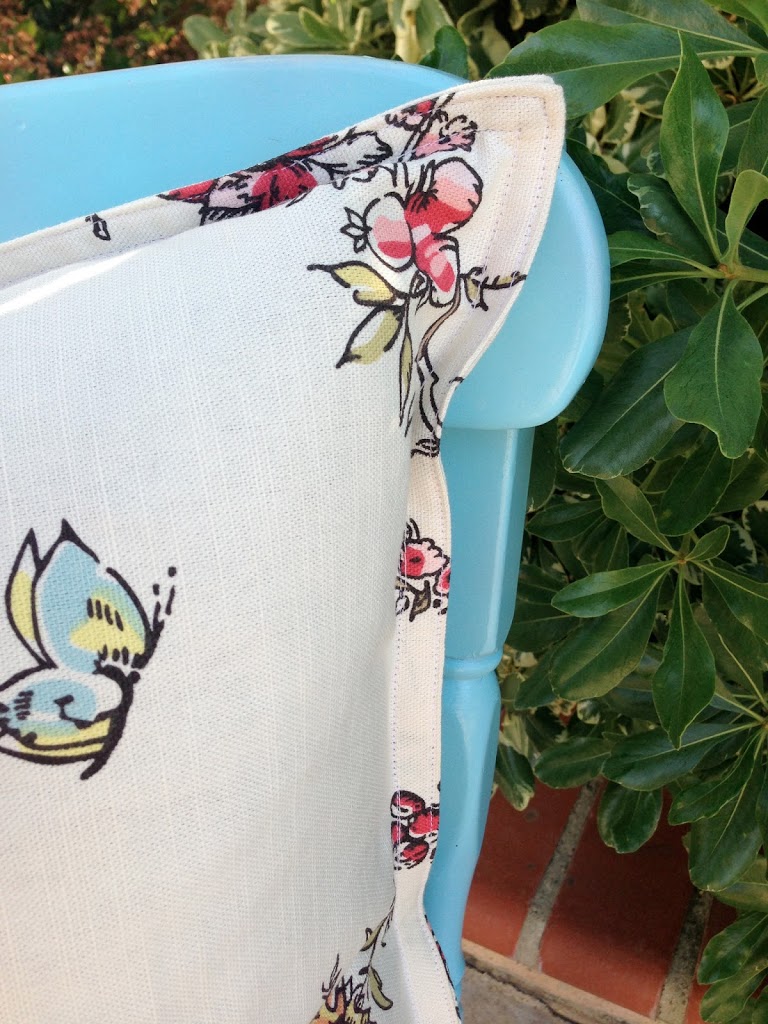
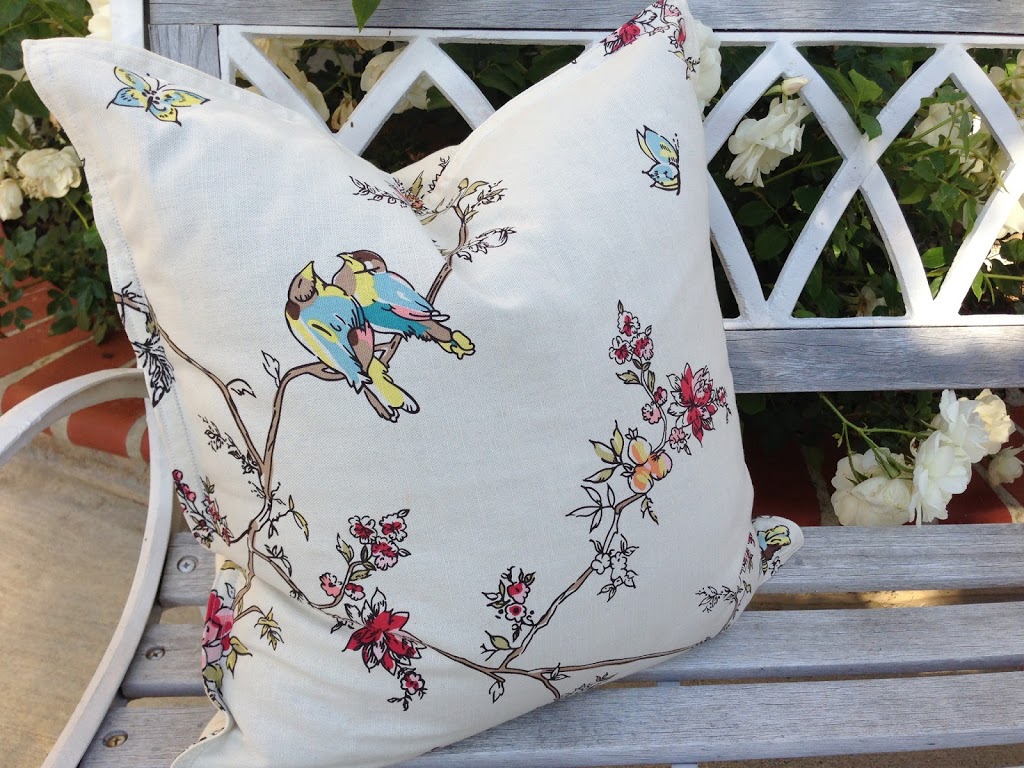
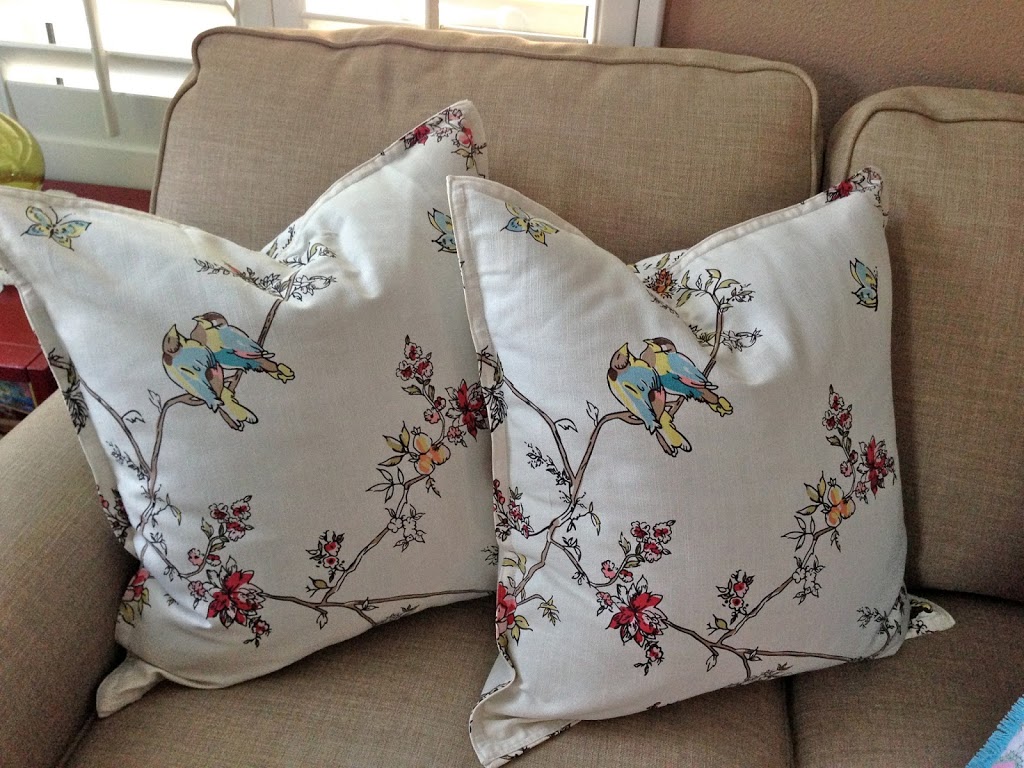
When I was in Virginia, I found this cute tea towel at the Arlington Flea Market. I loved it because it had the same design stitched on both ends – now I can make 2 pillows! I thought it would make a darling pillow! You can do this with any vintage linen.
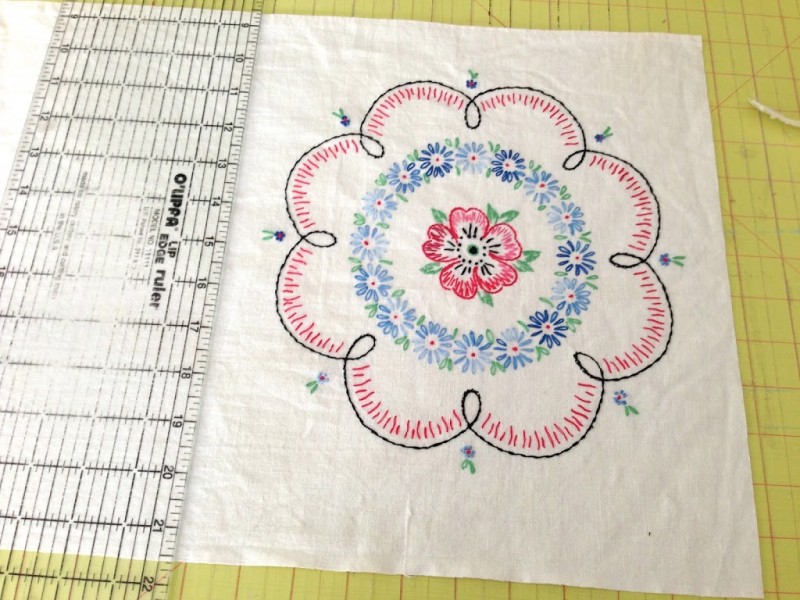
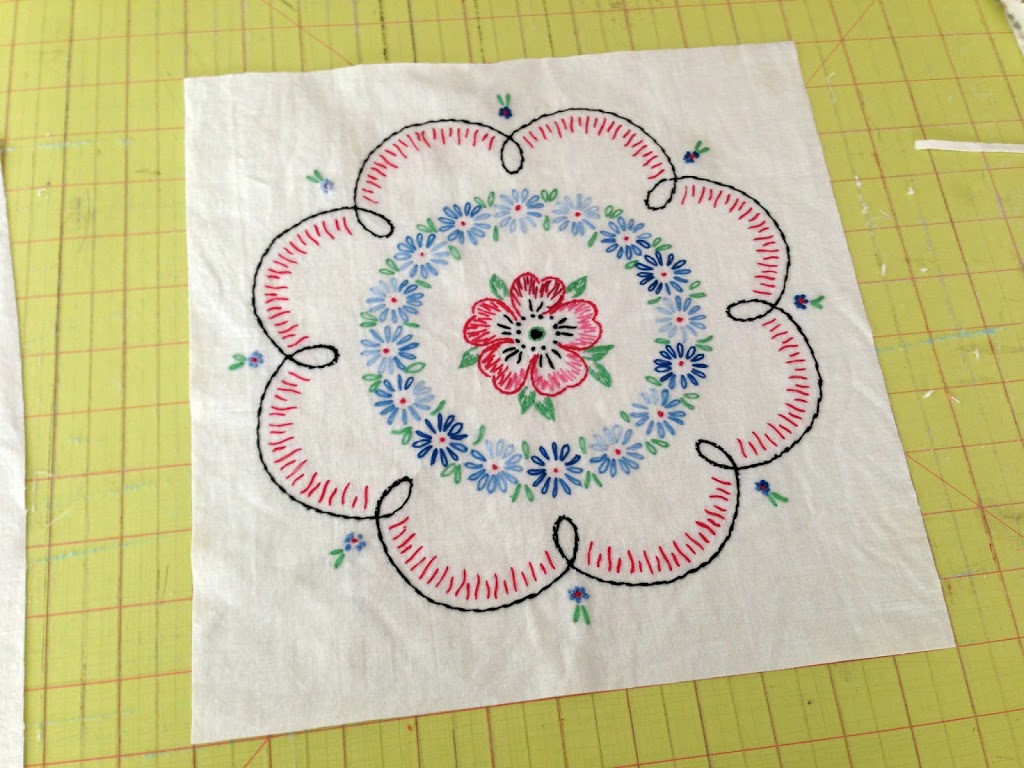
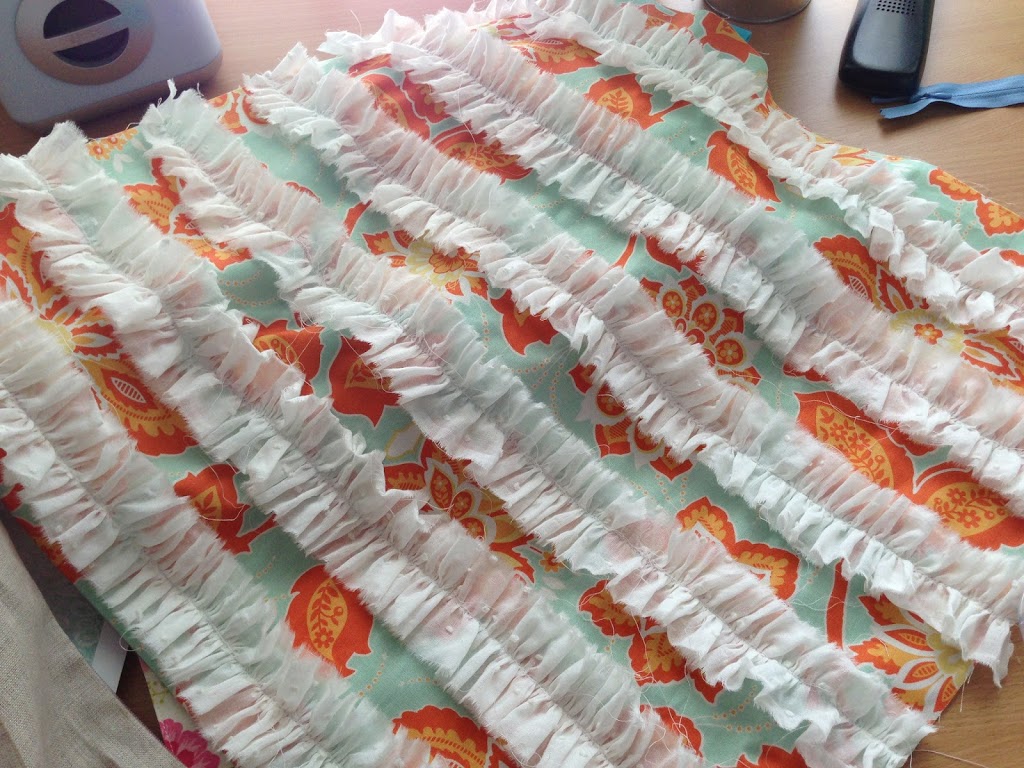
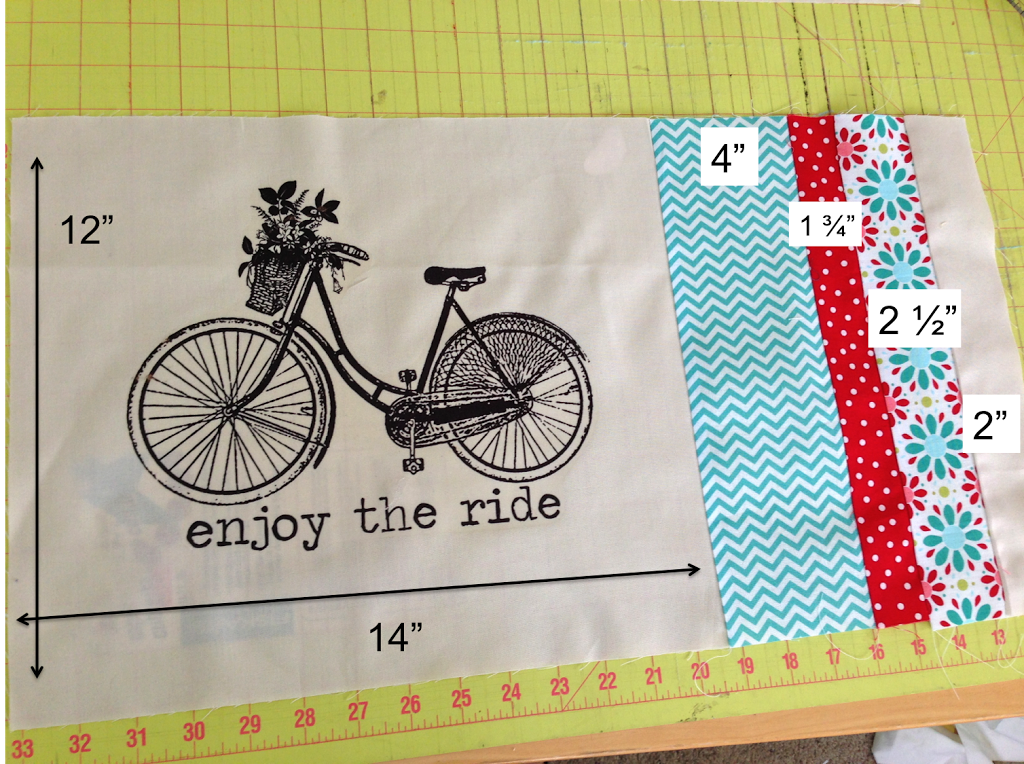
Cut the image how you want. Mine was an 11″ square.
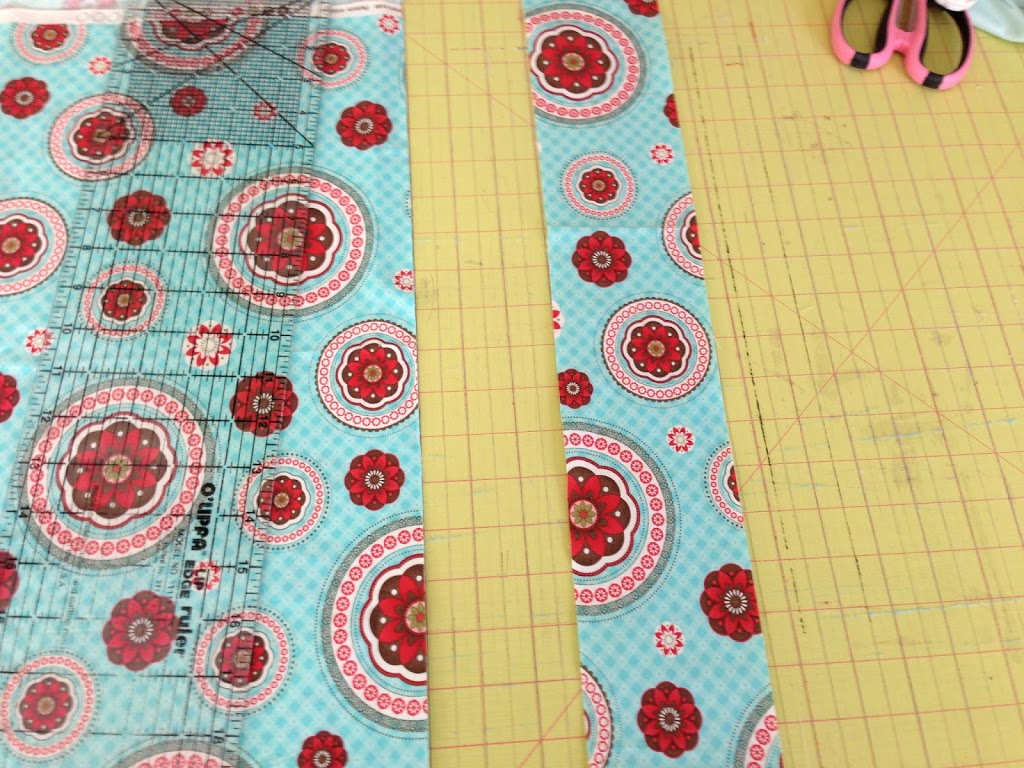
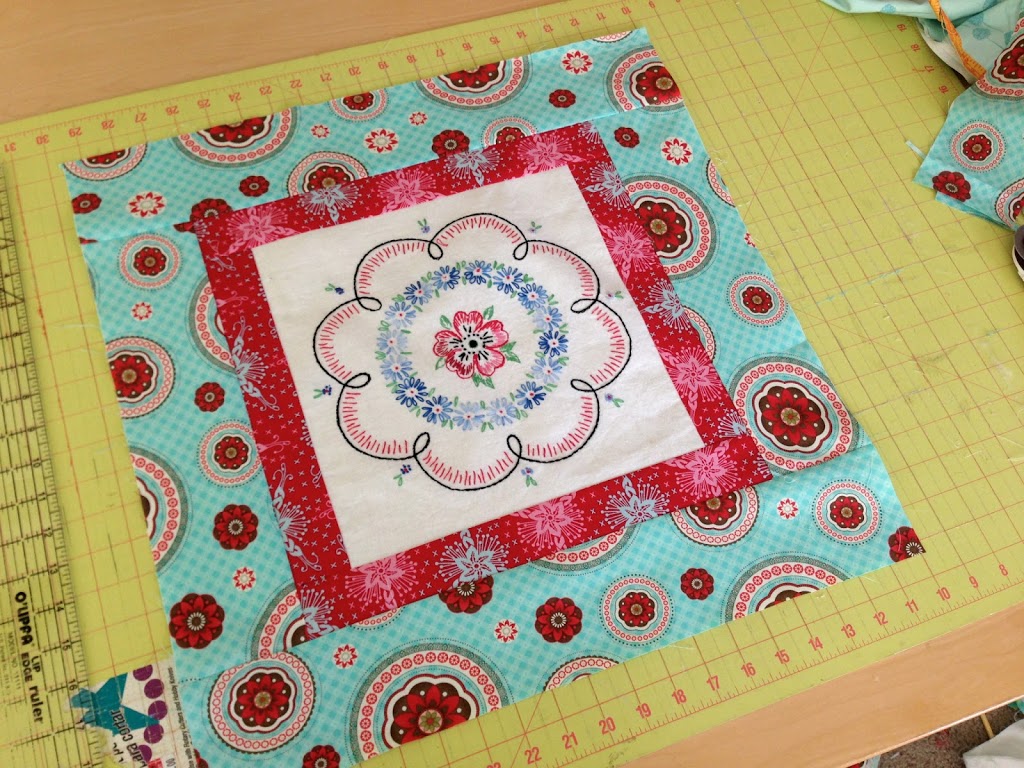
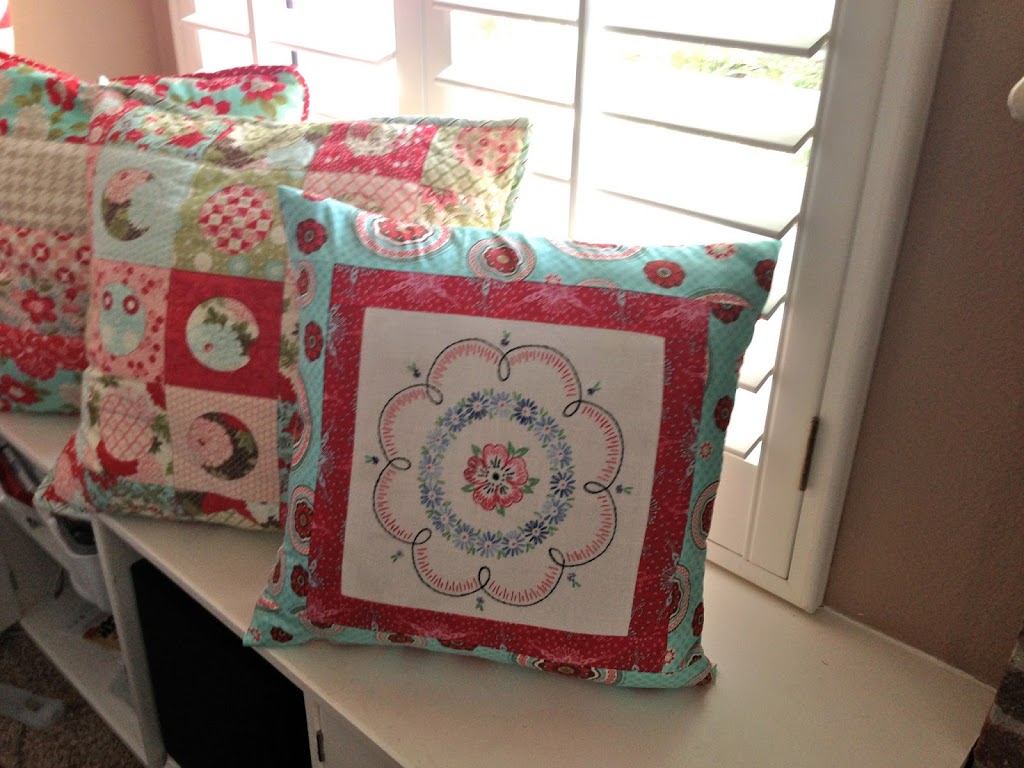
Next, cut (2) 2″ strips x WOF for the first border. Sew the pieces: sides first, press, then top and bottom, press.
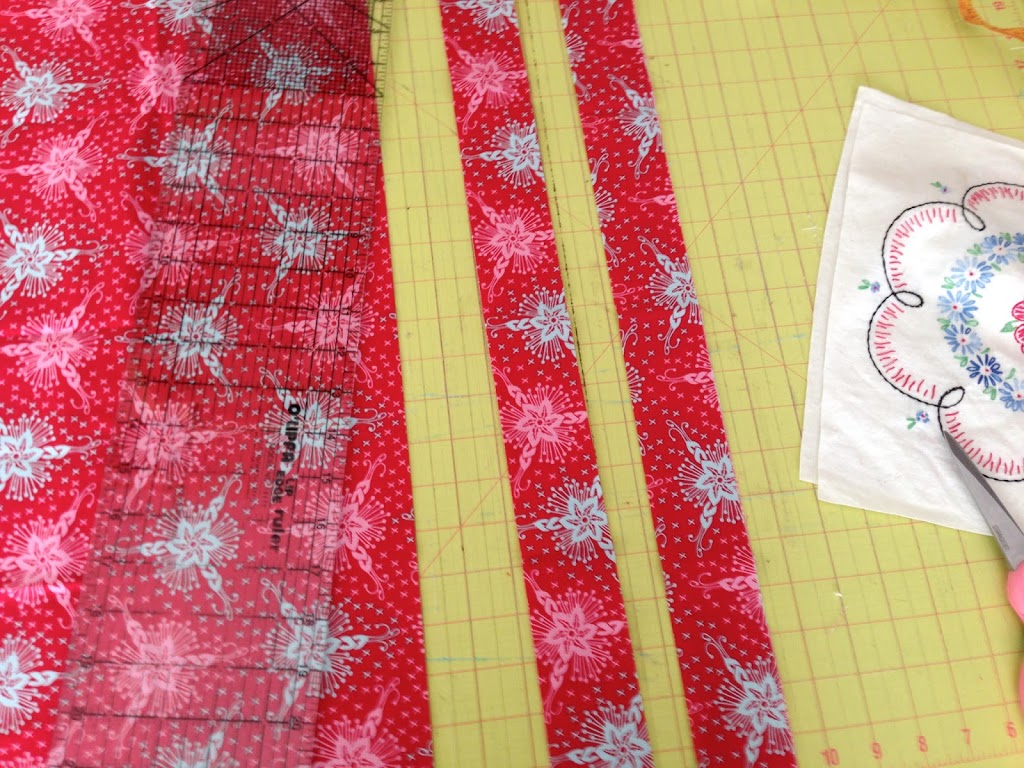
For the 2nd border, cut (2) 3 1/2 inch strips. Follow the same process, sew the sides, press, sew the top and bottom, press.
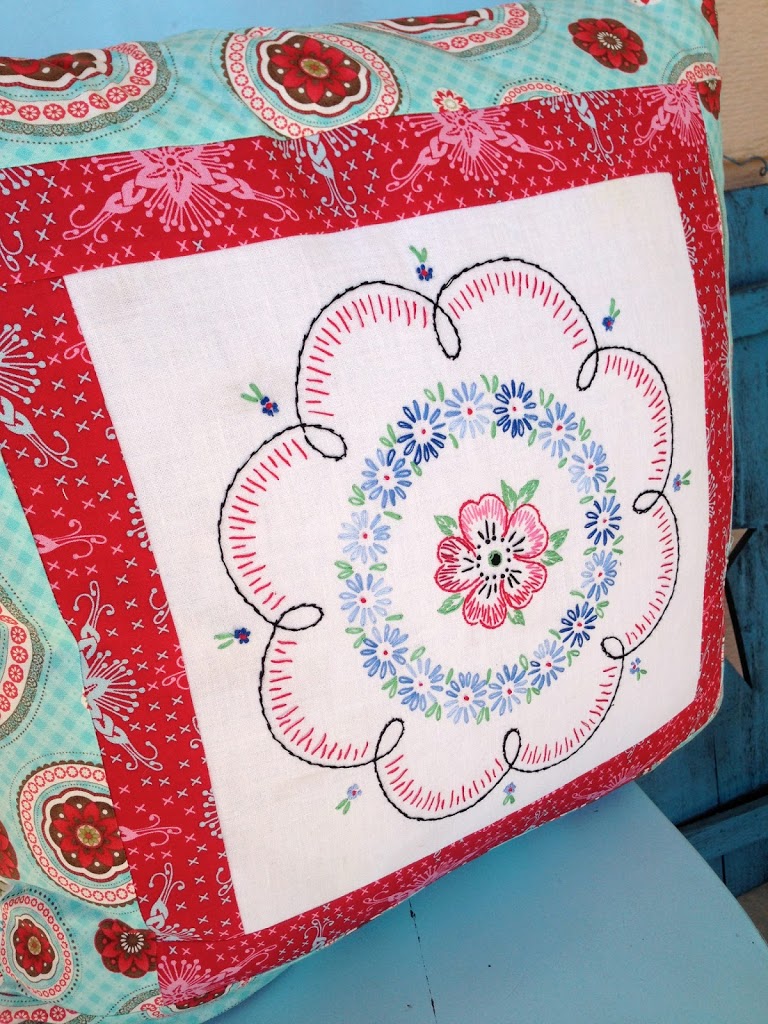
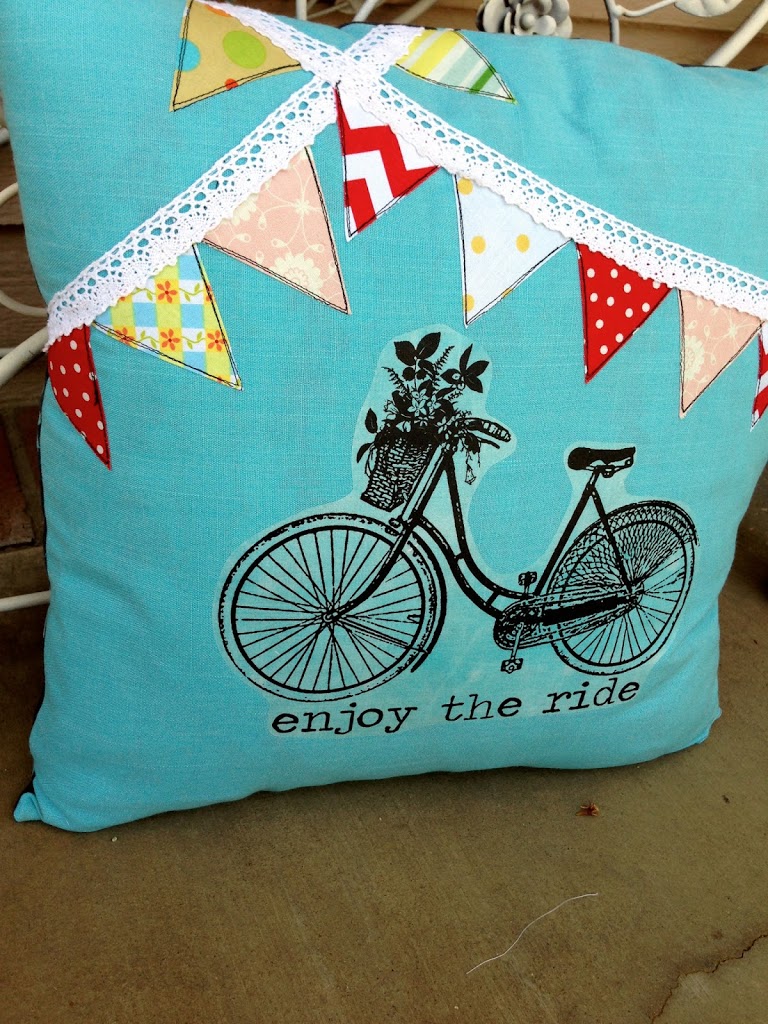
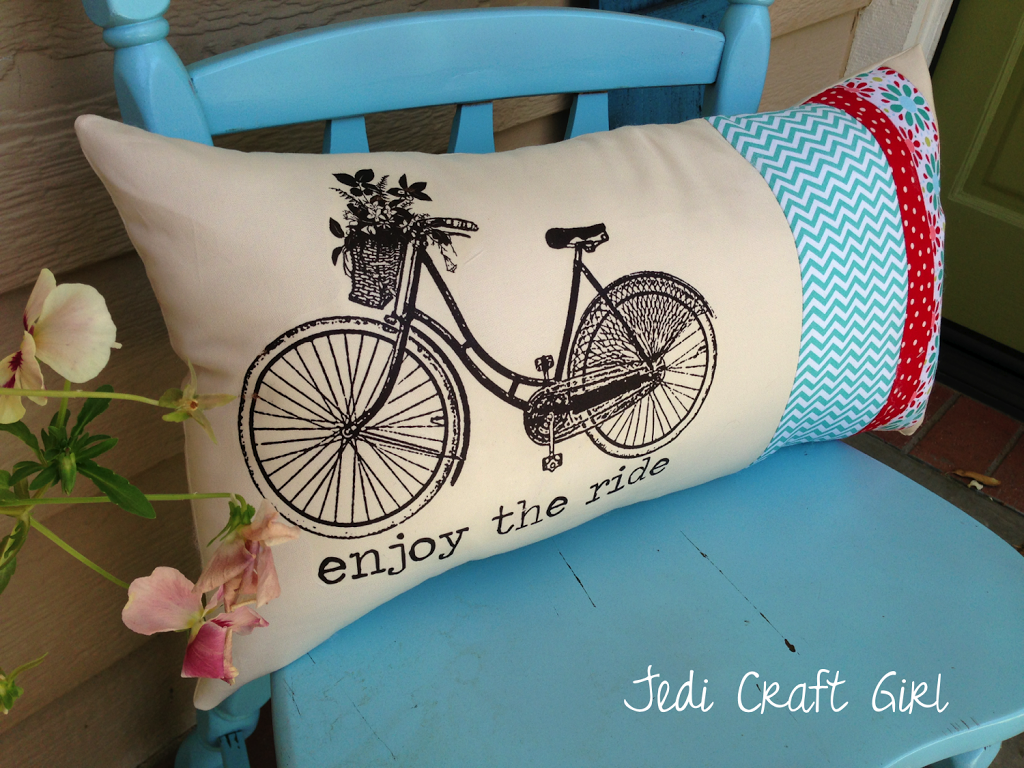
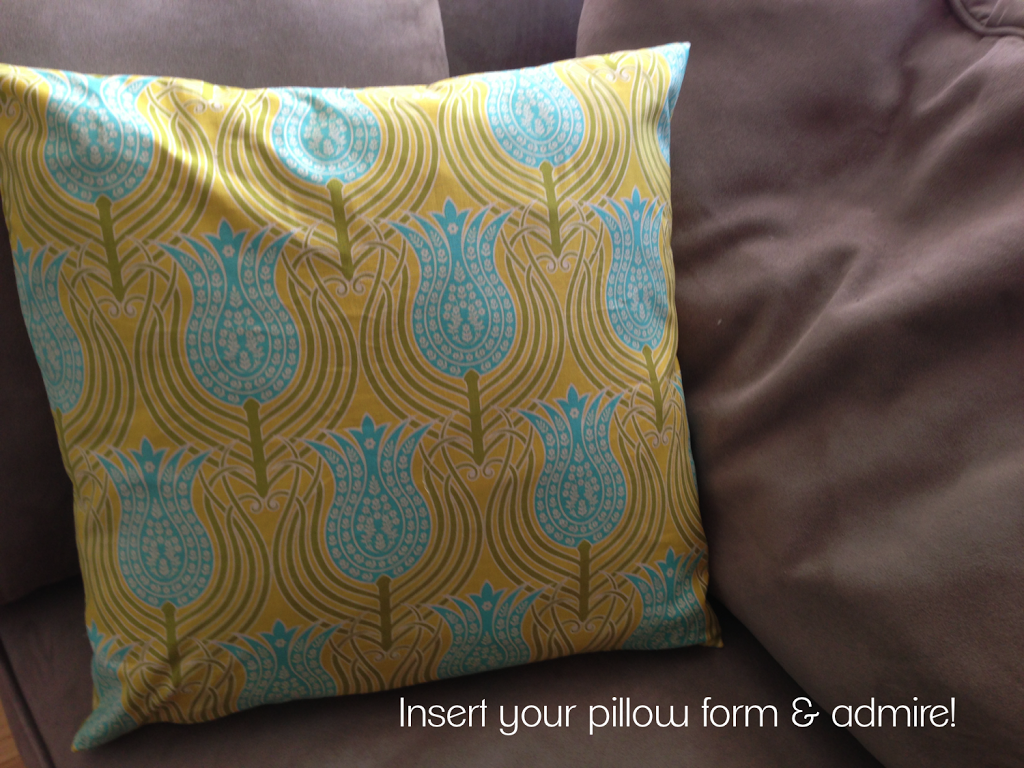
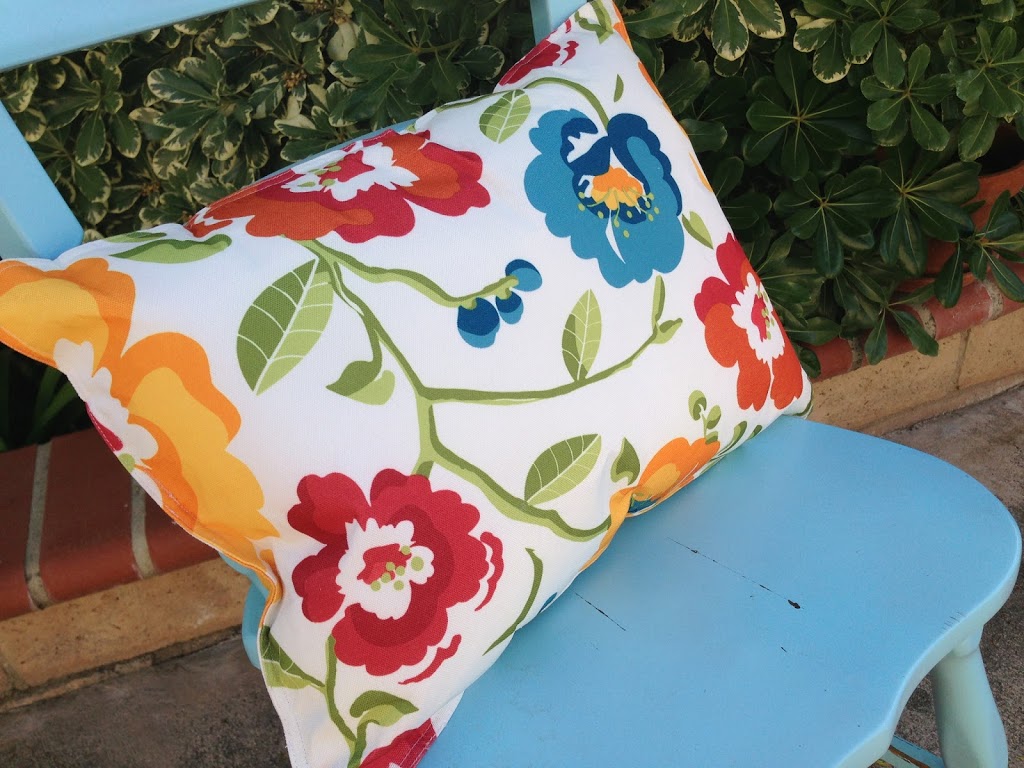
I love it! I was tempted to turn it into a mini quilt 🙂
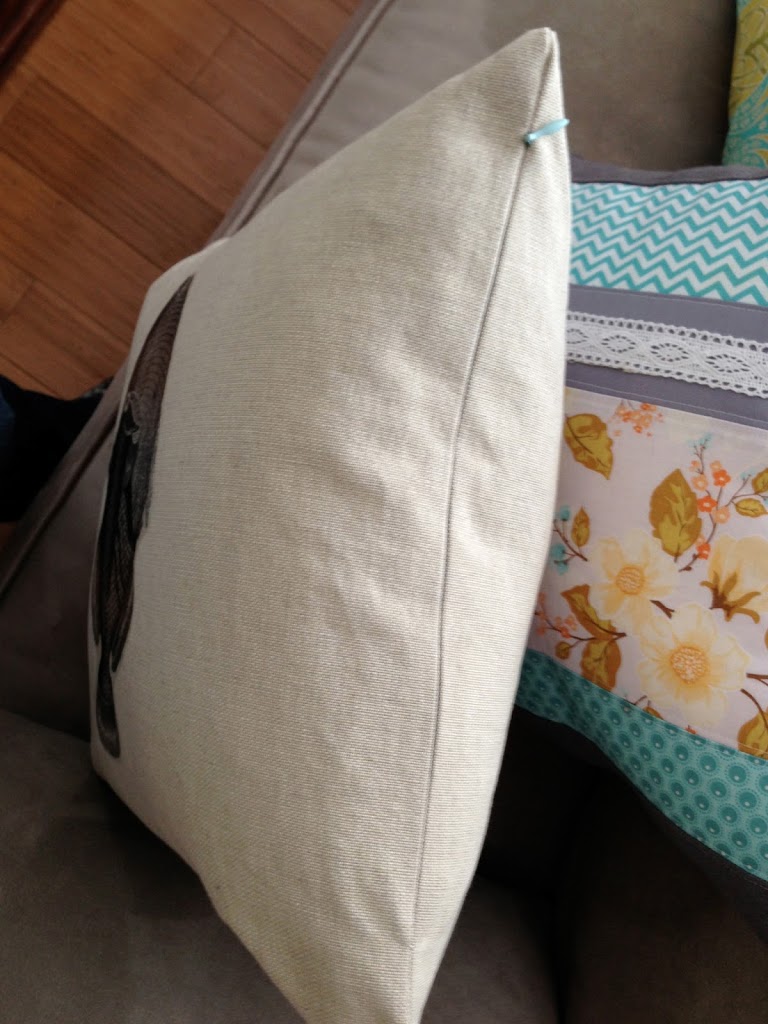
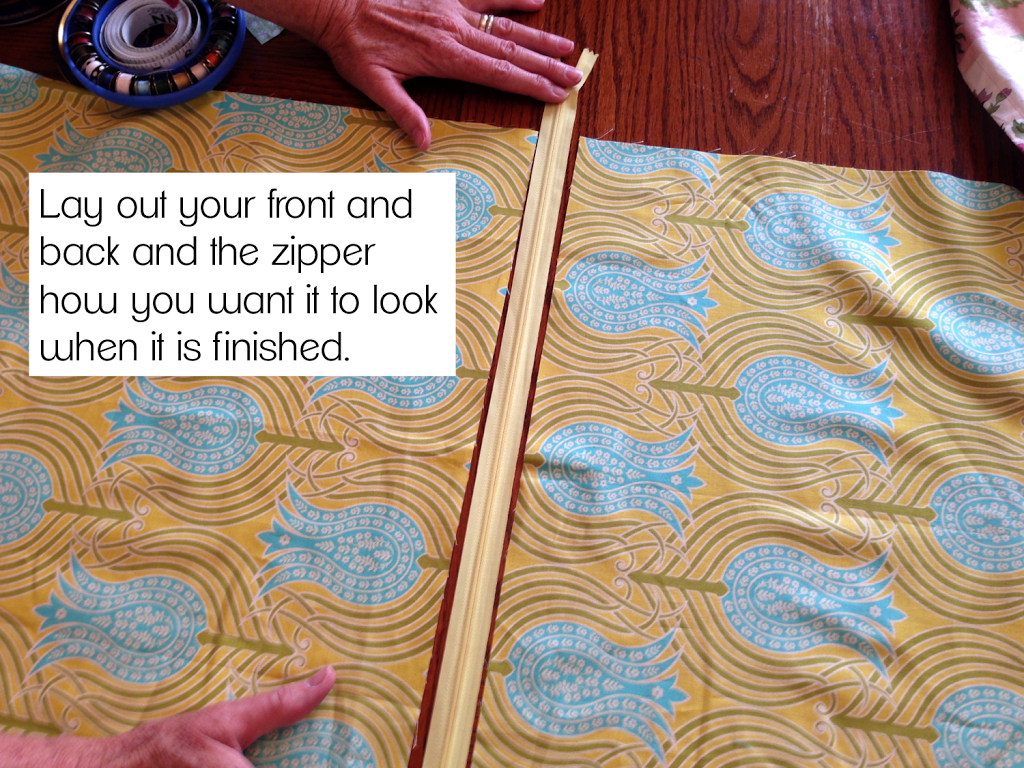
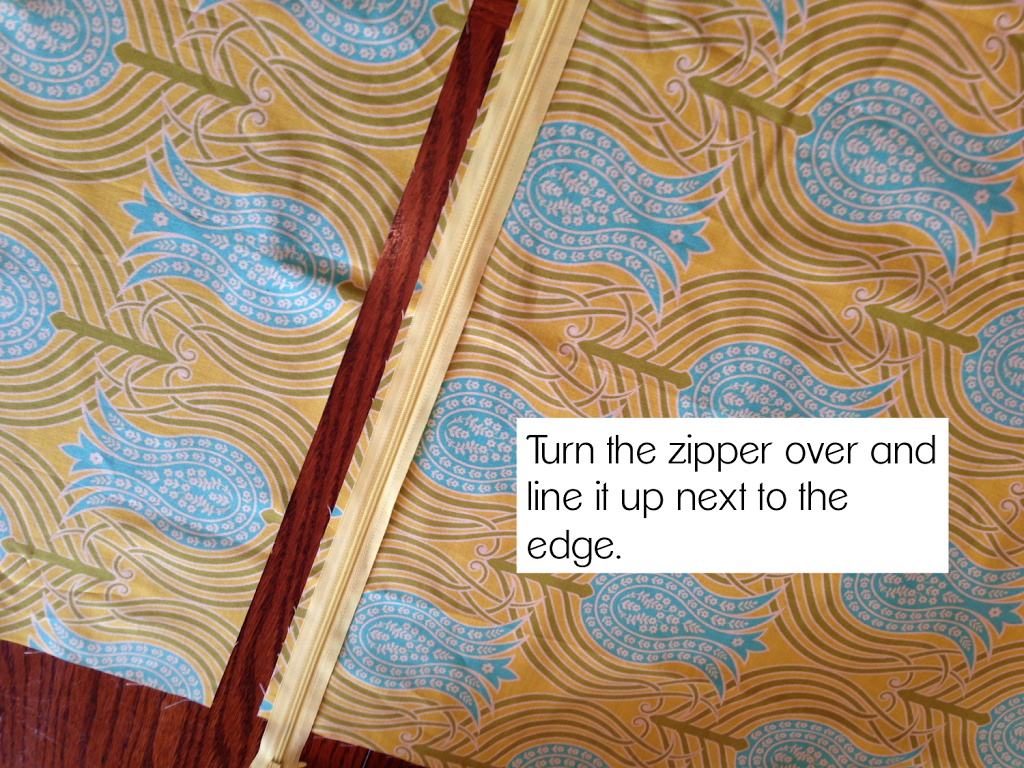
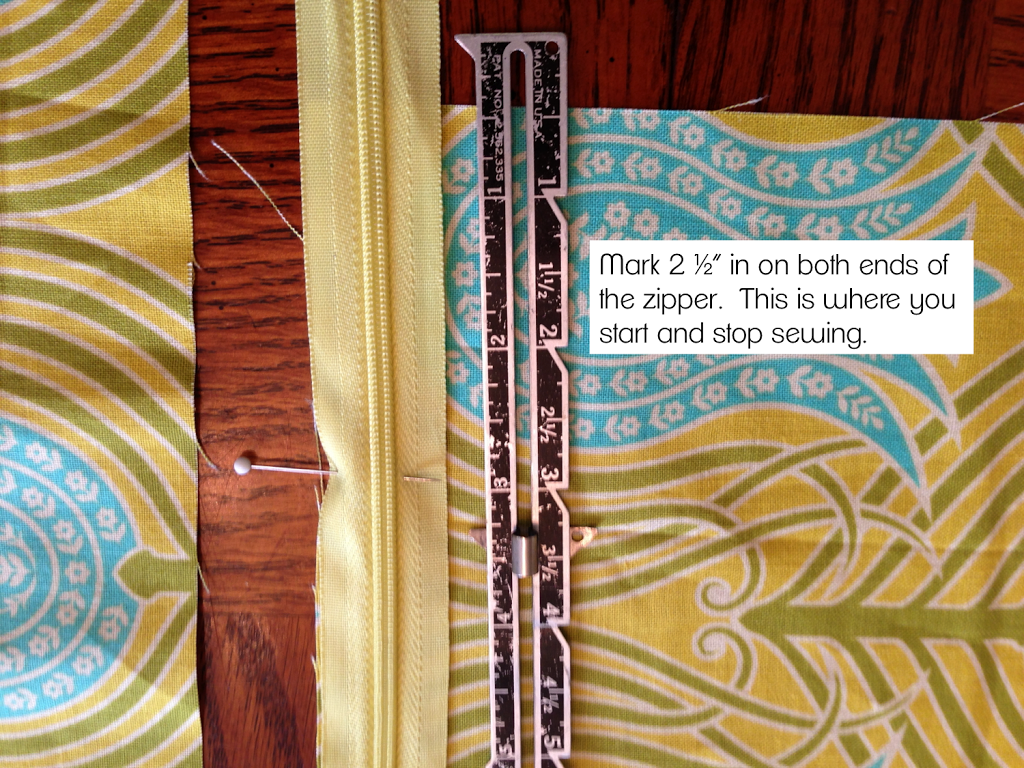
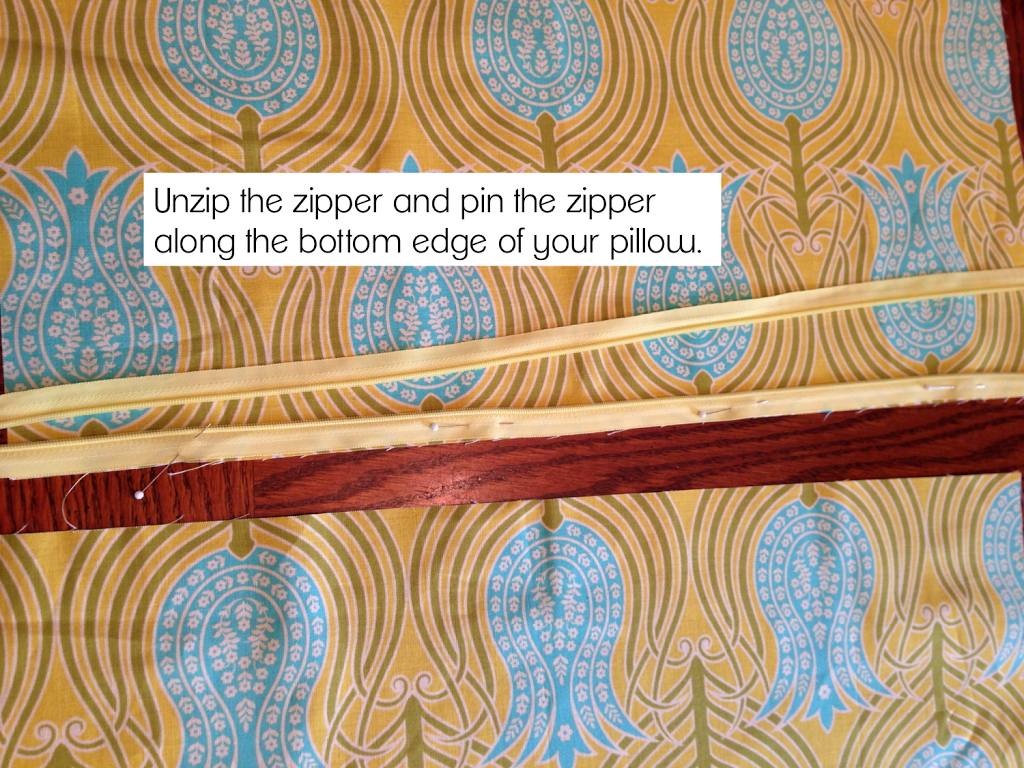
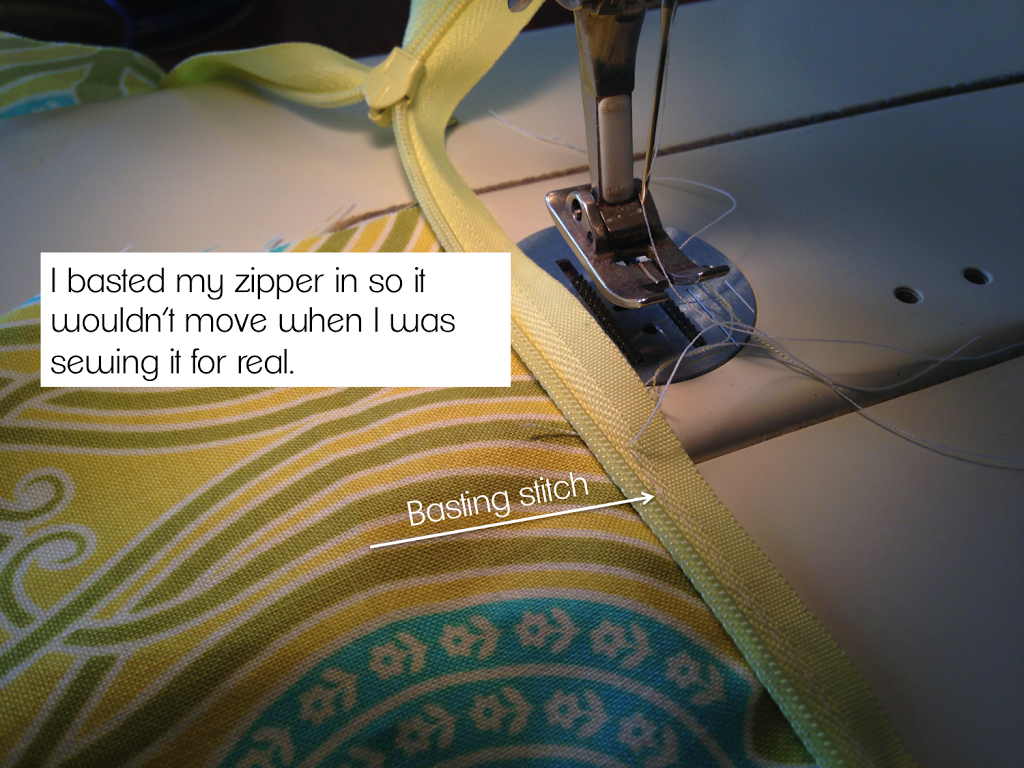
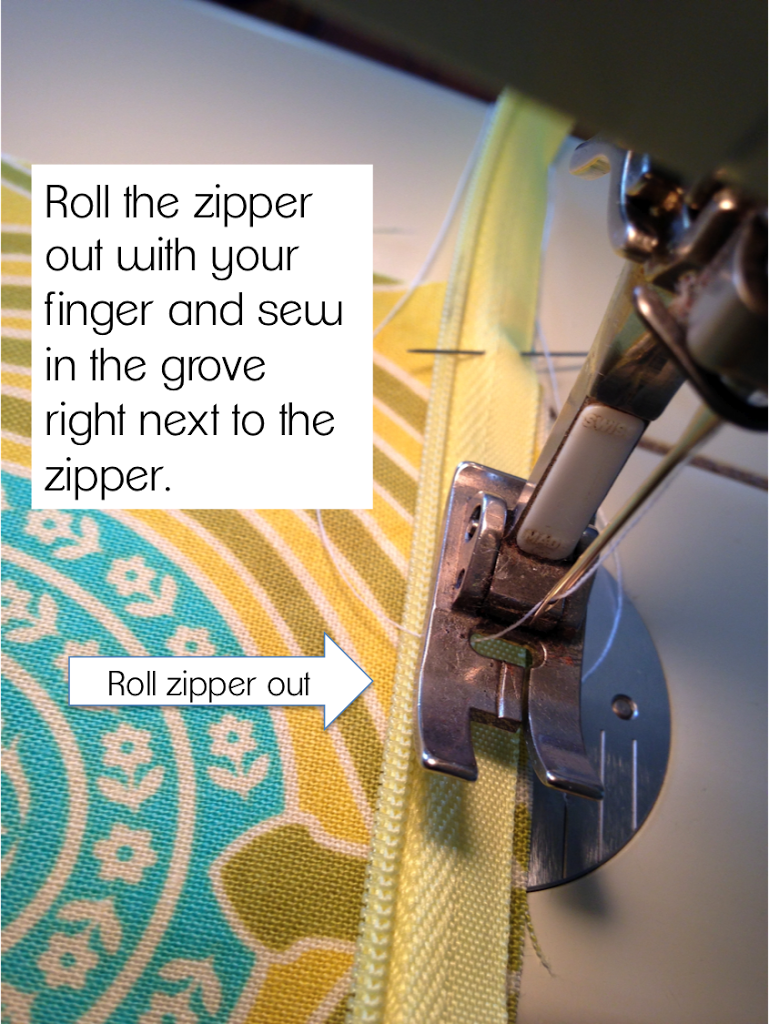
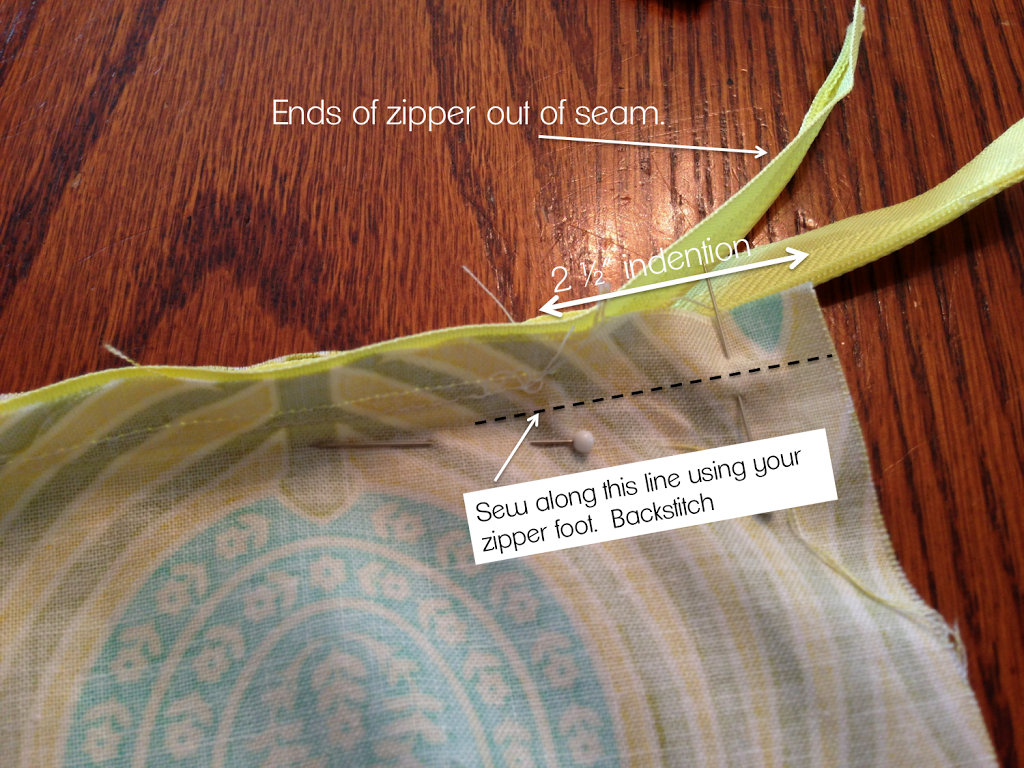
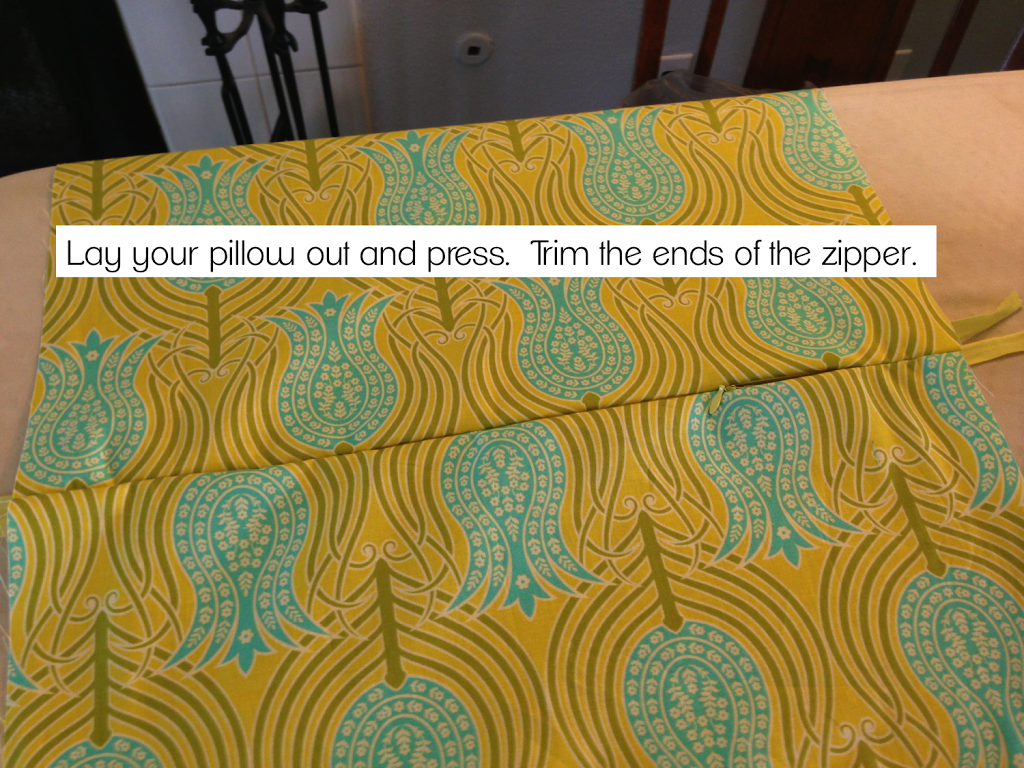
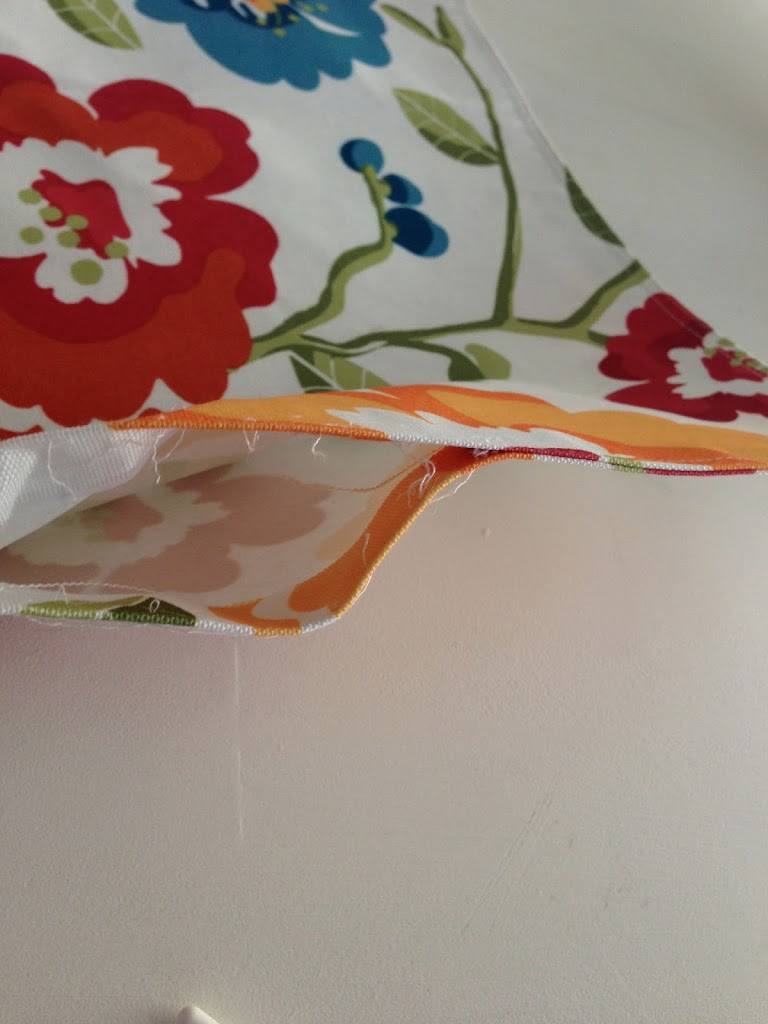
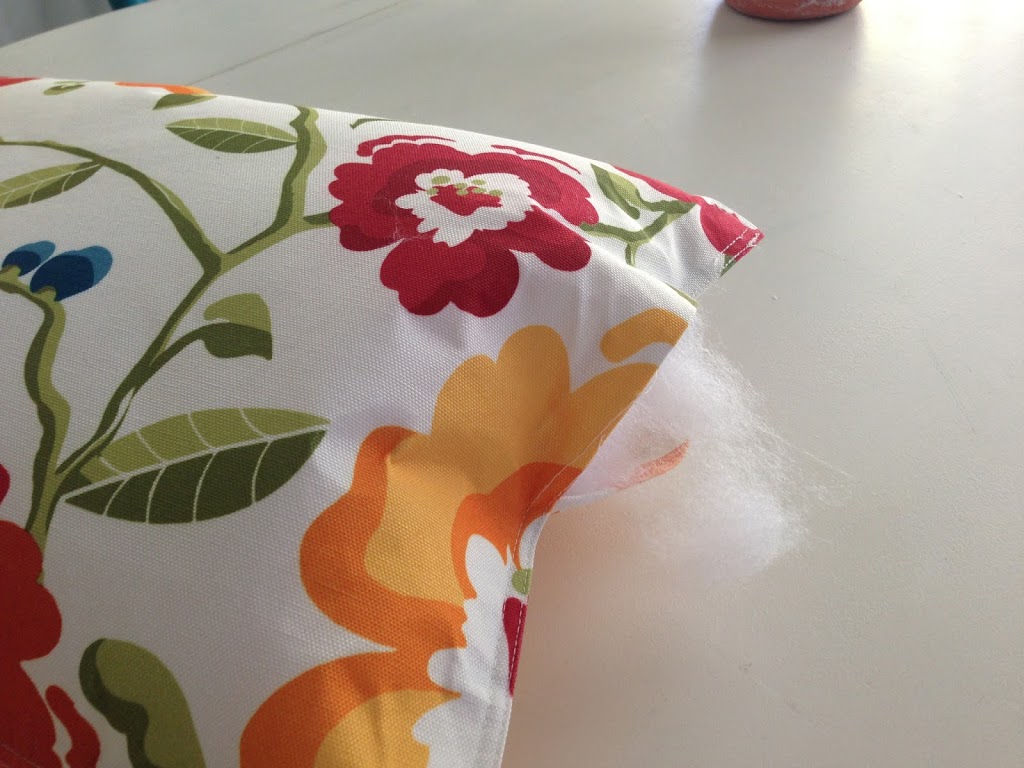
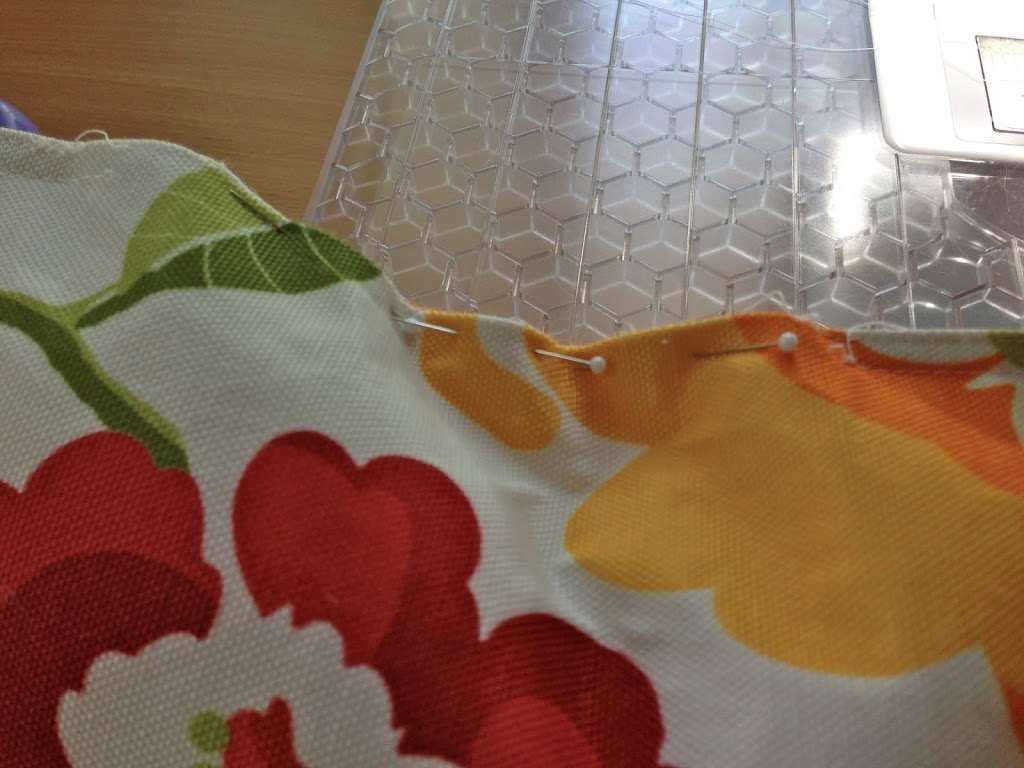
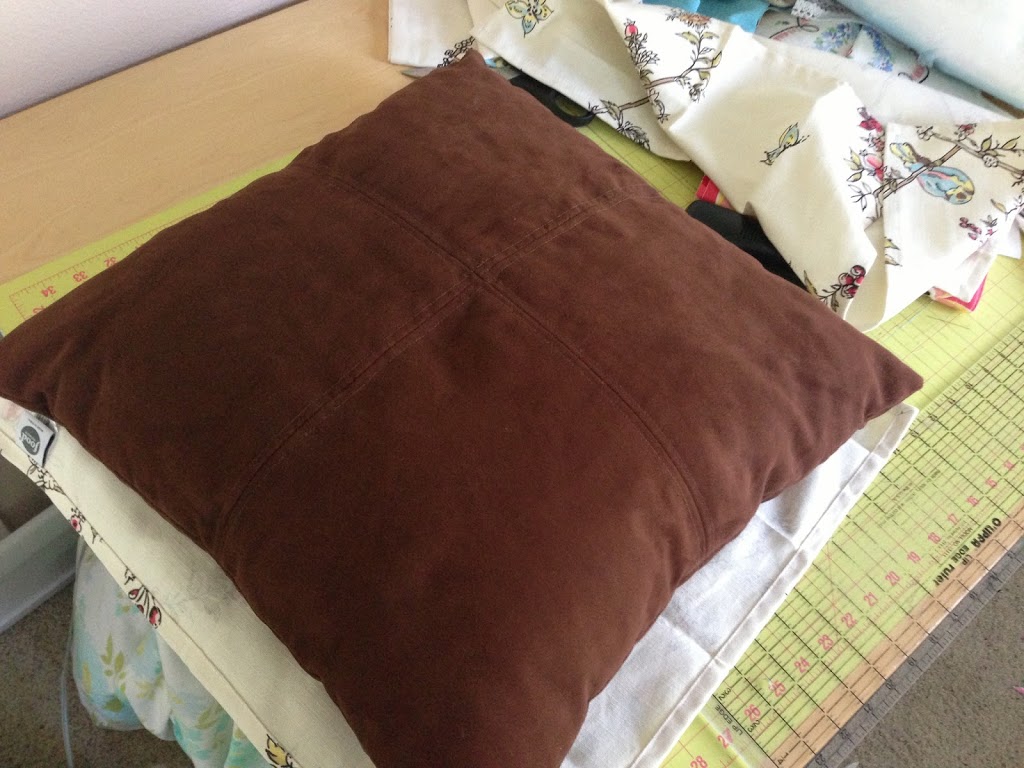
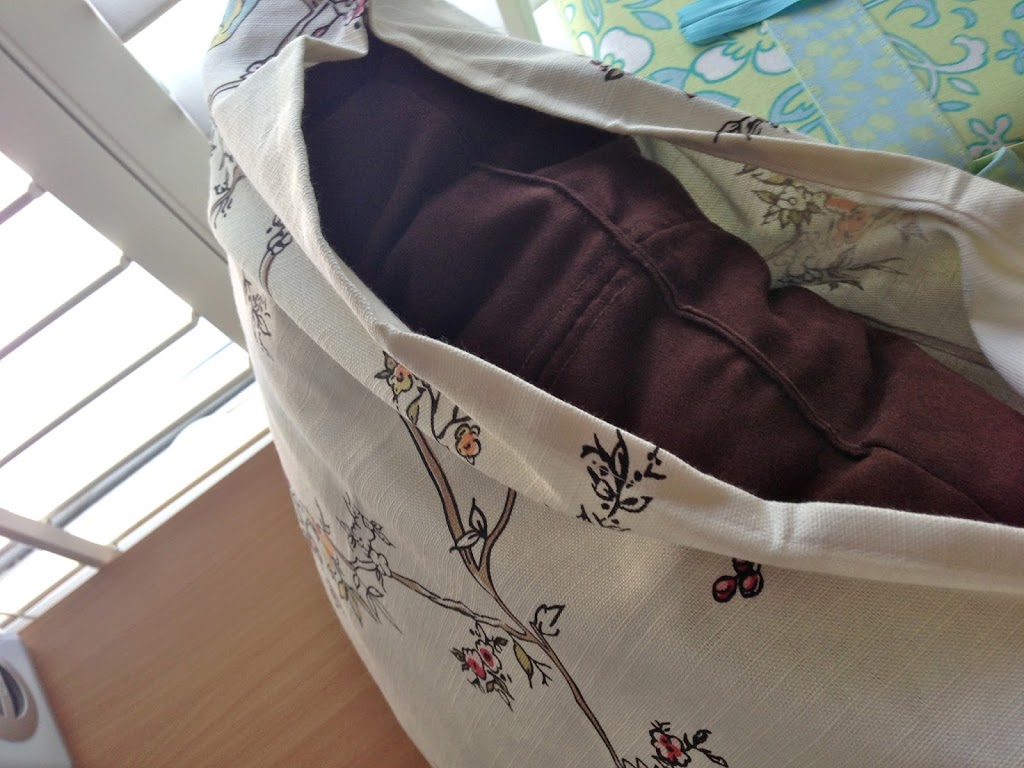
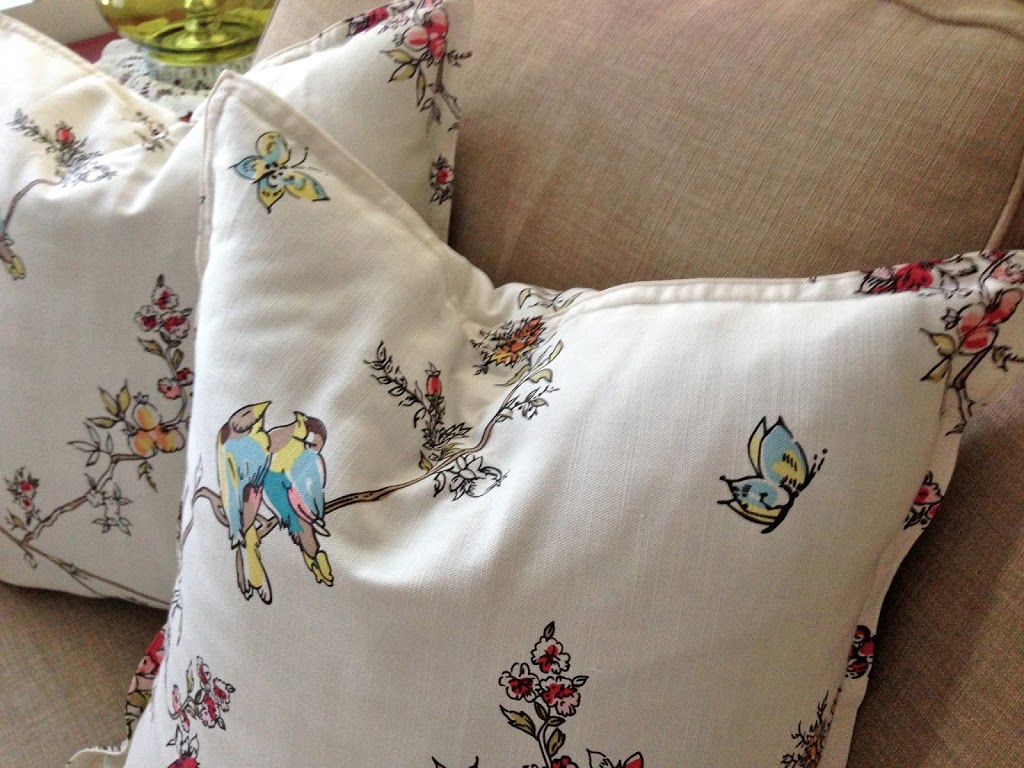
Finish how you would normally finish a pillow. Can you guess how I finished mine? Invisible Zipper! I am a pro now!!

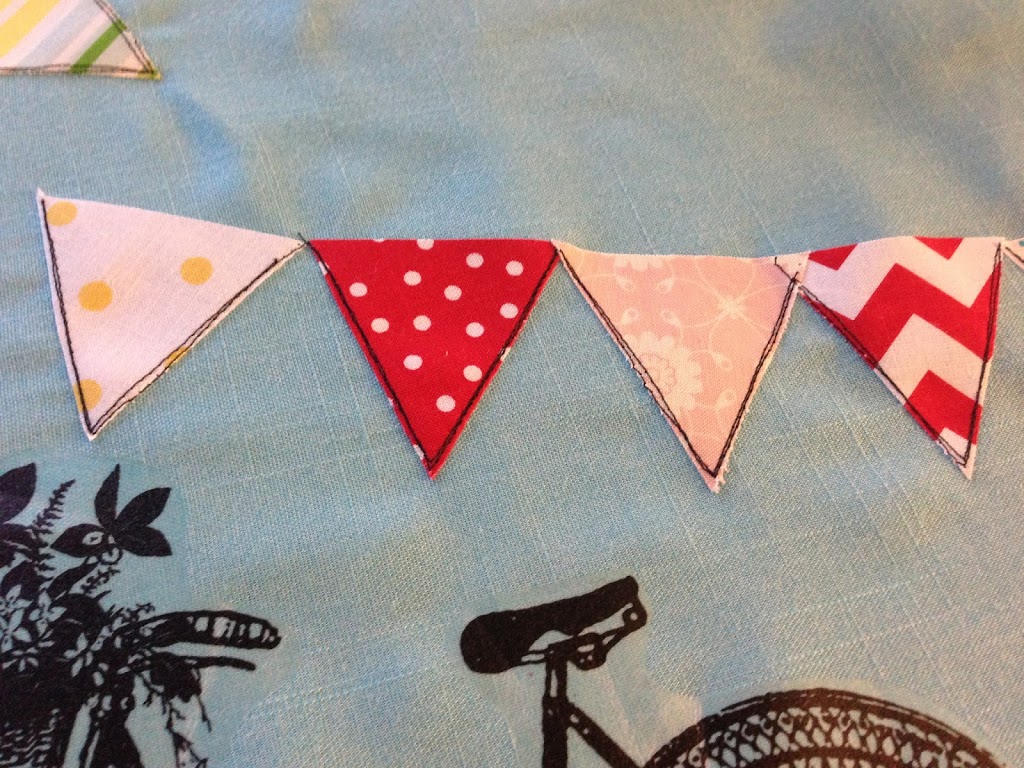
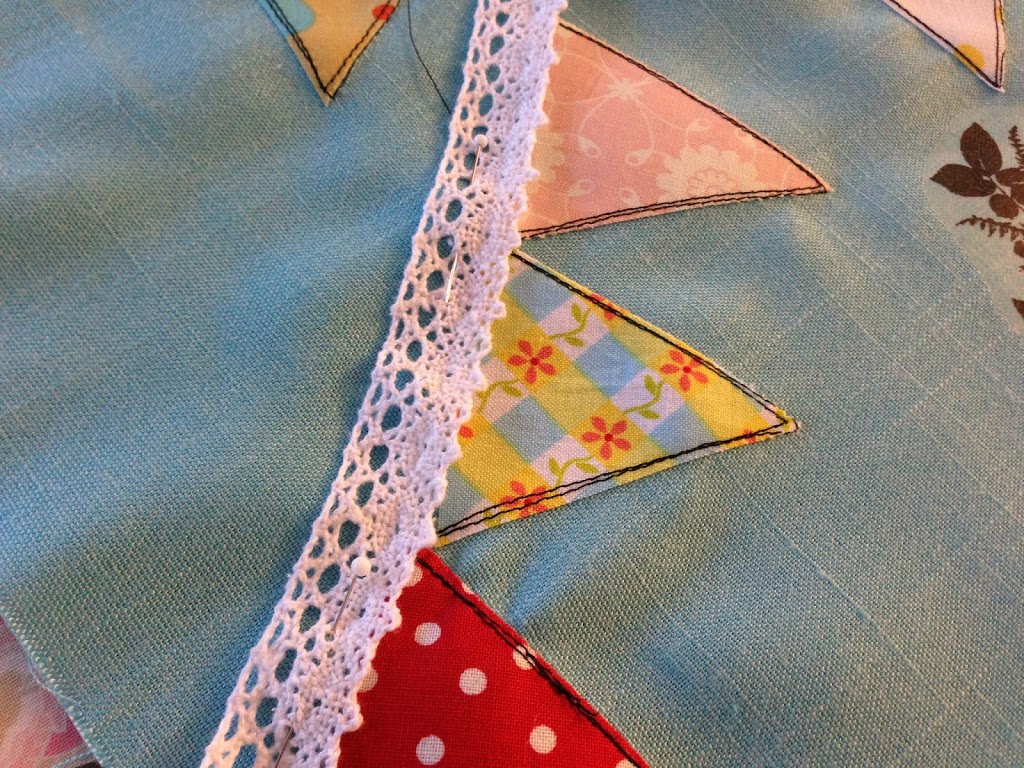
I love the embroidery work. And I love that I didn’t have to do it!!

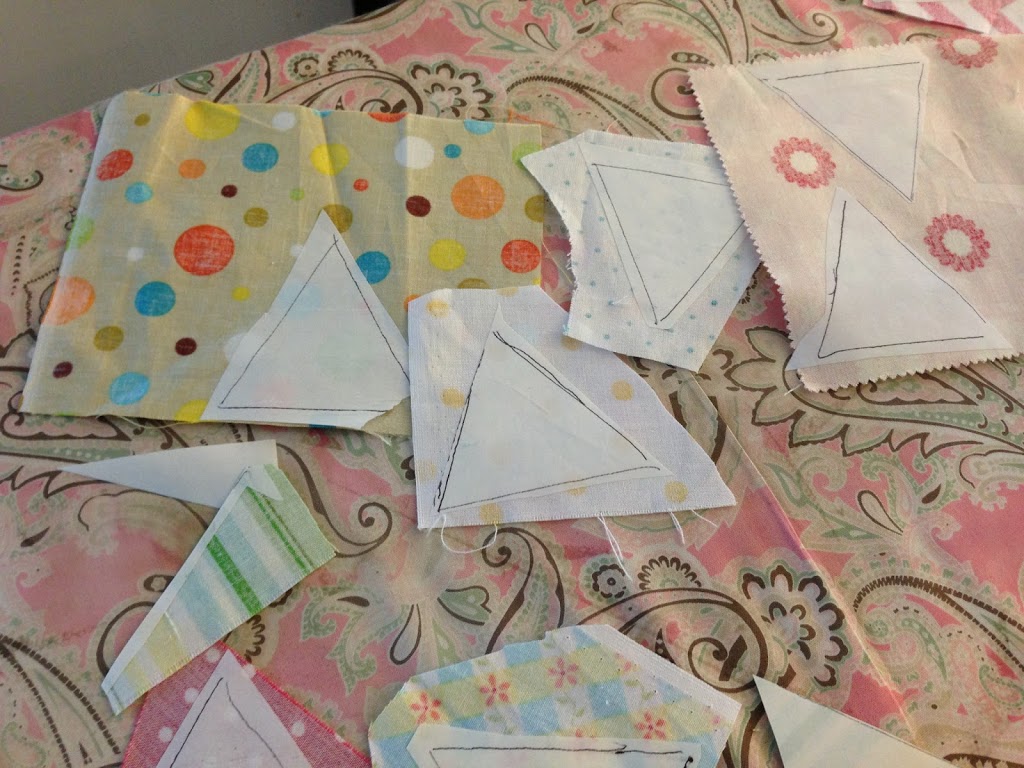
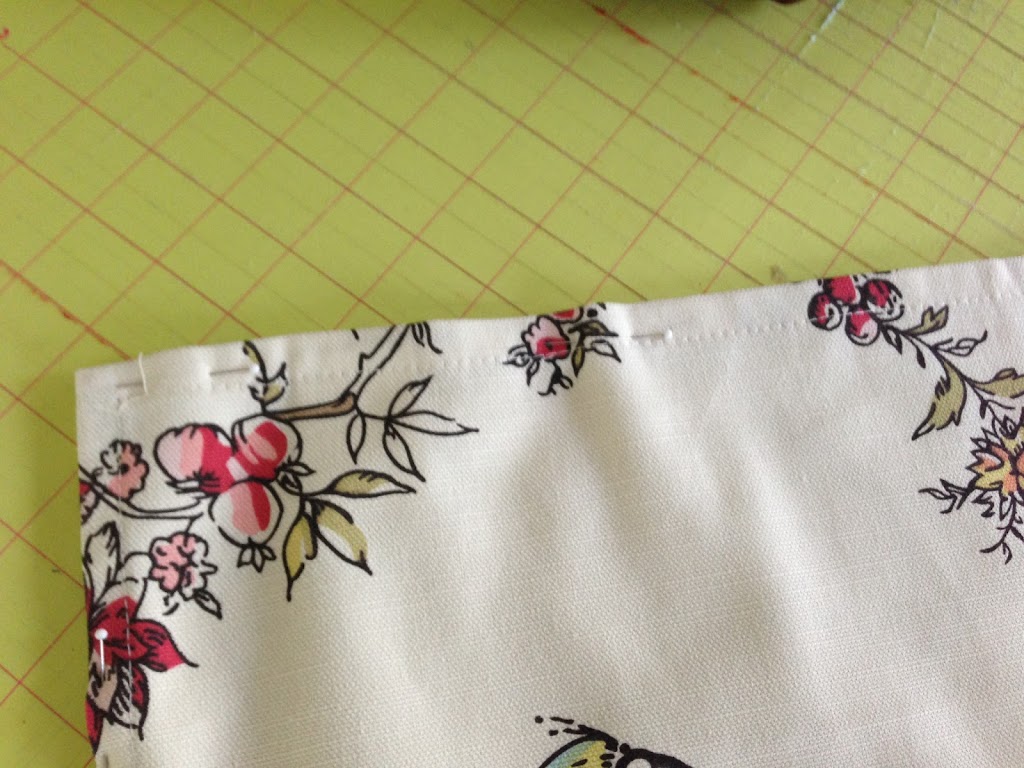
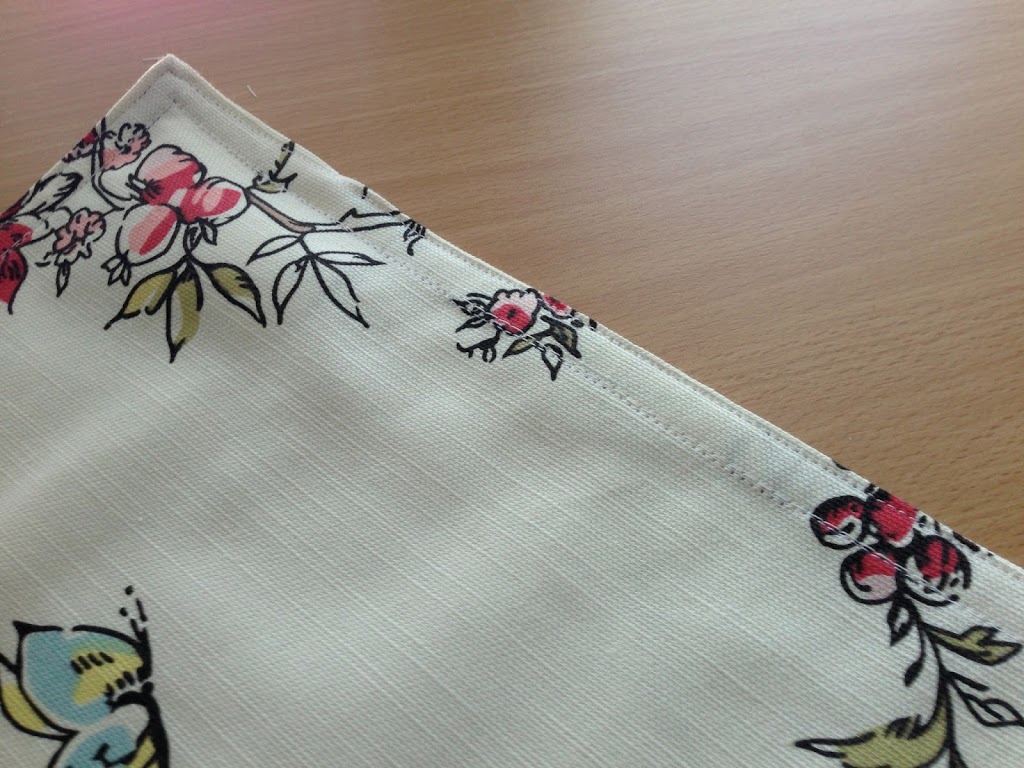
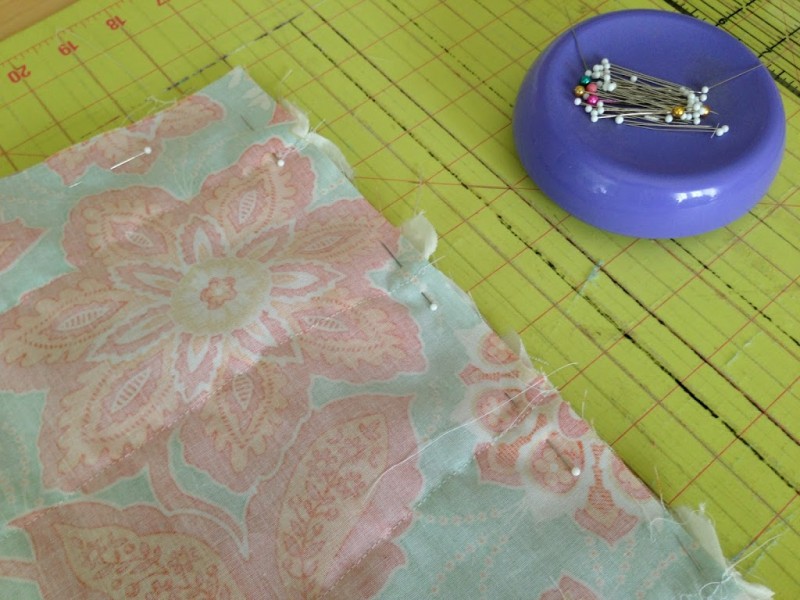 Sew & Turn!!
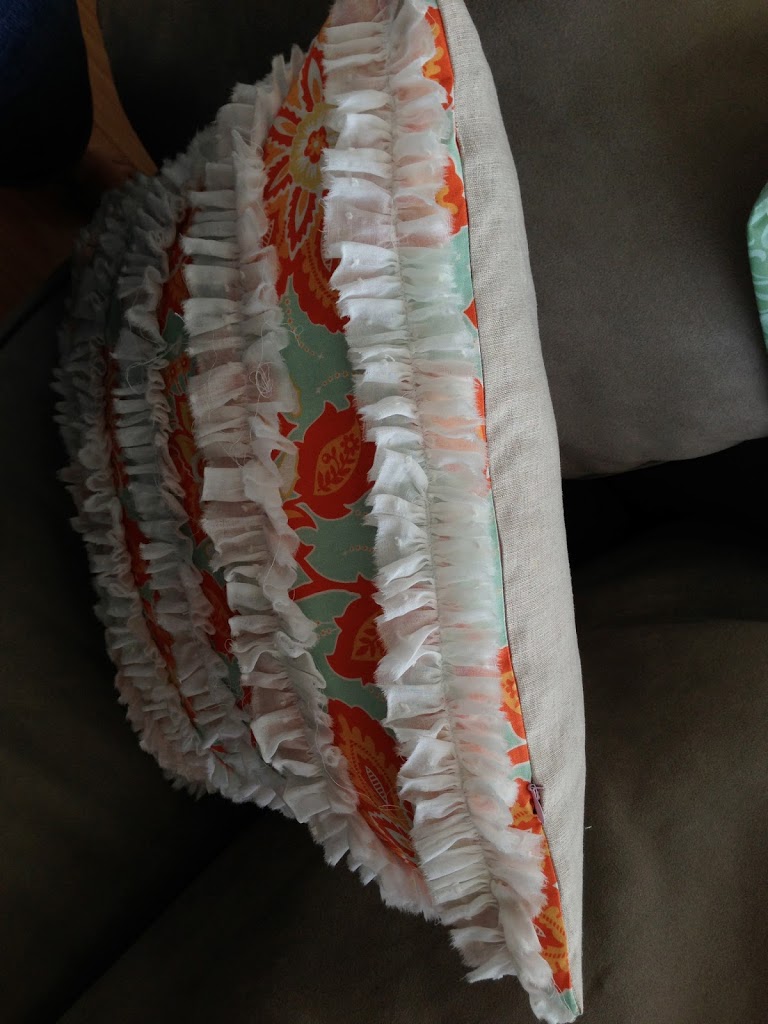


